Corner Lego Table
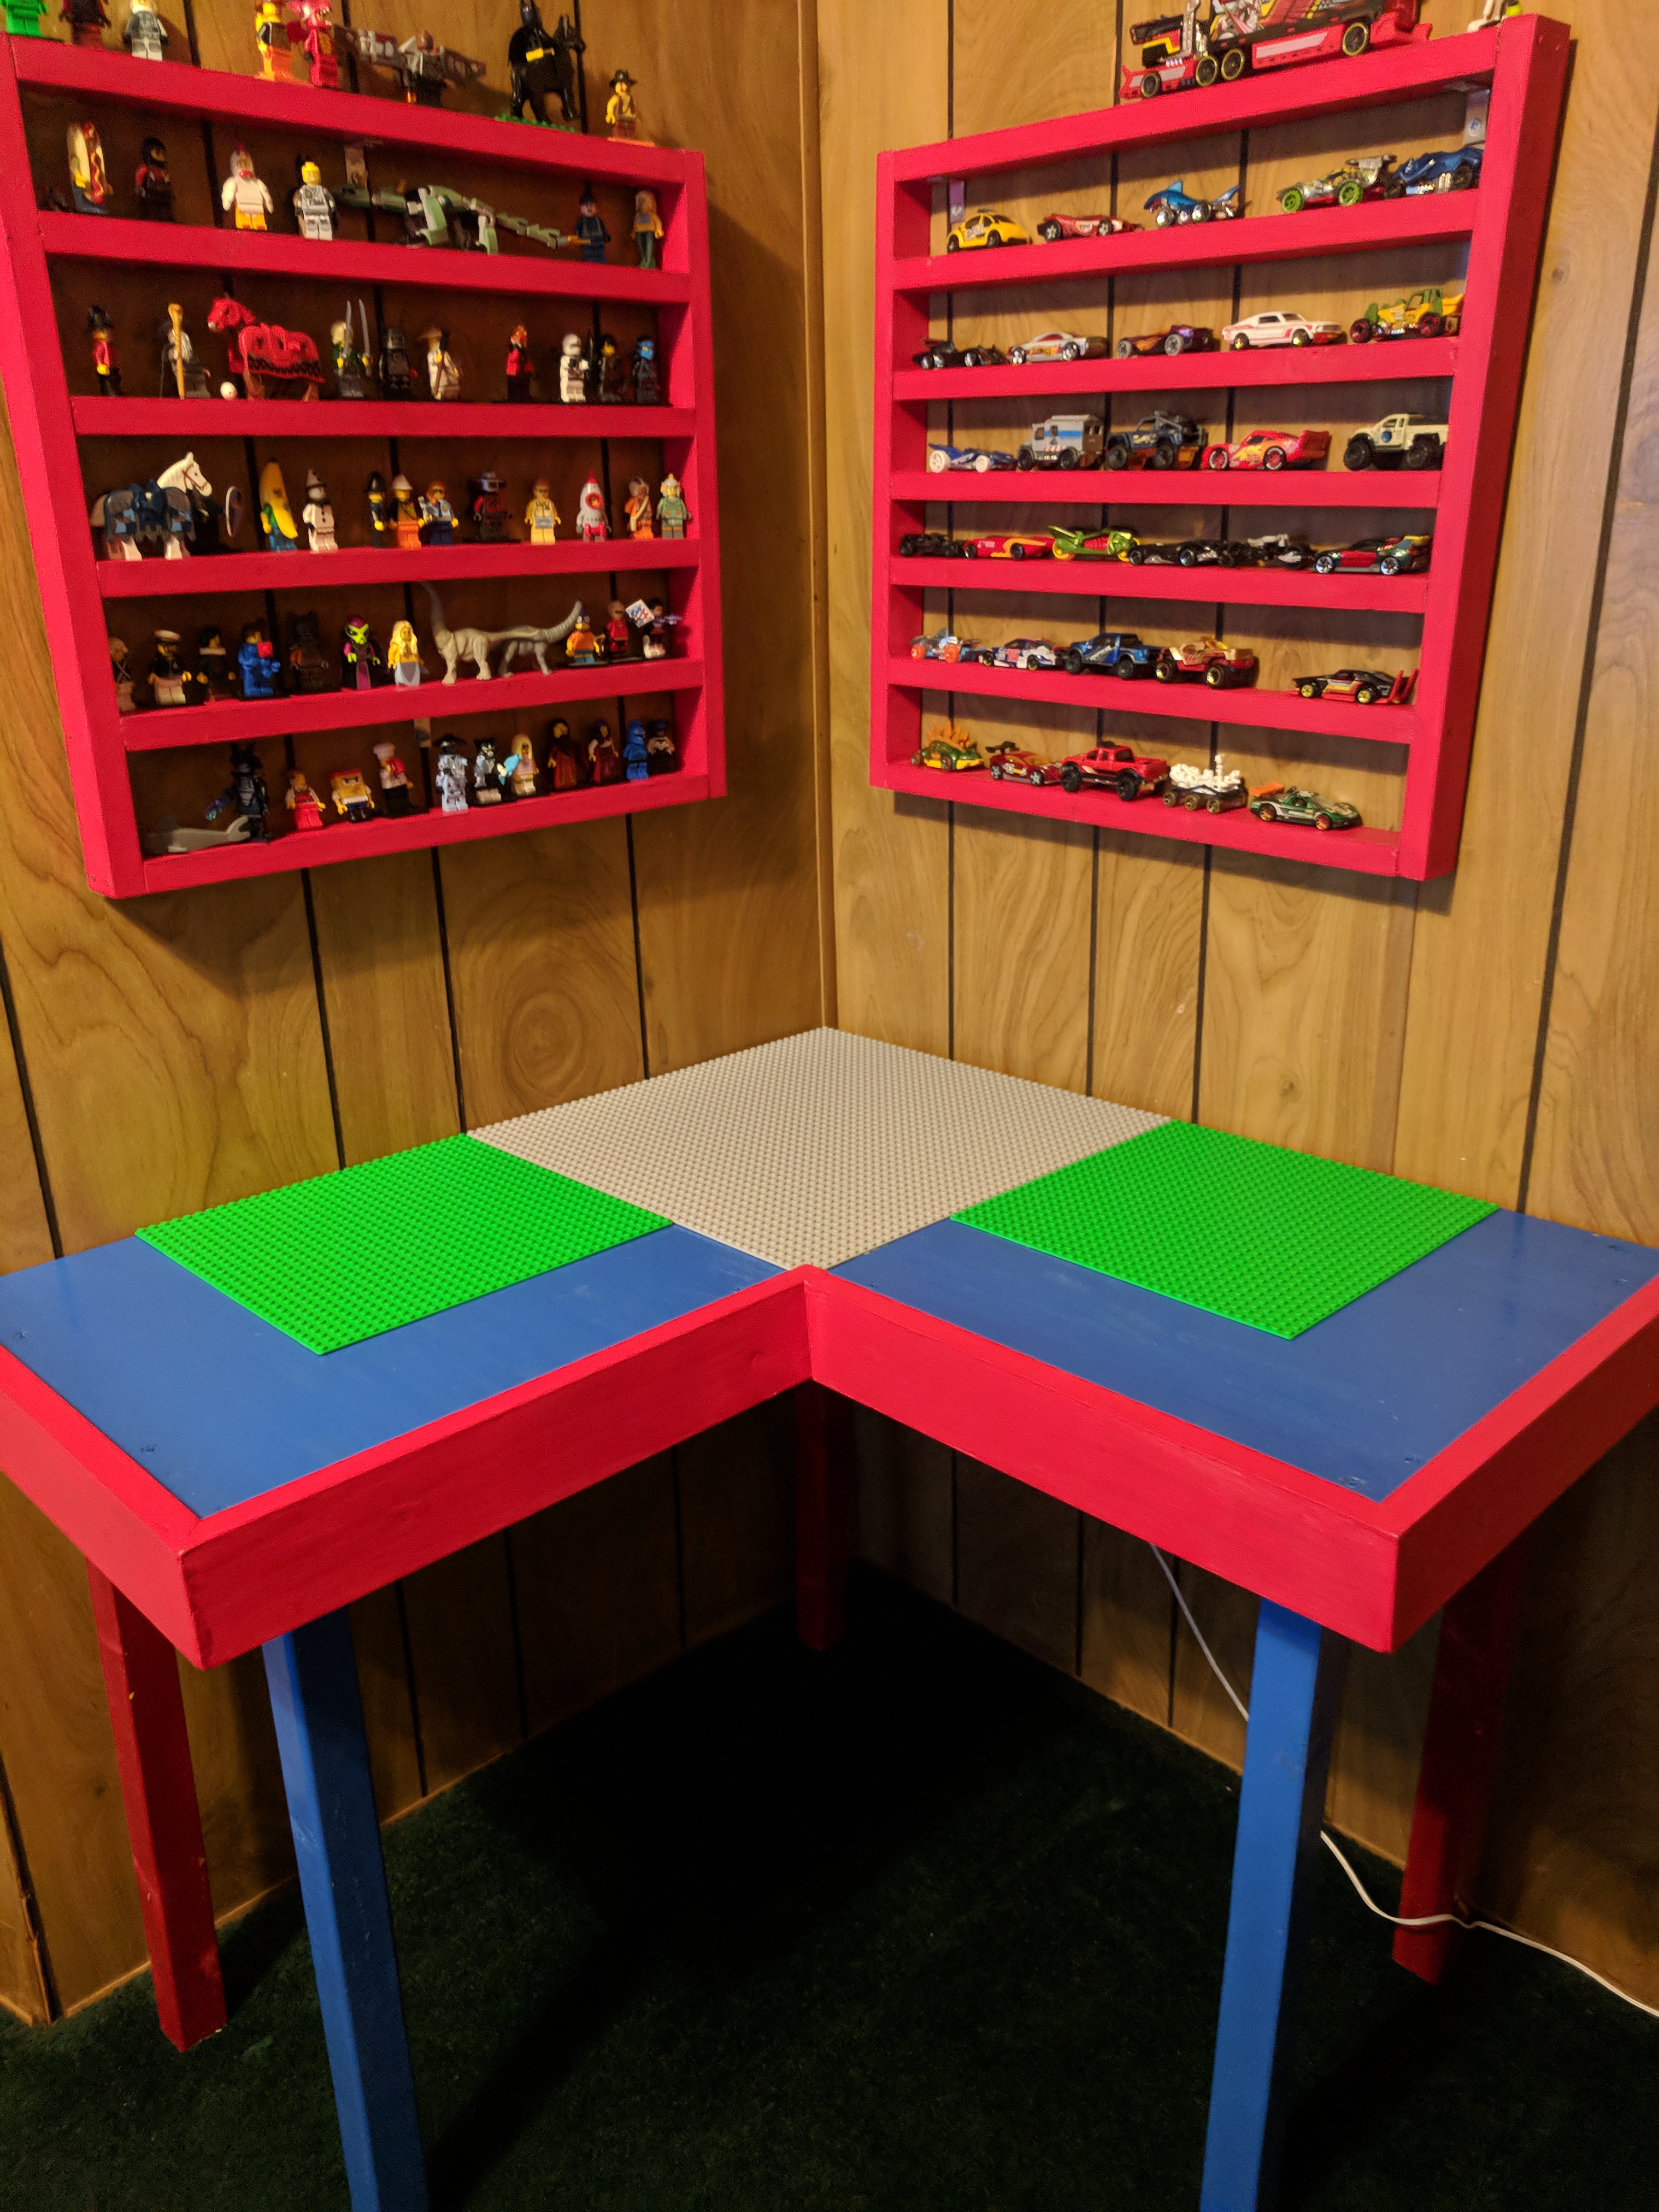
Play Well or Leg Godt (in his native tongue Danish). 2 words Ole Kirk Christiansen used to found his company back in 1932. Lego has been captivating children and children at heart for almost 90 years. I grew up with the interlocking binding bricks with a great passion, so much as so that I even have a Lego tattoo. the love of the toy has brought me to share the activity with my son so I decided it be fun to build him his very own space just for legos.
*DISCLAIMER* I am by no means a master craftsman, some of my
measurements may not be the same as yours and I may not use the correct methods in all my steps. If there are things I could have done differently please let me know i am always up for learning new skills. I focus on functionality and safety,
With that please enjoy my instructable and if you like it please vote for me in the furniture contest or the plastic contest id really appreciate it.
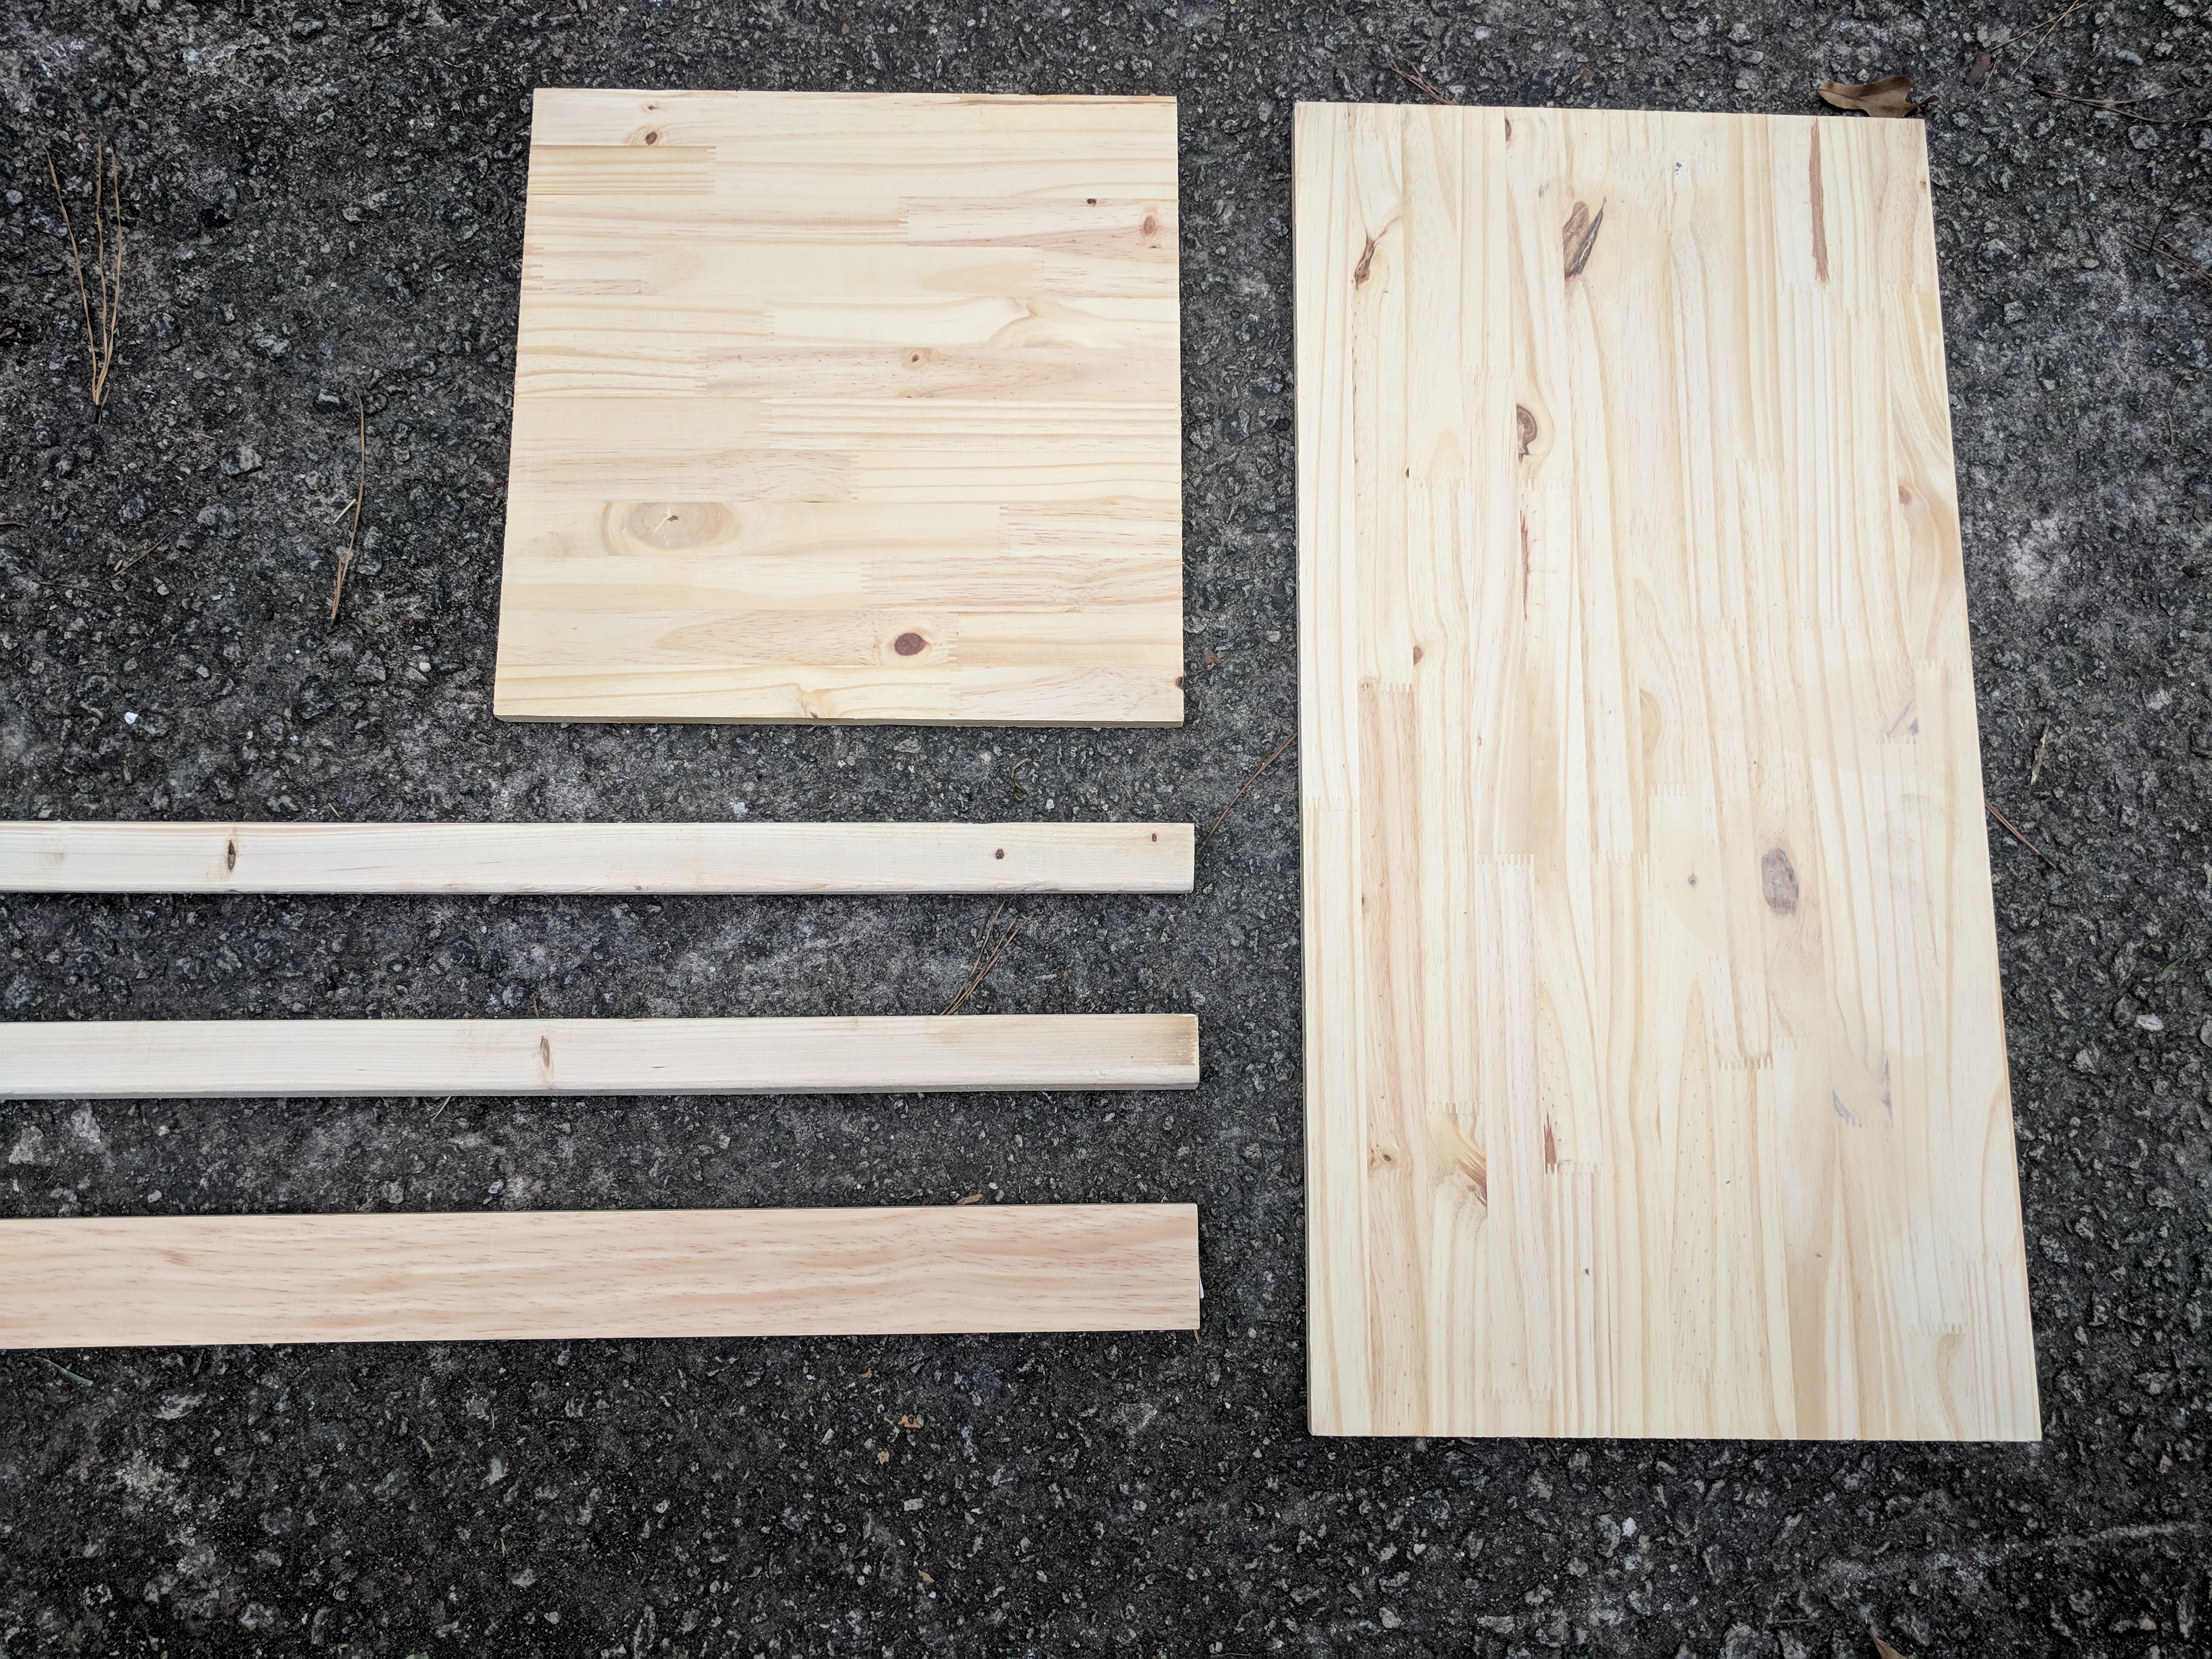
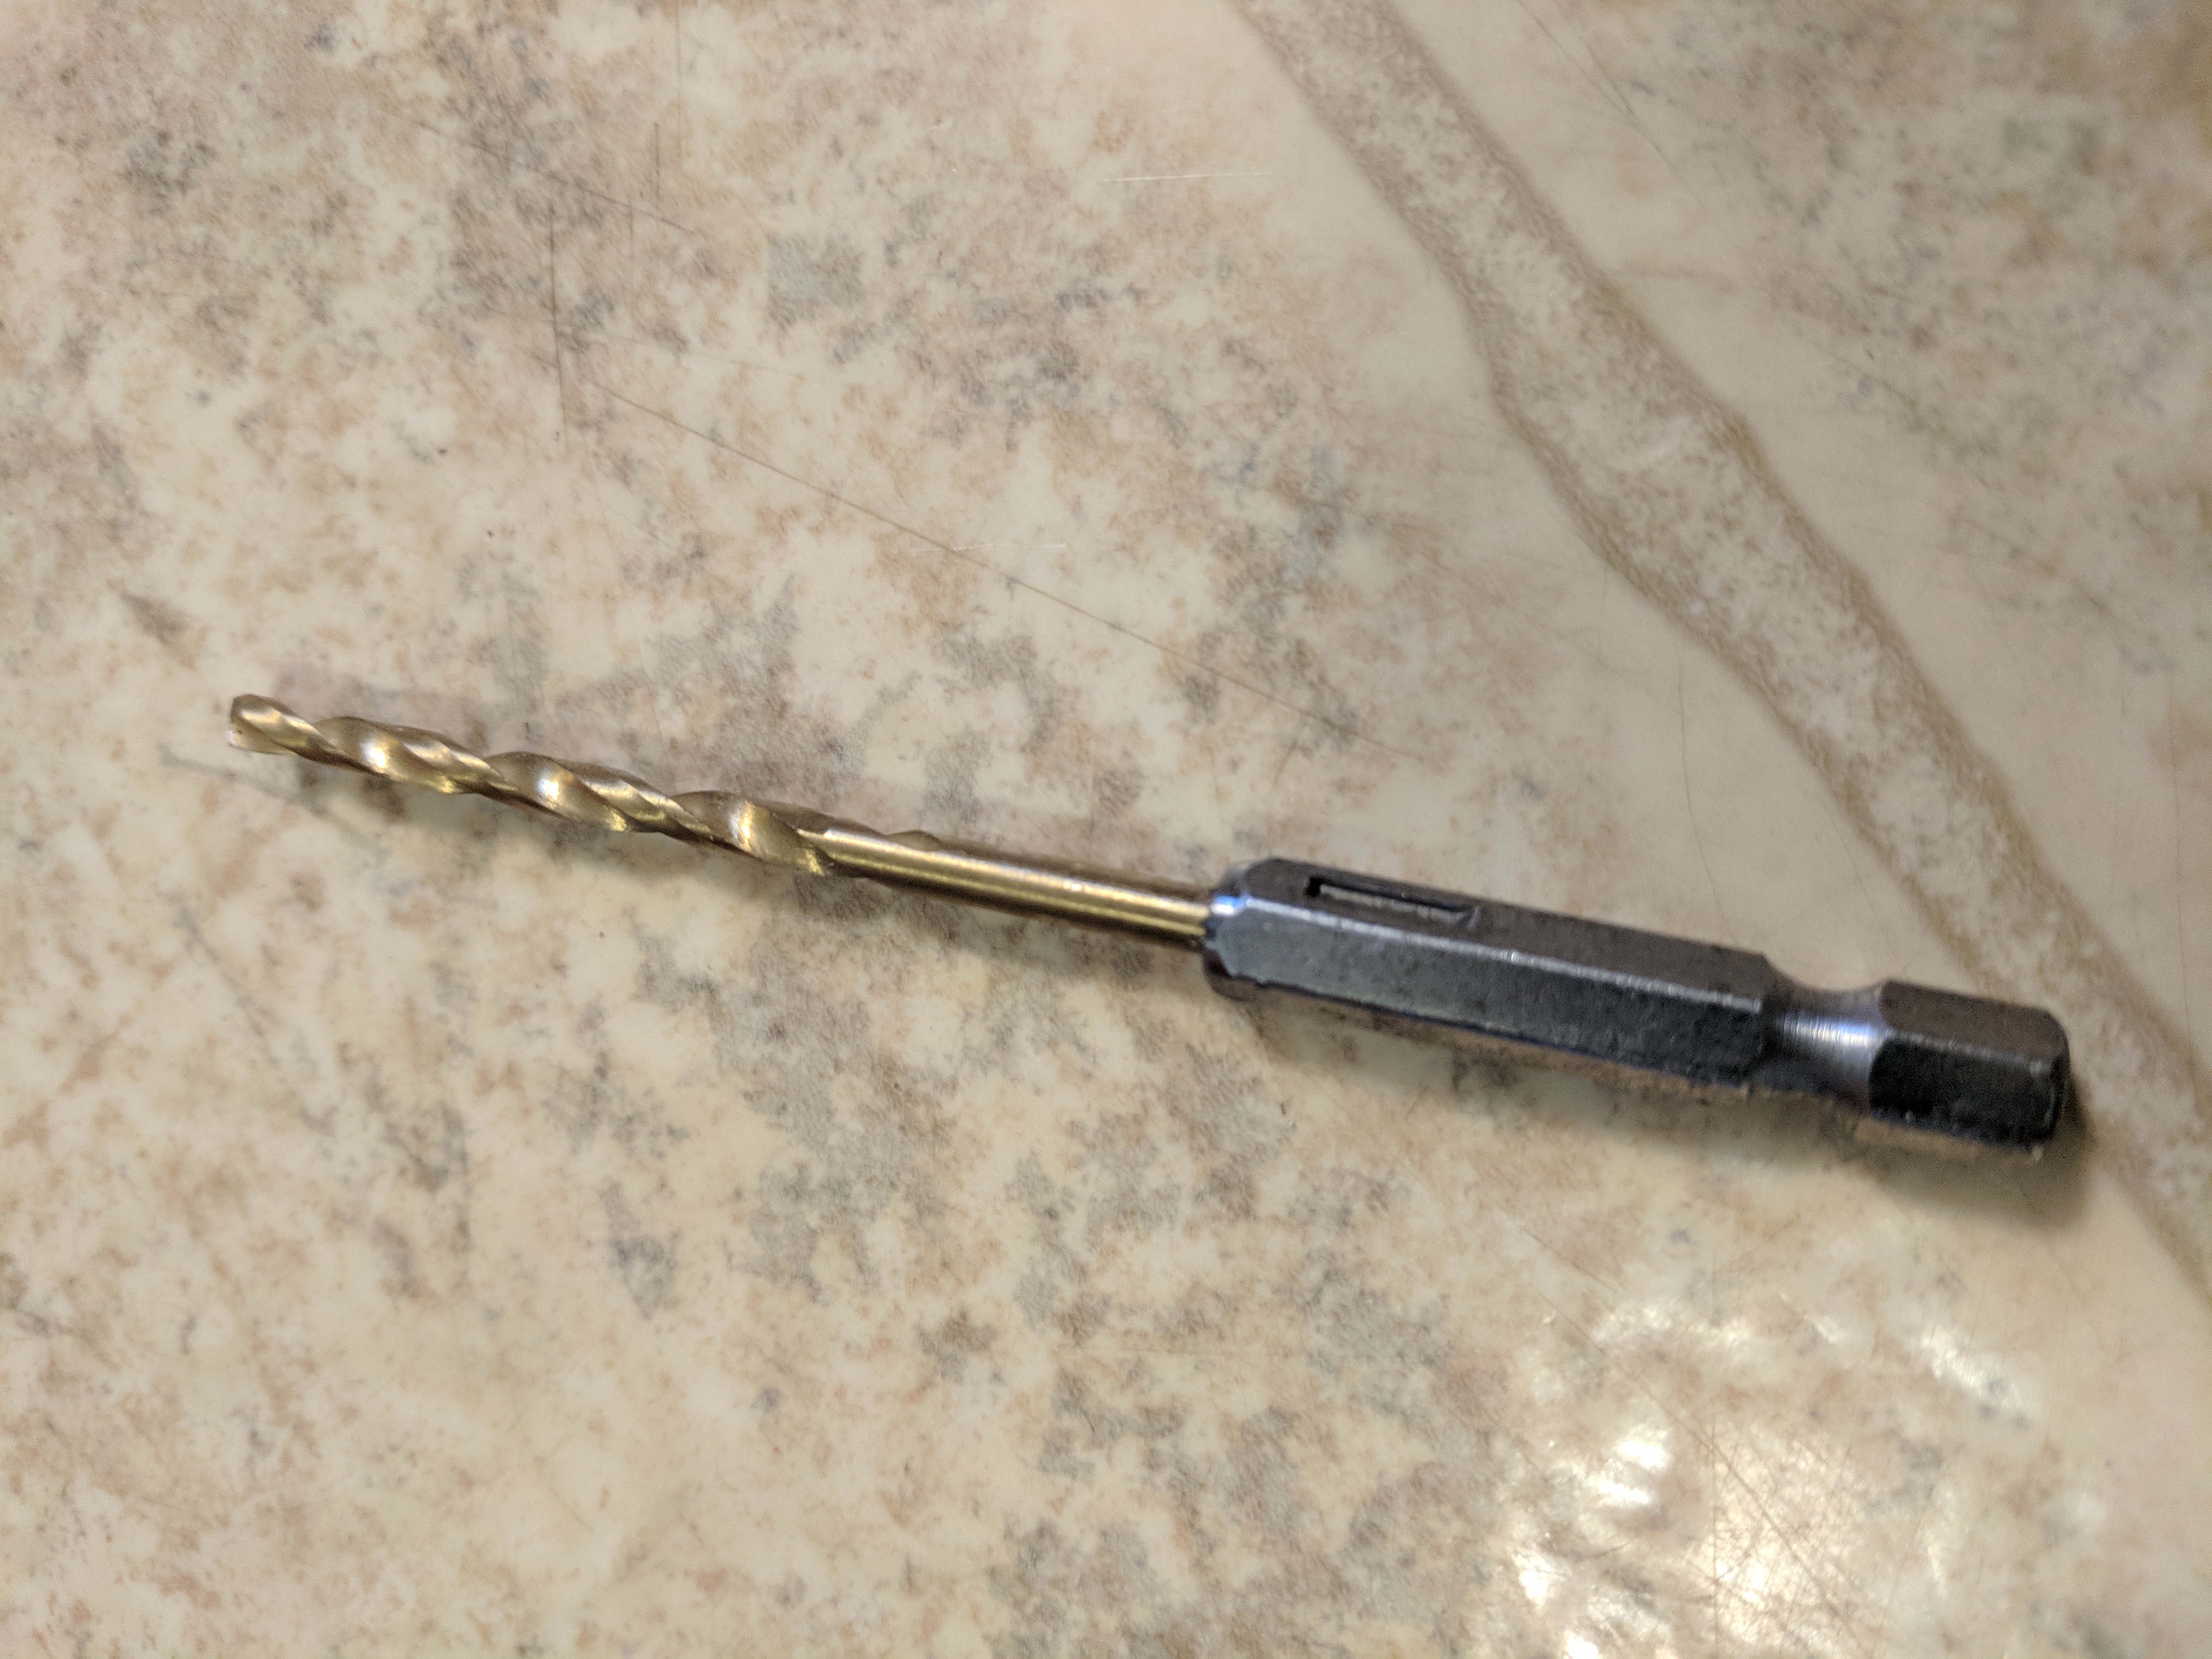
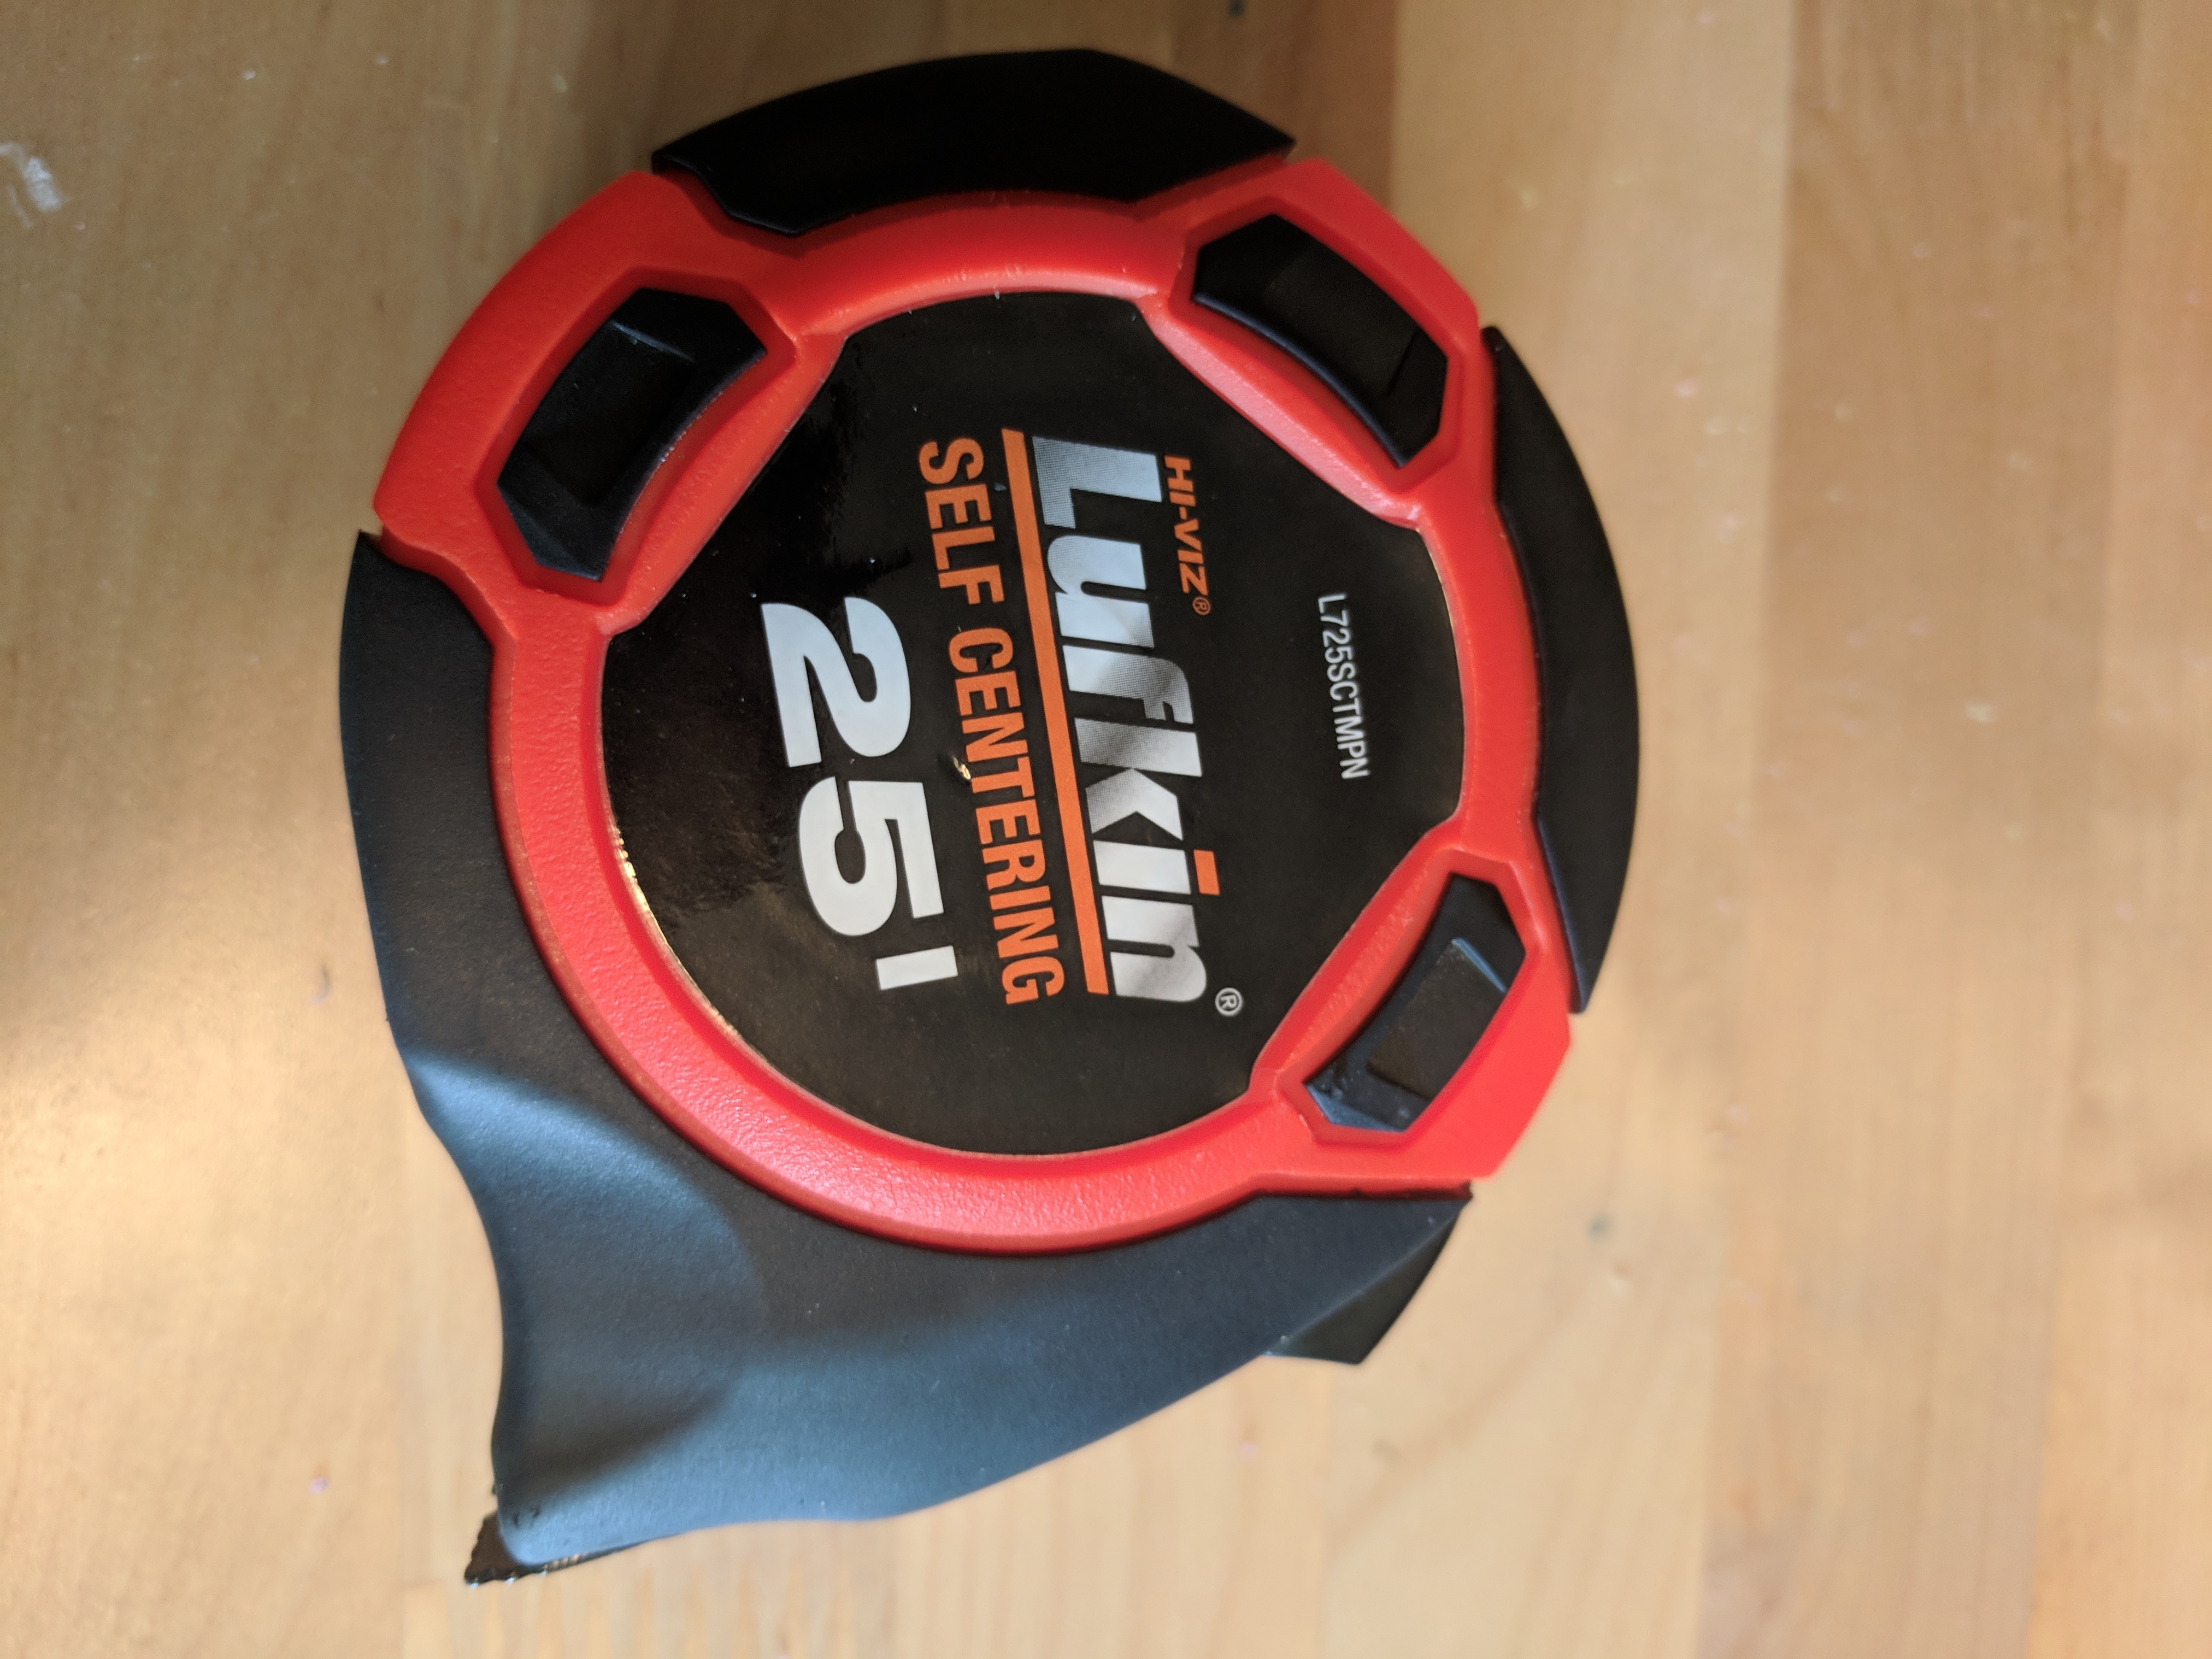
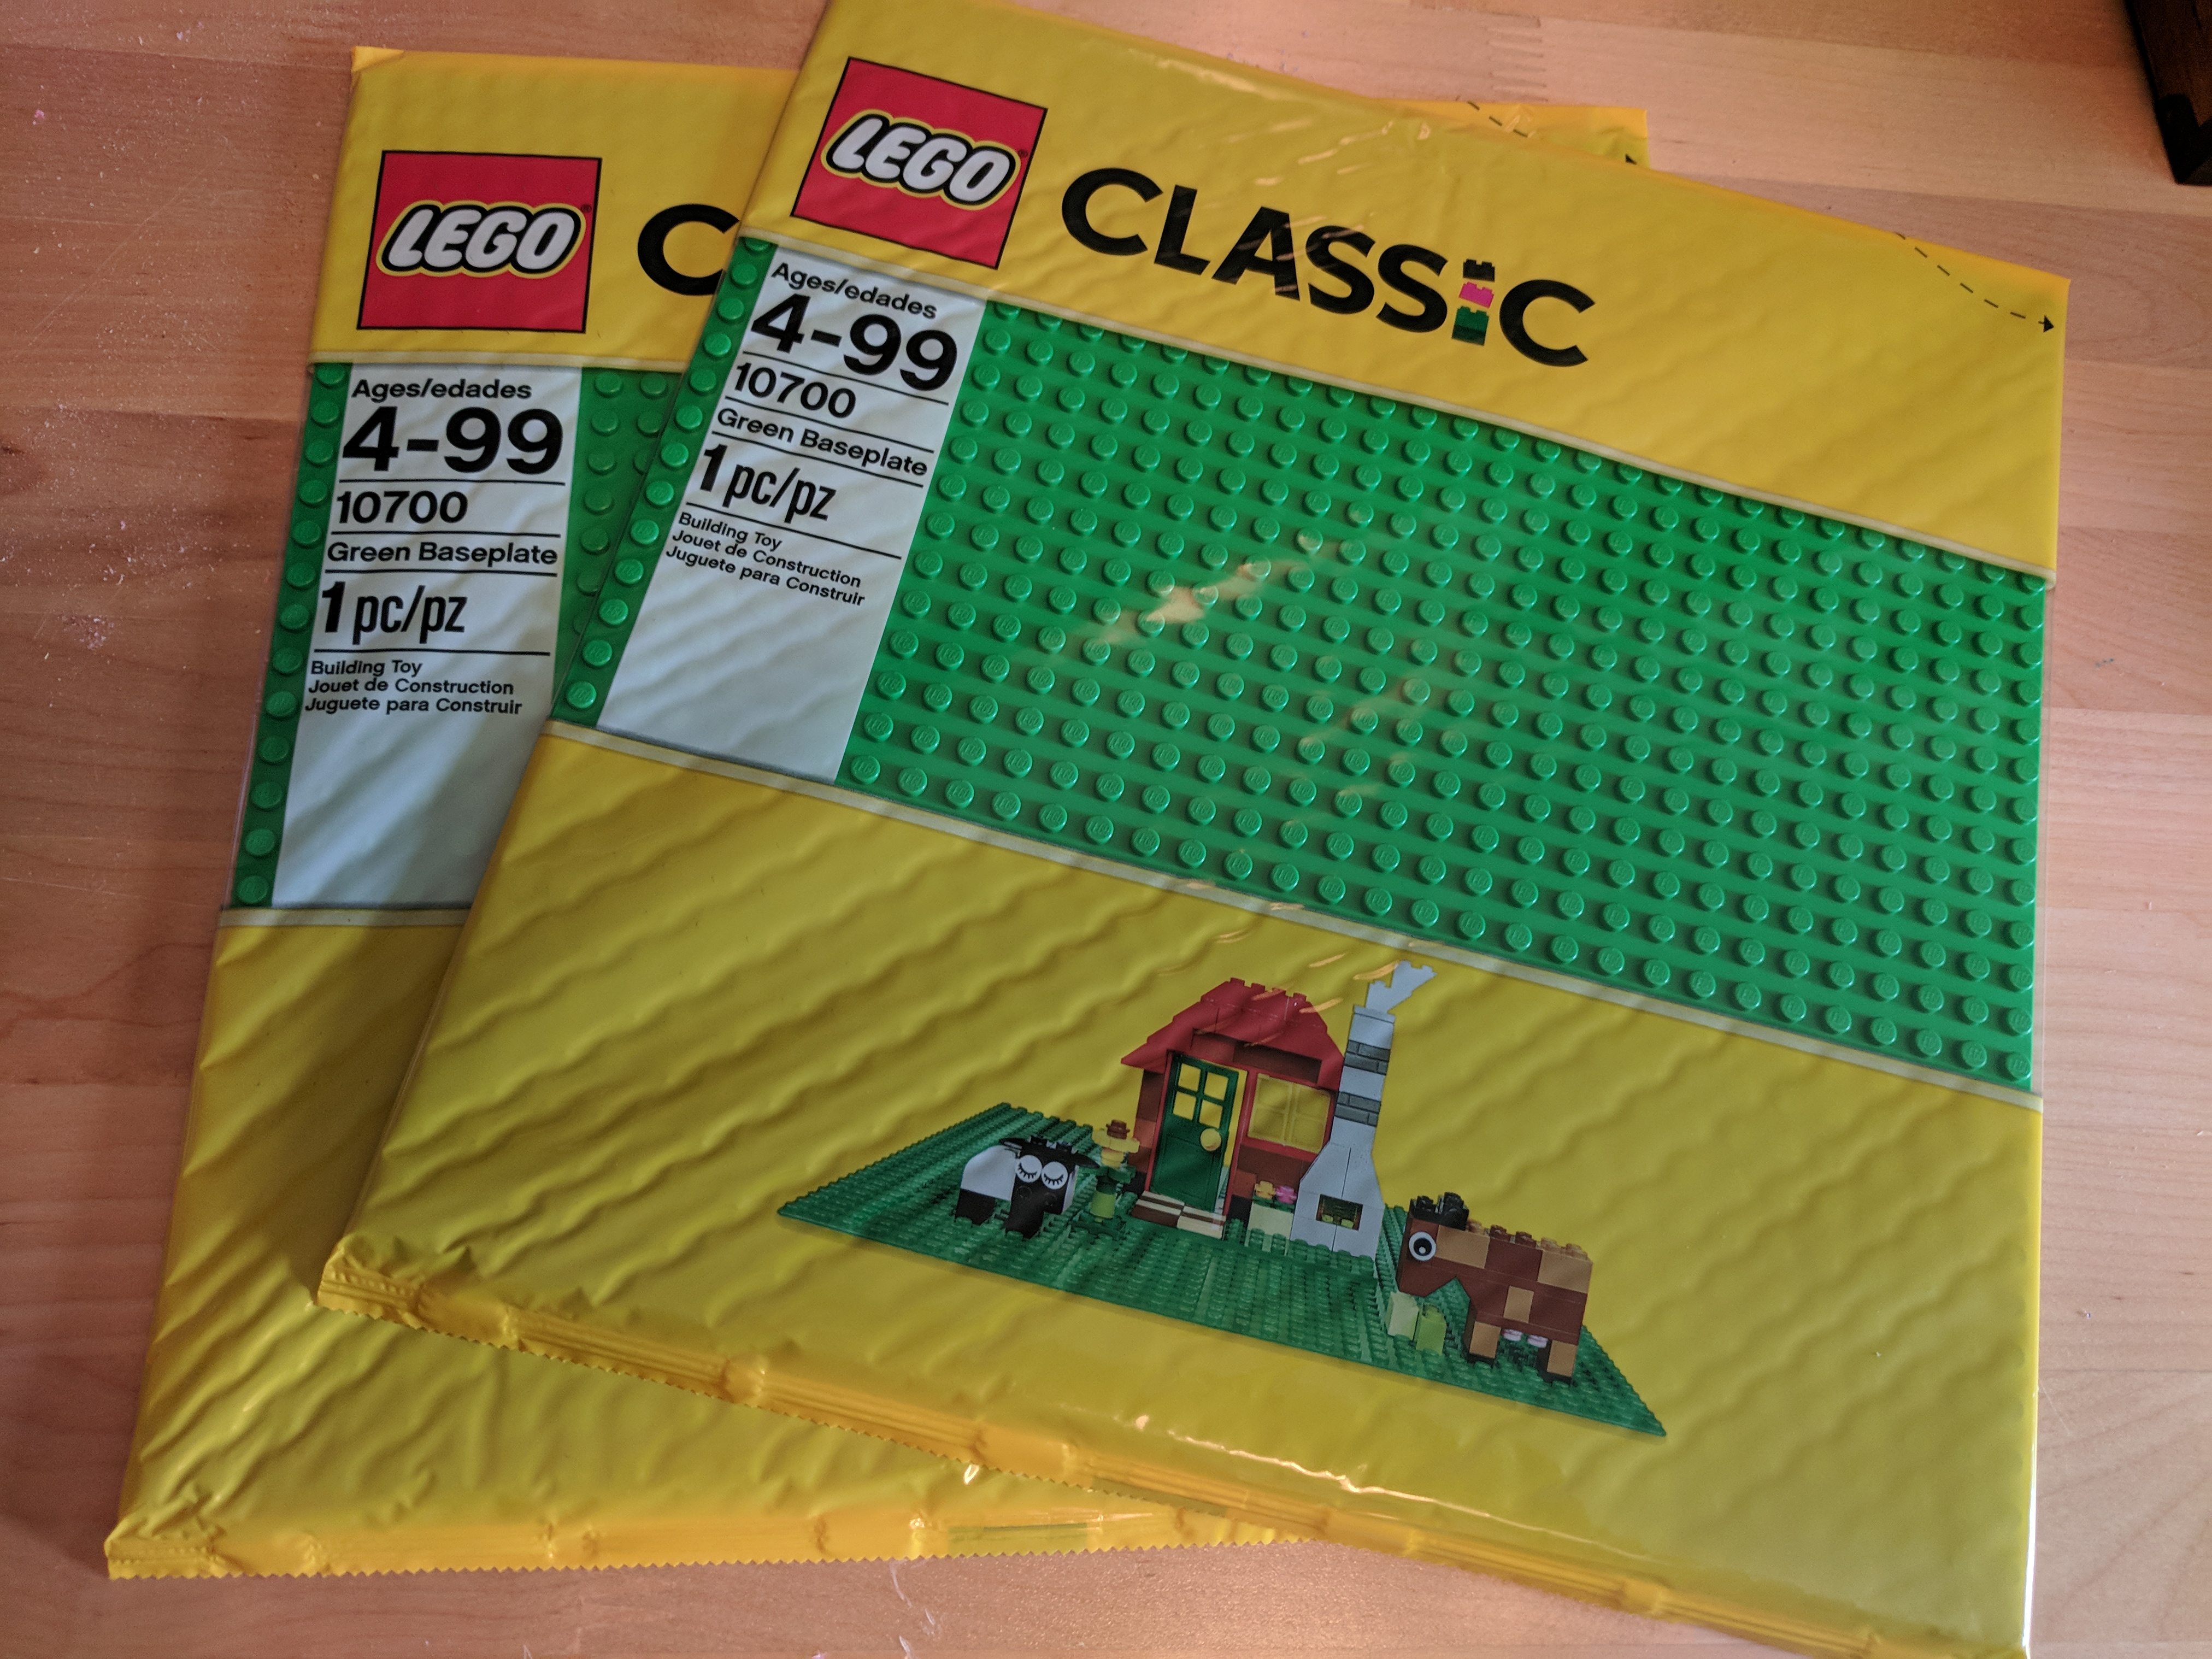
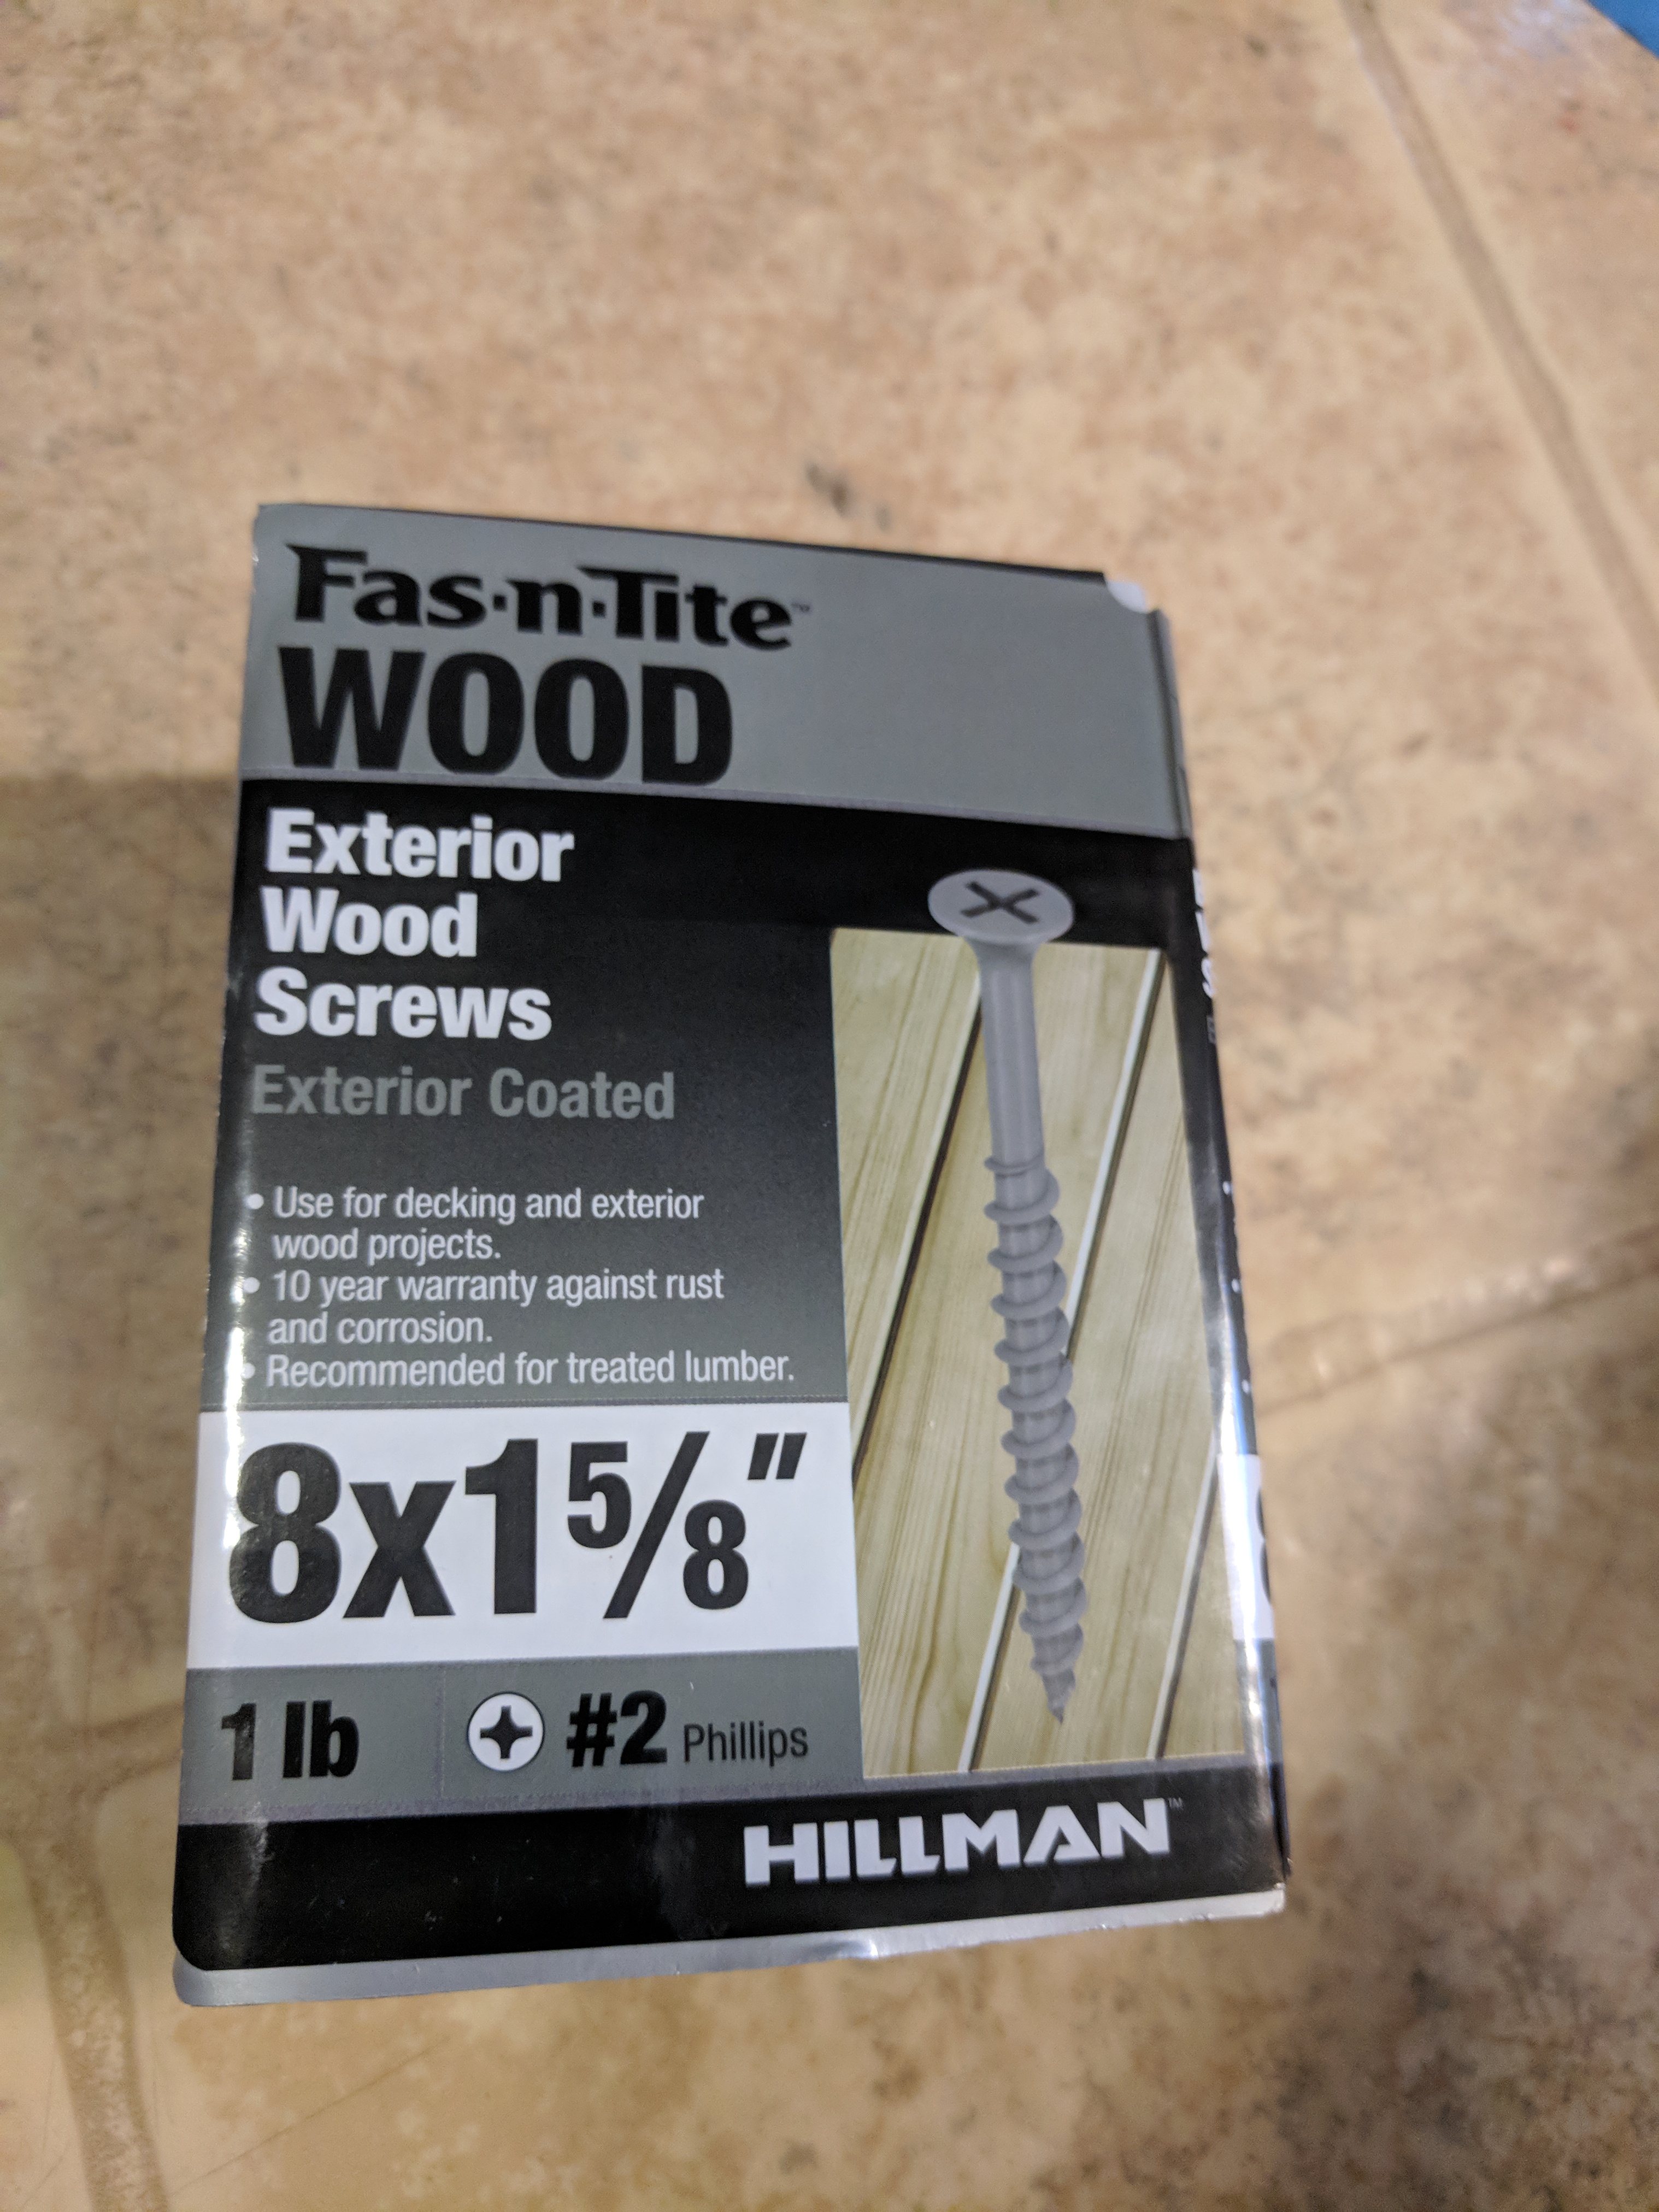
Materials Needed
.jpg)
.jpg)


.jpg)
These are the materials I used for this project. (if you cant find exactly what I found just do with what you can )
Wood
1 72in x 16in x 3/4in pre-sanded board
1 72in x 2 1/2in x 3/4in pre-sanded board
5 2in x 2in x 96in
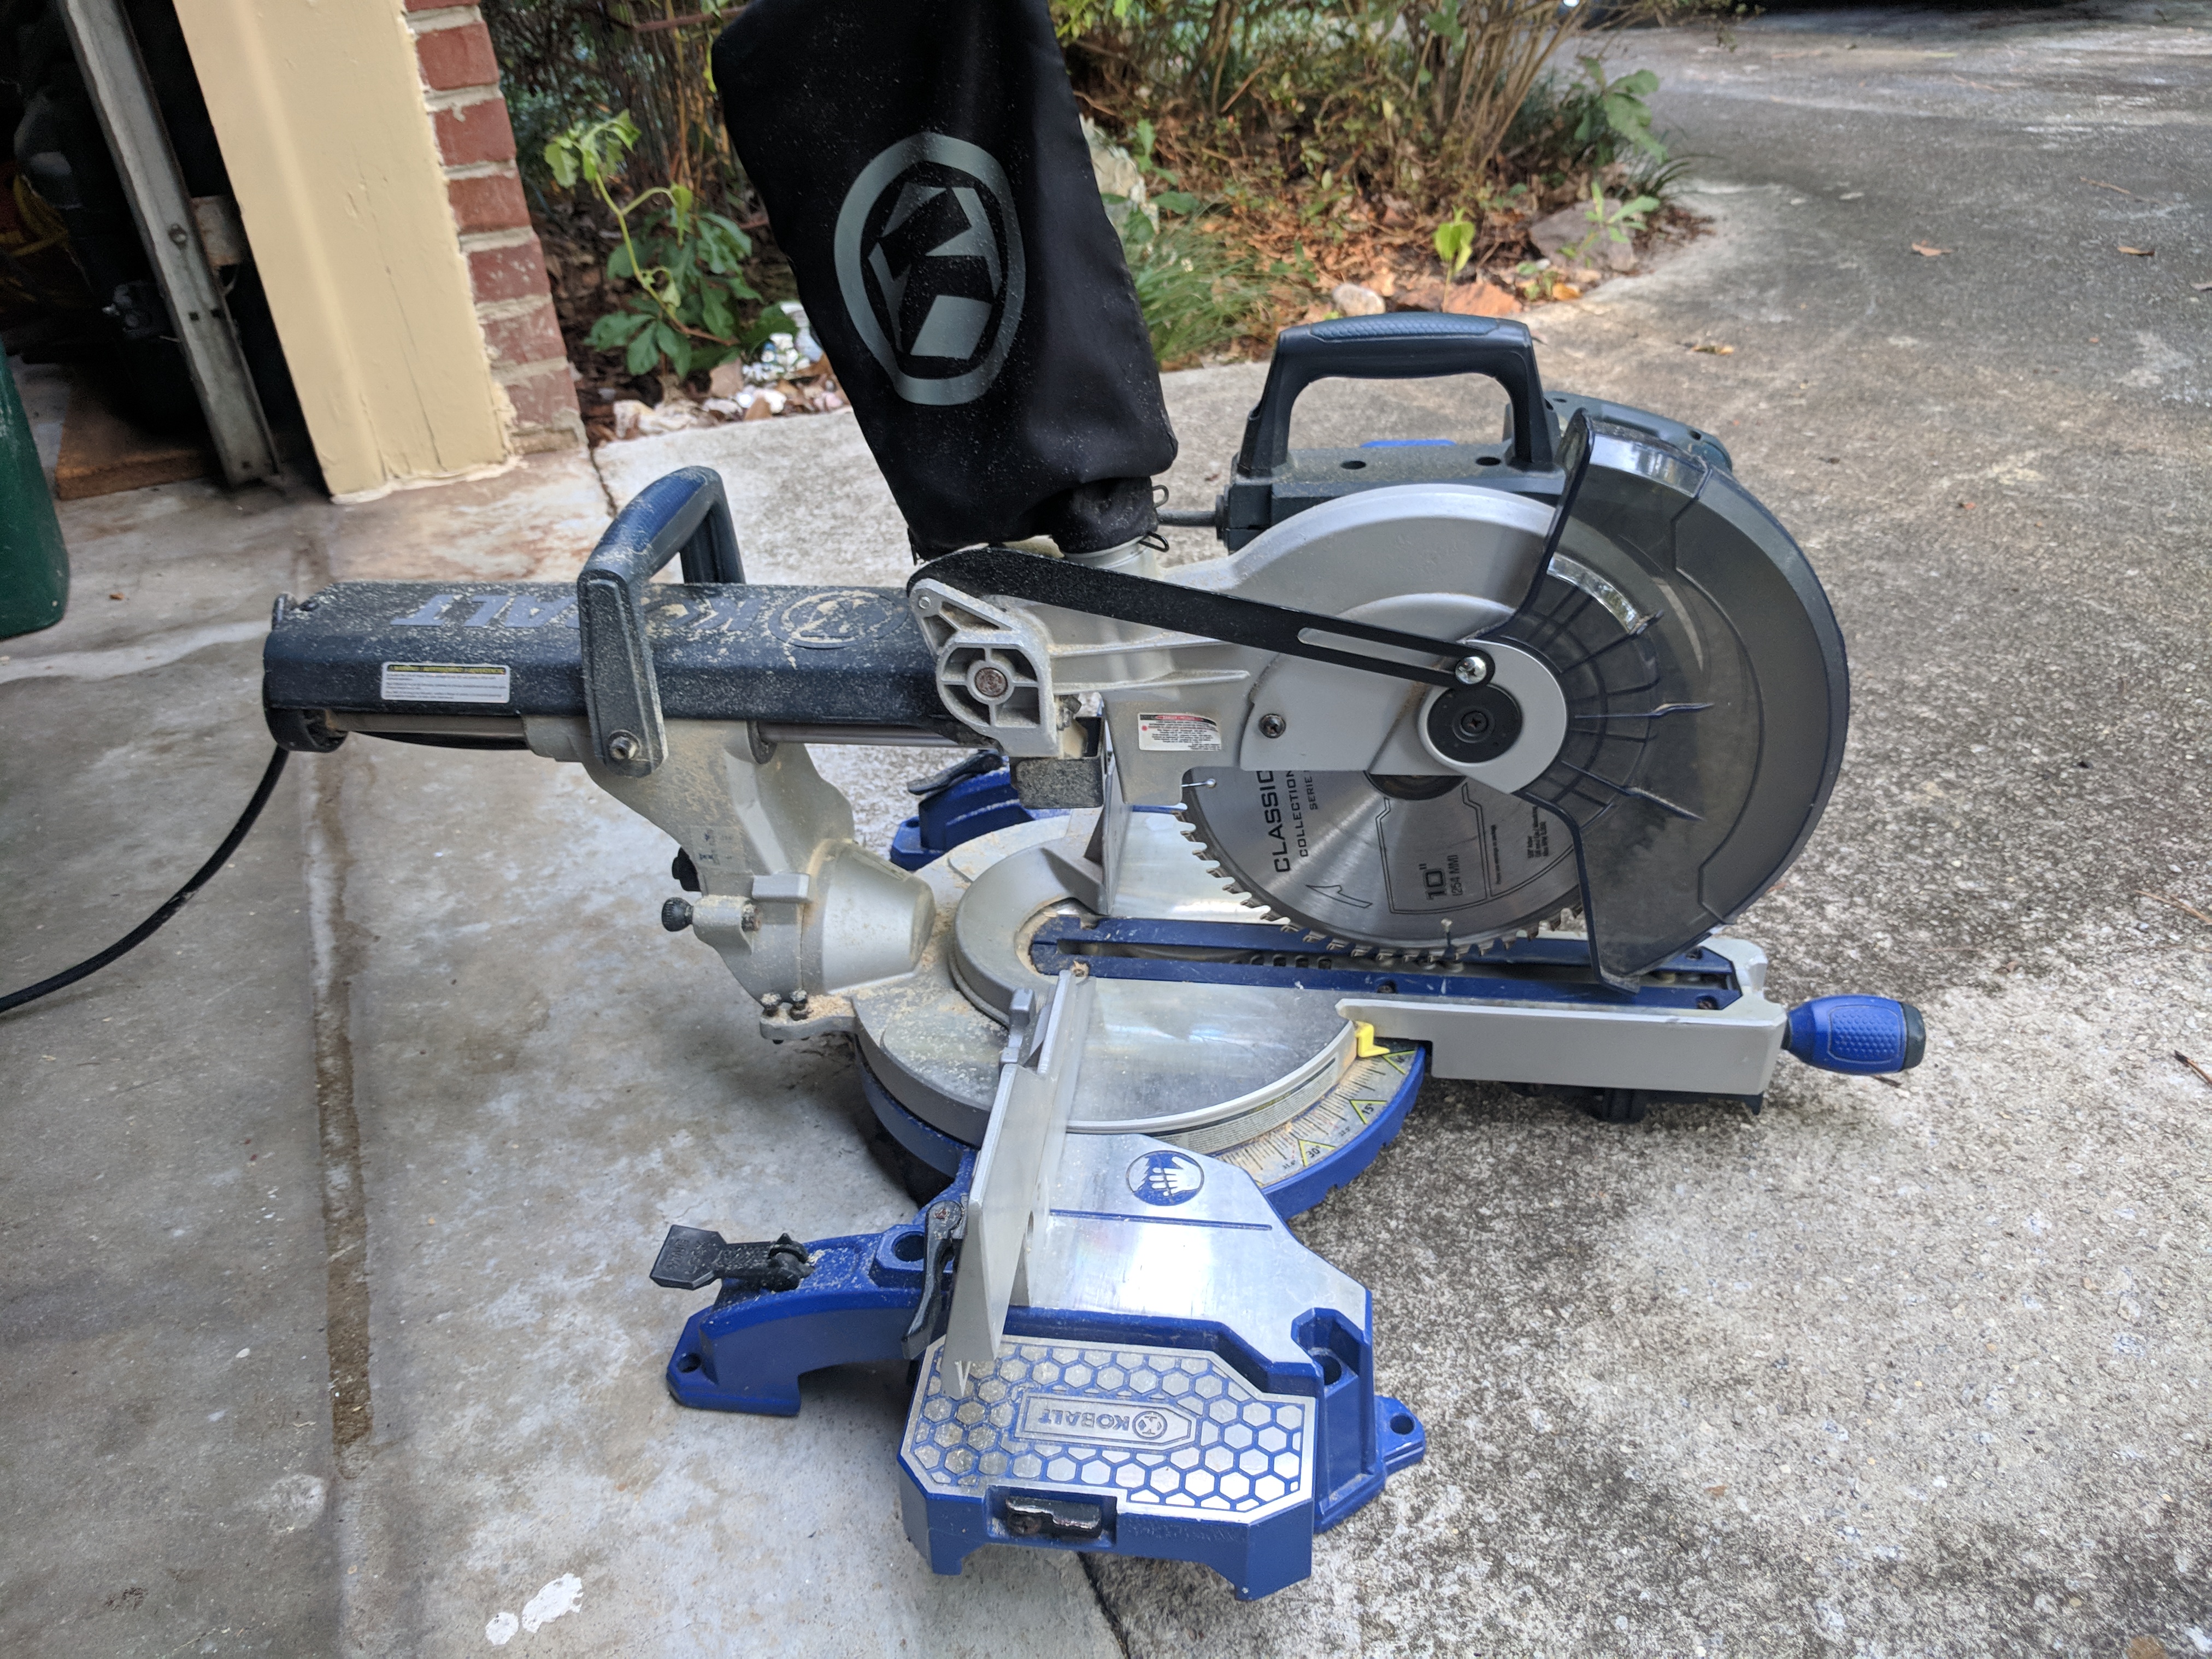
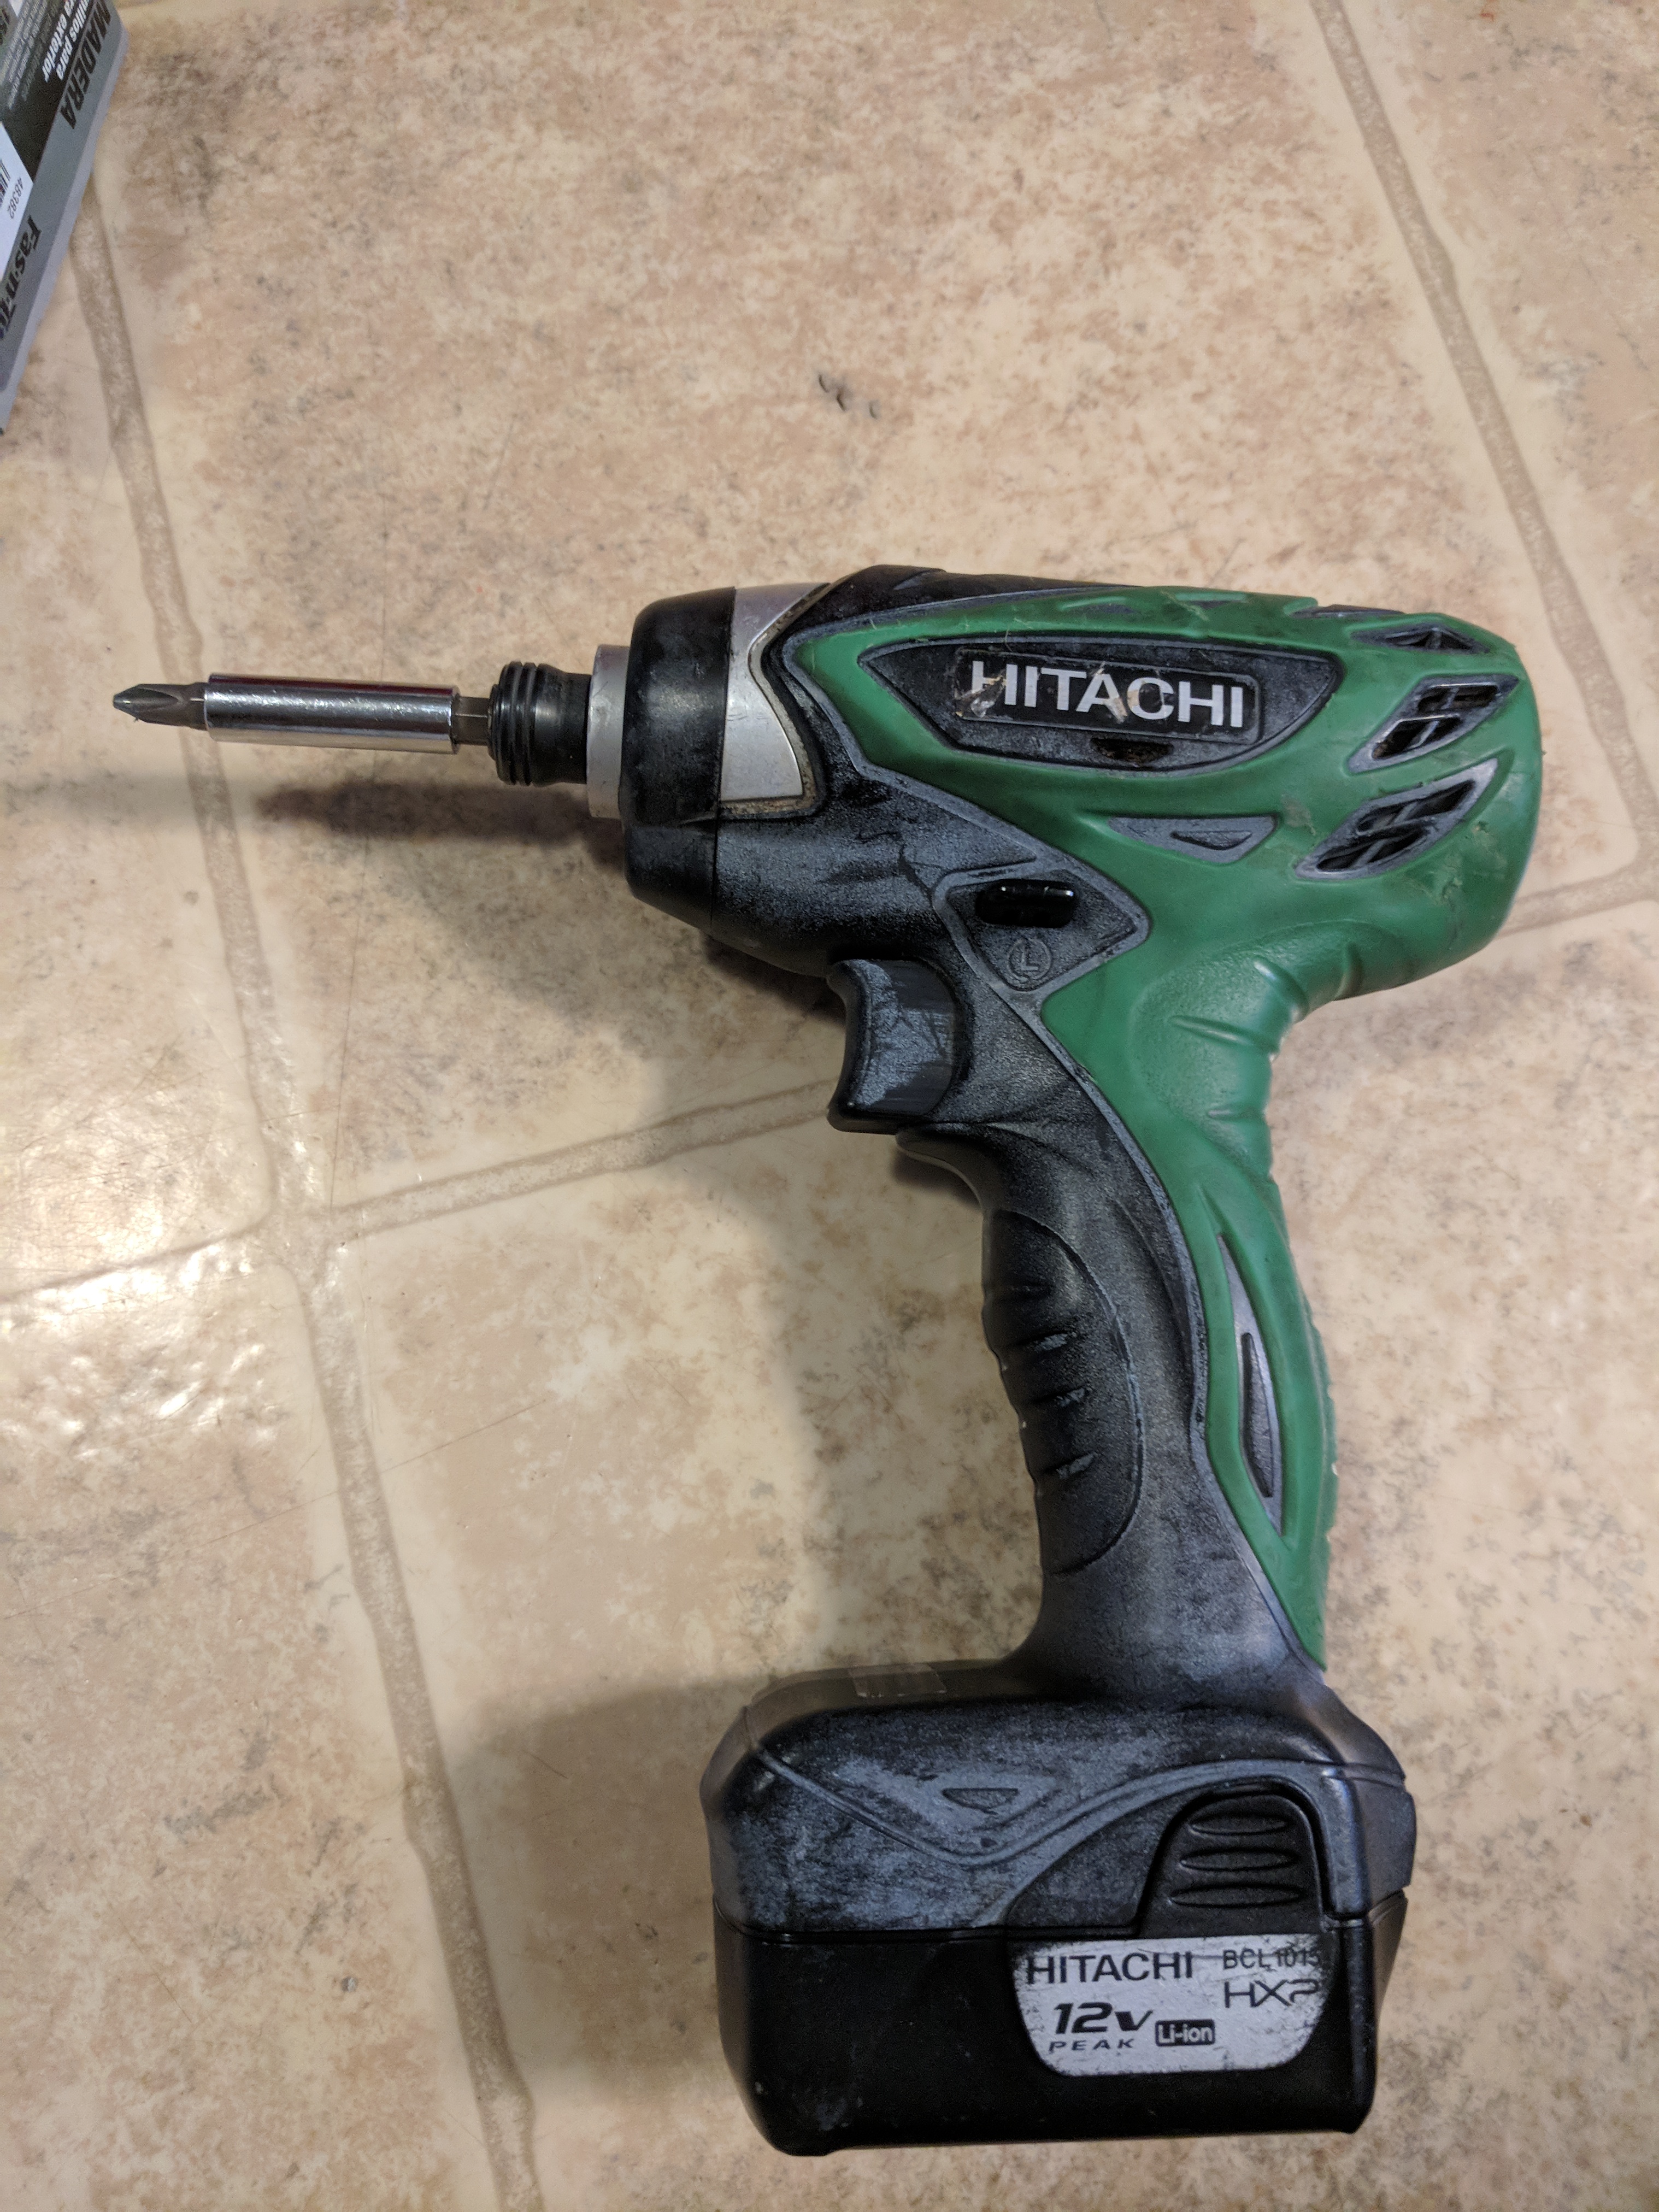
Tools
Miter Saw
Impact driver or drill
1/8in drill bit
Tape measure
Square
Paint Brush
Supplies
1 15in x 15in lego plate
2 10in x 10in lego plate
1lb box of #8 x 1 5/8 wood screws (1 1/4 would be preferred but my store was out of the size box I got)
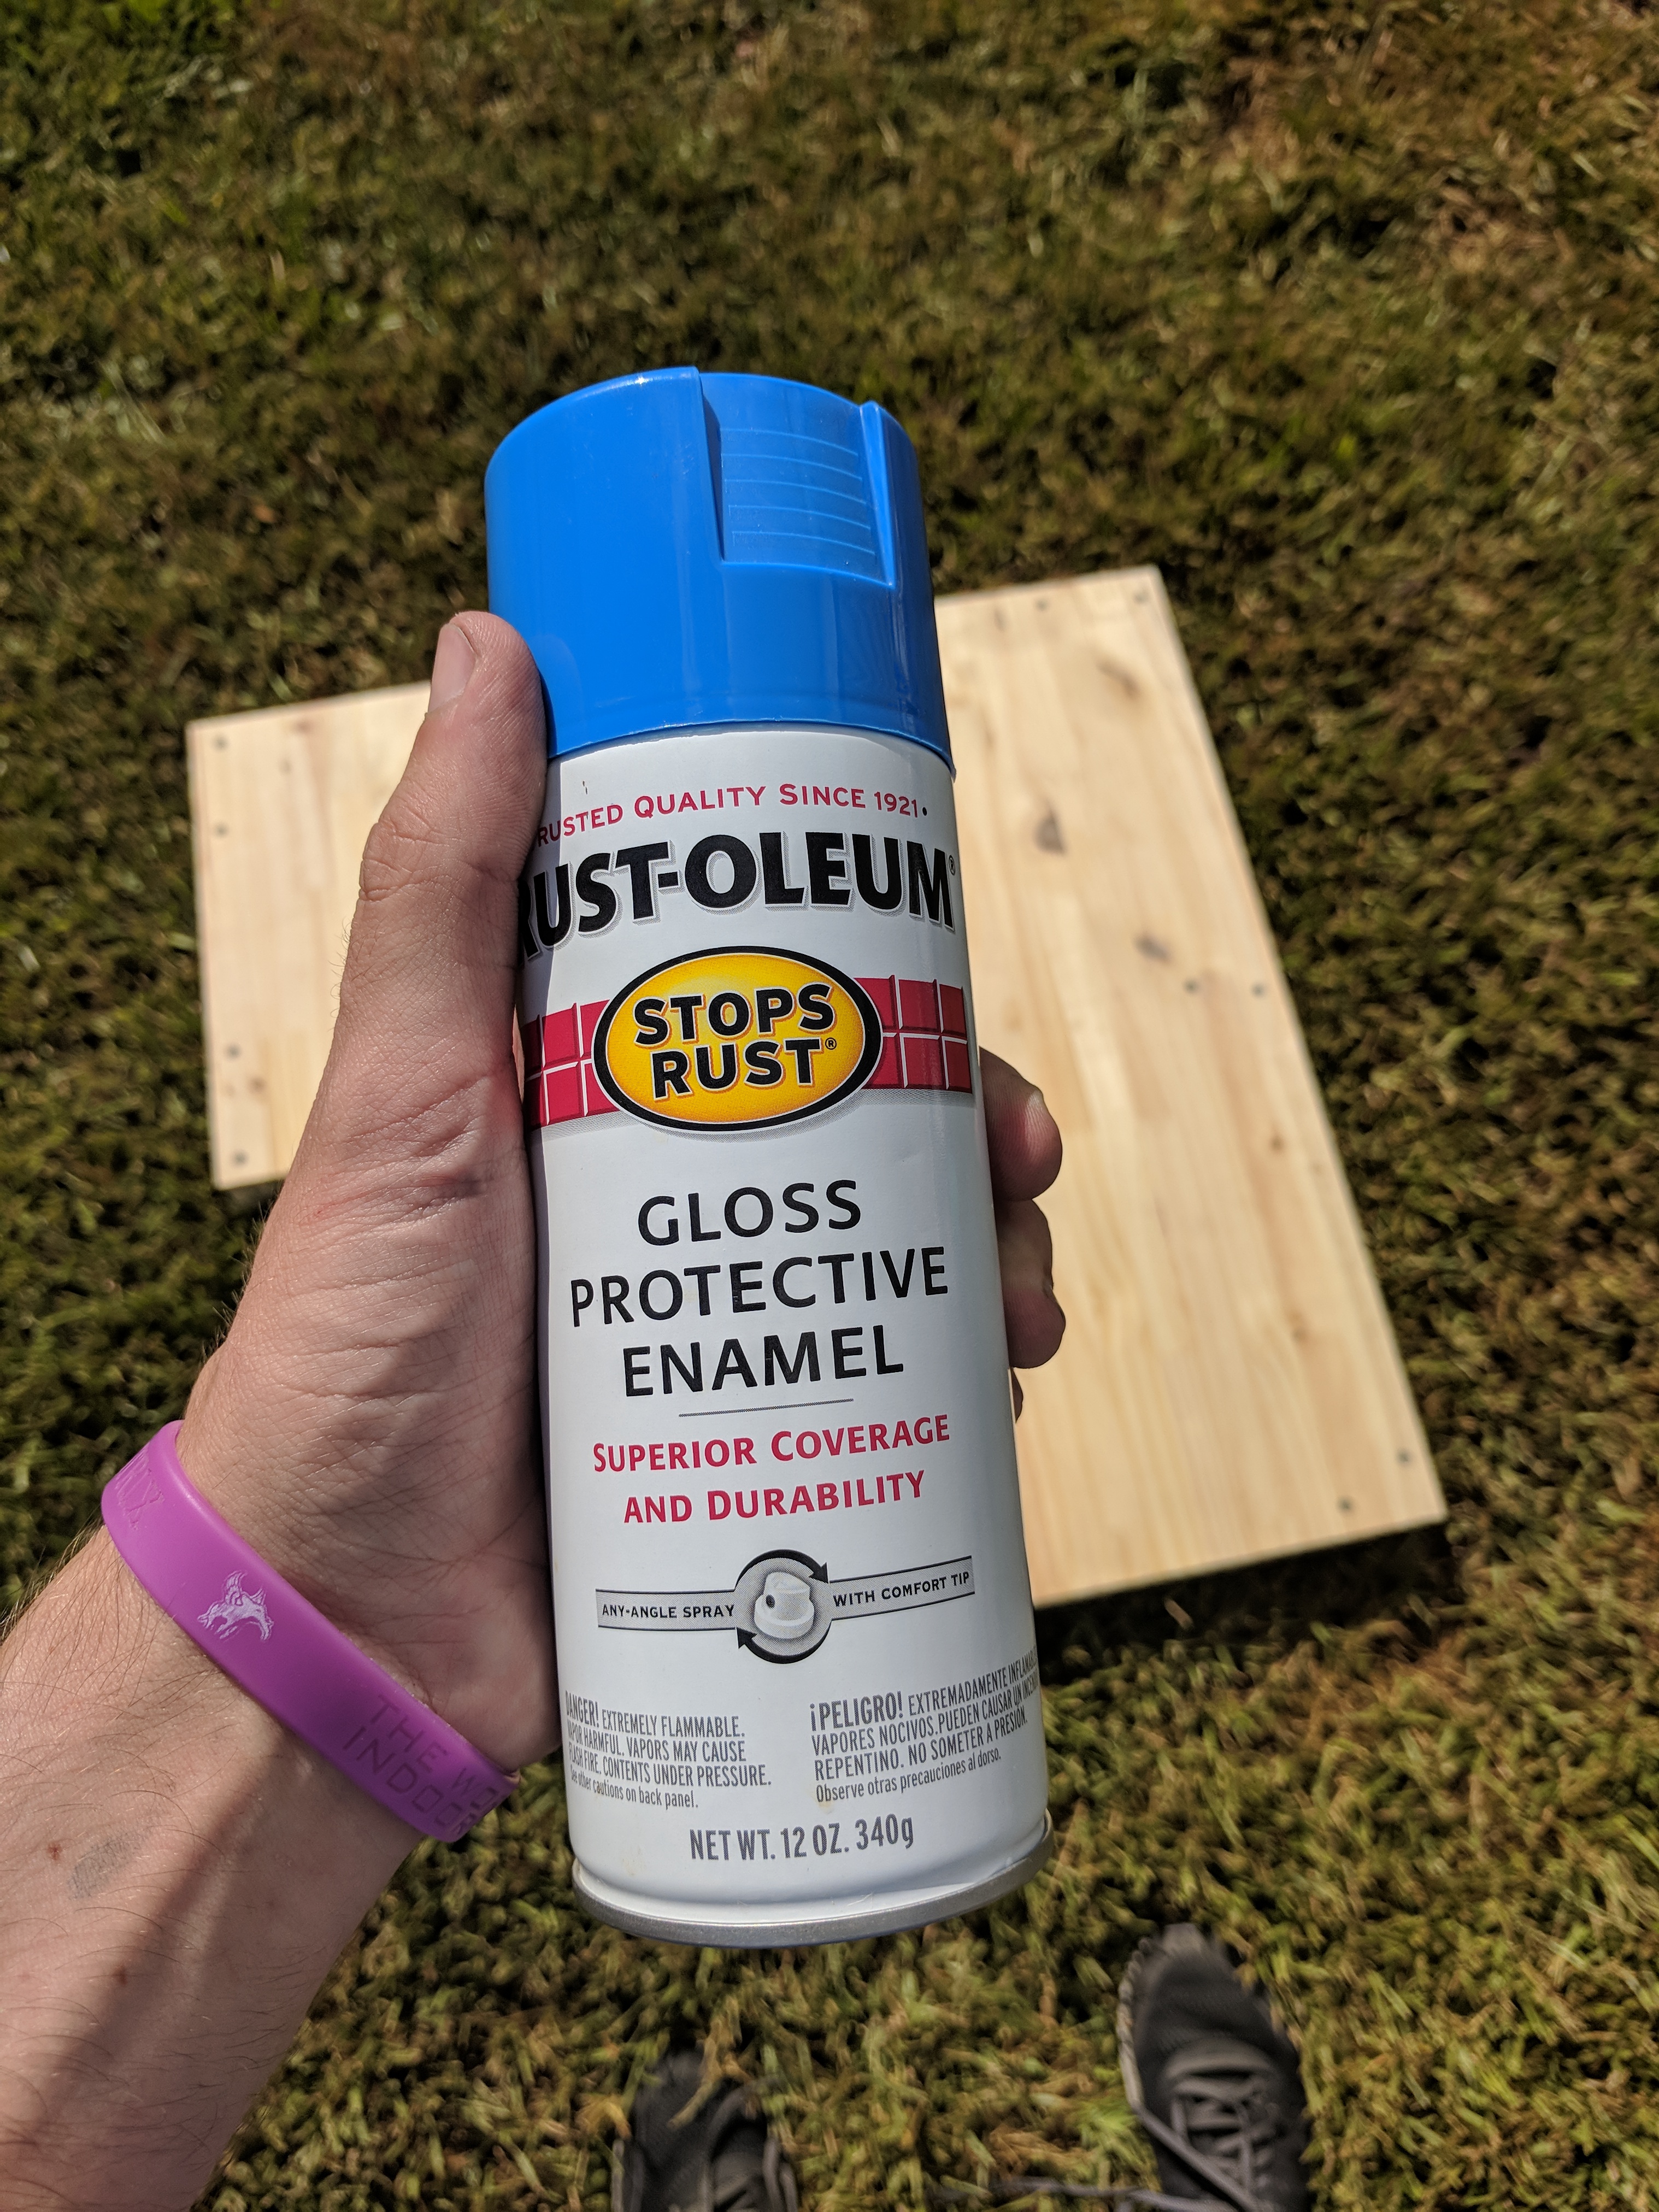
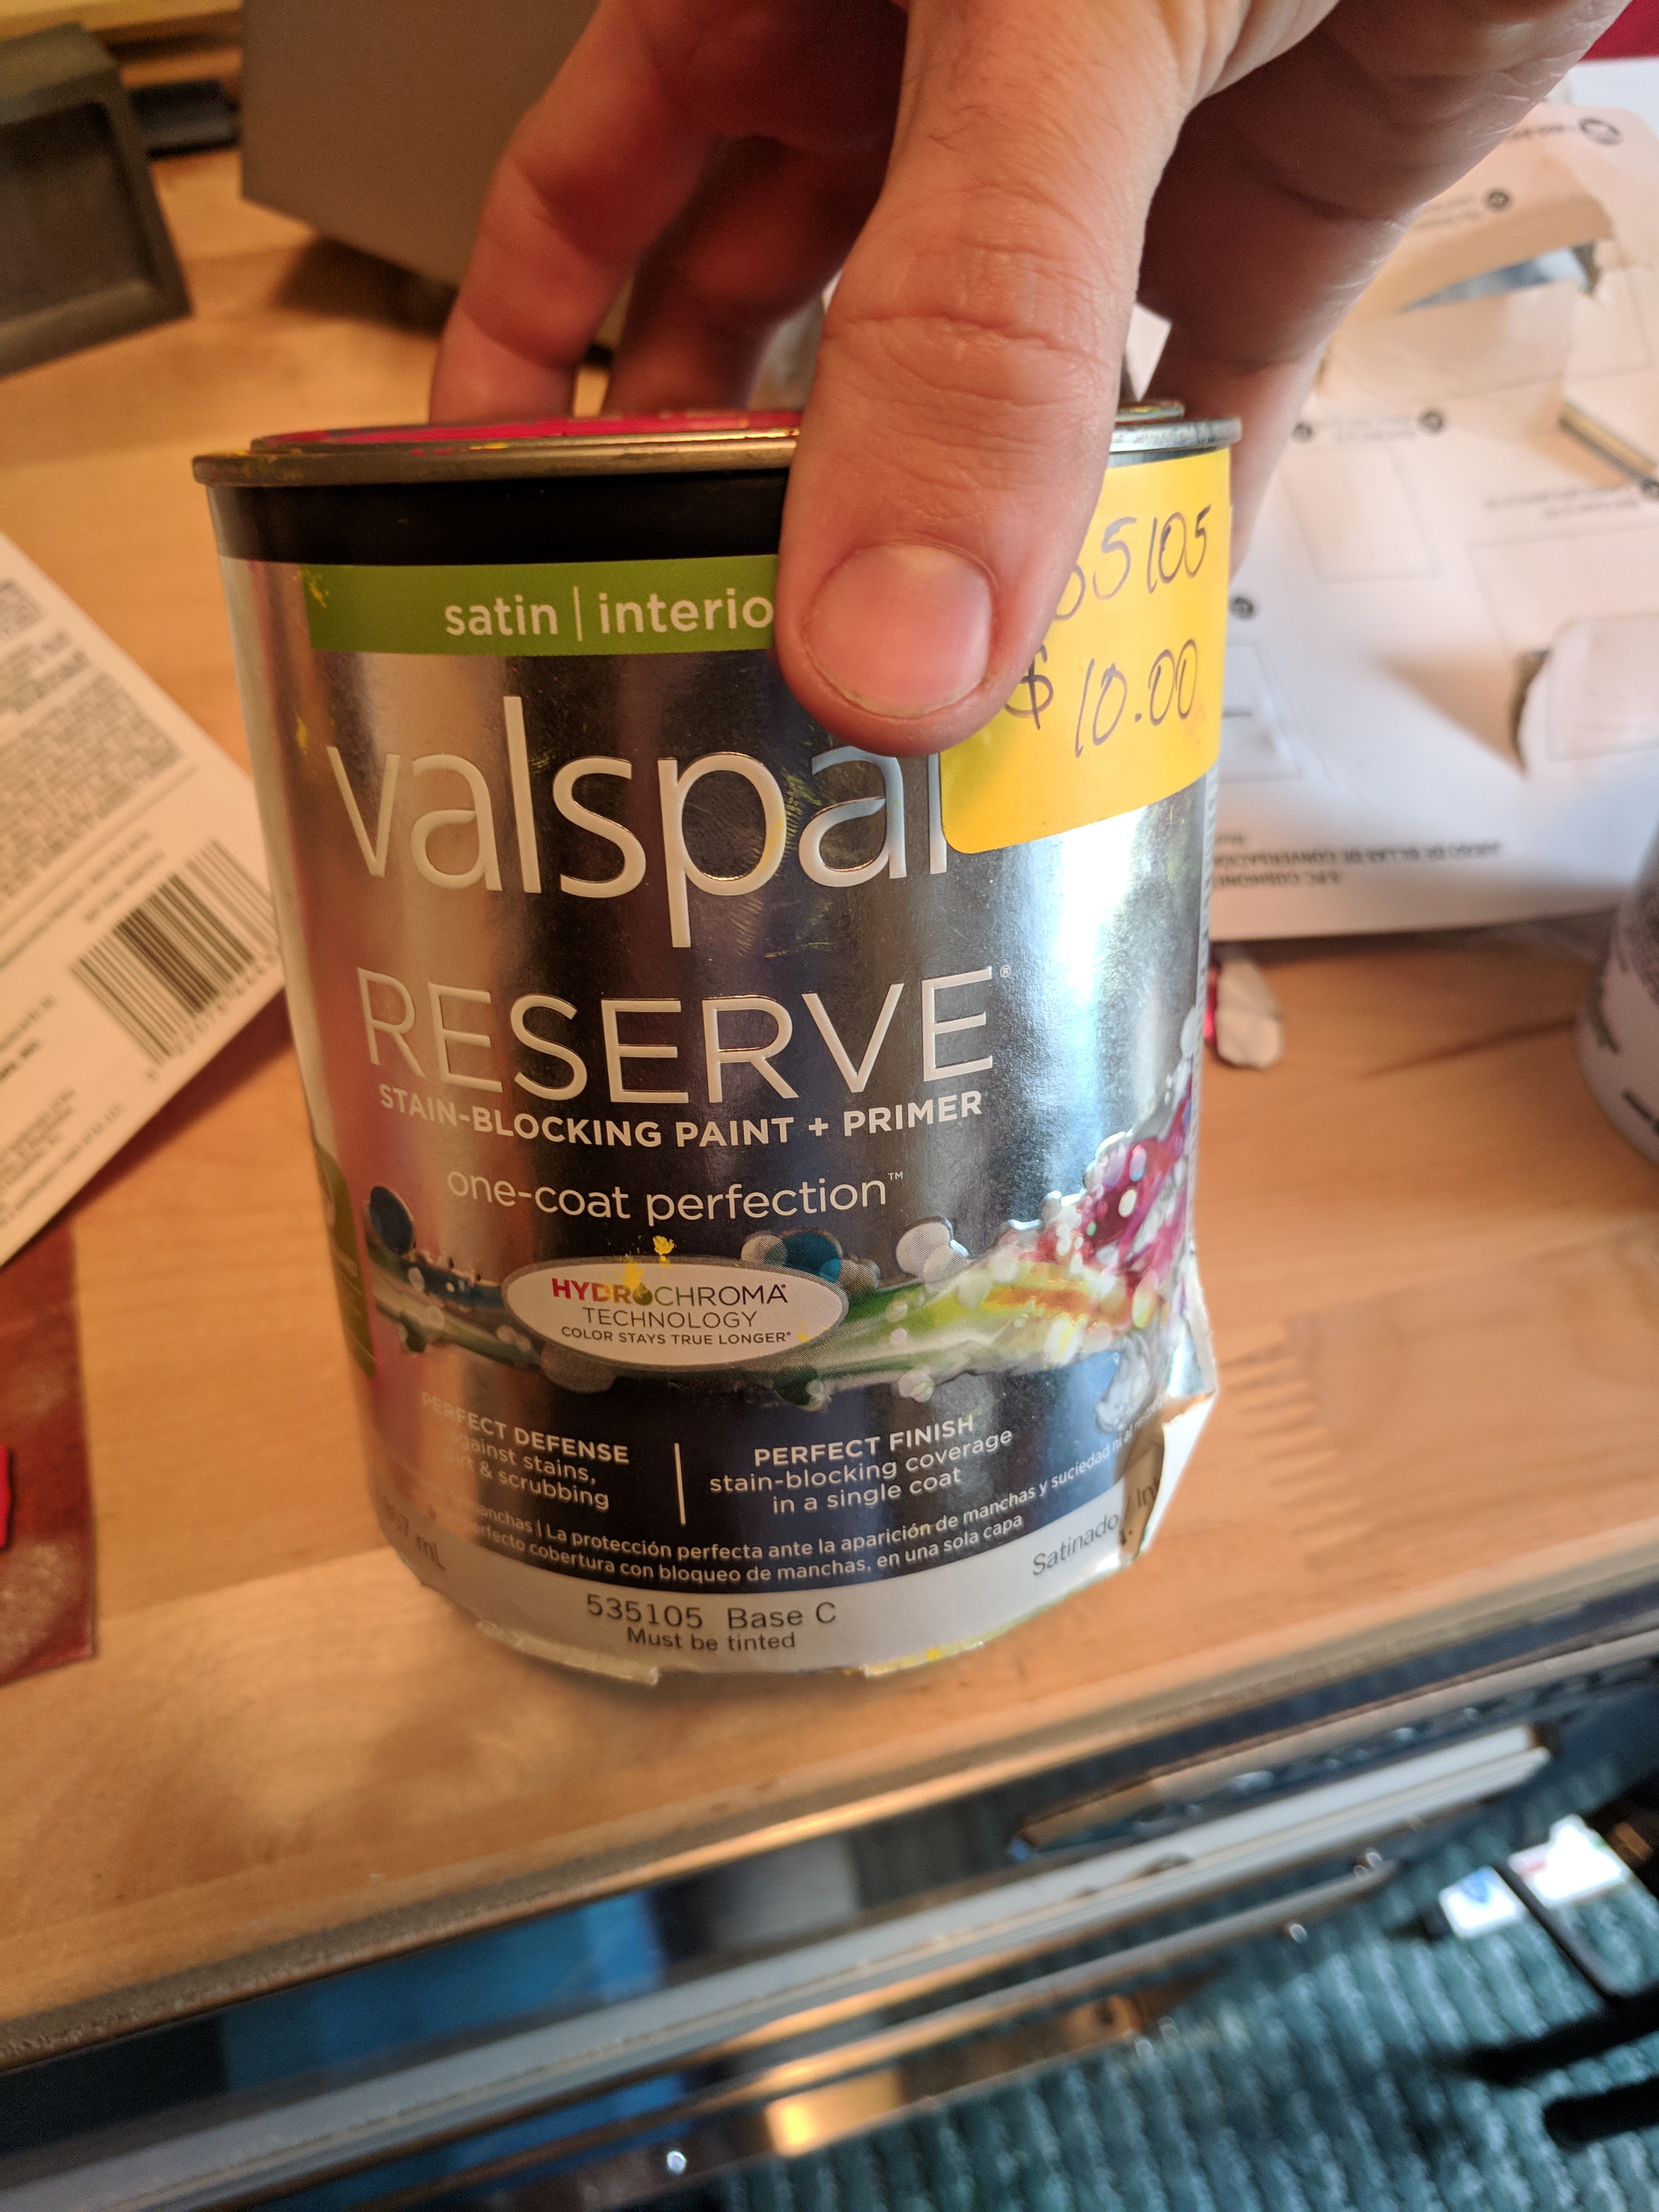
Spray paint in the color you choose or roll on paint in the color you choose
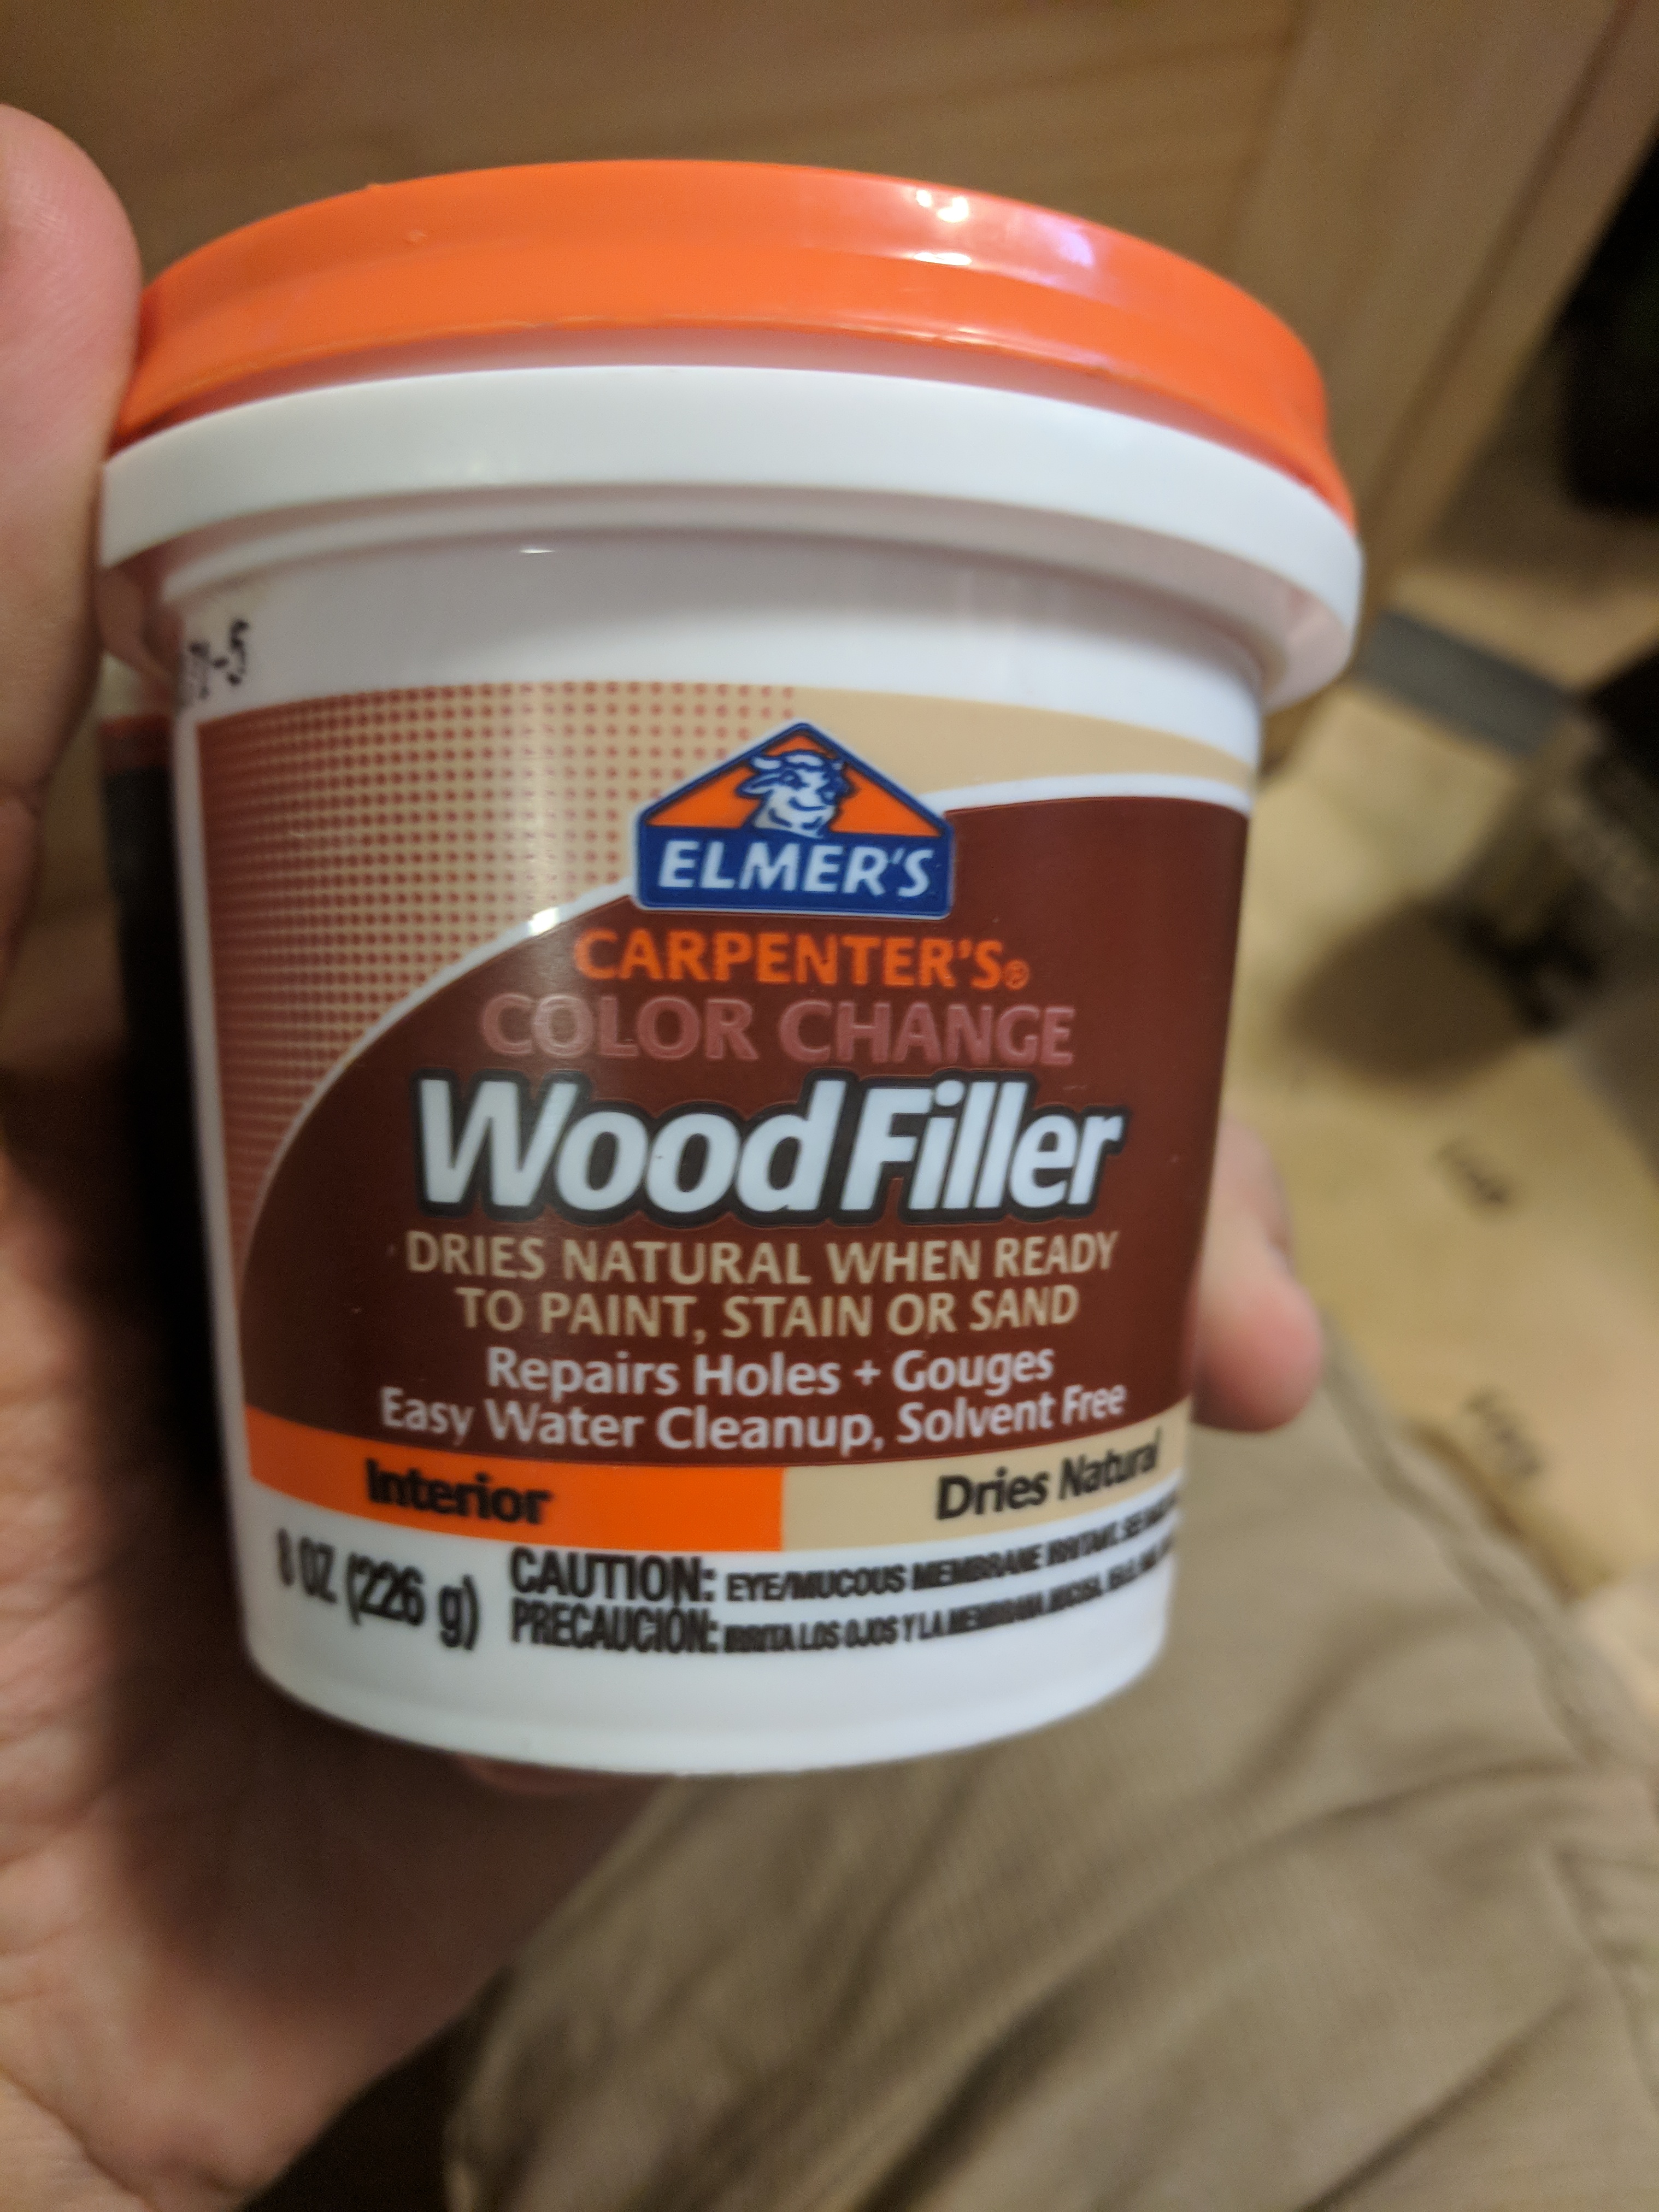
Wood Filler
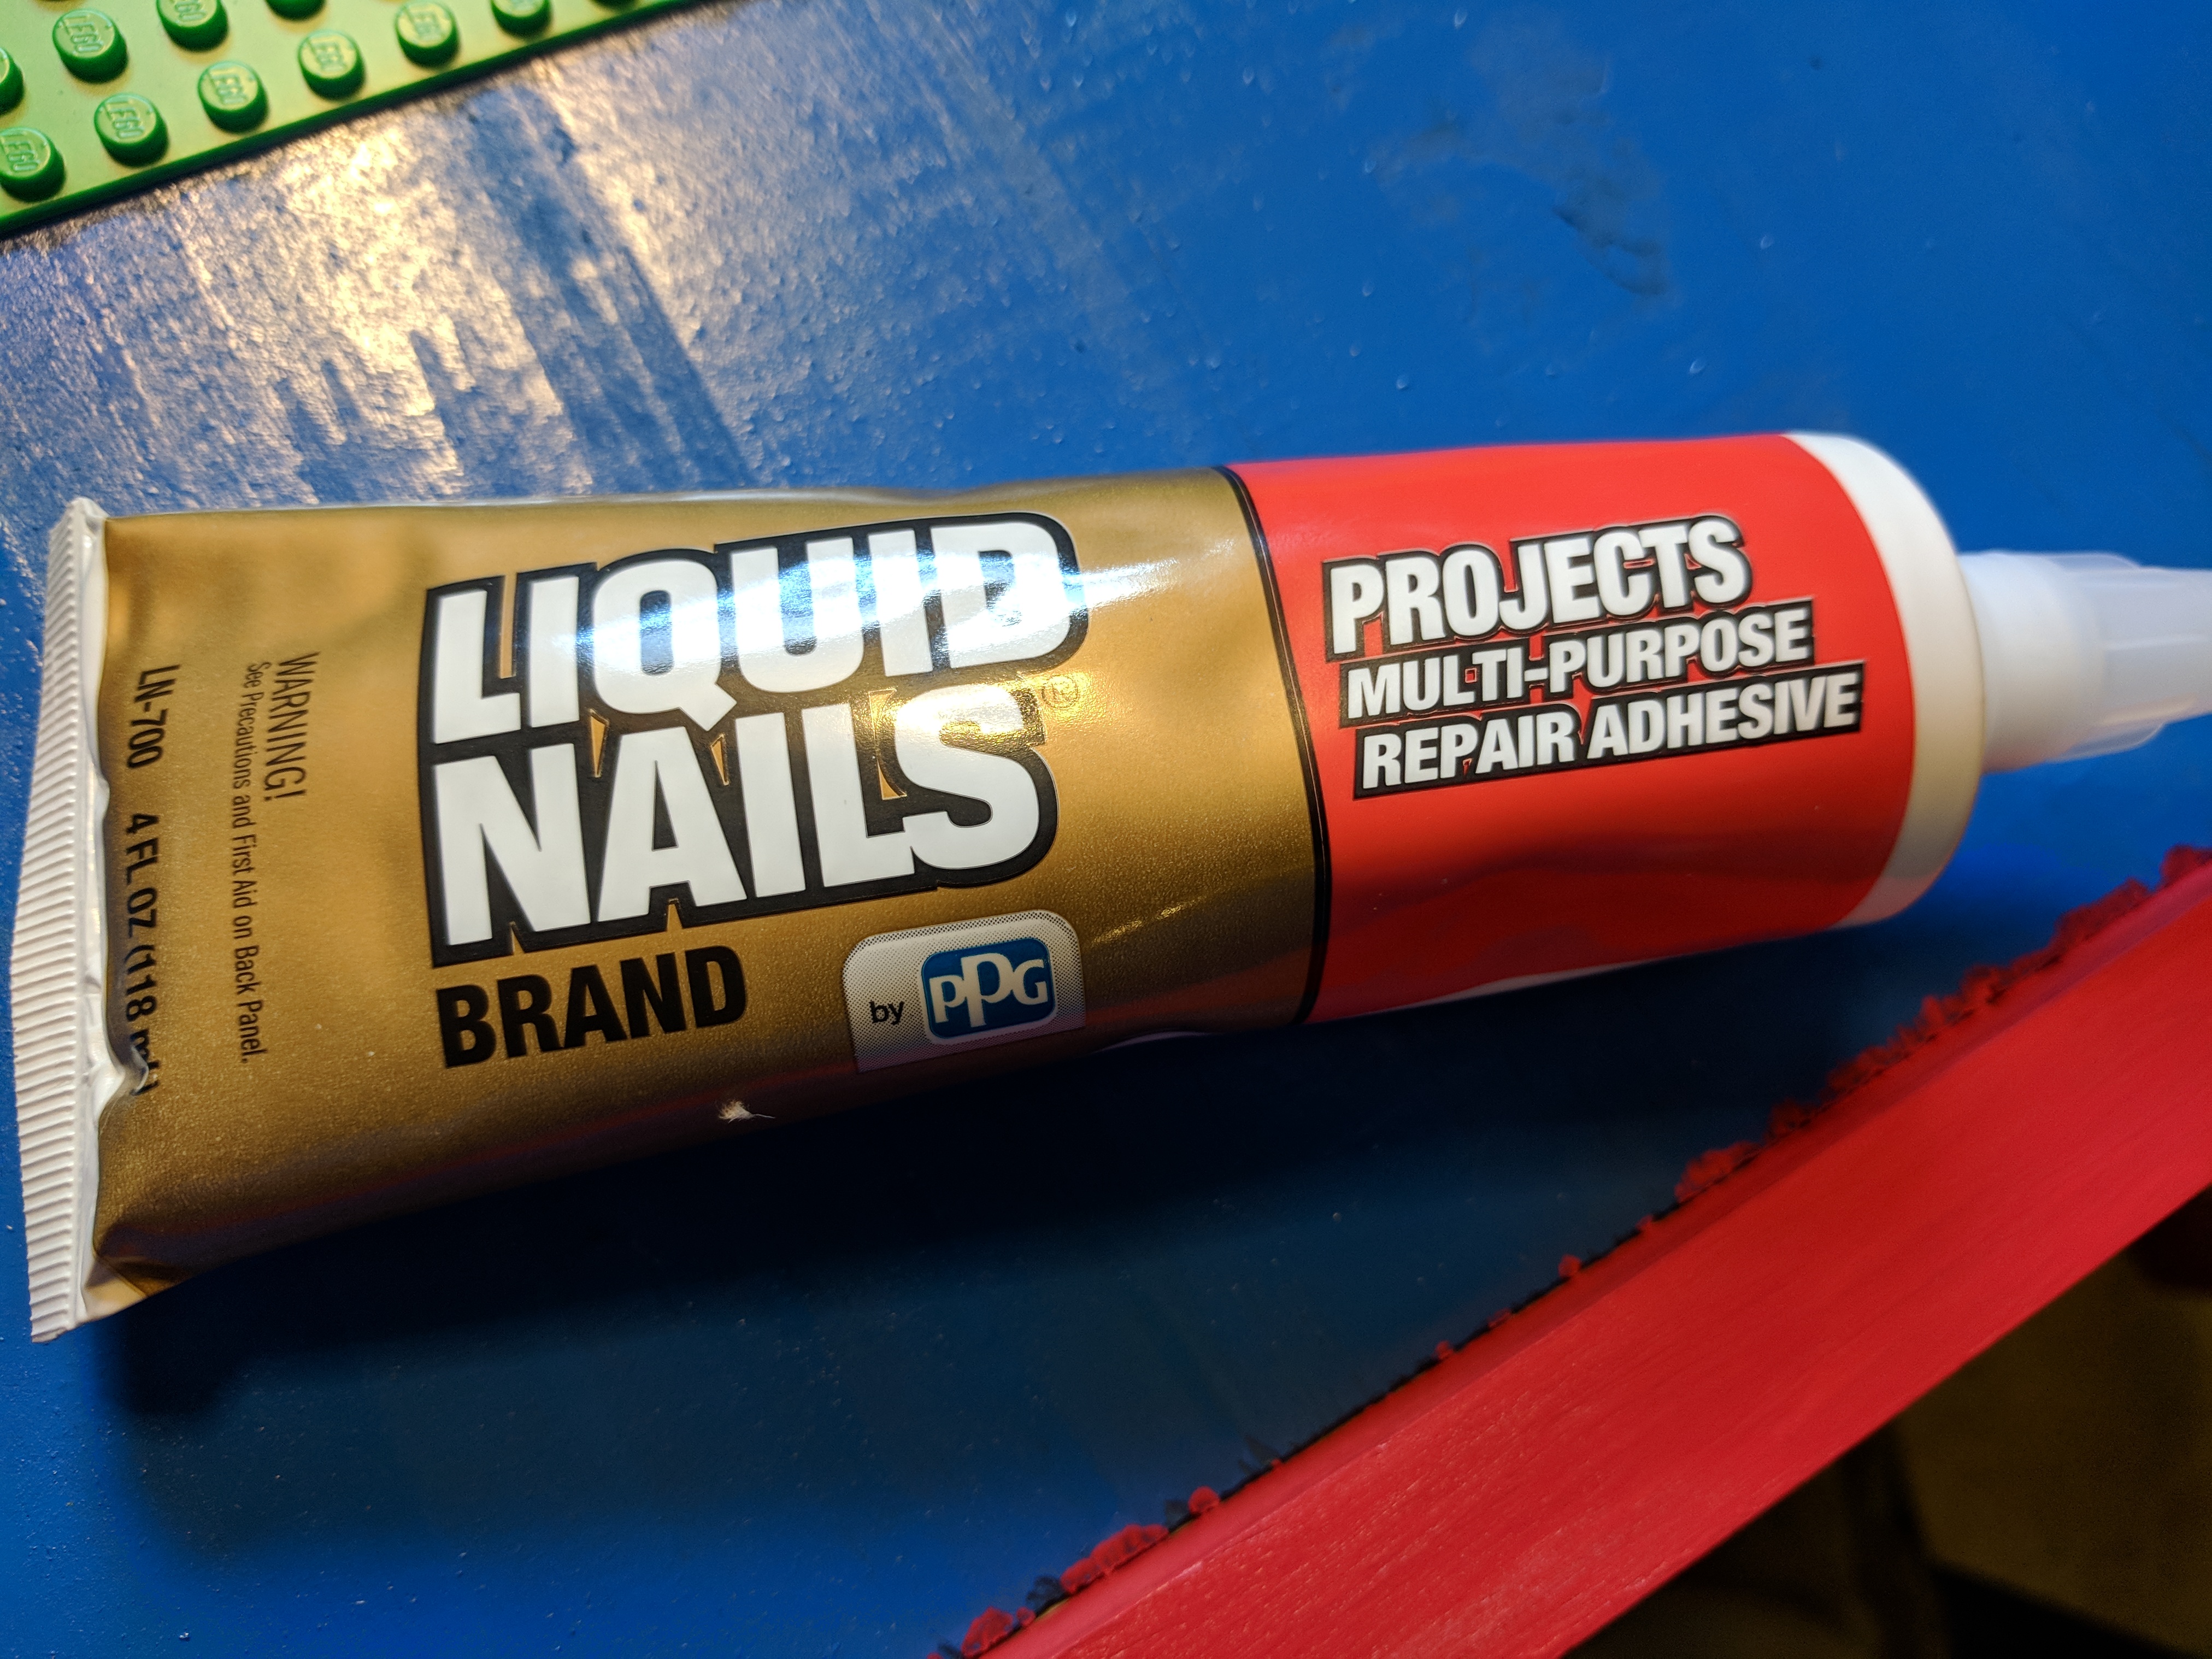
Liquid Nails
5 leg brackets
5 fender washers
....oh yeah TONS OF LEGOS !!!!!!!!
Cutting Wood
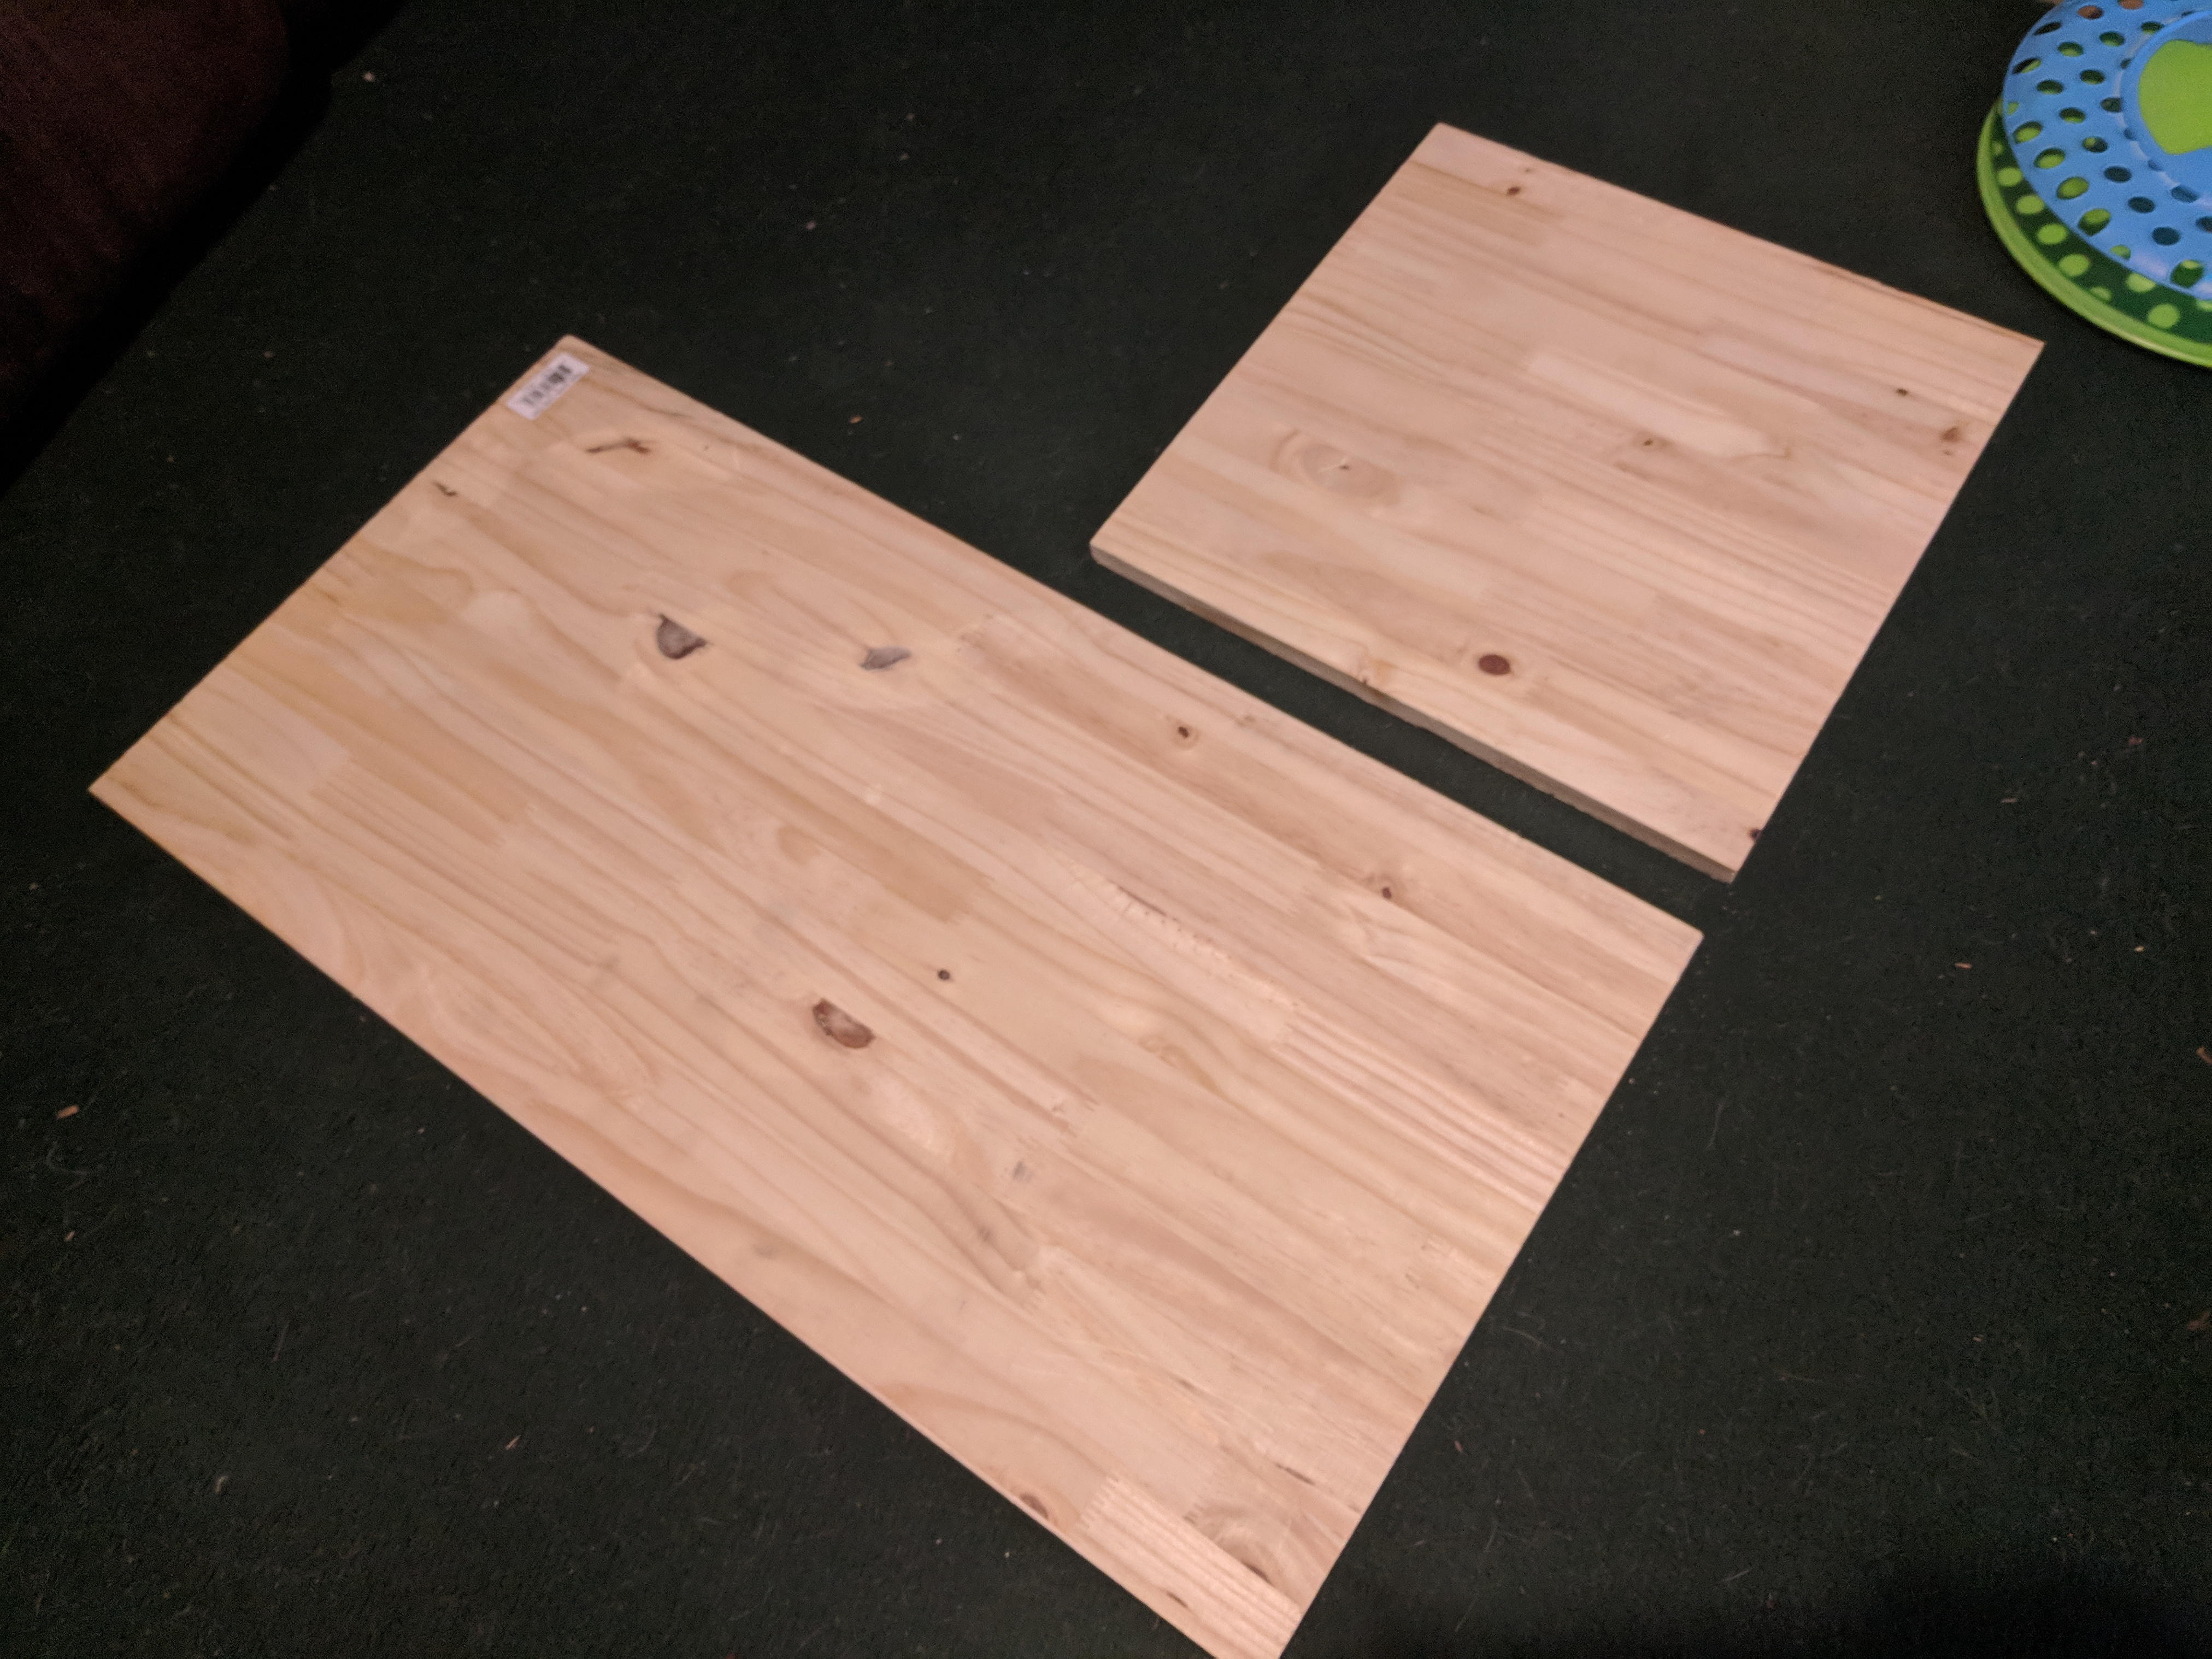
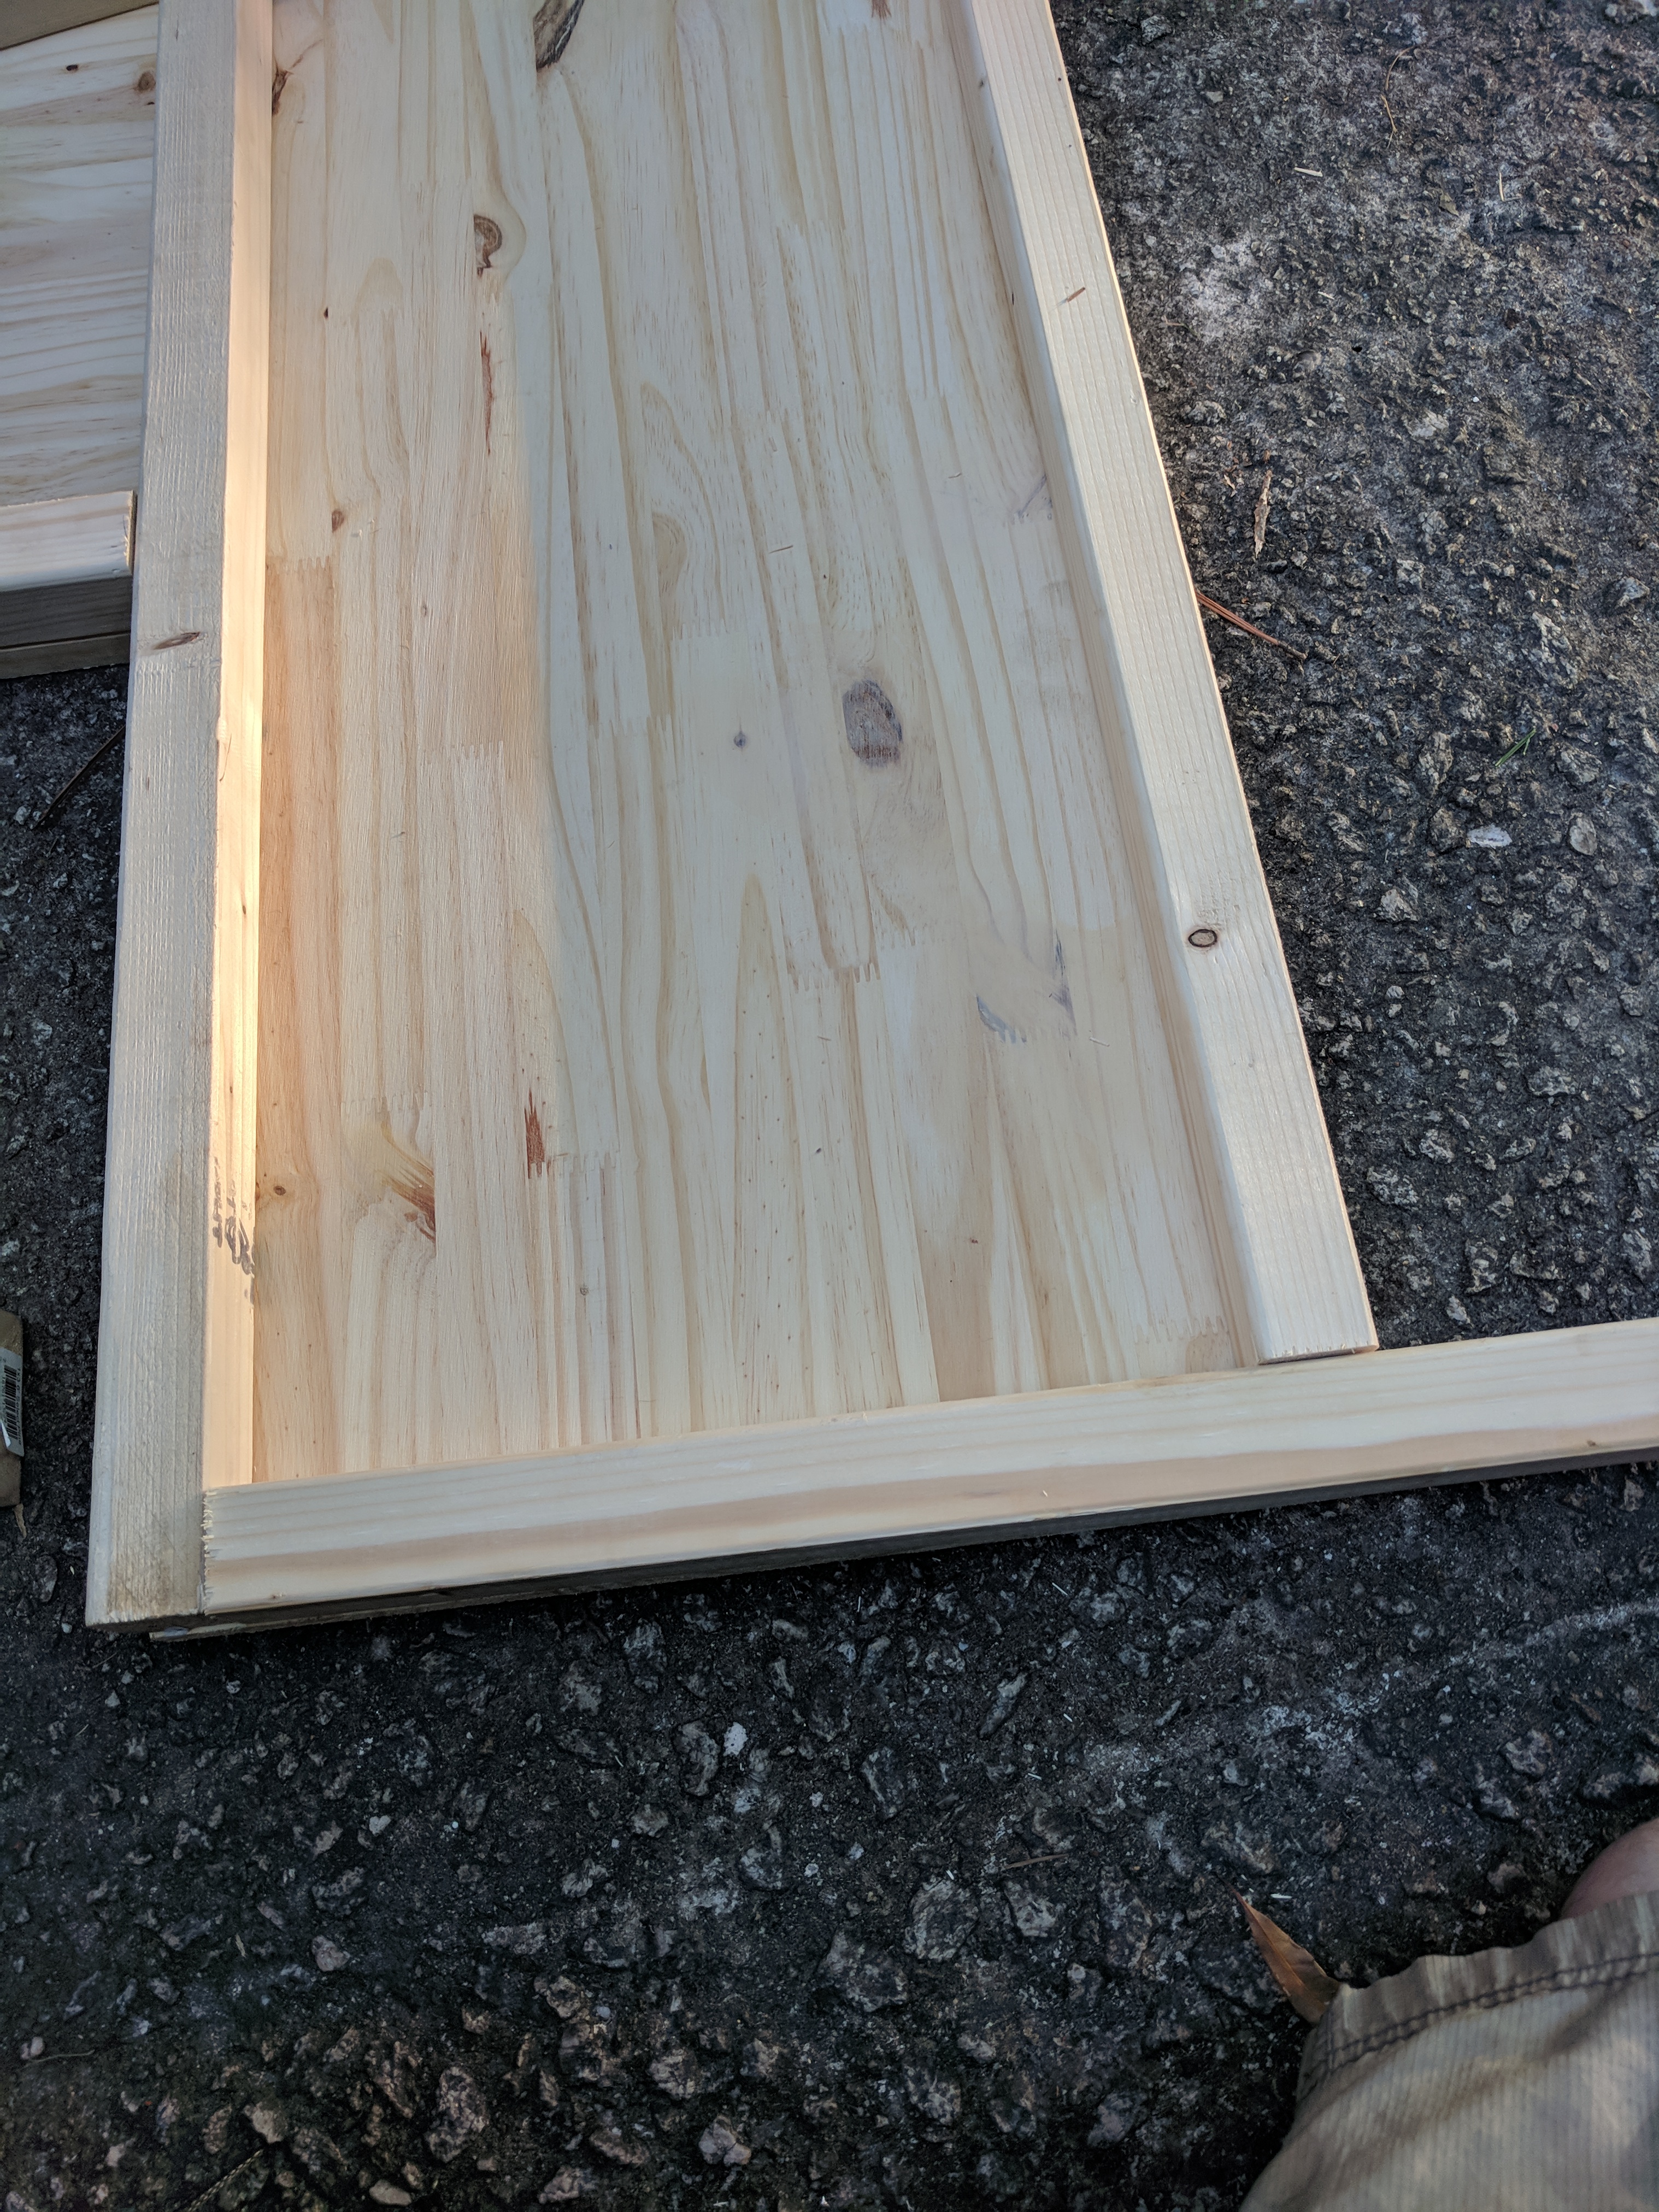
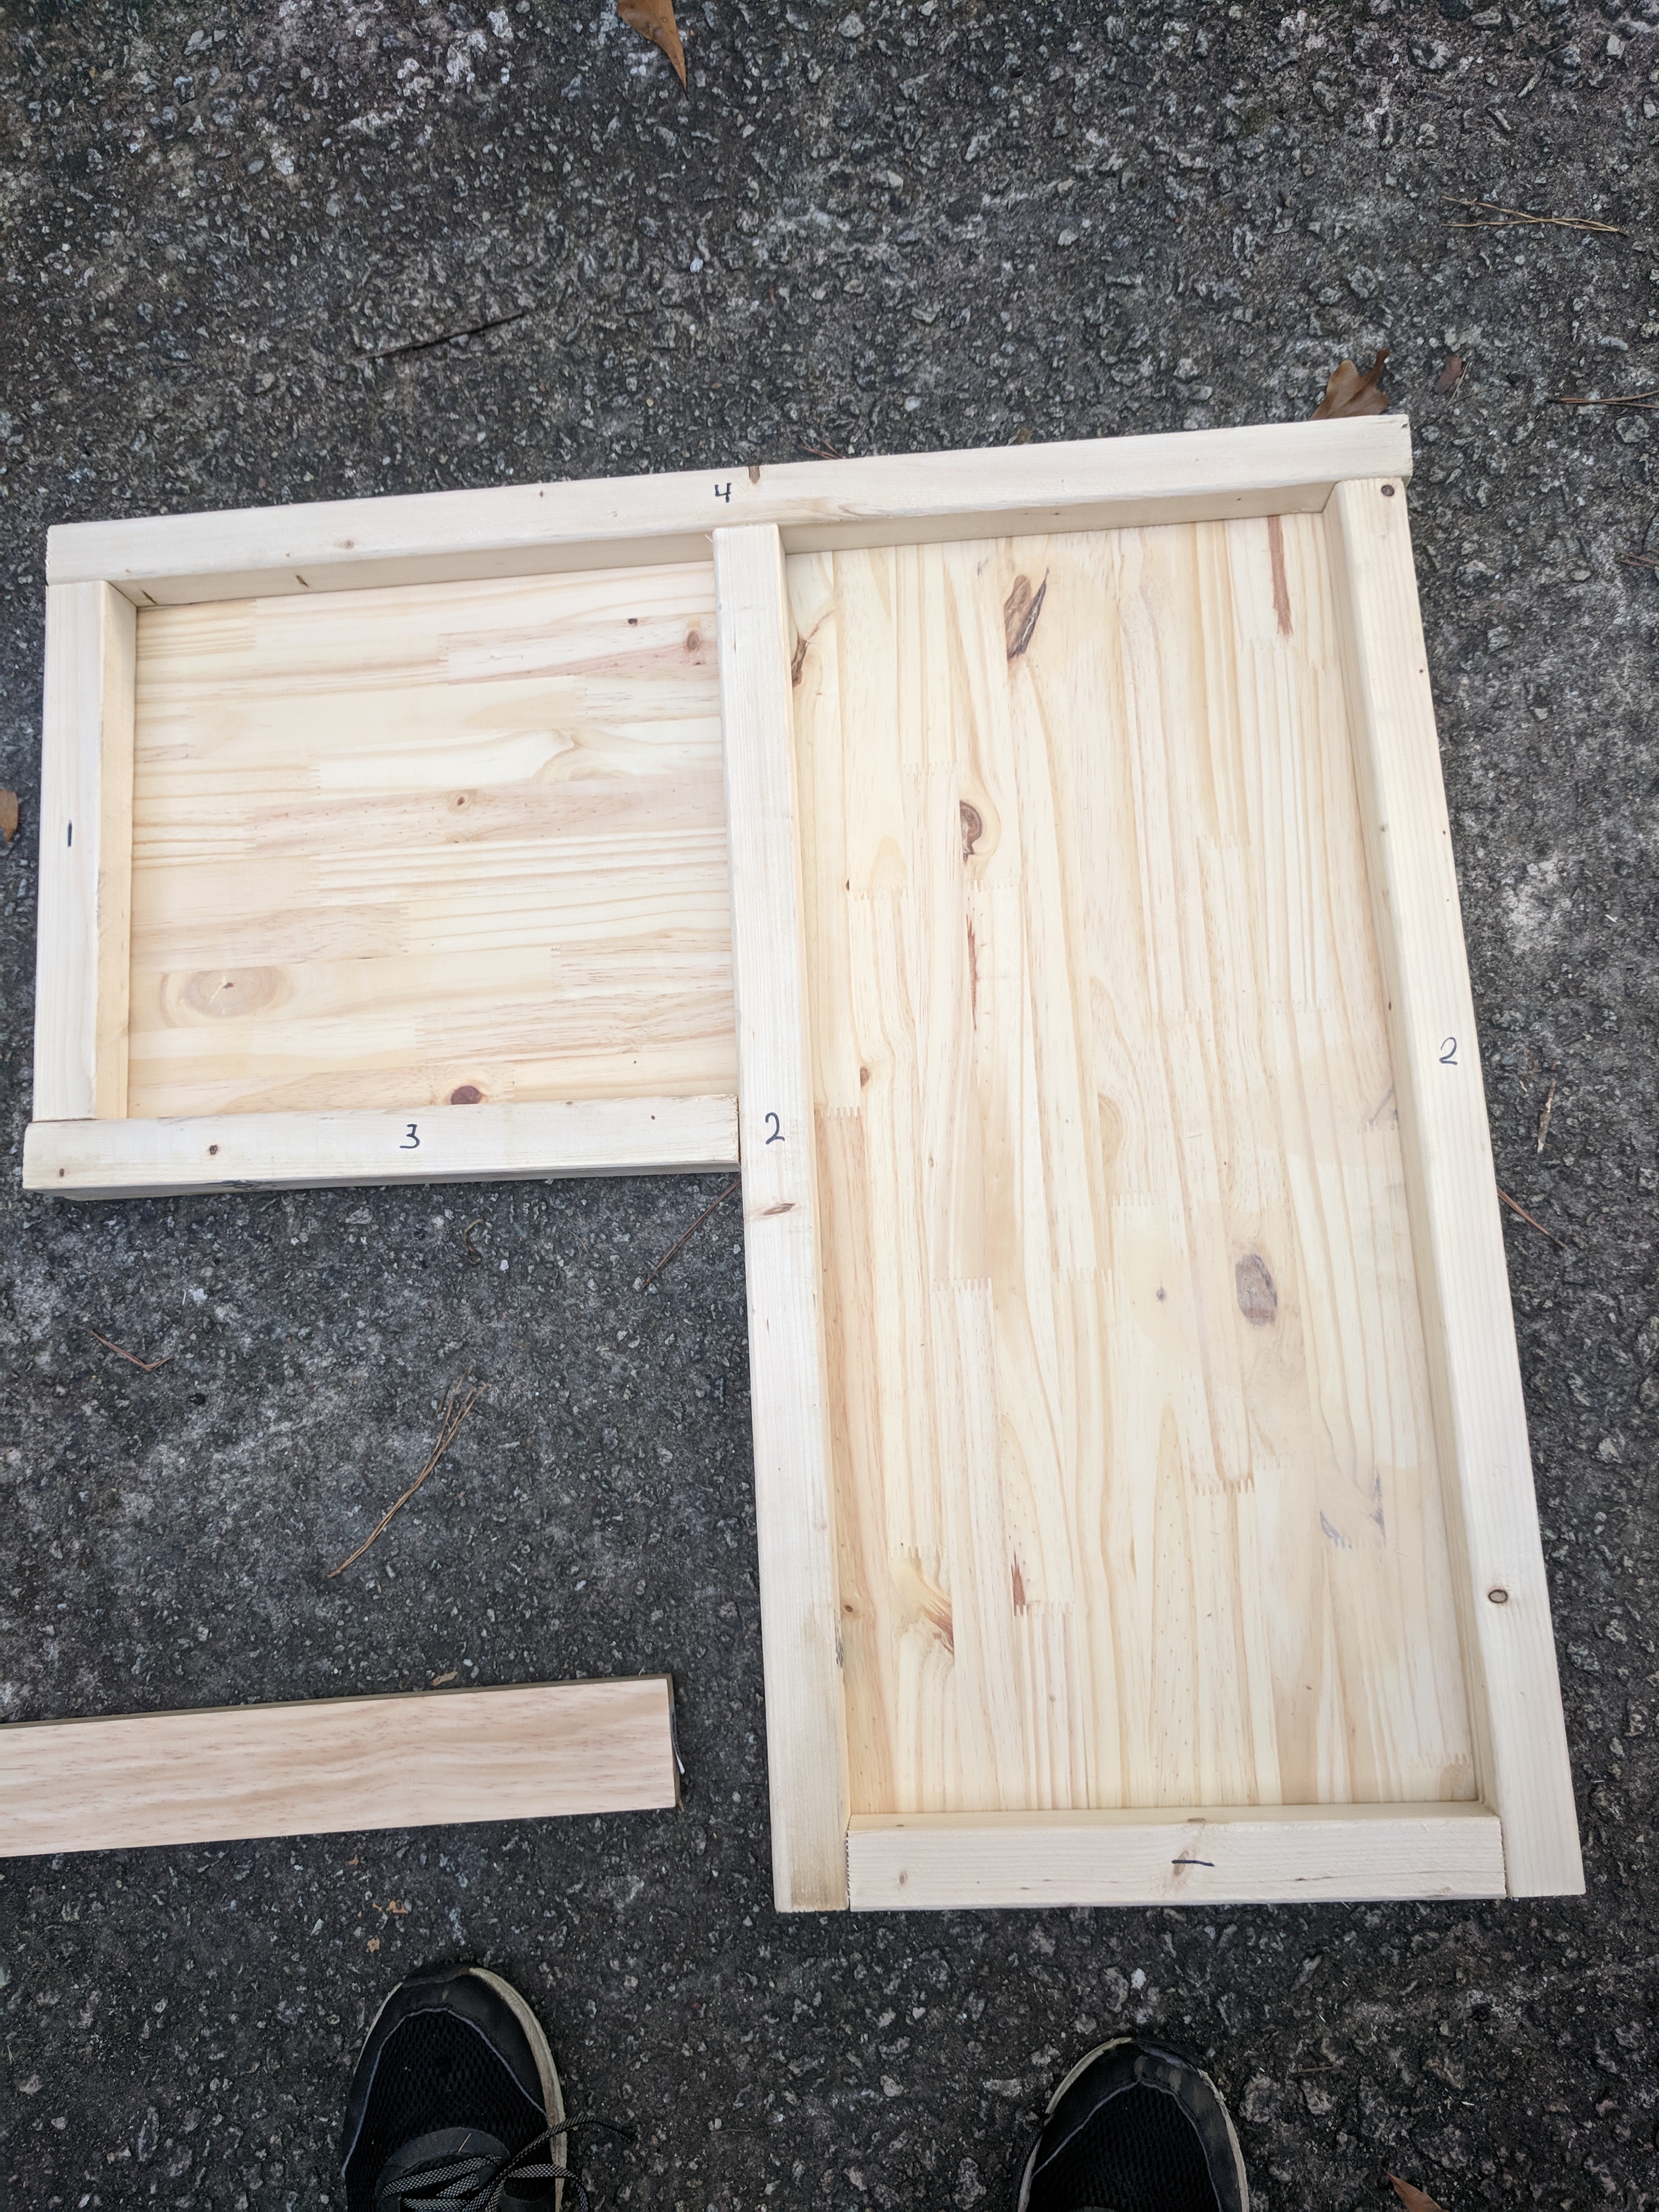
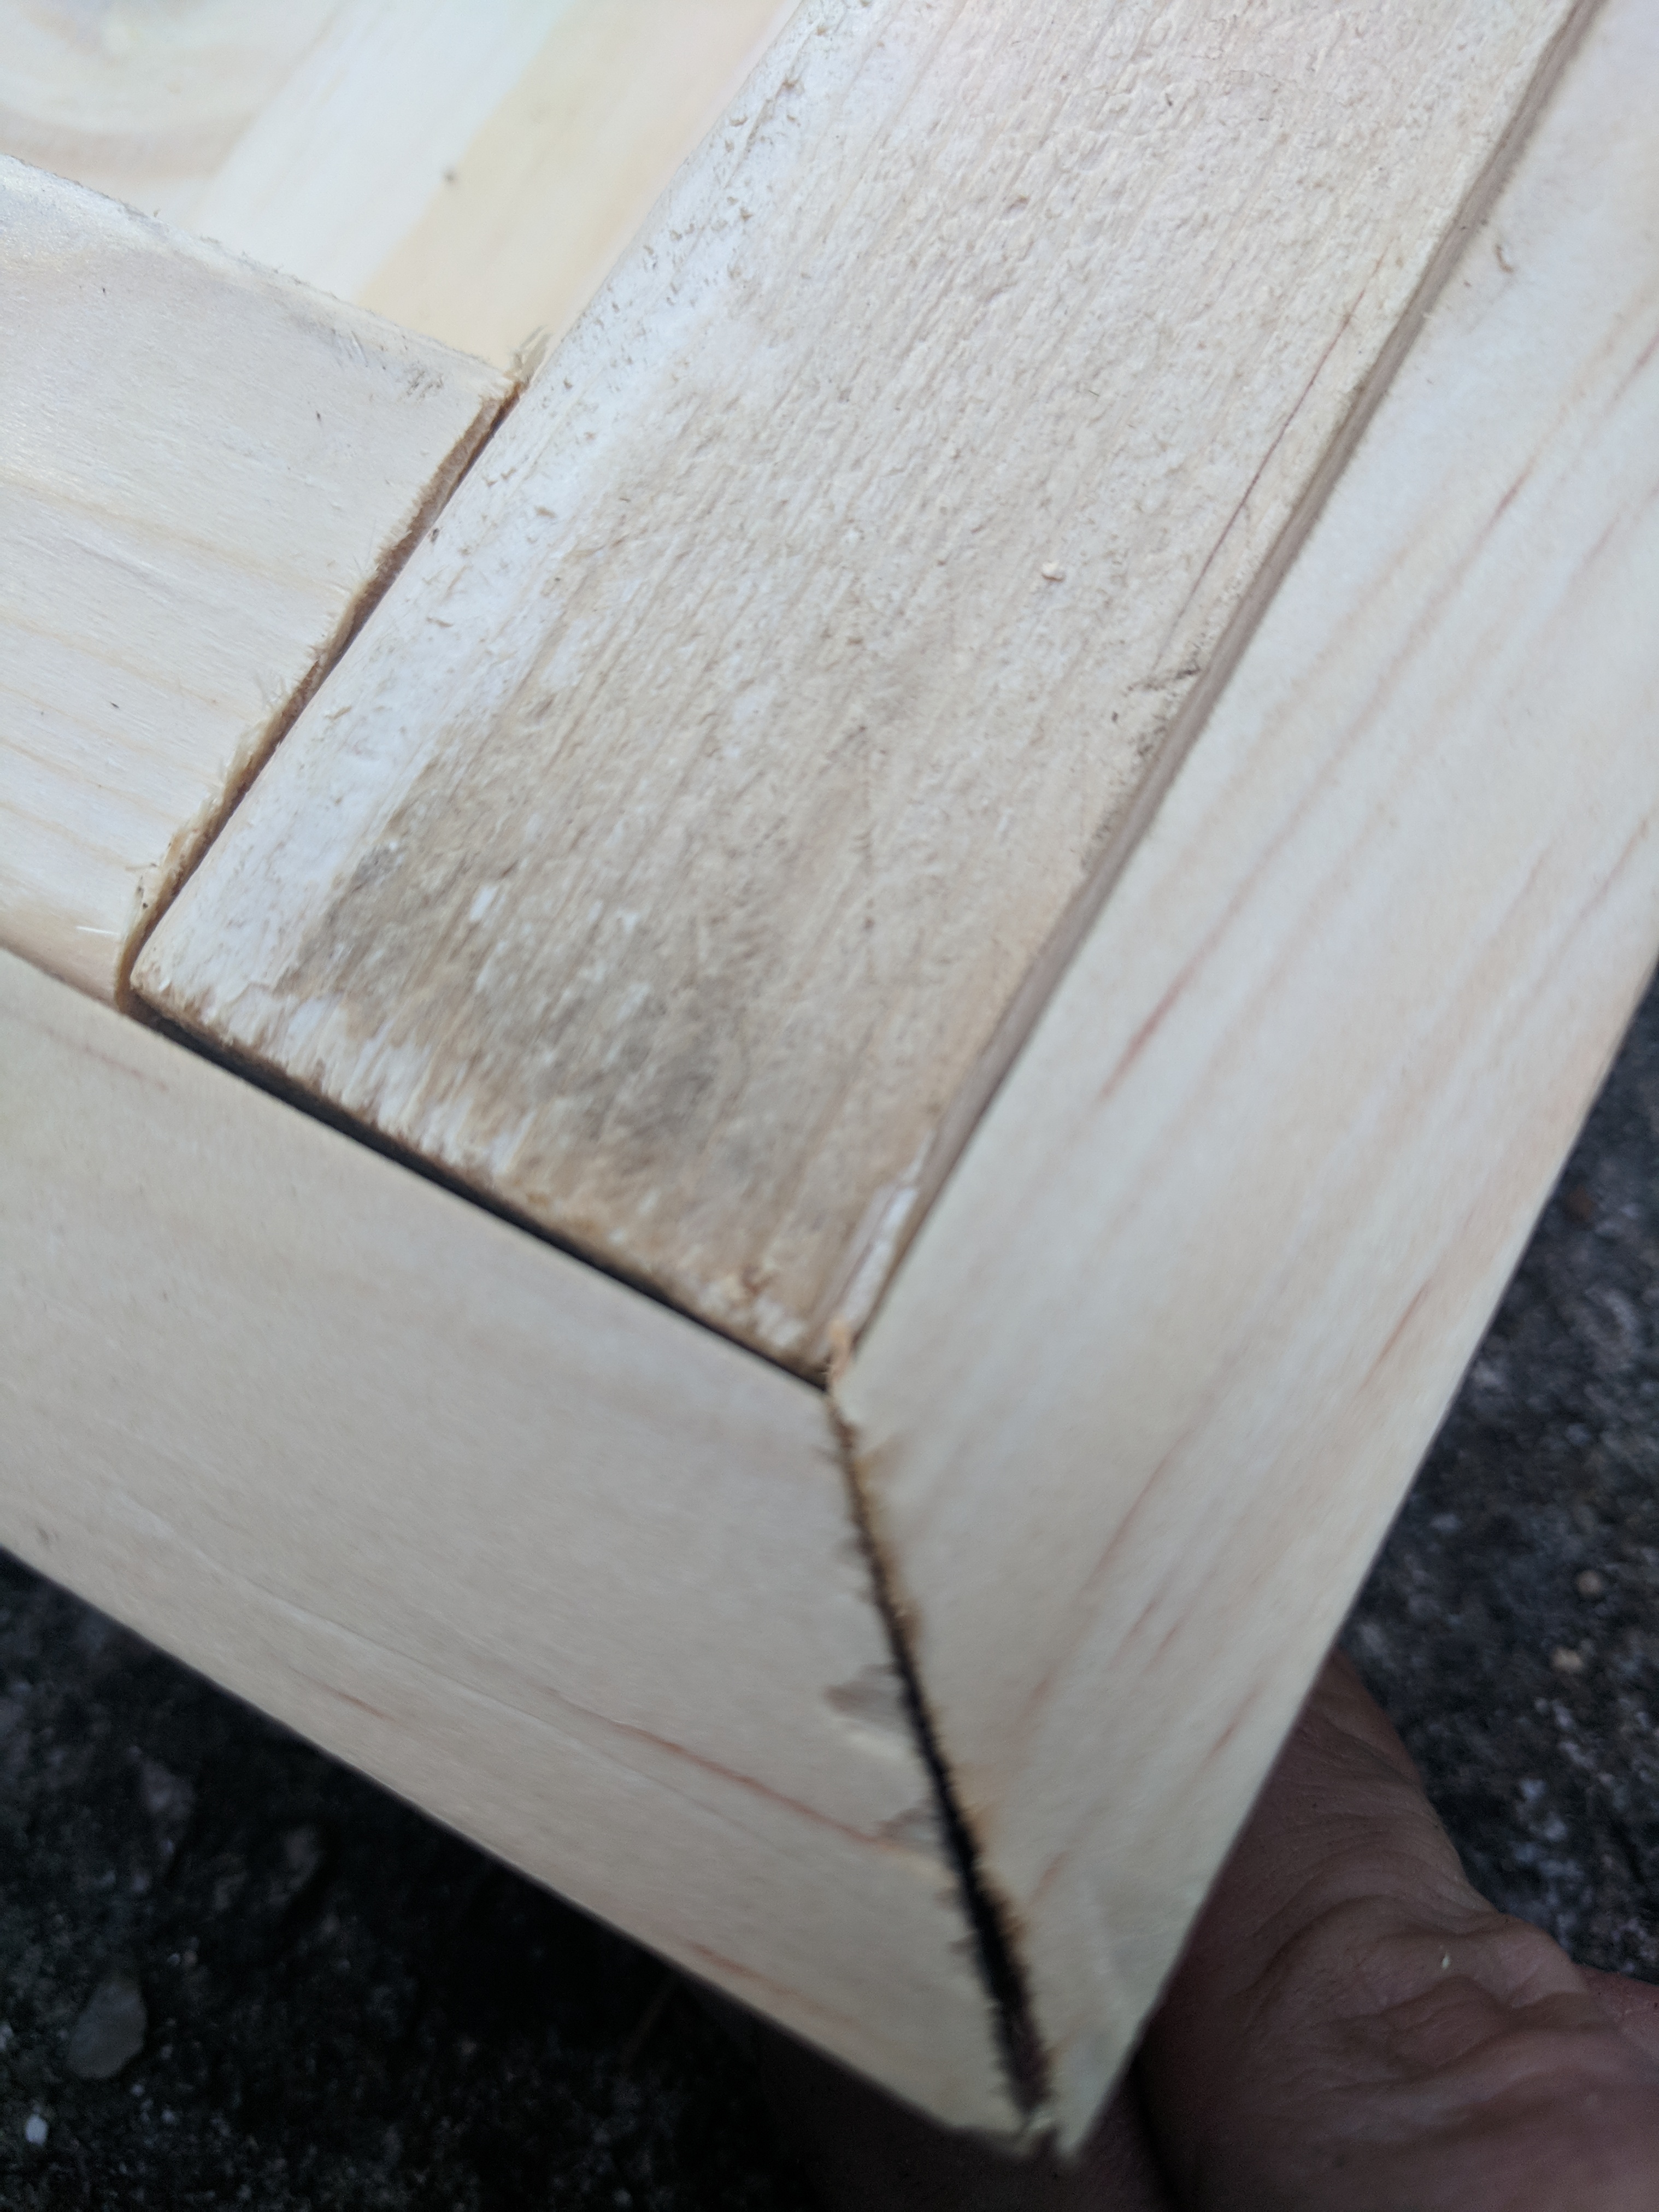
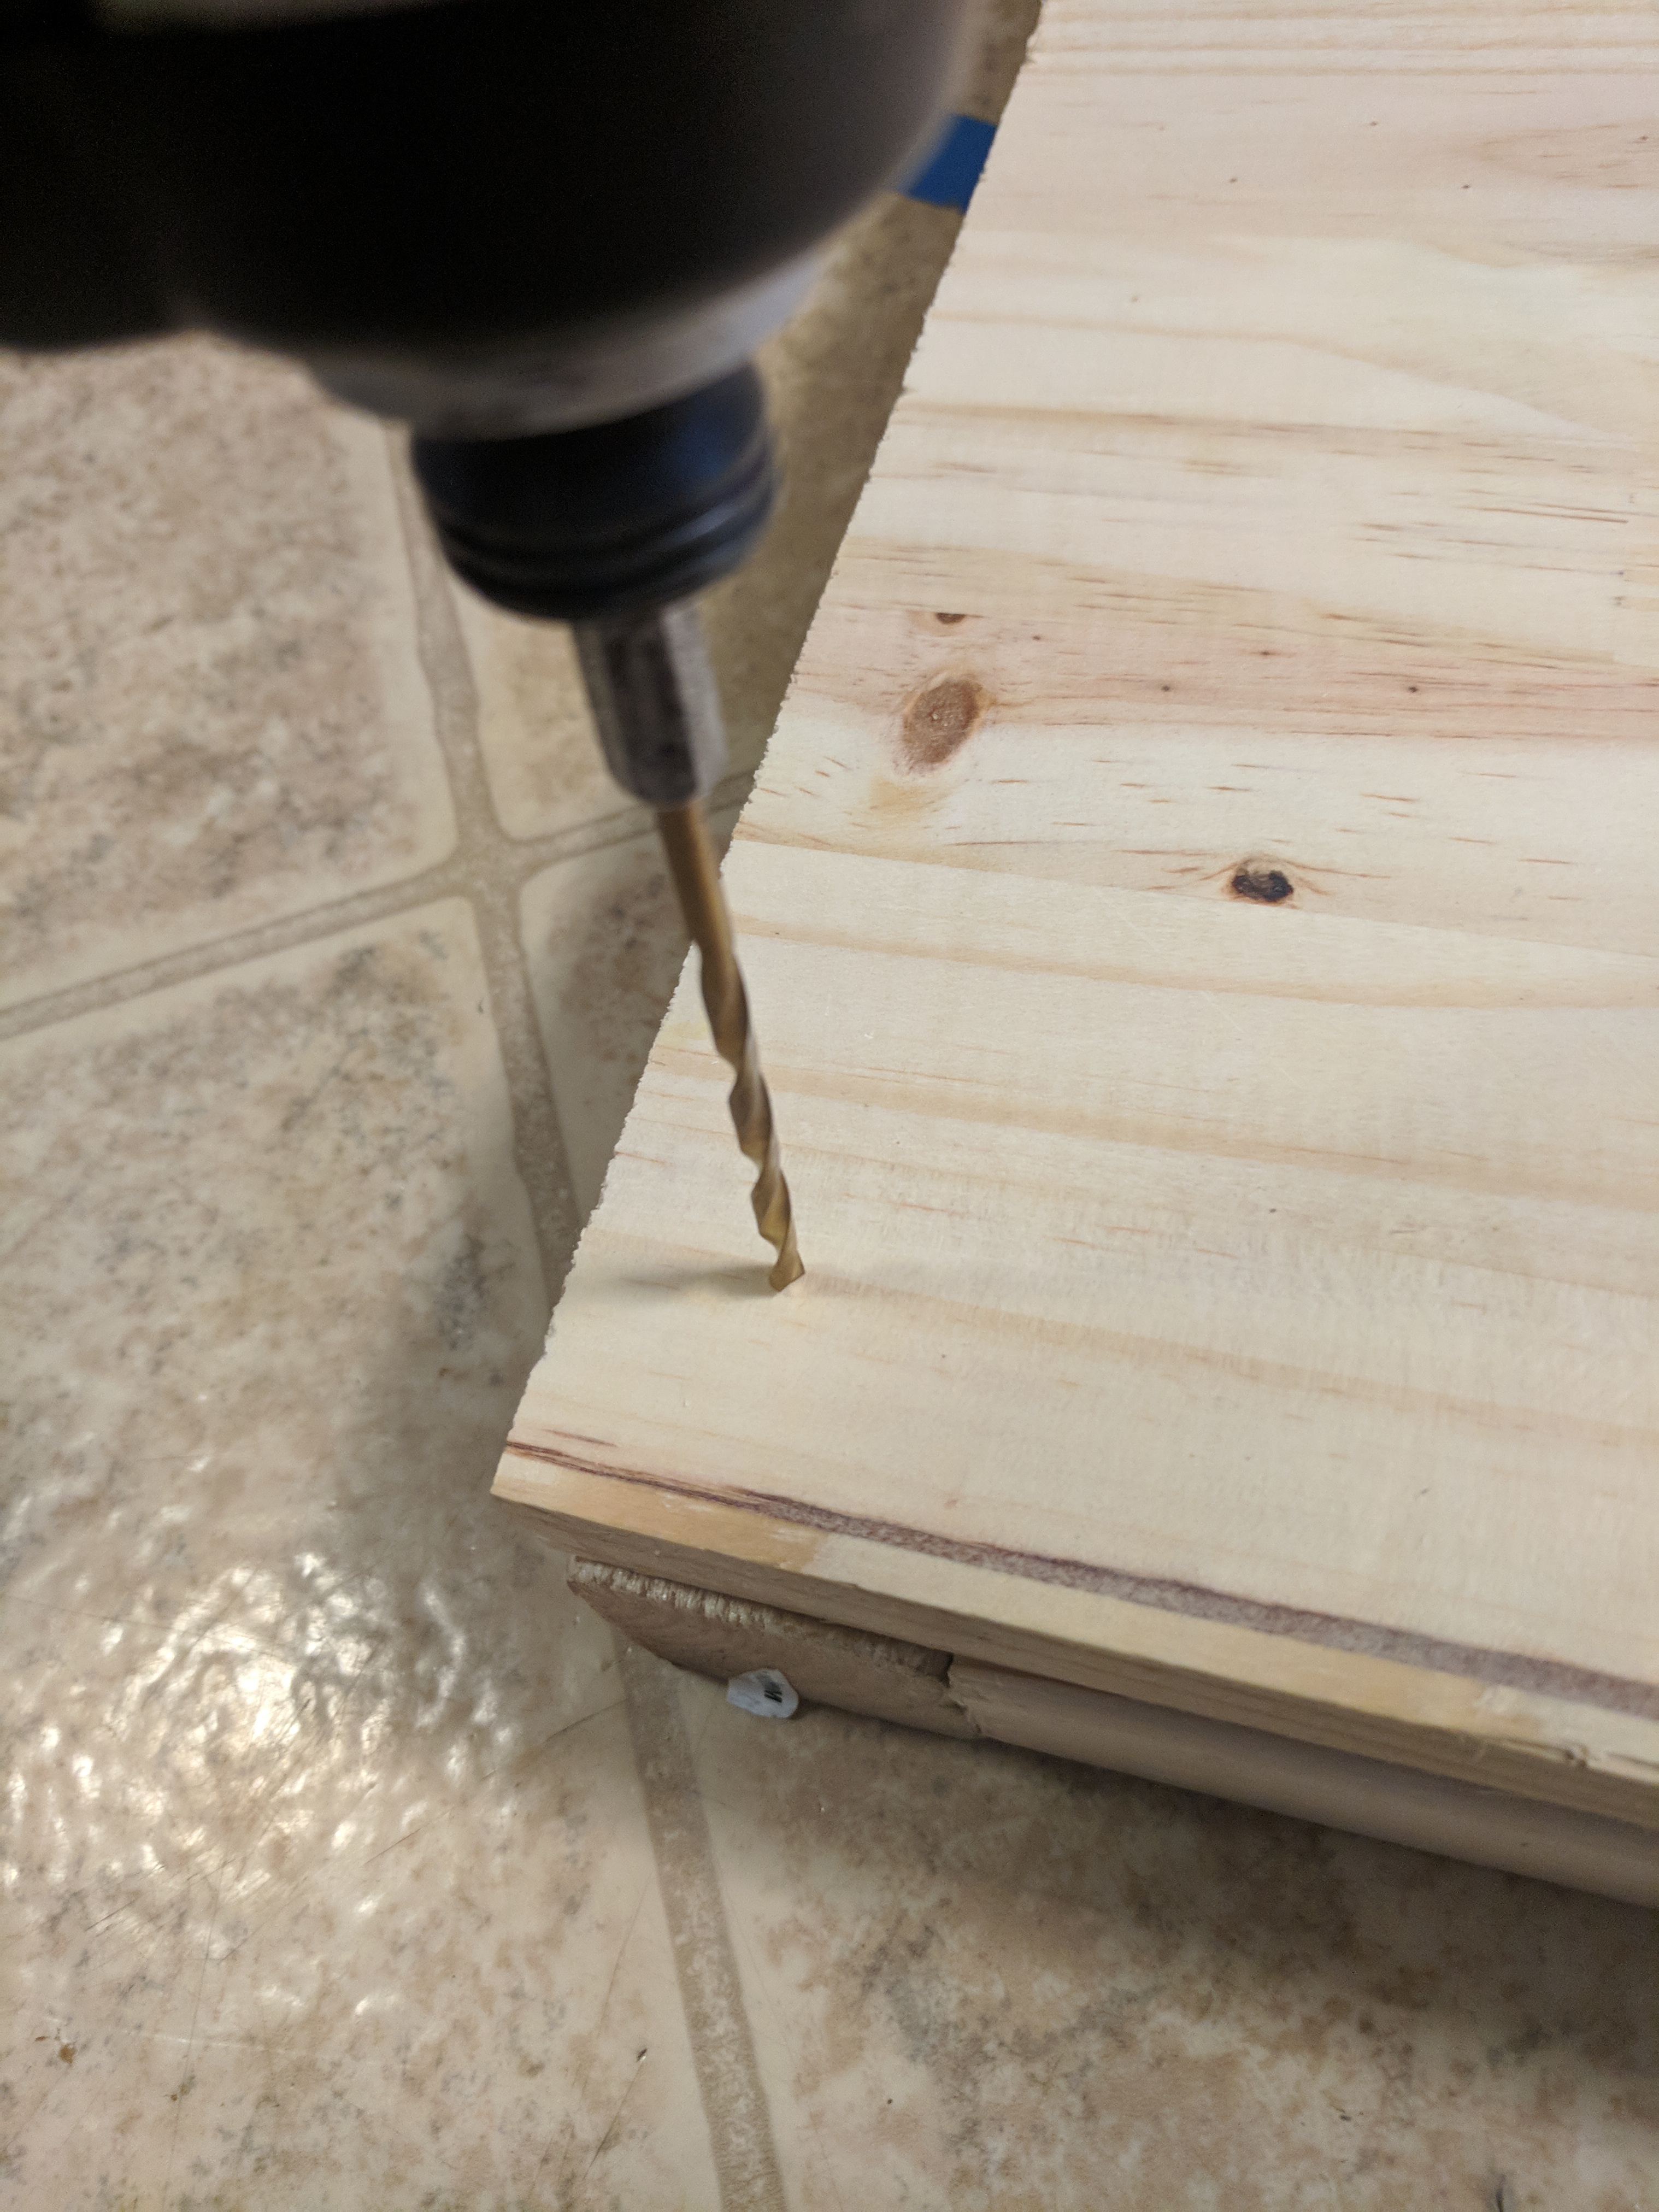
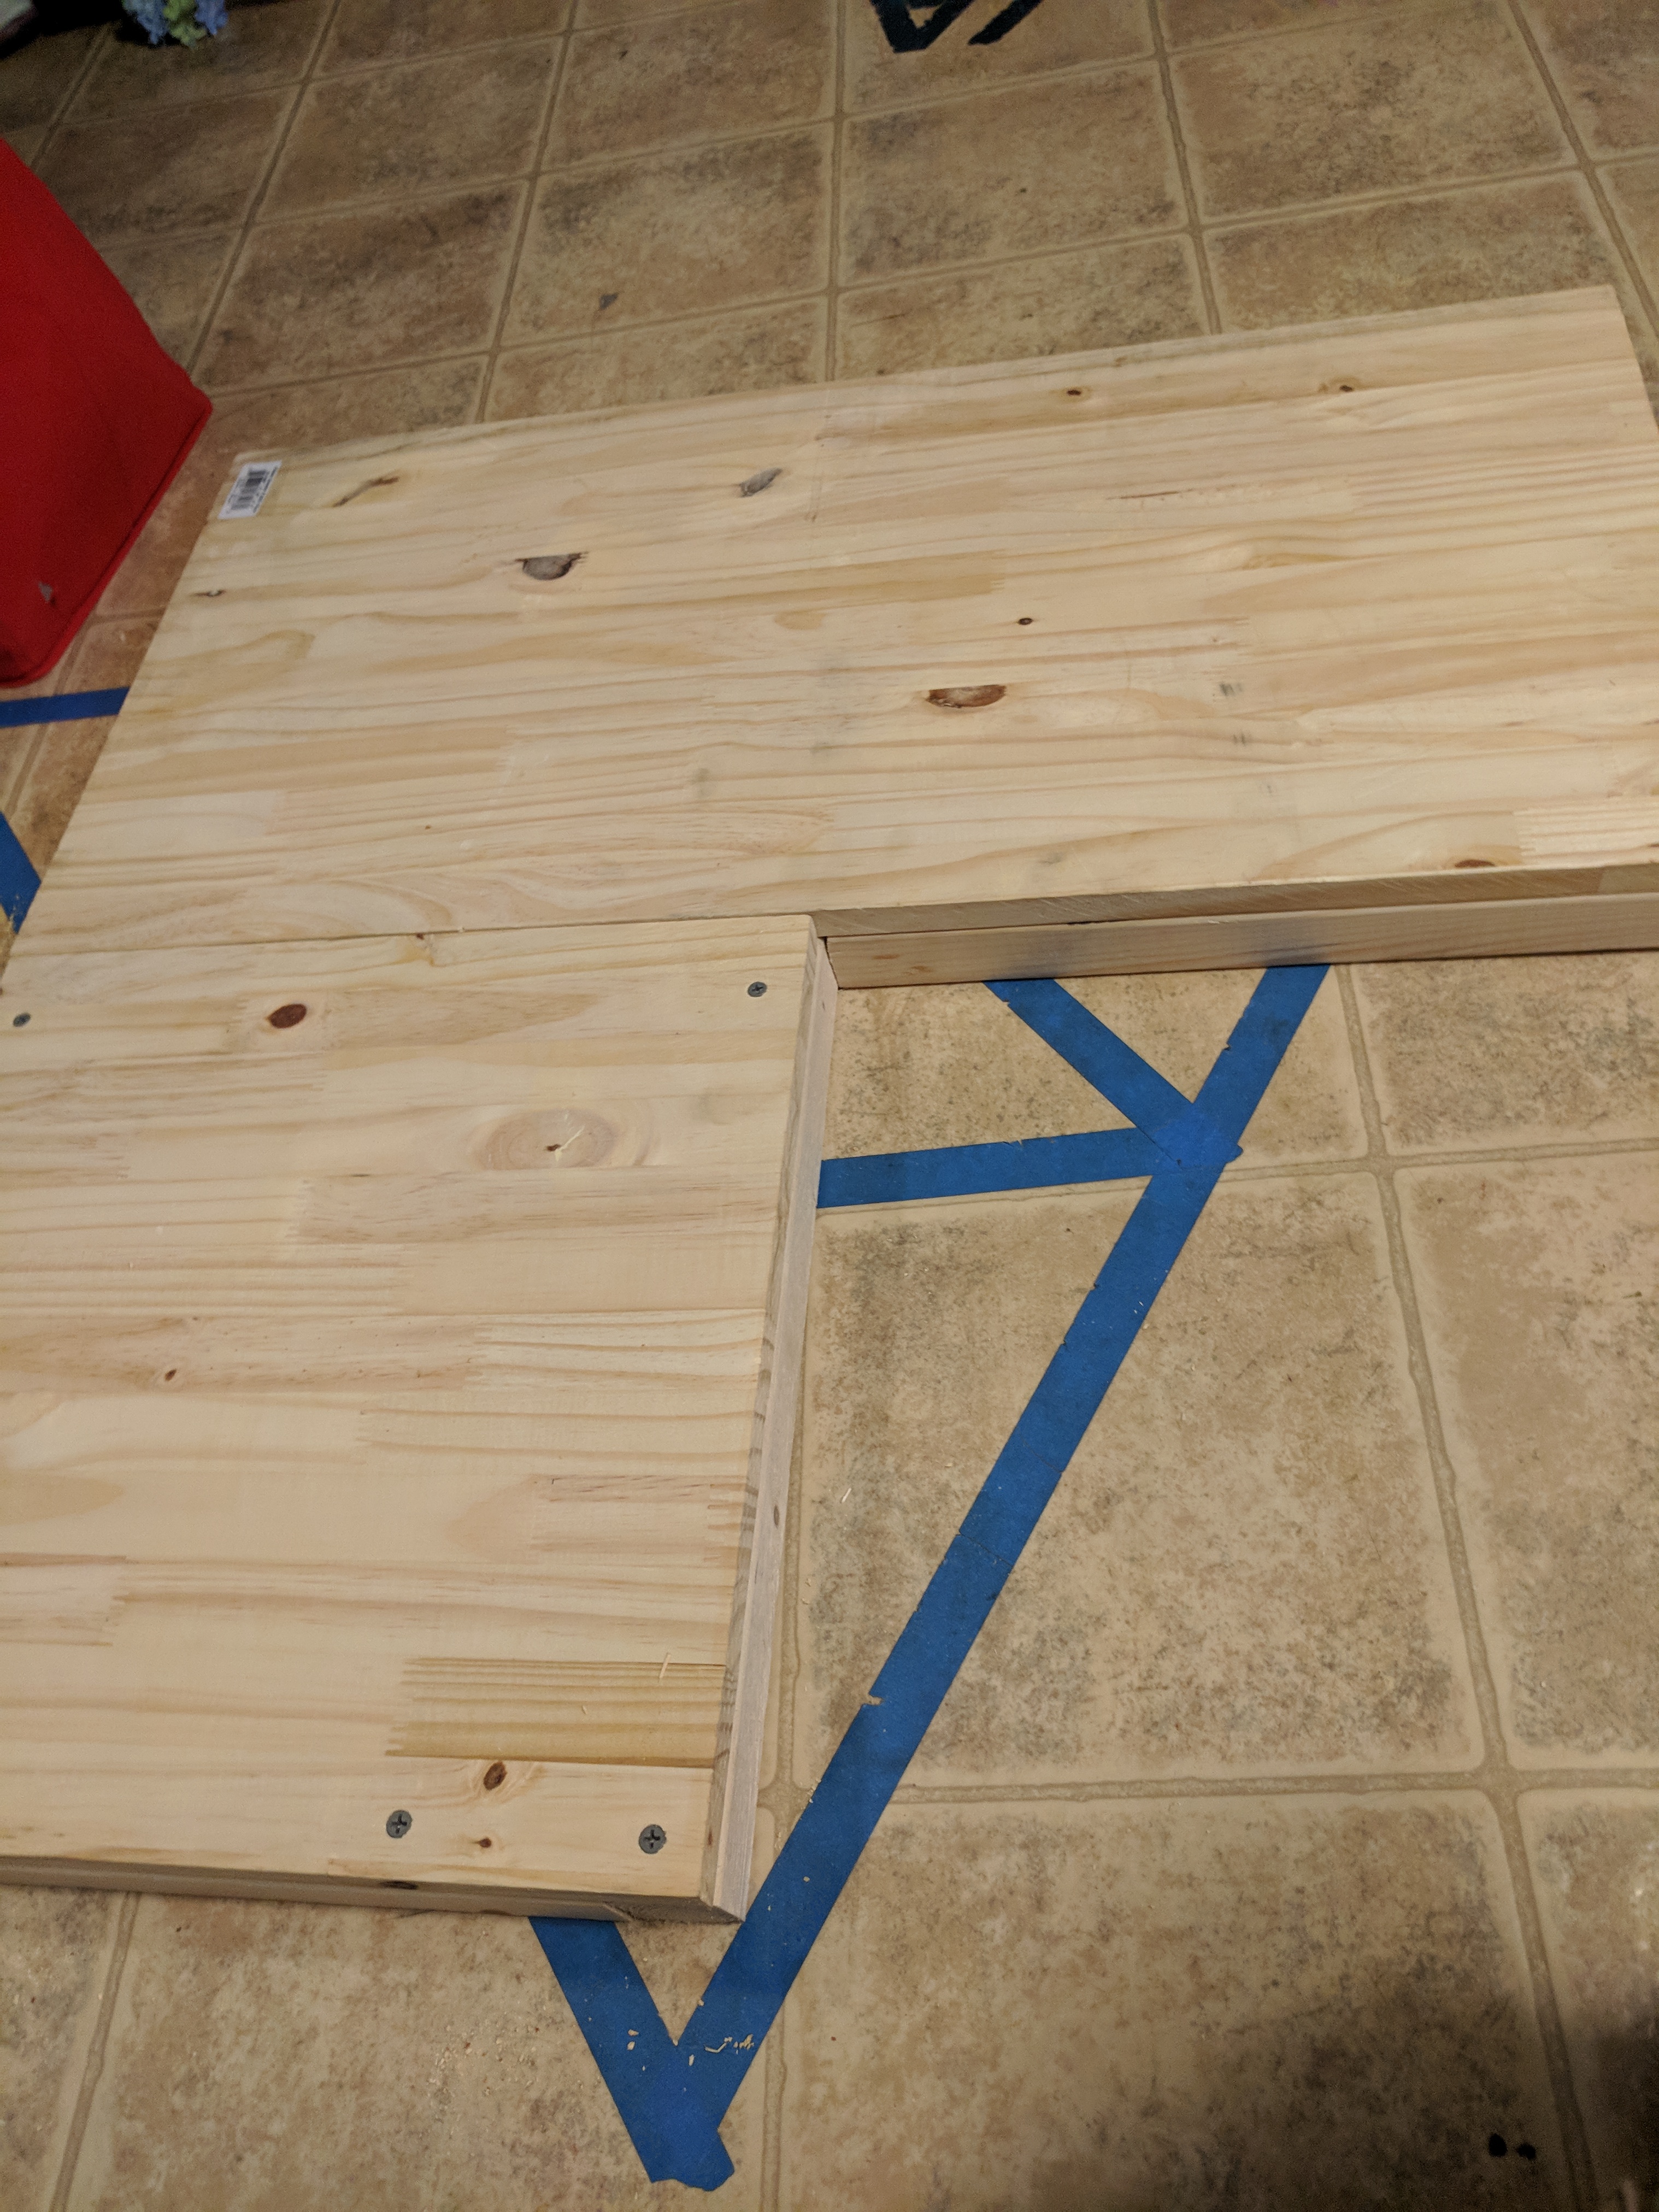
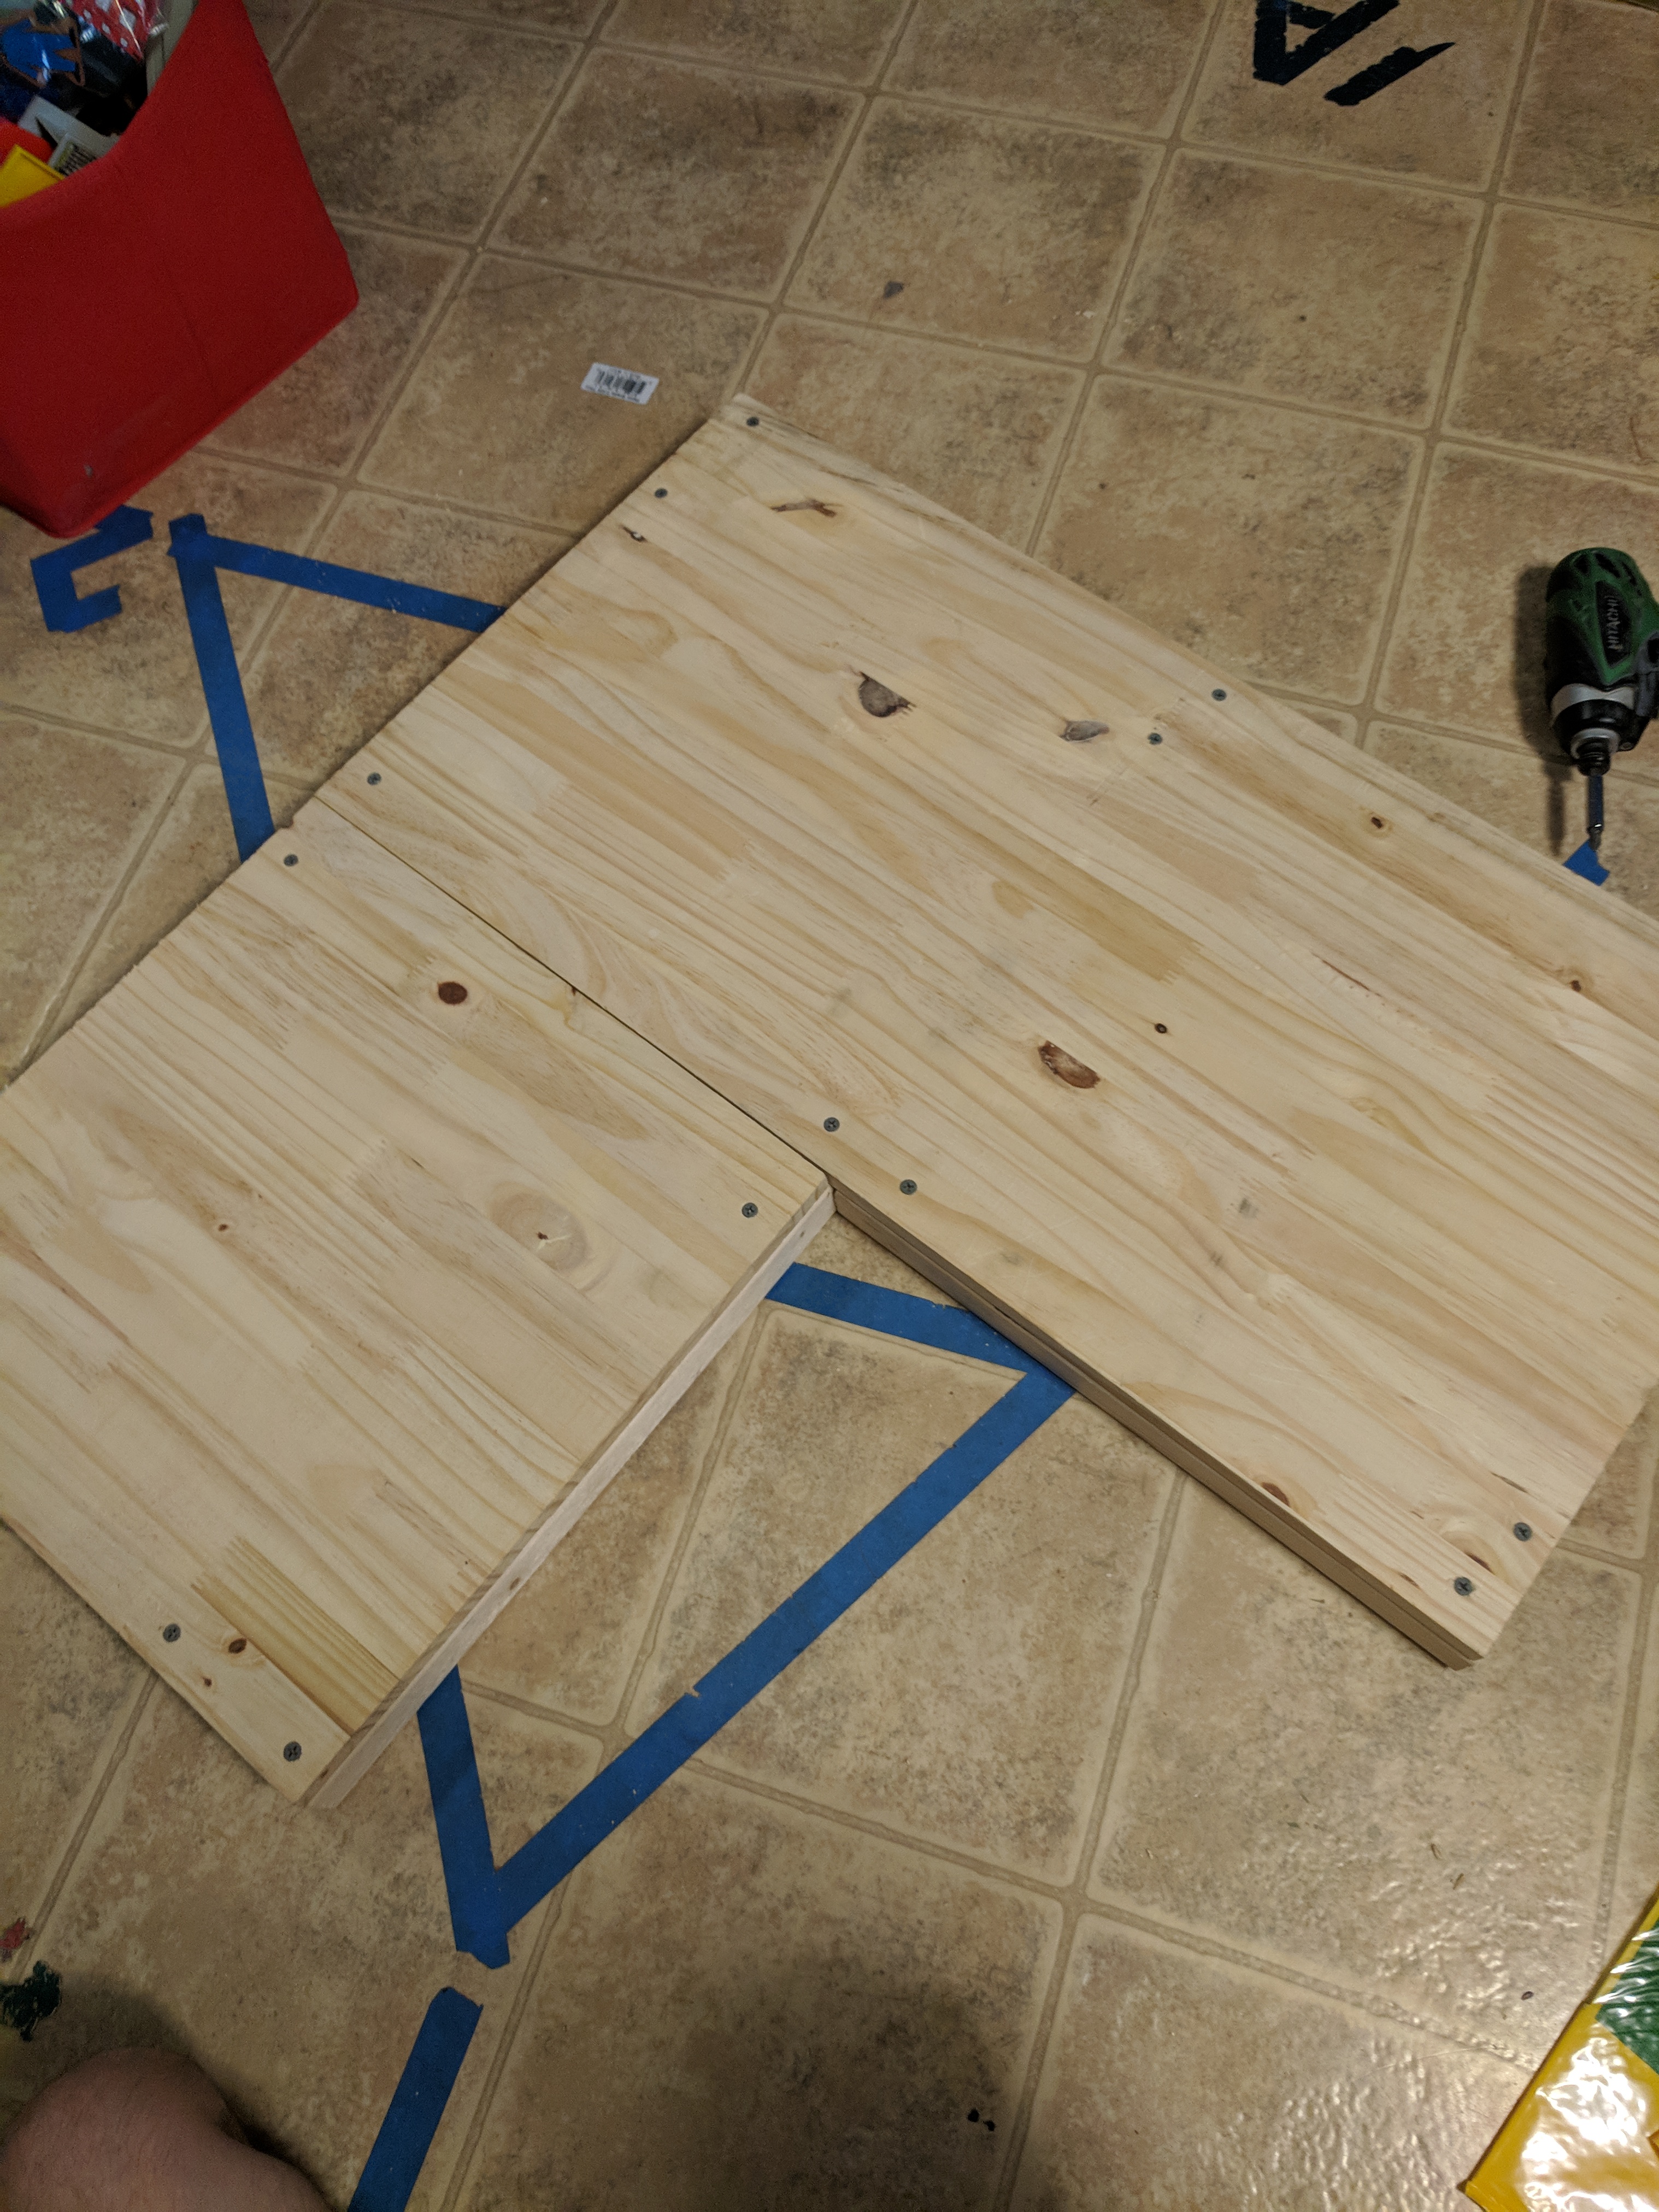
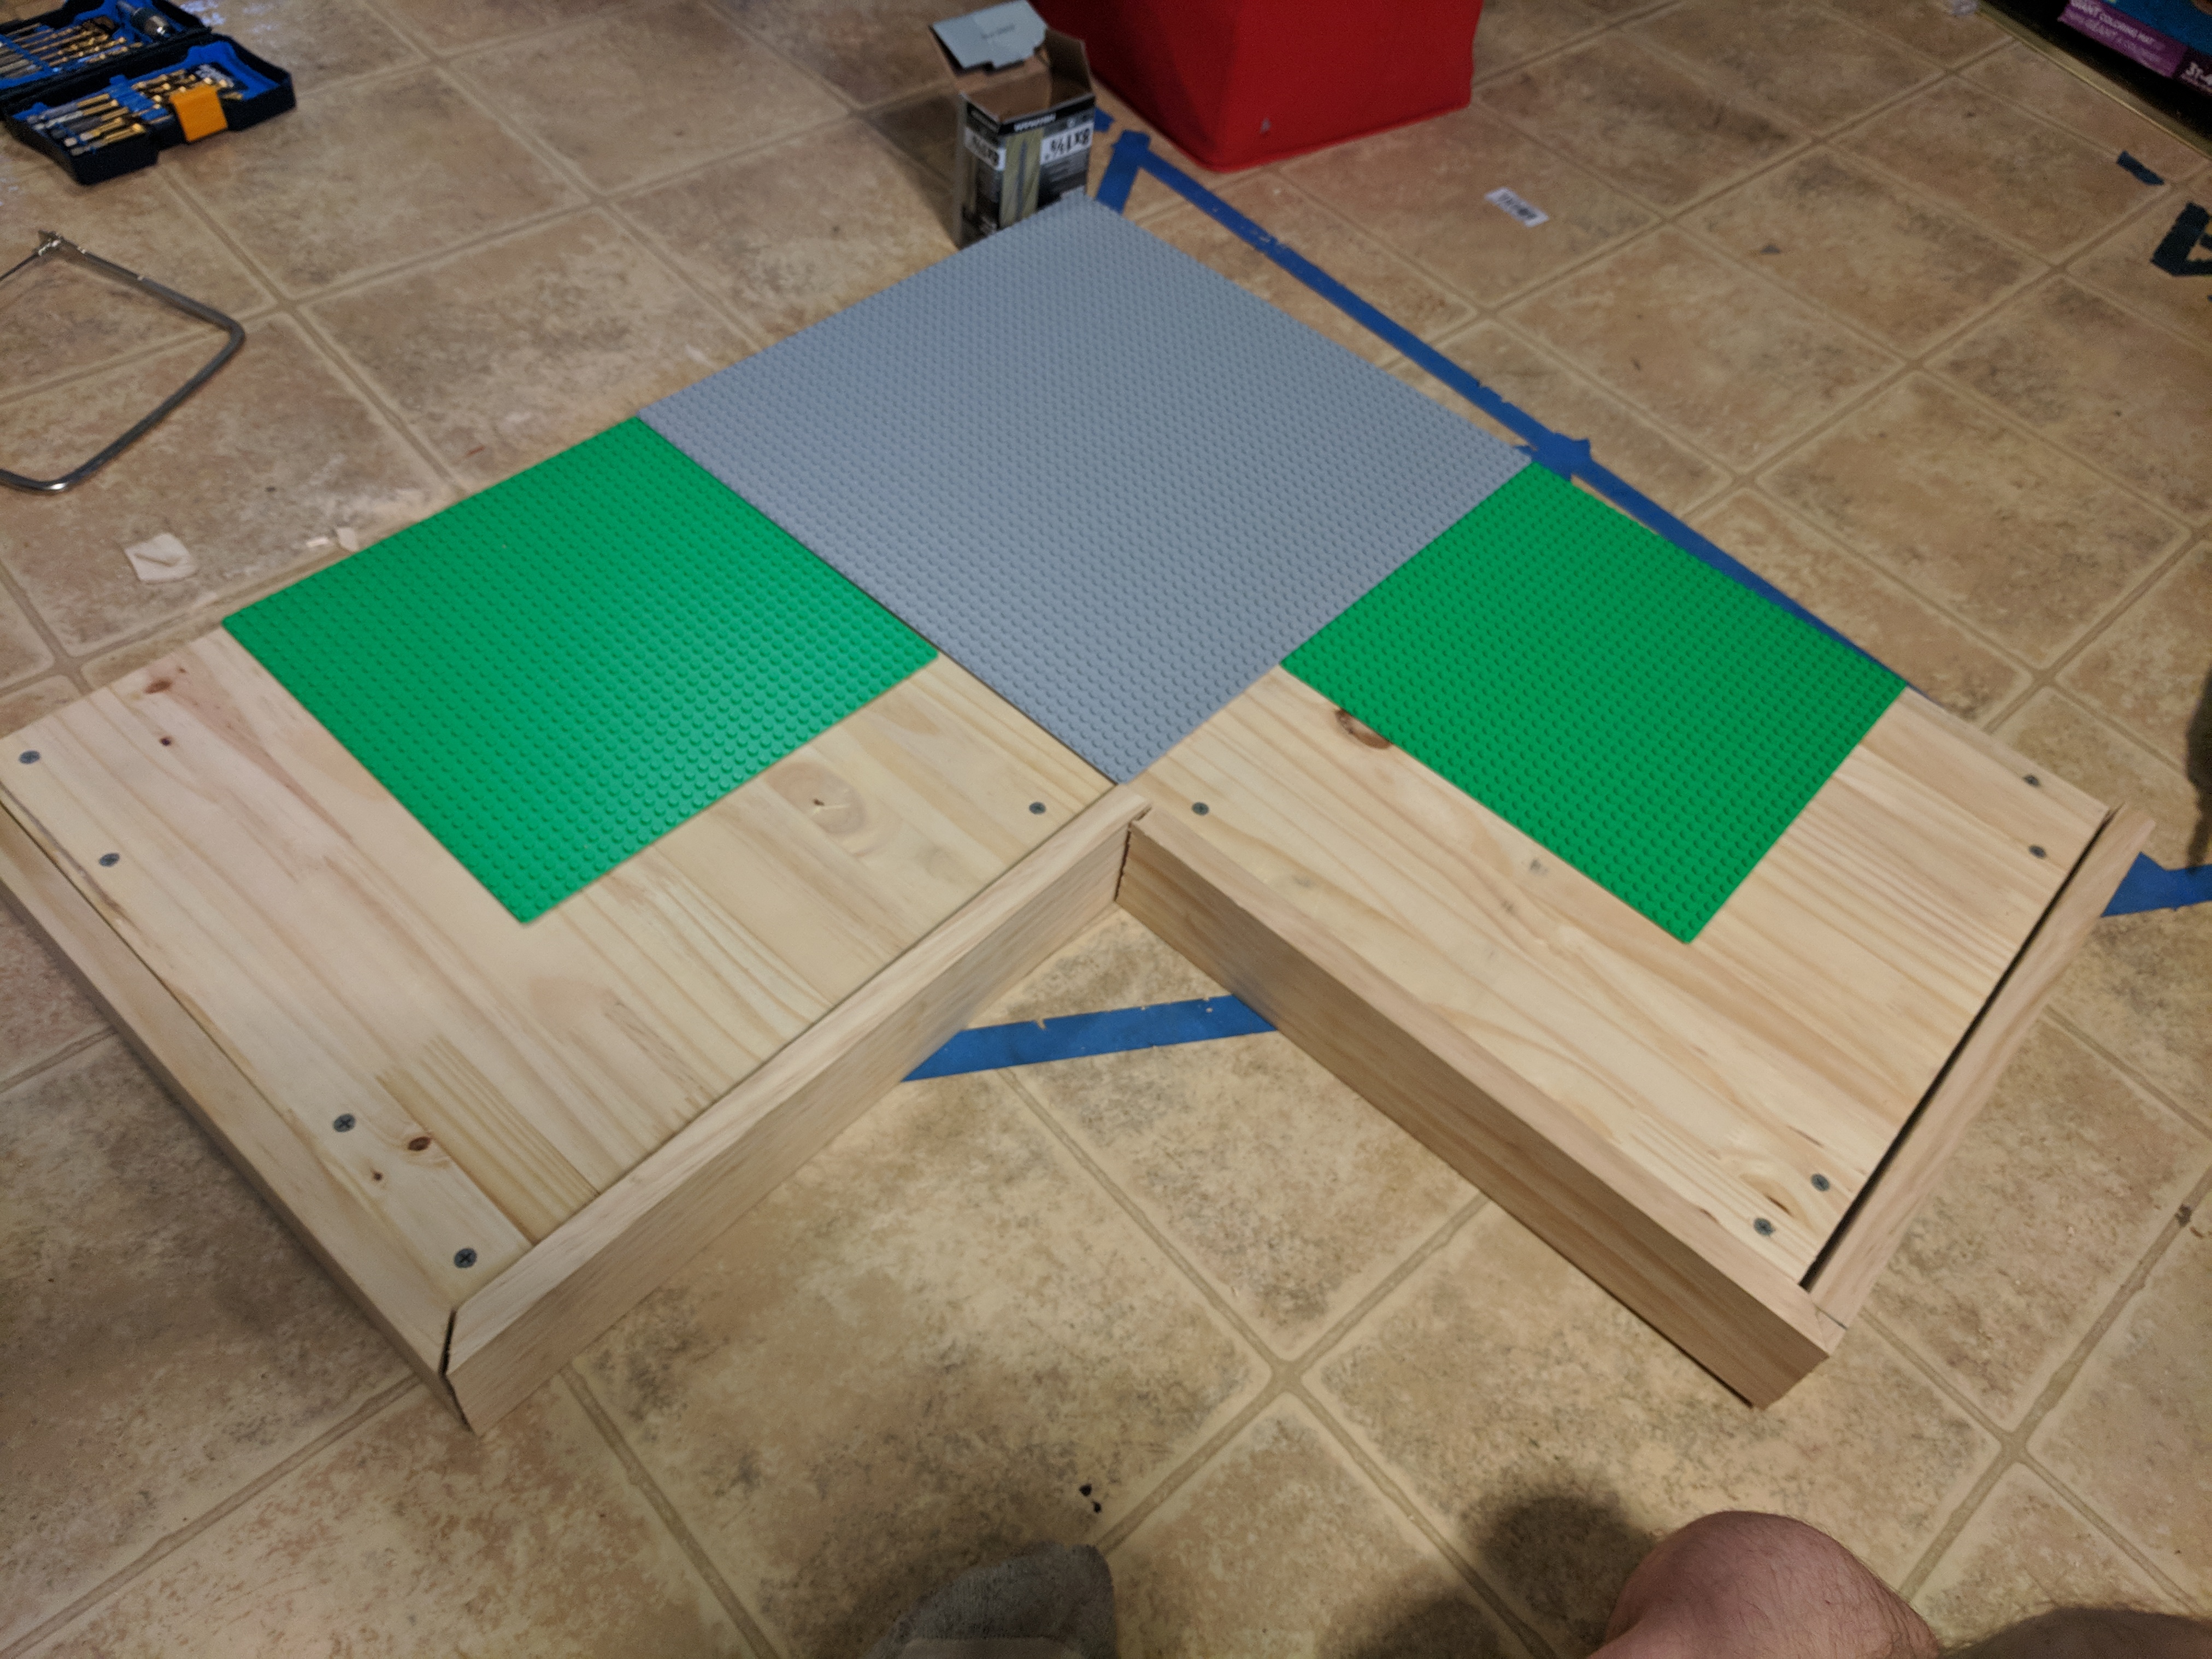
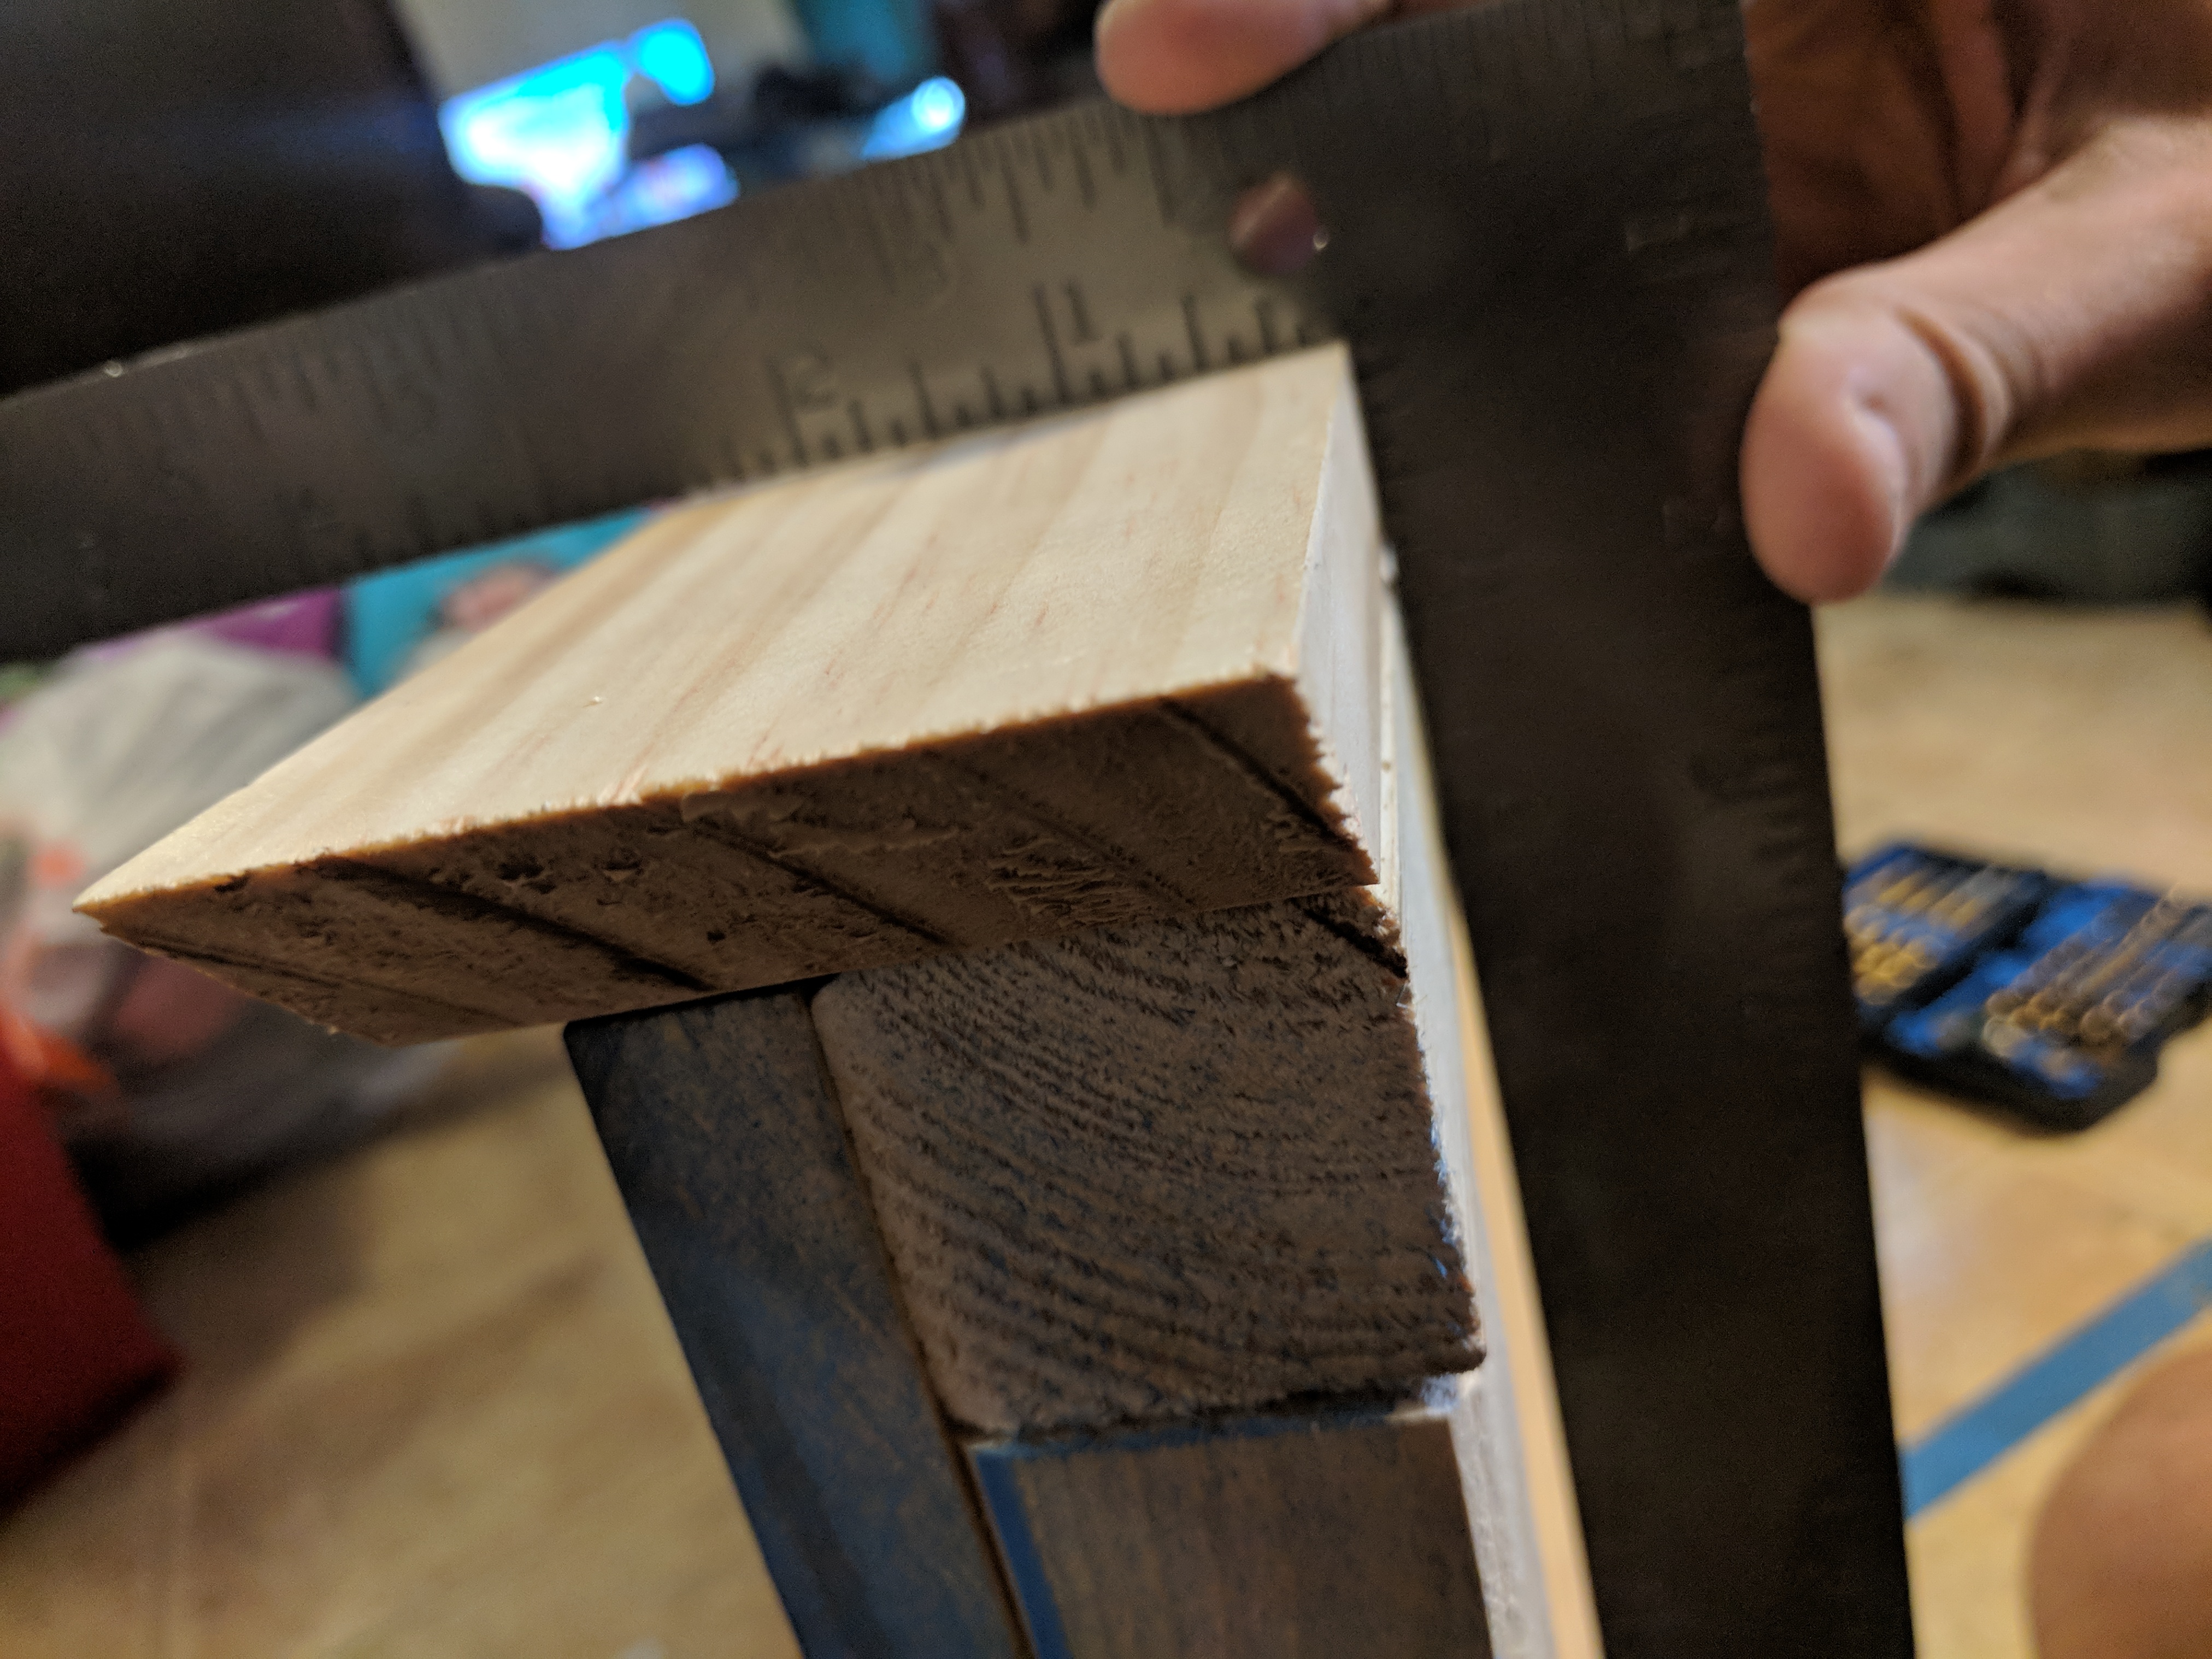
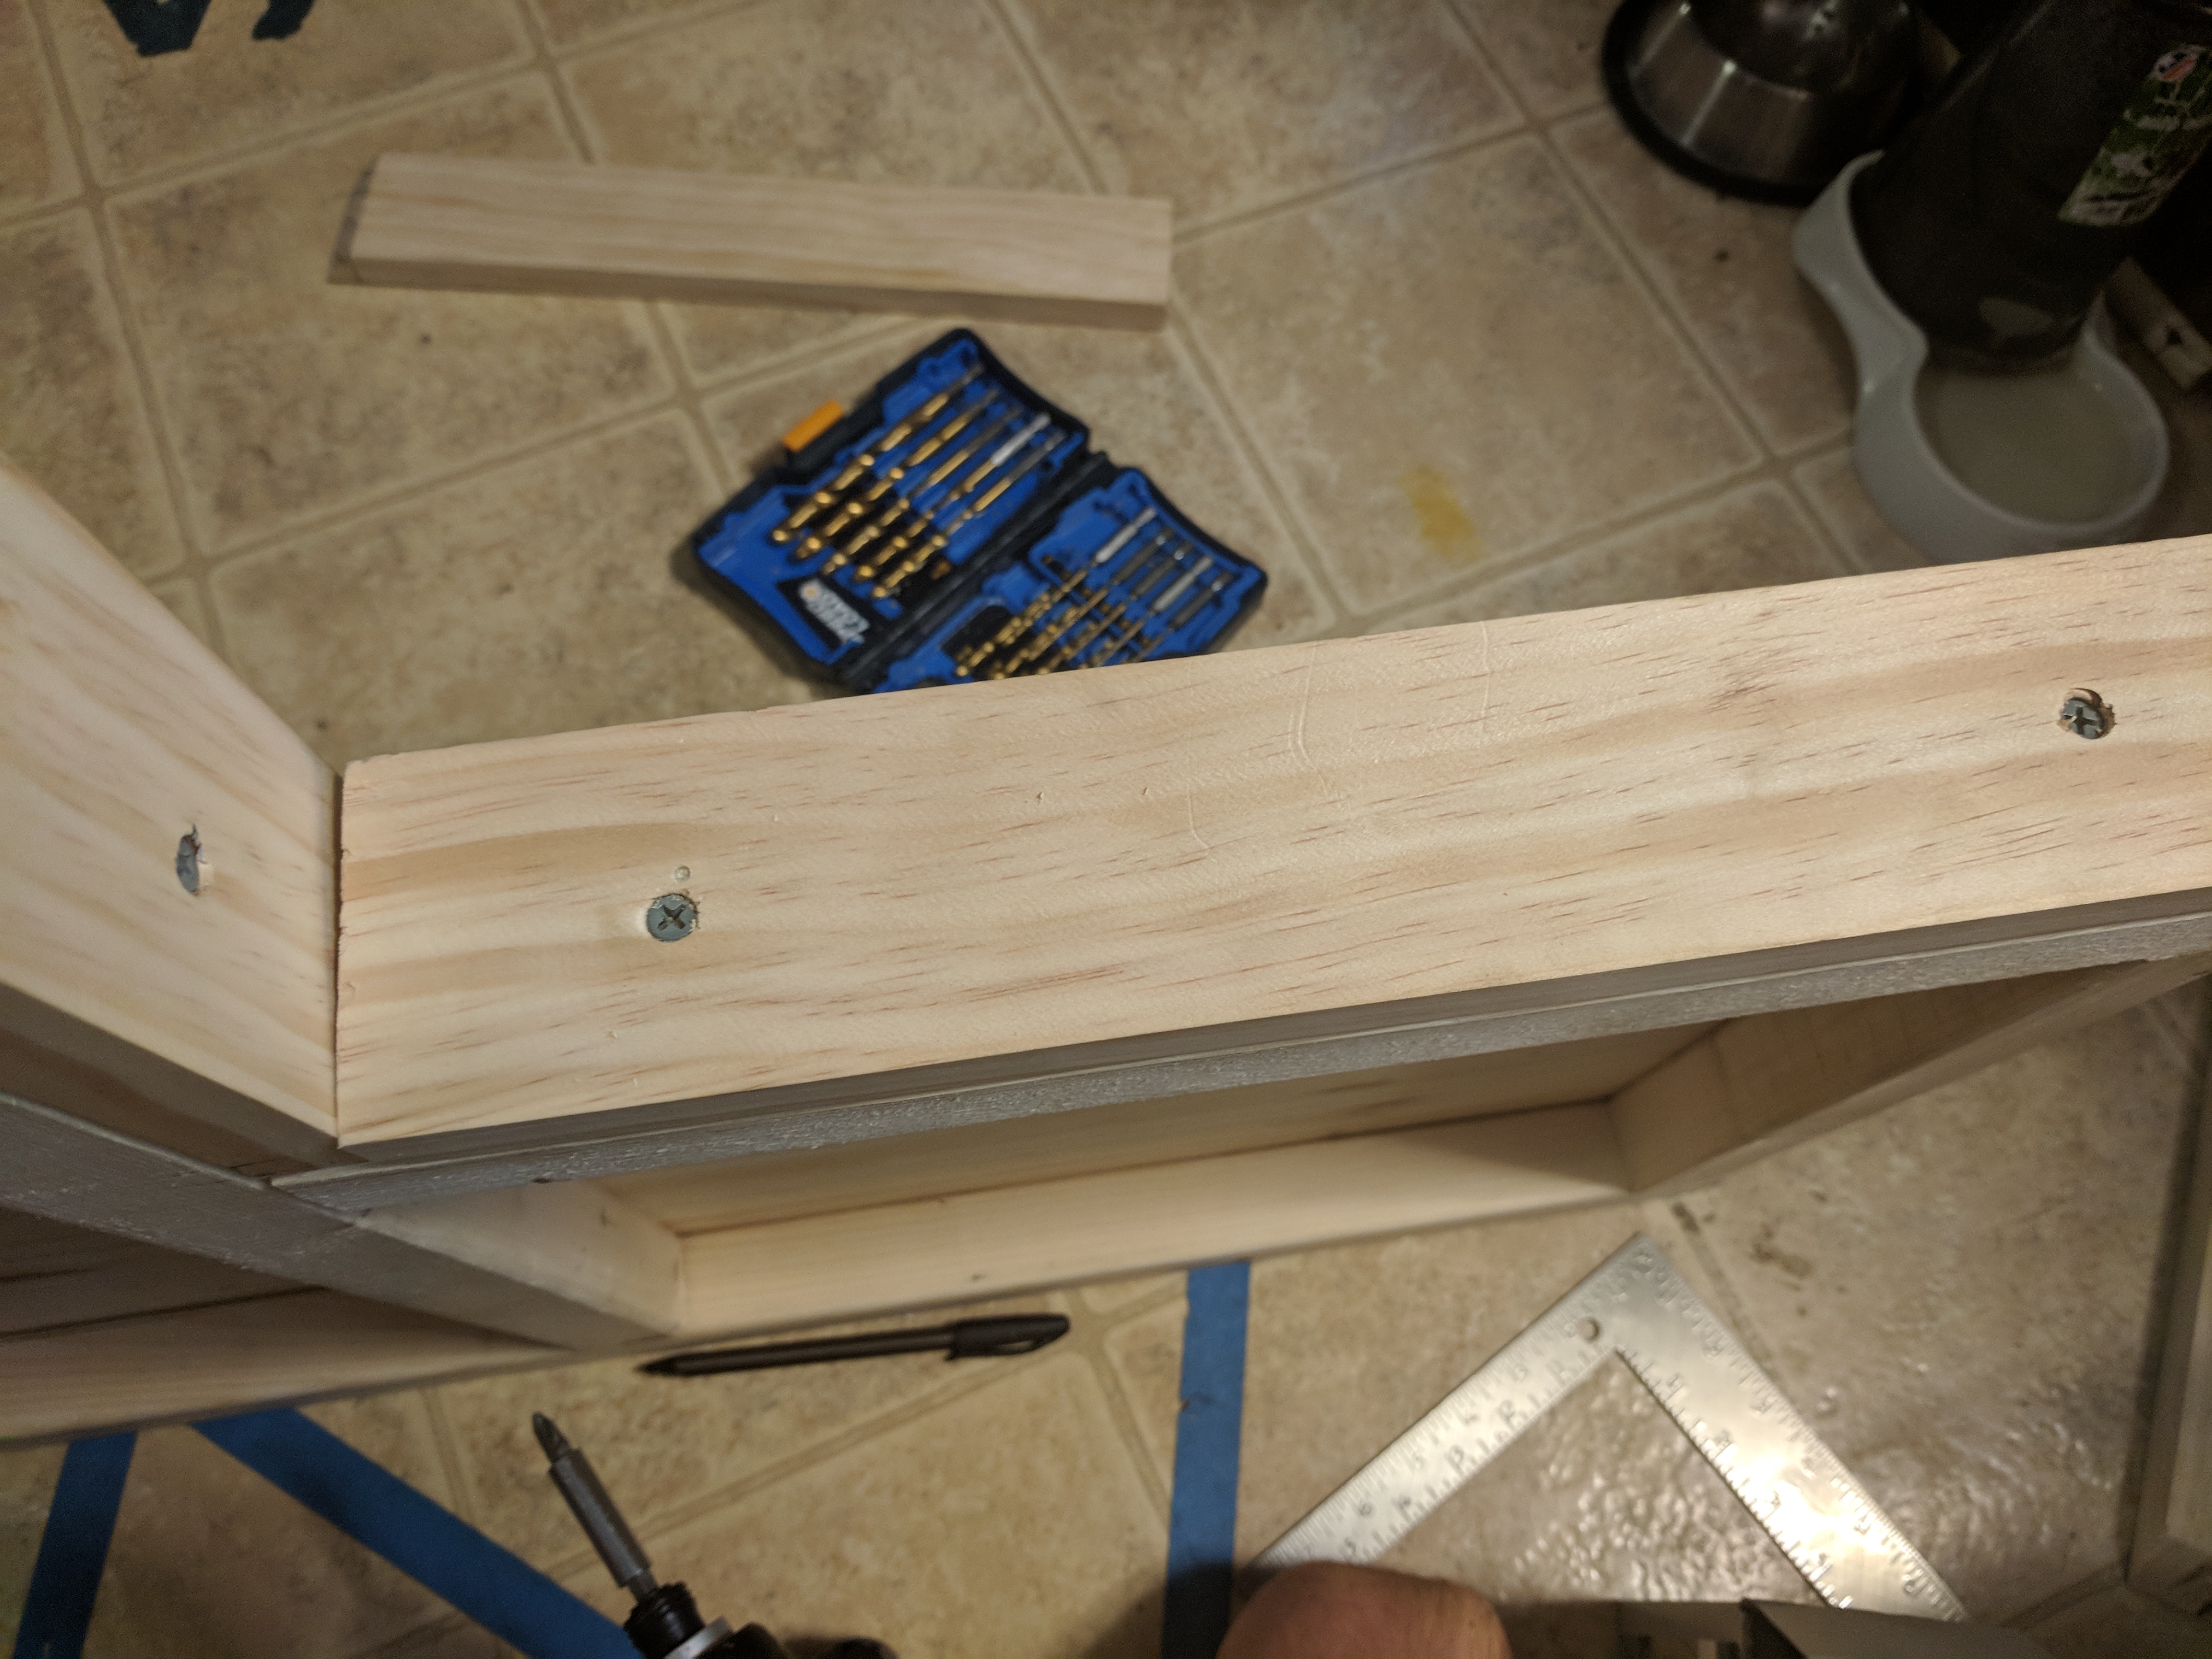
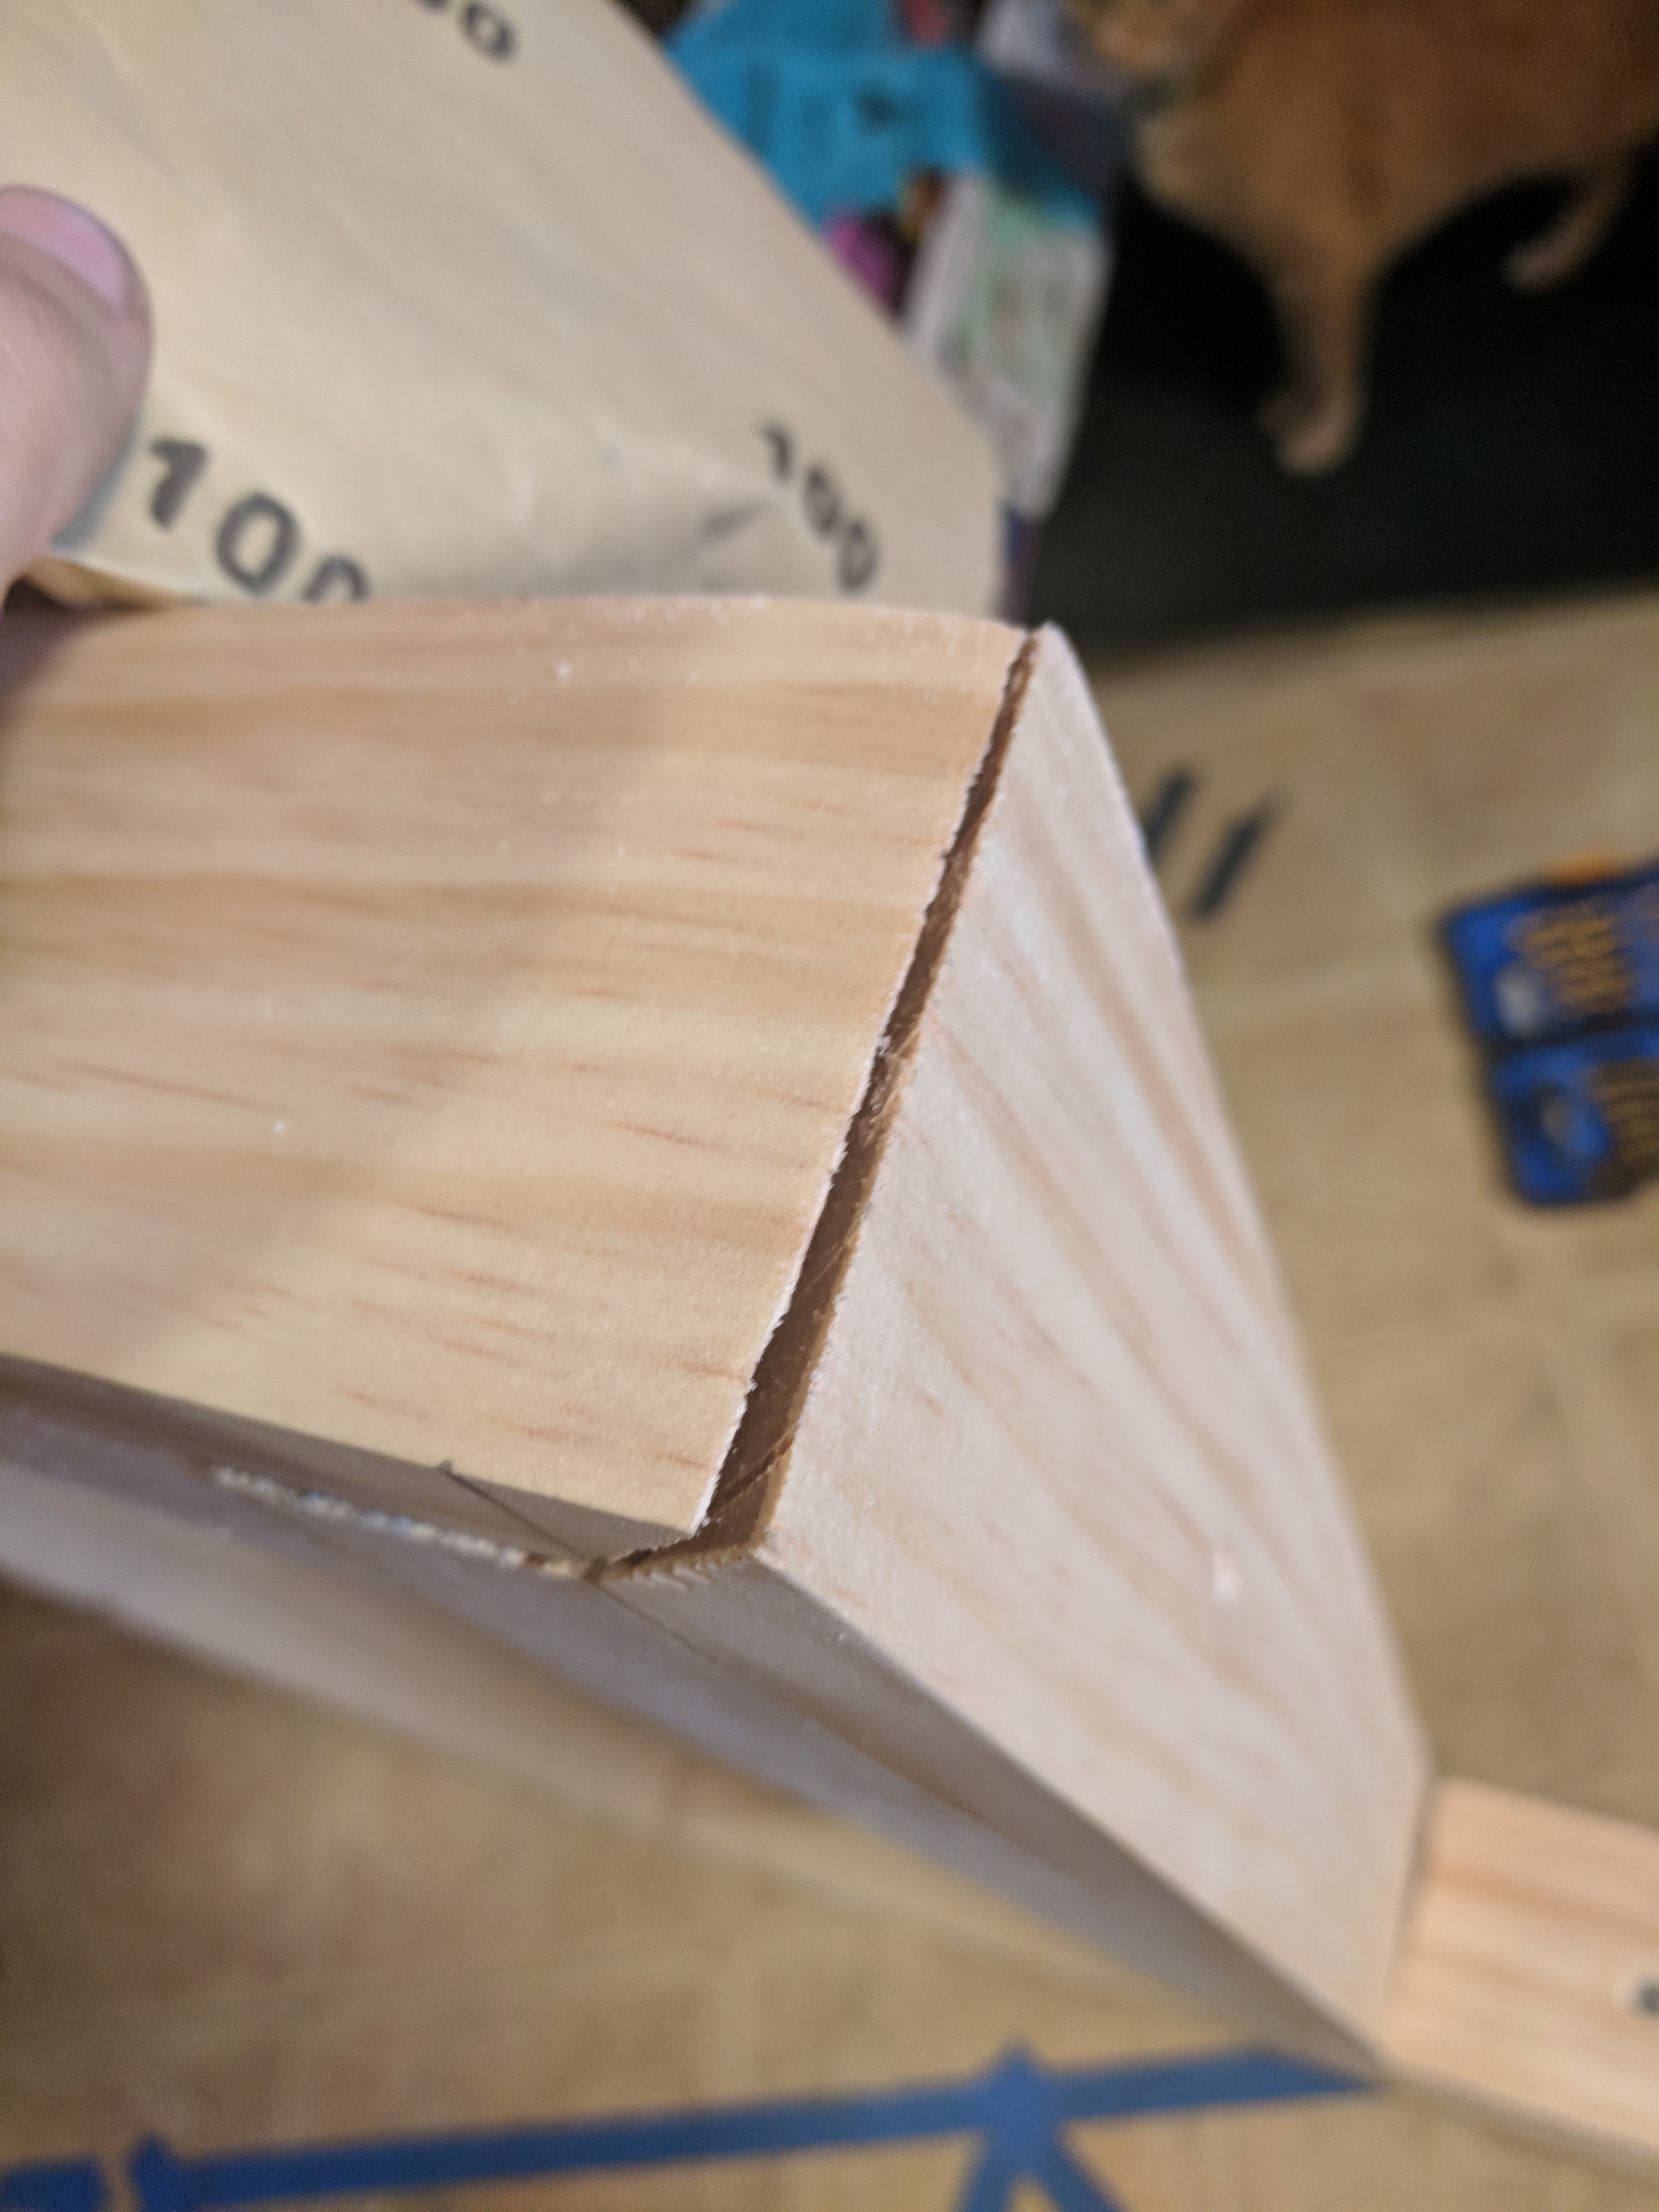
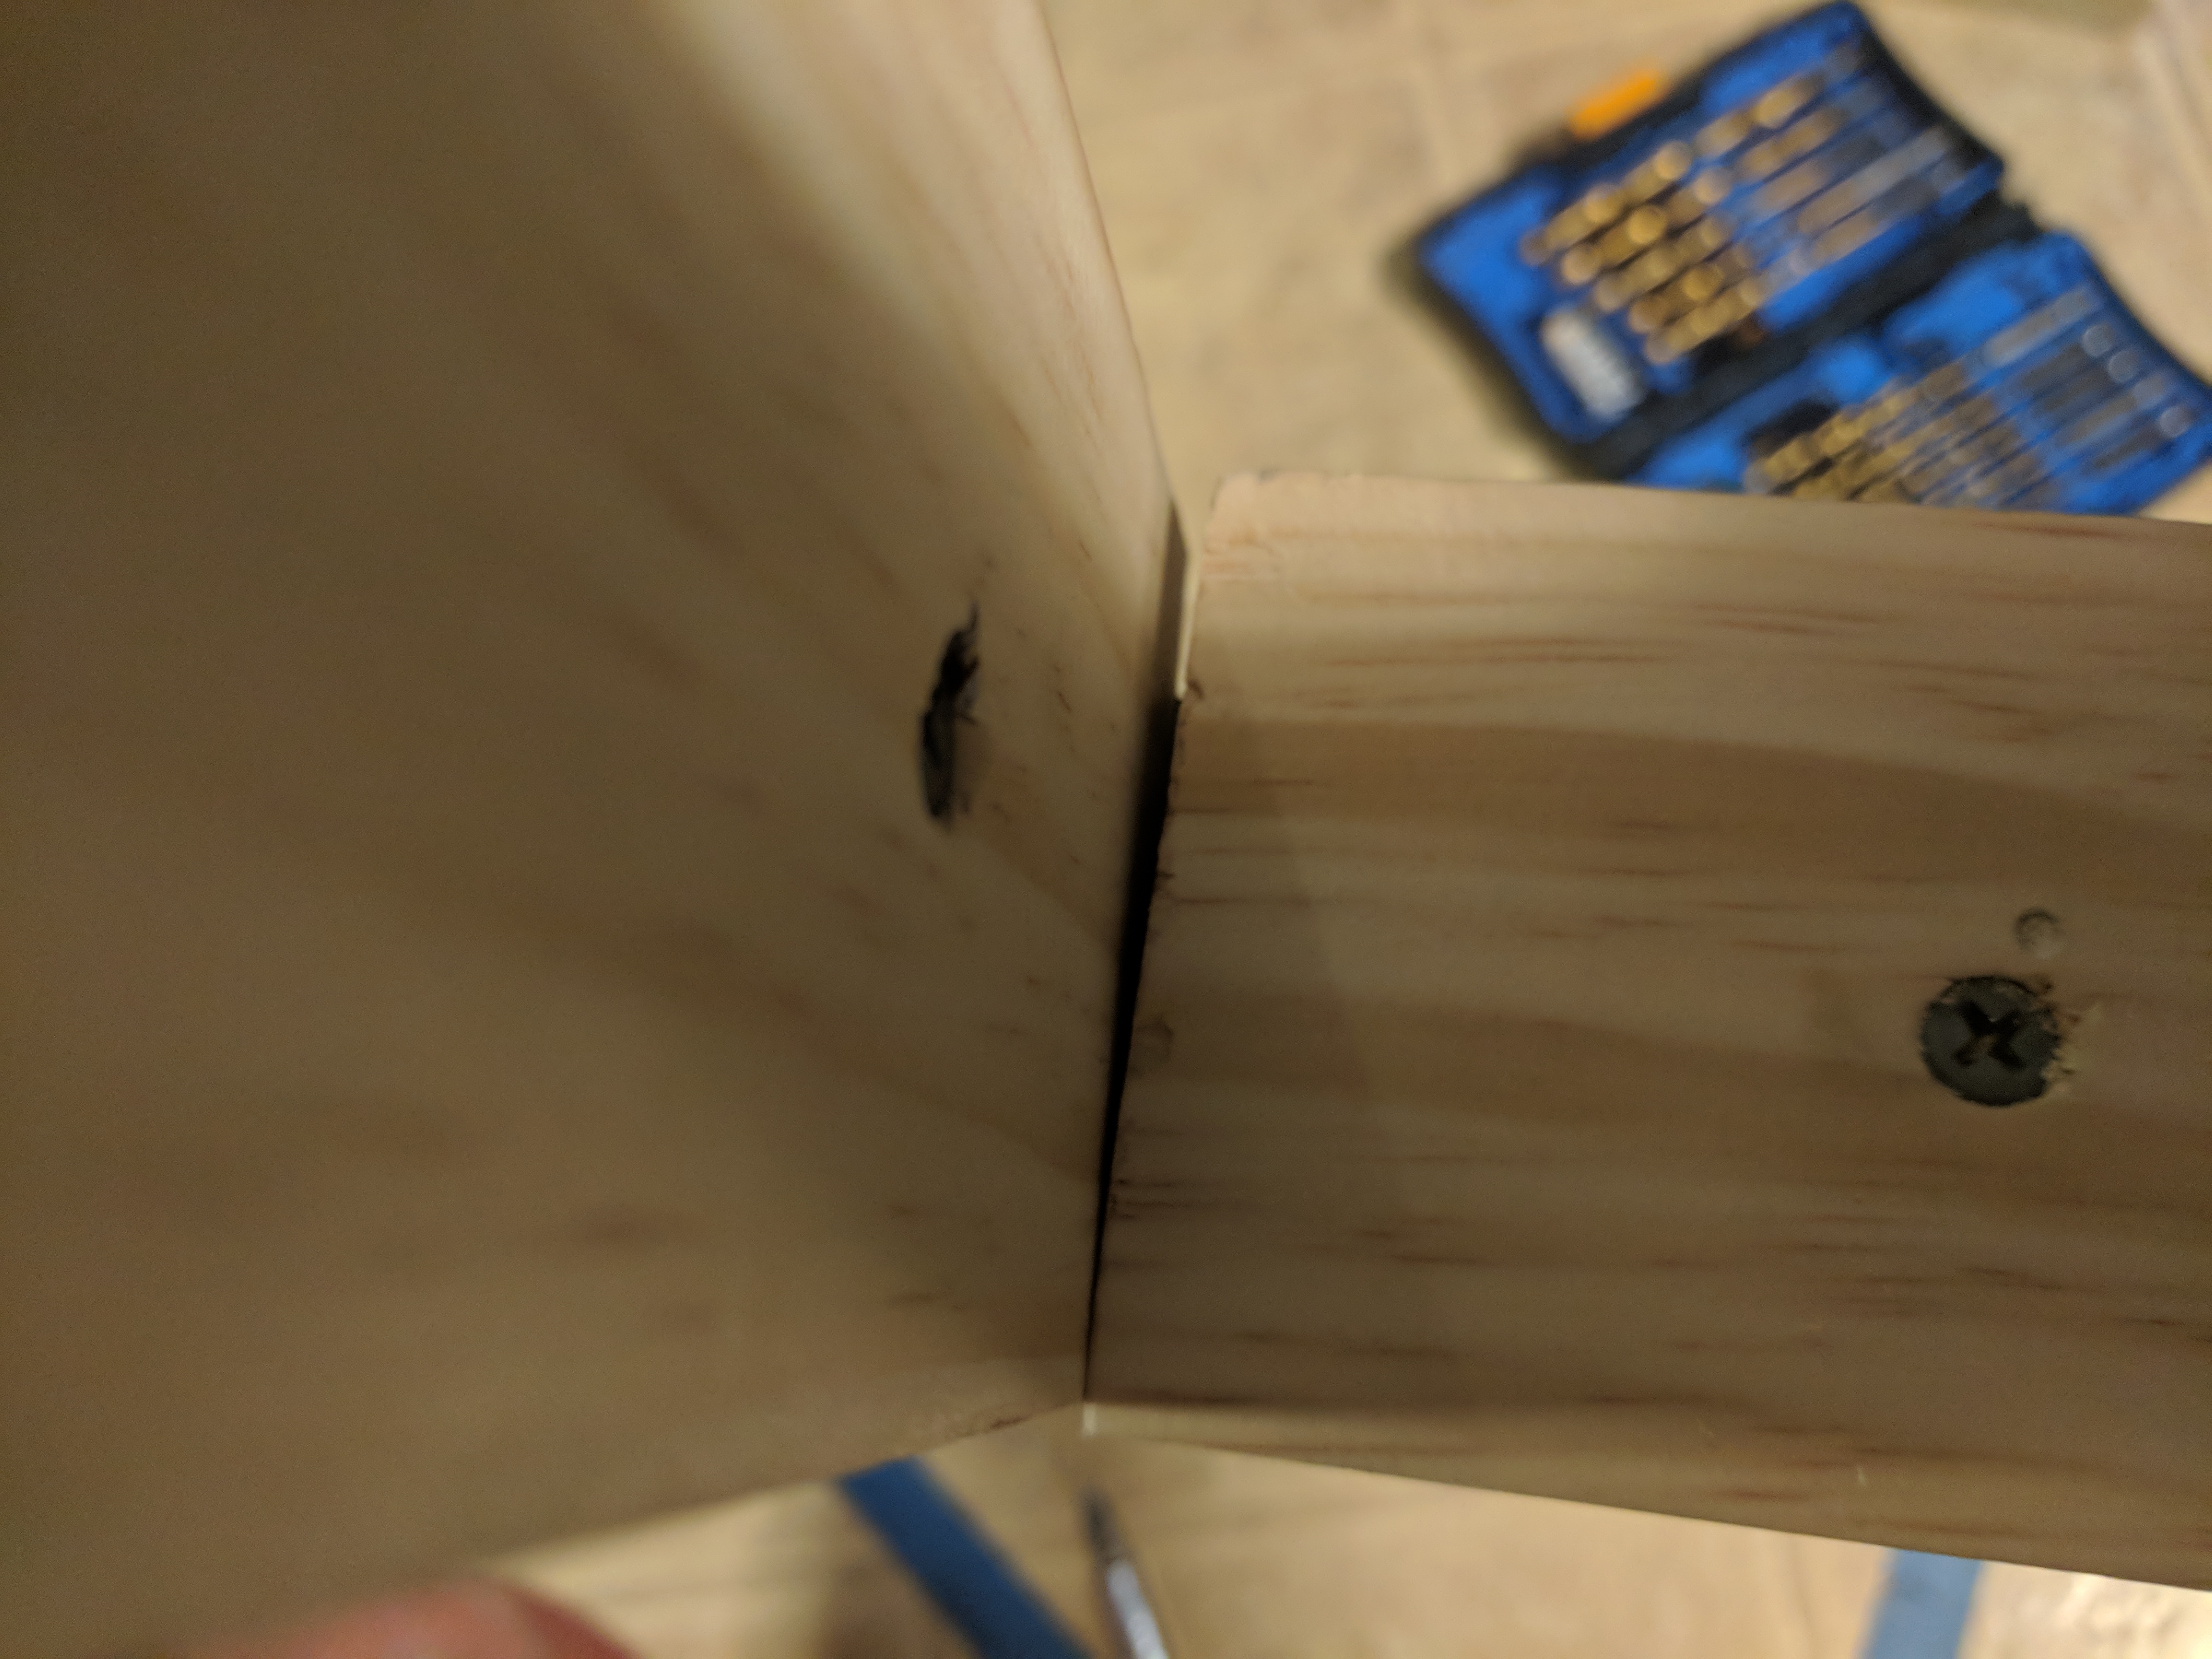
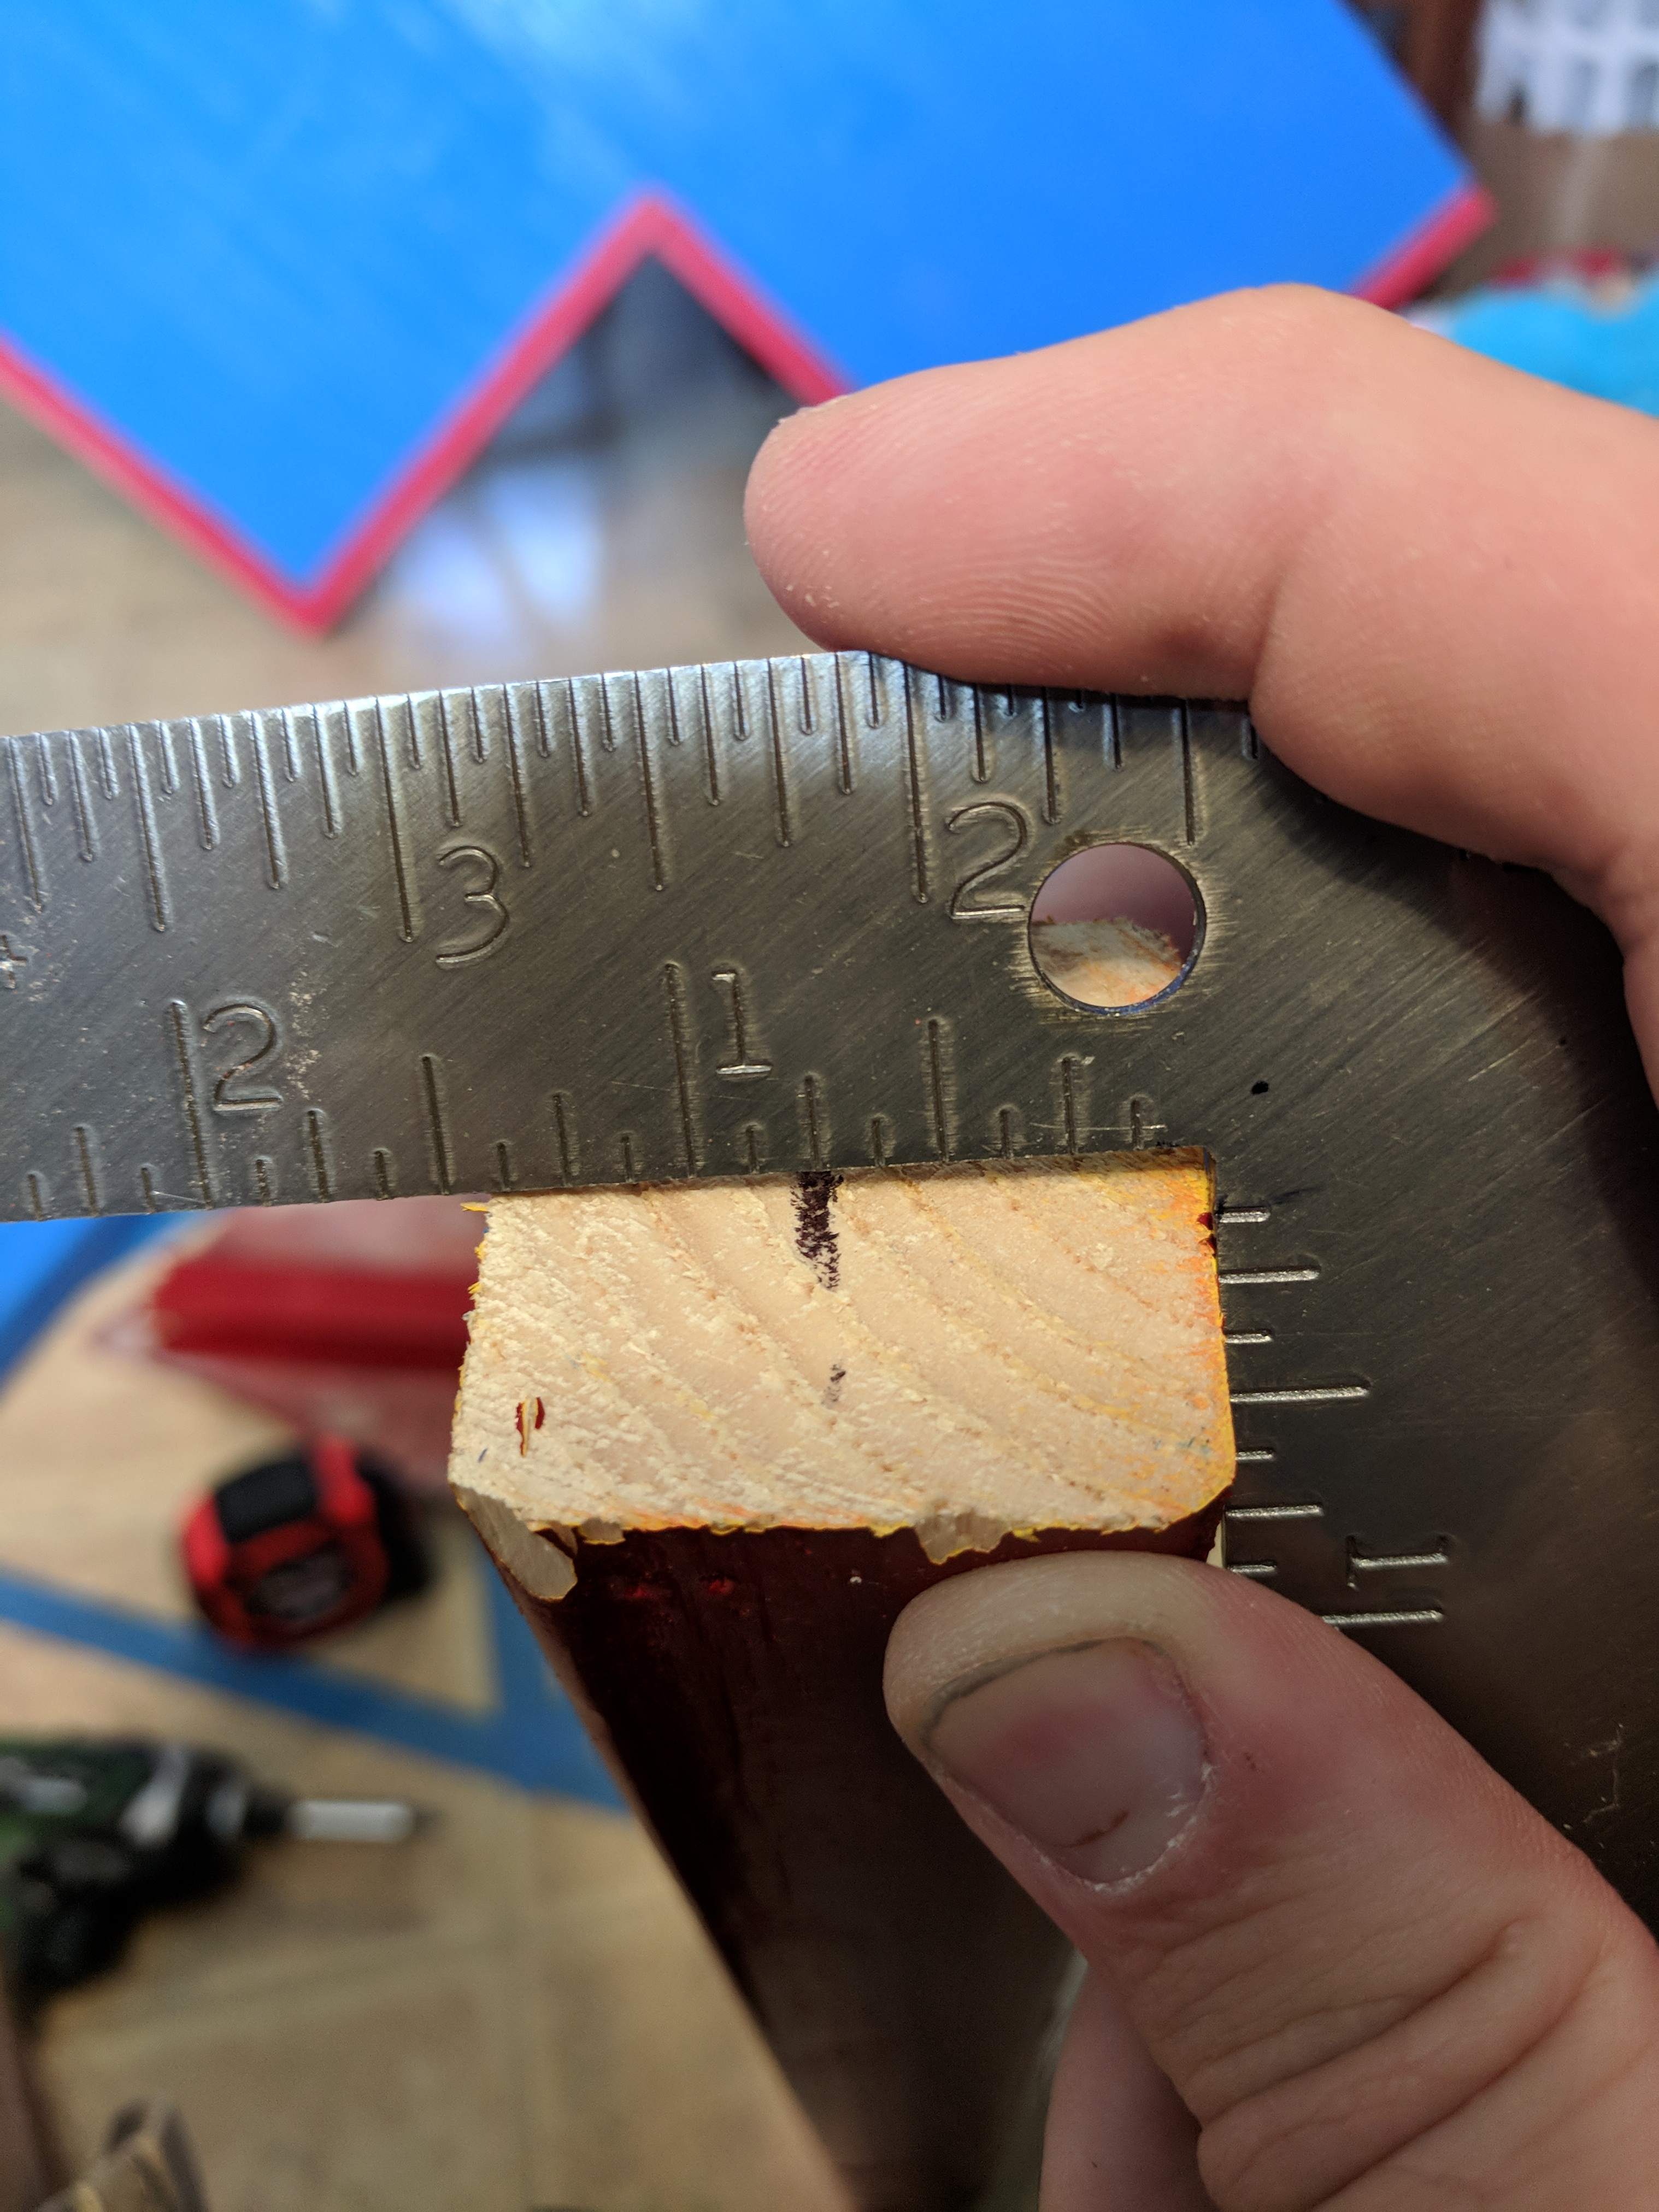
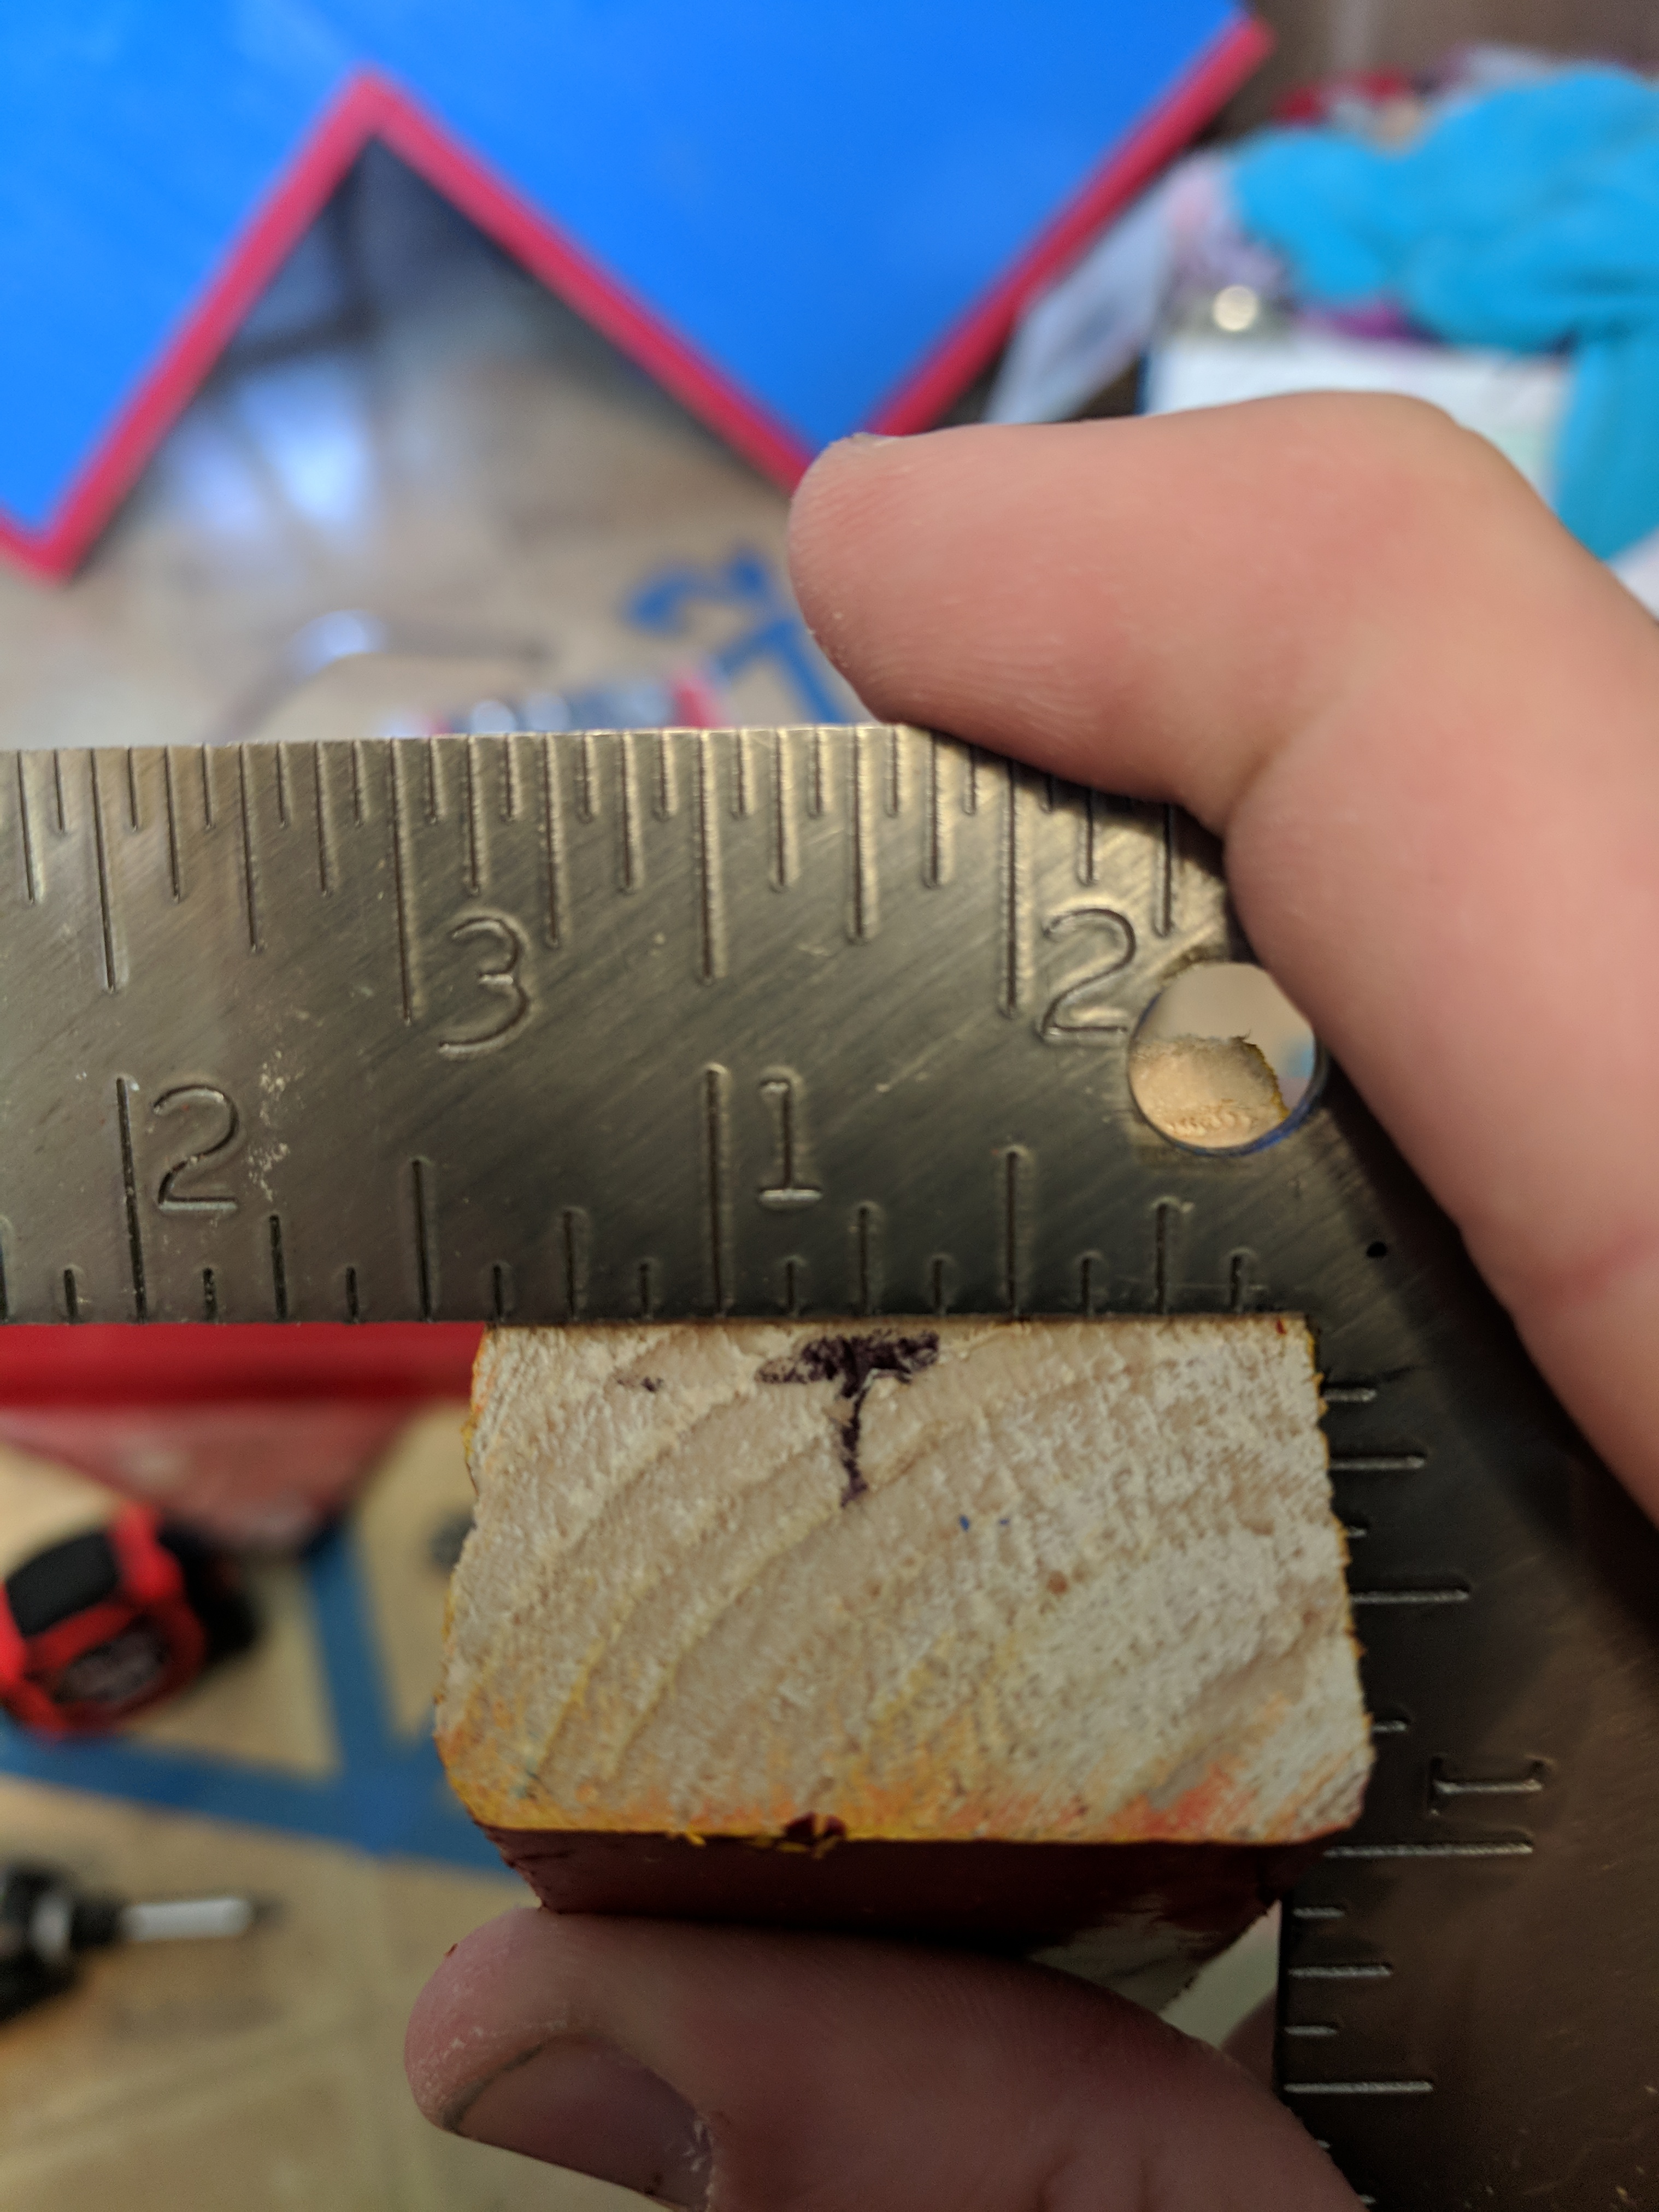
i knew starting i was going to use a 15in x 15in lego plate be my center I decided I would do a L or a V shape to fit in the corner I had picked out for the lego space so I went with a 30in x 30in so it would all be symmetrical. I had my lumber store cut my 72in x 16in piece of wood into 2 pieces 1 piece 15in x 15in and 1 30in x 15in after I used the 2in x 2in cut on my miter saw to frame up the bottom I found that numbering the pieces once I cut them made it easier later once I put it together. I also wanted to hide all the bottom pieces to make it look nicer I decided to try a bevel cut I am not at all familiar with them enough to teach and mine turned out less than satisfactory so I will spare you of my instructions just 45° angle cuts do your best I will show you my fix which for my purposes did great. In my design I only put the 3in board around the front sides I planned to put it against a corner so for me the back wasnt necessary
Framing Top & Painting It
.jpg)
.jpg)
.jpg)
.jpg)
.jpg)
.jpg)
.jpg)
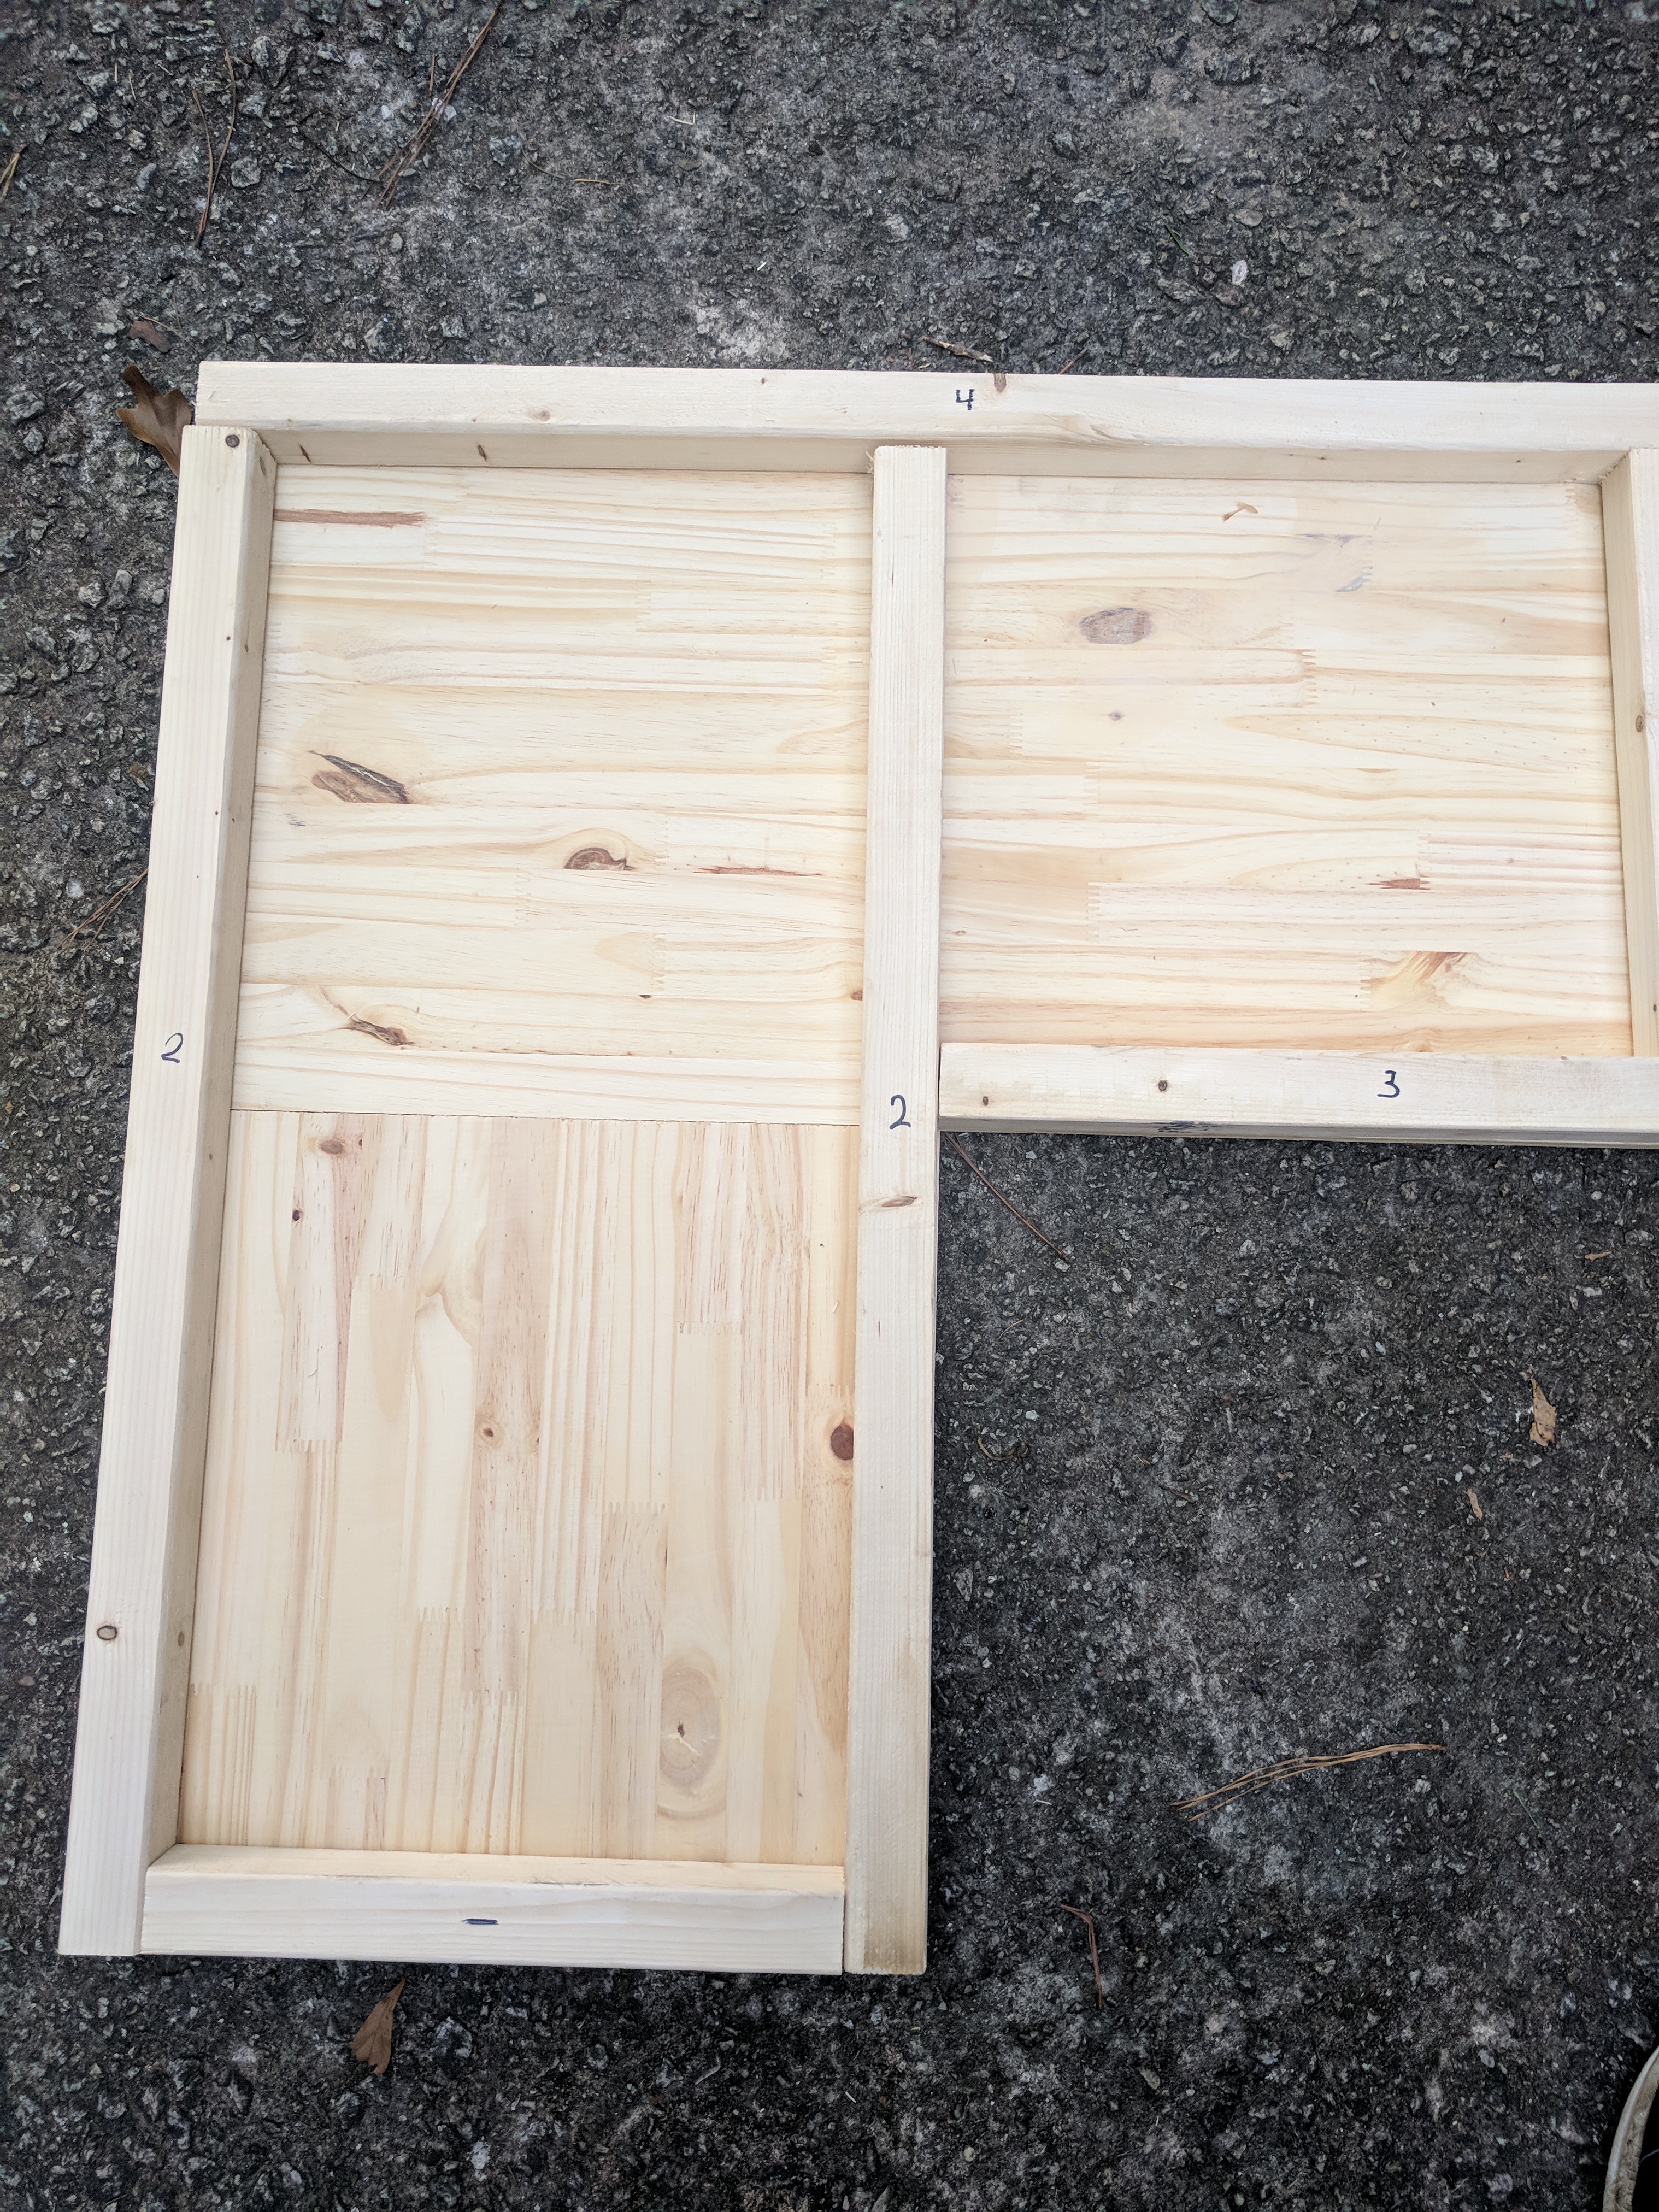
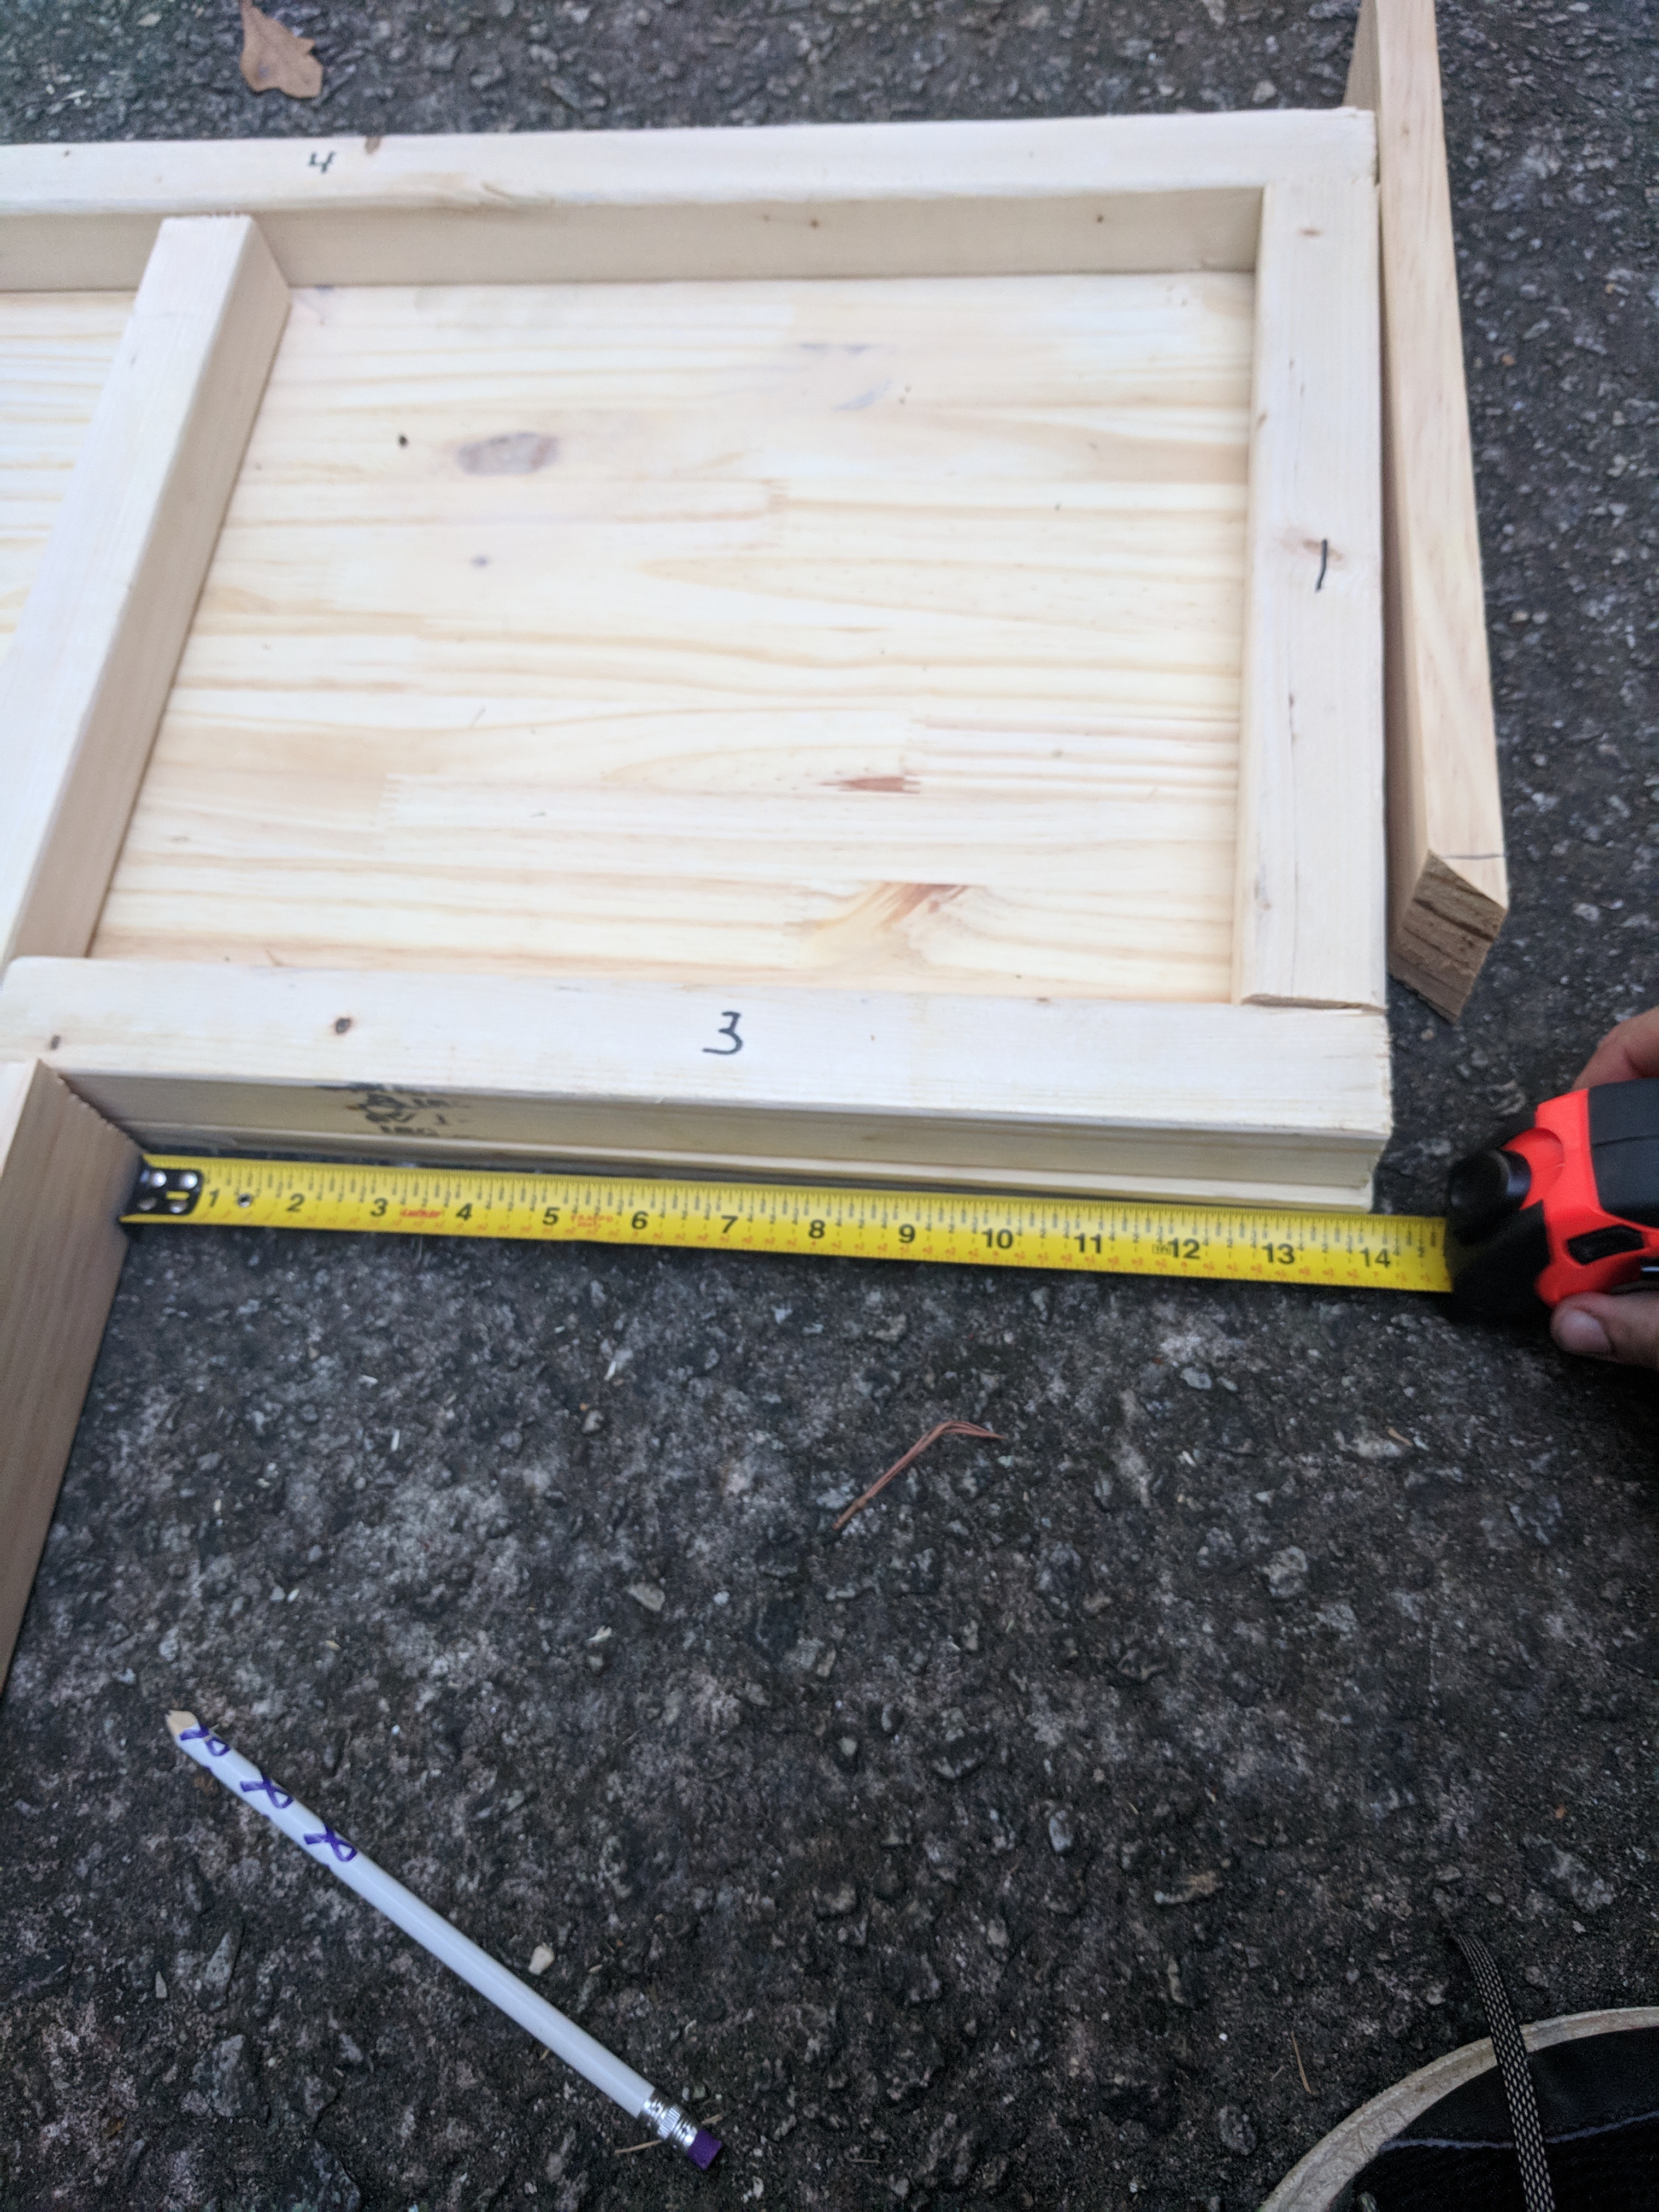
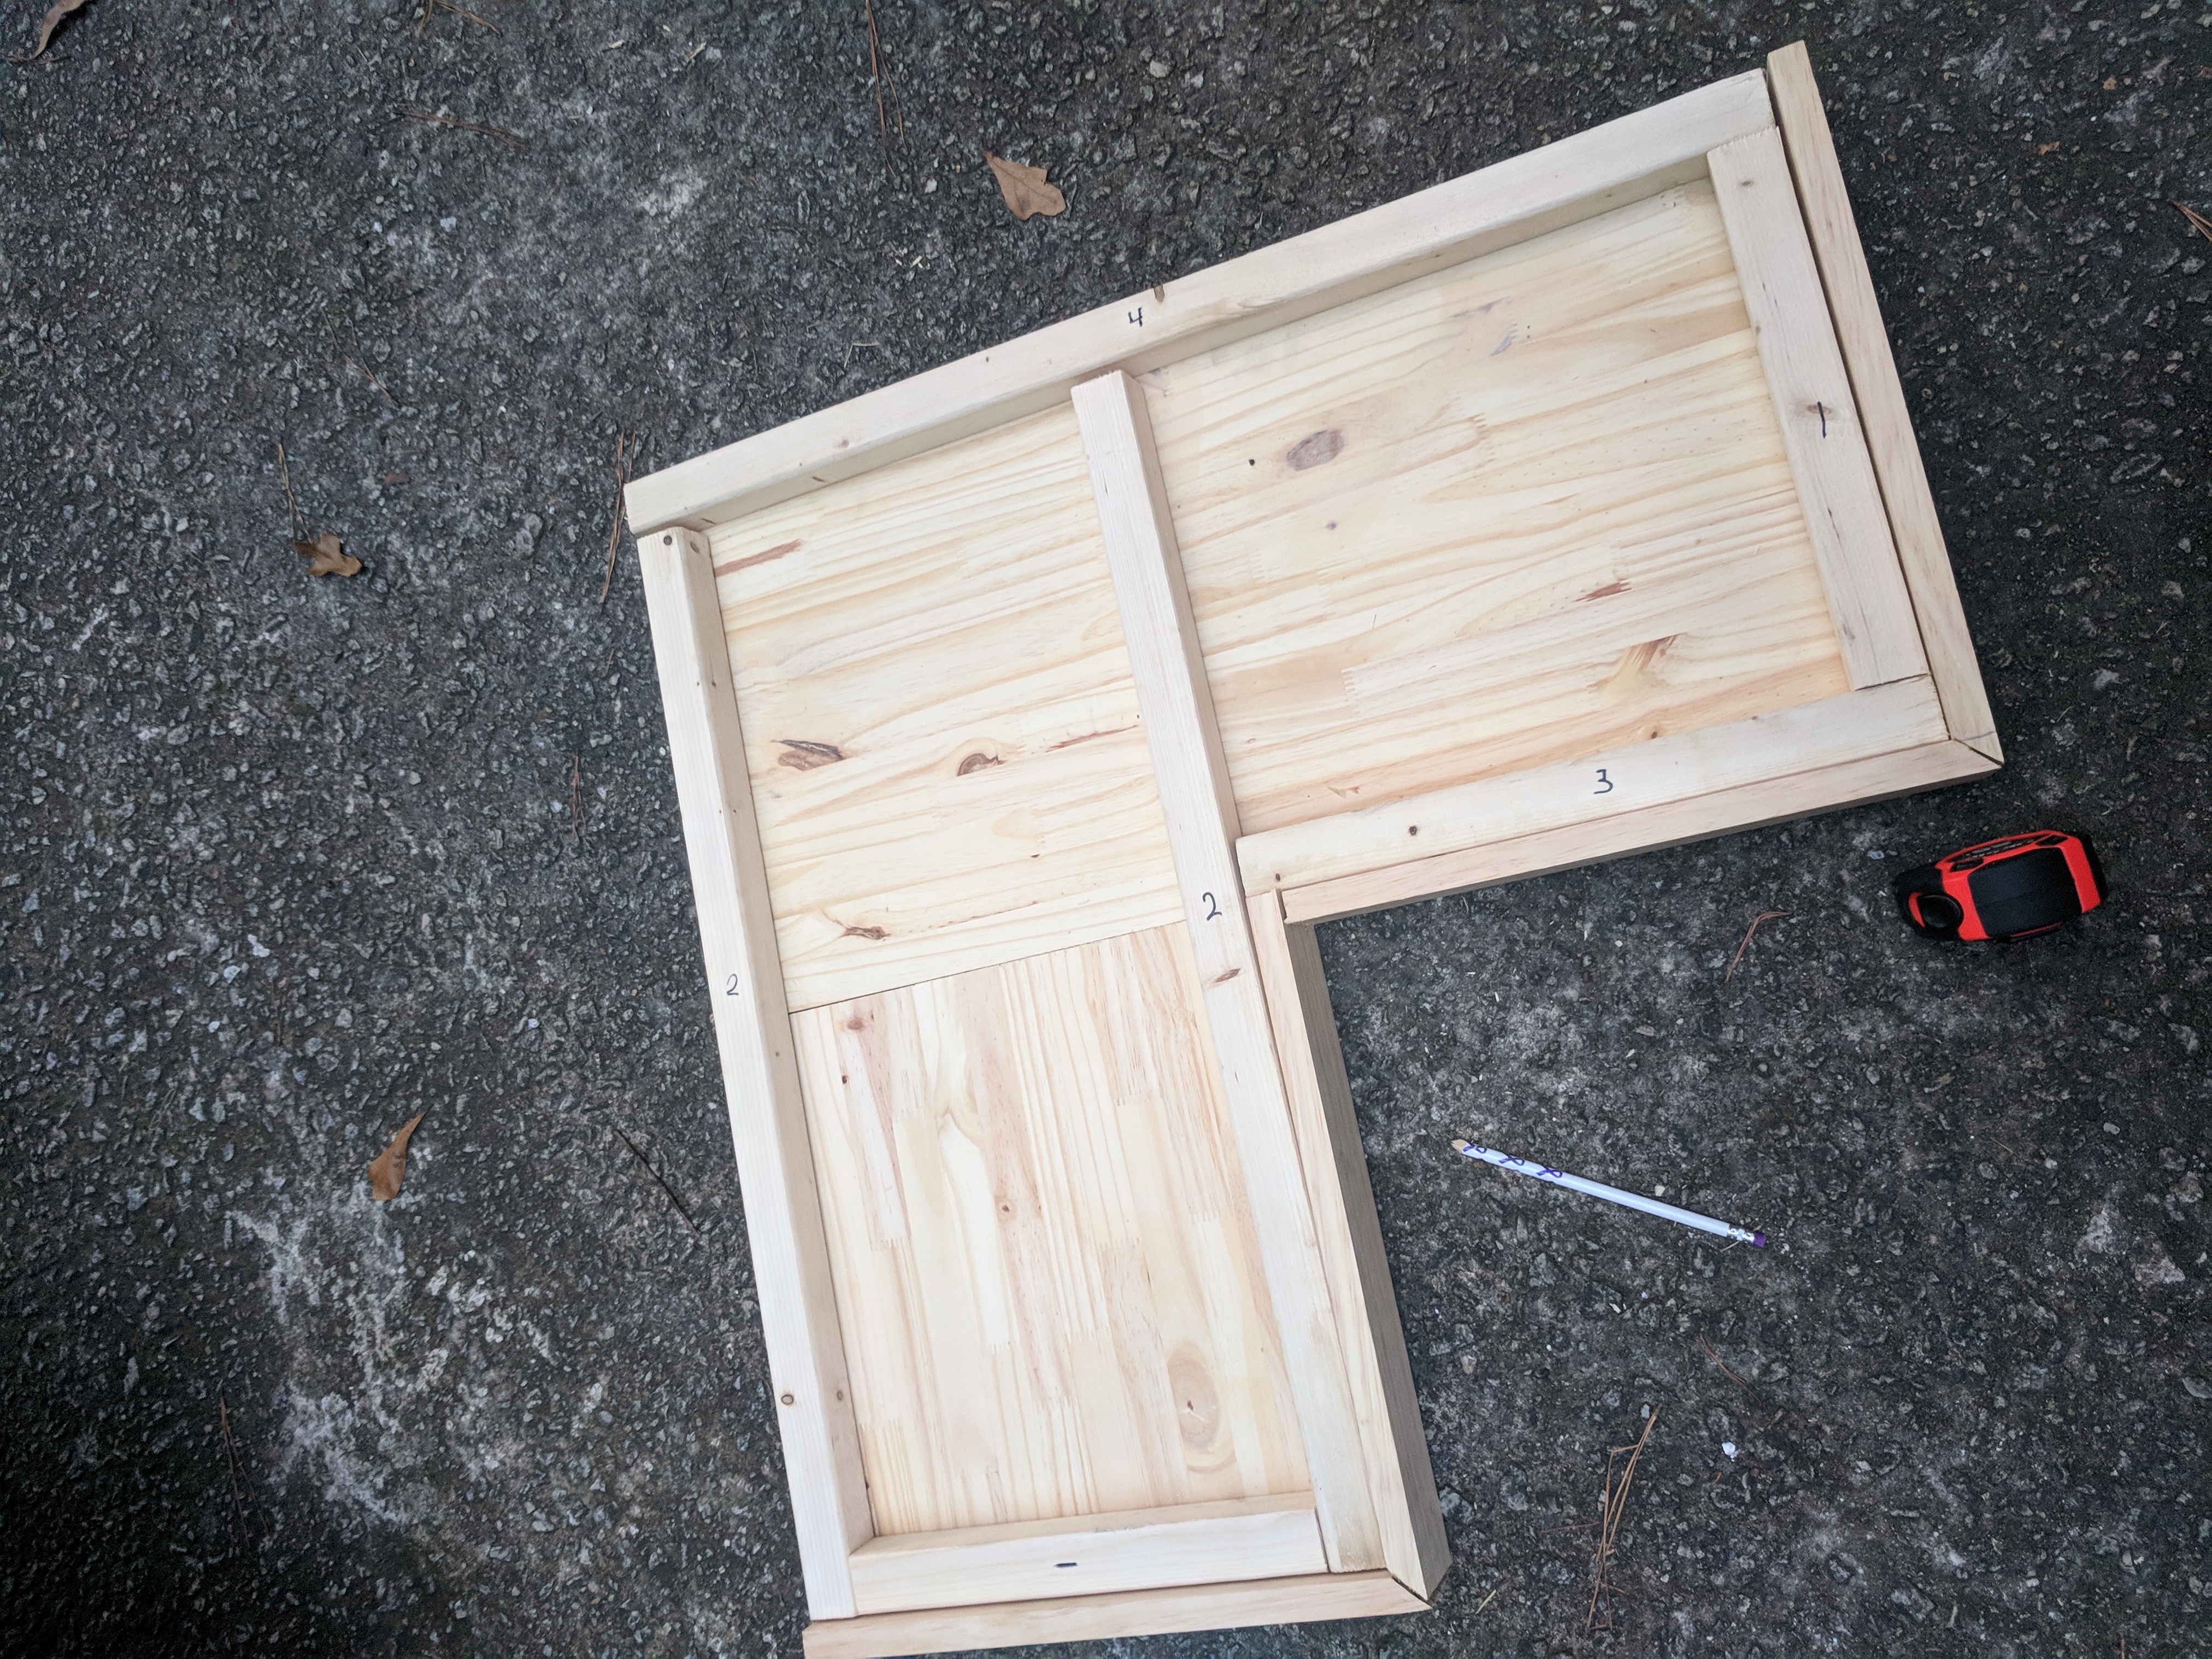
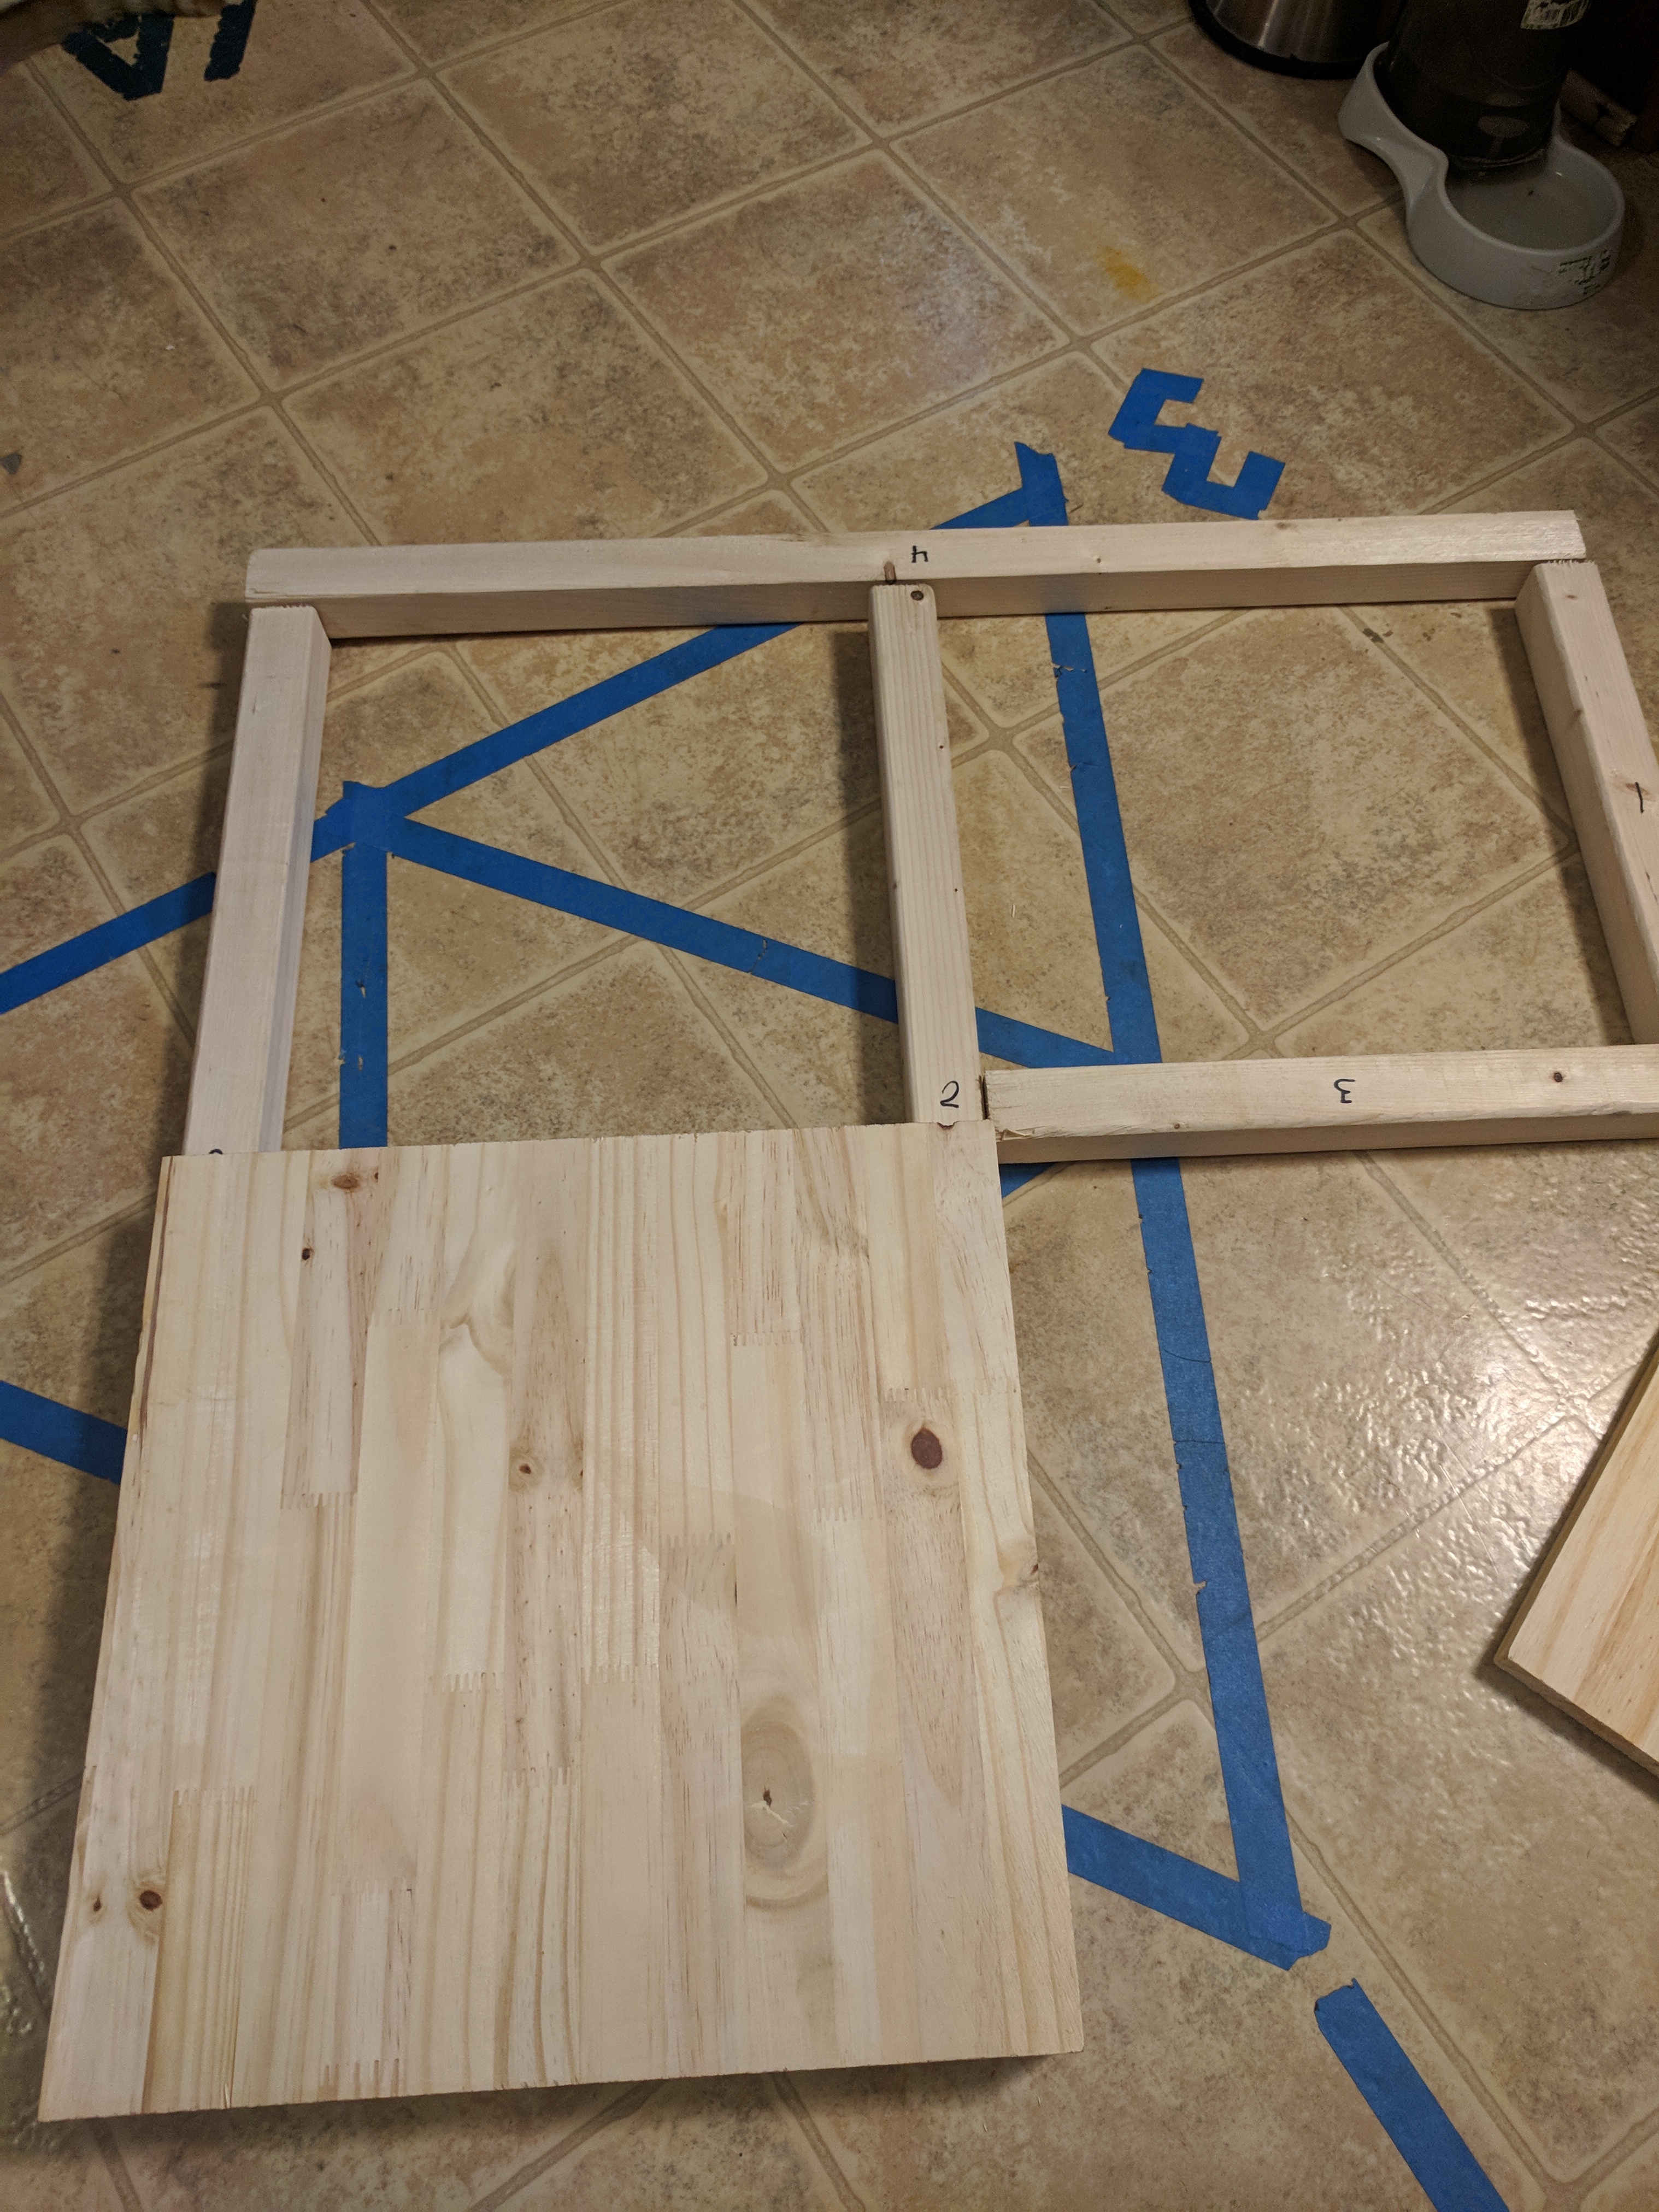
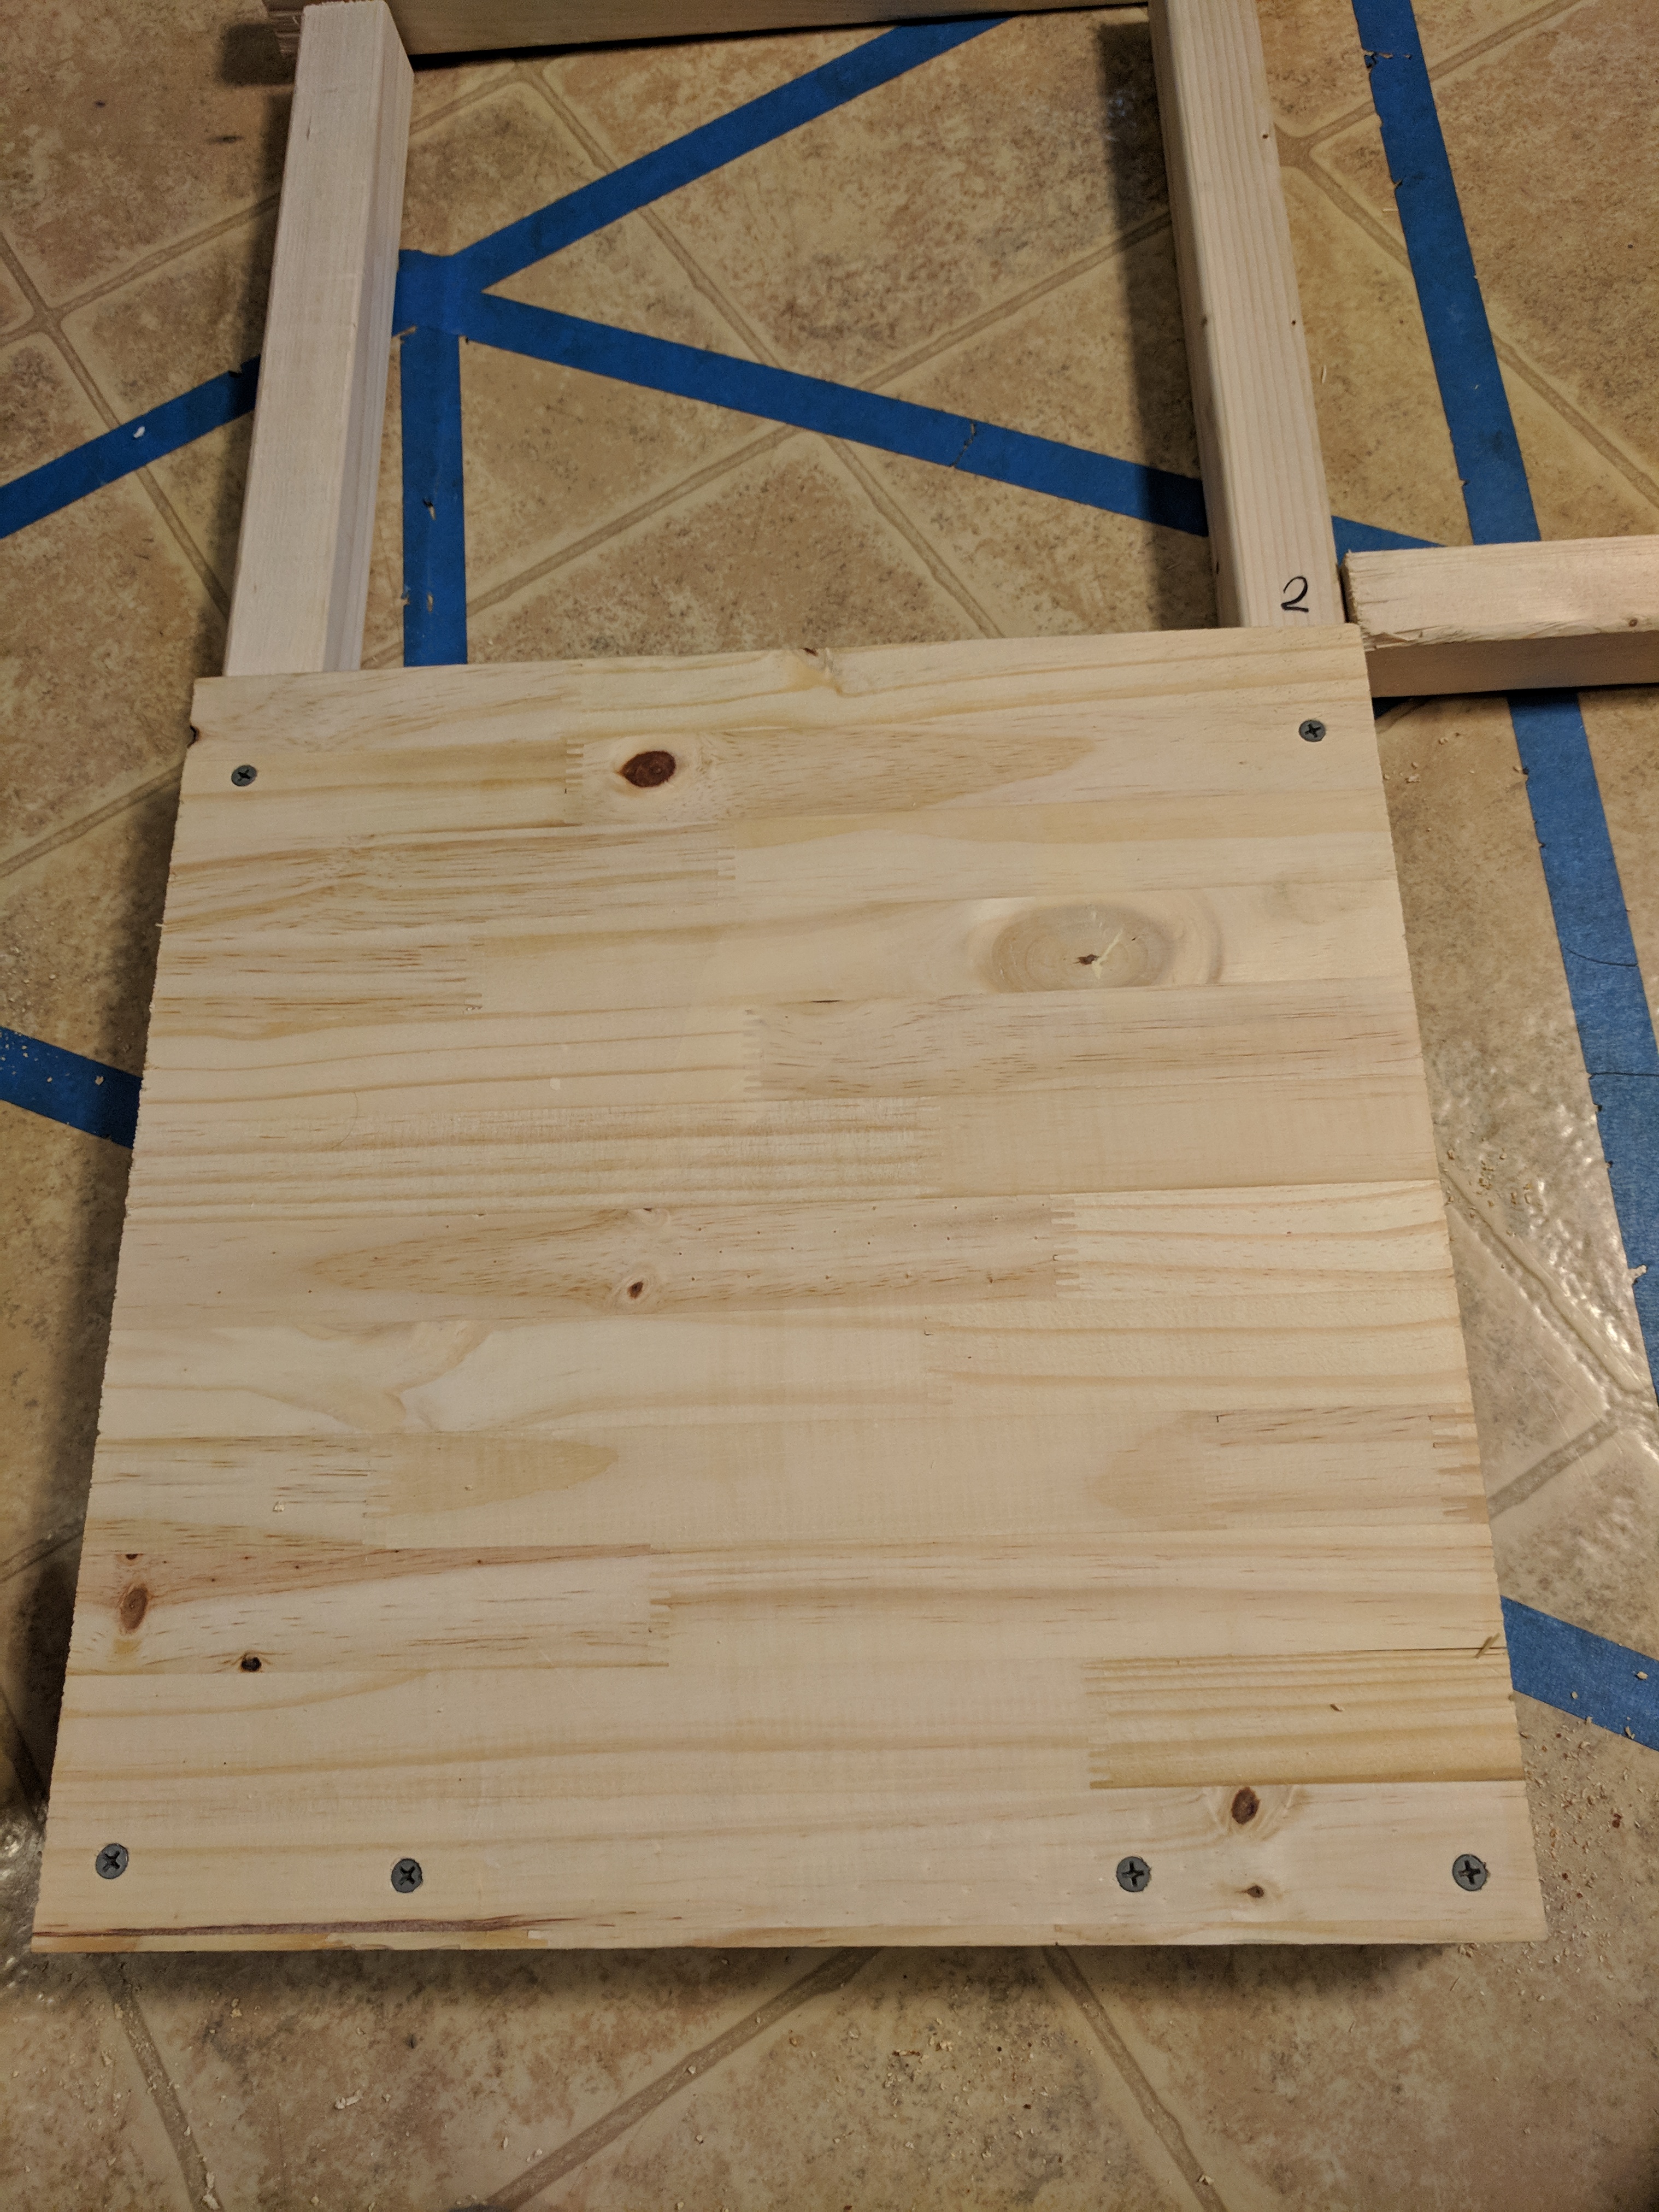
So with my frame I had 3 30in 2in x 2in and 2 15in pieces (give or take I didnt take all the measurements I just went off all the existing boards) for better support I put my 15in x 15in board on the 2 longer 2x2 each one I drilled a pilot hole for each screw. Note none of the 2x2s were screwed together just the tabletop boards to them.
And because Im impatient I decided to make sure the plates fit properly (do not glue them yet) and also that all the pieces worked together.
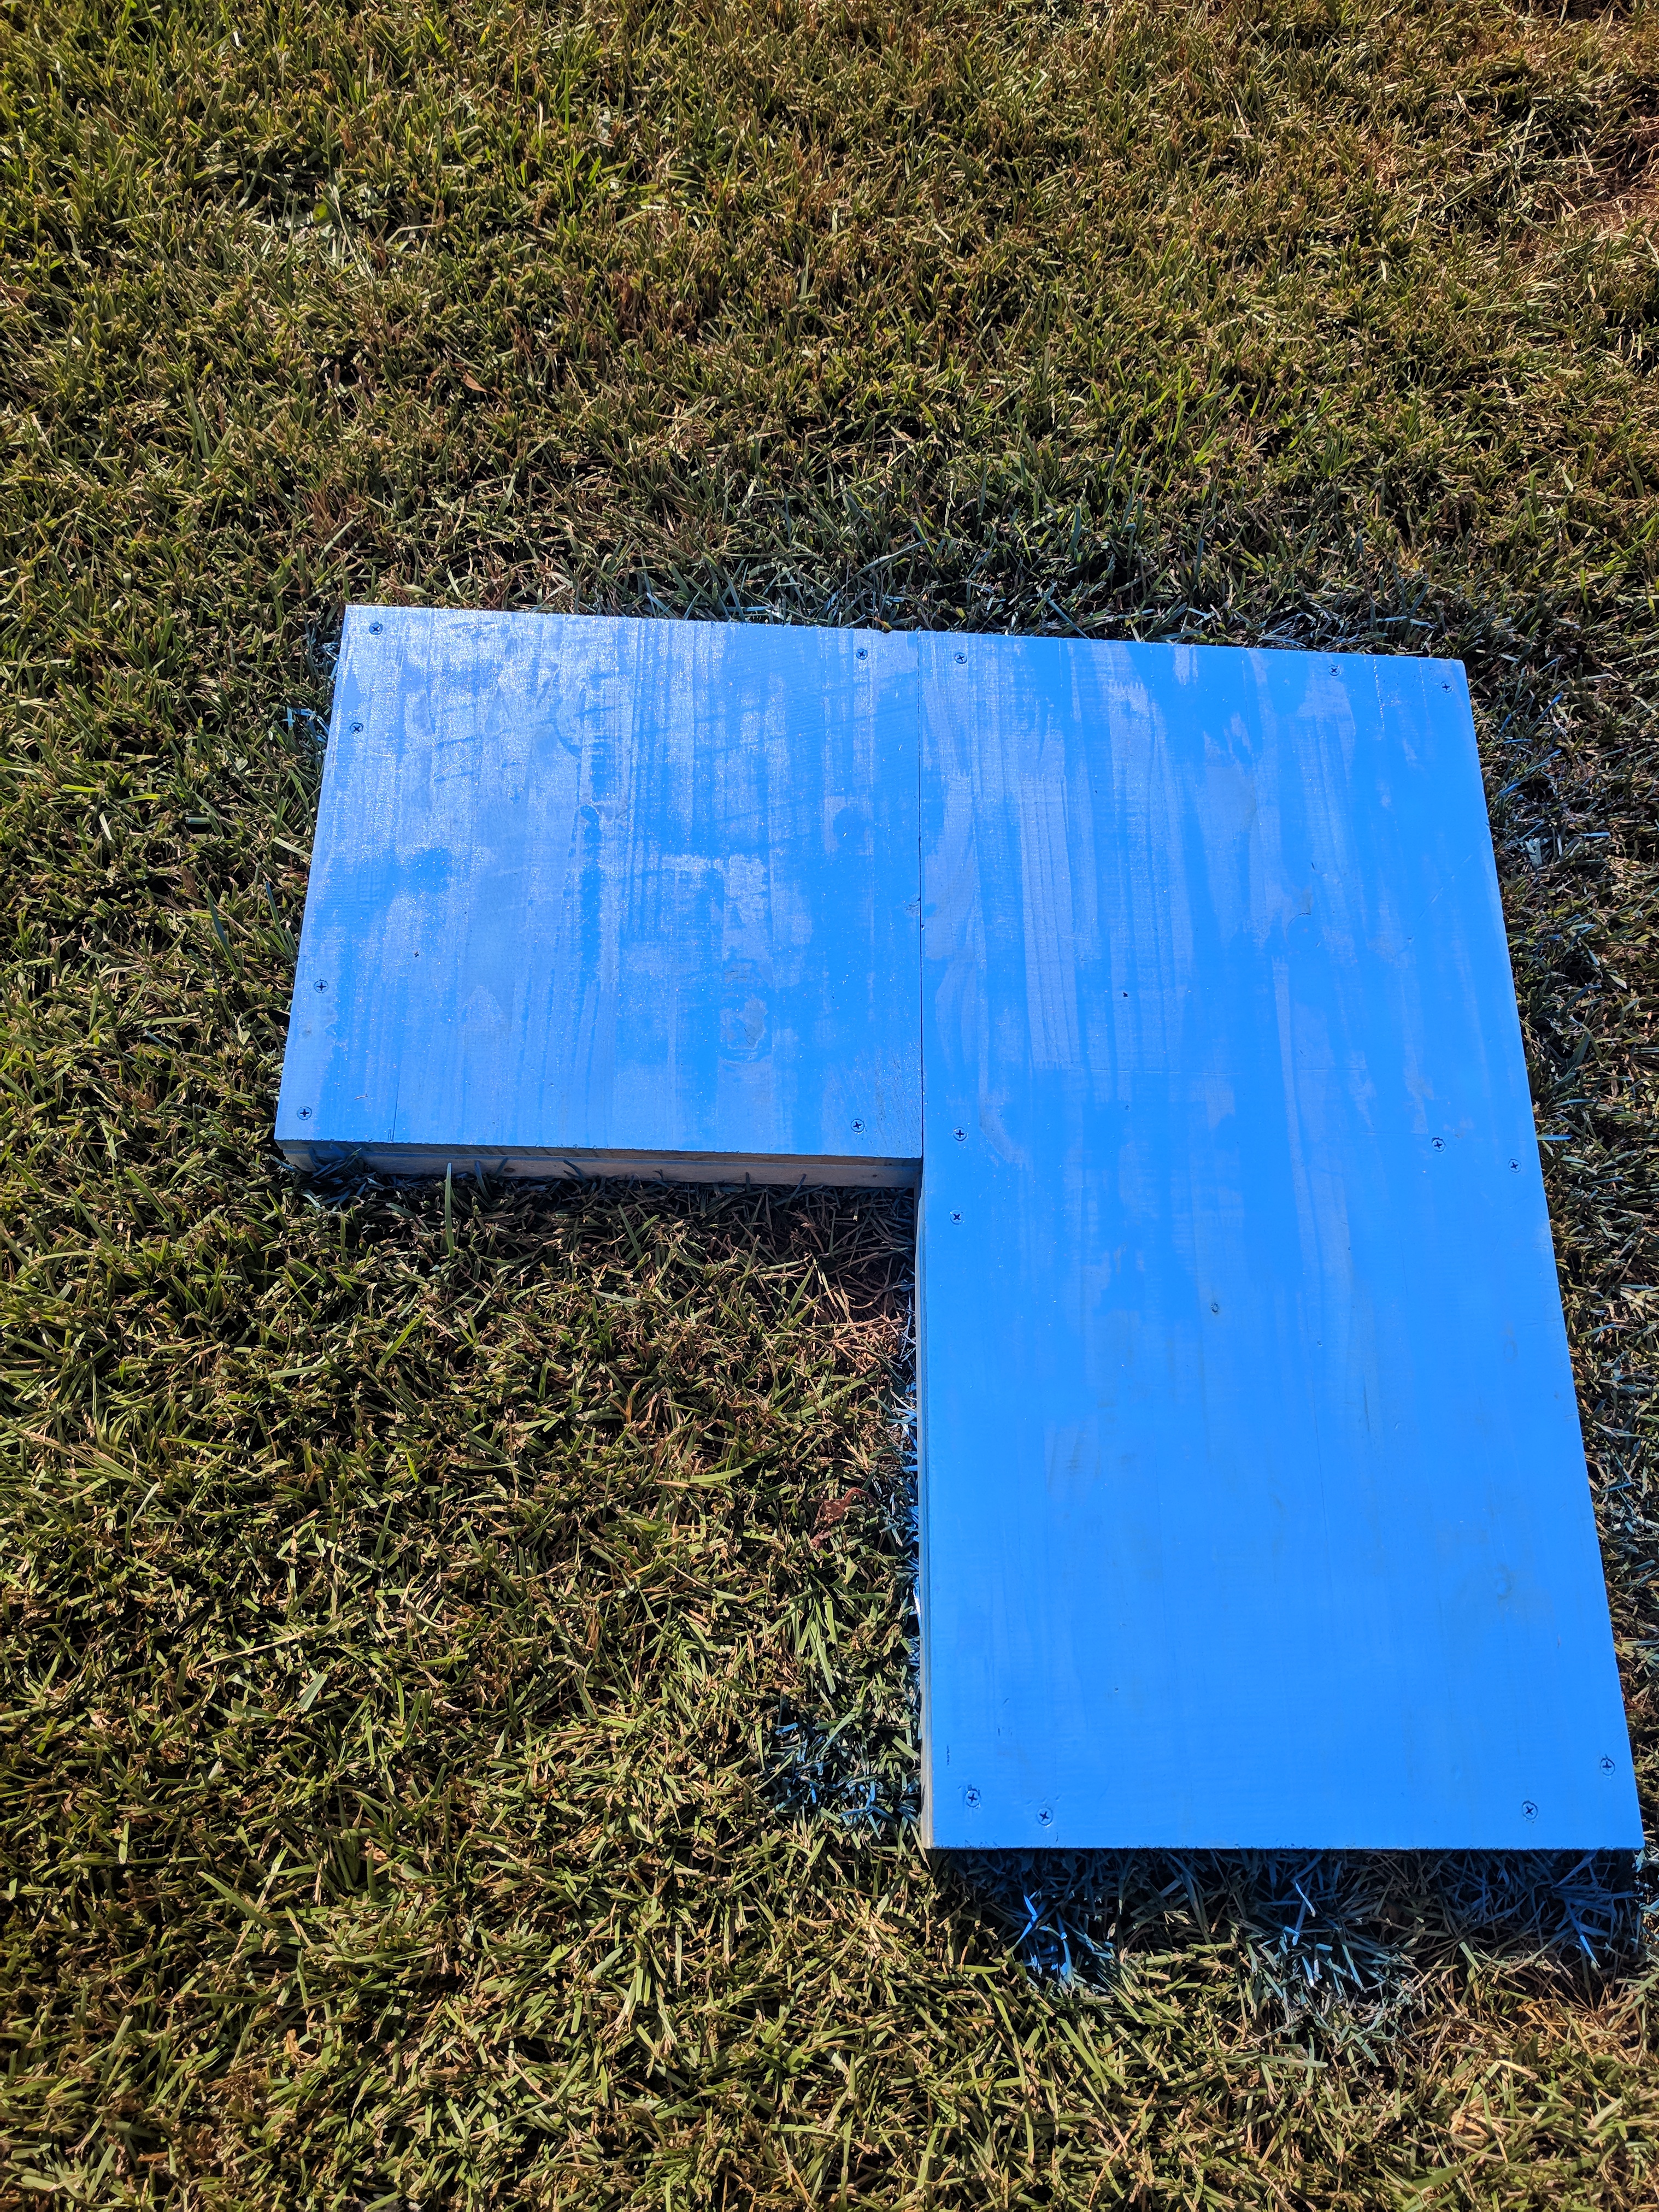
After i took it outside to sprat paint I figured an oil based paint would hold up better to ware and tear then a latex paint (that and I already had blue spray paint and it saved on cost)
Front Plate
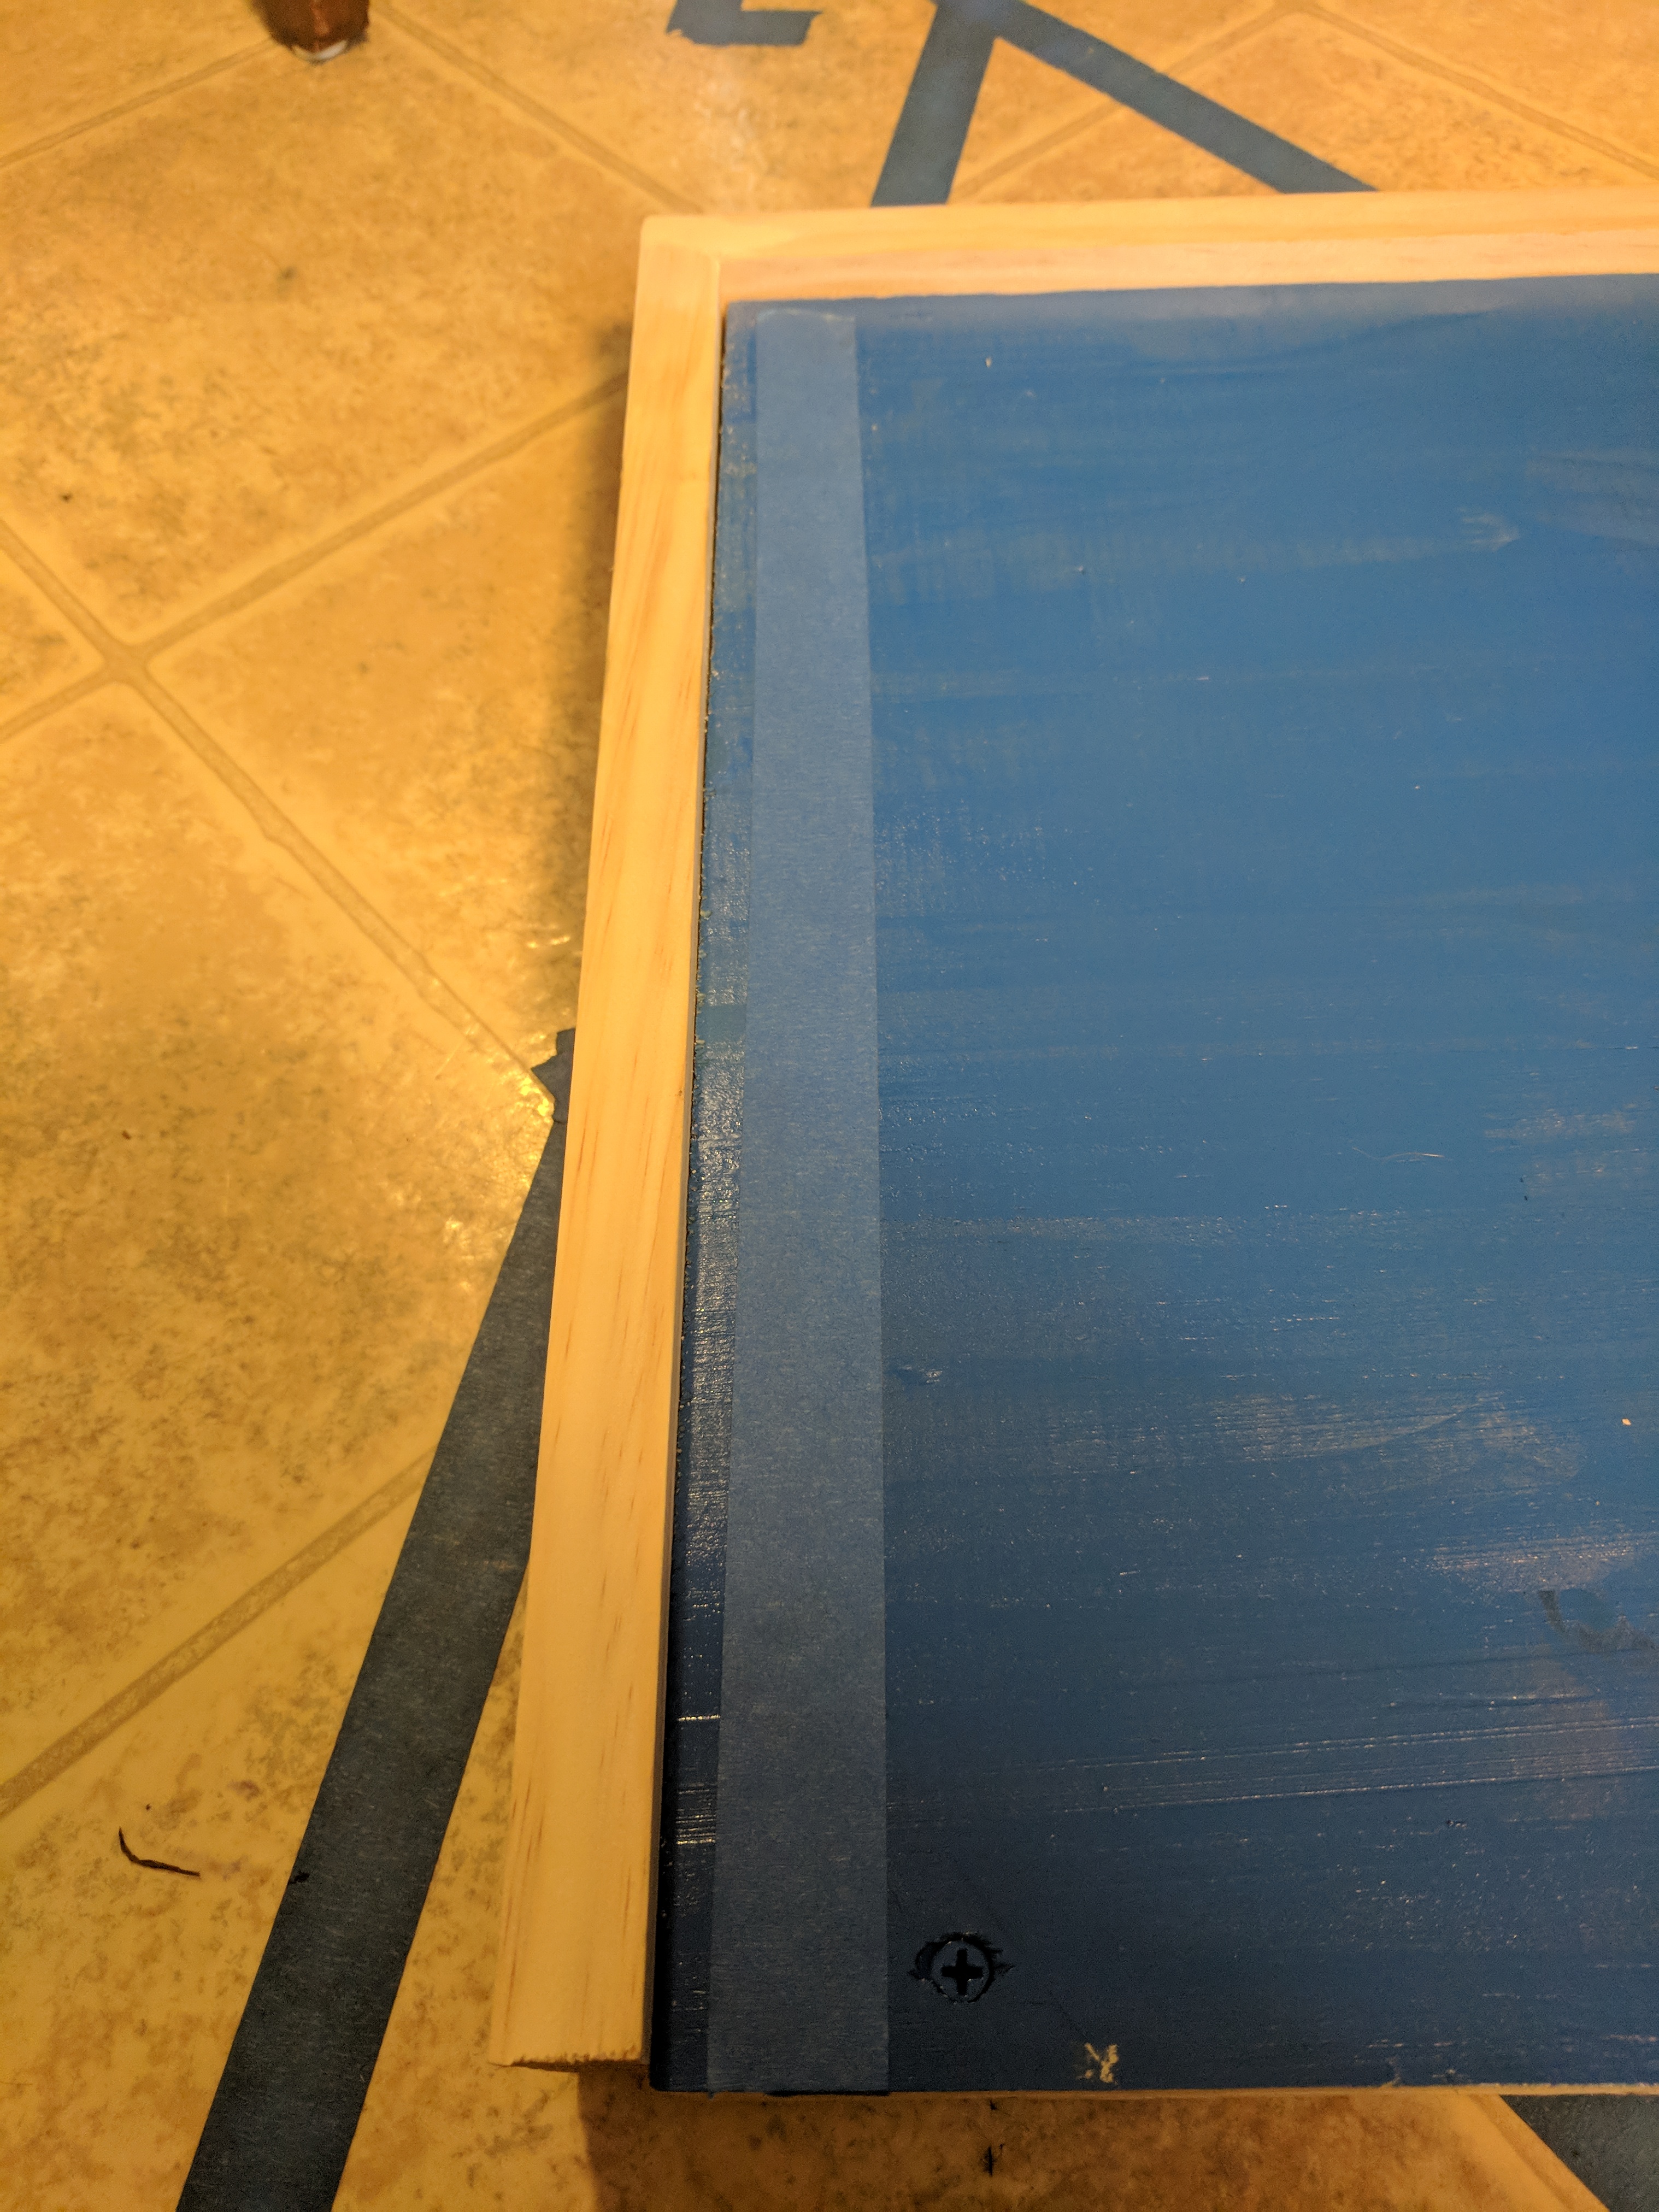
My thickness thus far was about 2 3/4in so with my 3in front plate I will have a 1/4in lip all around the top. I first laid out my front plates to make sure I attached them permanently in the best fit. Using my square I made sure they will line up straight, I also wanted to make sure the screws went in the 2x2 so I made a mark prior to making my pilot holes. I didnt want screws taking away from the front appearance so when I put them in i put them in a bit further than I normally would (which I fix in the next step)
Touch-up
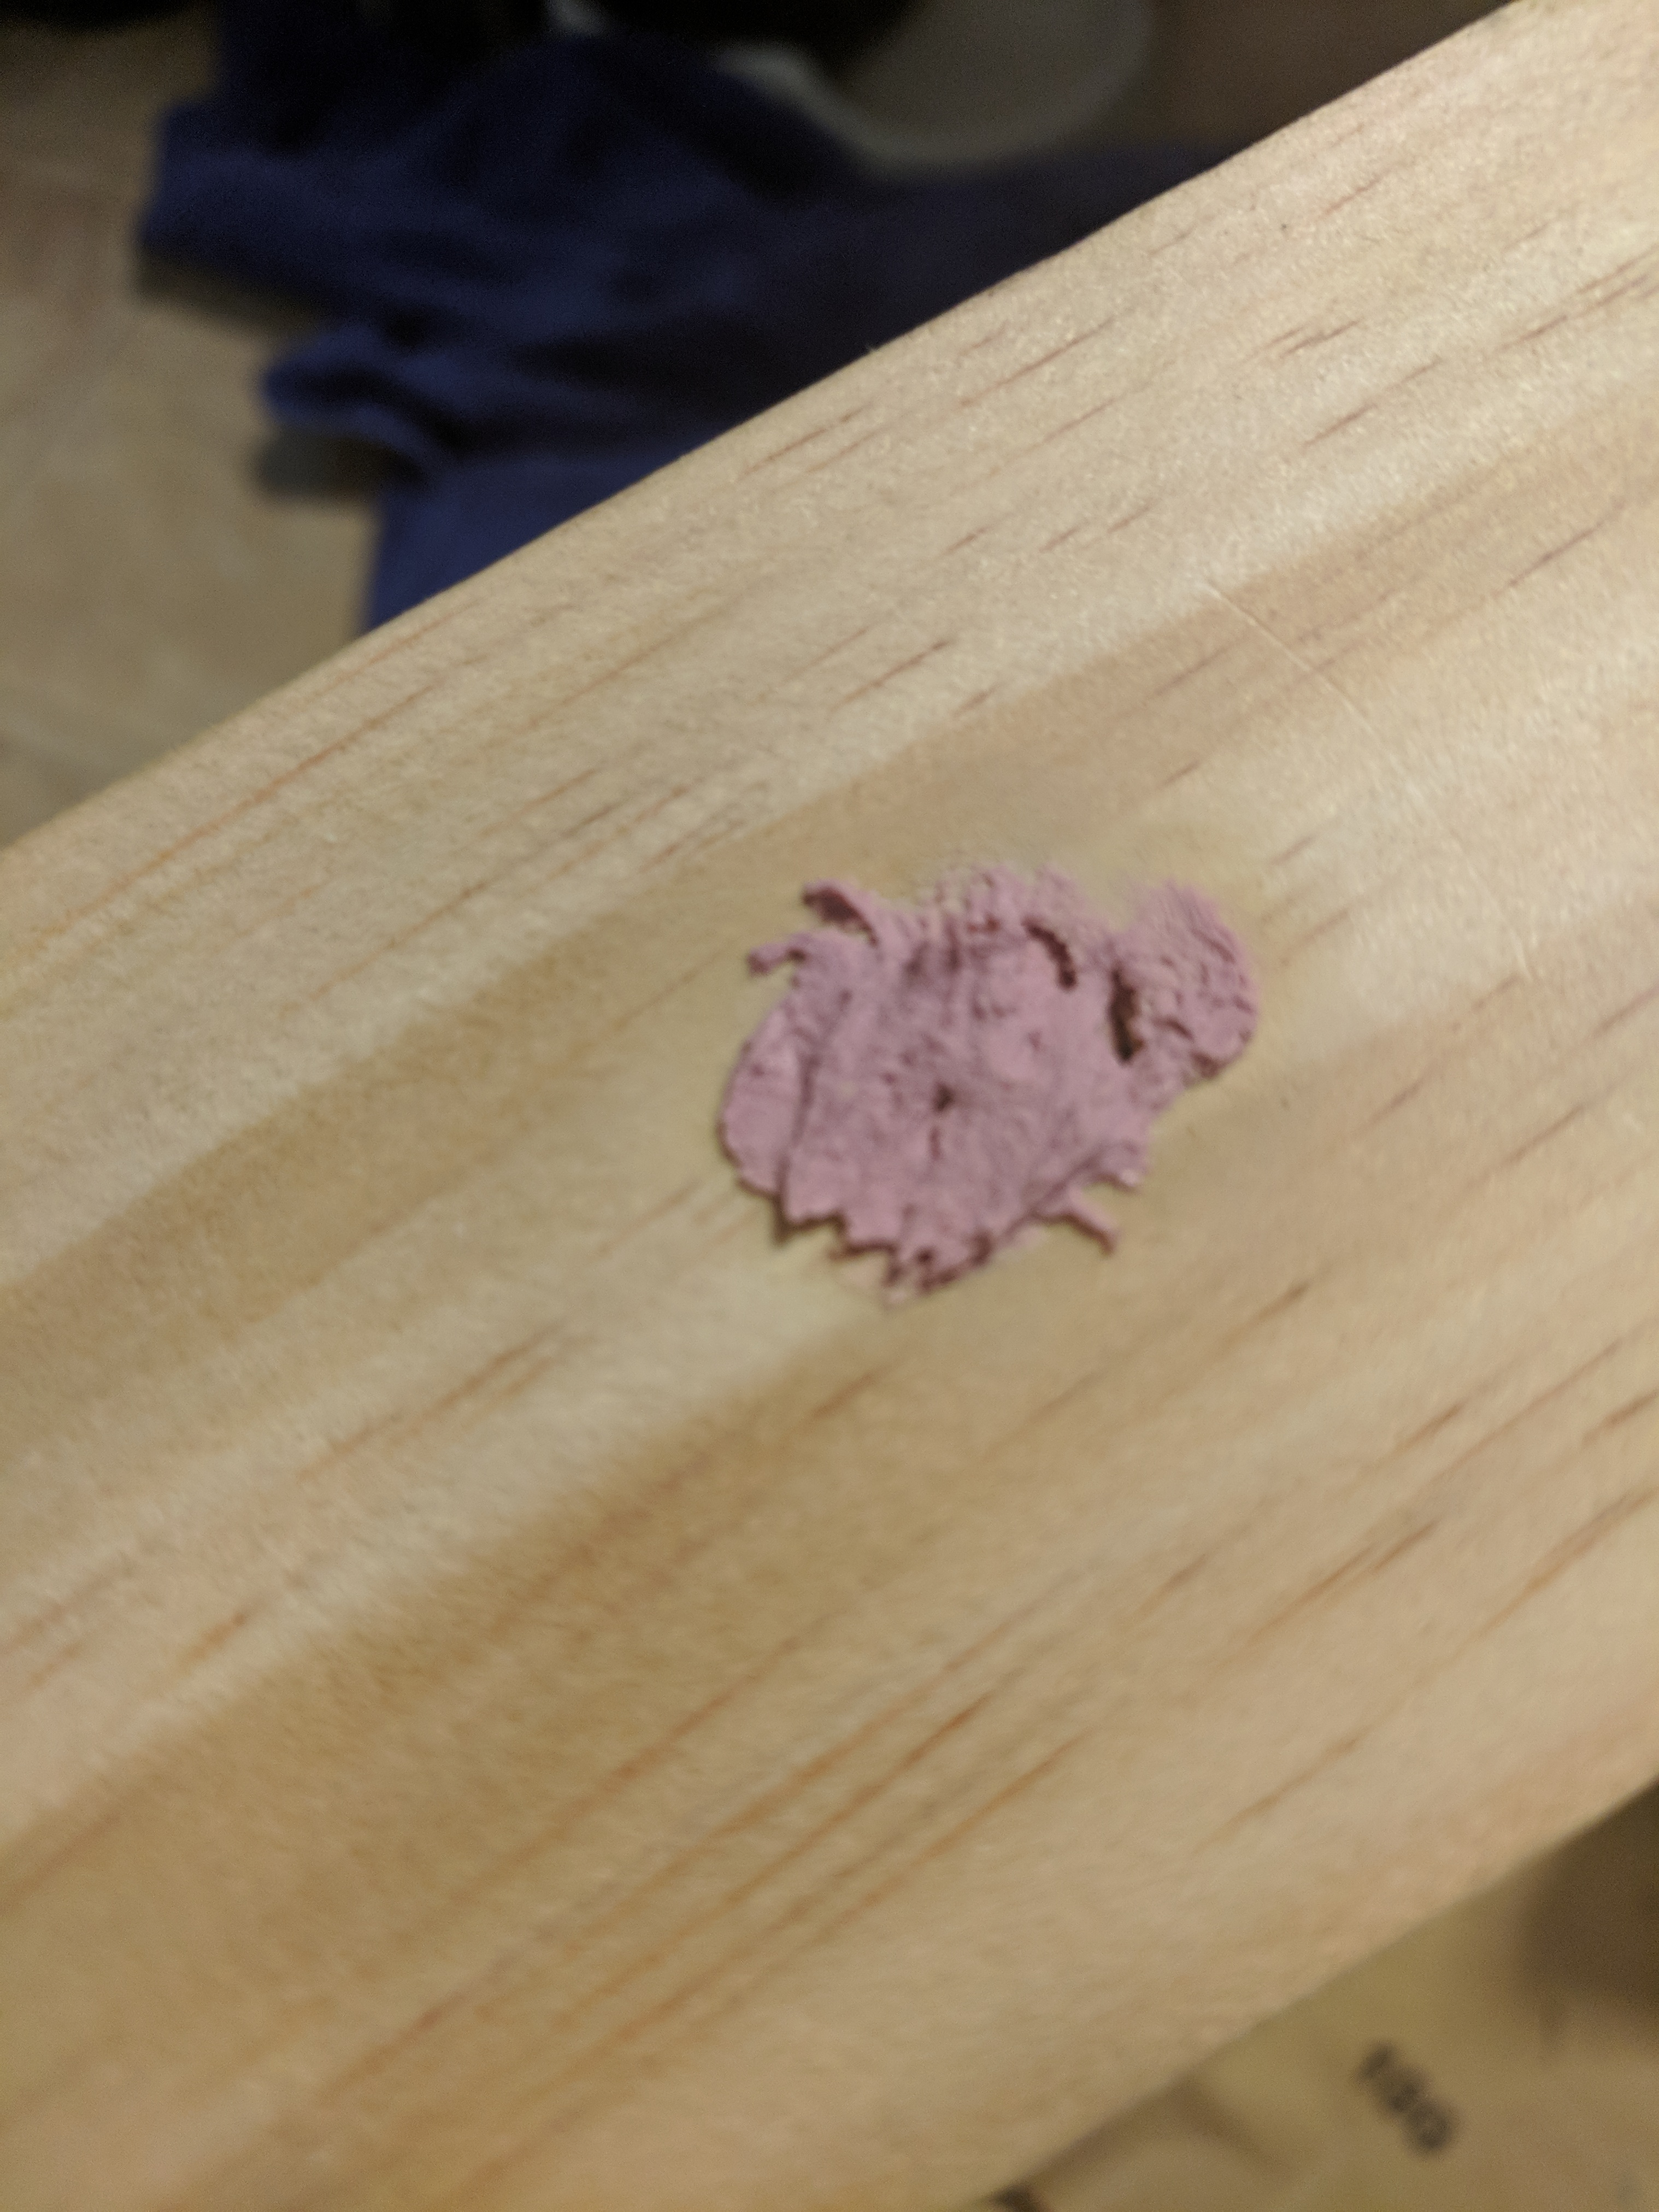
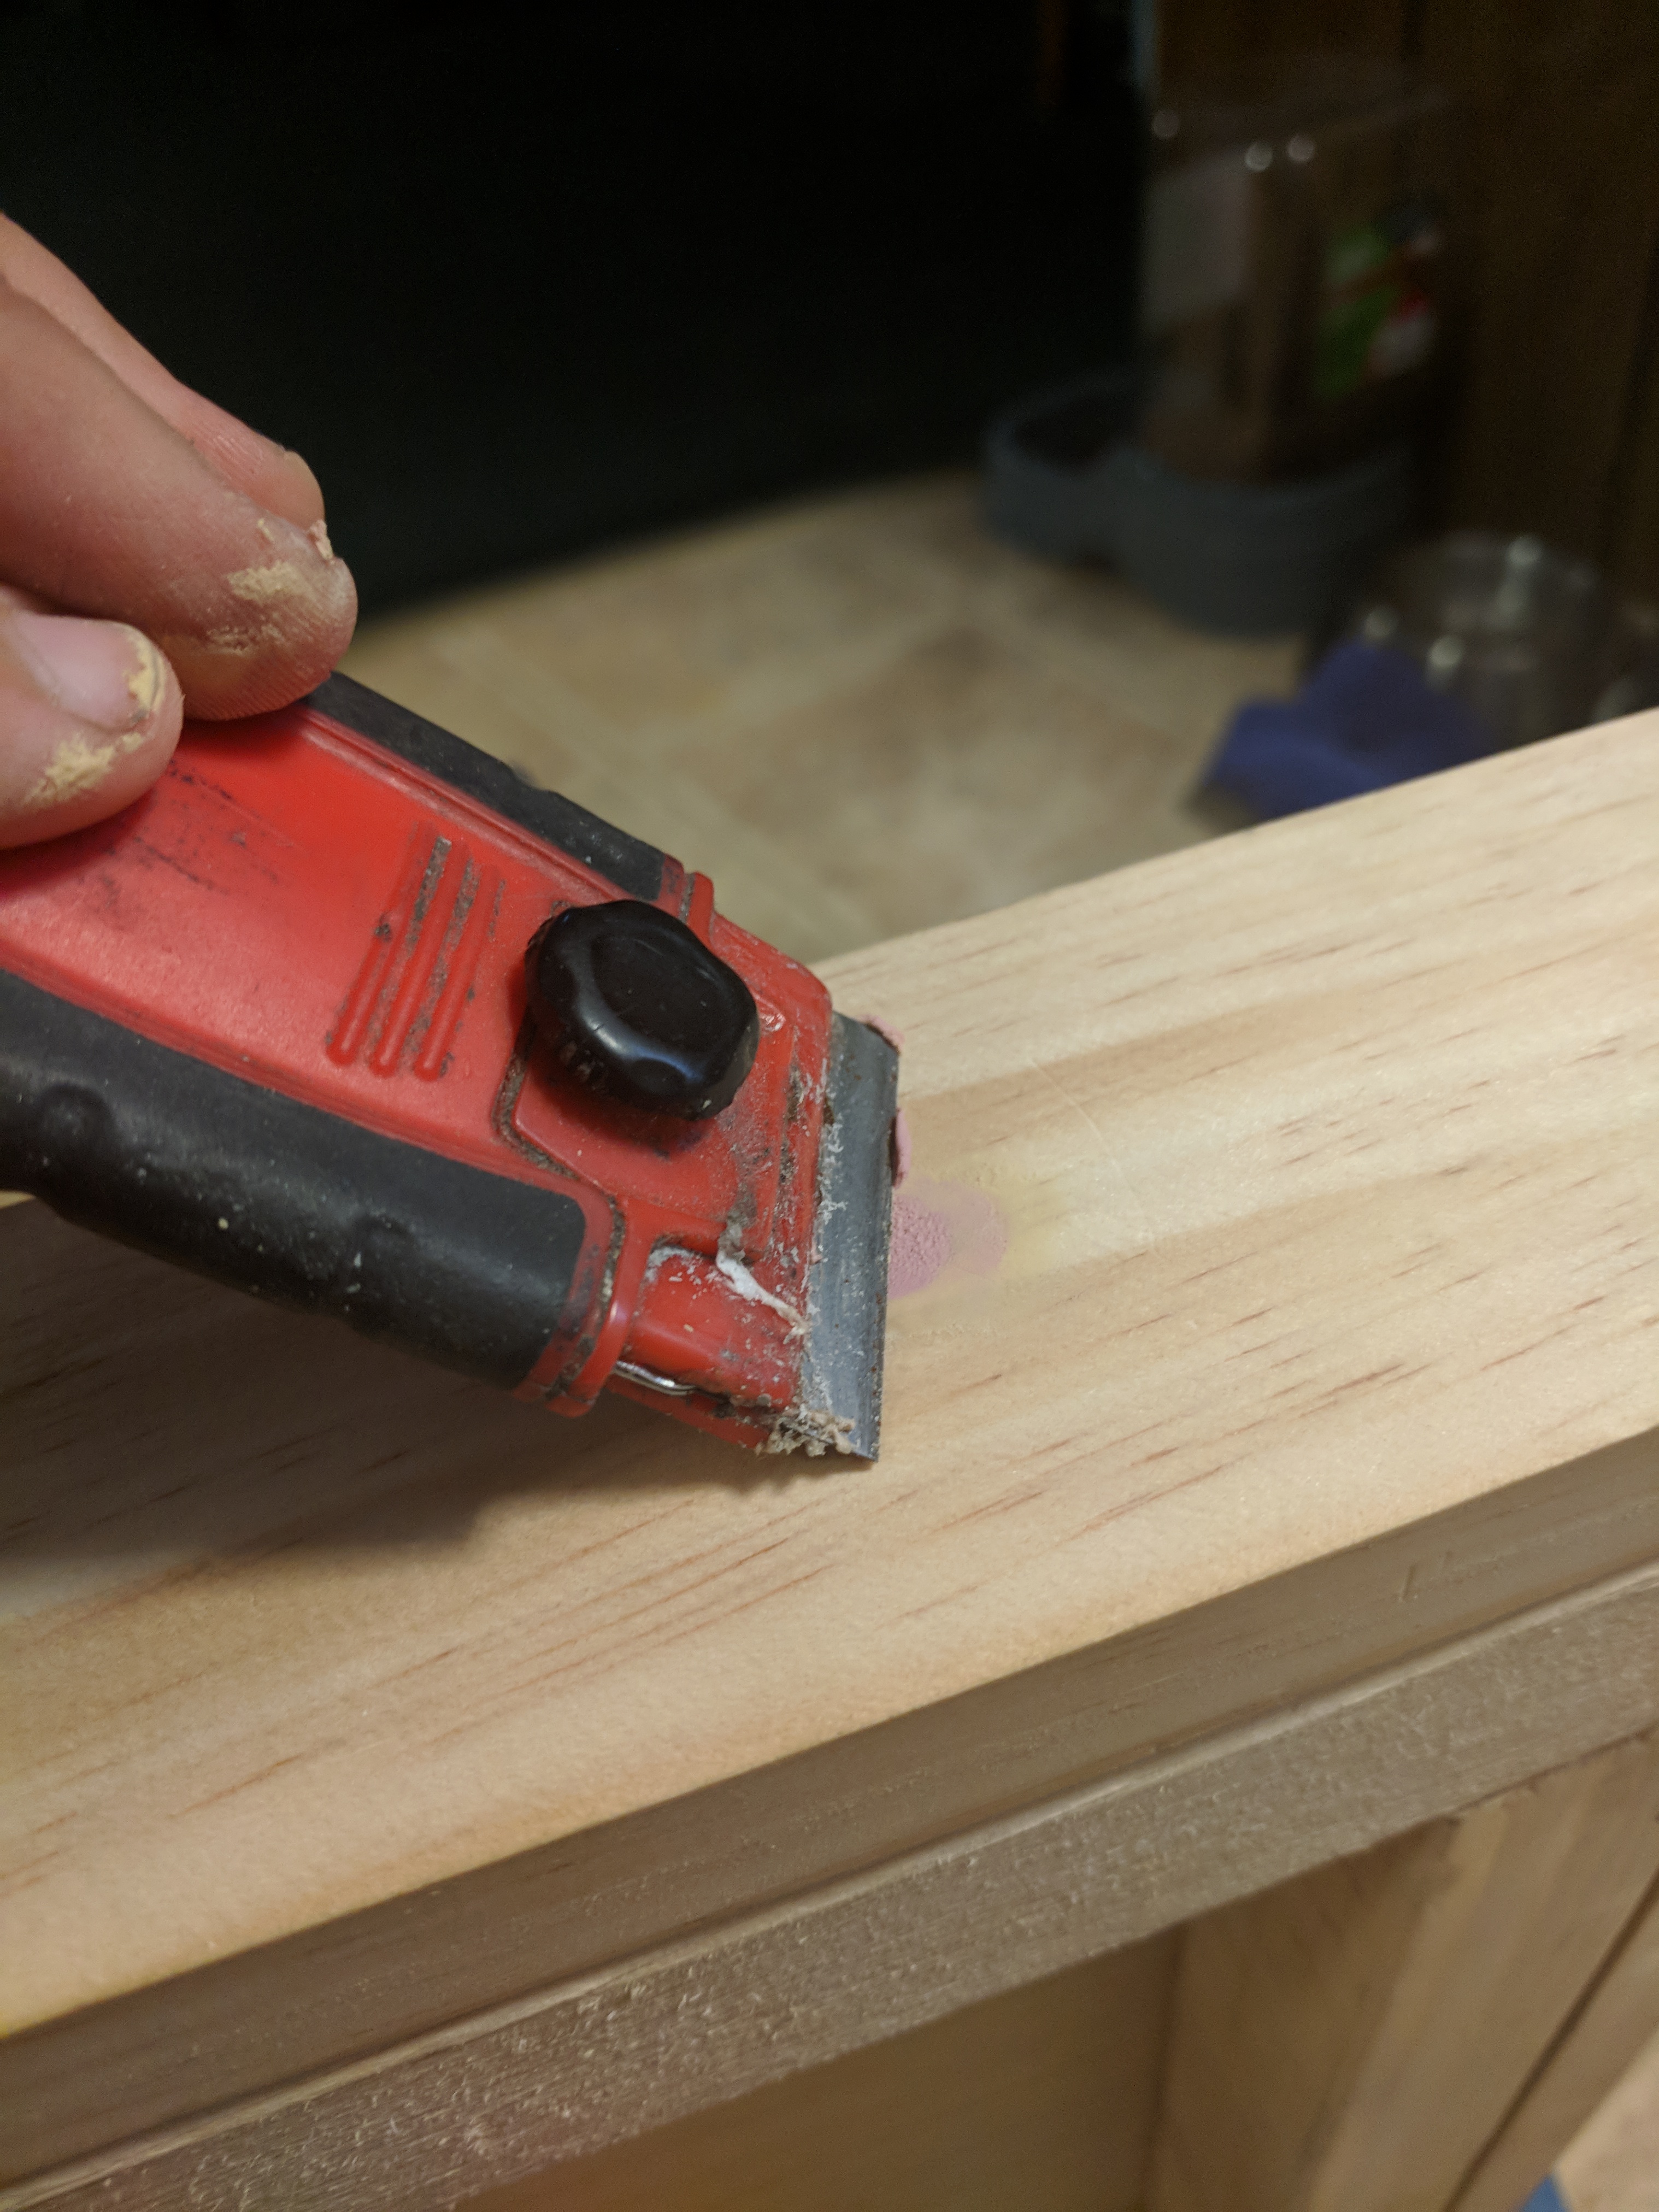
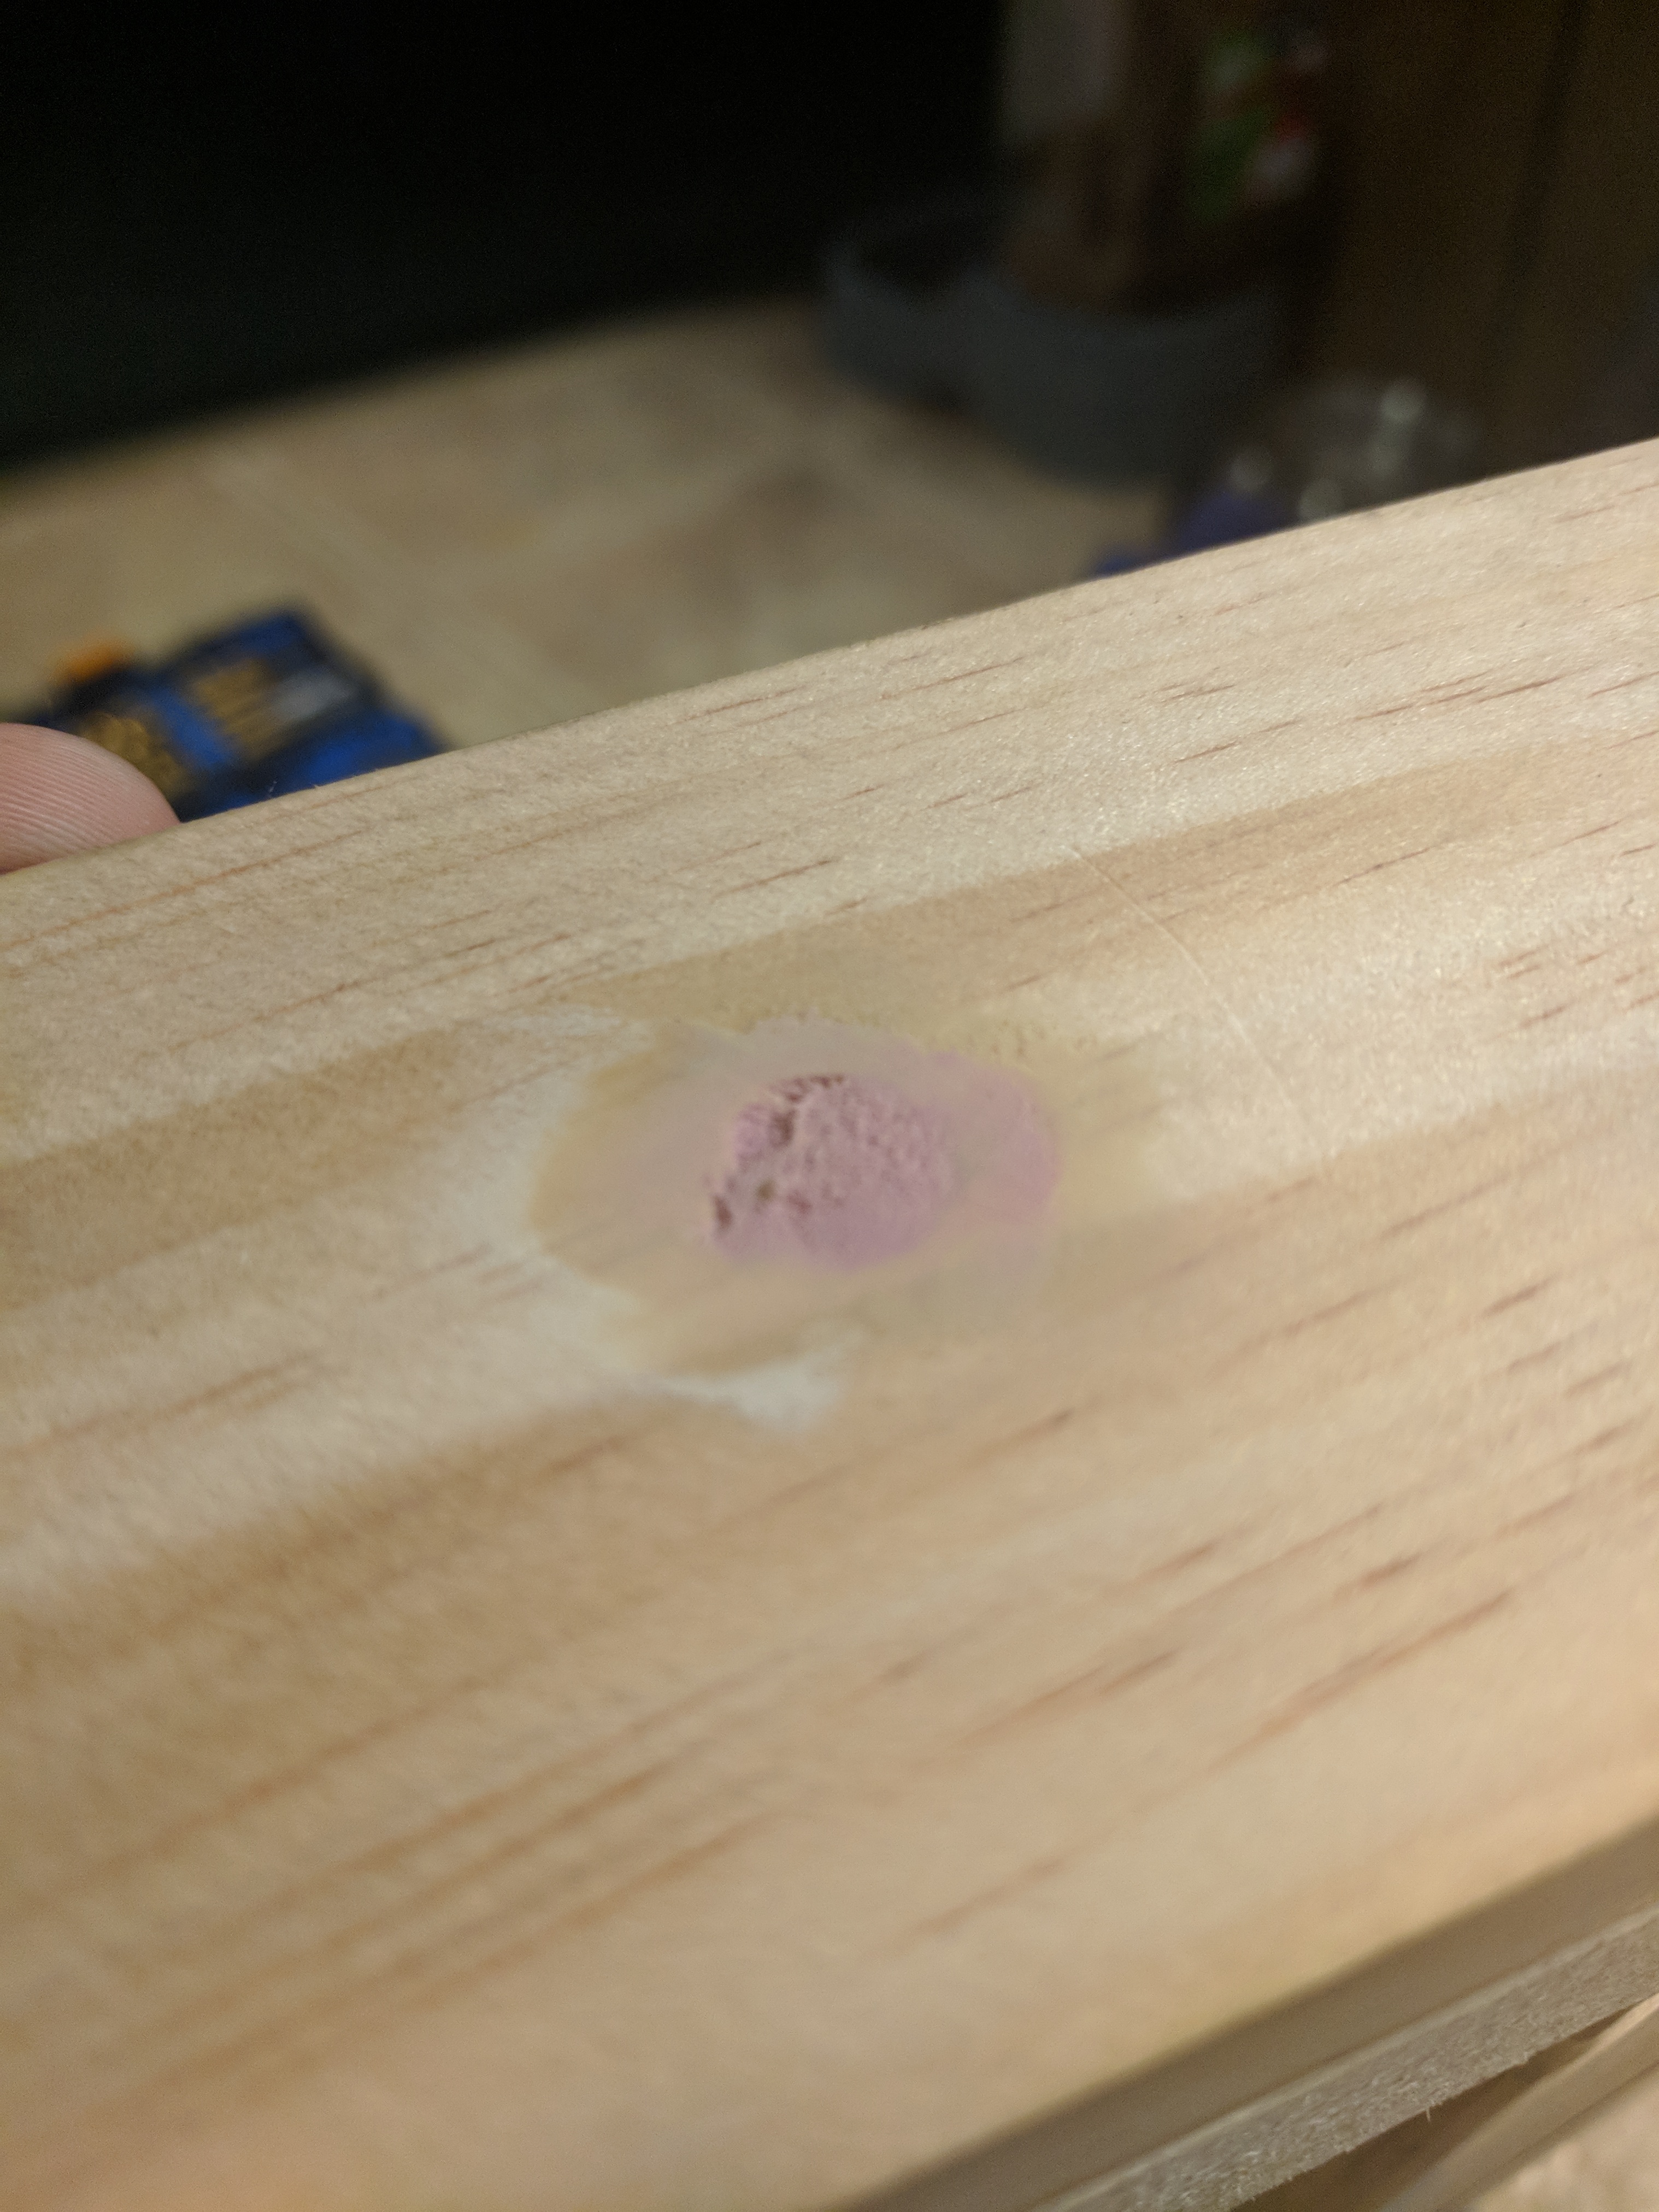
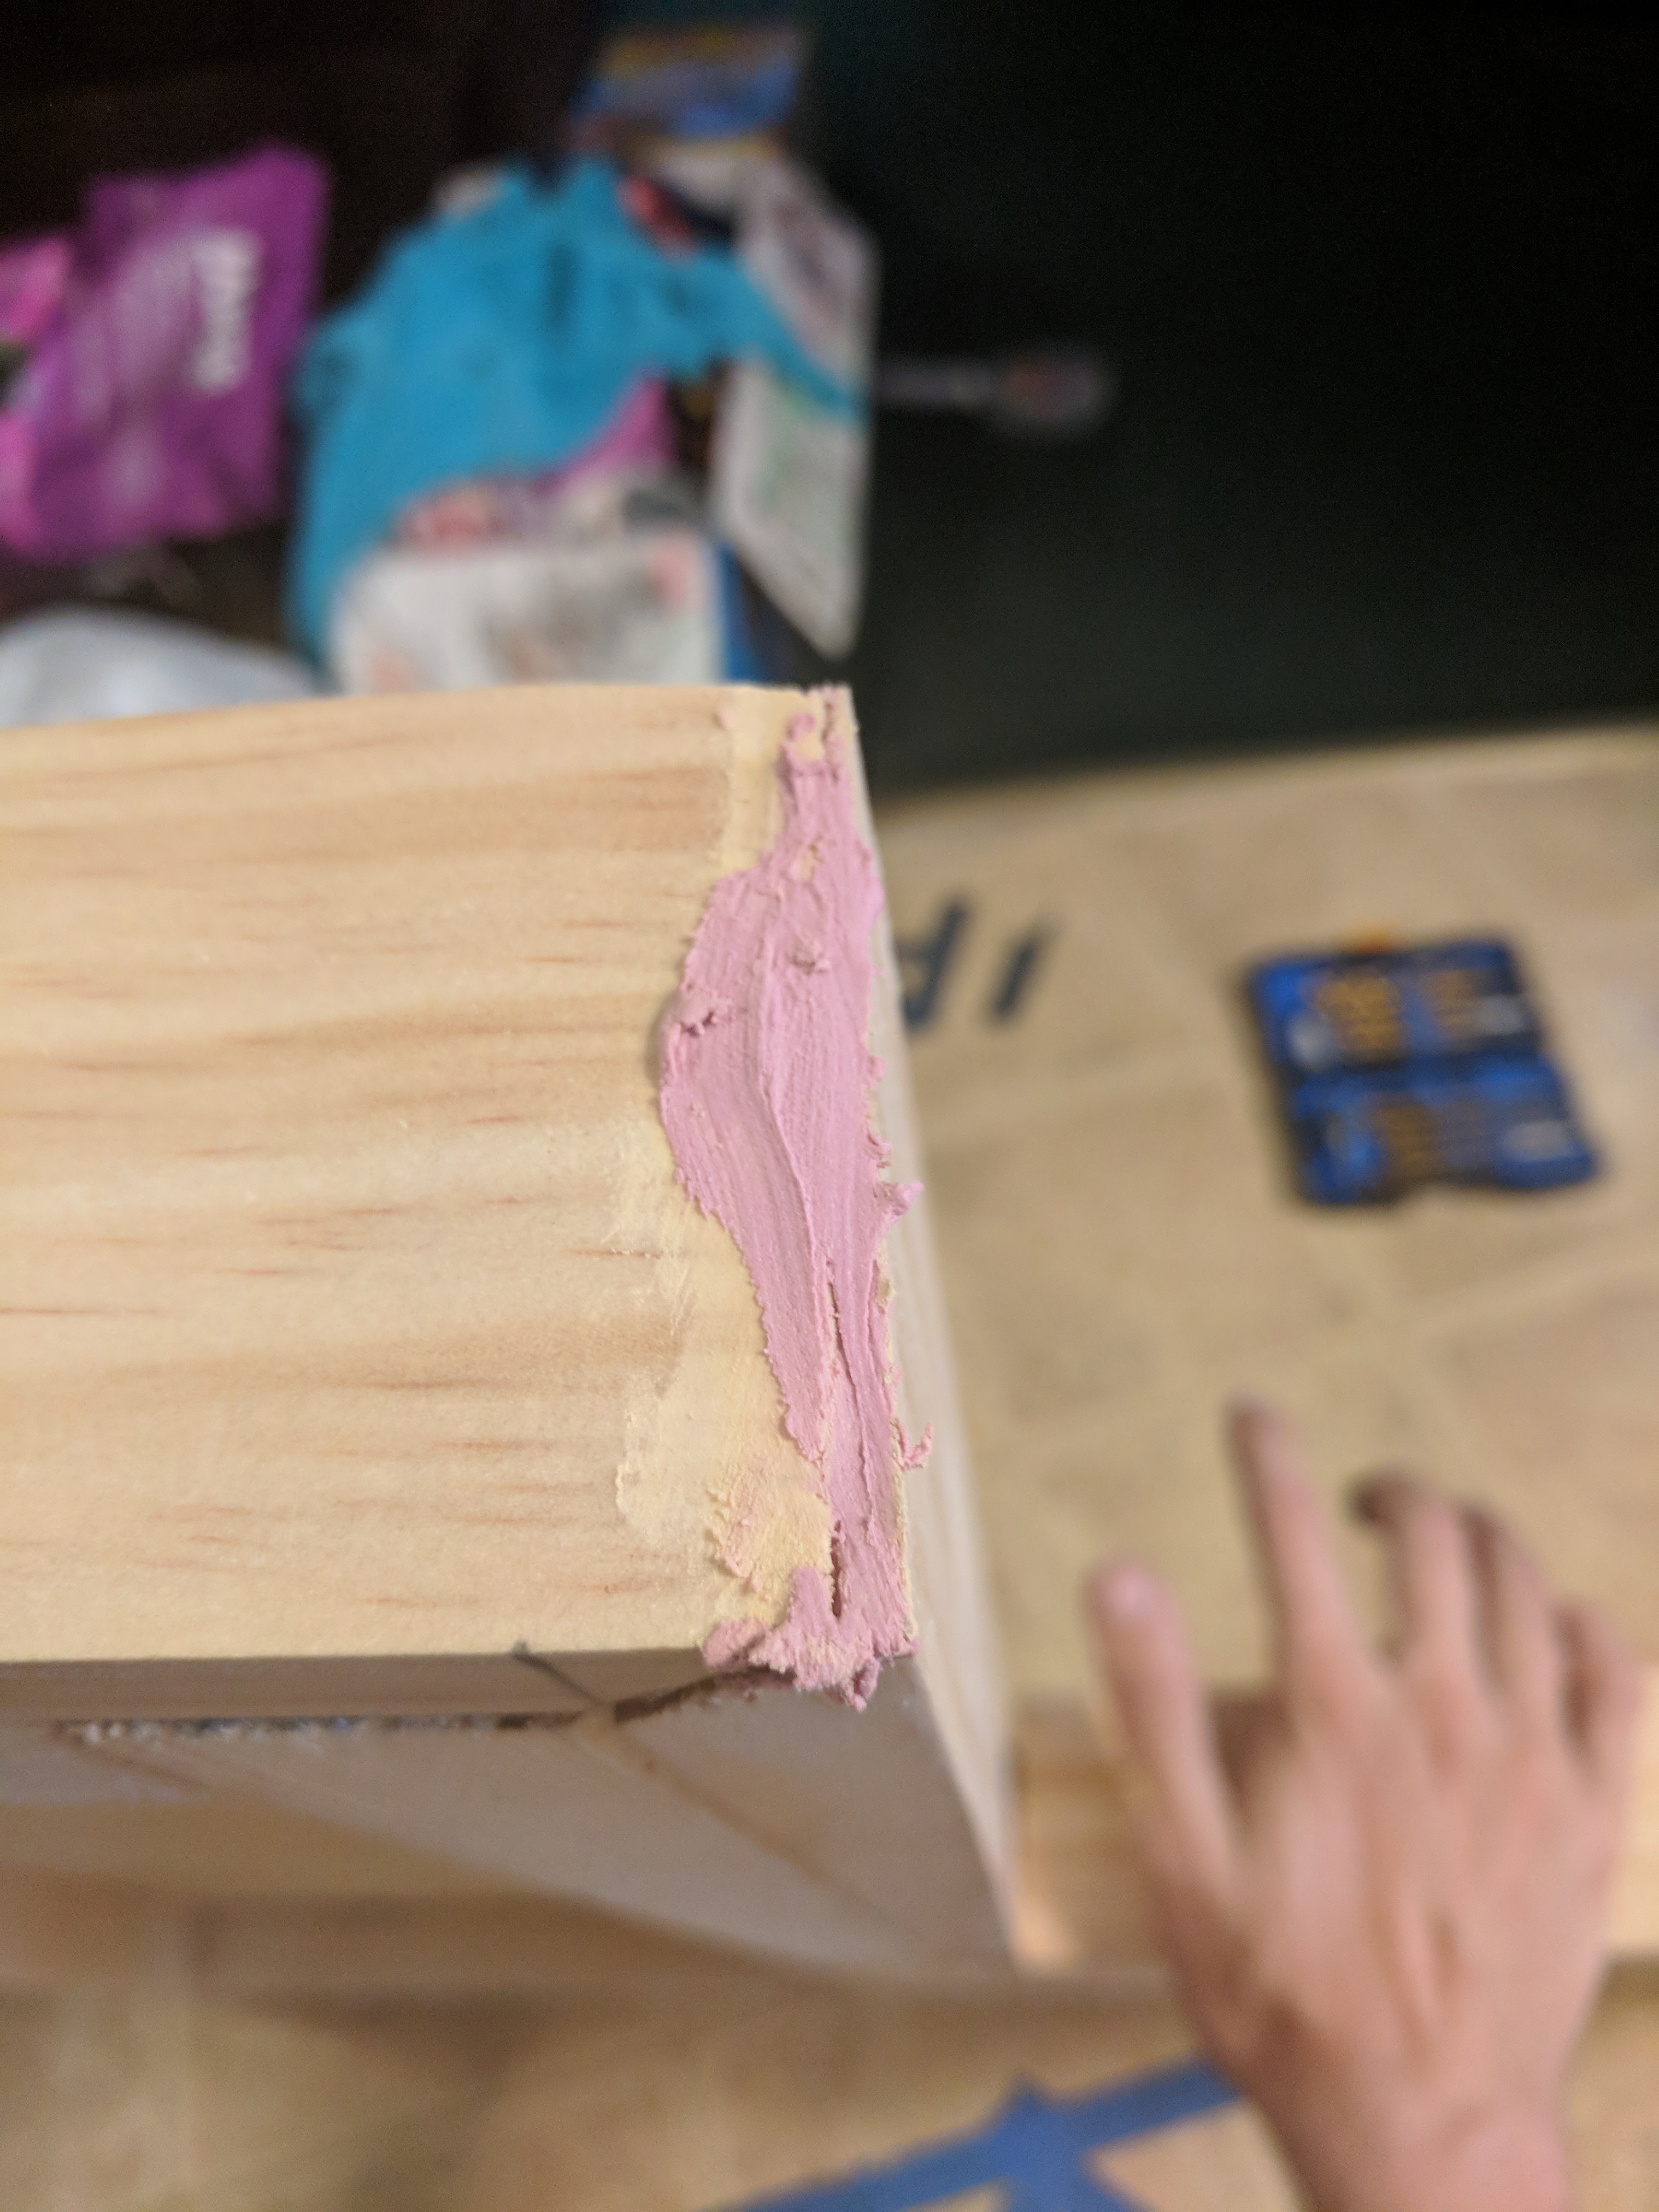
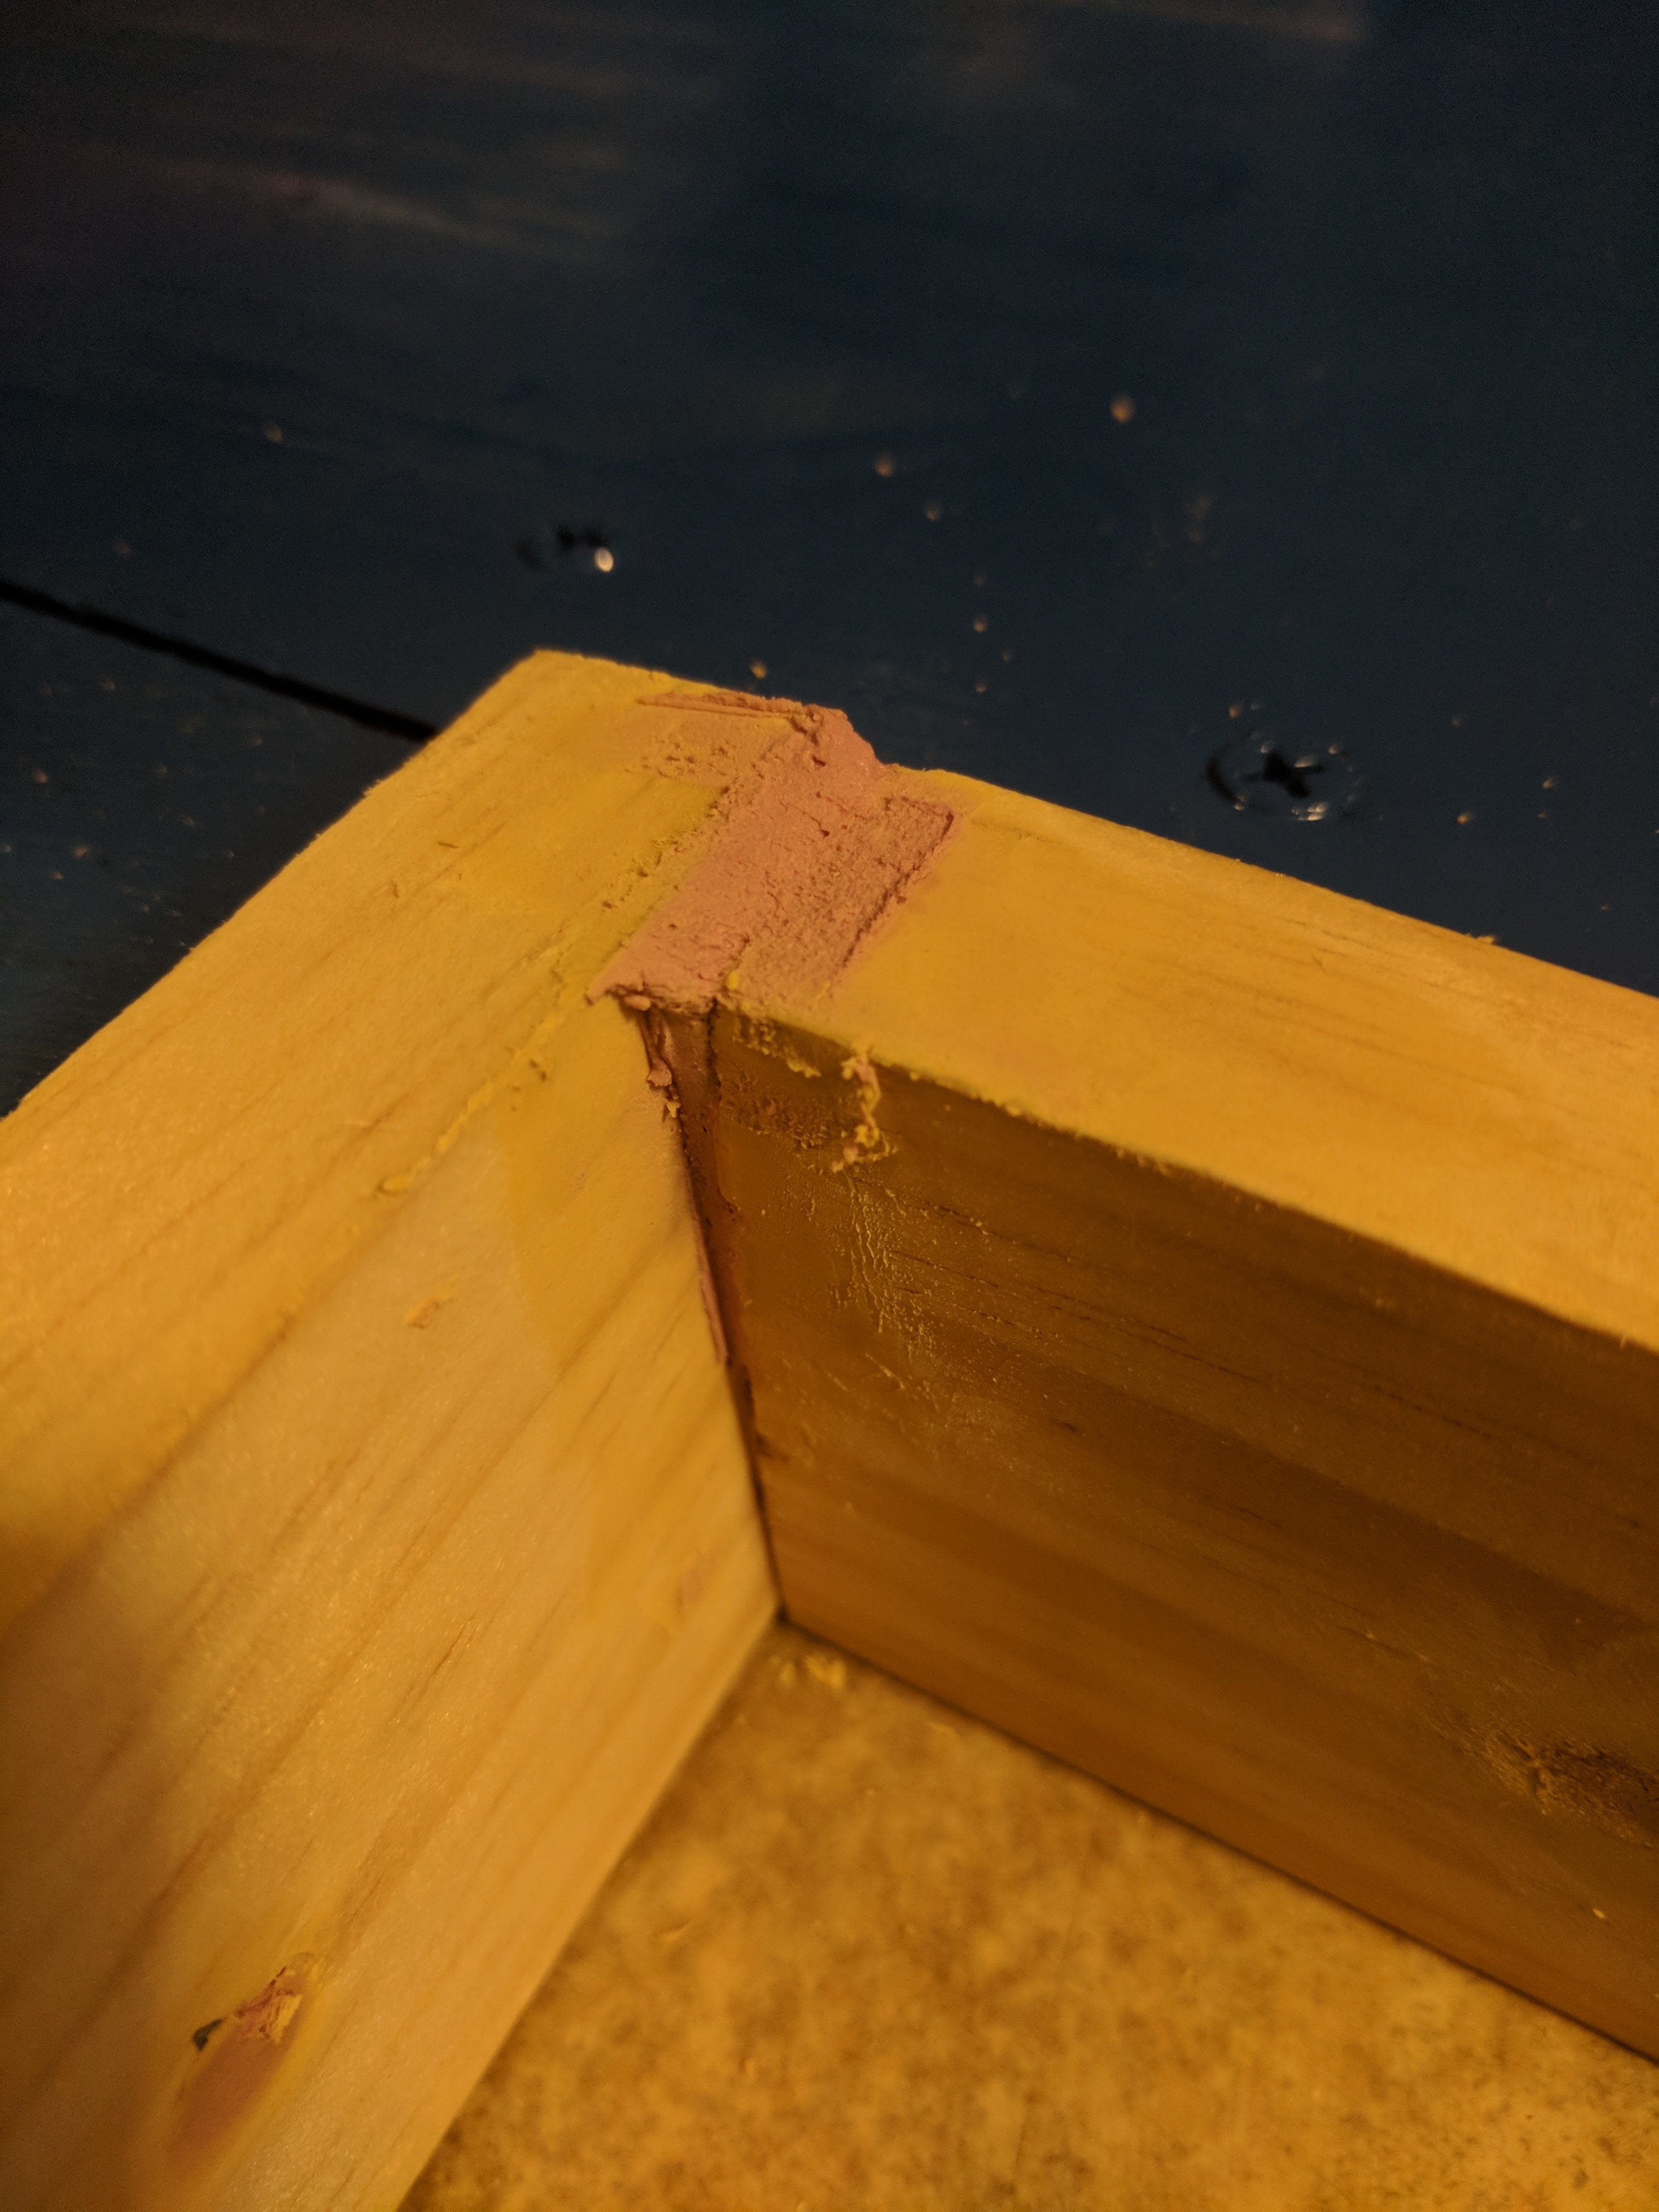
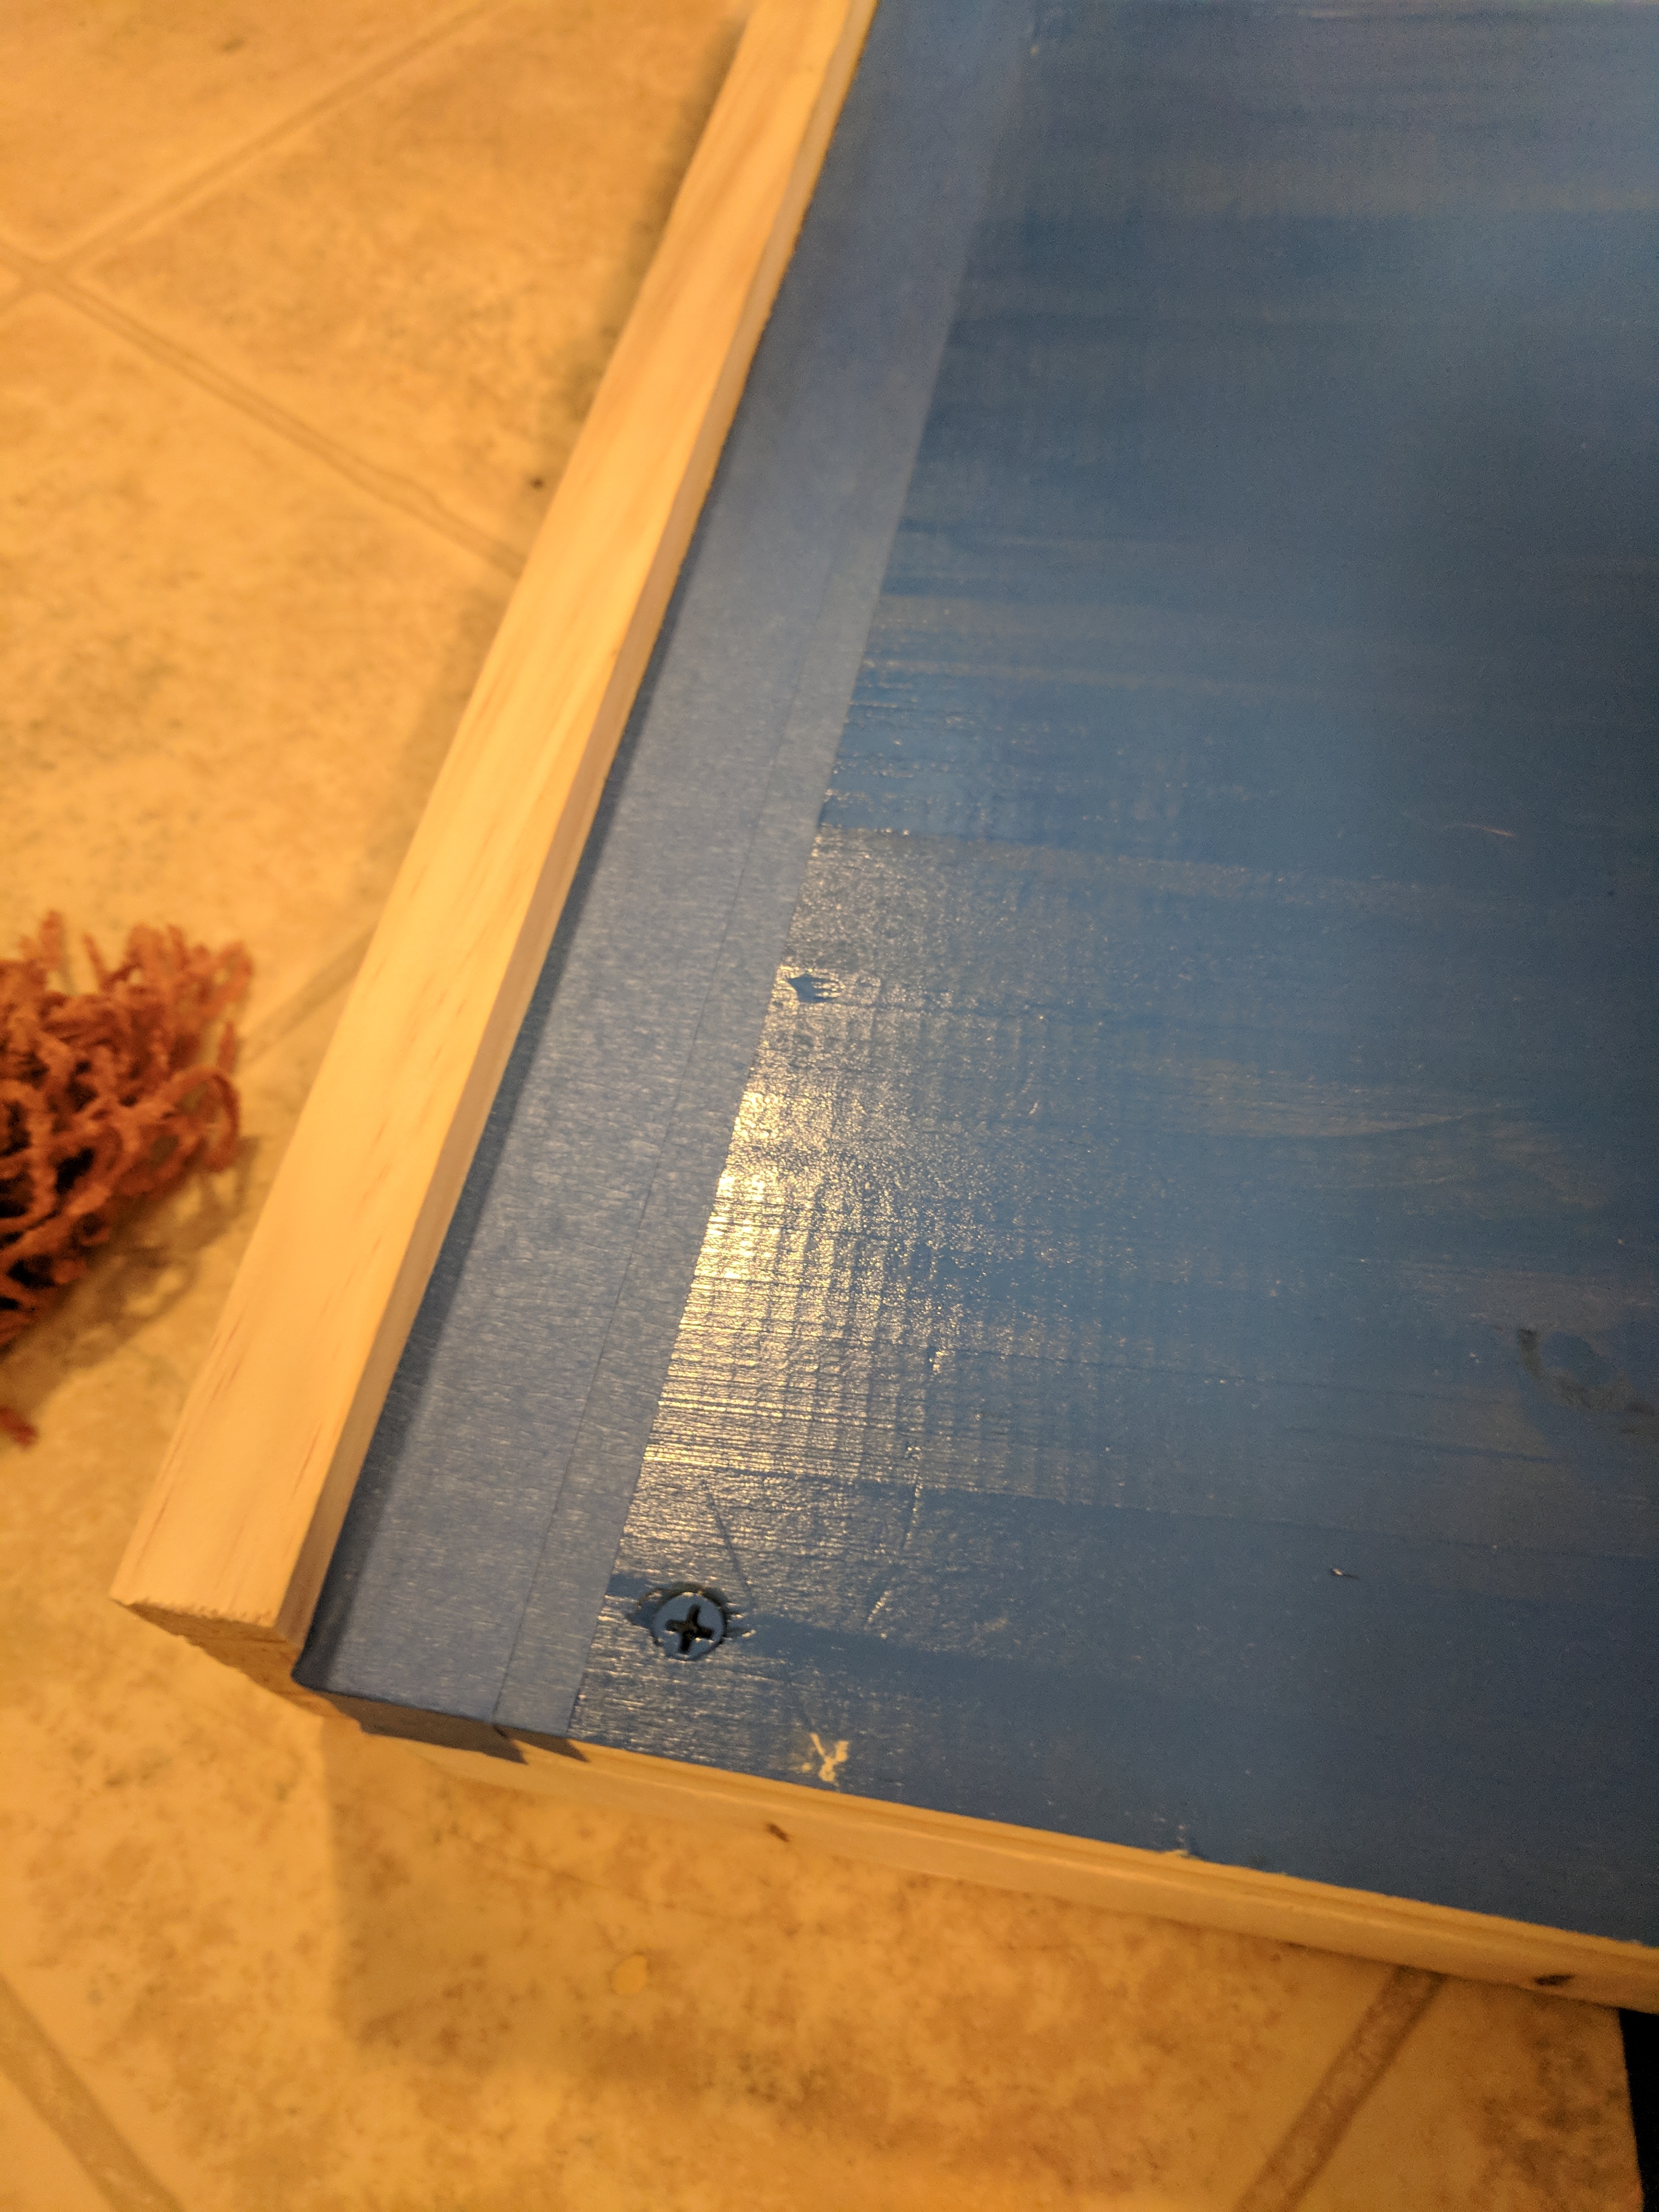
After making sure everything on the top was exactly perfect I filled each spot where I had a screw with the deeper hole (I told you i was going to fix those) with wood filler. I like using the color change one just to make sure I got everything and I can tell when its dried. Place a generous amount in each hole, I used a scraper to flatten over each spot. I also filled where my miter joints were off. After everything was dry I went and sanded everything smooth.
Paint
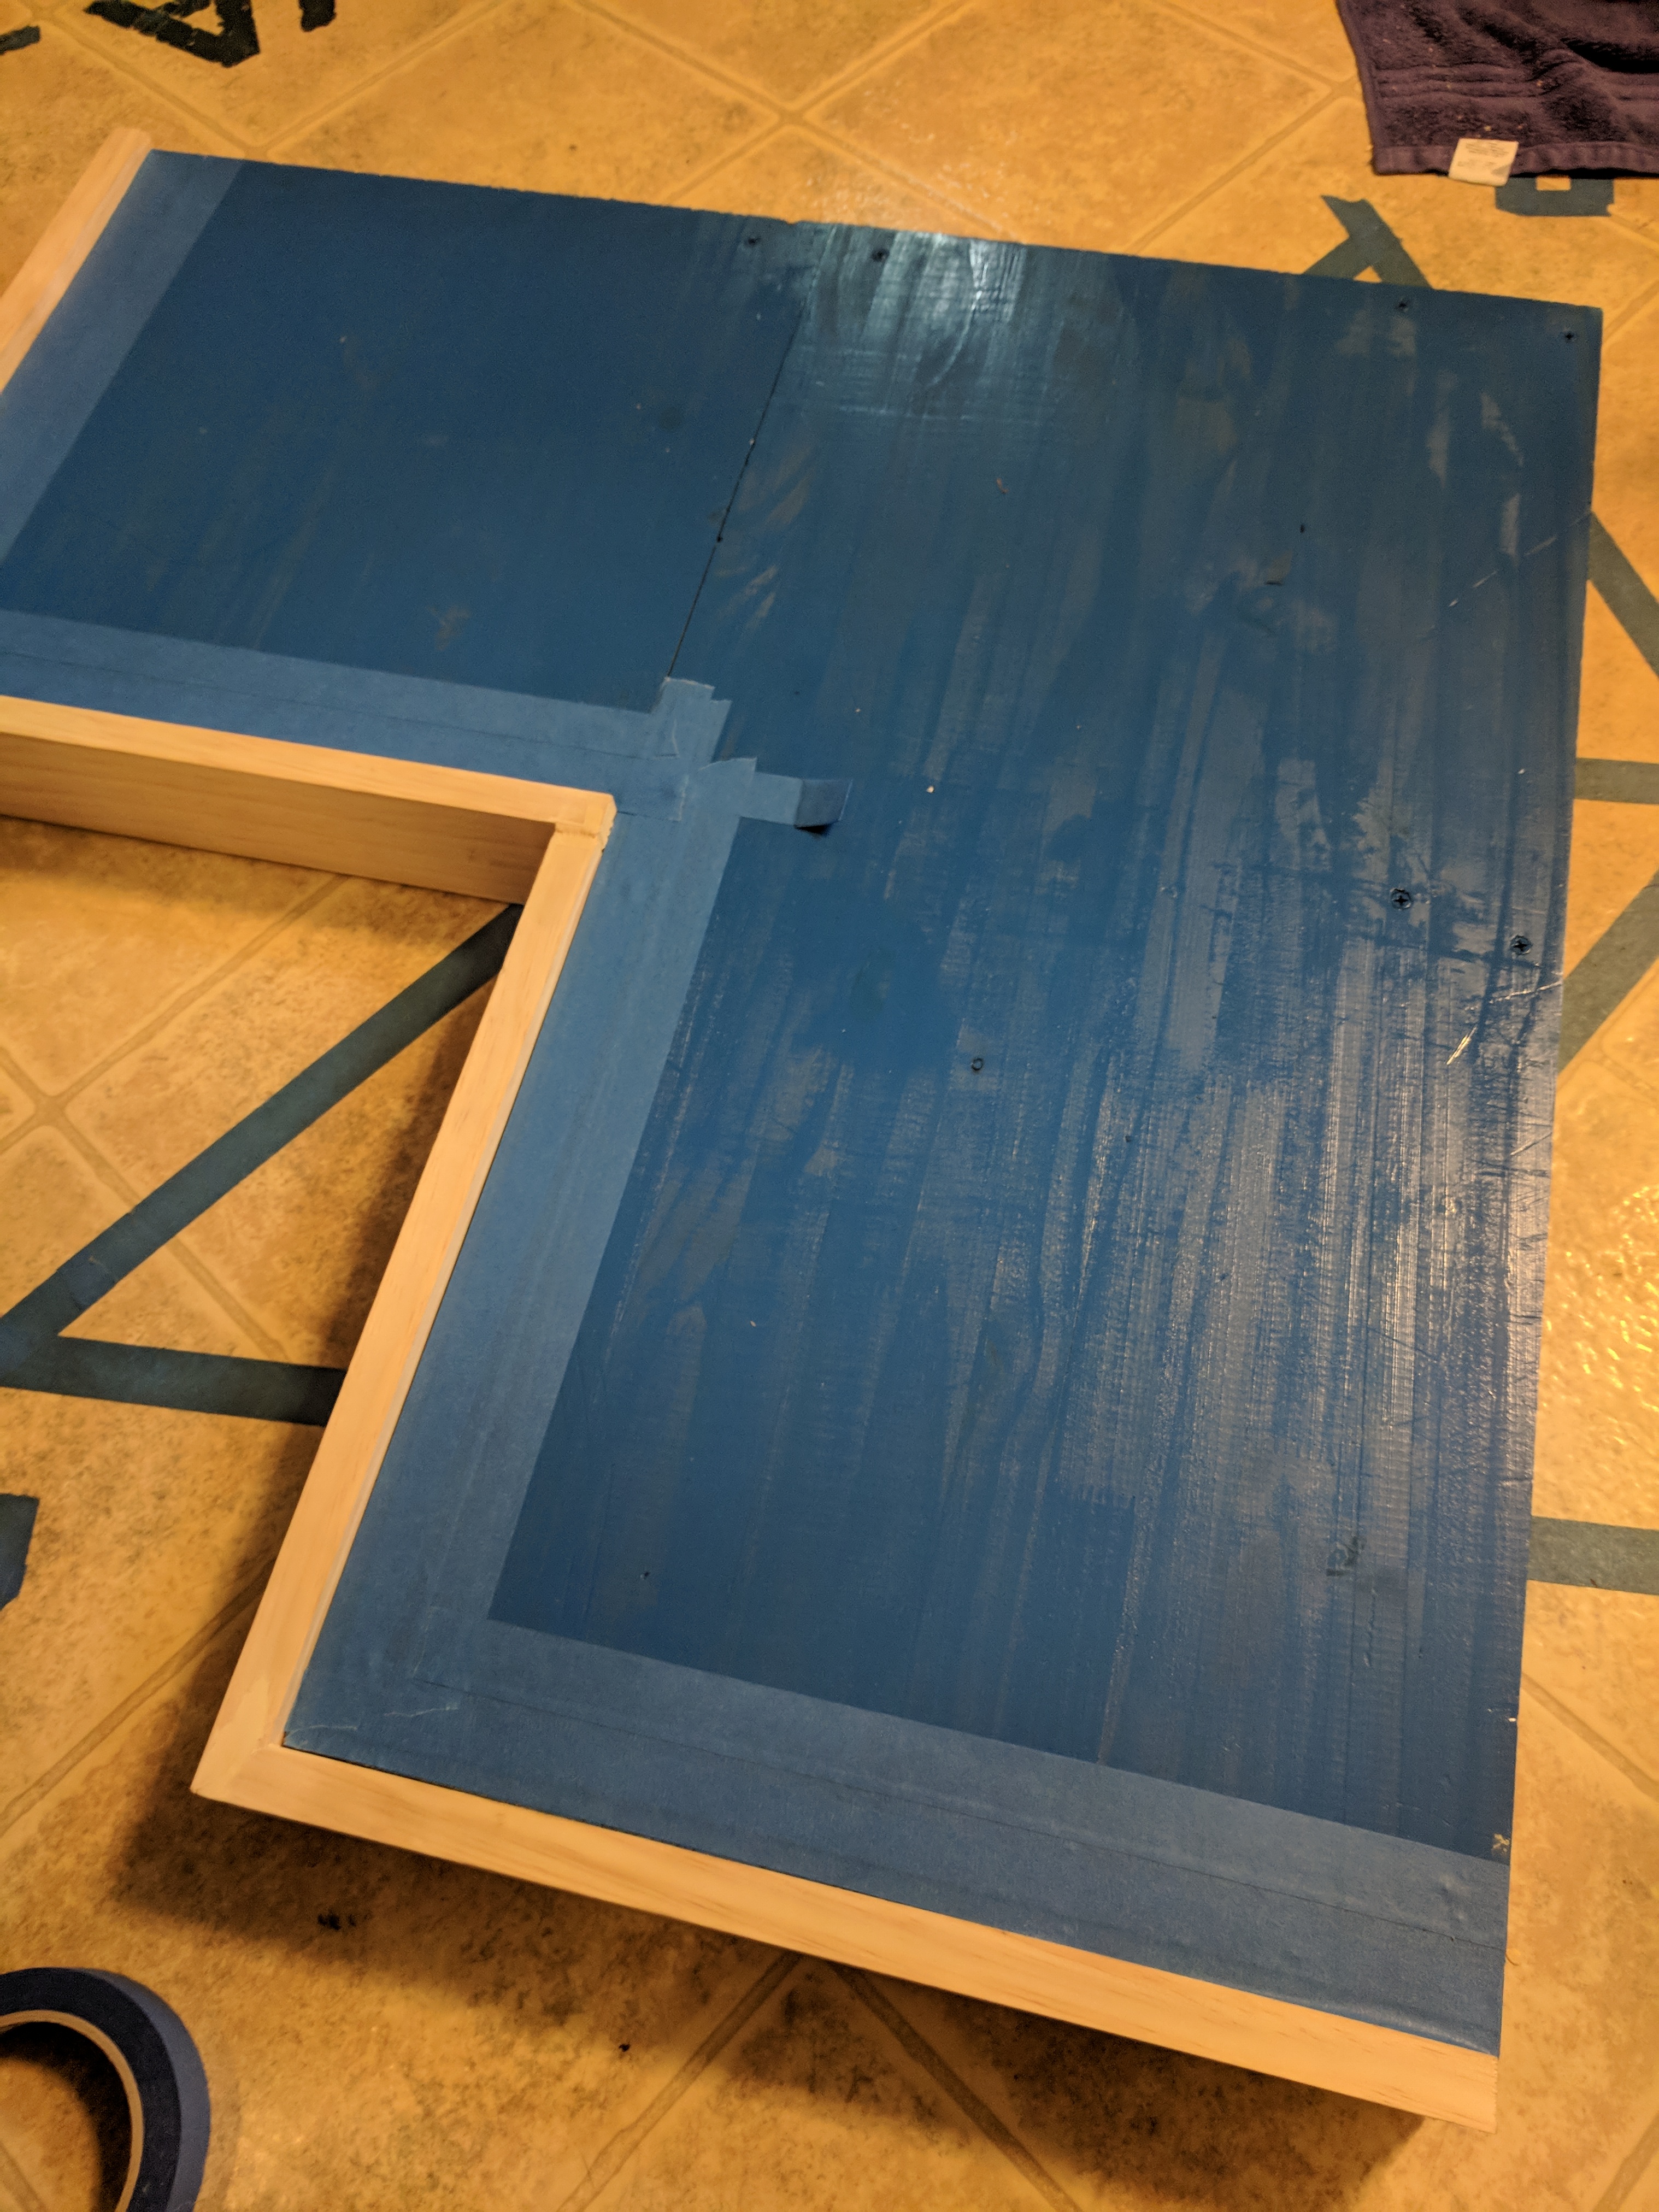
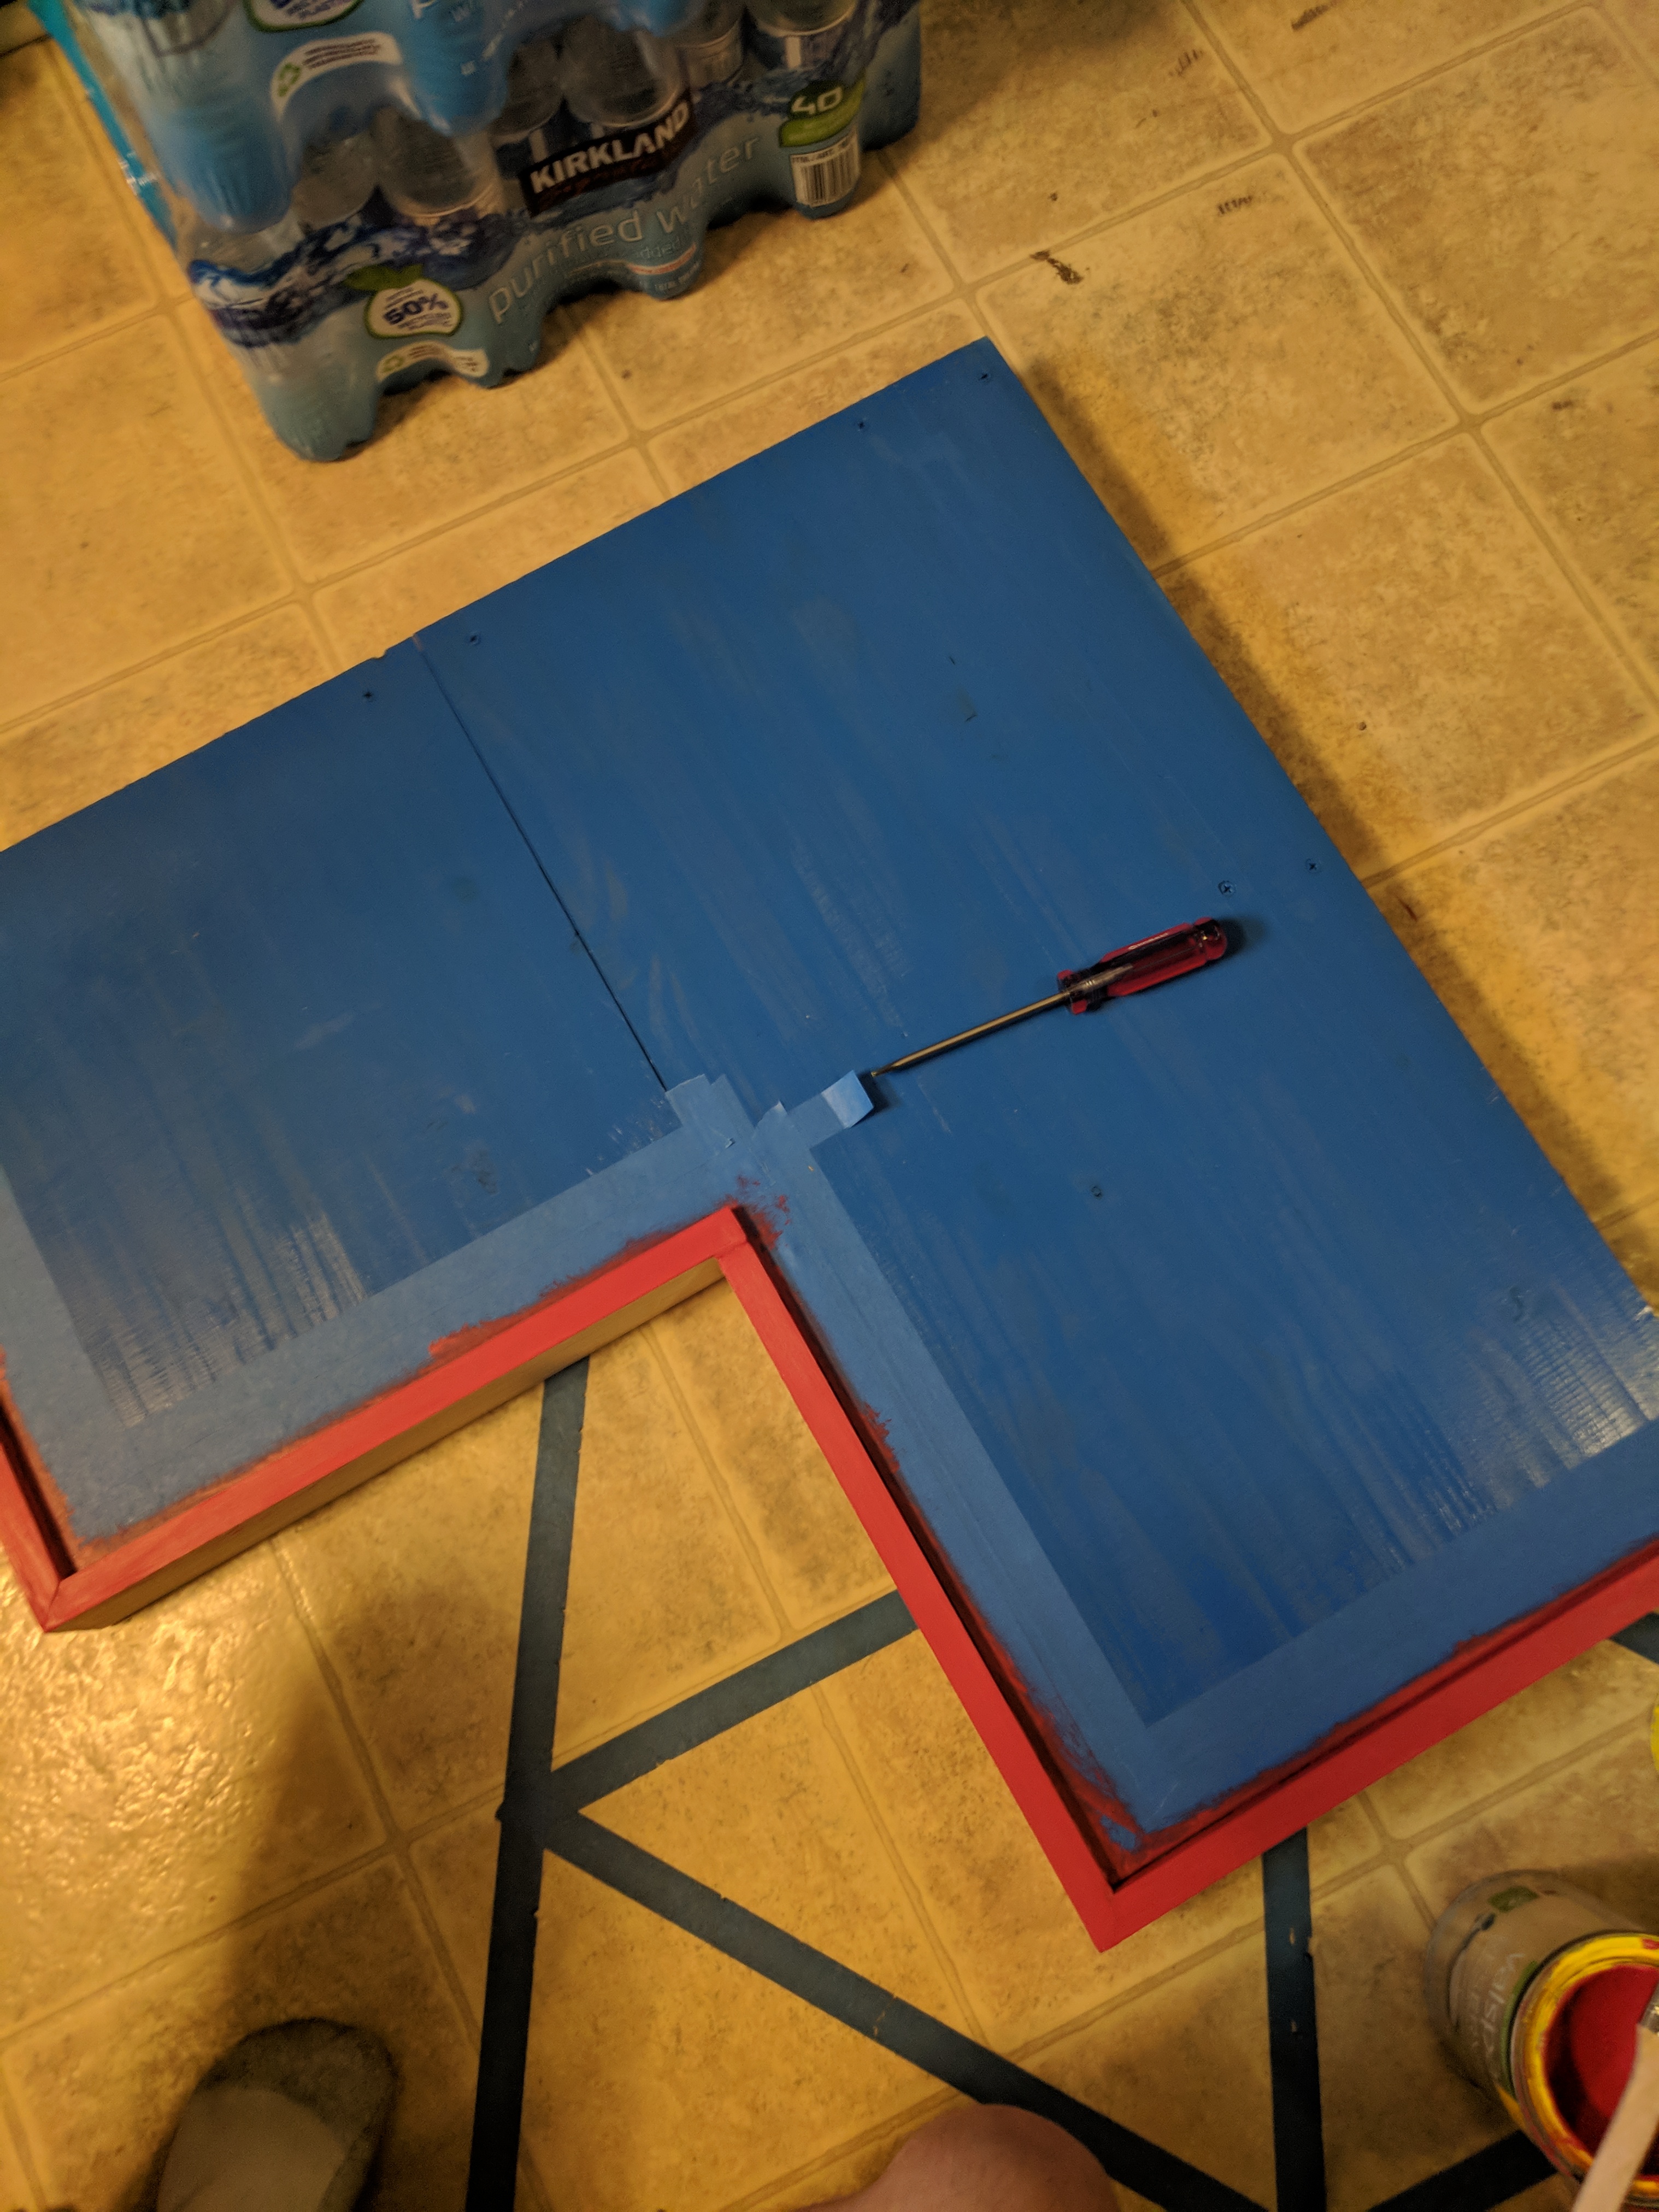
Next it was time to paint the face plate. for this I went with some left over latex paint I had I figured the red would stand out well with the blue. I wanted to tape off the top so I wouldnt have red on the top. All I had was 1in painters tape it would be better with thicker tape but I made it work I would still use the same technique for thicker tape. start by putting a border of tape about half an inch from from the edge then went over with another piece that went all the way to the edge. Then it was tie to paint it just take your time and make sure to cover everything. after its fry you can take off the tape.
Leg Day!!!
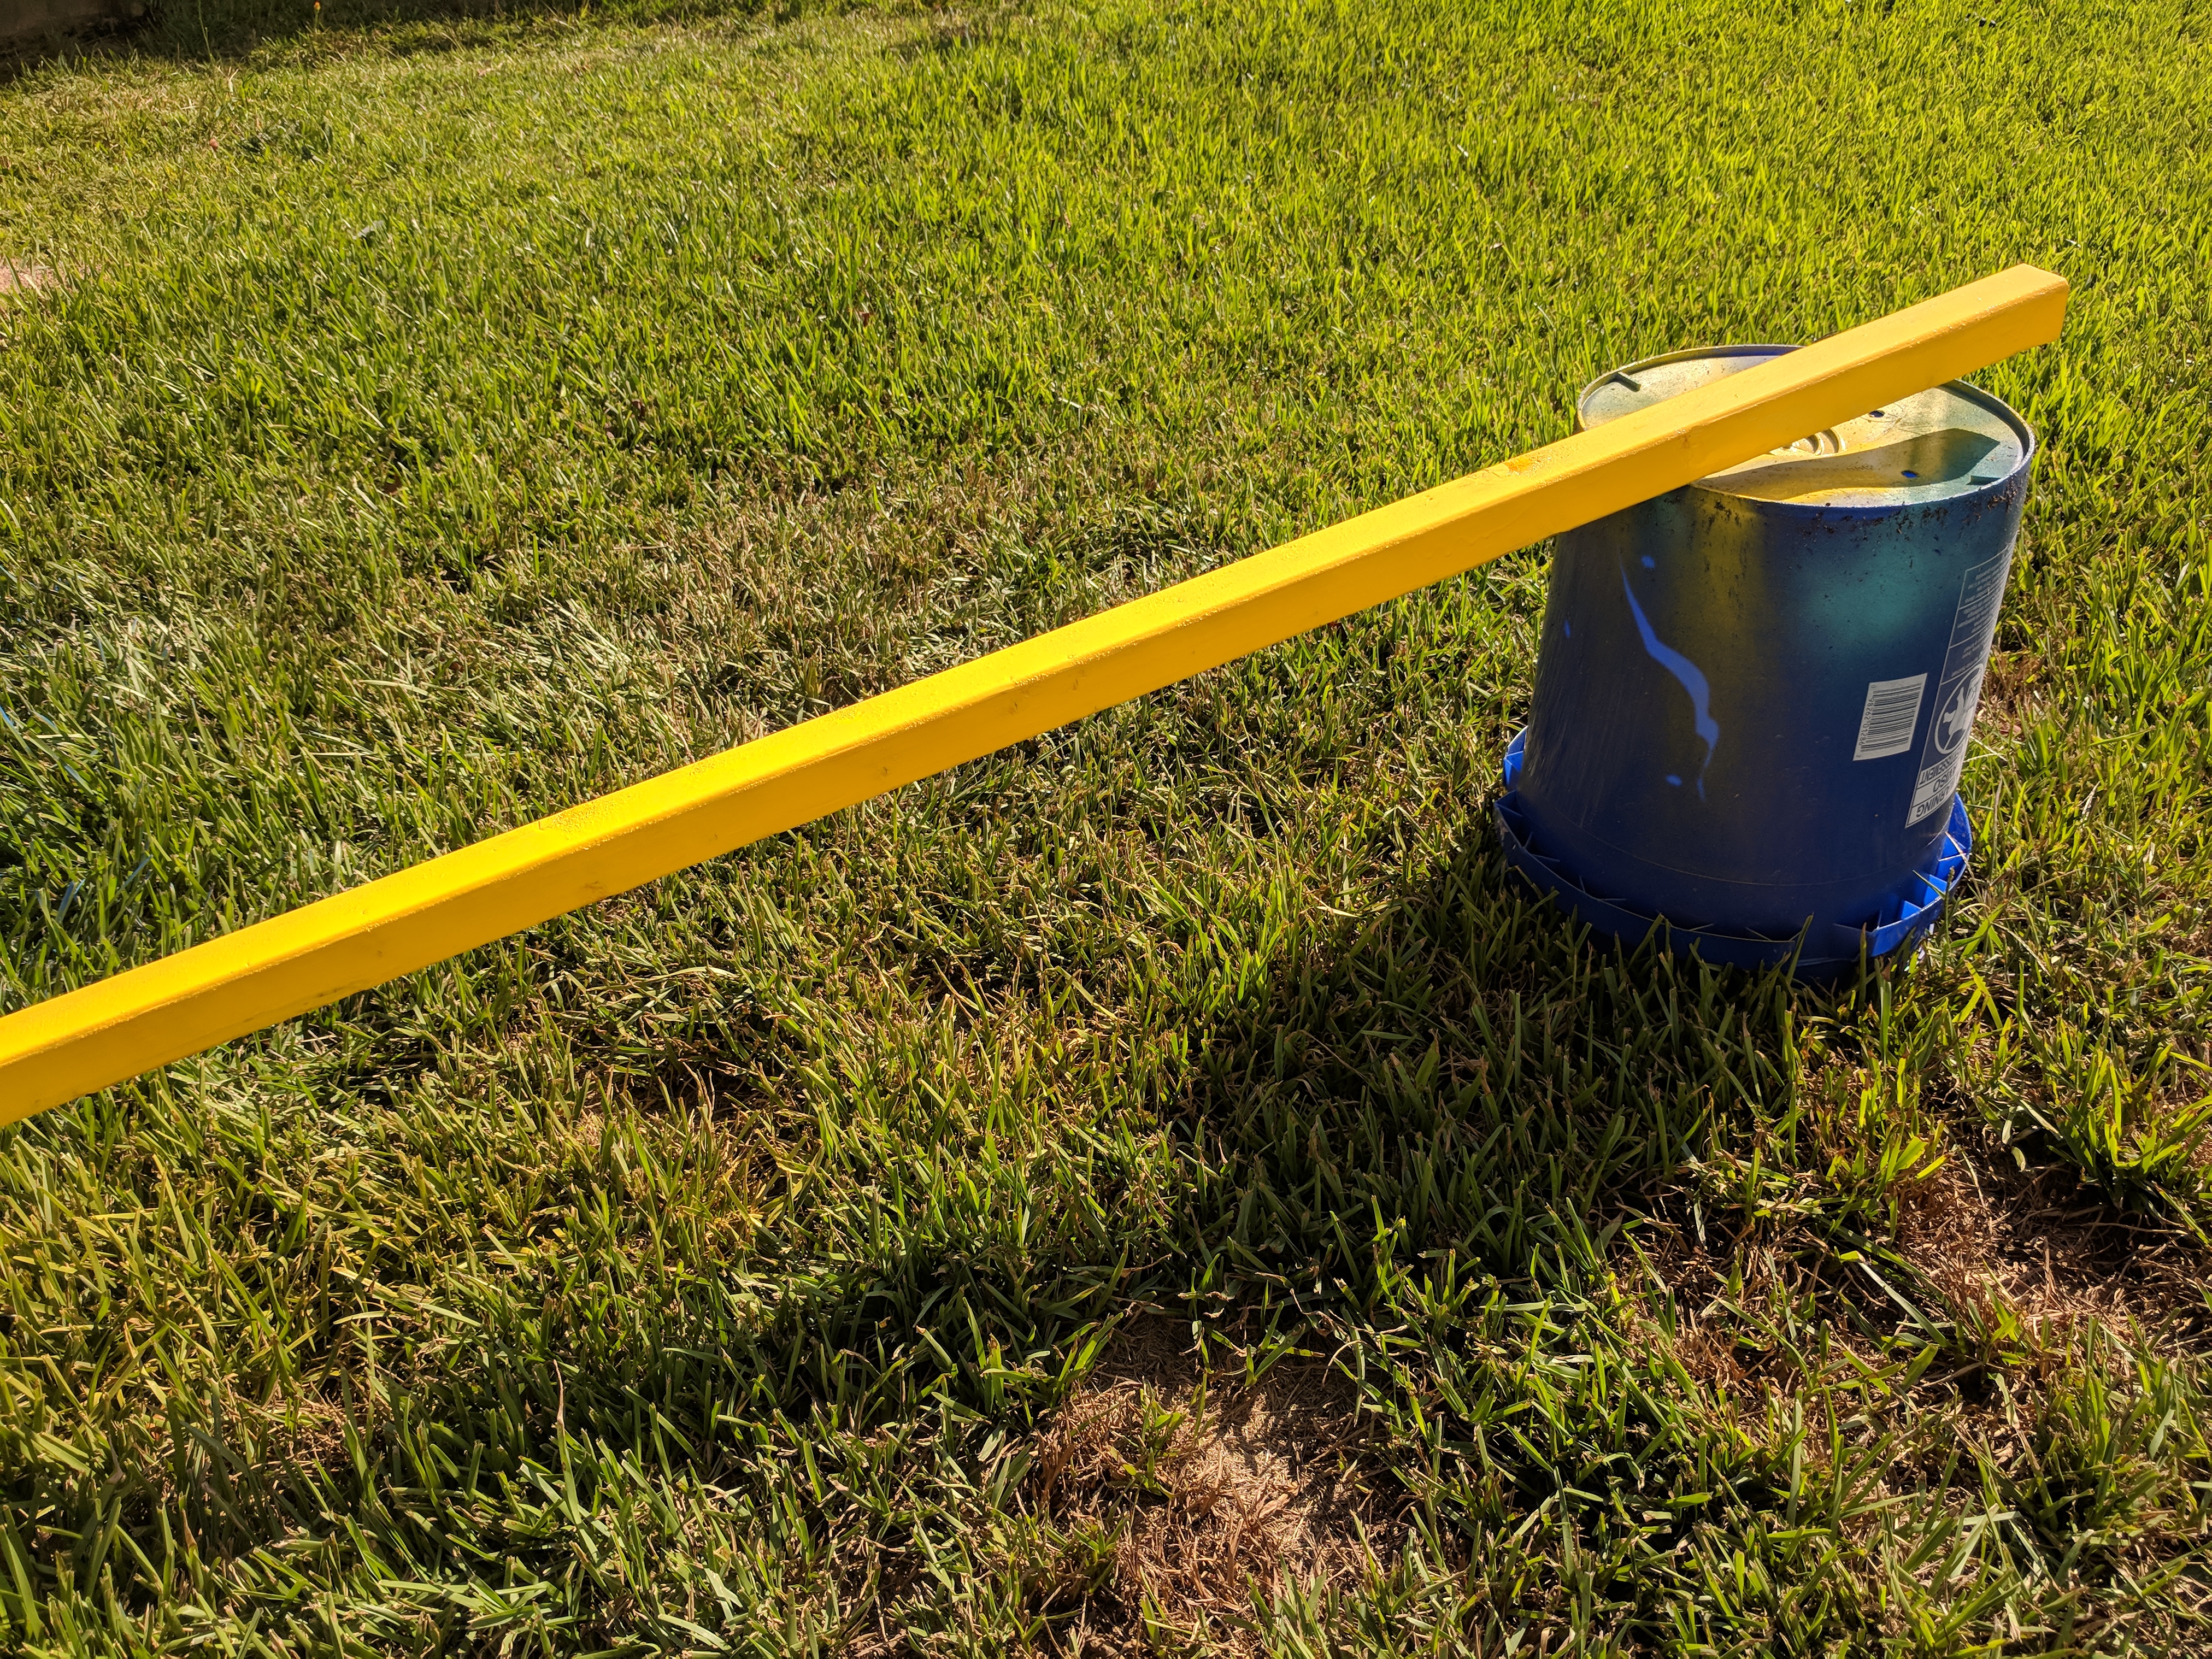
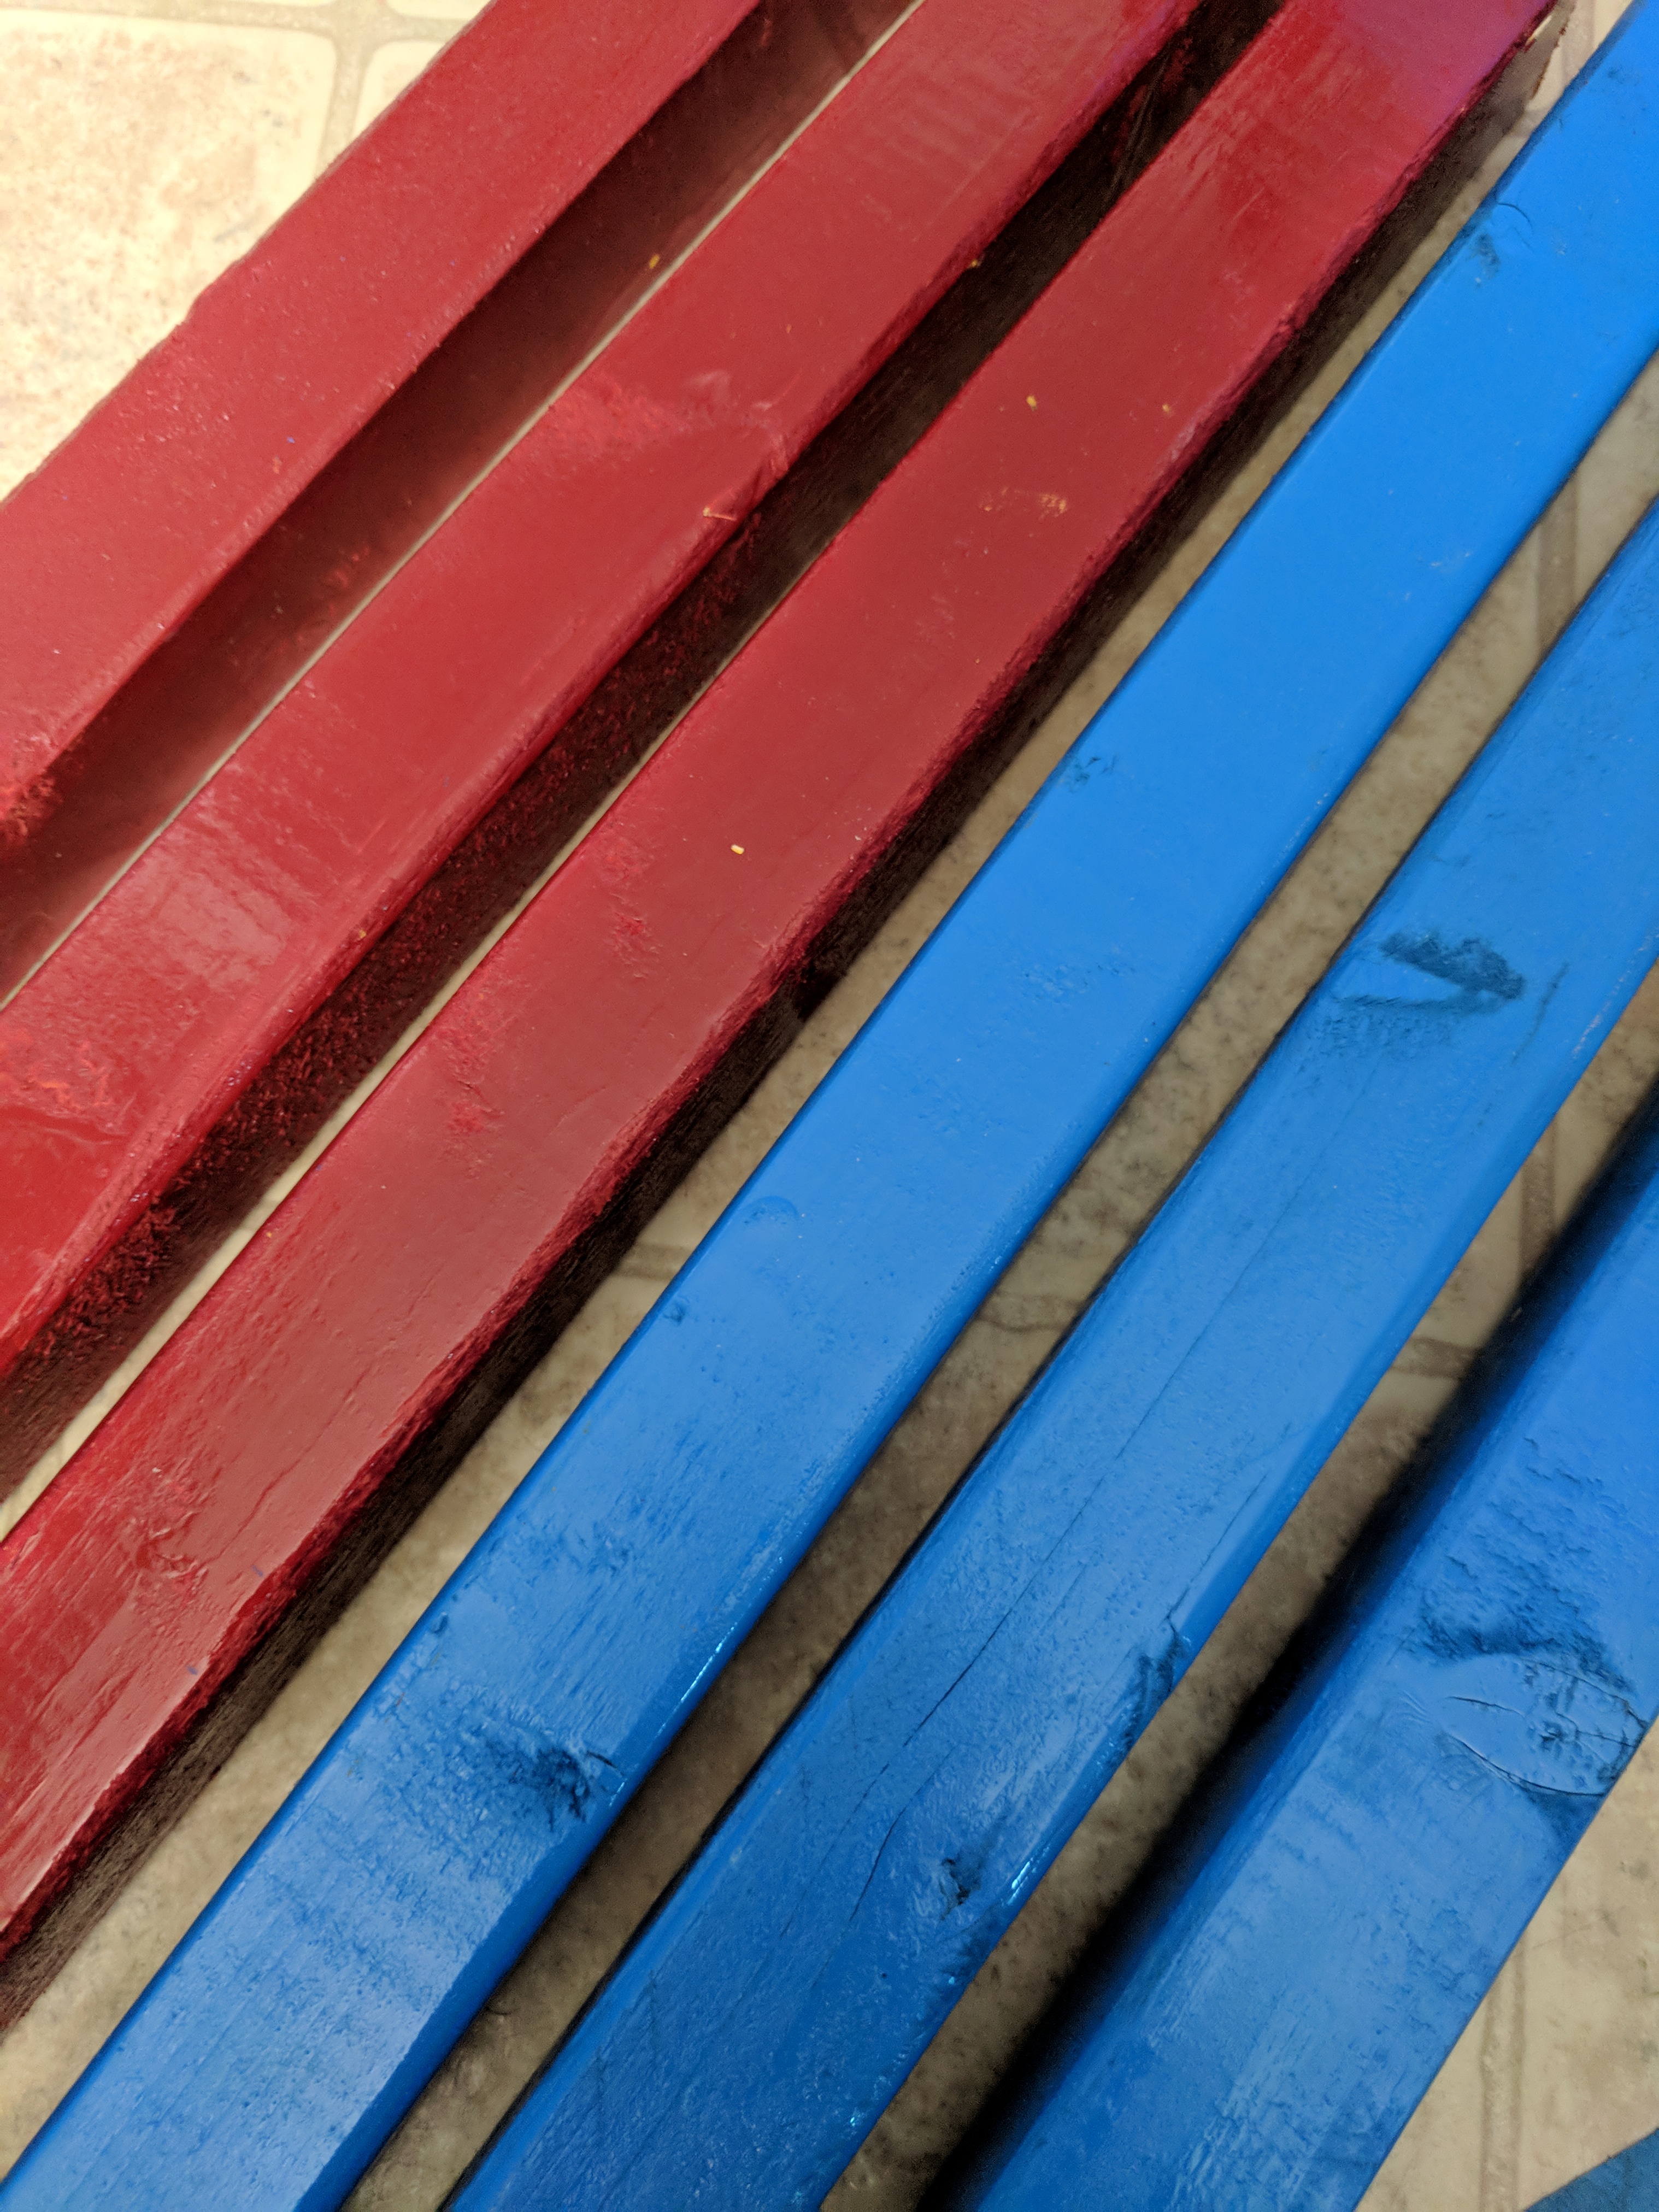
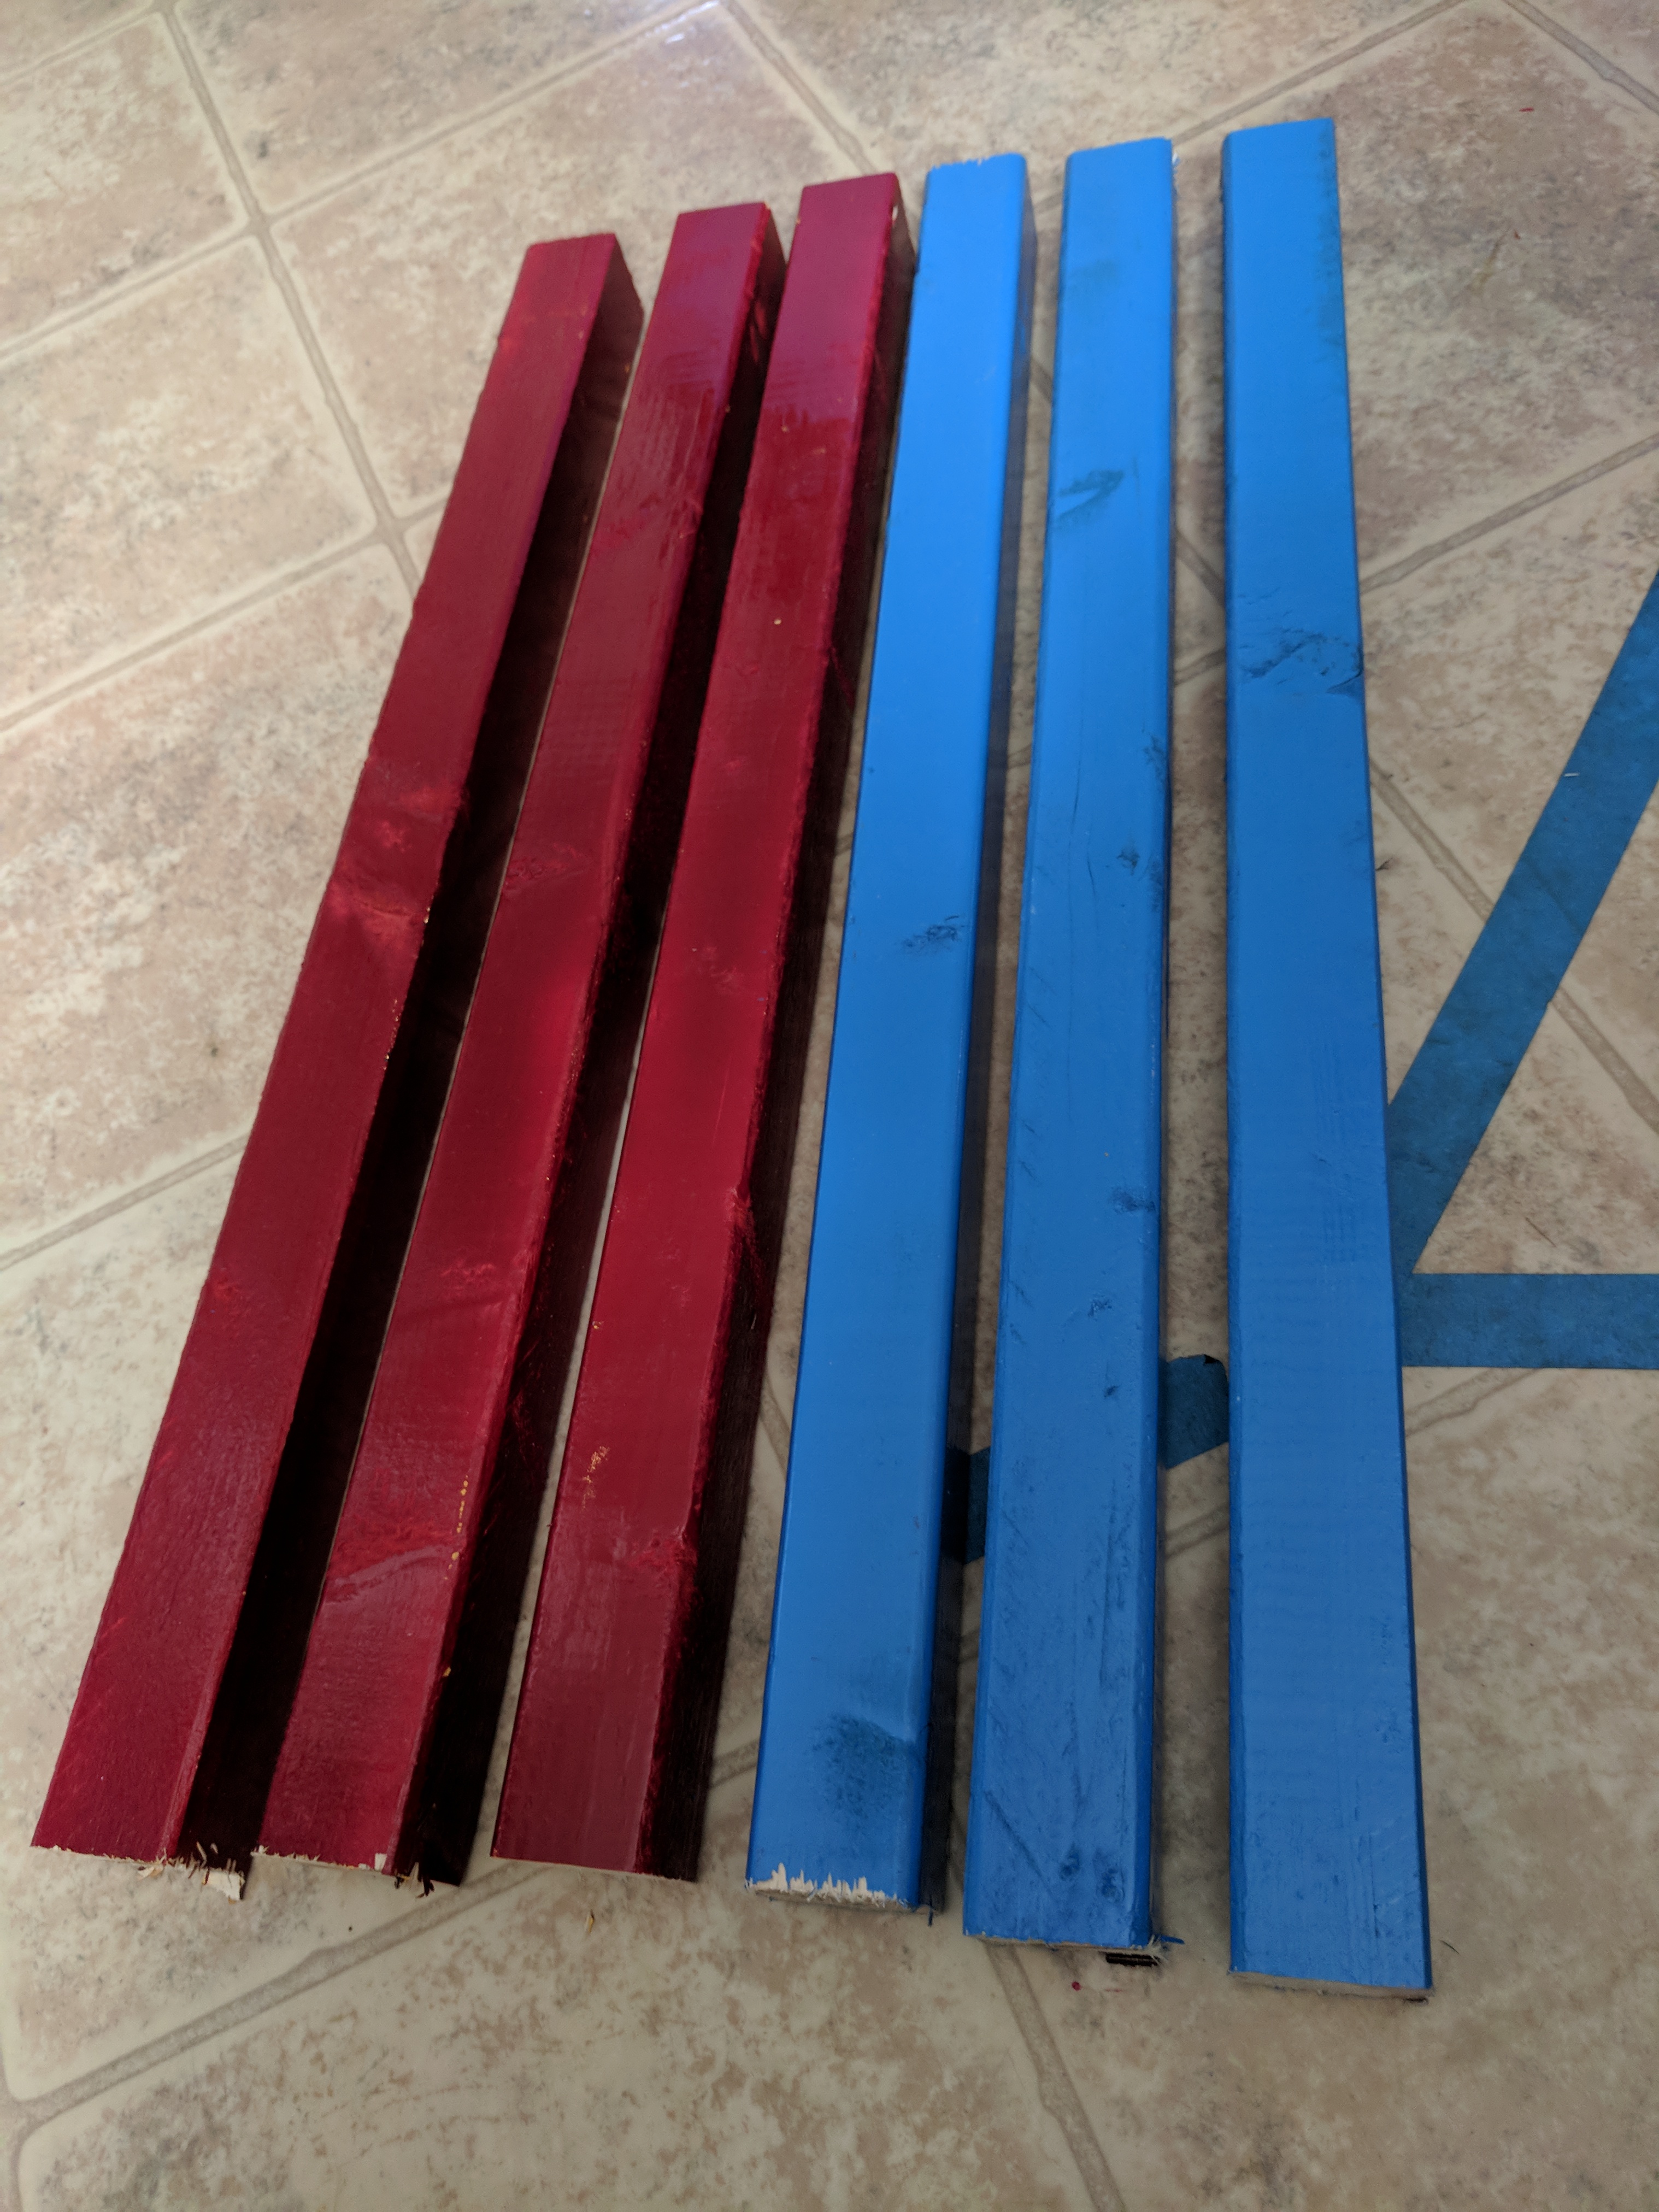

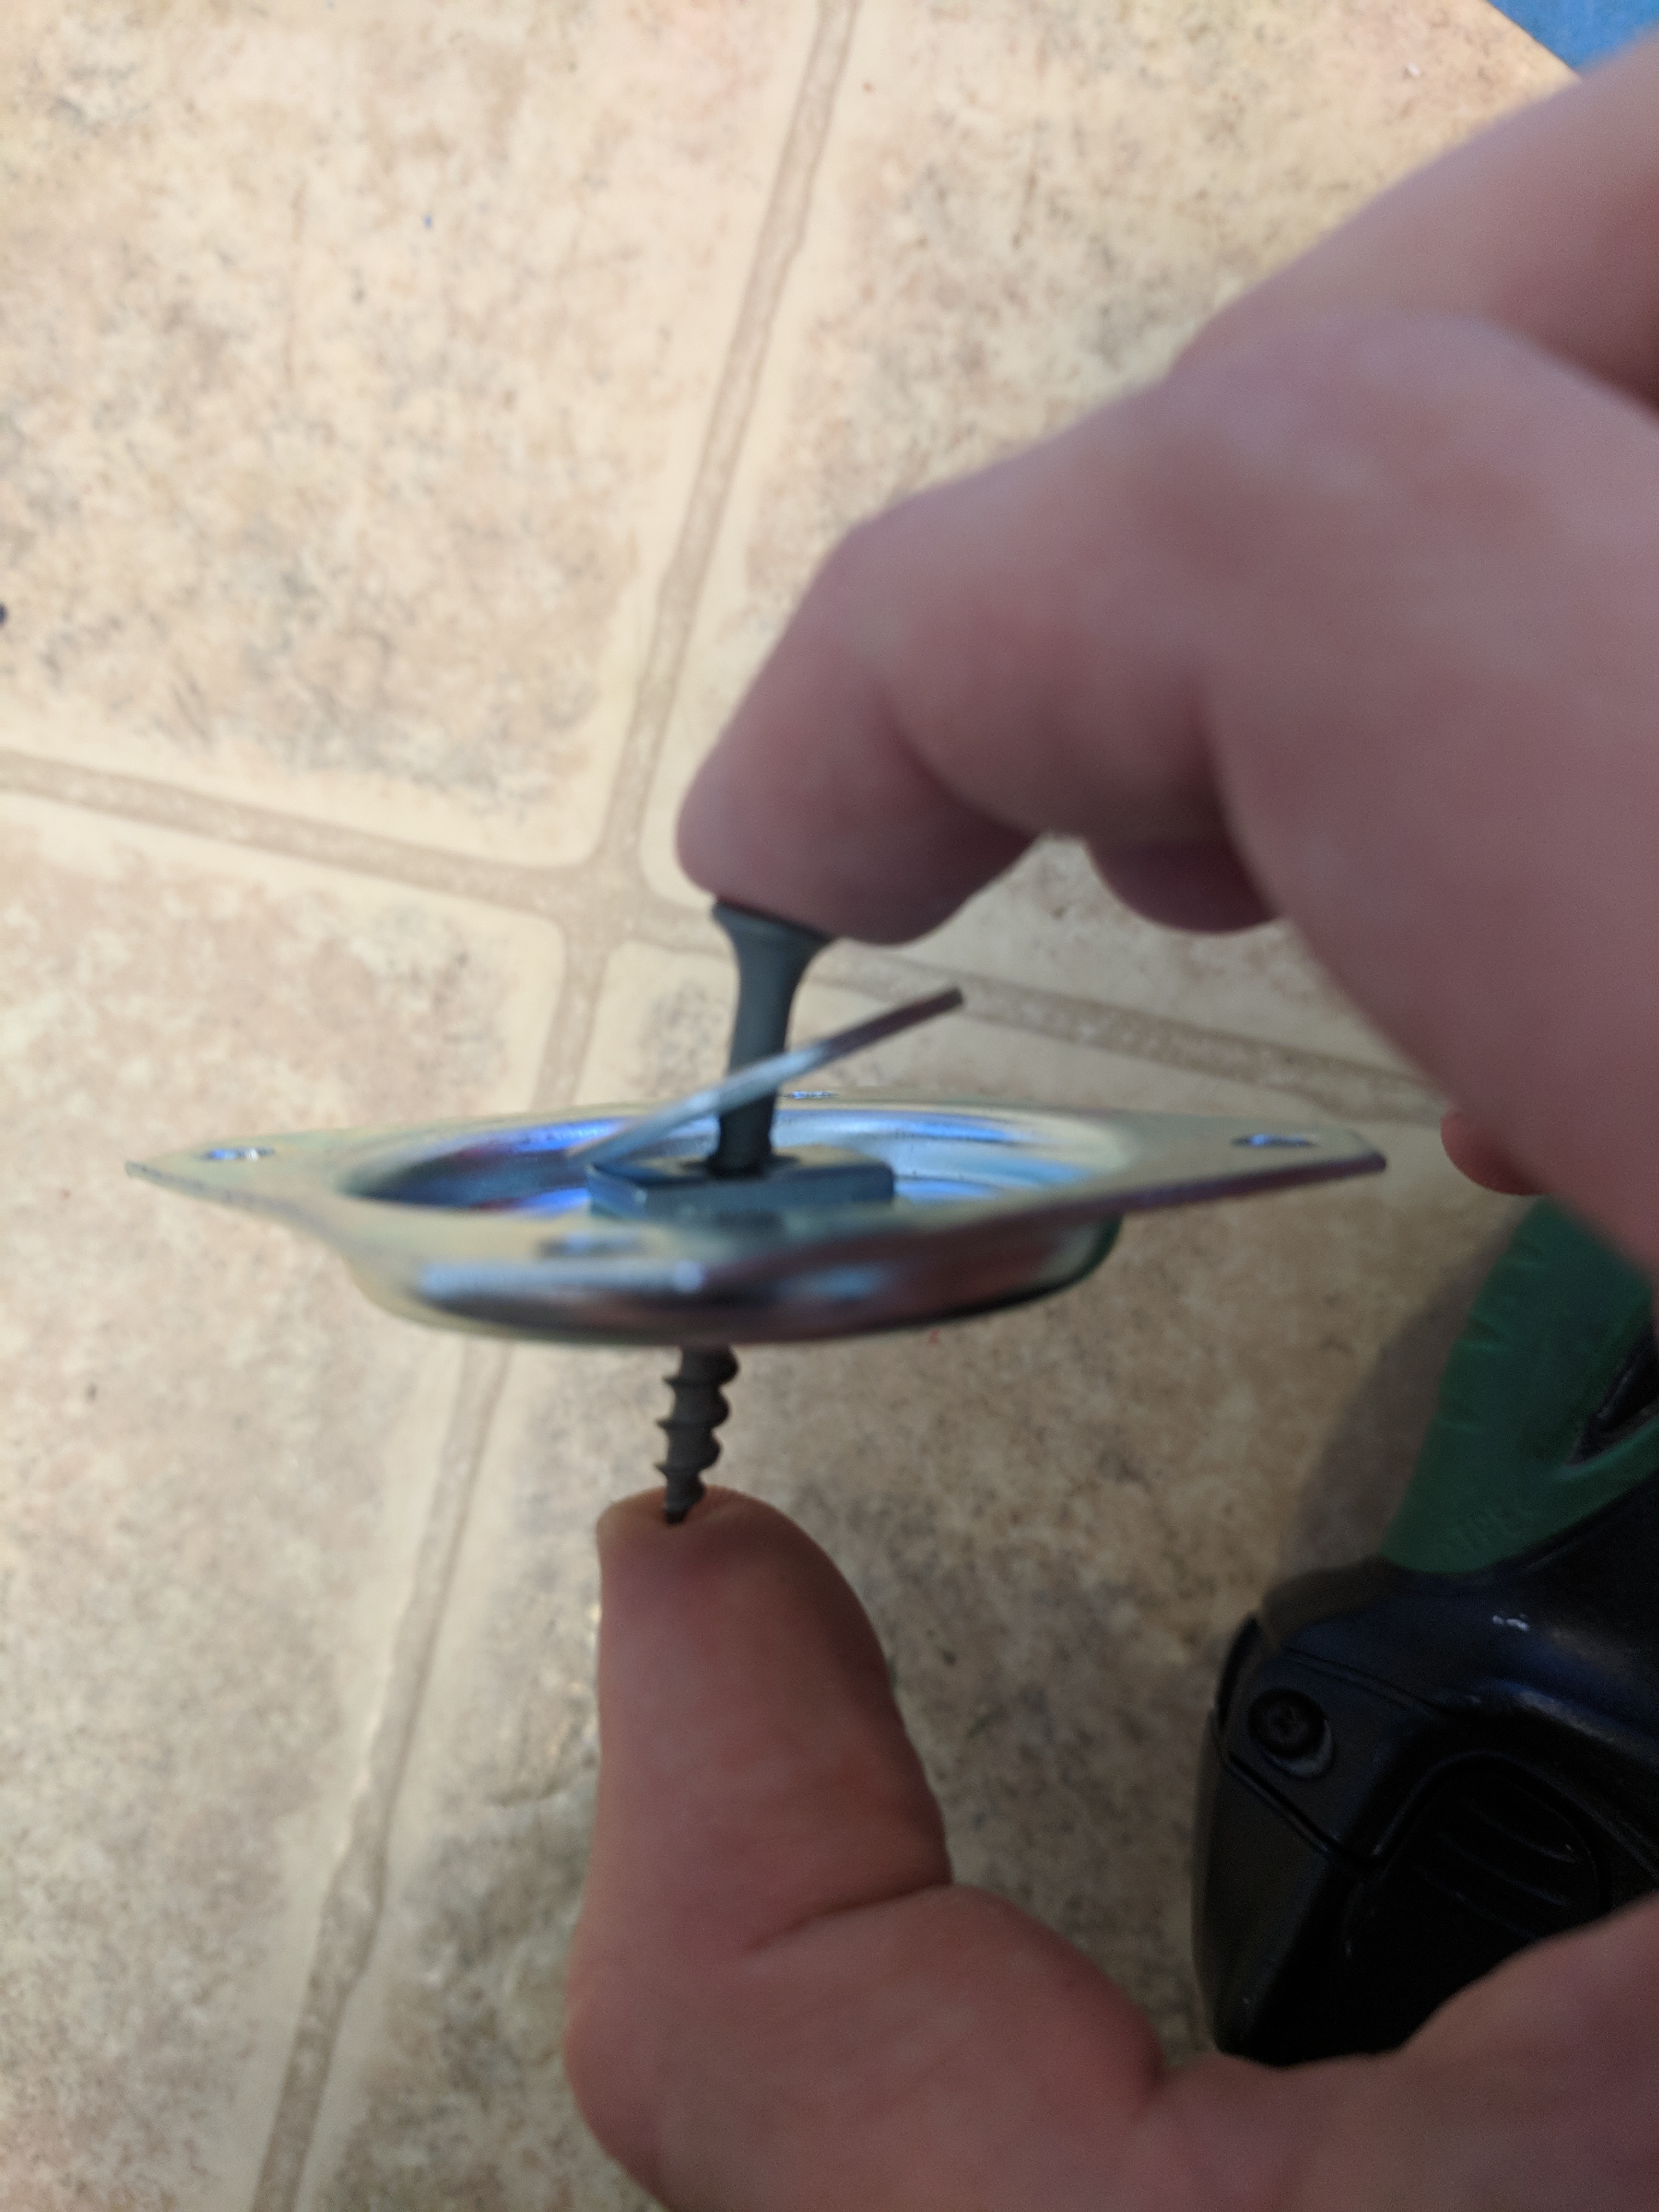
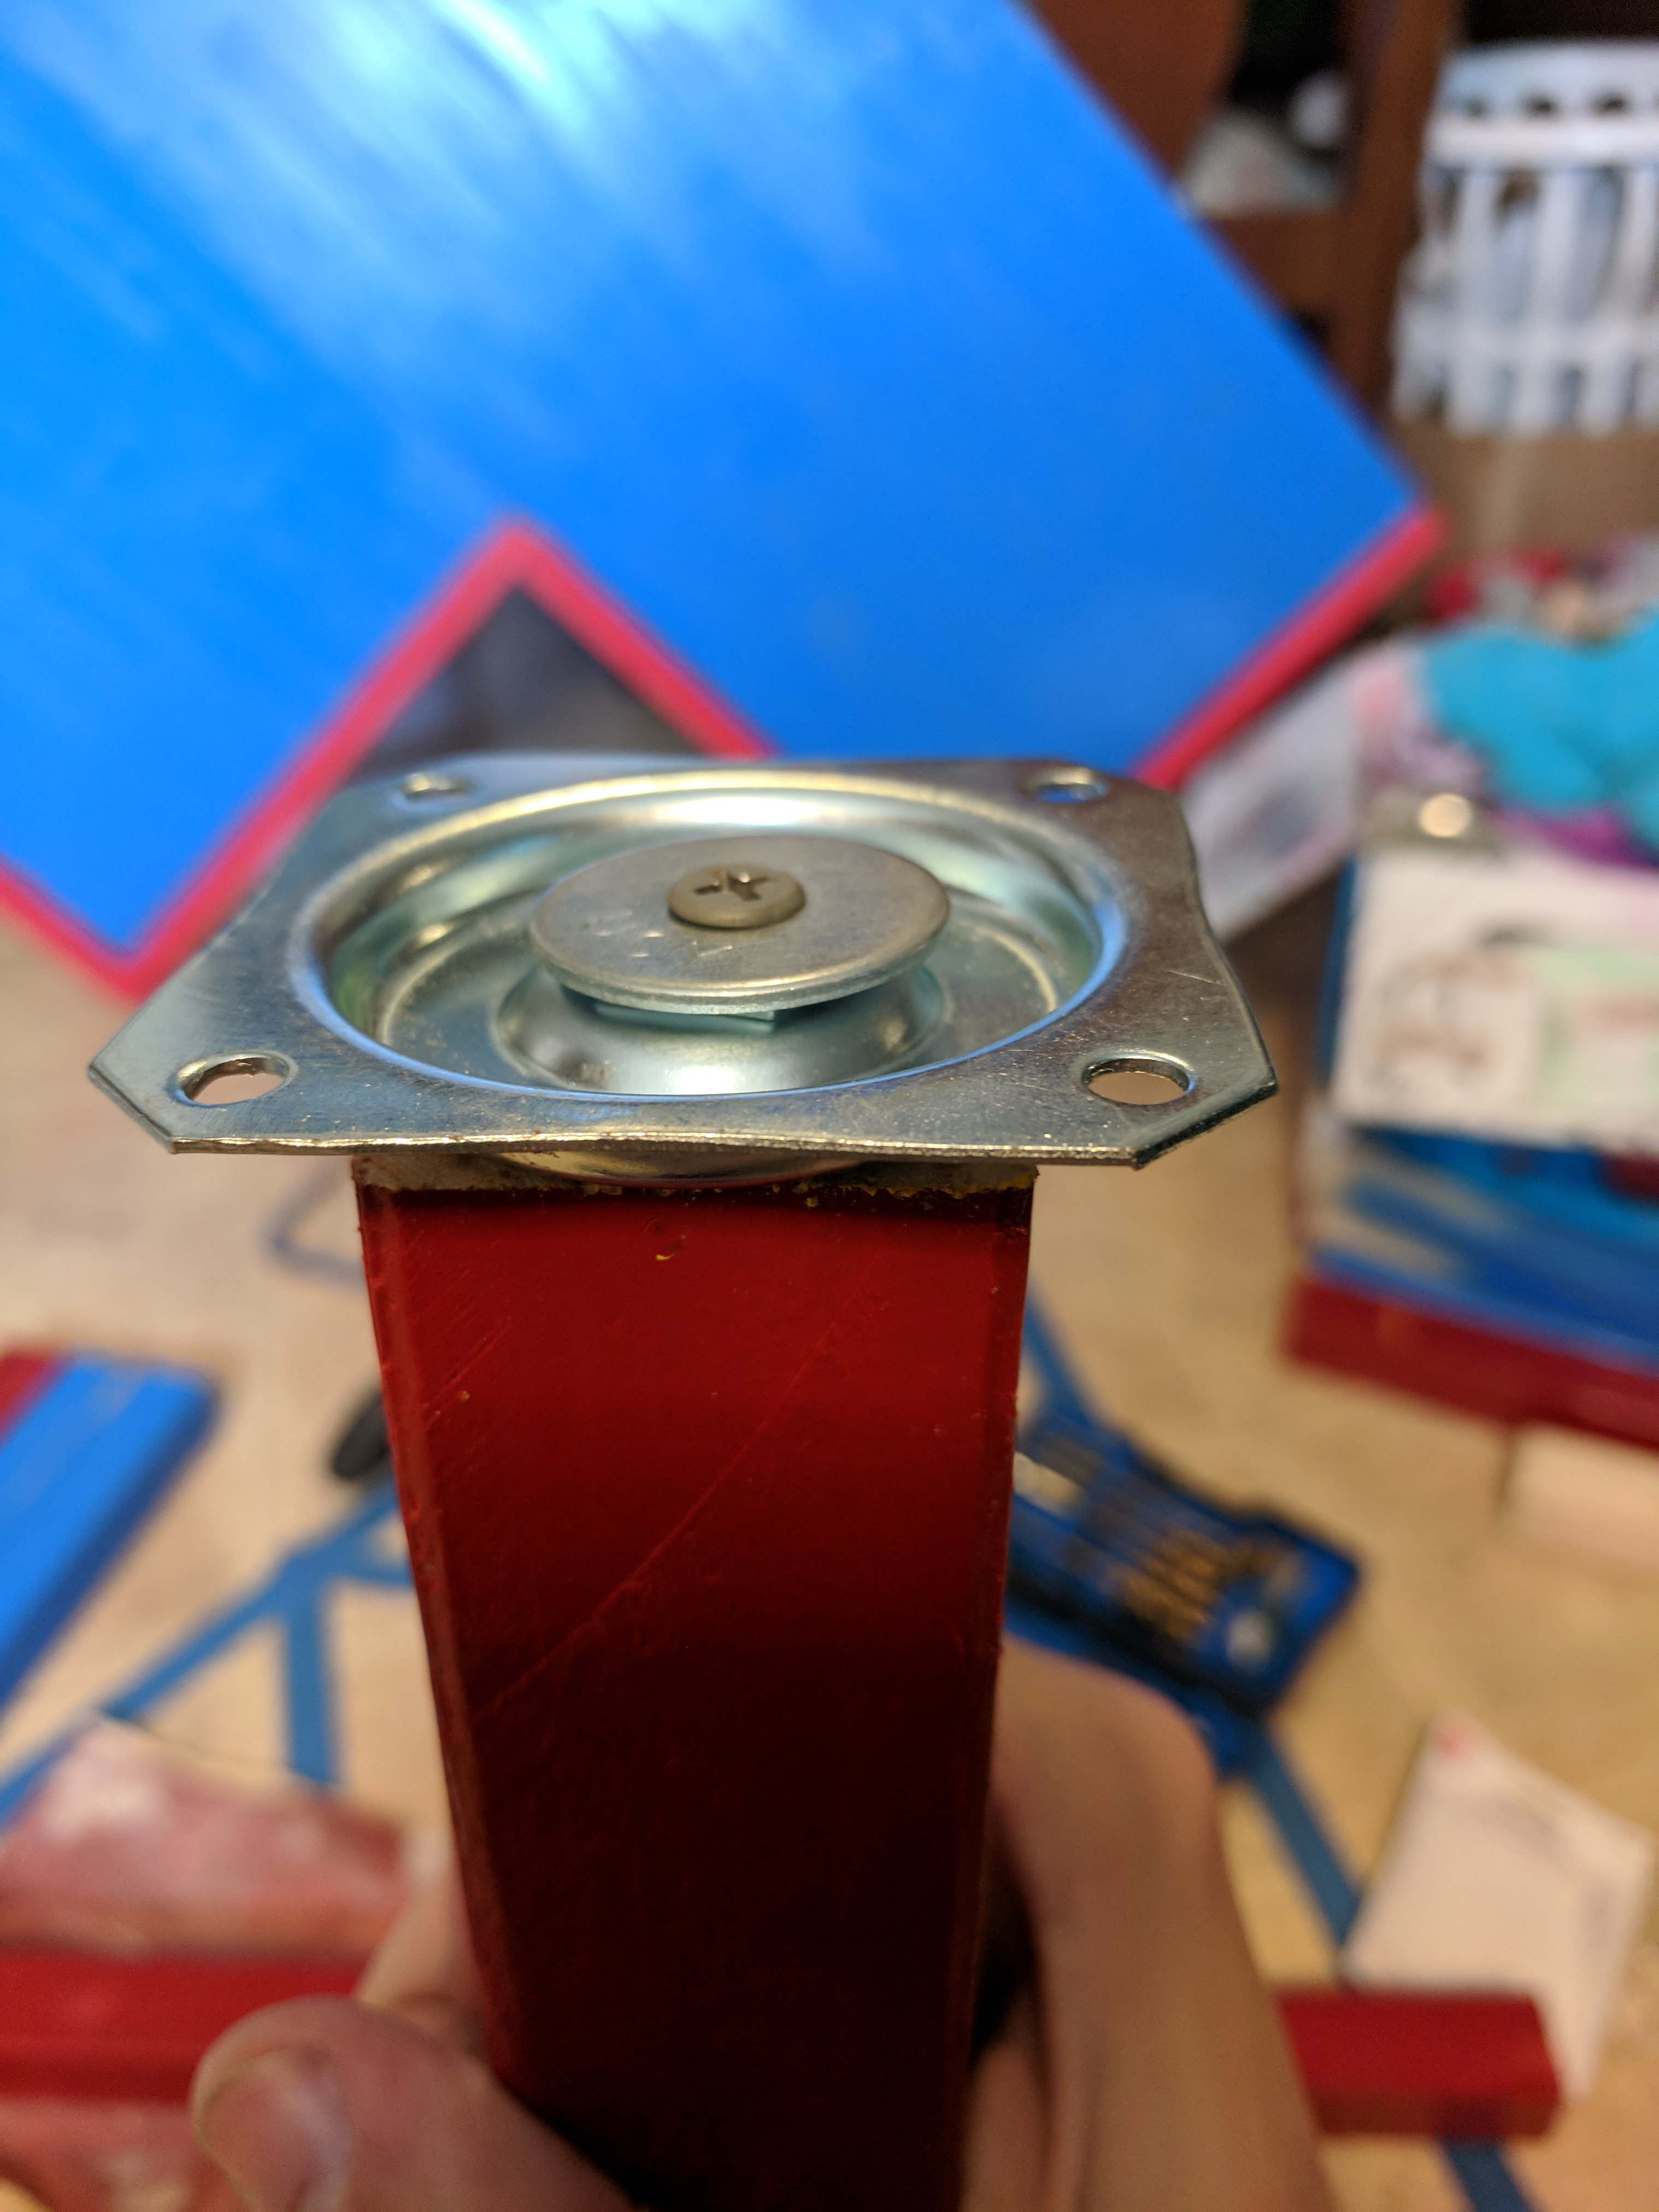
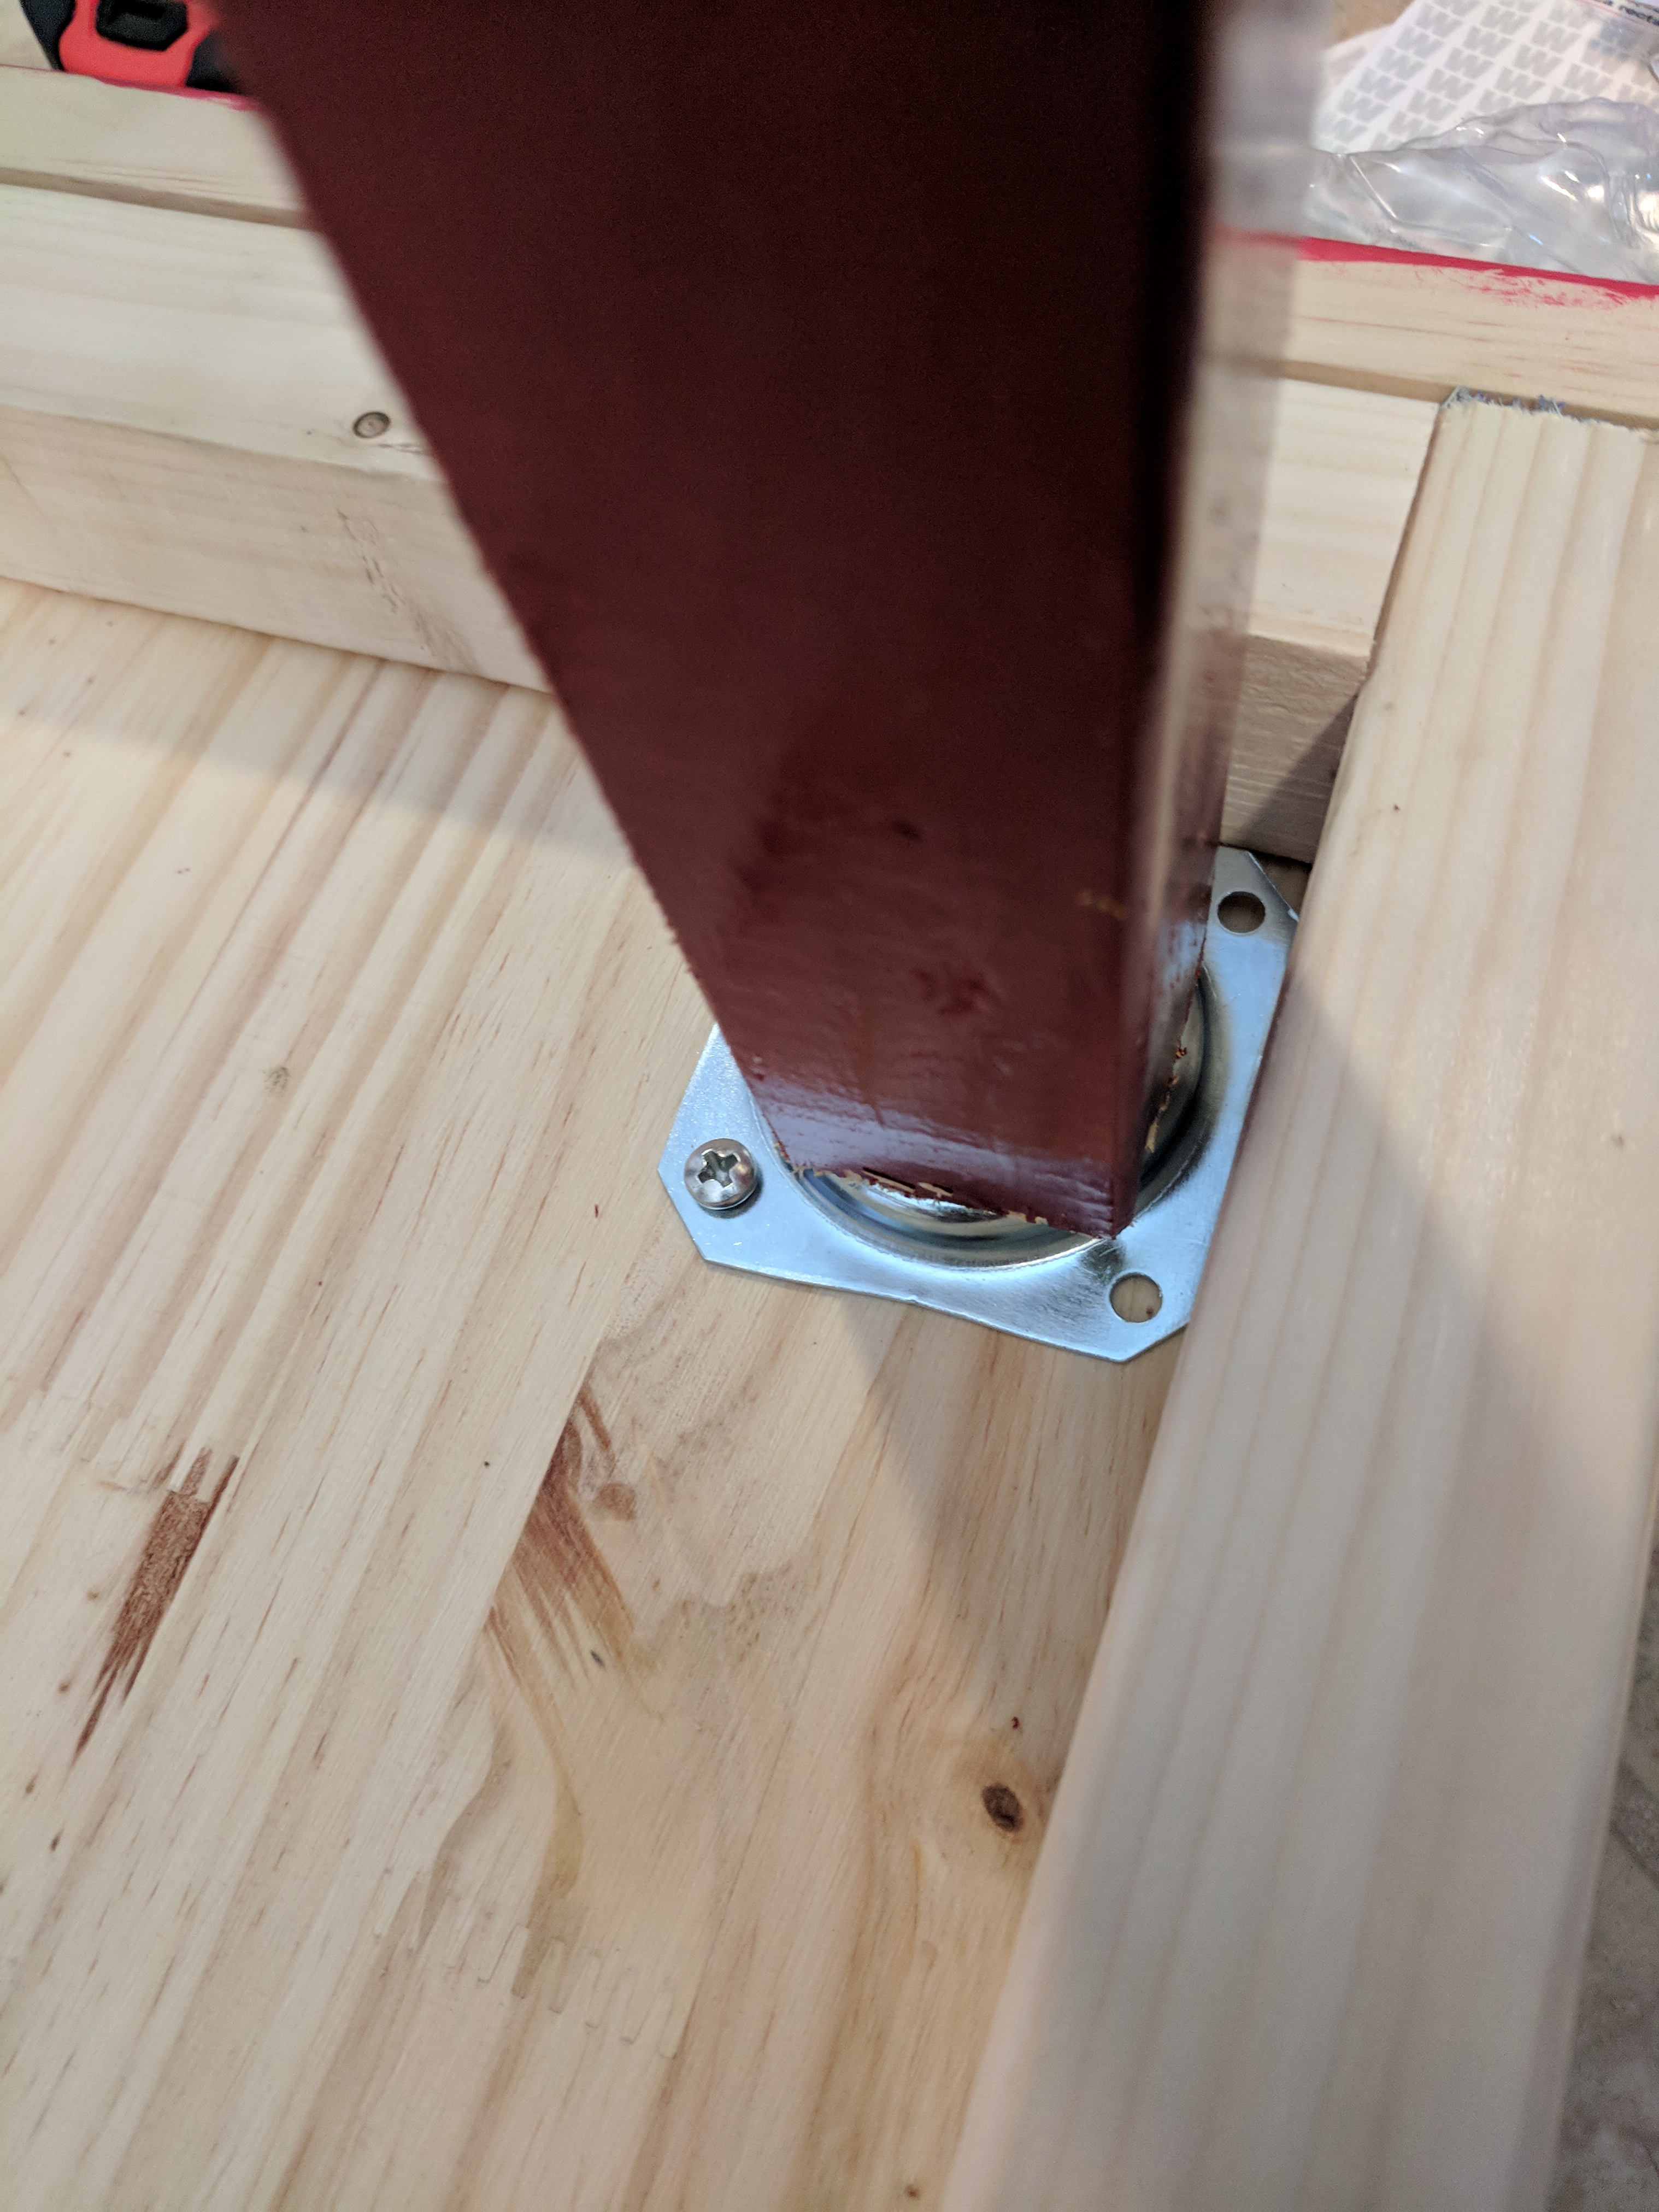
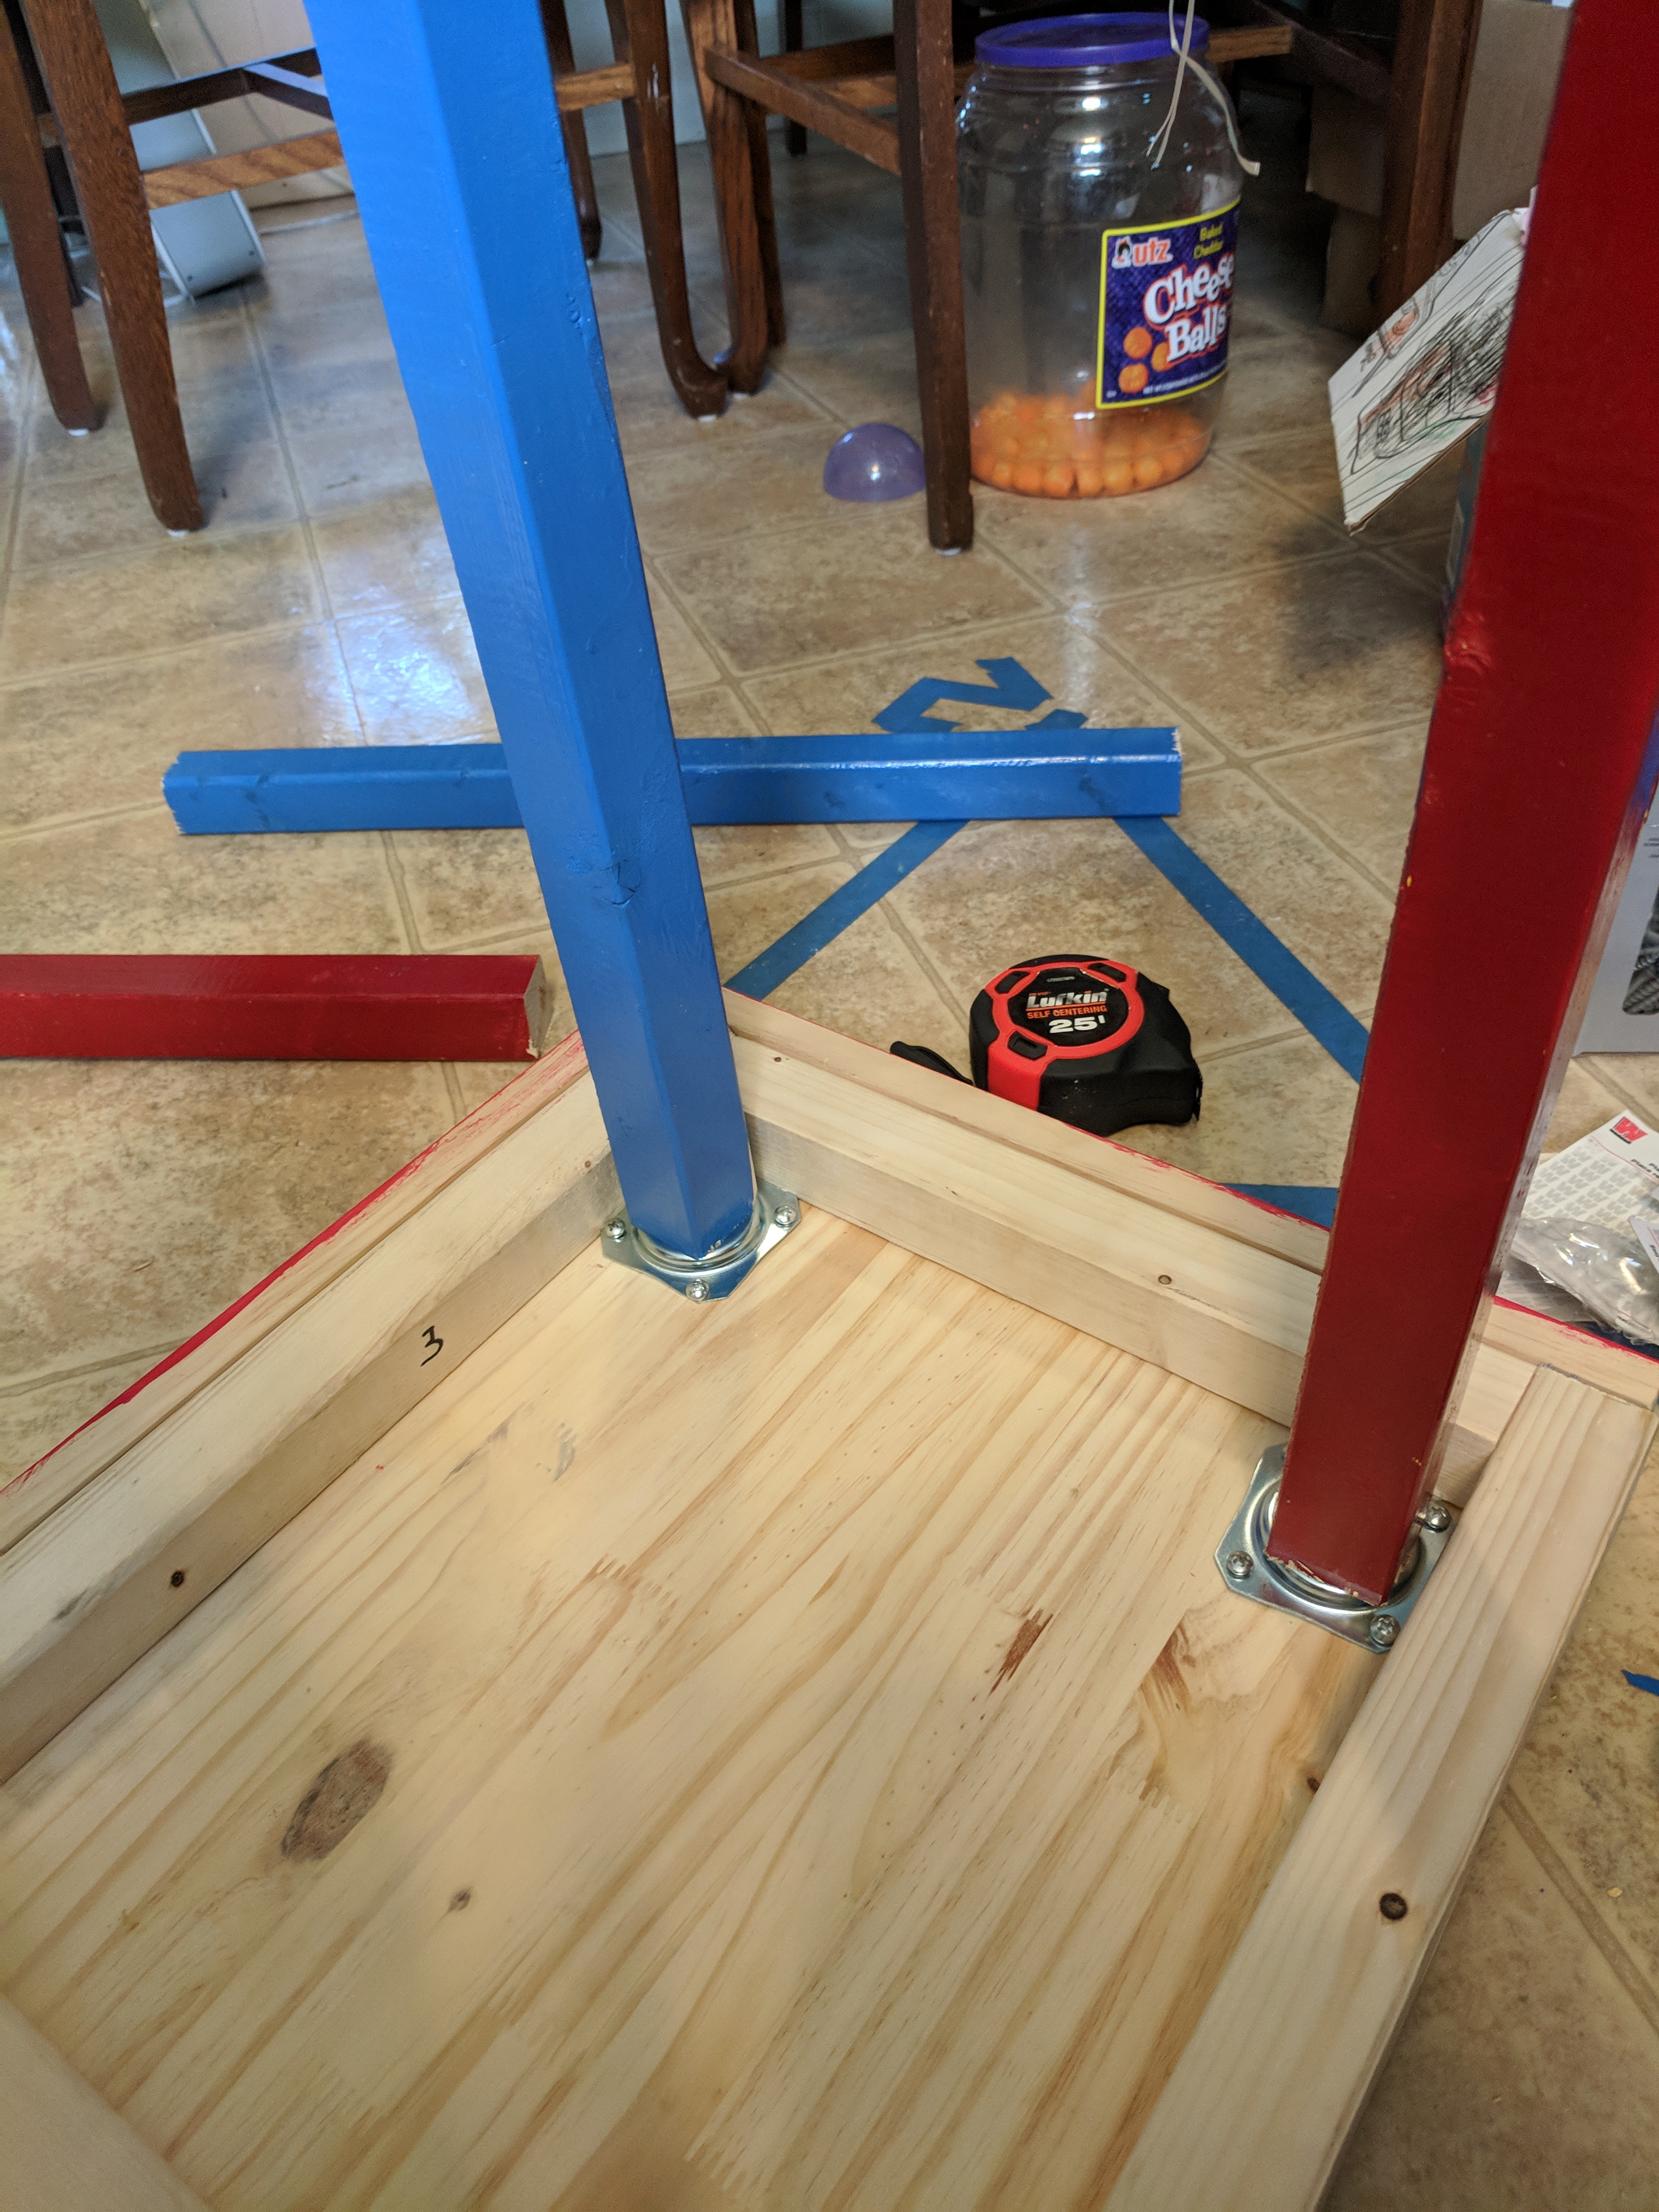
If there is one thing you never skip its leg day. I started out with painting 2 2x2 yellow ......... yellow isn't my color so I decided to do one red and one blue. I was going to use 5 legs so I figured it would look better switching it off between the 2 colors. I cut each of the 2x2 into 26in pieces. (you may need to adjust this based on how tall you wanted your table) I ended up with 6 pieces in the end. for the leg braces I used I did not mount them the intended way they require a different kind of screw that the only kind i could find were like 3in long and wouldn't work for this project. I used my square and found the center of each leg and drilled a 1/8in pilot hole. with each leg joist i put the leg joist and then a fender washer to screw it on. next I put the legs on in each corner I put 2 blue legs on the front and 3 red legs on the back securing them with 4 1/2in screws. Just keep adjusting until you get the table level
Kragle the Top
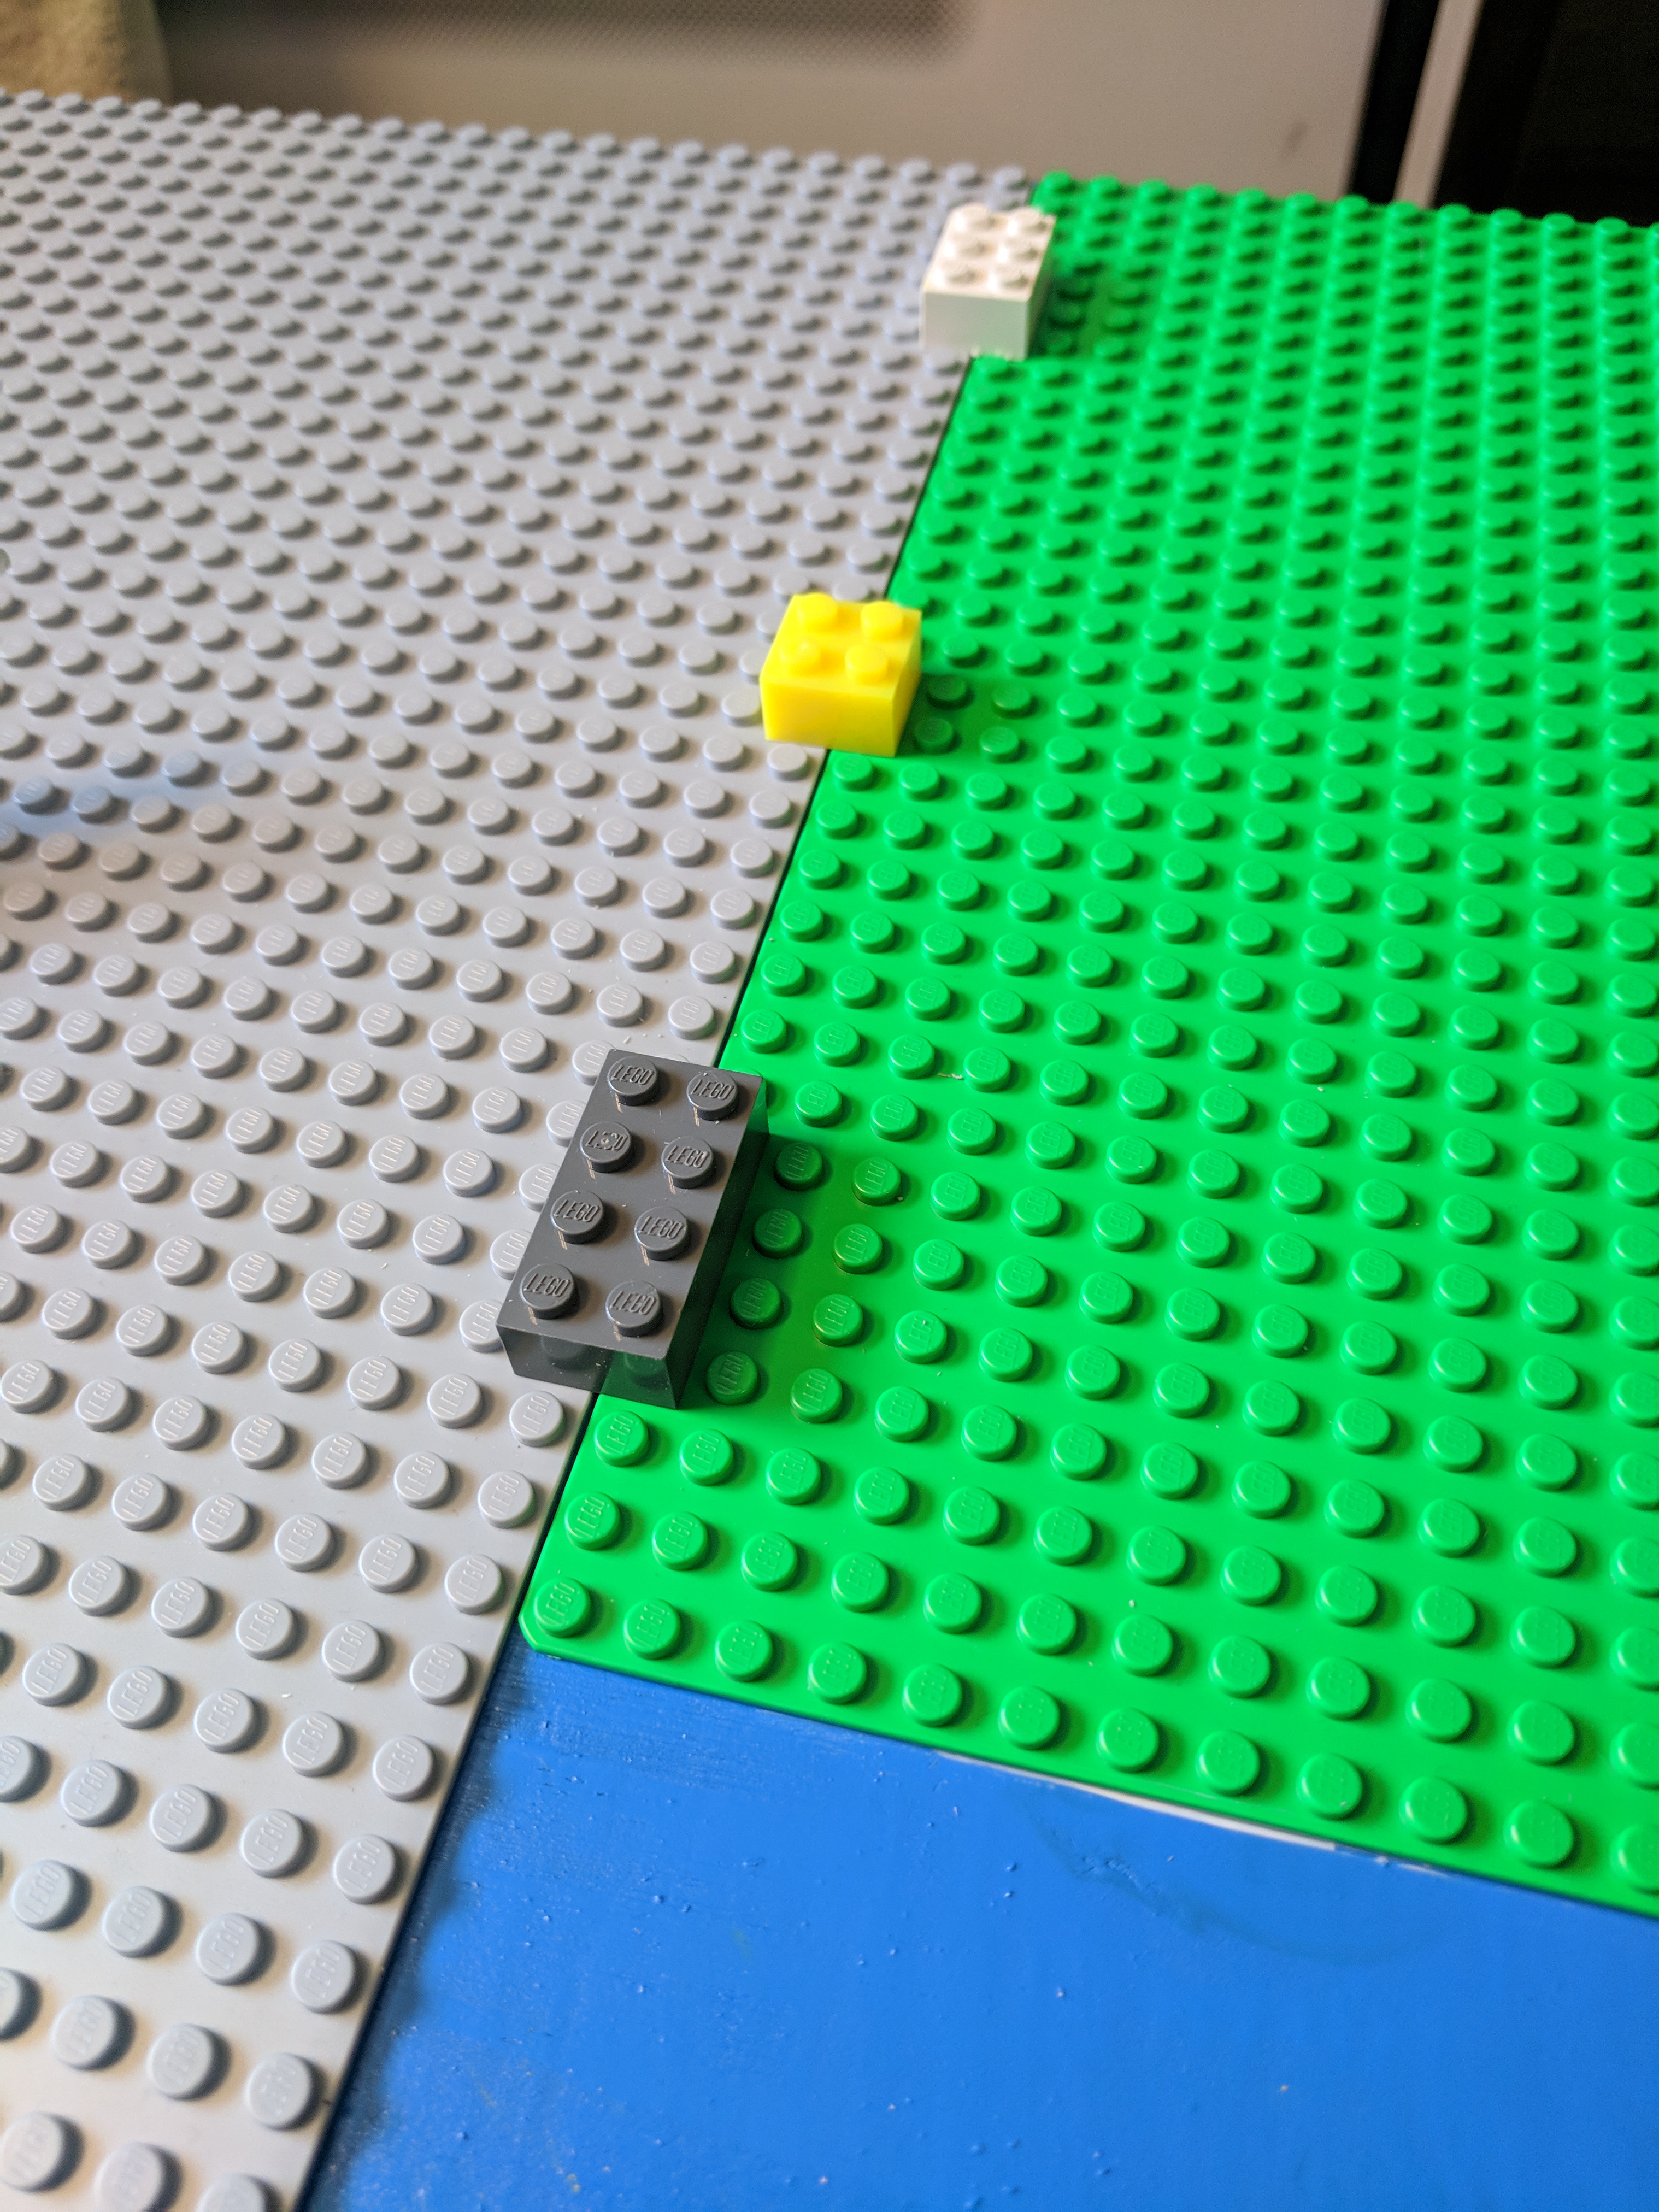
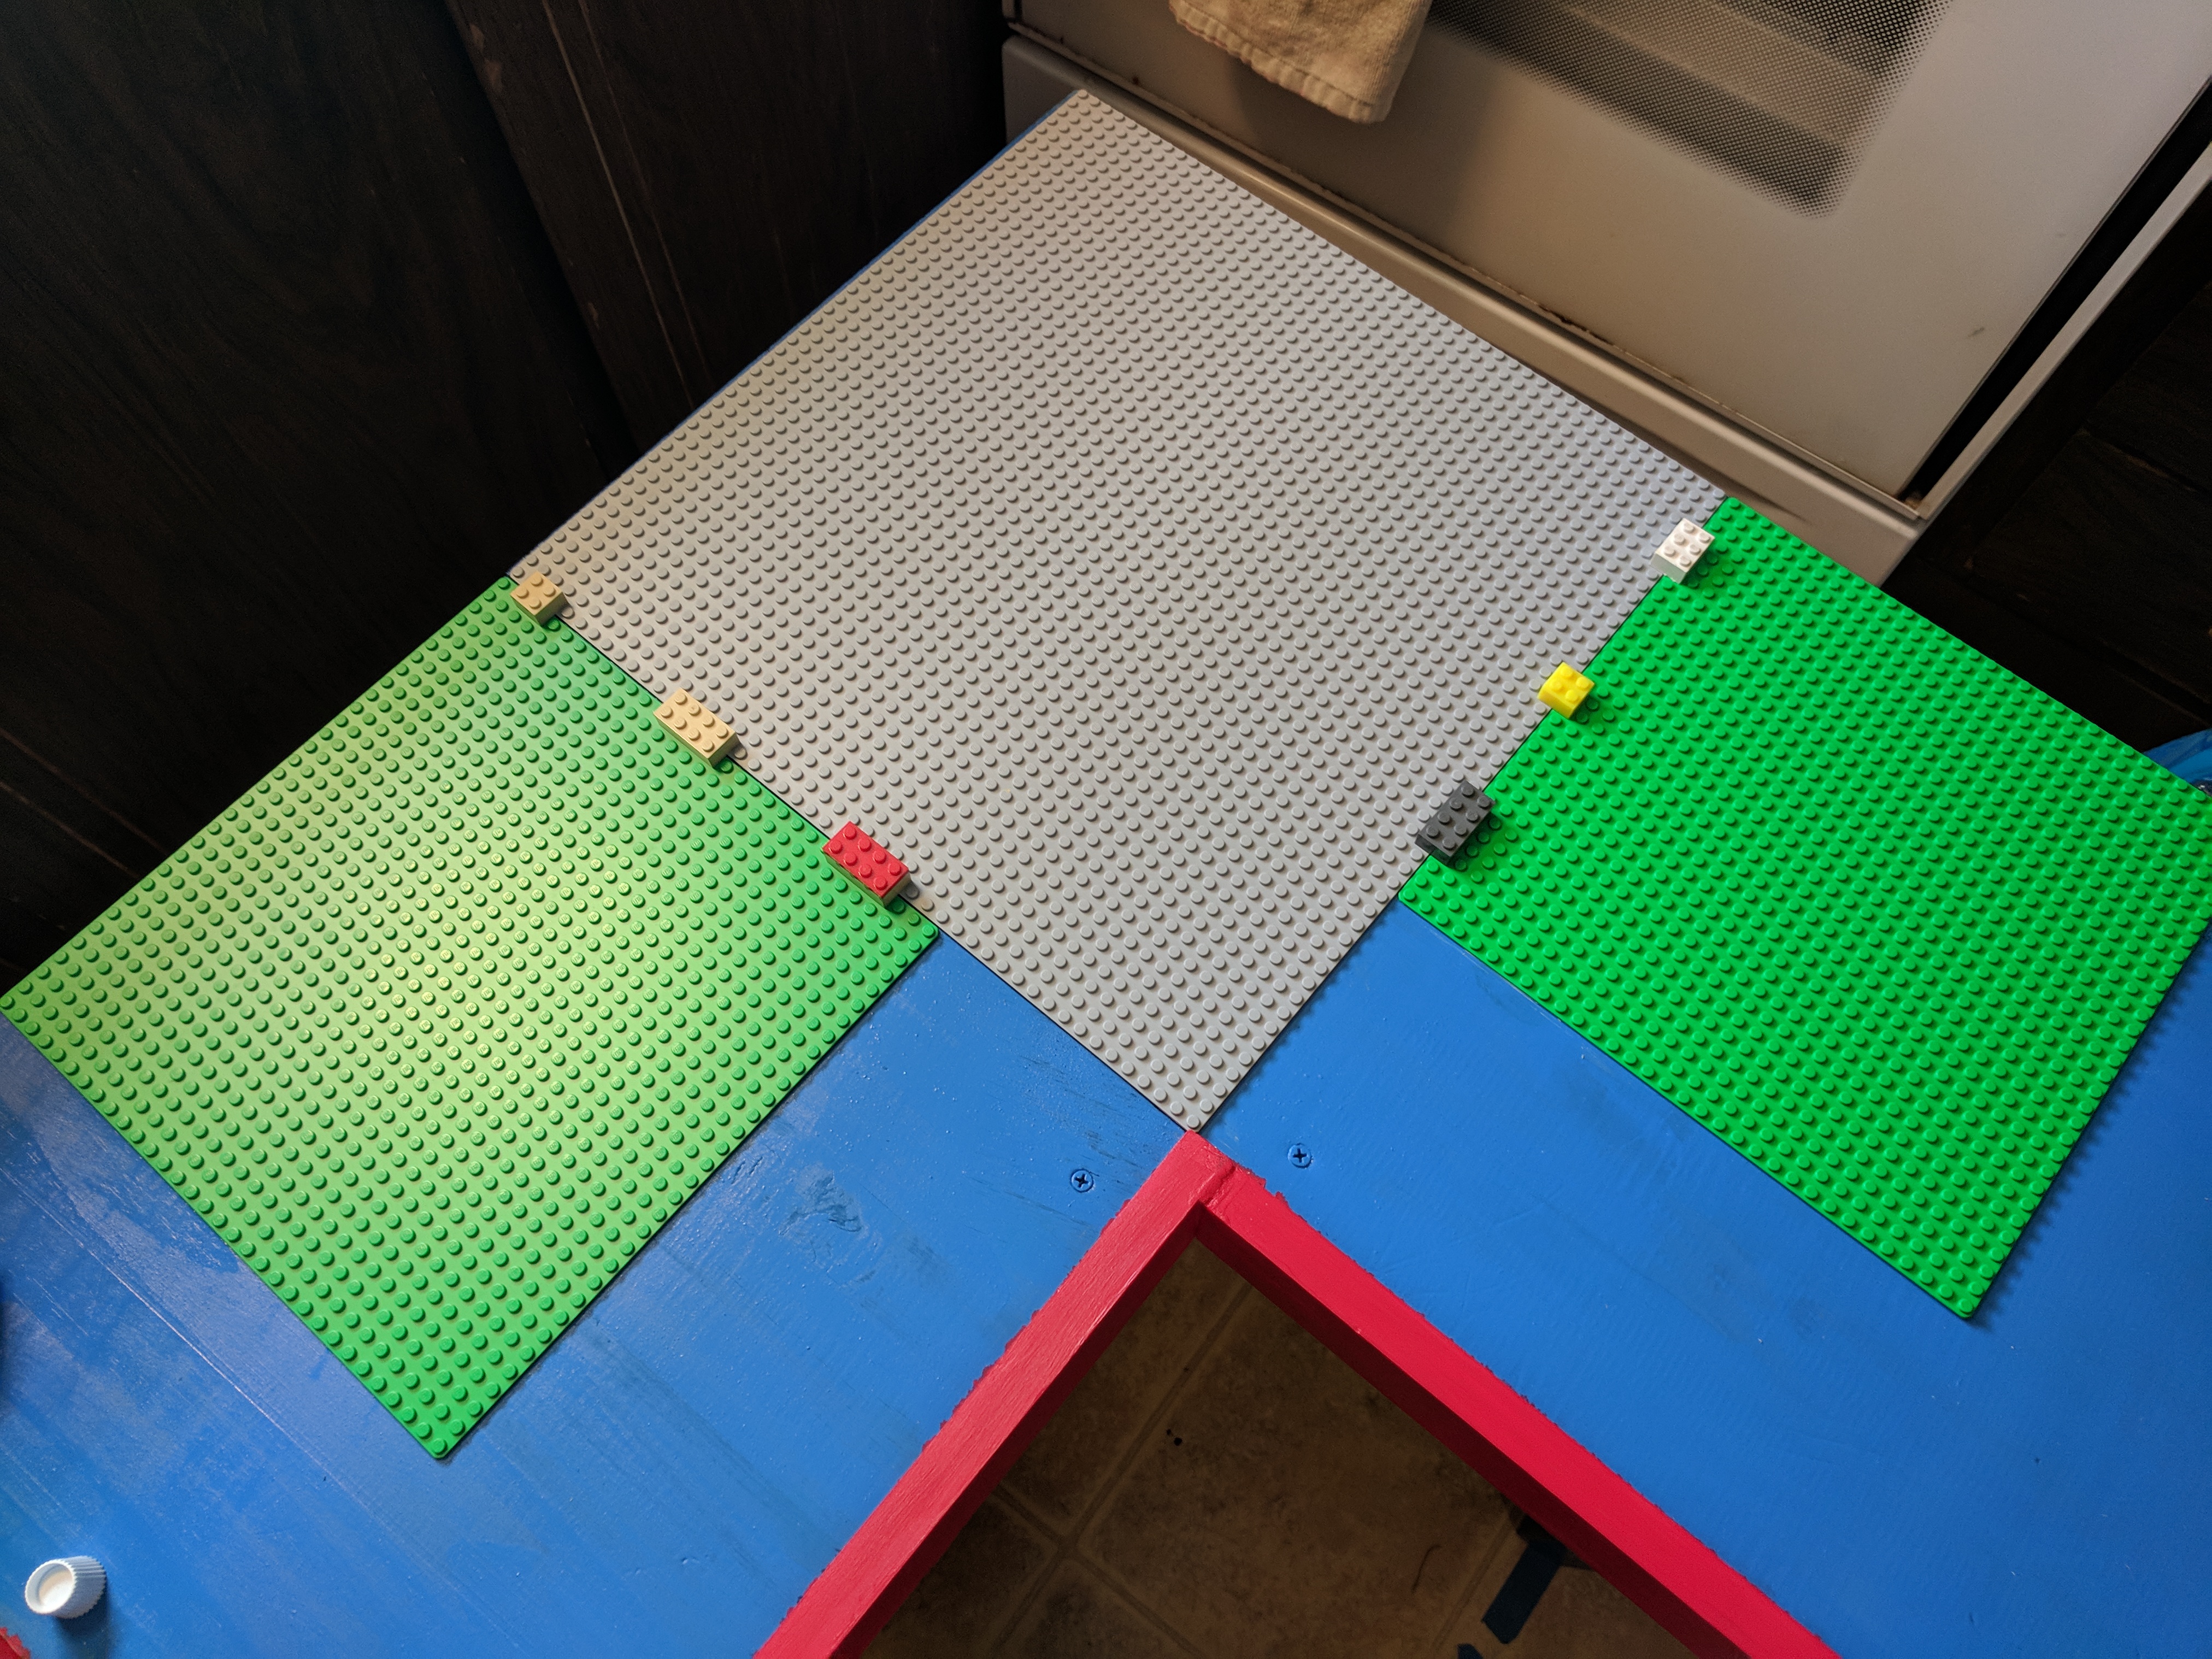
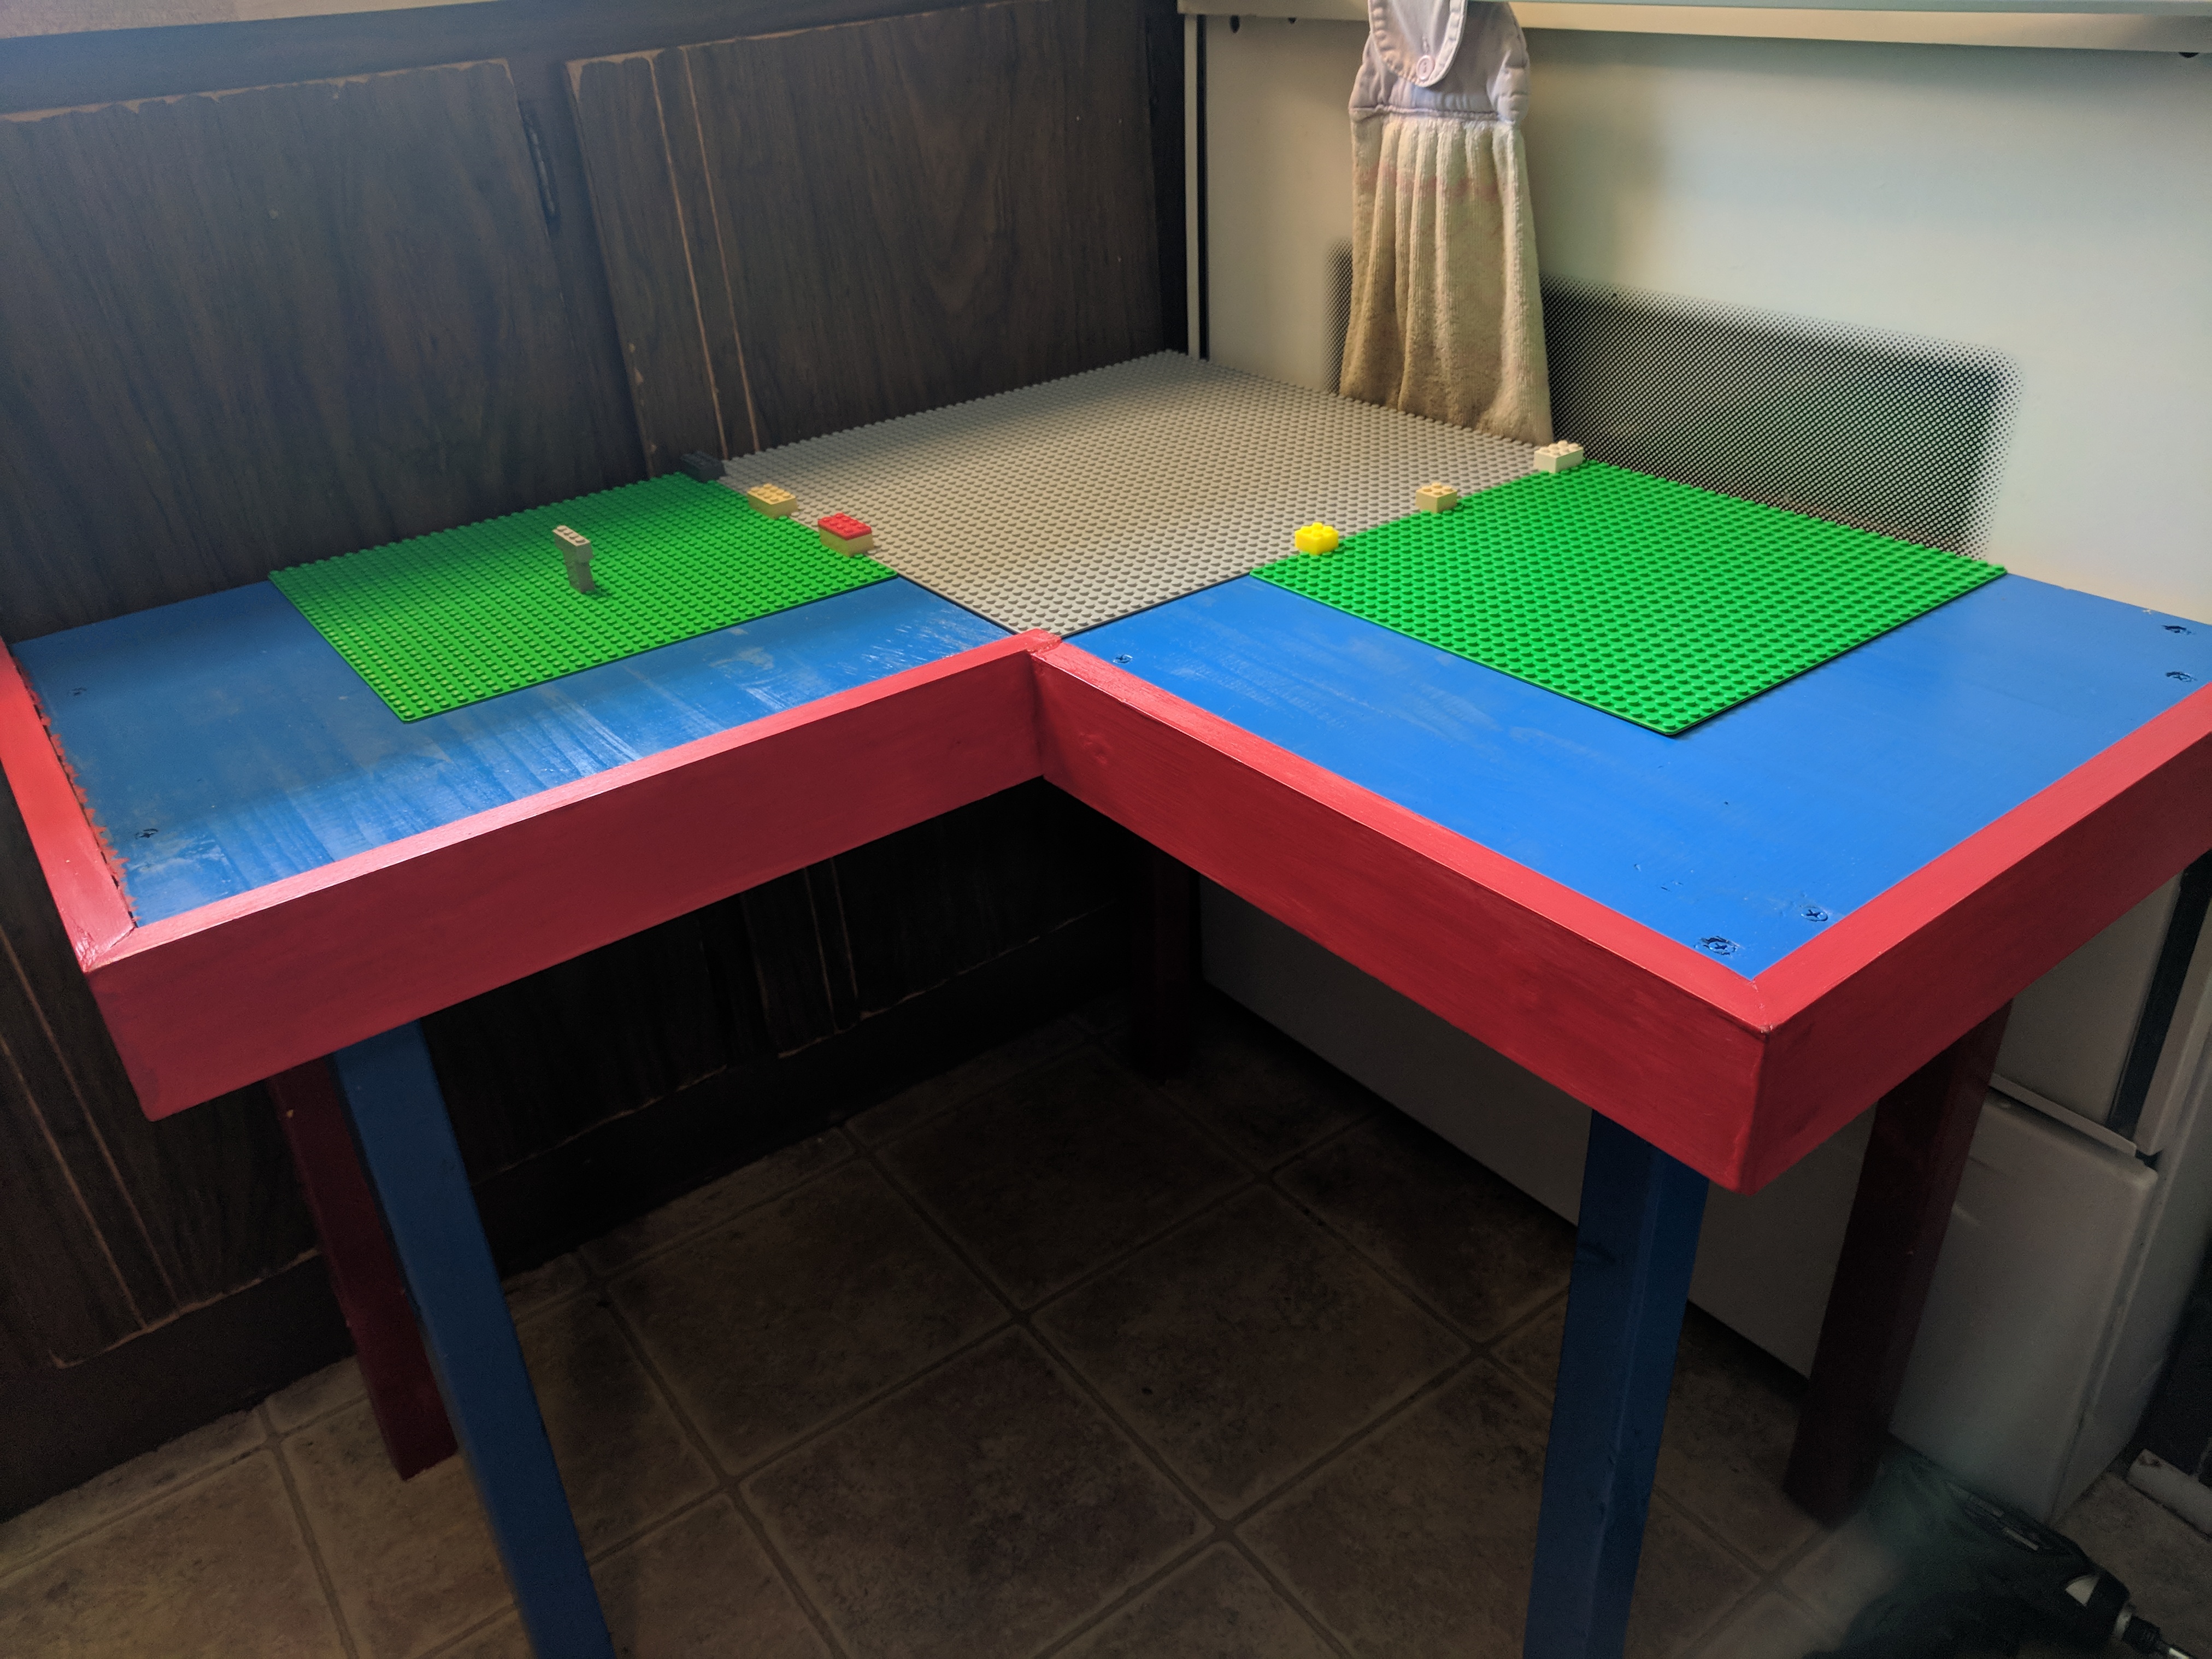
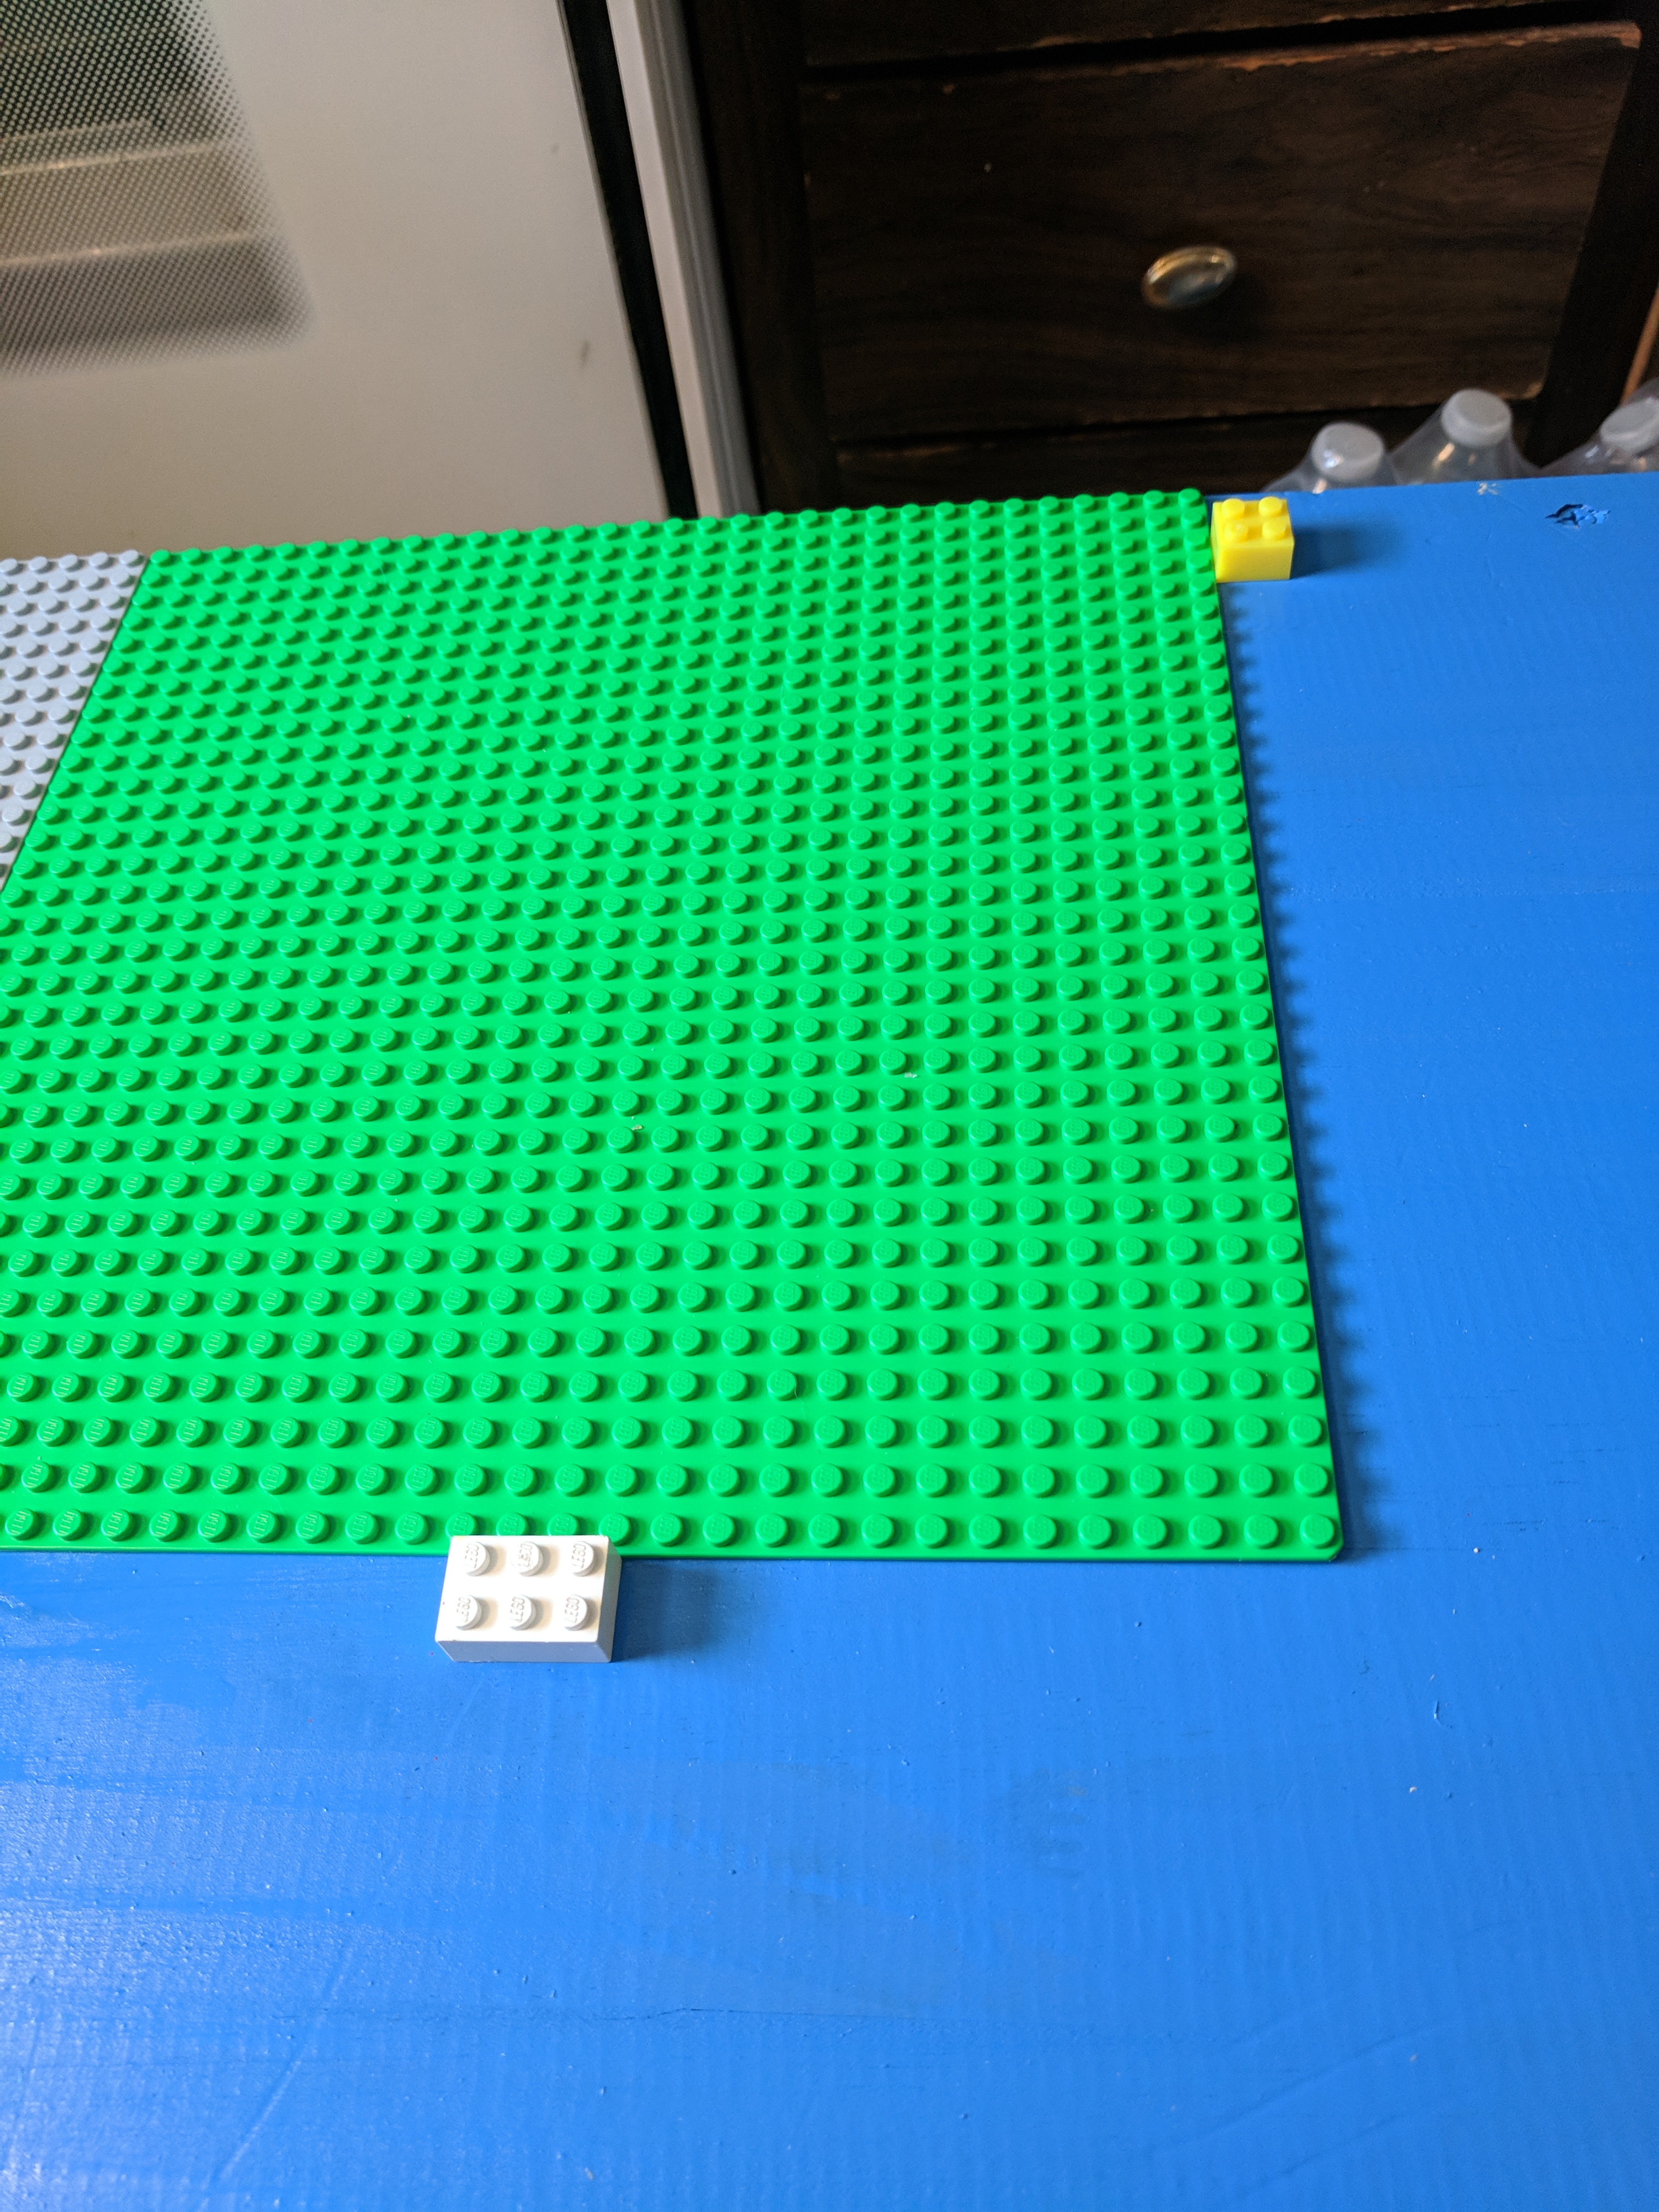
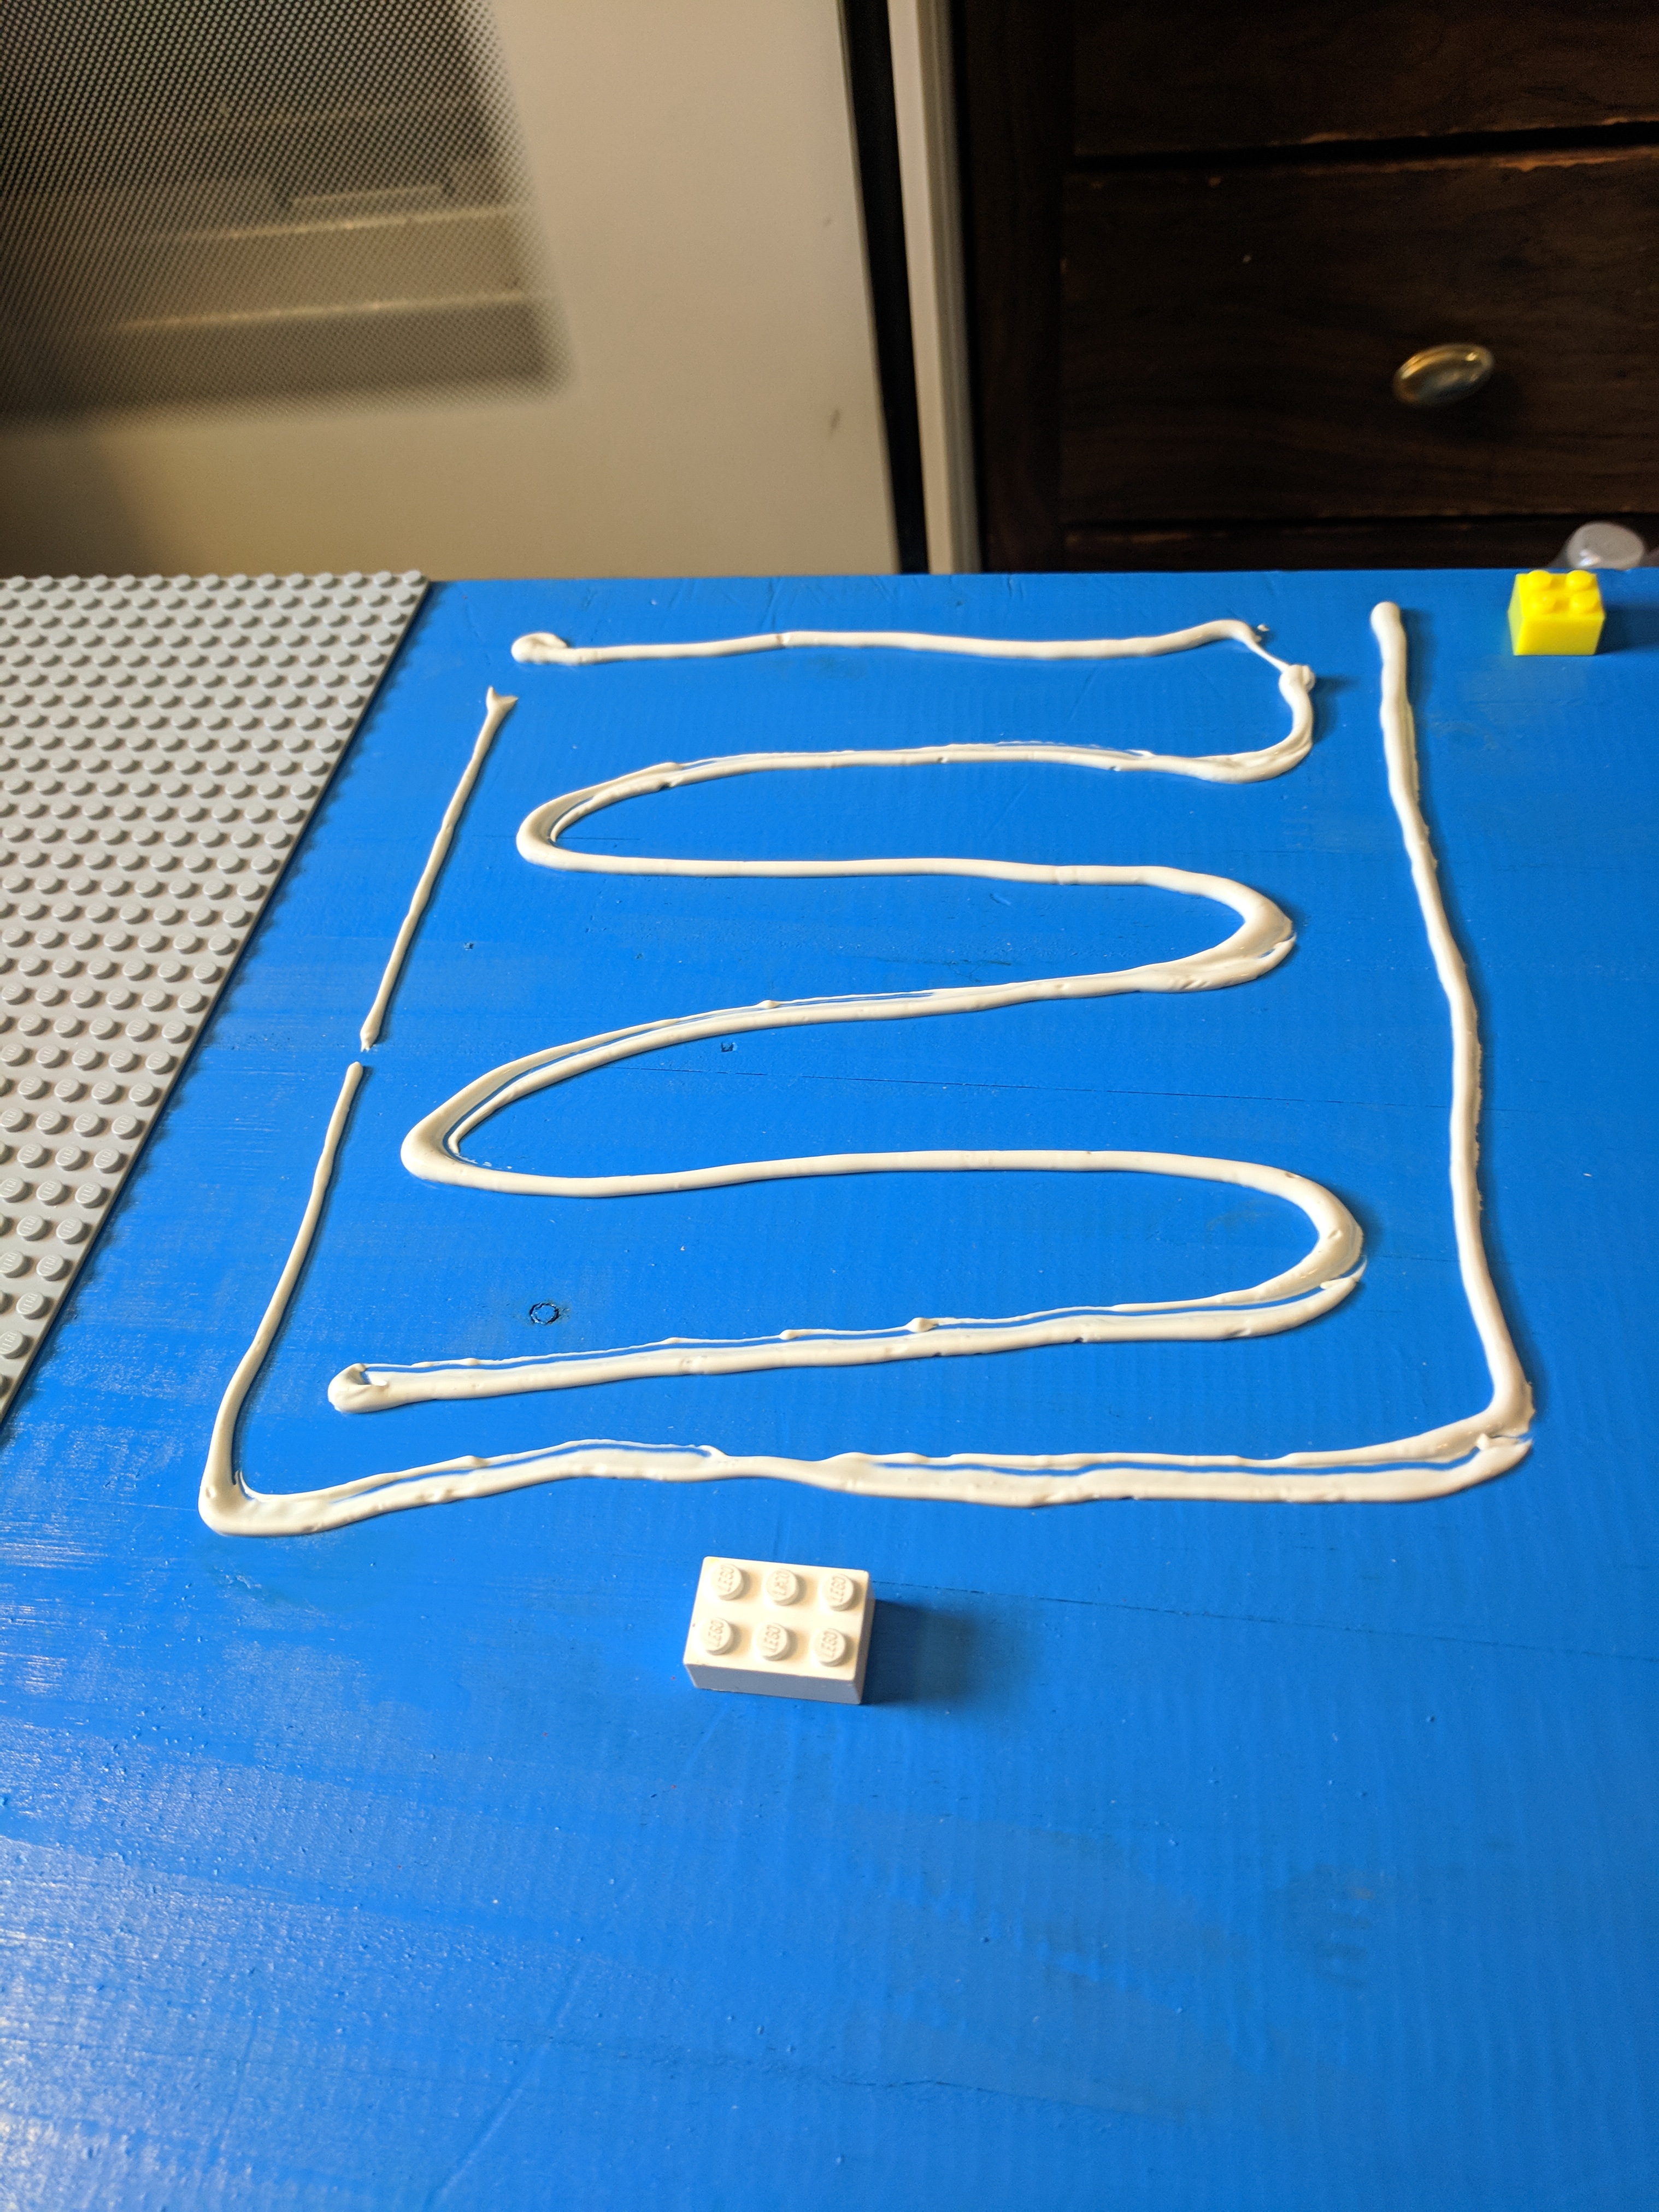
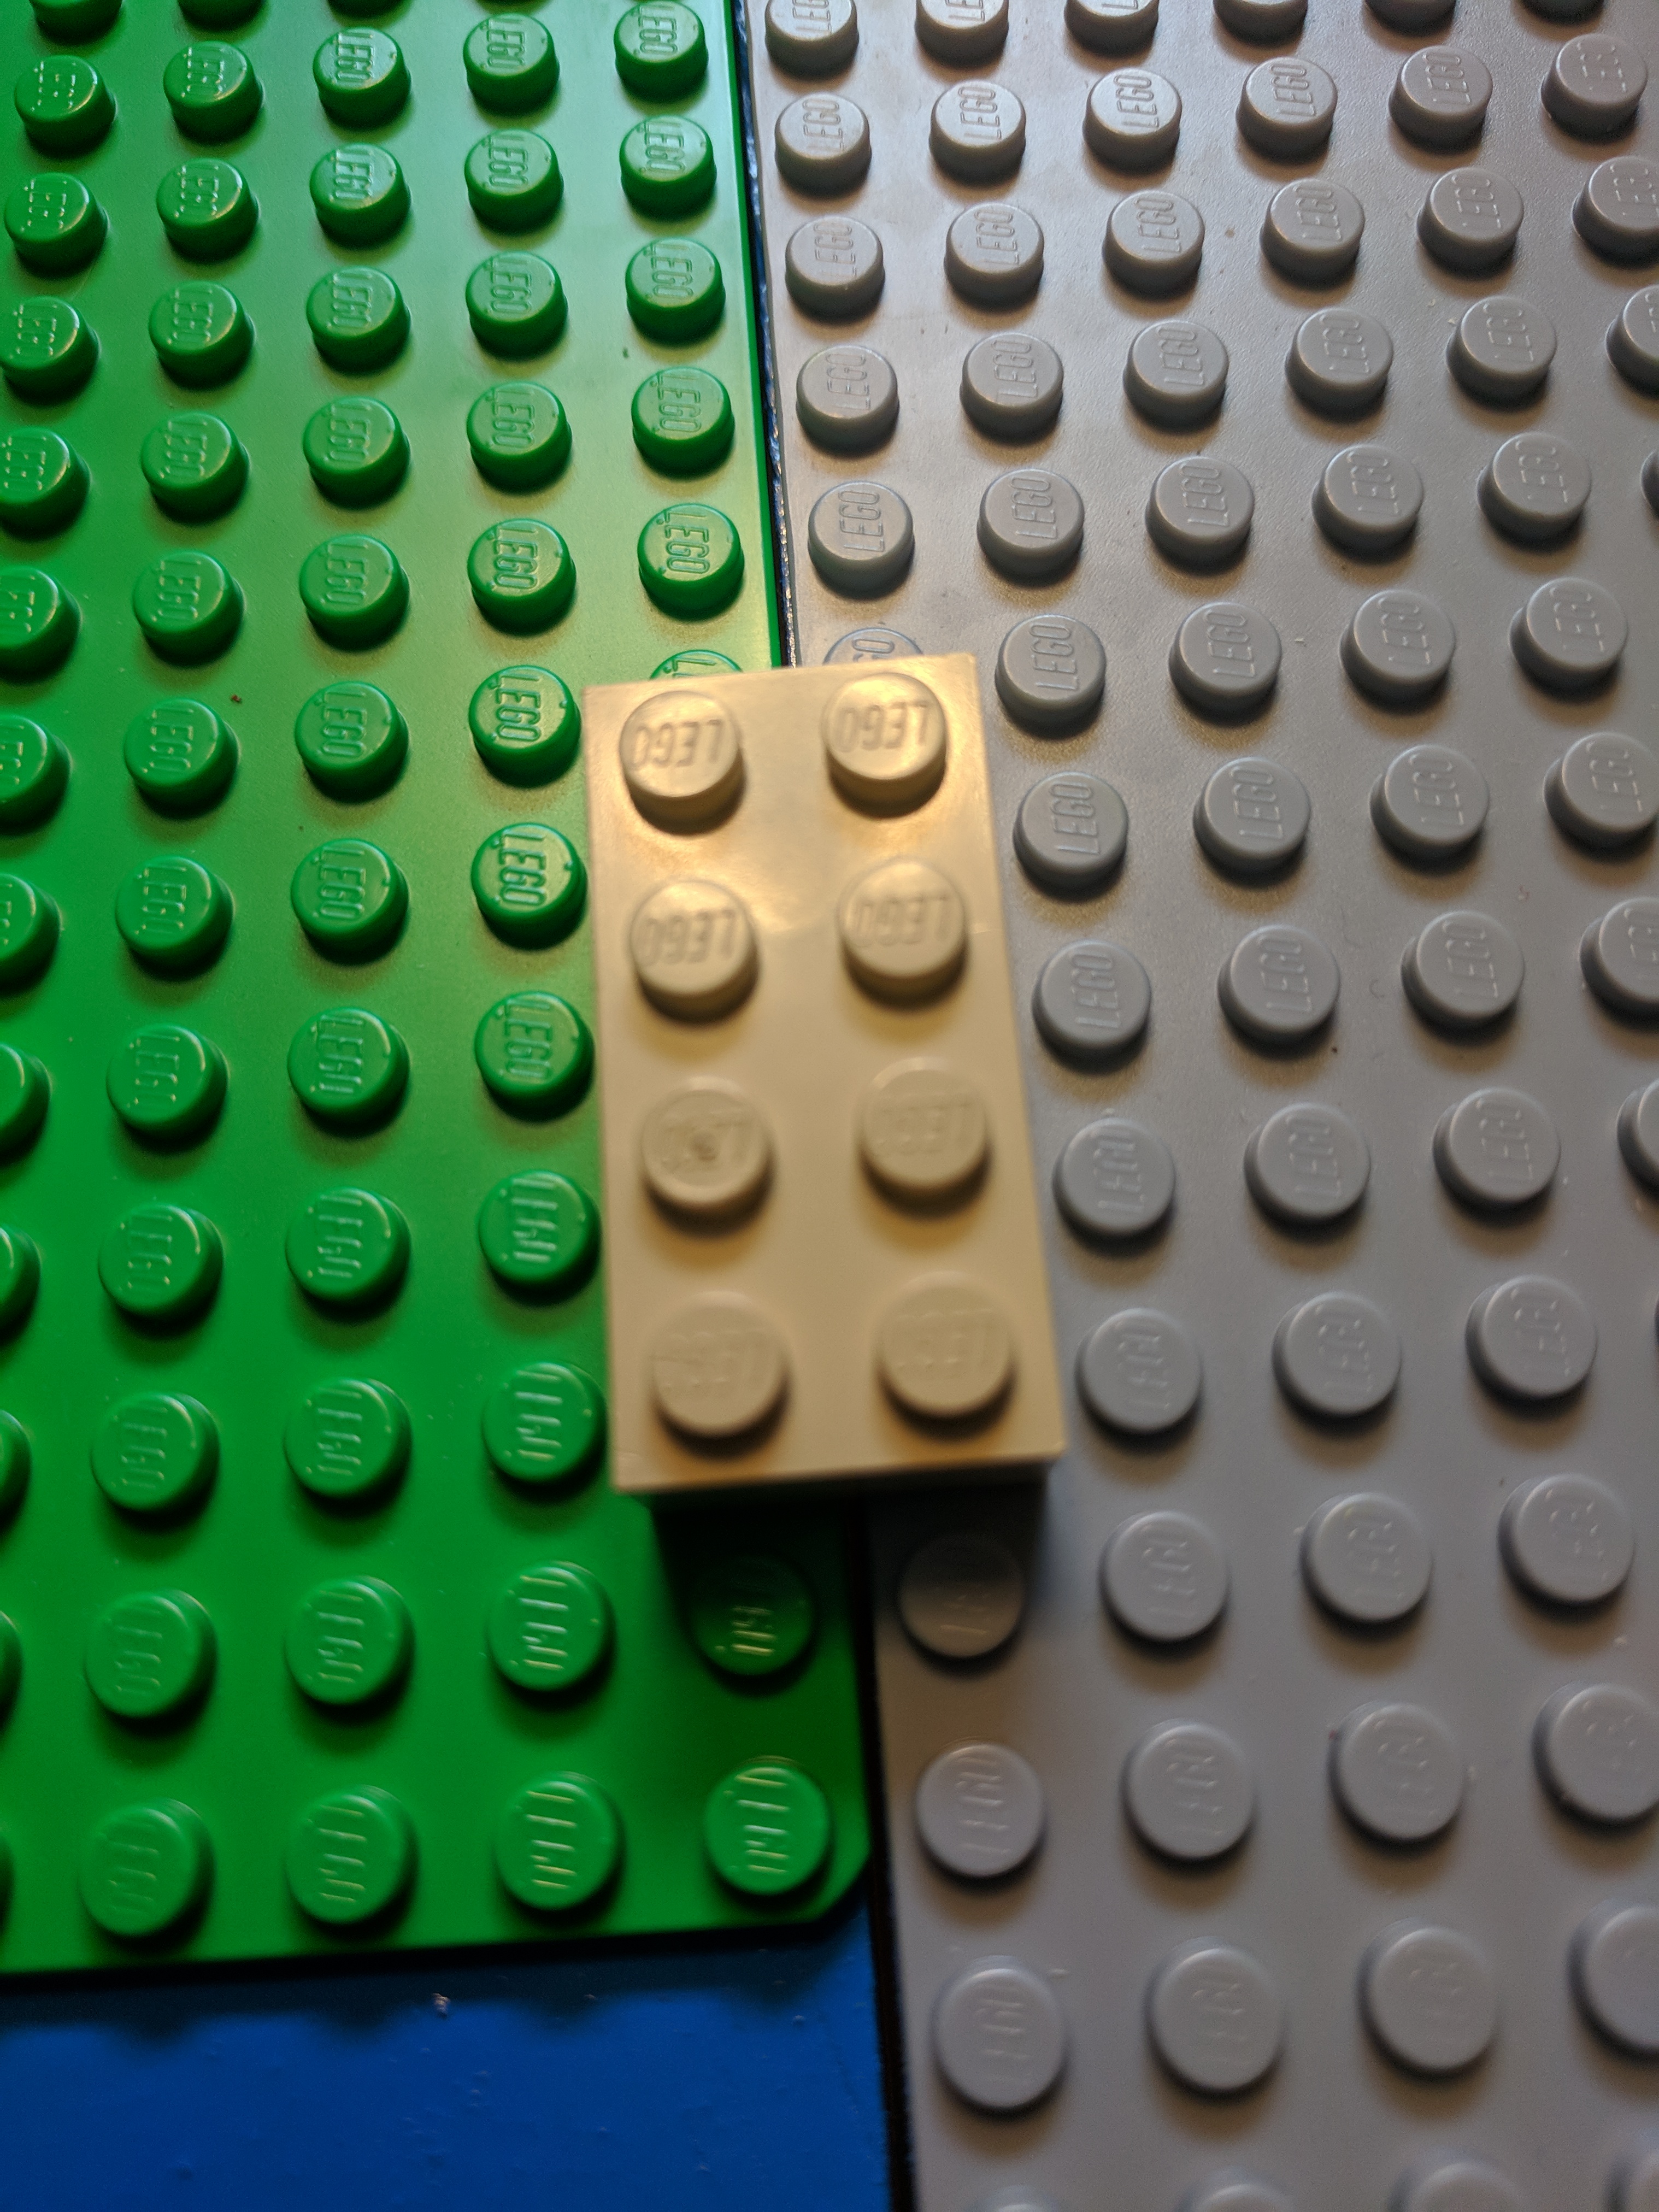
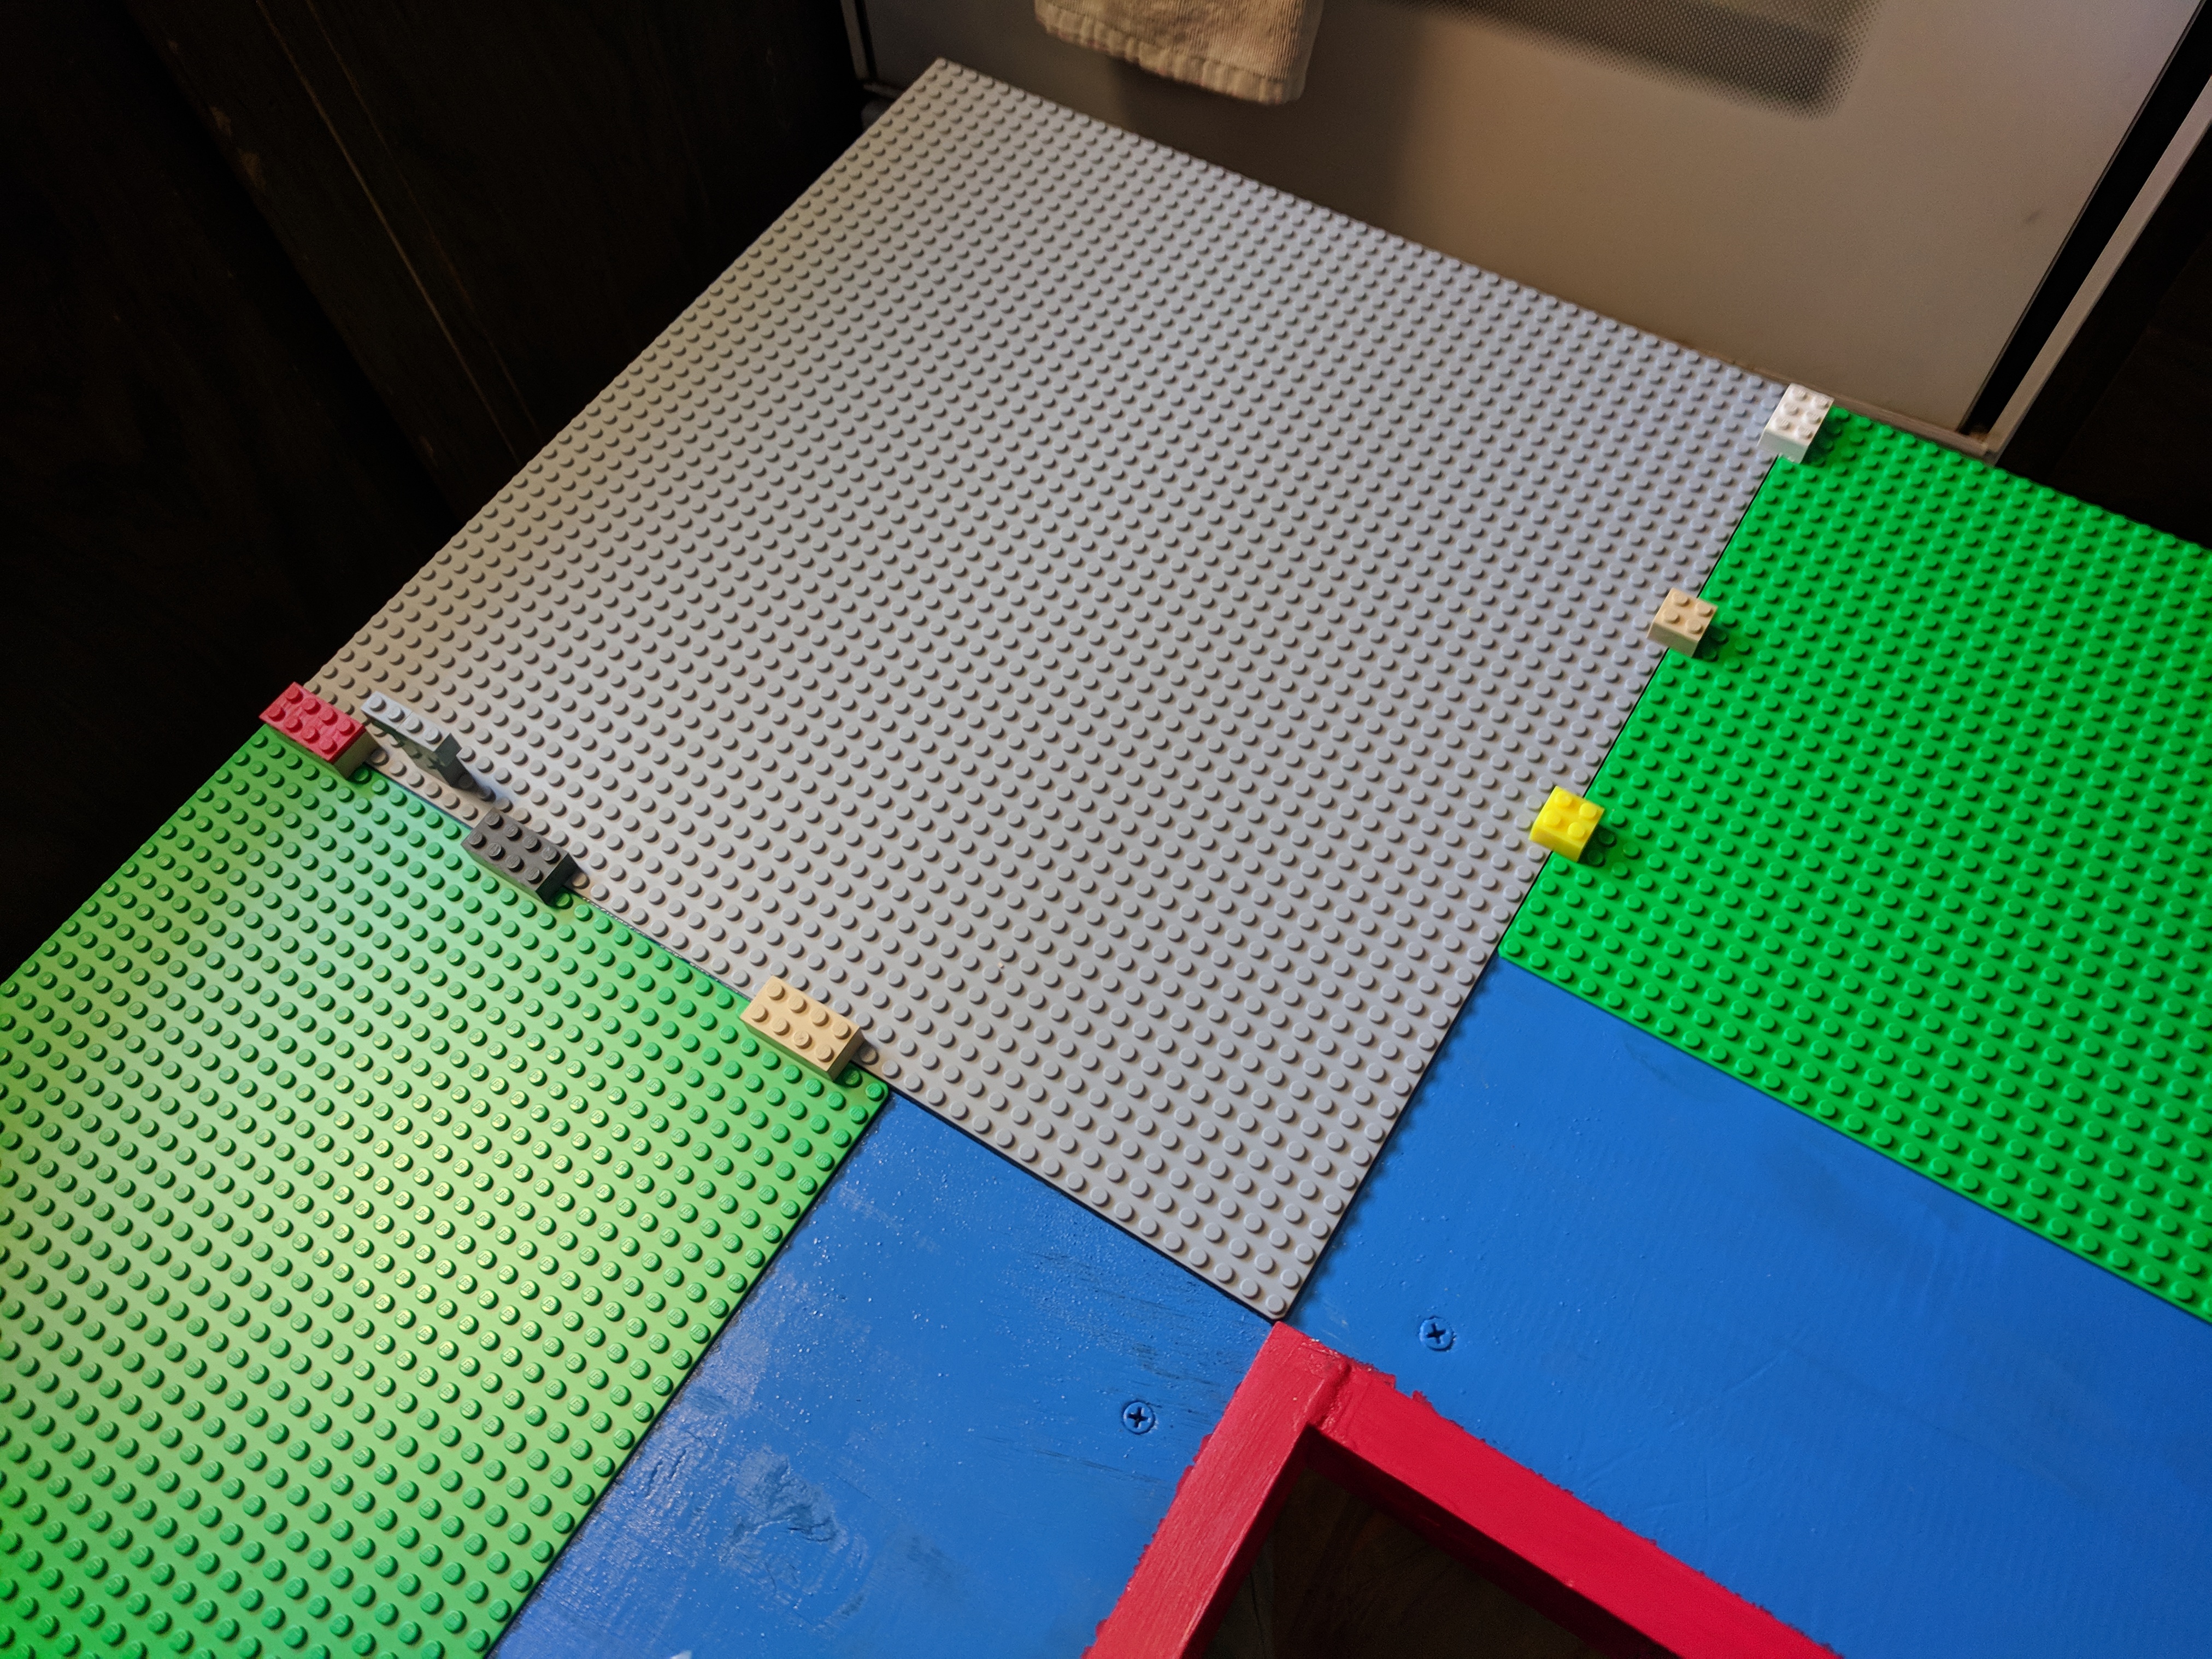
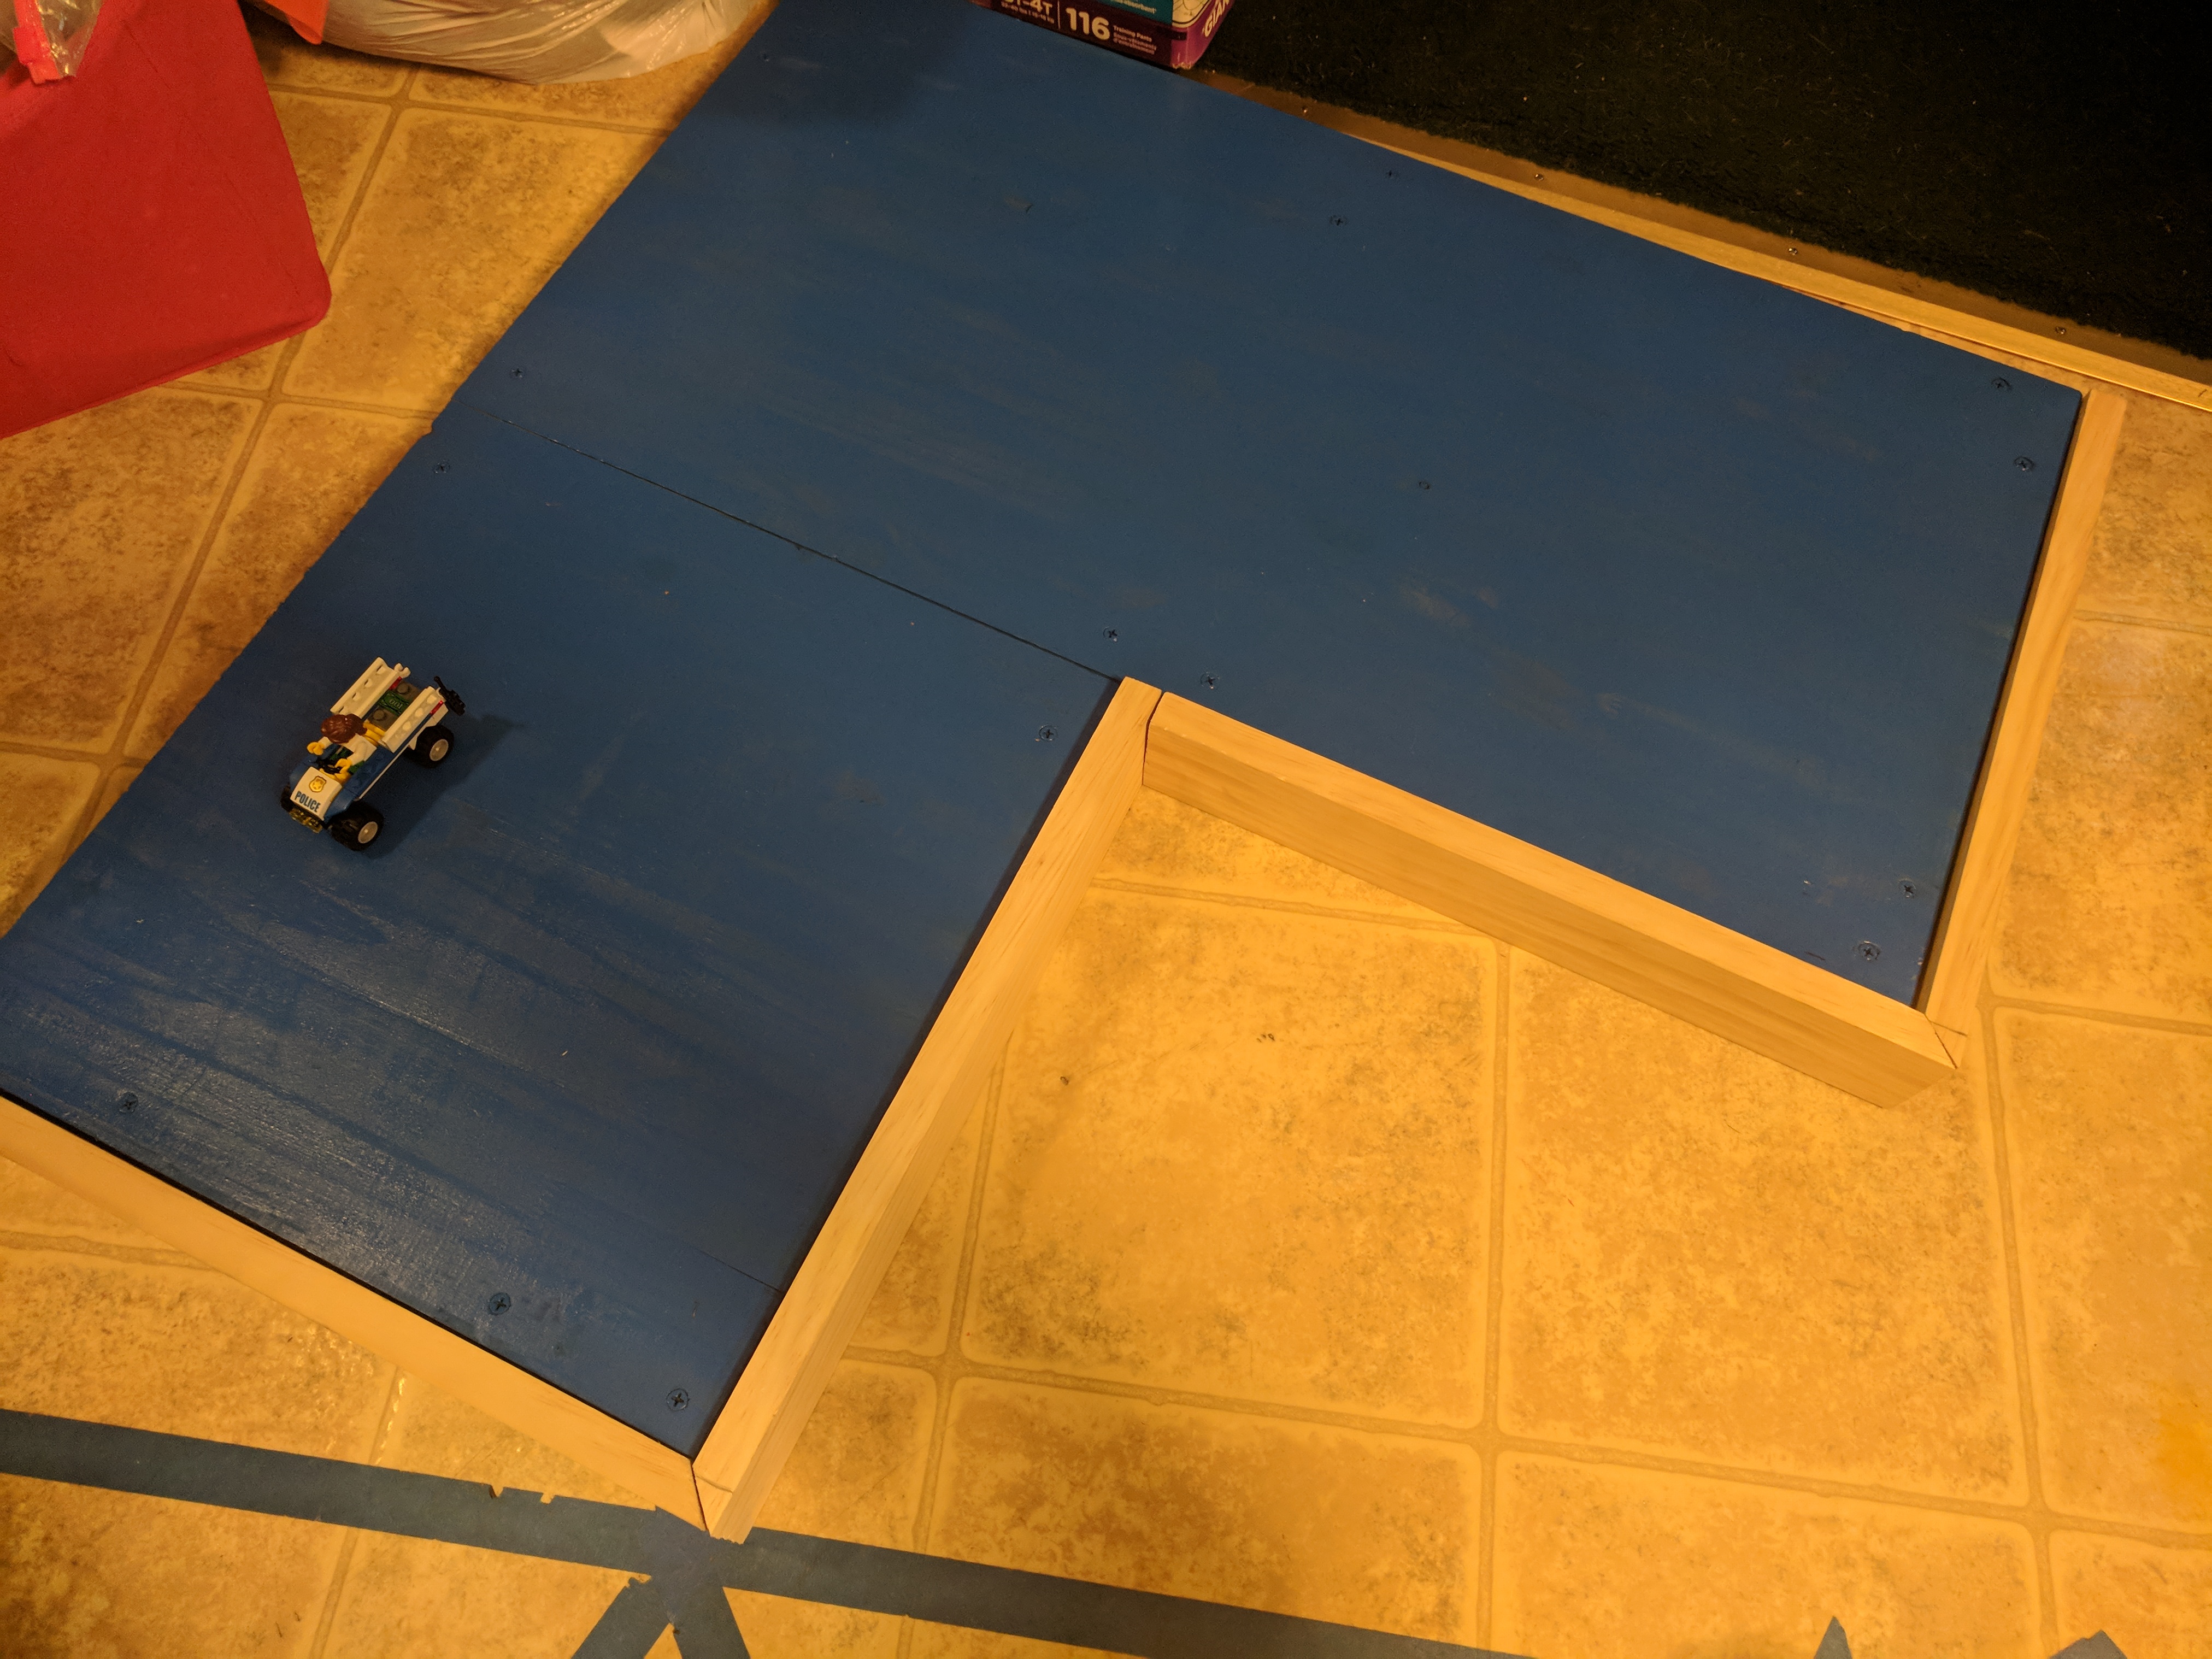
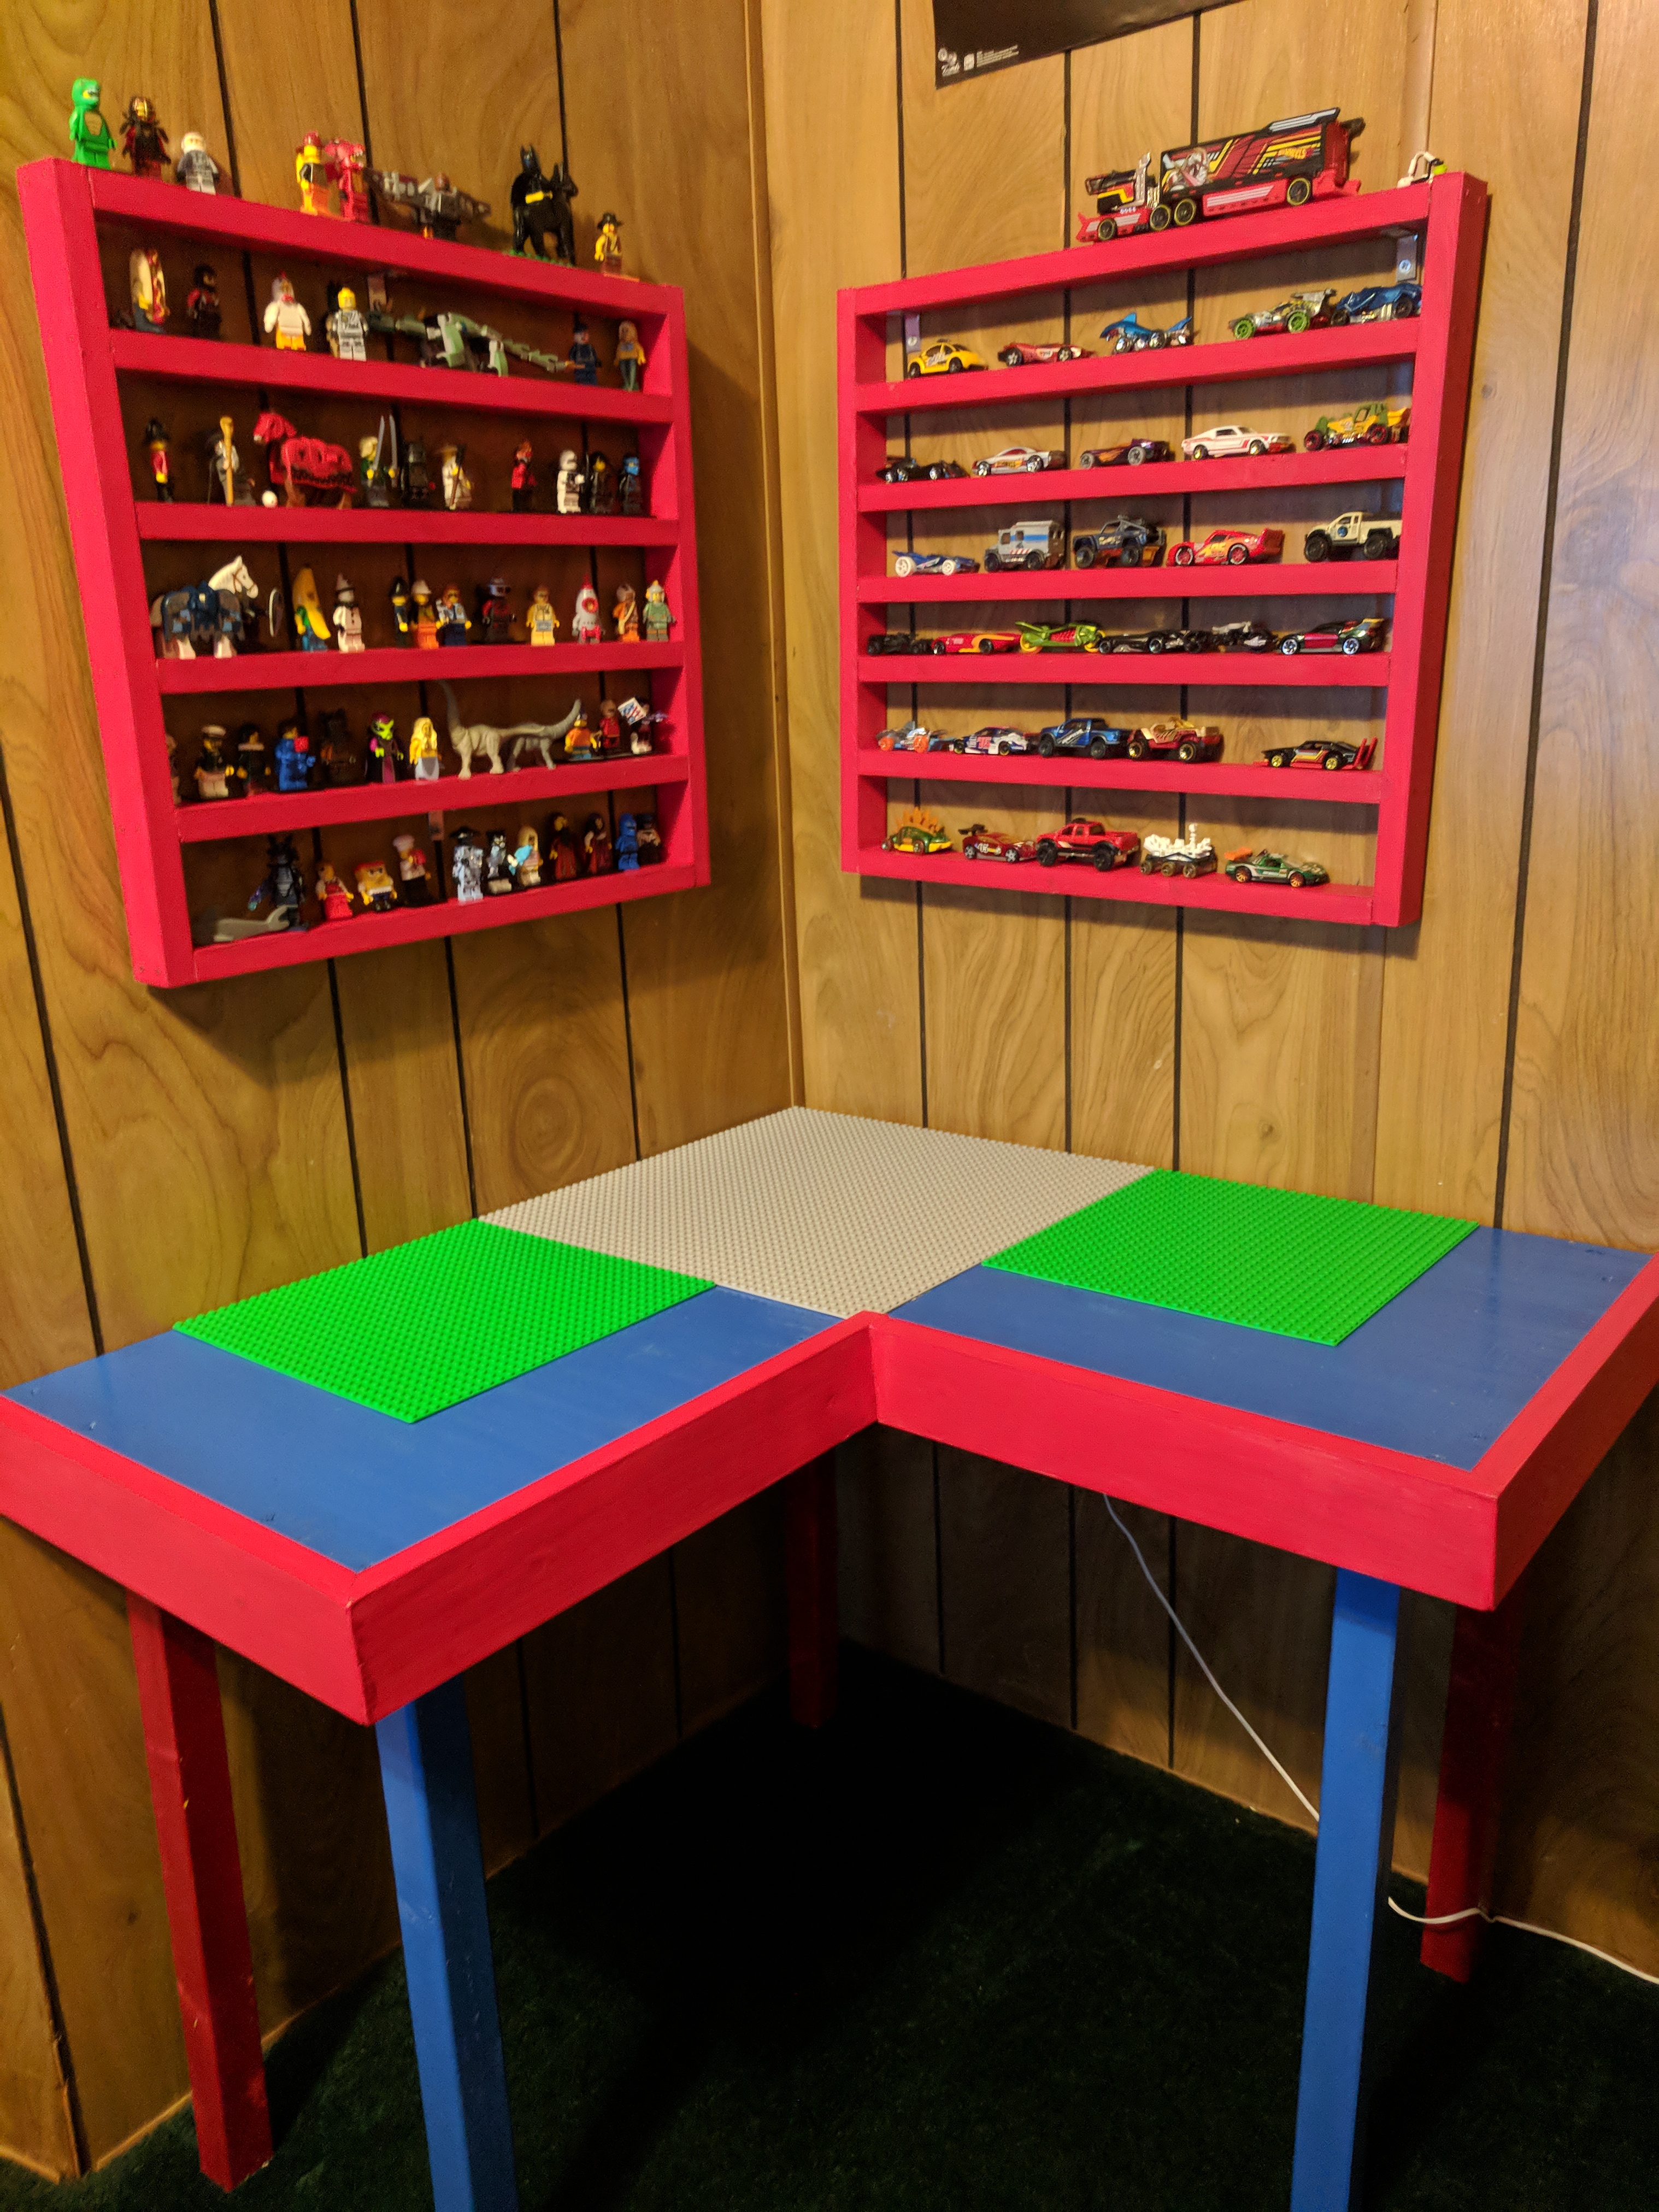
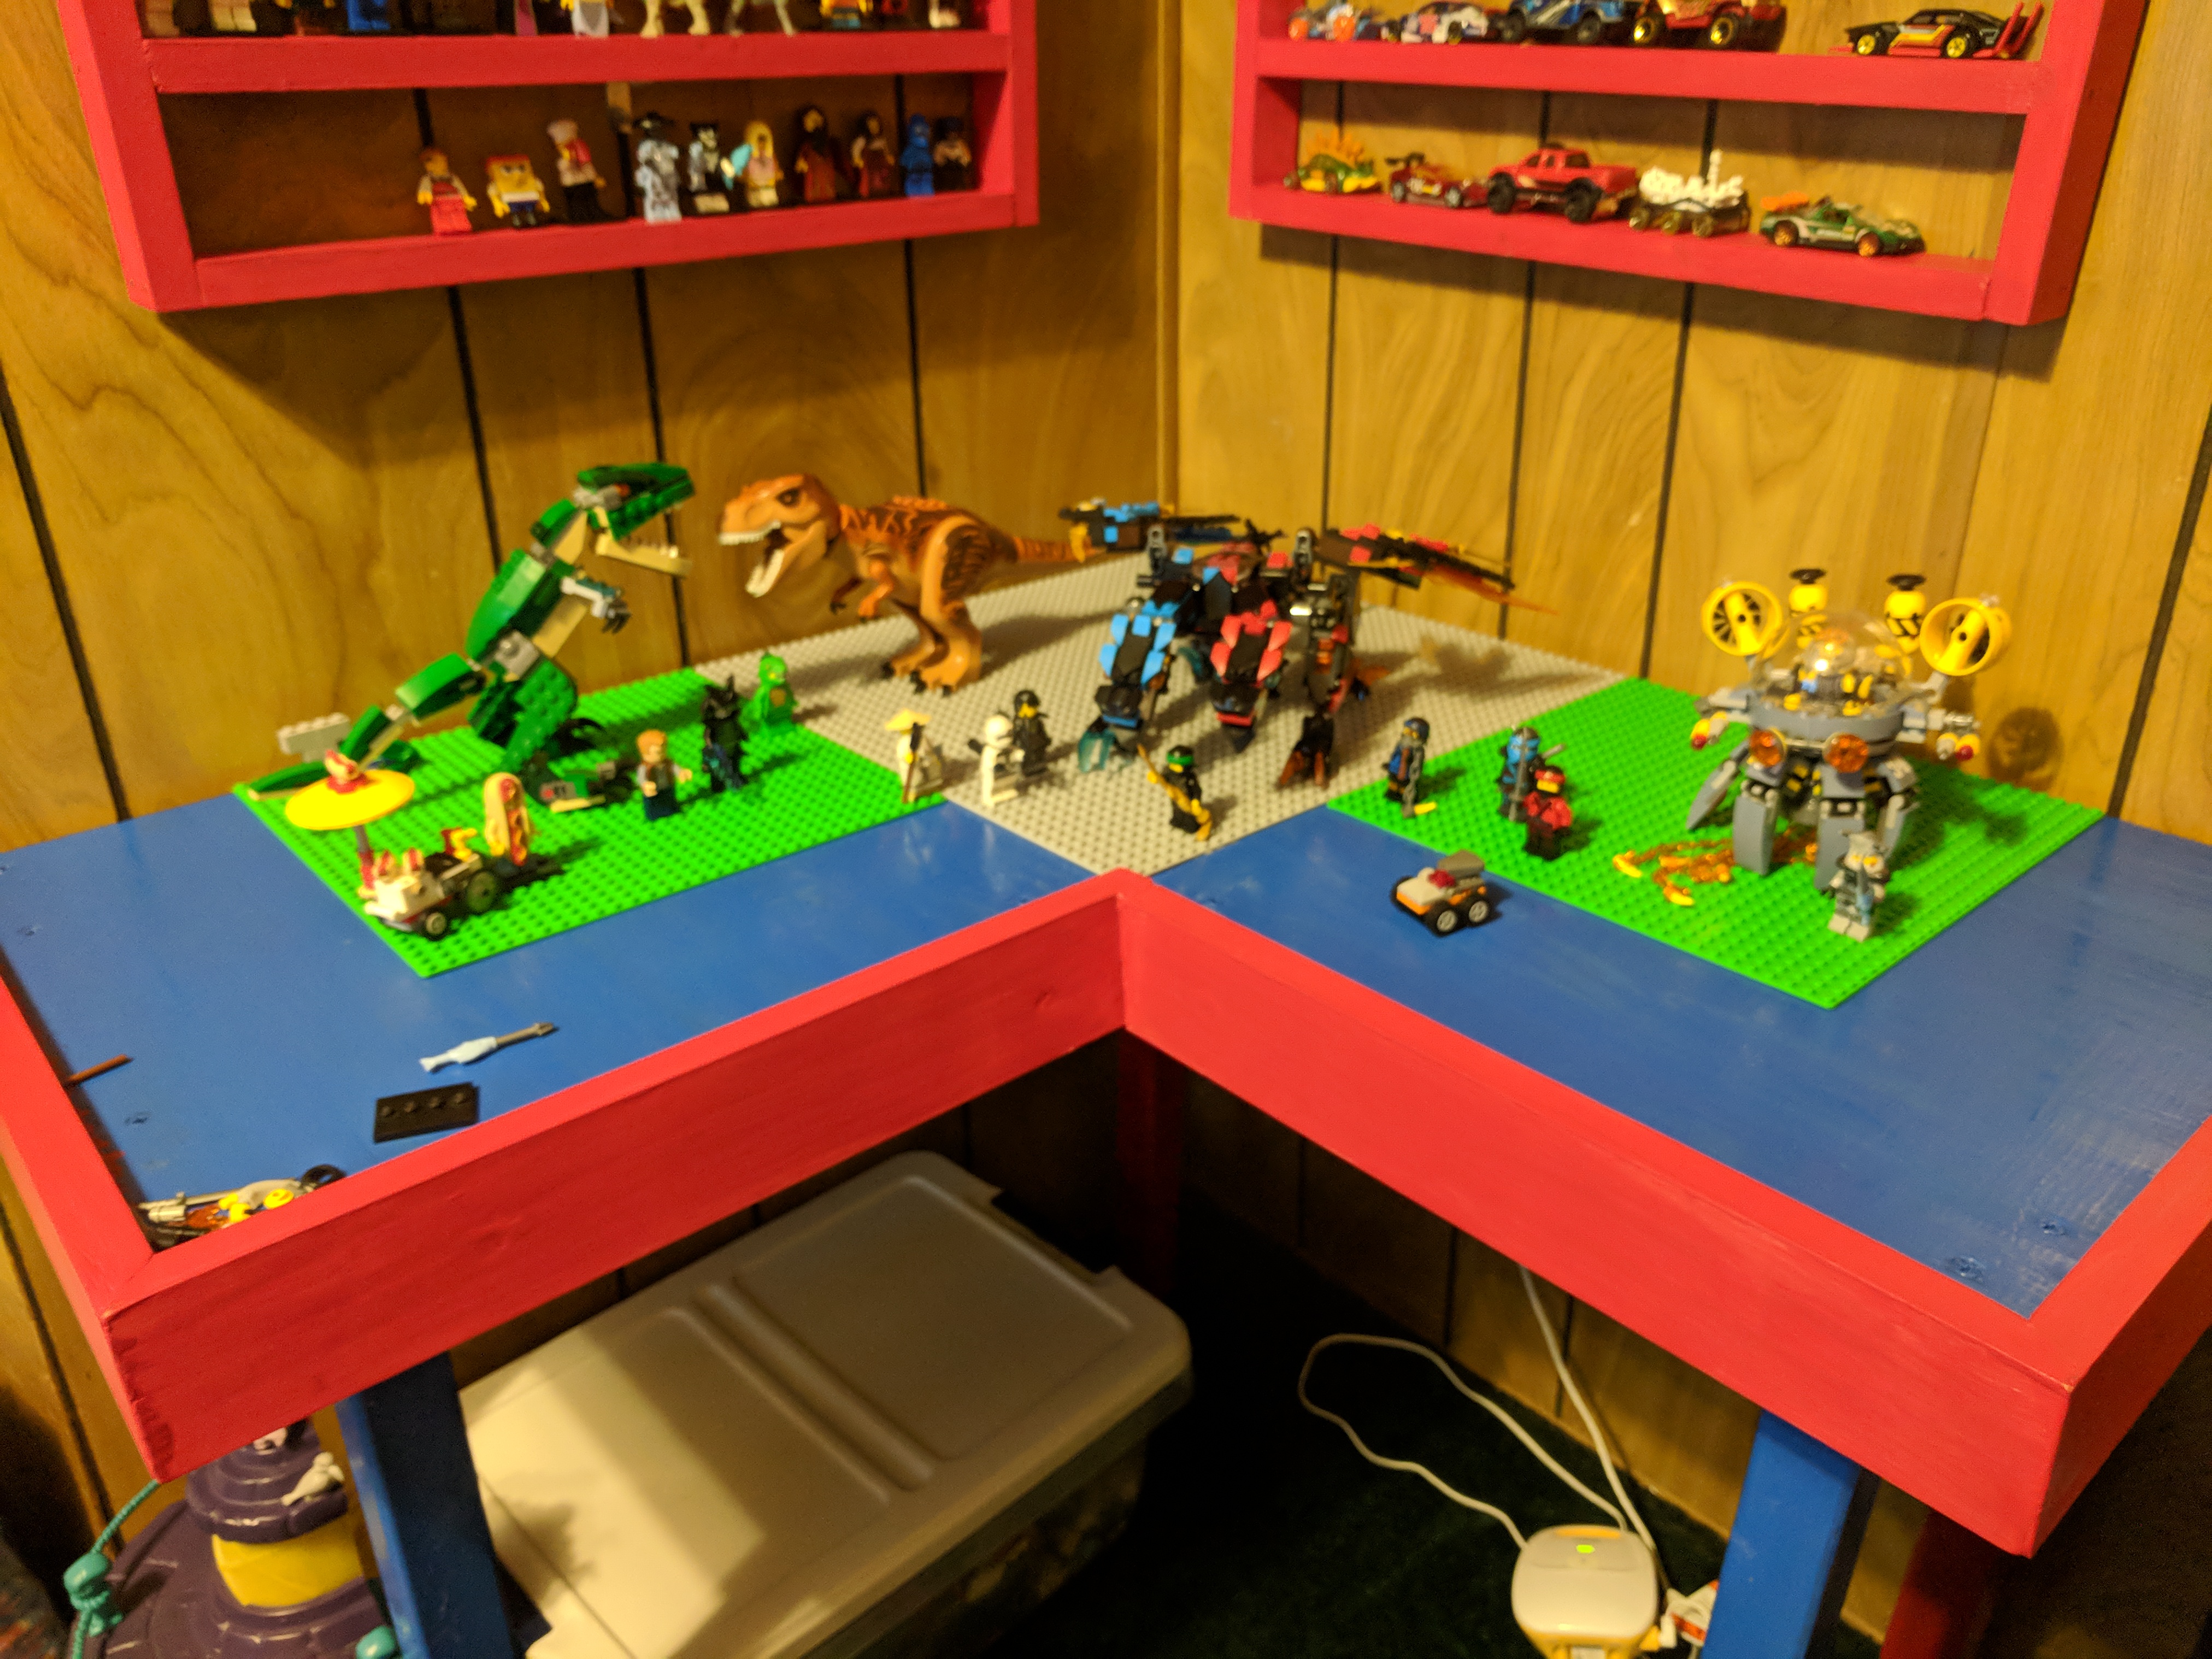
You could stop here if you wanted to it be a good drawing table, car table, my first taxidermy table, playdogh table, dinosaur table..... ya know what ever your into. Here at our house we like lego so I put lego plates on it I used 2 10x10 and a 15x15 you could just cover the whole thing and use 3 15x15 but I wanted a few bare spots to drive boats or cars or whatever other creations you can come up with. before gluing I put out the plates where I wanted them make sure you connect the plates with pieces to make sure it worked when its all glued down. I placed a few pieces outside the edge of the plates so I knew where to put glue and where not to. I didn't use kragle I used liquid nails just put a good bit not too much and place the plates on top withe using lego bricks to connect them so the spacing is right. Next just set a bunch of heavy weights on it and let it set for the recommended time on the label, for me it was enough to let it set over night.
Play Legos
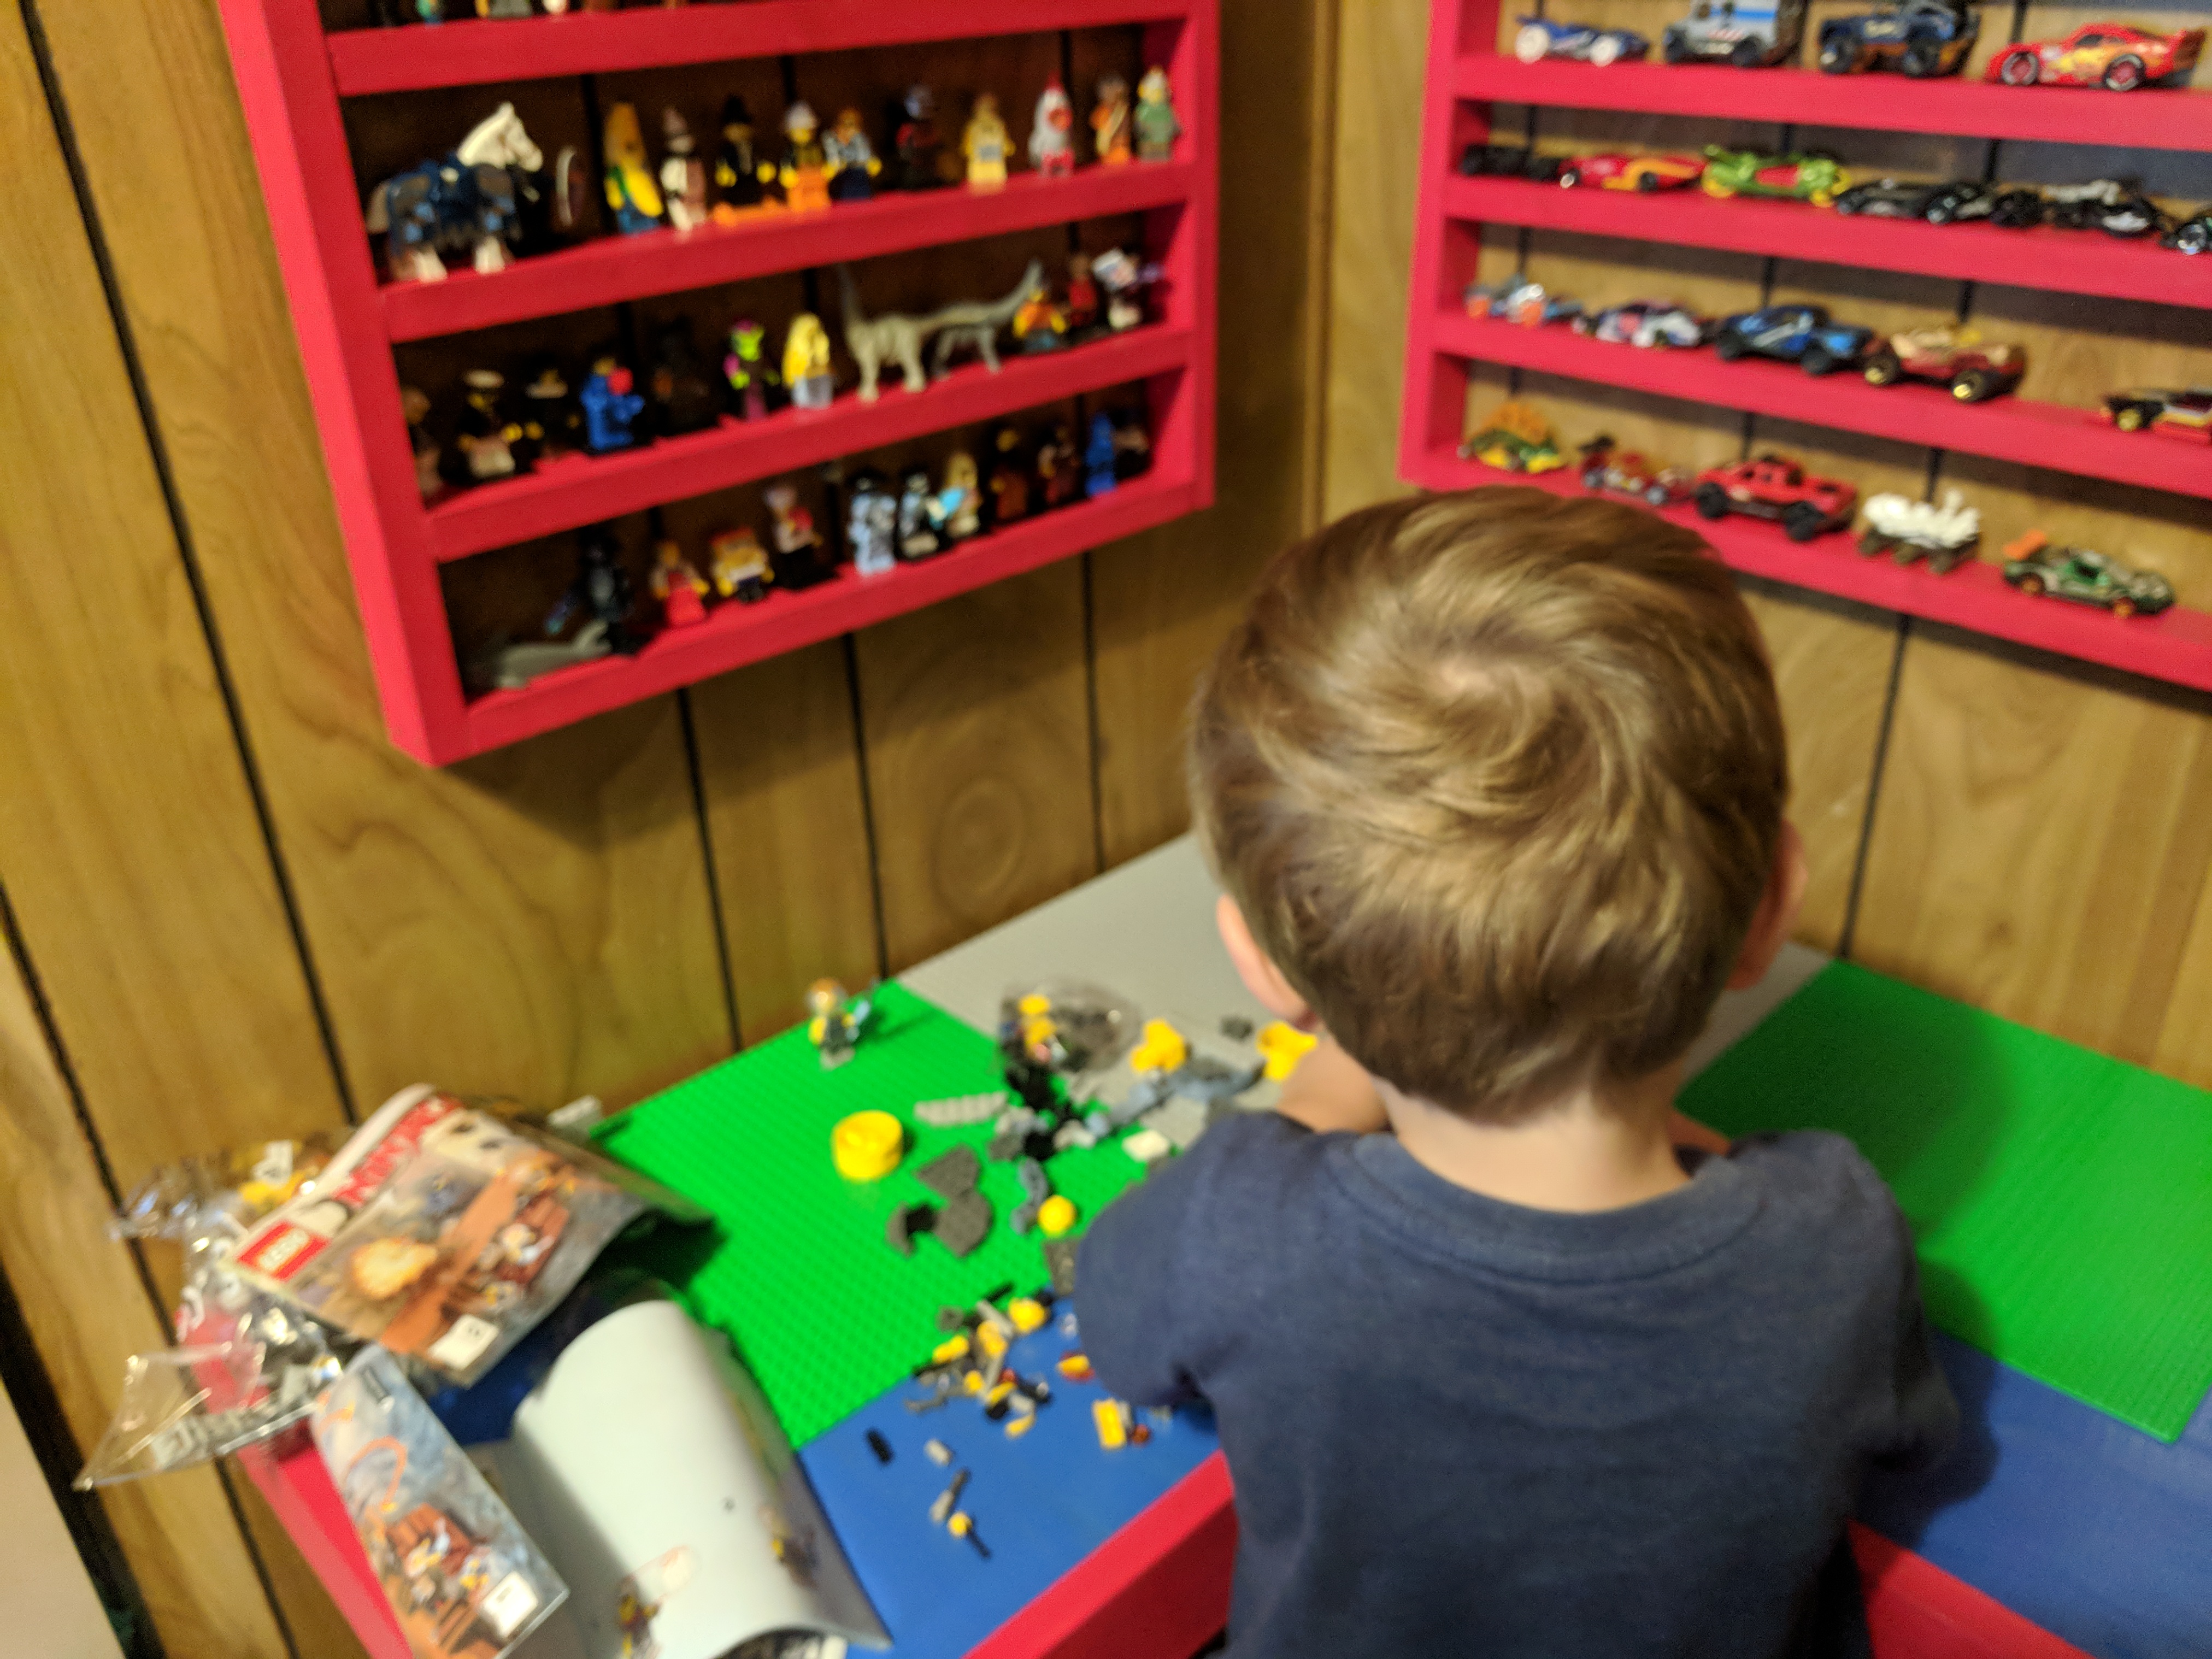
After all that work we can finally get down to business and finally play lego!!!!!!!
as you can see i had previously made our little corner some shelves for mini figures but this was the defiantly the best part in the room plenty of space underneath to store your extra pieces and enough on top to build whatever your master builders can think up.
I hope you enjoyed this instructable I know it will bring countless hours of fun for us. If you have any questions just let me know I will answer them the best I can .