Cooler Delivery
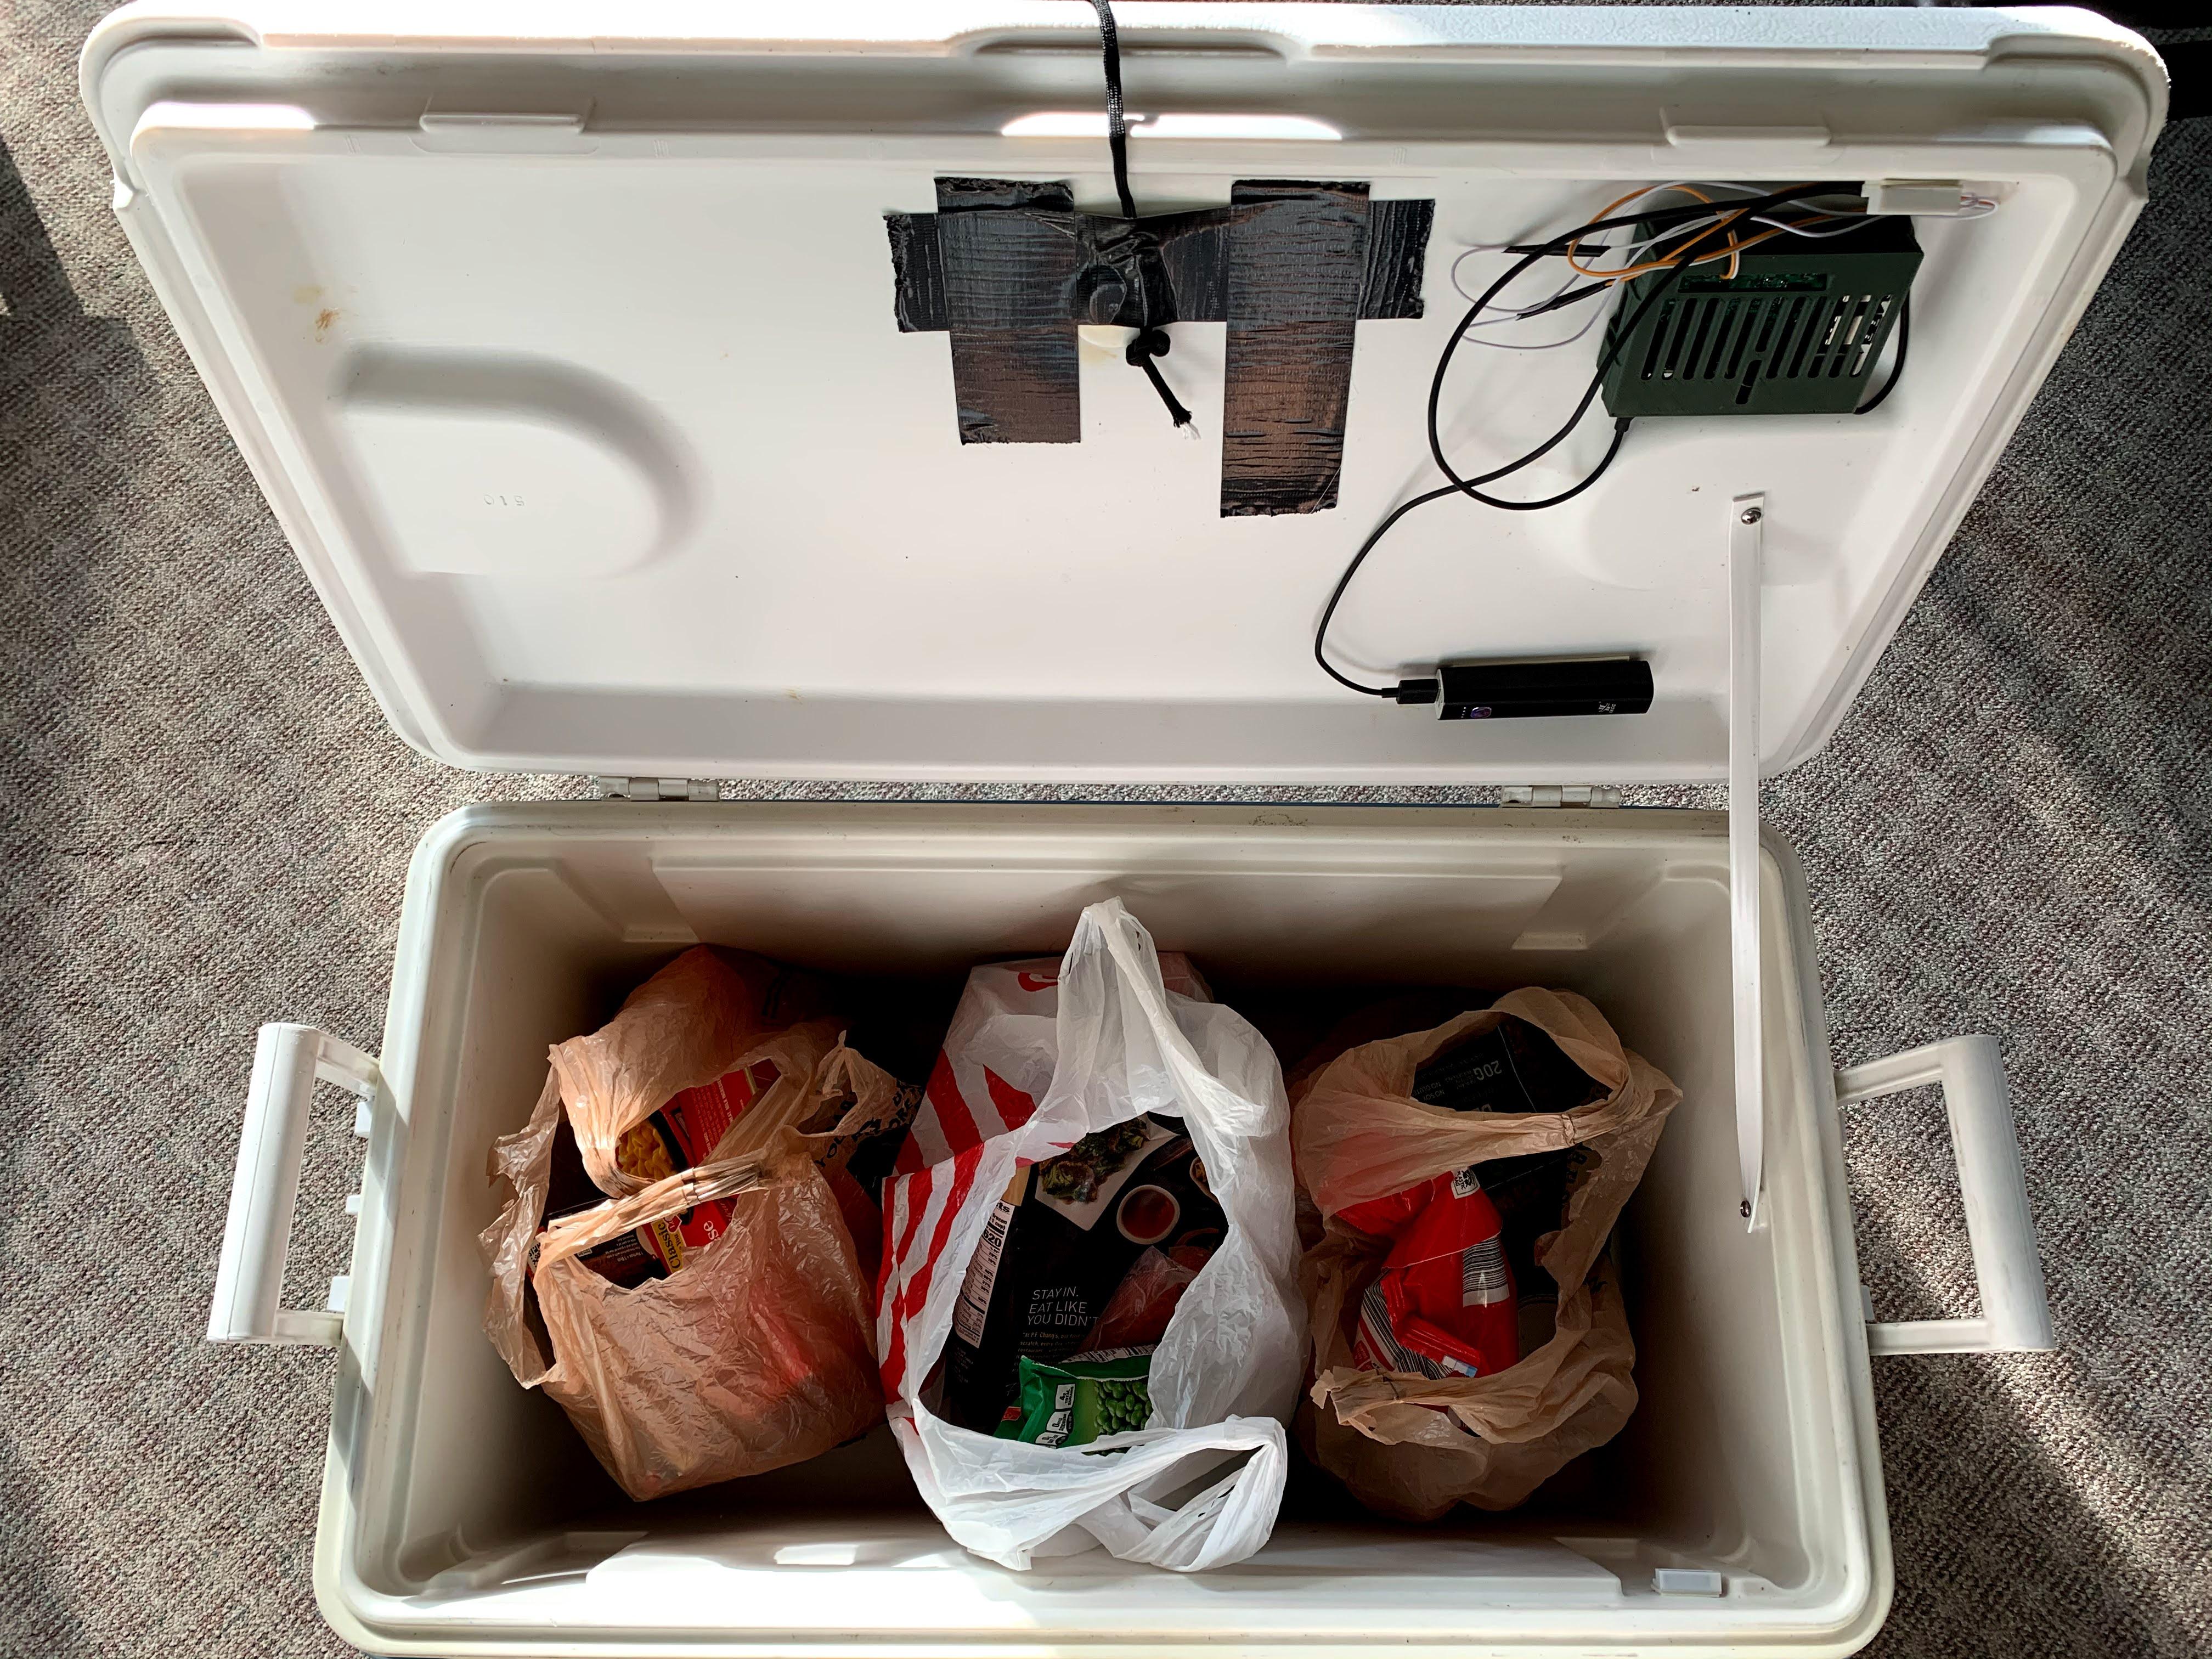
Hey you, yes you. Are you tired of not knowing when your groceries are delivered? Let’s say you don’t want to go to two stores. So, you order online to get it delivered and go out to Target and come back to find all of your groceries are on your door. All of the ice cream is all over the steps and the meat is spoiled and warm. Wow! What a mess but, my friend this is where we come in. The thing you’re about to know how to build will solve all of your problems, in a cheap, easy way. Using a standard cooler, you can keep your delivery cool, alert your phone anywhere, AND provide a mechanism that allows for a no contact situation. Ready? Let’s get started.
( idea produced and published with my dad's permission by Sam, Age 10 )
Supplies
- Any standard cooler
- String/rope (about 16-18 inches)
- Duct tape
- Double sided tape
- Frozen cooler packs (or ice)
- Portable USB power stick
- Raspberry Pi (a 3 is used in this, but it will probably work on any version aside from 1 due to the pinout being different)
- Door Sensor Contact
- Optional - computer case front panel wires to splice to the door sensors and the headers on the Pi
- Optional - electrical tape if you use the computer case front panel wires
Cooler Handle
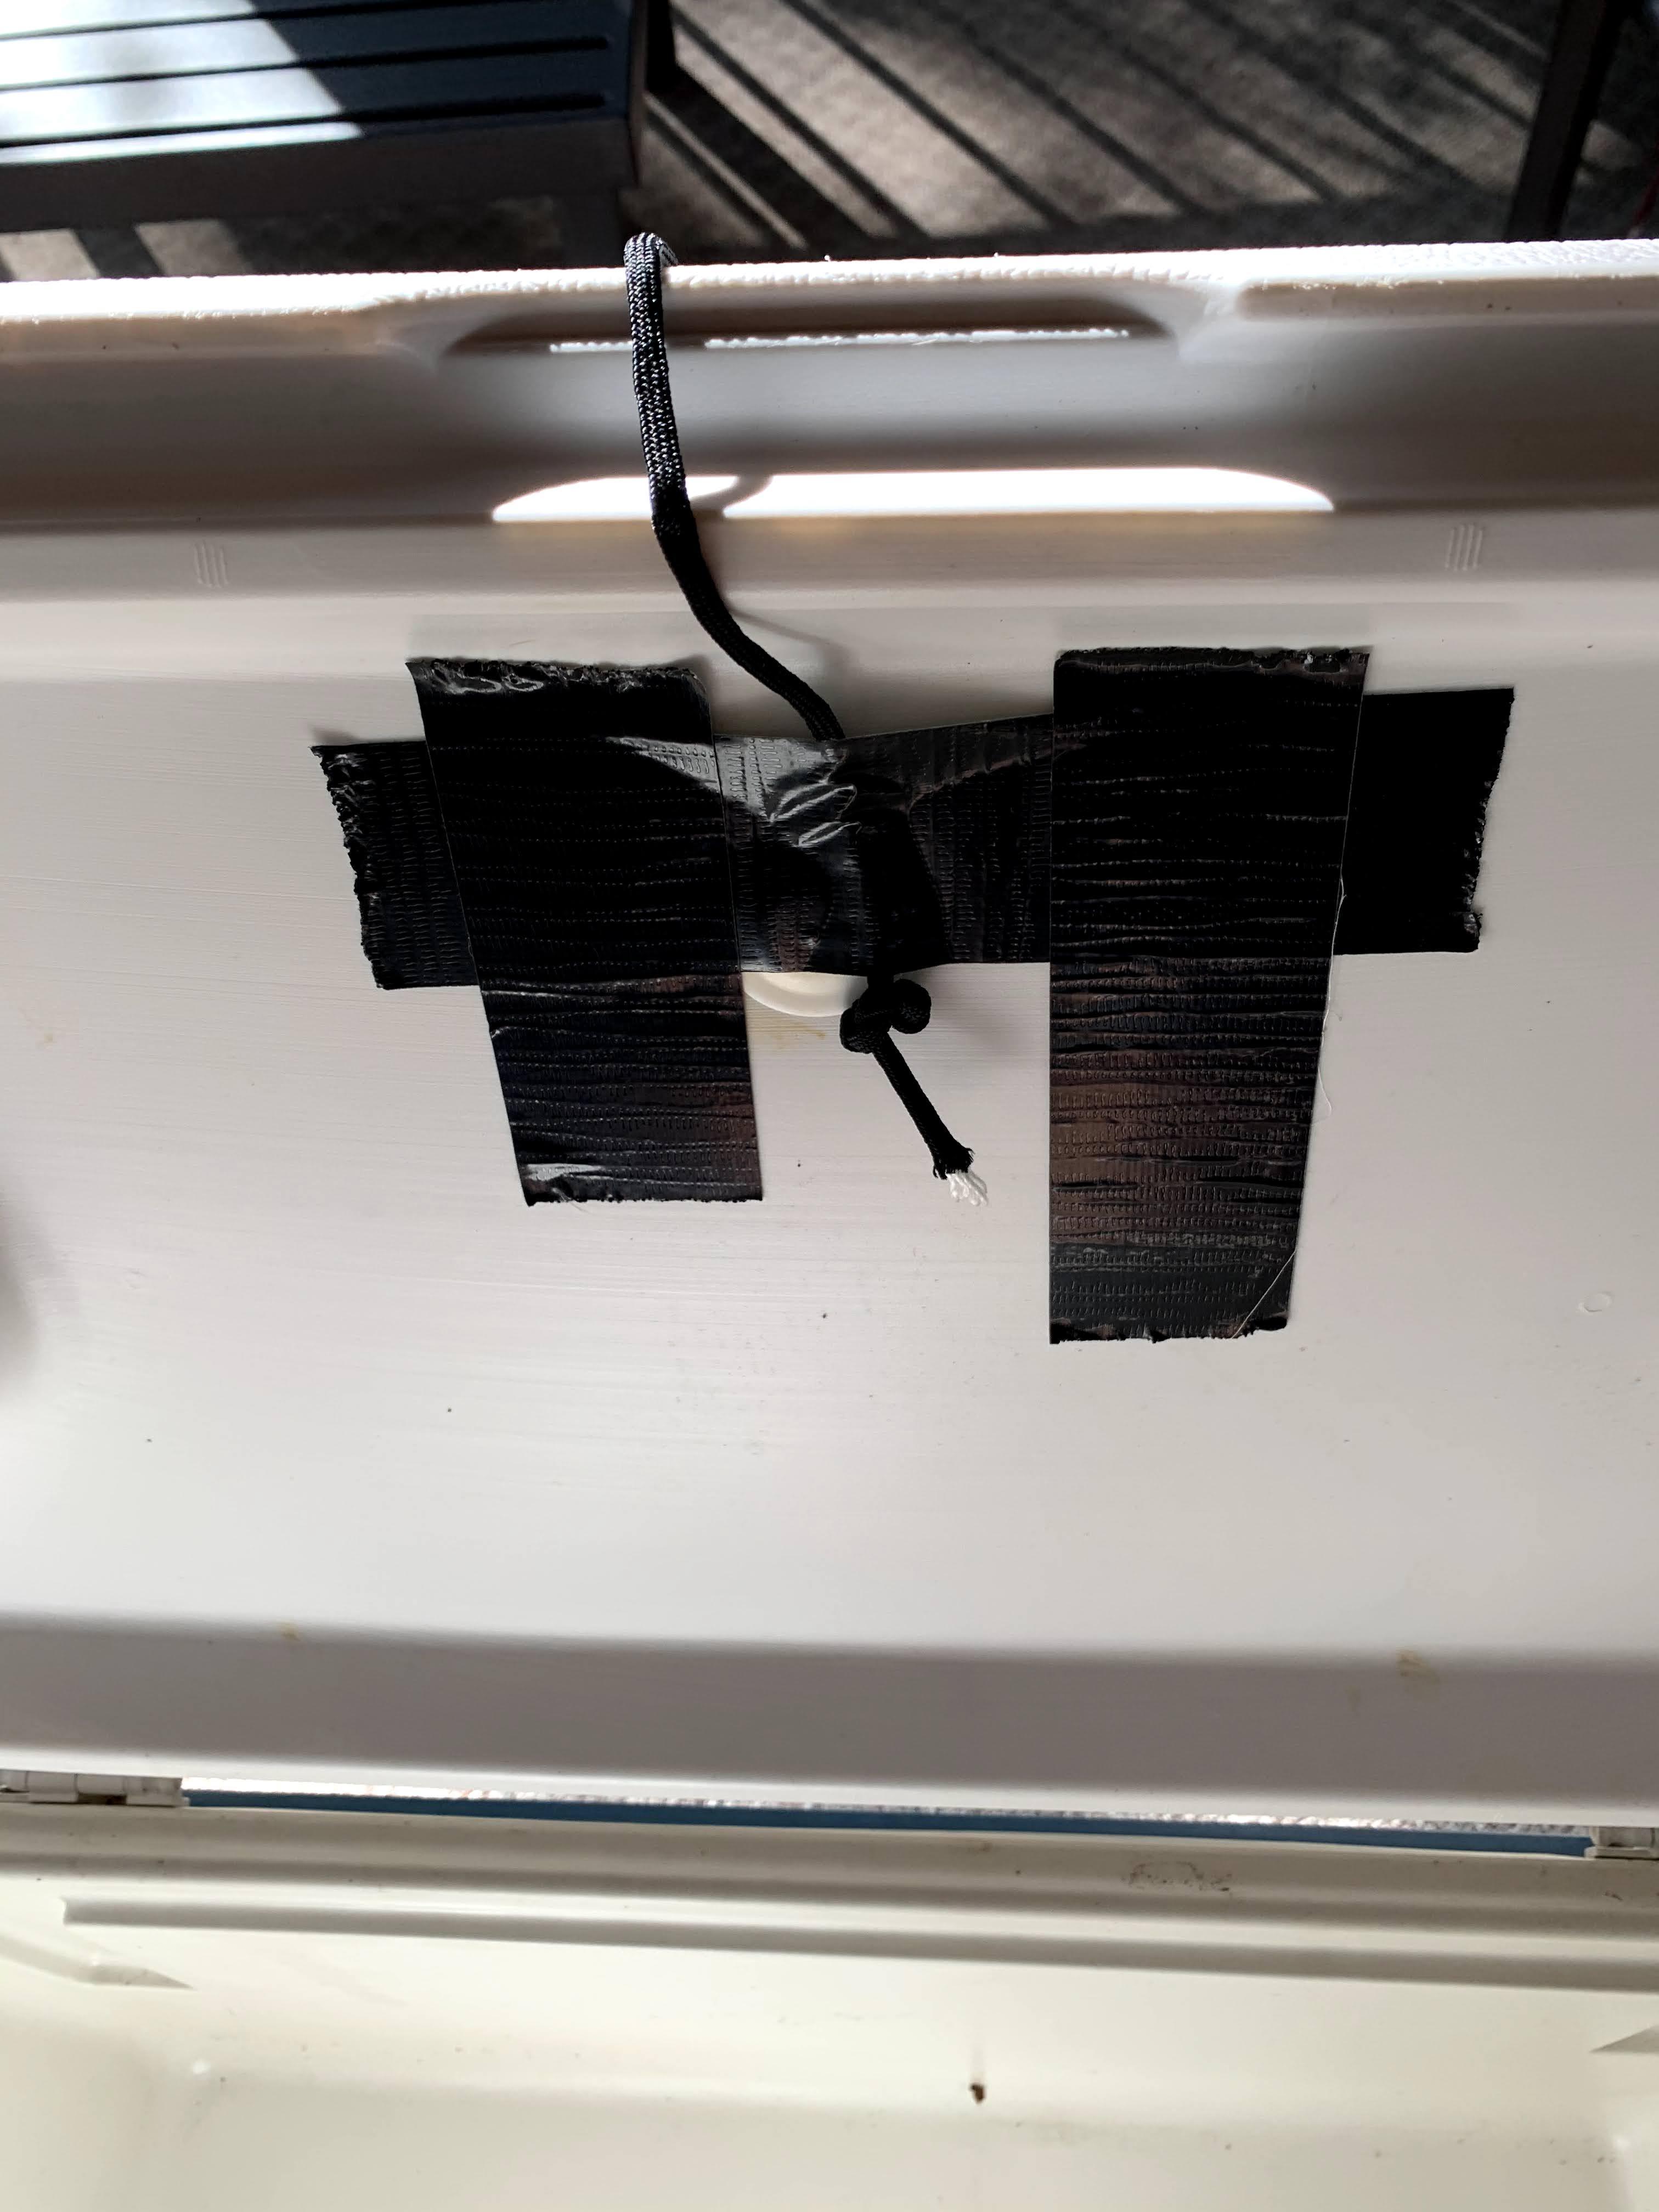
So, the first thing gets about 12-16 inches of rope and open the cooler.
Look on the other side of the top underneath the lid. This is where you will be looking at for this step. Grab three pieces of duct tape and make sure to lay them of top of your rope in a pattern like in the picture to make it strong.
After you’re done with that make sure you can lift with that rope outside and be able to open and close the cooler freely. If you have a squeaking noise on your cooler that use a spray called WD40. This will make that sound go away like magic. Cool thing is you can use this for your doors too!
This mechanism allows the delivery person to just pull the string to open the lid, but when you need to open the cooler, you can use the handle like normal! This is great to not spread COVID!!!
When you're done you’re ready to move on!
Additional Protections (Optional)
If you feel like there still might be too much contact, then you can do this option!
The next step is to get a box of disposable gloves, you can lay these on a table or on the cooler and tell people to use these when opening and pulling the string on the cooler. Make sure to get a wastepaper basket out there too! The other thing you can do is make a washable cloth covering.
To do this you need some cloth and some rubber bands. Cut the cloth so it is as thin as the rope, then use two rubber bands to secure the top and bottom of the cloth to your rope. So, one more time wrap the cloth around the rope and make sure it is tight, the use two rubber bands to secure it at the top and bottom. How this works is they use the rope to open and close the cooler, and put your groceries in. After they are done, they dispose of their gloves in the wastepaper basket. Congratulations! Whatever way you did this is fine, and your done with this part of your cooler project. Give you self a pat on the back. Nice job! Keep up the good work!
Set Up the Pi
You made it this far, that's AWESOME!
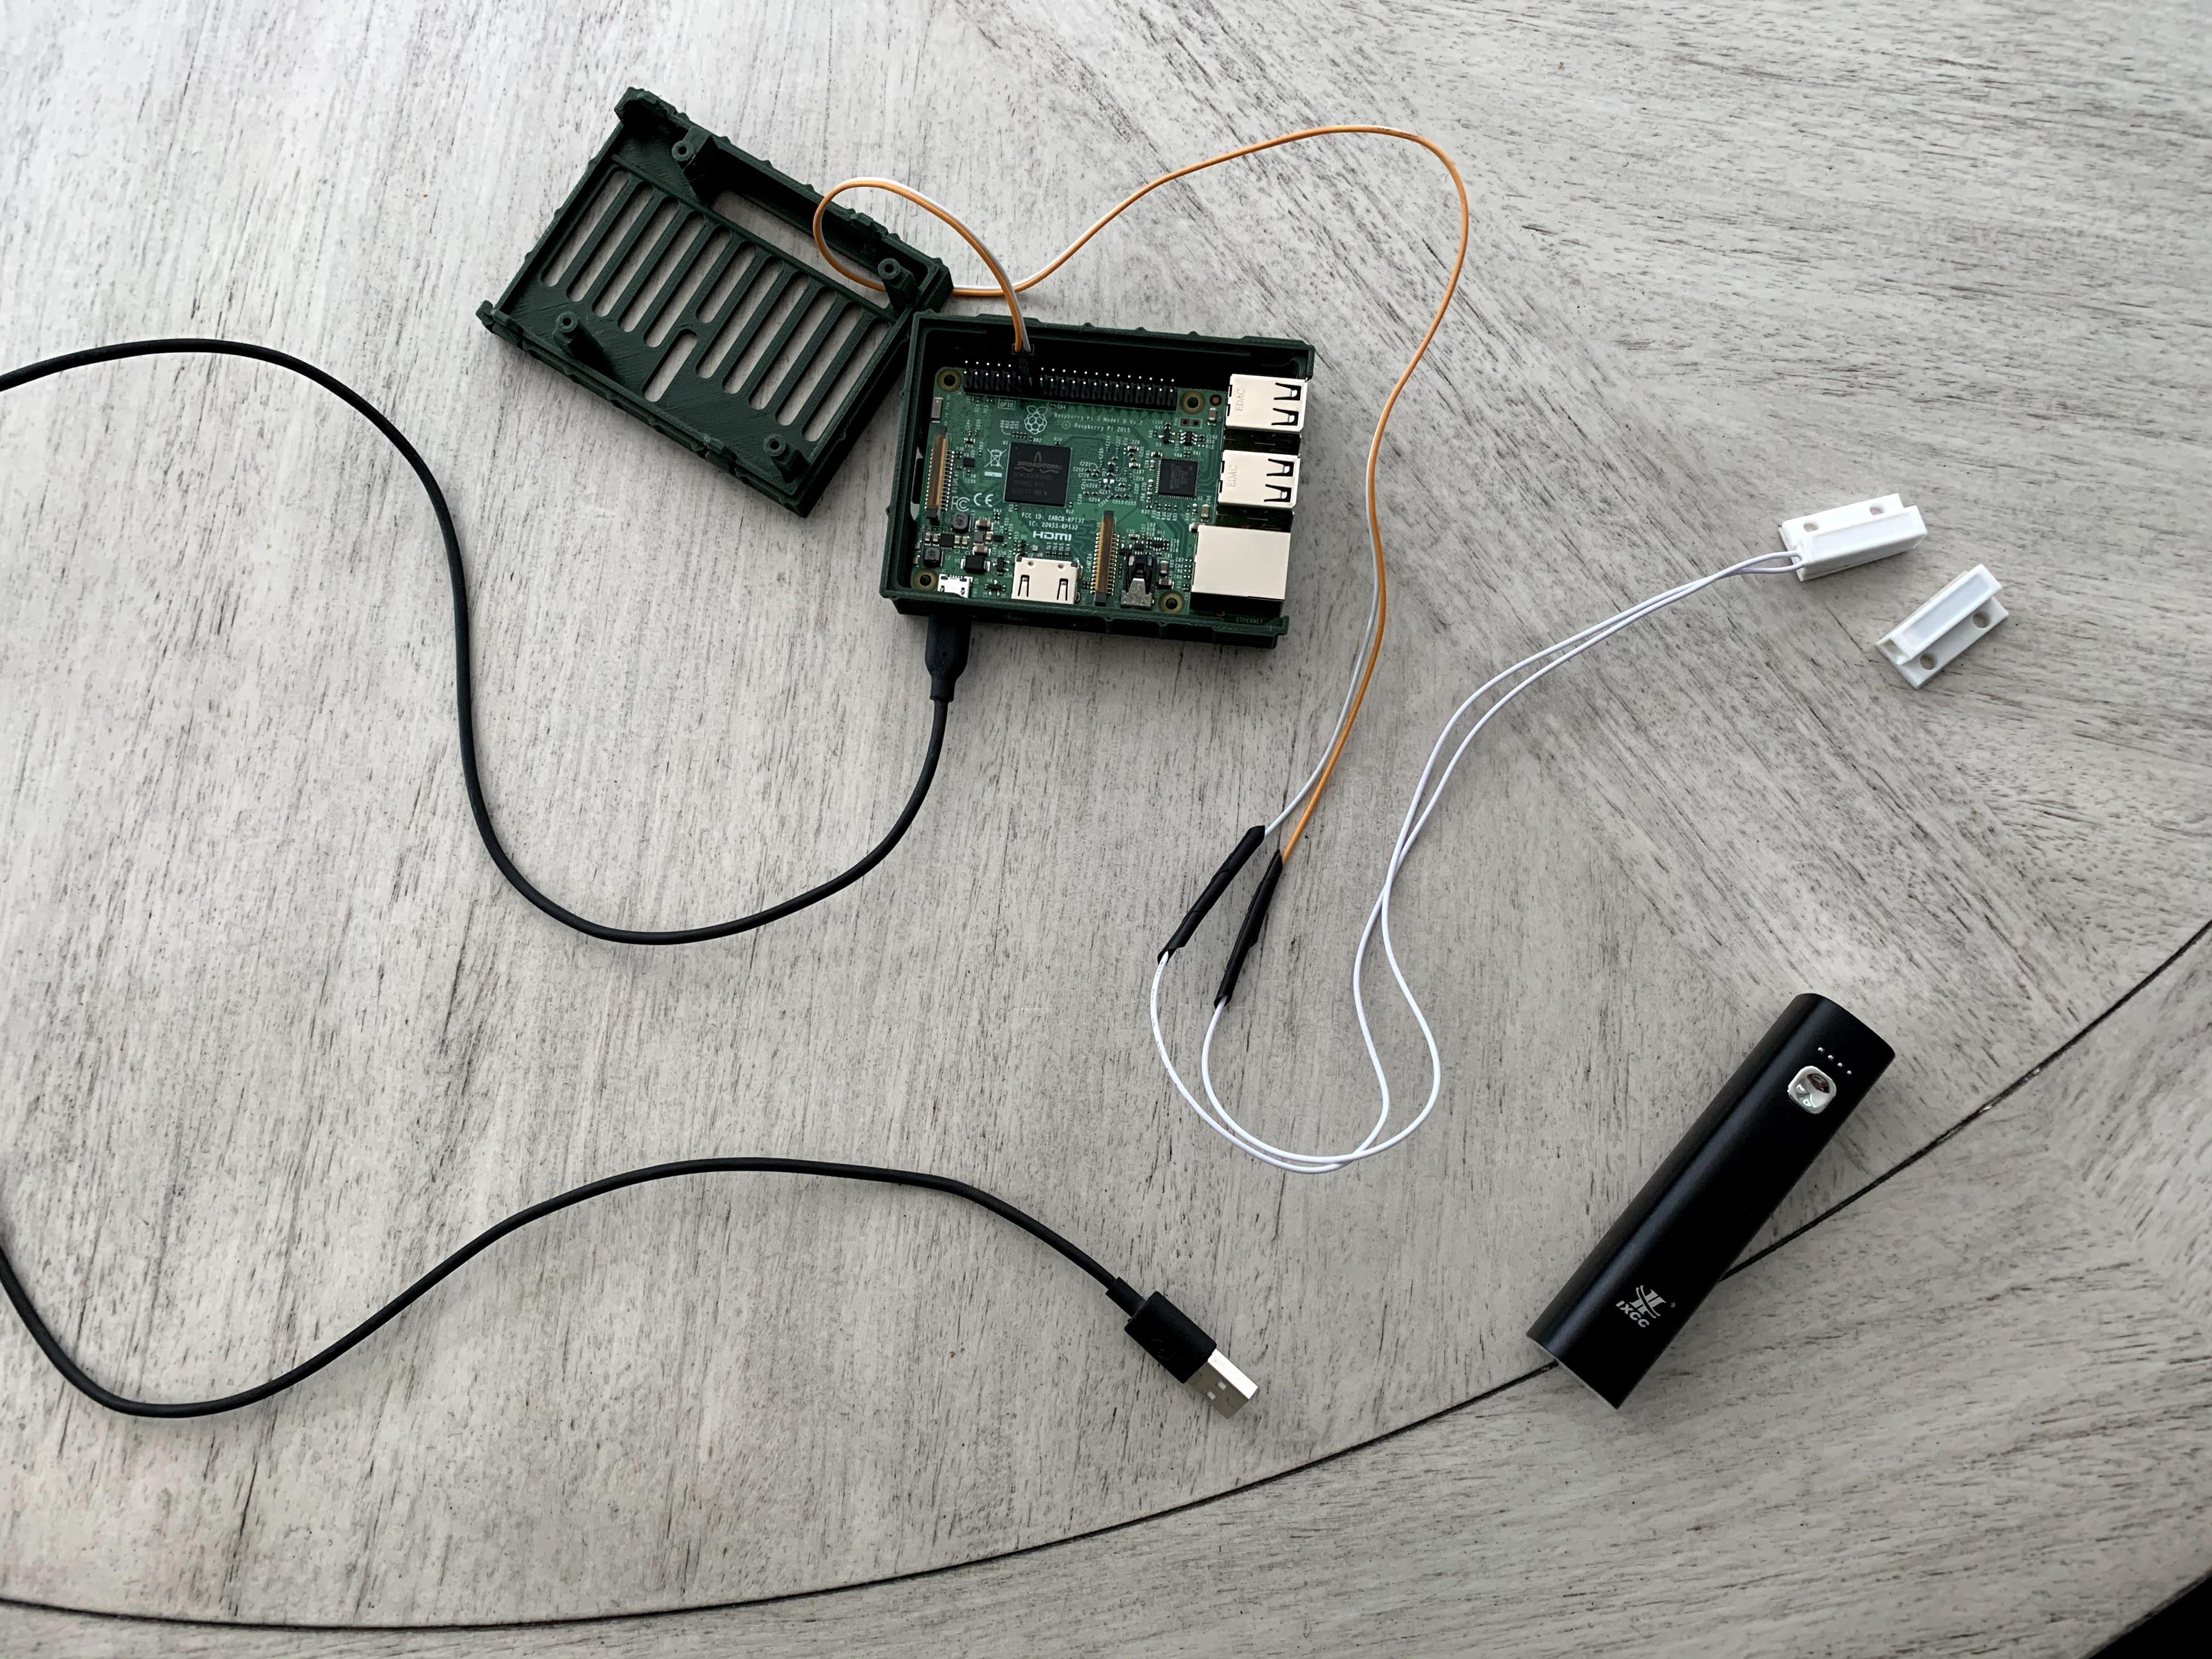
Here's the technology part - you'll need to first wire up your Raspberry Pi. Go ahead and load a default Pi image, but make sure you have Python 3. There are a number of guides to this, and we can't show them all here.
Next, you will need to connect the door sensors to pins 18 and 20 to your Raspberry Pi. You can do this either directly or if you have some old cables from a computer case (the front panel), you can splice the cables to this so you have a nice connector to the pins on the Pi. The sides don't matter (ground/gpio aka 20/18), so just make sure you have solid connections.
Next either print out a Raspberry Pi case, or use one that you can 3D print - this is what my dad did (
https://www.thingiverse.com/thing:1572173)
In the end, it should look like the picture above.
Next on to programming the Pi.
Programming the Event
(My dad helped me out with the coding part)
When the door sensor opens (moves away from the other contact), it should trigger an event that we can use to send our message.
First, make a folder on the Pi (we called it coolersenz), so the main directory we will work with is /home/pi/coolersenz
Next, edit a file called coolersenz.py and copy the contents of the attached file (coolersenz.py) - I also included a photo of the code. We now have: /home/pi/coolersenz/coolersenz.py
After that, type the following in that directory (home/pi/coolersenz):
pip install python-pushover
With Python the spacing is important, so beware!
Downloads
Setup Pushover
We use a service called Pushover to have the Raspberry Pi send a message to our phone when the door opens or closes.
Go to the website and make an account, then get the client for your phone (Android or Apple store).
Next, you'll want to get your user_key and api_token from your Pushover account, you will need these to make these into a file on your Raspberry Pi. In the /home/pi directory, make a file called .pushoverrc and in it, put the following:
[Default]
api_token=<your secret api token>
user_key=<your user key>
I've included a file example, but you have to remove .txt off of the file and make sure you put a period to begin the file so it looks like dotpushoverrc.
Listen, there's a bunch of tech stuff here, but you are doing so well. Keep going!
That's it!
Downloads
Autorun Your Program
Since we are not going to be able run our program from a keyboard and mouse (that's silly, we aren't there), we have to set up the program to start with our Raspberry.
My dad says there's many ways to do it, but the best way is to run a service. So, he made it easy and provided what we needed.
Copy the coolersenz.service.txt file to /home/pi/coolersenz.service. Drop the .txt - it won't work otherwise!
You then type in:
sudo systemctl enable coolersenz.service
sudo systemctl start coolersenz.service
This enables our coolersenz Python program to run when we start the Raspberry Pi!
Now reboot the Raspberry Pi and I think we are done, which is good, because this is a long project for me.
Downloads
Assemble the Parts
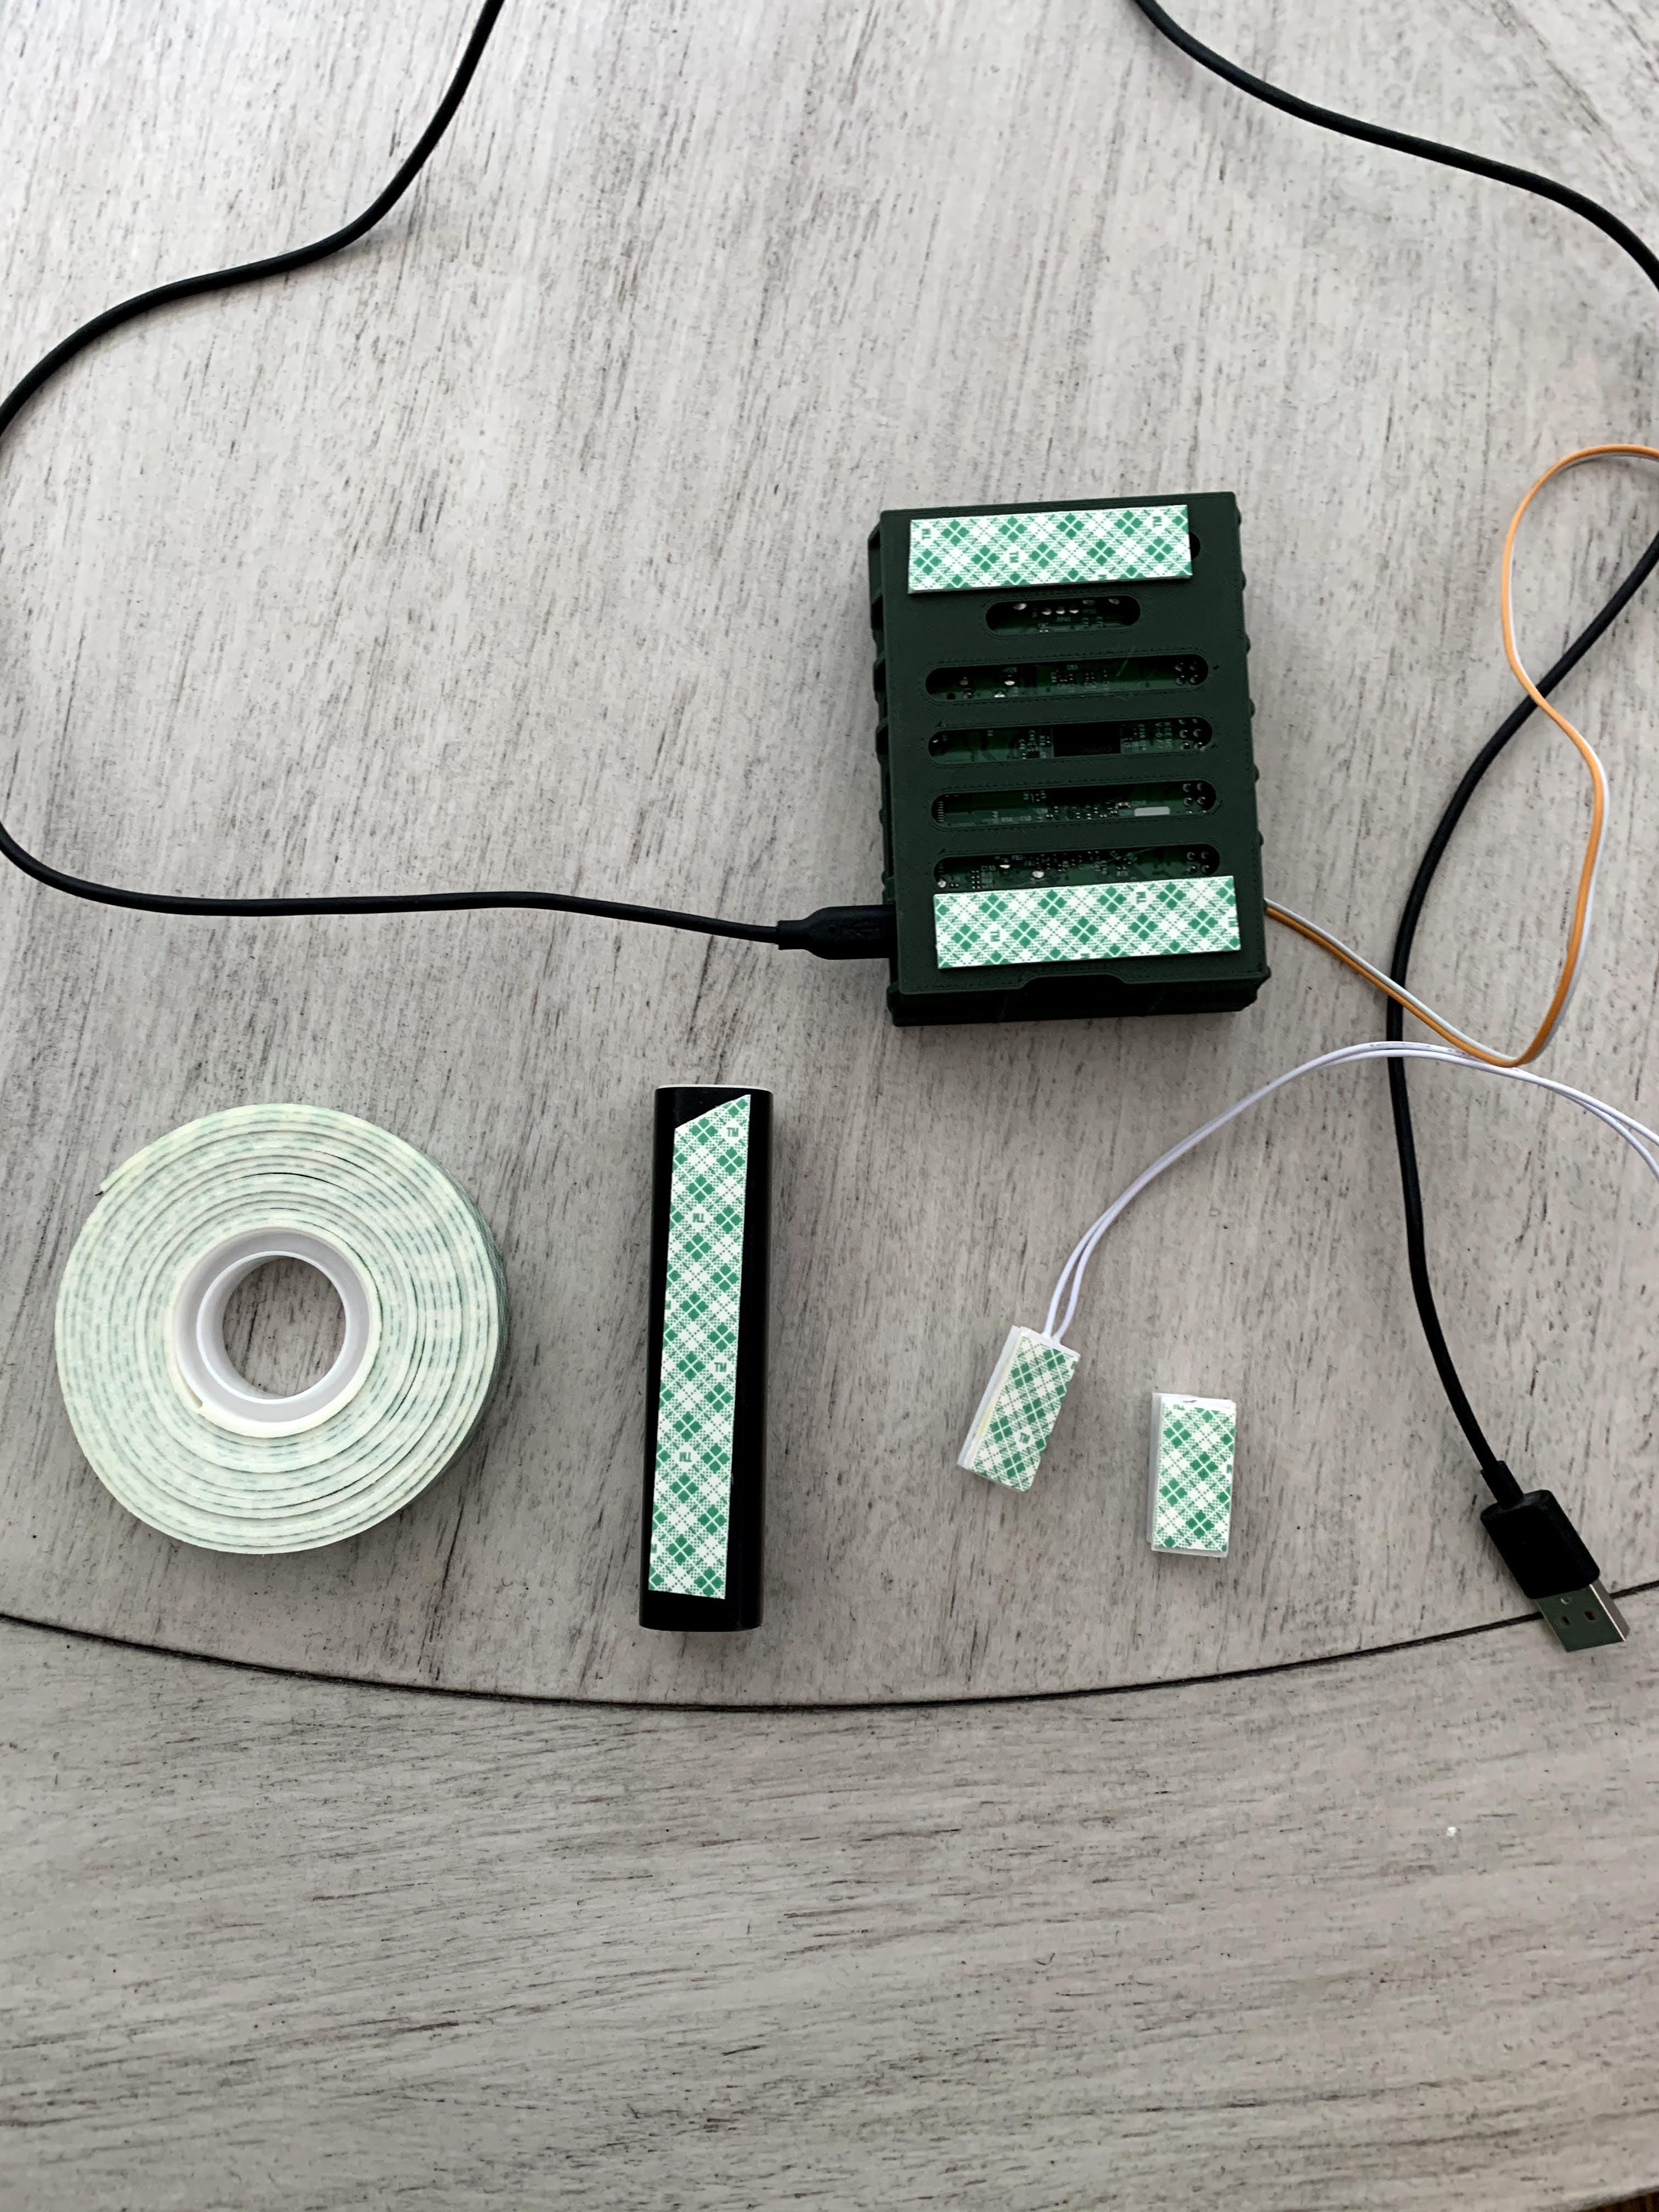
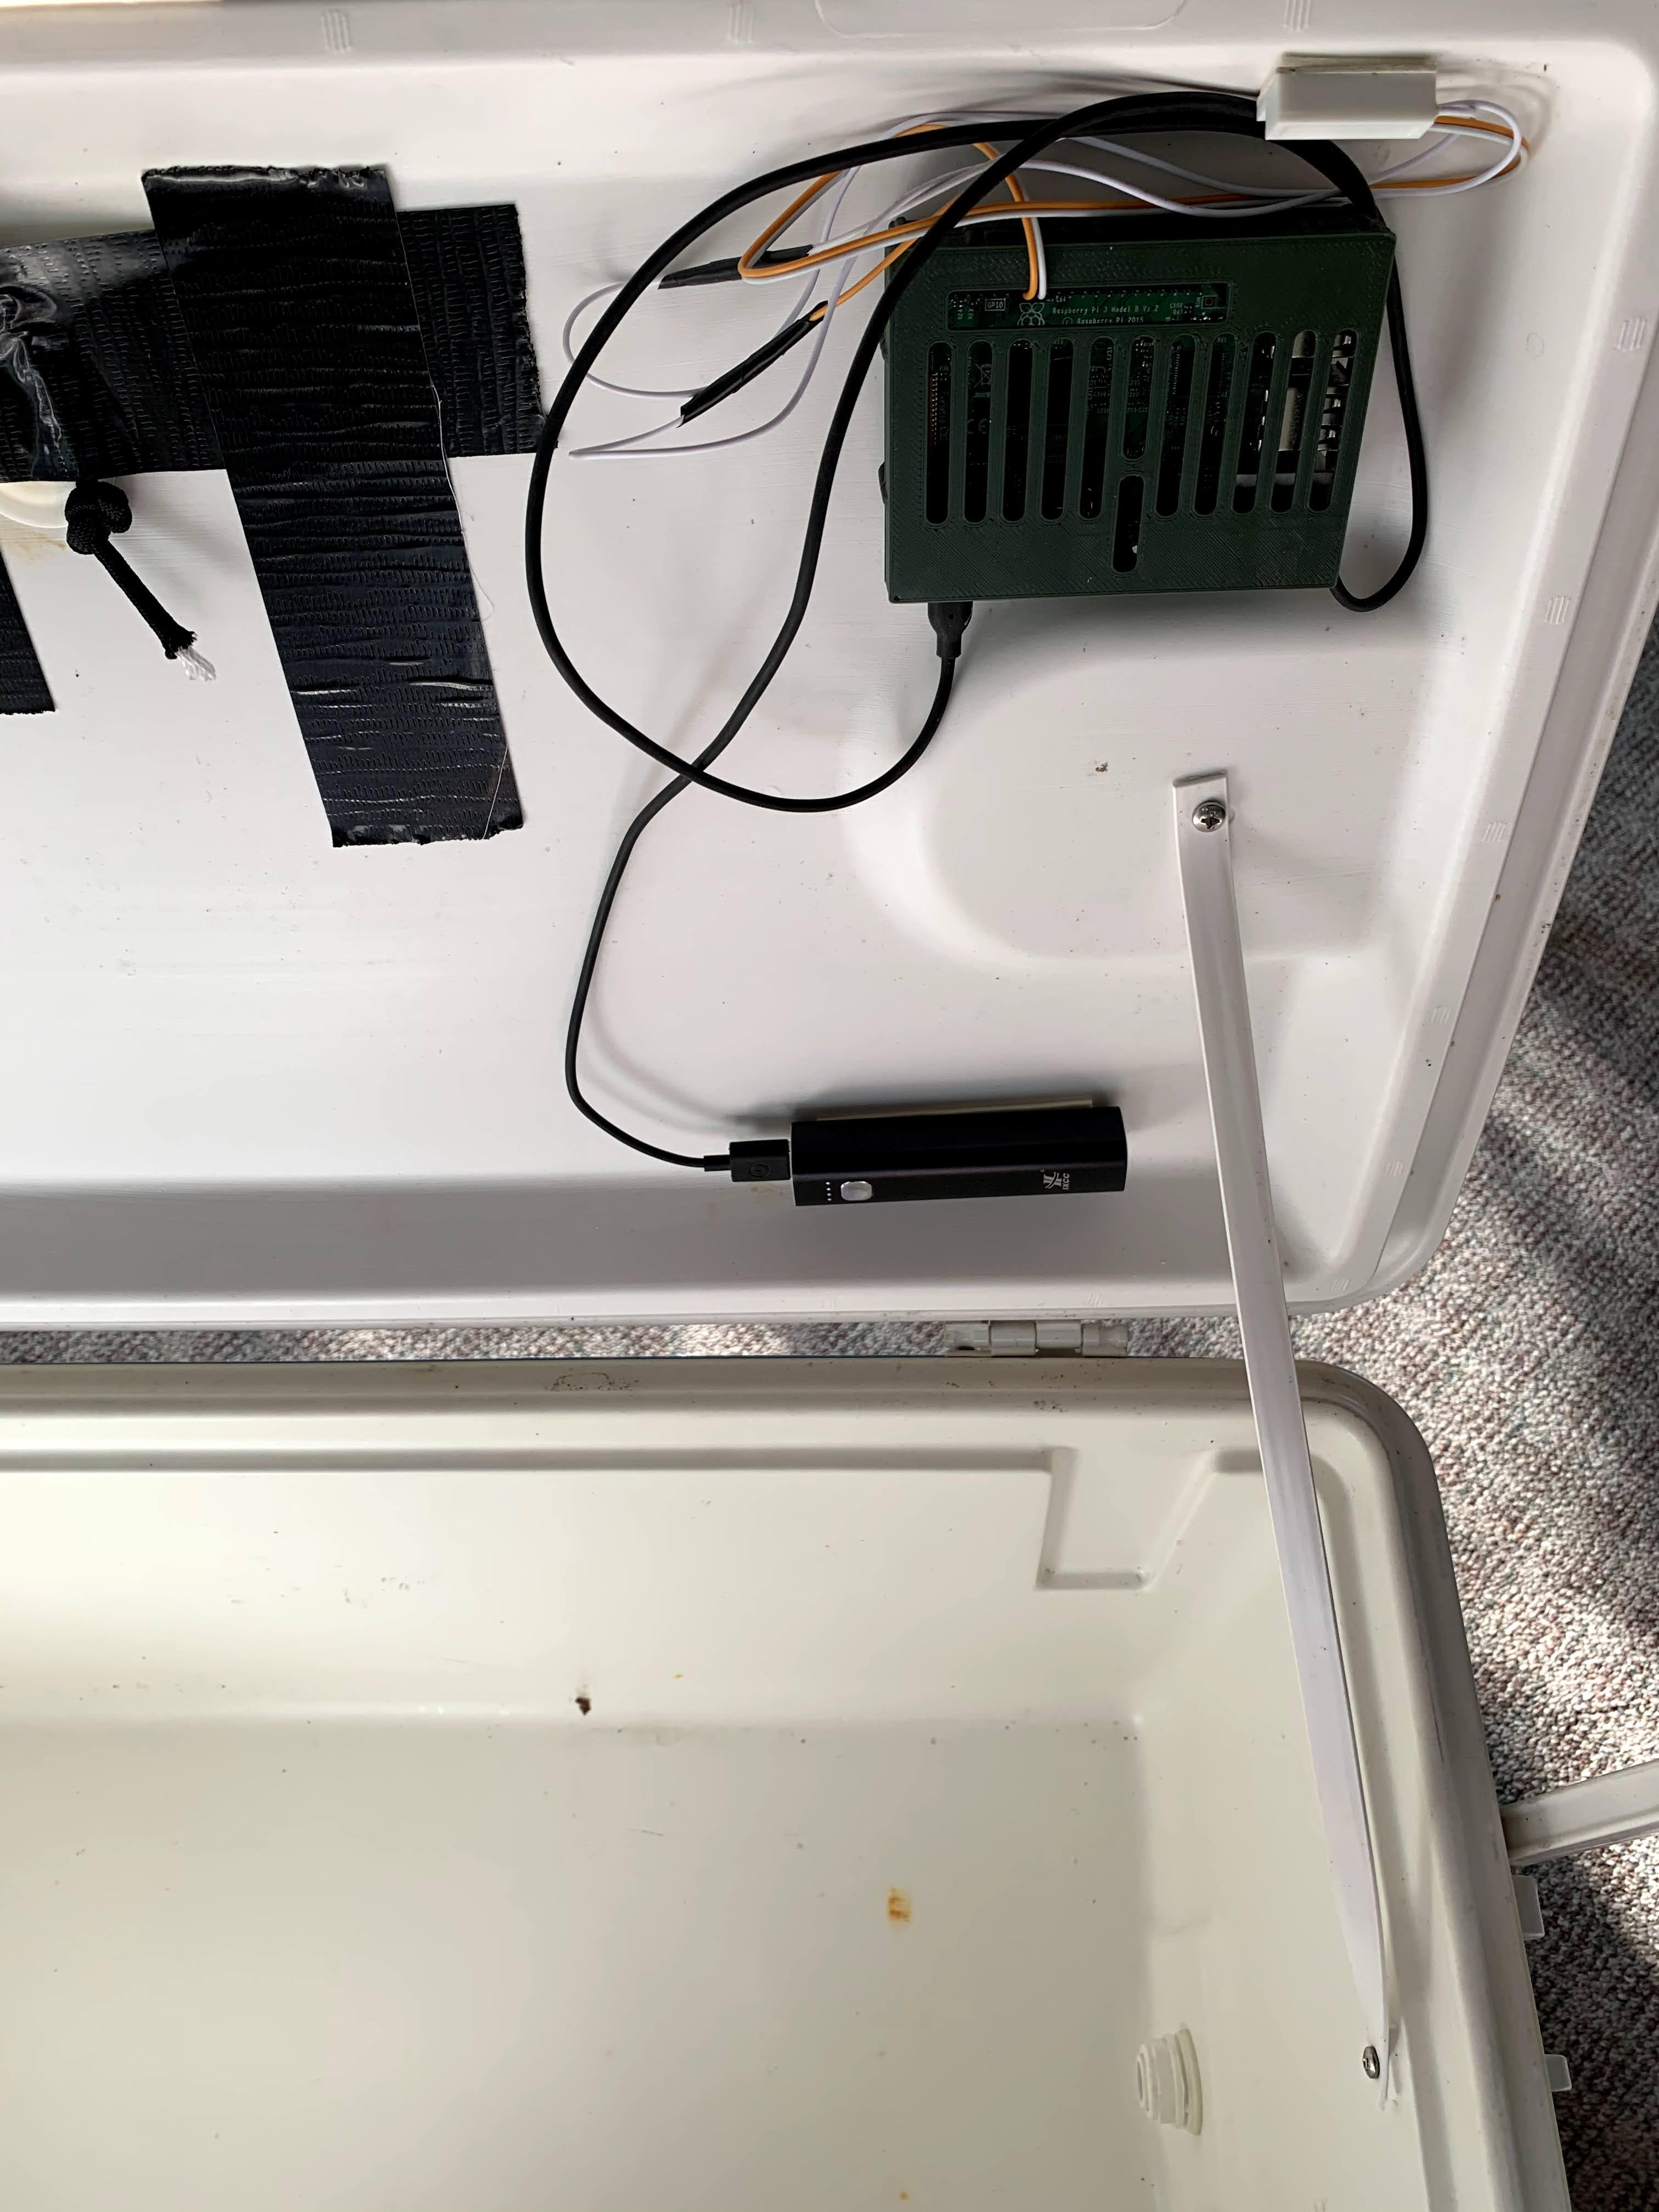
So, you have this mess of parts now, but let's go ahead and make those into something useful.
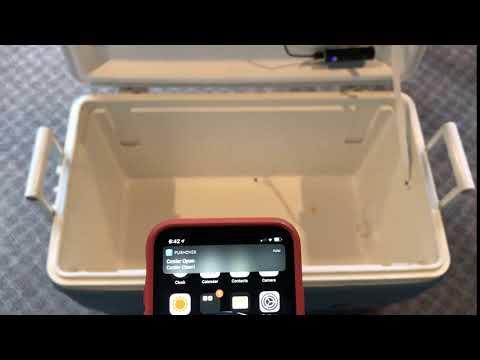
First, apply double-sided tape to all our parts and attach them to the bottom of the cooler lid. The door sensor contact is the only one you need to do special - the side without a wire needs to line up with the side with the wire. The wired side is on the lid, and the one without a wire goes on the cooler to meet the wired contact when the lid closes.
You can see the end result in the later steps if you are having a problem with the sensor placement.
Wrap Up
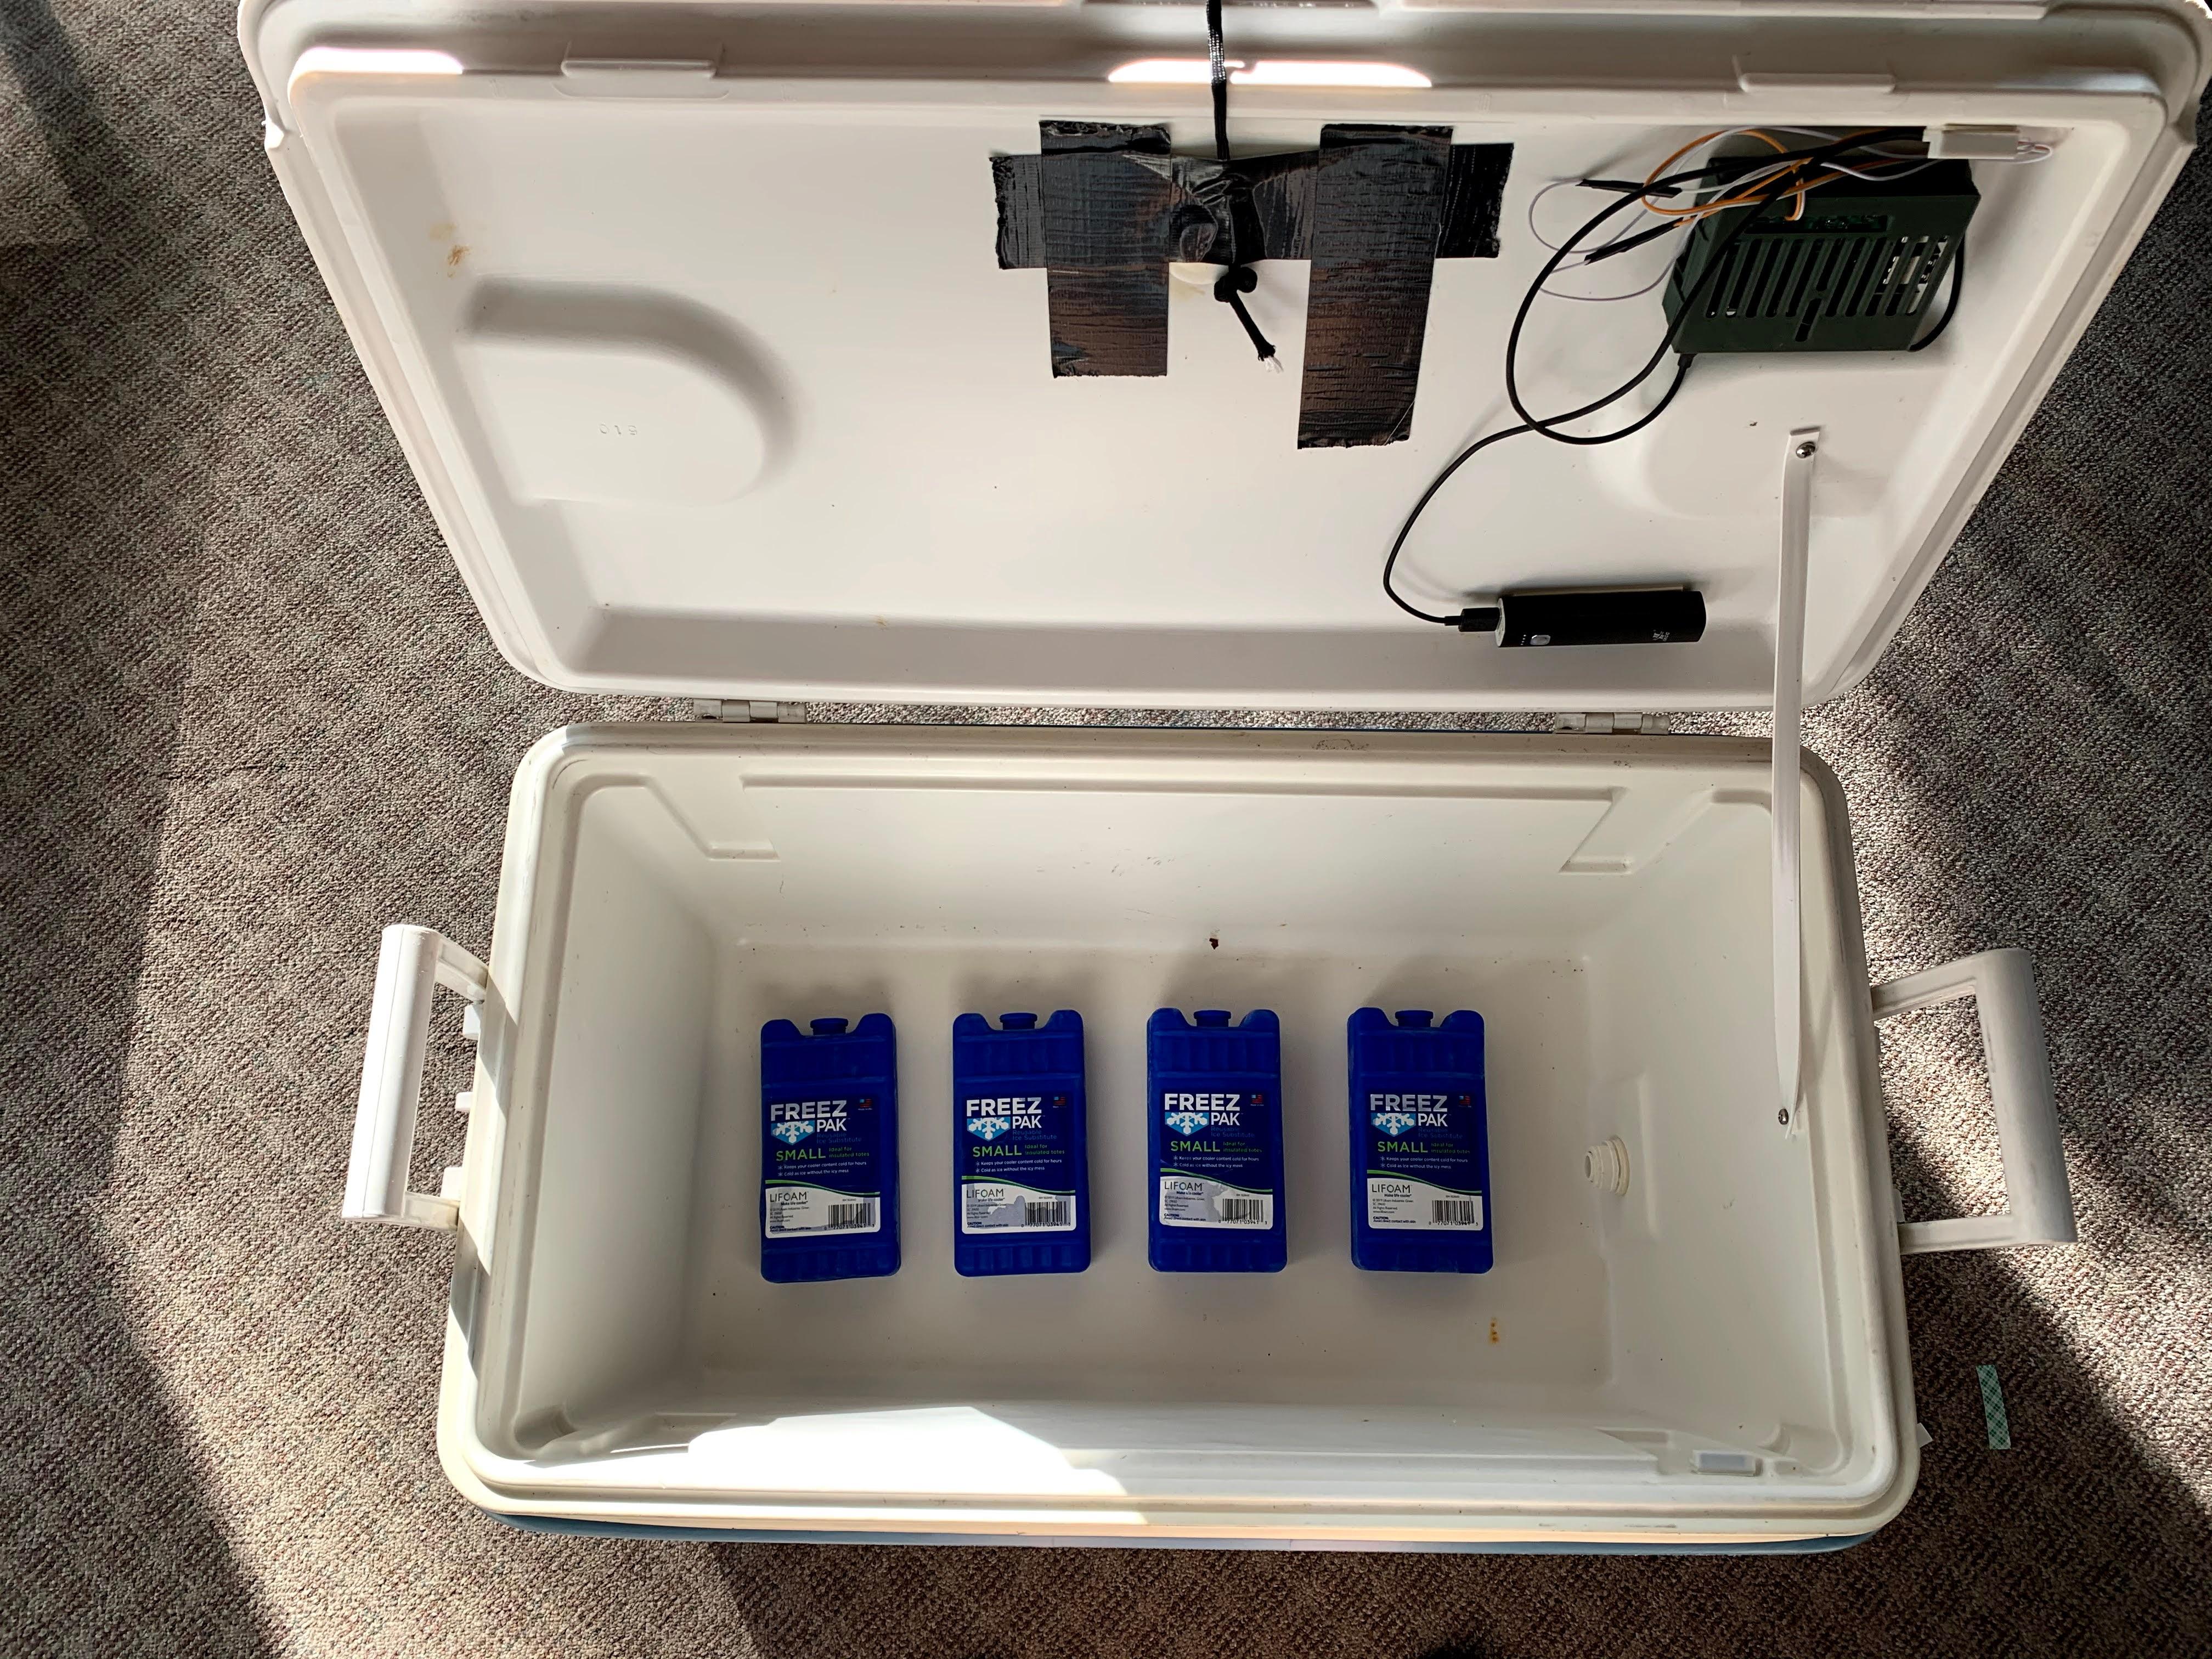
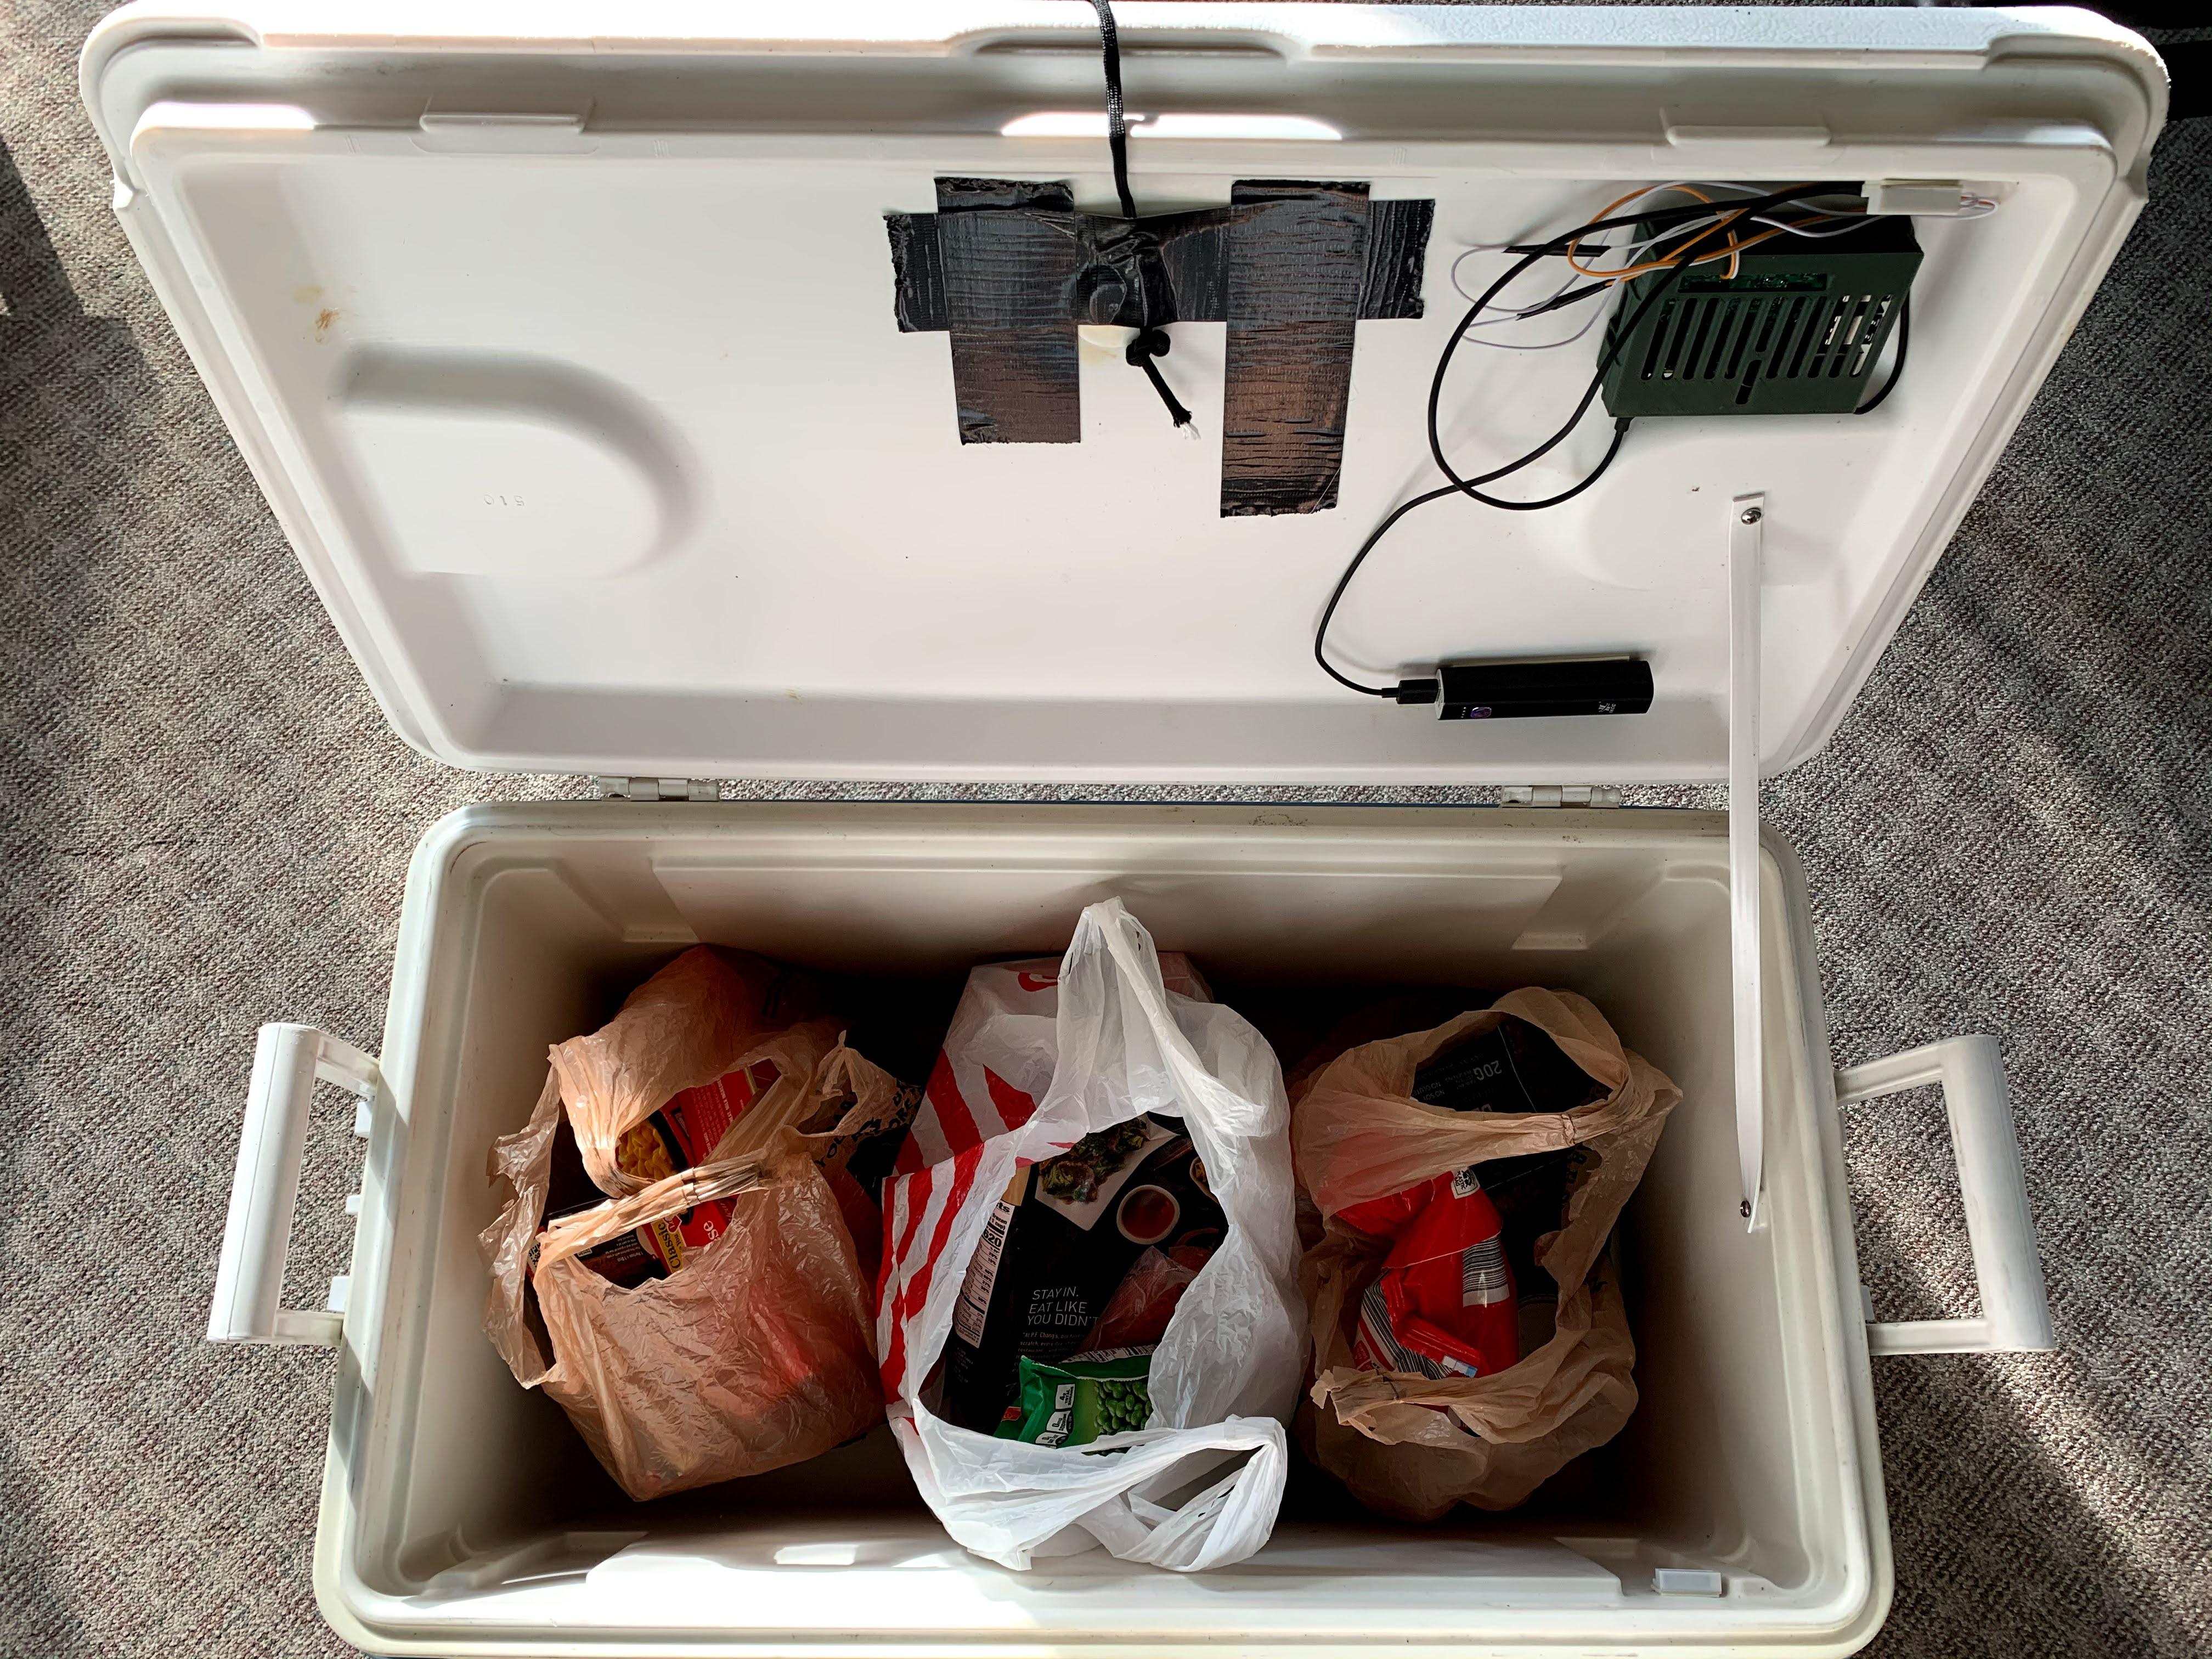
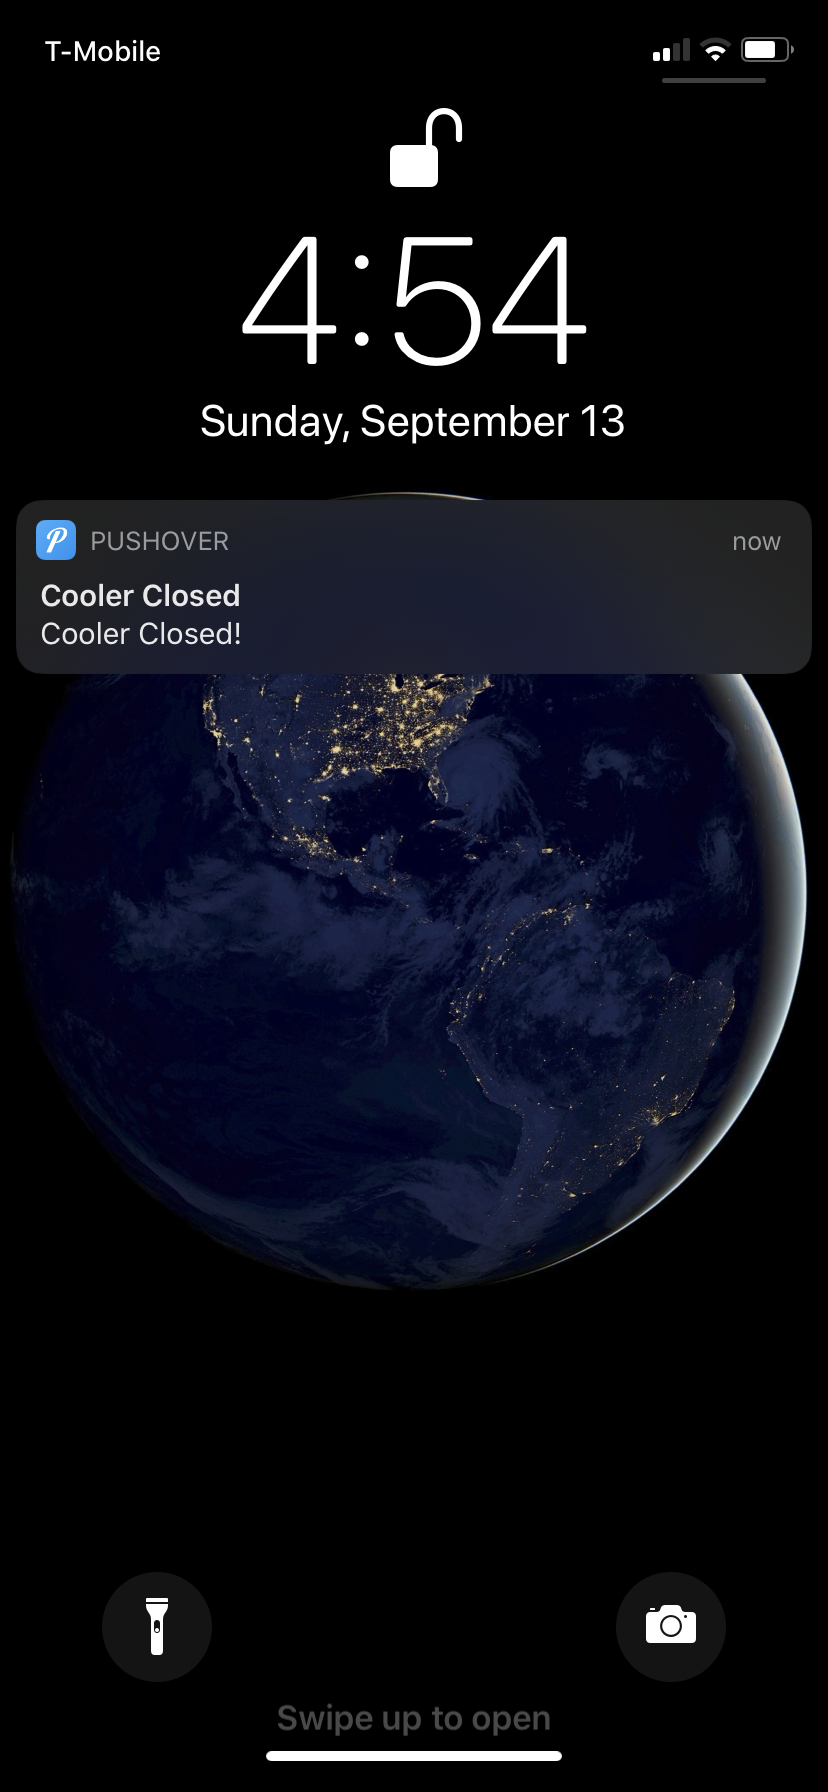
This is, finally, the last step.
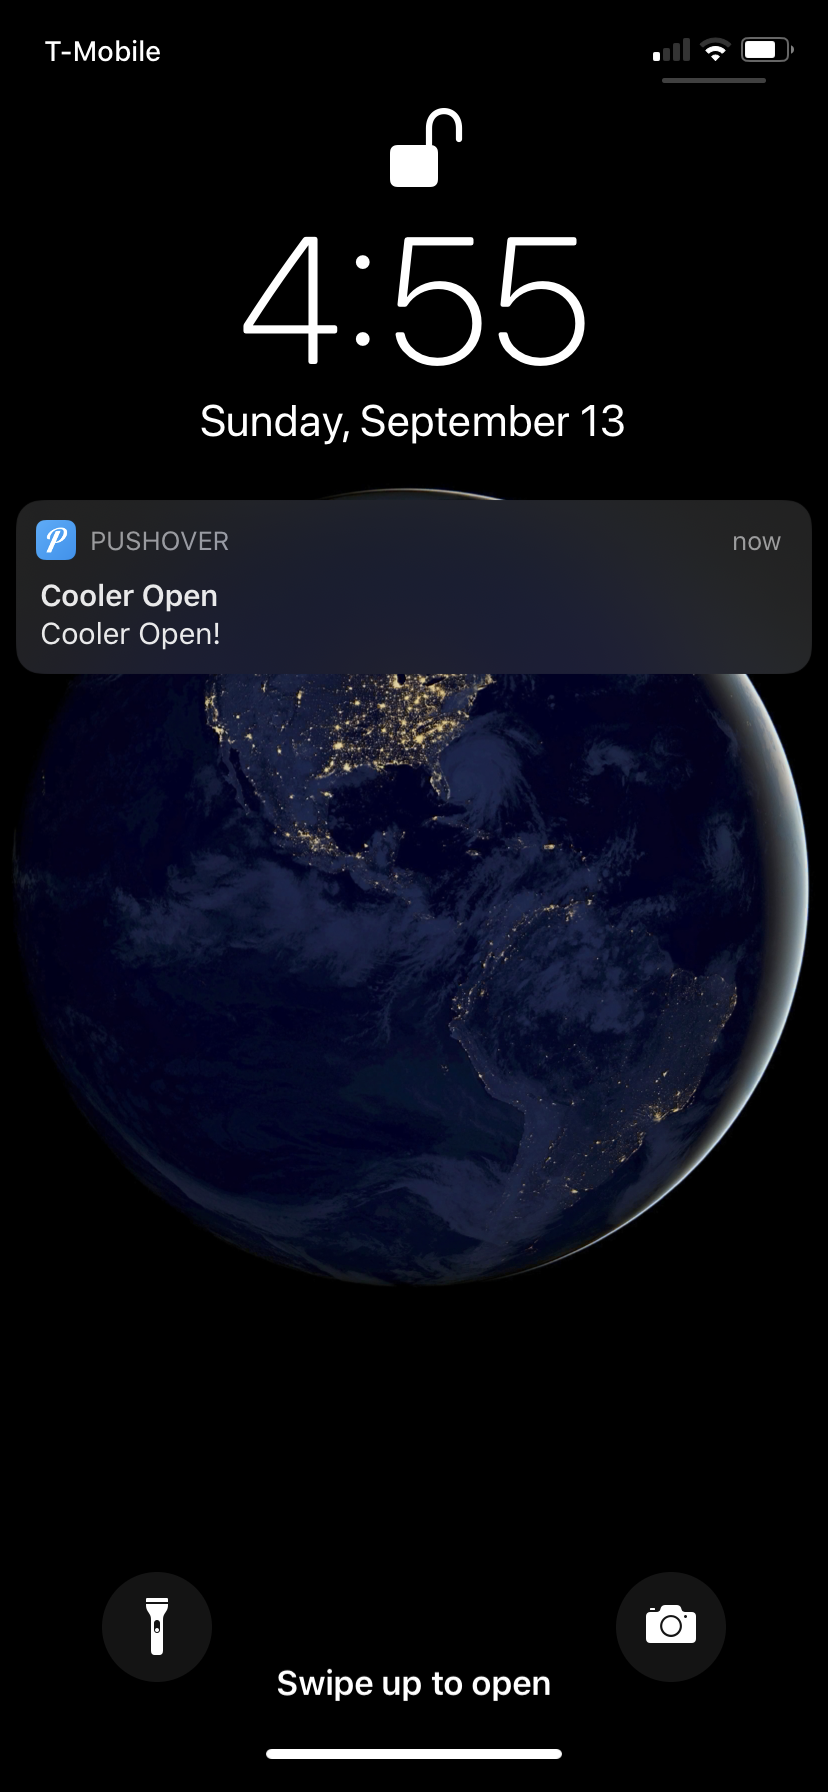
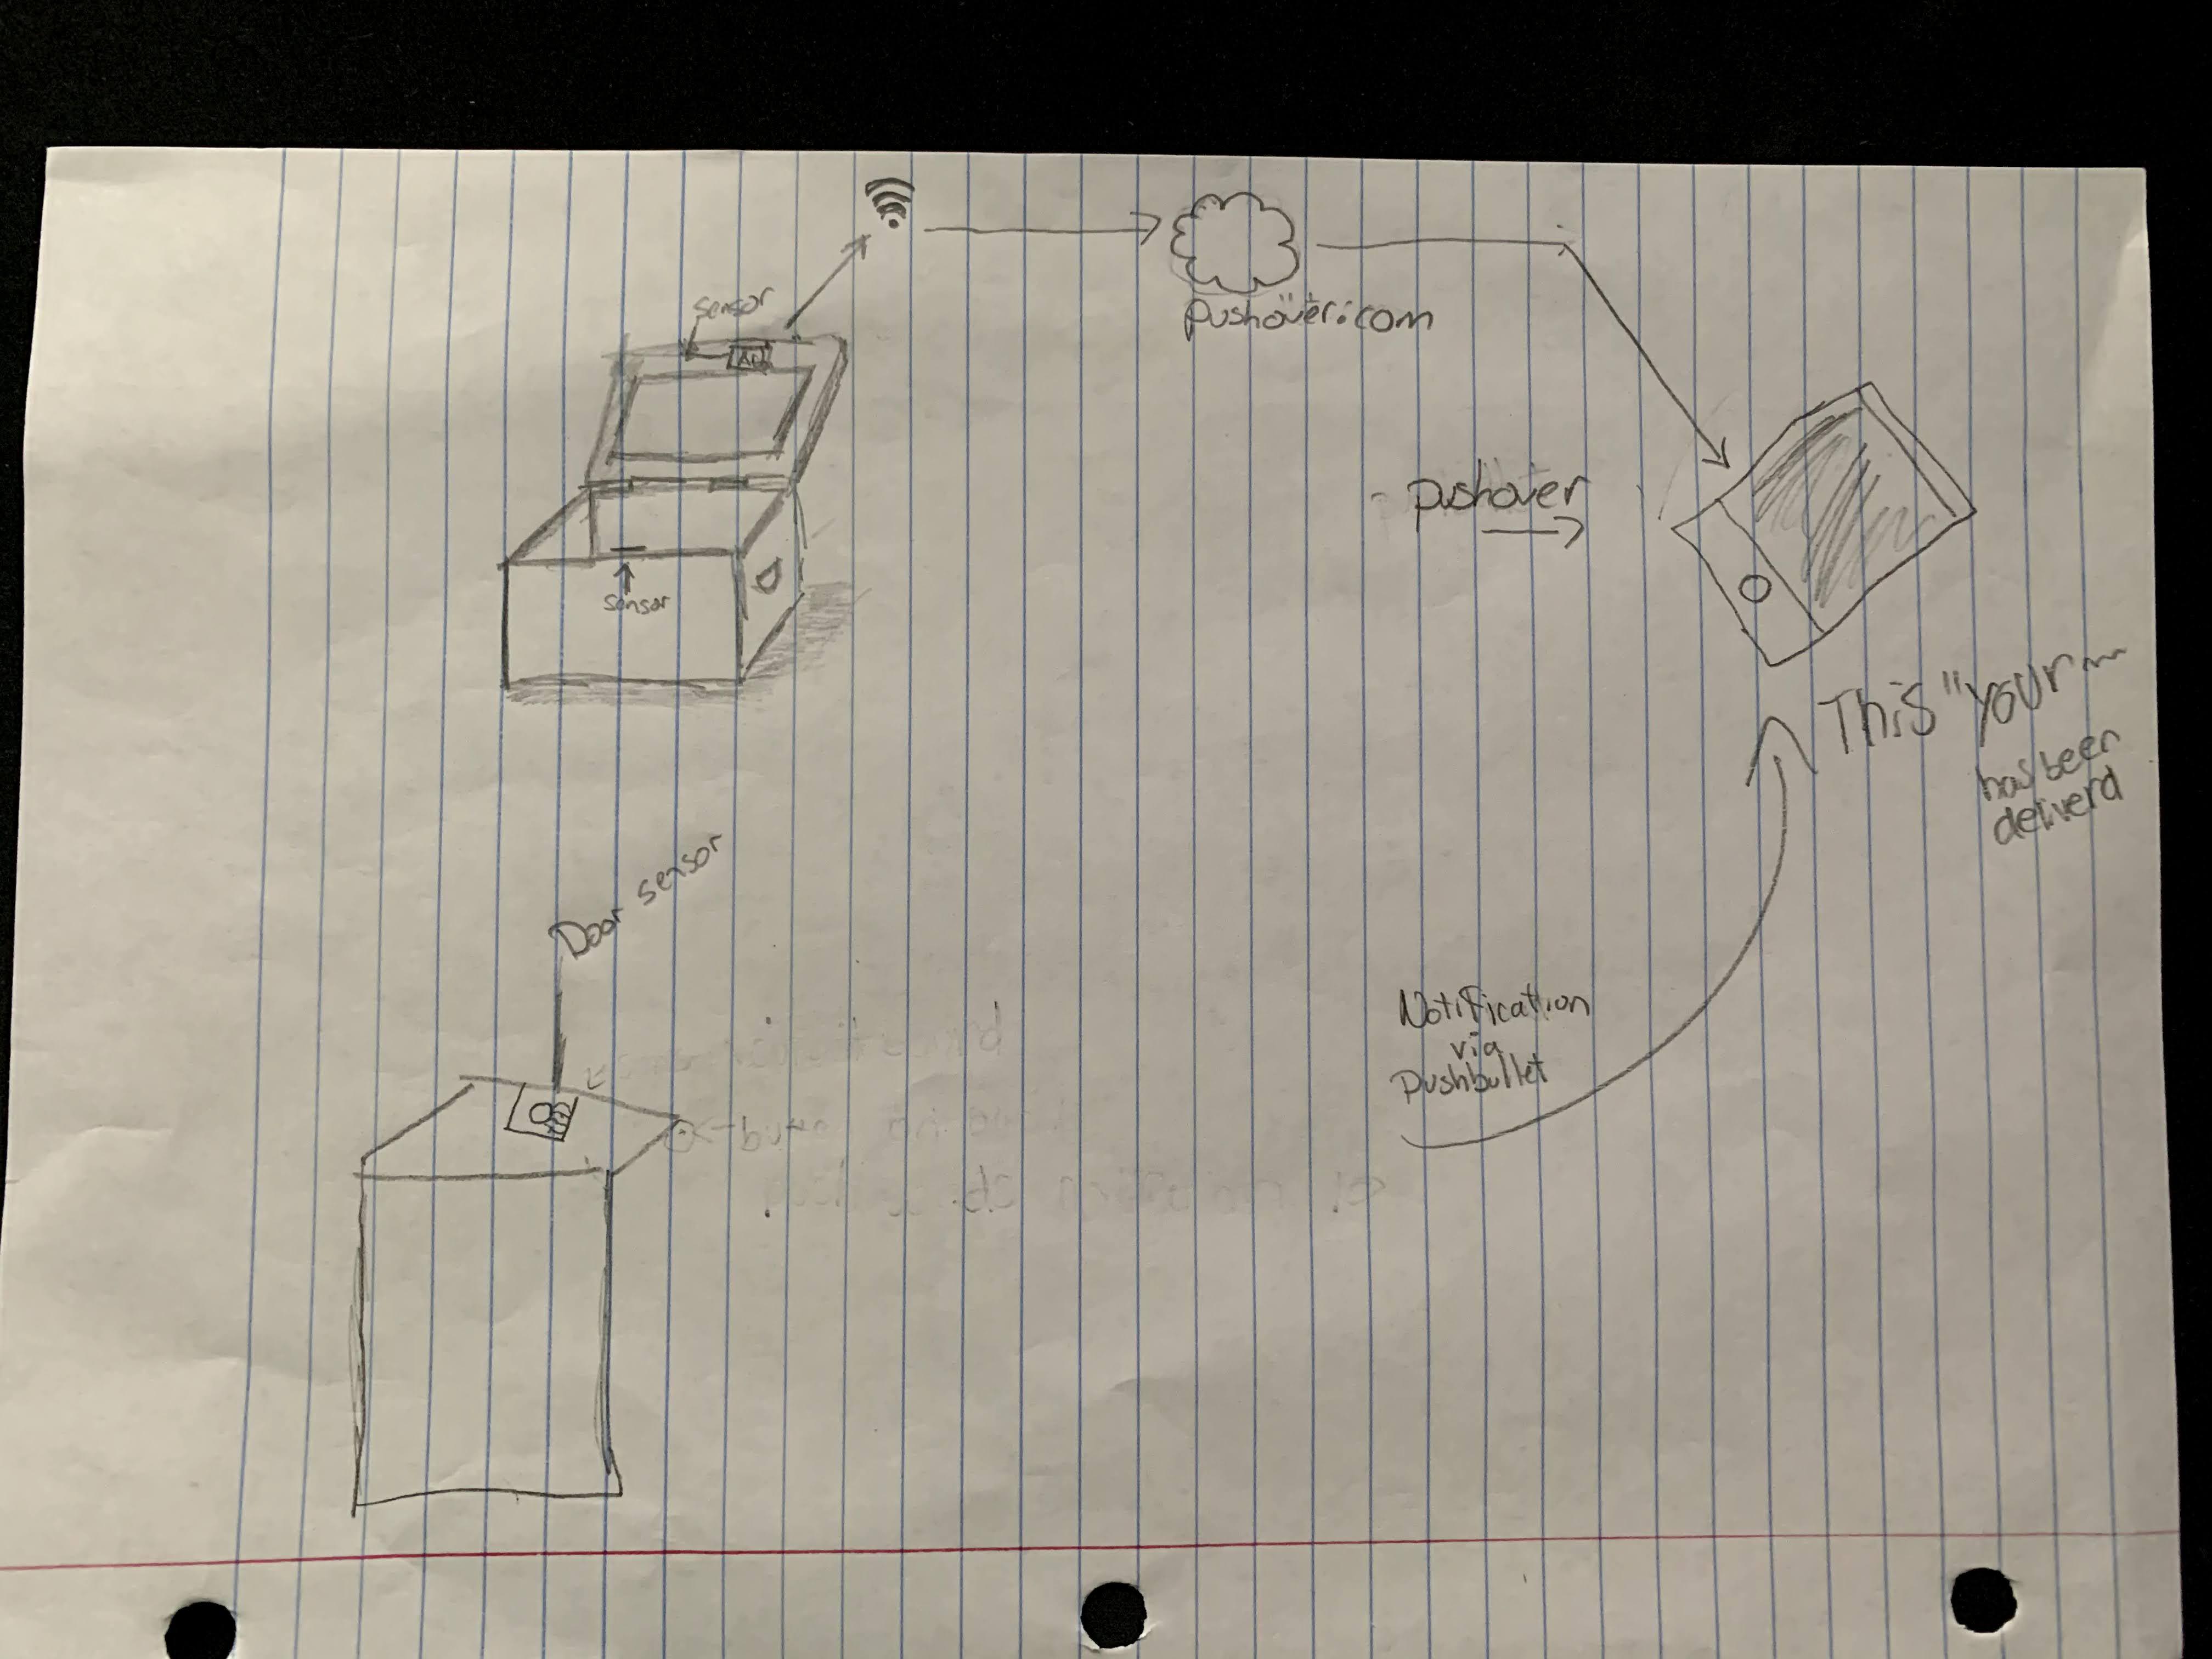
I've included some photos of how it looks when used, along with our original plans, which are always good to have when you have something complex like this. Make plans, and then be willing to change them.
Just add some frozen cooler containers or ice to the bottom of the cooler and wait for your groceries to show up, and you can leave the house to go do other things like take a walk!
Make sure you use the handle and not the string to open the lid, and maybe leave a note for the grocery delivery person and make sure to give them a tip.