Cool Snowflake Coasters!
by Thatinventorguy in Living > Decorating
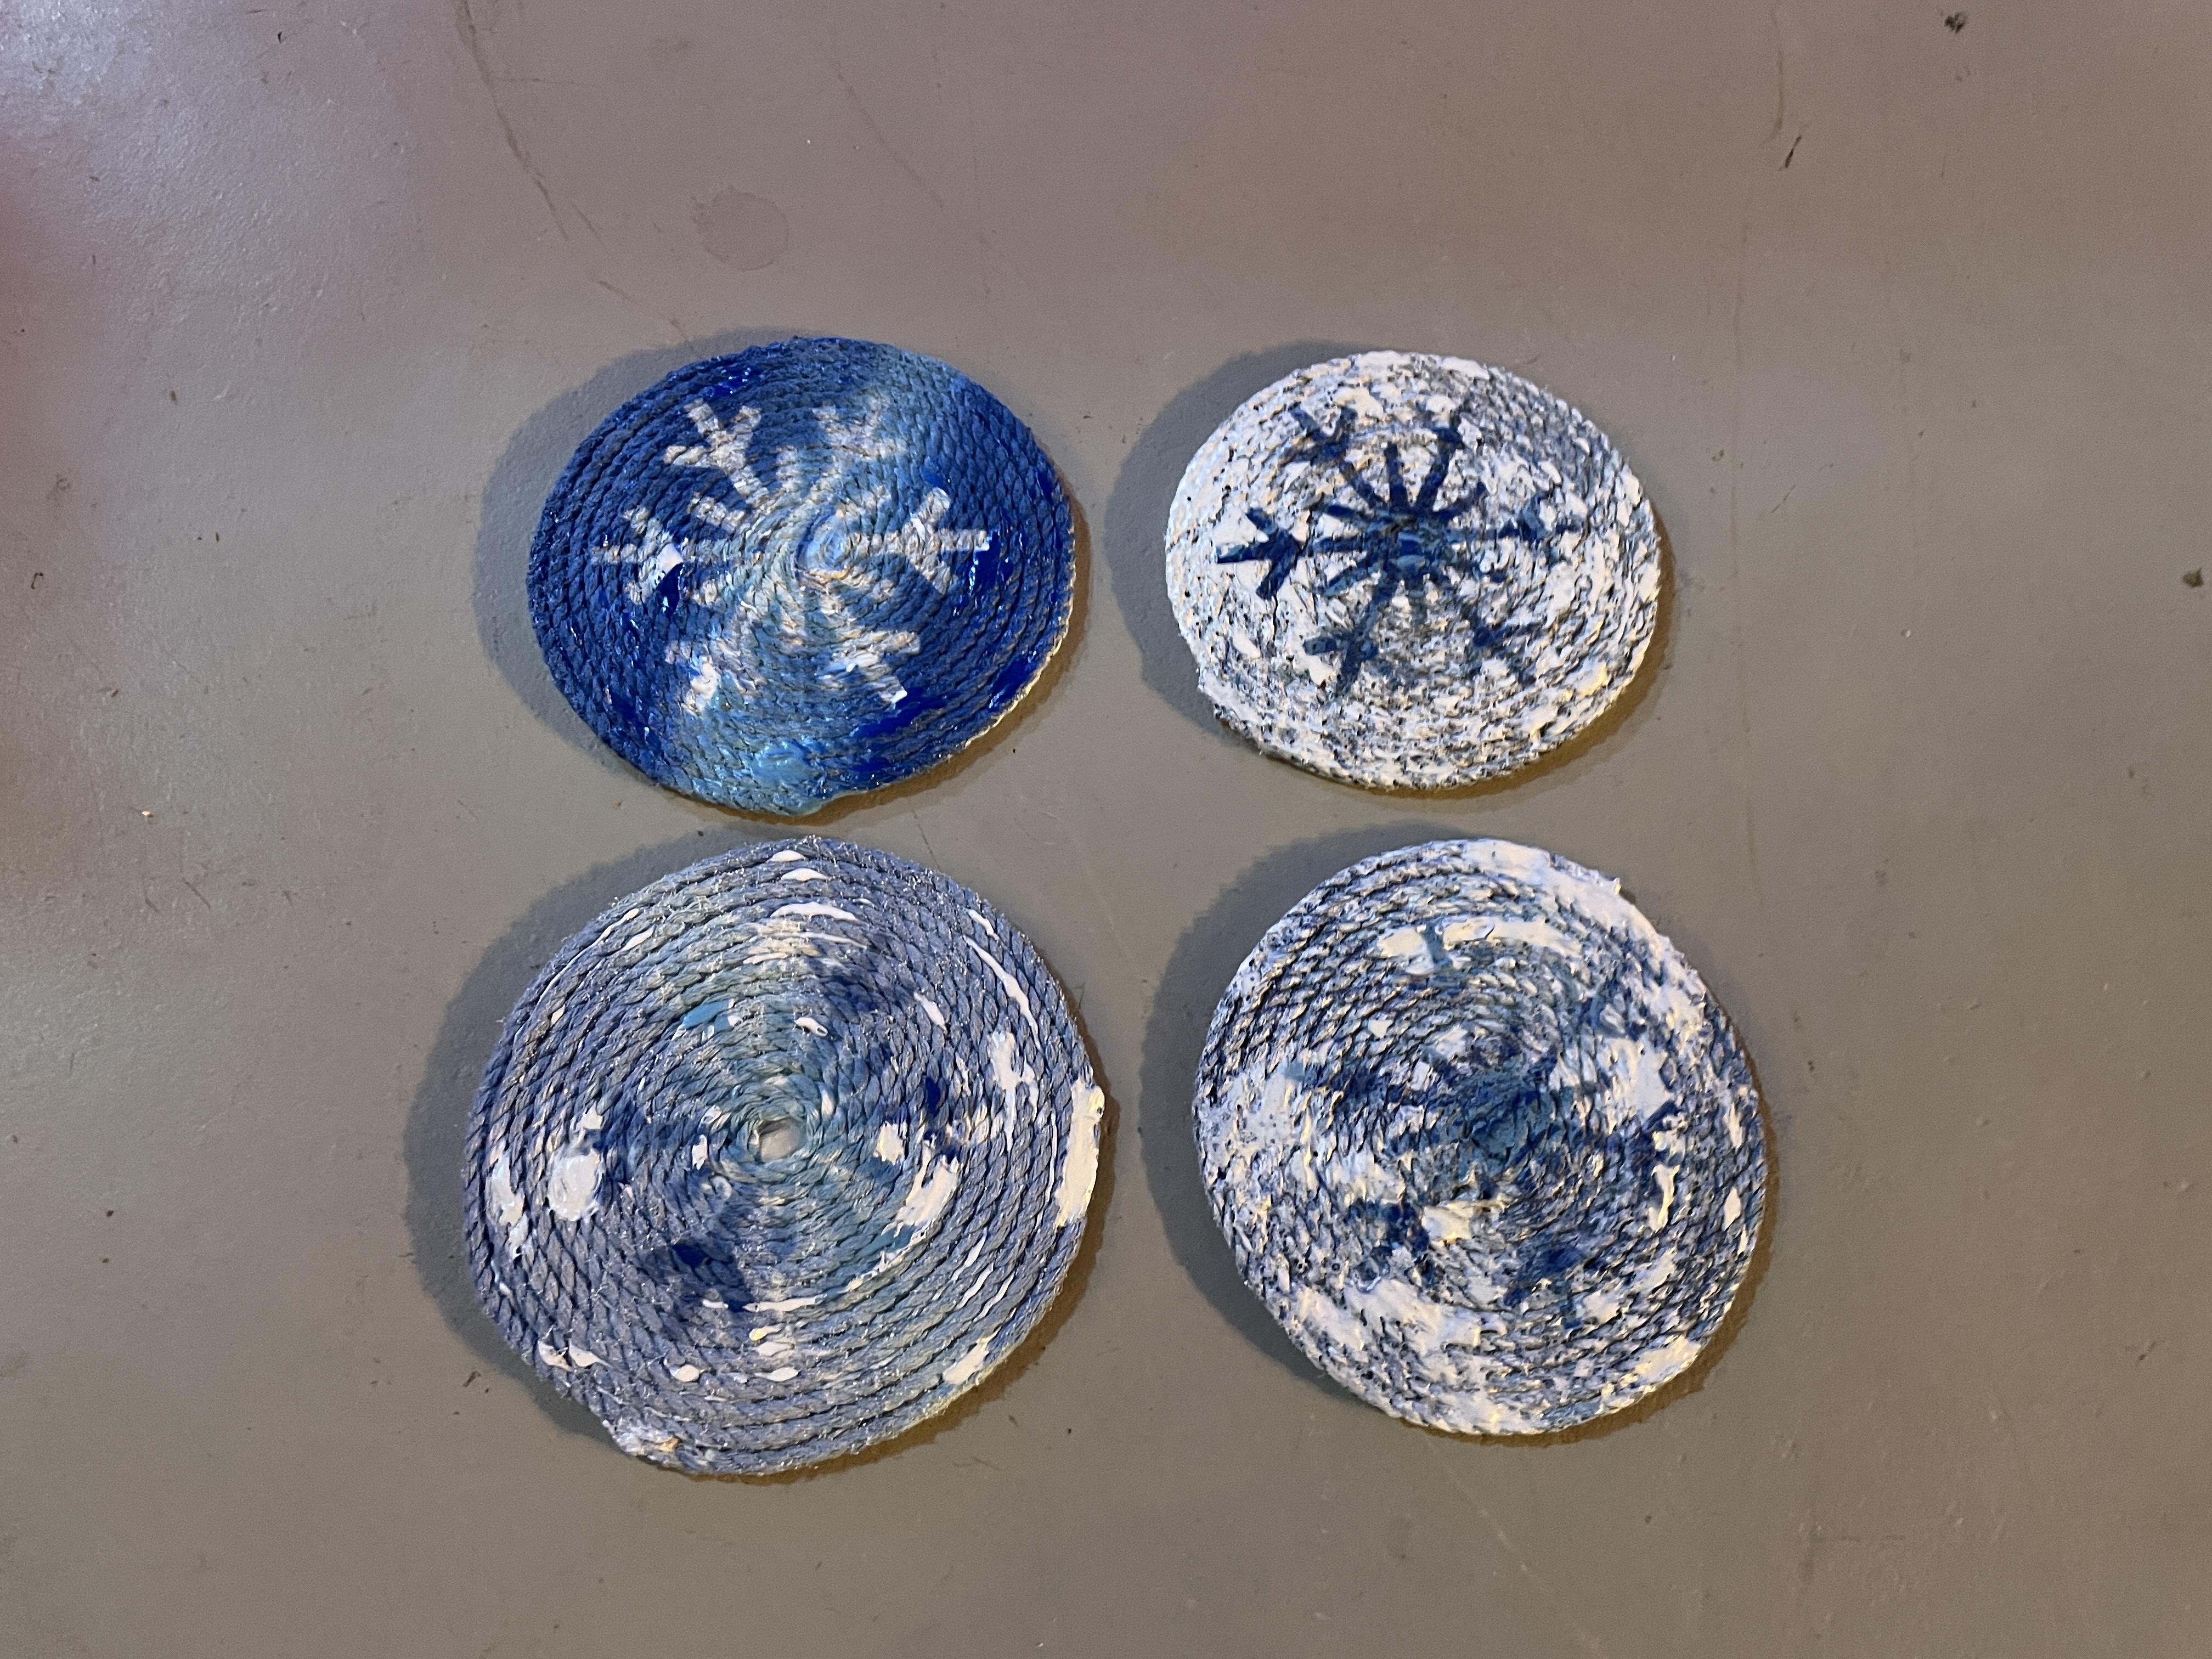
808 Views, 6 Favorites, 0 Comments
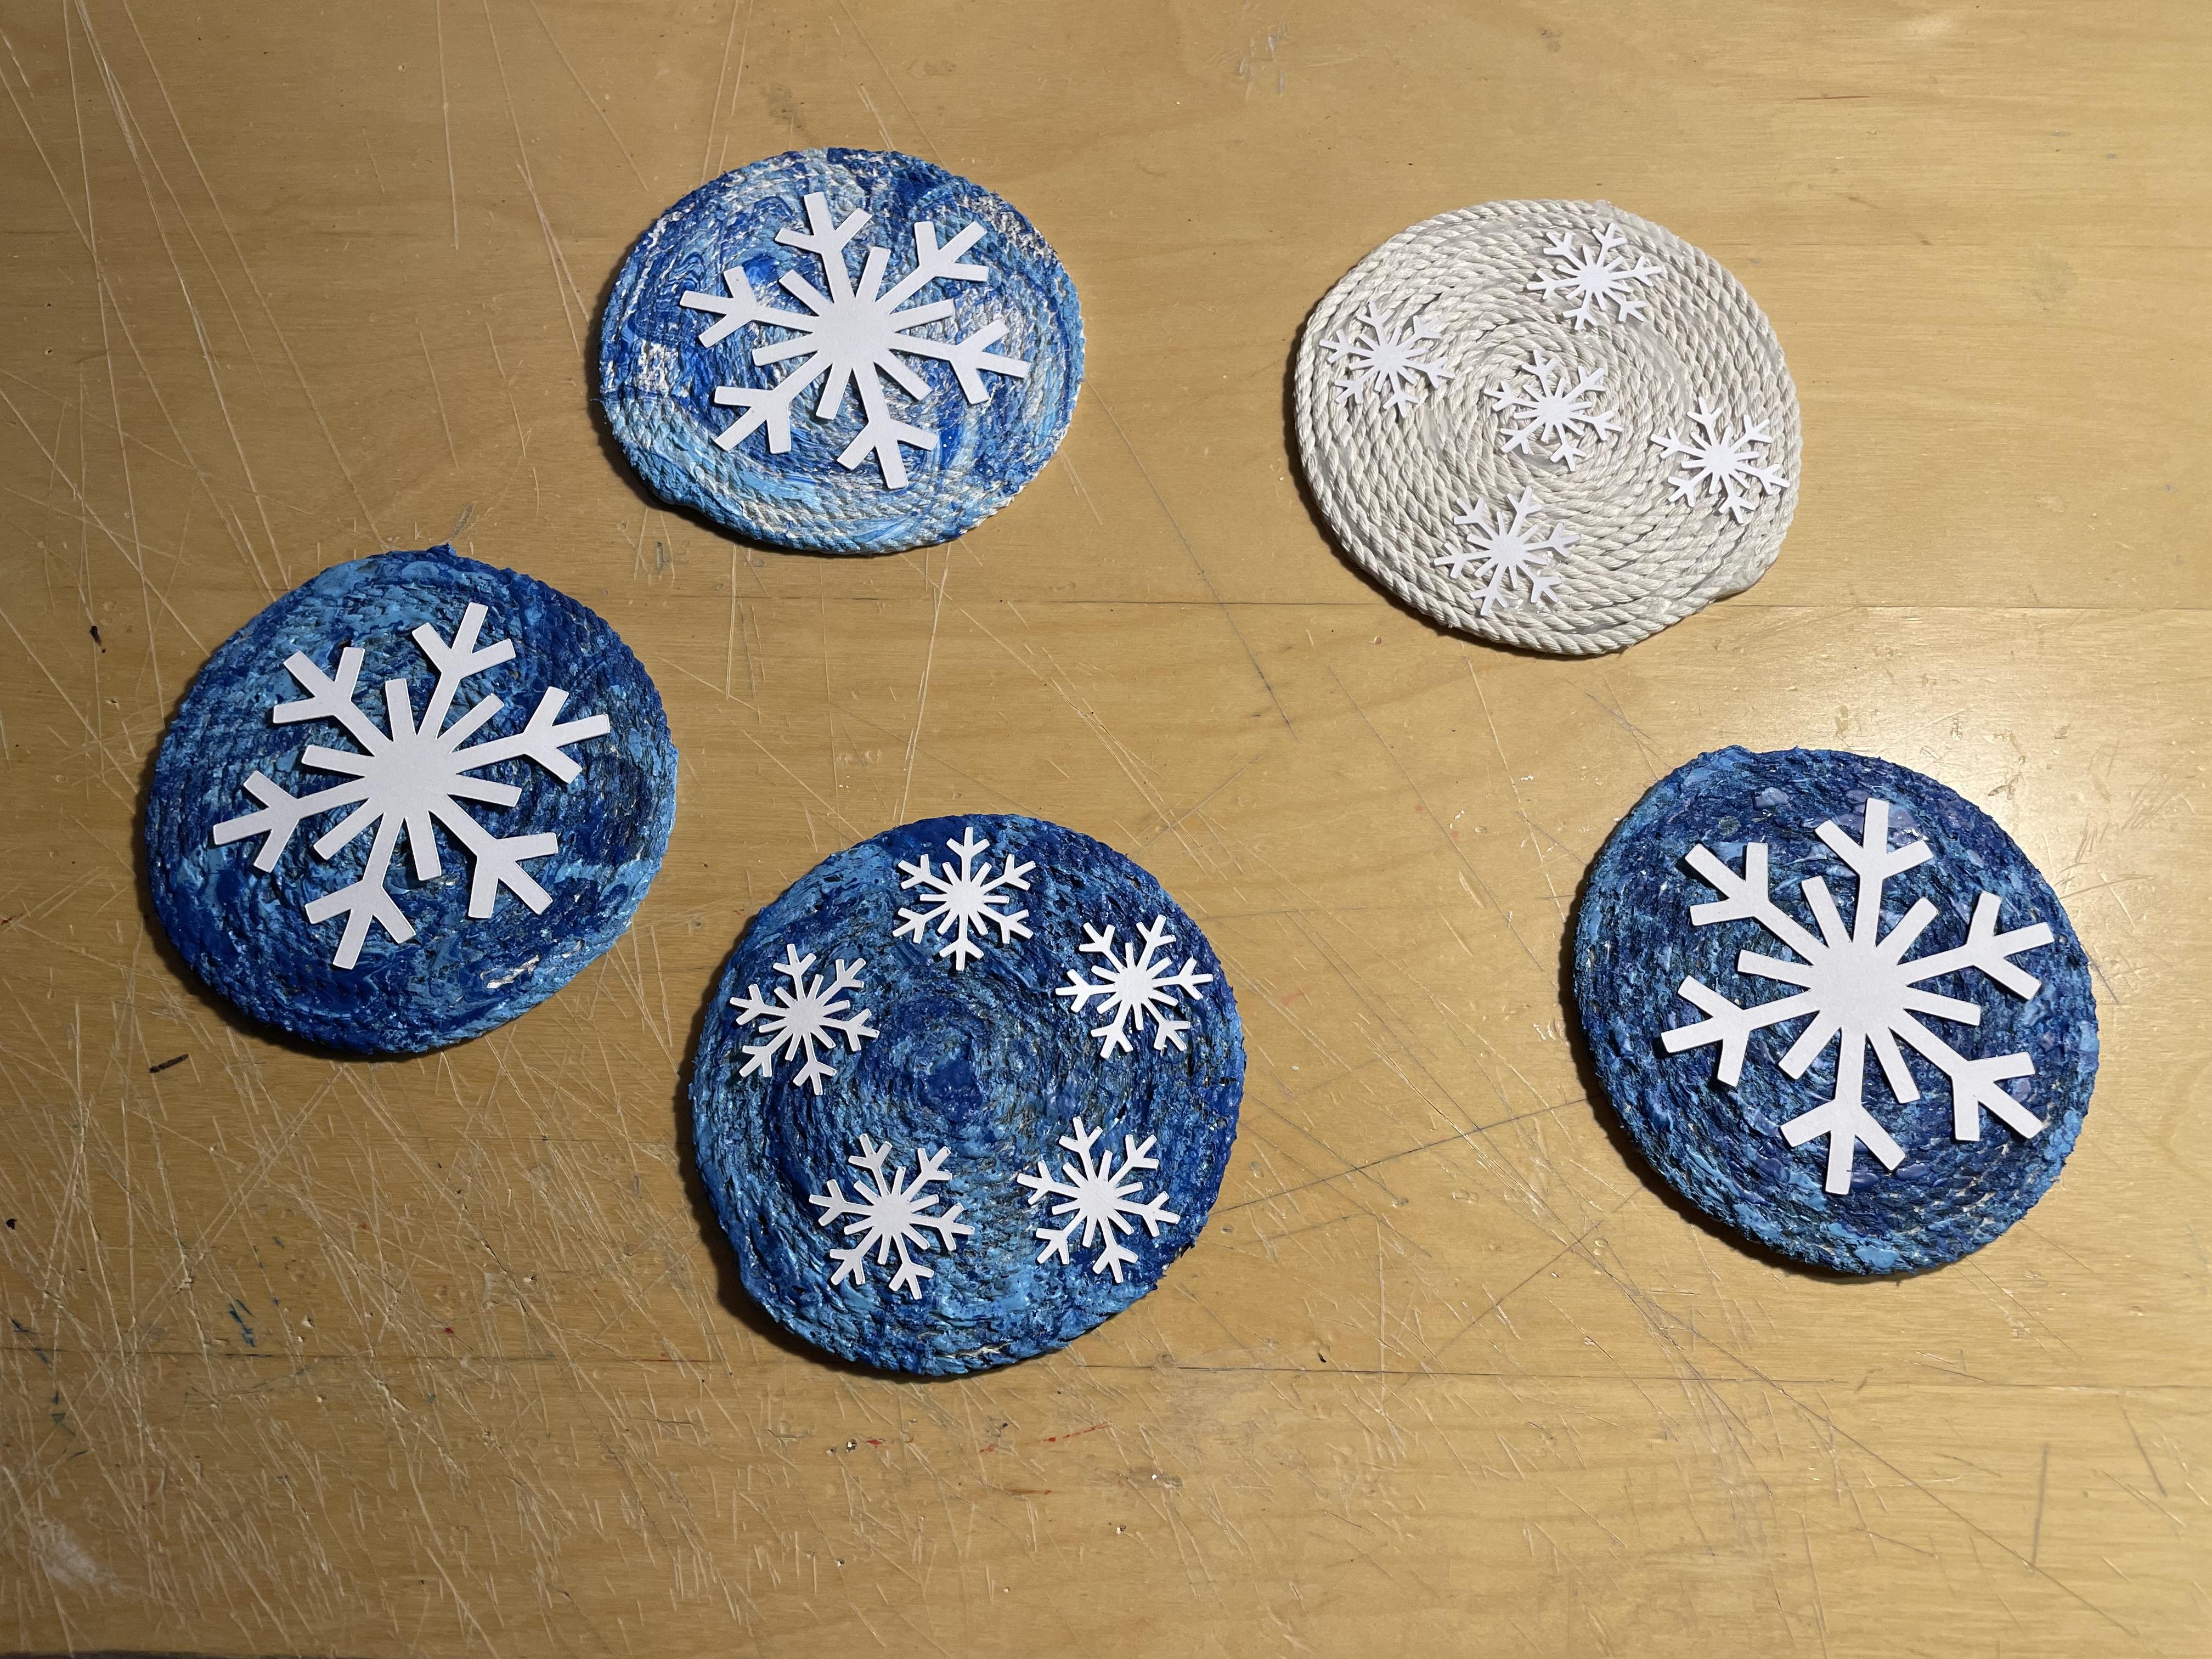
Cool Snowflake Coasters!


These coasters looked so good that I thought I should share them! This is a really fun way to decorate them for winter. If you haven’t seen how to make them yet, here is a link to that instructable! It’s super fun to make these from just a spool of string and hot glue, and decorating them is even cooler!
Supplies
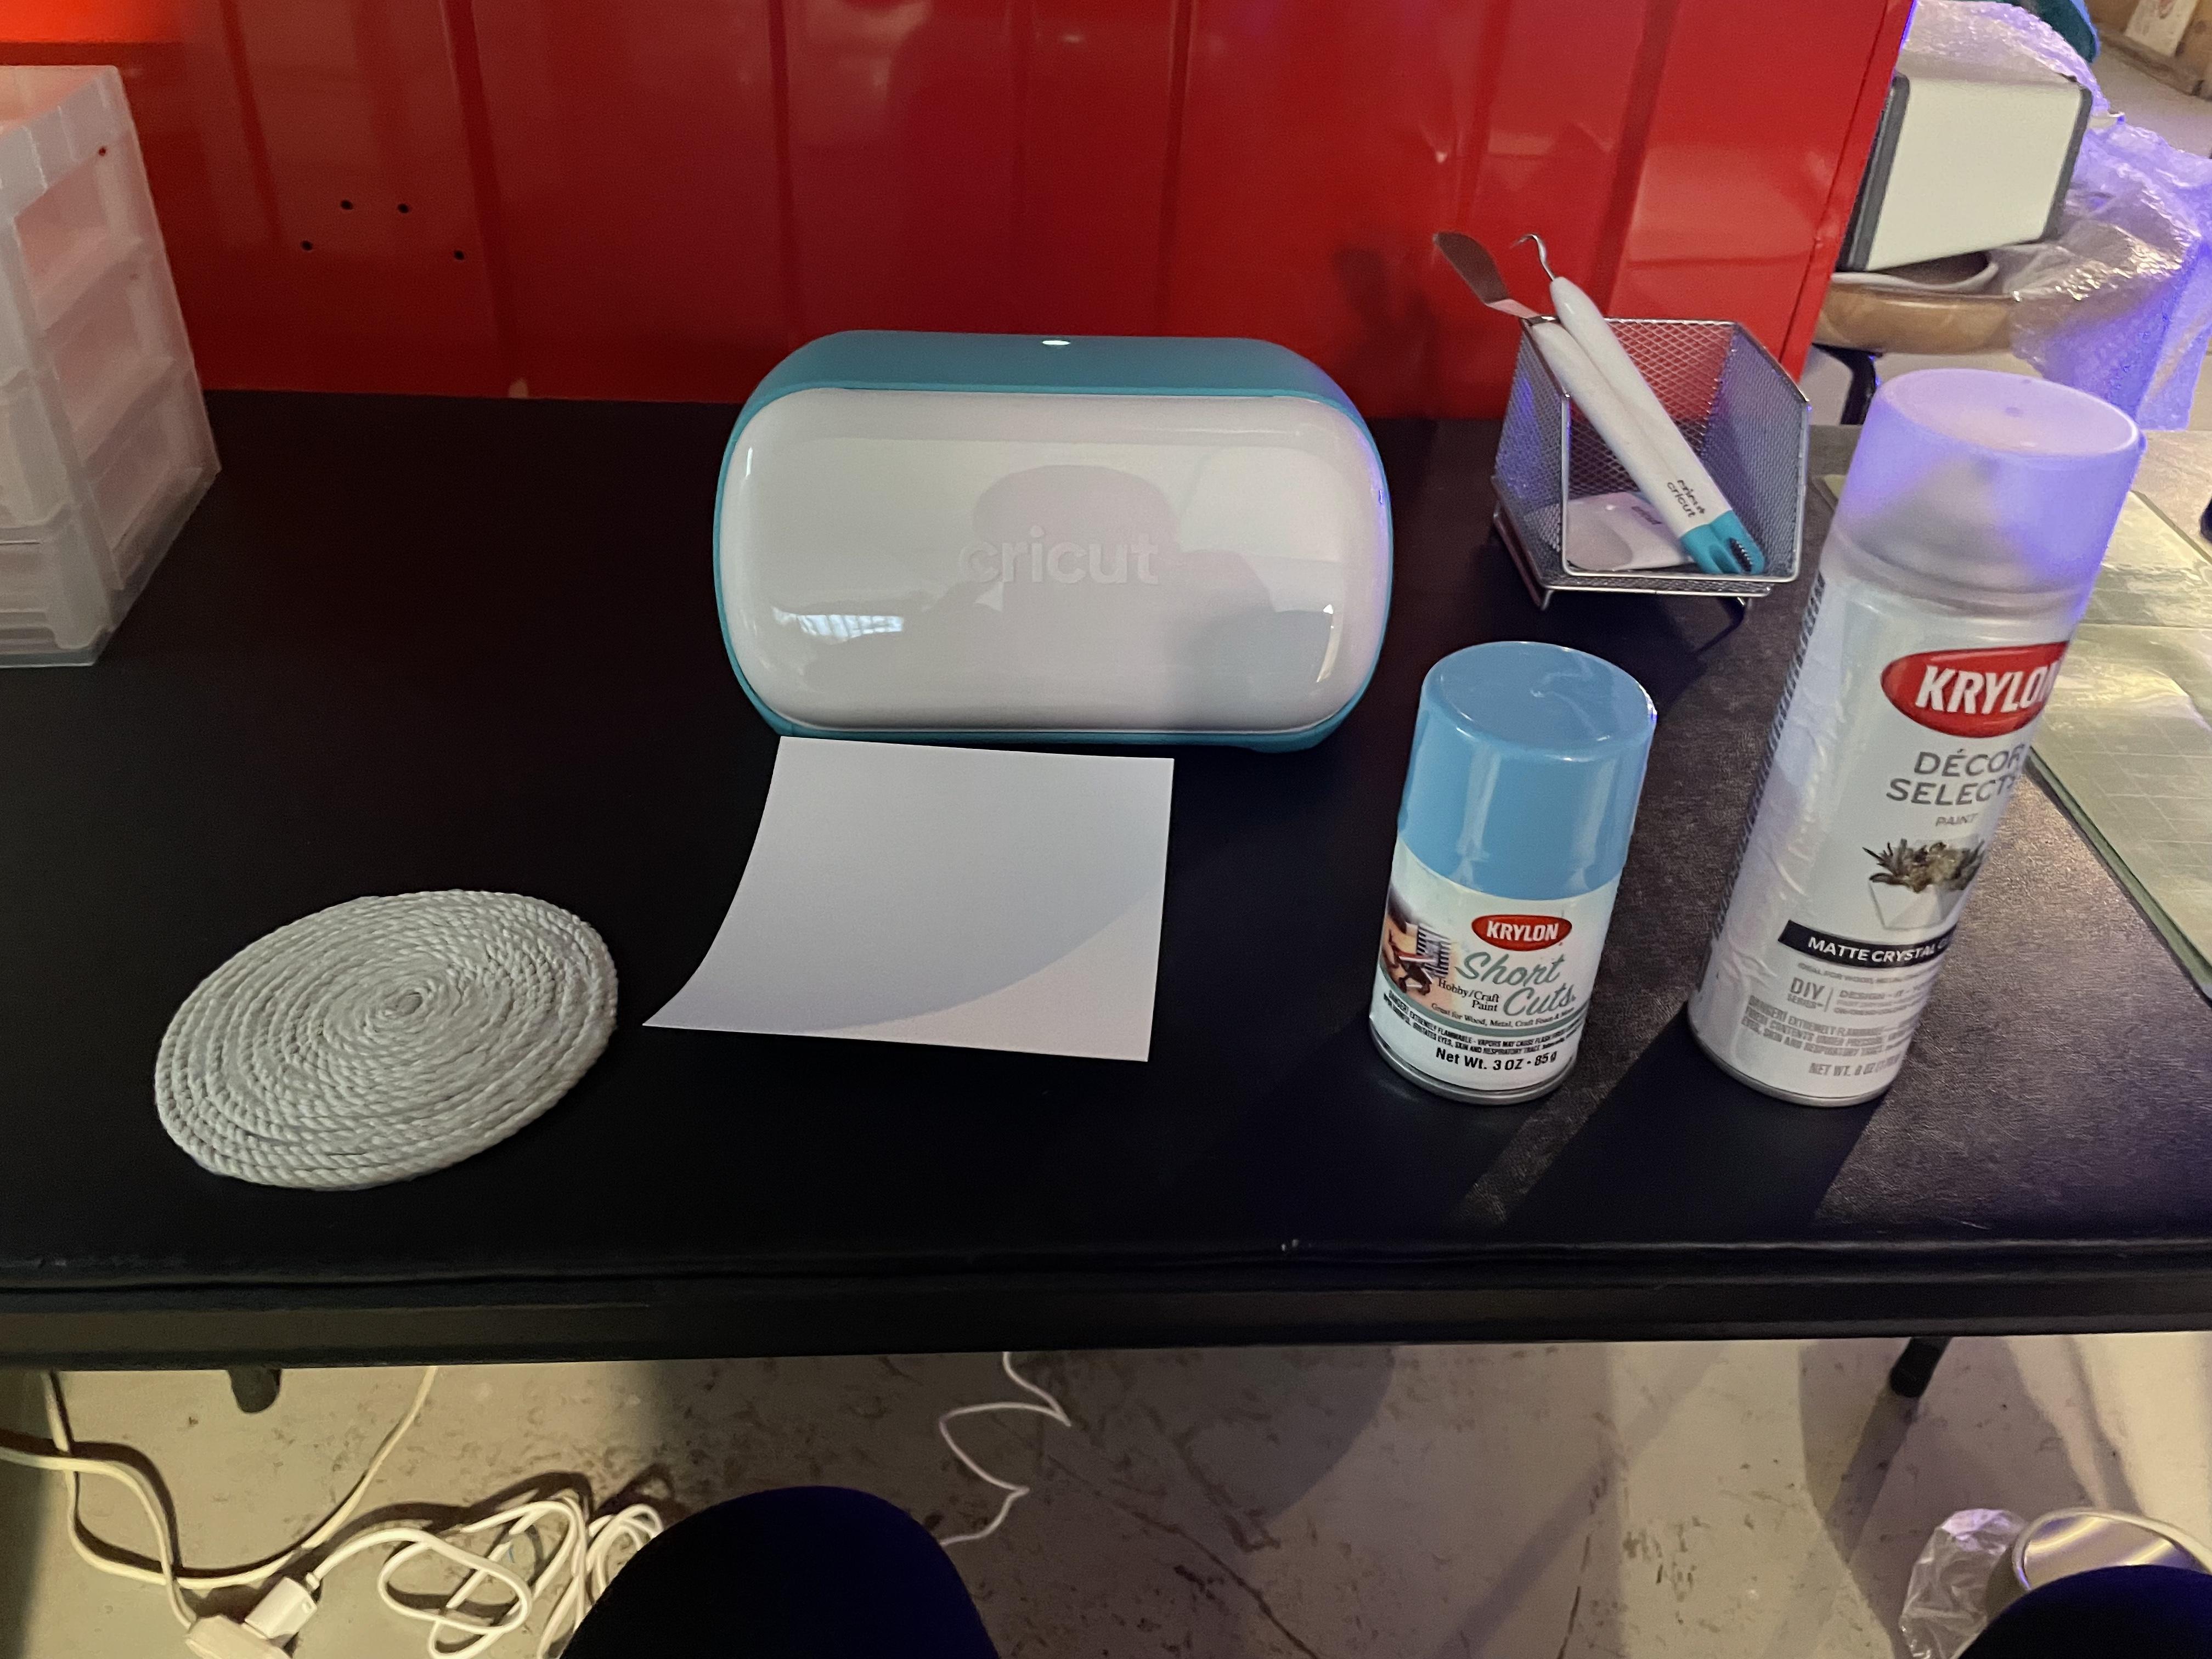
You will need:
-A Cricut Machine
-A blade attachment for the Cricut
-The Cricut Design Space app or Cricut Joy app (The process is similar for both apps, but they will look a little different and I will be showing the Cricut Joy app process.)
-Cricut smart removable vinyl (or just plain Cricut vinyl if you have an older Cricut machine) in any color (this will be taken off the coaster so it doesn’t matter what color it is)
-Easy DIY String Coasters (again, link to make them is here)
-Spray paint in any color (you can have any color you want, and you can even make them two toned if you have multiple colors!
-Clear spray sealer in any finish
-A ruler
-A large piece of cardboard to spray paint on
Make Your Snowflake

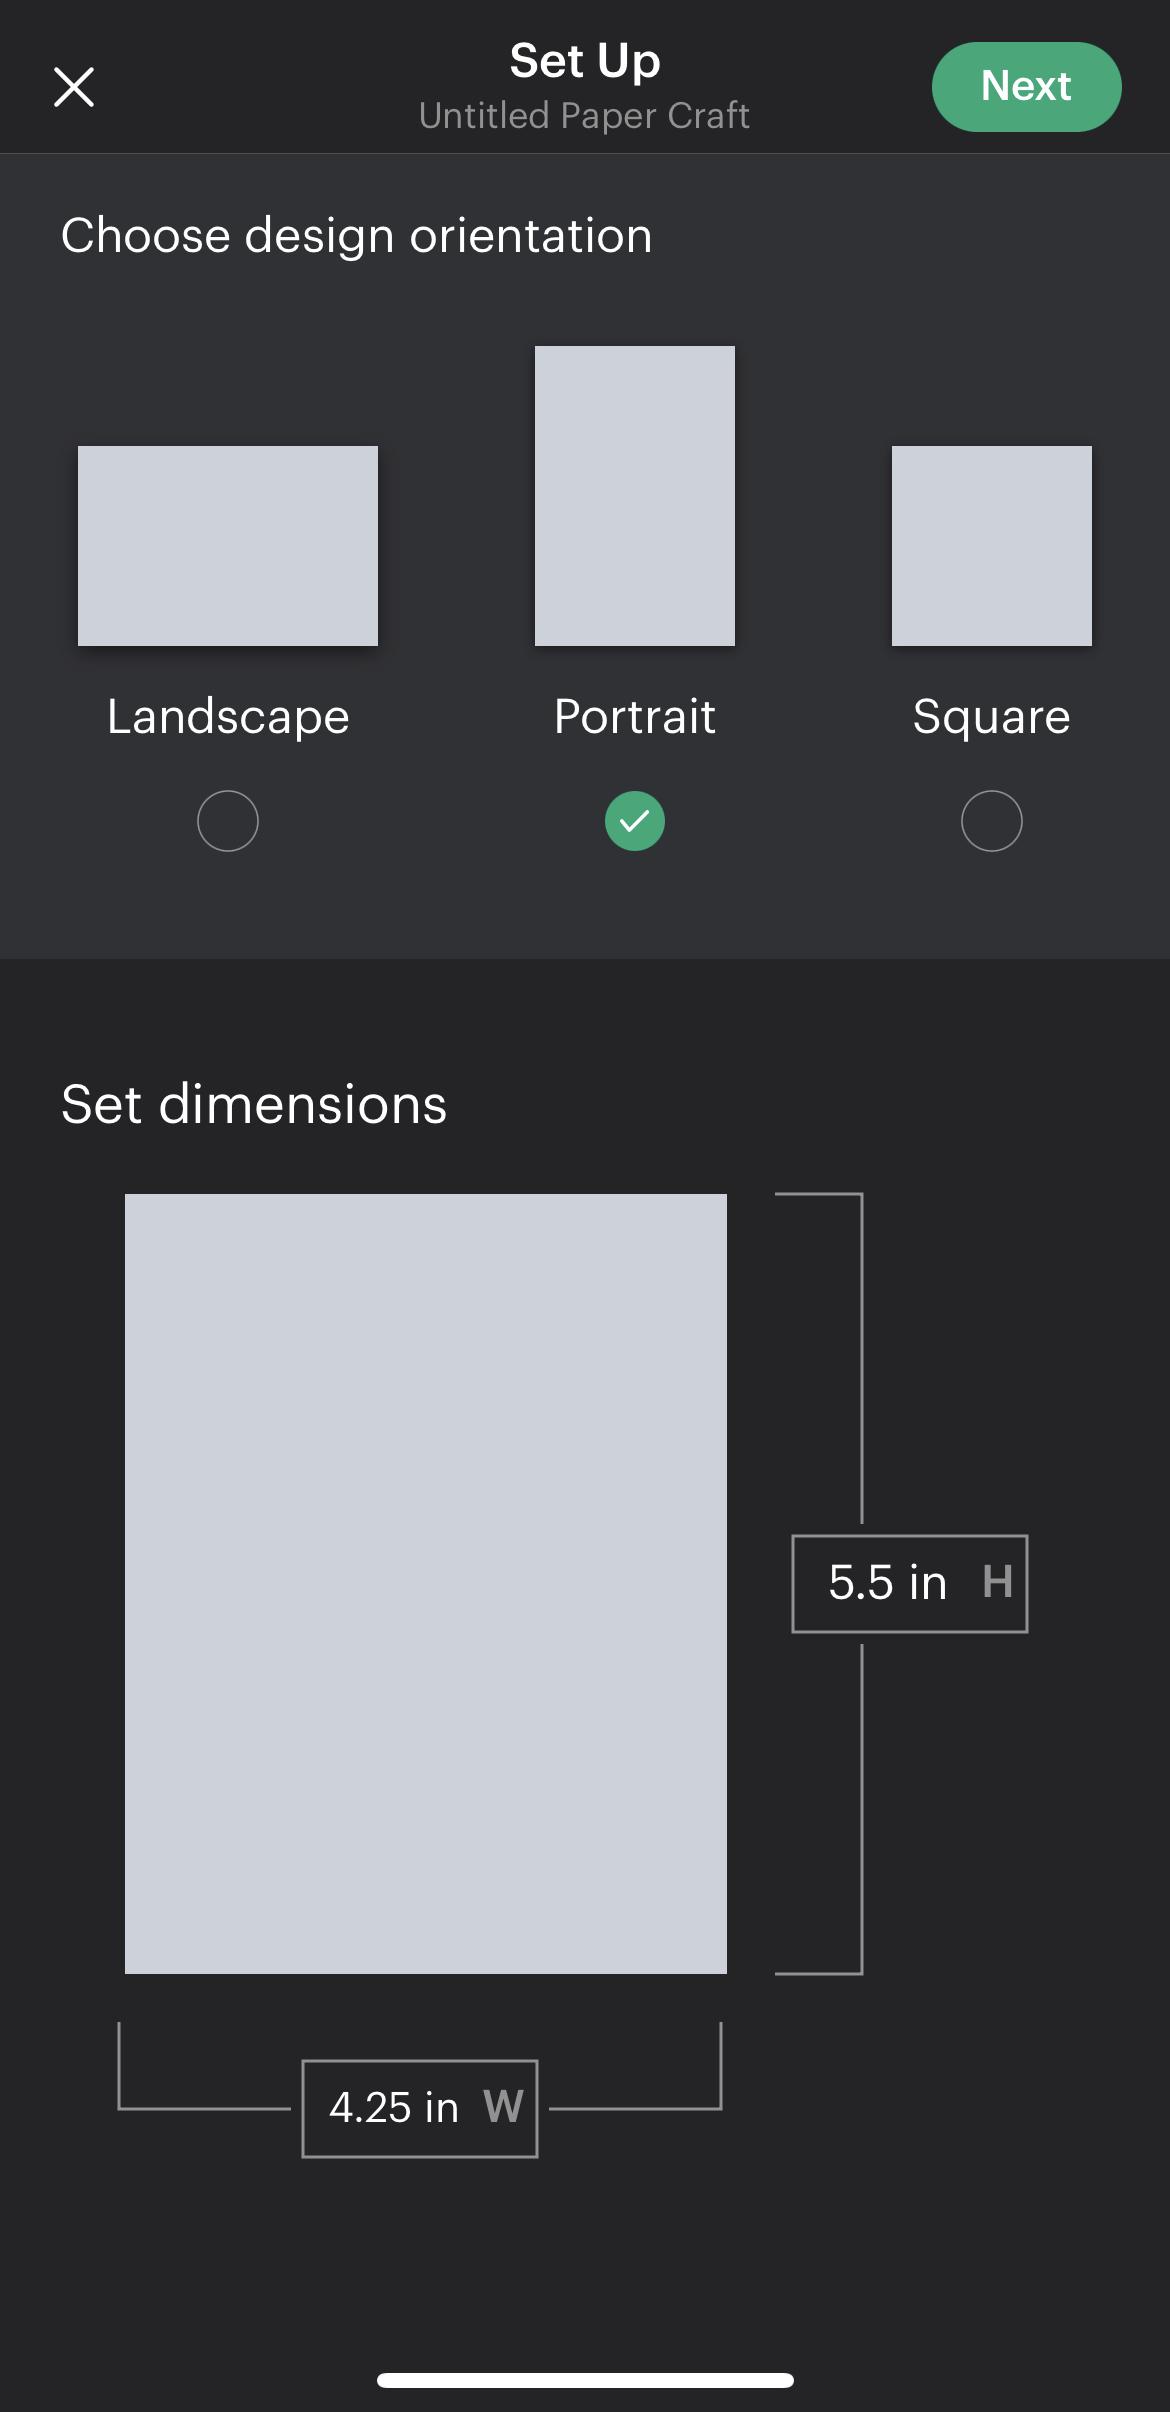
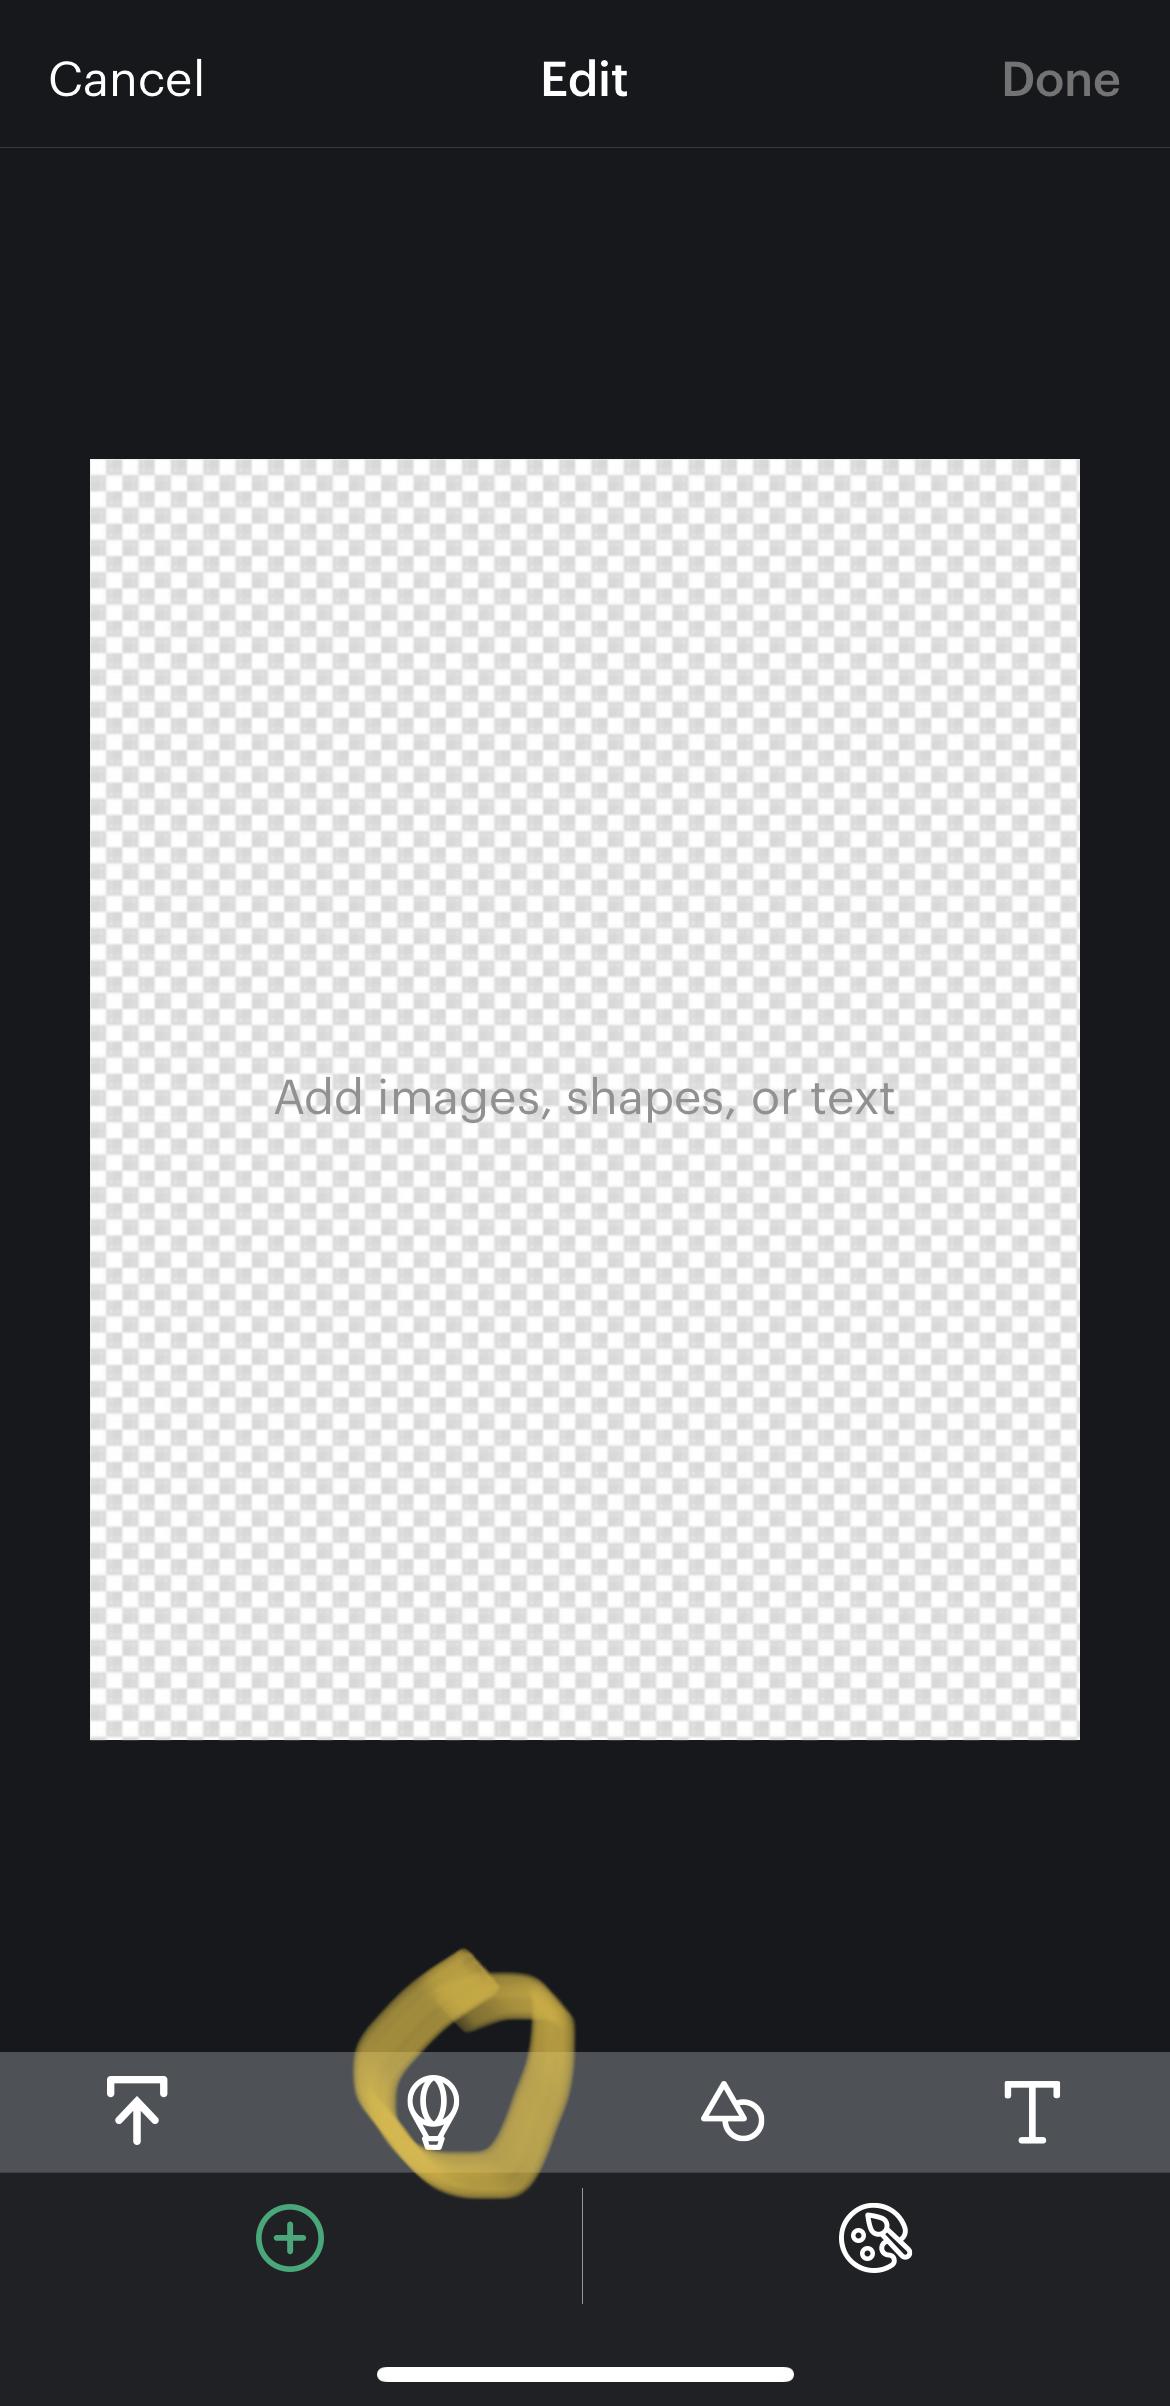
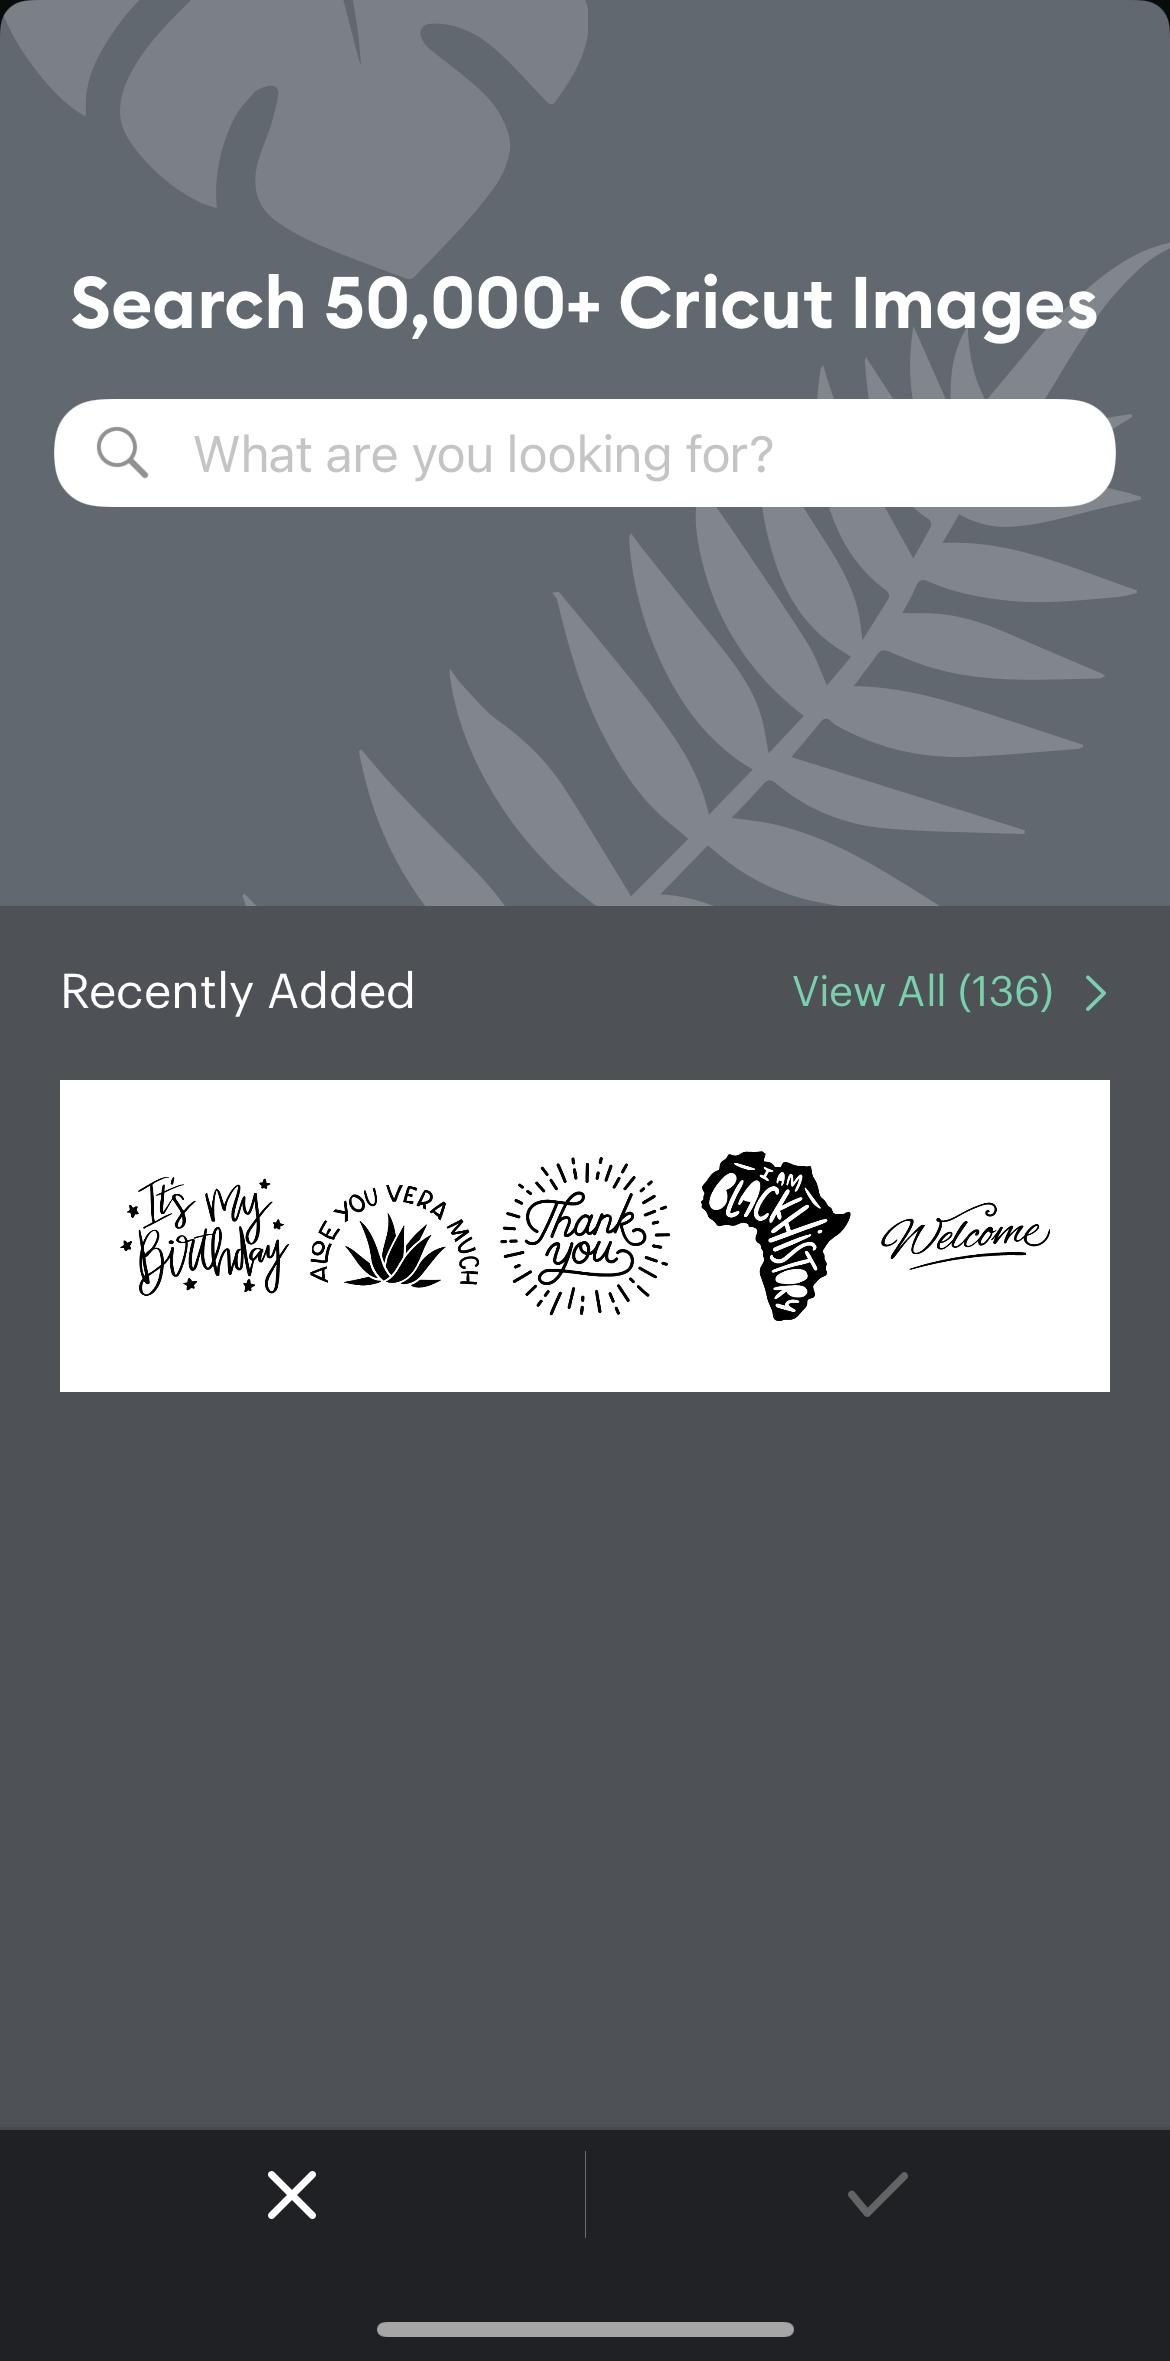
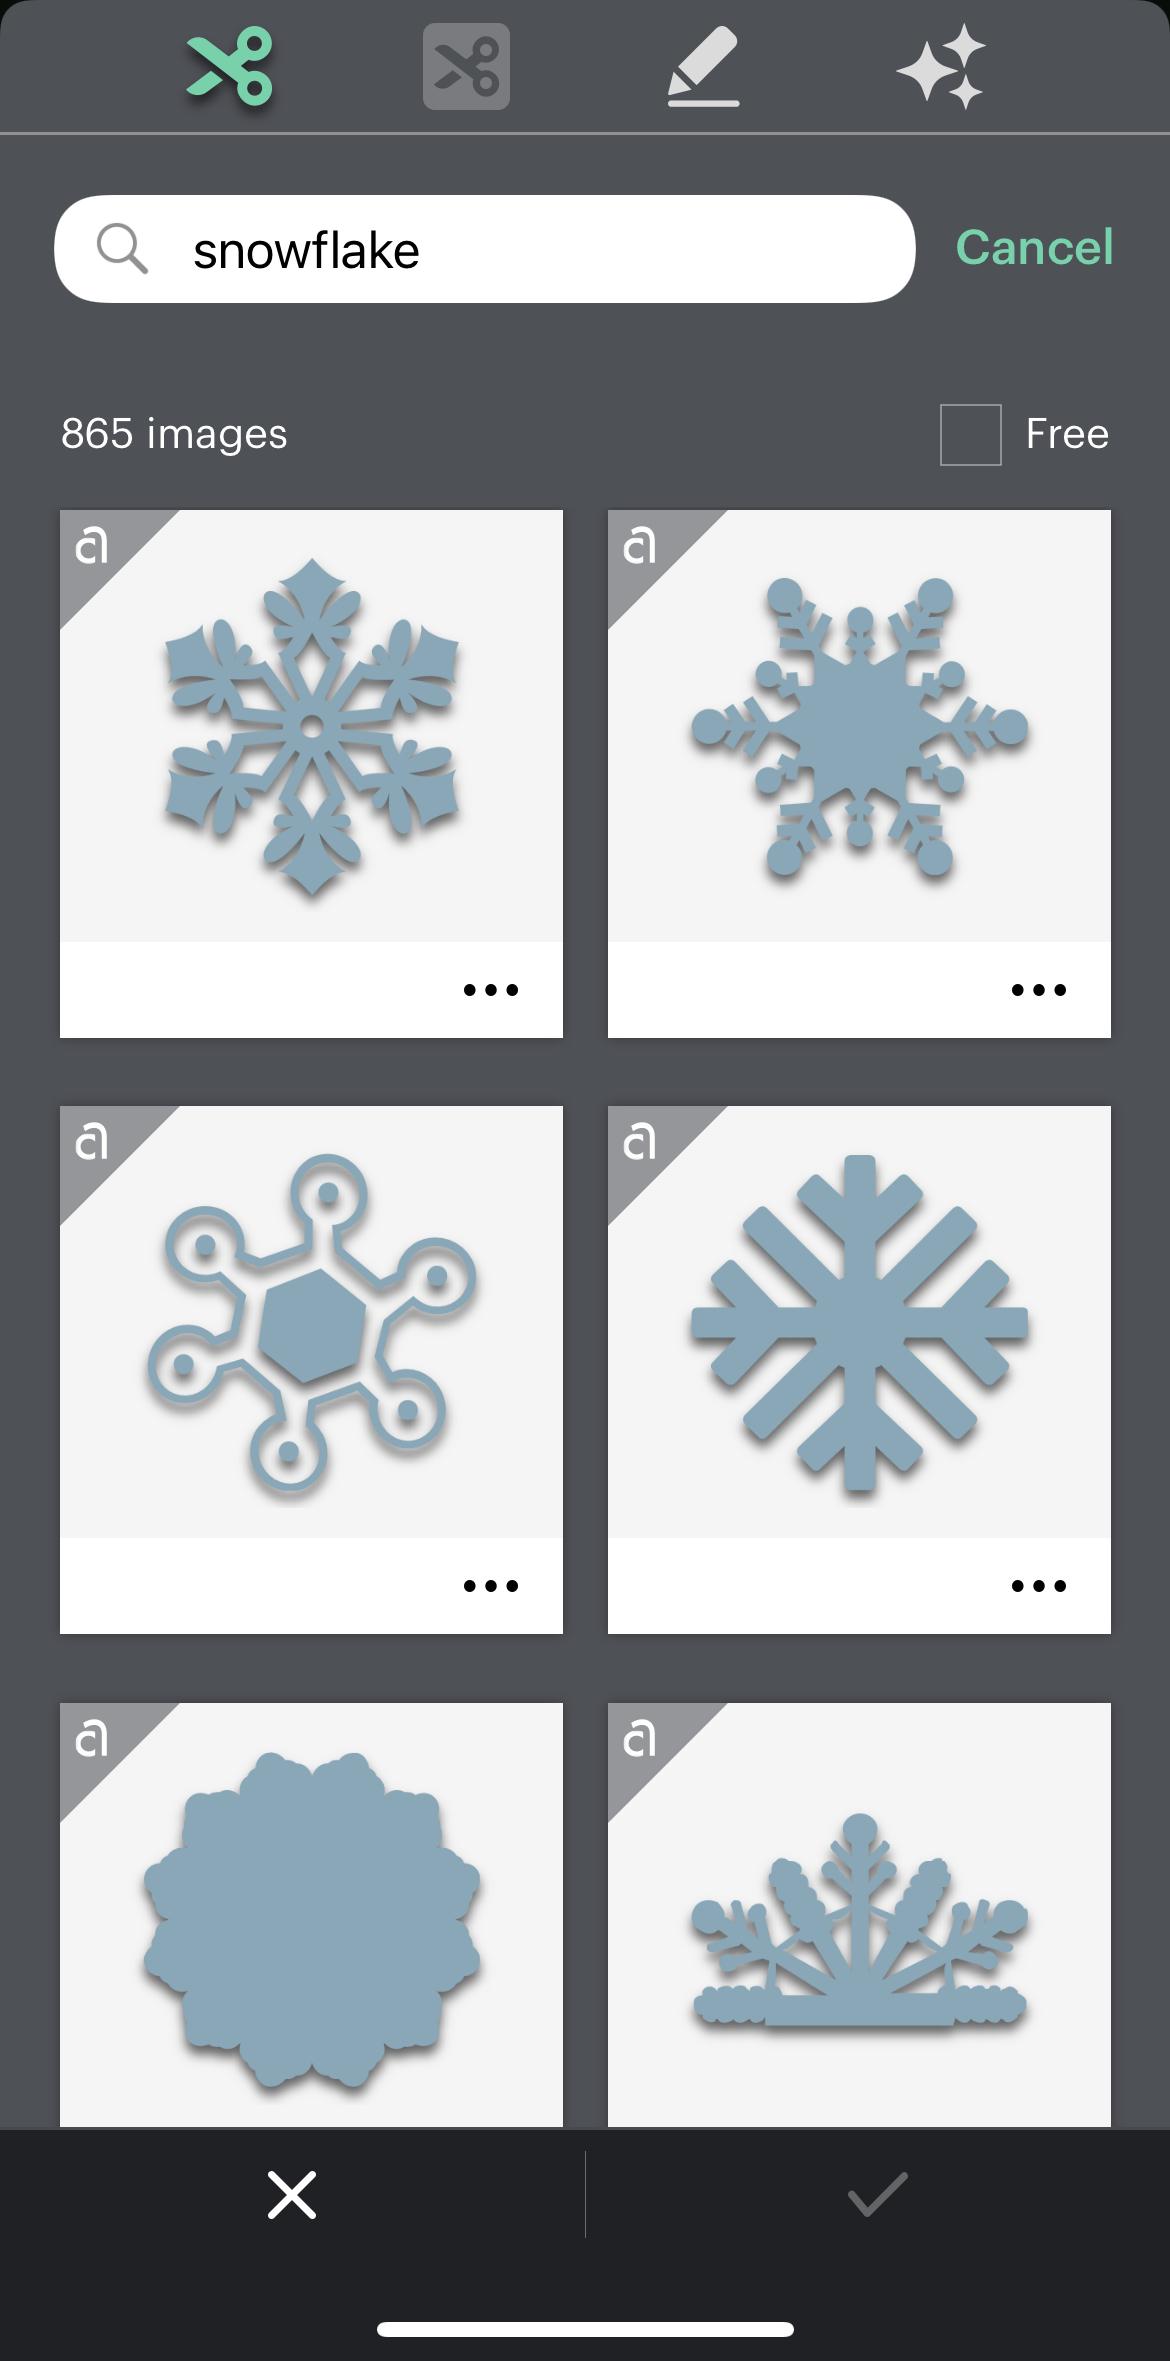
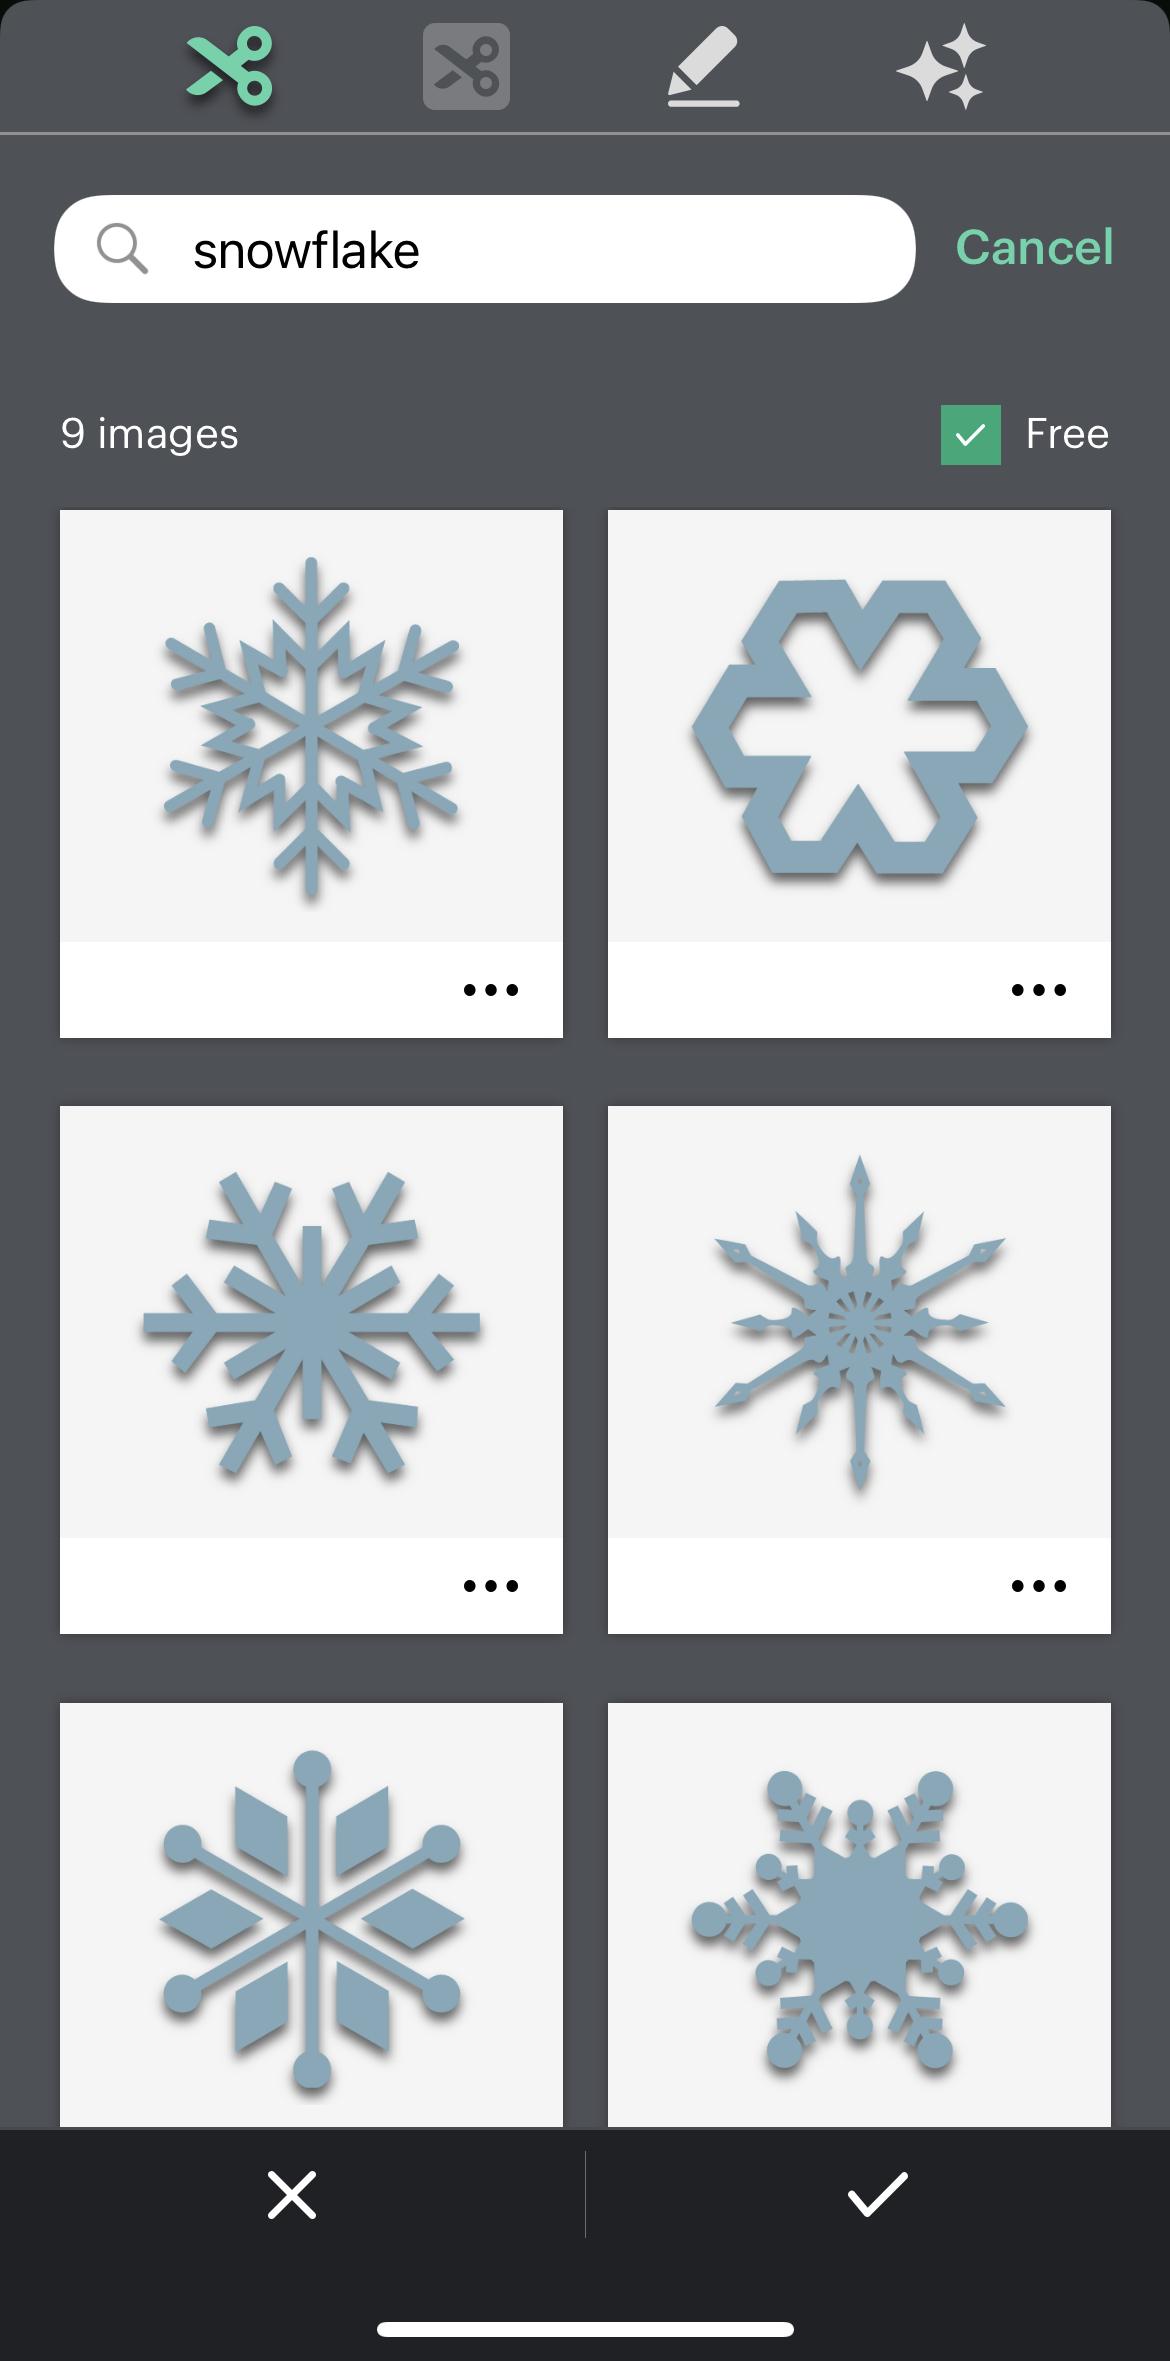
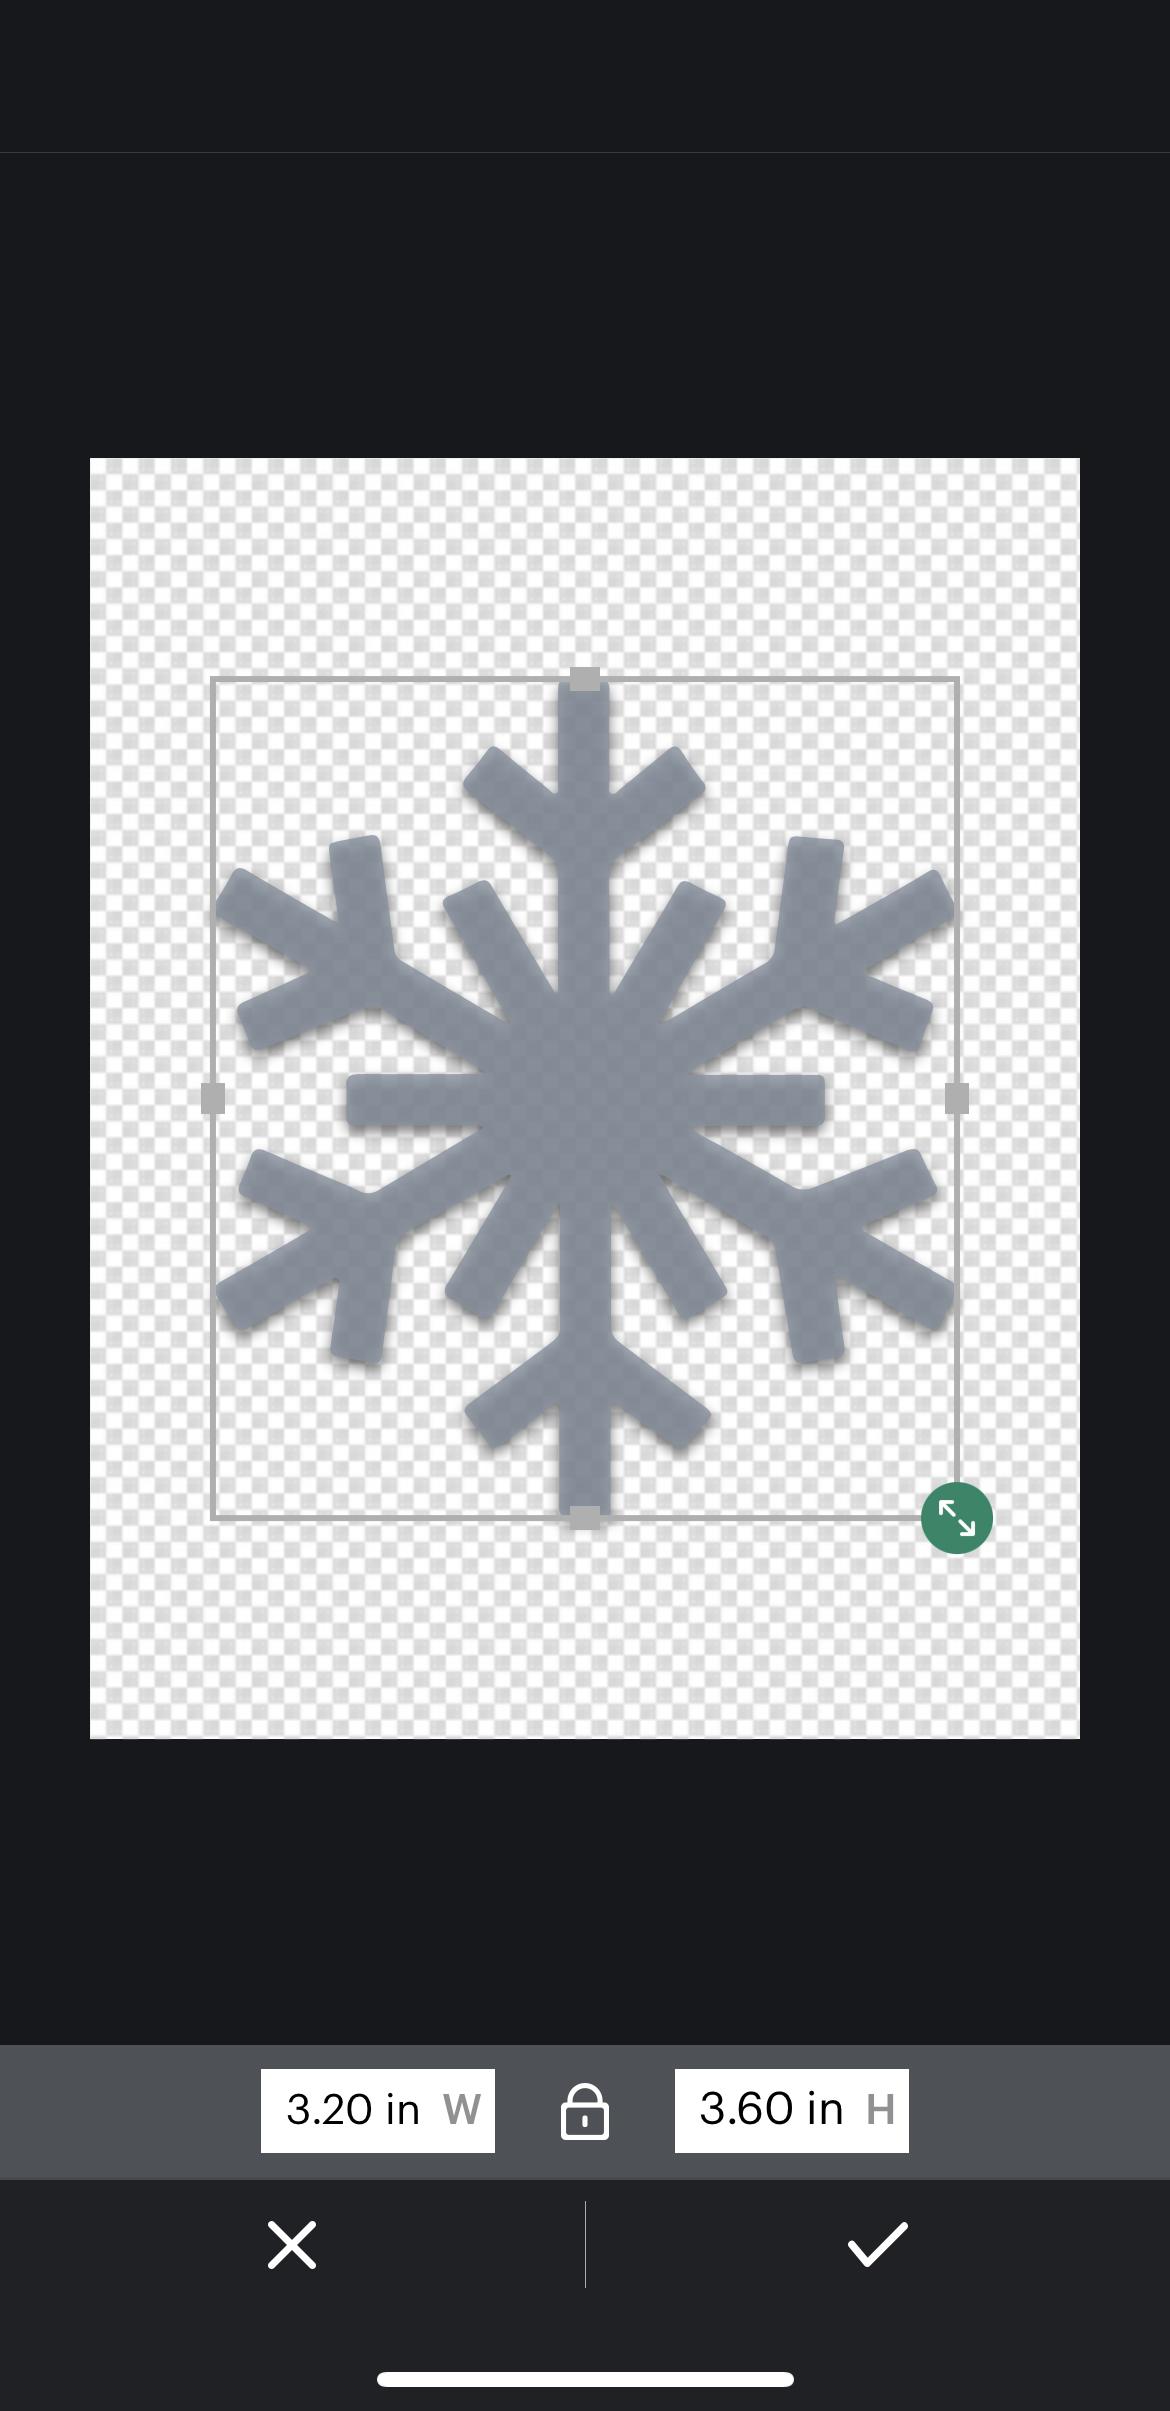
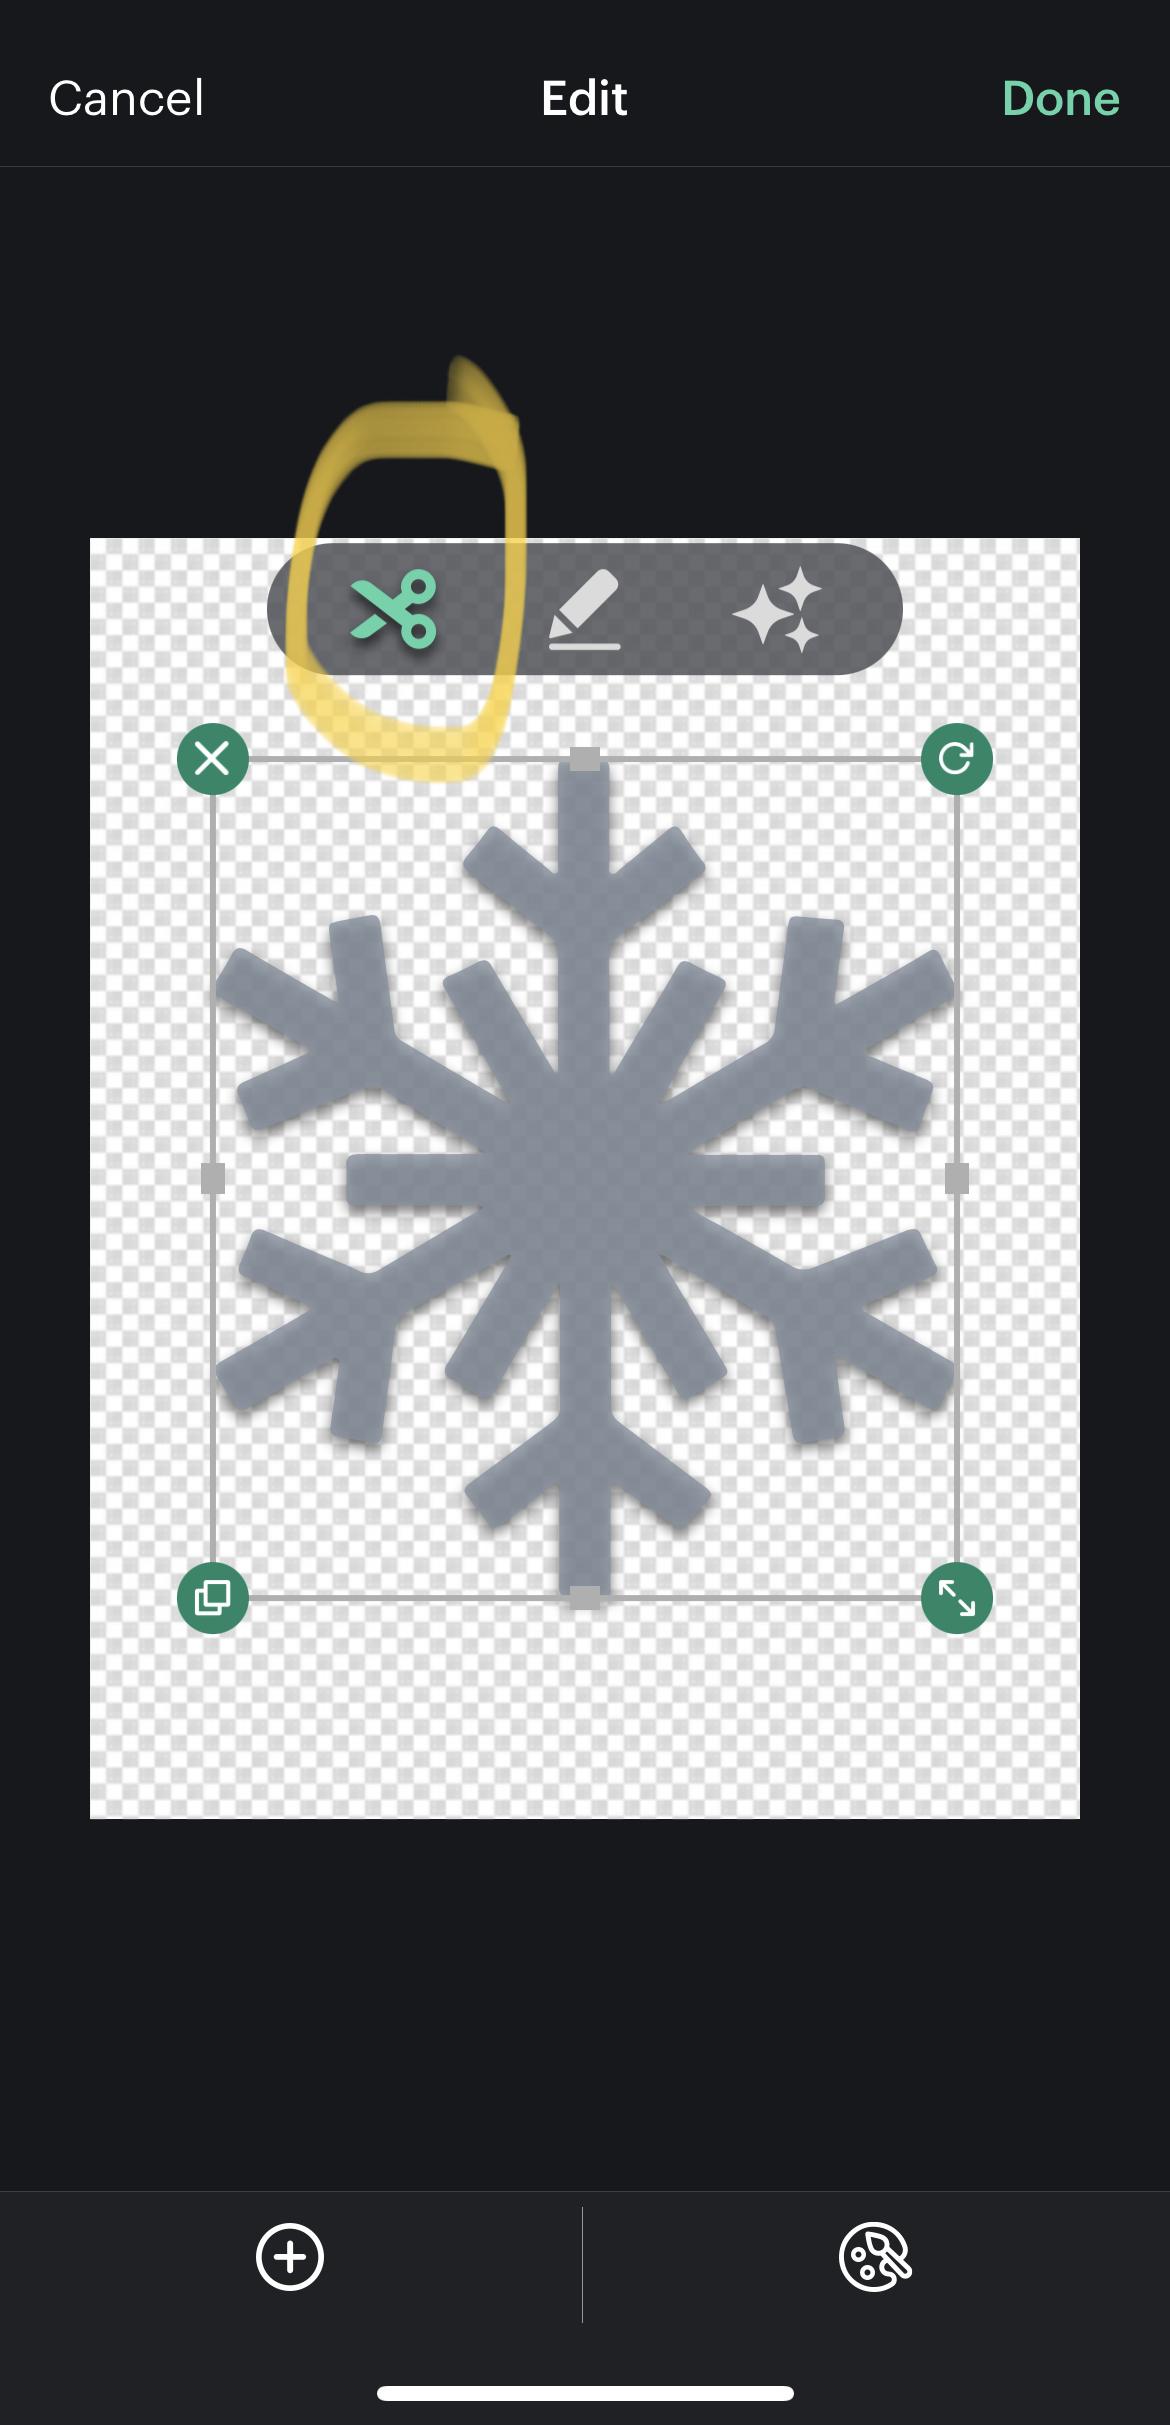
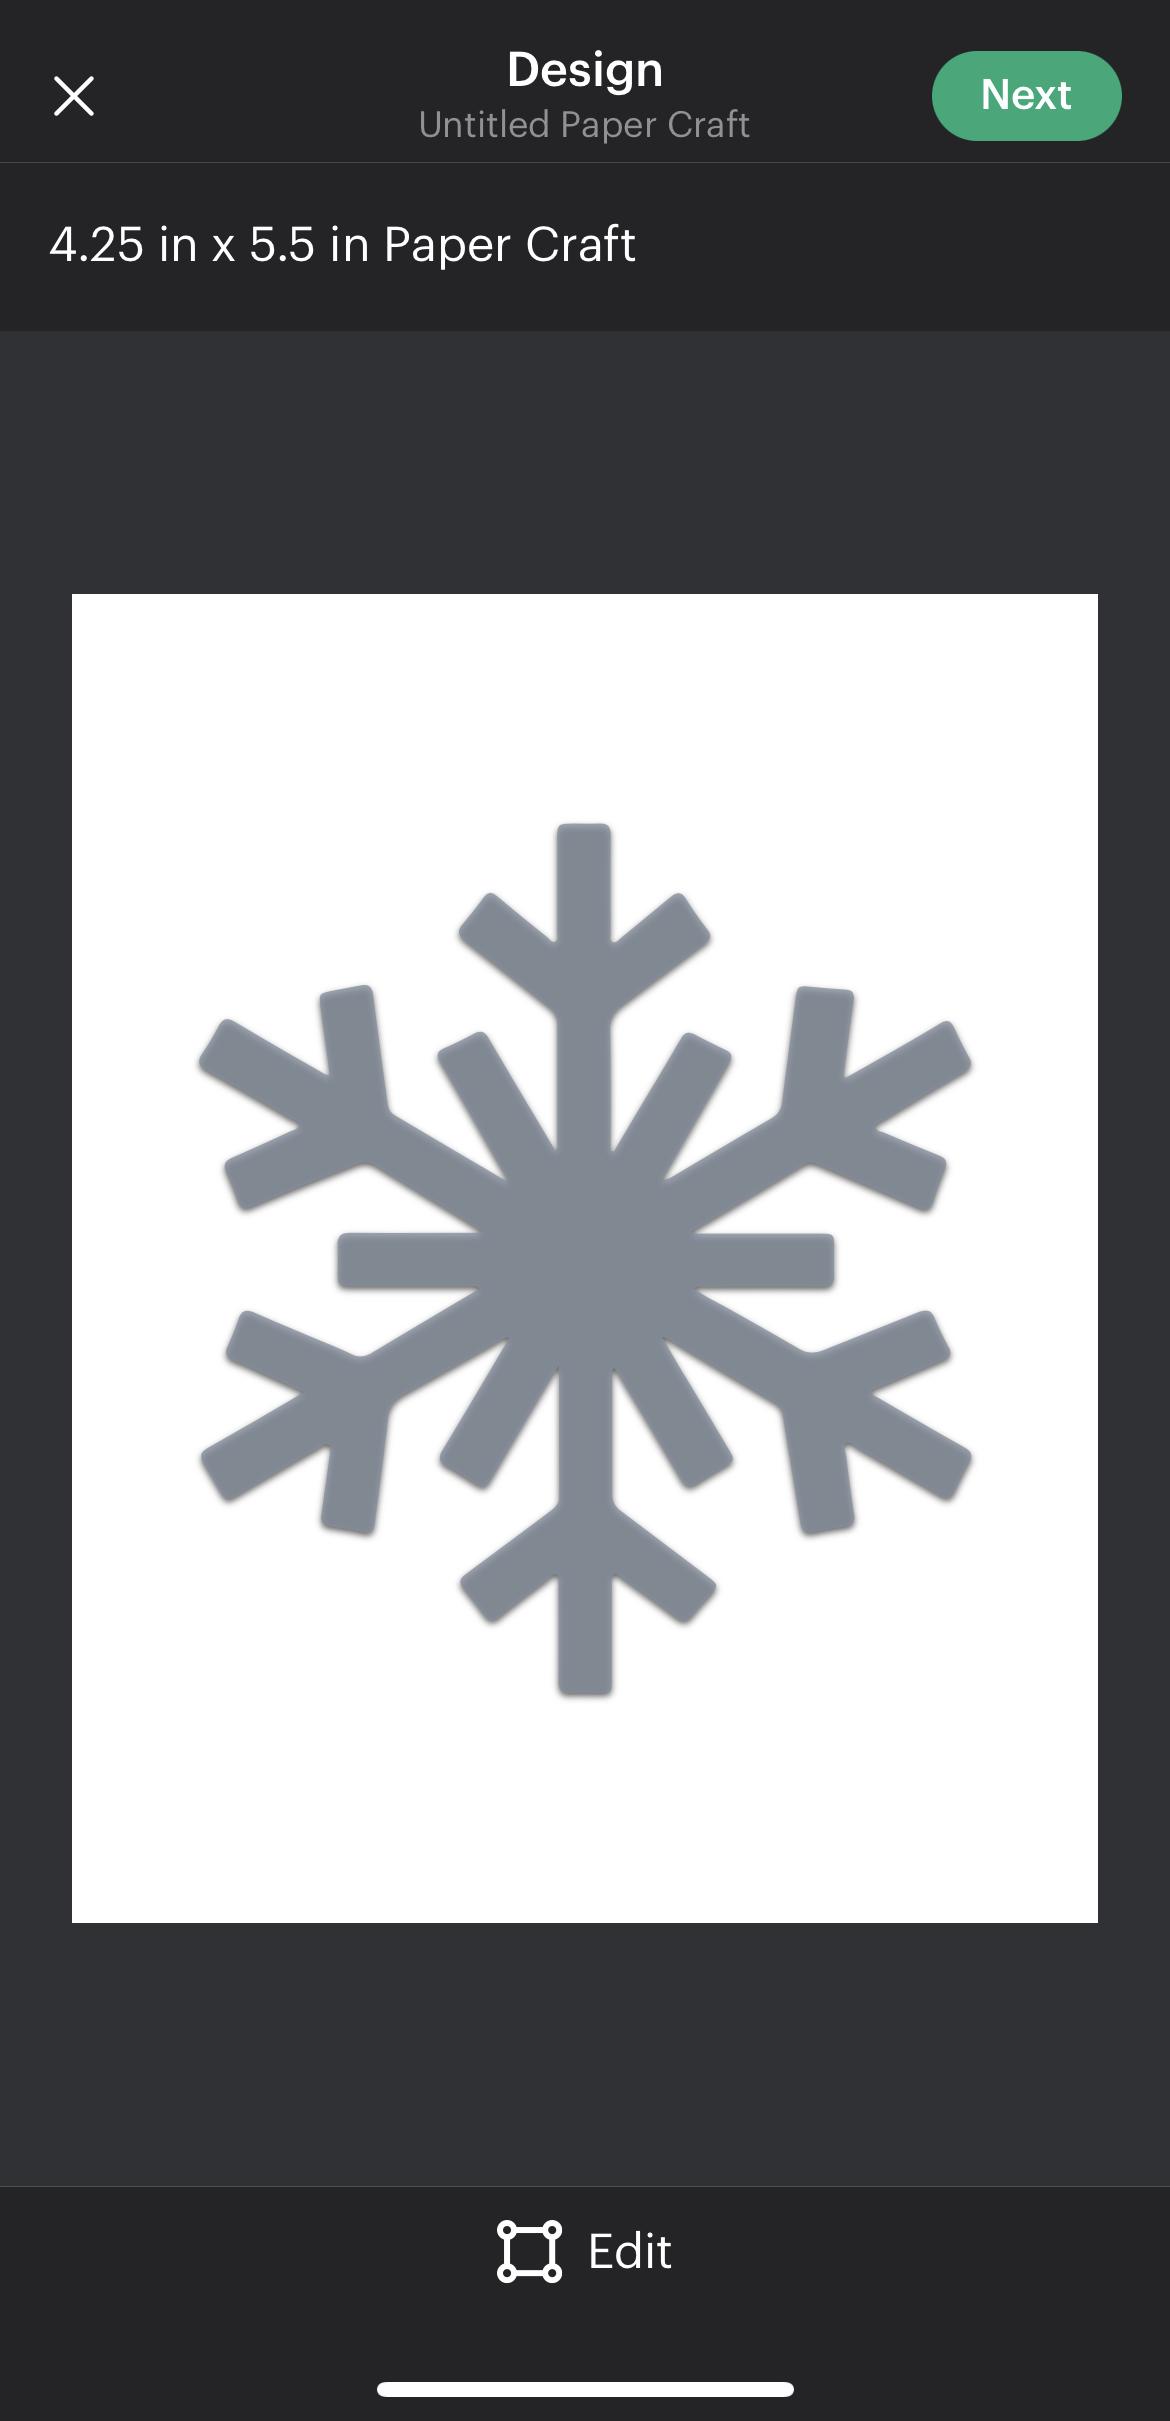
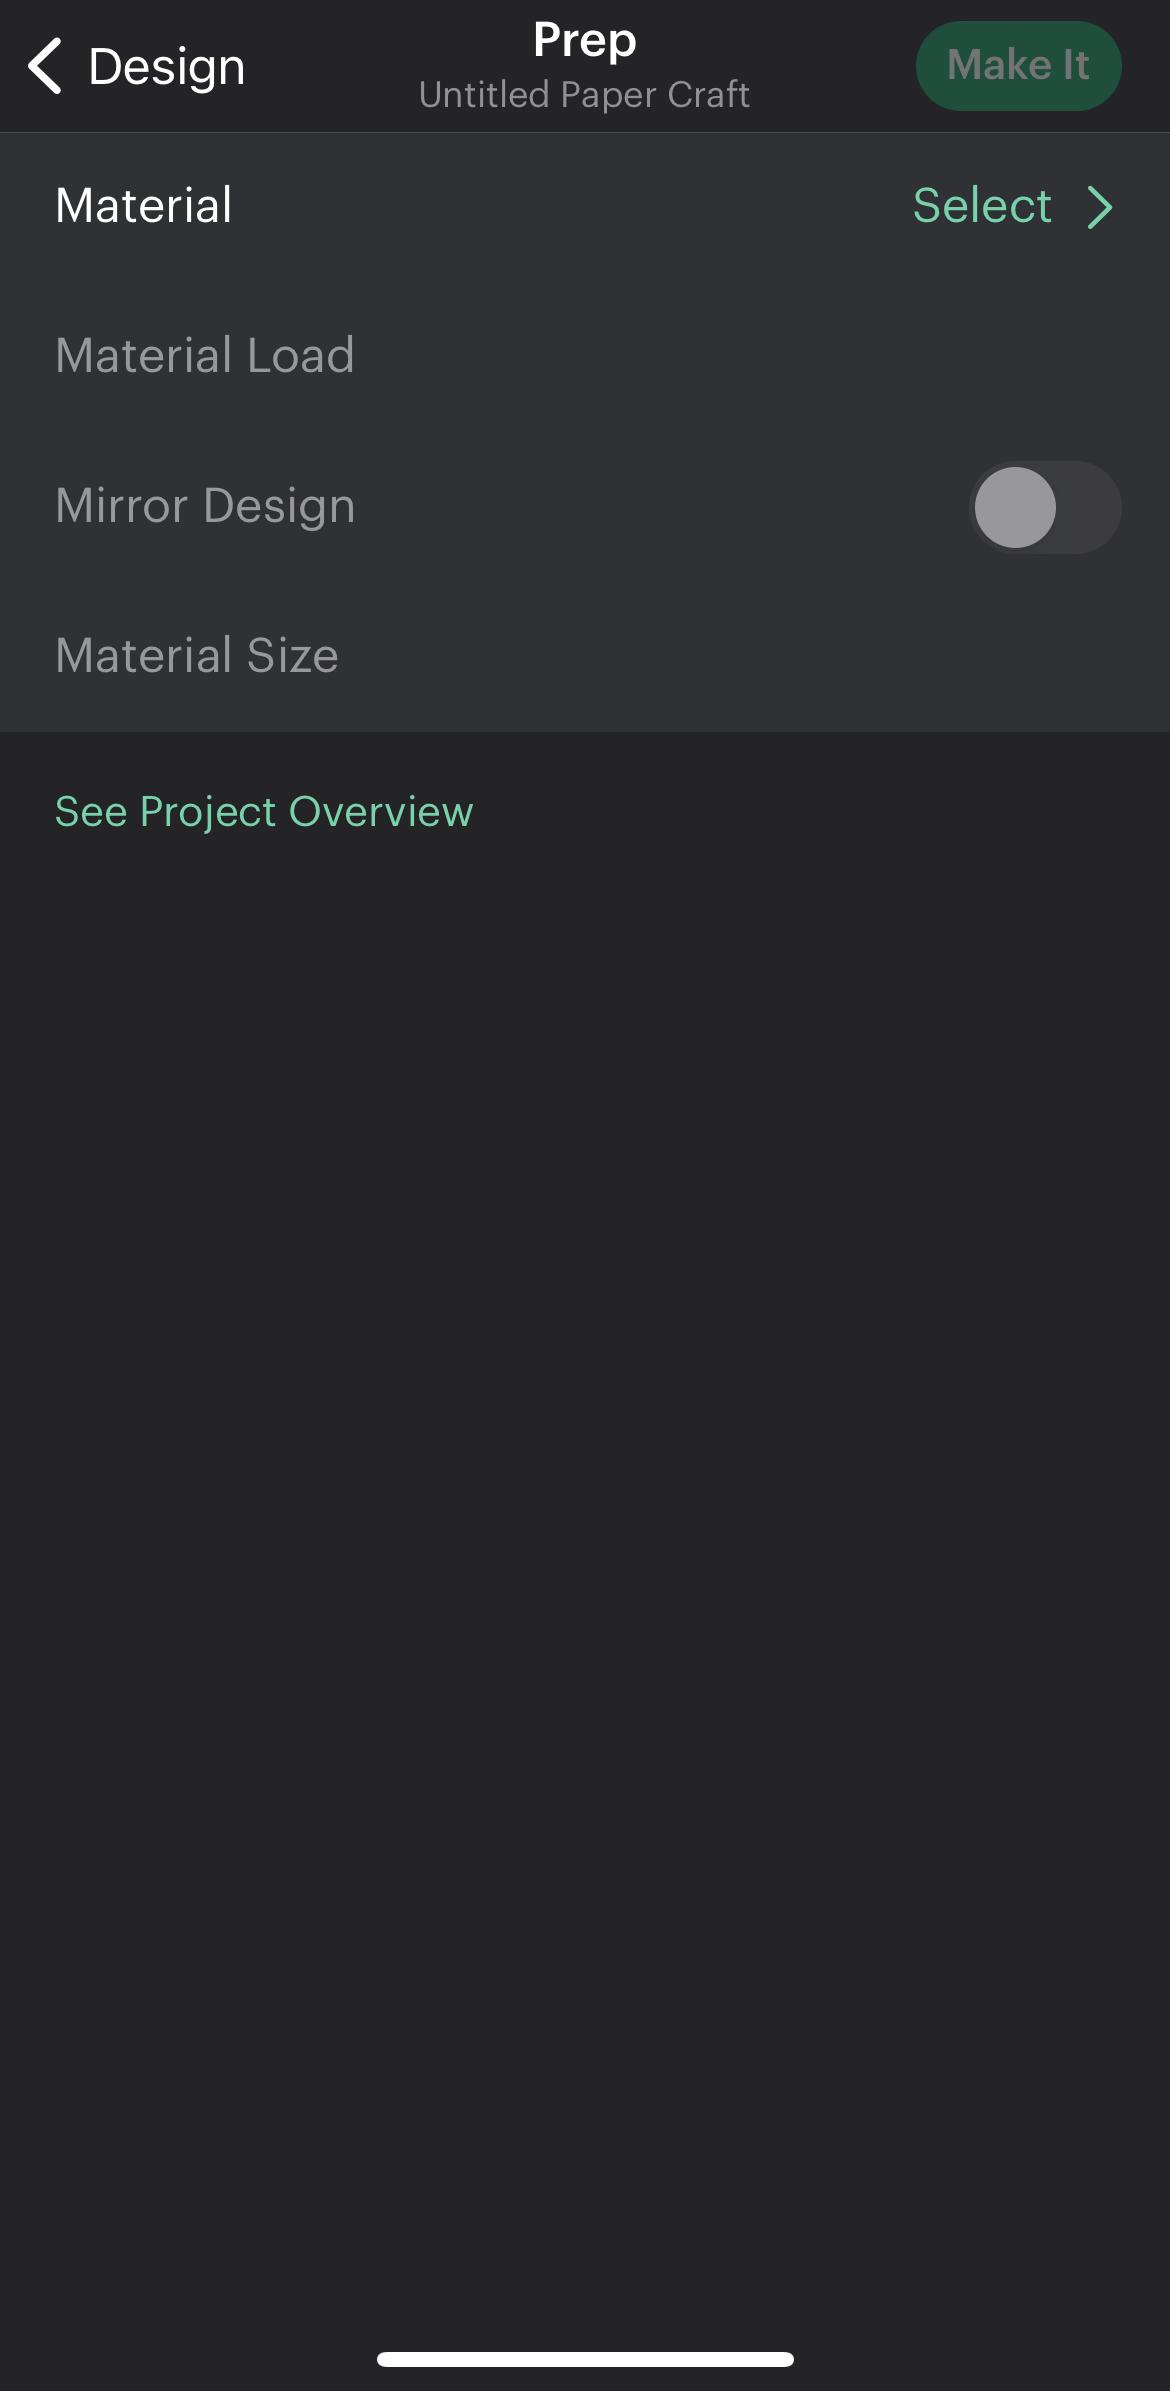
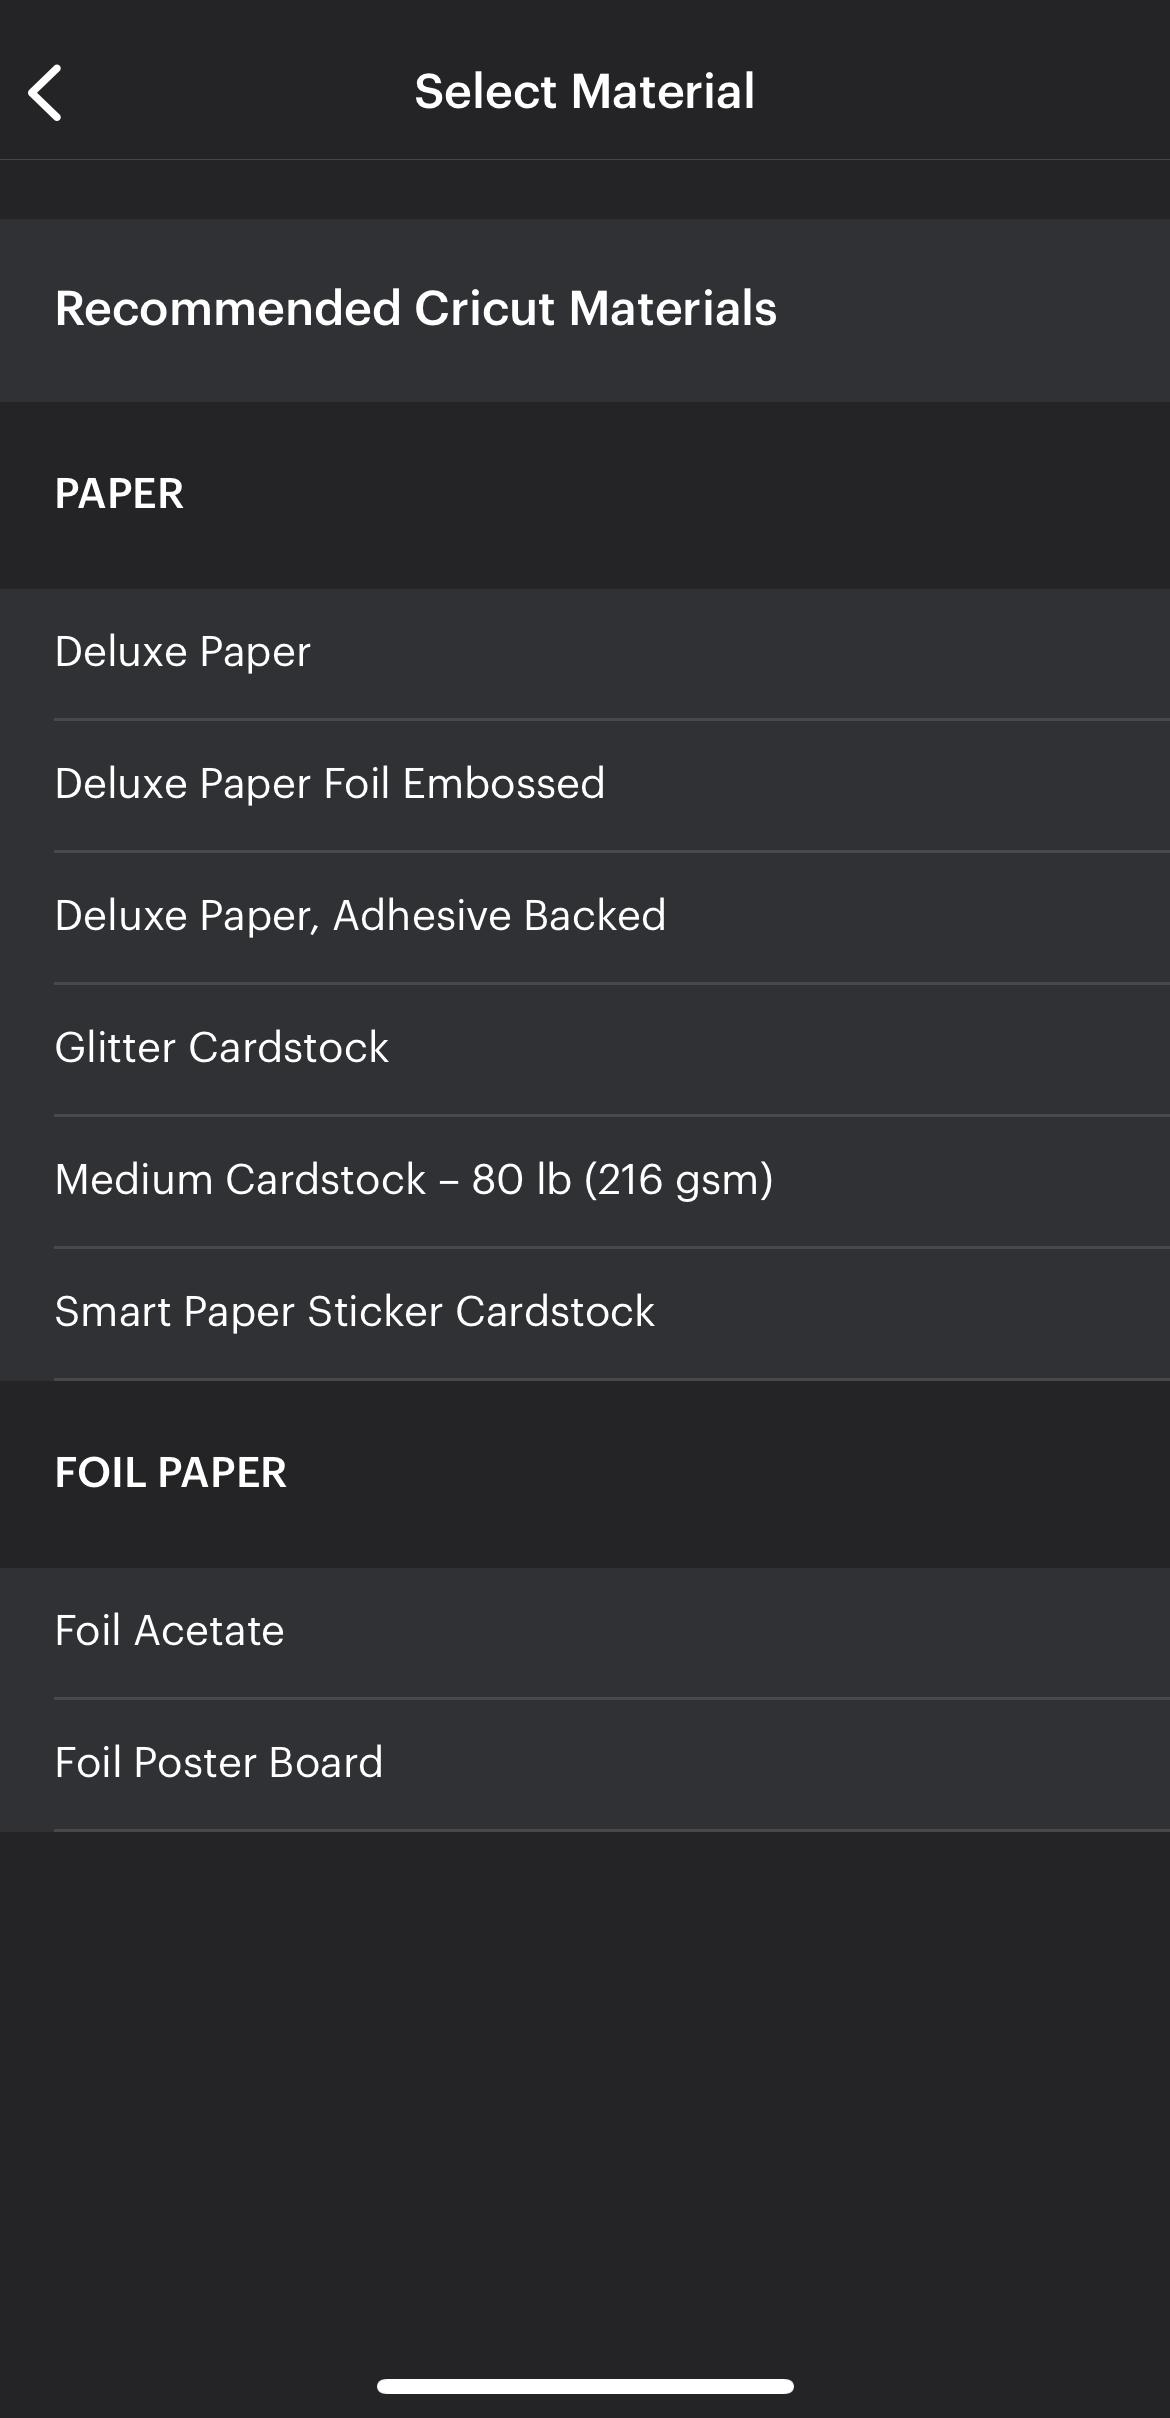
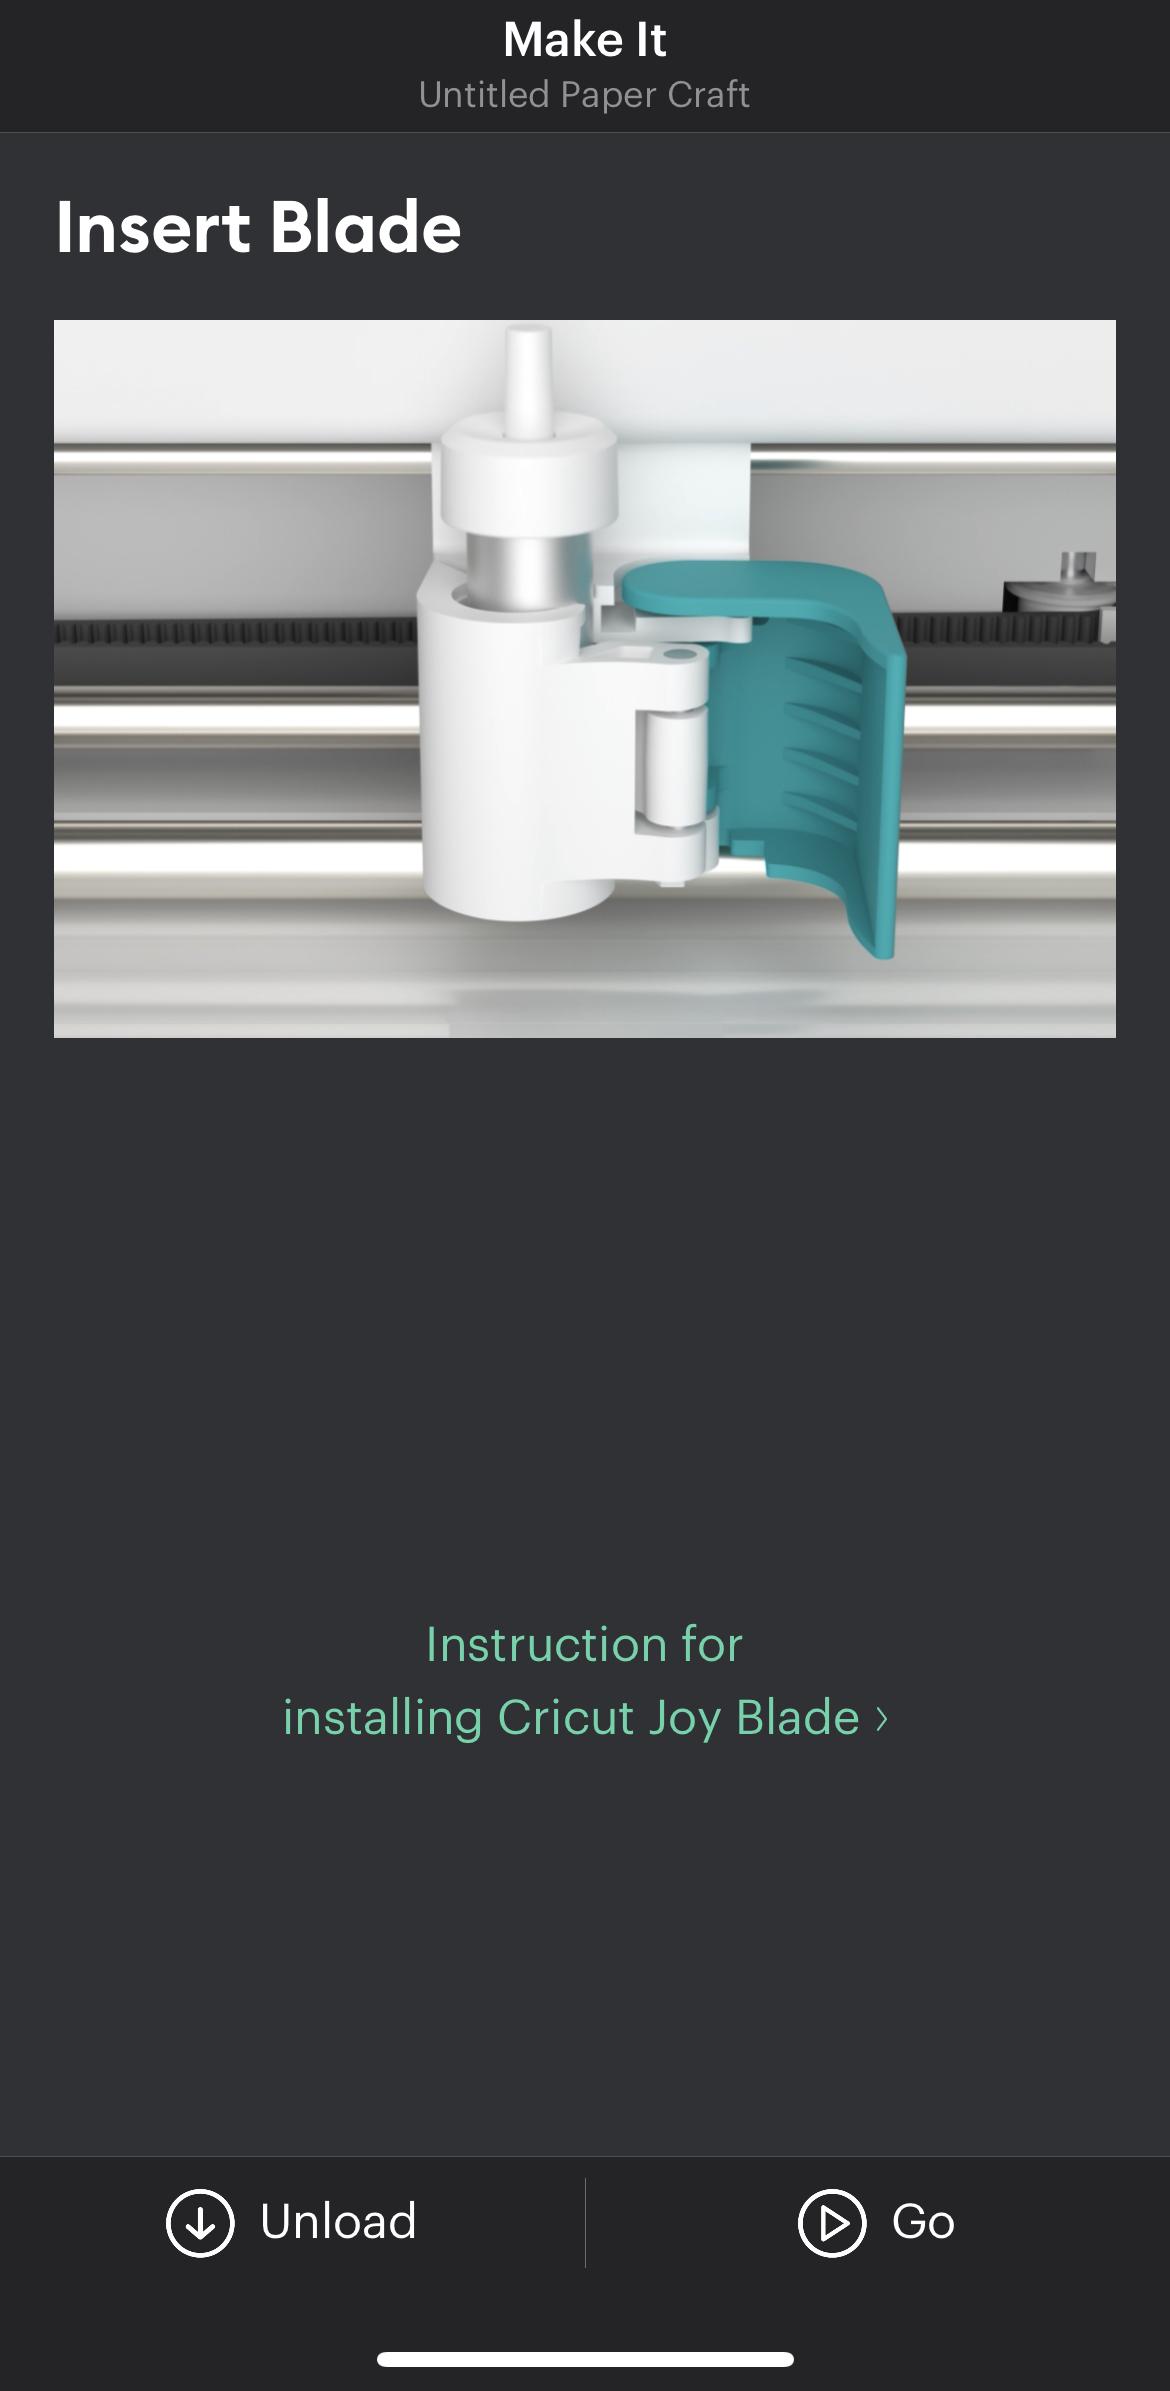
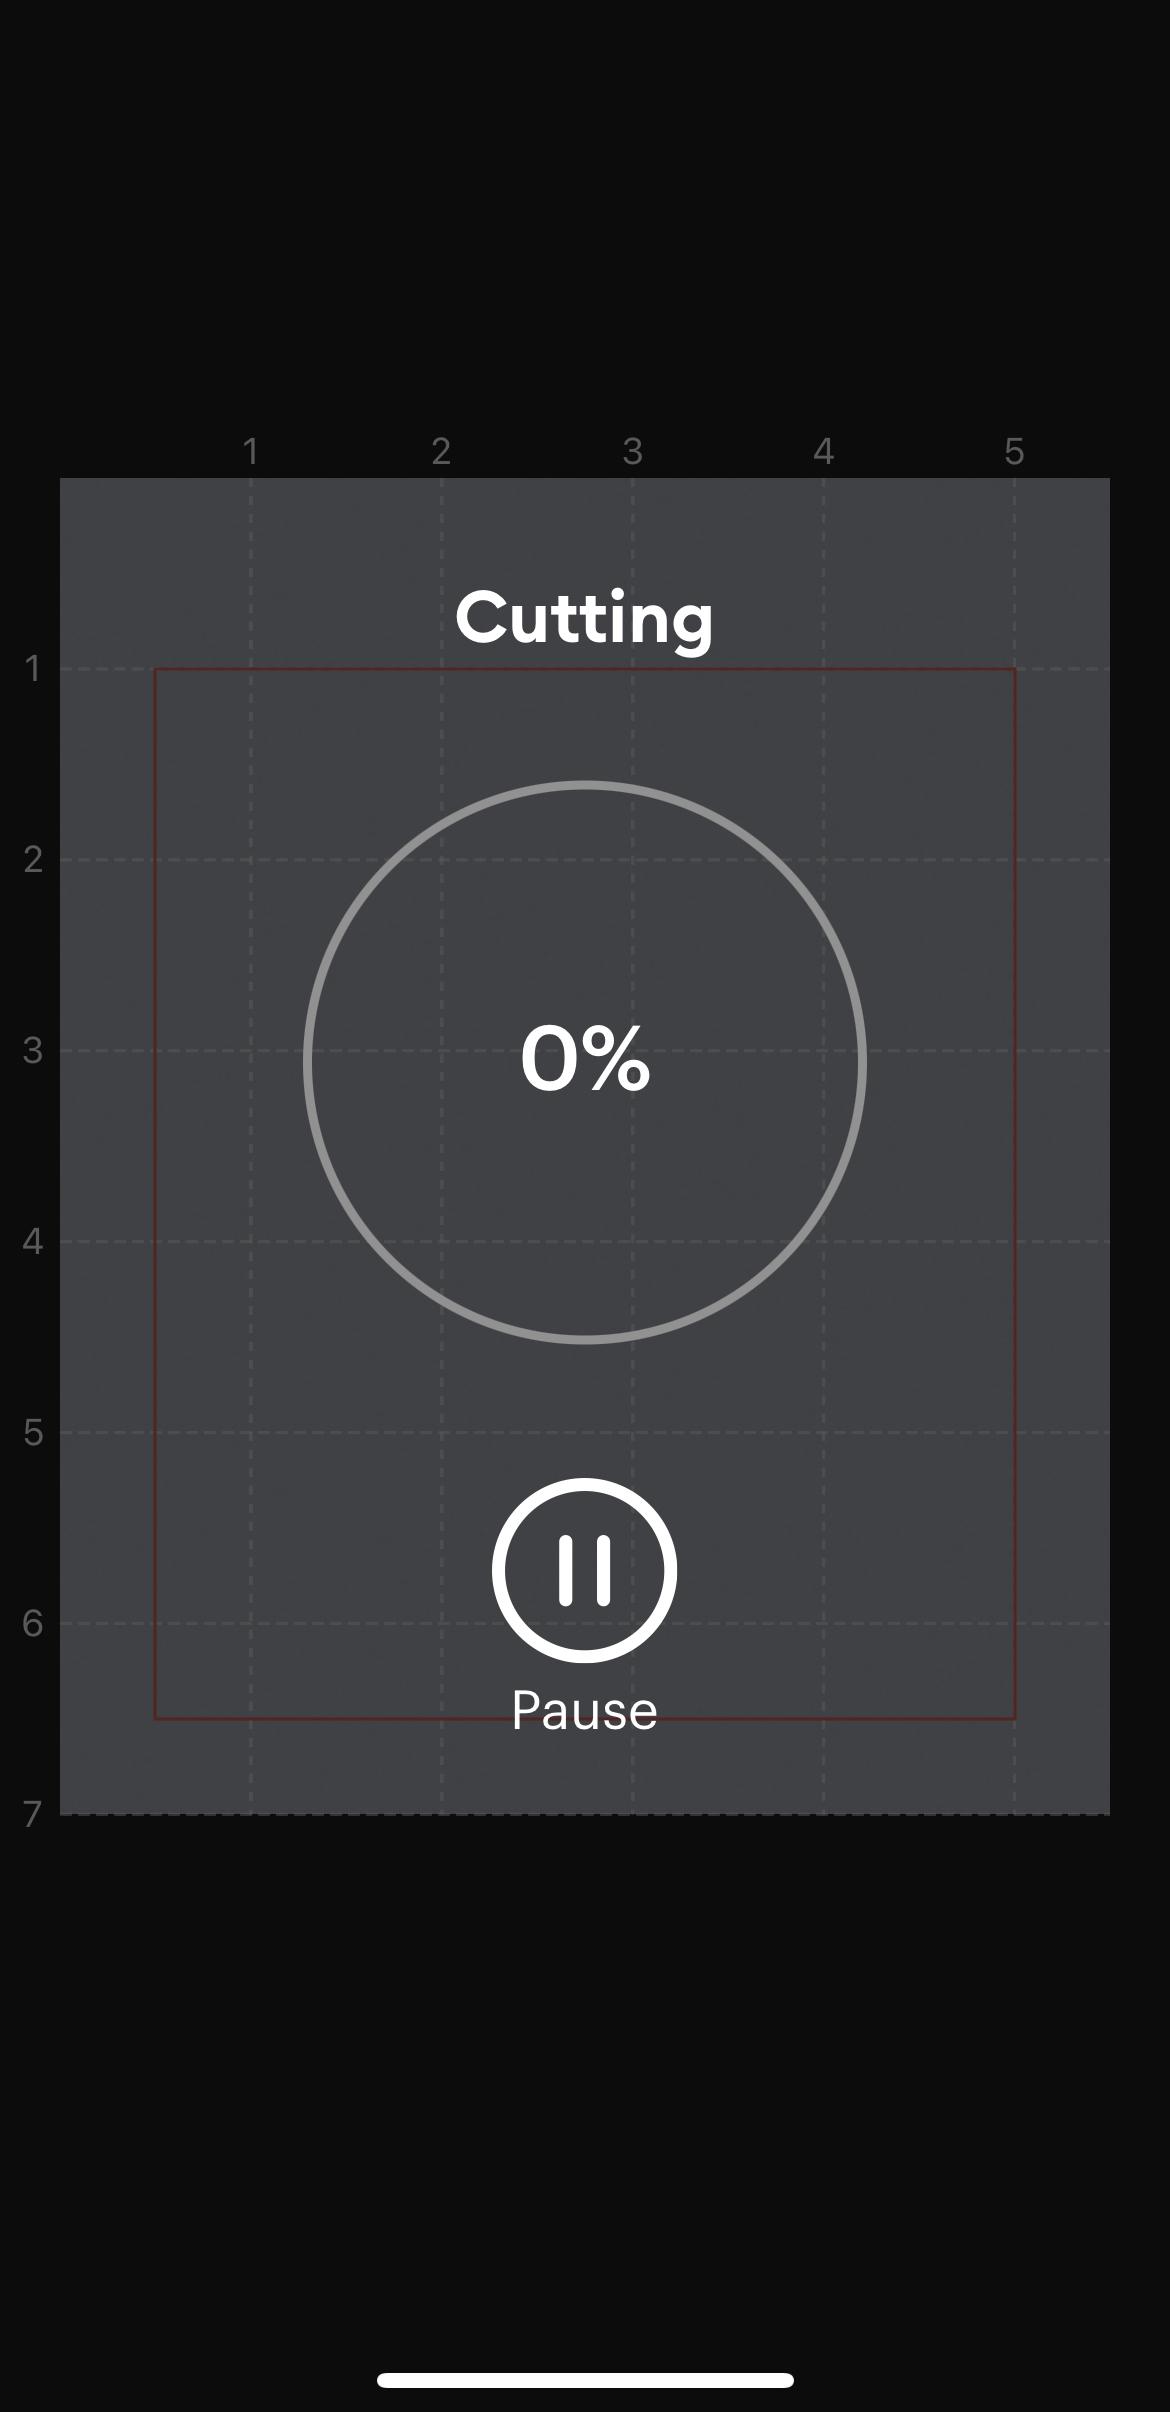
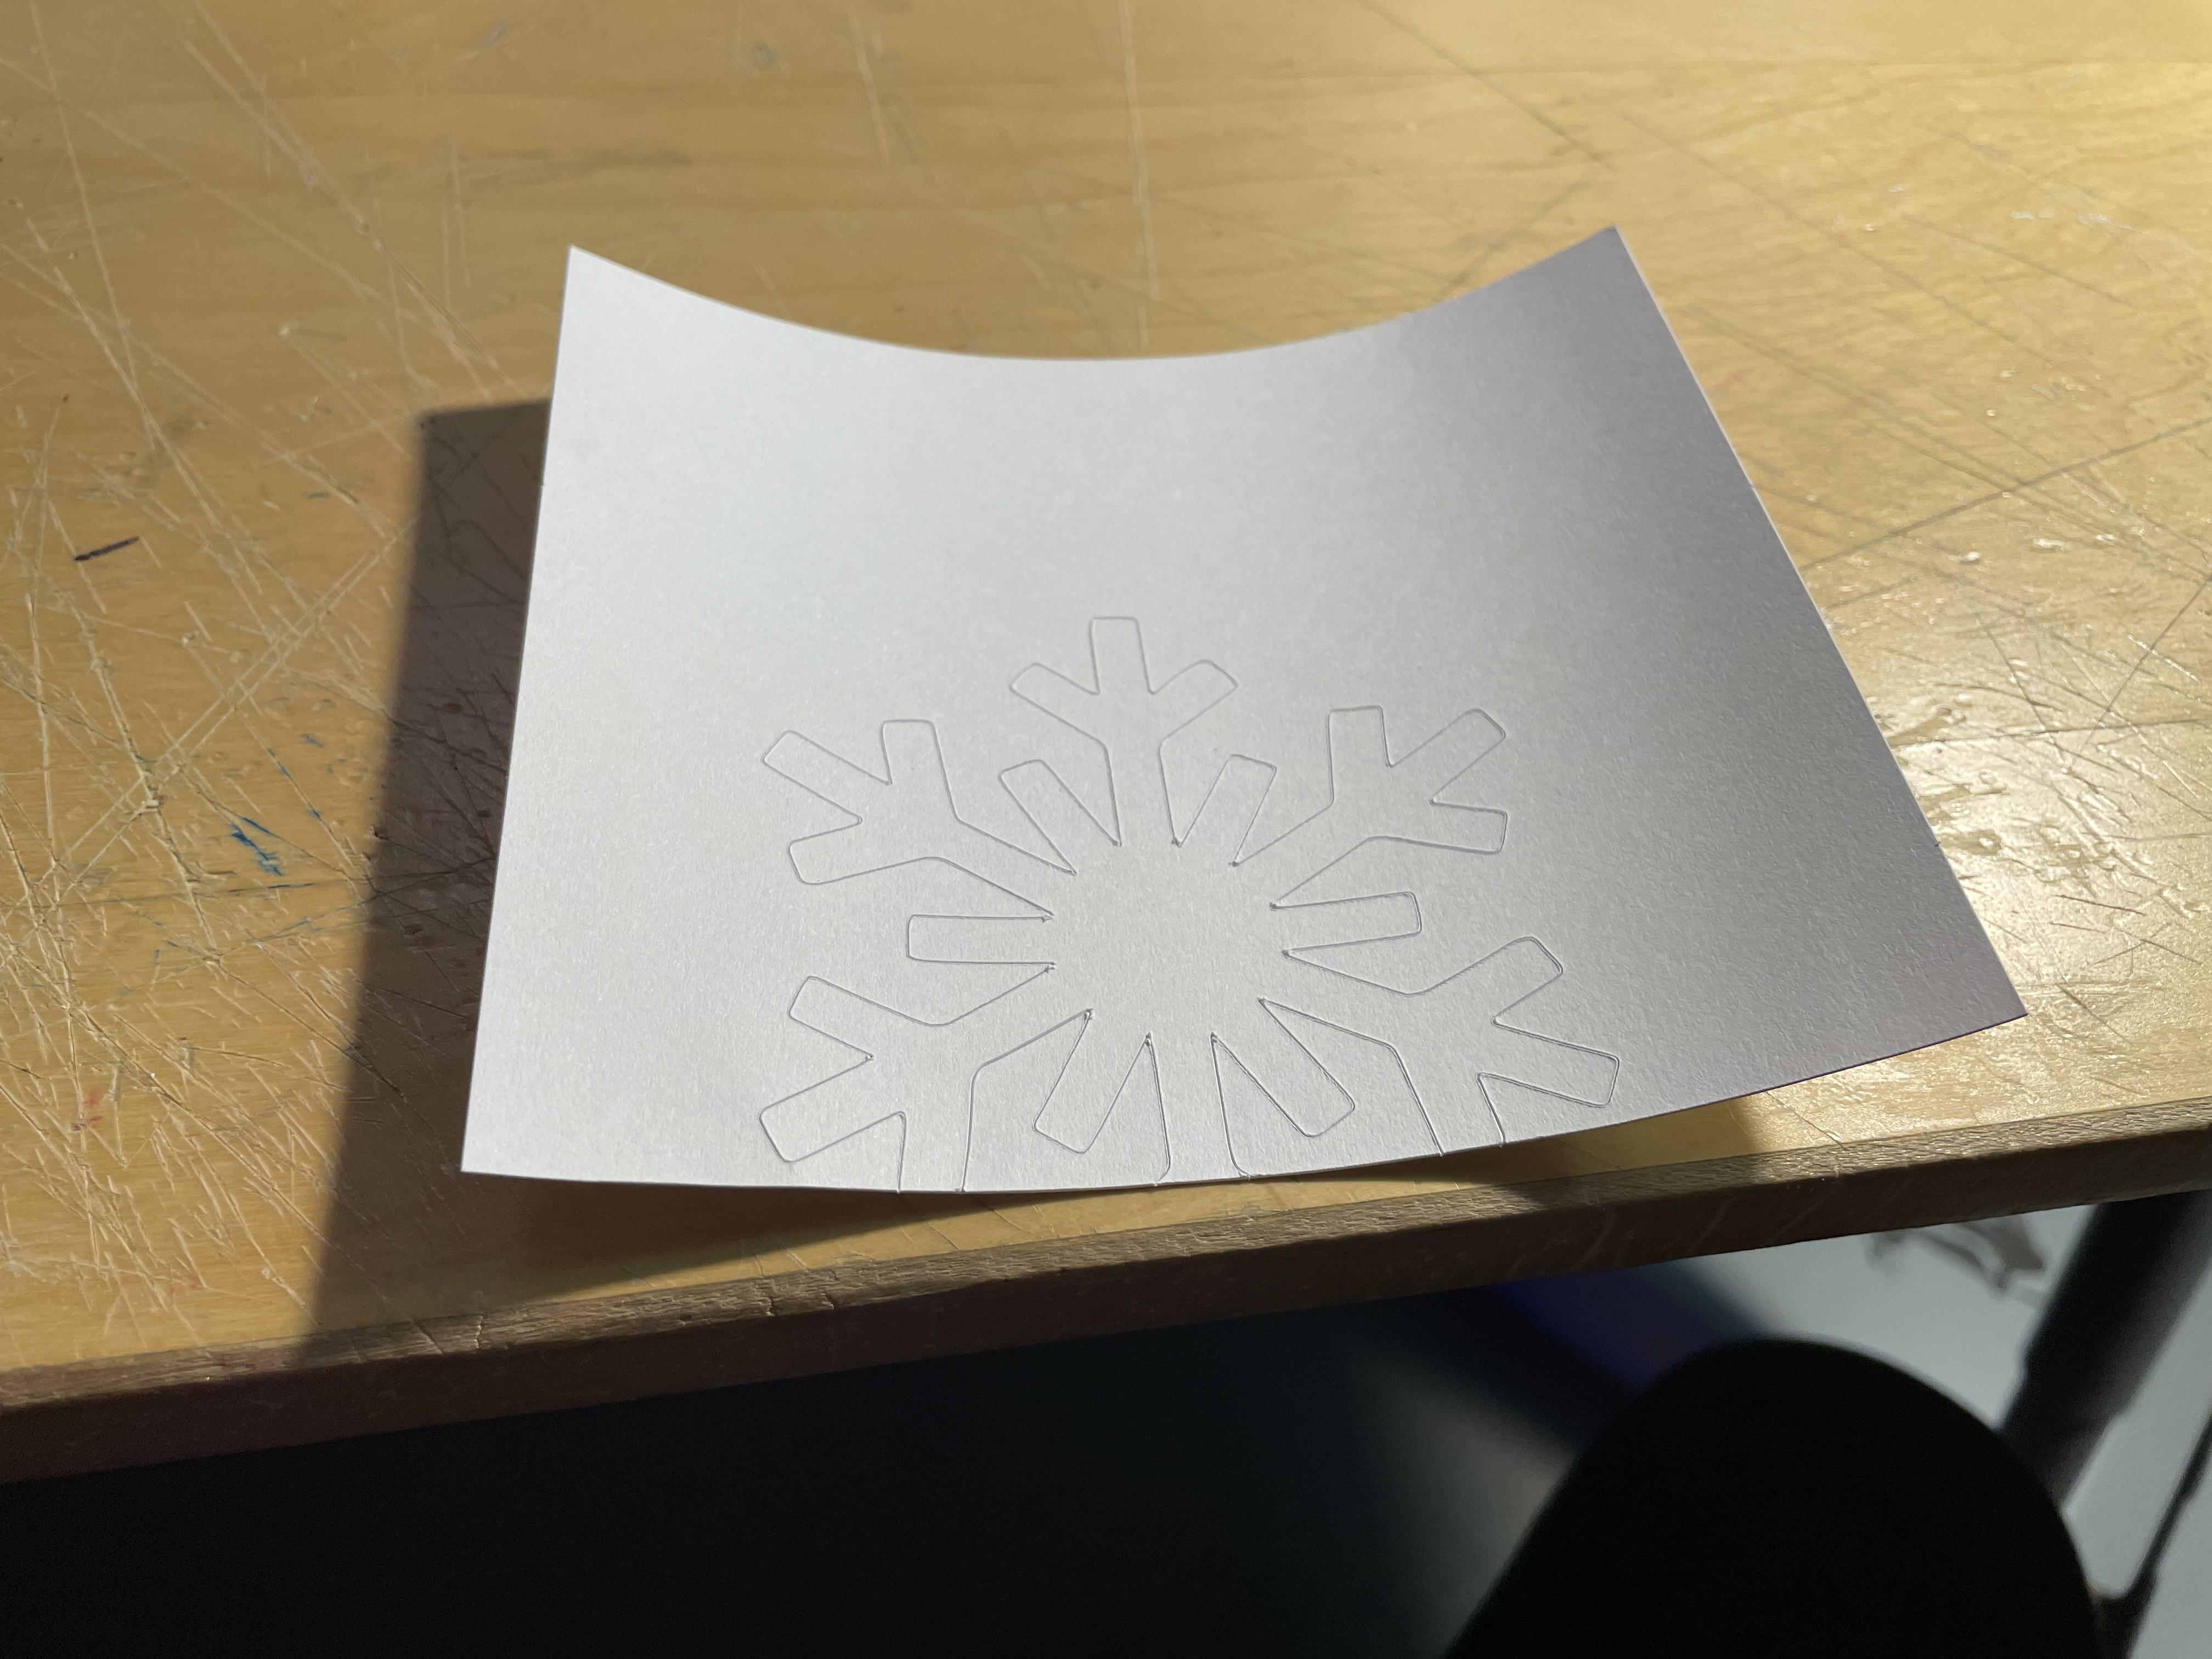
First, get out your ruler. Measure the circumference of the circle so that you can fit your snowflake inside of it. Next, open up the Cricut Joy app and scroll down until you find “vinyl stickers and decals”. Click “Design Your Own”, then “Start Designing”. Set the orientation to “Square”, then set the dimensions to the circumference of your coaster that you measured at the beginning of this step. My coaster’s circumference was 3.5 inches, so I made the square 3.5” x 3.5”. Once you set the dimensions, click “next’ and you should be put onto a blank canvas. Hit the “+” button in the bottom left corner, then click the second button from left that looks like a hot air balloon. This should put you over to the image searching tab. Type “Snowflake” in the search bar and you should get many images of snowflakes. Click the “Free” button in the top right corner, then scroll through and pick the snowflake that you like the most. Click the check button, then size the snowflake until it is slightly smaller than the canvas. Since the canvas is the size of your snowflake, you don’t have to worry about figuring out the dimensions of the snowflake. Click the check button once you are done resizing it, then you should see a menu above the snowflake with a few images. Click the scissor button, which means that the Cricut will cut the shape out instead of drawing it or foil transferring it. Click the “Next” button, then click the “Material” tab. Select “Smart Removable Vinyl” or whatever kind of vinyl you have, then click the “Make it” button. Insert the blade attachment and wait for the Cricut to finish cutting the snowflake.
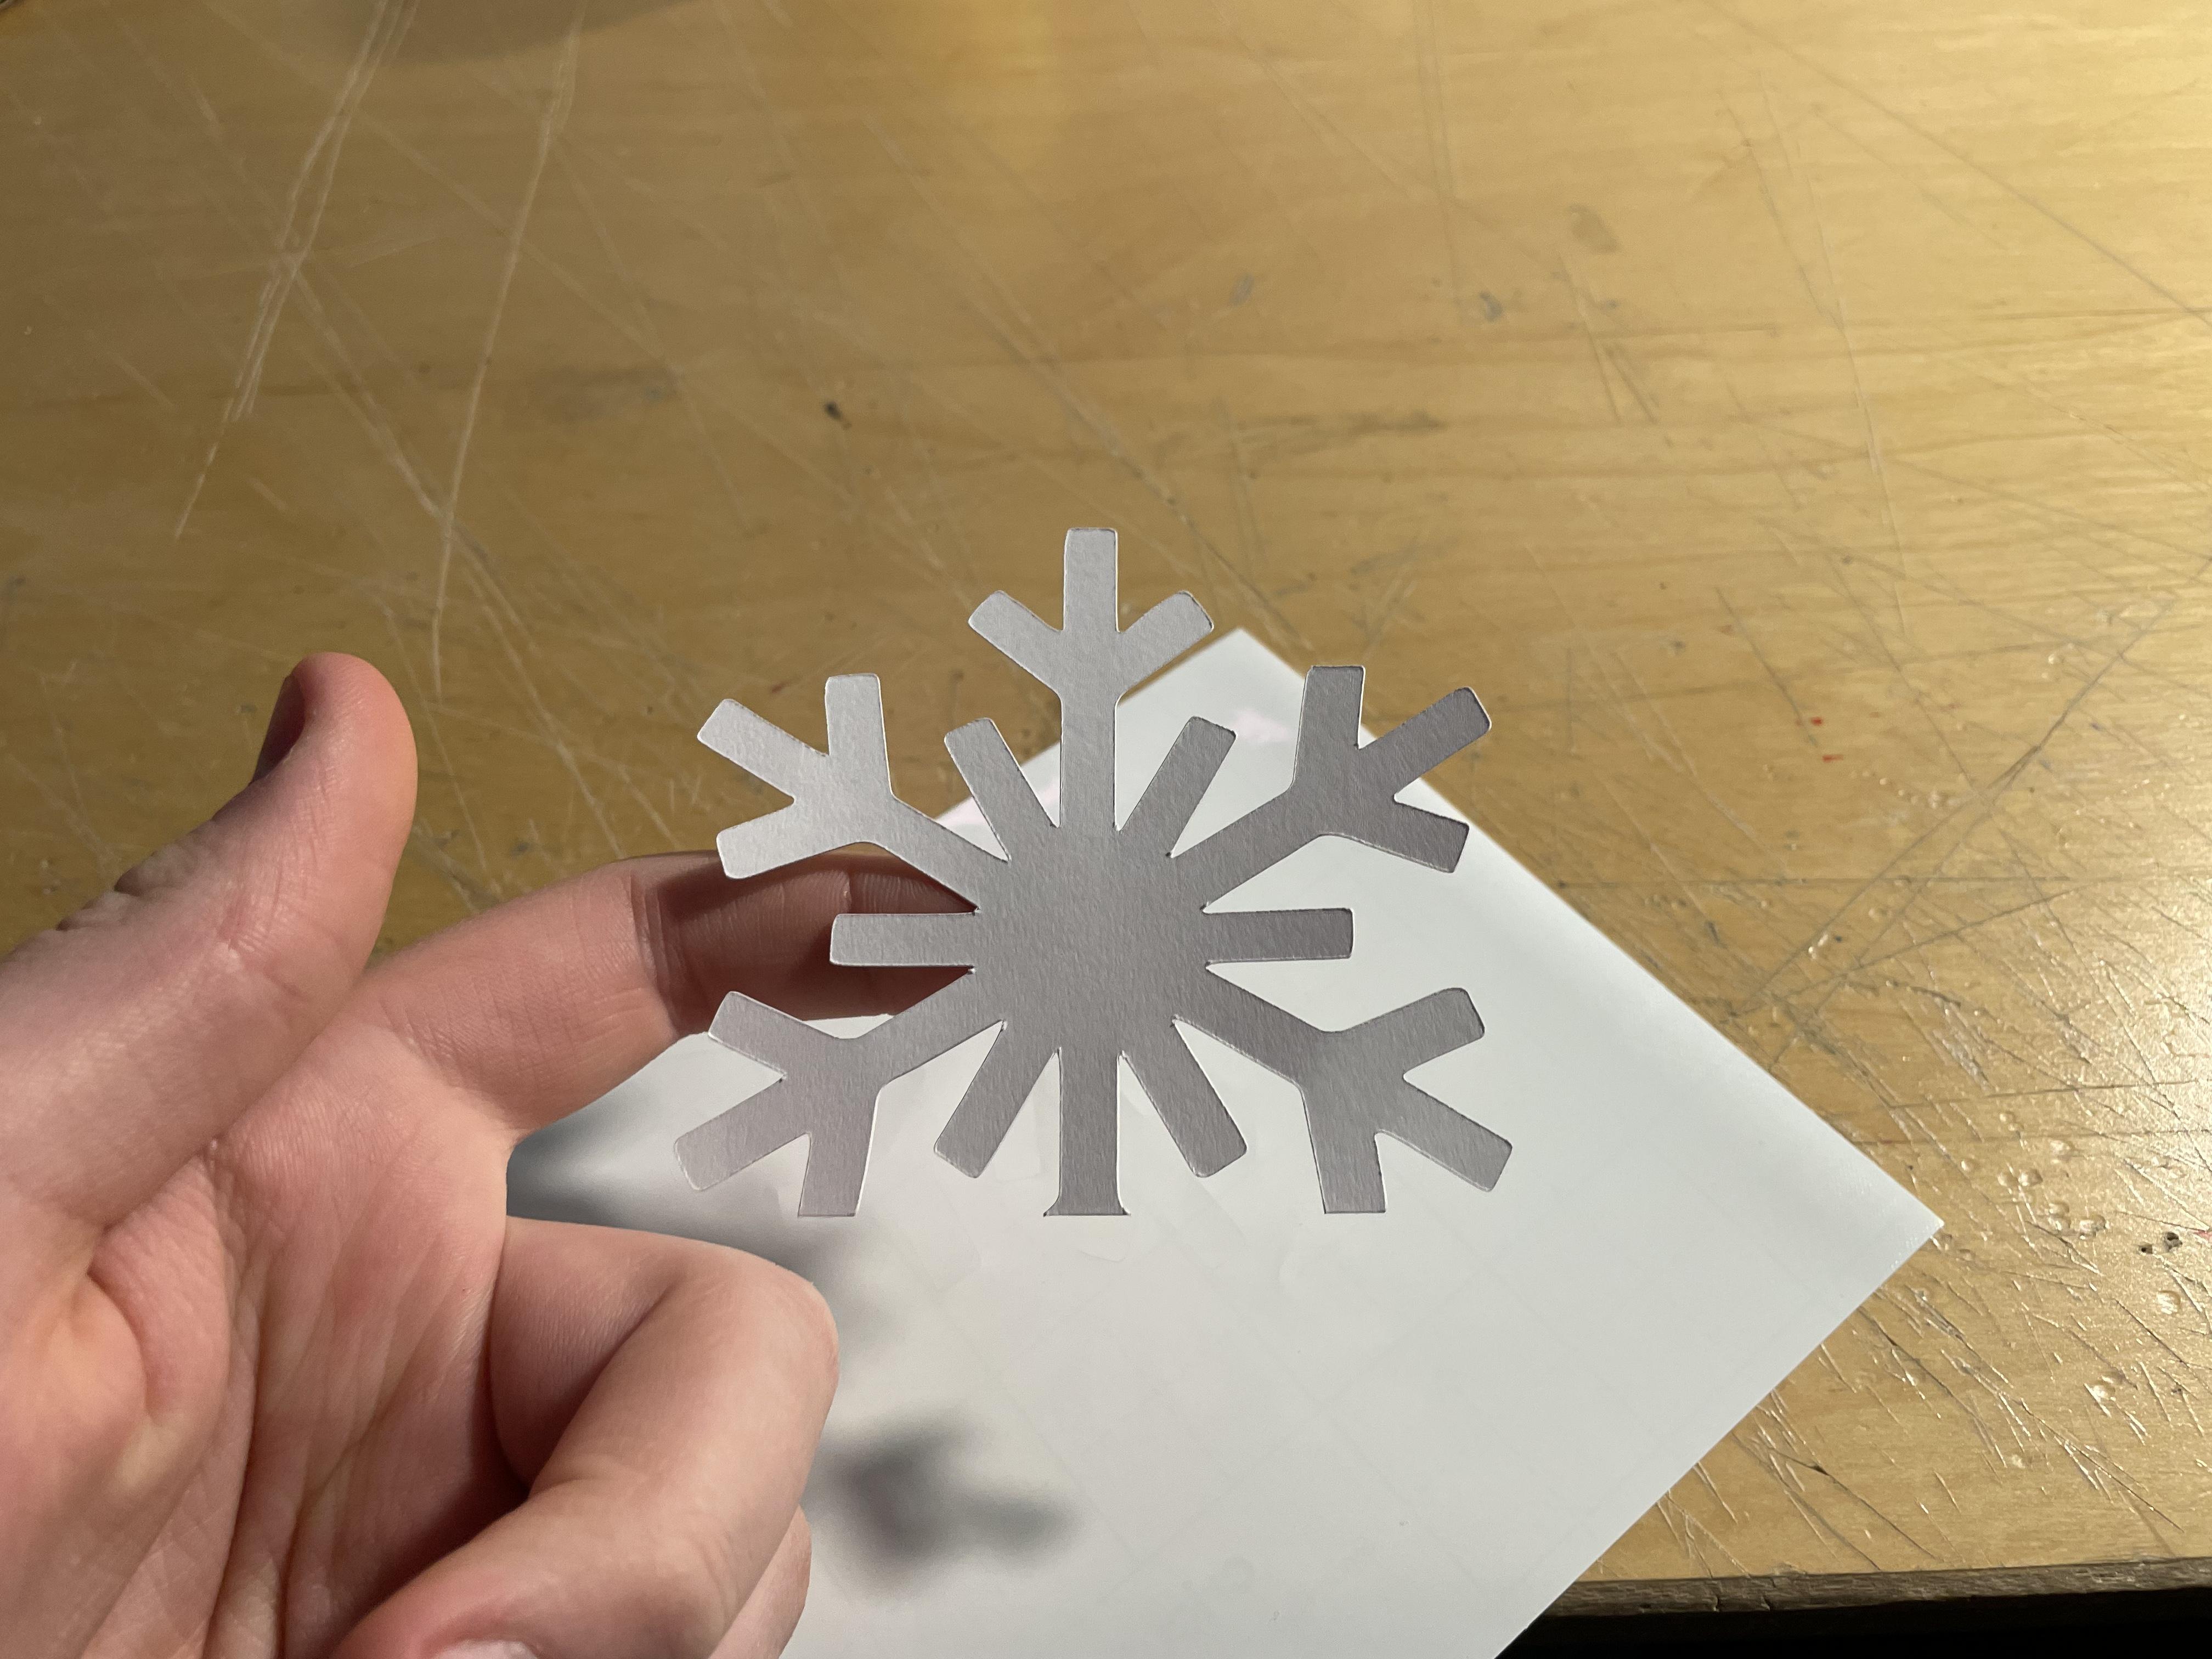
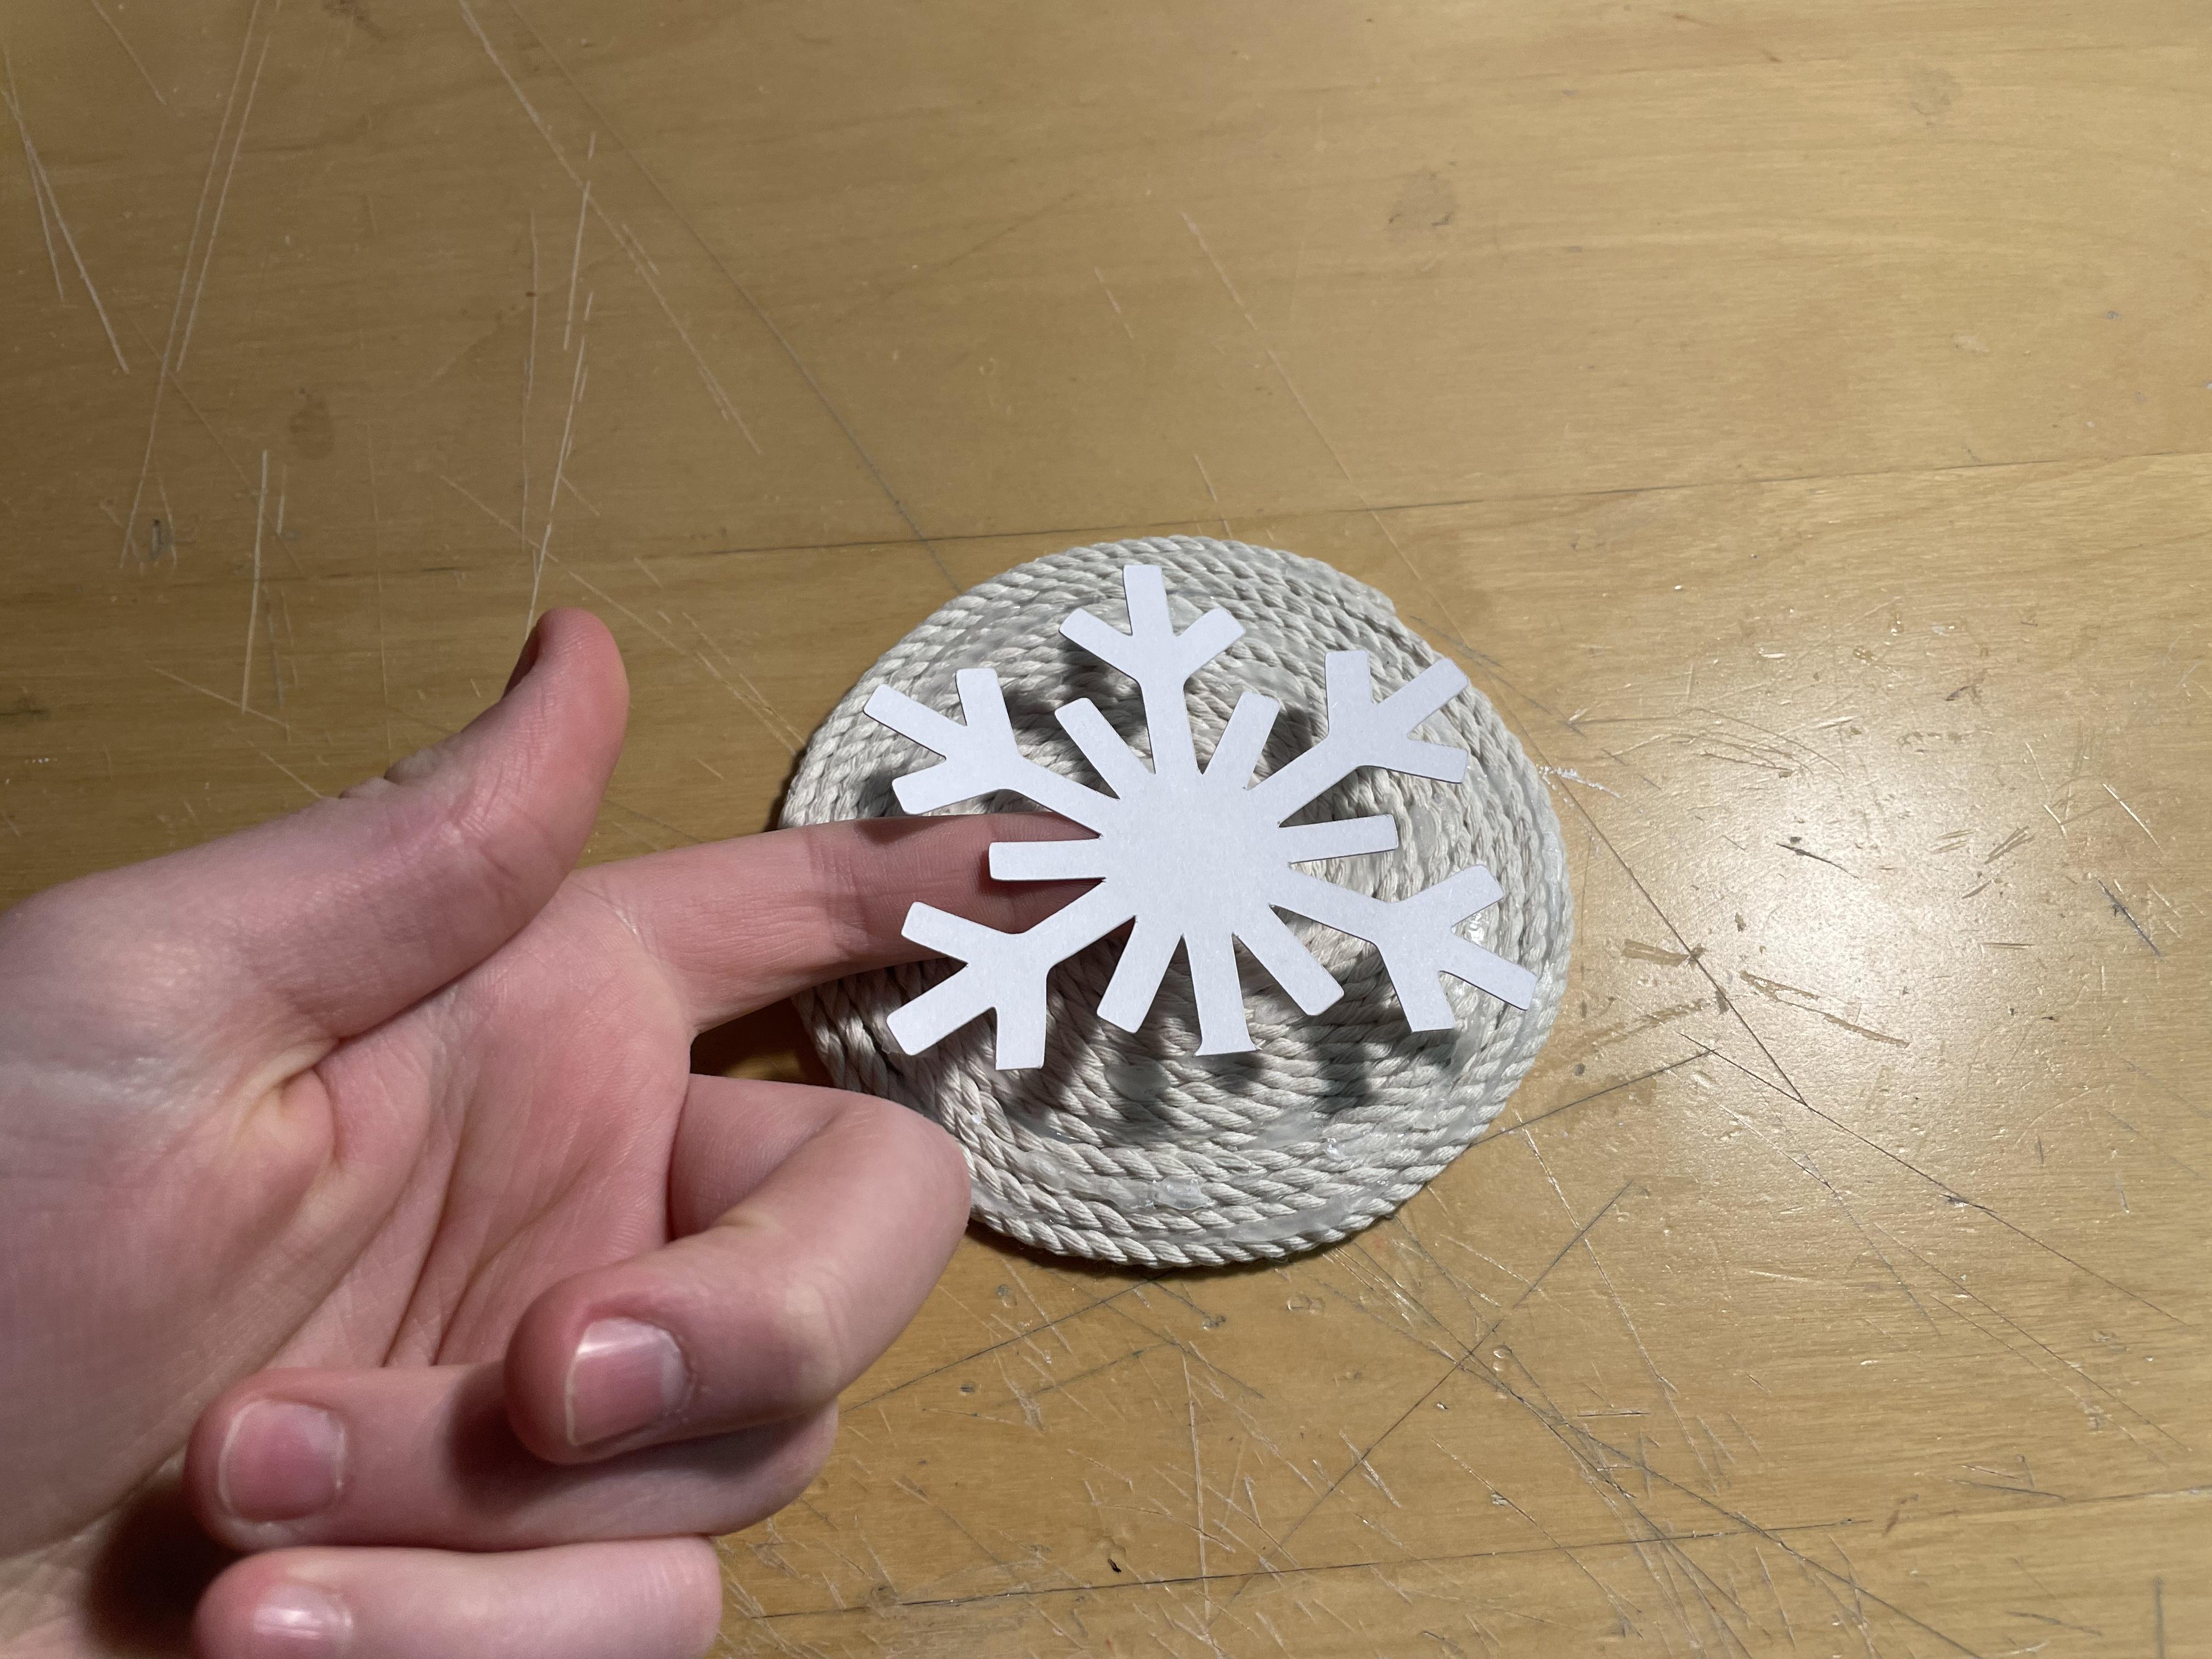
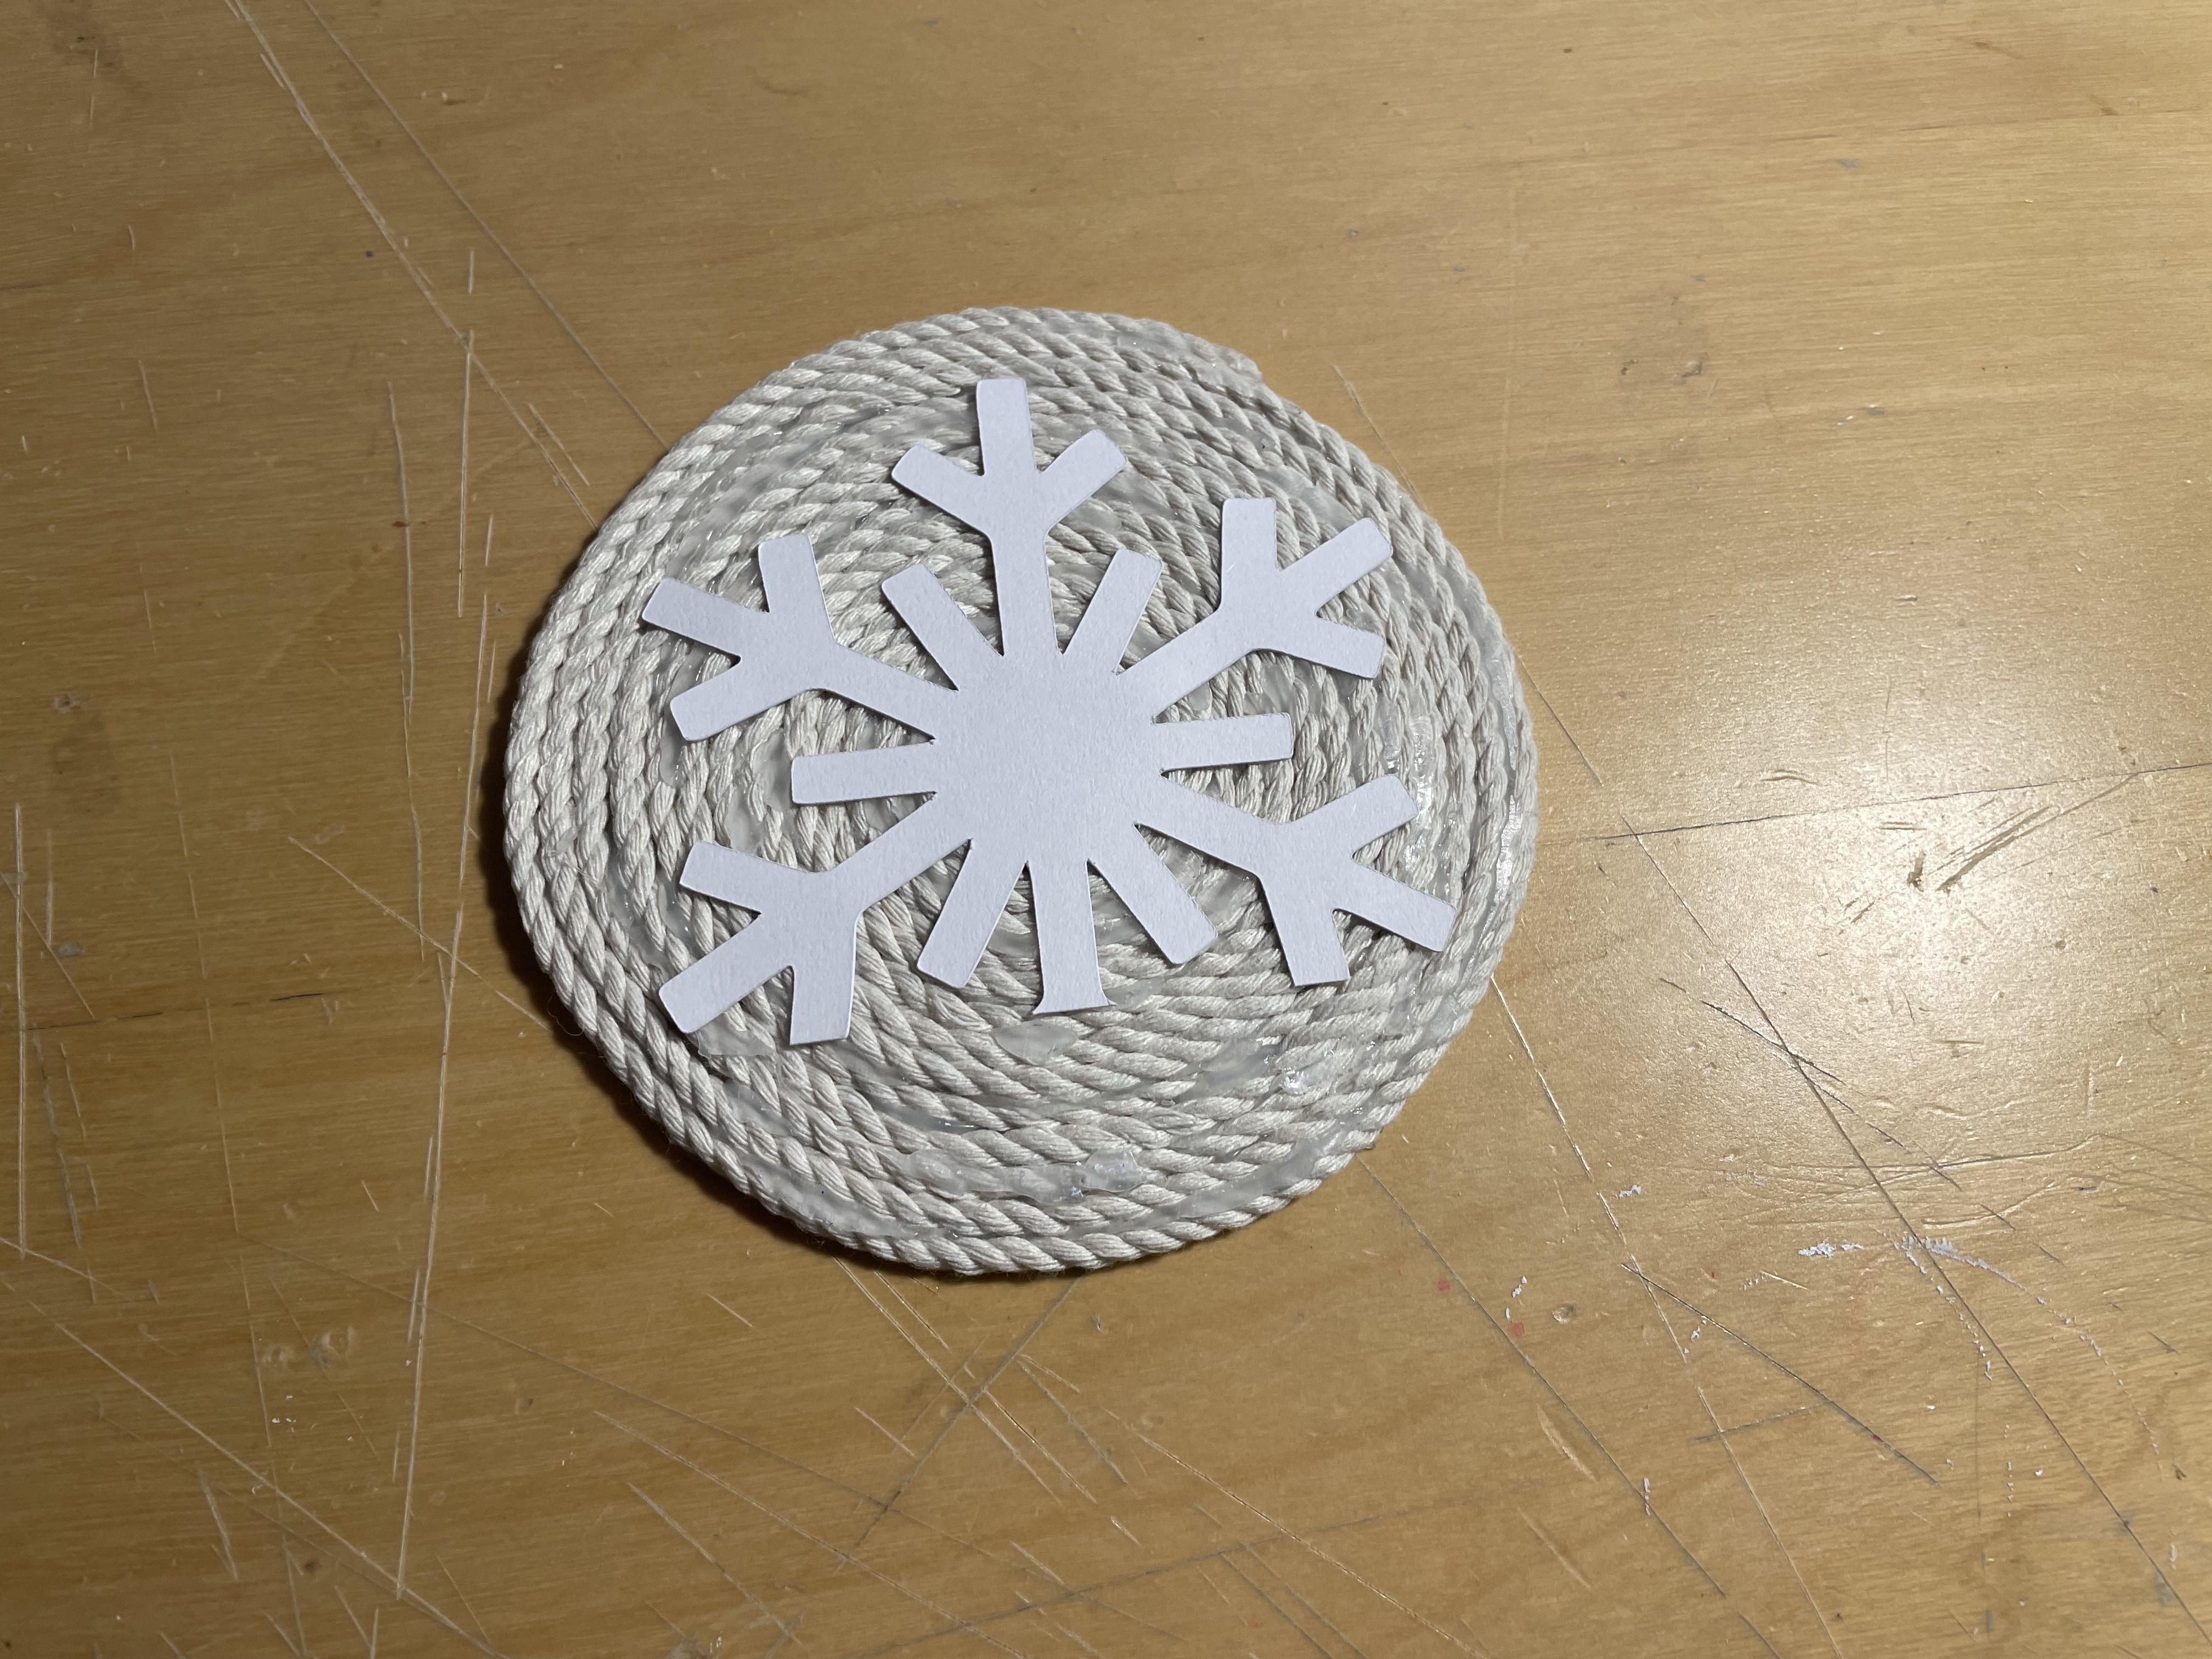

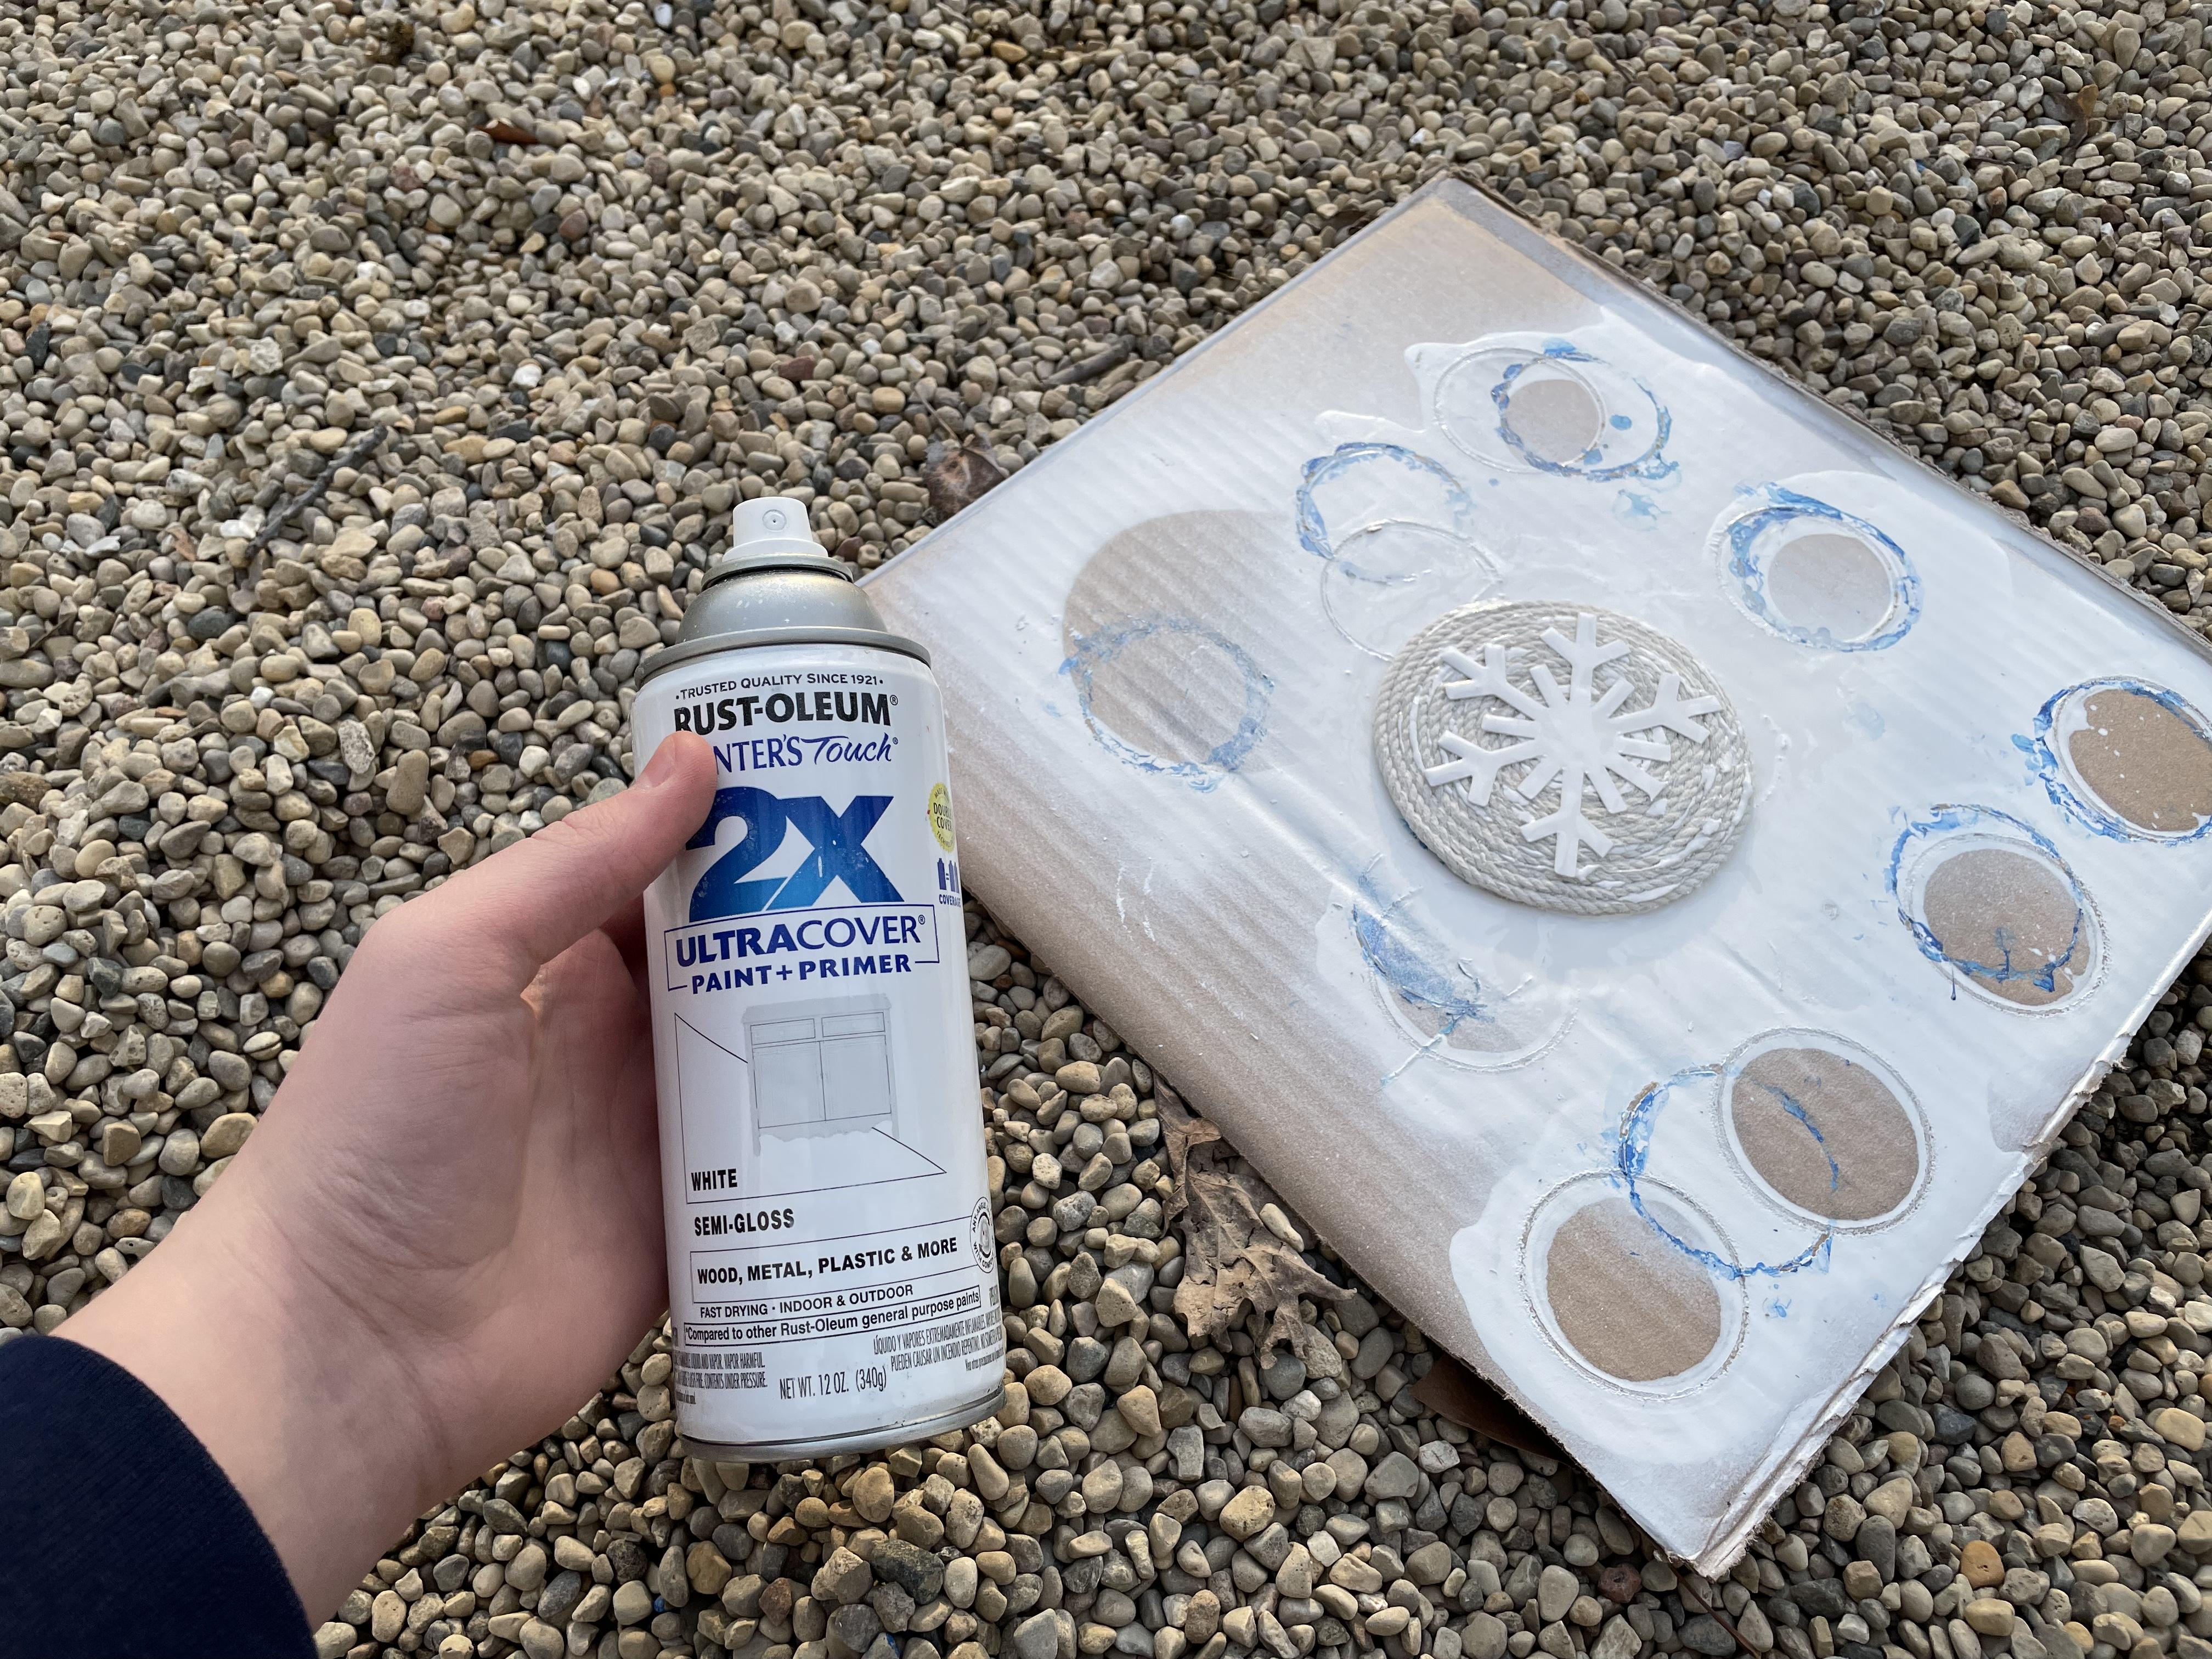
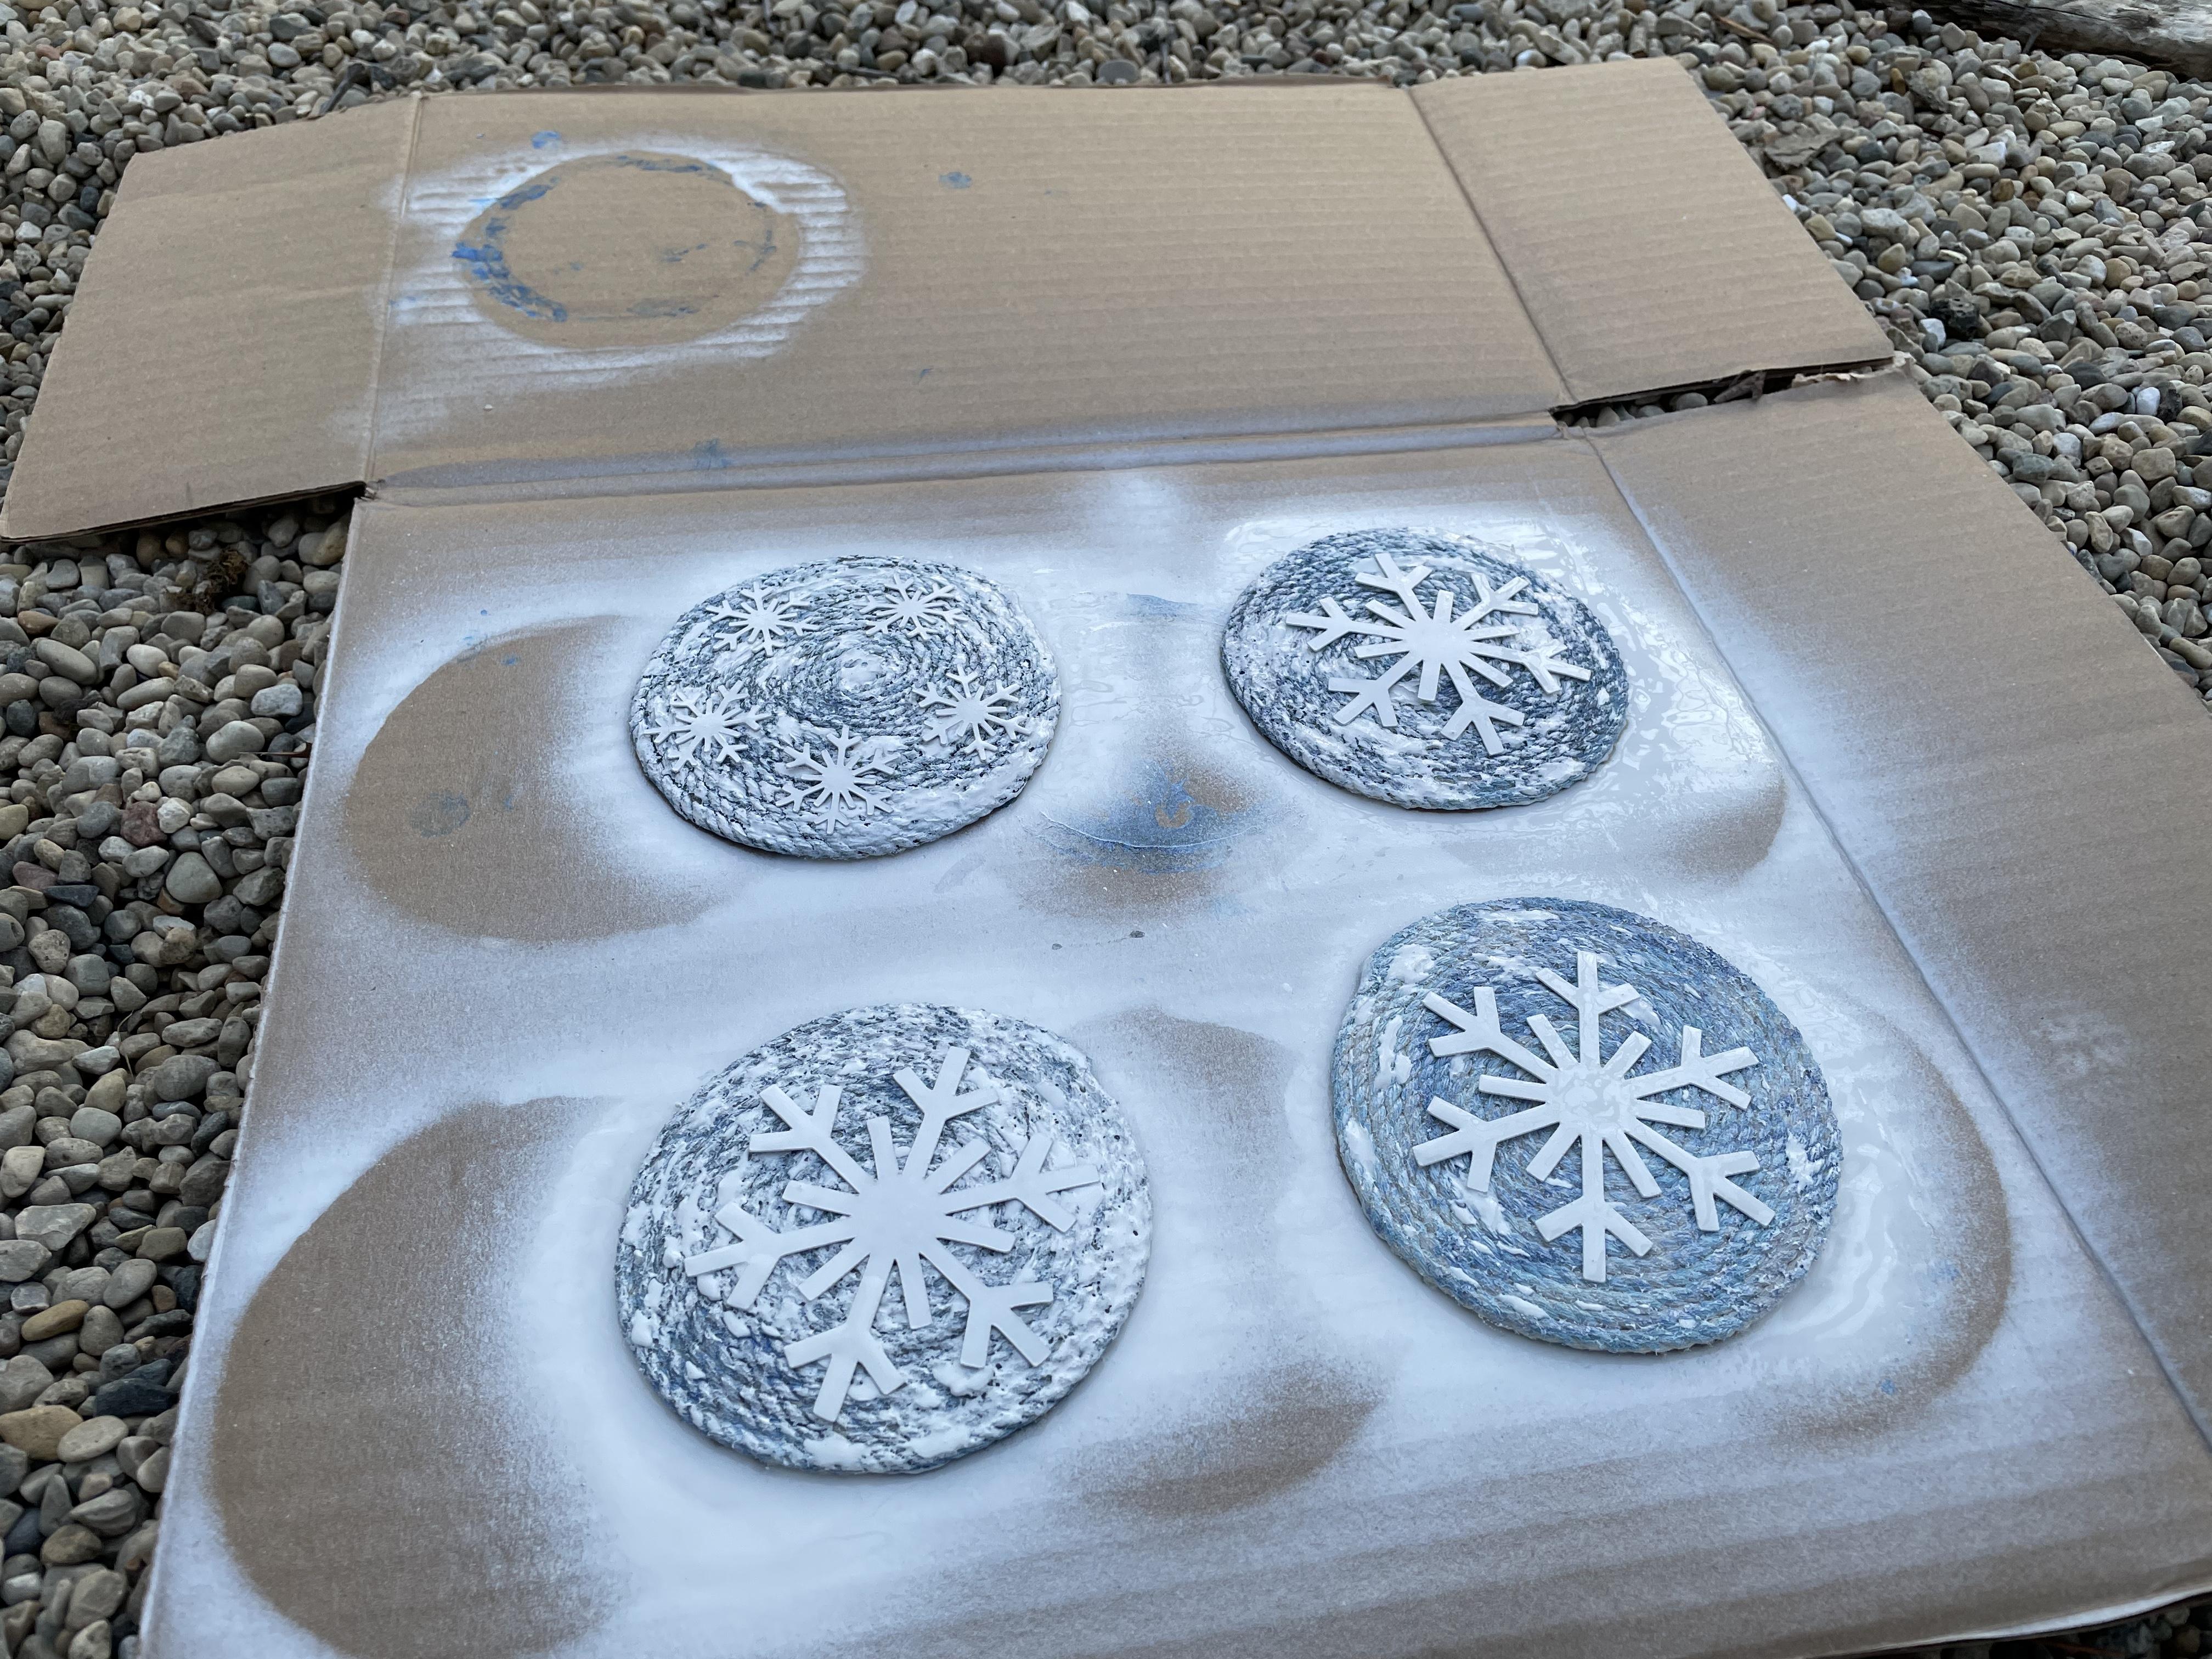
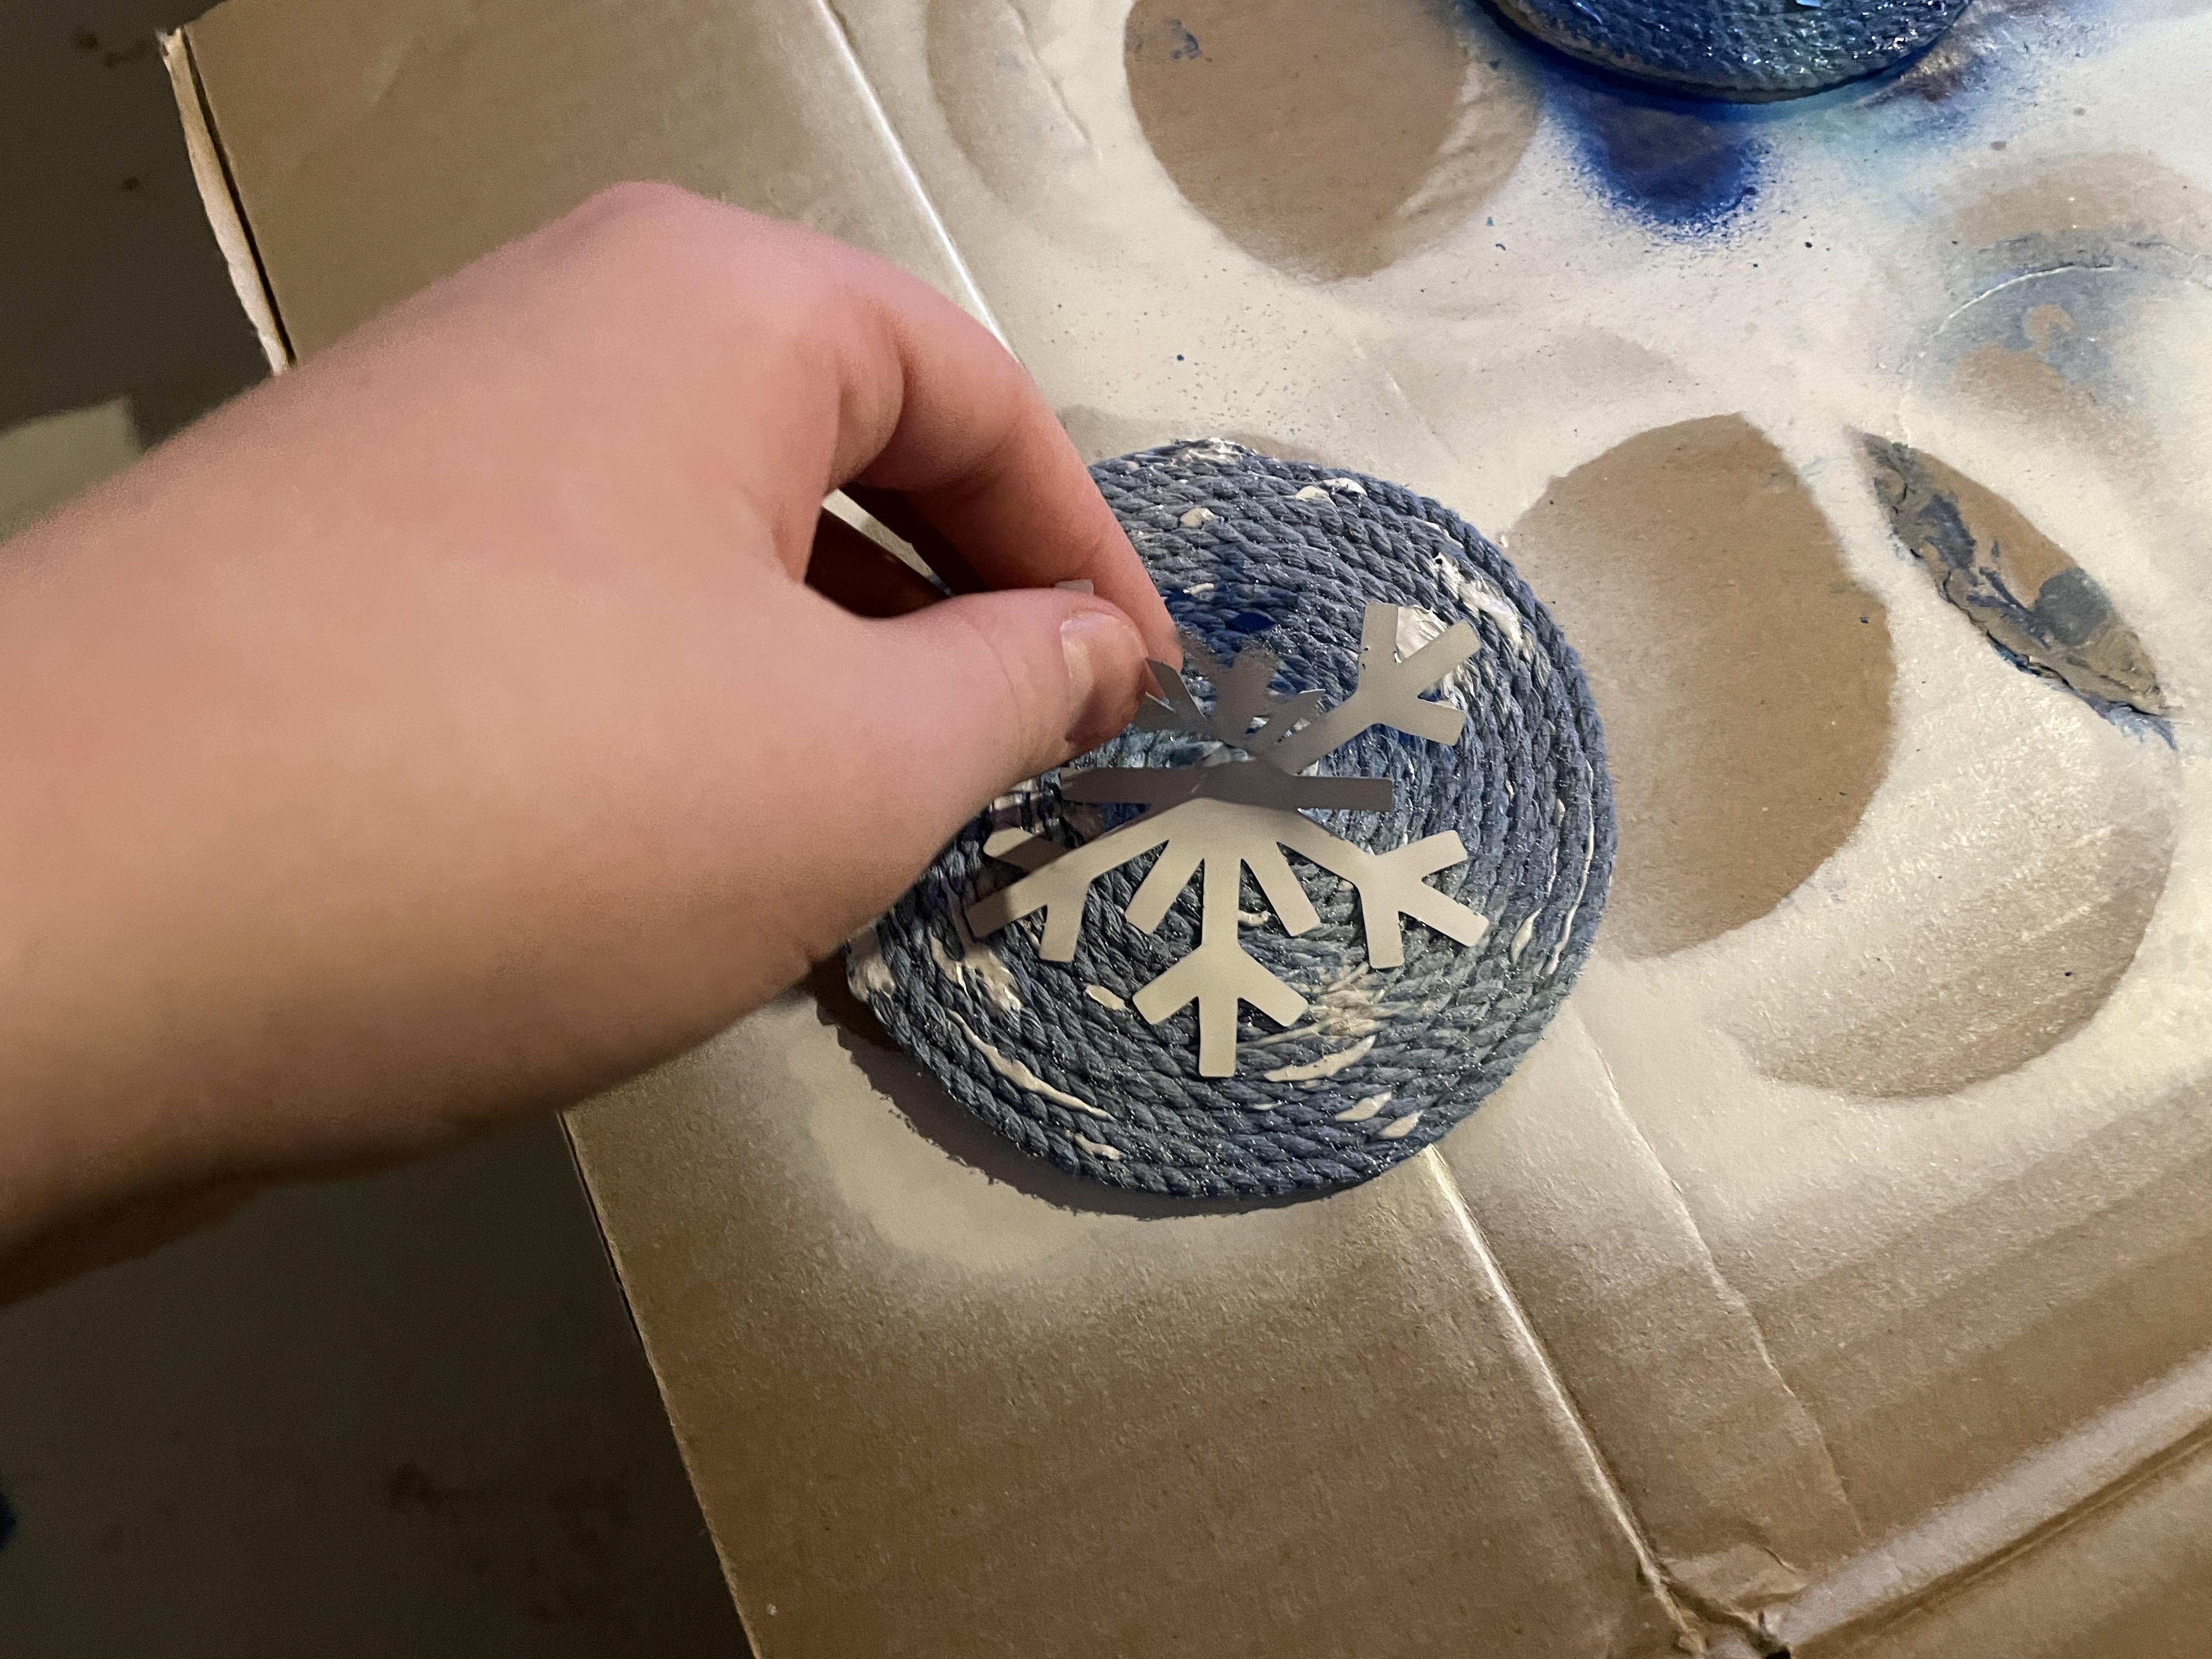
Next, remove your snowflake from the vinyl roll. Place it centered on the string coaster and press it down so it sticks. Take your coaster, paint/primer or primer, and piece of cardboard outside. Place your coaster on the cardboard and spray paint the coaster with primer until it is fully covered. Try to hold your spray paint at a 90 degree angle above the cardboard so it doesn’t get underneath the vinyl and ruin your shape. Take your coasters inside on the cardboard and let them dry for an hour.
Decorate Your Coasters
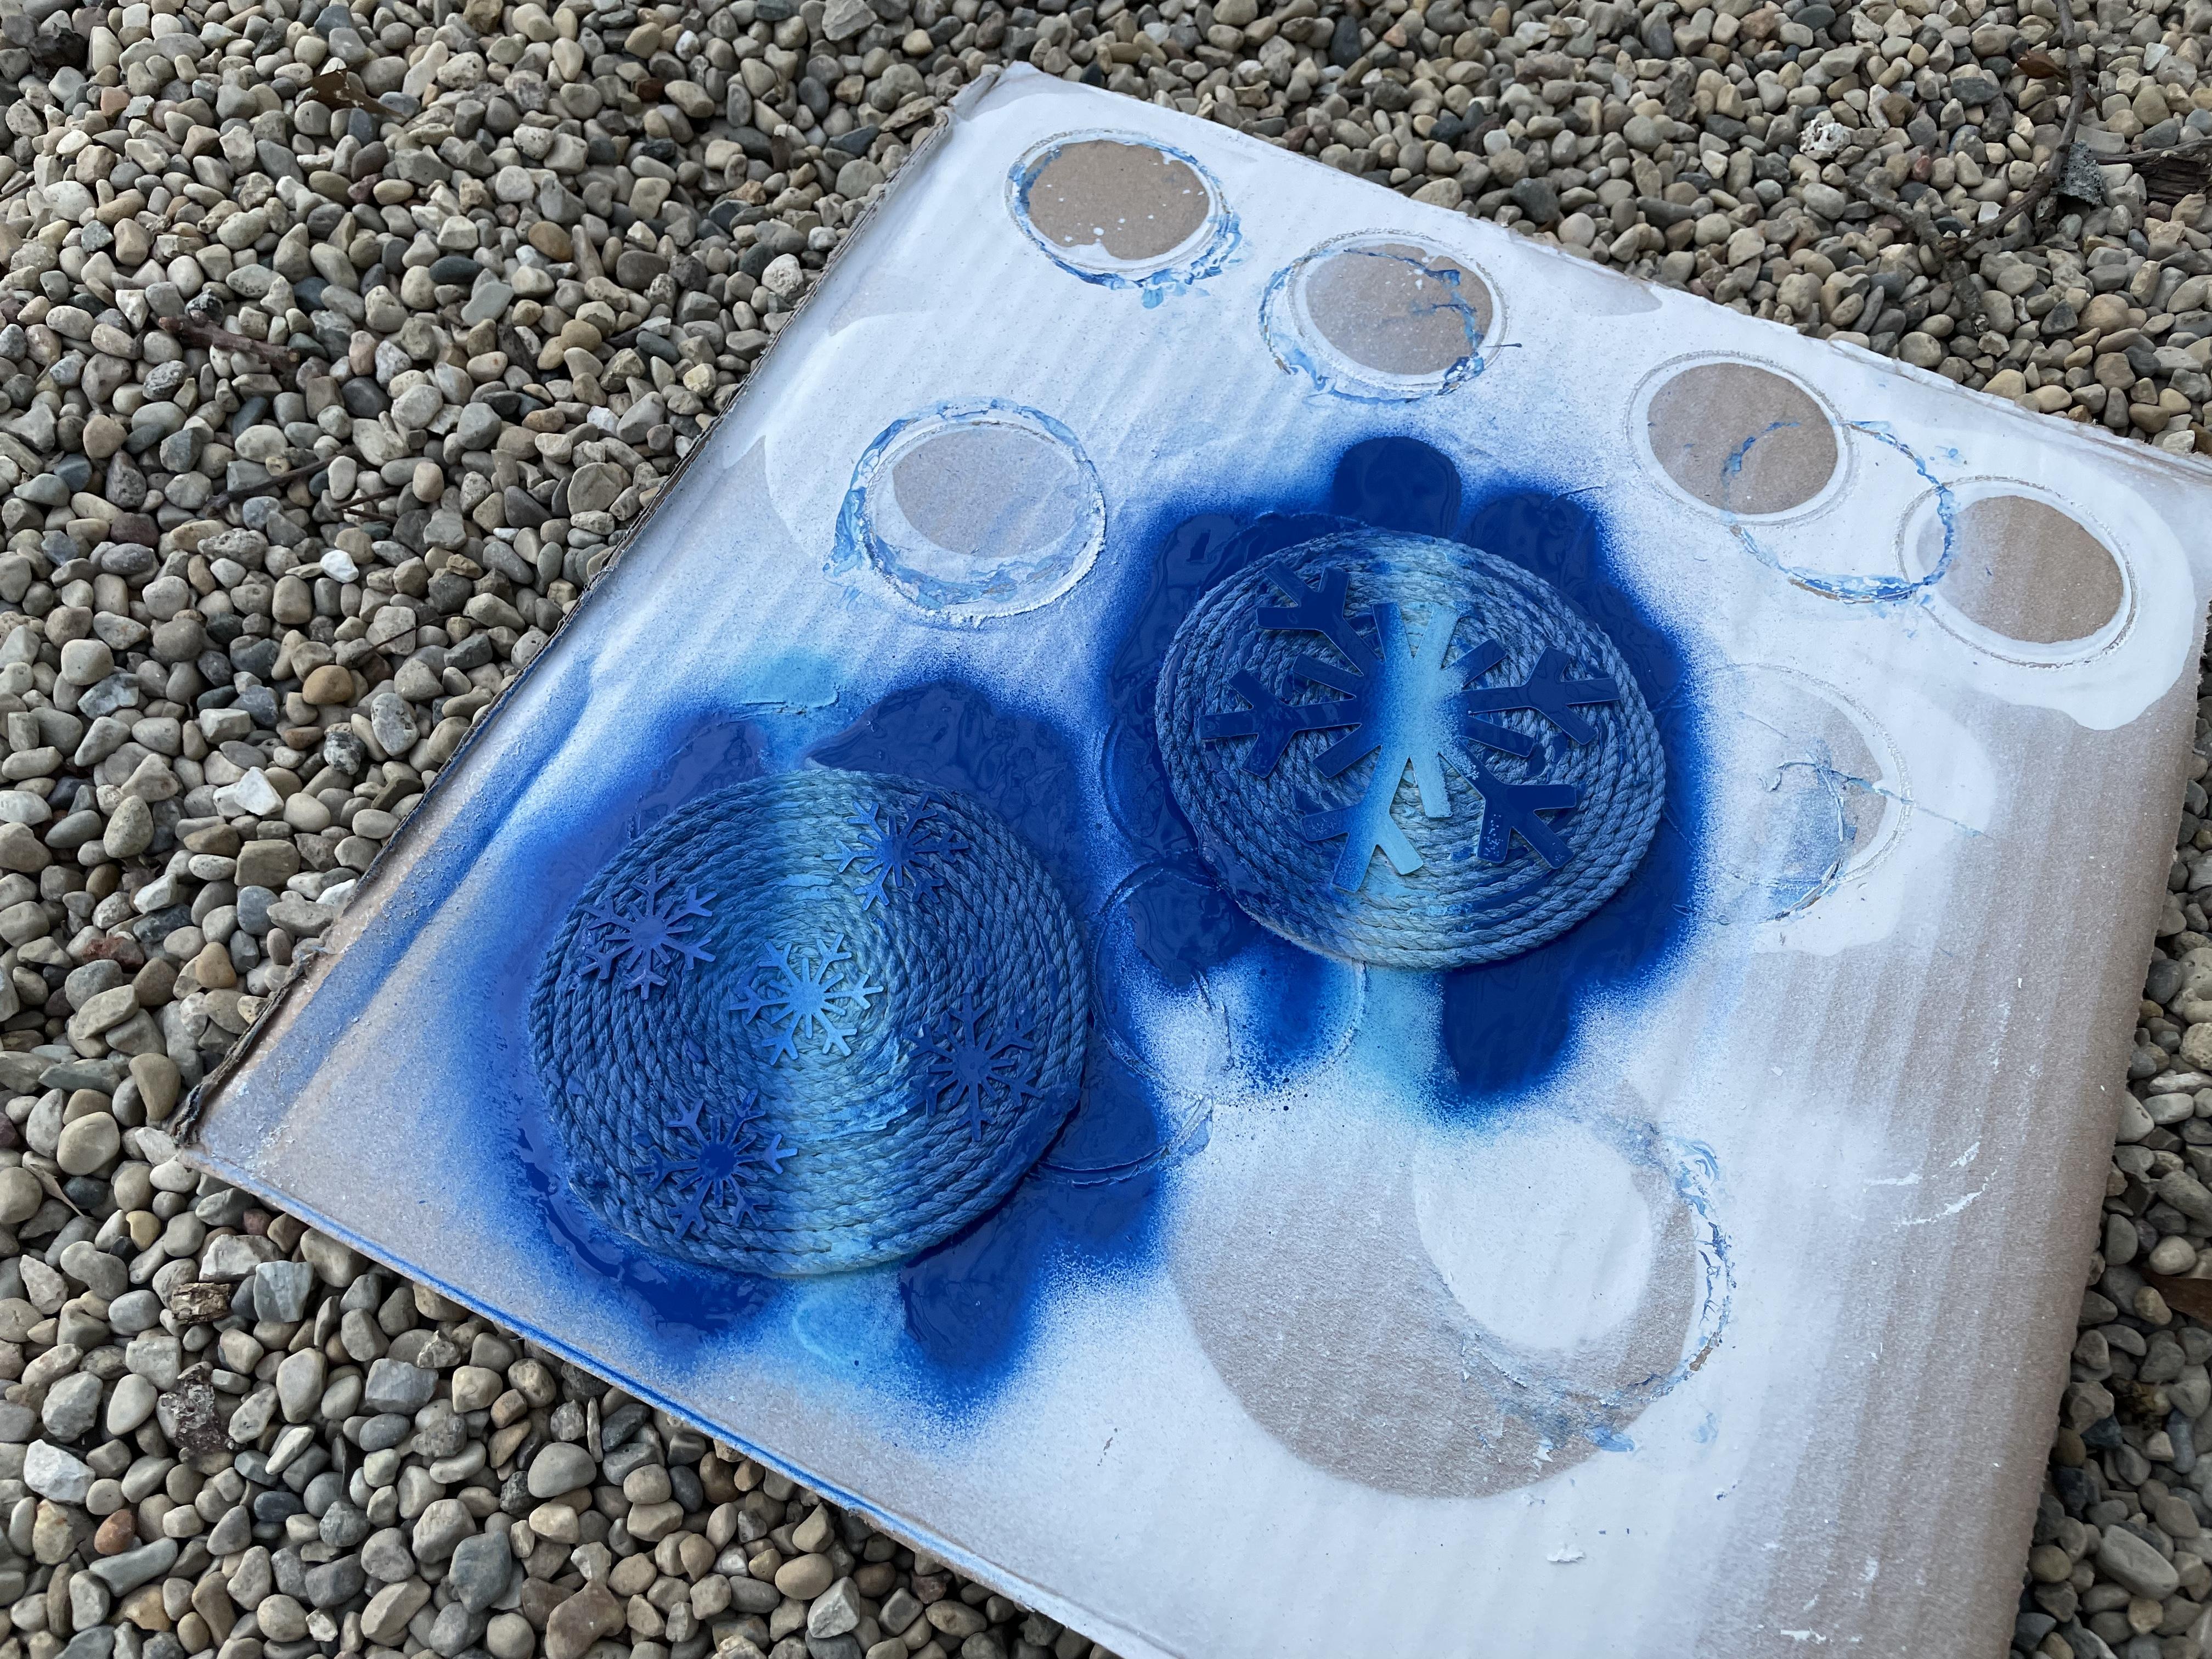
Next, take your coasters back outside on the cardboard after they have dried for an hour. Take your different colors of spray paint and start to paint your coasters. Hold the cans at a 90 degree angle so that the paint doesn’t get underneath the coasters. I did my coasters in a two-tone color scheme, but you can do it however you want. Take them back inside and let them dry for another hour.
Finish Your Coasters


Next, peel the vinyl off the coaster. Take your coasters outside one more time on the cardboard with your clear sealer. Spray the coasters with spray sealer, then let them dry for 24 hours before putting a glass on it. Enjoy!