Converting Slides to Digital With a DSLR Camera
by brigitta.stone in Circuits > Cameras
12519 Views, 73 Favorites, 0 Comments
Converting Slides to Digital With a DSLR Camera
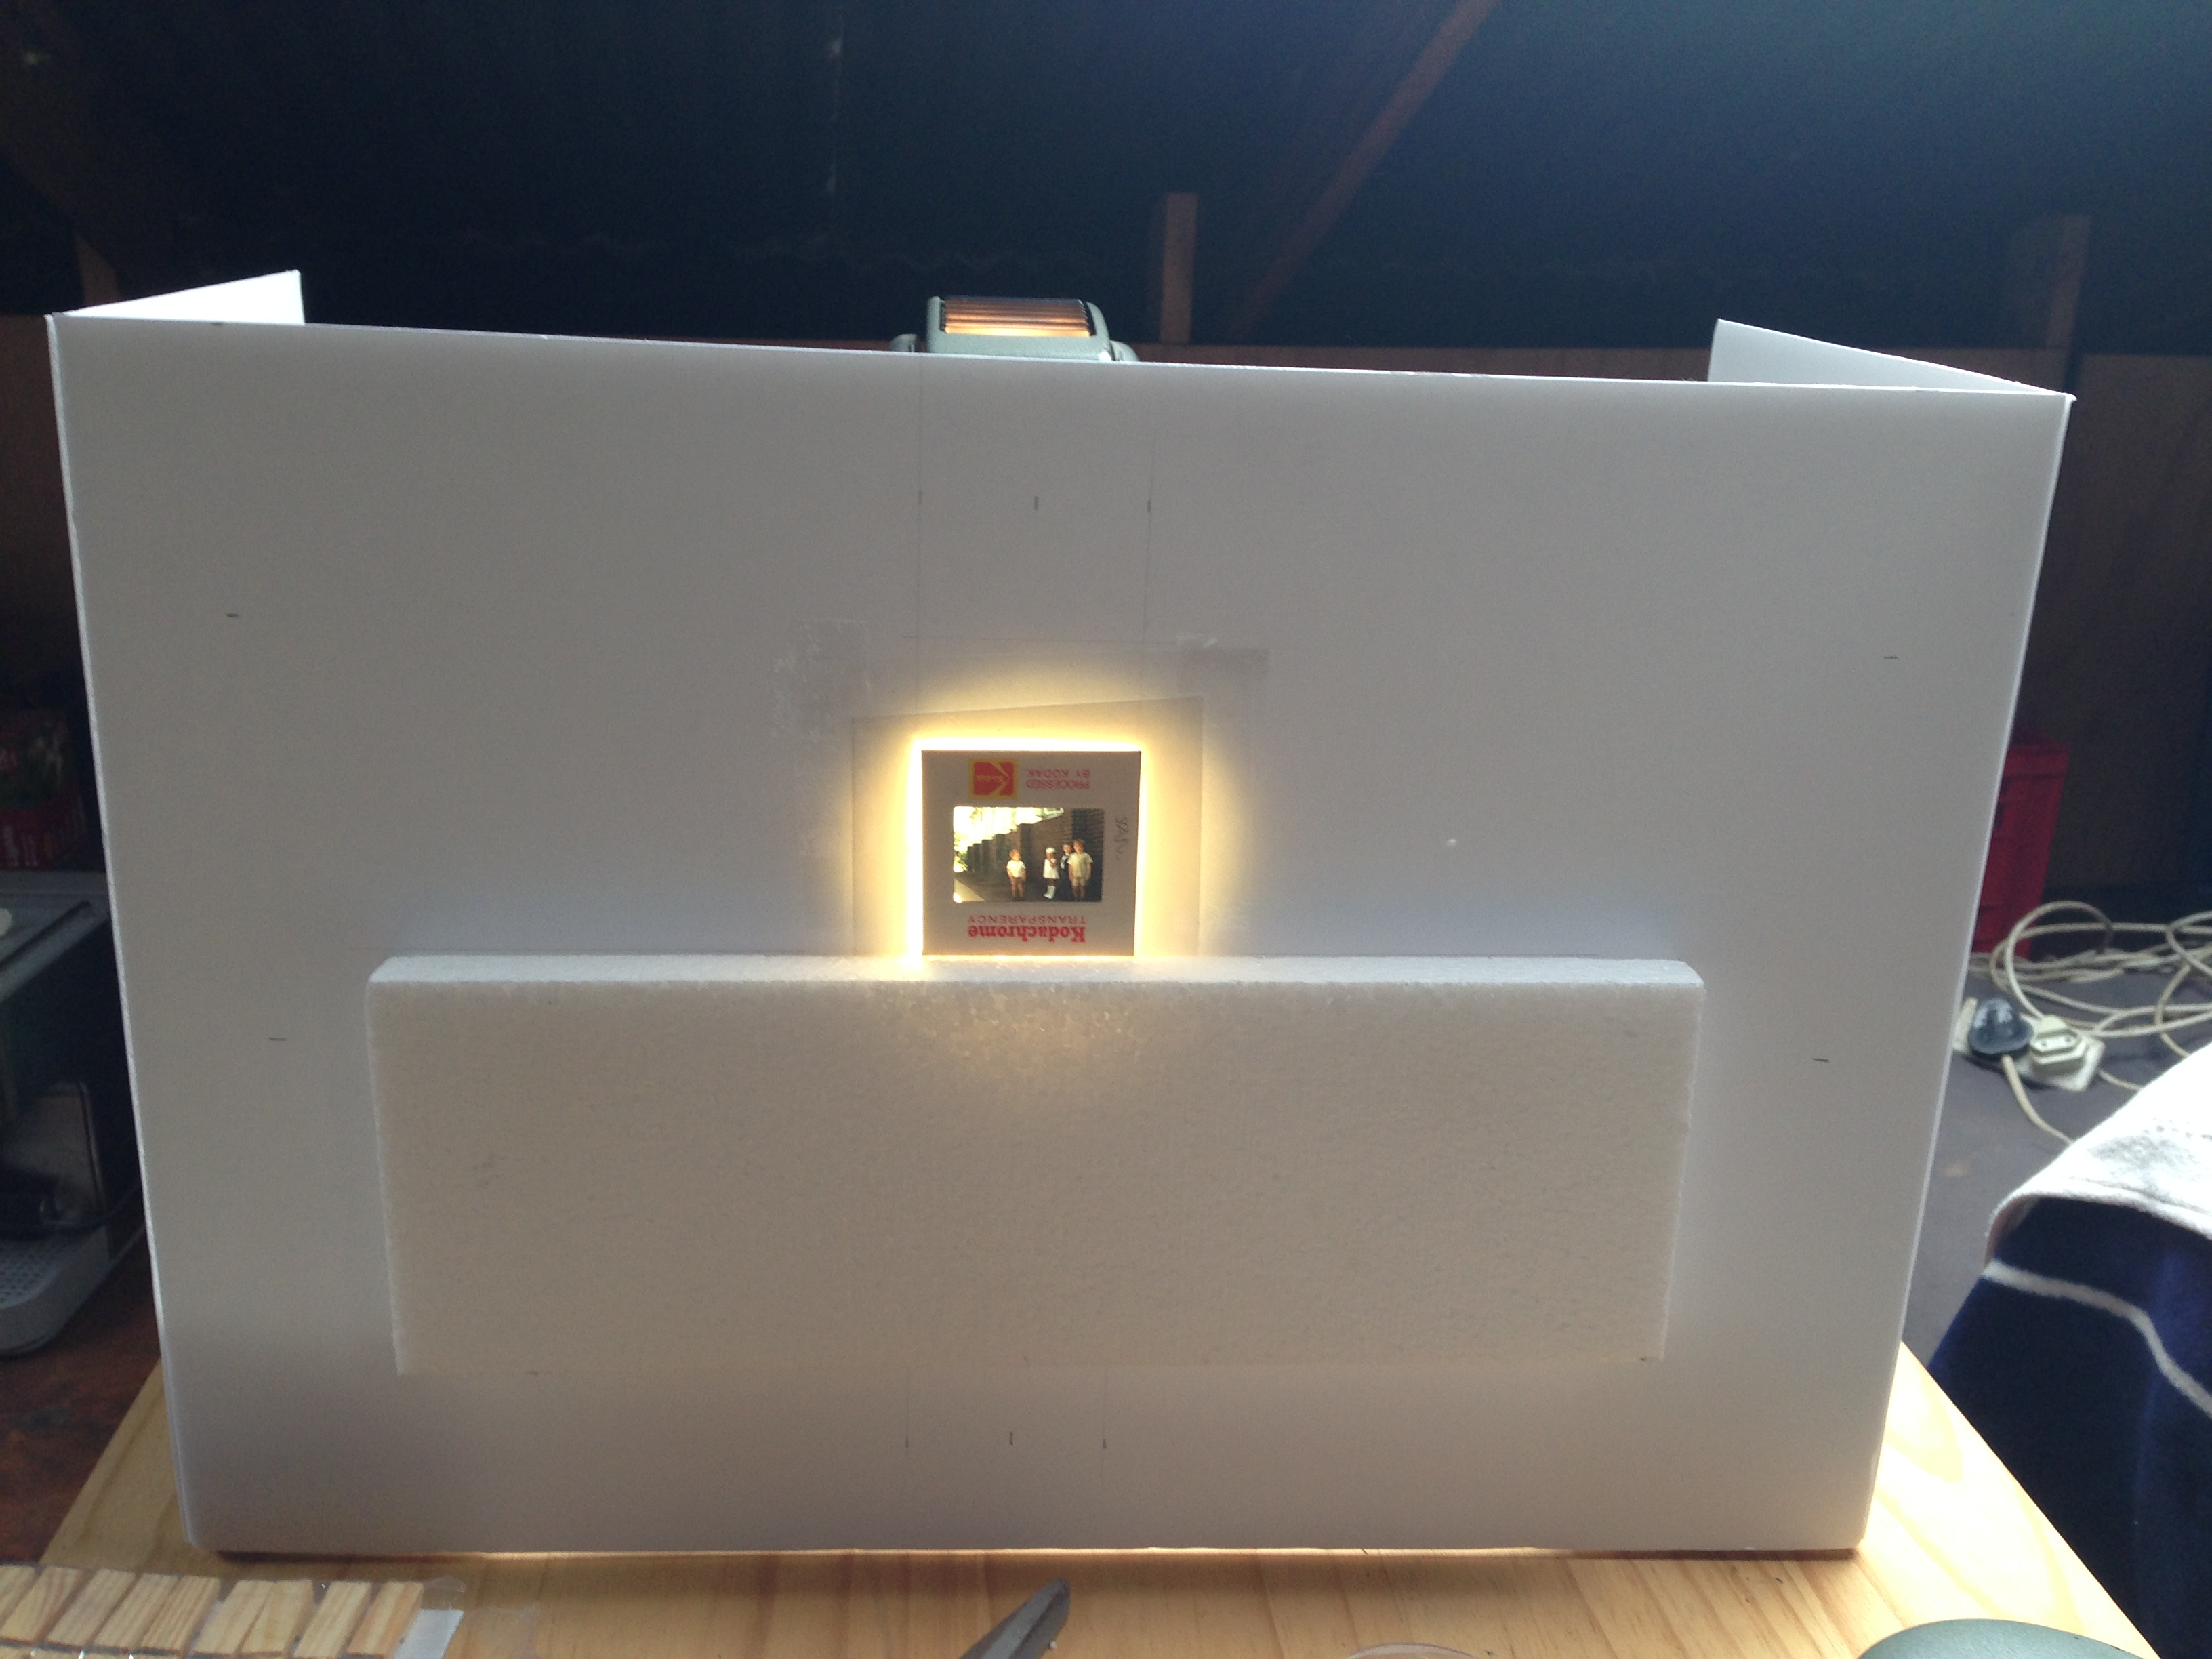
I've seen a few of these, but after a few trial and error attempts at concerting slides this has been the cheapest and most simple option
Things you will need :
1. A DSLR or other good zoom-able camera with macro lens if possible. ( I have used a 18-200mm lens in this example) camera and tripod or sturdy object to fix the camera to.( a stack of books may also work.)
2. White mounting board ( the kind with foam between) I have use a pre folded option for expediance but plain board will be find too.
3. A sheet of polystyrene 10mm or greater.
4. Two polystyrene block for stability.
6. Light Defuser - white plastic party plate / or ice cream tub lid.
5. masking, scotch or similar tape.
6. A good steel rulers
7. Stanley knife.
8. Pencil.
9. A good quality light source, I've used my slide projector, but you could also use a bare 5 watt light bulb, or torch.
Making the Slide Mount Suround
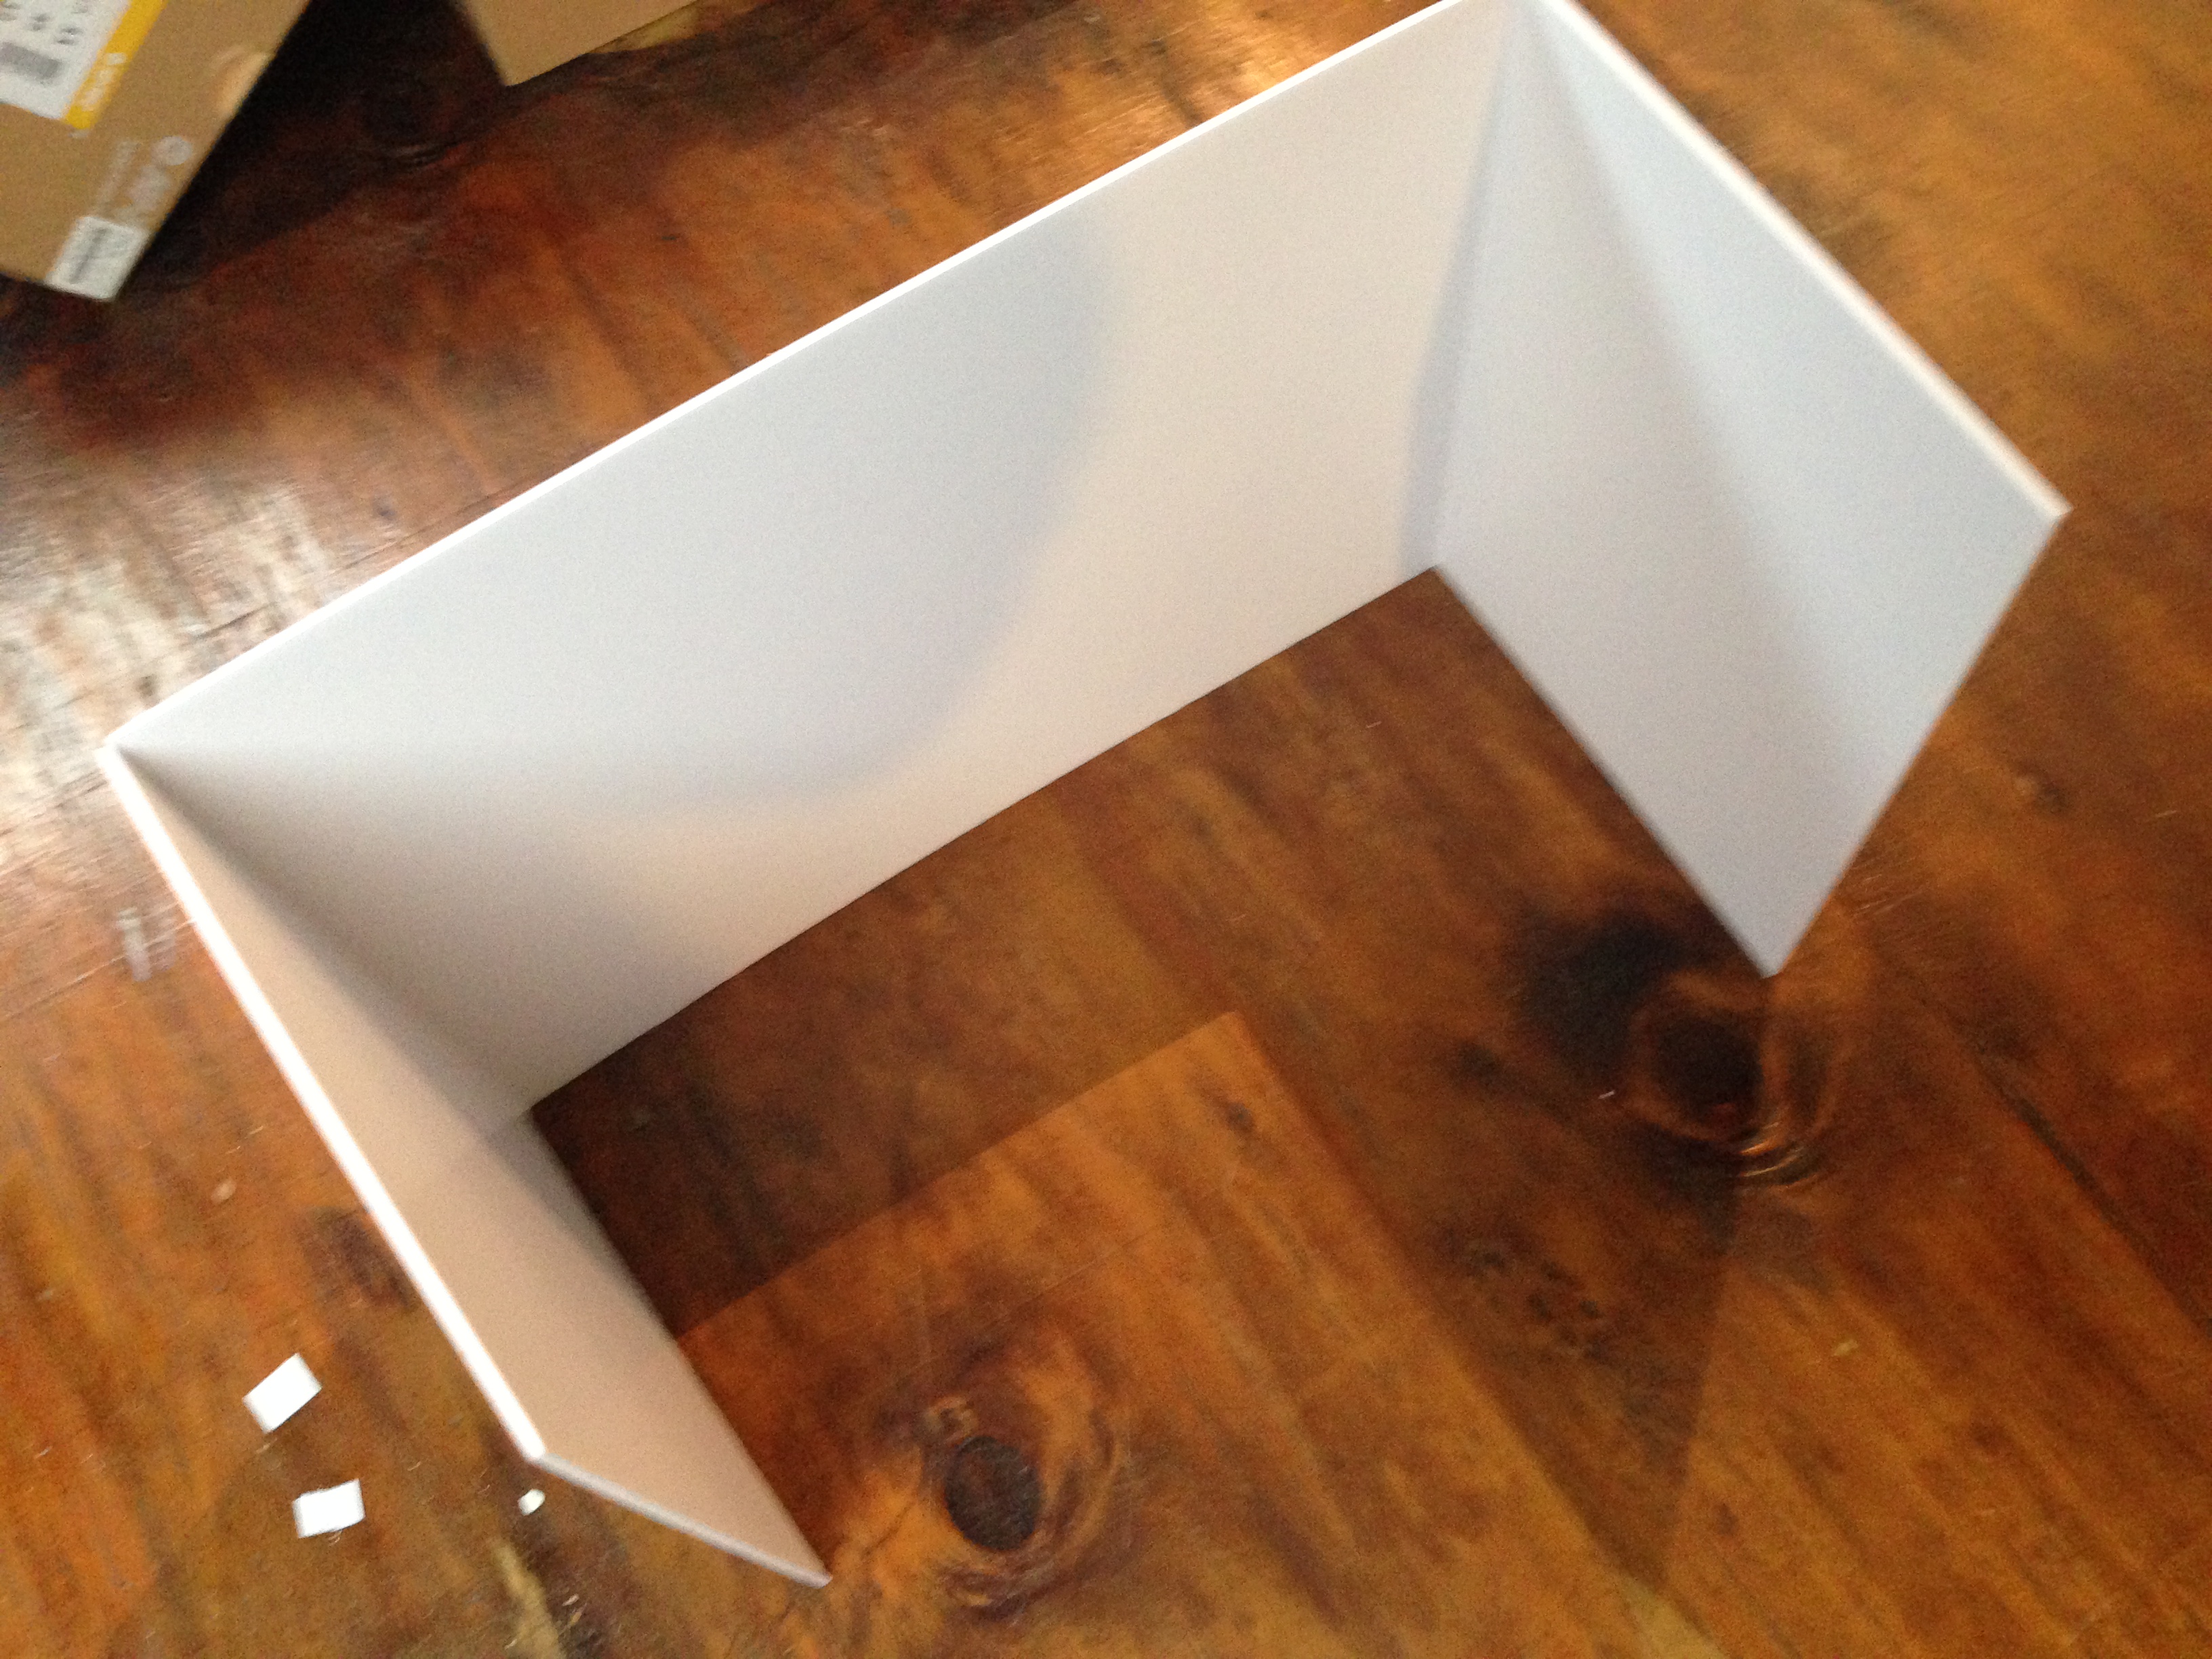
1. Measure you cardboard out , to about 30cm x A1 . Cut to size. ( Height will depend on the intended height of your light source.)
2. Measure equal folding sides of approximately 15cm each - score along lines and fold as above.
Cutting the Light Hole and Diffuser Mount
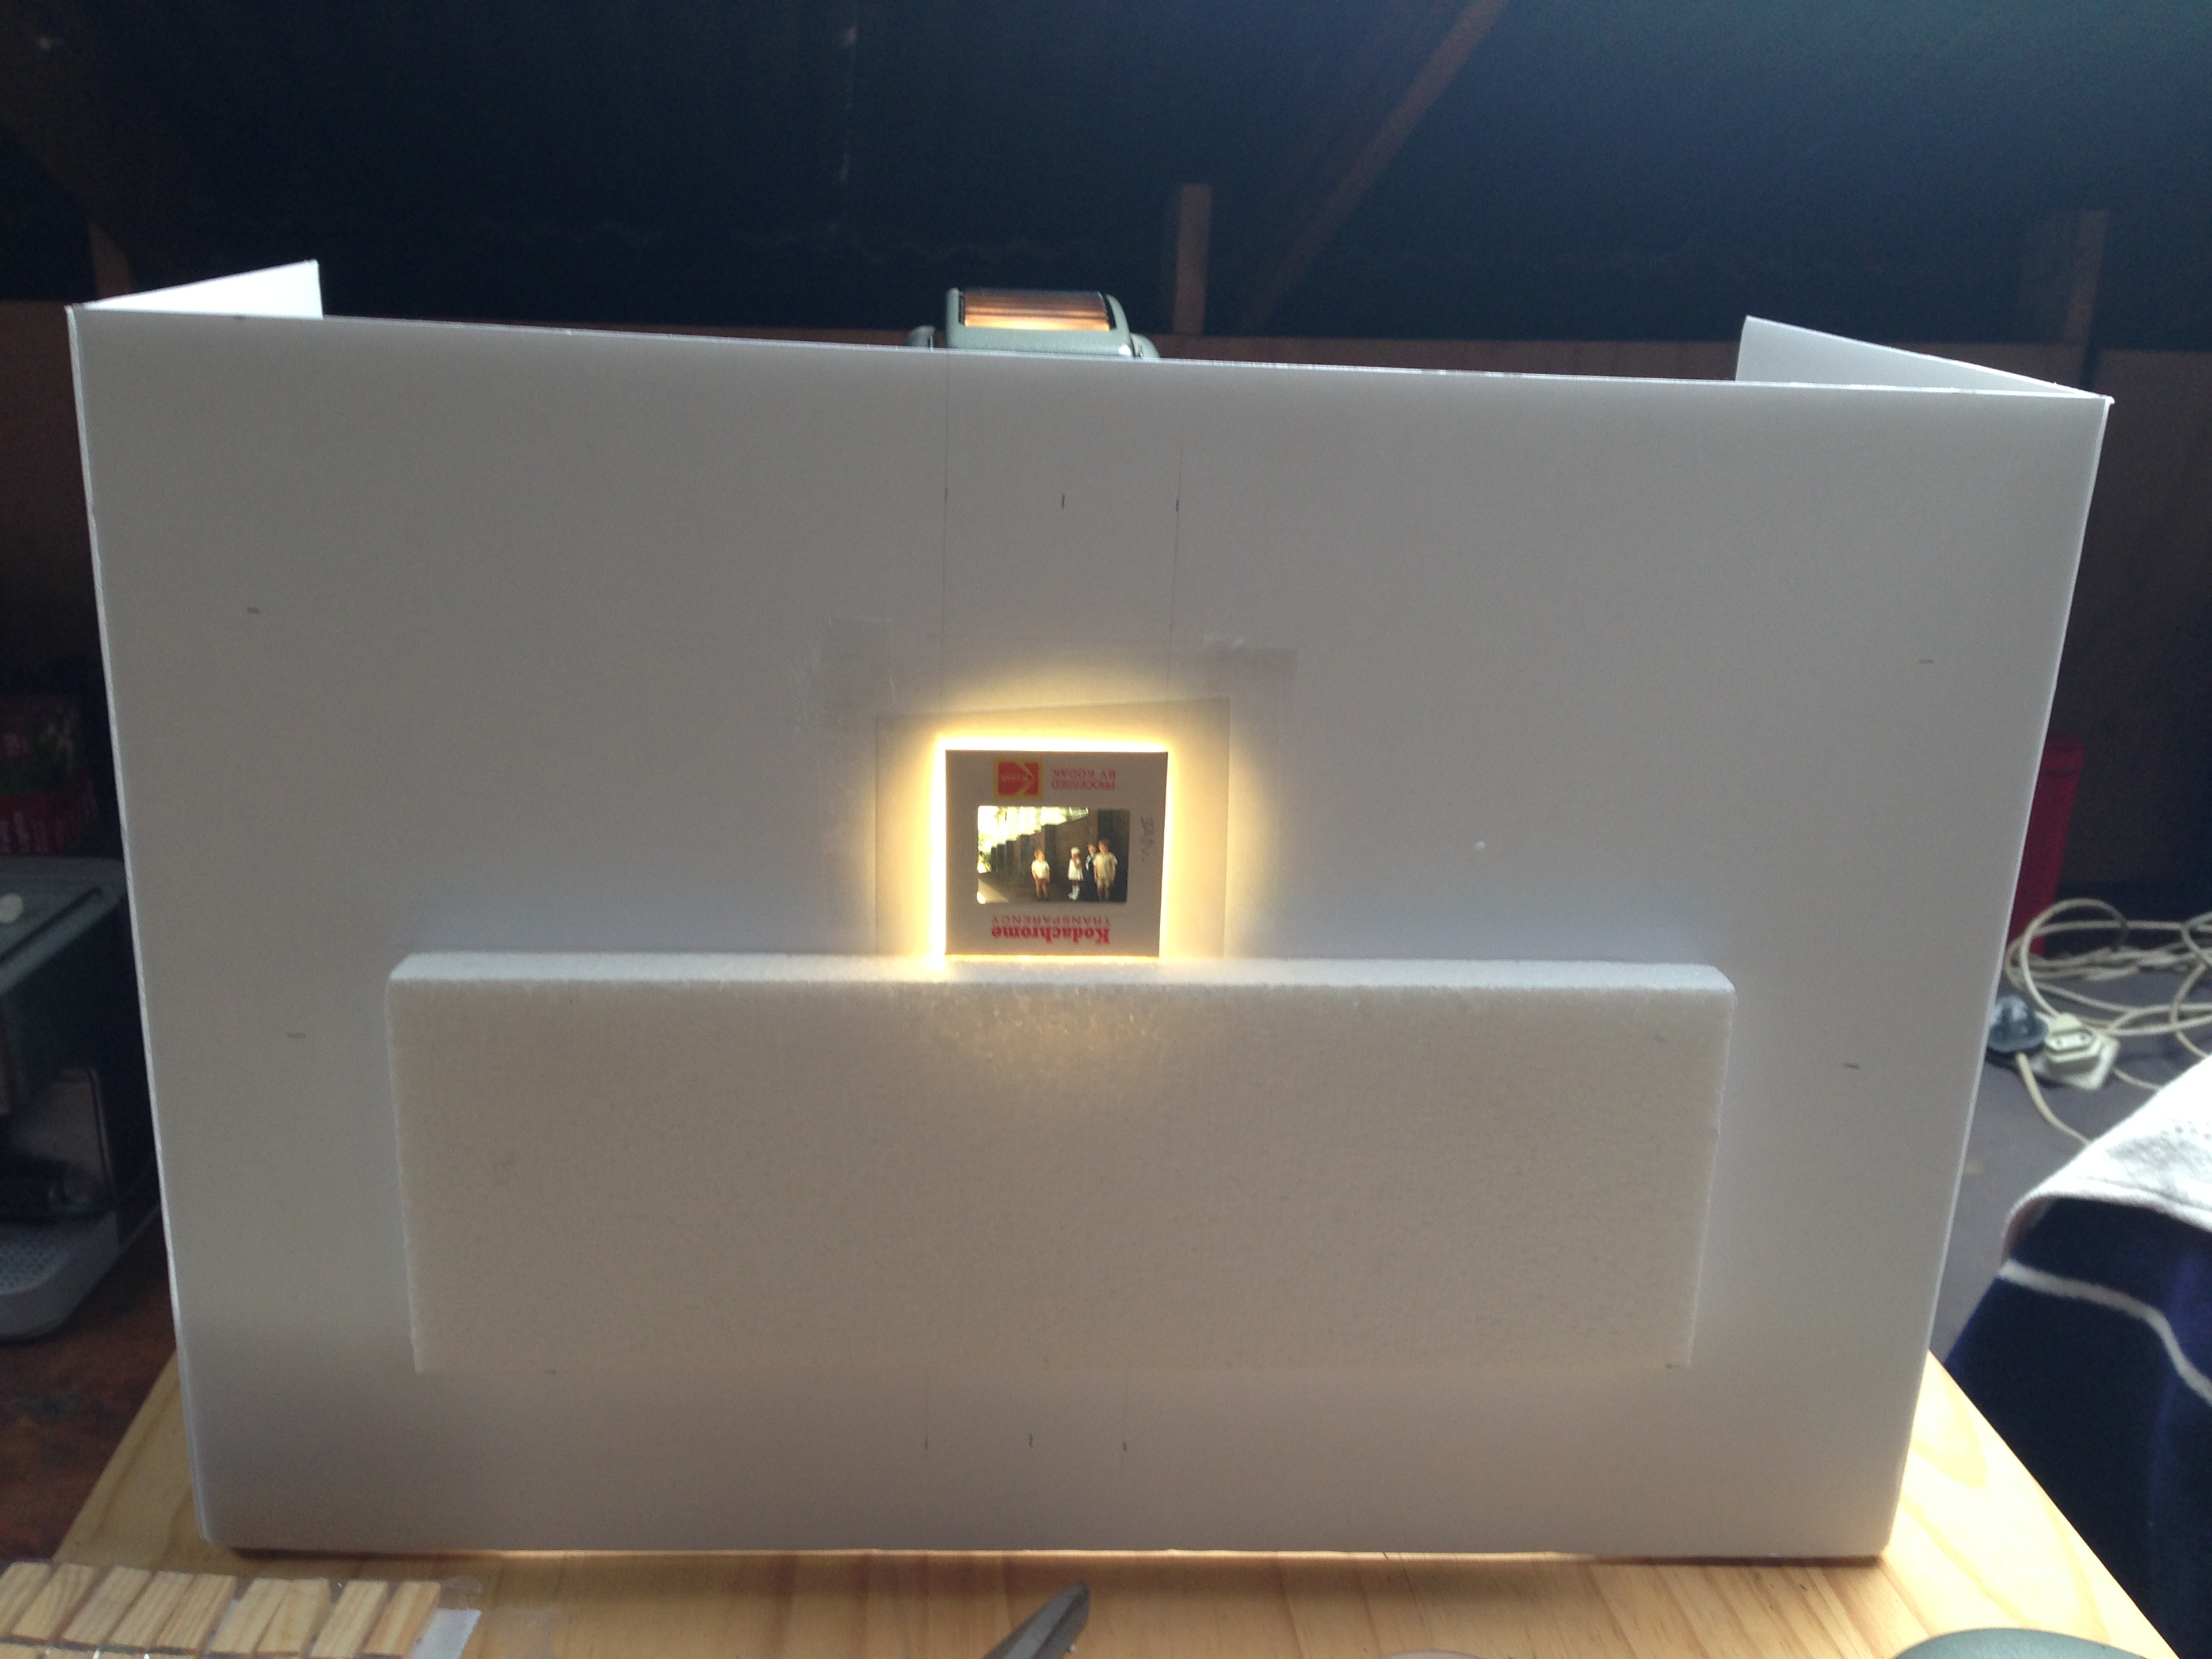
1. Measure the height to the center of your light source and mark.
2. Draw a 5cm square around the center and cut out.
3. Cut the plastic plate to approximately 10cm square and fix over the opening with scotch-tape. Make sure this is the side facing away from the light source.
4. If you place it in-front of the light source now you will begin to see the effect.
5. Next cut the polystyrene board to fit and secure under the light defuser plate - turn the light on so that you can get it level with the 5cm square cut out. ( I've used rolled tape to double sided, you can use double sided tape or prestic or wood glue also).
6. You should then be able to balance a slide on the mount block as indicated above.
Stabilizing the Slide Mount
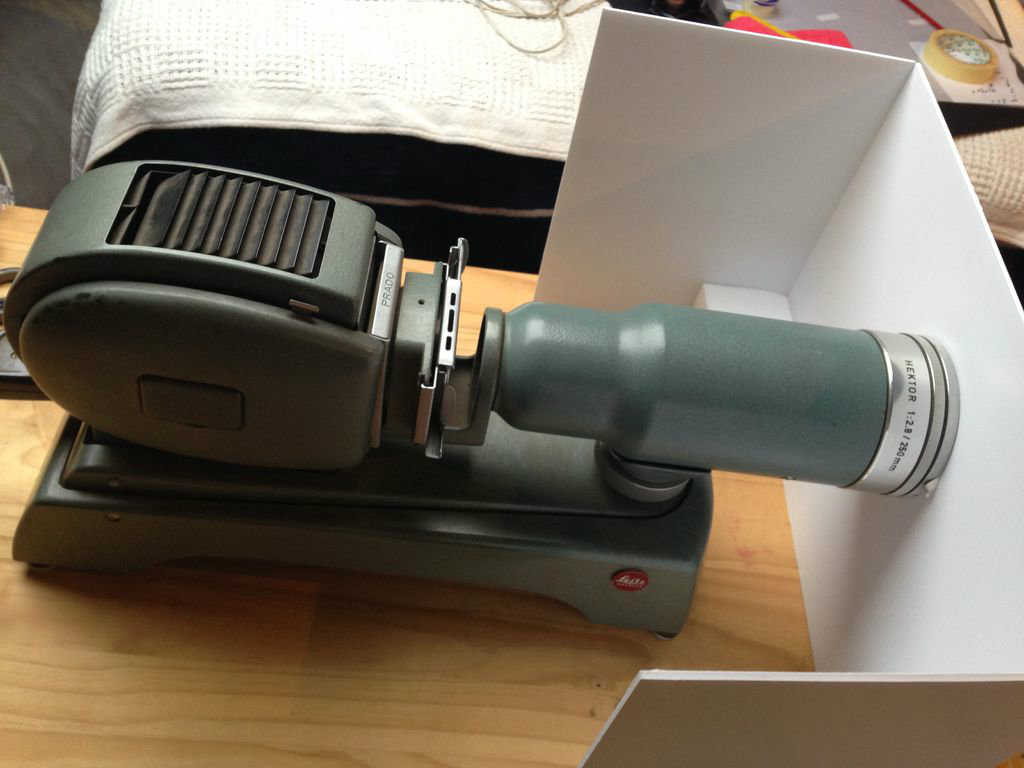
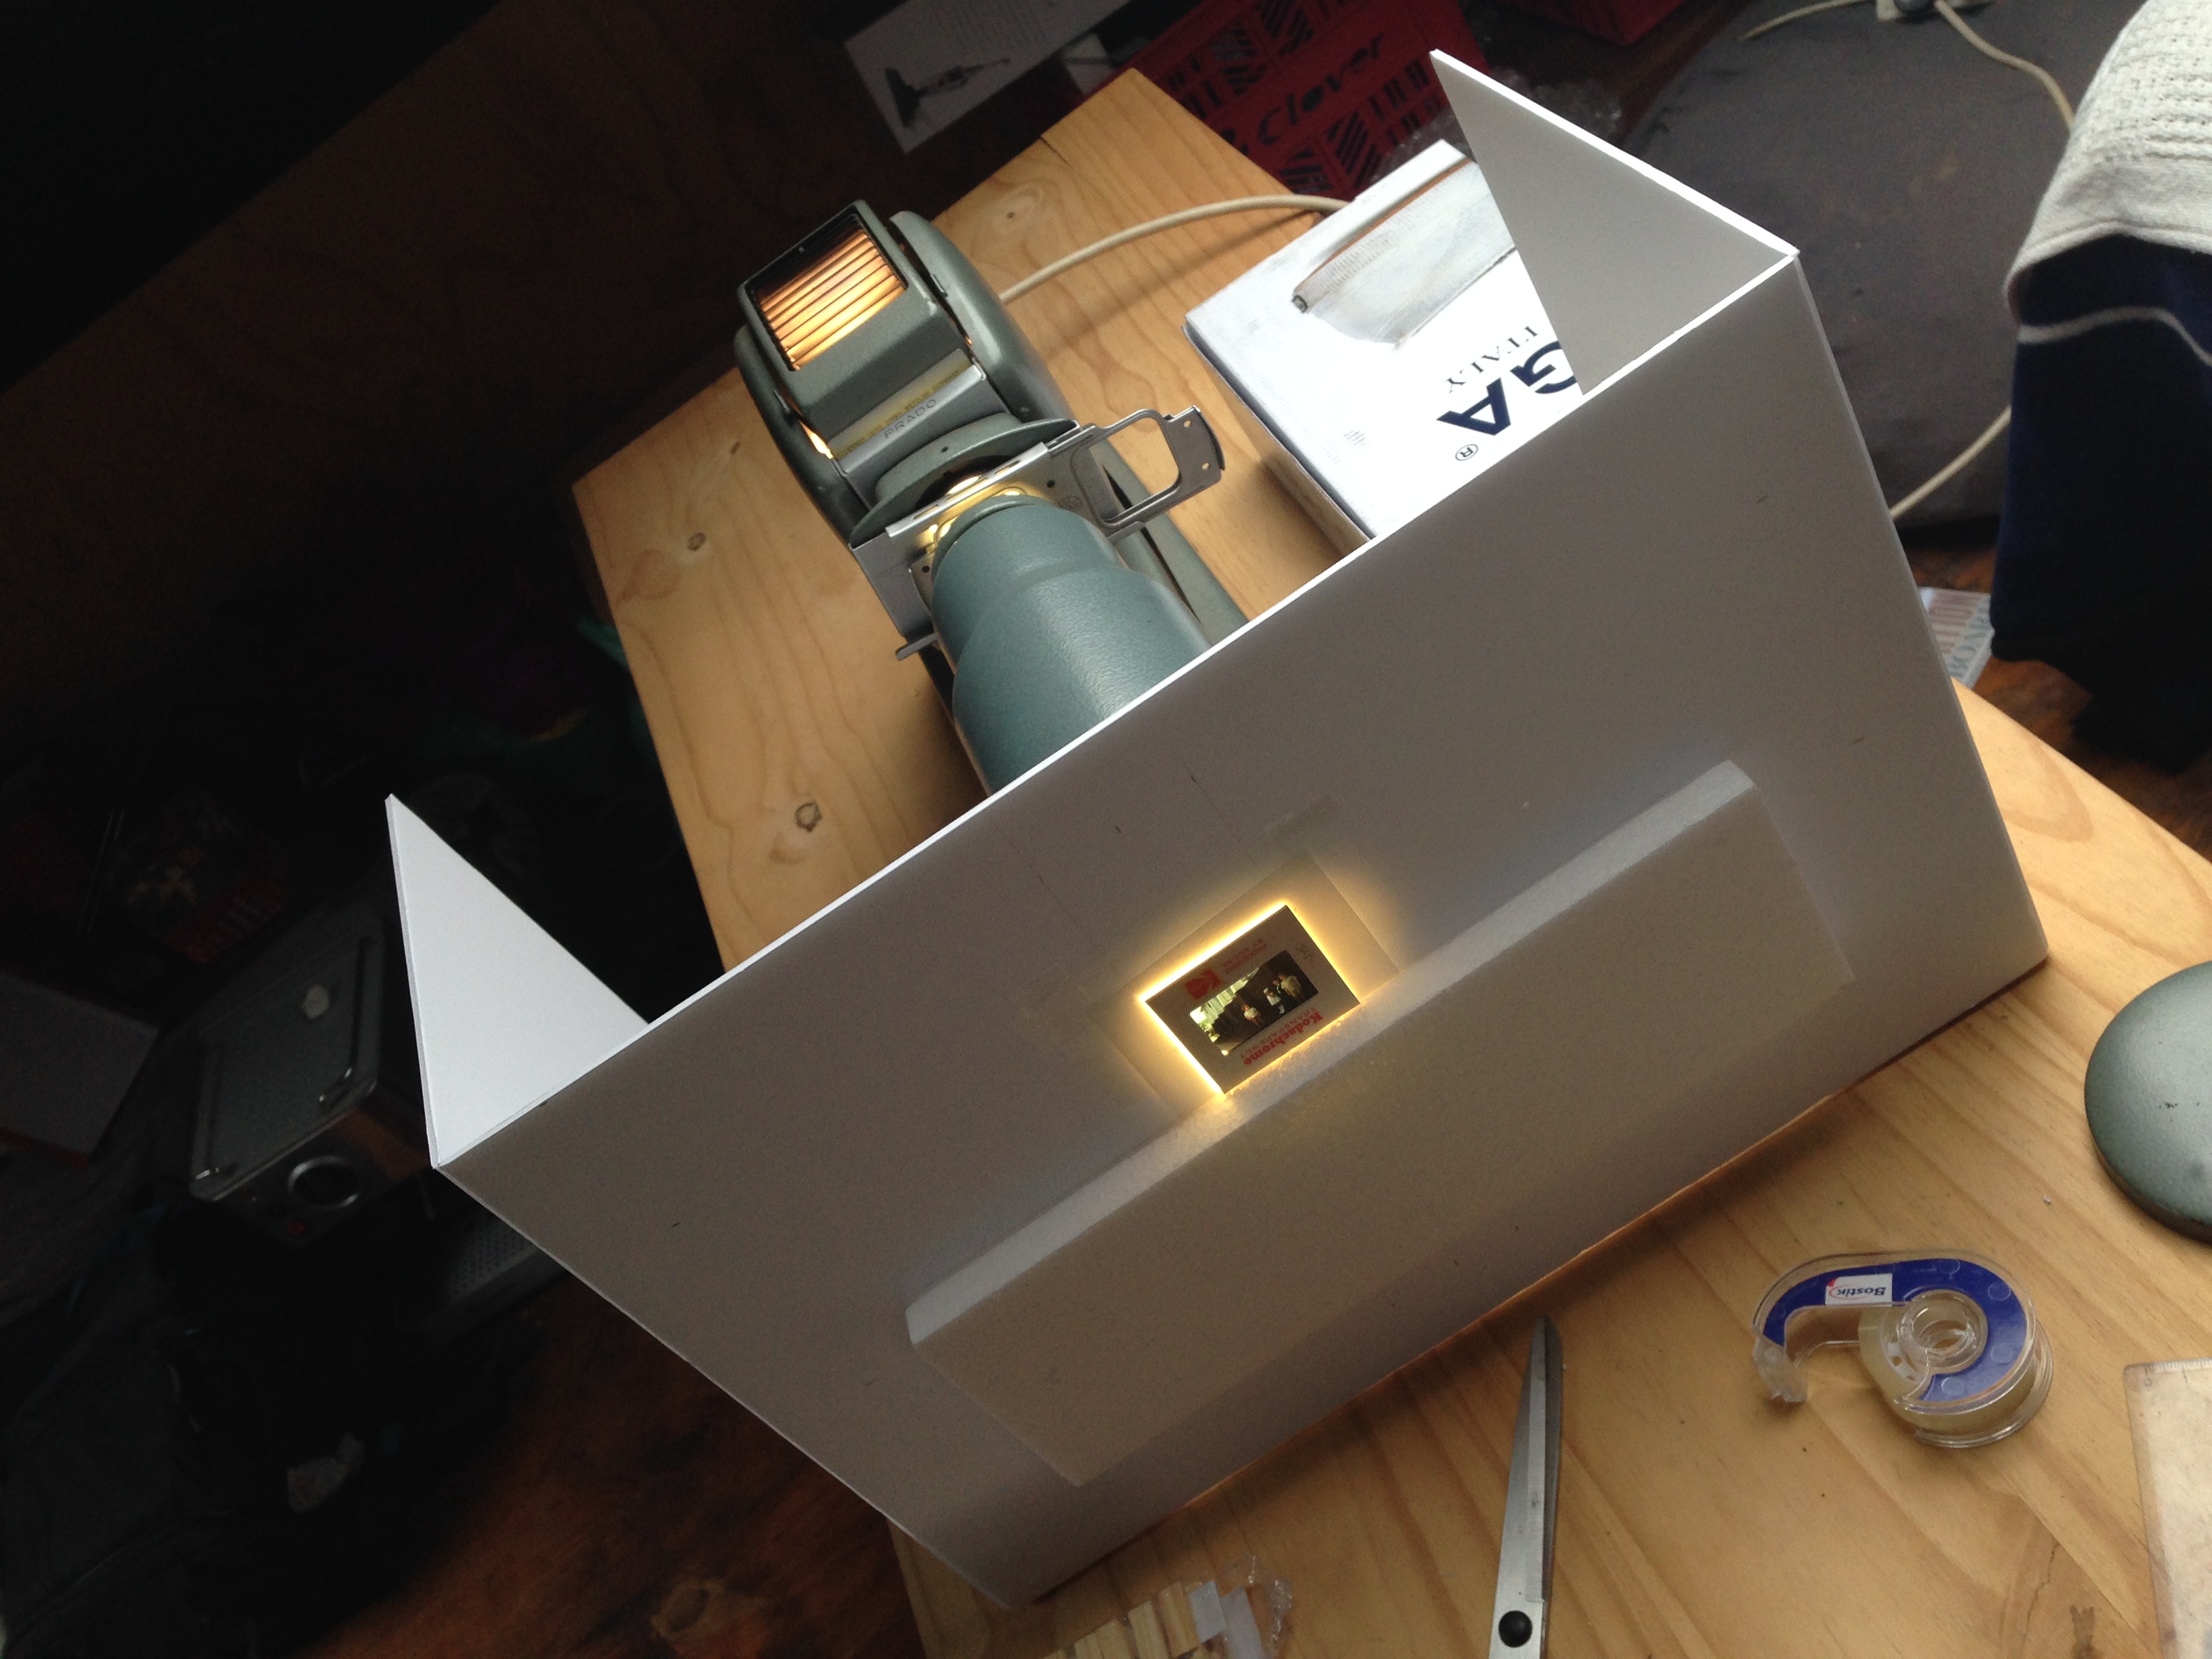
1. Take the 2 polystyere blocks , and secure at the base of the mounting board with the sides folded in, To get a good 90 degree angle i've used 7 x 7 cm blocks but anything close would also do.
2. Now move the mount against the light source.
Seting Up the Camera
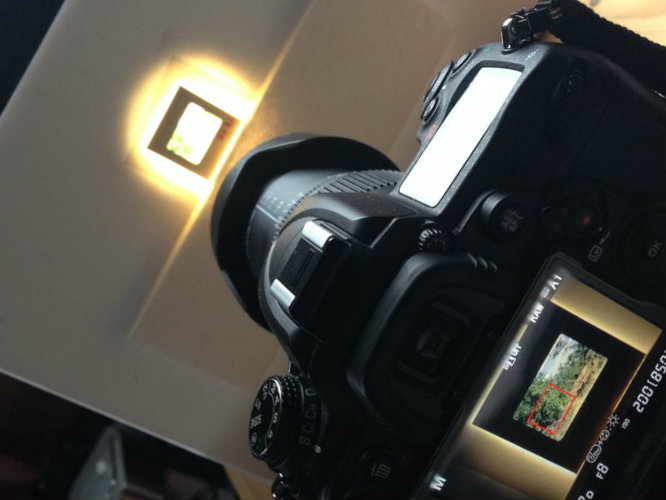
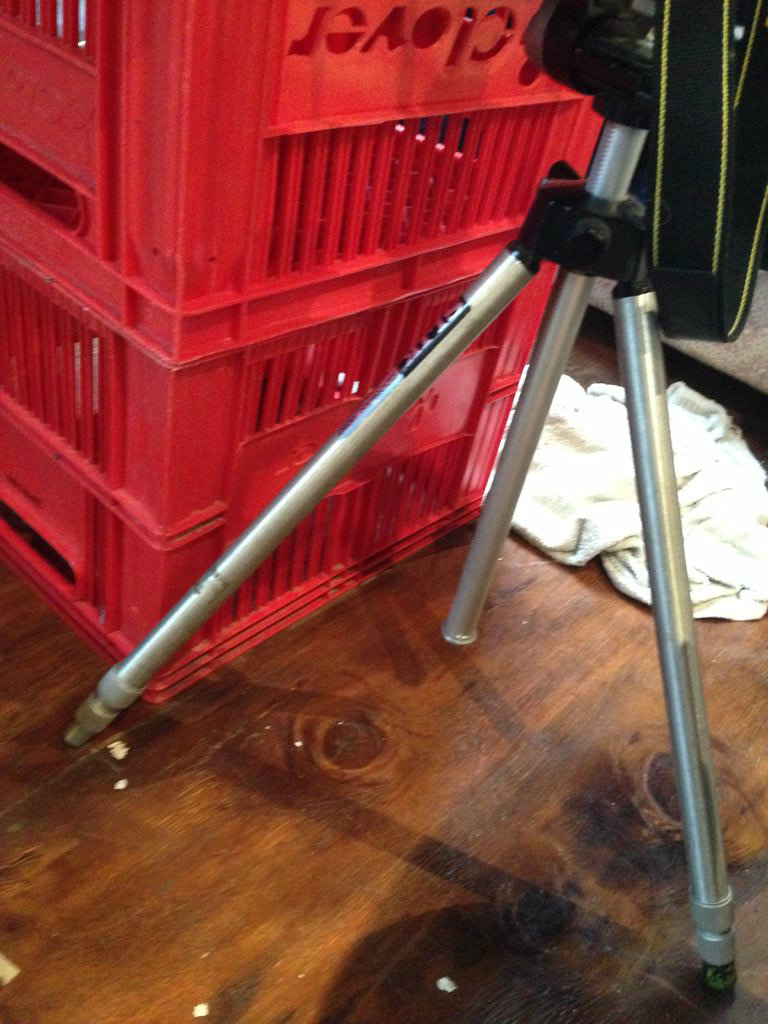
1. Place the slide mount on a stable surface. Bare in mind that you will need to sit behind the camera and move the sldes to make sure its at a good height for that.
2. Set up your tripod and affix your camera in place, ensure that everything is plum using the spirit levels found on most tripods.
3. Side your trip pod at 90 degrees to your table.
4. Zoom in an check the zoom length. Adjust until you have reached the maximum zoom your camera allows ( the better the zoom the better your images will turn out.
5. Set your camera to fully manual. and place a slide in font of the mount for testing.
6. Set your camera setting till the image appears as close to the original as possible. I've used shutter speed 325 and F stop 8.
7. You are now ready to begin your recording.
Editing Your Image
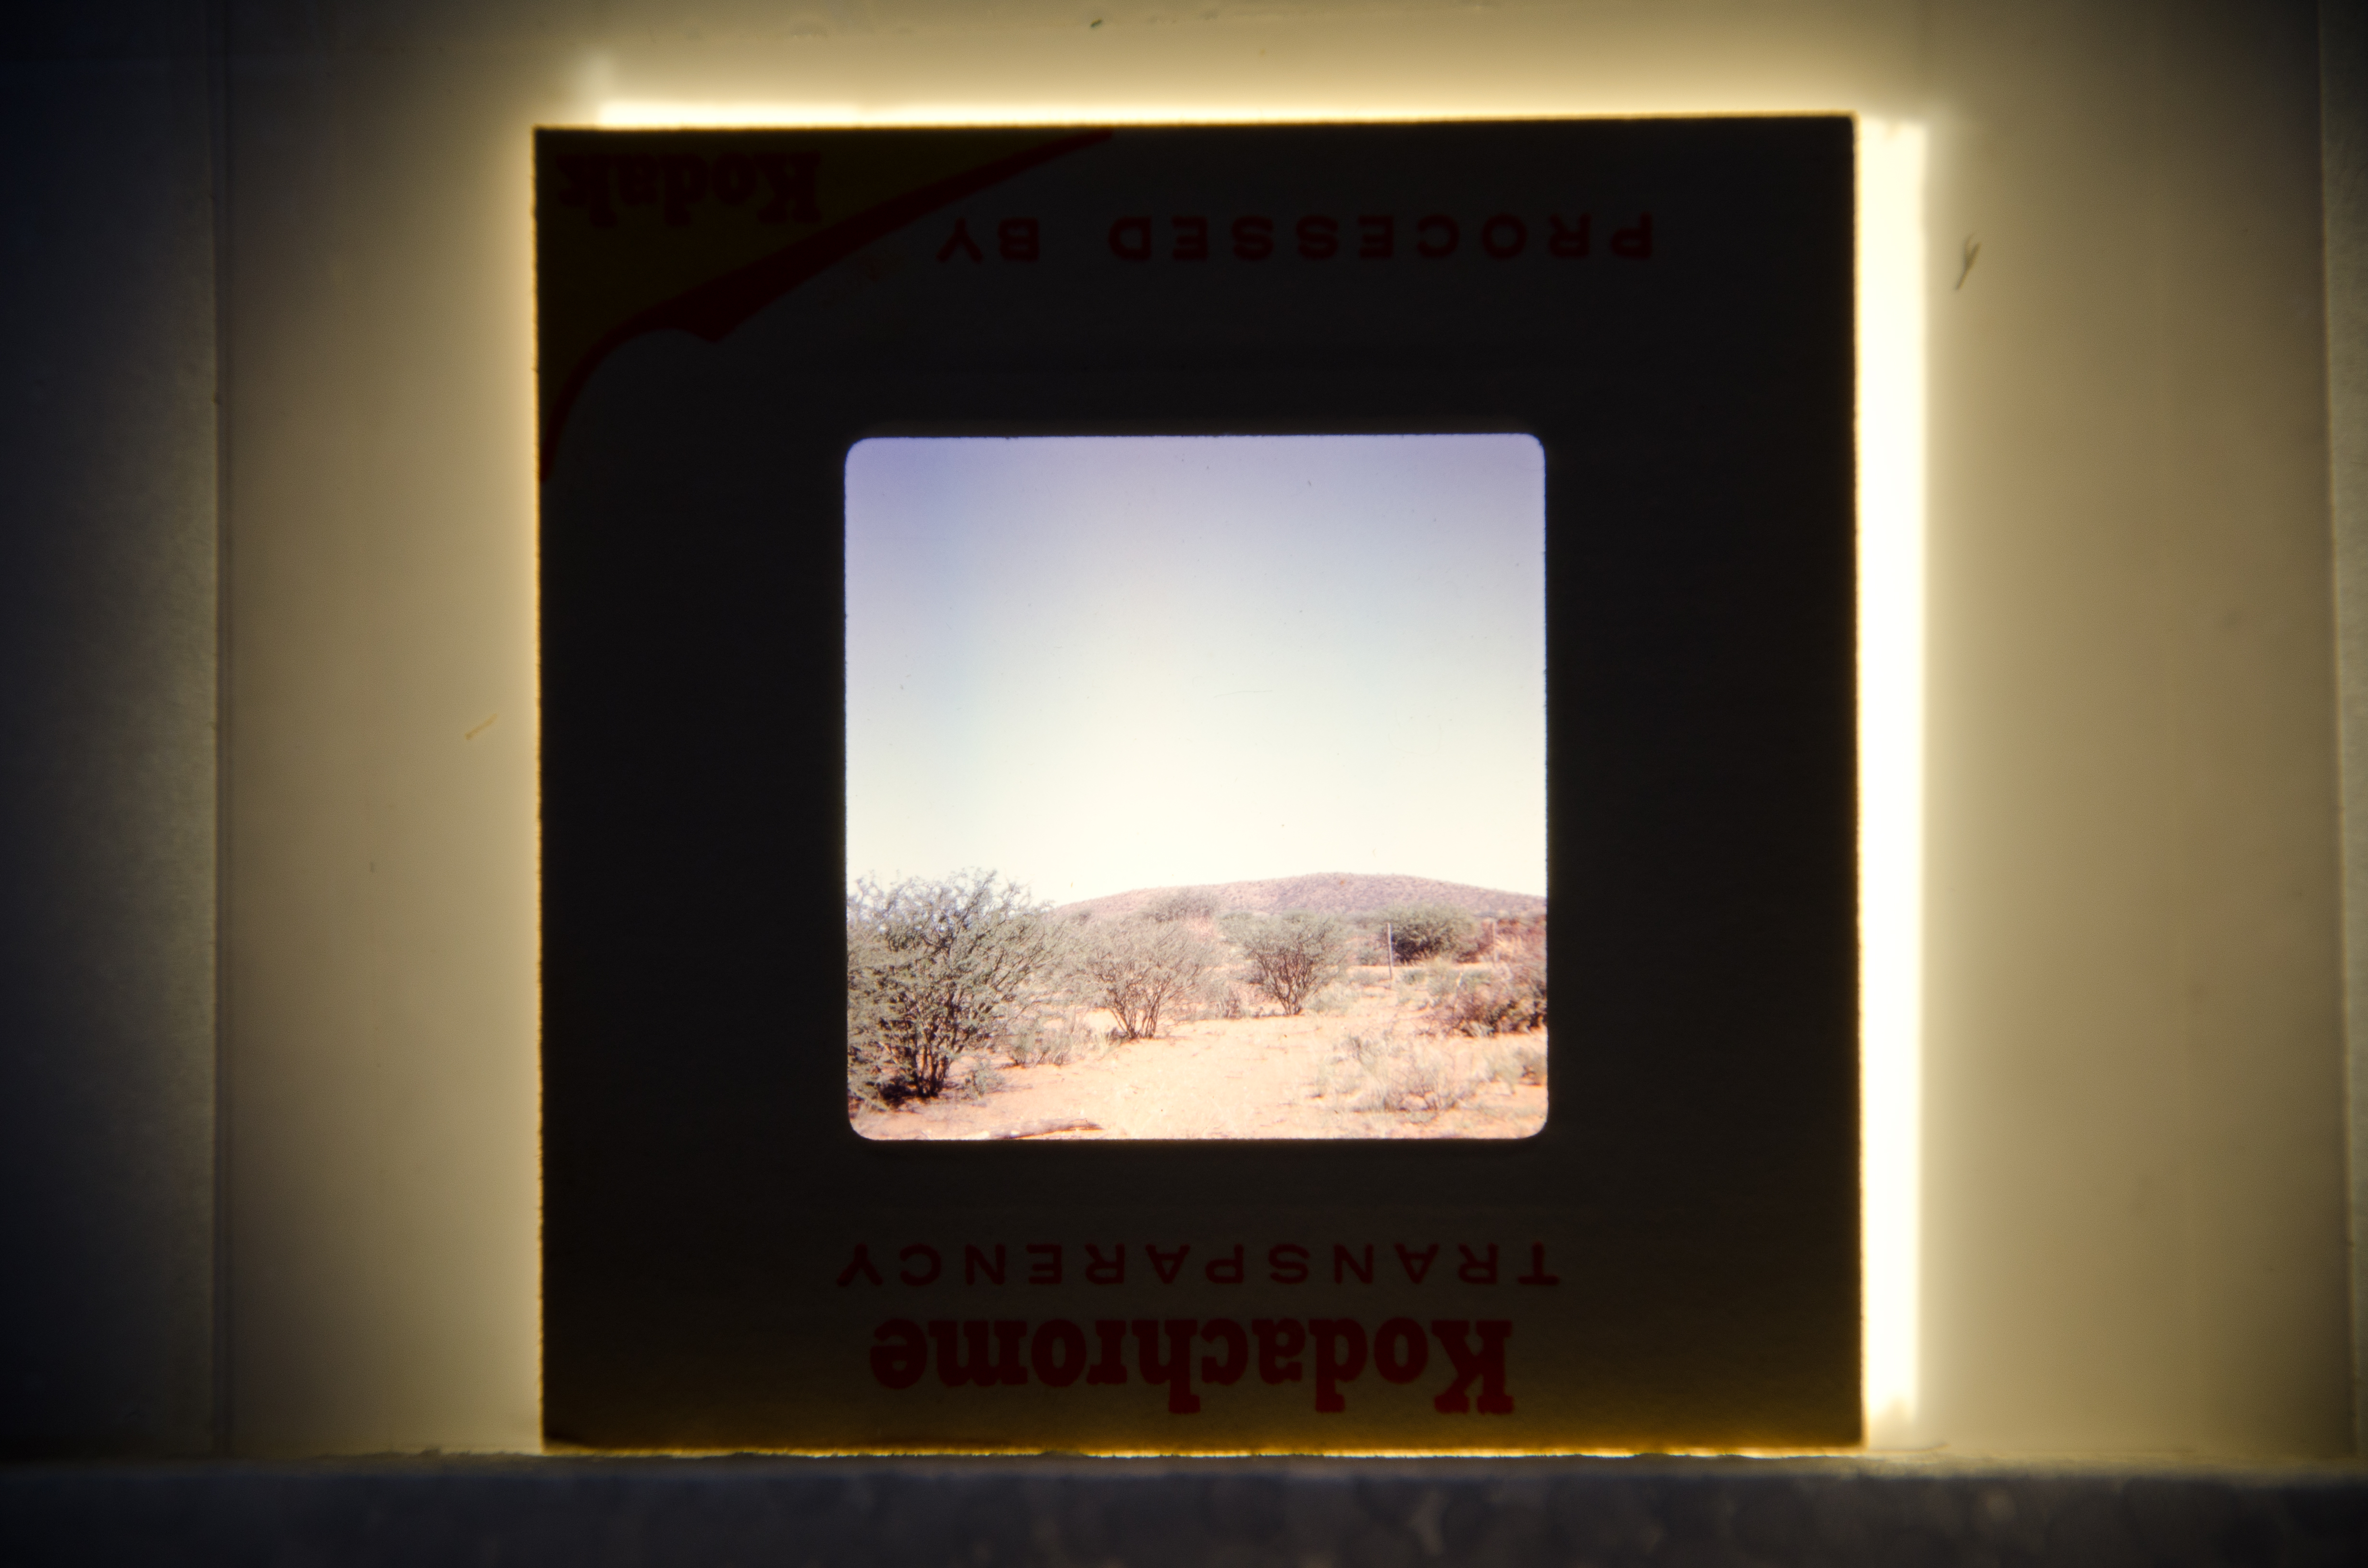
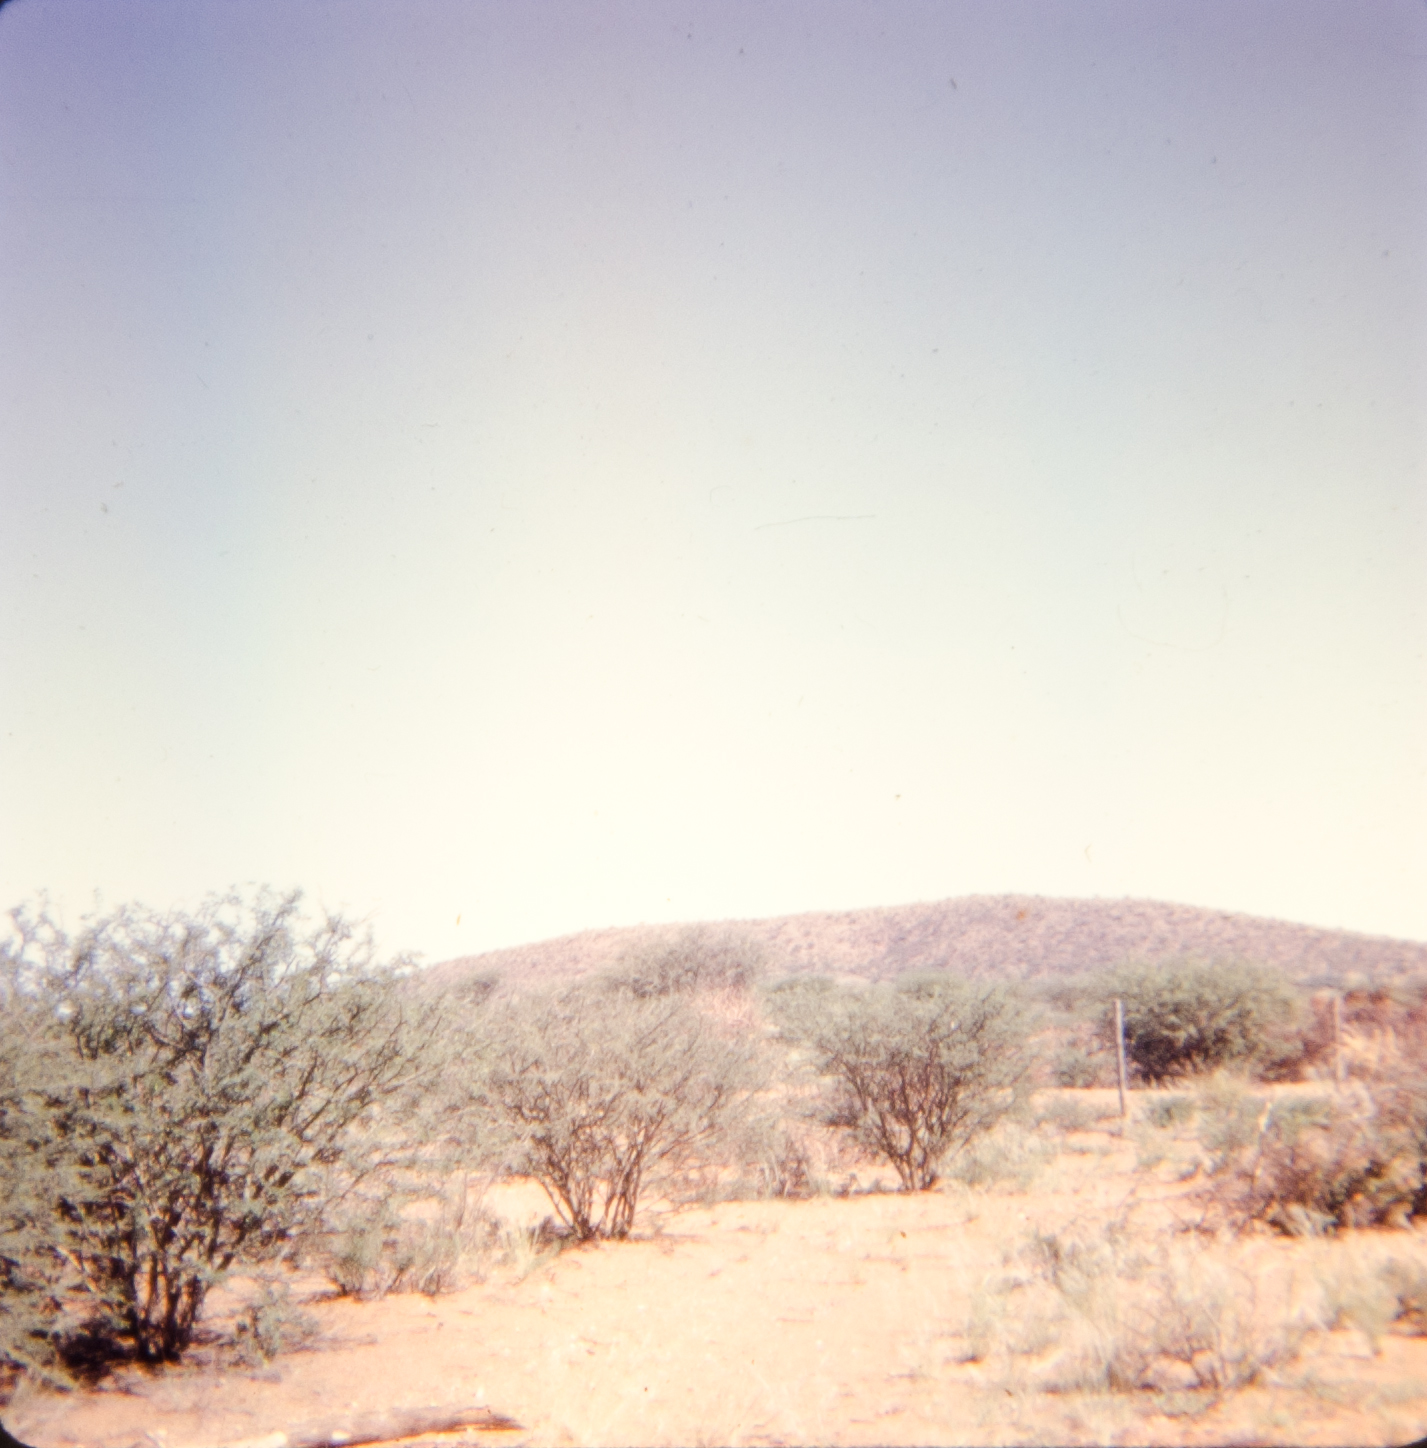
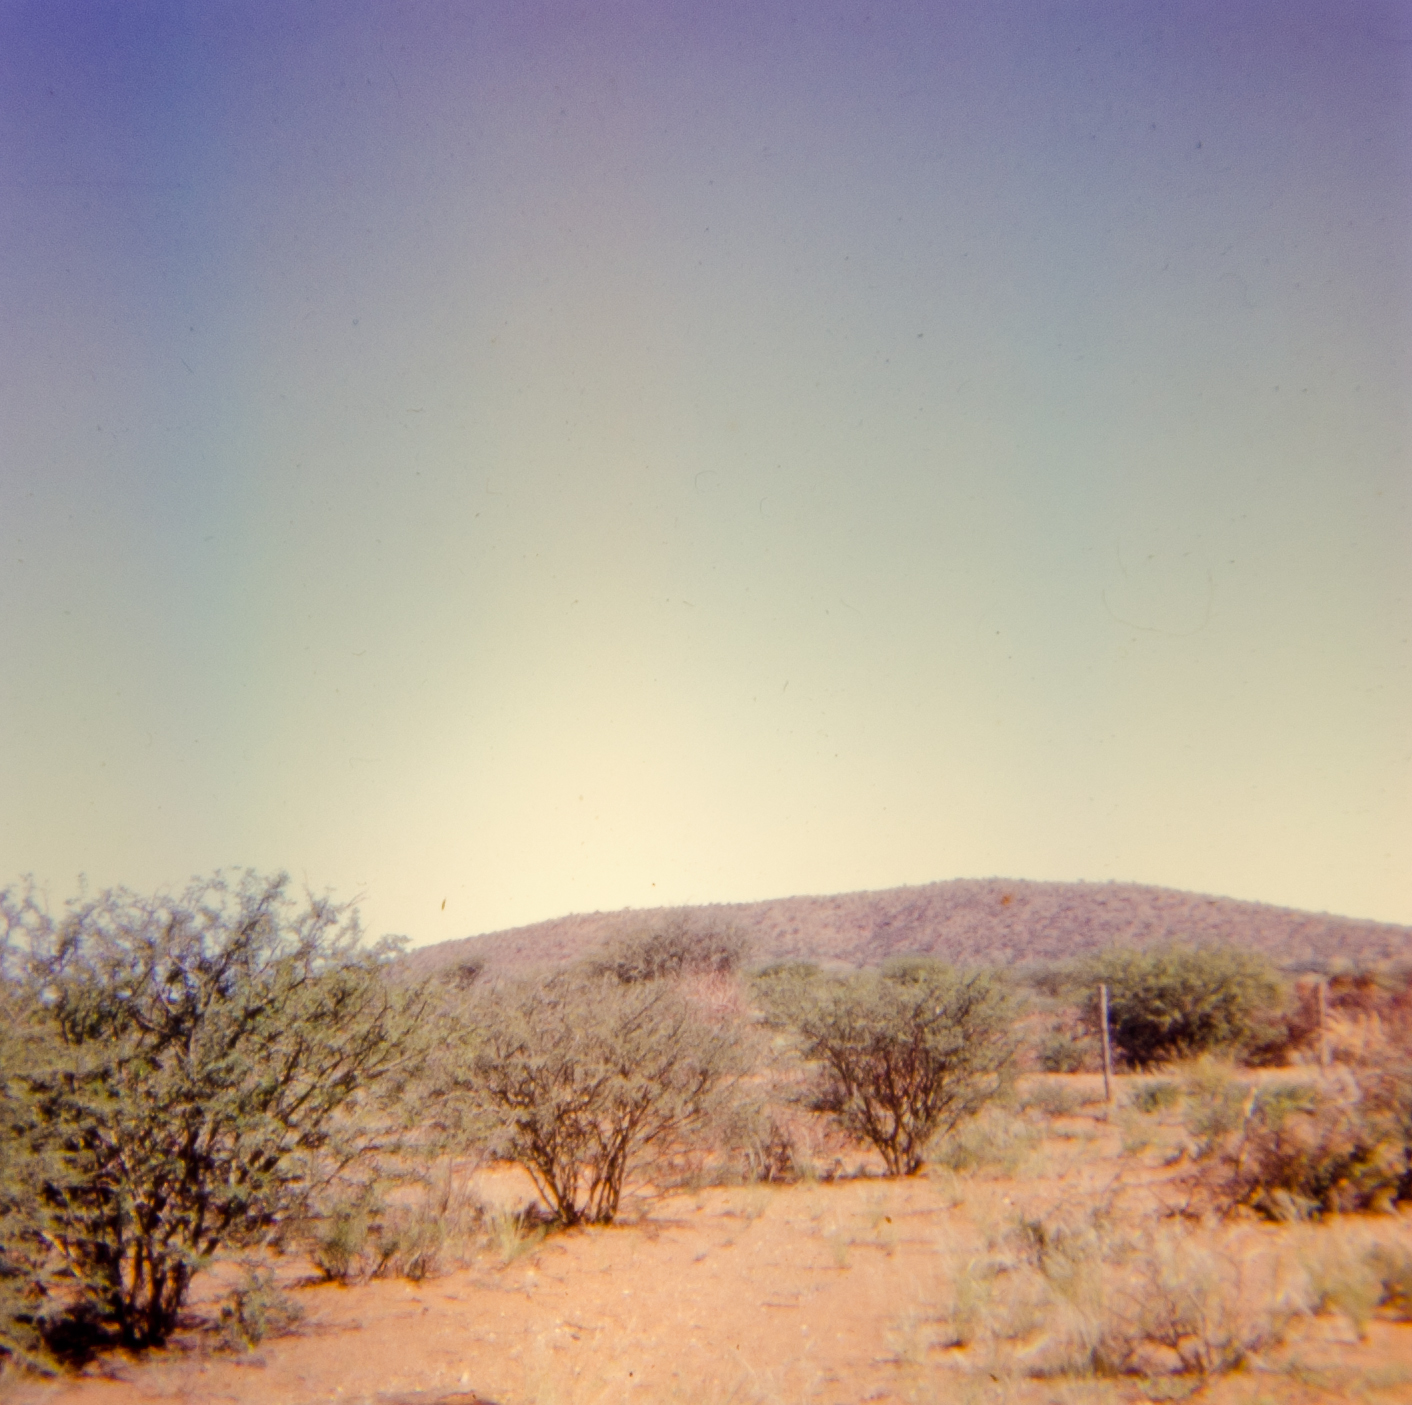
1. I used light room but you can use just about any photo editing software.
2. Import your images - and crop to full screen and adjust for sharpness, and color balance.
Example above using this method - As you can see from the full frame image above, I do not have a good macro camera lens. Luckily if you have a good sharp lens this is not a major problem. Image no.2 is the image cropped to the side mount size and final image in with minimal touch ups. My aim with this particular project has been to restore the images as close to their original as possible. couching up major dust spots, adjusting for color fade in the last 50 odd years since this shot was taken. Some of my others, have changed color over time and are displaying a red, purple or yellow tonation. As promised i'm going to look at some adjustment techniques and do an intractable specifically on using light room / or adobe.
hope this was helpfull. Have fun everyone.
Usefull Tips
1. Clean dust off your slides before you start with with clean water and a soft cloth or tissue. For cleaner and less dusty final images.
2. Use a low wattage light source - 5 watts or less and use a warm bulb. to get the best natural light results.