Converting an Image Into 3D Shape in SelfCAD 2.0
by Sammy50 in Workshop > 3D Printing
2004 Views, 4 Favorites, 0 Comments
Converting an Image Into 3D Shape in SelfCAD 2.0
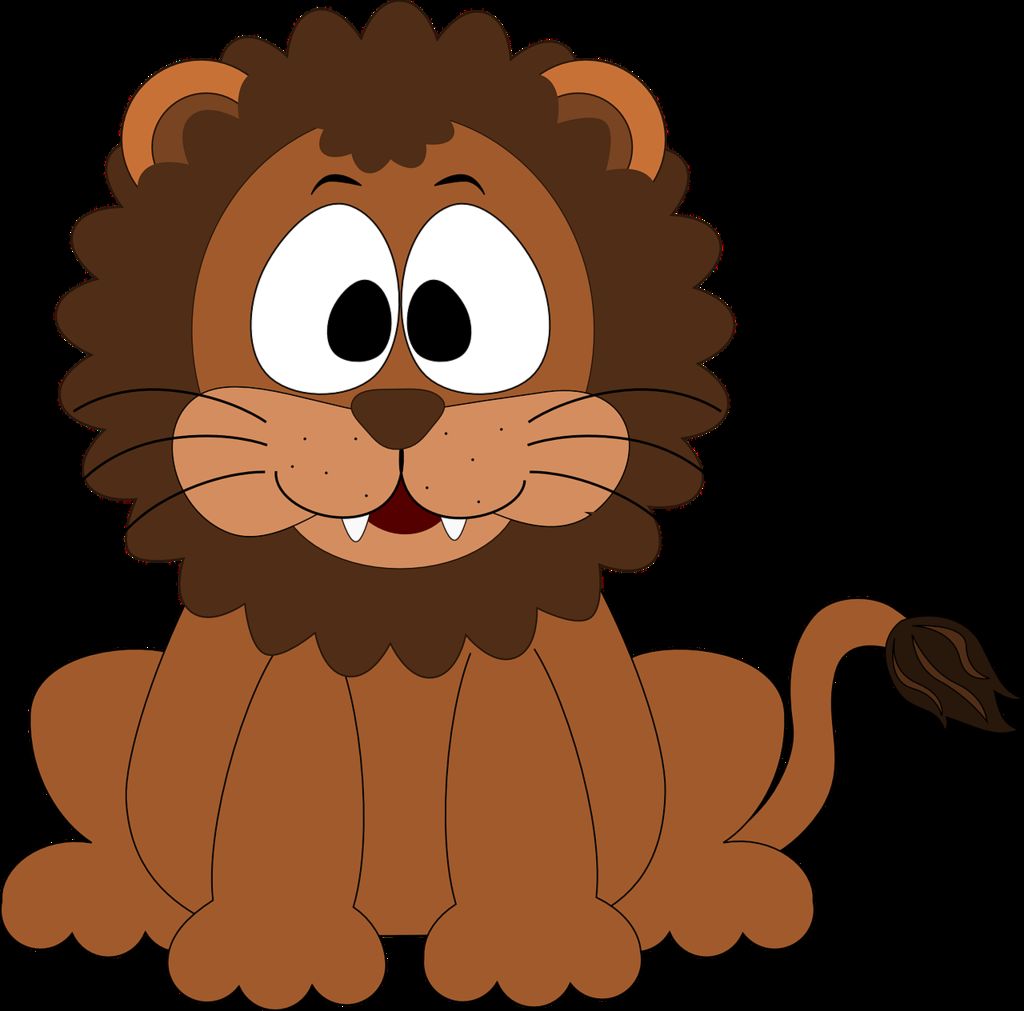
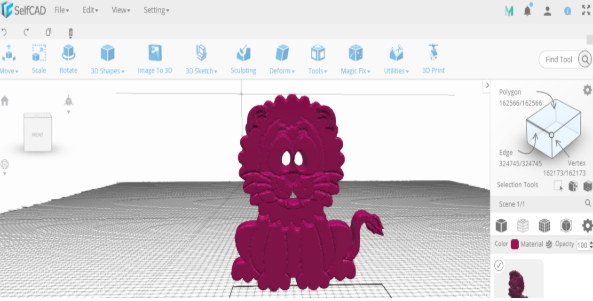
When you are having fun and you take nice pictures of yourself, have you ever thought to yourself, “ How can I 3D print it?” If you have a picture that you want to turn into a 3D model and 3D print we have good news for you! That is, you can easily turn any picture into a 3D model easily using the Image Generator Tool of SelfCAD.
In this instructable, we are going to learn how to turn the image of a lion into a 3D model. Let’s get started!
Requirements
The following are required to turn an image into 3D shape.
i) SelfCAD Software: Visit https://www.selfcad.com to access program and sign up for a 10-day free account if you do not have an account and later on you will be paying $5/m. If you have already signed up, click Launch to launch the editor. ii)Choose the image to turn into 3D Model. iii)Prepare your 3D Printer-But if you don’t have a 3D printer, you can choose from the many online 3D printing services like sculpteo.com iv) Prepare a 3D printing material-You can learn more about 3d printing materials on our blog. i) Image Generator- This is the main tool that we will be using to convert the image into 3D Shape.
Start Modeling
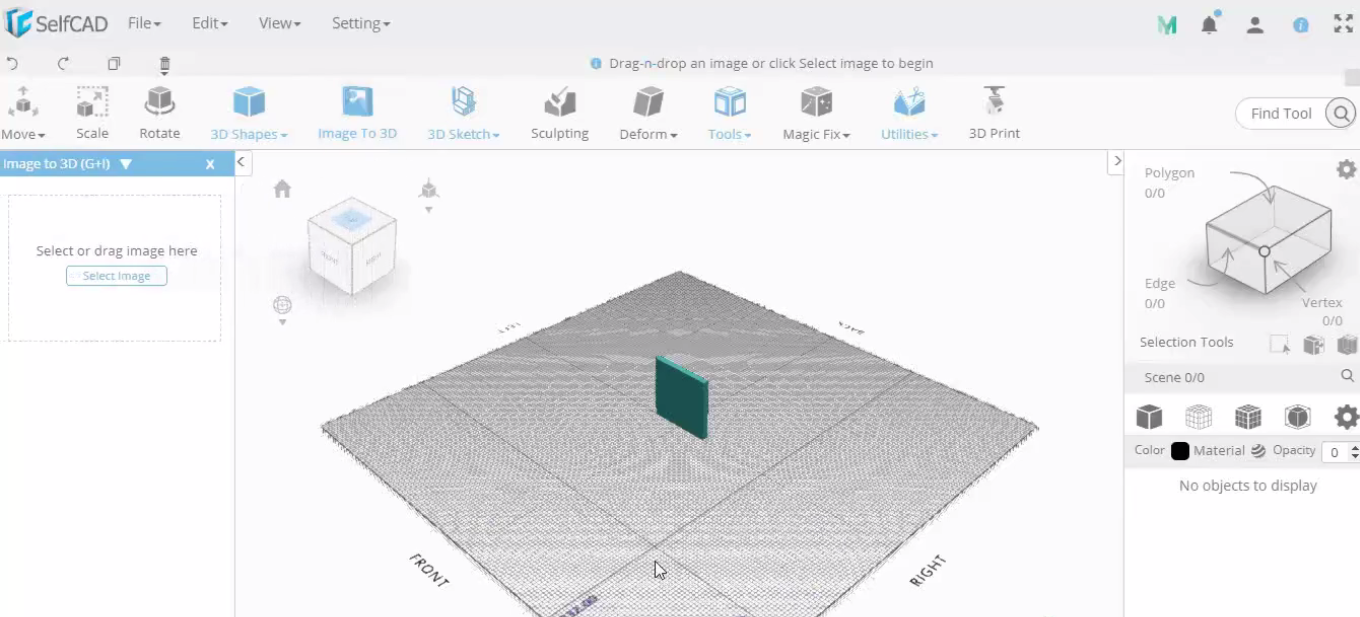
Once you have logged into SelfCAD, launch the editor and select the image generator tool from the toolbar.
Click Select the image.
Further Transformation of the Model
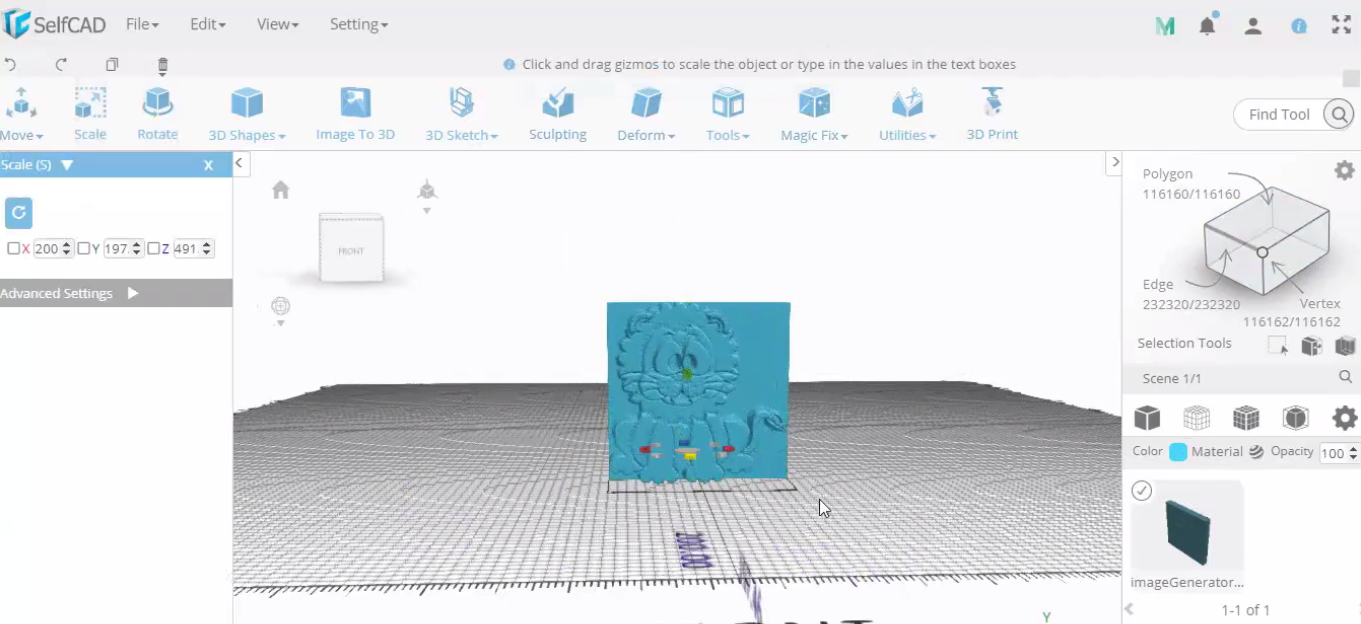
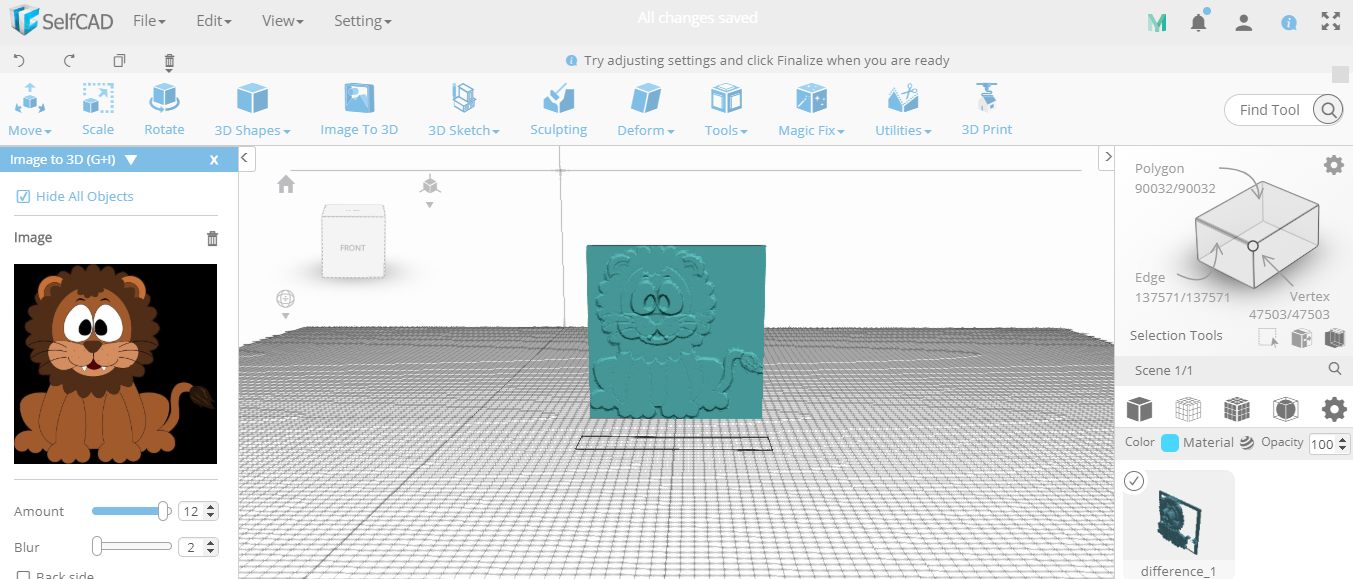
After this, to 14 set the amount settings to 14. Amount slider allows you to either emboss or engrave by a certain value. For this type of image, we used 14 so that it's easy to cut it out later. Keep the blur settings to the minimum so that all the details of the image may be well visible. And if you need to make the image smoother, make blur settings more than one. I will not check Backside because I want the backside to be smoother.
Then click finalize.
Select the Scale tool and start scaling the object so that the image of the lion may be more visible, as shown above.
After the image of the lion is well visible, it’s now the time to extract it from the image generator.
Cutting Out the Shape and Making It Printable
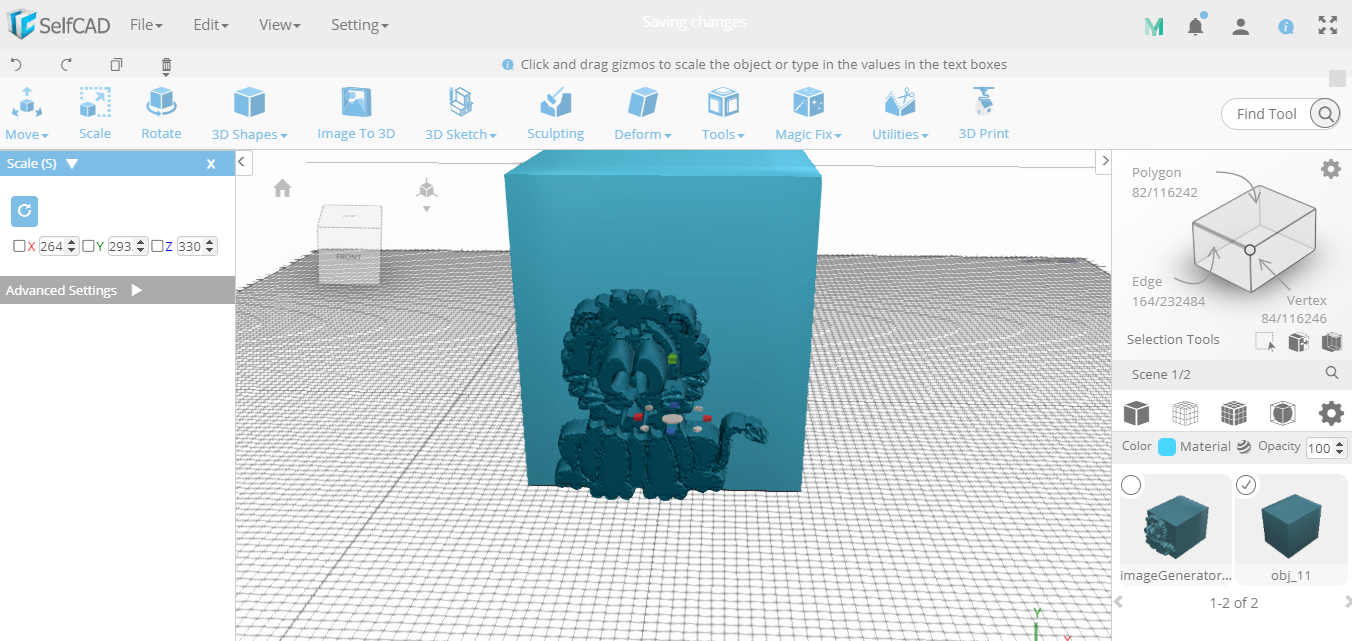
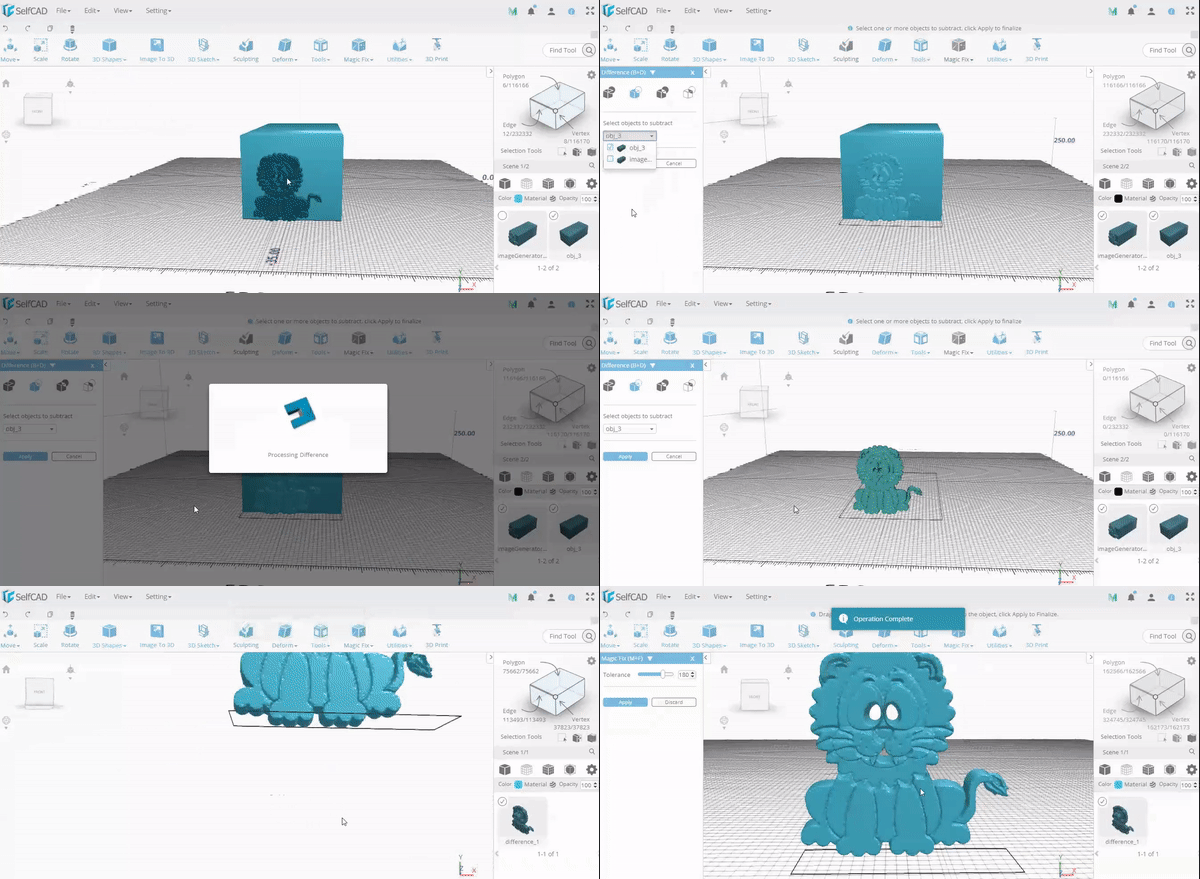
Select a cube from the basic shapes and scale it to fit the image generator. section but exclude the section for the image as shown above in the first and second image.
Click on stitch and scoop tools from the Tools section of the top panel. Select Difference.
Select the Cube in the Select objects to subtract drop down. Click Apply. And the model is ready! Now it's not yet printable, but no worries, that's what Magic fix is for.
Making the Model Printable
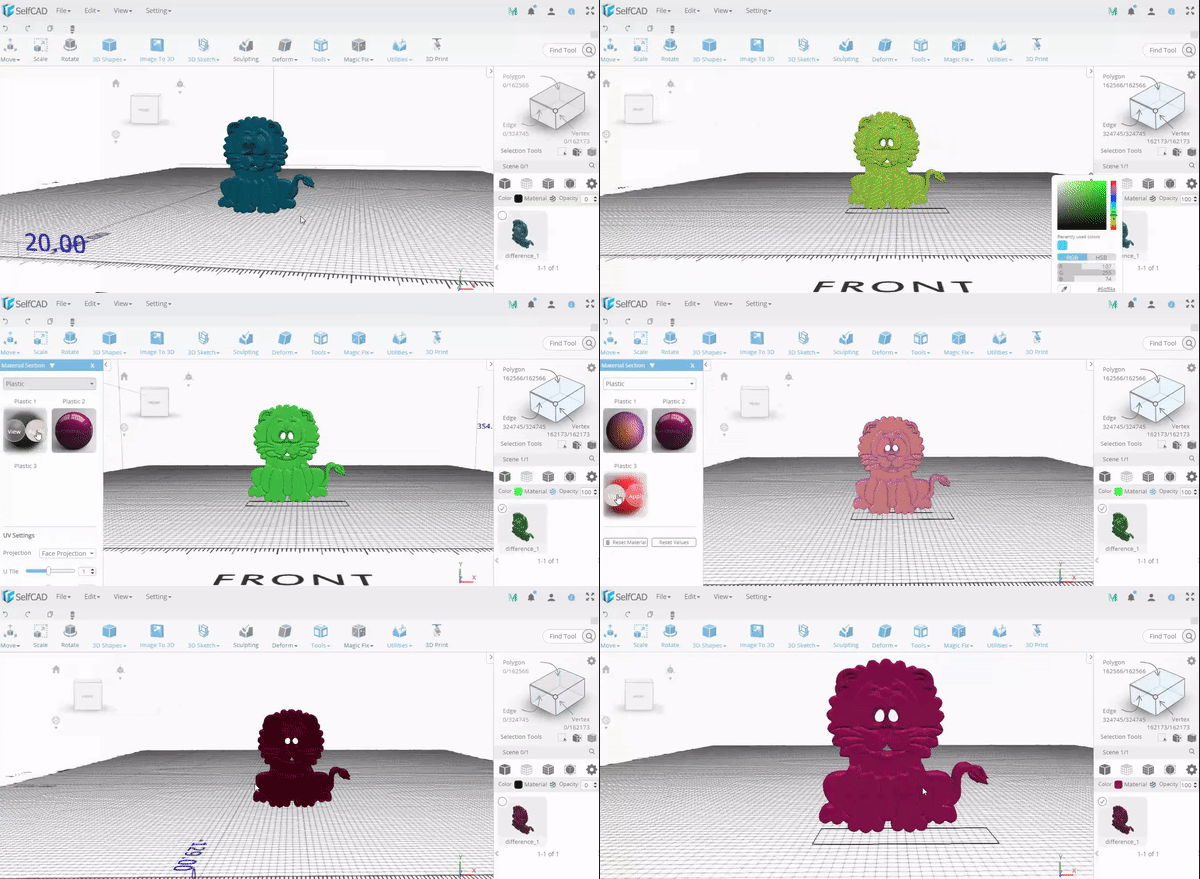
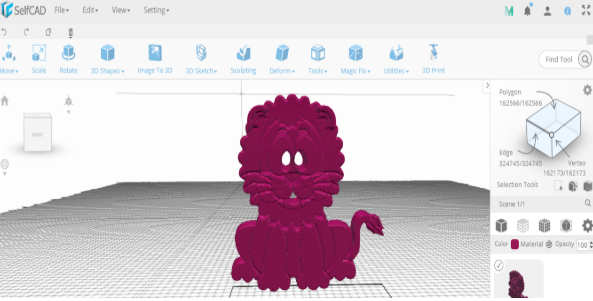
Select the Magix fix tool in the Tools section and click Apply. If you want to see what it does, turn on the wireframe mode in the Scene panel. Our object is now ready for 3D Printing! You can also change the color and the material of the model using the Color and material option found on the left section of the worInace. For my case, I changed the color to red and material to plastic as shown above.
Try yourself today and enjoy creating with SelfCAD!