Convert Paper Into Smartphone Control Paper Airplane
by Next Builder DIY in Circuits > Electronics
10488 Views, 84 Favorites, 0 Comments
Convert Paper Into Smartphone Control Paper Airplane
Hello Friends, welcome back in my new Instructables. Today I'm going to show you that how you can convert any simple paper into smartphone control wifi based paper Airplane. In your Childhood, you must have made a paper plan and blown it away. This is also something similar but with a new technology. For that I'm using Powerup 4.0 paper plane kit.
The PowerUp 4.0 is a smartphone-controlled paper airplane kit that enhances traditional paper planes with modern technology. It features a lightweight, Bluetooth-enabled module that attaches to a paper plane, allowing users to control flight via a mobile app. The kit includes a motor and propeller system, as well as advanced sensors for improved stability and maneuverability. It offers various flight modes and the ability to perform aerobatic stunts, making it a fun and educational tool for aviation enthusiasts of all ages.
If you are planning to build a similar one then follow the steps;)
Supplies
Required Tools
- Paper Tape
- Scale
- Scissors
Unboxing
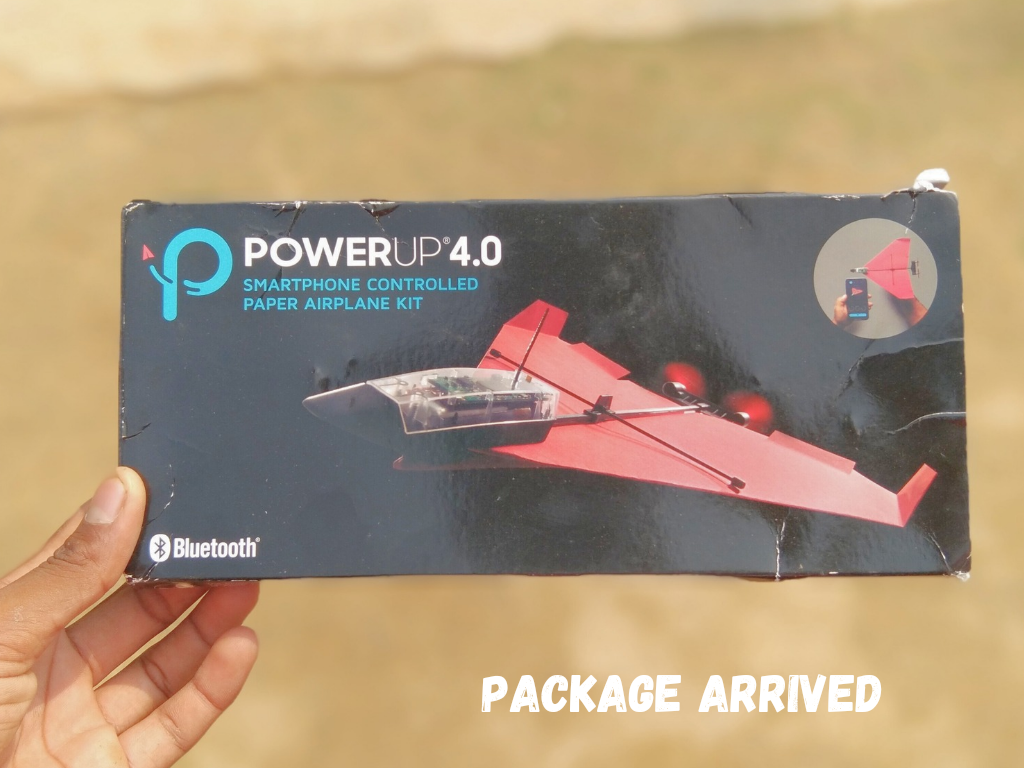
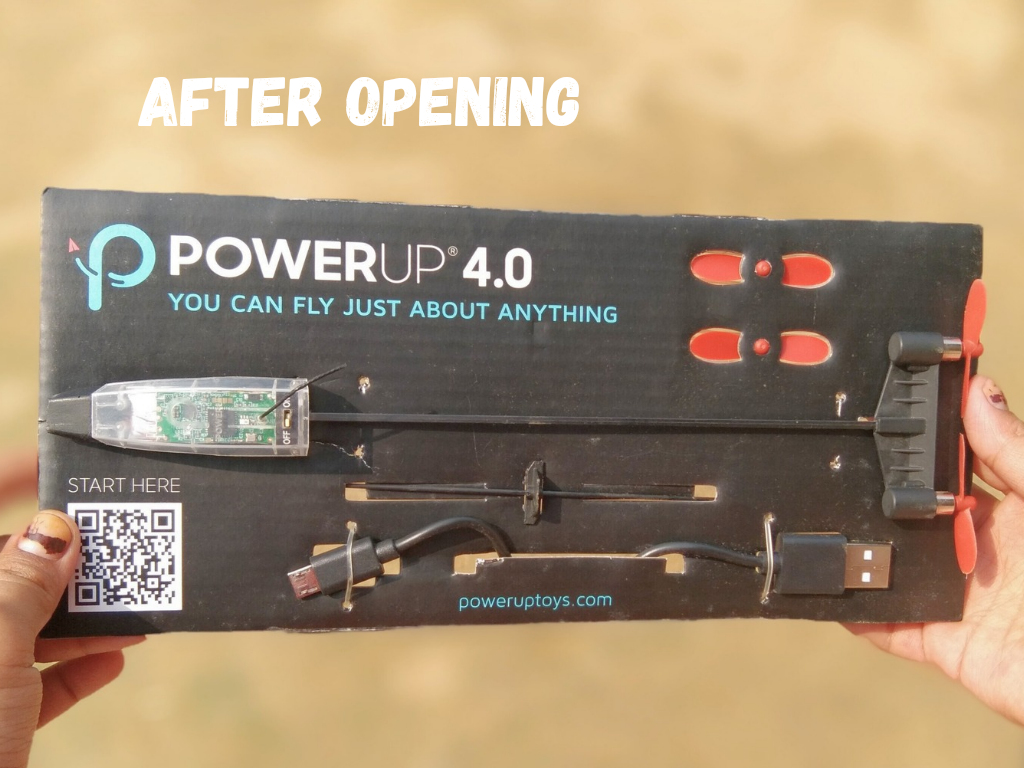
Recently I received a courier from Powerup Toys, while unboxing I got;)
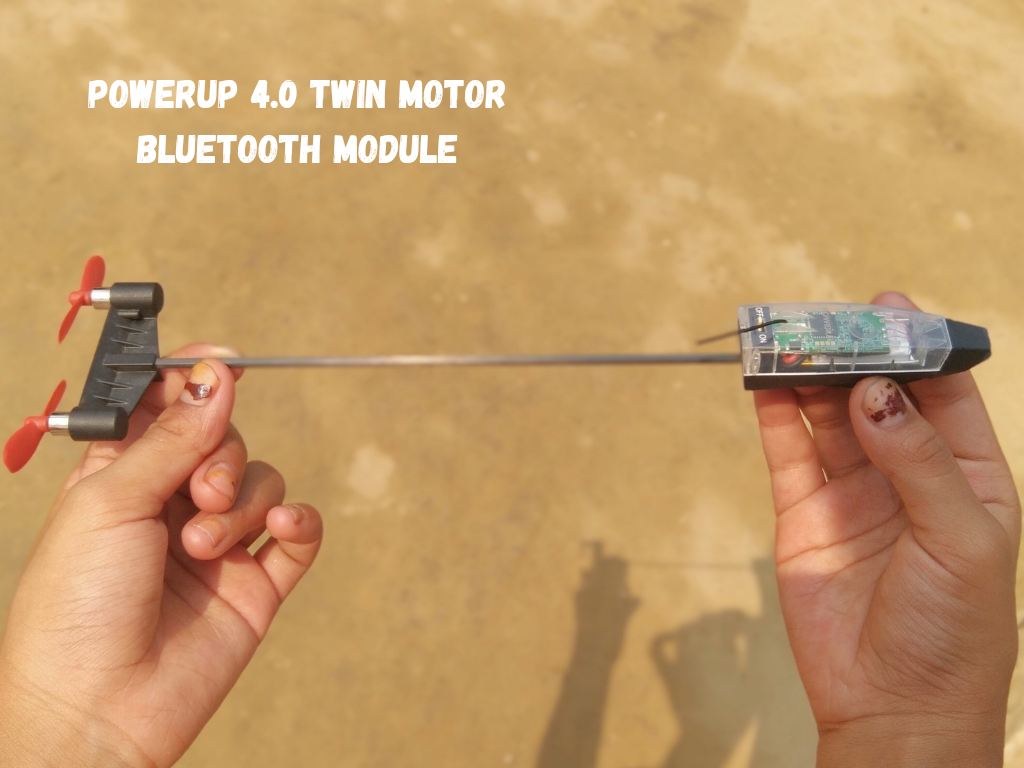
- POWERUP 4.0 twin motor bluetooth module
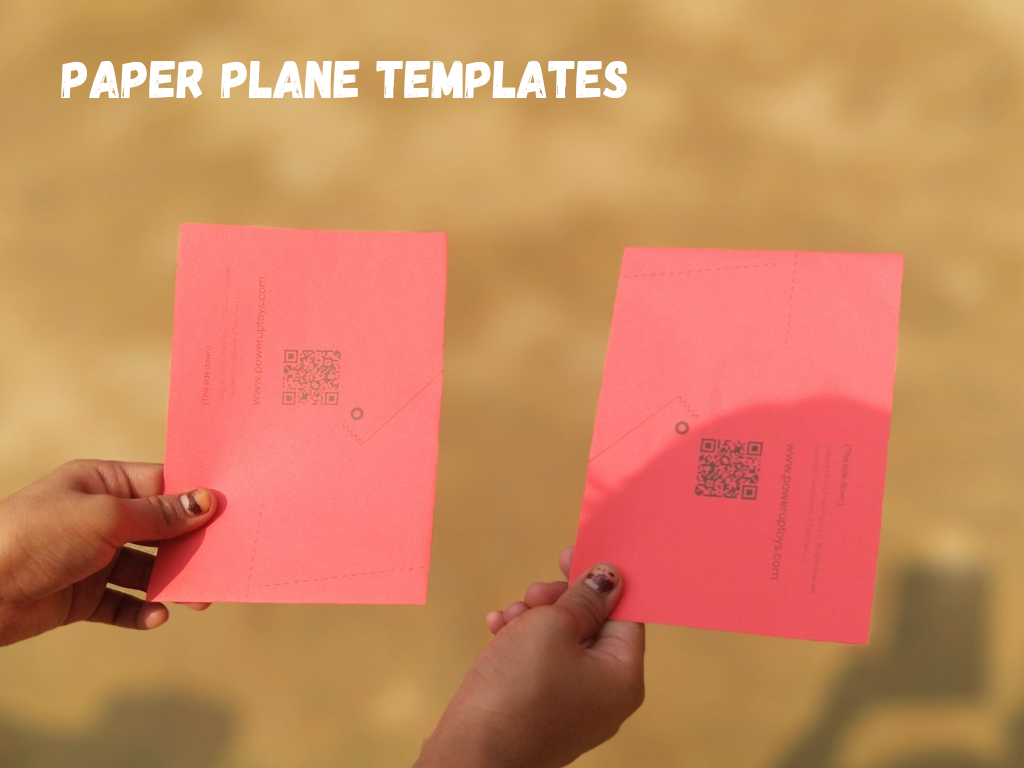
- Paper Plane Templates
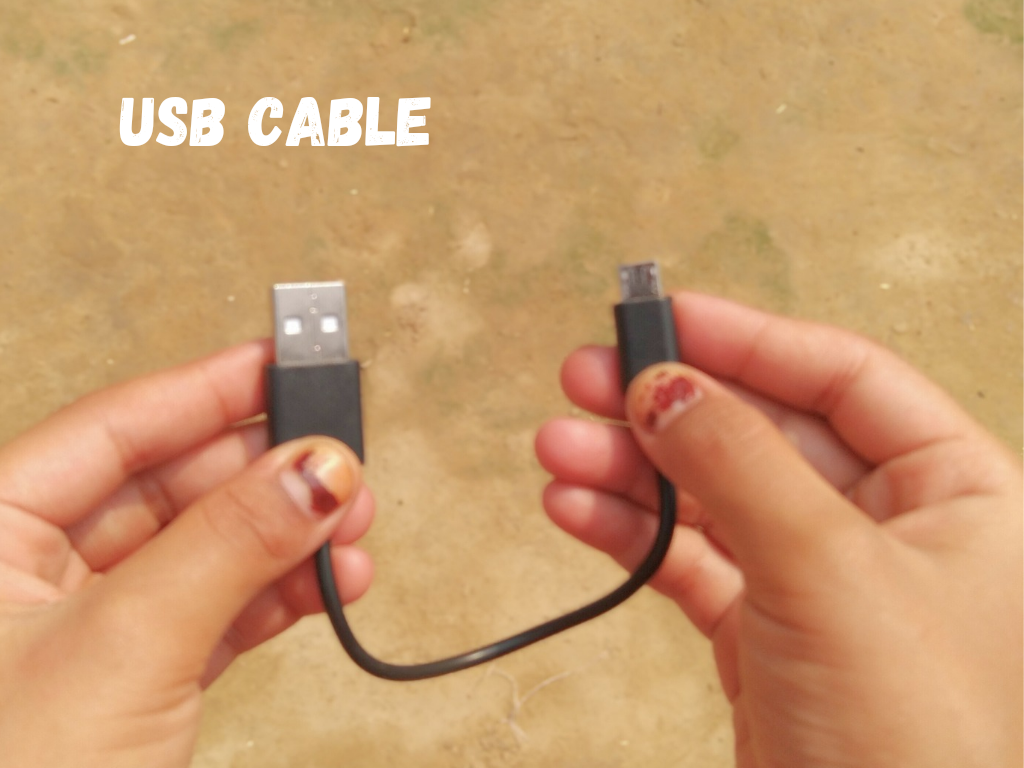
- Micro USB charging cable
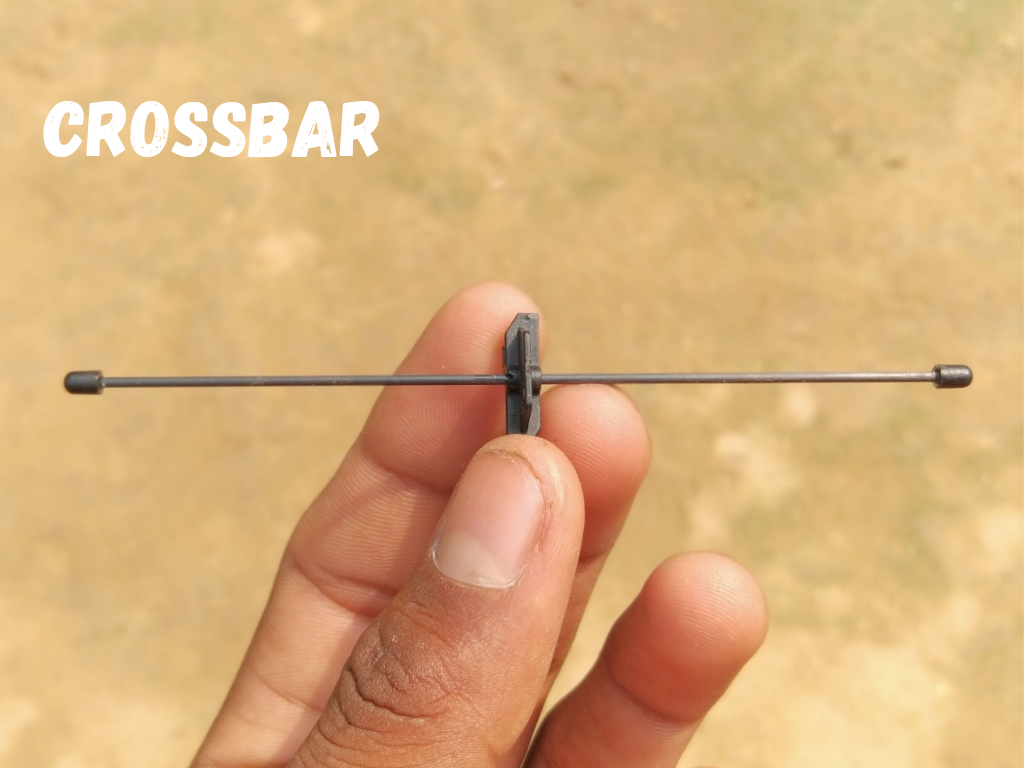
- Crossbar
- Spare Propeller Set
- Trim Card
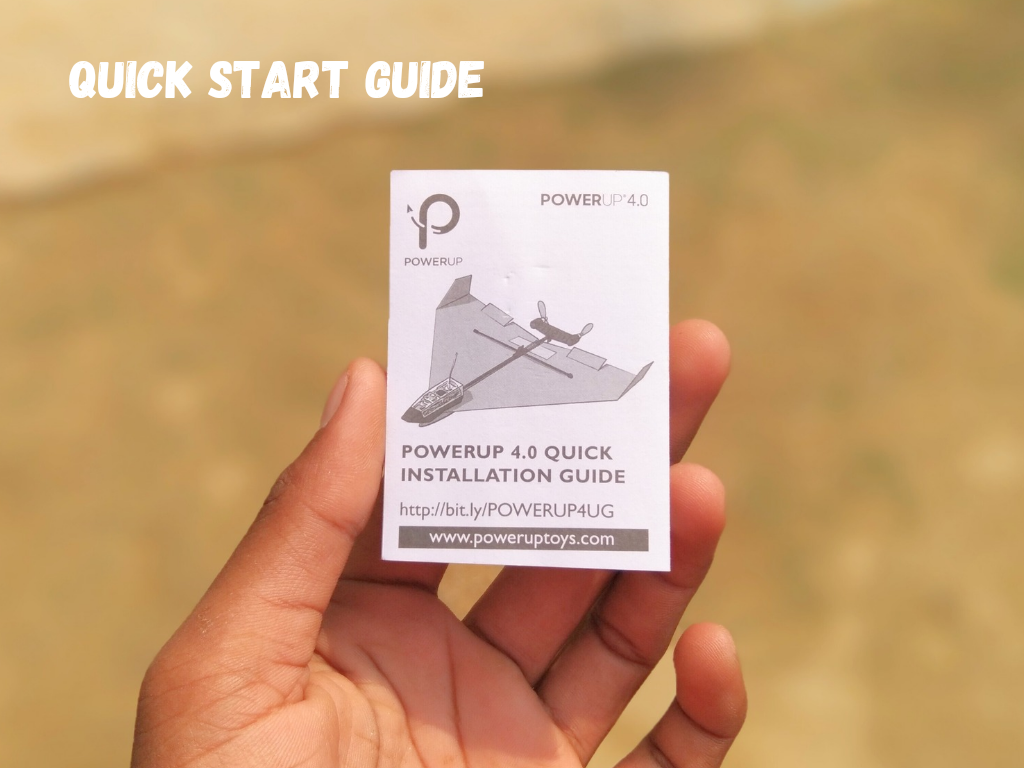
- Quick Start User Manual
Move on further step & Fold The Paper
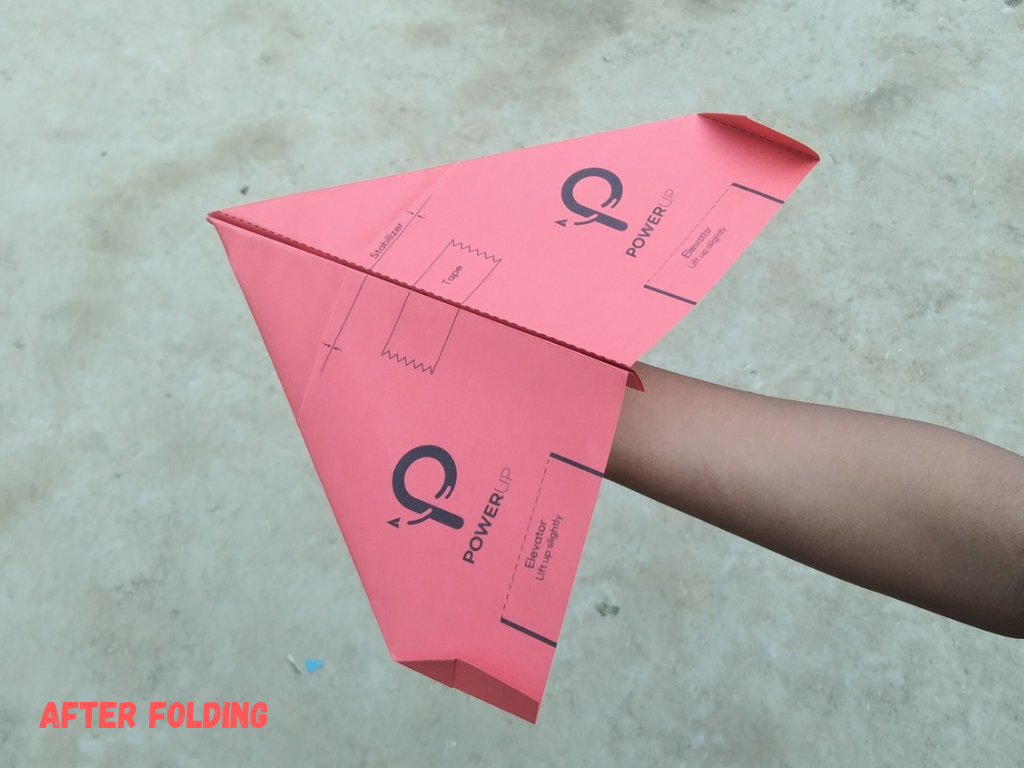
Folding Paper
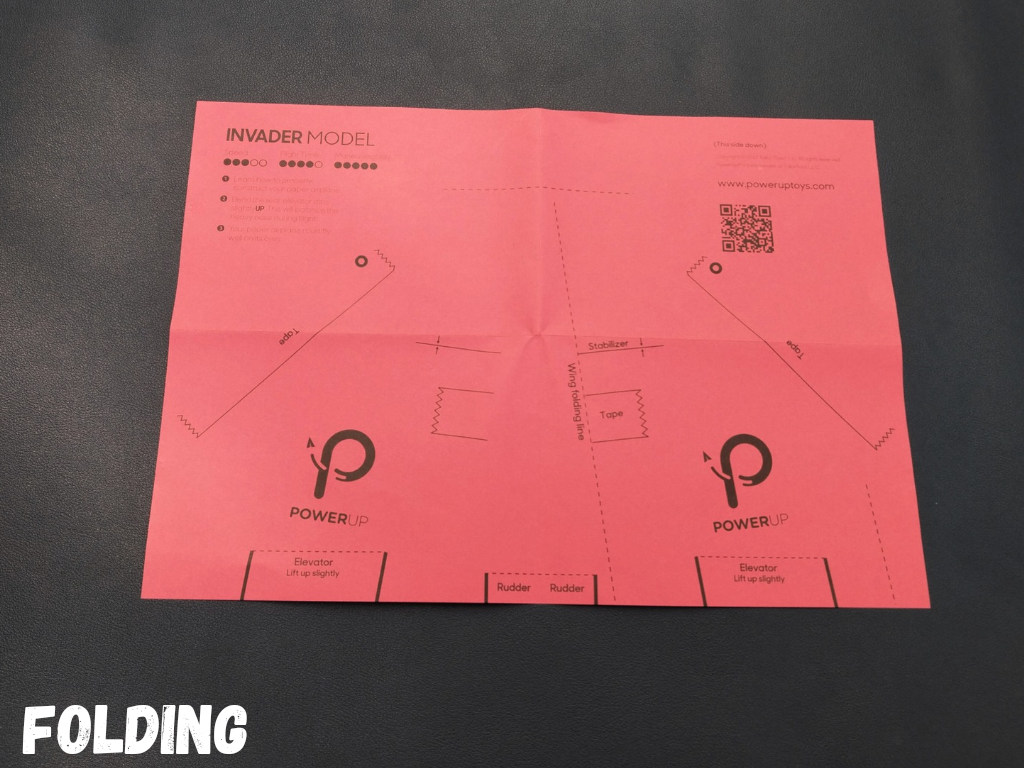
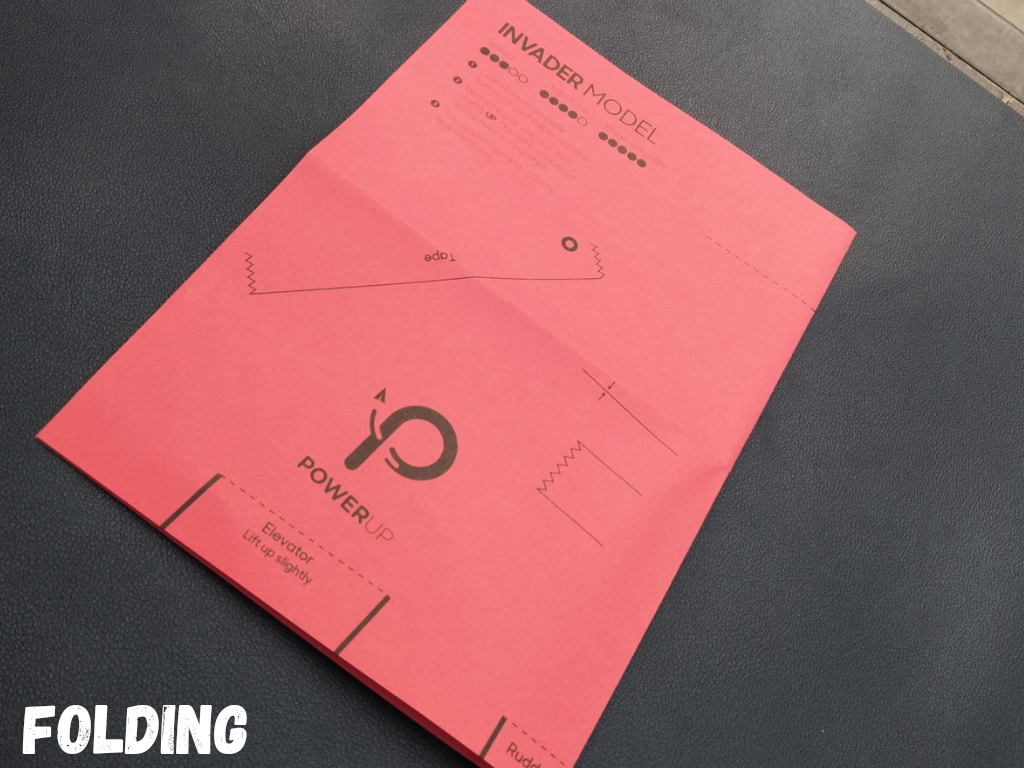
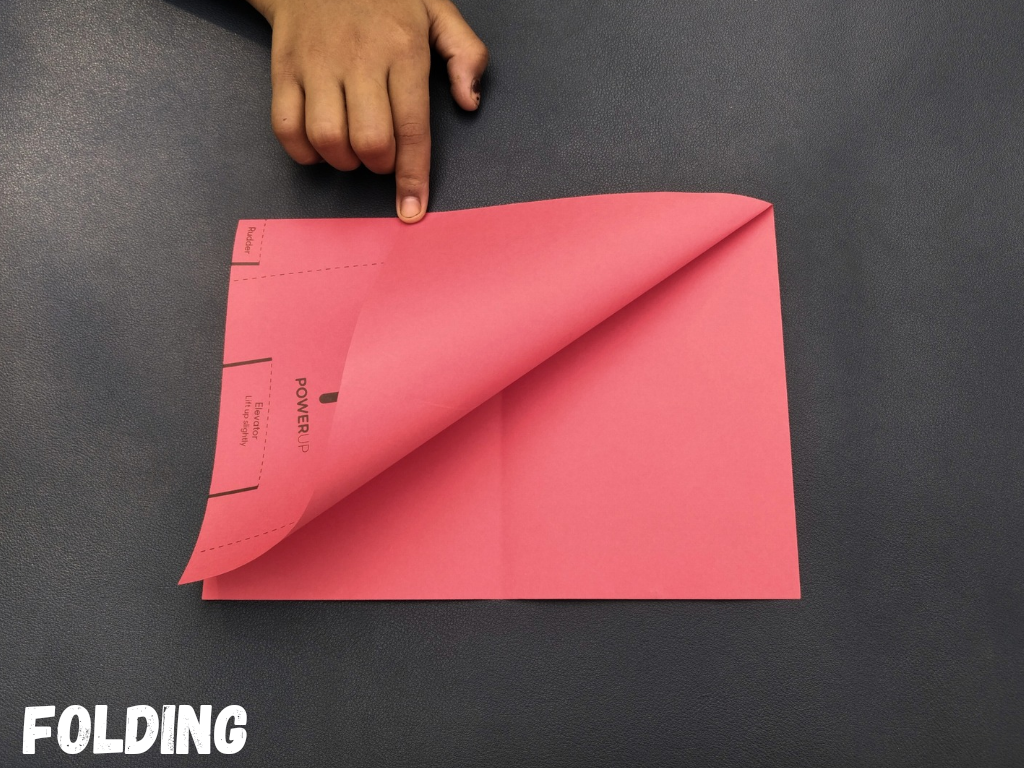
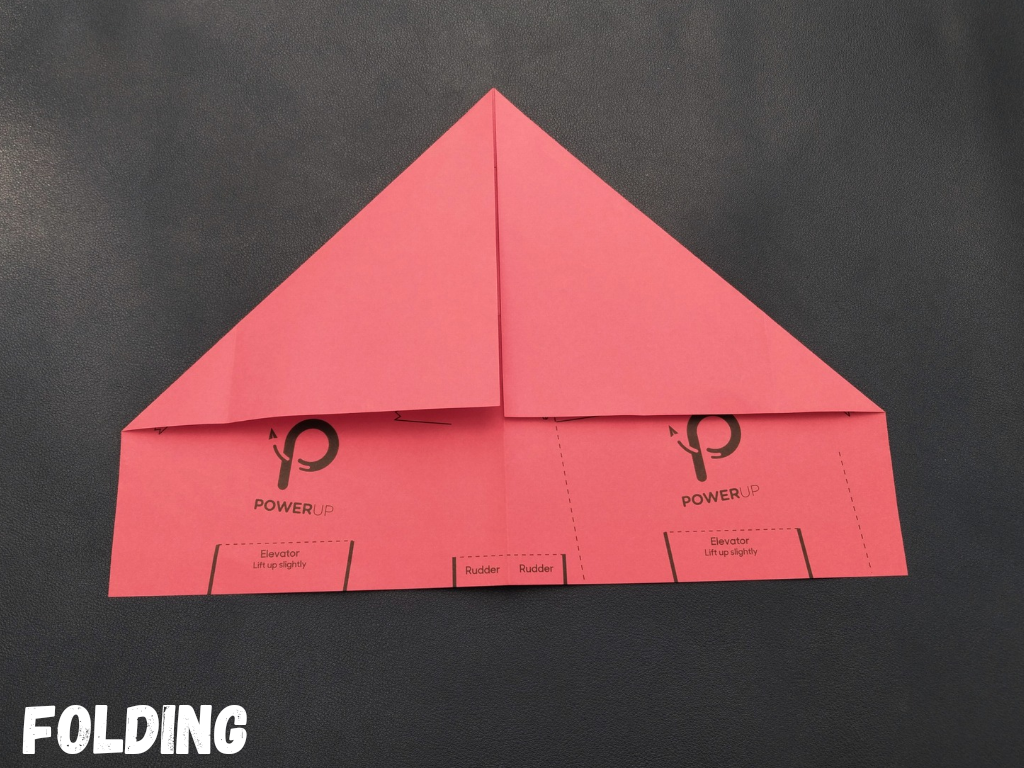
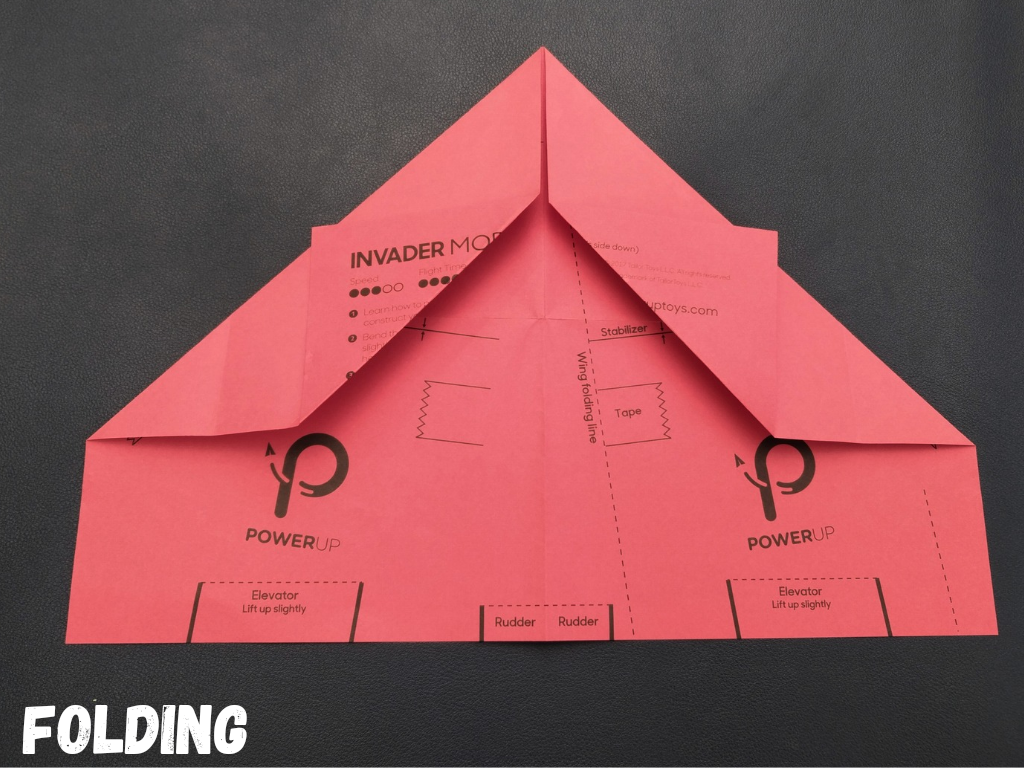
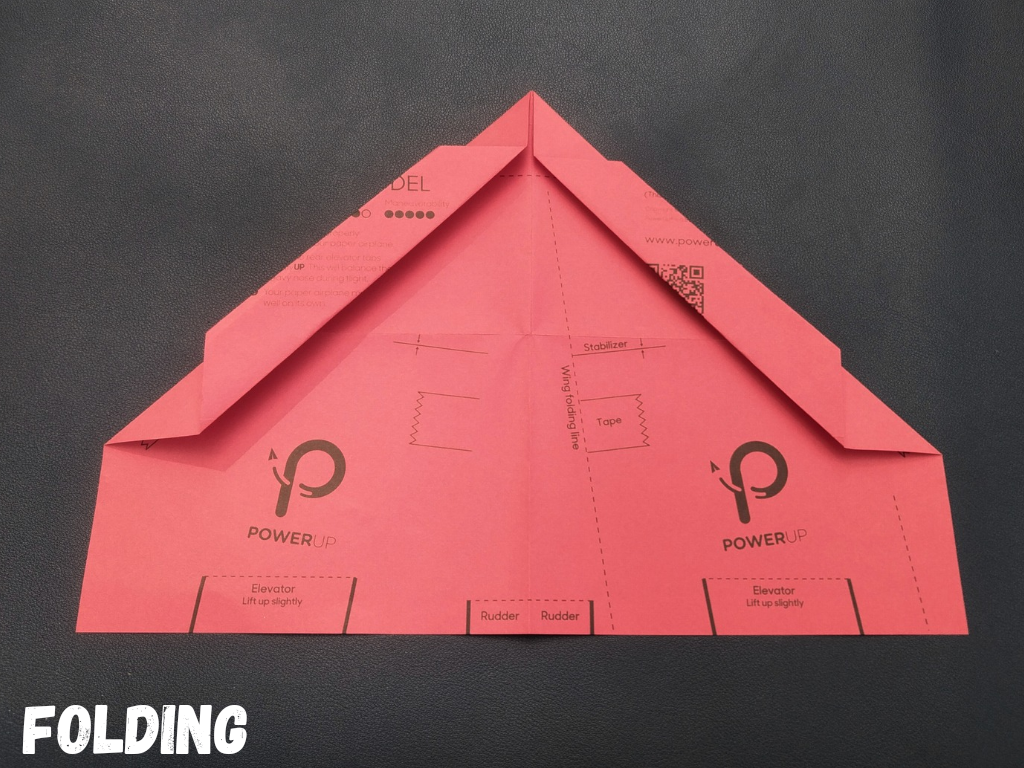
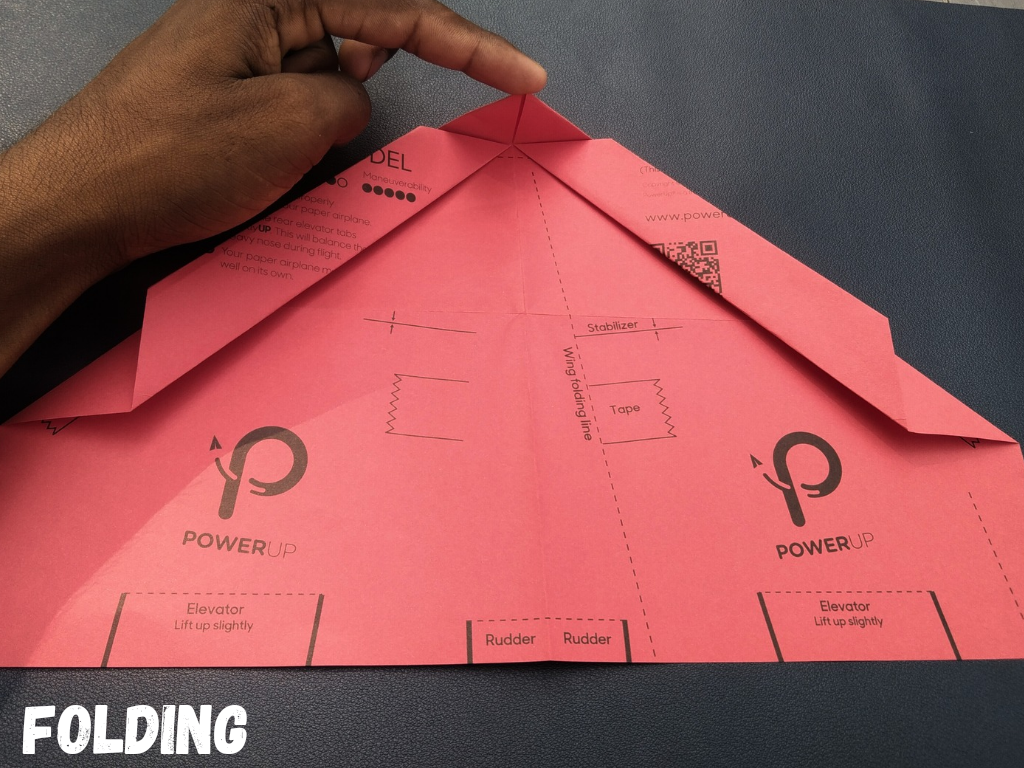
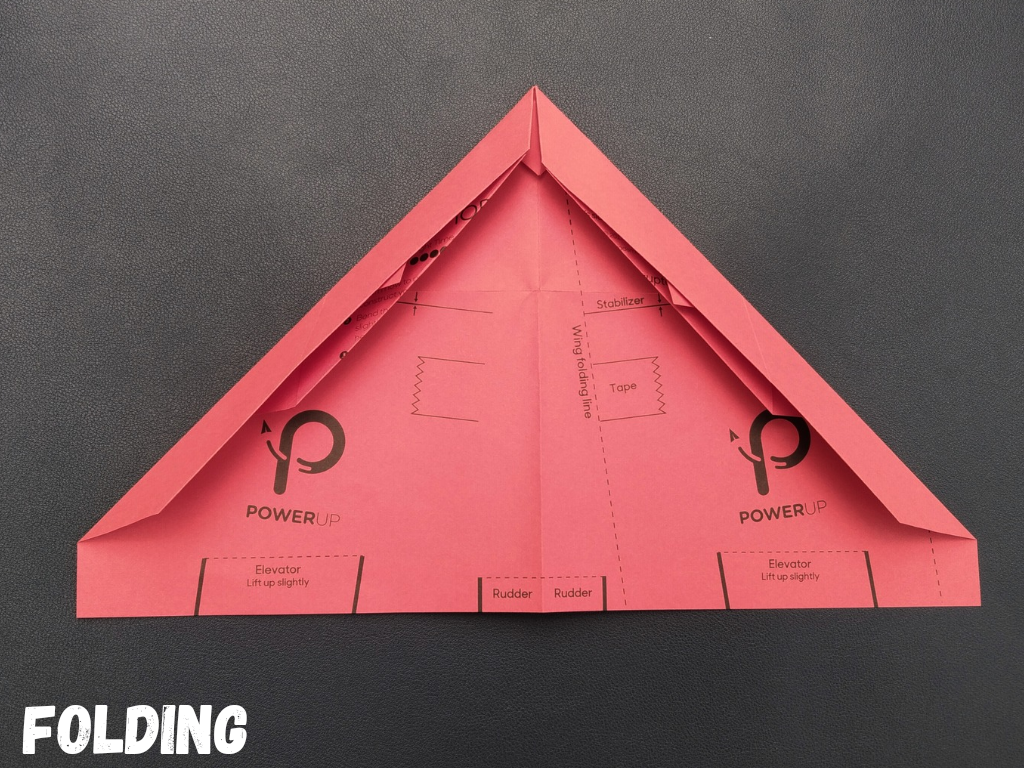
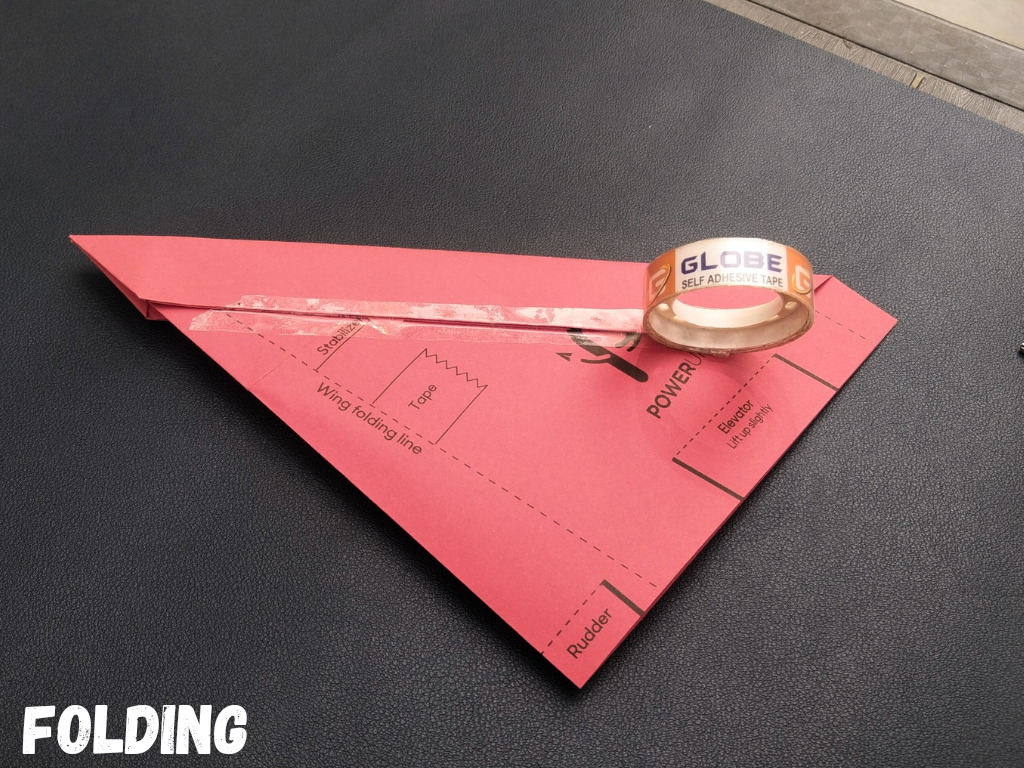
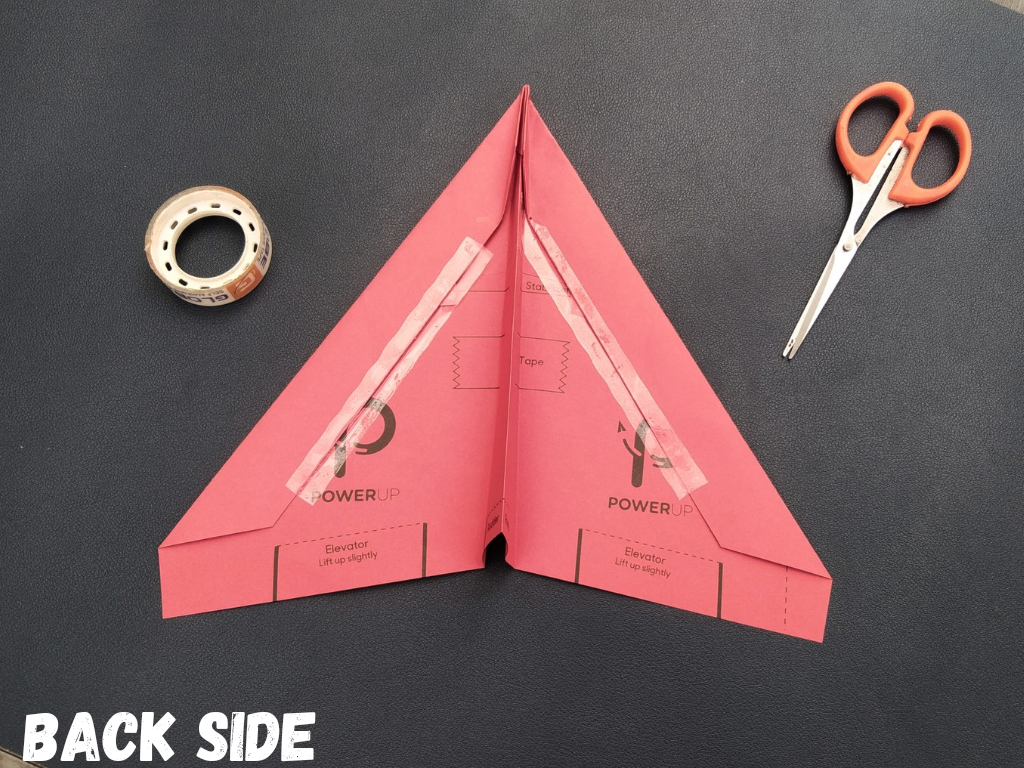
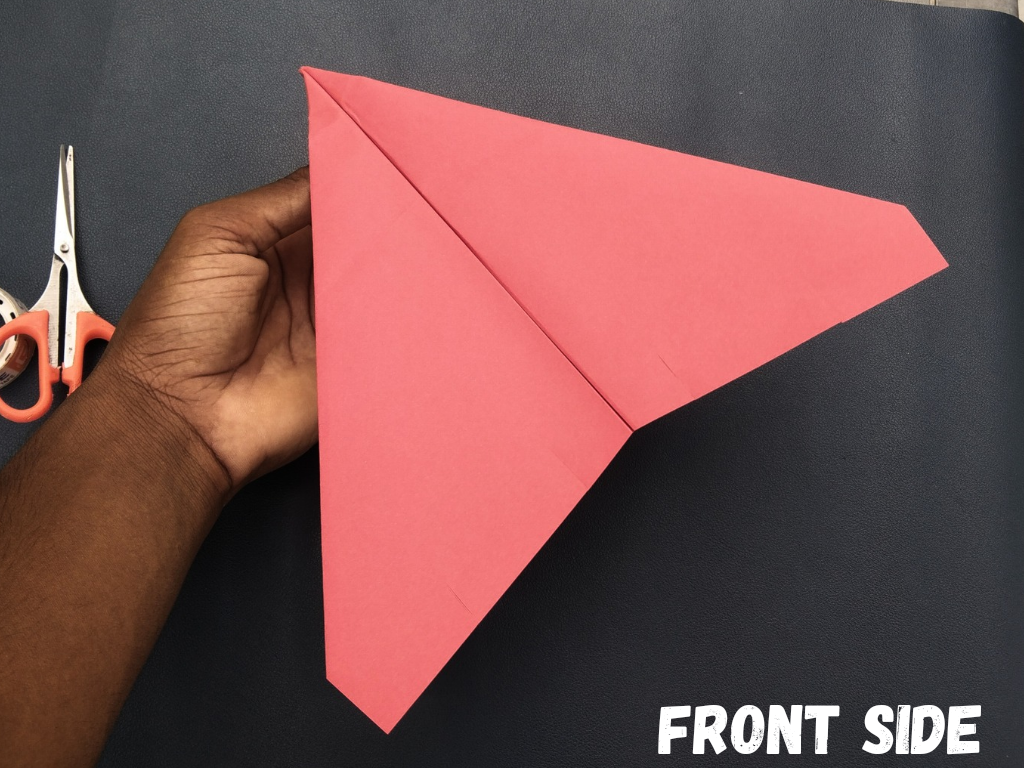
Since I have not an experience that how to fold the paper in the right way. So I searched on YouTube and Found a one of the BEST VIDEO that how to fold the paper in right way. You can also follow these steps to fold the paper;)
- Start with a Plain Sheet of Paper: Place the paper on a flat surface in portrait orientation.
- Fold the Paper in Half Lengthwise: Fold the paper in half vertically, creating a crease down the middle. Unfold to create a guideline.
- Create the Nose of the Plane: Fold the top two corners down to meet the center crease, forming a triangle at the top.
- Fold the Top Edges to the Center: Take the outer edges of the triangles you just created and fold them to the center crease again, making a more narrow triangle with a pointed nose.
- Create the Wings: Fold the paper in half along the initial center crease so that the previous folds are on the inside.
- Form the Wing Creases: Fold the outer edges down to the bottom edge of the plane to form the wings. Make sure both sides are even. These folds should be parallel to the center crease and create a straight edge along the bottom.
- Adjust the Wings for Flight: Unfold the wings slightly to give them a slight upward tilt. This dihedral angle helps stabilize the plane in flight.
By following these steps, you should have a well-folded paper airplane that works effectively with the Powerup 4.0 module. Also check all the attached pictures for your reference;)
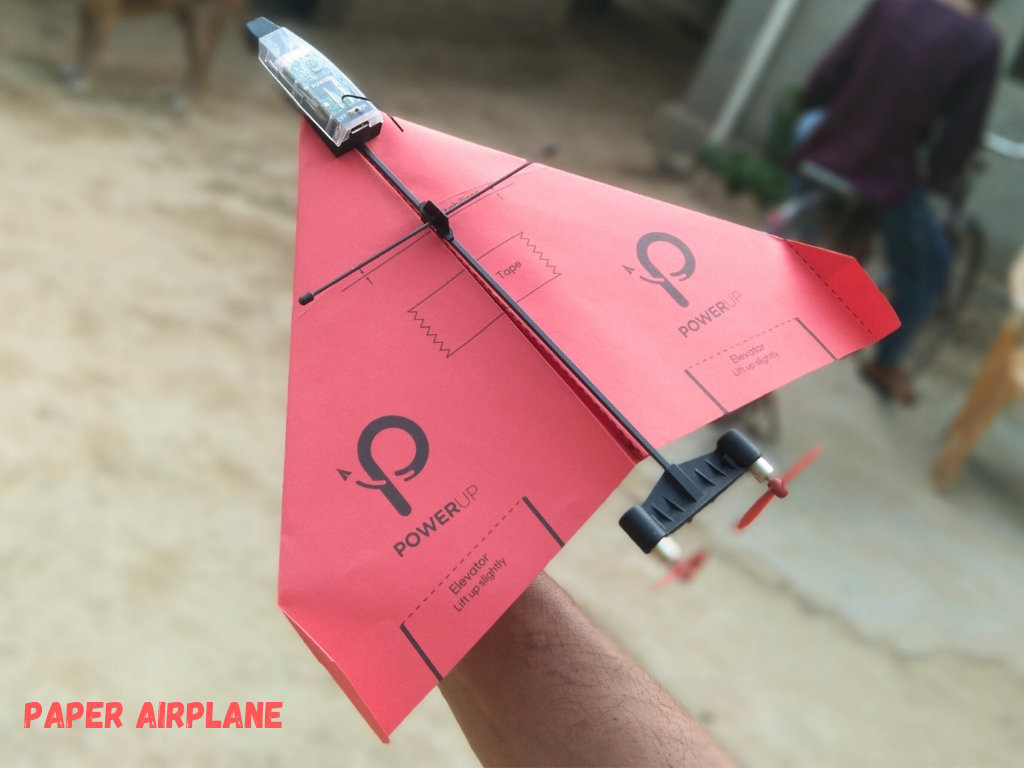
Attaching Frame

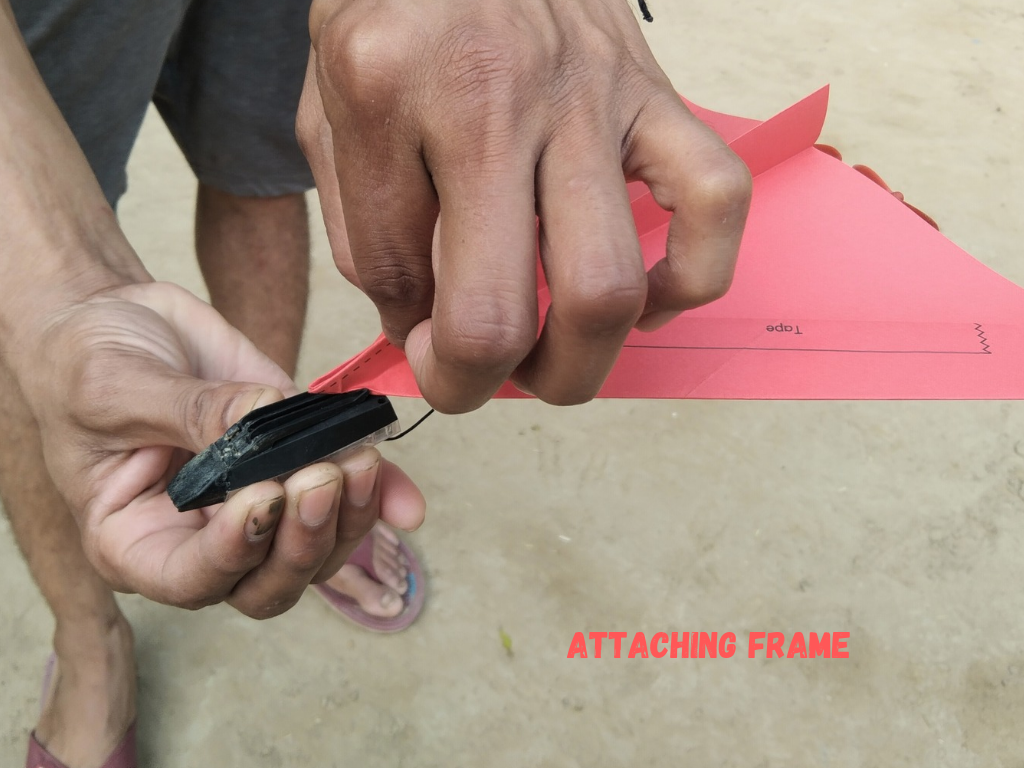
After Folding the paper, Clip the Powerup 4.0 module to the center crease of the paper airplane. The module should be positioned at the front with the propellers and motor assembly extending behind the plane. Now attach the crossbar with the paper plane.
Connect With App
If you're connecting it first time with your smartphone
- Charge your POWERUP 4.0 module fully Using Micro USB socket.
- Verify that the POWERUP 4.0 module on/off switch is in the OFF position.
- Turn OFF your screen auto-lock in your phone settings.
- Verify that bluetooth is on in your smartphone.
- Download & install the app PowerUP 4.0
- Open the POWERUP App.
- Android - verify that Nearby device scanning is enabled in your settings under Connections/ More connection settings
- Android permissions popup: Access Location services - Allow
- iOS permissions popup: Use Bluetooth for connecting your app to your POWERUP 4.0
NOTE - Denying any of these permission will not allow bluetooth to connect. If you accidentally denied, you can always go to your phone settings to enable or reinstall the app.
- Click the FLY button in the Hangar screen, you will see the Not Connected screen.
- Bring your POWERUP 4.0 module to close proximity to your phone.
- Turn ON your POWERUP 4.0 module (slide small switch on top to on position)
A short chime will sound and the propellers will rotate momentarily. The blue LED light will start to blink slowly. After 1-4 seconds the automatic bluetooth connection should initiate. Once connected you will hear a rumbling engine sound and the blue LED light one the module and app will double blink, indicating that your module is connected to your smartphone and ready to fly.
The Fly screen cockpit will now be available for your first flight.
Testing
Pre-Flight ChecksCheck
- Charge the Module: Ensure the Powerup 4.0 module is fully charged using the provided USB cable.
- Monitor Battery Levels: Low battery can affect performance, so keep an eye on the battery indicator in the app.
- Calibrate the Gyroscope: Place the airplane on a flat surface and follow the app instructions to calibrate the gyroscope for stable flight.
Launching the Airplane
- Throttle Up: In the app, increase the throttle to power the propellers. Gradually increase to about 50-70% power for takeoff.
- Smooth Throw: Throw the airplane gently and straight, slightly upwards. Avoid excessive force, which can destabilize the plane.
Controlling the Flight
- Use the App Controls: The app provides a virtual joystick for maneuvering. Practice gentle movements to understand the responsiveness.
- Pitch Control: Tilt your phone forward to pitch the nose down and backward to pitch it up.
- Roll Control: Tilt your phone left or right to roll the airplane in the corresponding direction.
- Trim Adjustments: Use the trim settings in the app to fine-tune the flight characteristics if the airplane consistently drifts or turns.
By following these steps and tips, you should be able to achieve smooth and controlled flights with your Powerup 4.0 paper airplane.