Convert FTDI Cable to "FTDI Dongle" for XBee Adapter
by sath02 in Circuits > Gadgets
11337 Views, 16 Favorites, 0 Comments
Convert FTDI Cable to "FTDI Dongle" for XBee Adapter
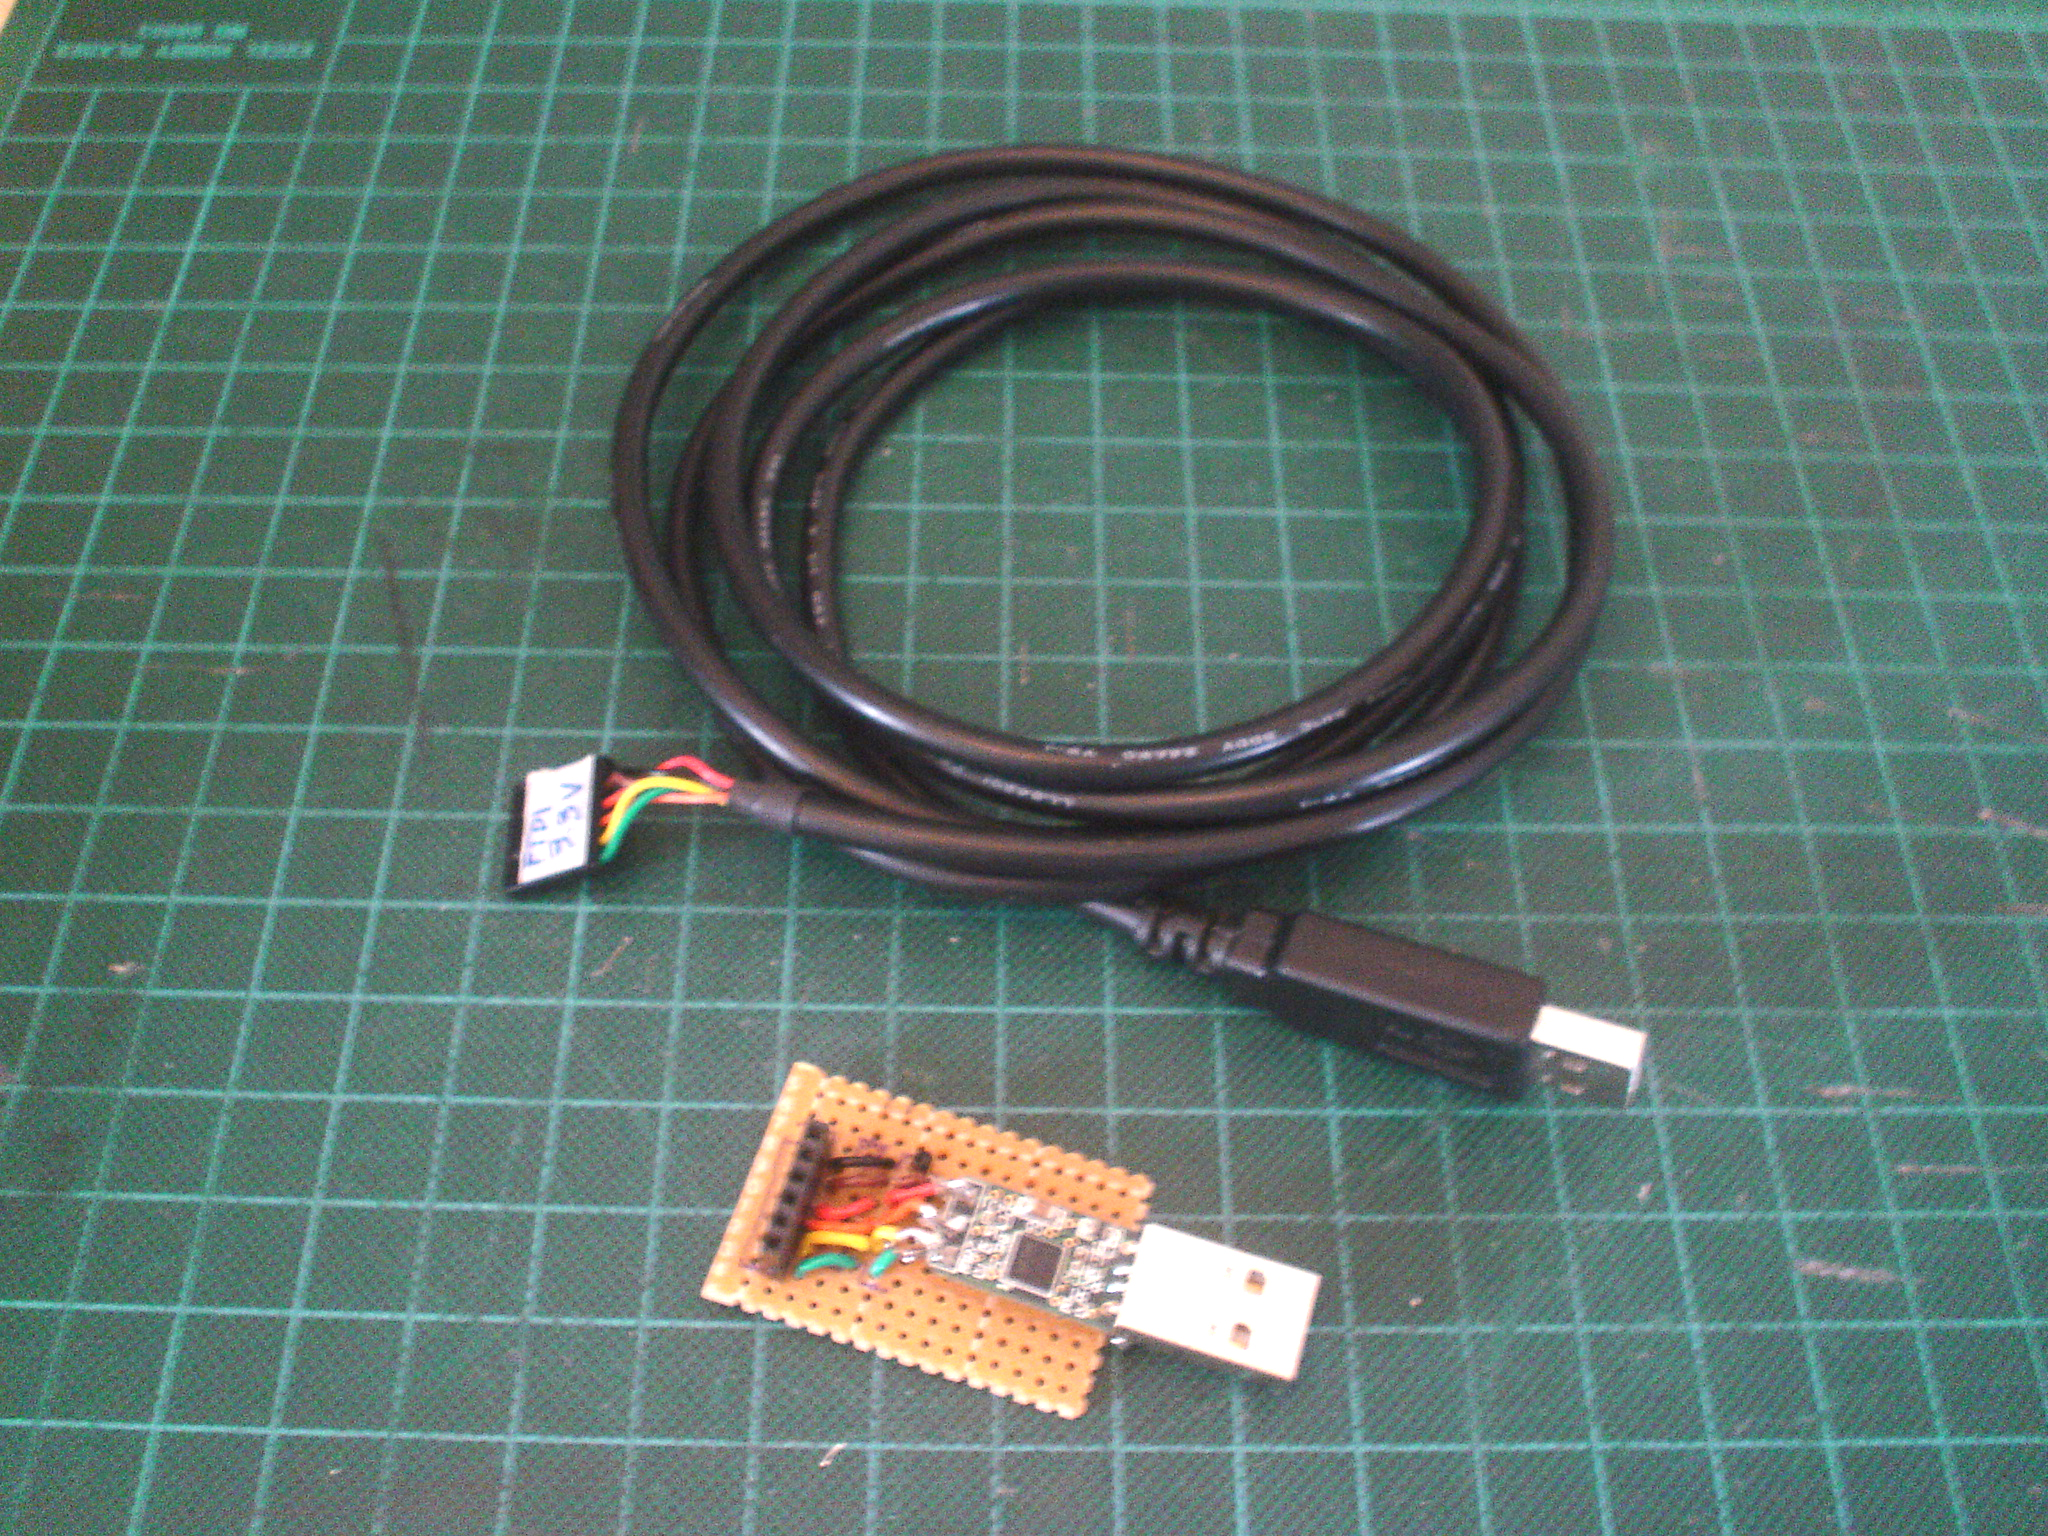
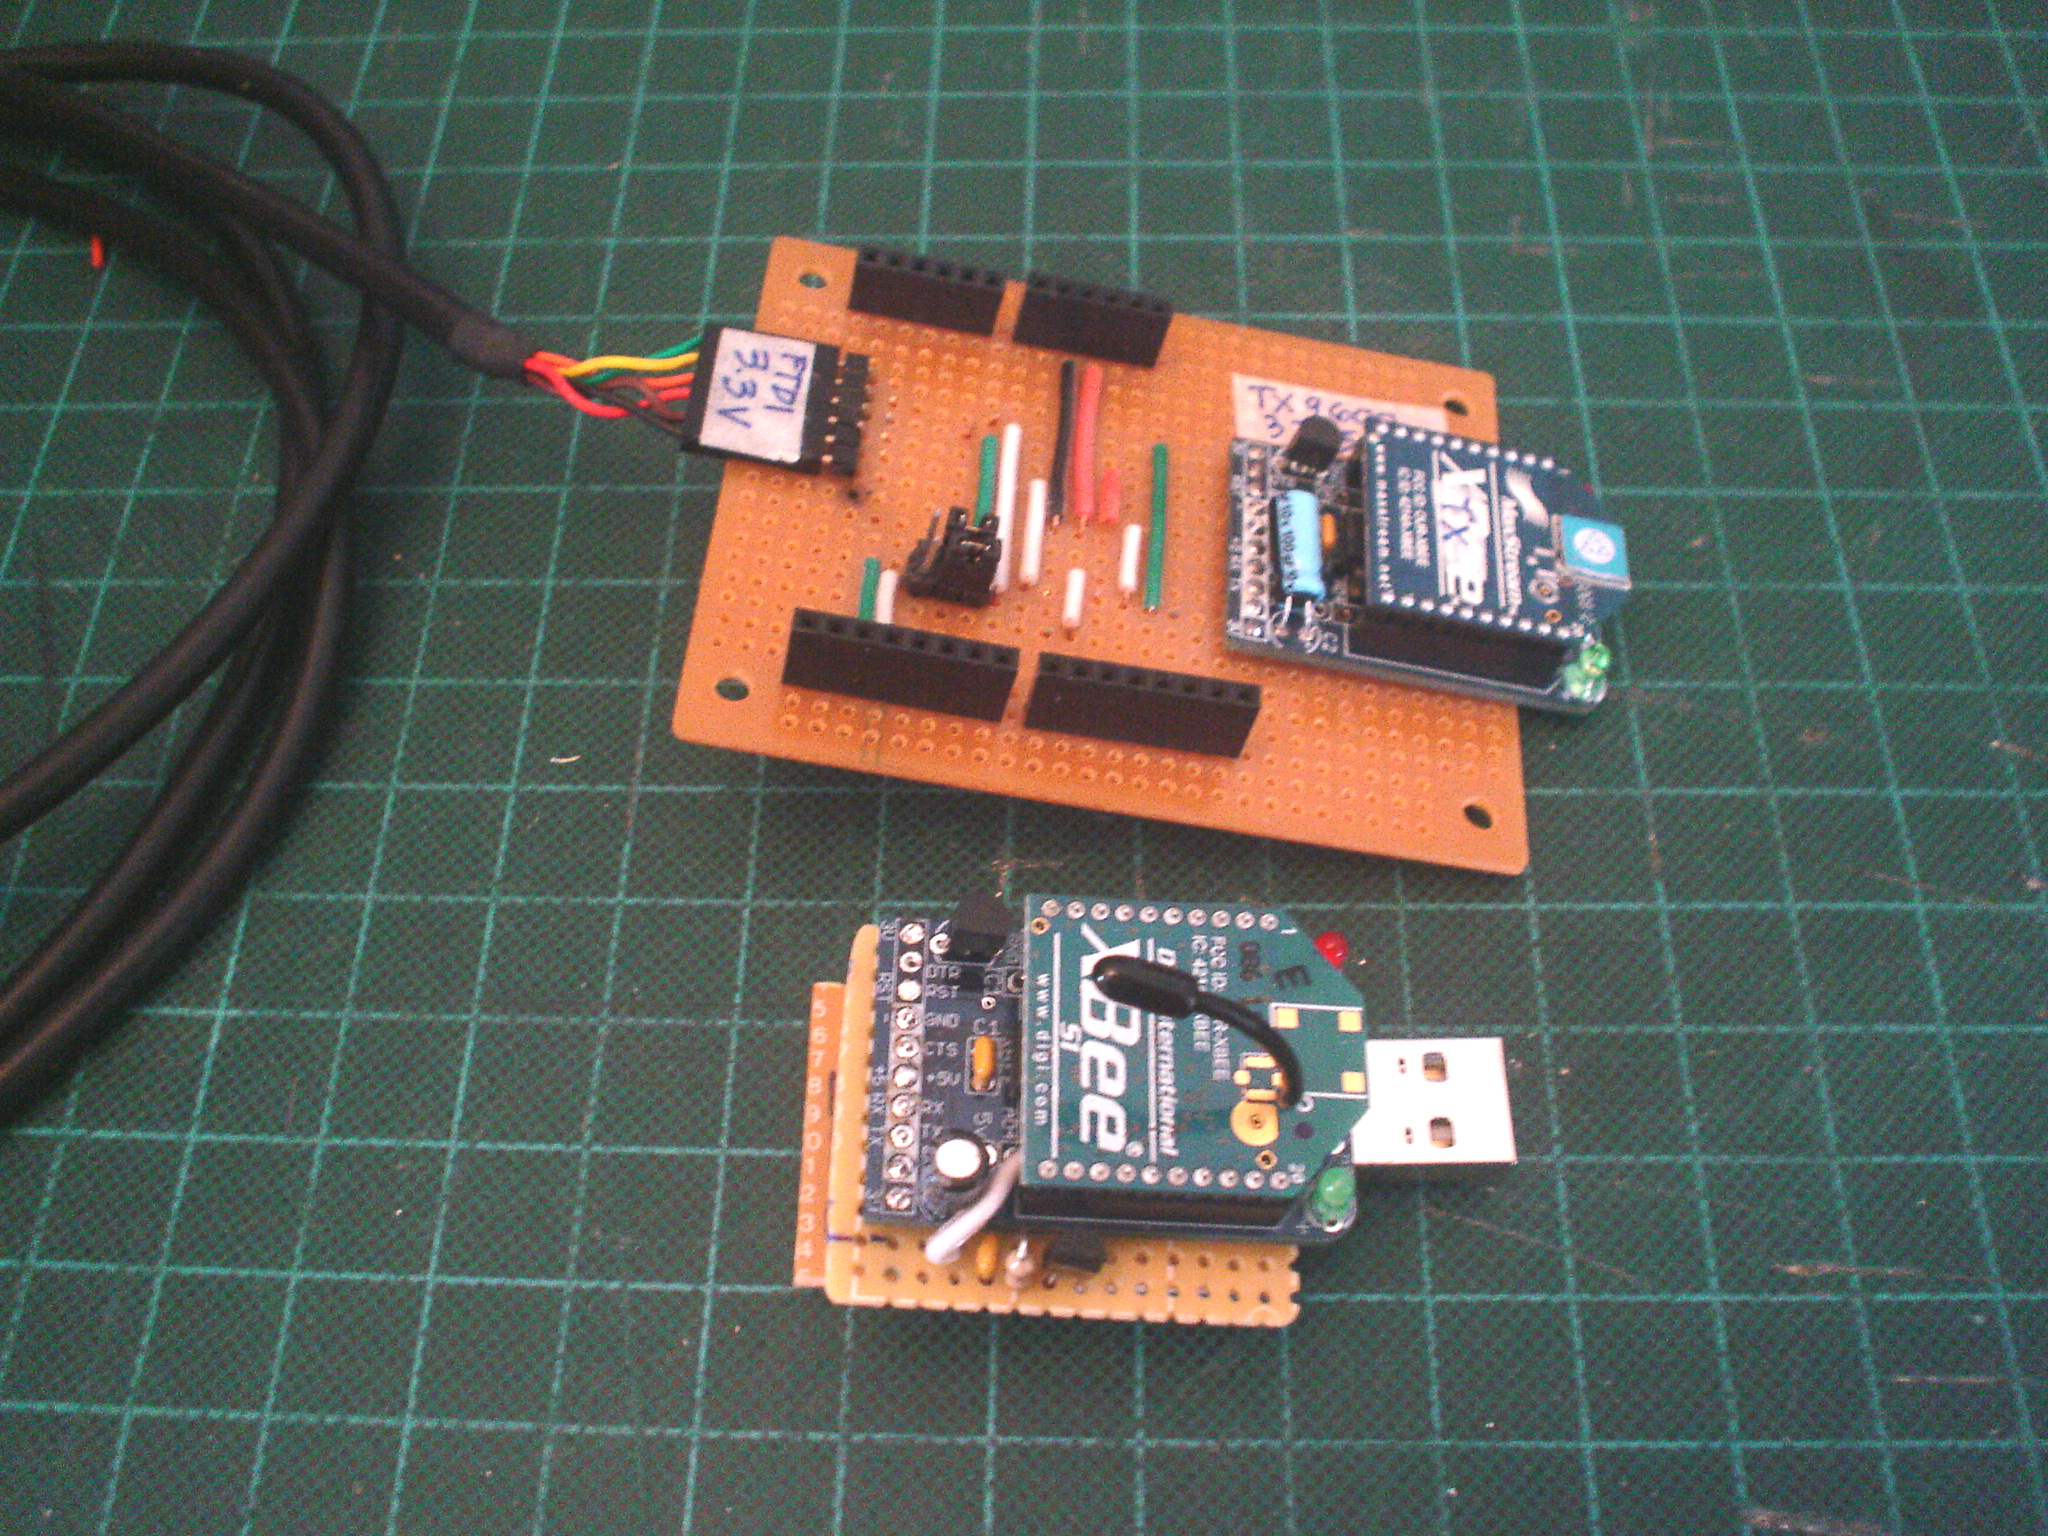
Imagine you are testing a "Wireless" project that you would do outside of your office or home, for example using XBee Modules to control some kind of robot , RC car, weather balloon, etc. from your laptop.
You might encounter the problem that the same way I did, the (six feet long) FTDI cable that connected the Xbee module to the laptop. It is hard to find the place to put the Xbee module, since the laptop already occupied all the space on one's lap. Even if you put the Xbee module on some vacant space on the laptop, it keeps sliding off the because the weight of the FTDI cable keeps dragging it off , sending the Xbee module dropping to the ground.
Now, I do not have to deal with the problems any more!
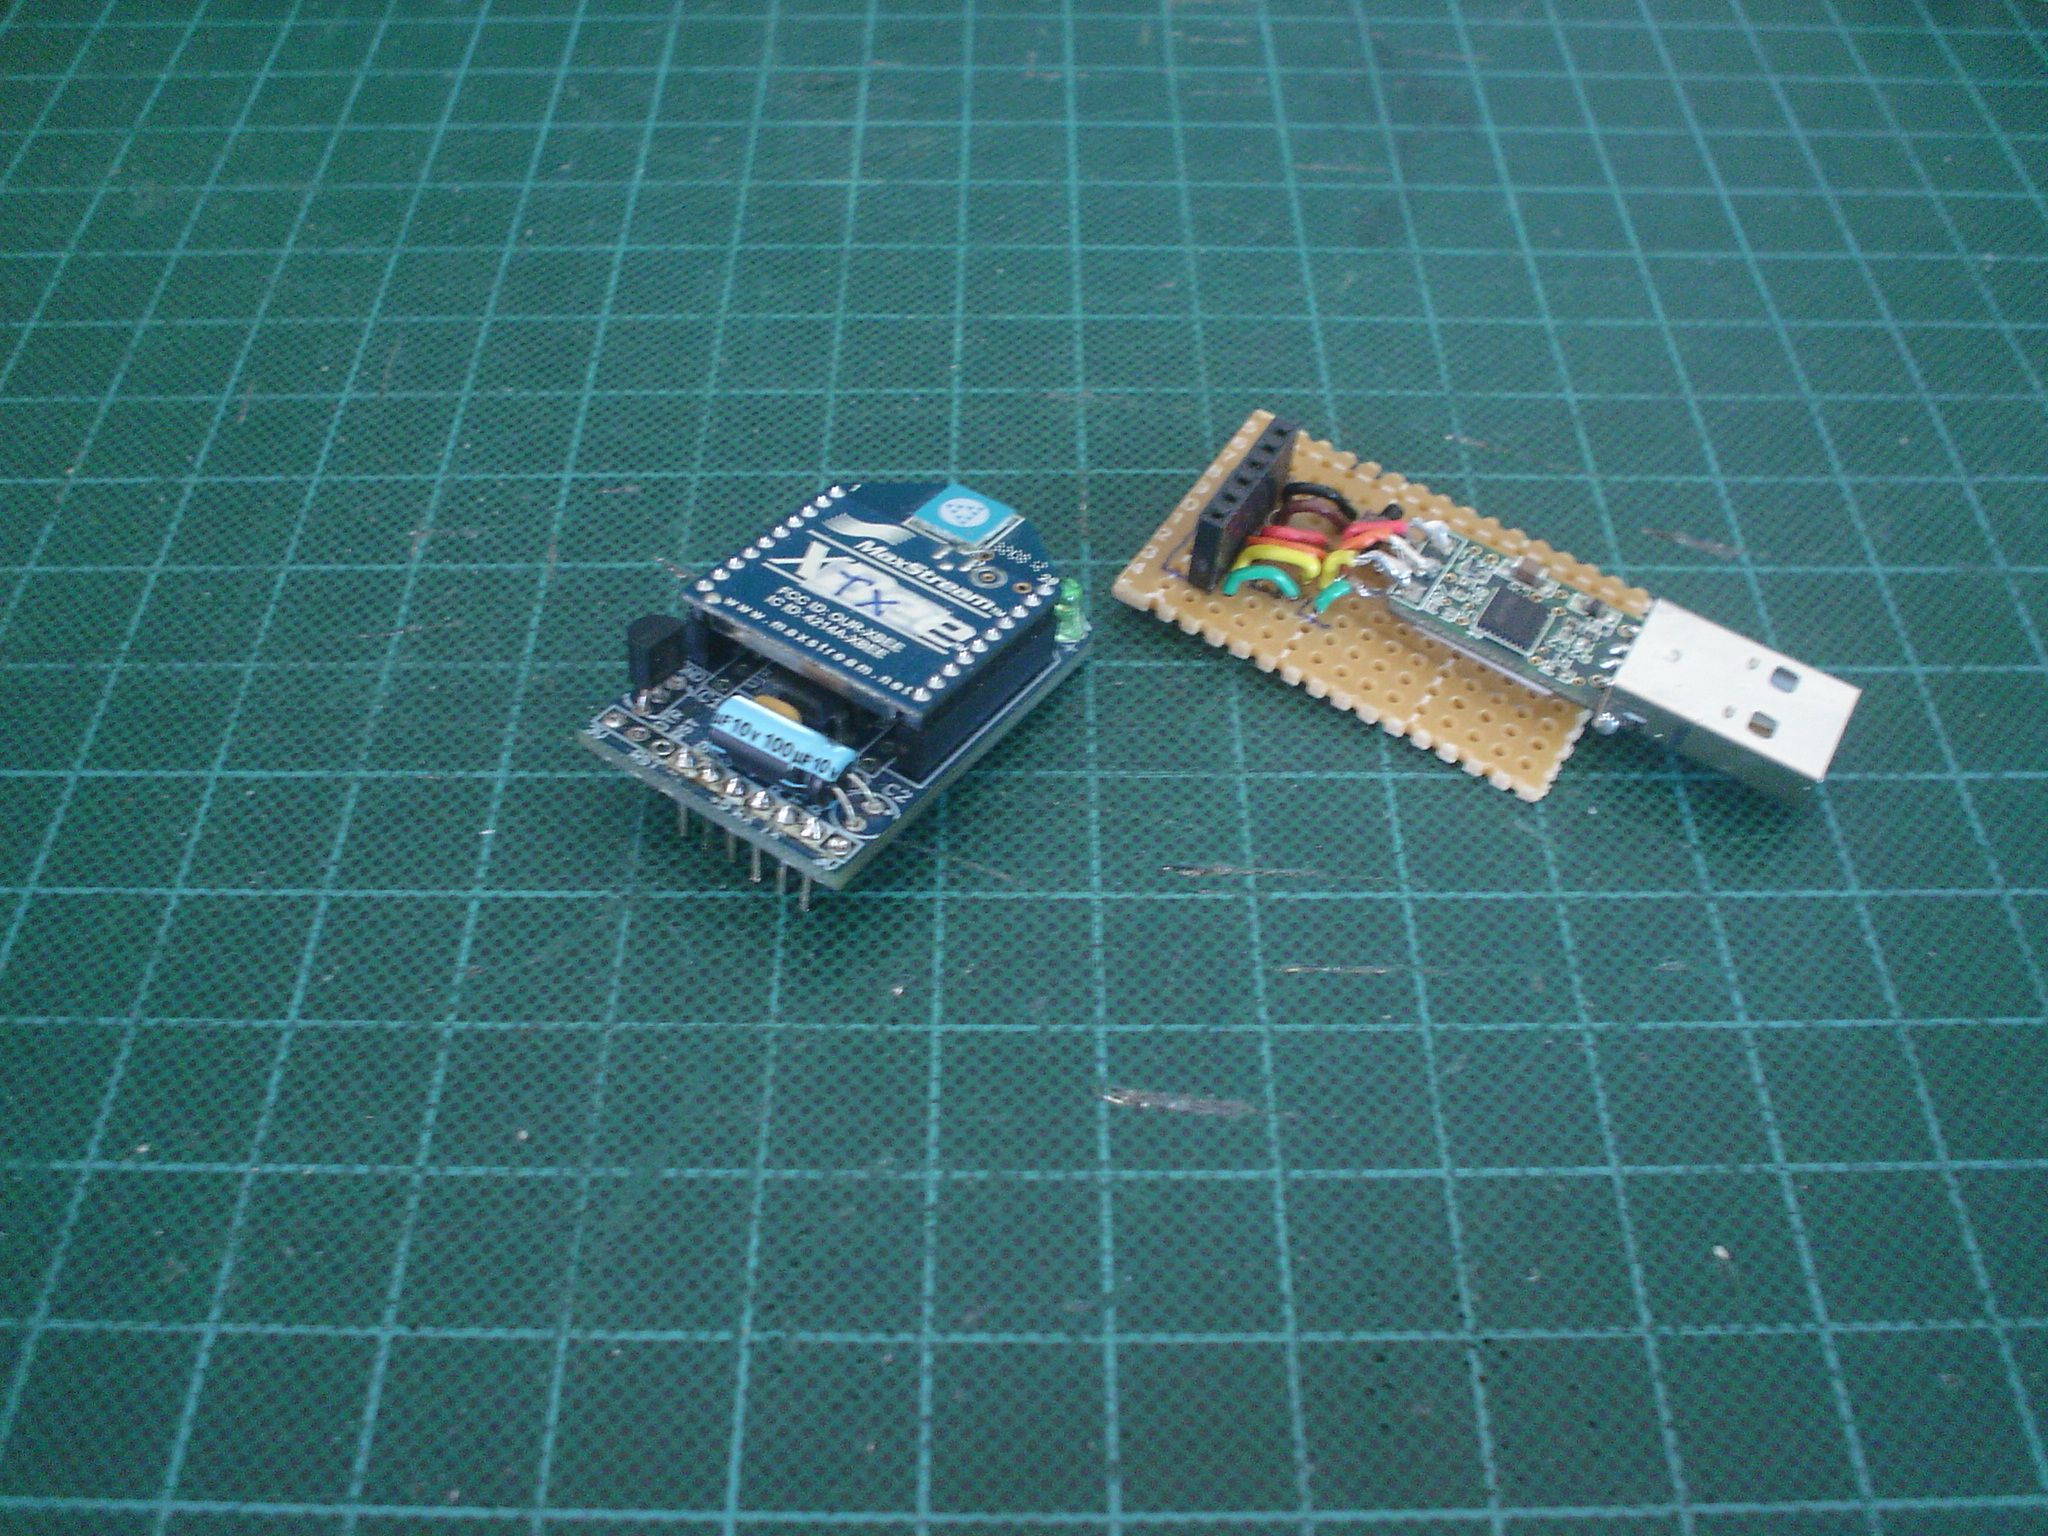
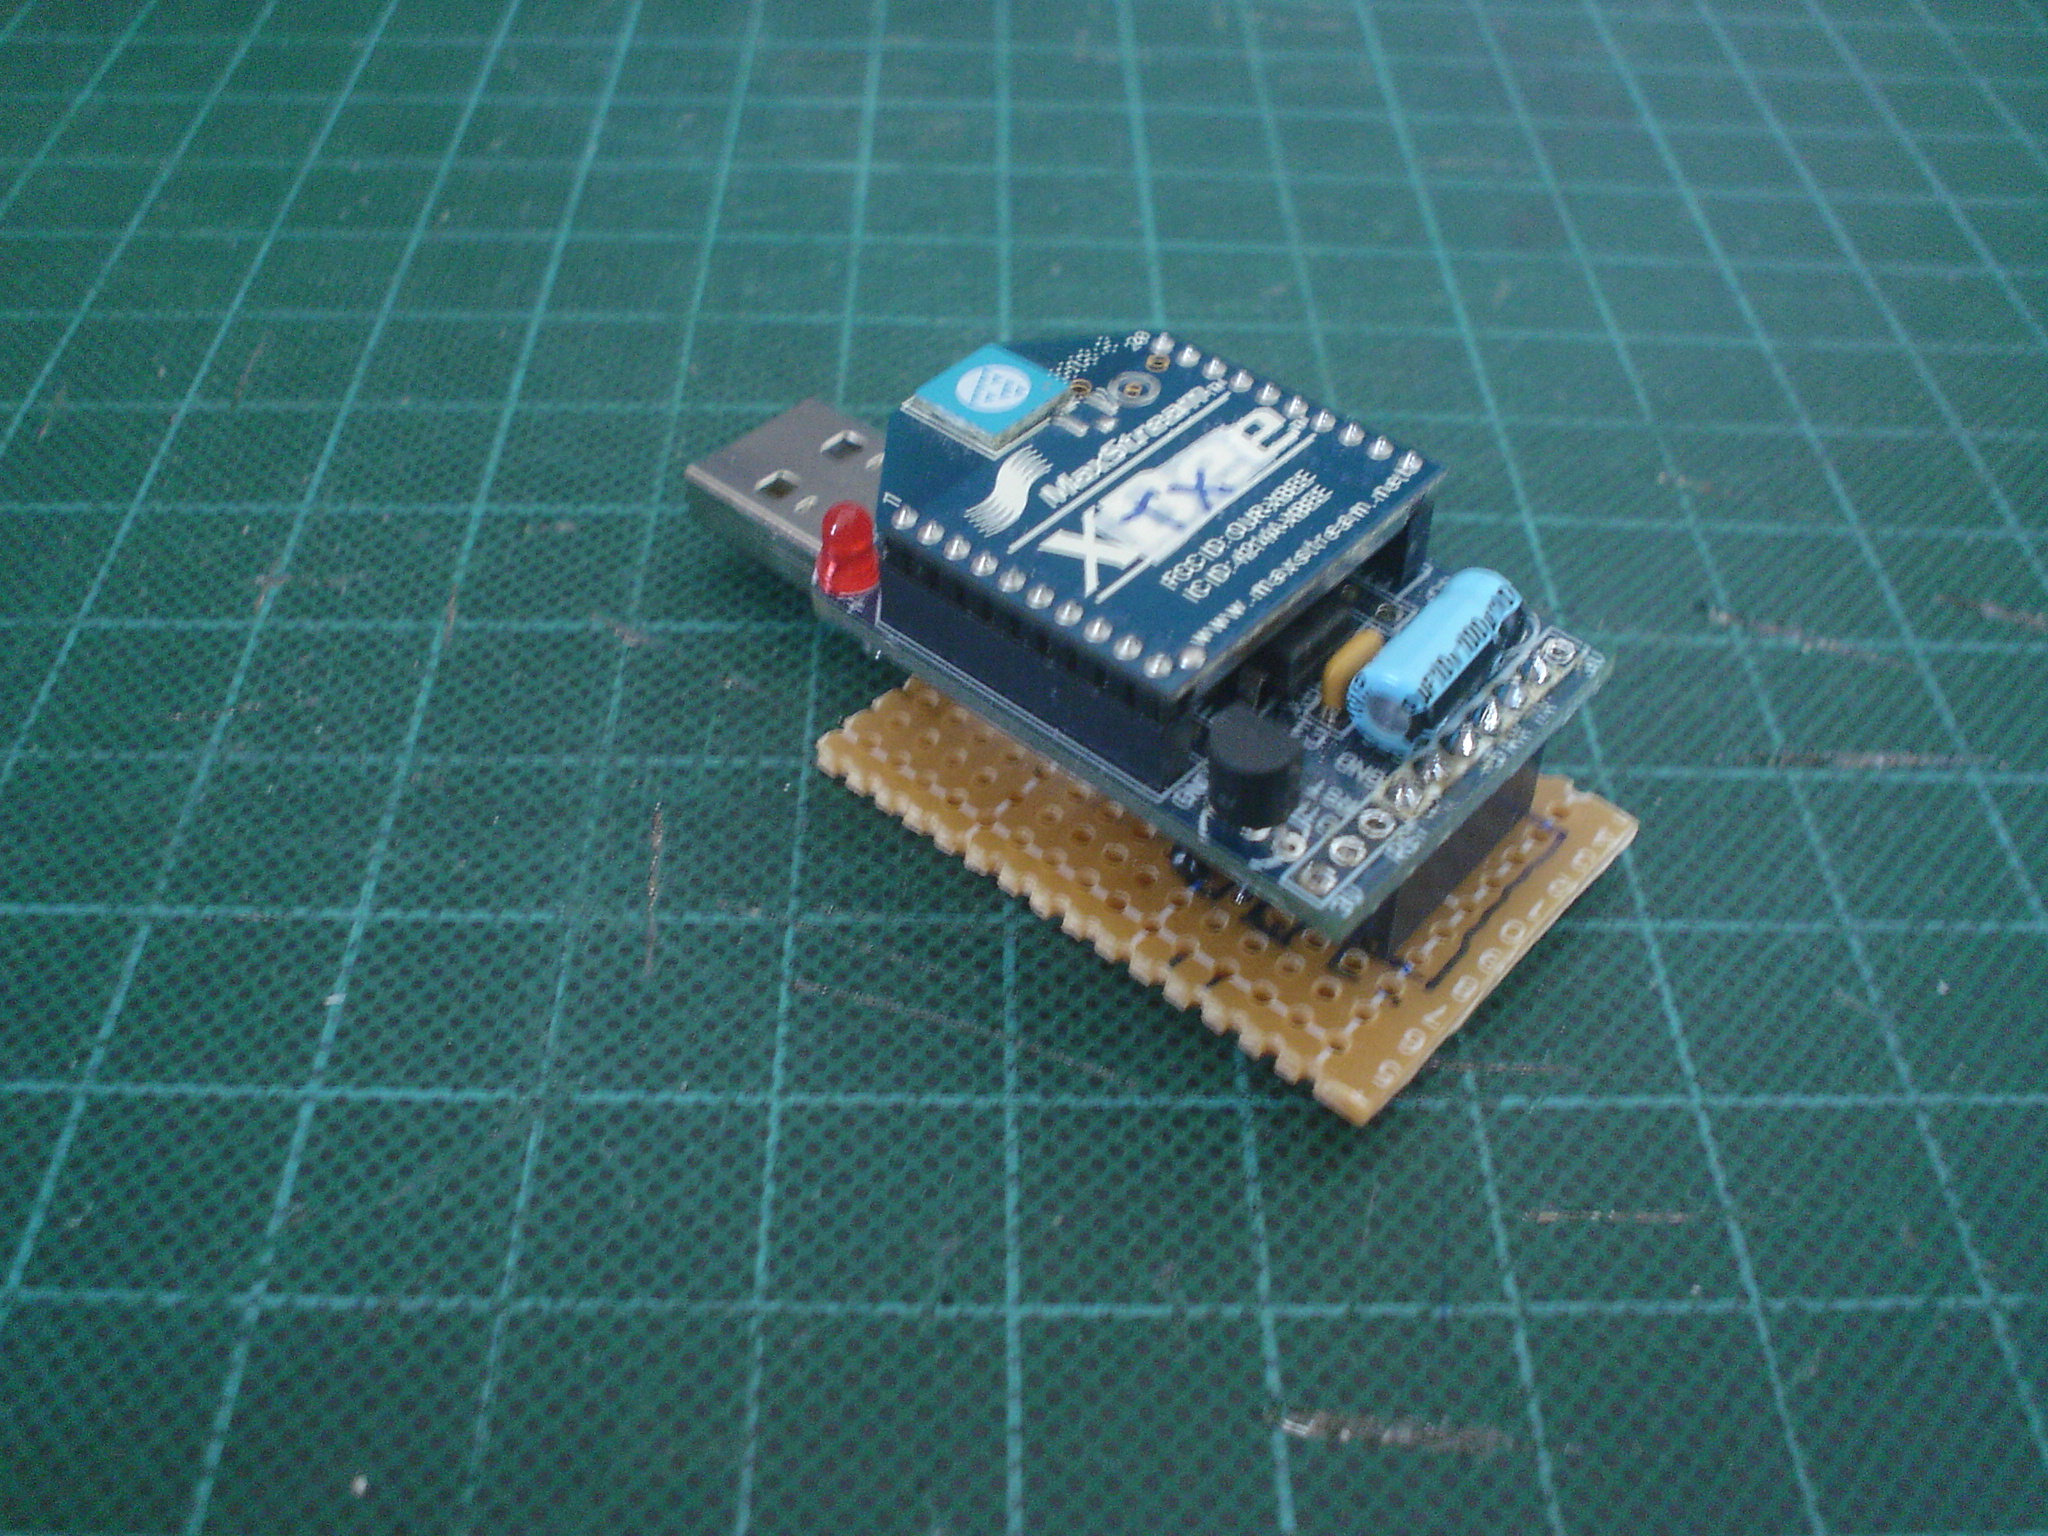
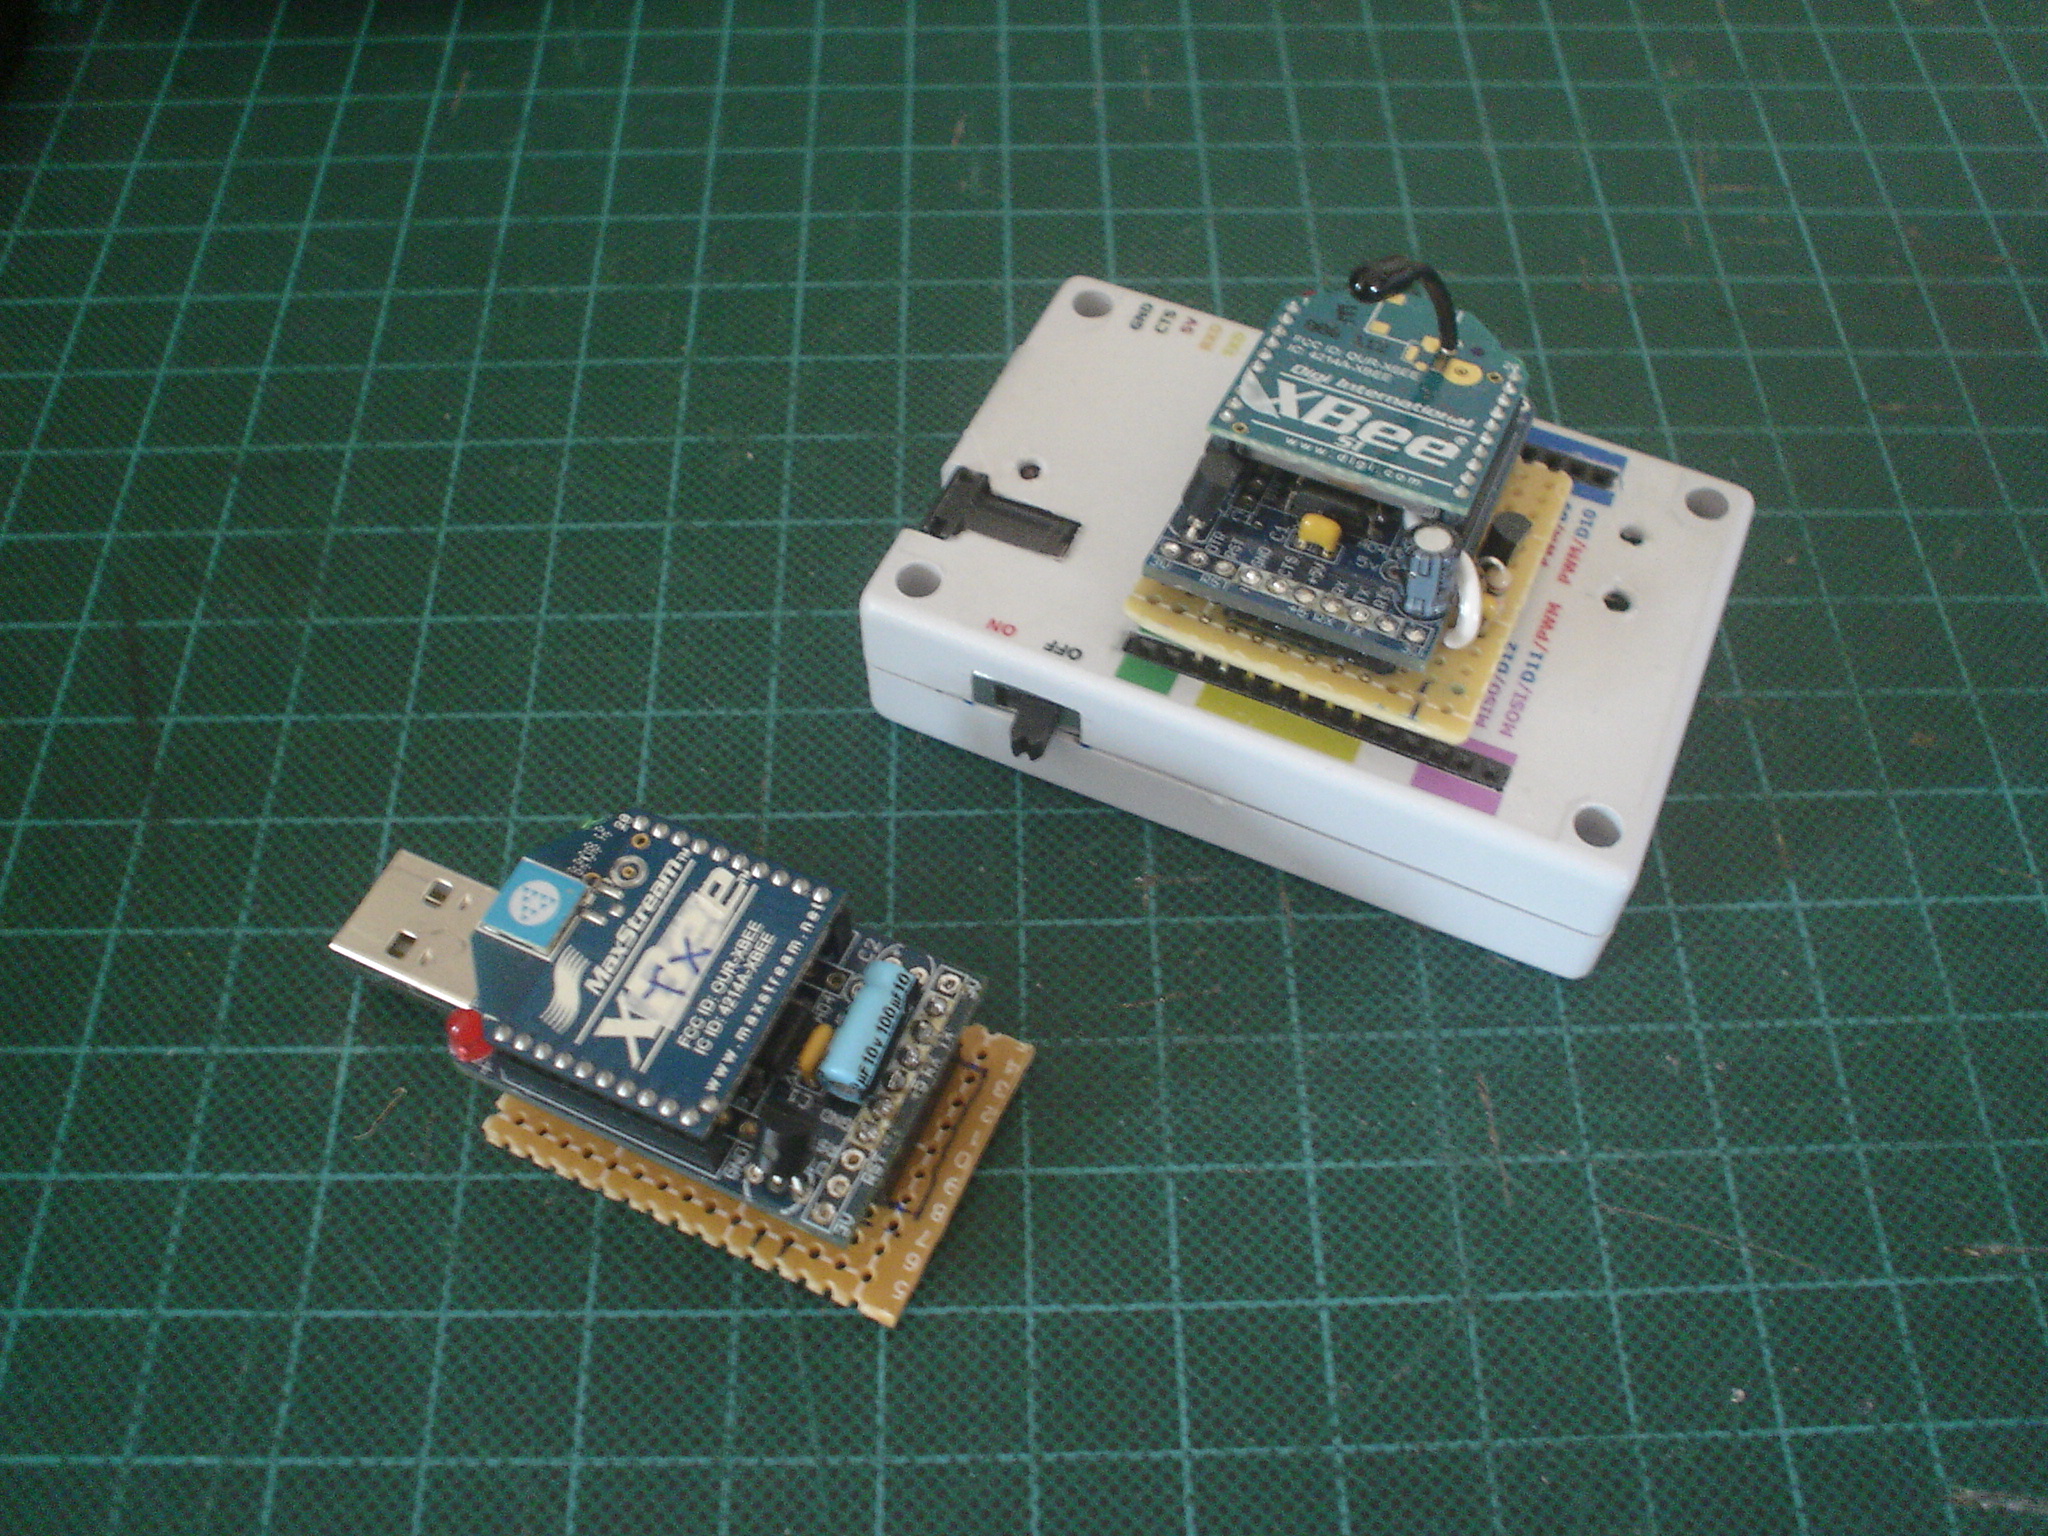
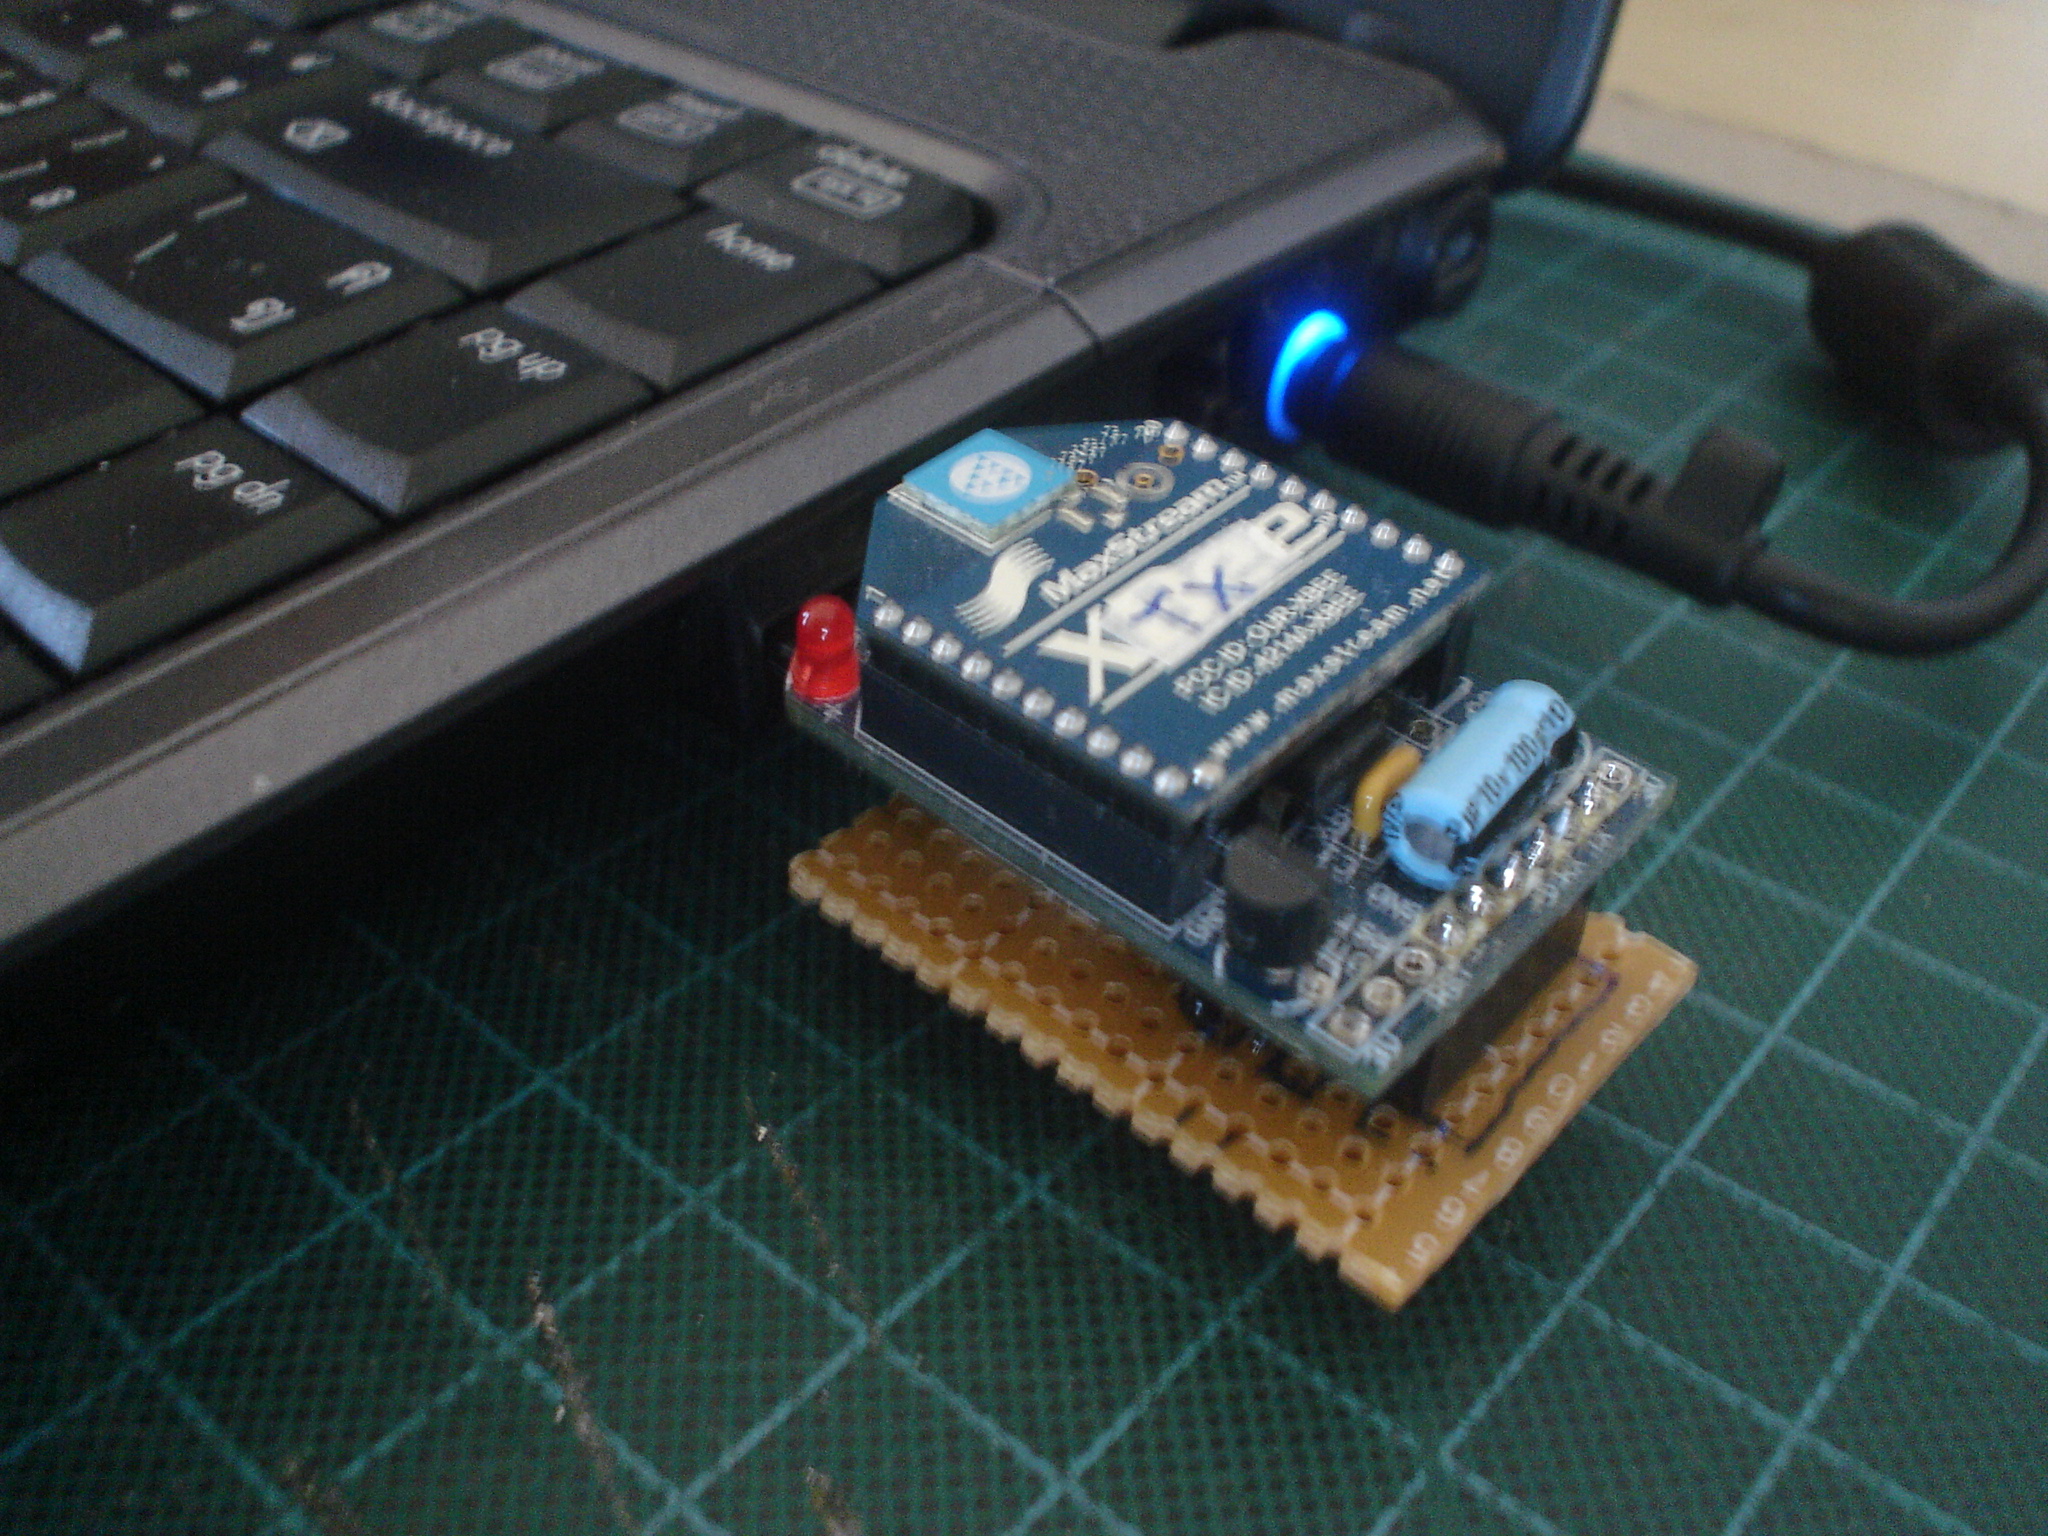
I modified one of the FTDI cable that I had to be used as the way we use the Thumb Drive, FTDI Dongle, by eliminated the length of the FTDI cable.
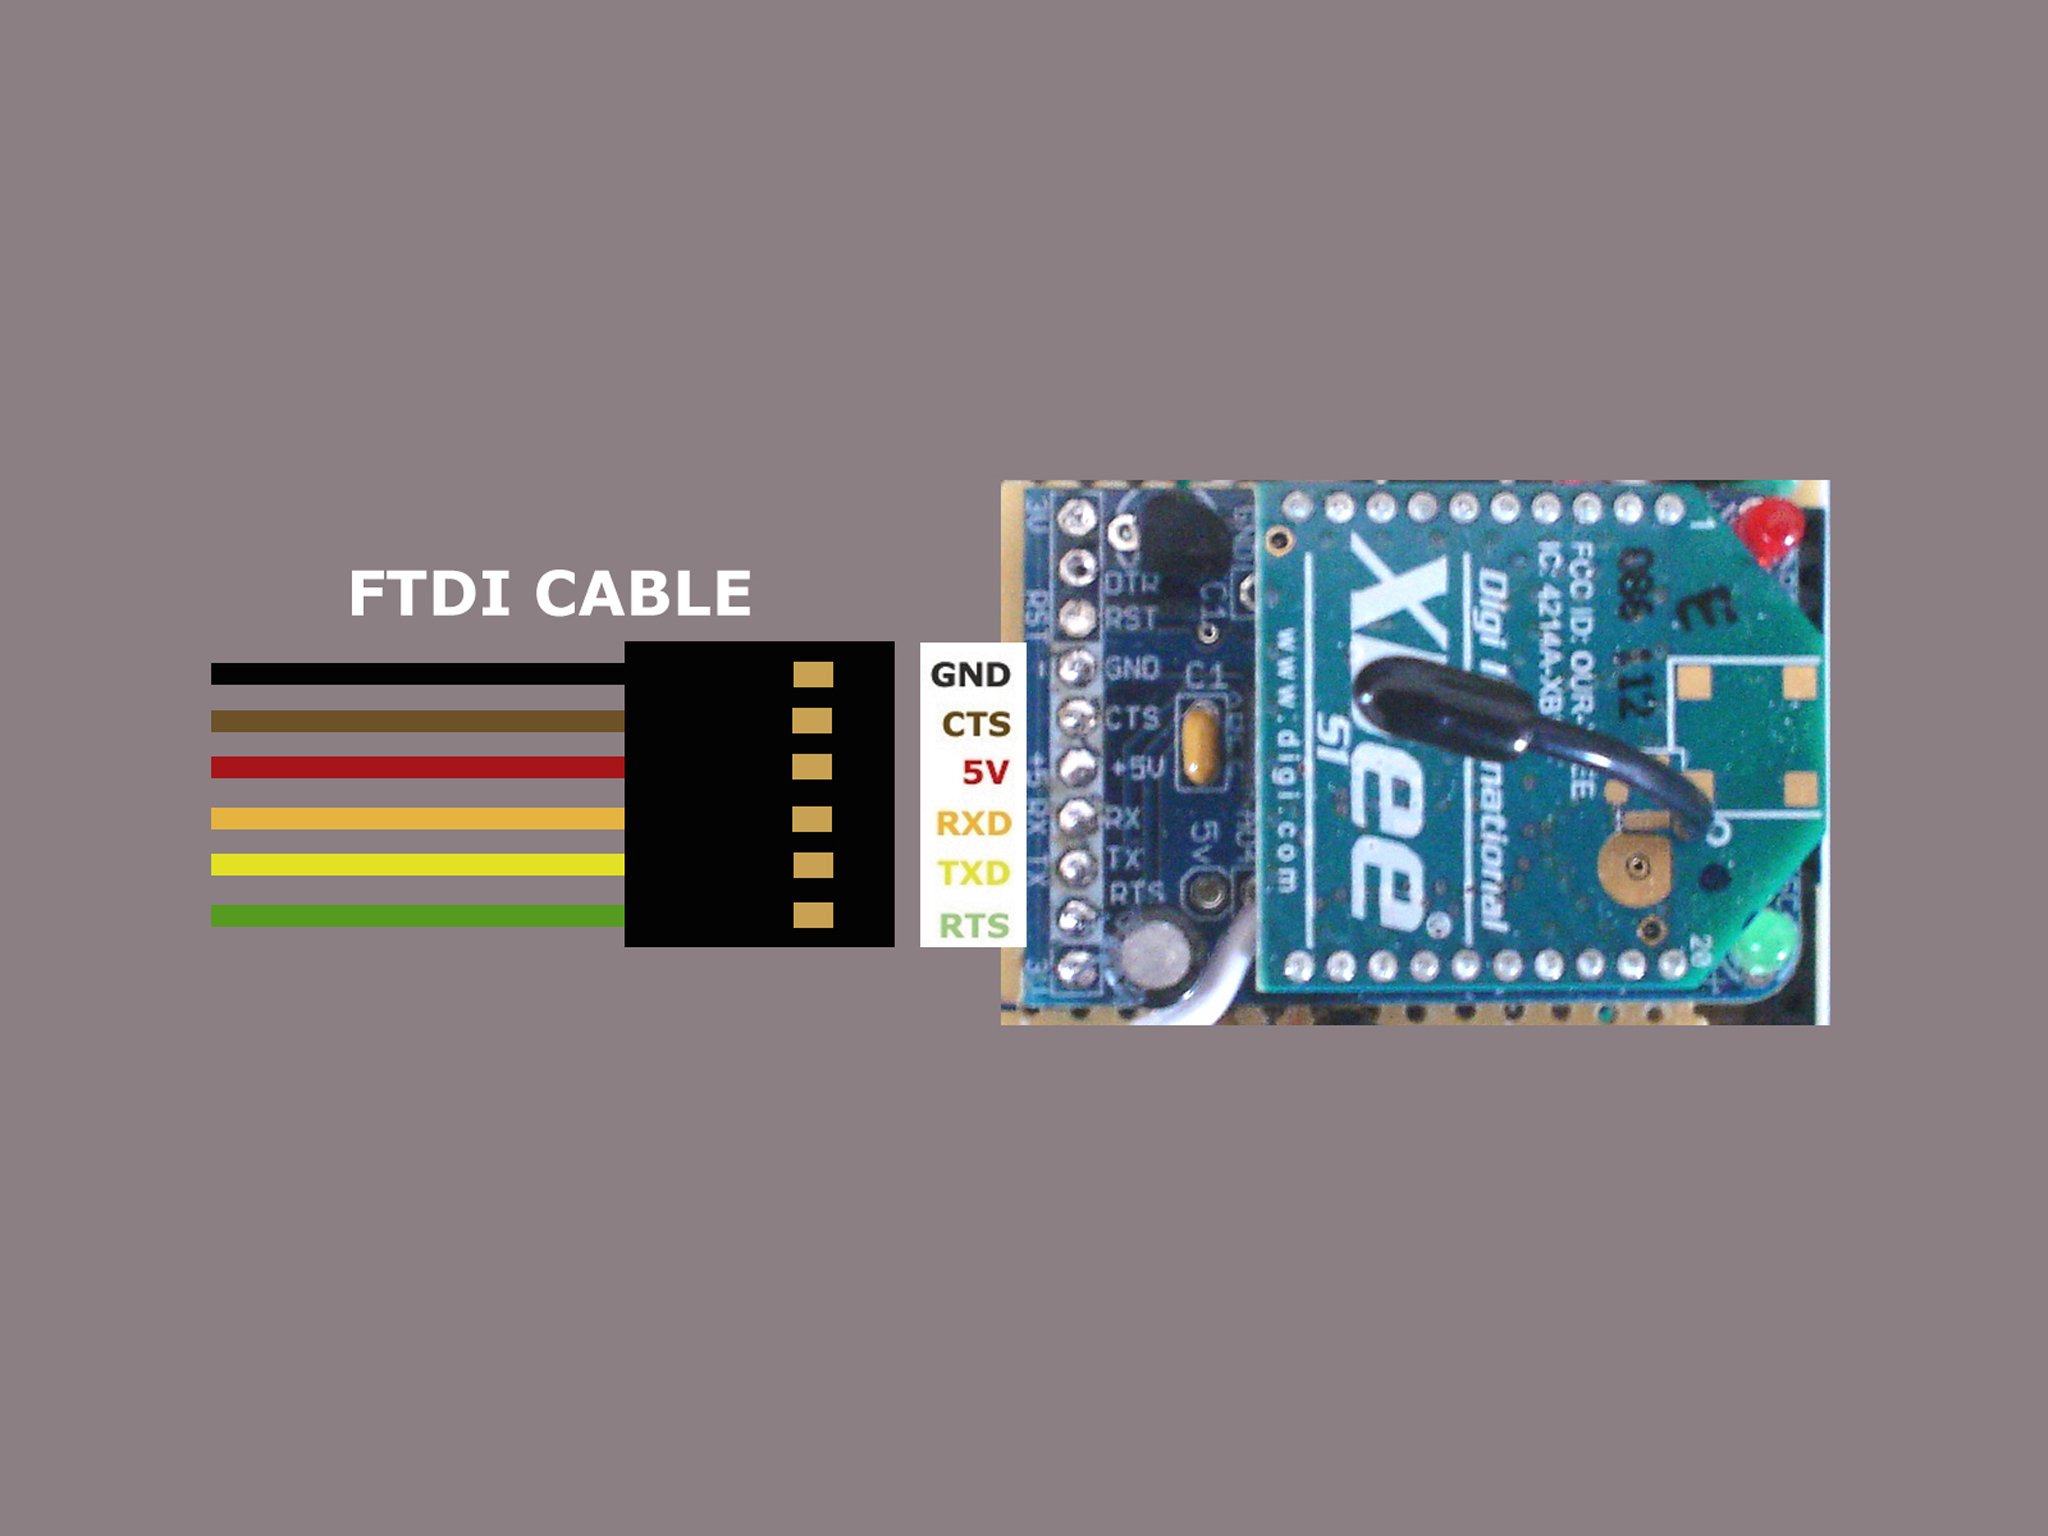
Note: This instructable shows how to modify the FTDI cable to use with AdaFruit's XBee Adapter, because the Adapter is the FTDI-ready. The Adapter brought out the pins that compatible with FTDI socket, Ground, CTS, 5V, RX, TX, RTS. And I already have a couple of them available. You probably need to adjust the pin-out if you are going to use other type of XBee Breakout board.
And it works great!
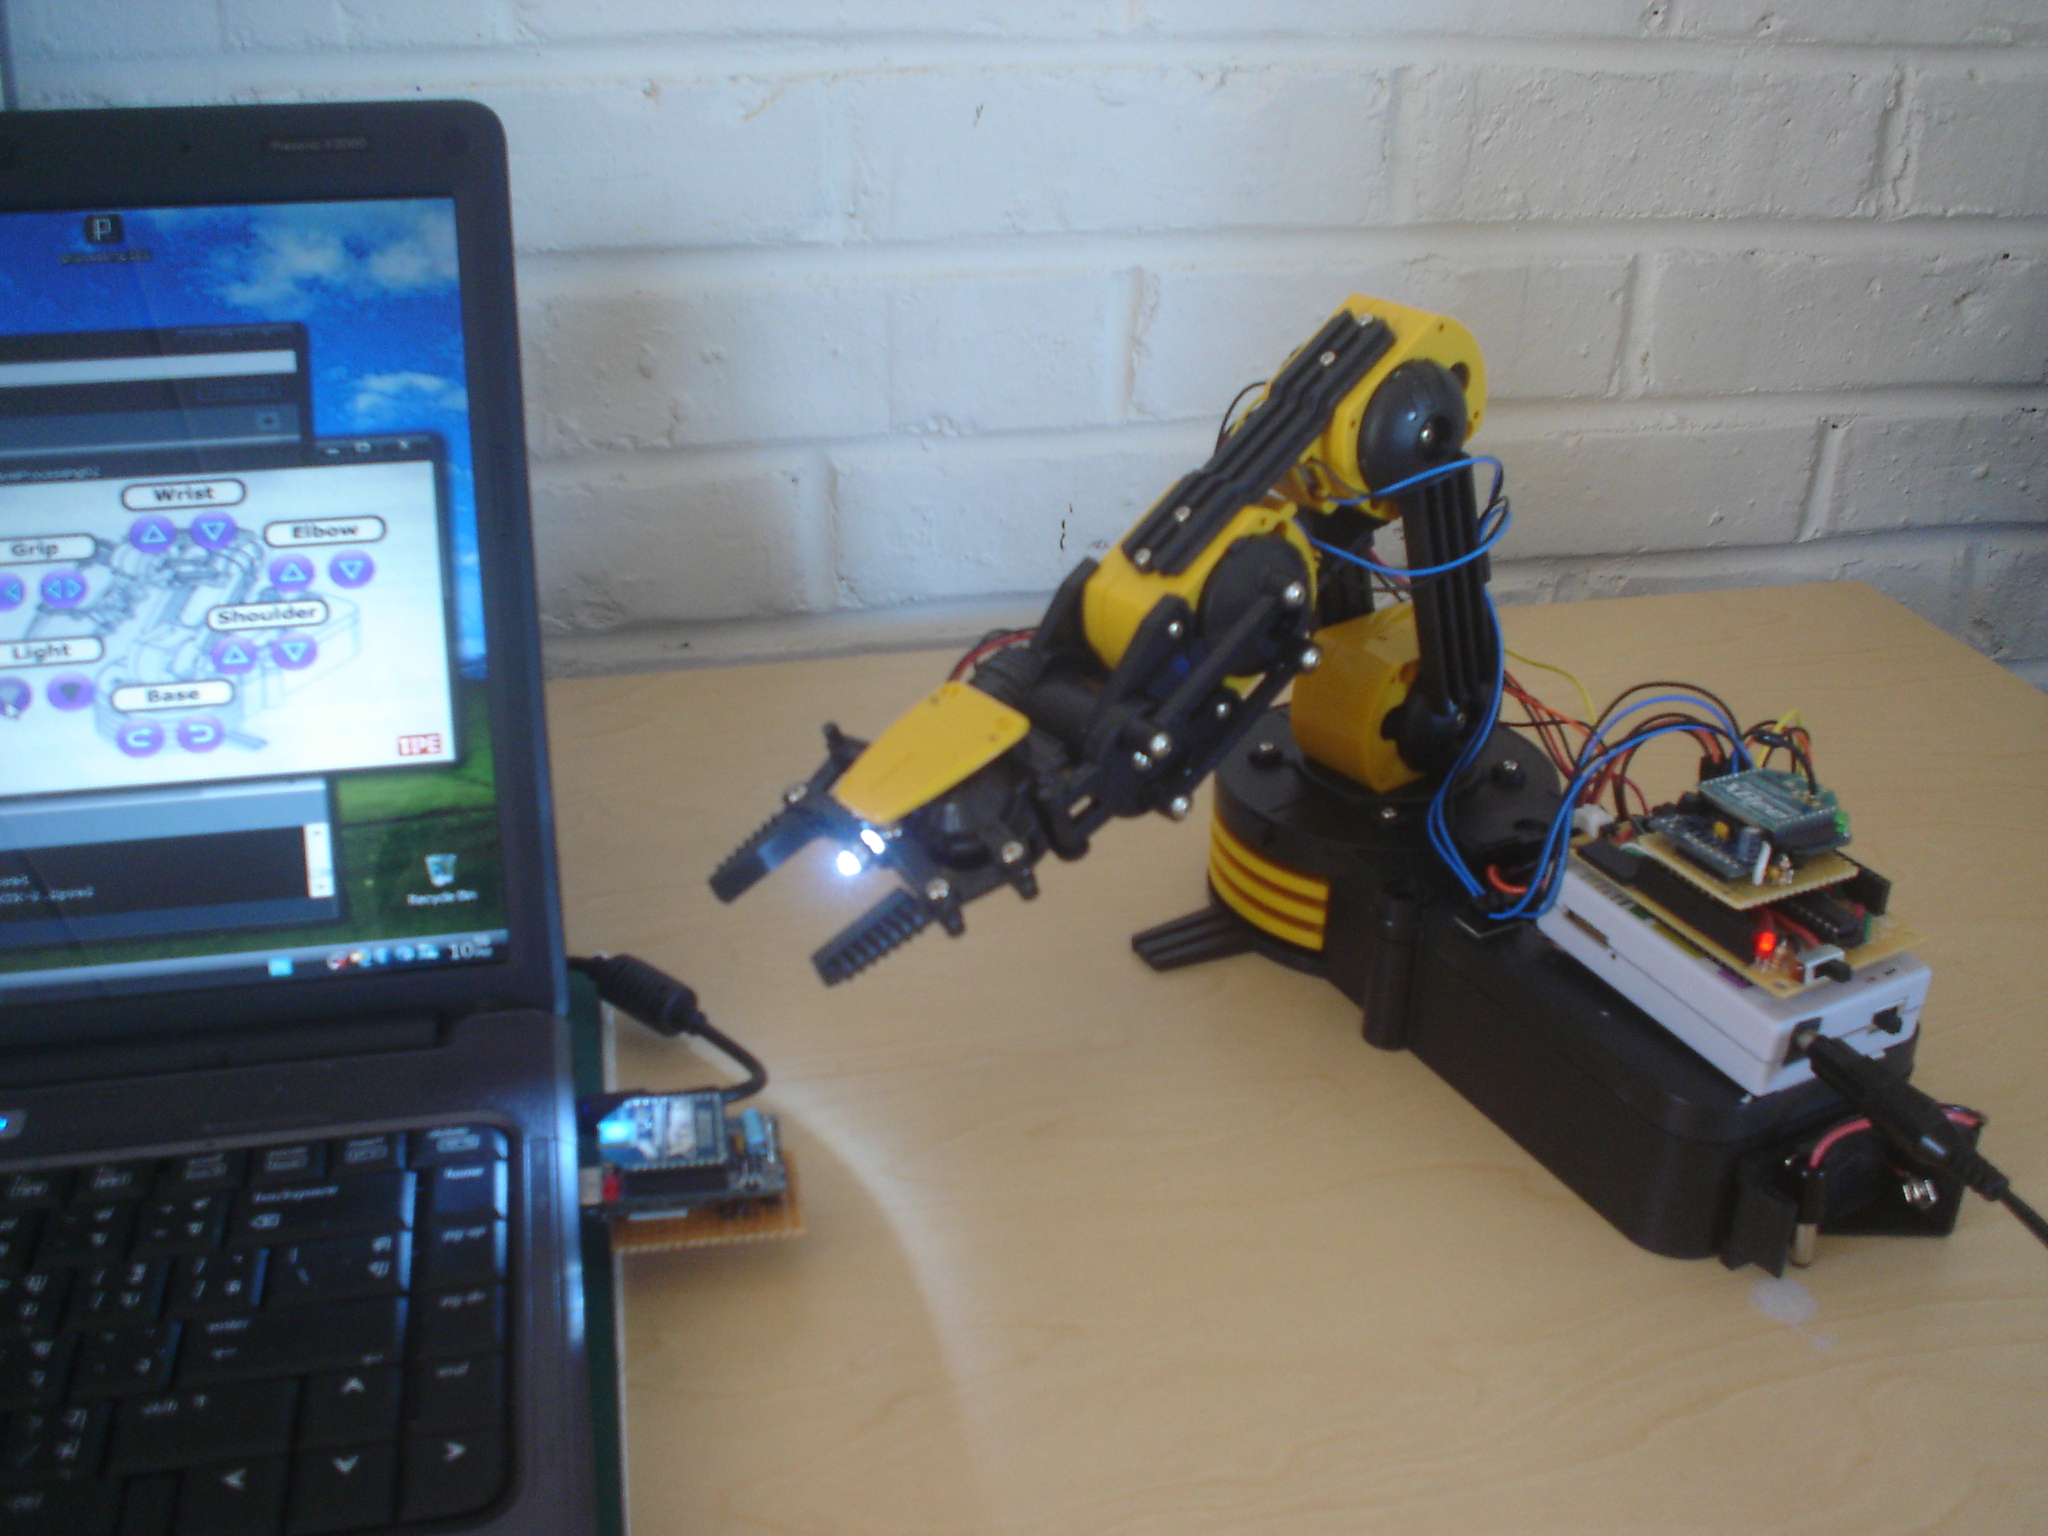
Here is one of the project that I use these Wireless Xbee module to control the Robotic Arm.
Parts and Tools...
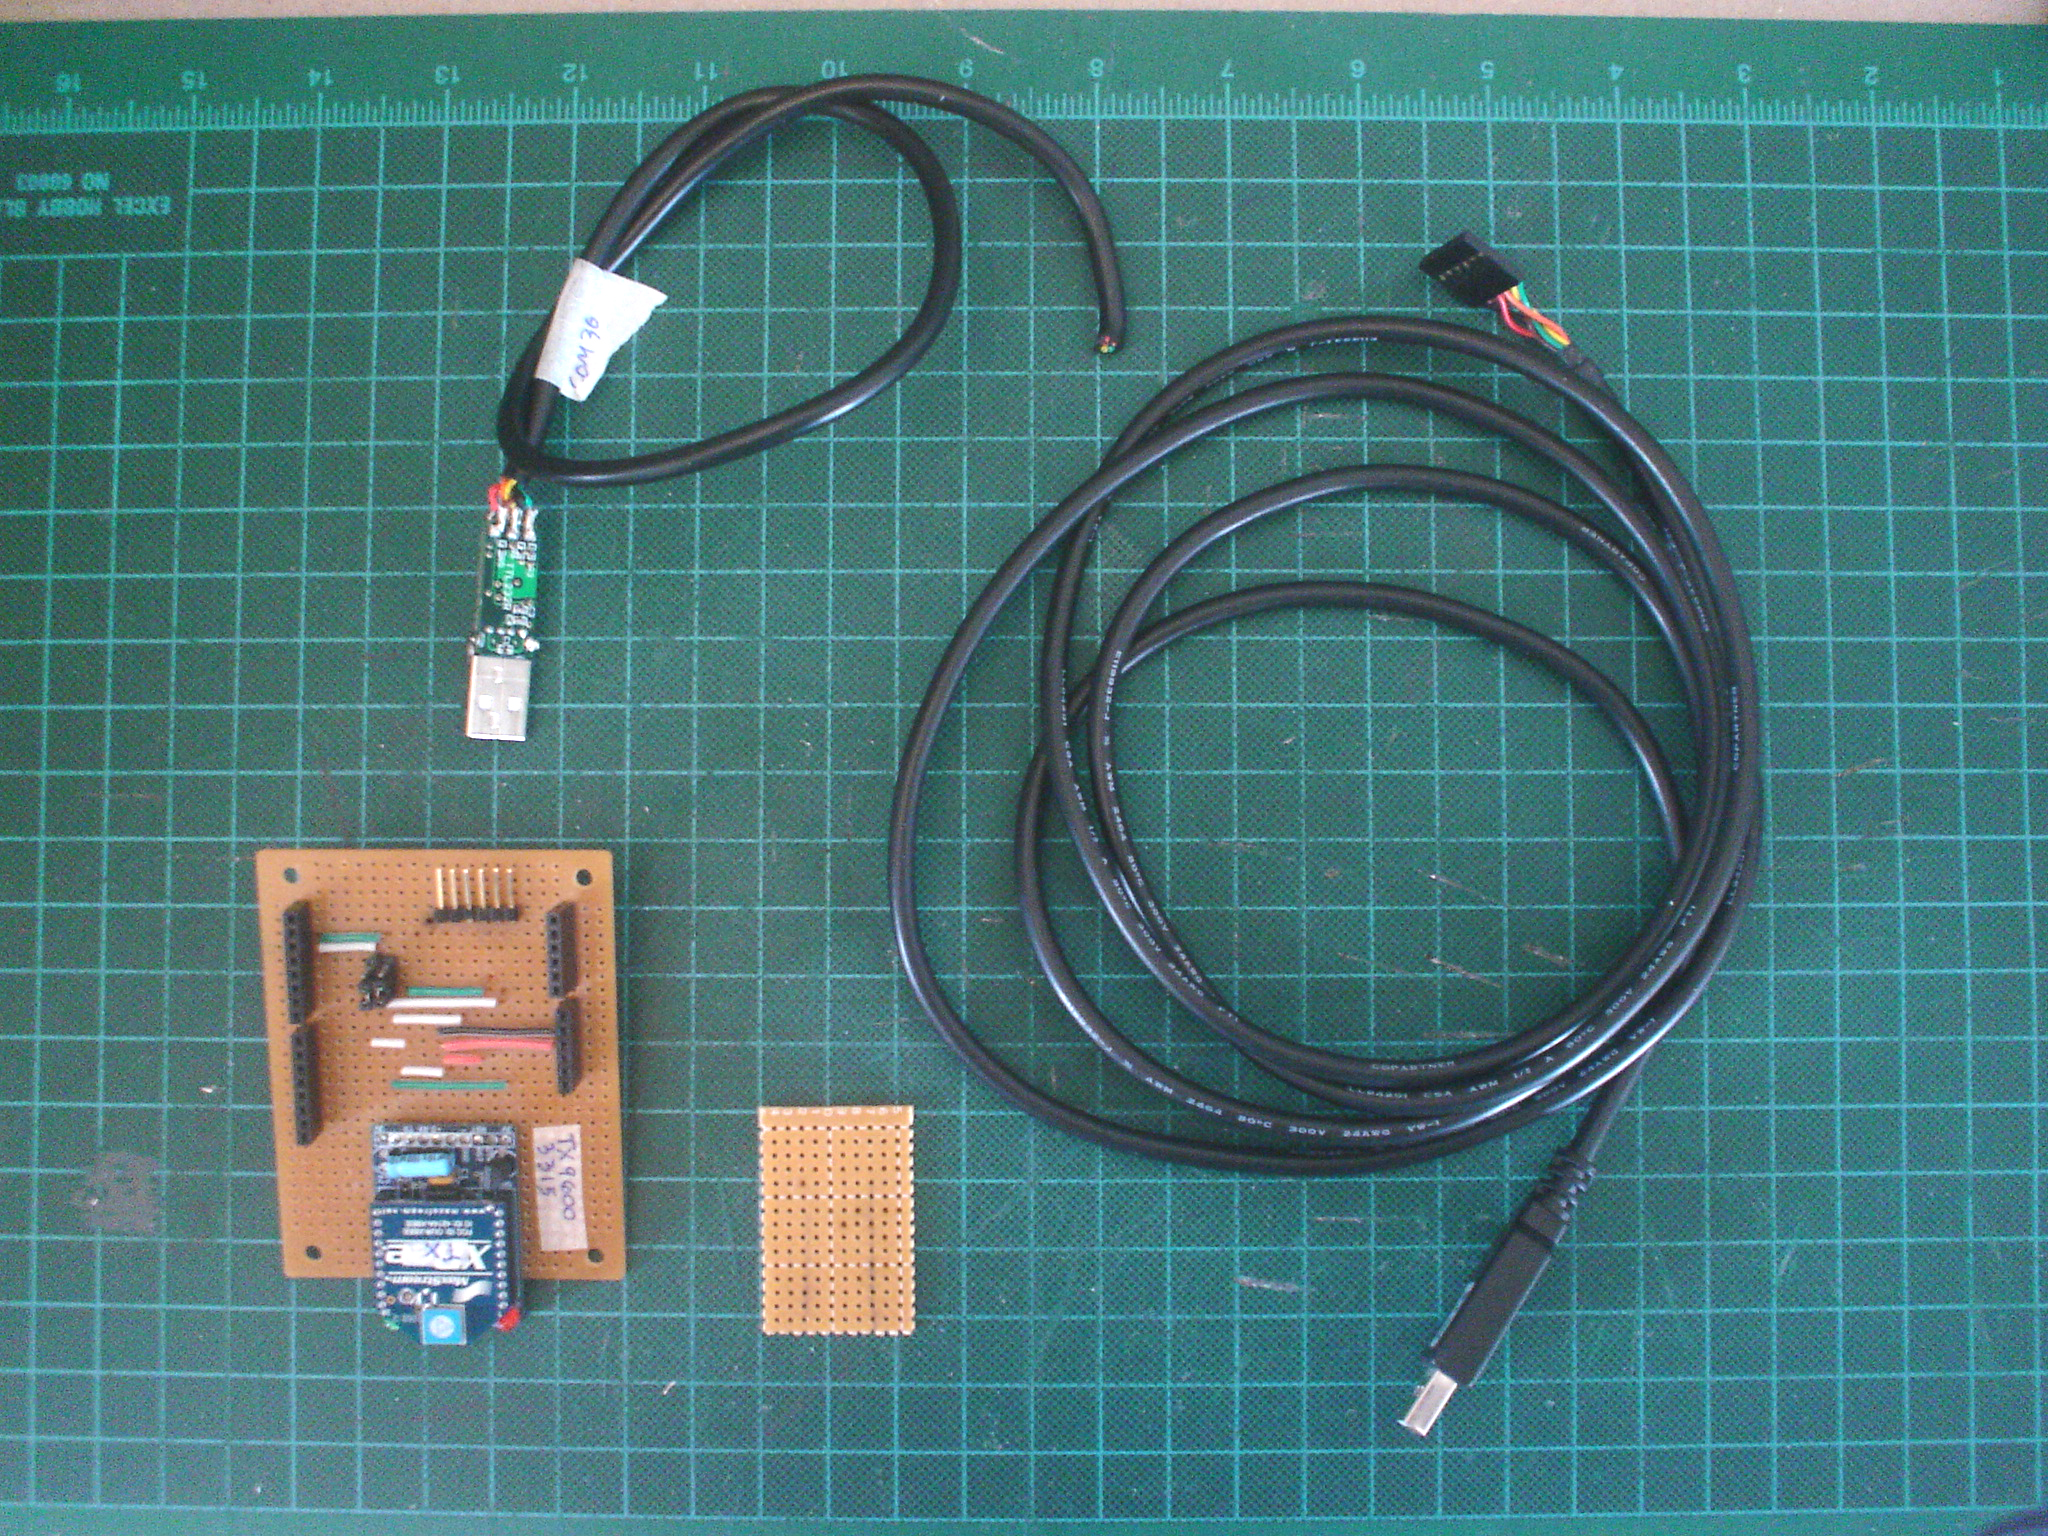
Parts:
FTDI cable
PCB board
6-pin female socket
Double-side foam tape
Tools:
X-CATO Knife
Diagonal cutter
Vise
Solder Iron
Wire stripper
Rosin-Core Solder
FTDI cable
PCB board
6-pin female socket
Double-side foam tape
Tools:
X-CATO Knife
Diagonal cutter
Vise
Solder Iron
Wire stripper
Rosin-Core Solder
Cut the FTDI Cable
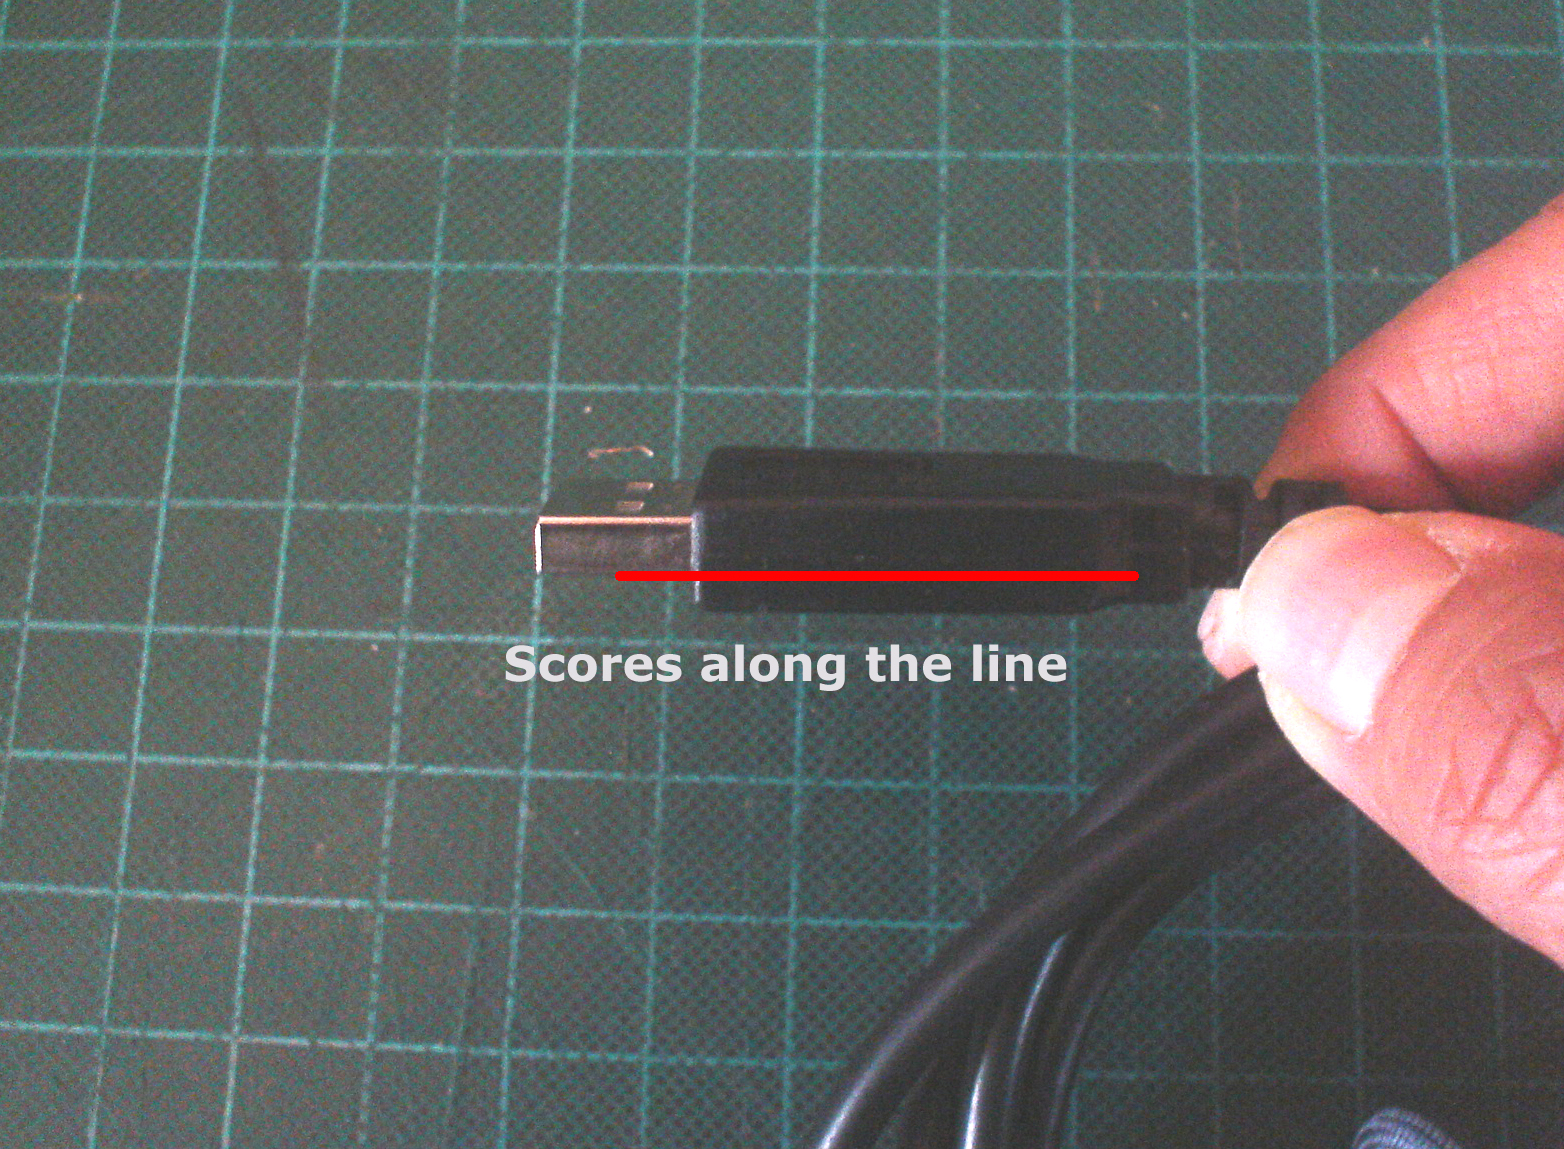
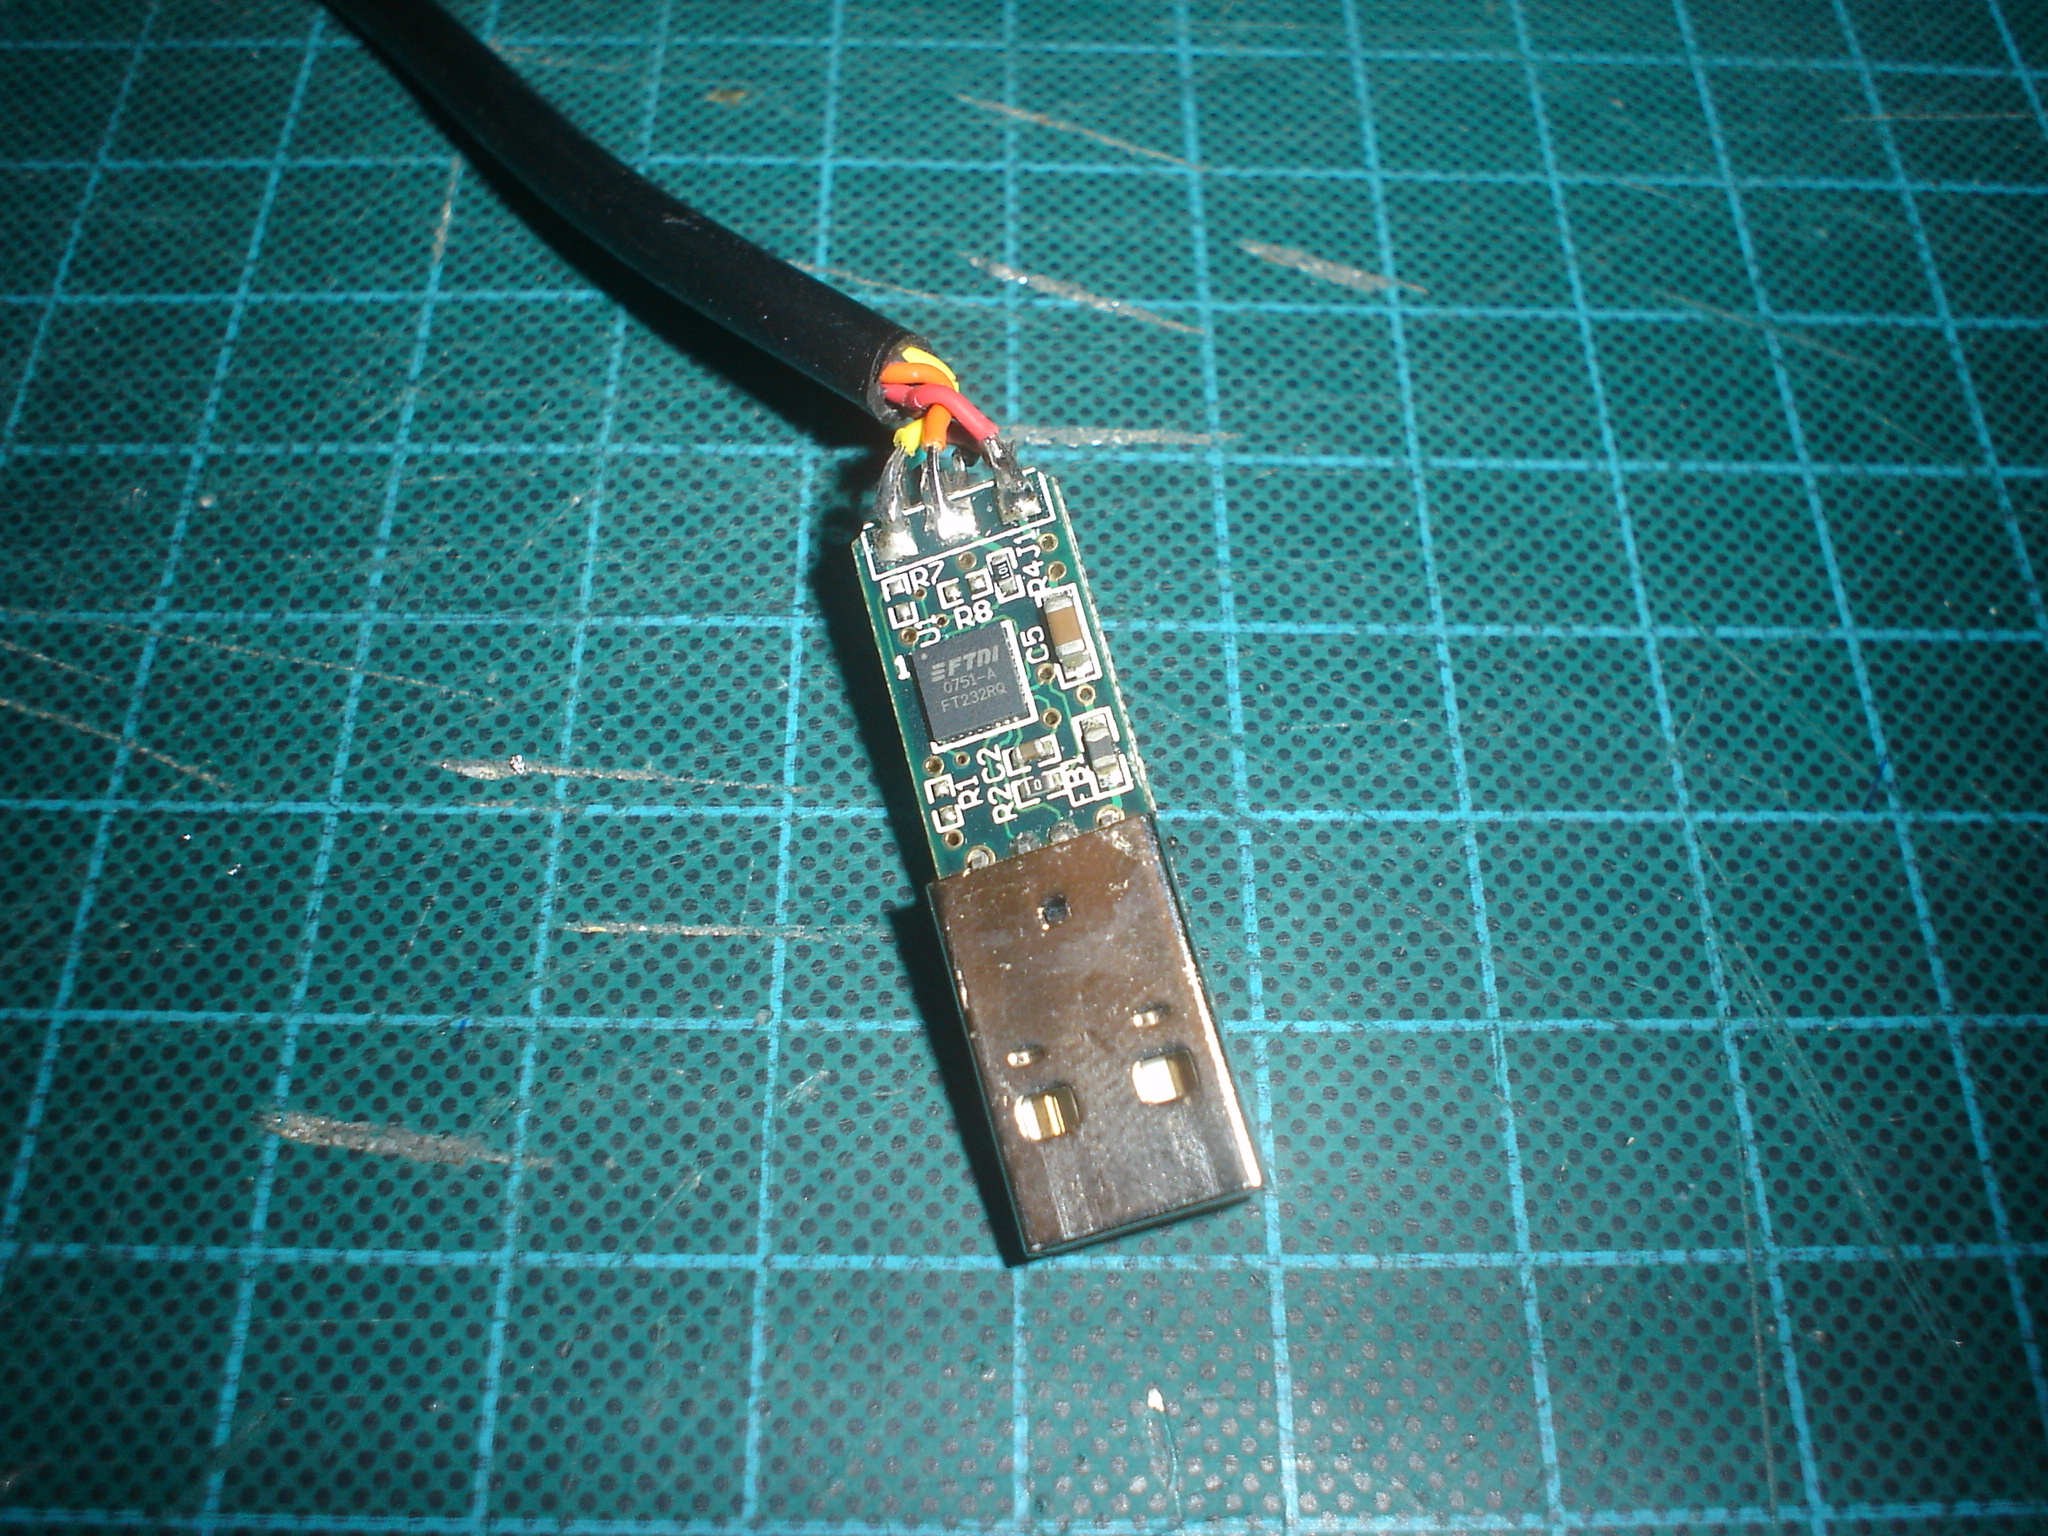
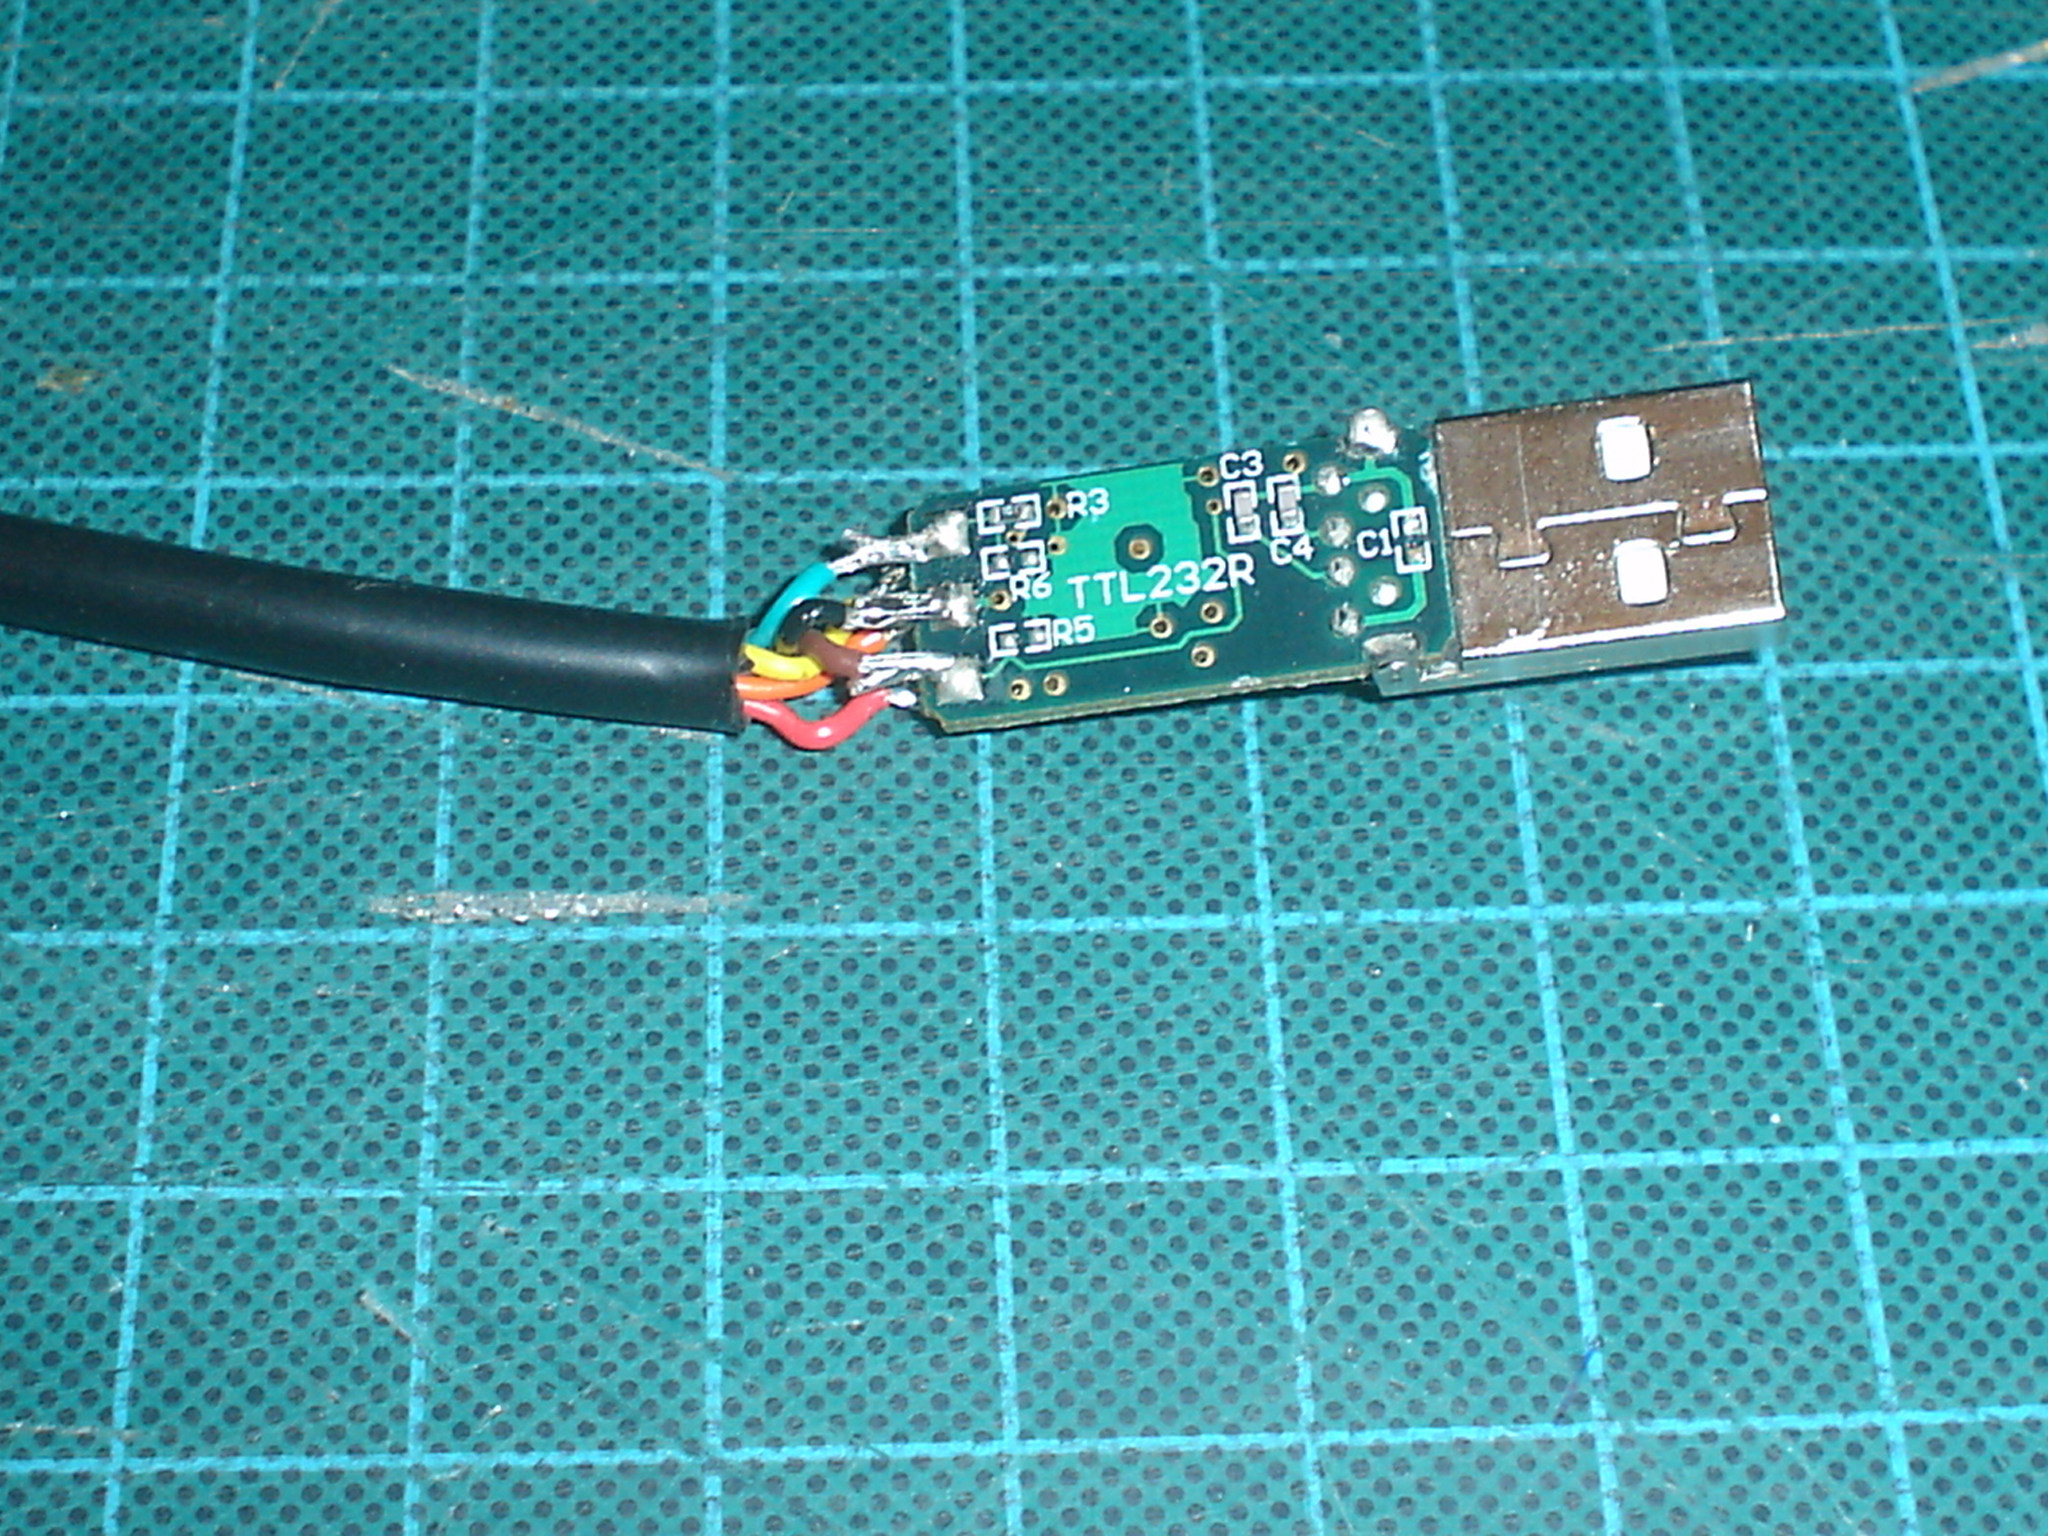
Hold the FTDI cable with vise, place the USB end of the cable at the vise.Position the USB side way.
Use X-ACTO knife scores along the side of the cable at the USB end. (as shown in the picture) Notice the two holes on the metal part of the USB, you will score along the lower end of the USB connector.
Keep scoring until you feel the the metal or the PCB.
(Be careful with that sharp knife!)
Use the diagonal cutter, to tear open the plastic body.
Now we can see the PCB, and the components on it.
Solder Time...
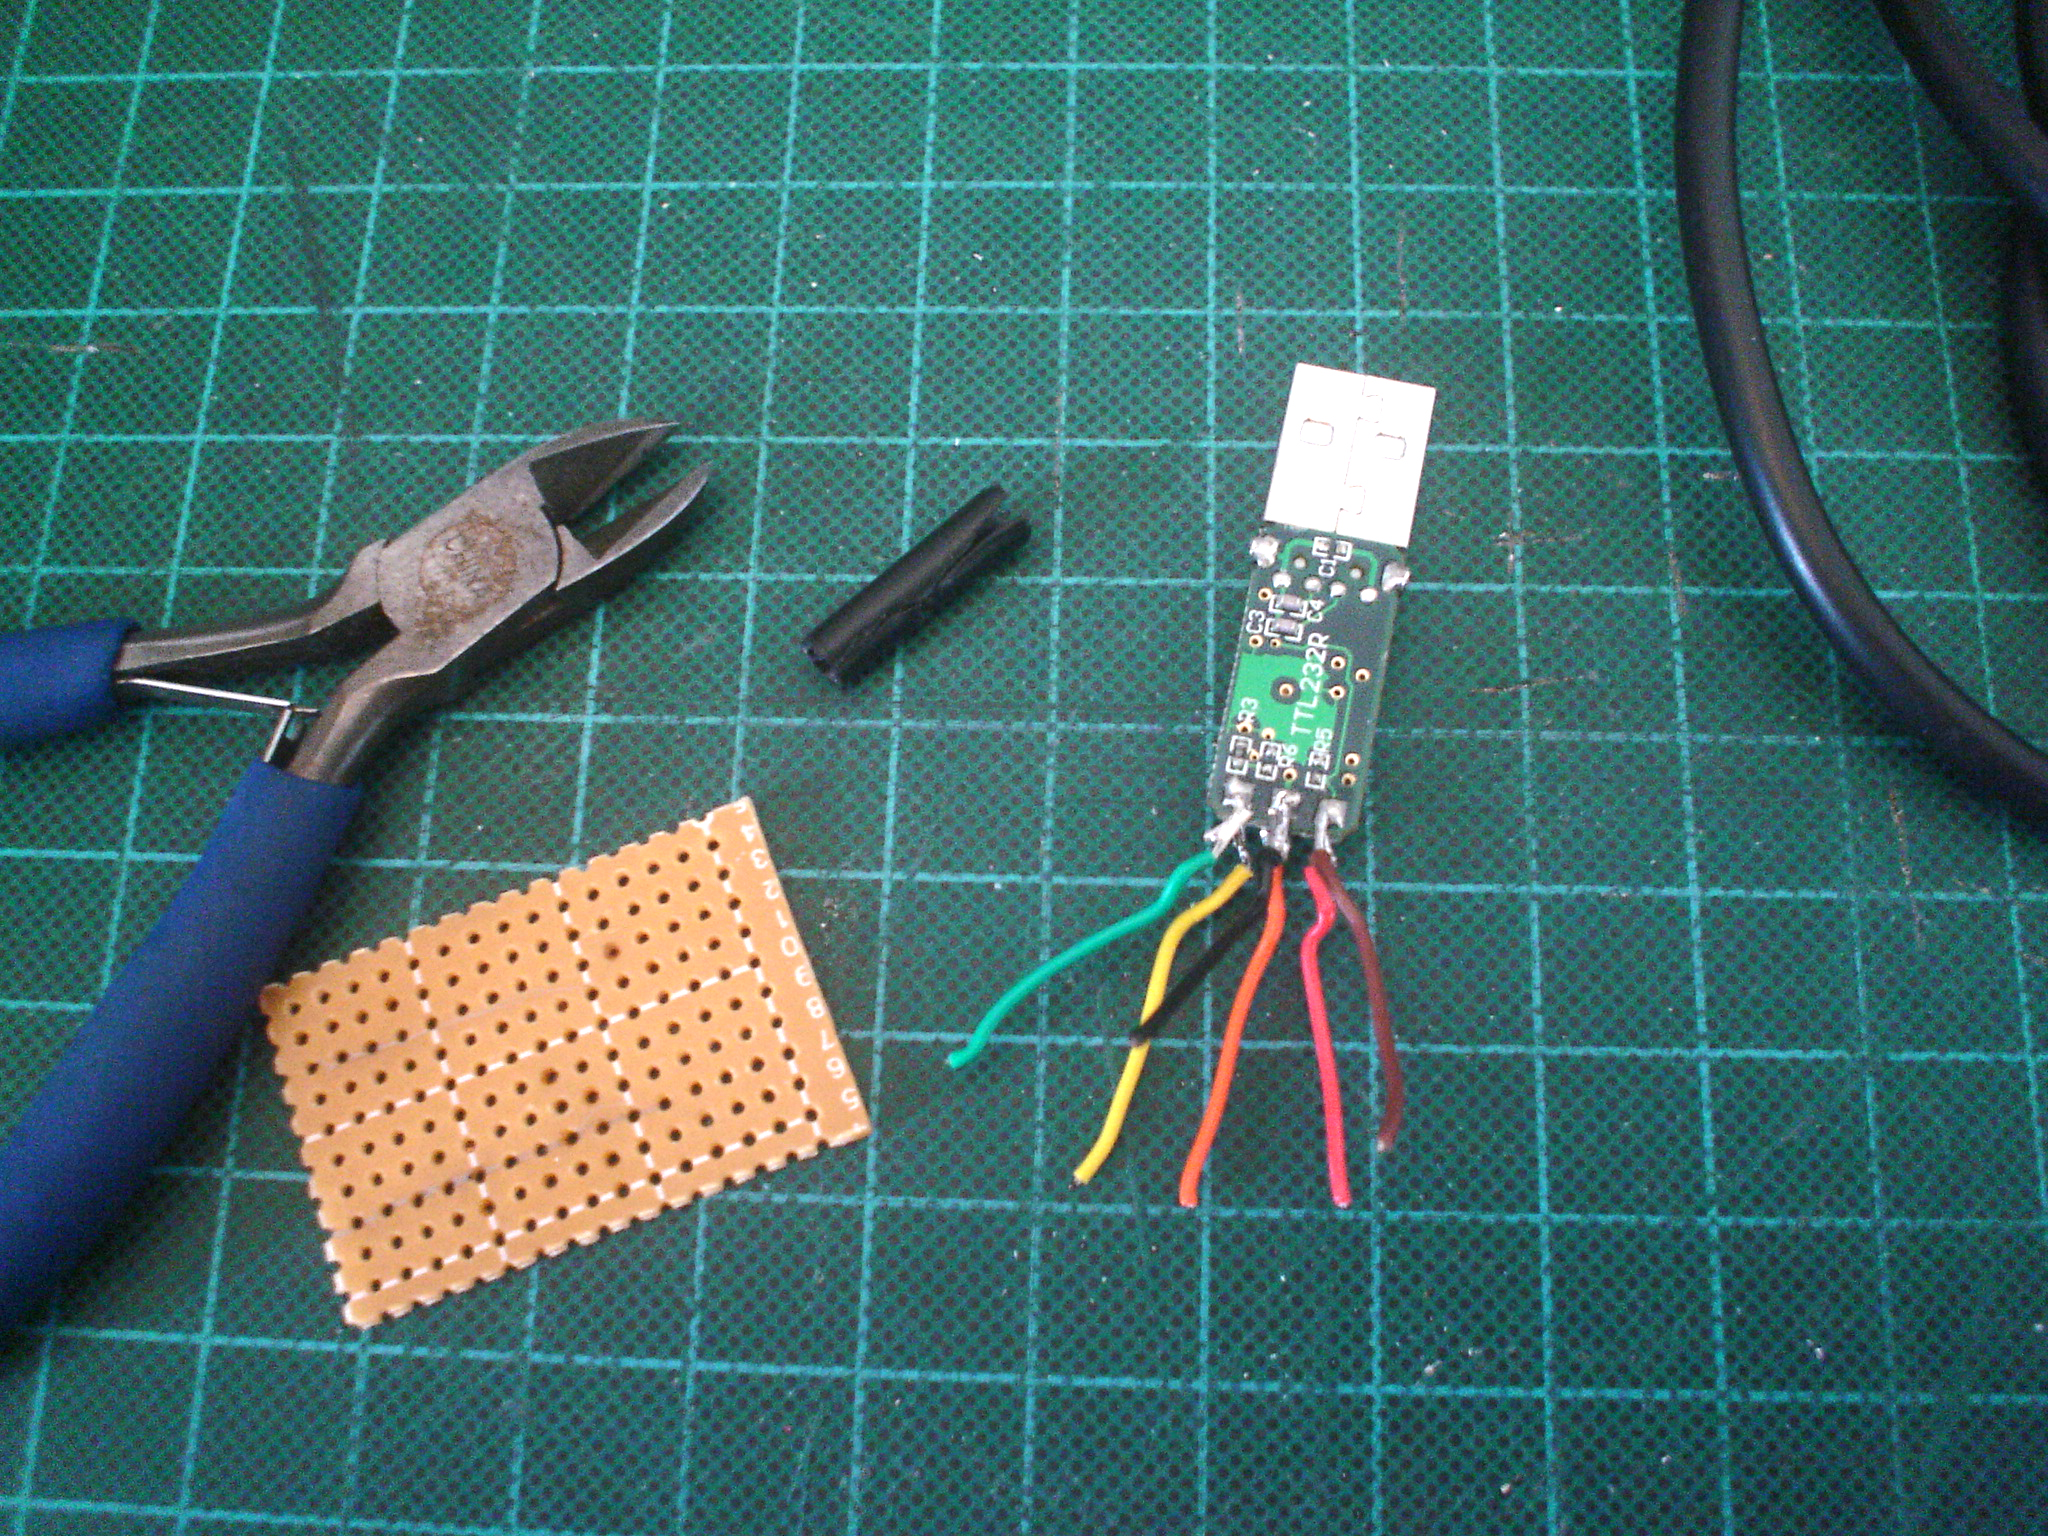
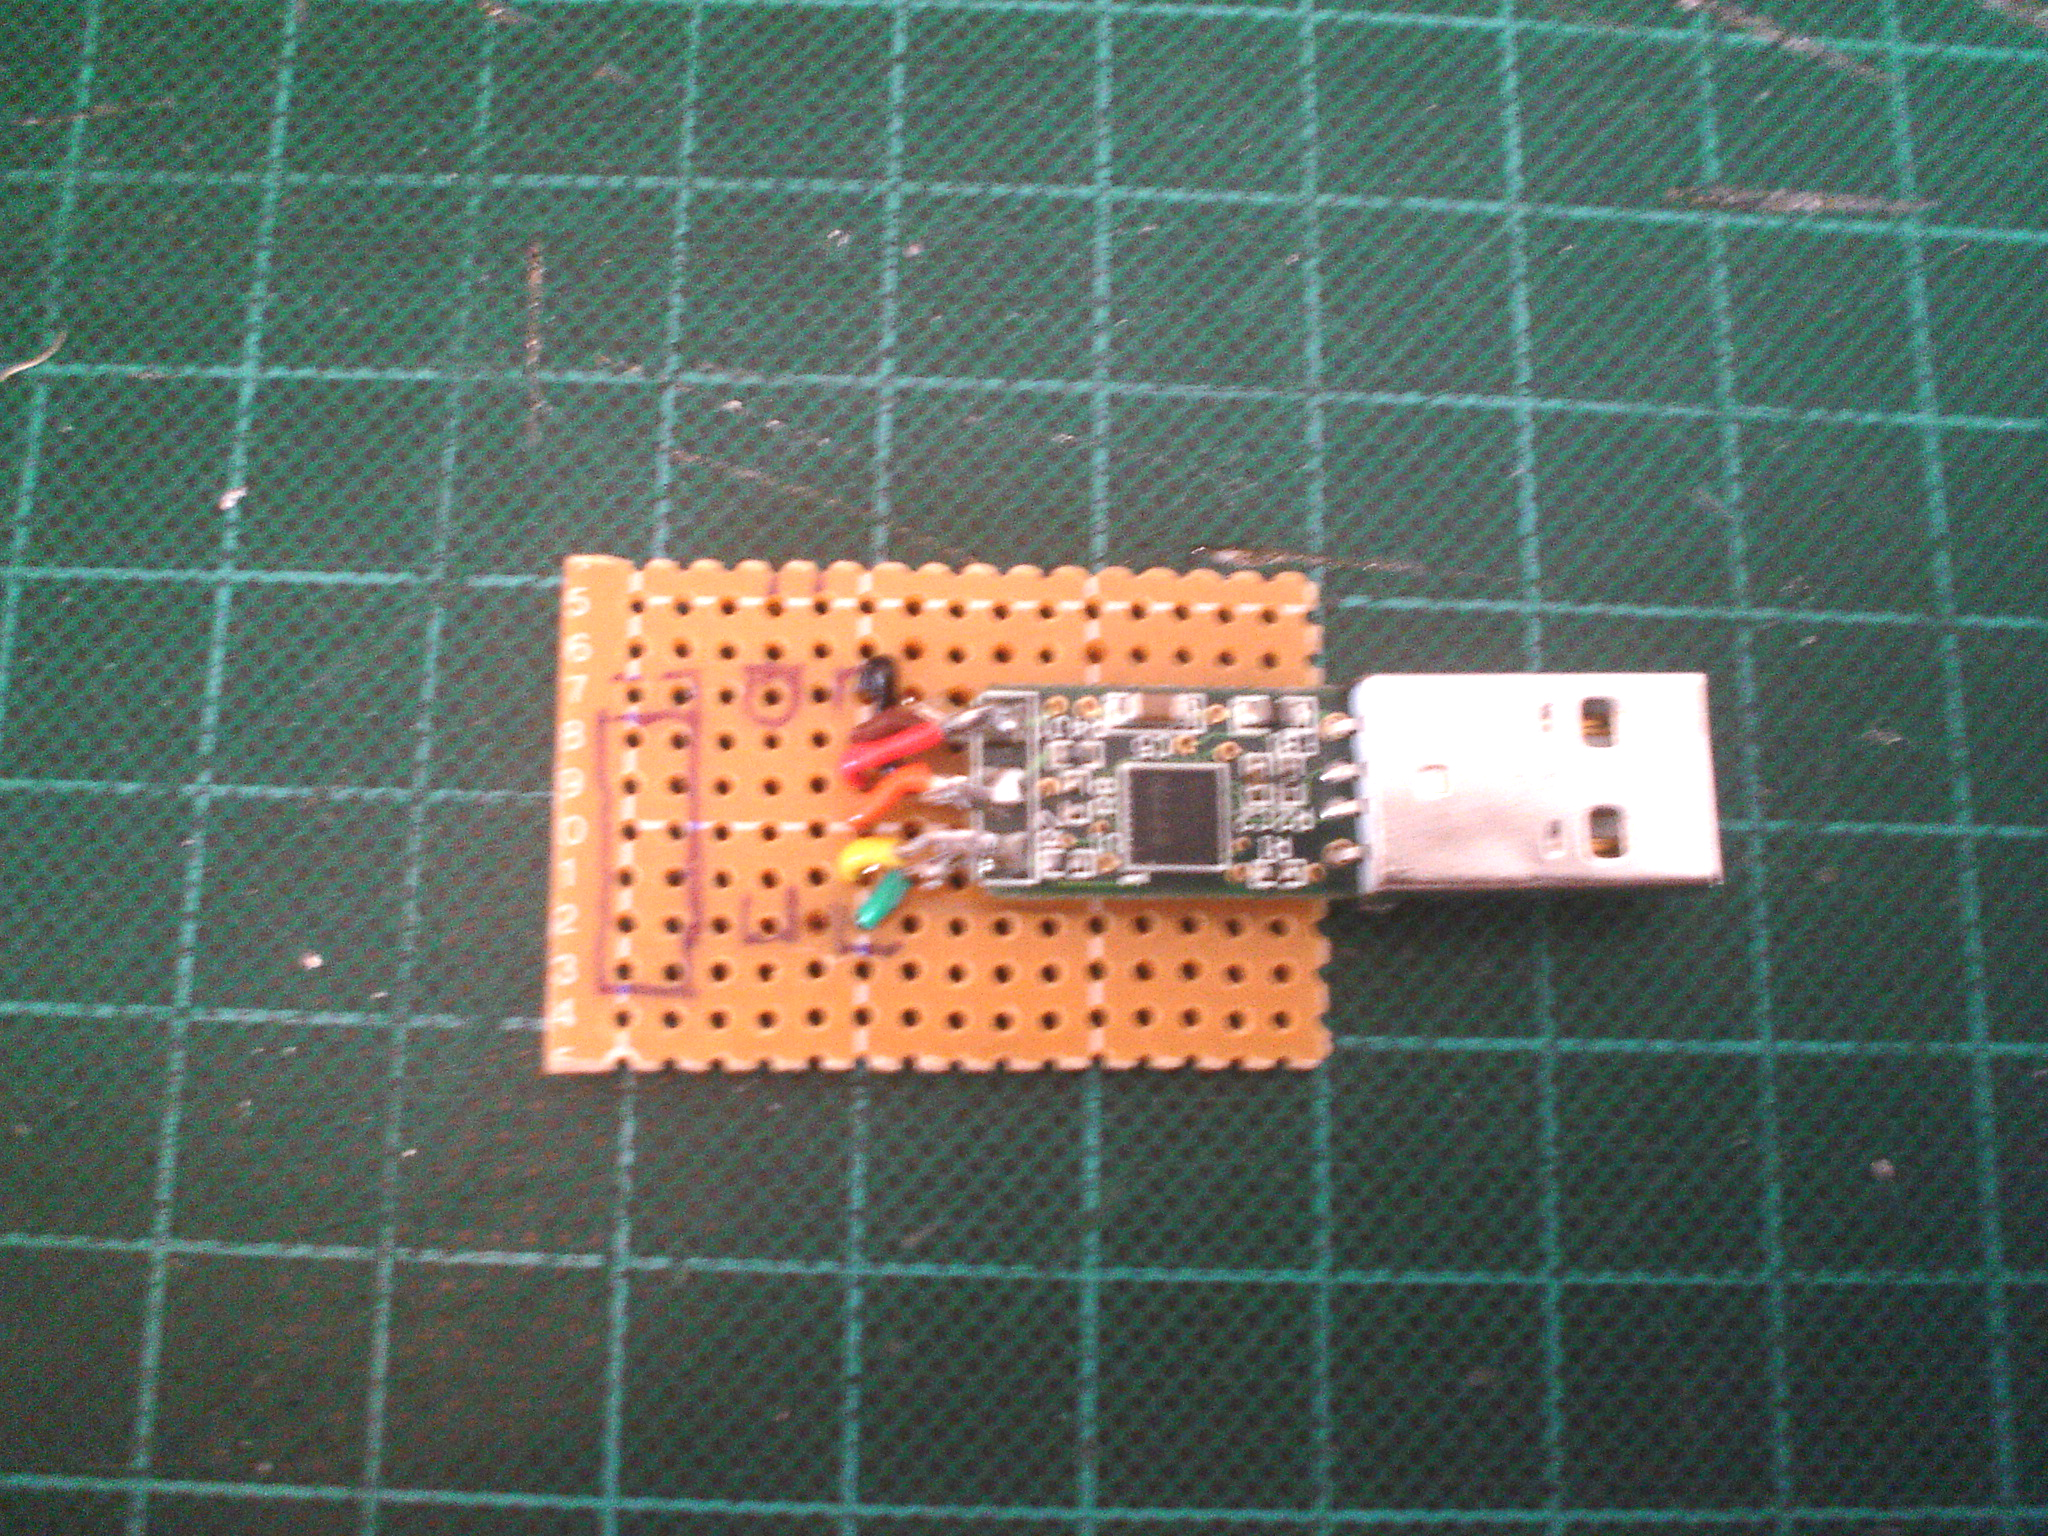
Trim the FTDI cable down to about an inch to an inch and a half from the PCB.
Cut a piece of PCB board to about the size of Xbee Adapter, or 1-1/8” wide and 1-5/8” long.
Mark six holes on the PCB, by placing the USB socket of the FTDI hanging out of the PCB about the center of the PCB.
Cut two small piece of the double sided foam tape and stick them underneath the FTDI PCB.
Sort the FTDI wires into this order
Black
Brown
Red
Orange
Yellow
Green
Strip those wires down to fit the holes that we marked earlier with the wire stripper.
Solder those wire to the PCB.
Add Xbee Socket...
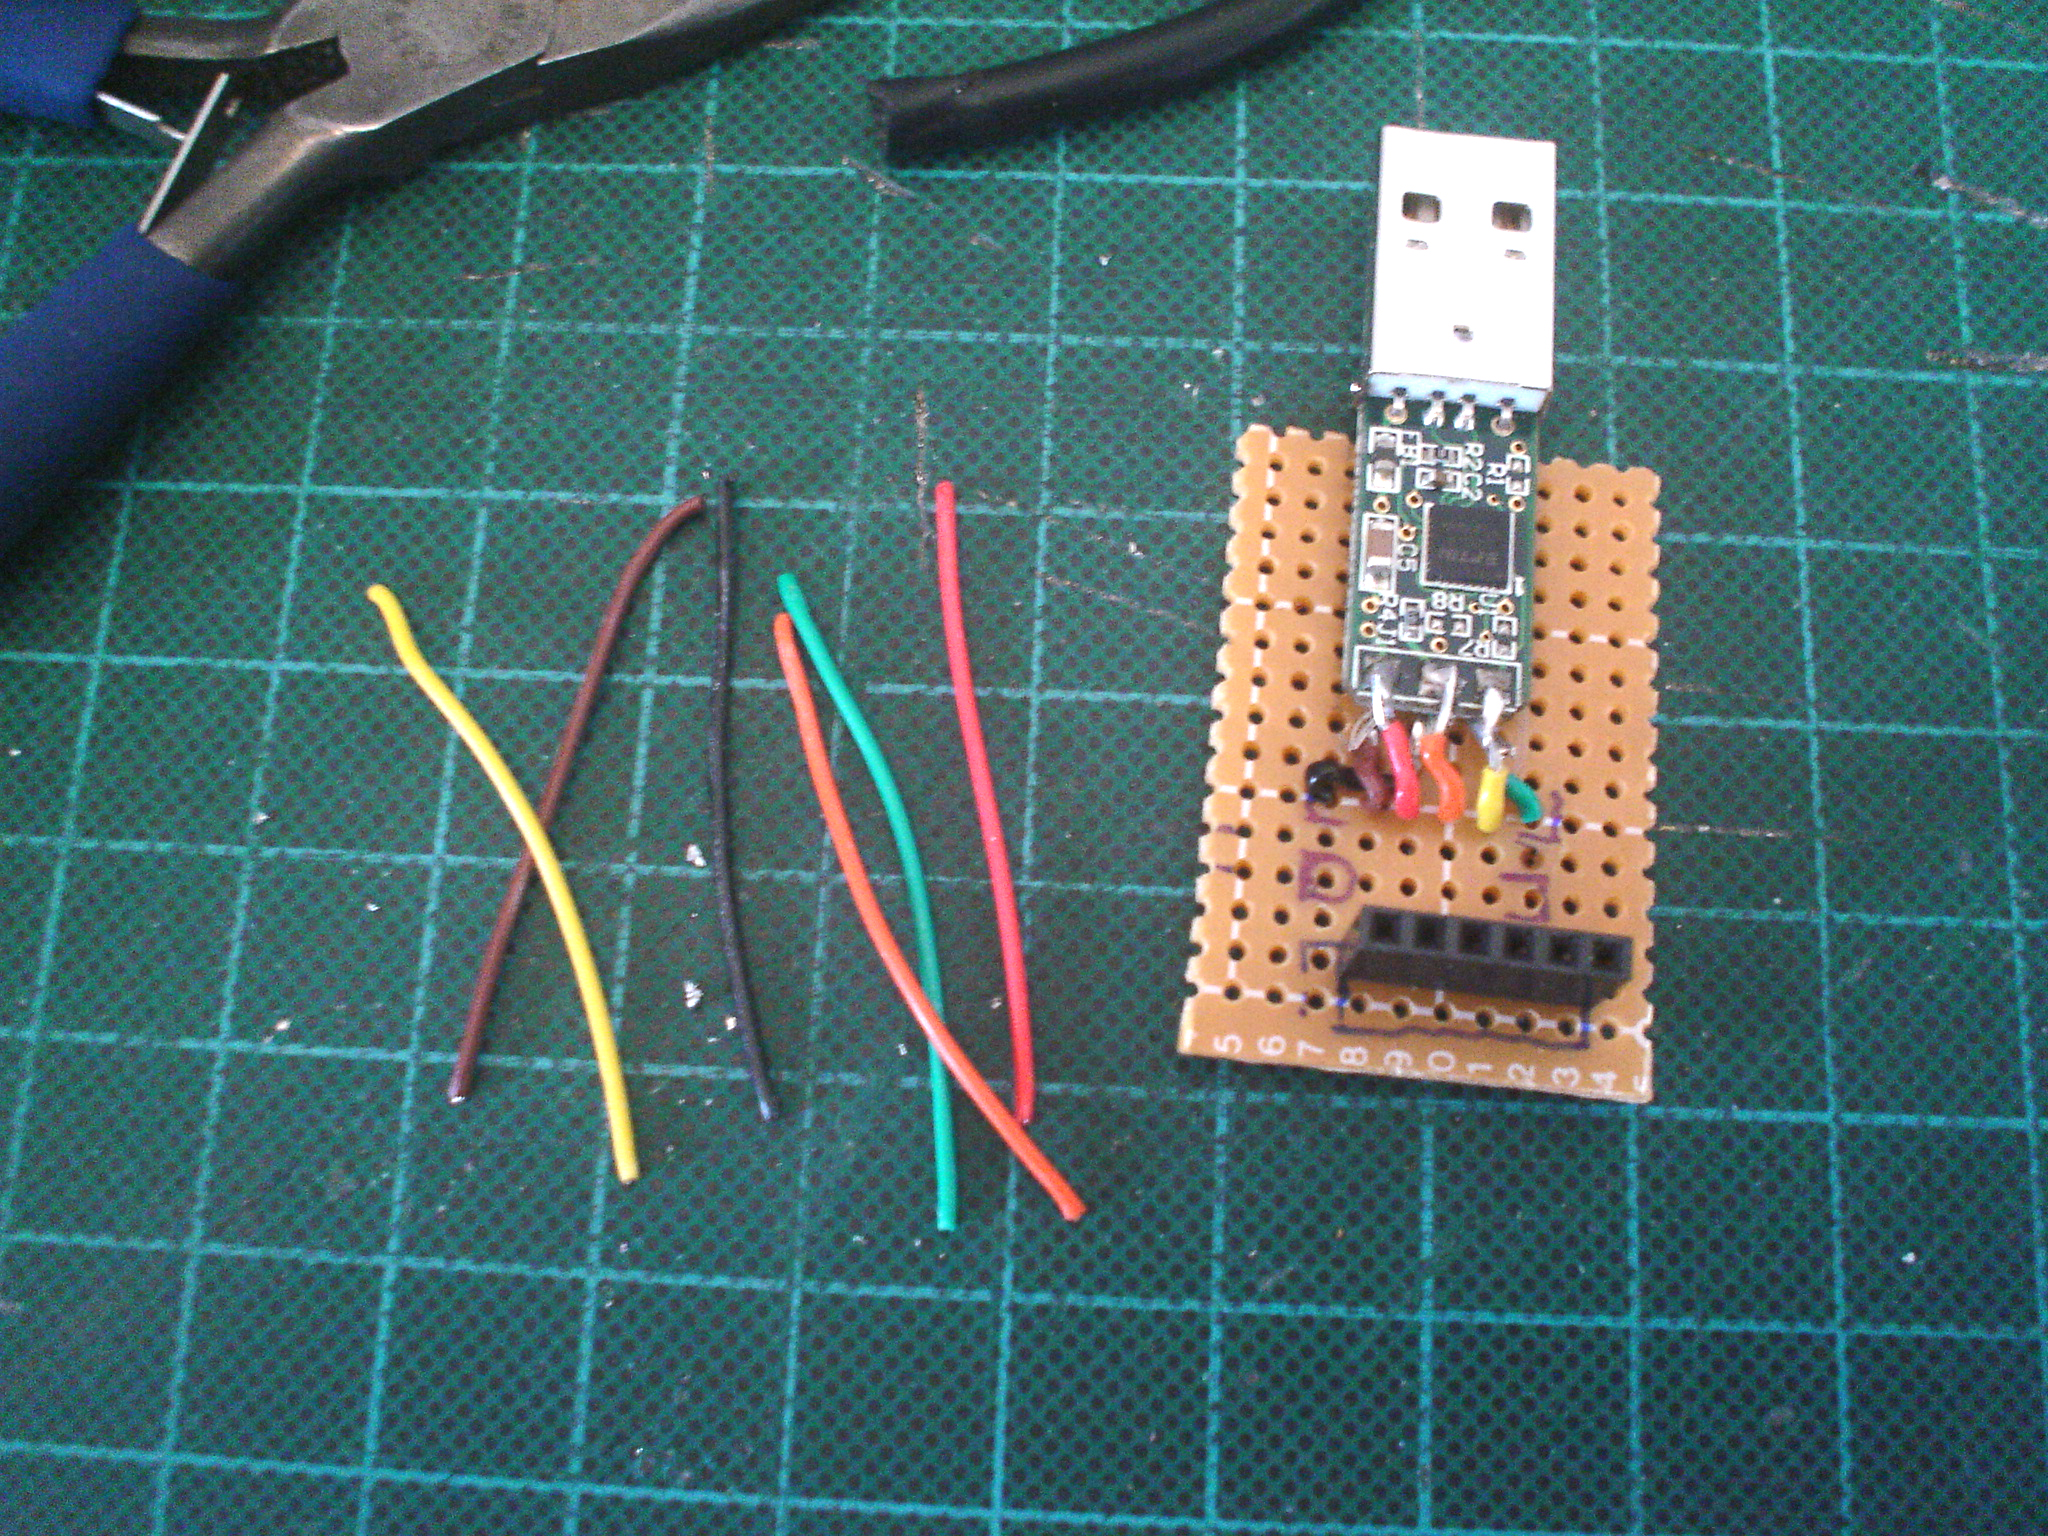
Use the XBee Adapter to mark the location of the six FTDI configured pin.
Solder the 6-pin female socket to the PCB.
Solder the 6-pin female socket to the PCB.
Finish...
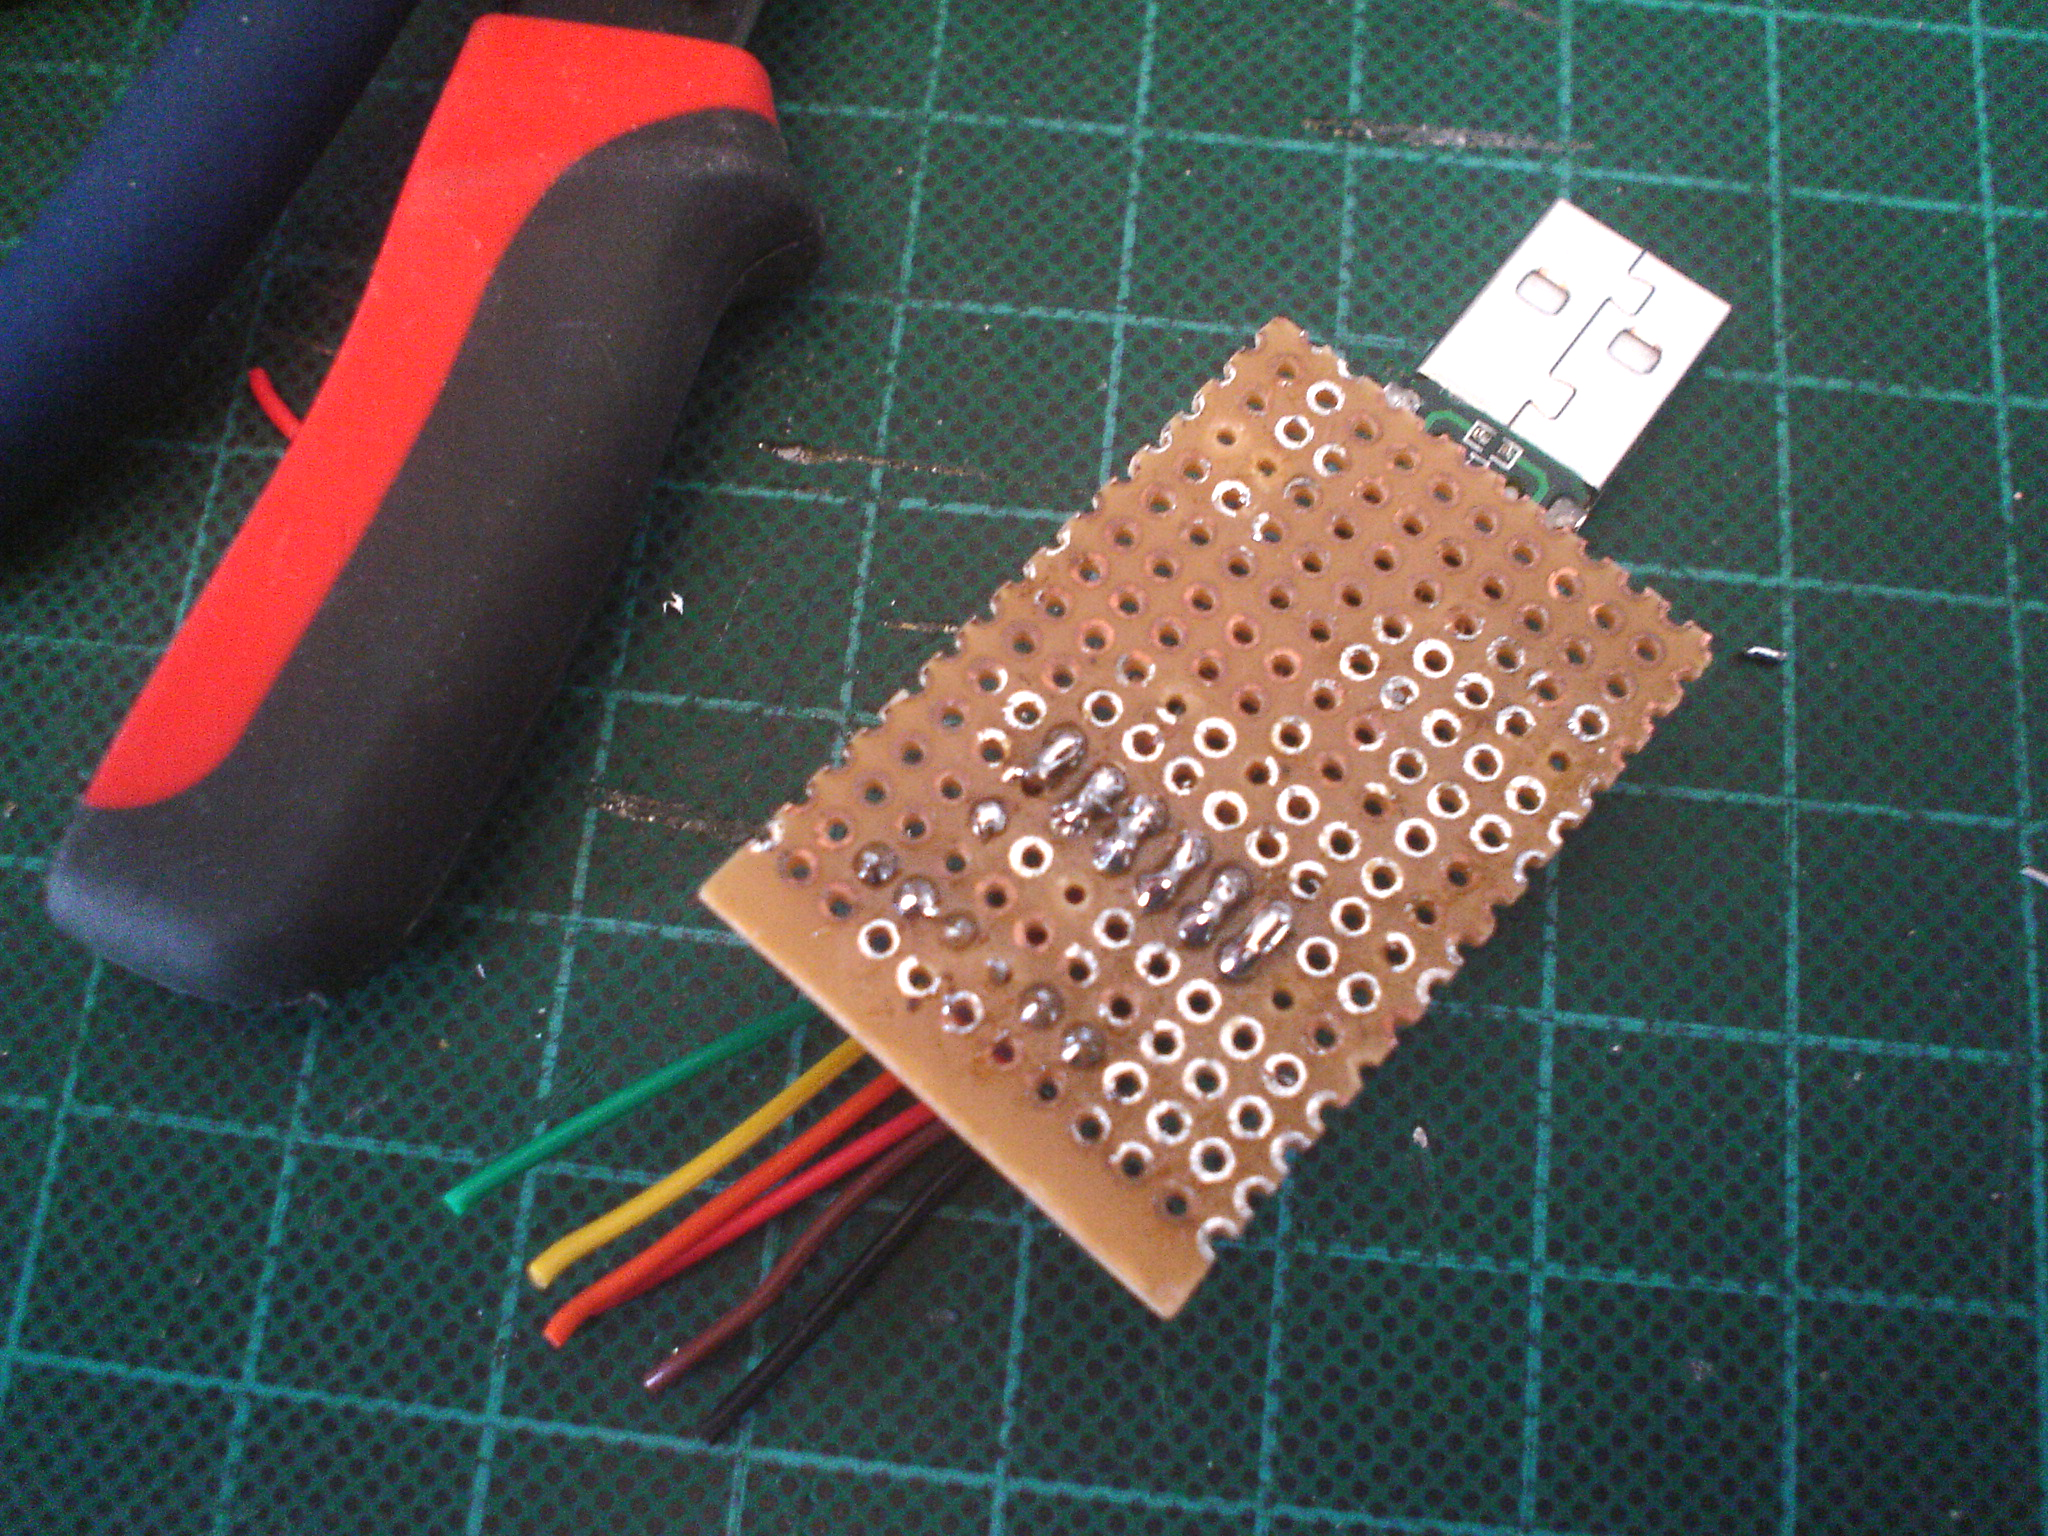
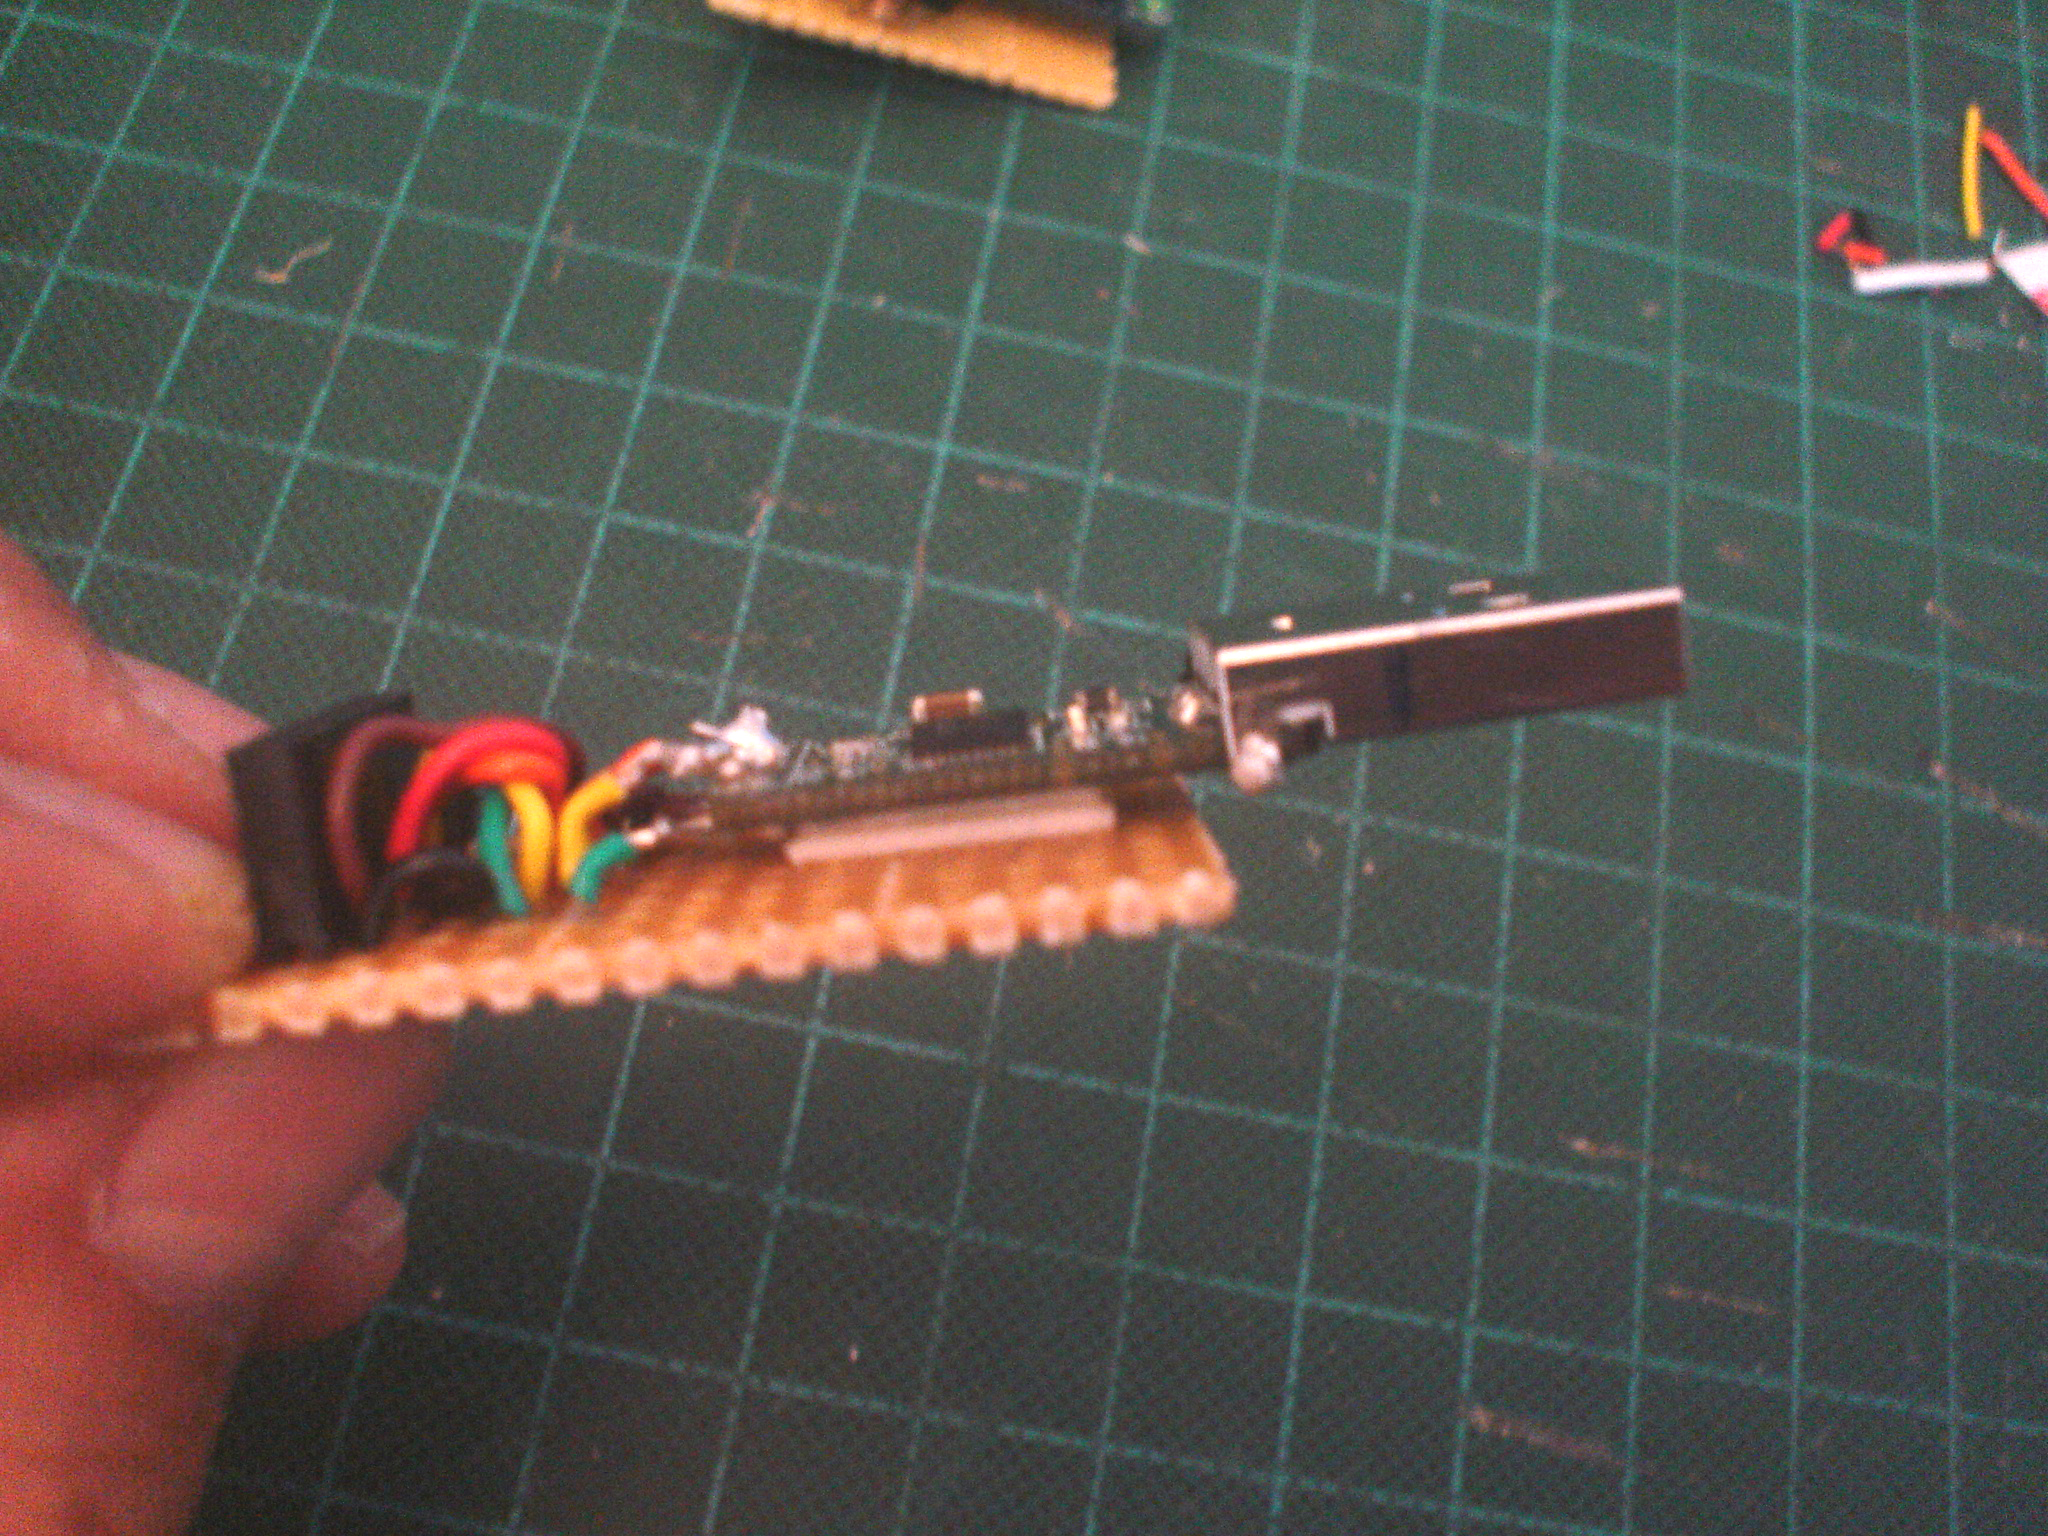
Cut the color wires about an inch long from the FTDI cable.
Use the same color wire to connect the soldered wires to the 6-pin socket.
Note: The reason I did this, instead of just connected the wires directly from the FTDI to the 6-pin socket, because I want to secure the FTDI PCB to the PCB first. The other reason was if I want to swap the order of the FTDI pin configuration, I could do it with ease.
Test...
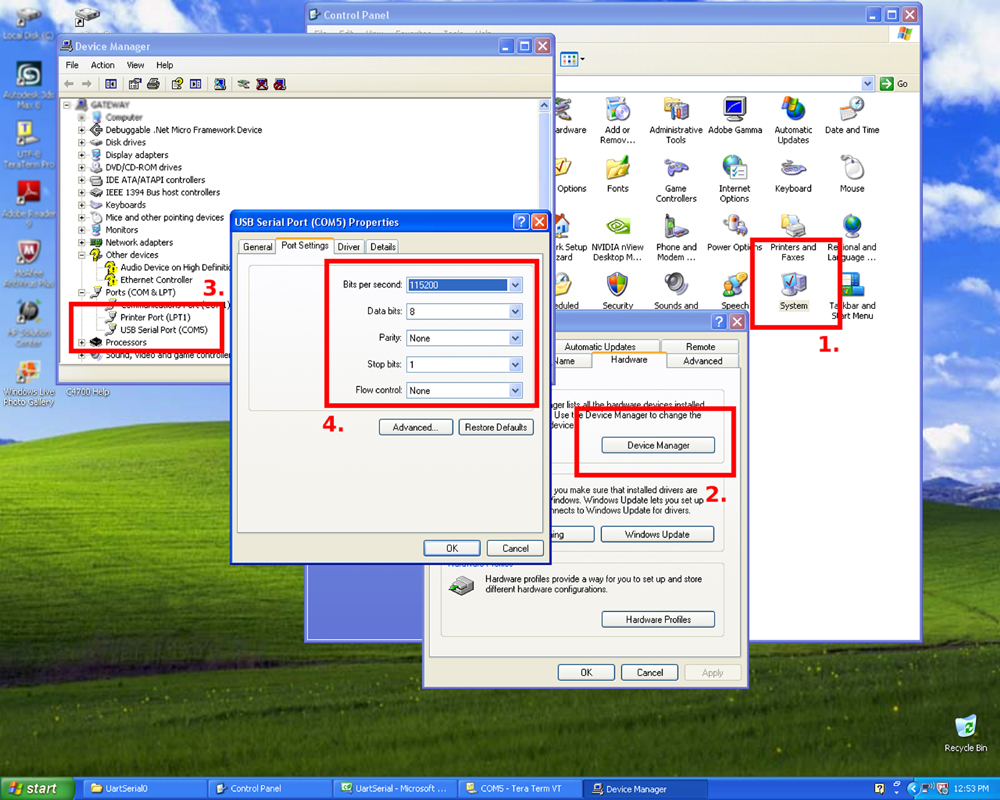
On your Windows PC, from the Start select Control Panel>System>Hardware>Device Manager
Click at the + sign in front of Port (COM & LPT)
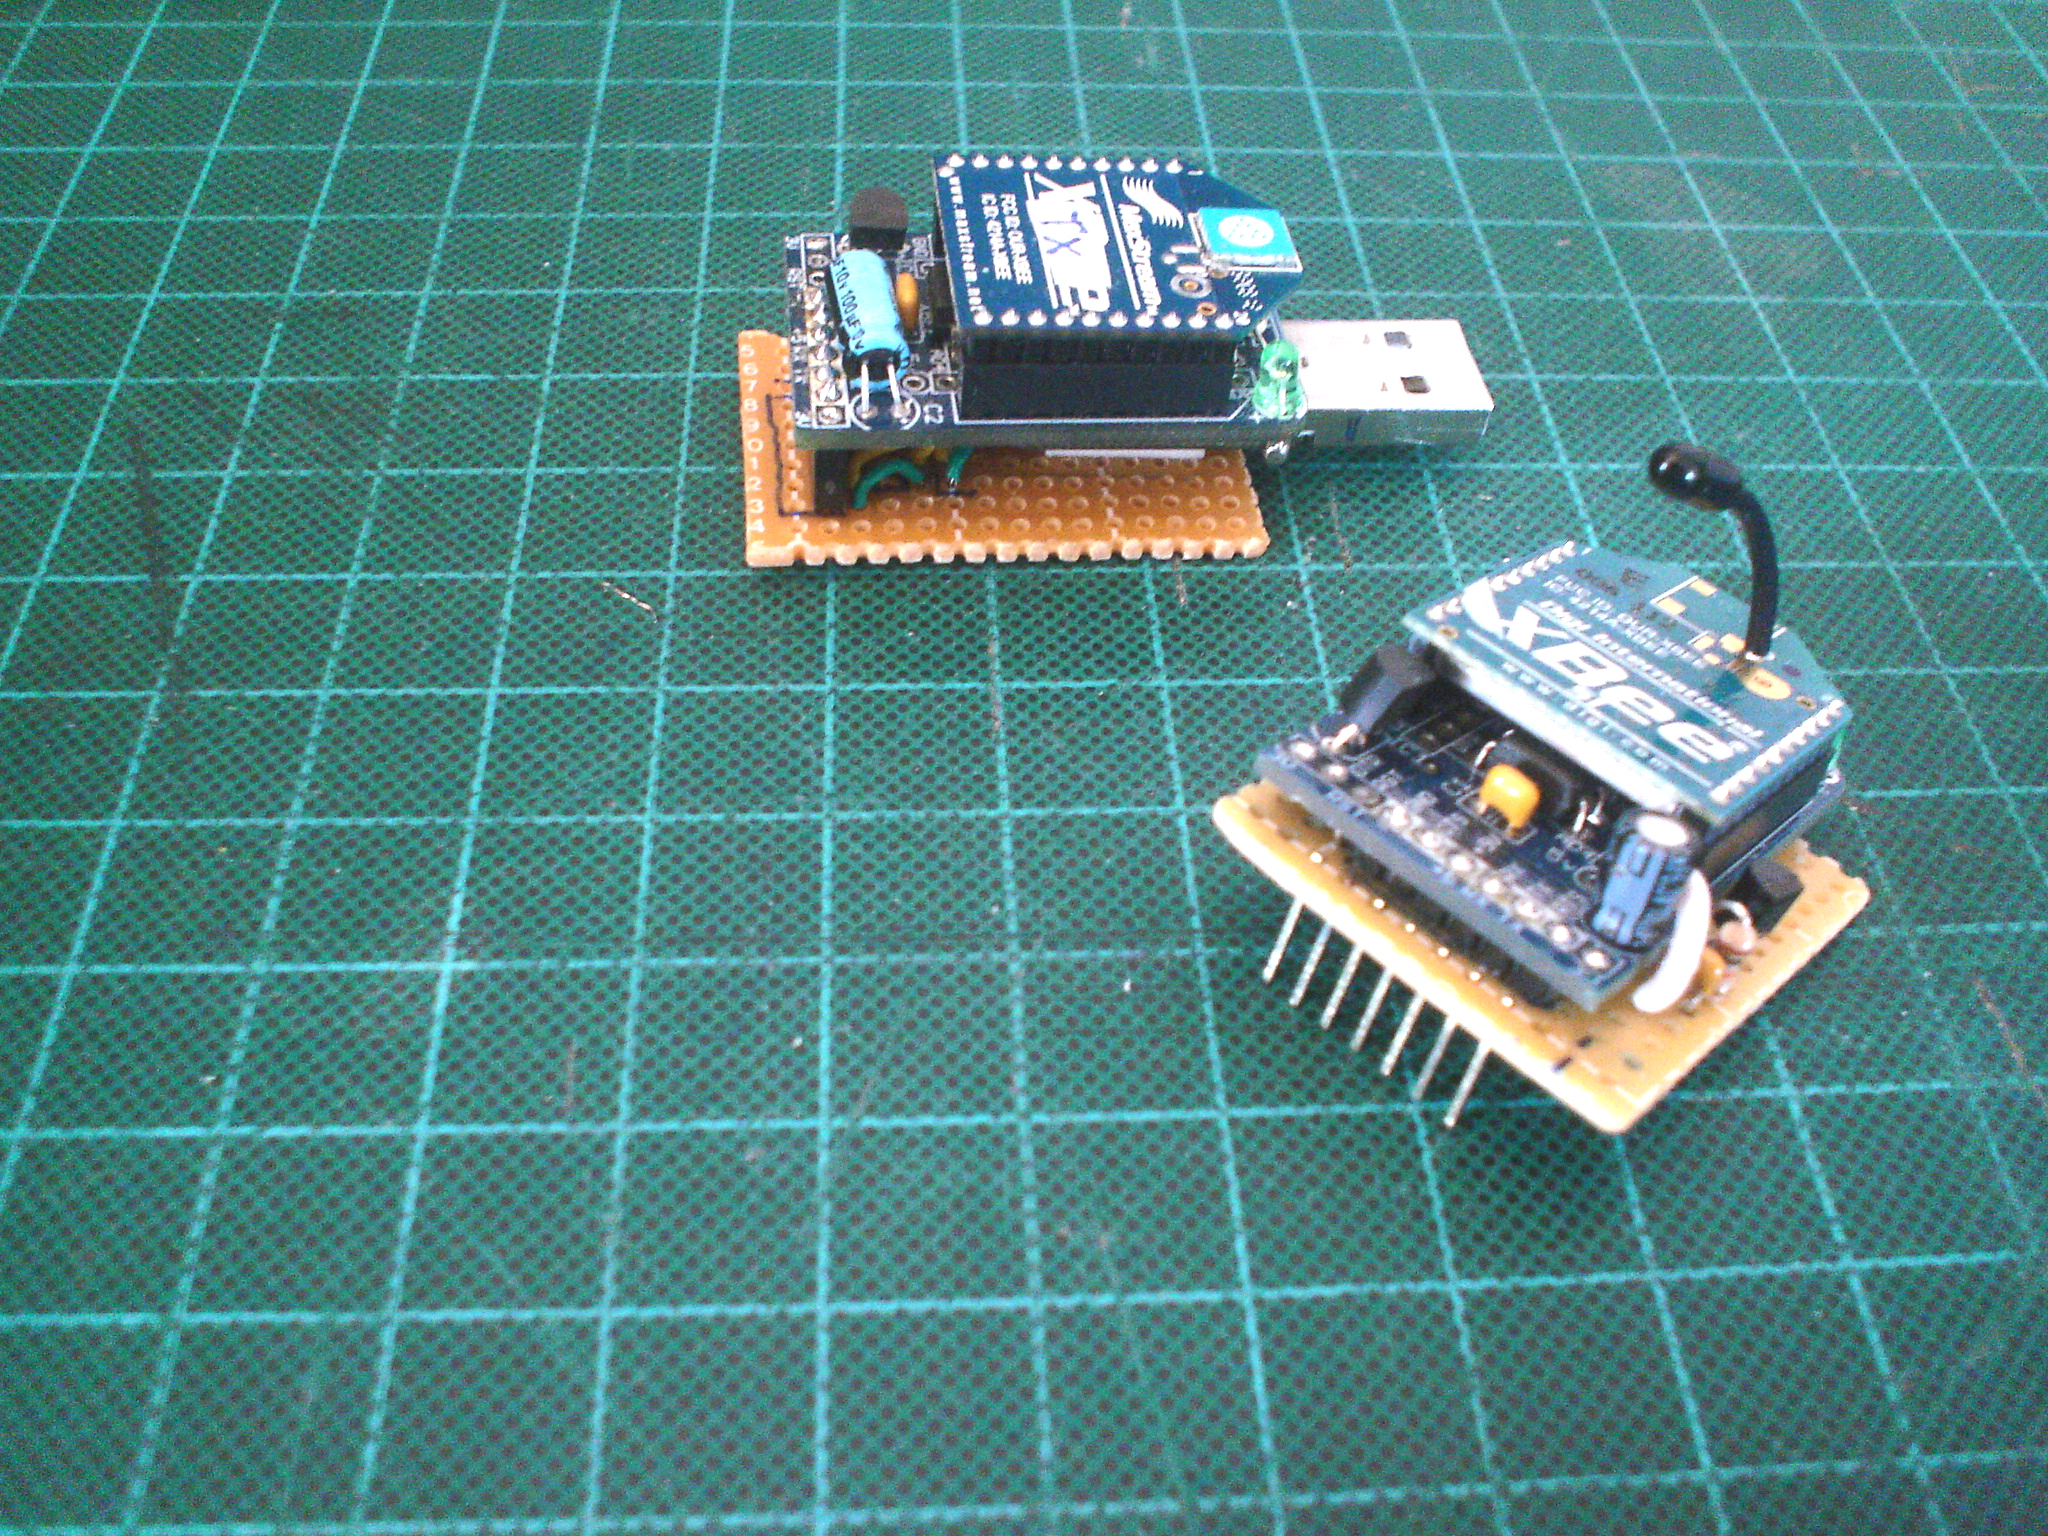
Put the XBee Adapter with the XBee module on to the modified “FTDI Dongle” that you just made.
Insert the “FTDI Dongle” into available USB port.
You will see the Device Manager window updates it own contents, and you should see the new USB Serial Port shows up in the Port (COM & LPT) sub-directory.
If you click on that USB Serial Port (COMxx), you should see how you set the XBee module, i.e. Baud Rate, etc.
Congratulation! Mission accomplished!
If not so, first check if the wires soldered in the right order. And make sure that you have the FTDI Driver (http://www.ftdichip.com/FTDrivers.htm) was installed.
Usage...
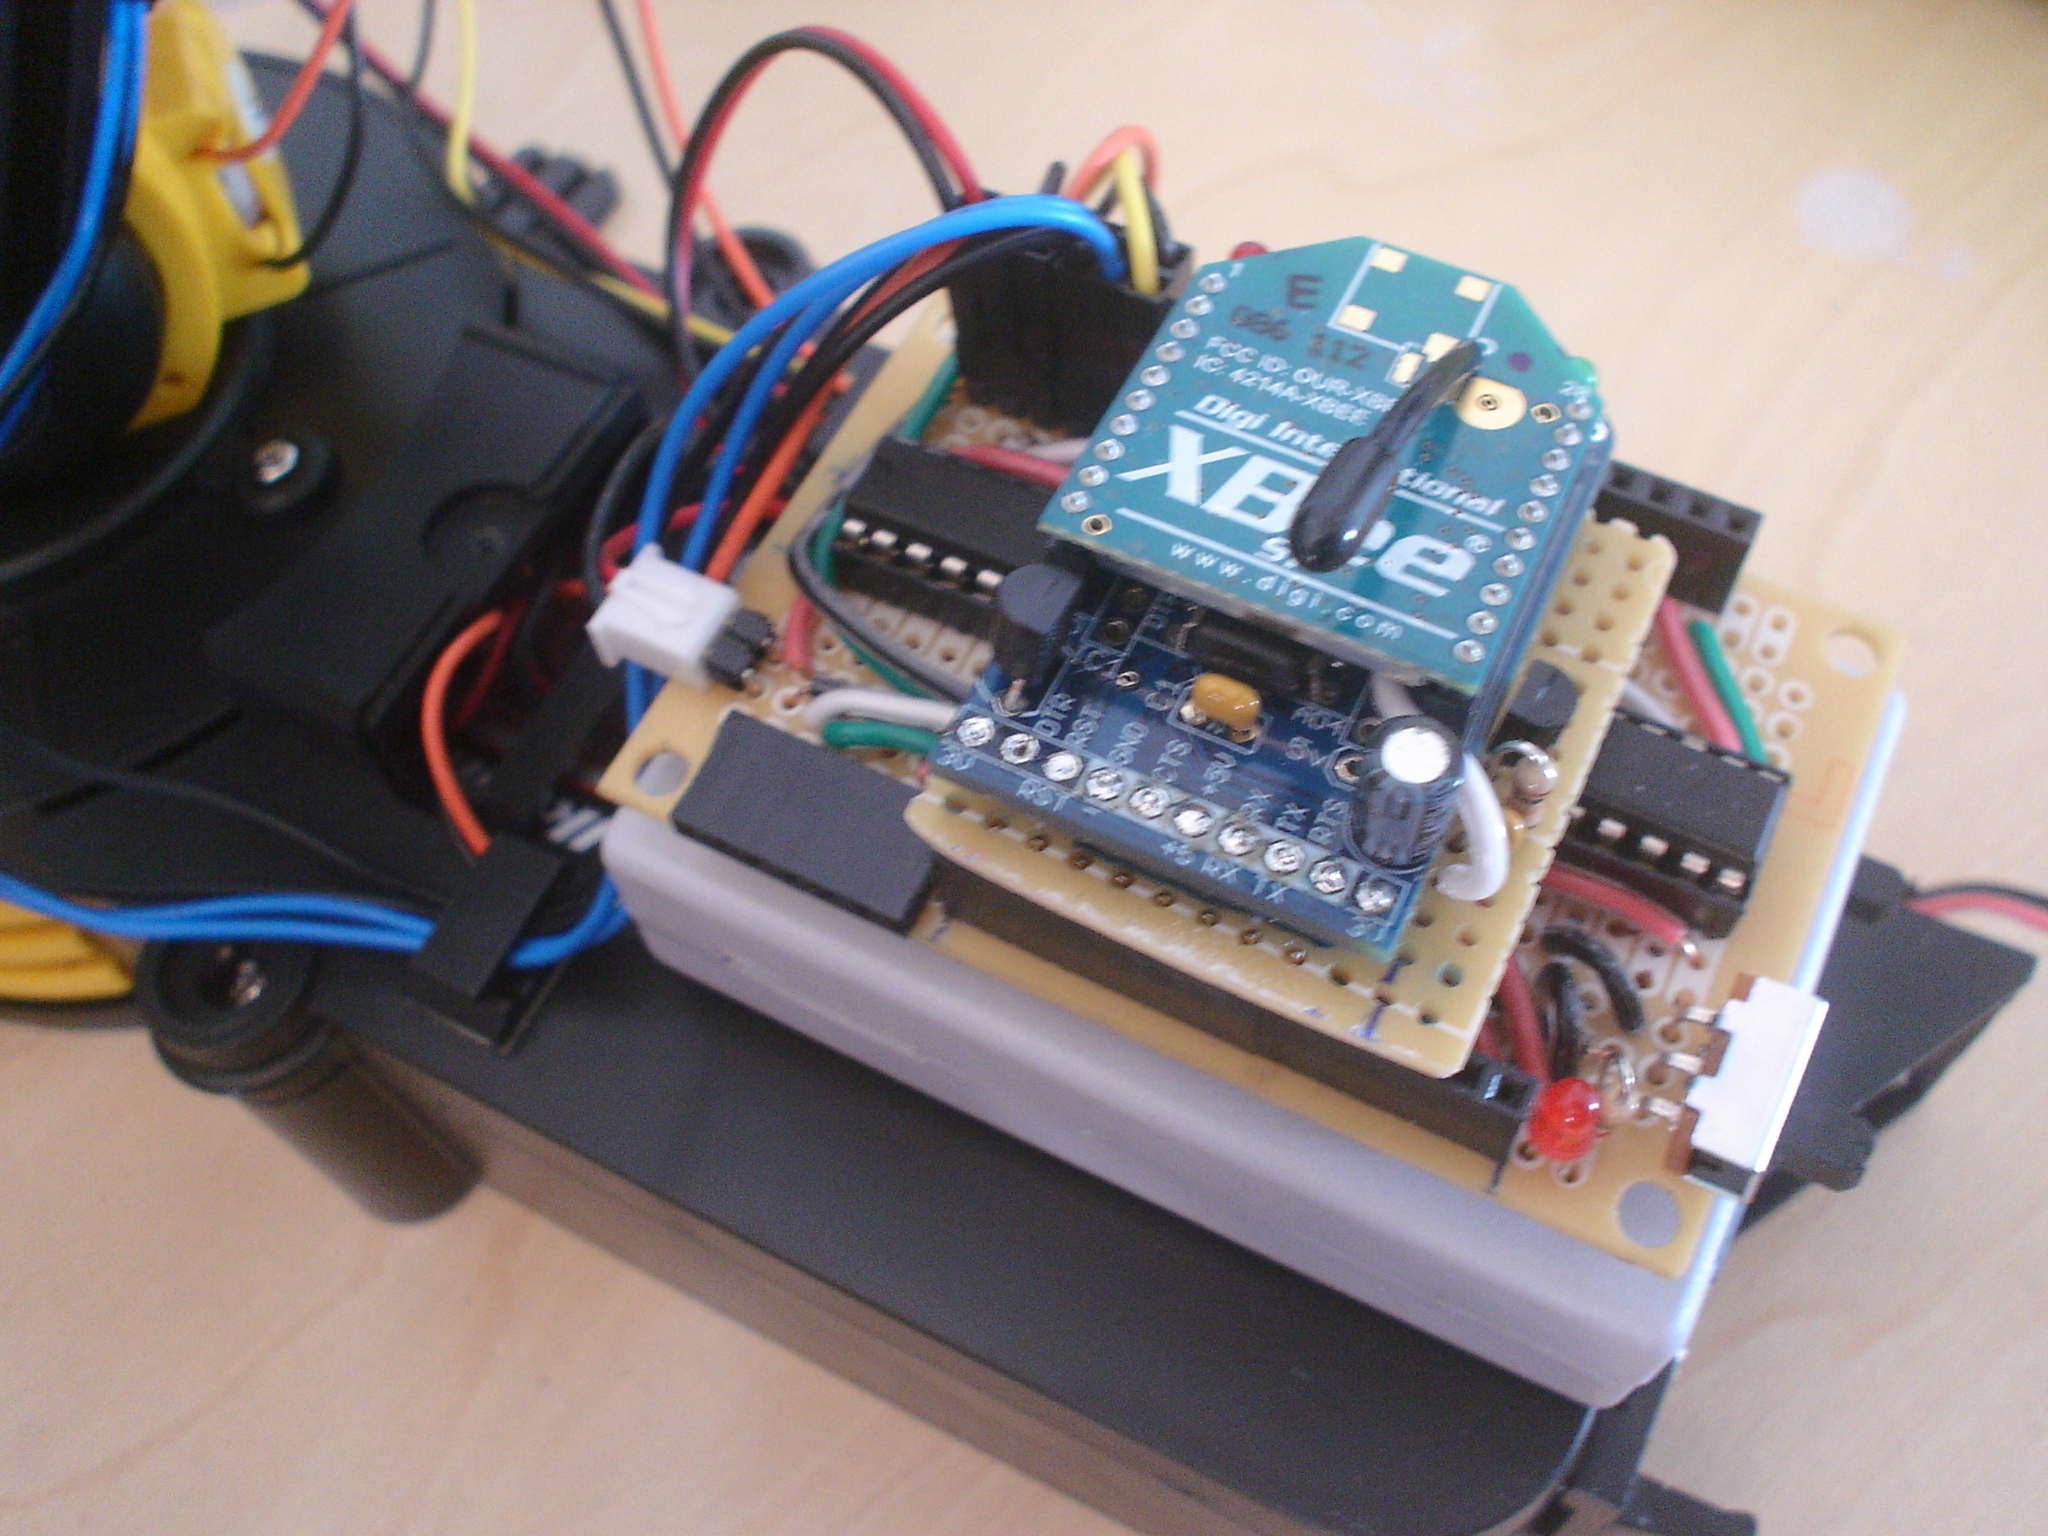
I have been using a lot of XBee Adapters and XBee module in my Arduino projects. And I also got tied of Making another prototype board for XBee Module. So, I make my own DIY Arduino - RevIO - that bring out the 28 I/O pins, by emphasizing the communication ports, and specifically make the Serial Comm. compatible with FTDI cable, as well as AdaFruit's XBee Adapter Board. so, I could plug in the XBee Adapter board without making more board.
Again, here is one of the project that I use the "FTDI Dongle" on Wireless Xbee module to control the Robotic Arm.
Below is the Video of the said project.