Controlling a WF32 From a Computer
by joshwoldstad in Circuits > Wireless
8544 Views, 69 Favorites, 0 Comments
Controlling a WF32 From a Computer
The chipKIT WF32 is Wifi-capable and contains an SD card device. That means we can load host a server on the WF32 and access it from other computers! This Instructable is about setting up a webserver that allows you to access the WF32 pins from a web page.
You will need:
- A chipKIT WF32
- Micro SD Card
- A Computer with internet access
- Access to a wifi network.
Downloading the Test Version of MPIDE
In order for us to properly compile everything, we need to use a test version of MPIDE.
Here is the download link to the recommended test version.
Note: MPIDE test builds may interact with stable builds of MPIDE, so be sure to back up anything crucial.
Extract the files to your desired location. You can open MPIDE by going into the file and double-click on the MPIDE.exe file.
Download DeWebIOServer
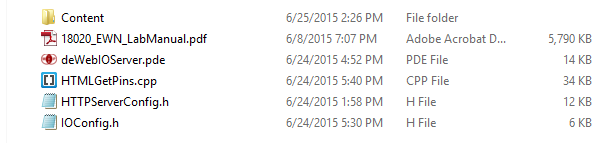
Download this file and extract it. Take note of where you are extracting the folder, you'll need to access it soon.
The file should look like the picture above after it is done downloading/extracting.
Downloads
Moving Content Into Your SD Card.
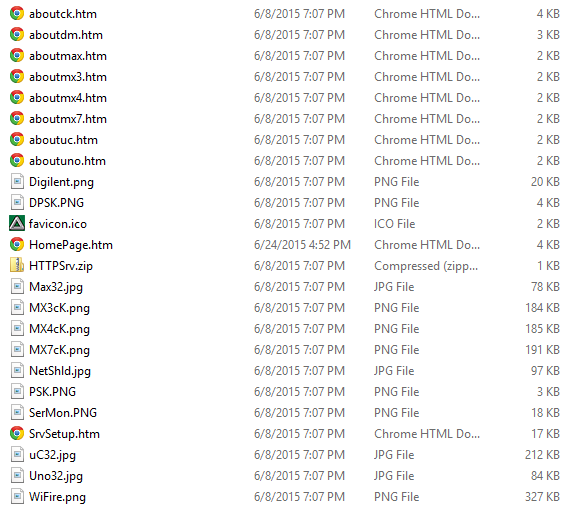
Now we're going to move all the contents of the Content folder onto the SD card.
- Plug your SD Card into the computer.
- Open up the Content folder
- Copy everything in the folder. Note: You have to copy all the files inside Content, not Content itself
- Paste everything into the SD Card and safely eject.
Everything in the Content folder has to be in the Root file in the SD Card. (It just has to look like the above picture when you open up the SD Card.)
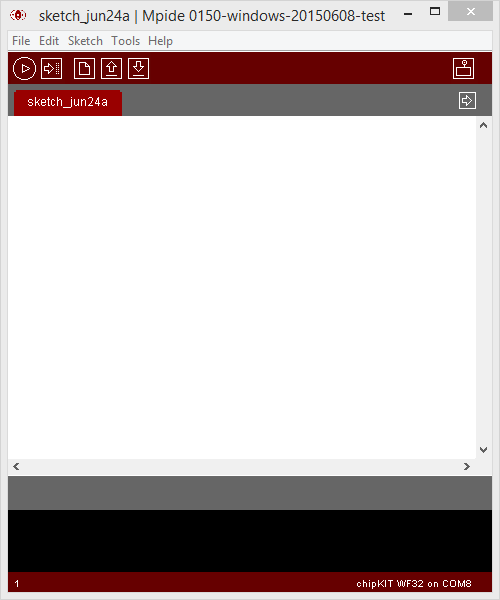
Opening the MPIDE File
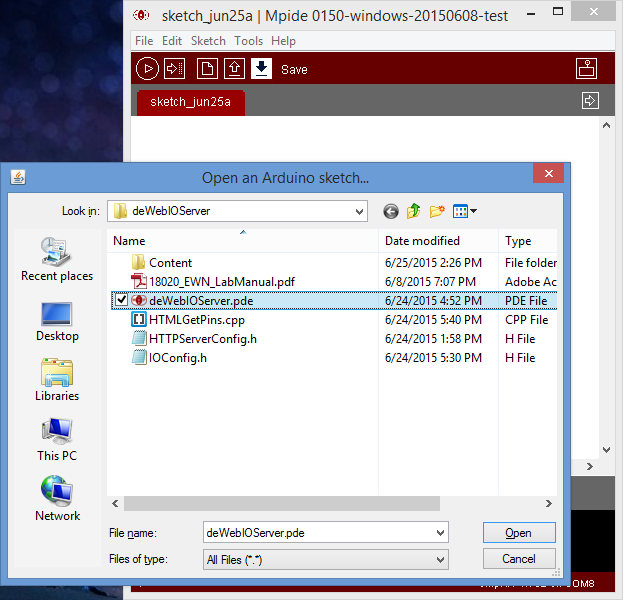
Now it's time to open the MPIDE file.
- In the test version of MPIDE we downloaded, enter the command CTRL + o.
- Open deWEBIOServer.pde
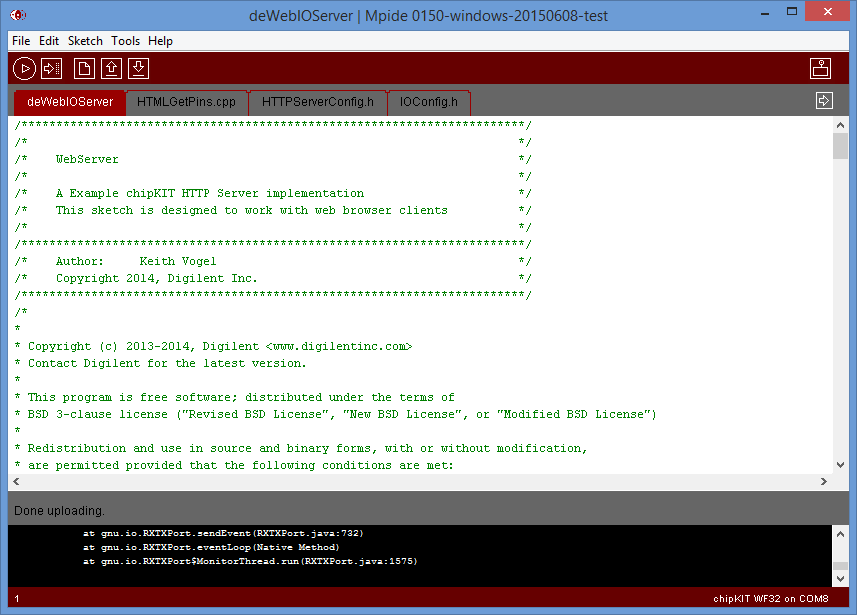
- A new window of MPIDE should pop up, and there will be 4 tabs opened.
Adding Your Wifi Credentials
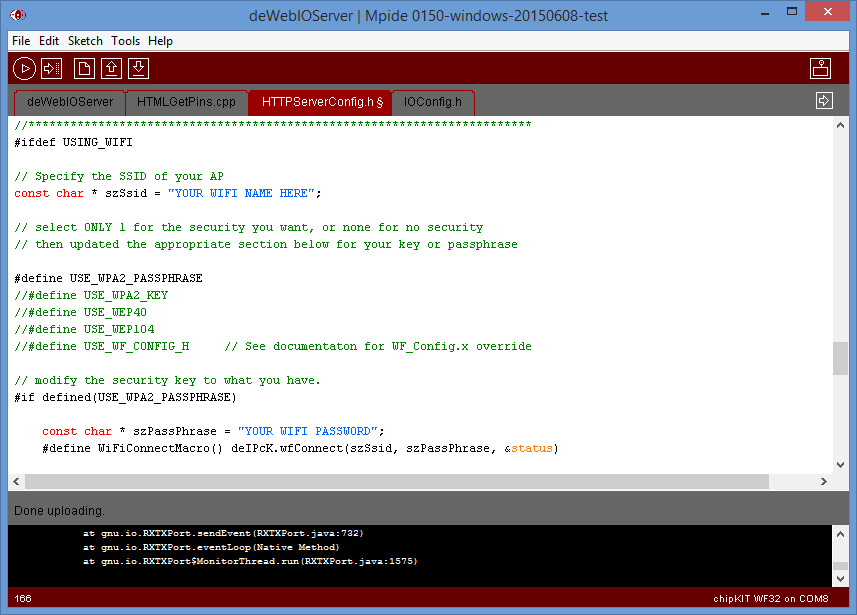
In order for the WF32 to "work" you need to connect it to your network.
- Go to the HTTPServerConfig.h file.
- Enter the command CTRL + f (search), and enter szSsid, this will take us to the area where we want to enter our Credentials
- In the string "YOUR WIFI NAME HERE", enter the wifi you use.
- In the string "YOUR WIFI PASSWORD", enter your password.
- Save using CTRL + s.
Plug Your SD Card Into the WF32
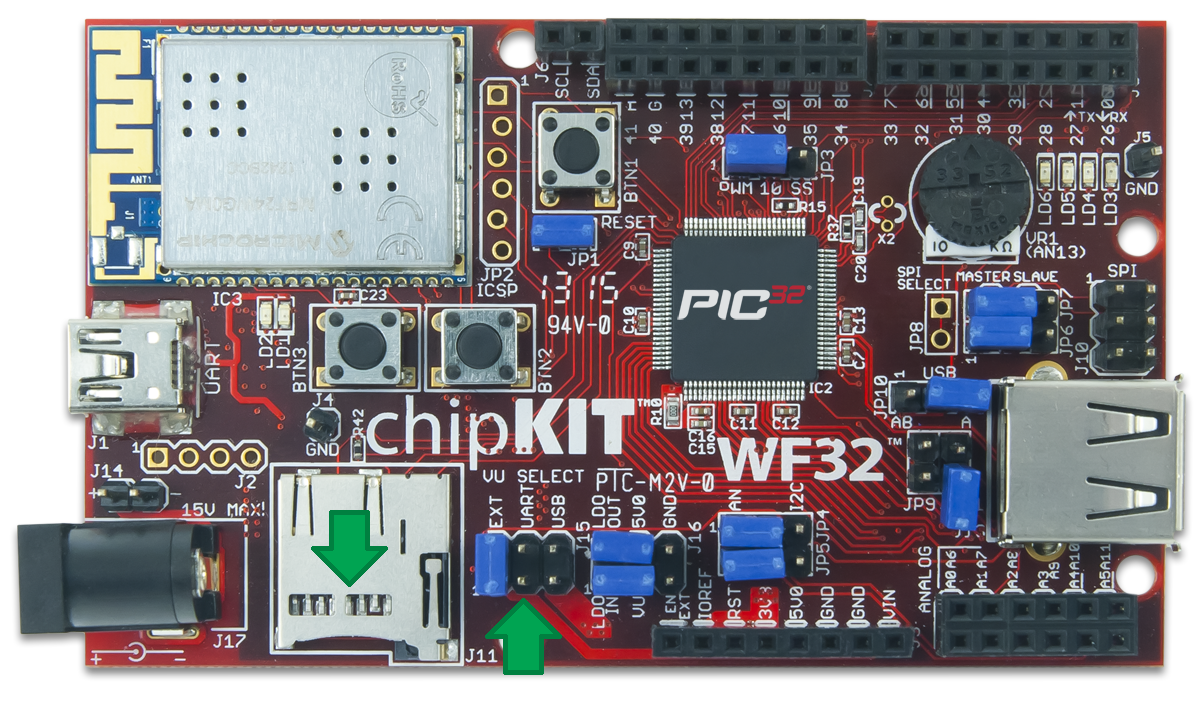
Check out the green arrow to see where the SD Card should go.
After the SD Card is plugged into the WF32, connect the WF32 to your Computer. Use a Micro USB Cable to connect the two.
Be sure to have the VU Select jumper at the UART pins, otherwise you won't be able to encode everything.
Changing Your Board Settings
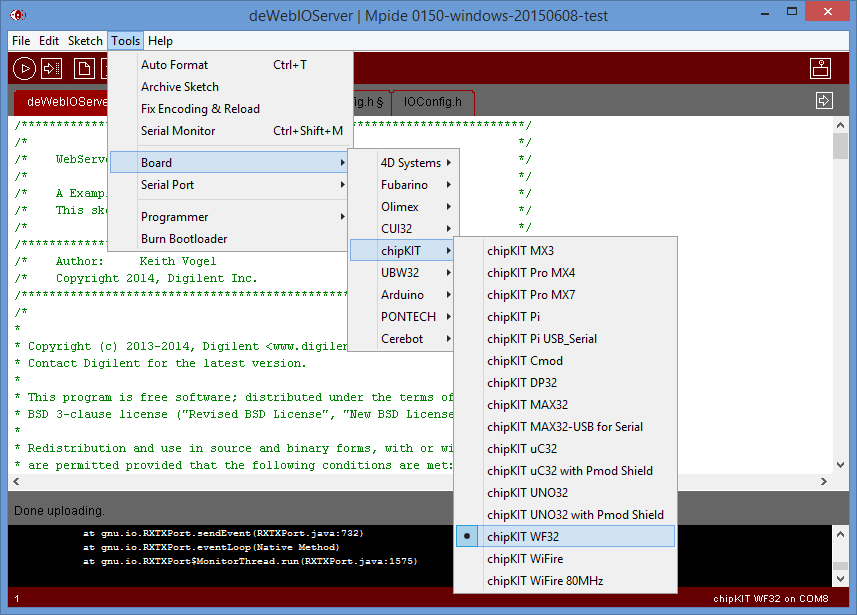
In order for everything to upload correctly, we need to make sure the "board" in MPIDE is set to WF32. In this case, a picture is worth a thousand words. Check out the picture to see where to change the board to WF32.
Selecting Your Serial Port
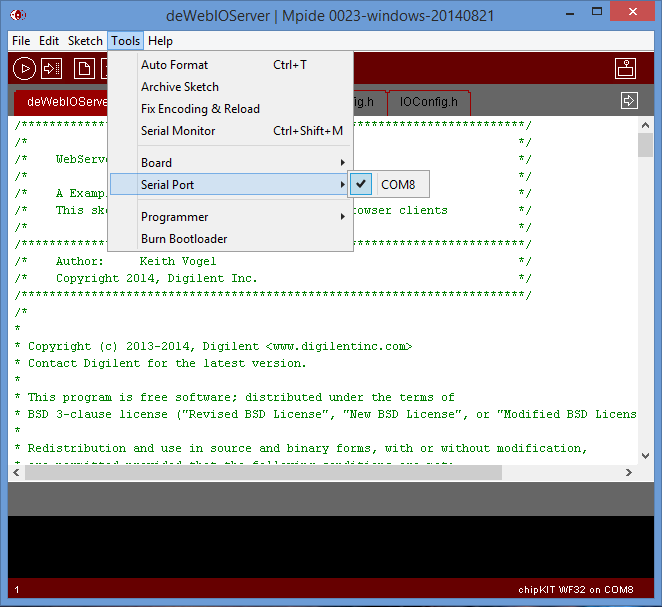
Before we can view our Serial Monitor, we need to select our Serial Port. Just like choosing the board, go to Tools, but select Serial Port, and then pickwhatever COM port your WF32 is on.
Now you'll be able to open the Serial Monitor. (You can do this now or in a few steps from now)
Uploading the Code
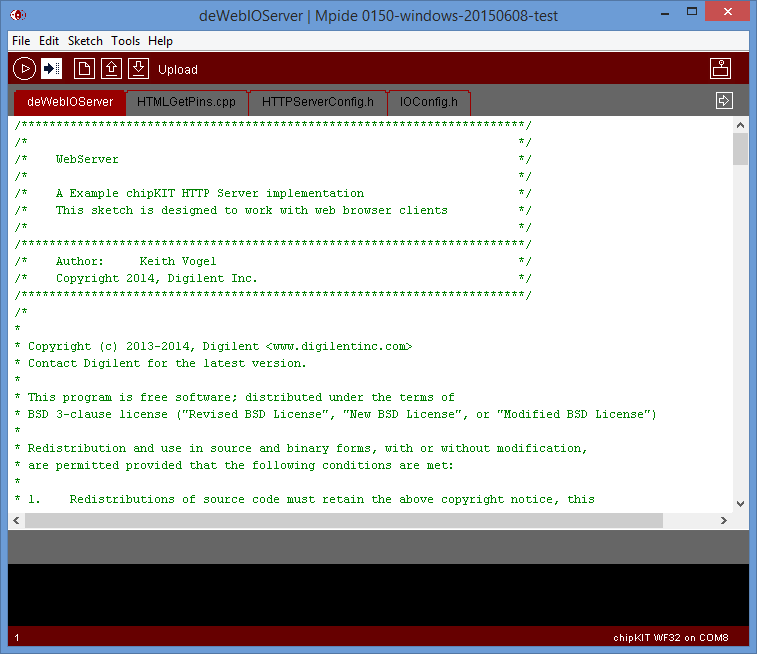
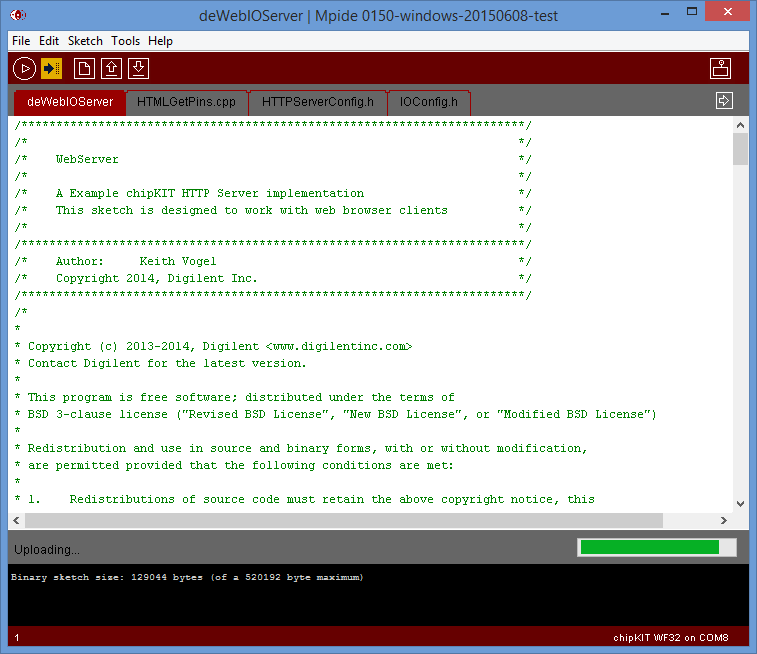
Now that you've got your Wifi credentials and the MPIDE is set to WF32, it's time to upload the code. Click on the square upload button in the top left corner and MPIDE, and wait for everything to upload!
Finding the IP Address of the WF32
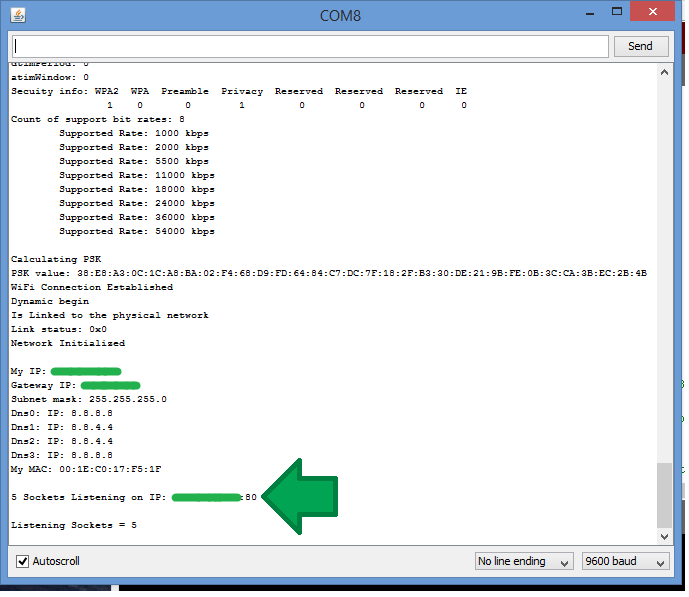
After the code has finished uploading, open the Serial Monitor (with the button in the top right corner).
Initialization will happen, when it gets to "Listening Sockets = #" line, you can find the IP address of the WF32.
You can check it out in the picture, it will be something along the lines of 12.34.5.678:80 (It won't be this, but something like it). Enter the underlined portion into your browser. Be sure that the computer your using is on the same network as the WF32.
Playing Around With the Pins
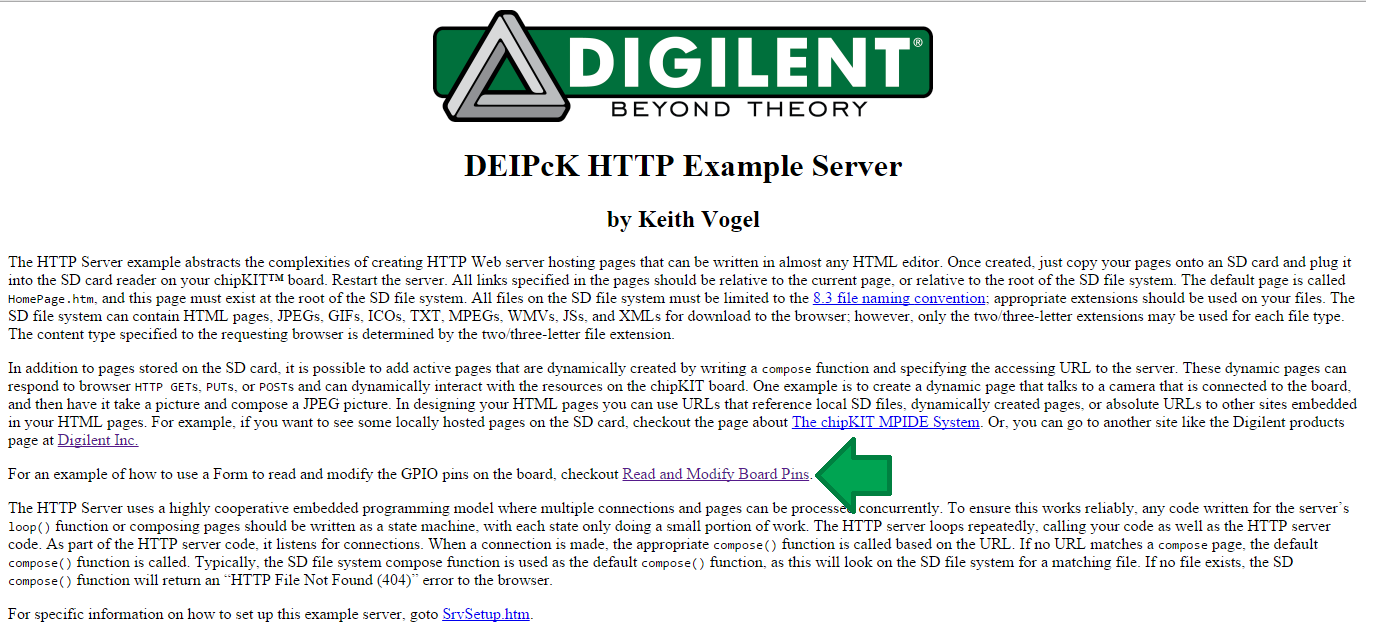

Once you've entered the IP address, it will take you to a landing page about the server.
You can click on the Read and Modify Board Pins link to get to the Pin Page.
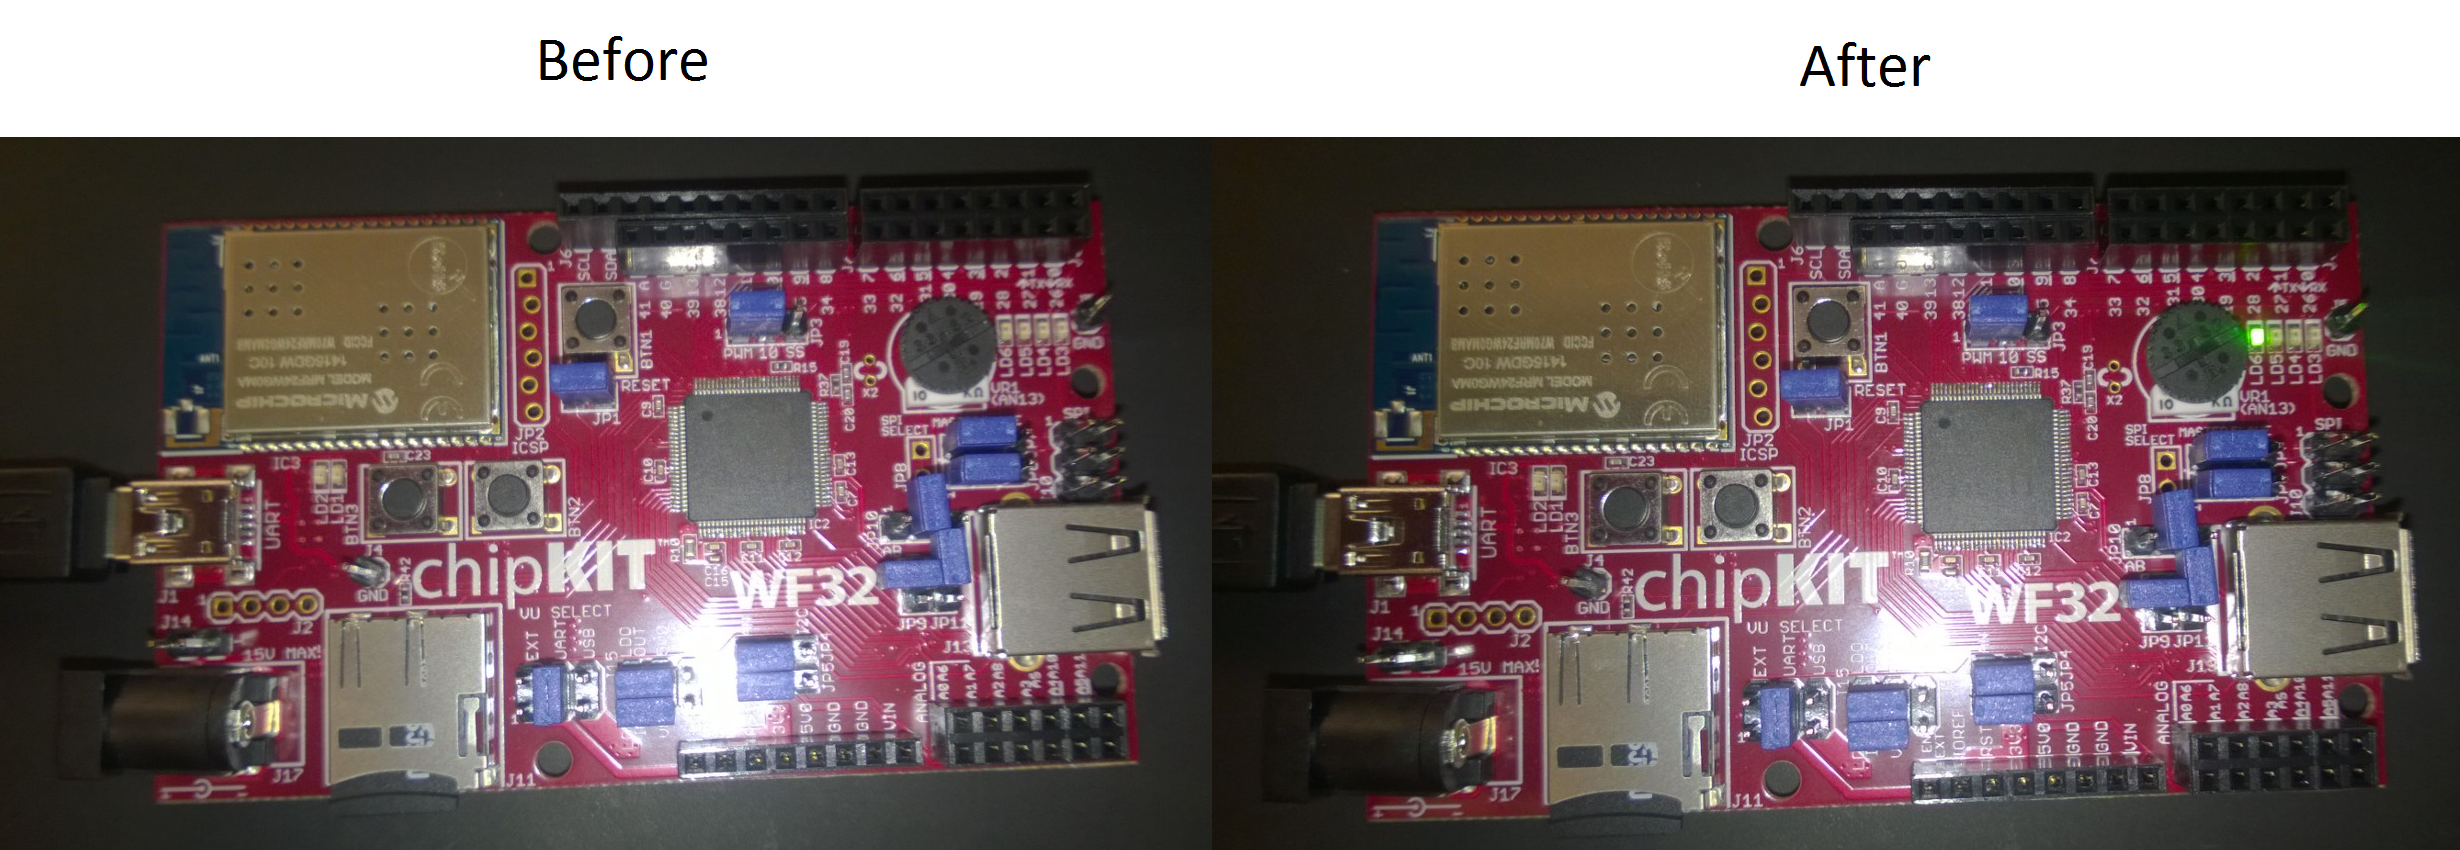
The easiest example is changing Pin 13 from the Tristate button to Digital Output High, then hit the Refresh button. This will change one of the LED pins from OFF to ON.
Of course this is just one example of PIN options you can do. You is access to all non-essential pins!
You can check out the Pin-out tables here.