Controlling Particle Argon With Raspberry Pi and Your Voice
by awadud in Circuits > Raspberry Pi
467 Views, 1 Favorites, 0 Comments
Controlling Particle Argon With Raspberry Pi and Your Voice
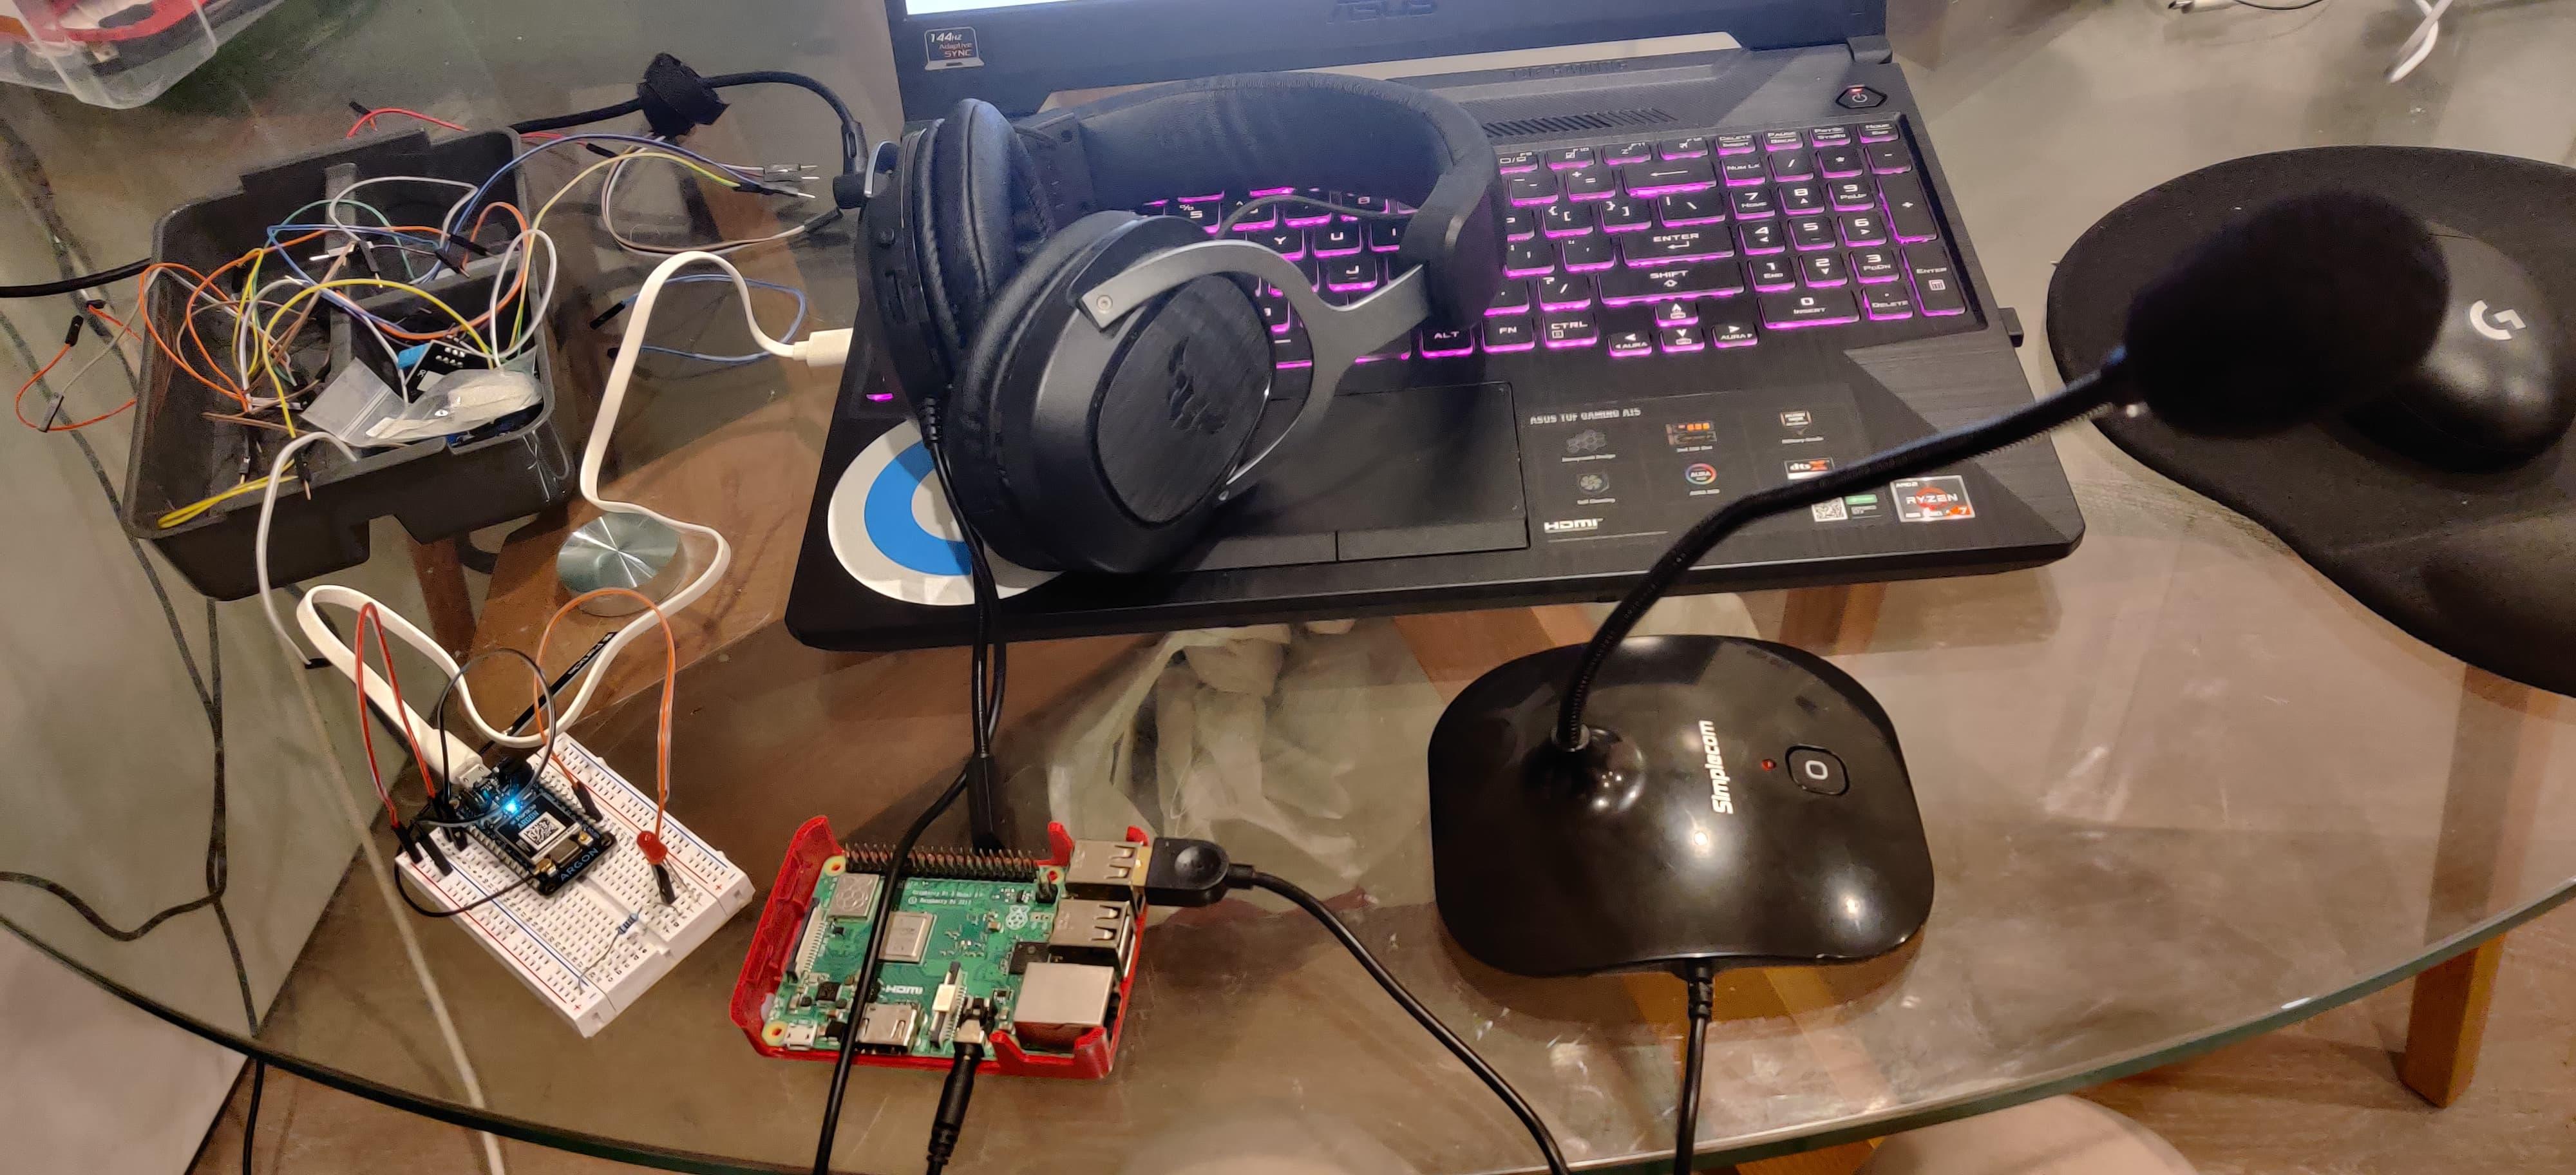
In this project we are going to work with particle argon and raspberry pi. Both are great microprocessors to use and offer many great opportunities for developers. We will be using google's speech recognization system to work with both of them. Hope you will enjoy this simple yet fun project
Supplies
- Particle Argon / Photon
- Raspberry Pi
- Some Wires
- LED
- Resistor
- Mic (Input for Rpi) and Speaker (Output for Rpi)
Prepping the Raspberry Pi
Lets jump into the raspberry pi. I usually do any sort of coding on the Pi using my main laptop VS code which is way faster. I have ssh'd to the Rpi using VS code which is pretty easy to do and makes working on RPi a lot easier.You can follow this link to do that. Totally worth it. Then just go through the following steps to prep the Rpi:
- Install requests library to work with IFTTT by typing sudo pip3 install requests which should be already satisfied if your Rpi is upgraded (sudo apt update & sudo apt upgrade)
- Next get the code for the Raspberry Pi from the Github ( https://github.com/RandomBrownGuy-automate/RPi-Ar... ).
- Make sure to run the test.py file first to check the index of your connected input device and change it accordingly in the code
- The voice recognition only activates when you say 'hello' and goes on standby for input. You can change the sensitivity of the mic if in a very loud surrounding or add a kill key to stop the system when not necessary using cv2.
Prepping the Argon
The particle argon requires very simple preparation. Just get the .ino file from the github and load in the particle web IDE or the CLI if working from command prompt. Then just change the value of the pin or keep it same according to your comfort.
Setting Up the Hardwares
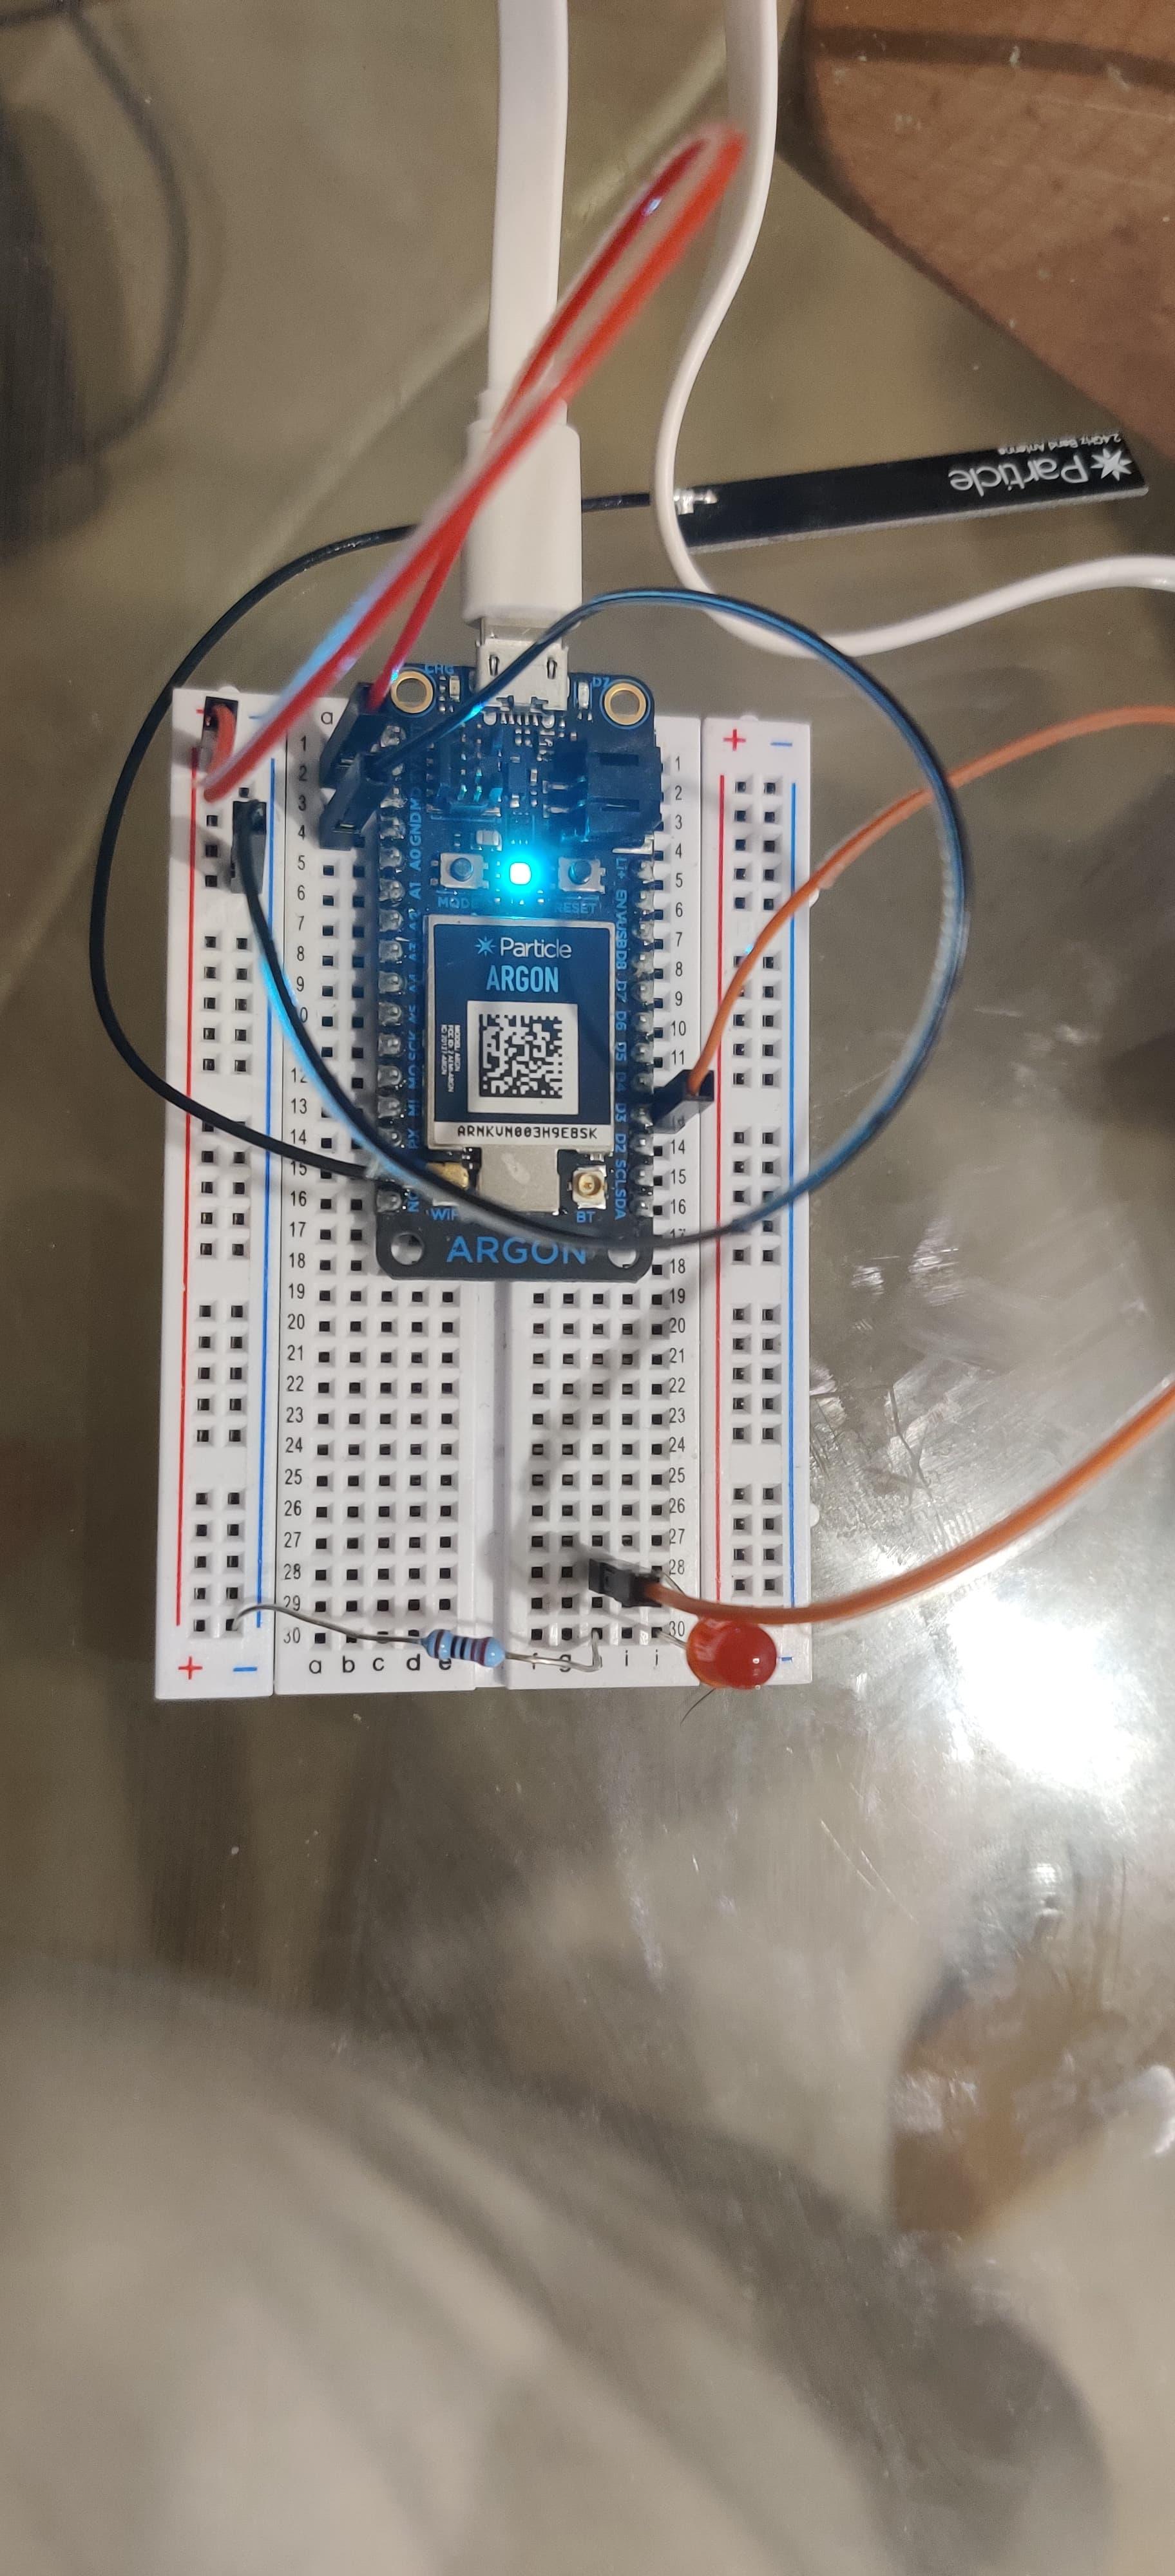
The hardware setup is pretty simple. Just connect the LED with the Particle Argon by connecting with your desired digital pin. I used the digital pin 3 and a 10kohm resistor from the ground to the shorter side of the LED.
And for the RPi just connect a speaker with aux cable to the audion output port and use a usb cable microphone as input device. Remember here that Rpi can not take normal aux cable mic from your headphone. That's it you are good to go.
Setting Up IFTTT
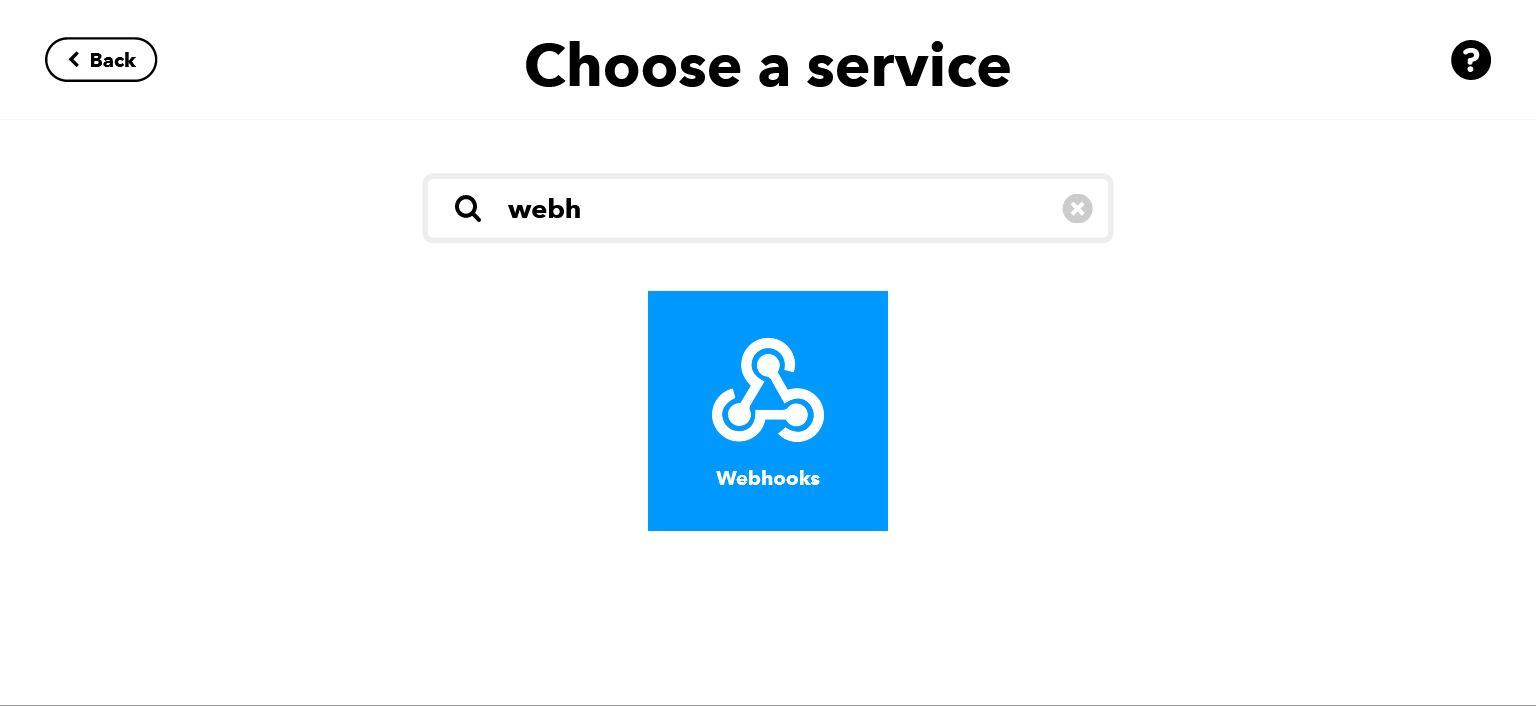

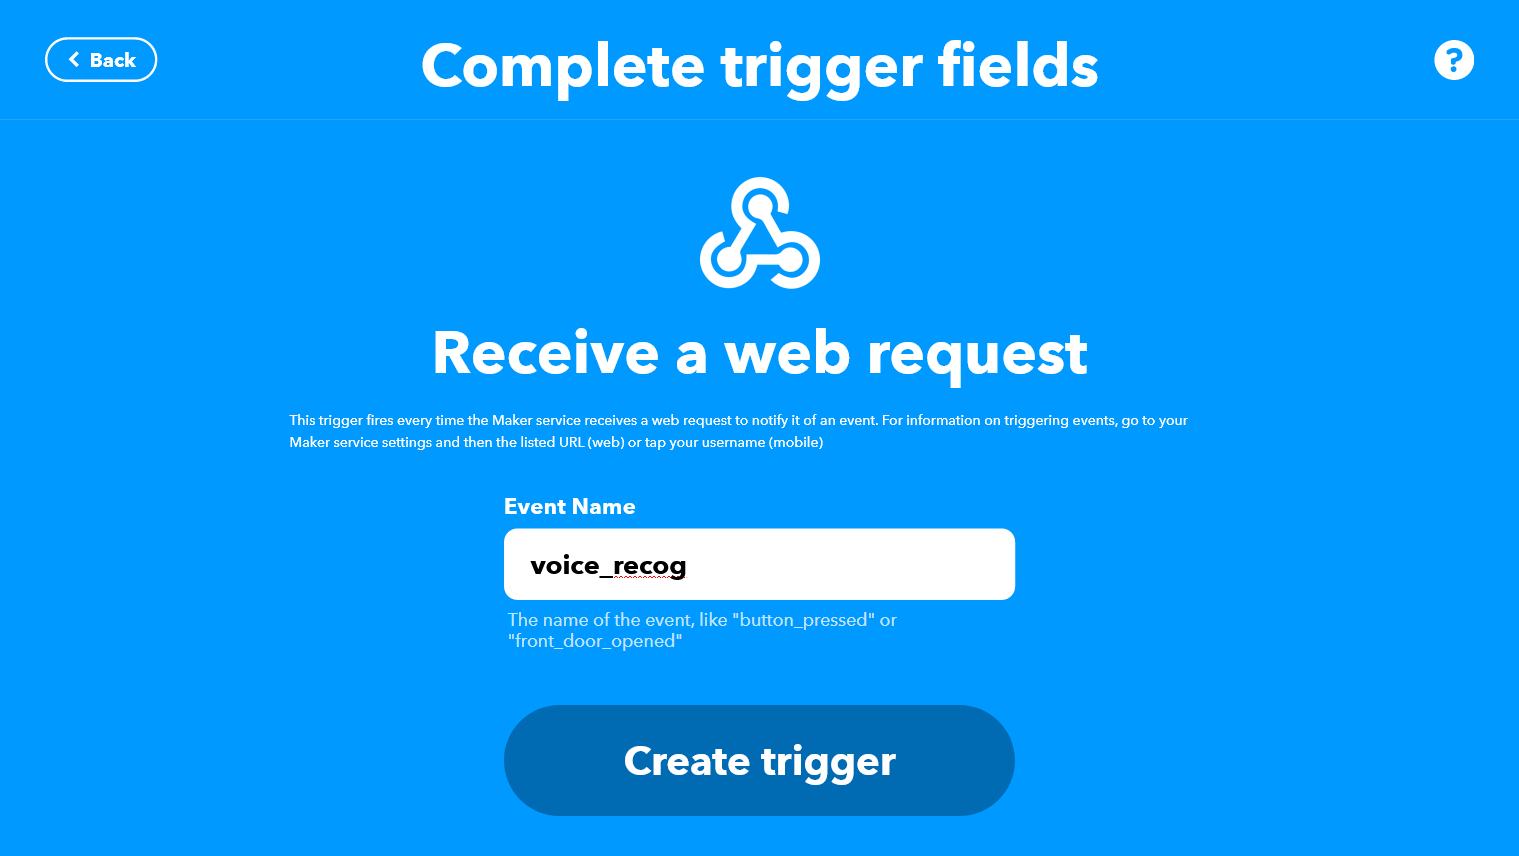
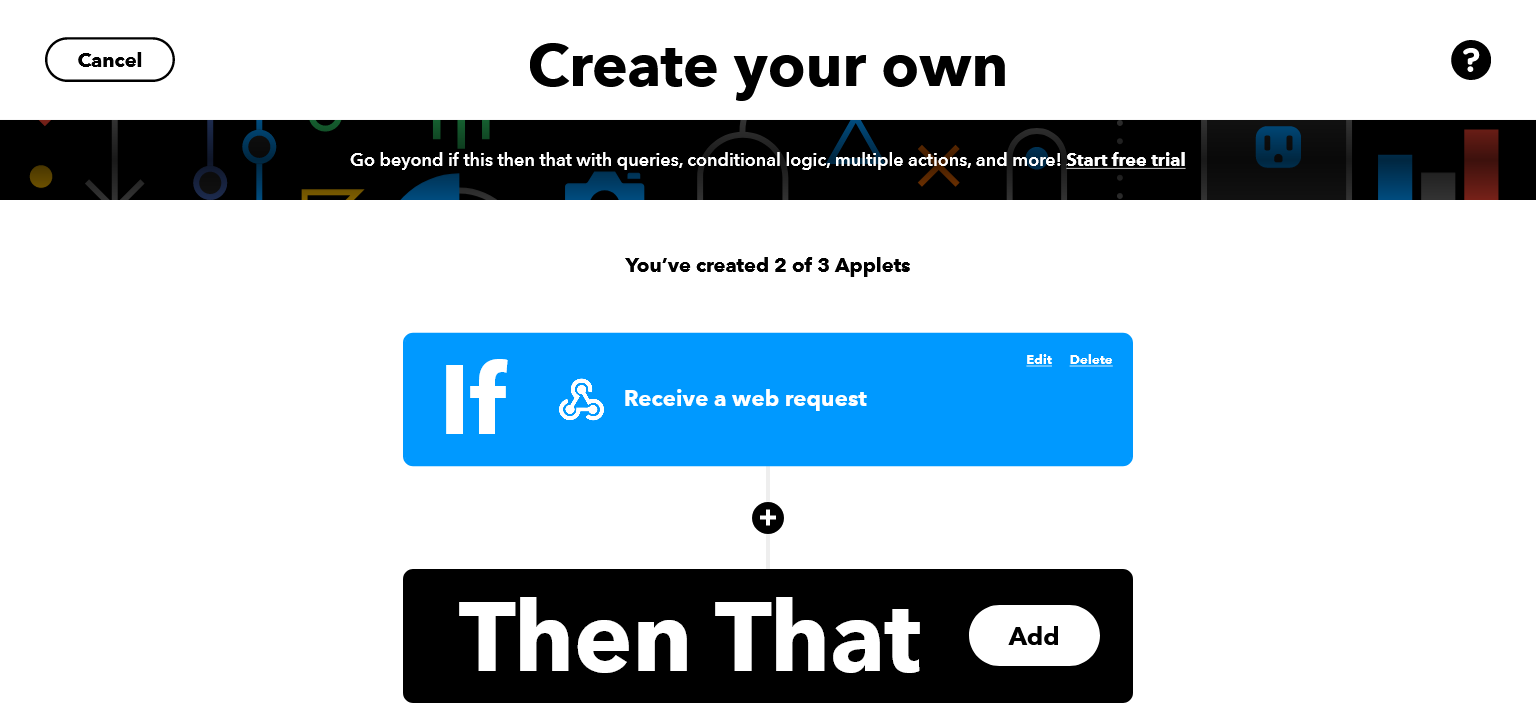
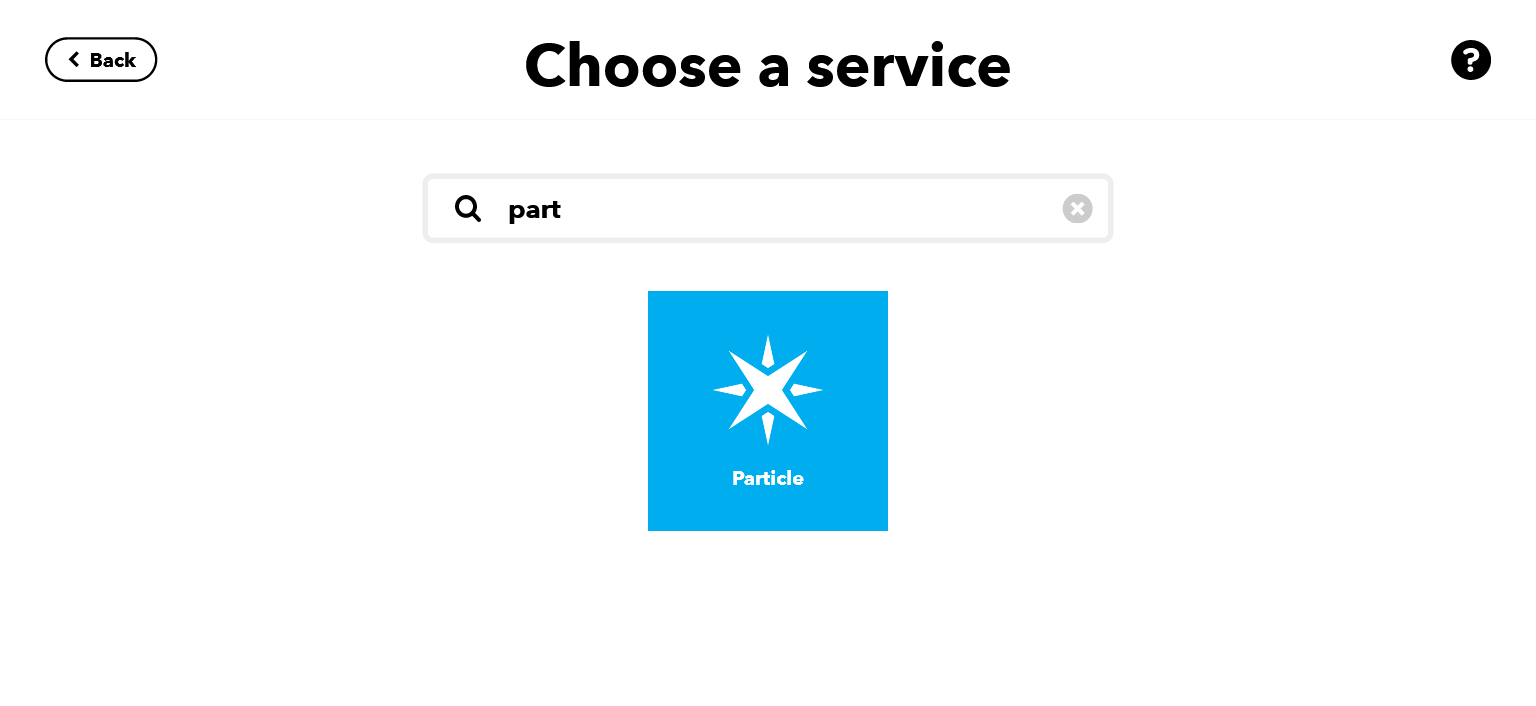
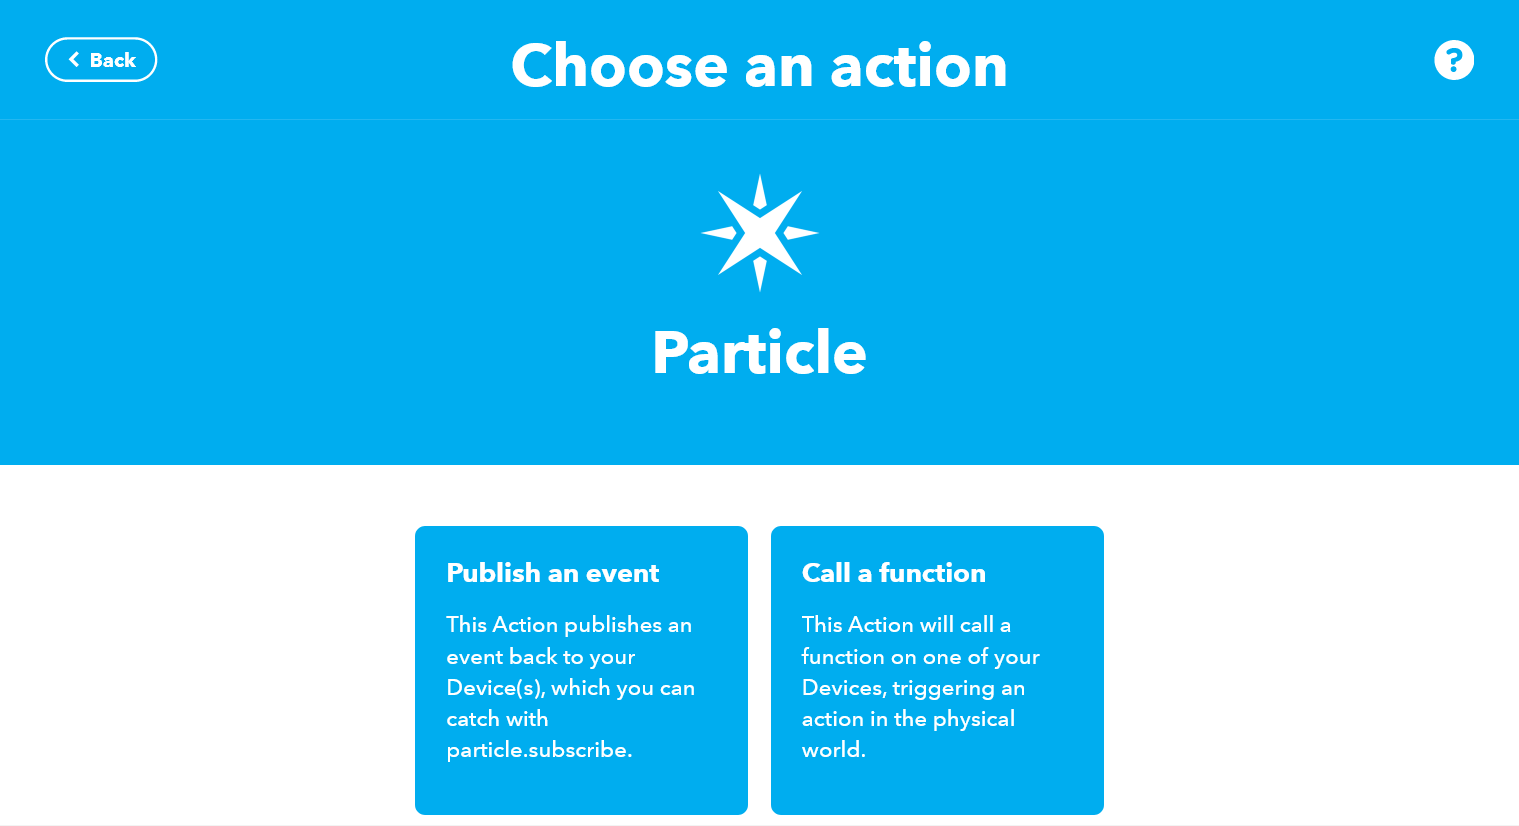
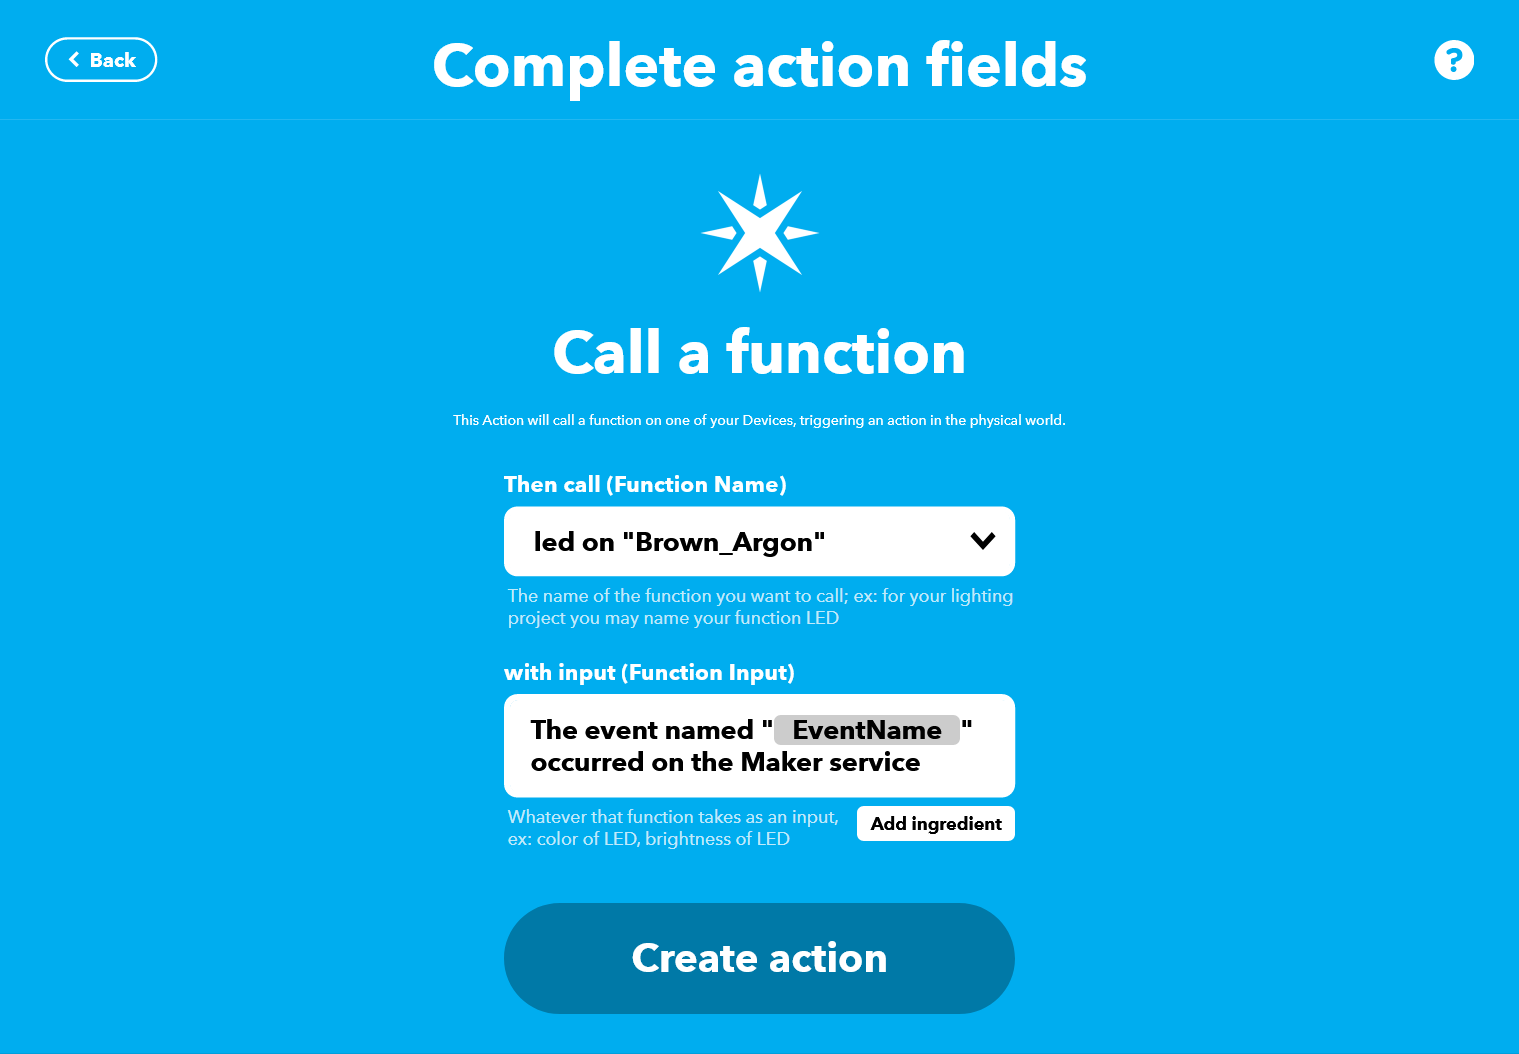
Setting up the IFTTT is pretty easy. We have to create a webhook request from the Rpi to the Particle photon to call a function. You could do that by:
- Search for "Webhook" in the IFTTT website
-
Then you will see the 2nd photo page
-
Let's create a web request named "voice_recog"
-
Then tap create trigger and you will see the following page
-
Search up 'Particle' in the next section
-
Then you will see the following page
-
You have to call a function to execute the code on argon which
IFTTT will auto list based on your connected device function list. The official documentation to use IFTTT on particle argon is really helpful in this regard which can be found here -
Then just tap create action and you are all set.
-
Then get your API key from the documentation page on the maker and use it in the python code for the RPi where it says 'YOUR_API_KEY'
- I have two applets one to turn on the LED and another to turn off the LED
Step 6: RESULT!!!
Now run the code on your Rpi and see the magic happen on Particle Argon.
Further Improvement:
The system is shown by using a simple LED but can be improved using any sort of sensor on the particle argon. The sensors have to connected accordingly and might require use of different communication protocol llike I2C , SPI and such.