Controlling ESP8266 Using Telegram App
by AkarshA2 in Circuits > Arduino
3961 Views, 11 Favorites, 0 Comments
Controlling ESP8266 Using Telegram App
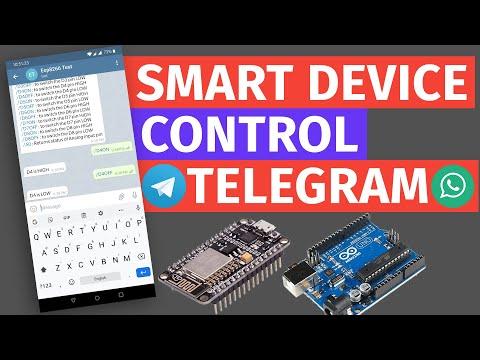
Hey, what's up, Guys! Akarsh here from CETech.
Have you ever wondered about chatting with your appliances over a messaging app? Sounds weird, right. But today we are going to do a thing similar to that. Don't worry you don't need to buy mobile phones for your appliances. All you need is the Telegram mobile app, any microcontroller like Arduino UNO or ESP8266/32, and your appliances.
We will demonstrate the method by controlling 8 LEDs through Telegram App by just sending simple ON/OFF messages and after the completion of the task, we will also get a reply from our microcontroller about that. Apart from LEDs, you can control other appliances by making suitable changes in the code and circuit. It is going to be fun so let's jump straight into it.
Get PCBs for Your Projects Manufactured

Do check out PCBGOGO if you need to get PCBs manufactured or assembled. They welcome your PCB prototype order: PCB fabrication order quantity from 5PCS and PCB assembly order quantity from 1PC.
Since established 5 years ago, PCBGOGO has reformed several times. It is a growing PCB fabrication and assembly manufacturer in a changing world. At present, their daily PCBs and PCB assembly order quantity exceeds 3000, and the sales have increased from $100,000 to $20 million a year. Though PCBGOGO is only 5 years old, their factories, with over 400 workers now have been providing PCB manufacturing and assembly for domestic customers in China for more than 10 years.
You are lucky to read this project article, as, at this time, PCBGOGO welcomes its 5th anniversary and gives out great benefits to their customers.
Join PCBGOGO to get the benefits now from here. Up to $150 Coupons, Stylish Souvenirs
Campaign Duration: Aug. 25th - Sep. 25th, 2020
About Telegram App

Telegram is a cloud-based instant messaging, videotelephony, and voice over IP service. Telegram client apps are available for Android, iOS, Windows Phone, Windows, macOS, and GNU/Linux and originated in Russia. Users can send messages and exchange photos, videos, stickers, audio, and files of any type.
Telegram's client-side code is free software, whereas its server-side code is closed-source and proprietary. The service also provides APIs to independent developers. As of April 2020, Telegram had 400 million monthly active users.
The default messages and media use client-server encryption during transit. This data is also encrypted at rest but can be accessed by Telegram developers, who hold the encryption keys. In addition, Telegram provides end-to-end encrypted calls and optional end-to-end encrypted "secret" chats between two online users on smartphone clients. However, the desktop clients (excluding macOS clients) do not feature end-to-end encryption, nor is end-to-end encryption available for groups, supergroups, or channels. Telegram has defended the lack of ubiquitous end-to-end encryption by claiming the online-backups that do not use client-side encryption are "the most secure solution" currently possible, despite several other chat services such as Signal, Matrix, and WhatsApp offering end-to-end encryption on all platforms.
Setting Up the Hardware Side
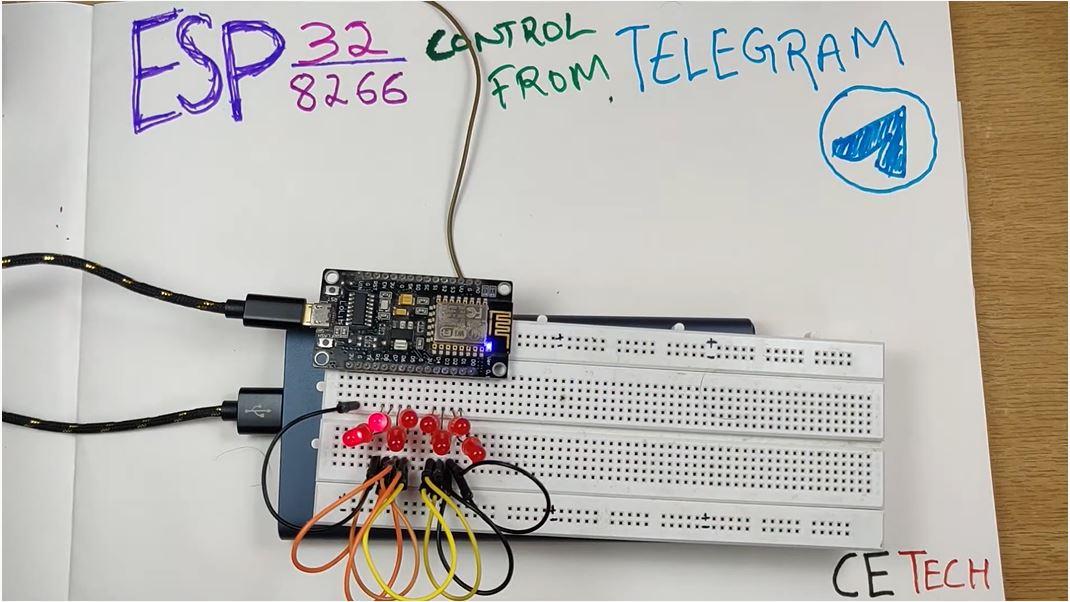
Materials Required for this project: A Microcontroller (I am using the ESP8266 module), LEDs, Power Supply, Jumper Cables.
Connections should be done as follows:
1) Connect 8 LEDs from pin D1 to D8 of ESP8266. Connect the anode of each LED to the ground and Cathode of each LED to a Digital Pin between D1 and D8.
2) Connect a Jumper cable to the A0 pin of the ESP8266 and leave it open to read the analog values (for which we have created a command). For example: if we connect this pin to 3V pin it must show 1024 and if we connect it to the GND it must show 0 value and if it is left open it should return a random value.
3) After uploading the code on the ESP8266 connect it to the power supply.
Download and Setup the Arduino IDE
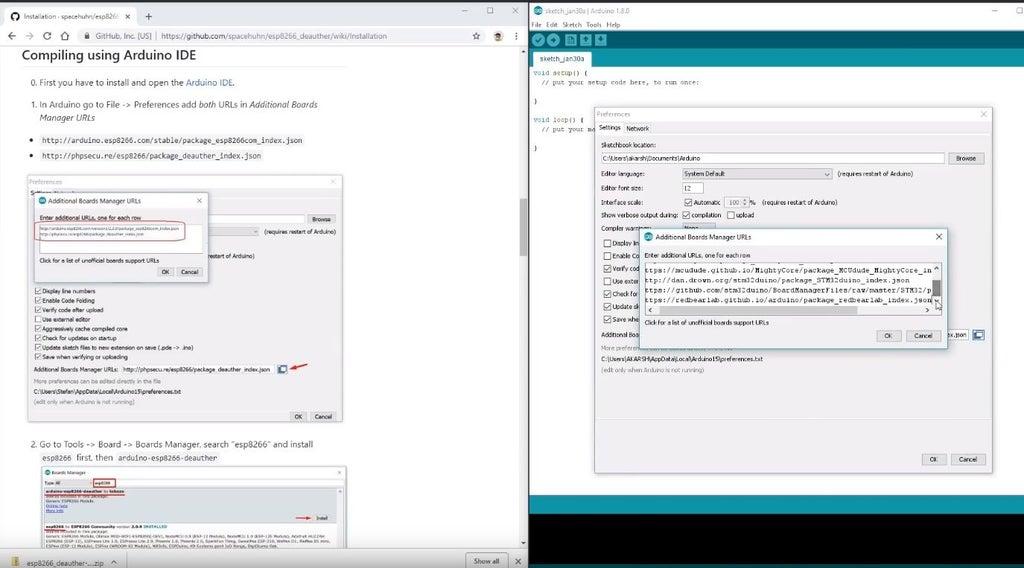
Download the Arduino IDE from here
1. Install the Arduino IDE and open it.
2. Go to File > Preferences
3. Add http://arduino.esp8266.com/stable/package_esp8266com_index.json to the Additional Boards Manager URLs.
4. Go to Tools > Board > Boards Manager
5. Search for esp8266 and then install the board.
6. Restart the IDE.
Setting Up the Telegram App
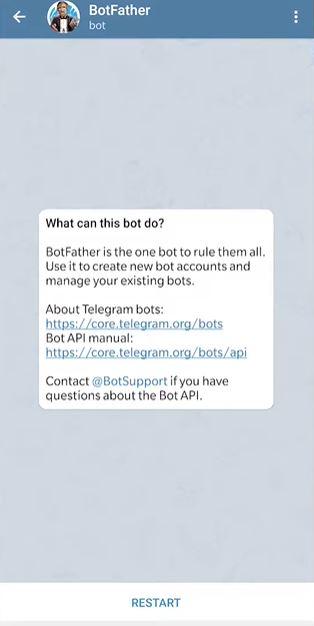
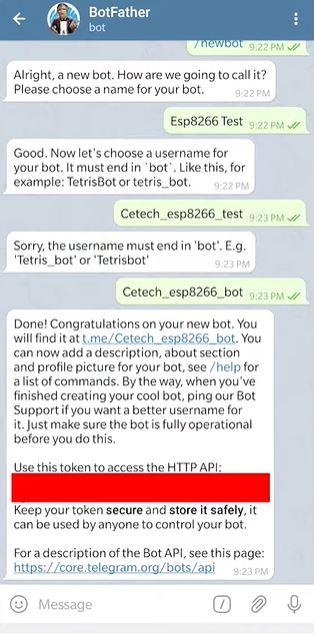
For this step, the first thing you need to do is to install the Telegram app into your mobile phone, tablet, or any of the other devices of your choice. You can get the free app easily from Google Play Store, App Store, etc.
After installing the app and setting up your account. Search Botfather in your app as soon as you open Botfather you will see a Start or a Restart button this will open up a list of commands and their applications you need to click on the /newbot command. After this command, you need to give your bot a name. I have given the name "Esp8266 Test". As the name of the bot is set, you need to set the username. While setting the username you should keep in mind that the username must be unique and it should end with the word "bot".
As soon as you set the username your bot will be created and you will see an API token save this somewhere as it will be needed in the next step.
Setting Up the Coding Part
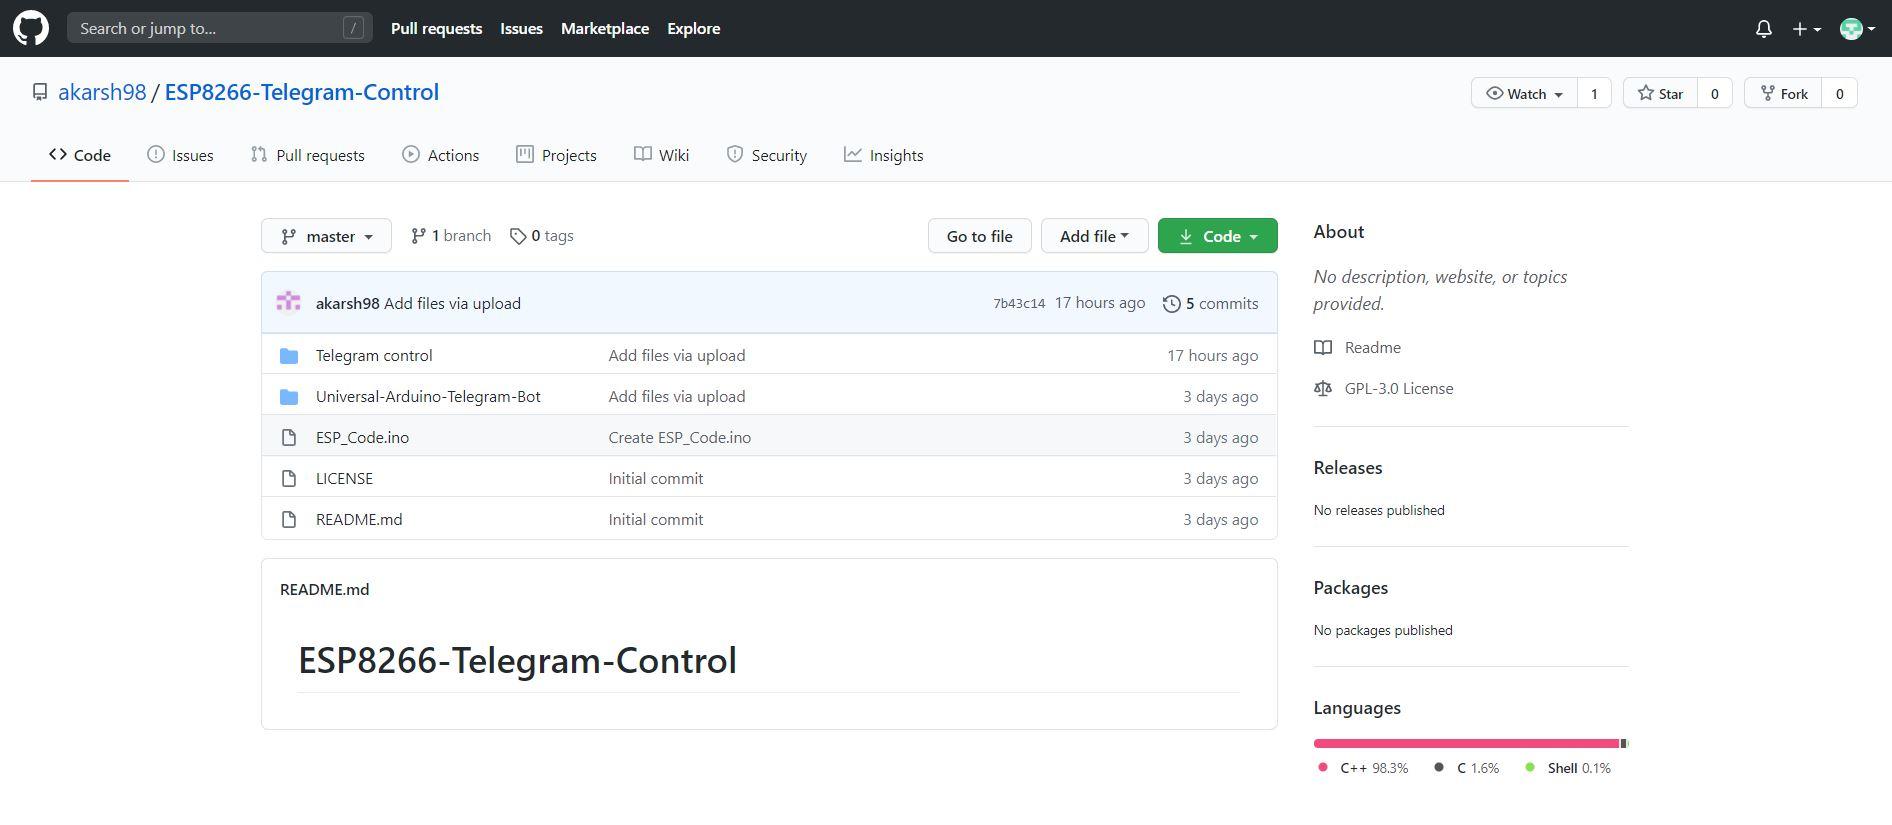
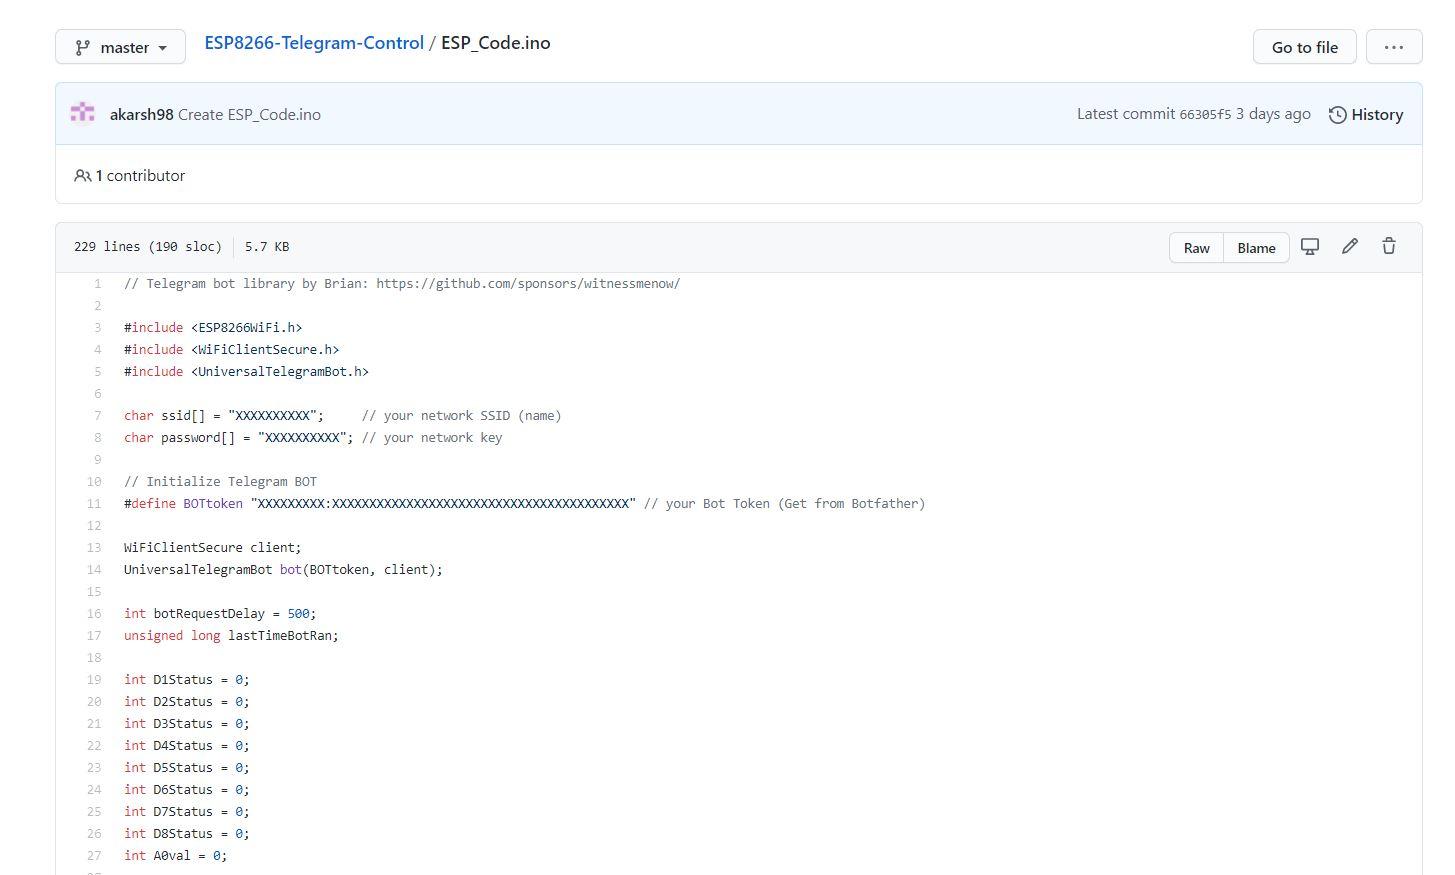
Till now we are done with the connections and bot creation now we need to upload the code in our ESP8266 for controlling the LEDs over the Telegram app.
For this, you need to install the library Universal-Arduino-Telegram-Bot. To get this library folder you can head over to my Github page from here.
After installing the library you need to copy the code of the project from ESP_code.ino file on the same GitHub page. Paste that code inside your Arduino IDE. In the code, you need to update the SSID, Password to that of your Wifi's SSID, Password, and after that, you need to update the API Token with the API Token of the bot you created in the previous step.
Now you can connect your ESP8266 to the PC and upload the code. As soon as the code gets uploaded you can disconnect your module from your PC and connect it to any power supply.
Time to Play
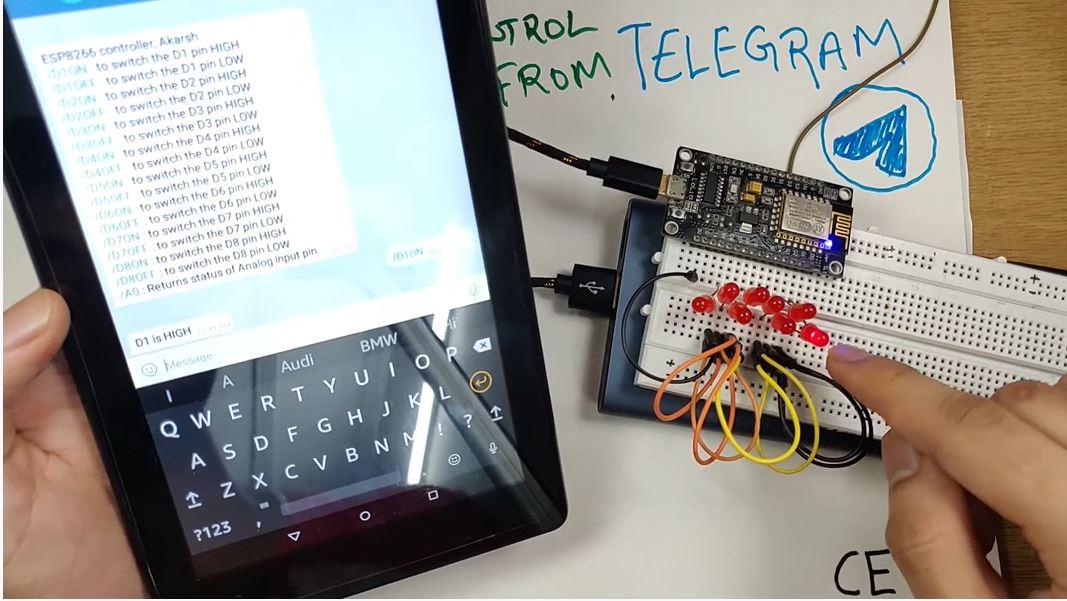
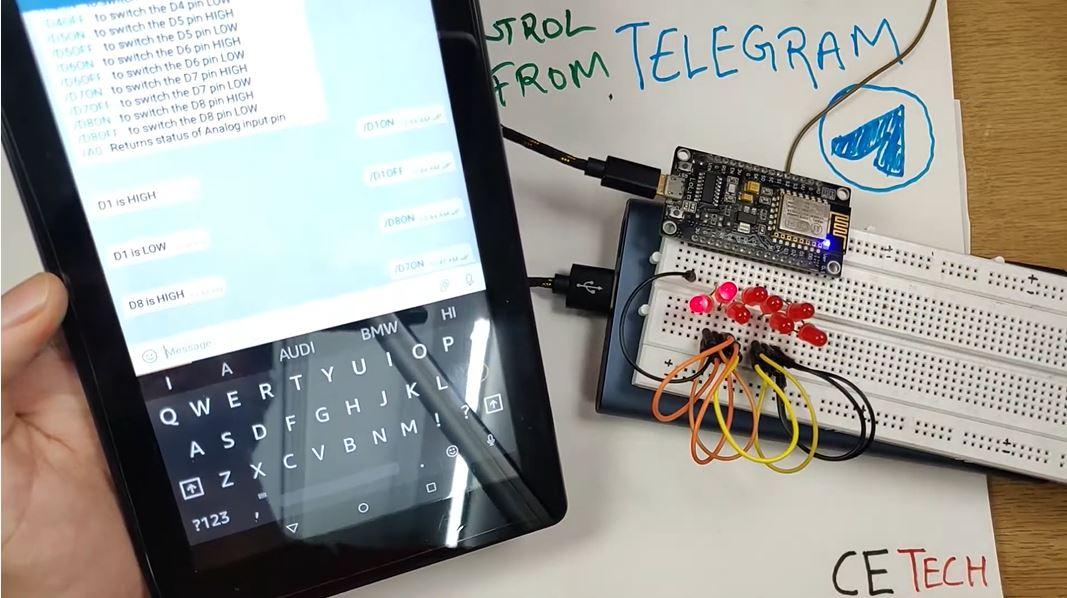
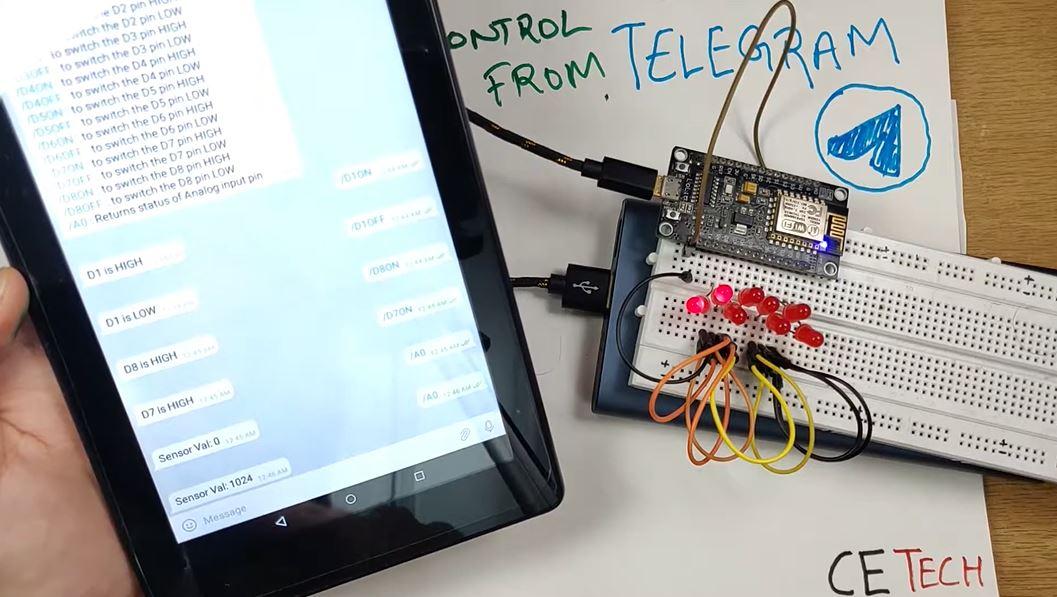
Now all you need to do is open the telegram app open the bot after searching it in the Telegram App by the name you gave to the bot. As you open the bot you will see a Start/Restart button click on that button the bot will start and send you a list of commands that you can use to control different LEDs.
For e.g: There is a command /D1ON if you send this command you will be able to see that the LED No. 1 turned on and a message is received on the app saying "D1 is HIGH" after that if you send D1OFF command you will see that the LED1 turns off and a message is received saying "D1 is LOW". The same thing happens with other LEDs as well. Apart from the LED ON/OFF commands there is another command A0 which returns the status of the Analog Pin i.e if the A0 is connected to GND it returns 0, if it is connected to 3V it returns 1024 and if left open it should return any random value. In this way, you can control things using the Telegram Messaging app.
Hope you liked the tutorial.