Controlling Any Light With Philips HUE (and a AC Mains Dimmer)
by OrenLederman in Circuits > Electronics
7971 Views, 29 Favorites, 0 Comments
Controlling Any Light With Philips HUE (and a AC Mains Dimmer)
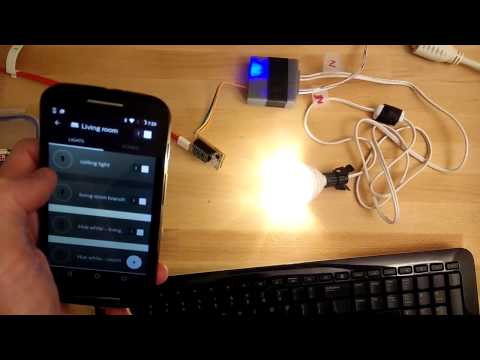
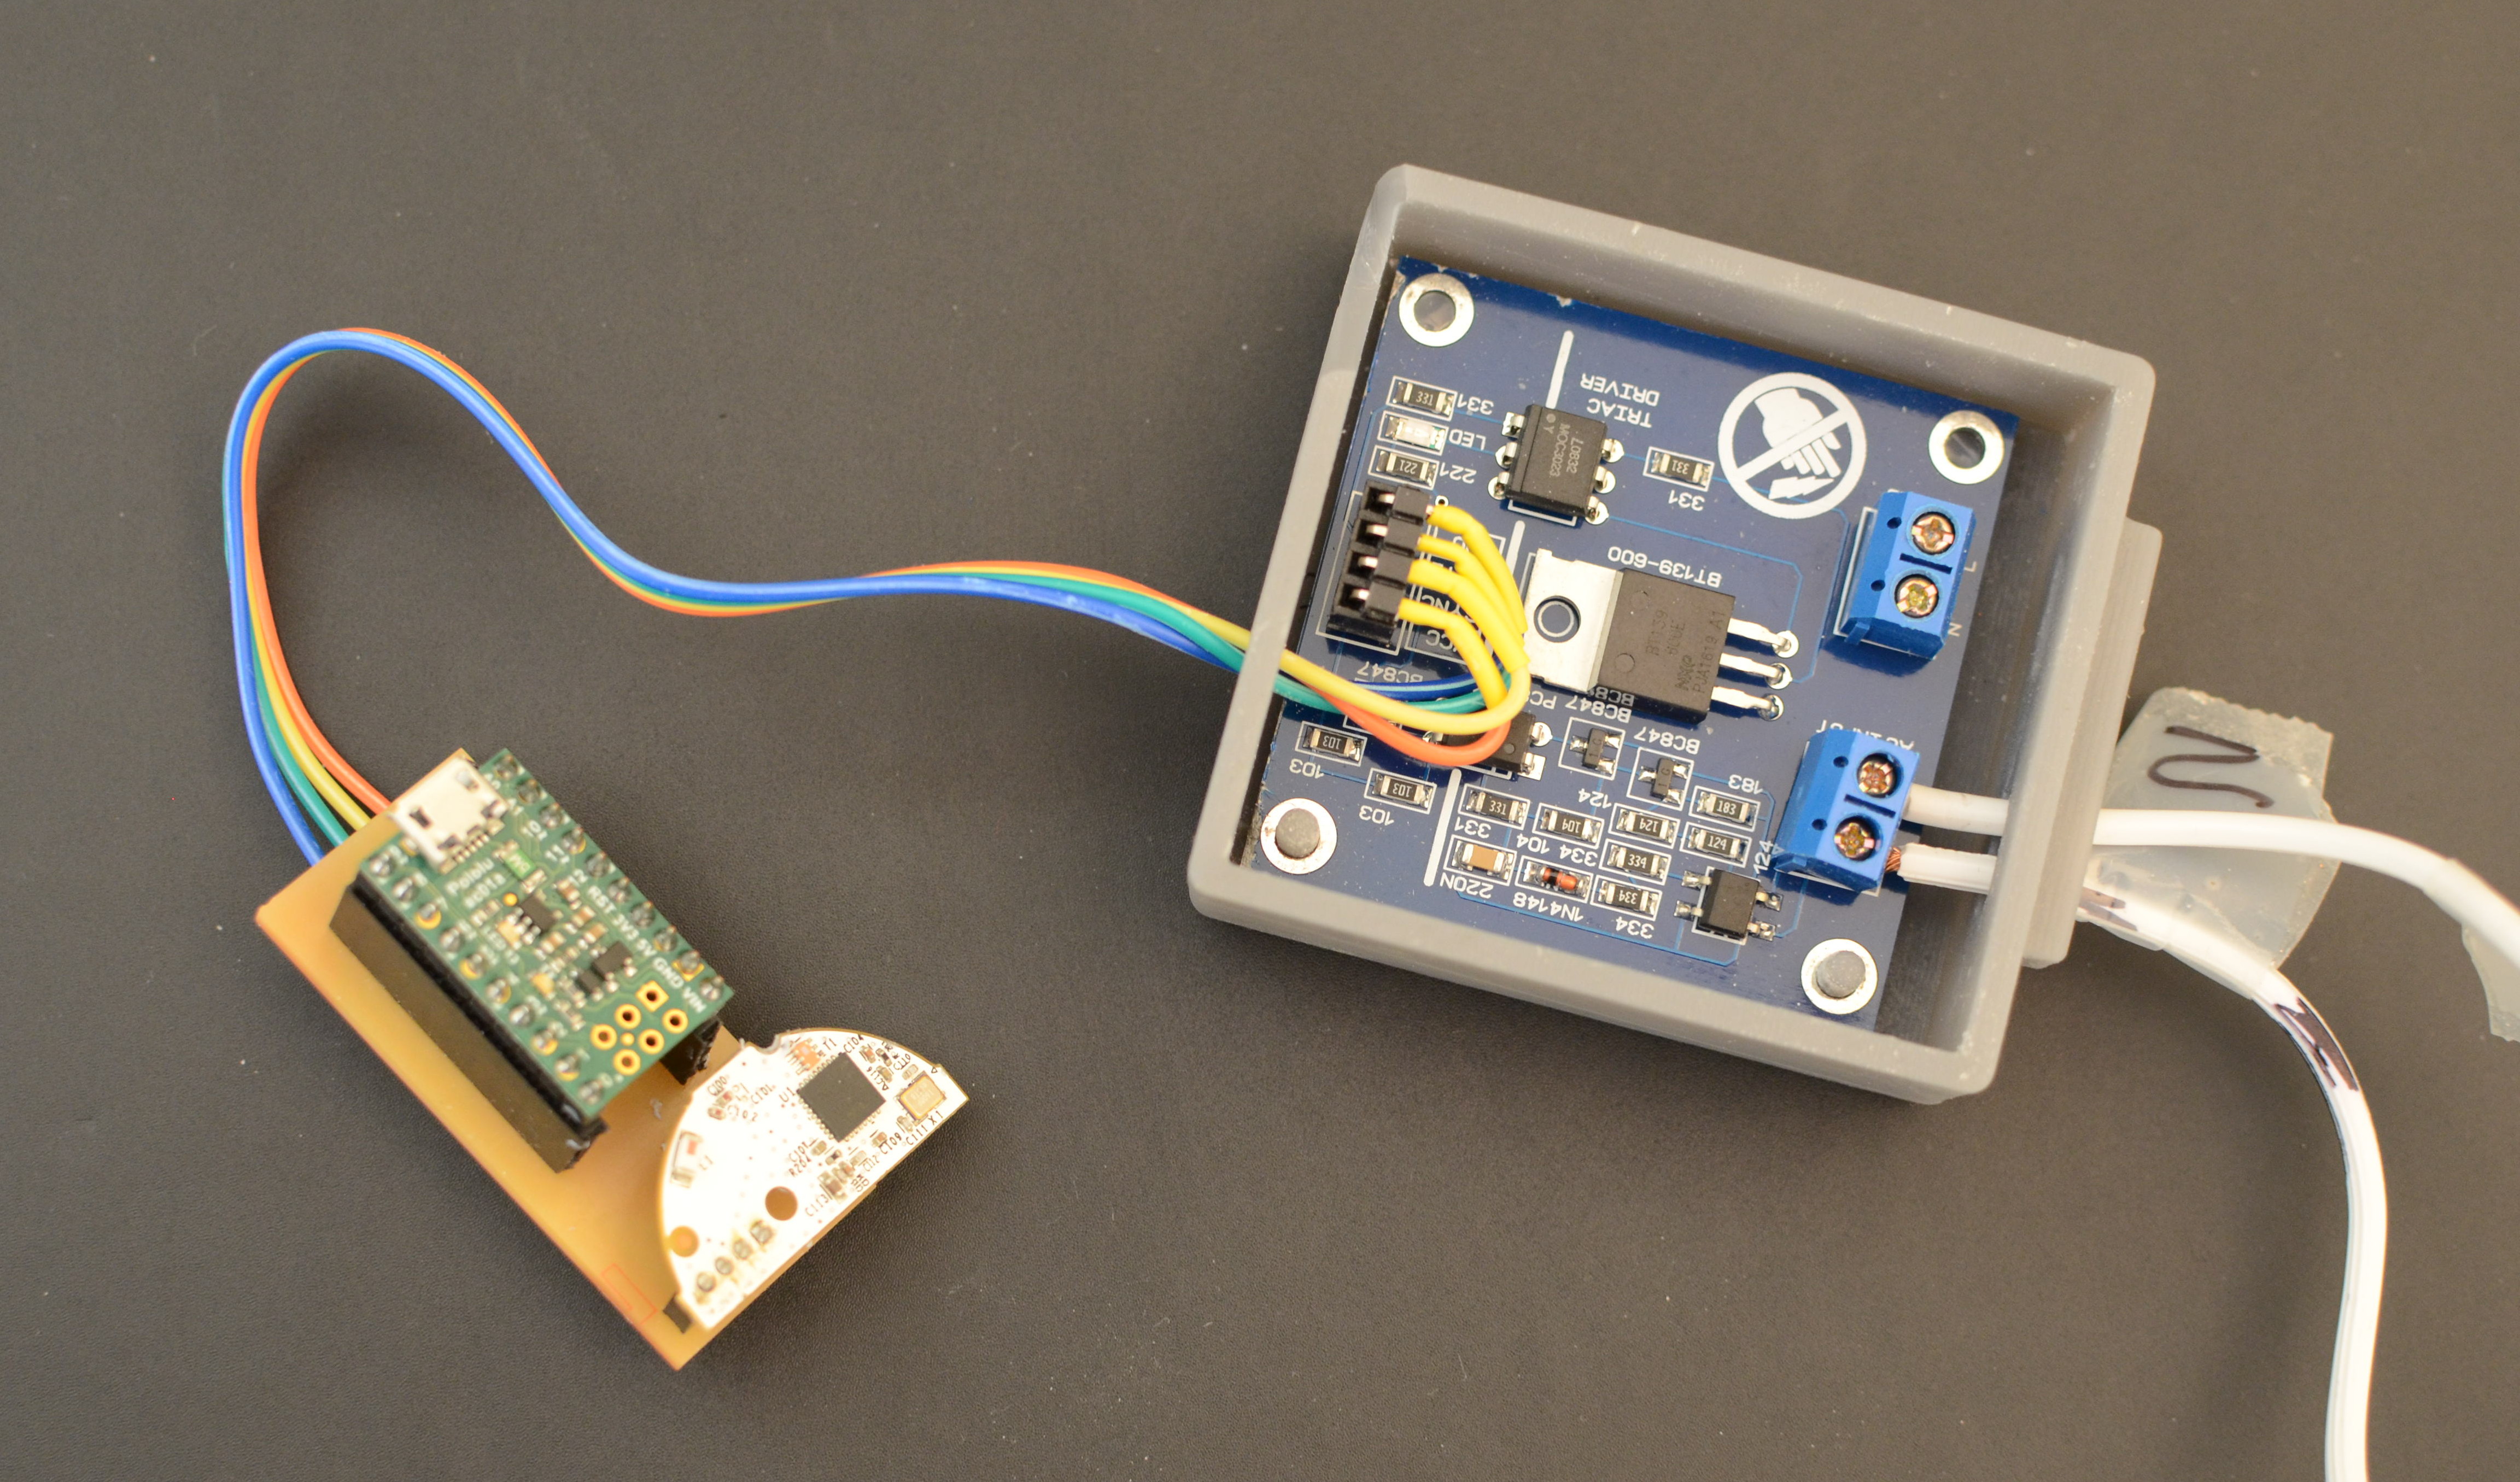
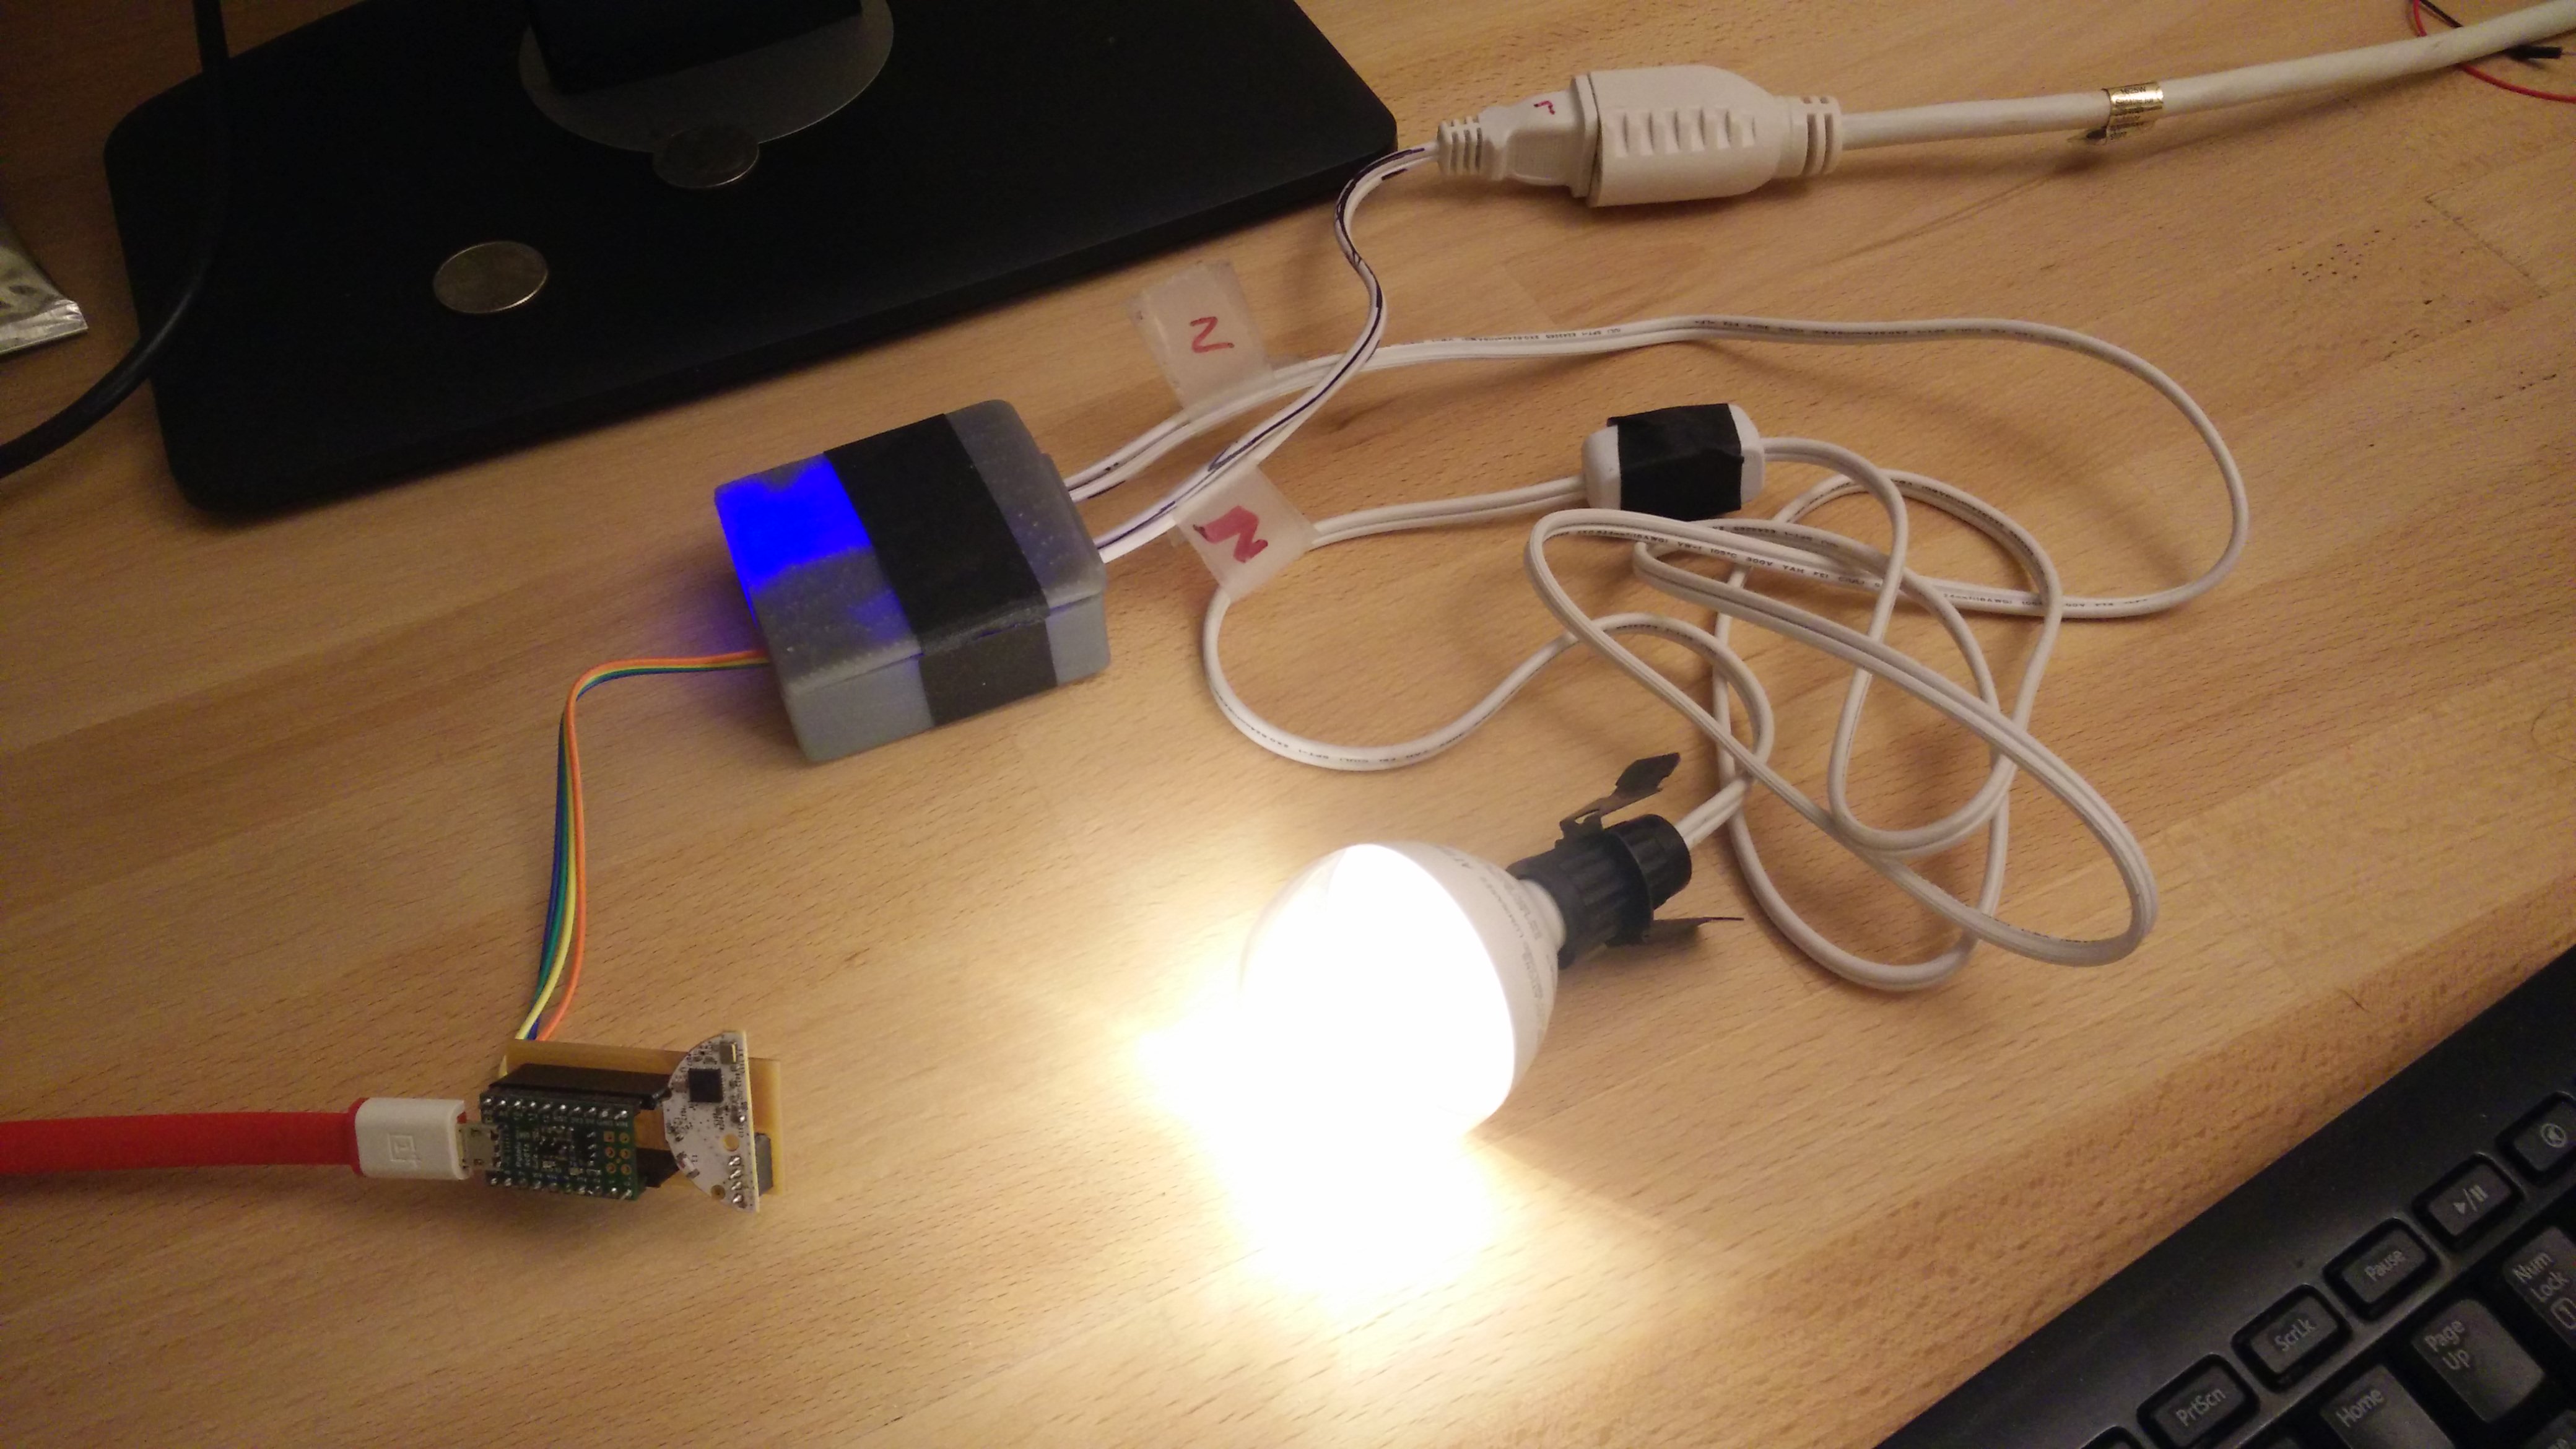
----------------------------- DISCLAIMER -----------------------------
WARNING!! You will play with LIVE MAINS!! You can get yourself killed or burn down your house!!
If you don't have any experience and/or are not qualified for working with MAINS power you shouldn't really do this!. I take no responsibility for any injury or death resulting, directly or indirectly, from your inability to appreciate the hazards of household mains voltages.
If you do decide to go ahead, please make sure your insurance covers any damage that can be done by messing this up, and make sure you don't break any local rules for messing with electronics.
----------------------------- DISCLAIMER -----------------------------
Seriously - don't do this unless you know what you are doing. I actually chickened out after I finished this project and ended up not installing it in my apartment. It was a fun exercise though.
Anyway, this project will show you how to control any dimmable LED bulb with Philips HUE. In my case I needed to control an Ikea chandelier that did not accept A19 bulbs (and using an adapter would have looked ugly).
We will do that by ripping out a ZigBee controller from a cheap CREE bulbs, connecting it to an Arduino microcontoller and then using it to control a AC dimmer circuit.
What You'll Need
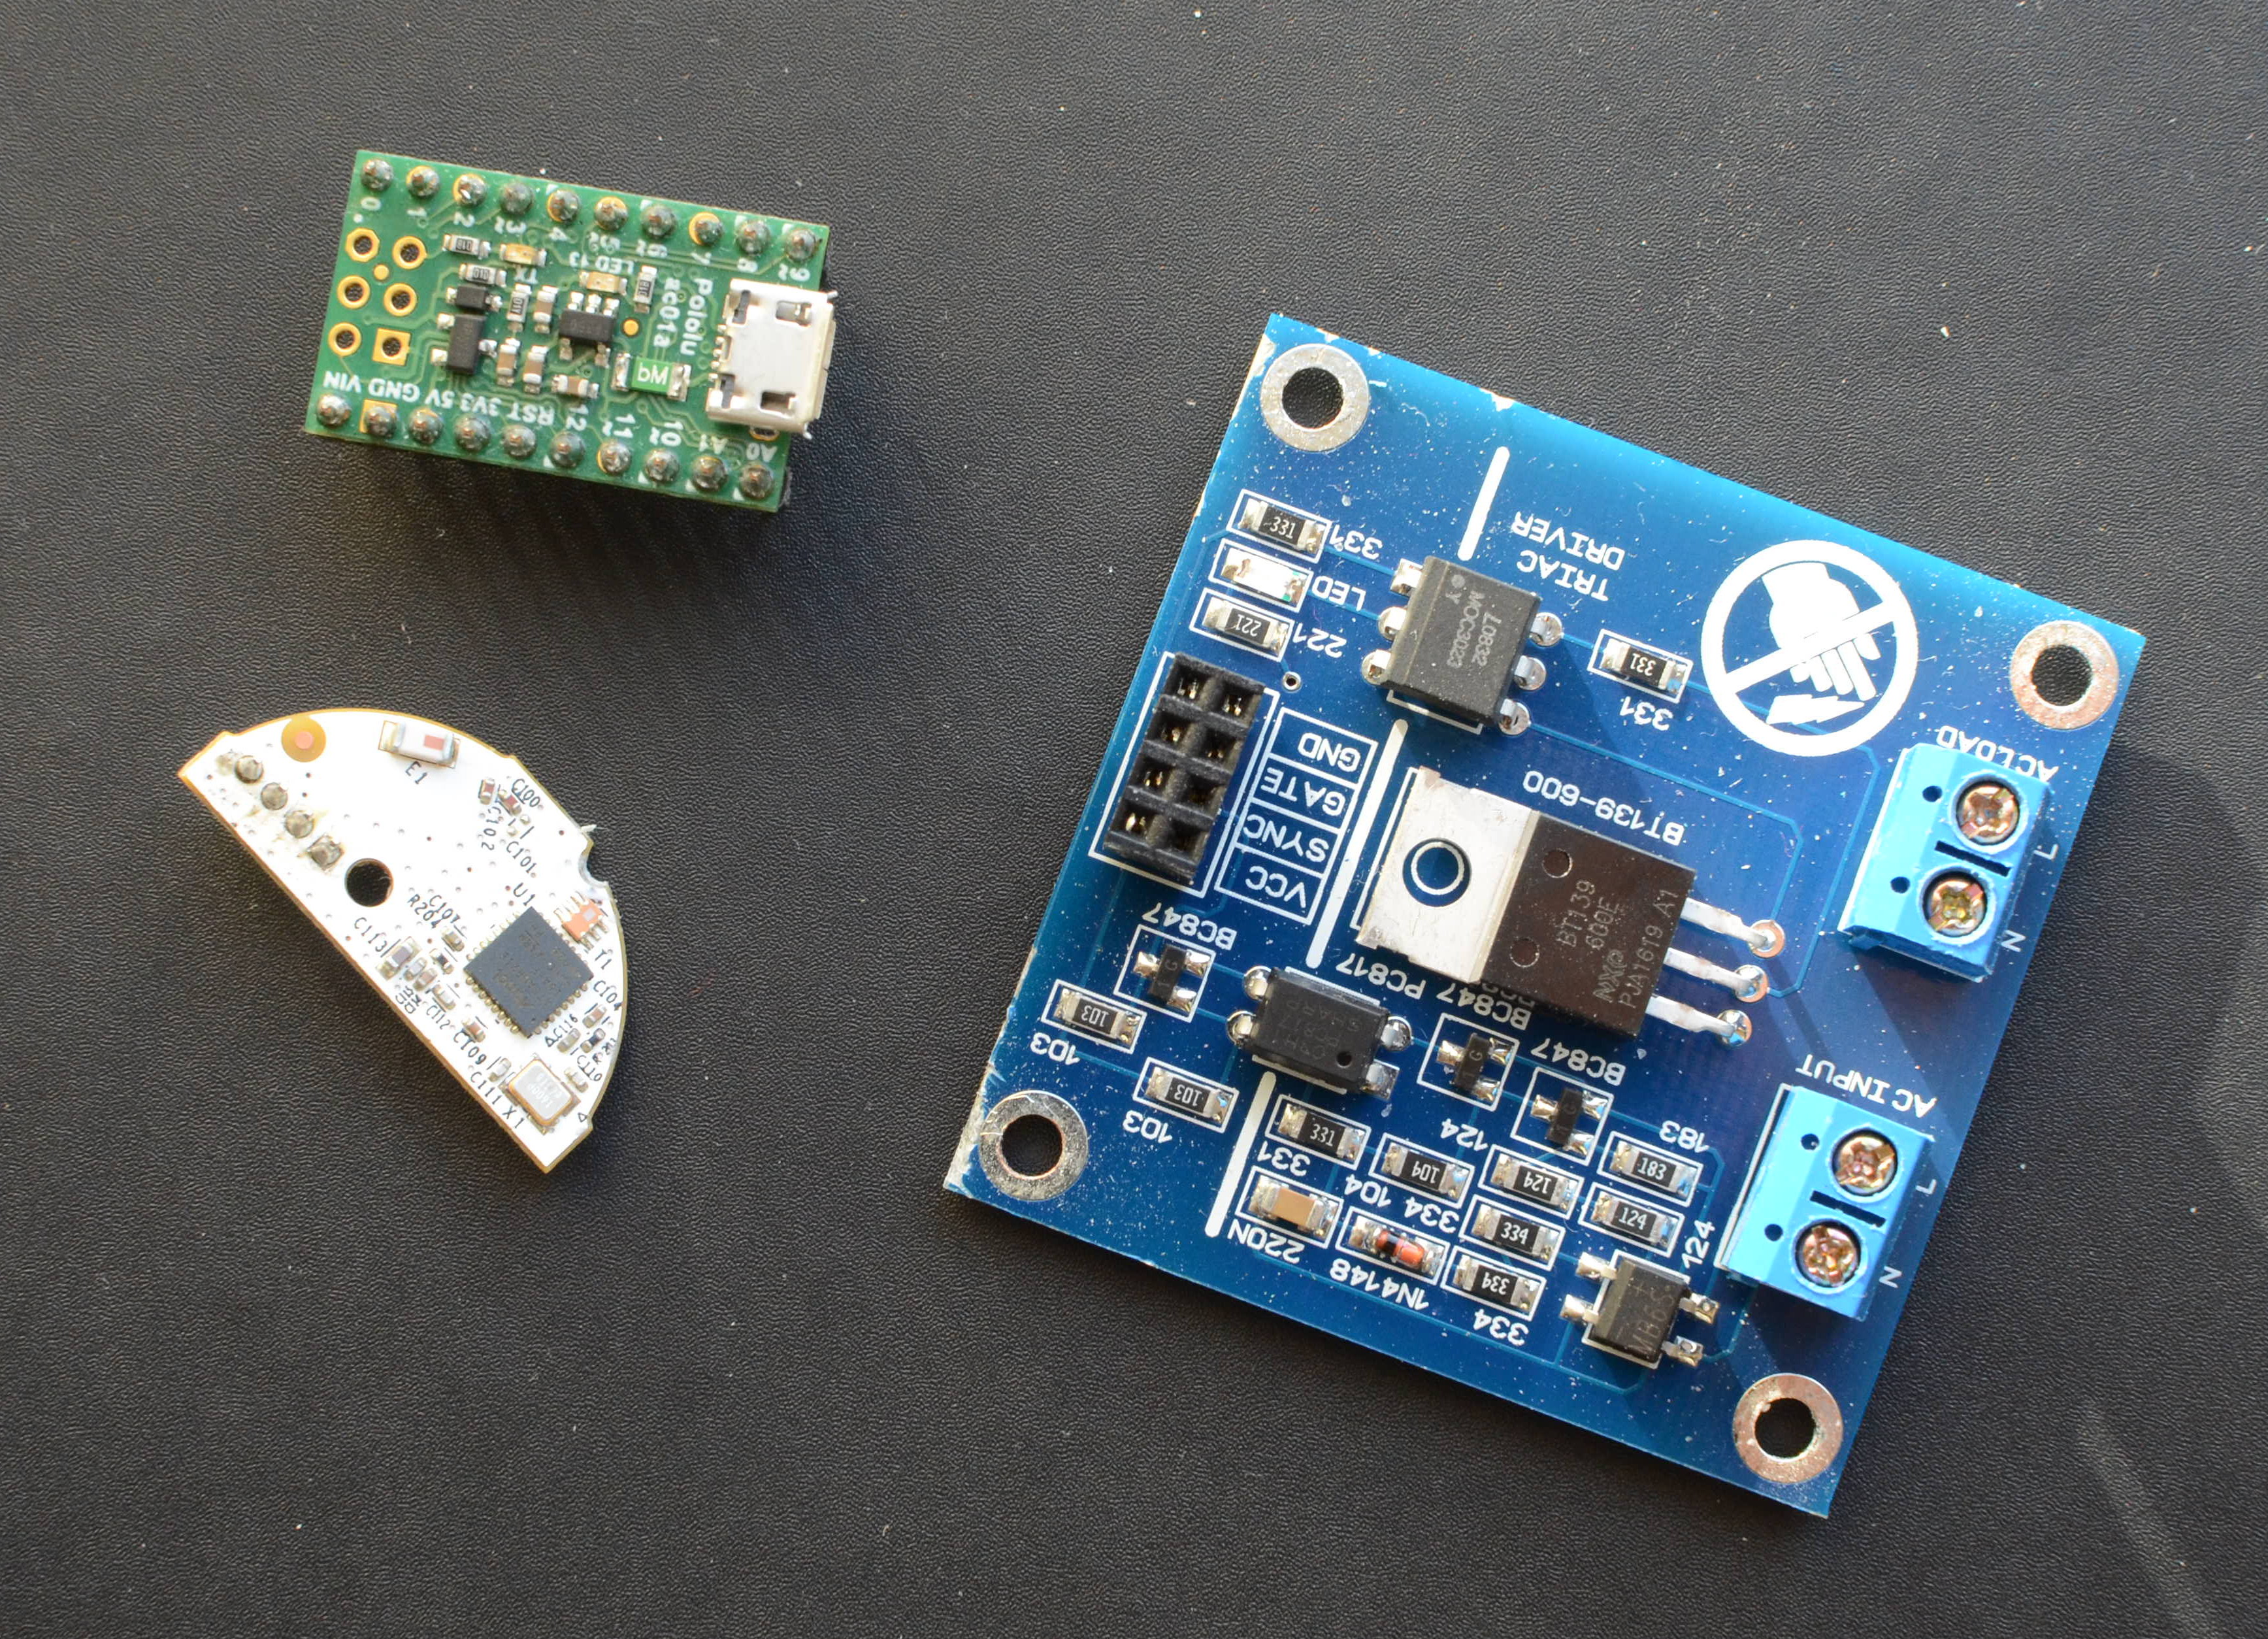
Basic ingredients
-
Pololu A-Star 32U4 Micro - an Arduino compatible microcontroller. You can actually use any Arduino micro-controller with at least two pins that can be used for interrupts (see: https://www.arduino.cc/en/Reference/attachInterrupt), preferably one that has a 3.3V output. The reason I choose the A-Star Micro is because it's small, can be powered up using a micro-USB connector, and has 3.3V output (that we'll use to power up the Zigbee circuit)
-
Cree Connected A19 Dimmable LED Light Bulb. It doesn't matter if you get the daylight or warm light version, just make sure it's the Connected type (Cree also has regular light bulbs). Also, try to find a used one, you are going to crack it open anyway
-
TRIAC AC LED dimmer circuit with zero cross detection. I got mine from Amazon, but there are plenty of them in EBay. IMPORTANT! The one I use have 4 pins - VCC, GND, SYNC and GATE. If the controller board you found doesn't have all four pins, you'll need to figure out how to change the circuit and code. Also, make sure your power draw is within the limits of the circuit. The one I used should be able to handle ~250 Watt, and I was using it for driving 3 LED lights (~6W each)
-
A bunch of wires + breadboard or a custom PCB
-
1x4 row of 90 degree angle male headers (r-shaped). you'll use them to connect the micro-controller to the dimmer circuit
-
For a testing rig, you'll need a dimmable LED light bulb, socket and power cable. I tested it with a B10 Candelabra Dimmable LED
If you decide to make your own PCB, you'll also need
- A copper board
- 1 x row of 4 right angle (SMD) male headers with 2.54mm (0.01") pitch
- 1 x row of 4 female sockets with 2mm (0.079") pitch
- 1 x row of 4 male headers with 2mm (0.079") pitch
- 2 x rows of 10 male headers with 2.54 (0.01") pitch
-
2 x rows of 10 female socket with 2.54 (0.01") pitch
For the actual installation, you will probably need a USB power adapter or a 5V module to power up the circuits. More on this later.
Note - after completing the project I found an alternative dimmer circuit that can simplify the design, but haven't tried it. See the last step in this Instructable for more details.
How Does It Work?
The project has three main parts - Zigbee controller (extracted from a Cree bulb), Pololu A-Star (Arduino compatible microcontroller) and a dimmer circuit that controls the main:
- Cree ZigBee micro-controller - Cree is a cheap(er) HUE-compatible bulb. I like this one because the ZigBee circuit inside is easy to remove, it's small, and it gives a PWM output. We will use this circuit to make HUE think that this is an acutal bulb
- A-Star Arduio-compatible micro-controller - this controller takes PWM signal from the Cree ZigBee circuit and translates it to the input expected by the dimmer circuit. Because of the way the dimmer circuit operates, we can't just connect the Cree PWM to the dimmer gate - we need to make sure that the signal is in sync using zero cross detection
- TRIAC AC Dimmer circuit. The circuit does the real magic. It gives out a zero-cross detection signal (using the SYNC pin) and allow you to control the light level using the GATE pin
Cree ZigBee Controller
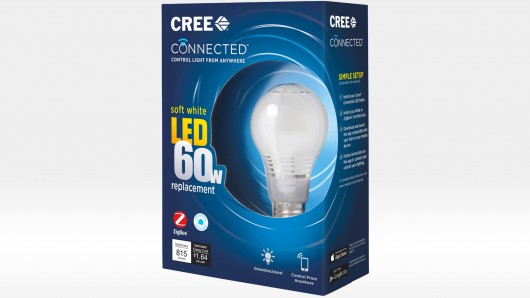
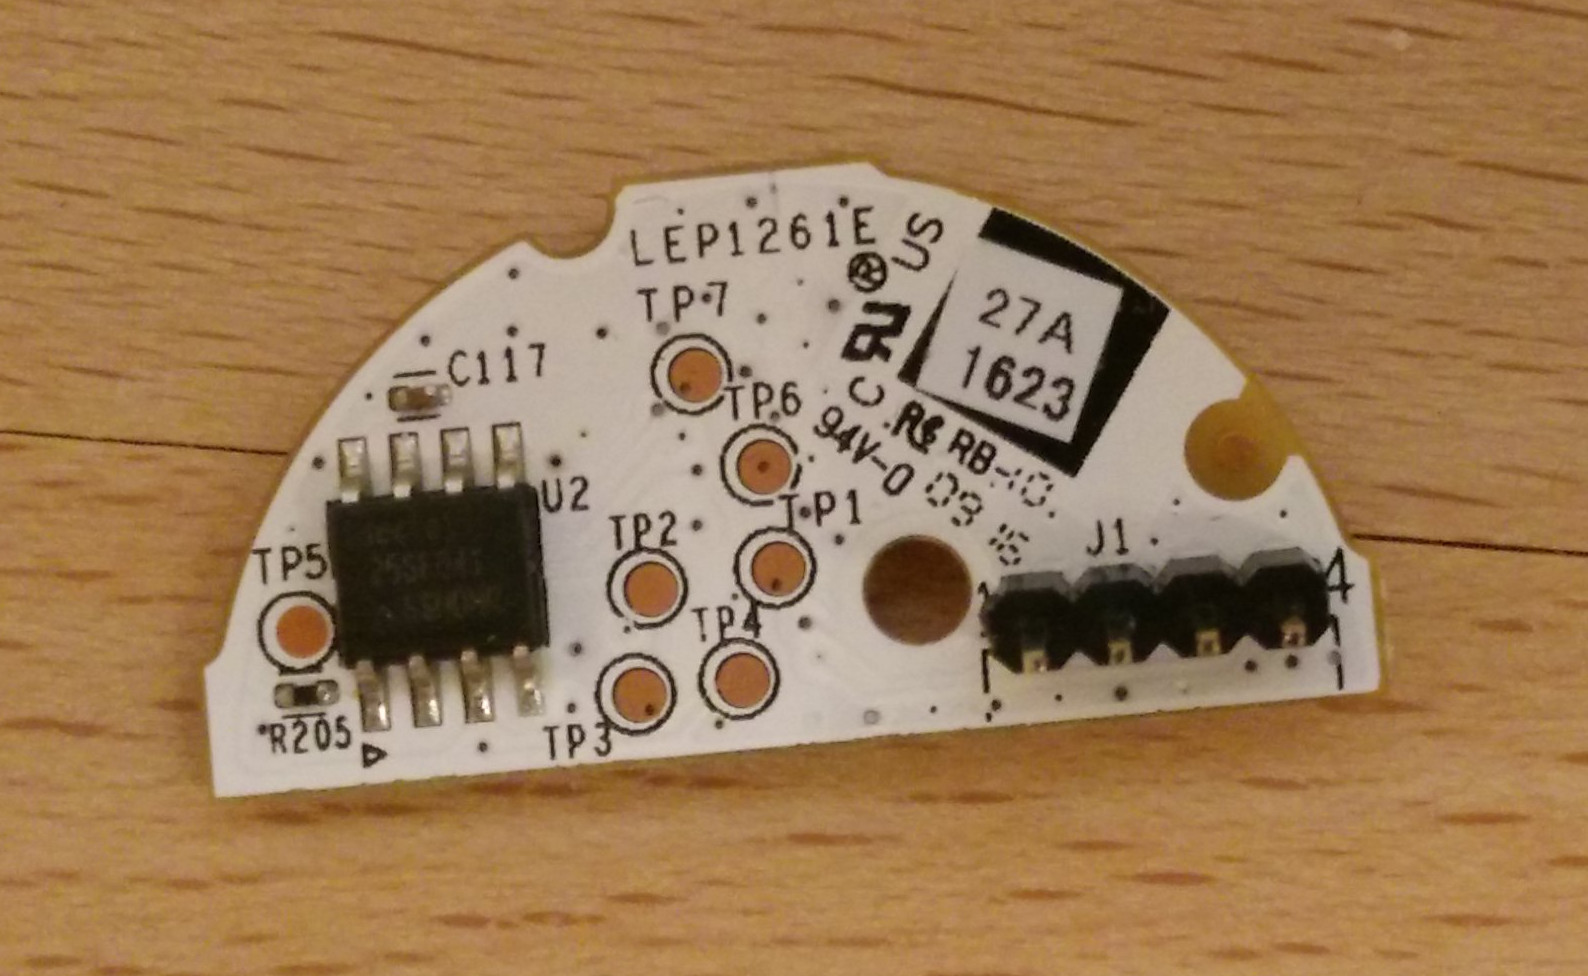
The first thing you want to do is to check the bulb and add it to your HUE network:
- To add the bulb, put it in a socket and turn it off. Open the HUE app on your phone, and search for new bulbs. Then turn on the bulb and wait - it should show up after ~5-20 seconds
- If you can't find the bulb, you'll might need to reset it. Especially if it is a used one. To reset - turn the bulb on and off at the light switch four times in rapid succession with a two second pause in each position. The fourth time the light comes on it will flicker once
Now that you made sure that the bulb works, it's time to get the zigbee controller out. Sadly, I forgot to take photos showing the teardown process. However... it's relatively straight-forward. Break open the white plastic top (I used strong cutters), and then cut your way into the base of the bulb and de-solder the white half-circle circuit (see image).
Looking at the controller, you'll ping 4 pins, with 2mm (0.079") pitch. Here's the pin-out:
- 1 - gnd
- 2 - VCC. Note it's 3V, not 5V
- 3 - PWM
- 4 - On/Off
Note - I originally learned about the Cree bulbs from a hackaday post a while ago. You can find more some teardown photos and more info here.
Programming the A-Star Controller
First, why a pololu A-Star? why not just use an Arduino? Well:
- It's compatible with Arduino (so you can basically use almost any Arduino that you'd like instead)
- It has plenty of pins that can be used for interrupts (we'll need two of them)
- It's really small. In my case, I needed to fit all the electronics in a small hole in the ceiling, so size mattered
To program the A-Star board:
- Install drivers if needed - https://www.pololu.com/docs/0J61/6.1
-
Add the board to your Arduino IDE - https://www.pololu.com/docs/0J61/6.2
-
Try the blink example to make sure it's working
-
Load the dimmer code. The code can be found in the firmware folder in my github repository - https://github.com/OrenLederman/zigbee-dimmer . Make sure you place the RunningAverage files in the same folder as your .ino file
The code is designed from 60Hz power (USA). See comments in the code on which values to use for 50Hz.
-
Note - I use Ubuntu as my main OS, and I had issues programming the A-Star directly. I ended up using a Windows machine
If you decide to use a different Arduino board, make sure you change the pins used in the code. Note that the code uses pins SYNC_PIN and PWM_IN_PIN as interrupt pins, so if you use different pins you must make sure they can be used by the attachInterrupt command (see here - https://www.arduino.cc/en/Reference/attachInterrupt).
If you look a the code, you'll see that I'm using two interrupts - one interrupts is used for "listening" to the SYNC signal from the dimmer board, the other is used for reading the PWM from the Cree ZigBee board. If you know a better way to read PWM, let me know :)
Timing is EXTREMELY important in this code because of the way that the dimmer circuit works. The original (s***ty) sample code had a long delay in the interrupt function which caused flickering. This is why the zero_cross function is split into two parts using a timer. Also, turnning off the pwm interrupt listener while handling the sync/zero-cross signal seemed to be a good idea.
Optional - Making an Enclosure for the Dimmer Circuit
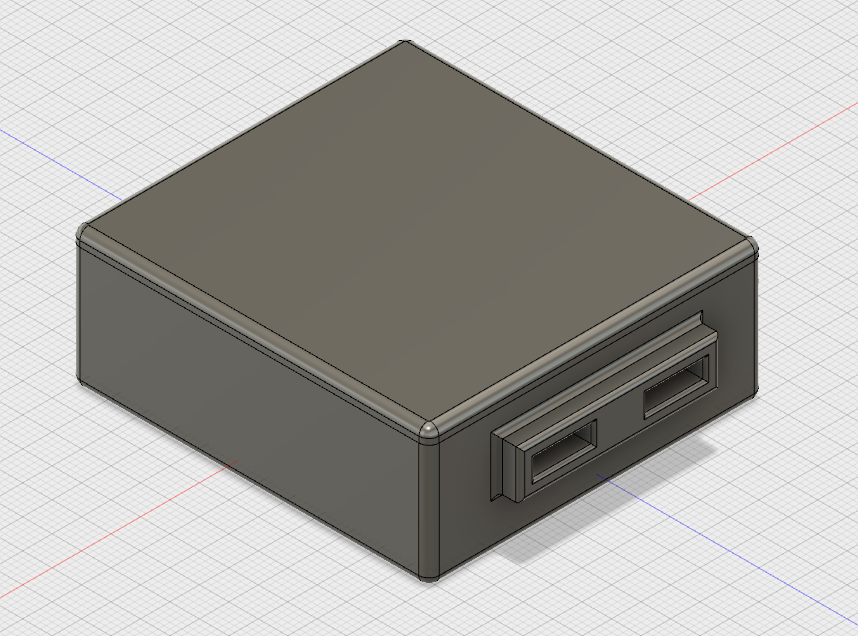
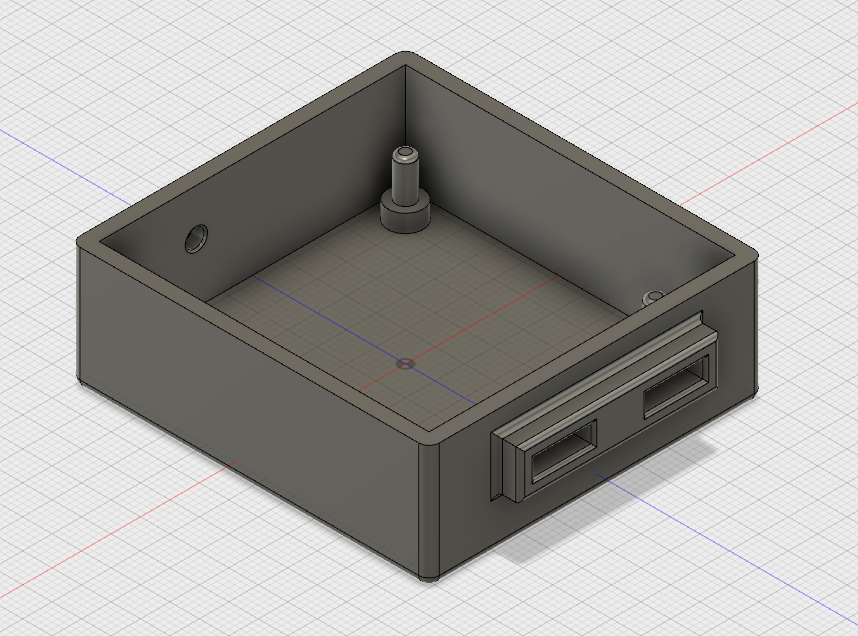
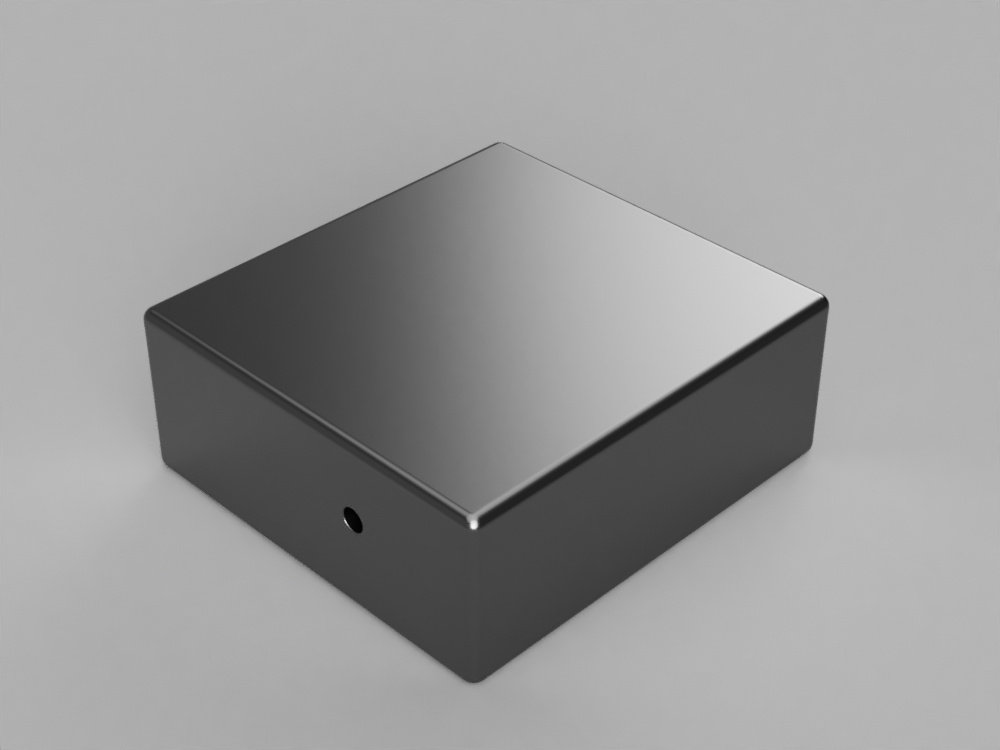
I don't like getting electrocuted (it will get me in trouble with my wife), so I figured it would be a good idea to place the dimmer circuit in a protective case. The enclosure was designed by Tal Achituv, a friend with much better 3D design skills than mine. Thanks Tal!
The two attached files make the body and top of the enclosure. We used a Formlabs Form 1 to print it. The parts don't match perfectly, but it's close enough. You'll might need to shave off a little bit of material to make it fit better. I also needed to enlarge the small hole of the side so I can fit 4 wires through.
Important note - the circuit doesn't seem to heat up too much, but it might be better to find a fire-resistant material to use instead of plastic. Let me know if you have a better solution than the one we used.
Optional - Mill / Make a Pcb
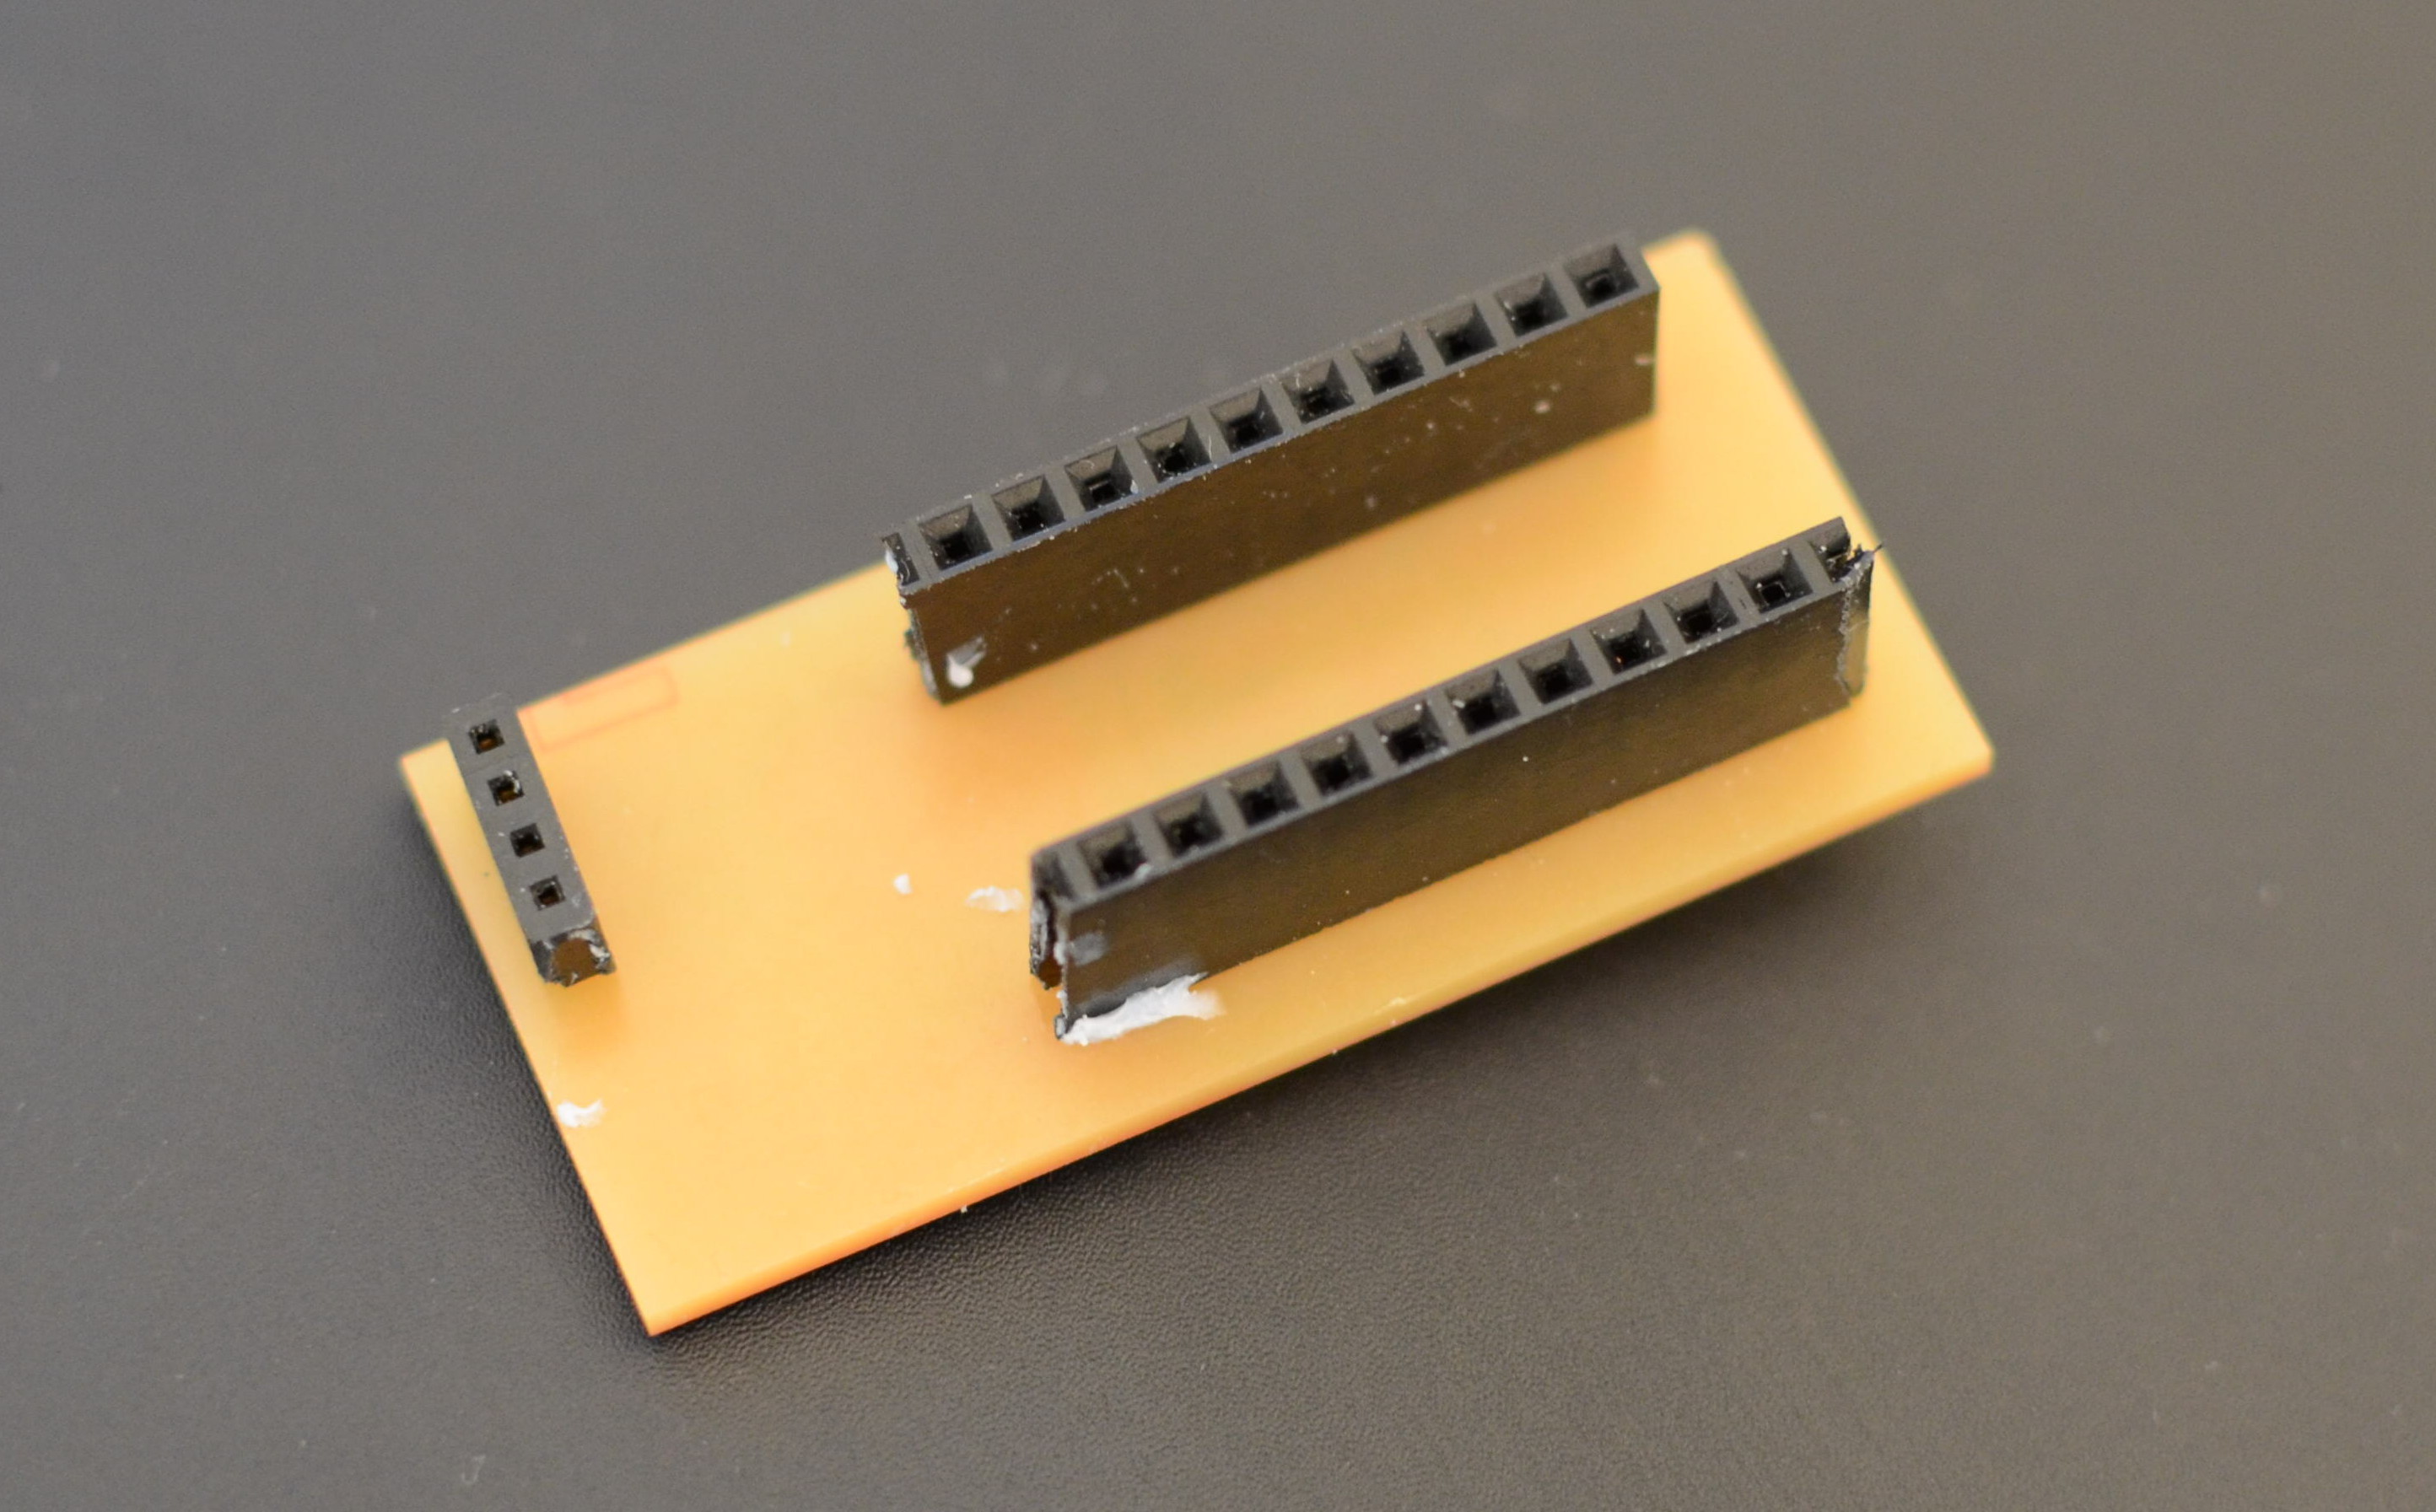
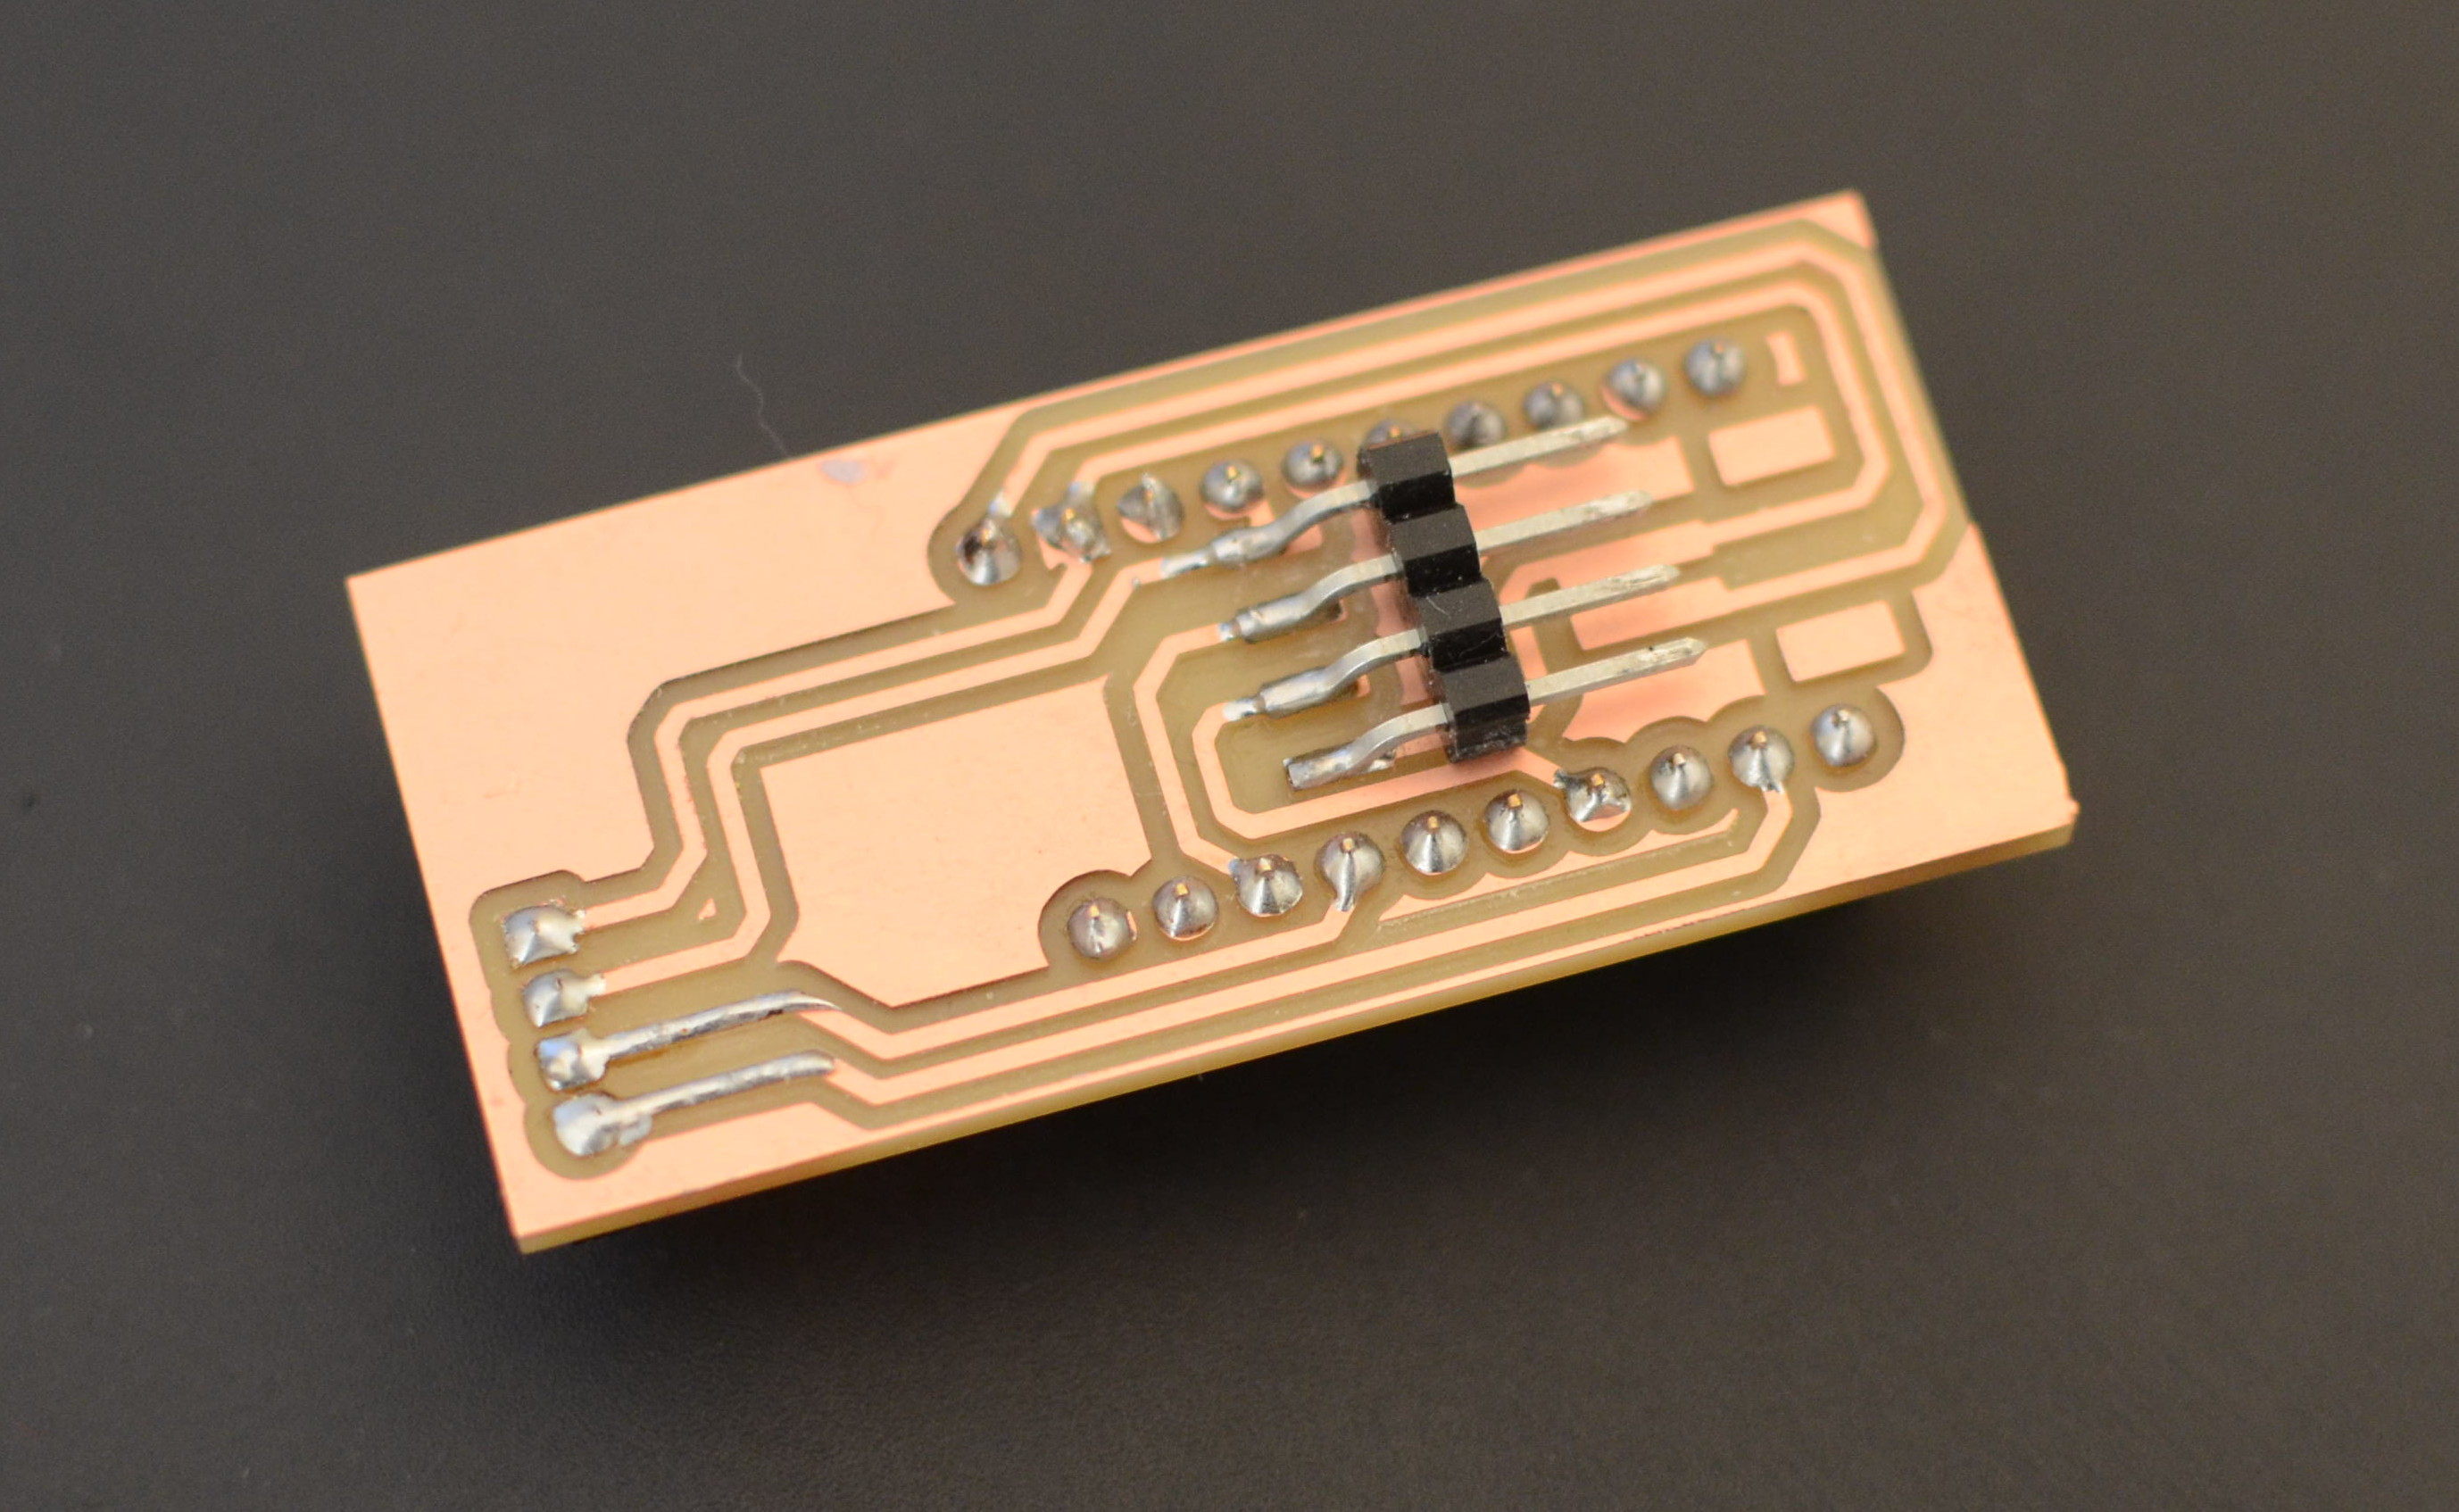
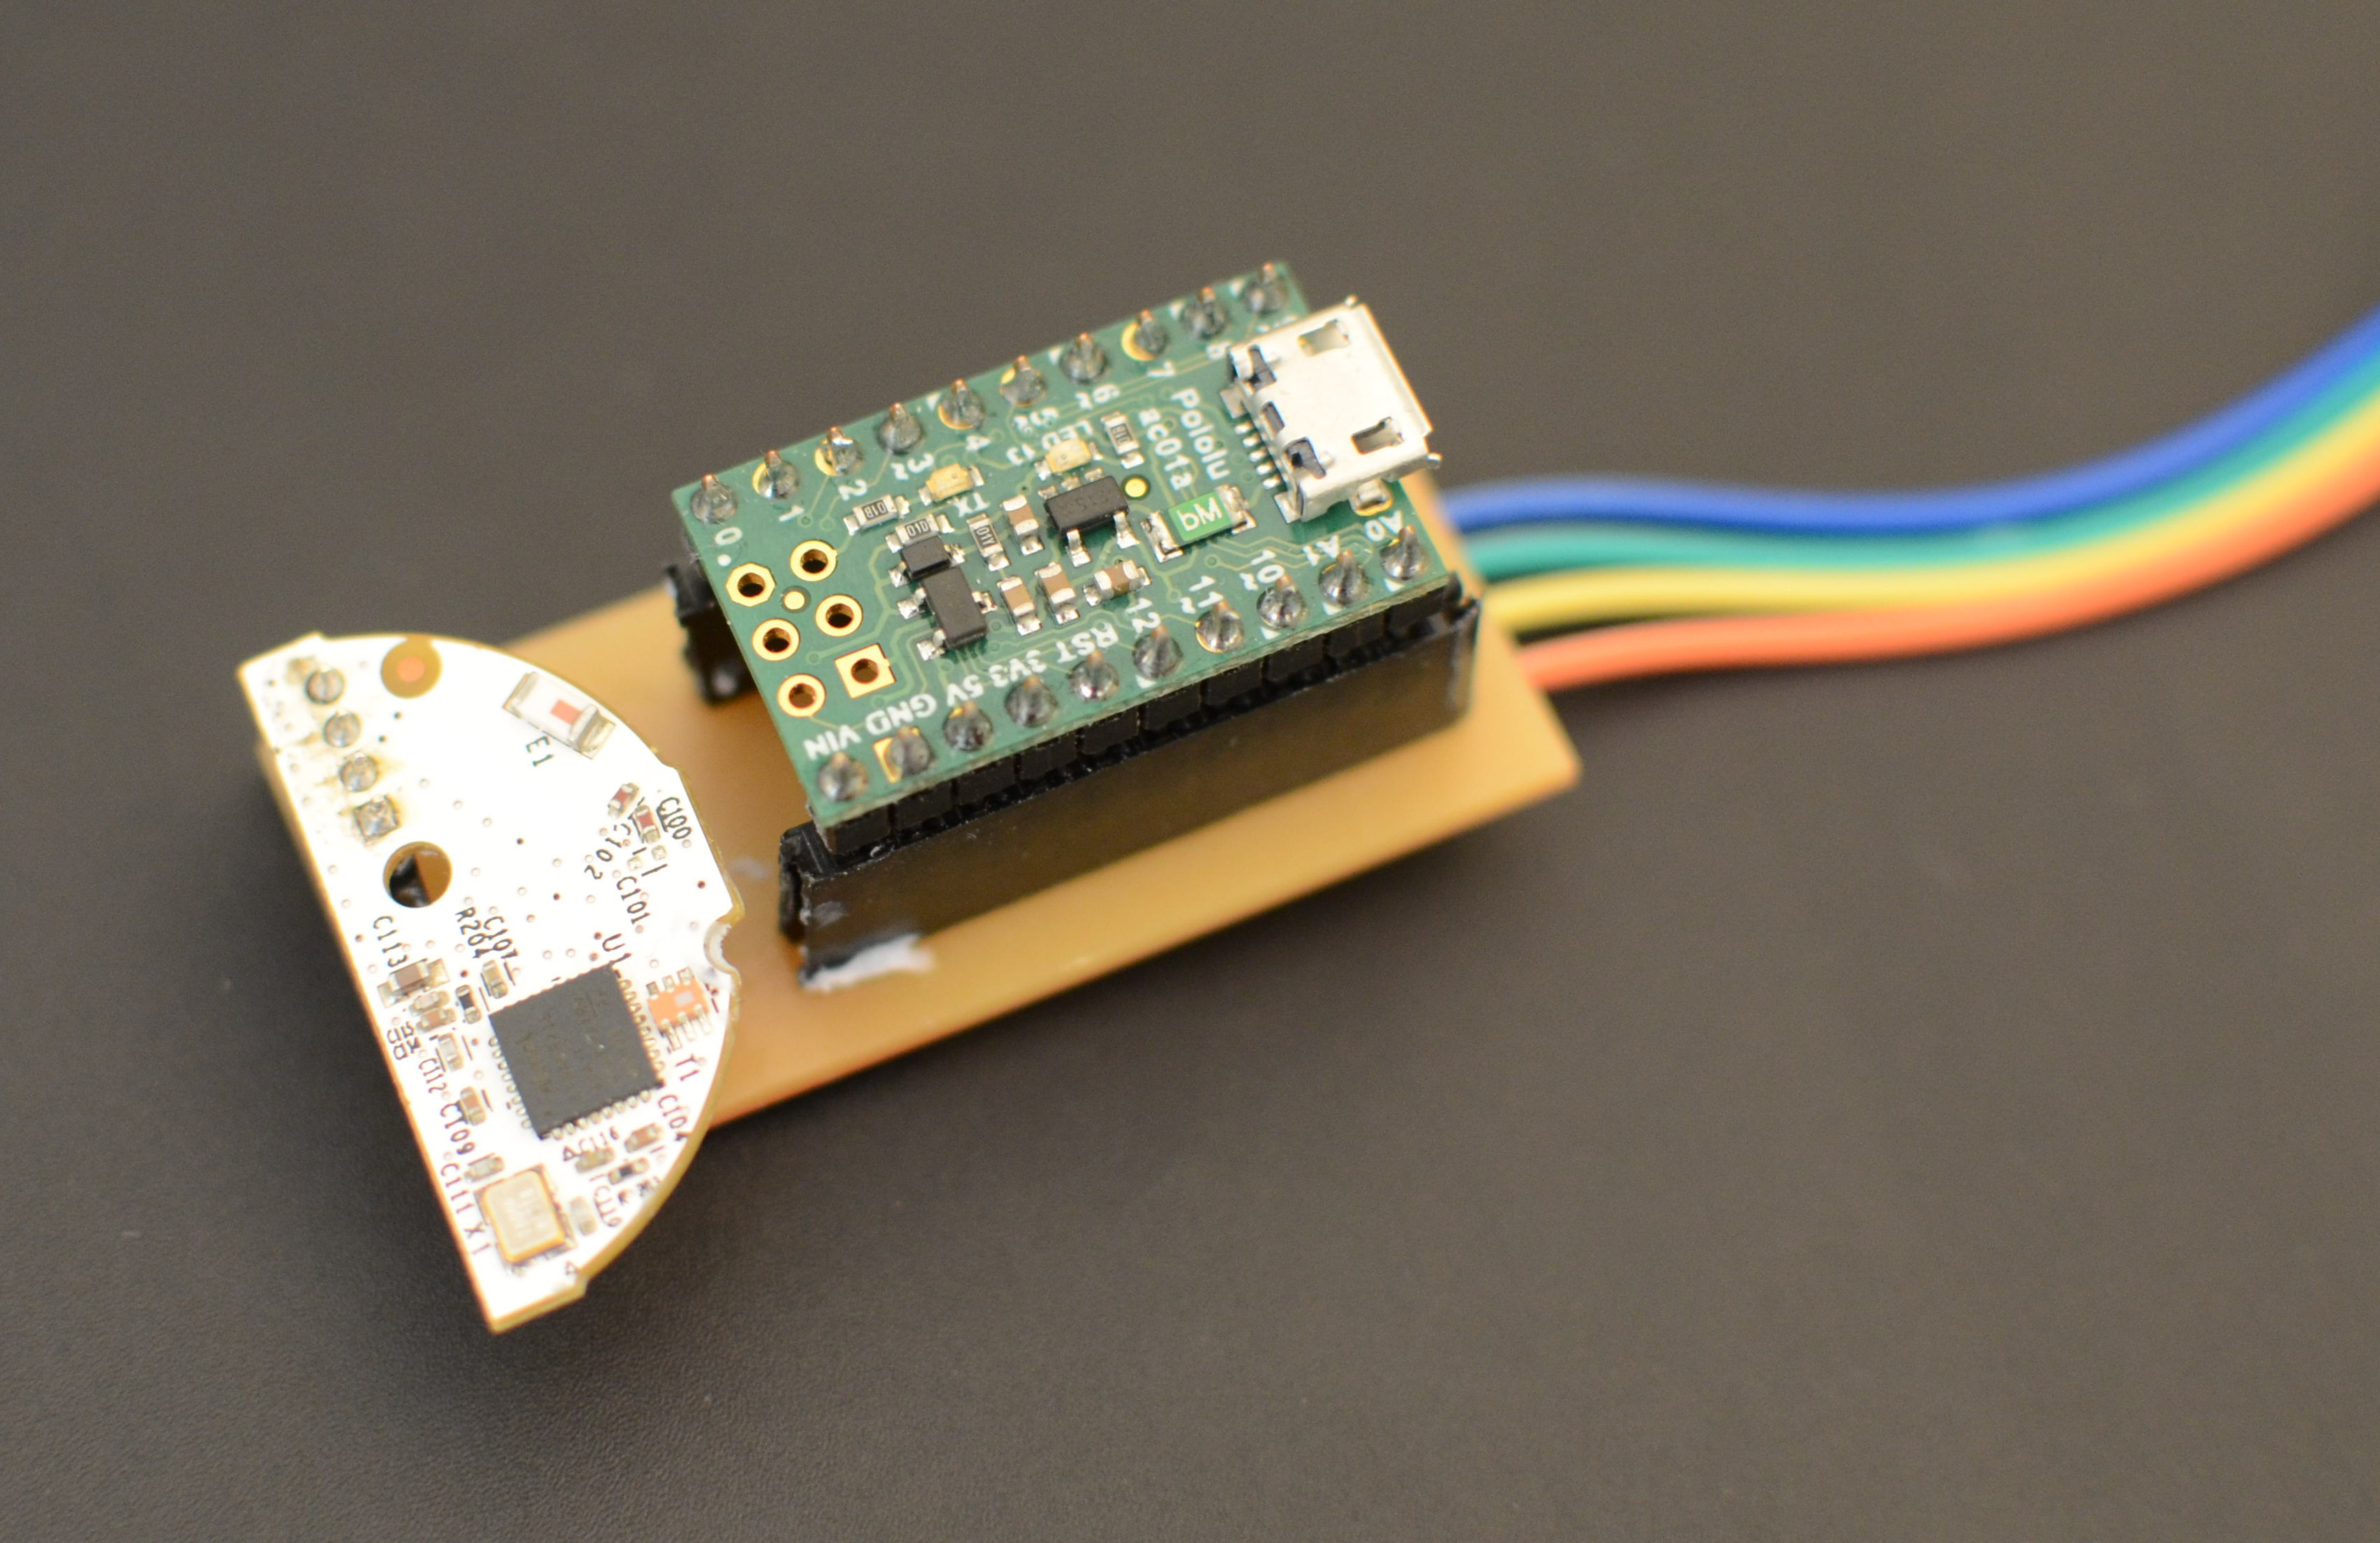
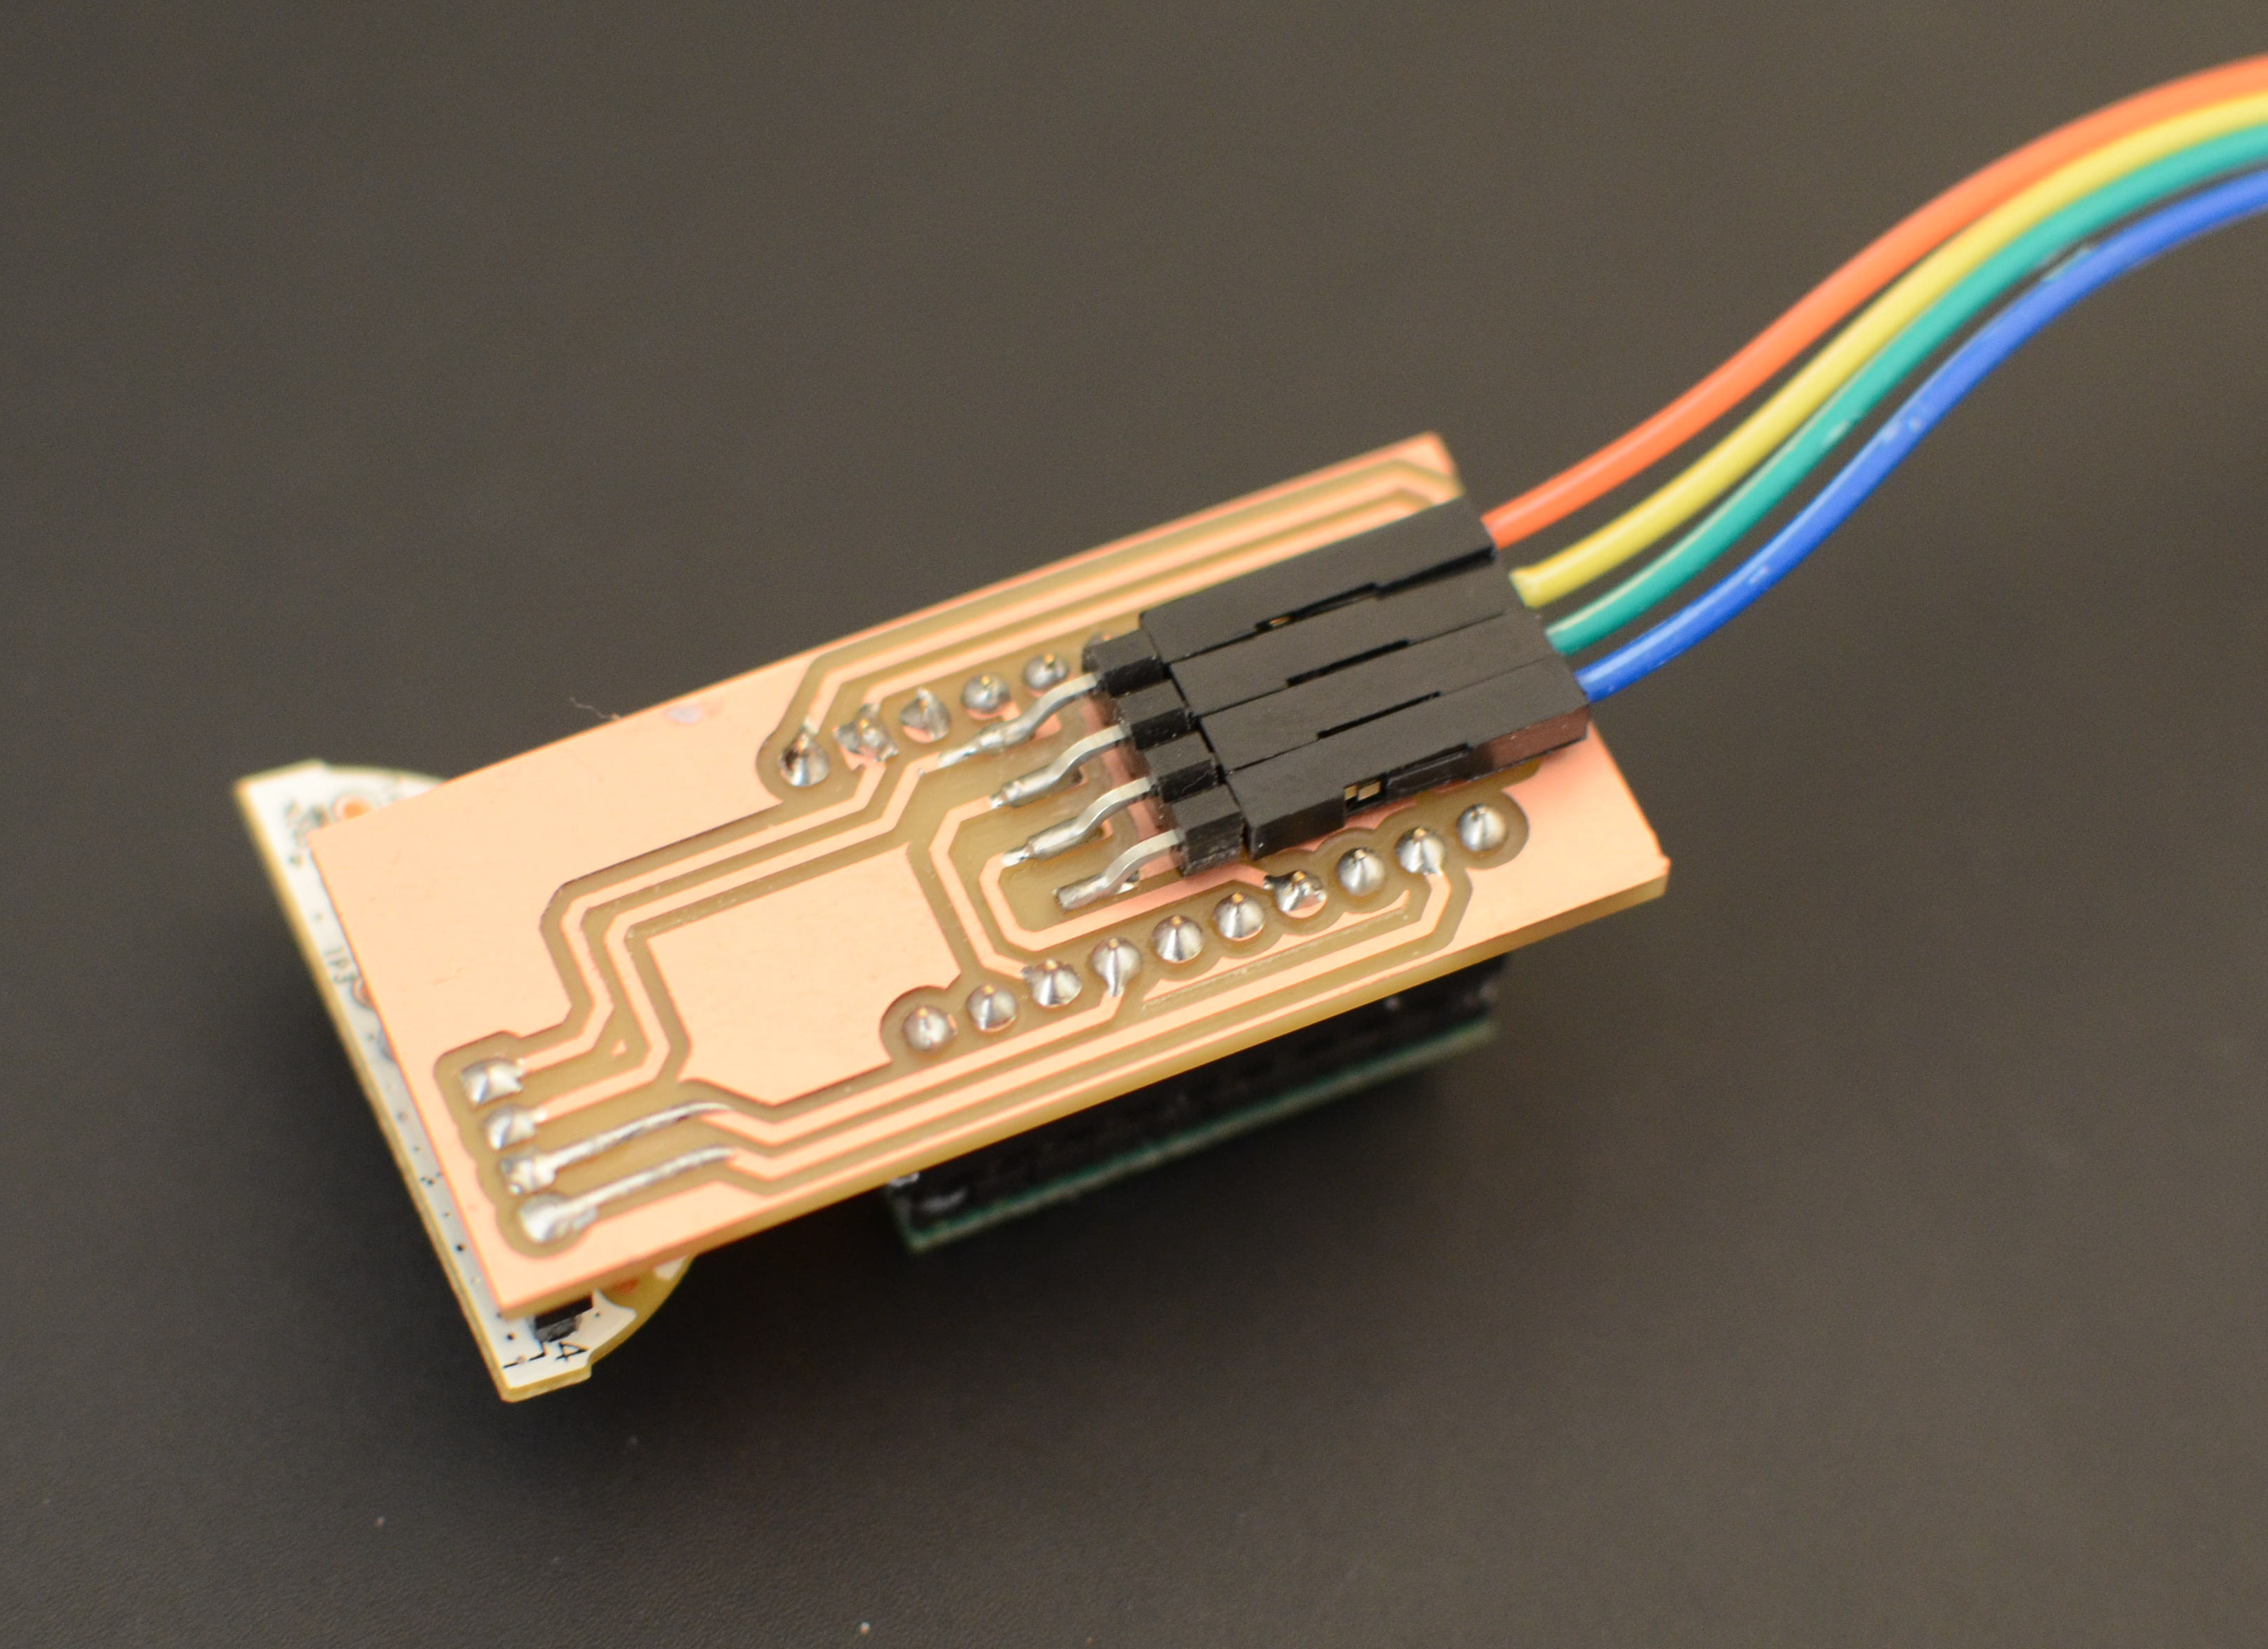
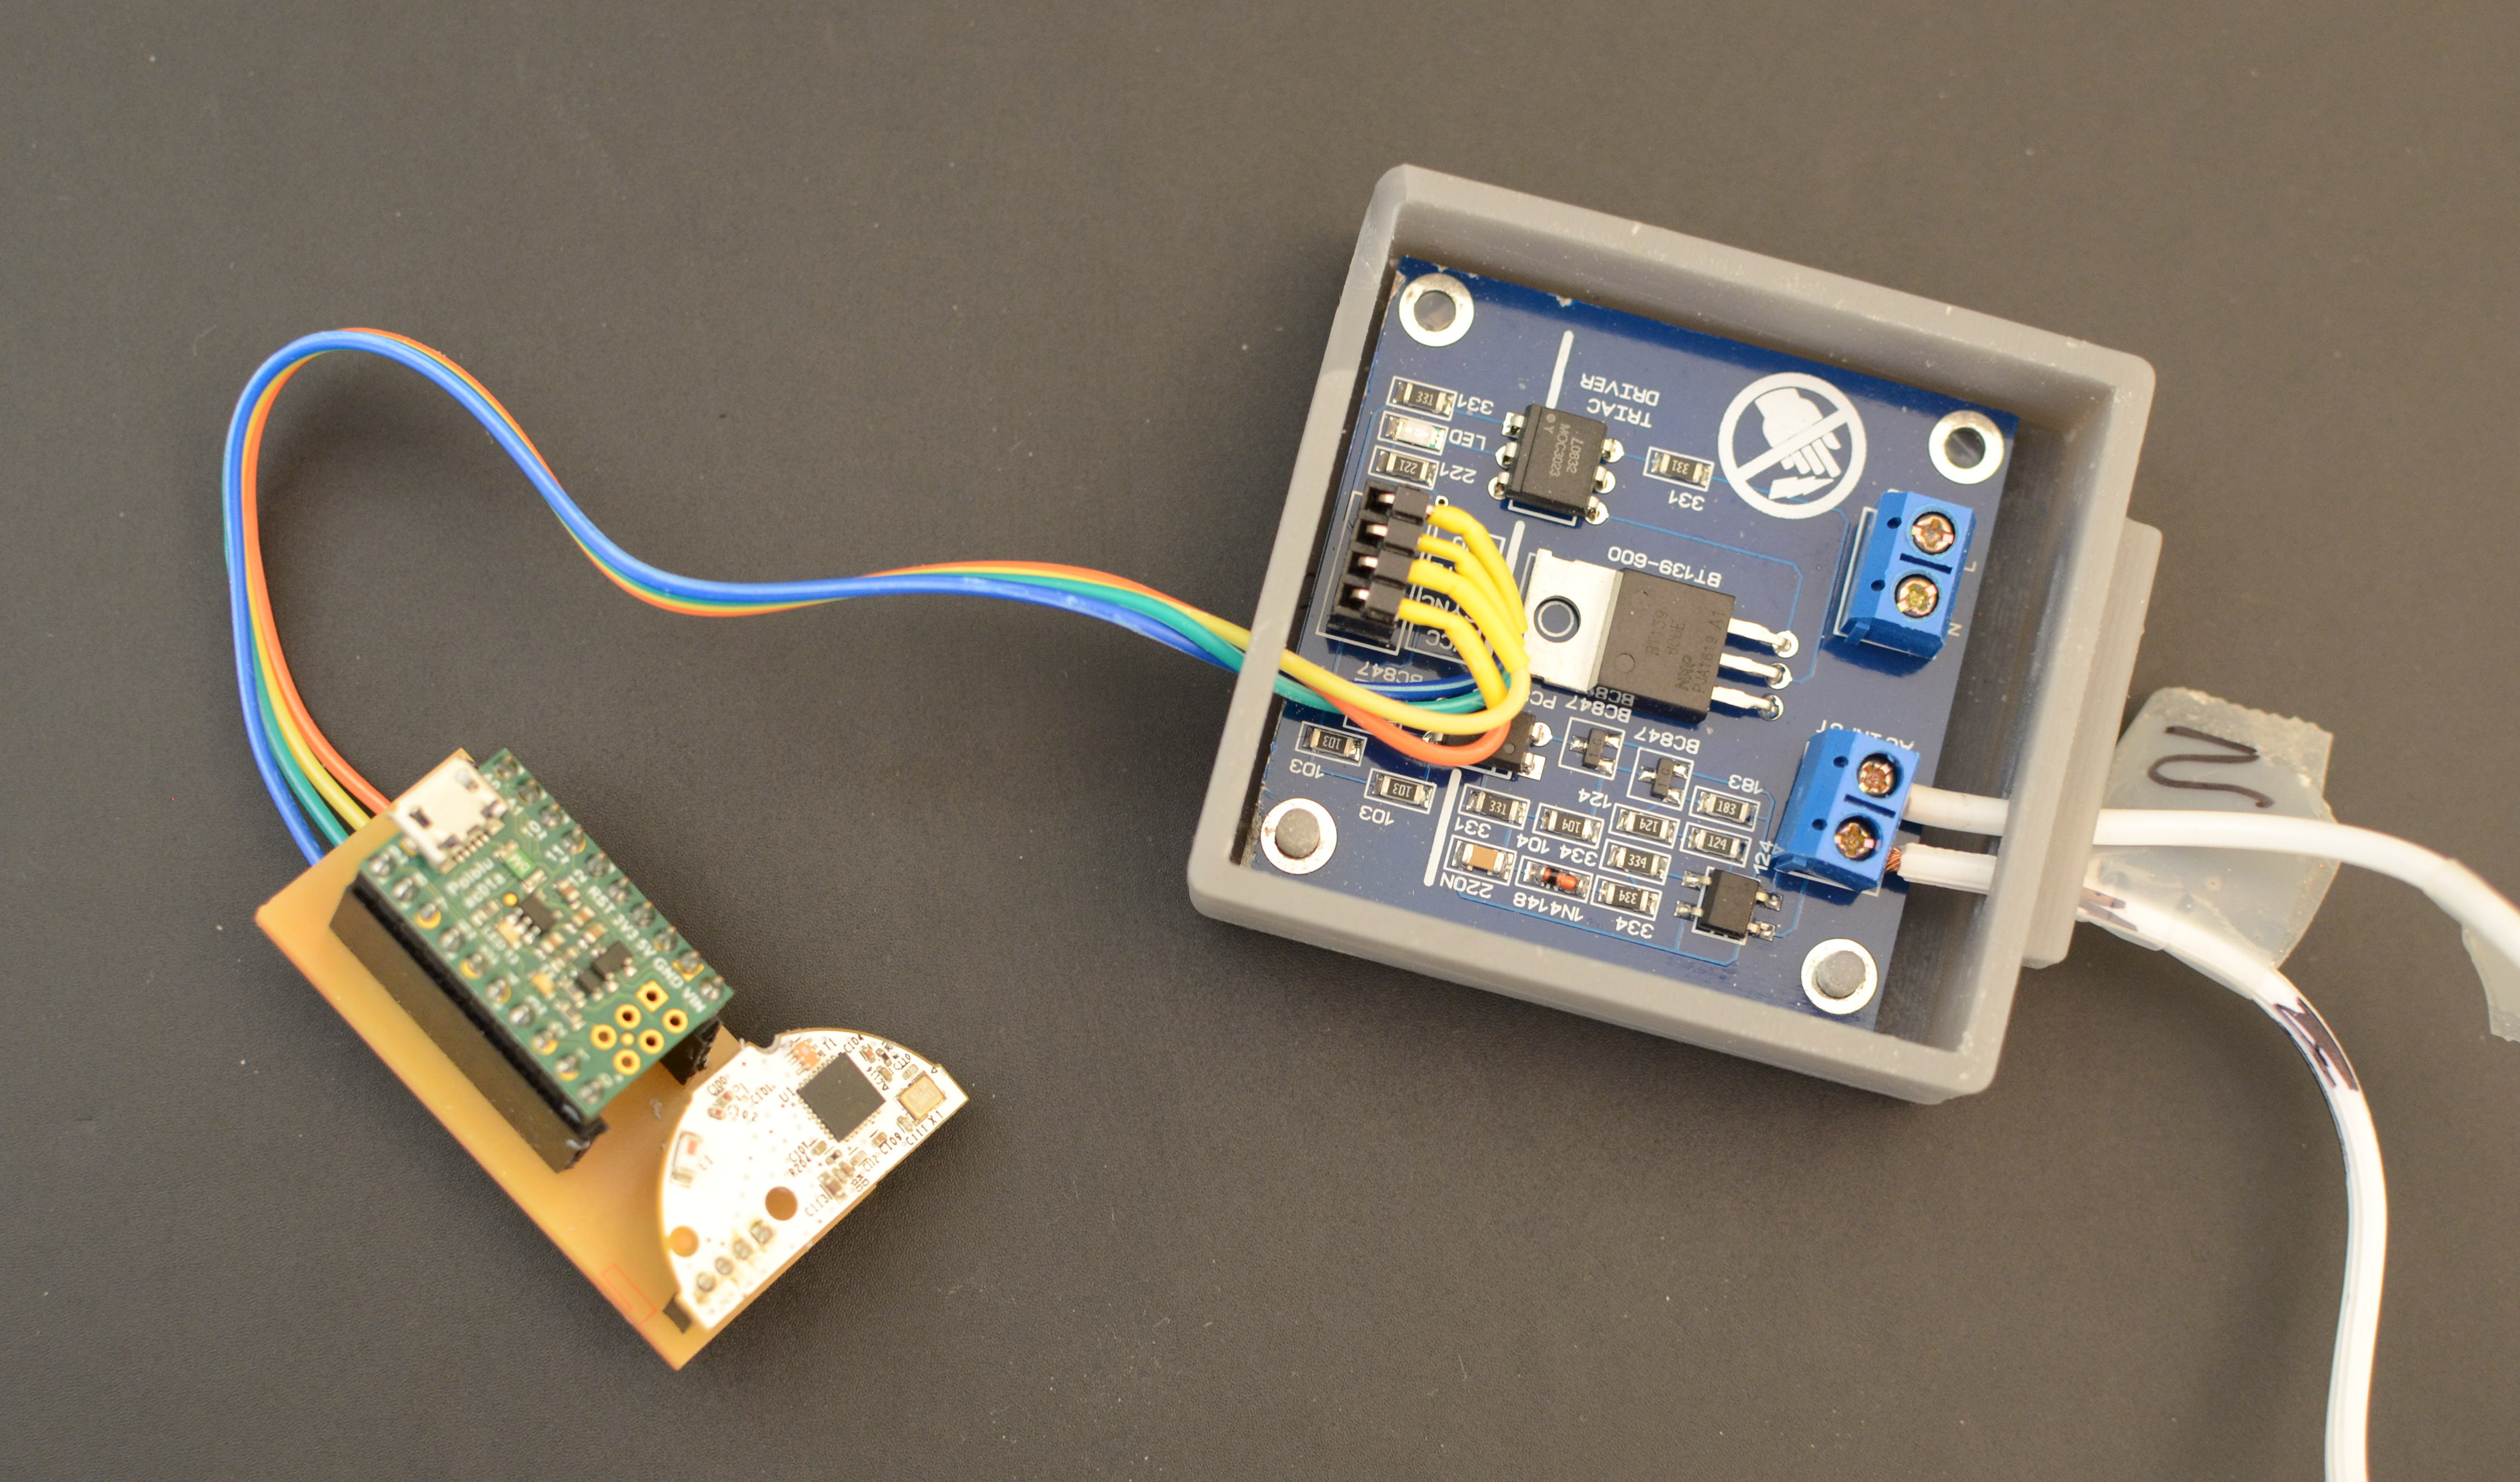
If you have access to a milling machine you can create a simple, nice looking board that will make things a bit cleaner. I'm not going to cover the process here, but in case you do want to create one, you can use the following files:
- https://github.com/OrenLederman/zigbee-dimmer/tree/master/eagle - main folder for eagle files. The eagle files themselves are under the zigbee_dimmer folder. If you want to make any changes, you can use the libraries I created under the libs folder. You can also use these files to generate gerber files and order a pcb
- https://github.com/OrenLederman/zigbee-dimmer/tree/master/eagle/zigbee_dimmer/milling_files - if you just want to mill the board, you can simply use the image files: zb_top.png, zb_holes_smaller.png and zb_dim.png are the top layer, holes and dimension files
After the board is ready, solder the female sockets for the A-Star and the Zigbee circuit. The sockets go on the bottom side of the PCB (and the solder on top).
Then, solder the right-angle headers to the top side of the board. If you compare the image here to the schematics, you can see that I actually soldered mine the wrong way (oops), but it doesn't really matter.
That's it. Plug in the A-Star and ZigBee circuit, and connect the wires that go to the dimmer circuit:
- Blue -> GND
- Green -> Gate
- Yellow -> Sync
- Orange -> VCC (remember it's 3V !!!)
Putting Everything Together
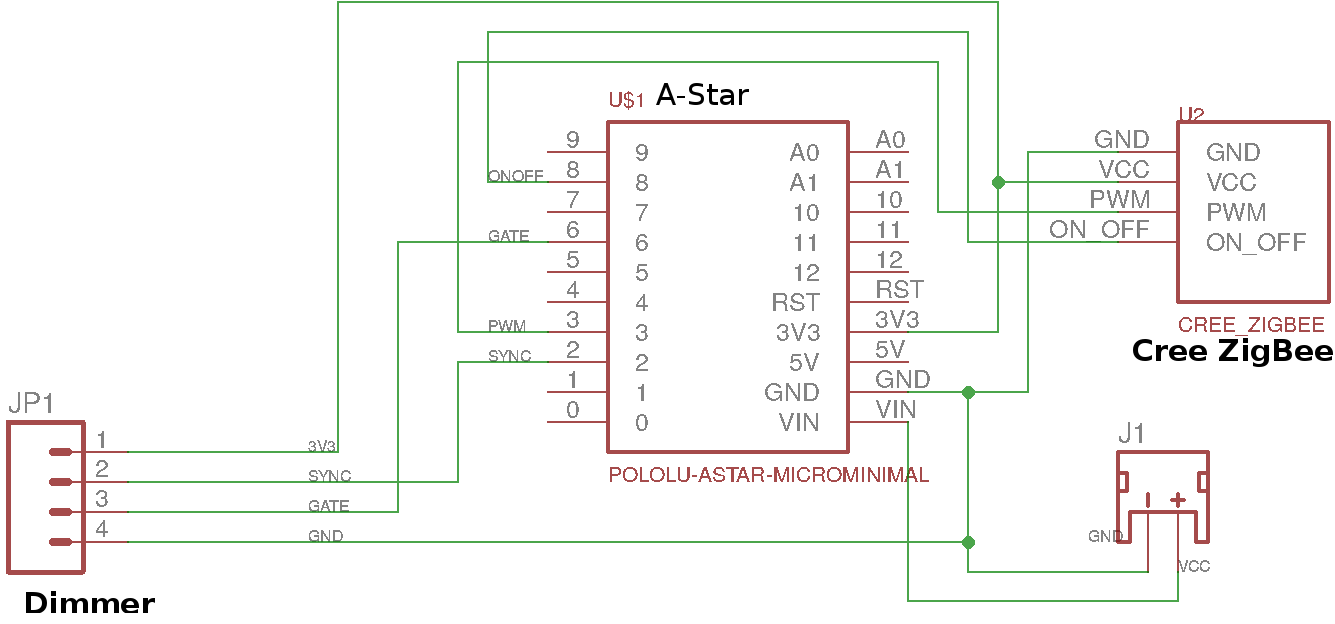
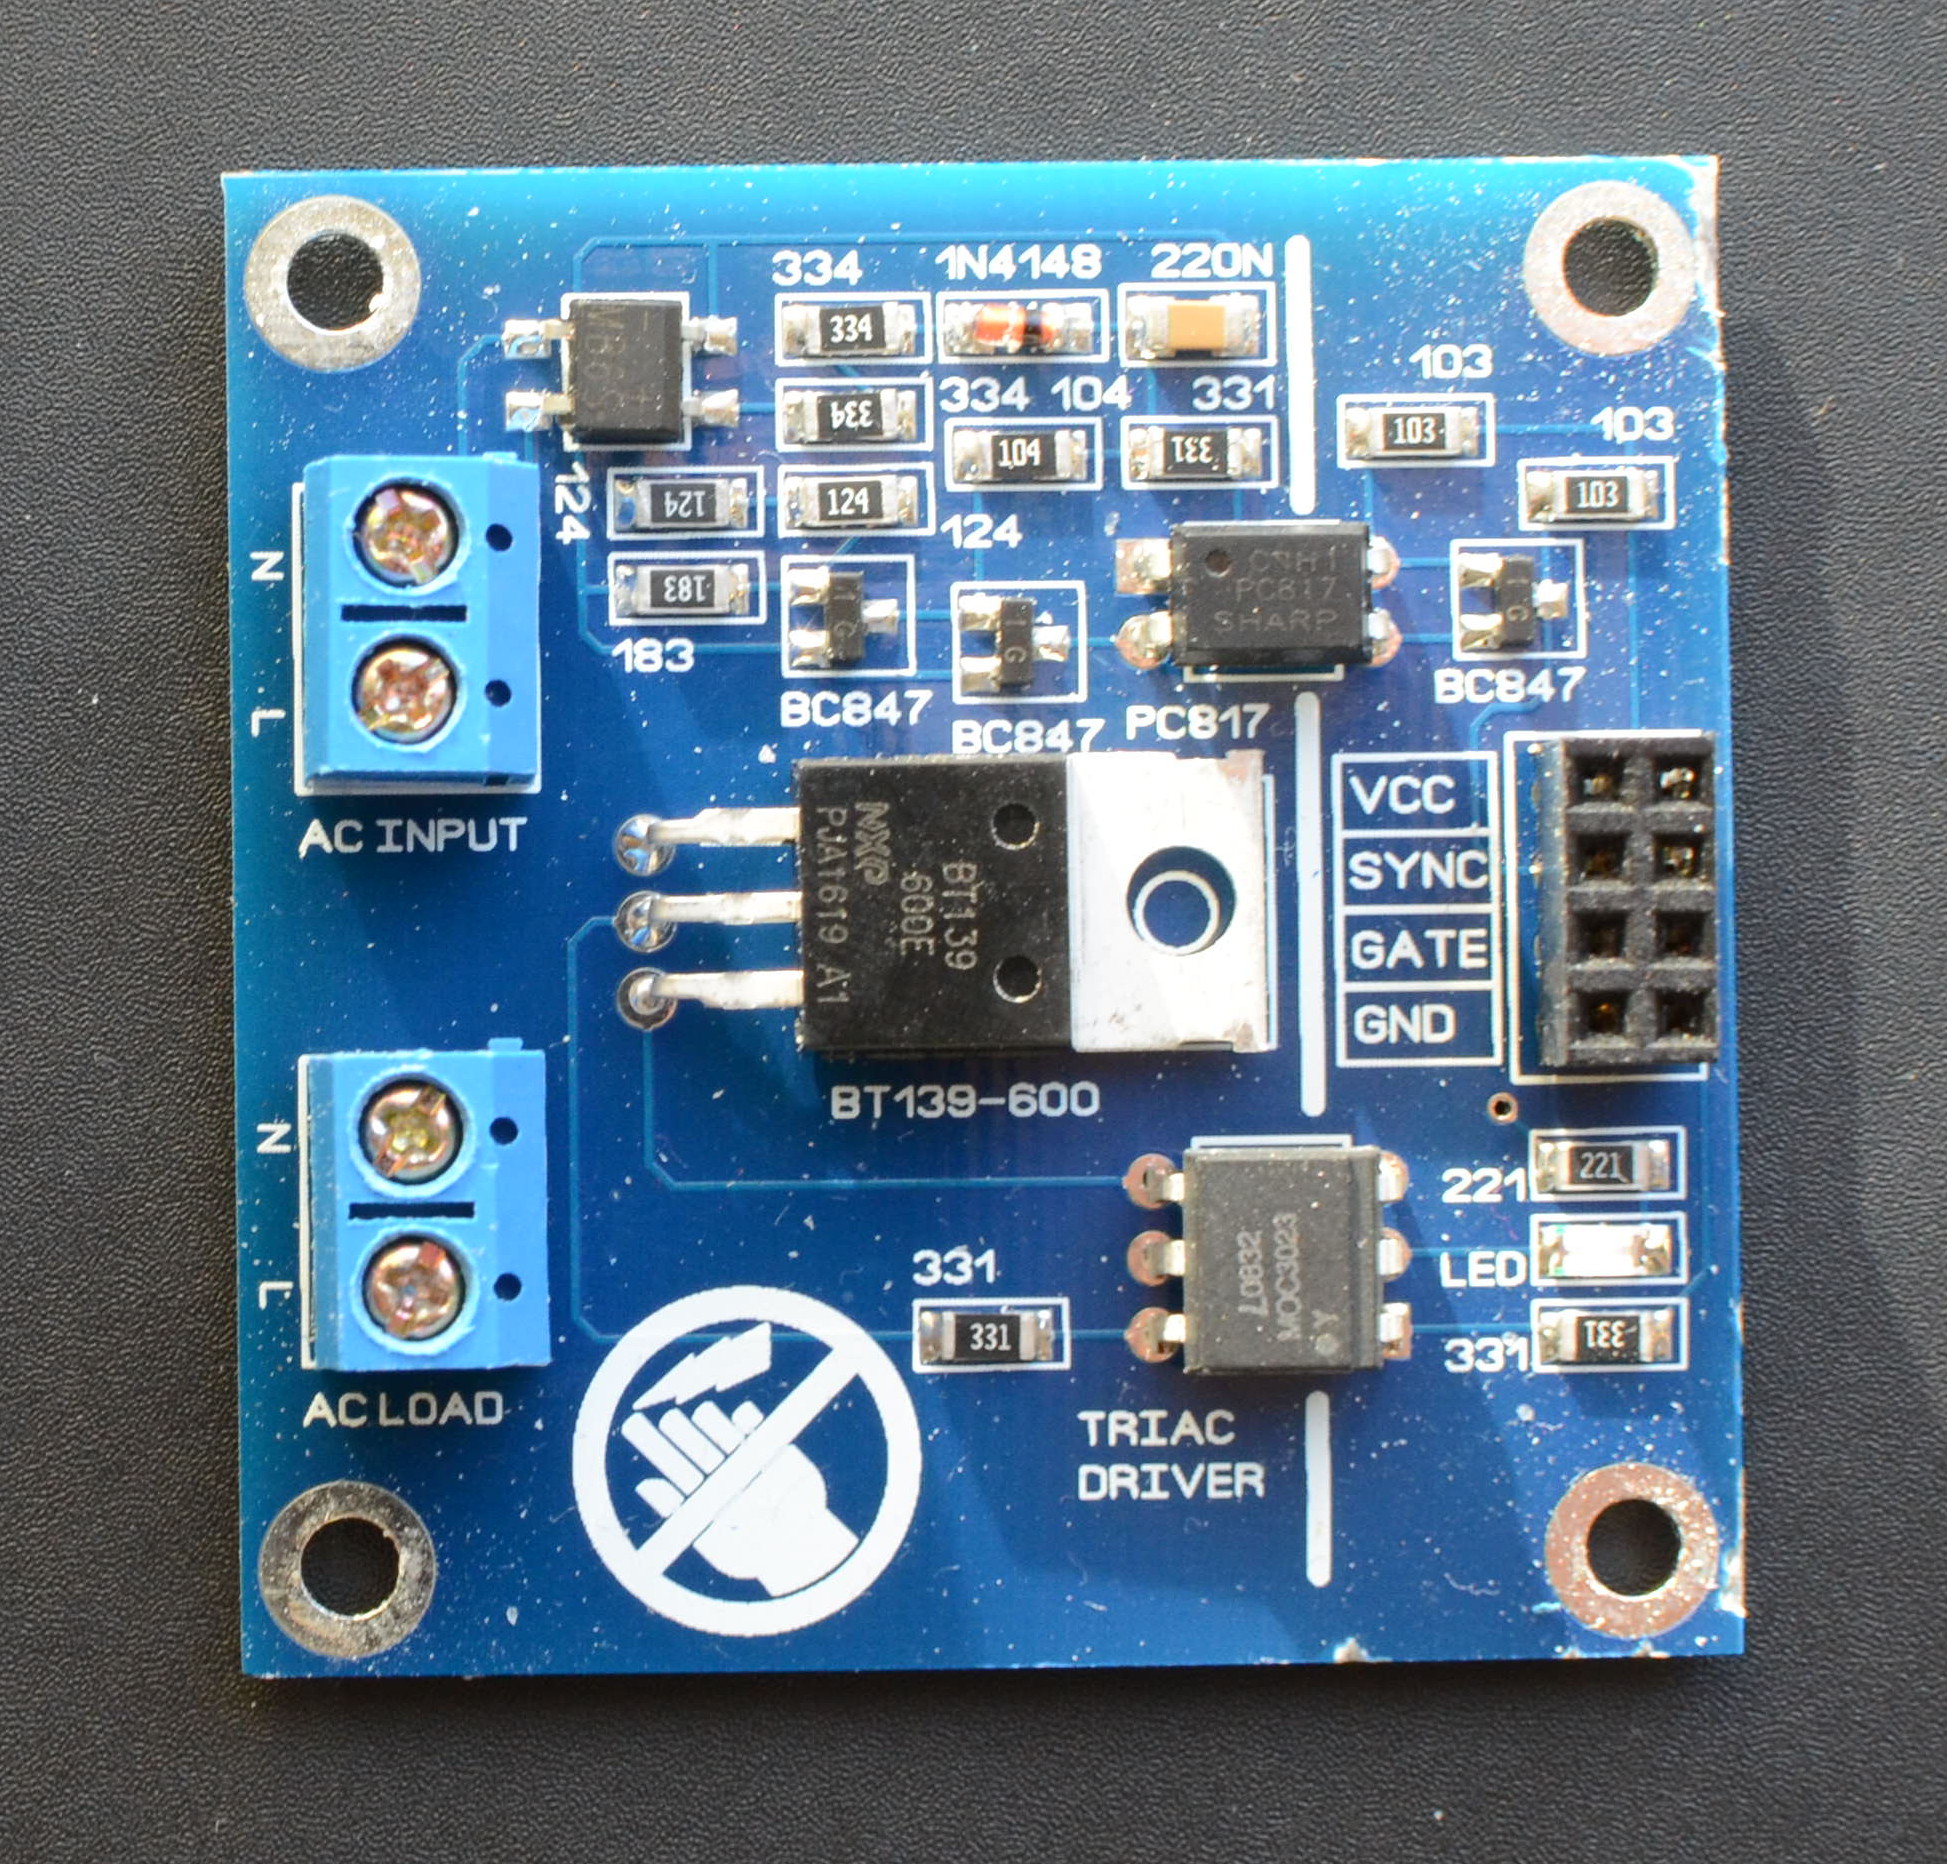
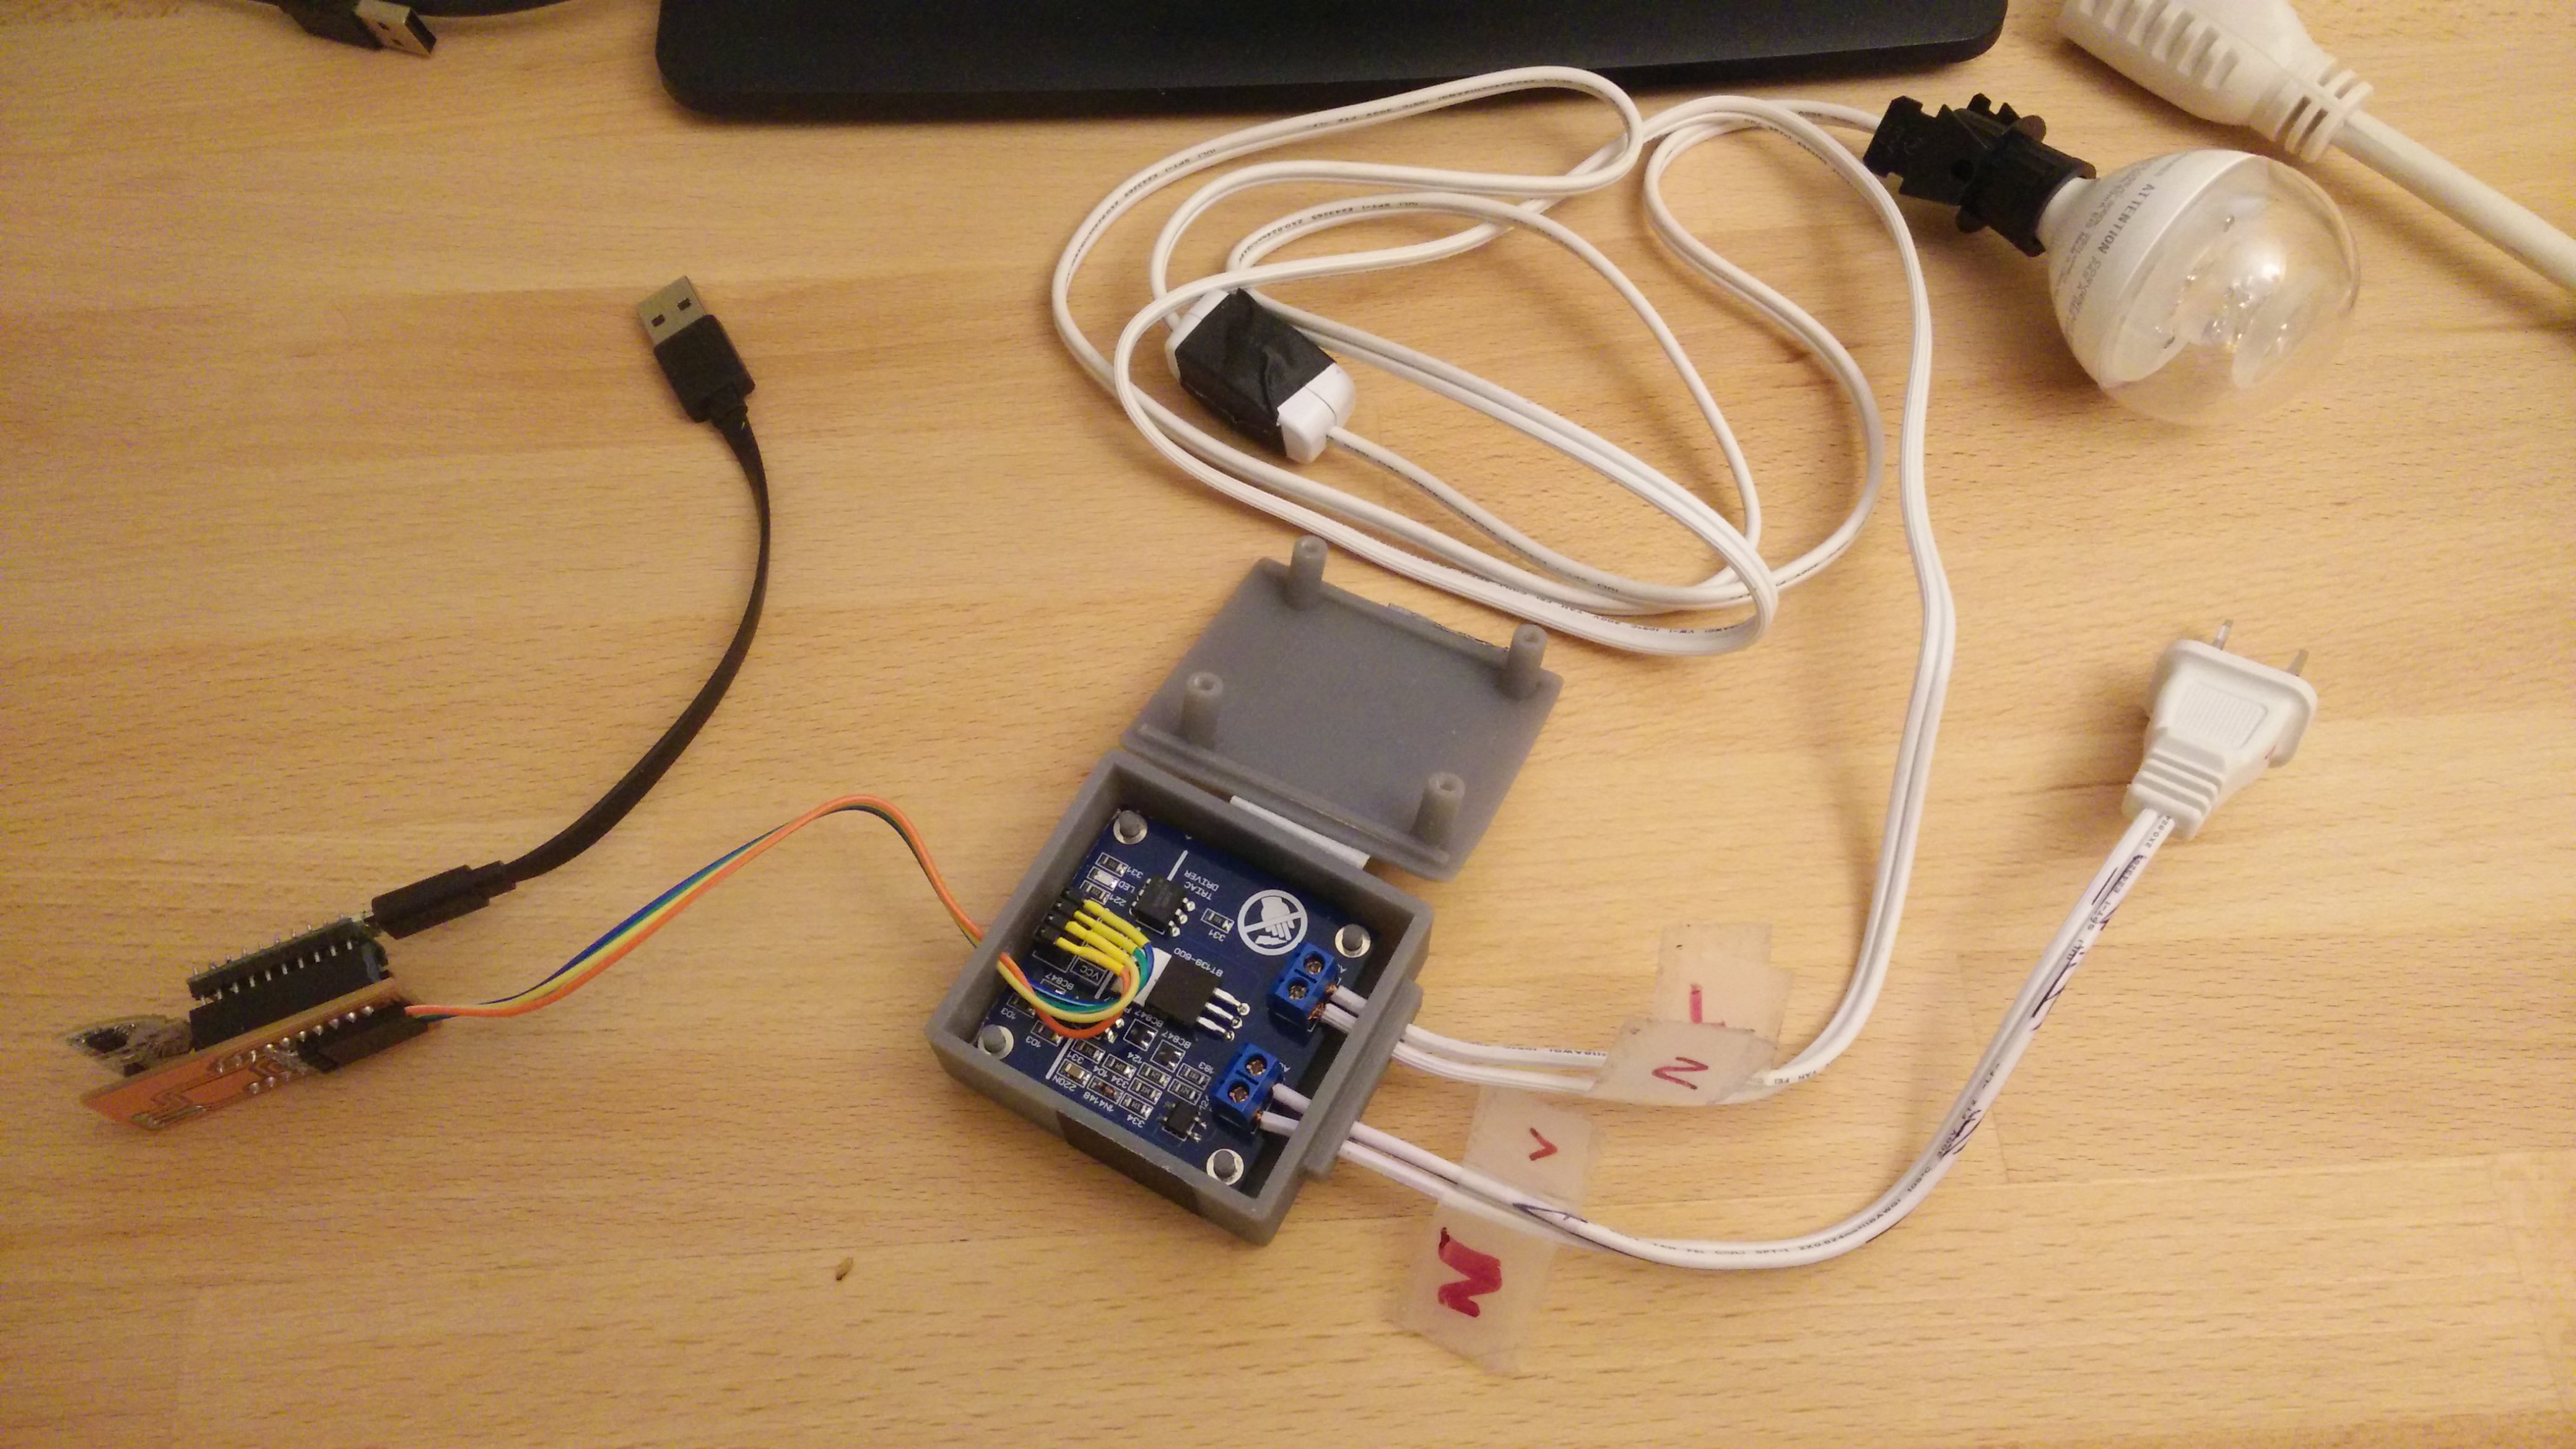
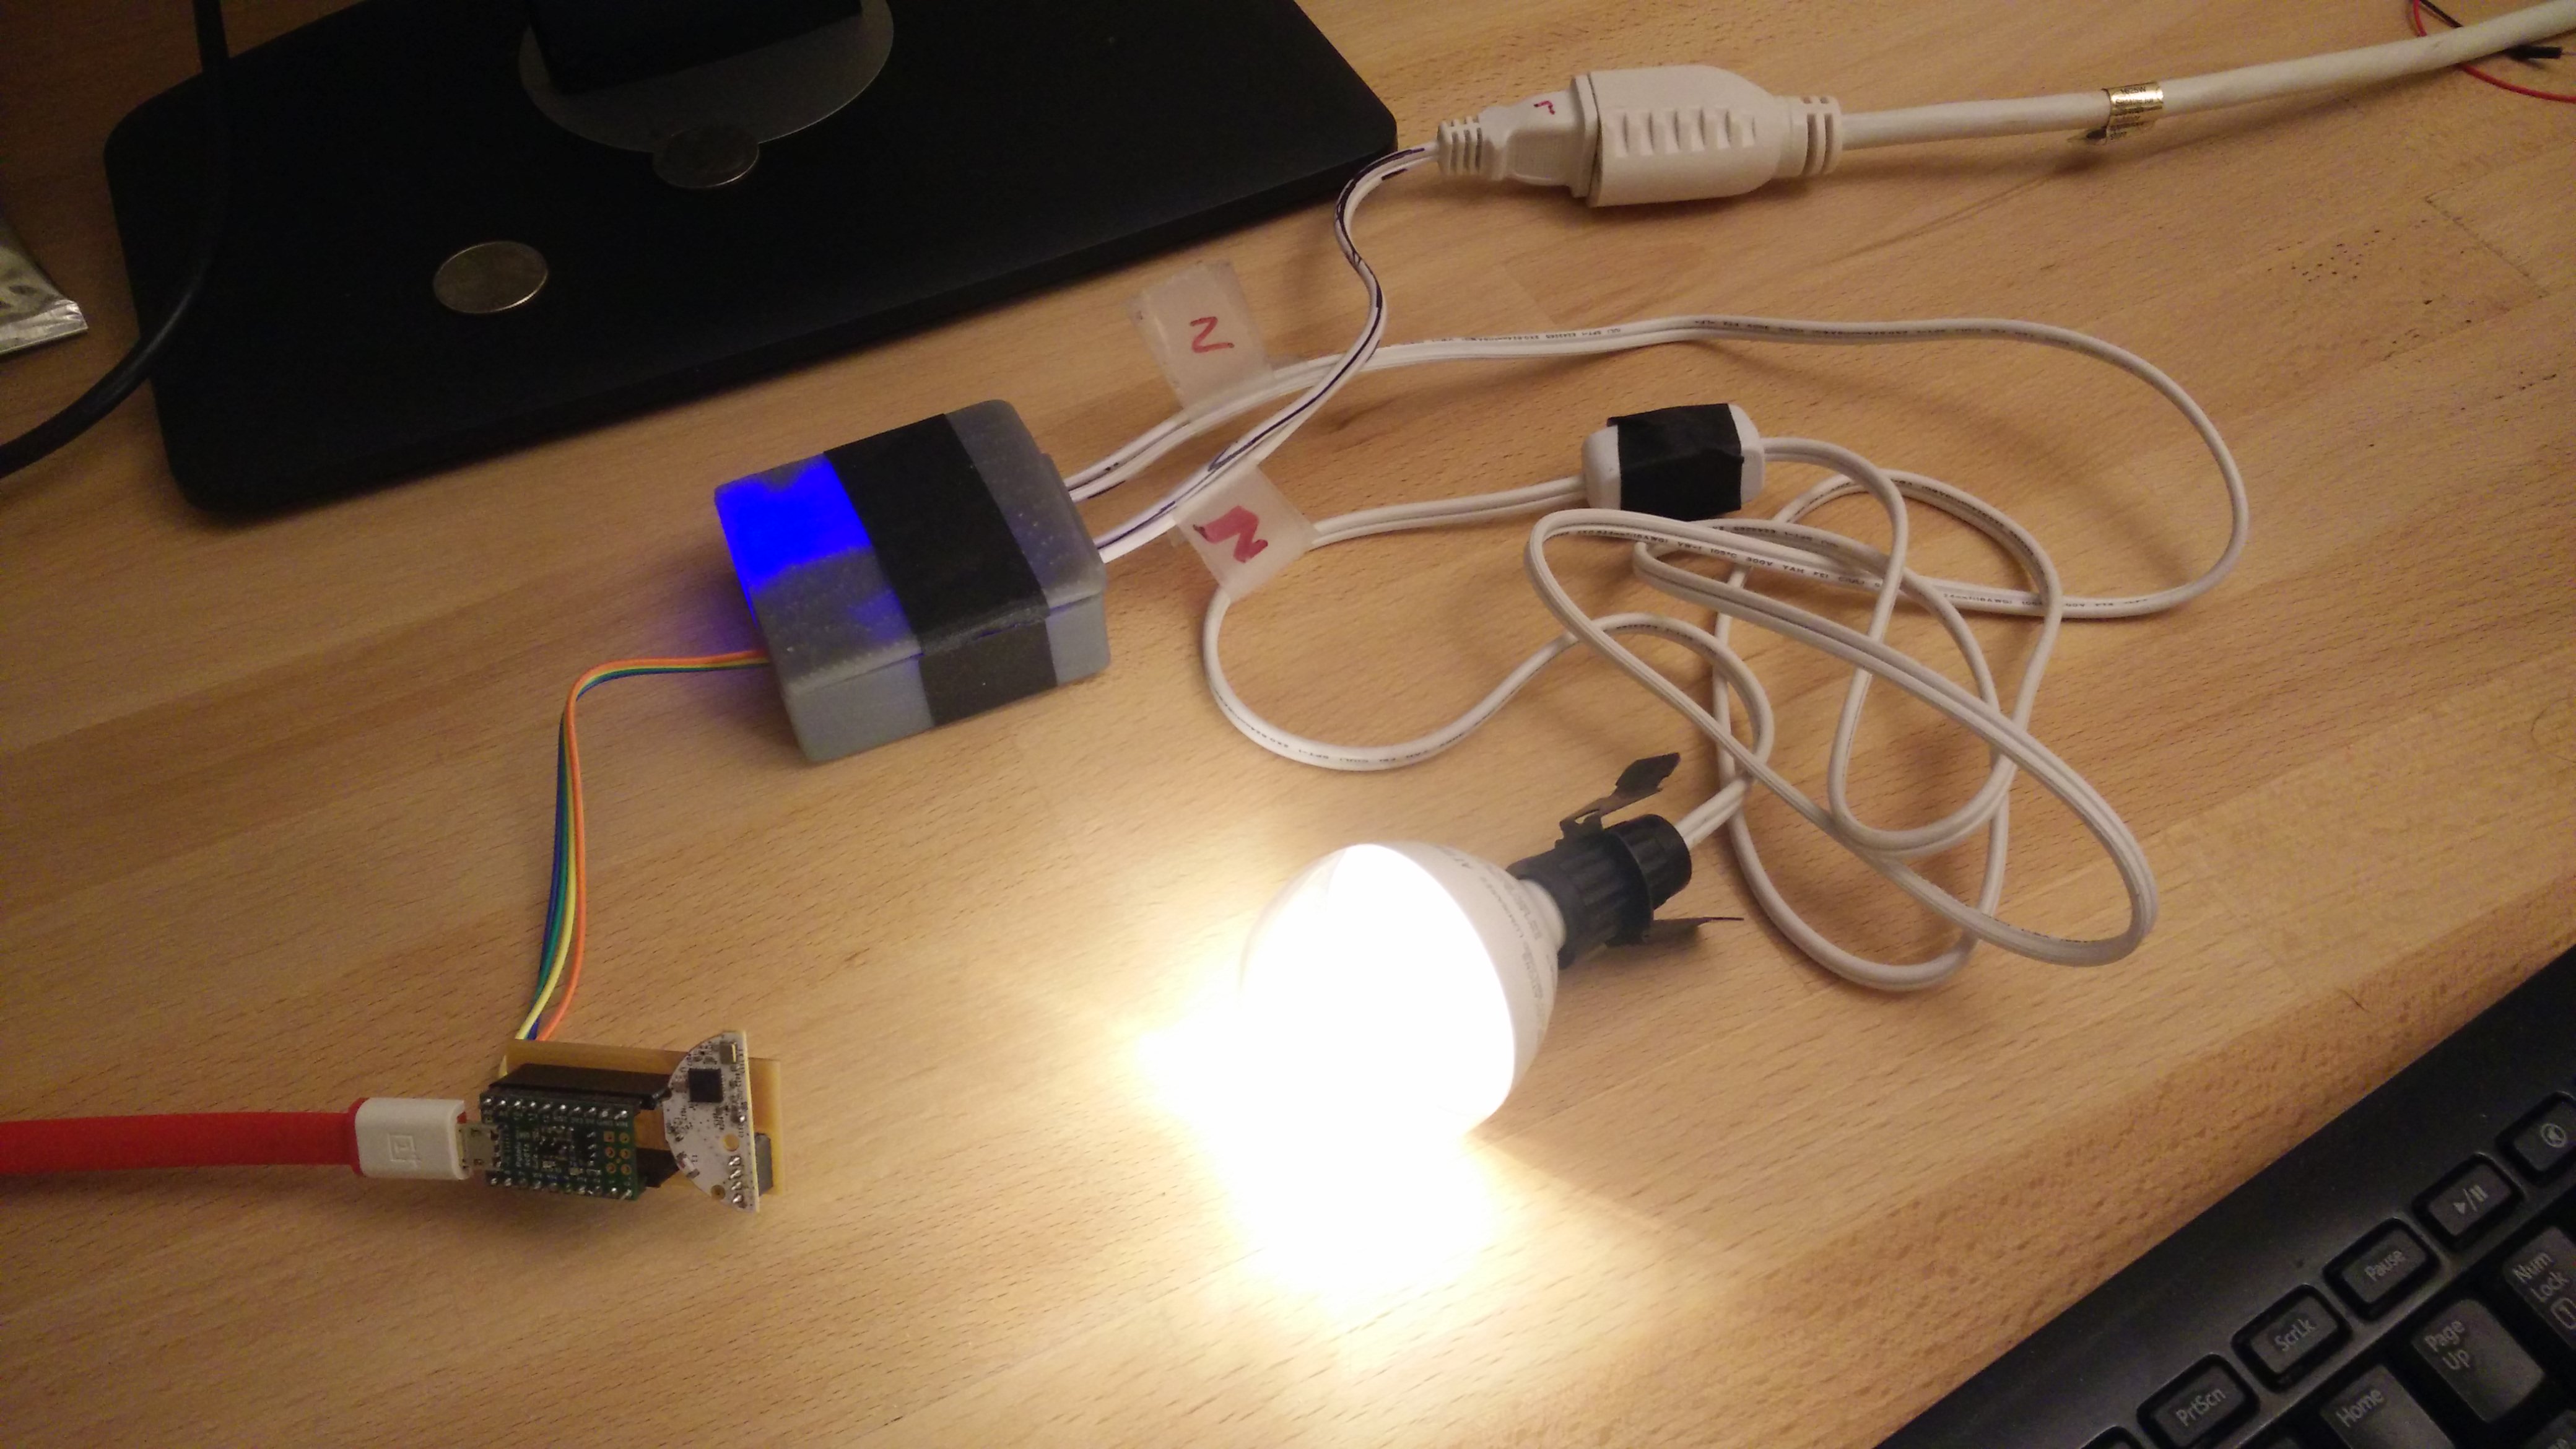
Peww. This Instructable turned out to be longer than I expected. If you survived all the previous steps - congrats! We are almost done. Now we need to put everything together. You can use the schematics in the image included in this step, or follow these instructions:
Connecting Cree ZigBee -> A-Star
- Zigbee Ground (pin 1) to A-Star GND
- Zigbee VCC (pin 2) to A-Star 3V3 (not 5V!)
- Zigbee PWM (pin 3) to A-Star pin 3
- Zigbee on/off (pin 4) to A-Star pin 8
Connecting A-Star -> Dimmer circuit. Solder wires to a 90 degree angle male headers
- A-Star GND -> Dimmer GND
- A-Star pin 6 -> Dimmer GATE
- A-Star pin 2 -> Dimmer SYNC
- A-Star 3V3 -> Dimmer VCC
Dimmer <-> main and lights
- Connect Mains to the AC INPUT headers. Make sure you get the Neutral (N) and Line (L) right
- Connect the bulb to the AC LOAD headers. Again, make sure you get N and L right
Now, all you need to do is power up the A-Star microcontroller and you are done. You can either power it via the micro-USB connector (connect it to any USB adapter), or power it up using a 5V power source by connecting it to GND and VIN.
That's it! Try it out by changing the power using the Philips HUE app.
A Better Sollution?
After finishing the project I found a (potentially) much, much better dimmer circuit described in this instructable. You can get the circuit from Tindie. Since this circuit simply get PWM as input, I suspect that you can just hook up the Cree circuit directly.
You will still need to use the on/off signal from Cree. One option is to use a voltage regulator that has an on/off pin. You will probably need a 3.3V voltage regulator to power up the Cree circuit anyway, so get one with an on/off pin.
Let me know if you try this :)