Controller

Classic PS4 Controller.
model : CUH-ZCT2U
Supplies
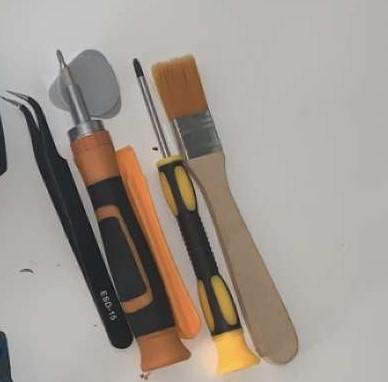
Philips Screwdriver: PH 00x50
Pry tool: Triangle pry, hook pry 2x.
Tweezers: Normal or curved
Step 1: Opening the Controller
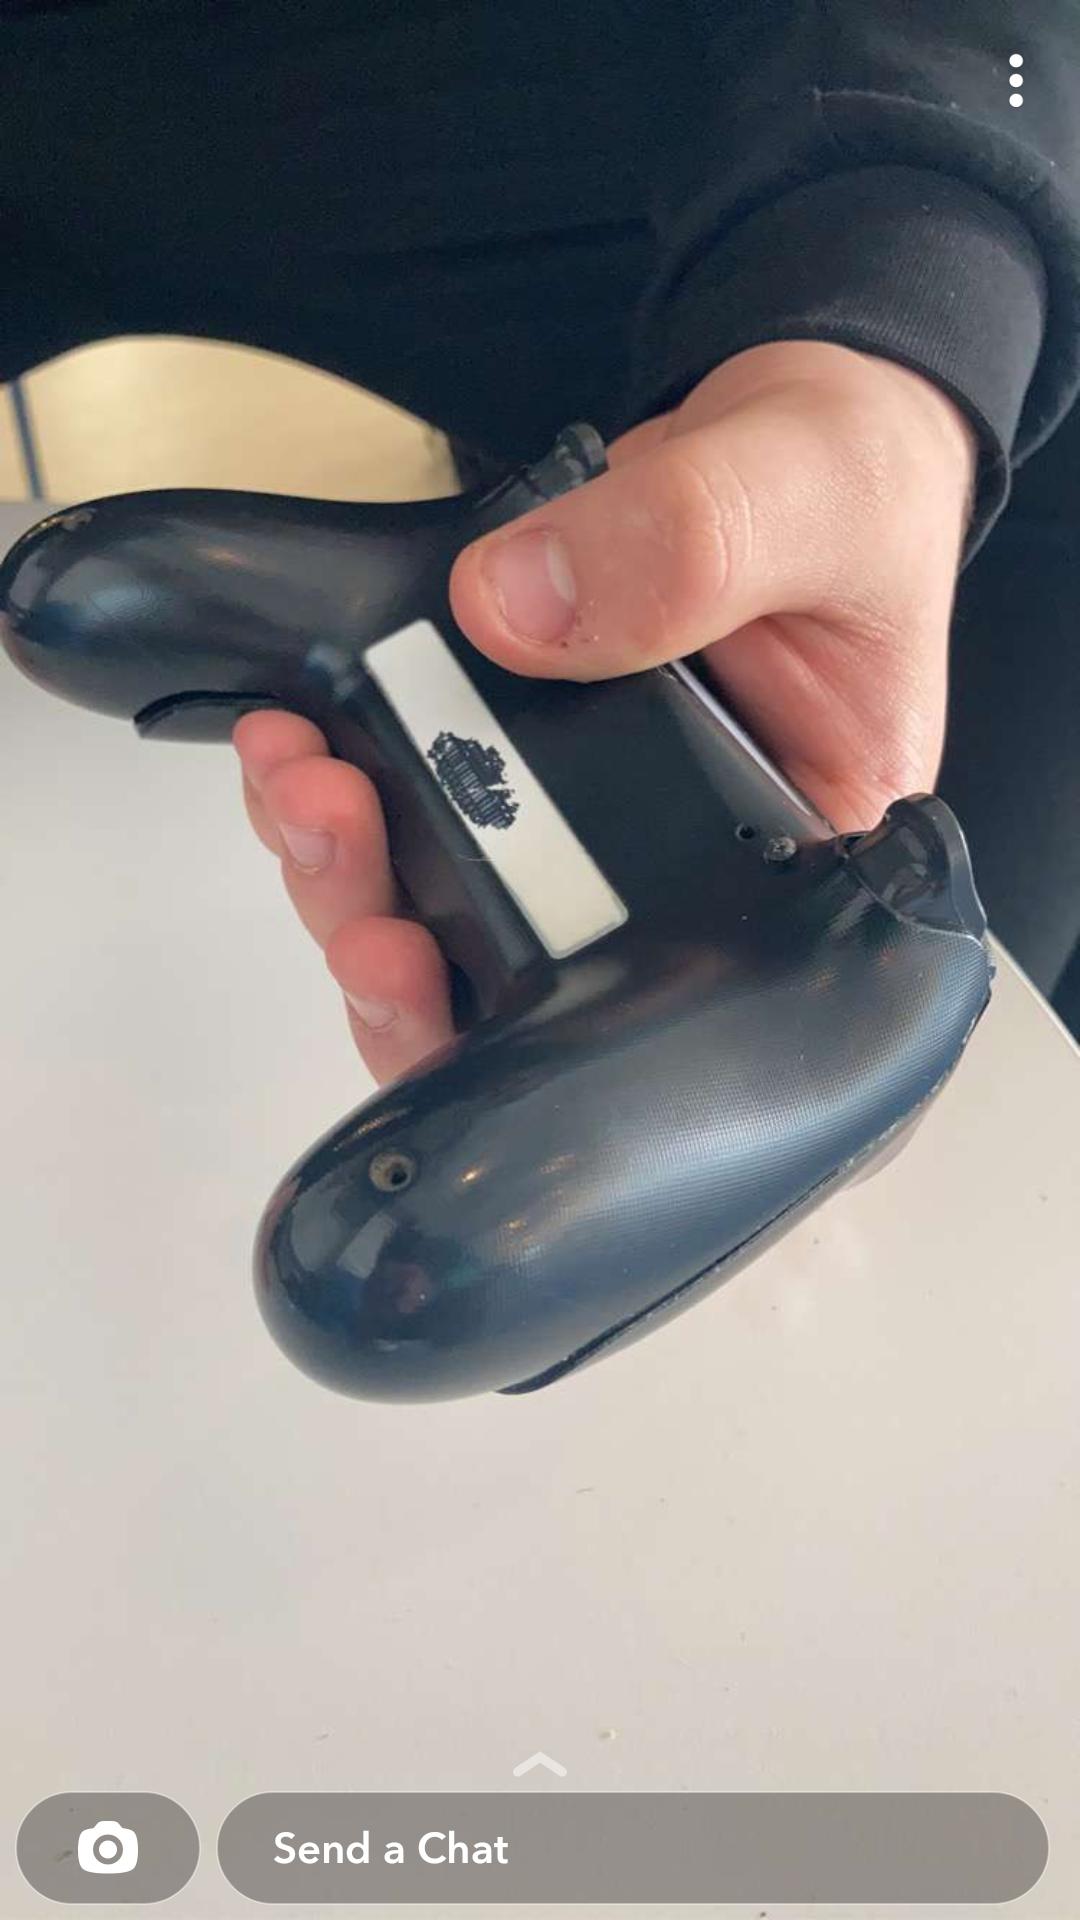
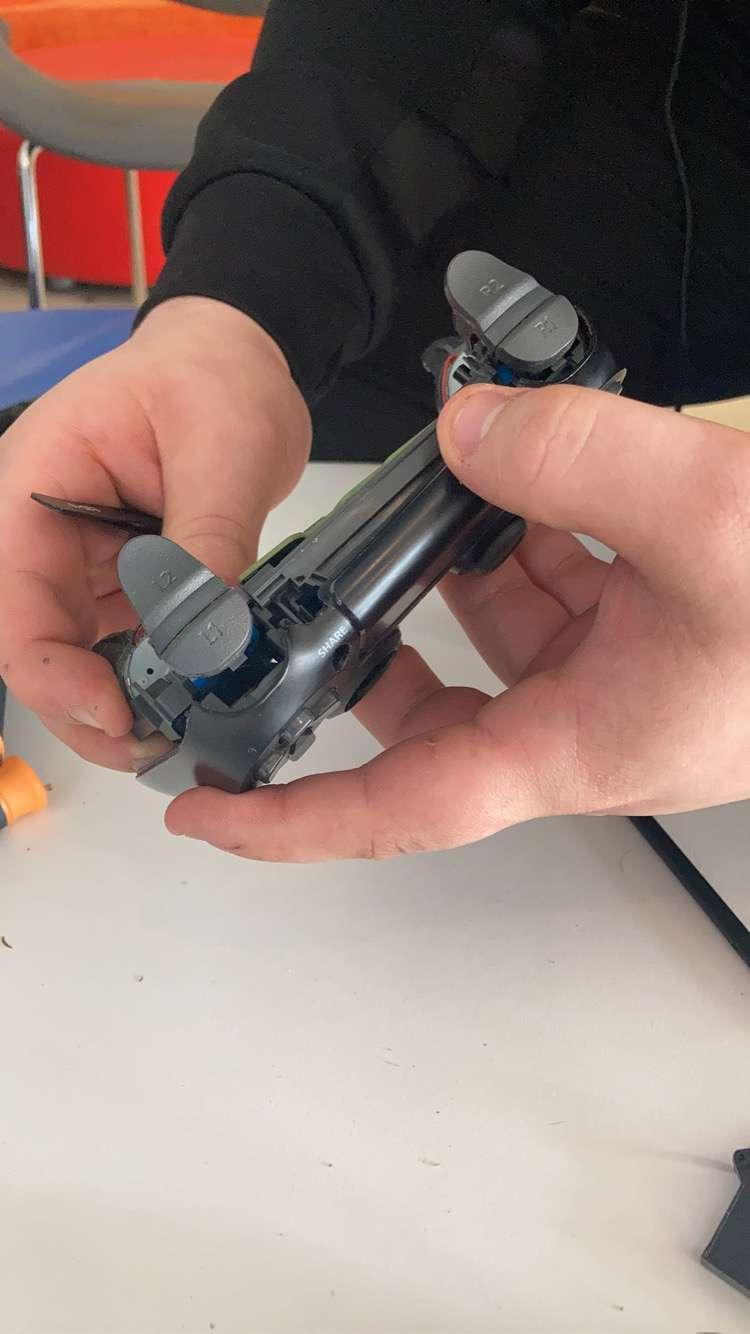
1.Take your PH 00x50 screwdriver and unscrew the four screws holding the controller. All four screws are located at the back of the controller, two at the top of the controller and two at the end of each handle of the controller.
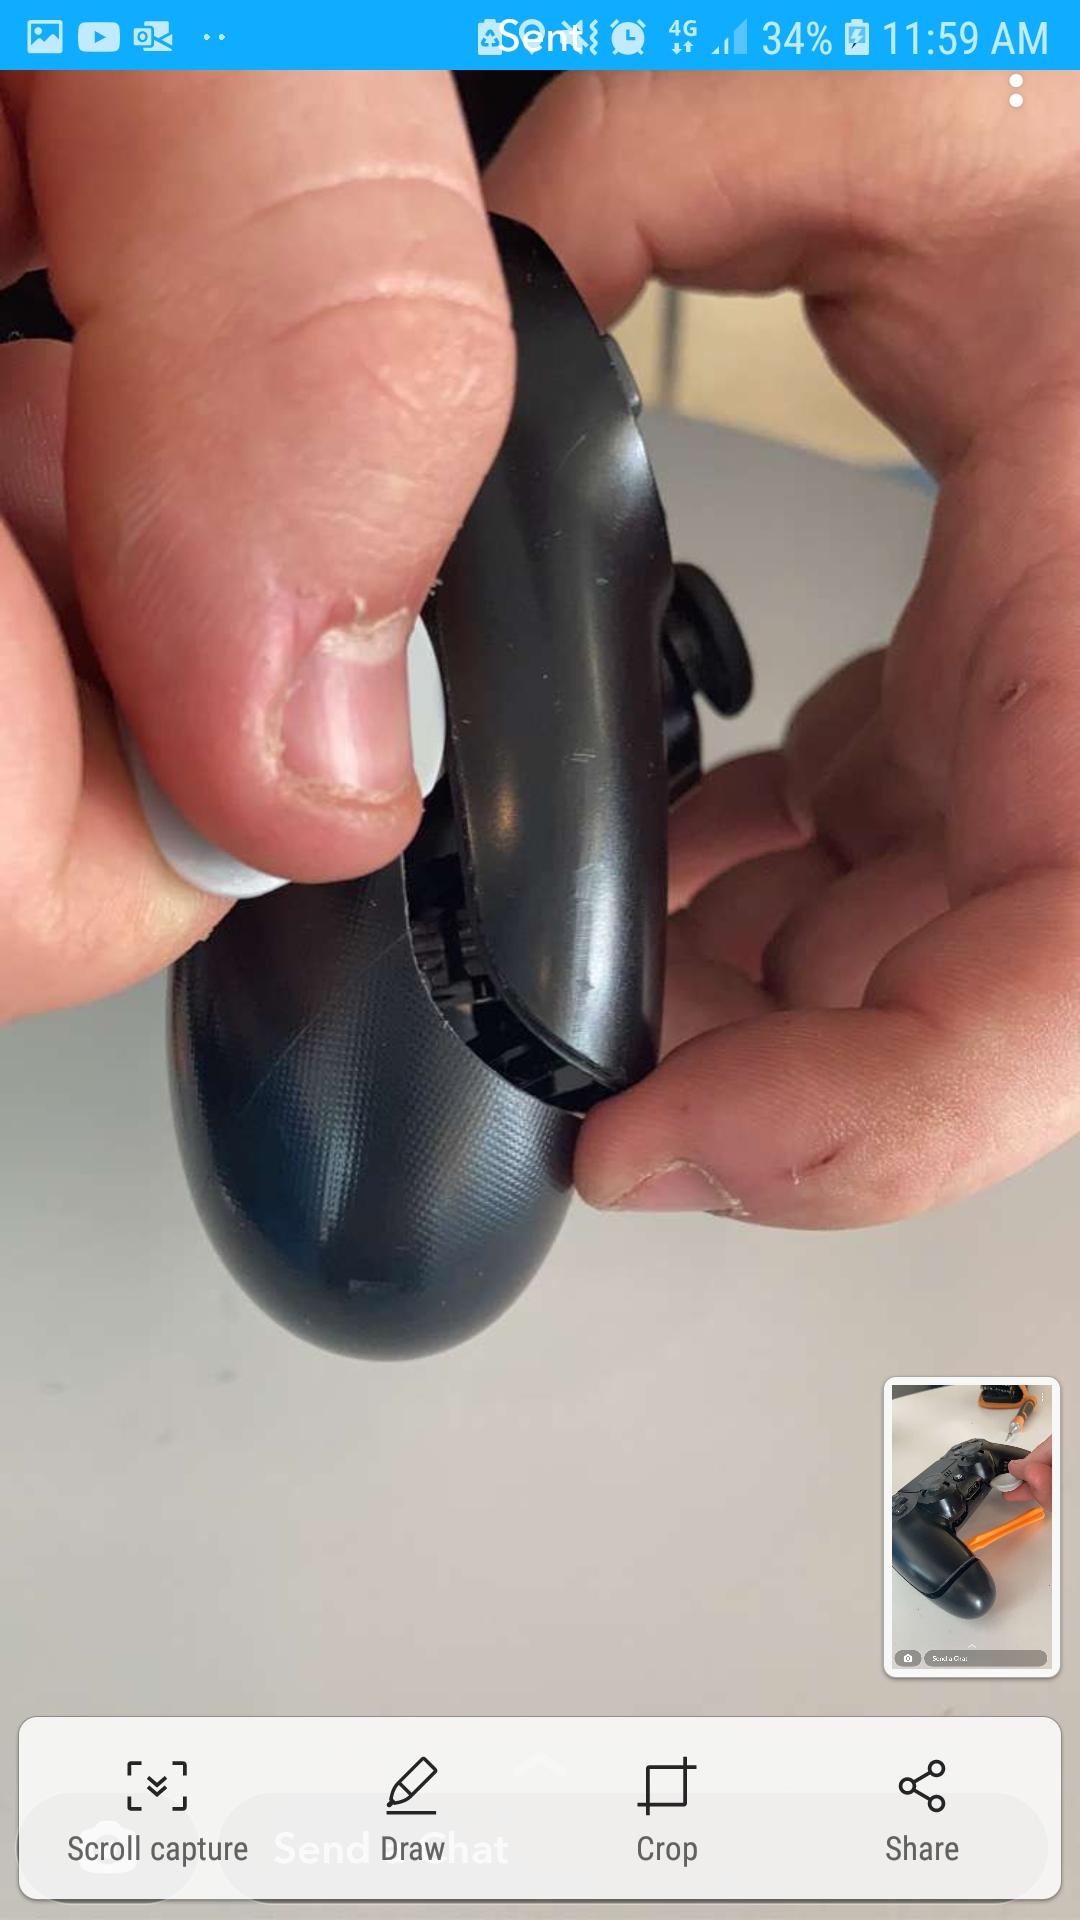
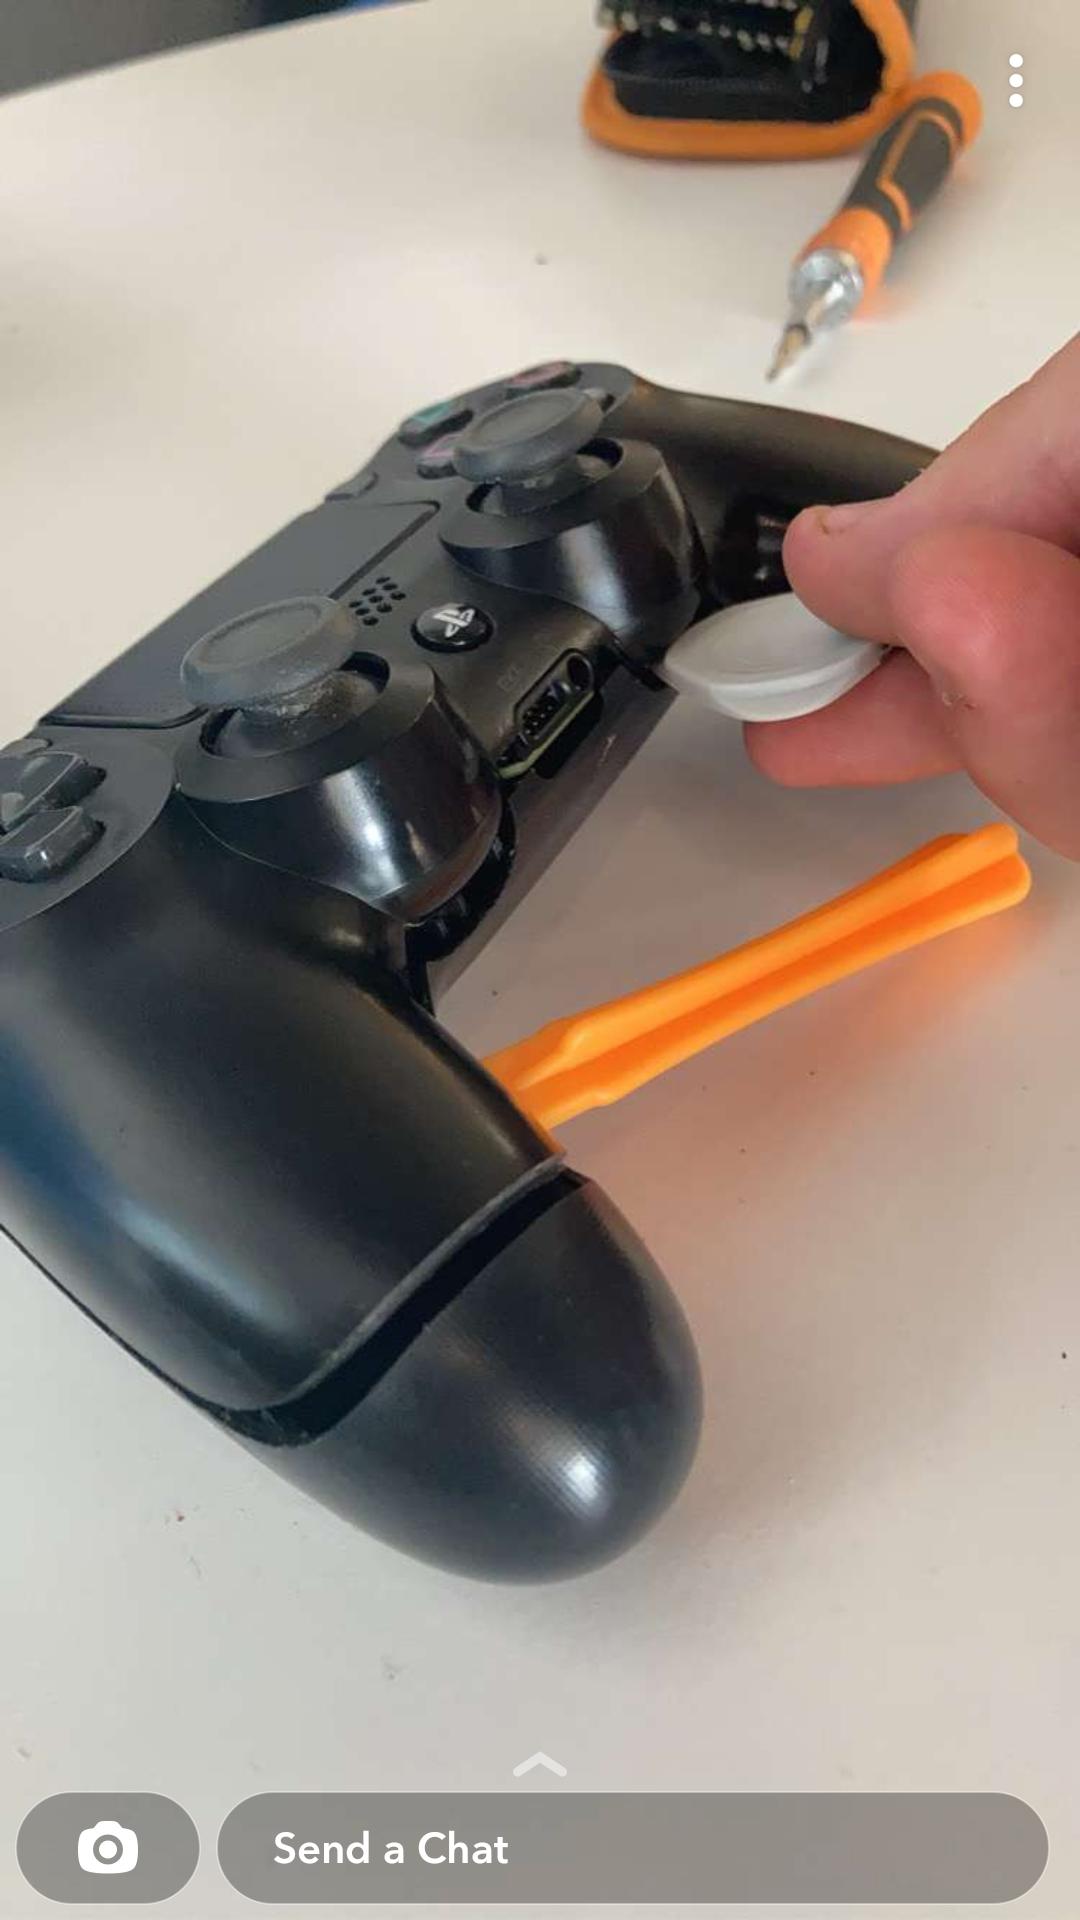
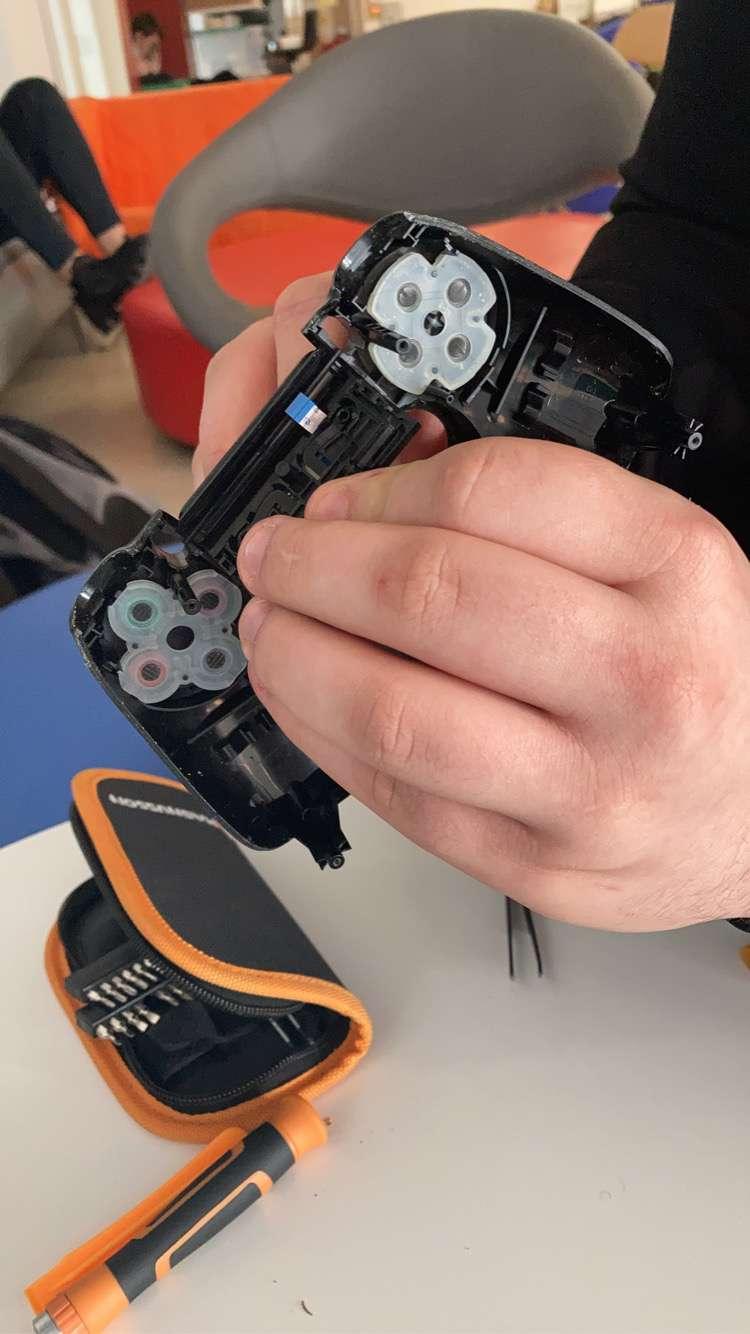
2. Take the prying tool and lodge it into the side of the controller to unhook the plastic. there are 5 locations to unhook the controller, the first four is around the corners of the controller and the fifth is located at the audio jack. (Note: When the prying tool is in the controller make sure you go around the controller to make sure the plastic hook doesn't go back into place.)
Step 2: How to Unplug All the Electronics
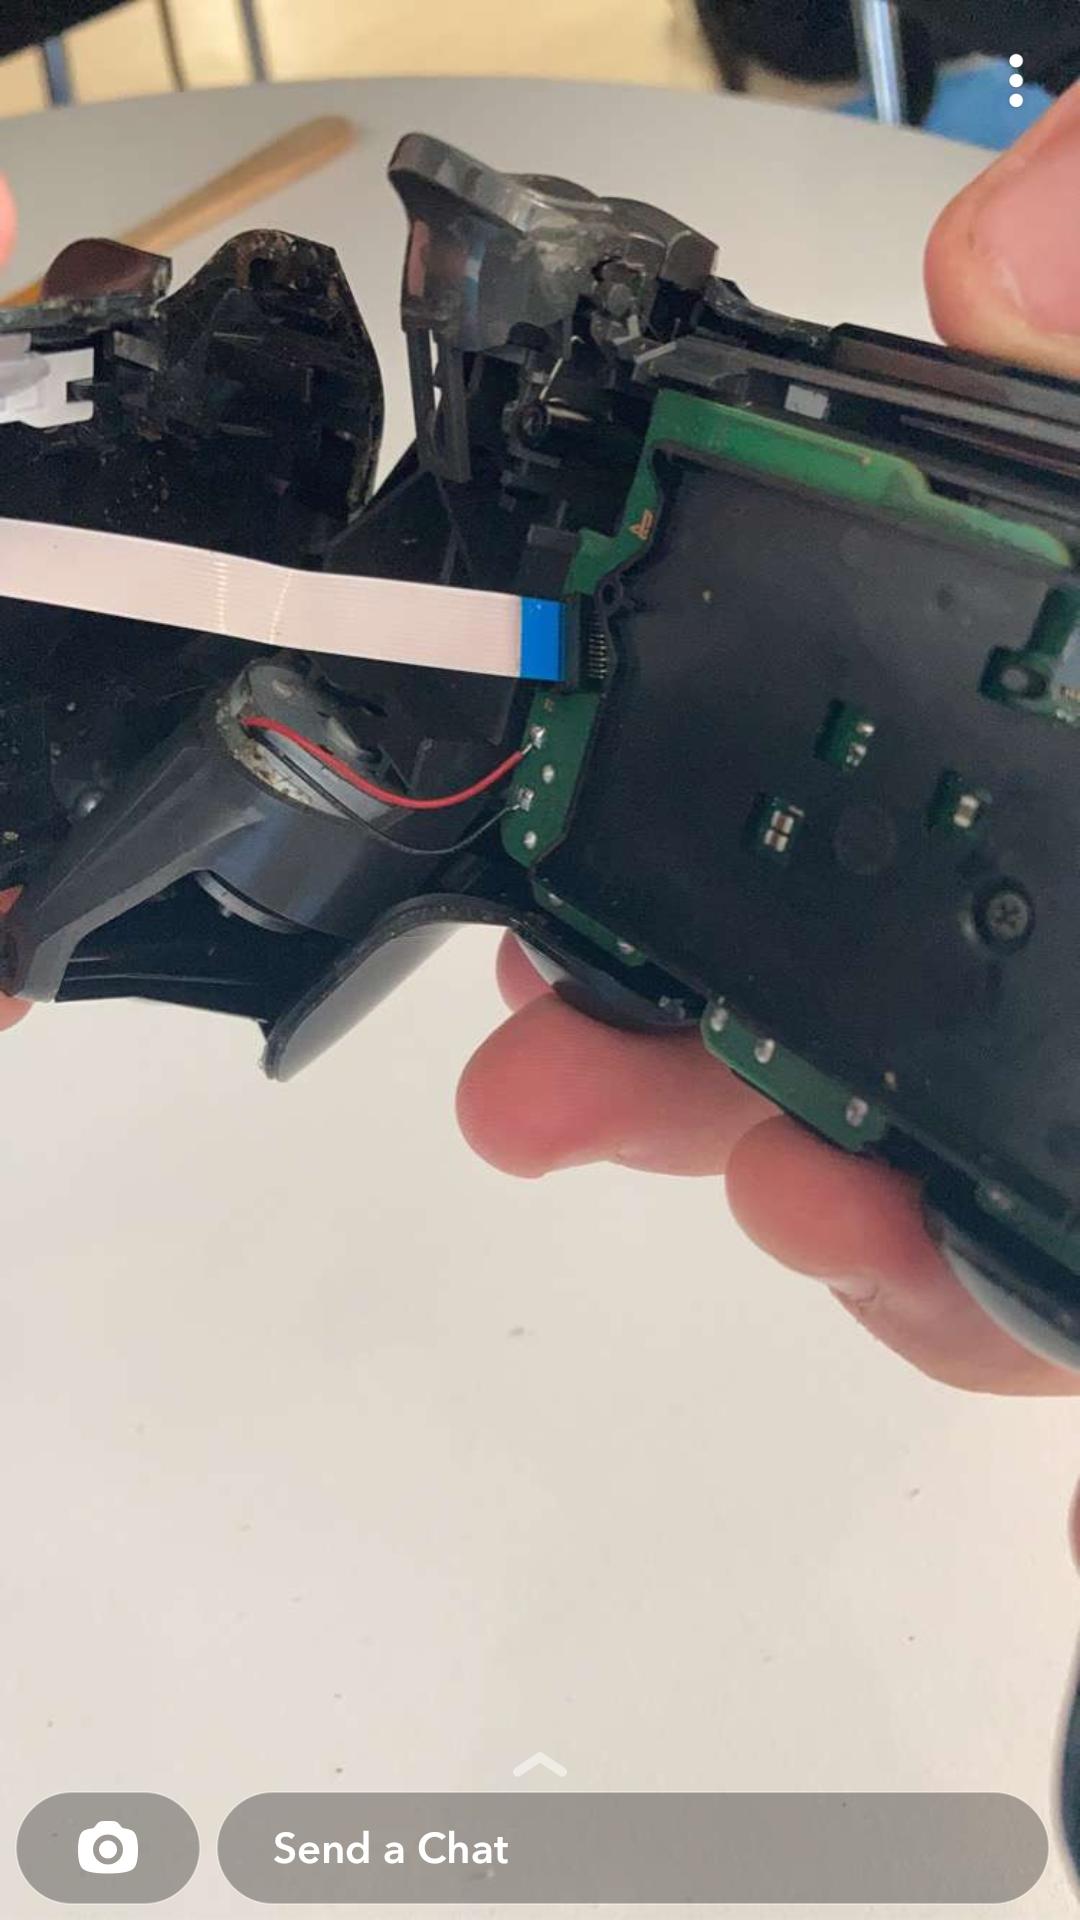

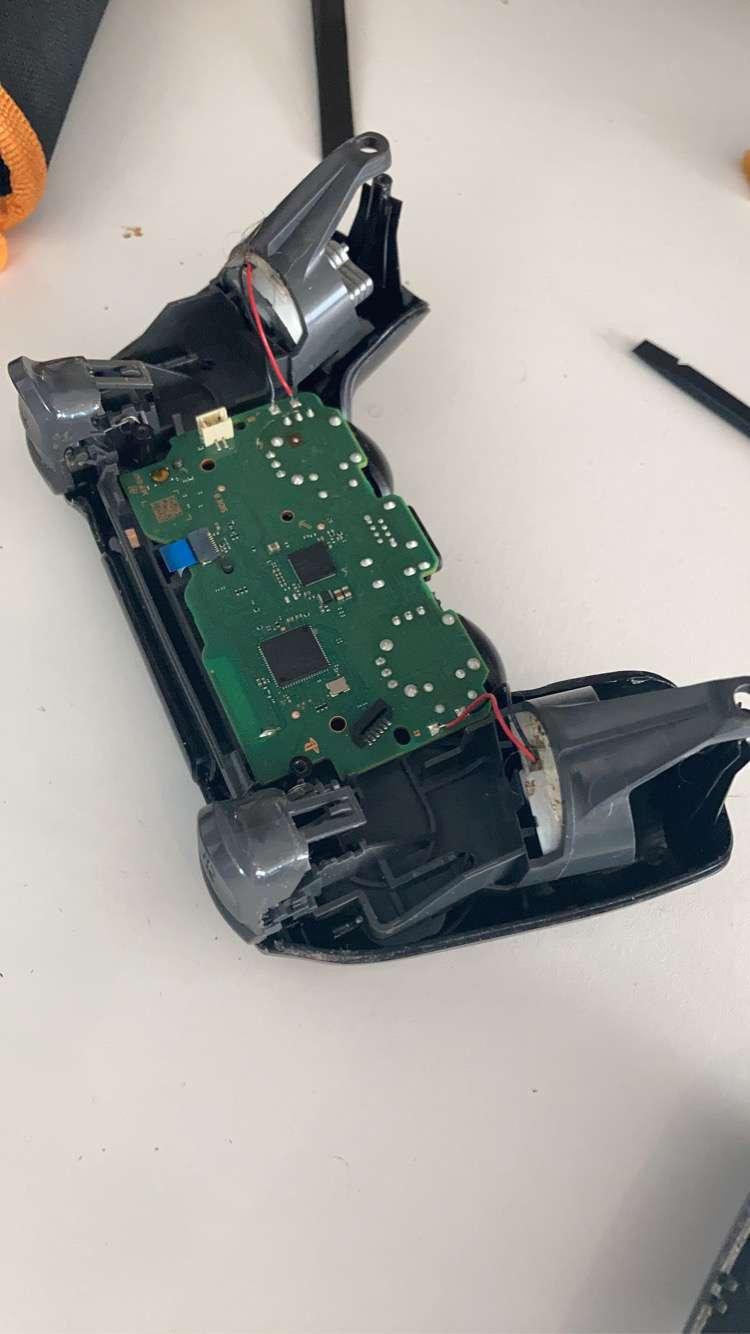
1. When the controller is open you will see a White cable connected to the case and the board. Disconnect the cable from the board slowly. (Note :It must be slow because the copper that makes contact with the board can break very easily.)
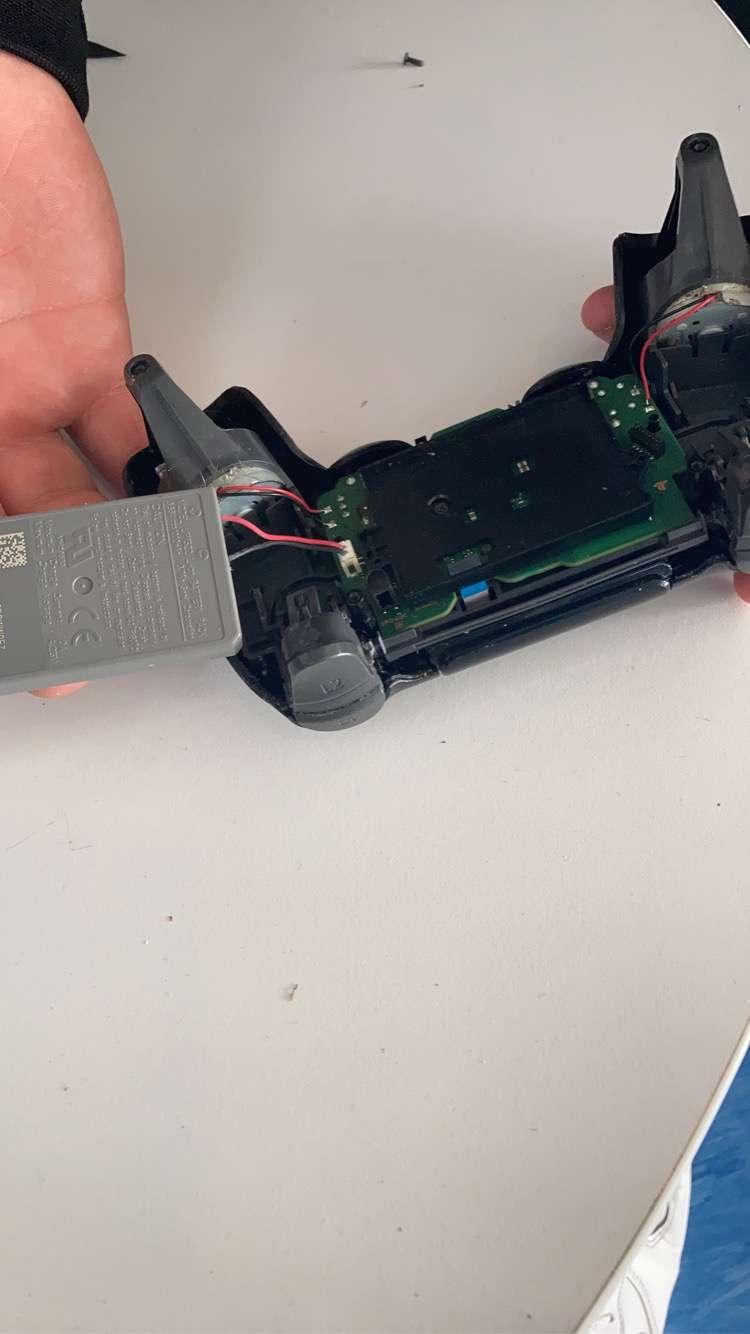
2.When the cable is disconnected, Unplug the battery from the board and unscrew the screw that holds the plastic battery holder. take out the plastic battery holder and leave it to the side .Now unplug the cable located above the board .This blue tag is the touchpad cable. (Note: Make sure you push the cable above out of the hole in the chassis because it can casually get caught by other plastic parts.)
Step 3: Disassemblement
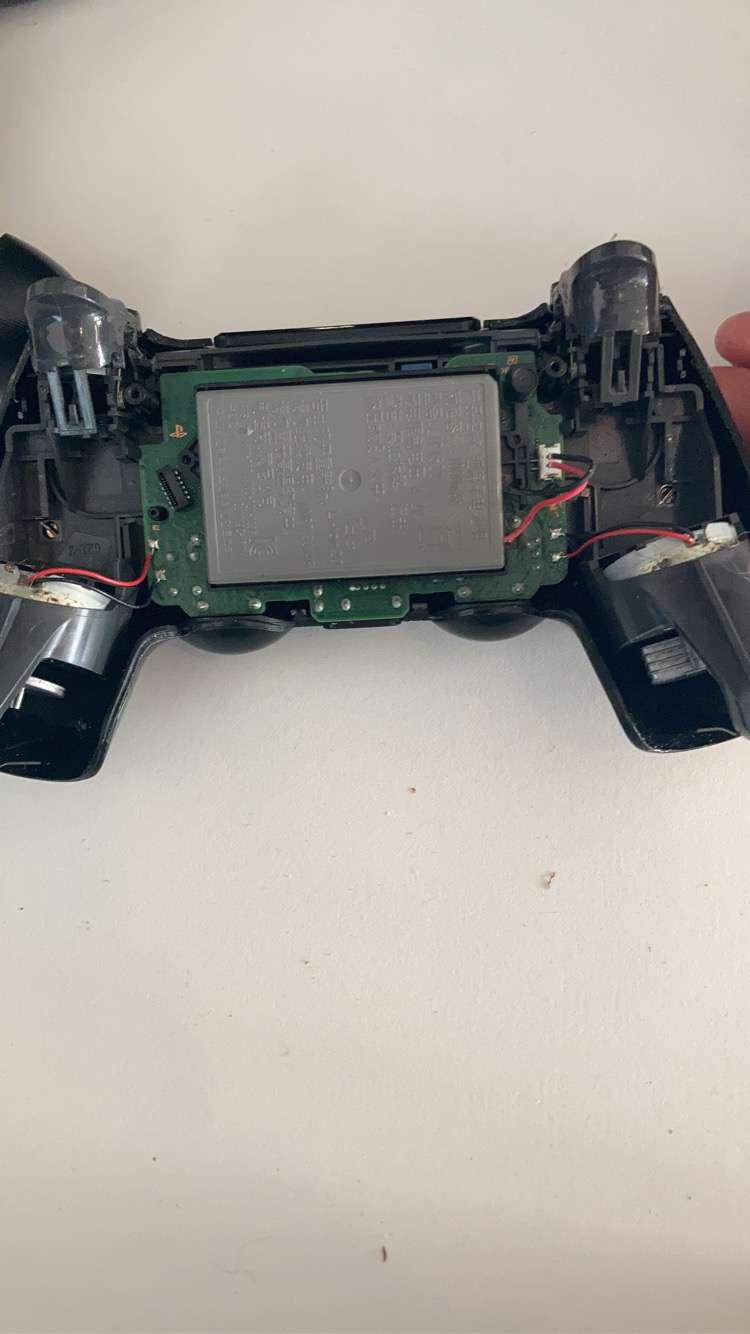
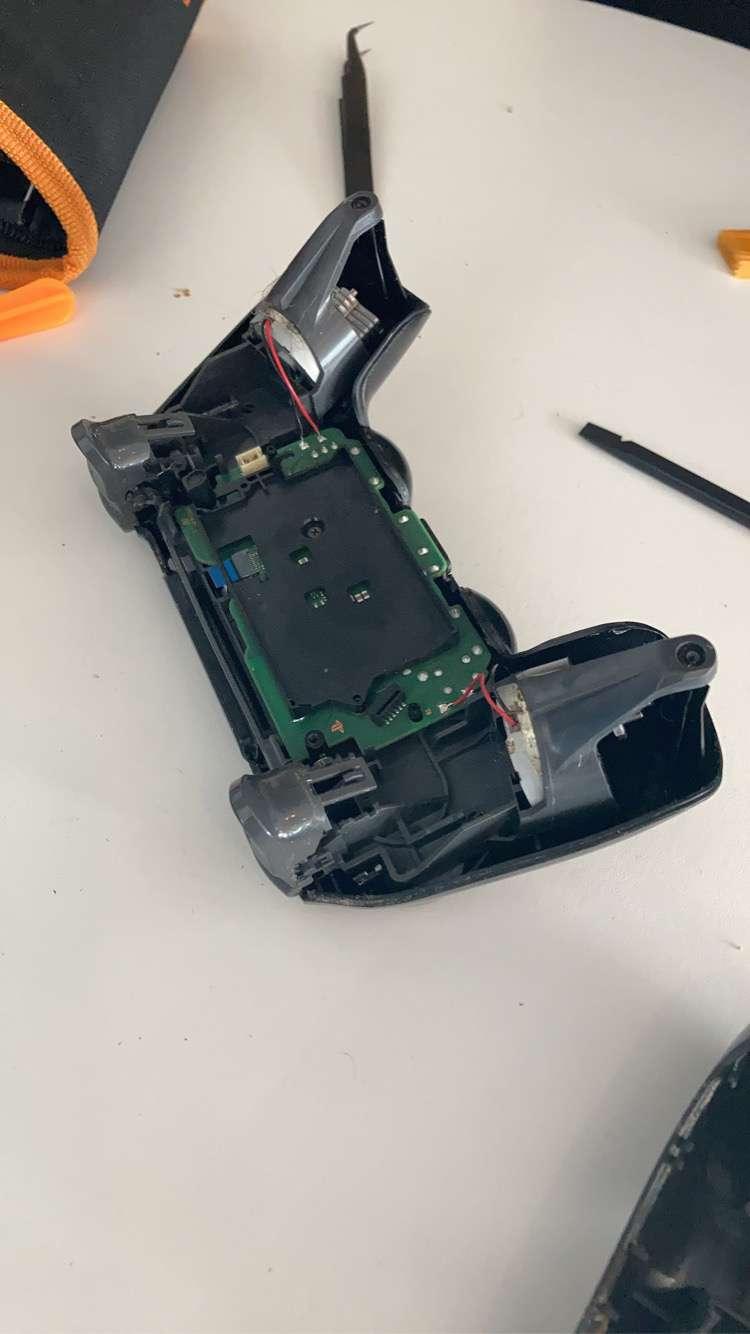
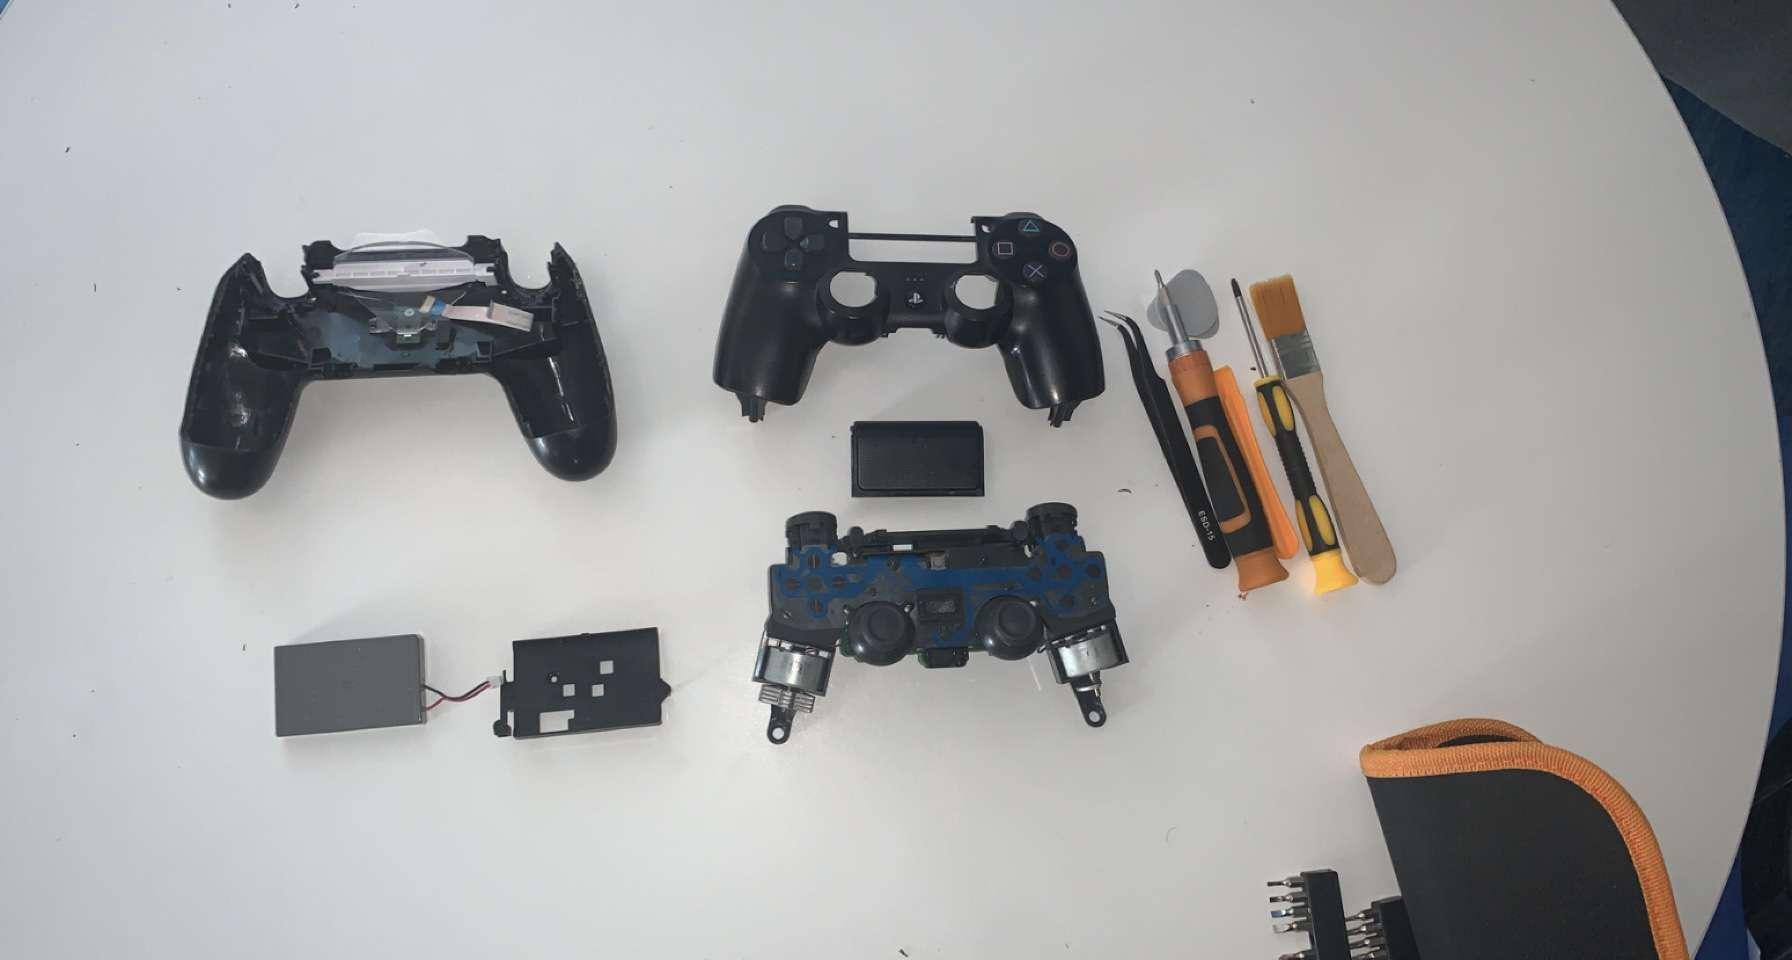
- When all electronics are unplugged gently pull the board out of position and the chassis at the same time.(Note: when pulling the chassis loose buttons will fall out depending on which model you have. most common buttons that fall out is the share and options buttons and the main touch pad.)
- when the chassis is removed unhook the touchpad and leave it to the side.
Step 1: Reassembling the Chassis and Board

- If the buttons (like the options and share buttons) have fallen out reattach them back into the holes on the front cover of the controller.
- Attach the Touchpad back onto the hook and lay the front cover flat on the table. reattach the chassis back to the front cover of the controller.
- Grab the touchpad cable and push it through the hole that it was originally in and let it hang for a bit.
- Attach the board back
Step 2: Plugging in the Electronics

- reconnect the touchpad cable above the plastic battery holder first before adding the plastic battery holder back.
- place the plastic battery holder back into place. the screw hole is located in the middle of the board.
- plug in the battery.
- reattach the long white cable that is connected to the back of the controller.
Final Step : Closing the Controller

- when all electronic parts are back in place, clamp the back and front of the controller together.
- Use the 4 Philips screws that was taken out previously and screw them back.
- The first two locations are at the top of the controller and the last two is at the end of the handle of the controller.