Controling Low Voltage Devices With MediaTek LinkIt One
by The Electrodog Show in Circuits > Microcontrollers
880 Views, 7 Favorites, 0 Comments
Controling Low Voltage Devices With MediaTek LinkIt One
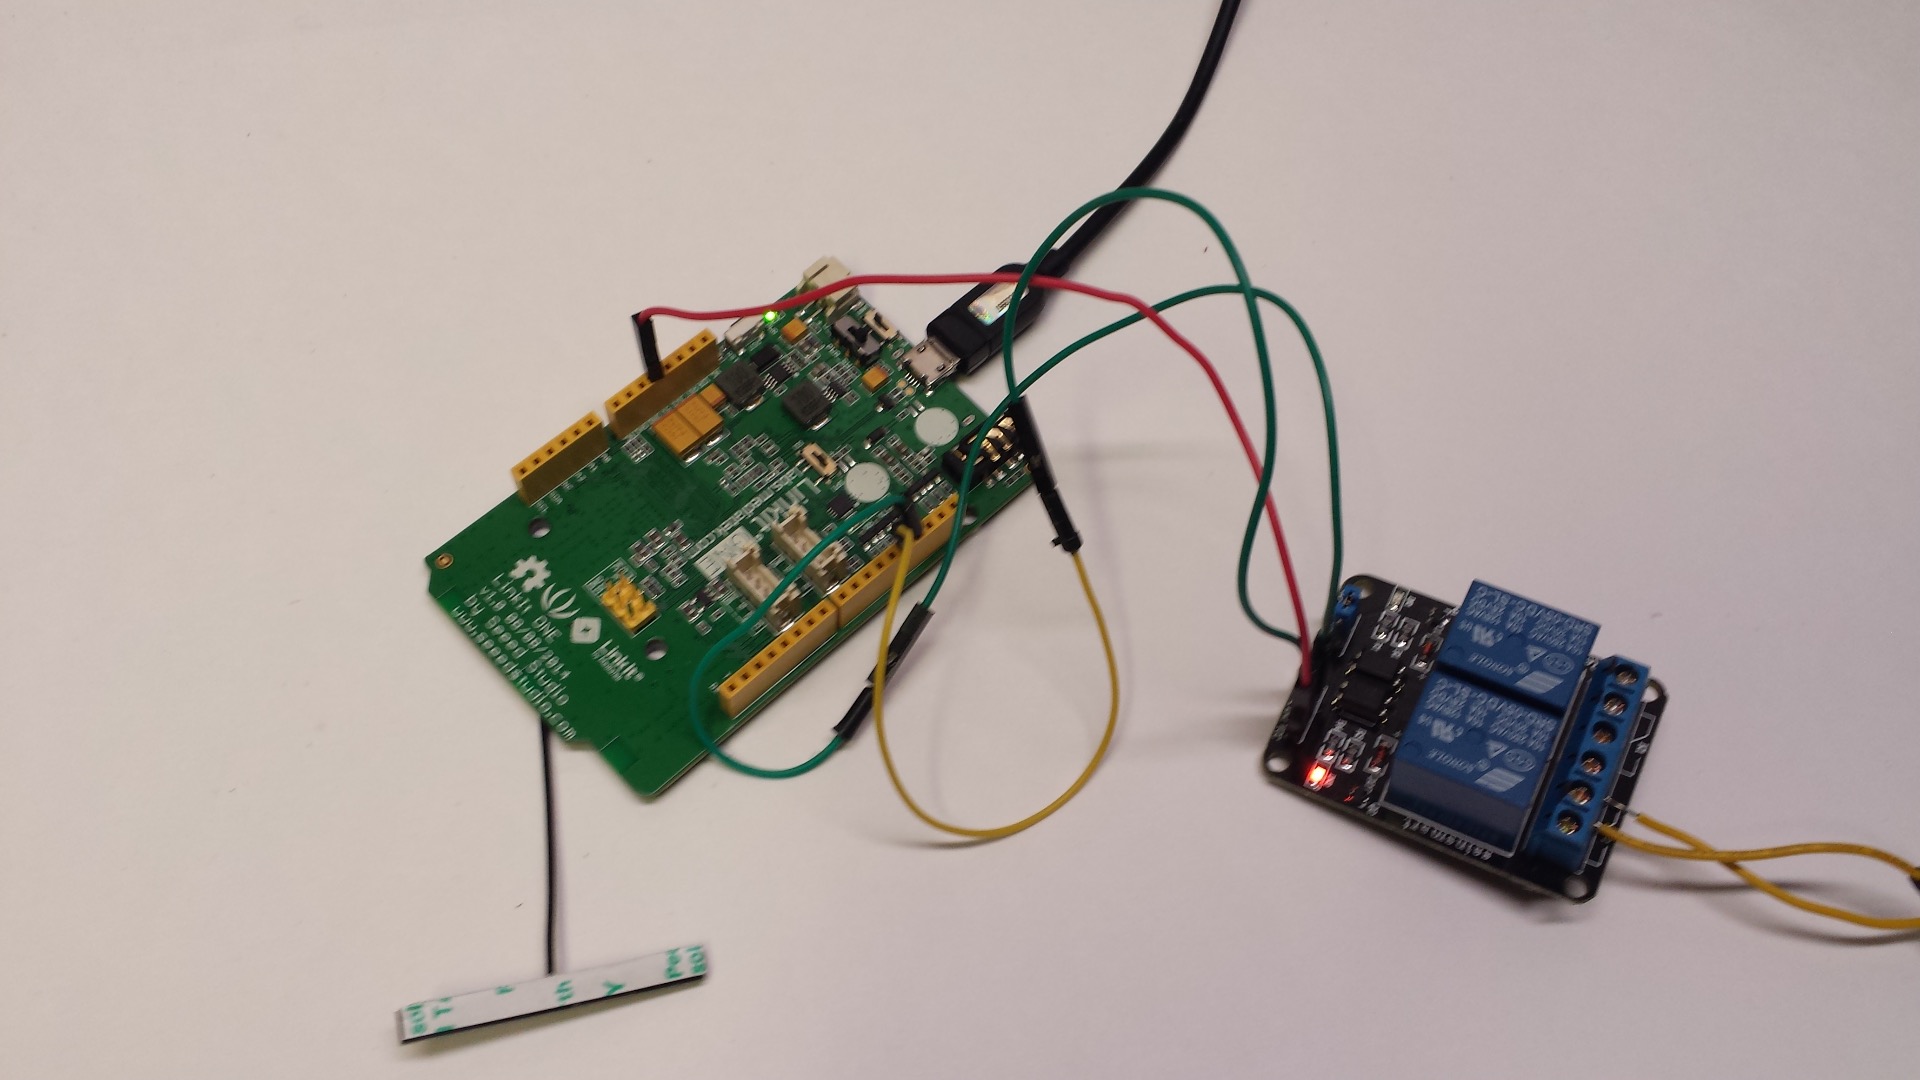
One of the top features of the Mediatek LinkItOne is the ability to connect the internet to physical devices. Today we are going to connect a low voltage DC relay to a MediaTek LinkIt One. This will to "complete a circuit" between two wires such as an audio cable.
Parts Needed
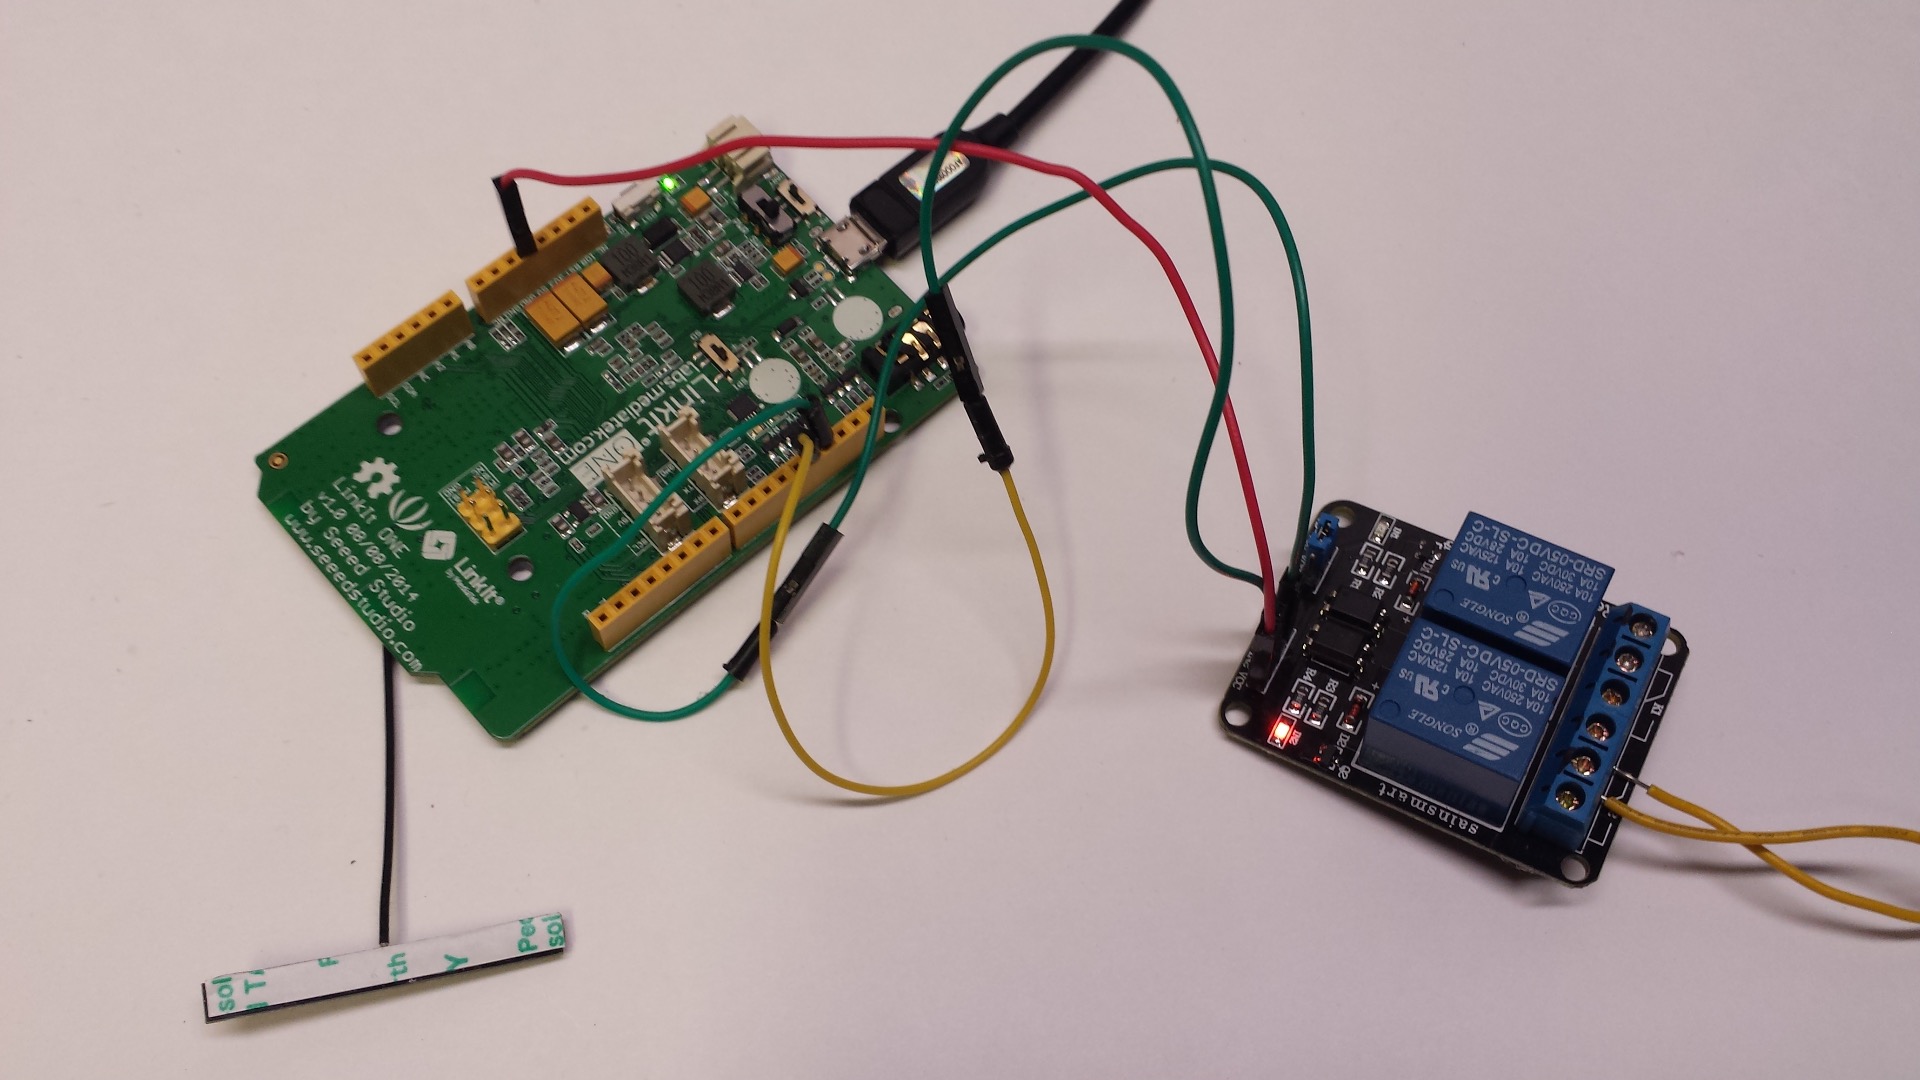
You will need:
Three Male to Female Jumper Wires
MediaTek LinkIt One with WiFi antenna connected.
Connect the Relay
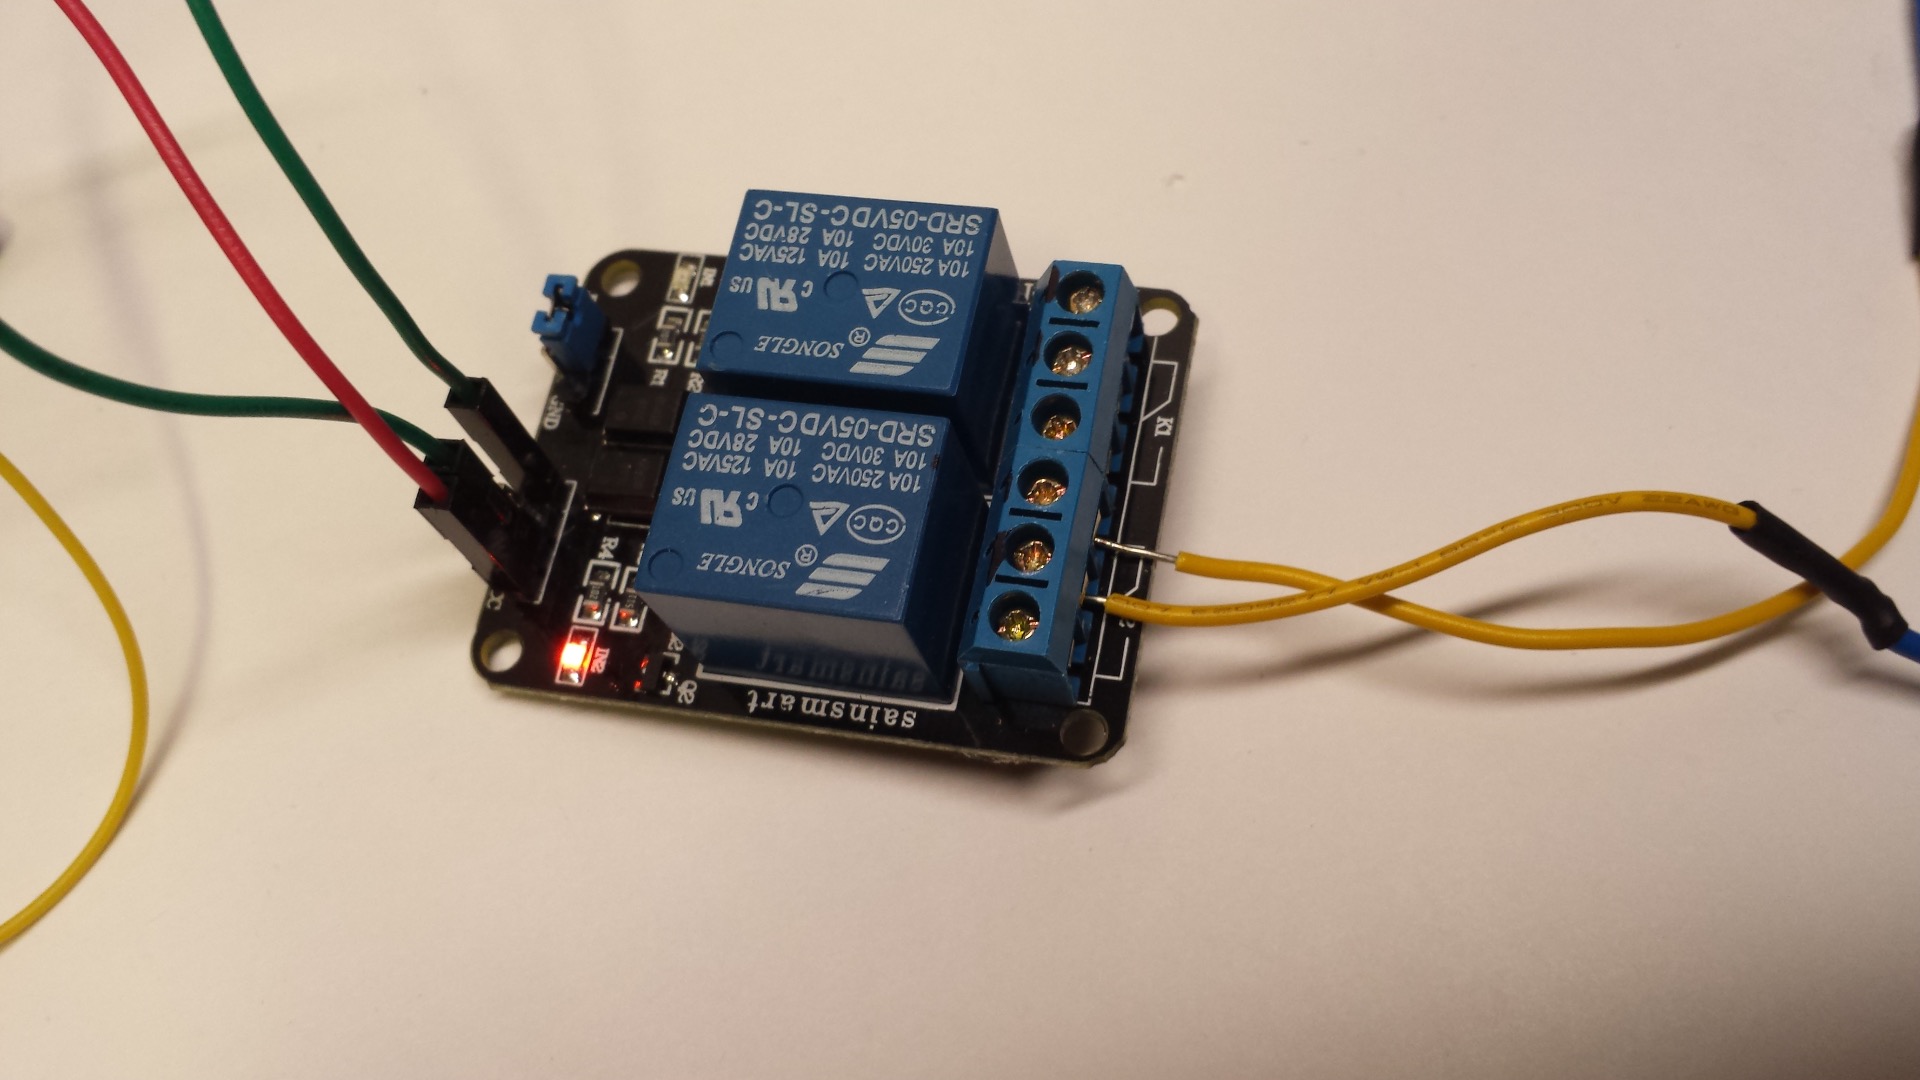
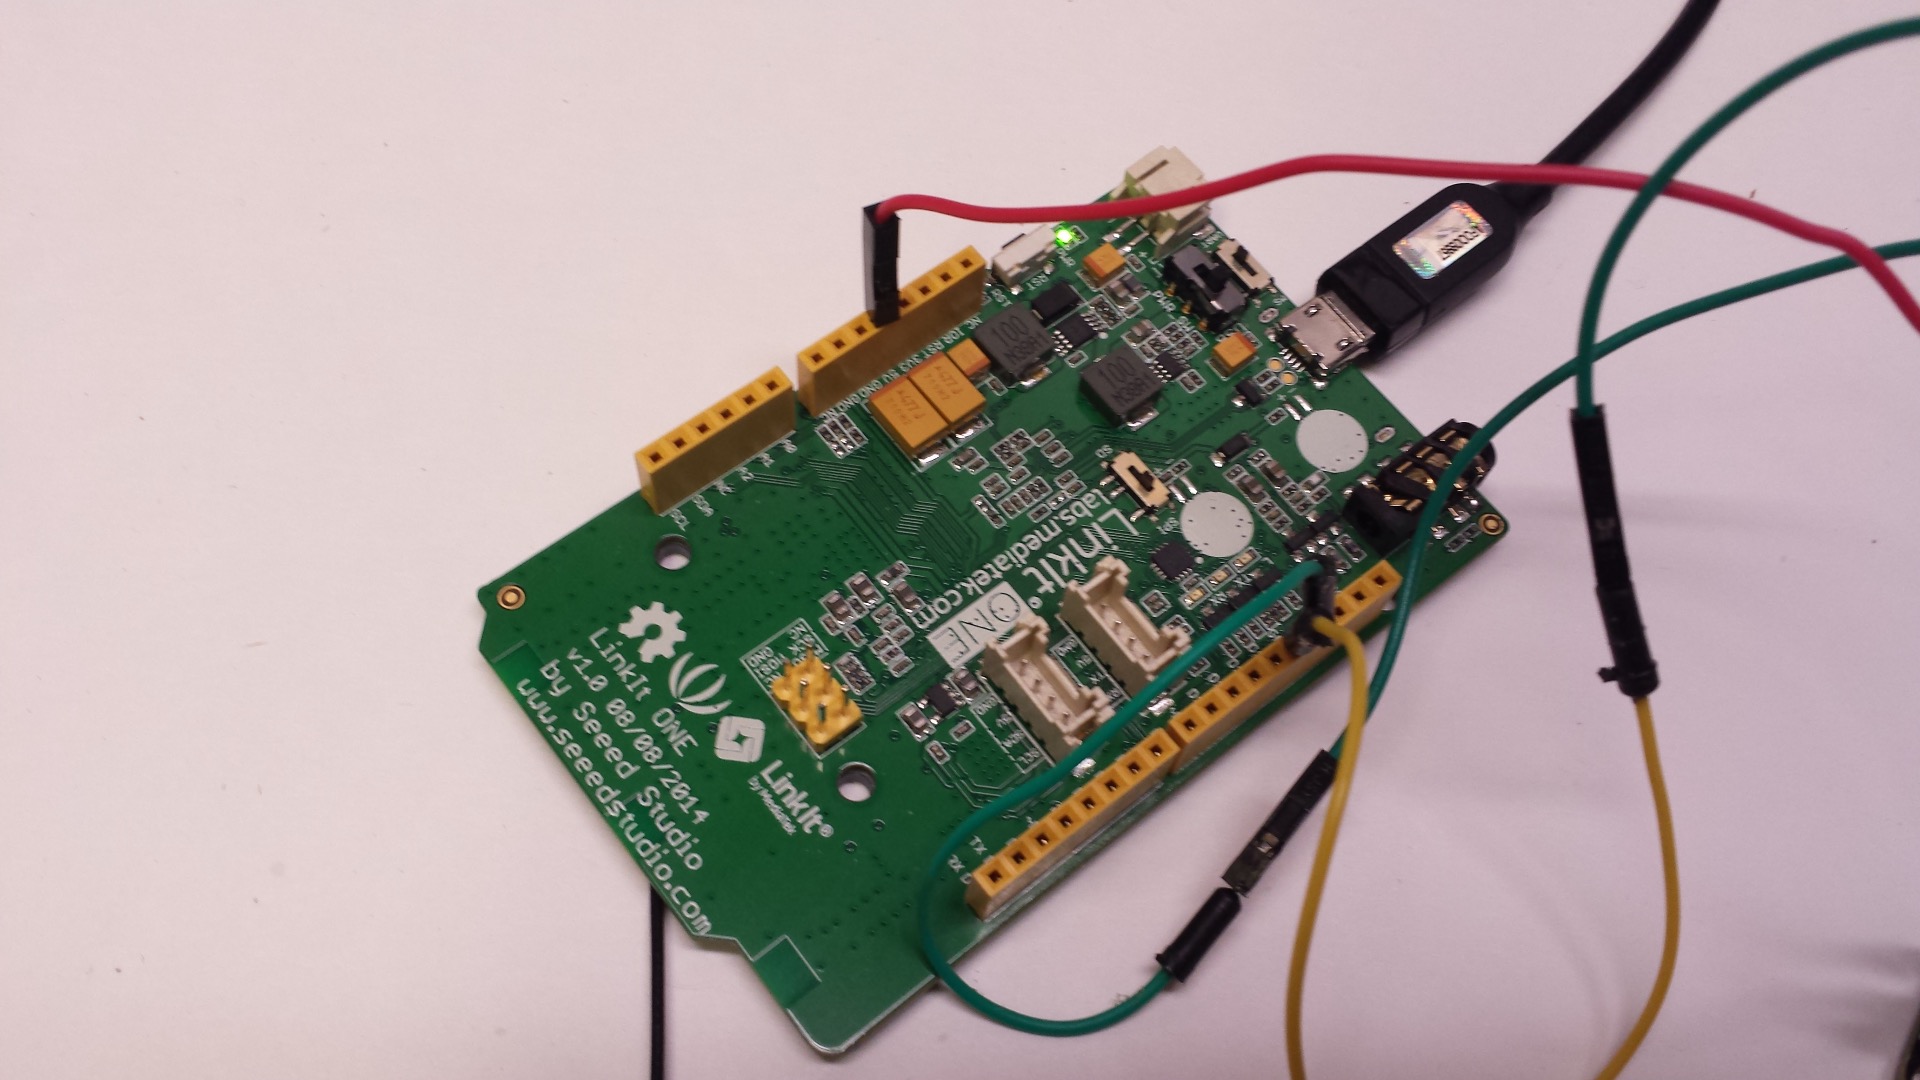
Connect a wire from ground on the LinkIt to the GND pin on the relay board.
Connect a wire from 5v on the LinkIt one to VCC on the relay.
Connect a wire from pin 13 on the LinkIt to the IN port on your relay.
Upload Code
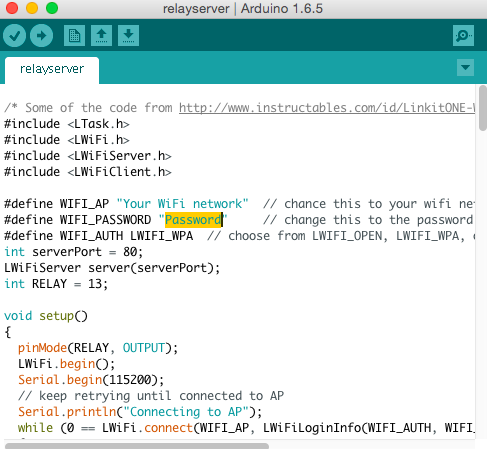
Download the code attached to the page and upload it to the Arduino.
In the following line:
define WIFI_AP "Your WiFi network"
change Your WiFi network to your WiFi network's name.
In #define WIFI_PASSWORD "Password"
change Password to the password of your wifi network.
In #define WIFI_AUTH LWIFI_WPA Change WPA to your type of wifi security or keep it on WPA if that is what you use.
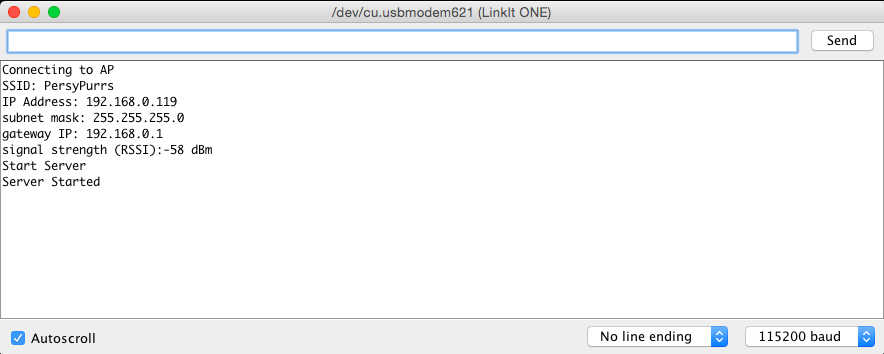
Now upload the code and open the serial monitor to 152000 baud rate.
The serial monitor should now spit the LinkIT One's IP address out. Write that down for later.
Downloads
Use It!
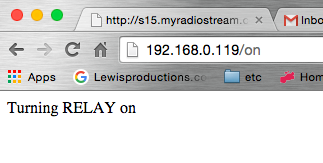
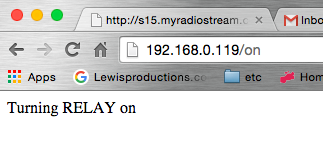
Now go onto a internet capable device on the same network as the MediaTek LinkIt One. Go to its IP address followed by: /on or /off depending on what you want the relay to do.
You can connect almost anything to the relay. Basically cut any two conductor wire in half and connect the grounds together, and plug one signal wire into the common pin and the other into the normally open or normally closed depending on your situation. Now the only thing limiting this project is your creativity!