Control the Buzzer Sound With Arduino
by Deion Adel in Circuits > Arduino
5563 Views, 1 Favorites, 0 Comments
Control the Buzzer Sound With Arduino
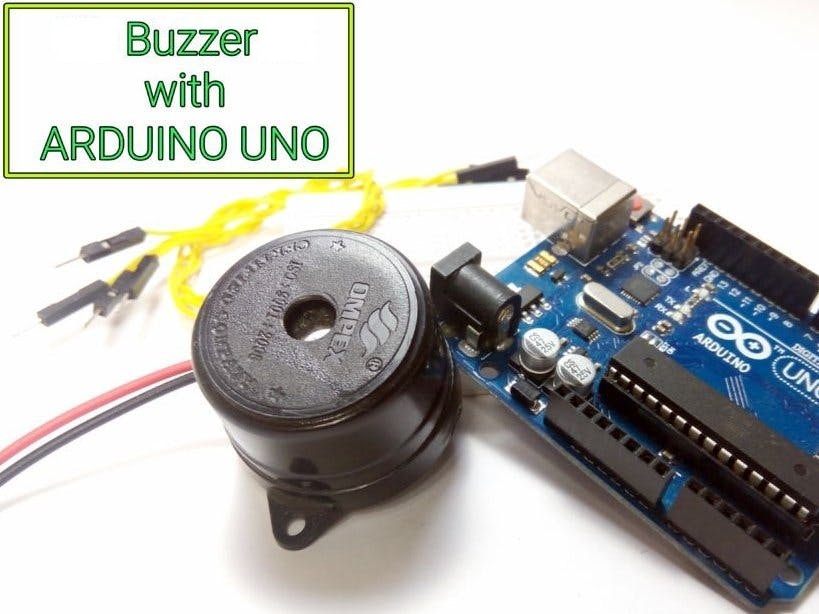
There are many interactive works that can be completed with Arduino, the most common and most commonly used is sound and light display.
The most common components that can make sound are the buzzer and the horn. Compare the two, the buzzer is simpler and easier to use, so we used it in this experiment.
Components Needed
The following are the components which should be prepared:
Arduino UNO controller*1
Buzzer*1
Breadboard*1
Breadboard jumper tie*1
Connect the Circuit
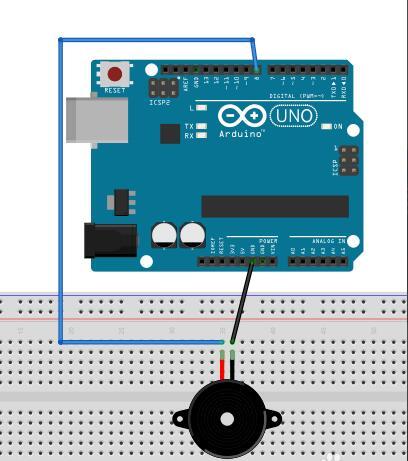
Connect the experimental hardware according to the circuit in the figure.
Program
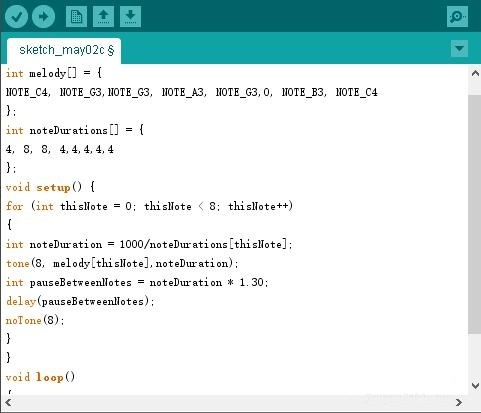
Copy the following code into the Arduino IDE as shown:
#include "pitches.h"
int melody[] = {
NOTE_C4, NOTE_G3,NOTE_G3, NOTE_A3, NOTE_G3,0, NOTE_B3, NOTE_C4
};
int noteDurations[] = {
4, 8, 8, 4,4,4,4,4
};
void setup() {
for (int thisNote = 0; thisNote < 8; thisNote++)
{
int noteDuration = 1000/noteDurations[thisNote];
tone(8, melody[thisNote],noteDuration);
int pauseBetweenNotes = noteDuration * 1.30;
delay(pauseBetweenNotes);
noTone(8);
}
}
void loop()
{
}
Upload
Use the USB cable to connect the Arduino UNO controller and the computer, select the correct board type (Arduino UNO and), port, and click upload.
Code Review
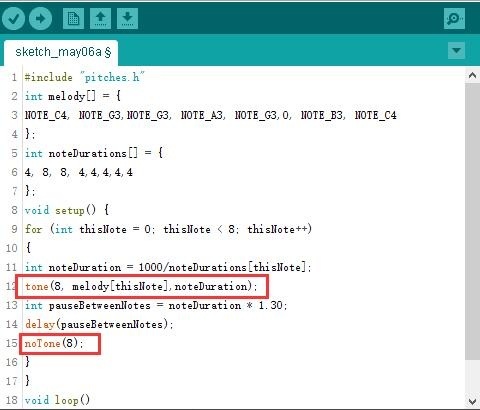
tone(): The function is to generate a square wave with a specific frequency (50% duty cycle) on a pin. The duration can be set, otherwise the waveform will be generated until the noTone() function is called. This pin can be connected to piezoelectric buzzer or other speakers to play sound.
grammar:
tone(pin, frequency)
tone(pin, frequency, duration)
parameter:
pin: the pin to generate sound frequency: the frequency of the sound, in Hz, type unsigned int duration: the duration of the sound, in milliseconds (optional), type unsigned long
Hardware Review: Buzzer
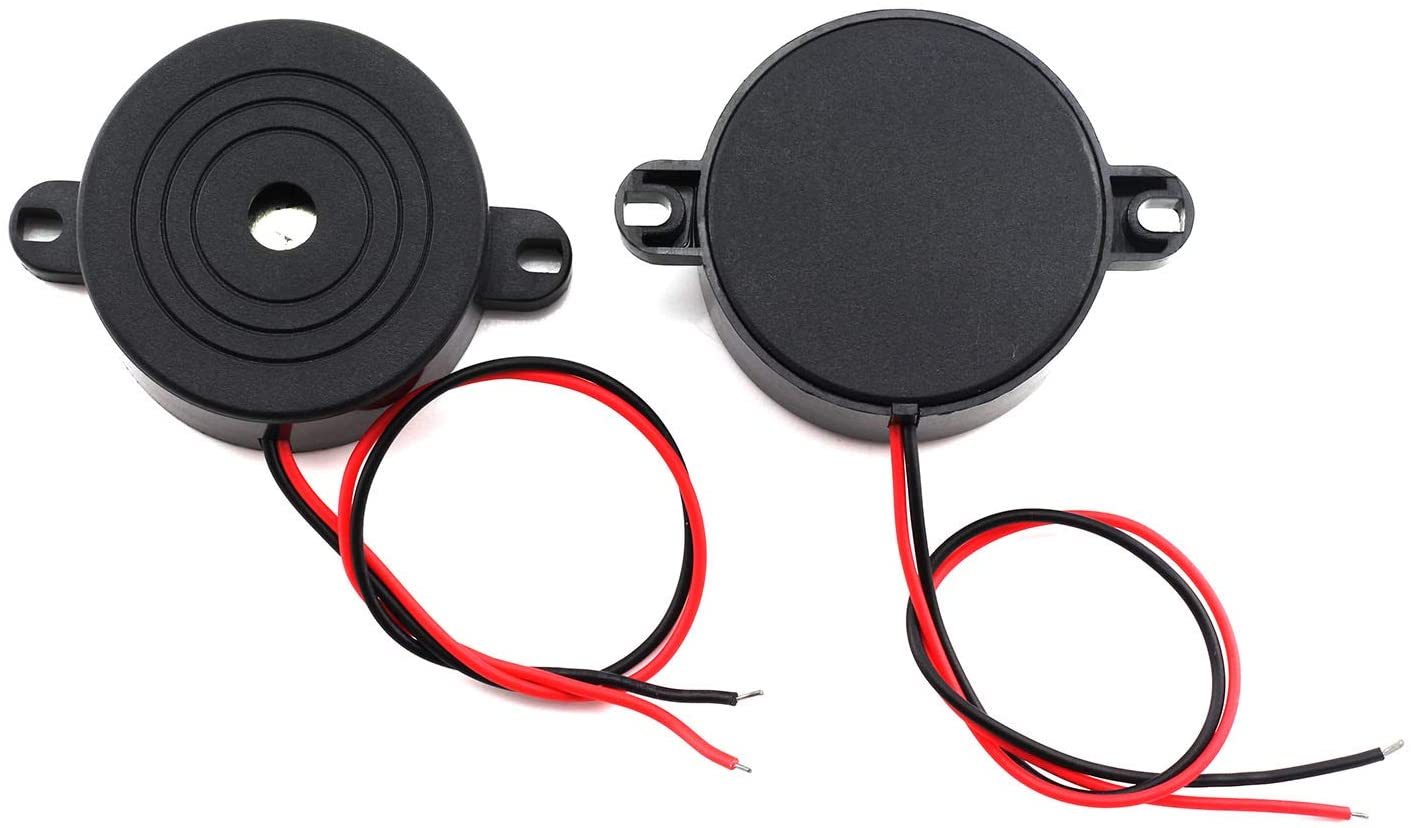
The buzzer makes sound by supplying power to voltage materials. Piezoelectric materials can be mechanically deformed with different voltages and frequencies, thereby producing sounds of different frequencies.
The buzzer is divided into active buzzer and passive buzzer.
The active buzzer has an internal vibration source, so it can sound as long as it is supplied with DC power. The corresponding passive buzzer has no integrated vibration source,
Therefore, it needs to be audible in the audio output circuit. We can distinguish active buzzers from passive buzzers in two ways:
(1) Judging by appearance
* The circuit board of the passive buzzer is usually bare.
* The circuit board of the active buzzer is usually covered with vinyl.
(2) Use a multimeter to measure the buzzer resistance and judge
* The resistance of passive buzzer is generally 8 ohm or 16 ohm.
* The resistance of the active buzzer is much larger.
Related Post: Test Capacitors with Buzzer
Experimental Effect
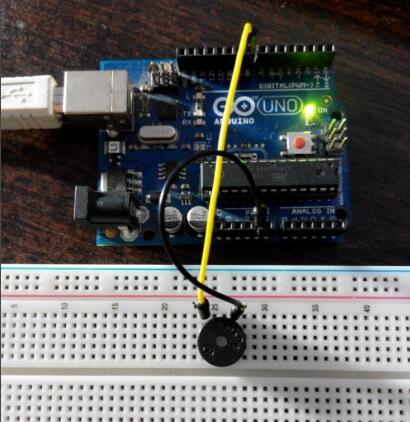
As shown in the figure, simply connect a buzzer without other wiring. After the program is uploaded to the Arduino UNO controller, the buzzer will emit a sound similar to the end of the game, and then stop until the reset button is pressed.