Control Your EV3 Motor With Alexa
by CEEOInnovations in Circuits > Electronics
2058 Views, 1 Favorites, 0 Comments
Control Your EV3 Motor With Alexa
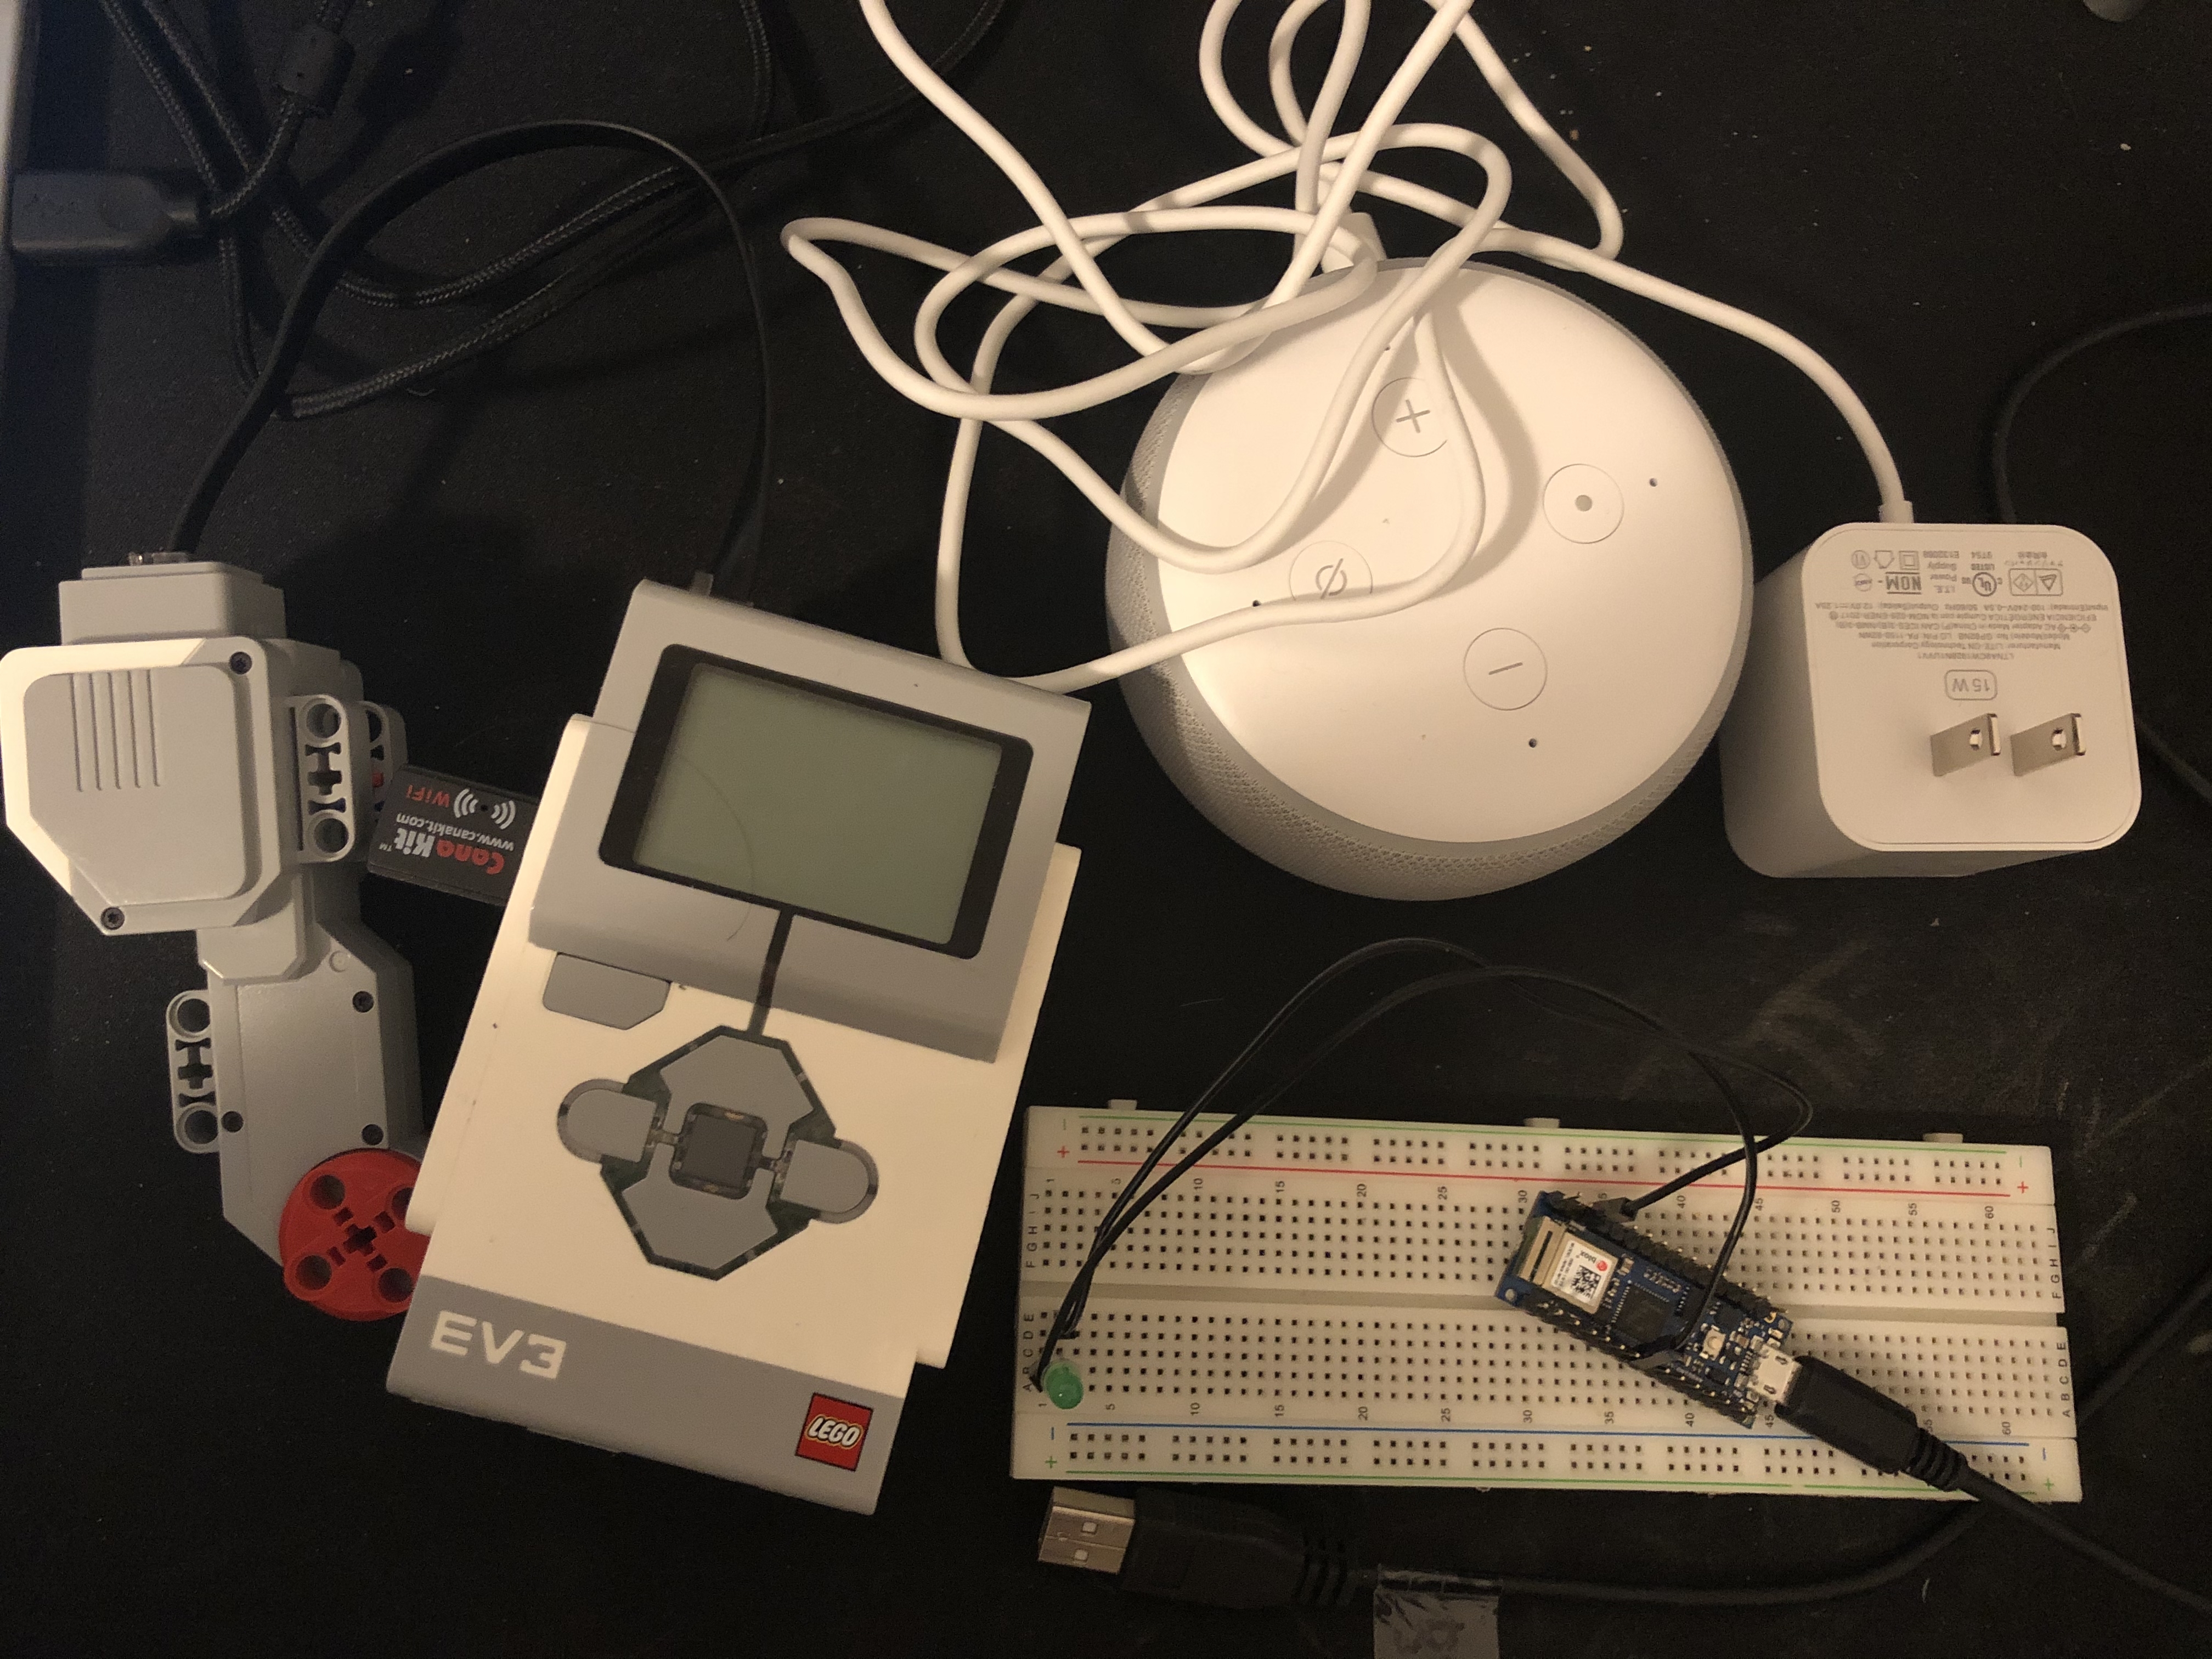
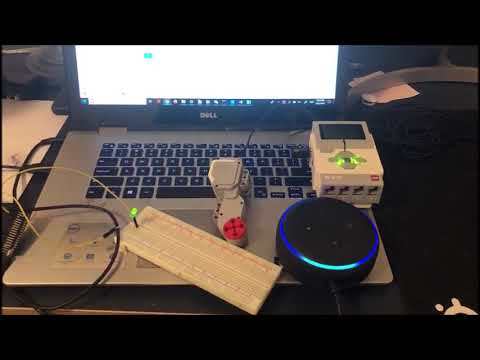
Want to control your LEGO EV3 with voice commands? In this project, you could try to move an EV3 motor by talking to Alexa. All you need is an Amazon Echo Dot, an Arduino Nano 33 IoT board, and an EV3 with WiFi dongle and motor. The idea is to build up a connection between the Arduino board and the Echo Dot, then control the EV3 with the Arduino by sending HTTP requests to a webserver on the EV3. Now, let's start it!
Download Necessary Softwares

To make it work, there are two things you have to download for your EV3.
- Download ev3dev and follow the instructions to install it into your EV3. Link:
- The Tufts CEEO developed a web server for EV3 based on Python. Download this server and we will teach you how to run it in the next steps. Link:
Install the Web Server Into Your EV3 Brick
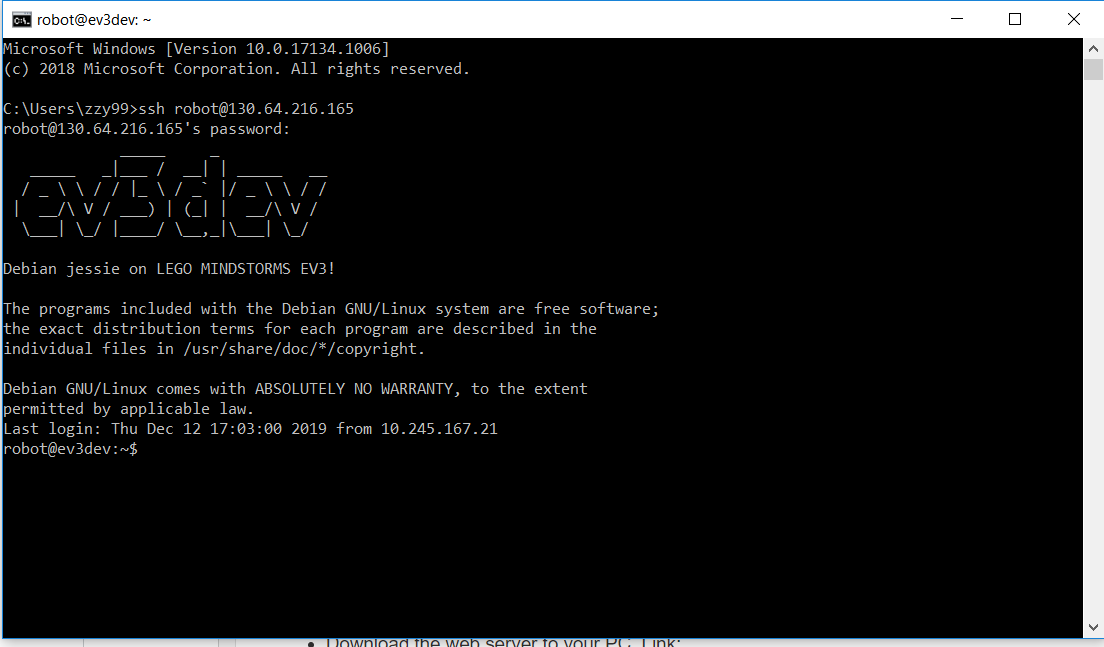
- Run your EV3 and connect your EV3 to the WiFi network. If succeed, you would be able to find the IP address on top-left of the EV3 screen.
- Open a terminal from your computer, and then connect to your EV3 through SSH(For Windows, type in ssh USERNAMEOFEV3@IPADDRESSOFEV3, then enter the password of your EV3. If succeed, your would see something like the picture above.
- Use command "mrdir FOLDERNAME" to create a folder for saving your server, then type in "cd FOLDERNAME" to get into this directory.
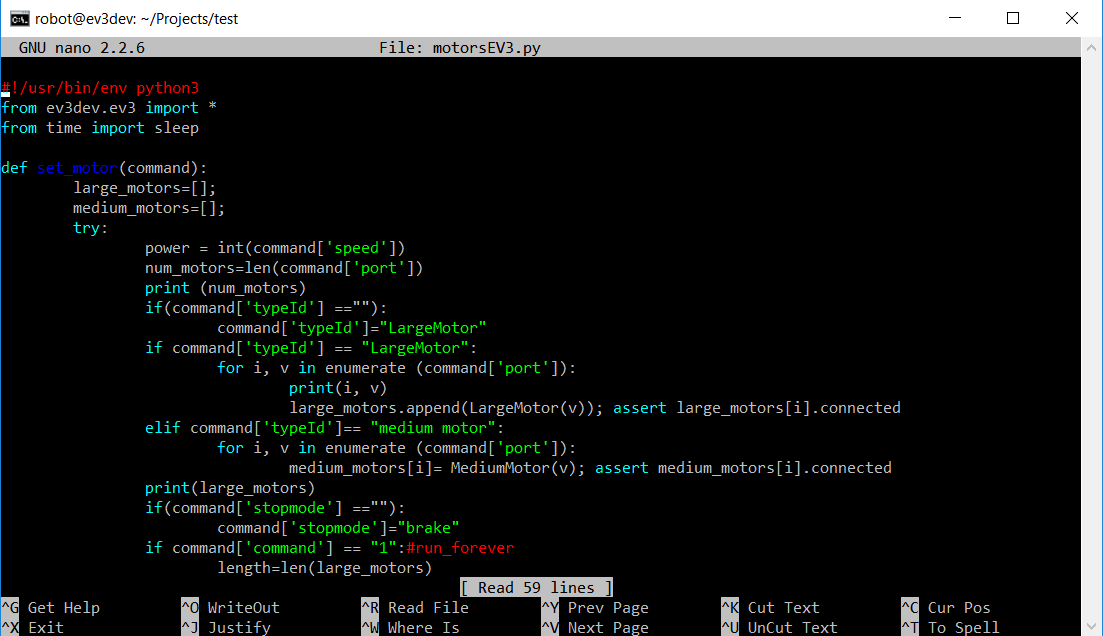
- Use command "nano motorsEV3.py" to create a python files named as "motorsEV3.py", then find the zip file of the web server you just downloaded. You would find a file also named as "motorsEV3.py" in this zip file, copy the code in it to the python file you just created on your EV3 and then save it to your brick.
- Repeat step 4 to create another two files named as "sensorsEV3.py" "server.py".
Tips:
- If you want to go back to the previous directory, use command "cd ..".
- On the left of each command line, you would see which directory you are currently working on.
- If you want to check whether the file is correctly saved, use command "ls" to list all the files in this directory.
Run the Web Server on Your EV3


Go to the directory where you saved all the server files. Type in command "python3 server.py" to run the server. Wait few minutes for the server to work, if everything goes well, you would see the four lines response in your terminal as showed in the left picture. If you want to double check, just type in the IPADDRESS:5000 in your browser, and you would get the response shows in the right picture.
You would have to repeat this step every time you close the terminal window or the server lost connection.
Connect Your Arduino Board to Arduino IoT Cloud
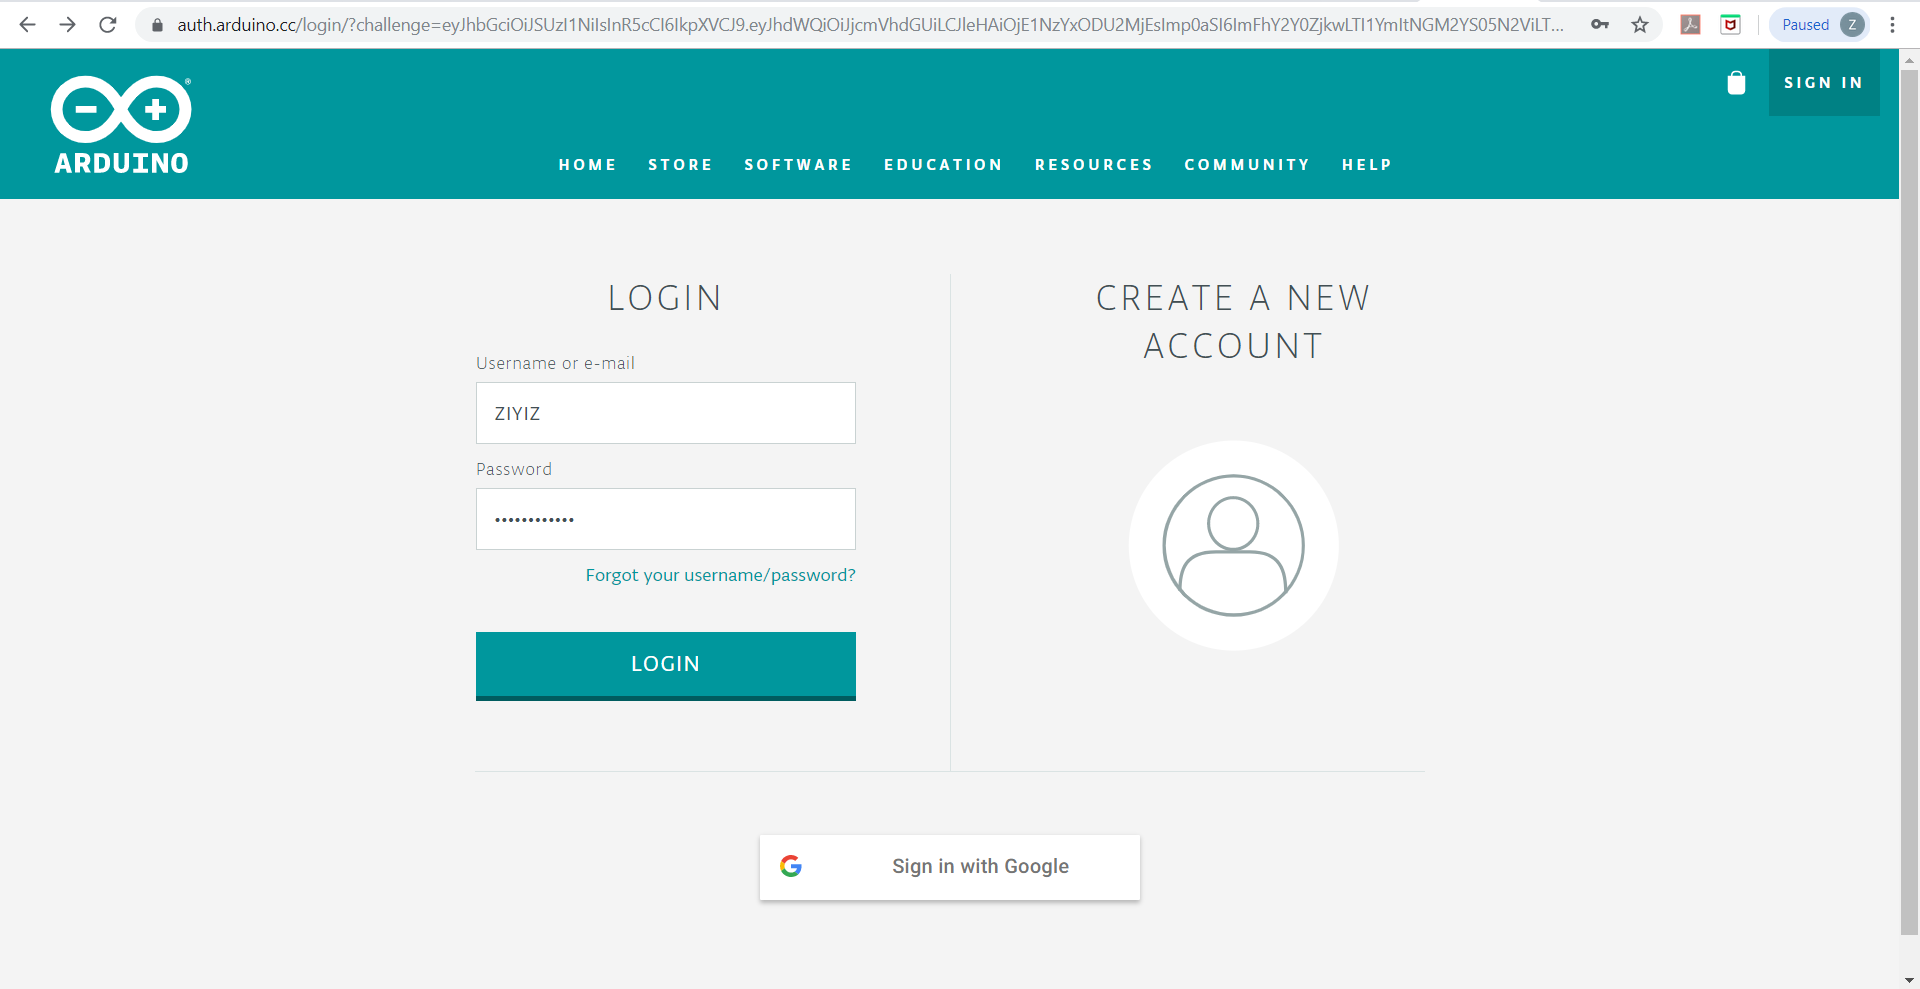
- Sign up an Arduino IoT Cloud account.
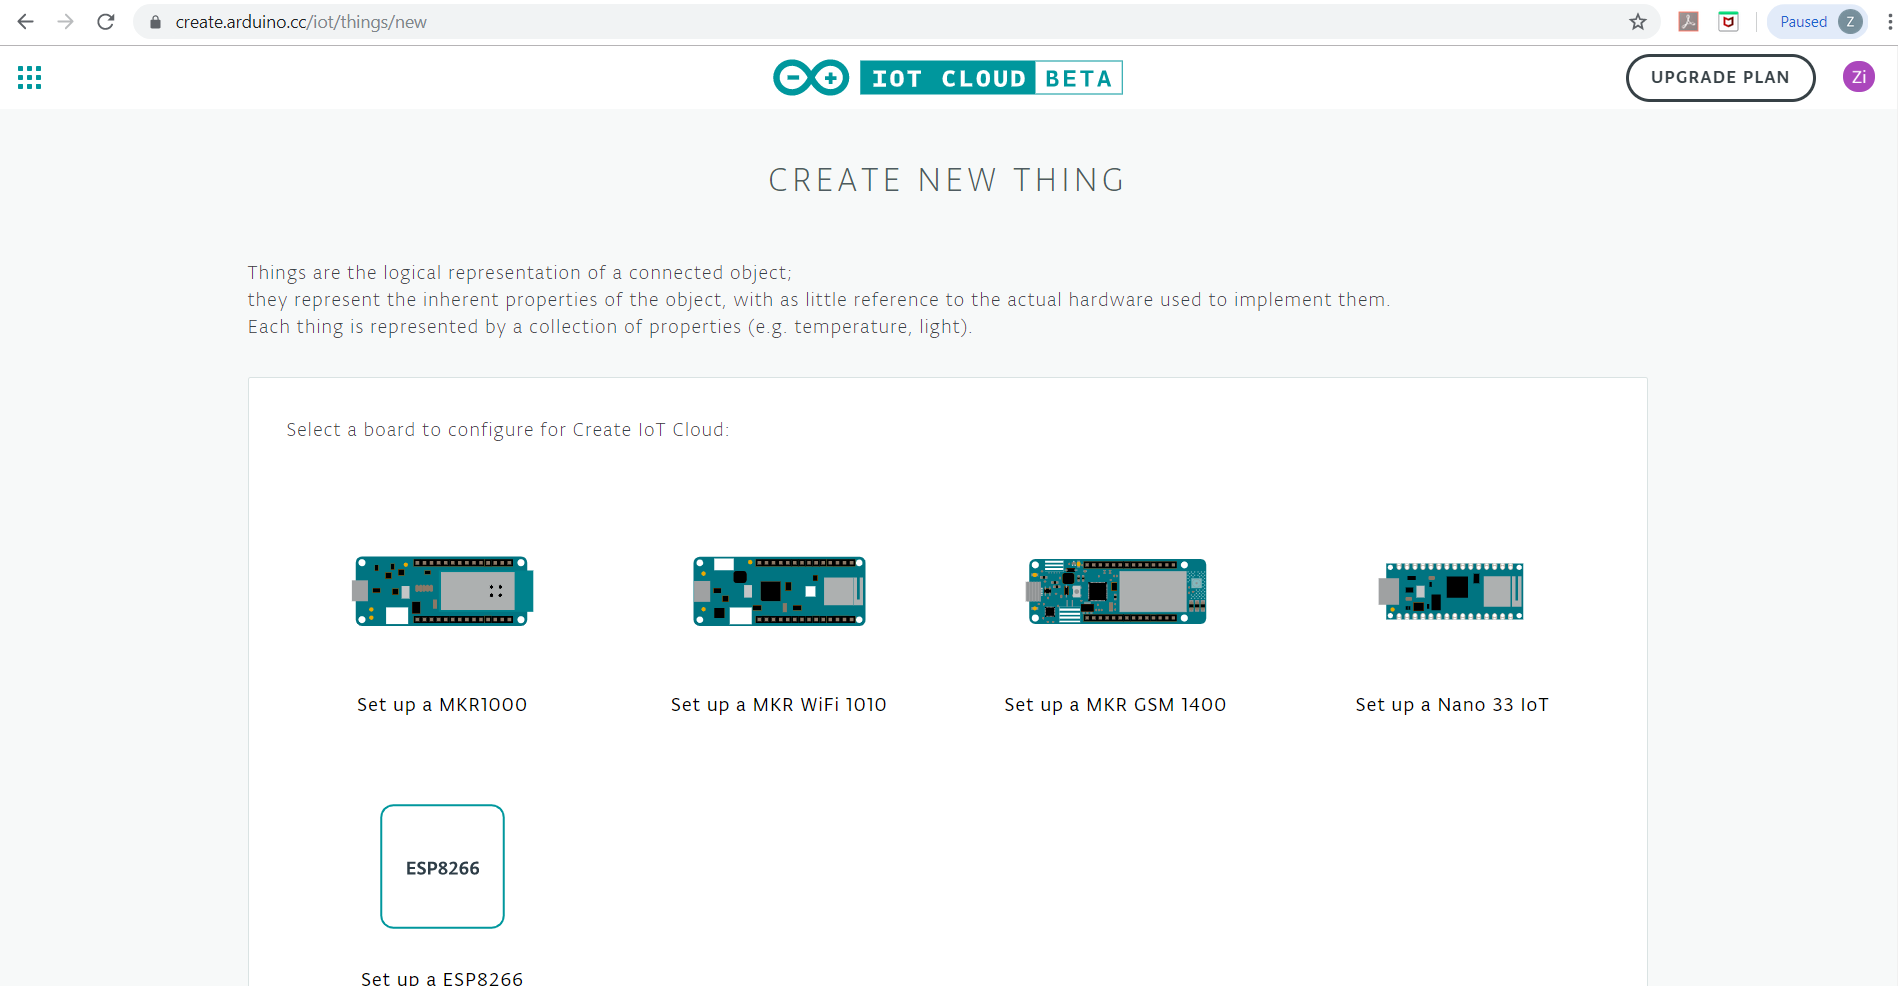
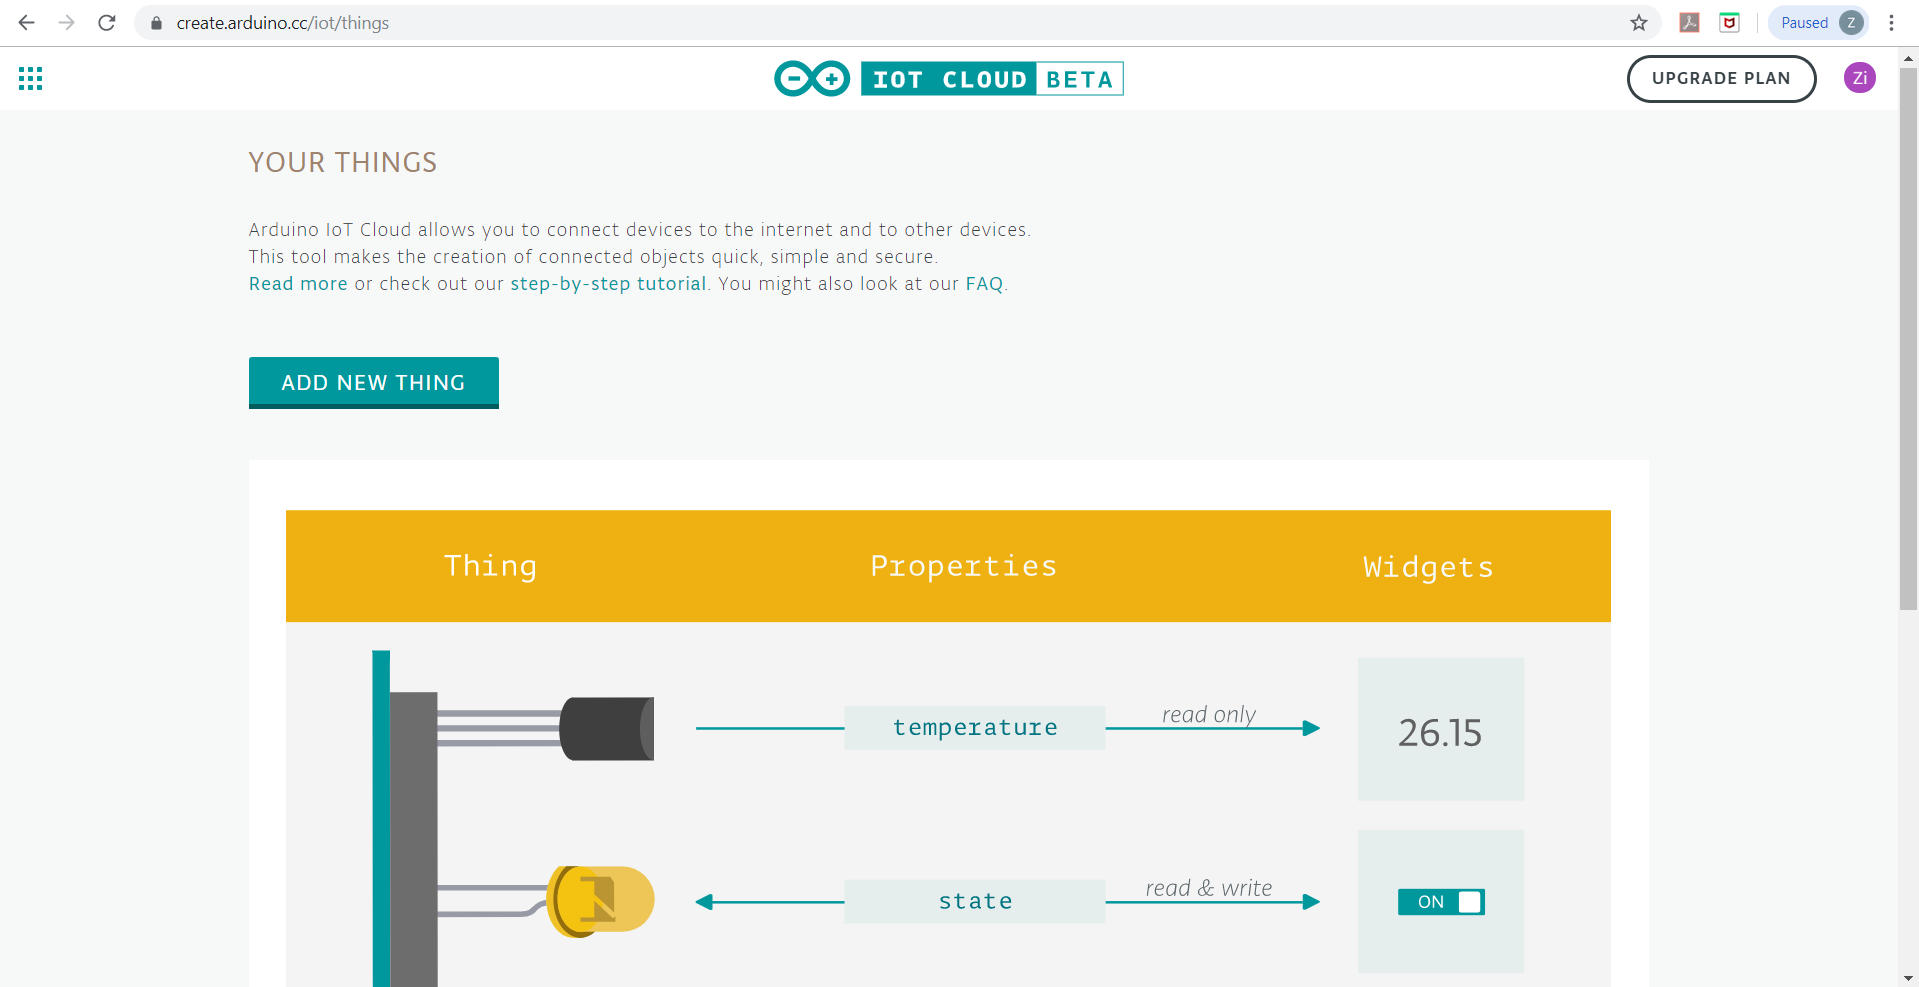
- Create a new thing on Arduino IoT Cloud.
- Since you are the first time to create a thing, The cloud would ask you to configure a board first.
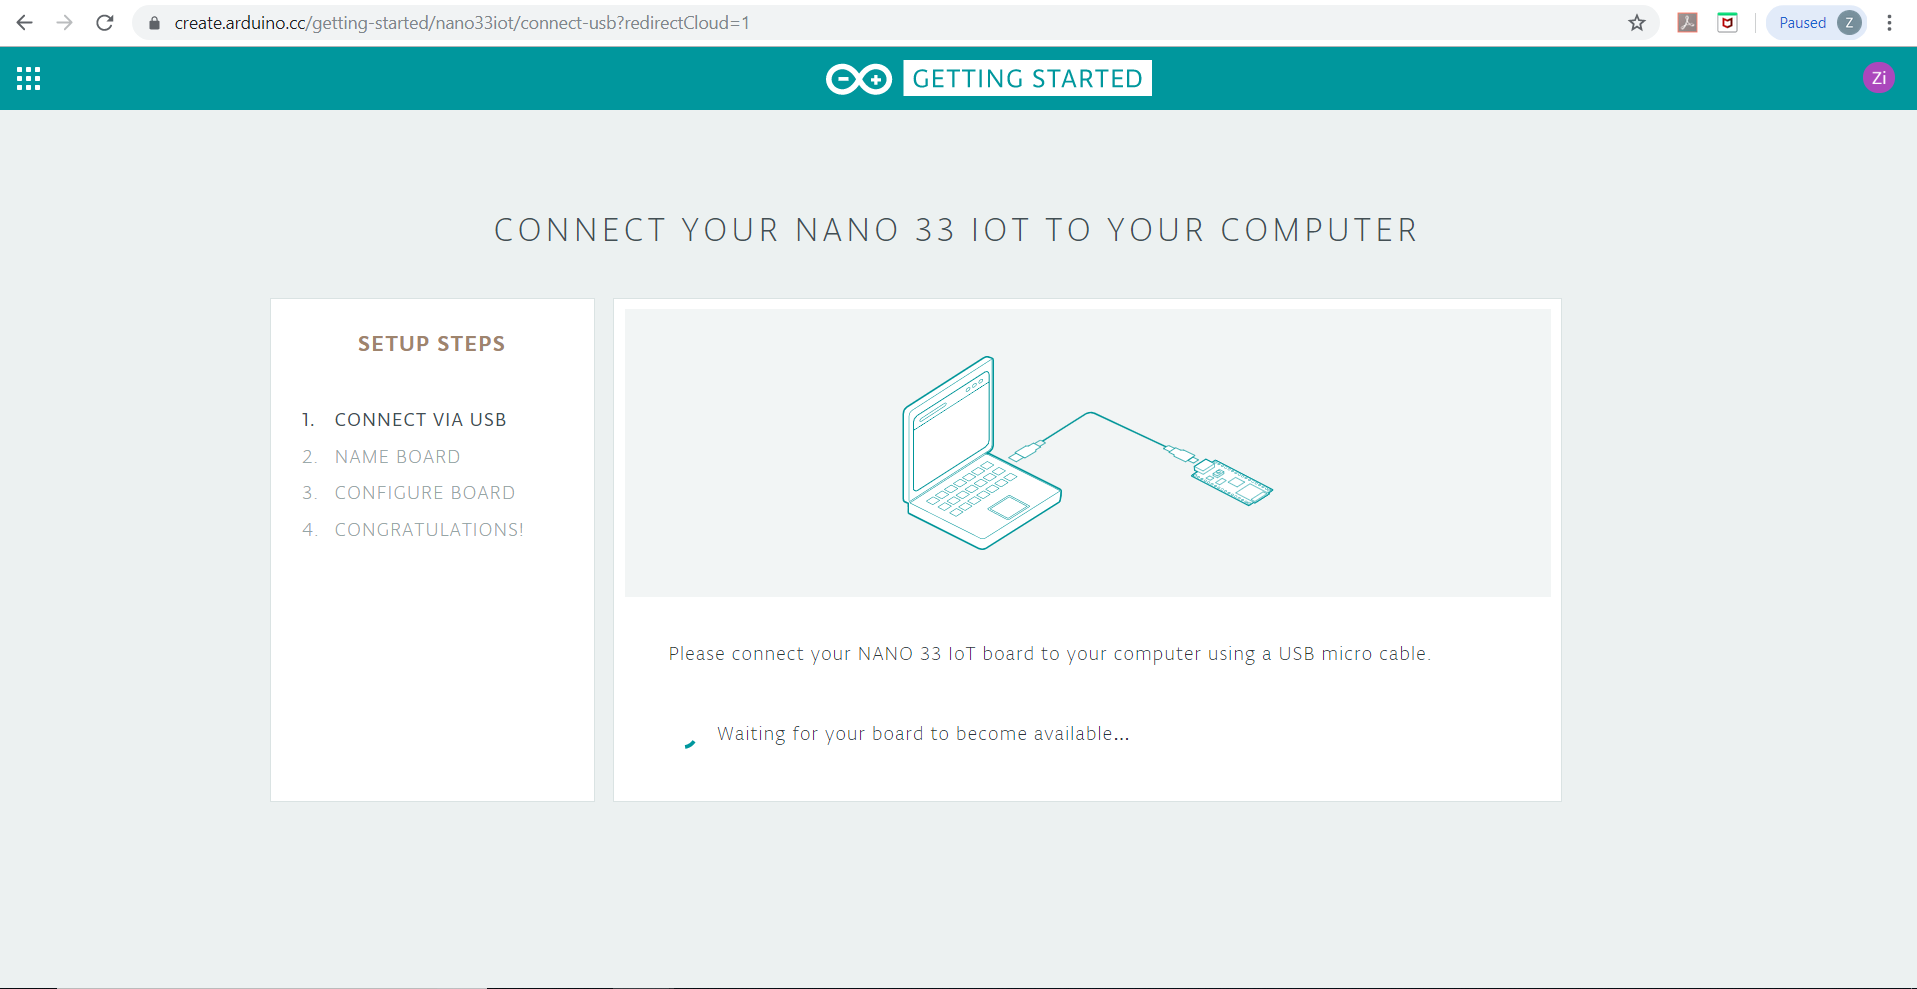
- Connect your board to your PC through USB.
- Select your board on the webpage and configure it so it could connect to your Arduino Cloud.
Create a "thing" and a "property" on the Cloud
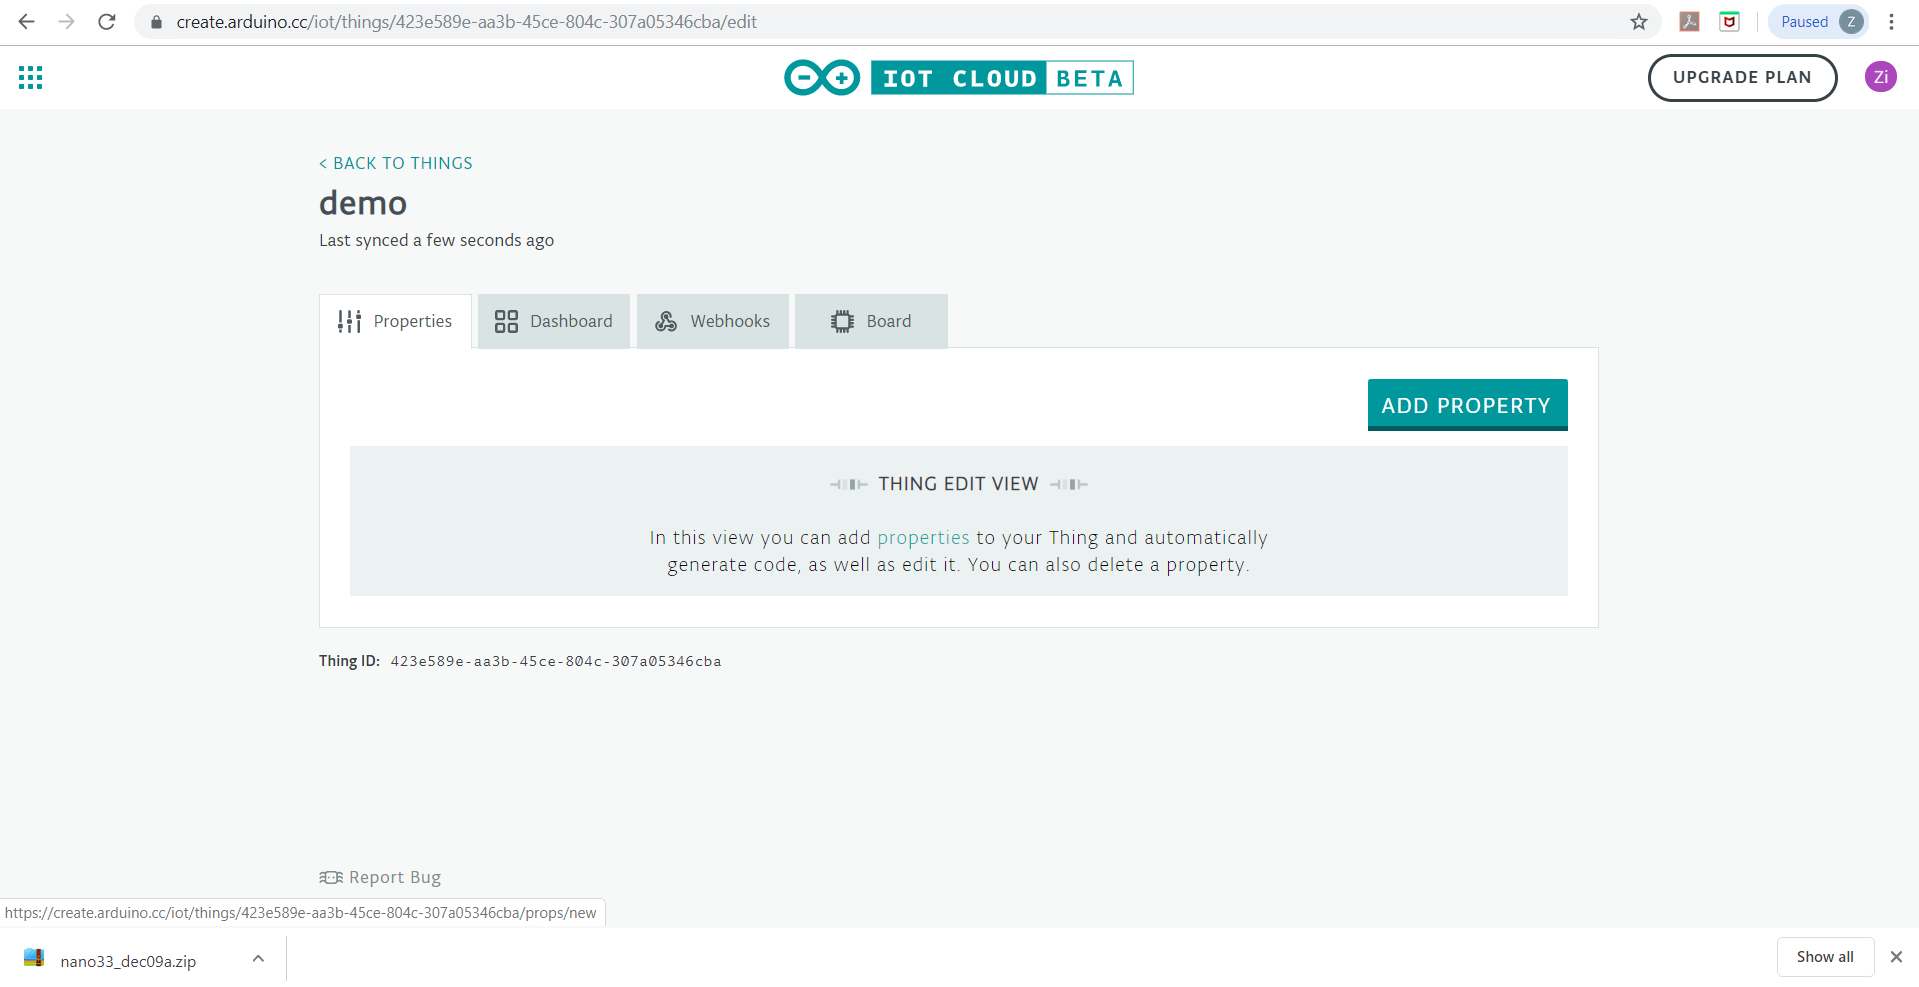
- After successfully configure your board, you would be able to create a "thing" on the cloud, give it a name you like.
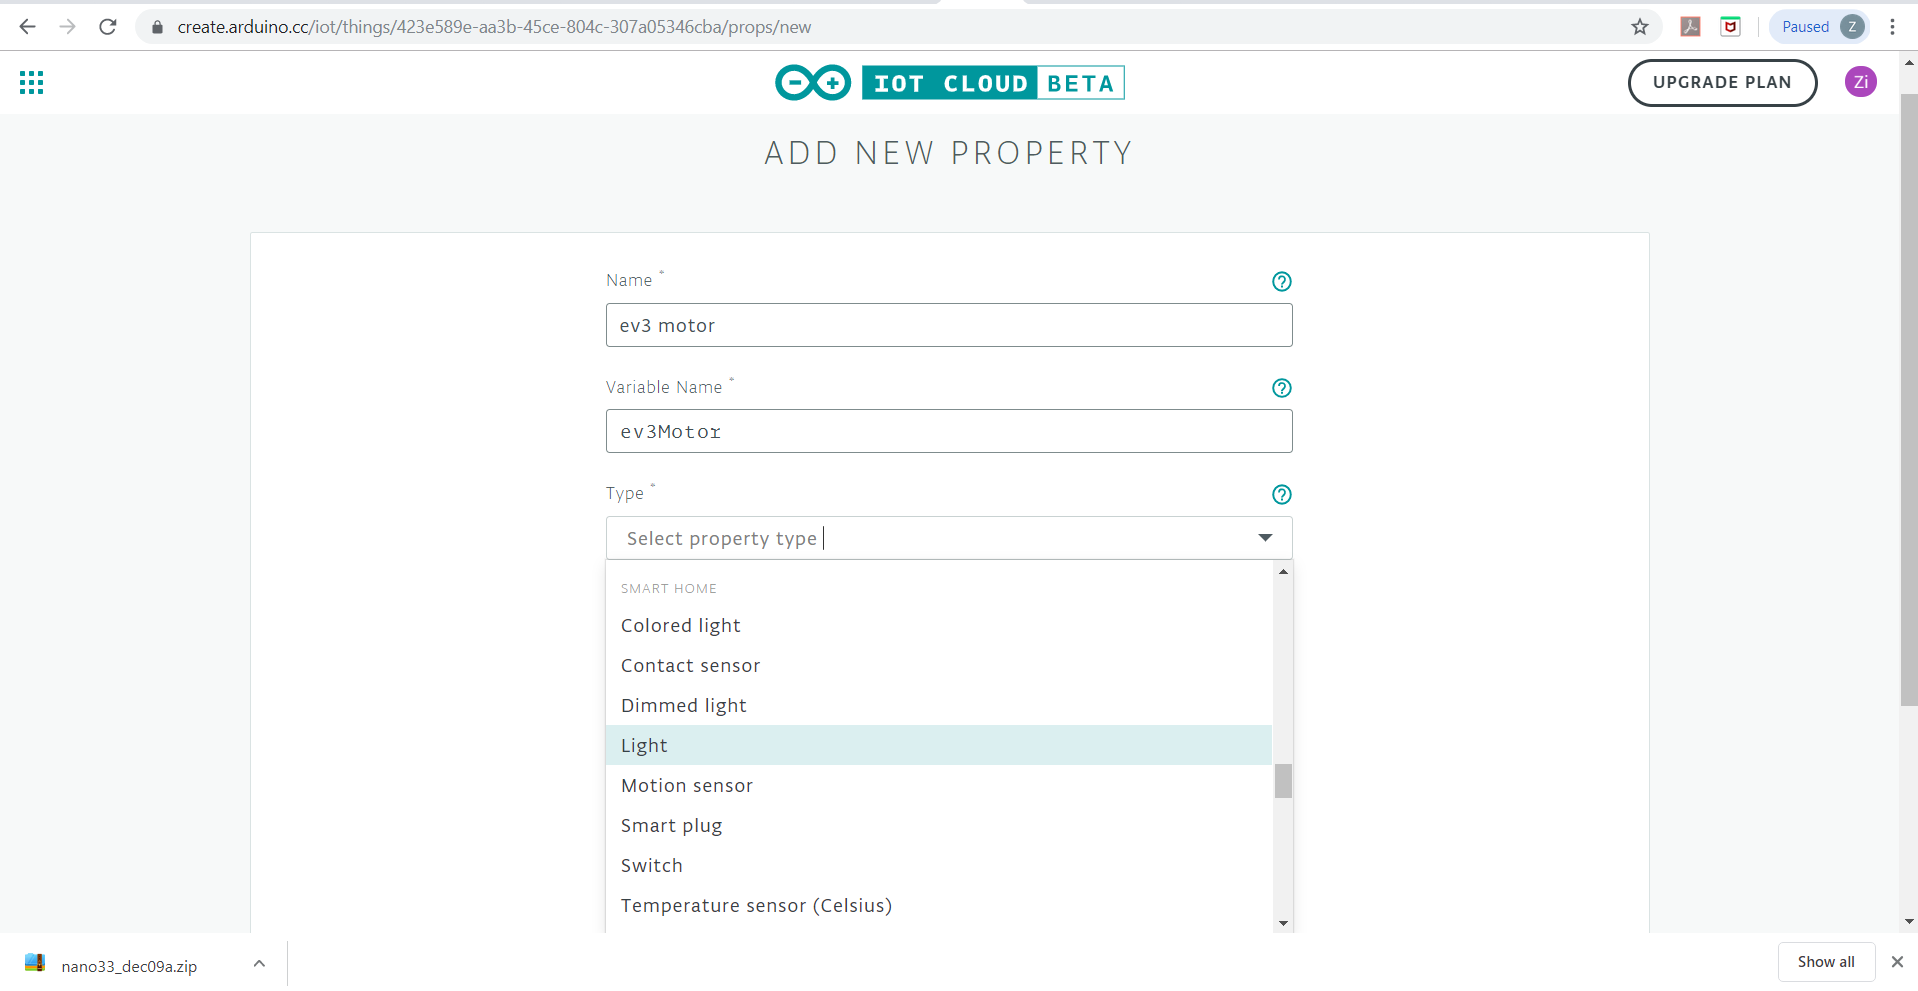
- Click "Add Property", in this tutorial, we use "ev3 motor" as the name(this name will be reflected in the variable name we'll use in the sketch and also relevant to the Alexa voice command we use to control it later). After that, select the type under the category of "Smart Home" so the Echo Dot could recognize it as a smart home device(We choose type "light" in this tutorial, which makes the property like a boolean variable so you could use voice commands to turn it on and off).
Programming Your Arduino Board
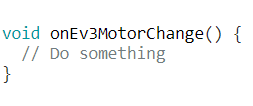
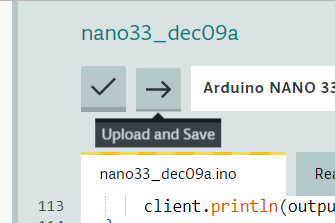
Now you could code your Arduino to talk to the EV3. Click "Edit Sketch", then you will find there are three functions in the sketch now. the "setup()" and "loop()" function are the same as those in a normal Arduino program. The “onEv3MotorChange()” is a function that relates to the property you just created. The code you write inside of this function would be triggered when value of the property "ev3 motor" changes and value of this property is stored in the variable "Ev3Motor". Here we already have the code of talking to the EV3 server and control a motor. We add a LED for better illustration and debugging, but it's not necessary. Download the code and copy it to your Arduino Cloud. Remember to replace the IP address to your own EV3's IP. After that, enter your WiFi information in the "secret" tab and click the arrow on top of the page to save and upload the code to your Arduino.
Build Up Connection Between Your Echo Dot and Arduino Board
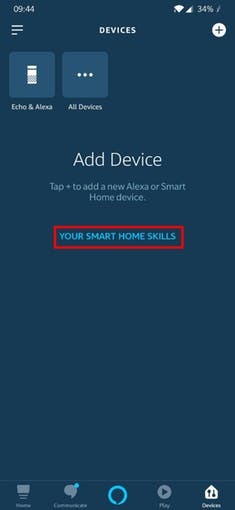
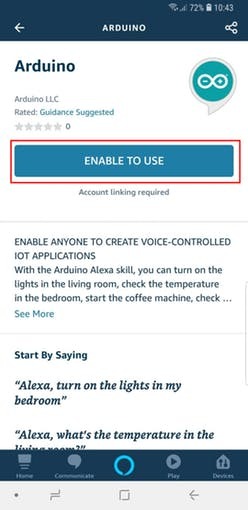
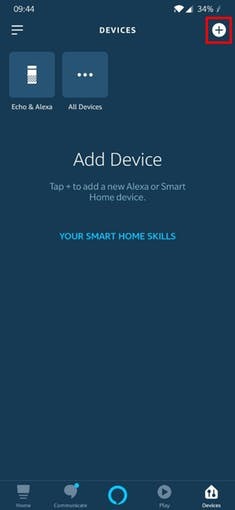
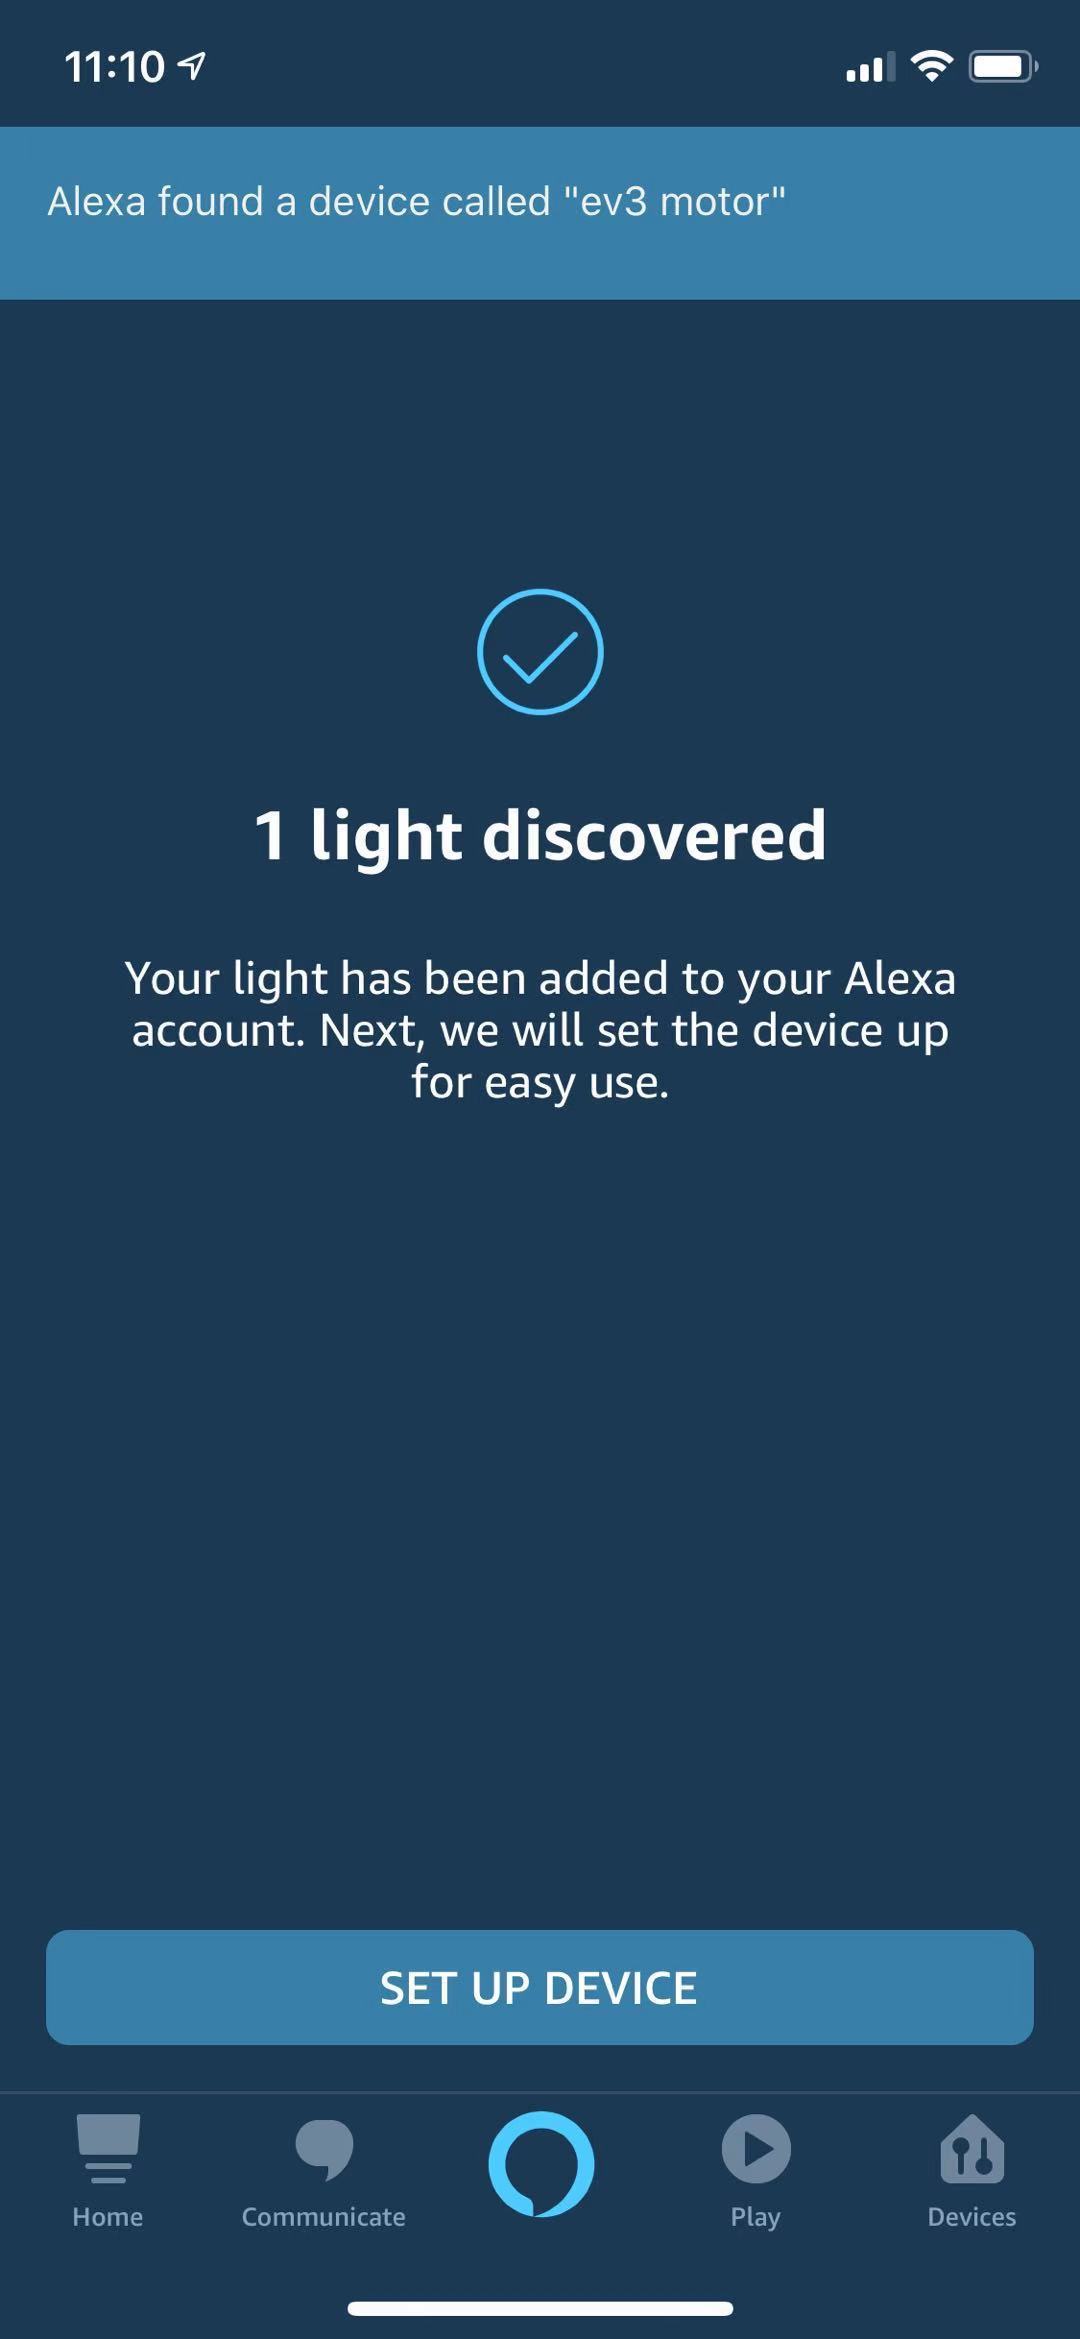
- Following this tutorial to set up your Echo Dot.
- Go to Devices (bottom right icon) and click on "YourSmartHomeSkills", and then on "EnableYourSmartHomeSkill".
- Search for the skill named as "Arduino", then enbale it and link your Arduino IoT Cloud account to it.
- Click the "+" sign on the top right of the screen. Tap on "AddDevice", then "Other "and "DiscoverDevices".
- Now you should be able to find your Arduino property in the app as a smart home device(If you chose the type of "Light", then the app would discover a light device).
- Click "Set up device", then your system should be ready to go! Now you have an Arduino property that is regarded as a light in Echo Dot. Try to say "Alexa, Turn on EV3 motor" and "Alexa Trun off EV3 motor" to control the motor.
Go to your Arduino Cloud, click "Dashboard", you would be able to see the status of your property changes as you give Alexa commands.
Custom Your Alexa Command
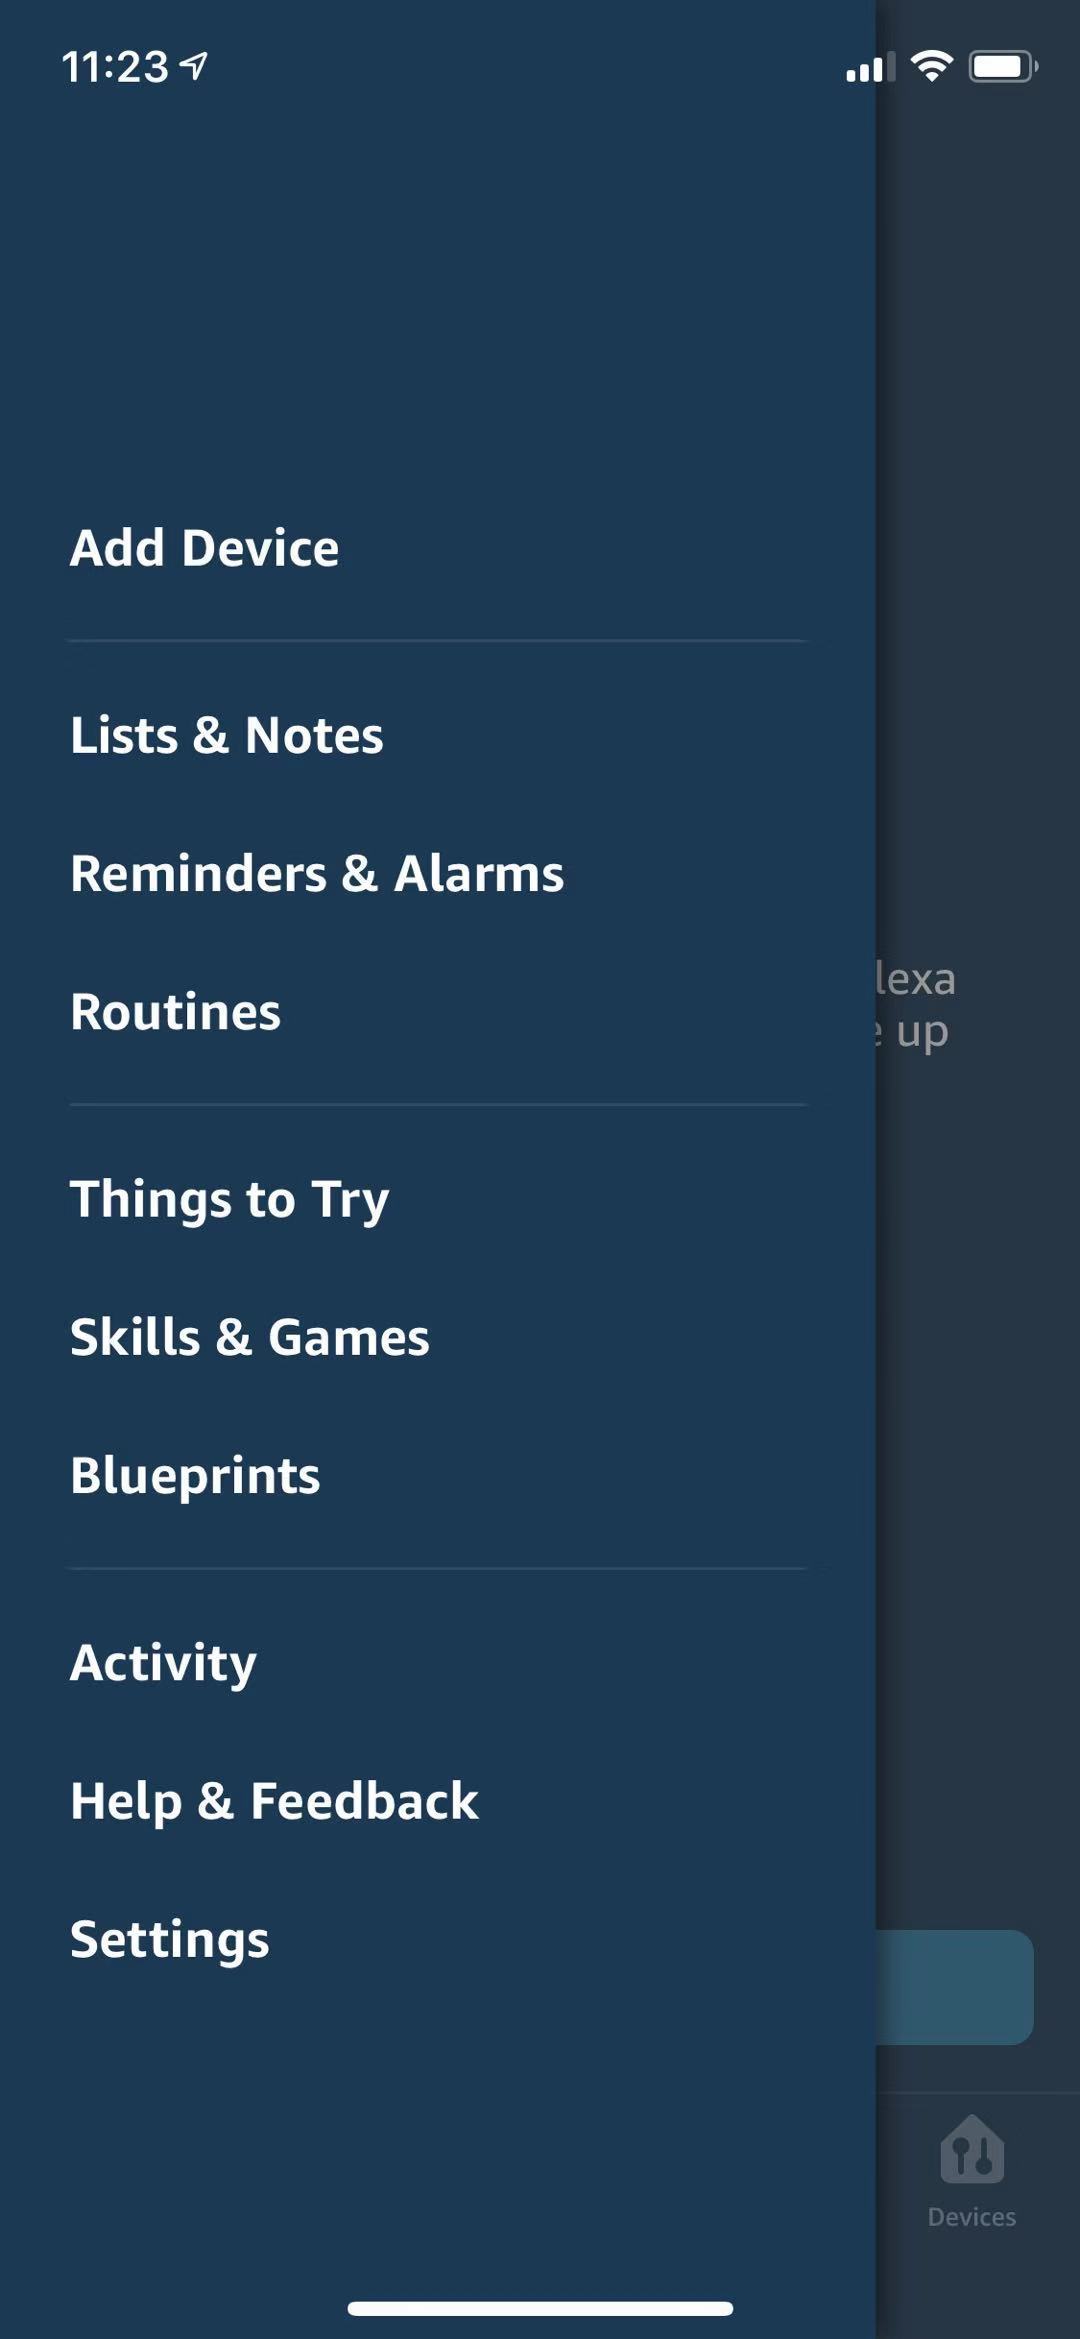
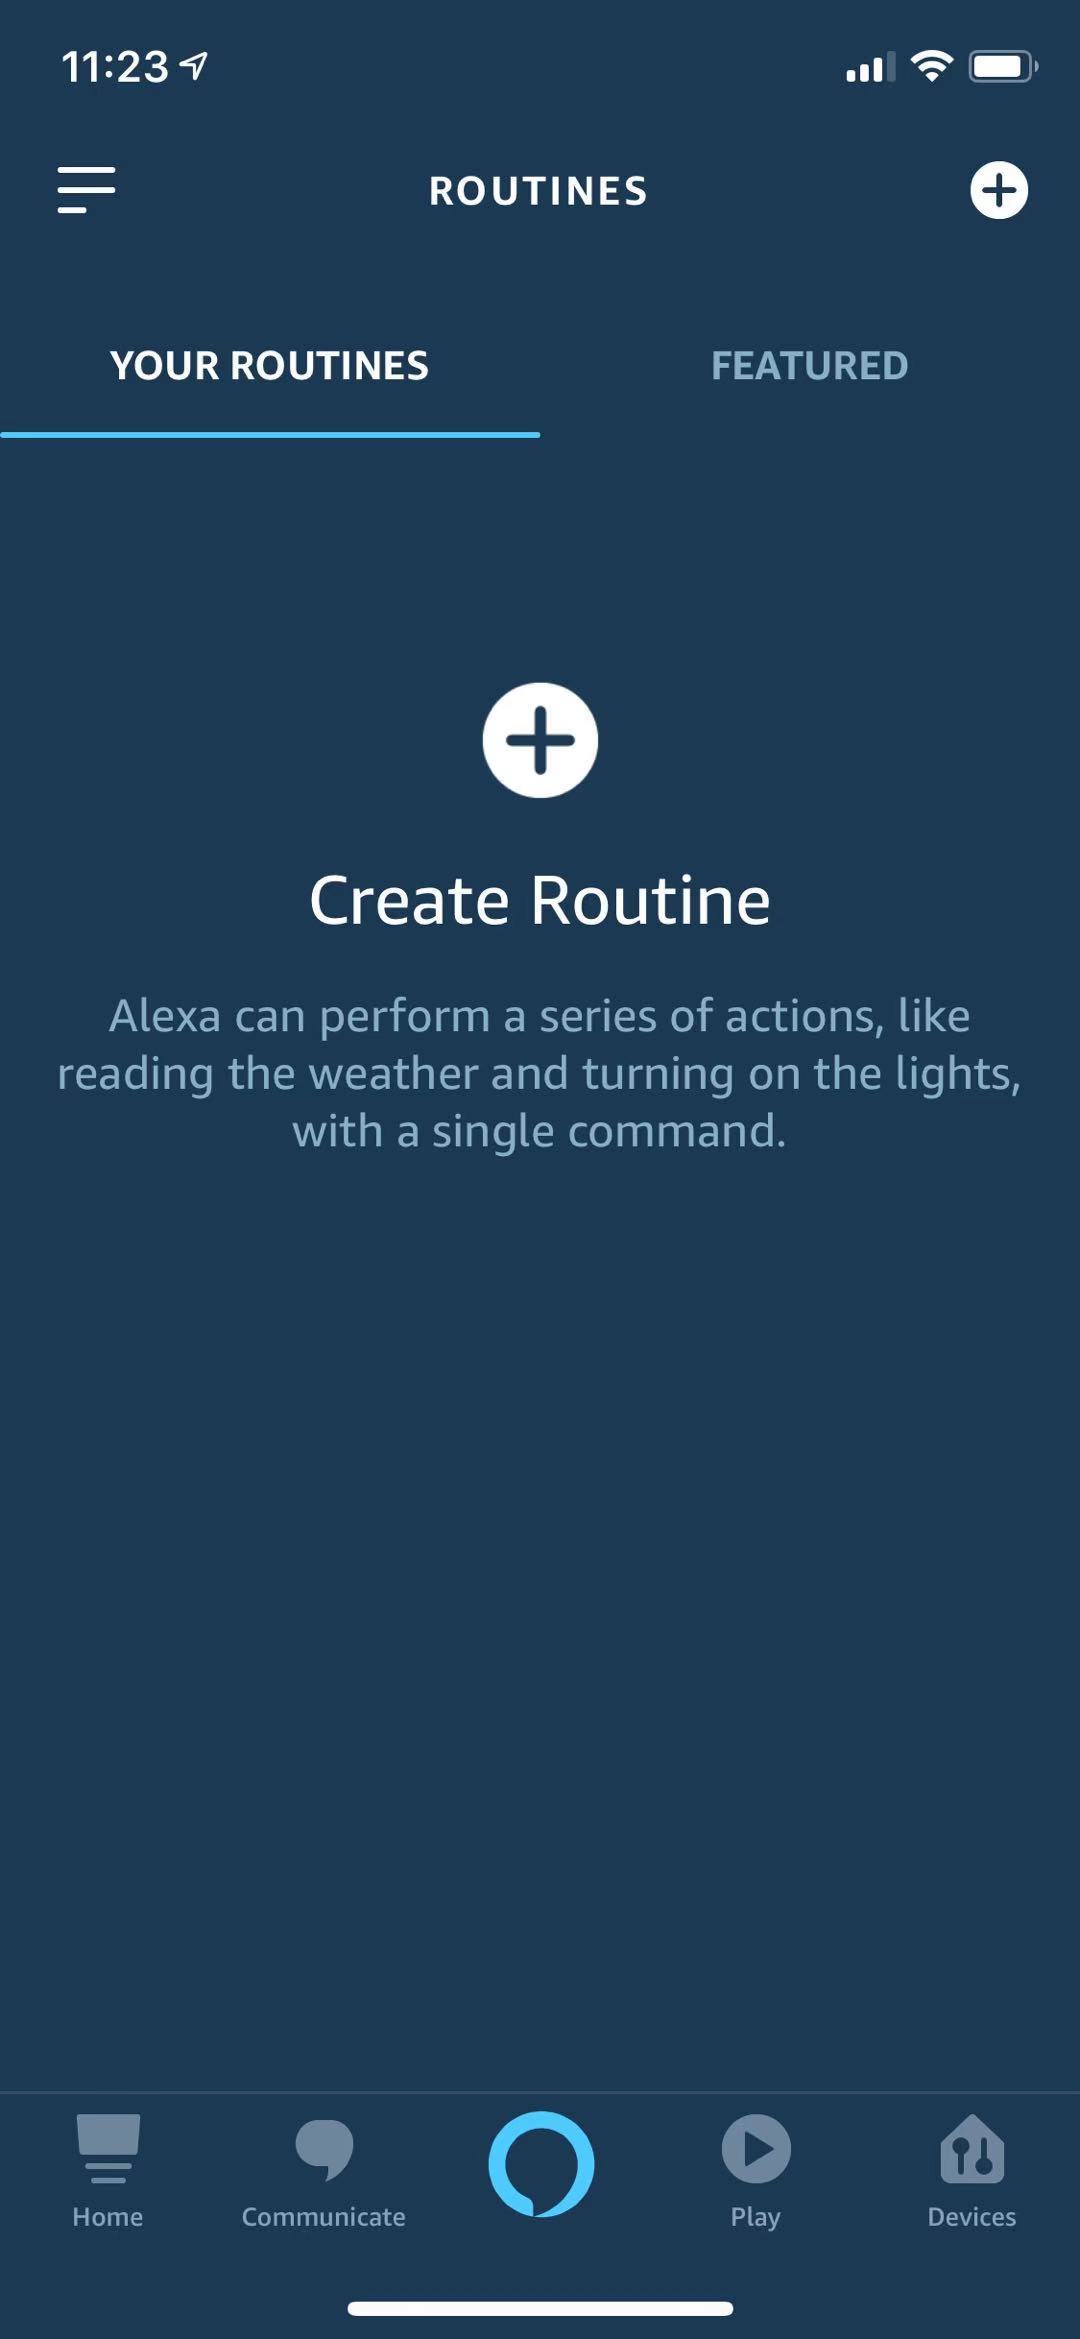
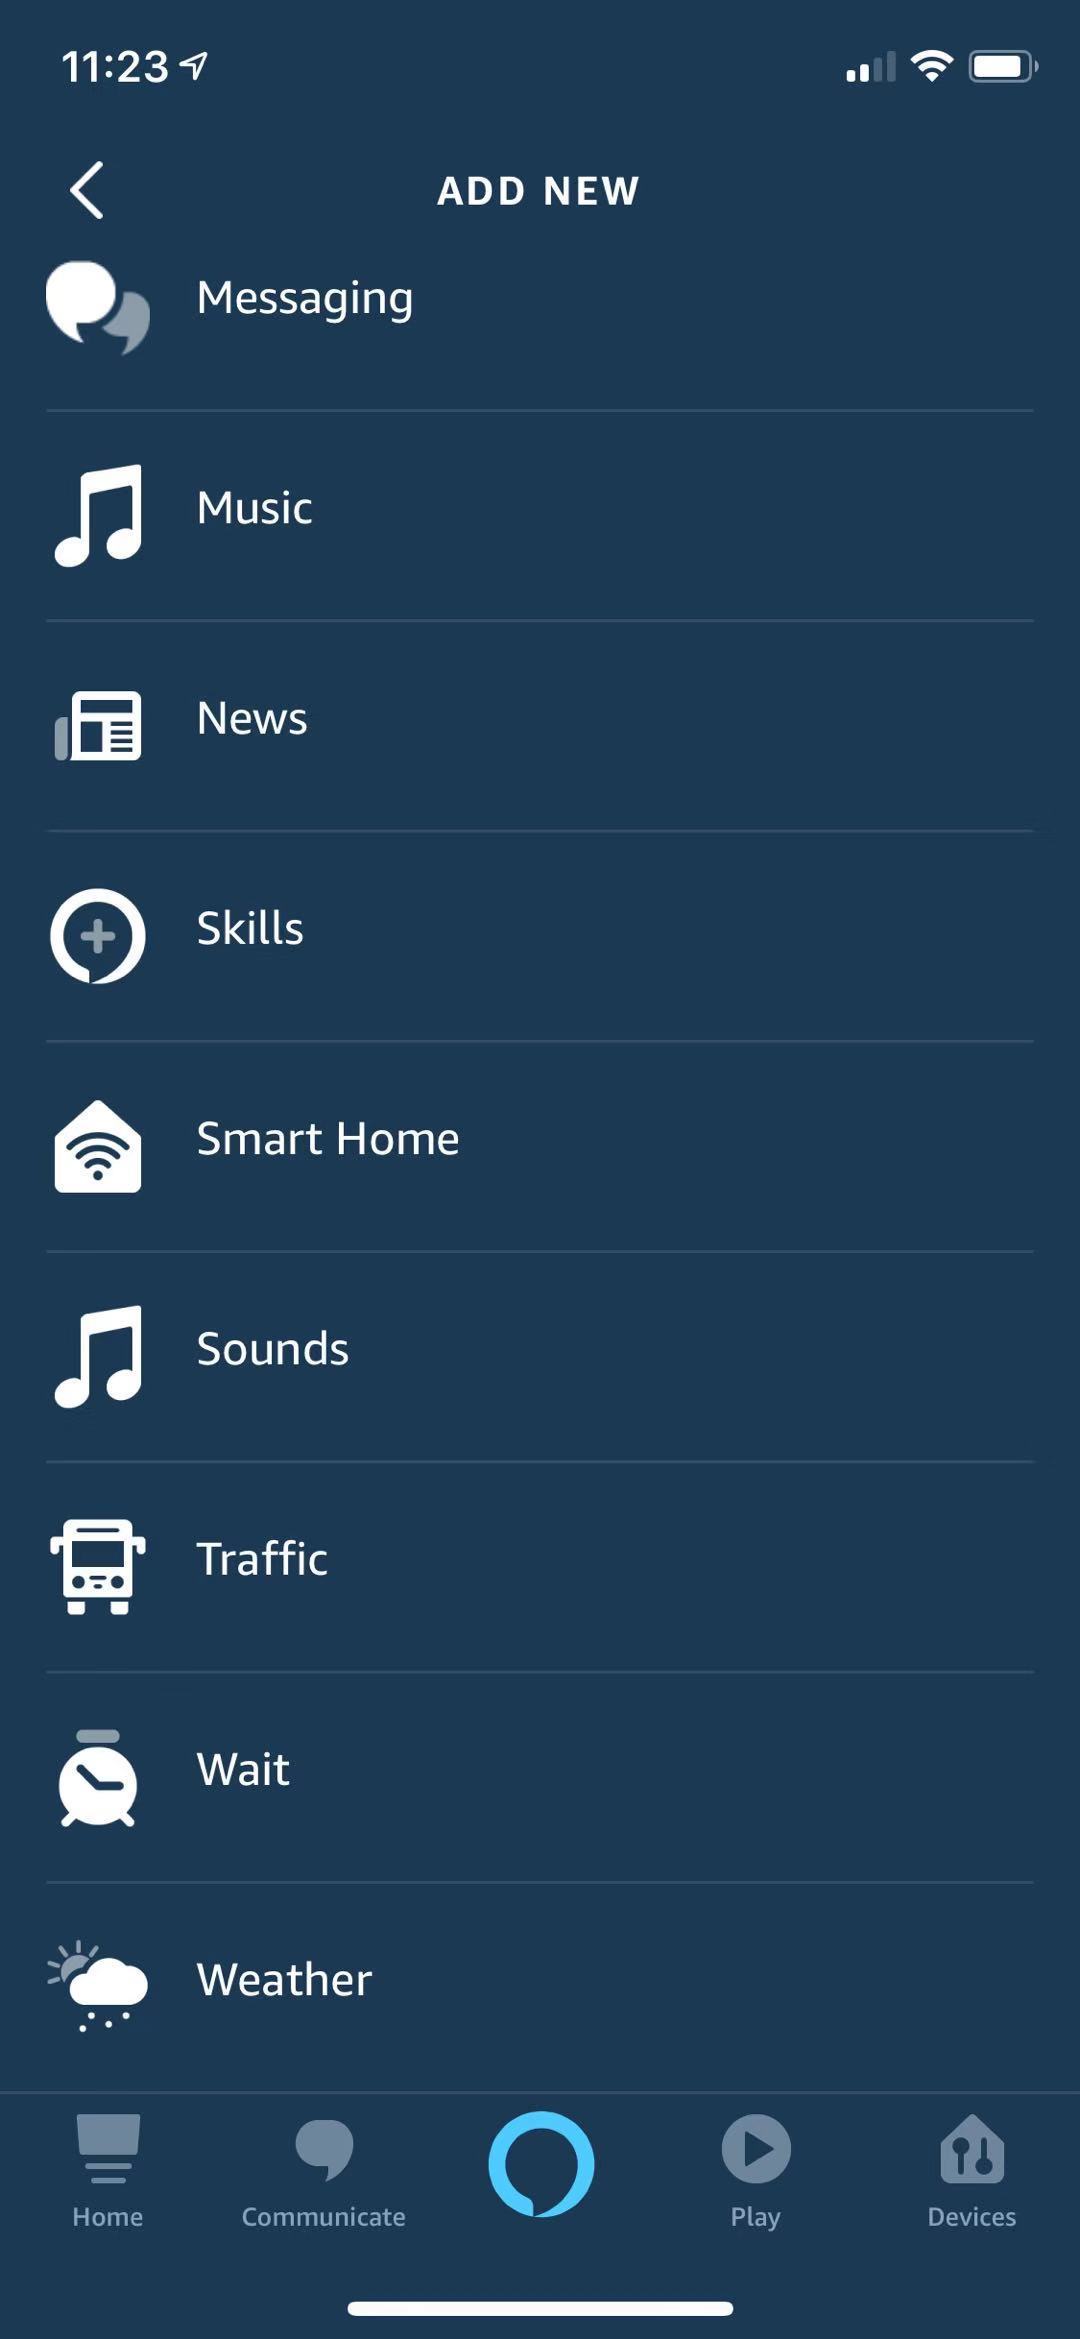
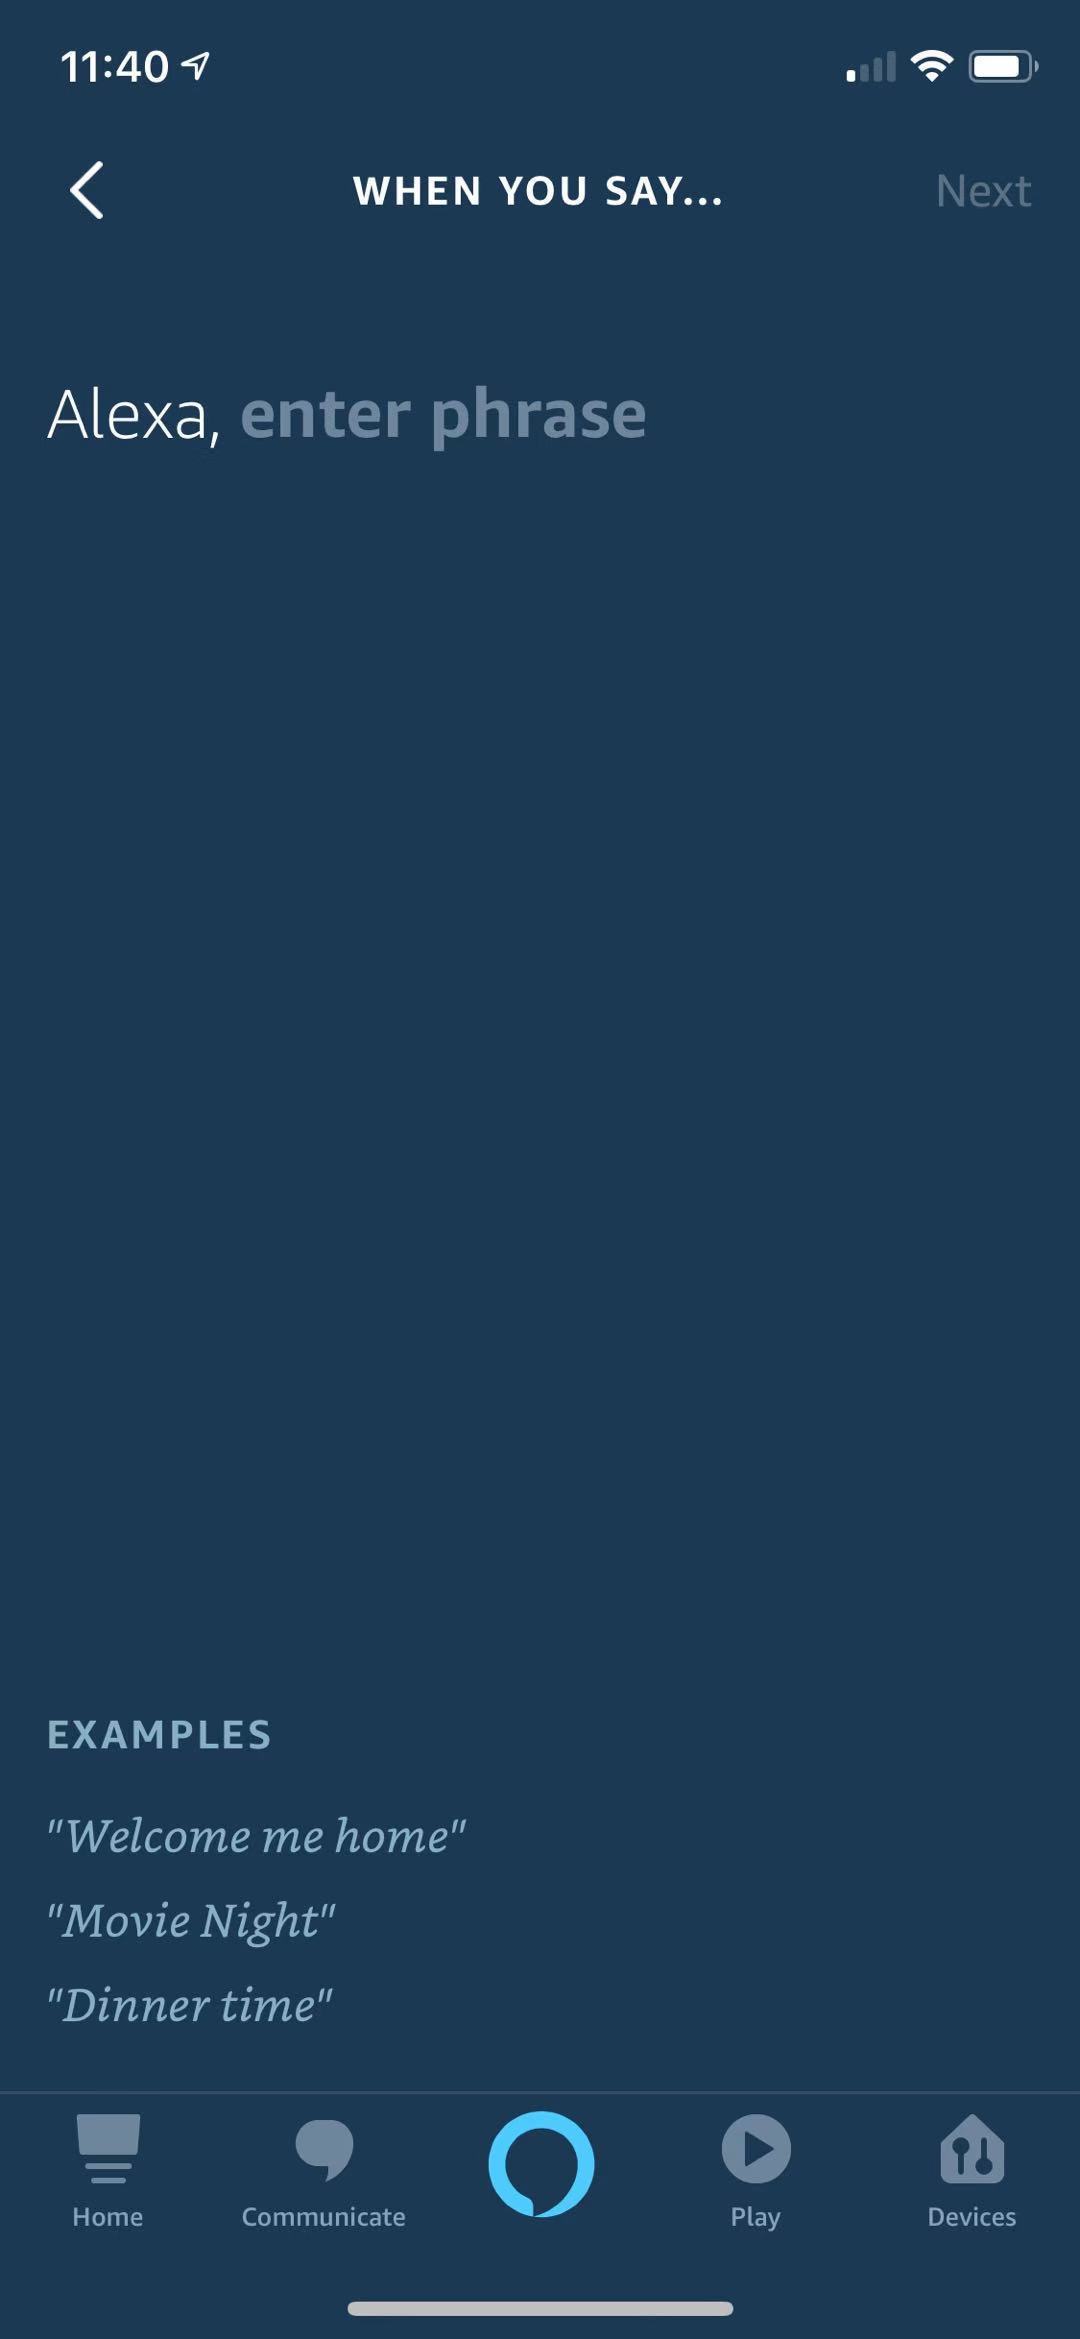
You might find "open" "turn on" are not ideal phrases for controlling a motor. So here we would teach you how to customize your commands.
- Click the icon on top left of the screen, tap on "Routines".
- Click "Create Routines".
- Enter a routine name, this has nothing to do with the Alexa command.
- Click "When this happens", tap on "Voice", then customize the command you want. You could also try to control the motor with other ways listed in "When this happens" page.
- Click "Add Action", find "Smart Home", then choose the device that corresponds to your Arduino property. Then you could choose what you would like the device to do when you say the customized command to Alexa.
Notice that you could add a sequence of actions of different devices in one routine , so try to create cool things with it! (maybe trigger the motor with an alarm)
Useful Links
If you still have some issues, please check these links.
Create a voice-controlled device with Alexa and Arduino IoT Cloud in 7 minutes
Arduino IoT Cloud Amazon Alexa Integration
Link of Olga's server documentation