Control Servomotor Using Potentiometer & Arduino Uno
by Technoesolution2020 in Circuits > Arduino
379 Views, 4 Favorites, 0 Comments
Control Servomotor Using Potentiometer & Arduino Uno

Hello Friends welcome back to Techno-E-Solution, In this Video I'll show you how to "Control Servomotor Using Potentiometer & Arduino". In robotics servomotor is essential there are many applications of servomotor in robotics. So in this tutorial we how to connect servomotor to Arduino & control it using potentiometer . How it works ? Basically when potentiometer increases gradually Arduino read it's value & send output to servomotor & servomotor rotates gradually like potentiometer. So without wasting any time let's get started.....
Follow Me On :-
| YOUTUBE | INSTAGRAM | FACEBOOK | INSTRUCTABLES | DAILYMOTION | HACKSTER |
If you like this project subscribe us on Youtube, So without wasting time Let's get started..............
Step 1: MATERIAL REQUIRED
To Make this project we need some components, I provide Best Buy Link of products :-
CIRCUIT DIAGRAM


Follow the circuit diagram for making connection.
Arduino To Servomotor Connection :-
5V - VCC
GND - GND
D11 - PWM
Arduino TO Potentiometer :-
5V - 1st Pin
A0 - 2nd Pin
GND - GND
Next PCB
NextPCB is a high-quality PCB Manufacturer. With professional PCB manufacturing capabilities, our PCB engineers with more than 10 years of experience will double-check your engineering files.
NextPCB is certified by IATF16949, ISO9001, ISO14001, UL, CQC, RoHS and REACH; more importantly, we handle the whole process including the PCB prototype, PCB manufacturing, PCB assembly, testing, and final shipment. We are capable of assembling BGA, Micro-BGA, QFN, and other leadless package parts. We also have an online parts shop, you can choose any parts you need.
If you want a Printed circuit board go through the NEXT PCB
ARDUINO CODE

Copy following code & Upload to arduino.
// Hello friends welcome to "TECHNO-E-SOLUTION"
// Here is a code for control servomotor using Potentiometer


#include <Servo.h>

Servo myservo;

int potpin = 0;  // analog pin used to connect the potentiometer
int val;    // variable to read the value from the analog pin

void setup() {
  myservo.attach(11);  // attaches the servo on pin 9 to the servo object
}

void loop() {
  val = analogRead(potpin);
  val = map(val, 0, 1023, 0, 180);
  myservo.write(val);
  delay(15);
}
DEMONSTRATION
If you like this Video Do subscribe for my latest project.....
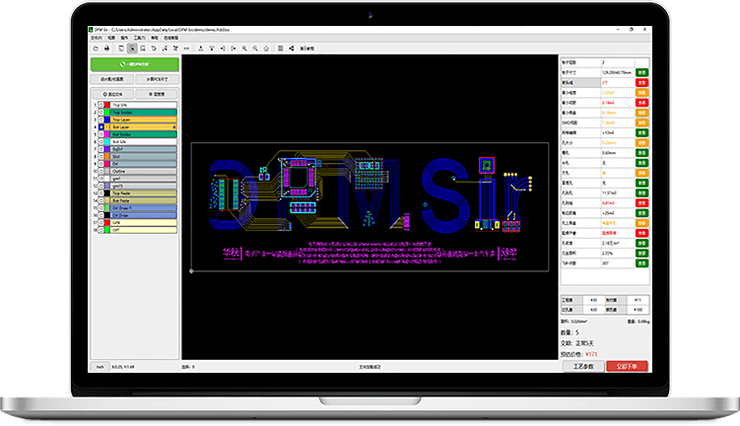
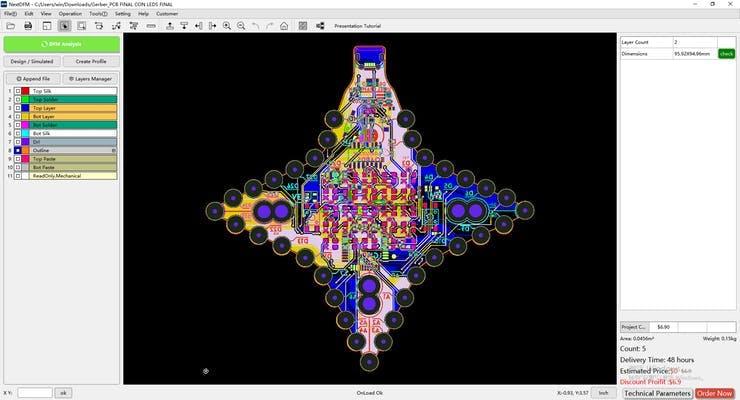
NextDFM Software From NextPCB


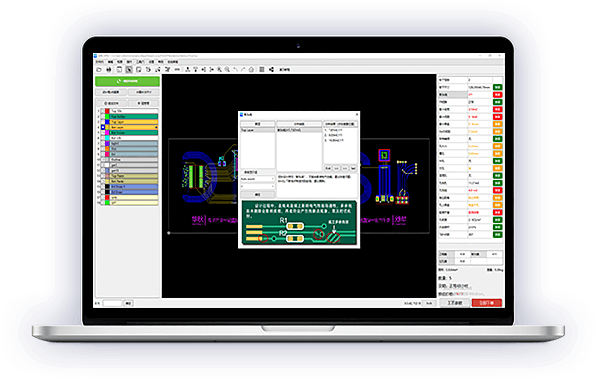
A PCB Design Problems Detector, An Engineering Solution Provider Import the Gerber file with one click. No need for complicated file reading steps to review easily and improve efficiency.
Download Software Help you quickly familiarize DFM design specifications and production needs to determine whether there are any manufacturing constraints
Features
Make PCB design more standard Prevent the quality flaw Impedance calculation function and lamination automation Automatically generate the best puzzle CAM350 free alternative version Check Gerber files anytime, anywhere and parse it with one click Instate Quote and evaluate delivery time Reduce cost and improve benefit these are advantage comparing to Eagle and Altium