Control Led Via Browser || Nodemcu Mini D1 R1 || HTML || CSS || Wemos D1 R1
by vishalsoniindia in Circuits > Arduino
4474 Views, 7 Favorites, 0 Comments
Control Led Via Browser || Nodemcu Mini D1 R1 || HTML || CSS || Wemos D1 R1

..............
This is the school or college project which you can build from home with this simple project, you can build it at home and submit it to school or college to show teacher what you have did at home. This
Is planned to have been done from home before our daily lives were changed and also it make you creative.
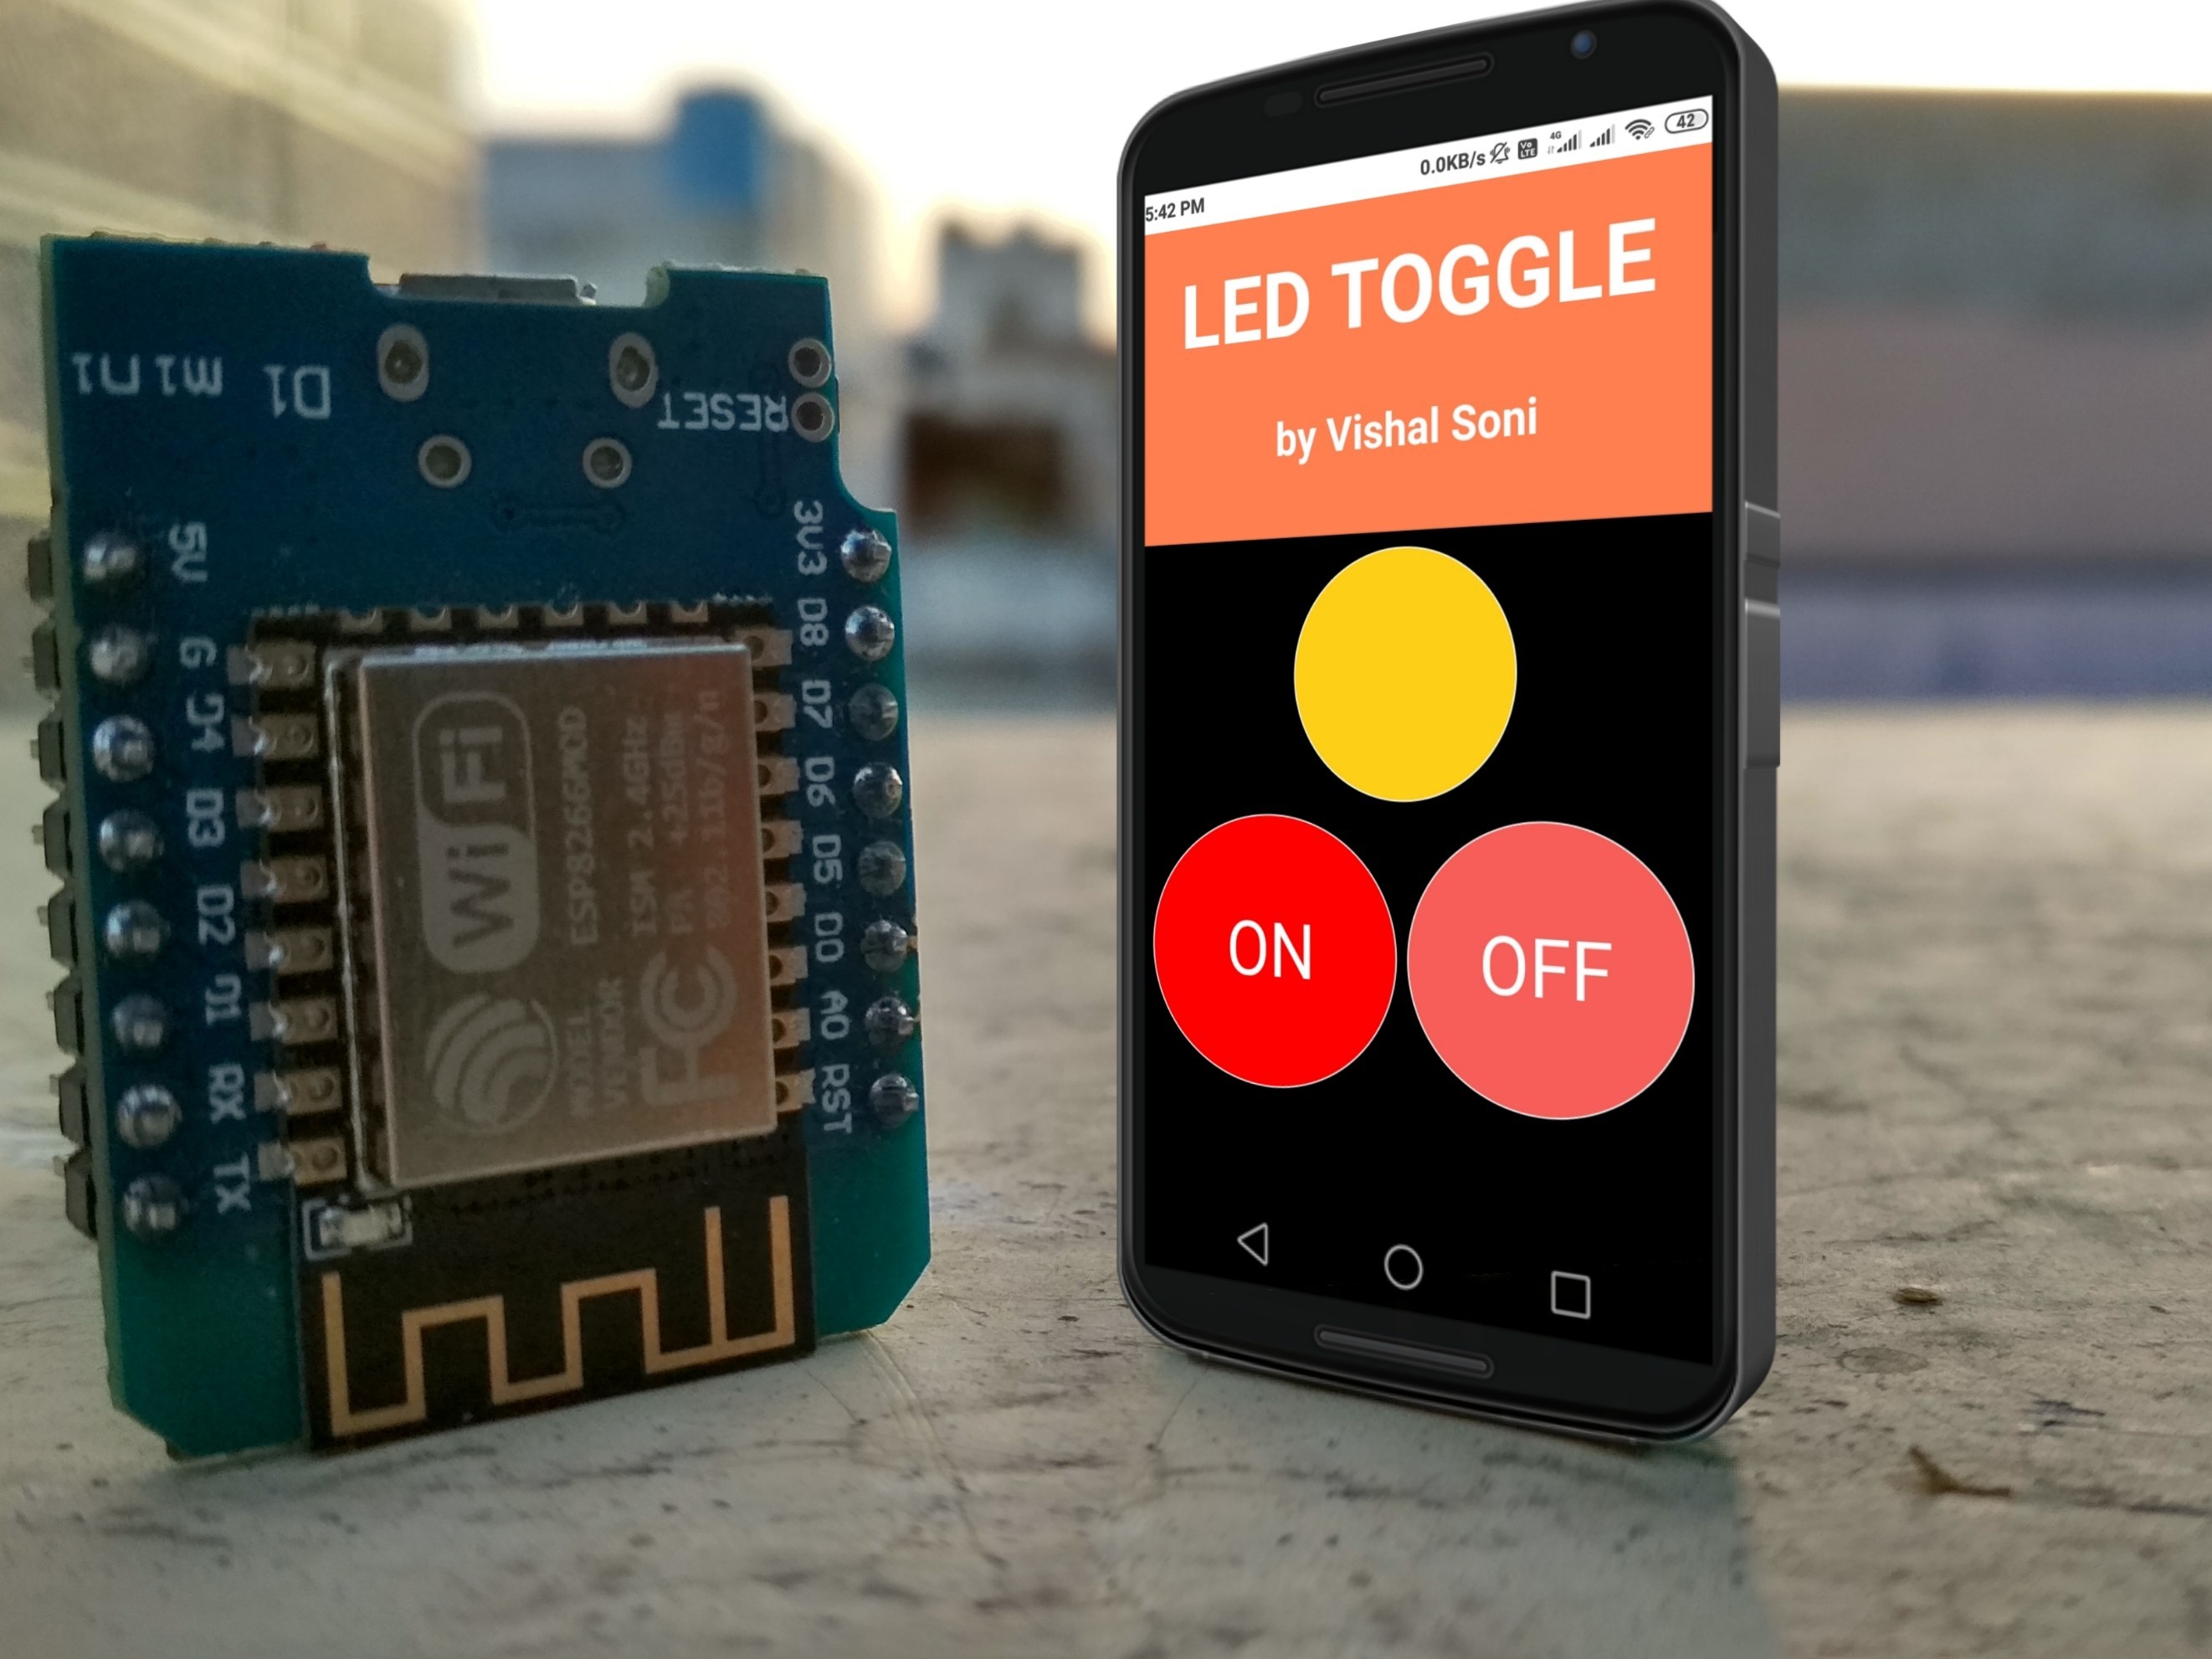
In this tutorial We will control LED via Browser , So you can control any device after adding some Relays.
here We are using ESP8266 or MINI NodeMcu.
it will send some HTML and CSS script on client so you can see user interface in browser.
By the way, subscribe to my YouTube channel for more projects like this. I also update my upcoming projects on Instagram.
buy me a coffee! ☕: Donate
..............
Supplies
Arduino Uno (amazon.com / amazon.in)
OTG Adapter (amazon.com / amazon.in)
D1 Mini Node MCU (amazon.com / amazon.in)
Breadboard (amazon.com / amazon.in)
16x2 LCD (amazon.com / amazon.in)
HC-05 Bluetooth Module (amazon.com / amazon.in)
Begin With NodeMcu
If You are New with Wemos D1 R1 or mini NodeMcu then Follow the tutorial, link given below.
- Where you can learn How to install Driver for mini nodemcu.
- How to Install board in Arduino IDE.
- How to upload First blink Code in NodeMcu.
Instructable Link :- https://www.instructables.com/id/Nodemcu-Mini-D1-R...
Youtube link :-
Download Folder
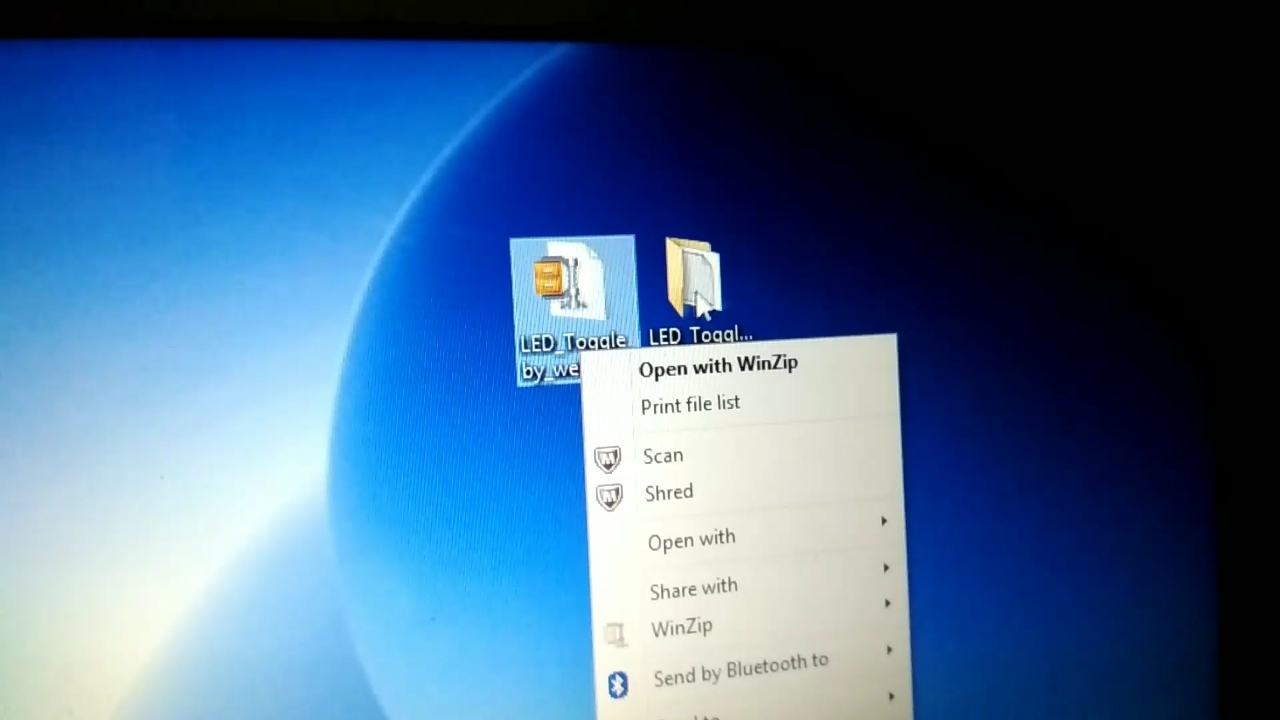
- Download the folder given below and extract it.
___________________
Git hub : https://codeload.github.com/vishalsoniindia/Contro...
drive:
___________________
Understand Built in LED
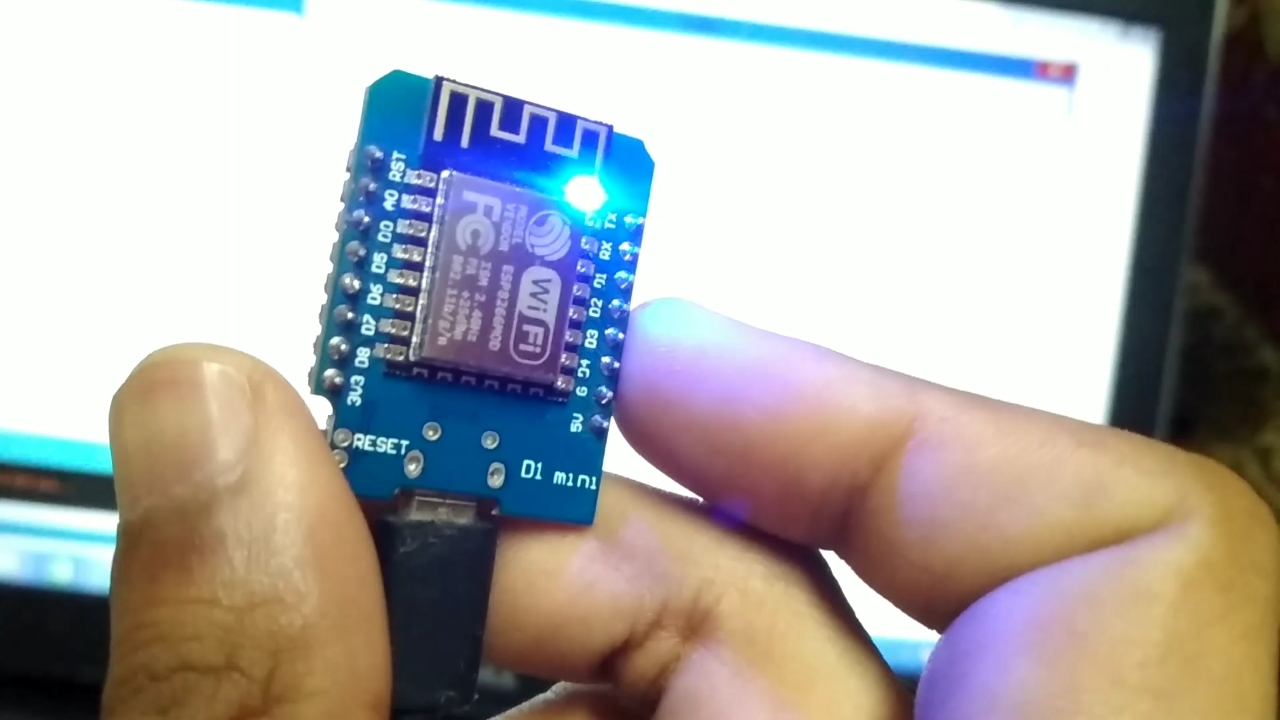
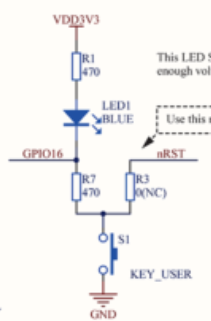
As you can see in image the built in LED is Connected to VCC with resistor and GND terminal is connected with ESP8266 .
So it will work in reverse , whenever we turn pin to HIGH the led will be off.
Whenever We turn pin to LOW, led will ON.
Upload Code Based on HTML
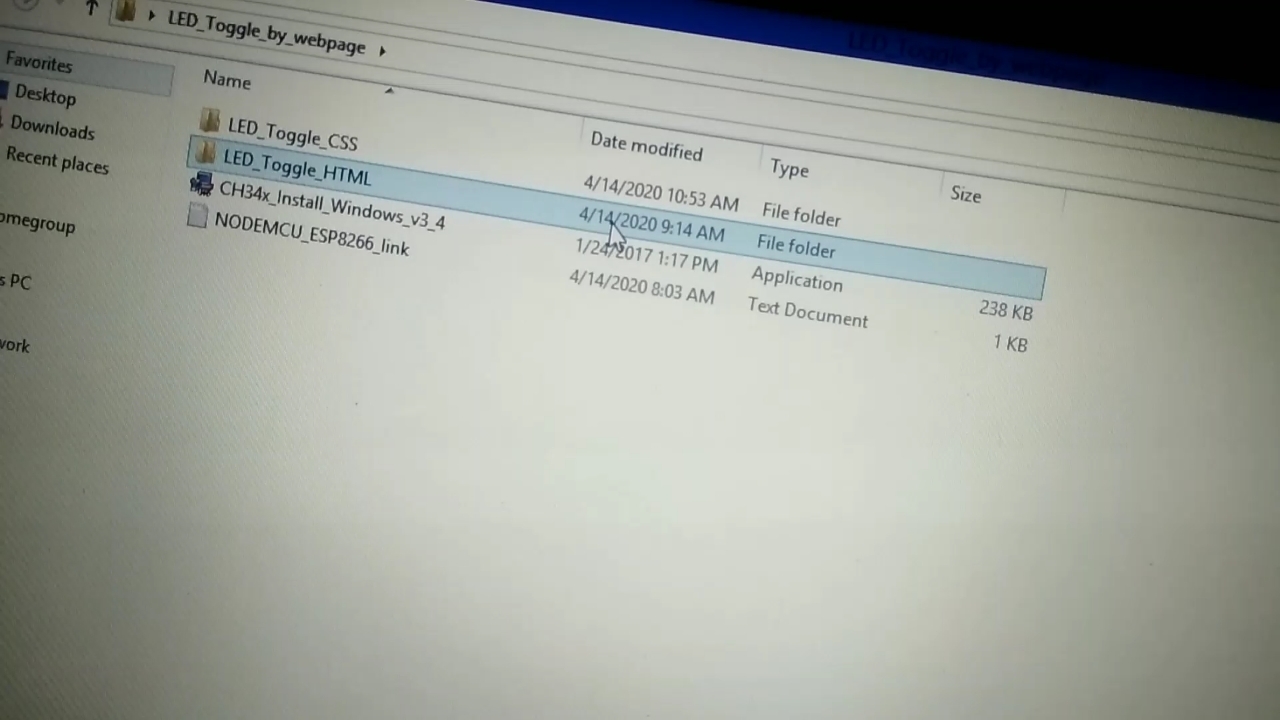
- Go to the downloaded Folder.
- find code "LED_toggle_HTML".
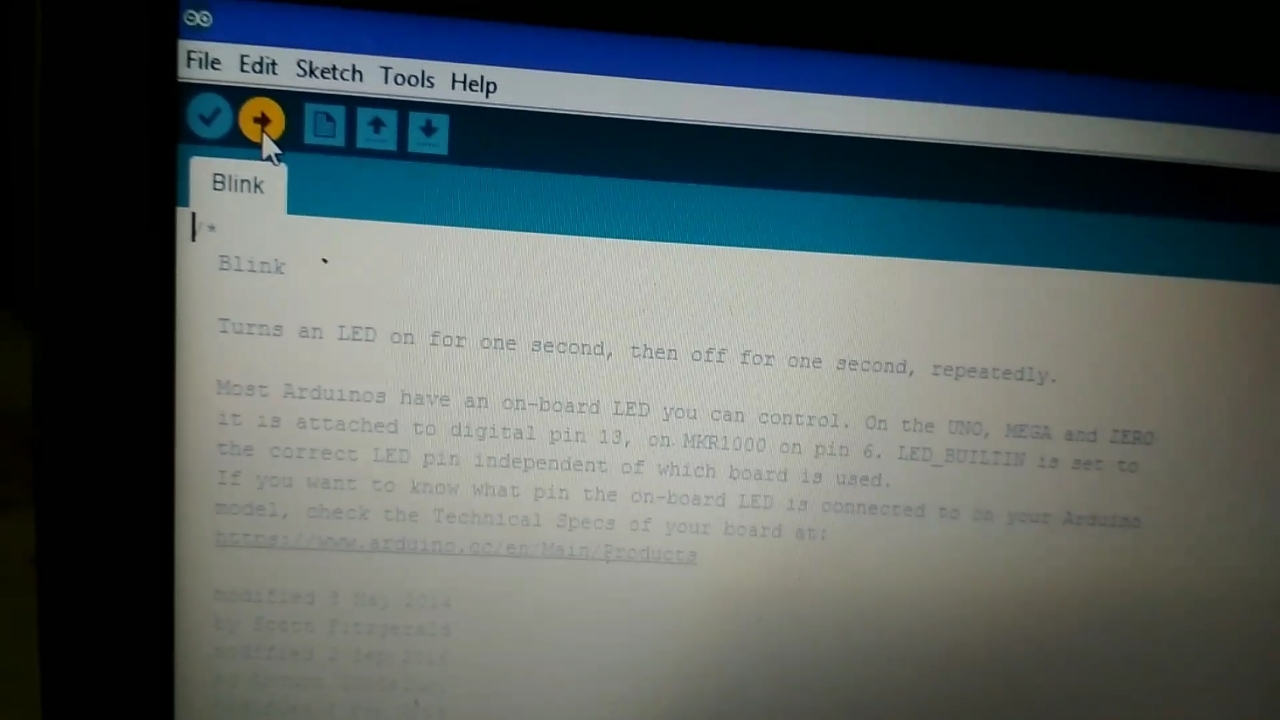
- Open the code in arduino ide.
- Select Correct board which is "Wemos D1 R1" and correct Port.
- Now upload the code.
See the IP
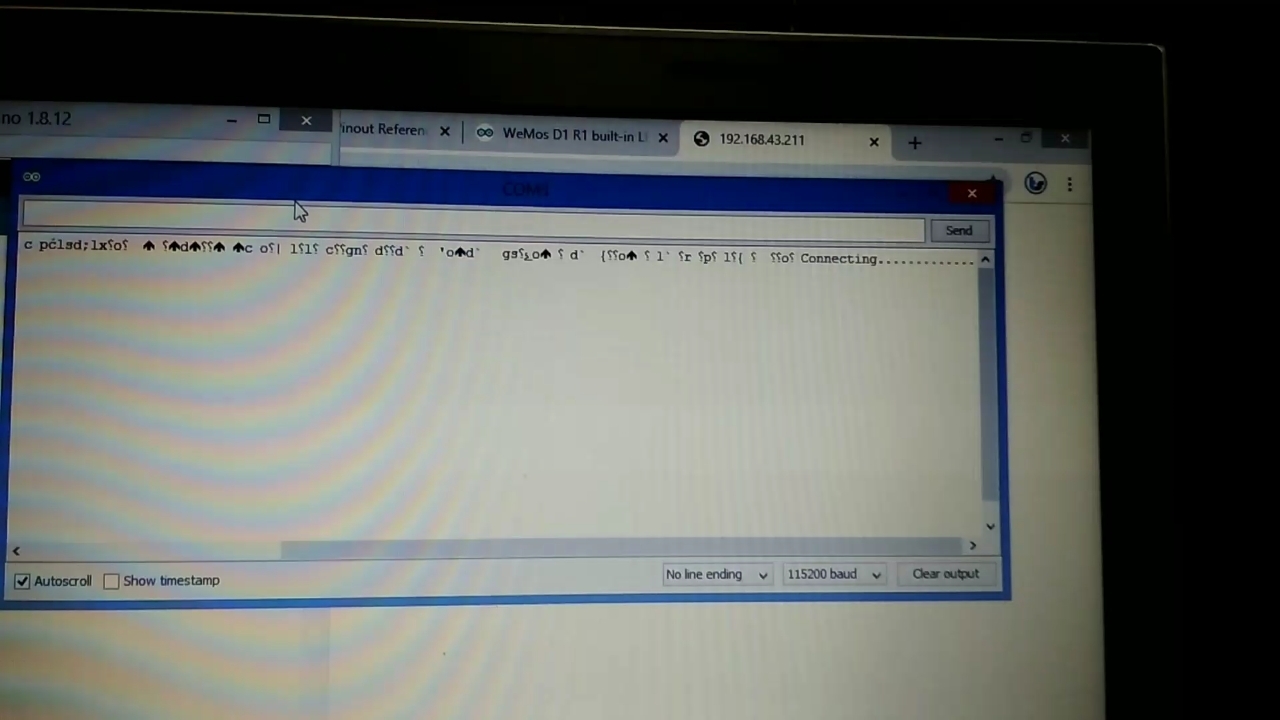
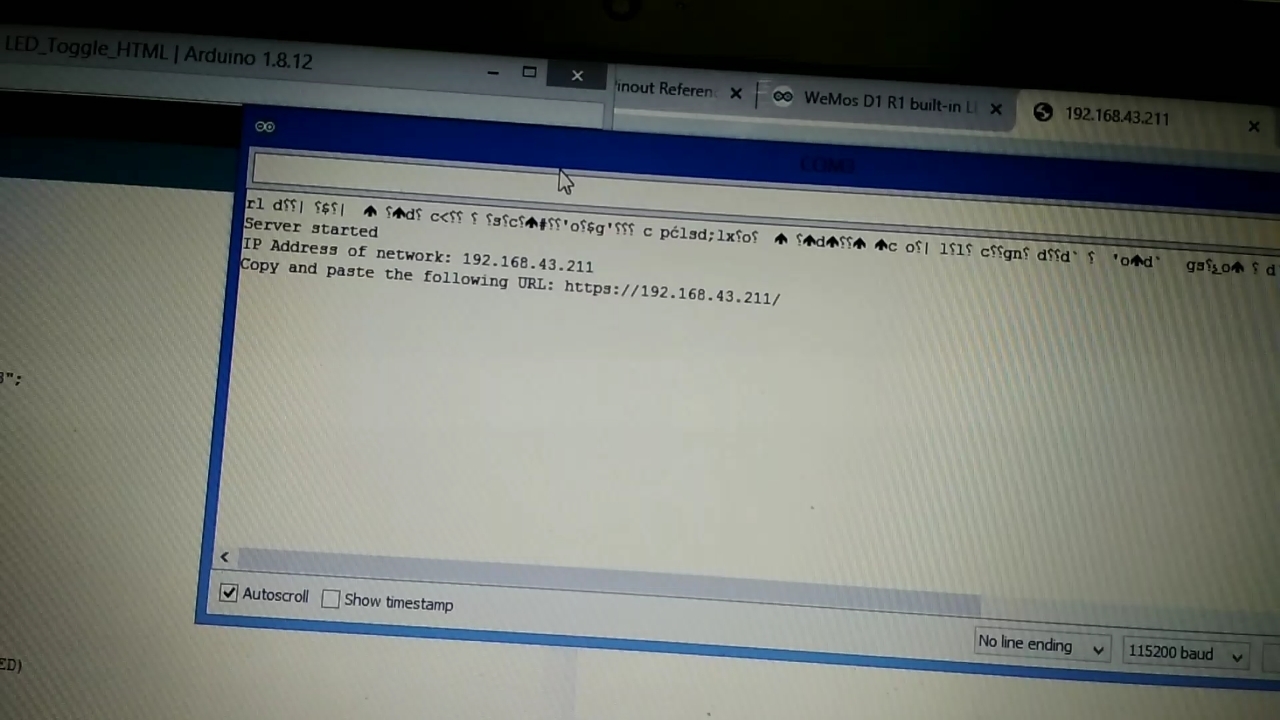
NOTE:- No need to see IP every time , it is only one time process.
- Open Serial Monitor.
- Press reset Button in NodeMcu.
- You will see Connecting.........
- After Stable connection it will show IP address.
Control Via Device
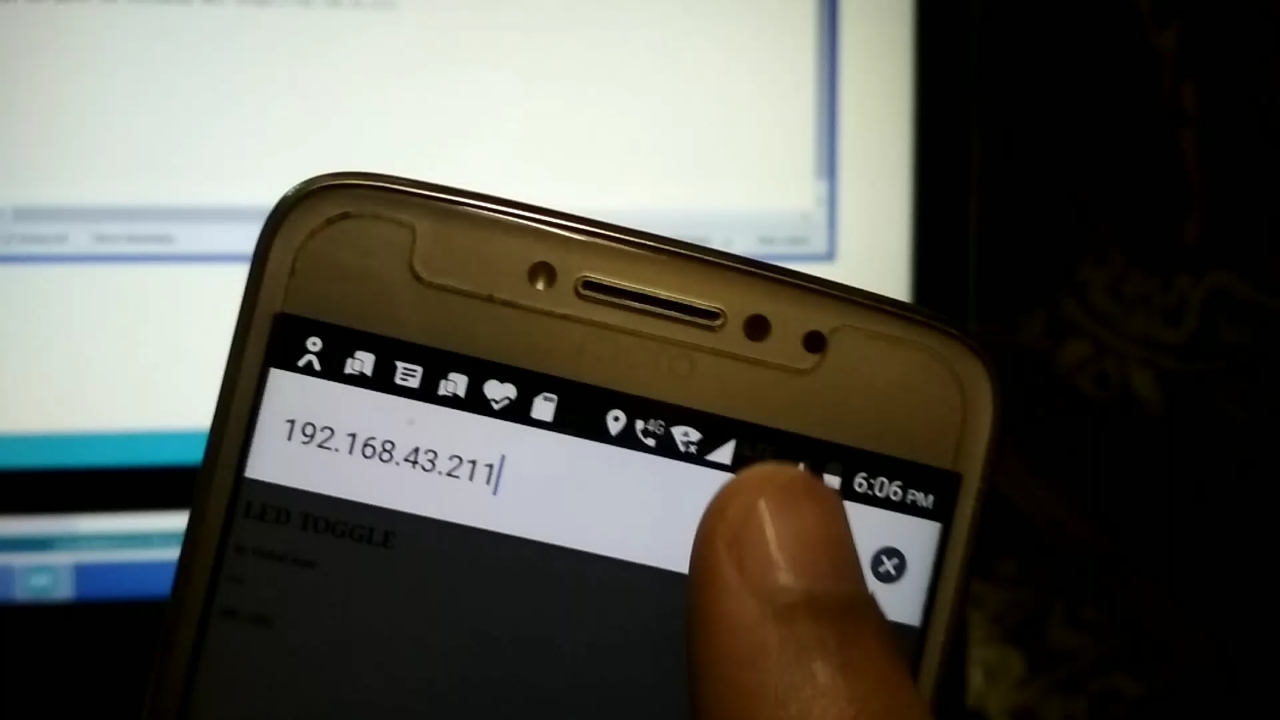
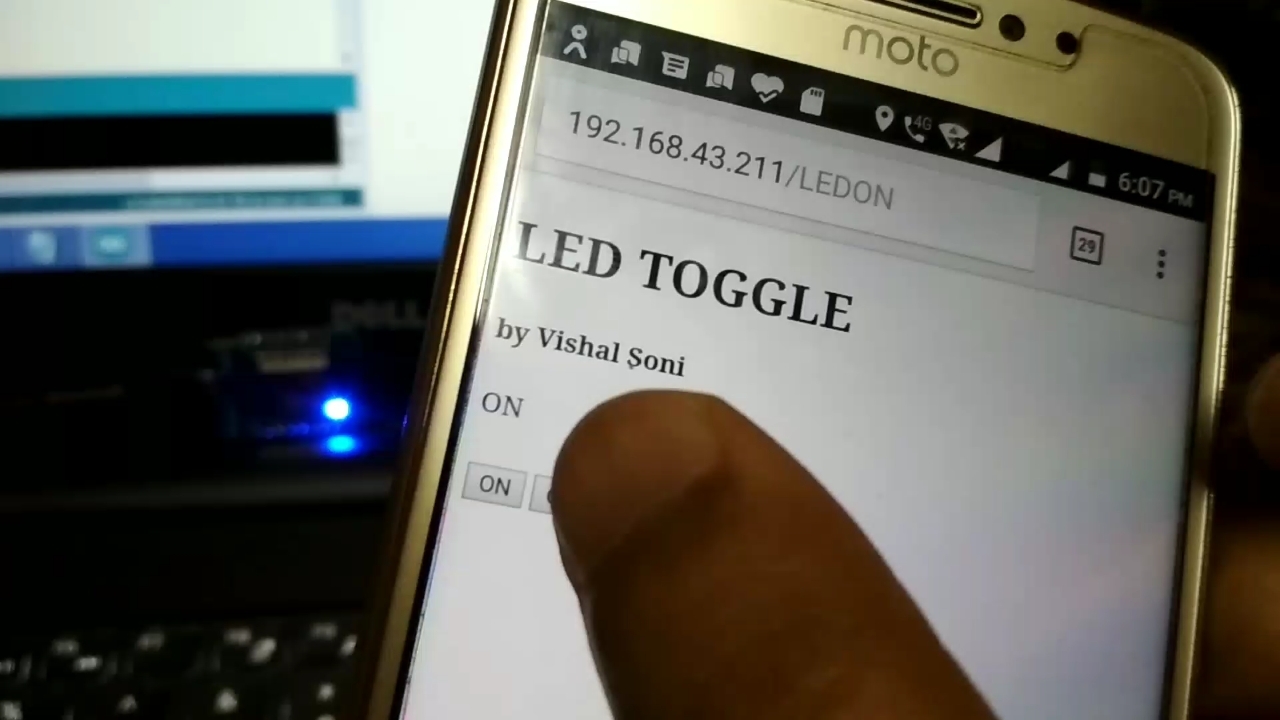
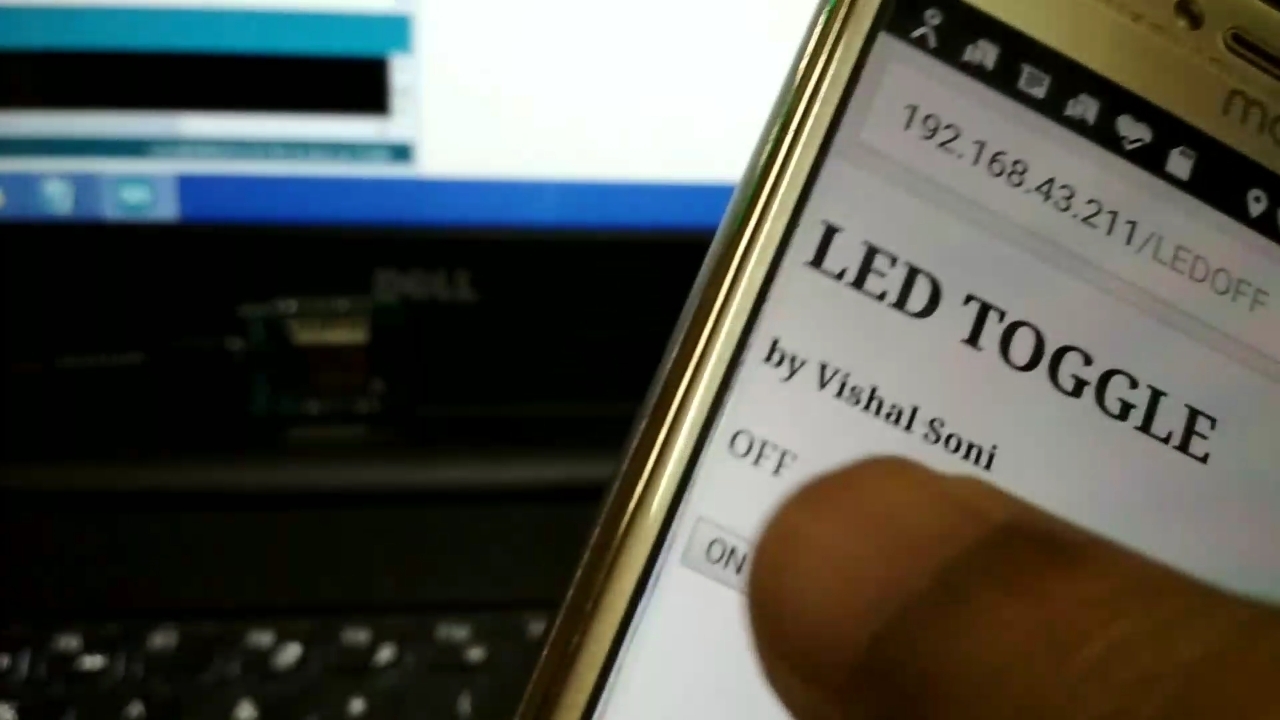
- Paste the IP address in Device Browser.
- Hit Enter, you will see a ON,OFF interface.
- Now you can Turn on LED via ON switch and turn off LED via OFF switch.
BUT you can the interface is less attractive and you have to Zoom in every time whenever you click the switch.
So in Next Step we will use CSS with HTML for attractive interface.
Code Based on CSS
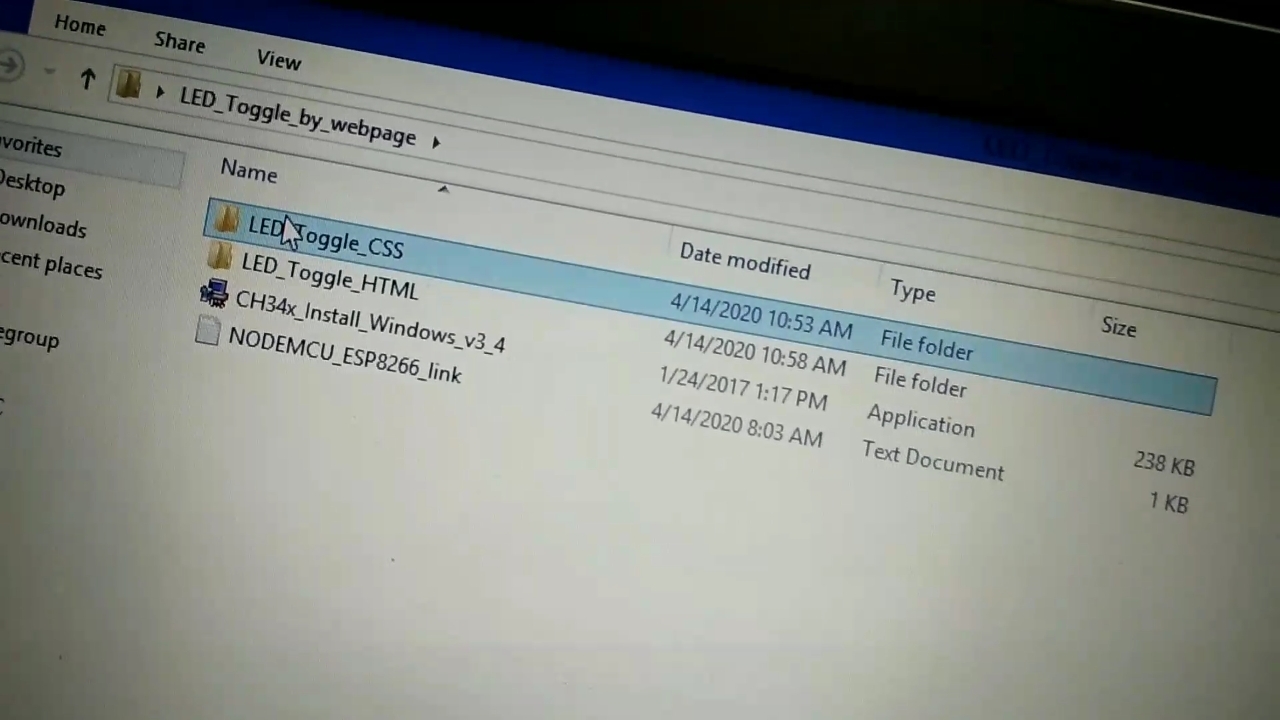

- Find the code "LED_Toggle_CSS" in Downloaded folder.
- Open the Code in Arduino IDE.
- Select Correct Board "Wemos D1 R1" and Port.
- Upload Code.
See the IP Address

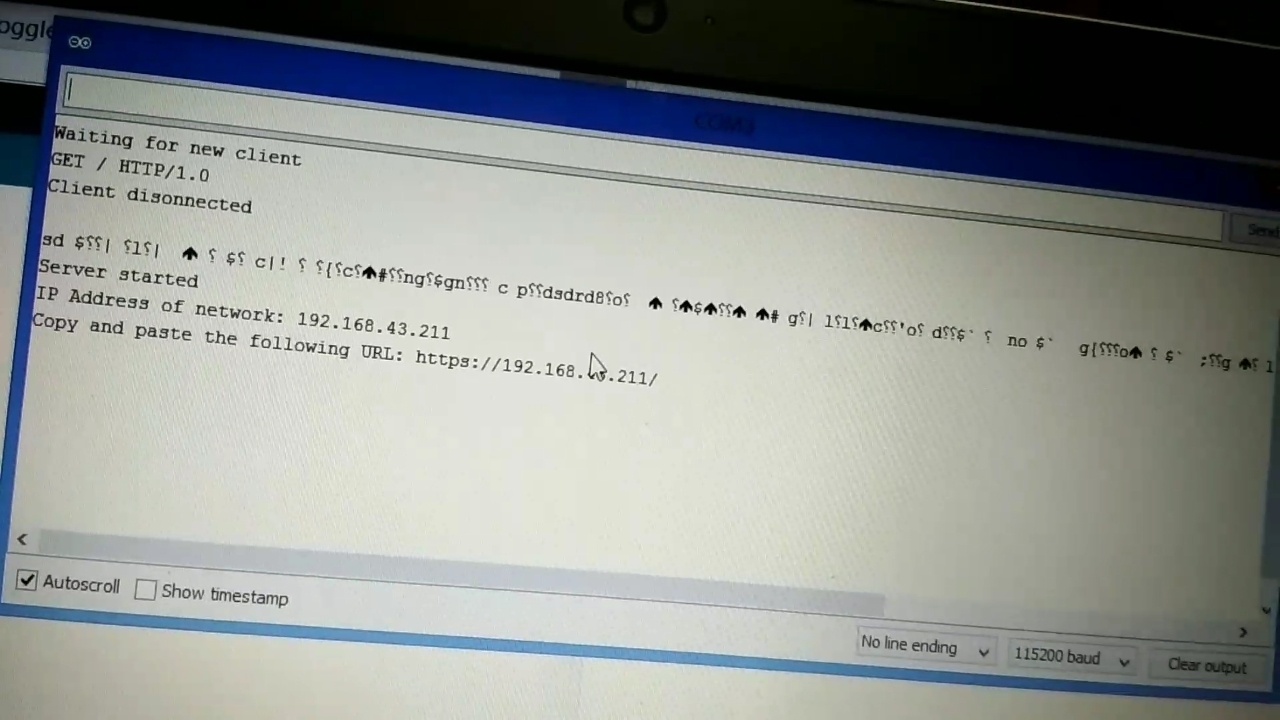
NOTE :- This is one time process to know IP address, No need to do it every time.
- Open Serial Monitor.
- Press reset button in NodeMcu.
- Now you will see "Connecting......" till the connected.
- Once connected you will see IP address.
- Copy the IP address.
Control Via Device
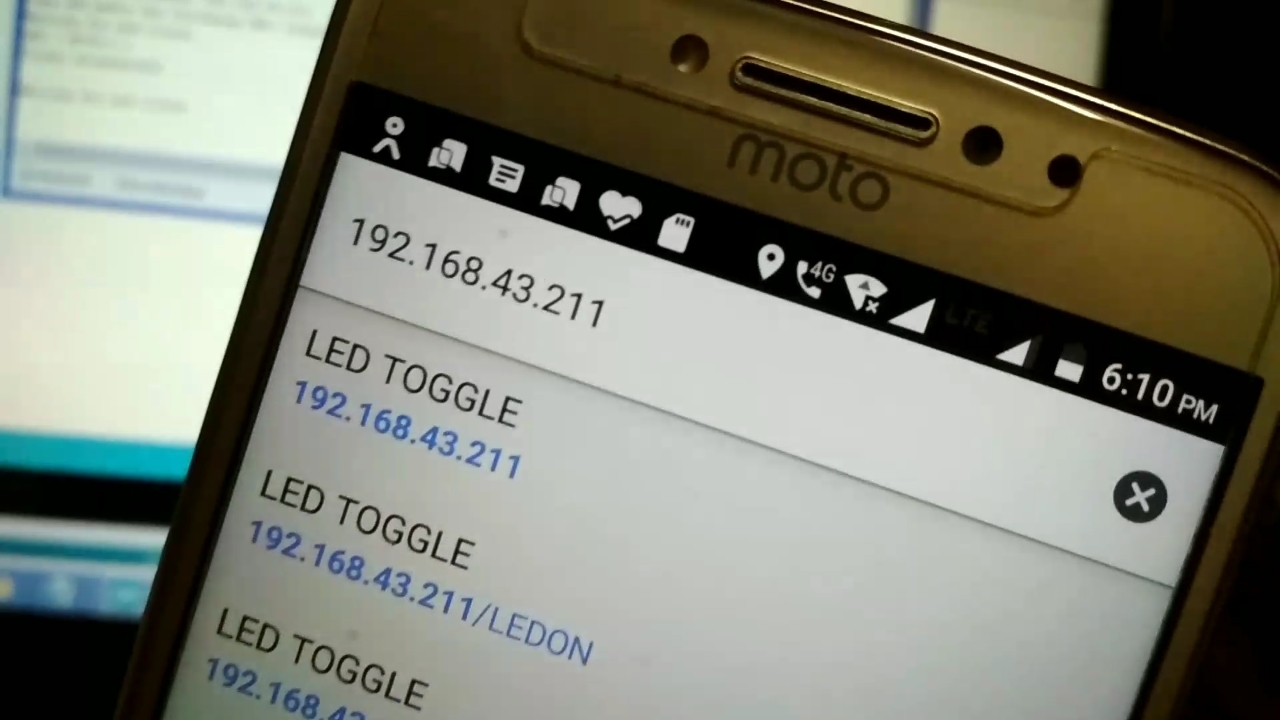
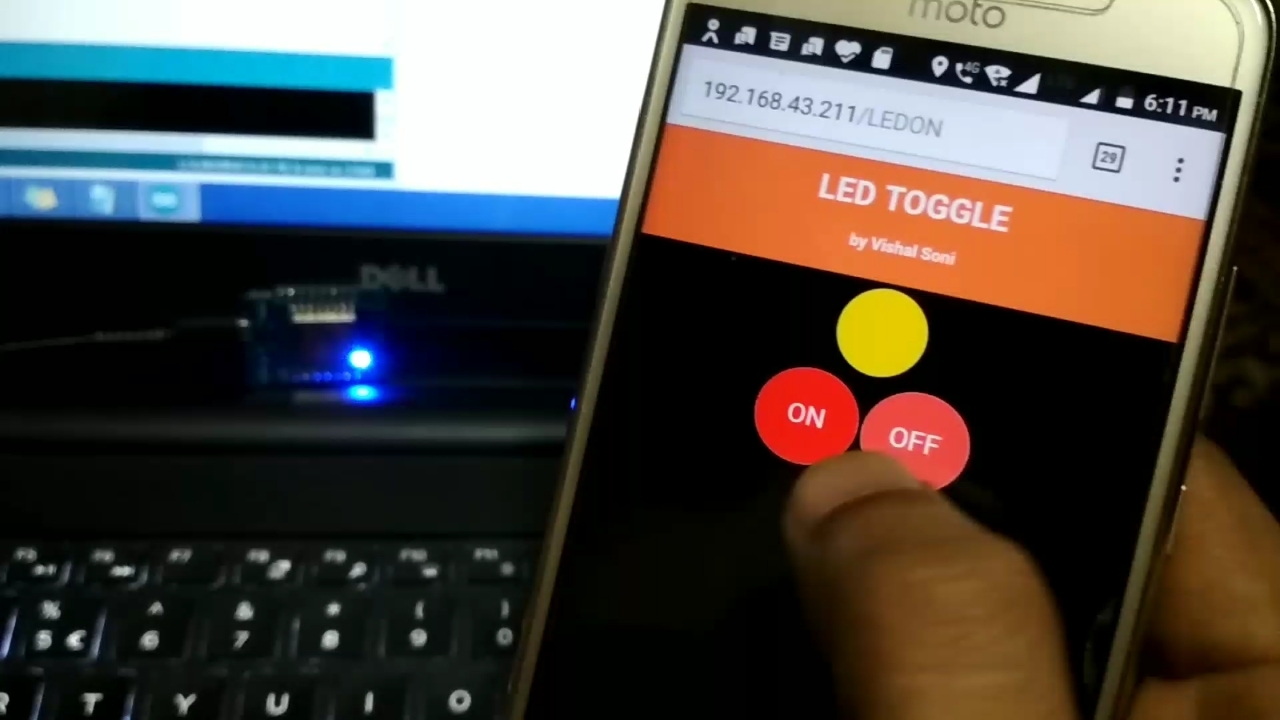
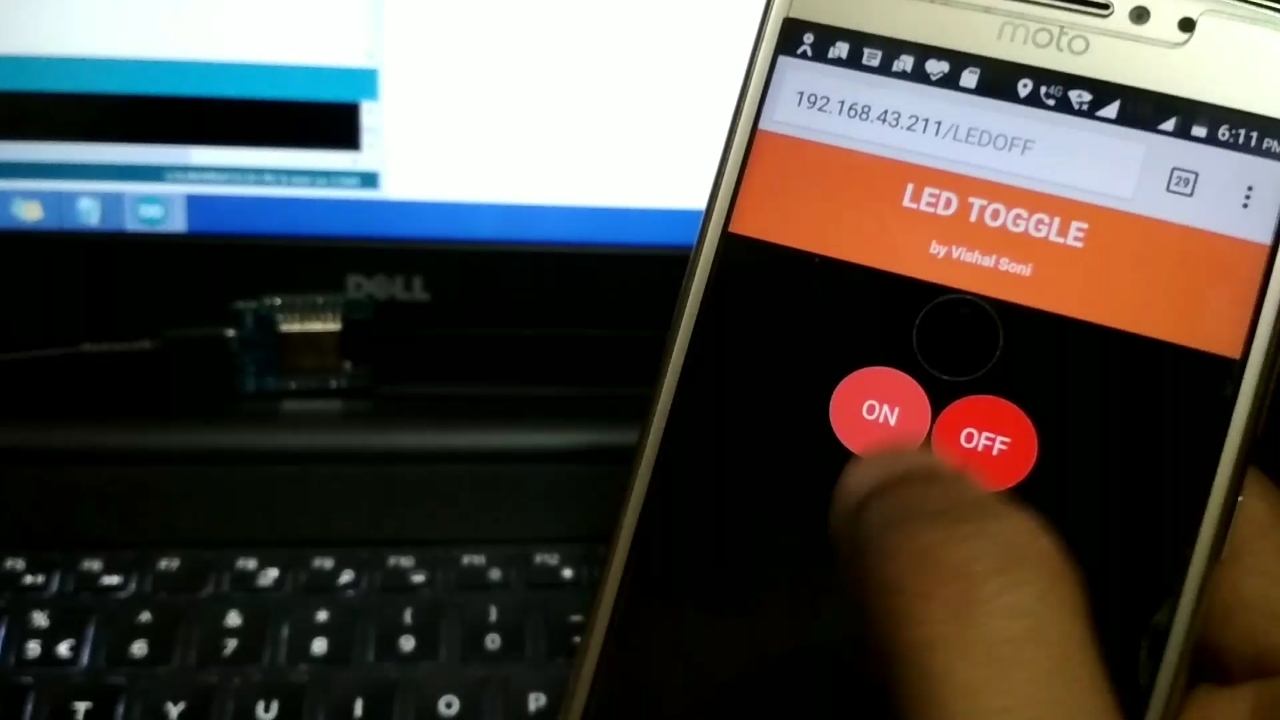
- Enter the IP address in Mobile Browser.
- you will see ON/OFF switch and Yellow circle which is LED.
- When we press ON then LED will turn on the LED circle will turn Yellow.
- When we press OFF then LED will turn off the LED circle will turn Black.
Done
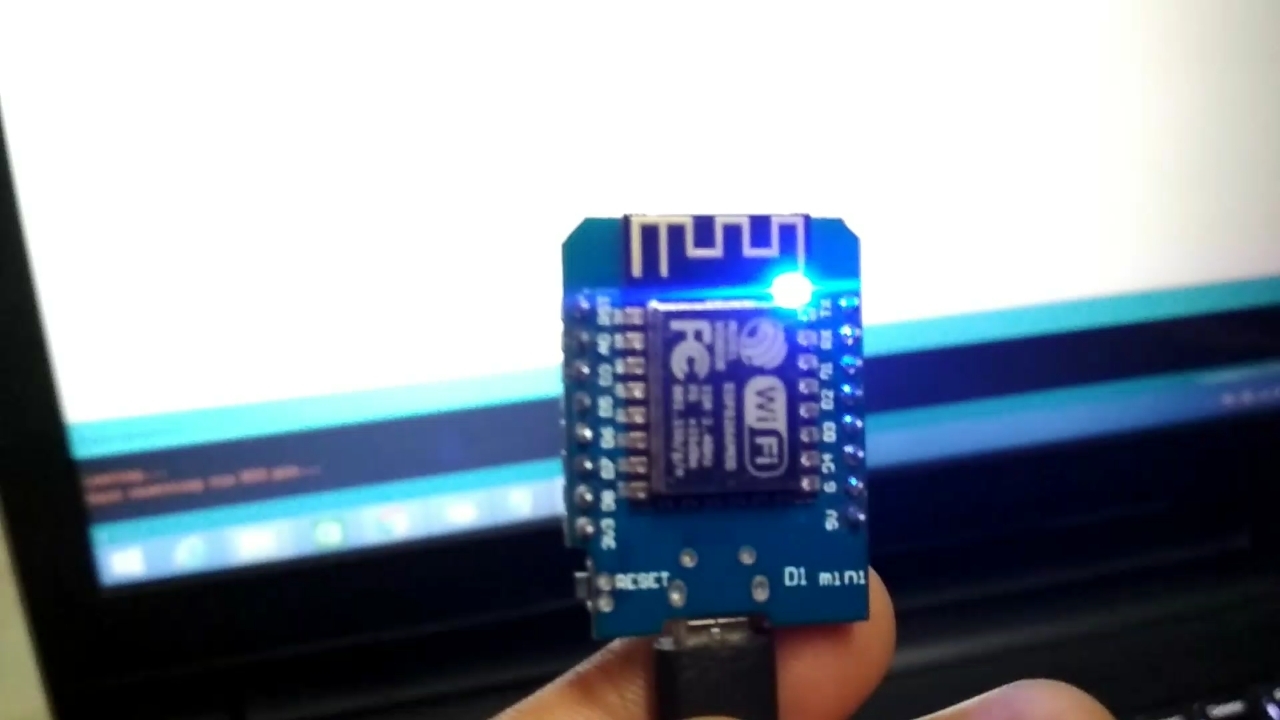
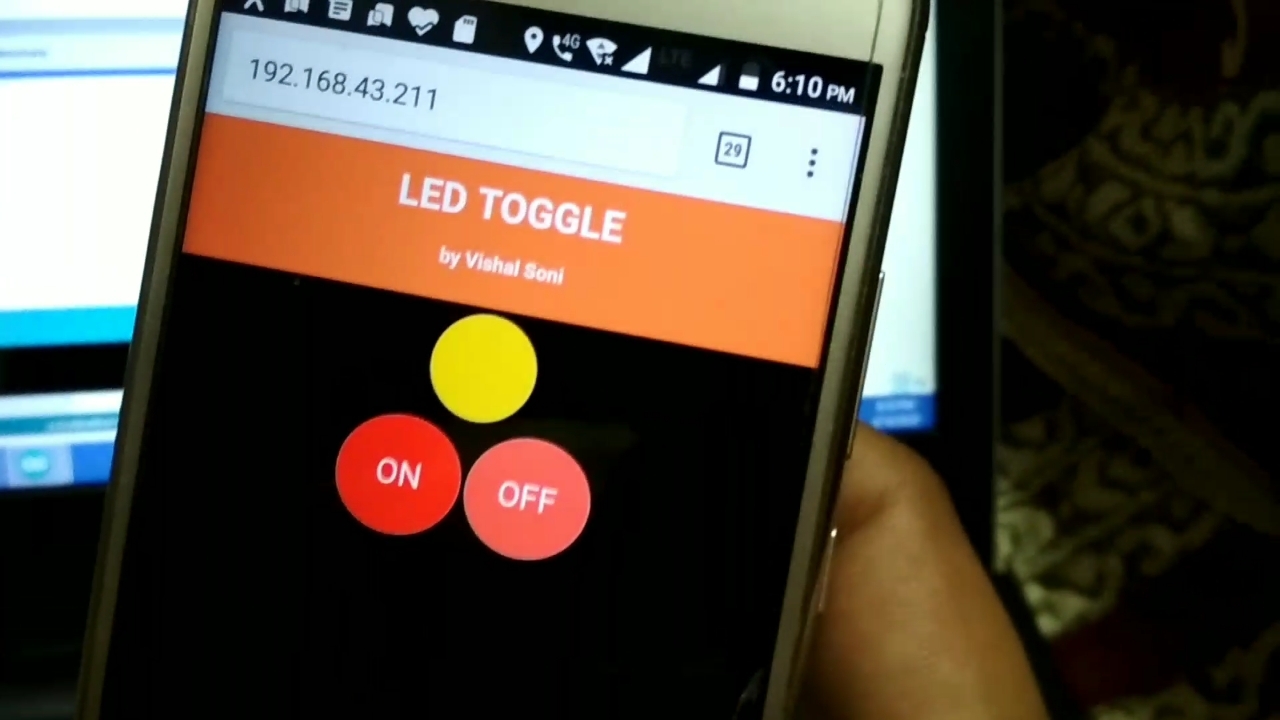
Congratulation.............
you have build a browser controlled LED .
if you new and want to begin with the NodMcu watch video or goto the instructable link here.