Control LED Using Local Wifi
by tejalmamaniya in Circuits > Wireless
1459 Views, 12 Favorites, 0 Comments
Control LED Using Local Wifi
We may require to transmit data from the board to other devices at some point or another.
Linkit one provides us with many options like GSM, GPRS, Bluetooth, micro SD, Audio and WiFiLinkit one has built in WiFi module, which can be used to transmit and receive data through WLAN.
Thus in ths instructable I'm gonna show you how we can control the onboard LED through local Wi-Fi.
Linkit one provides us with many options like GSM, GPRS, Bluetooth, micro SD, Audio and WiFiLinkit one has built in WiFi module, which can be used to transmit and receive data through WLAN.
Thus in ths instructable I'm gonna show you how we can control the onboard LED through local Wi-Fi.
Connections
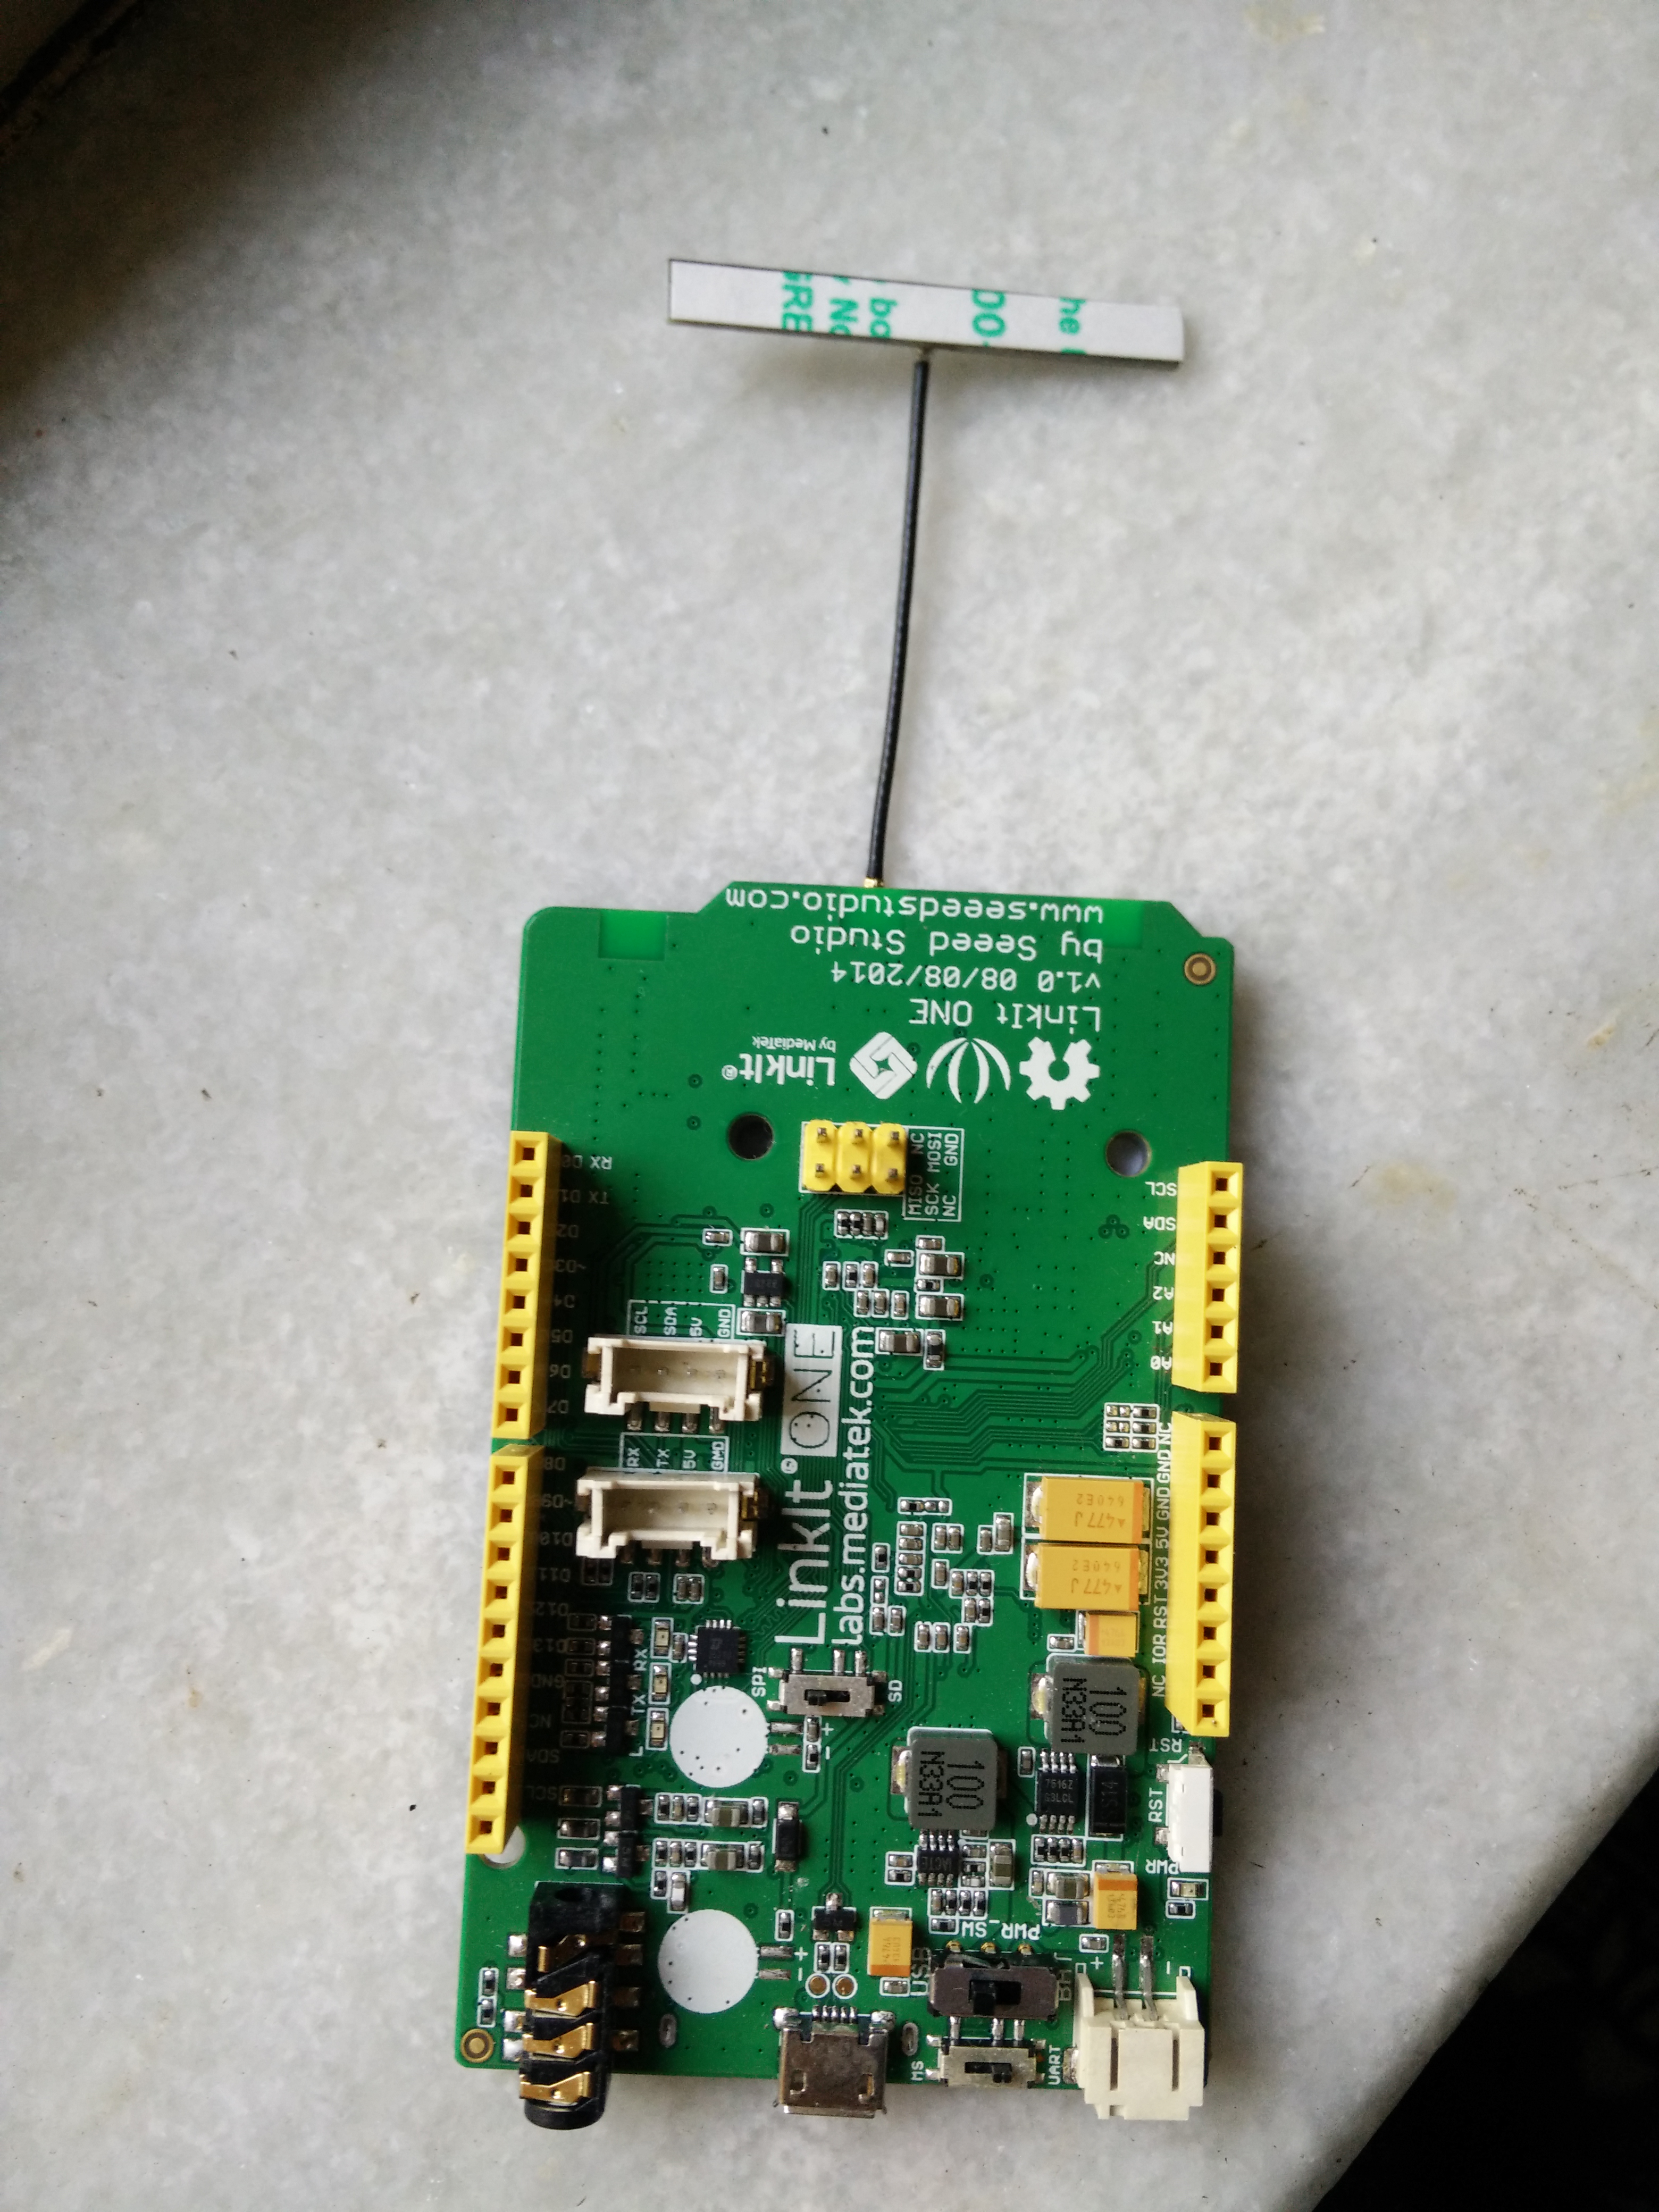
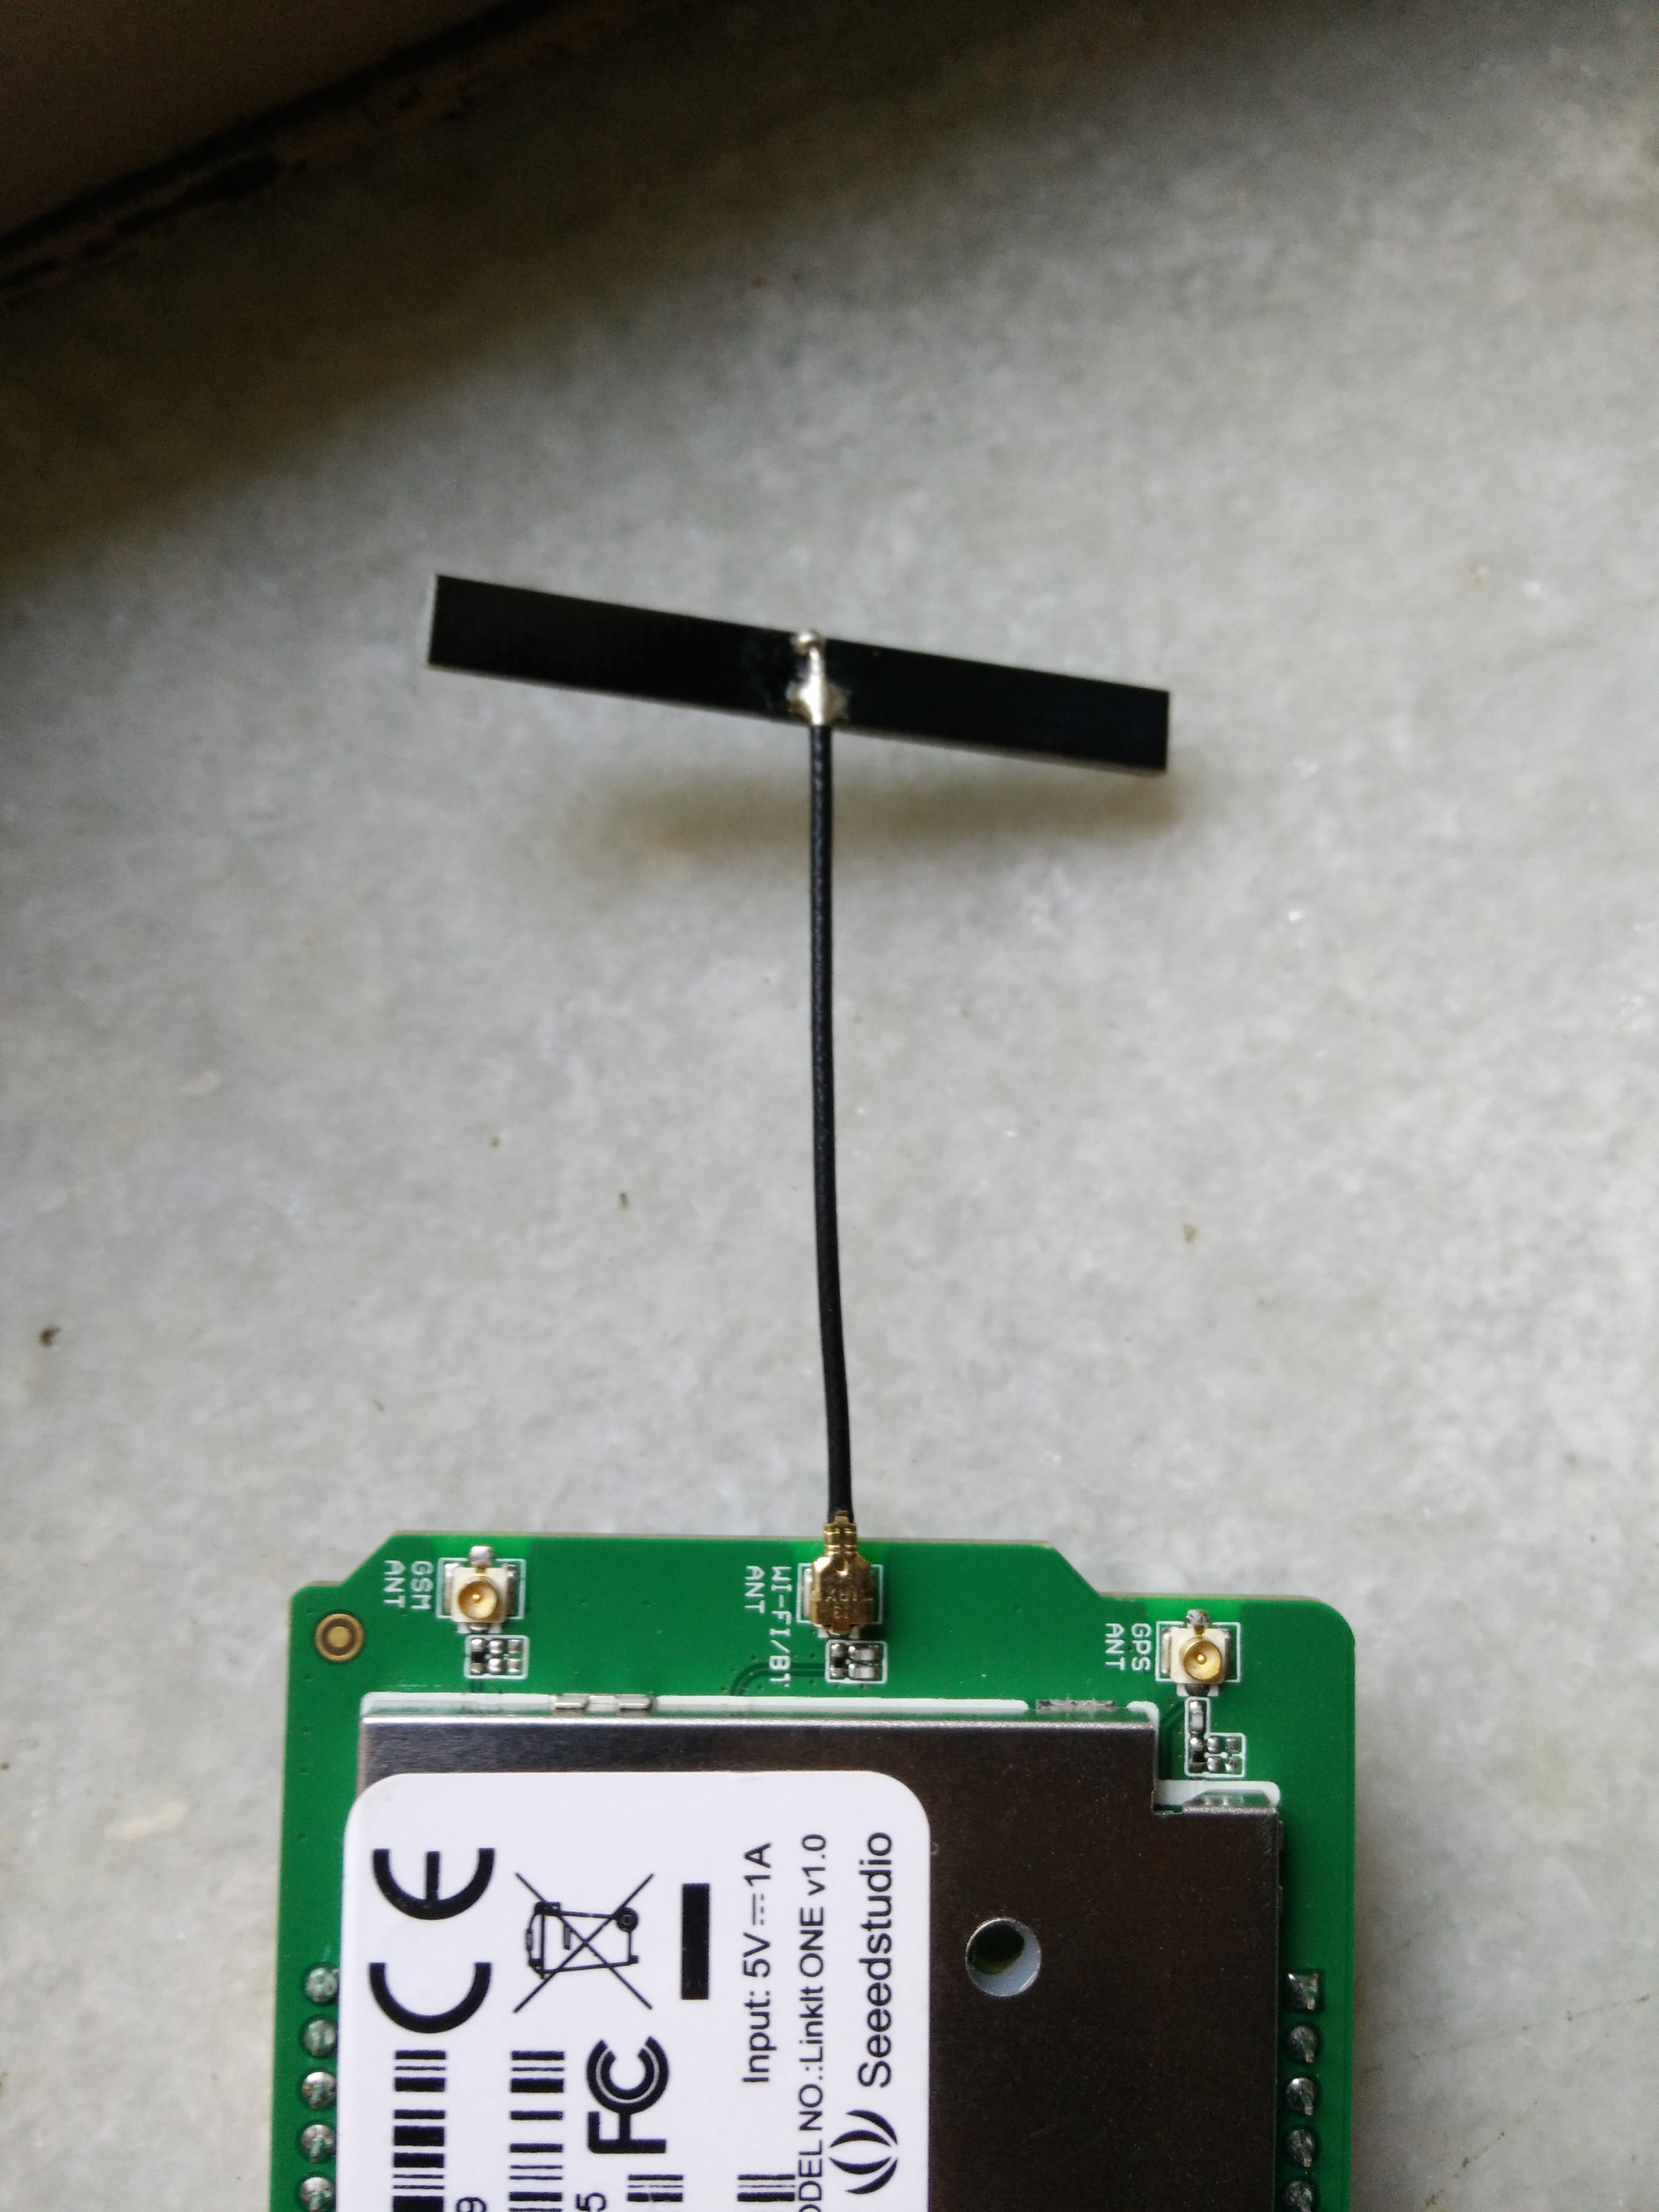
Since Linkit one already has all the necessary hardware inbuilt, we just need to connect the WiFi/Bluetooth antenna to the board
Note: The antenna connector socket is very delicate, connect using soft hands
Note: The antenna connector socket is very delicate, connect using soft hands
Wi-Fi Connection
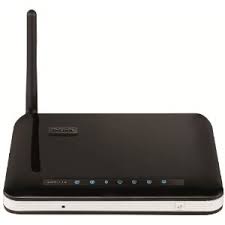
You will need a WiFi router (regardless of internet connection)
Once you have set up the router, note the Network SSID, the Network Password and encryption type (WPA/WEP/OPEN)
Note: Mobile hotspot will also do
Once you have set up the router, note the Network SSID, the Network Password and encryption type (WPA/WEP/OPEN)
Note: Mobile hotspot will also do
Code
I have attached my code with the instructable, you'll need to edit the Network SSID and Password with you SSID and password on line 5&6.
In the code I'm controlling the digital state of the LED through inputs provided by a host, you may edit the code to print analog inputs, inputs from sensors, or anything you can imagine to do with the board.
In the code I'm controlling the digital state of the LED through inputs provided by a host, you may edit the code to print analog inputs, inputs from sensors, or anything you can imagine to do with the board.
Downloads
Compile, Upload, Run
When you upload the code to the board, open your serial monitor
Copy the IP address that is displayed(You can now close the serial monitor and arduino software if you wish)
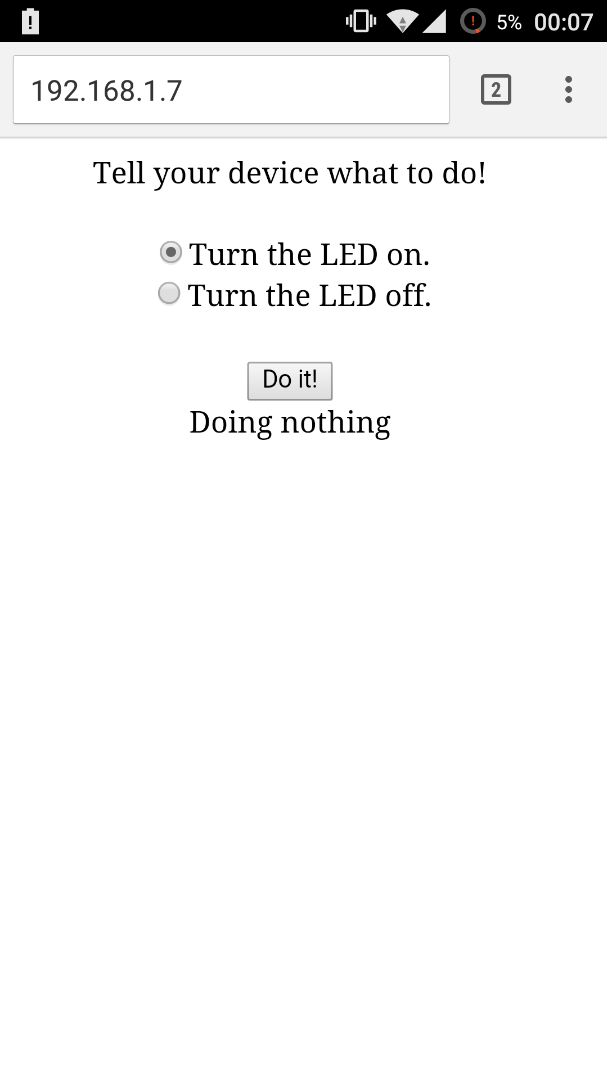
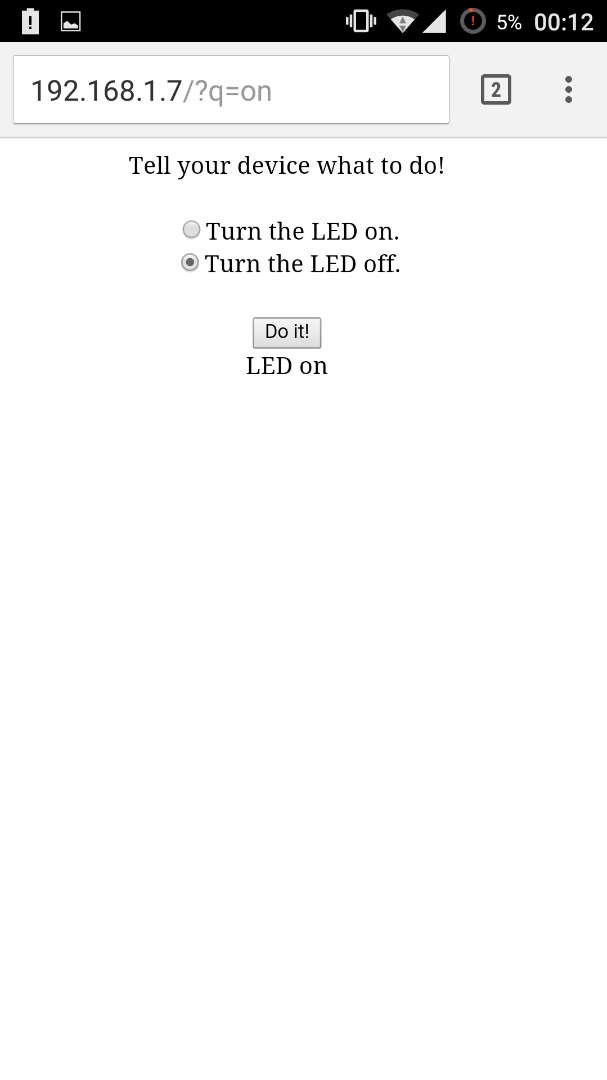
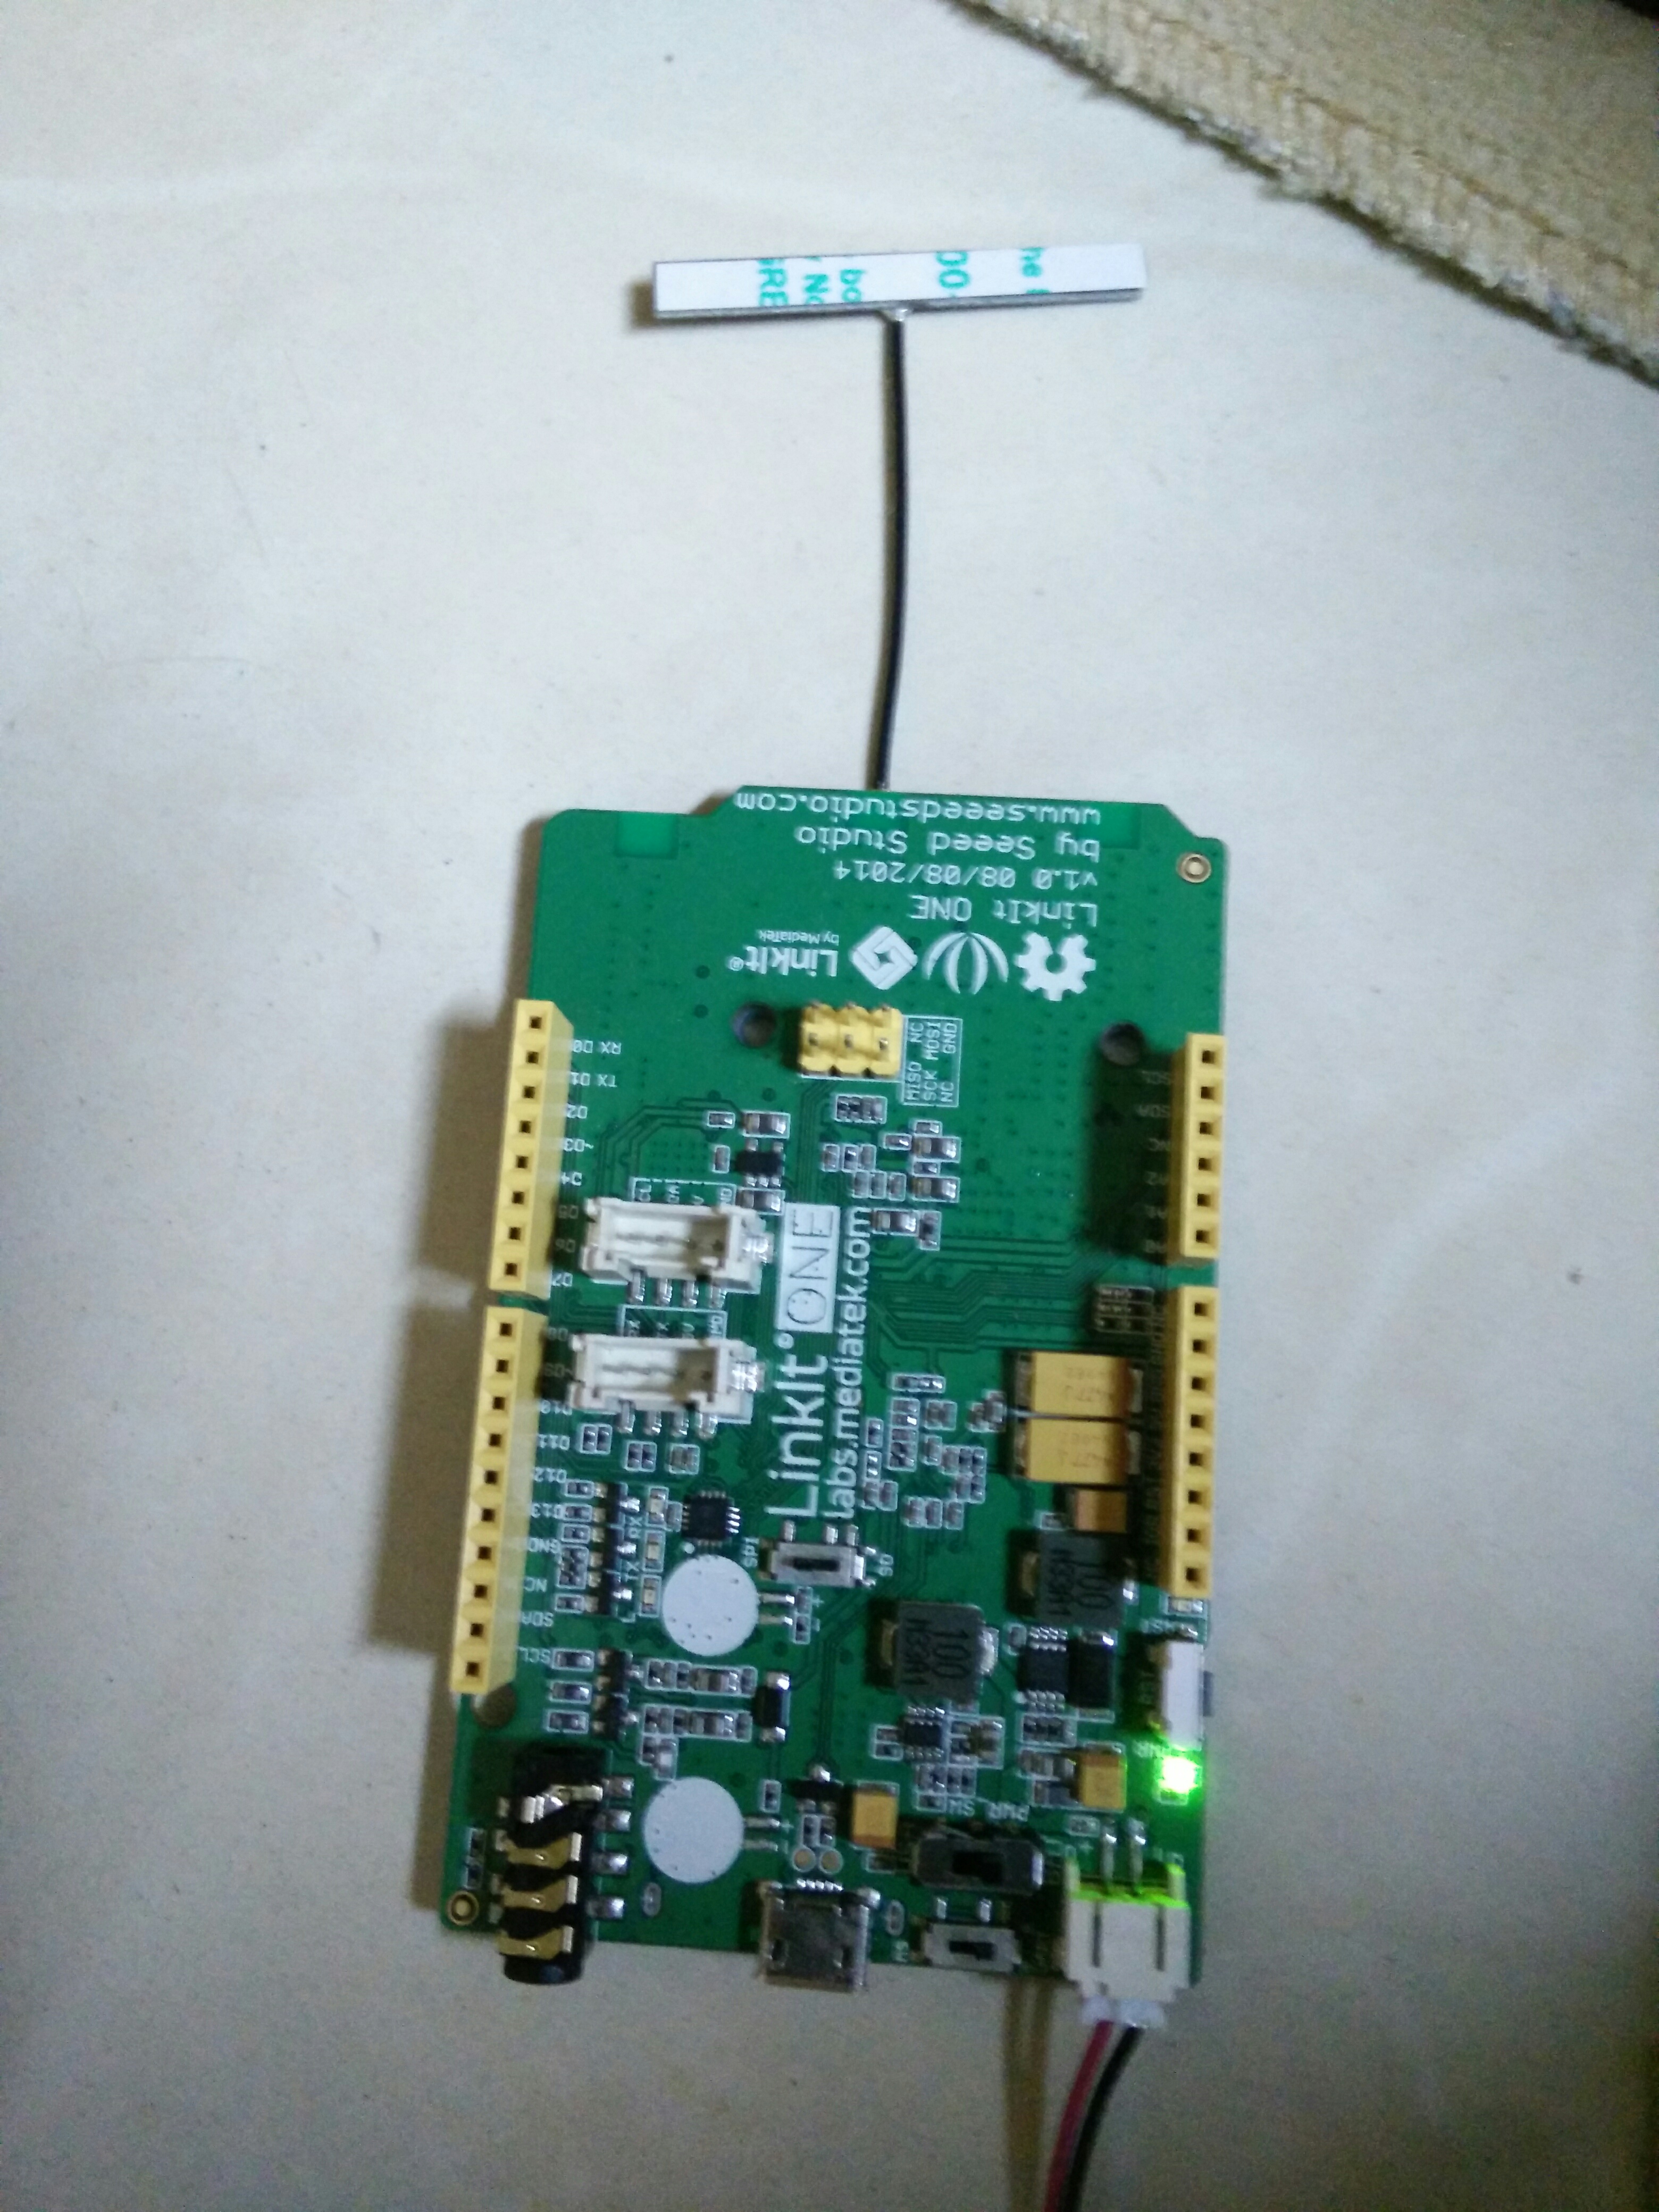
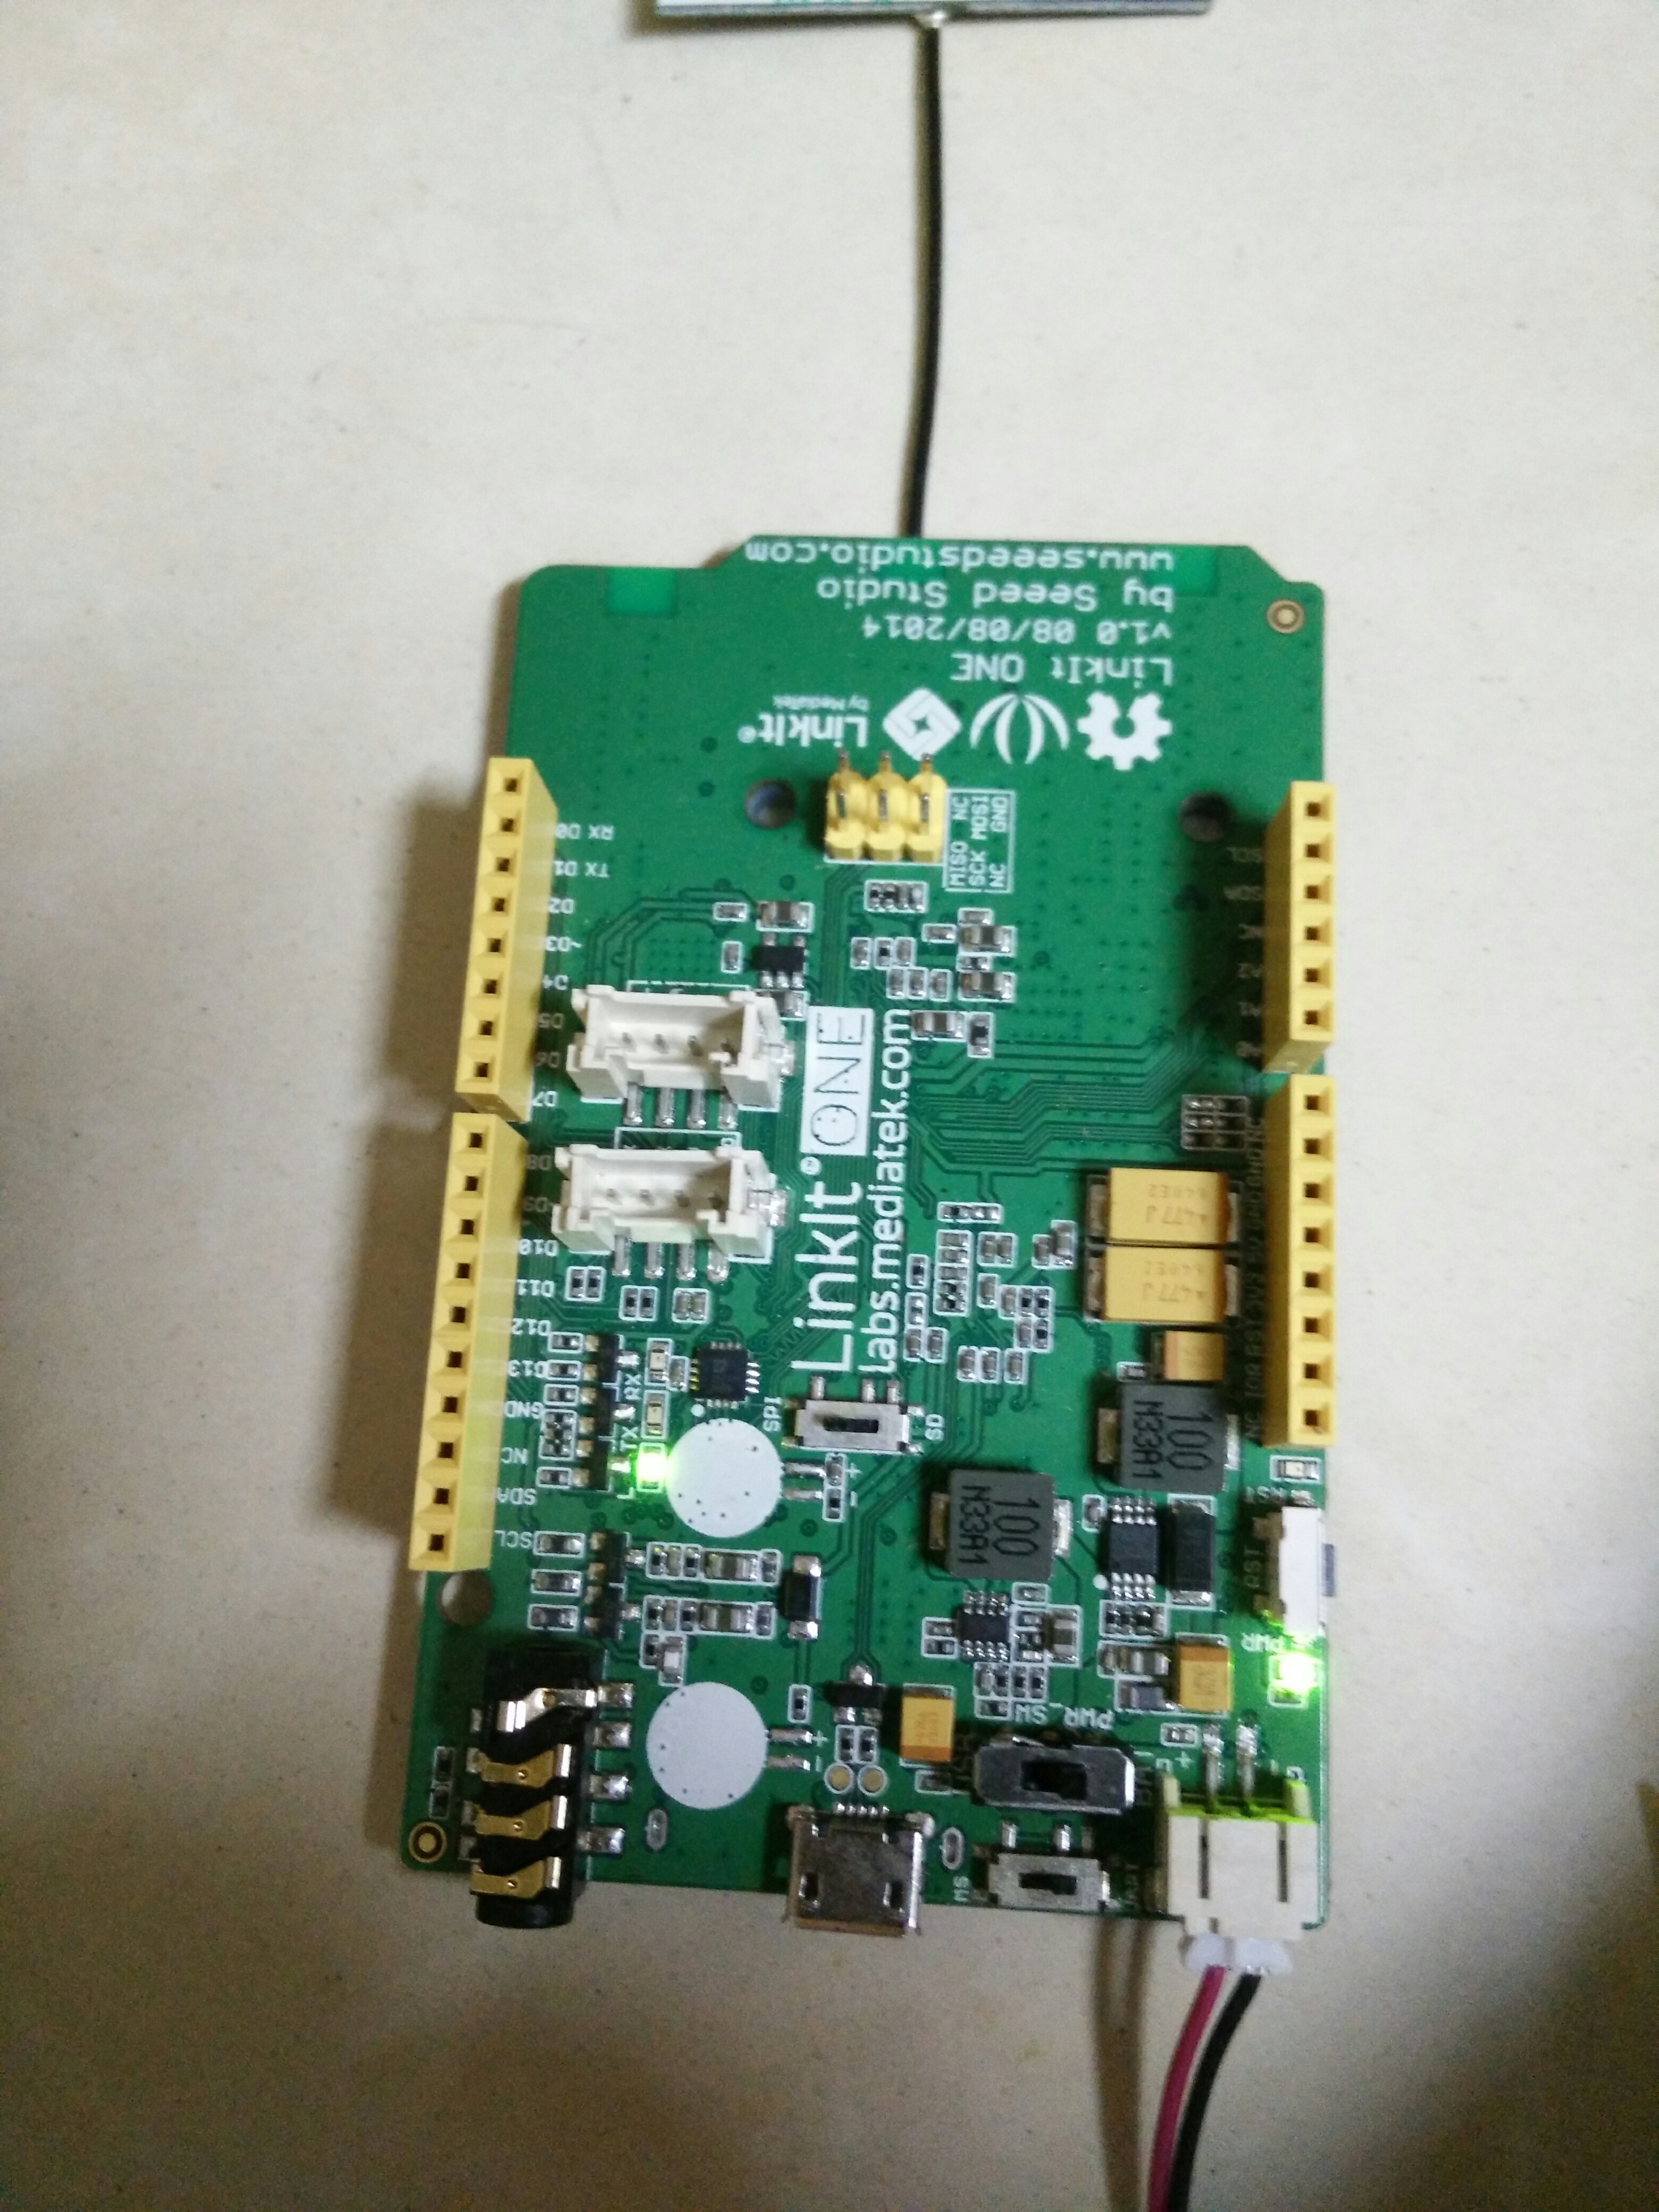
Paste the IP address in your browser and you may see the output like in the picture
Copy the IP address that is displayed(You can now close the serial monitor and arduino software if you wish)
Paste the IP address in your browser and you may see the output like in the picture