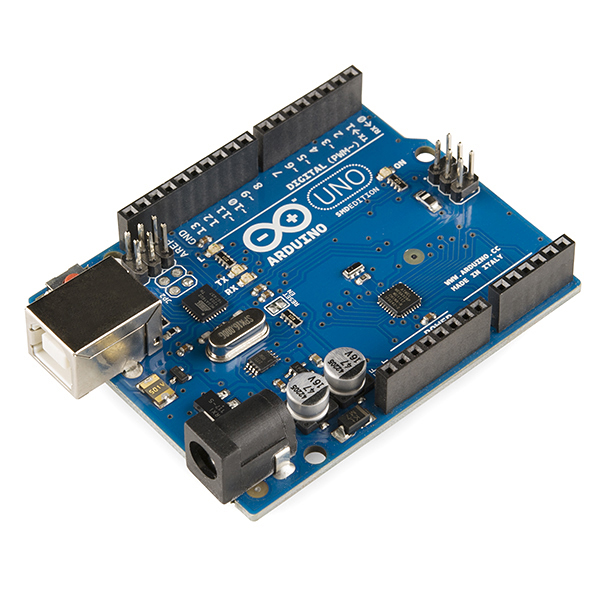
Control Arduino Using PHP

I have recently seen a lot of problems regarding PHP and Arduino. Many people don't know about facts like that an arduino needs a 2 second (!!!) delay before it can receive any messages through serial. There are a few other facts you need to pay attention to, I will be going over them in this instructable.
Install a -AMP Webserver
It is important you have a webserver with PHP 5.3 or higher. My recommendation is to use LAMP for linux, WAMP for windows and XAMP for osx (though I don't know if it works on osx).
To install LAMP on debian (Ubuntu, turnkey, RPI, etc.) you want to execute the following command:
sudo apt-get install lamp-server^ Don't forget the ^ here!
On windows you just have to go to http://www.wampserver.com/
Check if the webserver is working by going to "localhost". If not:
You might have skype installed, check its documentation on how to disable it on port 80
(Debian Only) Add Permissions for Serial Port
By executing the following command, you grant PHP to use the serial port (USB)
If you are not running Linux you don't have to run this command, in fact, you can't.
For other linux distributions you are going to have to check its documentation (same for osx).
usermod -a -G dialout www-data
(might be executed as sudo)
Get PhpSerial
Now, you are going to have to download PhpSerial, which is a cross-platform solution for controlling serial ports. We will be using this to send our messages to our arduino.
Go to https://github.com/Xowap/PHP-Serial and download zip (on the right side)
Extract the zip and get copy the file src/PhpSerial.php to your %SERVERROOT%/www/ directory
Finally! Write Your Arduino Code
Now you are going to have to write some code for your arduino. I have an example below:
#include "USBSerial_main.h"
int incomingByte = 0; int pin = 2;
void setup() {
Serial.begin(9600); //Starts the serial connection
pinMode(2, OUTPUT); //Sets pin 2 to be output
}
void loop() {
if(Serial.available() > 0){
Serial.read(); /Removes the message from the serial cache
digitalWrite(2, true); //Enables the led on pin 2
delay(100); //Waits 100 ms
digitalWrite(2, false); //Disables the led on pin 2
}
}
Creating Your Webpage
I have created an example page that uses the PhpSerial library.
This is easier when you are on unix-based systems, then you can just use fopen (check the php docs on that)
Upload the file with your code to %SERVERROOT%/www and go to localhost.
Here's the code:
<?php
$comPort = "/dev/ttyACM0"; //The com port address. This is a debian address
$msg = '';
if(isset($_POST["hi"])){
$serial = new phpSerial;
$serial->deviceSet($comPort);
$serial->confBaudRate(9600);
$serial->confParity("none");
$serial->confCharacterLength(8);
$serial->confStopBits(1);
$serial->deviceOpen();
sleep(2); //Unfortunately this is nessesary, arduino requires a 2 second delay in order to receive the message
$serial->sendMessage("Well hello!");
$serial->deviceClose();
$msg = "You message has been sent! WOHOO!";
}
?>
<html>
<head>
<title>Arduino control</title>
</head>
<body>
<form method="POST">
<input type="submit" value="Send" name="hi">
</form><br>
<?=$msg?>
</body>
</html>