Containers for the Community
by nobedck in Workshop > 3D Printing
347 Views, 0 Favorites, 0 Comments
Containers for the Community
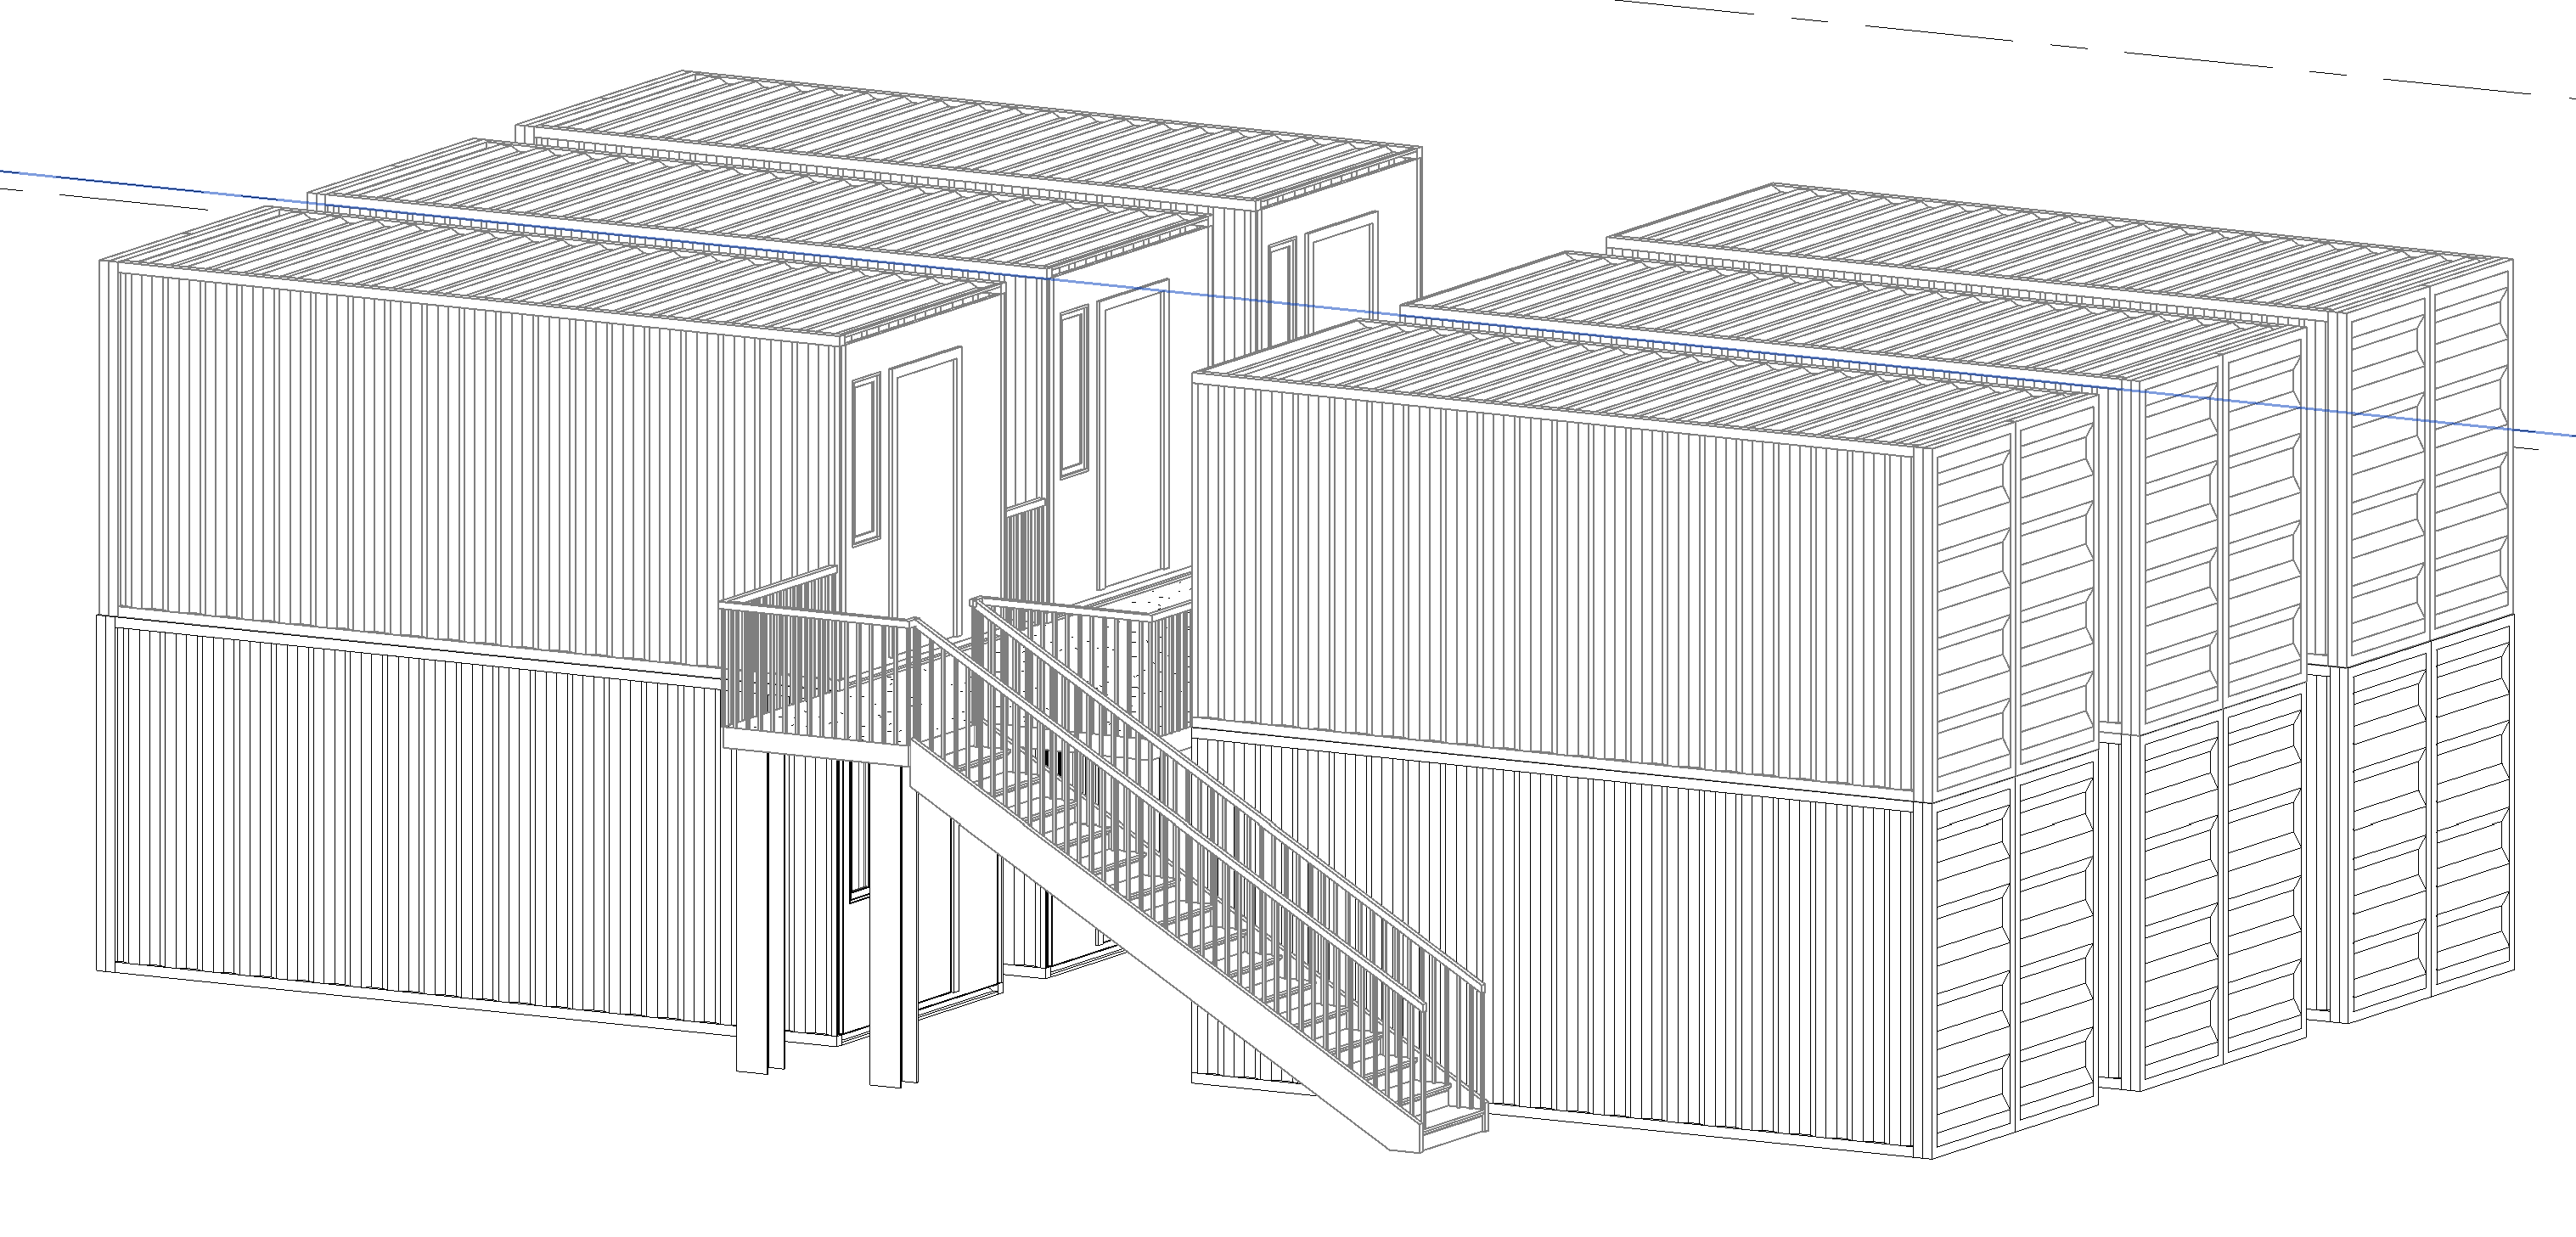
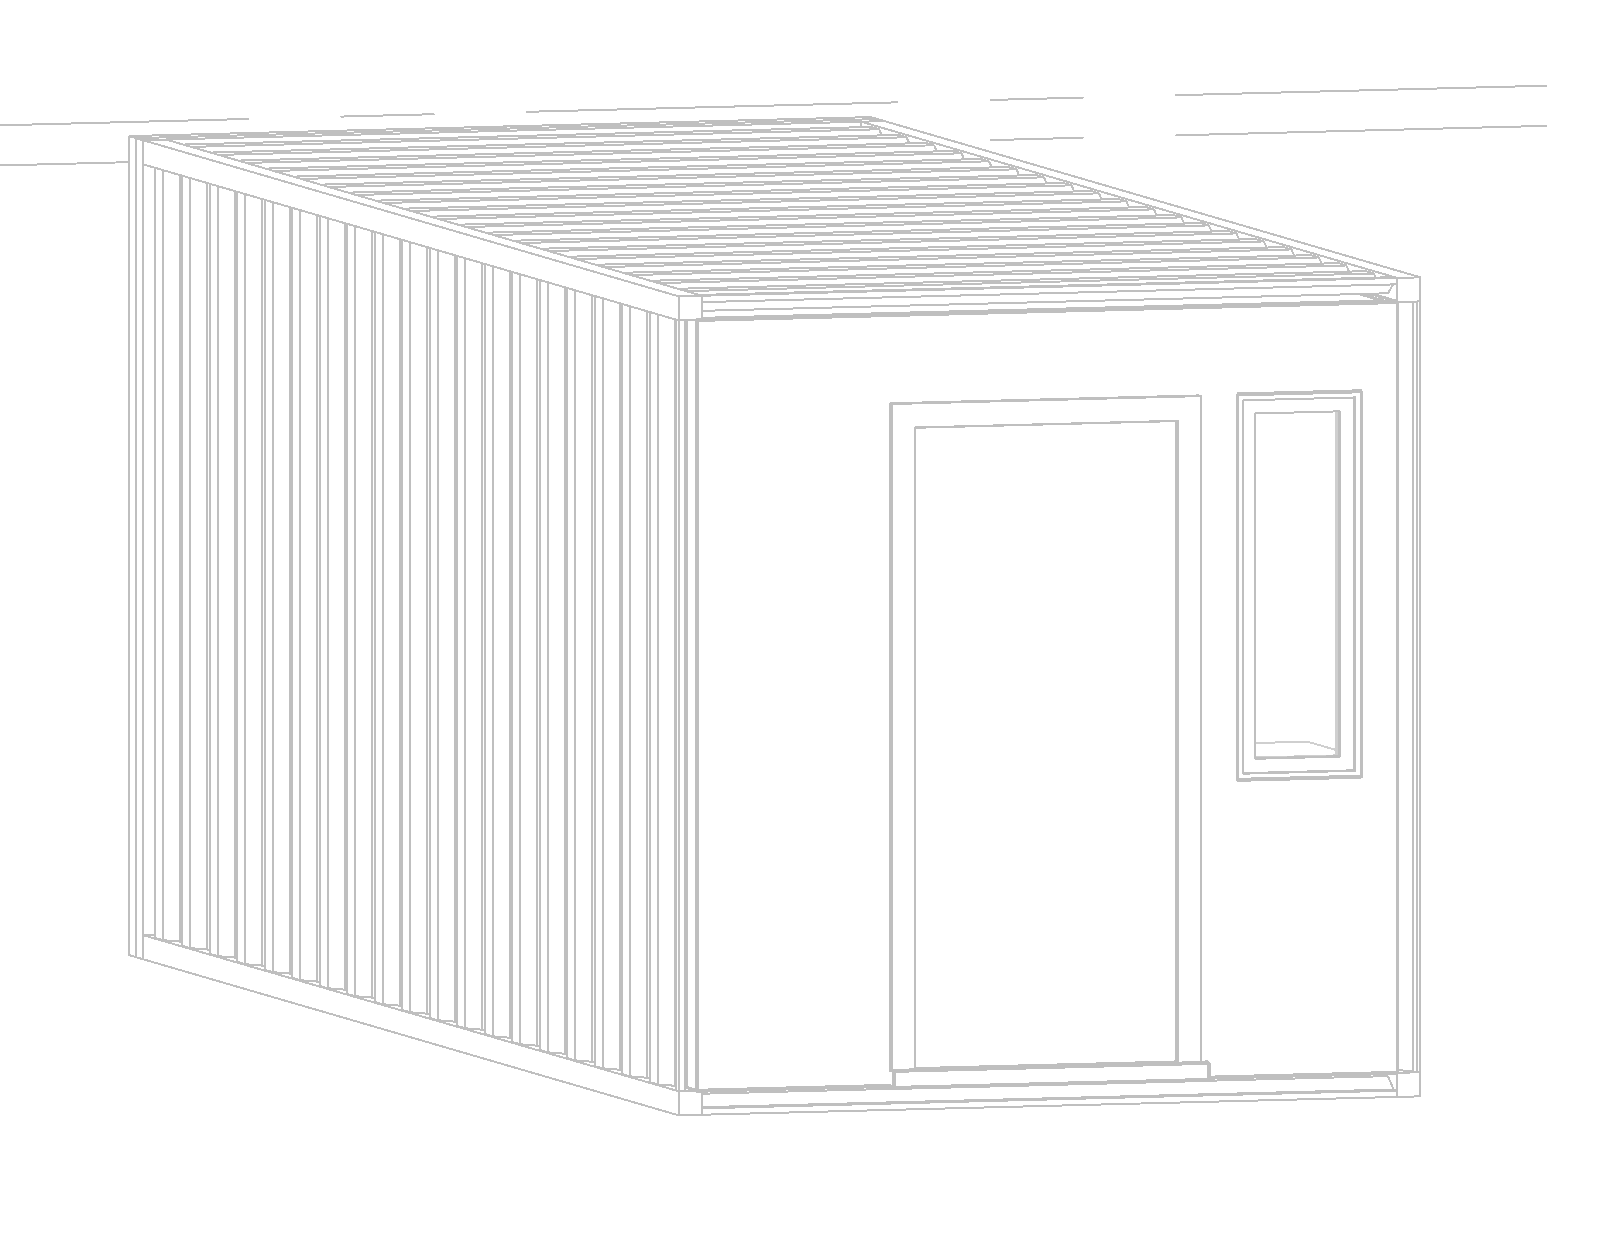
Hello, I am Noah Beckford a Junior at Henry M. Jackson High School. I entered the make it modular design challenge trying to tackle the issue of affordable housing in my area. Using the principles of a circular economy I designed this house with a focus on reusing materials, and accounting for the long term health of the building. My design is scalable and is meant to be produced in a factory like other modular buildings, thus creating a shorter construction timeline and allowing future renovations to occur by swapping out the modules.
Supplies
I used the AutoCAD software called Revit for my project, by linking my school email and getting a student license.
Planning
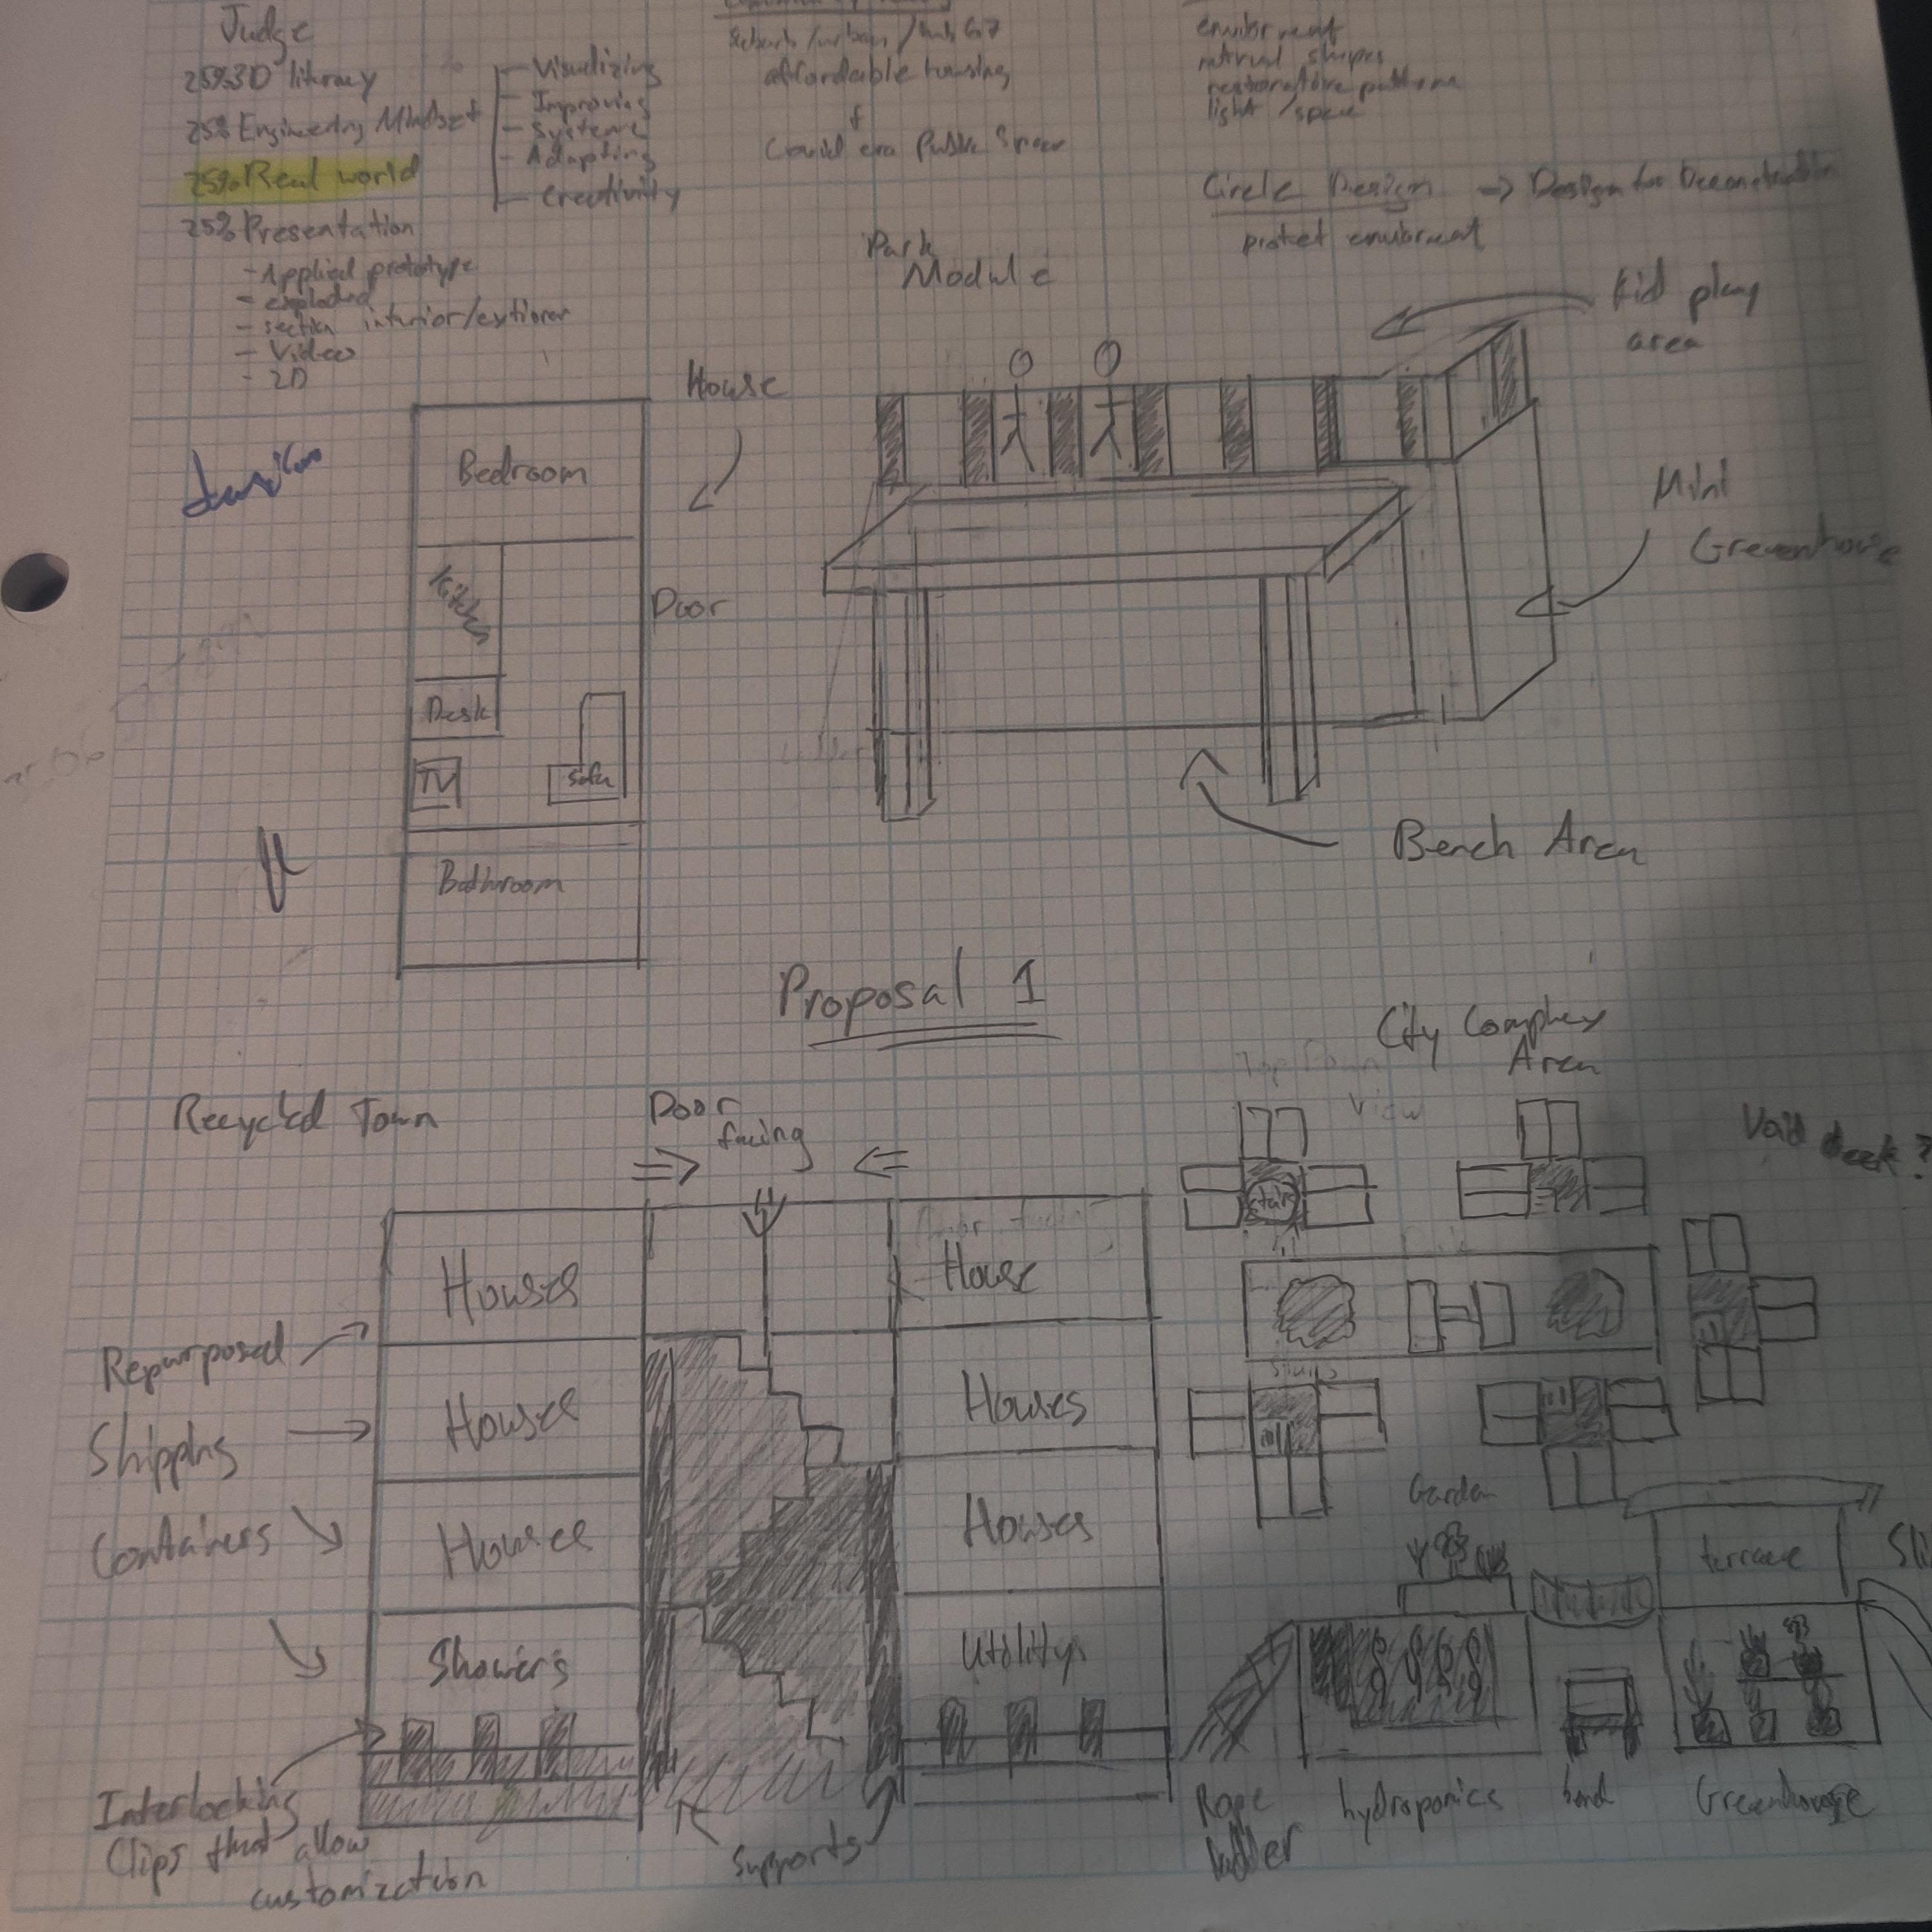
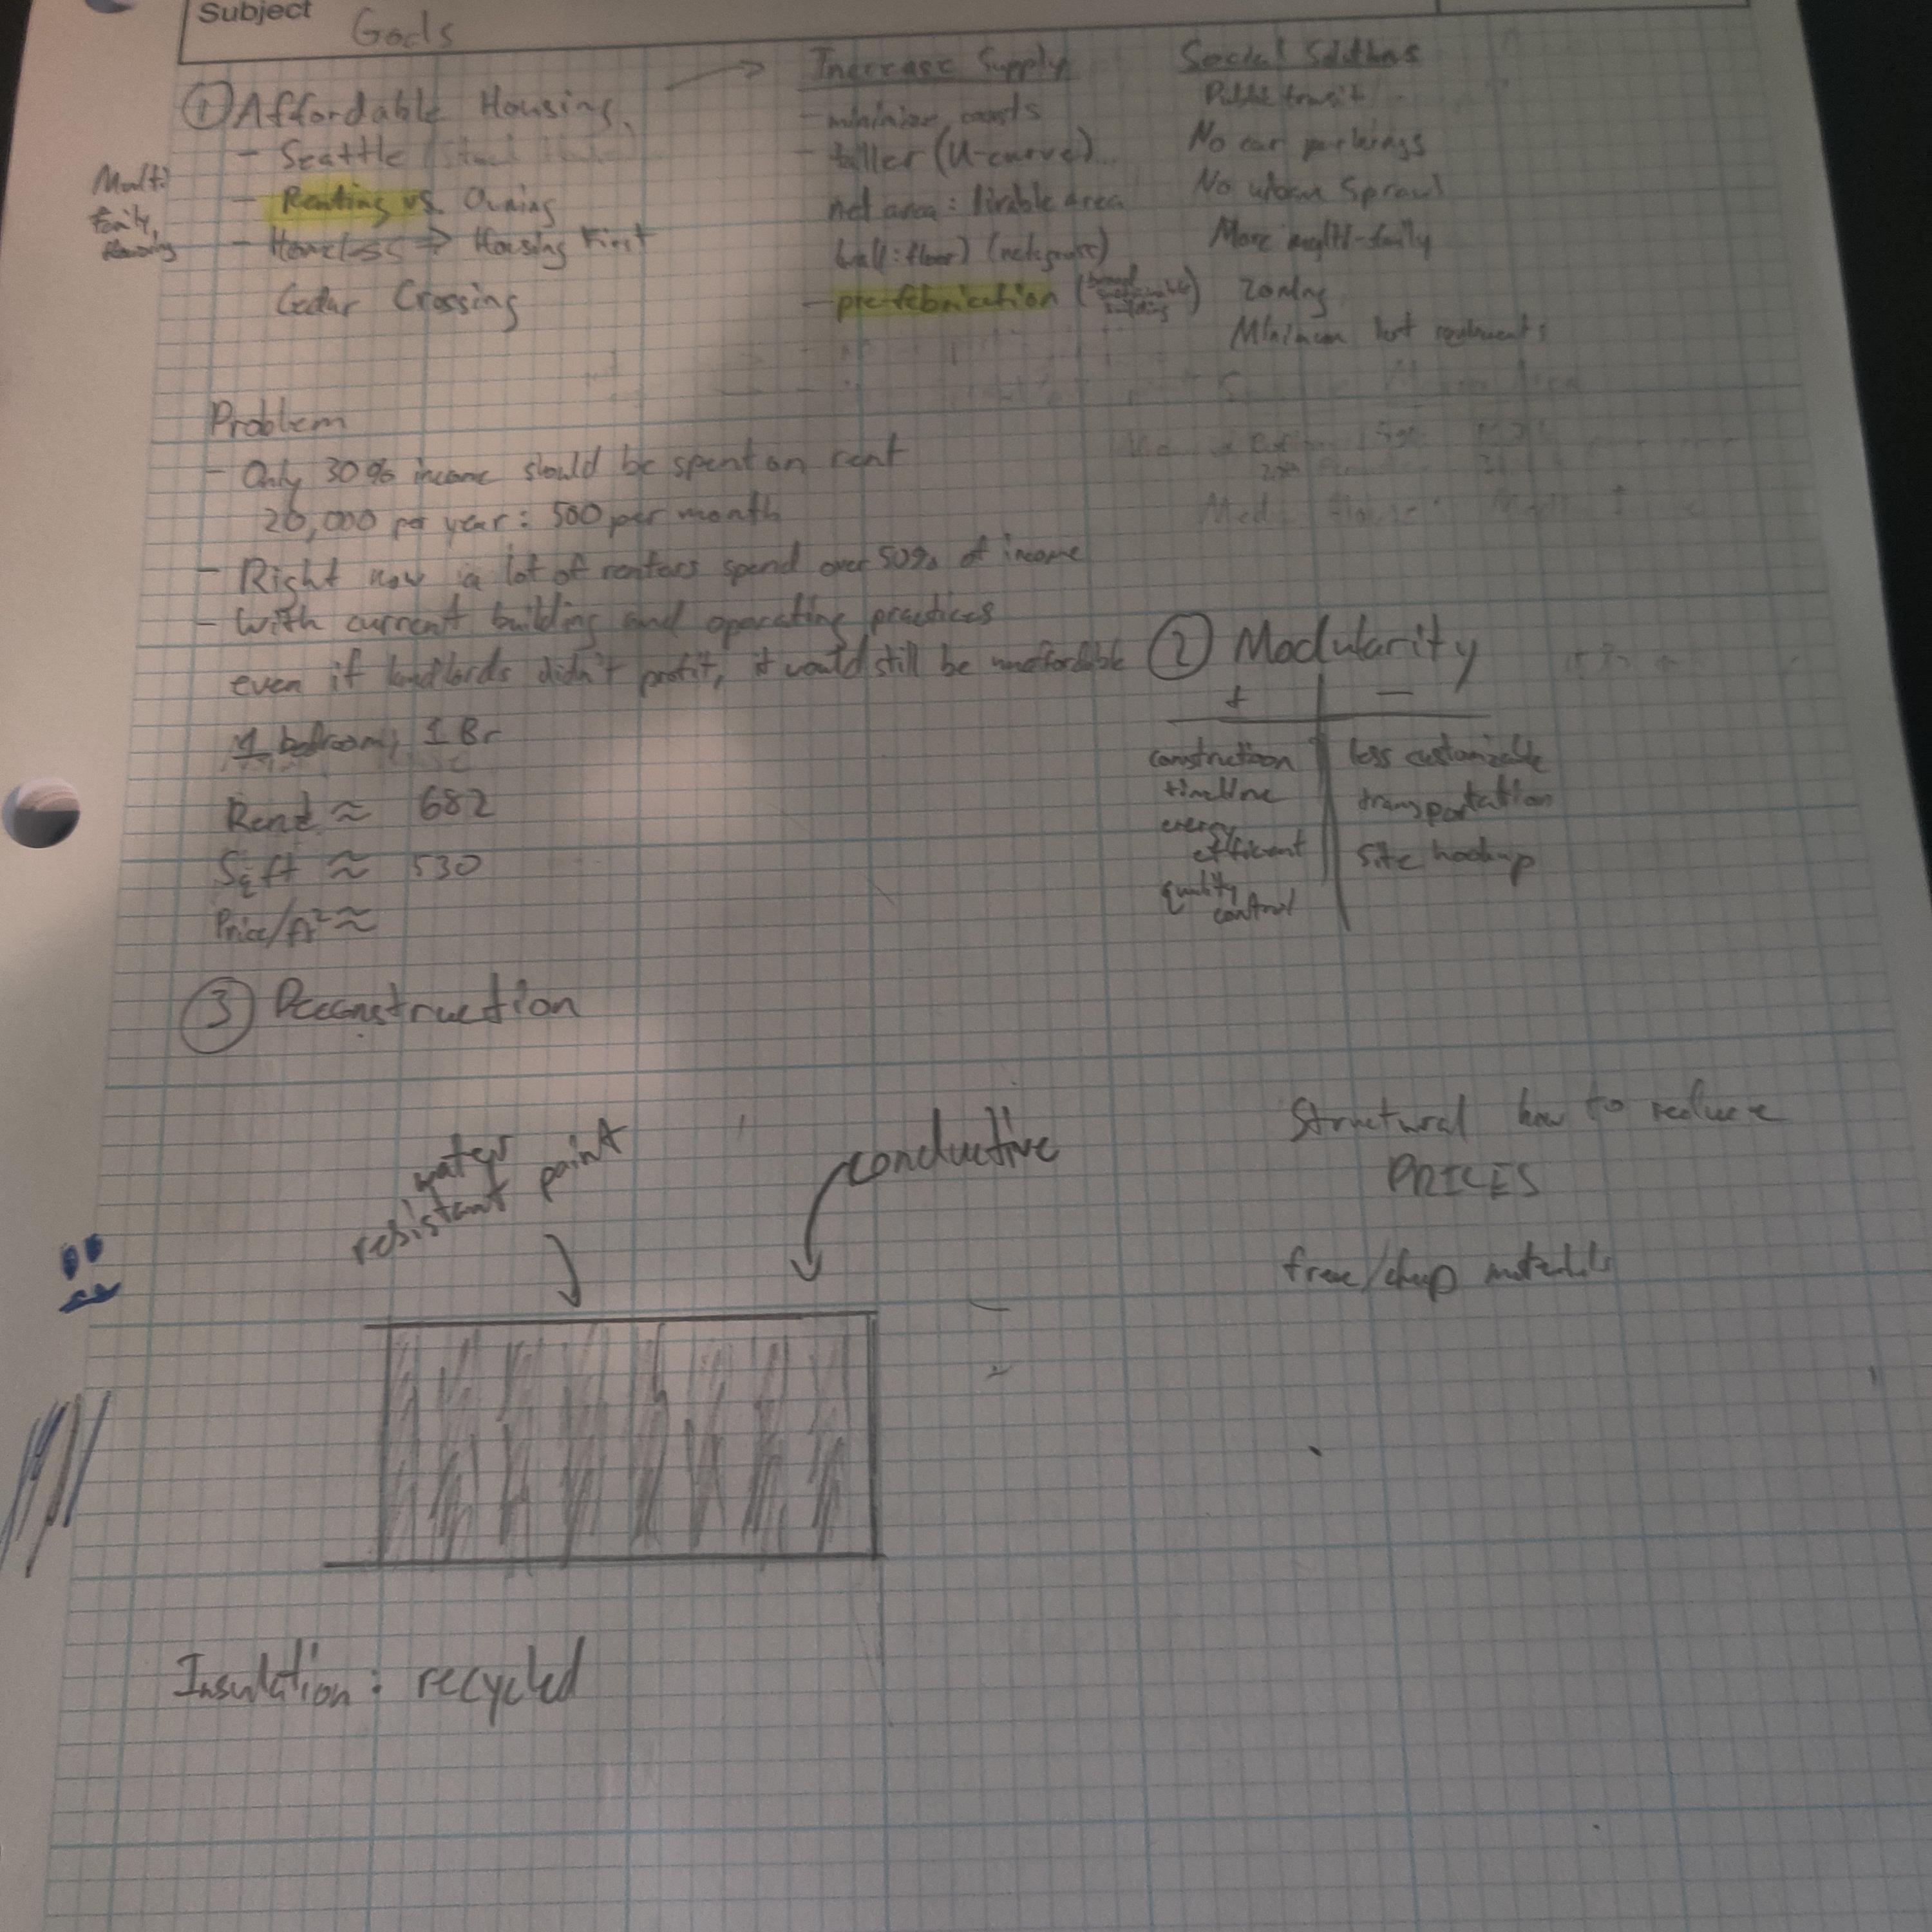
If you follow these steps you can model your own floor plan and try to put your spin on it. First you should sketch your ideas out and try to aim for a specific goal. Mine was real-world functionality, I wanted my building to look structurally sound and profitable while also serving the needs of the community.
This led me to my decision to not cutting holes in the shipping container to keep the structural integrity of the container and relying on the already existing door for the opening. Ideally I would have liked to place windows in the bedroom, but after my research I learned that cutting holes in the sheet metal means you need to reinforce the surrounding area, thereby exponentially adding to the cost. The other part of functionality I kept in mind were the structural supports needed to hold the modules together, so I had to space the buildings apart so they were be able to be tied down to the foundation.
Another design concept I tried was giving the residents privacy and all the furniture and appliances they need, but with the small space of the shipping container it made the design process hard to give them what they need. So, I pivoted and shifted my design into a dorm style with shared bathrooms in one shipping container. Following the same line of thought, the first floor is like podium design with many community features on the bottom for easy access, and to make up for the lack of space in the residential houses. These community rooms can include anything from gyms, to hydroponics, greenhouses, and showers. My favorite idea was repurposing the front door of shipping containers --we wouldn't need it for the house design-- and using it for a children's playground, giving the kids a 'mini fortress all from materials that would have been recycled.
Last thing I tried to accomplish with my design was modularity, making sure my design was simple so that it could be assembled in a factory and then connected to site using a system of latches to hold it to place. I did this by just creating the bare essential appliances in my floorplan giving residents the freedom to choose their own furniture.
Modeling the Shipping Container
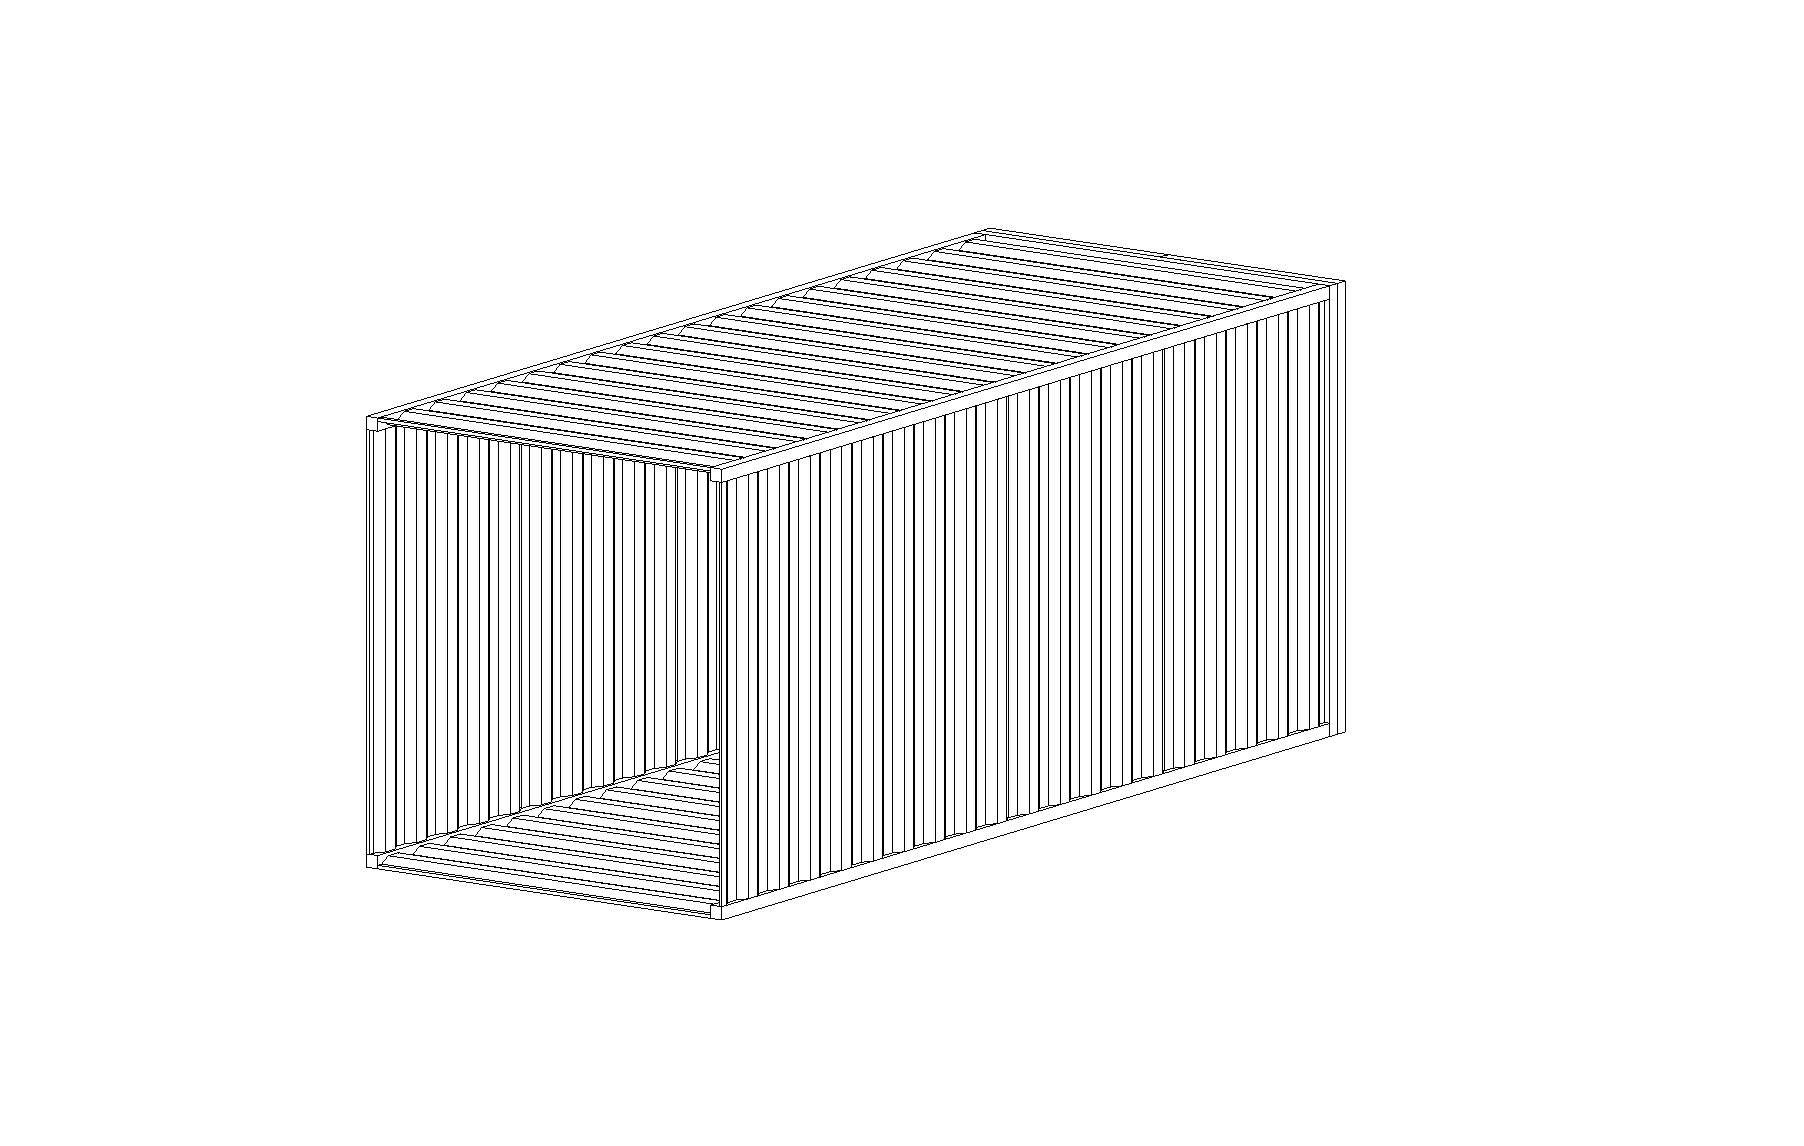
Before I did this project I had no idea about how to use Revit, and I was lost about how to create a complicated design like a shipping container. So I looked up online for tutorials and found this great walkthrough by Belinda Carr (https://www.youtube.com/watch?v=6jJ3XV-12Wg&t=367s). I recommended following her steps because she knows the program better than me. But the short version is you have to create a Revit family first, because normal Revit 'projects' only create site plans, and once you do that you use the extrusion tool to create walls and the corrugated metal effect. The left side of the screen has a drop down menu that allows you to look at different perspectives, and if you click on the 3D view it really helps you figure out your orientation if your lost. One thing to know about this tutorial is that you don't have to follow every step, I didn't fully understand all the steps, so I skipped the parametric parts and long walls for the shipping container. I created the whole model with the extrusion tool, it took me a couple more tutorials to figure out the sweep tool she used for the long wall, and by that point I already finished the shipping container model.
Adding the Structural Interior
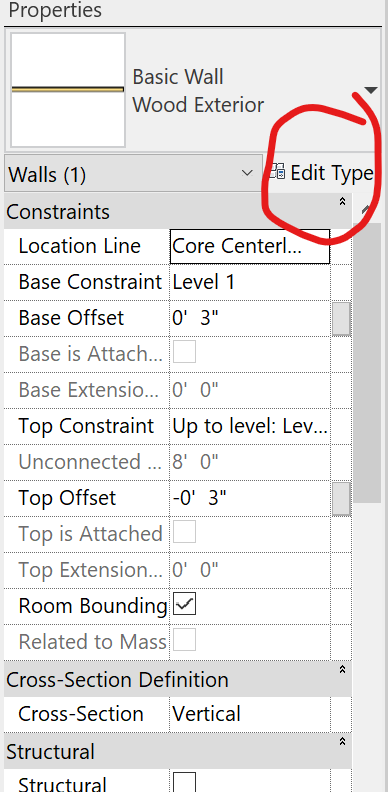
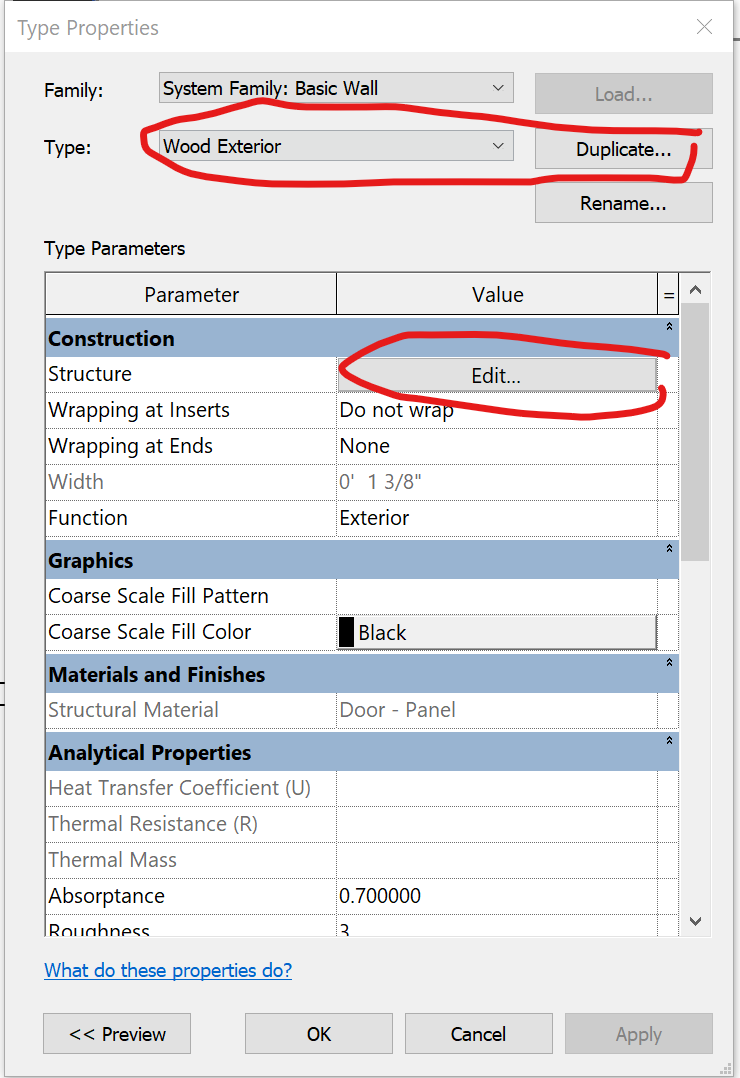
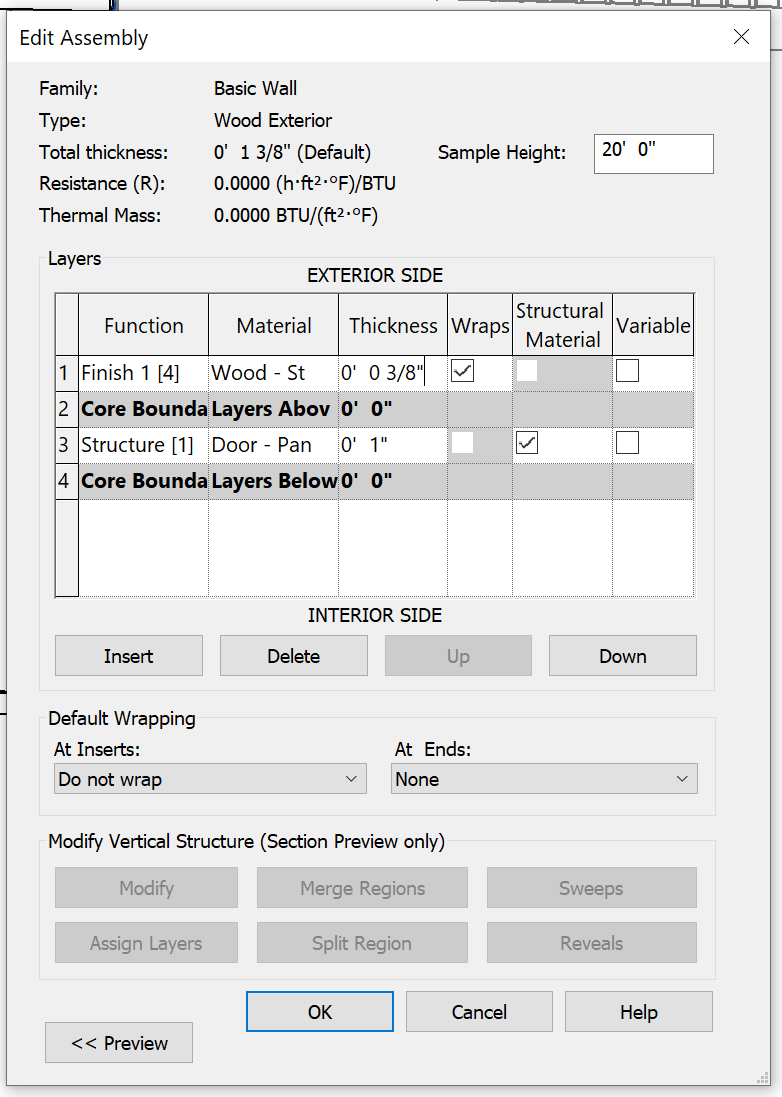
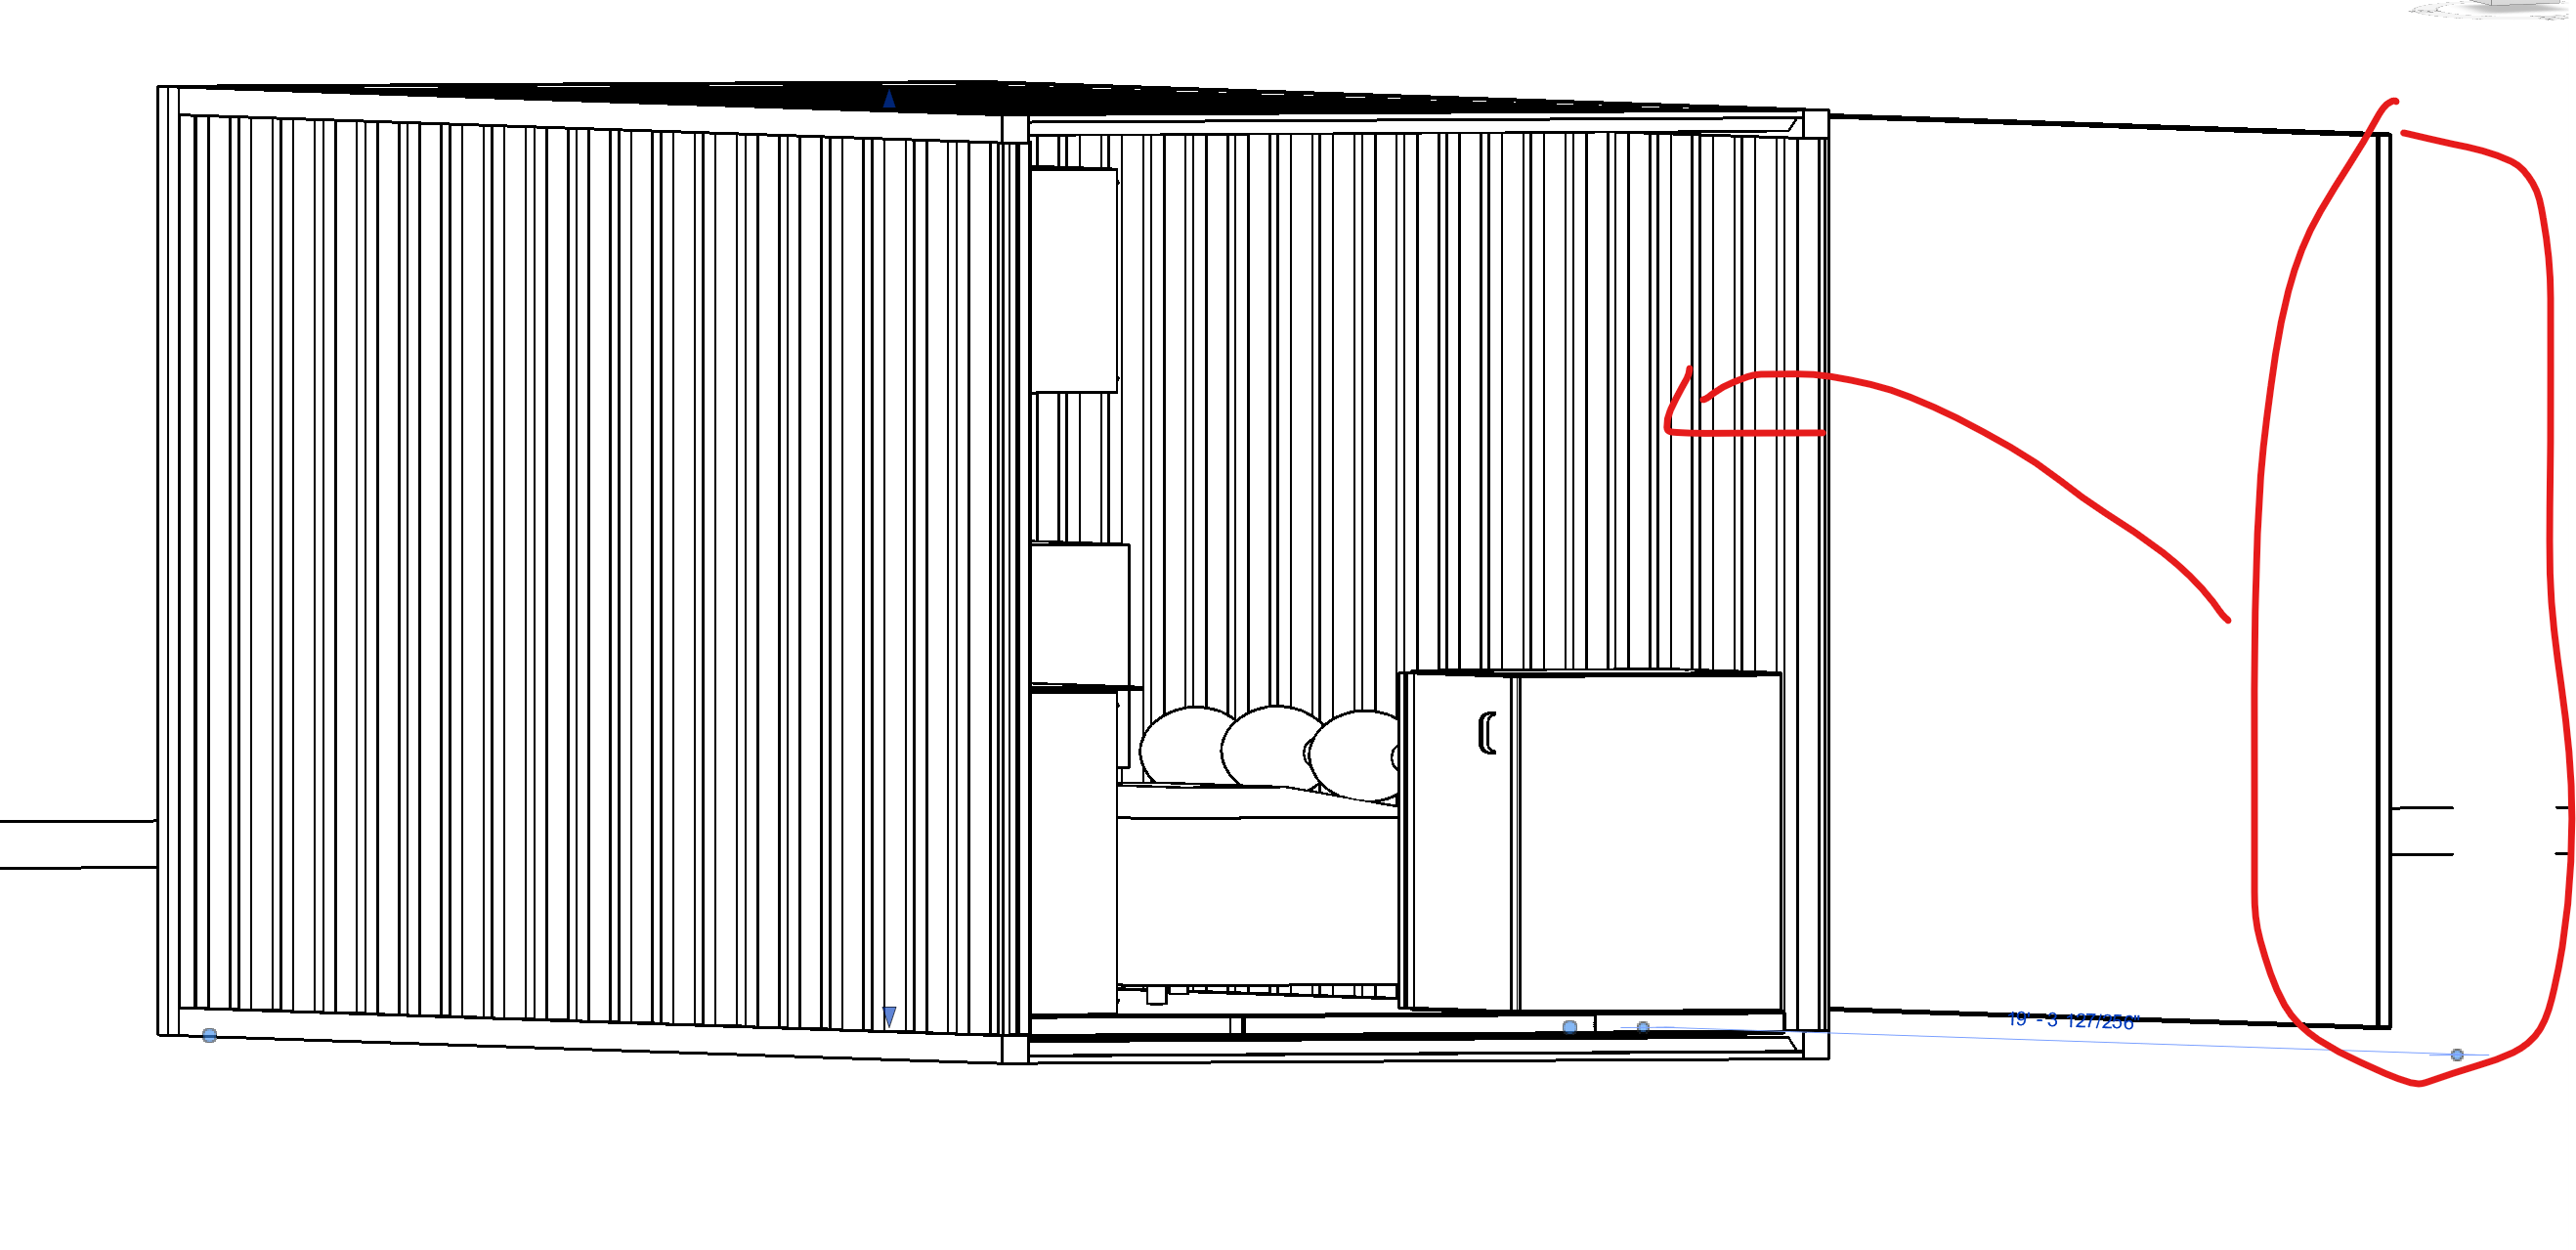
The next step is to add the: Walls, Ceiling, Floors, Doors, and Windows. (Note, you now have to create a project to get access to all of these features, then load the shipping container family into your project)
For the walls you go to the Architecture ribbon at the top you place walls in a rectangular fashion in the interior of the shipping container. Make sure you use the hide function (right click and in the drop down menu) and elevation views to position the walls in the interior. If you want to get more technical you can create your own wall thickness and material, for my project I made sure that there was an inch thick of insulation between the wood walls and shipping container. To do this when creating the walls go to properties on the left and 1) edit type, 2) duplicate the type, 3) rename it, 4)and edit the value for the construction structure its the first cell in the upper right.
You can follow the same thing for the ceilings and the wall, just make sure you have your floors and walls aligned so the model will work. I learned if the floors and wall intersect the lines will get funky in 3D view, so keep in mind that you want the wall to cover the floor and not be inside the floor.
The last part is the doors and the windows, but it is really easy you just press door and window from the architecture ribbon and place it on the wall, and if you really want you can mess with the properties on the left to change the thickness so everything looks nicer.
Furniture
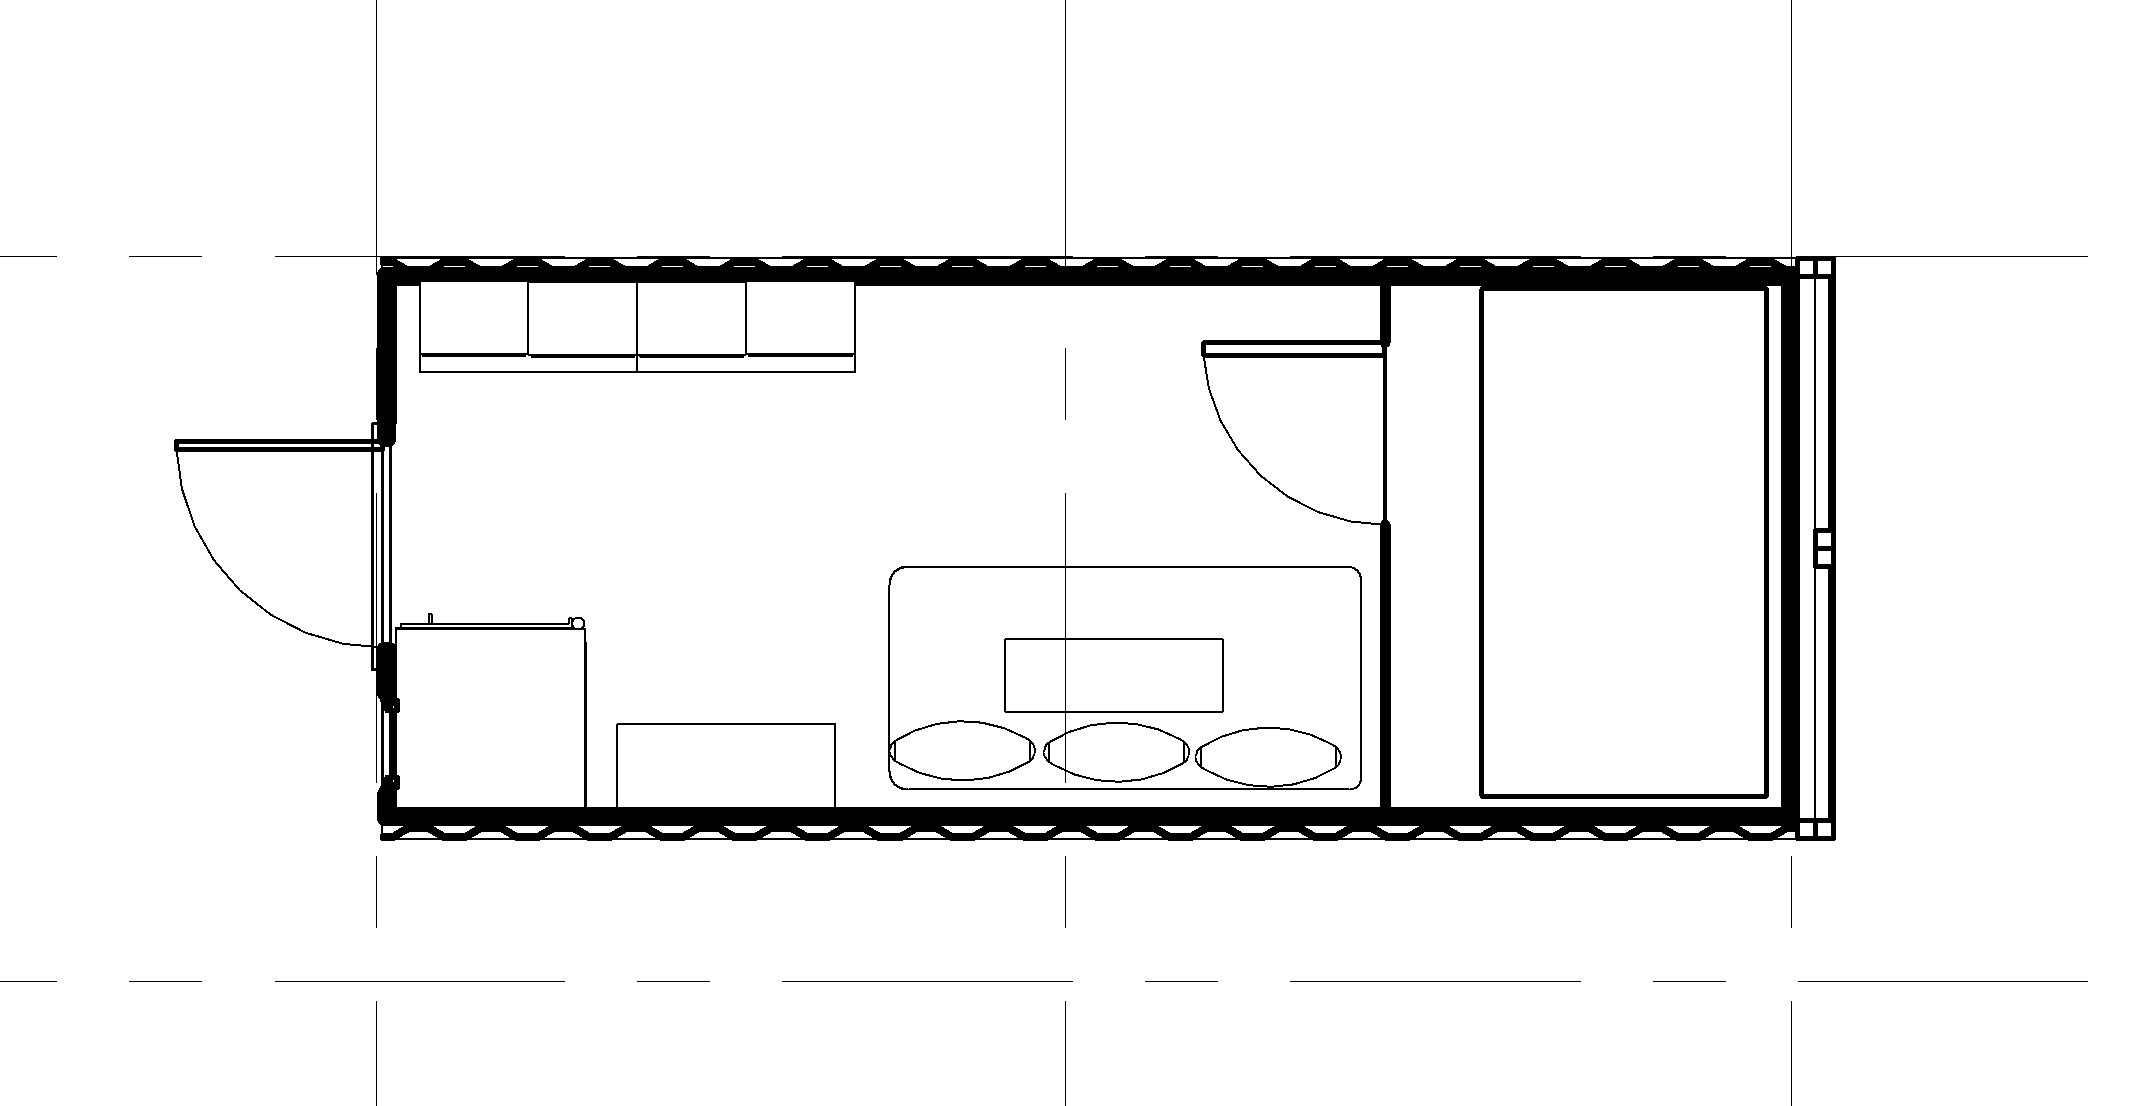
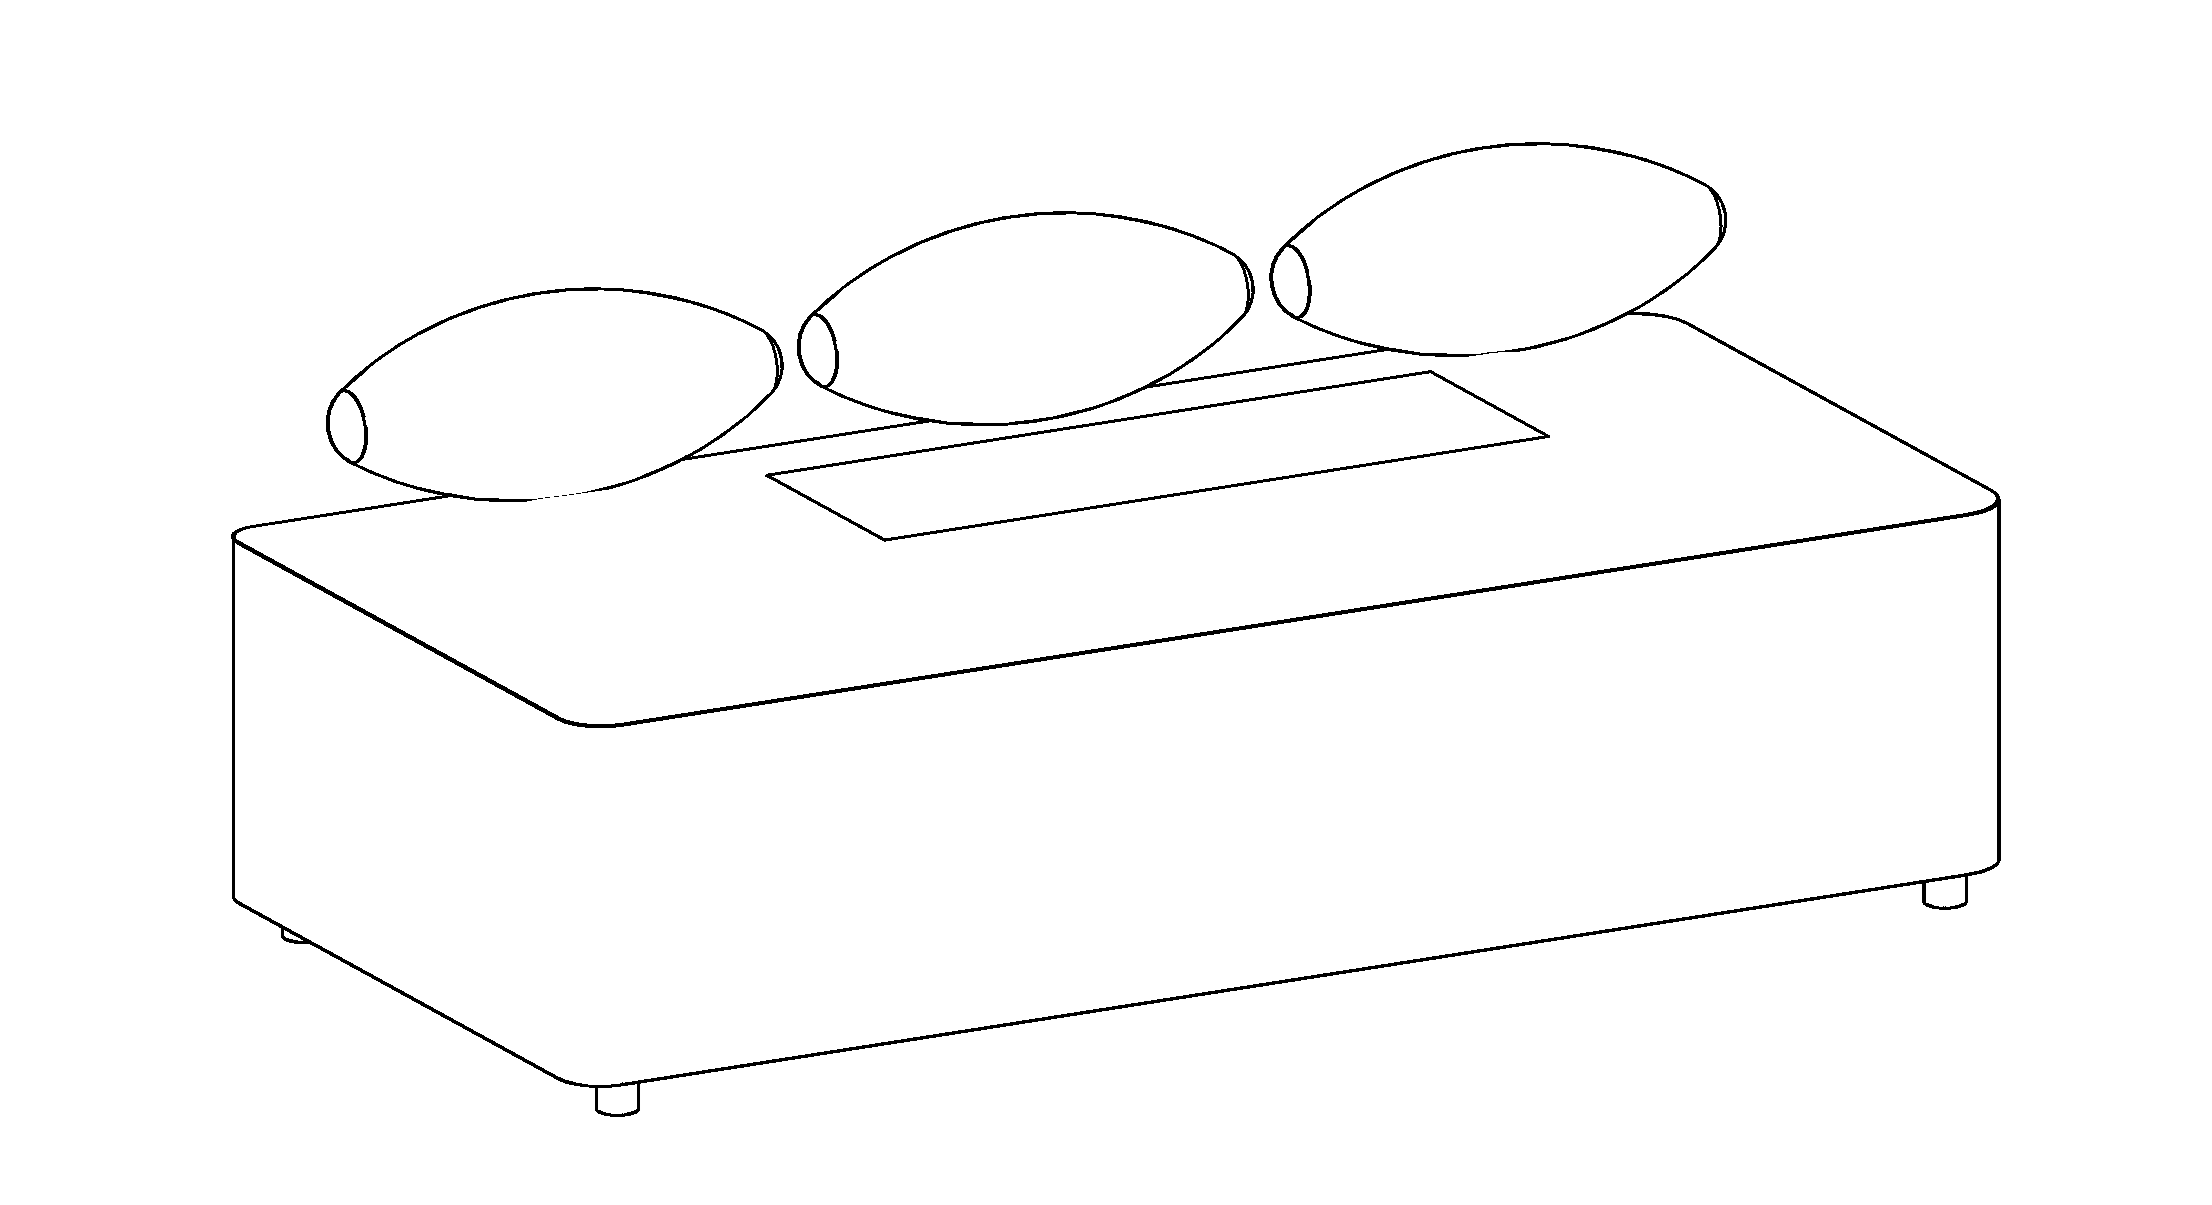
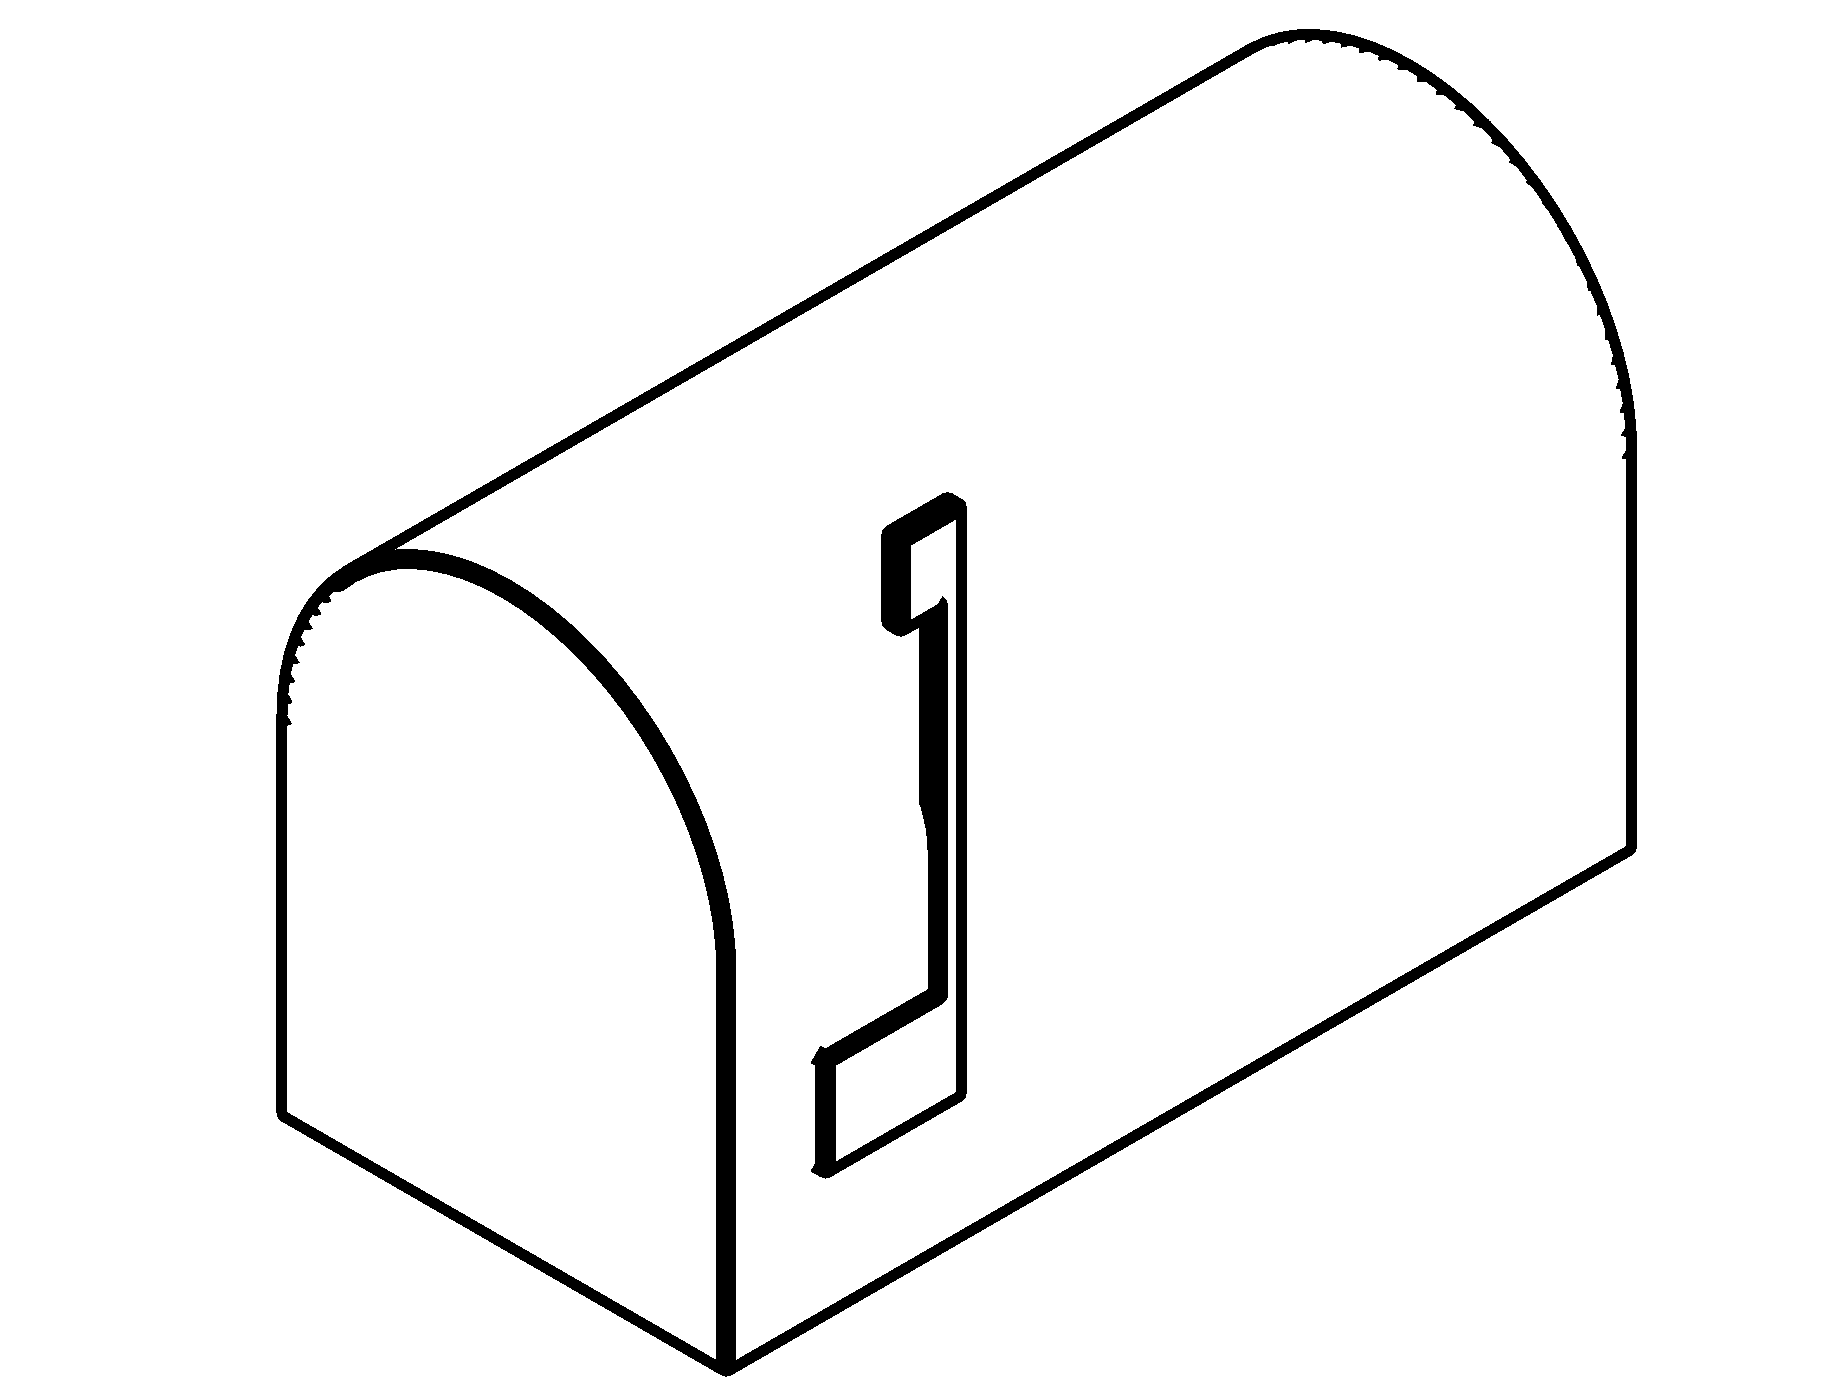
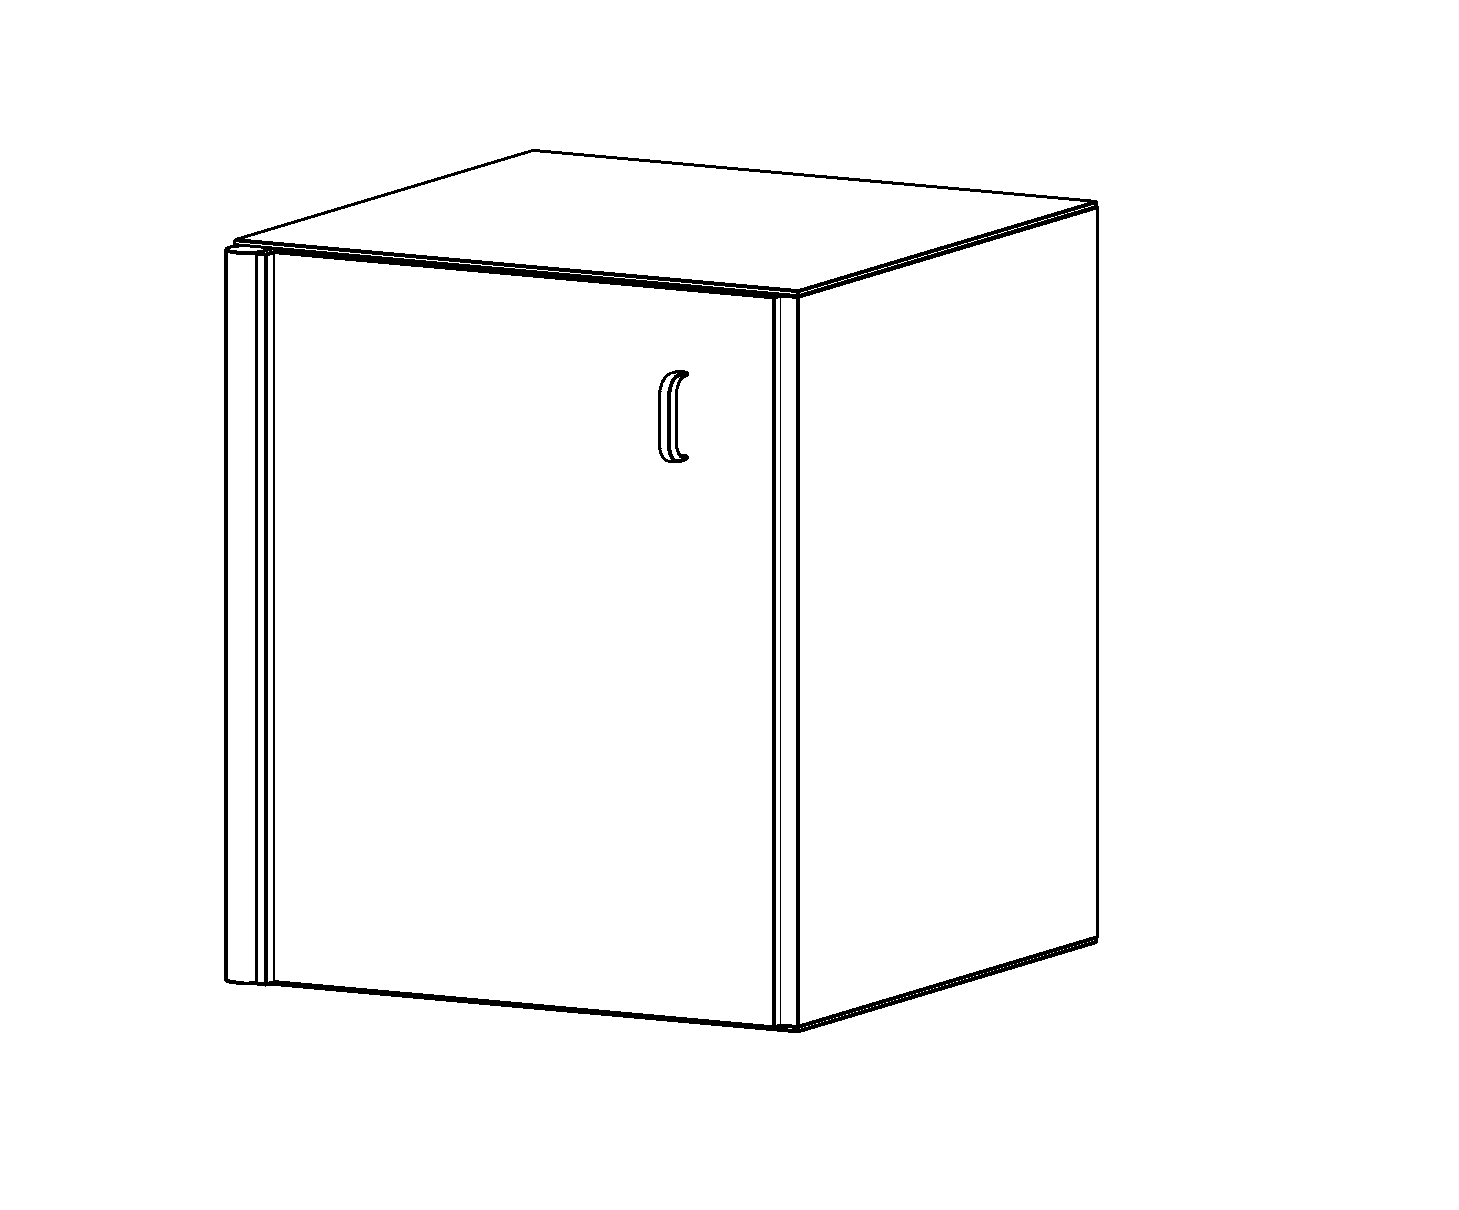
This is the fun part, now that everything is done, you can be creative about how you want organize your space. I looked on YouTube about shipping container houses for inspiration about how to best use the space, I highly recommend the series tiny house and this video helped me a lot (https://www.youtube.com/watch?v=guufciJaug8).It taught me about vertical storage to maximize the space and having mutli-use spaces like couch turned guest bed, and desk turned laundry.
In order to create the furniture you just create a bunch of families messing around with the extrusion tool, and if you want it to look nice you can look at YouTube to learn how to use the sweep tool to create a nice trim for cabinets.
Building the Complex
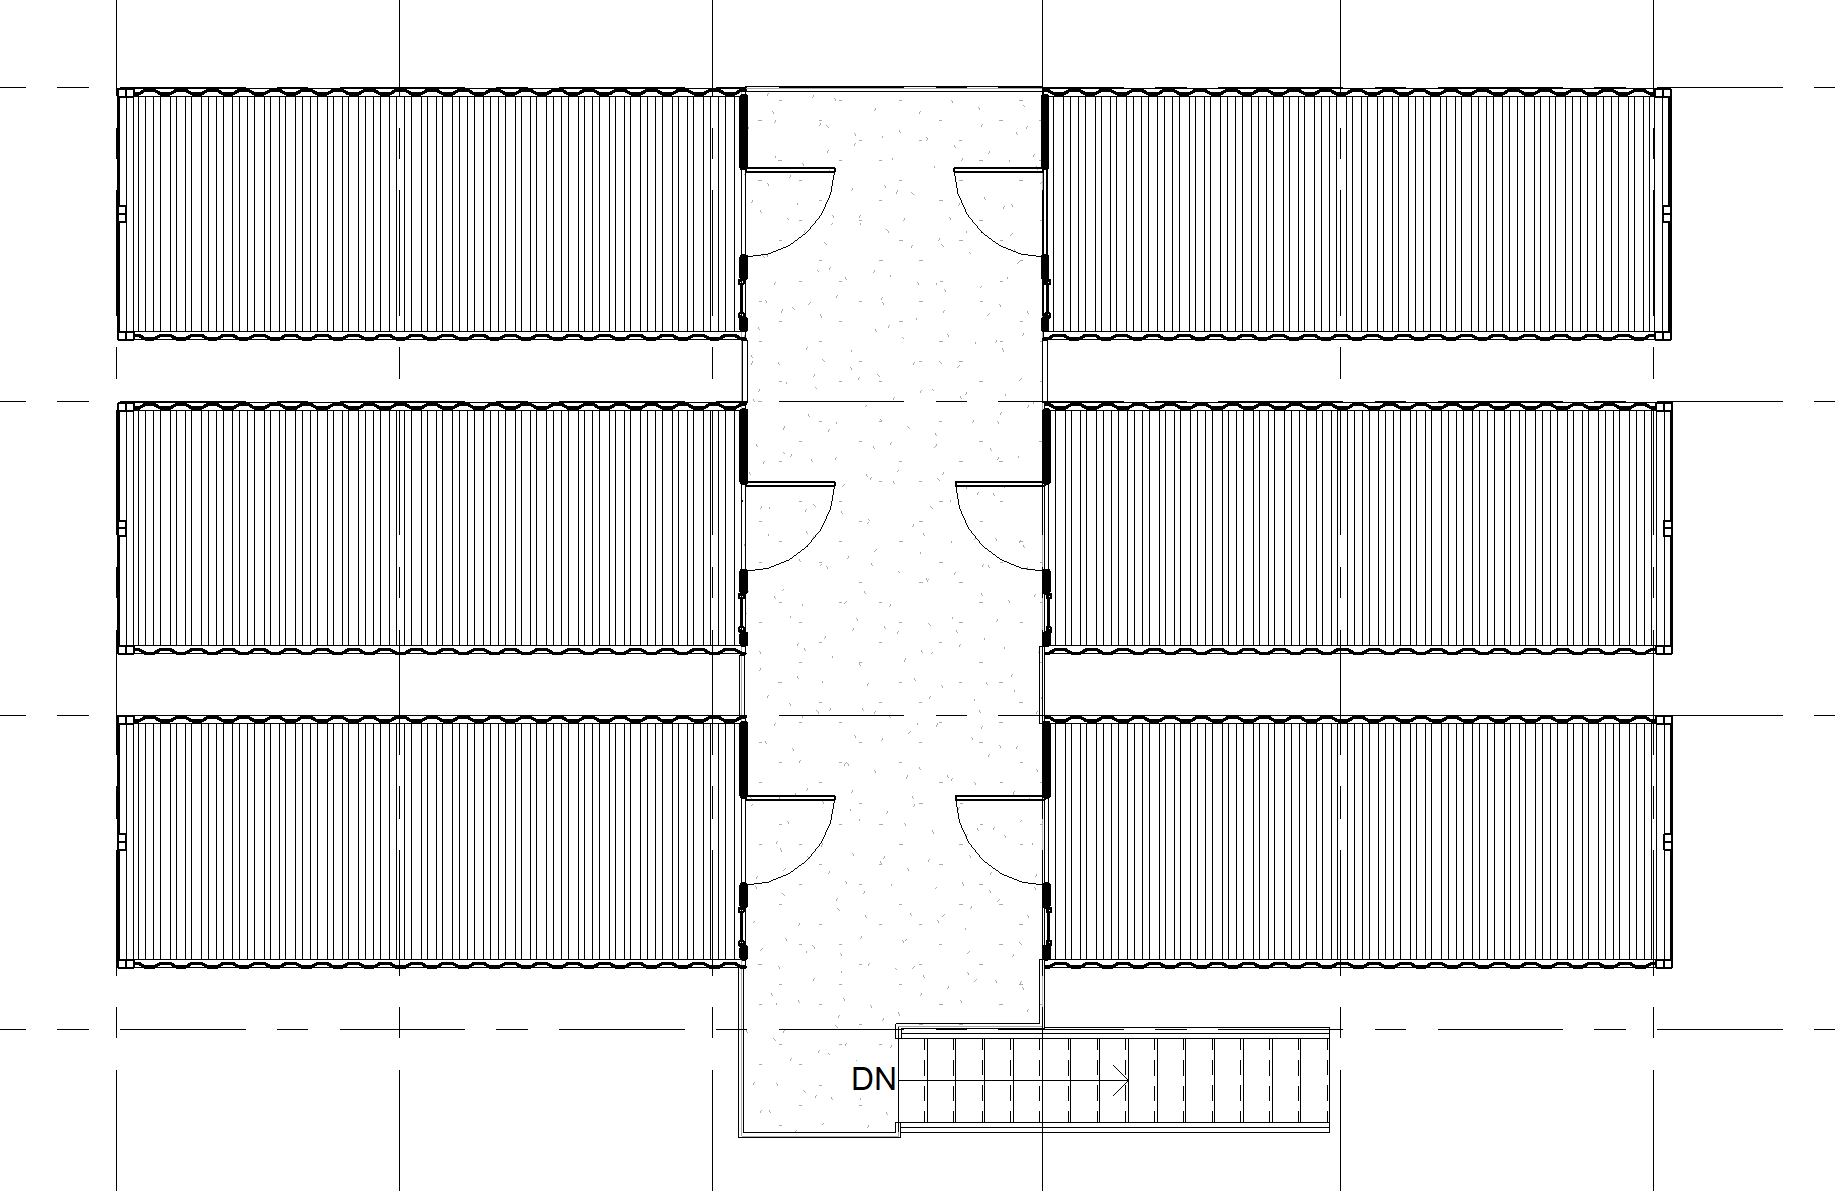
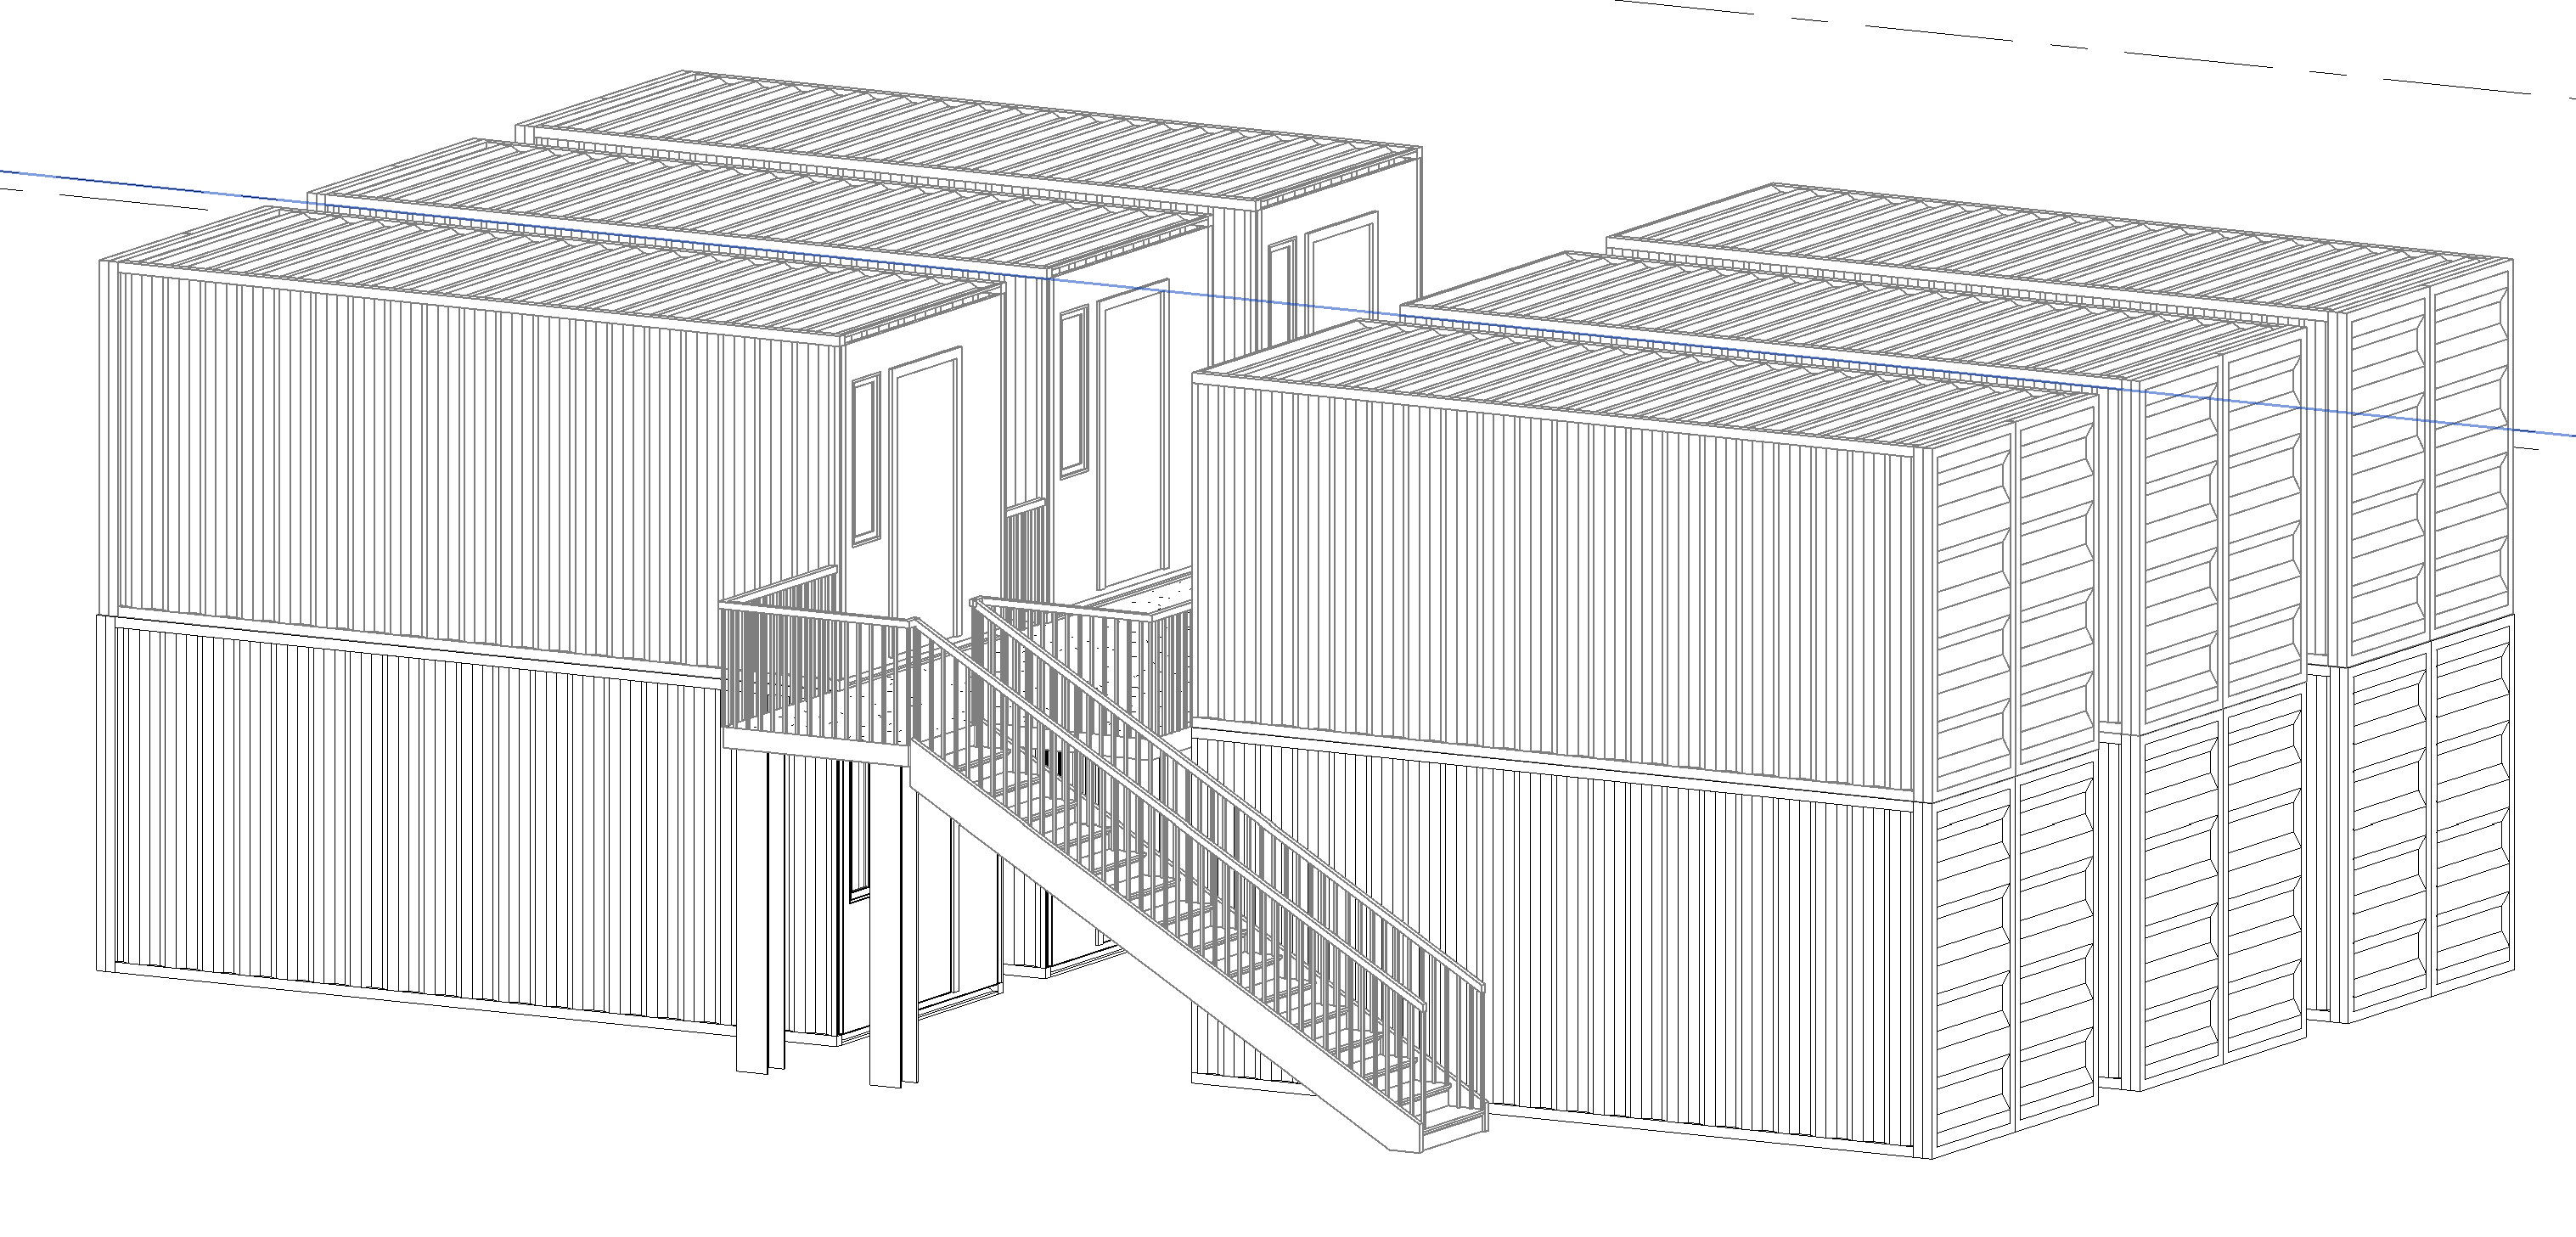
This is the final touch you just copy and paste the everything you built and designating areas to be residential rooms, and community rooms. A nice touch is to add slabs, stairs, and railings to make it safe, but other than that you are done. (Slabs can be found in the structure tab). Part of the fun is just looking online at cool tutorials to figure out where all the tools are.
Conclusion
My design did have a few shortcomings, I didn't have the tools to calculate the exact cost of the modules, but I estimated that it would take around 30,000 dollars which isn't very cheap in terms of construction. Overall improvements can still be made in using the shipping container material more effectively. I was thinking of maybe buildings that require less windows and need less insulation to lower the costs, so maybe the design can only flourish in the right set of circumstances.