Contactless Door Opener/Button Pusher
by Enginerd in Workshop > 3D Printing
1131 Views, 10 Favorites, 0 Comments
Contactless Door Opener/Button Pusher
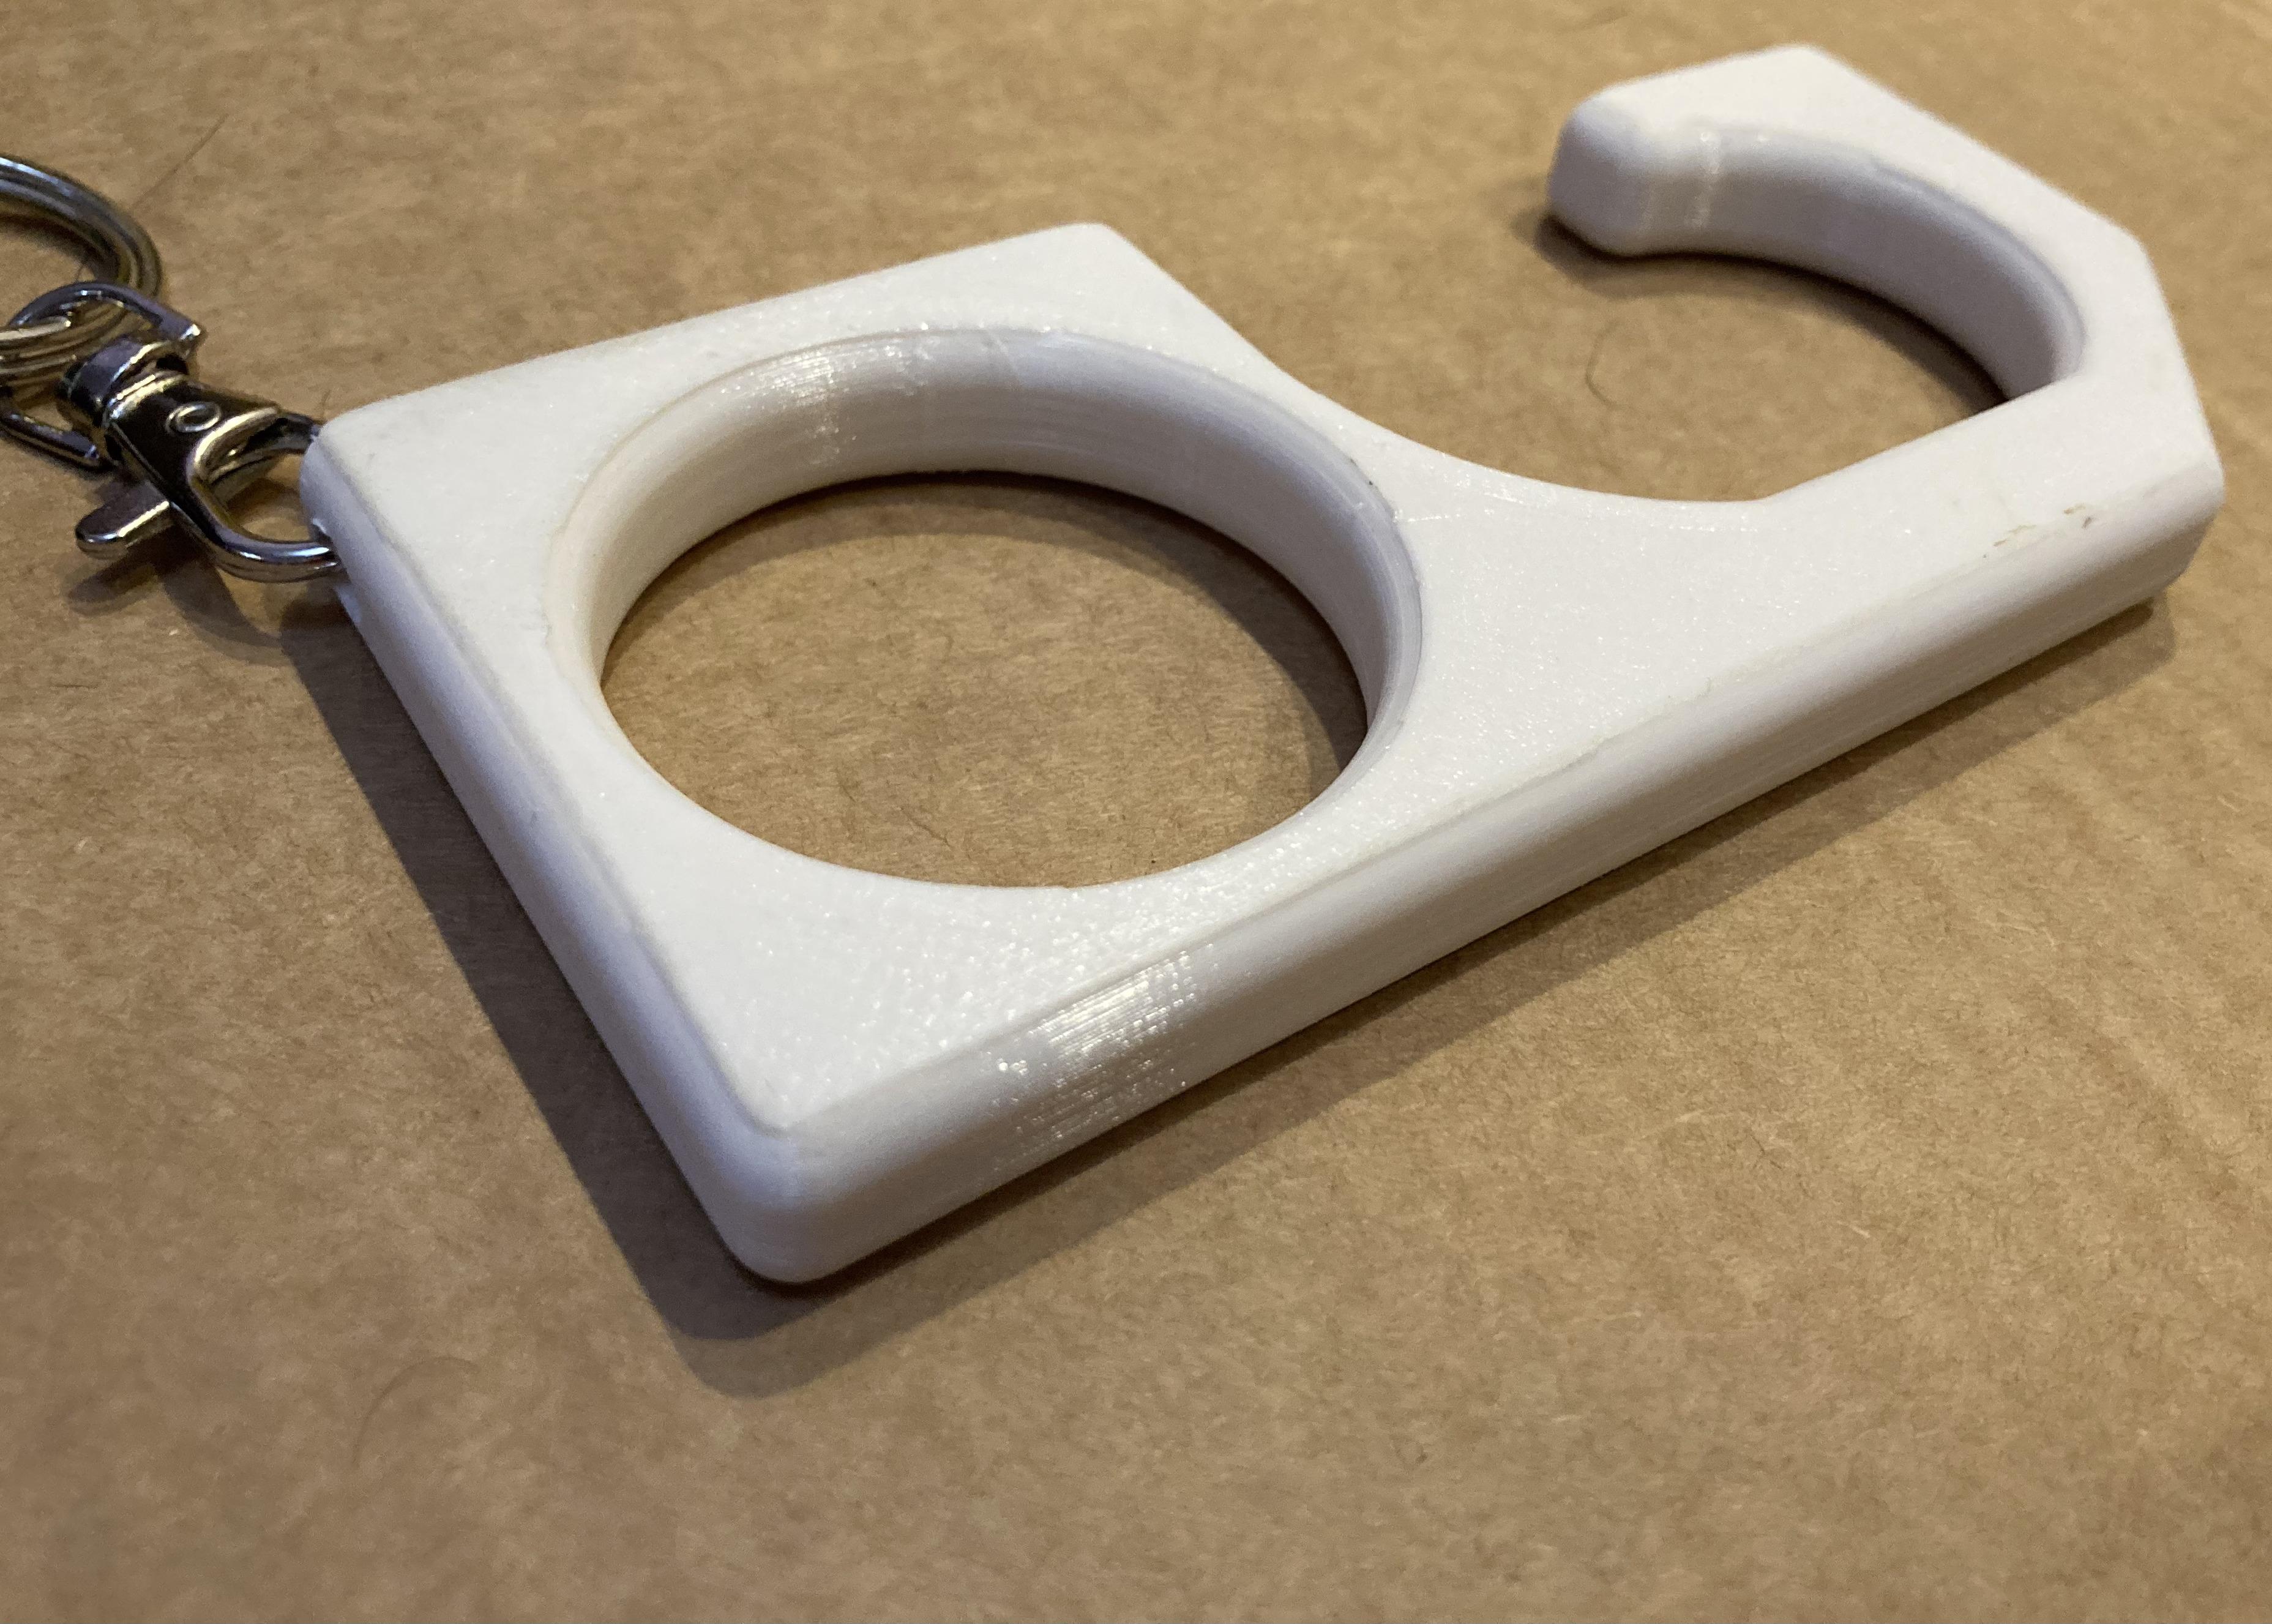
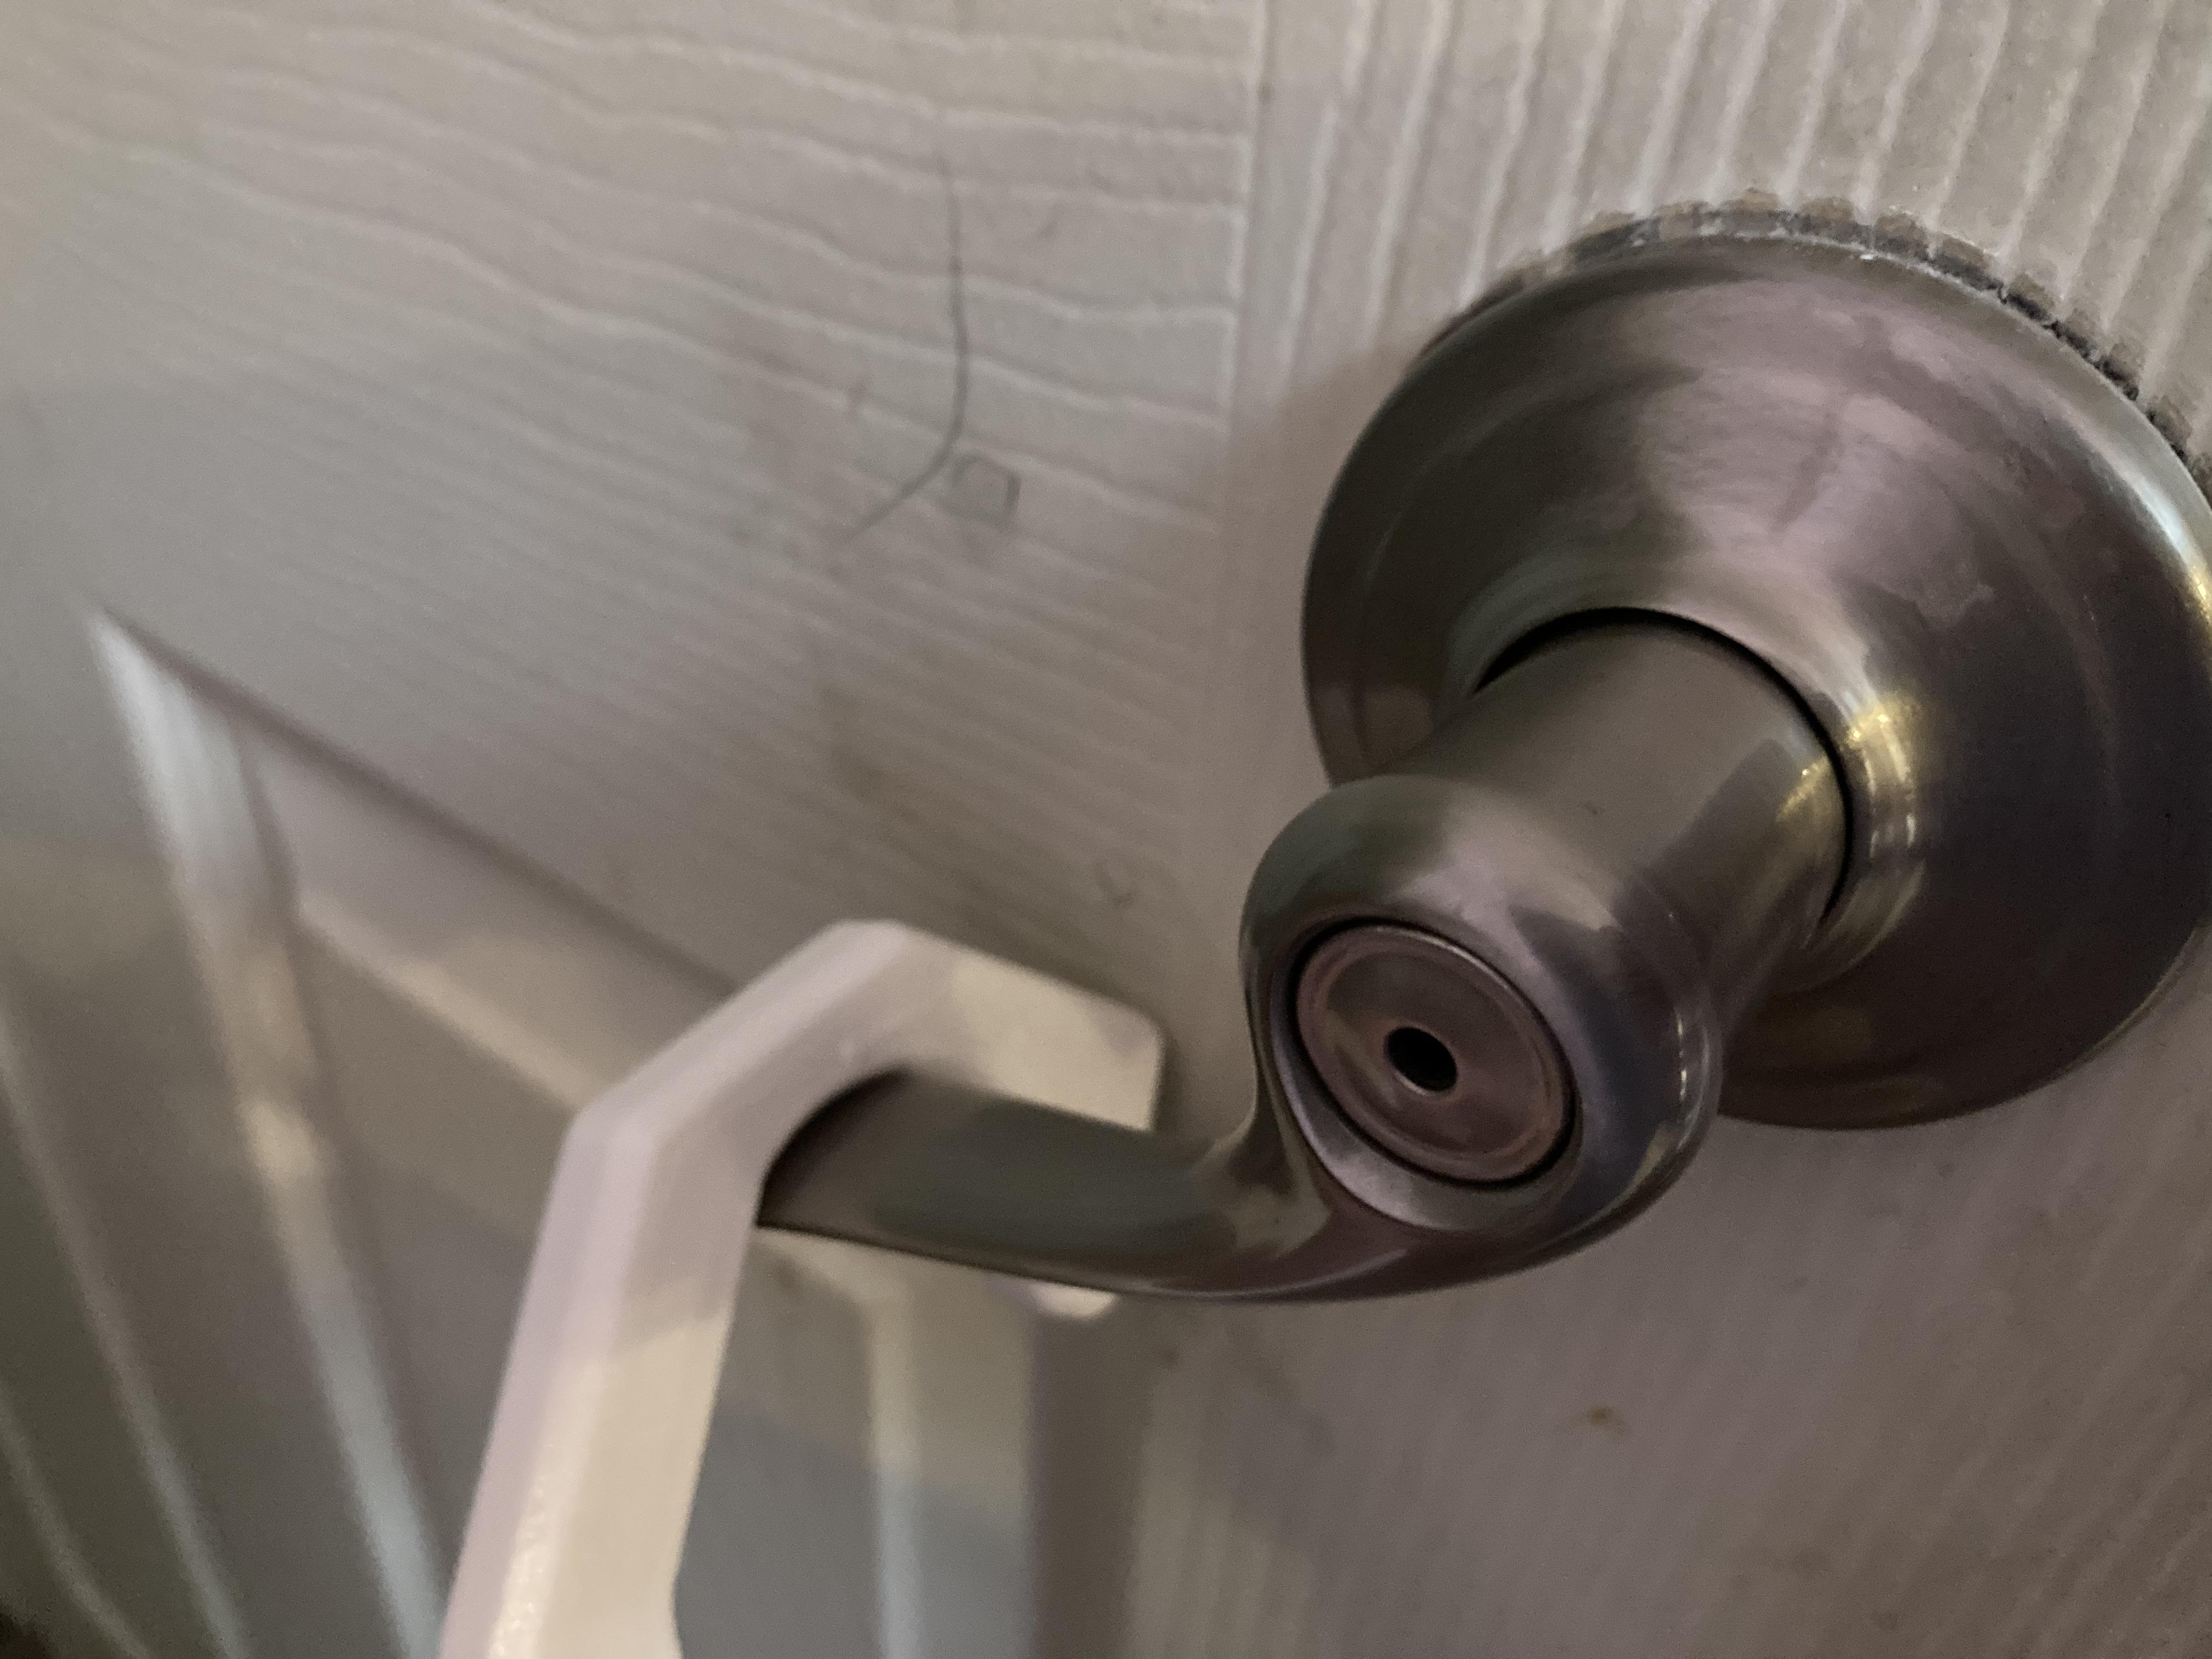
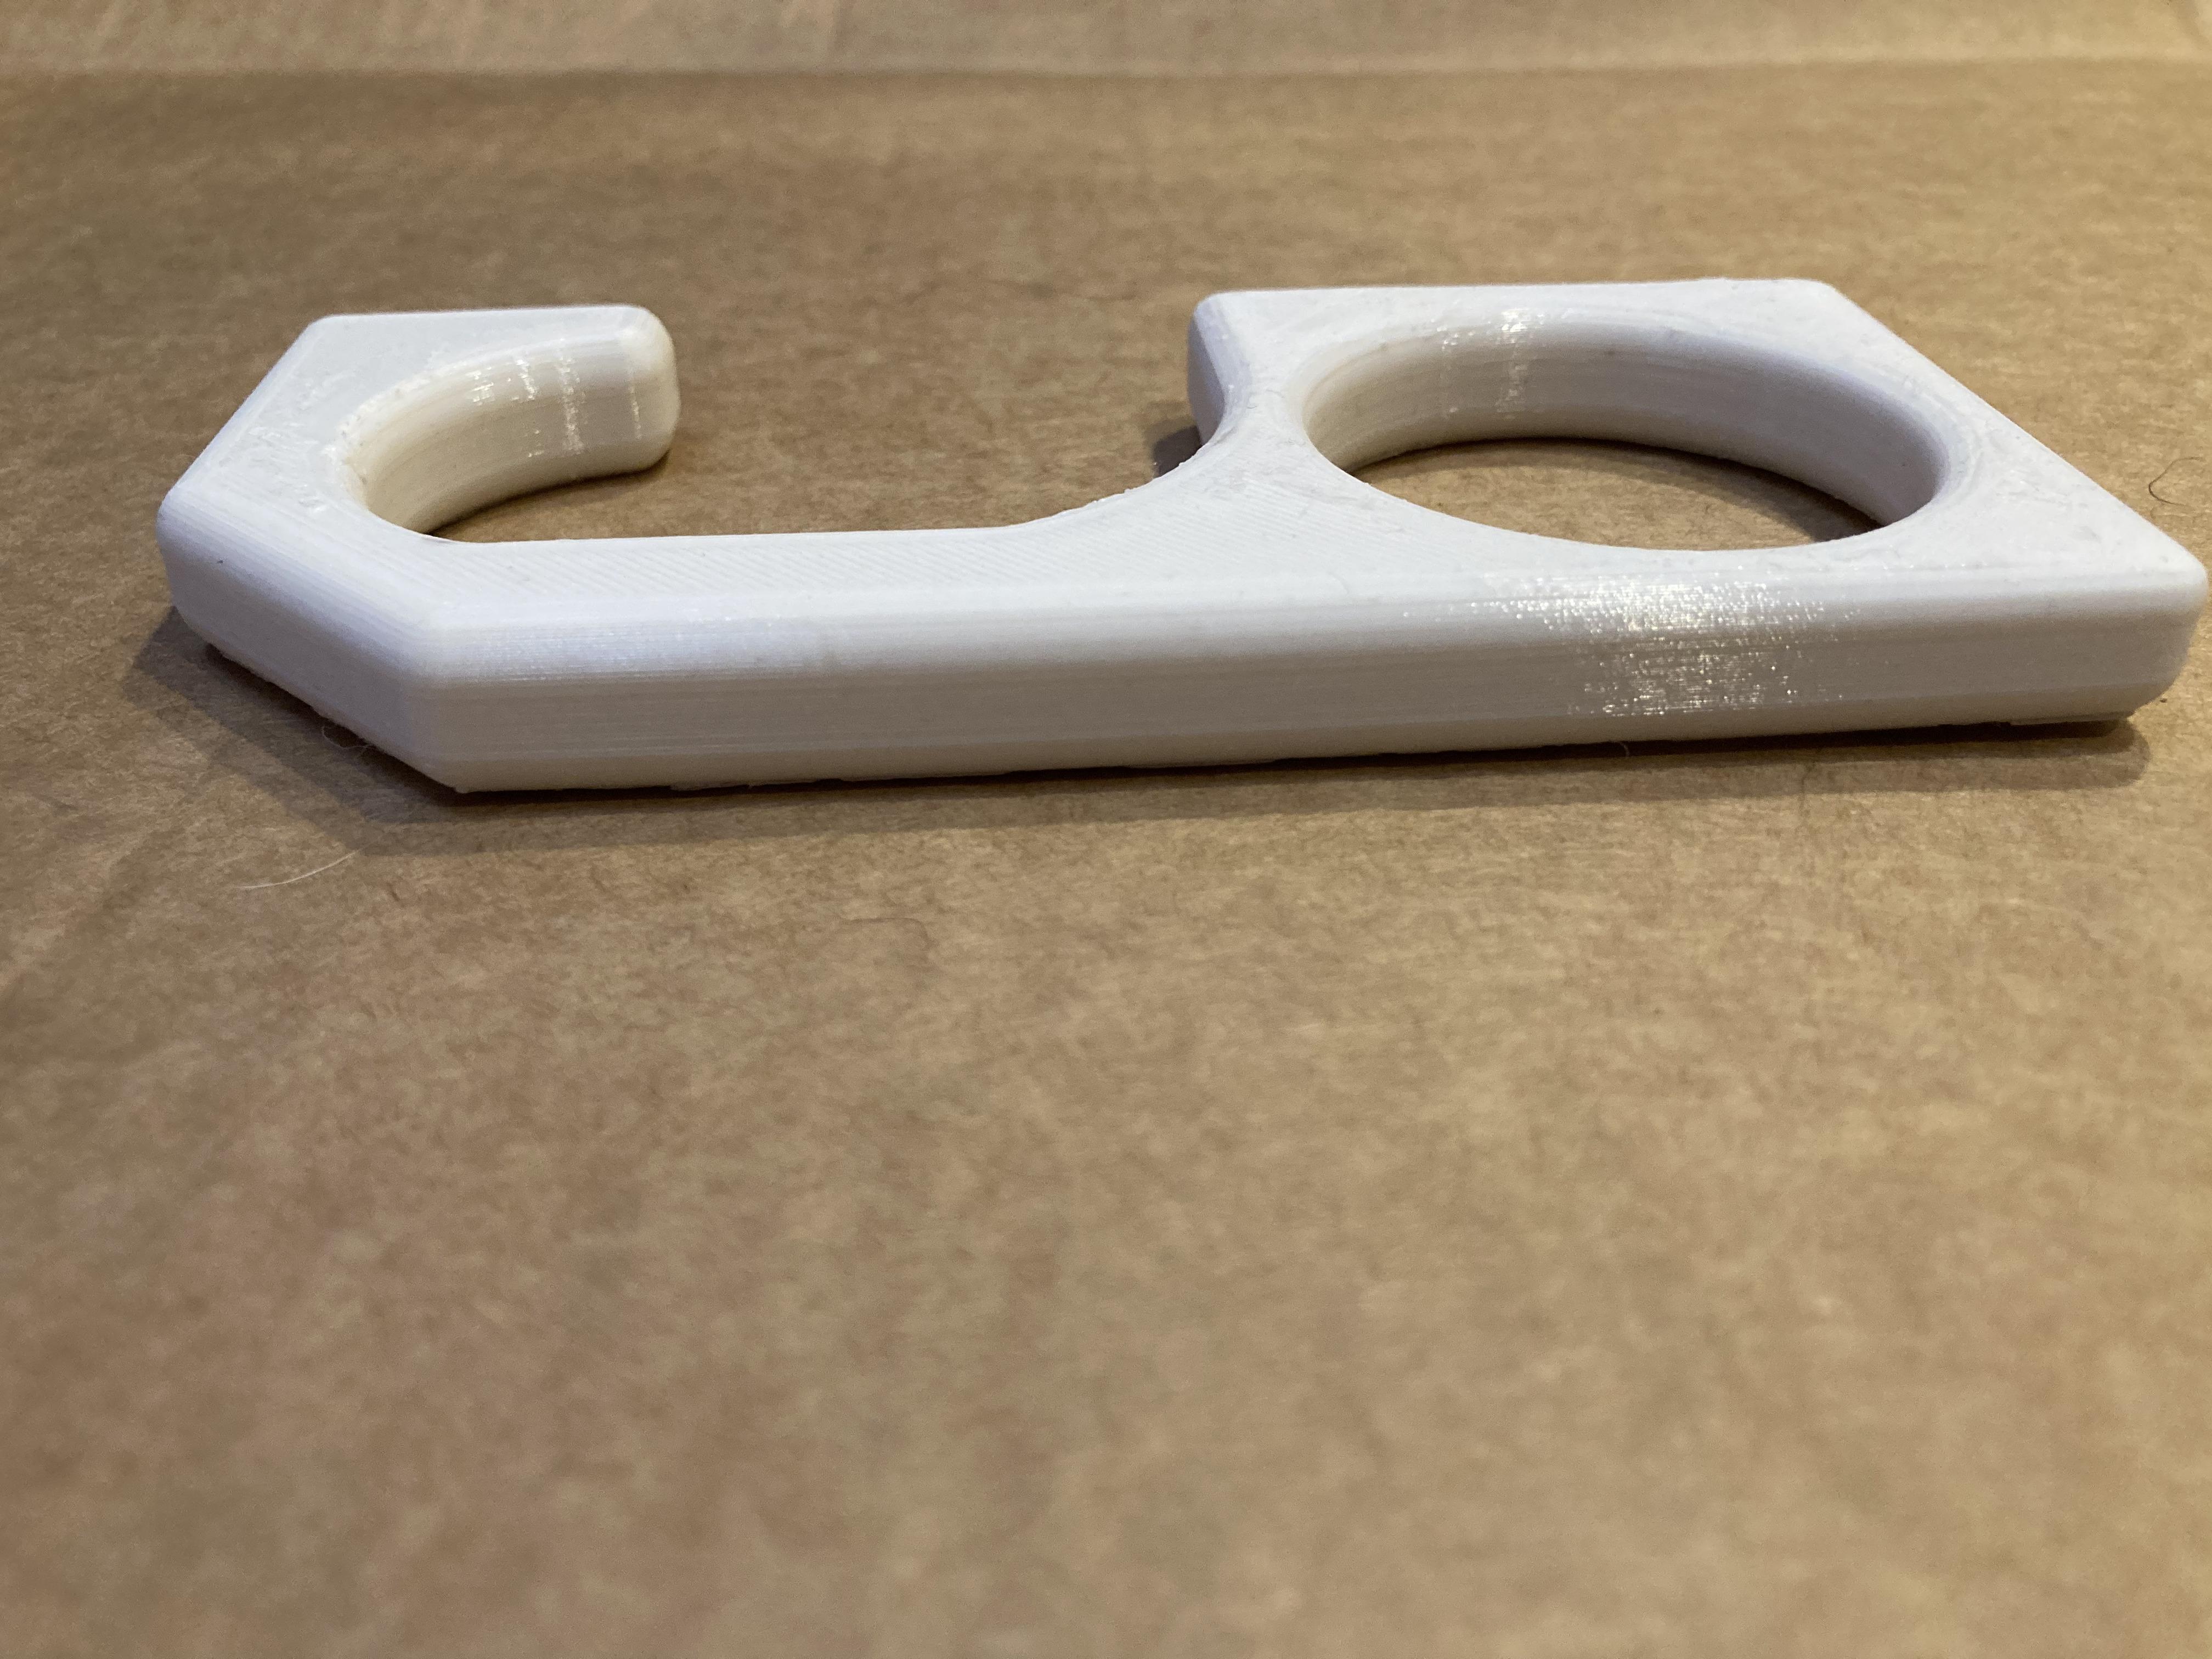
This project is a contactless door opener/button pusher. As the name implies, you can open doors and press buttons without touching them by using this device. Doorknobs are frequently touched and thus covered in germs and potentially sicknesses such as COVID-19. The same is true of buttons such as those in elevators. The goal of this project is to help avoid spreading those germs. This tutorial will walk you through the creation of this contactless door opener. However, the .stl file is attached, so if you don't want to design it yourself, just skip to the last step for instructions on how to print.
Some notes on the design:
The small hole is for a keychain. The big hole is for your fingers to grip it. The big hook is for door handles. The small angled side is for pressing elevator buttons. The big flat side is for larger buttons such as those to open doors.
Downloads
Supplies
You will need:
- Autodesk Inventor (software)
- Slicer software (such as Cura)
- 3D printer
- Strong filament (such as PETG or ABS)
- Keychain (optional)
Make the Outline
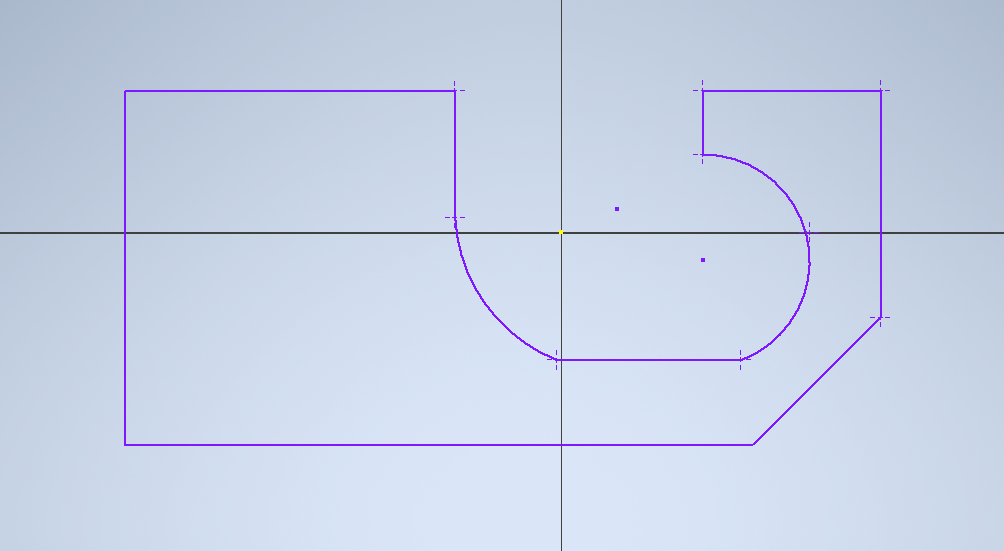
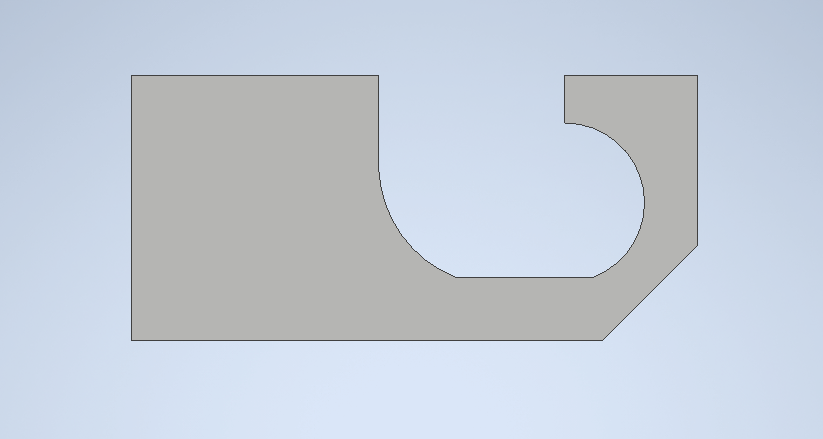
Use the sketching tools in Inventor to create the shape pictured. I started from a rectangle that was 133.25 mm x 62.5 mm and then cut away from it to form the hook and angled side. The shape and dimensions you use don't have to match mine exactly. All that matters is that there is enough space for the hook to go over a door handle. When you have finished sketching, extrude the outline sketch. I extruded it 12.5 mm. I would recommend sticking close to that number. You want it to be thick enough for it to be strong, but thin enough that it's not awkward to hold.
Add the Big Hole
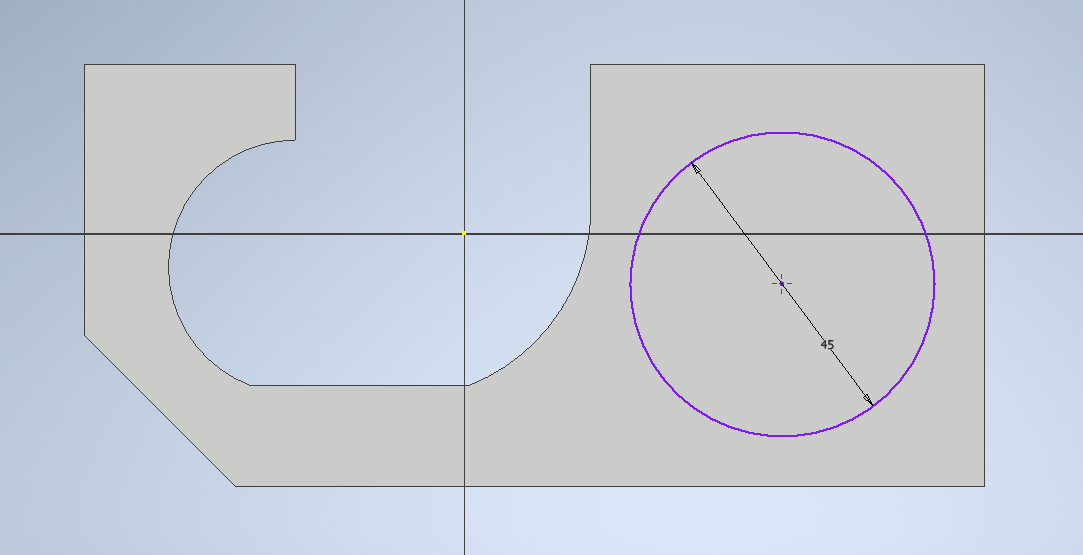
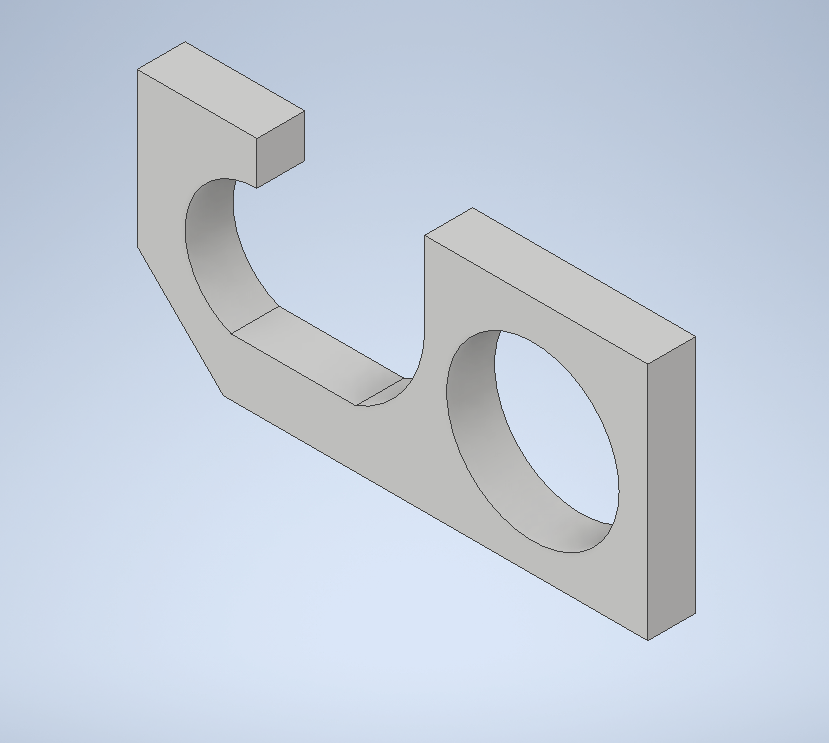
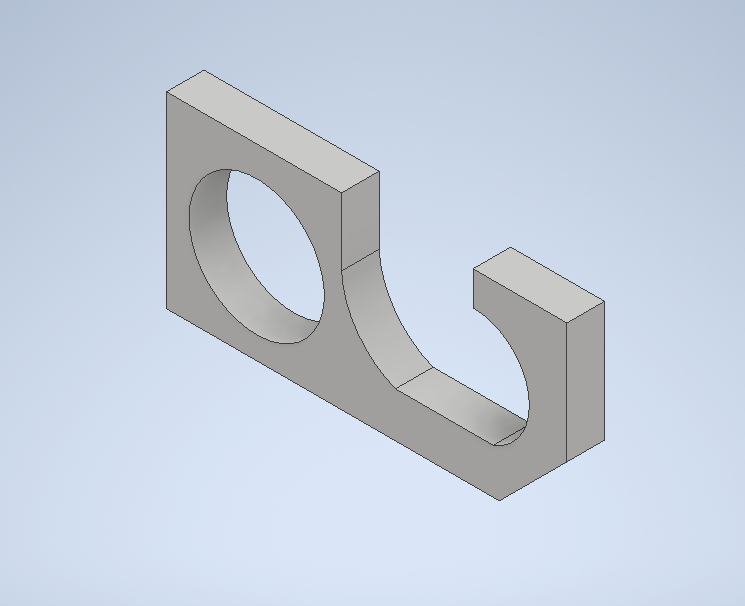
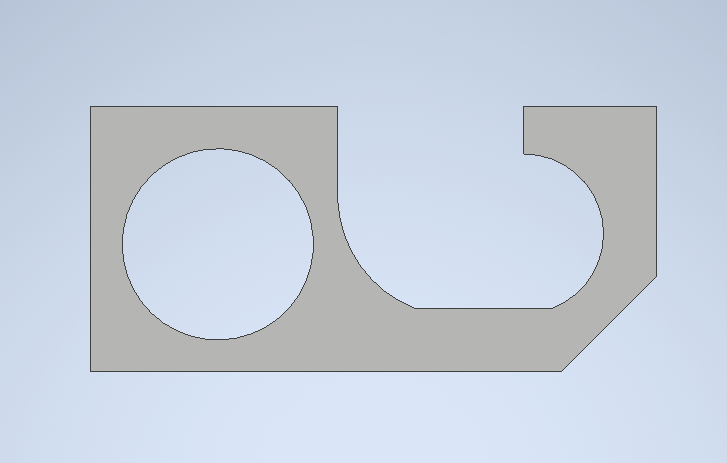
Draw a circle in the center of the semi-rectangular part of the door opener/button pusher. Extrude the circle using the cut setting with a depth that matches that of the outline created in step 1. This will create a hole. The pictures show what the door opener/button pusher should look like after adding the hole.
Add Fillets
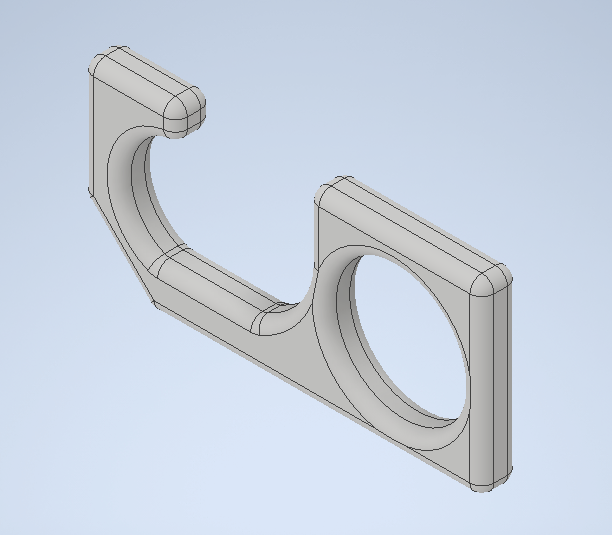
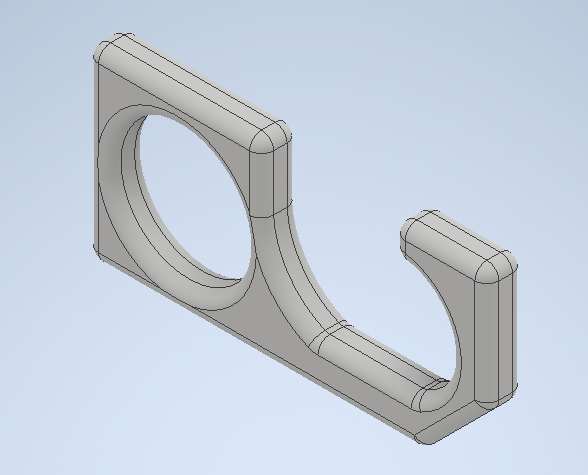
Select the fillet tool. Add a fillet to all the edges including the inside of the hole created in step 2. I made the fillets 4 mm. The pictures show what the door opener/button pusher should look like once the fillets are applied.
Add the Keychain Hole
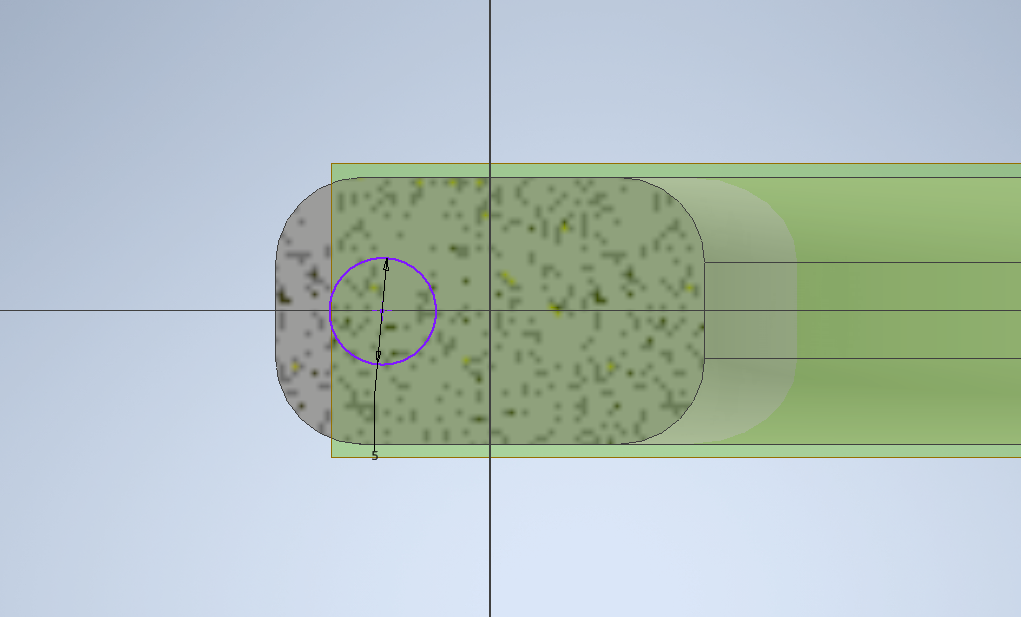
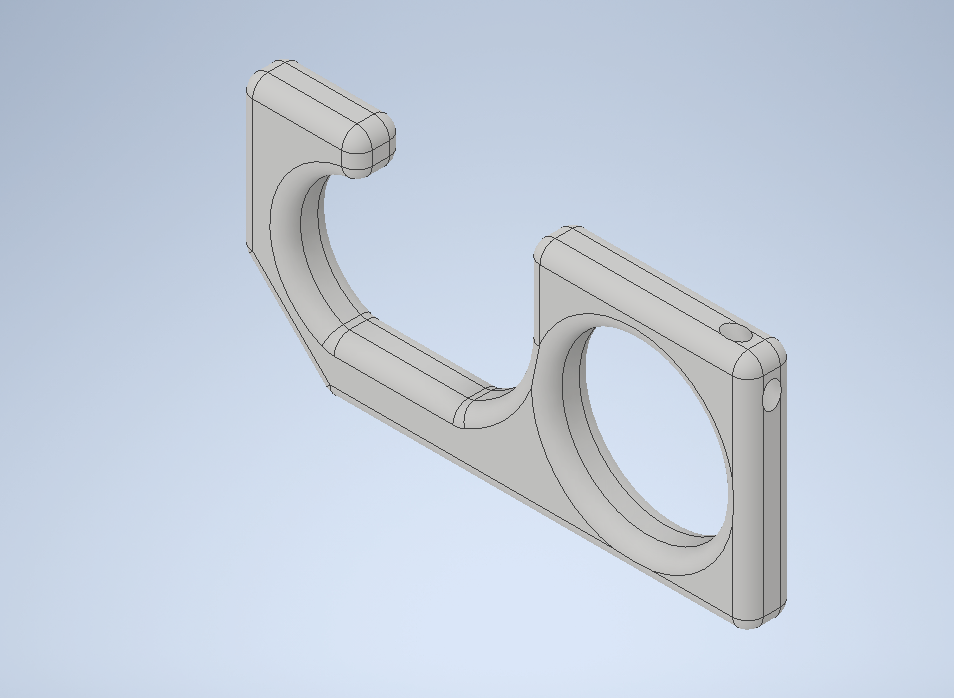
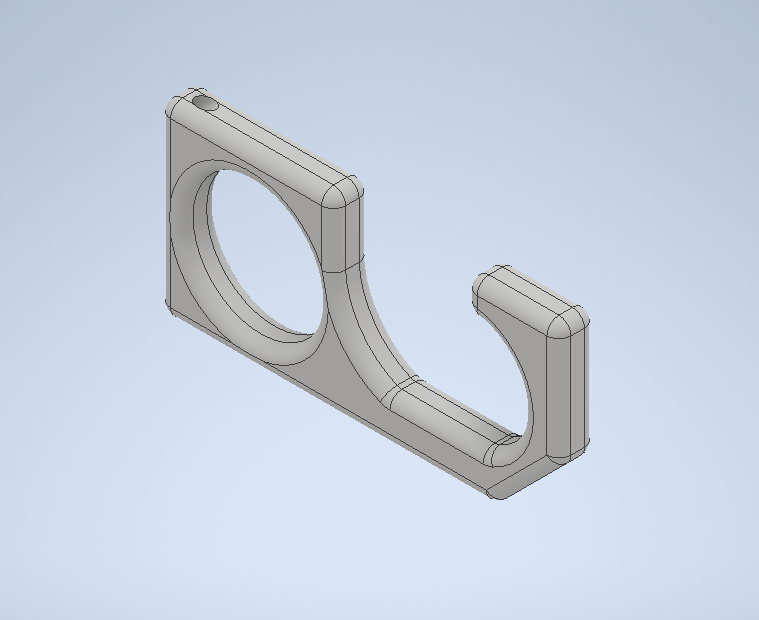
First, create a work plane by going to the plane menu and selecting Angle to Plane Around Edge. Click on the face that is above the big hole in the pictures, then the edge of that face closest to the middle of the door opener/button pusher. Type in an angle of 135 degrees. Create a sketch on the new work plane. Draw a circle that's 5 mm in diameter with the positioning shown in the photos. Extrude the circle using the cut setting and select through all or type in a large enough number for the hole to go all the way through the door opener/button pusher.
3D Print the Door Opener/Button Pusher
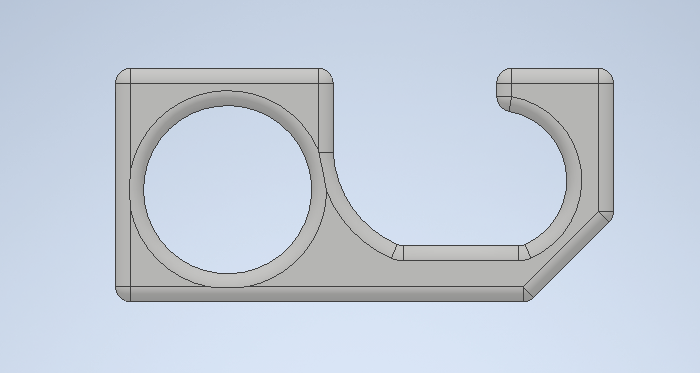
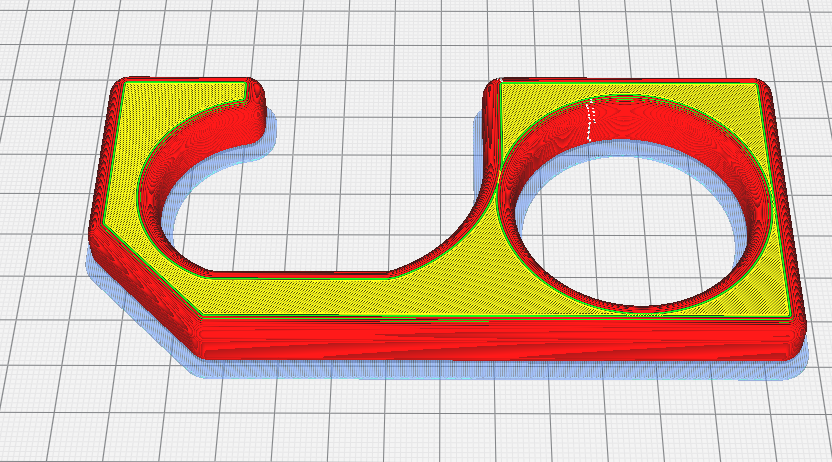
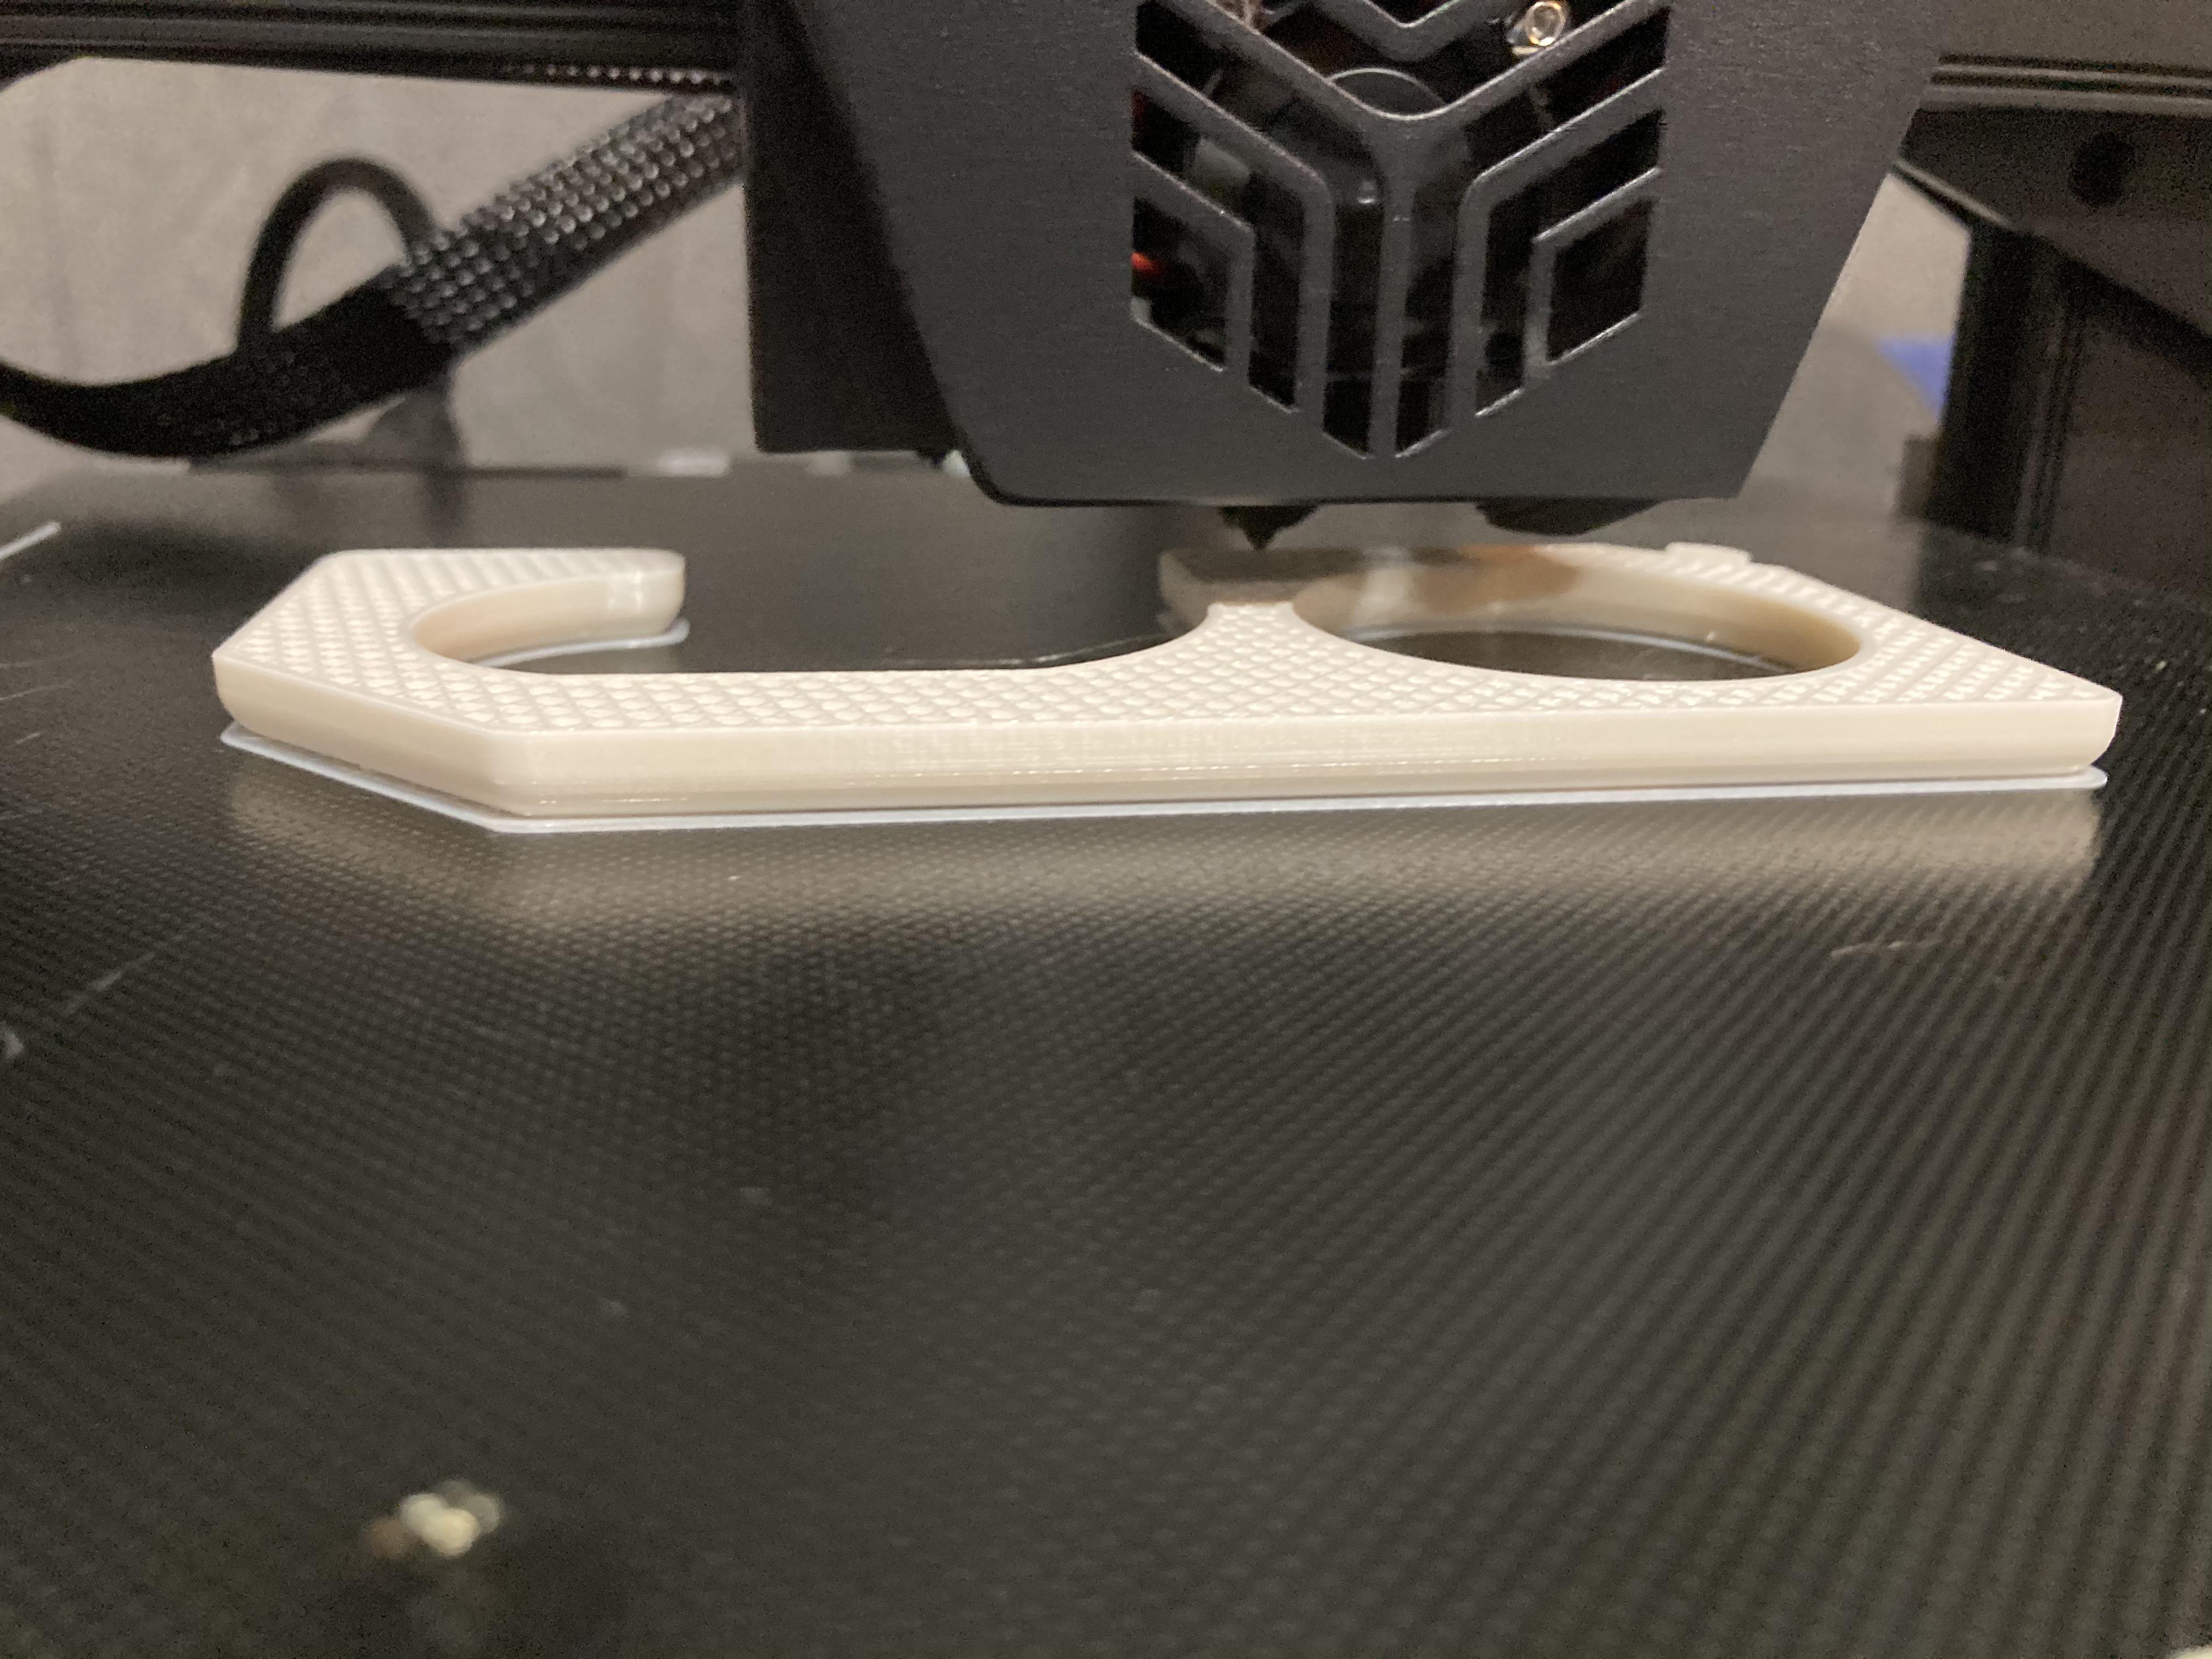
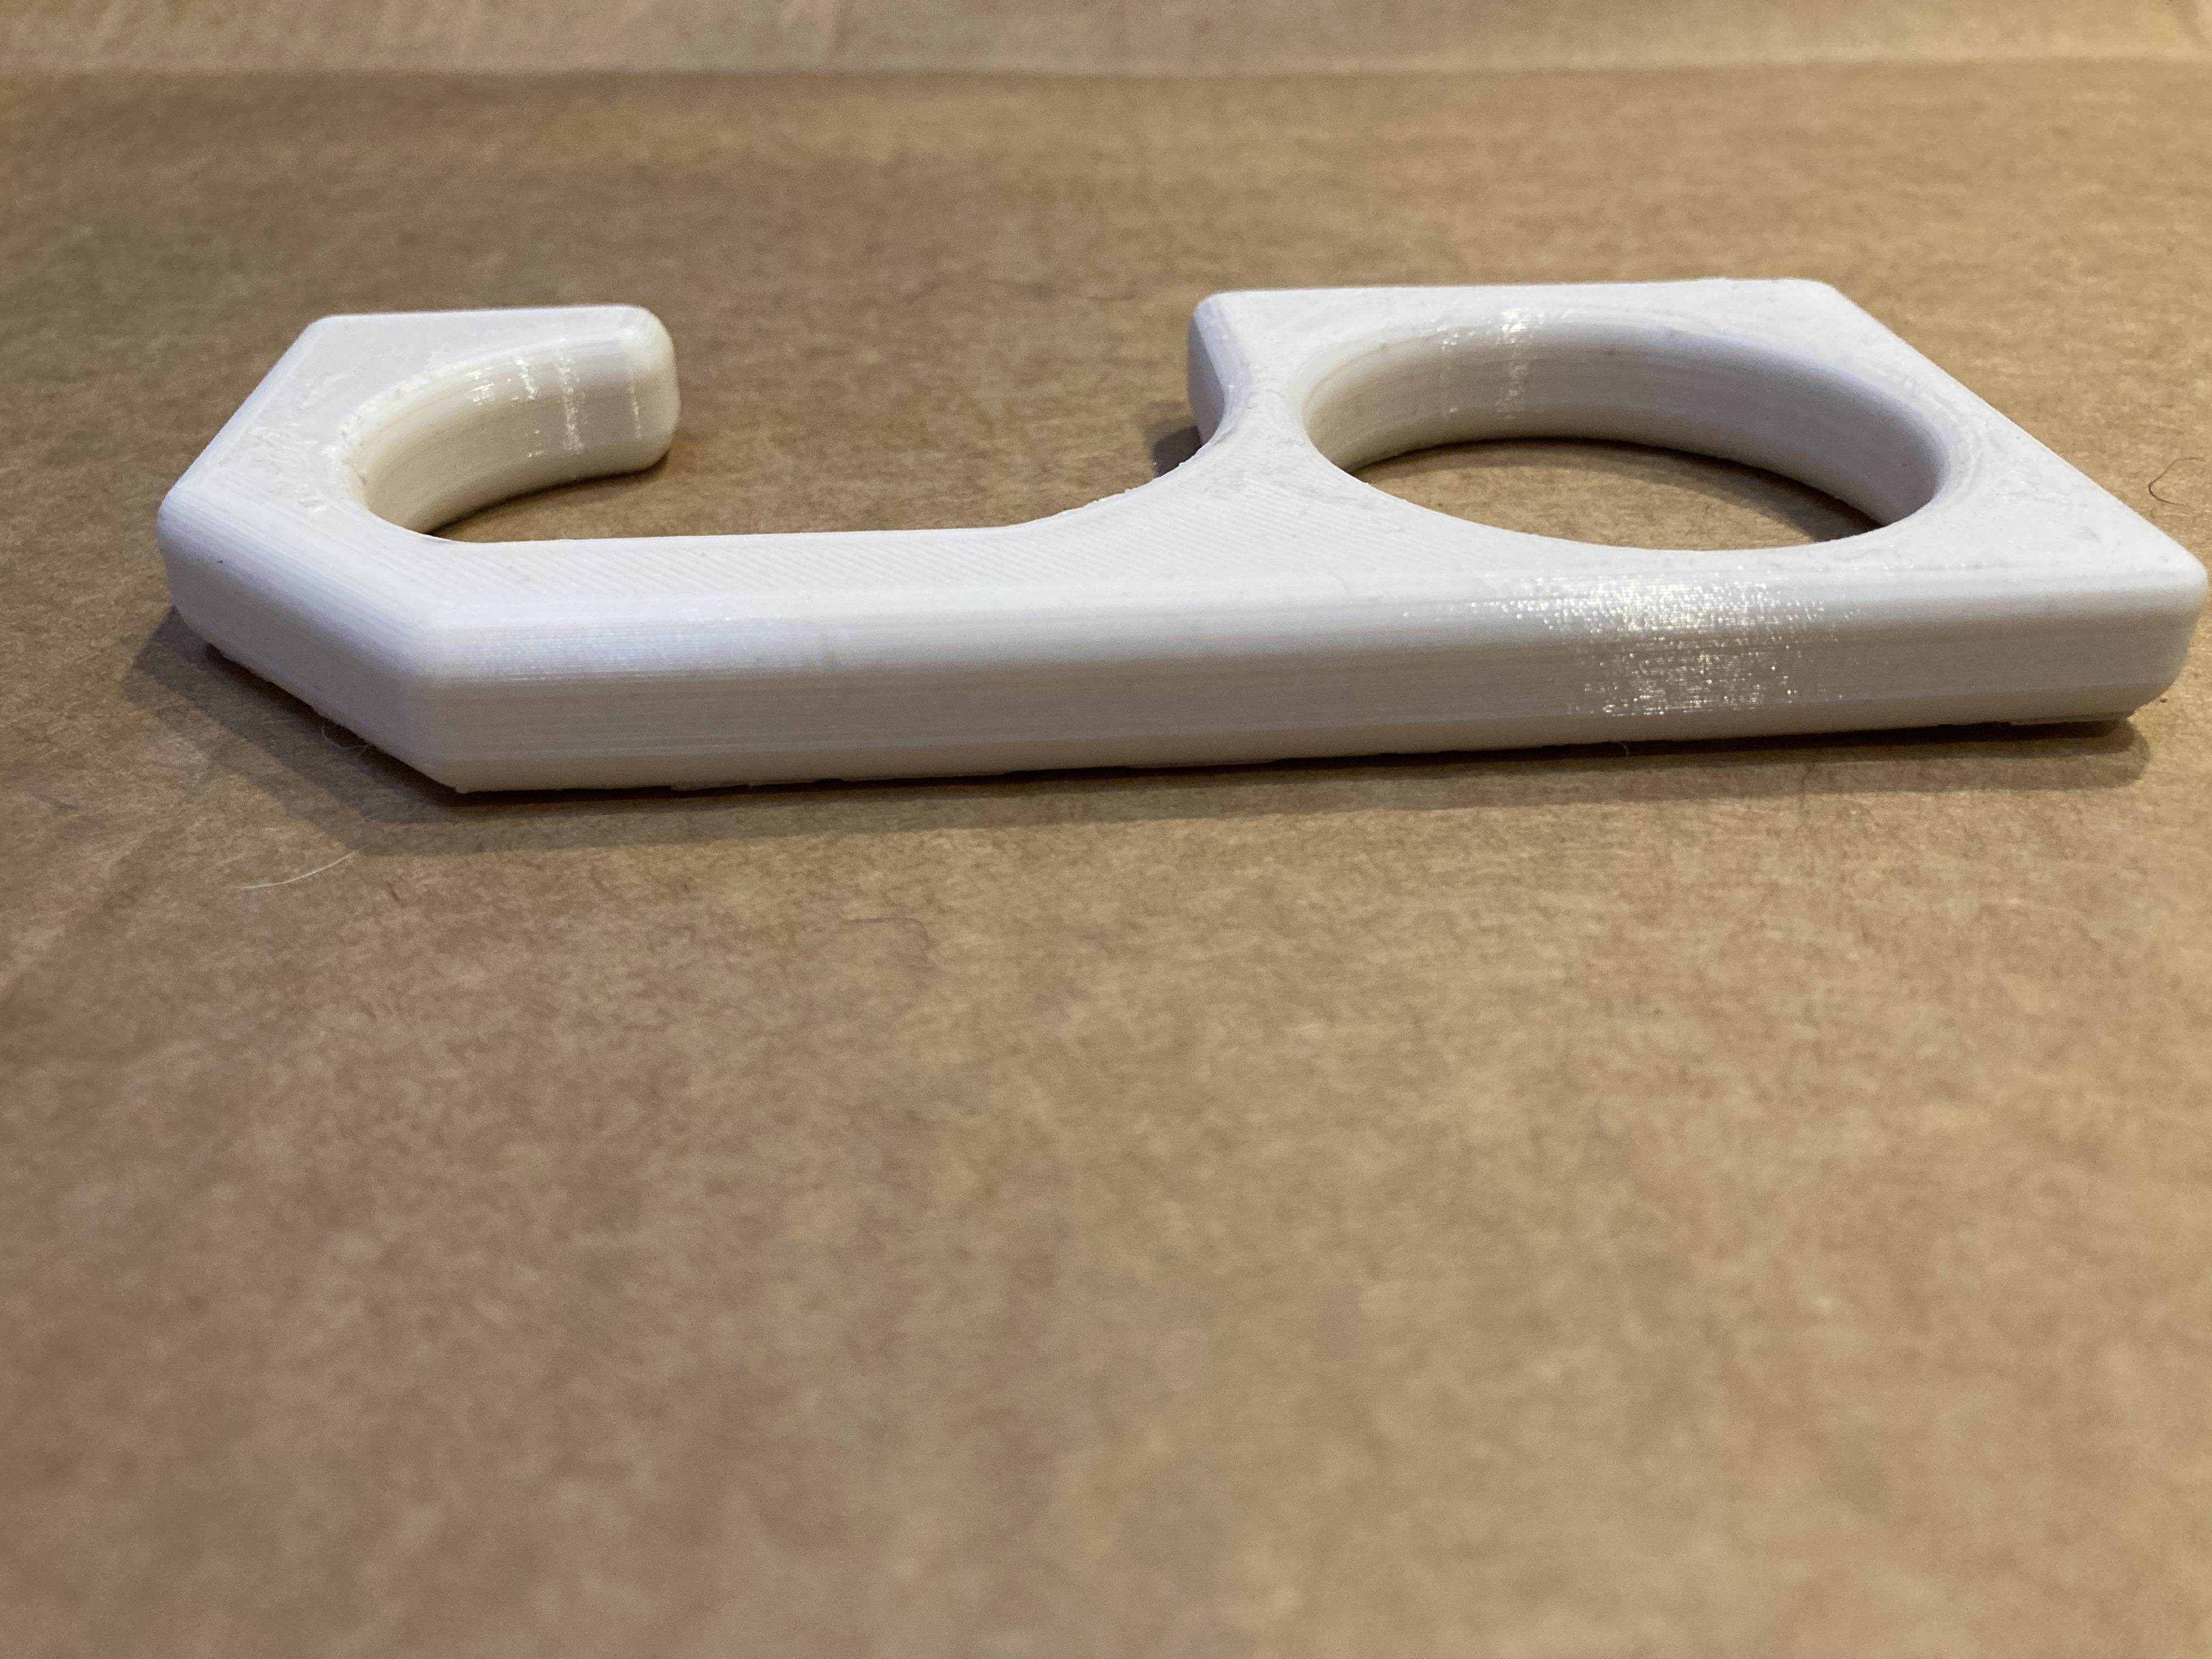
Next is to 3D print the door opener/button pusher. First, if you followed the whole tutorial, you need to export an .stl file of the door opener/button pusher from Inventor. If you're using the .stl attached at the top, you're all set. Once you have the .stl file, open up your preferred slicer. Keeping in mind that the door opener/button pusher needs to be strong, here are my recommended settings (note that these are for Cura, if you use a different slicer, it may have different options for the settings):
- Infill: at least 30% with a cubic pattern
- Walls, Top and Bottom: Thickness 1mm with Alternate Extra Wall turned on
- Build Plate Adhesion: Raft
- Layer Height: 0.175 mm
With the settings I used, it took about 4.5 hours to print. However, this could be sped up by increasing the layer height, decreasing the thickness of the walls, top and bottom and decreasing the amount of infill. The downside to this is a loss of quality and strength.
Optional - Attach Keychain
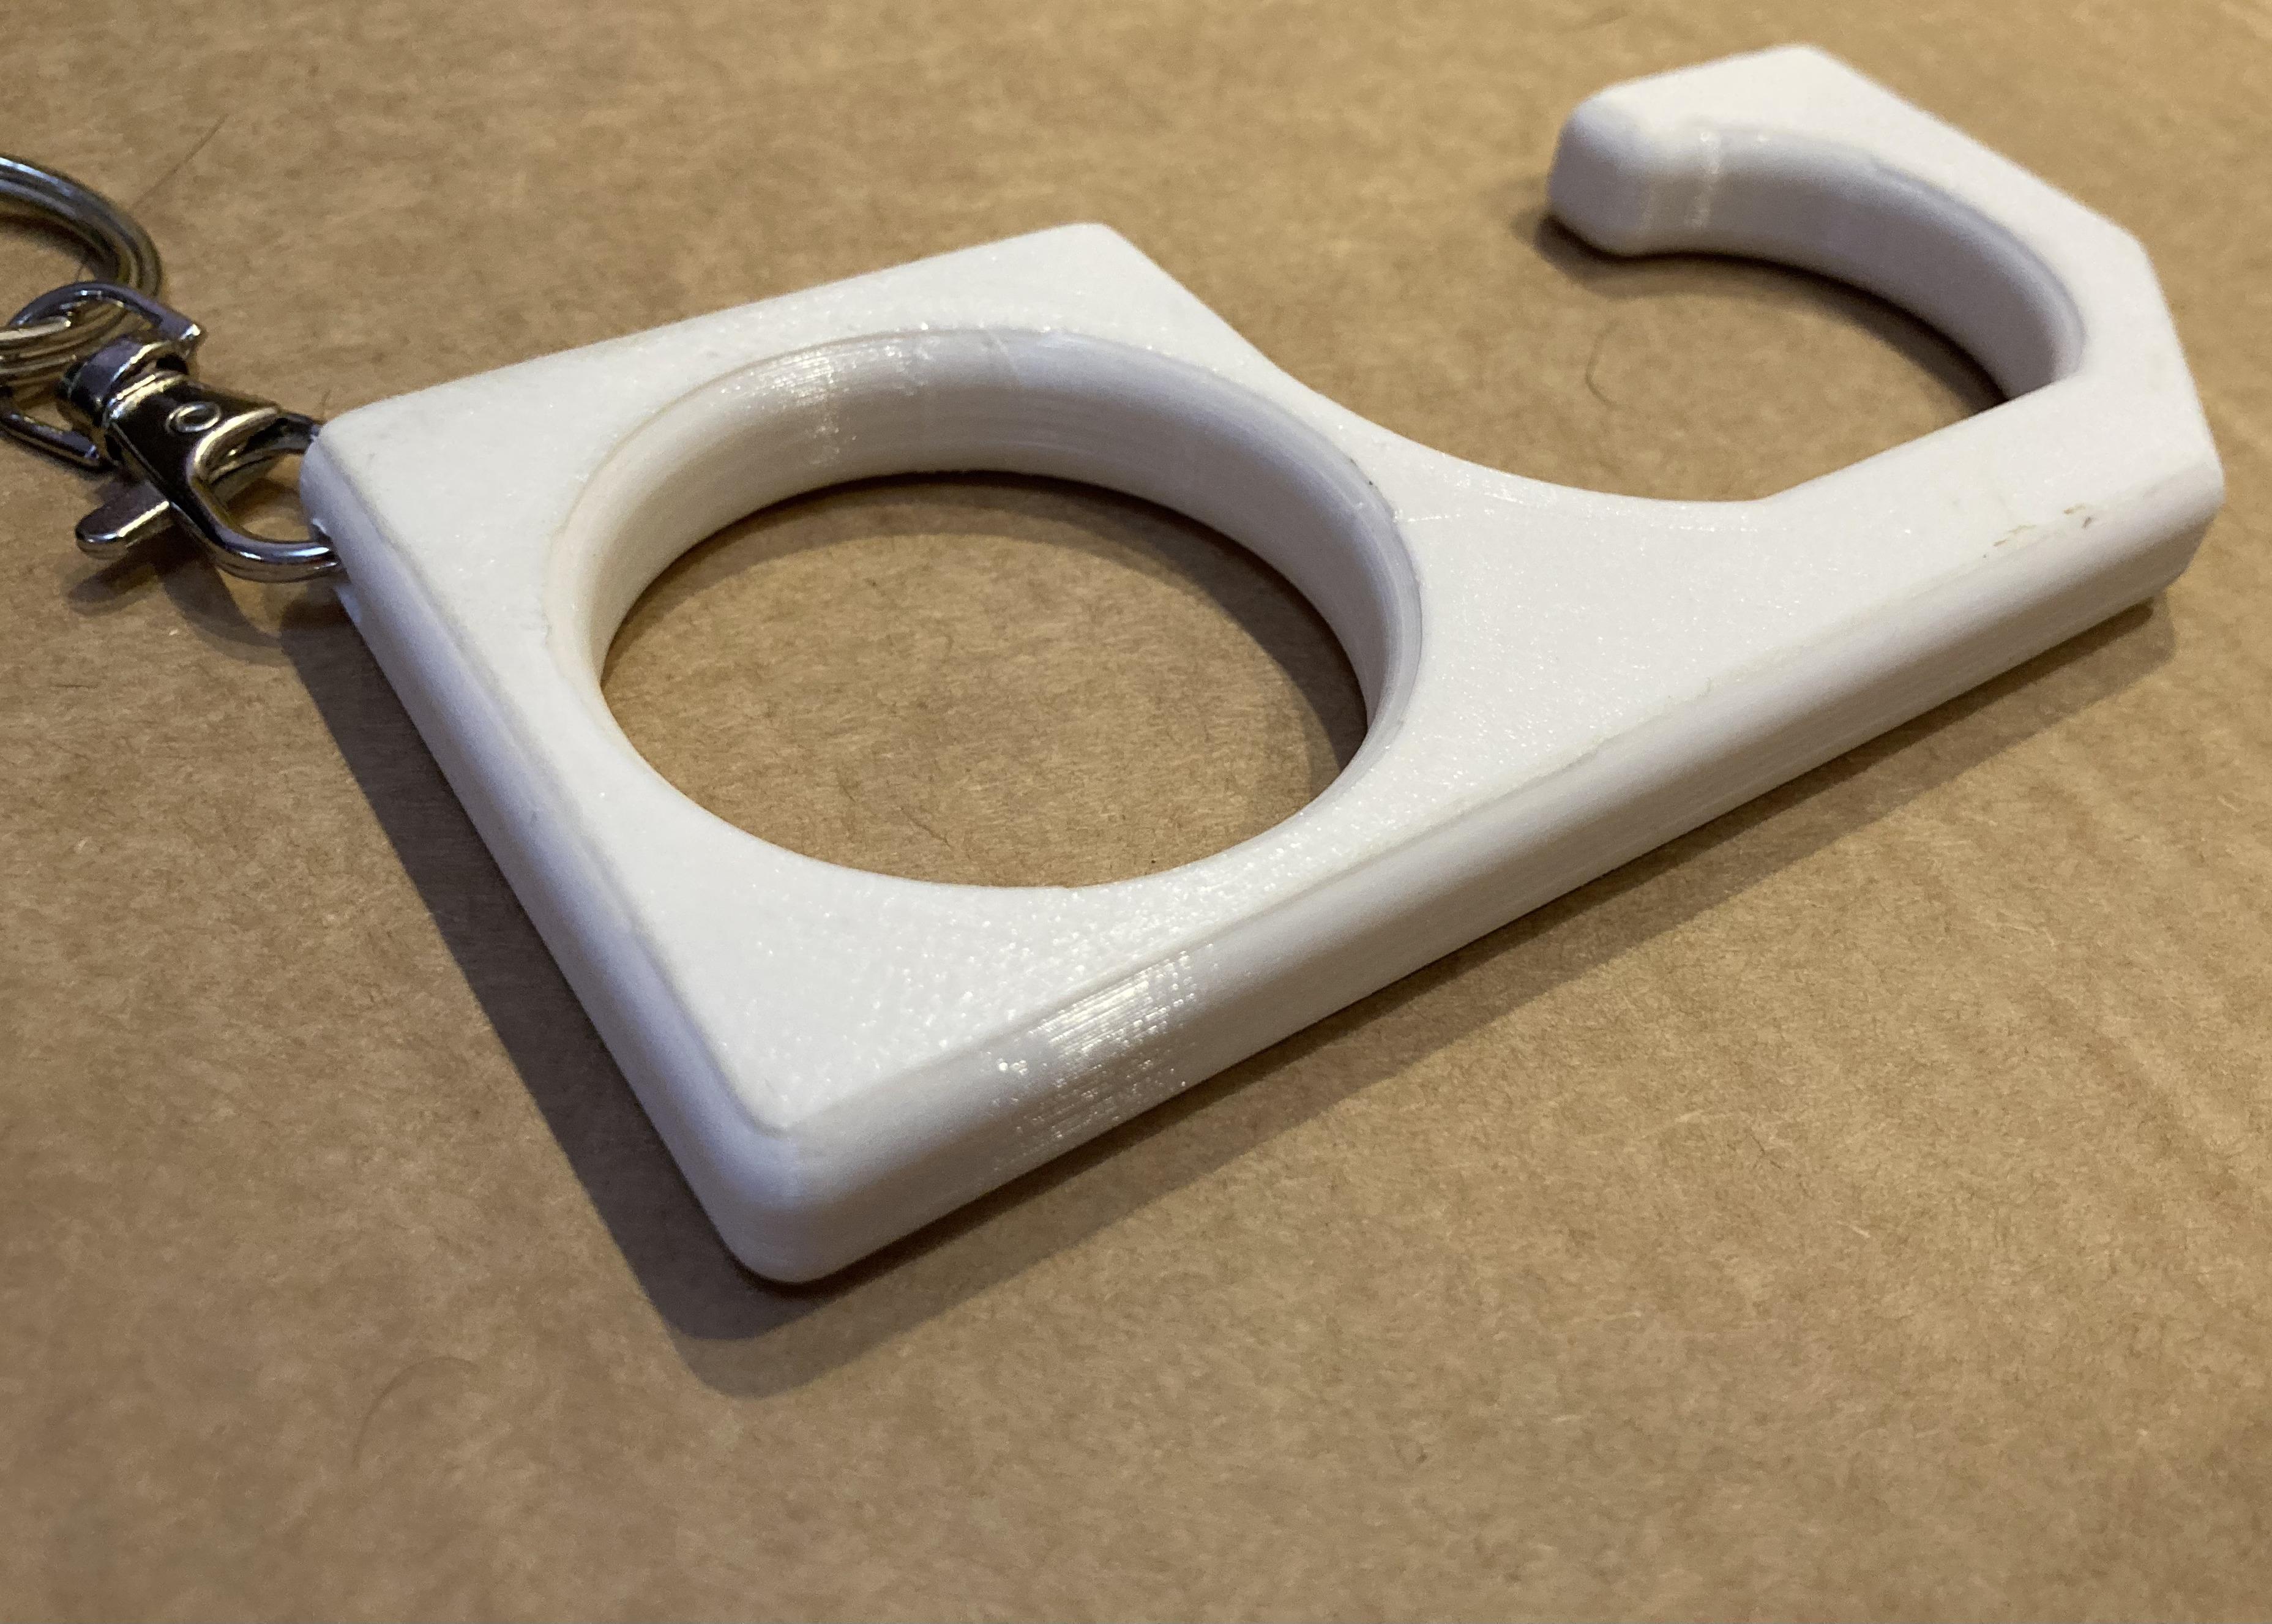
If you don't want to attach your contactless door opener/button pusher to a keychain, you're all done. If you do want to attach a keychain, all you have to do is run the keychain through the small hole in the corner of the door opener/button pusher.
That's the end of this tutorial. Please let me know in the comments if you have any questions.