Constructing Monolithic Domes on Google SketchUp
by Imperar in Workshop > Science
14532 Views, 15 Favorites, 0 Comments
Constructing Monolithic Domes on Google SketchUp
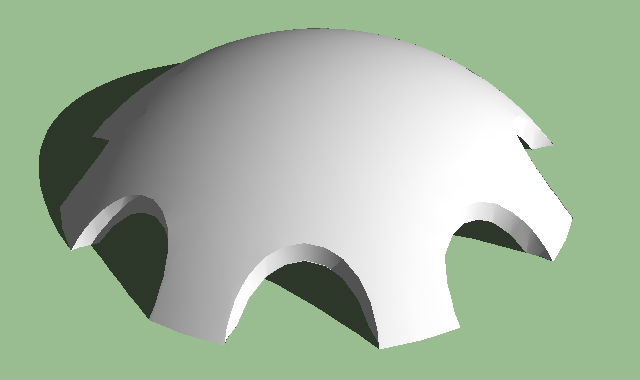
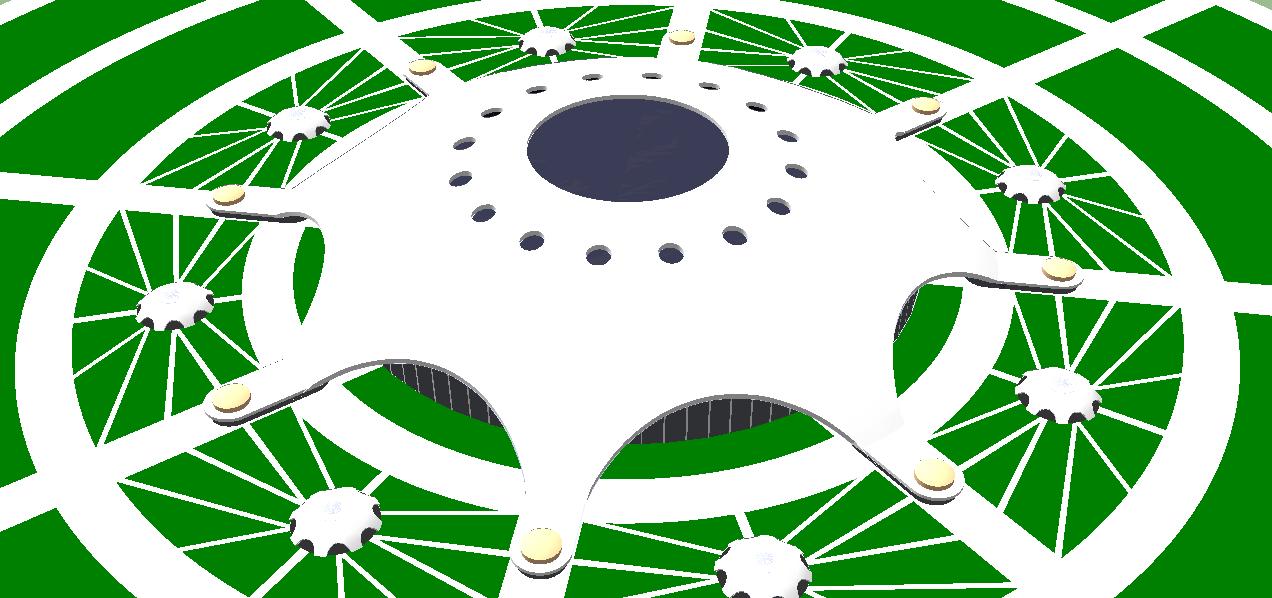
As a follow up to my Geodesic Sphere tutorial, I shall illustrate how you can construct a special type of monolithic dome for your personal use.
The very first thing you need to do is to have Google SketchUp installed. You can download it for free at: http://sketchup.google.com/download/
Once installed, start the software
Set Conditions:
- Go to Edit > Edge Style > Disable Profiles
- Go to Window > Model Info > Units
- Set Format to Decimal > Meters
- Enable length snapping at 0.01m
- Enable display units format
- Enable angle snapping at 15.0 degrees
- Make all precision at 0.00m
Download SketchUp file for this tutorial
If the first host doesn't work, try here
The file is in WinRAR format (similar to WinZip) and can be downloaded for free here
Make the Base
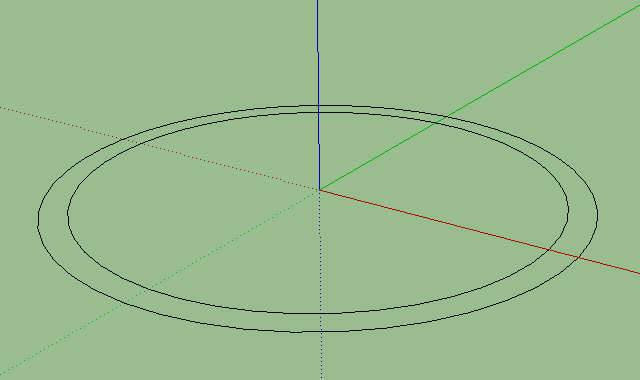
Start by making two 48 sided circles, one at 20m and another at 18m. Delete the white planes to leave a hollow core.
Draw Two Arcs
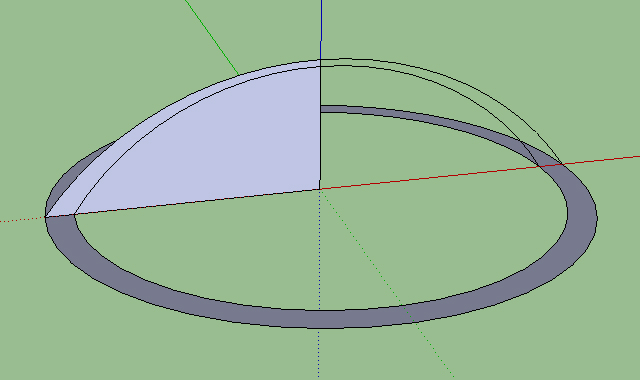
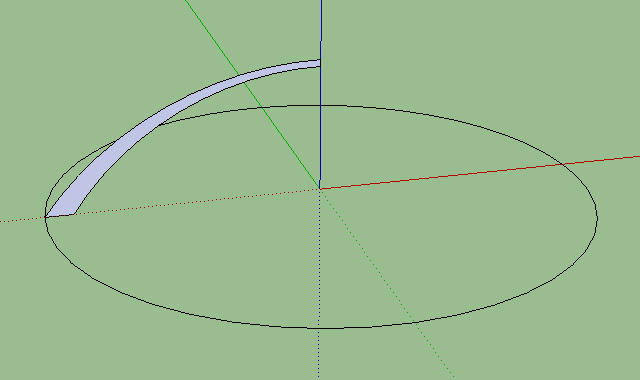


Create a 24 sided arc with a bulge height of 10m and another one at 9.5m.
Click on the yellow boxes for details.
Click on the yellow boxes for details.
Simplifying the Framework

Now delete the inner circle base, and get rid of any unnecessary construction lines.
Now click on the yellow box.
Now click on the yellow box.
The Monolithic Dome
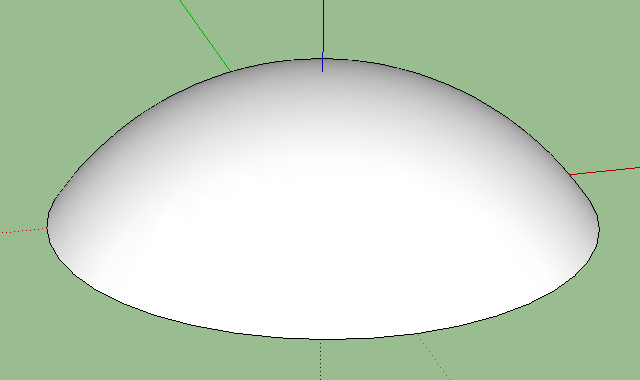
If dome correctly, it will look something like this. If you orbit to the bottom of the dome, it should be perfectly hollow inside, with a noticeable thickness.
Creating Entrances - Part I
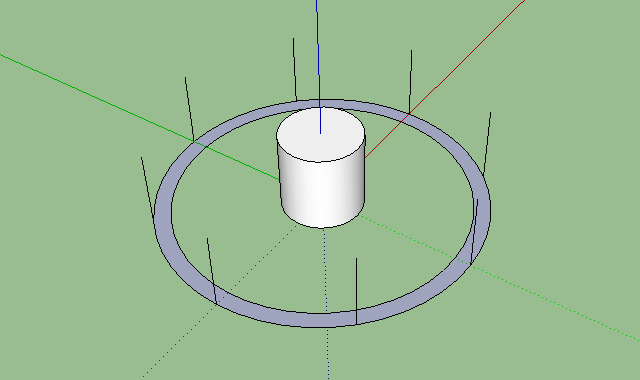
In the next steps, we will be creating 8 entrances for the dome.
1. Hide the two domes to reveal the circular base.
2. Make a cylinder 5m in radius, and 10m in height. Then select the cylinder, Right Click > Make Group.
3. Make 8 well-spaced lines 10m high.
1. Hide the two domes to reveal the circular base.
2. Make a cylinder 5m in radius, and 10m in height. Then select the cylinder, Right Click > Make Group.
3. Make 8 well-spaced lines 10m high.
Creating Entrances - Part II
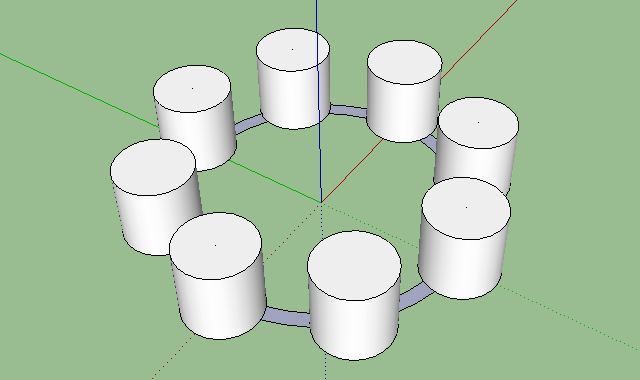
Now select, copy, and paste the cylinder 7 times into the positions shown.
The center of the cylinder should connect with the top of the lines.
You can find the center of the cylinder by selecting the Move tool, then hovering over two points of the top circumference of the cylinder, and then over near the center.
Finally, move the center original cylinder to the last position.
Creating Entrances - Part III
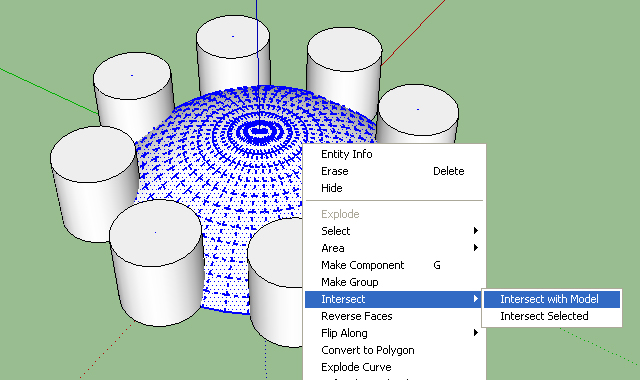
1. Go to Edit > Unhide > All
2. Then triple click the dome
3. Right Click > Intersect > Intersect with Model
4. Select all 8 cylinders > RIght Click > Explode
2. Then triple click the dome
3. Right Click > Intersect > Intersect with Model
4. Select all 8 cylinders > RIght Click > Explode
Creating Entrances - Part IV
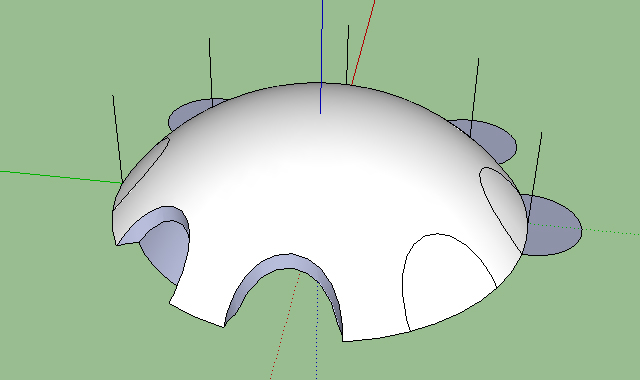
Now delete the cylinders, and delete your way to making entrances.
Finished Product

Voila!