Constellation Map Lamp
by watchmeflyy in Workshop > 3D Printing
9890 Views, 116 Favorites, 0 Comments
Constellation Map Lamp
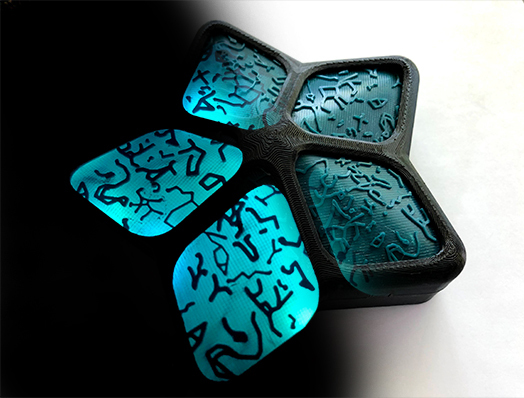
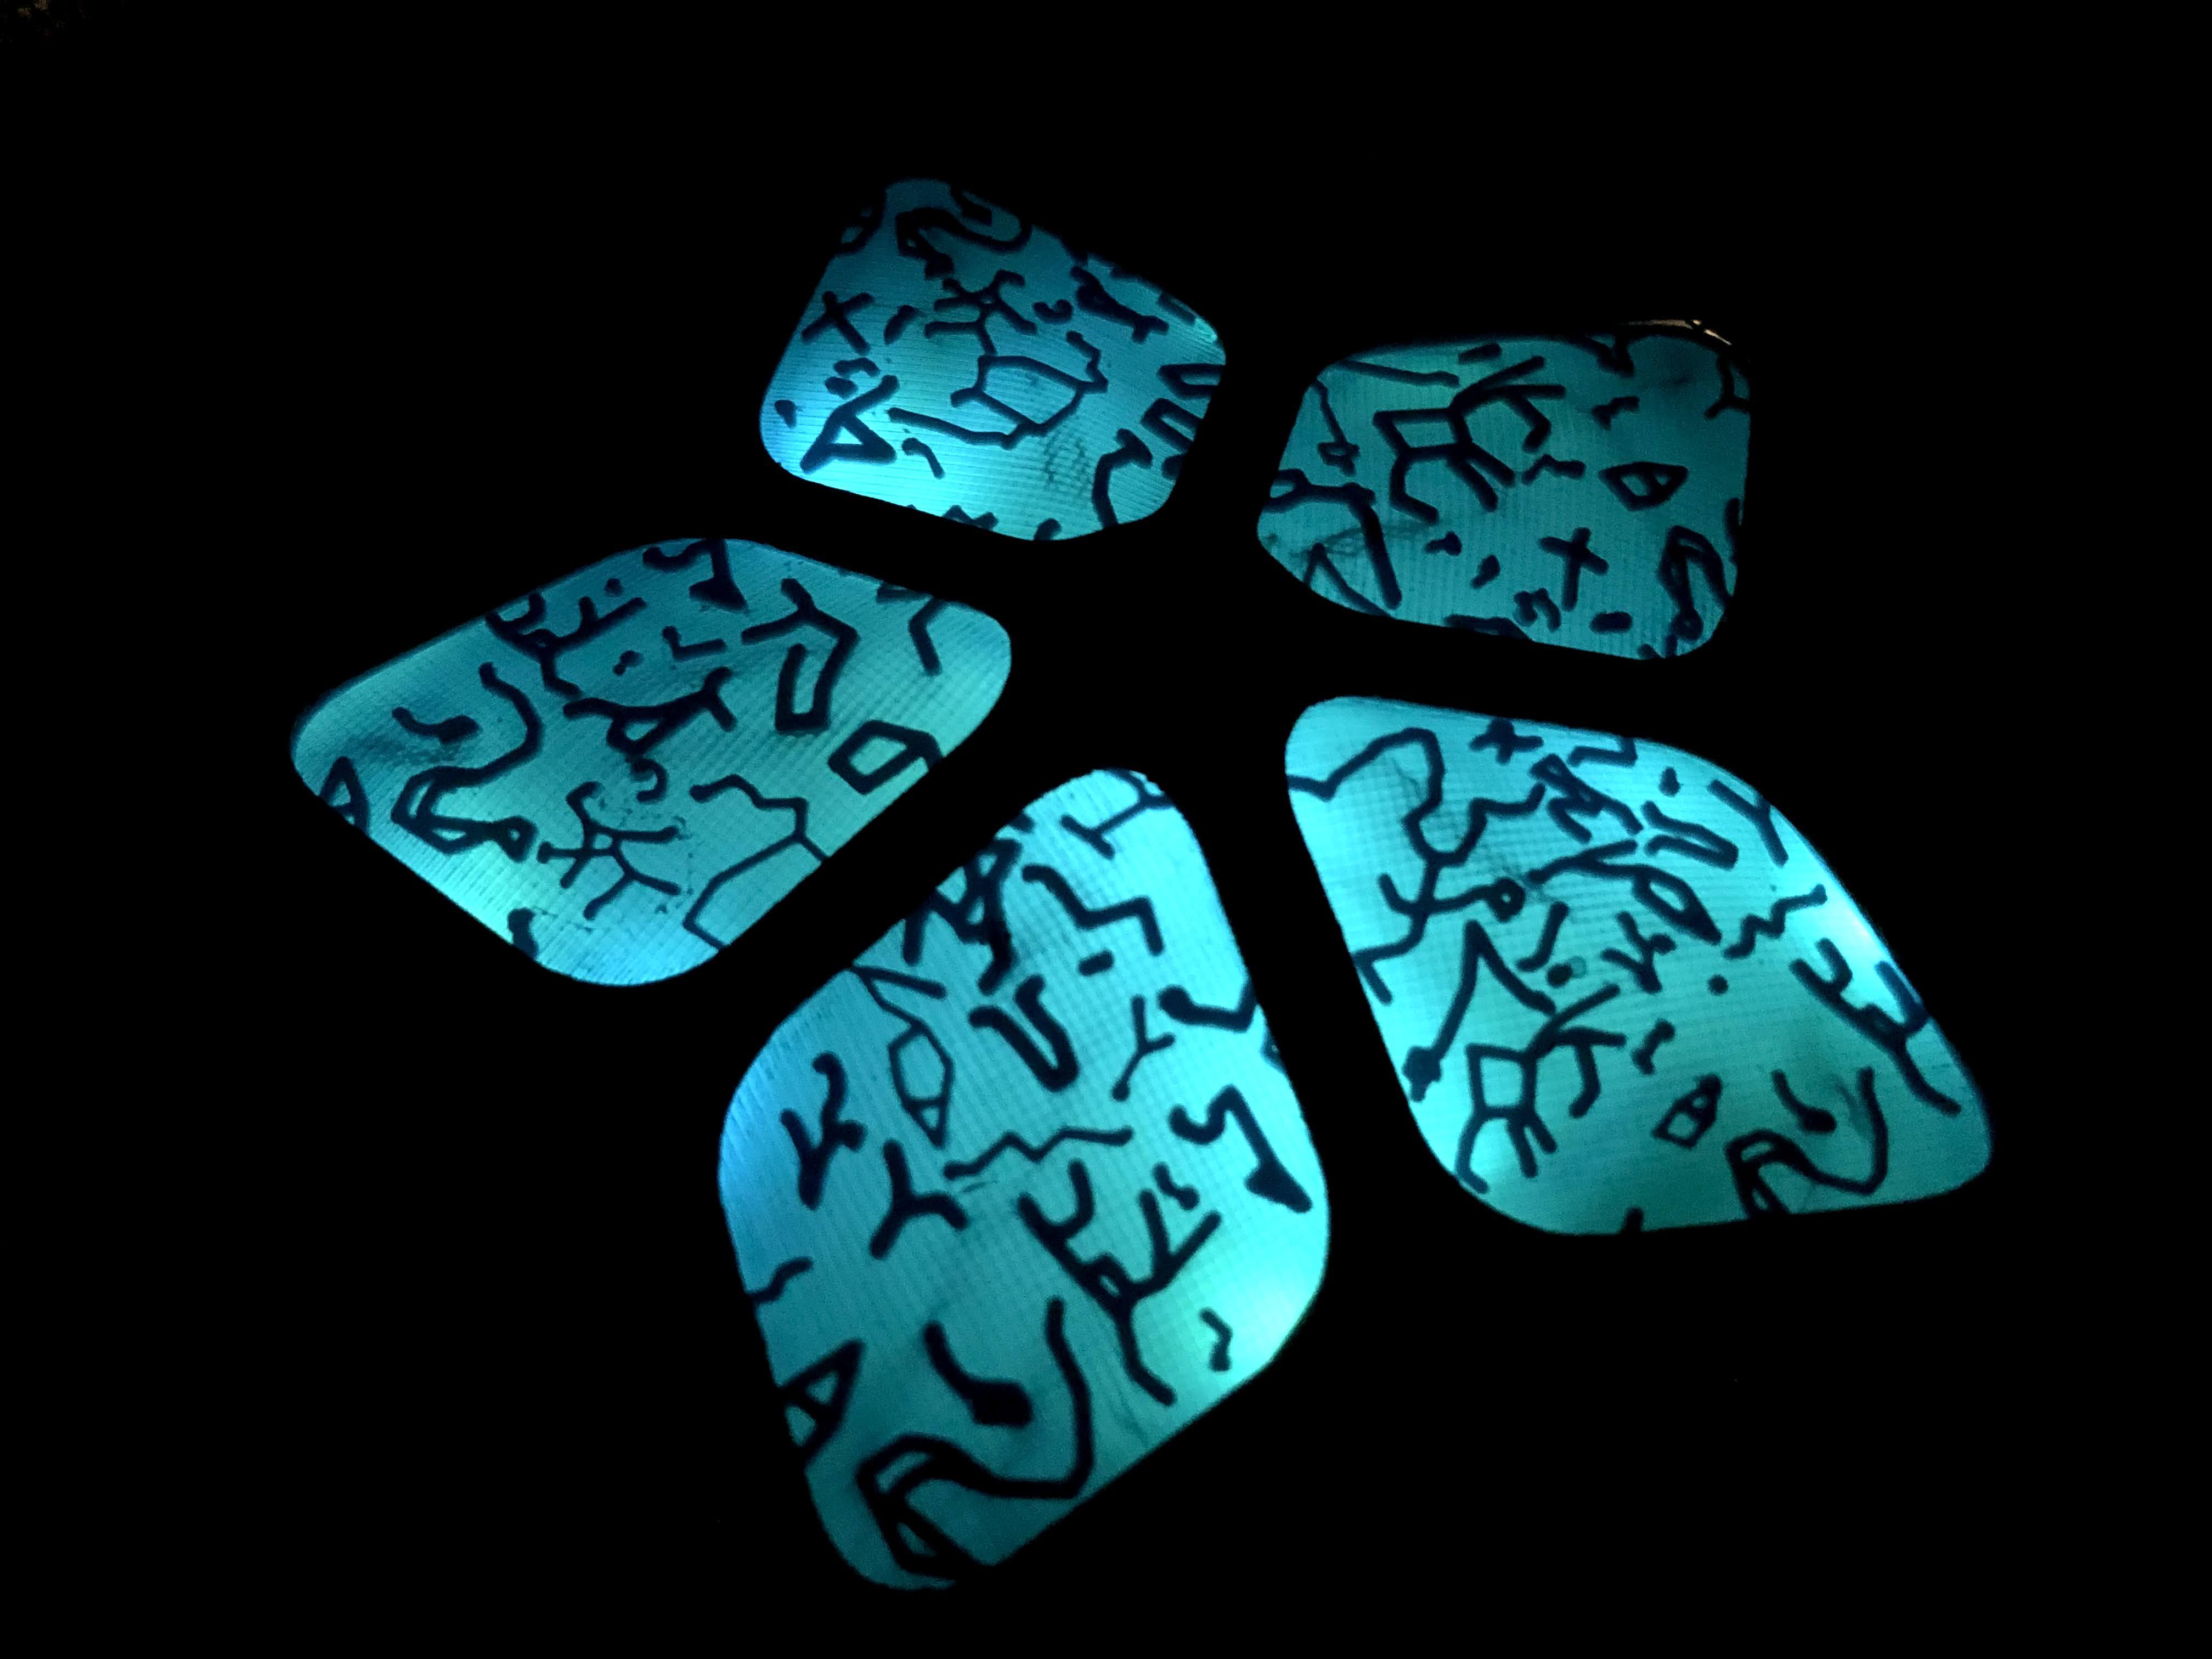
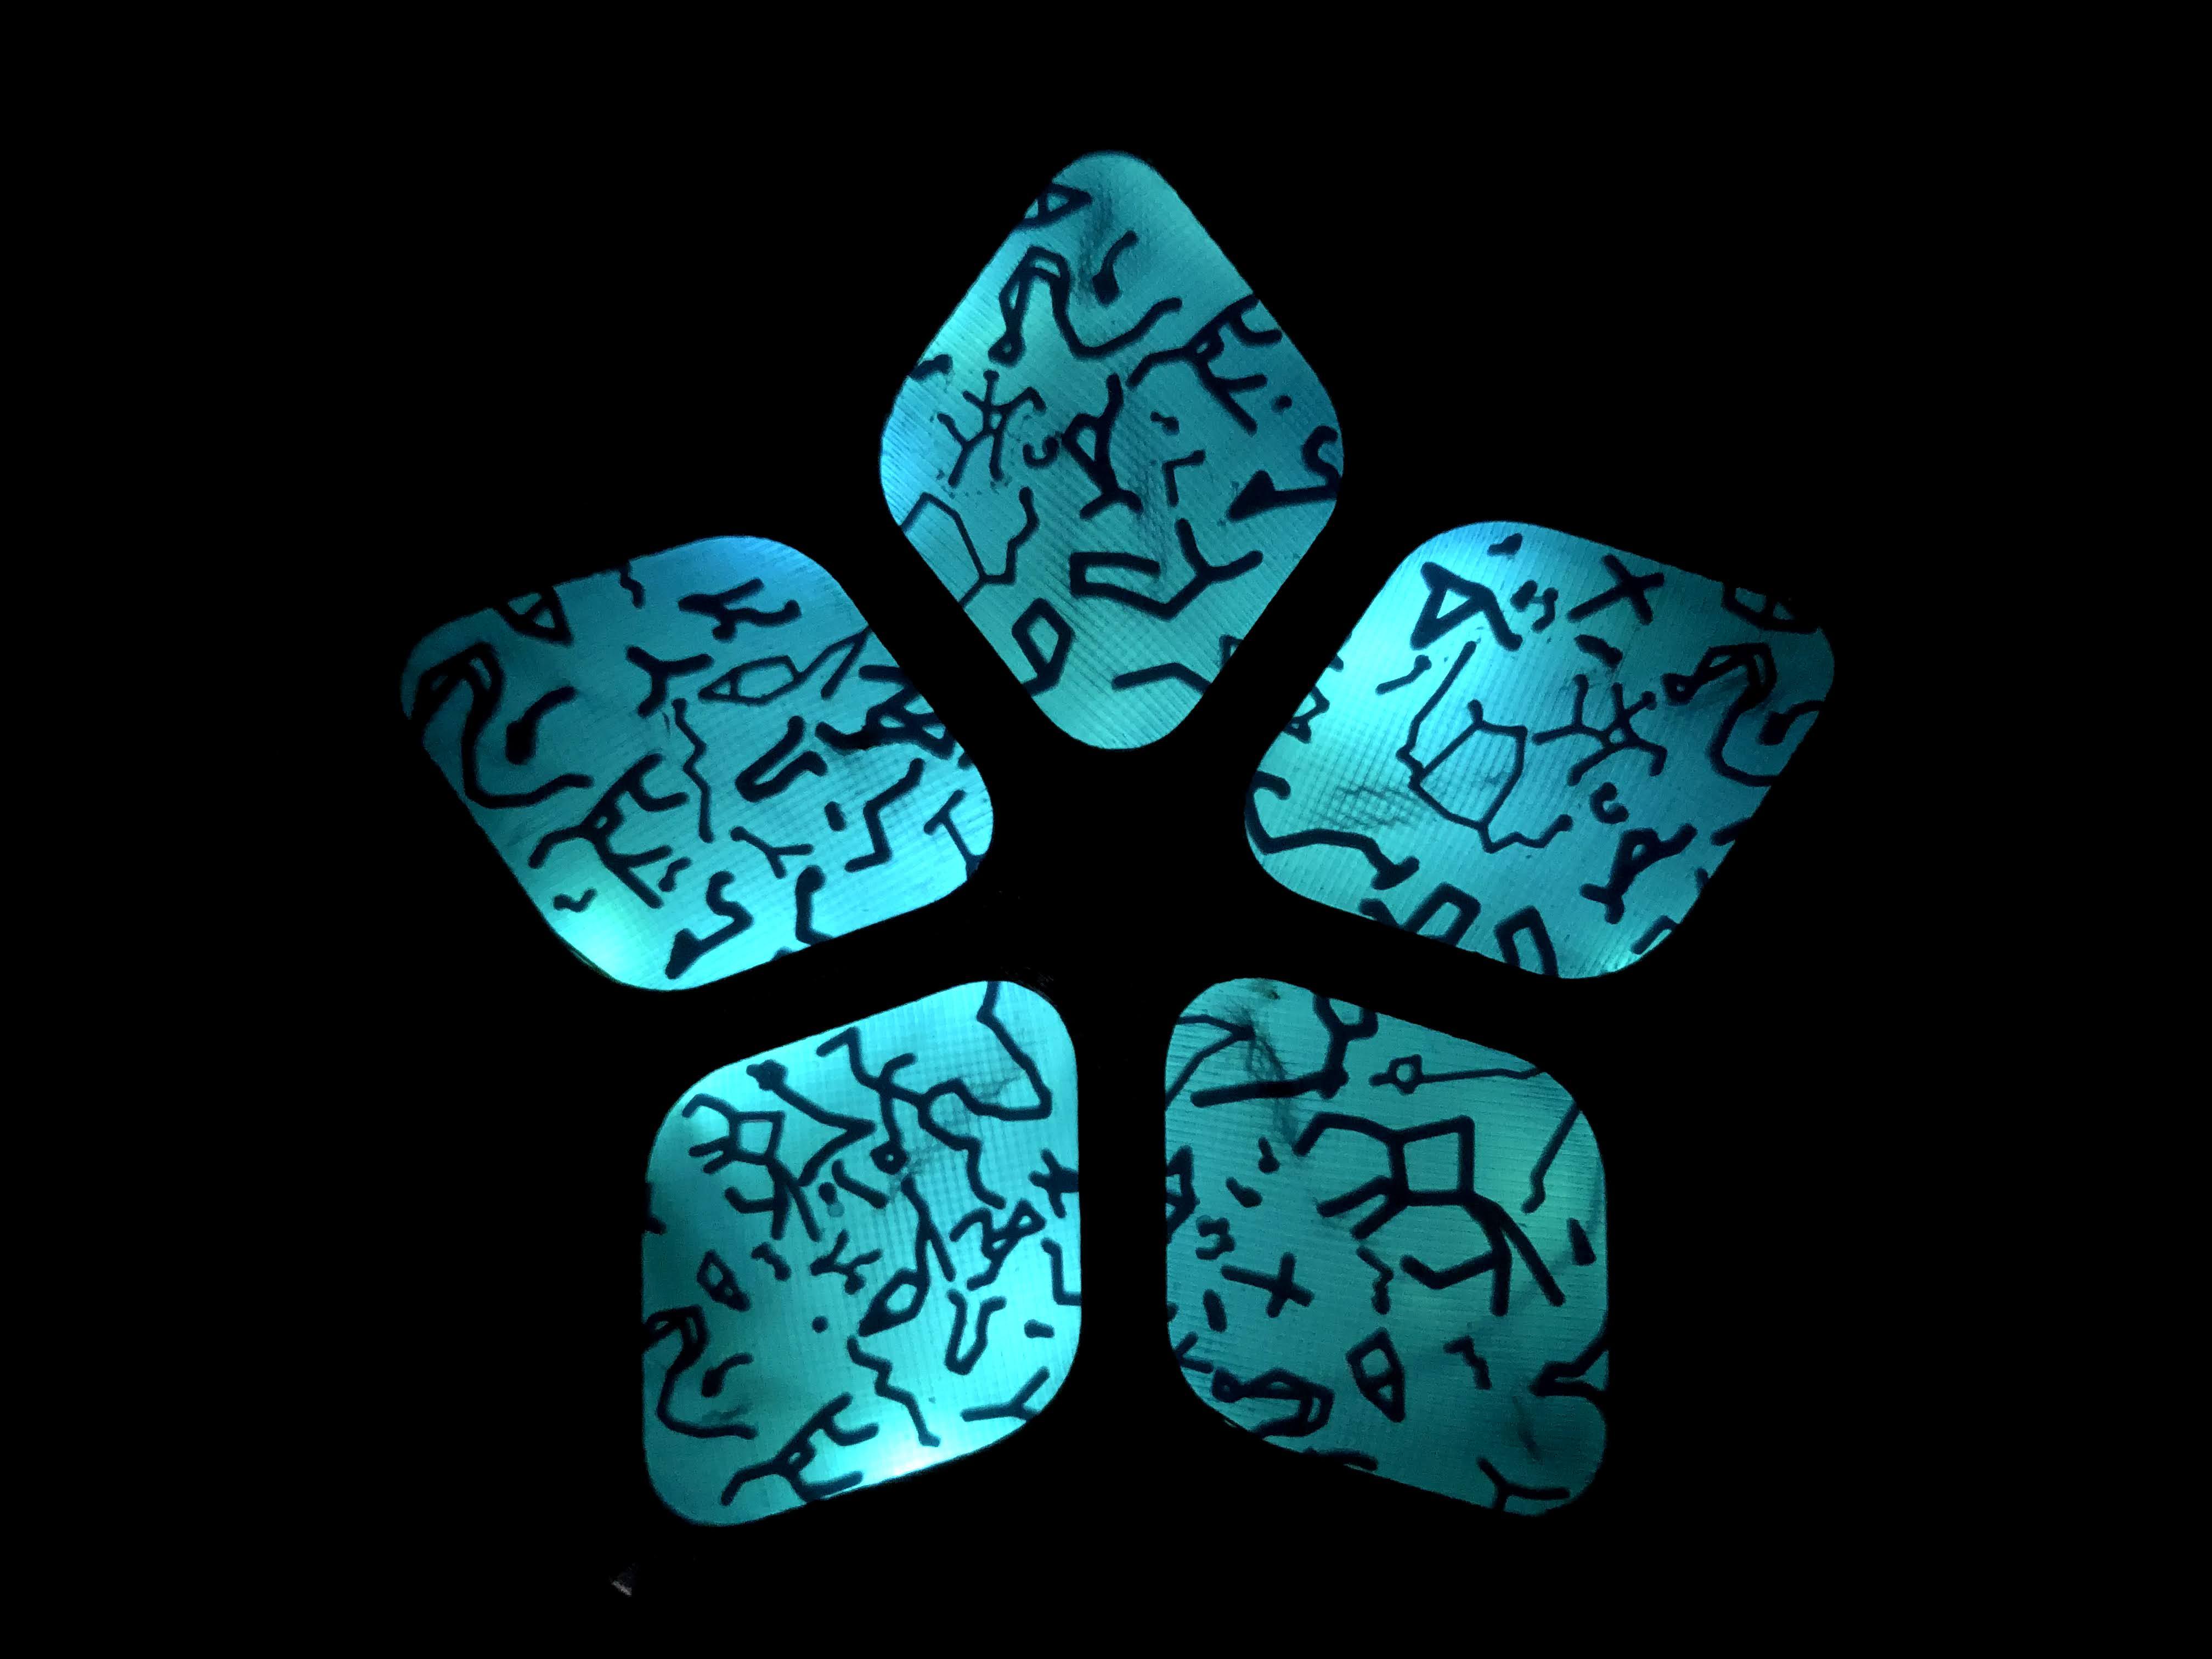
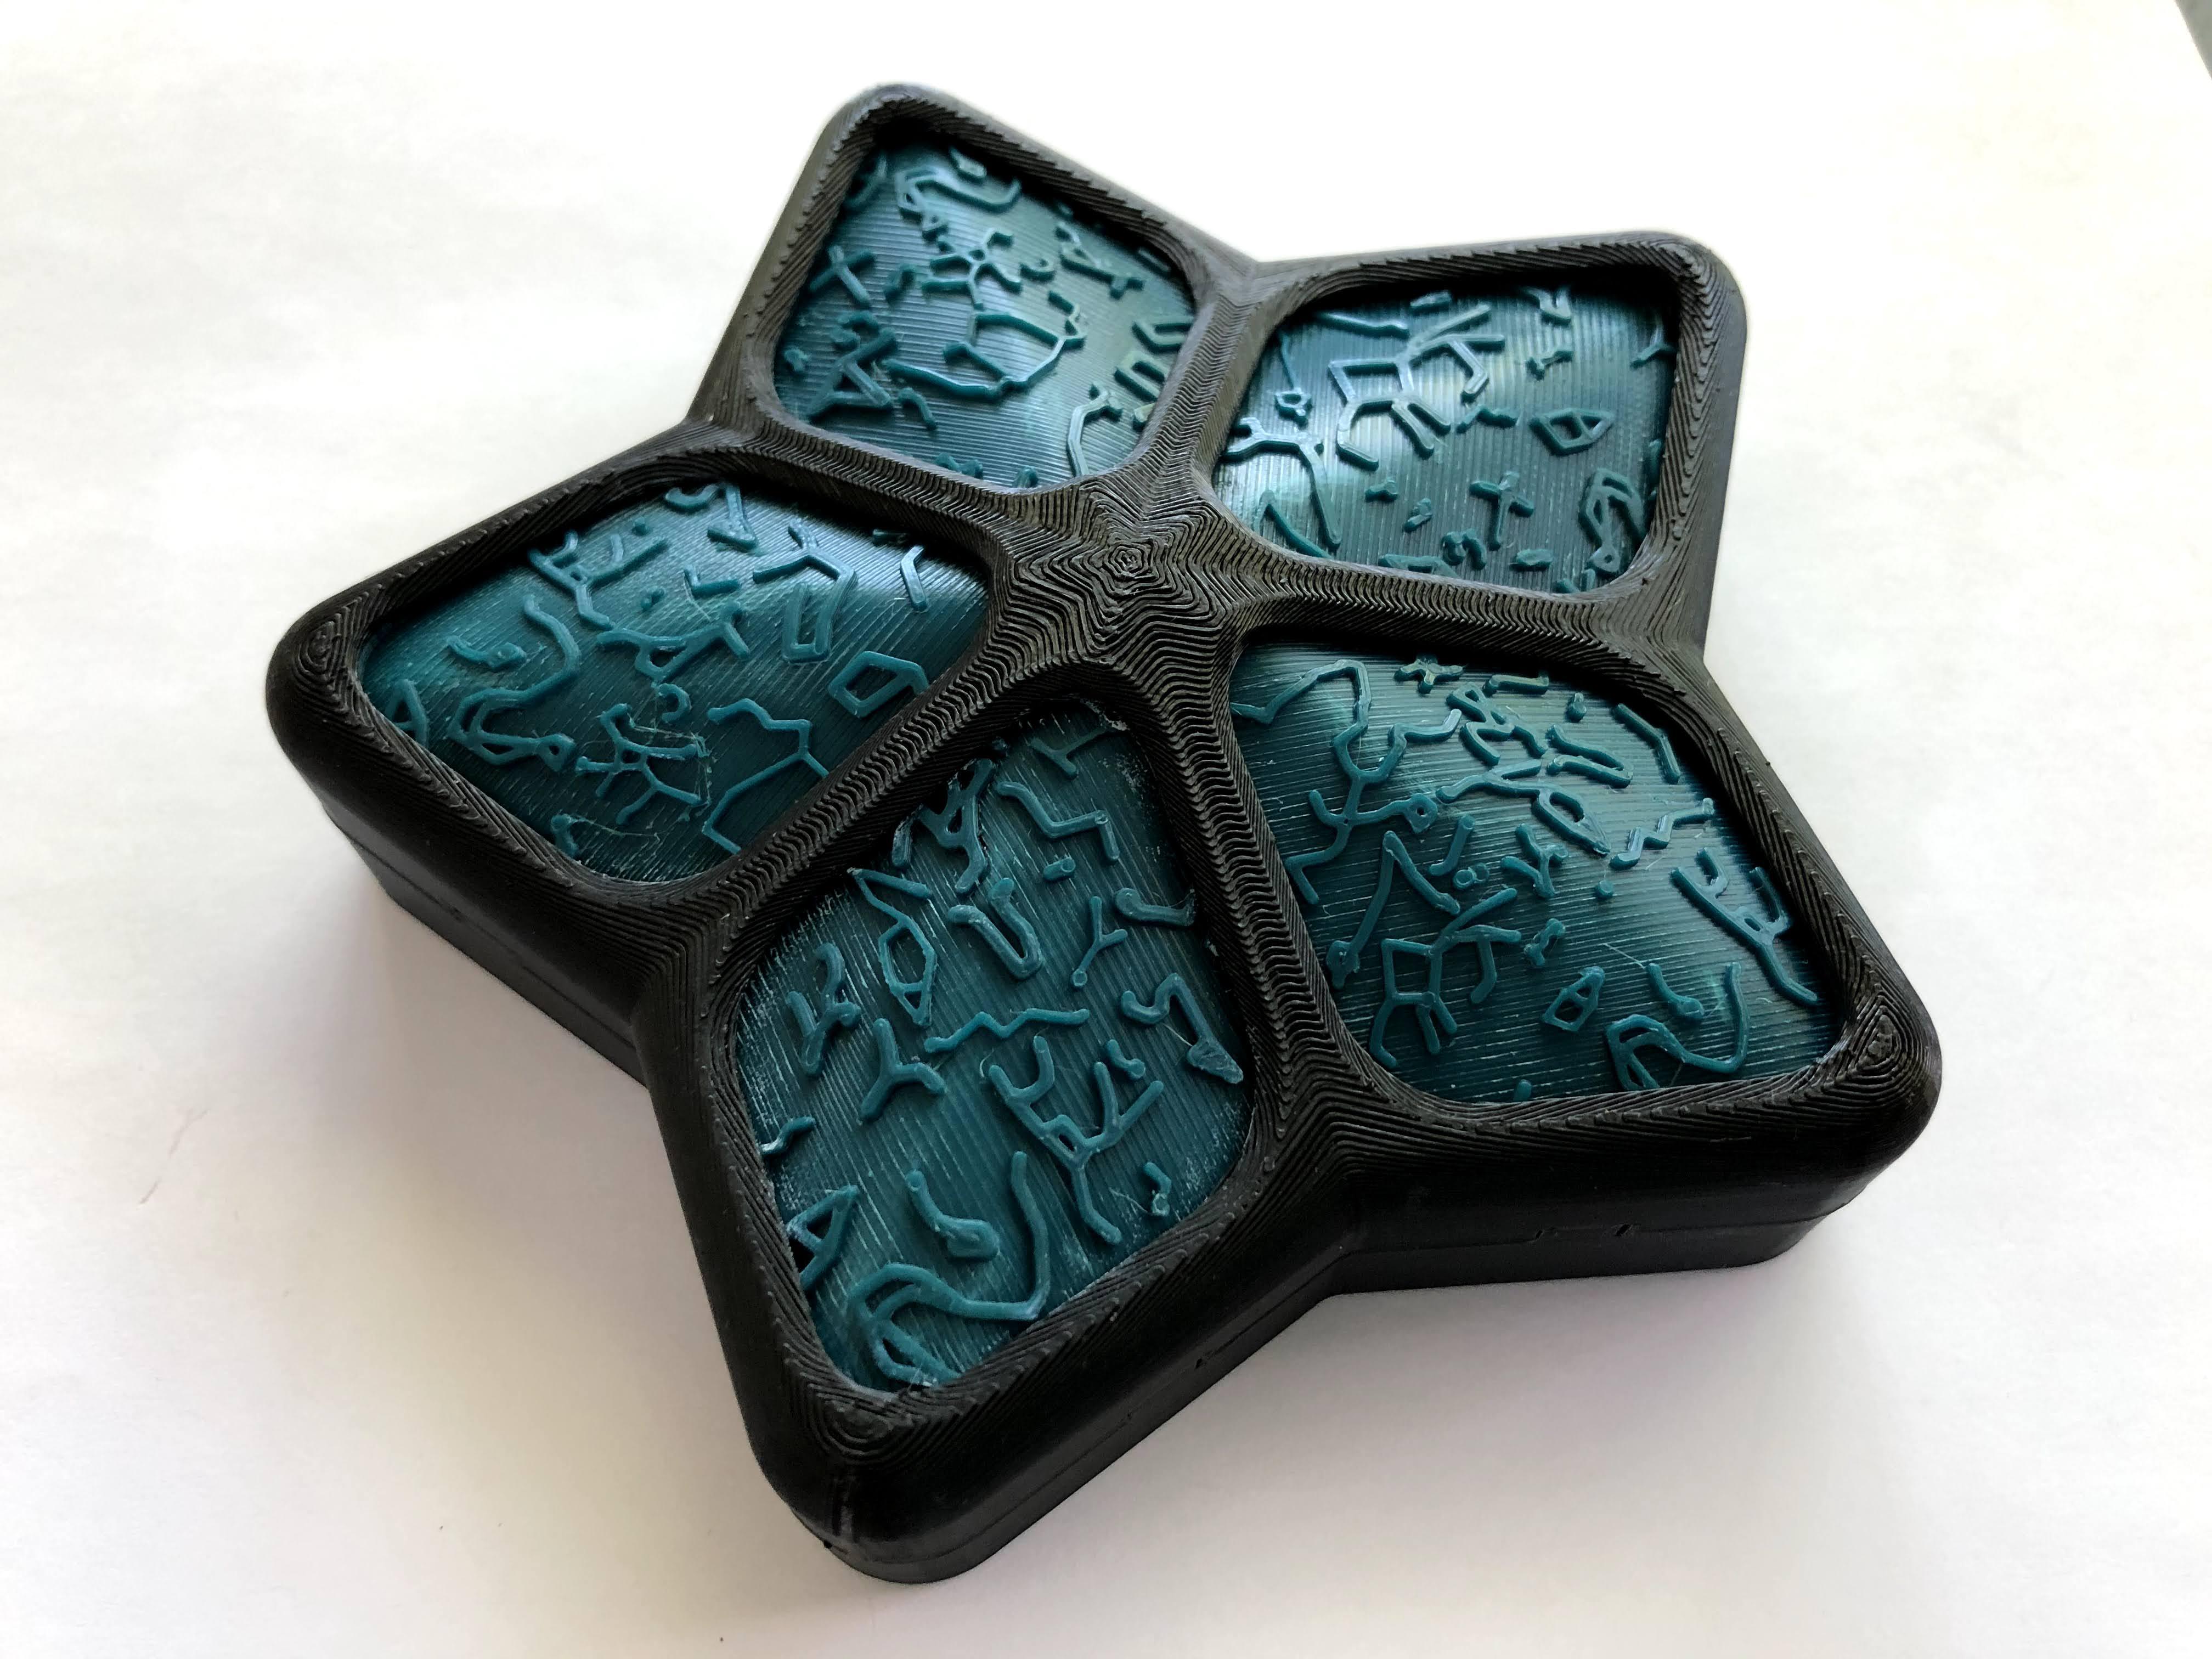
In 2019 for the July Fourth holiday, I went on a camping-climbing trip in Bishop, CA with friends. It was my first time camping and second time climbing outdoors, so I was excited for all the new experiences and activities I got to try. There were earthquakes that weekend, one of which happened on the second pitch of our first time trying a multipitch route.
Those friends have moved away now and with COVID going on, I haven't camped let alone climbed in a while. I was going through my picture albums to reminisce and thought about making something to represent the memories I've had with outdoor climbing. I ended up deciding to do a constellation based lamp. That was one of the major things that hit me when I went camping: the stars were amazingly clear when I looked up, and having always lived urban areas it was a gorgeous view that I'd rarely seen. I opted to sleep in the hammock just so I could have that whole night view in front of me as I slept. I wore my favorite glow-in-the-dark constellation hoodie and at night it would glow beautifully with the stars above.
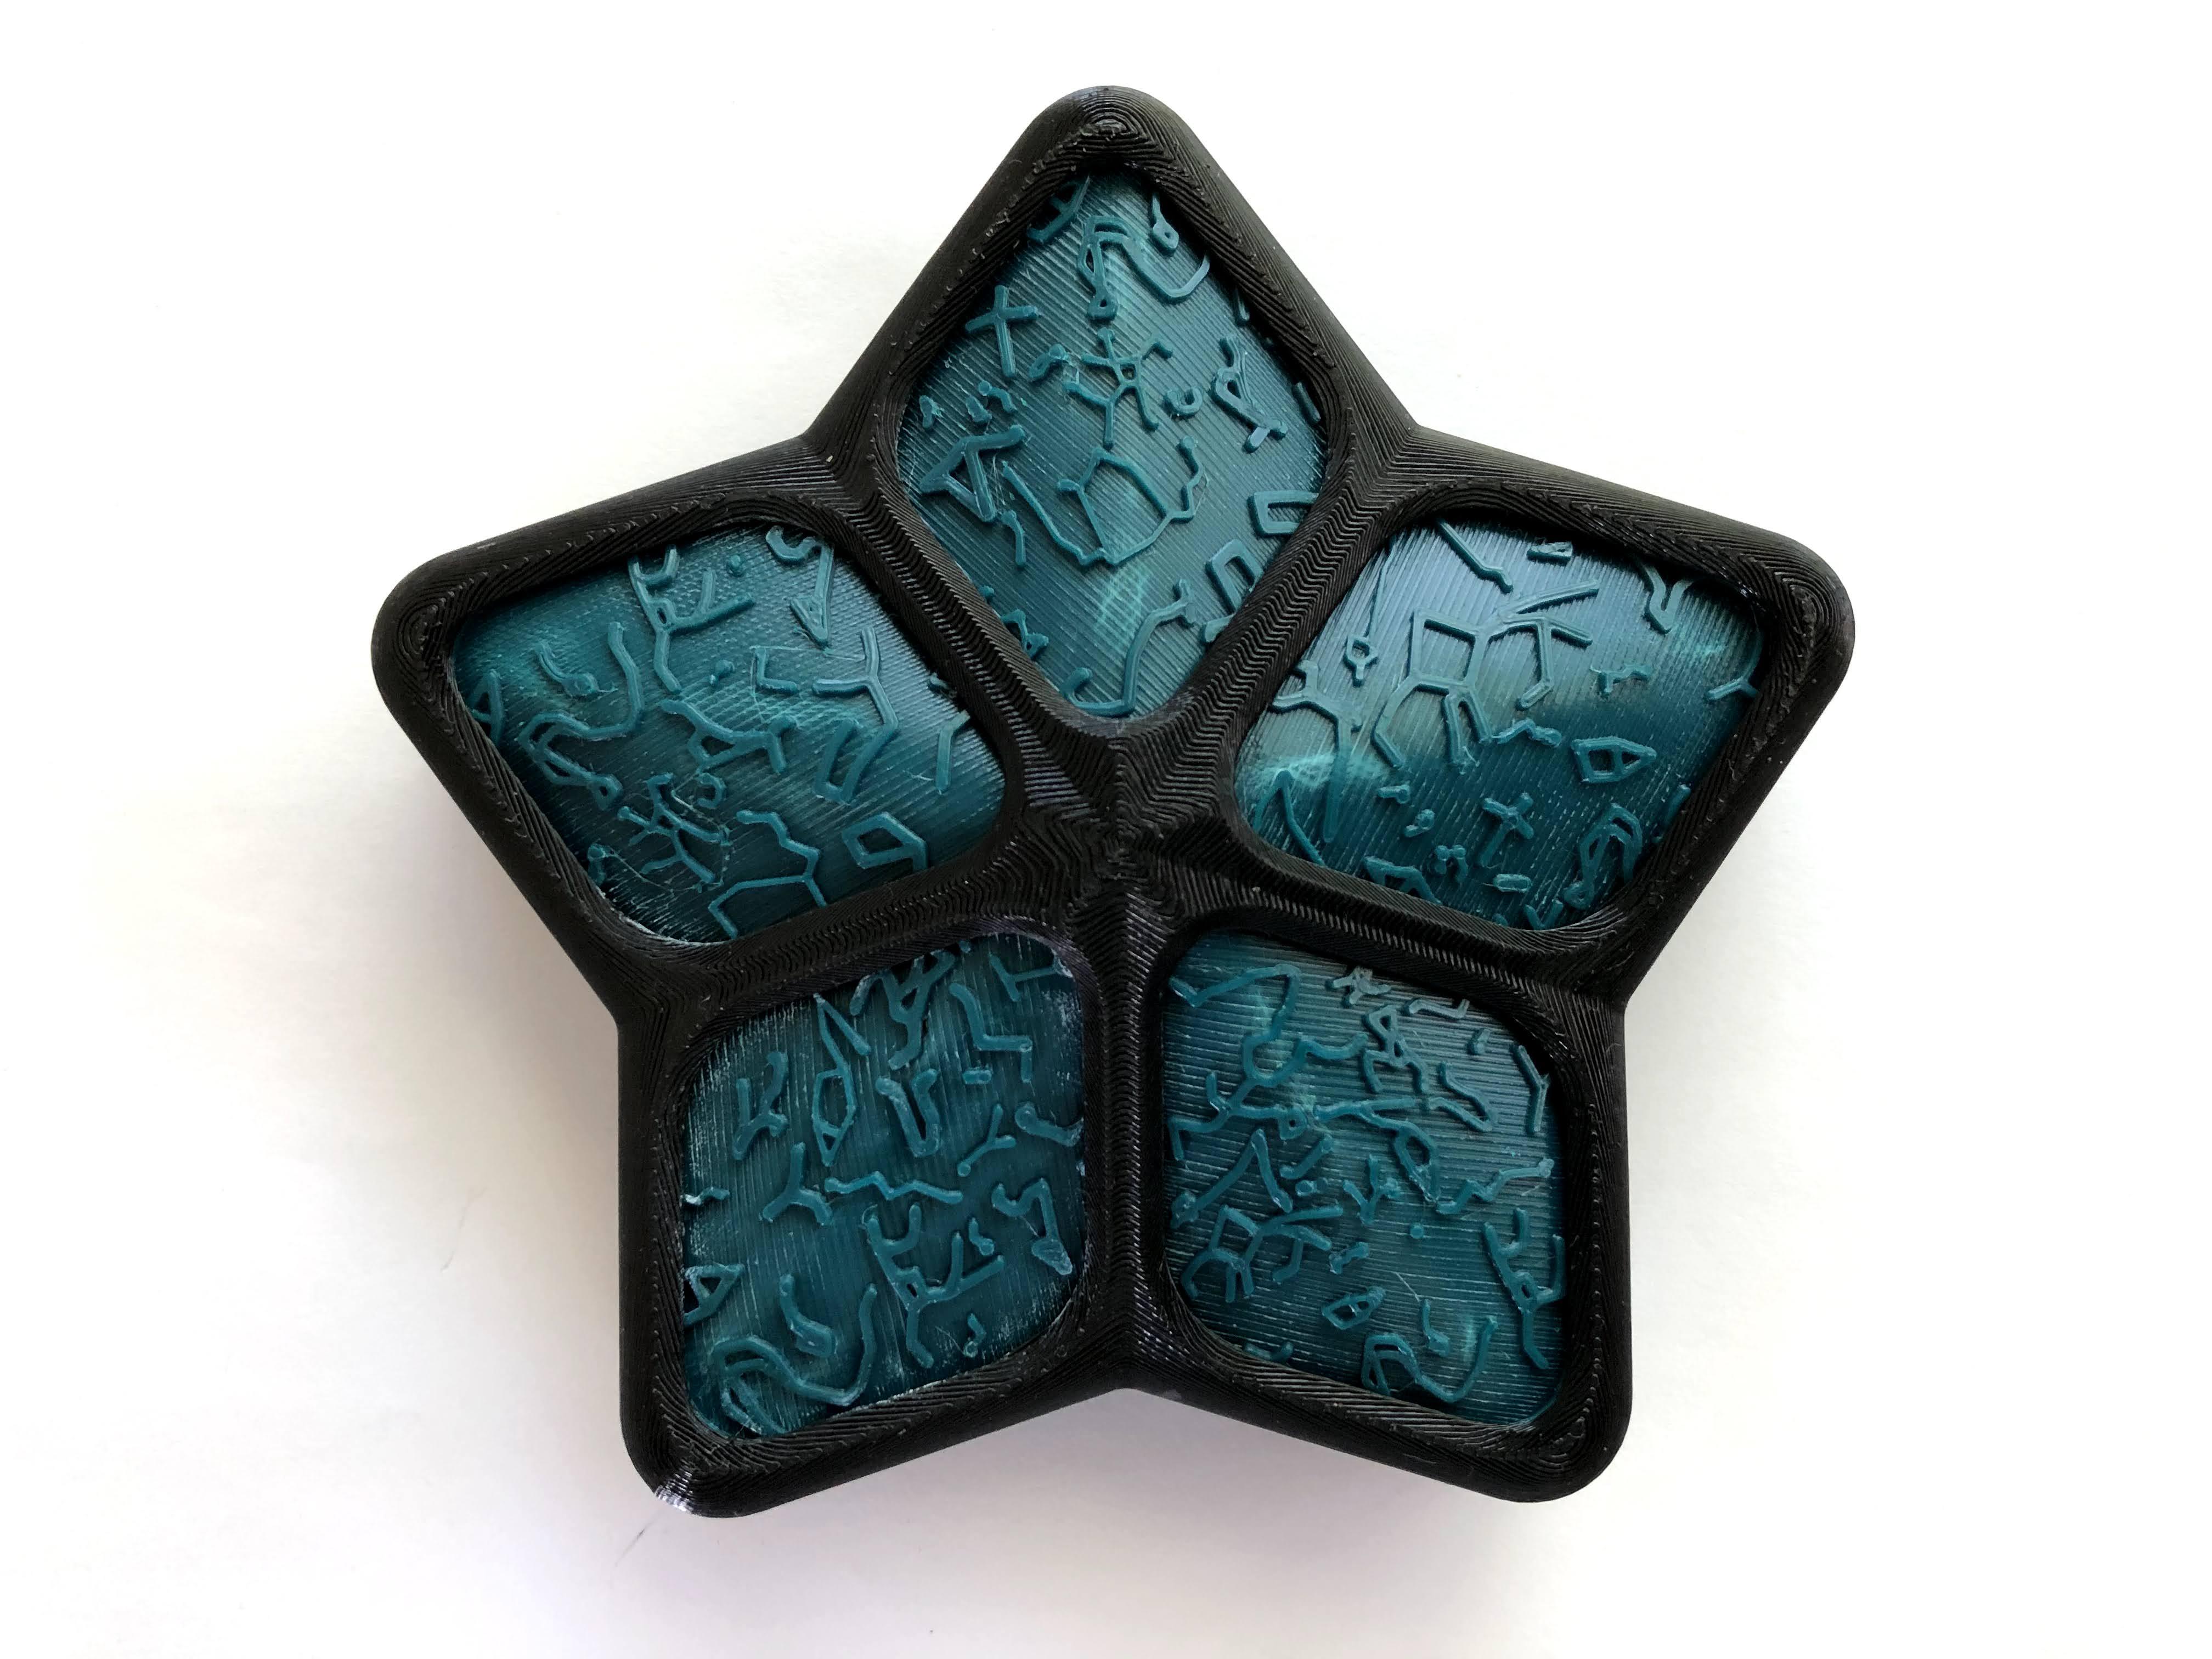
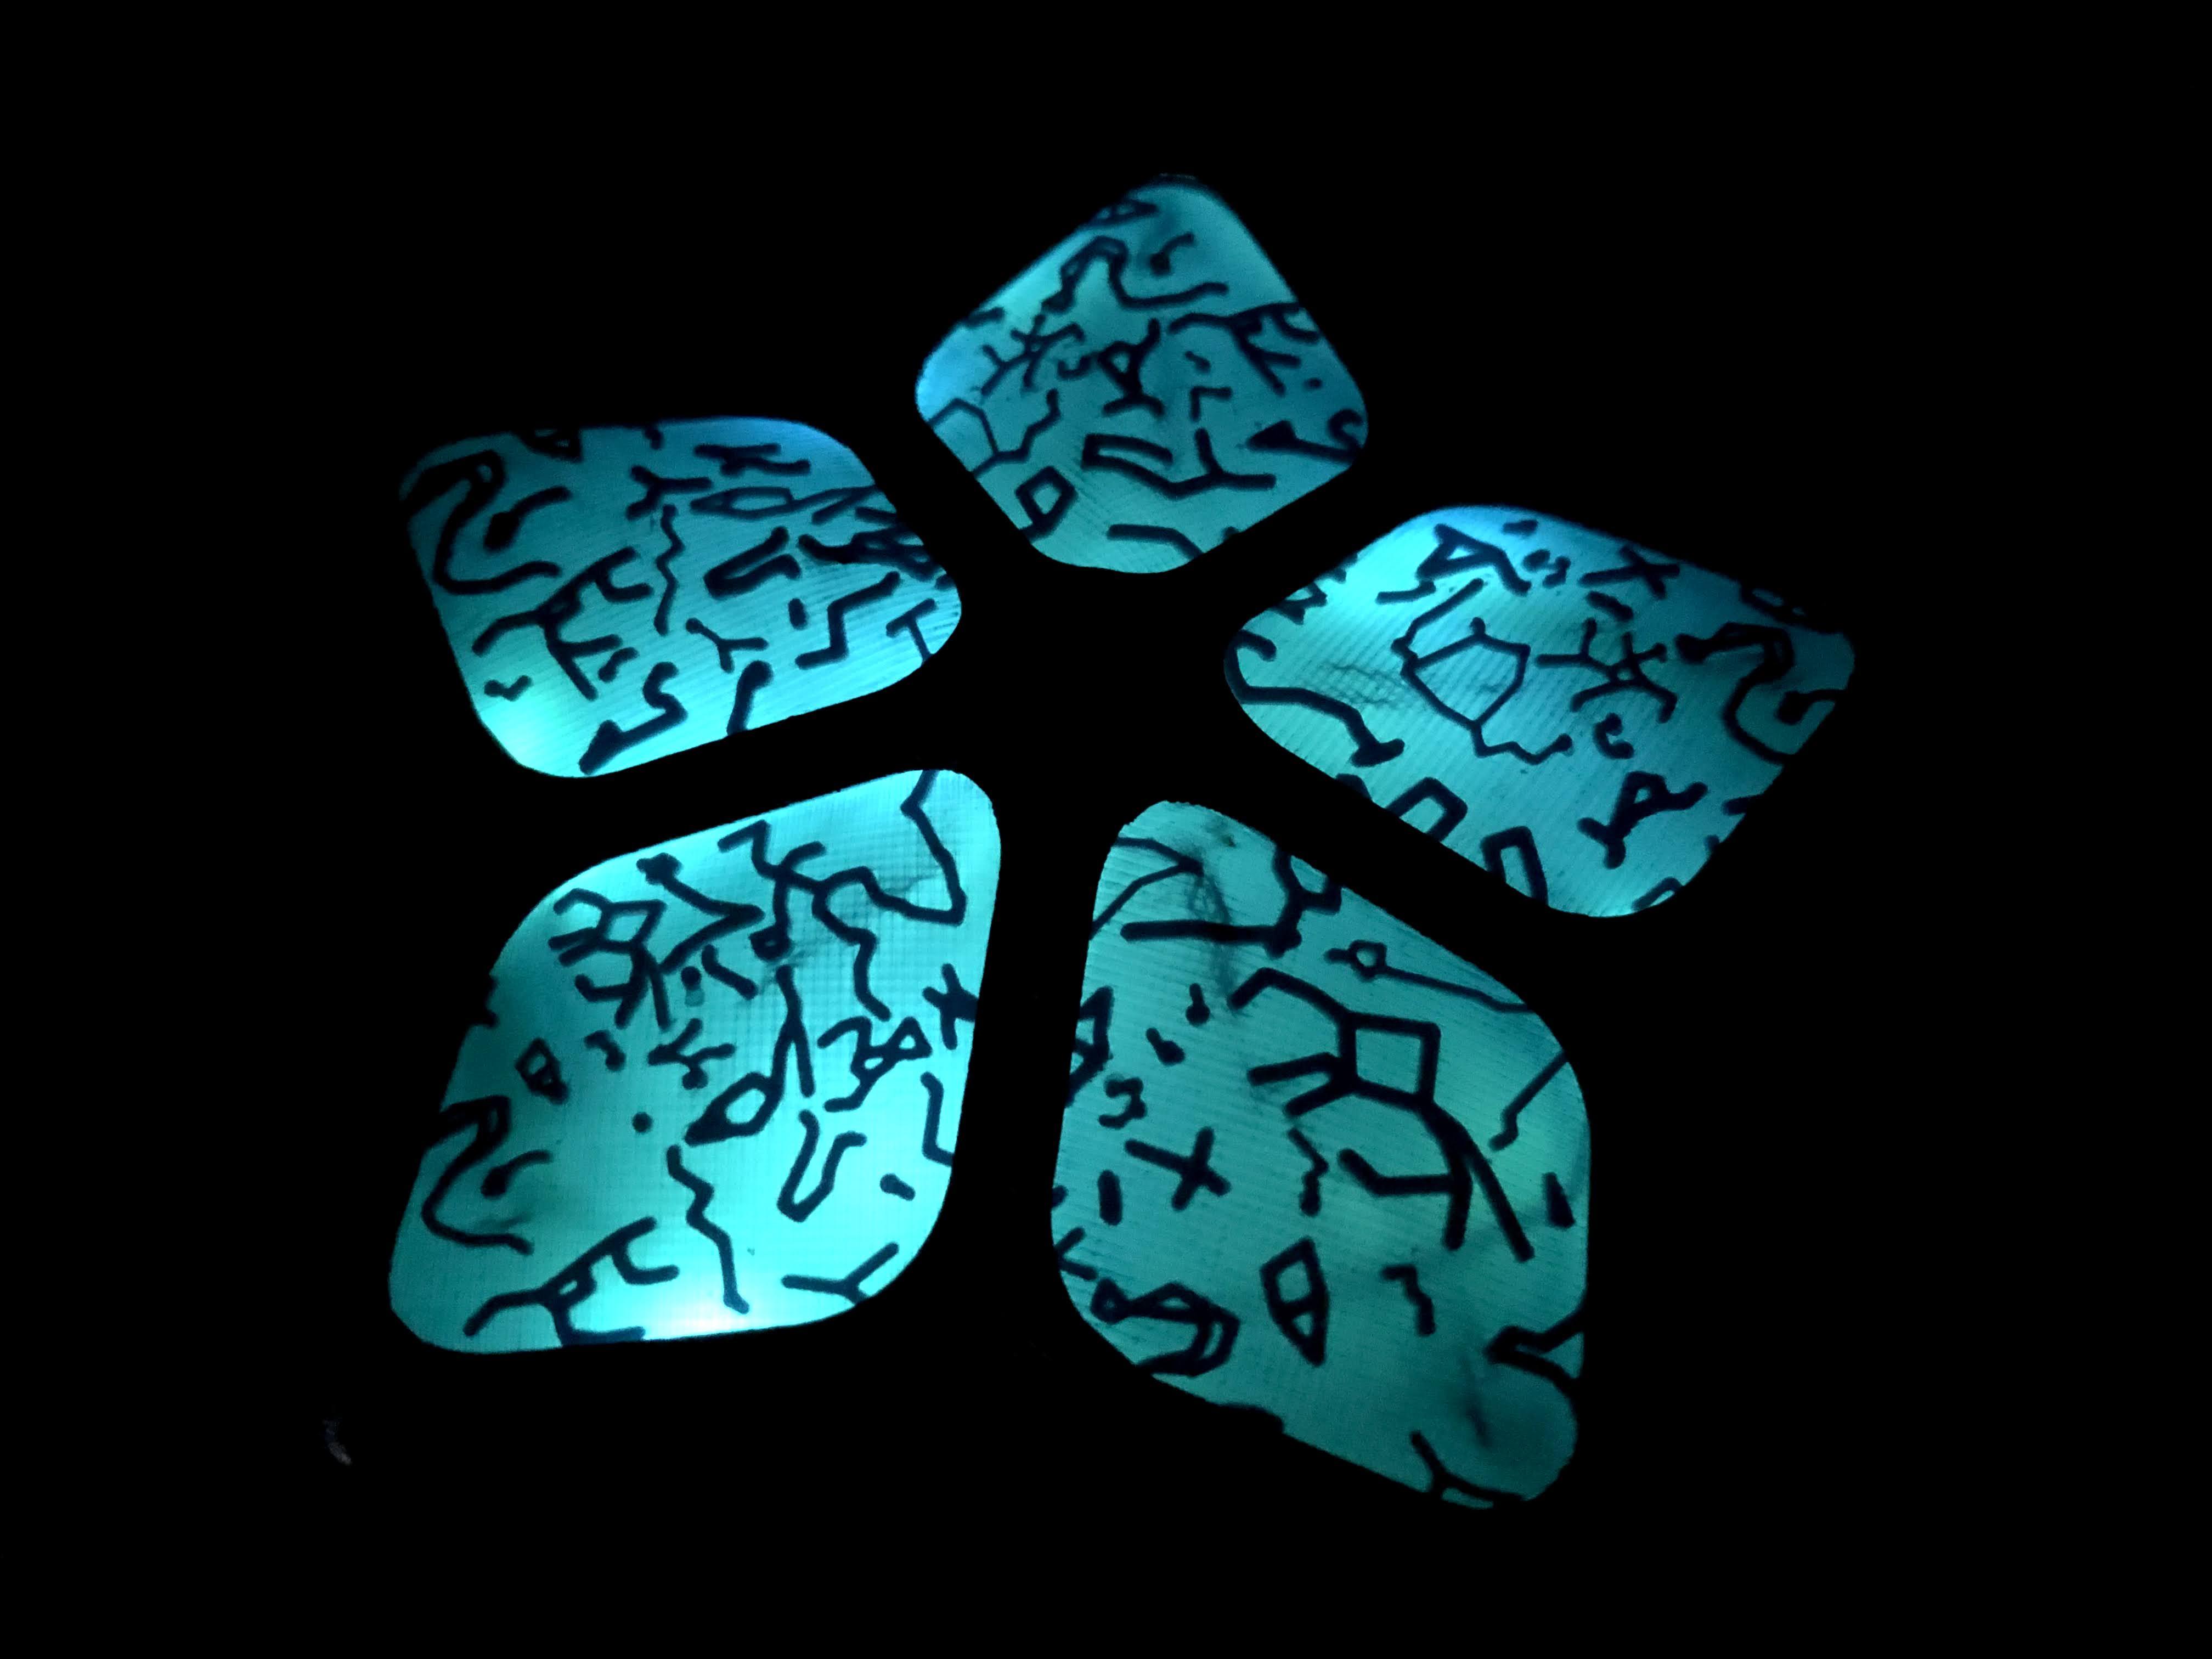
This final lamp is the shape of a star, with each of 5 panels corresponding to 5 nights related to climbing/camping that are most memorable for me. I isolated constellations from the position of the night sky at those 5 moments and turned them into panels of the lamp, which I 3D printed (I recently purchased my own 3D printer and was itching to have a project to try it out on).
Side note: if you enjoy this tutorial, votes in the Make It Glow Contest would be appreciated
Supplies
- 3D printer and filament
- I have an Ender 3 and used black and teal PLA
- Software
- 3D CAD: notable free ones are tinkerCAD and Autodesk Fusion 360, but I'm most familiar with SolidWorks (and have a license from work) so that's what I used
- Vector drawing: free one is Inkscape, but I have Adobe Illustrator from school so that's what I used
- fairy lights (or other light supply)
Generating Star Maps
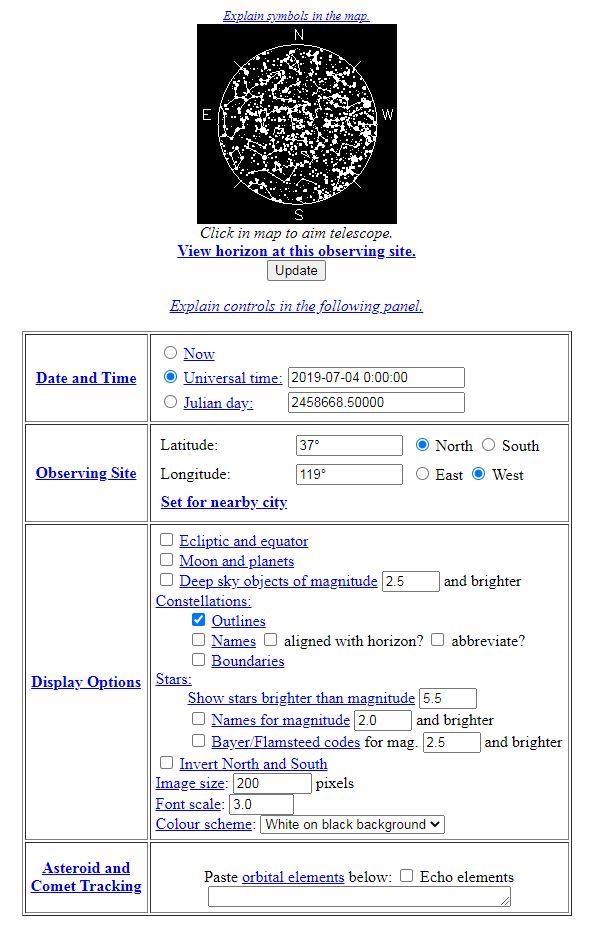
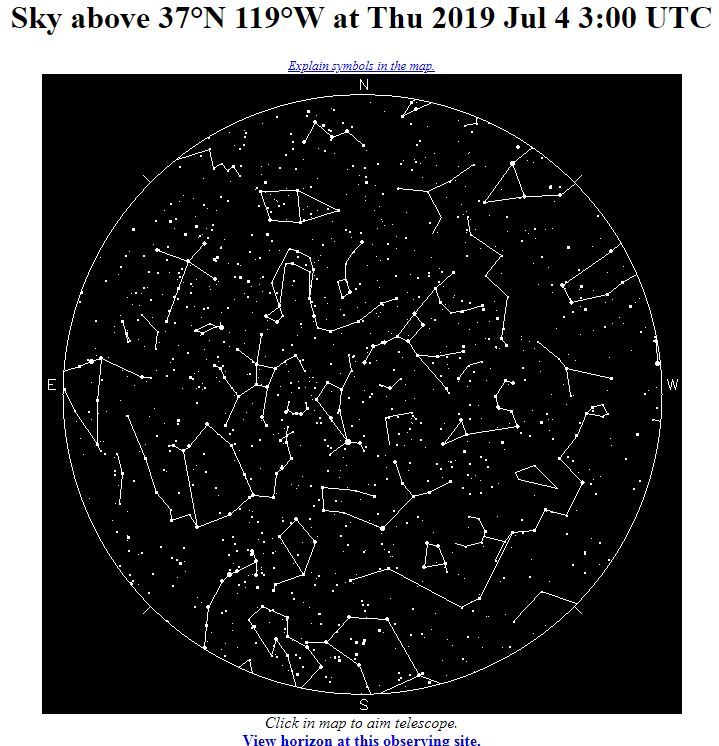
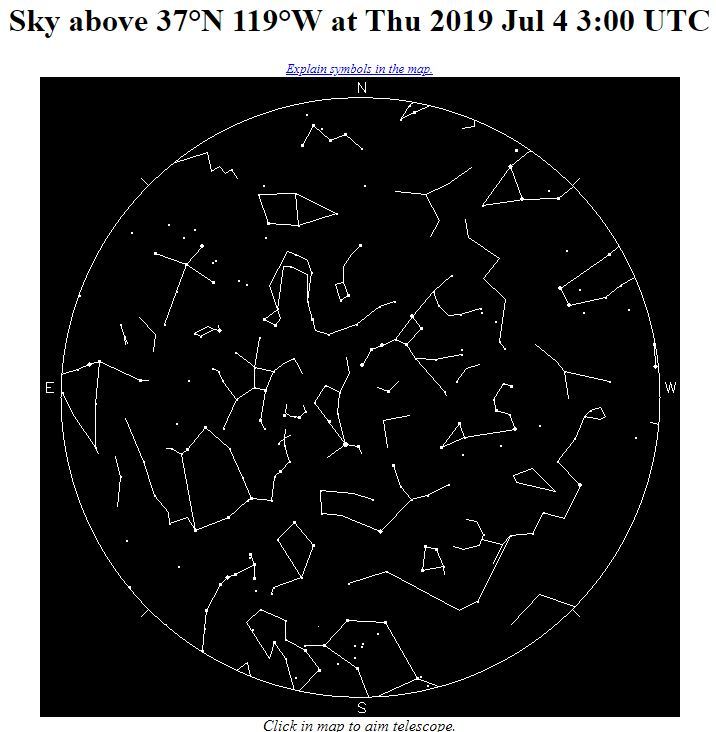
To find the star maps of specific locations at specific dates and times, I used YourSky. The info you'll need to input to specify the map is:
- Location:
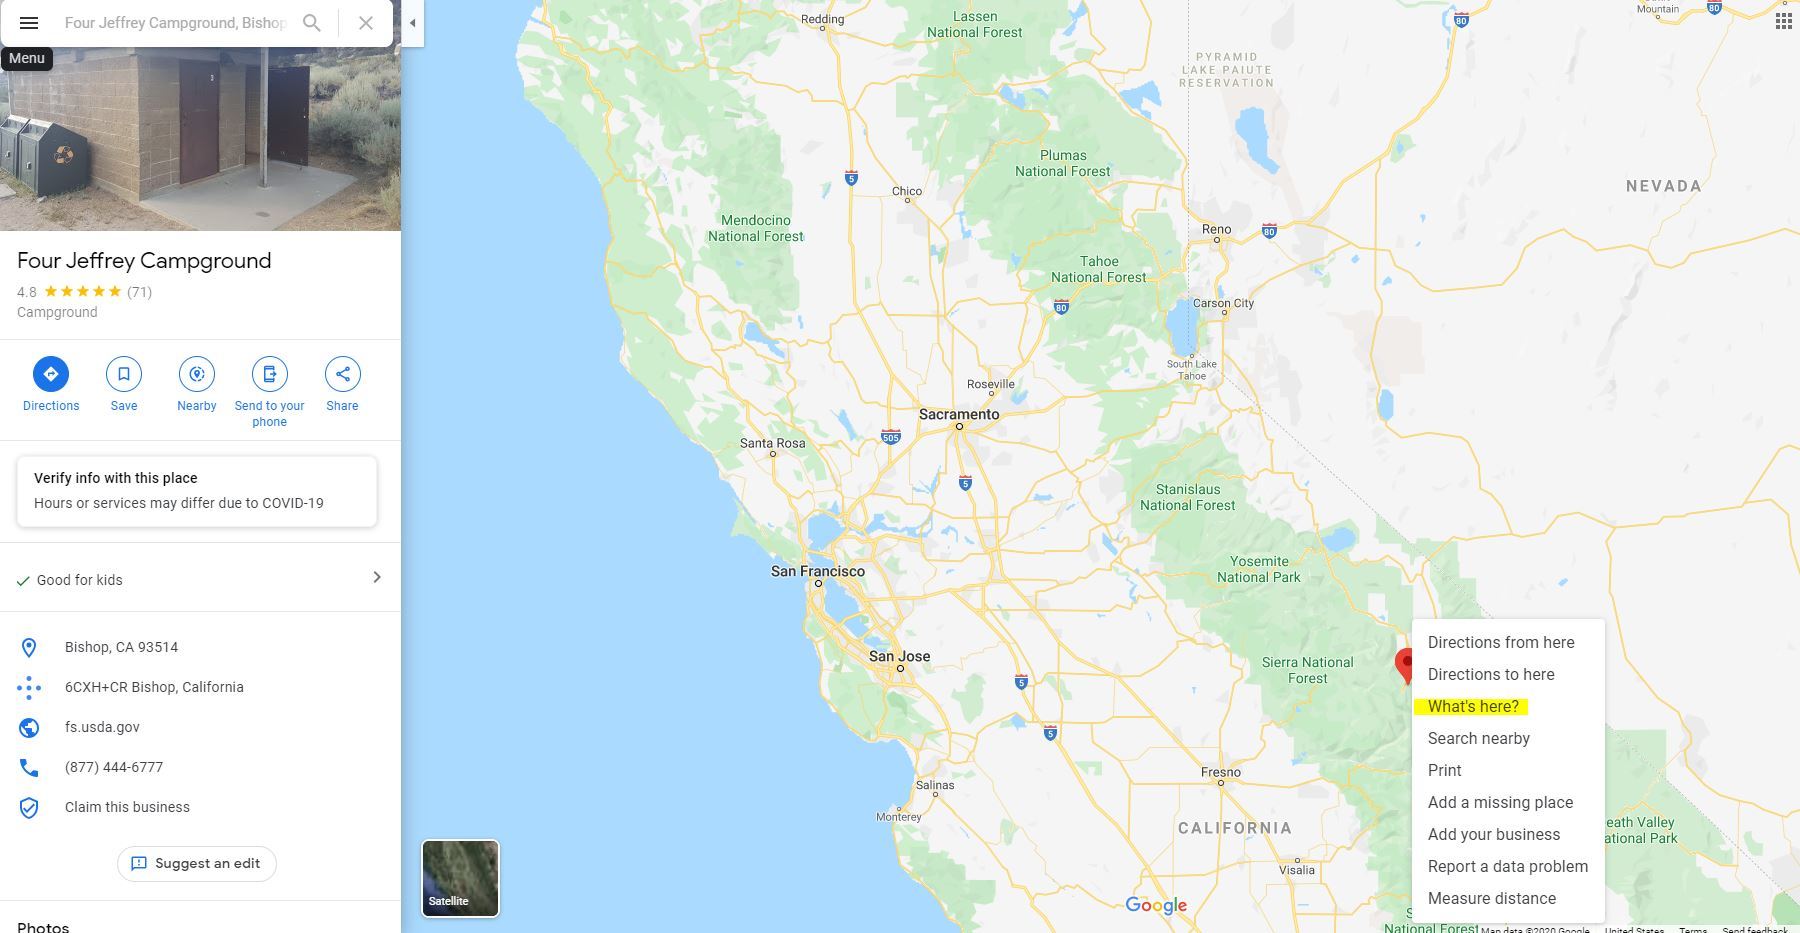
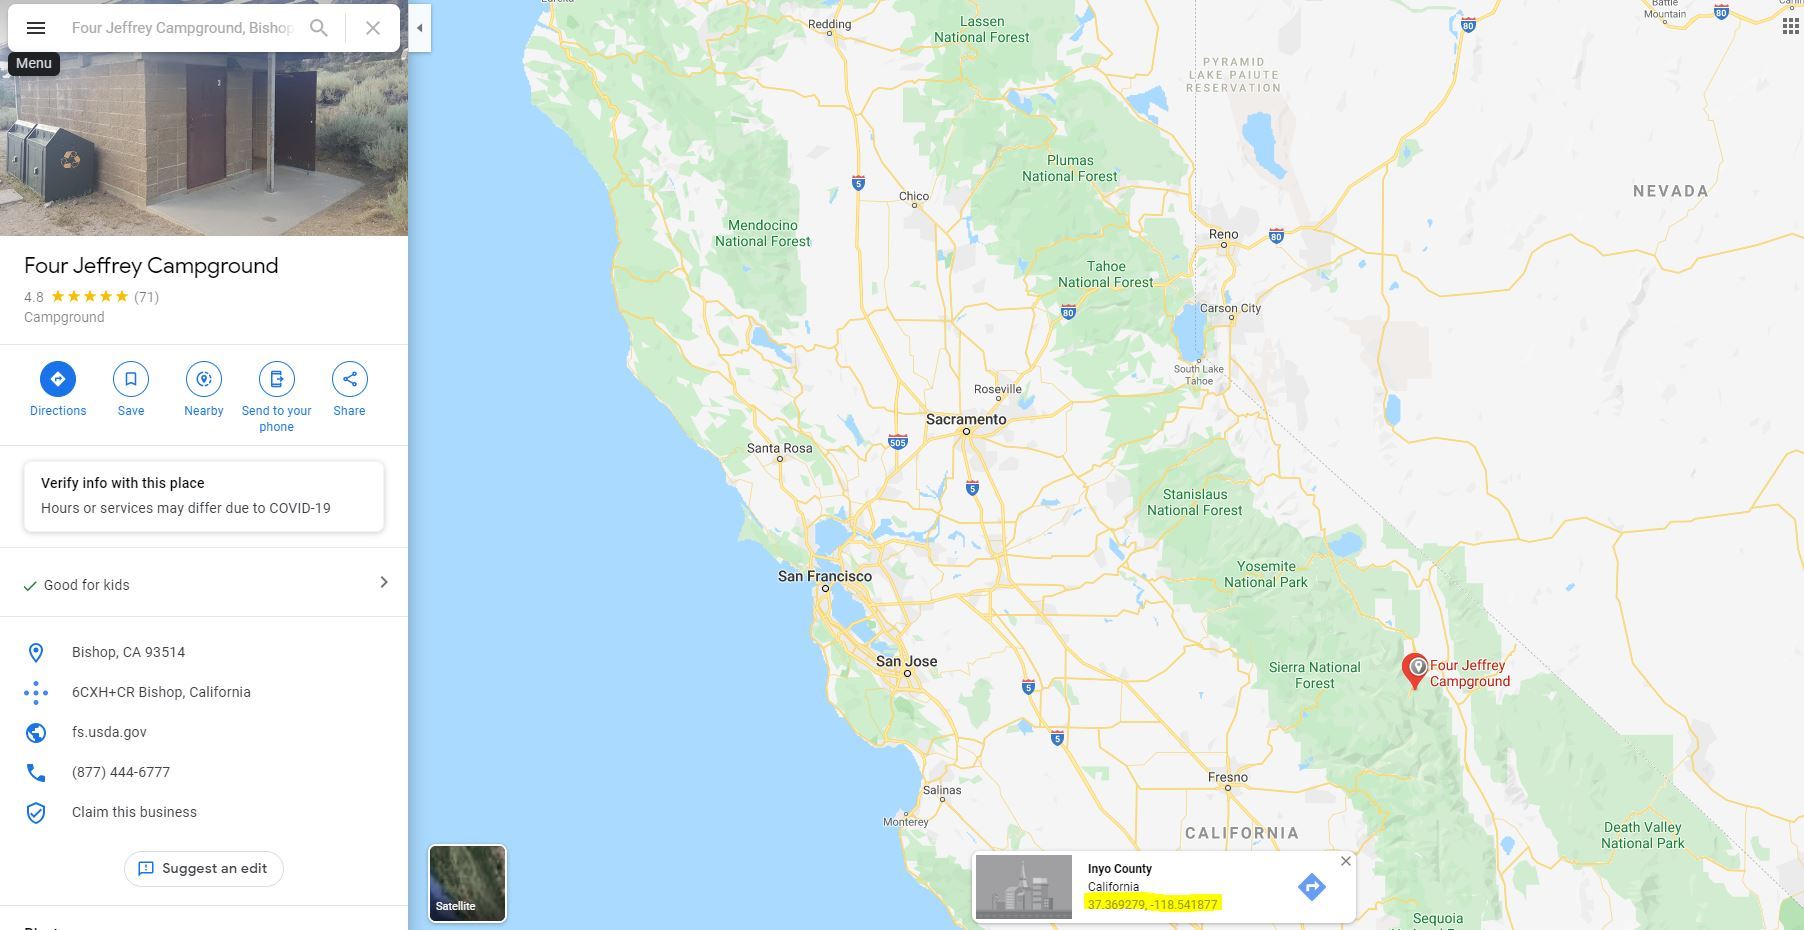
- The site accepts longitude and latitude coordinates. To find out the coordinates of the location, you can use Google Maps. Search for the place, then right click the upside down marker and click "What's here?". At the bottom, you should now see the coordinates (latitude, longitude). The positive and negative signs refer to north/south and west/east. For latitude, north is positive and south is negative, whereas for longitude positive is east and negative is west. Knowing that, input the coordinates into the appropriate spots and select the corresponding north/south, west/east.
- Date and time
- You have 3 choices: now, Universal time, and Julian day. Julian day is a classic astronomer's term that I still don't really understand so I opted to use Universal time. The key thing to note that Universal time uses the UTC time zone, so you'll have to convert the time zone for whatever you choose. For example, I wanted 2019 July 4th at 8PM PDT, but UTC is 7 hours ahead so I input 2019 July 4th at 3AM.
Once you input those into the corresponding fields, you can generate a star map. Other things I changed:
- Showing constellations
- Make sure you have the Outlines box checked under Constellations.
- Since I mainly needed the constellations, I changed the number in "Show stars brighter than magnitude __" from the default 5.5 down to 4.0. You can play around with this value until you have mostly isolated the constellations
- Color scheme
- For better visibility, I chose white on black background for Colour Scheme instead of the default Colour.
- Image size
- To make the lines bigger to make vector tracing easier, I changed Since I mainly needed the constellations, I changed the number in "Show stars with brightness greater than" from the default 5.5 down to 4.0. You can play around with this value until you have mostly isolated the constellations from the default of 640 pixels to 2000 pixels.
Once I was happy, I right clicked the image and saved it.
Things to Note for Your Star Maps
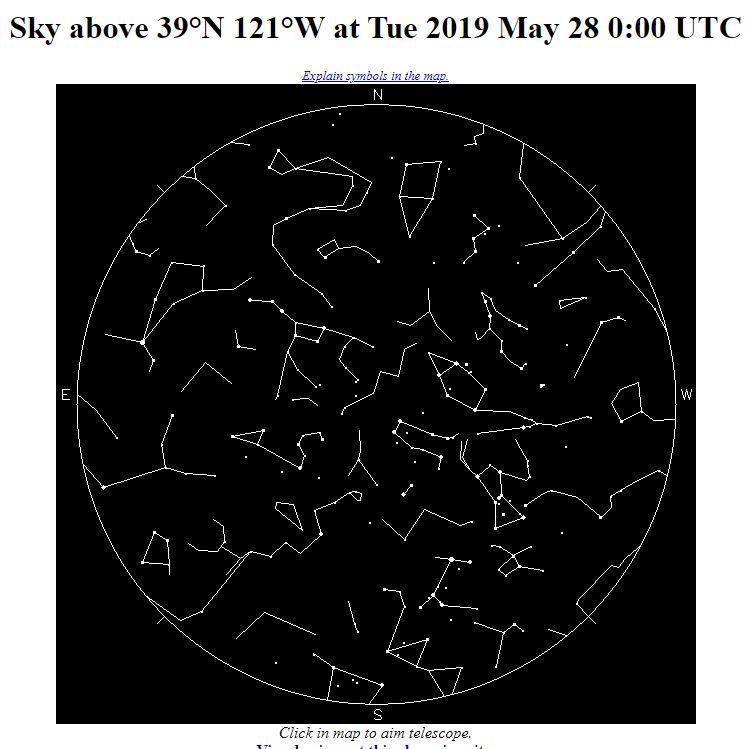
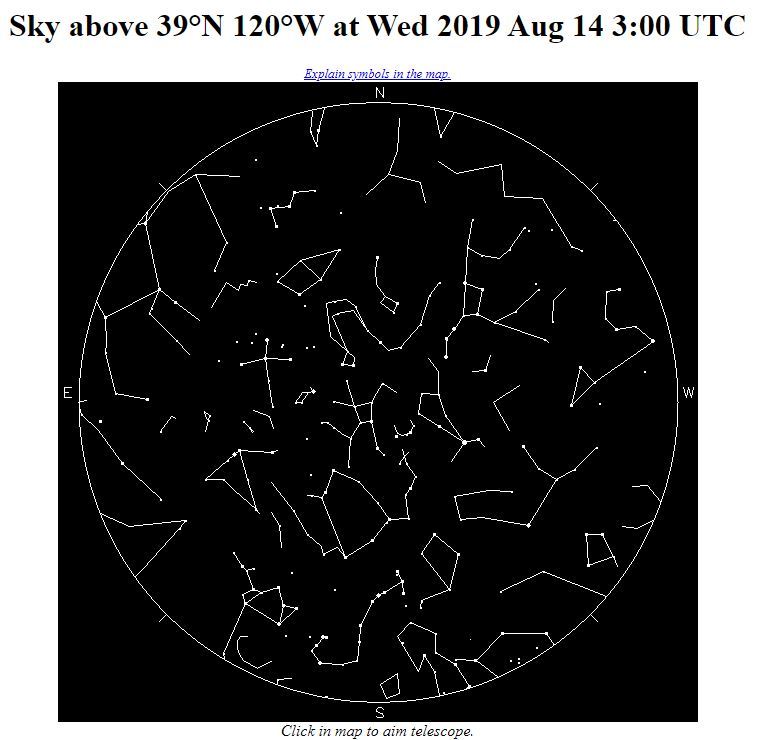
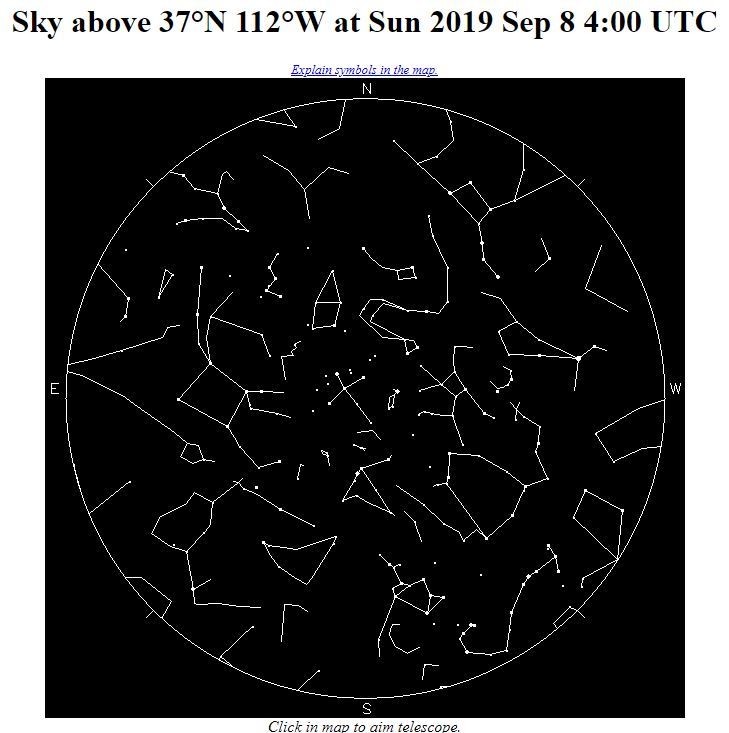
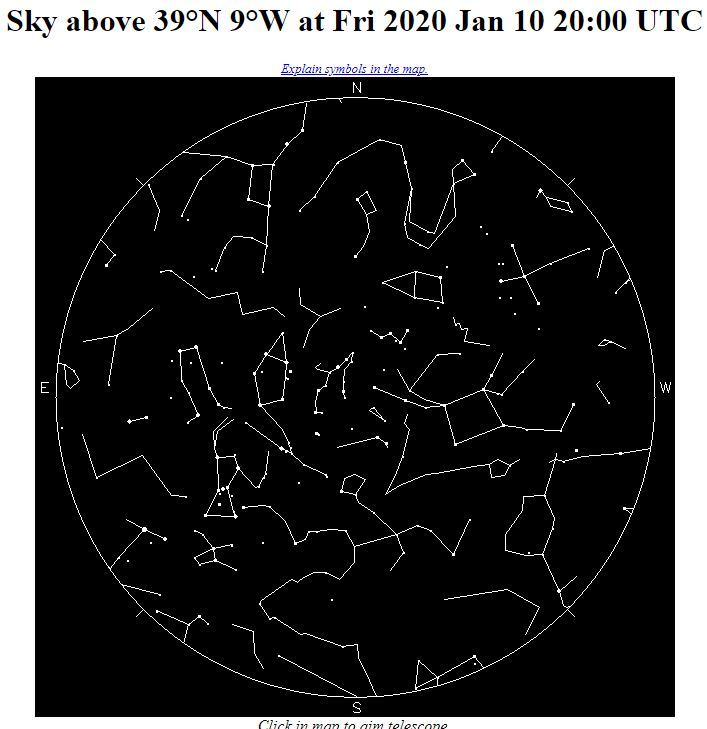
I added the star maps that I ended up generating above for reference of what they look like.
A few extra things to note:
- You can click on the map to get a zoomed-in look at the sky. It also shows the star and constellation names, so it's helpful if you wanted to learn more.
- If your days and times are too close together and at locations that are nearby, your maps will look very similar. I had that issue since I had two nights in the summer, one in South Lake Tahoe and the other in Bishop. To better differentiate them, I changed the time so they were a bit farther apart; just tweaked until the constellations were clearly shifted.
Vector Tracing: Drawing Line Segments and Joining
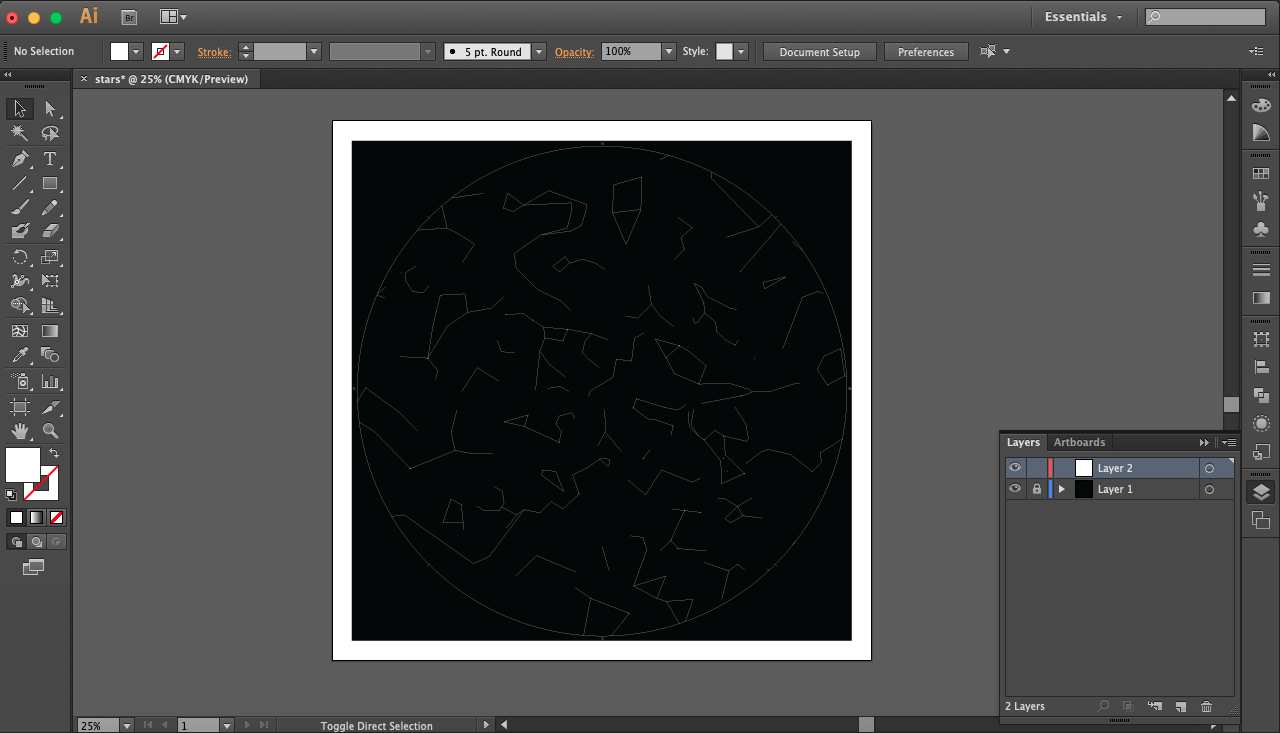
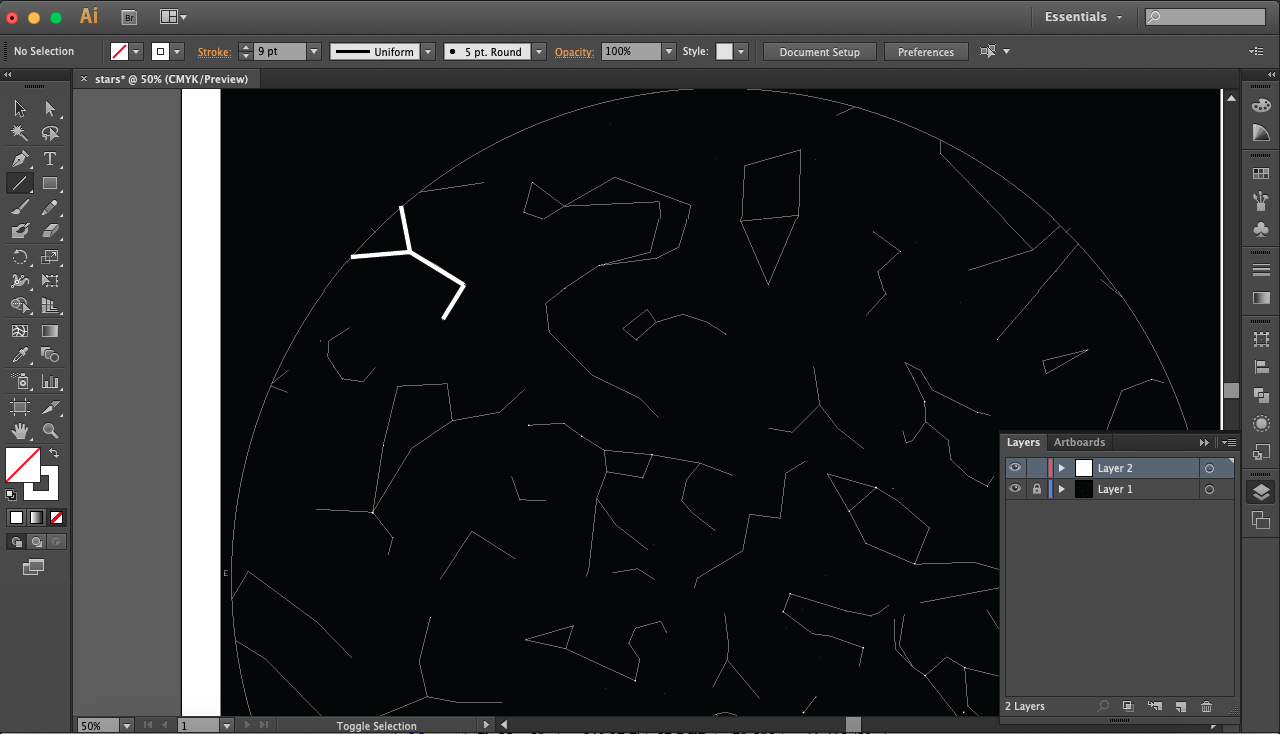
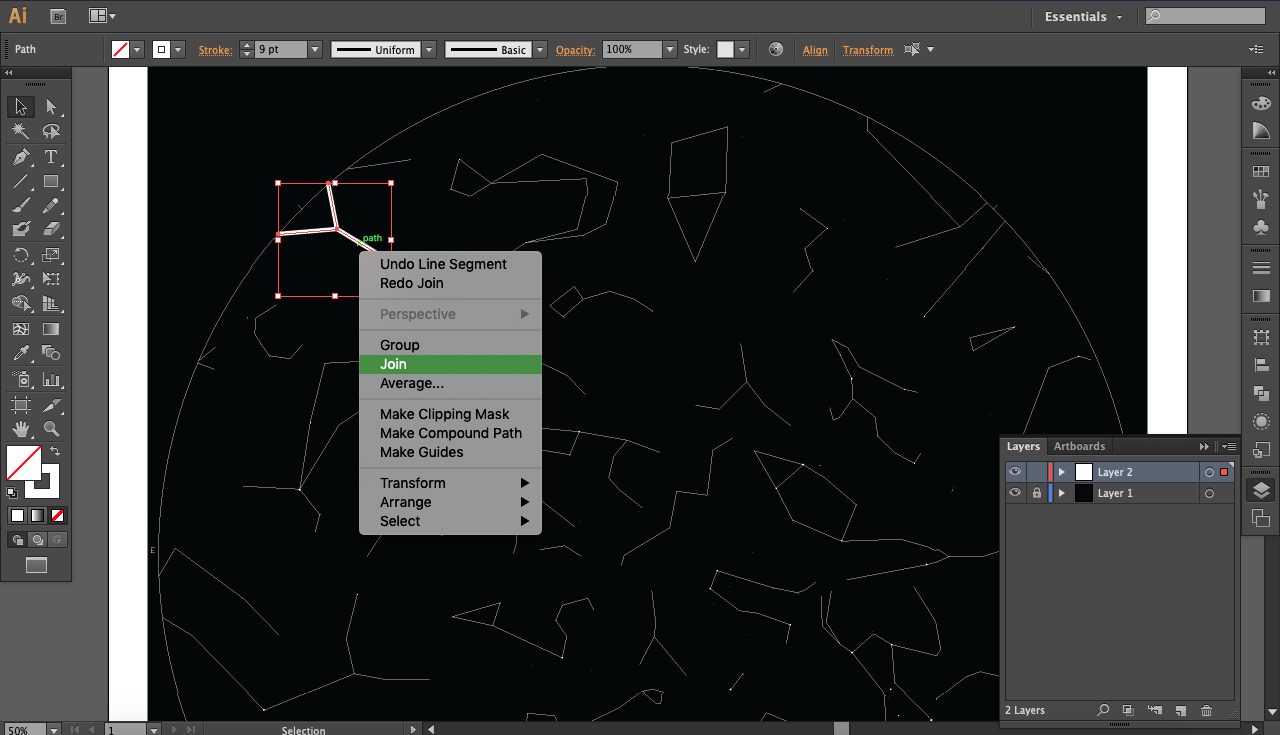
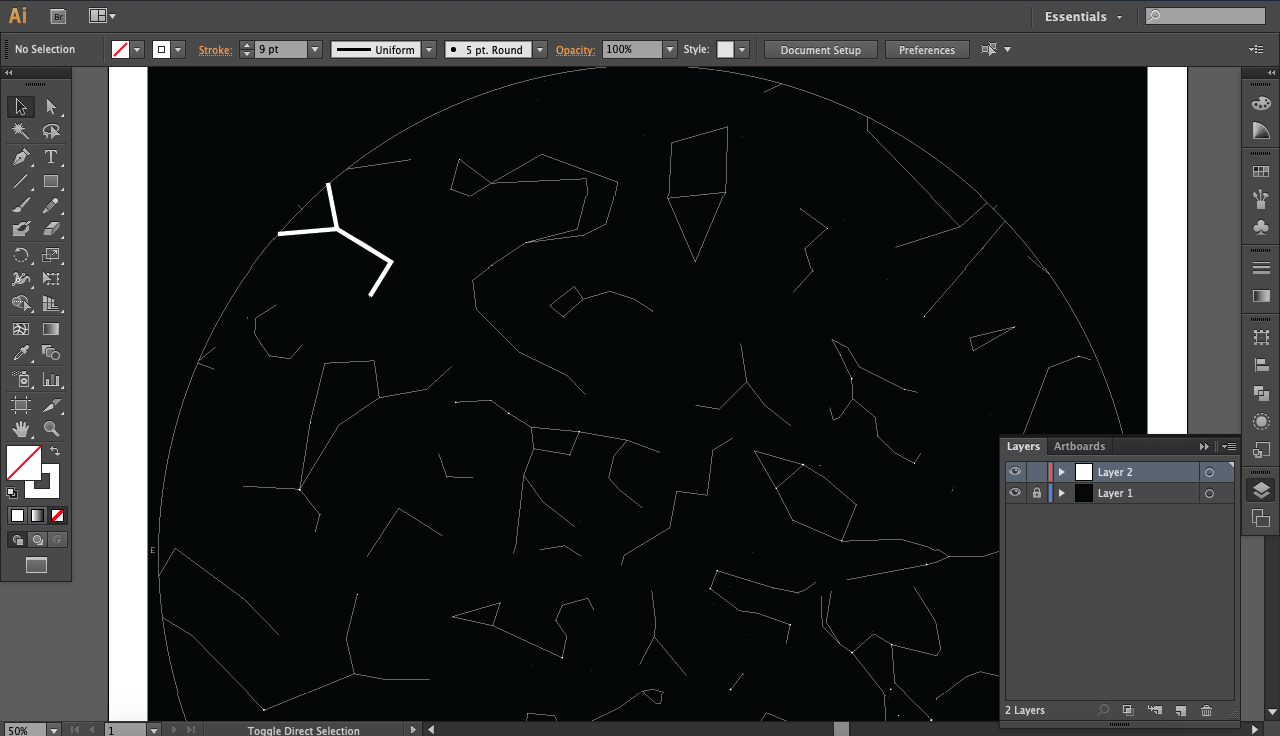
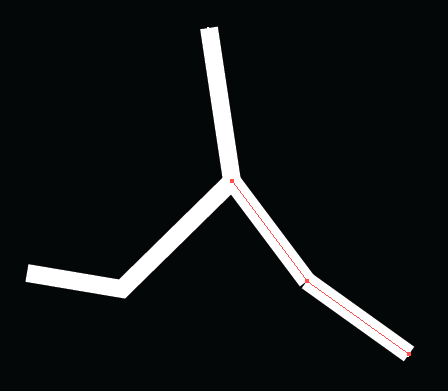
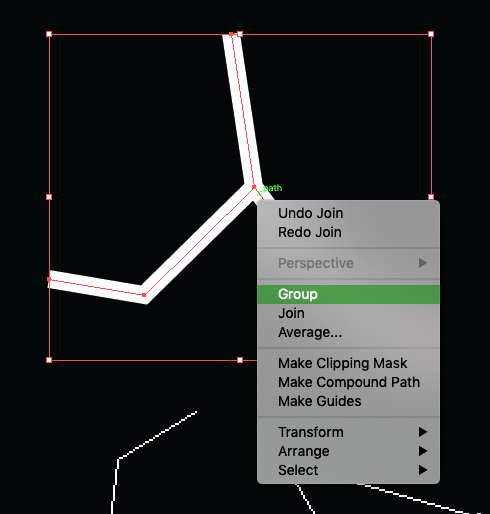
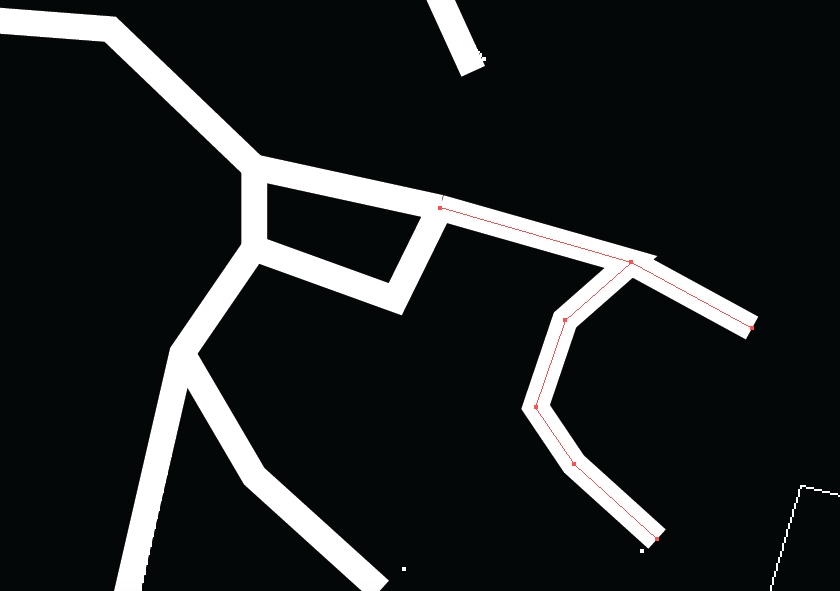
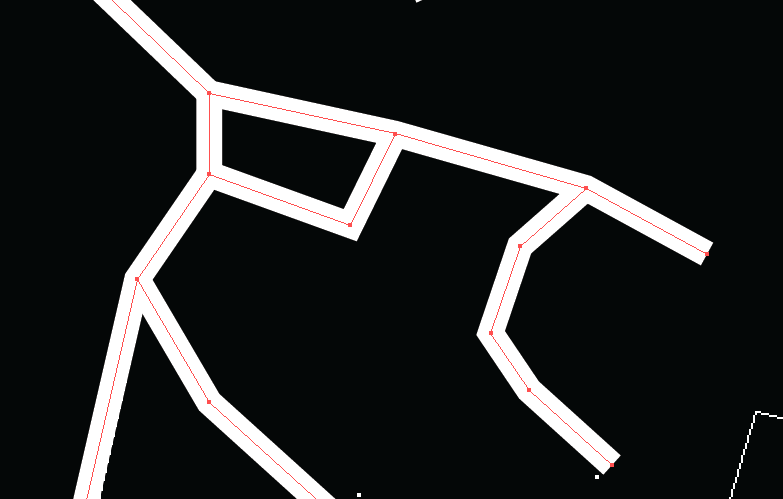
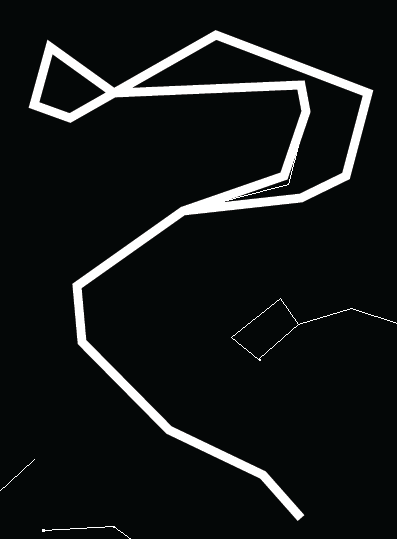
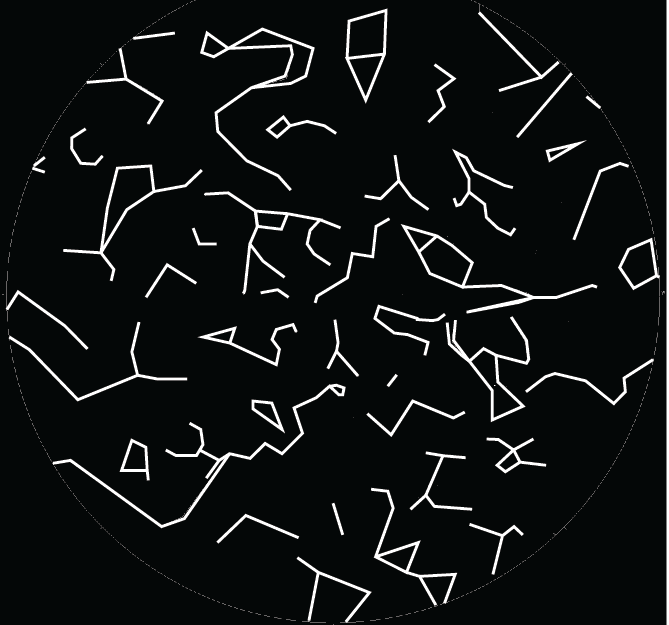
Using the star maps, you'll need to sketch out the constellations so that you can import it into your 3D CADing software for designing. You want a dxf file that you'll be able to import into the CADing environment, and for this I used Adobe Illustrator since I had it from college and am very familiar with it. For free alternatives, you can use Inkscape instead; the tools are the same, just in different places and maybe with different names. I'll walk through what I did in Illustrator but again, you should be able to do the exact same thing in Inkscape.
For step-by-step instructions, click through the pictures above and read the notes in each image. This step's pictures focus on drawing the line segments for each constellation and joining/grouping them together to make clean, continuous shapes.
Vector Tracing: Line Segment Shape and Widths
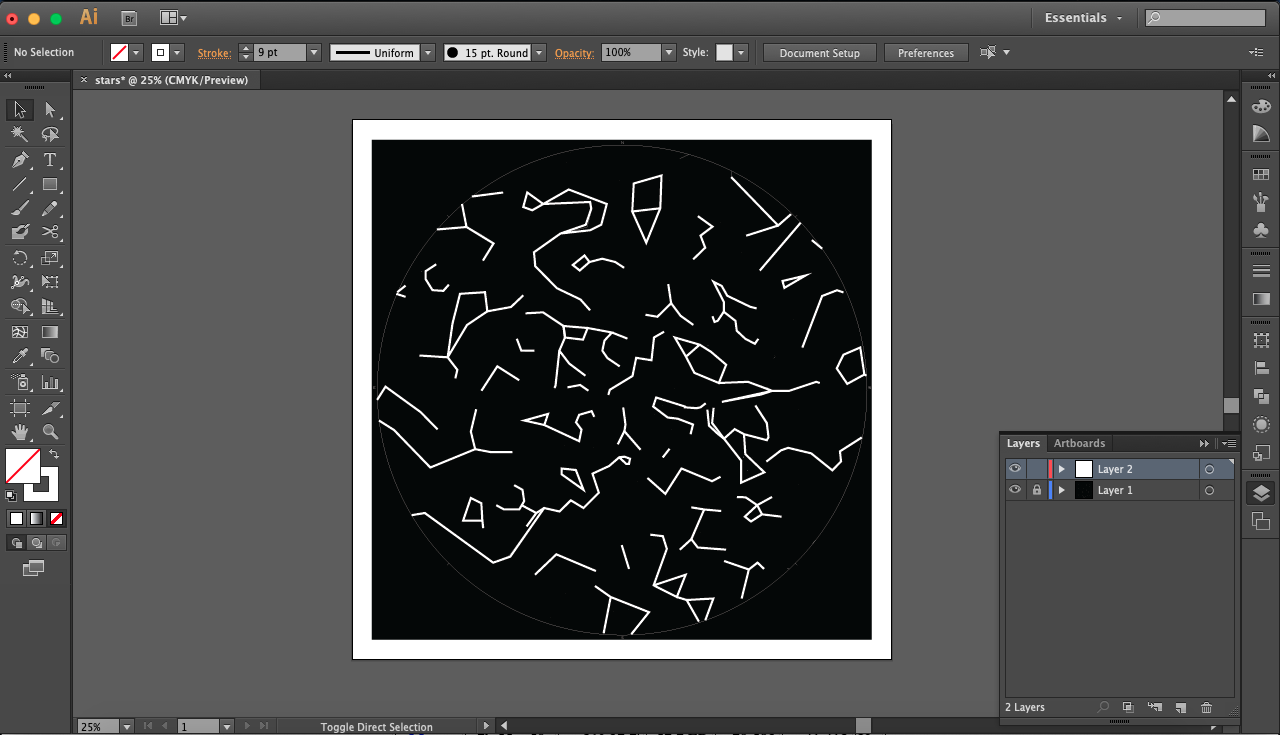
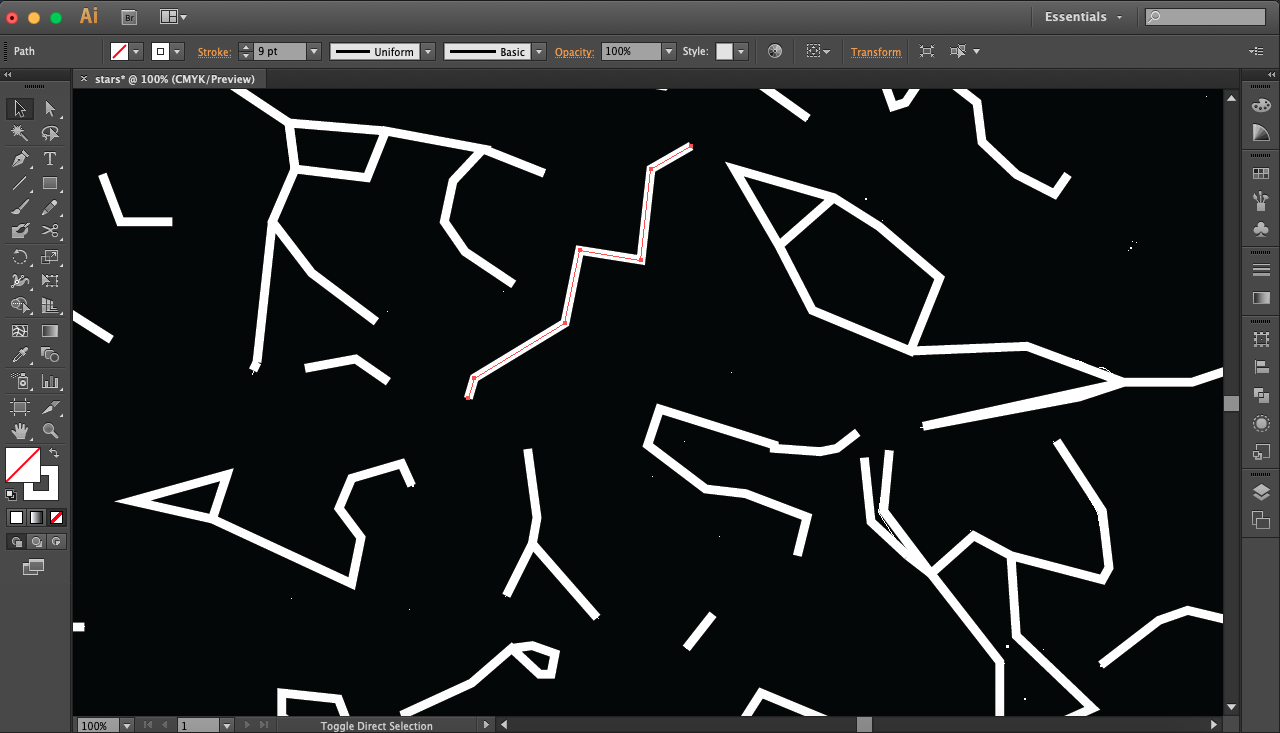
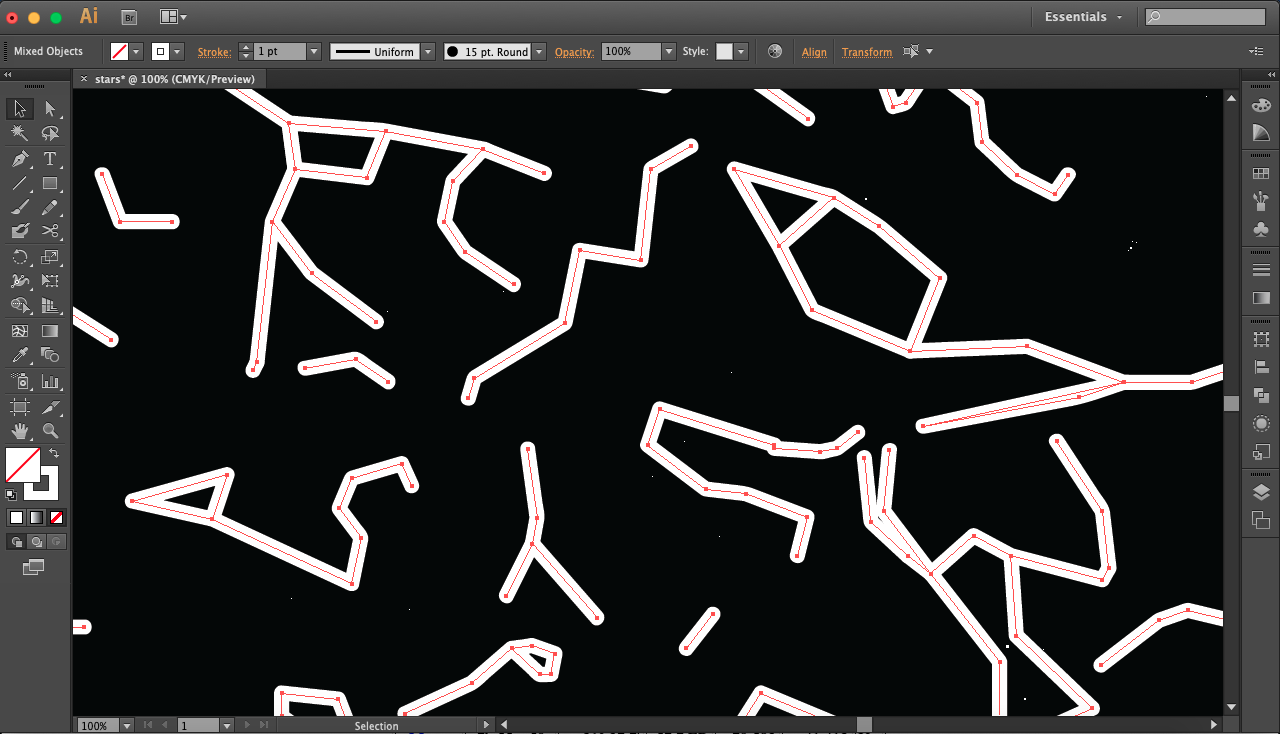
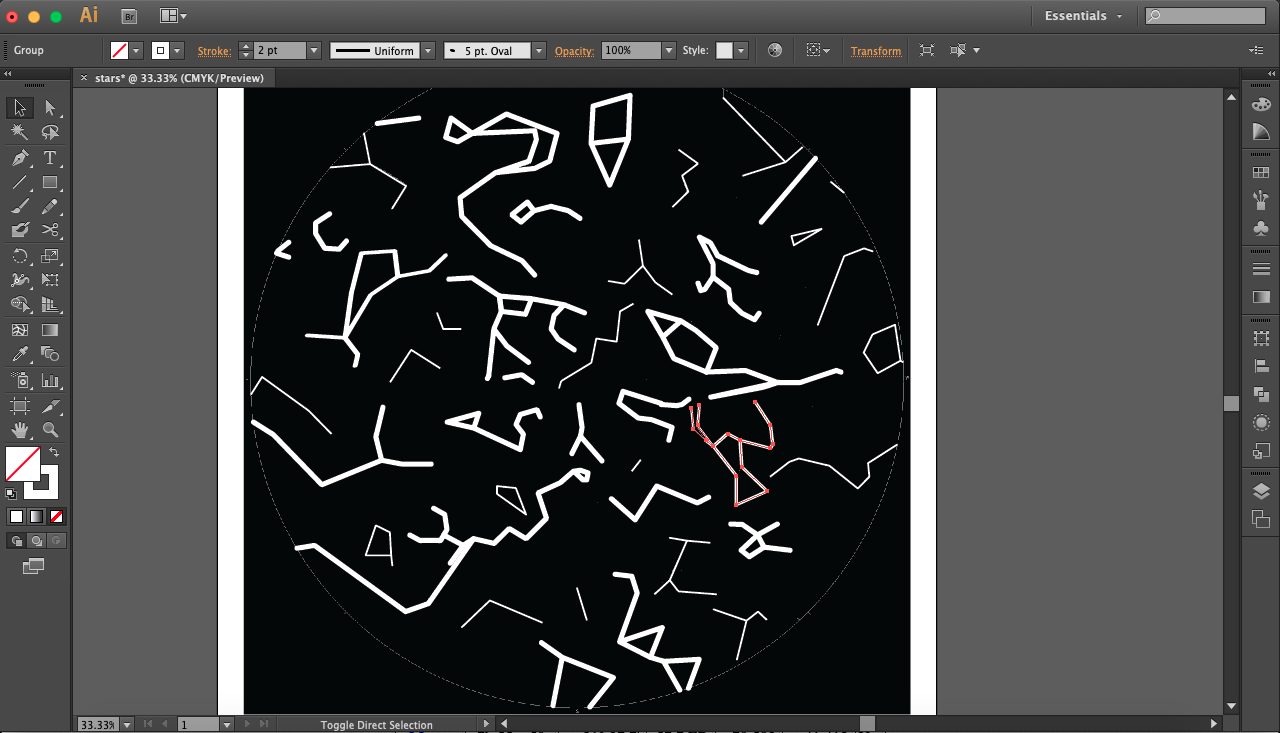
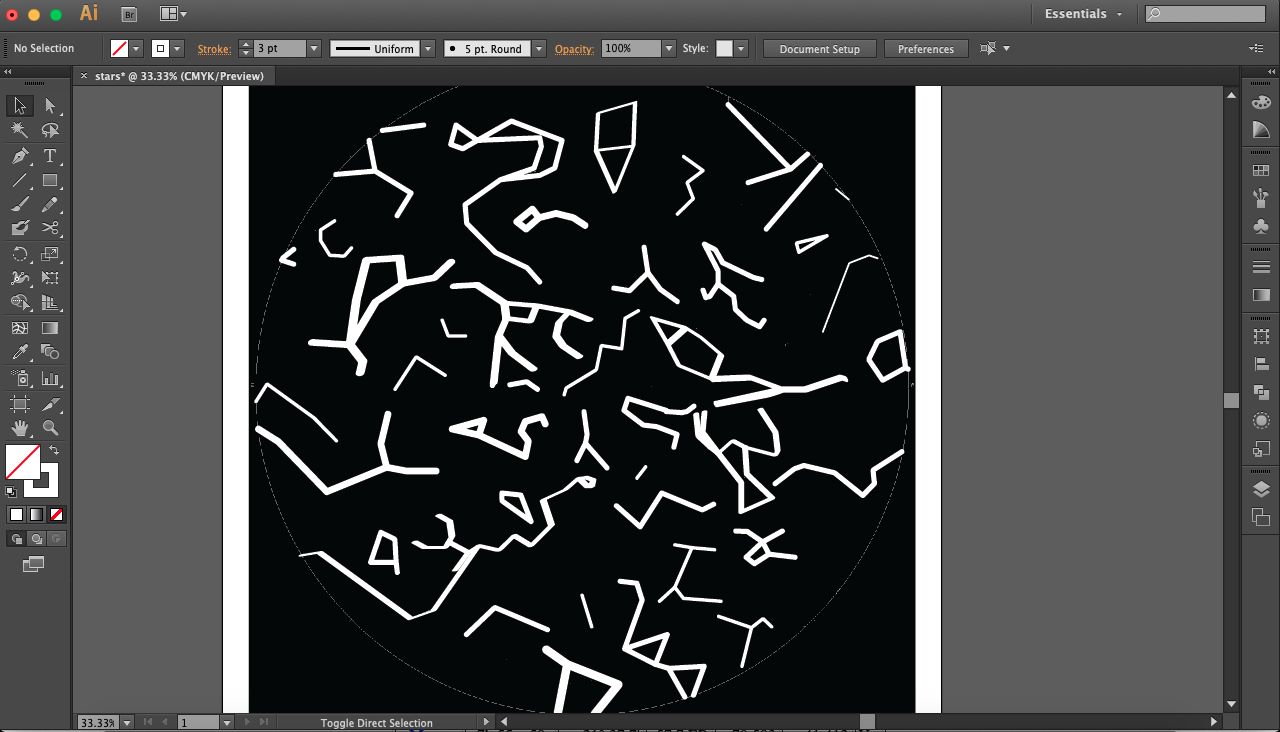
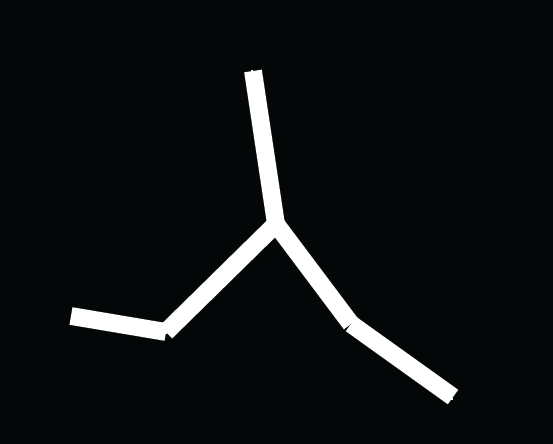
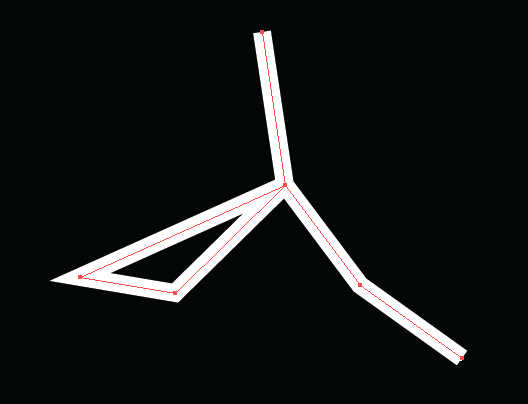
Once you've traced the constellations, you can change the line widths to give it a less uniform look. That's the reason we grouped or joined the constellations; that way we can select each constellation independently. This width variation actually doesn't change the end result that much, considering how thin the lines are anyways, but it doesn't take long and could be worth doing.
In the top left corner, you can see the line stroke size (9pt in first picture above). To the right it says Uniform and that's referring to the stroke shape (could be dashed, wavy, etc). To the right of that is the brush shape usually Basic by default (see second picture) but in the first picture it's 15pt Round.
Change these three options to customize the line segments' shapes and widths and make the constellations look different from adjacent ones. Comparing the second and third pictures above, you can see what changing from Basic to 15pt Round does. In the third picture you can see that I changed Orion's brush shape from Basic to 5pt Oval, which gives it a mix of narrow and wide profiles. Last (fifth) picture above shows my final result.
Changing to Outlines and Exporting As DXF
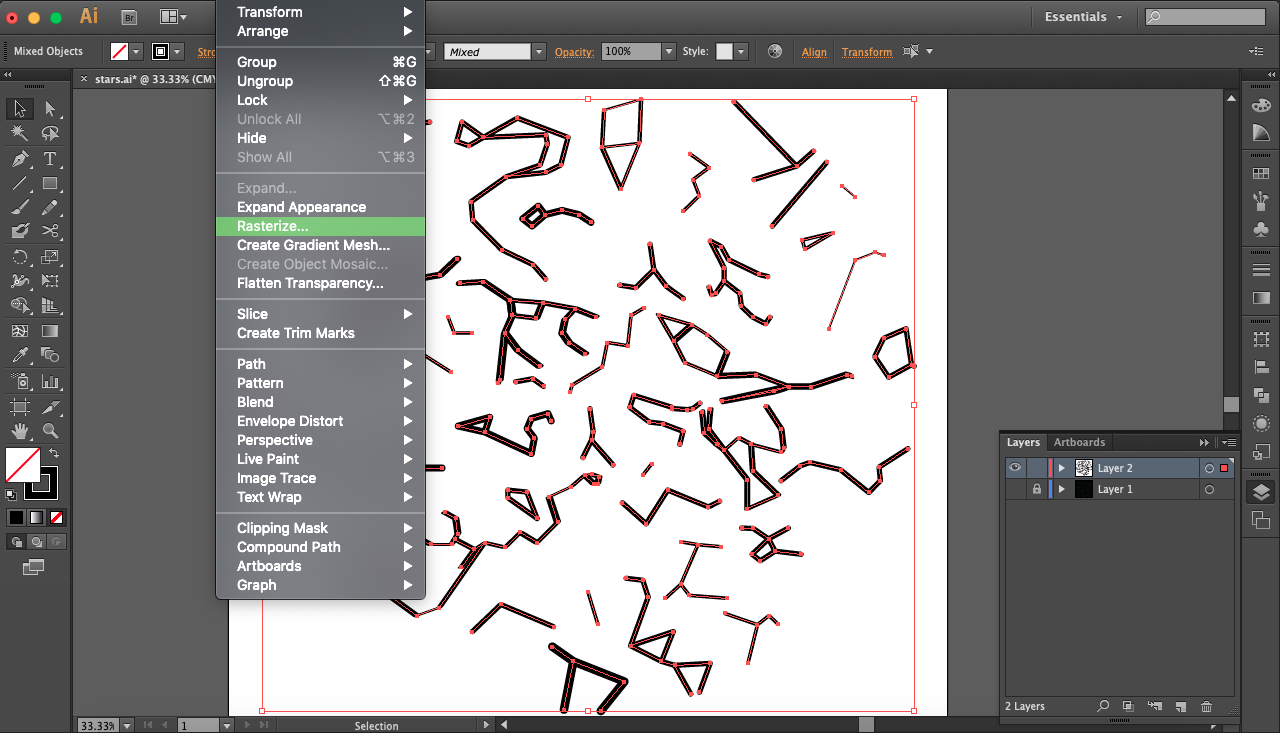
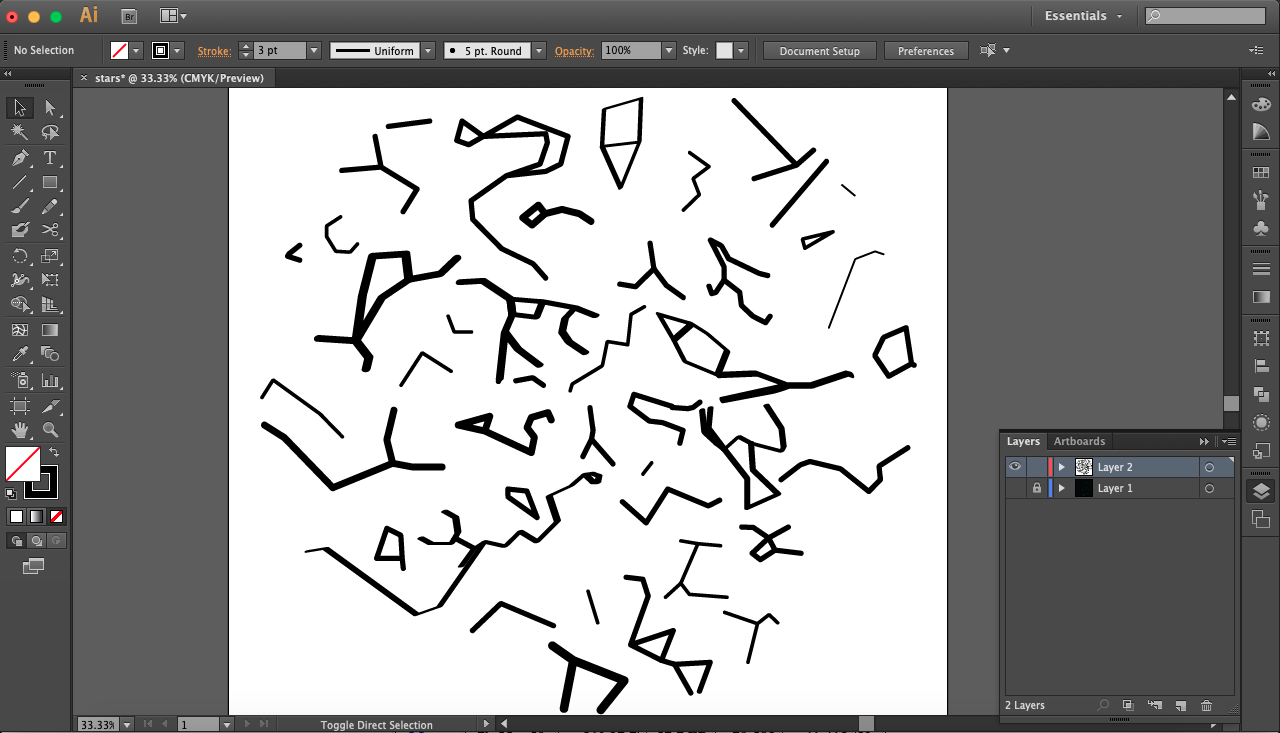
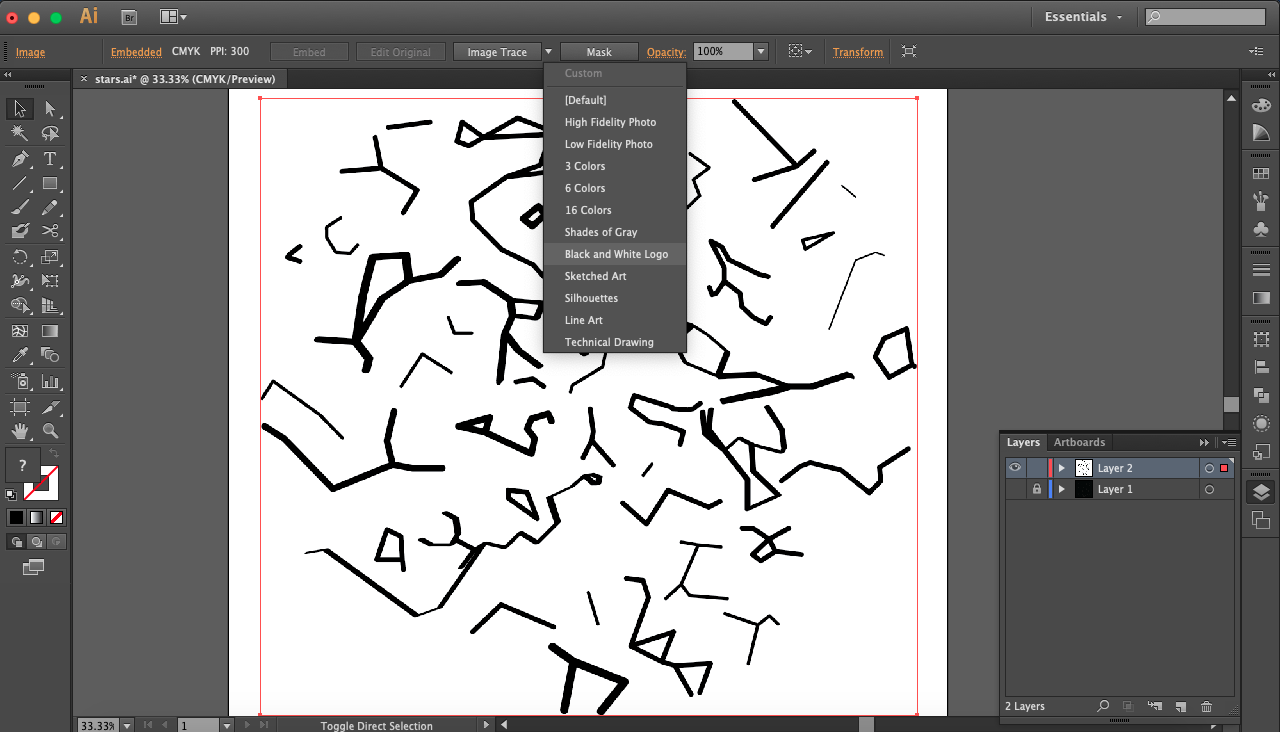
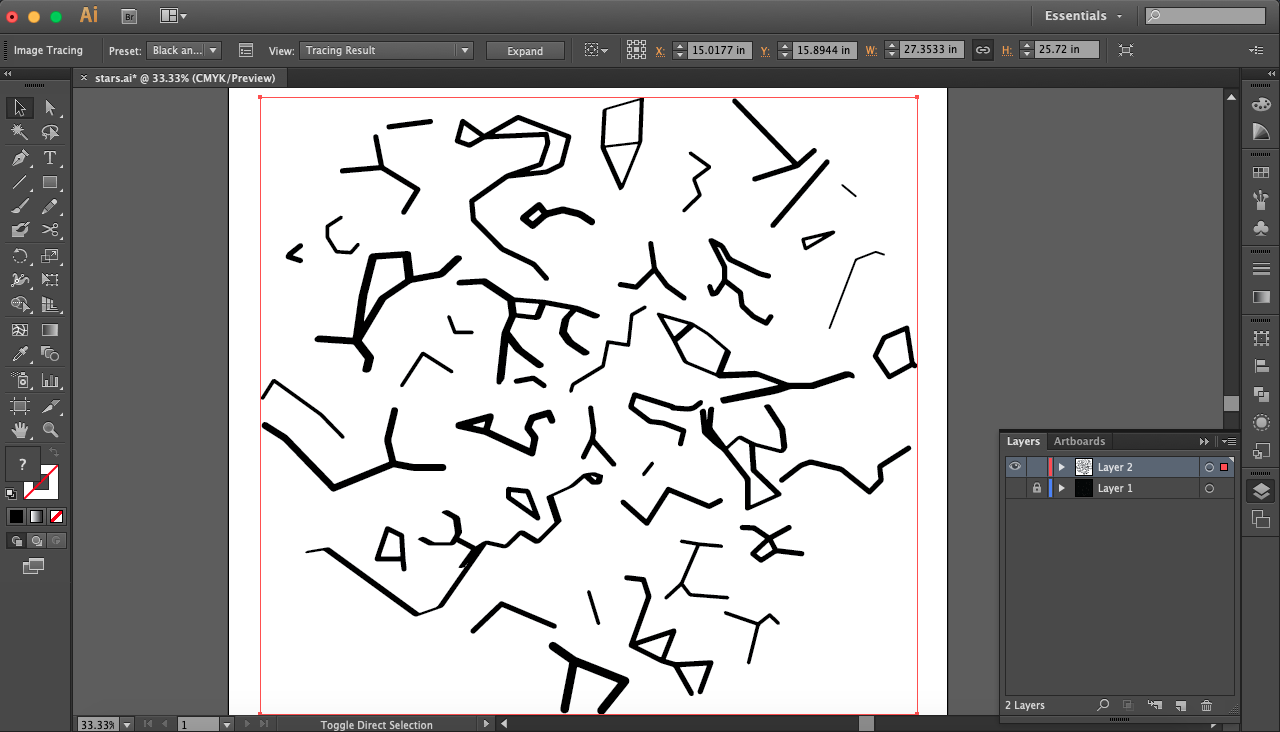
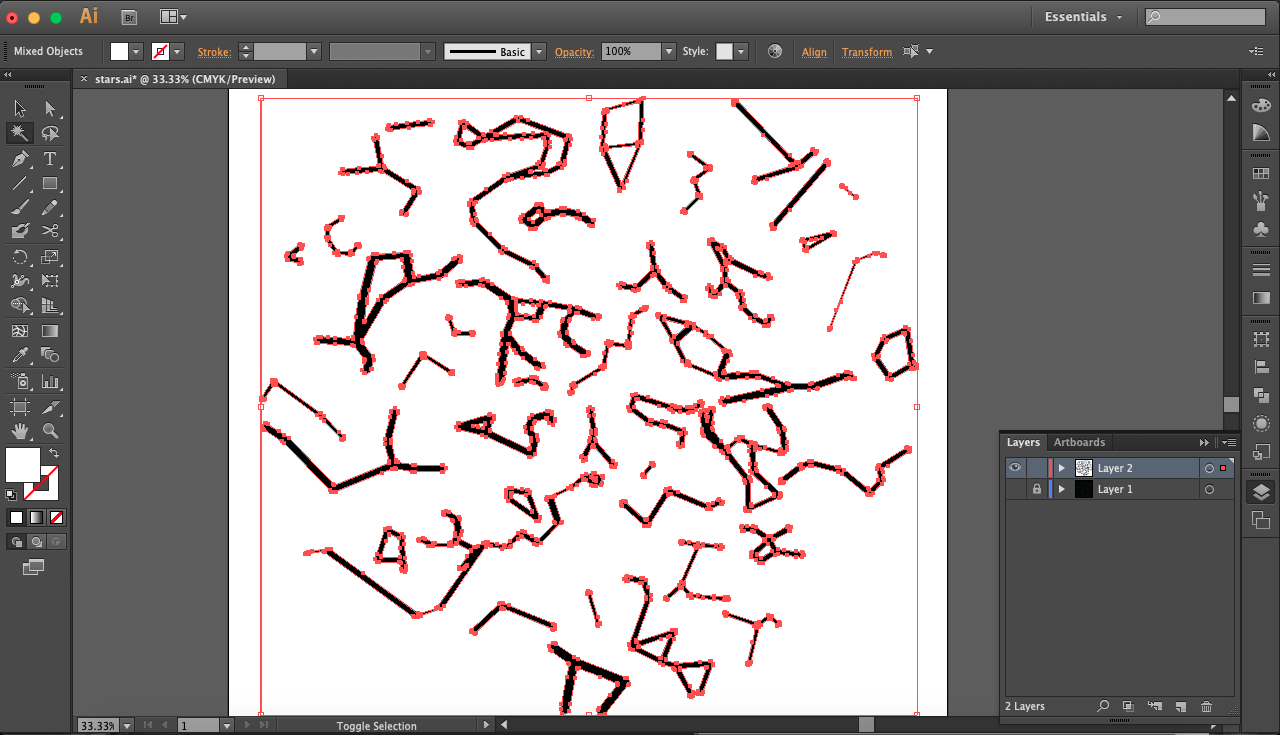
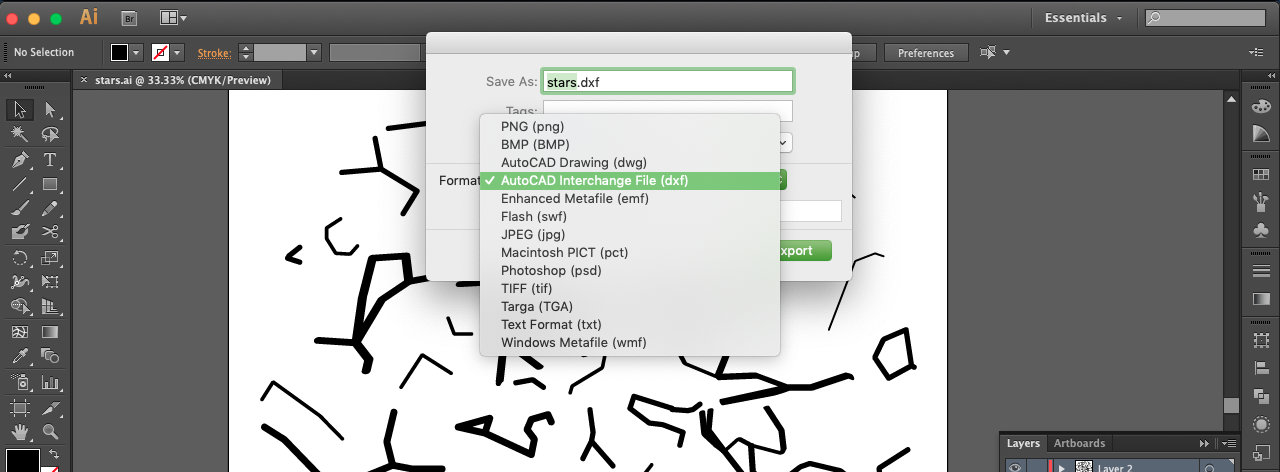
Right now each line segment is just that, a line segment. We want to define the outlines of the strokes instead so that the DXF will show those strokes with thickness instead of uniform lines with no thickness.
To do that, select all lines and go up to your menu bar (at top of your screen most likely) and click Object > Rasterize. This flattens everything, turning it from a vector file (as you scale the picture, no change in image quality) to a rasterized file (pixelated so as image quality changes as you scale). Side note: the pictures above are black lines on a white background because I hid the reference sketch so I could check the drawn lines alone. Do this by clicking on the eye next to the locked ref image layer, and then with all line segments selected (ctrl+A) change stroke color to black.
With the rasterized image, click it and you can see Image Trace options appear along the top. Select Black and White Logo: this separates the black shapes from white ones. You'll see the result and at the same top Image Trace bar, you'll see an Expand option. Click on that to create outlines between the black and white shapes. Now that they're separated, use the Magic Wand tool on the lefthand sidebar to select all the white shapes (click anywhere white) and press the backspace button to delete. Now you've isolated the black line segments, specifically the outlines.
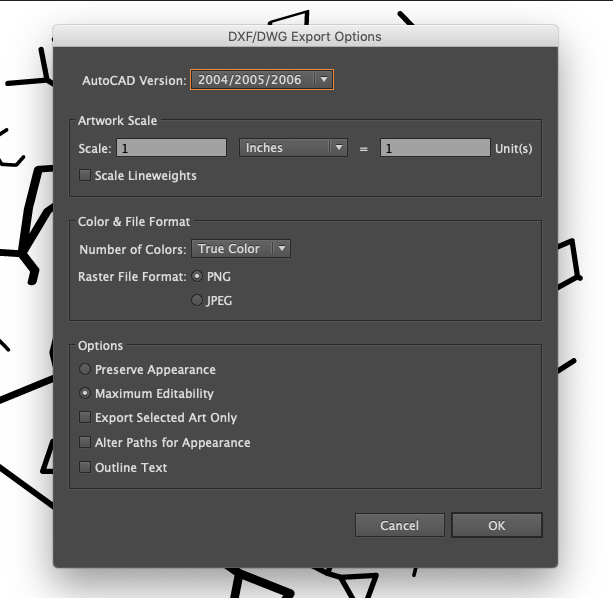
Now you can go to File > Export and select DXF as file choice. See last (seventh) image above for what options I used (it's just the default).
Rinse and Repeat
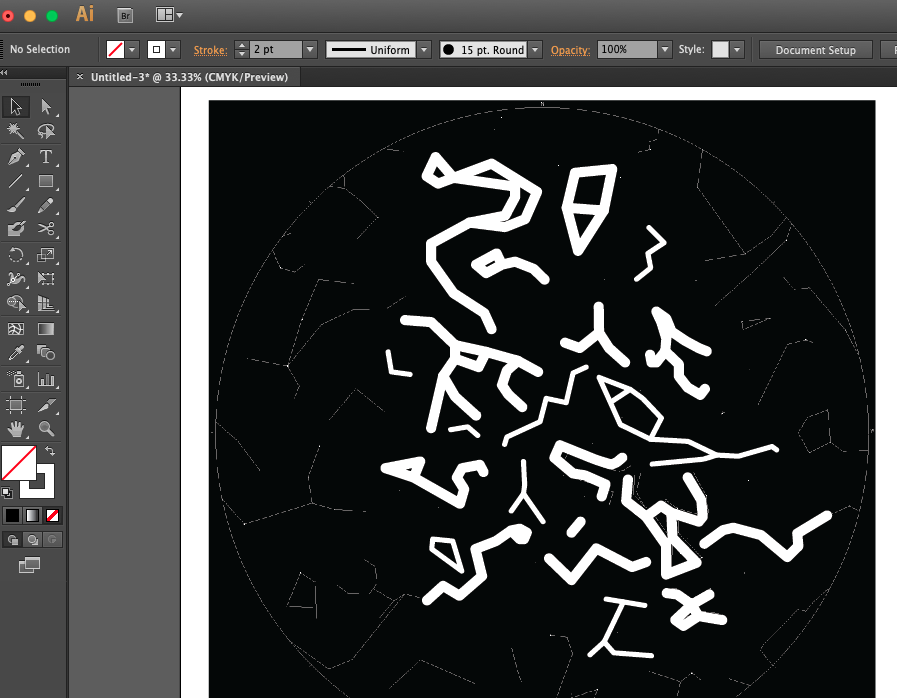
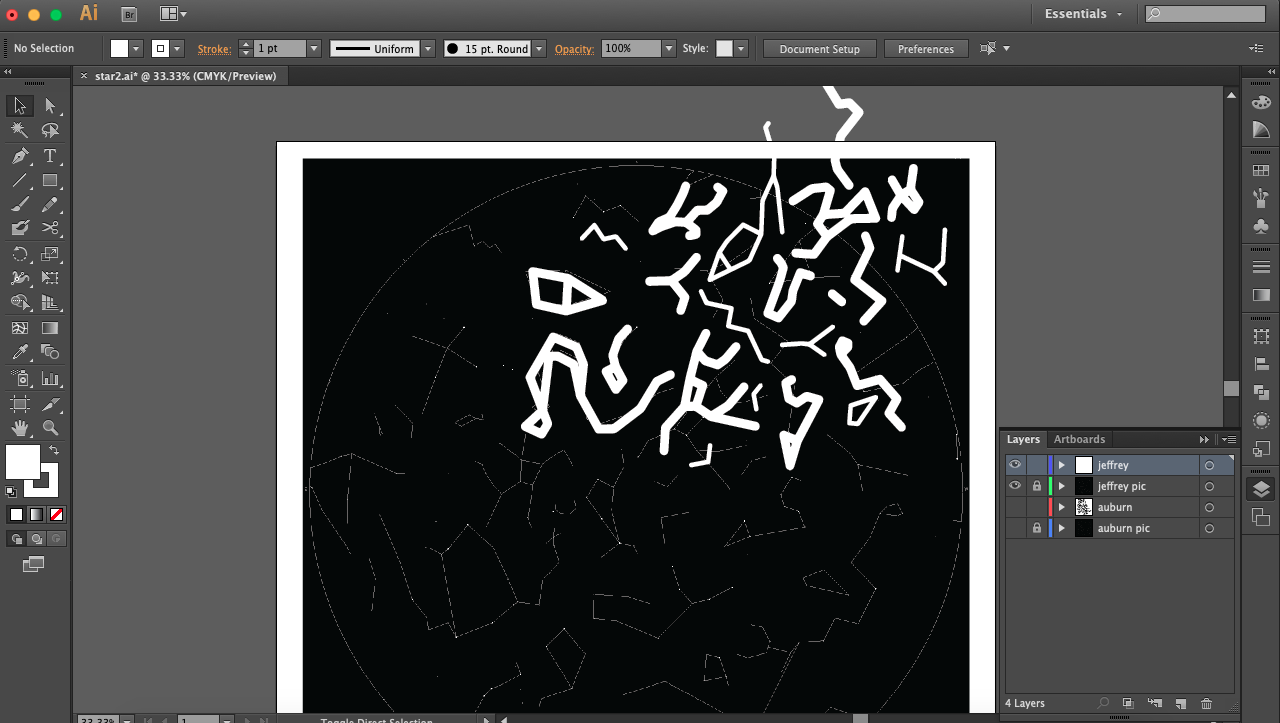
Now that you've done it for one of your panels, time to rinse and repeat for the other panels! One quick tip I'll mention: sky maps from close months and time will usually share many of the same constellations, and since constellations don't shift around relative to each other you can copy, paste, and rotate one map to fit the other. You'll have to do it constellation by constellation since the scaling of the shapes will likely differ, but it'll save you some time. The two pictures above are an example of this.
3D CADing
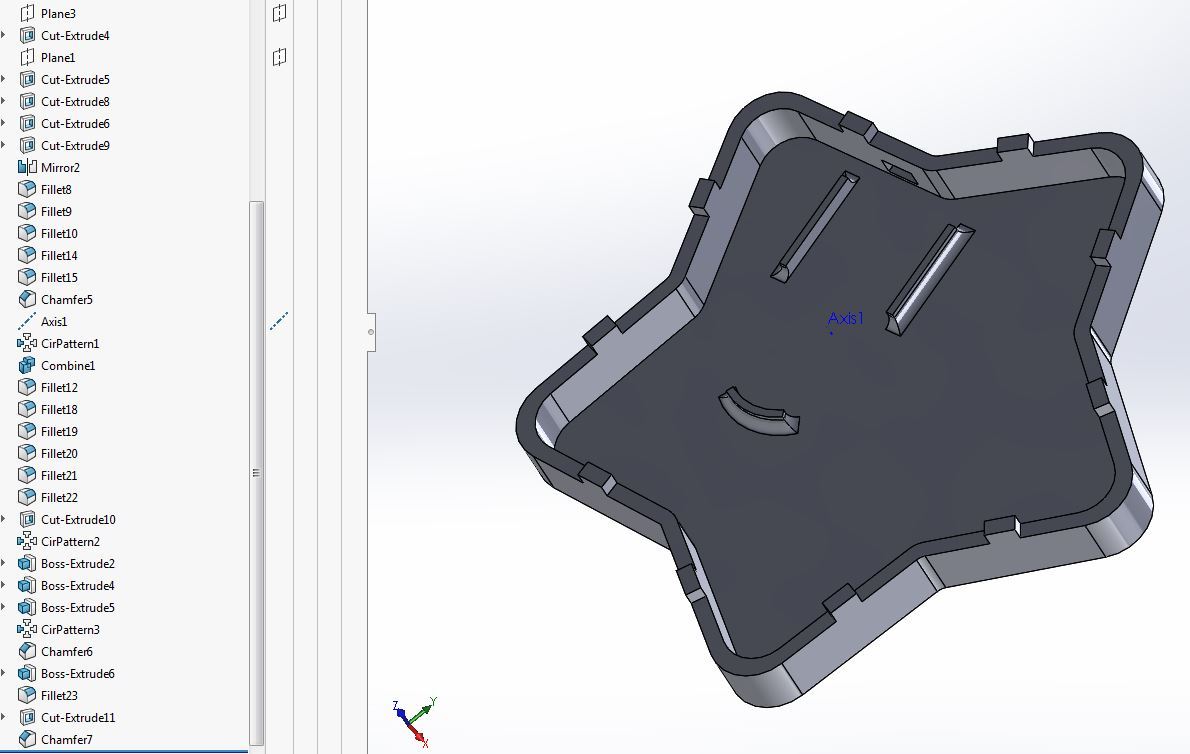
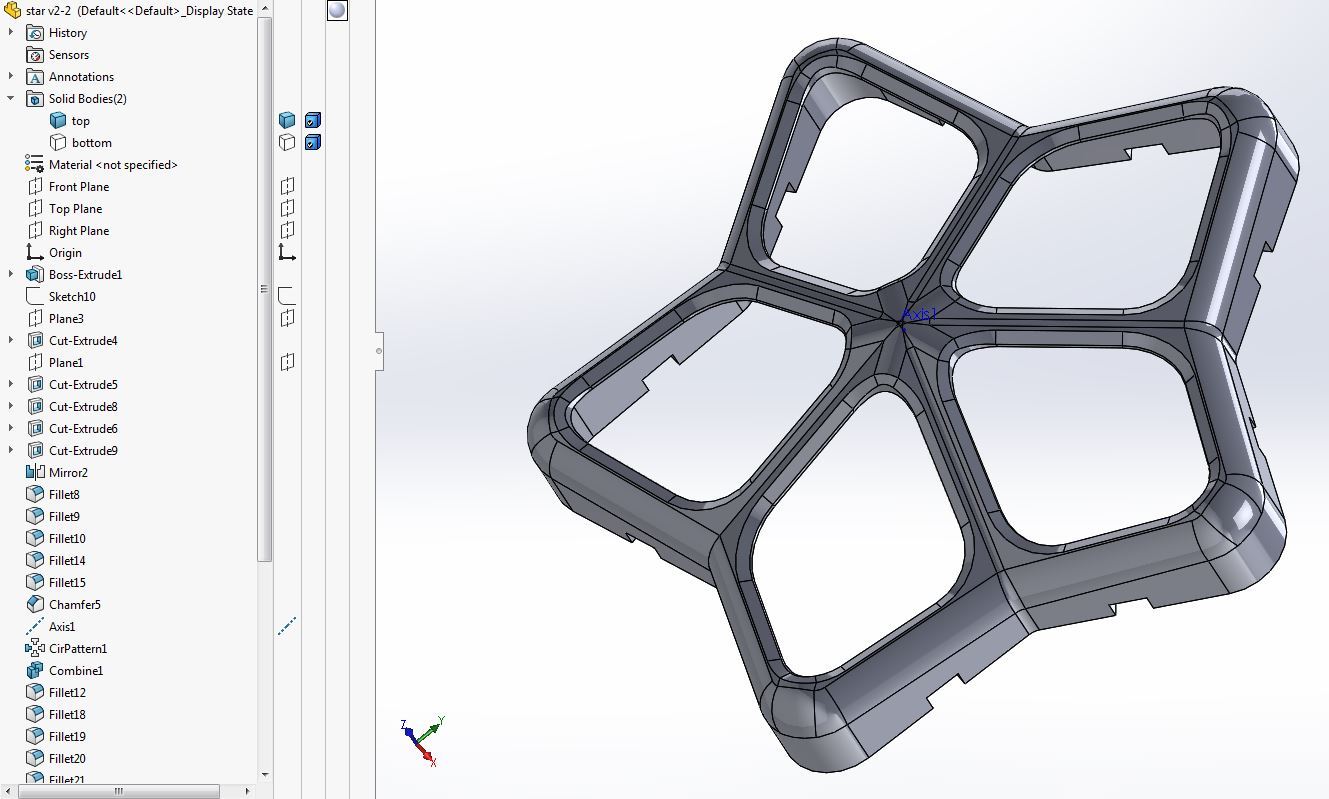
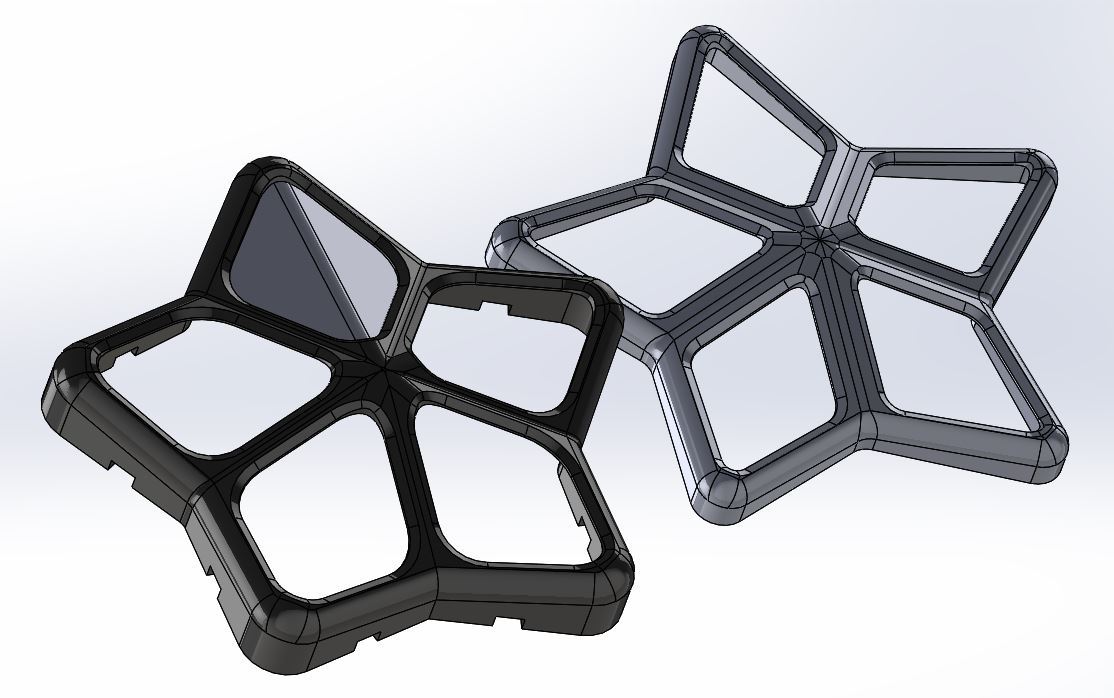
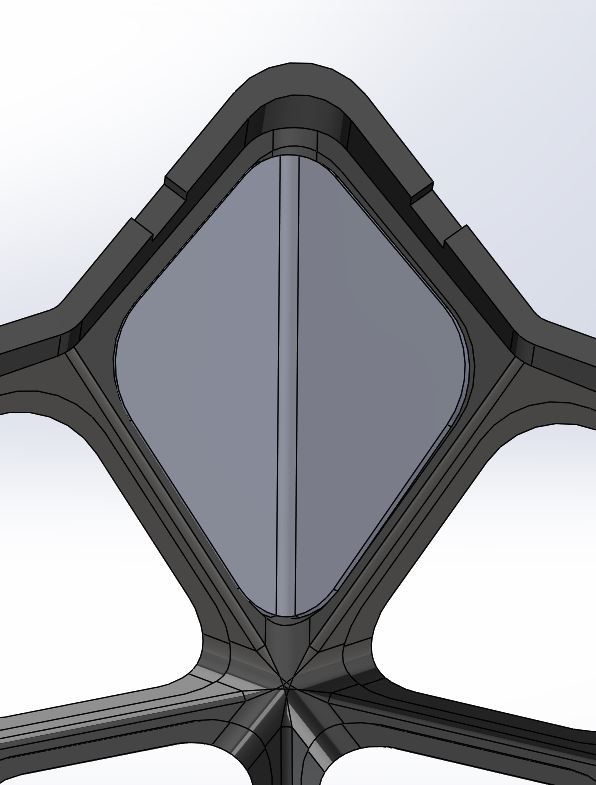
I've attached STL files so you can open in CAD programs (DM me if you'd like STEP, OBJ, or some other file format), plus my original SLDPRT file if you have SolidWorks (excuse my sloppy CADing; was just aiming to get a shape not produce for manufacturing haha). "Star Lamp - top/bottom" files attached to this step are the exterior star shape.
I won't go into how to design this shape; just know that it has a top and a bottom, with the map faces press fitting into windows in the top star shape.
Importing DXF to 3D Part and Designing Map Faces
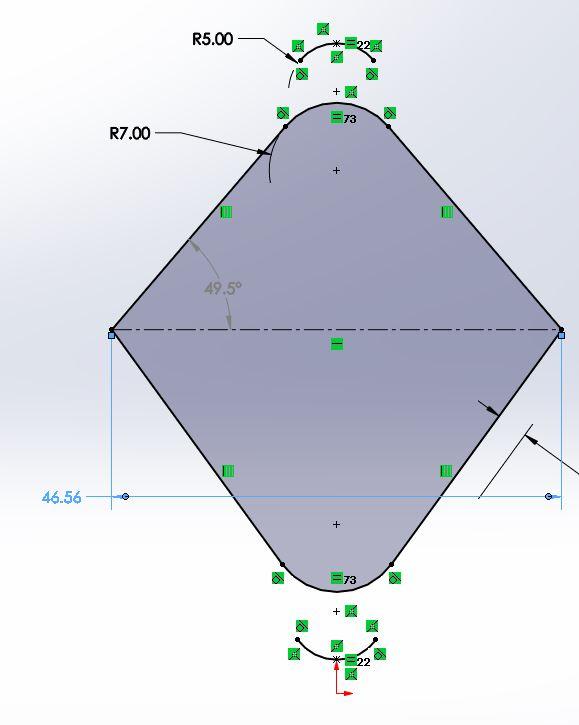
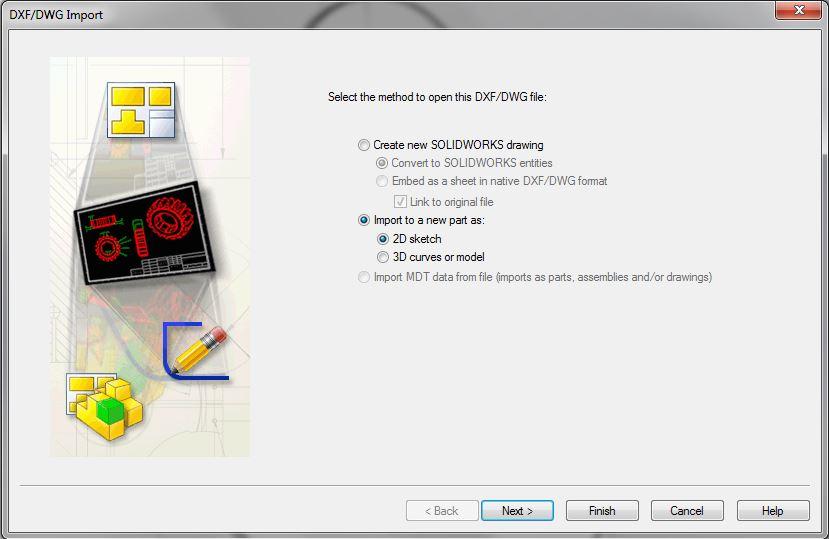
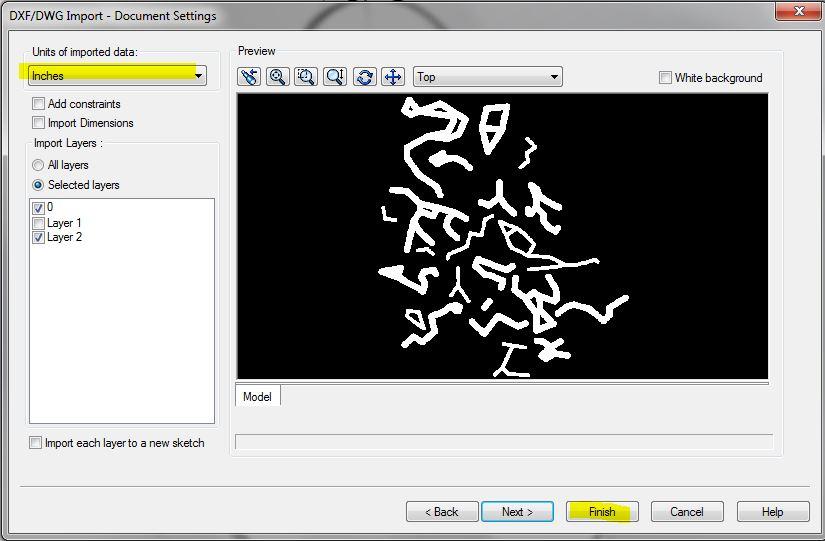
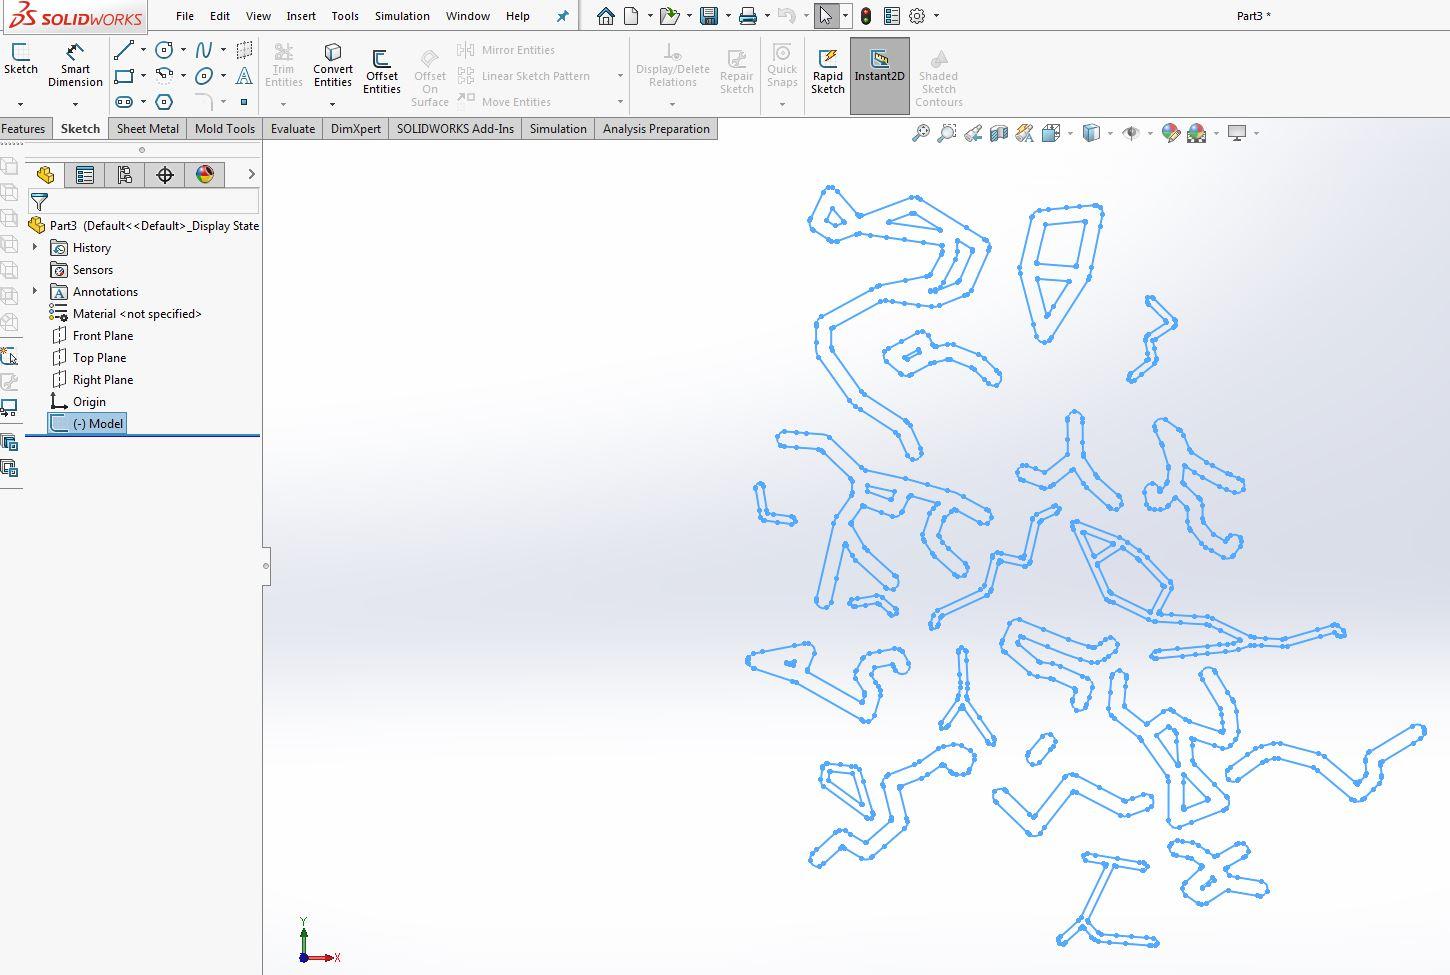
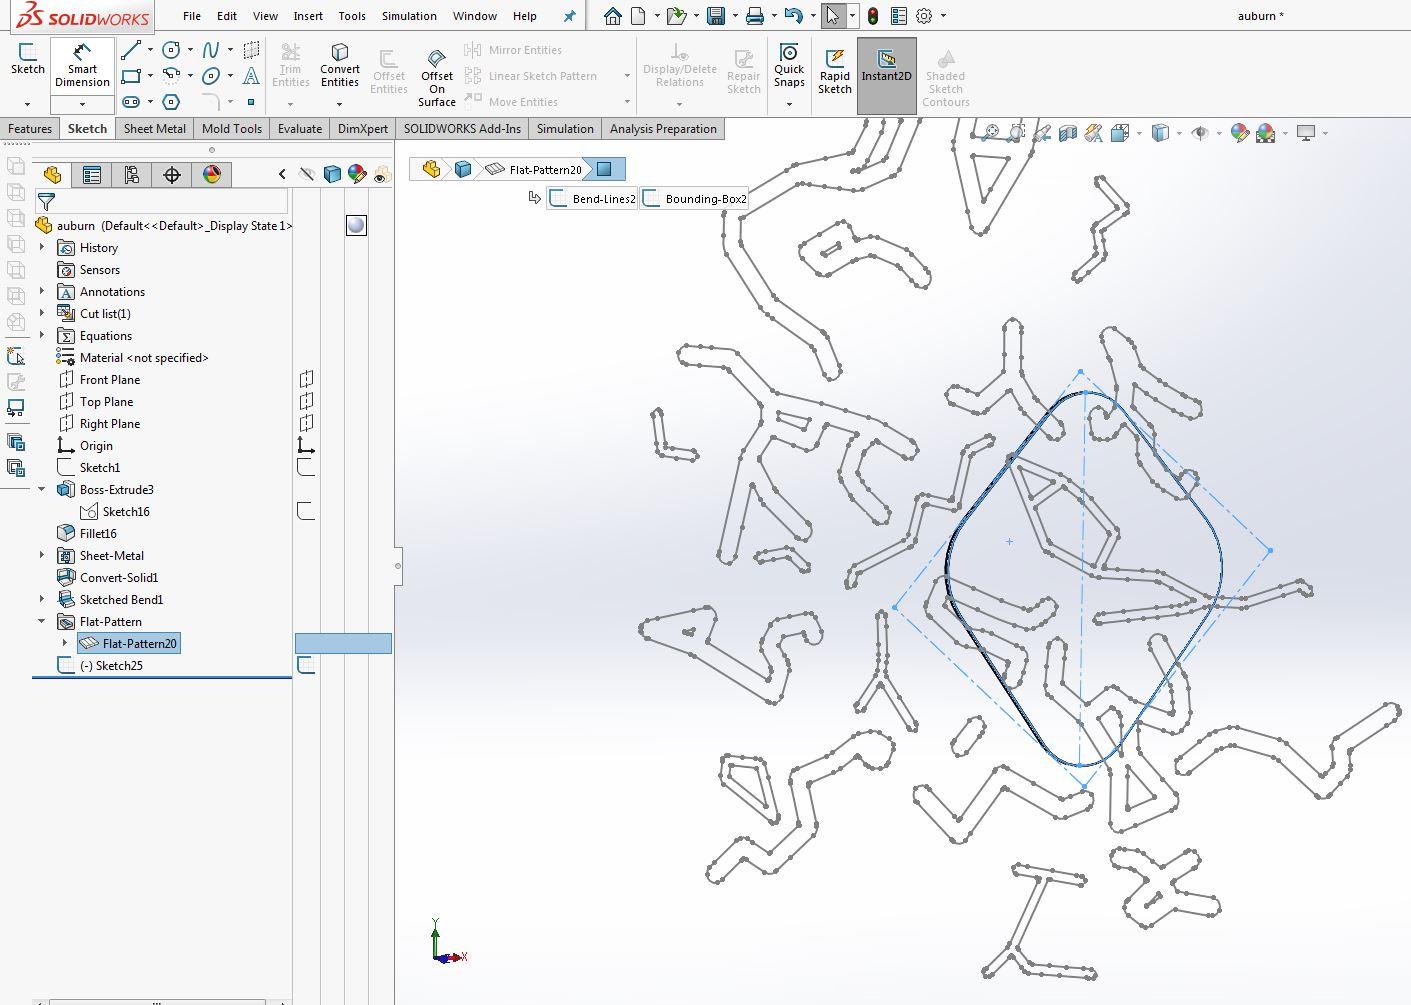
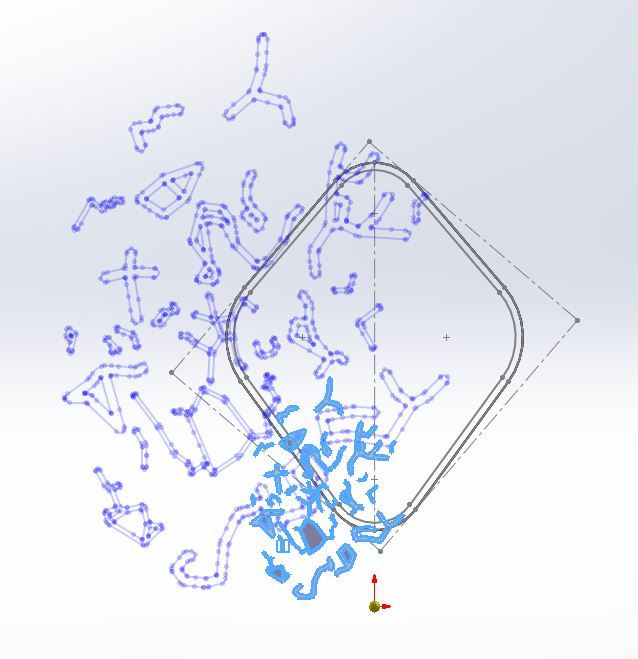
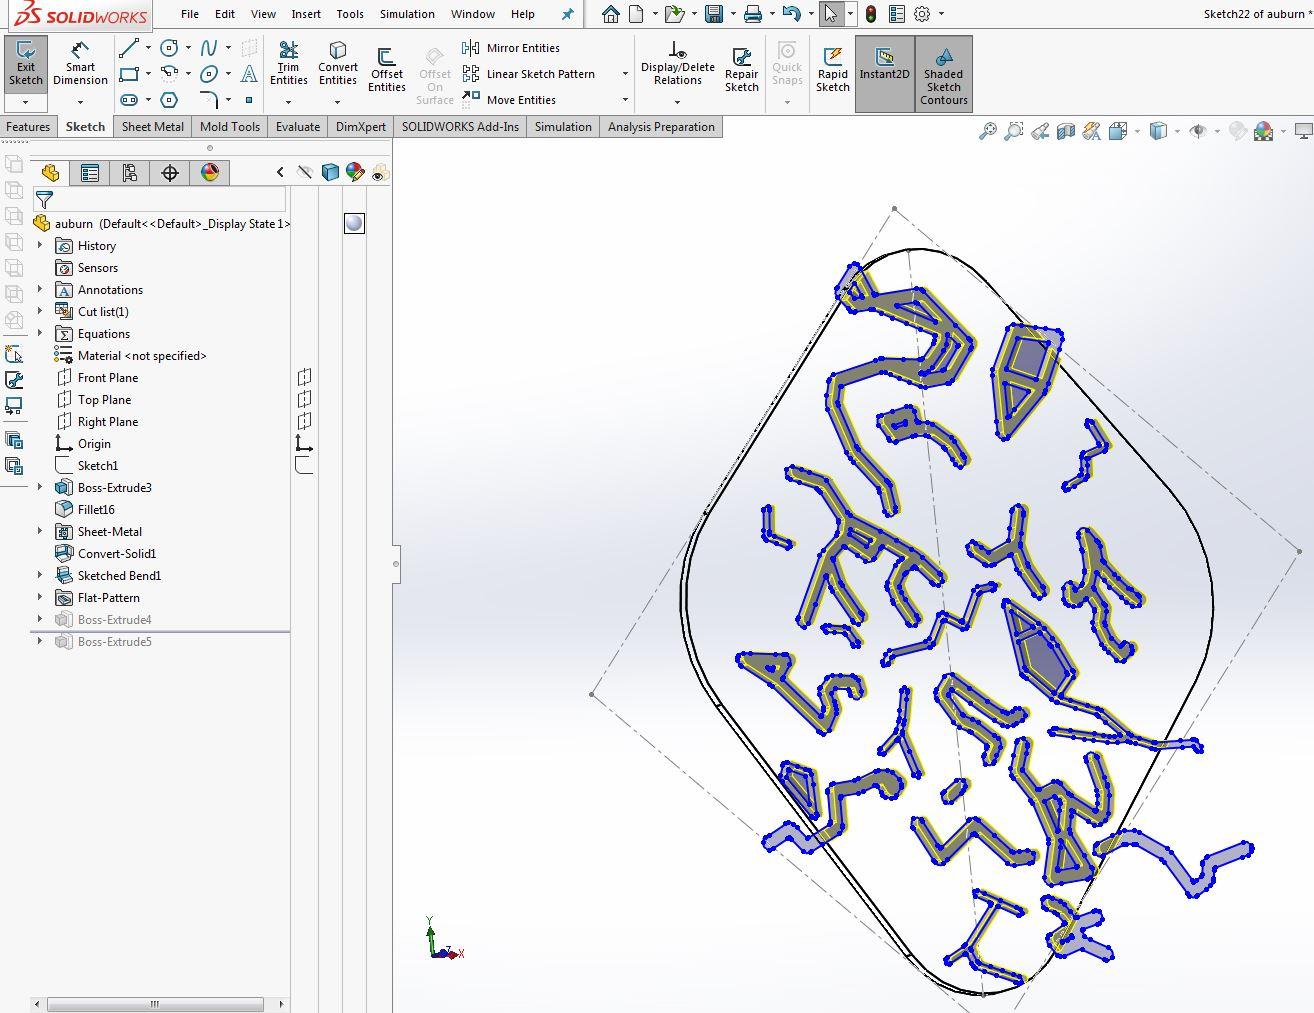
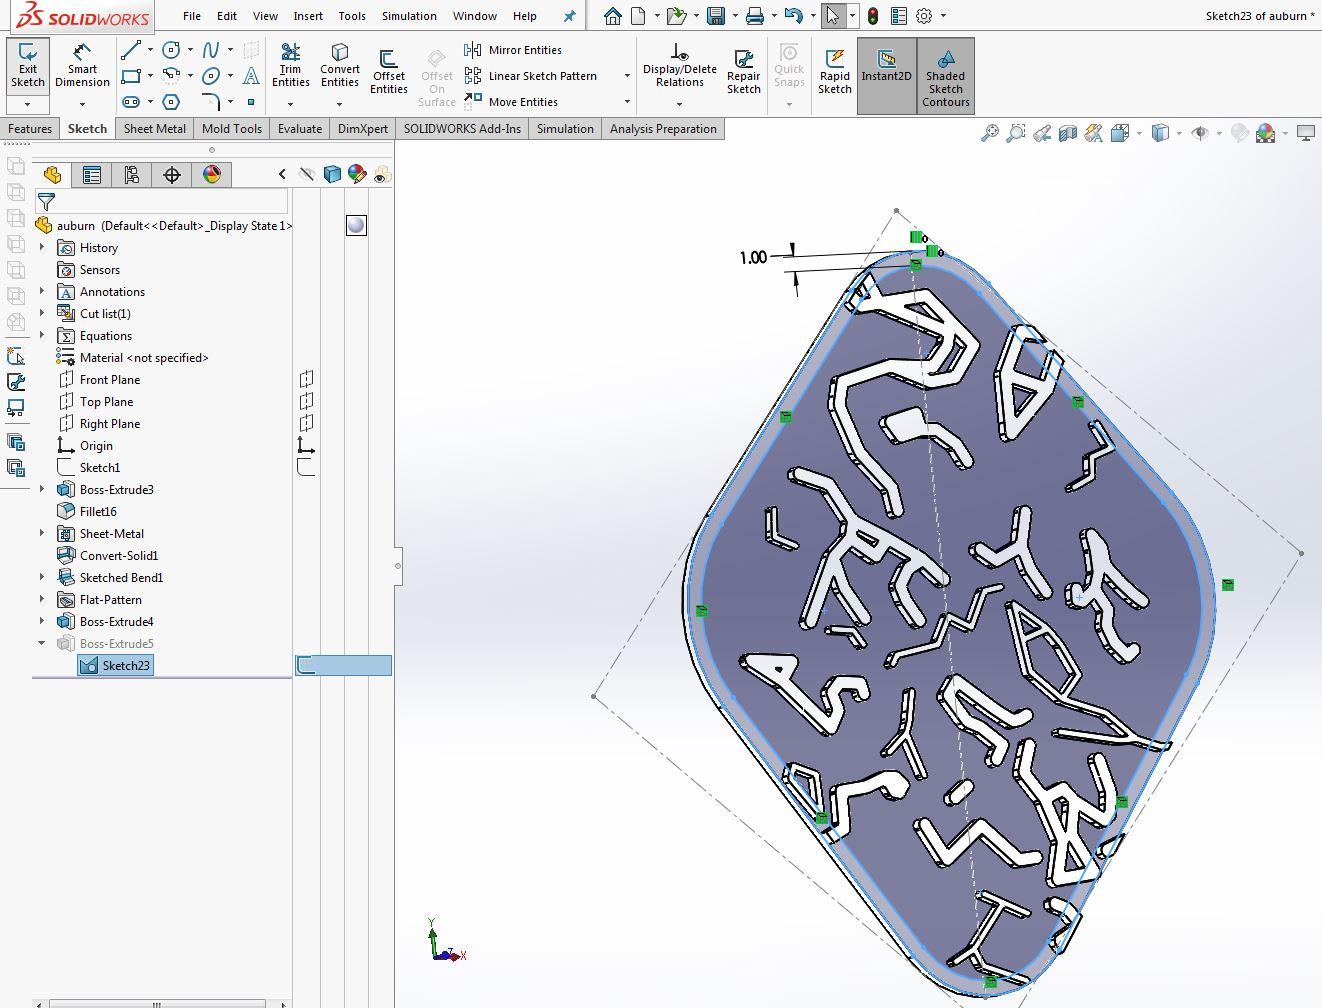
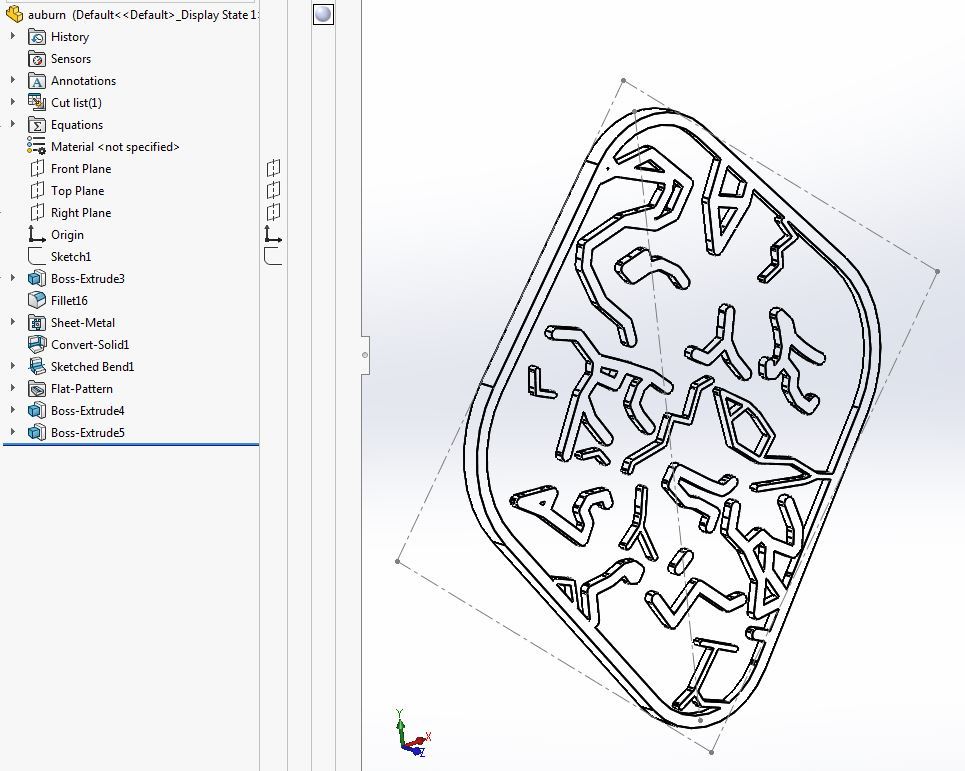
Since I did everything in Solidworks, I only have Solidworks instructions for this part. You can still follow the instructions to see the steps and do the same in whatever CAD program you choose. Instructions are in the notes in the images above and listed roughly below for reference. I've attached the "rhombus" files as the base shape of the map faces which you can build off of. The flat sheet is 0.8mm thick, and the raised constellation shapes should be 0.8mm thick as well.
- Open the DXF and paste it as a sketch onto the front face of the rhombus shape
- Scale and rotate the sketch until it fits the rhombus, before extruding the shapes 0.8mm outward
- Add a 1mm border around the edge of the rhombus shape, also 0.8mm thick
Do this for all map designs you made.
3D Printing and Bending
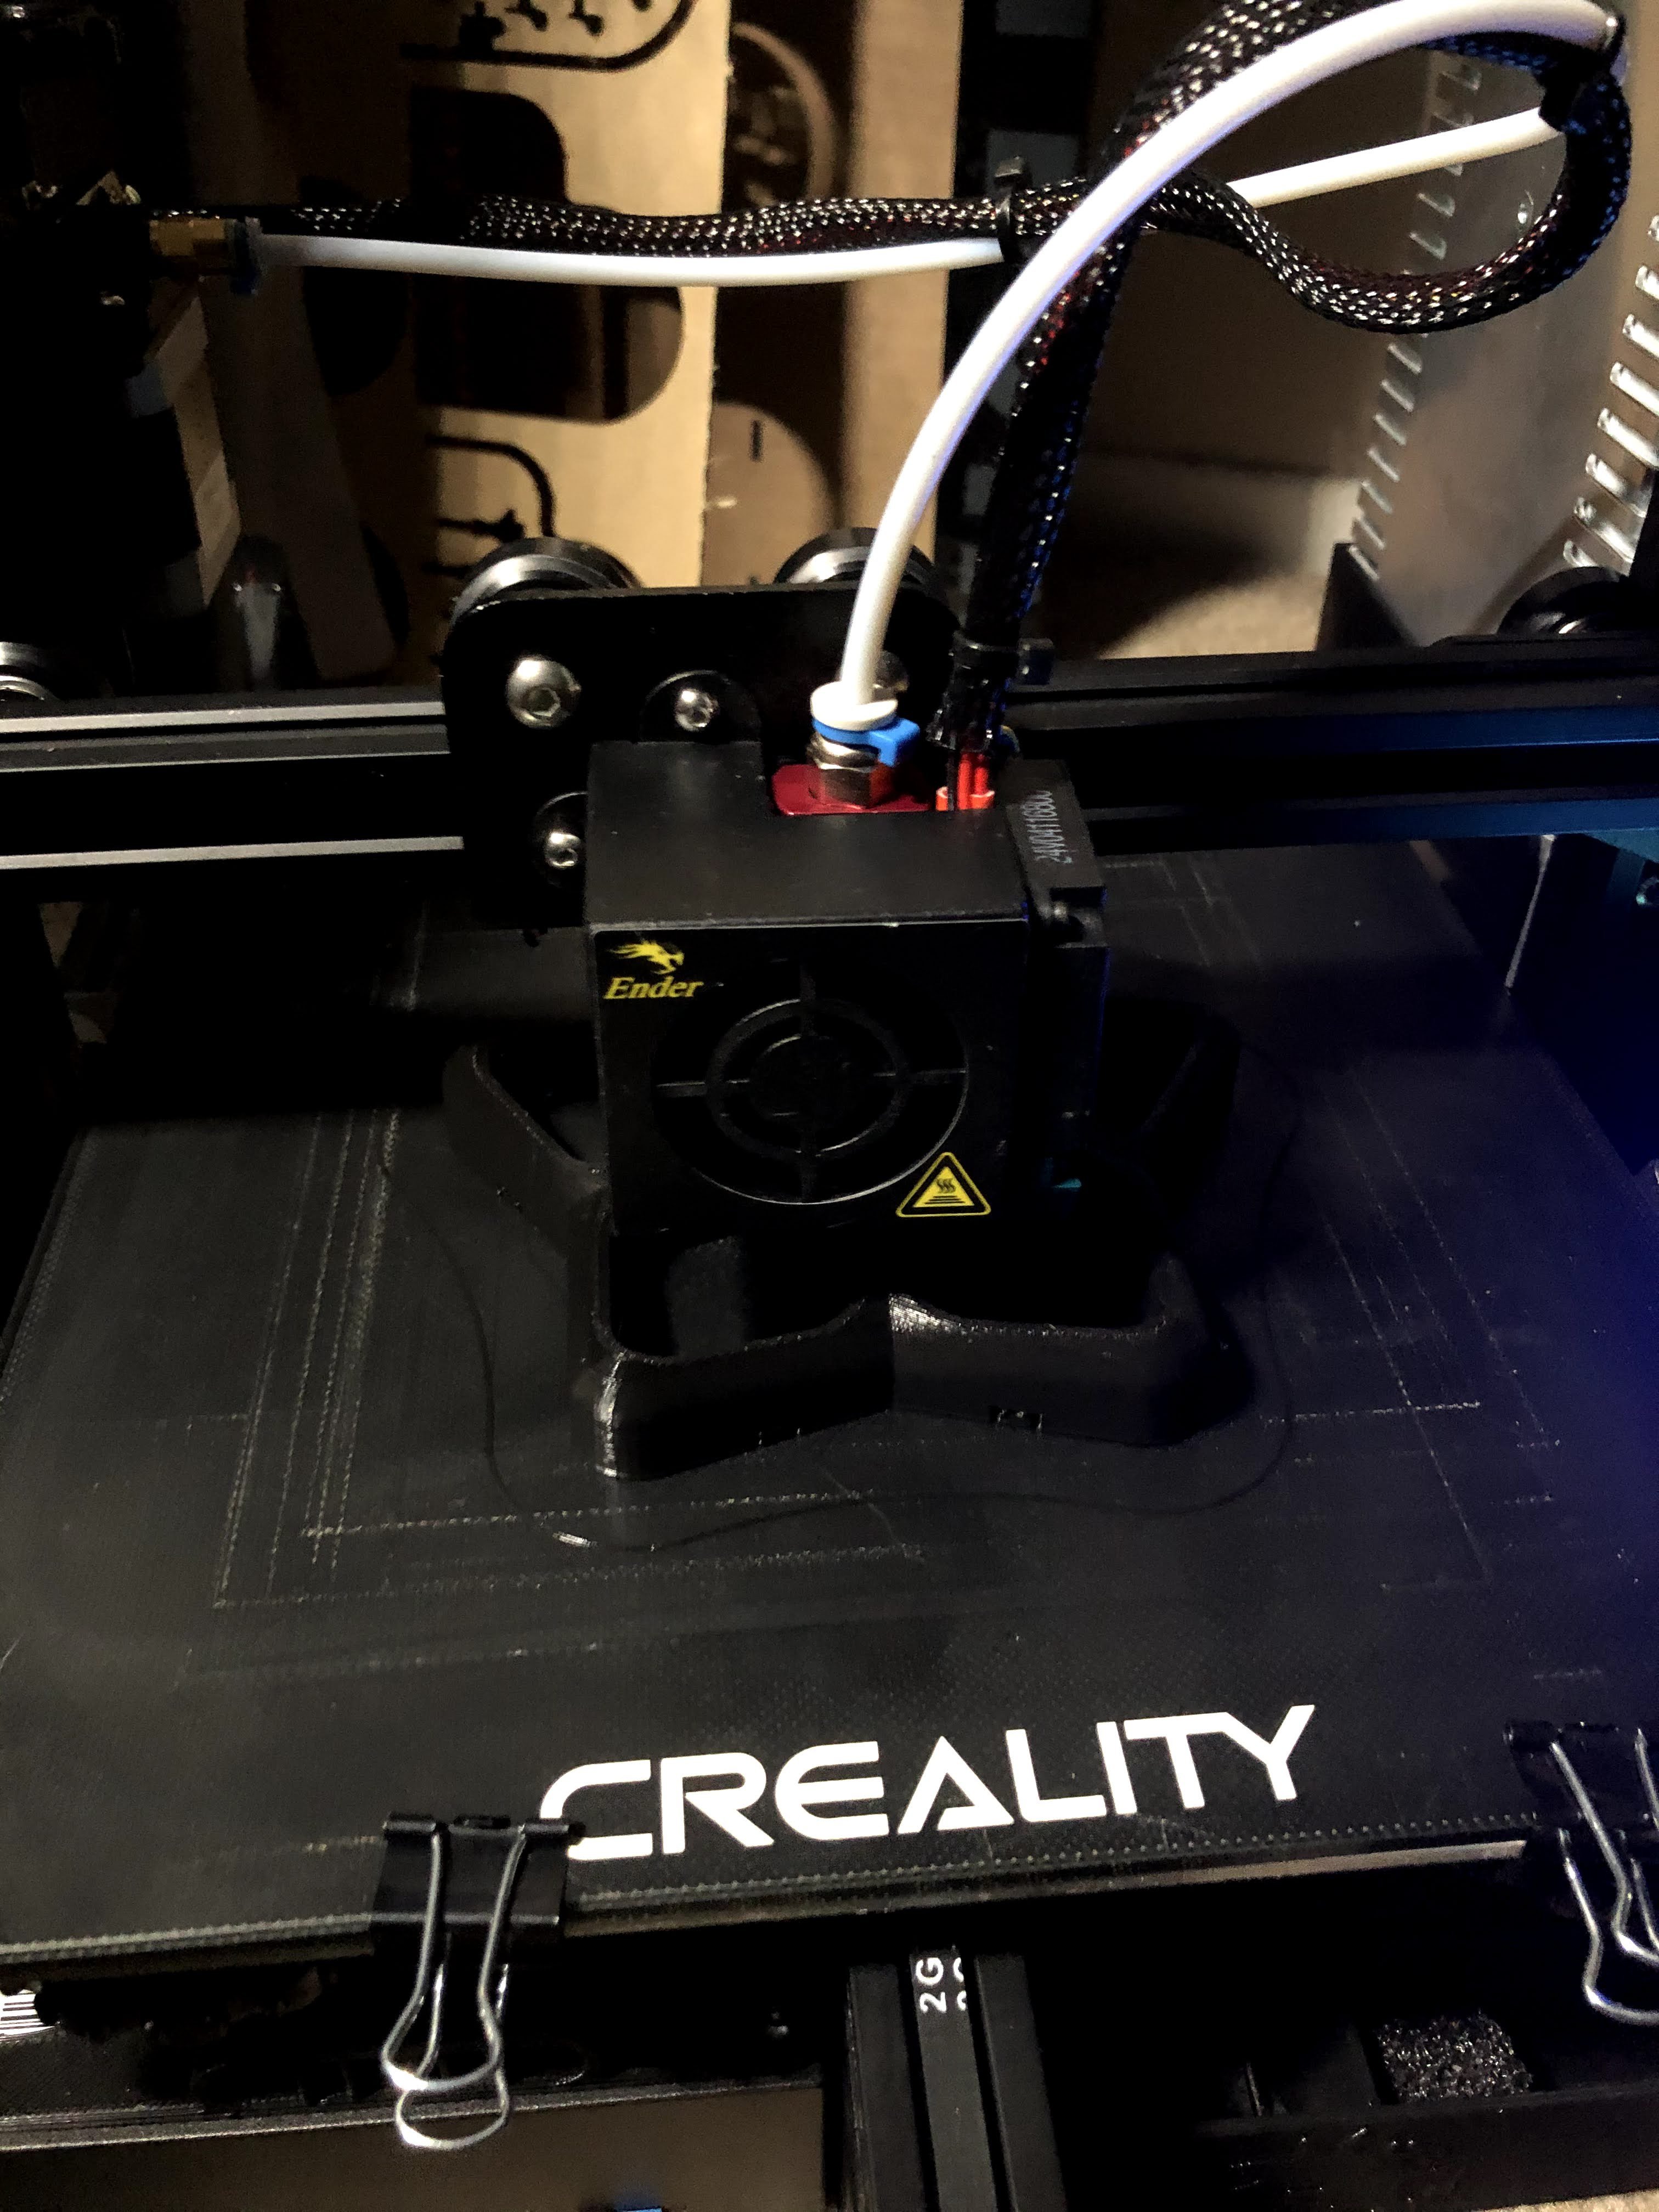
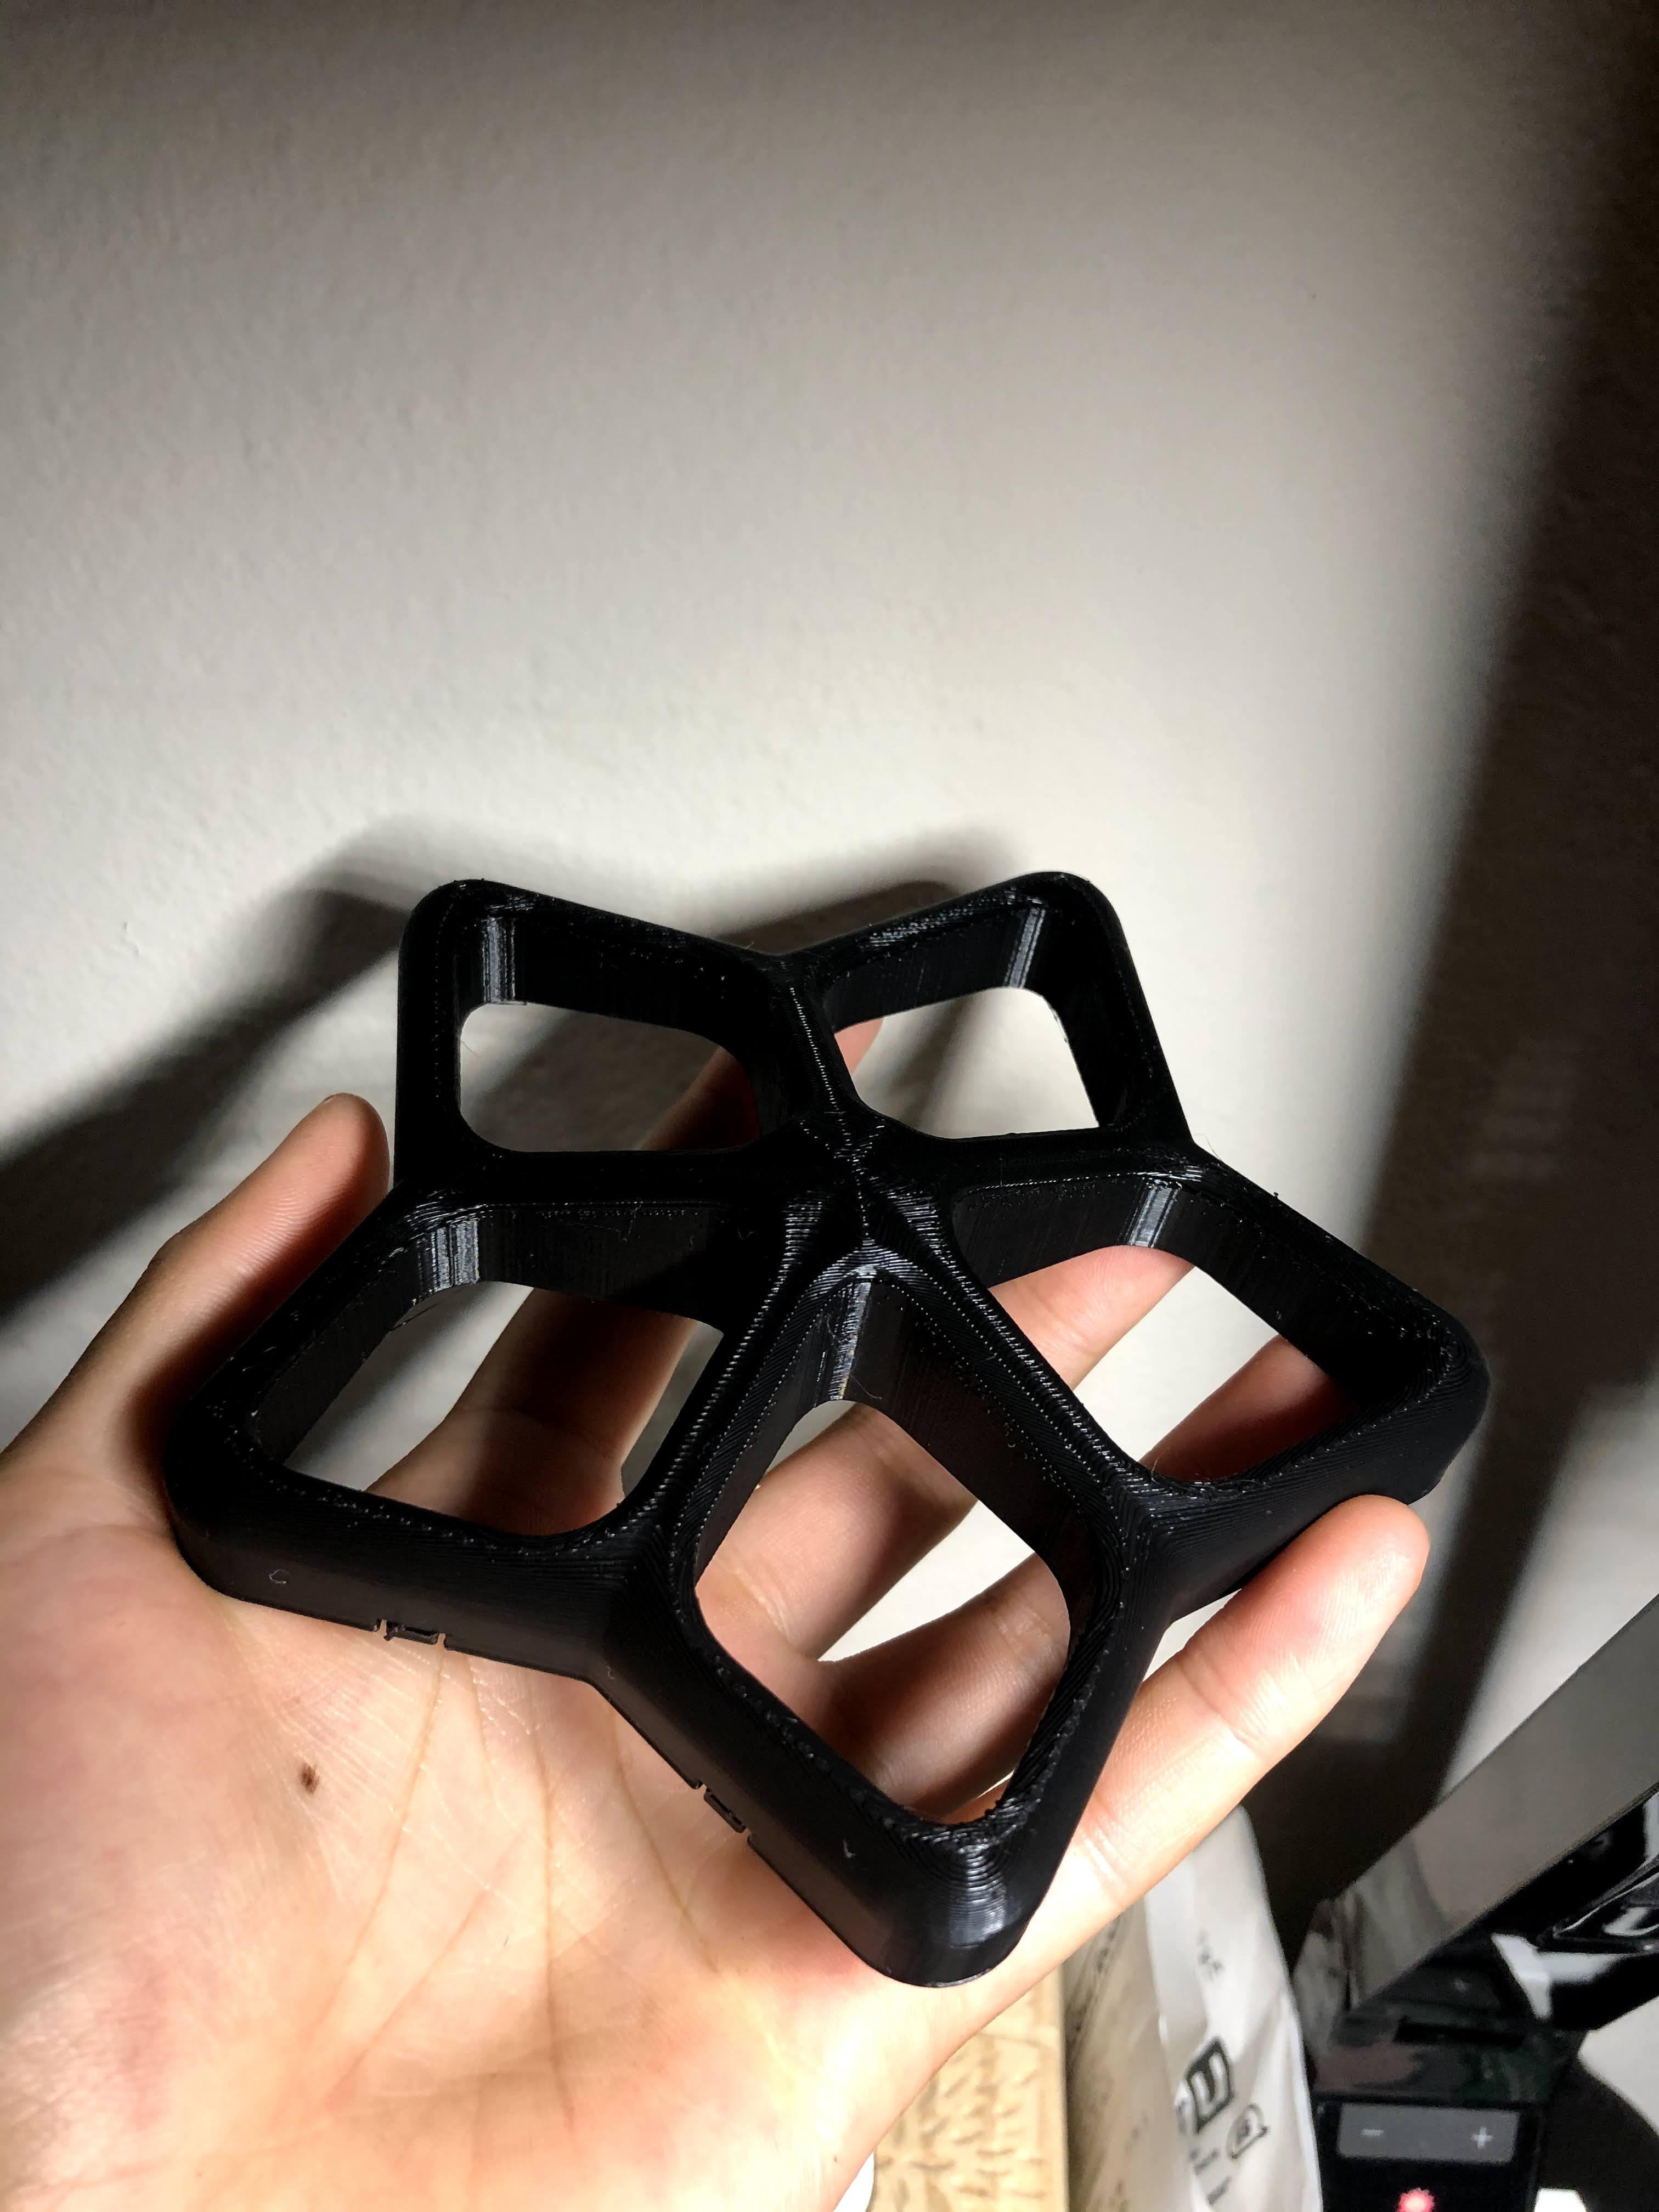
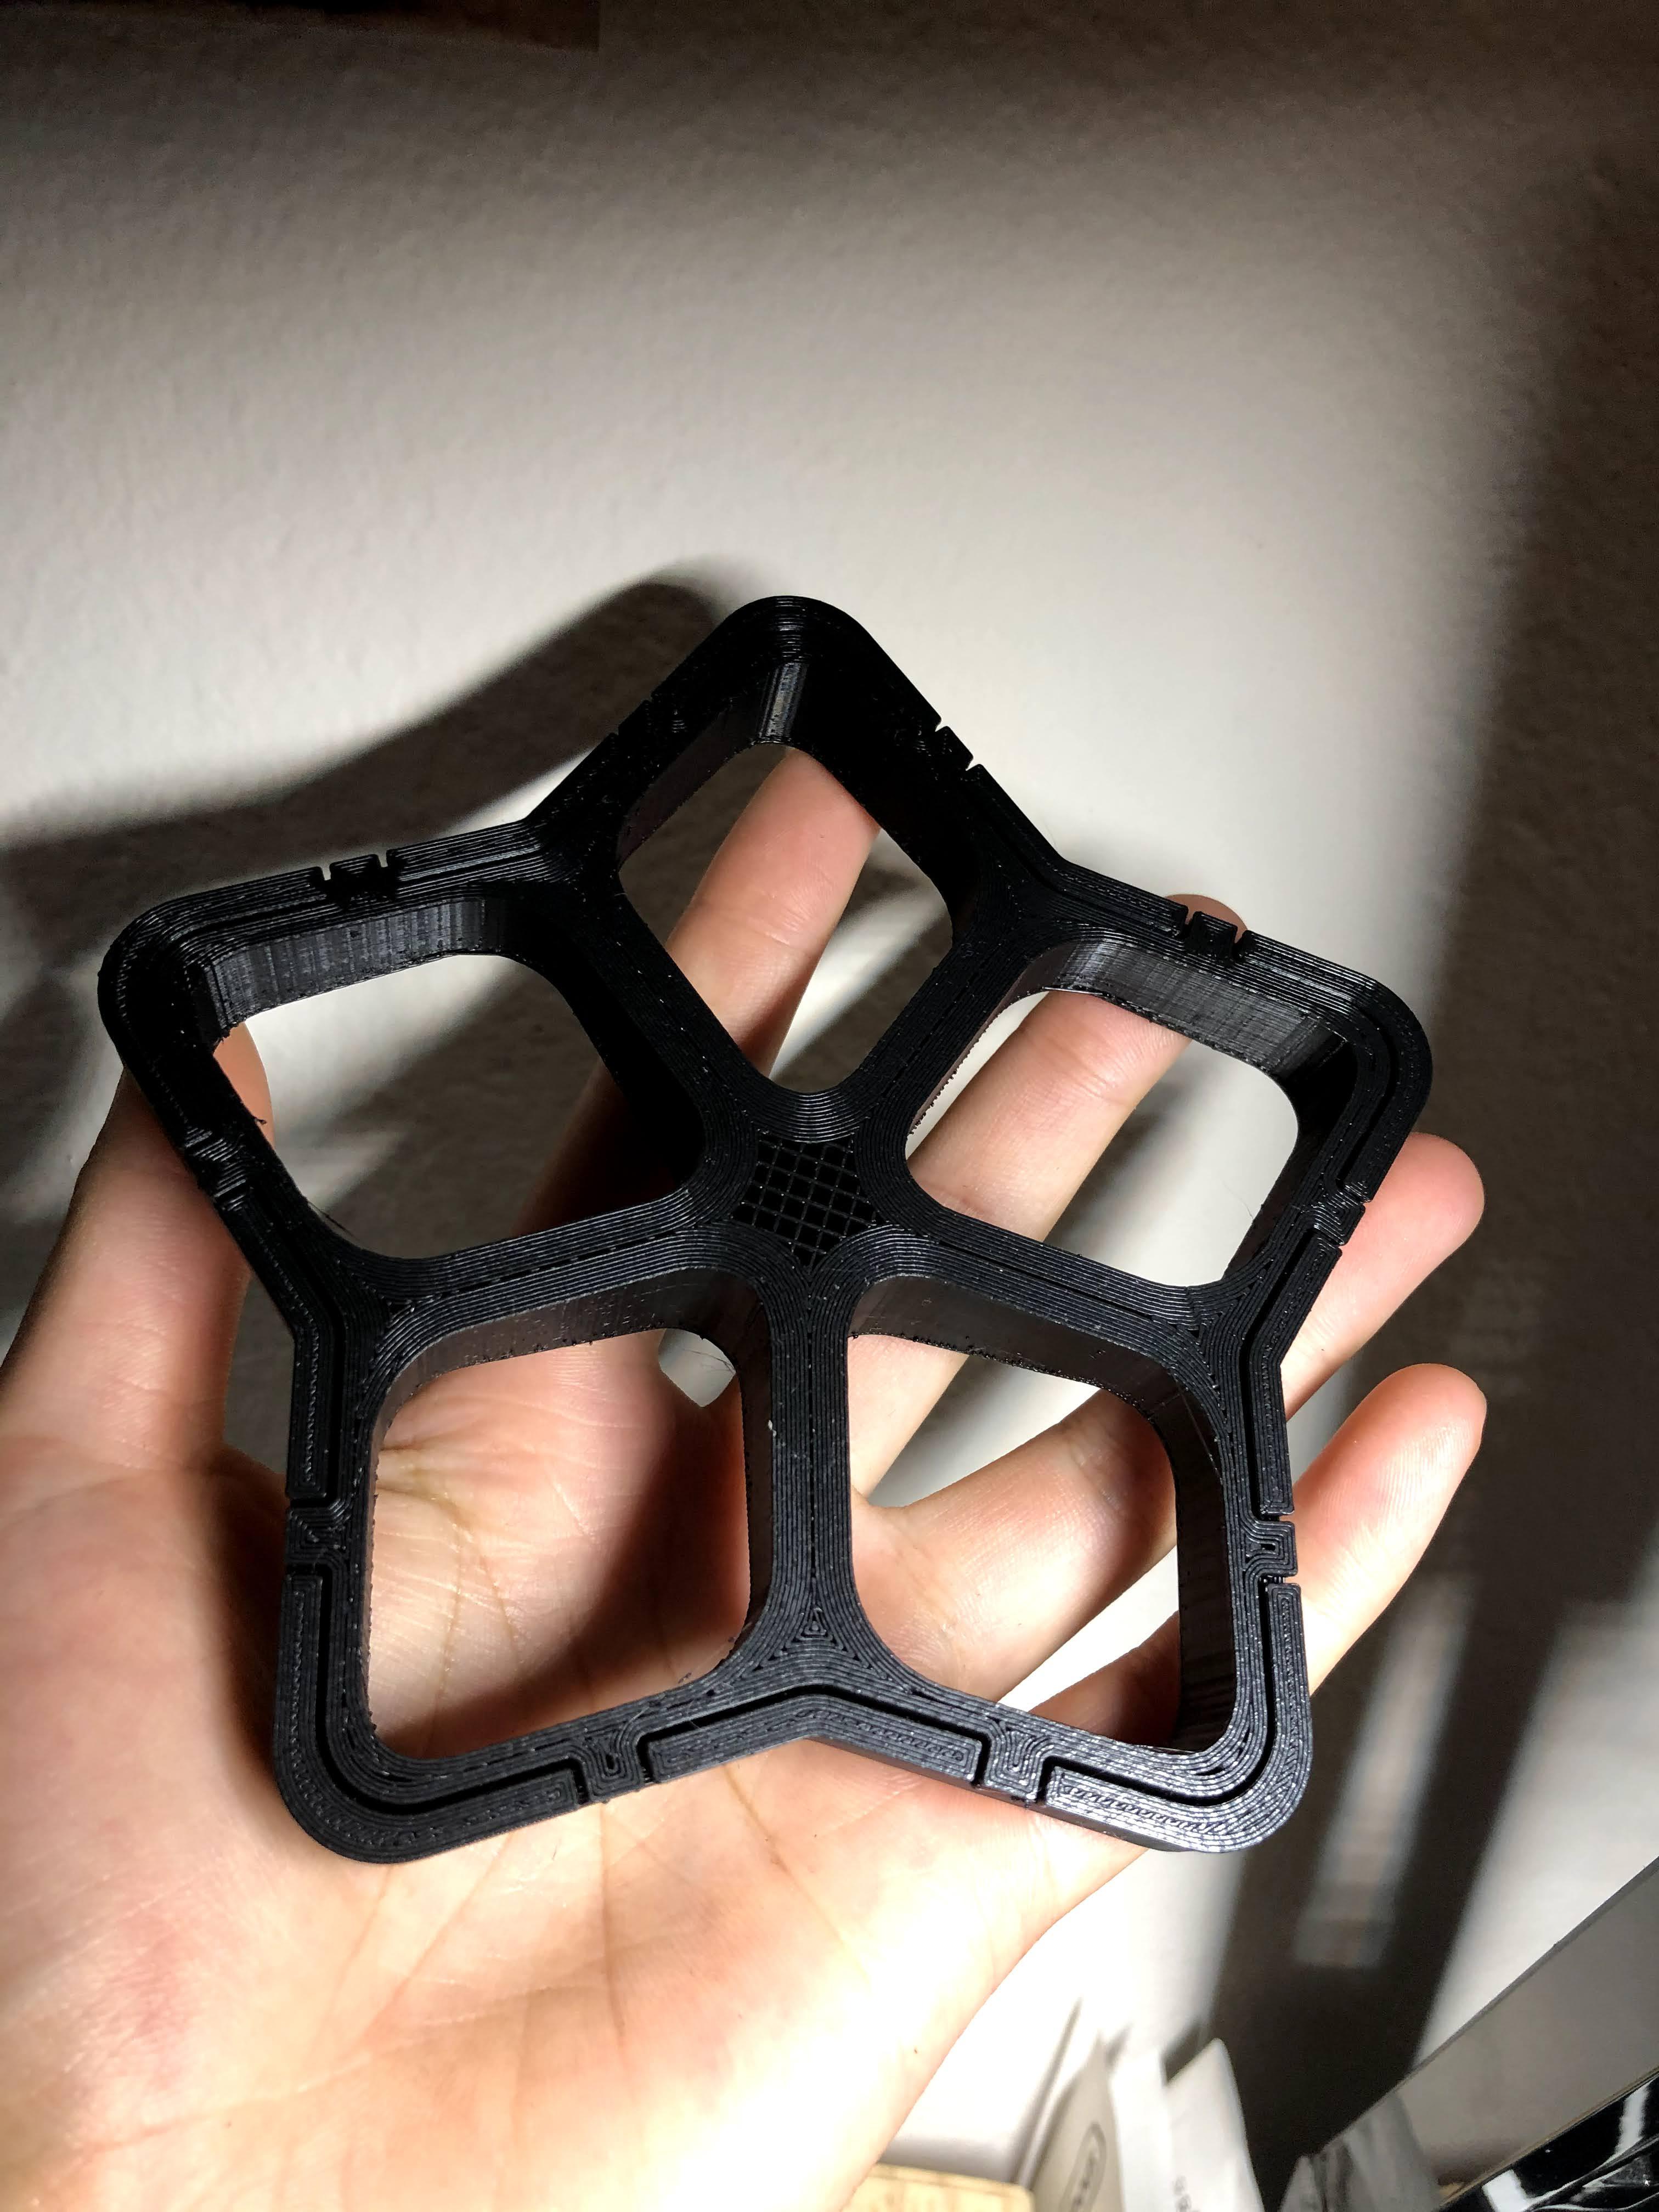
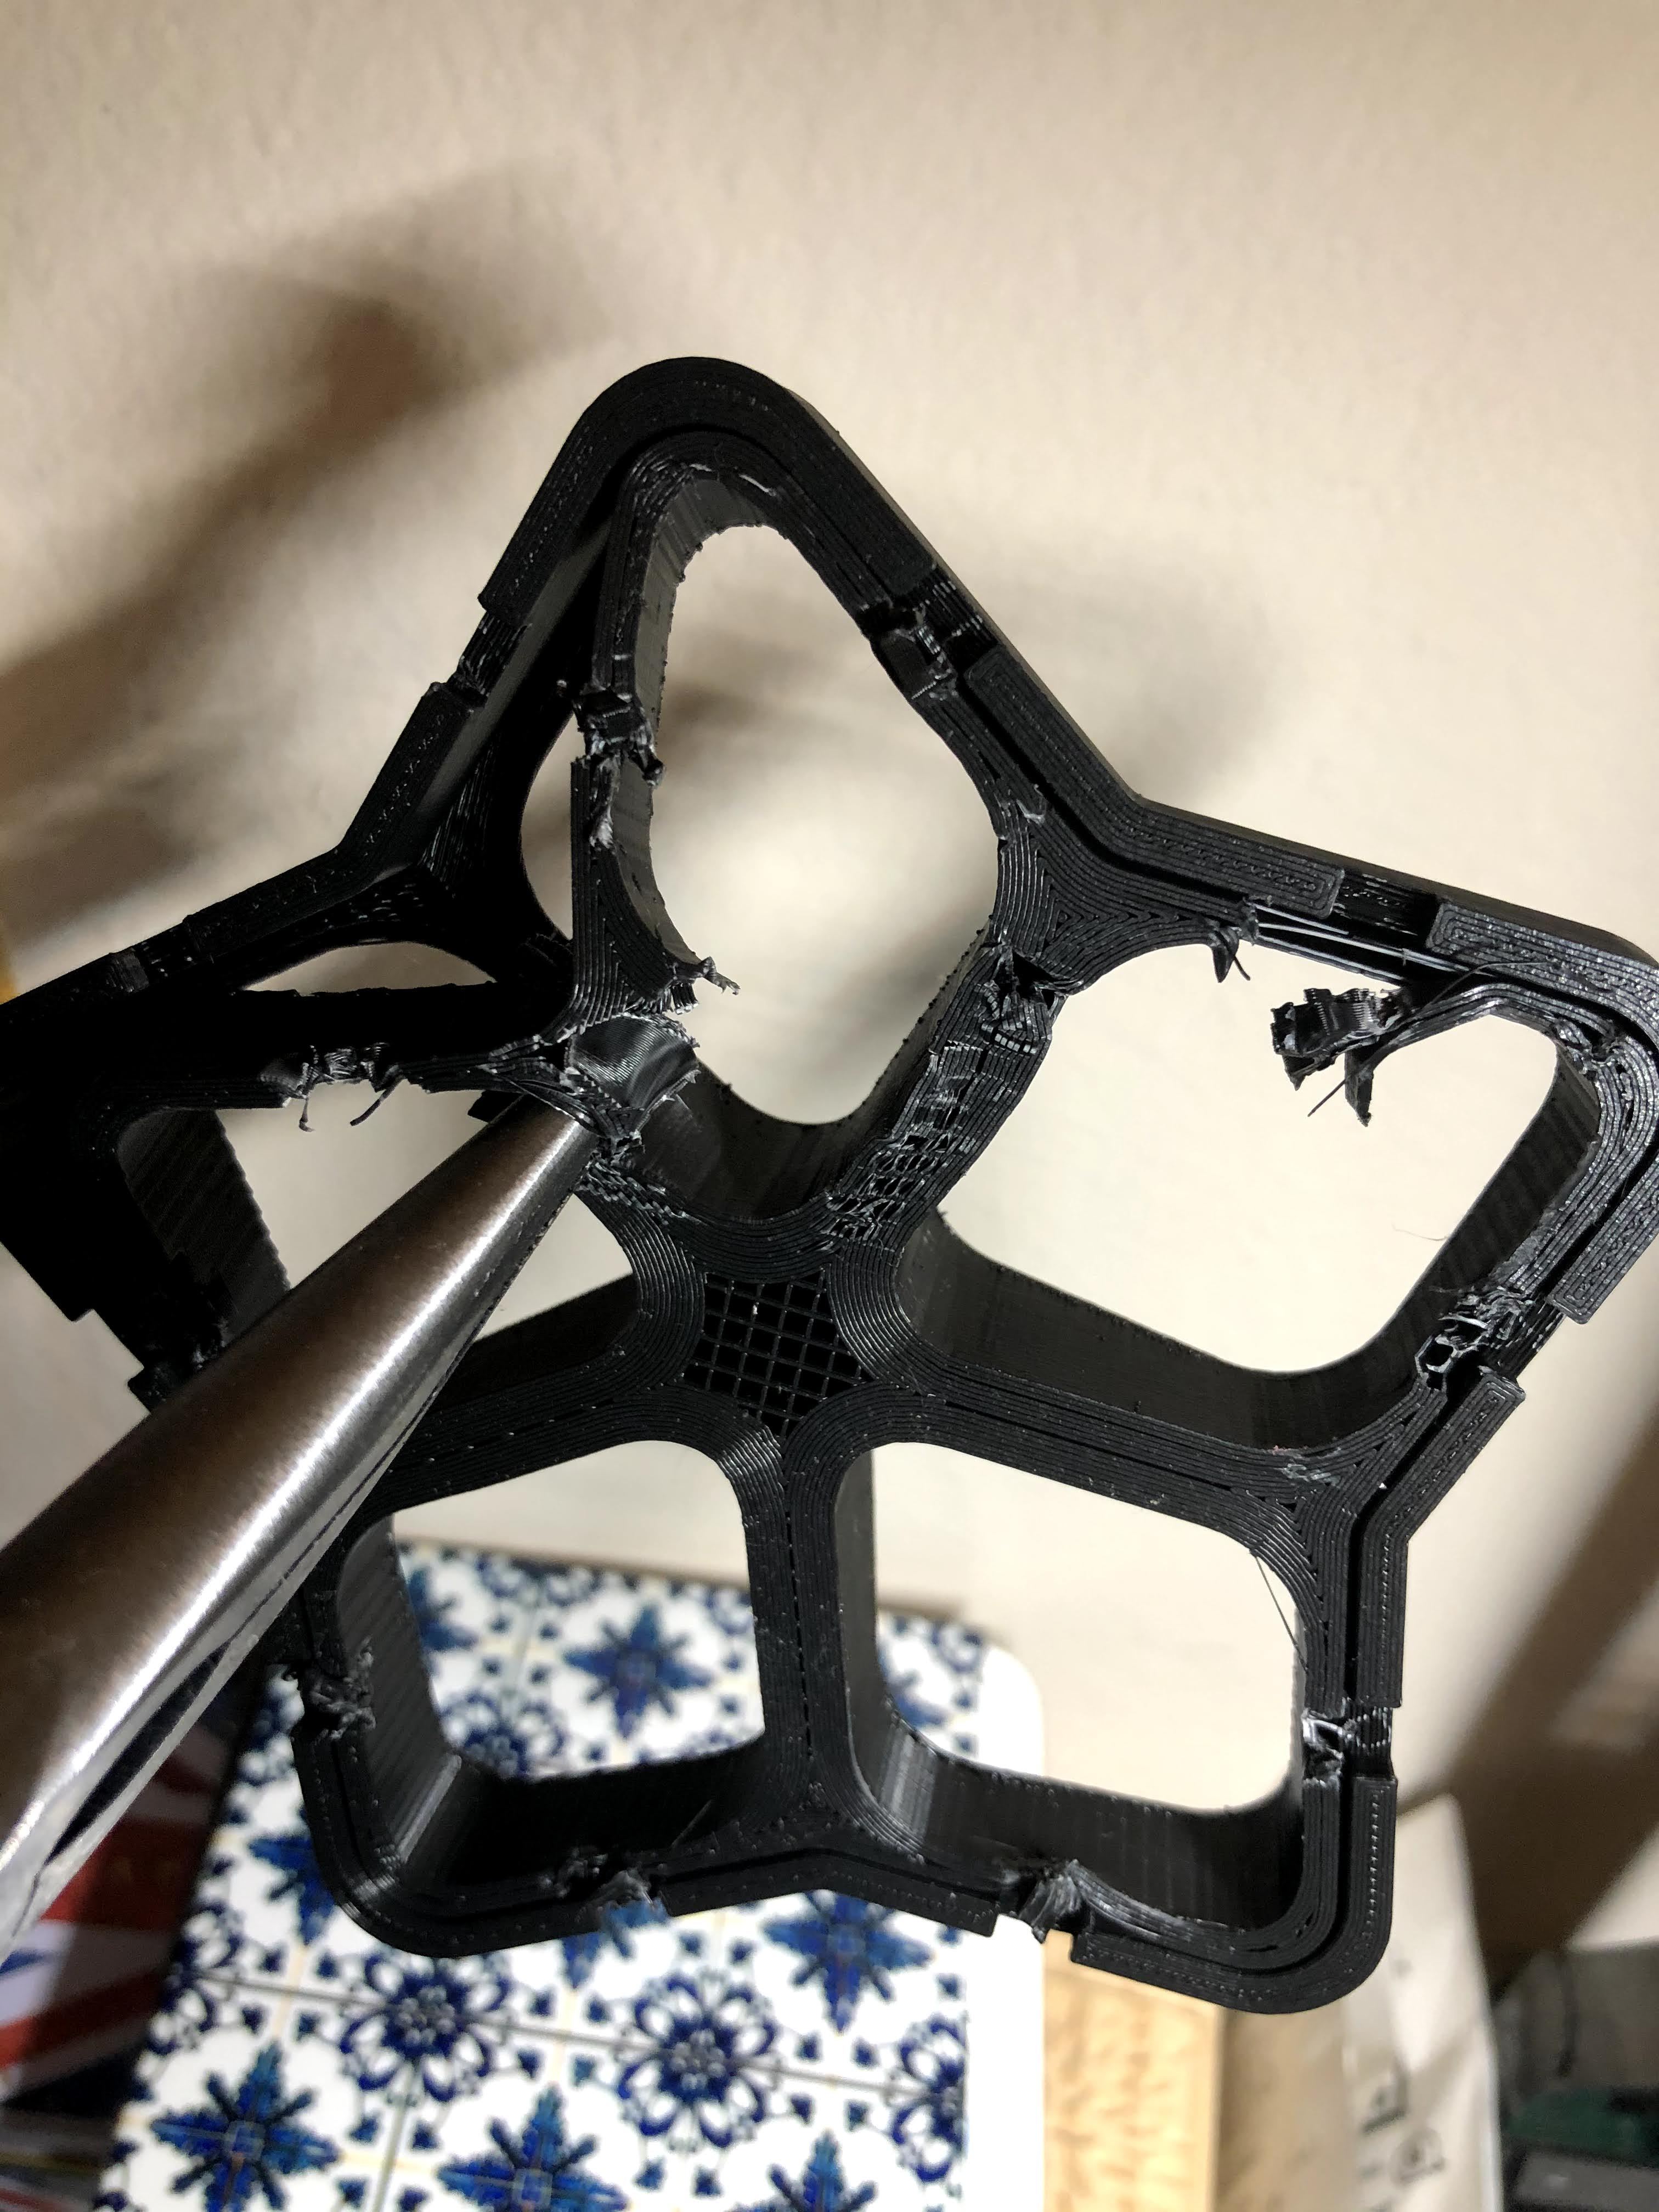
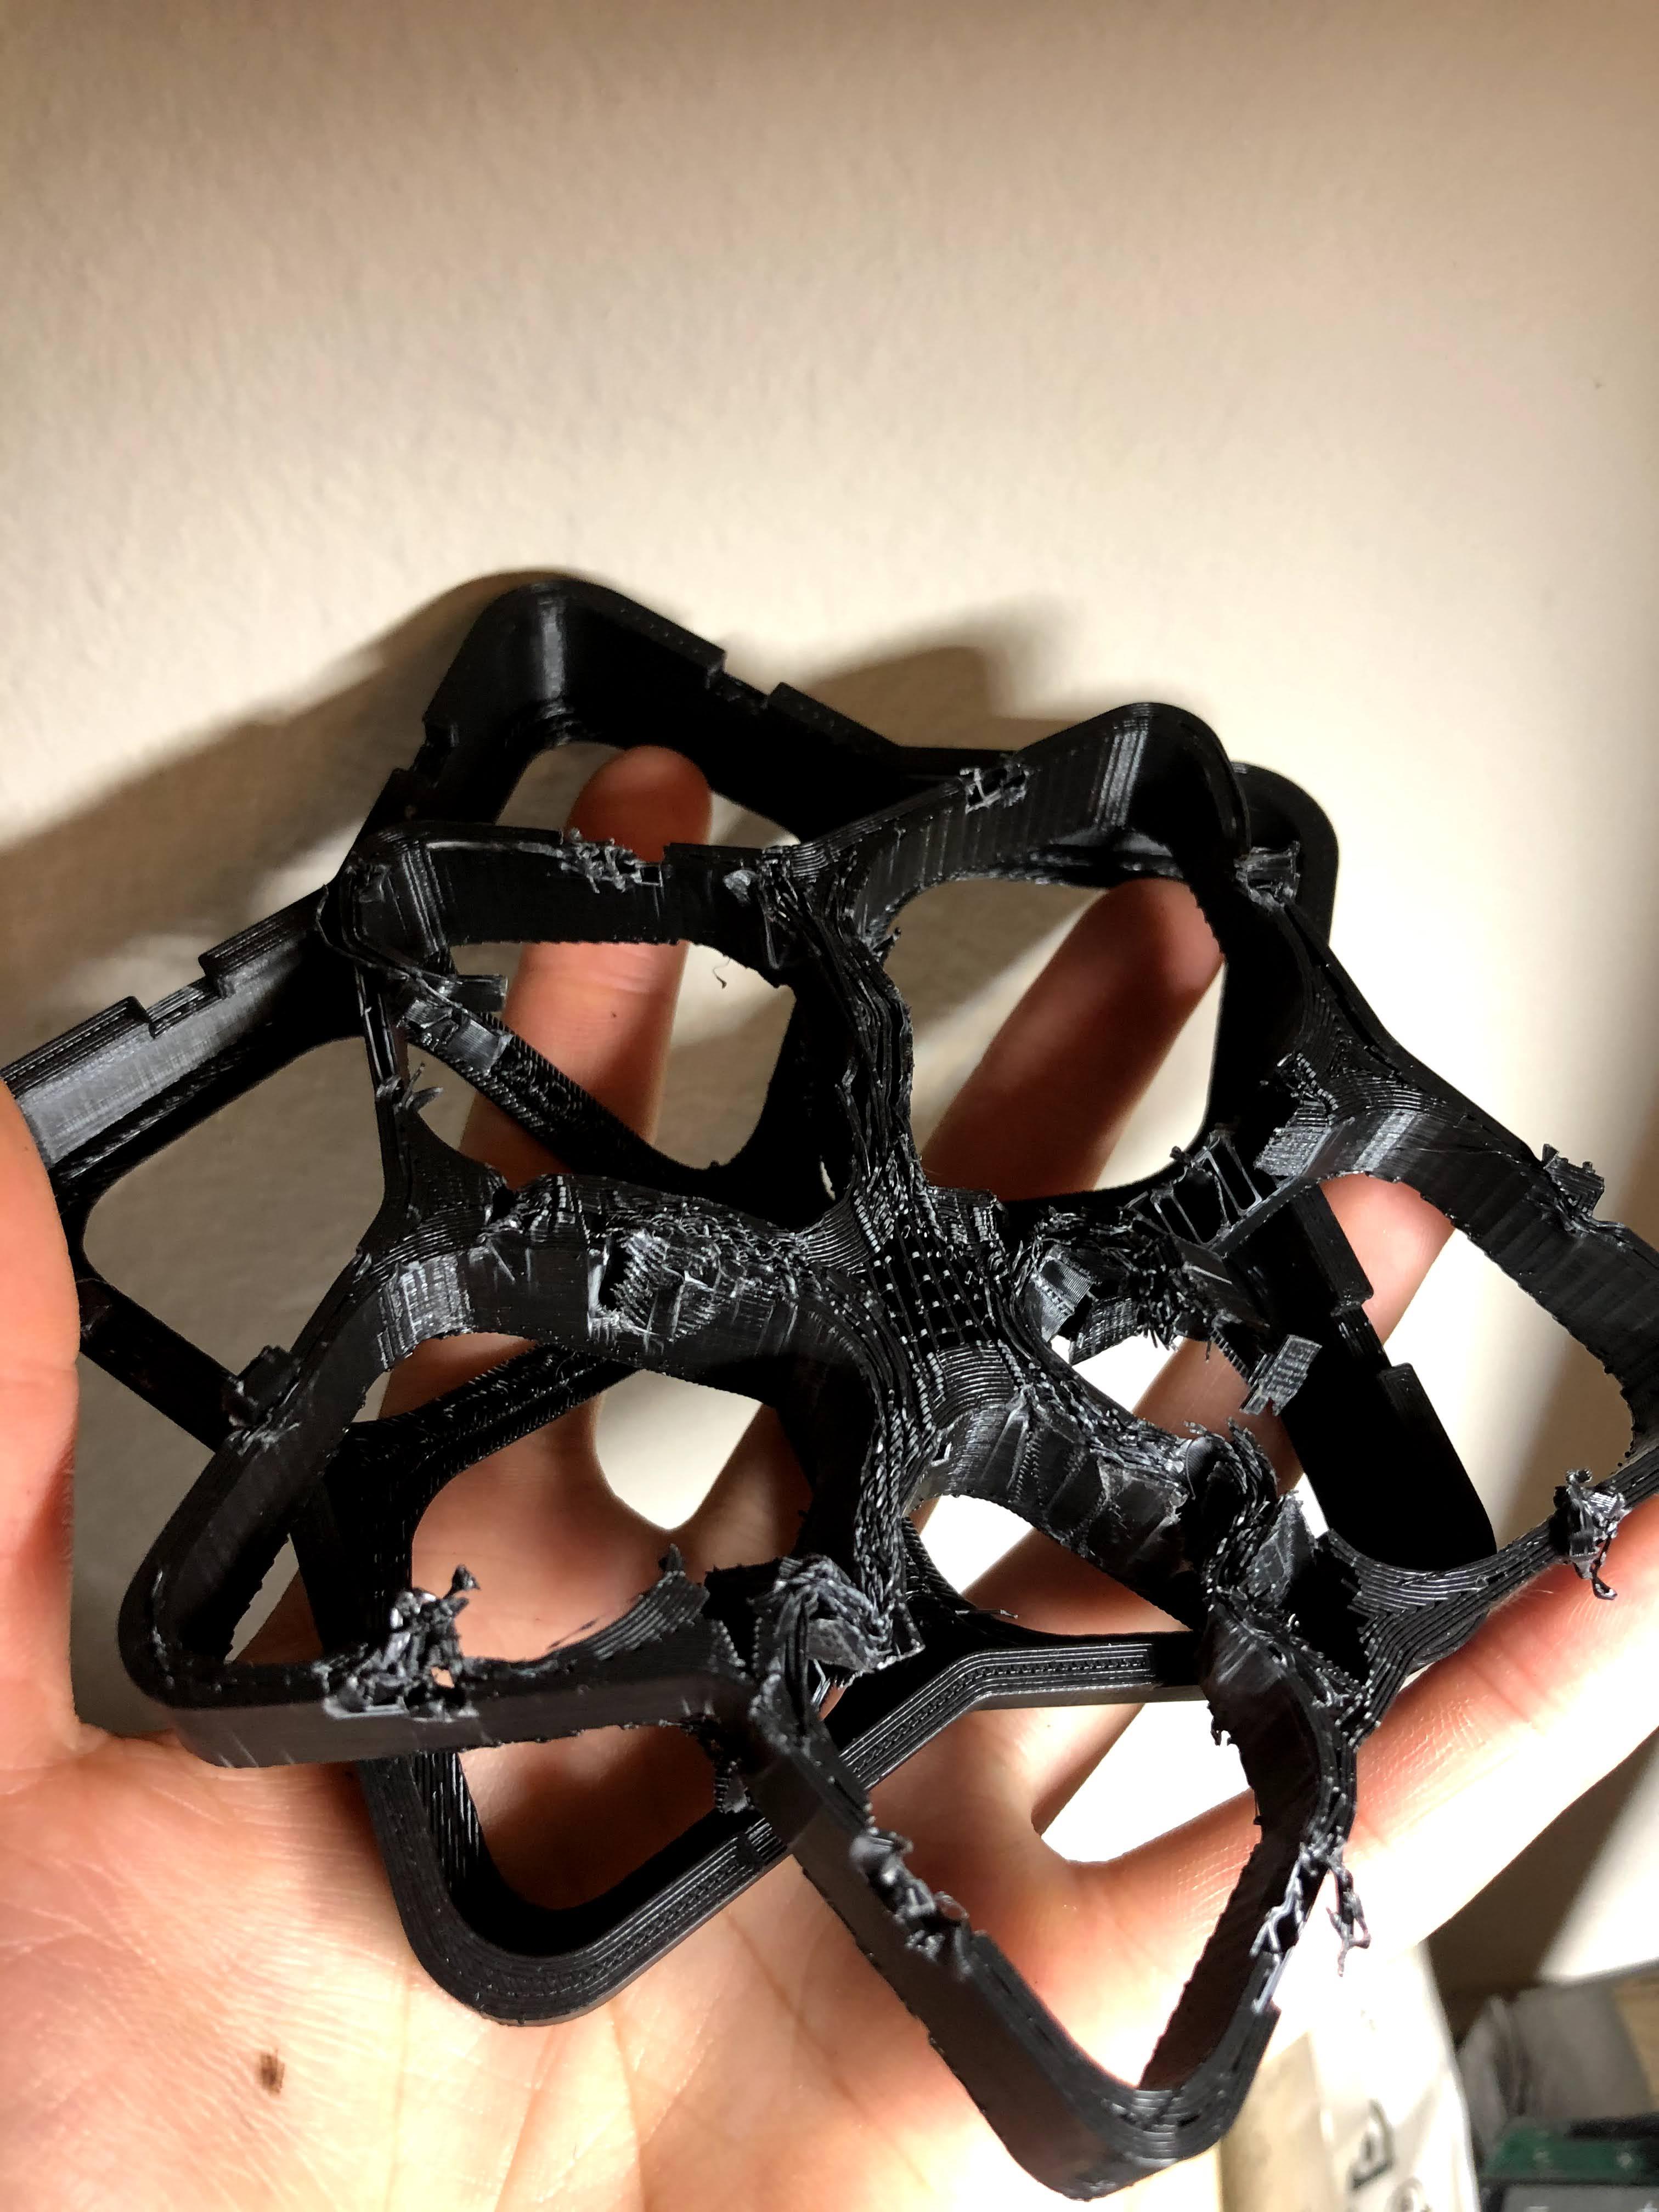
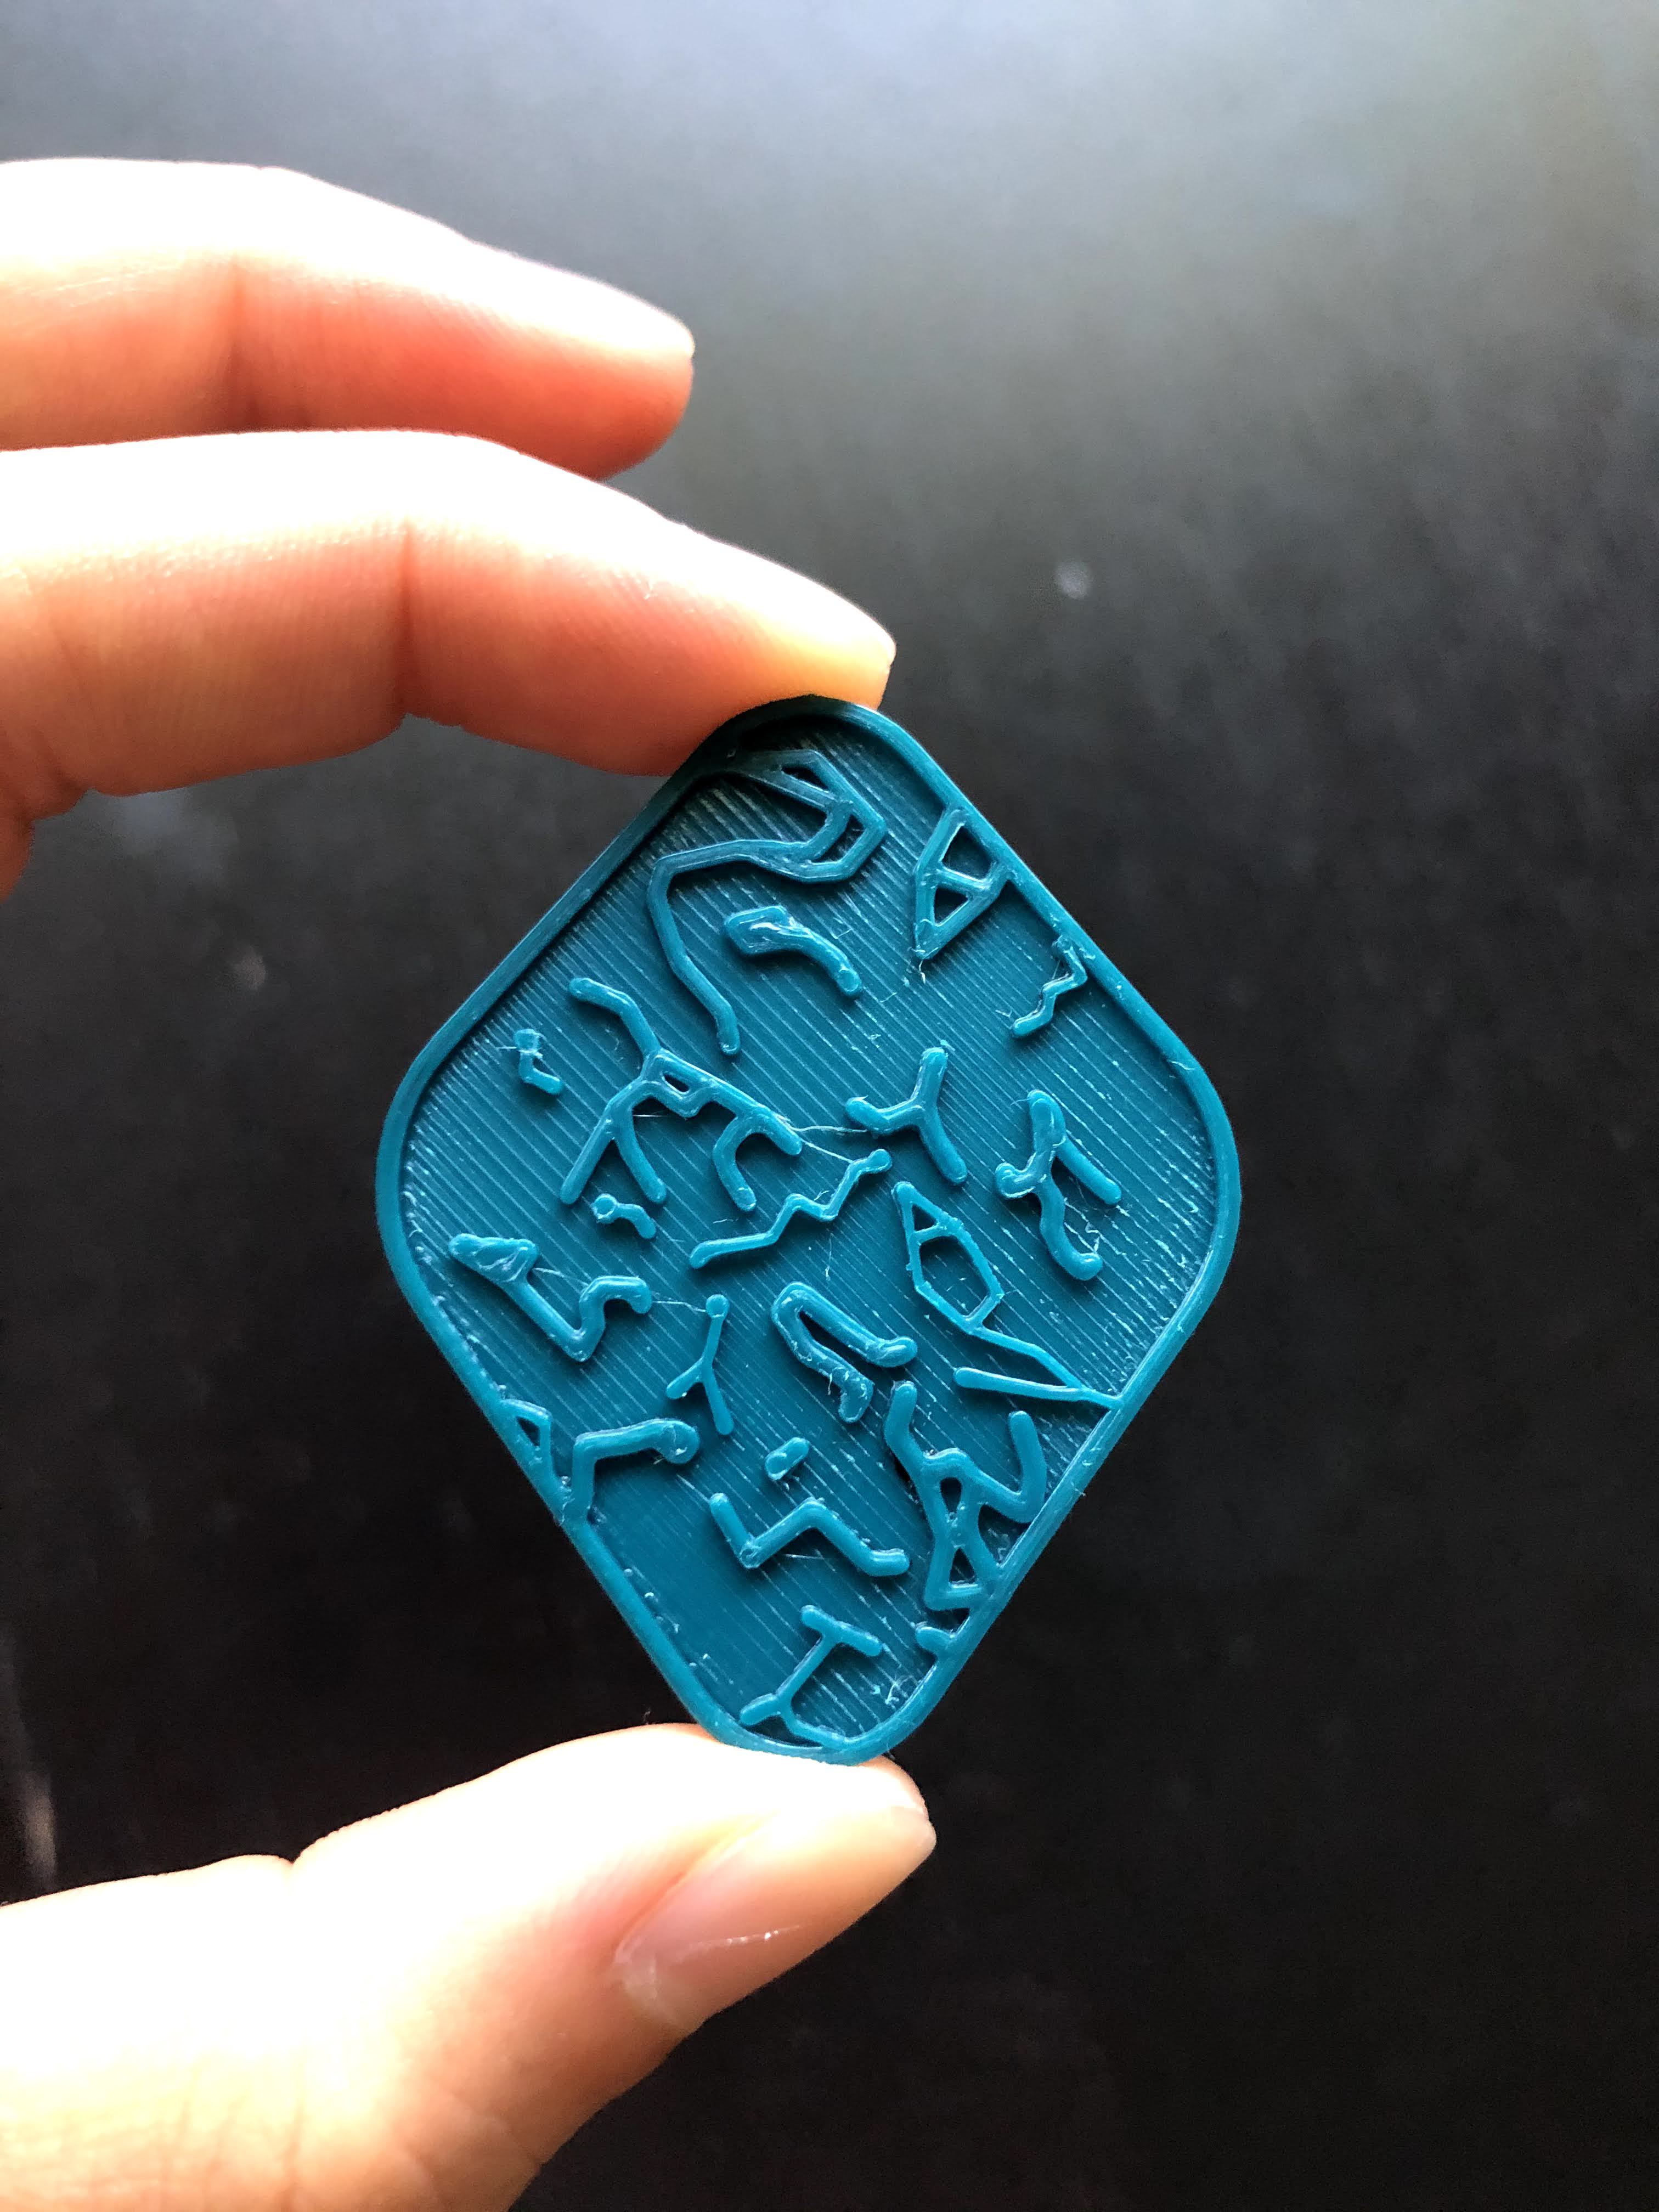
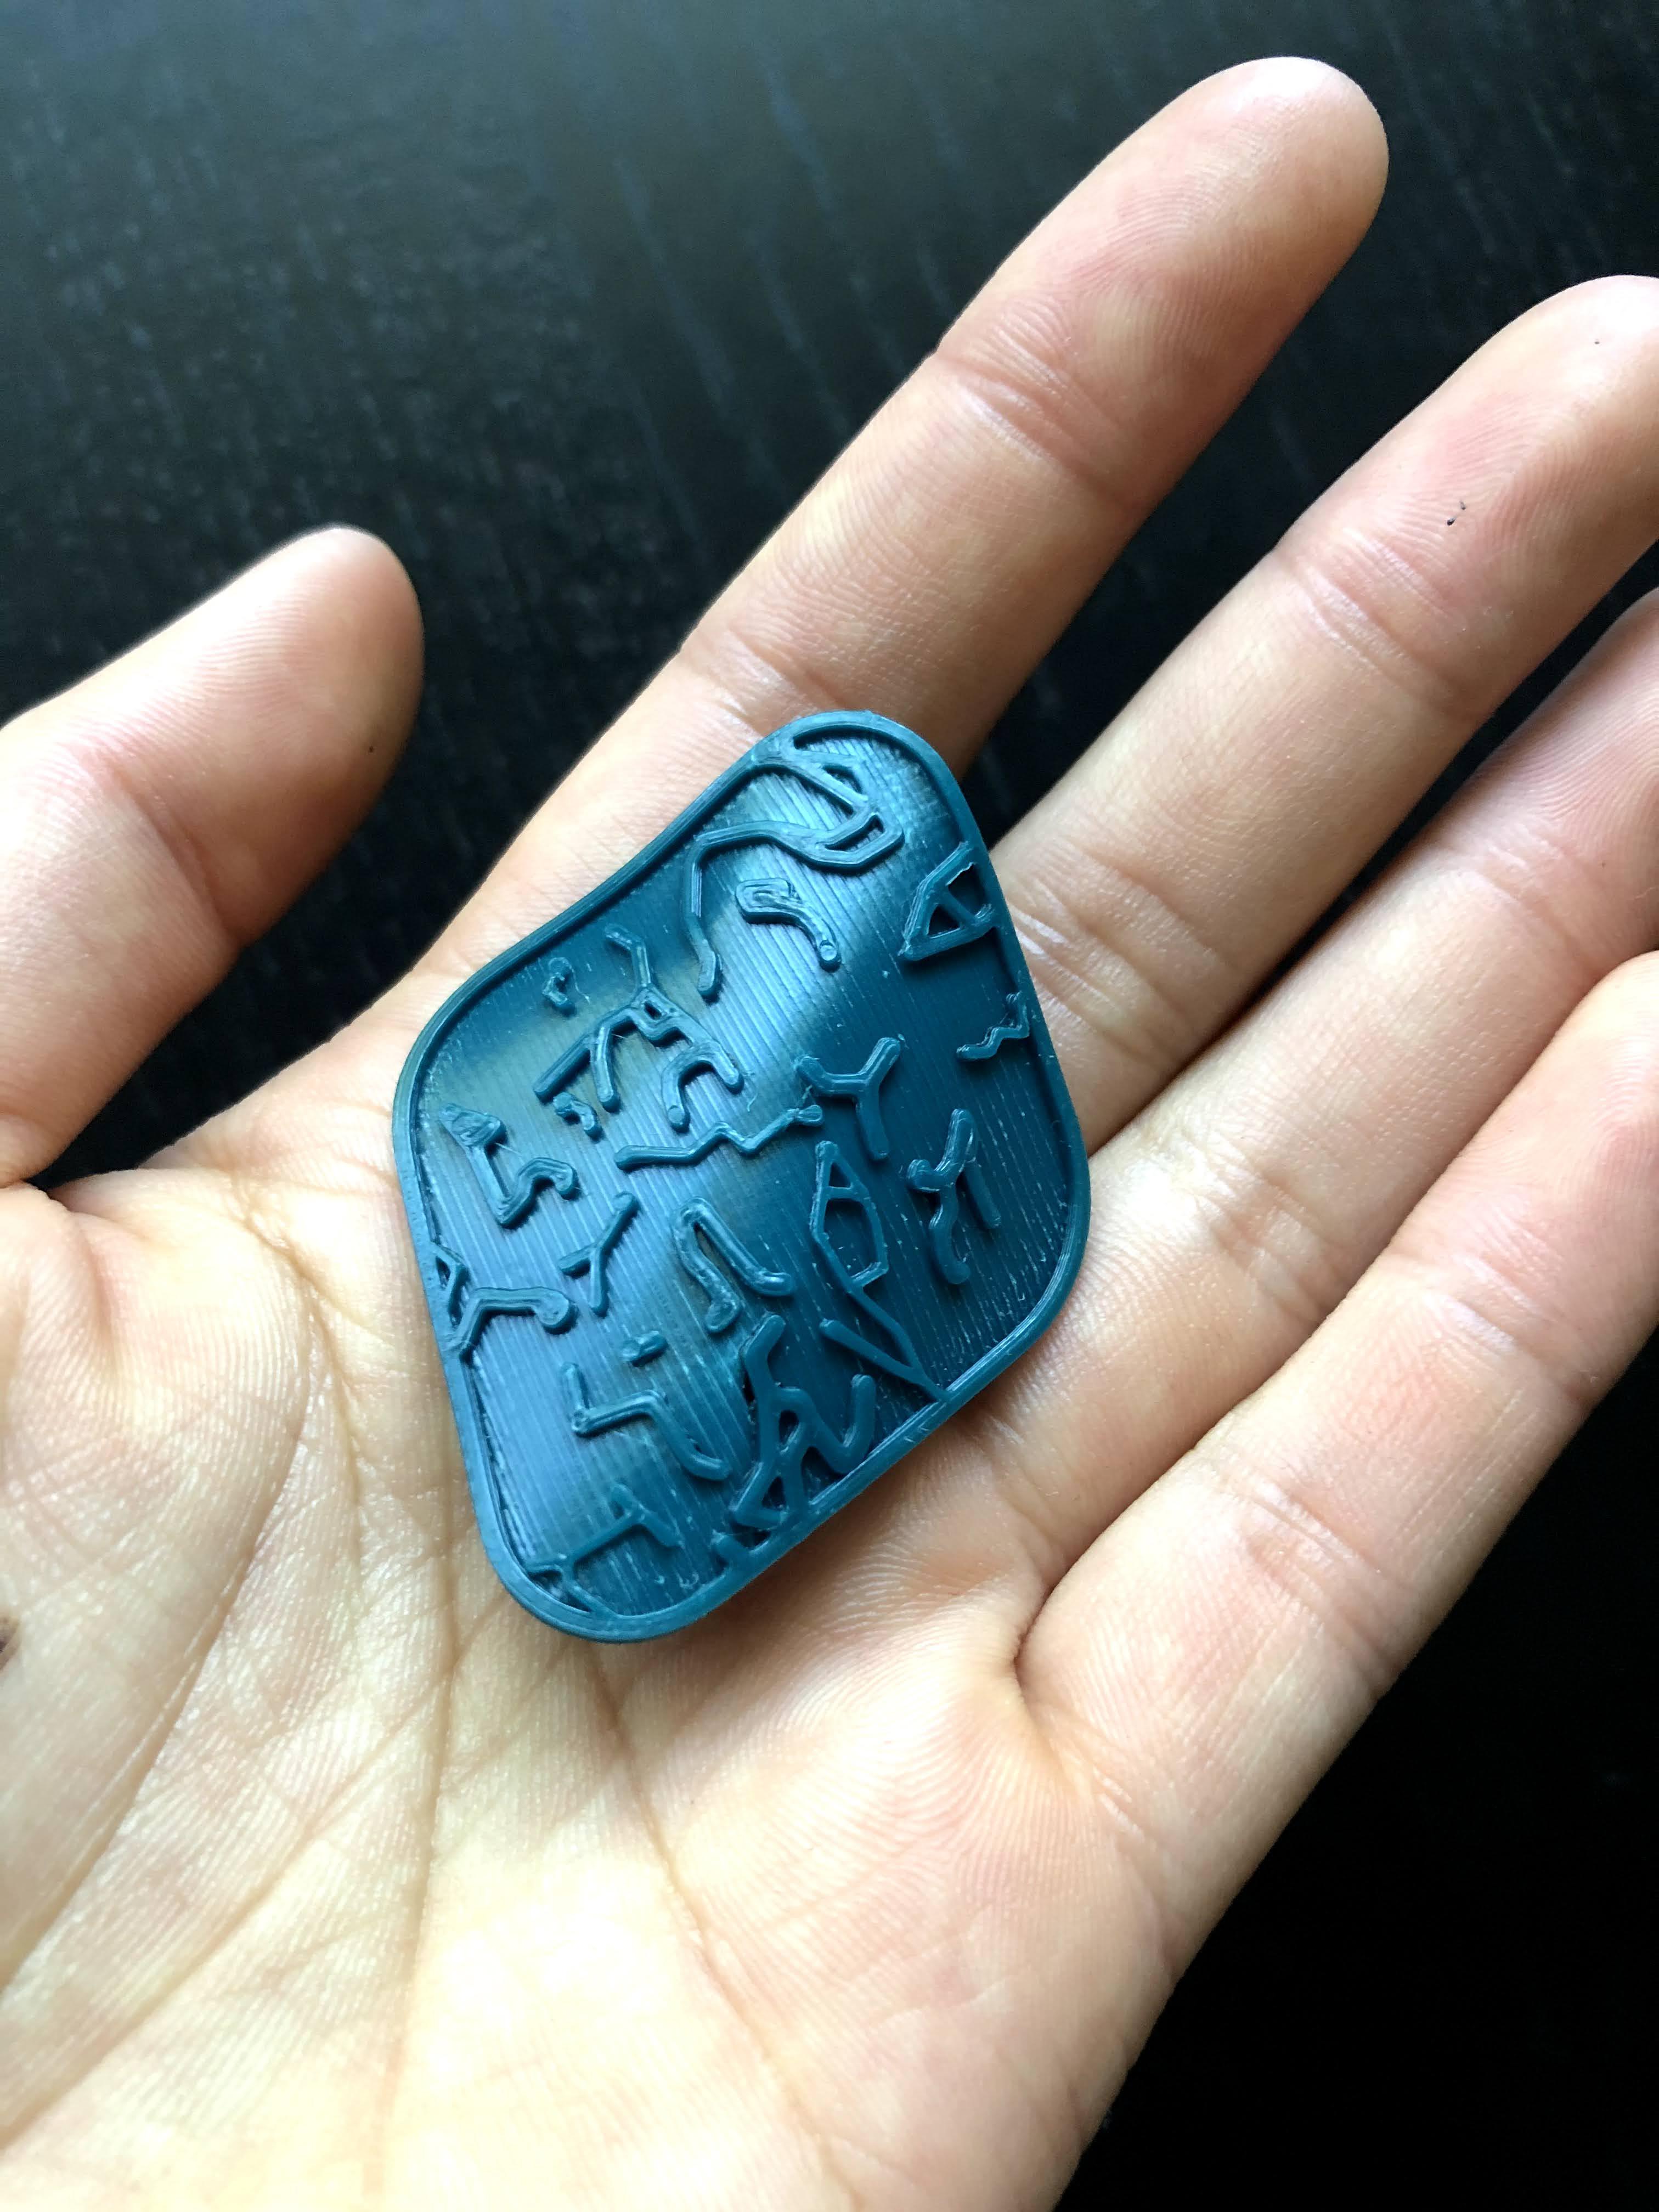
Follow temperature and basic default print settings depending on your filament and machine. The only notes I have here are:
- Use PLA instead of ABS, since ABS is more heat resistant and might not take the heat bending as well
- 0.1mm resolution or finer will be best for the curvature in the Star Lamp - top piece and resolution in the map faces. 0.2mm is sufficient for Star Lamp - bottom
- Star Lamp bottom can be printed without support, but print Star Lamp - top with support (the center protrusion should point upward from the print bed)
- Infill for the star outline can be the default 20% or even 15%, but infill for the map faces should be 100%
For the bending, I just used a hair dryer on high and slowly bent the printed sheet with my fingers in front of the blast (sorry for no pictures; hands were occupied). Expect to ruin the first; you'll need to get the hang of bending it evenly despite the raised constellation design. I tried using a round object (paintbrush handle) to help with this, but also ended up just using my fingers since it was a lot to juggle the printed piece, hairdryer, brush, and bend.
Assembly
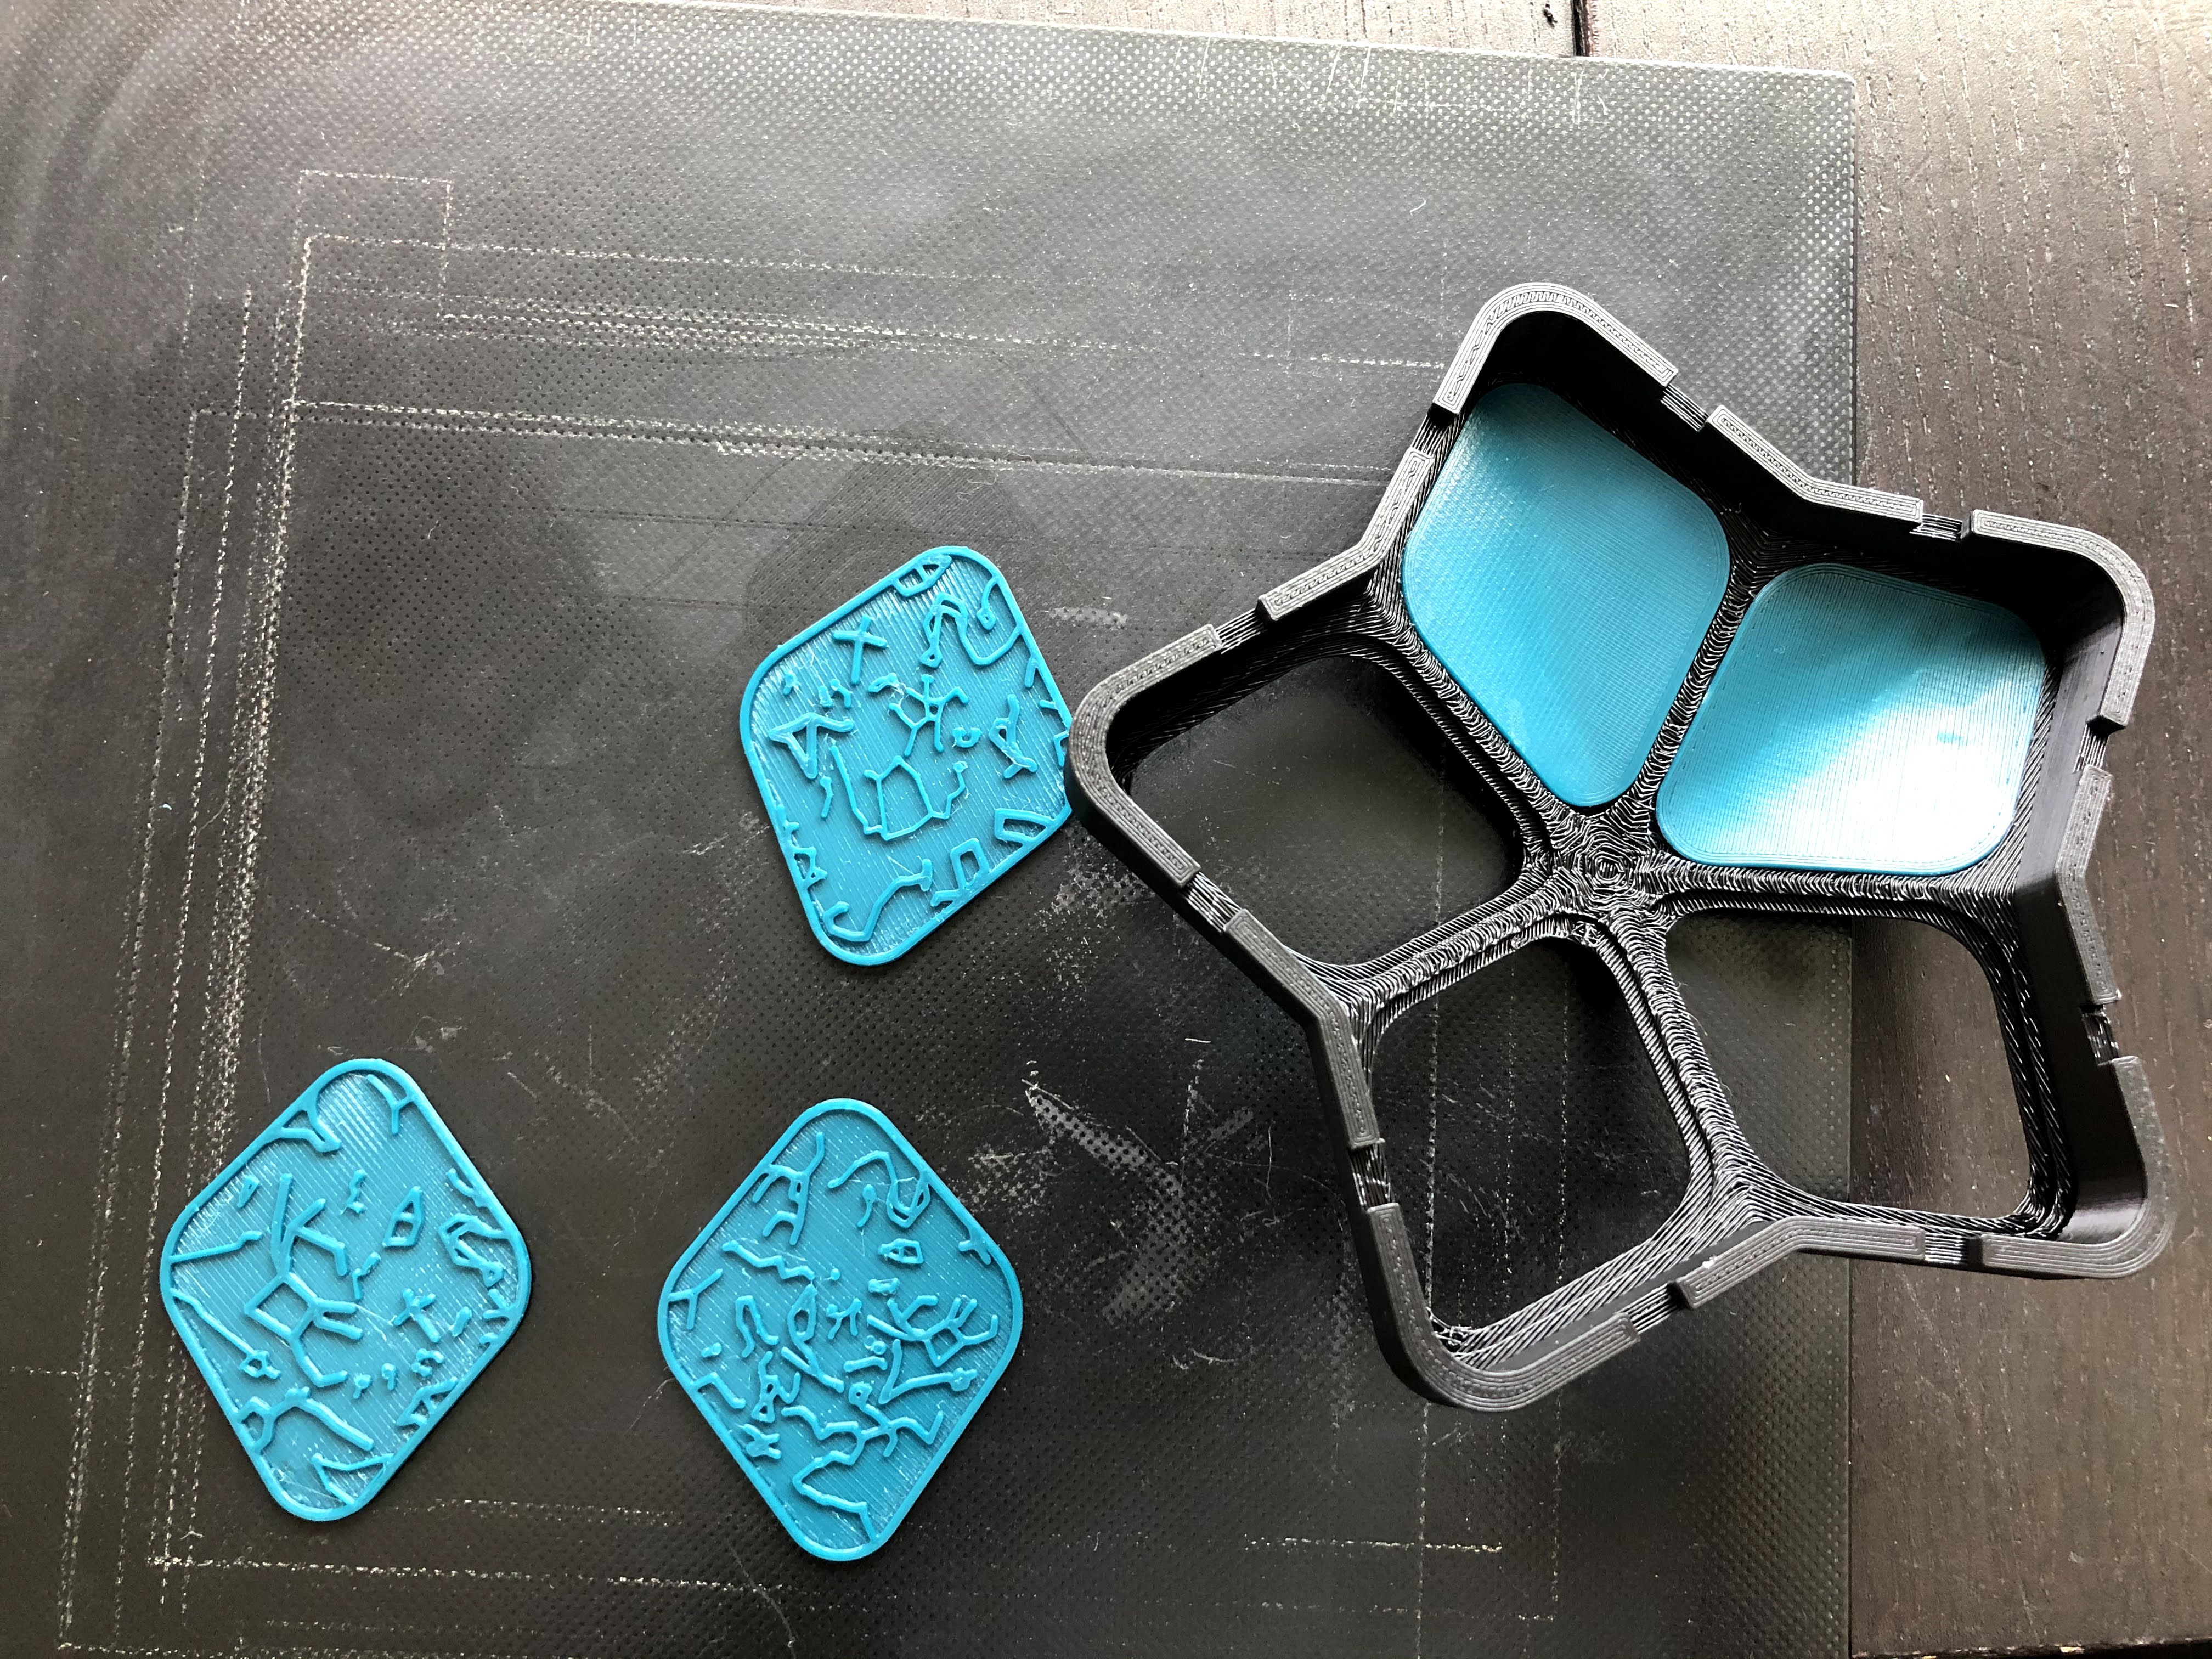
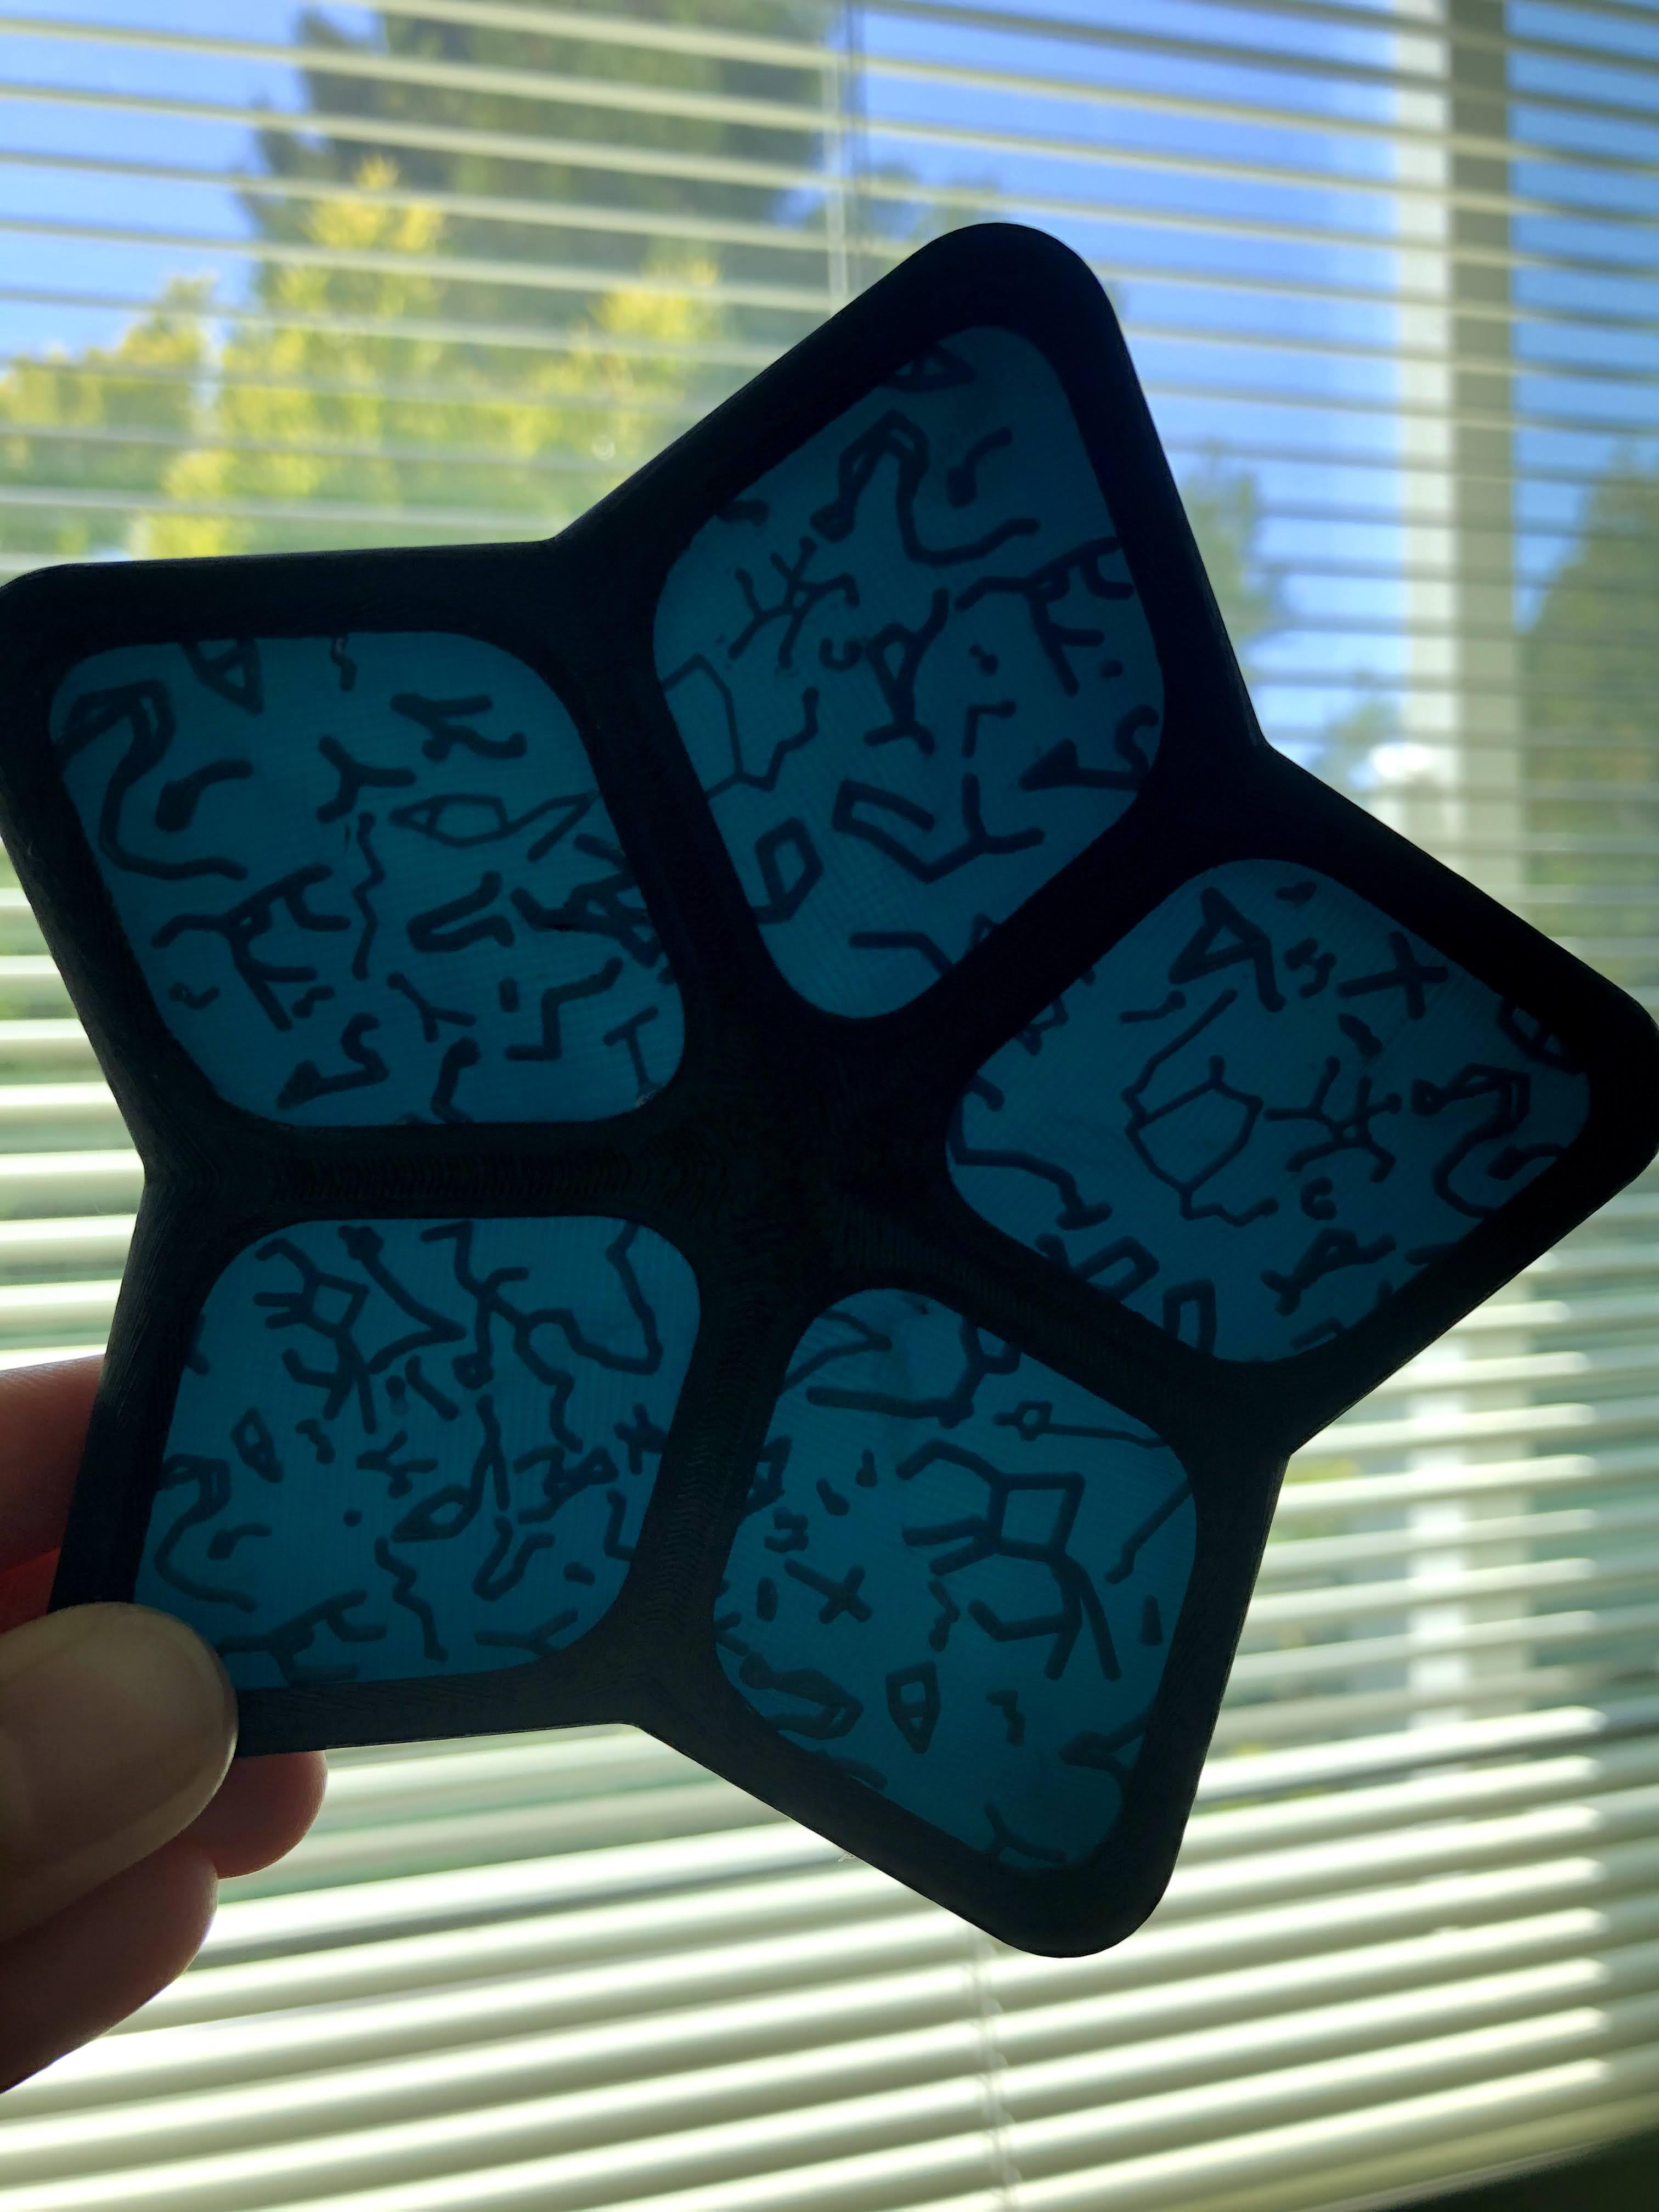
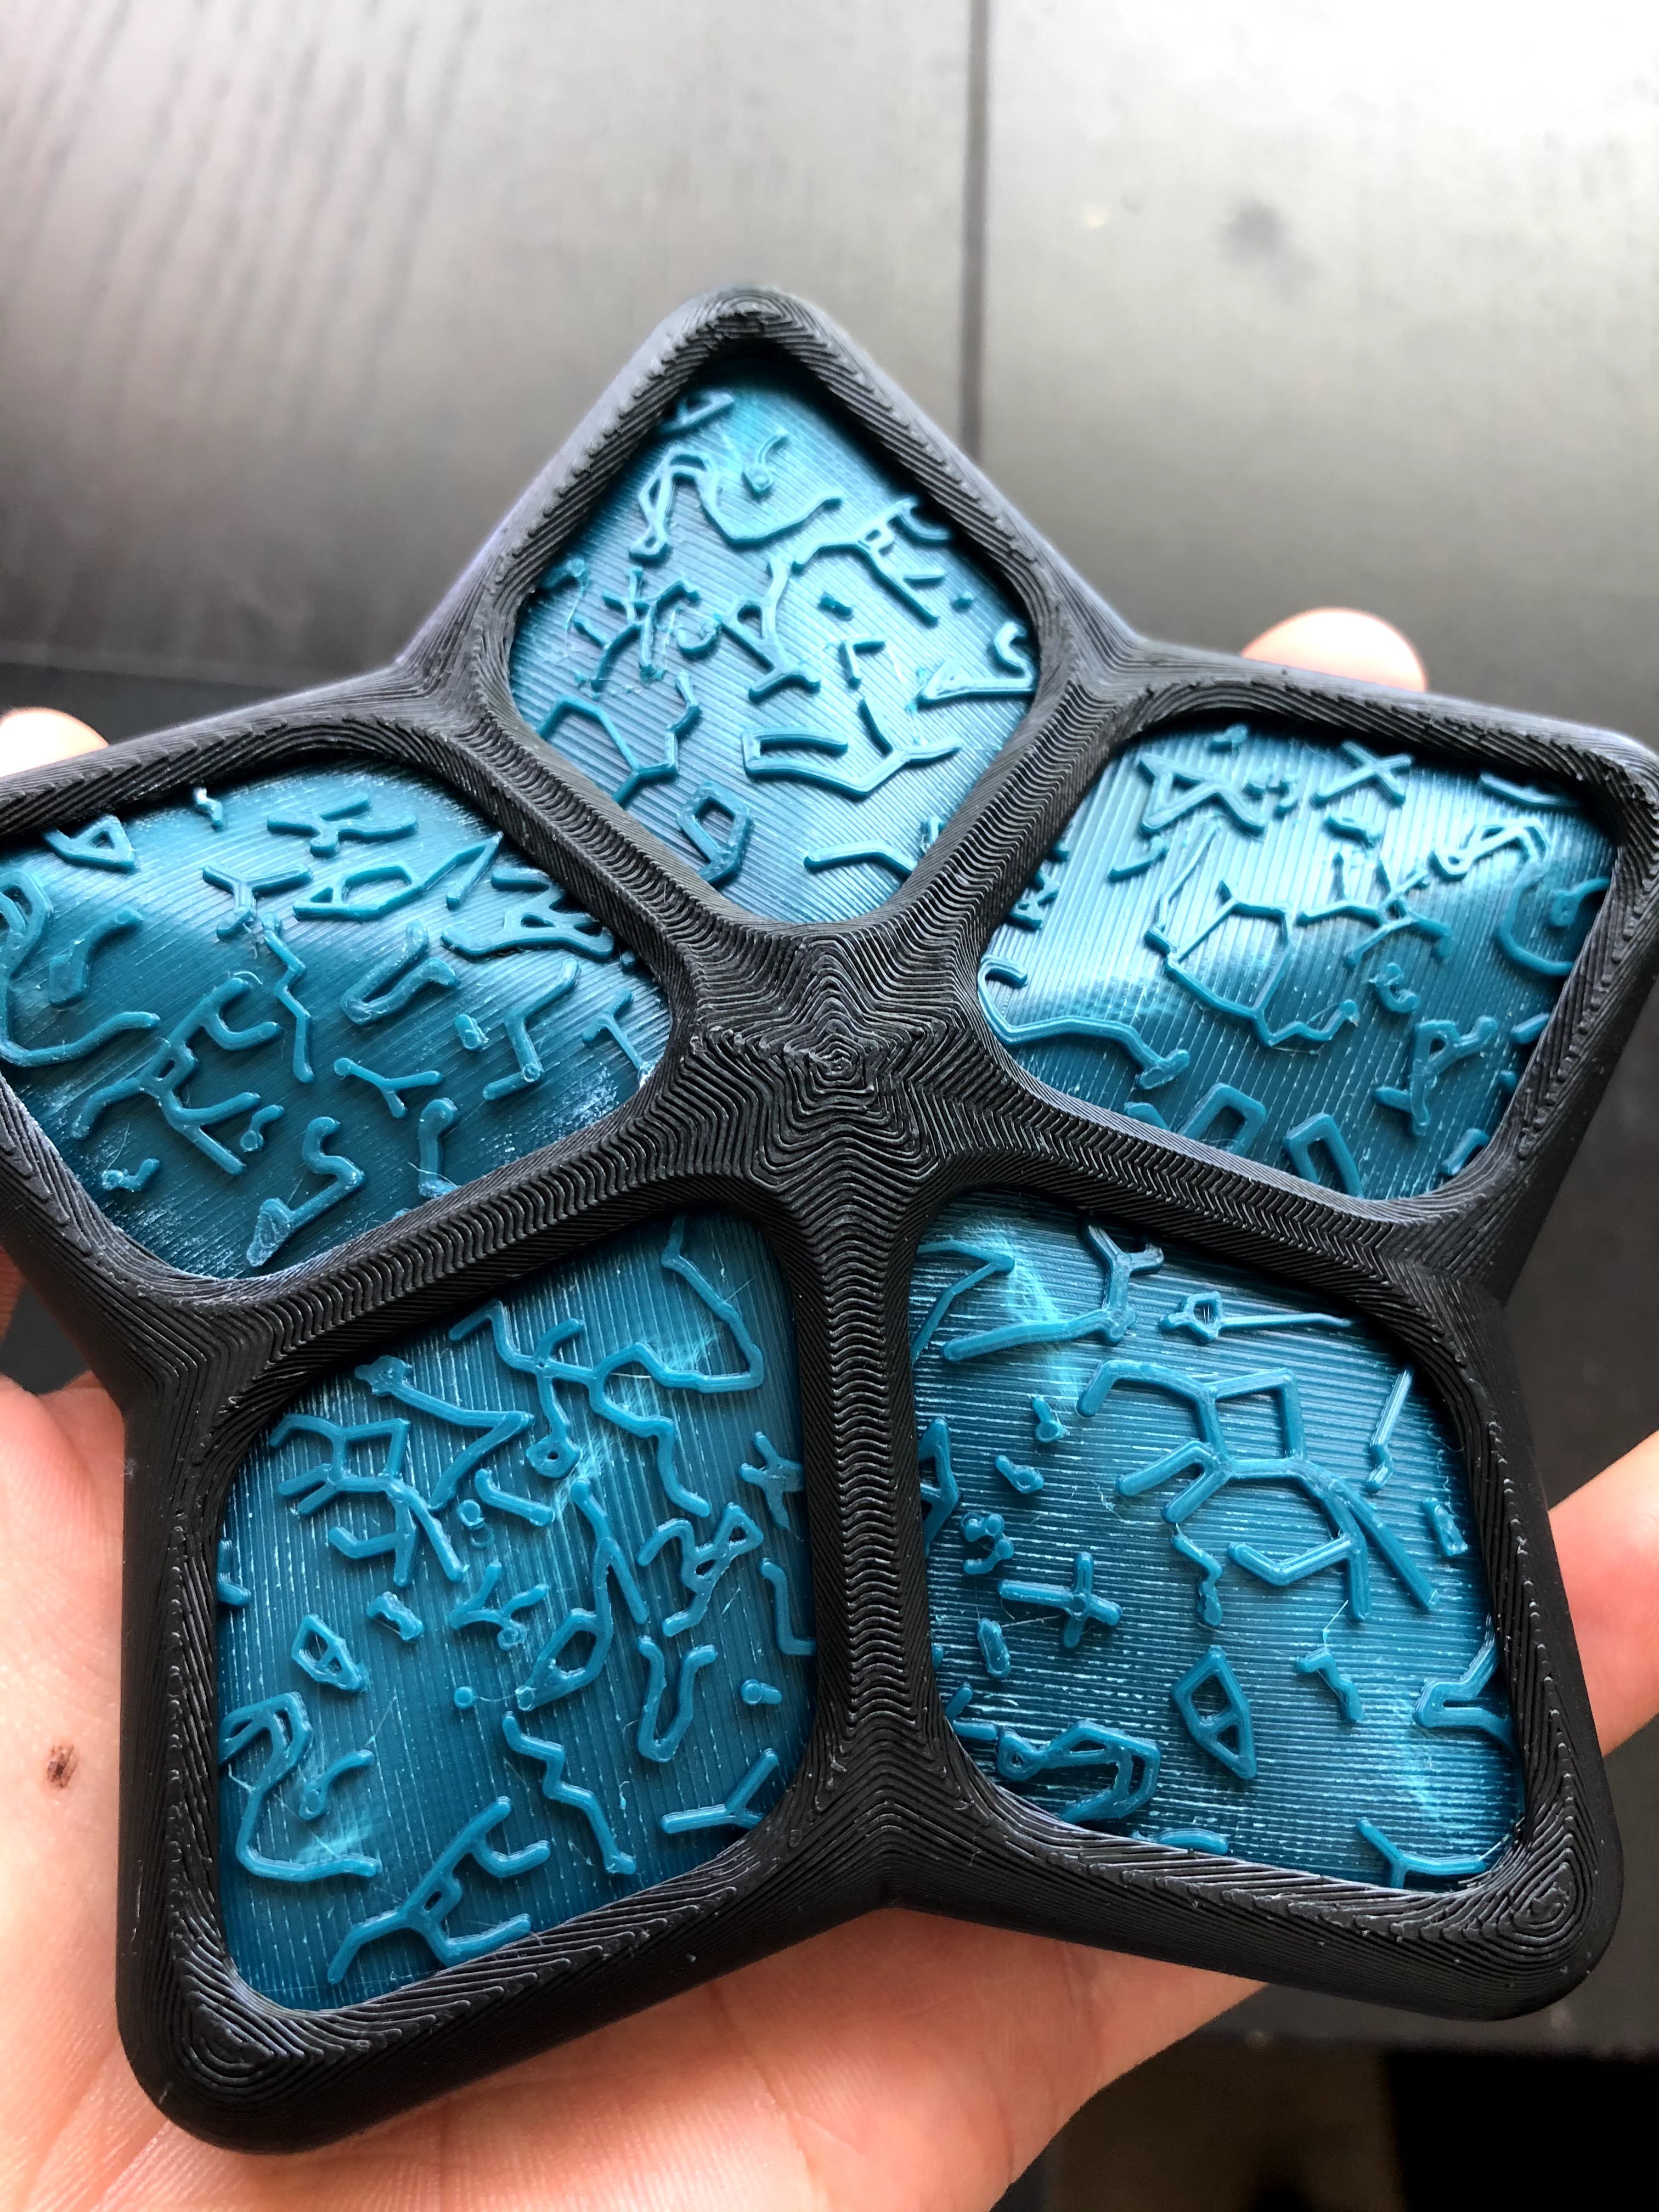
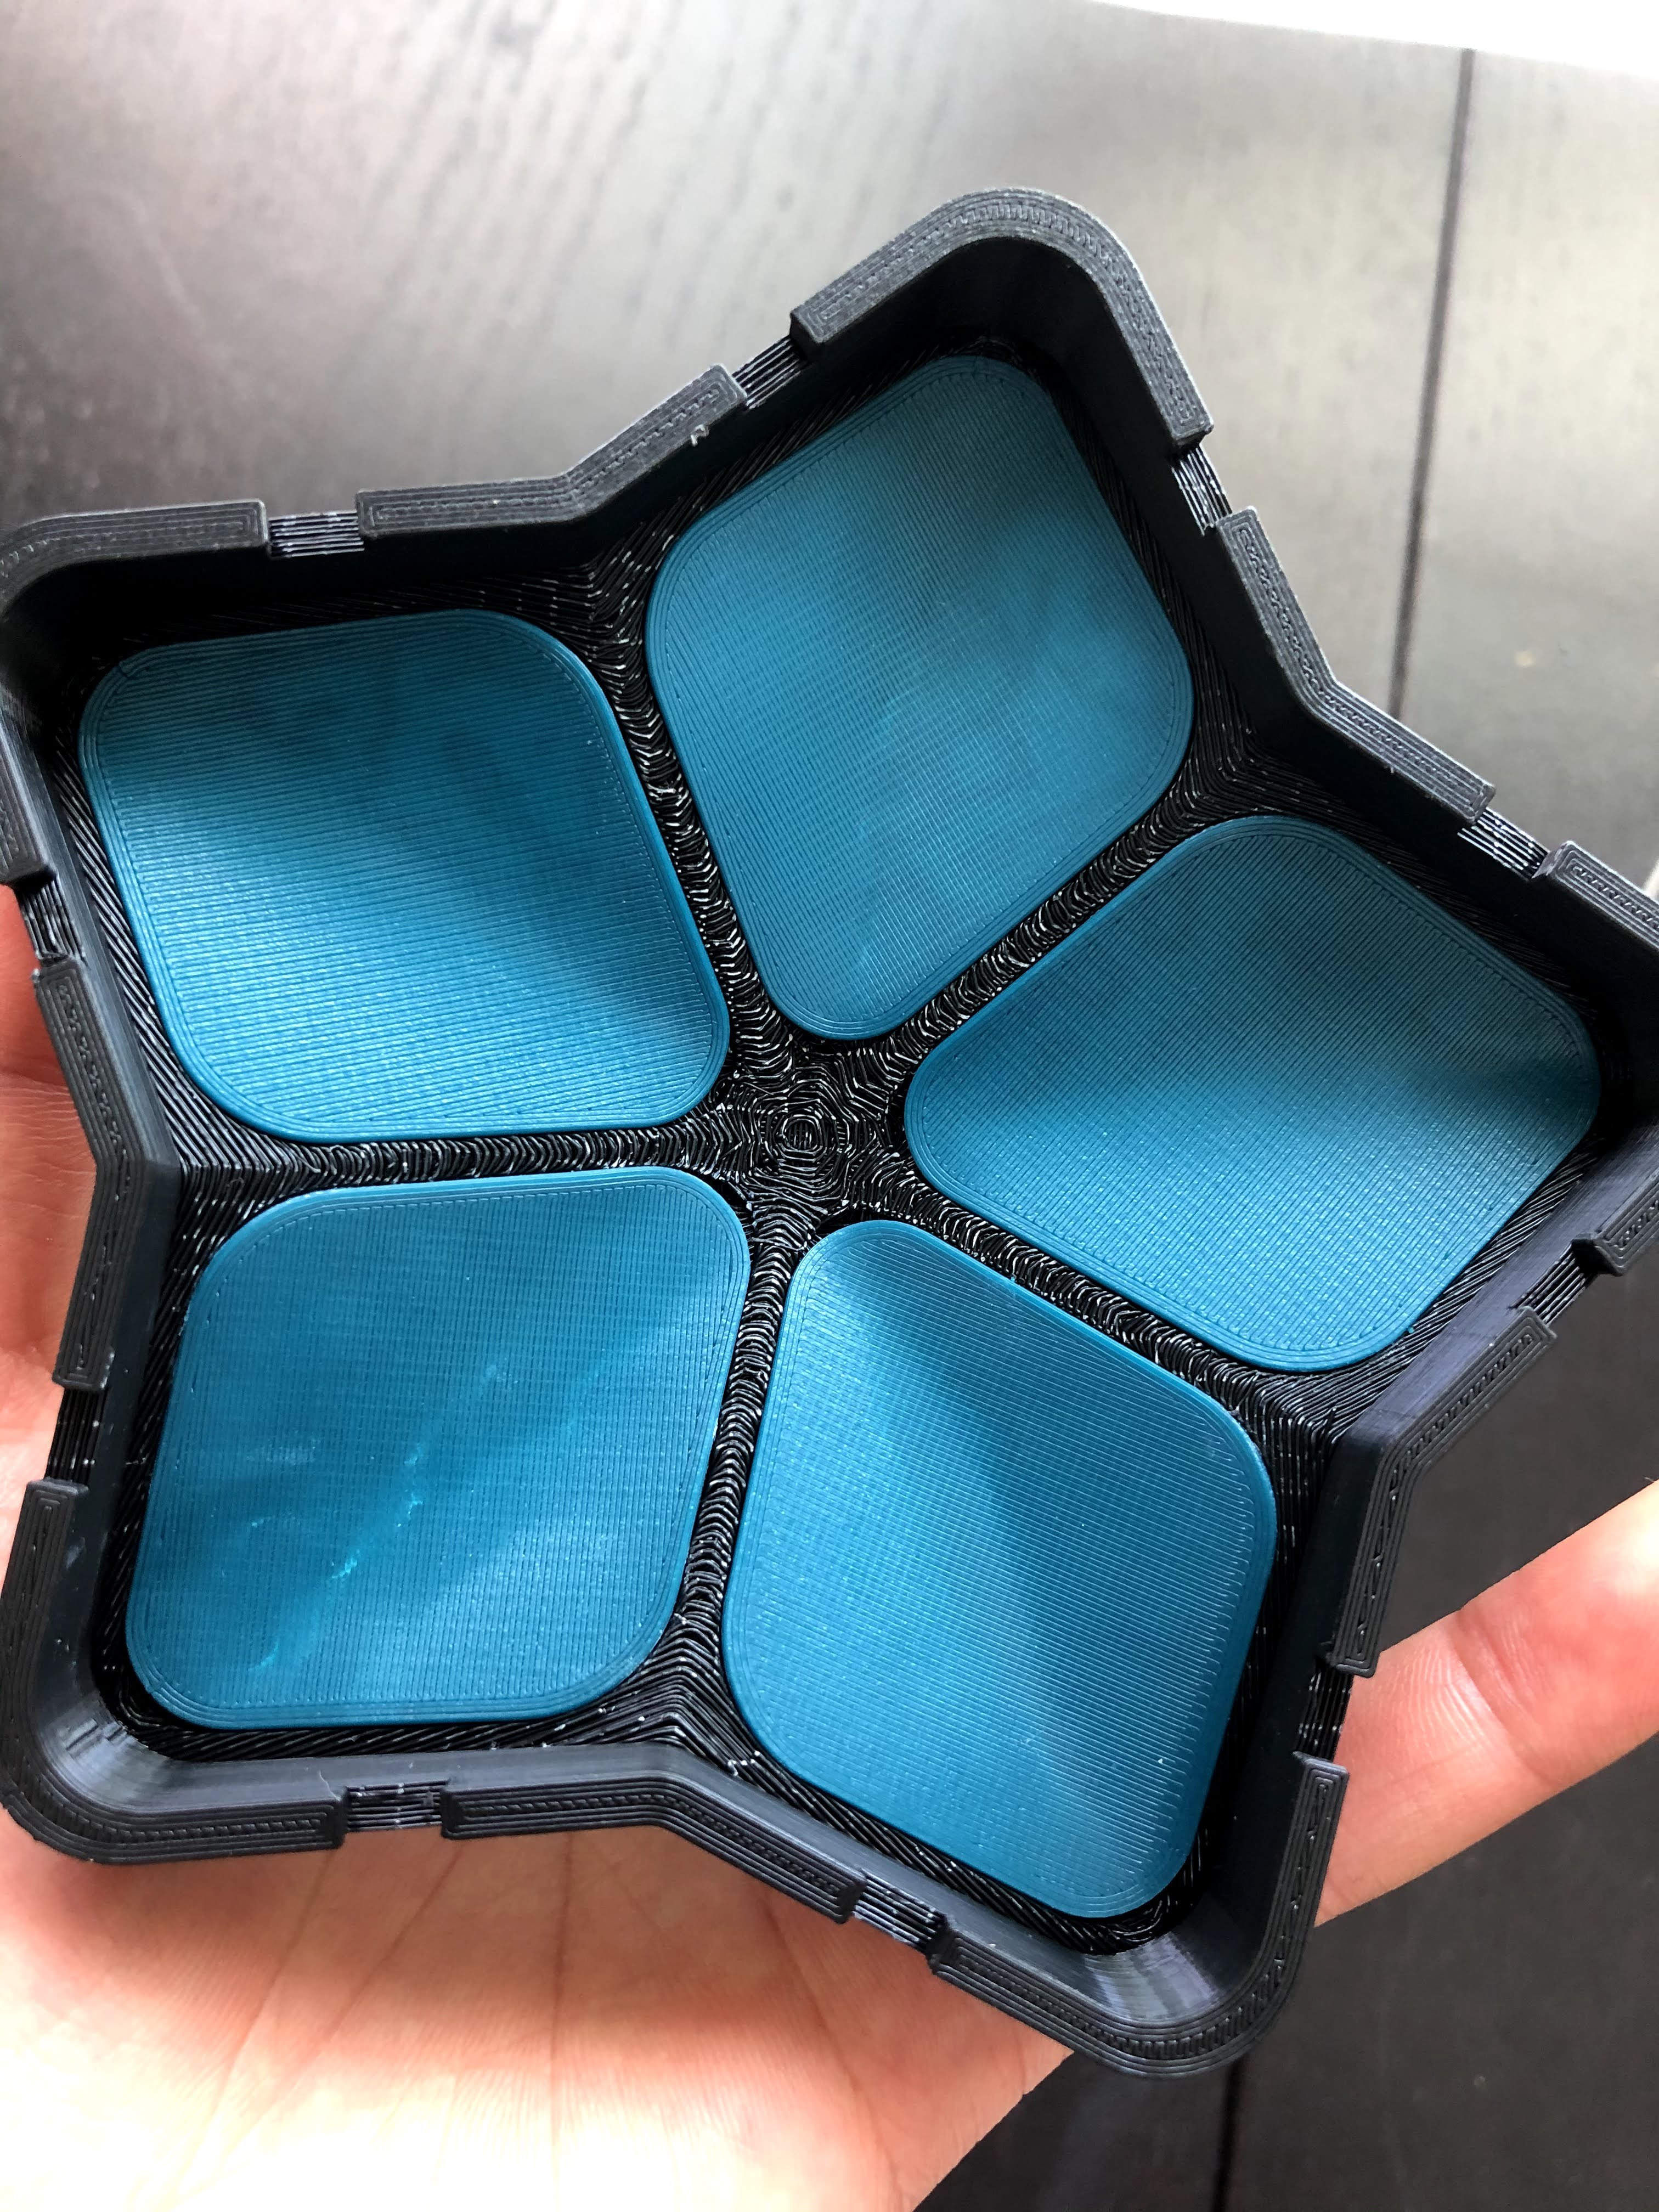
Assembly is pretty self explanatory: just gently press the constellation inserts into the hollow faces of the top star shape. I designed the shape so that the facets would be press fit; no need for glue. I didn't want to use super glues since I made a tiny lip and super glue's white precipitate would show up.
Adding Lights and Finished!
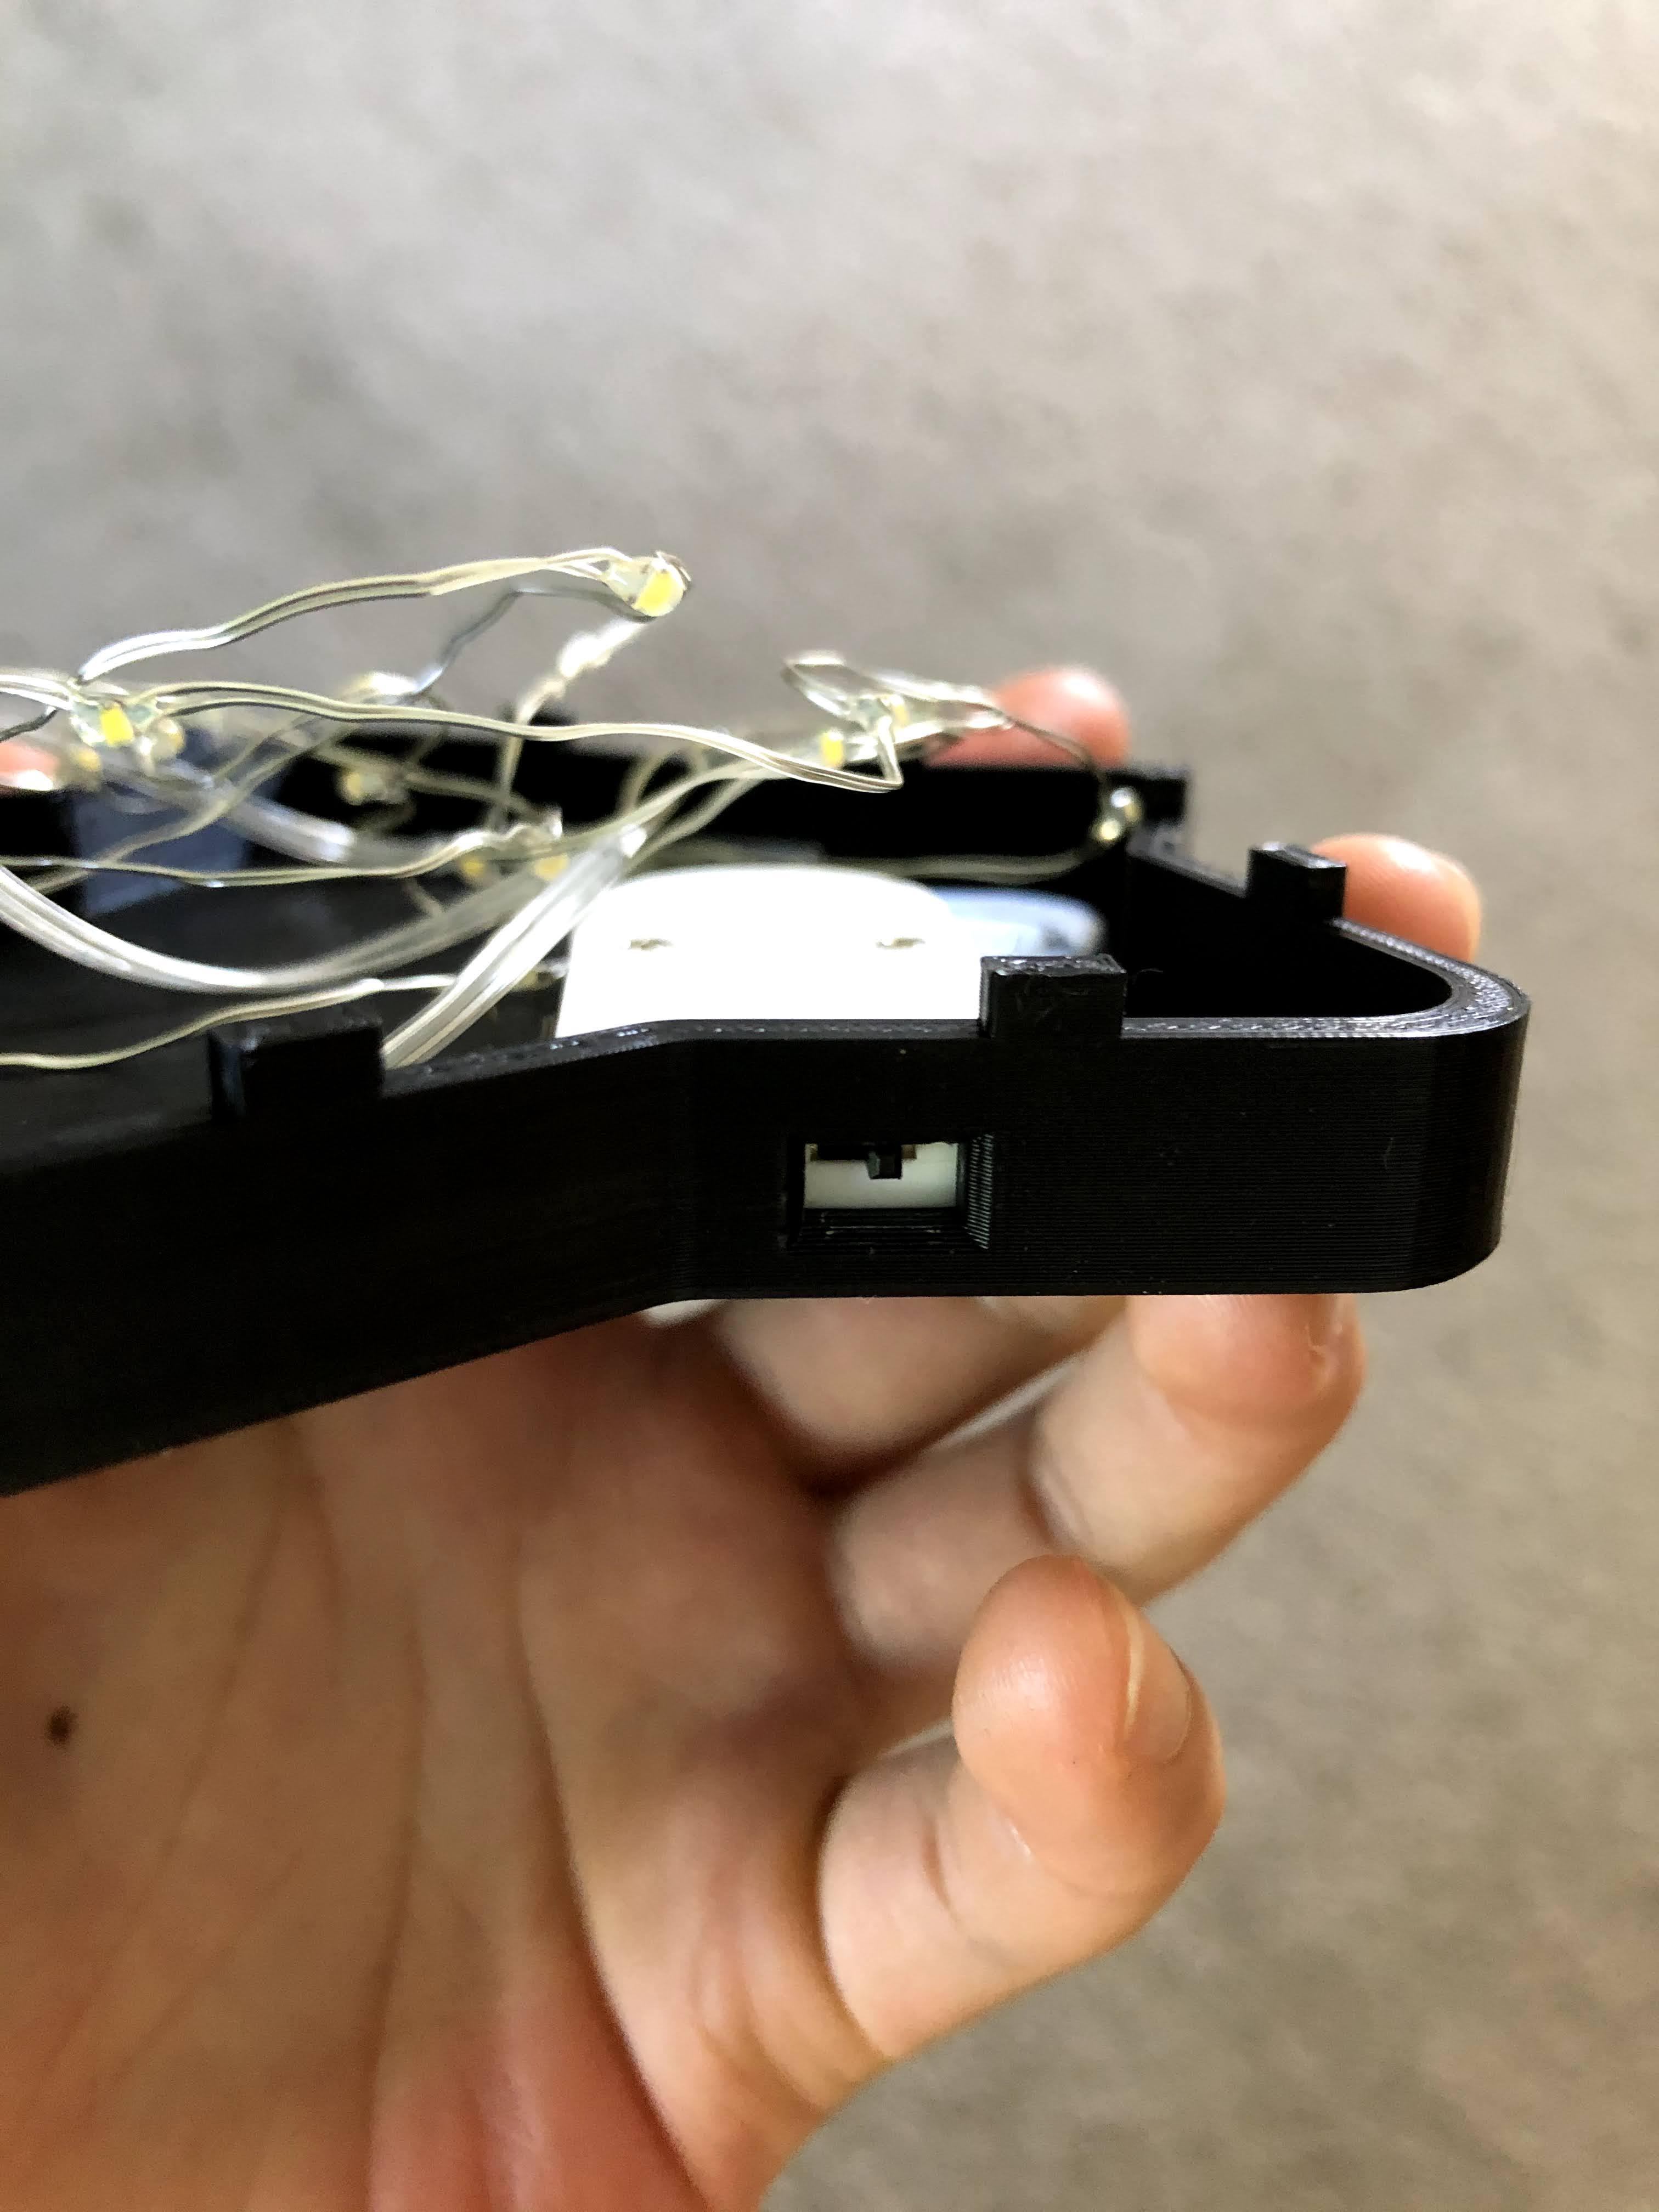
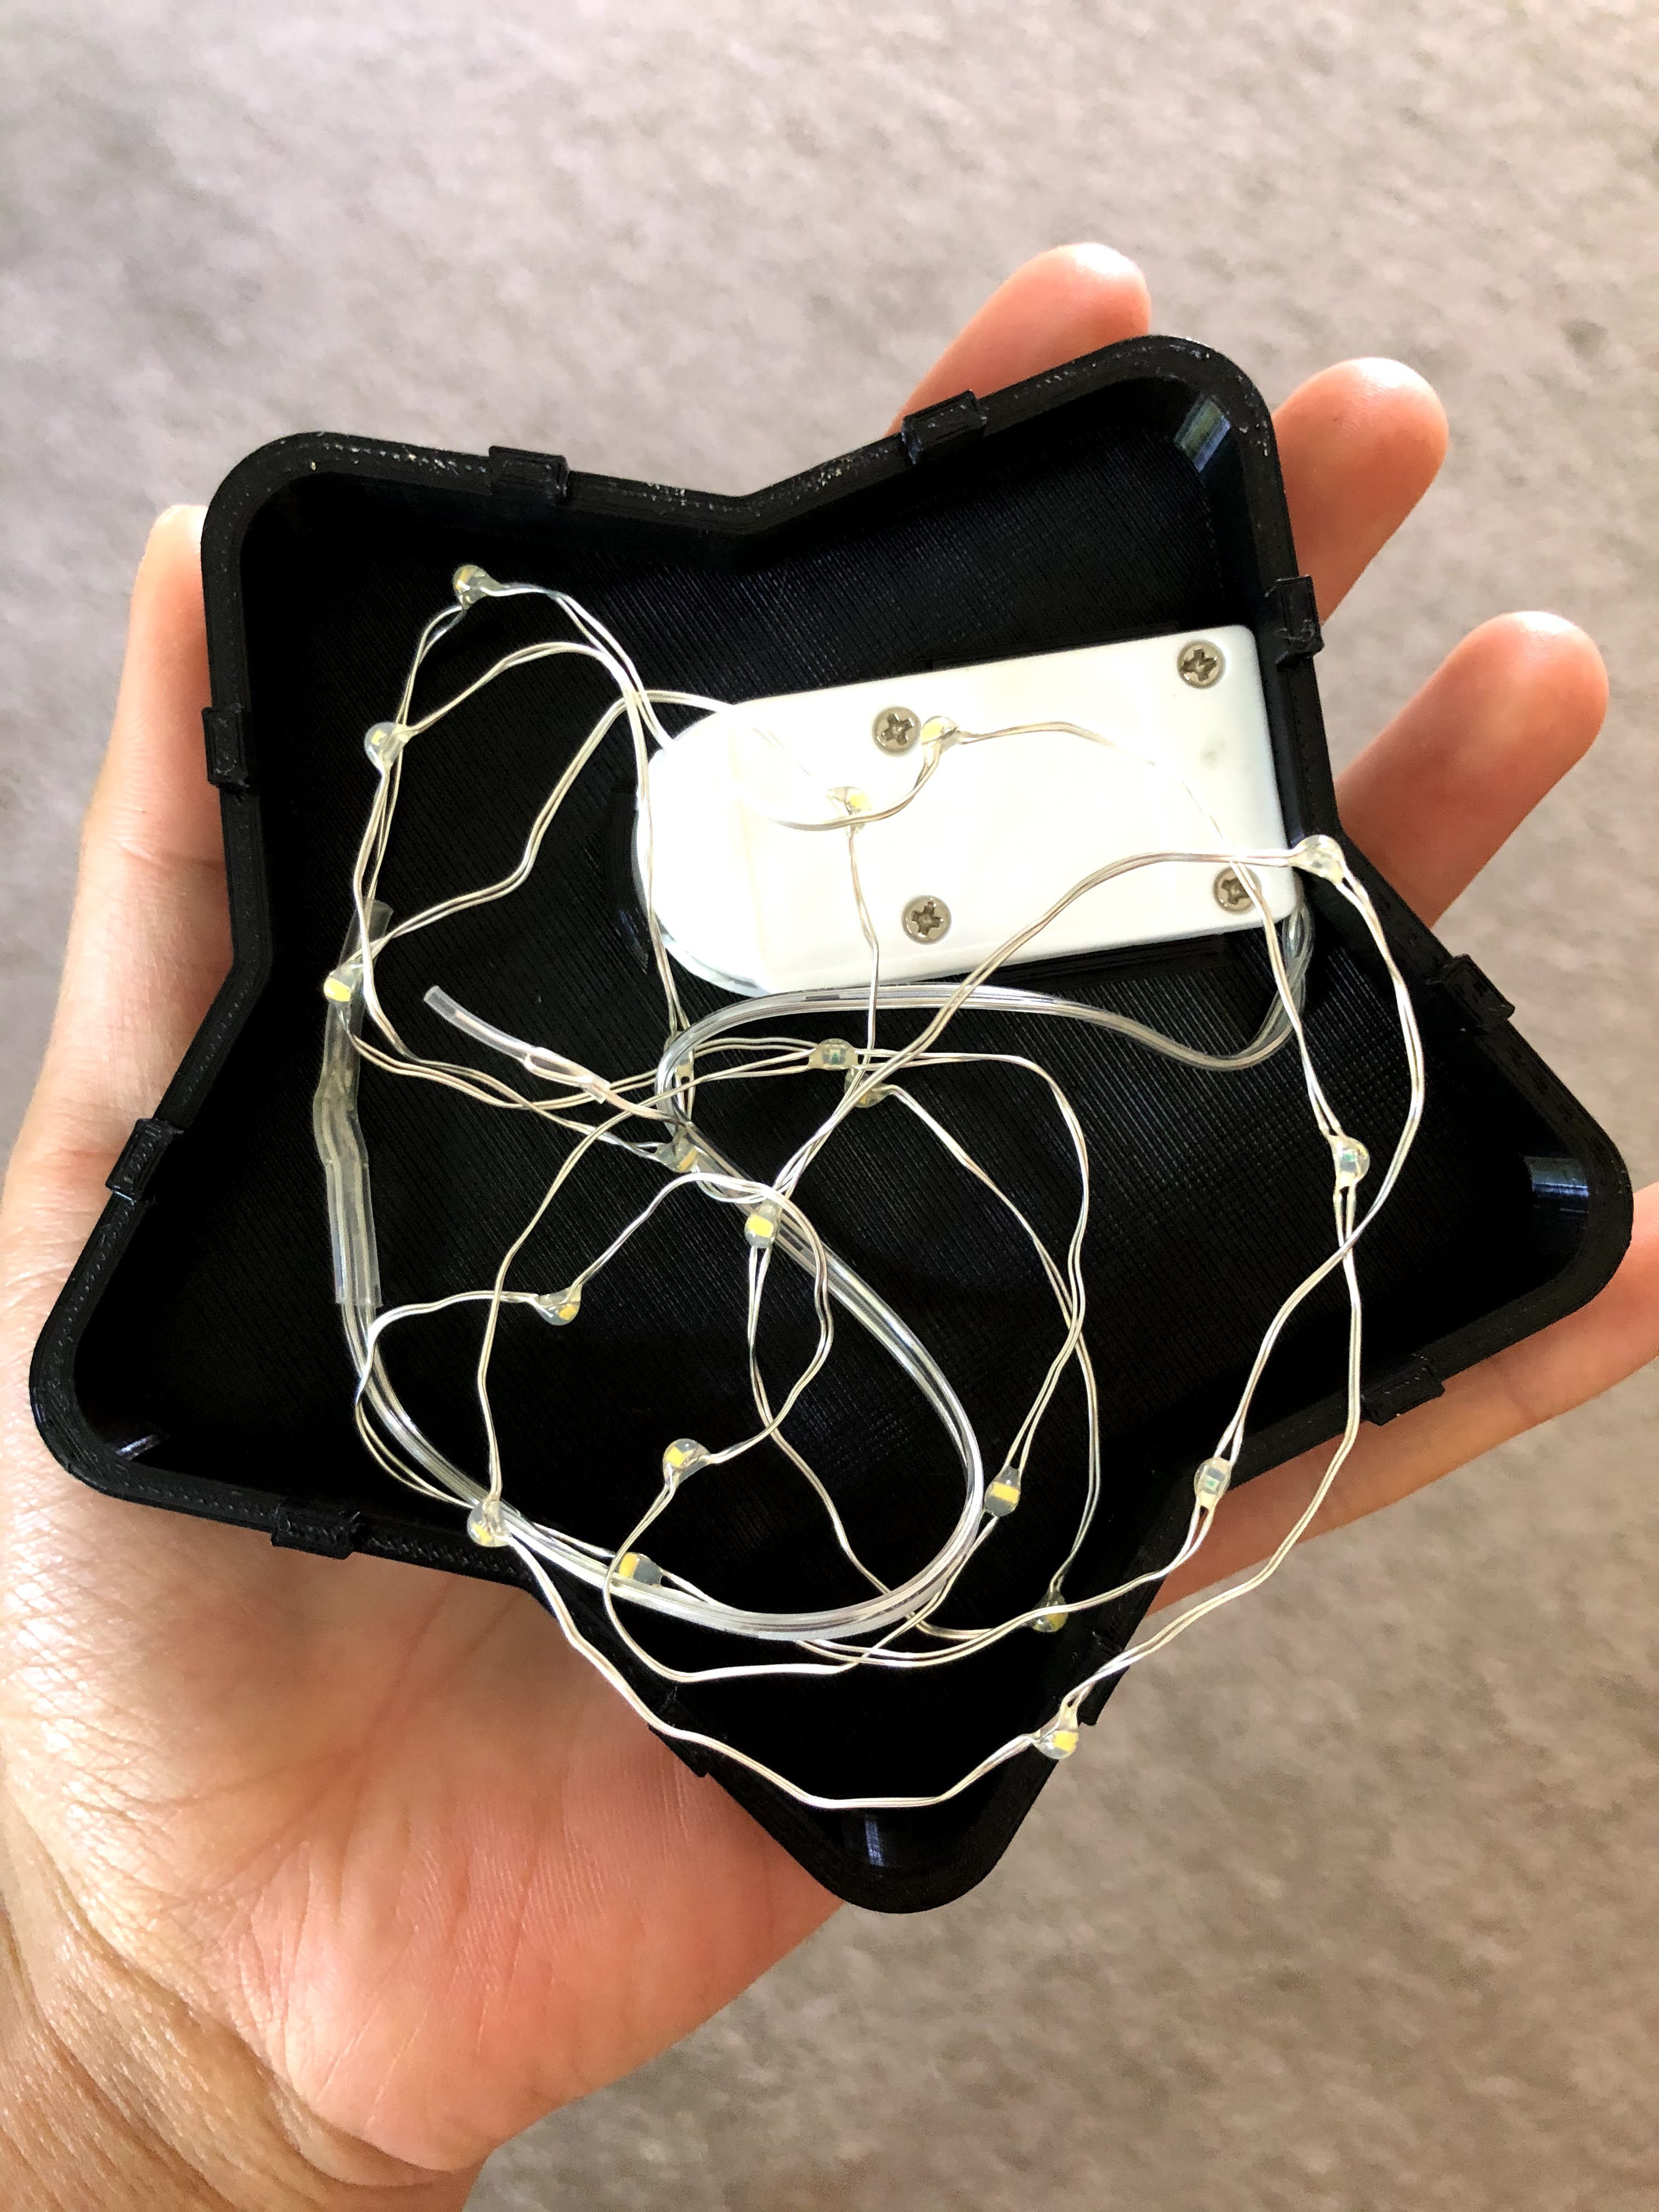
I specifically designed the lamp to have a pocket that holds the fairy light battery pack very securely, plus recessed hole for easy access to the on/off switch. The battery pack is a pretty standard size so this should fit most fairy lights you buy online. If it doesn't still doesn't fit with a hard press, you can just tape it into a corner.
I didn't bother with taping the lights in any particular location since it looked fine when I added the cover, but you could tape down the lights to keep them distanced for better light distribution.
The top and bottom pieces can then be pressed together and voila, your lamp is finished!