Connect Remotely to the Raspberry Pi
by Becca Rose in Circuits > Raspberry Pi
9855 Views, 94 Favorites, 0 Comments
Connect Remotely to the Raspberry Pi
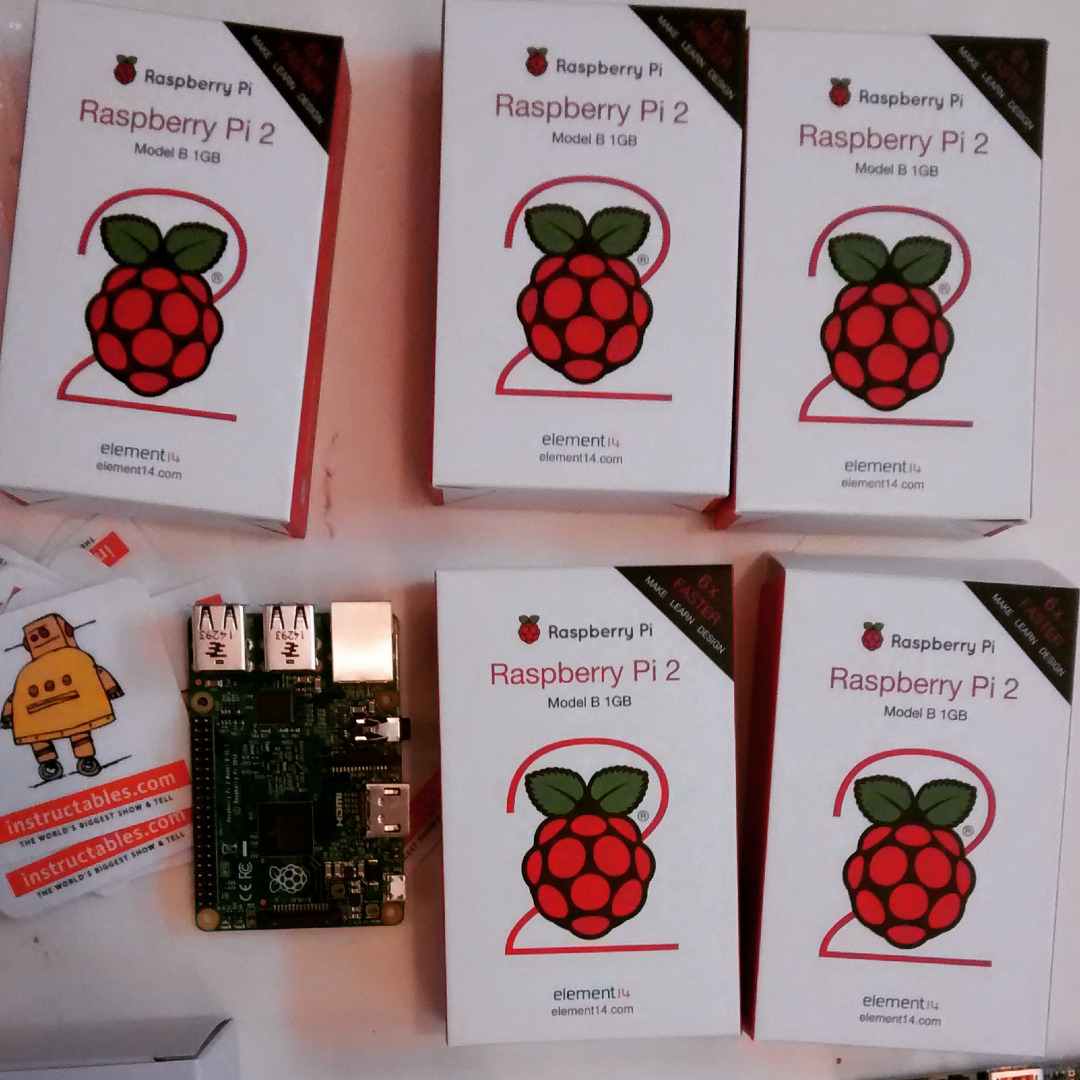
Picture this:
We are excited about hosting a Raspberry Pi build night at our maker space in San Francisco. We have keyboards ready, mouses, power adapters, SD cards loaded with operating systems, refreshments, and a room full of creative technical folk. But....uh-oh....we are 1 monitor short for our group. Shock horror!
Not to worry!
We can set up the Raspberry Pi to work remotely on a laptop, so that the laptop can be used as a monitor (and keyboard, and mouse) by setting up Virtual Network Computing (VNC).
This instructable is a step-by-step break down of how to set up a remote connection to the Raspberry Pi with a MAC. It is based on this guide from Raspberry Pi. In the Raspberry Pi tutorial, we found that there were a few things to add, and we changed some of the ordering, and added a bit more detail for people who are not familiar with the Command Line Interface (CLI). There are a few steps, but take it slow, and even if you've not used the command interface before, you should have all the info you need using this instructable.
You will need:
- Raspberry Pi
- MAC computer
- Monitor
- Keyboard
- Mouse
- Ethernet Cable
- Power adapter
- SD card / micro SD card
Good luck :)
What Is VNC?
Virtual Network Computing (VNC) is a graphical desktop sharing system that remotely controls one computer from another (i.e. controlling the Raspberry Pi from your laptop). It transmits the keyboard and mouse events from your computer to the Raspberry Pi, and makes the screen updates back to your laptop over a network.
VNC was originally developed at the Olivetti & Oracle Research Lab in Cambridge, United Kingdom (my home town :) ).
Set Up the Raspberry Pi
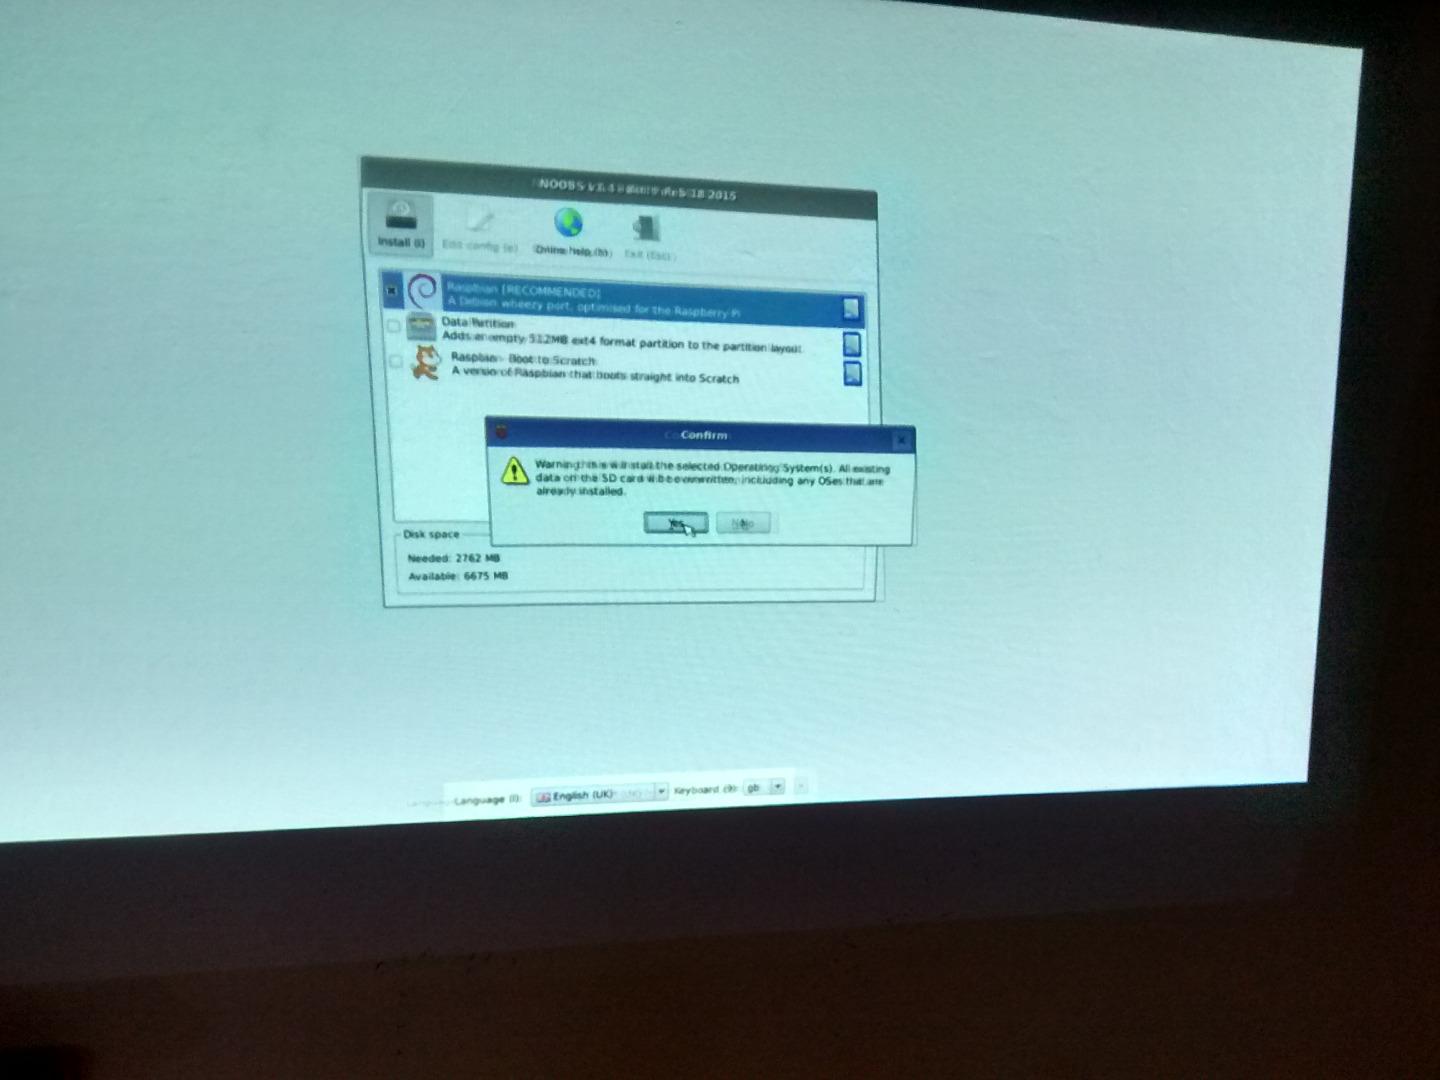
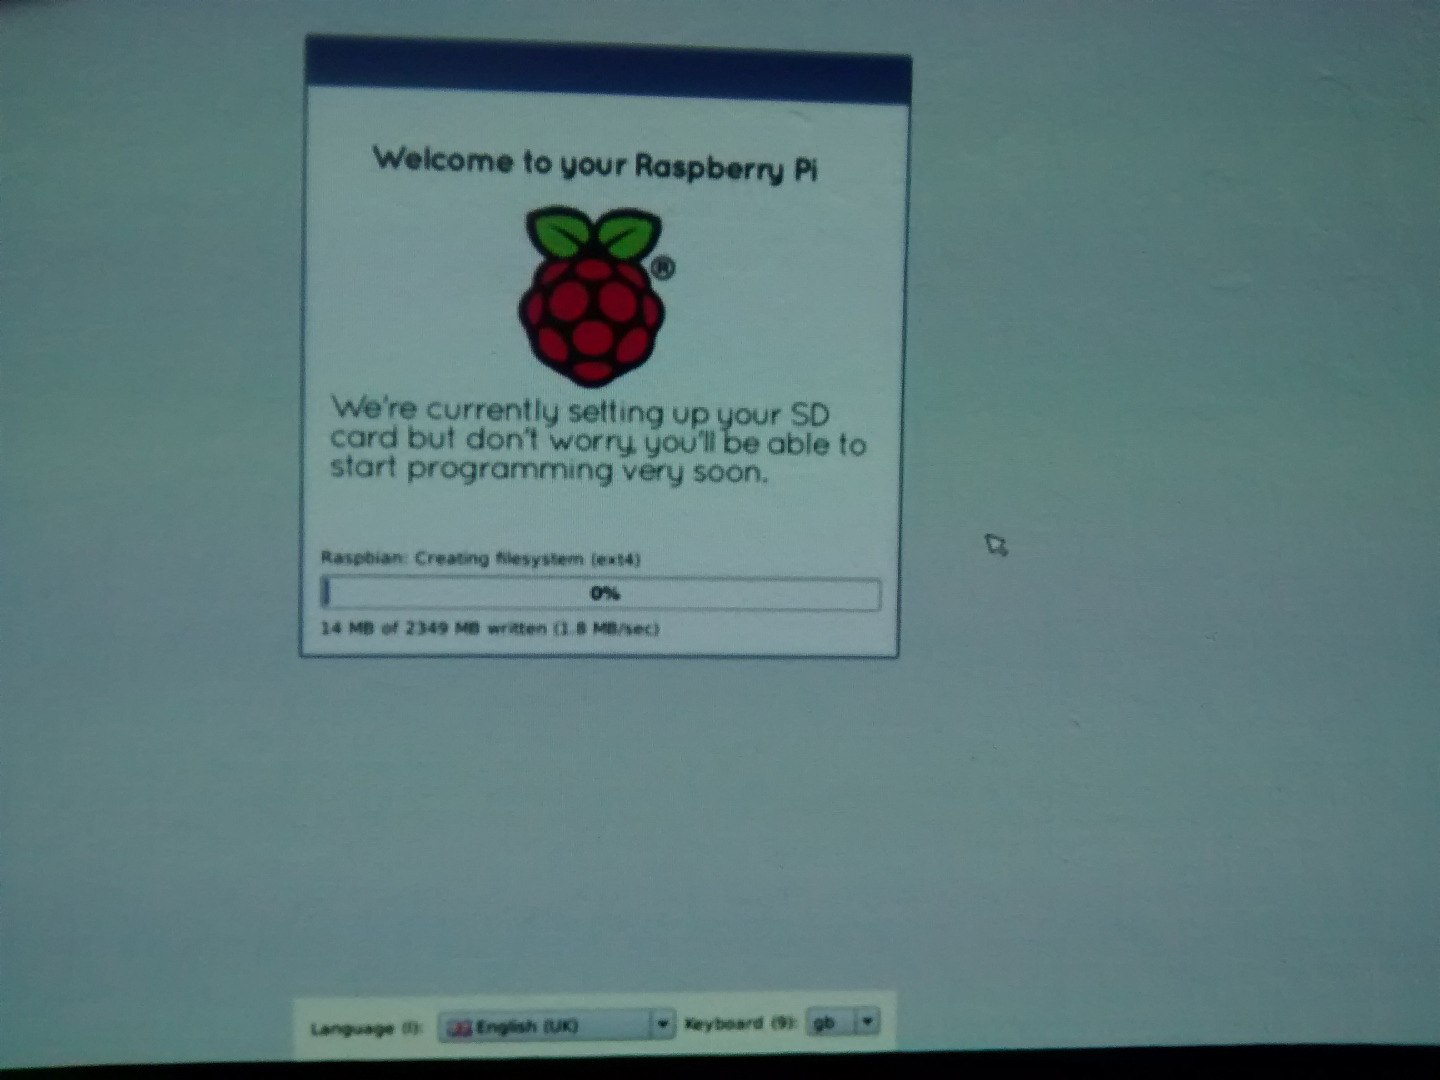
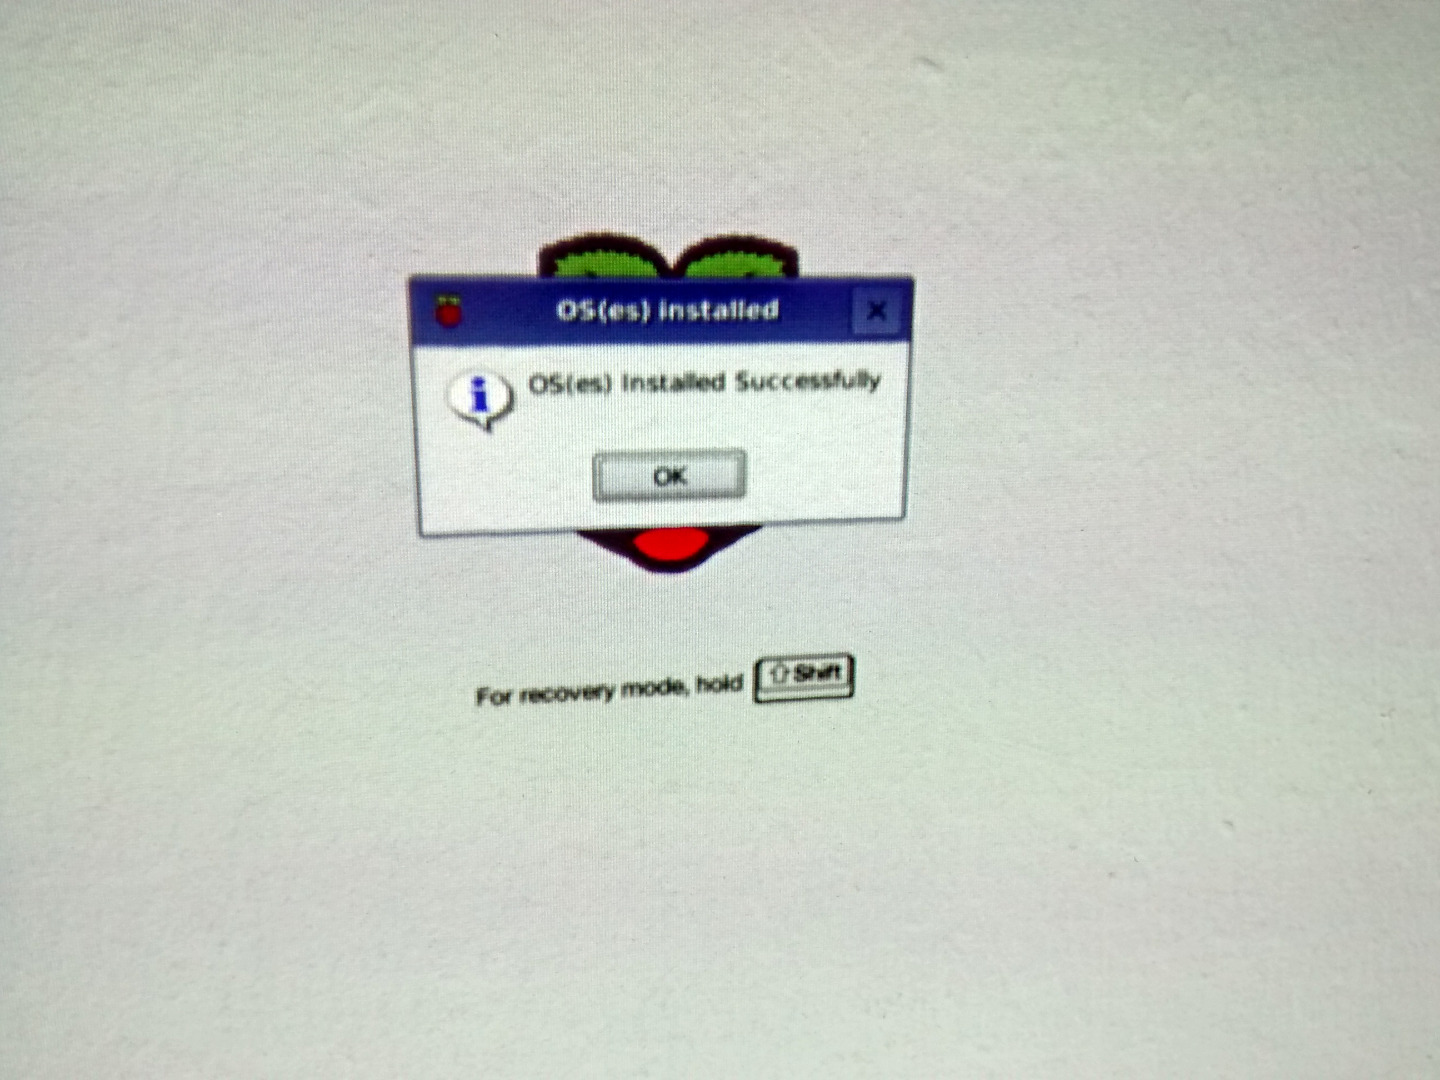
Before make steps to setting up VNC we need to get the Raspberry Pi set up.
Insert an SD card with the NOOBS operating system installed (NOOBS is an easy operating system installer which contains Raspbian. Download it here), and plug in your mouse, monitor, power, and keyboard into the Raspberry Pi.
There will be several warning window, just hit yes to the recommended option of installing Raspbian and then wait for the Pi to set-up.
Configure Software
Once the Raspberry Pi has finished doing its thing. A configuration window will pop up. If (like us) you are using a non-GB keyboard you'll need to change the options. You also need to enable SSH (Secure Shell) at this point.
Keyboard:
Select option (4) Internationalization, and then select (11) to configure. Scroll down to en_US_UTF-8 UTF-8 make sure that you hit space bar and then enter so that this choice has an astrix next to it then hit enter, it might take a while to set this up.
SSH:
At this stage you'll also need to enable SSH !this is important!, to do this select option (8)
Select finish, then reboot.
Log-in
Once the Raspberry Pi has rebooted a log-in window will appear. Log-in with your the default username and password (the default log-in for Raspbian is username: pi password: raspberry).
Internet Sharing
Yay. You should now be up and running on your Pi with the monitor (not remotely yet...that is to come).
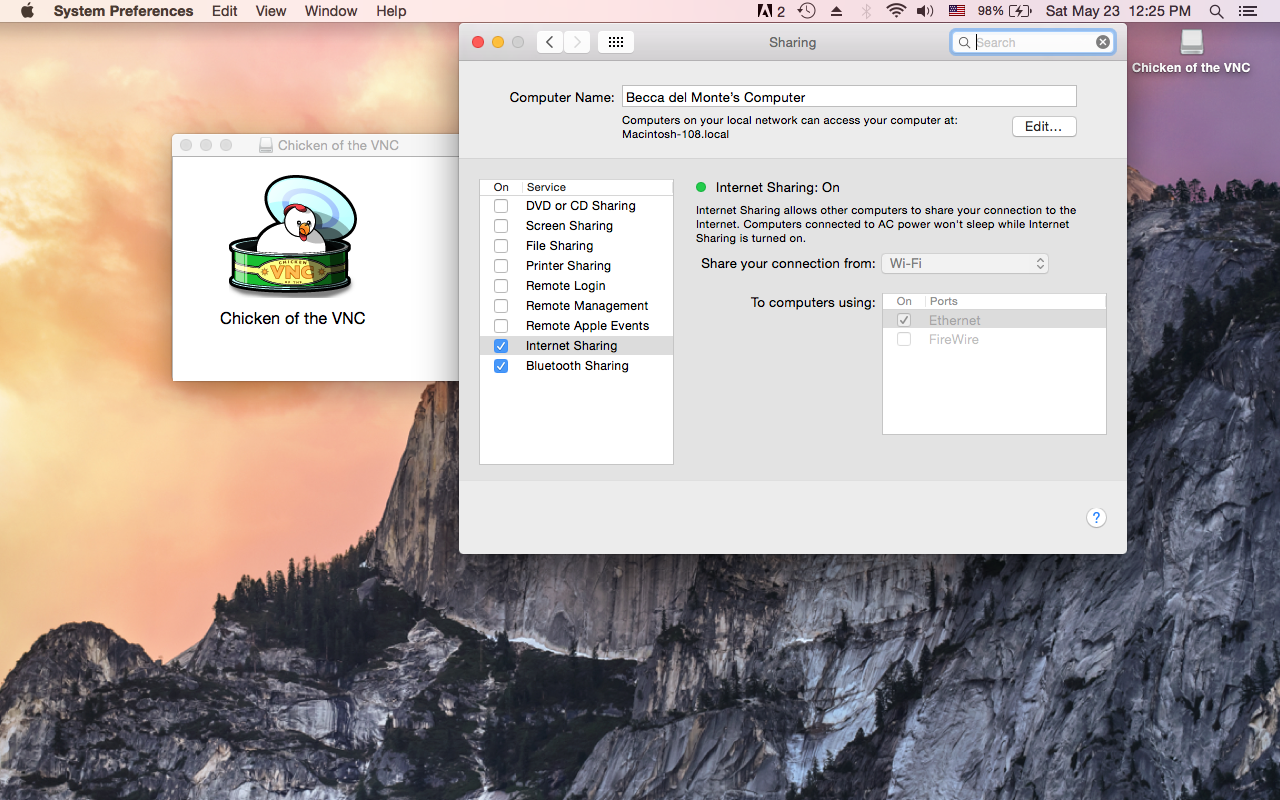
Make sure your Raspberry Pi is connected to your laptop using the Ethernet cable, and we need to change the sharing options in your laptop. Got to system preferences on your laptop. make sure that the internet sharing is selected and share connection from wifi to computers using Ethernet.
VNC Client Download


As we are using a MAC, we needed to download a VNC client to the laptop. We used Chicken of the VNC. Download it onto your laptop here*, and after the download open up the Chicken of the VNC window.
Set-up
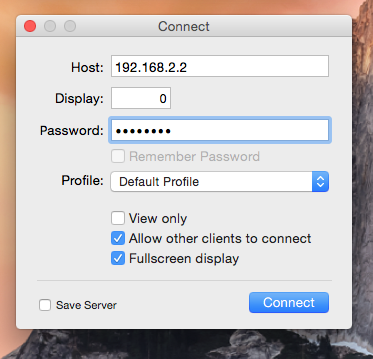
When in the Chicken of the VNC program on your laptop, you'll need to make a new connection. Click on the Connection tab and then New Connection, and a new window will open. In the window the host will be the default to “localhost”, change this to the Raspberry Pi's IP address.
IP address
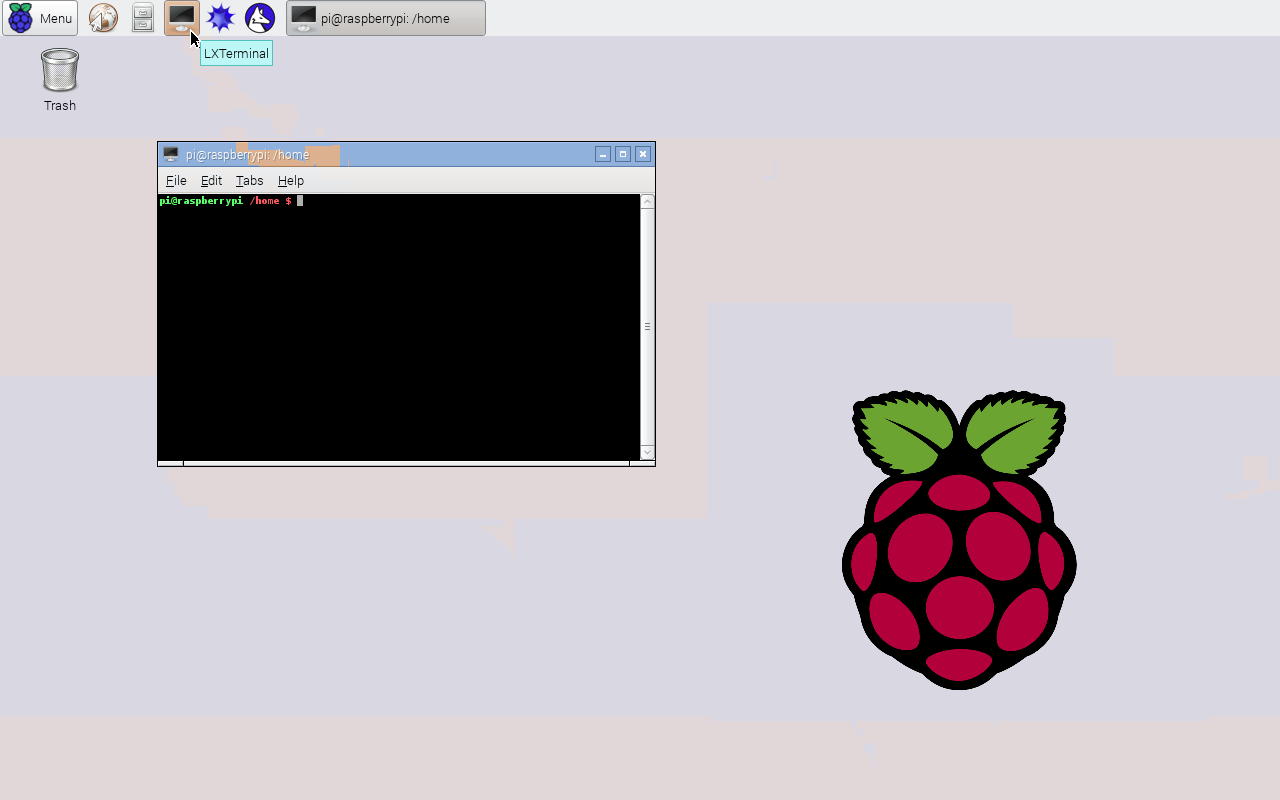
You’ll need change the host to the Raspberry Pi’s IP address, but what is the IP Address? To find the IP address we went back to the Raspberry Pi, and opened the Command Line Interface (CLI), which in the Raspbian's case is refereed to as the LXTerminal, and is the icon that looks like a monitor.
Open the CLI, and after pi@raspberrypi~$
type:
hostname -I
then hit enter.
This will show your IP address, which will read something like 192.168.2.2 (8 numbers and 4 stops in total).
Now go back to the laptop, delete the word “localhost” and type the IP address of your Raspberry Pi in the host tab. Keep display = 0, and Password is your Pi's password, (note this will be truncated to 8 characters, i.e. raspberry will be raspberr)
Check Save Server, and click Connect
*whilst we were waiting for the download we entertained ourselves with this short interlude.
Setting Up the Laptop Geometry
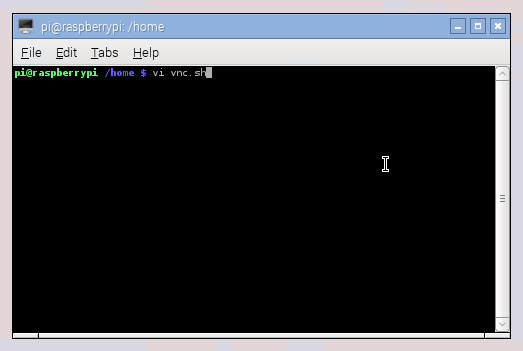
Nearly there! Just a few more steps and we got our laptop set-up.
First, in the CLI we created a file using a text editor called VI. Type in the following command in the CLI after "pi@raspberrypi~$"
vi vnc.sh
then hit enter
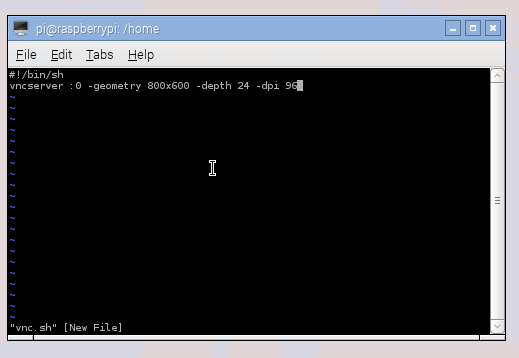
You will now be inside the VI -which is an editing window. Type:
i
and DO NOT hit enter (“i” stands for insert mode, which means you can edit the file). We then added the following script:
#!/bin/shvncserver :0 -geometry 1920x1080 -depth 24 -dpi 96
(note: change 1920x1080 to the screen size of the laptop you'll be using remotely)
Hit escape to get out of insert mode, and then type:
:wq
and hit enter.
Colon allows you to make a global command, then wq and enter, will save the script you added whist you were in the "insert" mode, and quit out of VI ("w" stands for write, and "q" quit).
Setting Up VNC on Reboot
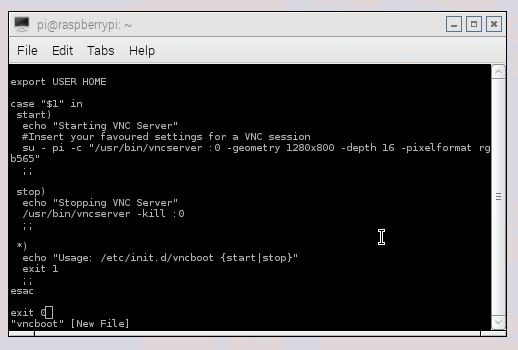
If you don't want to go through this whole palaver every time you power up the Pi, you'll need to add a few more scripts to automate the VNC settings to run on reboot.
Firstly in your Raspberry Pi CLI get to the root directory by typing the command:
sudo su
and hit enter
("sudo" is a bit like a trump command. See Xkcd's cartoon for a good example of how this works).
Now change director to /etc/init.d/ by typing the following script:
cd /etc/init.d/
and hit enter
("cd" -is the command to change director)
Create a new file in VI called “vncboot”
vi vncboot
and hit enter
you are now back in VI text editor.
type:
i(and do not click enter) to insert the following script:
### BEGIN INIT INFO<br># Provides: vncboot
# Required-Start: $remote_fs $syslog
# Required-Stop: $remote_fs $syslog
# Default-Start: 2 3 4 5
# Default-Stop: 0 1 6
# Short-Description: Start VNC Server at boot time
# Description: Start VNC Server at boot time.
### END INIT INFO</em></p><p><em>#! /bin/sh
# /etc/init.d/vncboot</em></p><p><em>USER=pi
HOME=/home/pi</em></p><p><em>export USER HOME</em></p><p><em>case "$1" in
 start)
  echo "Starting VNC Server"
  #Insert your favoured settings for a VNC session
  su - pi -c "/usr/bin/vncserver :0 -geometry 1280x800 -depth 16 -pixelformat rgb565"
  ;;</em></p><p><em> stop)
  echo "Stopping VNC Server"
  /usr/bin/vncserver -kill :0
  ;;</em></p><p><em> *)
  echo "Usage: /etc/init.d/vncboot {start|stop}"
  exit 1
  ;;
esac

exit 0
now hit escape then :wq to save and exit VI
Back in the CLI type the following command to make the file executable:
chmod 755 vncboot
and enable dependency-based boot sequencing
update-rc.d /etc/init.d/vncboot defaults
If enabling dependency-based boot sequencing was successful, you will see this:
update-rc.d: using dependency based boot sequencing
This worked for us, and we didn't get any error messages, yipee! However in case you do get an error the tutorial we followed says to try add the following command:
update-rc.d vncboot defaults
Now reboot the Pi and....
We Are Chicken of the VNC a Go Go!
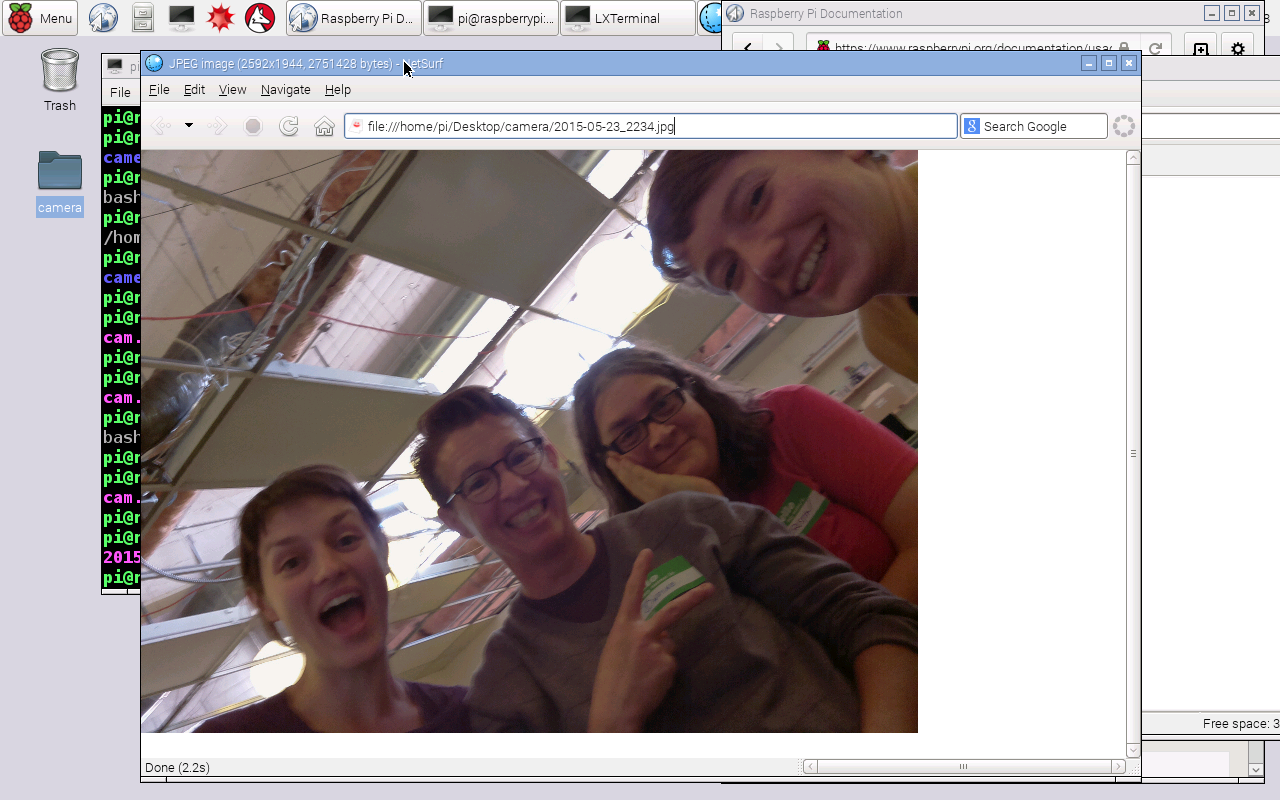
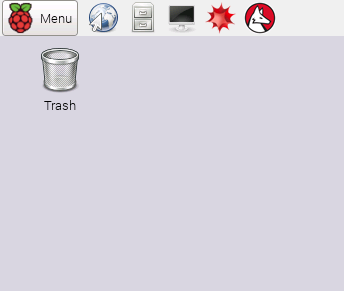
....connect remotely to your Raspberry Pi anytime you like, you lucky lucky people!
Well done if you got this far! This is a Shelfie* (a Shell Script Selfie) we took shortly after we connected. Look at those happy faces. A lot of joy was made. Enjoy making your Raspberry Pi projects!
*I'm working on a Pi-camera project build and will post a Pi instructable for using the camera soon(ish) :)