Connecting Intel® RealSense™ 3D Camera With the Intel® Edison
by faqsun in Circuits > Wireless
7169 Views, 43 Favorites, 0 Comments
Connecting Intel® RealSense™ 3D Camera With the Intel® Edison

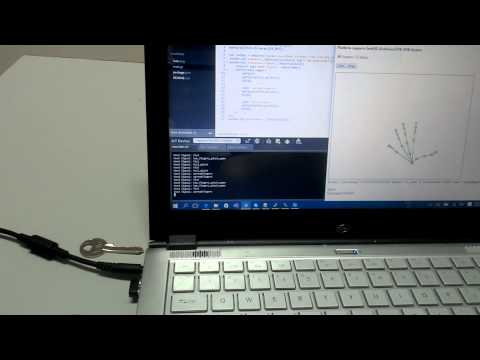
Intel® has introduced many great innovation. One is Intel® RealSense™ technology with the Intel®RealSense™ 3D Cameras and SDK; we can create applications that can perform gesture detection, facial analysis, background segmentation, voice recognition, voice synthesis, and more, the SDK provides more support to software framework that is CSharp, Java, JavaScript, Processing and Unity. The developer can jump off to get started creating applications with ease based on framework they are familiar with.
Another cool thing from Intel® technology is the Intel® Edison platform. An IoT developer can build prototypes that gather sensor information or send control to other devices and create innovative products. Intel® Edison already has integrated Wi-Fi and Bluetooth Low-energy* (LE) so we can connect to the internet and create a real Internet of Things solutions. In this project we will be using Intel®RealSense™ technology JavaScript Framework to send hand gesture data to a server and the server will send the data to trigger the buzzer and LED connected by Intel® Edison.
Hardware :
- Intel® Edison board with the Arduino* breakout board
- Seeed Grove* – Starter Kit Plus - Intel® IoT Edition
- 4th generation (or later) Intel® Core™ processor
- 8GB free hard disk spaceUSB 3.0
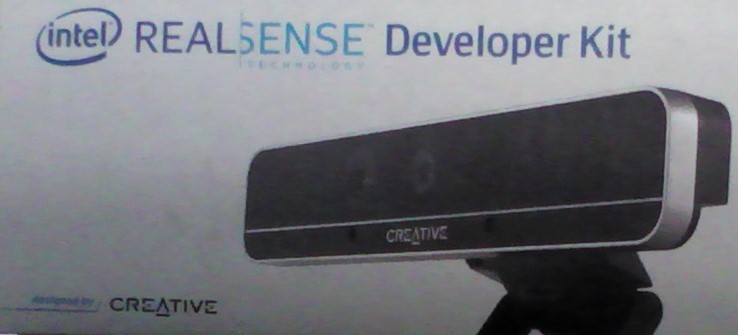
- An Intel® RealSense™ 3D Camera F200 (system-integrated or peripheral version)
- An Server equiped with Node.js
Software :
- Intel® XDK IoT Edition : https://software.intel.com/en-us/getting-started-...
- Intel® RealSense™ SDK R4 : https://software.intel.com/en-us/getting-started-...
Let's Start...!!!
complete article here, also written by me
Setup the Intel® RealSense™
.JPG)

- First connect the Intel® RealSense™ 3D F200 Camera to a USB 3.0 Port
- Install Camera driver and Intel® RealSense™ SDK : https://software.intel.com/en-us/intel-realsense-...
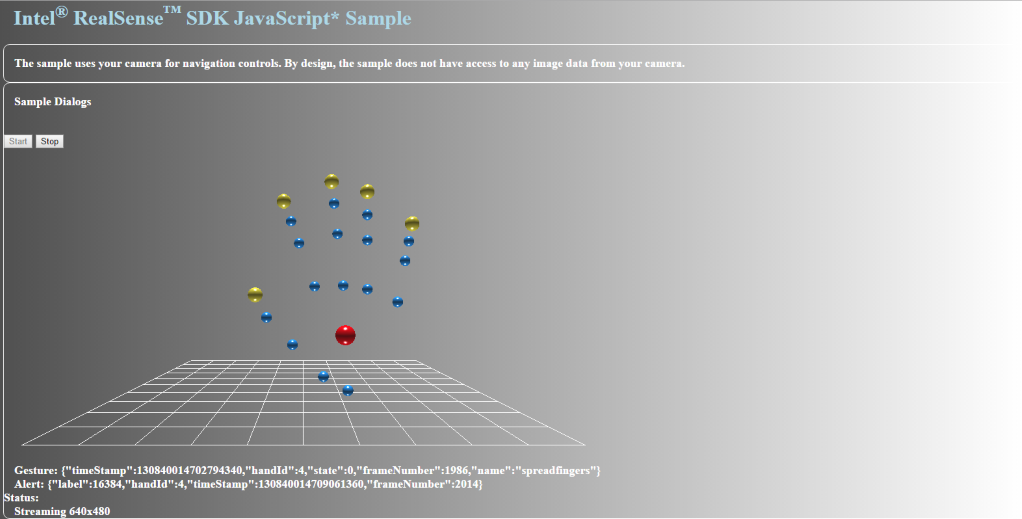
- Navigate to the installation location and open a JavaScript sample at RSSDK\framework\JavaScript\FF_HandsViewer\FF_HandsViewer.html
- Install webapp (link provided in browser)
- Restart browser and try open sample file again
Modifying Sample Code


*follow this this step, if you install on default path C:\Program Files (x86)\Intel\RSSDK ,
- *Copying RSSDK\framework\JavaScript\FF_HandsViewer Folder to another location
- *Copying realsense.js located at RSSDK\framework\common\JavaScript and place it on FF_HandsViewer Folder
Modifying sample code :
- Creating edisonconnect.js files to receive Gesture Data and Send to Server
- Edit sample.js file to intercept Gesture Data and pass it to edisonconnect.js
- Edit FF_HandsViewer.html file to re-locate realsense.js file path, linking socket.io and edisonconnect.js script
complete code download on GitHub
Creating Nodejs Server
- Install and setup an Debian Linux based Server
- Remote your server and login trough SSH
- Updating server - sudo apt-get update
- Installing Nodejs - sudo apt-get nodejs
- Installing npm - sudo apt-get npm
- Installing socket.io express - sudo apt-get socket.io express
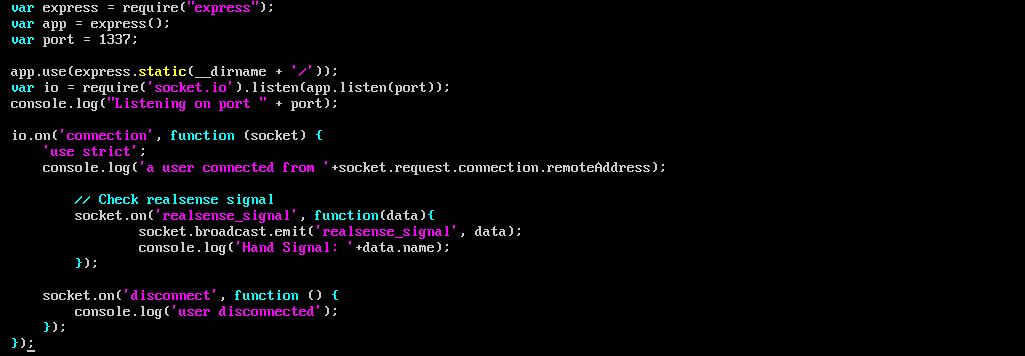
- Creating file server.js and index.html (download on GitHub)
- running the scripts - node server.js
Setup the Intel® Edison

pre-step if this first time to you to setup Intel Edison :
Intel® Edison is easy to deploy and clear documentation is provided by Intel®. You can find it at:
- Getting started with Intel® Edison : https://software.intel.com/en-us/iot/library/edis...
- Seeed Grove* – Starter Kit Plus - Intel® IoT Edition : http://www.seeedstudio.com/depot/Grove-starter-ki... Assemble Intel® Edison on the Arduino board : http://www.seeedstudio.com/depot/Grove-starter-ki...
- Running the Integrated Installer : http://www.seeedstudio.com/depot/Grove-starter-ki...
- Setup a Serial Terminal Connectoin : http://www.seeedstudio.com/depot/Grove-starter-ki...
- Connecting Intel® Edison to Wi-Fi : http://www.seeedstudio.com/depot/Grove-starter-ki...
- Install and configure Intel® XDK IoT Edition : http://www.seeedstudio.com/depot/Grove-starter-ki...
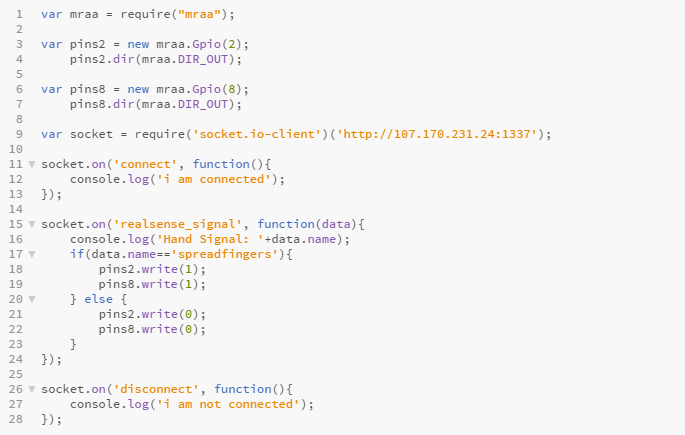
Ok, now it's time to place a code inside Intel® Edison, this code is to connecting to Server and listening to any broadcast from Server. If there is Gesture Data Received then Intel® Edison will trigger Digital Pins to On/Off.
- Open Intel® XDK IoT Edition
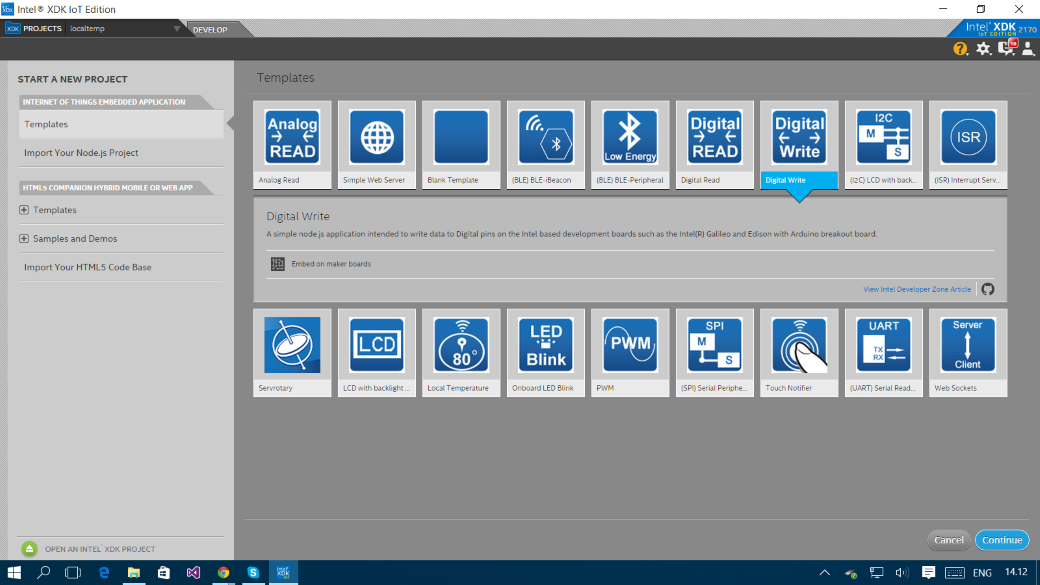
- creating a new project from Templates.
- Use Digital Write Template
- Edit package.json adding dependencies socket.io-client
- Edit main.js : to connect to Server and check if Gesture Data name "spreadfingers" then trigger Digital Pins2 and Digital Pins8 state to 1 / On if other Gesture Data Received change back to 0 / Off state. *please change your referring server IP’s addresses, if you want to change the Pins make change onmraa.Gpio(selectedpins)
- Install/Build your project then Run