Connected Round Screen (240x240, GC9A01 Controller) to Raspberry PI!
by YamS1 in Circuits > Raspberry Pi
16107 Views, 17 Favorites, 0 Comments
Connected Round Screen (240x240, GC9A01 Controller) to Raspberry PI!
X, google's moon shot factory has a famous metaphor that starts with:
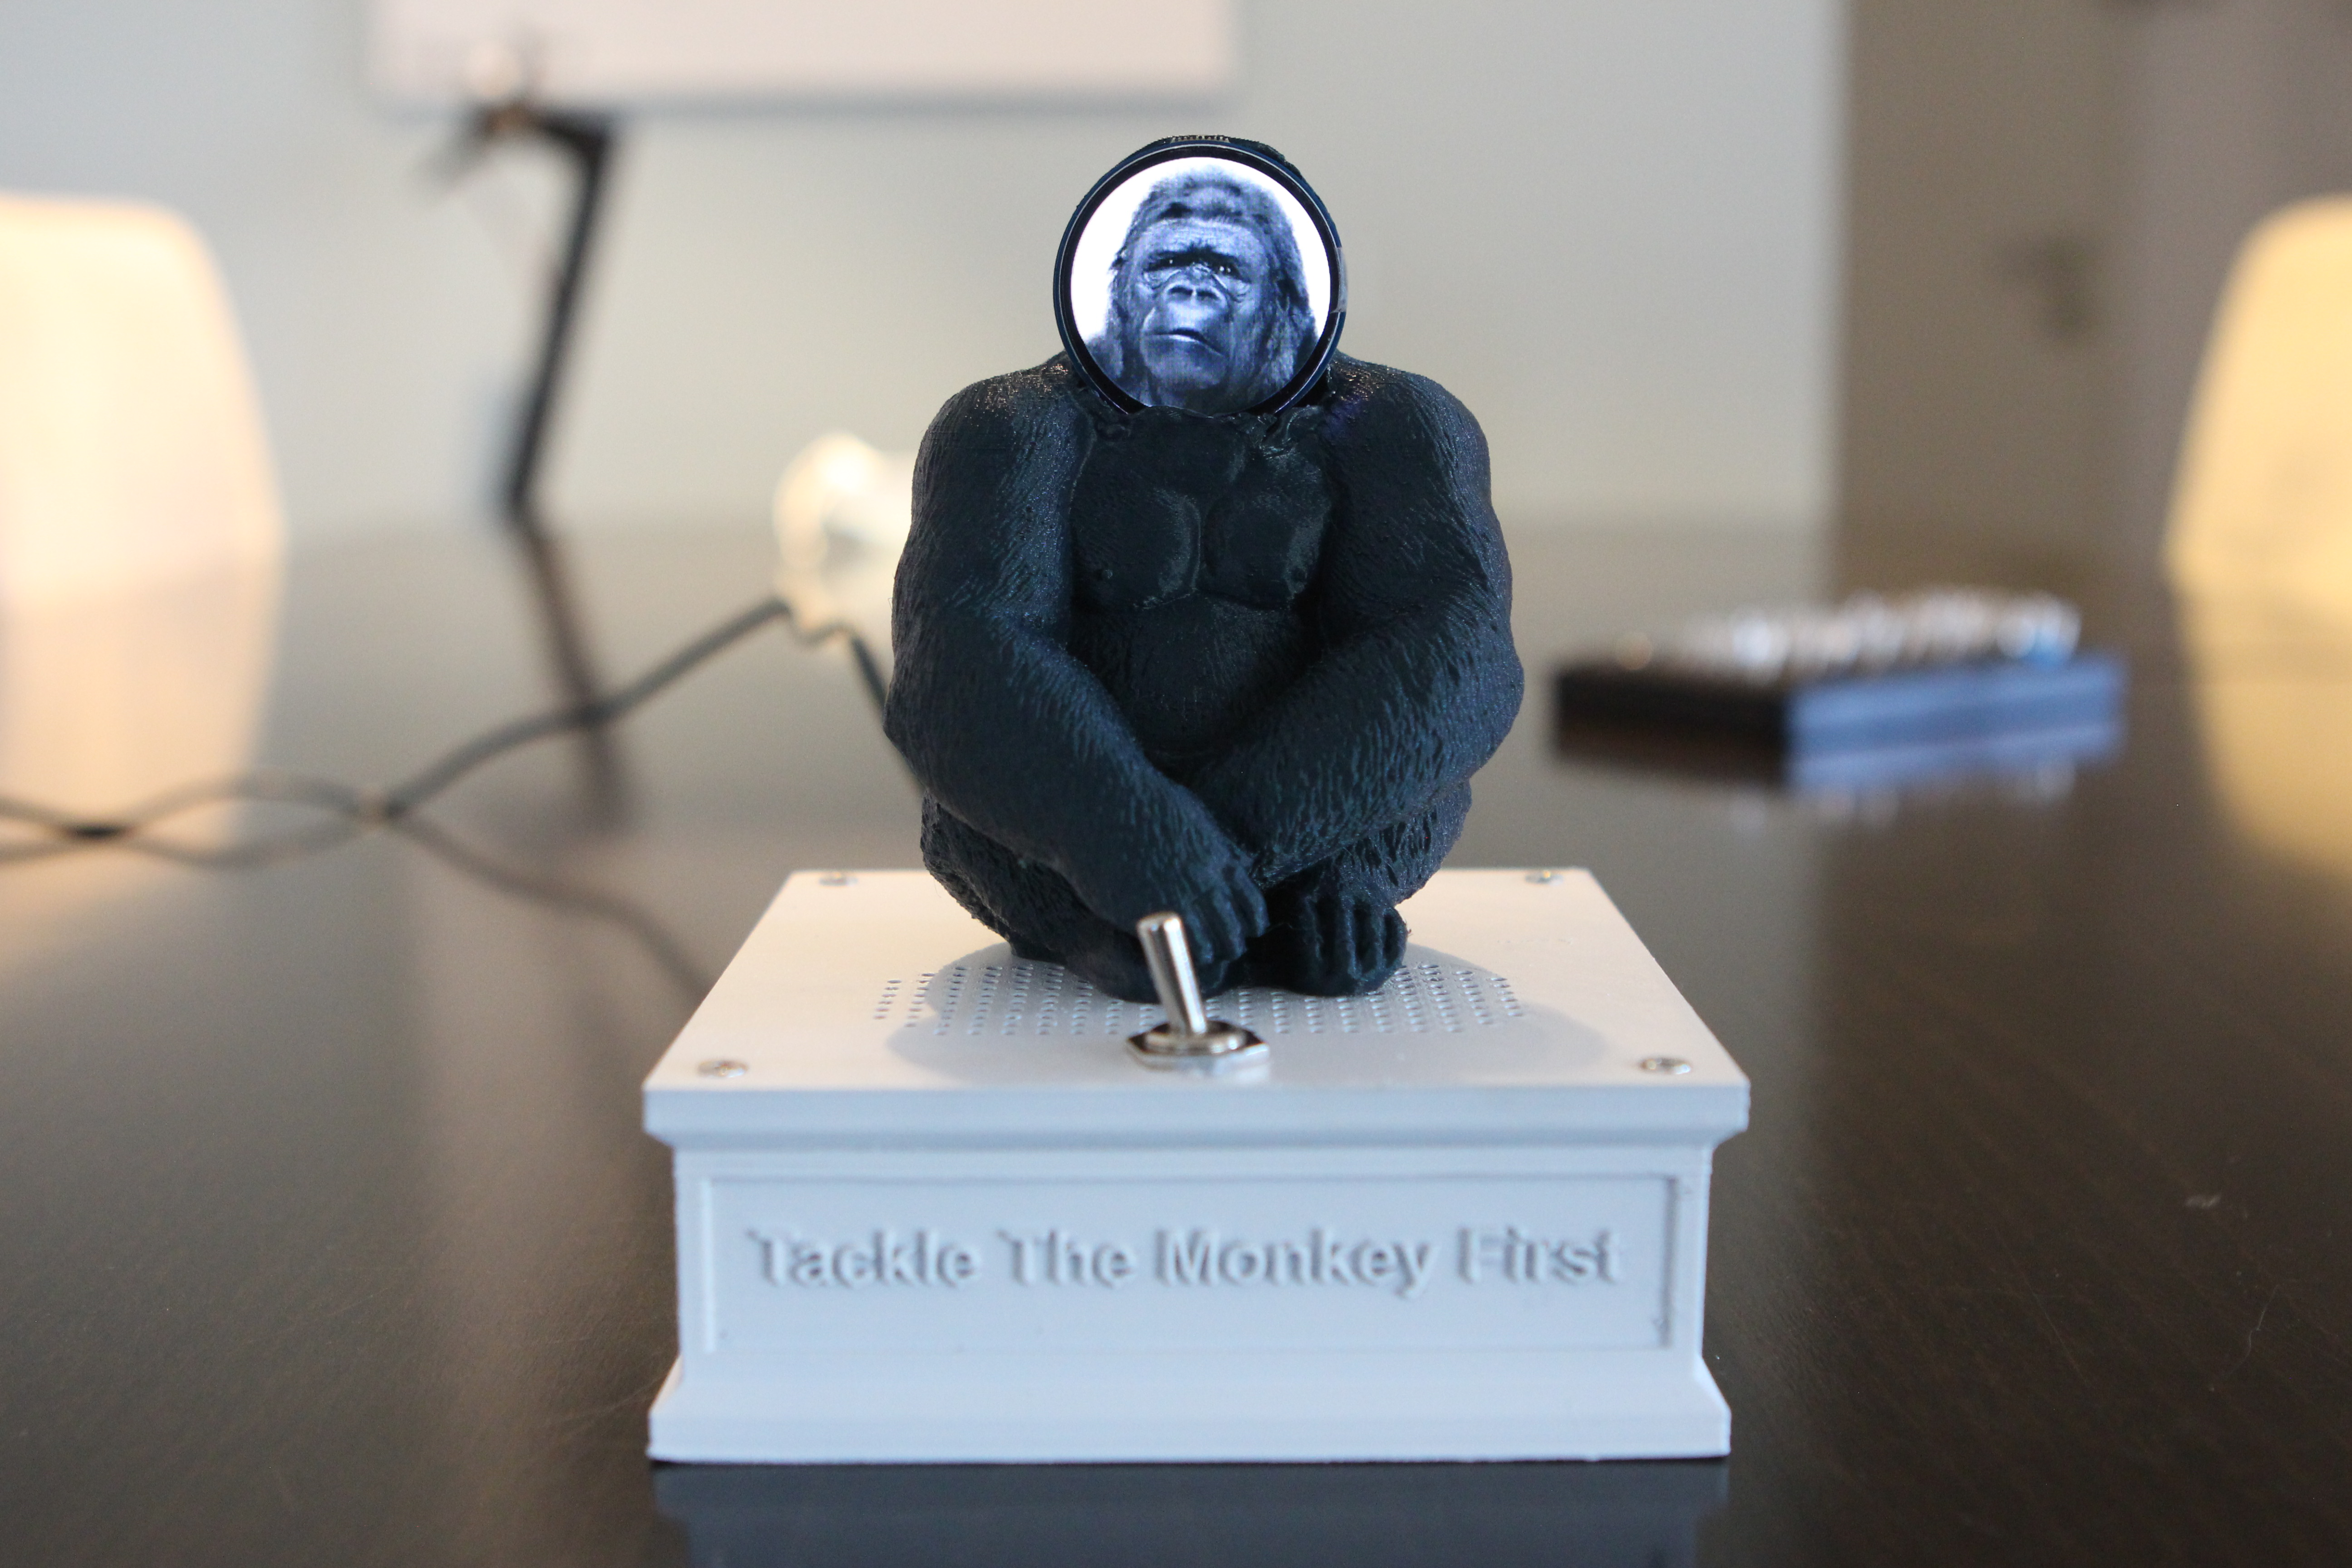
"Let’s teach a monkey how to recite Shakespeare while on a pedestal".
I took it quite literally, and built this (attached).
For that, I wanted to play a video on a small round screen.
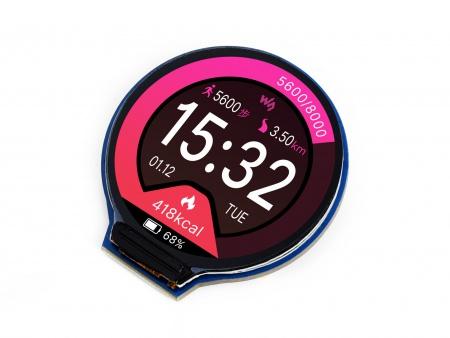
Little as I know, the fact that you could play video on some 240x240 LCD SPI screens doesn't mean it's easy on all of them. How I played video and showed my desktop on Round 240x240 1.28inch LCD Screen Module with a raspberry pi!
Supplies
- Screen: Round 240x240 1.28inch LCD Screen Module + (it's cables)
- Raspberry pi 3 B+
- Micro SD and Power Suplly (for Pi)
- MicroSD port in your computer or microSD <--> USB adapter
Note: this require old Pi OS that I think doesn't work on Pi 4, (someone has Pi 4 to check?)
Install Right OS on the Pi
Download OS into MicroSD
Follow this: https://www.raspberrypi.org/documentation/computers/getting-started.html#setting-up-your-raspberry-pi
One of the libraries that we use (fbtft flex https://github.com/notro/fbtft/wiki/flexfb ) need an old OS version to run which you can download here:
http://downloads.raspberrypi.org/raspbian/images/raspbian-2019-04-09/
In the Raspberry Pi Imager -> choose OS -> Use custom -> choose the old OS file
Connect to Regular Monitor
Connect your MicroSD to RPI, connect to power, connect keyboard and screen- your Pi is running!
The first time seeing that the Pi is a full-blown computer is super cool :)
Setup OS to Work With the Round Screen #1
Short explanation (not a must):
It's hard to show videos (regular 24+ fps) on SPI (the protocol and connection type) connected screen. Because the SPI interface is limited in the amount of data it can transfer. So smart people repurposed the optimization in the HDMI connection for the SPI connection. Basically, processing it for the HDMI, and just copy the frame buffer HDMI output to the SPI frame buffer (fb1).
Like we can see a desktop when we connect the Pi to HDMI, we will see the same output in the SPI connected screen!
------------
Original manual (for a different screen)
1. Open and edit the configuration file to enable modules
Write these in the linux command line (still connected to regular HDMI monitor)
sudo nano /etc/modules
Append three statements to the end. ( first one is to enable SPI and another is to enable fbtft module)
spi-bcm2835
flexfb
fbtft_device
2. Create a new configure file
sudo nano /etc/modprobe.d/fbtft.conf
3. Save these statements to the file (this was the hard part I had to crack and change from the original manual) Note: you can open this guide on the Pi (you have a browser) and copy from here, or transfer with USB.
options fbtft_device name=flexfb gpios=reset:27,dc:25,cs:8,led:18 speed=40000000 bgr=1 fps=60 custom=1 height=240 width=240
options flexfb setaddrwin=0 width=240 height=240 init=-1,0x11,-2,120,-1,0xEF,-1,0xEB,0x14,-1,0xFE,-1,0xEF,-1,0xEB,0x14,-1,0x84,0x40,-1,0x85,0xFF,-1,0x86,0xFF,-1,0x87,0xFF,-1,0x88,0x0A,-1,0x89,0x21,-1,0x8A,0x00,-1,0x8B,0x80,-1,0x8C,0x01,-1,0x8D,0x01,-1,0x8E,0xFF,-1,0x8F,0xFF,-1,0xB6,0x00,0x20,-1,0x36,0x08,-1,0x3A,0x05,-1,0x90,0x08,0x08,0x08,0x08,-1,0xBD,0x06,-1,0xBC,0x00,-1,0xFF,0x60,0x01,0x04,-1,0xC3,0x13,-1,0xC4,0x13,-1,0xC9,0x22,-1,0xBE,0x11,-1,0xE1,0x10,0x0E,-1,0xDF,0x21,0x0c,0x02,-1,0xF0,0x45,0x09,0x08,0x08,0x26,0x2A,-1,0xF1,0x43,0x70,0x72,0x36,0x37,0x6F,-1,0xF2,0x45,0x09,0x08,0x08,0x26,0x2A,-1,0xF3,0x43,0x70,0x72,0x36,0x37,0x6F,-1,0xED,0x1B,0x0B,-1,0xAE,0x77,-1,0xCD,0x63,-1,0x70,0x07,0x07,0x04,0x0E,0x0F,0x09,0x07,0x08,0x03,-1,0xE8,0x34,-1,0x62,0x18,0x0D,0x71,0xED,0x70,0x70,0x18,0x0F,0x71,0xEF,0x70,0x70,-1,0x63,0x18,0x11,0x71,0xF1,0x70,0x70,0x18,0x13,0x71,0xF3,0x70,0x70,-1,0x64,0x28,0x29,0xF1,0x01,0xF1,0x00,0x07,-1,0x66,0x3C,0x00,0xCD,0x67,0x45,0x45,0x10,0x00,0x00,0x00,-1,0x67,0x00,0x3C,0x00,0x00,0x00,0x01,0x54,0x10,0x32,0x98,-1,0x74,0x10,0x85,0x80,0x00,0x00,0x4E,0x00,-1,0x98,0x3e,0x07,-1,0x35,-1,0x21,-1,0x11,-2,12,-1,0x29,-2,2,-3
Explanation about the parameters here
4. Restart your Raspberry Pi
sudo reboot
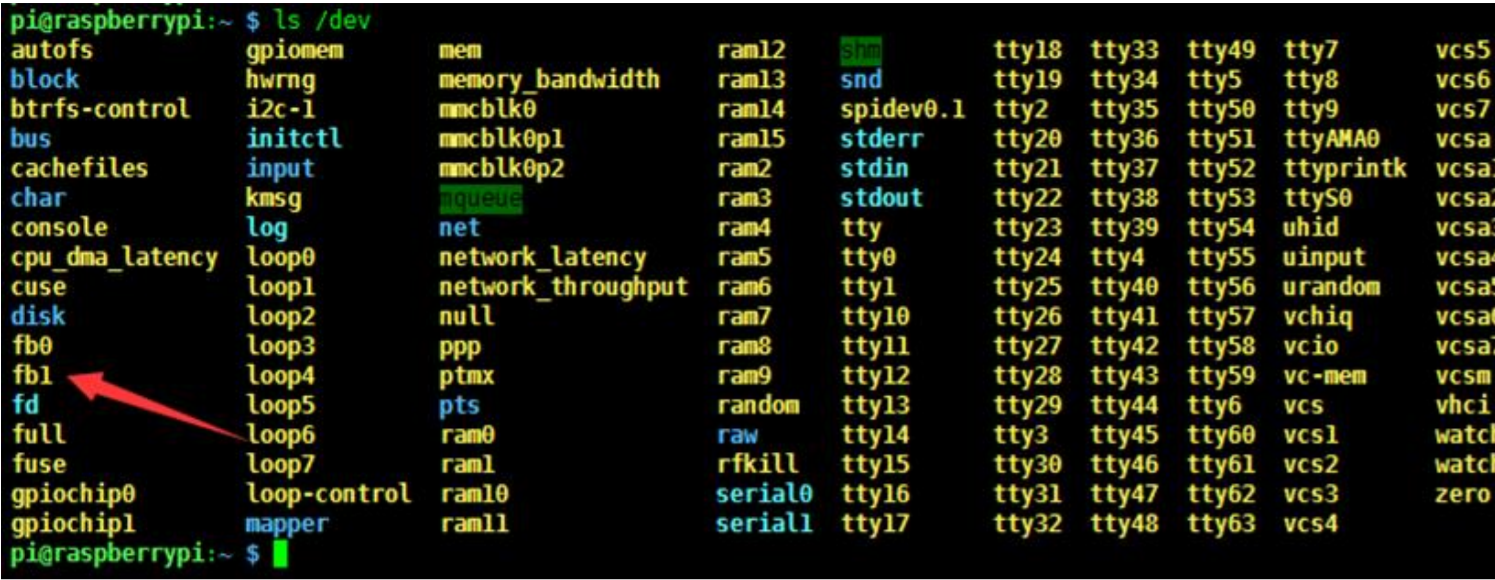
5. After restart you can find that a fb1 device is listed at /dev, it means the device has been enabled successfully
Setup OS to Work With the Round Screen #2
To display the desktop, we just need to copy the data of fb0 to fb1, keep the fb0 and fb1 being same.
1) Install tools
sudo apt-get install cmake git
2) Download the open-source code
cd ~
git clone https://github.com/tasanakorn/rpi-fbcp
cd rpi-fbcp/
mkdir build
cd build/
cmake ..
make
sudo install fbcp /usr/local/bin/fbcp
3) Set the code to auto-run when booting
sudo nano /etc/rc.local
add
sleep 30
fbcp&
before "exit 0".
The “&” is necessary for code run in background, otherwise the OS cannot boot anymore.
4) Set display size on config file
sudo vi /boot/config.txt
5) Append to the file:
hdmi_force_hotplug=1
hdmi_cvt=300 300 60 1 0 0 0
hdmi_group=2
hdmi_mode=1
hdmi_mode=87
display_rotate = 1
Now after restart the Pi, the LCD will display desktop of Pi
Connect the Round Screen!
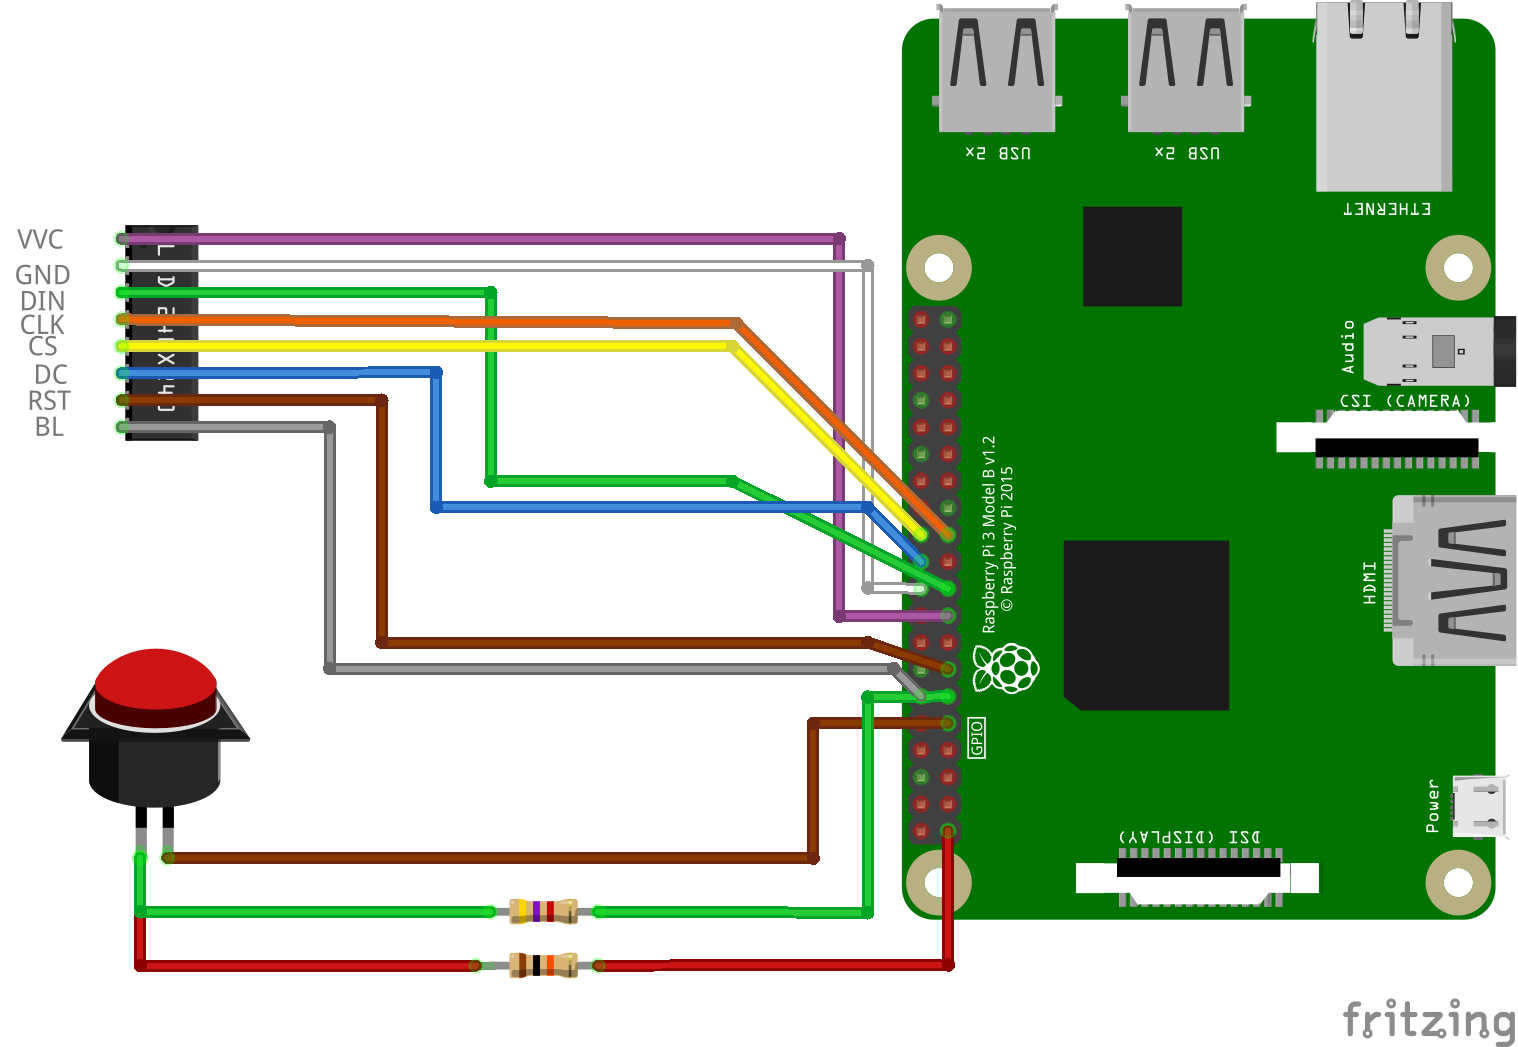
Just connect the wires like the scheme. Ignore the 3 wires connected to the switch (the red button).
And reboot with the wires connected (and the HDMI disconnected).
sudo reboot
WOW!
If something went wrong and you can't see anything on the round screen, try to connect to HDMI, if also nothing, maybe you will need to start over and reinstall a fresh OS on the microSD :/
Extra Footage
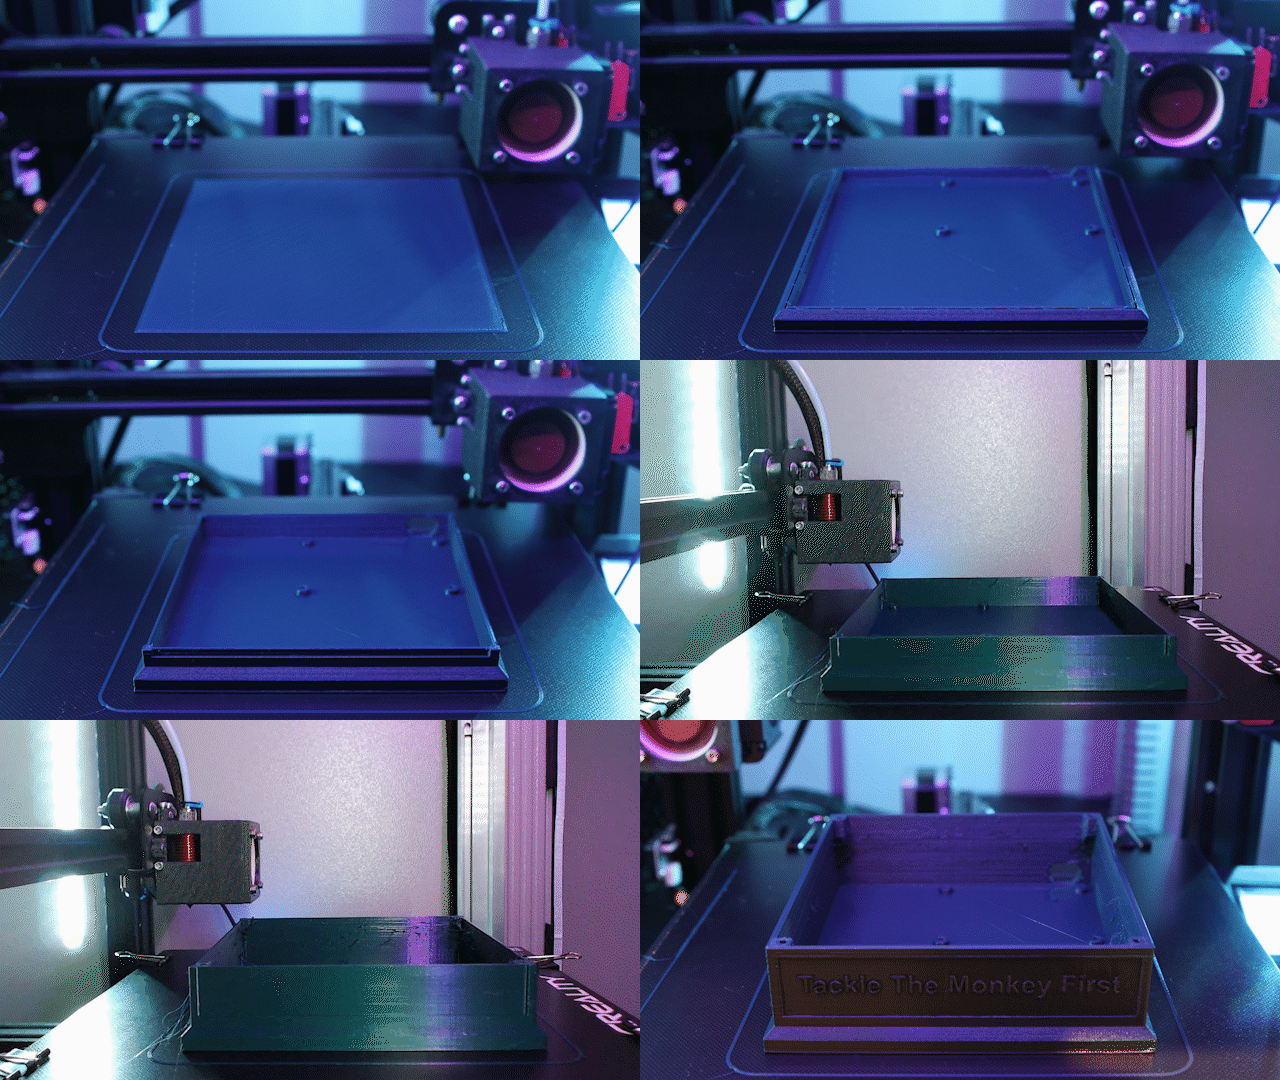
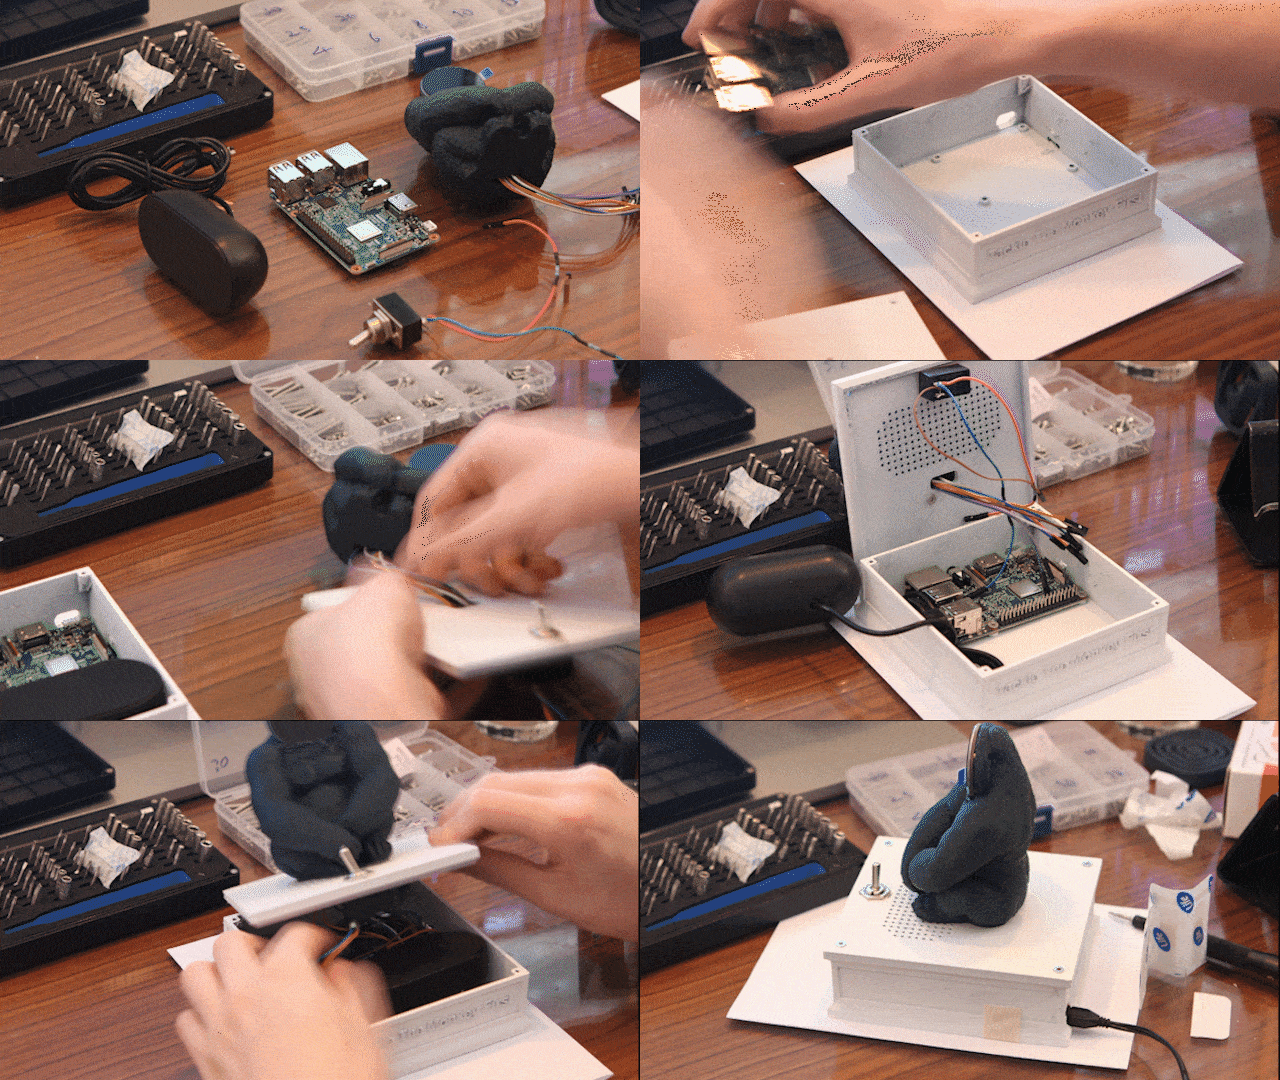
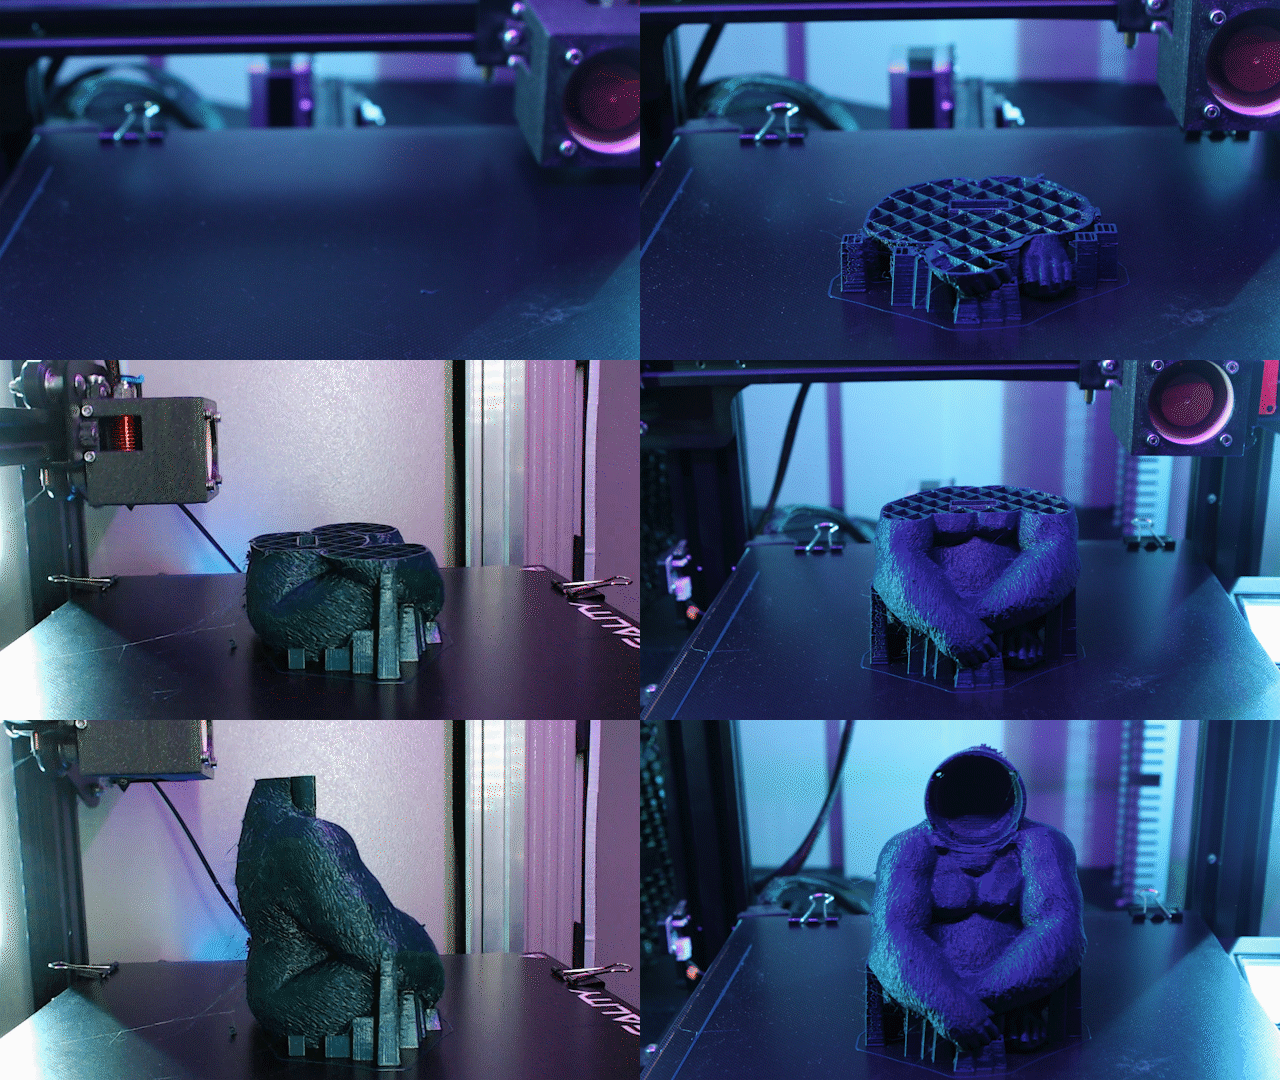
Other Methods I Tried
-Draw images with provided python example, maybe try to change just changed pixels? (but then what about audio???)
-Using this post circuit python for this driver (slow fps ~9) https://www.pcbway.com/project/shareproject/Raspberry_Pi_Pico__CircuitPython_and_Round_Display_GC9A01.html
-Trying to make this amazing library https://github.com/juj/fbcp-ili9341 work for this controller?
Maybe using this 1.3” waveshare example (I have python code example that matches the same format of my 1.28”) and convert the options. https://www.waveshare.com/1.3inch-lcd-hat.htm
-Using fbtft: Using the deprecated flexfb option (need raspberry os before 5.4). https://www.waveshare.com/w/upload/6/6b/1.3inch_lcd_hat_user_manual_en.pdf
https://www.omorodive.com/2019/08/raspberrypi-no-cs-lcd.html
+ the specific init code for this screen (from waveshare python example for this round screen) WORKED!
Share If It Helped!
It took many days to successfully connect the screen. I didn't really have the motivation after to share how I did it.
But if it will save someone some time it will be super cool!