Connect Soma Smart Shades From Web With Raspberry Pi
by Mark560 in Circuits > Raspberry Pi
5492 Views, 11 Favorites, 0 Comments
Connect Soma Smart Shades From Web With Raspberry Pi

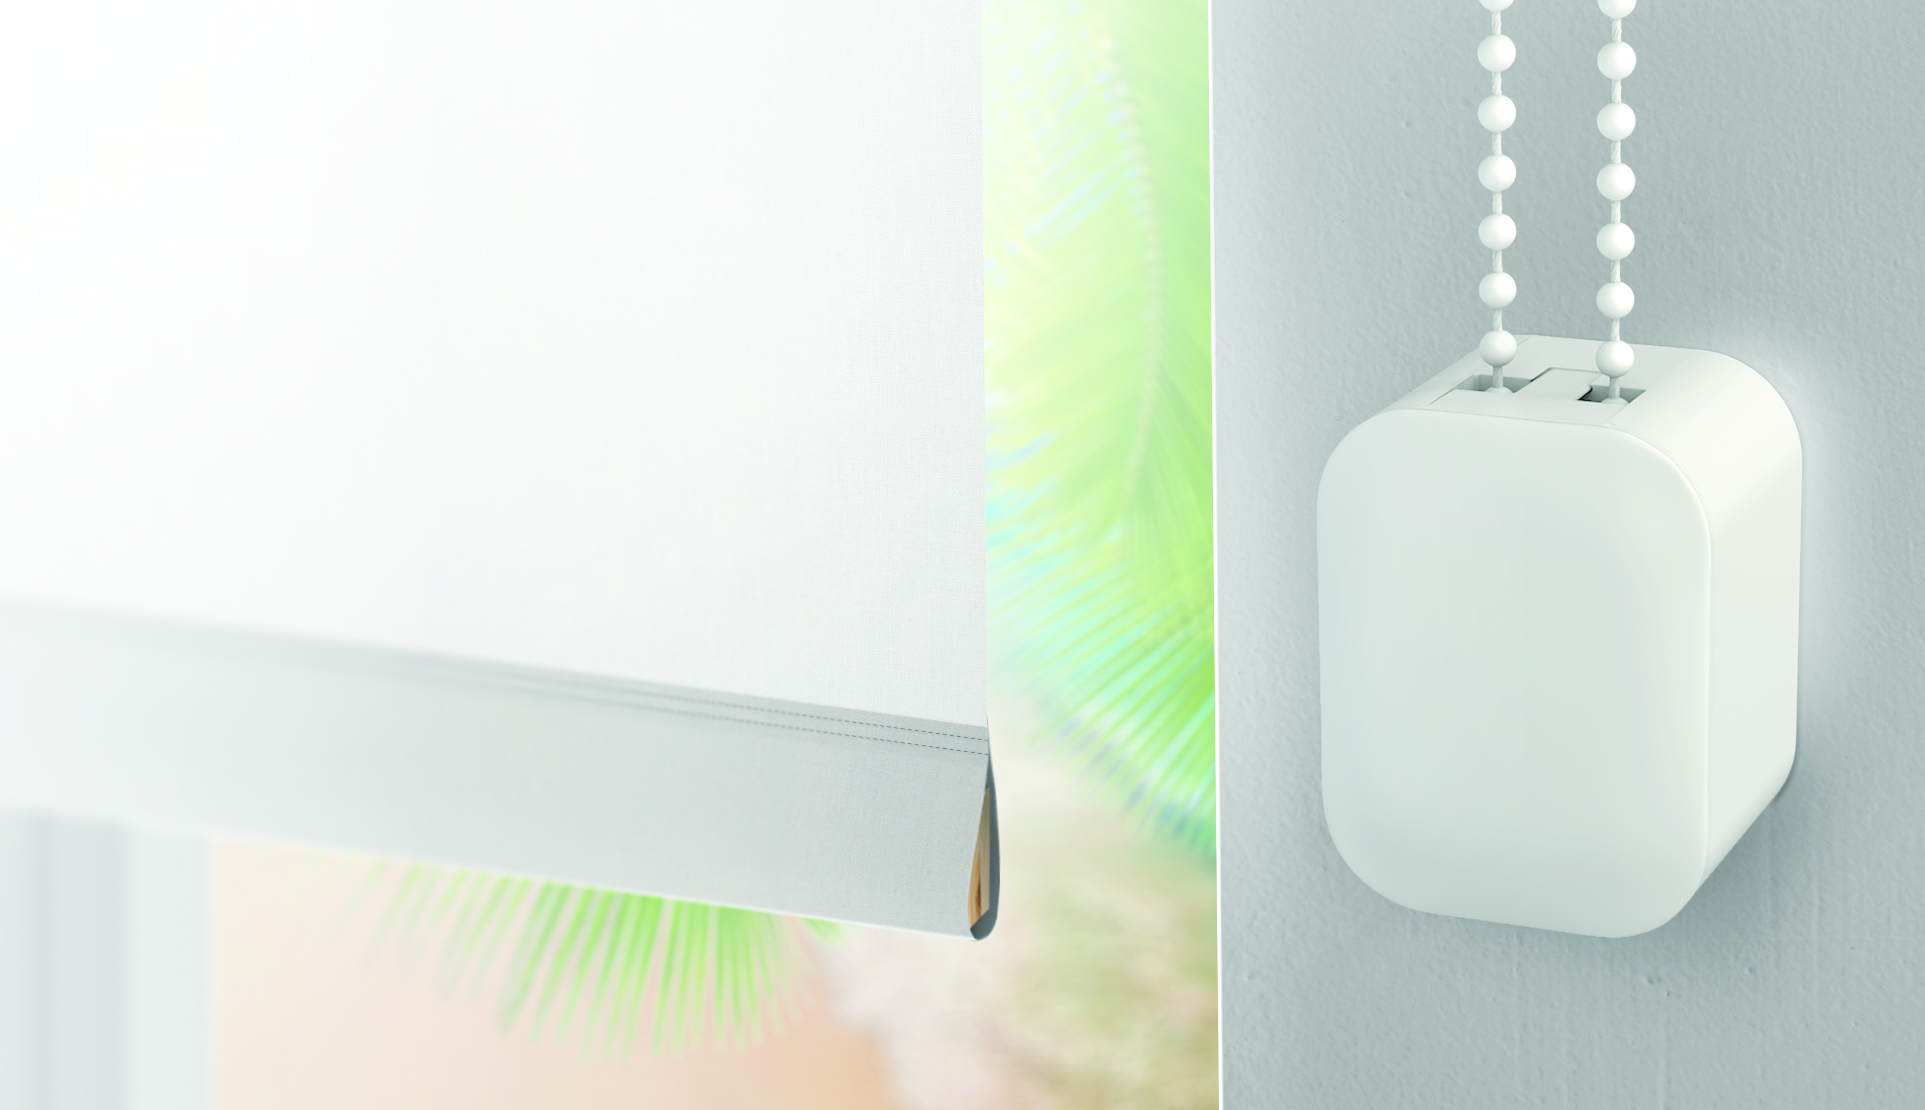
Simple step by step guide to controlling Soma Smart Shades (http://www.somasmarthome.com) with simple web server that runs on port 8080. Makes possible to control Smart Shades from a web url.
Will need:
1x Smart Shade (you can buy them from http://www.somasmarthome.com)
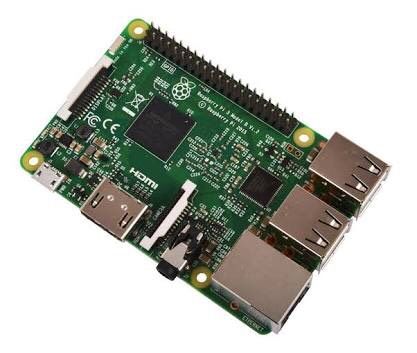
1x Raspberry Pi 3 (integrated Bluetooth)
Mount Your Smart Shade

Install and setup your Smart Shade. Steps for doing this can be found here - https://youtu.be/9DTAcZiiFYU
Be aware that there is no physical button like on the video. There is just touch sensitive lid.
Setup Your Raspberry Pi & Install Homebridge

Follow this step by step guide to installing your Raspberry Pi and also installing the HomeBridge service if you want to connect it with your IOS device.
https://github.com/nfarina/homebridge/wiki/Running-HomeBridge-on-a-Raspberry-Pi
Install the Smart Shades Python Script

1. Download the python script file from this website - https://bitbucket.org/jeremynoel476/smartblinds-diy
2. Extract the file from the downloaded zip file and place it in your /home/pi directory (I changed the name of the file and just called it "control.py" to make things easier)
3. Enable your Bluetooth adaptor - sudo hciconfig hci0 up
4. Now scan for your Smart Shades which are normally named RISExxx using this command - sudo hcitool lescan
5. Make note of the Smart Shade MAC address
Install the Script and Enjoy.
1. Download the script and name it websmartshades.py.
#!/usr/bin/env python
import web
import subprocess<br>
urls = (
    '/getbattery/(.*)', 'get_battery',
    '/getposition/(.*)', 'get_position',
    '/moveup/(.*)', 'move_up',
    '/movedown/(.*)', 'move_down',
    '/setposition/(.*)/(.*)', 'set_position'
)<br>
app = web.application(urls, globals())<br>
class get_battery:
    def GET(self, mac):
        output = subprocess.check_output(['/usr/bin/python','./control.py', '-t', mac, '-c', 'get_battery'])
        return output<br>
class get_position:
def GET(self, mac):
output = subprocess.check_output(['/usr/bin/python','./control.py', '-t', mac, '-c', 'get_position'])
return output<br> class move_down:
def GET(self, mac):
output = subprocess.check_output(['/usr/bin/python','./control.py', '-t', mac, '-c', 'move_down'])
return "OK"<br> class move_up:
def GET(self, mac):
output = subprocess.check_output(['/usr/bin/python','./control.py', '-t', mac, '-c', 'move_up'])
return "OK"<br> class set_position:
def GET(self, mac, position):
output = subprocess.check_output(['/usr/bin/python','./control.py', '-t', mac, '-c', 'move_target', '-a', position])
return "OK"<br> if __name__ == "__main__":
app.run()<br>2. Add it to your smartblinds-diy folder (control.py should be located in the same folder).
3. Install web.py framework for python - “sudo pip install web.py”
4. Run the script "python websmartshades.py"
5. How to use:
rpi_ip_address:8080/getbattery/MAC_ADDRESS_OF_BLIND rpi_ip_address:8080/getposition/MAC_ADDRESS_OF_BLIND rpi_ip_address:8080/moveup/MAC_ADDRESS_OF_BLIND rpi_ip_address:8080/movedown/MAC_ADDRESS_OF_BLIND rpi_ip_address:8080/setposition/MAC_ADDRESS_OF_BLIND/POSITION
This is all. Now you will be able to control the shades directly from the web. At least it worked on my case.