Configuring Temperature and Humidity Sensors (DHT) With KME Smart: Step-by-Step Guide
by Ausafmom in Circuits > Remote Control
203 Views, 0 Favorites, 0 Comments
Configuring Temperature and Humidity Sensors (DHT) With KME Smart: Step-by-Step Guide

Today we are going to measure TEMPRATURE & HUMIDITY using the KME Smart app .
Supplies

.jpeg)


.jpeg)
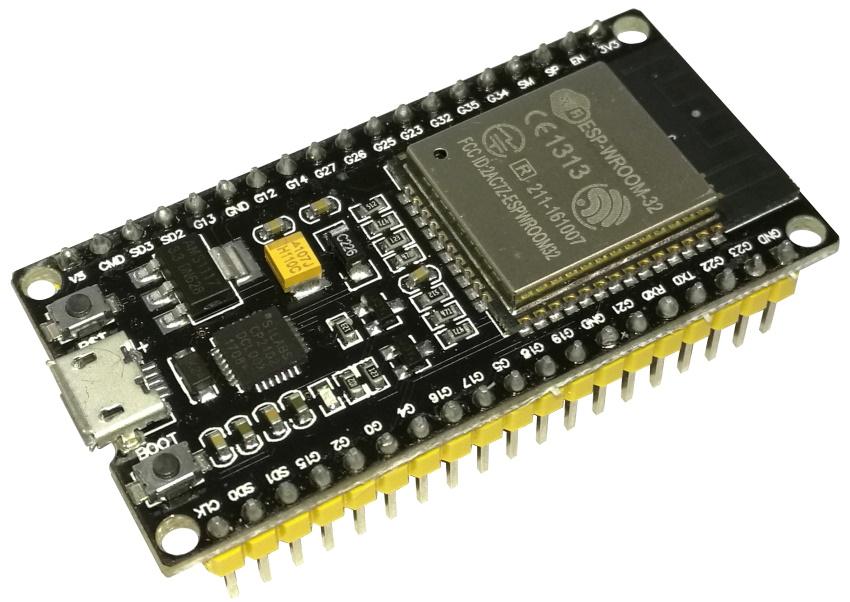
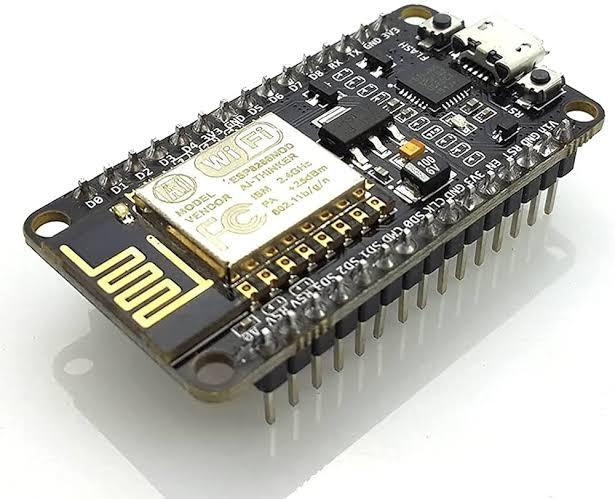
ESP32/ESP8266
DHT11/DHT21/DHT22
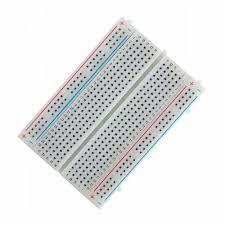
BREADBOAD
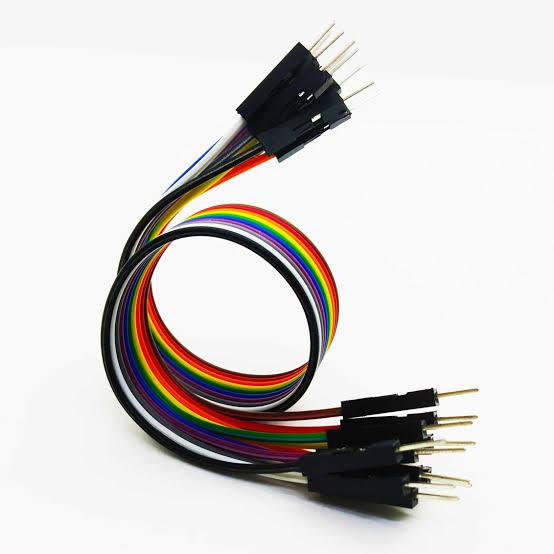
JUMPER WIRES
Download KME Config Tool


Go to the KME website , click on installation scroll down and download the latest version of KME tools it's also available
for Mac. Extract the zip file and launch KME config tool.
Hardware Setup


It's very simple only a few components needed you can use either an ESP32 or ESP8266, I'm using an esp32 and we need a DHT11 or DHT22 Temperature & Humidity sensor. We are using DHT11, The ground pin of the DHT11 goes to the ESP32 Gnd and VCC goes to 3.3 volts of the ESP32 and finally the data pin goes to the ESP32 pin 18.
Uploading Firmware to ESP


connect the USB cable, click the three lines in the top right corner select the port and click on connect, then hit upload firmware then click the plus icon and select DHT 11, also it supports
DHT21 and DHT22 as well change the output pin to 18.
Connecting ESP to WI-FI


Once it uploads Wait for 15 sec and press and hold
the boot Button for 2 seconds for Smart Connect mode then open the KME Smart app,
click the plus icon click add devices then give the SSID and PASSWORD of the
WI-FI choose the first option in some seconds the device will be detected and you can change its name and save.
Monitoring Data in KME Smart App


Now you can monitor TEMPRATURE and HUMIDITY and you can also see previous temperature readings it has a a lot of applications. Full video tutorial for same is available on KME Smart YouTube channel.