Configuring KME RGB With KME Smart: Step-by-Step Guide
by Ausafmom in Circuits > Remote Control
326 Views, 0 Favorites, 0 Comments
Configuring KME RGB With KME Smart: Step-by-Step Guide

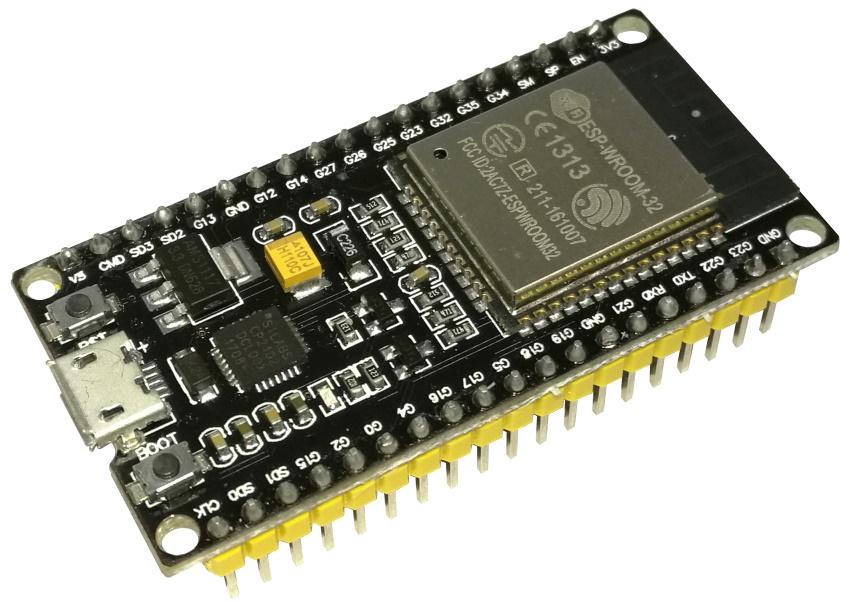
Today we are going to control our RGB LEDs using the kme app, you can use both esp32 and esp8266 I'm using the esp32
Supplies
.jpeg)
.jpeg)
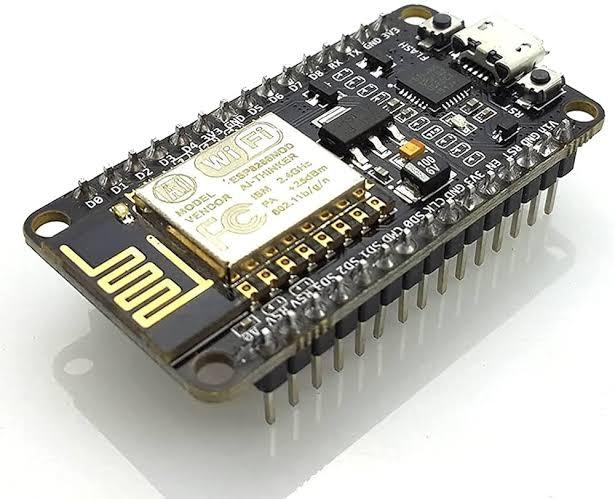
ESP32/ESP8266
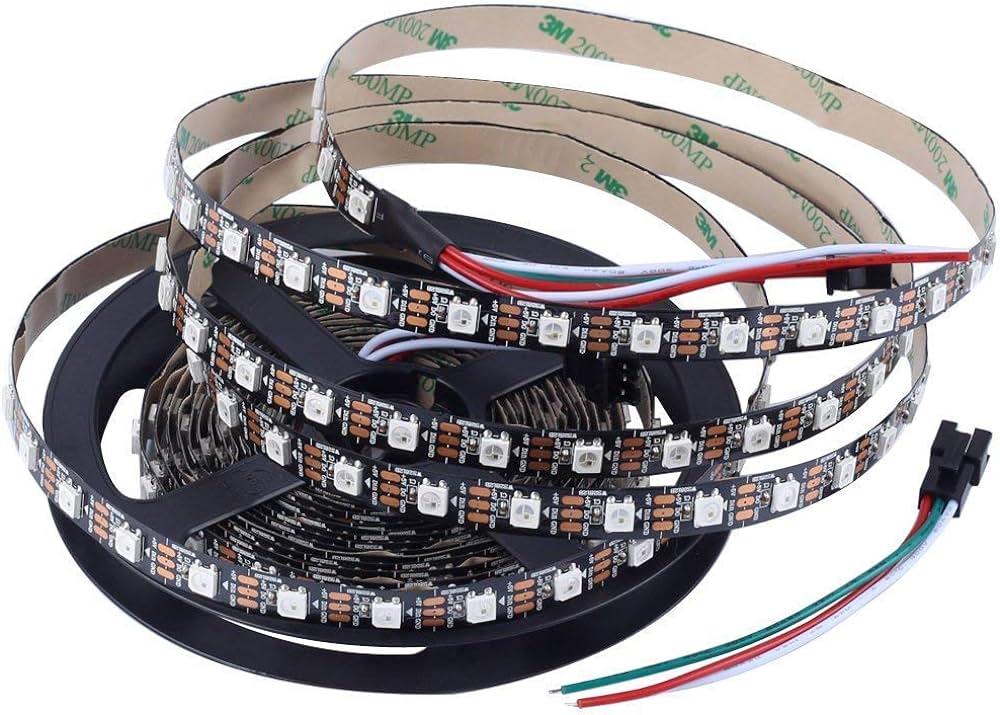
WS2812 RGB LEDs
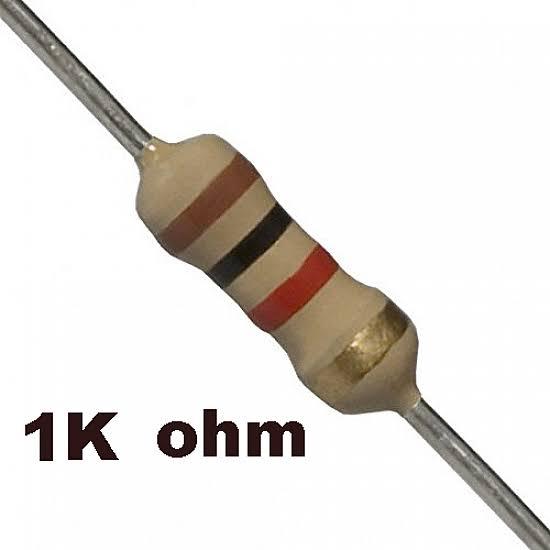
RESISTORS 10K
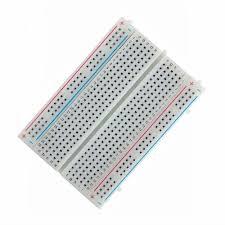
BREADBOARD
JUMPER WIRES
Download KME Config Tool


Open a web browser and search for kme Smart go to their website click on installation scroll down and download the files for Windows, there's also a version for Mac. once it downloads extract the folder then open the KME config file inside you'll see KME config launch the application.
Hardware Setup


This is the RGB strip I'm using connect a 10 kiloohm resistor to pin 18 where we connect the signal pin of the RGB strip. Then the RGB strip requires 12 volts so we connect it to the 12 volt rail, we need to Common the RGB's ground to the ESP's GND for smooth signal transmission and we connect the external 12vs to the RGB Rail.
NOTE: check voltage requirements of your led strip.
Uploading Firmware to Esp


Open the kme config file and launch kme config.
Then in the top right corner select the drop- down menu and choose port, click connect and click upload firmware and it will automatically detect the ESP board and upload the firmware.
Once done click the plus icon in the top right corner select RGB and you can change its name if desired click on choose an output pin in our case pin 18, and hit upload in a few seconds it will upload to the board .
Connecting ESP to WI-FI


once uploaded, press and hold the boot Button for 2 seconds to put the device into Smart Connect mode.
click the plus icon select add devices and provide your SSID and PASSWORD, for your local network.
Choose the first option and in a few seconds it will detect the device, you can then change its name if needed.
Controlling RGB LEDs

now you can control the RGB strip and change colours
with many options for your imagination there's so much you can do video tutorial is available on KME Smart youtube channel.