Configuring KME Fan With KME Smart: Step-by-Step Guide
by Ausafmom in Circuits > Remote Control
225 Views, 1 Favorites, 0 Comments
Configuring KME Fan With KME Smart: Step-by-Step Guide

Today we are controlling a ceiling fan using the KME Smart app and manual control with real time feedback on the app
Supplies
.jpeg)
.jpeg)
.jpeg)
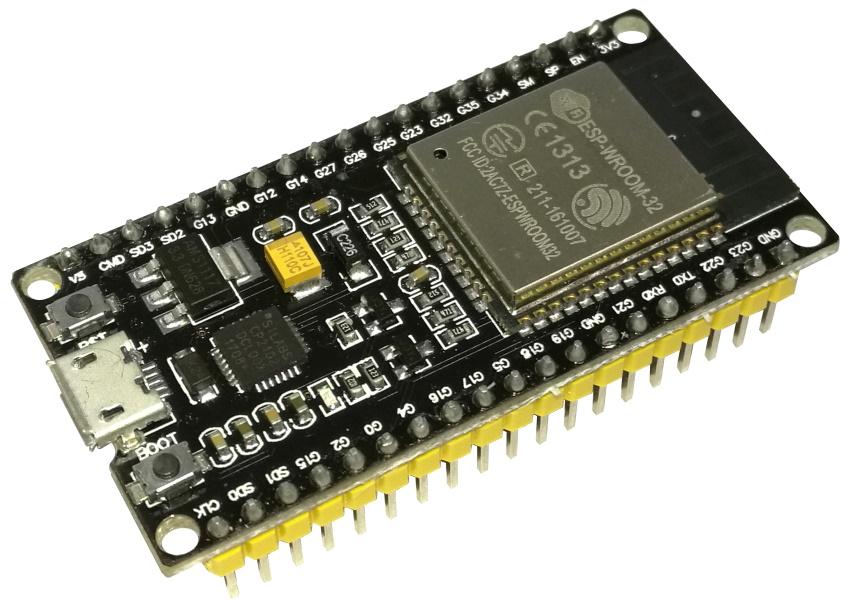
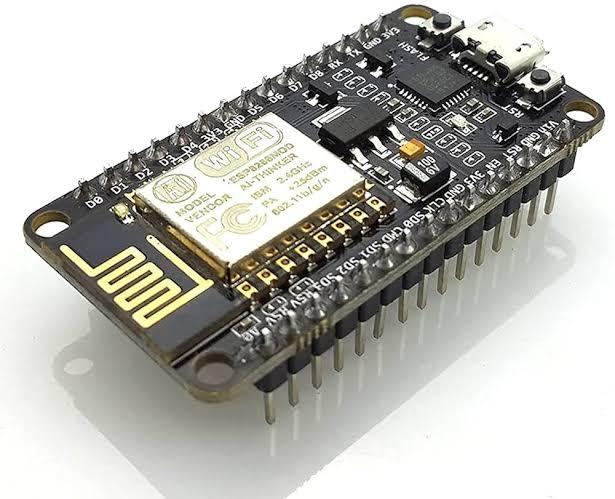
ESP32/ESP8266
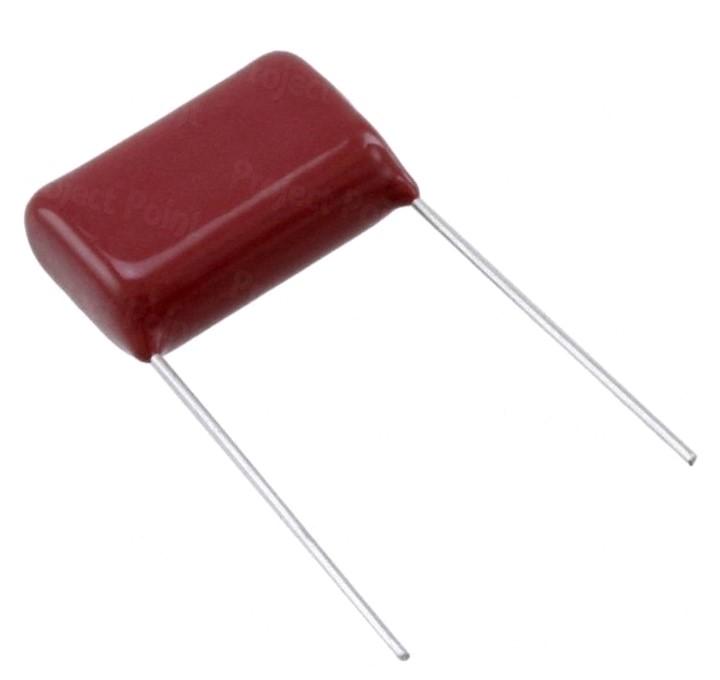
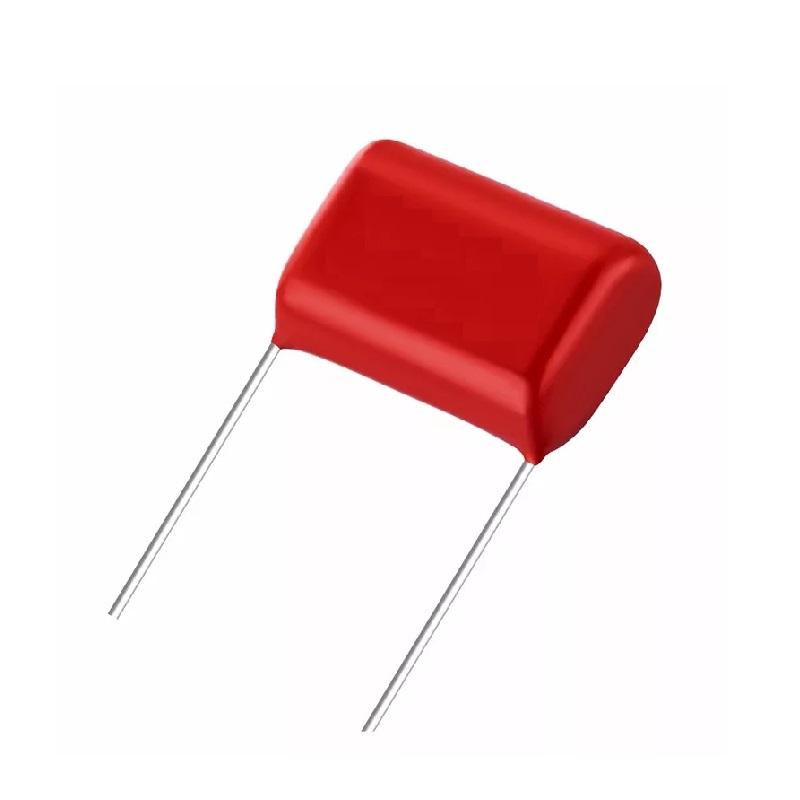
2.2 uf 250v polypropylene capacitor
3.3 uf 250v polypropylene capacitor
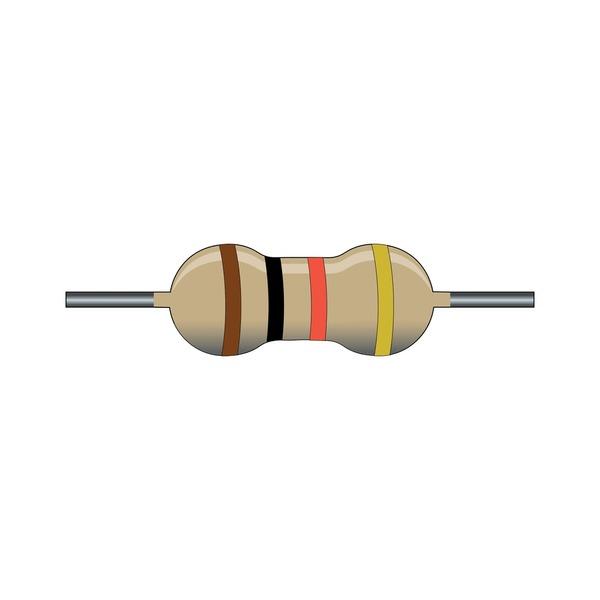
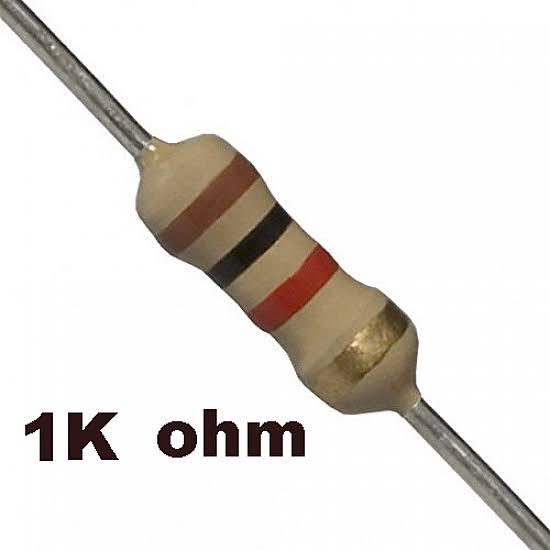
220 k Resistor 2pc 1/2 watt
2.2 ohm Resistor 2pc 1/2 watt
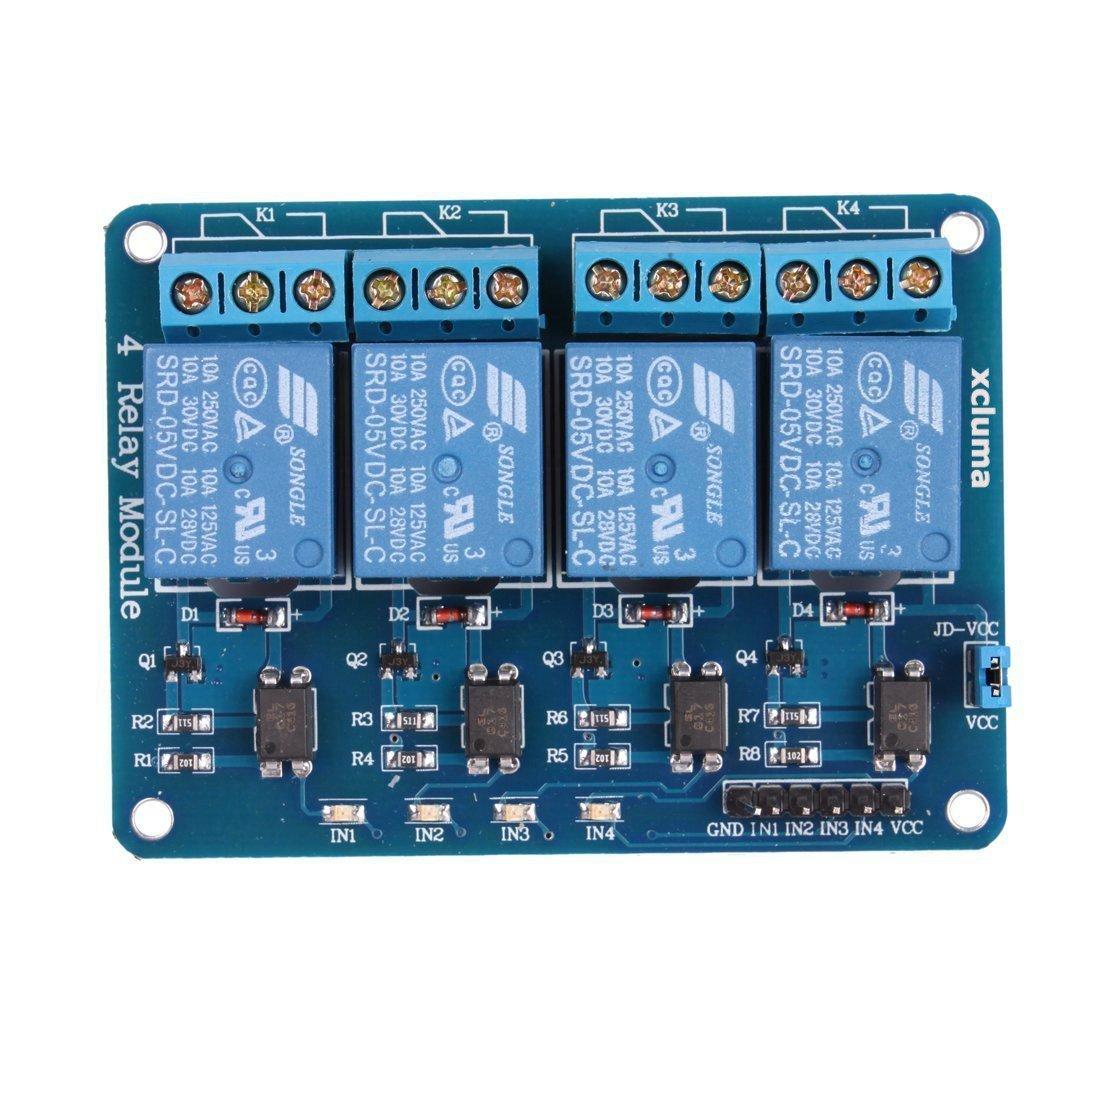
3 channel or 4 channel relay module
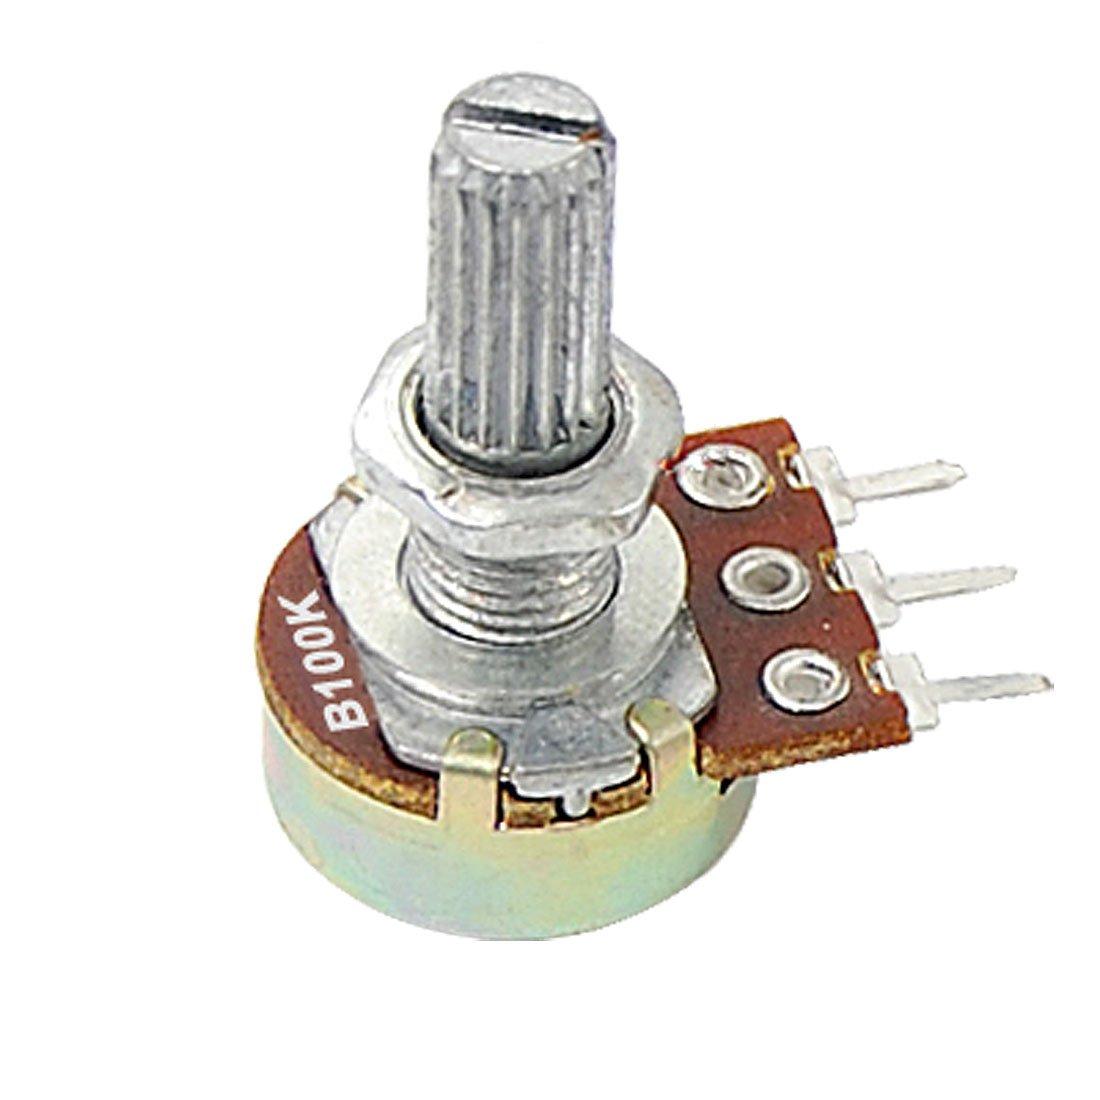
POTENTIOMETRE 100 k
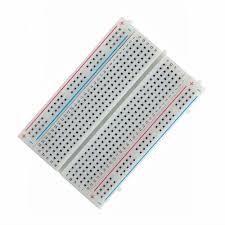
BREADBOAD
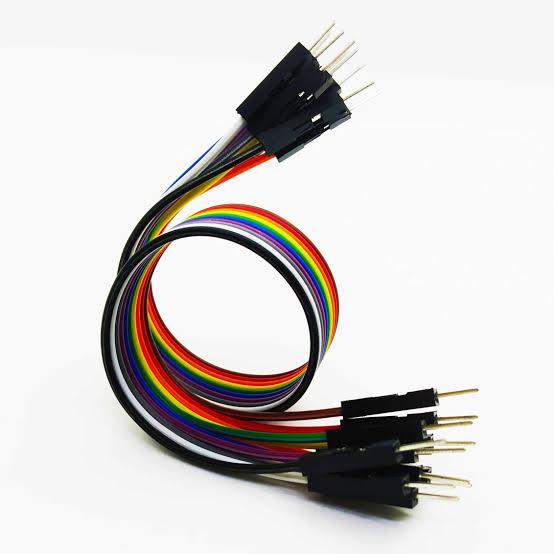
JUMPER WIRES
NOTE:
(images are for illustration purpose only, you are playing with AC voltages . You have been WARNED)
Download KME Config Tool


Go to the KME website and under the installation section download the latest
version of KME tools open the KME config file and launch KME config .
Hardware Setup DC Section

We need a three or four Channel relay module, connect the first three input pins of the relay module to the ESP32 pins 18 19 and 21 respectively ,then connect the 5 volts pin of the relay module to the 5 volts pin of the esp32 and the GND pin to the GND of the ESP32 now we need a 100K variable resistor to control the fan speed manually.
Connect one side of the variable resistor to the esp32s 3.3v pin the other side to GND and the middle pin to the ESP32 to Analog input pin 34 .
Uploading Firmware to ESP


Now connect the USB cable and open the KME config tool click the three lines on the top right corner select port and connect then hit upload it will automatically detect the ESP board and upload the code. Once it's done click the plus icon and select fan, change the output pins to 18 19 and 21 respectively then select the relay mode which in my case is active low finally select the Analog pin 34 and hit upload.
Connecting ESP to WI-FI


Press and hold the boot Button for 2 seconds to activate the Smart Connect mode, then open theKME app navigate to add devices provide the SSID and password of your local network and select the first option ,it will detect the device you can customize its name and save it.
Hardware Setup AC Section


To connect the fan we'll need to create two RC circuits gather 2.2 micro Farad and 3.3 micro Farad polypropylene capacitors along with some resistors, next we need to connect the RC circuits to the relay connect the first relay with the 2 micro Farad capacitor the second relay with the 3.3 micro Farad capacitor and finally connect a wire directly to the third relay. Loop the AC to each relay these three are common and connect one side of the fan and the other side of the fan goes to neutral that's it.
Controlling Fan With KME

Now we can open the KME Smart app to control the fan or use the manual setup it's so convenient. Watch full tutorial on KME Smart YouTube channel