Computing Complex Circuits With a TI Calculator
by hzimmerman in Circuits > Electronics
12162 Views, 21 Favorites, 0 Comments
Computing Complex Circuits With a TI Calculator
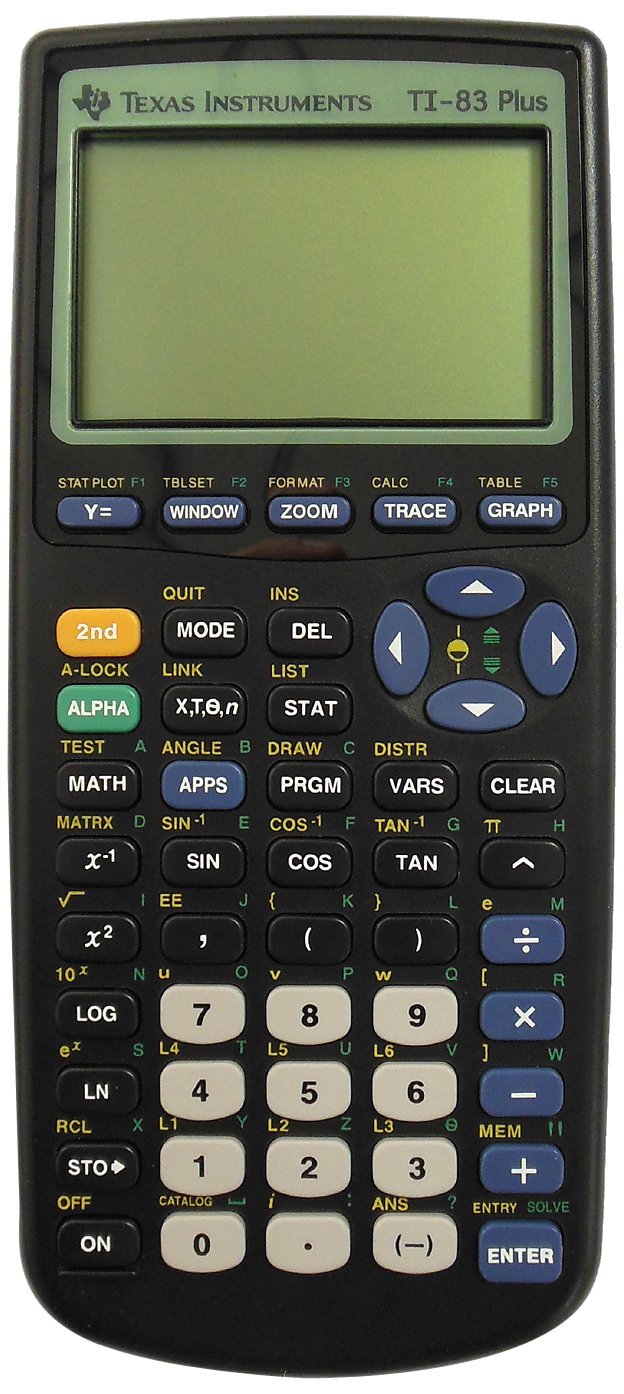
You're learning electronics, but how in the world are you going to do those computations with real and imaginary numbers on your brand new Texas Instruments TI graphing calculator? So many knobs to press... so many options.
In this instructable we won't be explaining the electronics. It's just about doing the computations and getting the right results on your TI calculator. If you want to learn electronics, I highly recommend the free (yes, free) books from the All About Circuits website. The example we will follow is the first RC example from the AC (alternating current) book from that website: chapter 4.3, Series resistor-capacitor circuits. If you can do that, you can certainly learn how to do more complicated circuits.
As for the TI calculator: I'm a part time teacher, and my students find the TI calculators far more intuitive to use than the Casio or other ones. I have both a Casio and a TI, and I can only say the TI range of calculators is very popular for a reason. In this instructable I will be using screenshots from my TI-83 Plus, so there might be slight differences in what you see on your graphing calculator, but generally they are very much the same.
All you need is patience, a piece of paper, a pen and a TI calculator. Let's get started!
The Circuit
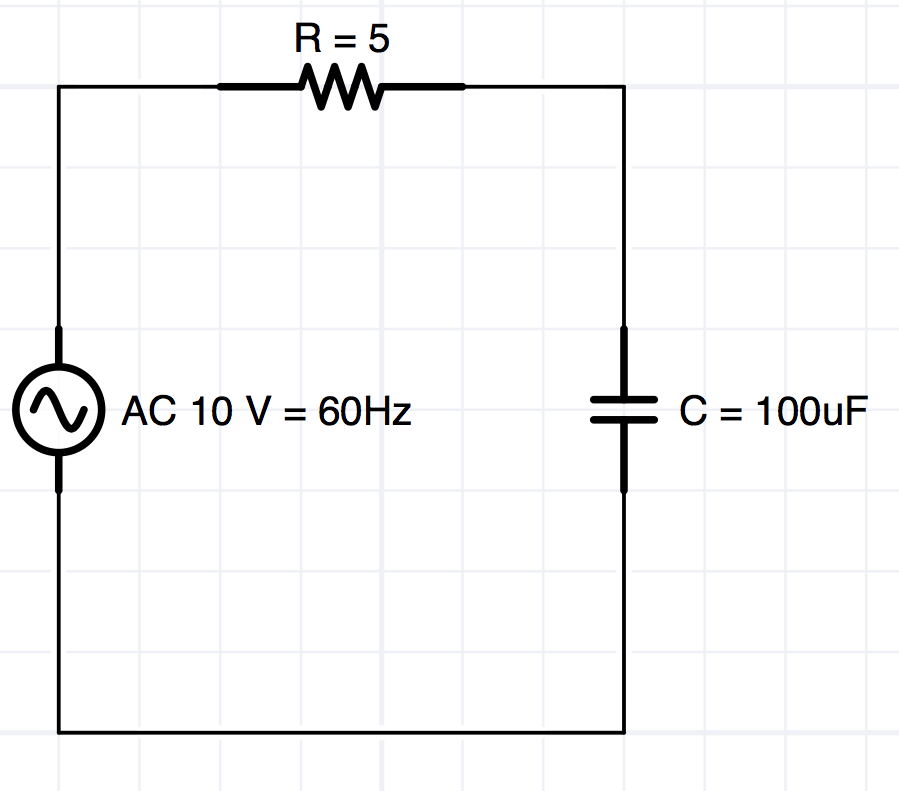
The circuit we'll be computing is a simple RC circuit. It has the following components:
- An AC power source of 10 Volts, running at 60 Hz
- A 5 Ohm resistor
- A 100 uF capacitor
The problem with this circuit is that the resistor offers a 5 Ohm resistance regardless of the frequency, while the capacitor will have a reactance that is frequency dependant. And to make matters more complicated, the resistor's resistance is a real number and the capacitor's reactance is an imaginary number.
Collecting Your Data in a Table
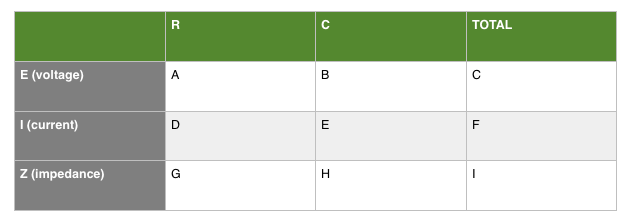
Your TI calculator has a whole bunch of memory locations. They are very handy to hold in-between answers. What I do (and learned from the excellent free books by Tony Kuphaldt, which you can find on the All About Circuits website) is scribble a table like this one on a piece of paper. The rows are used for the voltage (E), current (I) and impedance (Z) respectively. The columns list those values for the resistor (R), the capacitor (C) and the Total. Then I put TI memory locations in all the table cells. A, B, C, D, etc. for every cell. When I have entered a meaningful value into a memory location, I circle those letters so I know what I have already done. Just sayin'. Use your own preferred way of keeping track. If you're doing a more complicated circuit, simply add columns for the other components.
Degrees or Radians
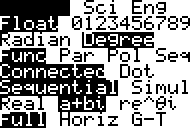
As you probably know, you can do angle computations either in radians or in degrees. Be sure to make this a conscious decision. In engineering, radians are more popular. But just so you can follow the example from the AC book mentioned earlier and because degrees are probably slightly more intuitive, we choose to do this instructable in degrees. You can find this option in the MODE screen of your TI.
NB: you are not entering angles directly, so it only applies to the output you get! Everything we enter into our TI is going to be in rectangular notation.
The Resistor

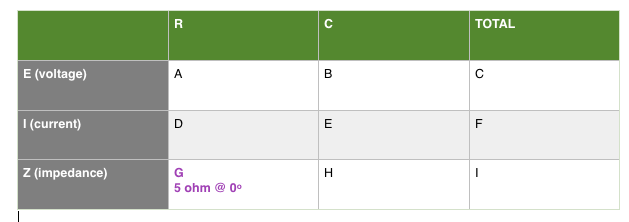
The 5 ohm resistor represents a real number in our computations. In our table, we can see that we add its value to memory location G of our TI. If you've never attempted that before, the correct sequence is:
- 5
- STO->
- ALPHA
- G (the green G on my TI-83 is combined with the TAN key)
The Capacitor

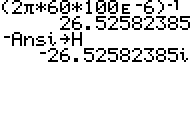
First we need to compute the reactance for this particular capacitor at 60 Hz. You can see the general formula for a capacitor's reactance and how we enter it in the TI. Something to the power of -1 of course equals dividing 1 by something. And make it a habit to enter uF's, mA's, etc. in scientific notation. That's the EE key on your TI. Instead of typing 0.001 (where you can easily make a mistake in the amount of zeroes) you should enter 1E-3.
Now the second thing we're doing, i.e. storing the next value to our memory location H needs some explaining. If you are reading this, you've probably learned that the capacitor's reactance is represented by an imaginary number. That's because a purely capacitive impedance has a phase angle of -90 degrees. To enter an imaginary number into a memory location of your TI, you append the small i. Math types calls this j, but electronics people call it i. On my TI-83 the i is the 2nd function of my dot key. The ANS command means "use the last answer" in TI speak, and on my TI-83 it is the 2nd function of the small minus (negation) key. To enter the result of our reactance as a negative imaginary number to the H memory location, the correct sequence is:
- (-) (that's the smaller dash that gives you a negative, not to be confused with the minus key!)
- 2nd
- ANS
- 2nd
- i
- STO->
- ALPHA
- H
You can check if you did everything right by typing H on a line of its own and inspecting its value. It should say -26.52582385i
It starts with a minus and ends with an i. It is an imaginary vector at a phase angle of -90 degrees.
You may wonder why we enter two times pi and not 360 degrees in our formula. After all, didn't we set our calculator to degrees mode in the beginning? That is true, but reactance is computed in radians rather than degrees. Live with it.
Adding Impedances
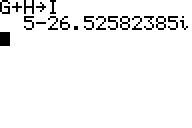
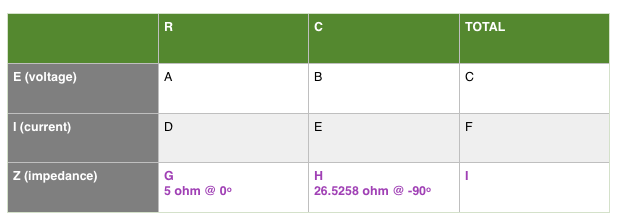
Since this is a series RC circuit, you can simply add the impedance of the resistor and the capacitor. The complex sum of those two values (a combination of a real and an imaginary value) is now in memory location I. We won't check the polar values of this number. For now we will just leave the rectangular complex sum in memory location I and move on. If you finish this instructable, you can go back to this step and do it yourself.
Adding the Total Voltage
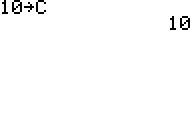
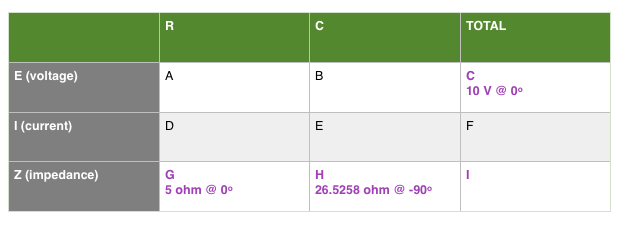
The total voltage is simply the 10 V from the AC power at an angle of zero degrees. So this is a real number and we can add 10 (volts) to memory location C.
You can see that we now have entered four values into our table, of which three (C, G and H) were manually entered and one (I) was computed. We now have enough information to calculate the relevant missing values in the other table cells.
Computing the Current
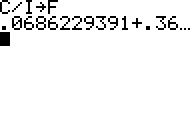
Ohms law also holds in the AC domain, so we can compute the total current by dividing the total voltage by the total impedance. In our case, that's the contents of memory location C divided by the contents of memory location I. We store that result in memory location F.
The total current is a complex number, so it has a real and an imaginary component.
Reading the Total Current

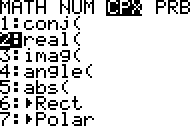
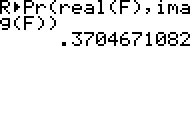
The contents of memory location F, the total current in our circuit, is a complex number in rectangular notation. If we look at what's in F, we get the real and the imaginary vectors, but they don't tell us the current in Ampères. For that we need to convert that number from rectangular to polar form.
The screenshot tells you what to do. The R>Pr function converts from rectangular to polar and gives us the polar magnitude, which is the total amount of current in Ampères. There is basically two ways to enter that R>Pr formula. One is via the CATALOG function, but you will have to scroll through lots of values to get there. The easier method is via the ANGLE menu. On my TI-83, that menu is the 2nd function of the blue APPS button. The fifth entry from that menu is the R>Pr function.
That particular function takes two arguments, respectively the real and imaginary components of the polar input value. You can find the function real() and imag() again via the CATALOG menu. But they both have shortcuts in the MATH menu under the CPX section. On my TI-83, MATH has a whole key on its own.
So we find out that 370 mA of current flows through our circuit.
Reading the Phase Angle of the Total Current
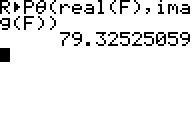
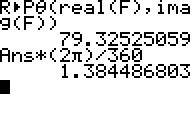
Another function from the ANGLE menu, R>P?, gives us the angle of the total current. It again needs a real and an imaginary argument, the same way we did the vector magnitude in the previous step.
TIP: If you need to repeat long computations, you can use the ENTRY function and overwrite the portion of the computation that needs to be different. On my TI-83, it is the 2nd function of the ENTER key. You can use it to scroll back through all your entries, not unlike the unix shell command line.
So we find out our 370 mA of current has a phase angle of 79 degrees.
If you still need to know the angle in radians, simply multiply by two times pi and divide by 360. Or put your calculator in radians mode and repeat the computation. It will effortlessly do that for you.
An Easier Way?
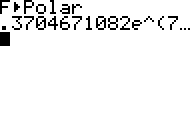
In the MATH menu under CPX you will also find the >POLAR function. It spits out the polar form (magnitude and angle) of its input in one fell swoop. Less work, more complex (pun intended) answer...
The Current Through the Resistor and the Capacitor
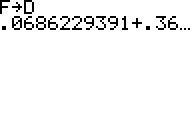
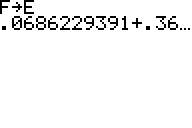
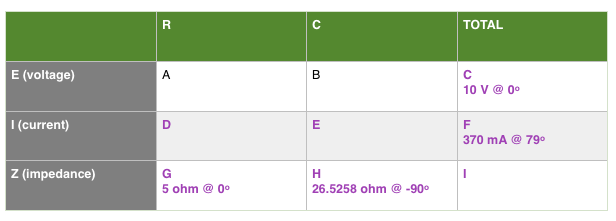
Since this is a series RC circuit, the current through all the components is the same as the total current. So we can copy F to D and E. This seems silly, but if you're doing a more complicated table you will be happy with this kind of structure to the whole mess. On your table (scribbled on a piece of paper), keep circling or marking the memory locations of table cells you have already done so you don't lose track.
The Voltage Drop of the Resistor
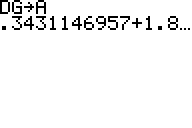
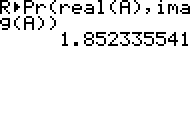
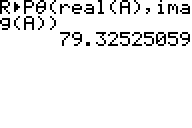
Ohm's law dictates that the voltage drop of the resistor equals the current though it times its impedance. In our case, we multiply the contents of memory location D with the contents of memory location G and store the result in memory location A. We then convert that number from rectangular to polar form and find that about 1.85 V drops in the resistor at a phase angle of 79 degrees.
The Voltage Drop of the Capacitor
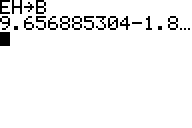
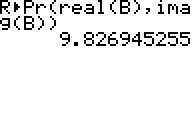
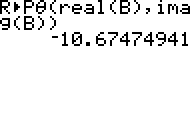
Ohm's law dictates that the voltage drop of the capacitor equals the current though it times its impedance. In our case, we multiply the contents of memory location E with the contents of memory location H and store the result in memory location B. We then convert that number from rectangular to polar form and find that about 9.8 V drops in the capacitor at a phase angle of -10.7 degrees.
Checking the Results
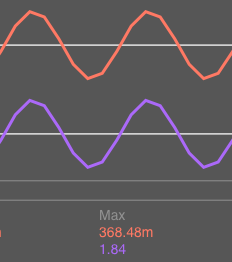
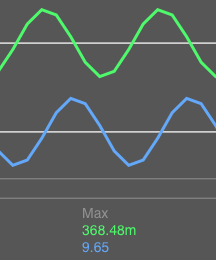
Simulating the circuit with iCircuit indeed tells us that these values are about right.
Conclusion
You can now do similar or more complicated electronics computations on your TI calculator. If it all gets too complex for pieces of paper, there is always SPICE, the well-known circuit simulator. But that's a but like learning another language. And if you were just here to learn how to do complex computations on your TI, now you know how to proceed.
Here are some handy links for further study of maths and electronics: