Computer Mouse USB
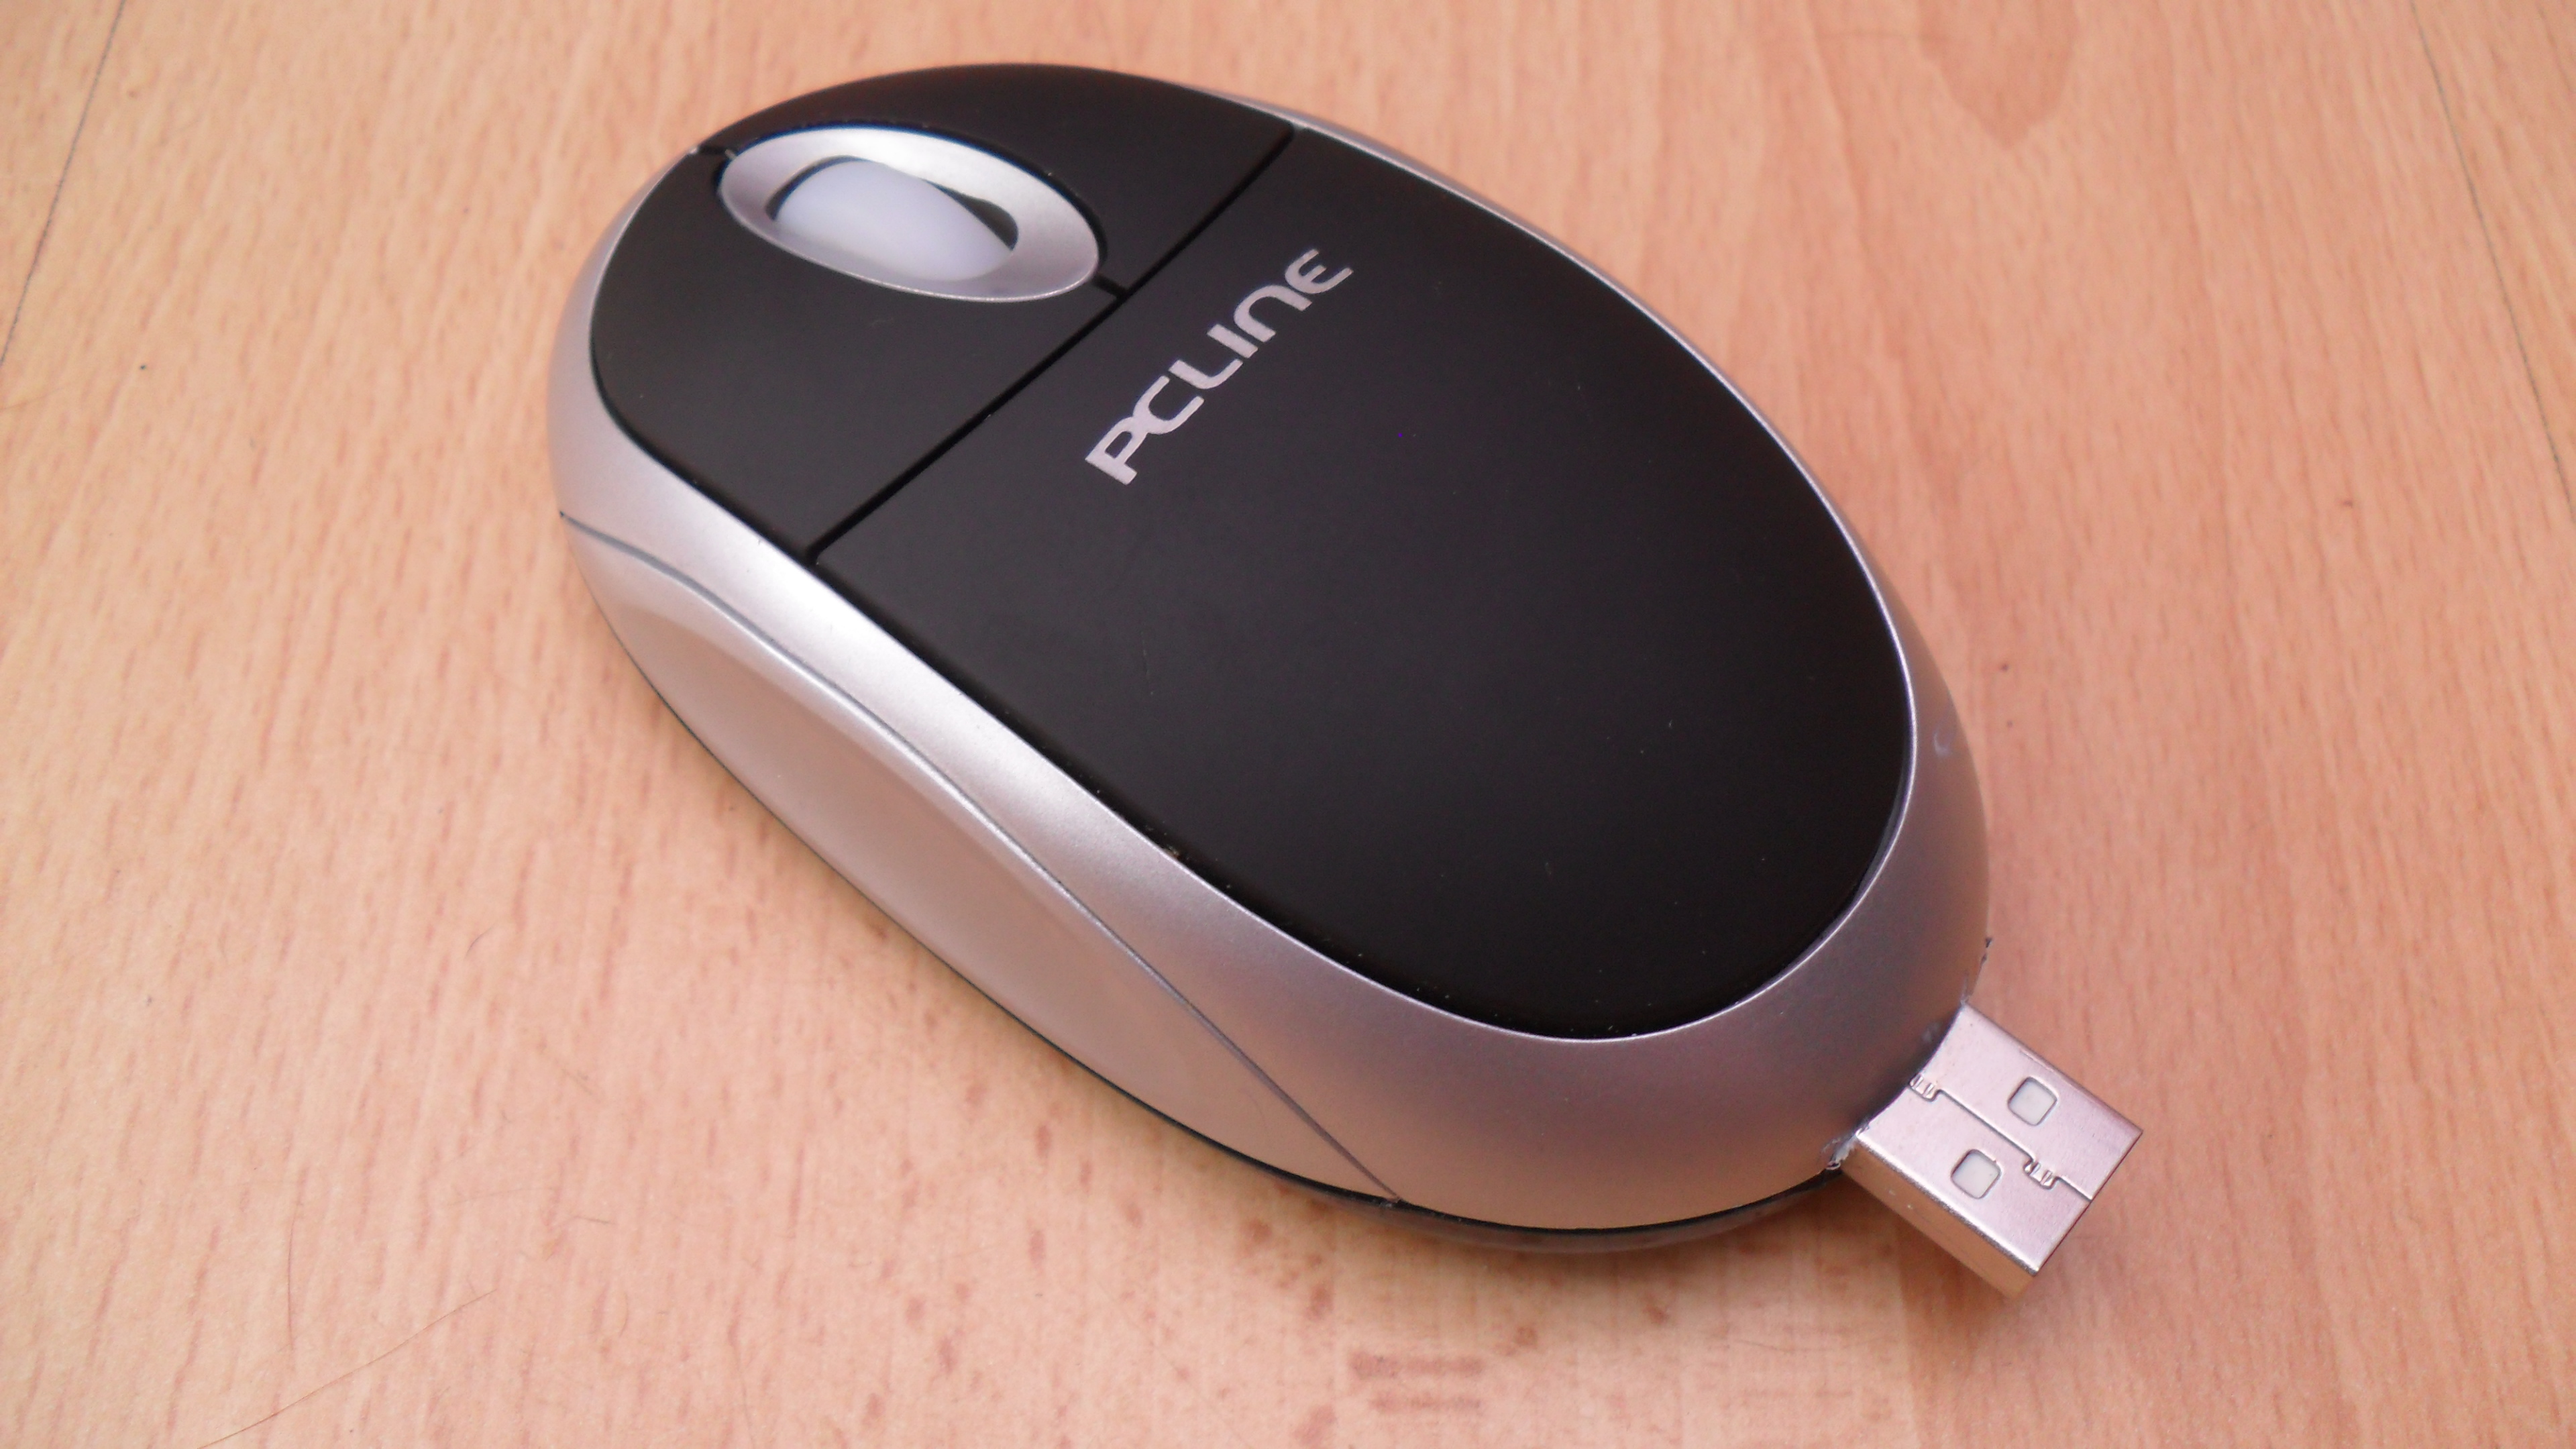
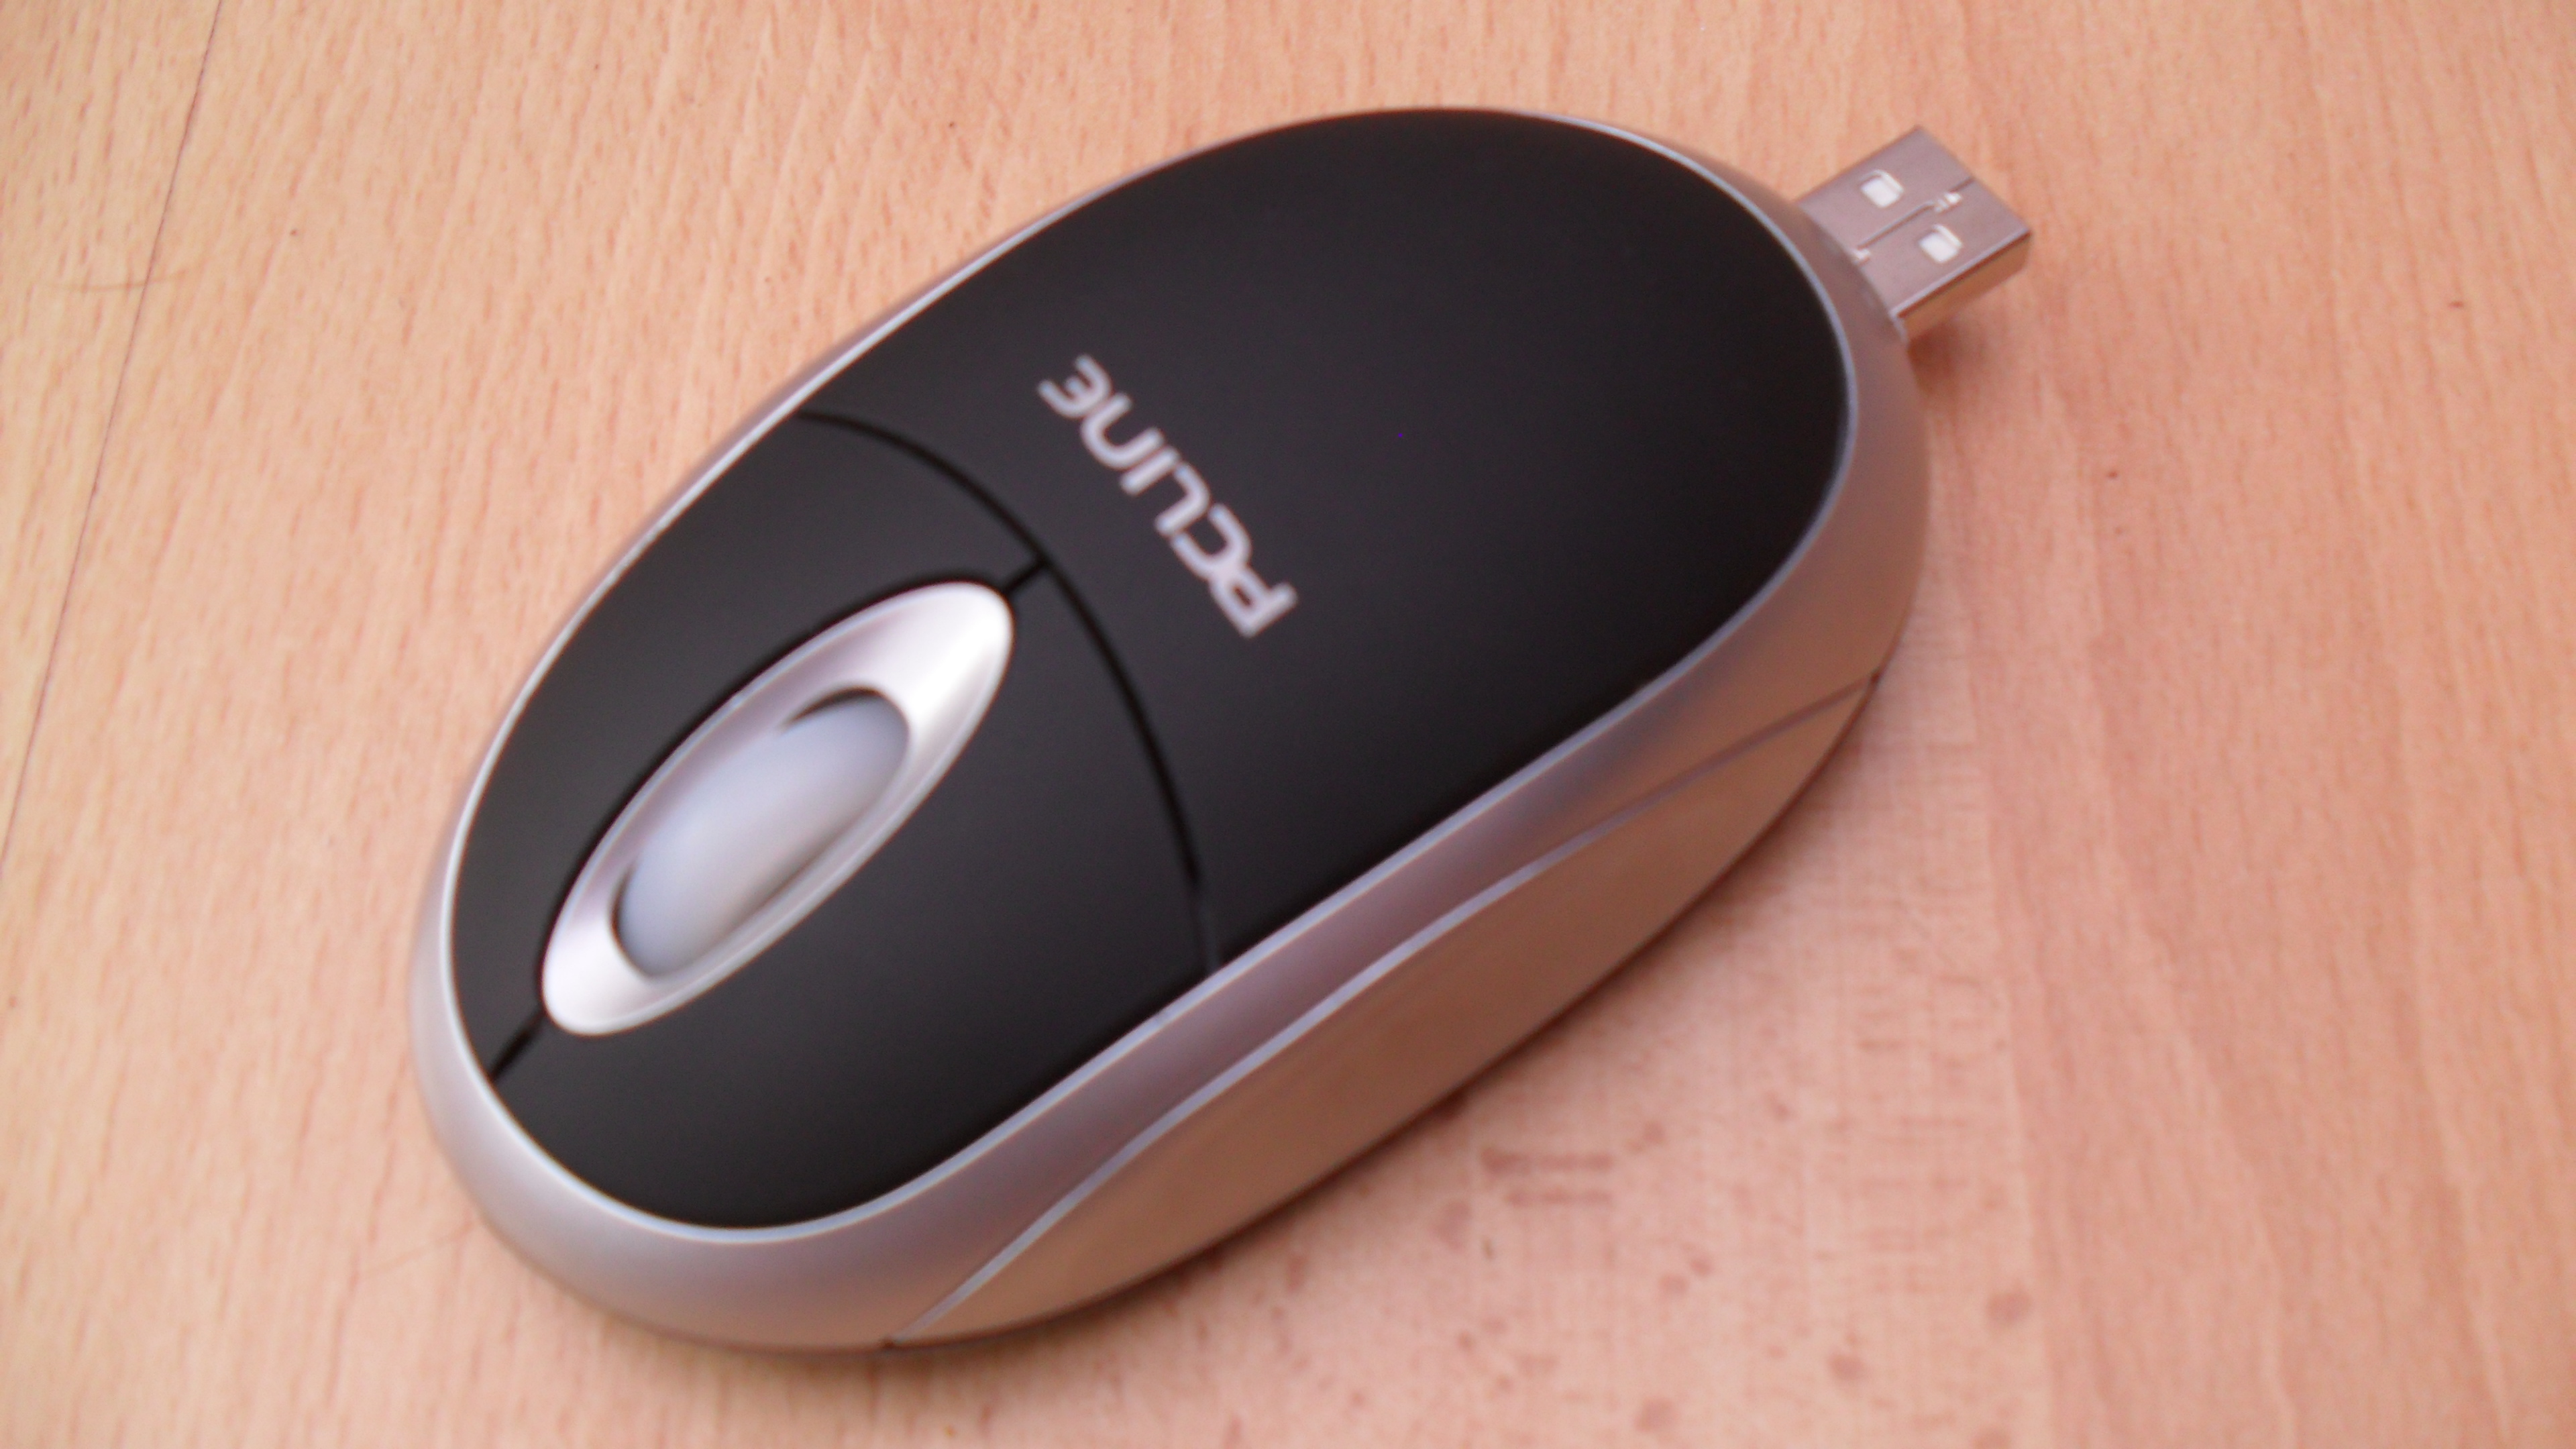
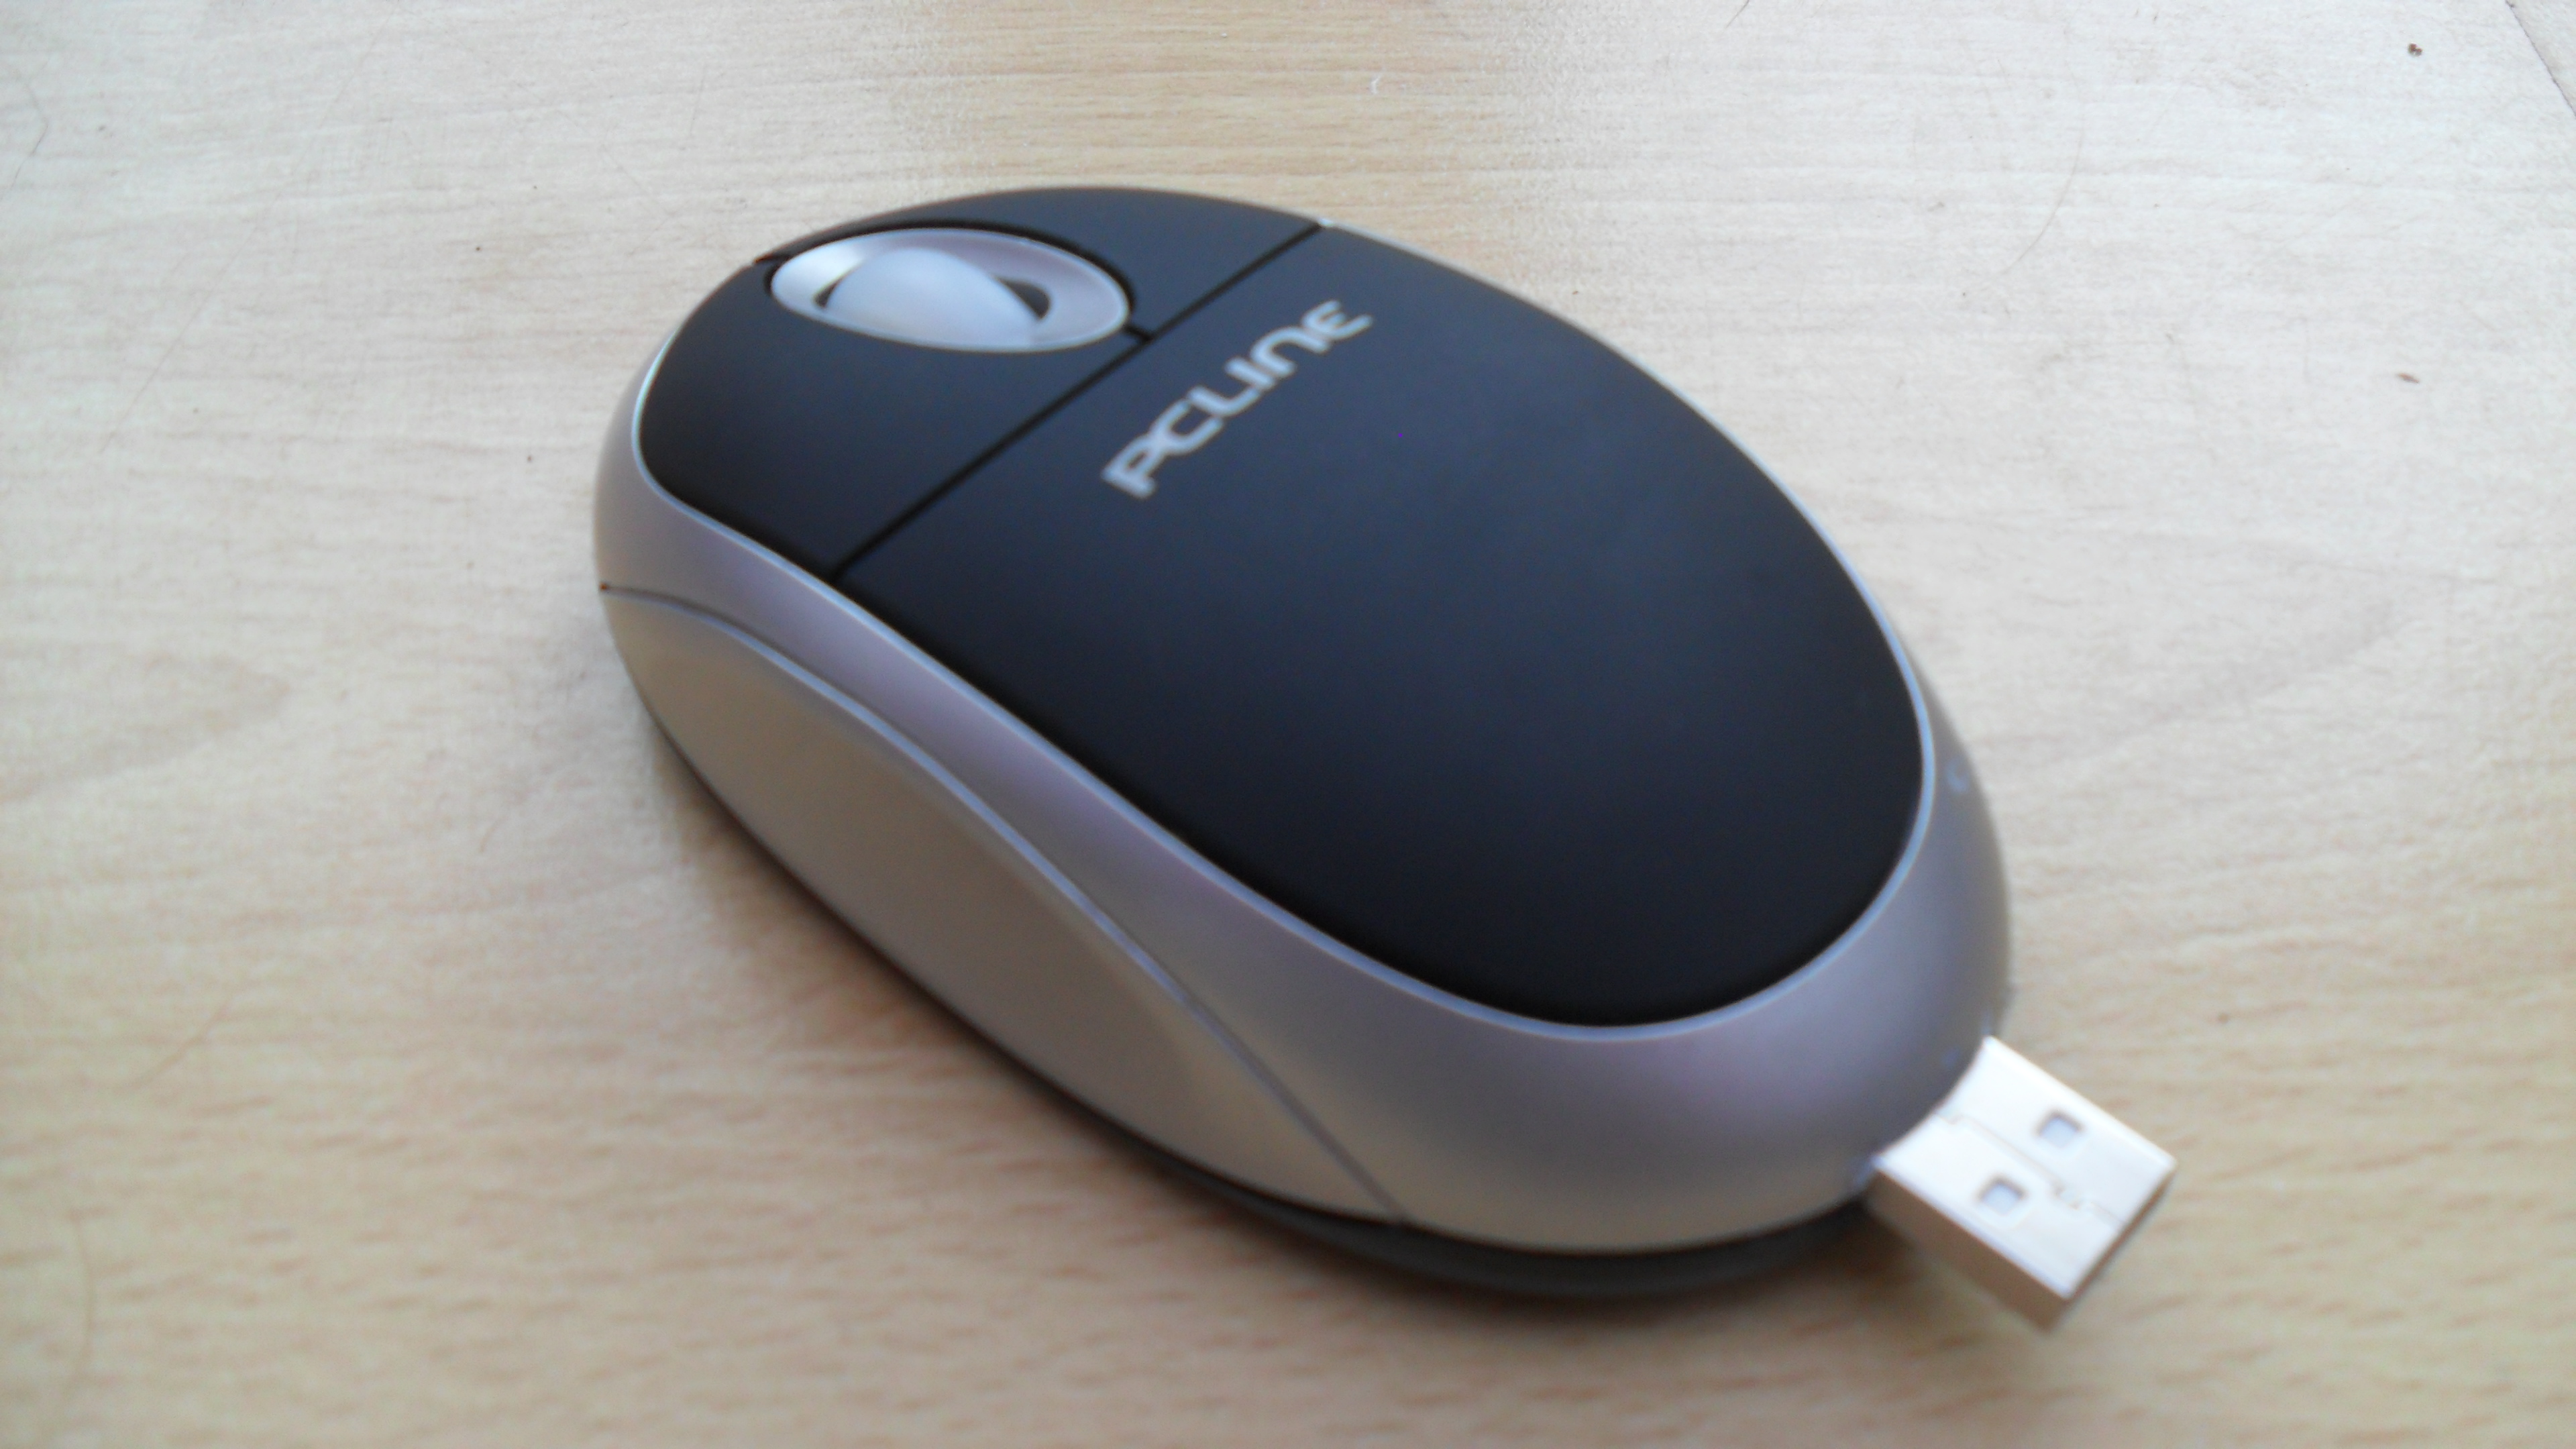
Hey its me, Hiyadudez! I made this instructables for the Keyboard Vs. Mouse Speed Challenge.
Basically, I was thinking and thinking of what I could make for the contest, but just couldnt think of anything. When suddenly, for some reason, my Knex USB came to mind, and there was my idea. Cool story, eh?
My instructions may vary a tiny bit for you as you most likely dont have the same mouse or flash drive as me, but its a basic concept of how they go together, so don't worry.
Please vote, rate, comment and subscribe :-)
Parts List
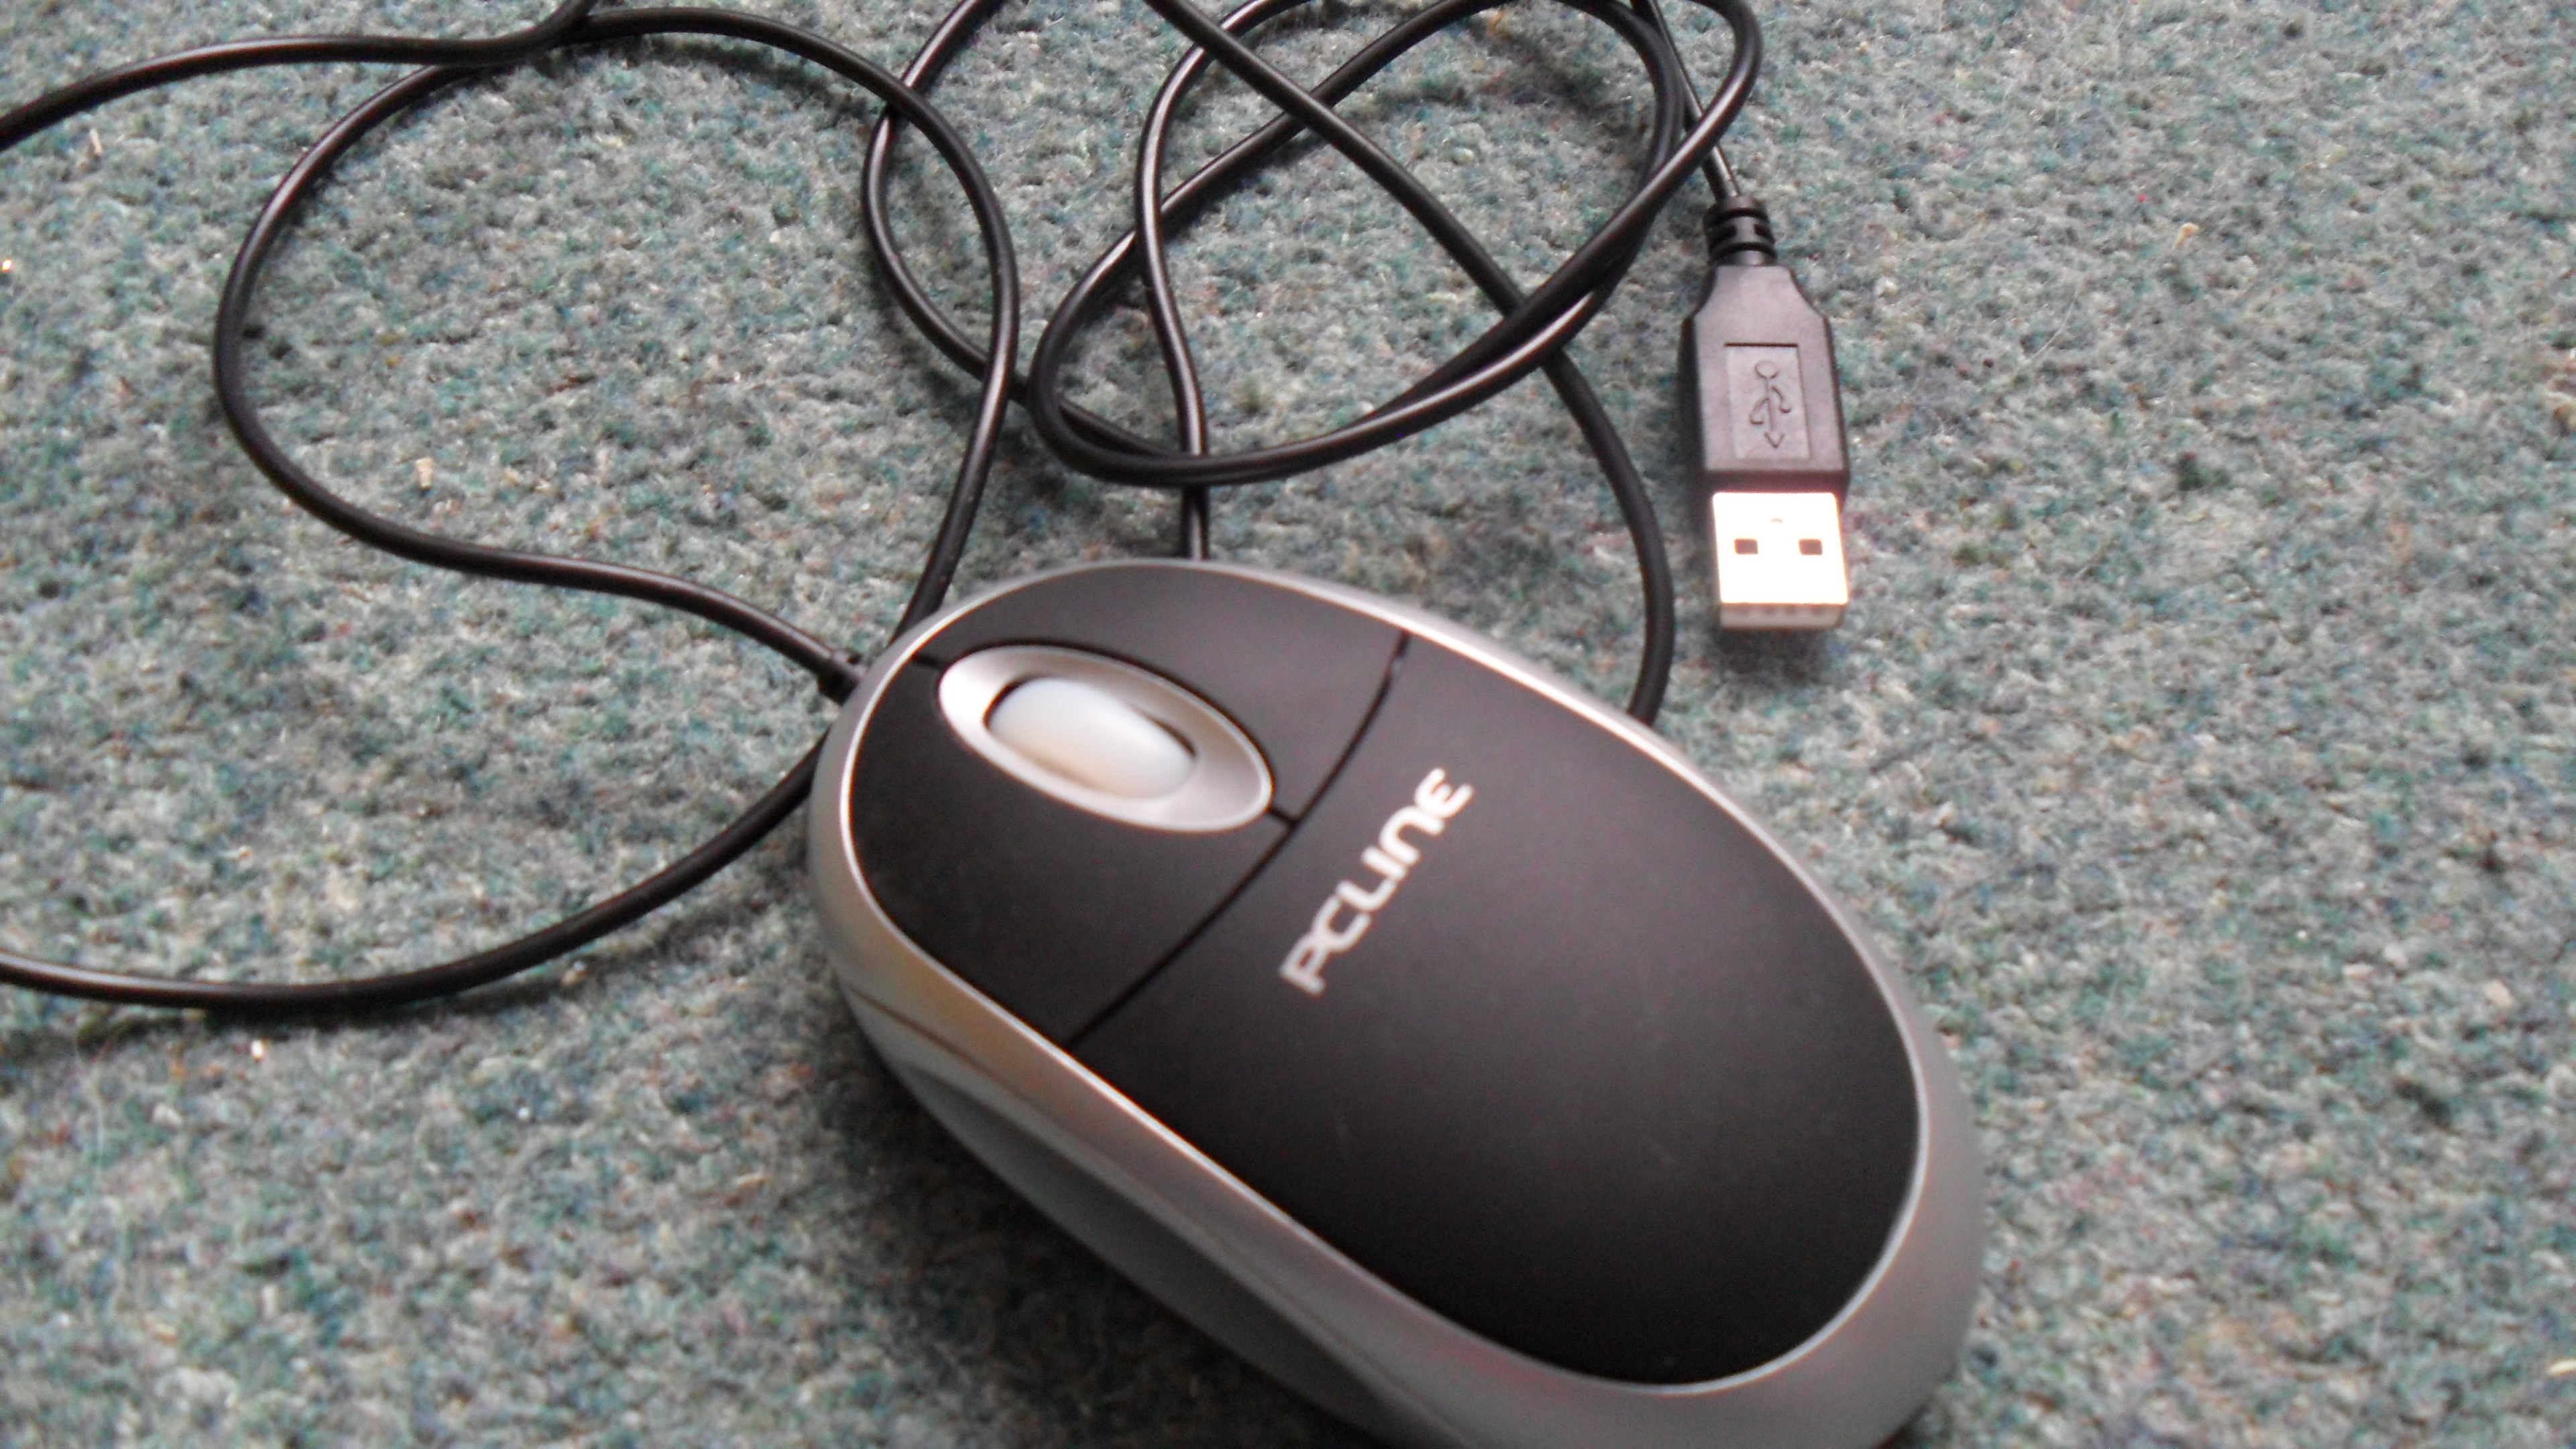
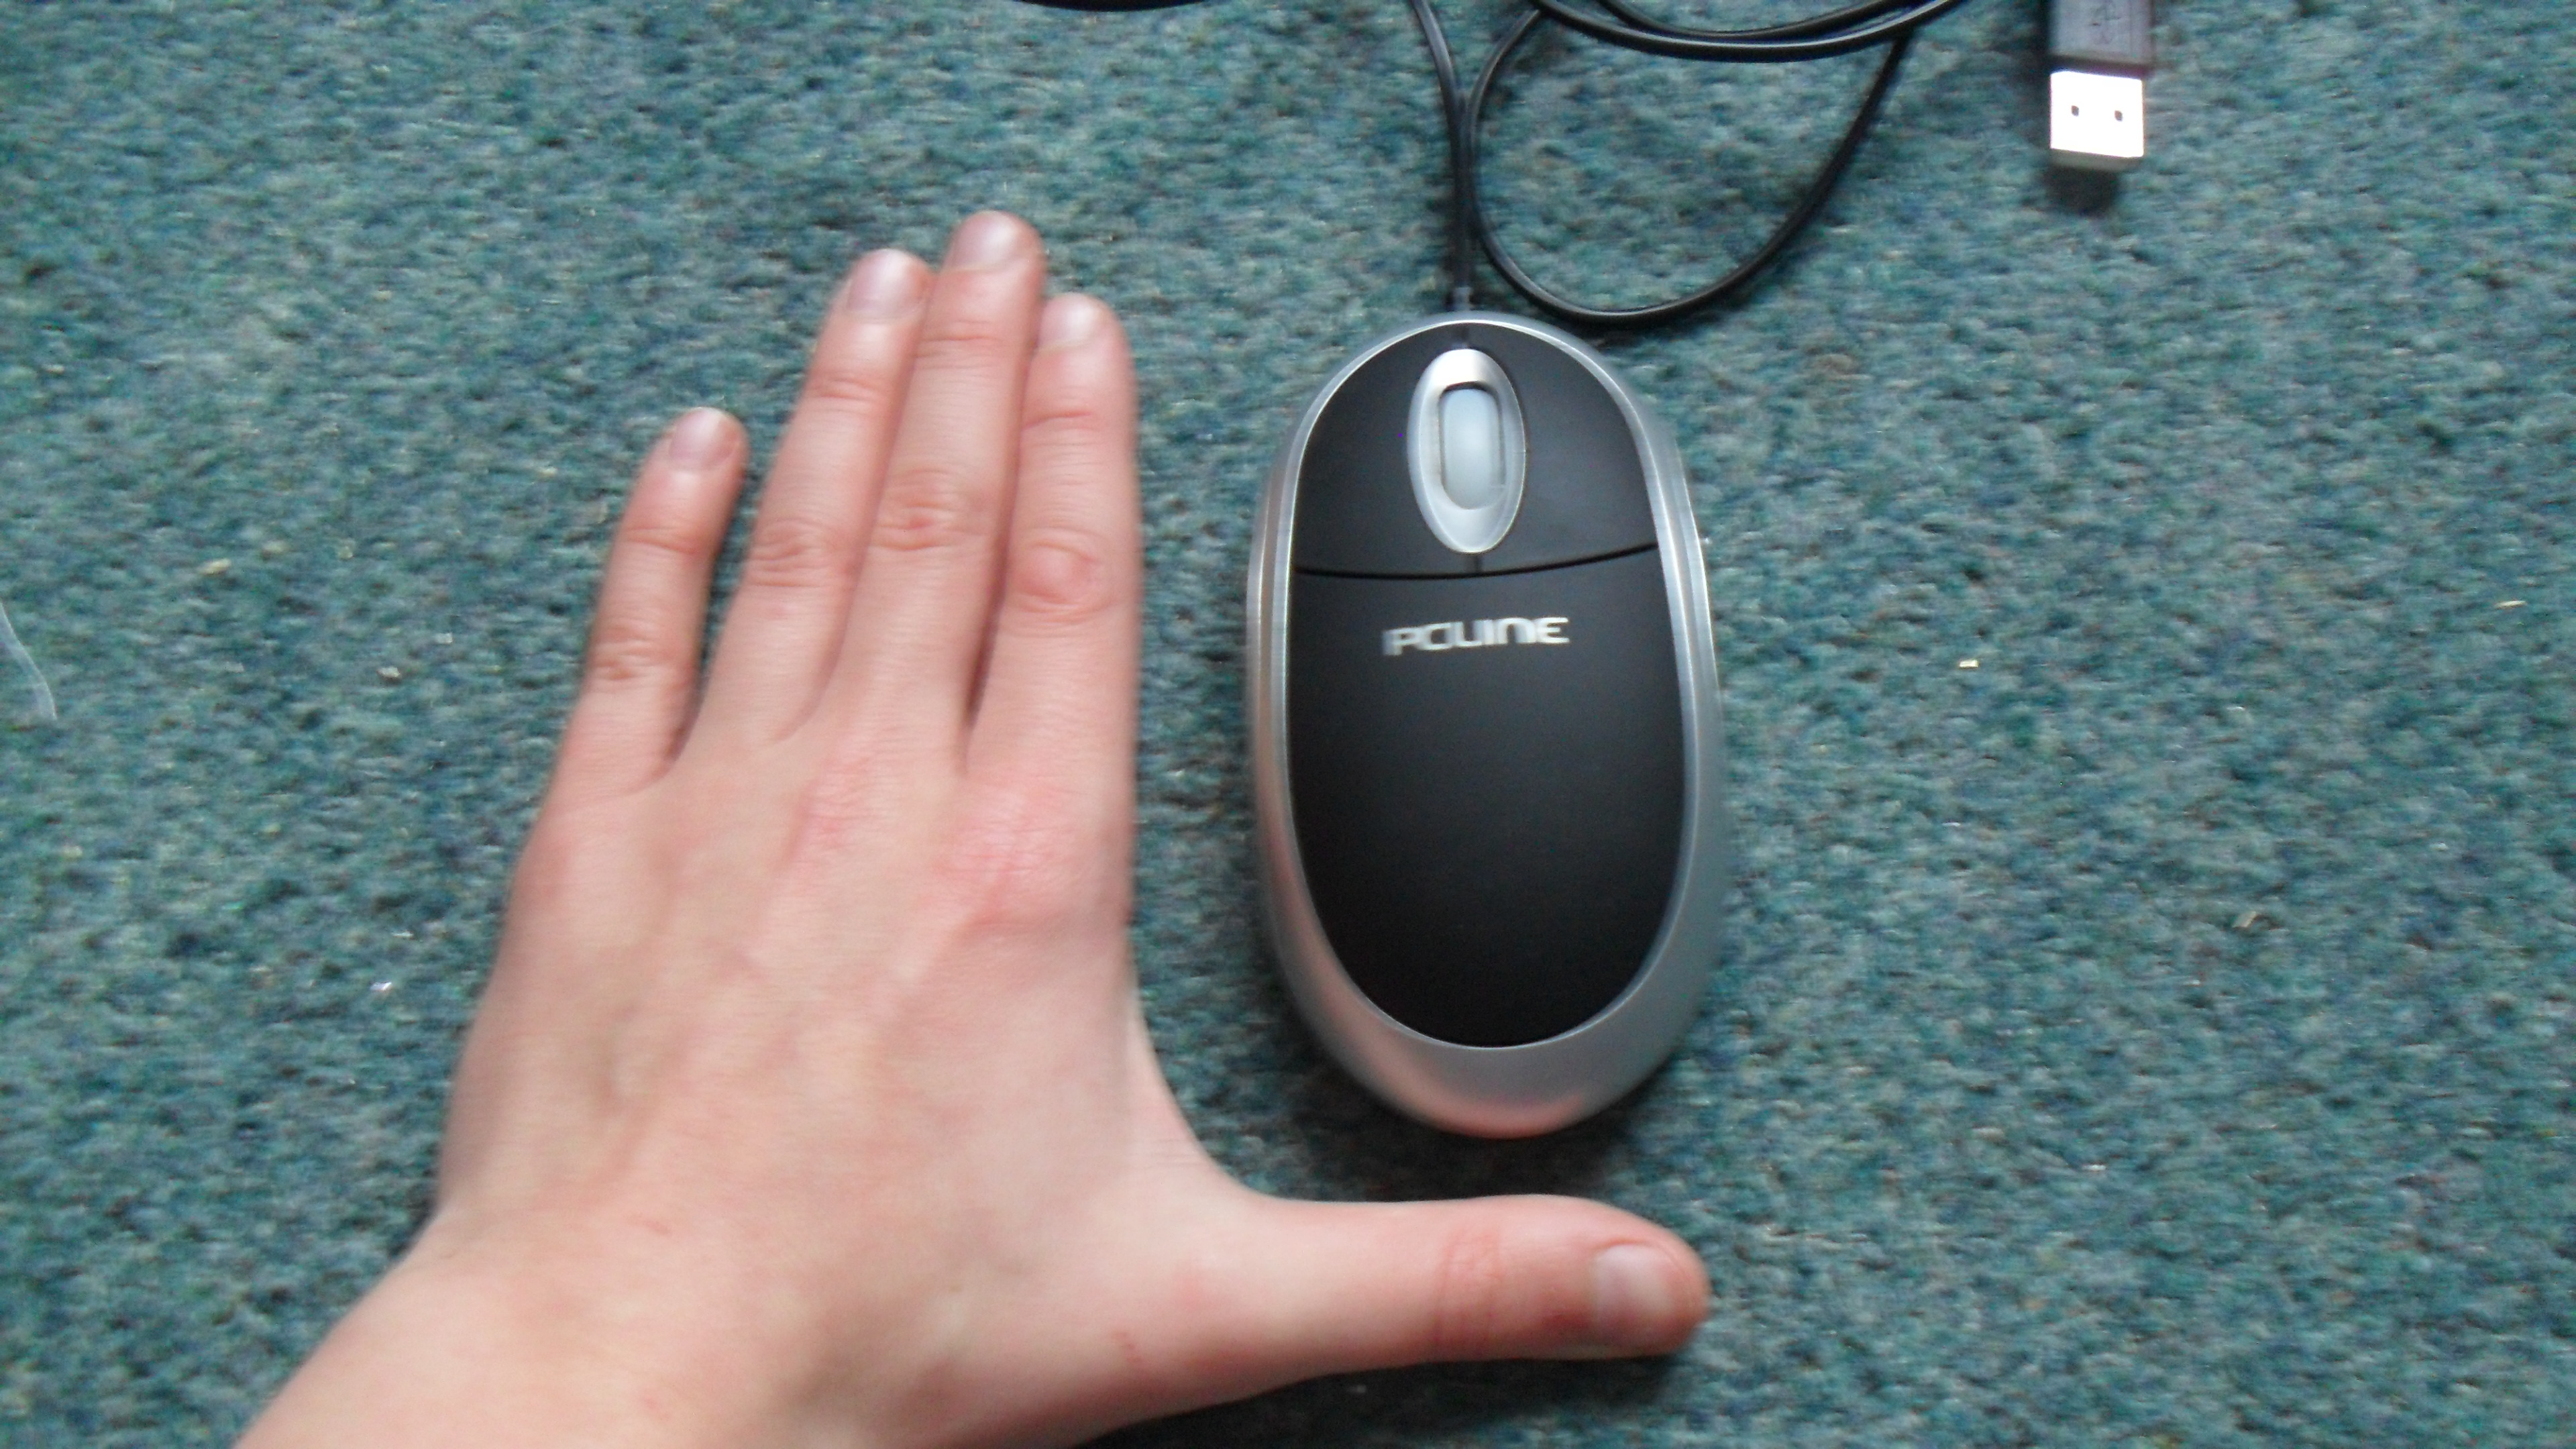
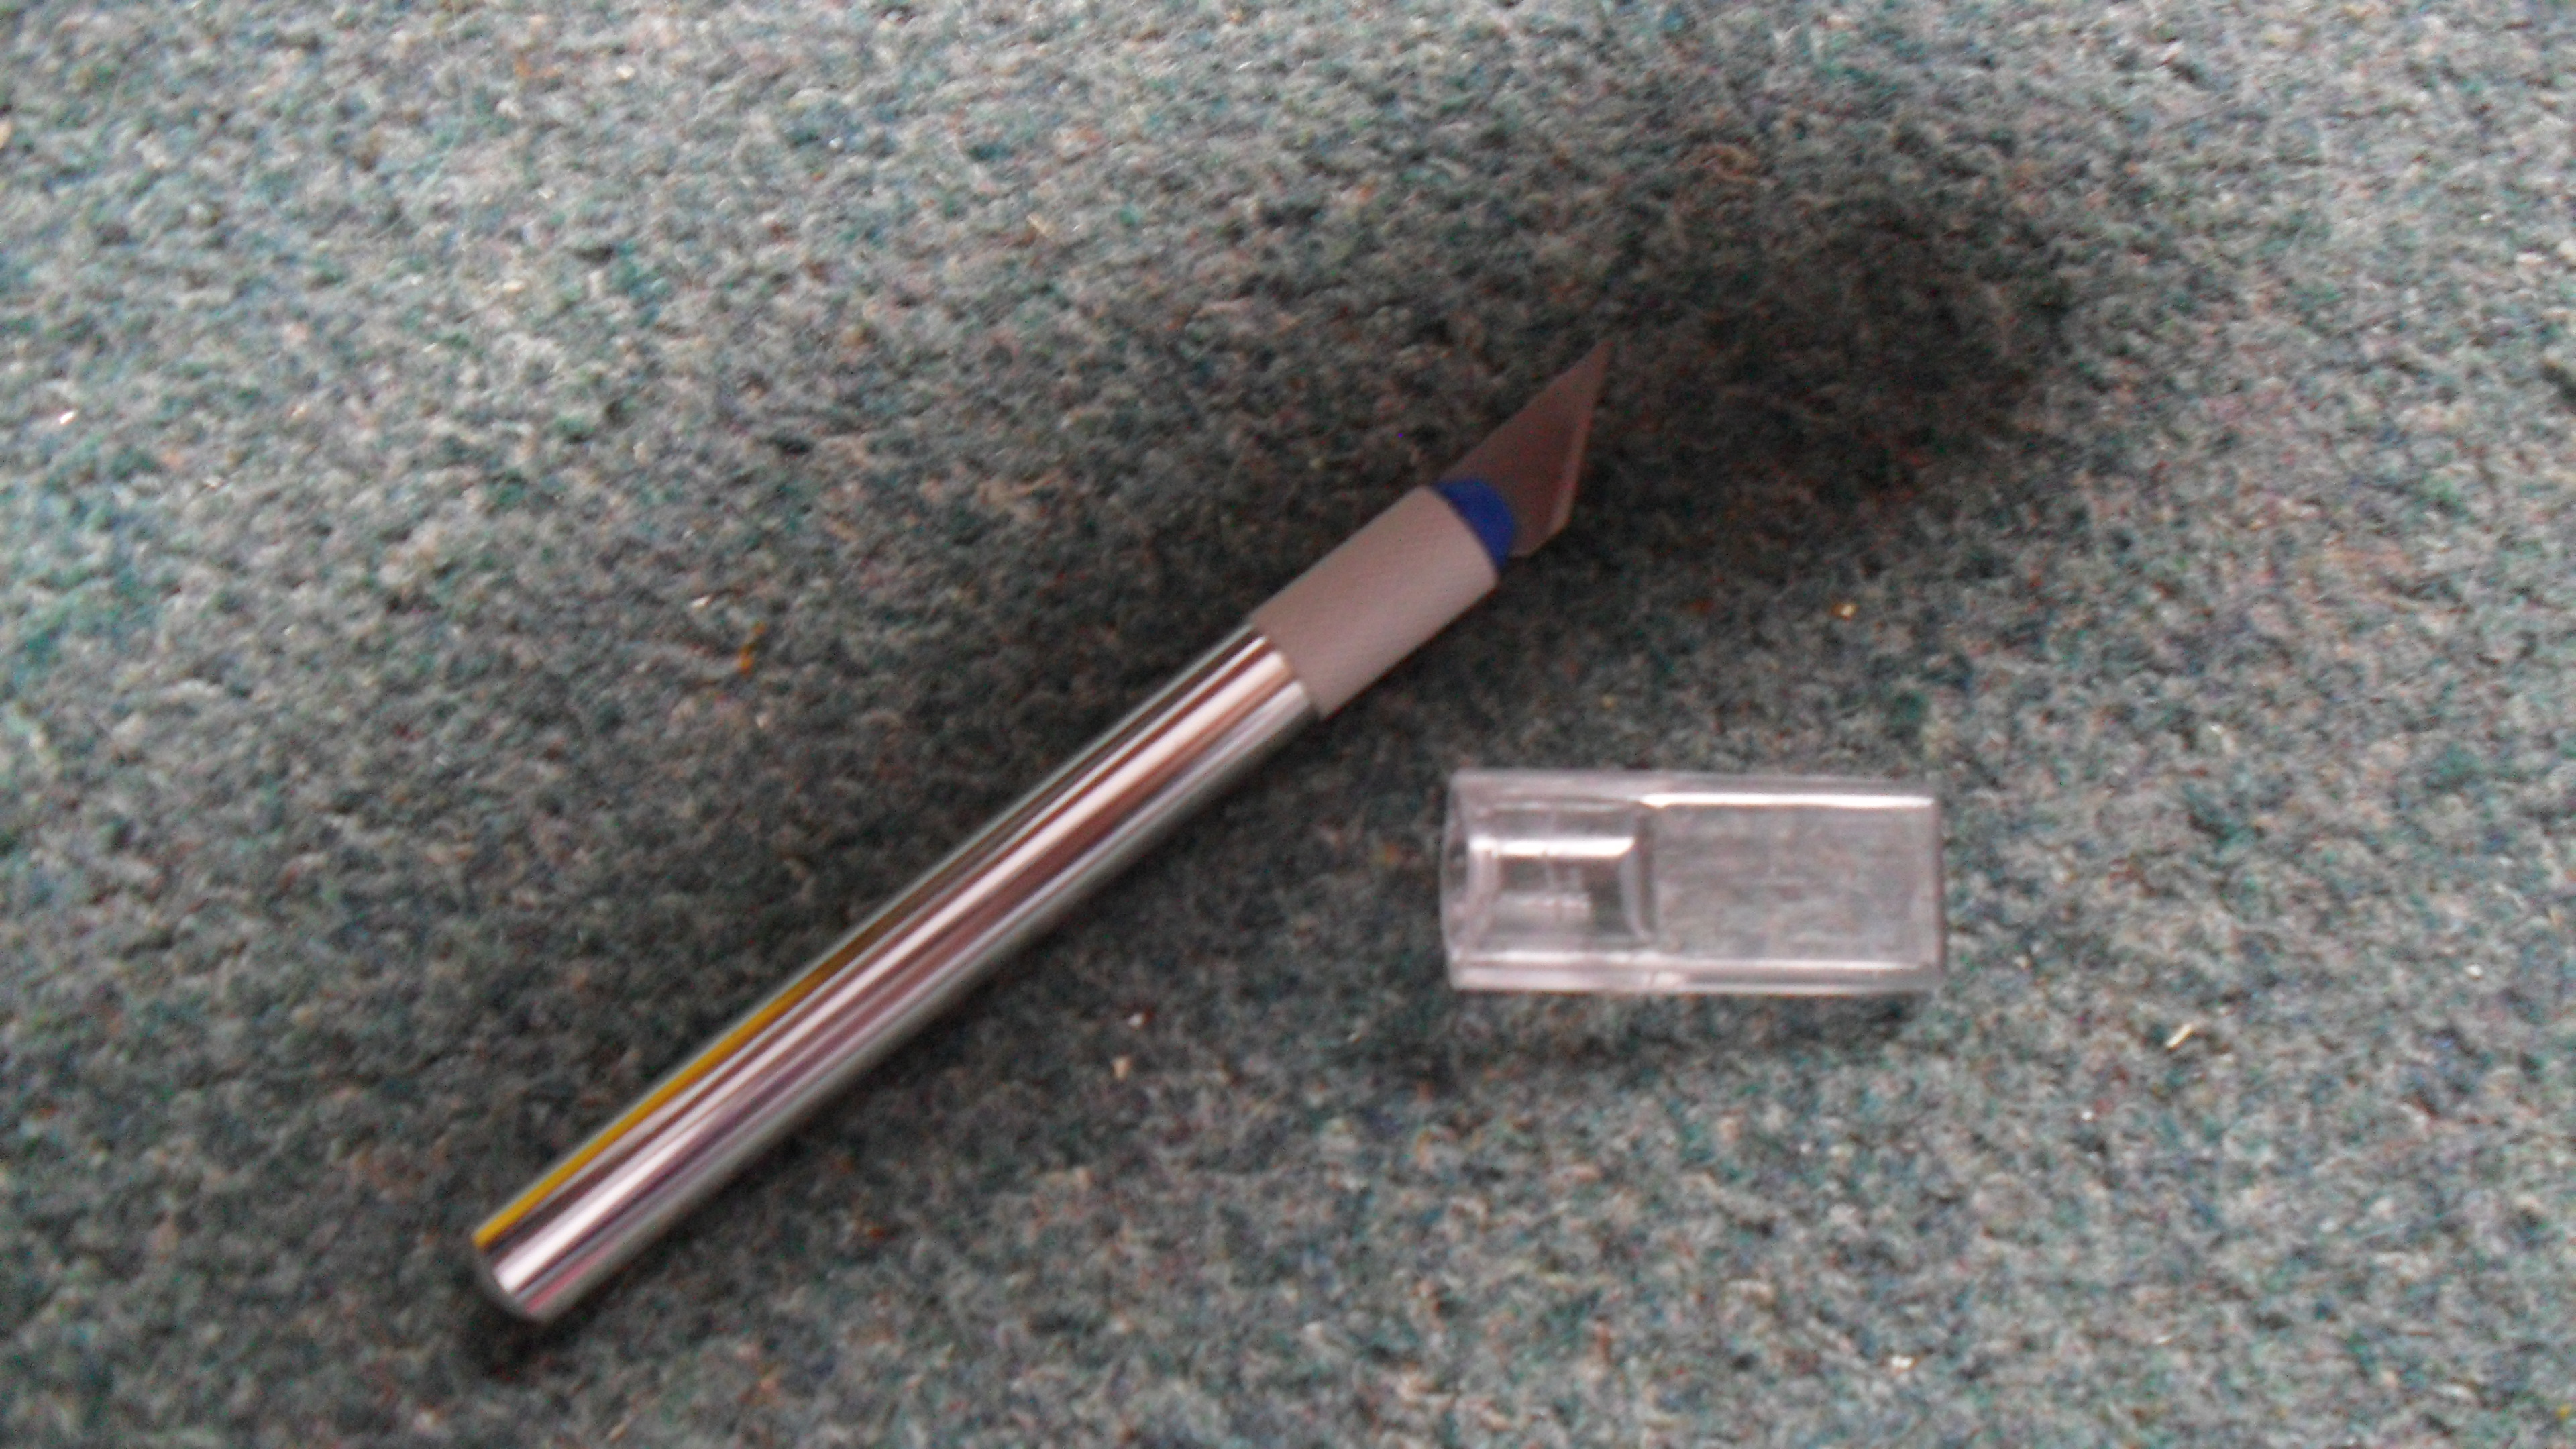
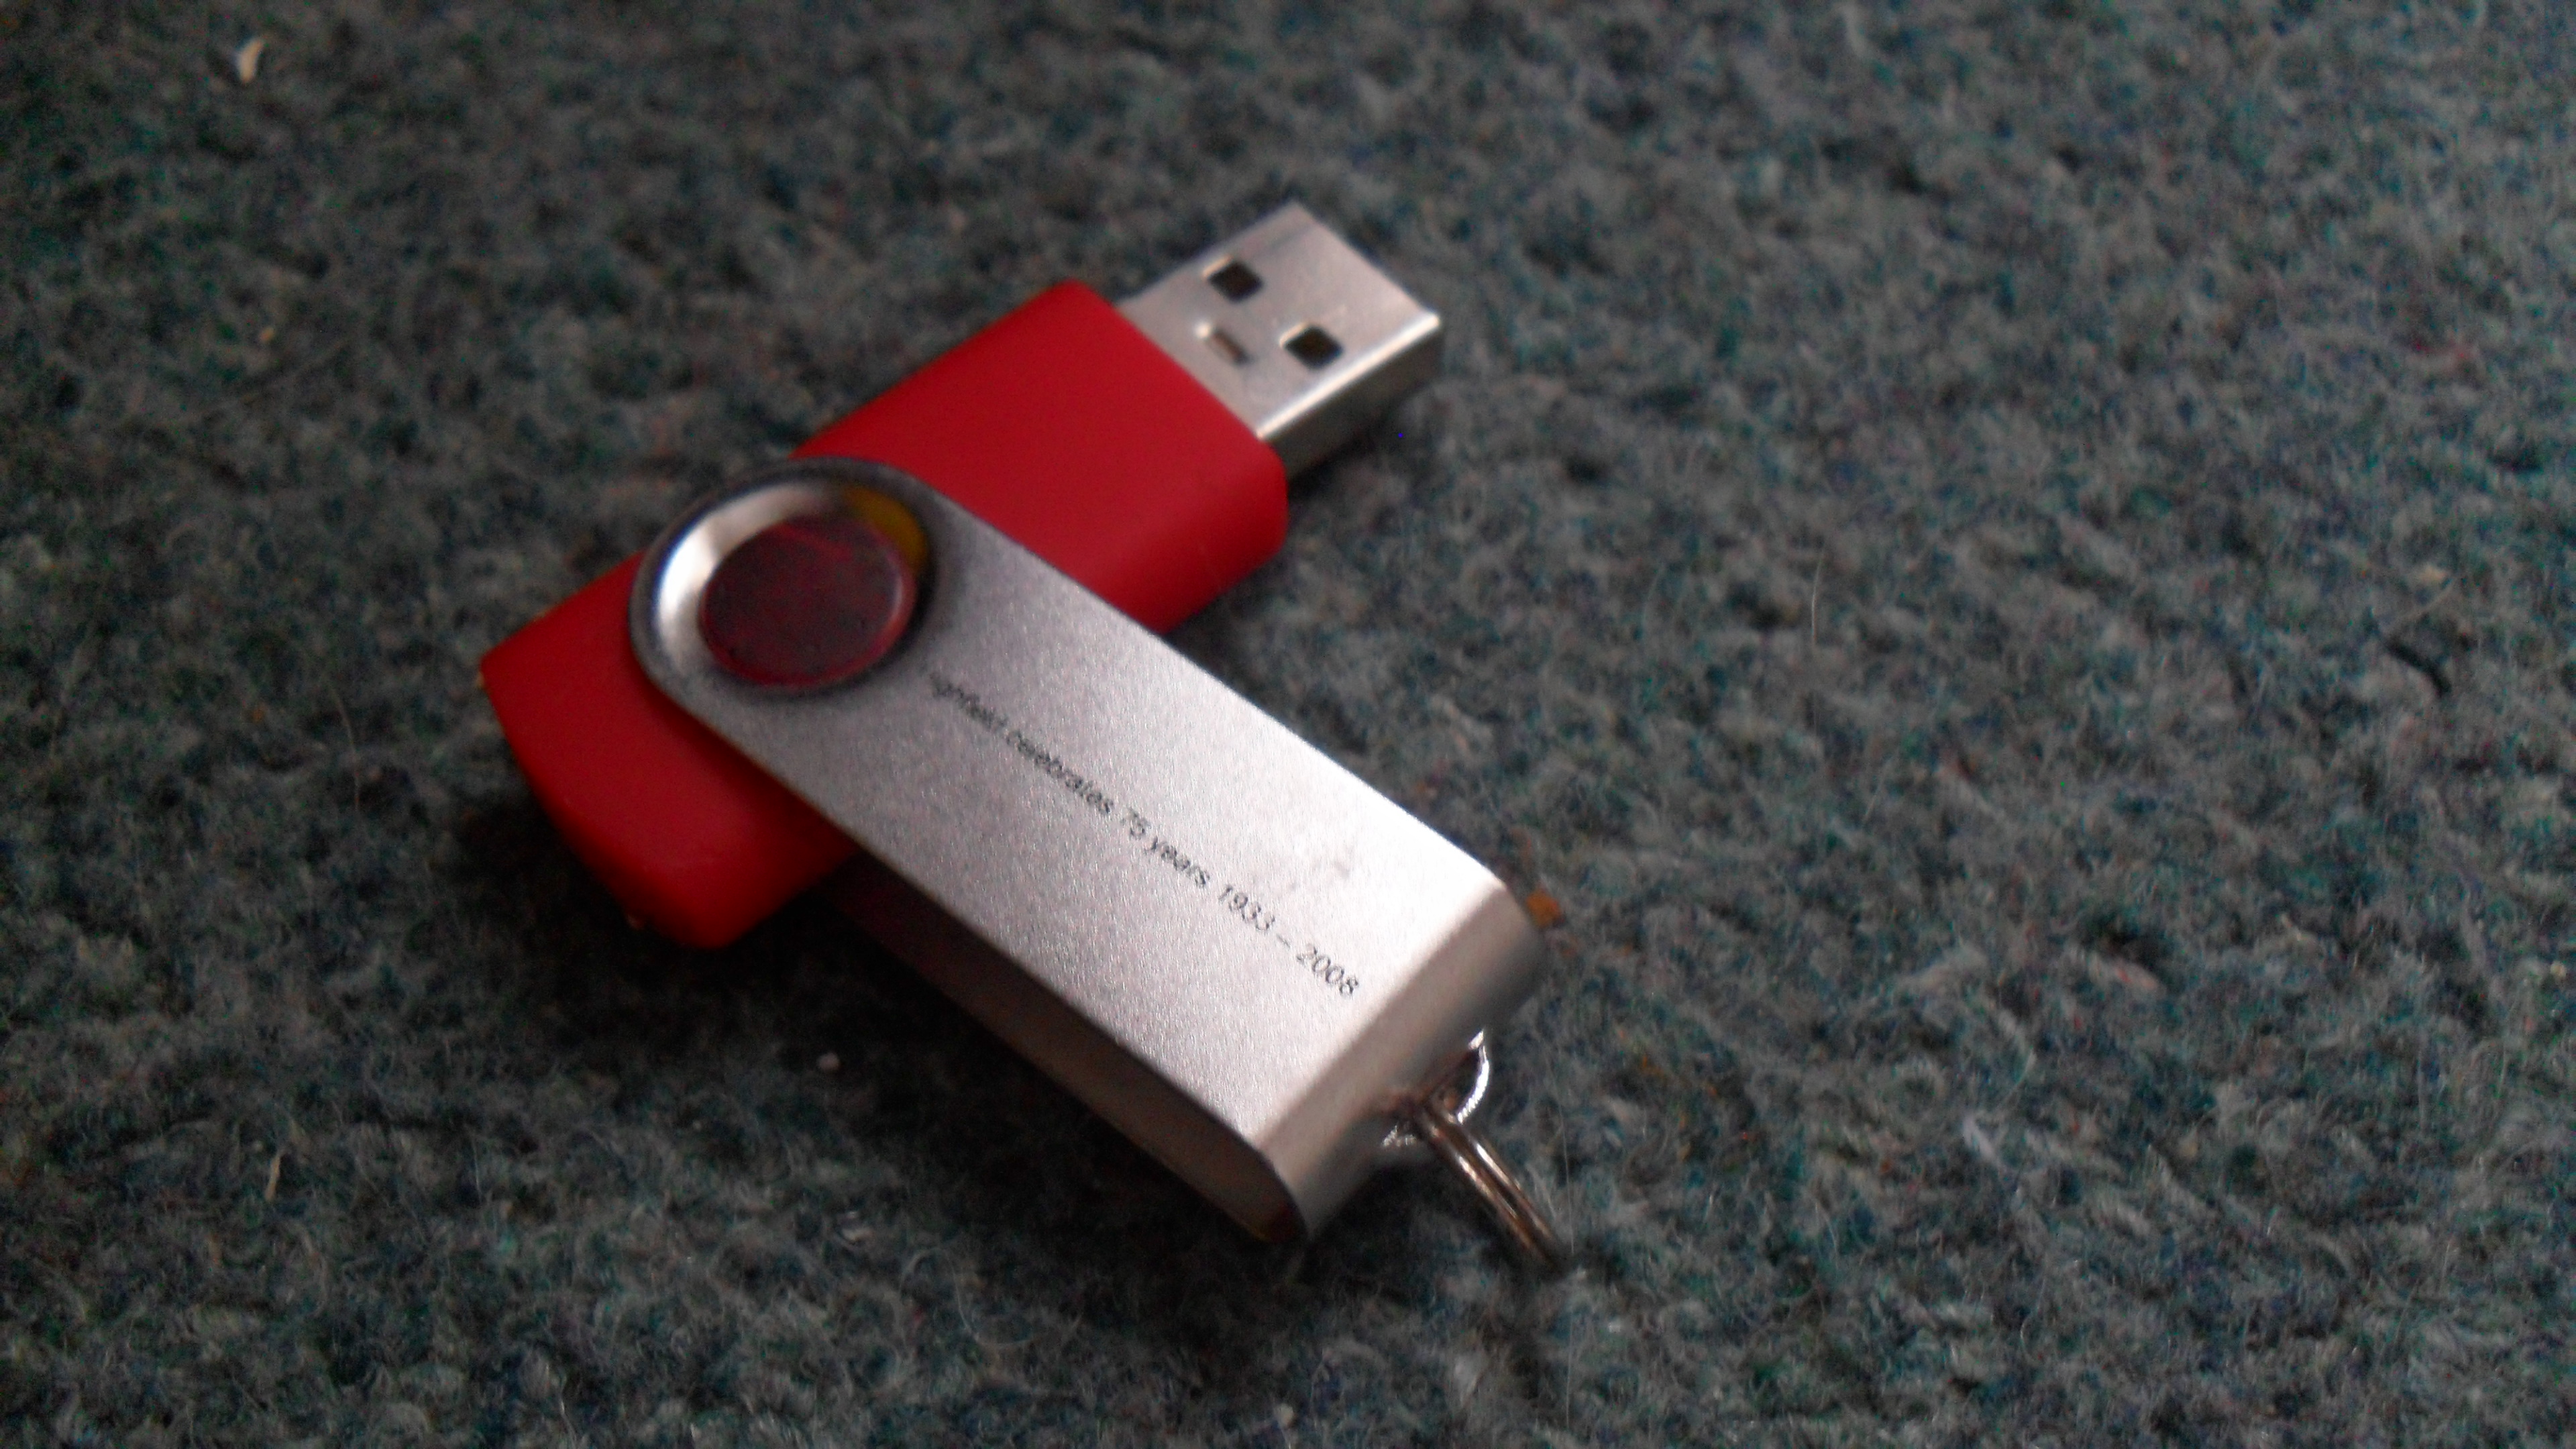
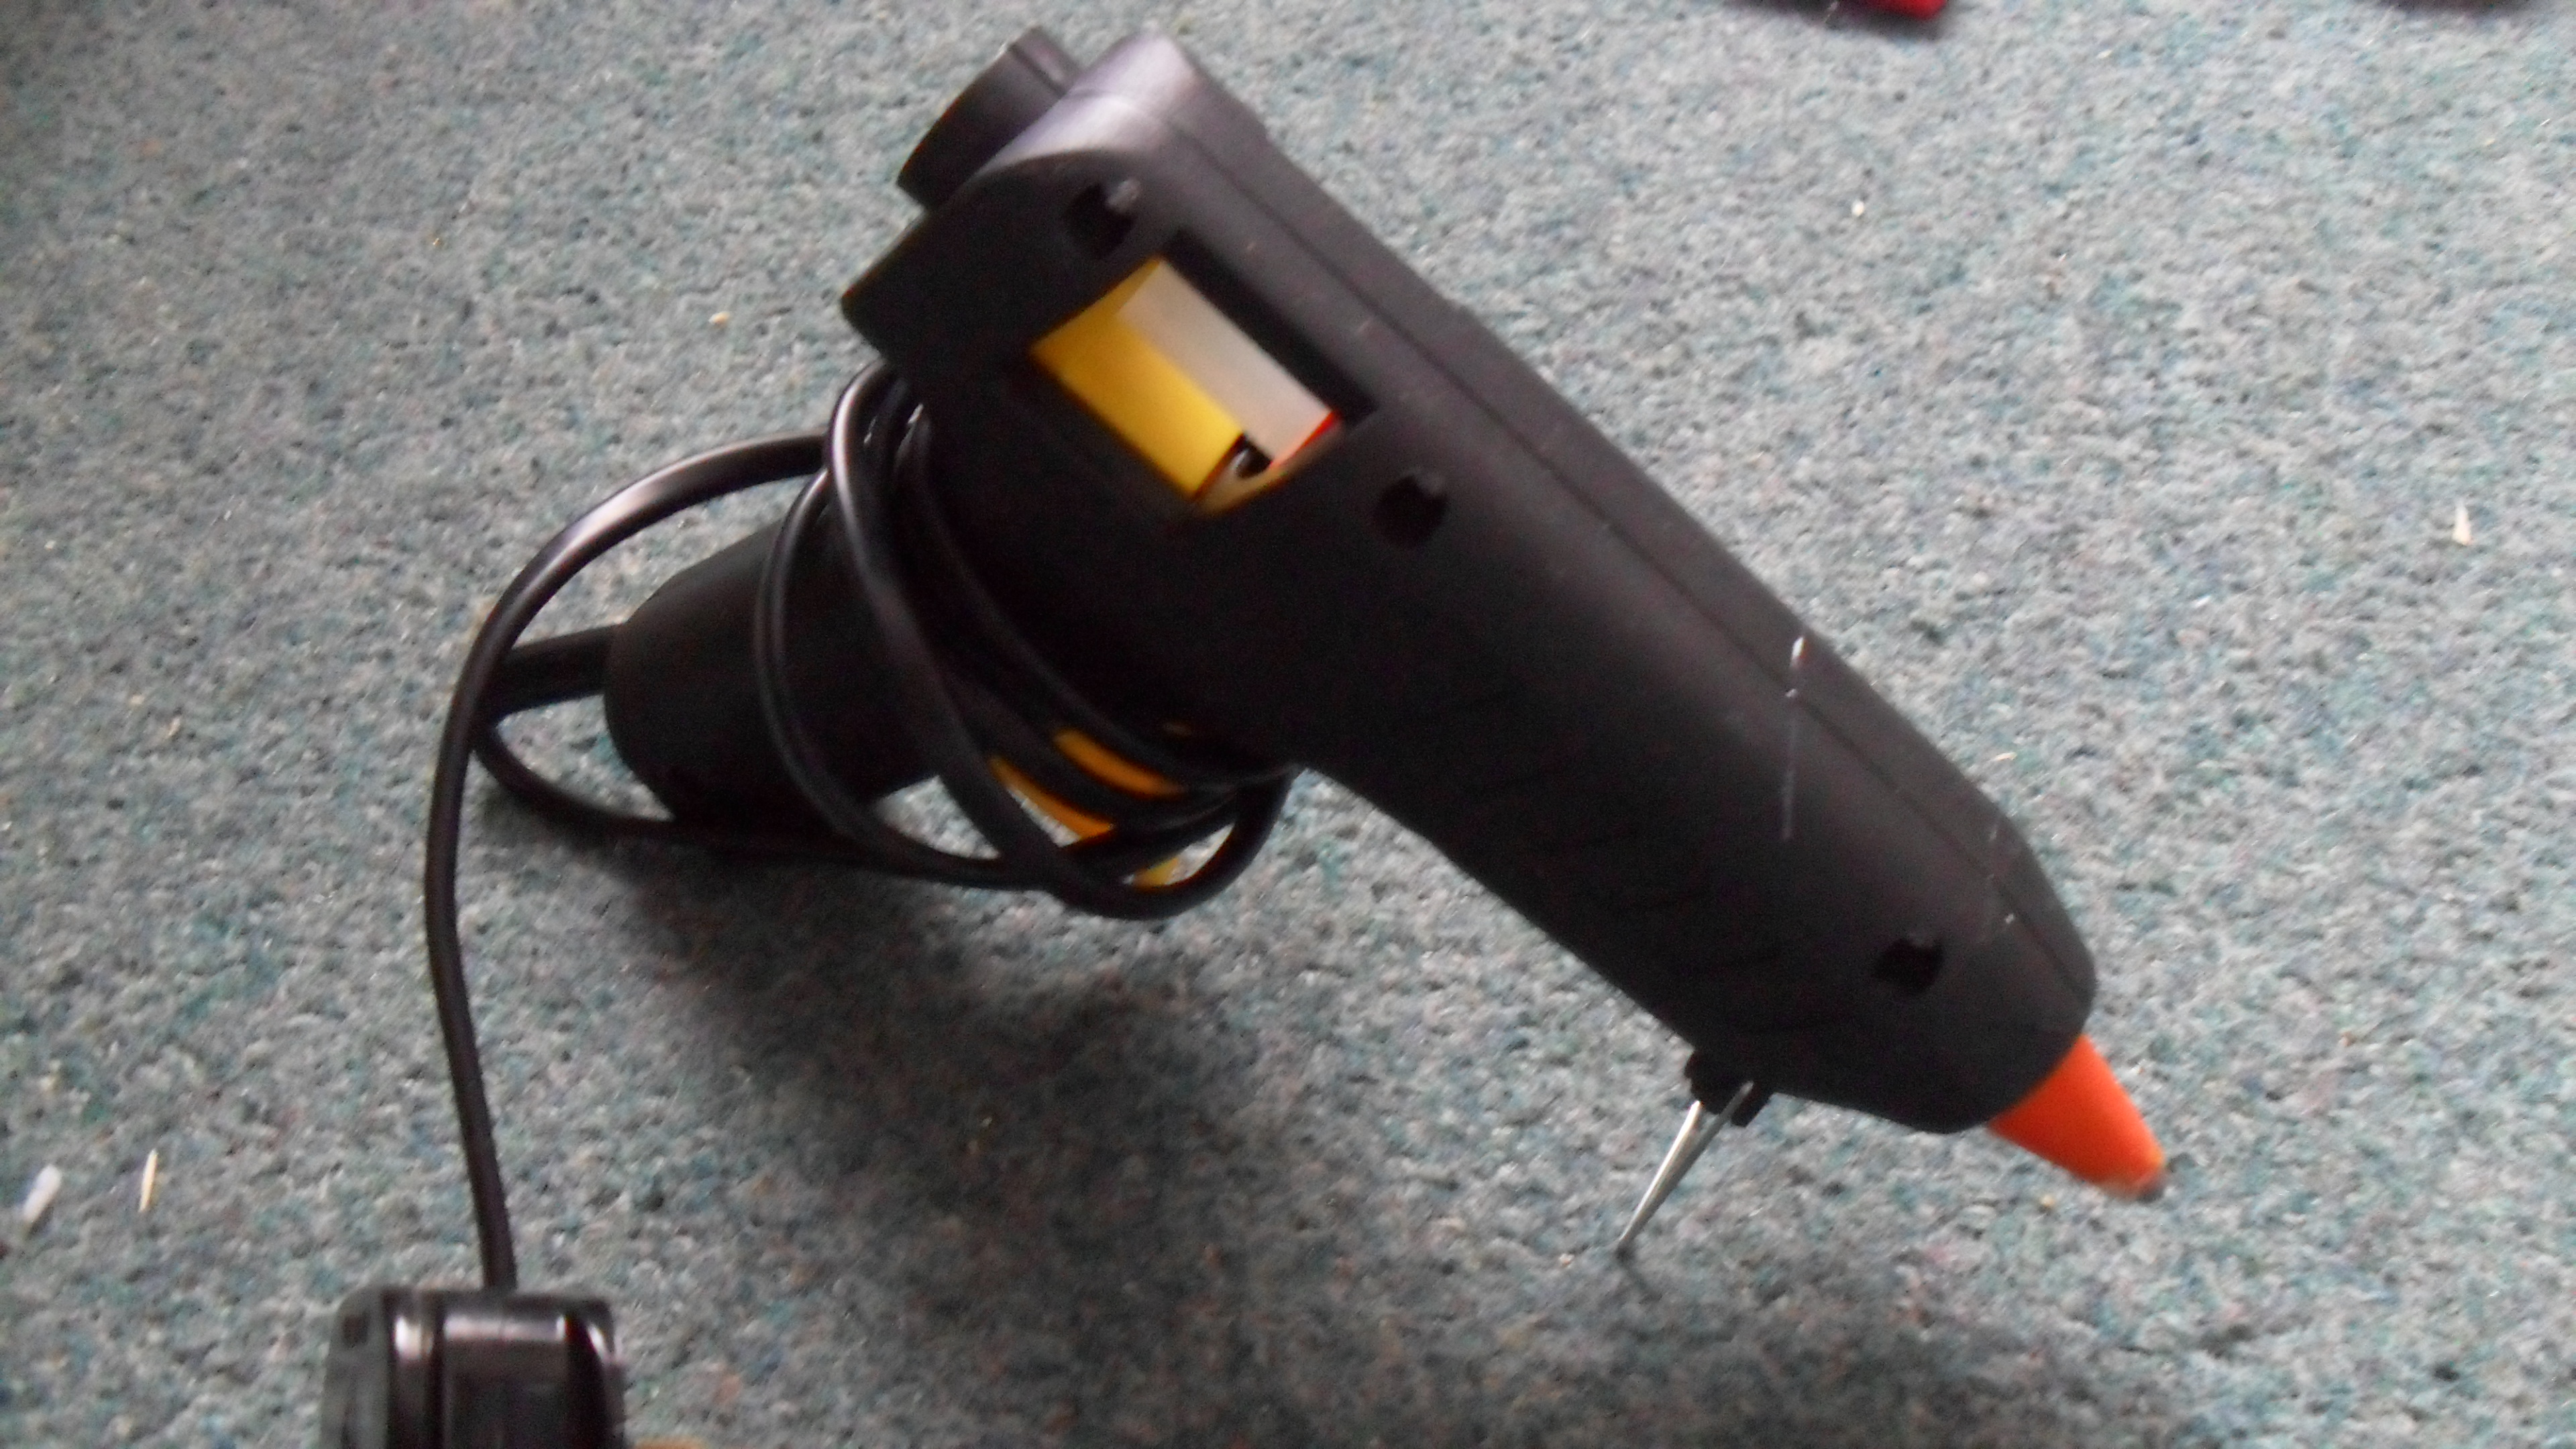
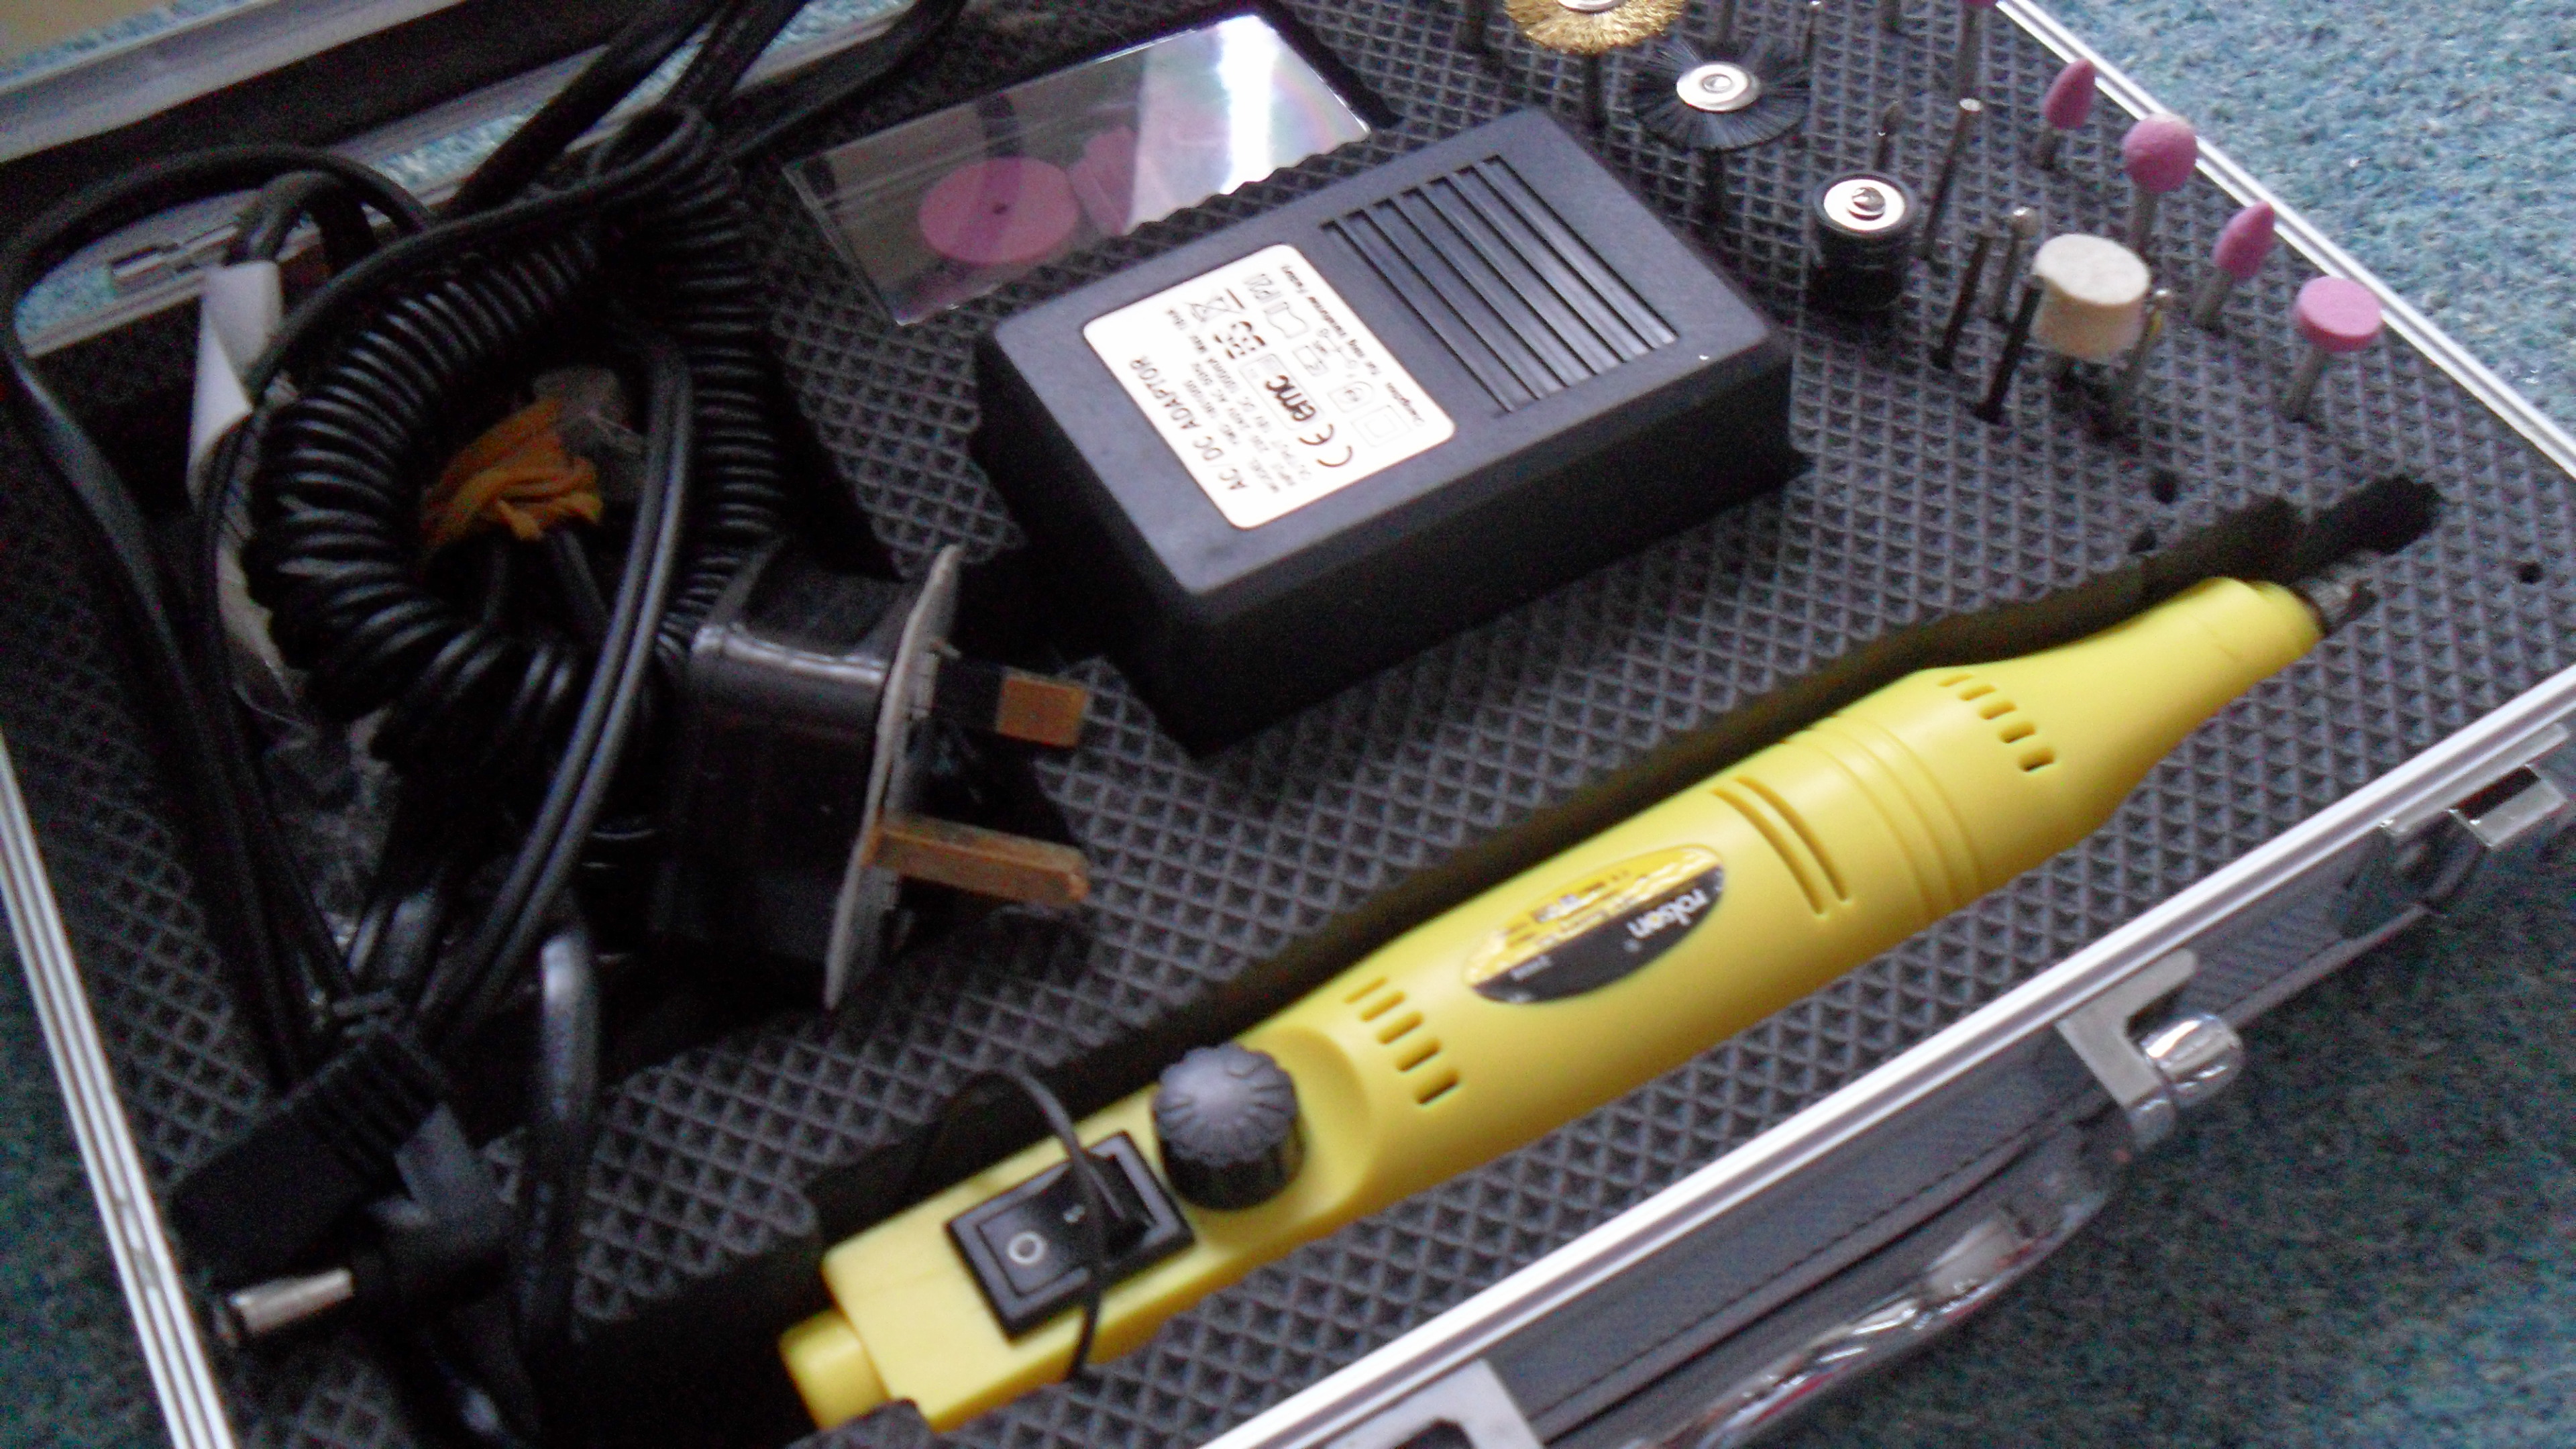
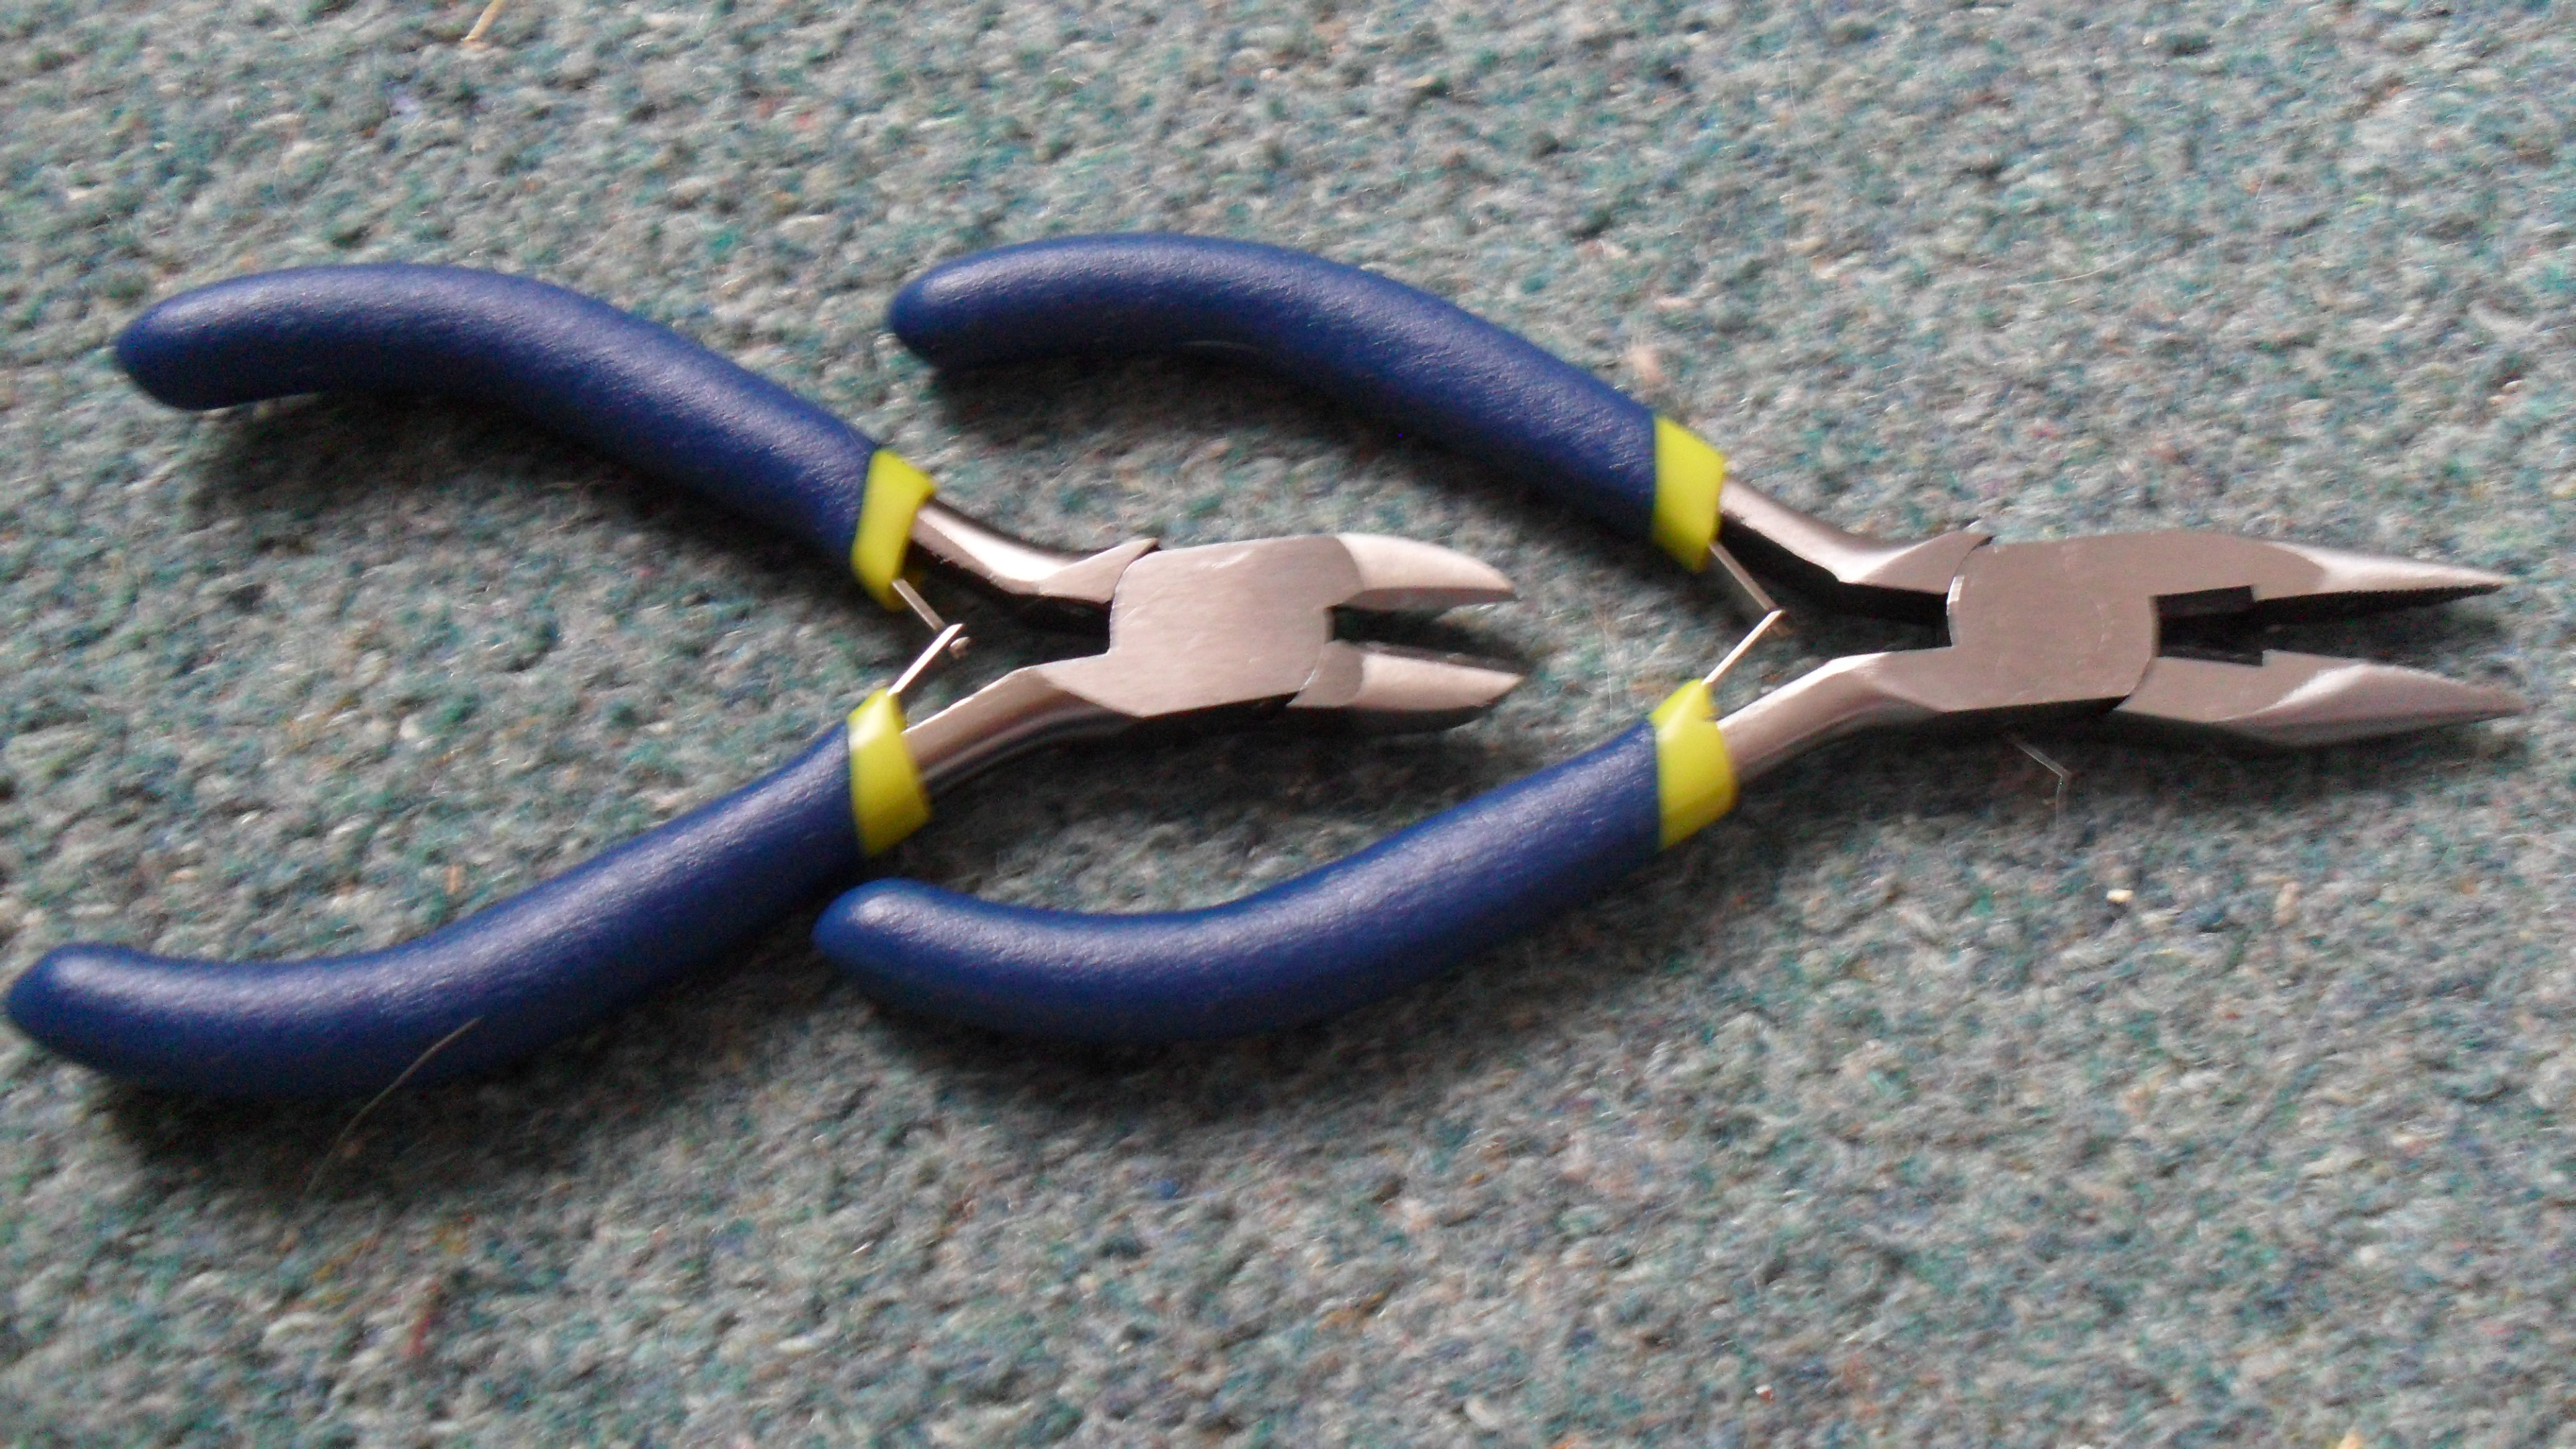
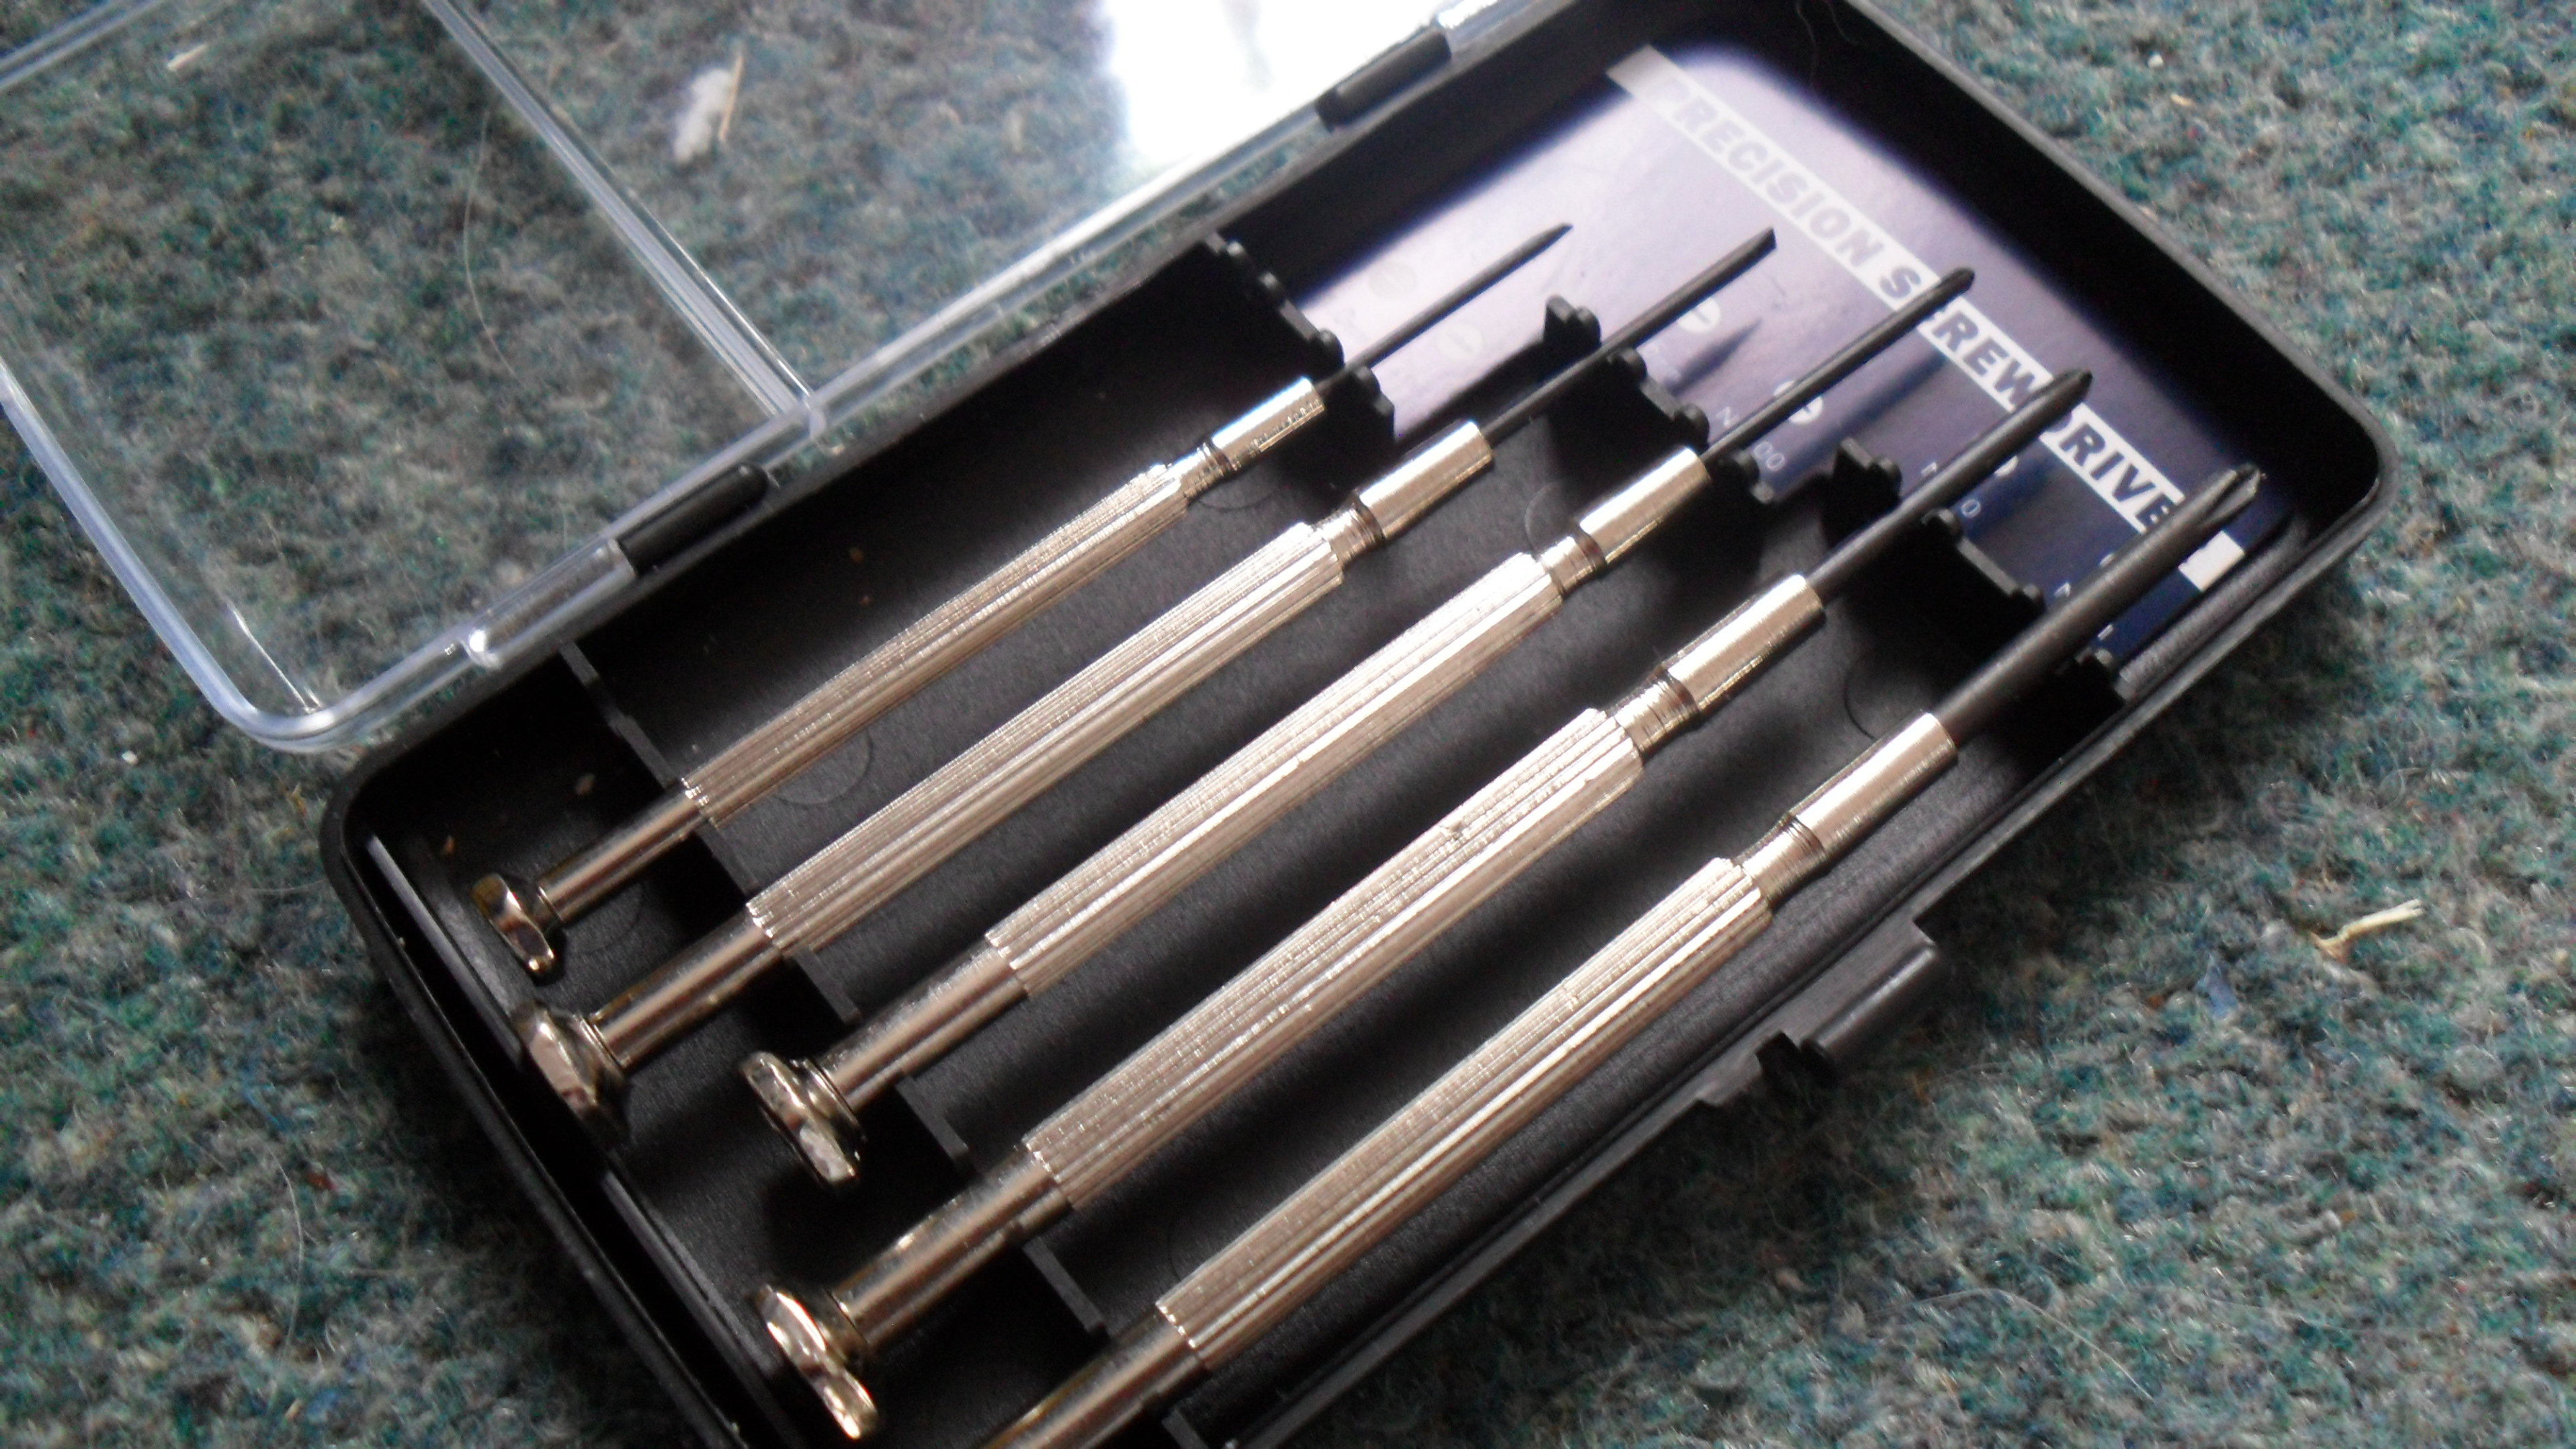
This is the list of all the materials and equipment you need.
Materials:
Materials:
- A computer mouse (preferably a small one)
- A USB/Flash drive (Any size as long as its not longer than your mouse)
Tools:
- Hot glue gun + glue sticks
- Wire cutting pliers or just a knife
- A craft knife (optional, its to open the USB case, any knife will do)
- Dremel or a file (a file will be much quicker and cleaner)
- A screwdriver
Preparing the Mouse and USB
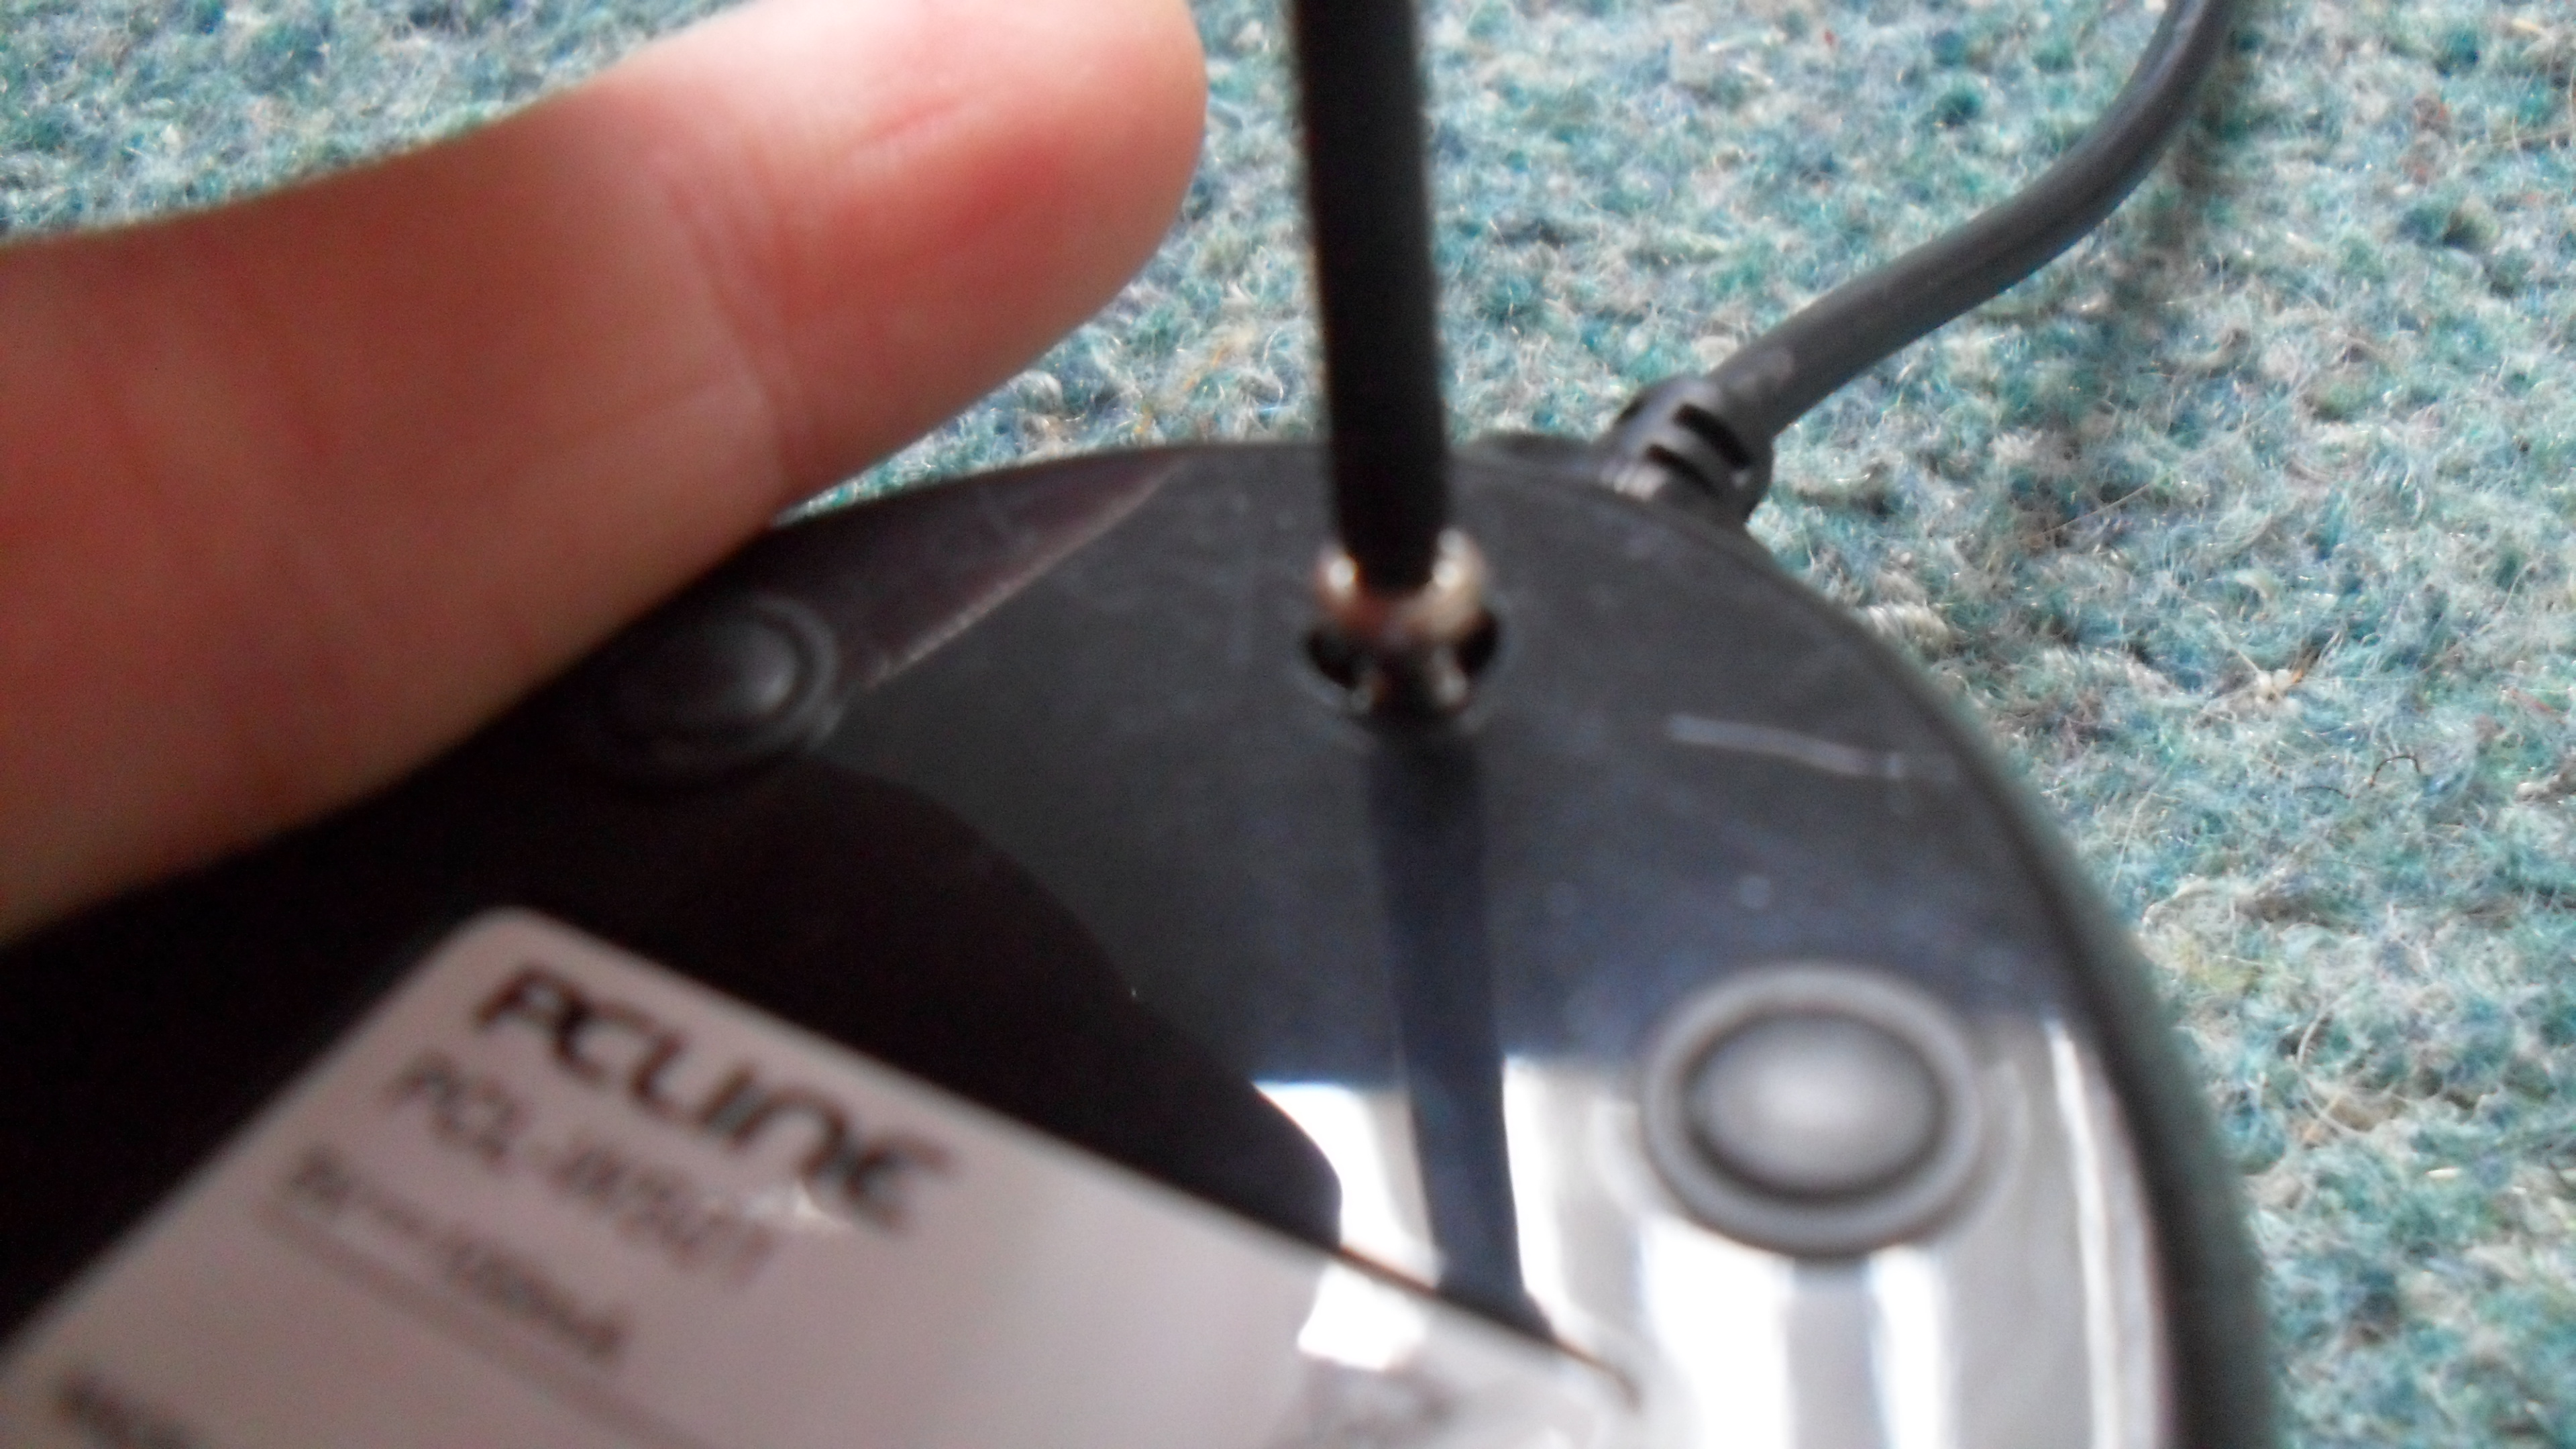
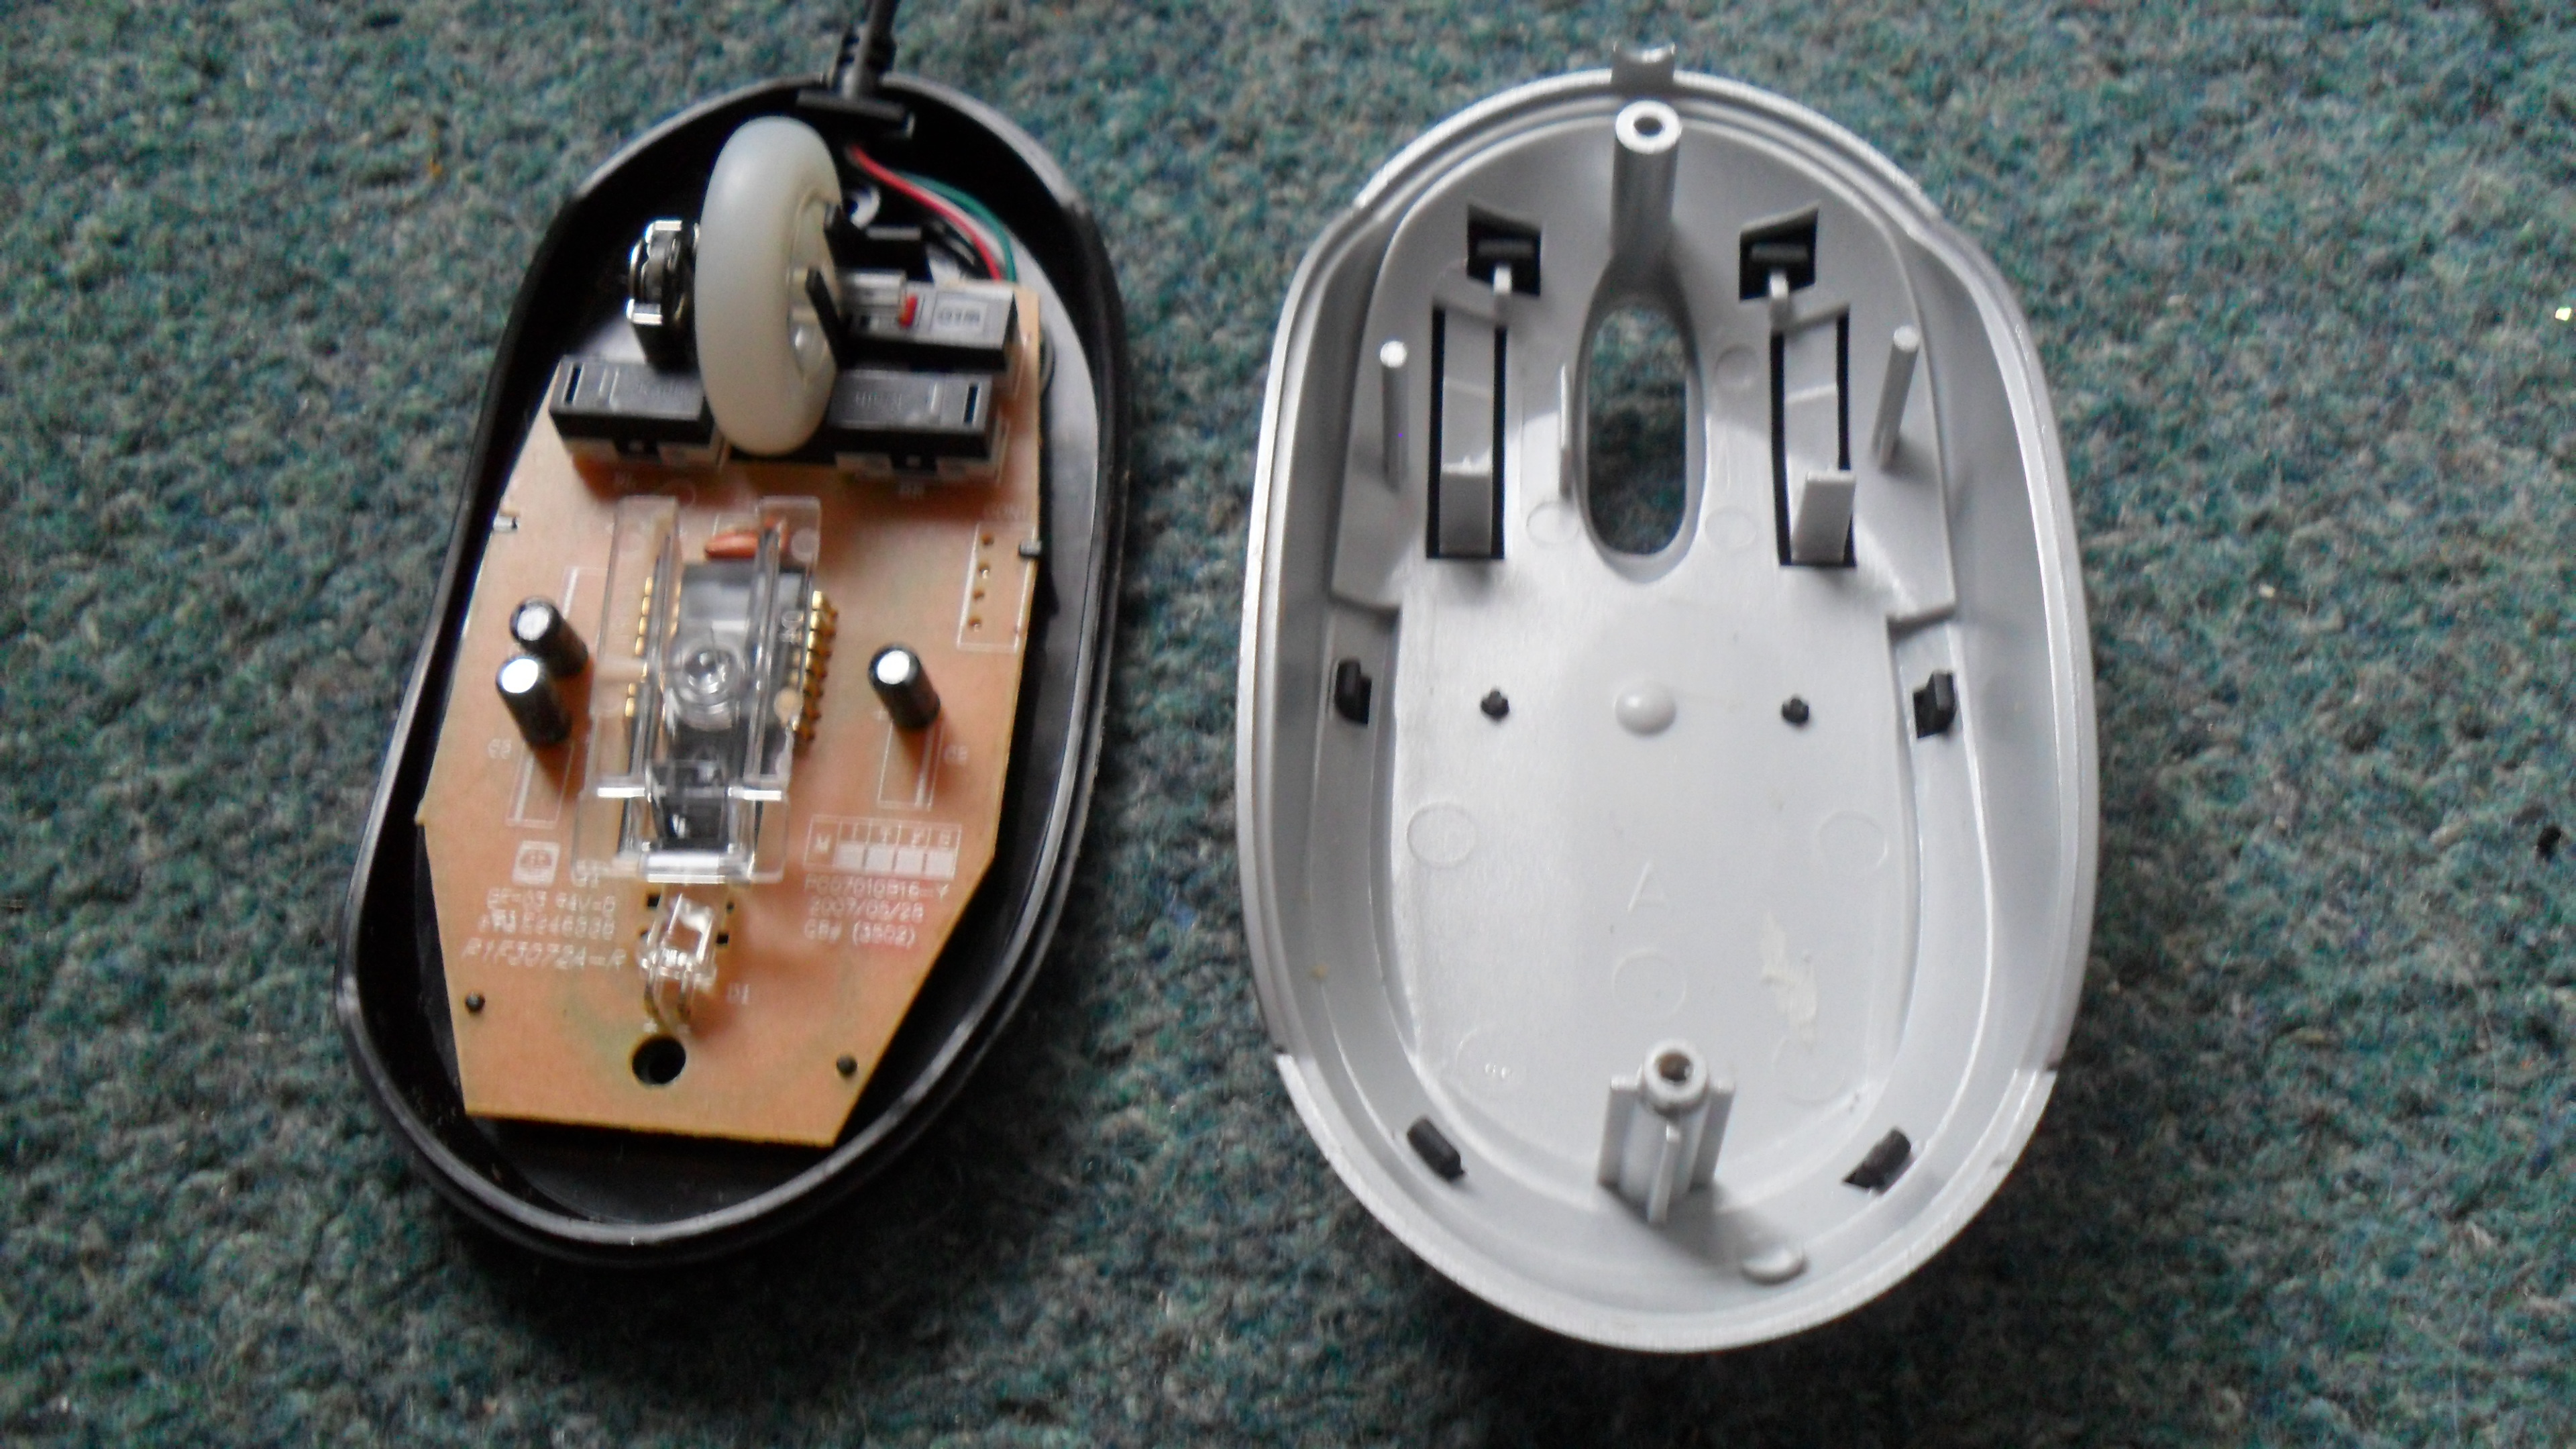
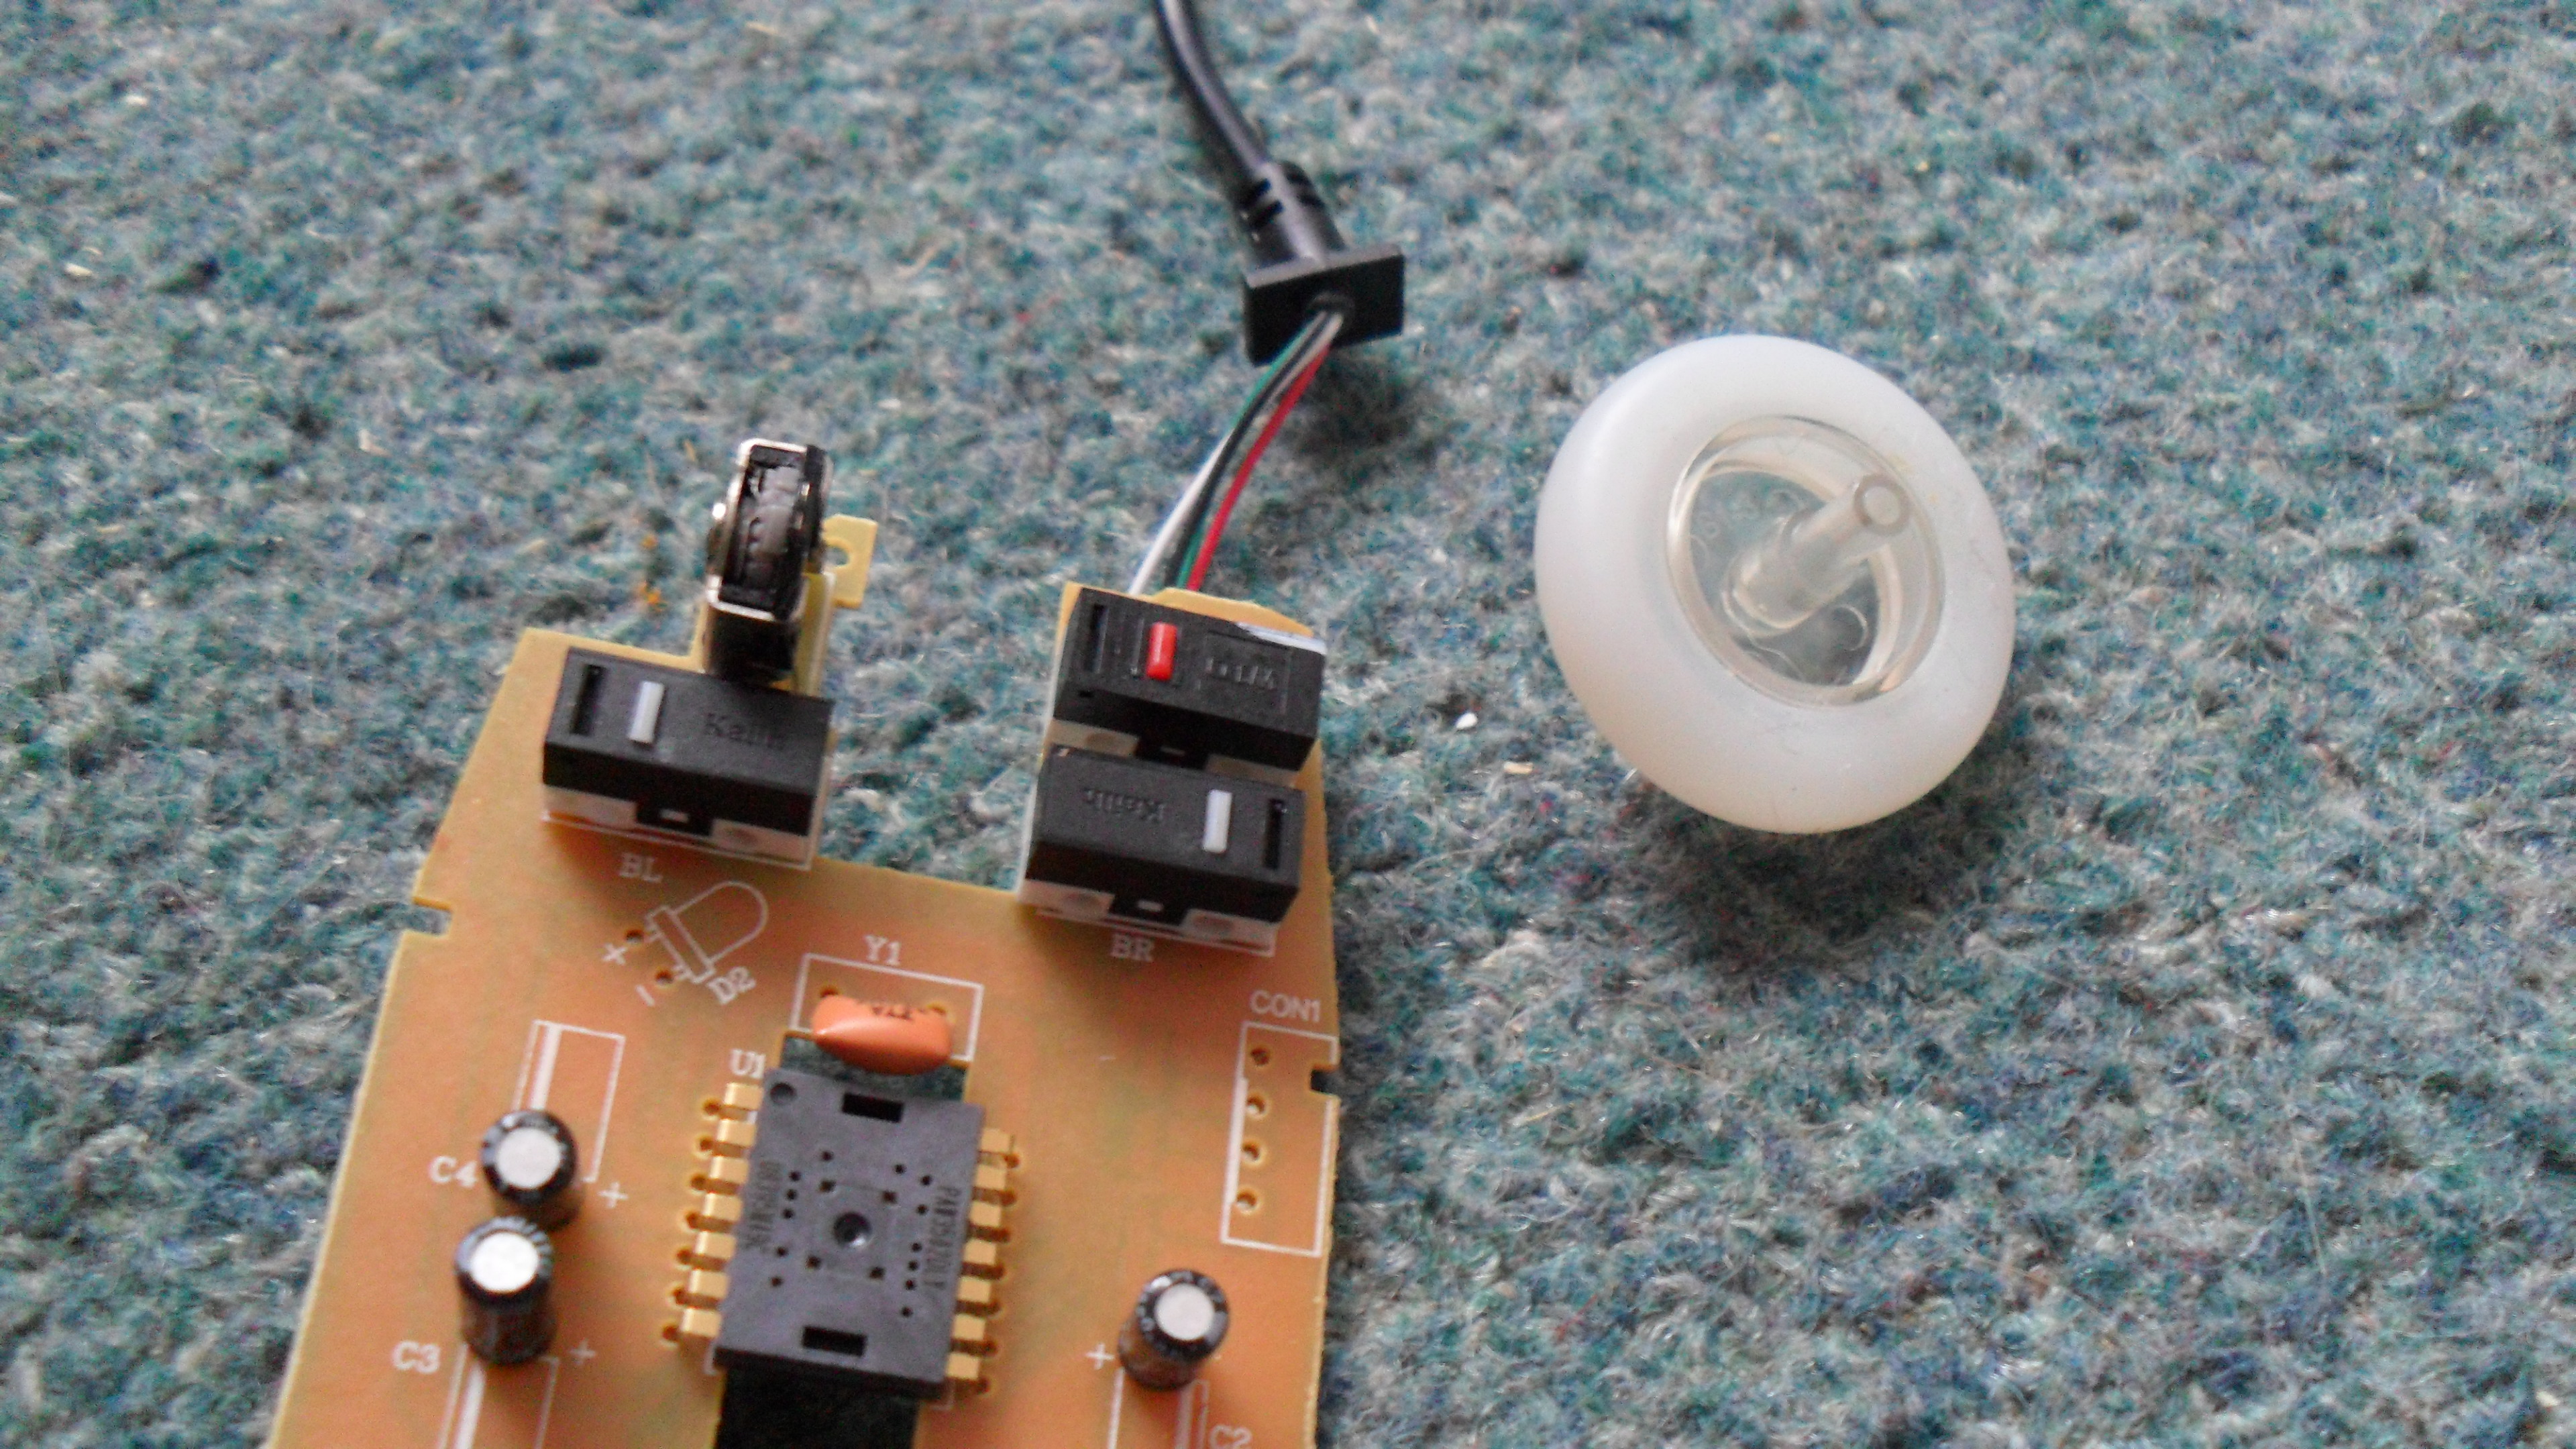
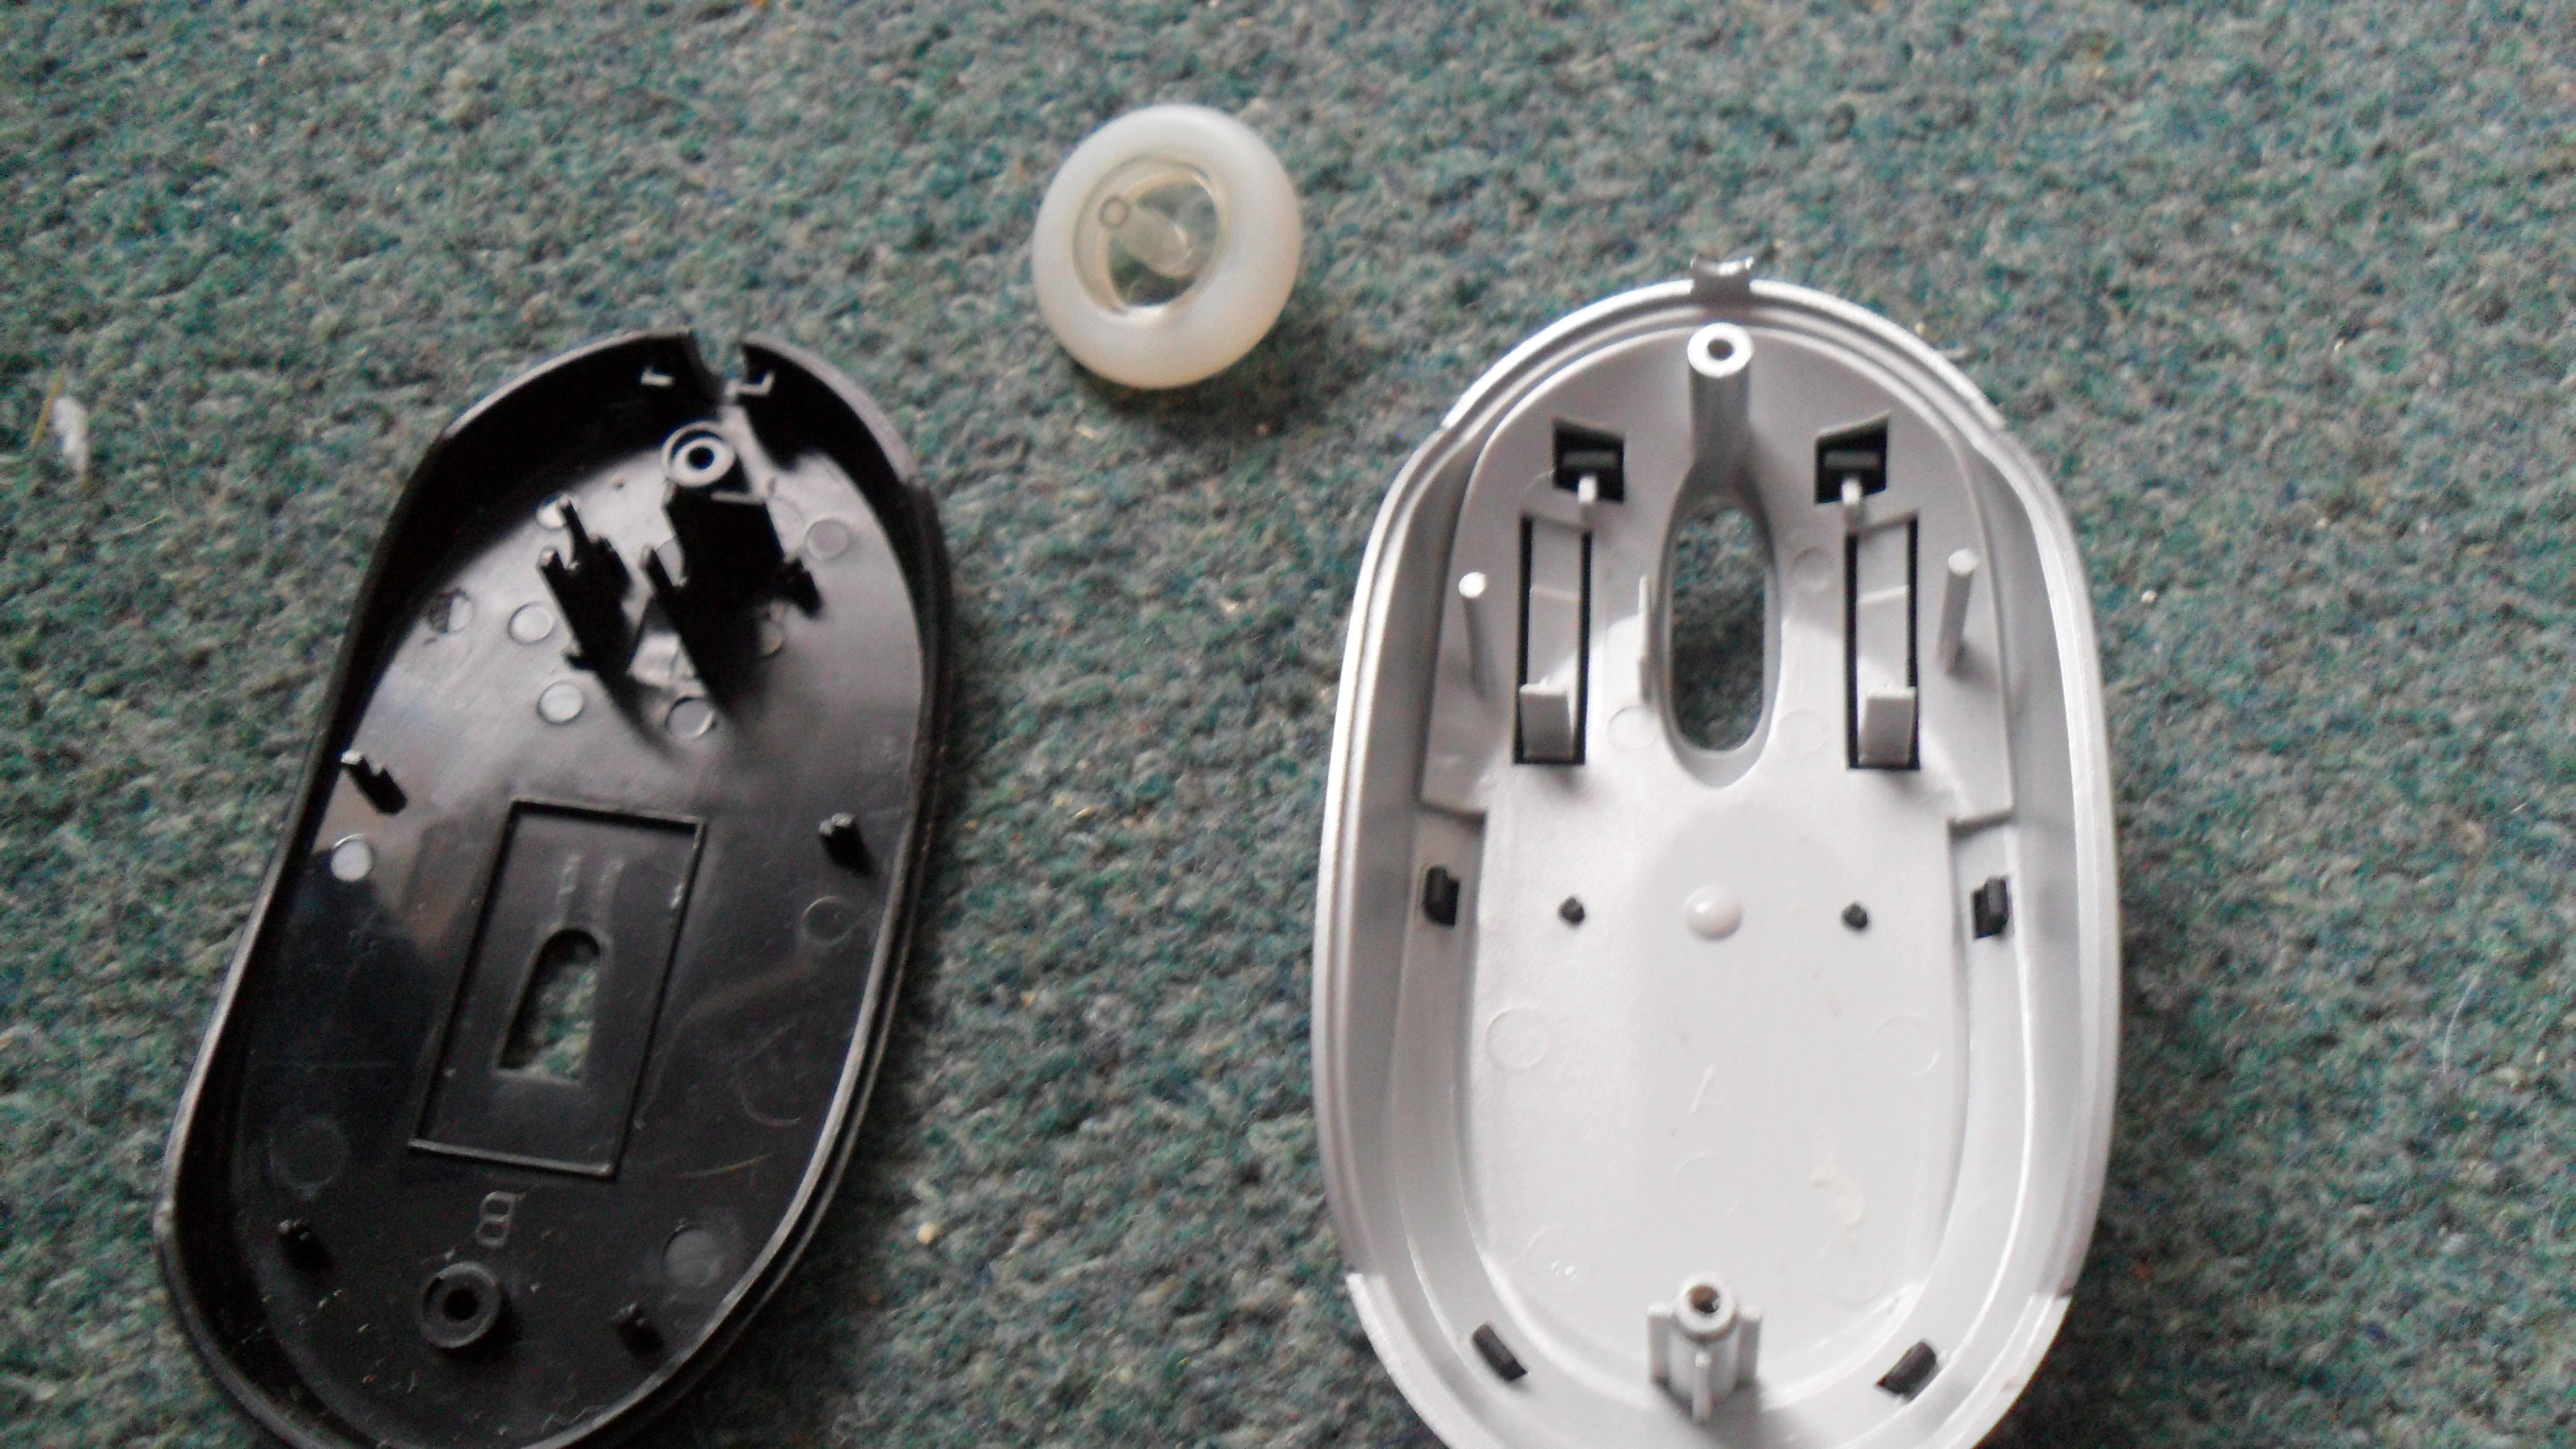
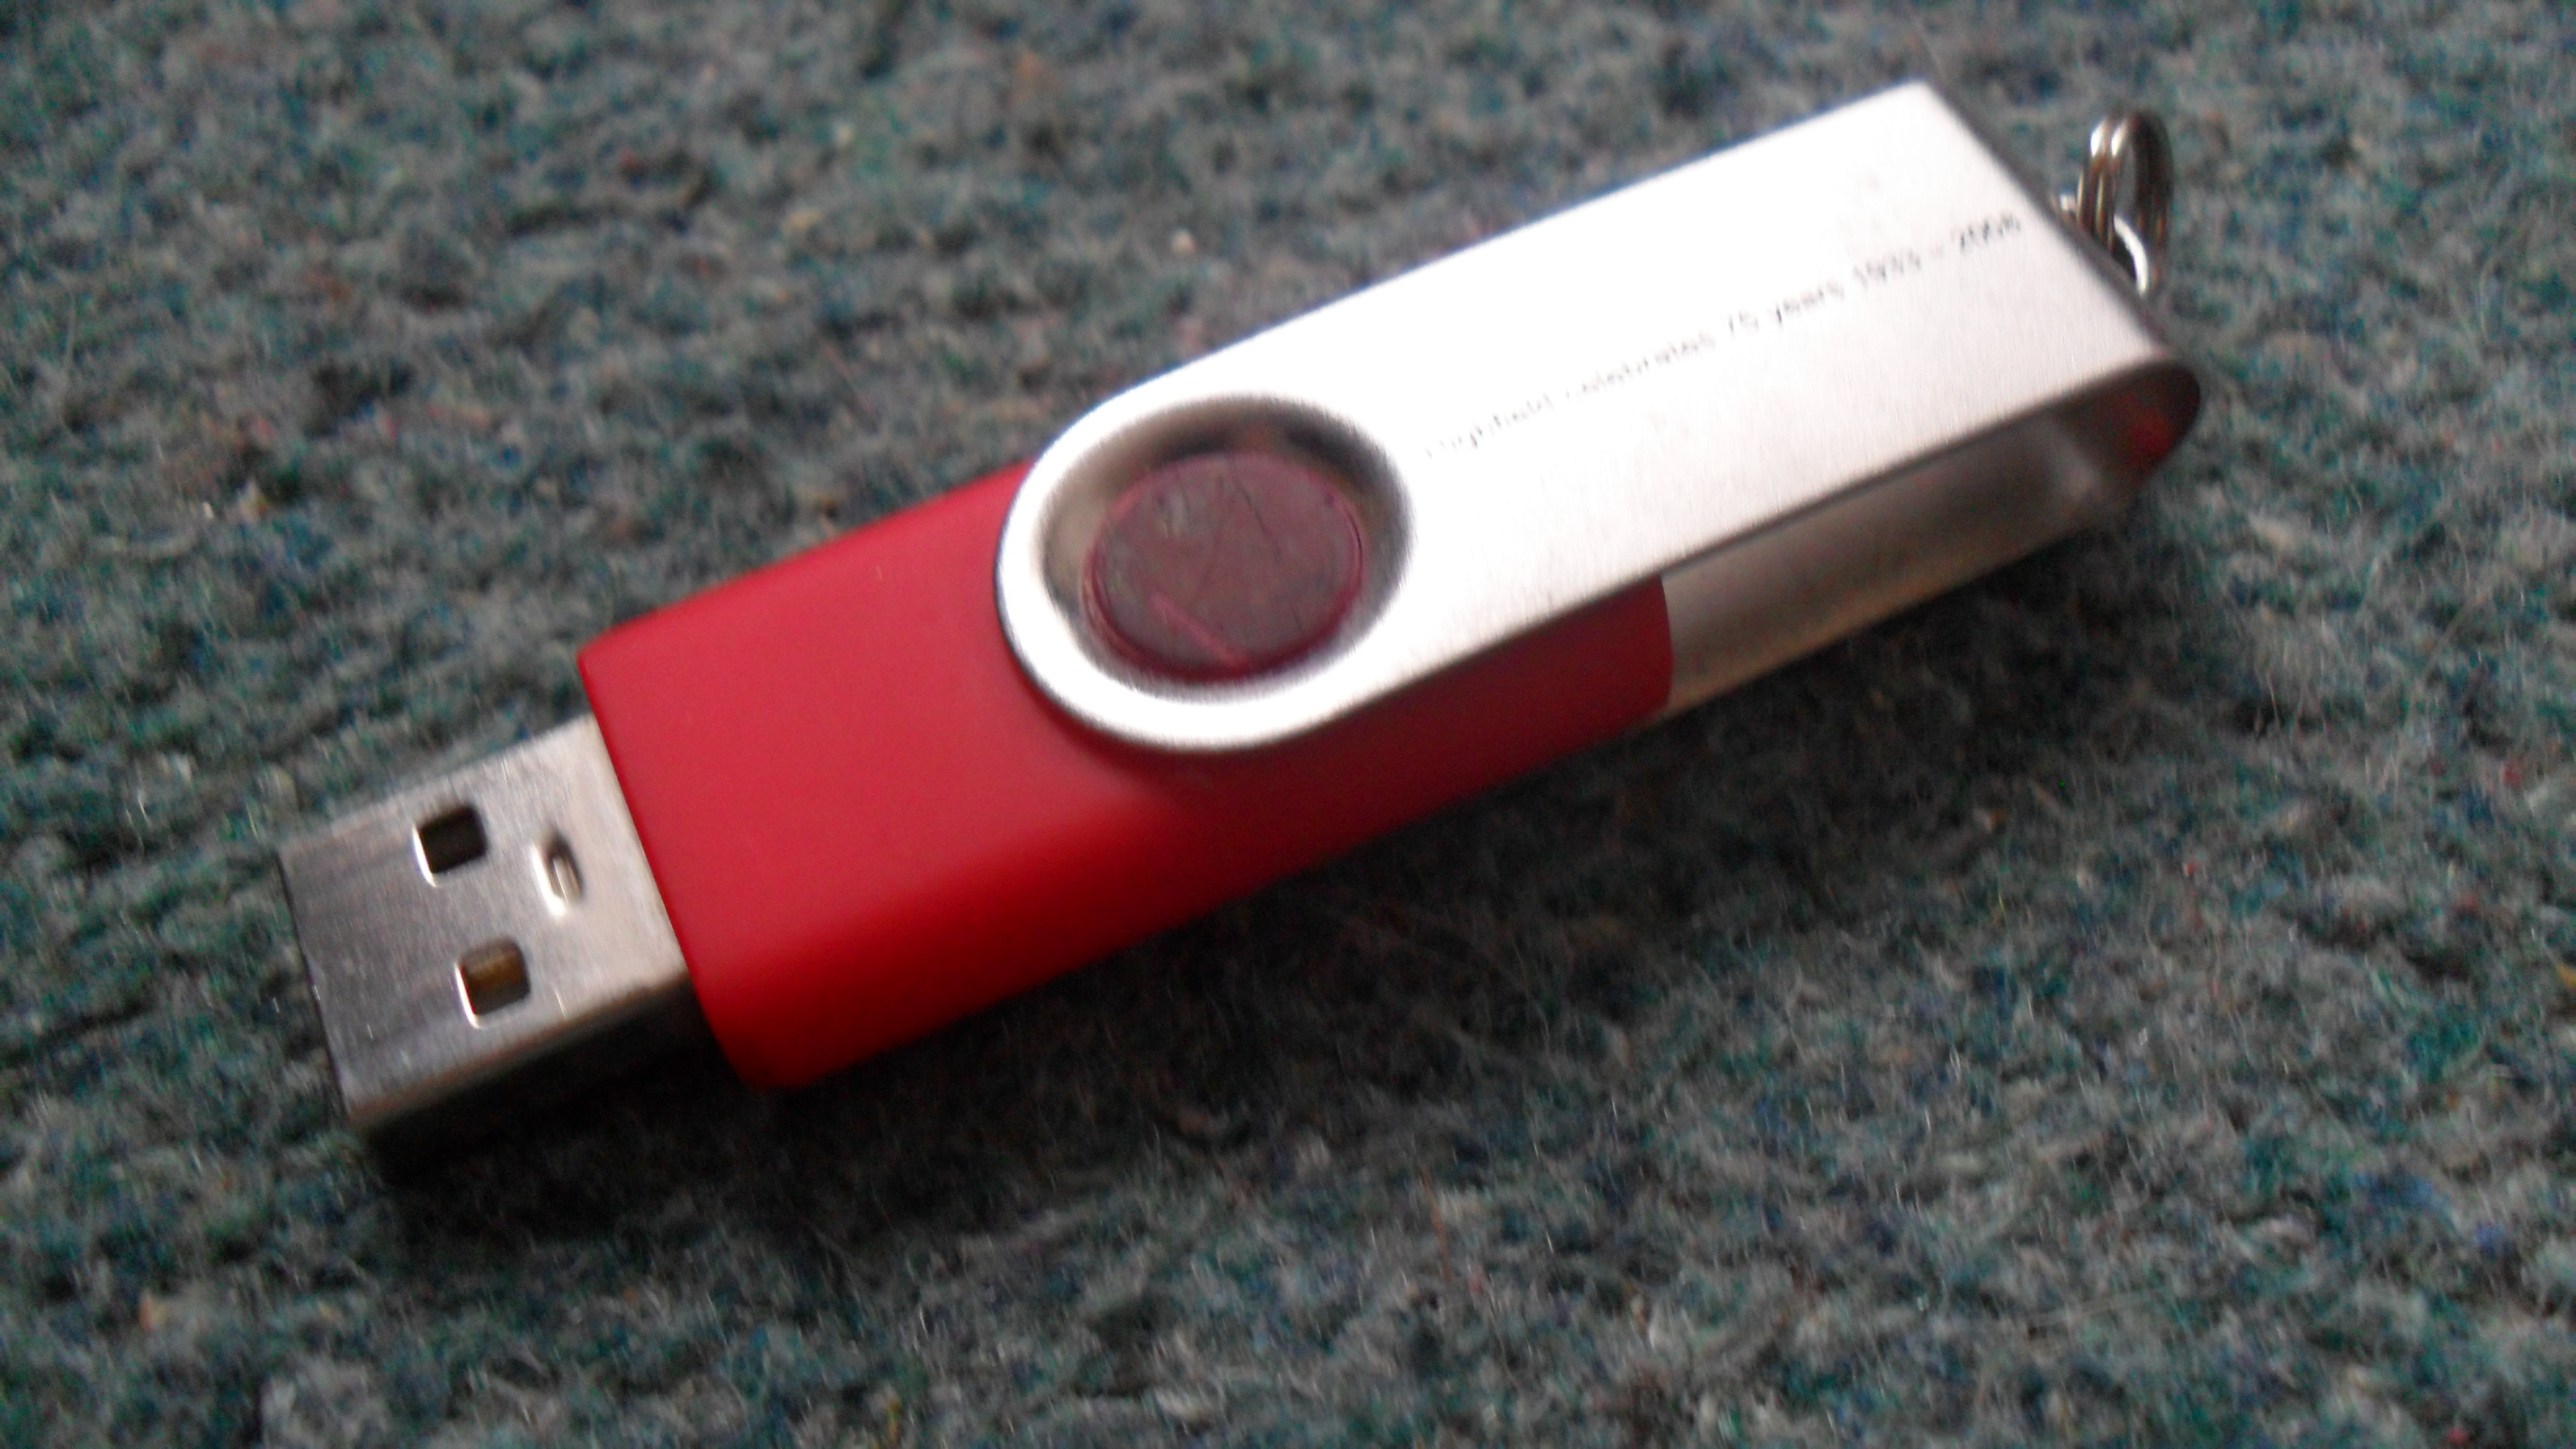
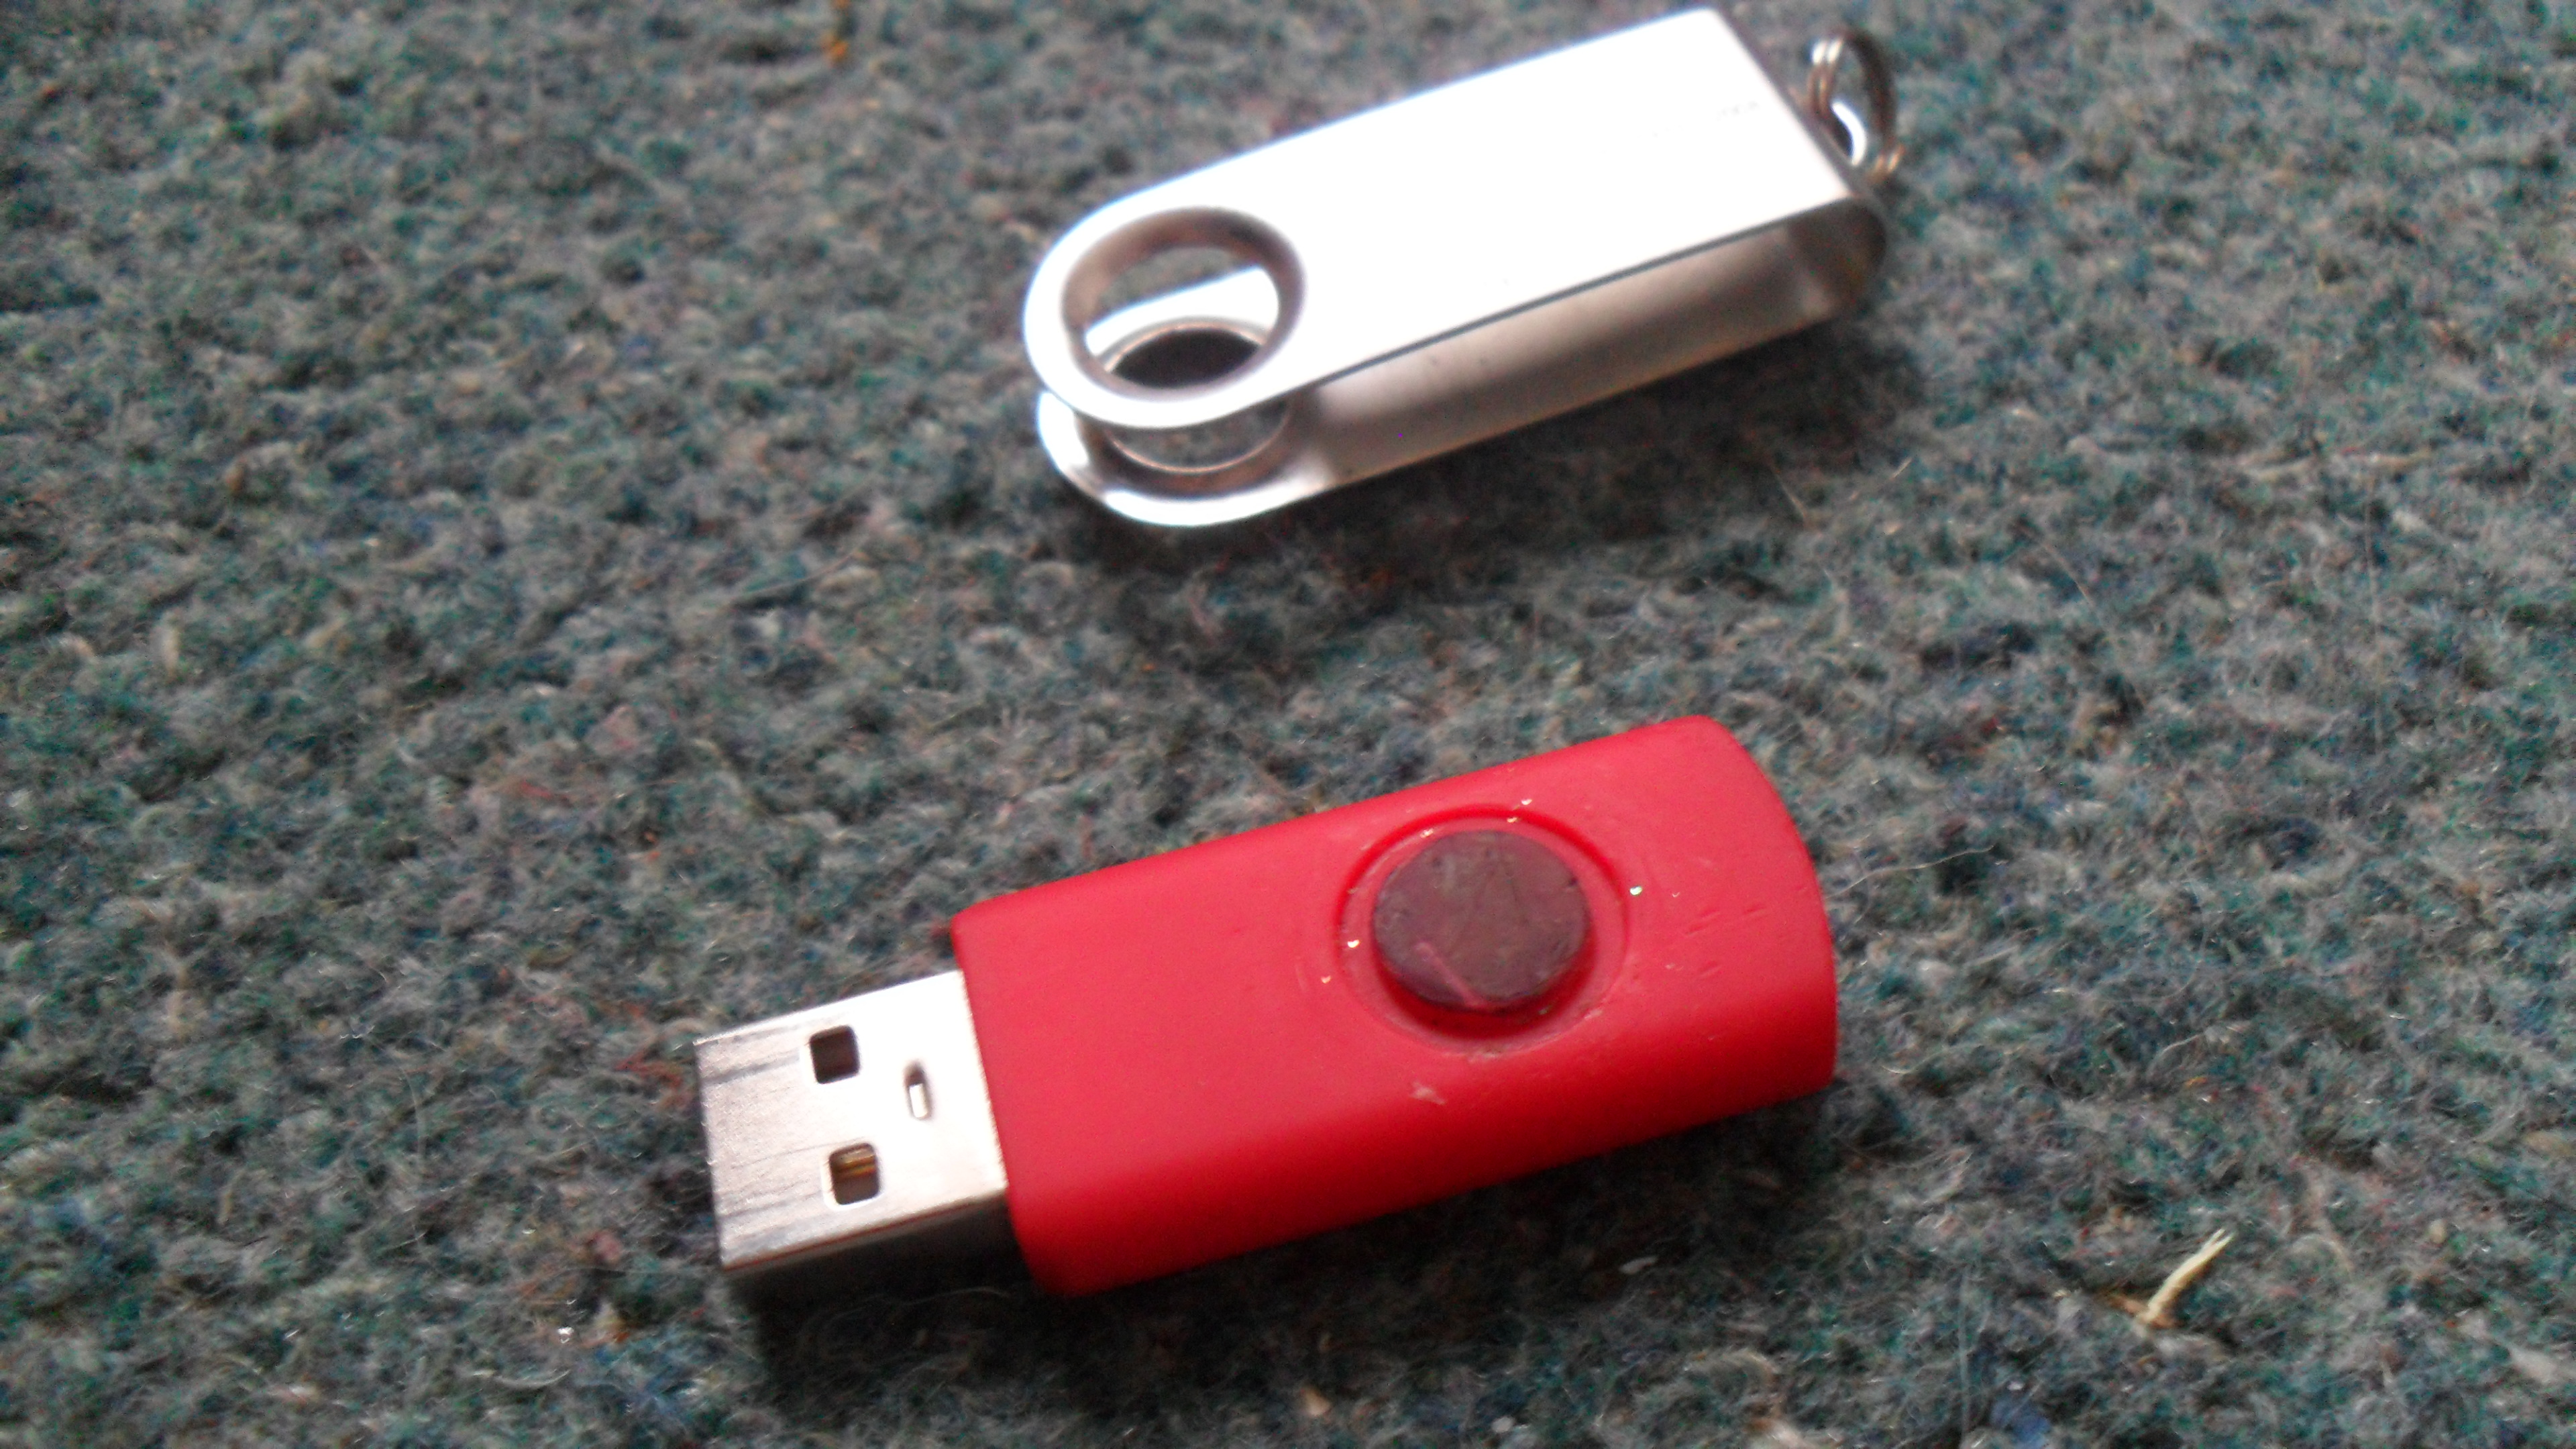
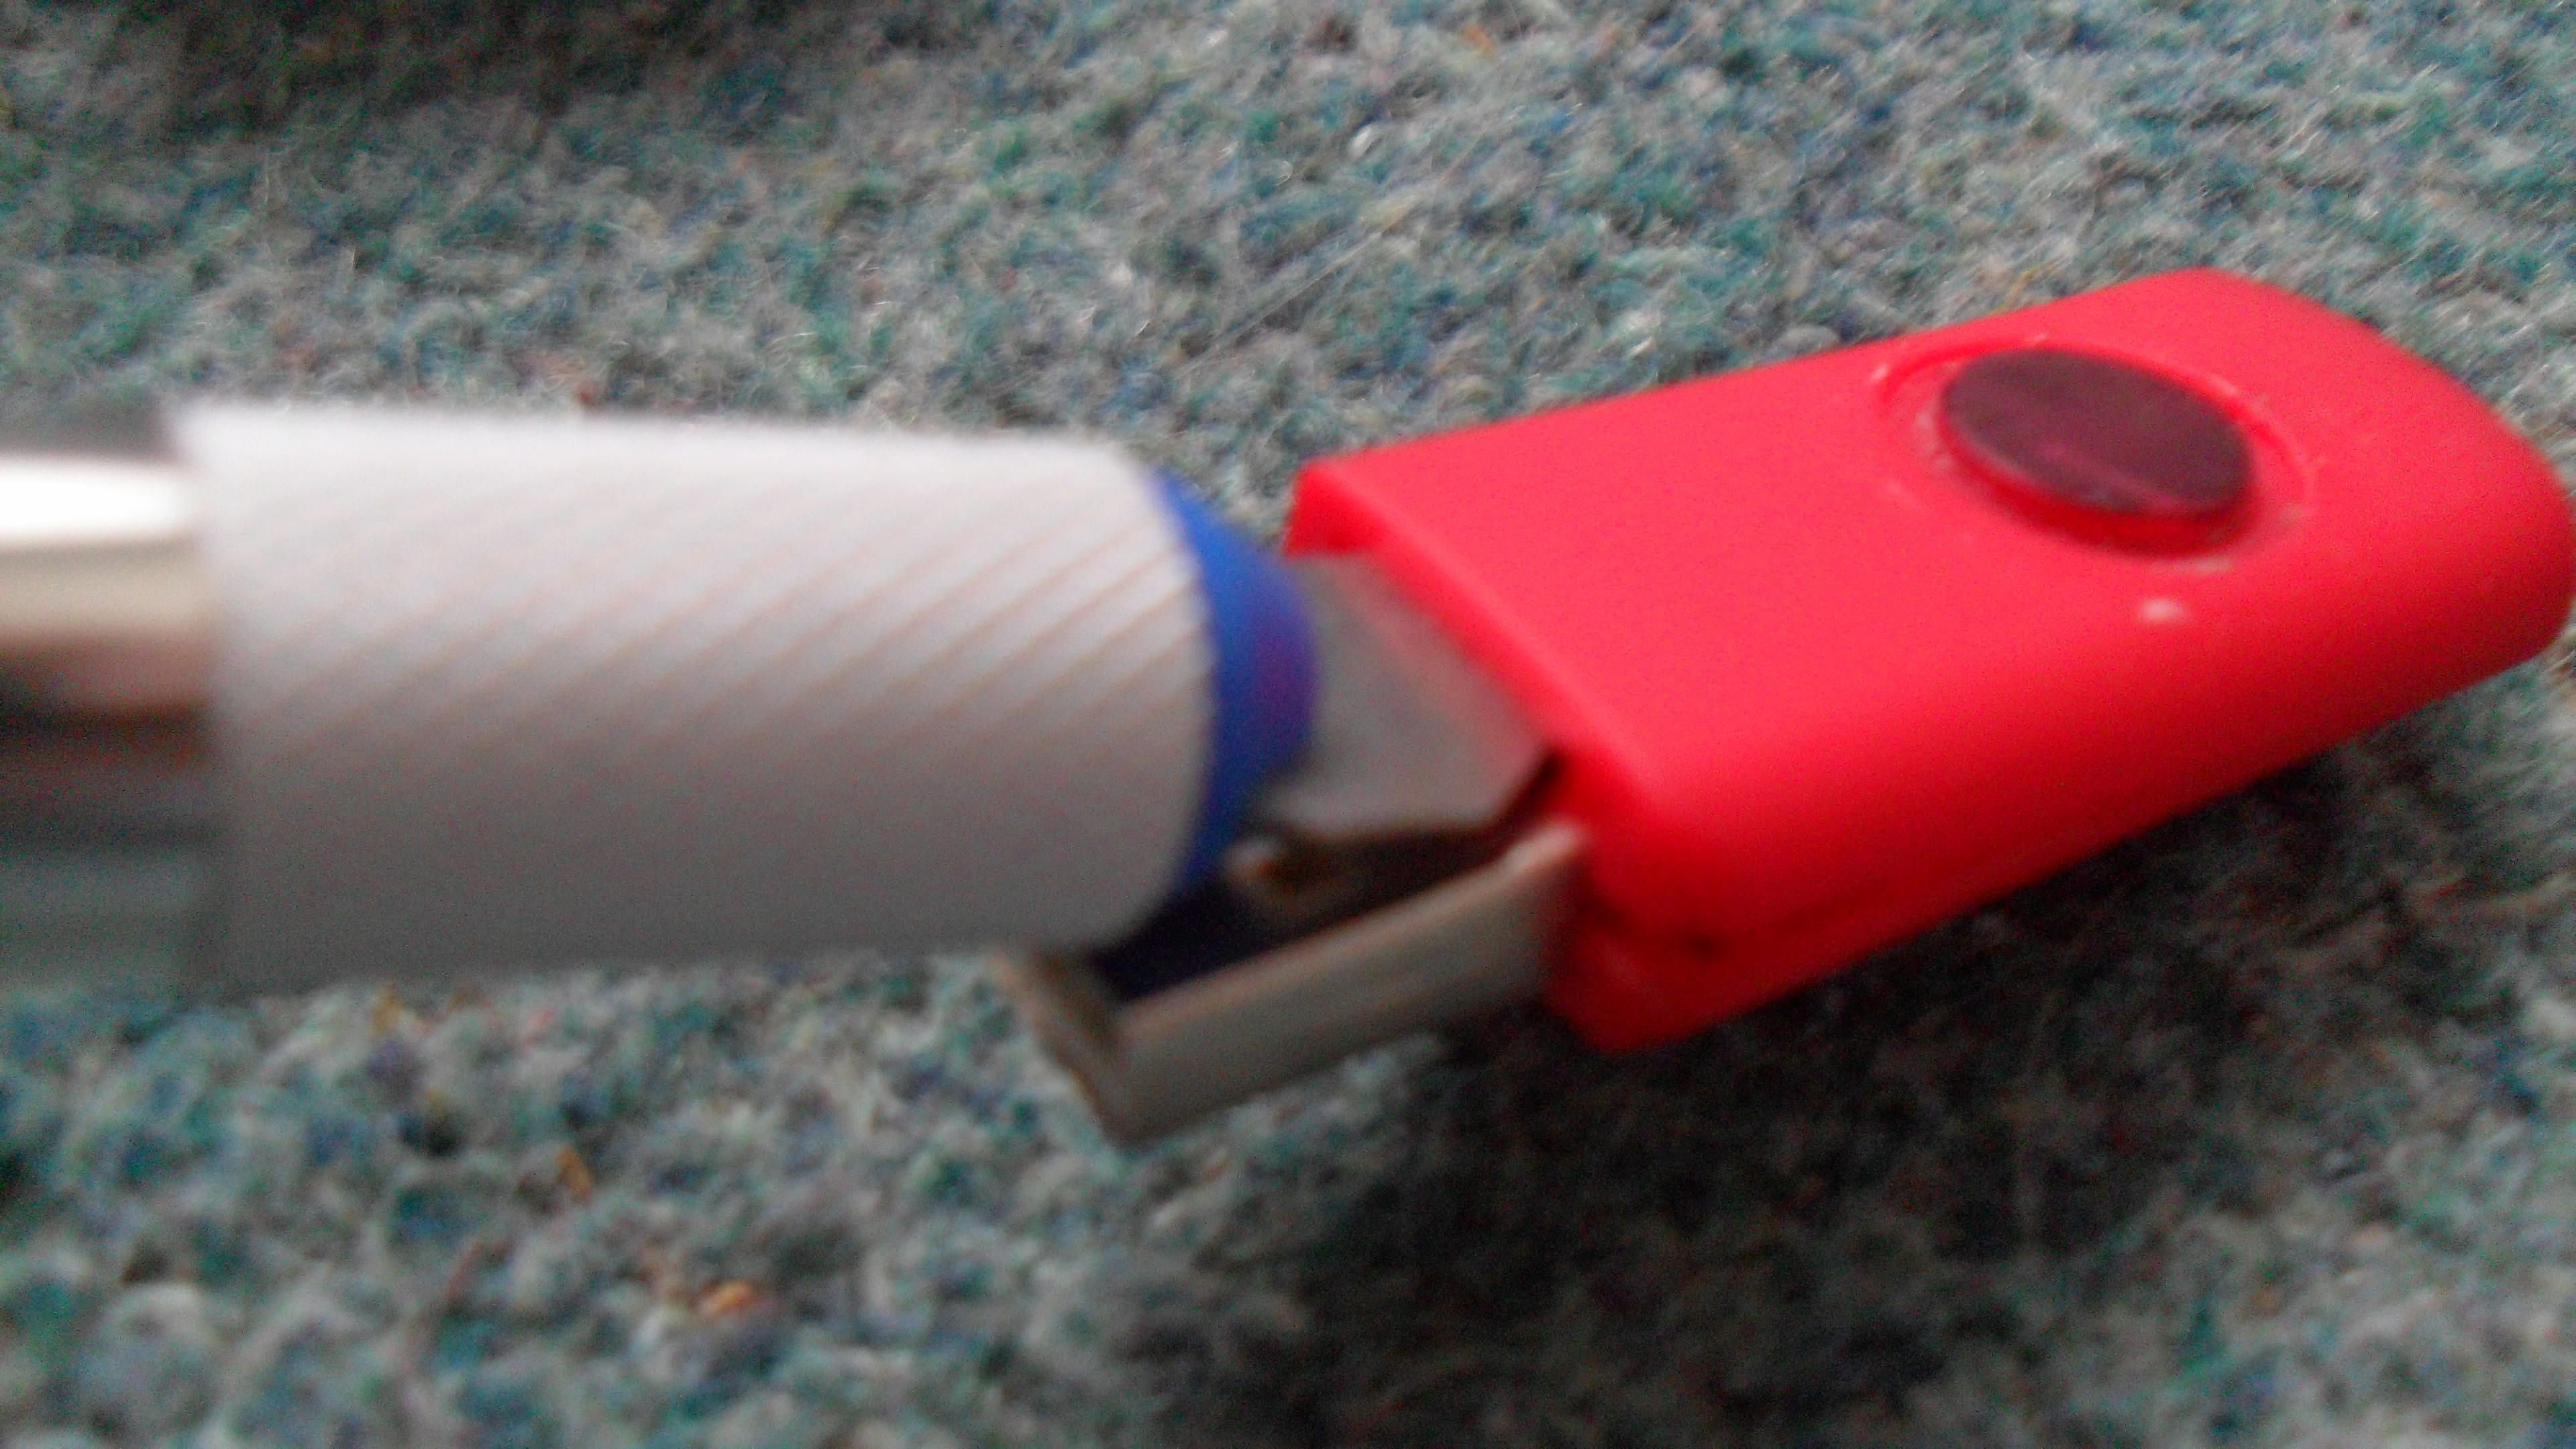
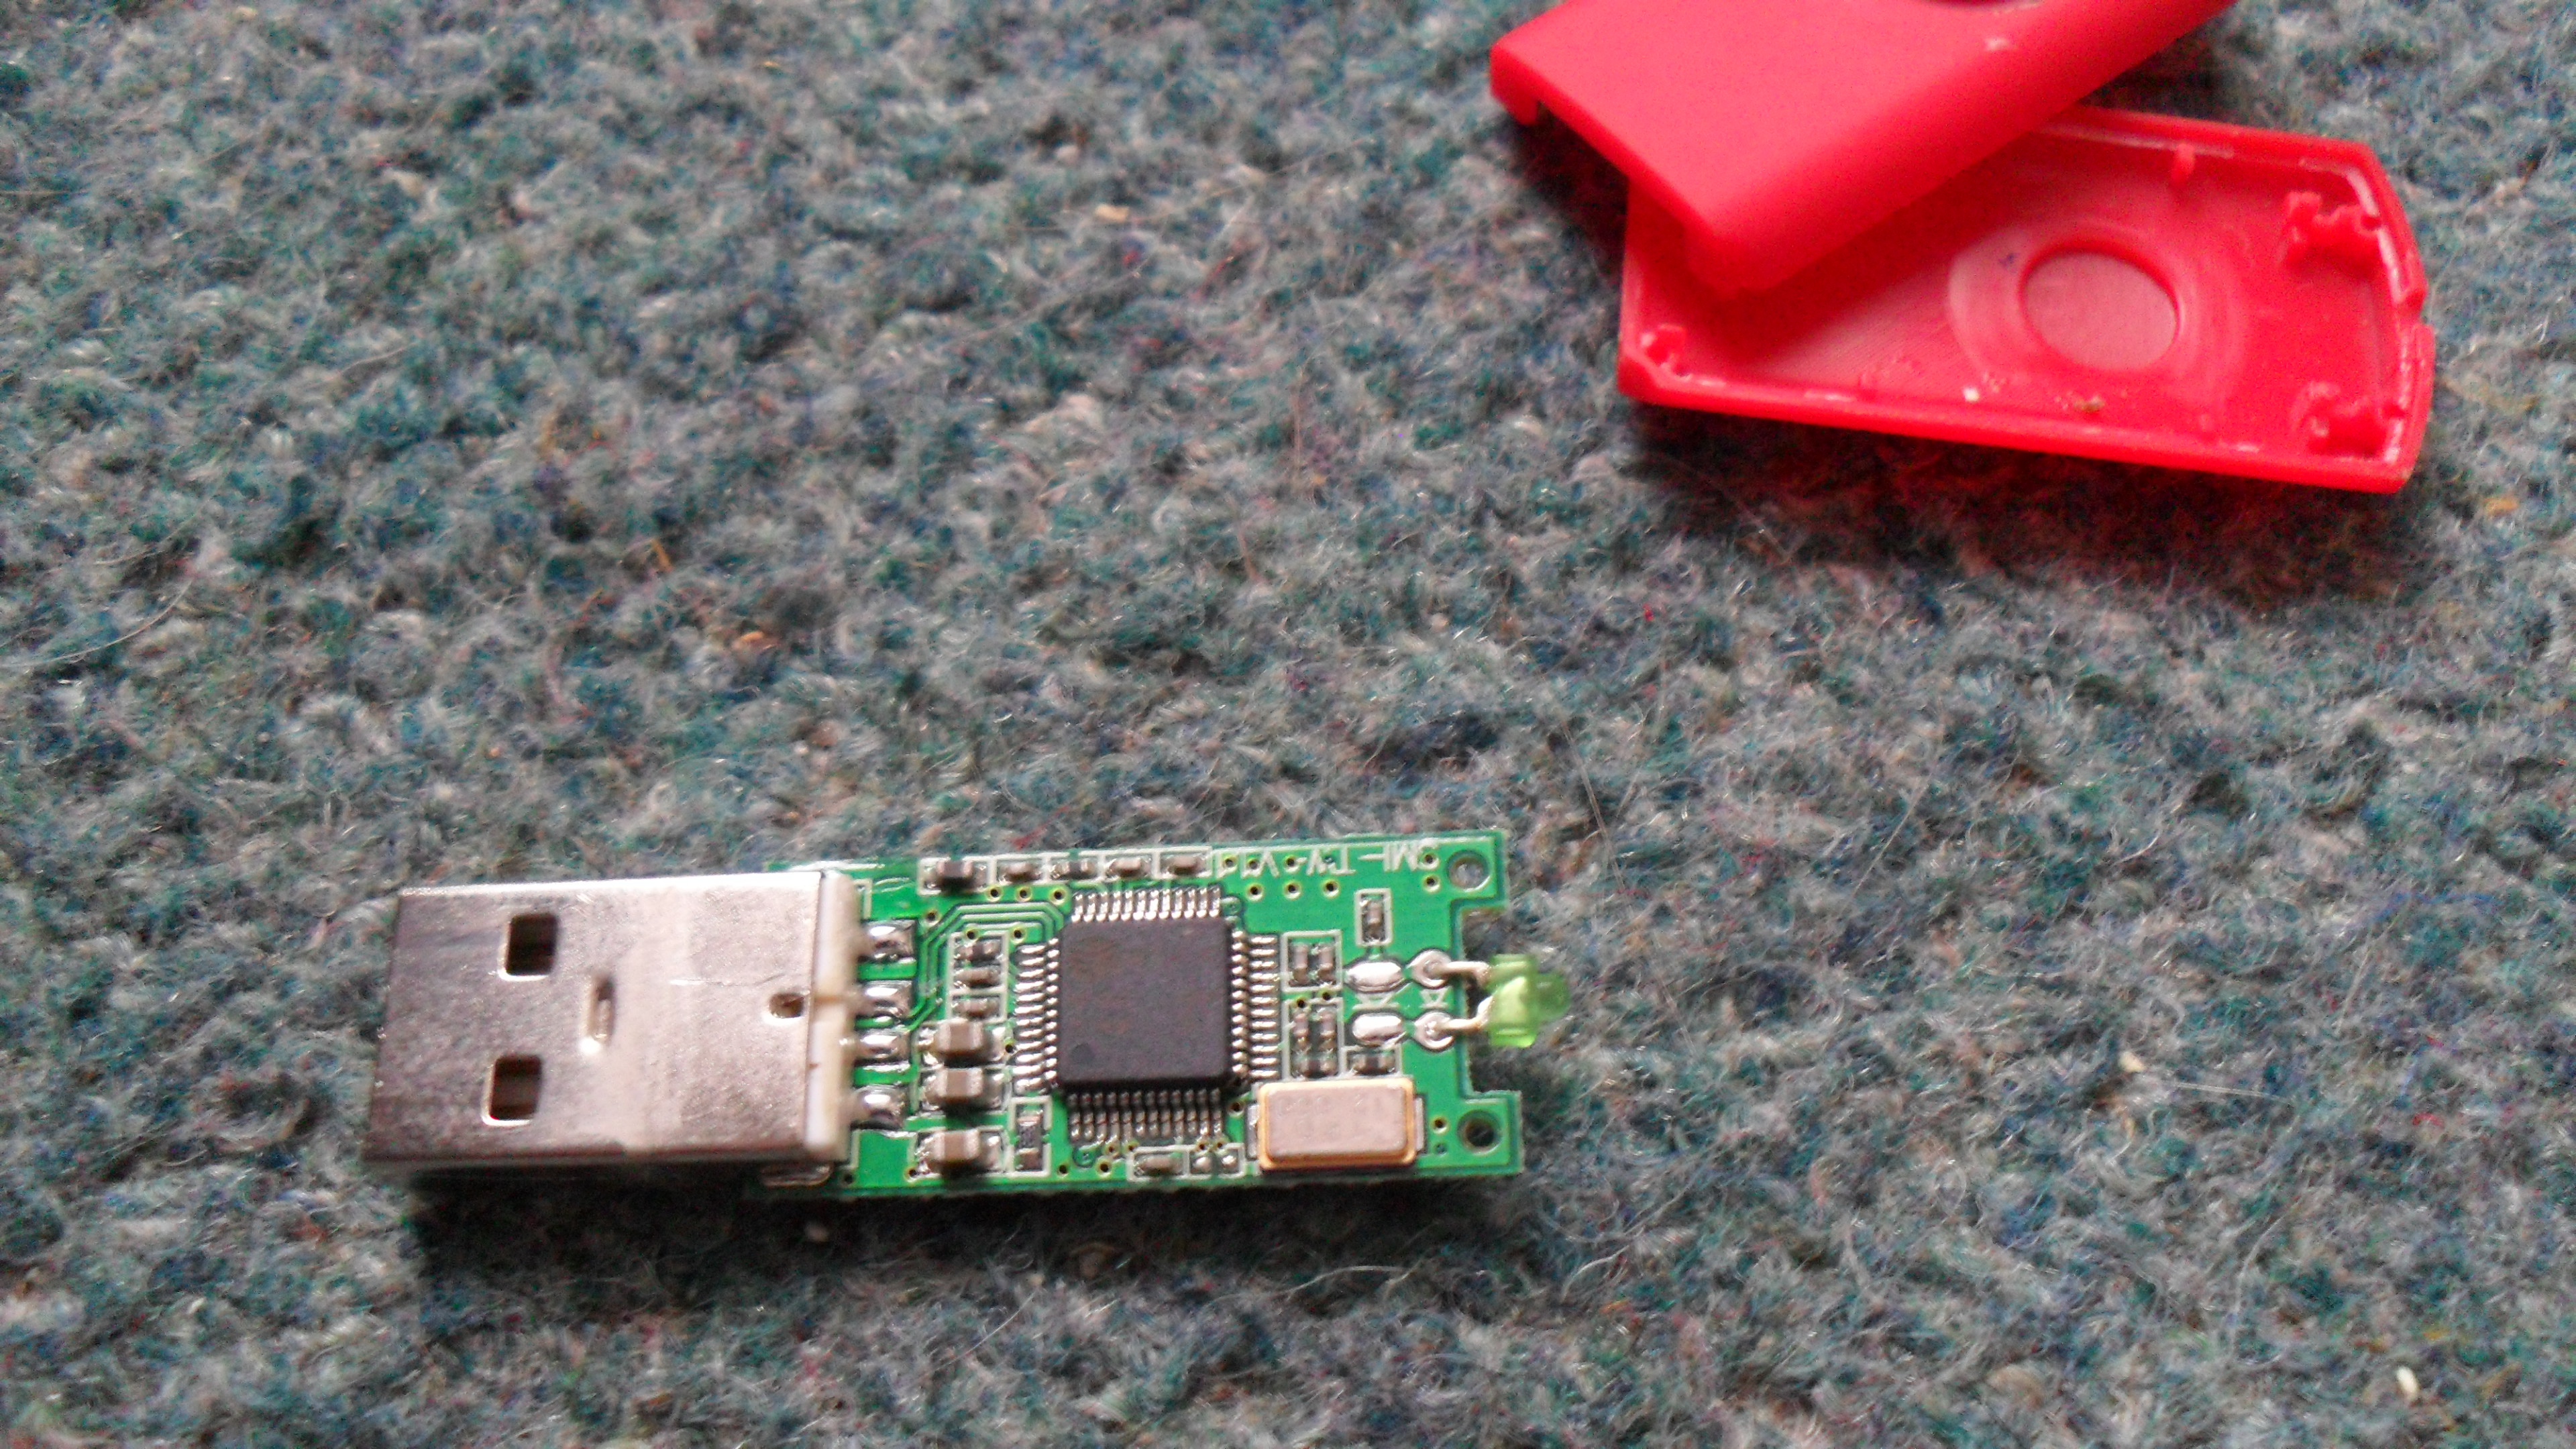
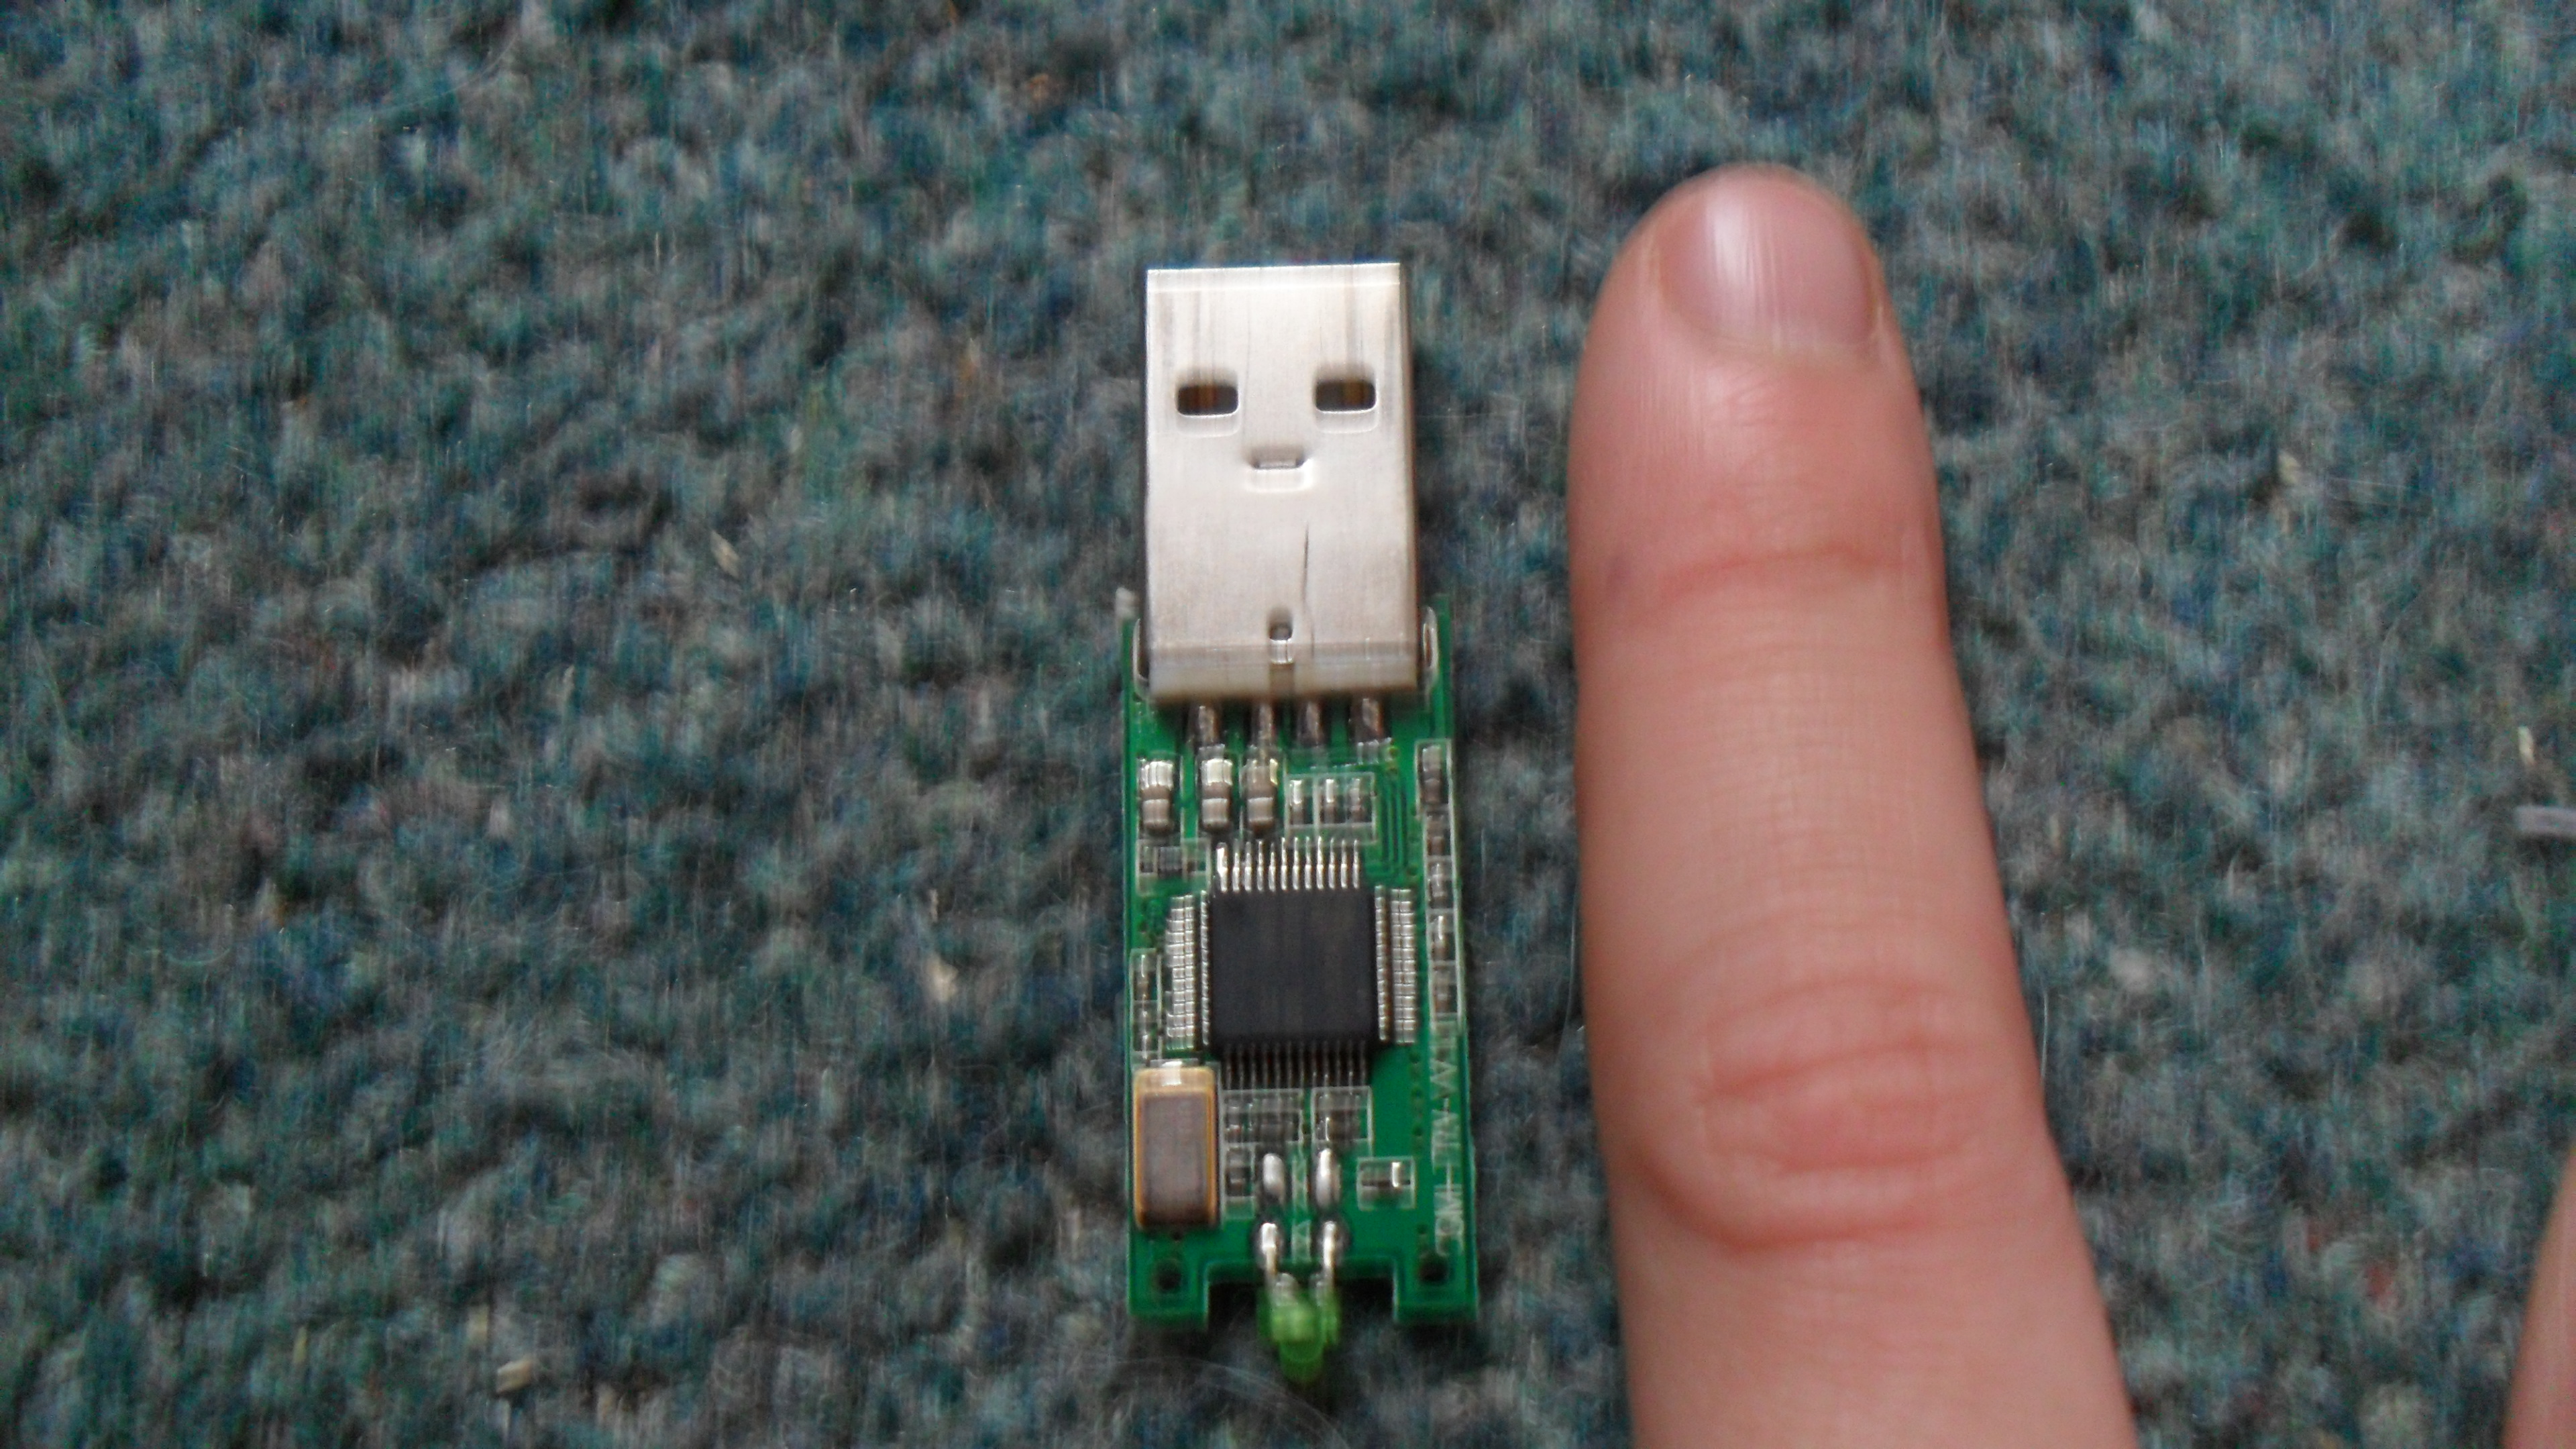
In this step we will take the mouse and USB out of the casing. Follow the steps and pictures.
- Get a screwdriver and remove all of the neccecary screws.
- This is what the inside of mine looks like.
- Take out the circuit board (mine had a scroll wheel so I needed to keep it to put it back into the hole)
- Throw the circuit board and wire in the bin because you dont need it (or keep it for future projects)
- This is what my USB looks like.
- I removed the metal casing.
- Get your knife and slide it inside of the casing, and pry it apart.
- You should be left with a small un-cased USB.
- This was the size of my USB.
Cutting
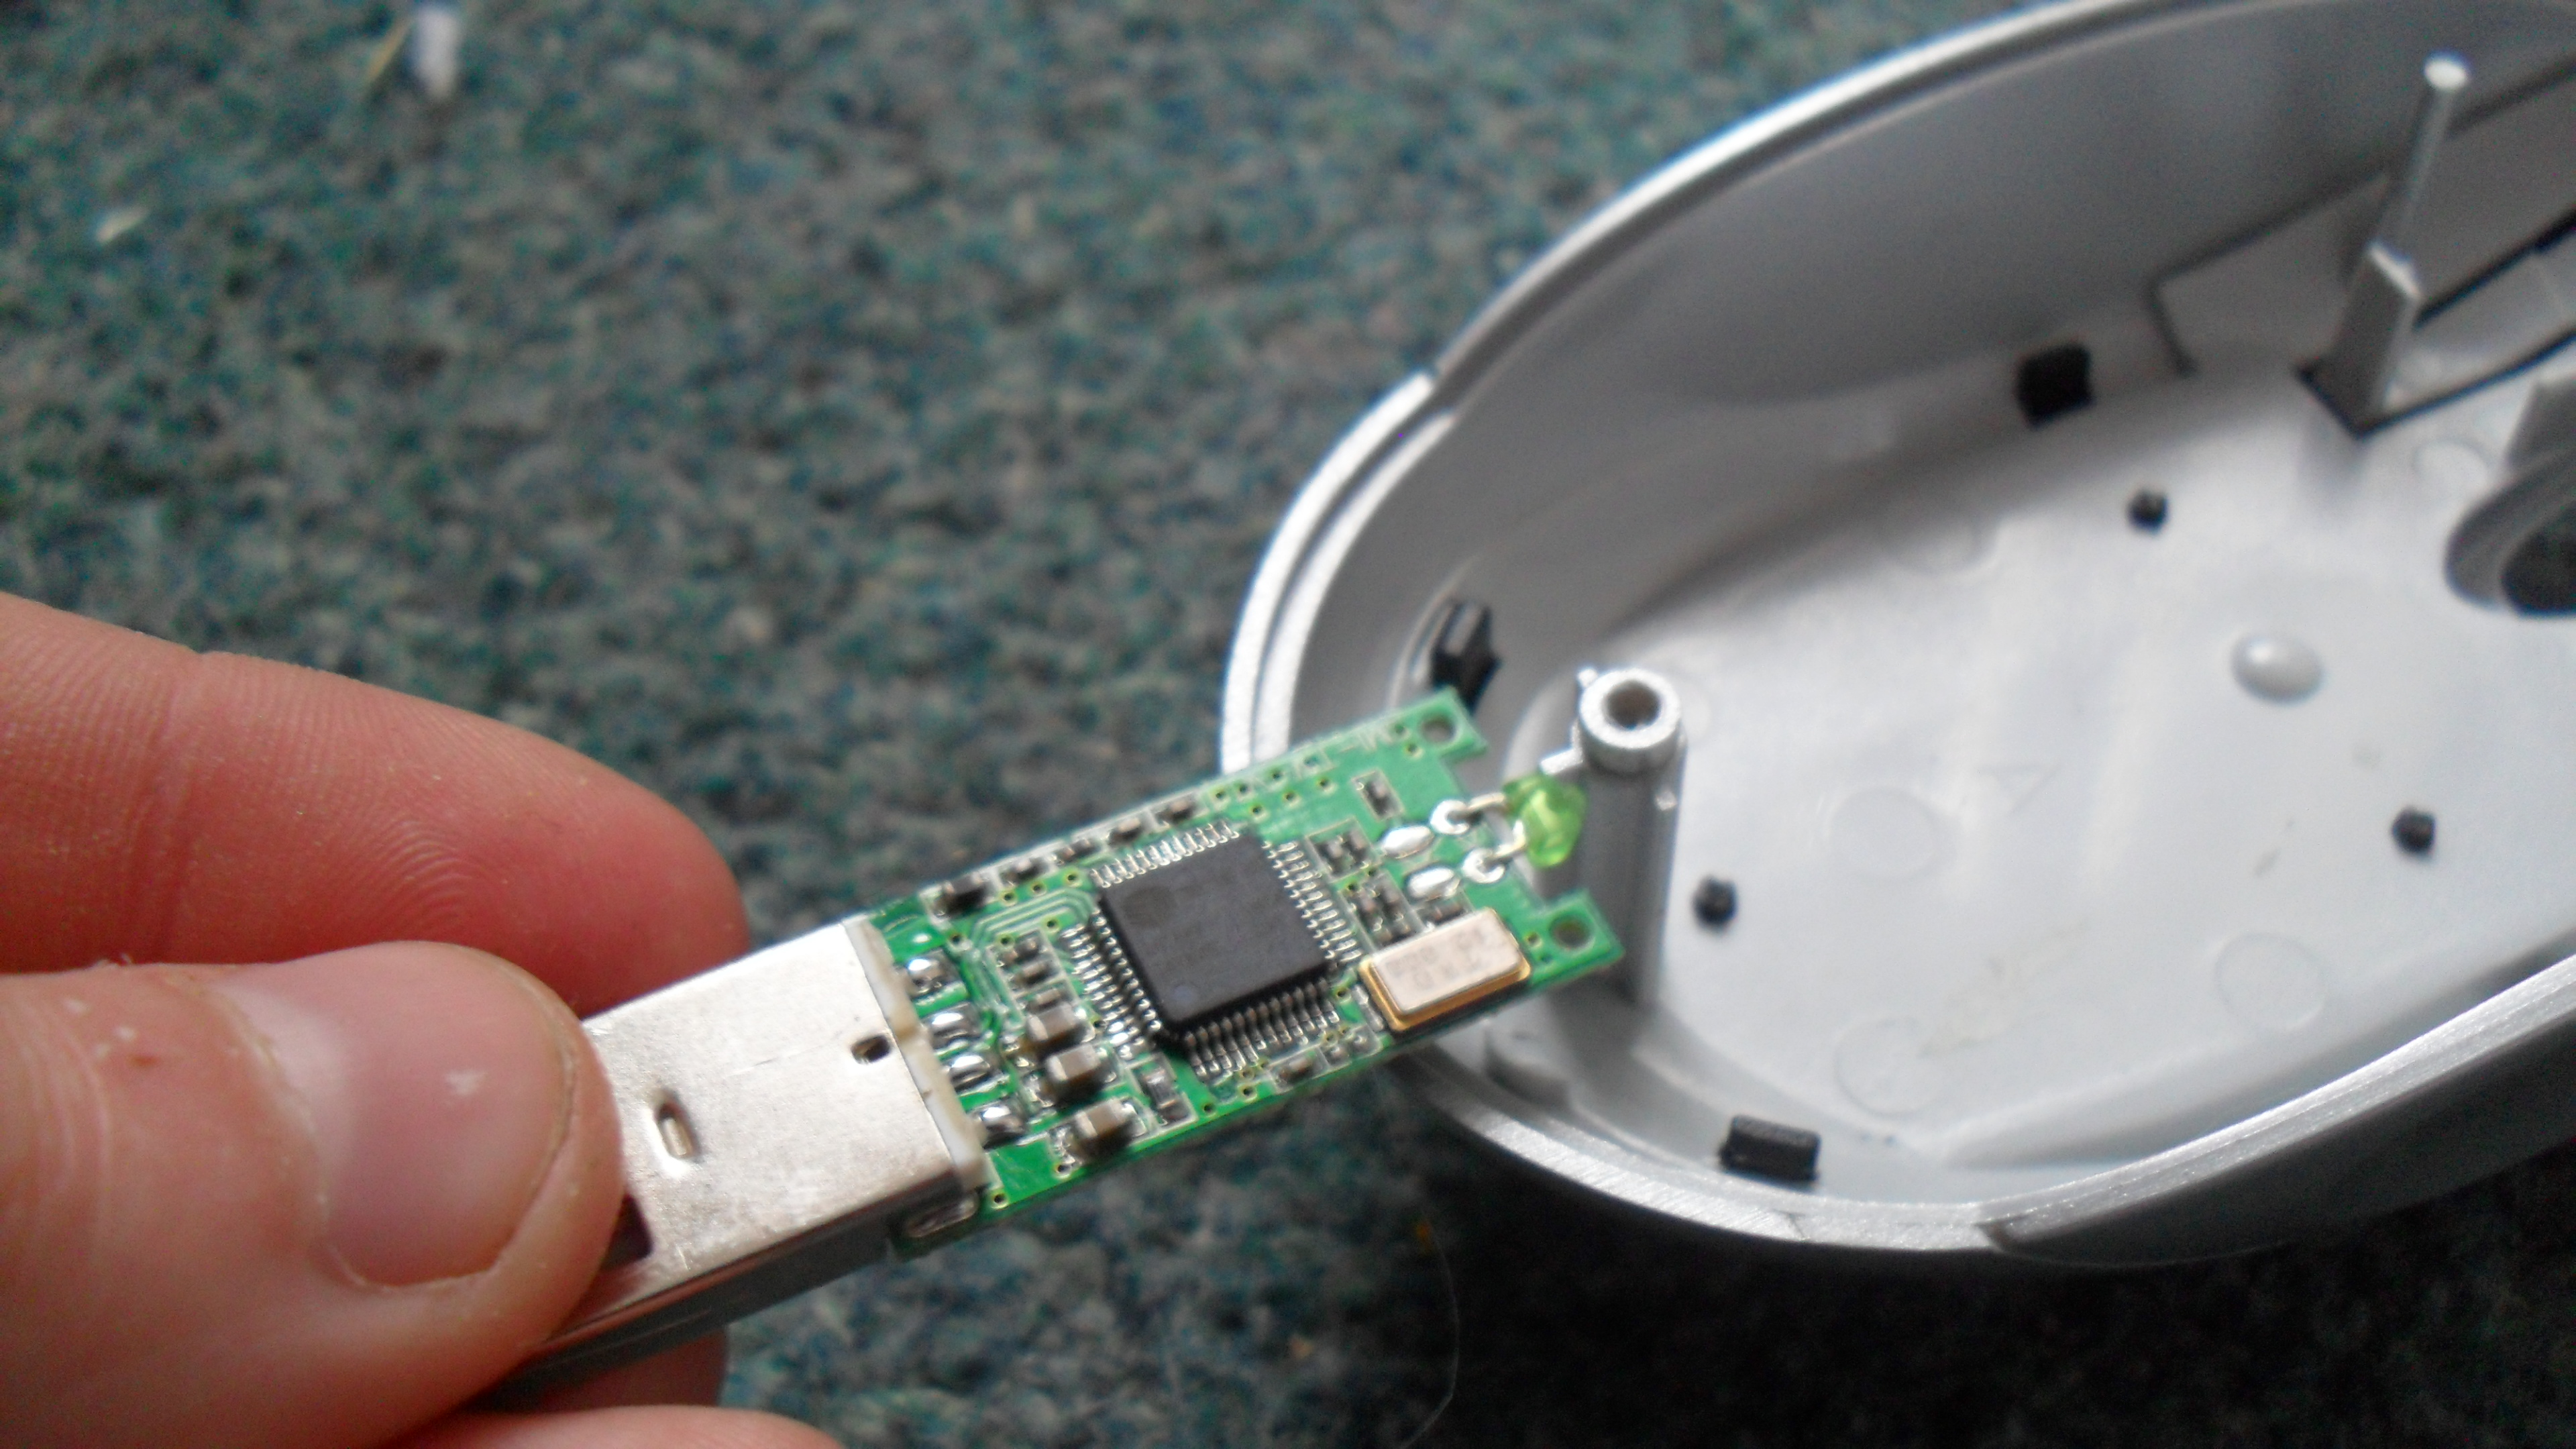
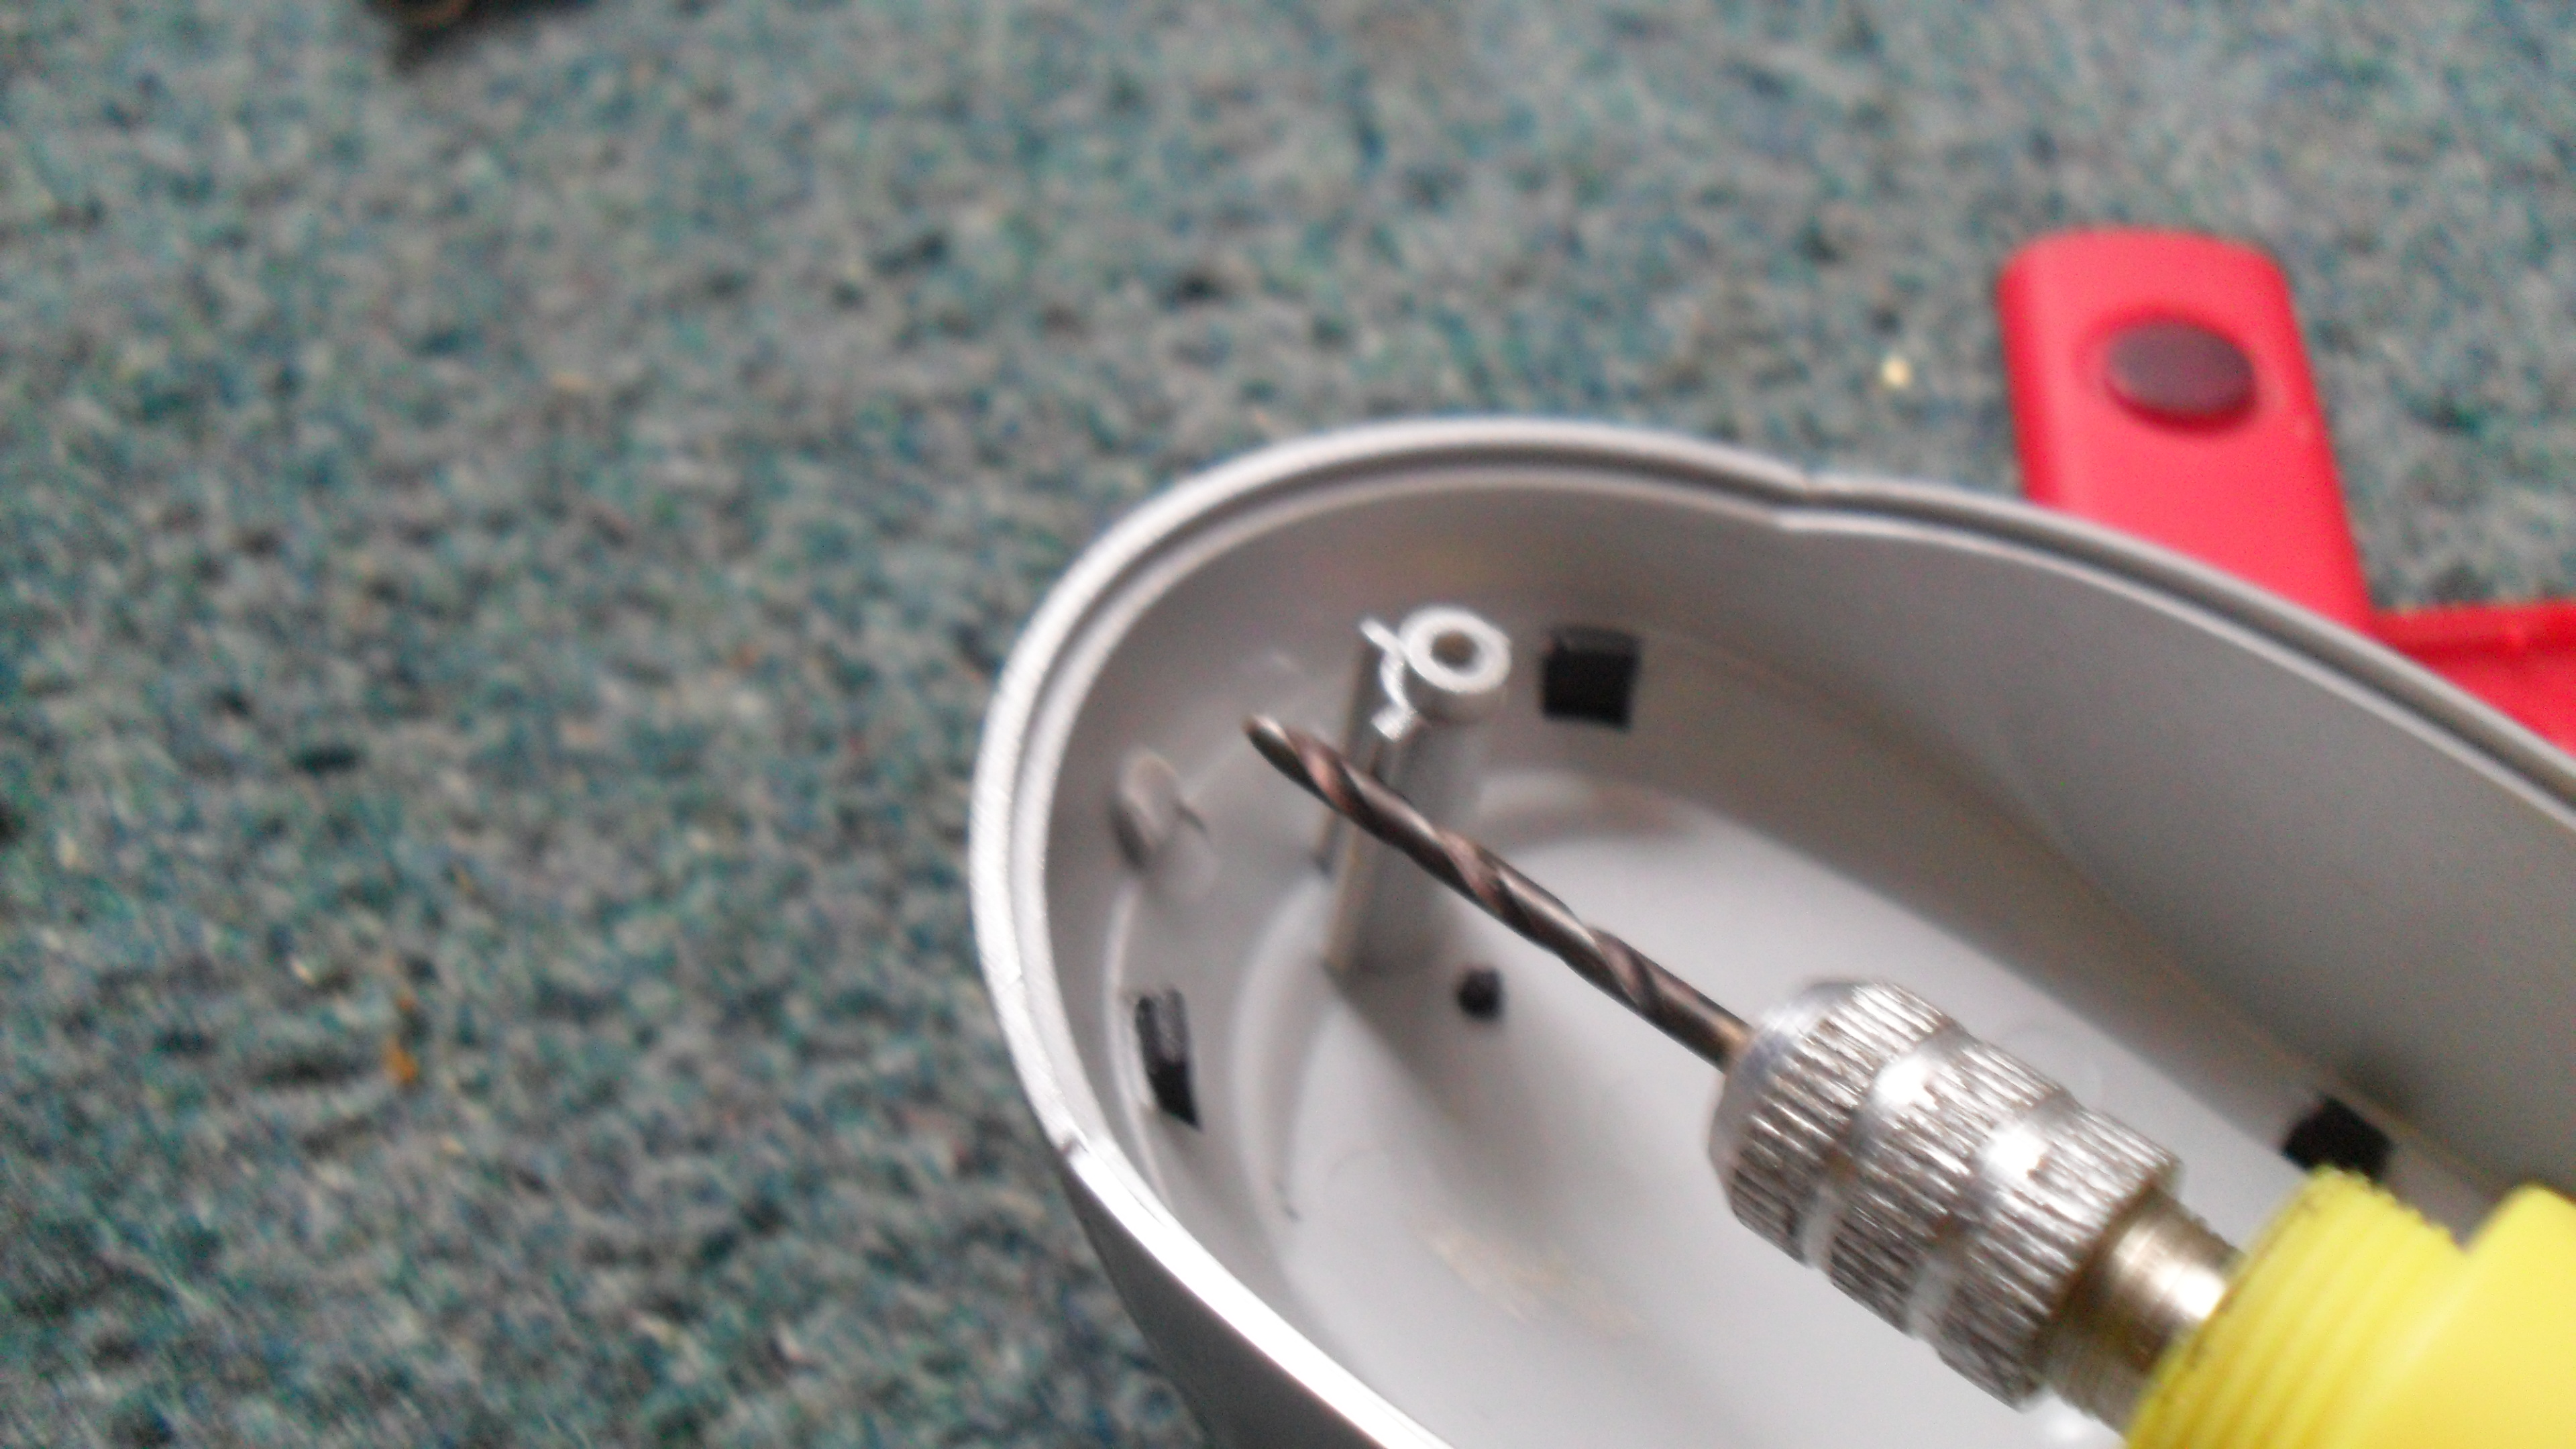
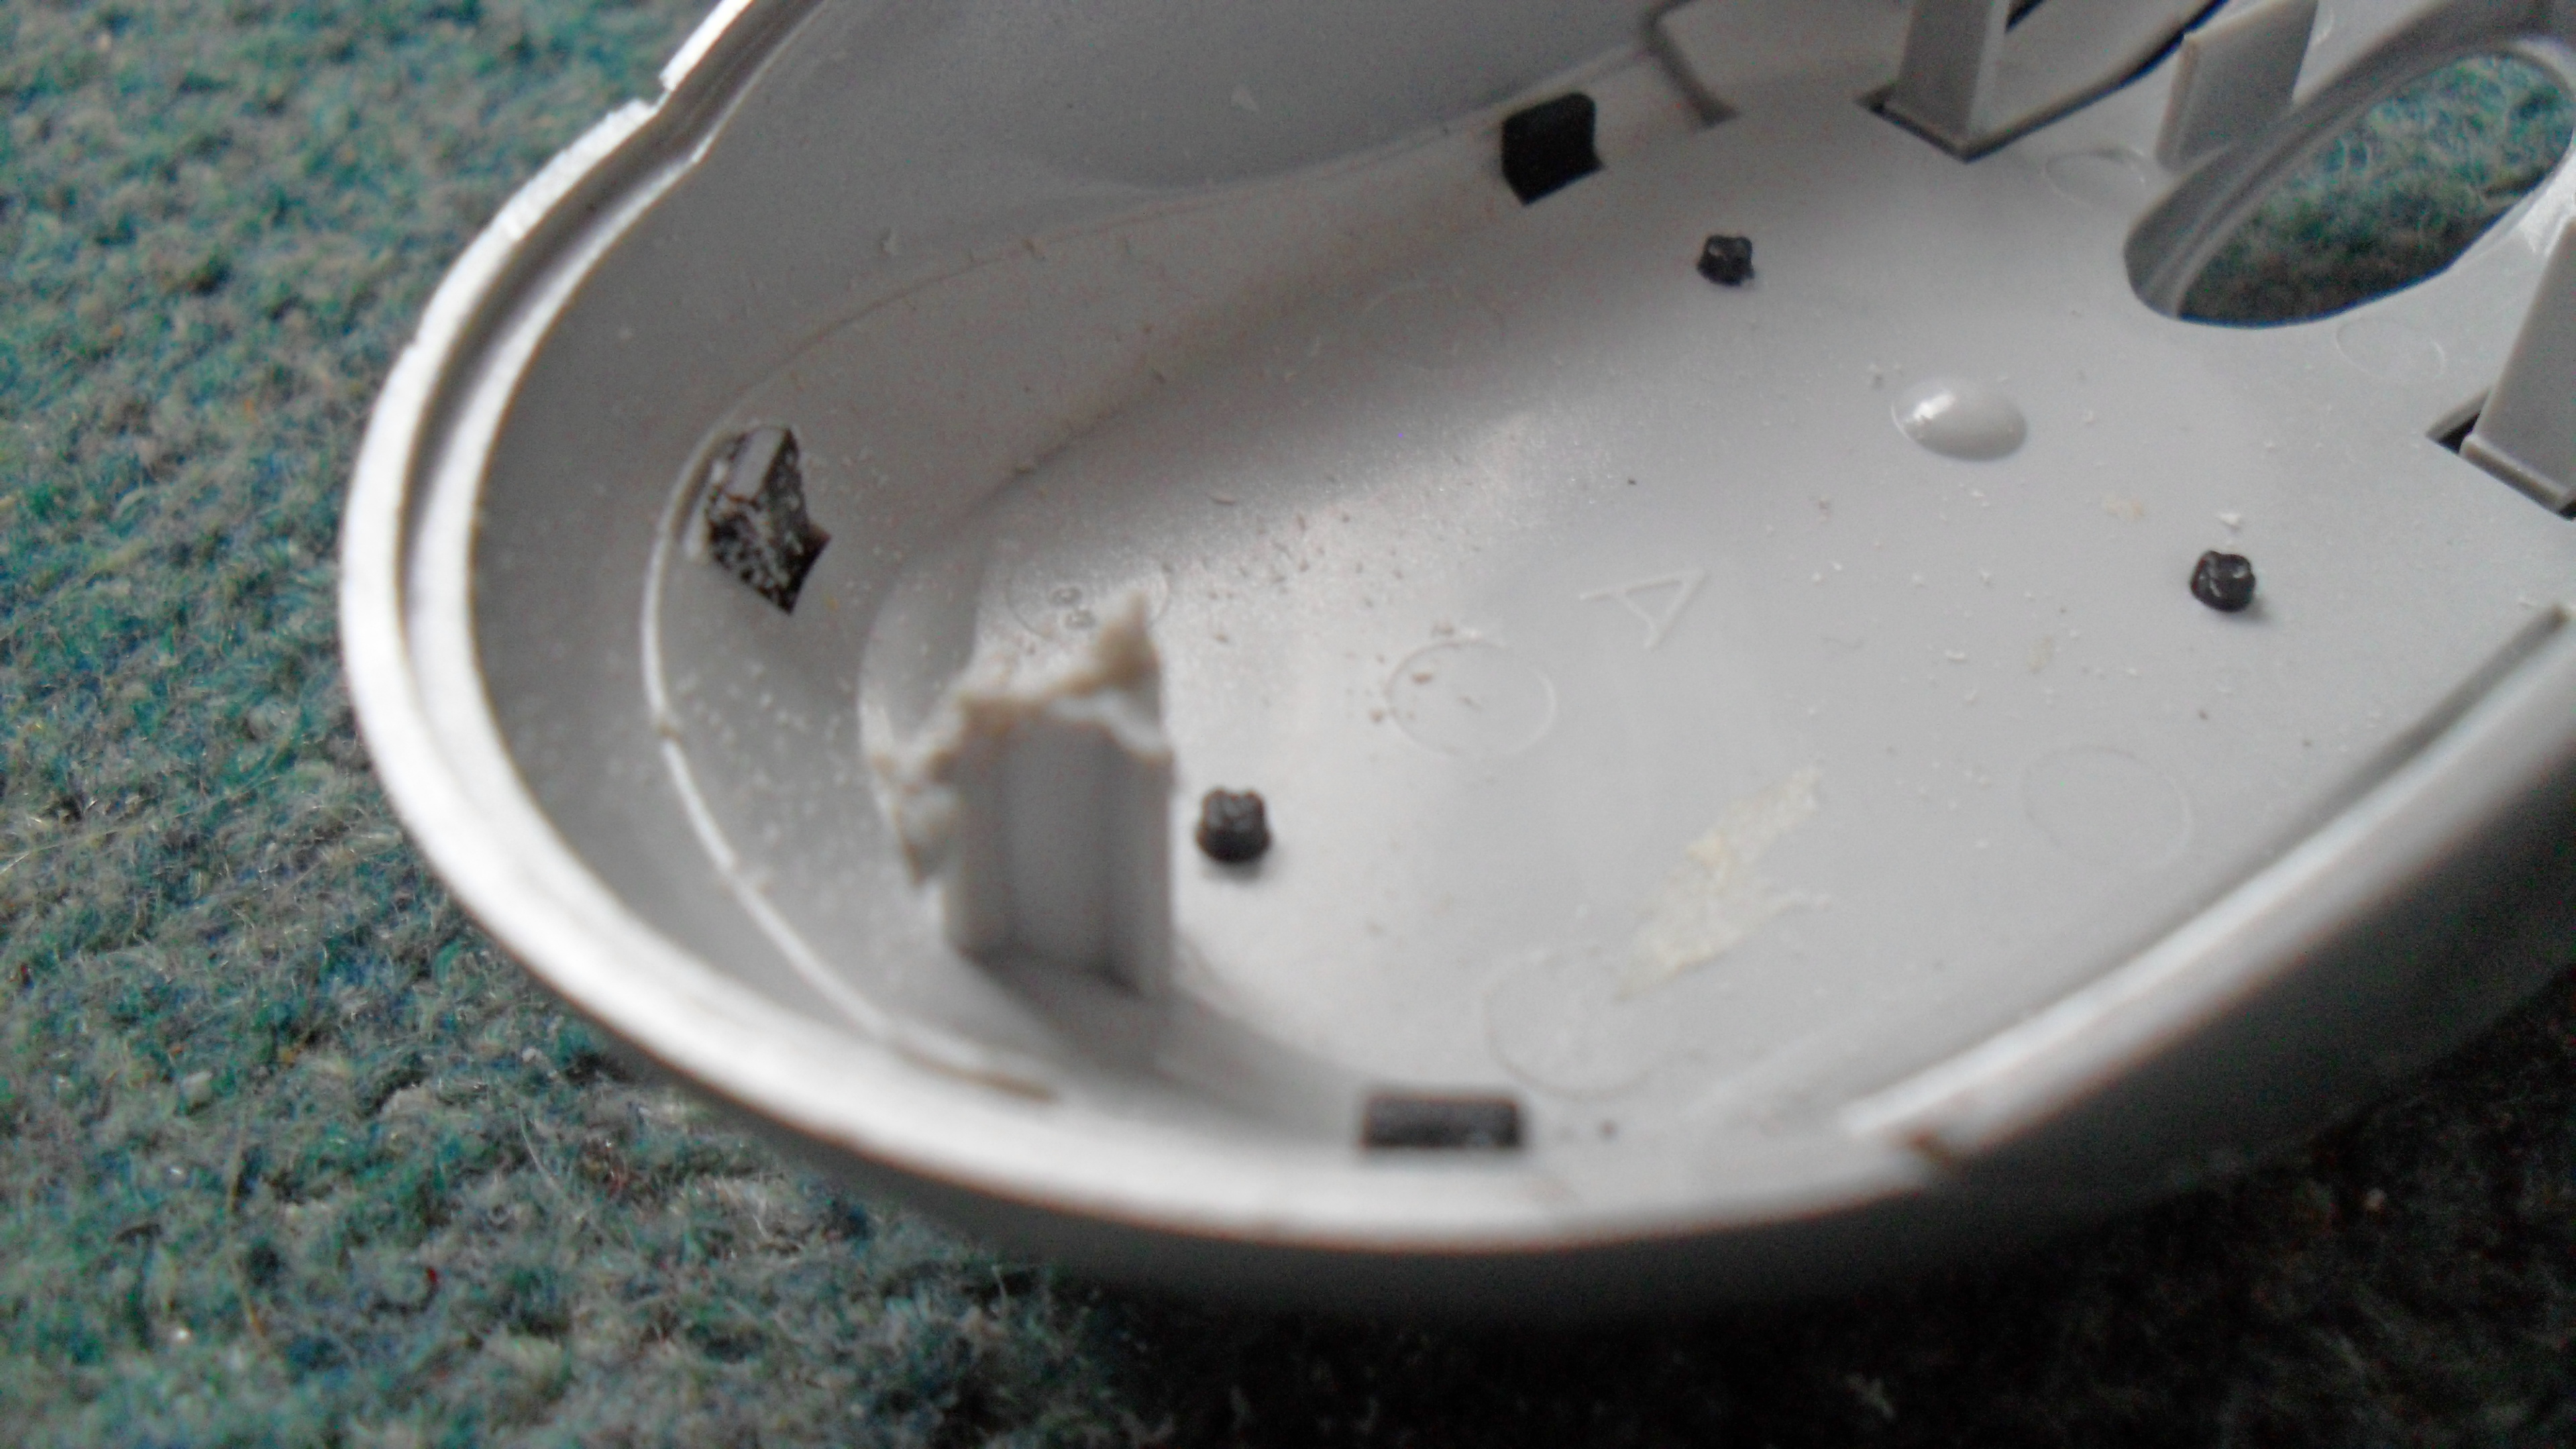
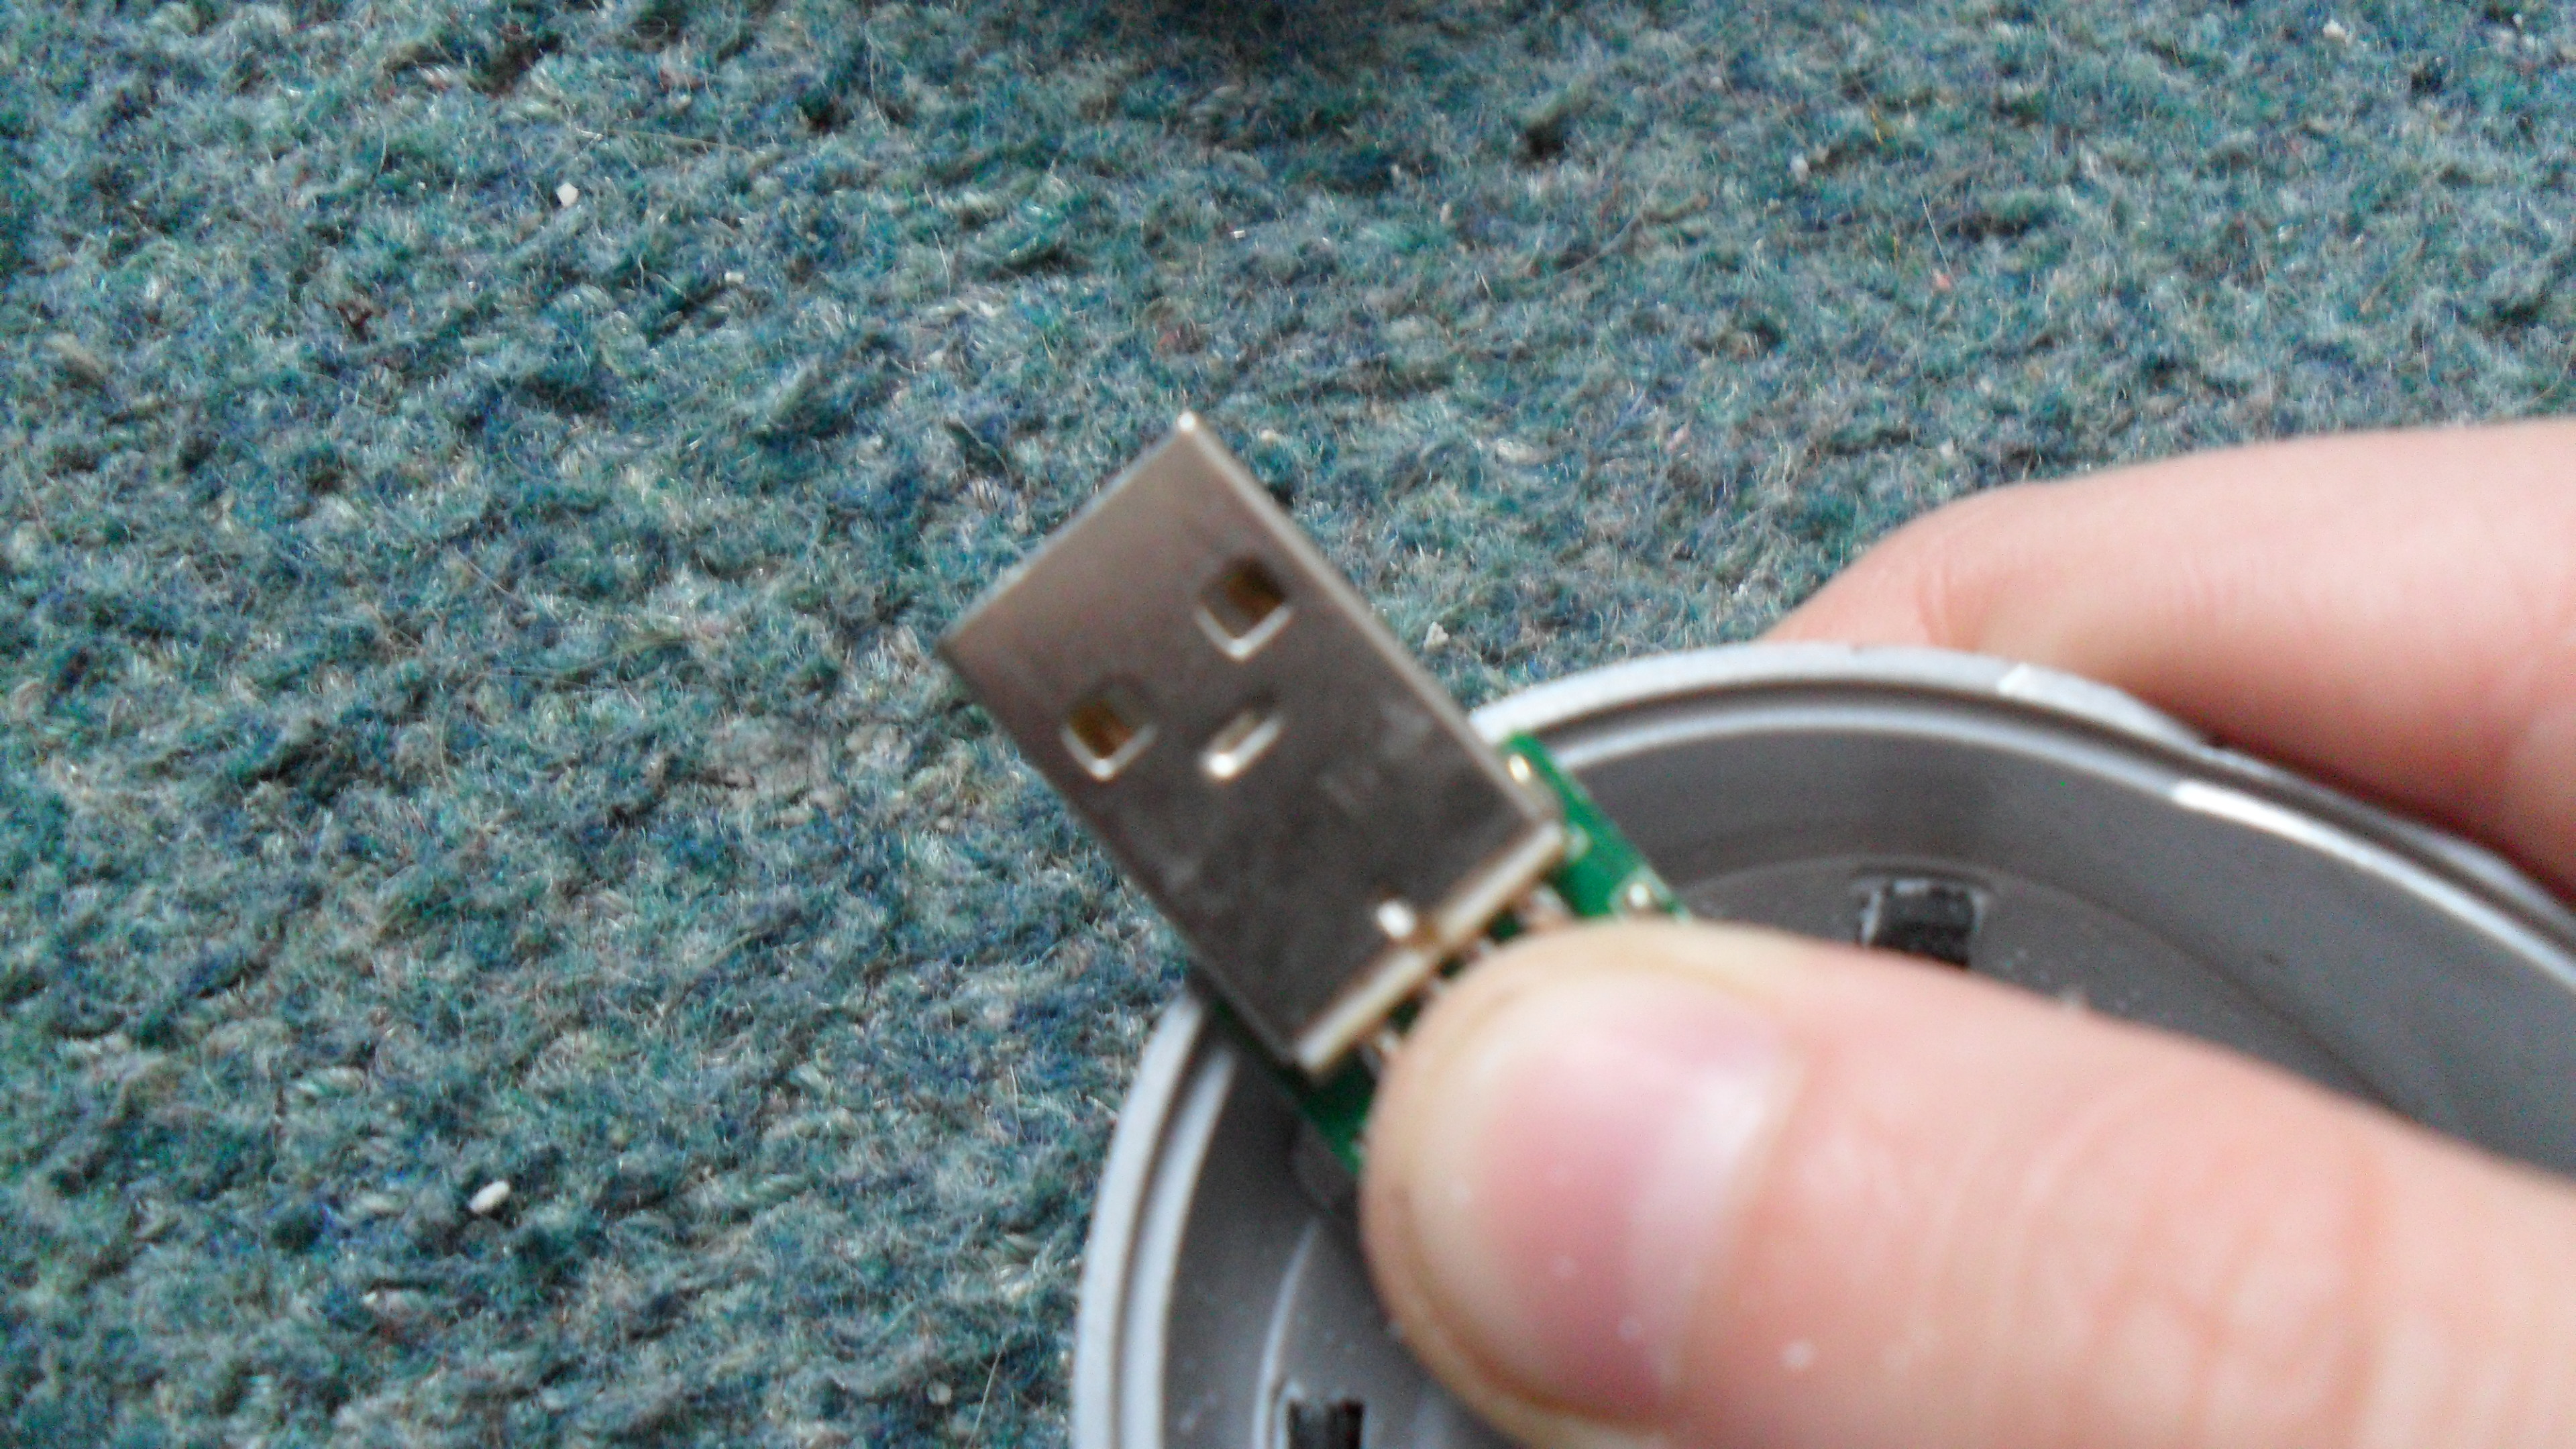
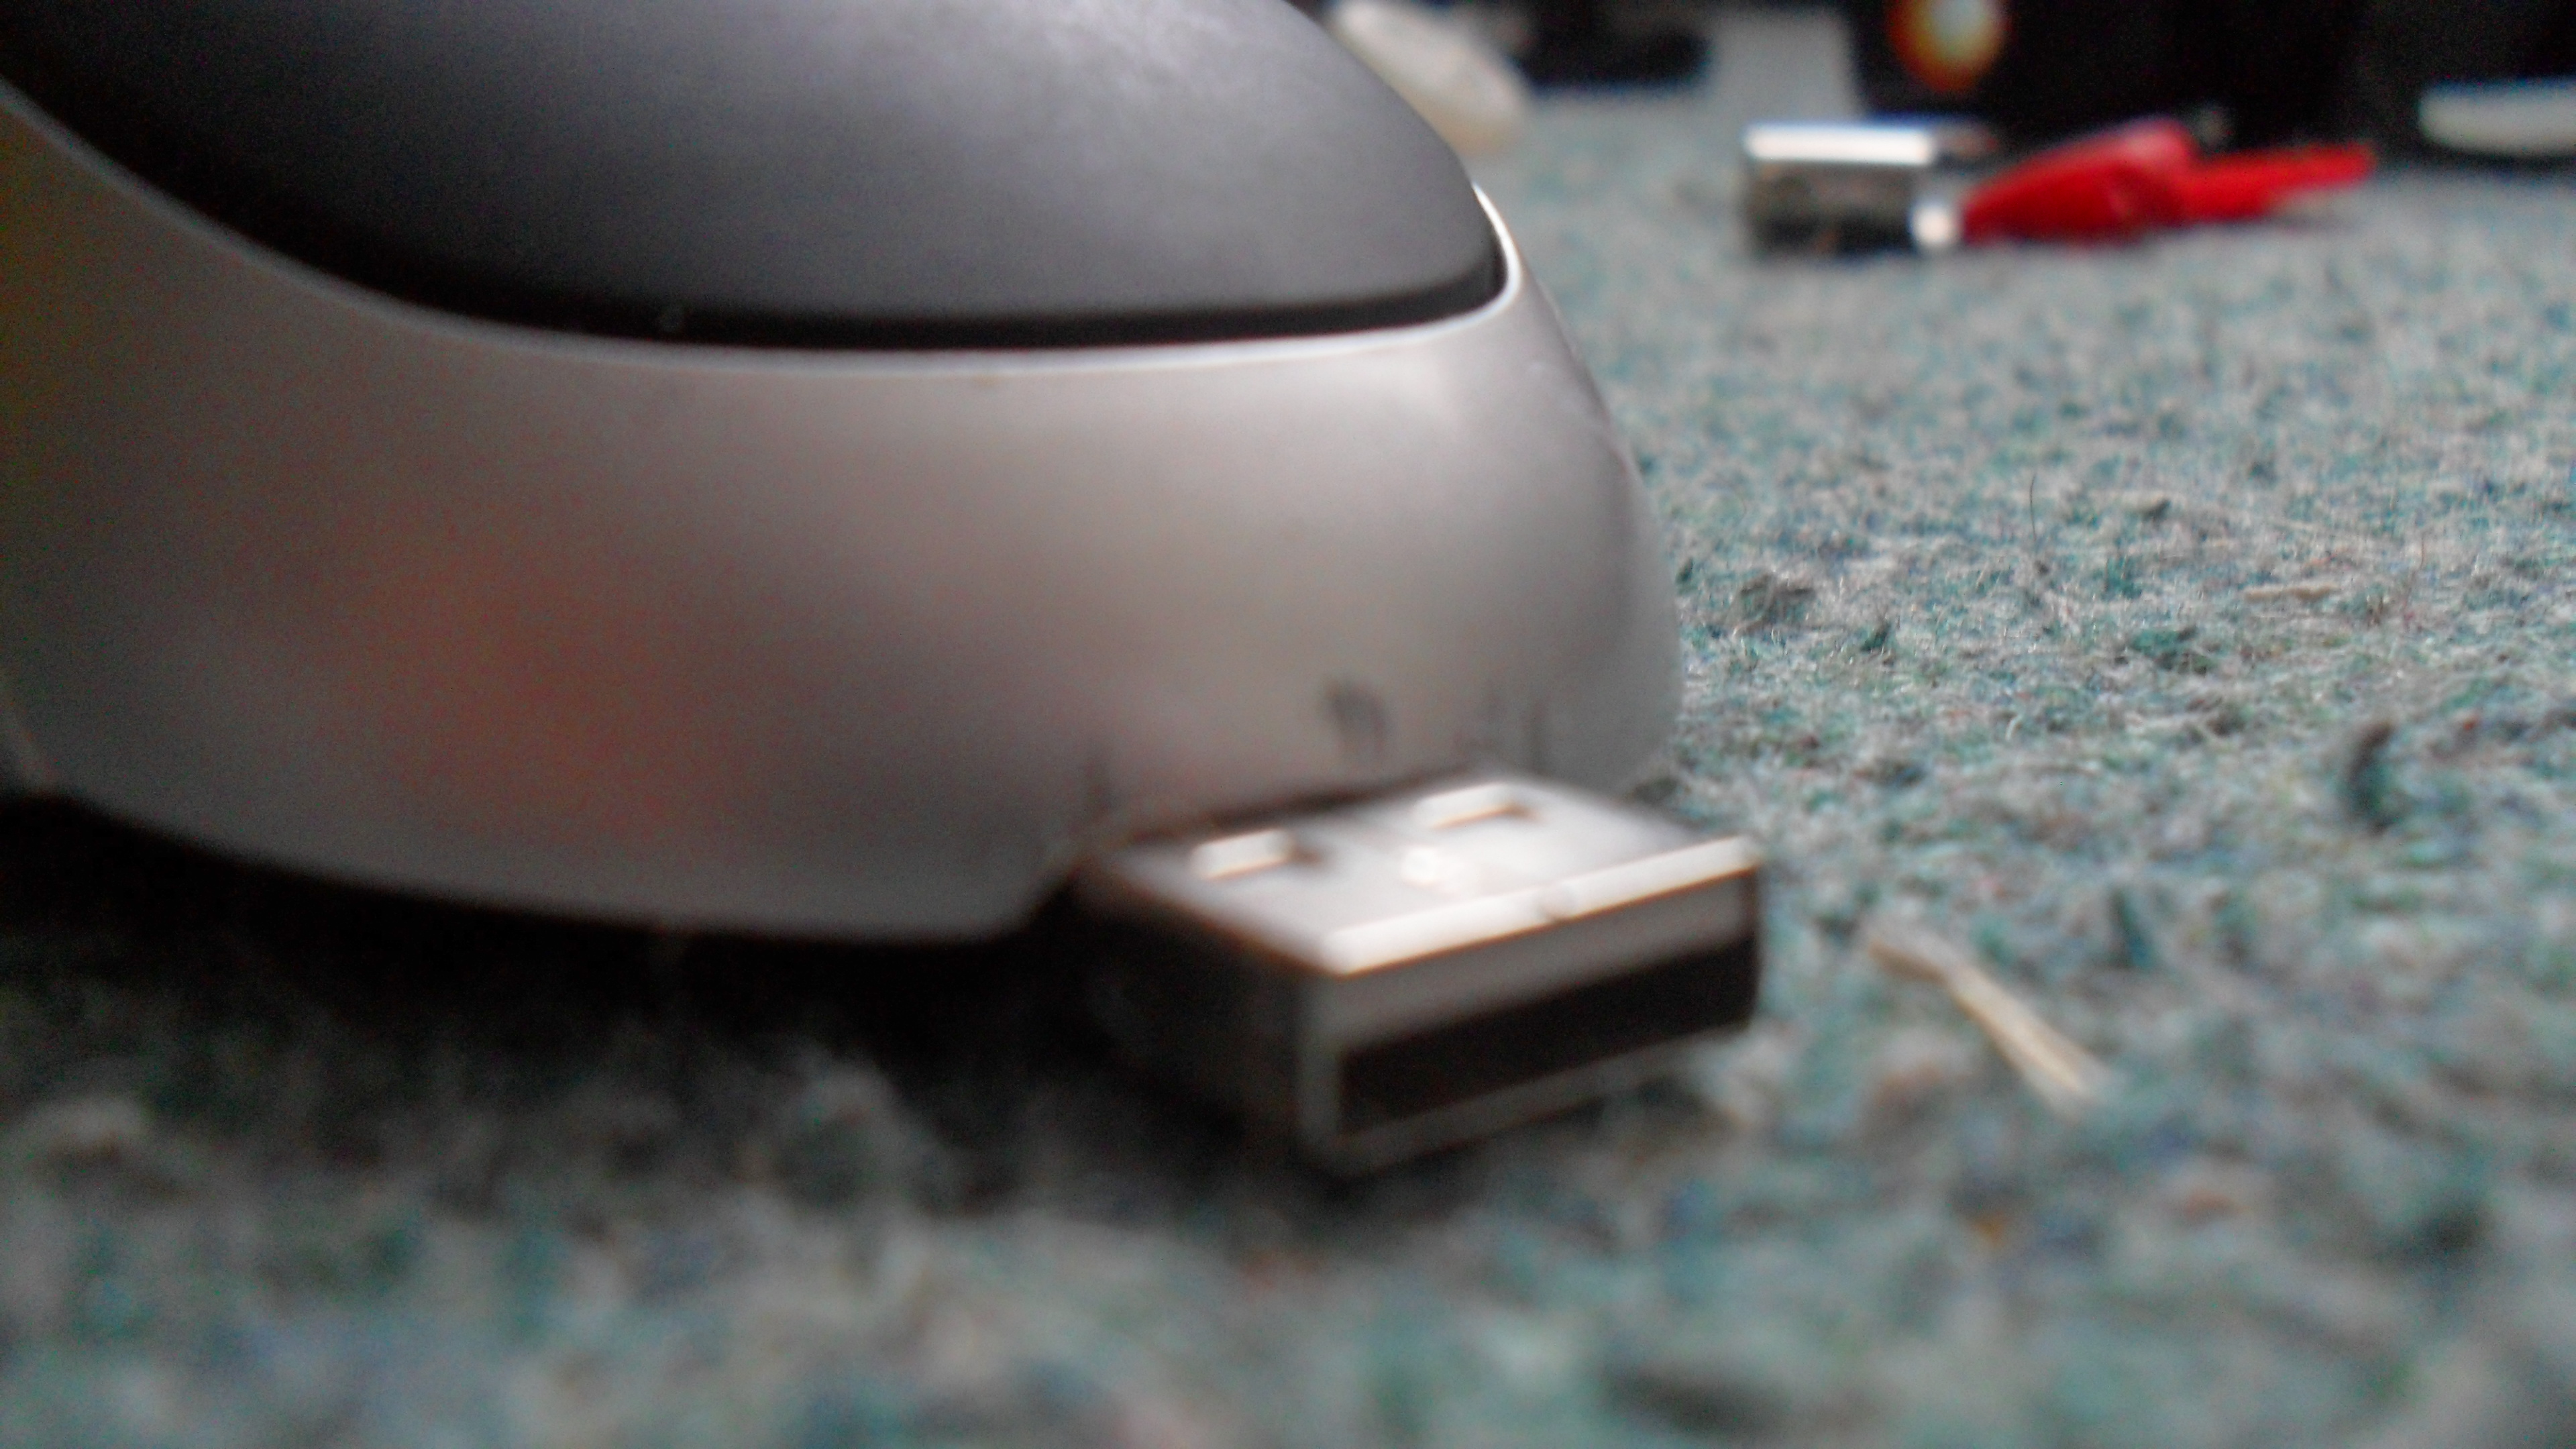
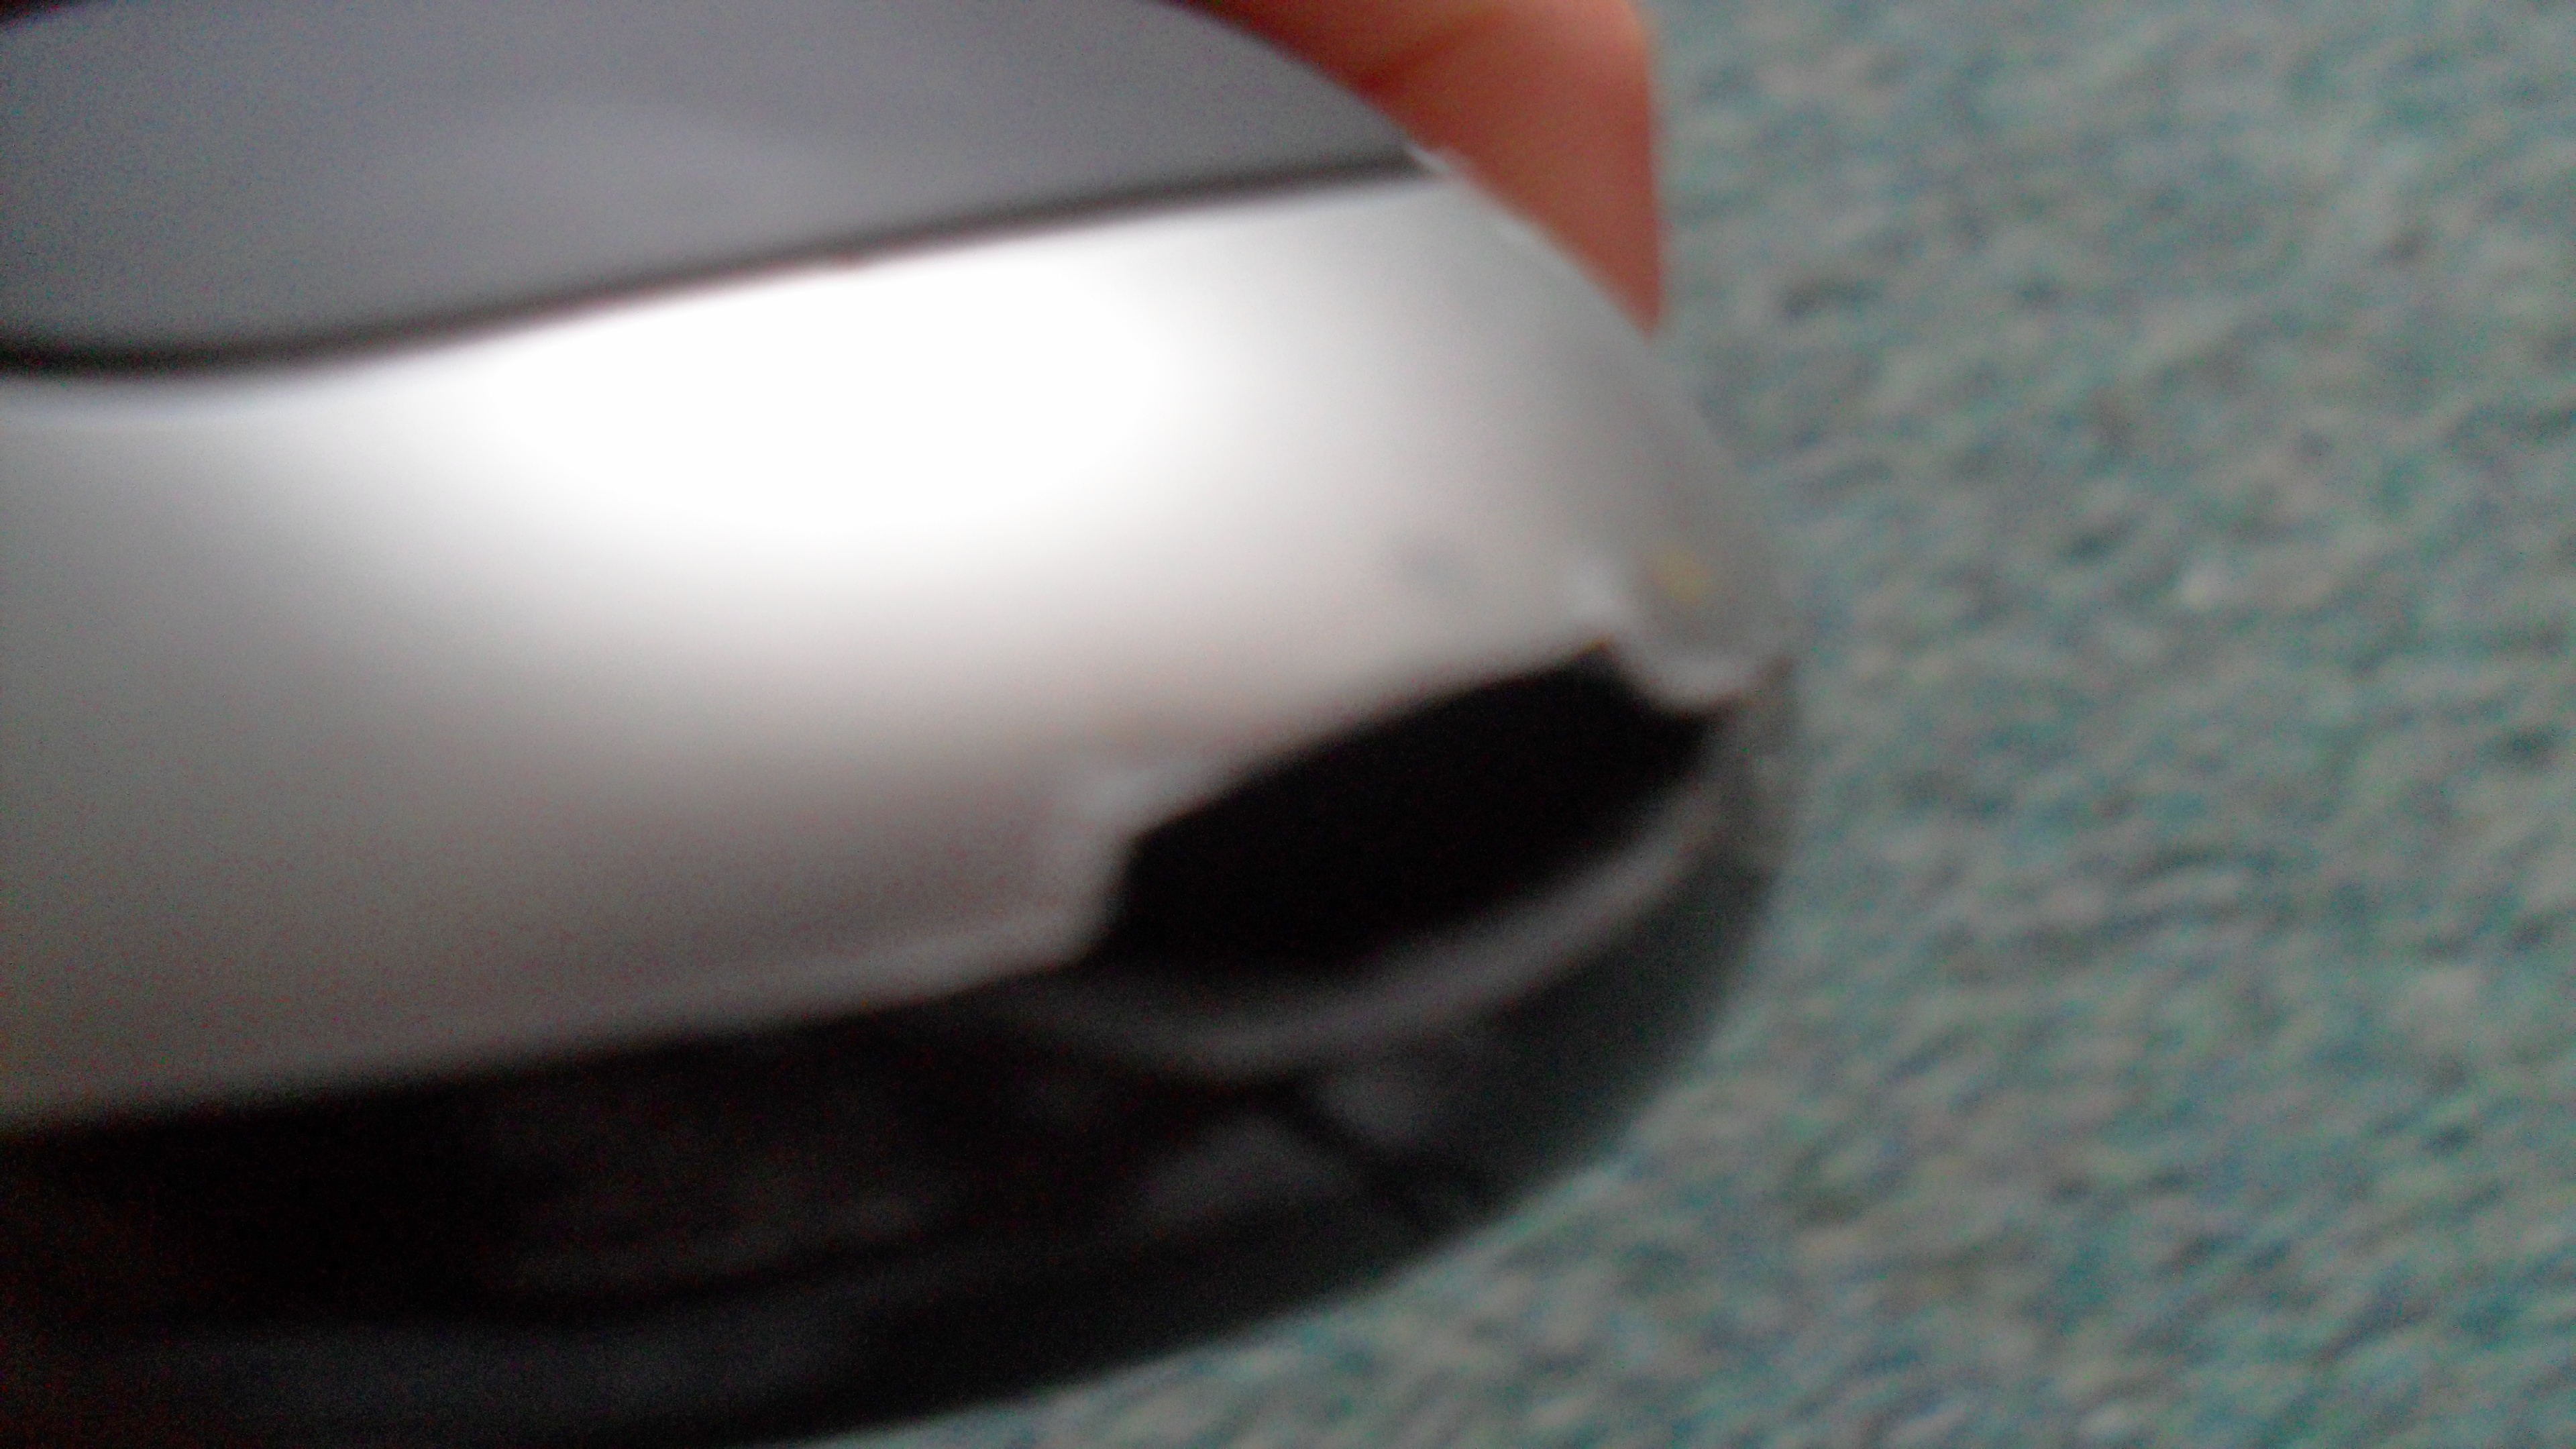
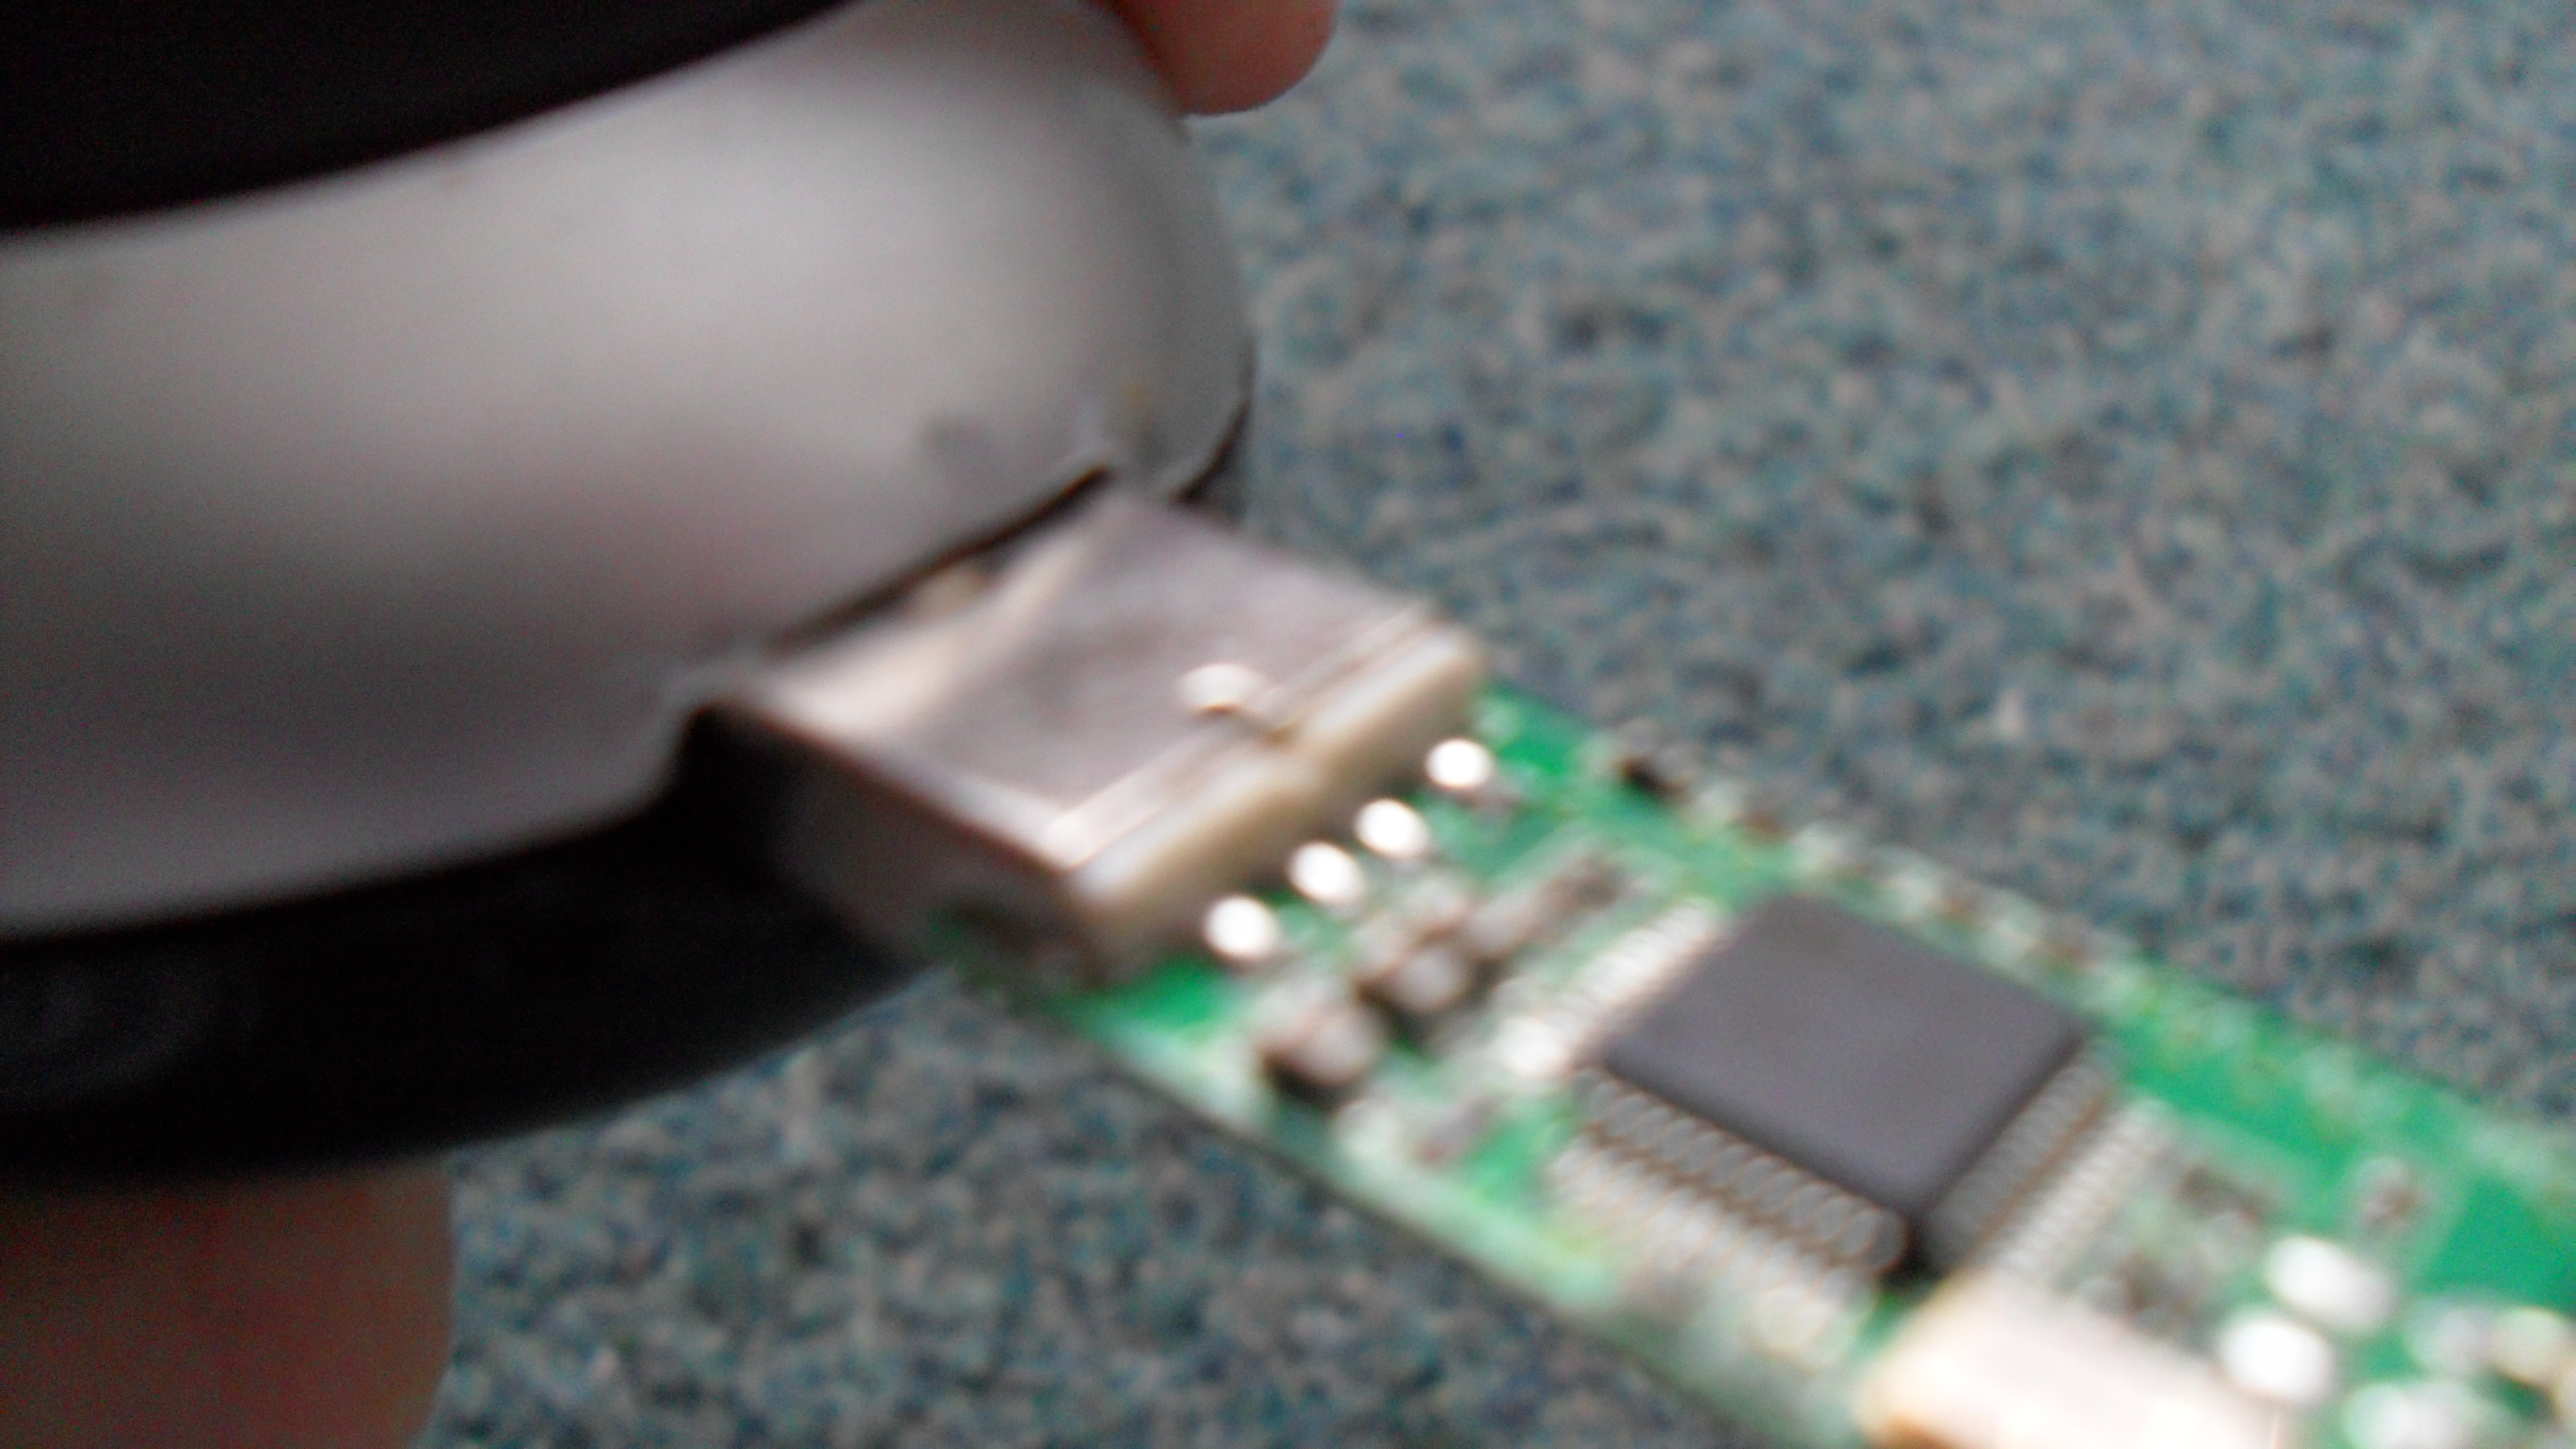
In this step we will cut the neccecary parts for fit in the USB. Follow the steps and pictures.
Done that step? Great, rolling on...
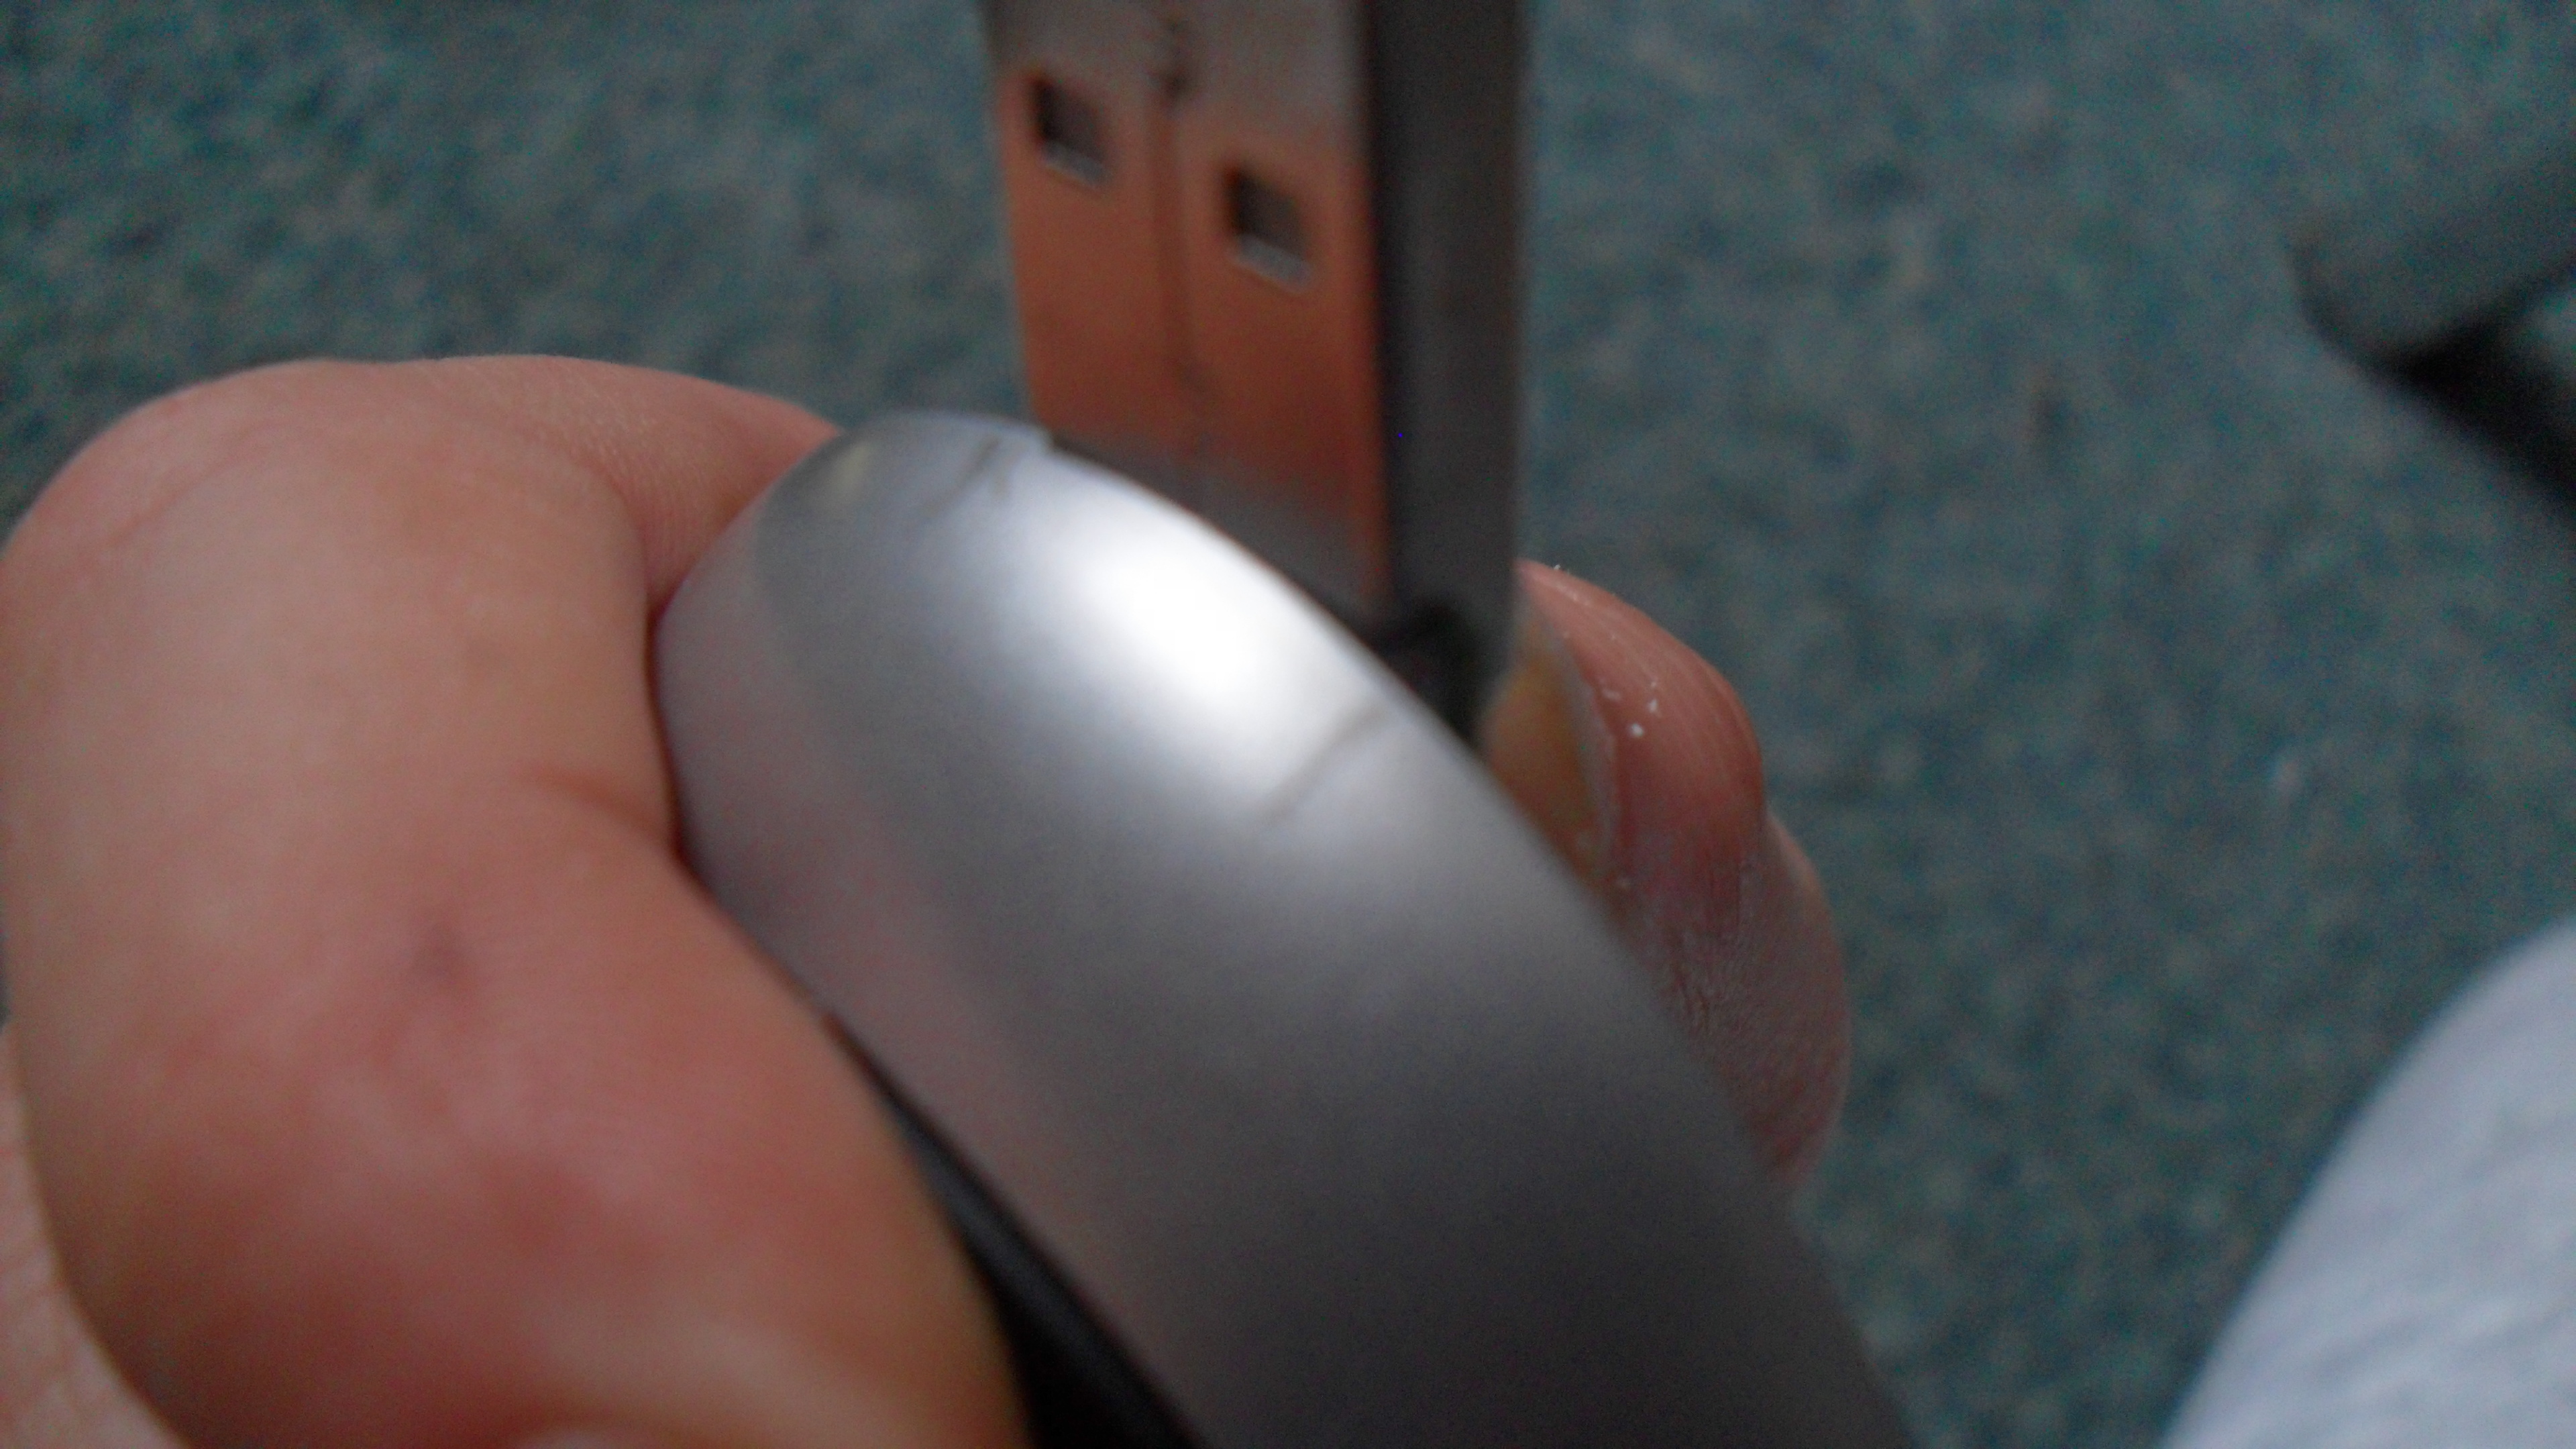
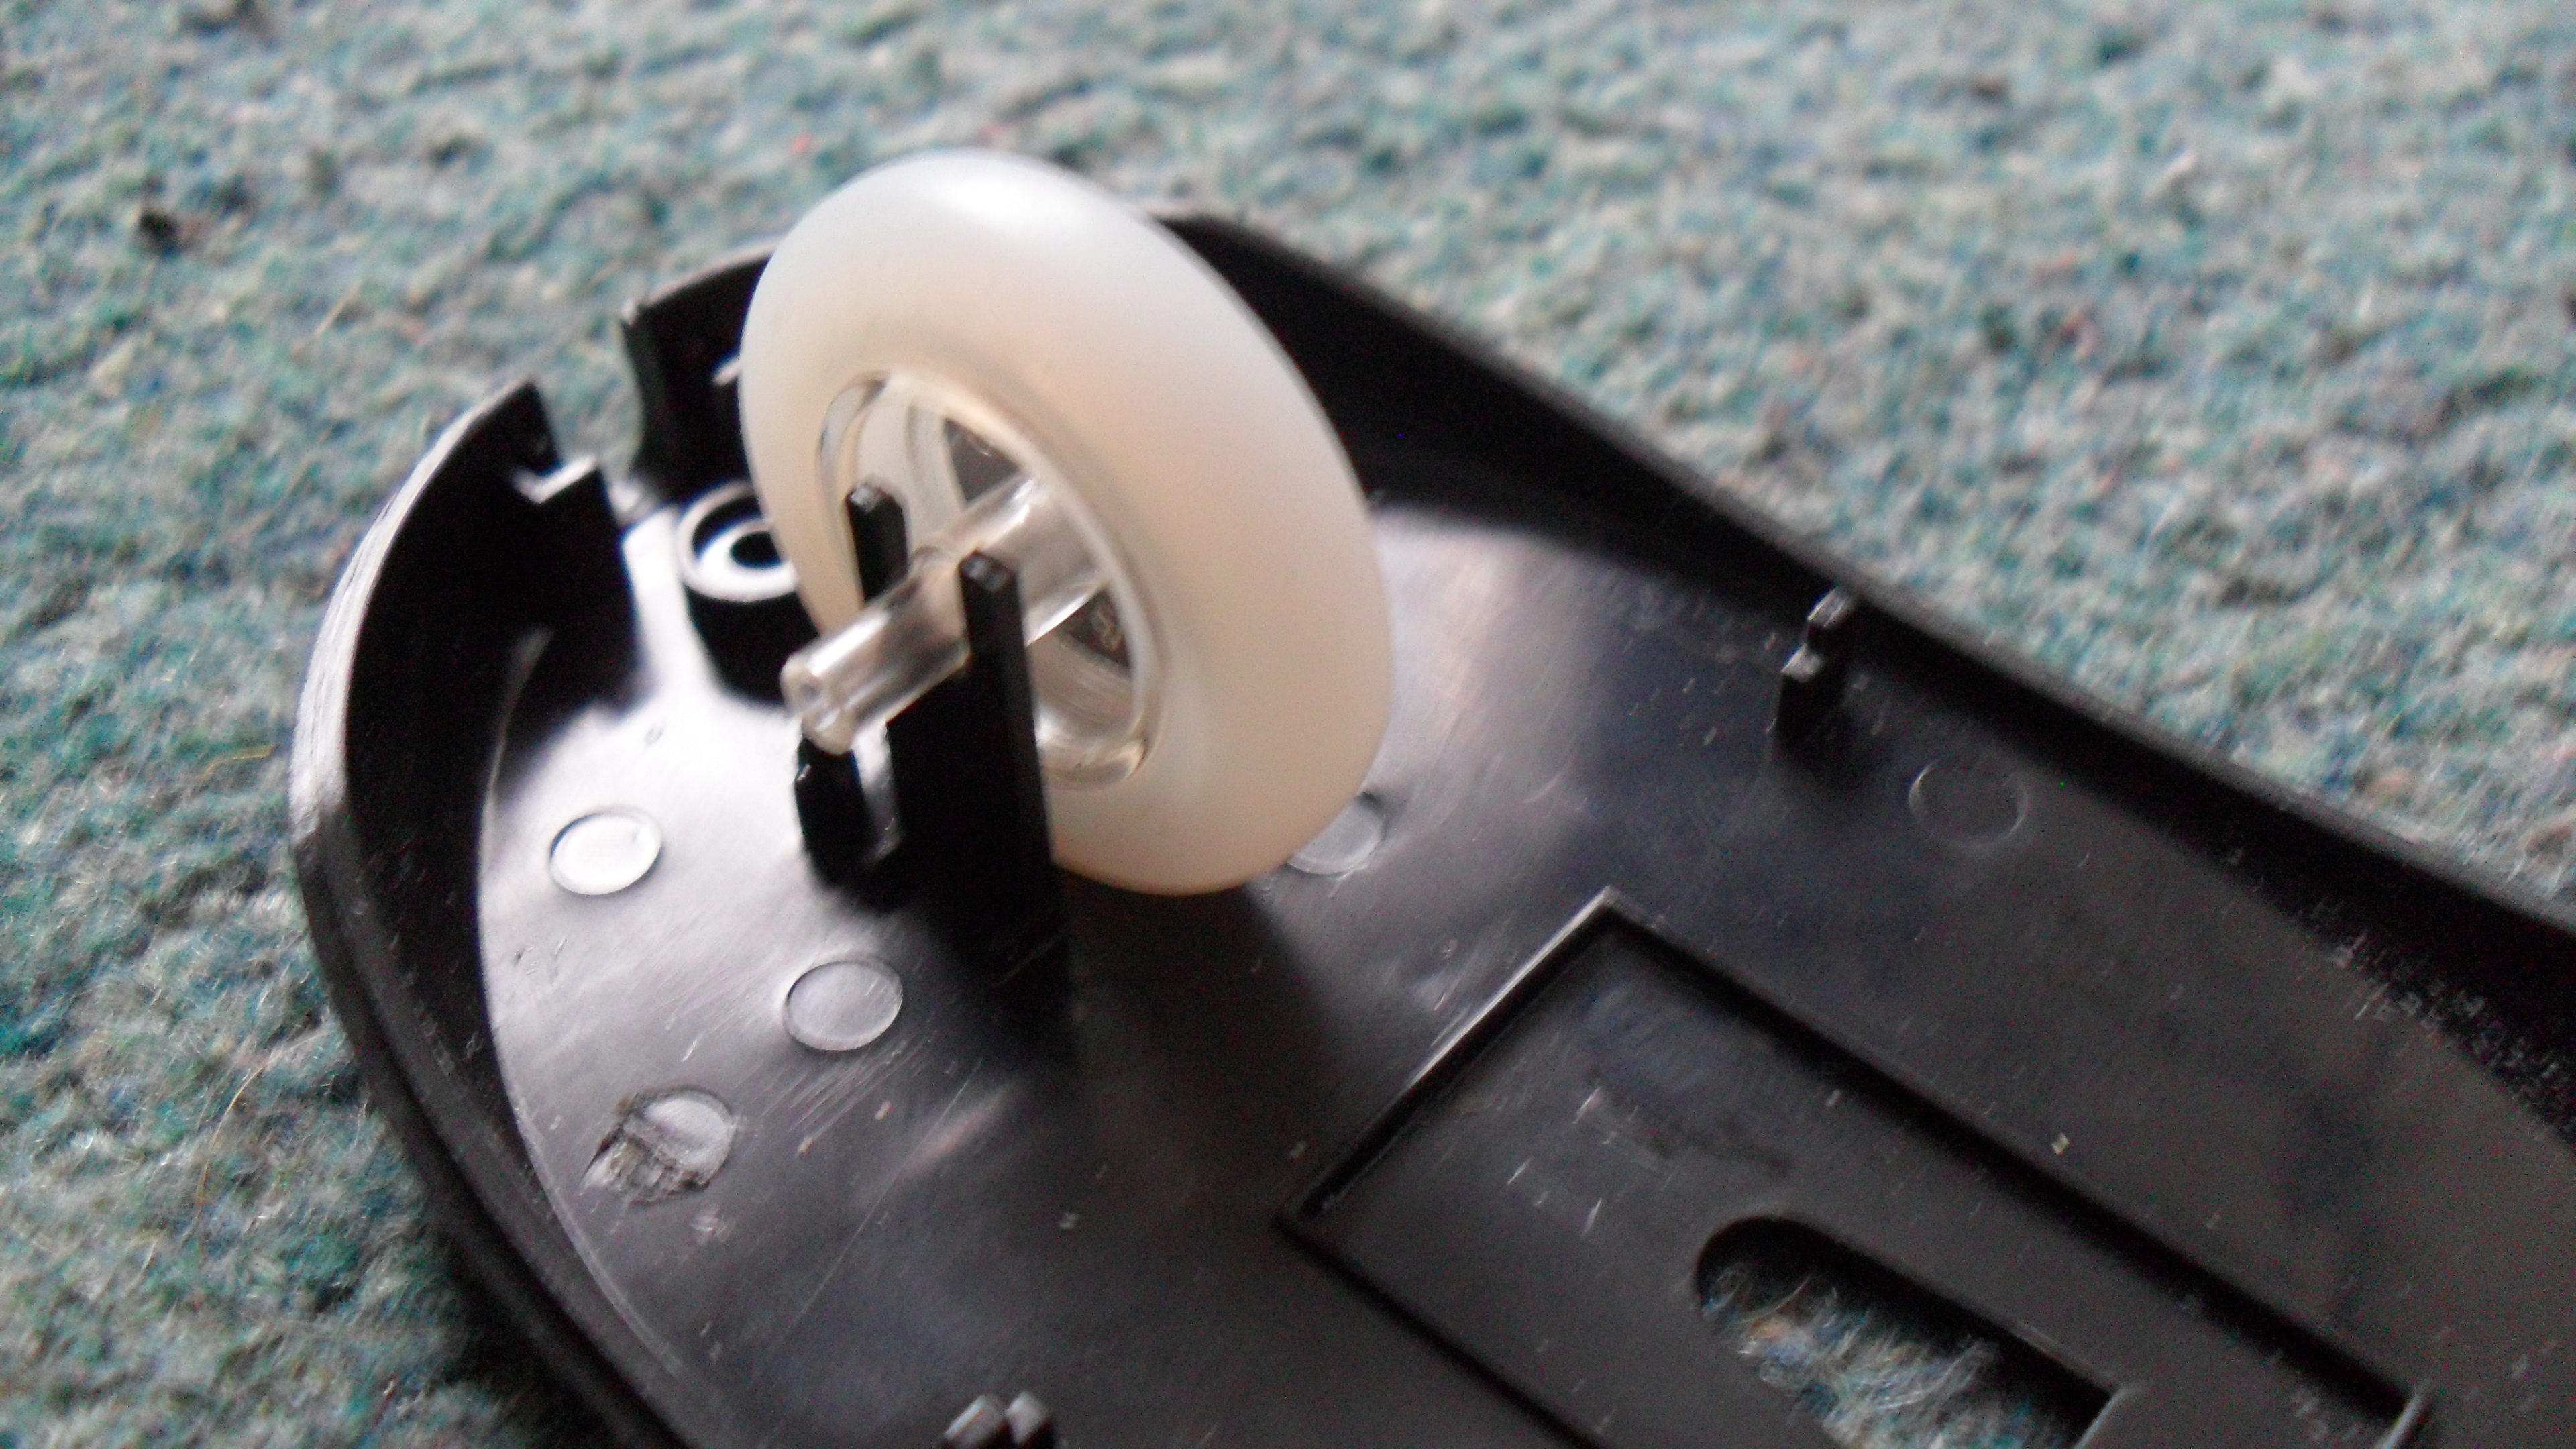
- This little bit of plastic inside the casing was in the way, so the USB would not fit in. You need to cut or file down and parts that get in the way of the USB fitting in properly.
- As you can see in this picture it is poking over the top.
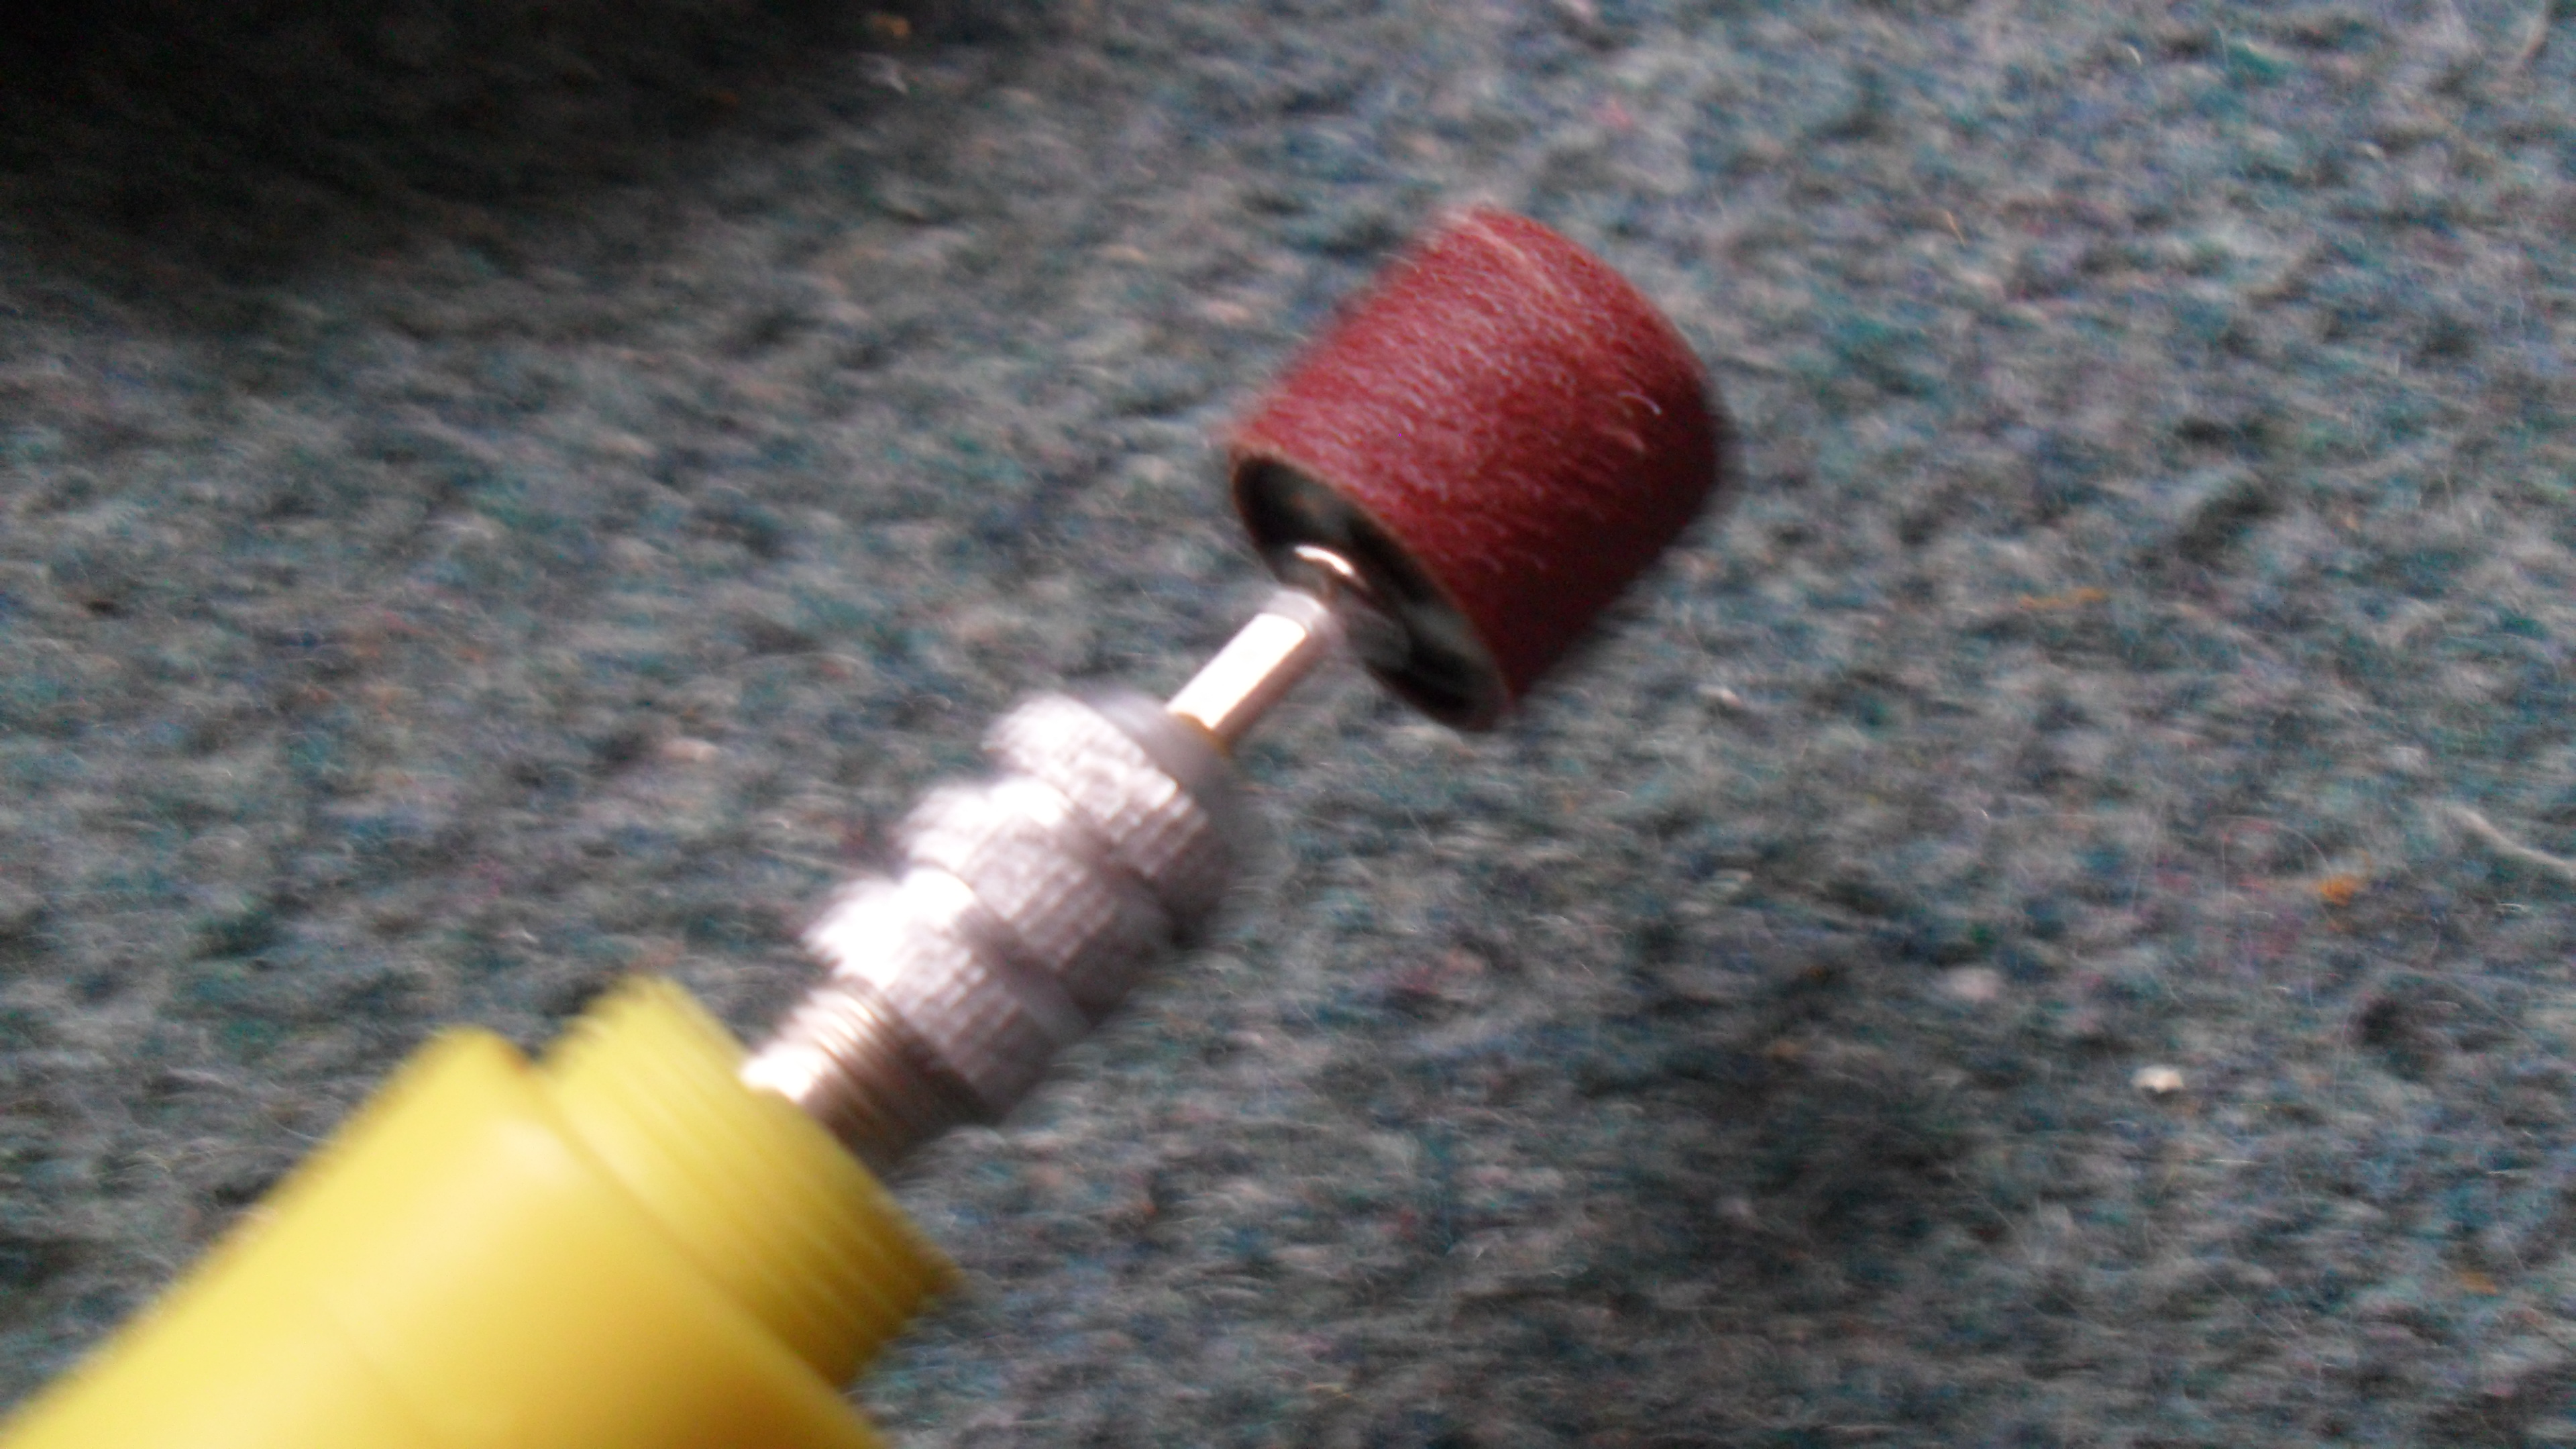
- At the time I used my dremel, but if you have one i would advise using a file. (I used a drill to cut that bit off, as my saw blades were too big to cut it off.)
- Cut it off just enough so that the USB will lay flat on it like shown.
- Now lay your USB flat and with a pencil or a pen, make a mark on either side of the USB.
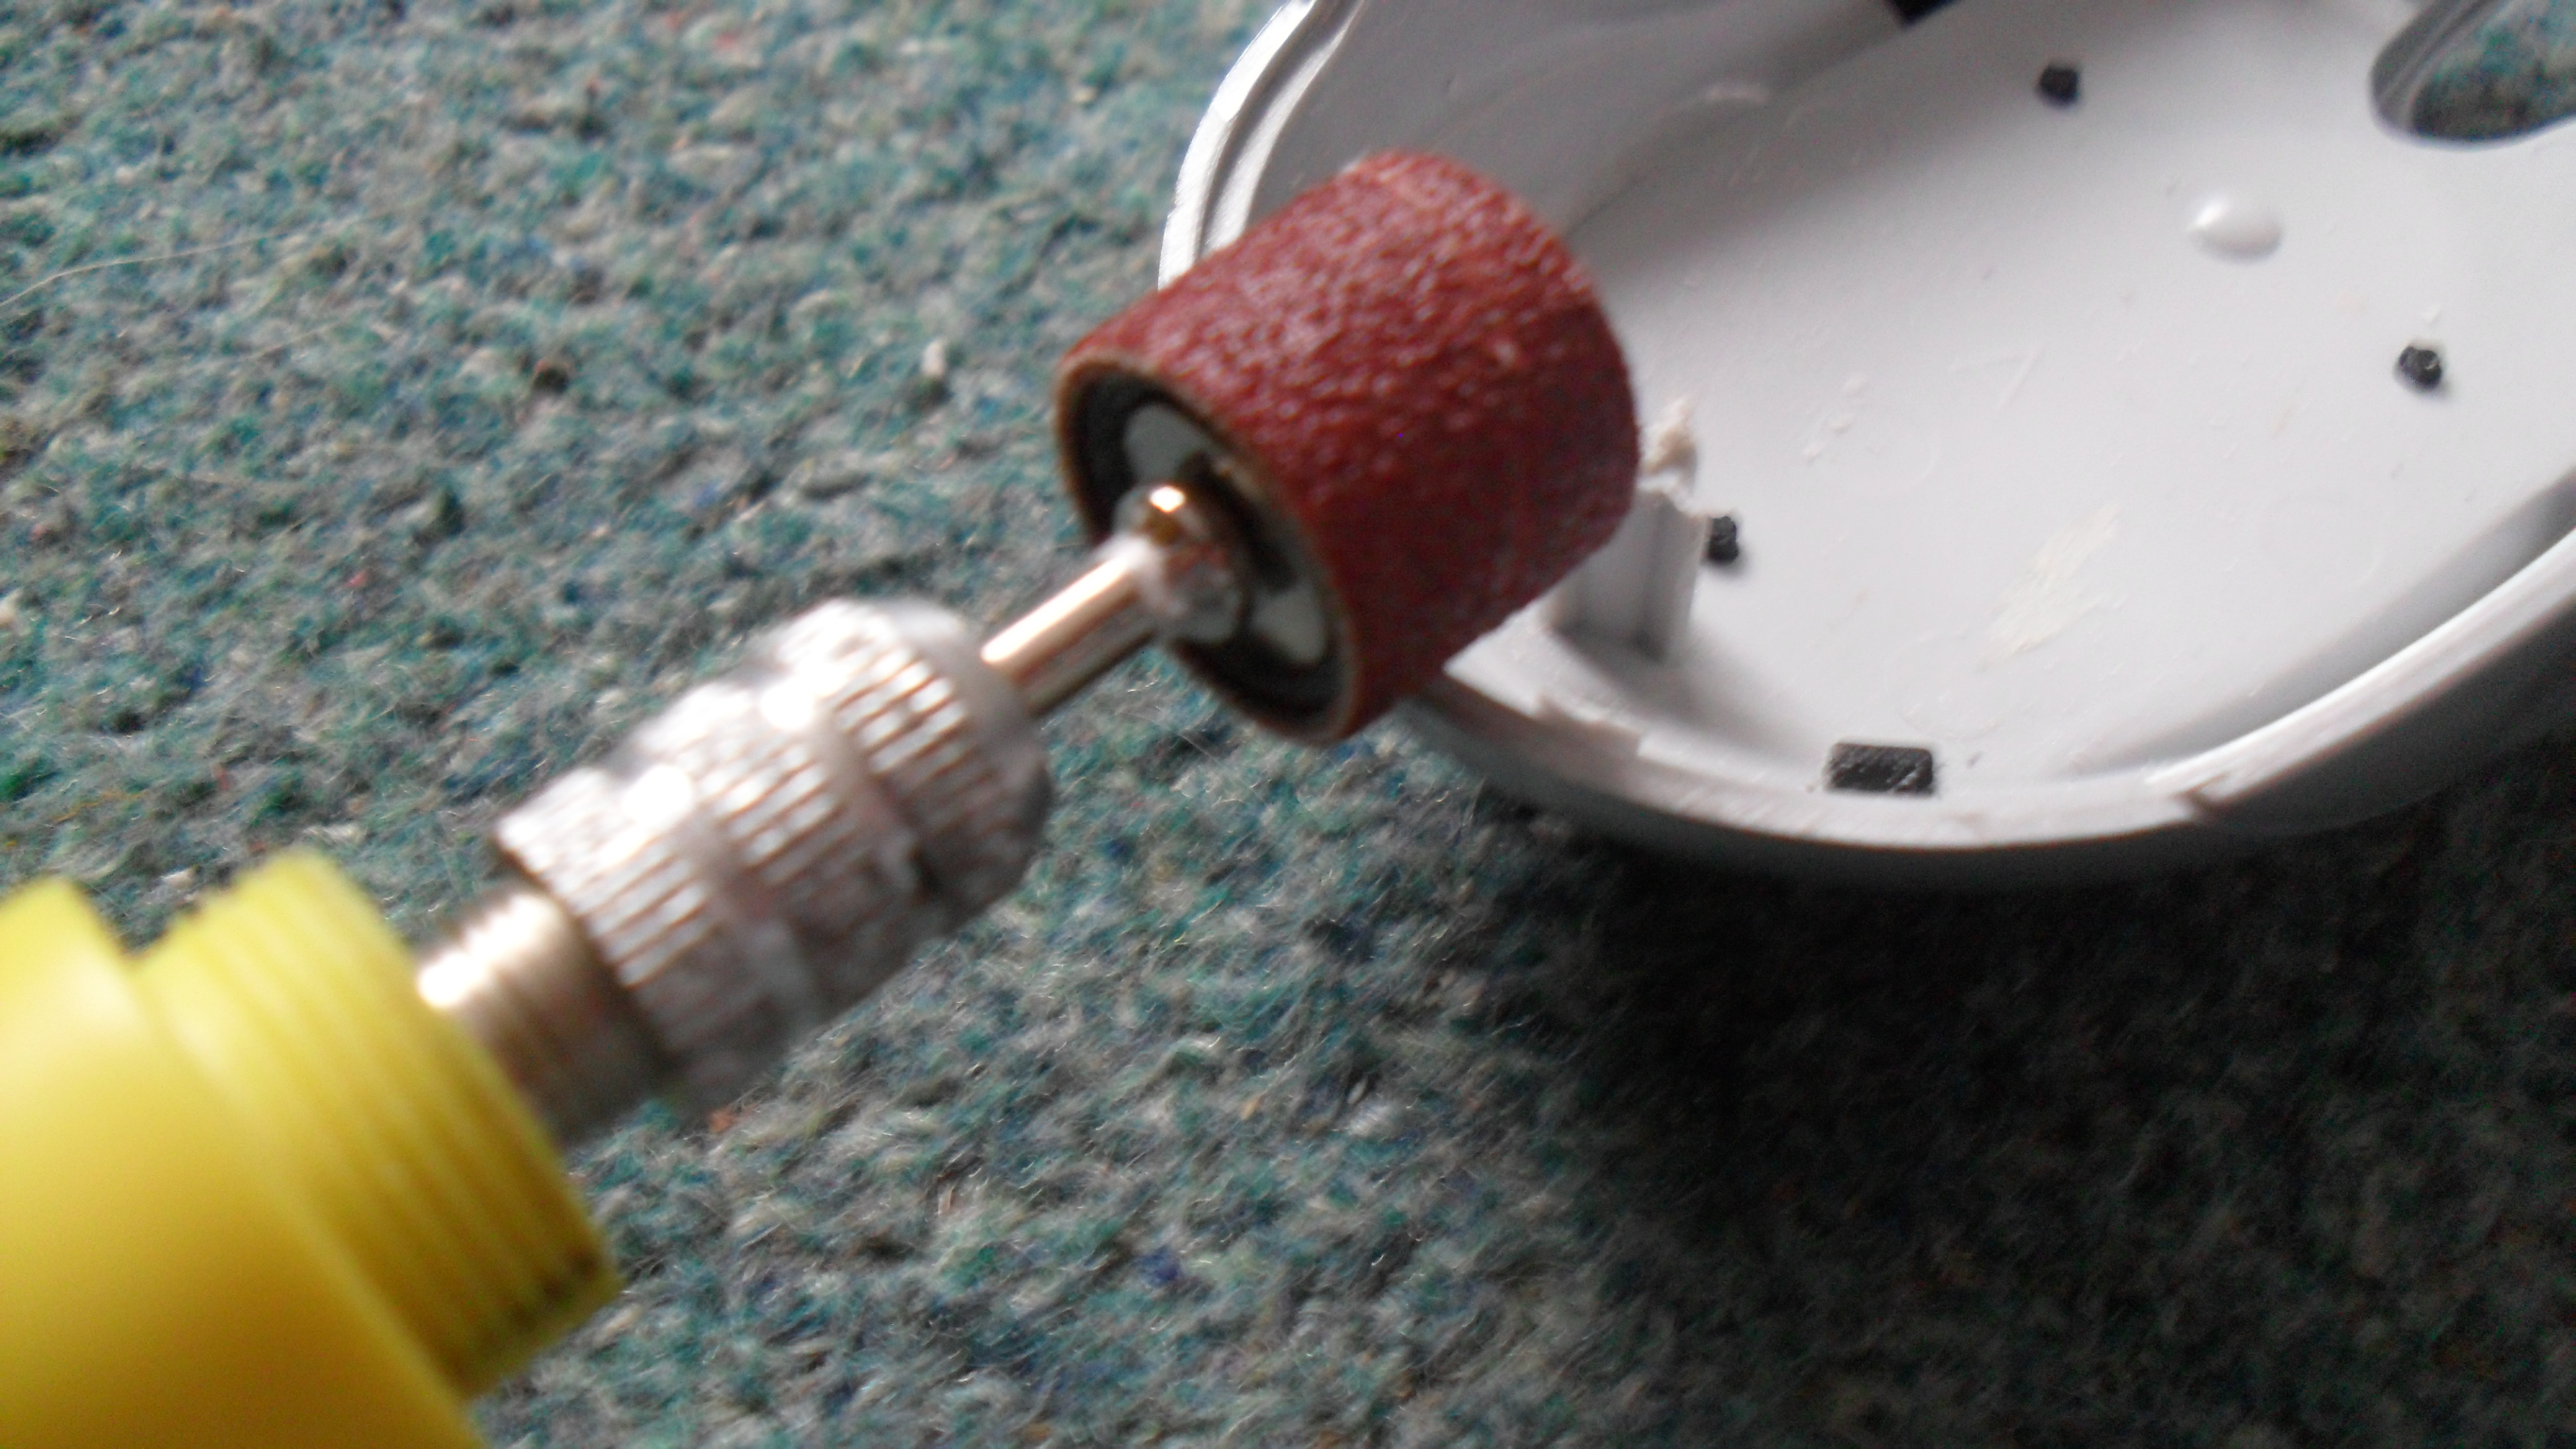
- Now get a dremel with a small circular sander on, (or just use a file).
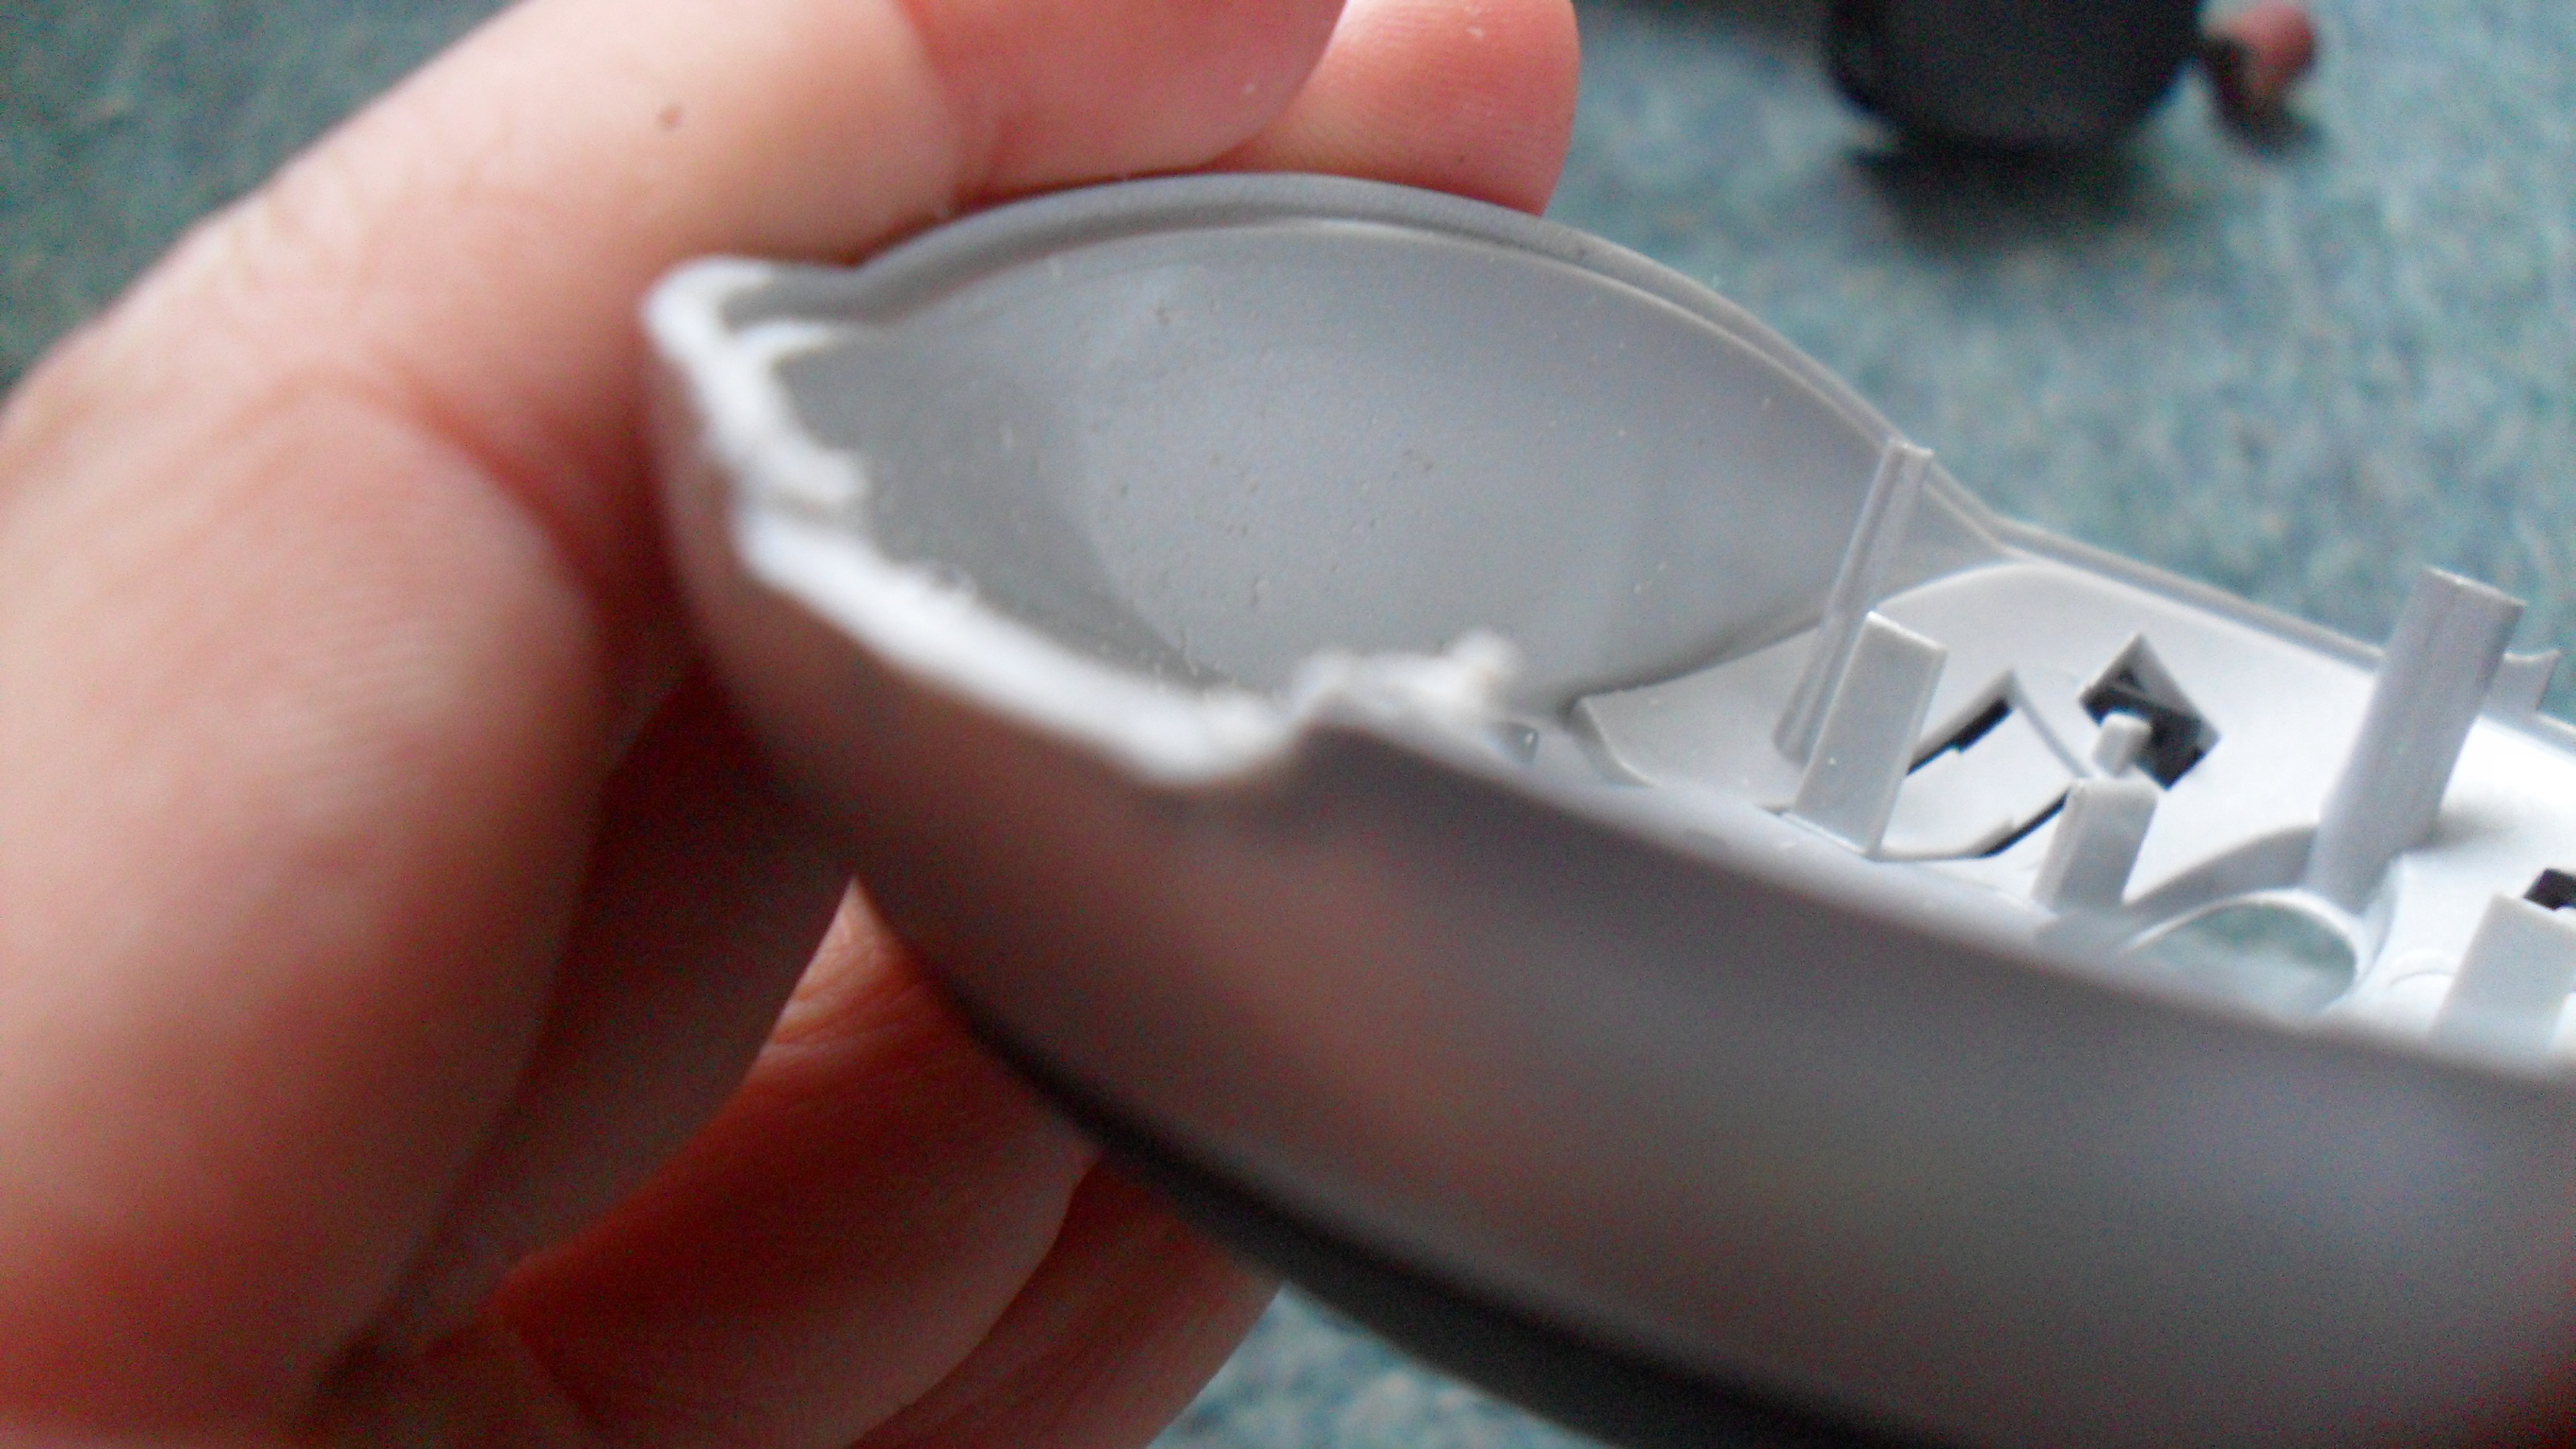
- Begin the sand down a rectangluar shape big enough for half the USB to fit in.
- Once youre done it should look like this (look at the next picture)
- This is what it should look like with the USB in it.
- Repeat the same process on the bottom half of the mouse, to create an even rectangle shape that the USB should fit in when both sides are put together (see next picture)
- Once both sides are together, this is what it should look like
- Just check if the front of the USB fits in like this, if it doesnt, adjust it slightly with your dremel or file until it fits snugly.
- If your mouse has a scroll wheel, I advise you to put it in now, as you may forget later.
Done that step? Great, rolling on...
Putting It Together
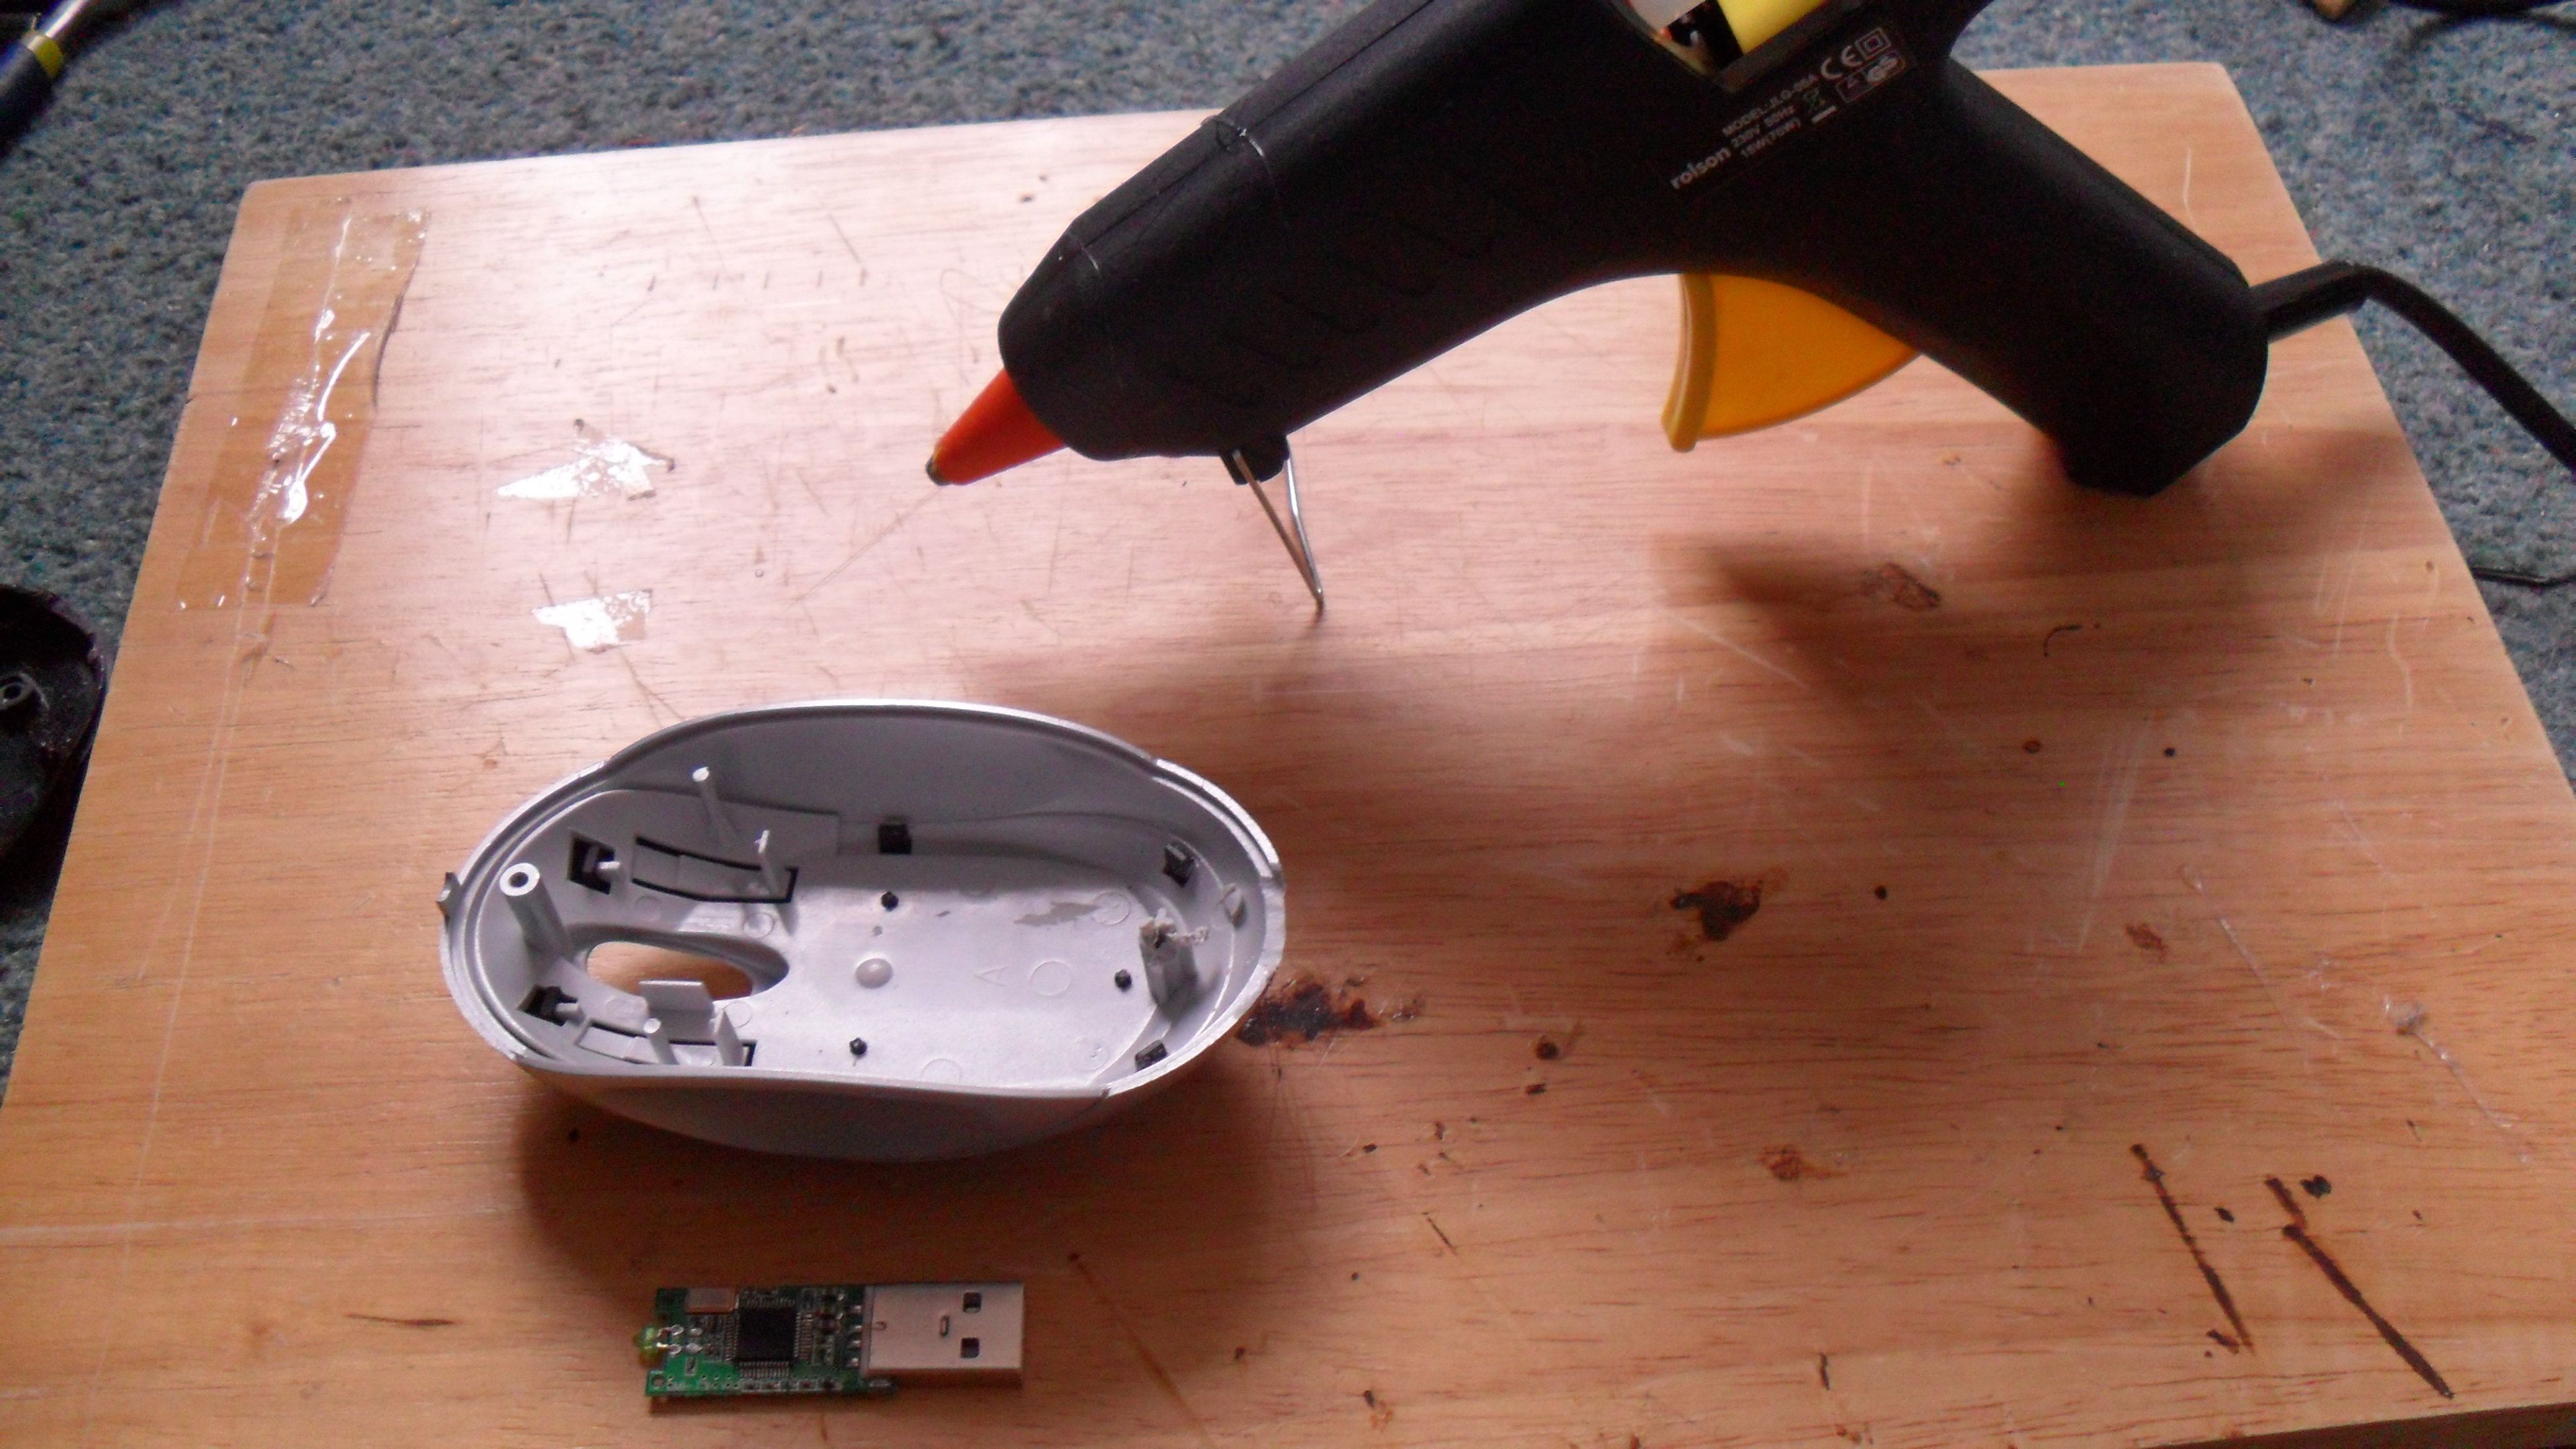
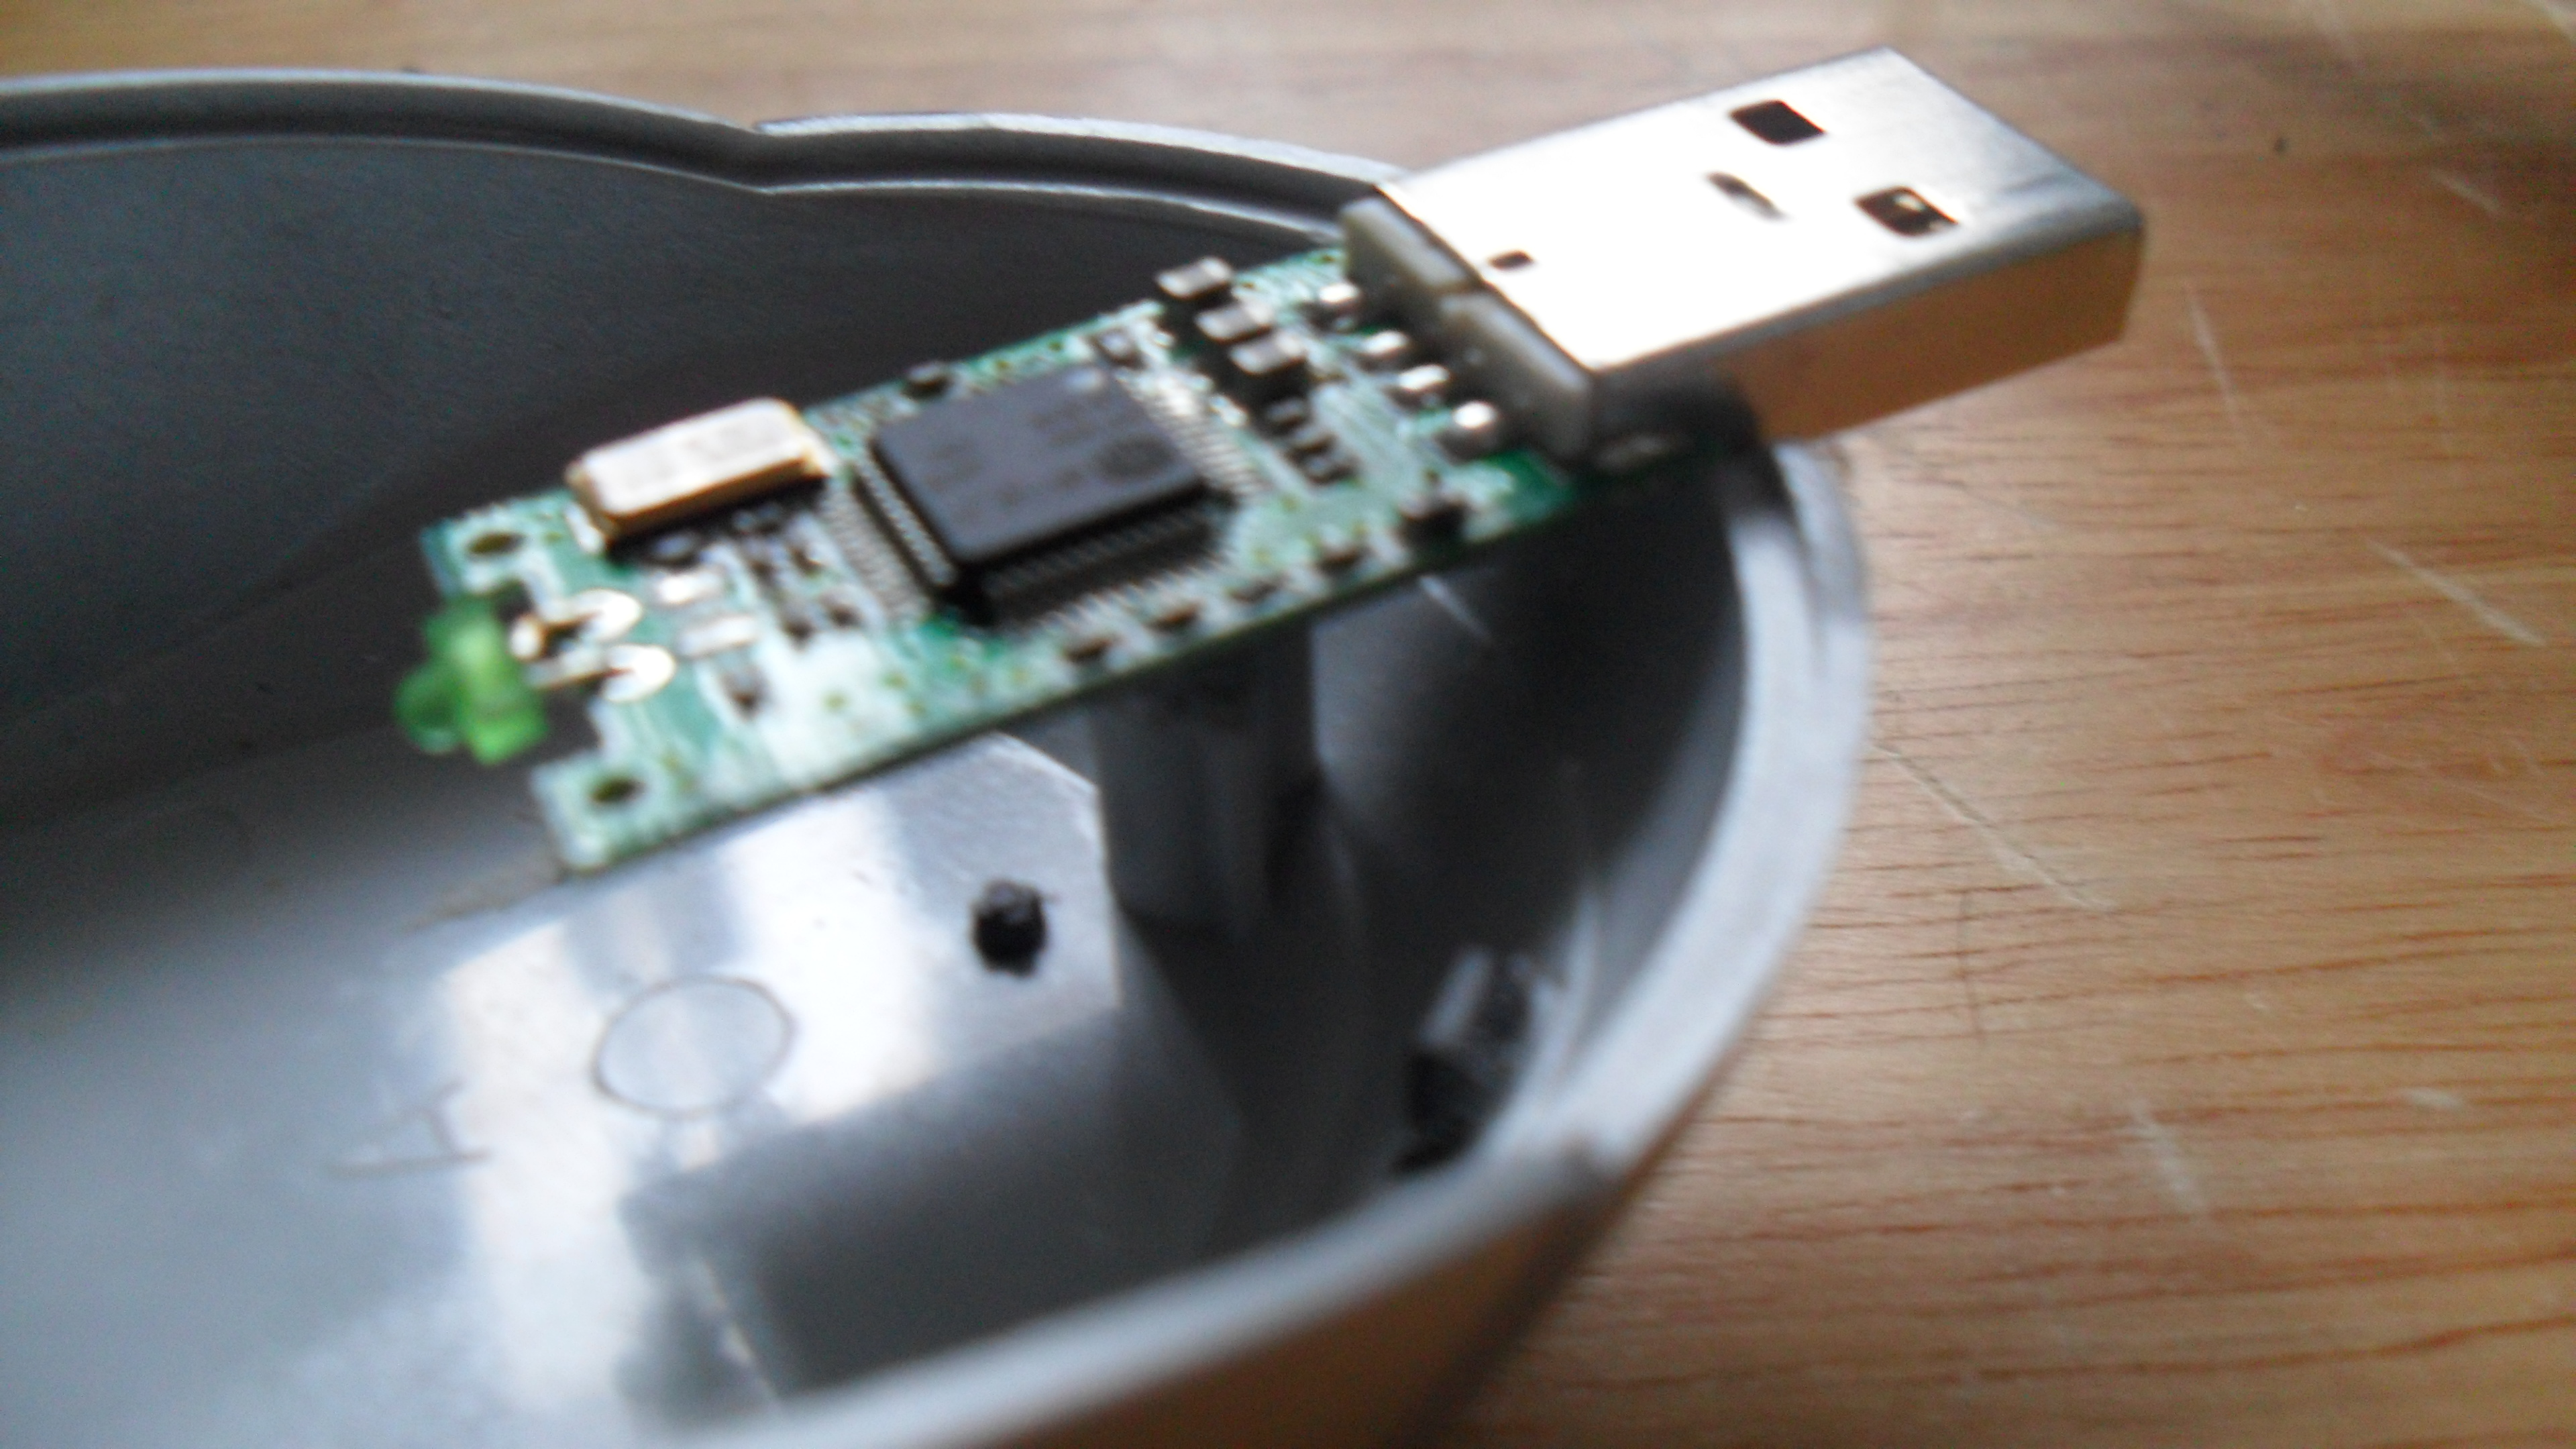
In this step we will put the USB in the casing and glie it all together. Let your glue gun heat up now, so its ready in a minute.
- Get the top half of your casing, your USB and you glue gun.
- Lay your USB inside the casing ready for glueing
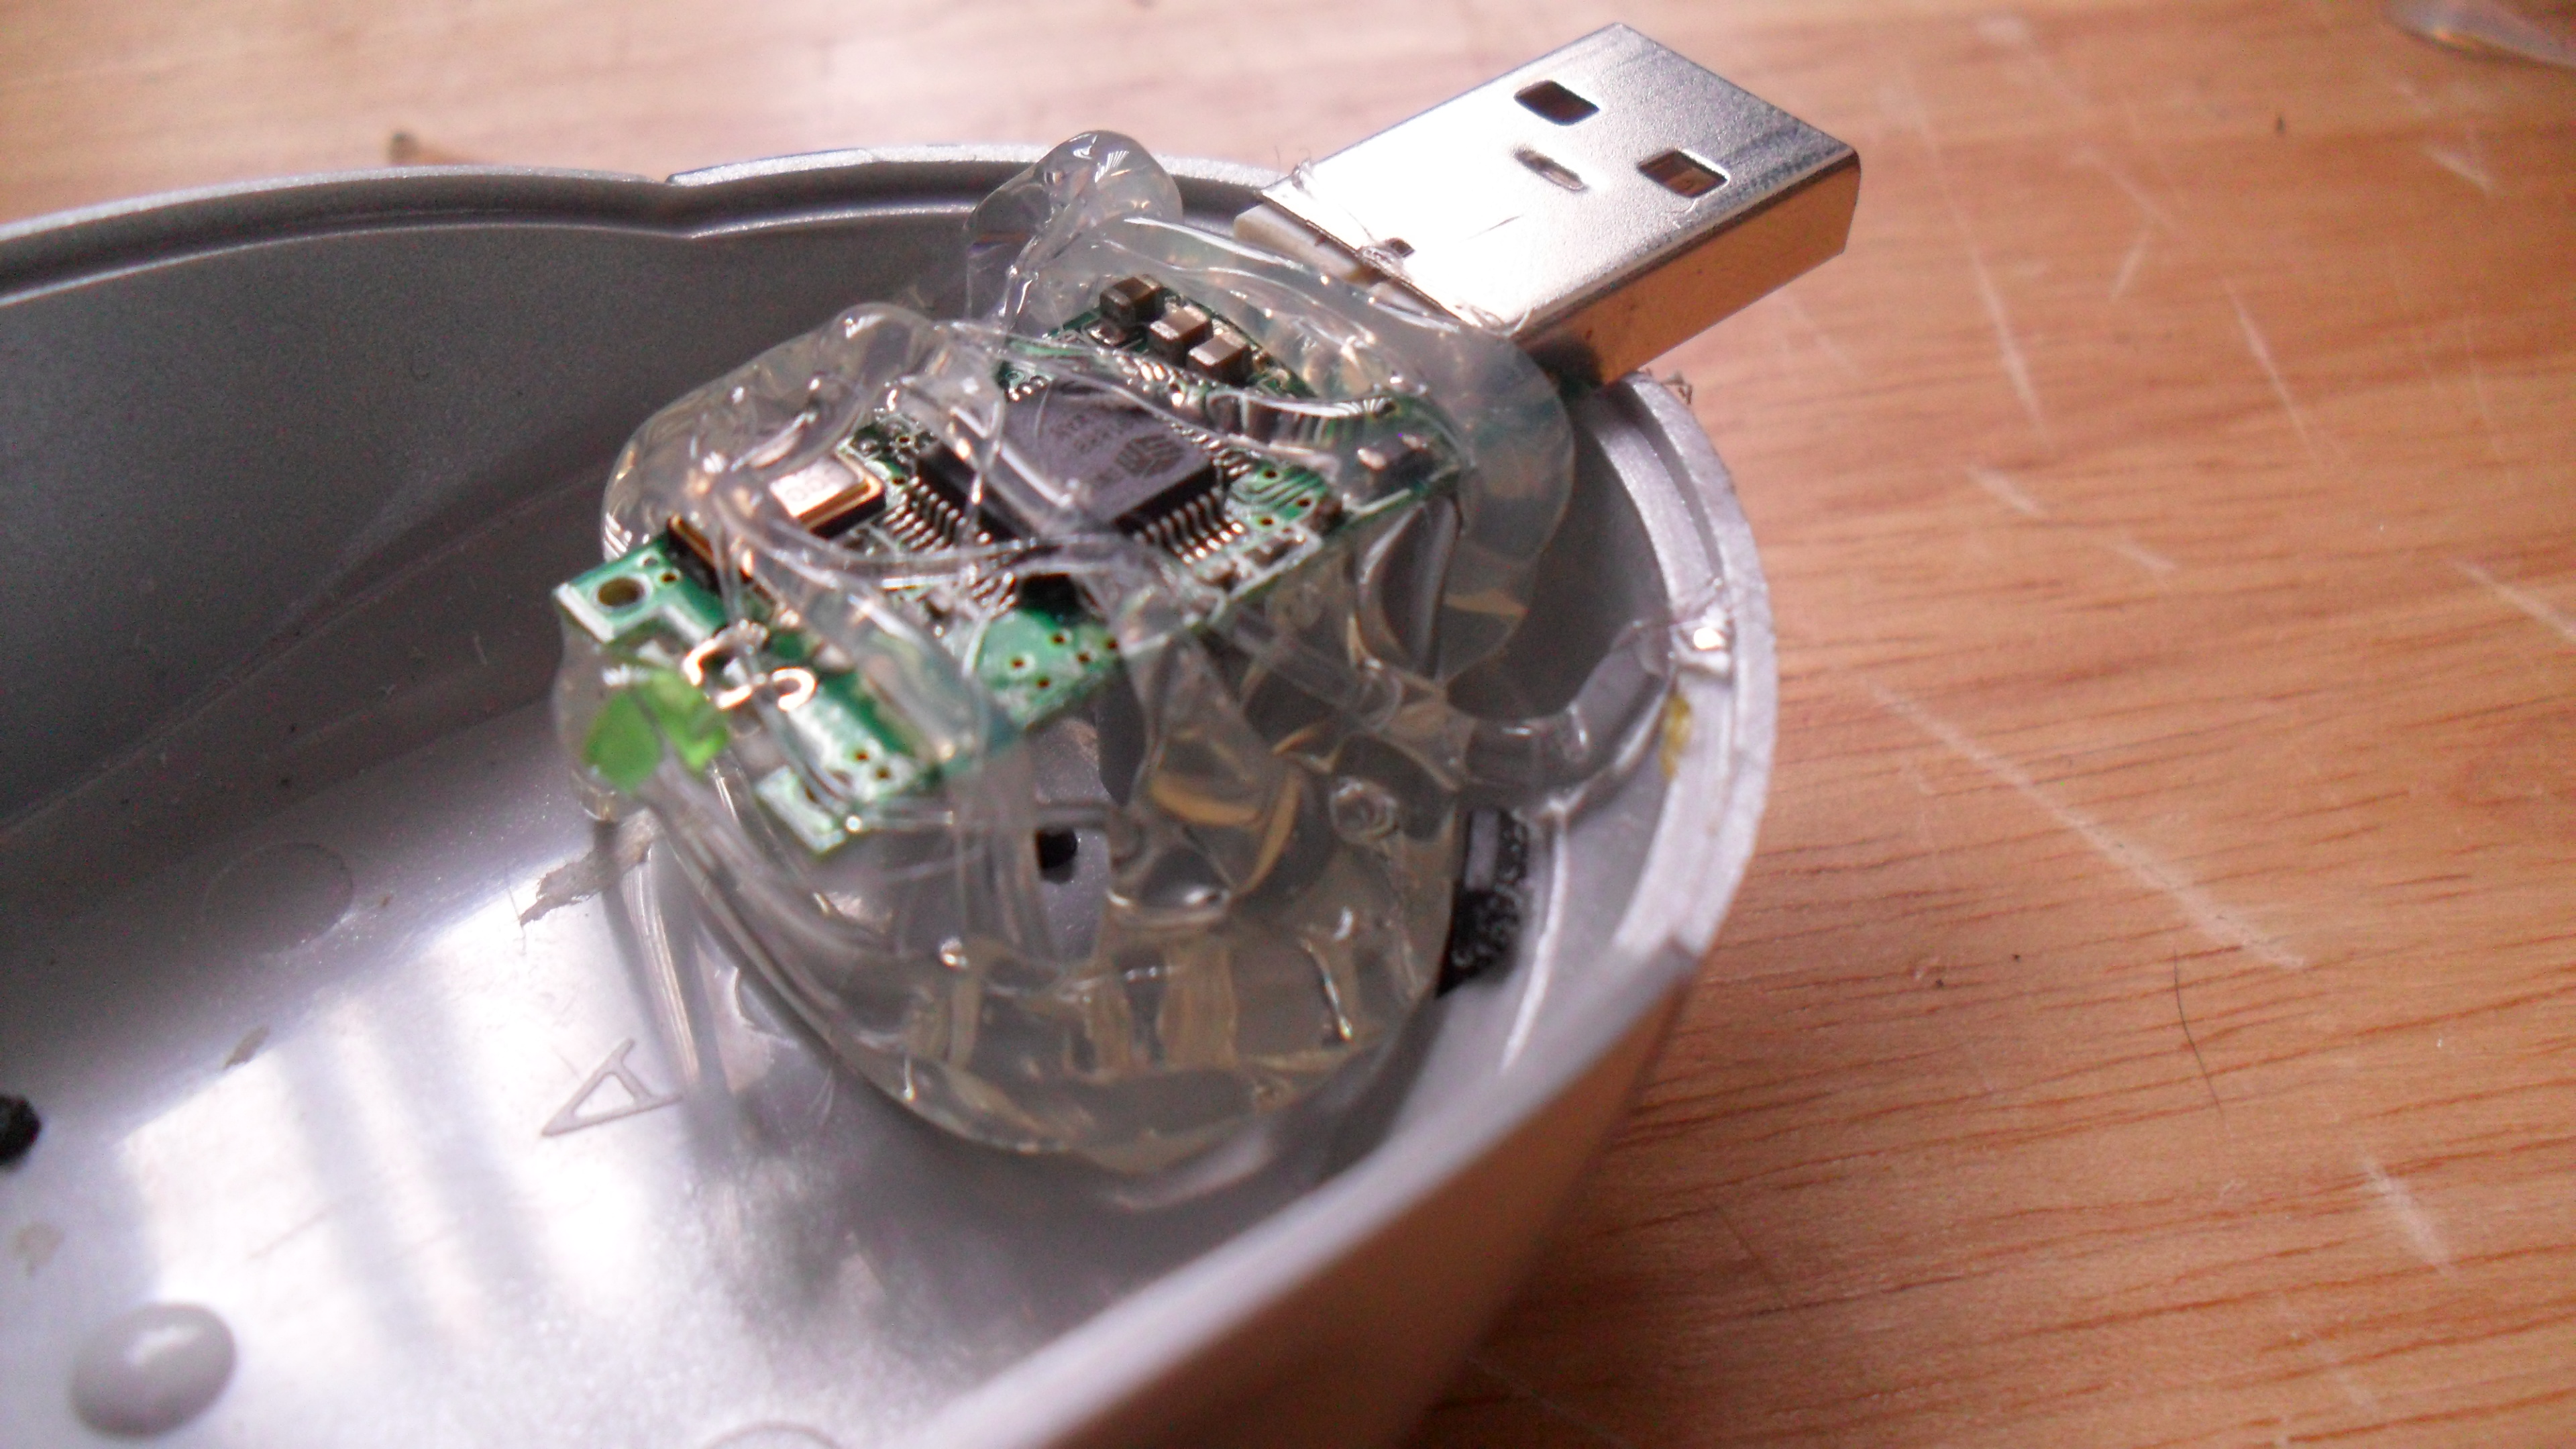
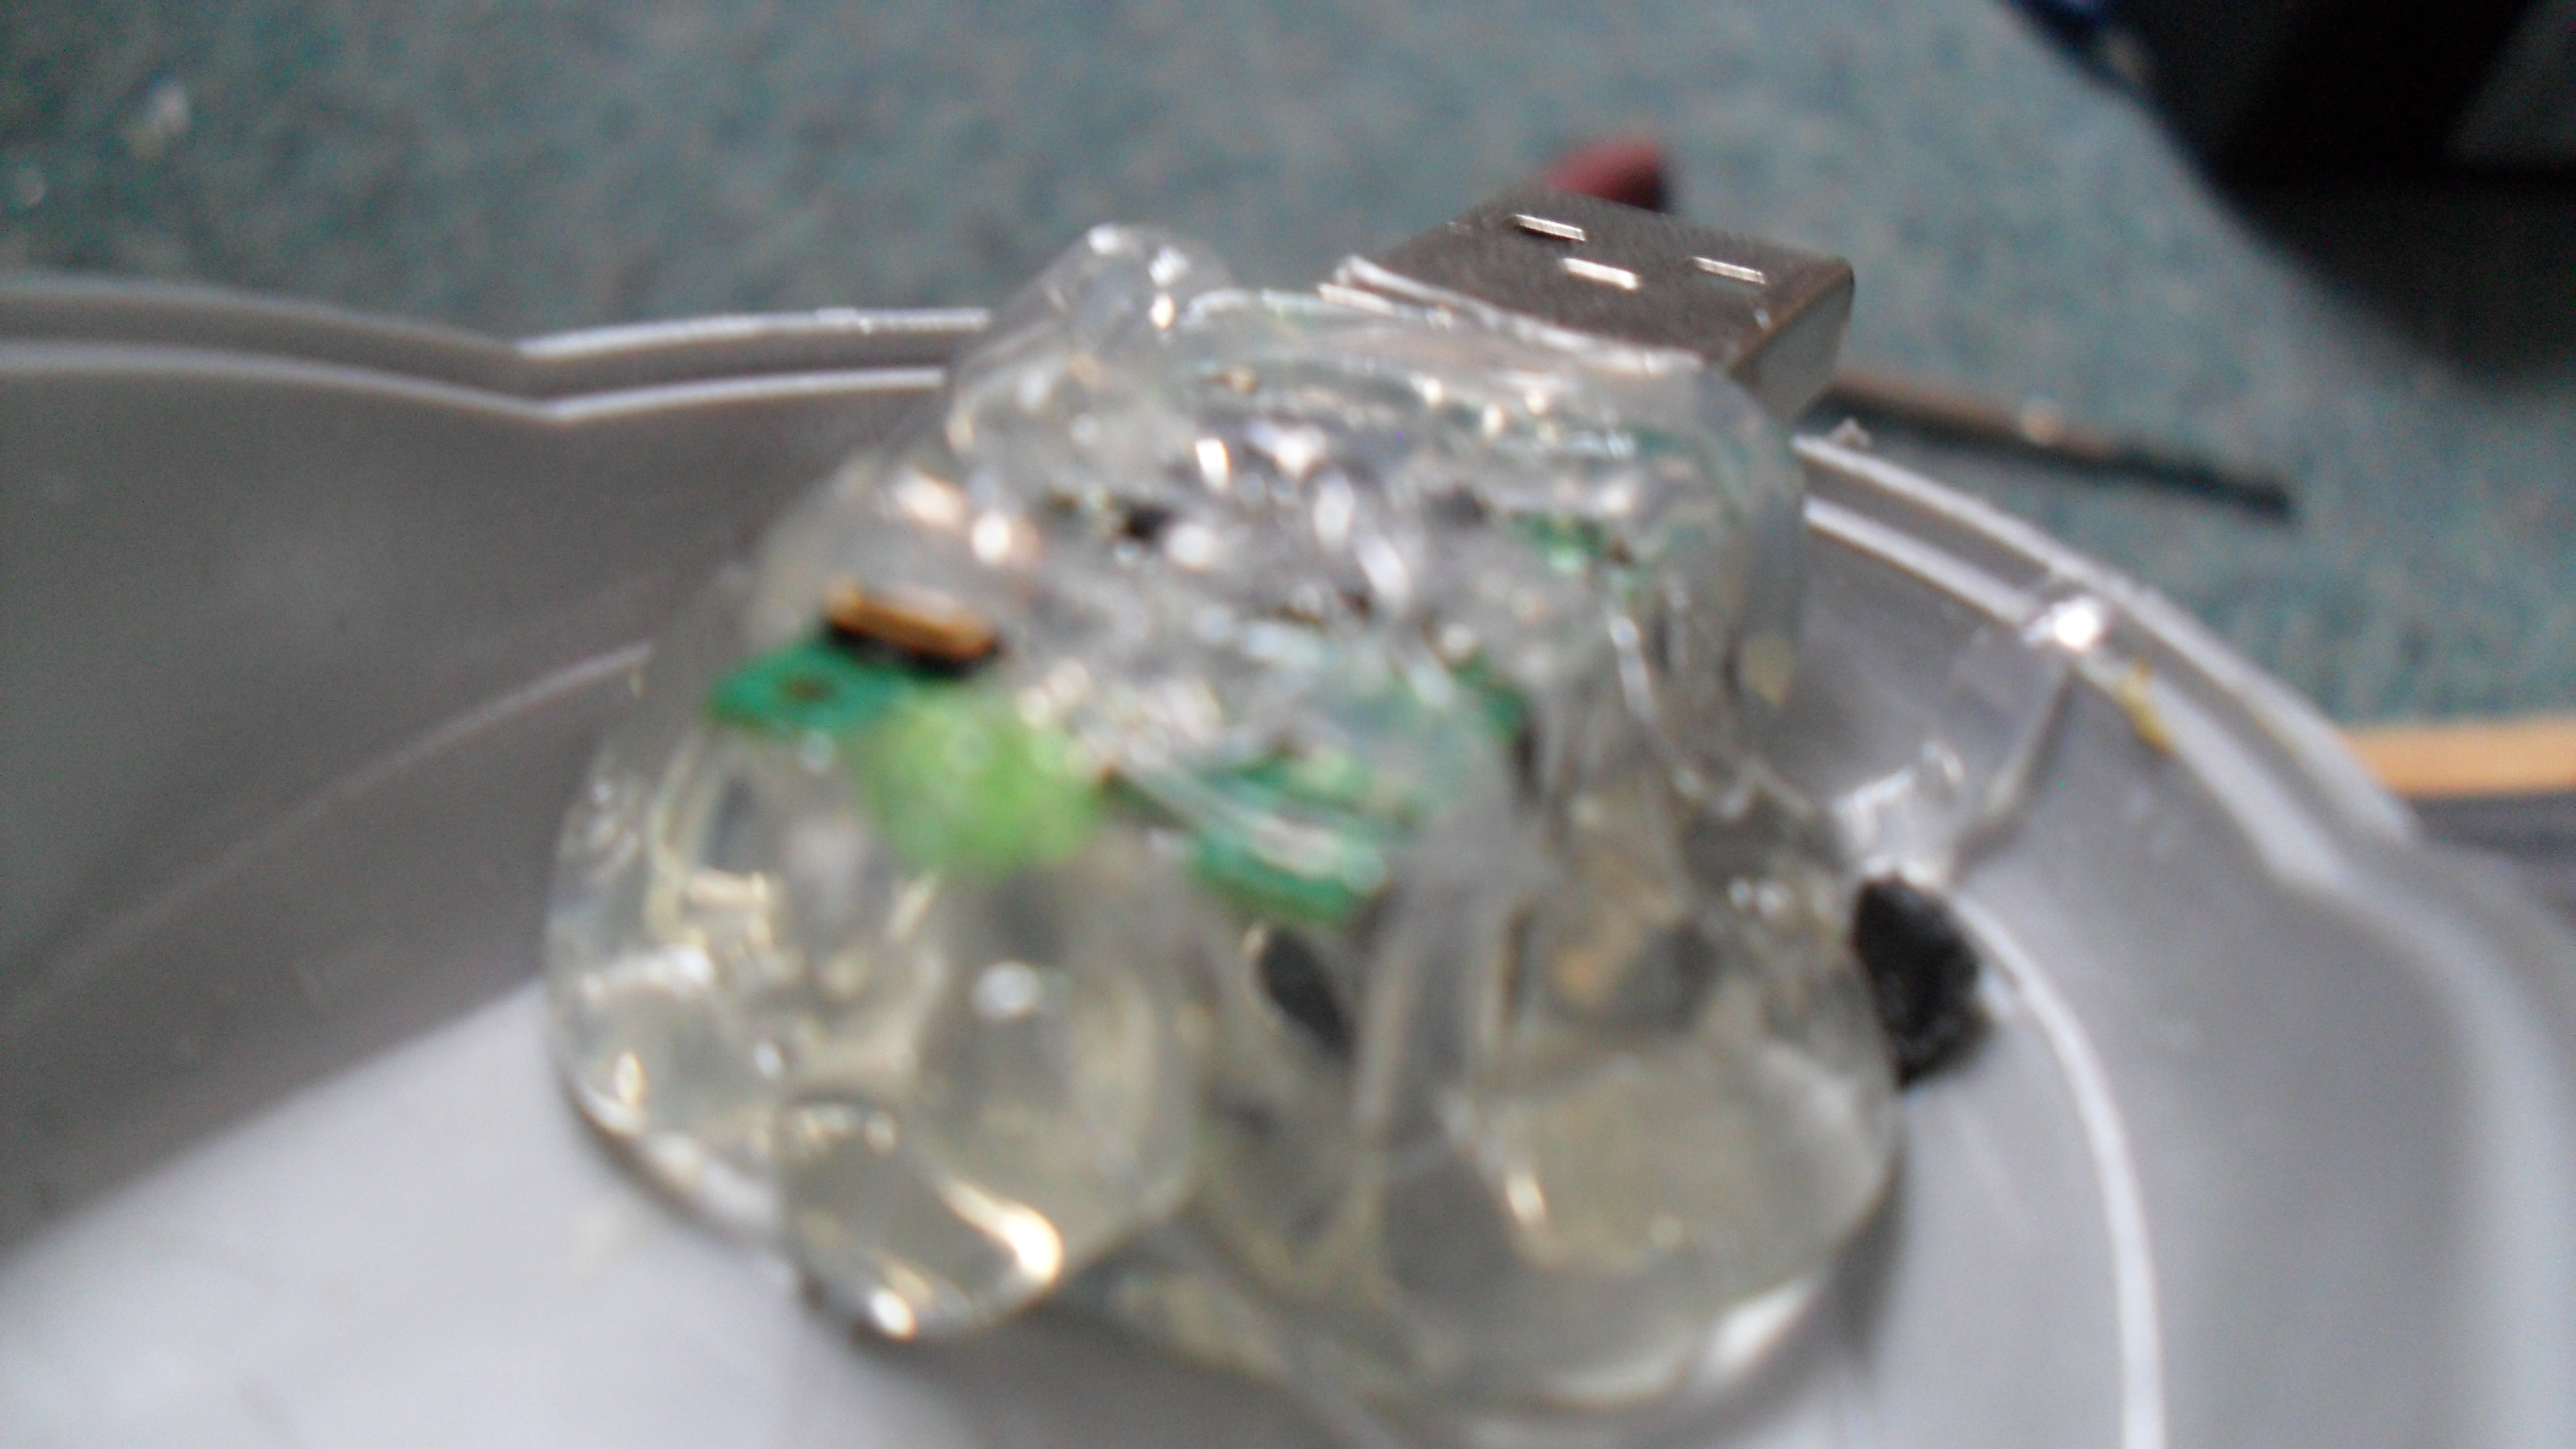
- When your glue gun is ready, put LOADS of glue over the USB, so it stays nice as solid once its dry.
- Make sure to stick some glue underneath it too!
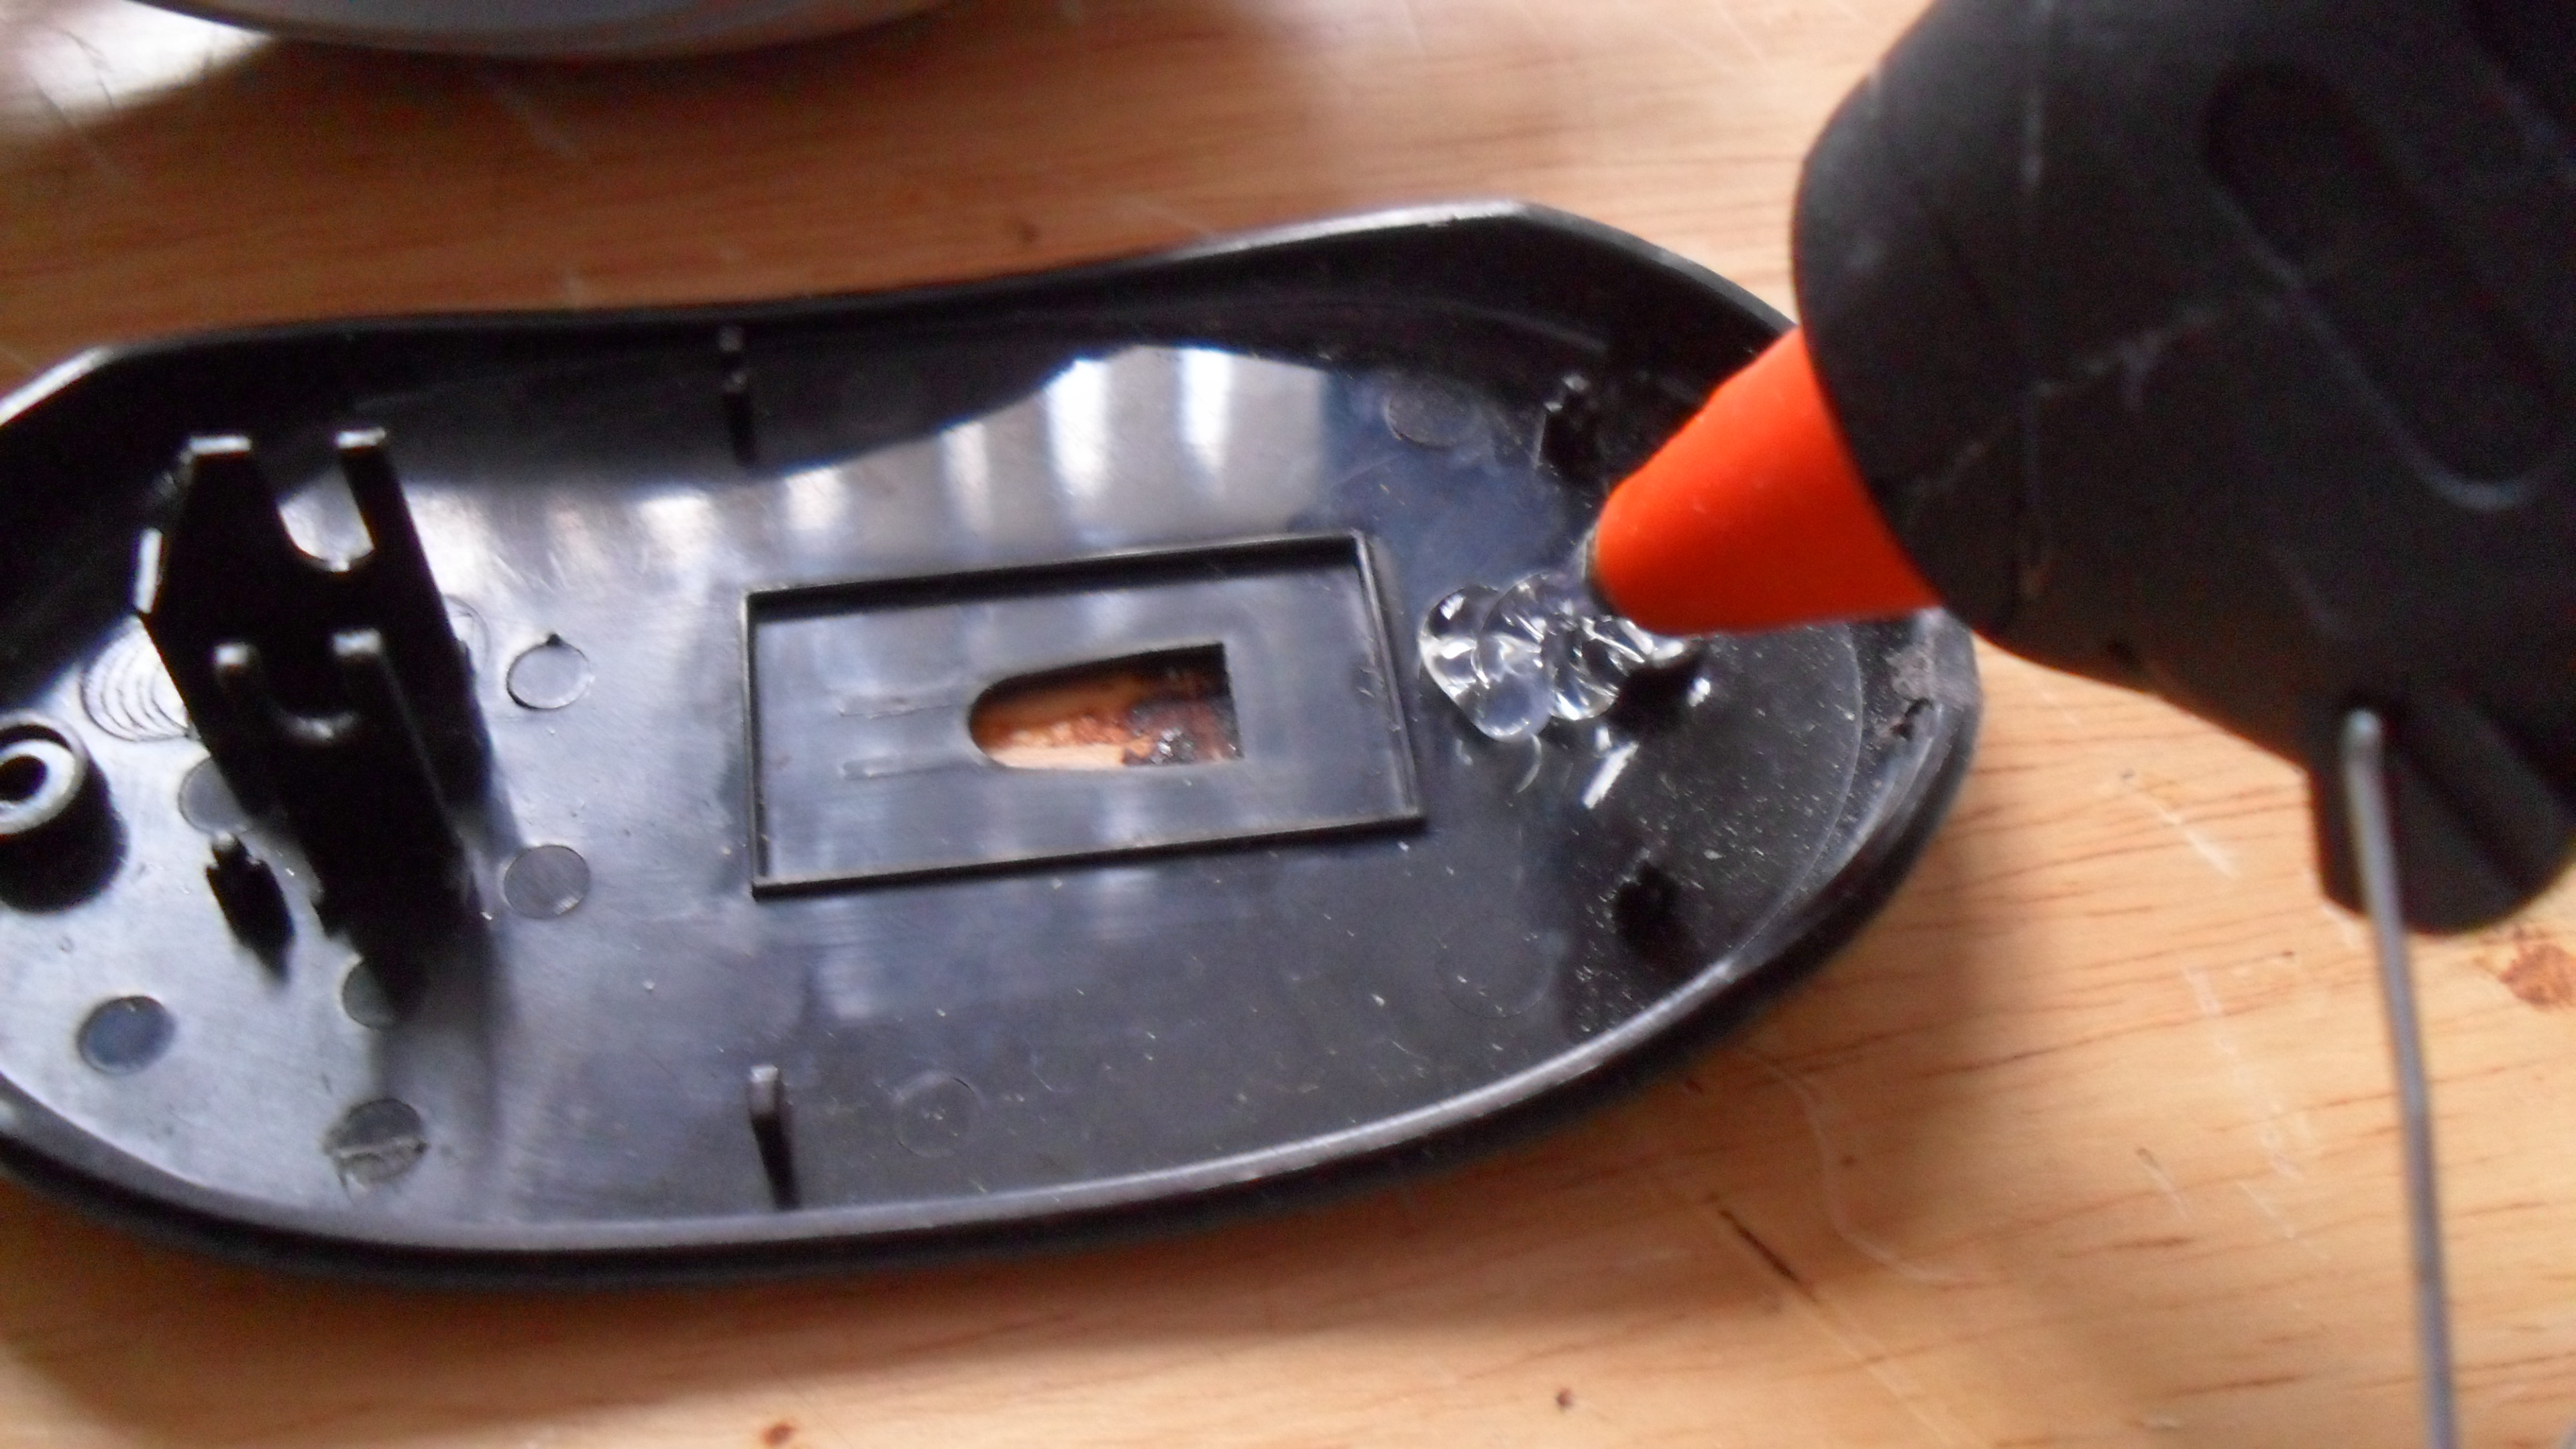
- Get the bottom half of your mouse casing and fill it with glue (obviously alot more glue than in the picture)
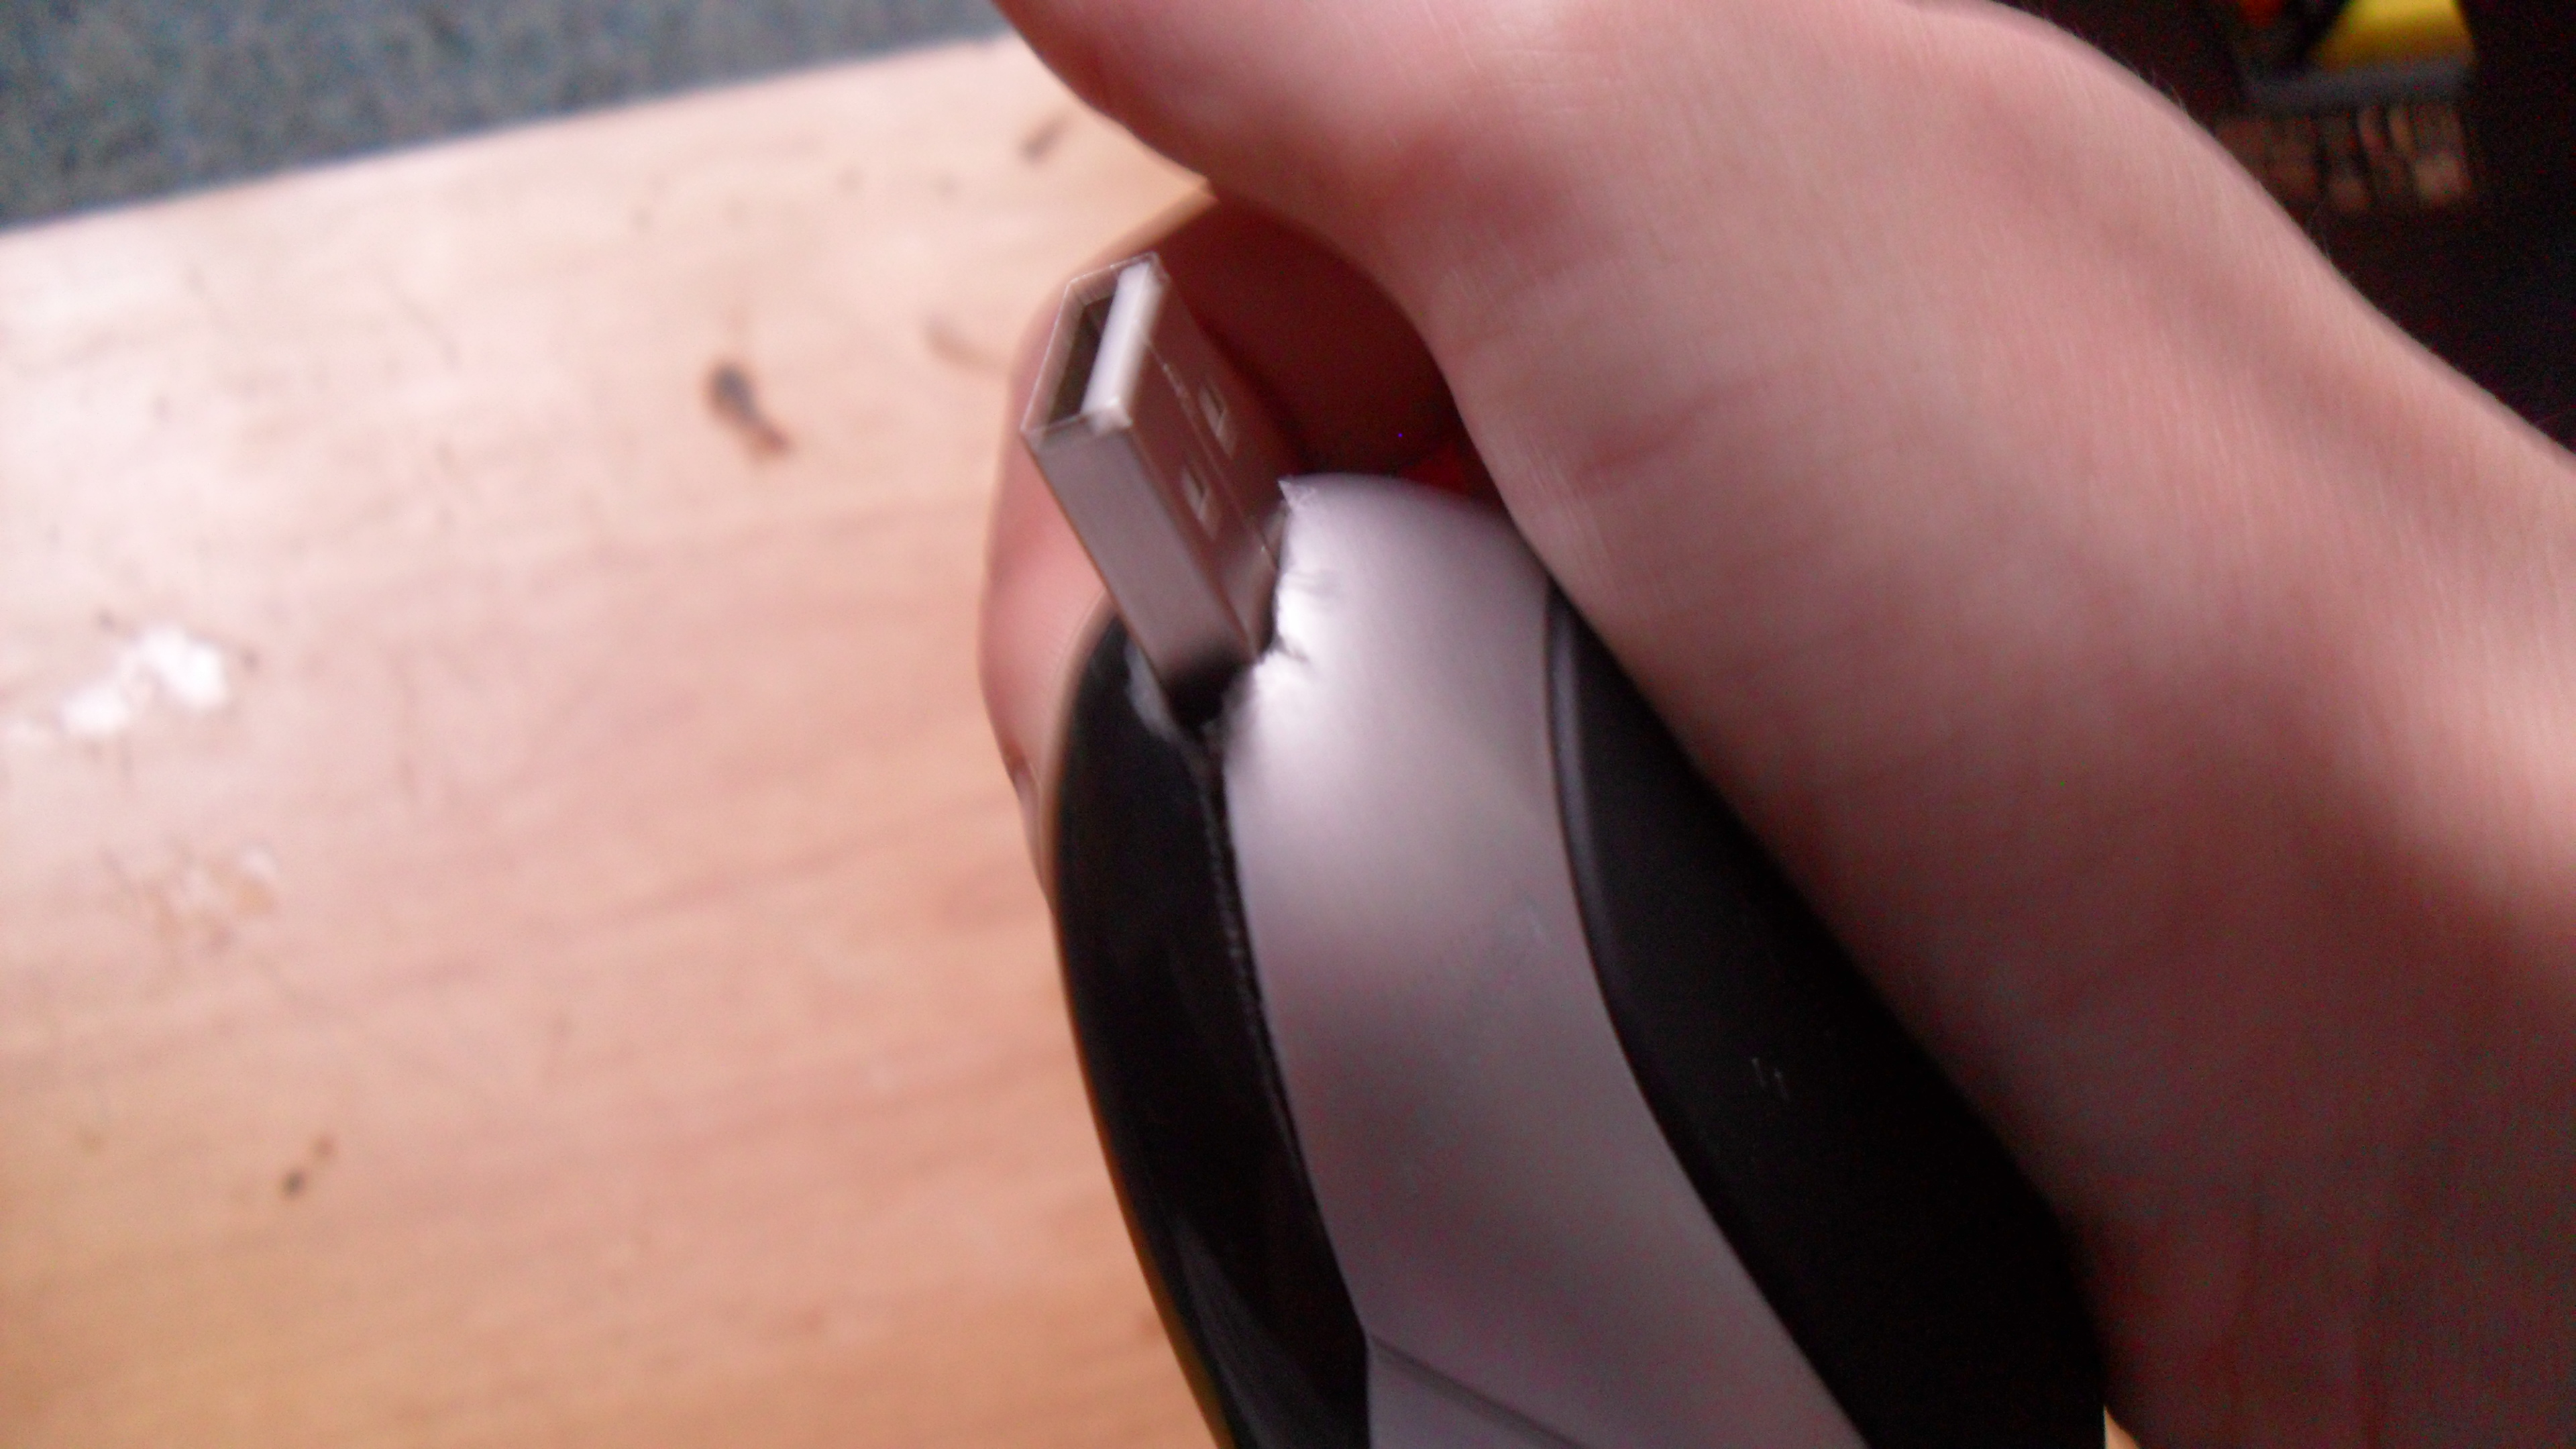
- Once all the glue is in, (very quickly), put the casings together before the glue dries.
TIP: Put a rubberband around the end of it and leave for 5-10 minutes to let the glue fully harden!
Also once its dry, put back in any screws ( but none of the gluey side of the mouse )
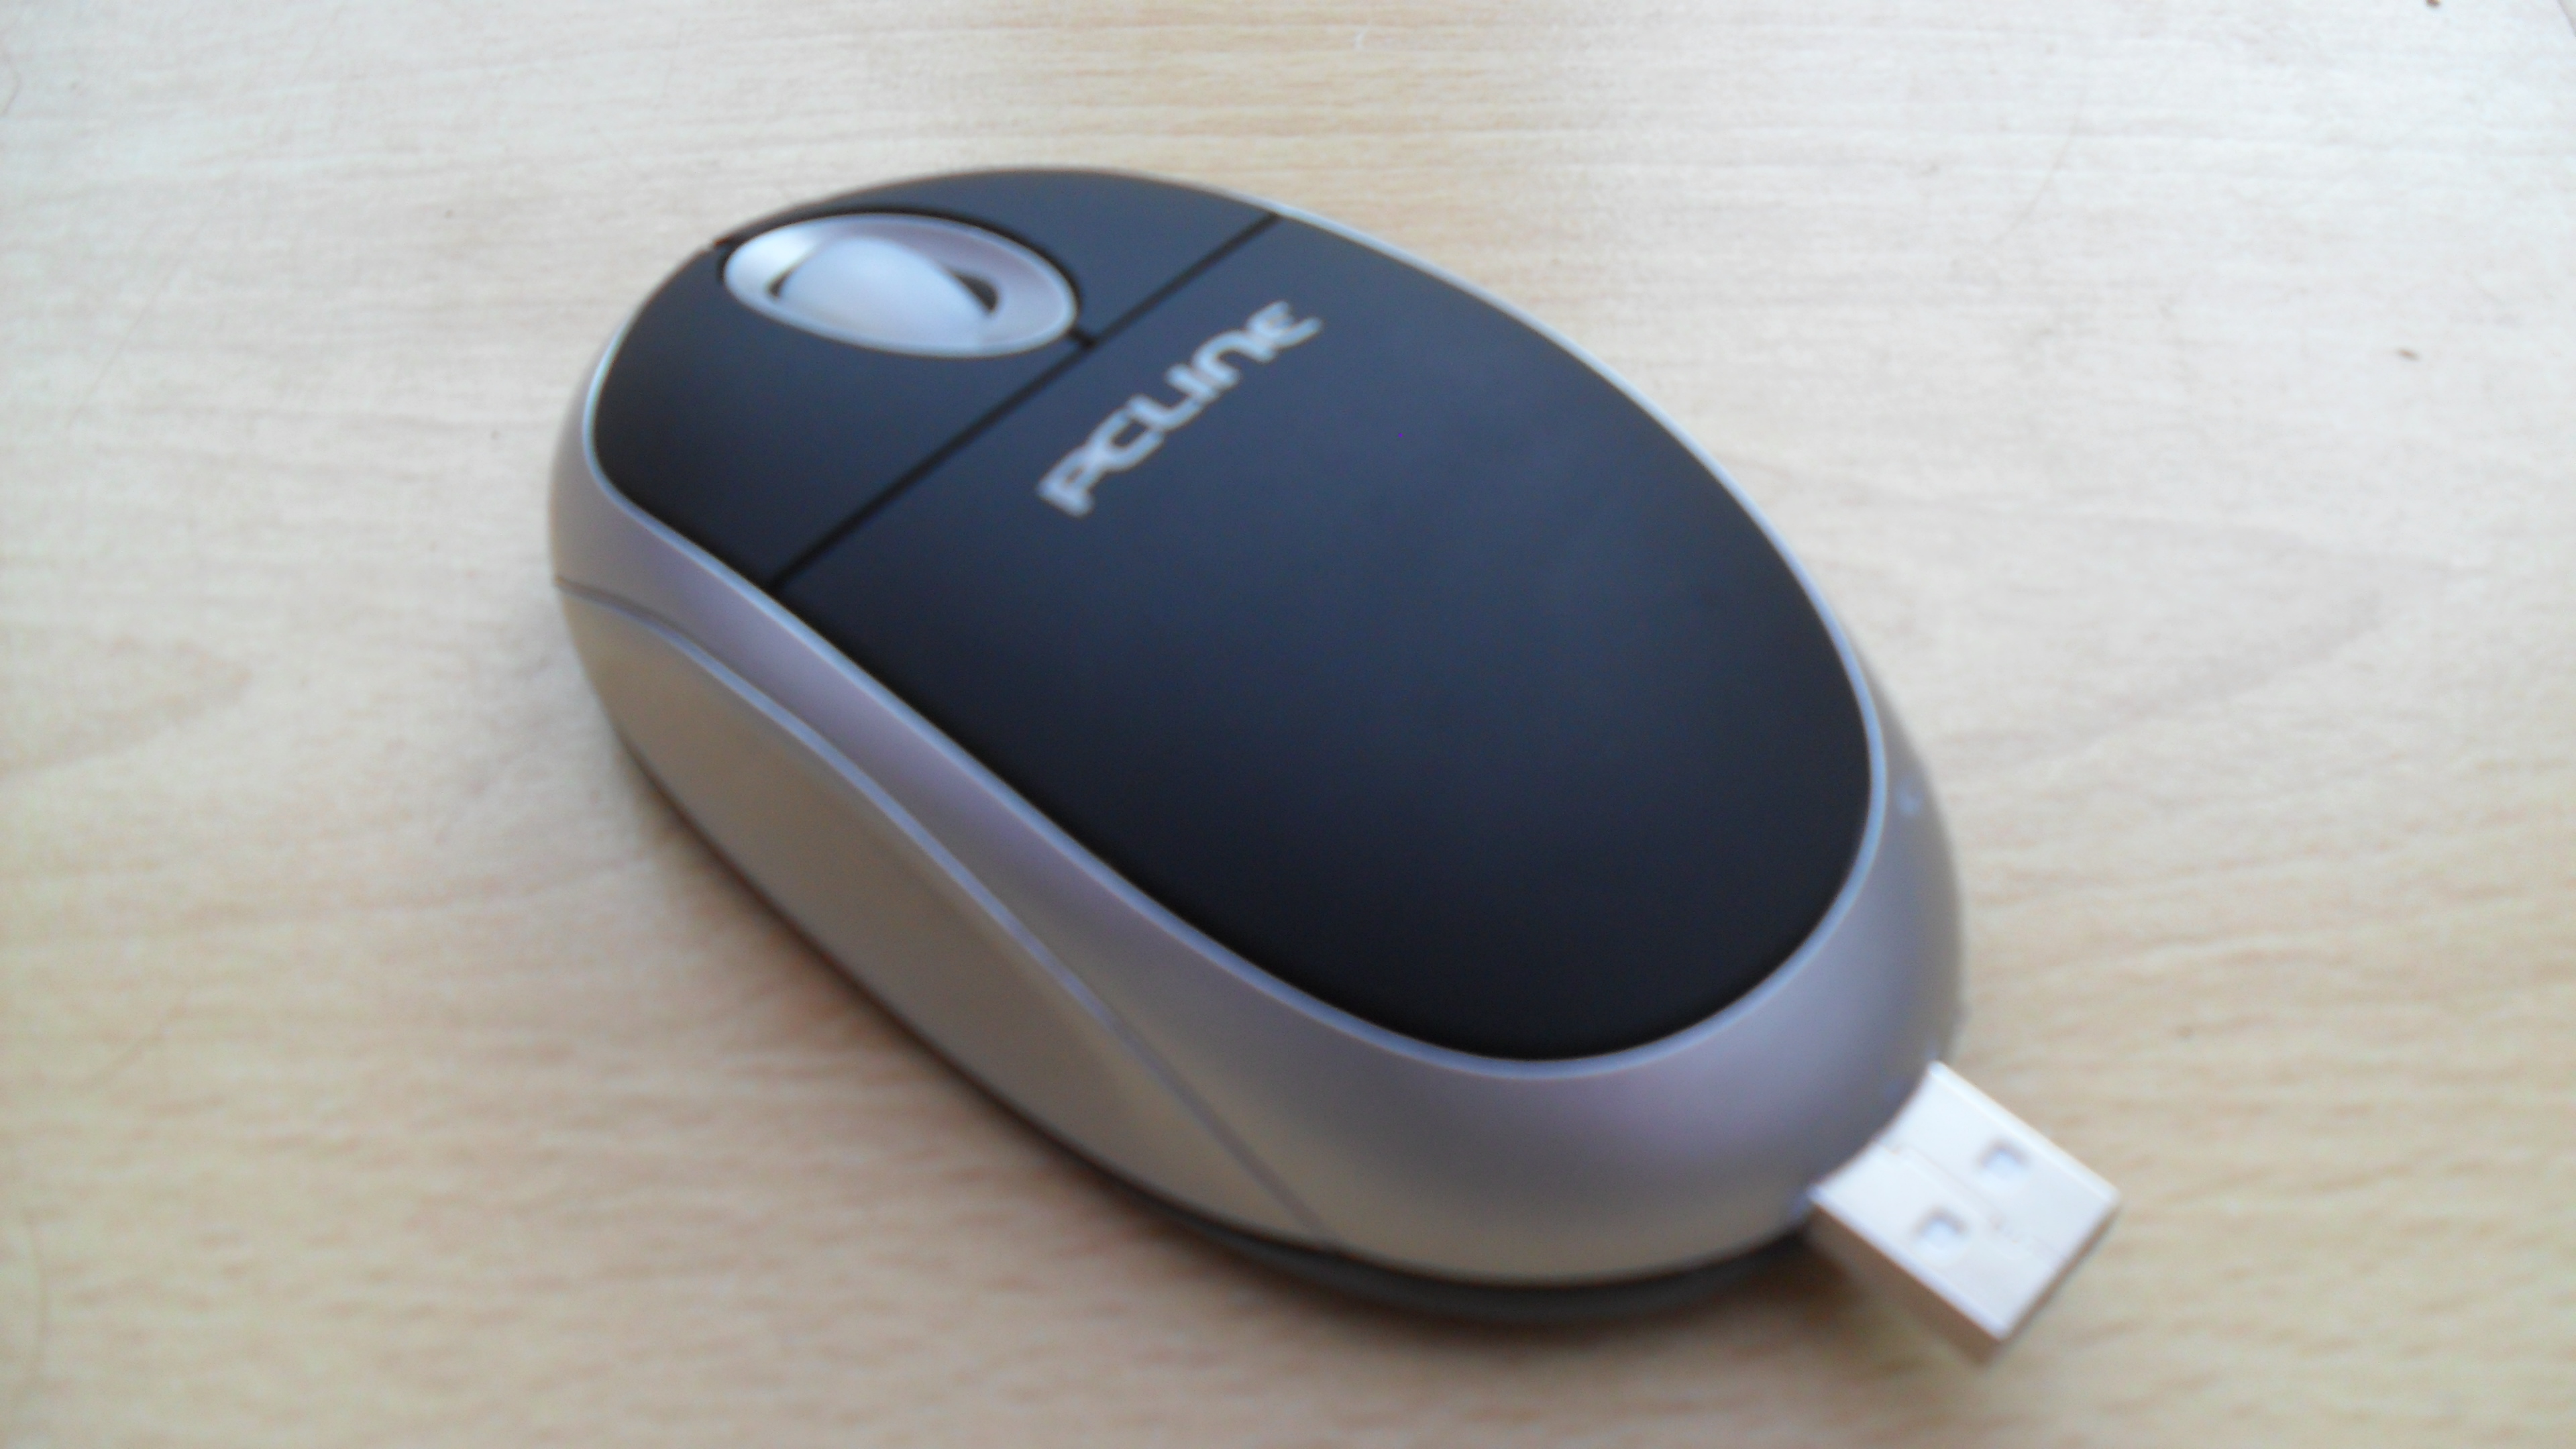
Hooray, you've competed your mouse USB!
Finished!

Congratulations, you have now finished and own your very own Computer Mouse USB!
I really hope you enjoyed this instructables, and please vote for it when the voting stage comes in the contest.
Once again, please vote, rate, comment and subscribe!
Thanks, Hiyadudez.
I really hope you enjoyed this instructables, and please vote for it when the voting stage comes in the contest.
Once again, please vote, rate, comment and subscribe!
Thanks, Hiyadudez.