Computer Model Assisted Tiny Home Design Process
by TimDuncan in Living > Organizing
2606 Views, 19 Favorites, 0 Comments
Computer Model Assisted Tiny Home Design Process
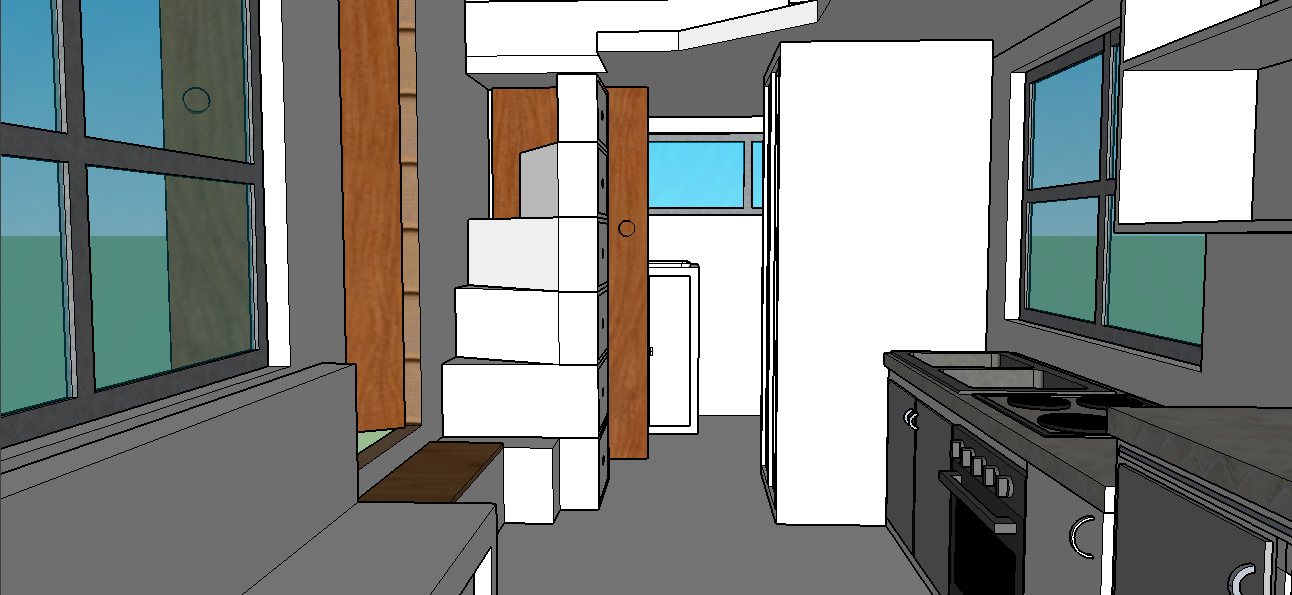
More and more people are moving towards 'small living'. If you don't want to buy something off the shelf, so to speak, then you will need to be able to design your own tiny house. I had no idea where to begin at first. This instructable goes through the details of the design process. It's really not hard.
You will need:
- Paper
- Pencils (and/or other stationery)
- A computer
- Sketchup, or a comparable program
The Big Picture
If you don’t know where you are going, you aren’t going to get there, no matter how hard you try. You need to have an idea of what you want before you can start building or even designing anything. It was after countless Youtube videos (thanks Dad) that I began to see which ideas to keep and which to send packing. I settled on a THOW (tiny house on wheels) and found that a light, semi-open space with a separate sleeping loft suited my needs and wants best. I intend for it to be my first home when I start working. So, I can afford plenty space.
It might be helpful to begin by asking yourself these questions:
- How many people do I need to accommodate in my tiny house, permanently or on a temporary basis?
- Do I want an open, airy space or a cozy home for myself or my family?
- Would I rather have designated areas (kitchen, lounge, dining room, etc.), multi-functional spaces or a mixture of the two?
- Will I spend more of my time traveling, cooking, reading, hanging out with friends, or something else entirely?
- How can my house reflect these passions? e.g. For a born traveler, a small streamlined house on wheels would suit better than a large wooden box.
Initial Sketches
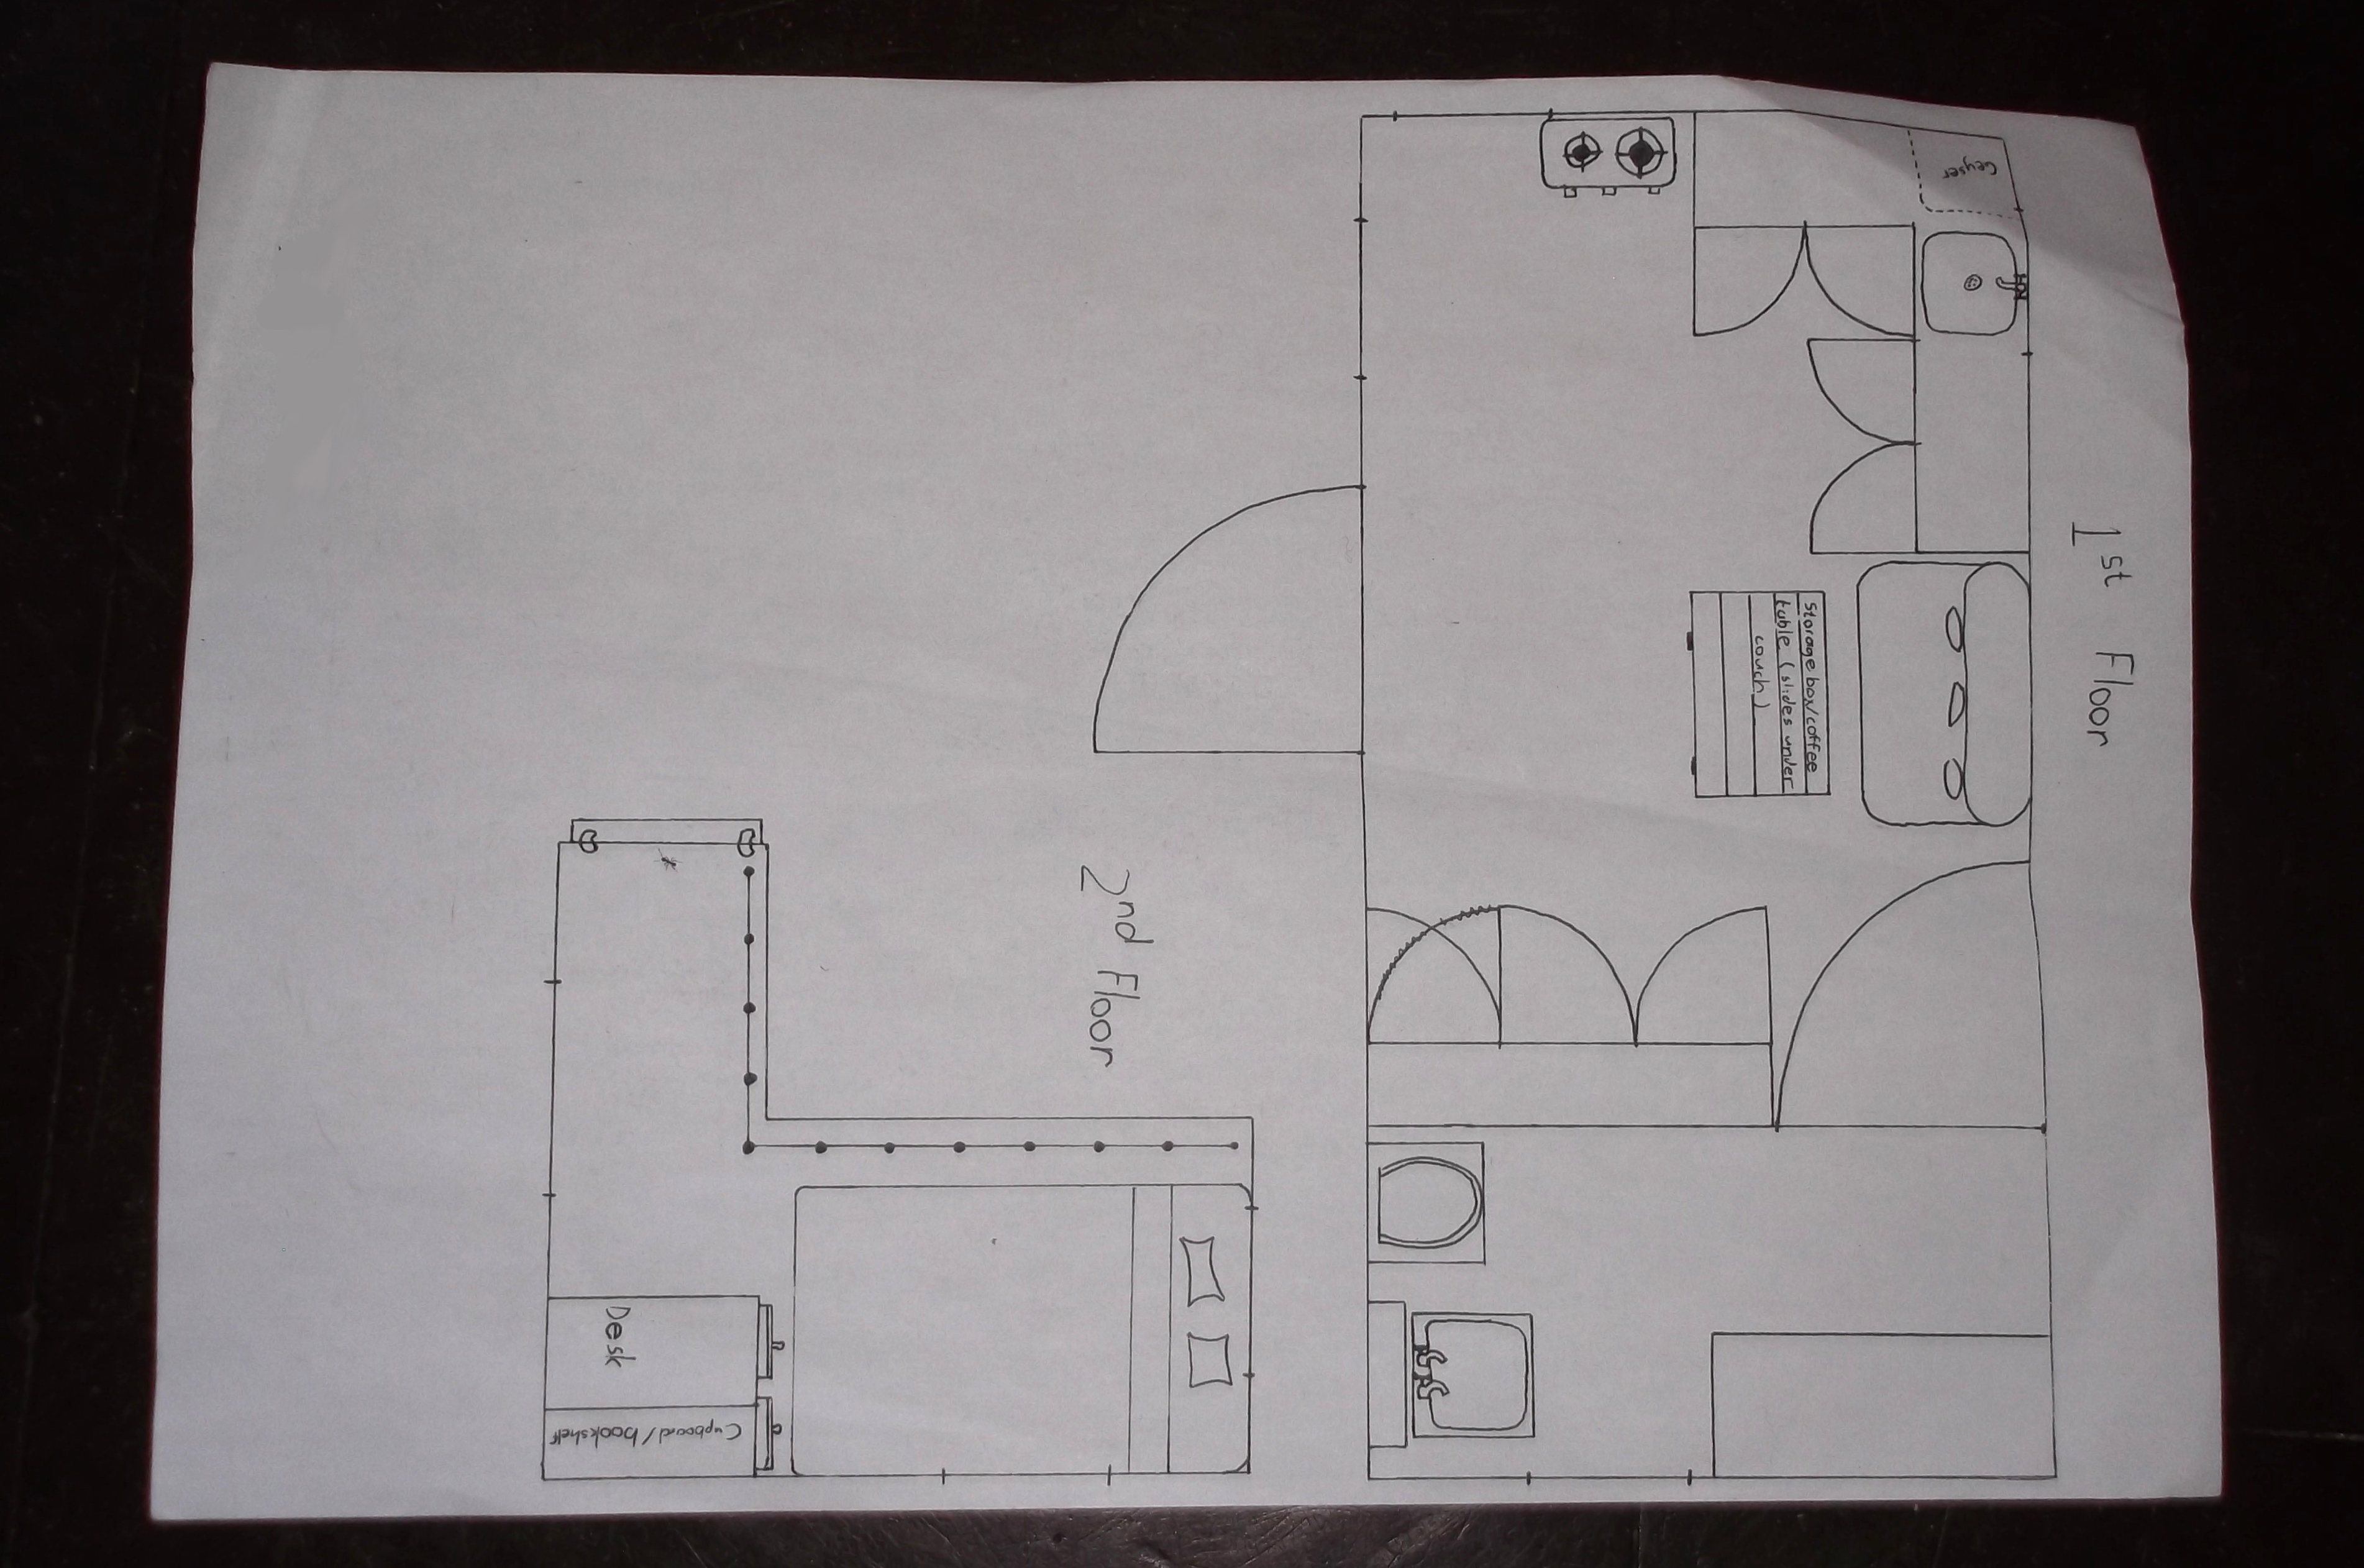
Once you have the big ideas, try and get them onto paper. Perfection isn’t the goal at this stage. Sketch out an initial plan that encompasses most of the ideas from the last step, or draw them on their own. Getting them written or sketched out will make the rest of the process easier. Concepts in your head don’t make a design, but drawings can begin that process. My first sketch is shown above. It was drawn months before I had a finished design.
Millions of Models
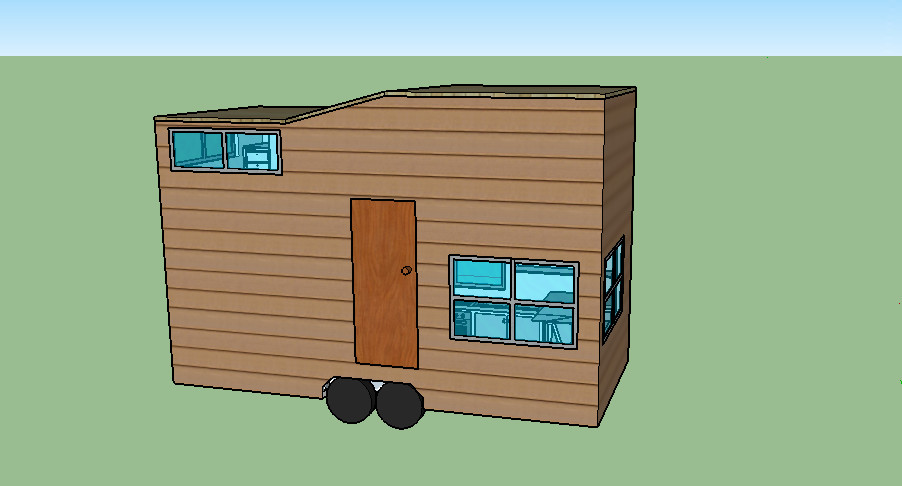
At this stage of design, there is no shortcut to get from paper to product. There’s a long way to go yet. It is important in designing a tiny house to be able to visualize the space in three dimensions. There are probably other ways of doing it, but modeling your design is no doubt one of the easiest. A cardboard construction and a computer model serve the same purpose, but the latter makes the next step a whole lot simpler. I started both, before moving over completely to a Sketchup model. A later computer model is shown above, for demonstration purposes.
Once your model is complete, whether you used wood, card or computer, you will be able to get a feel for the space. You will also begin to see how certain elements will or won't work. With your 3D model, your mind should already be running to improvements you could possibly make. Save those for the next step.
The Great Shuffle
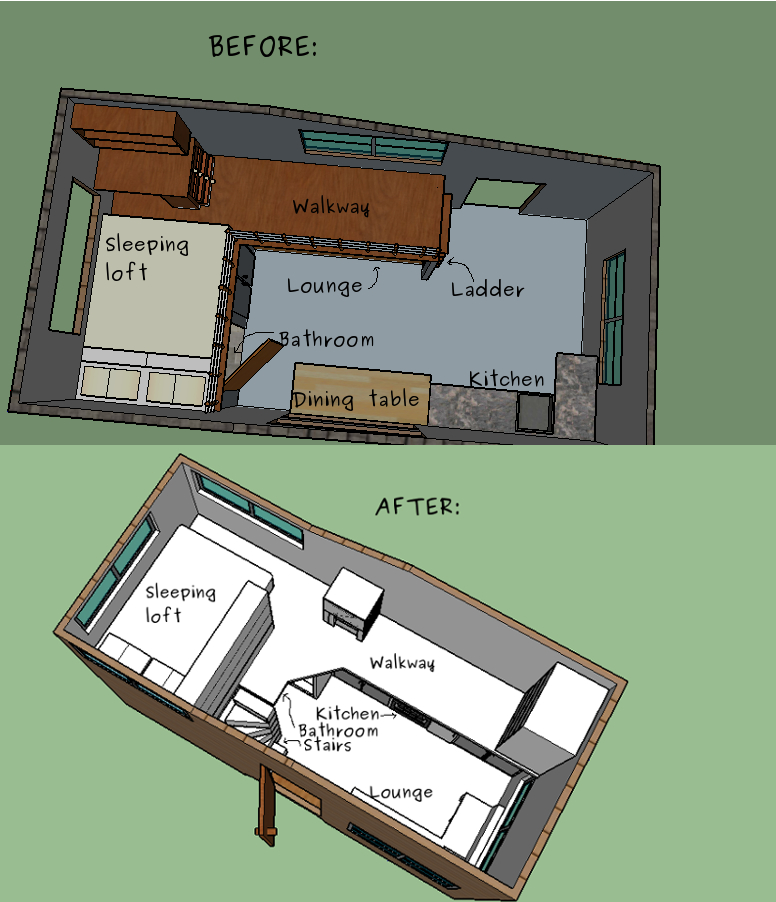
This step is doubtless the longest and most intense. It is also the most daunting. The only way for your design to move forward is to be brave. Your initial design may need some BIG changes. Don’t be afraid to make them. Shuffle furniture or reorient whole spaces. I felt like giving up when it became apparent that my first design had a fatal flaw: bathroom and kitchen were placed at opposite ends of the house from each other. This would be a plumbing nightmare! You need to fix these kinds of issues now, along with the others you picked up in step #3. If you don’t, they will give you headaches later.
This is where the model you created in the previous step comes in. Instead of drawing the design over and over again, the aim of the model is to allow you to experiment with and shuffle ideas easily.
I want to emphasize here that this stage may take weeks, or even months. This is where much of the design process takes place and your plan moves forward. So don’t give up! Keep at it and eventually everything will start to work.
Smart Solutions
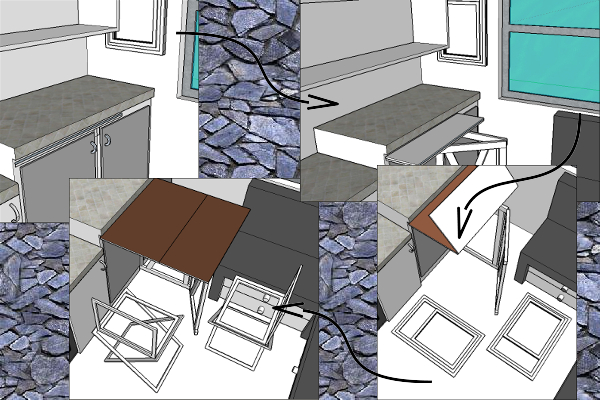
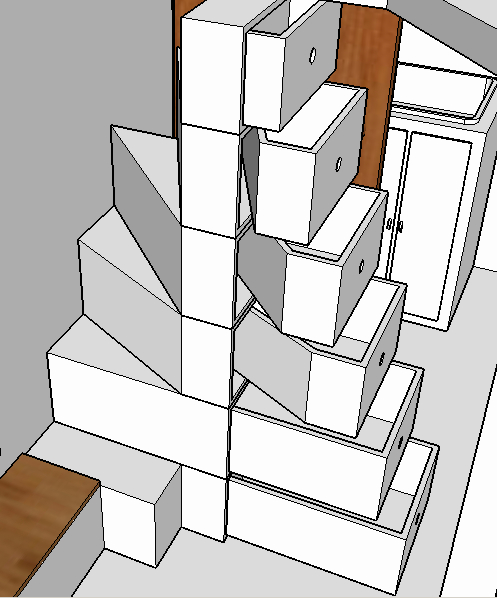
This step might overlap slightly with the last step, so you may skip over it if you feel confident. Here, after the sweat and tears of step #4, you can take a deep breath. Get ready to loose your imagination and have some fun. Get smart, get innovative.
How about a staircase that disappears into a closet, or a false wall that reveals anything you can imagine? A bed that vanishes at a touch? Try a folding table that comes out of your kitchen counter. Think out of the box. You can have some of your smart solutions automated, or save some money by making them manual. A couple of my ideas are pictured above.
Here is a word of caution: never forget about storage. There can never be too much storage in a tiny house. Getting smart with storage can include things like: a lift up mattress, steps with draws, underfloor storage or other crazy ideas you may stumble across.
Nitty-Gritties
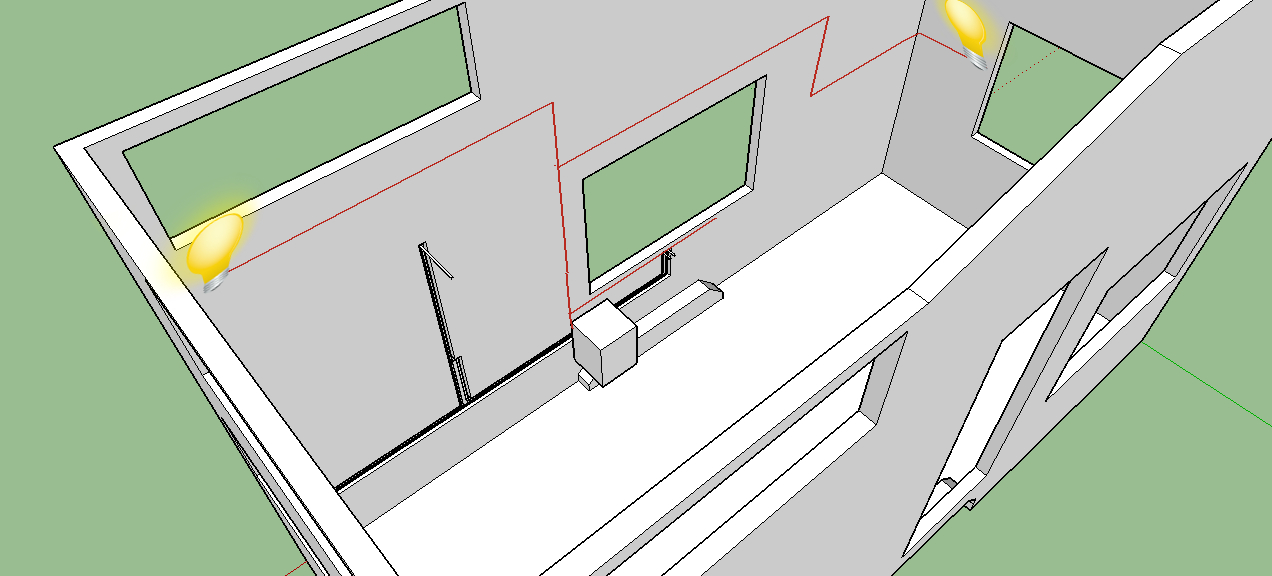
With everything working smoothly, now you can think about where to put your great grandmother’s Persian rug. Choose light fittings and plan locations for your lights. Now you can wire up your model, insert plumbing pipes and do the enjoyable little bits you’ve been waiting for so long to do. Enjoy, because this is the home stretch.
Plan your decor and finish off the inside. Choose your cladding or paint for the outside. Decide on your roofing material. Slip in that little bit more storage. And at last, what you now have is a finished design. But hold on, there’s one more step to go.
The Finish Line
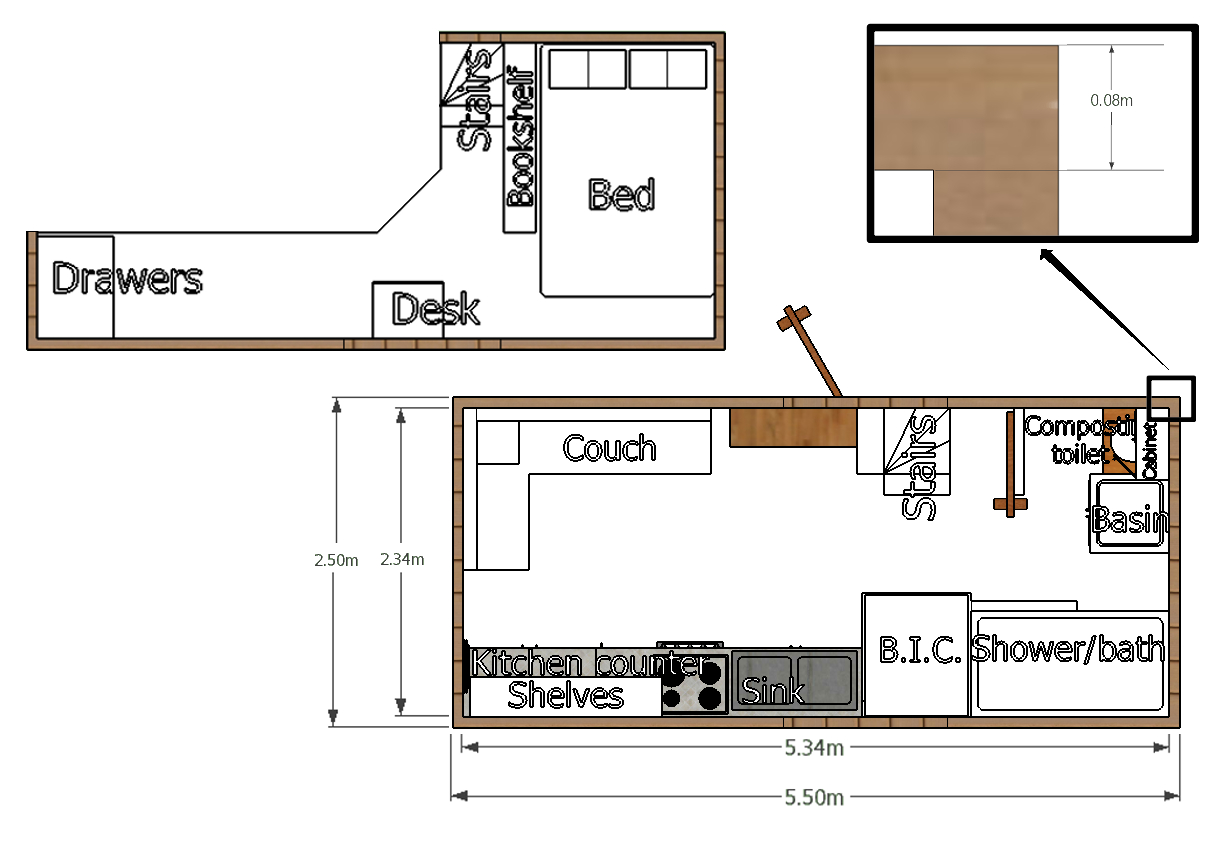
You’ve made it! Pat yourself on the back, or just stand back and look at the results of what I hope were many happy hours of work. Your design has emerged from a few random ideas to a finished tiny house (in concept, that is).
You may be building your tiny house soon, or having it built. The last thing to do then is to take your model and put it back onto paper. 3D becomes 2D once again, but do save your model. It will still be helpful.
Congratulations! You’ve done it.
My final design is shown above, to scale. The outside dimensions are 5.5 x 2.5 meters. Inside, the design compensates for 80 mm walls. The idea is to use a 76 mm wide timber or steel frame. This will be covered in a membrane on both sides, and clad on the outside.