Complete Garage Re-do PART 2
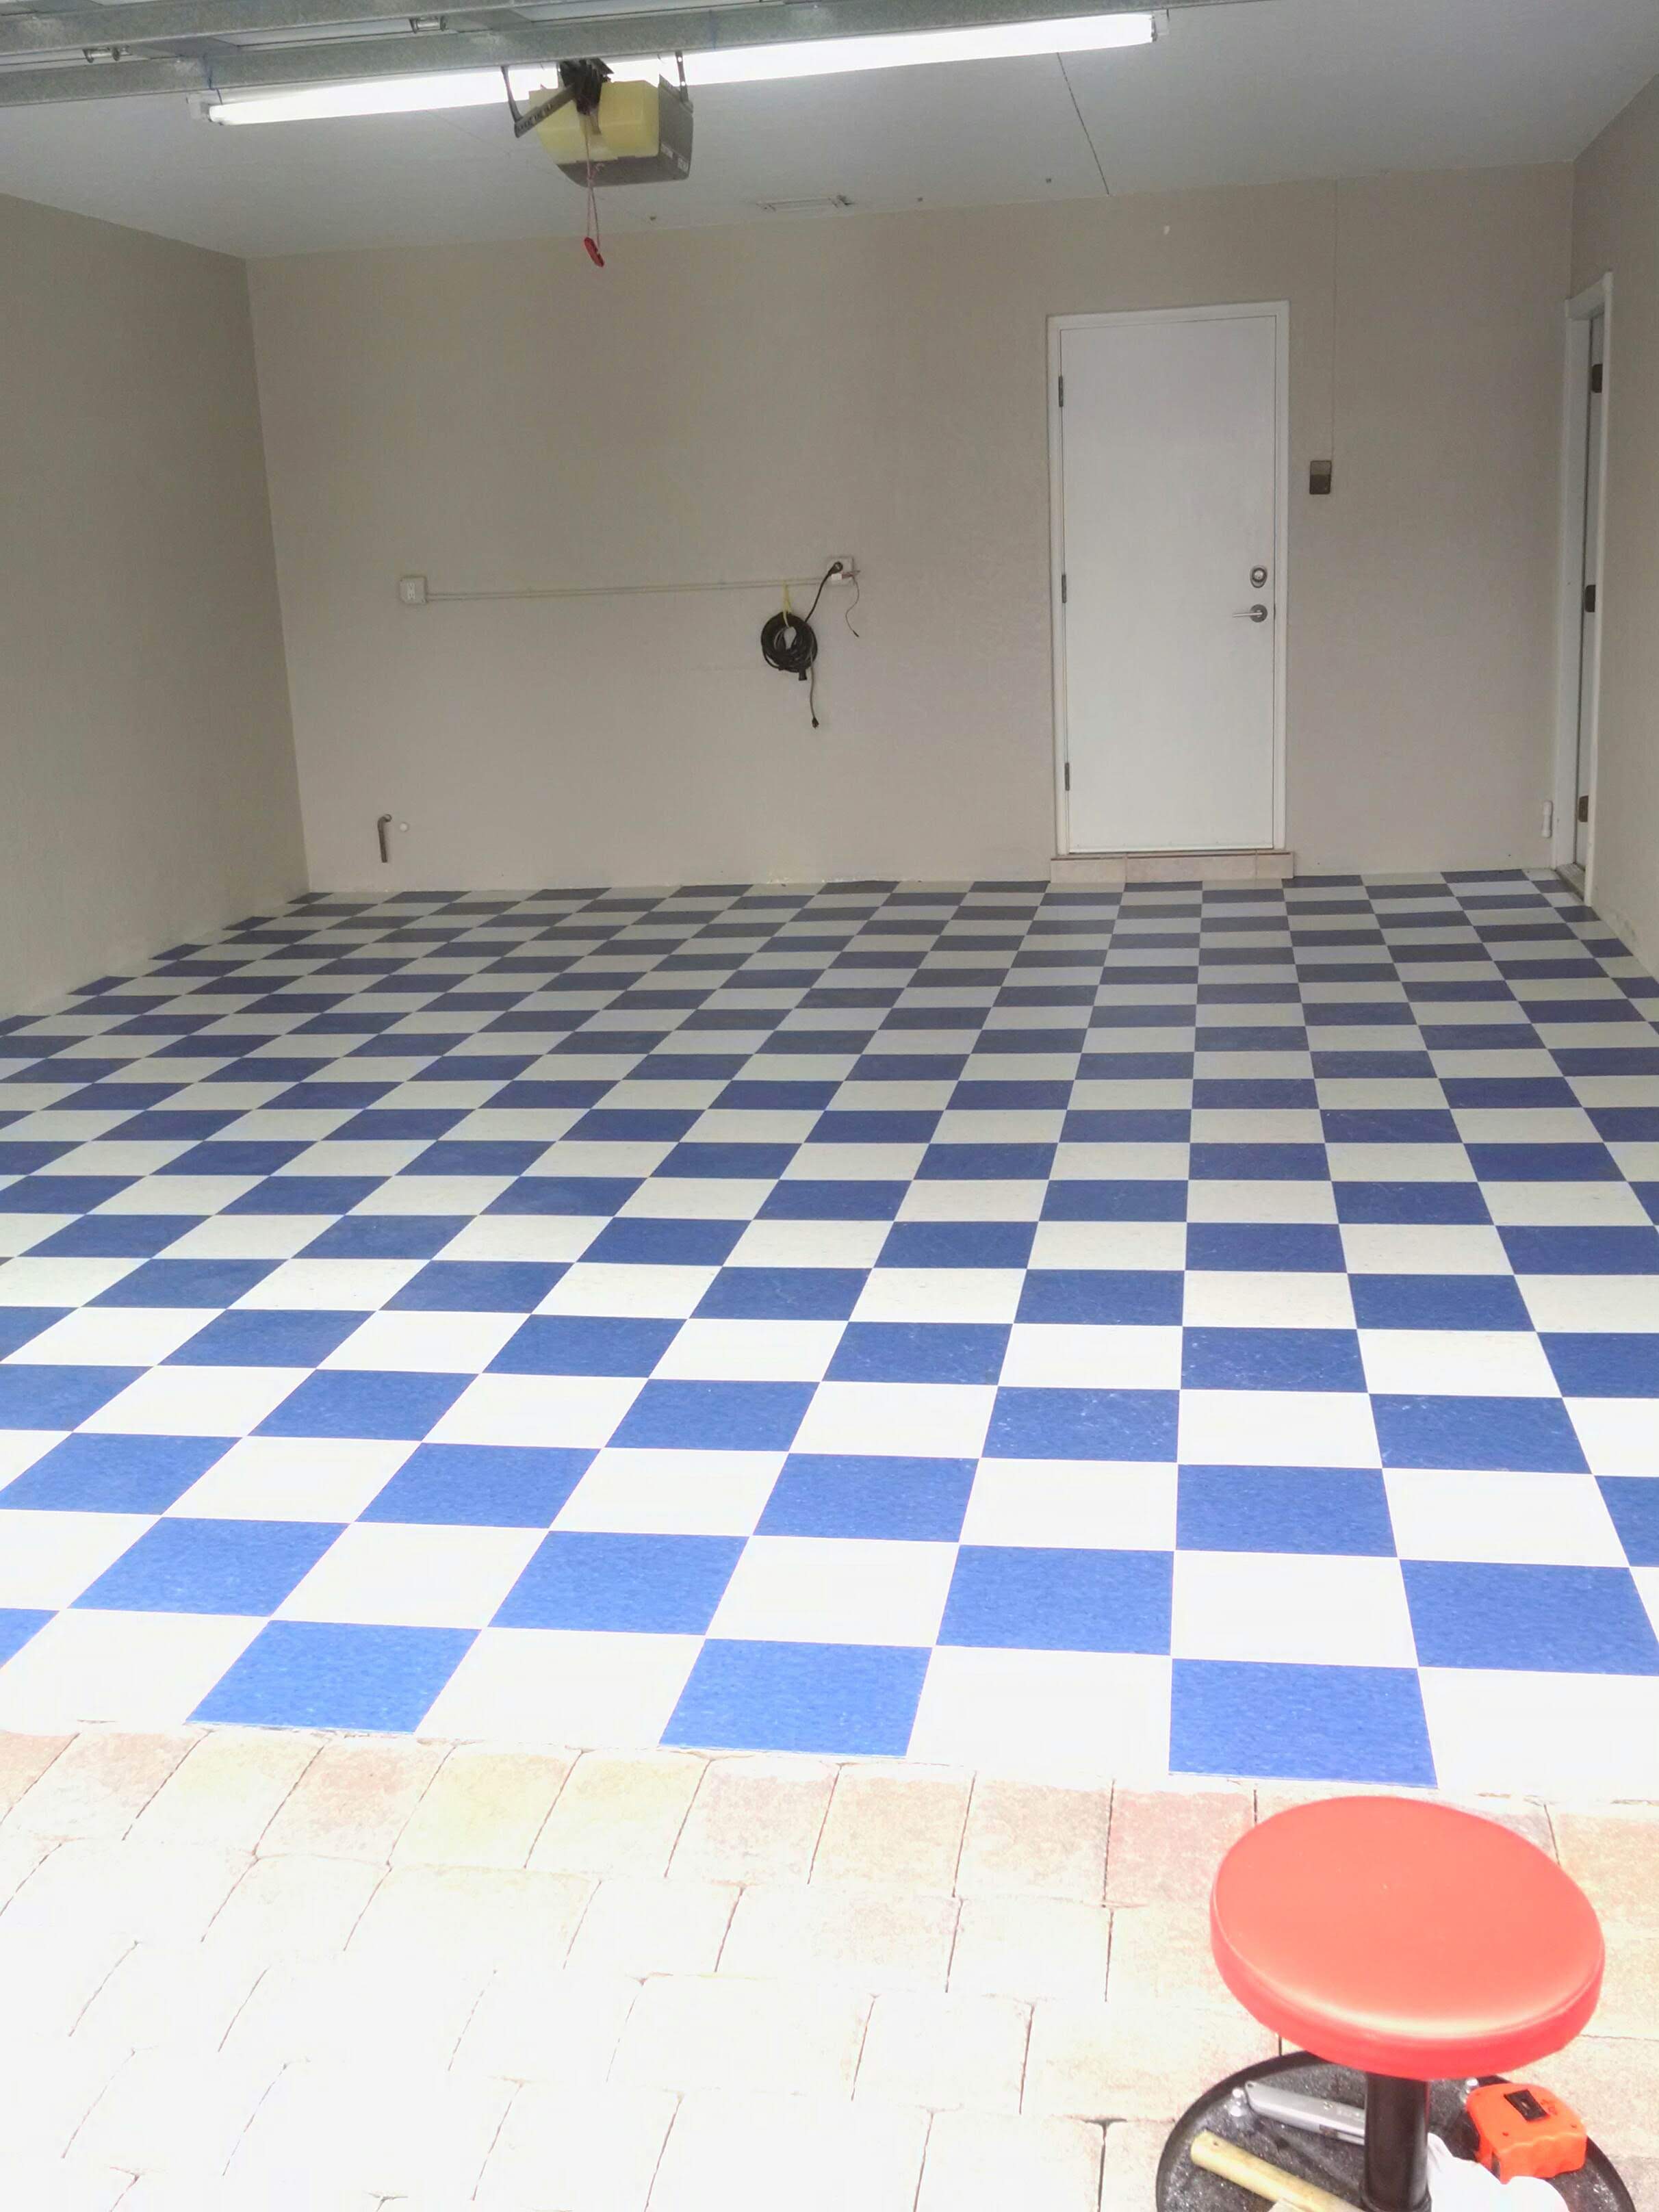
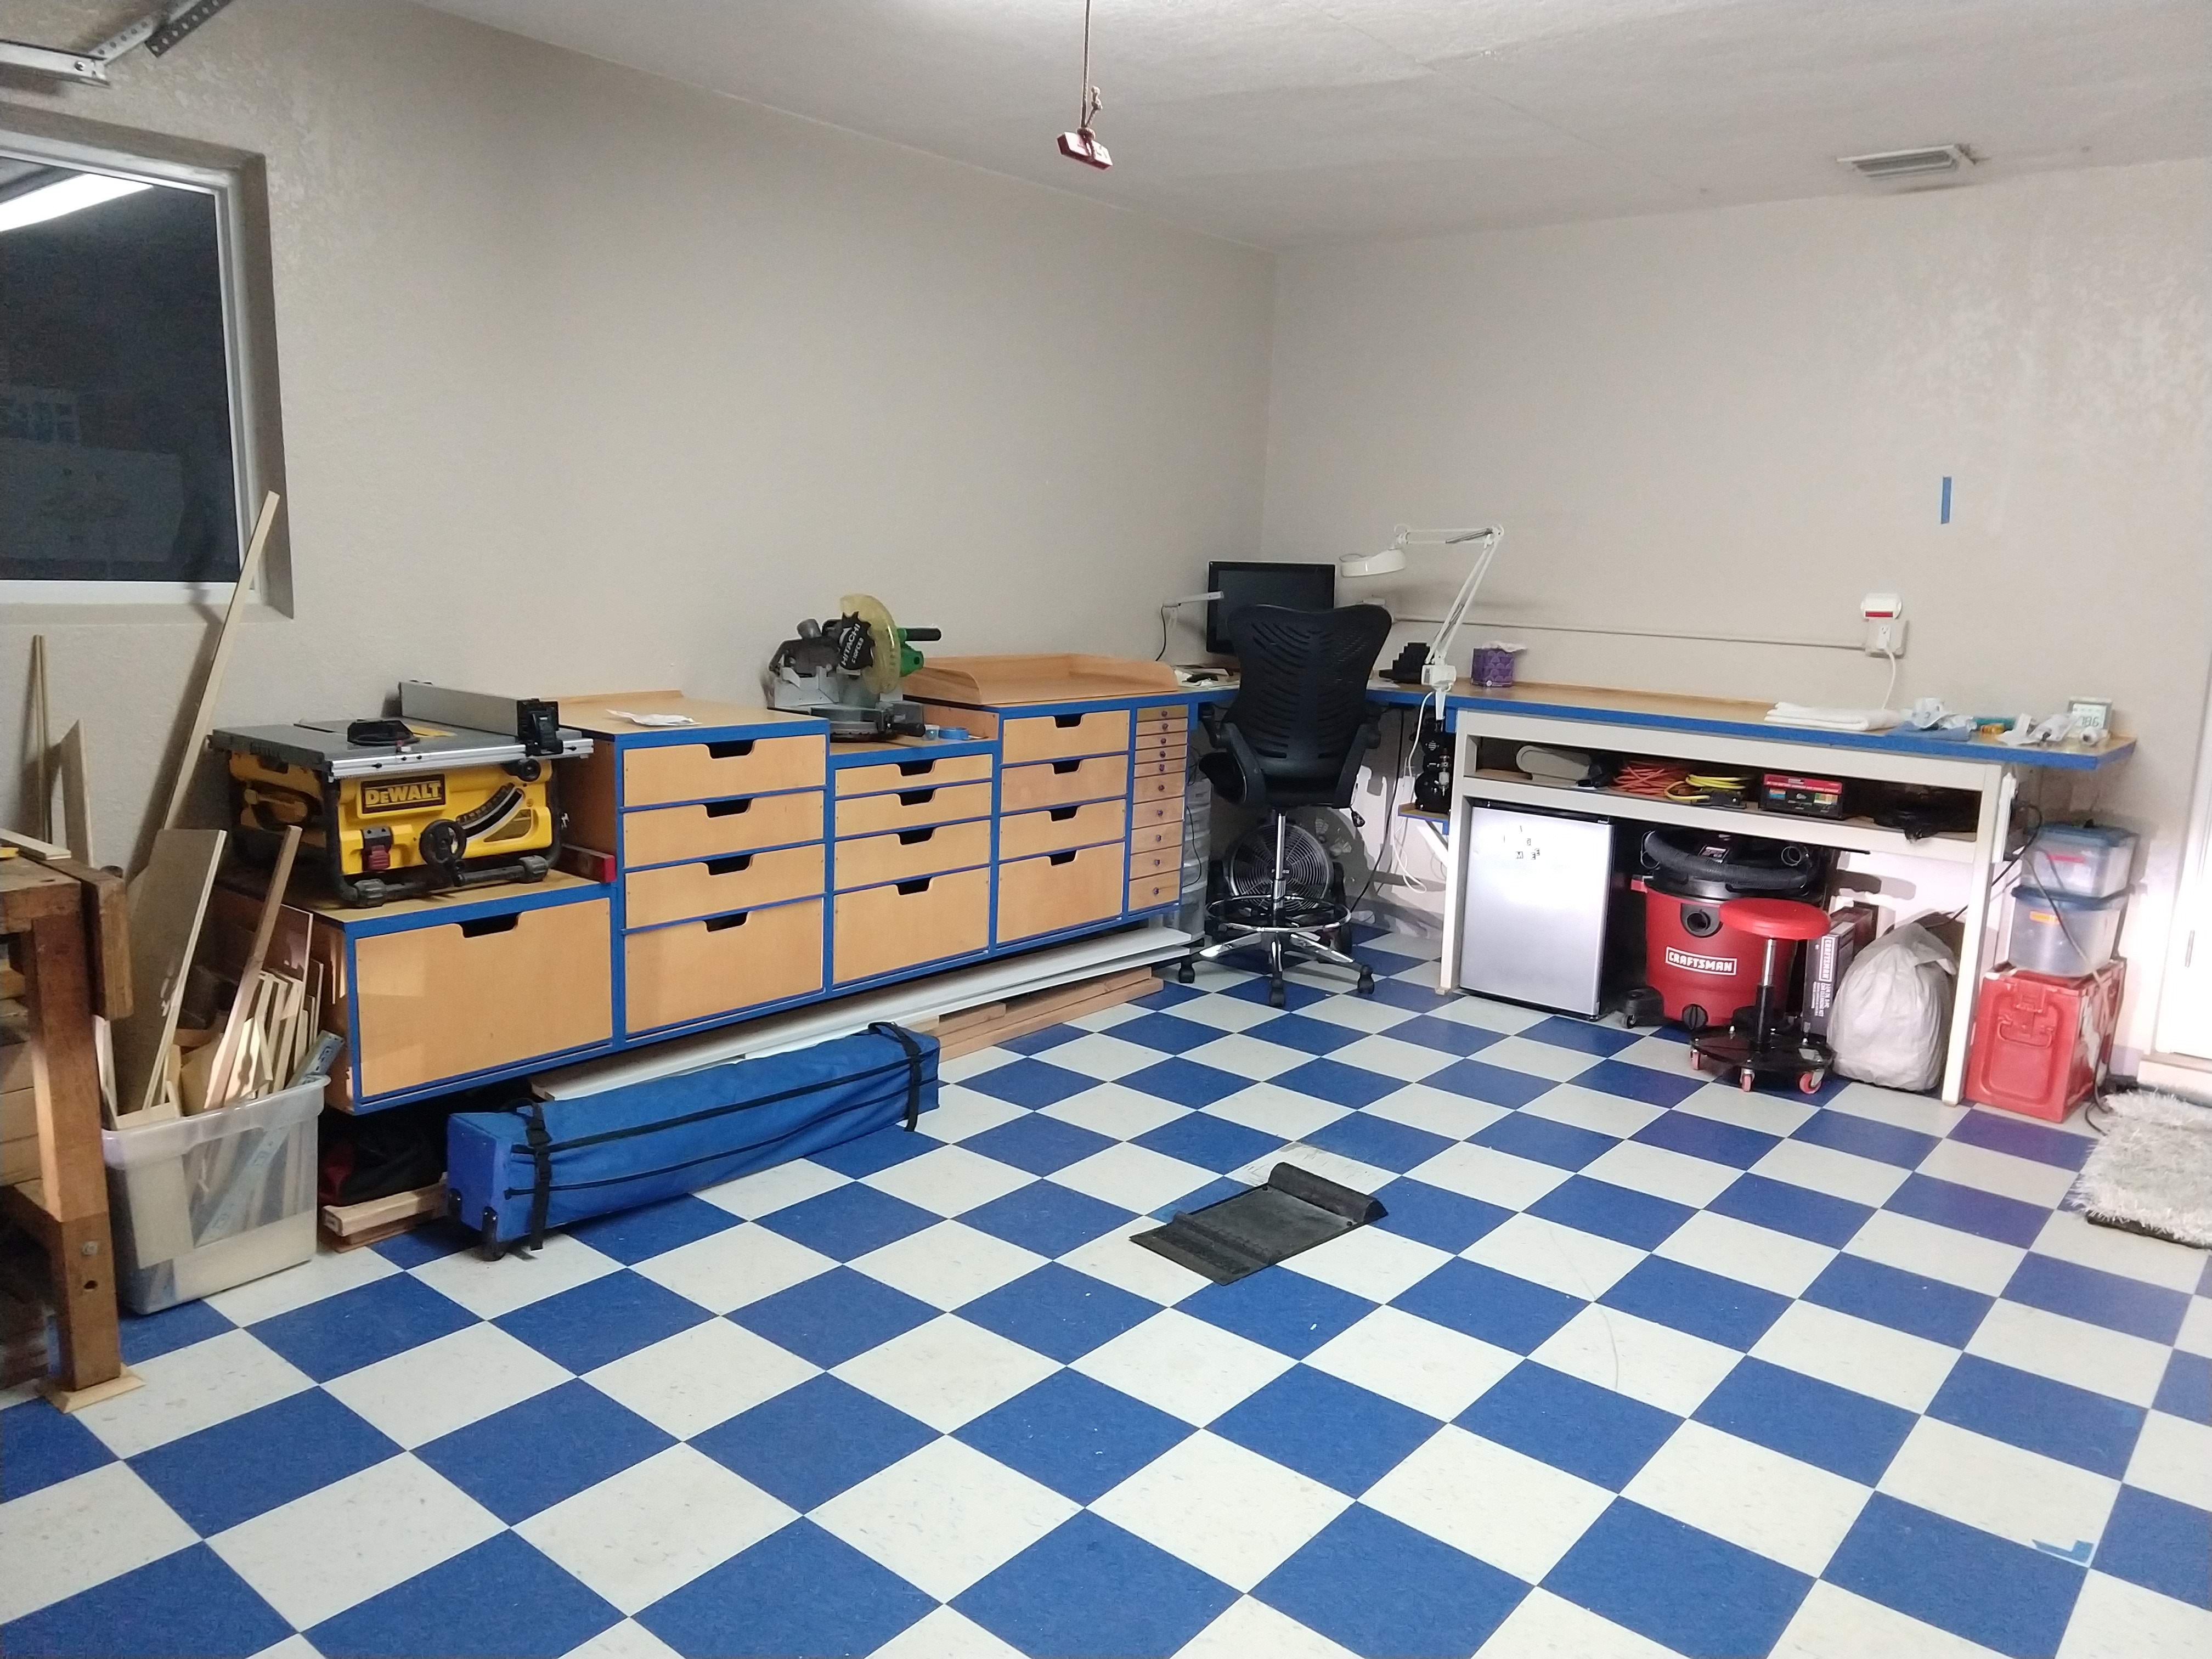
The photo shows the end of my first instructable Complete Garage Re-do PART 1
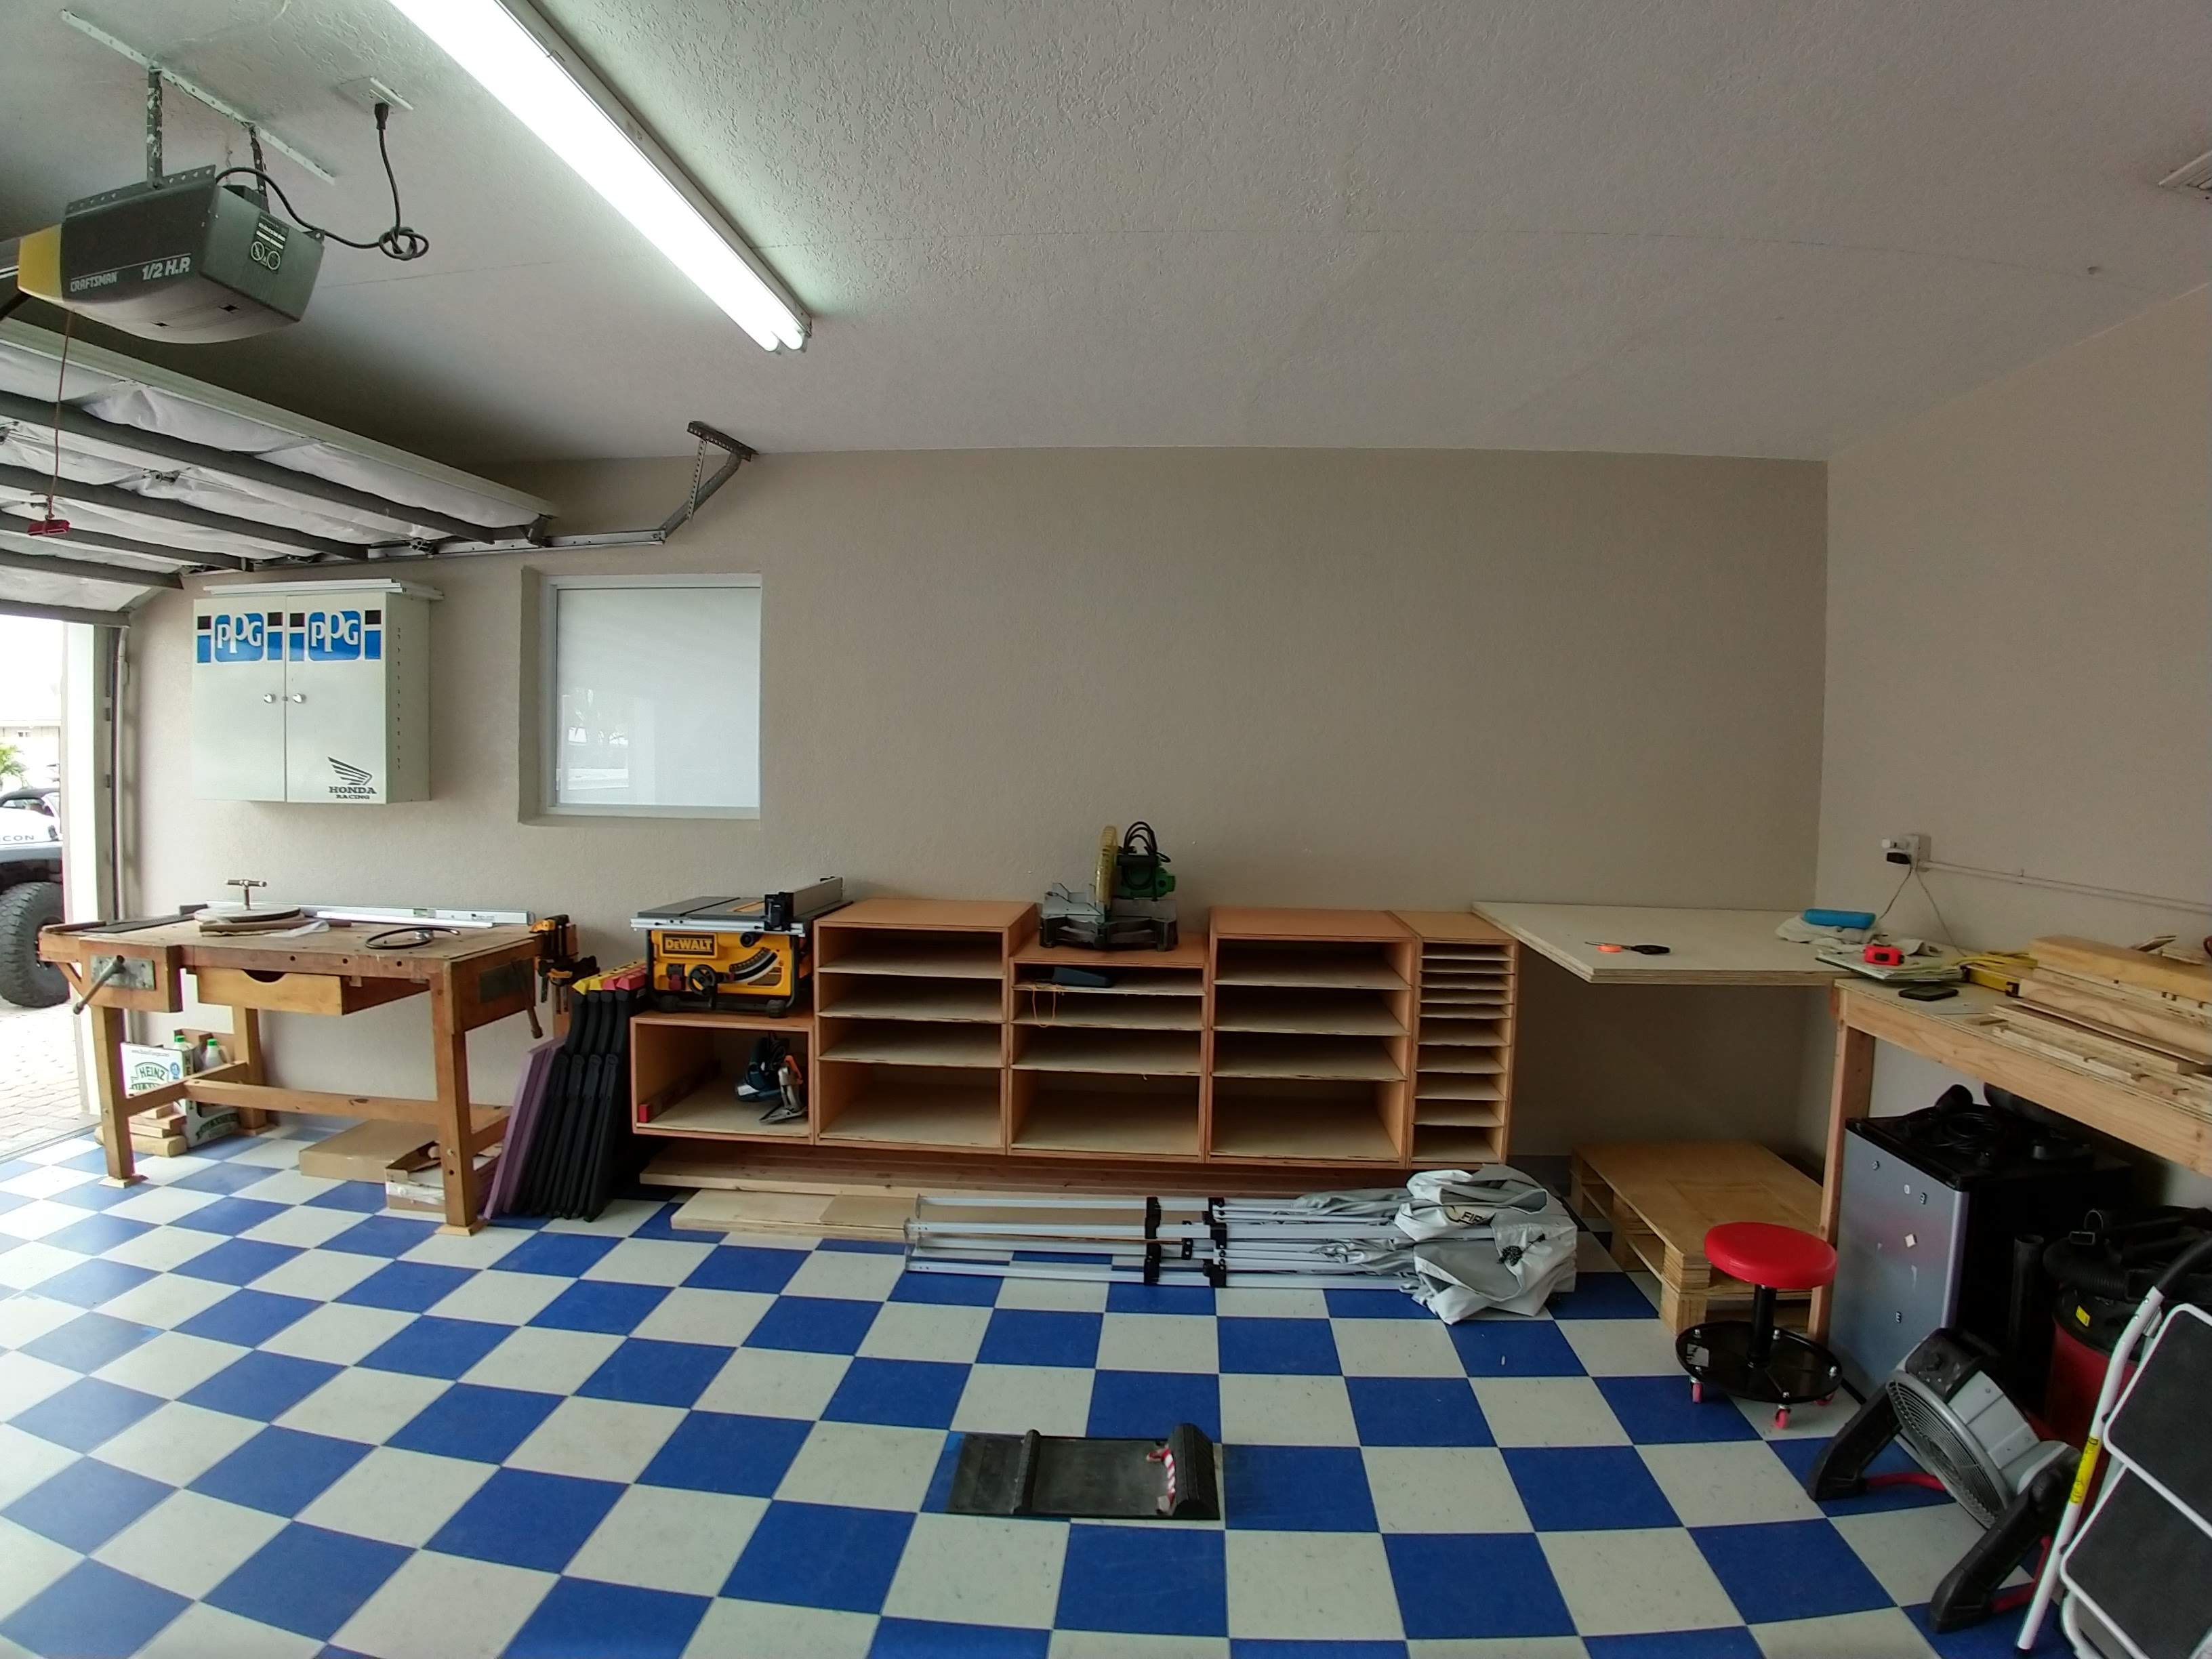
This part 2 will be limited to the usable portion of the back wall, and the wall on the left, well just the bottom part of that, if we live long enough there will be another part that covers the upper-wall units above this one.
The storage-bench-workstation will be an L shaped unit. The corner will be the area to sit and work on scale models (one of these days) to the right and left of the corner will be workbench areas with the saws at the same level as the top counters on either side. This will allow quick cuts in place, and if it comes out as planned will be visually pleasing too
Fine Tune the Plan
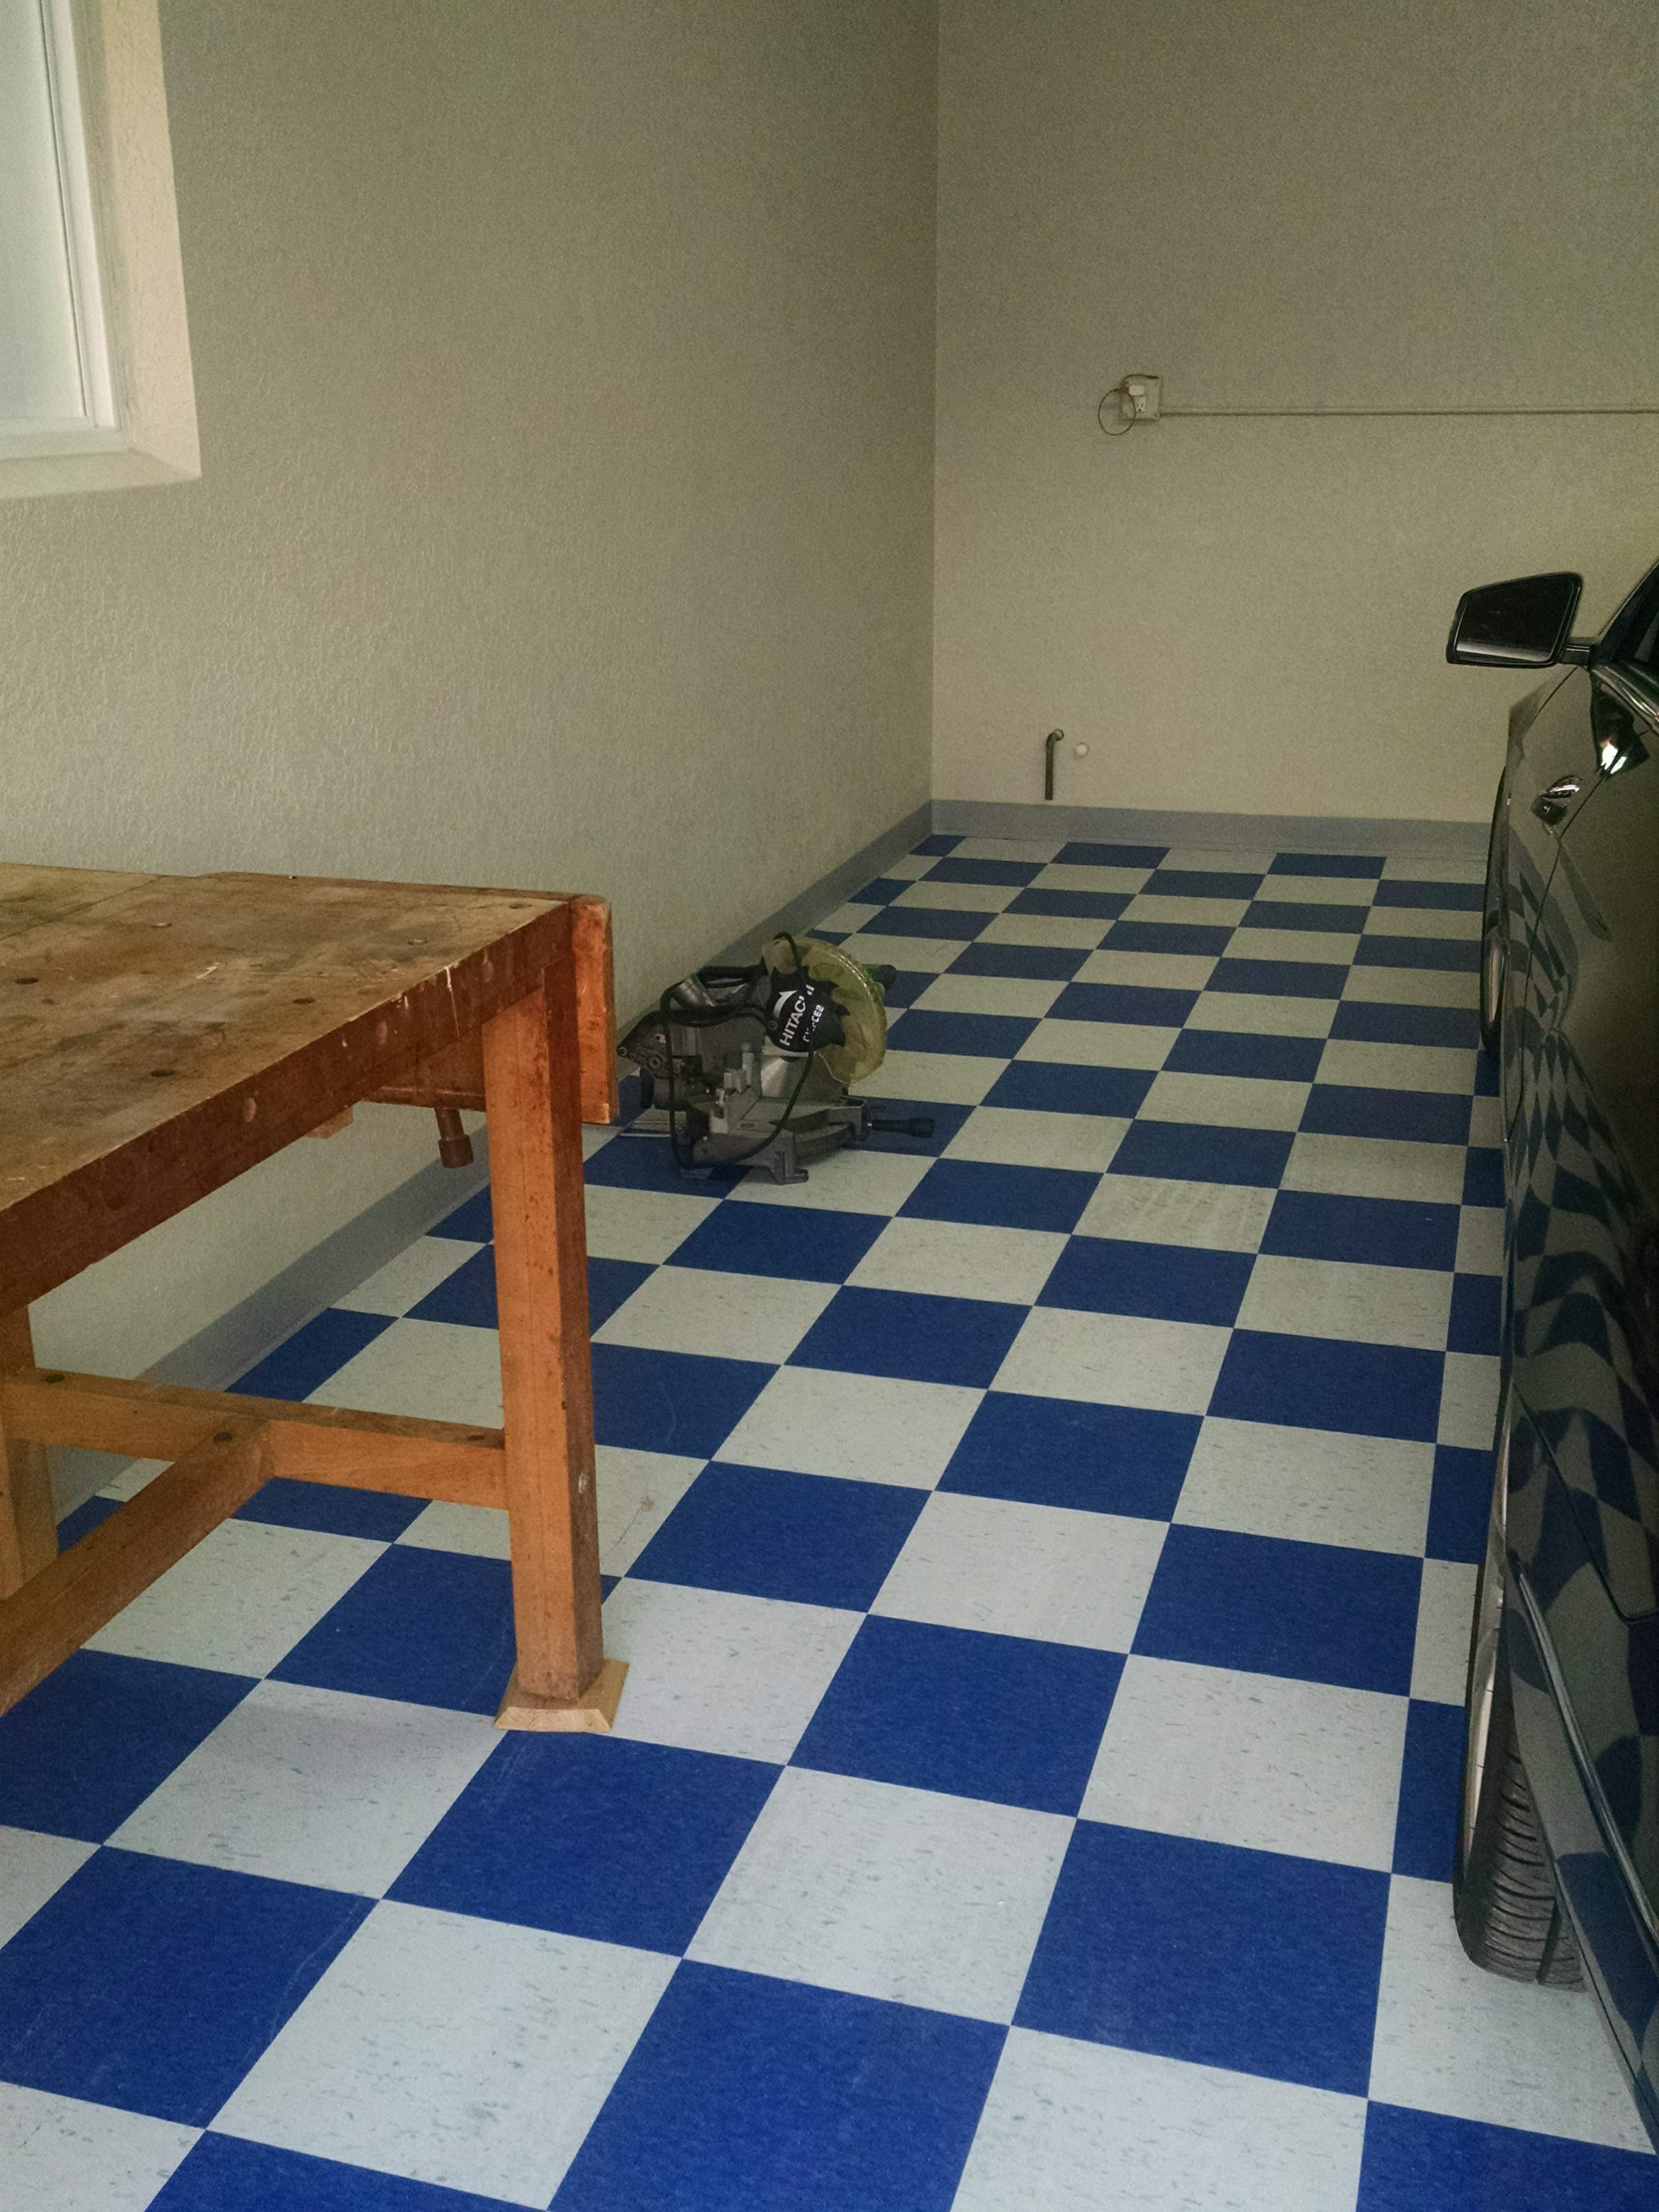
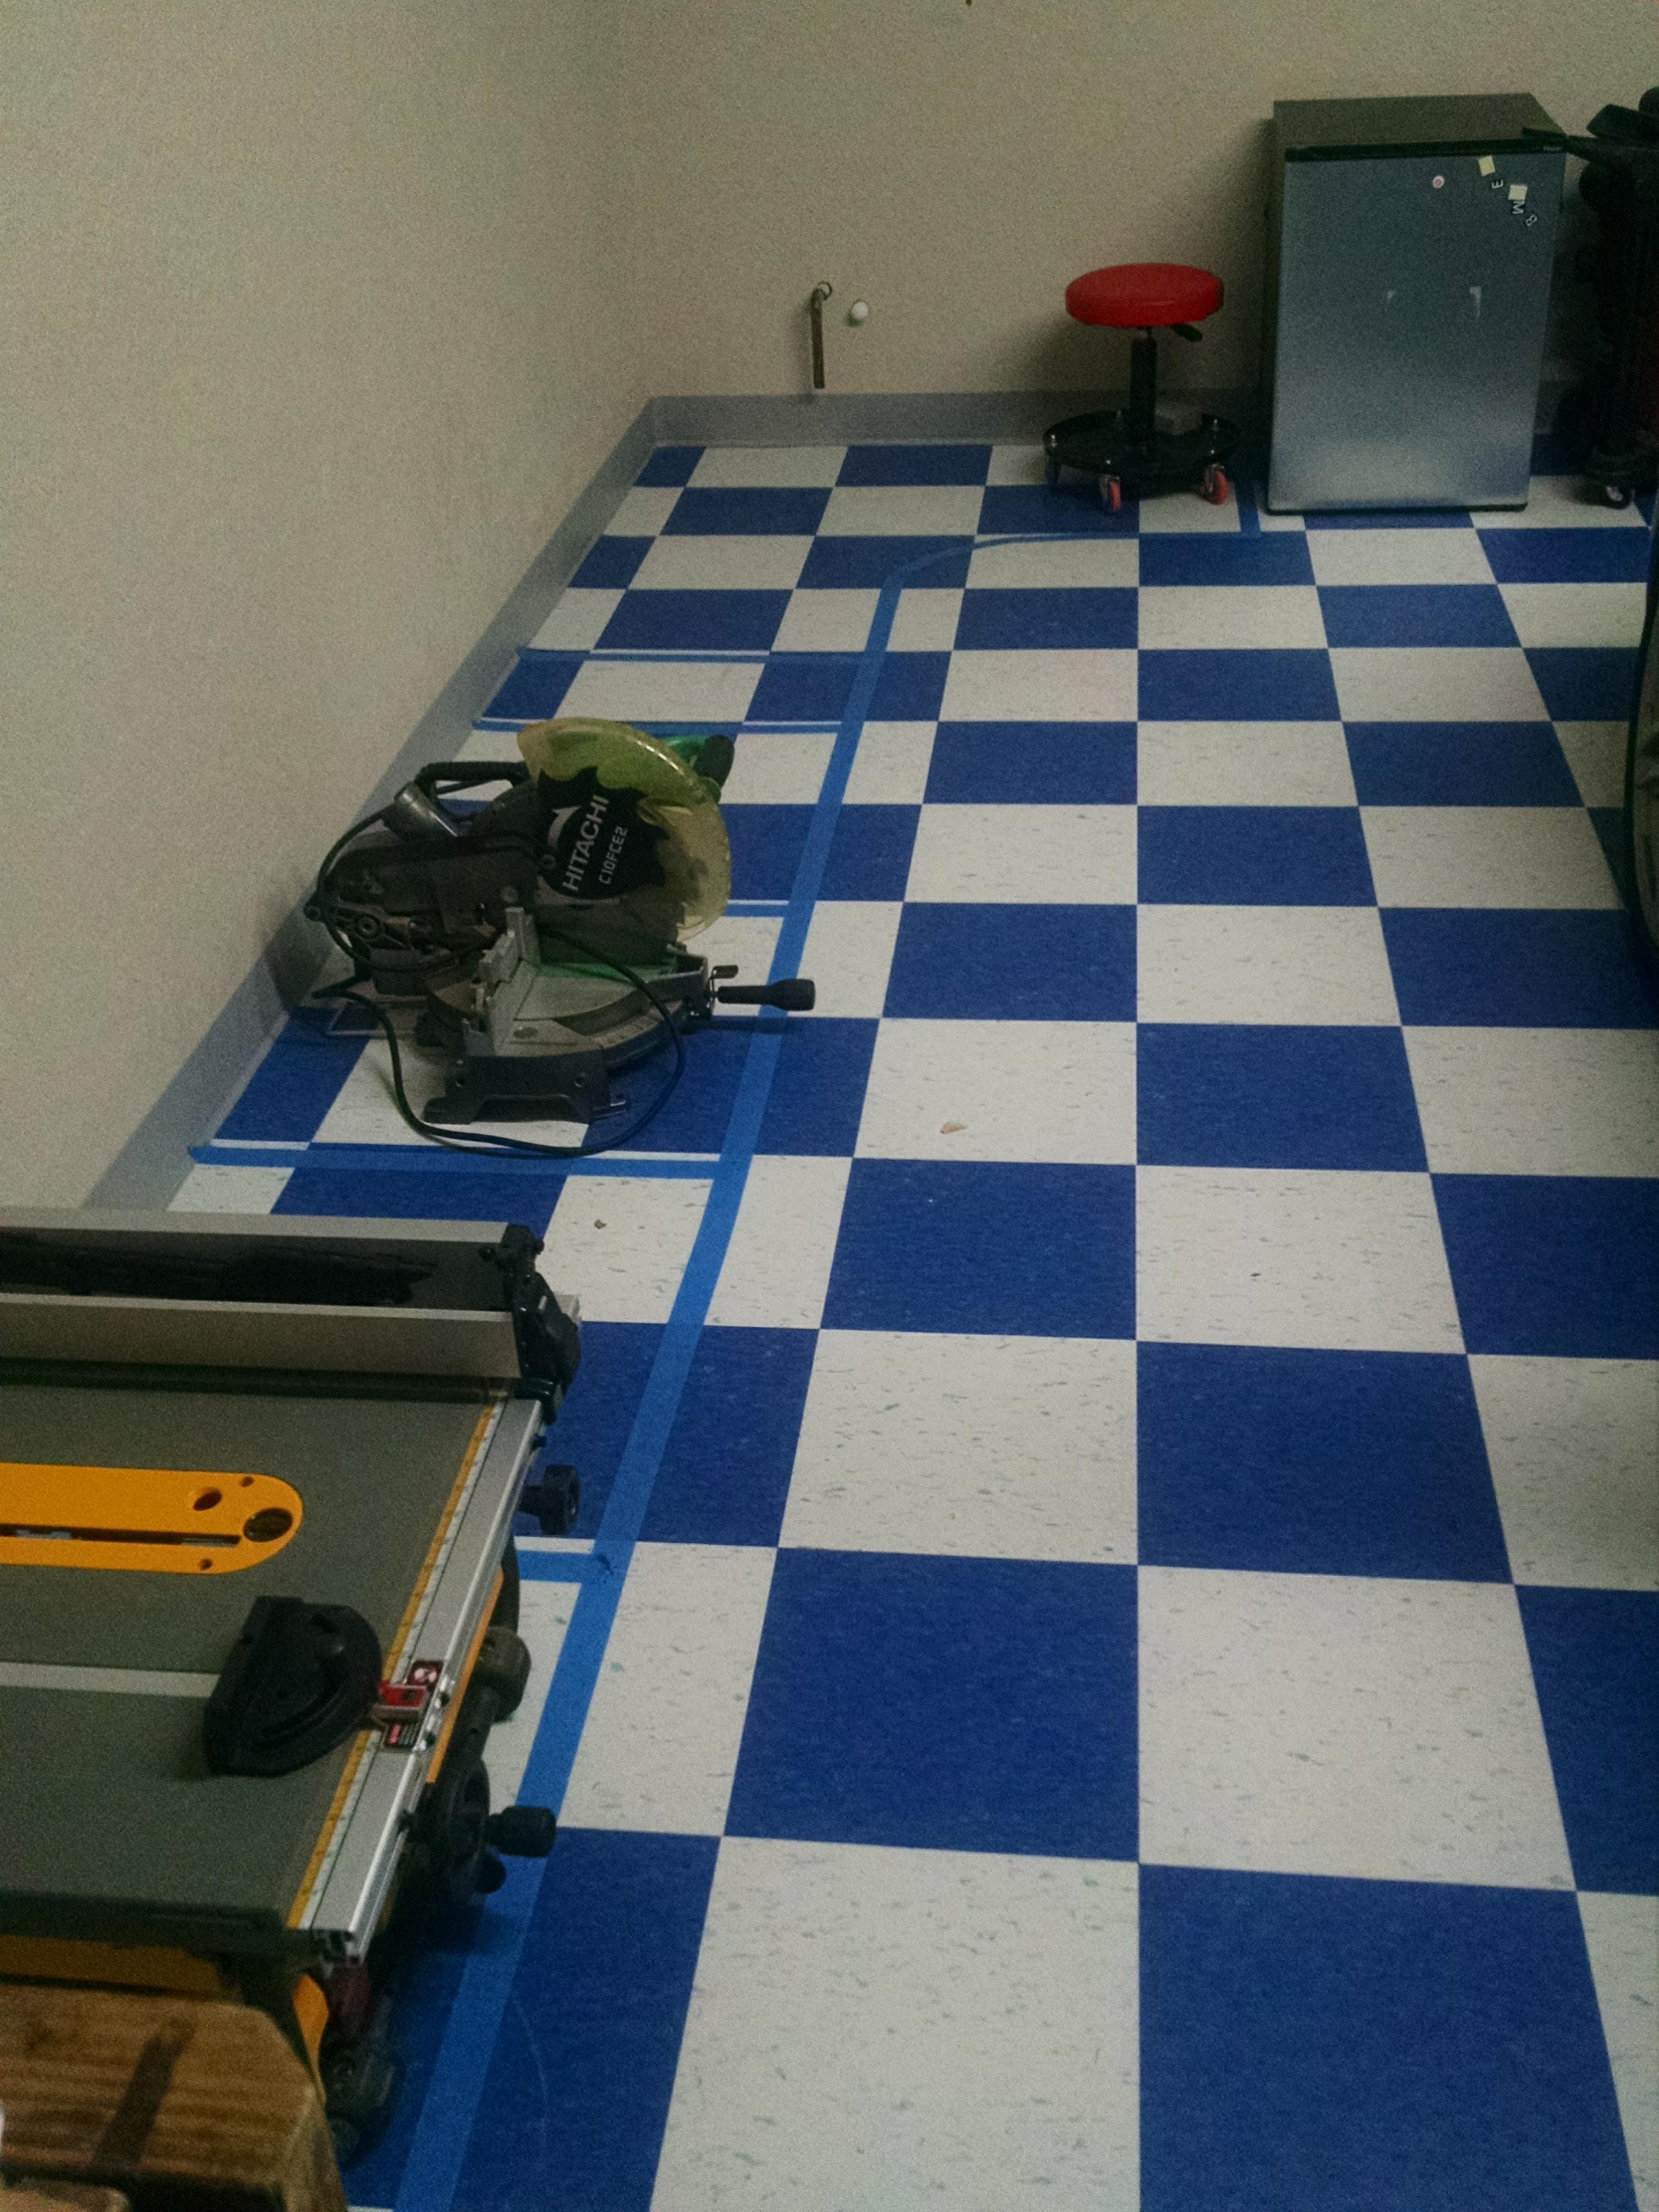
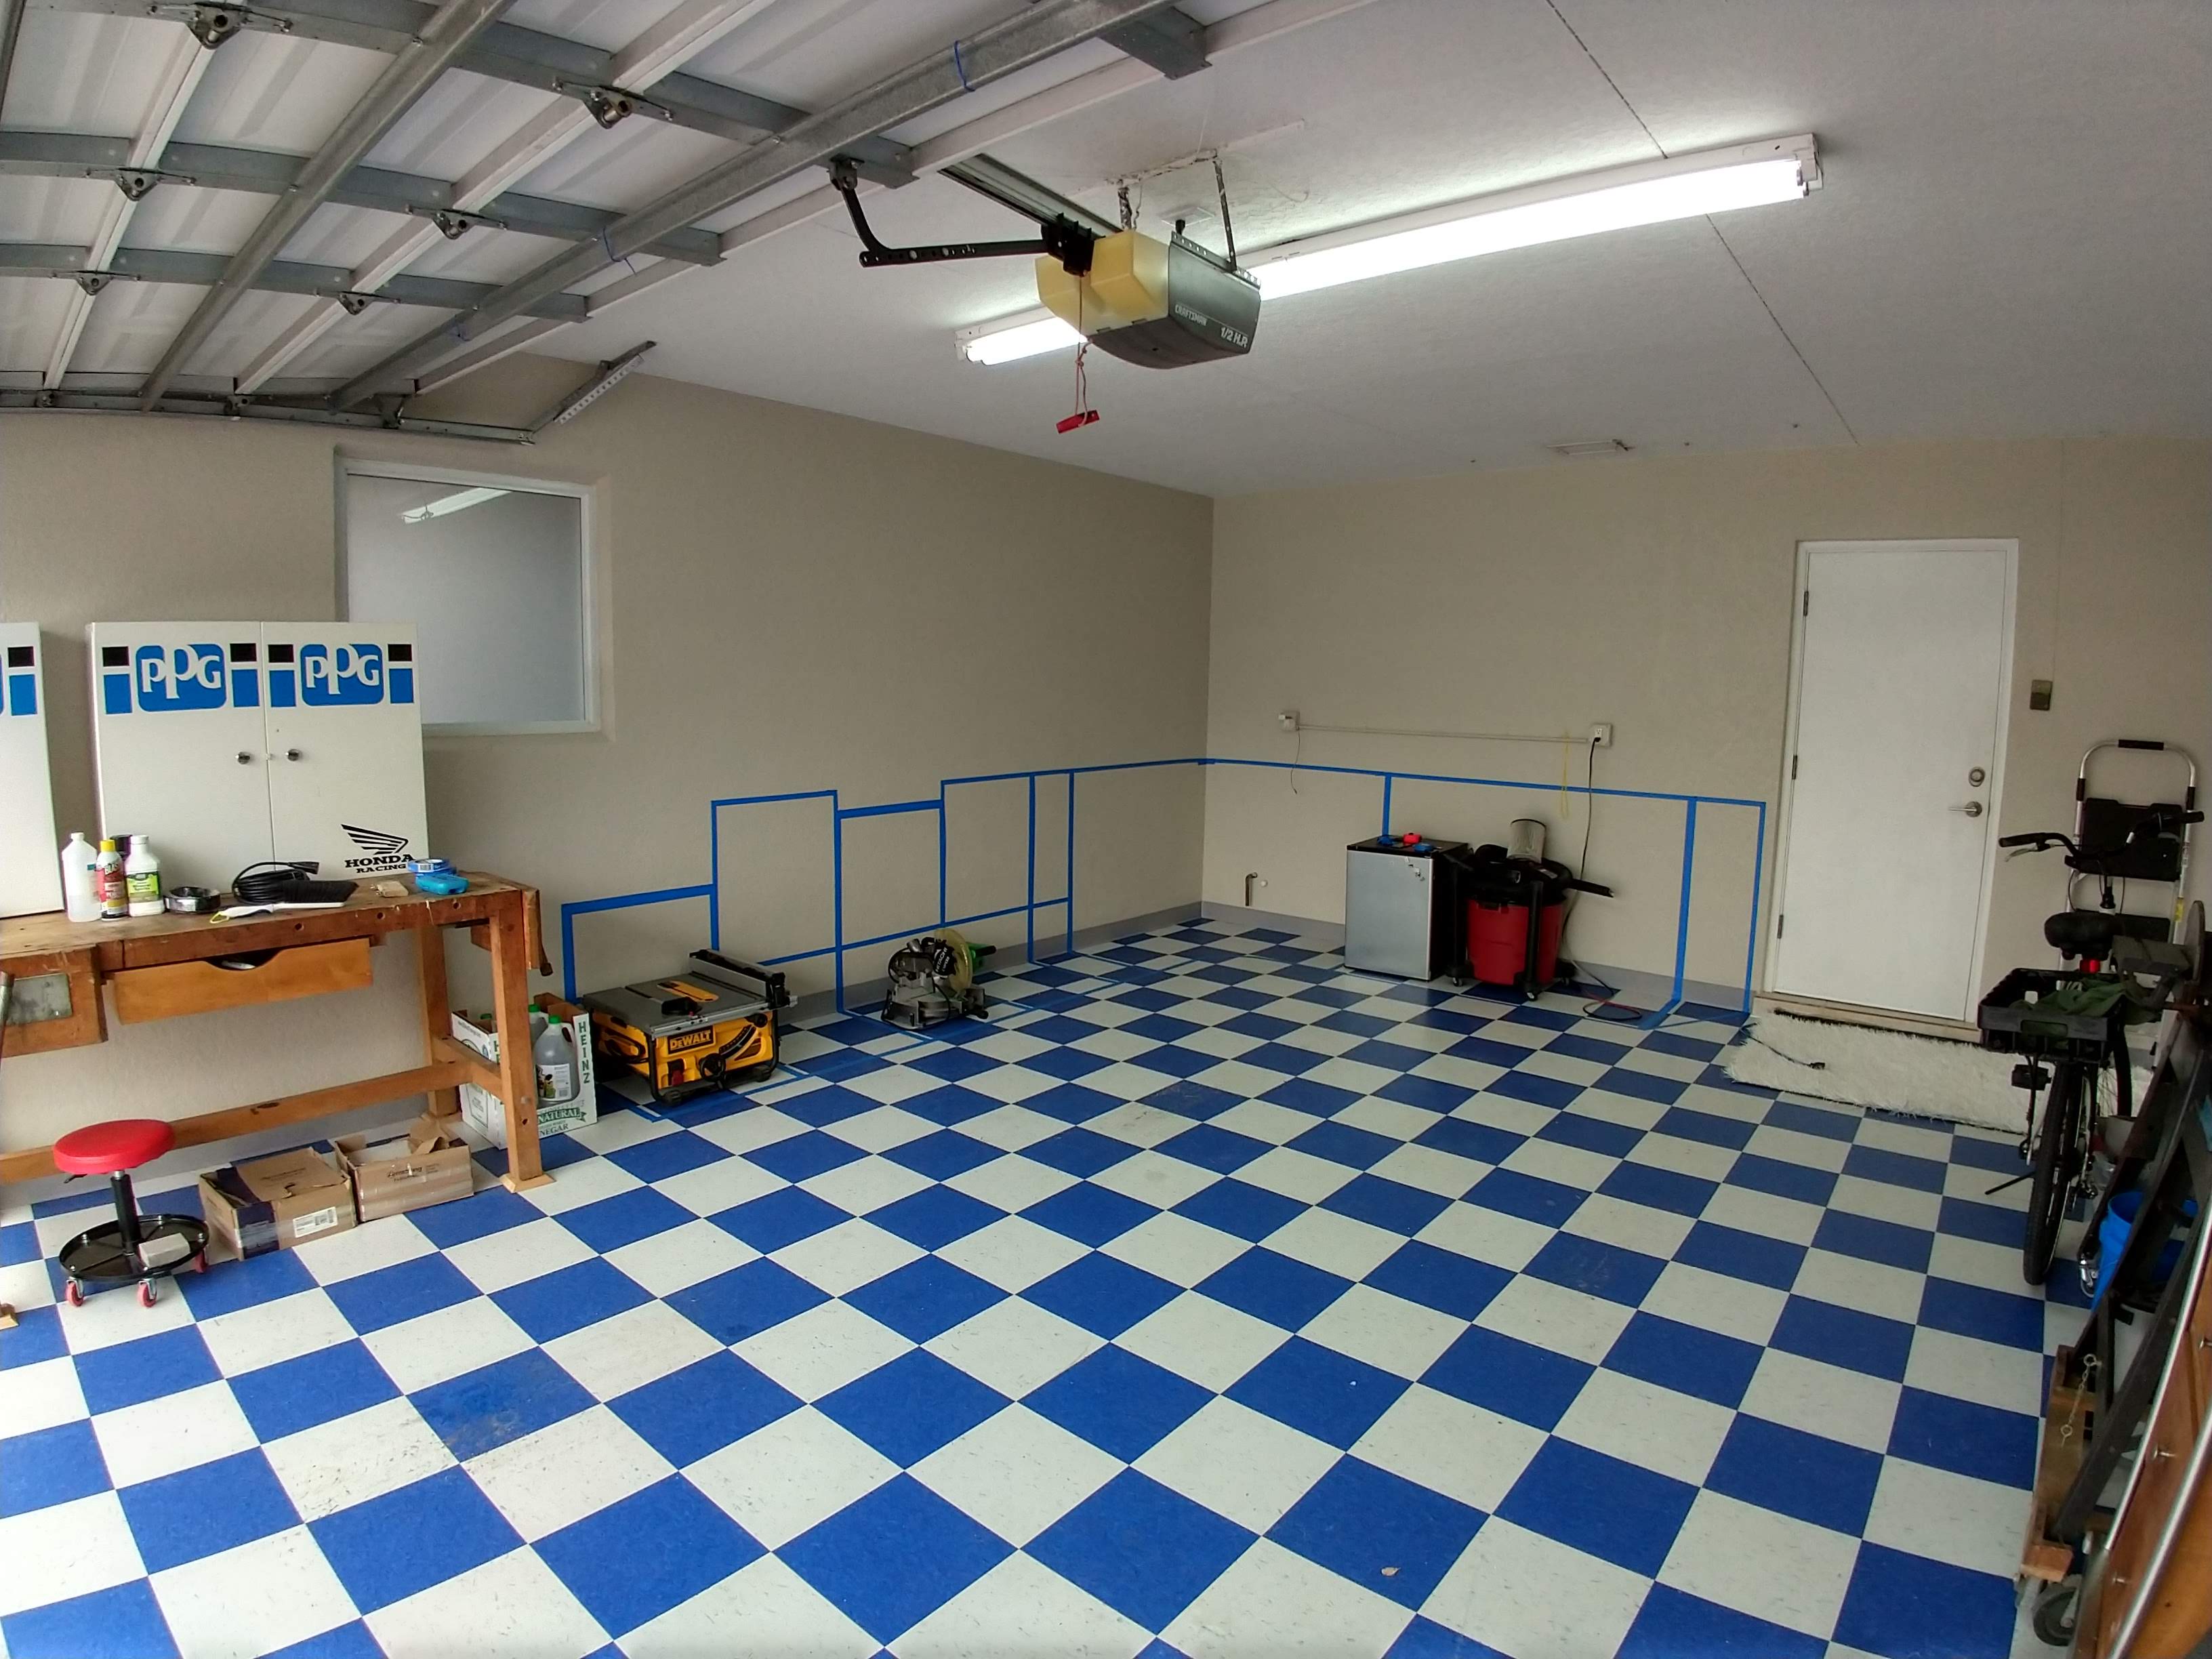
We had our inspiration project and a pretty good idea of the form and function we wanted but now came the time of making sure things fit right.
Number one requirement was to be able to keep the car in. Even if the car is out in the driveway during projects, there has to be enough space free to drive in and open the doors on both sides.
We placed the big saws in the places we wanted them, and taped the floor. This gave us the foot print for the area under the storage-bench-workstation. From there we proceeded to tape the walls.
The inspiration piece Easy Garage Storage and Bench was always our guide but we customized all the steps and sizes to fit our needs.
Tools and Materials
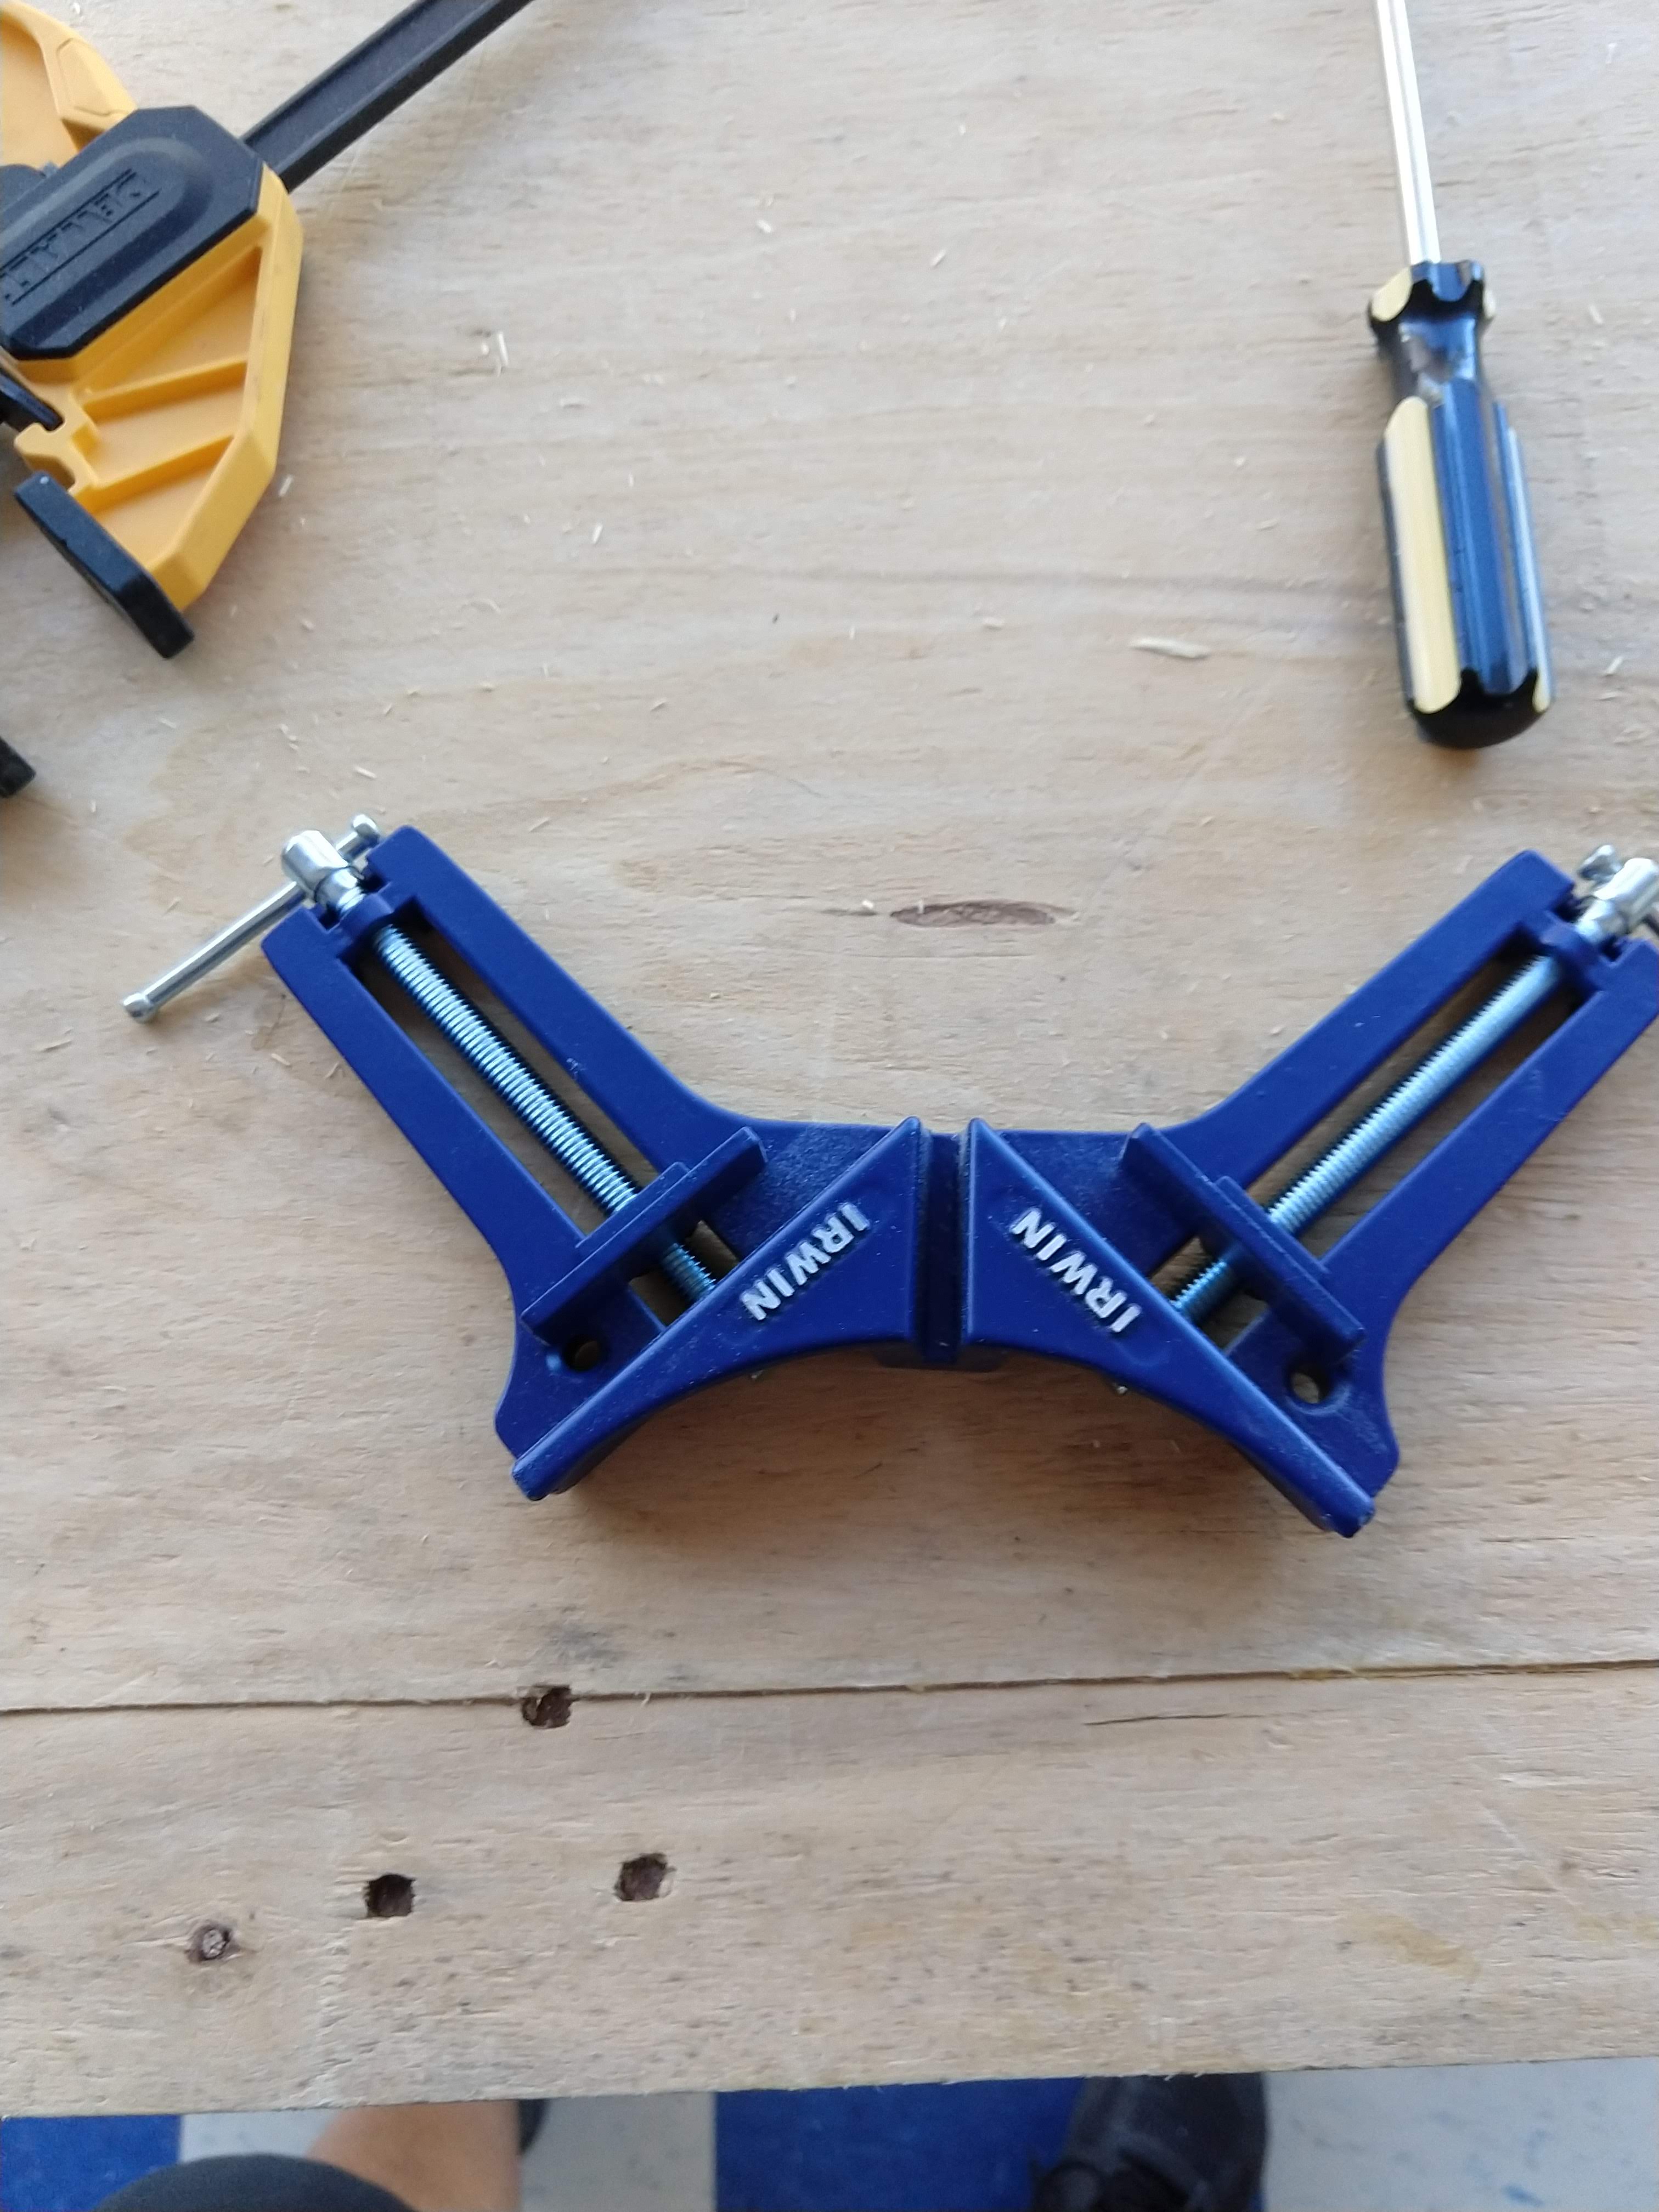
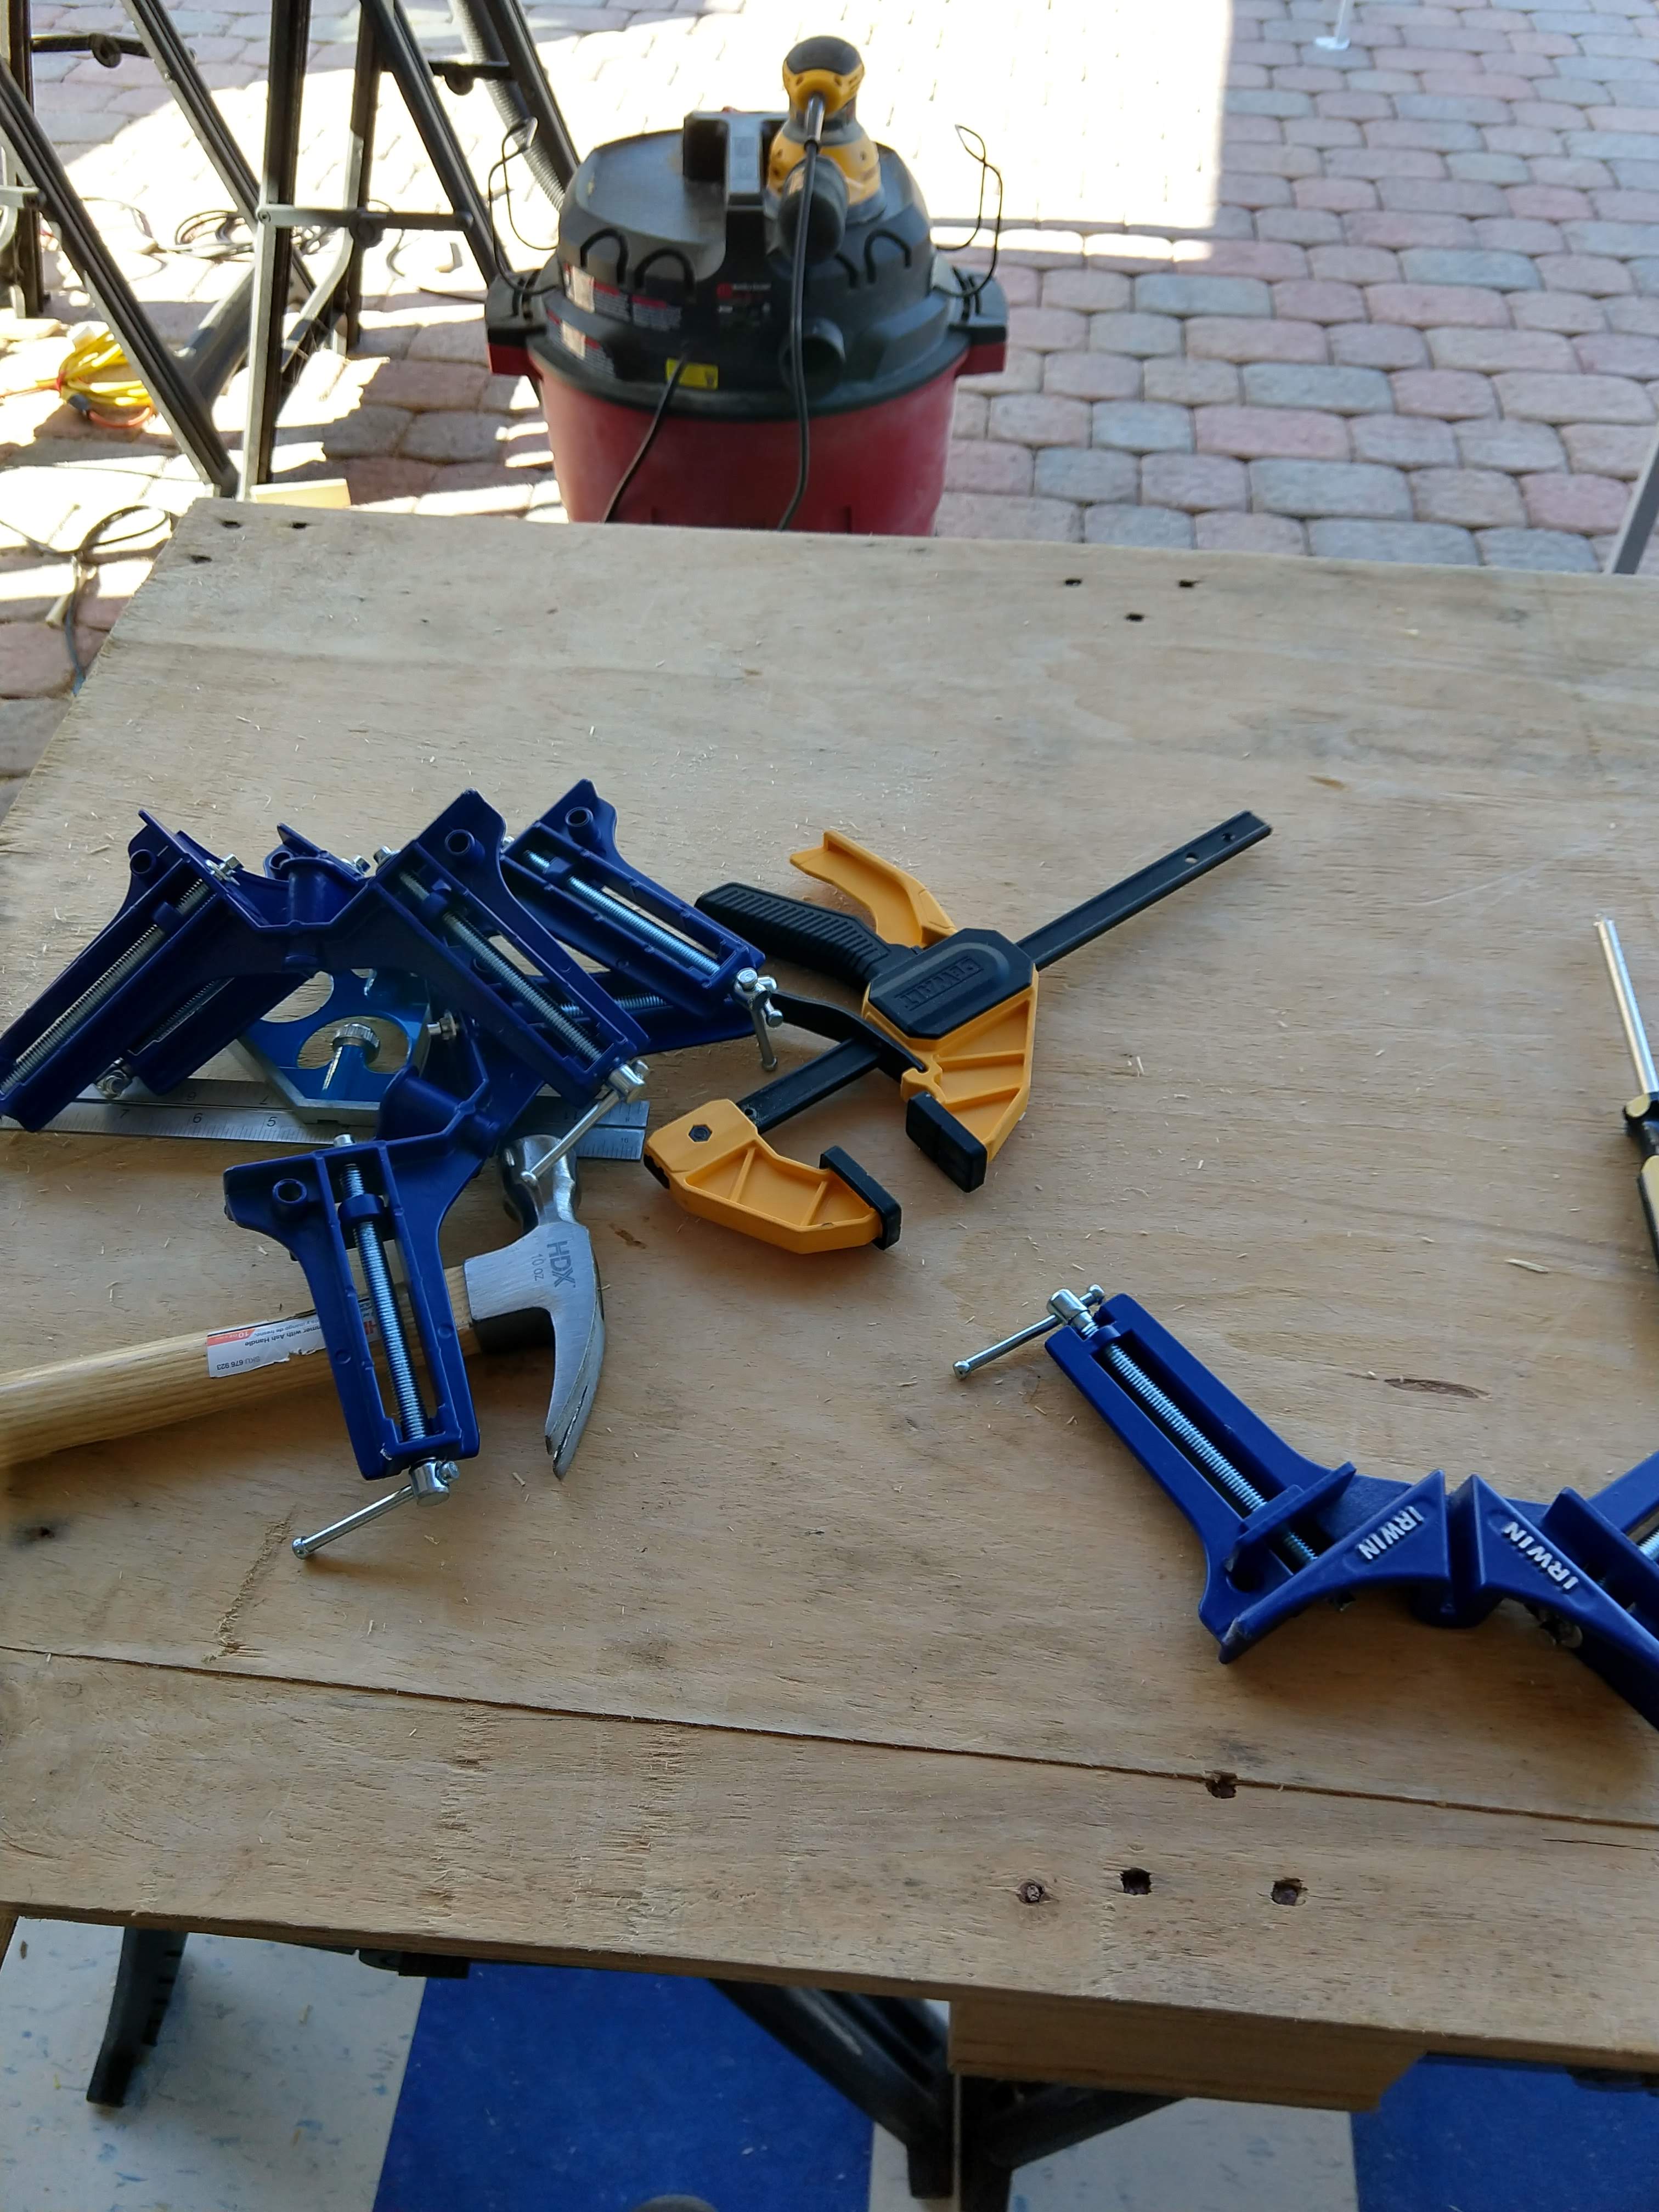
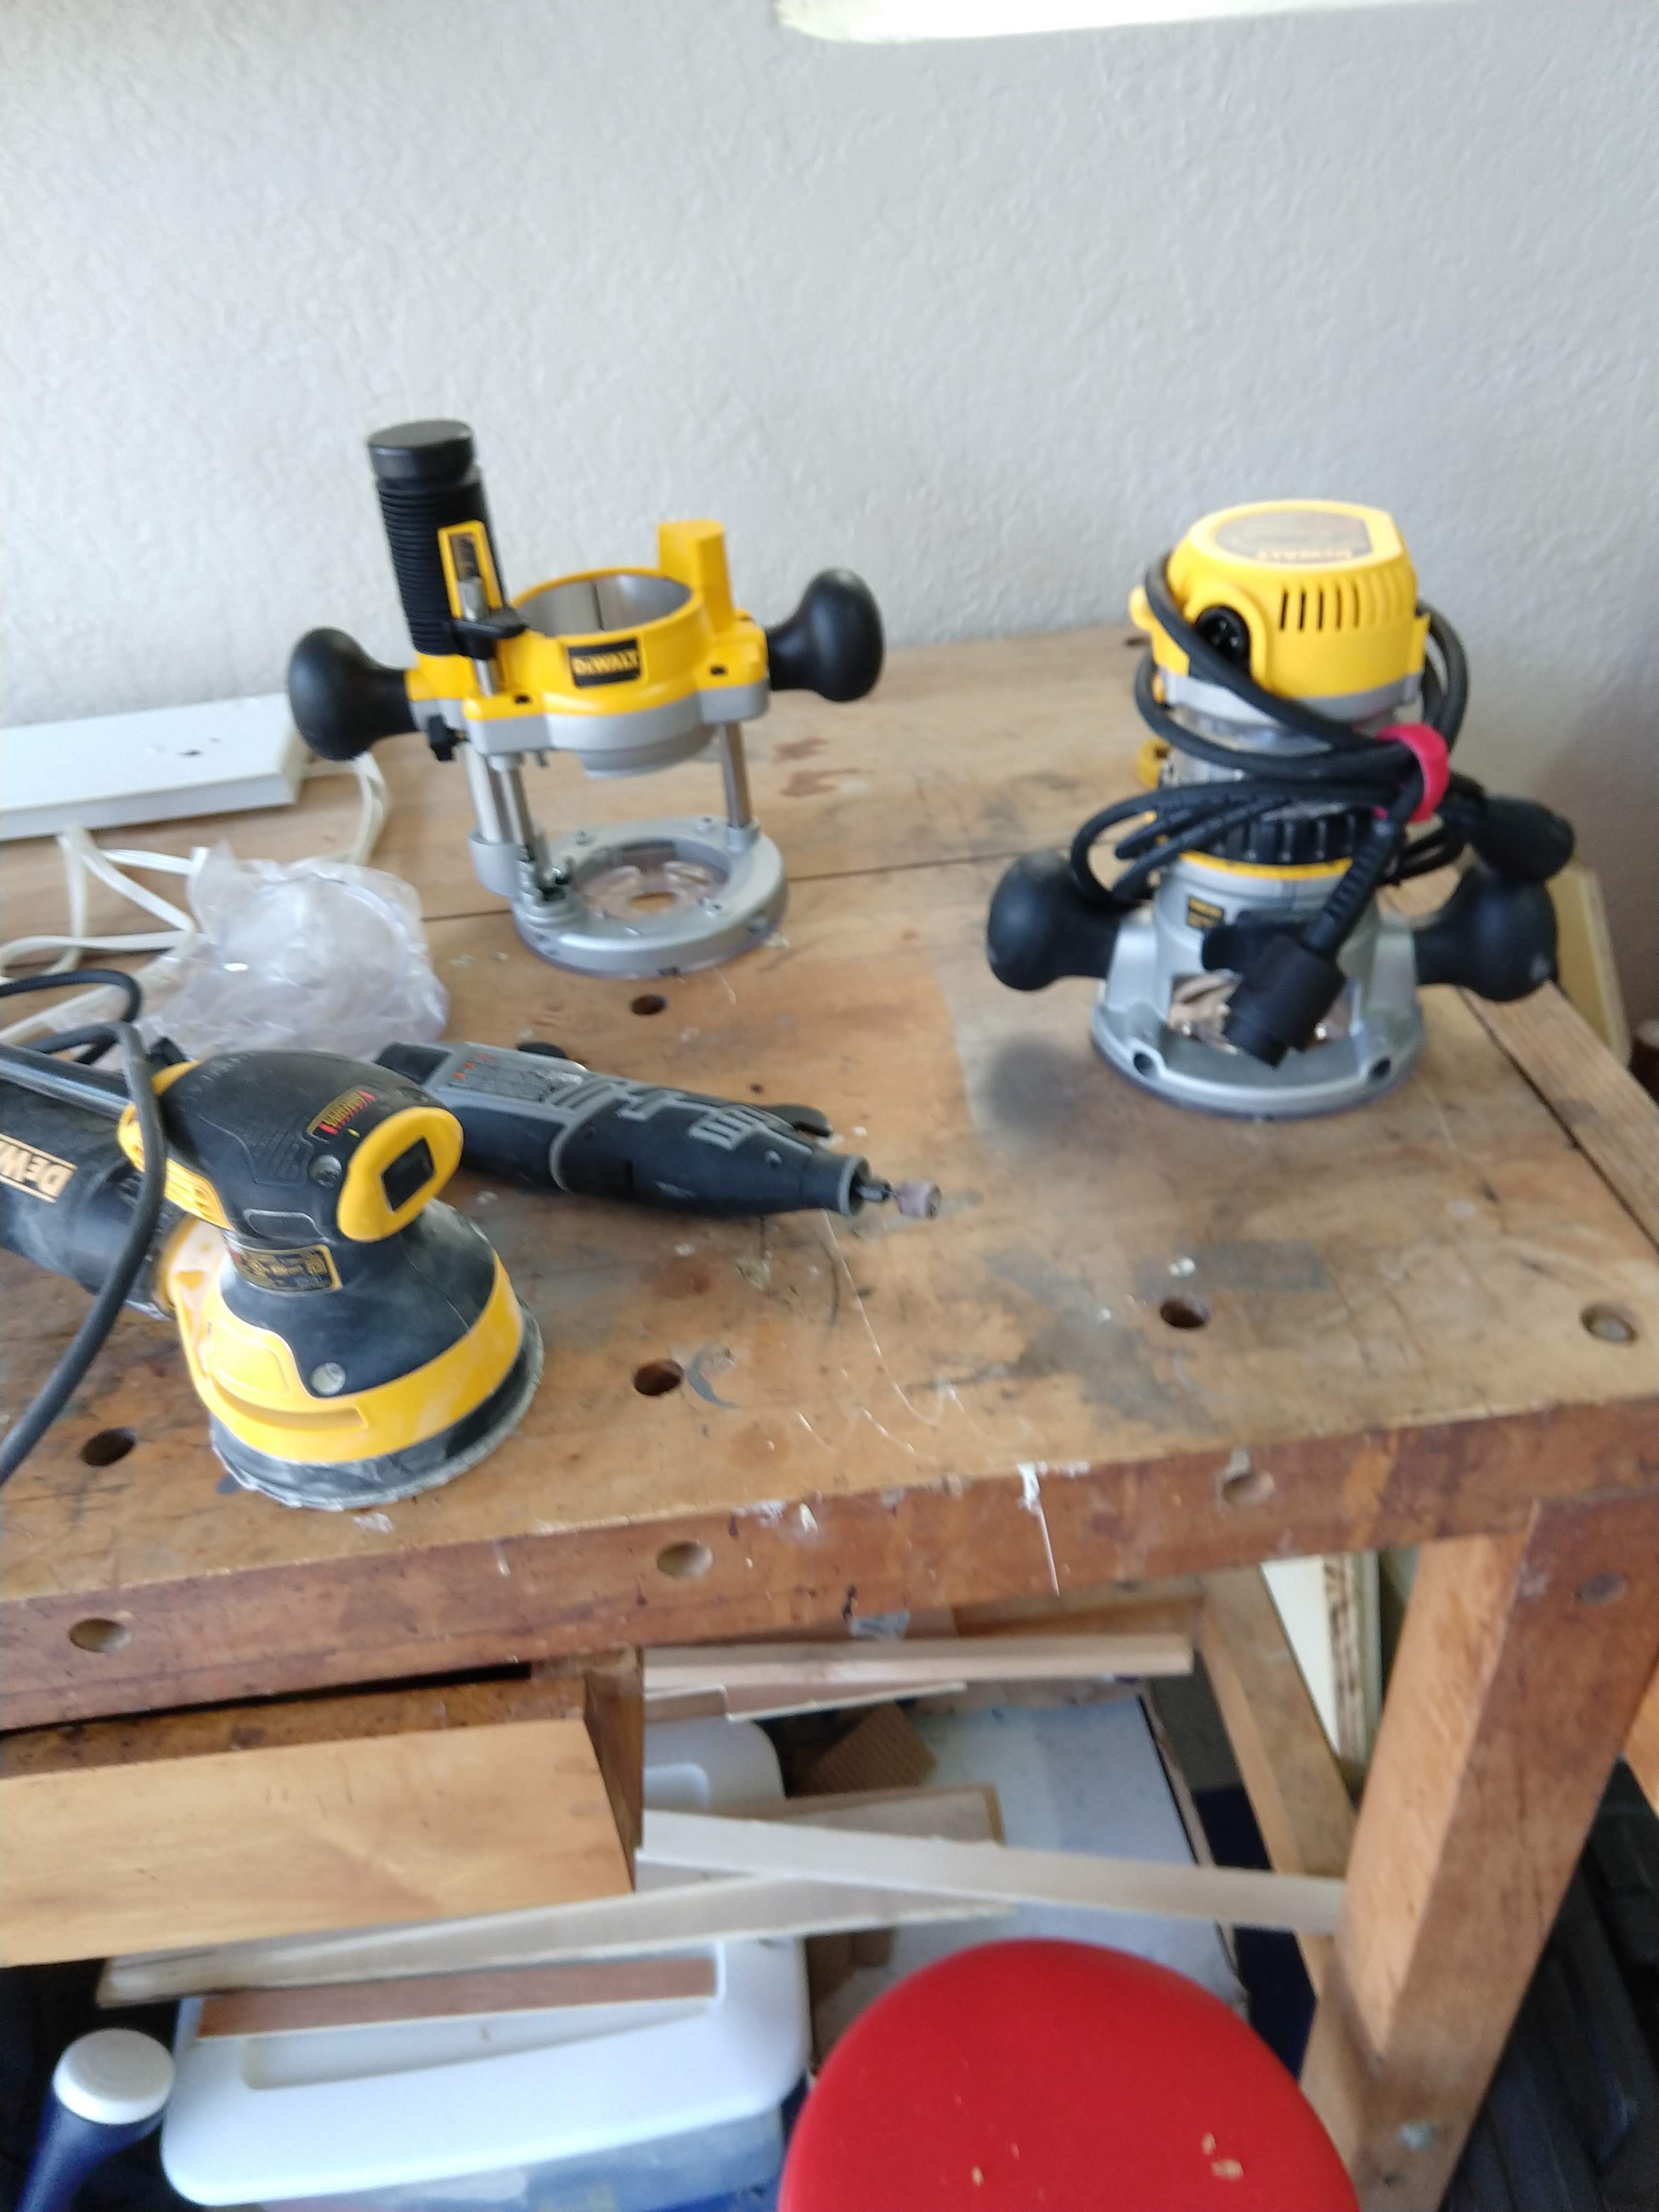
As I mentioned above, this instructable Easy Garage was pretty much our guide. When we first decided to follow it, we didn't have download rights on the site so I just selected all the steps in the screen and send it to the printer. That handful of pages has been with us from morning to night, I lost count of how many times it was on our table during dinner.
Like every carpentry project there are many ways to cut a couple pieces of wood and put them together. However good tools sometimes are the difference between SQUARE corners and "sort of square" .
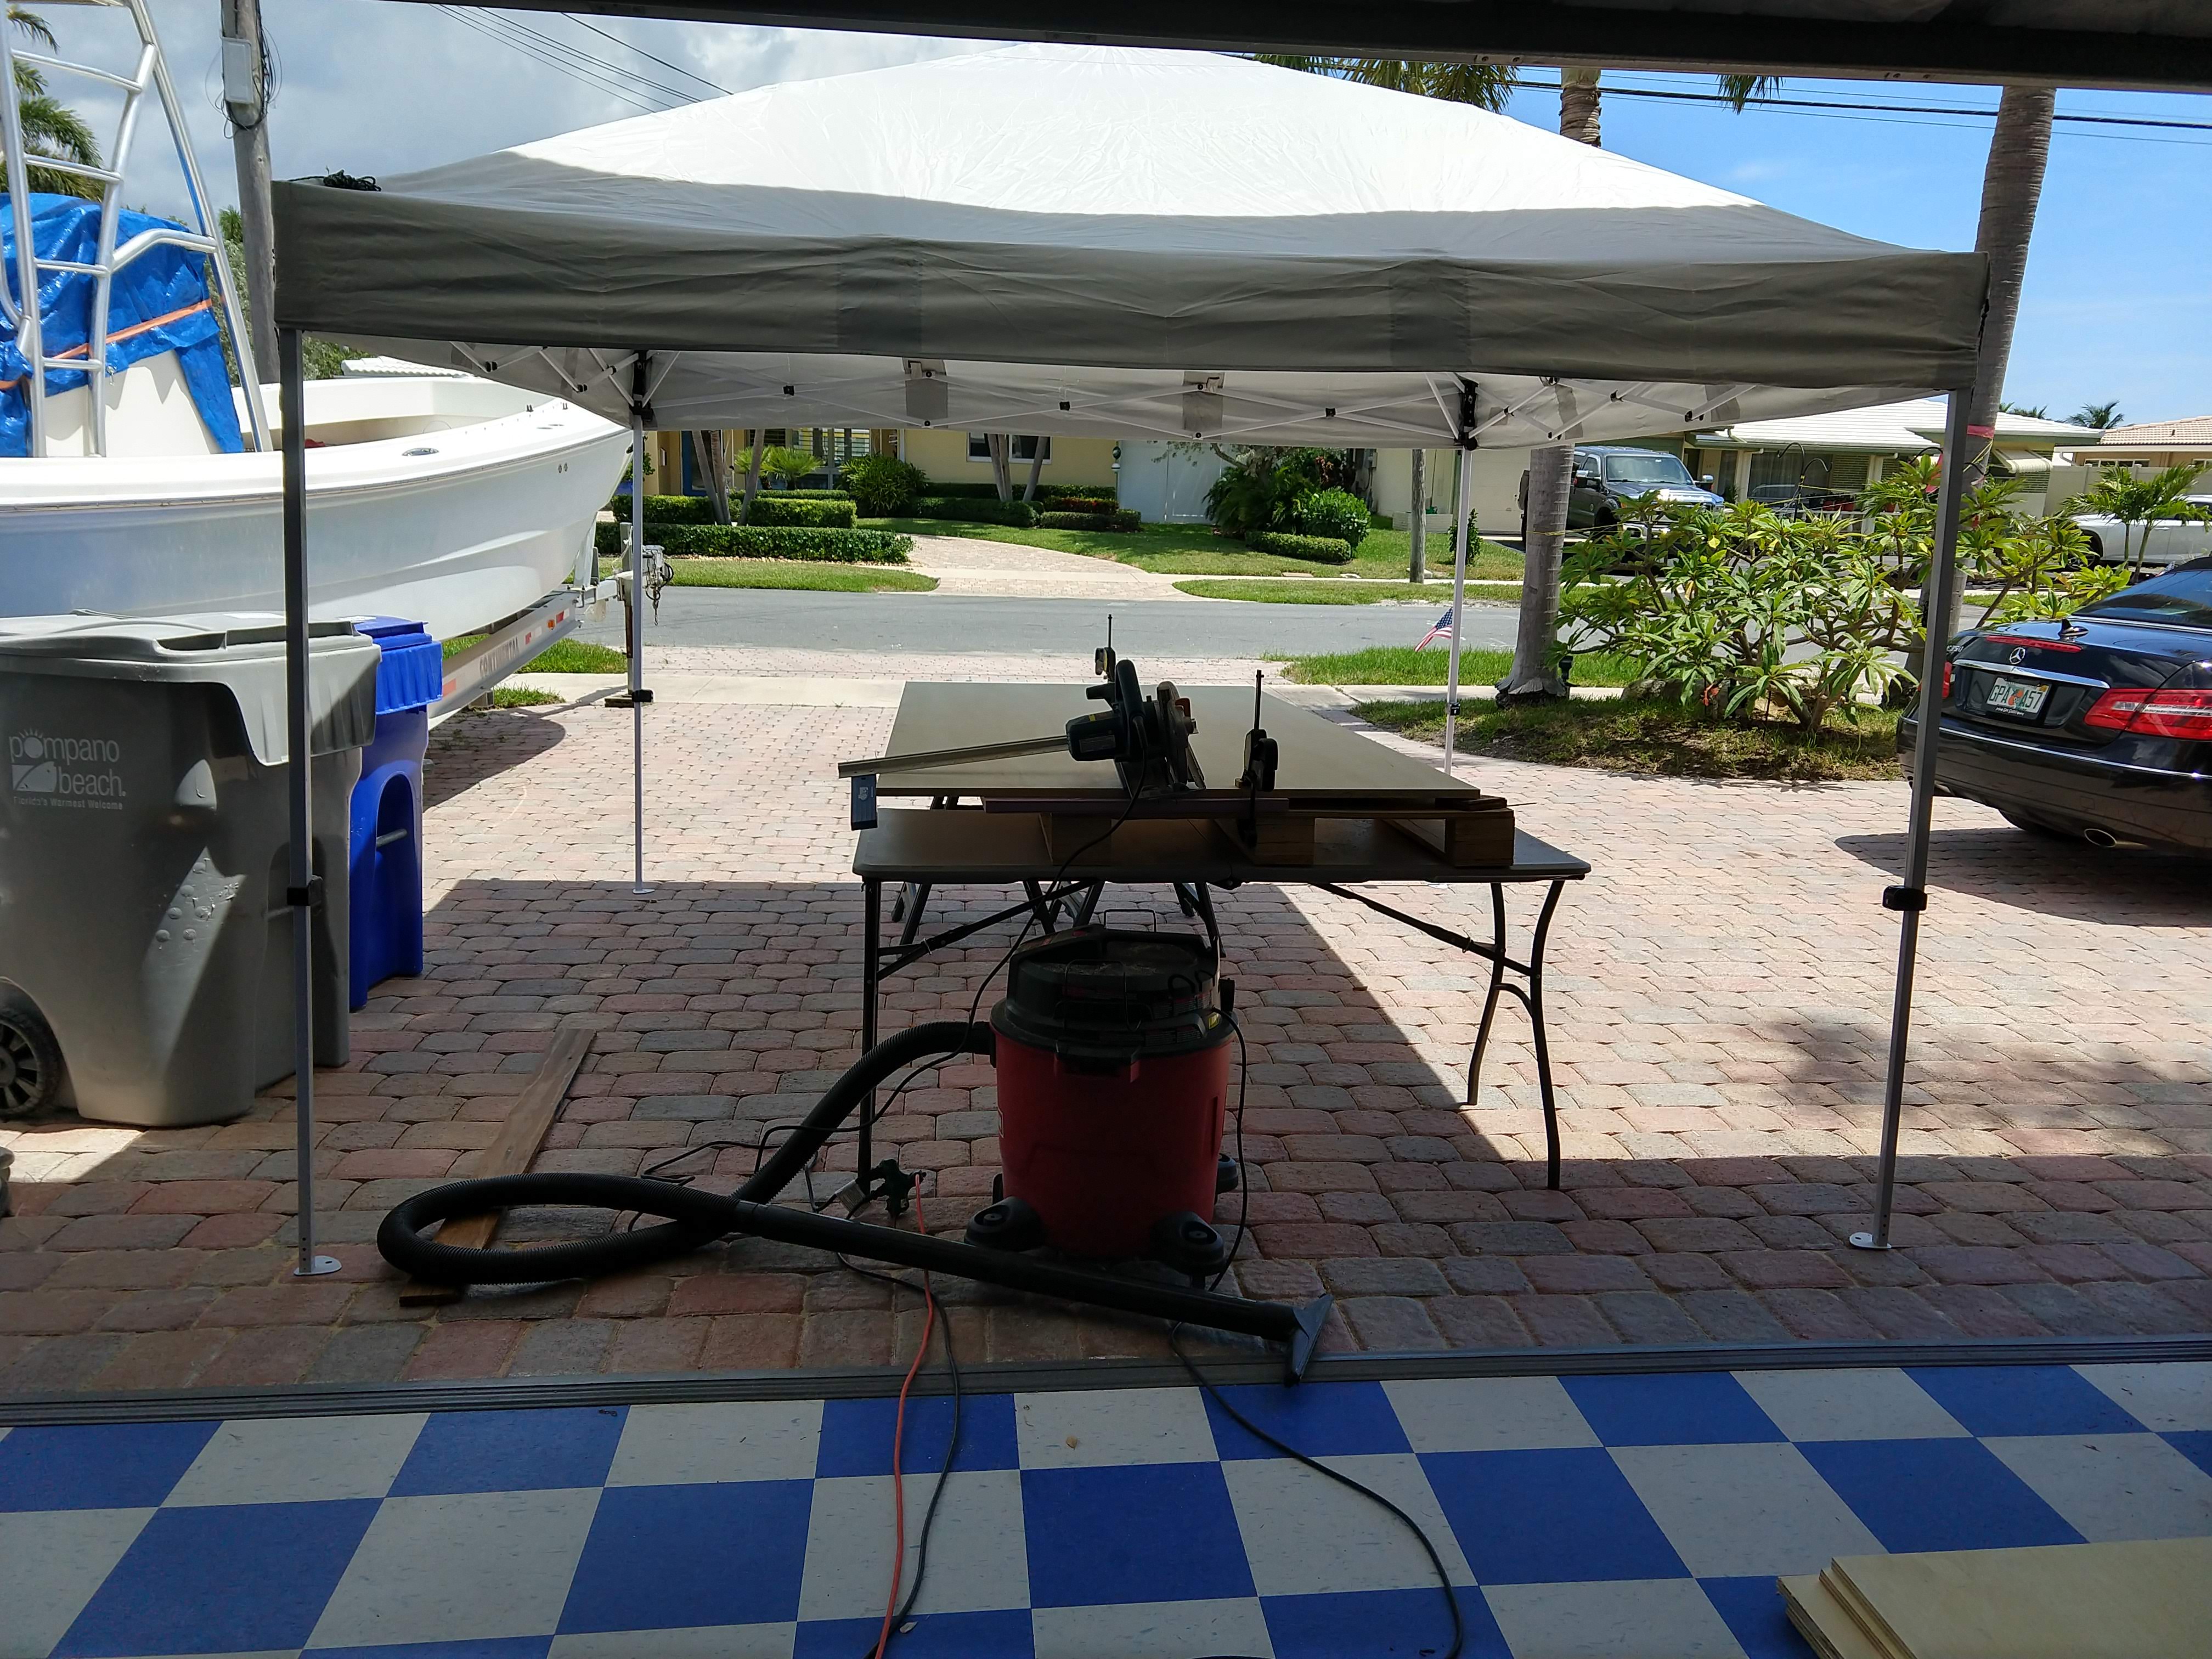
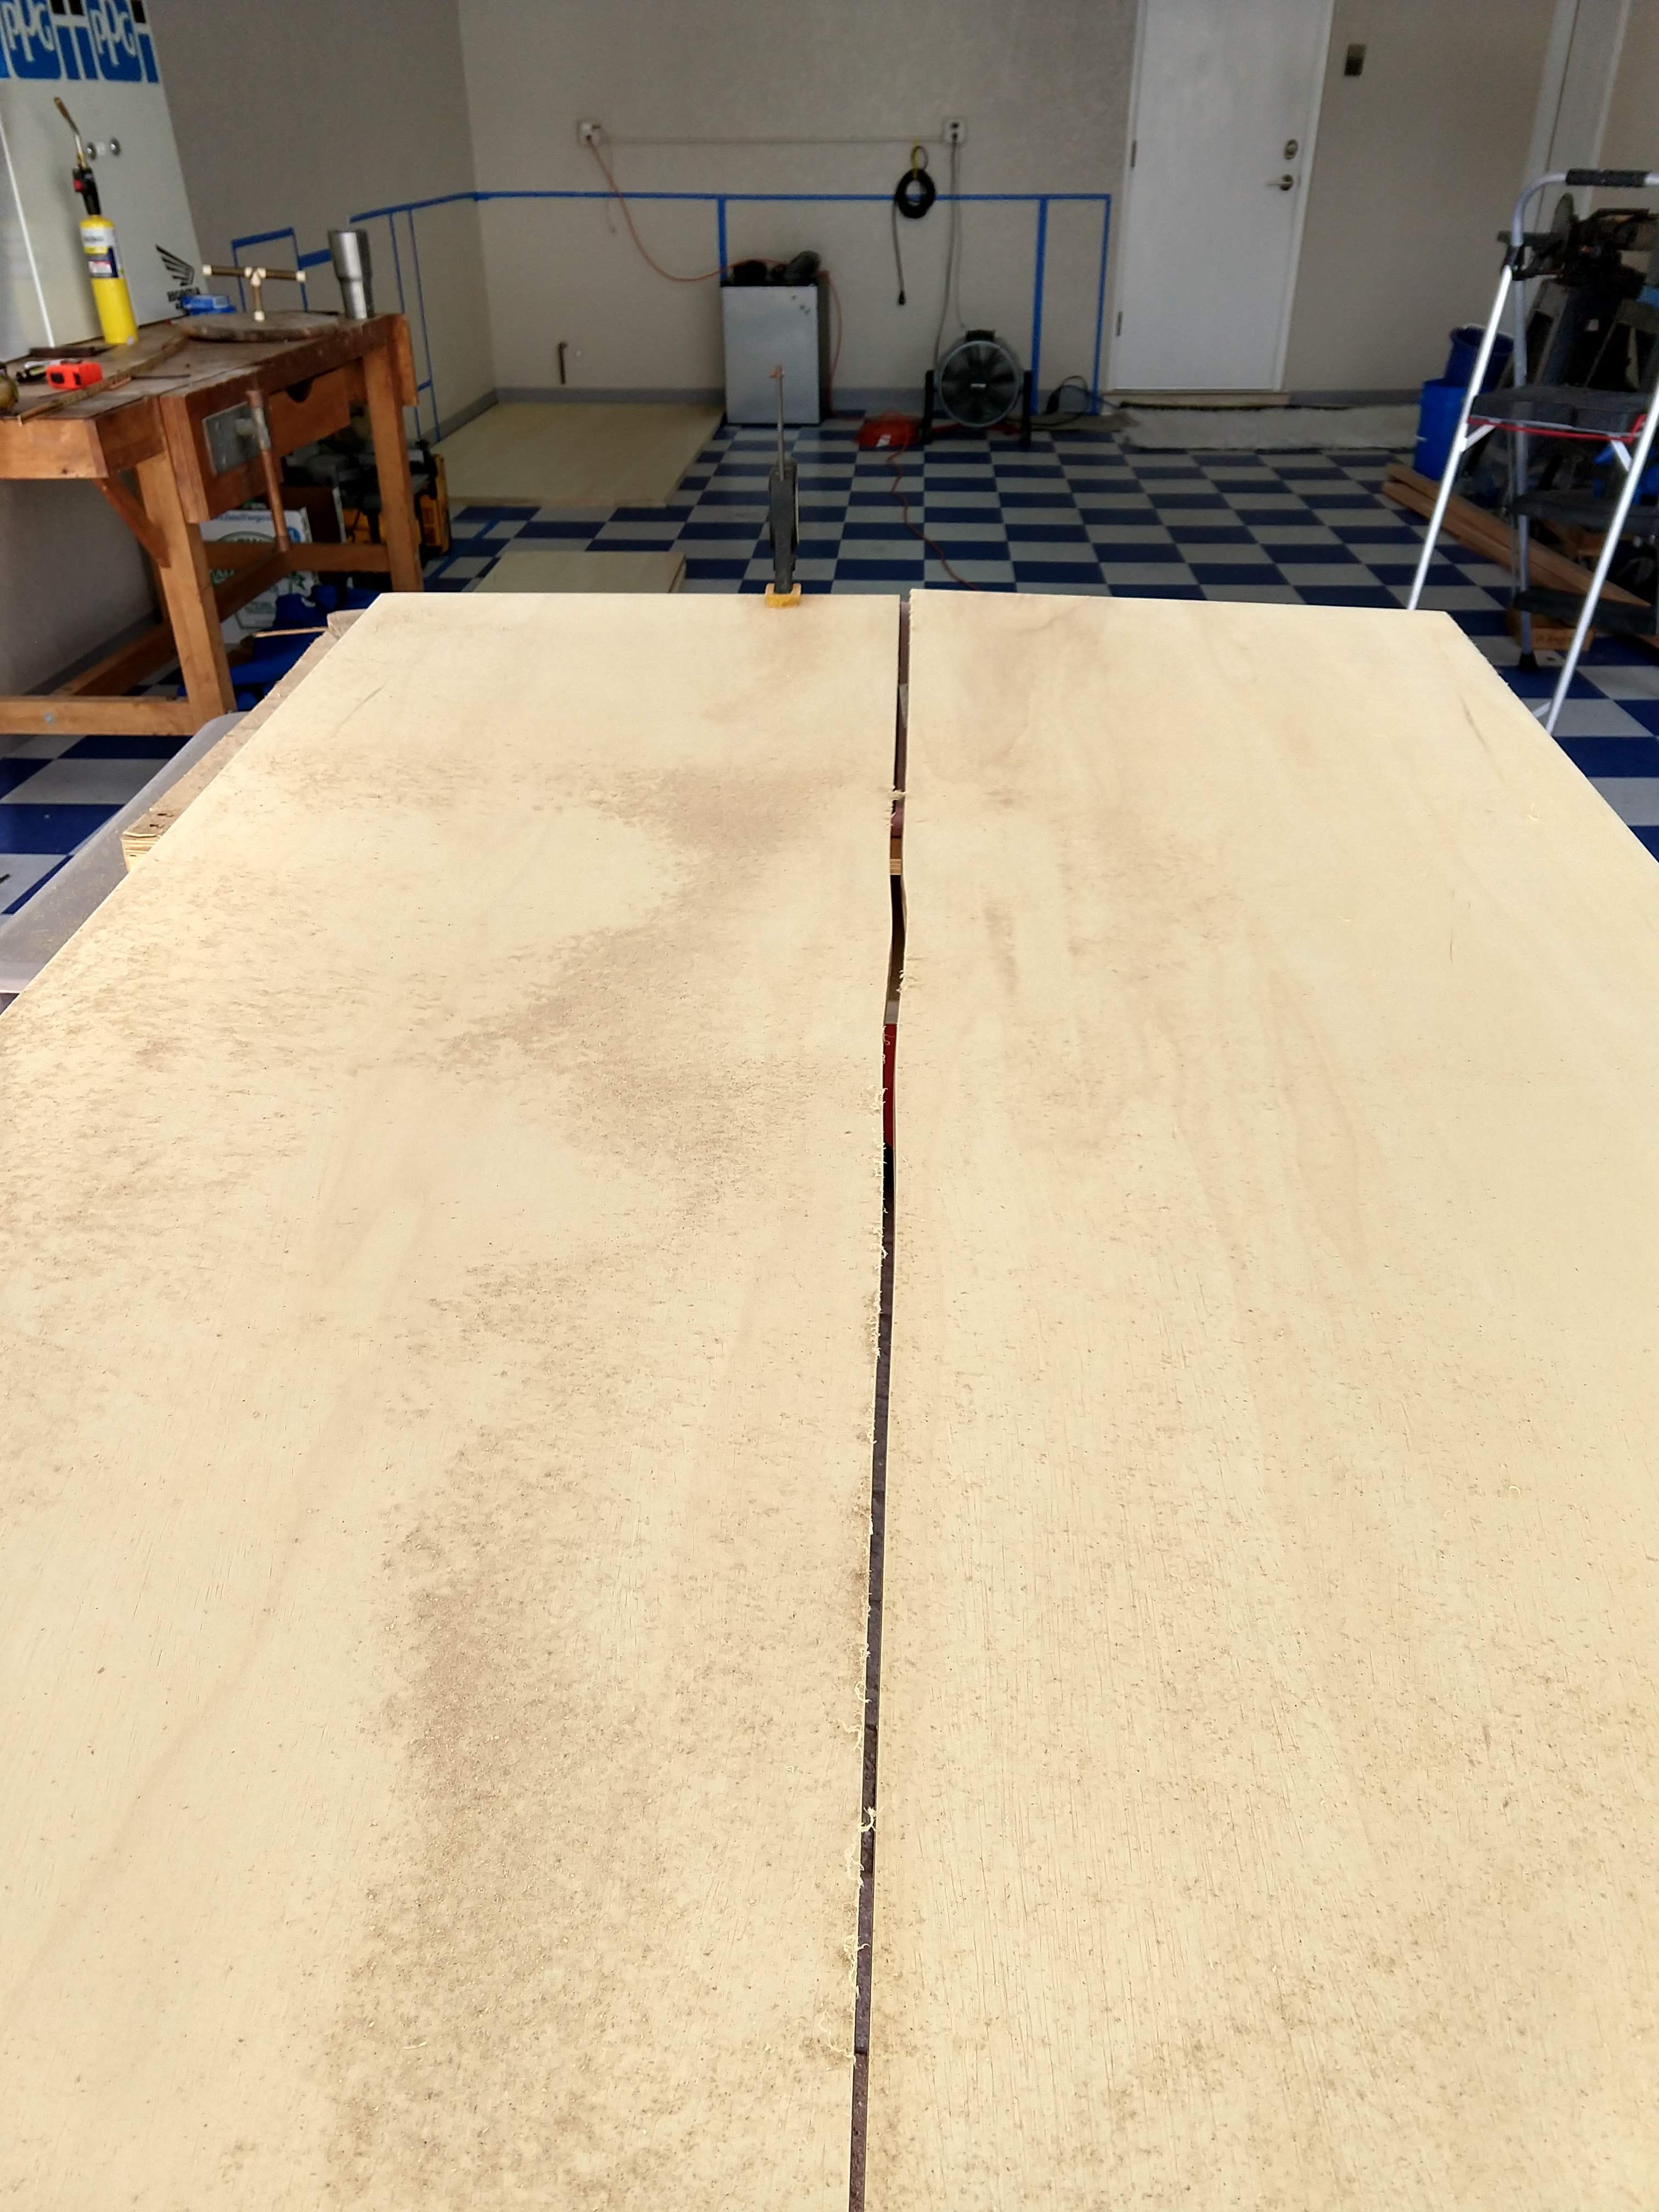
Top of the list on the "must have" is the Kreg Rip-Cut, available on hardware stores and of course on-line, we picked a place that had them on sale. Now as good as this tool is, please take your time using it. One of the photos shows the 5th plank cut in 2 halves, the previous 4 were very straight but overconfidence and a little bit of fatigue kicked in.
Beware of your abilities and if in doubt go slow. This wasn't rocket surgery but required time, a lot of patience, and attention to details. The fact that neither my husband nor I are in our 20's anymore, probably doesn't help when it comes to strength and stamina. I'd like to say we make up for that with patience and knowledge.
We only used sanded plywood. Check on several stores which one you like better, we noticed a considerable difference between the 2 major hardware store names. We always look for reasonable prices, but price sometimes can be 2nd (within reason), in this case we wanted good finish. Even after deciding where to shop, we carefully examined each sheet of plywood and discarded a few before picking the ones to bring home. The amount of sheets will obviously depend on the length of your unit. Using marcjoli's project as guide would give you the right amount.
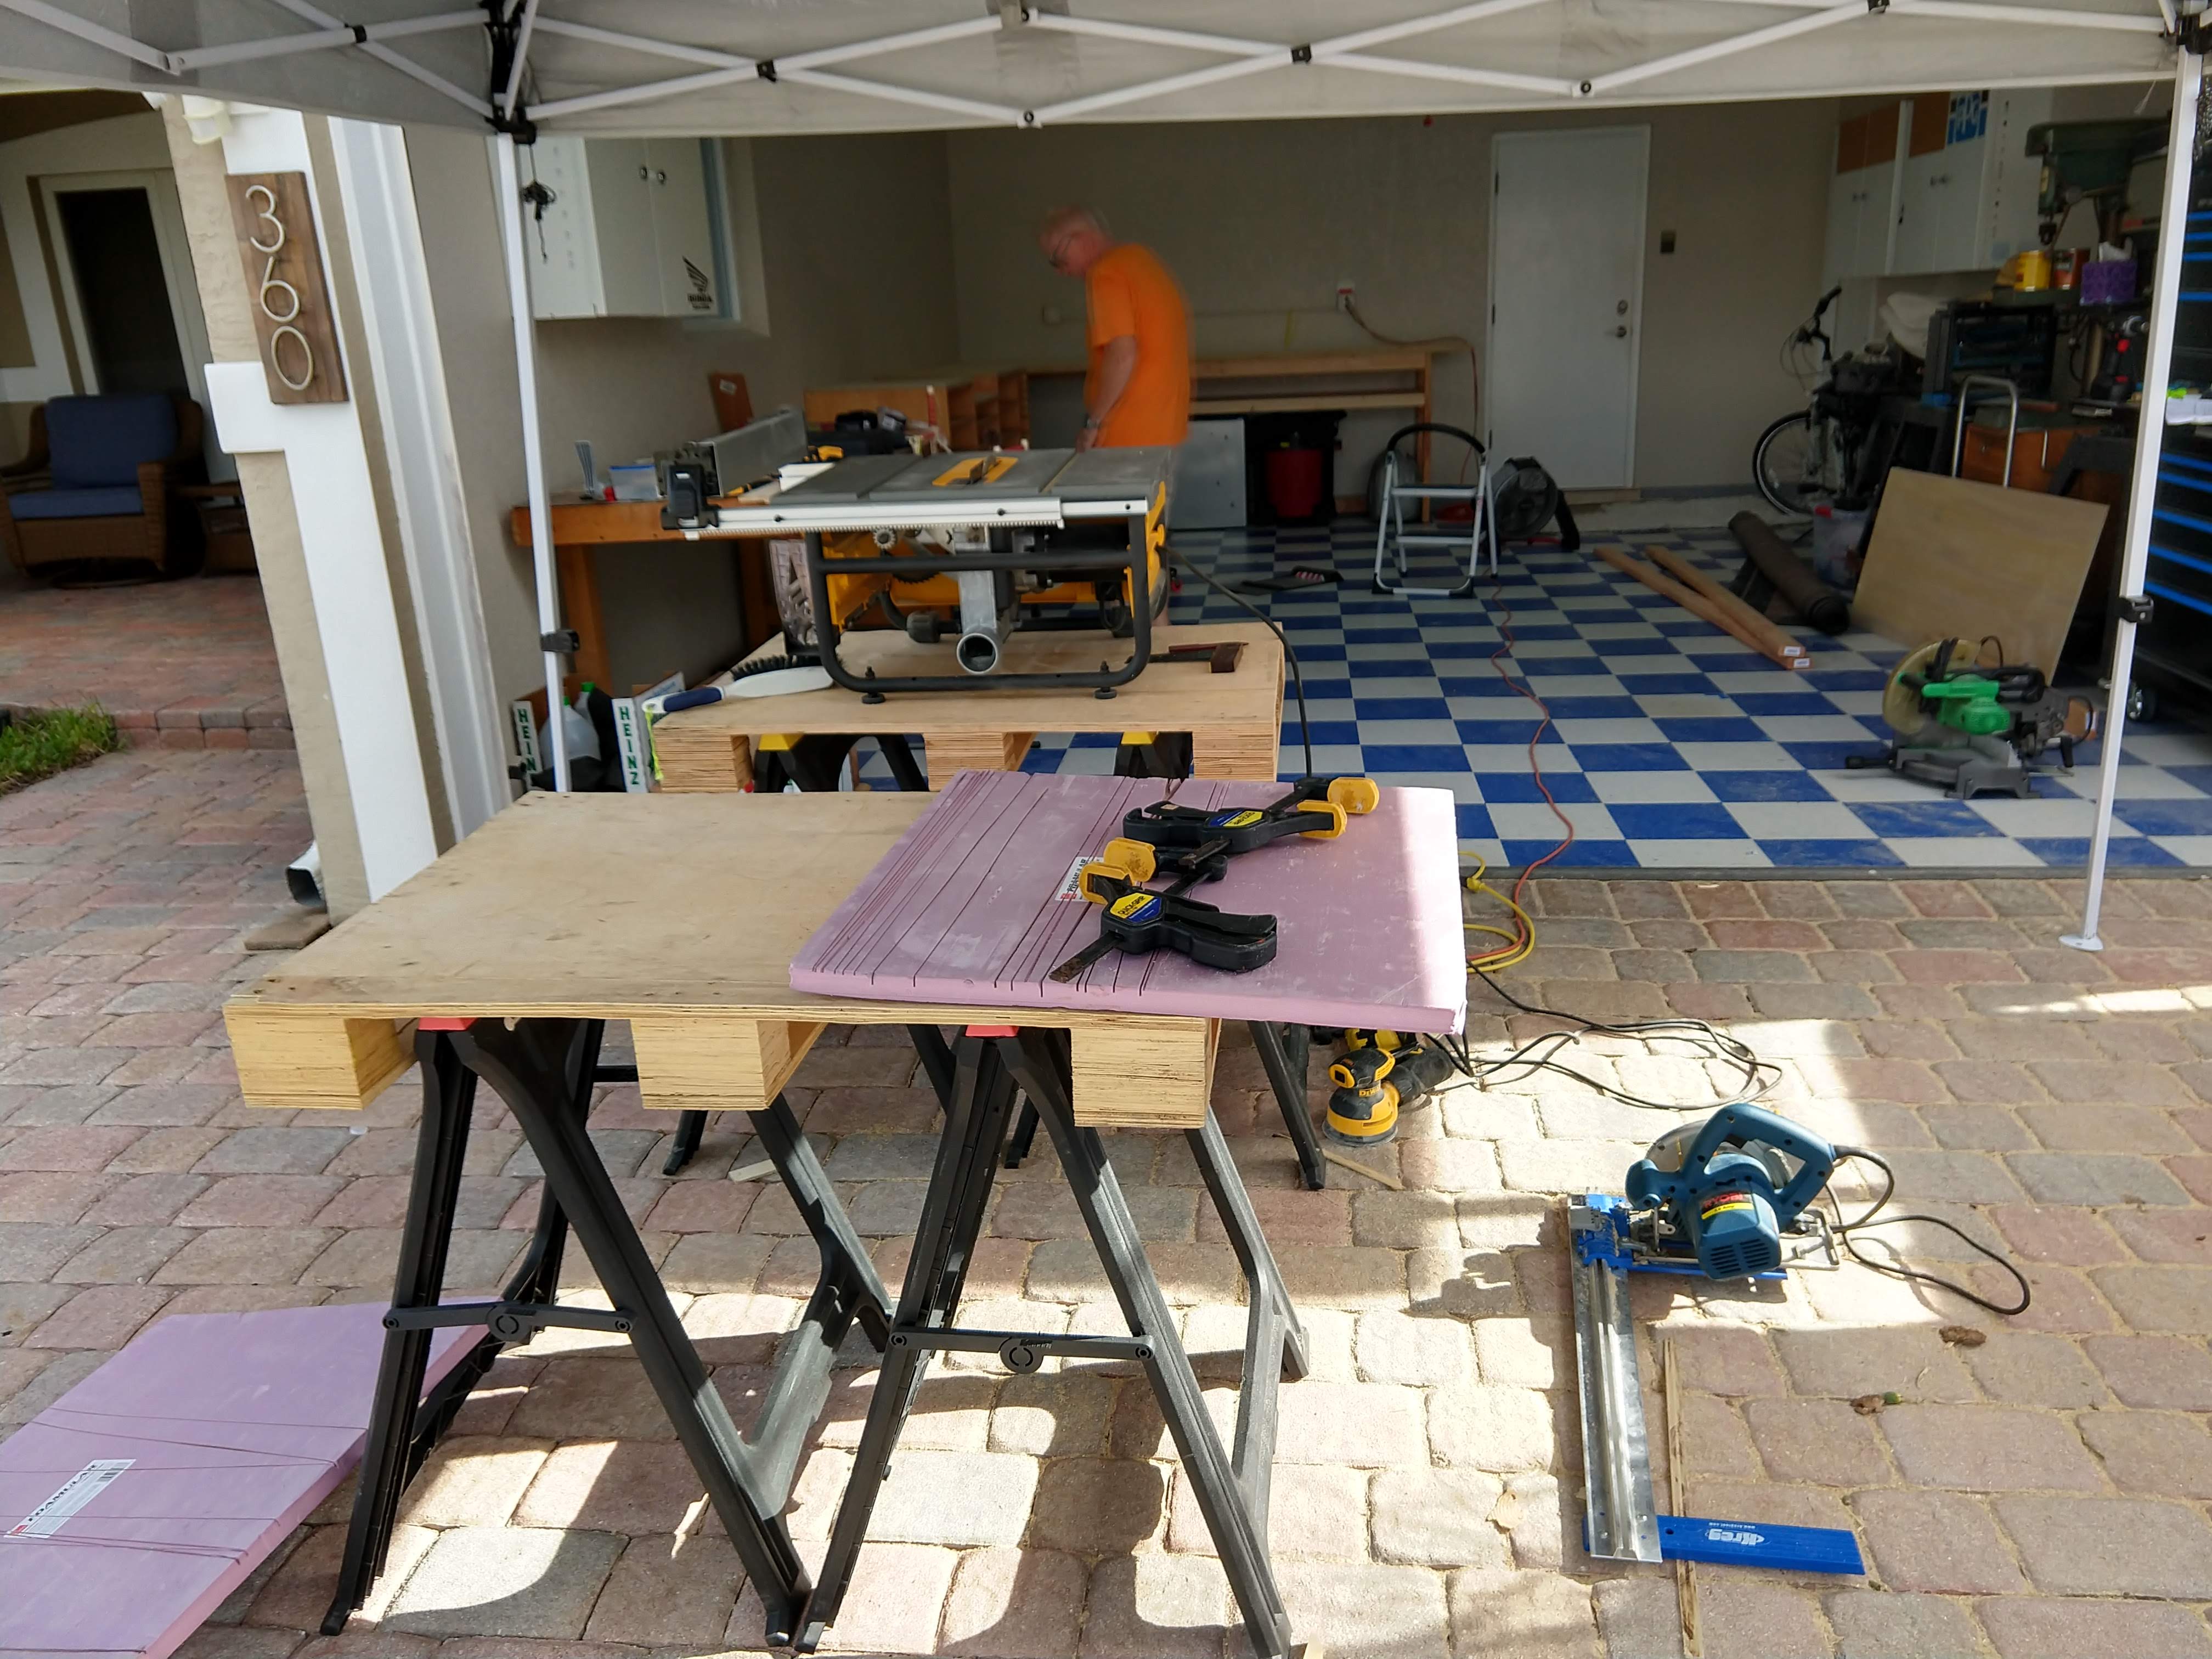
Of course a table and circular saws would be extremely useful, and a variety of hand-tools, every clamp you can get your hands on, and you'd be happy to use 4 corner holders when putting together the drawers.
We read somewhere that it helps to use a pink insulating foam board on top of whatever surface you are using as platform, when cutting with a circular saw. This foam board becomes sacrificial while you complete a full cut without damaging the table/workbench/whatever surface.
The last piece of equipment/tool but probably the most important, is a place to work with some level of comfort. We live in Southeast Florida, is hot and humid (and some days is hotter) figure what works for you, my husband puts a portable canopy 10x10 with a fan, and makes a point to establish a water intake period that depends on the task of the day.When cutting the big sheets of plywood: every 2 sheets; when staining the carcasses, every 2 units. Whatever works but plan it in advance, otherwise you'll get into it and end up more exhausted than necessary.
Measure, Measure and Measure One More Time.
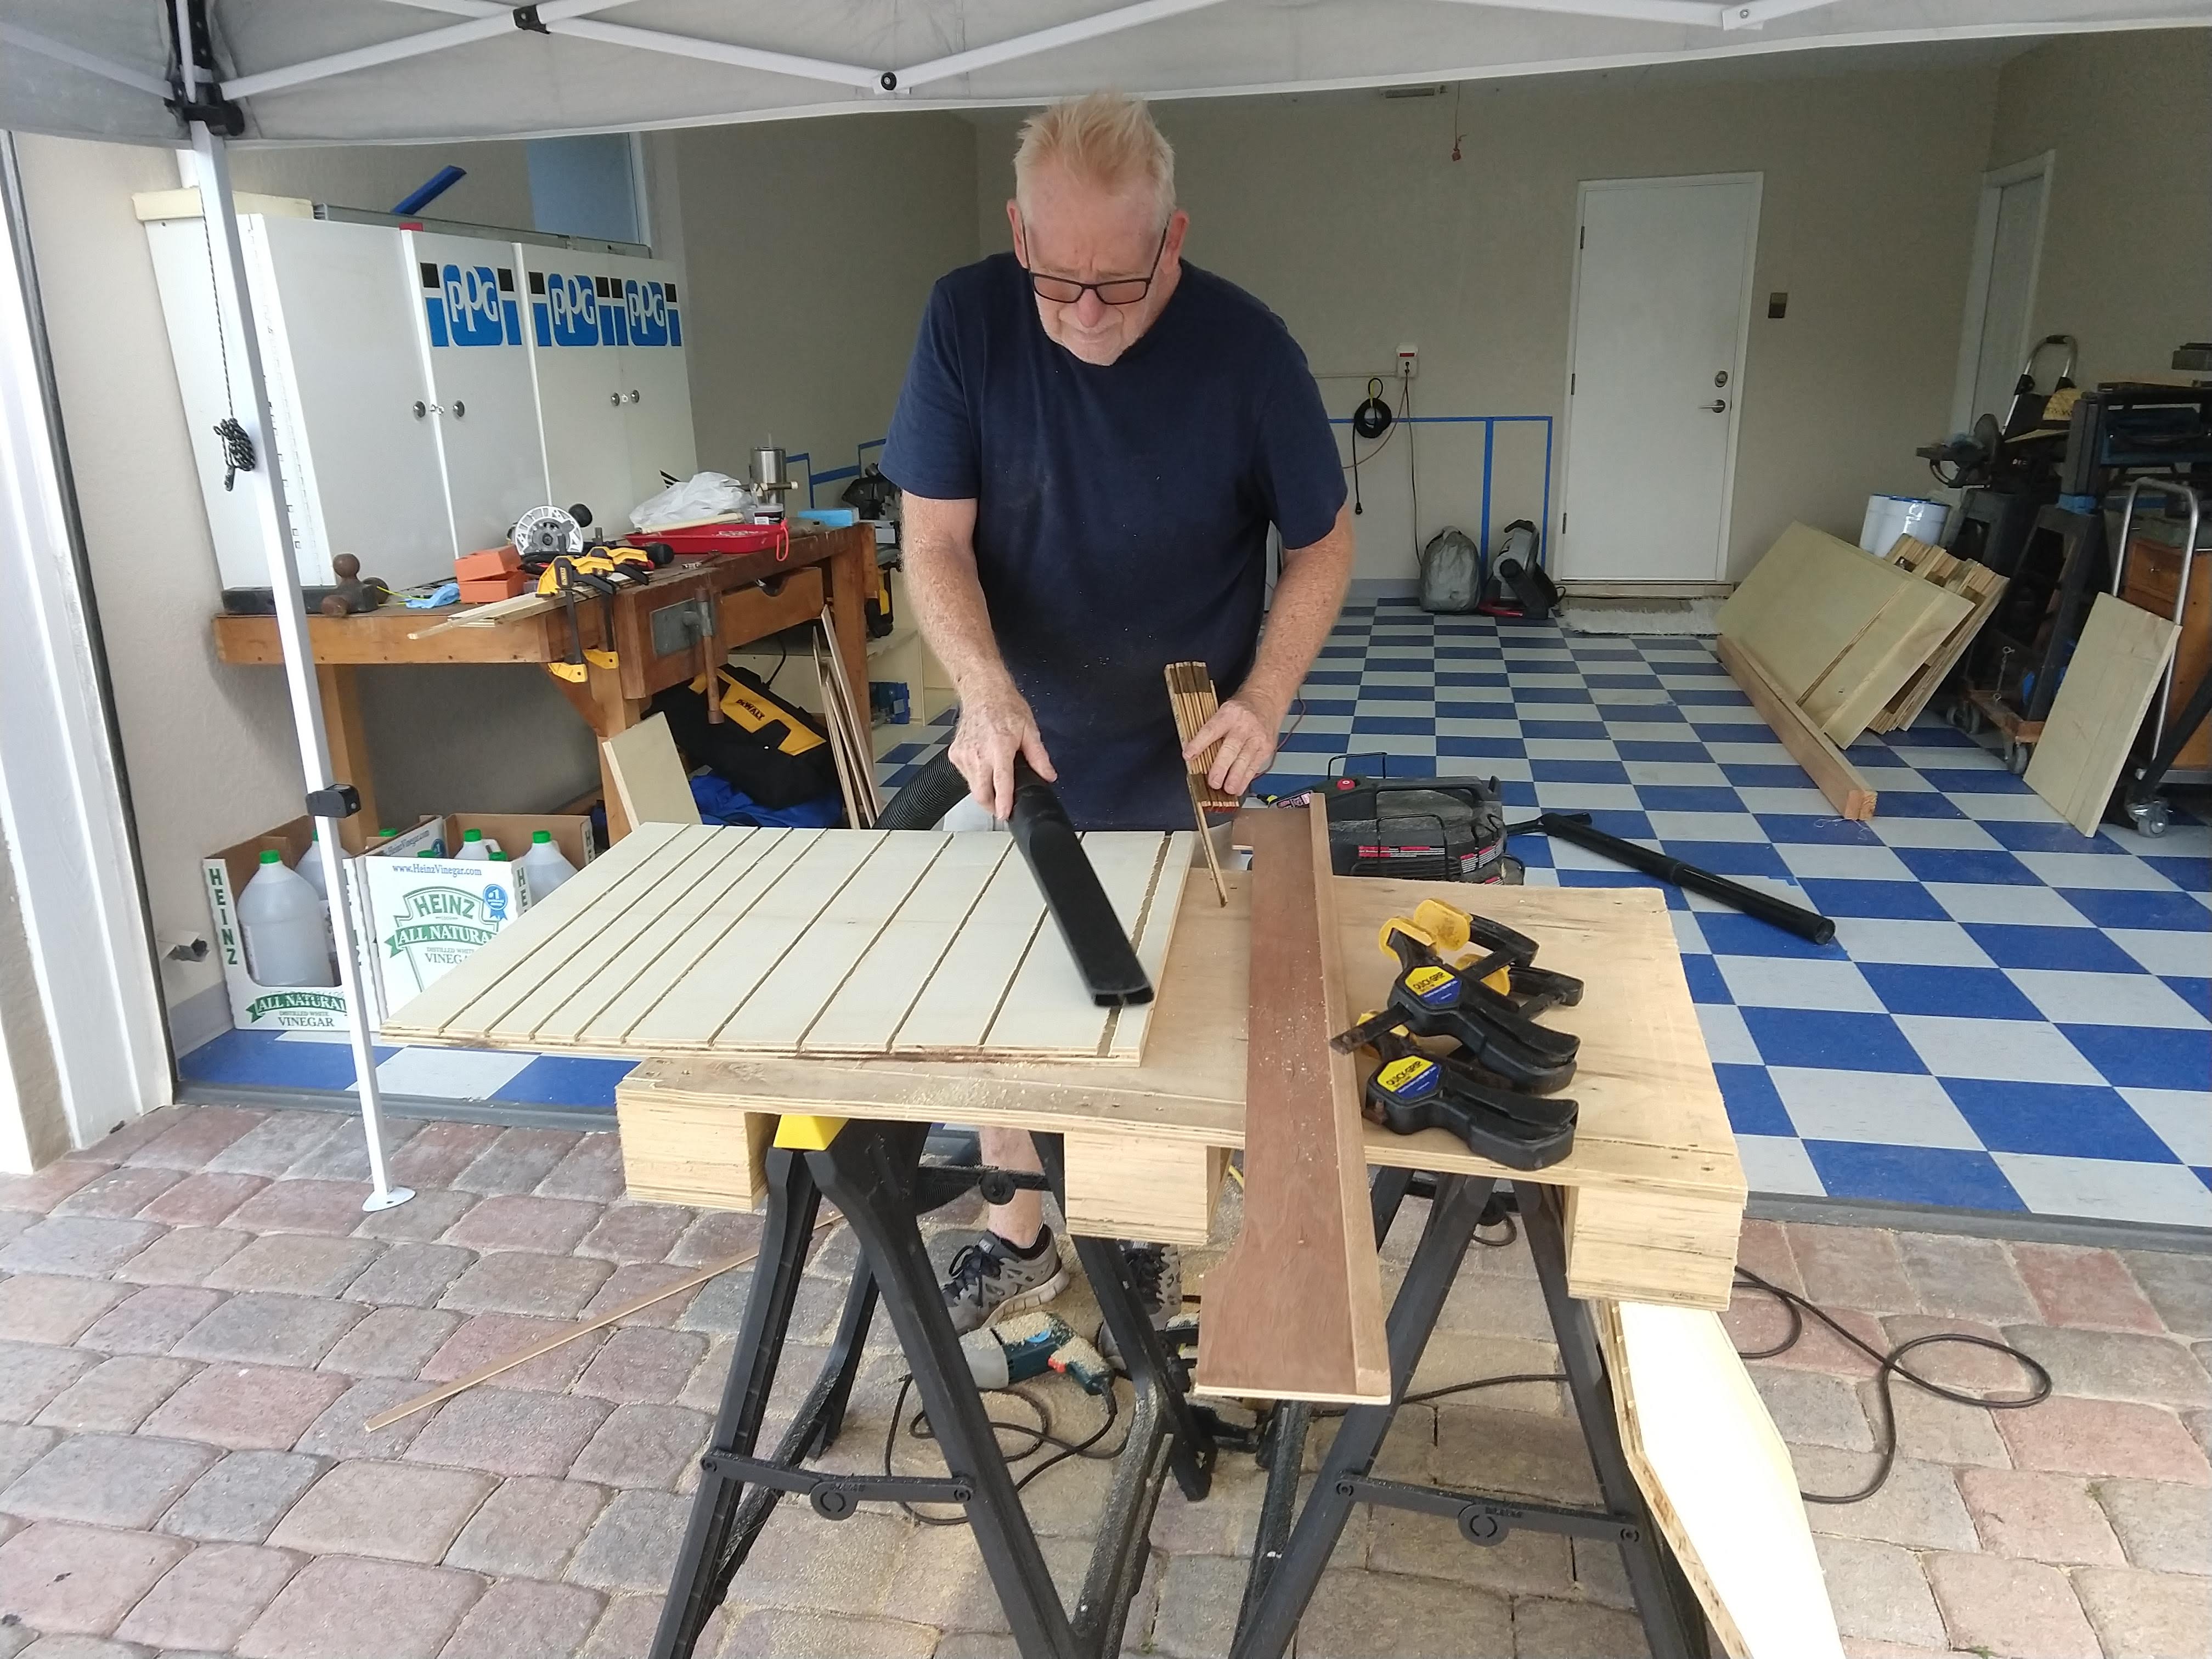
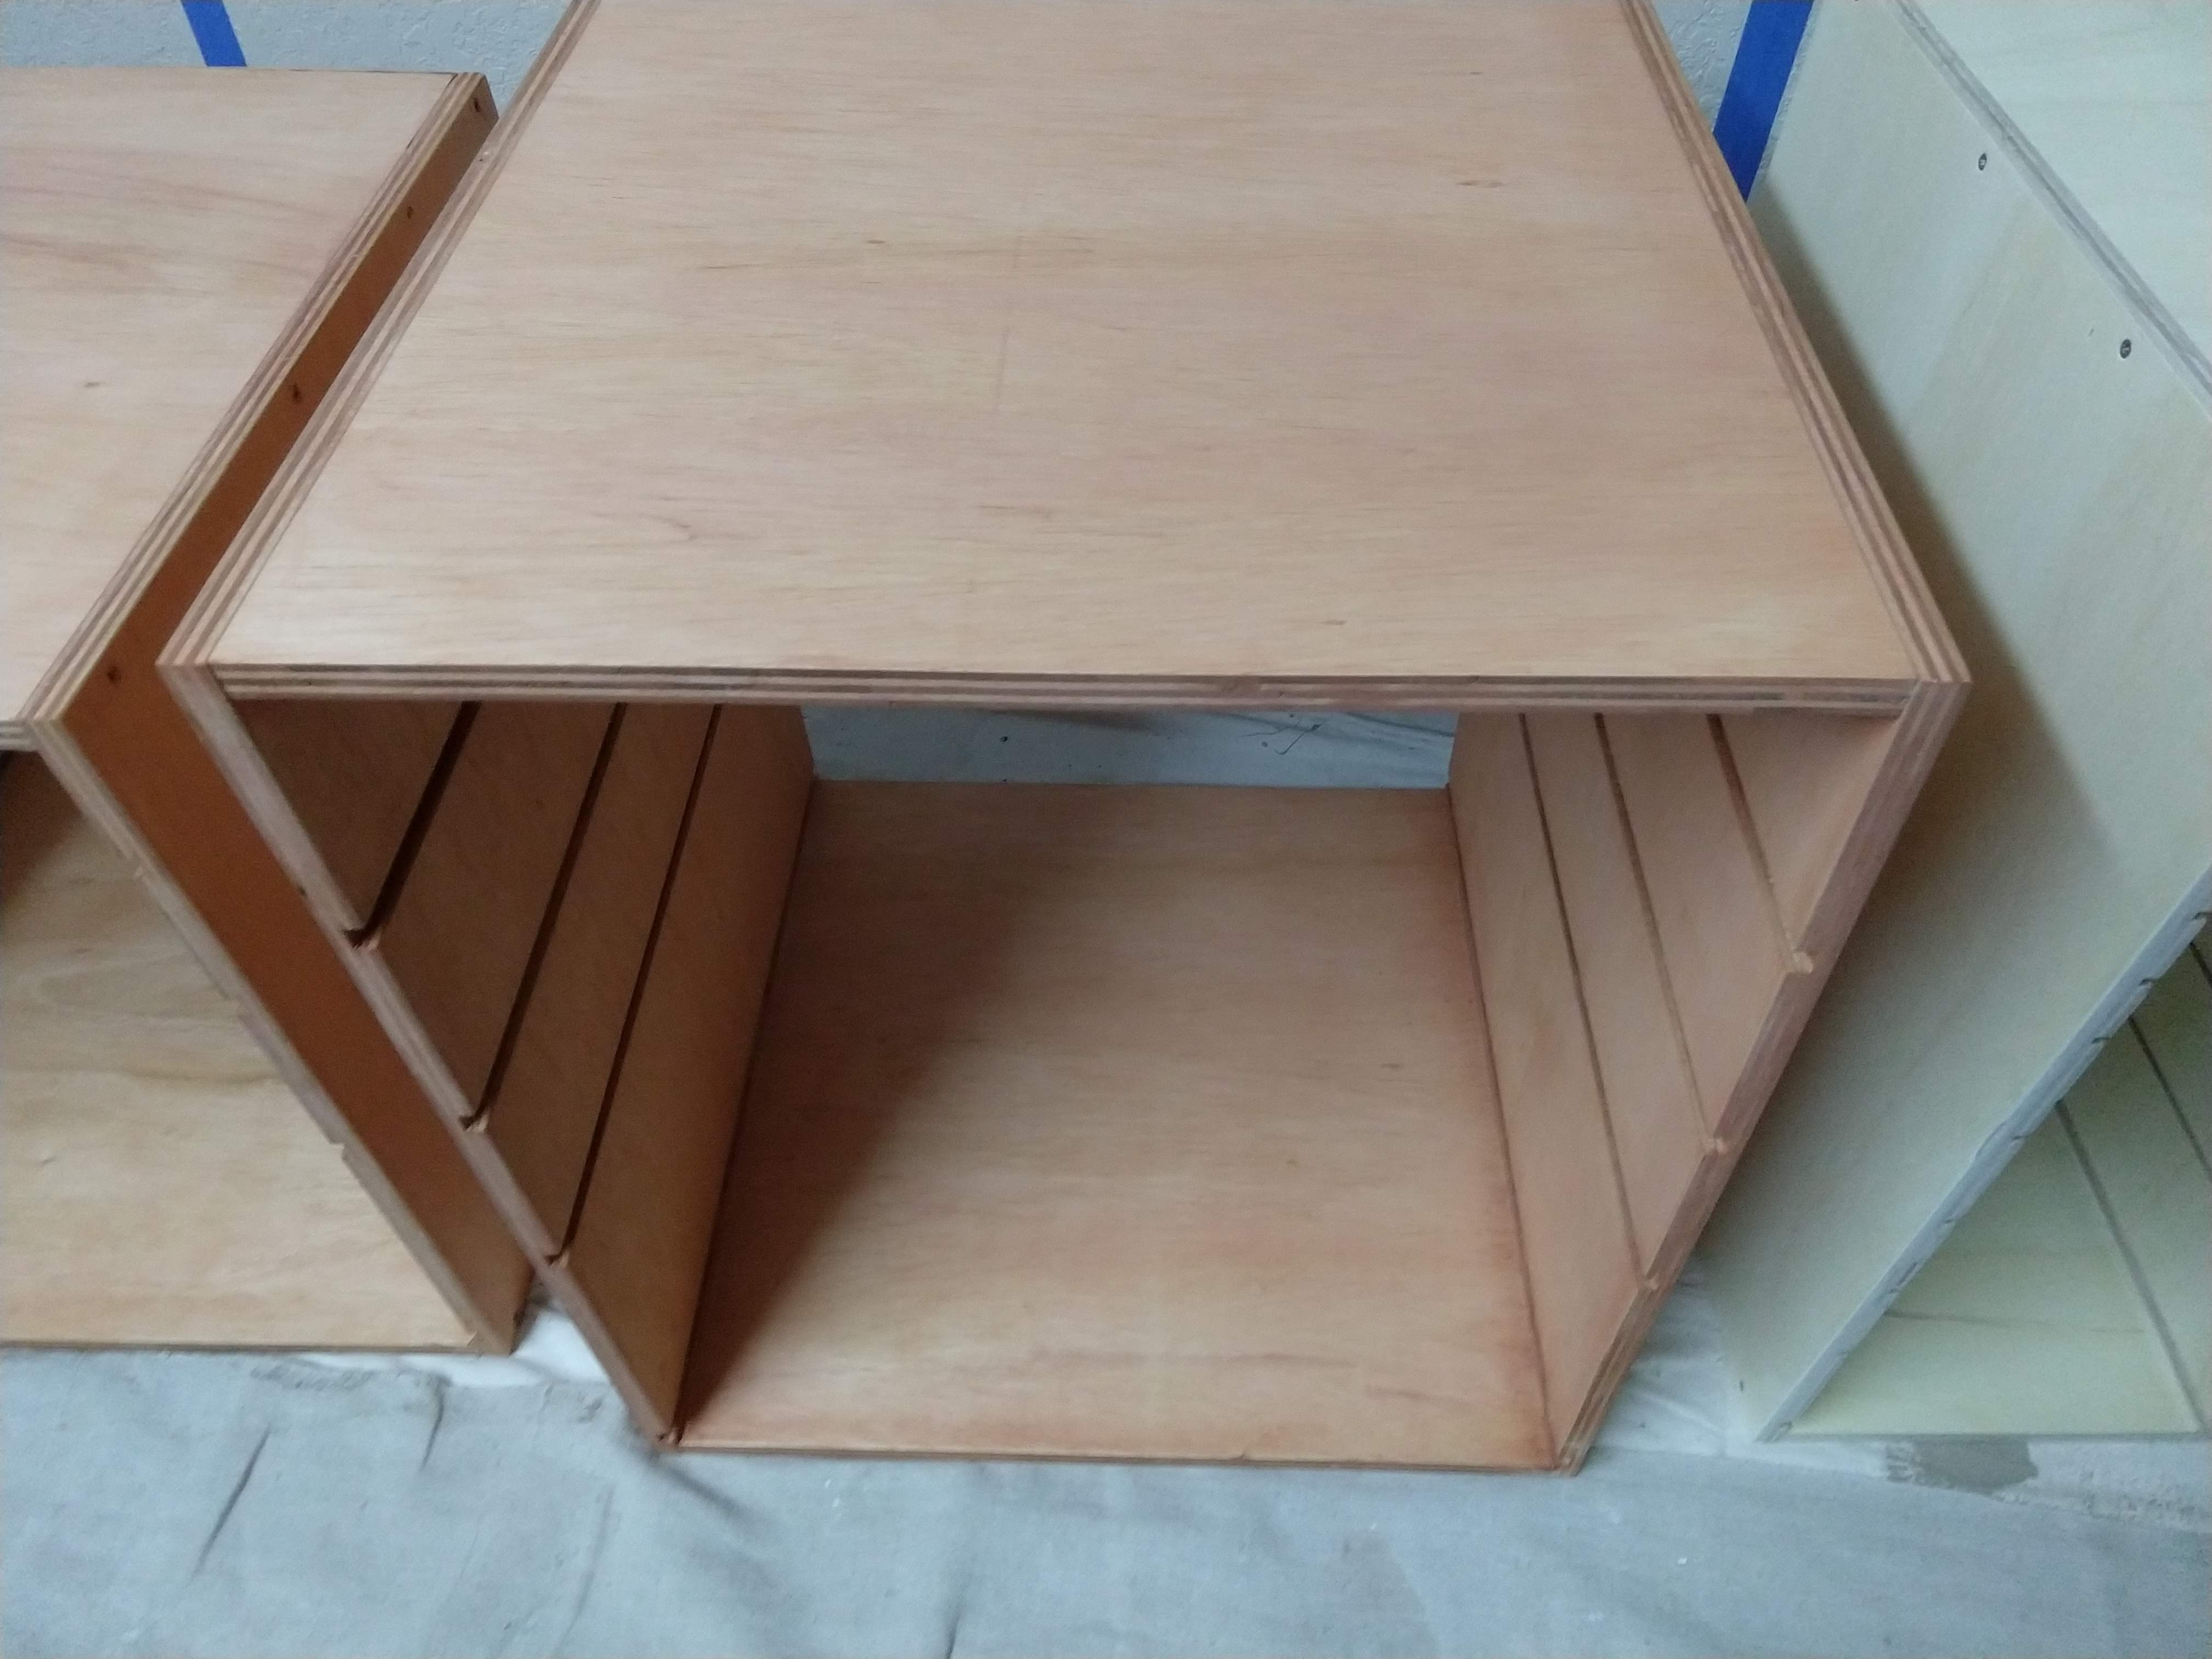
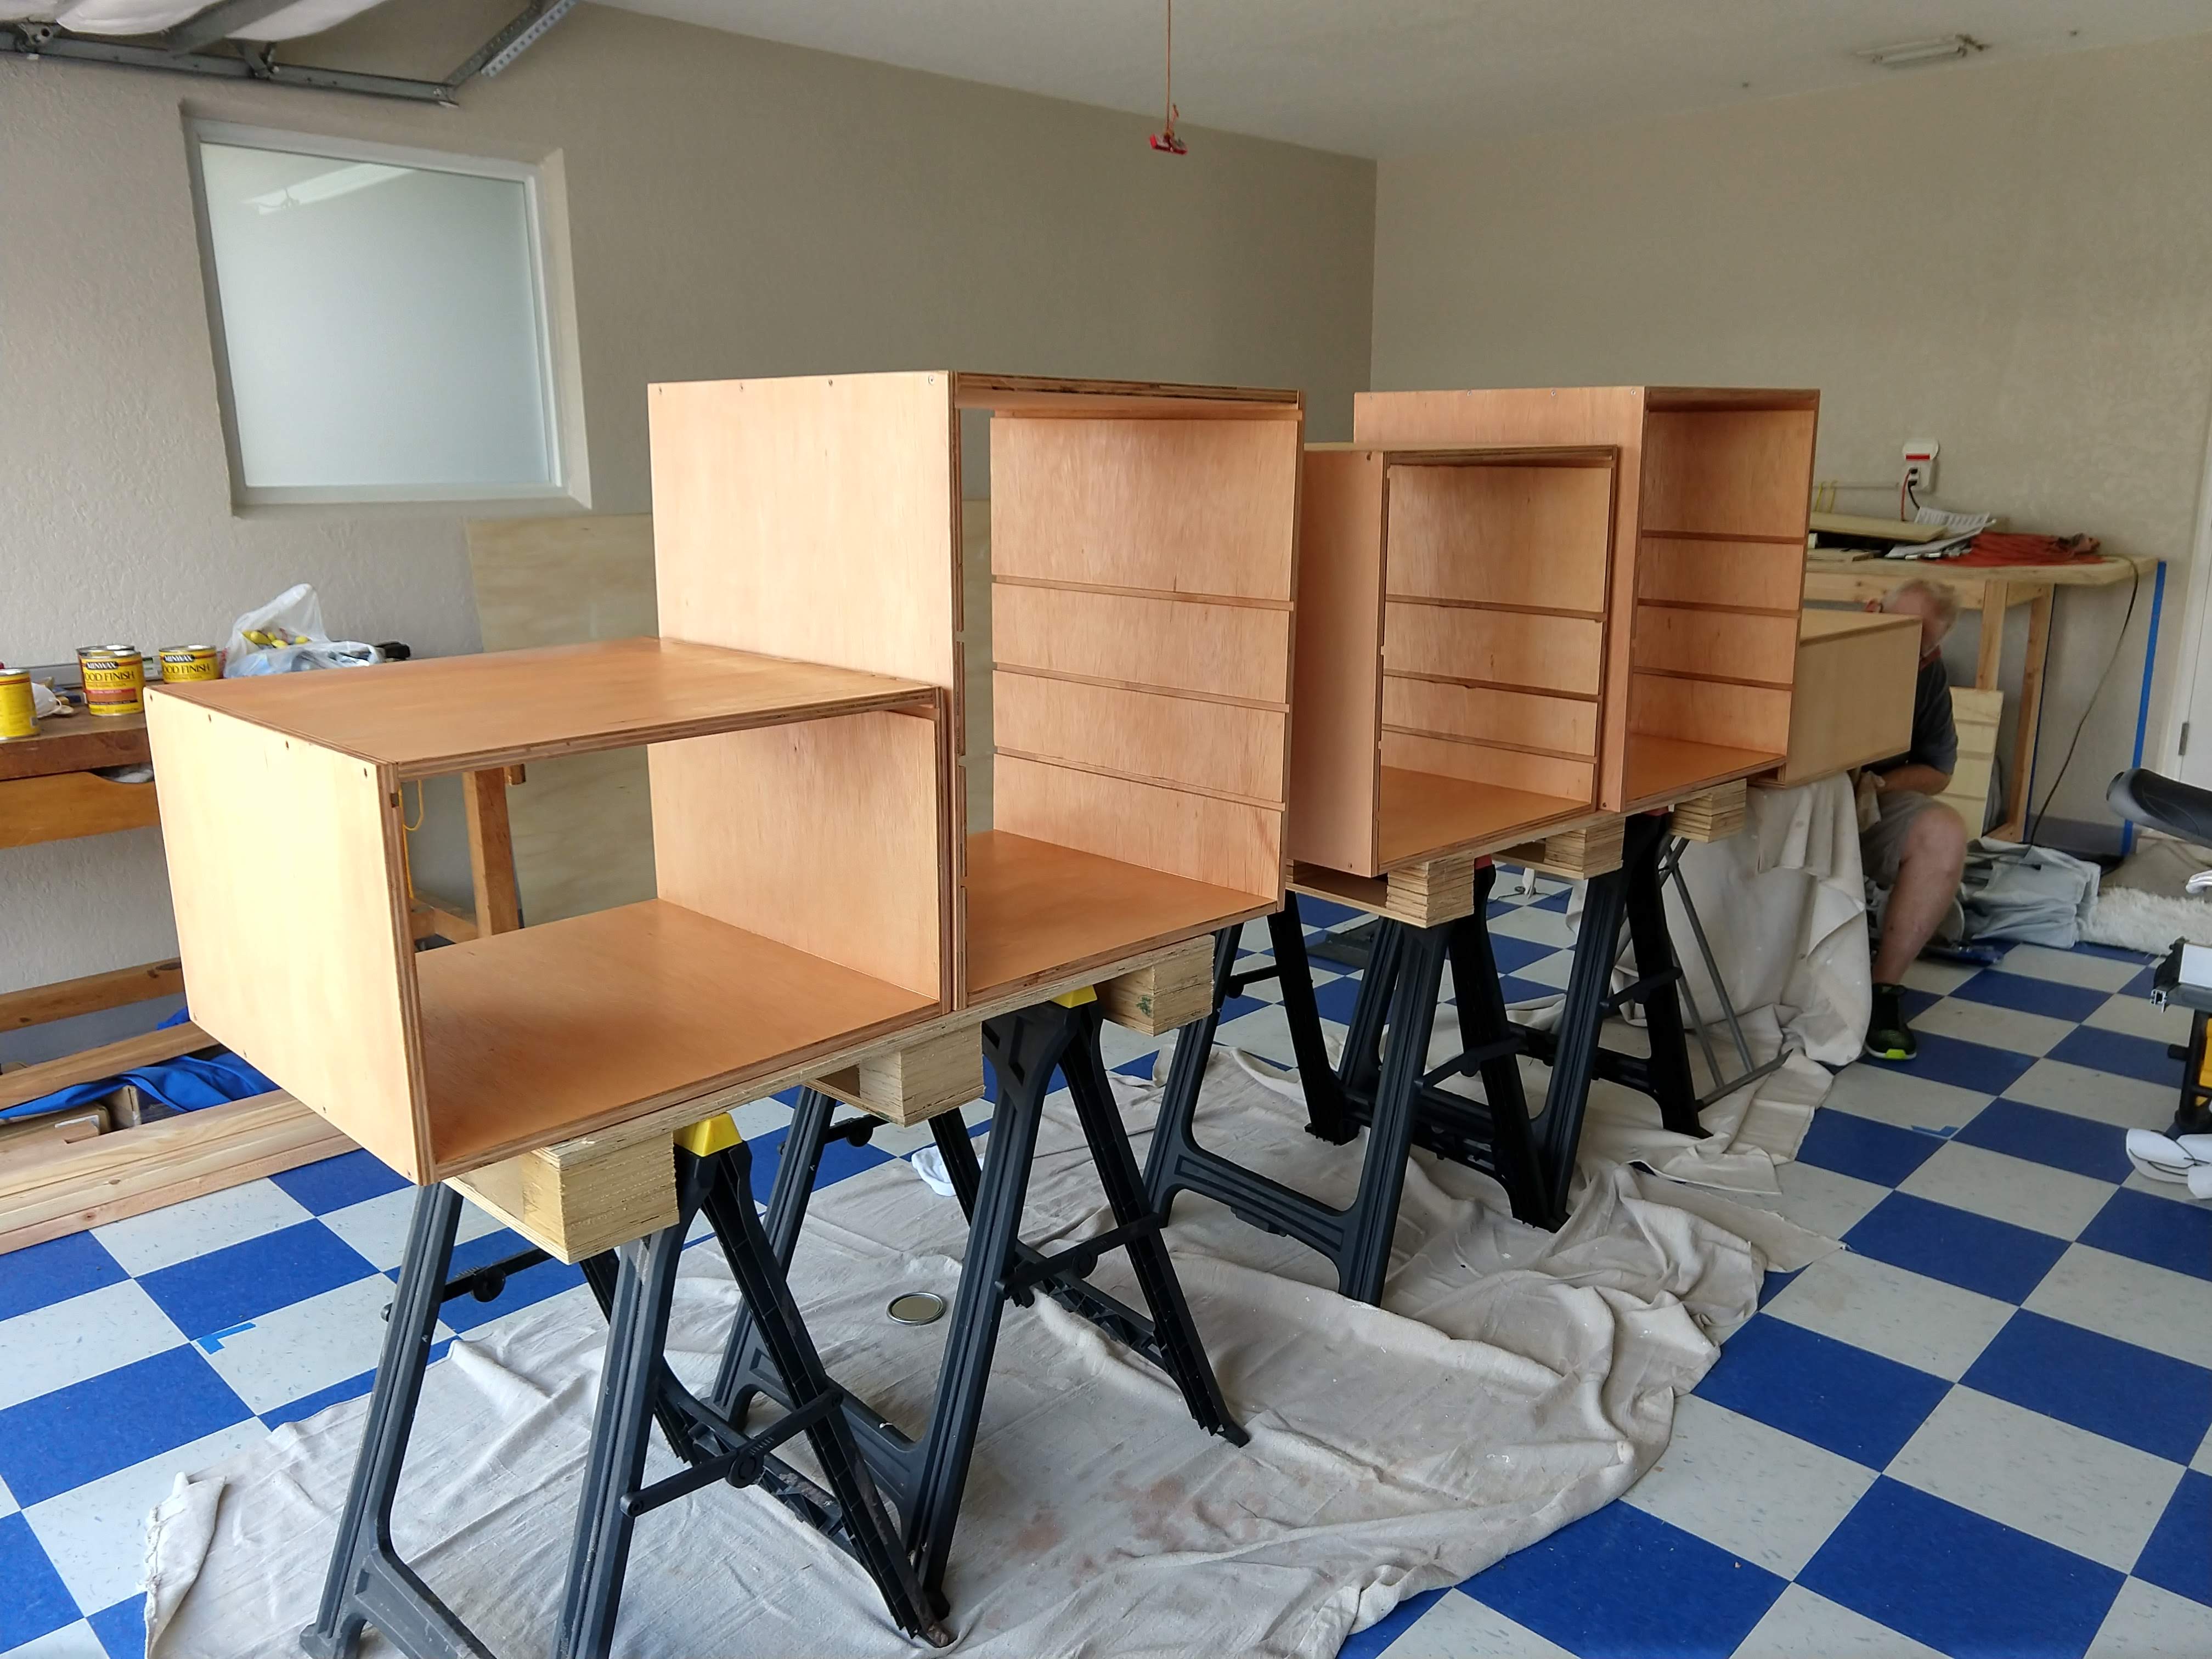
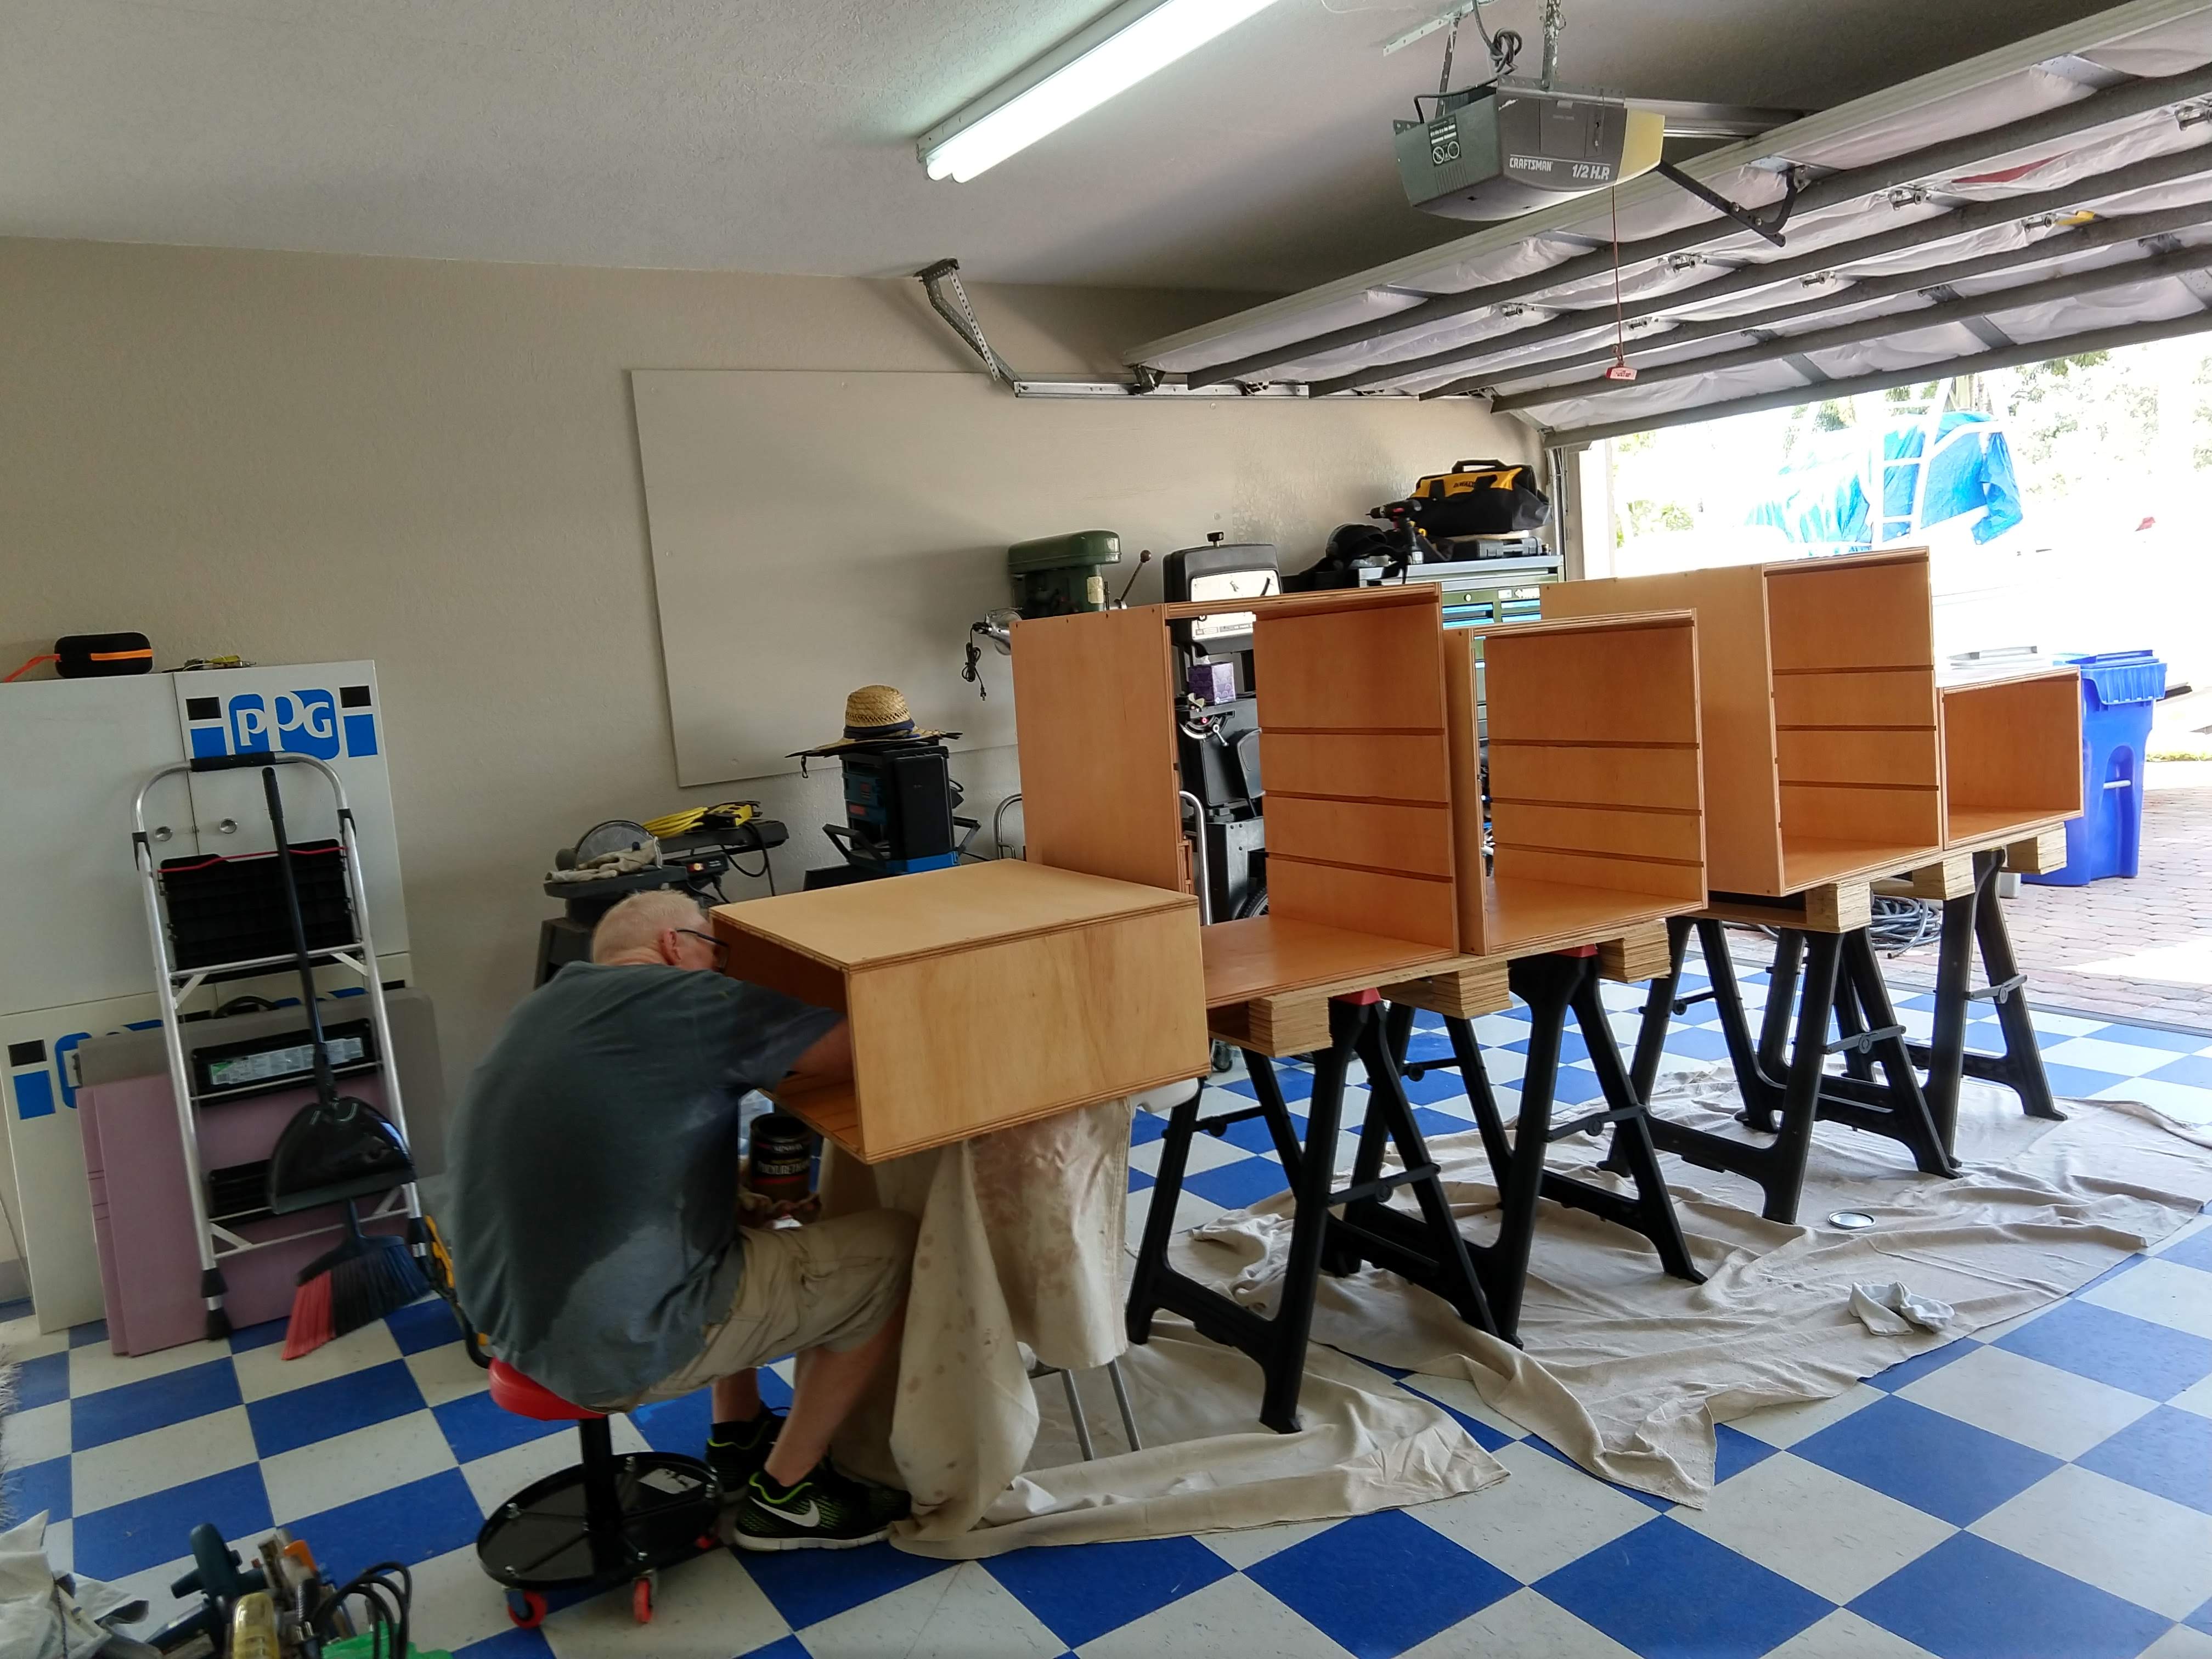
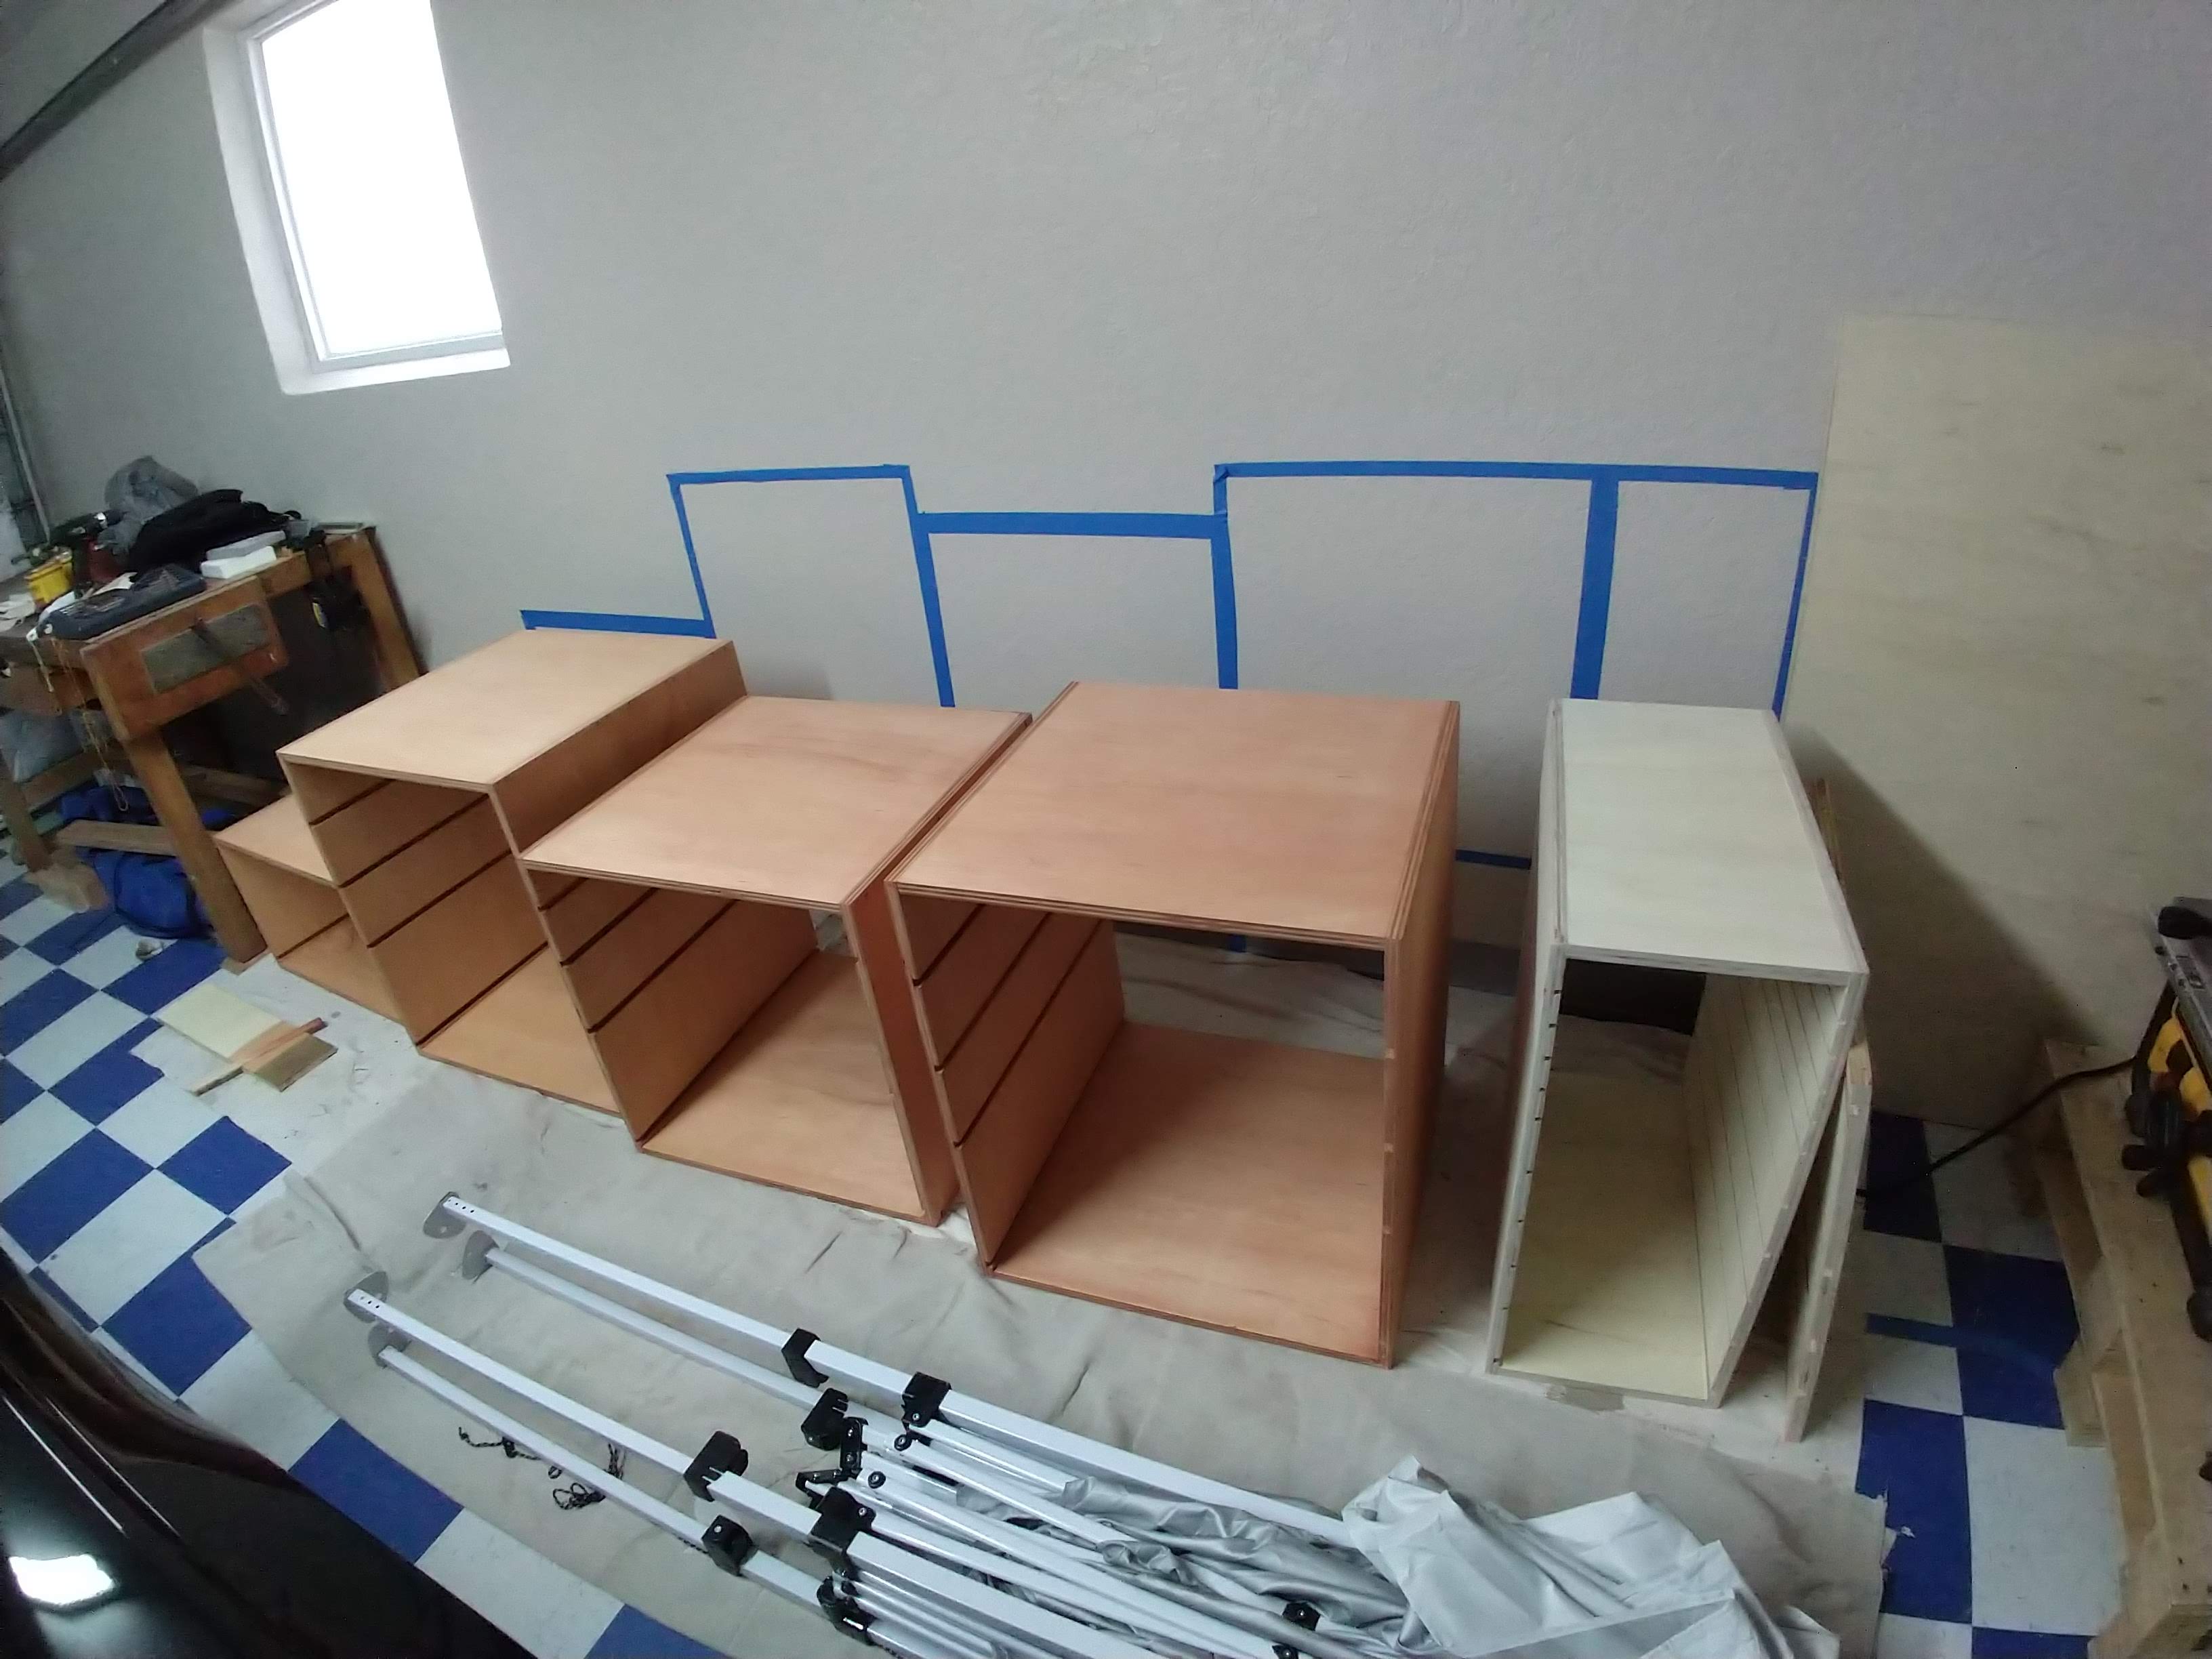
After all the measurements star cutting!
Most likely at least one of the pieces is going to come out less than perfect, use that one to practice with the router. If like us, you understand the gist of routers and maybe even own more than one, but only use it one in a blue moon or forgot the last time you used it, it will benefit you to take a sacrificial piece of wood and practice with the router, those tracks need to be as straight as possible.
During the planning stage we decided that unlike the inspiration project our needs require different size drawers, not only different depths but different widths too. Also the very bottom drawers won't be part of these carcasses. We do need bigger bottom drawers but rather put casters for those and make them totally independent of the units above.
Once carcasses are made, comes the sanding and staining. The sanding depends on how good was the plywood to begin with and how smooth you want the finish product to be. Keep in mind the internal pieces will be touching sides so there's really no need to get too picky on those areas.
We run out of stain and the next container wasn't the exact same shade, before freaking out we realized that a 2nd board will be on top for the bench, the edges will be painted to match the floor (instead of red as the inspiration project) and if after it is completed it looks wrong because of that different tone, then will figure a remedy.
To the Wall
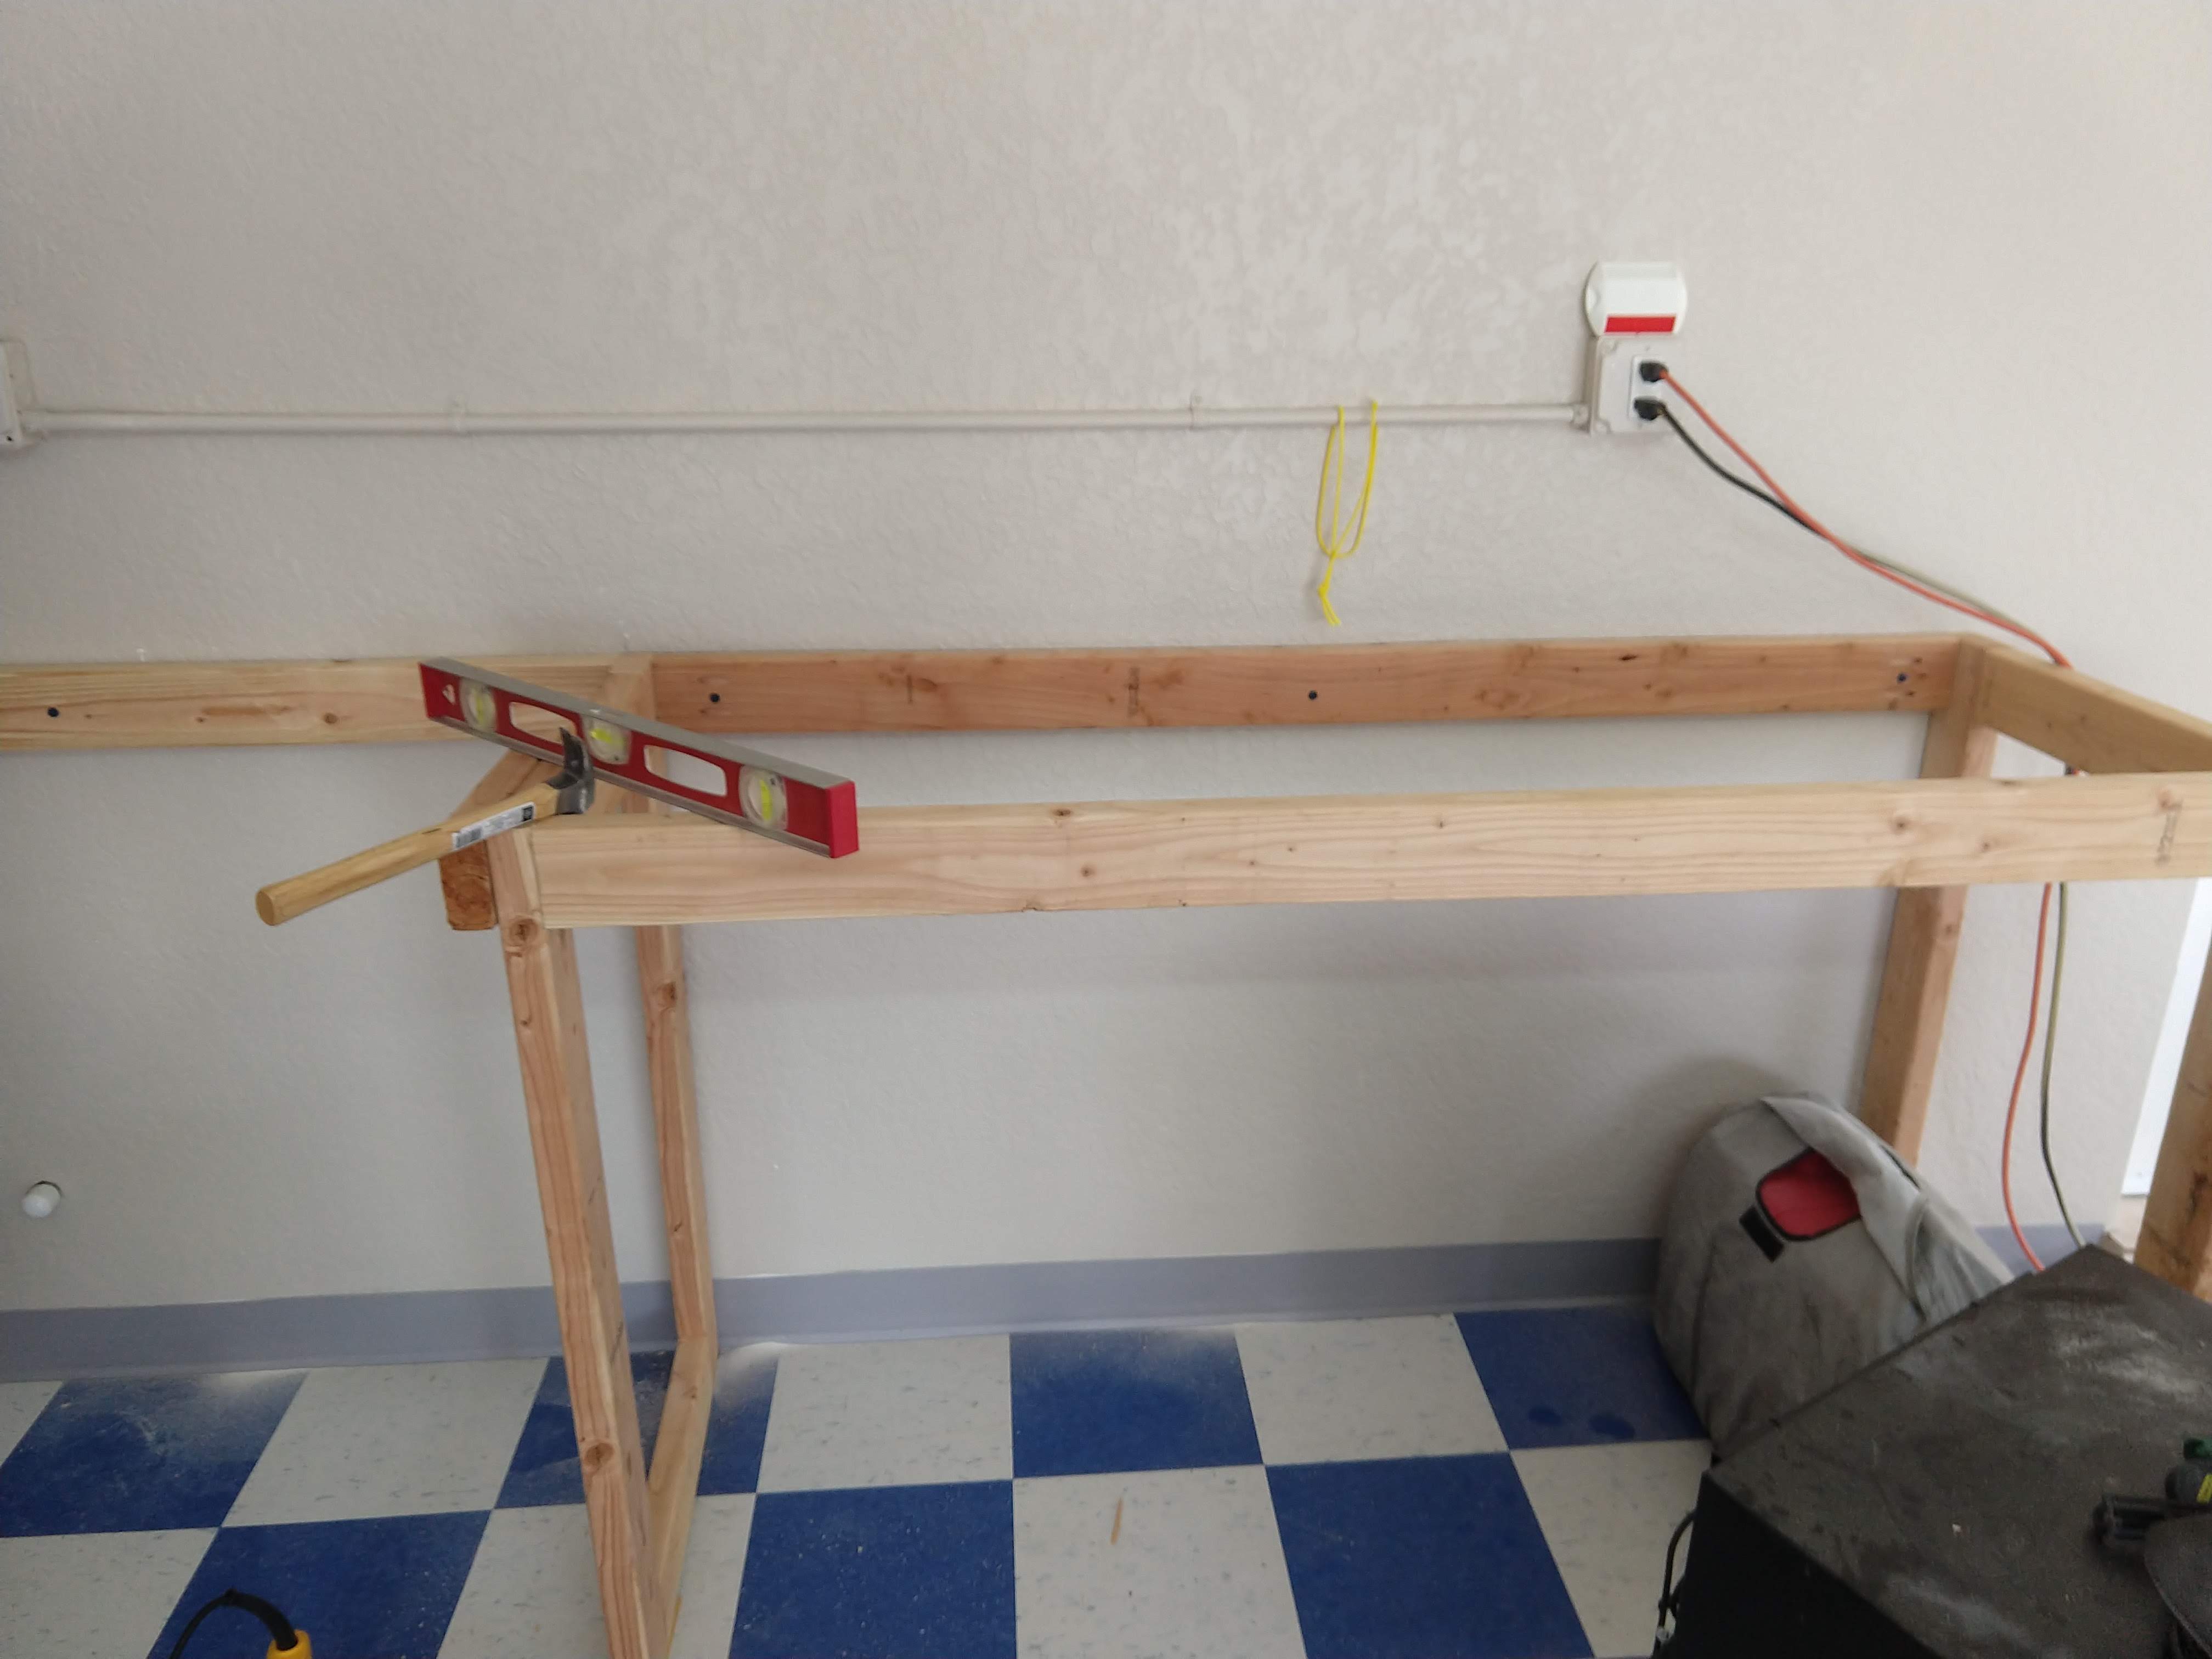
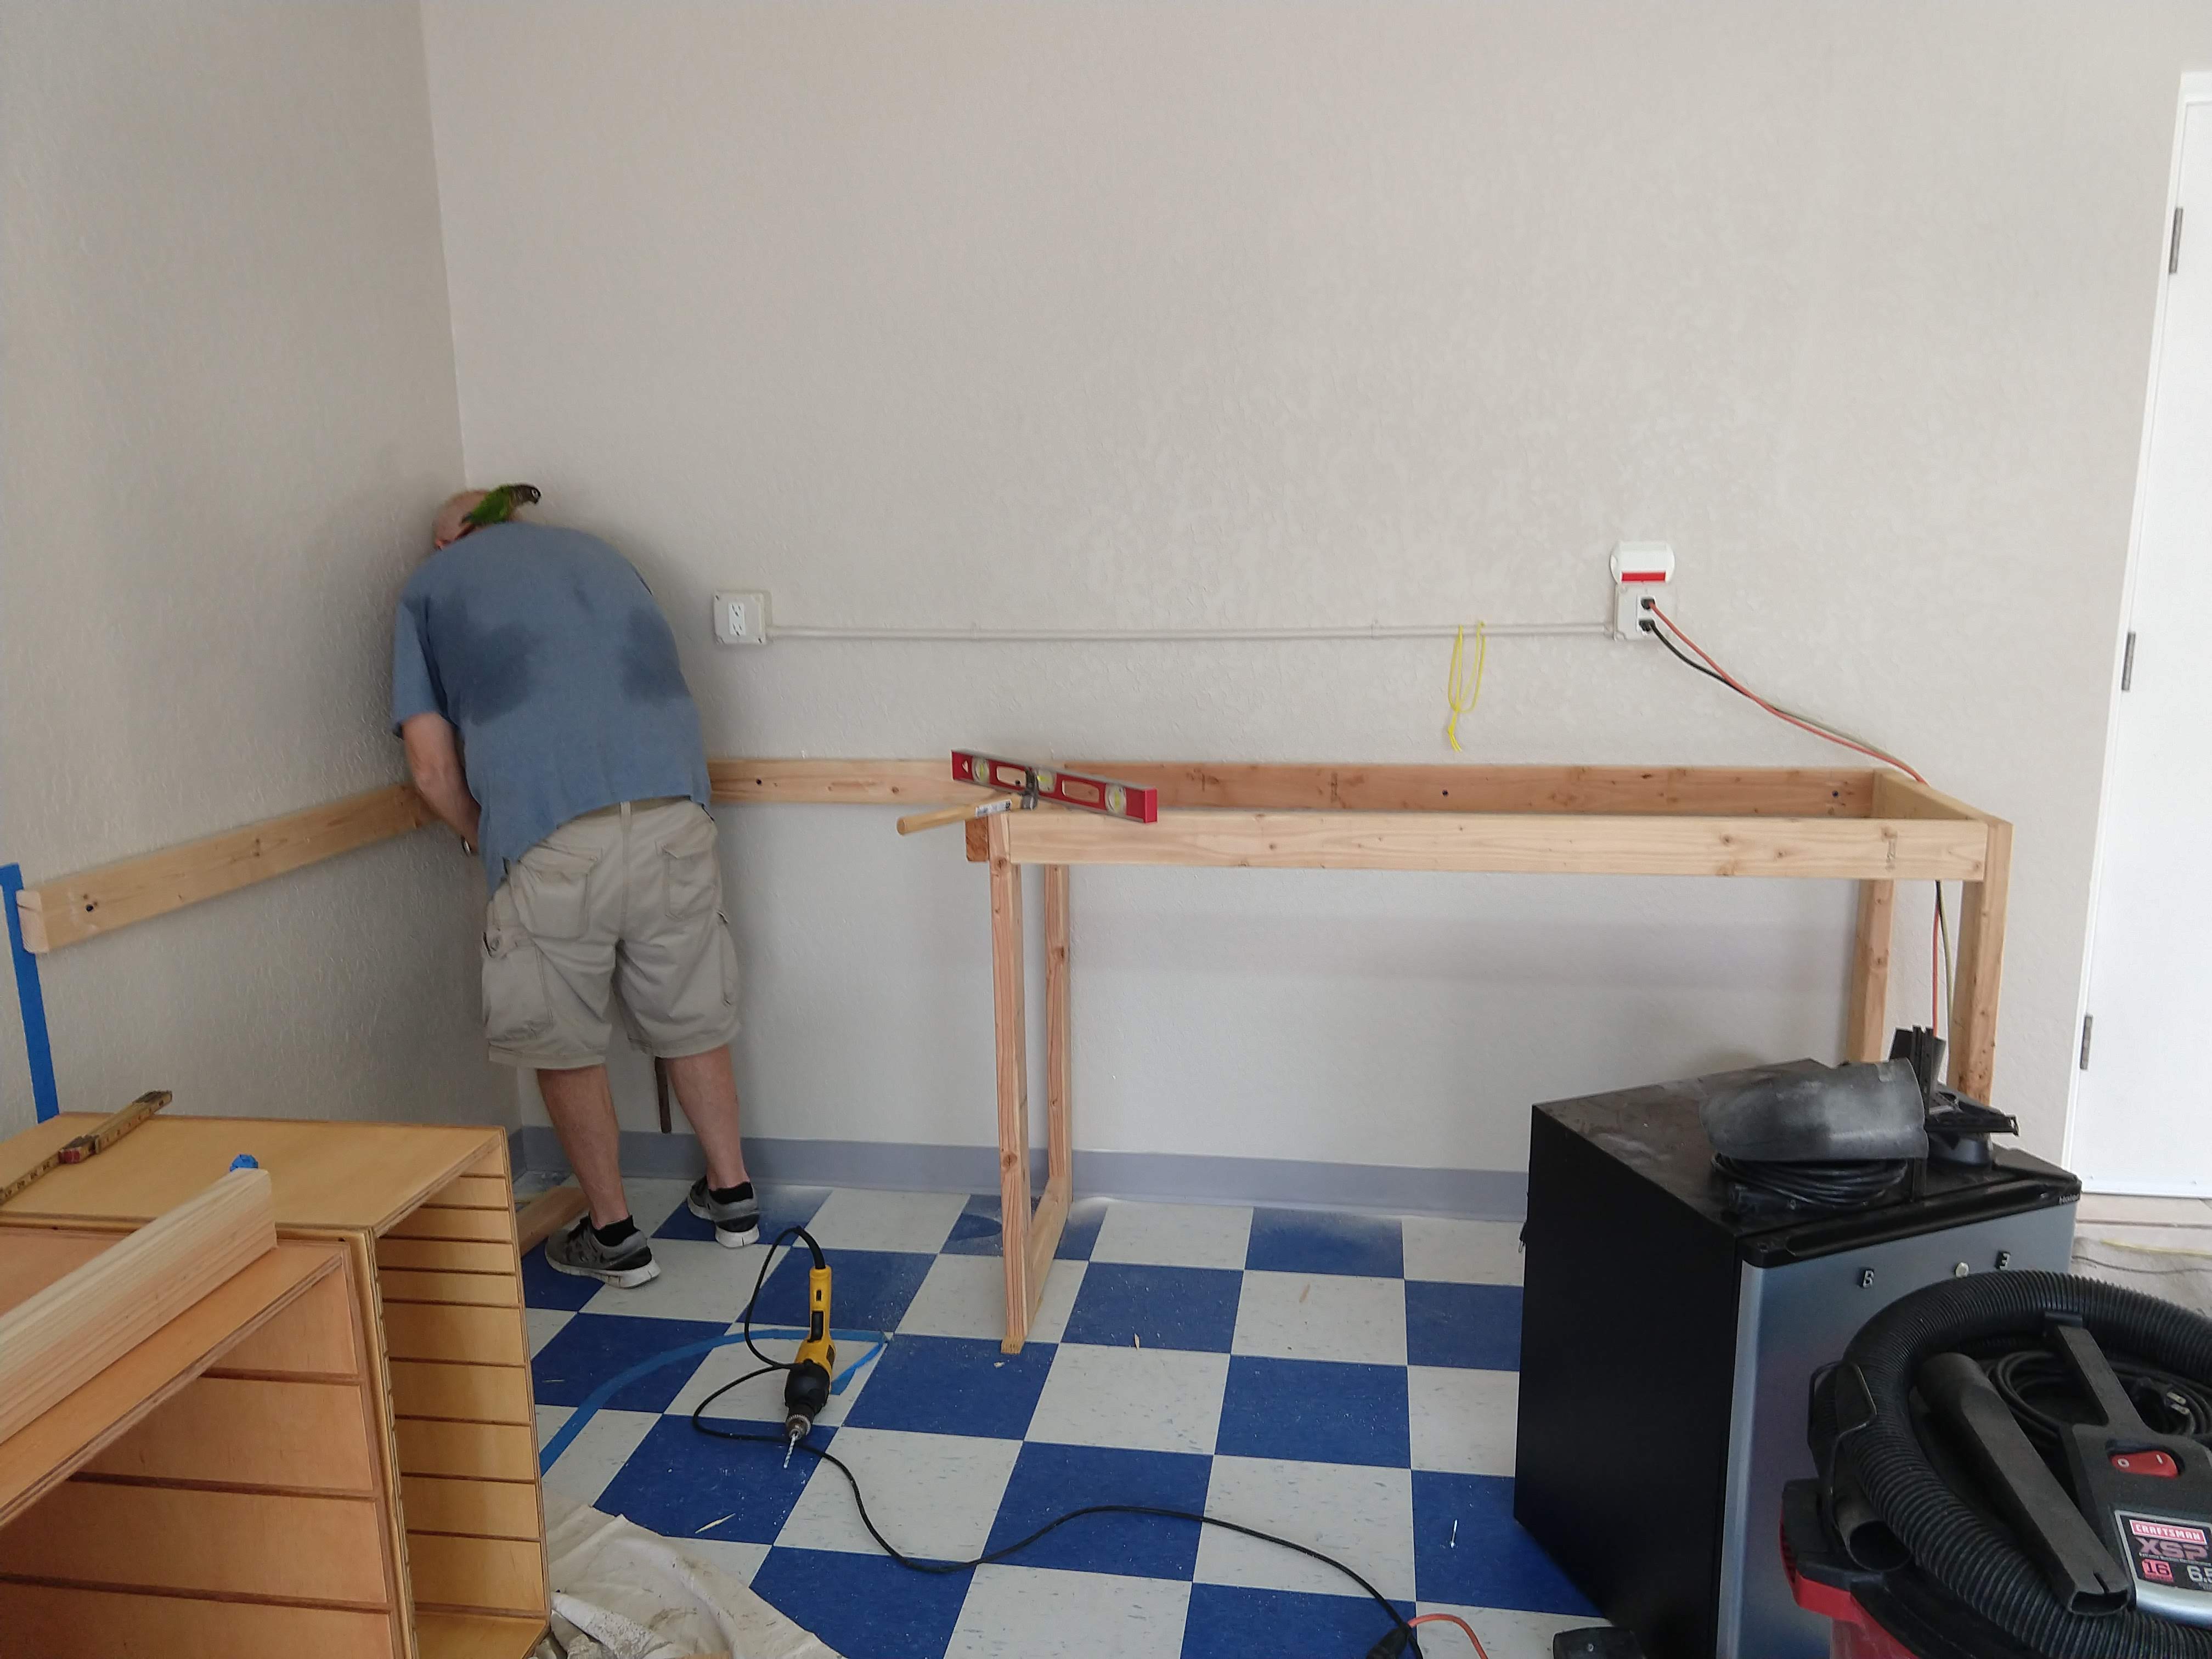
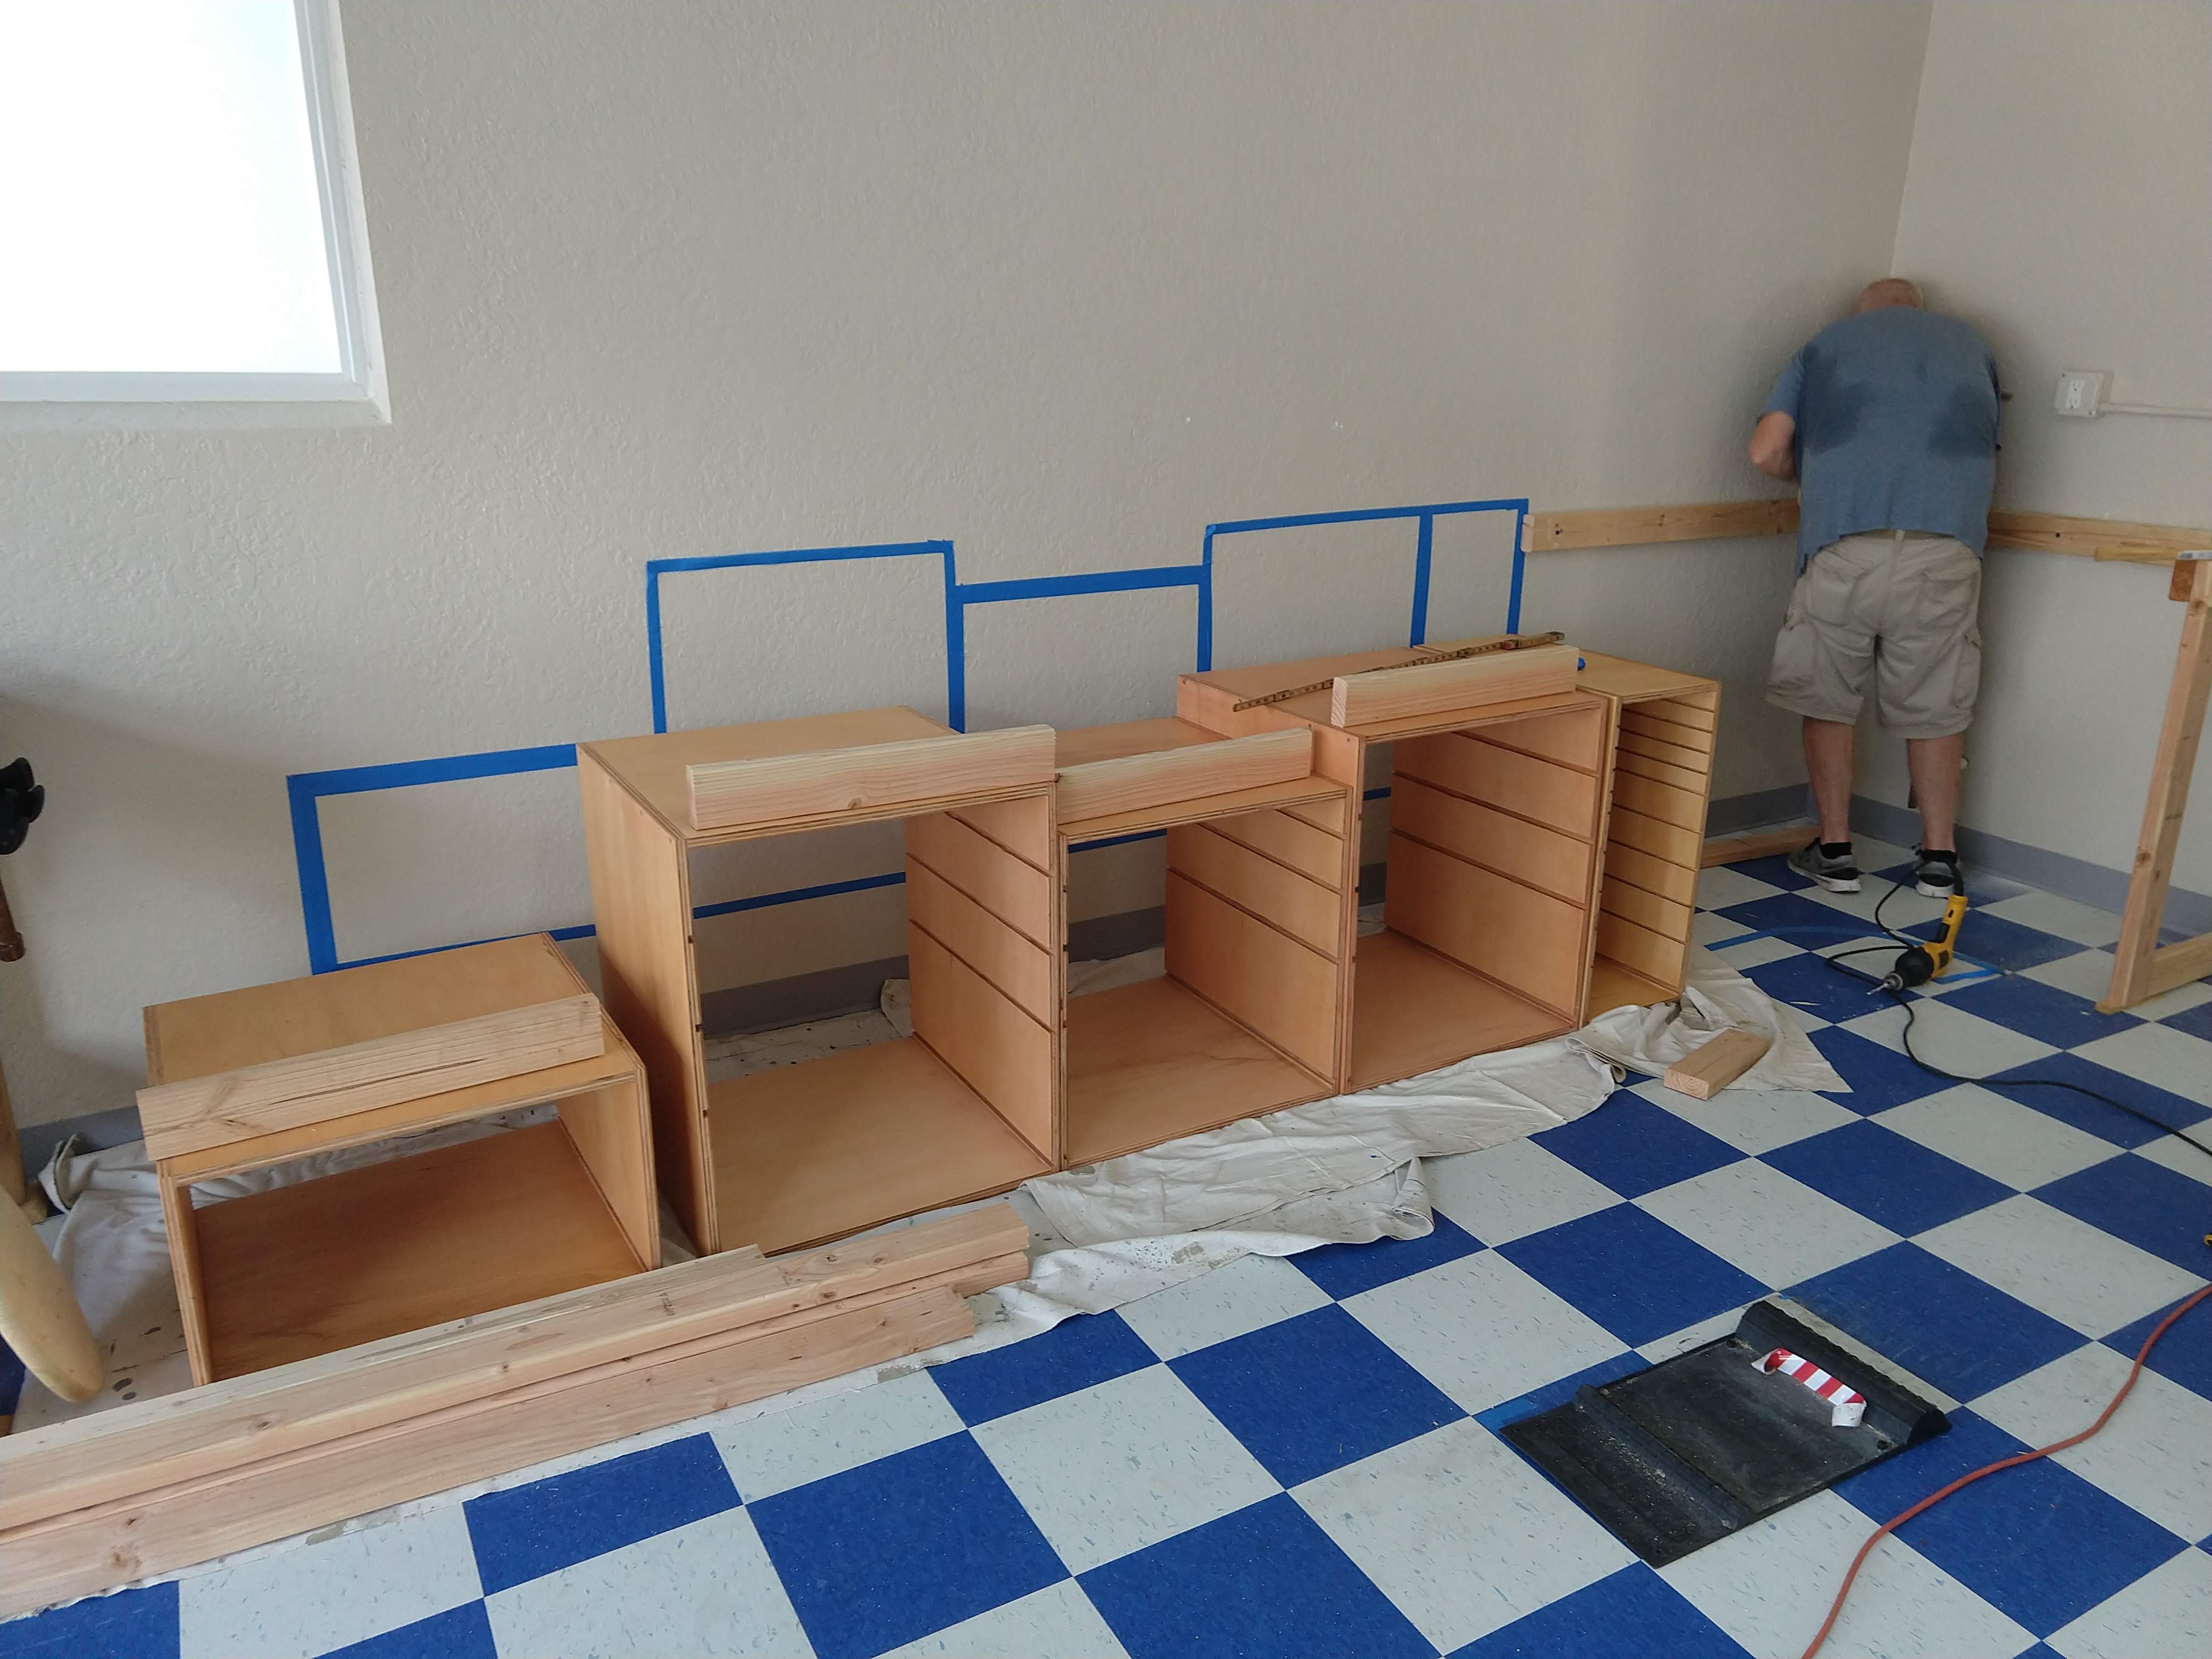
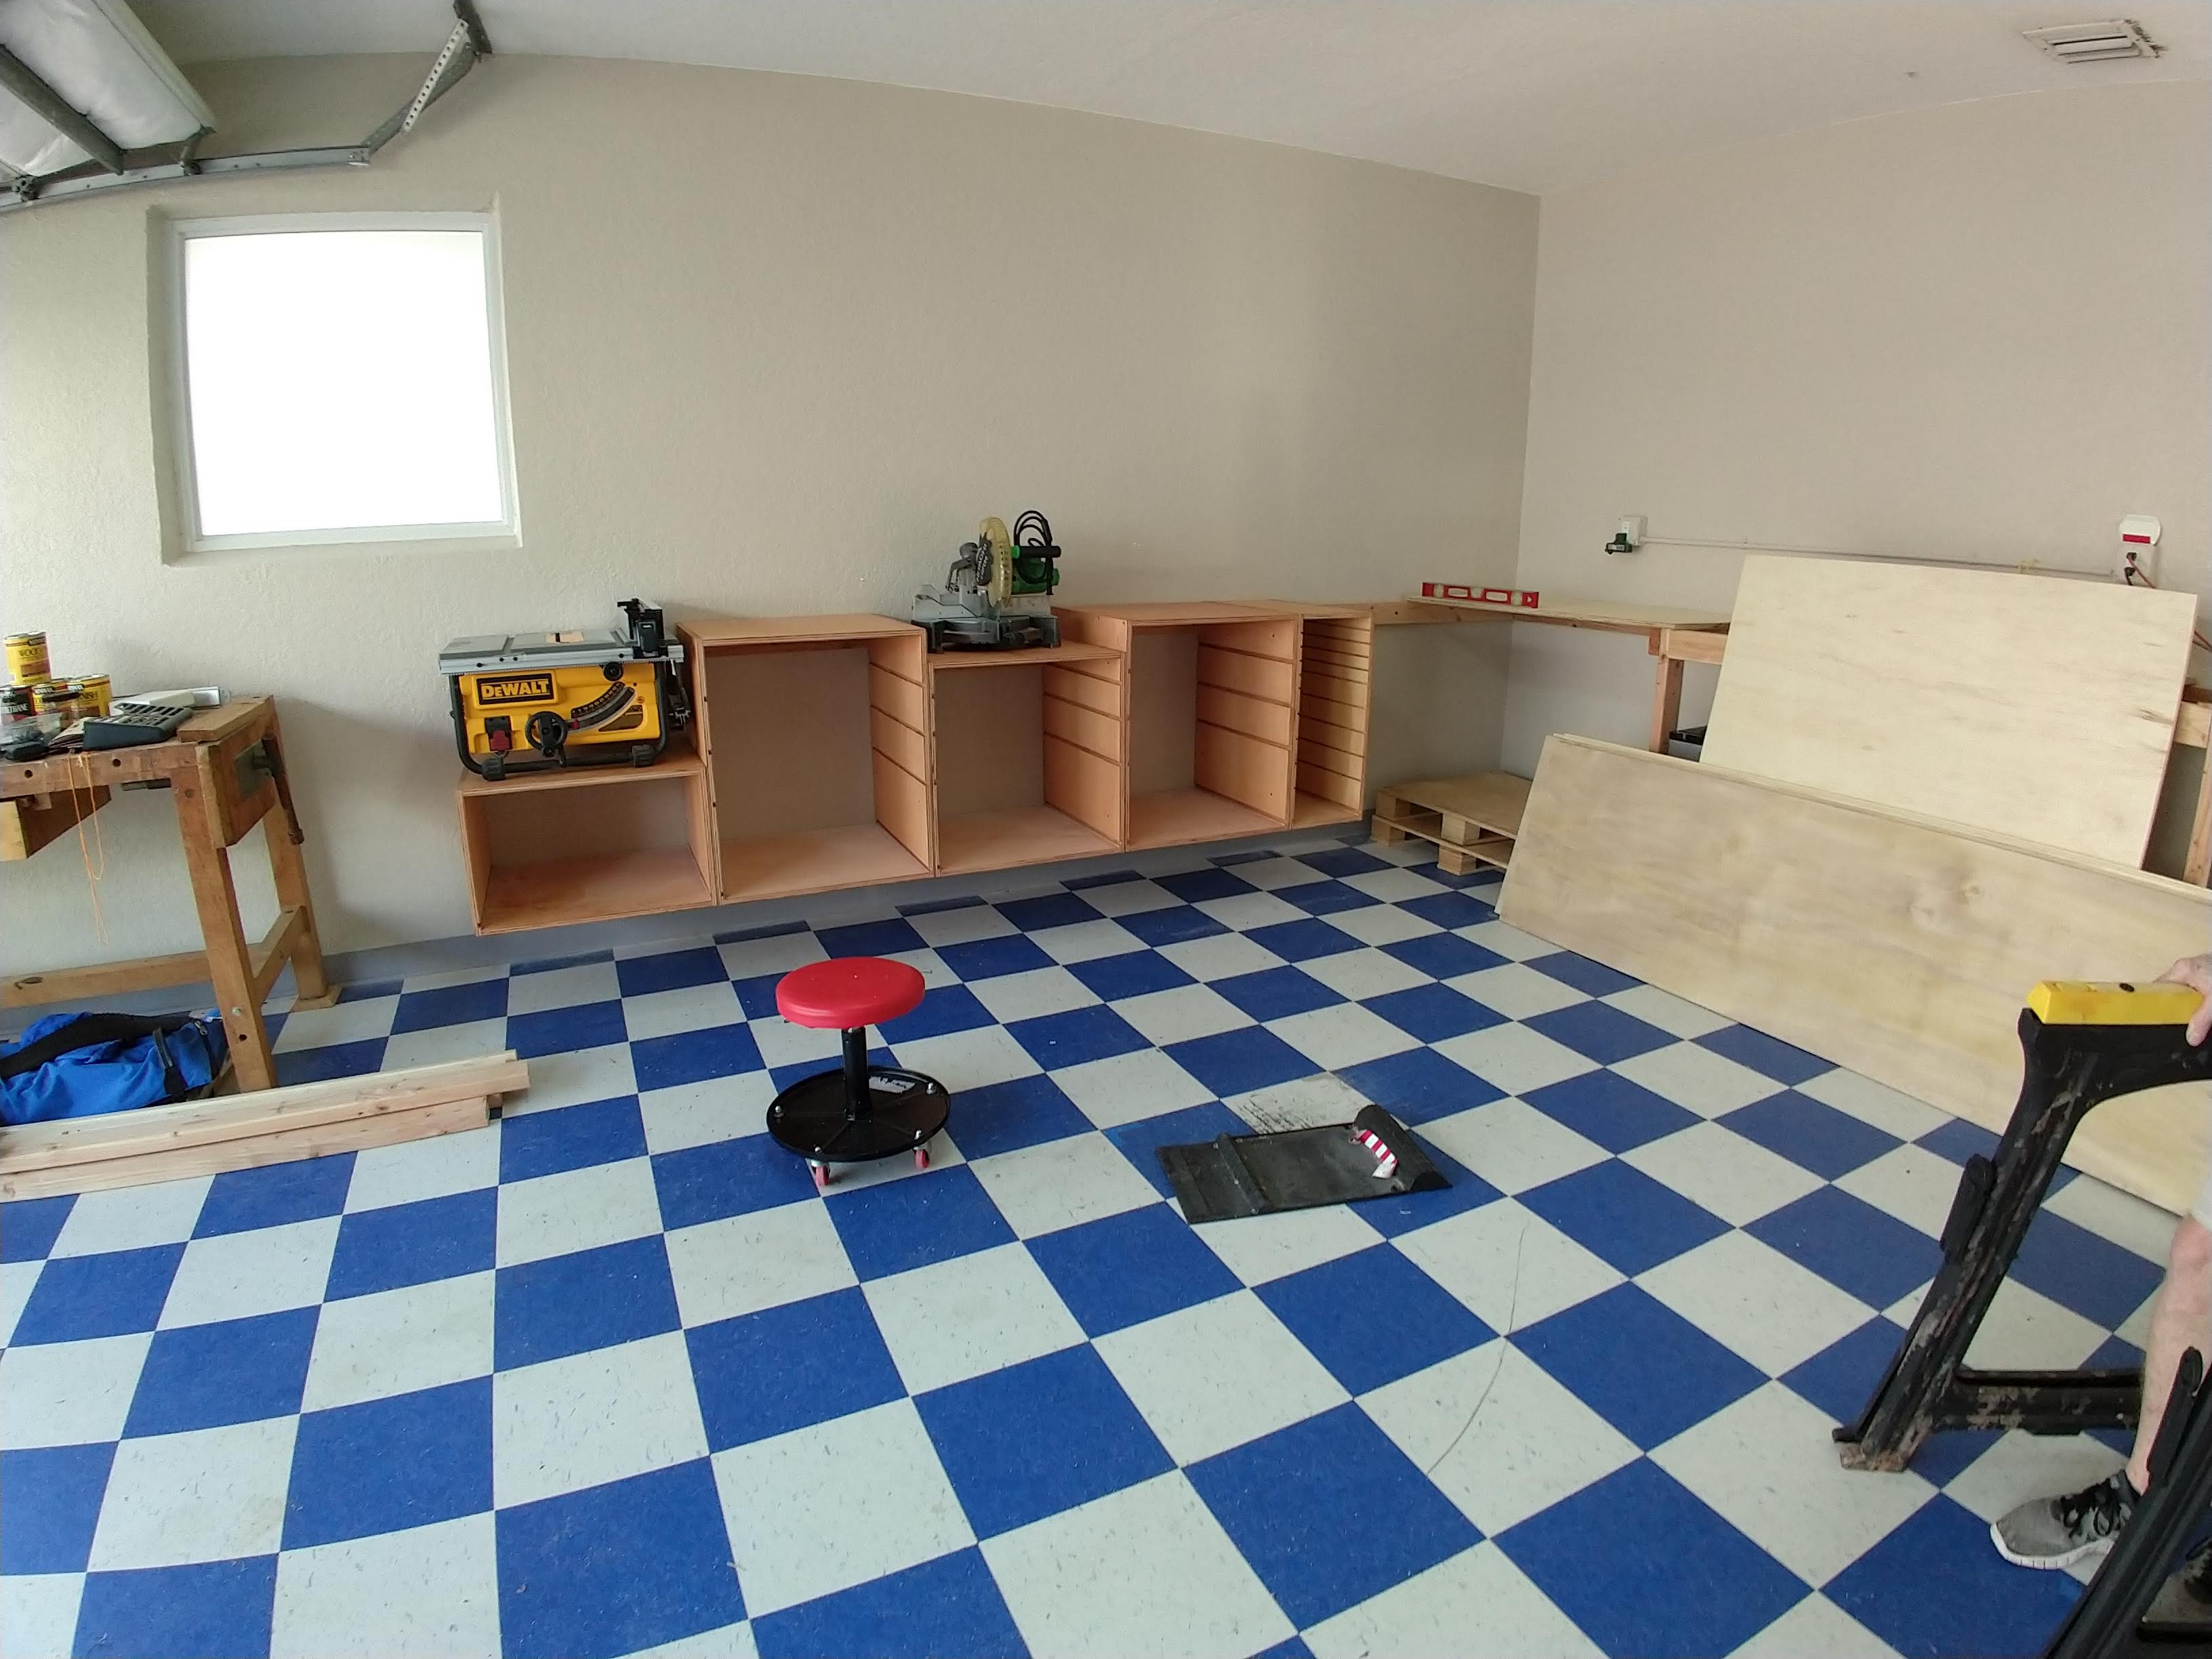
Part of the plan is to keep the mini-fridge and wet-vac by that back wall, but also in the back wall we need to fit a mini-compressor for a paint brush, a CPU (decided against a laptop for several reasons) and maybe a few other things related to the model station.
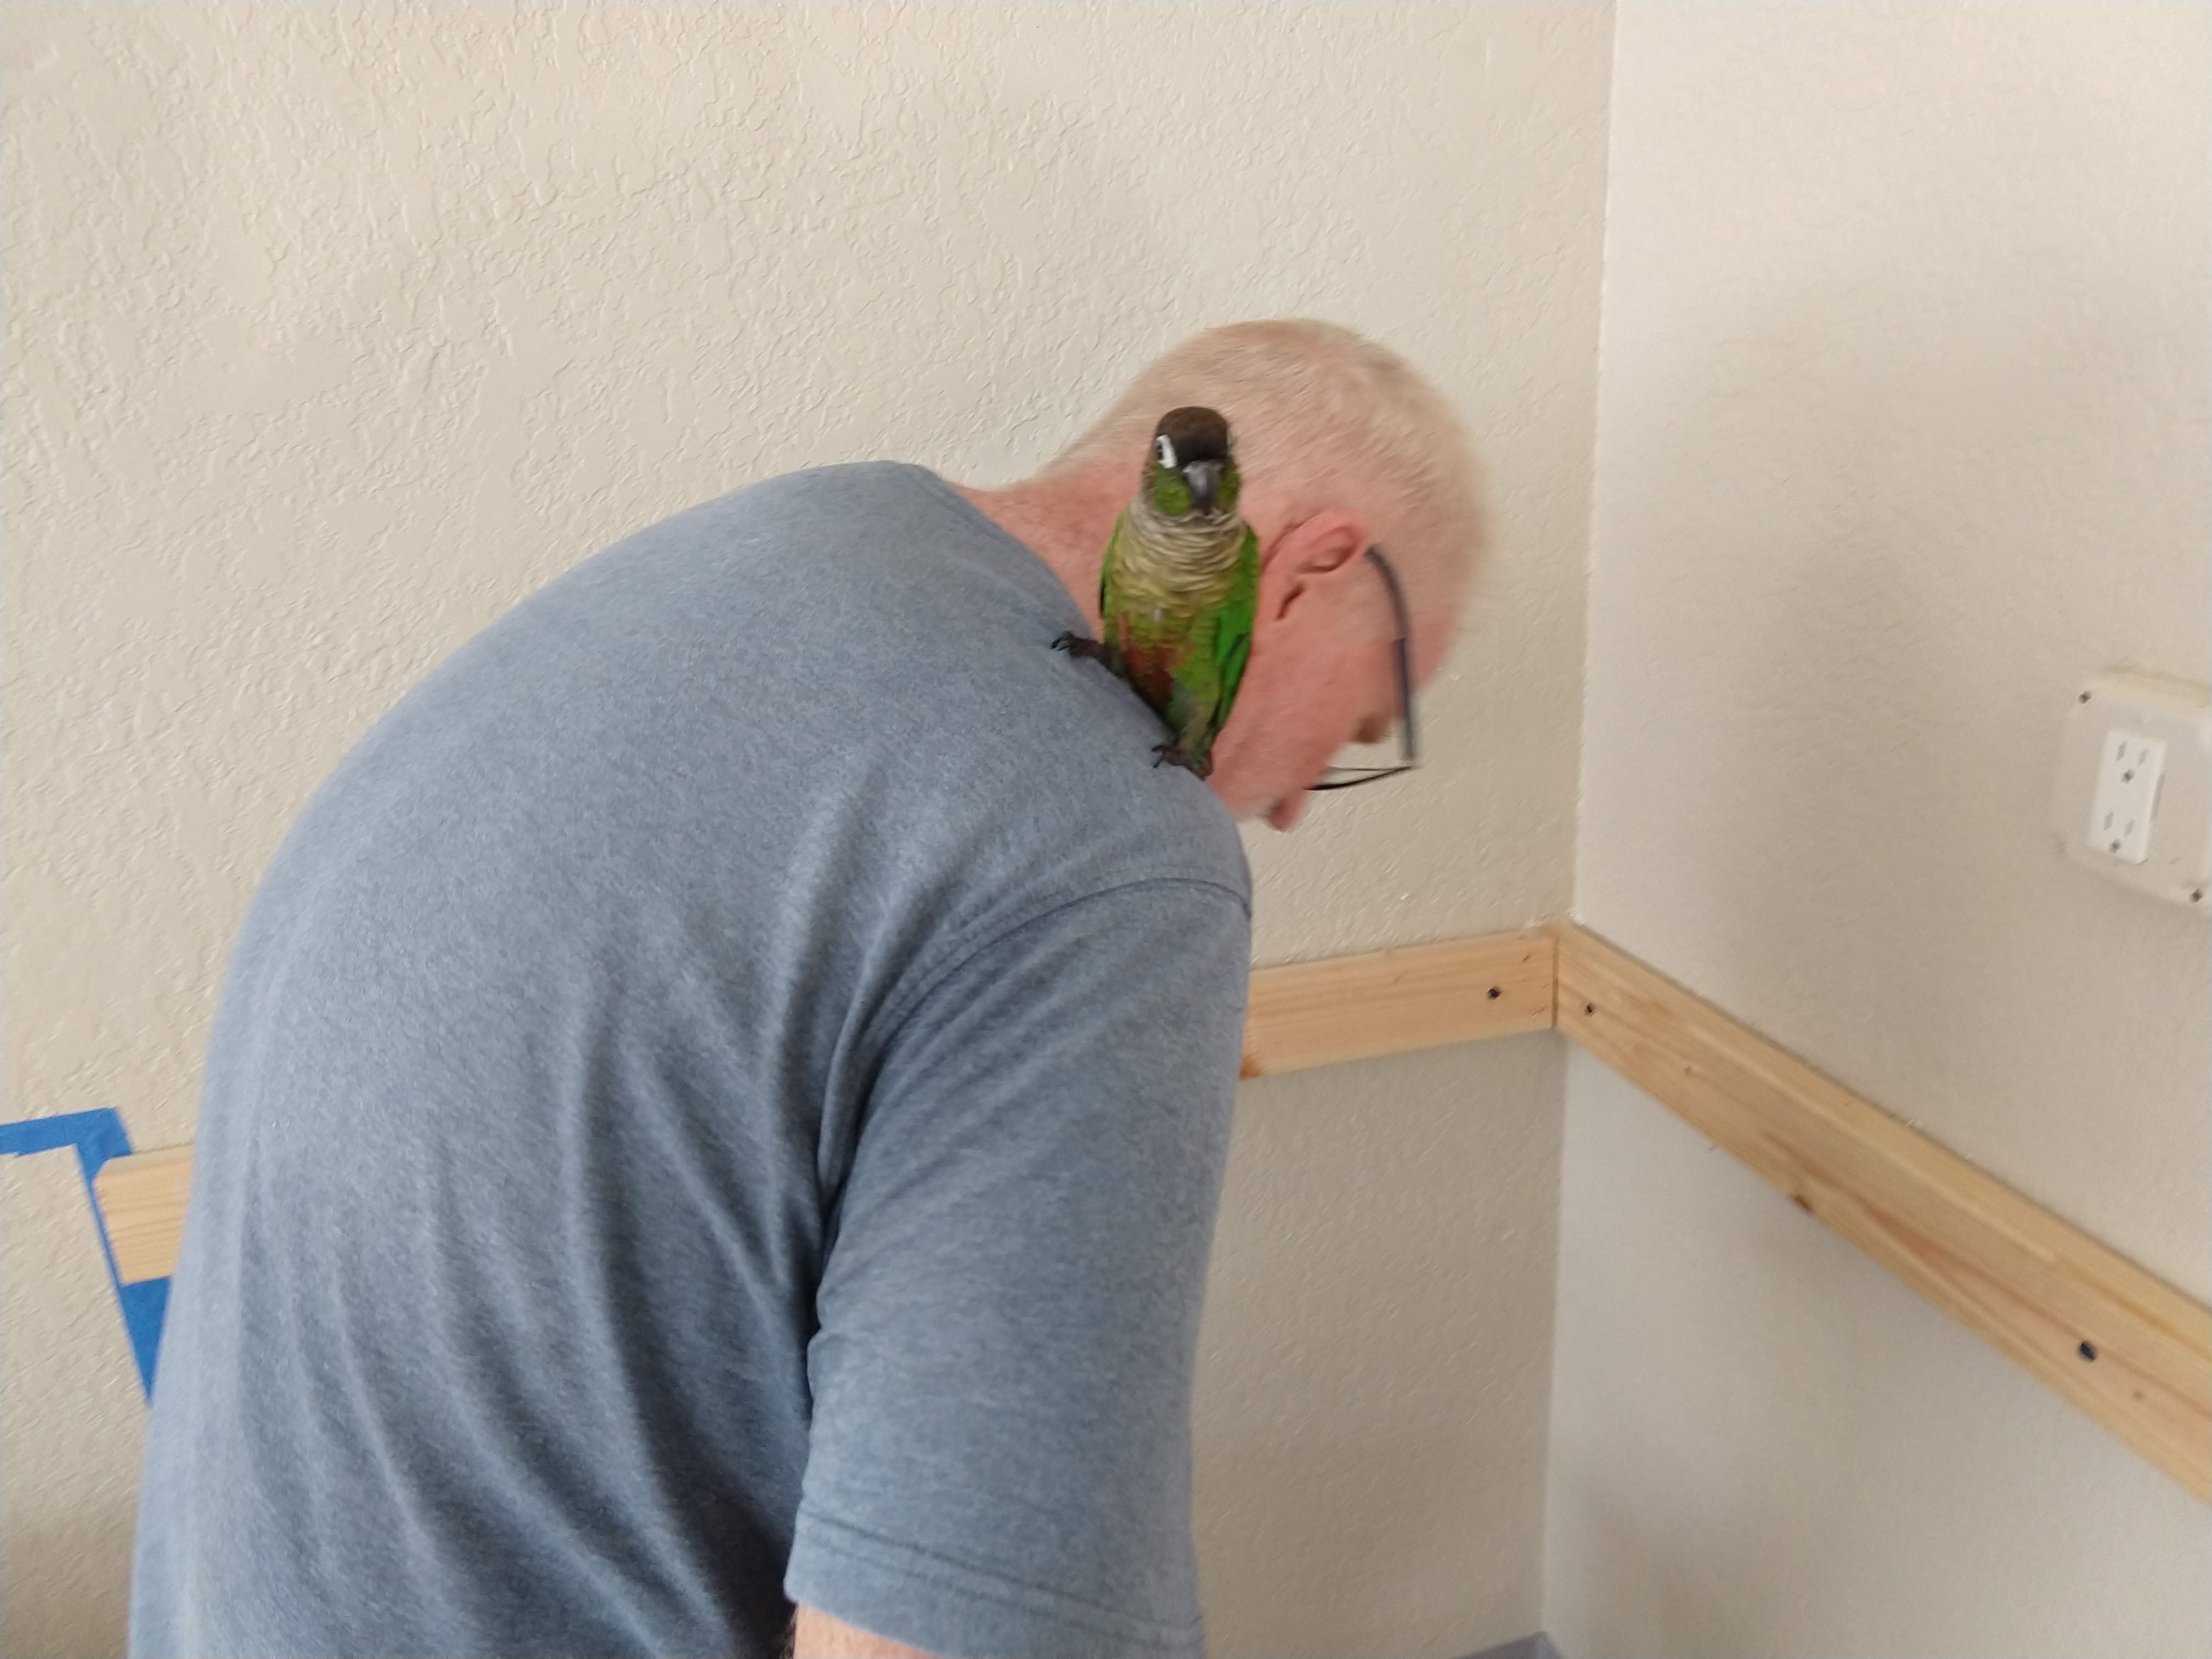
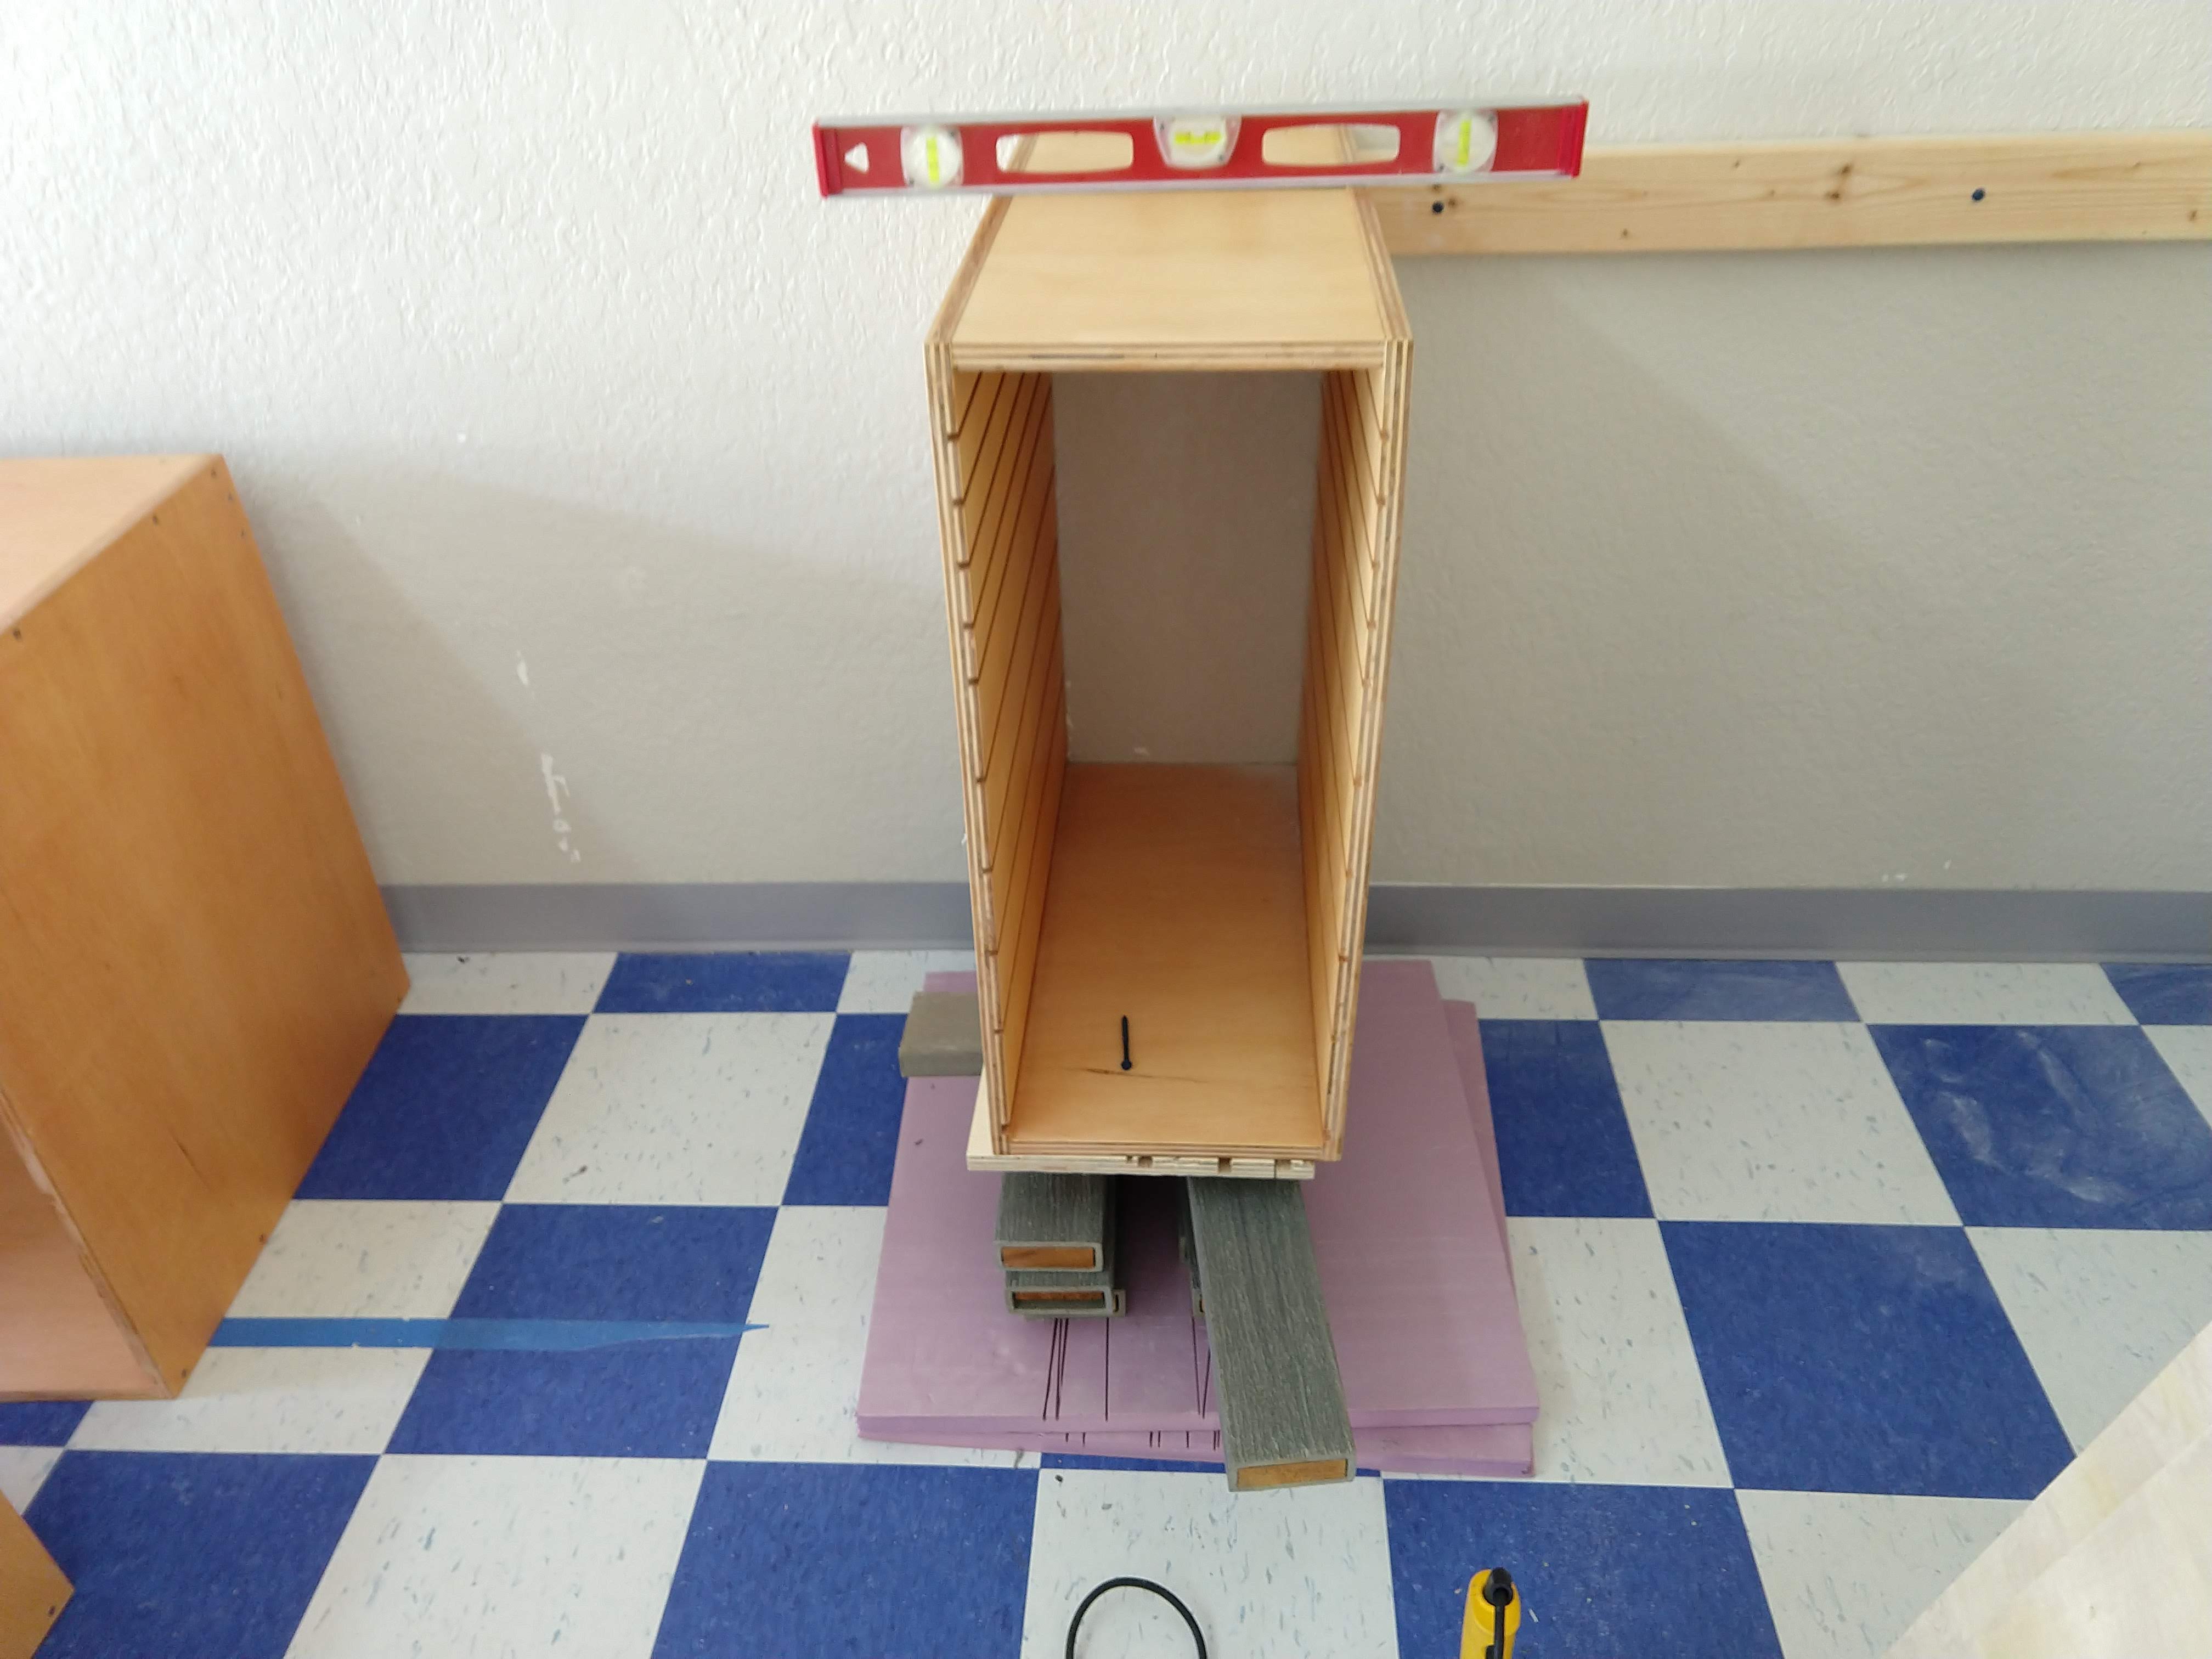
So we started the attachments to the wall on the back wall. First a 2x4 to the wall then the legs for that portion of the bench. Our parrot (Pajarito) became a full time inspector for the installation. He can't handle fumes from stains or the wood-dust from the saws but he's 100% on levels and screws.
Installing the first carcass was exciting. After the units got attached we removed all the tape and made it official. Finally moved from an idea to a reality.
Shelves/drawer-bottoms
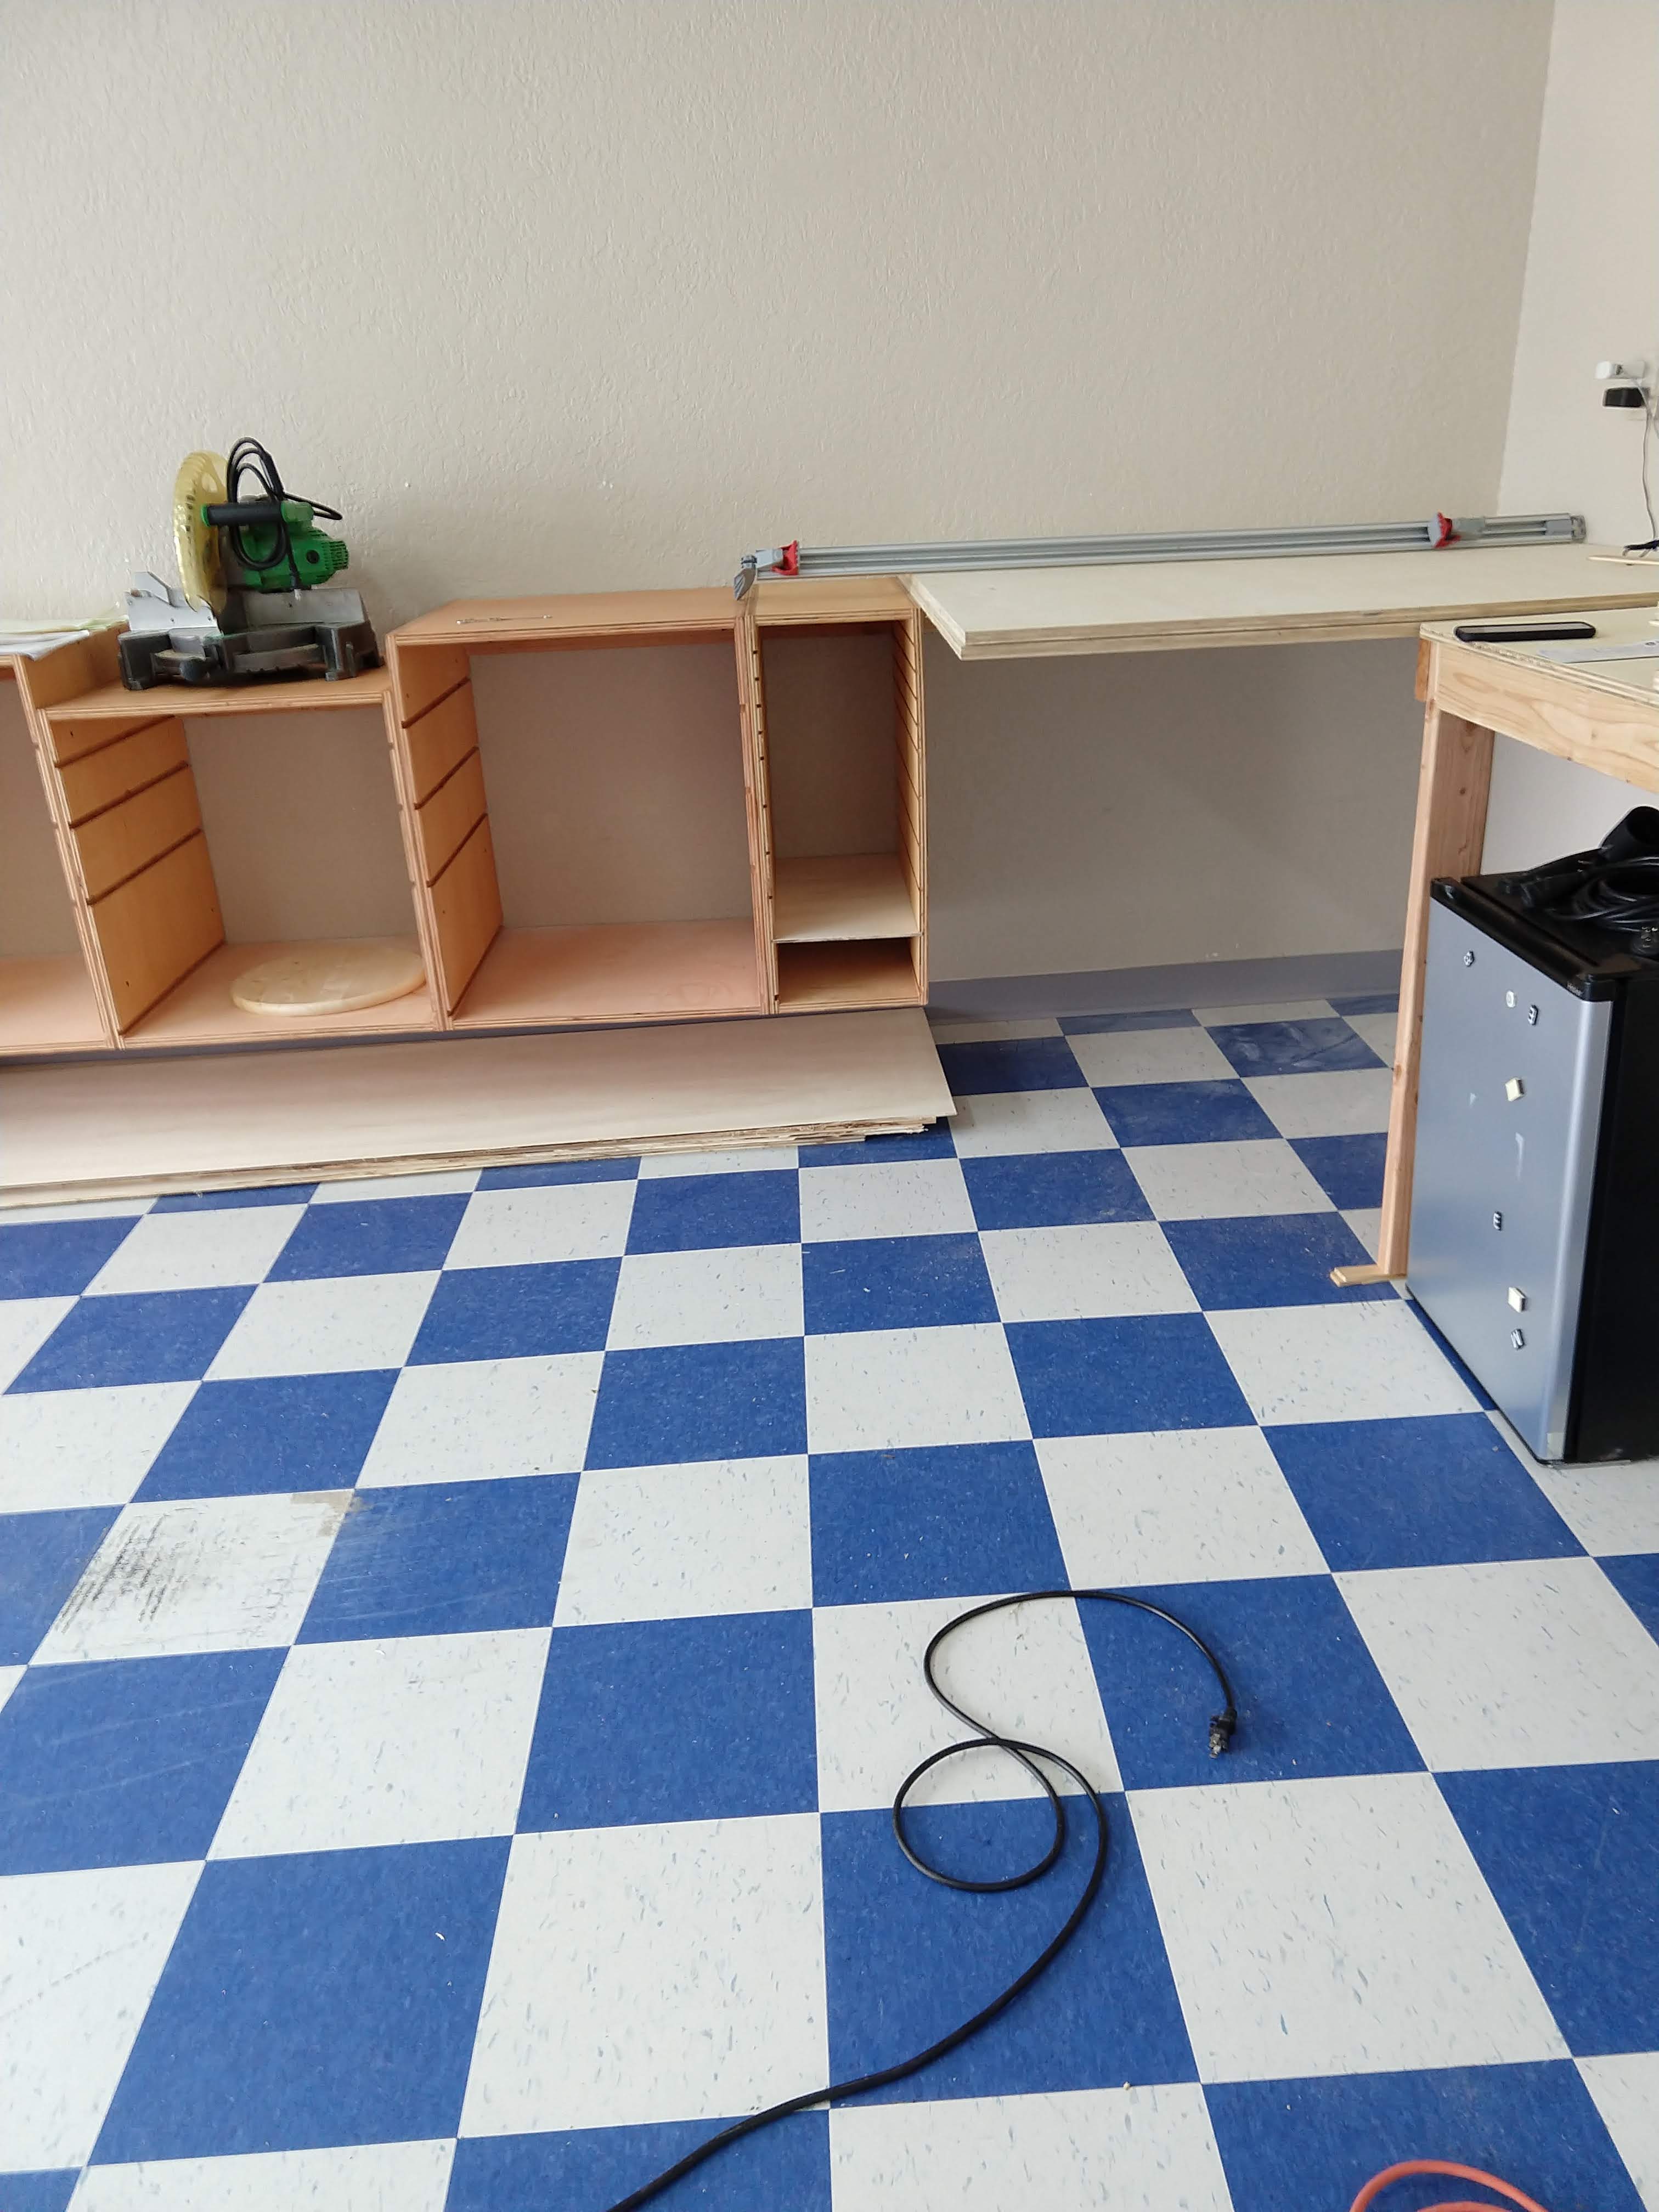
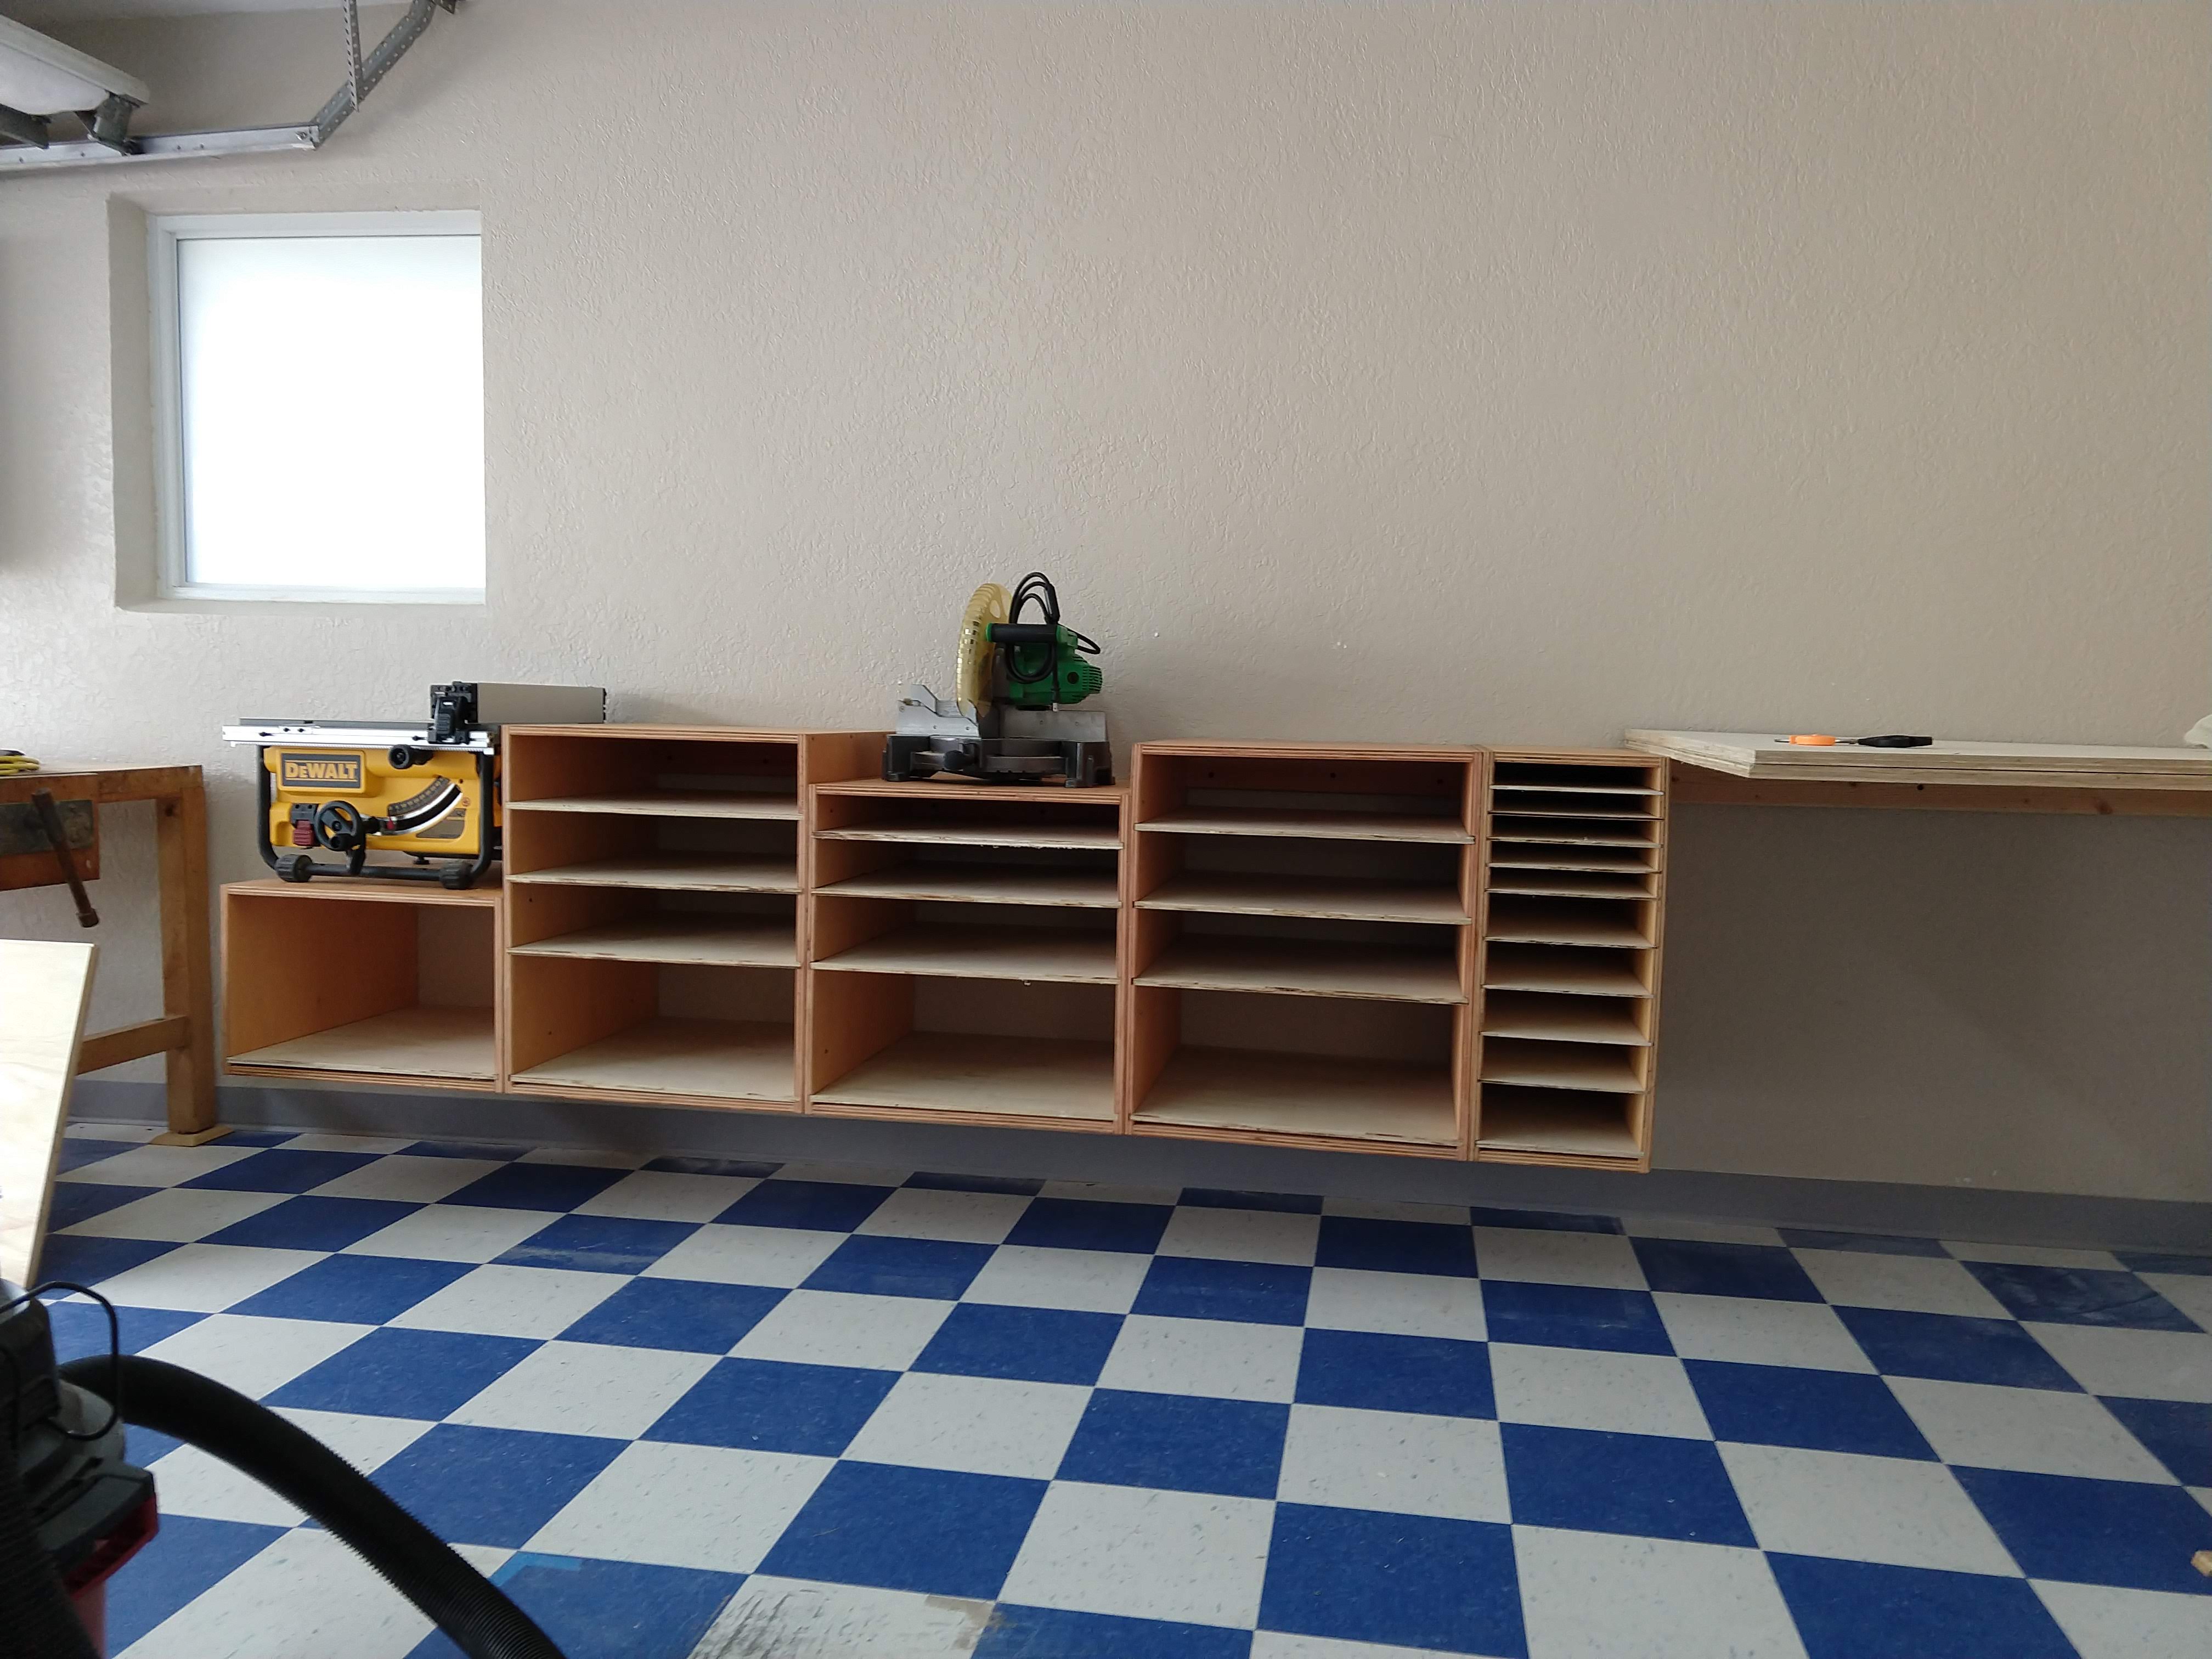
After the excitement of having the carcasses off the floor and everything nice and level as planned it was time for the individual shelves that would become the drawer's bottoms.
Full disclosure, we didn't realize those shelves were literally the bottom of the drawers, we thought they were the boundaries for the drawers, and a full drawer would ride on top of them. We were considering options for securing those shelves so they wouldn't slide with the drawer. ,,,should we put a few nails or just glue them? Good thing we were slow, because after studying the inspiration project suddenly my husband noticed there's something odd in the bottom of the drawers, so we looked at the pictures in a huge monitor ..... there it was! the drawers slide in and out on those grooves, hmmmmm clever! how come we didn't quite notice that? I think it is because sometimes one sees with the brain (and its ideas) more than with the eyes.
Any who, make sure to be careful cutting those sliders, the smoother they fit in the grooves the easier would be when the drawer is fully built.
Top Board
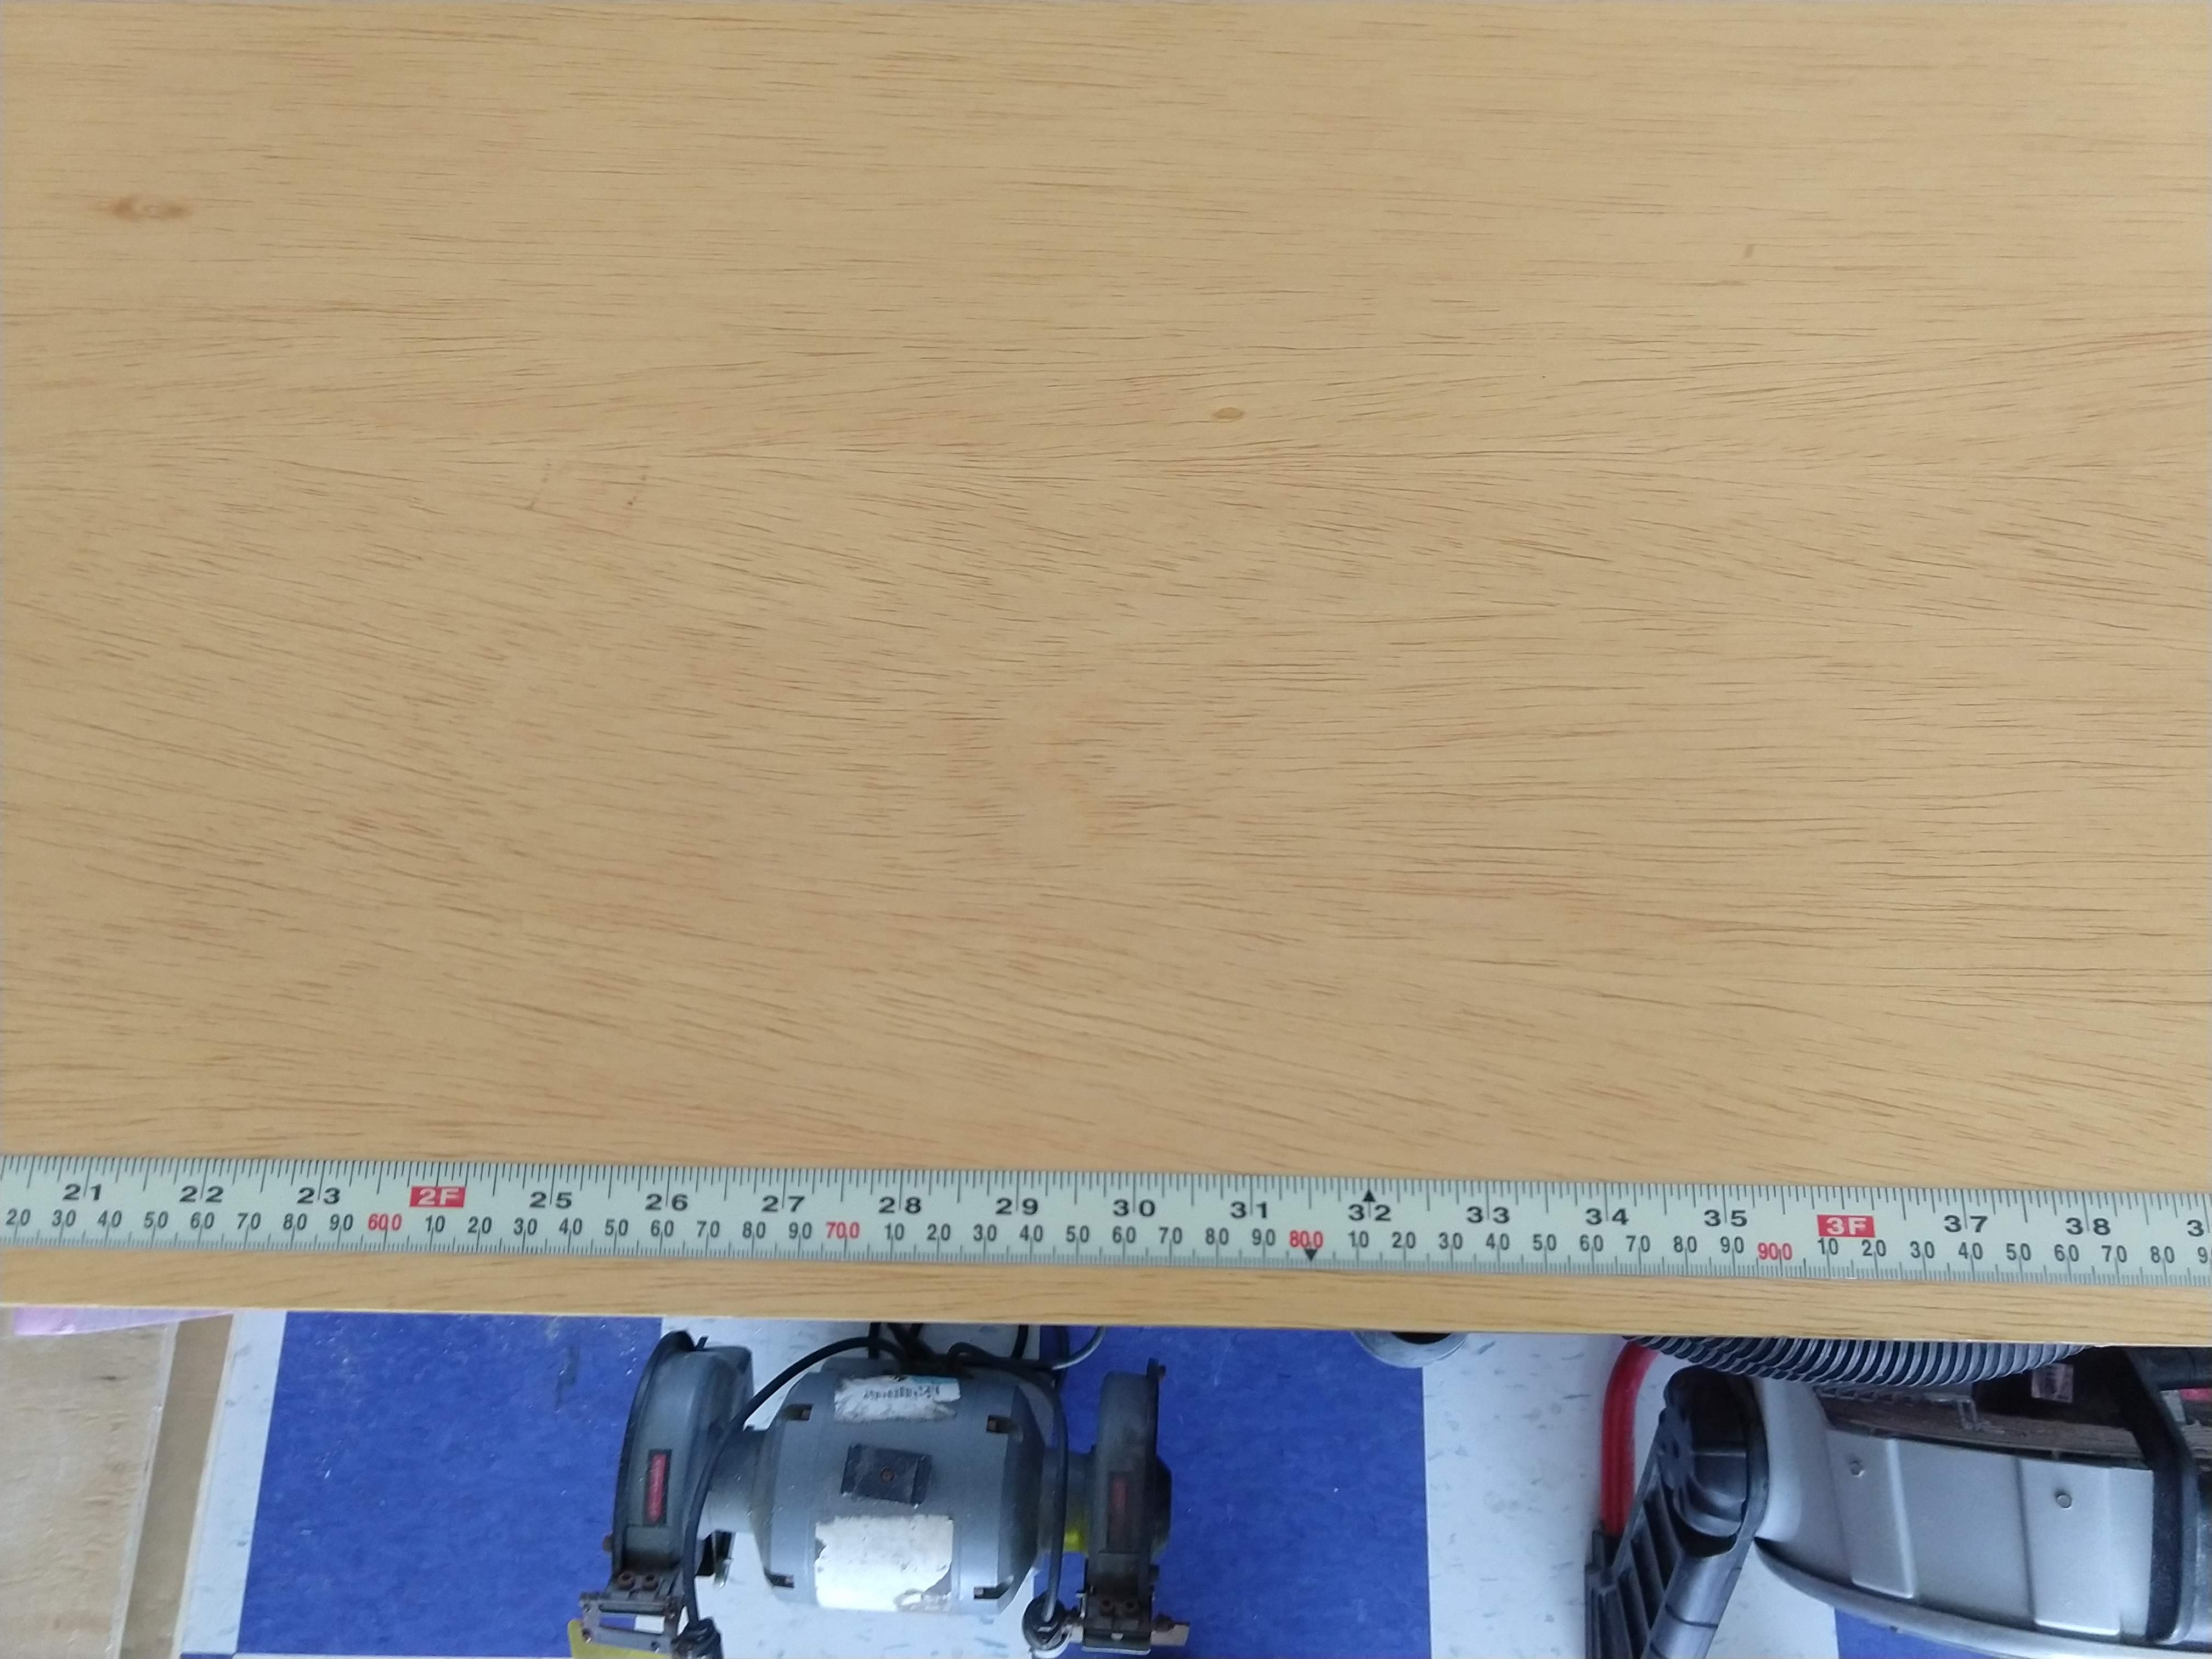
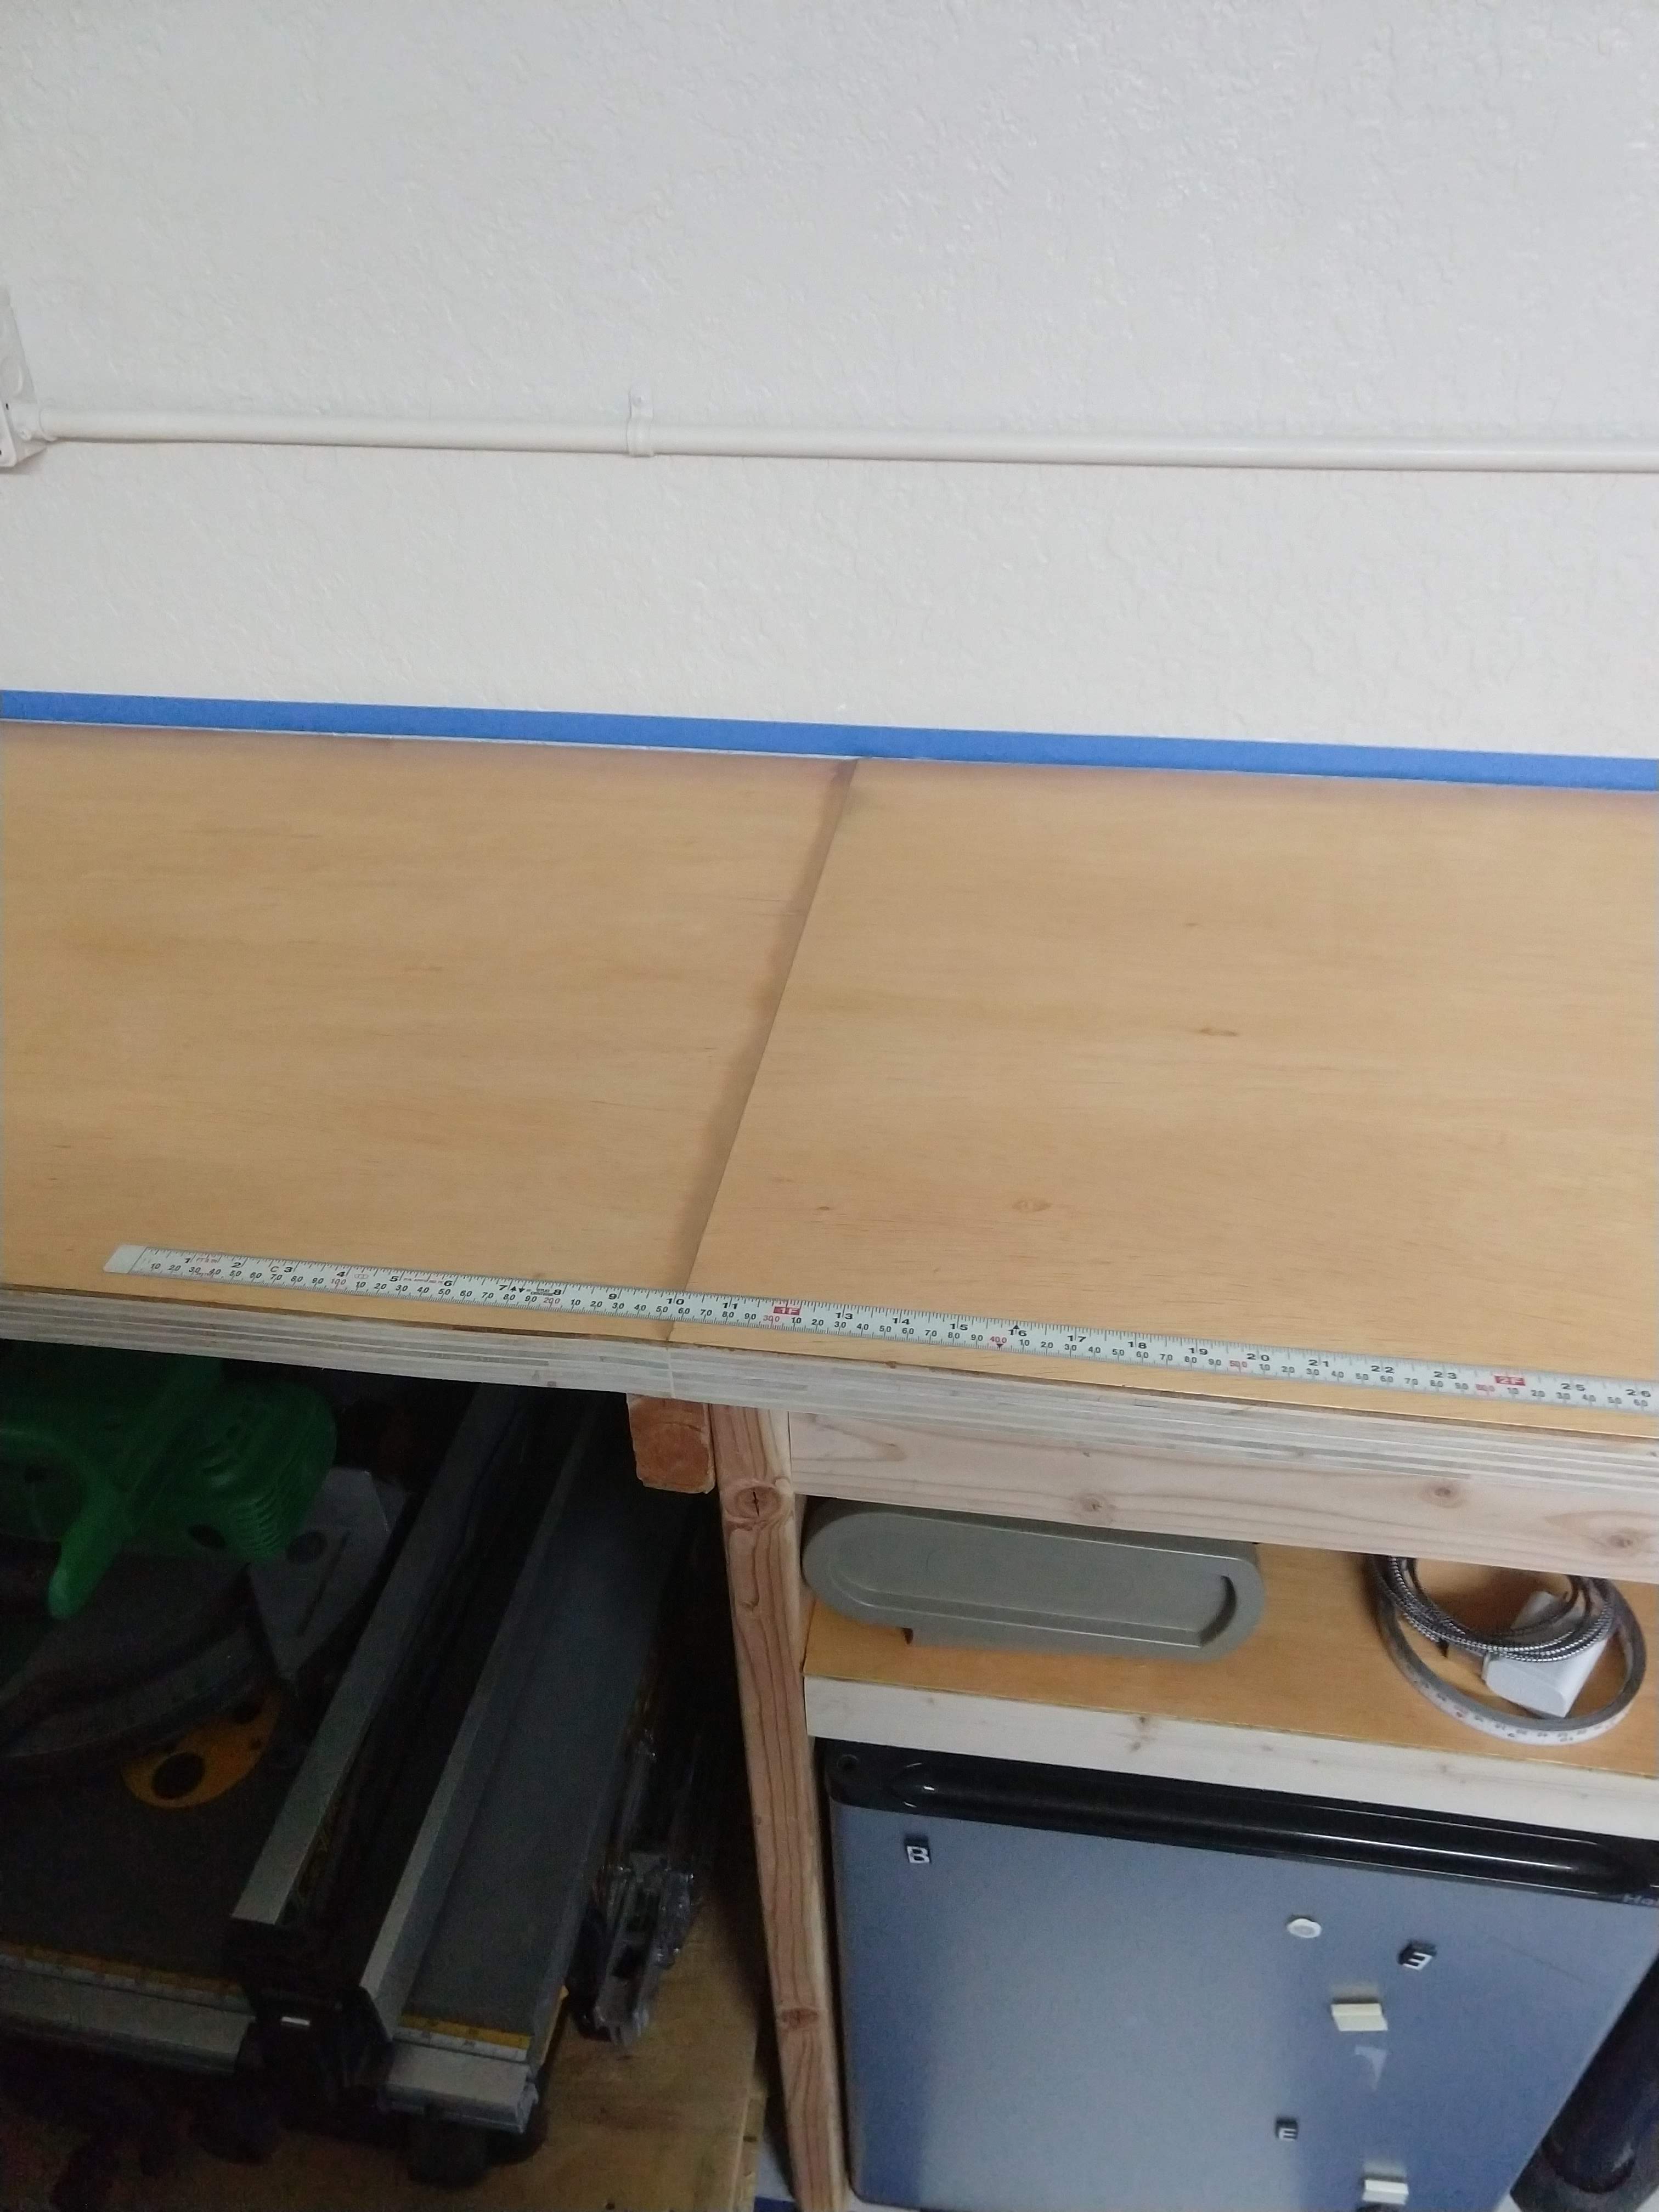
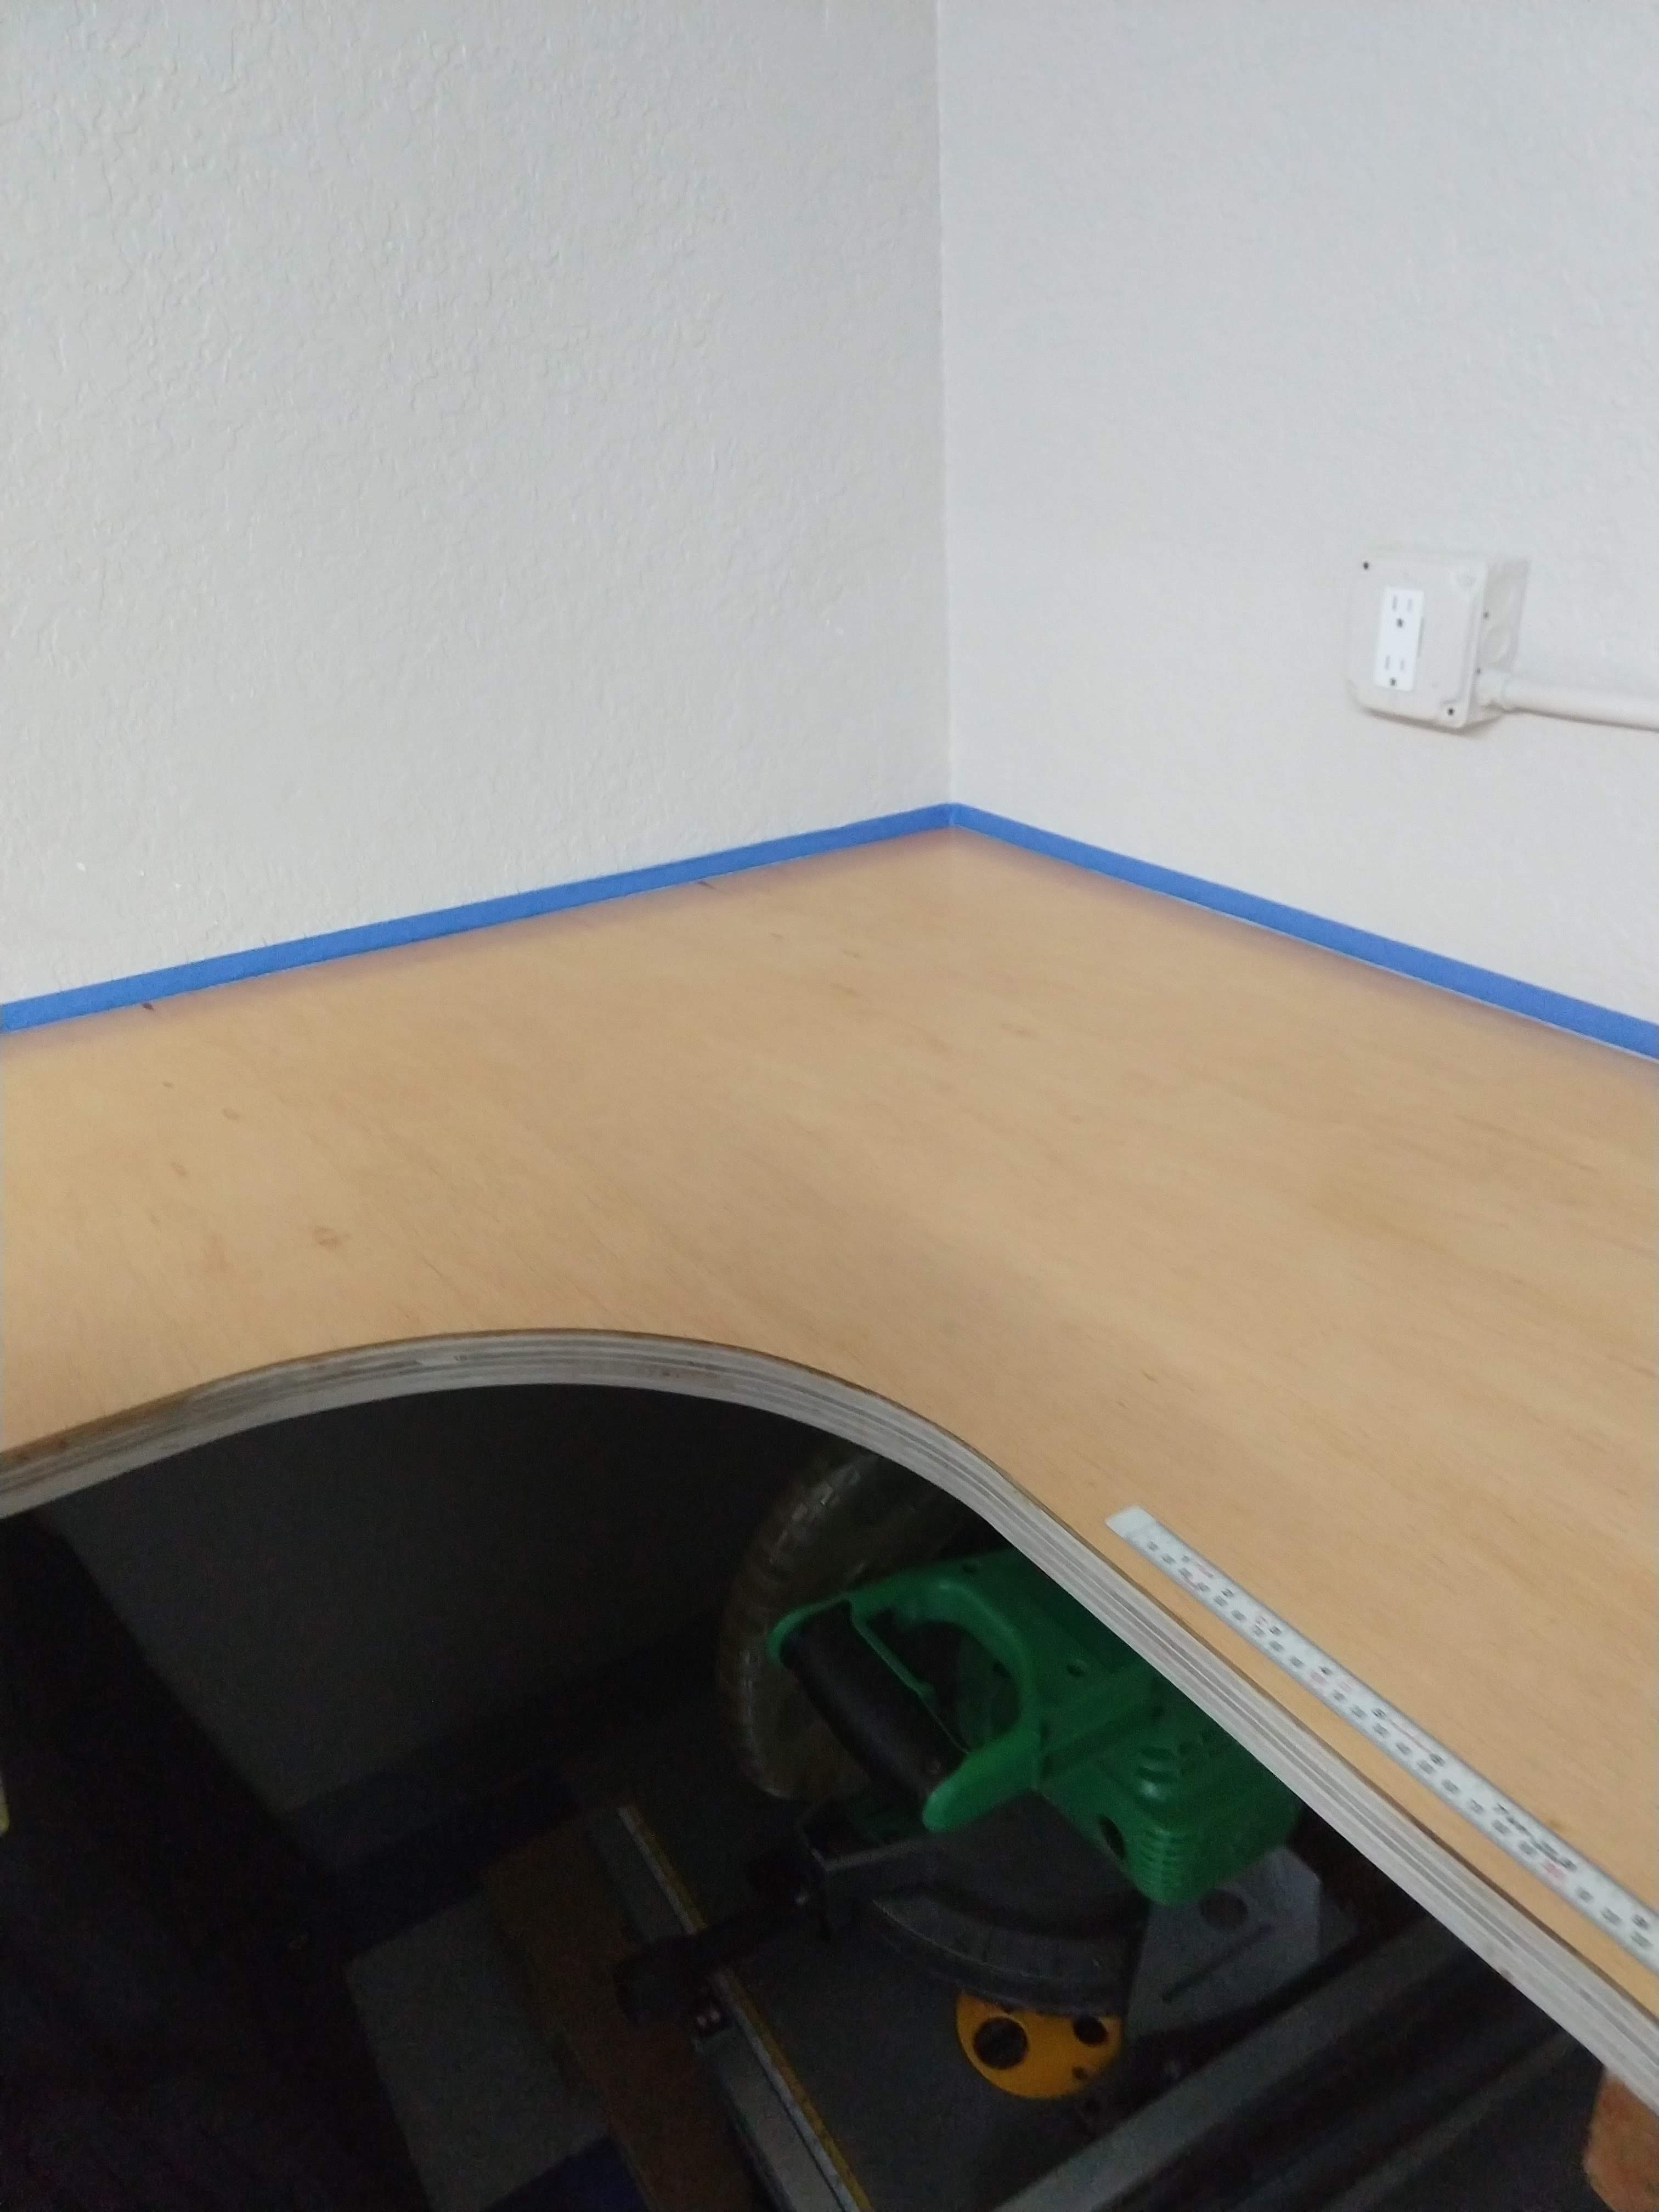
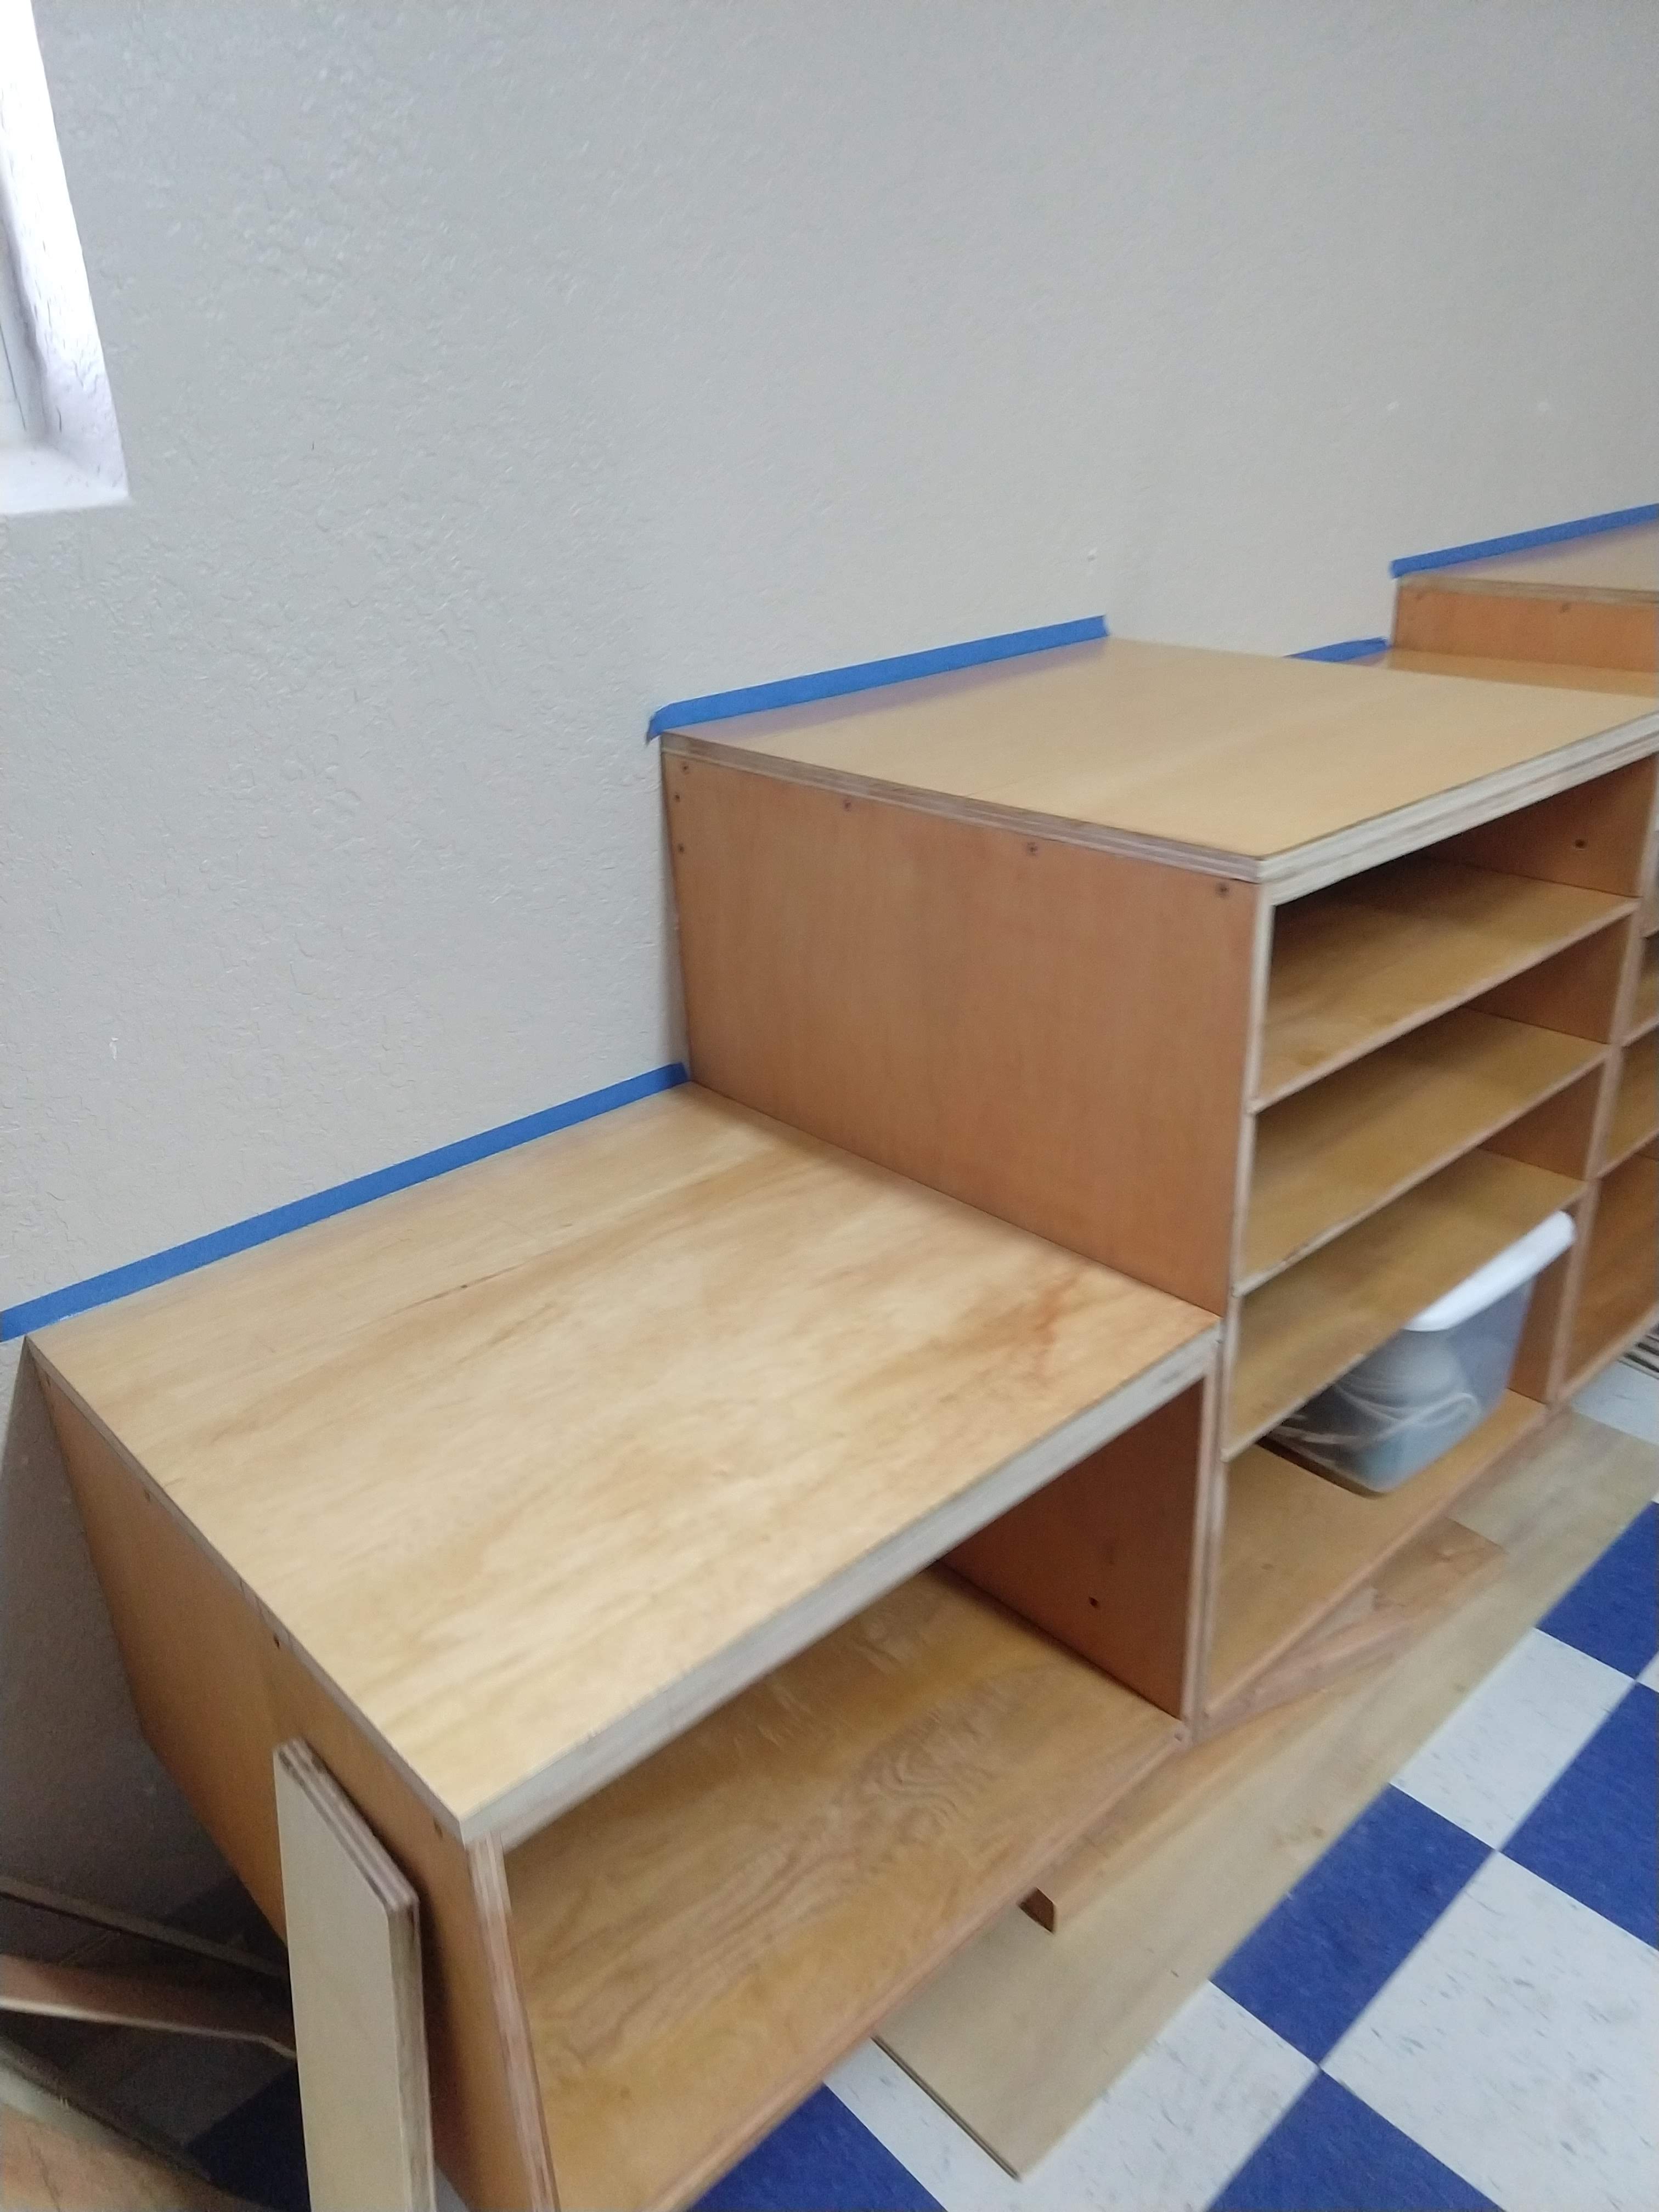
Above everything you have a top board that will be the actual work surface.As mentioned before the corner will be the area for building models, we are now looking at different options of tall chairs
We tried to find the nicest pieces of plywood for this.
After staining this top board, we decided it would be a good idea to have a measuring tape fixed in the bench. There are many options, I wanted something that would be inches and centimeters and found a great amount of options on line.
With the peel n stick measuring tape in place we proceeded to apply many layers of clear polyurethane.
At this step more blue "designing" tape was place in the back by the wall, as a reminder that we need to put something there to stop small items to sneak in there. Considered a bead of silicone but decided for a wood angle (not installed yet)
Build the Drawers.
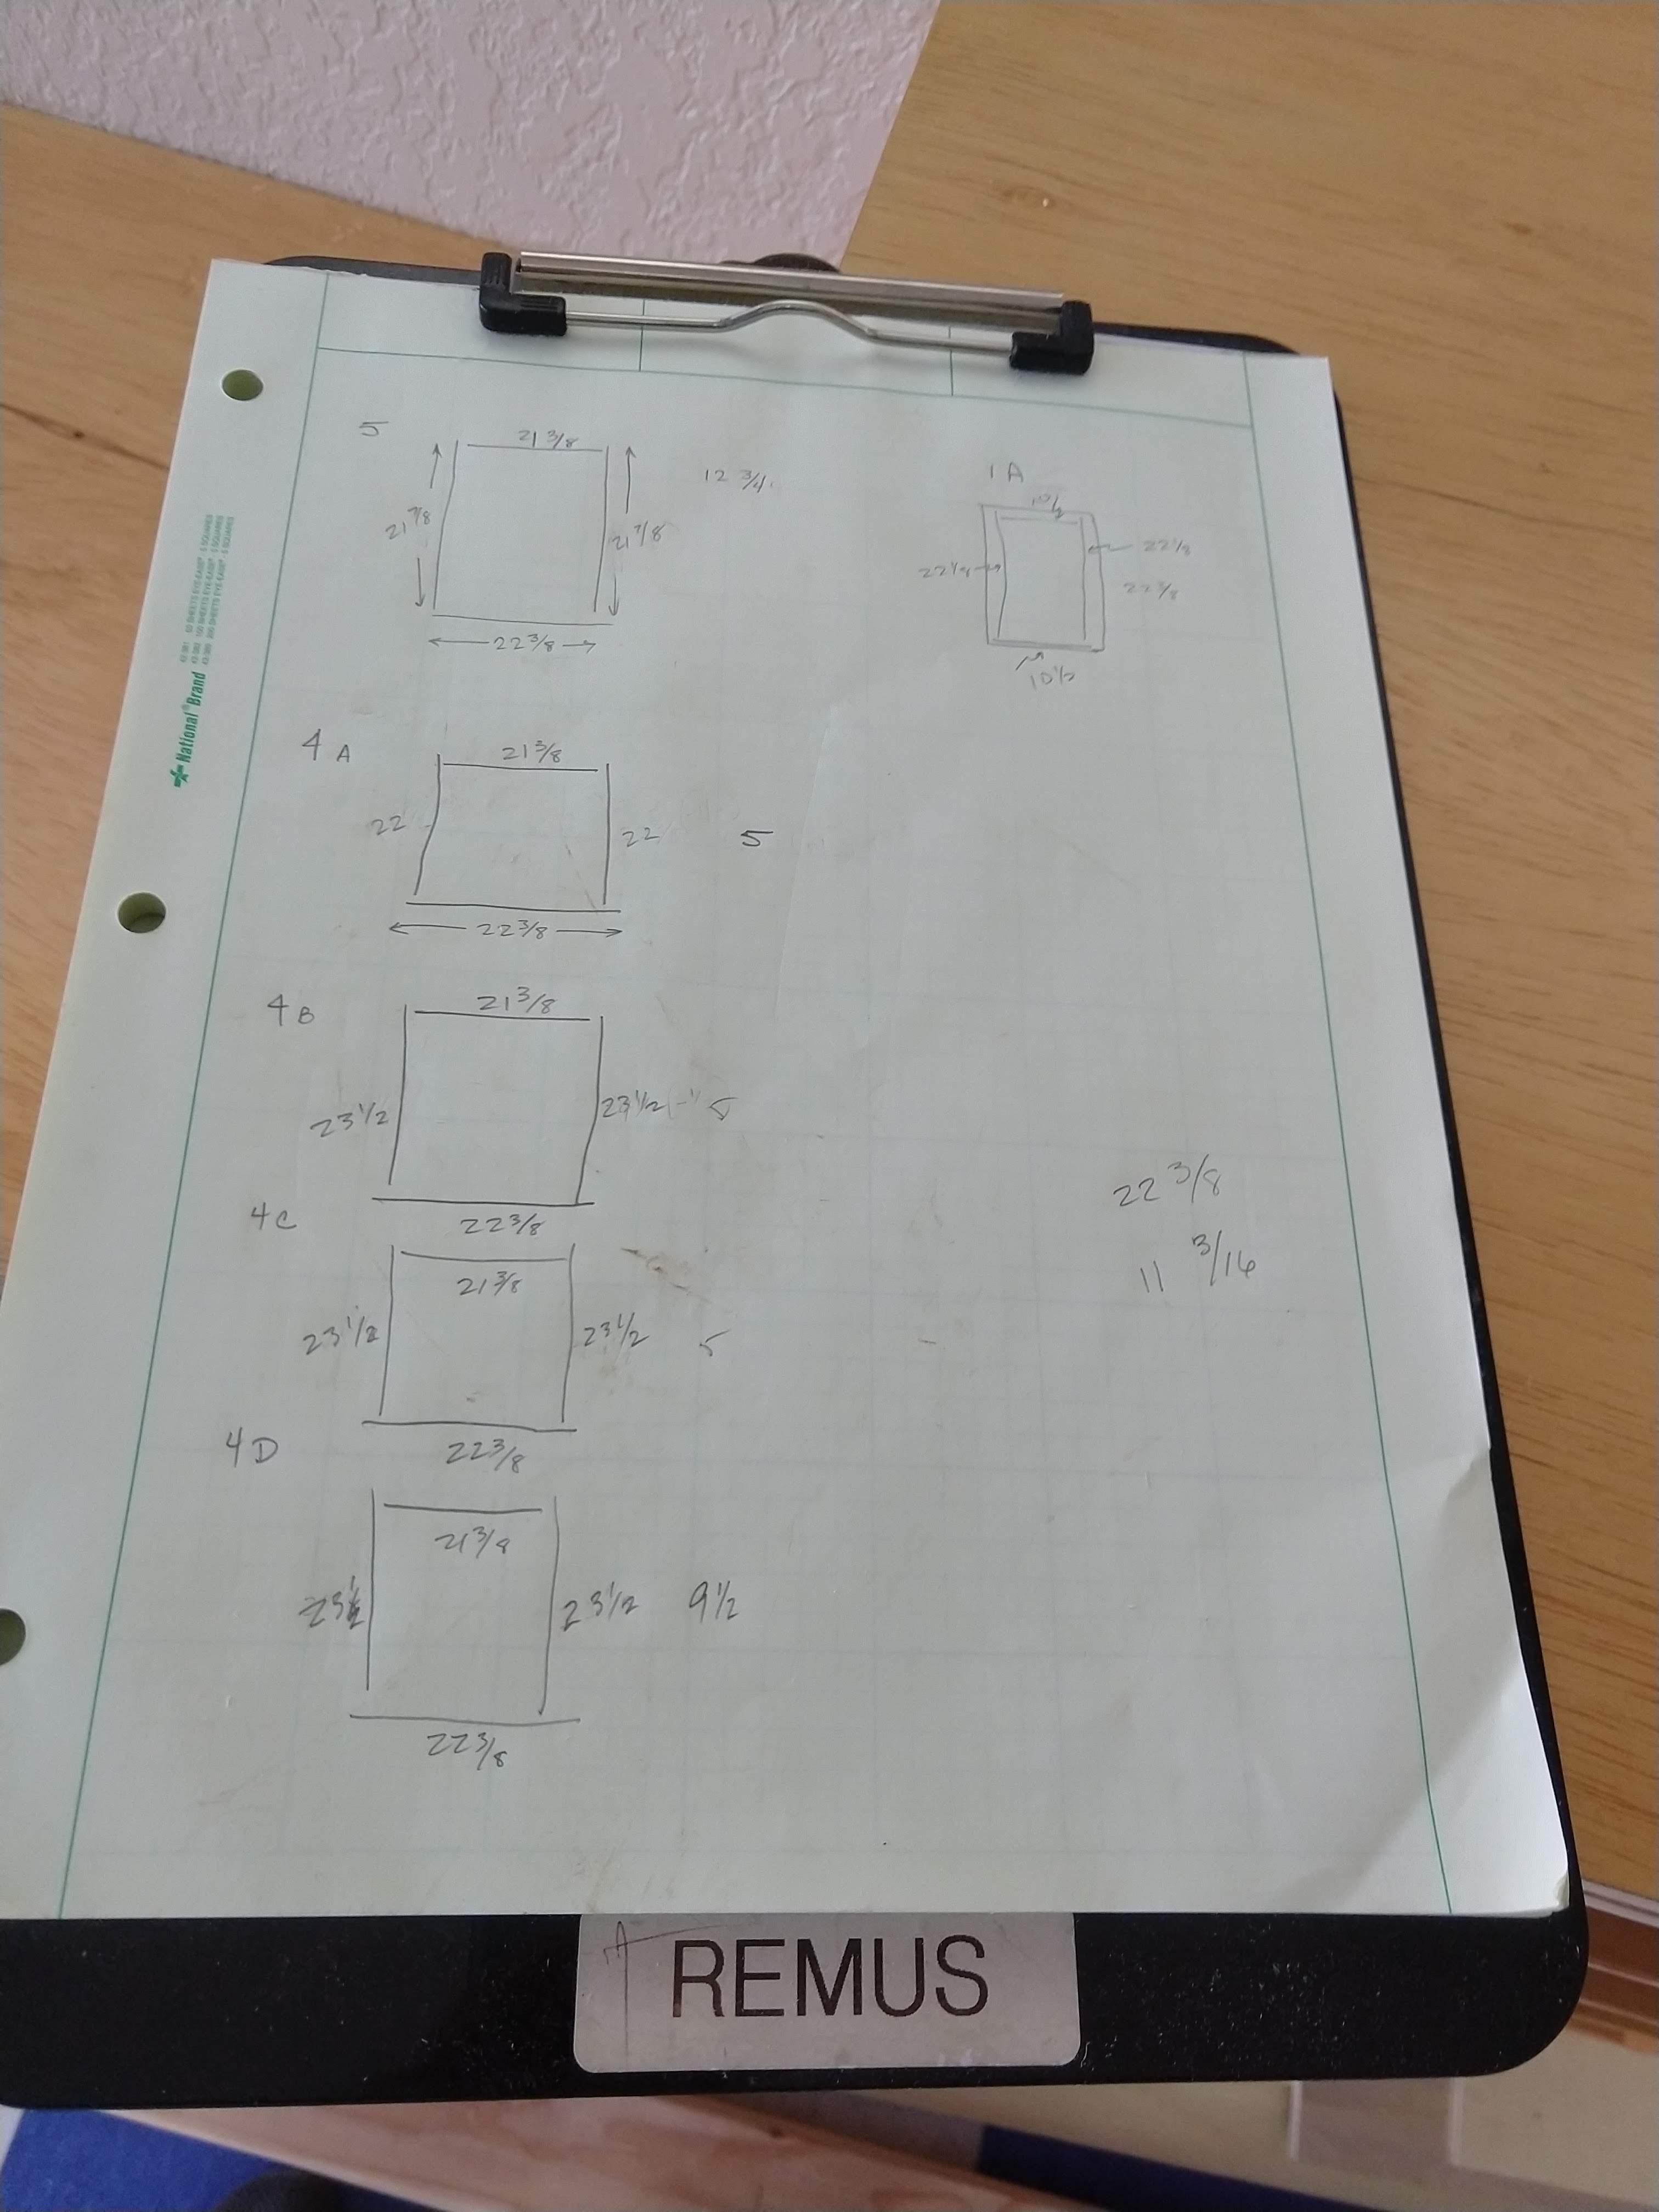
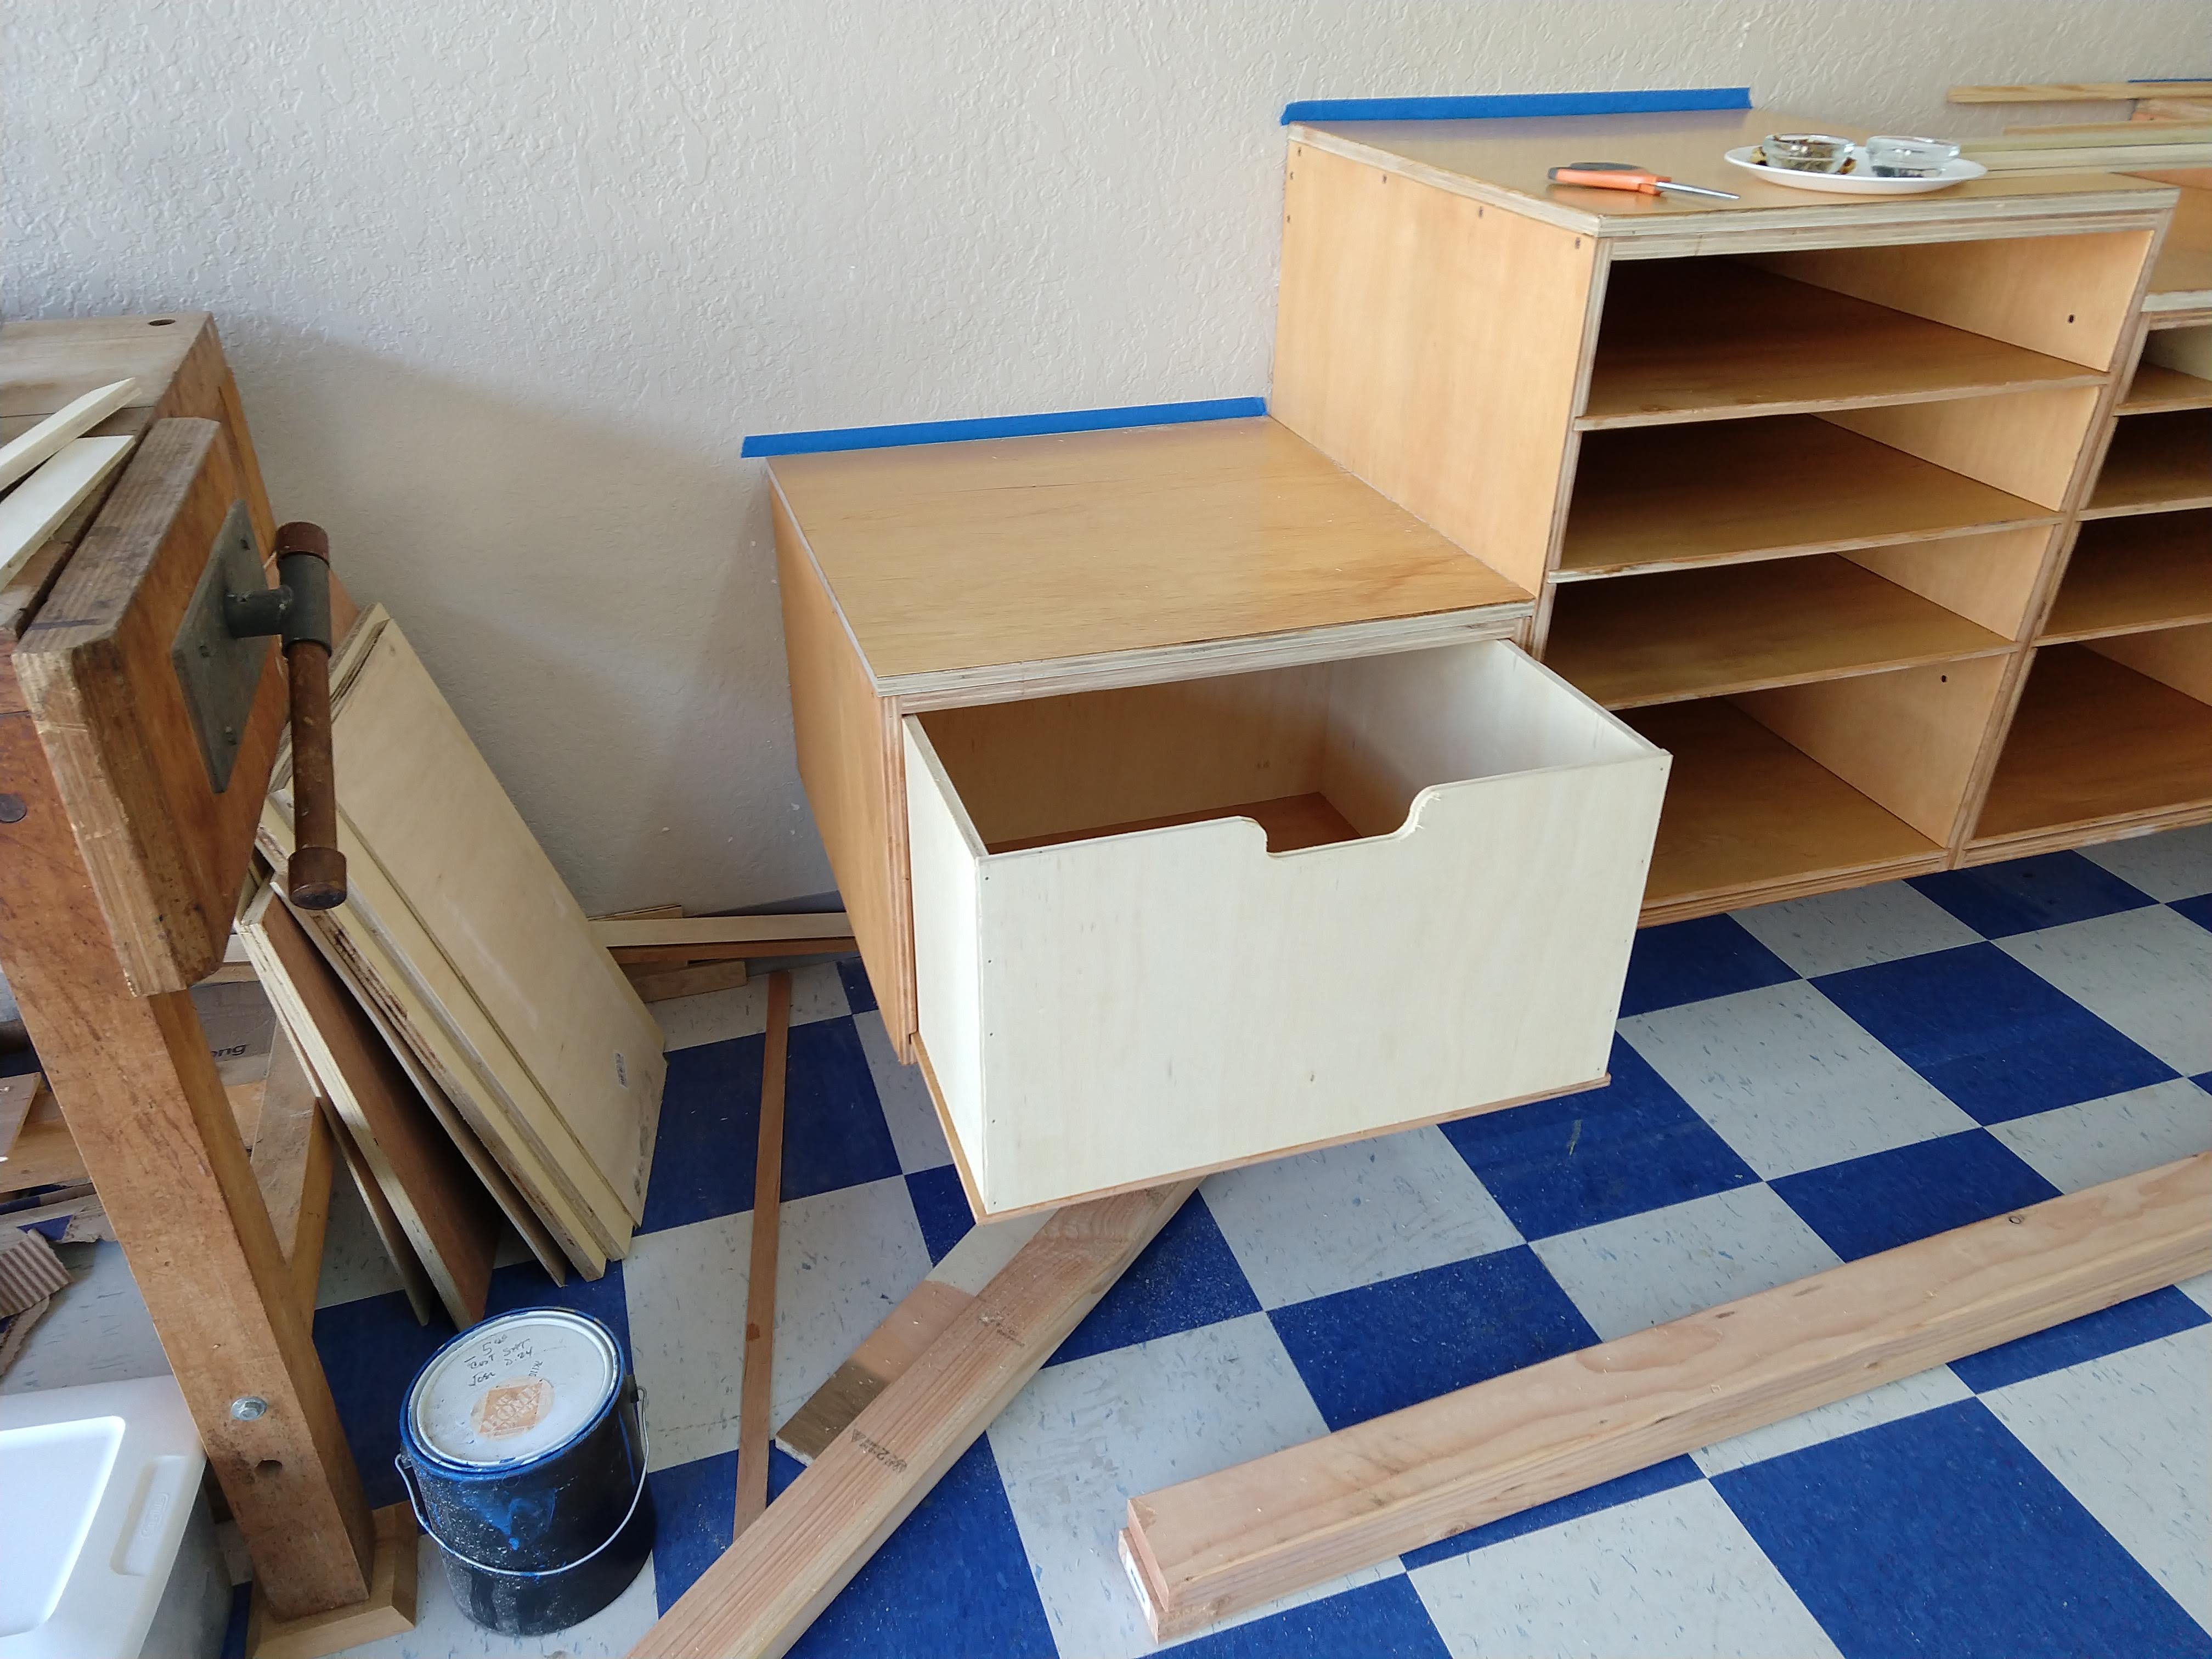
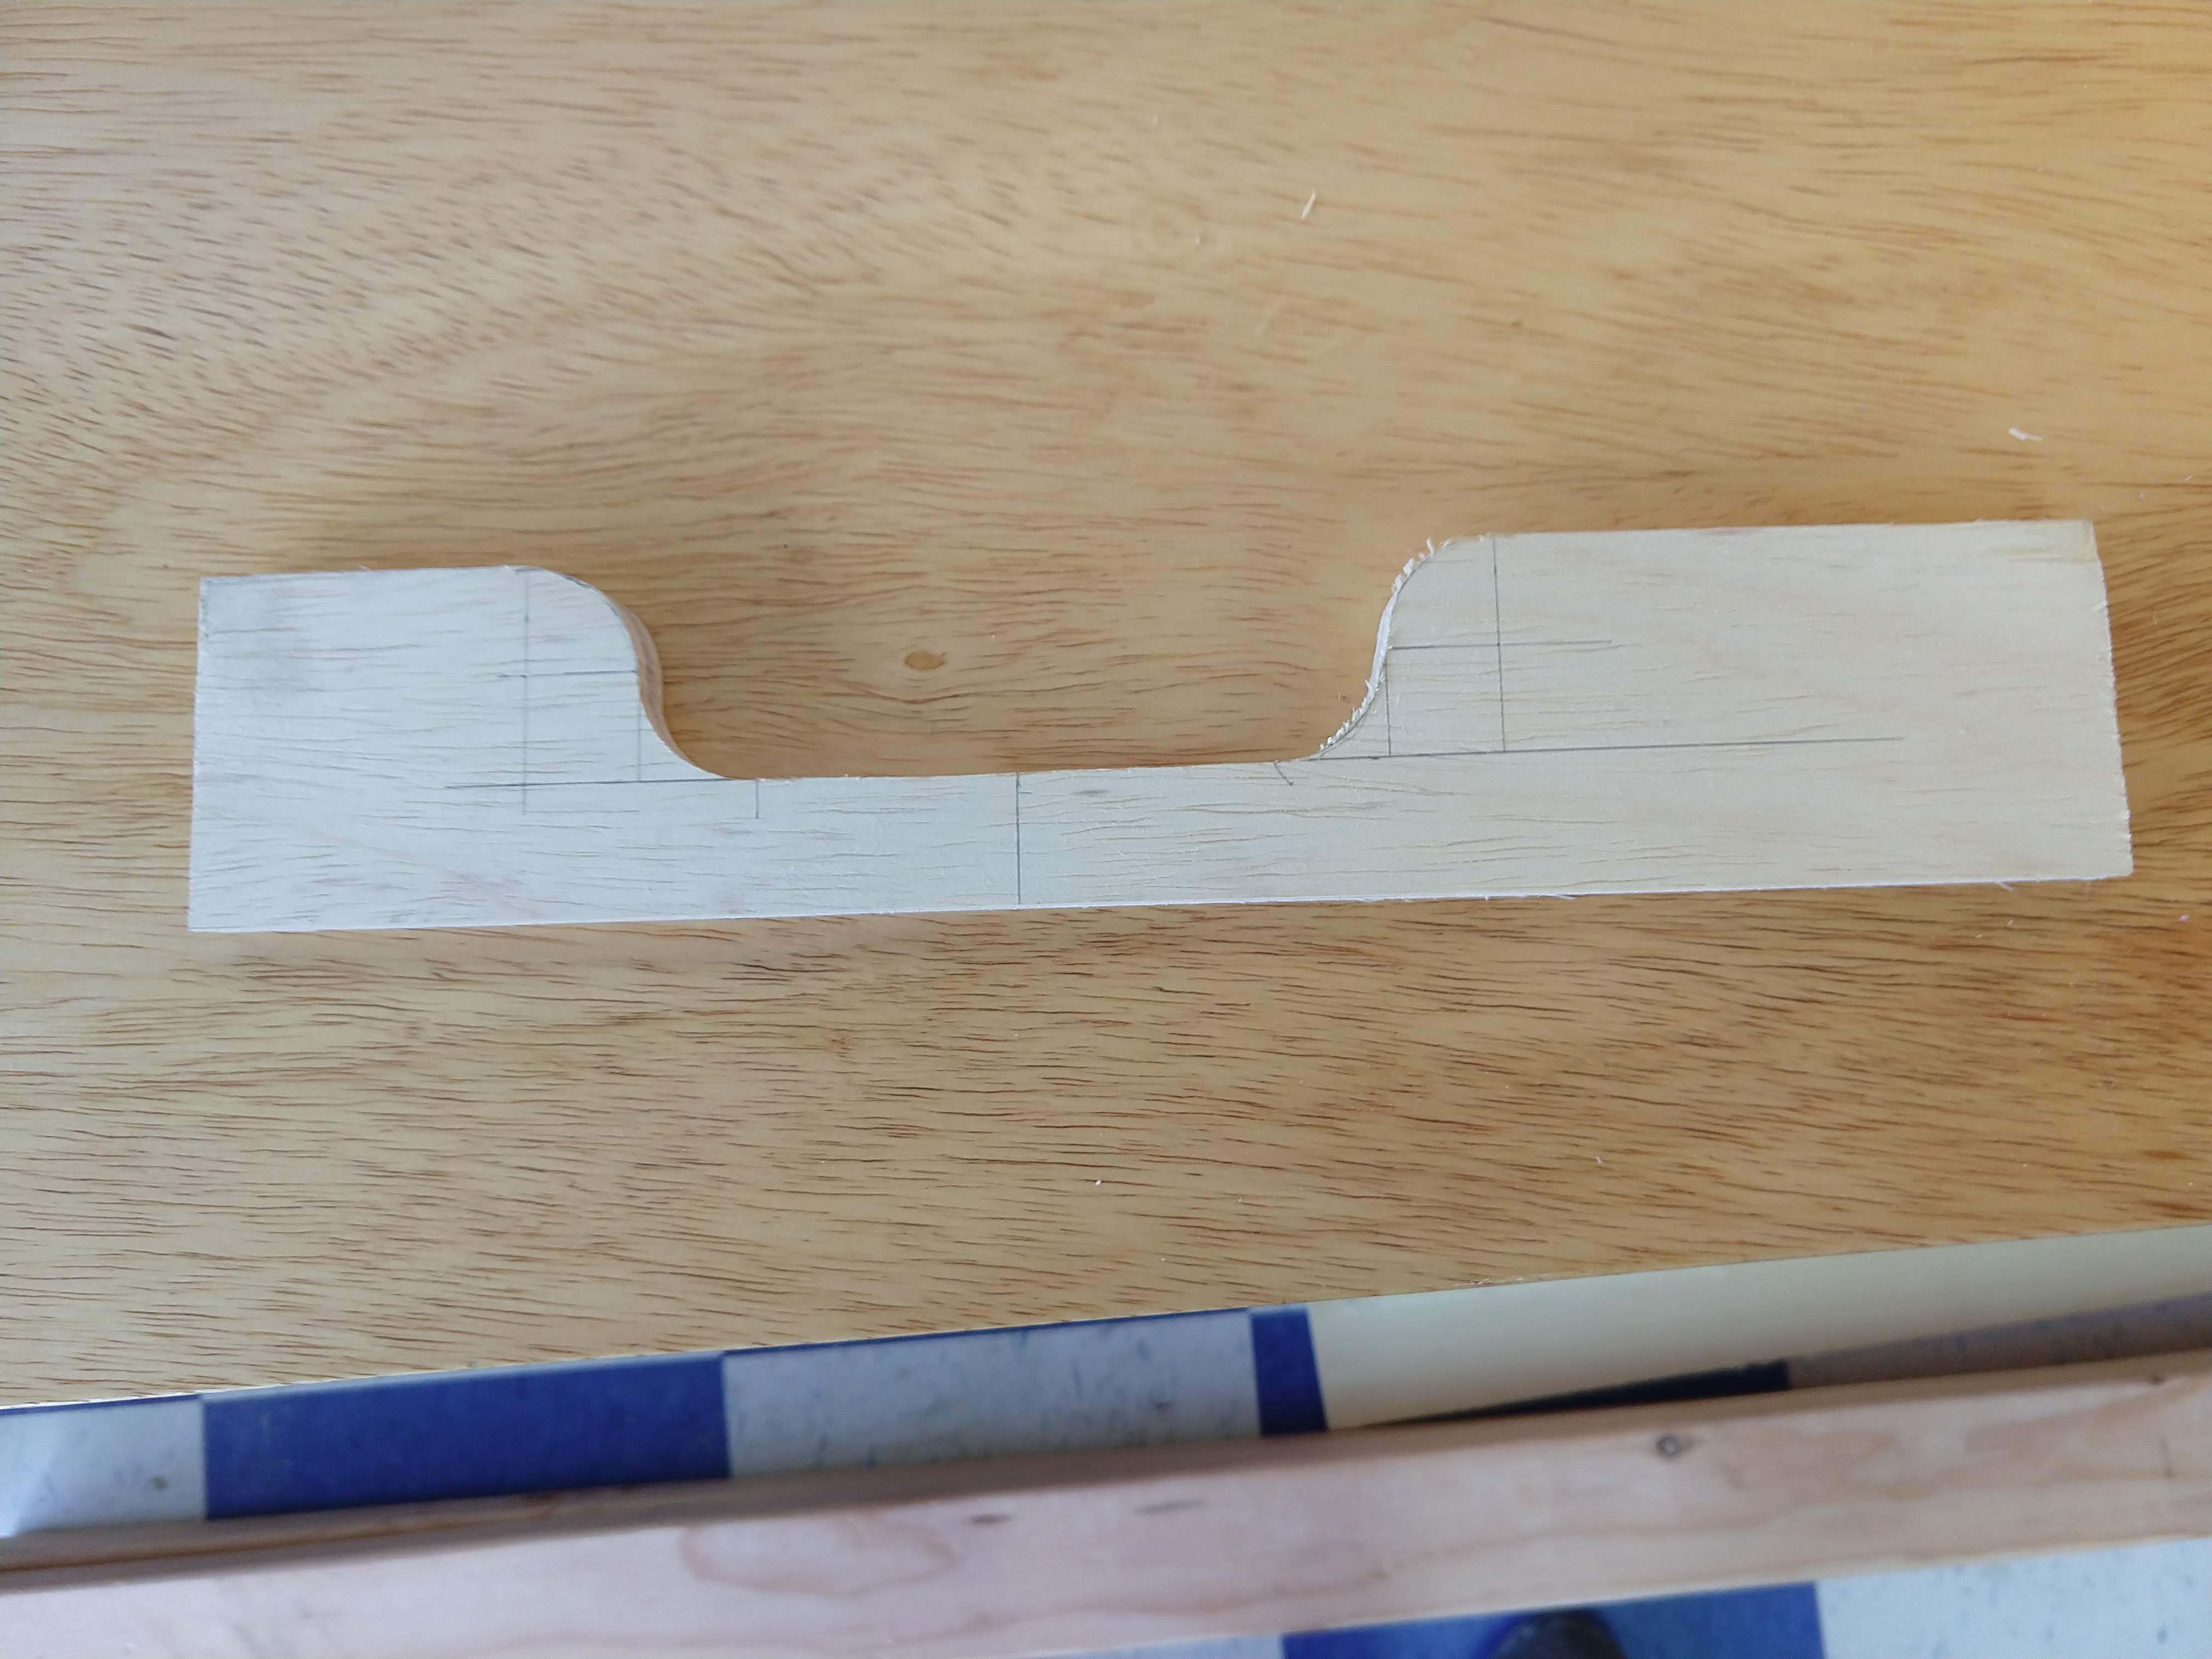
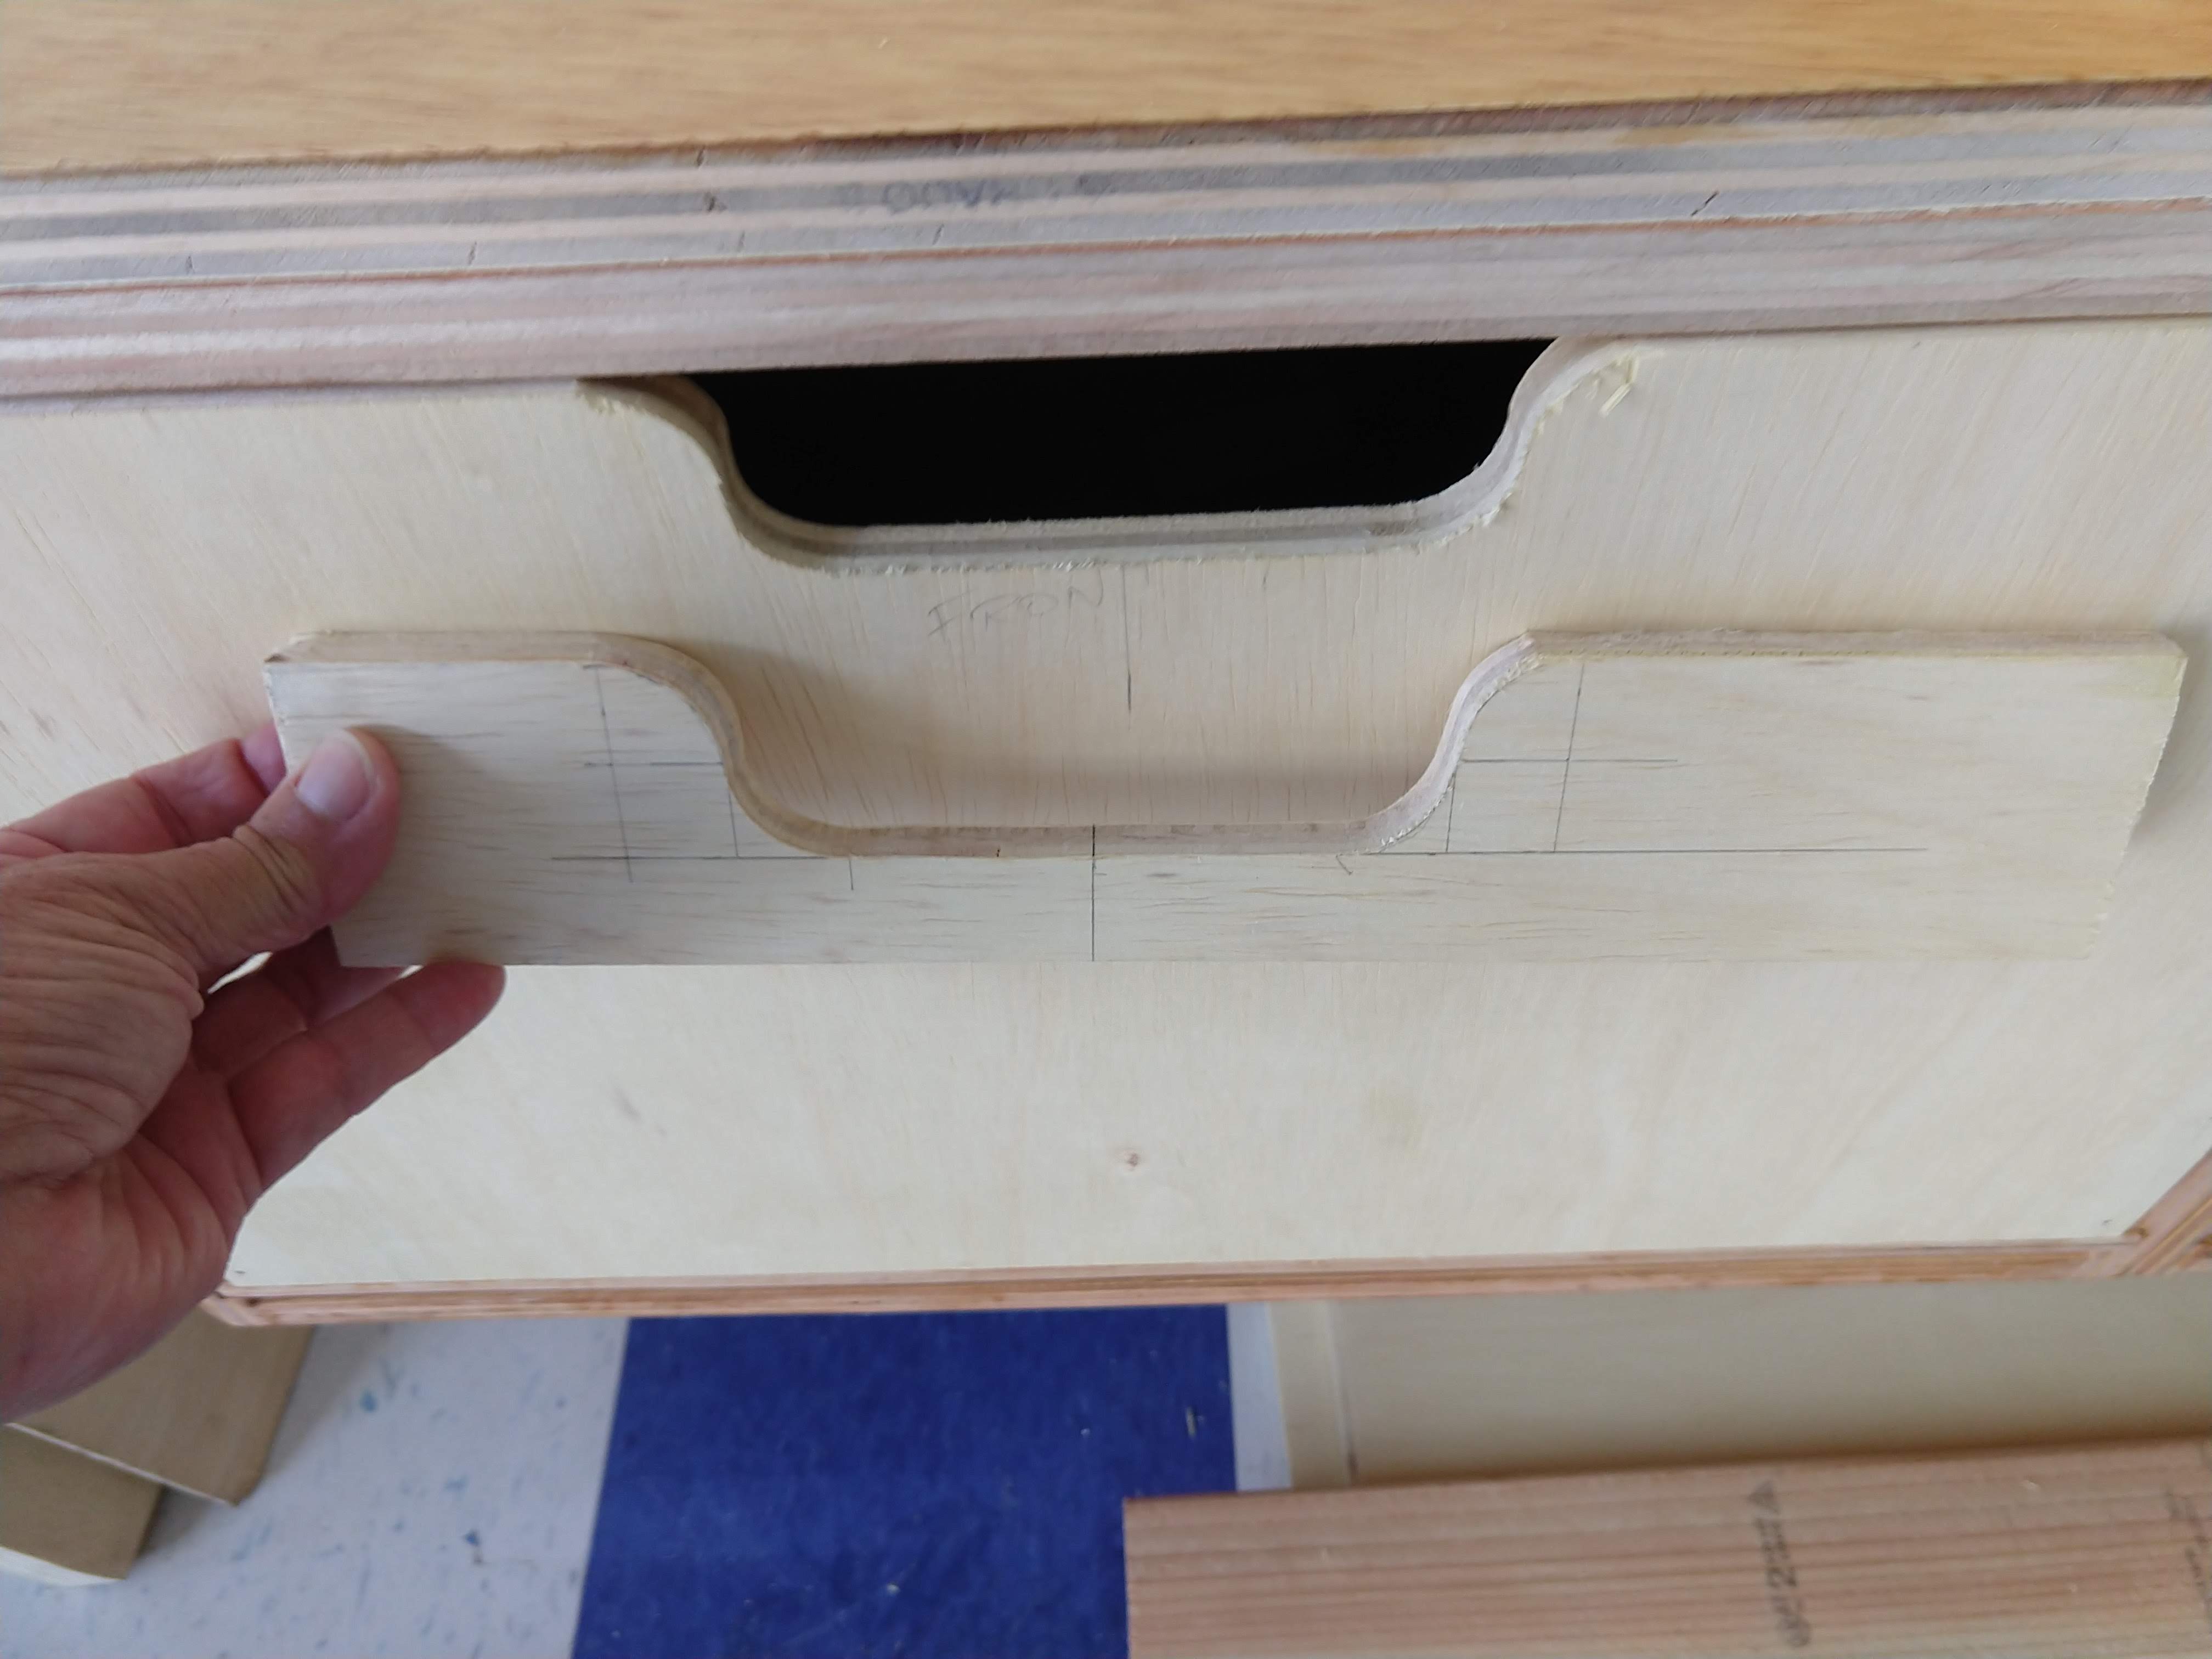
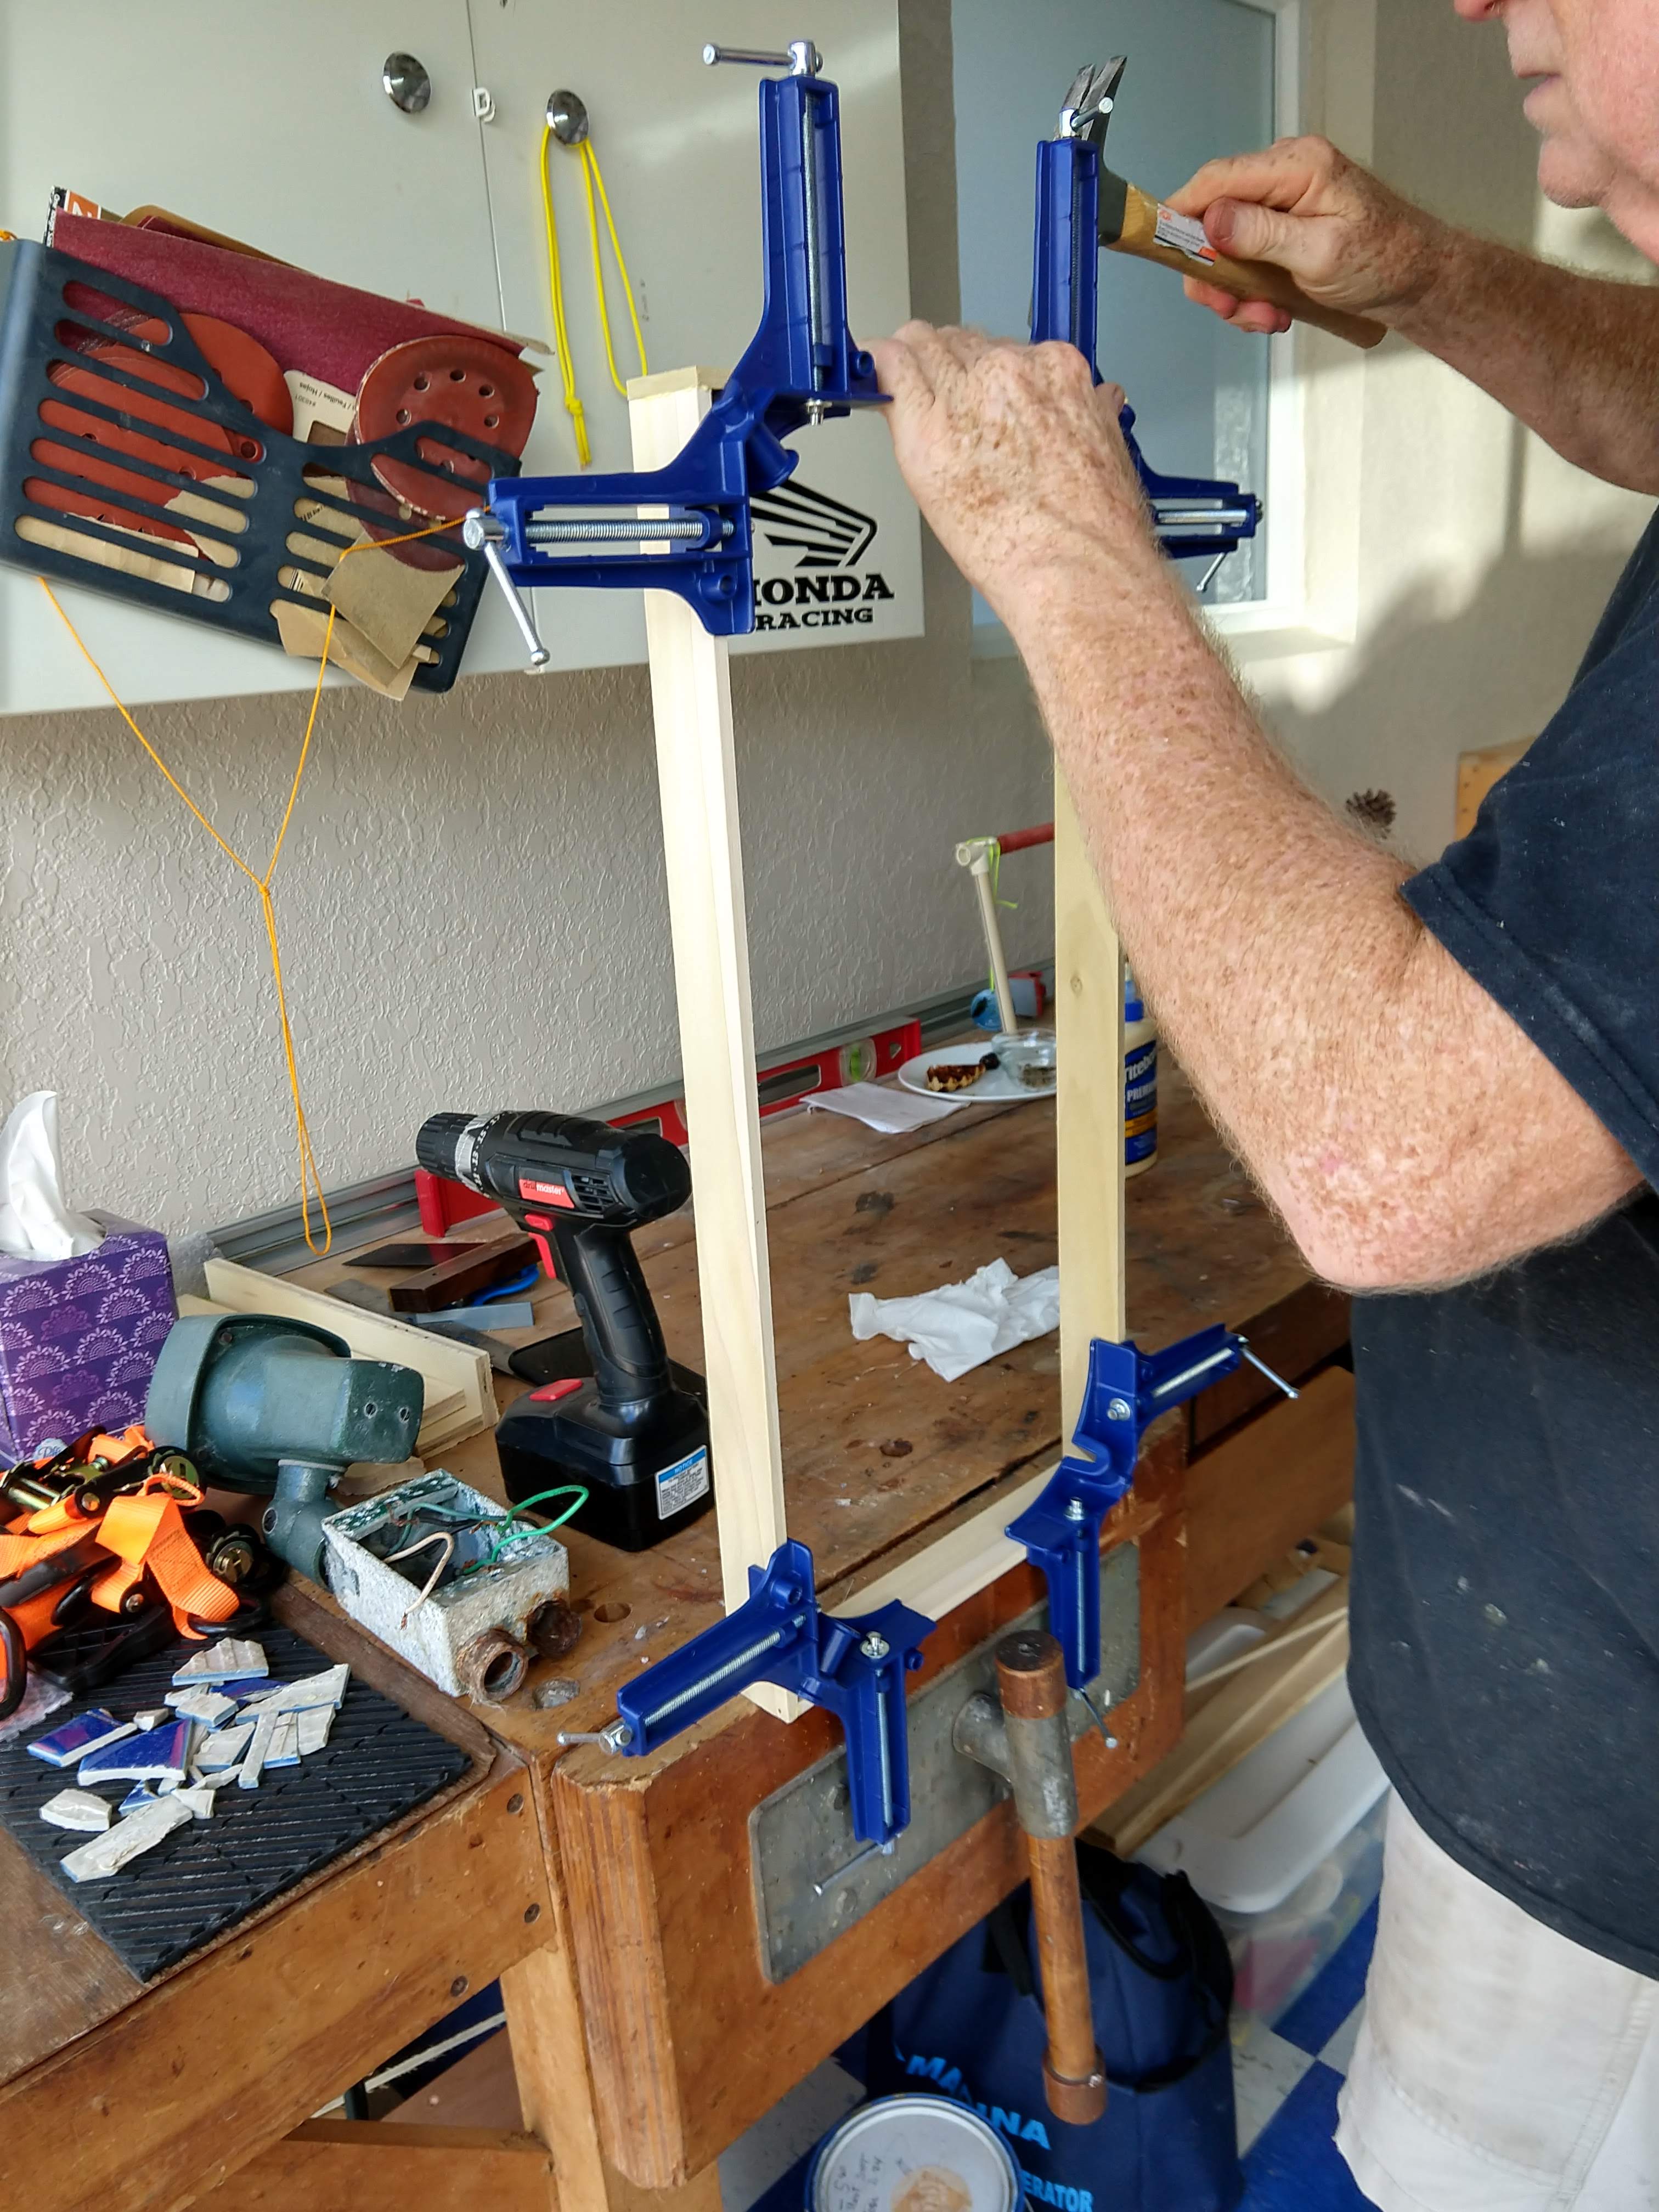
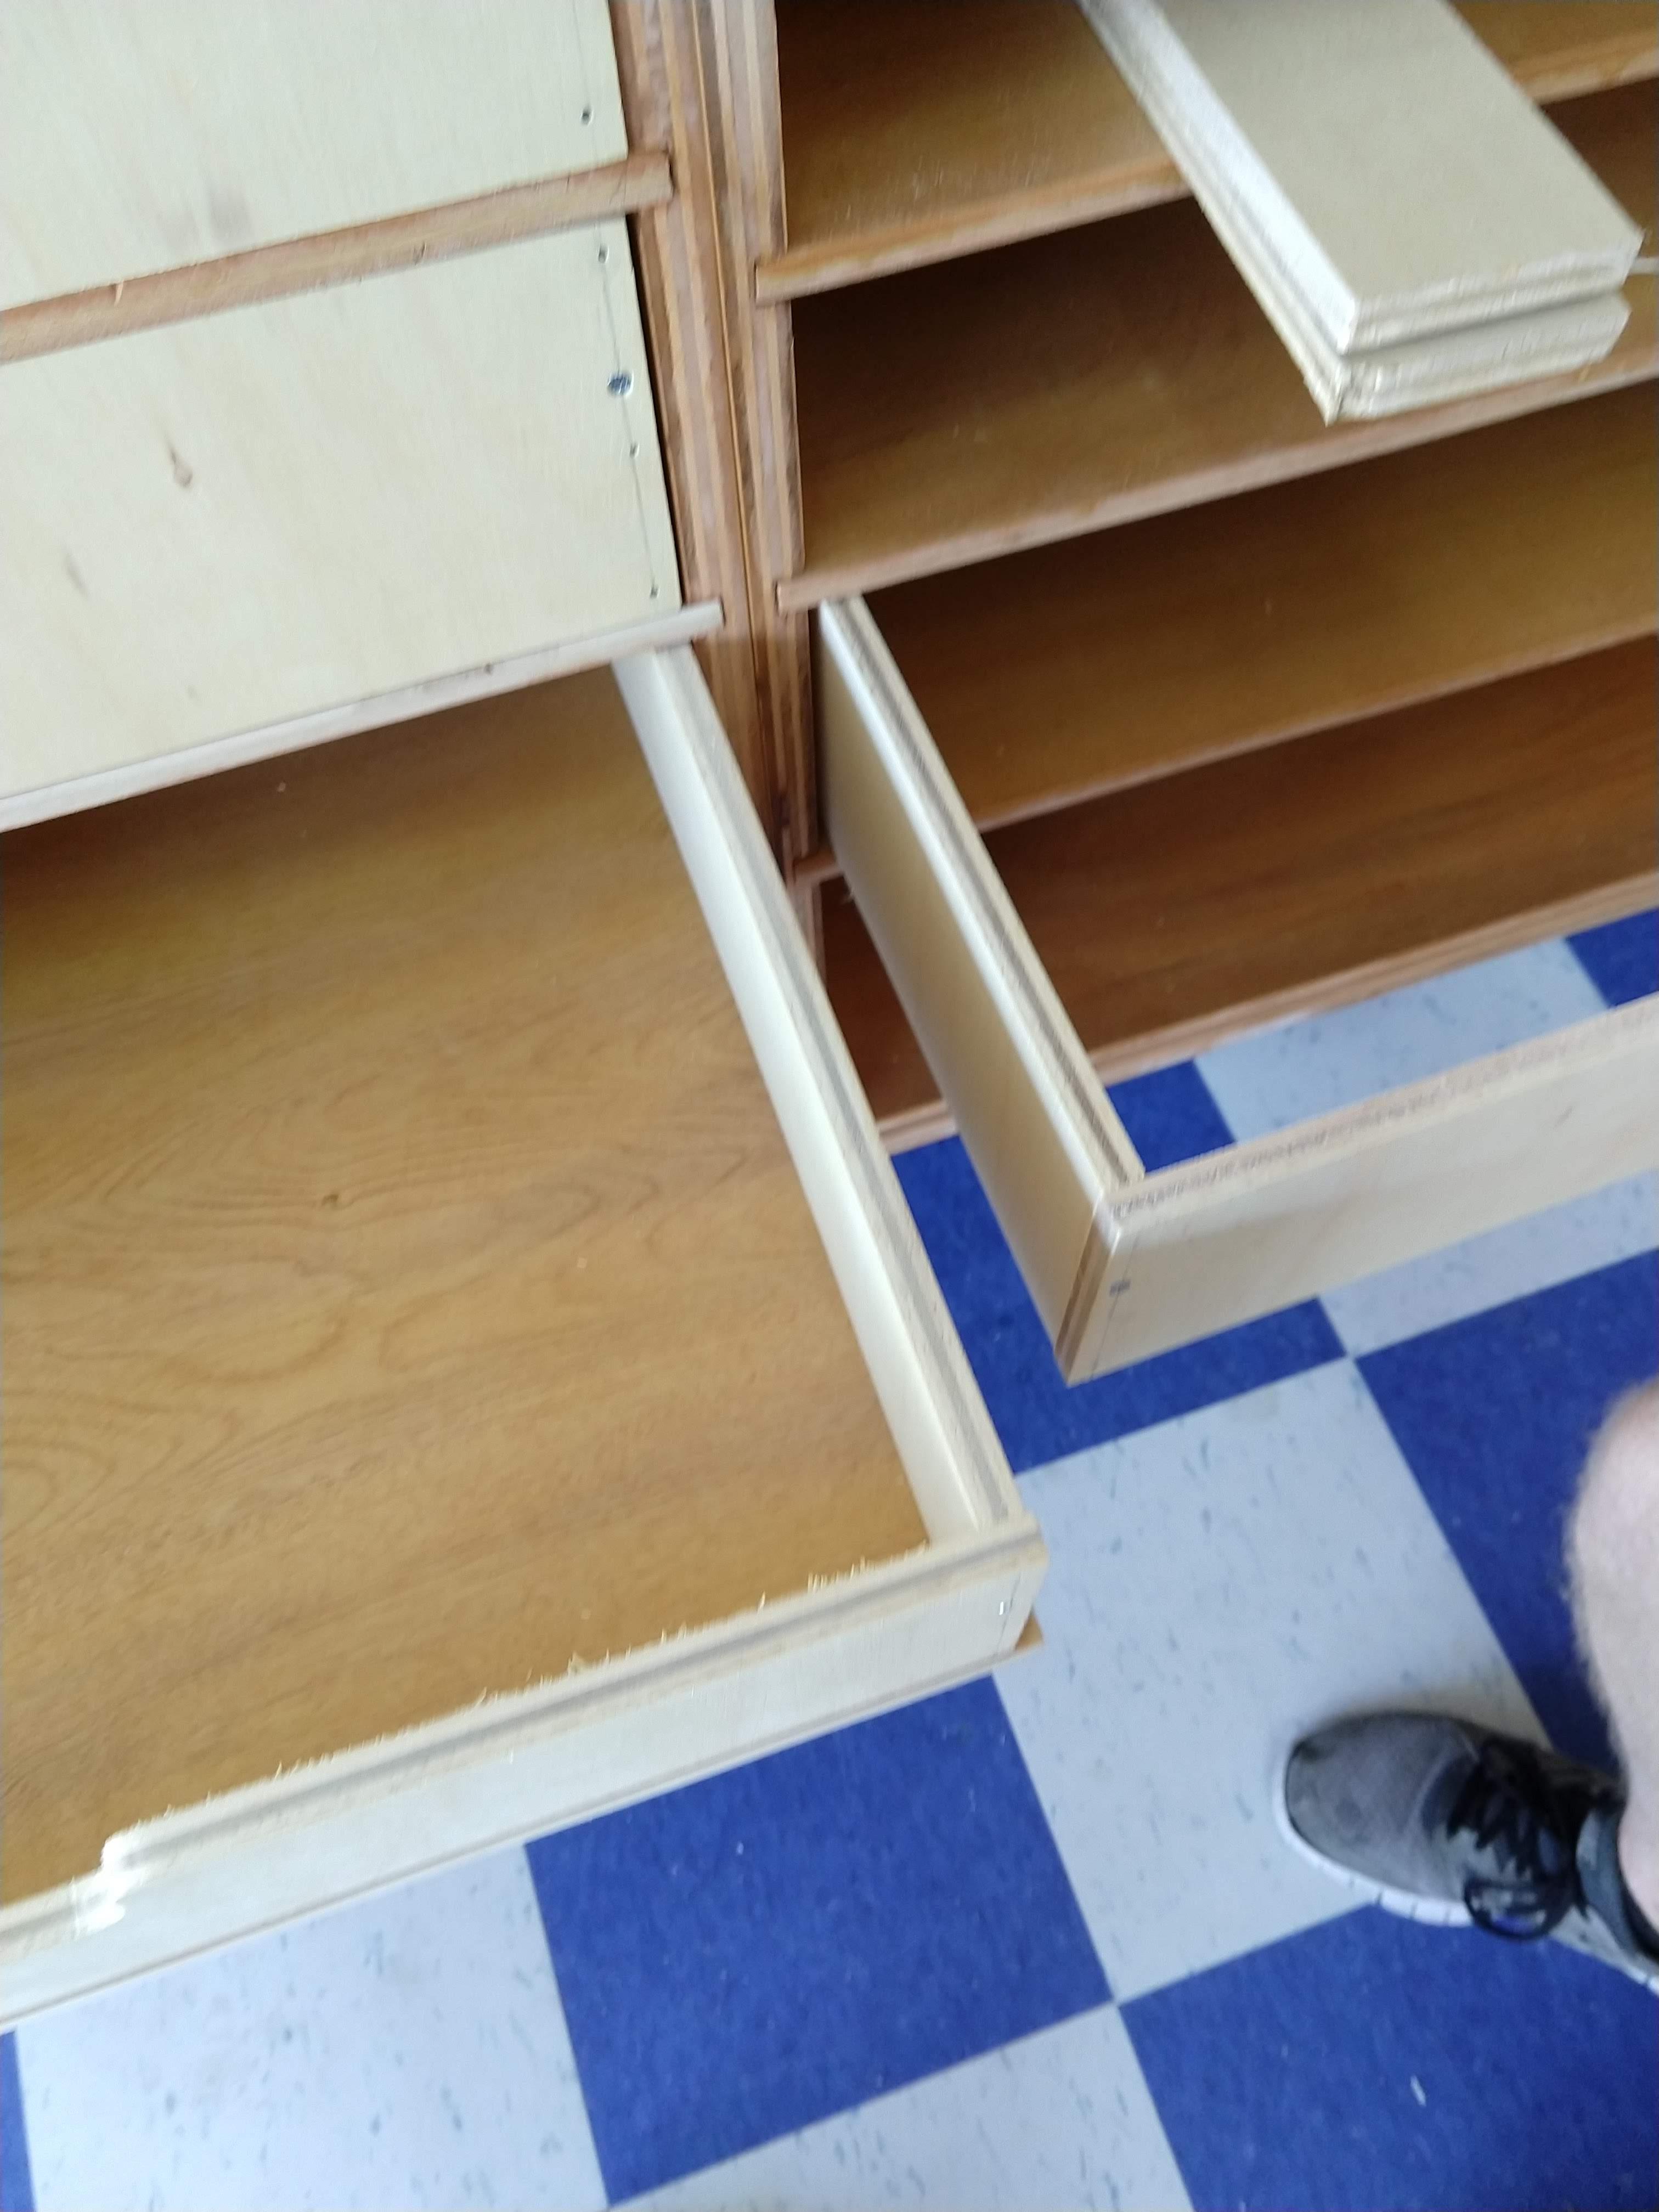
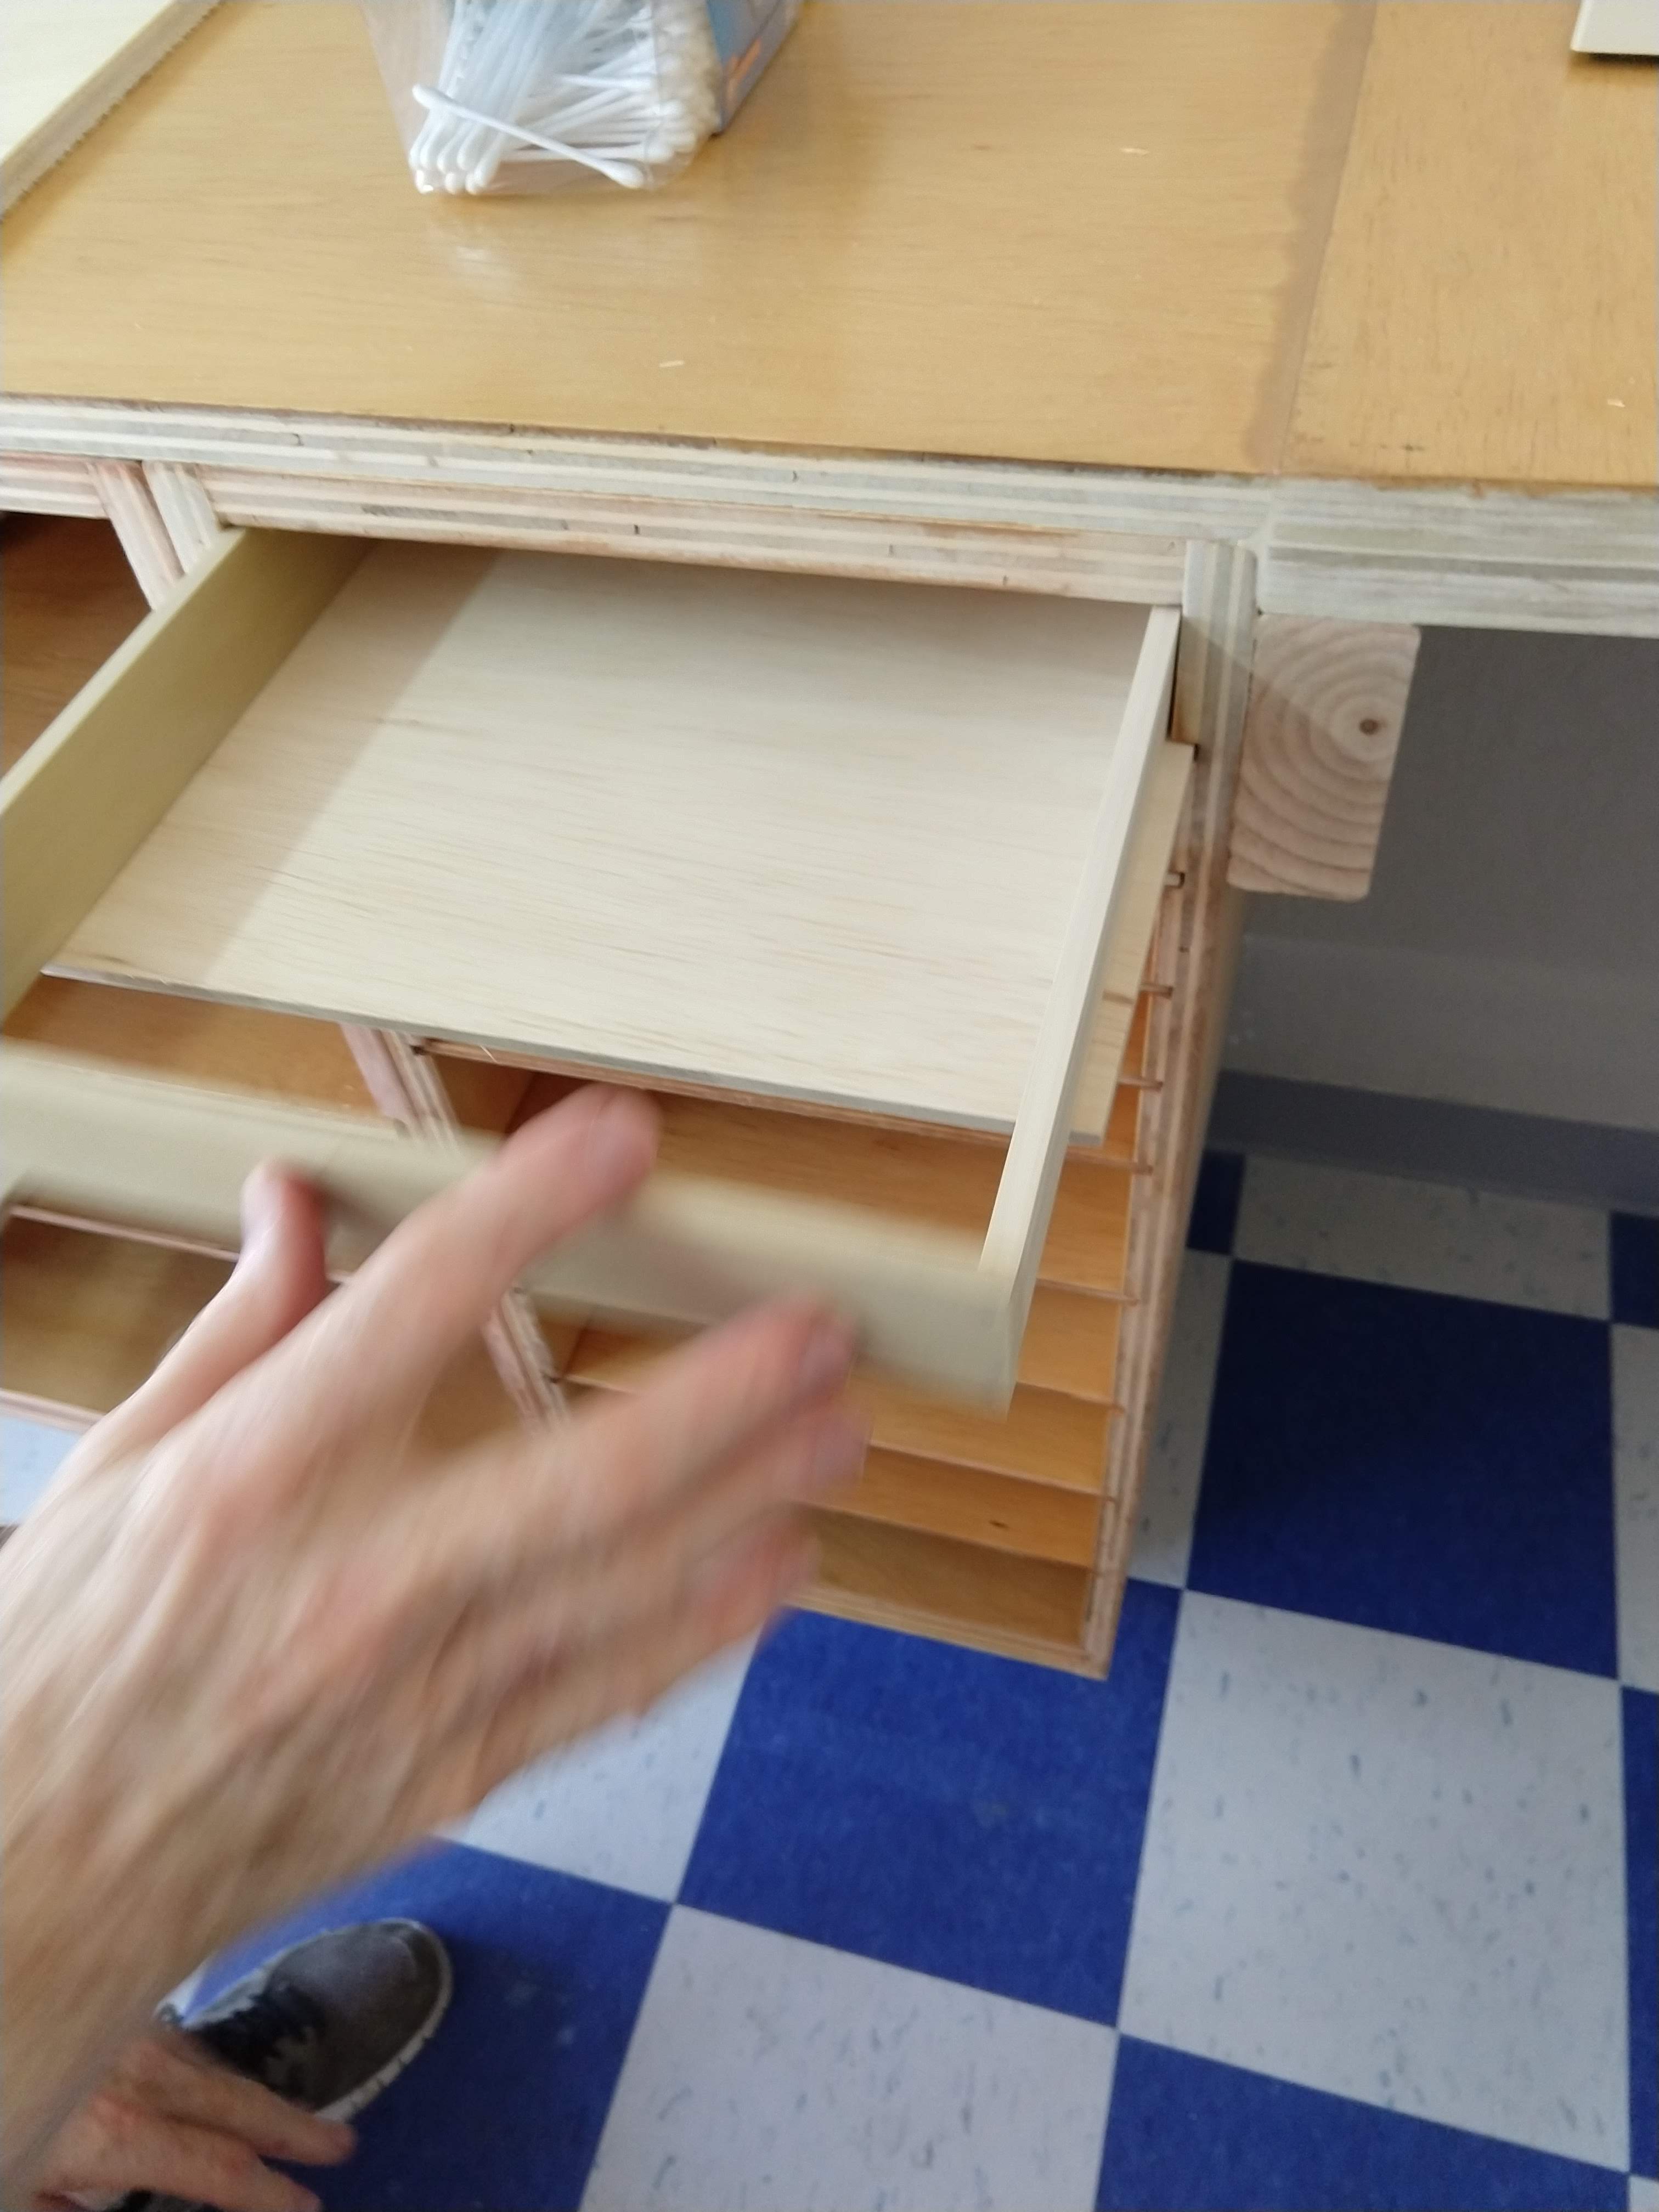
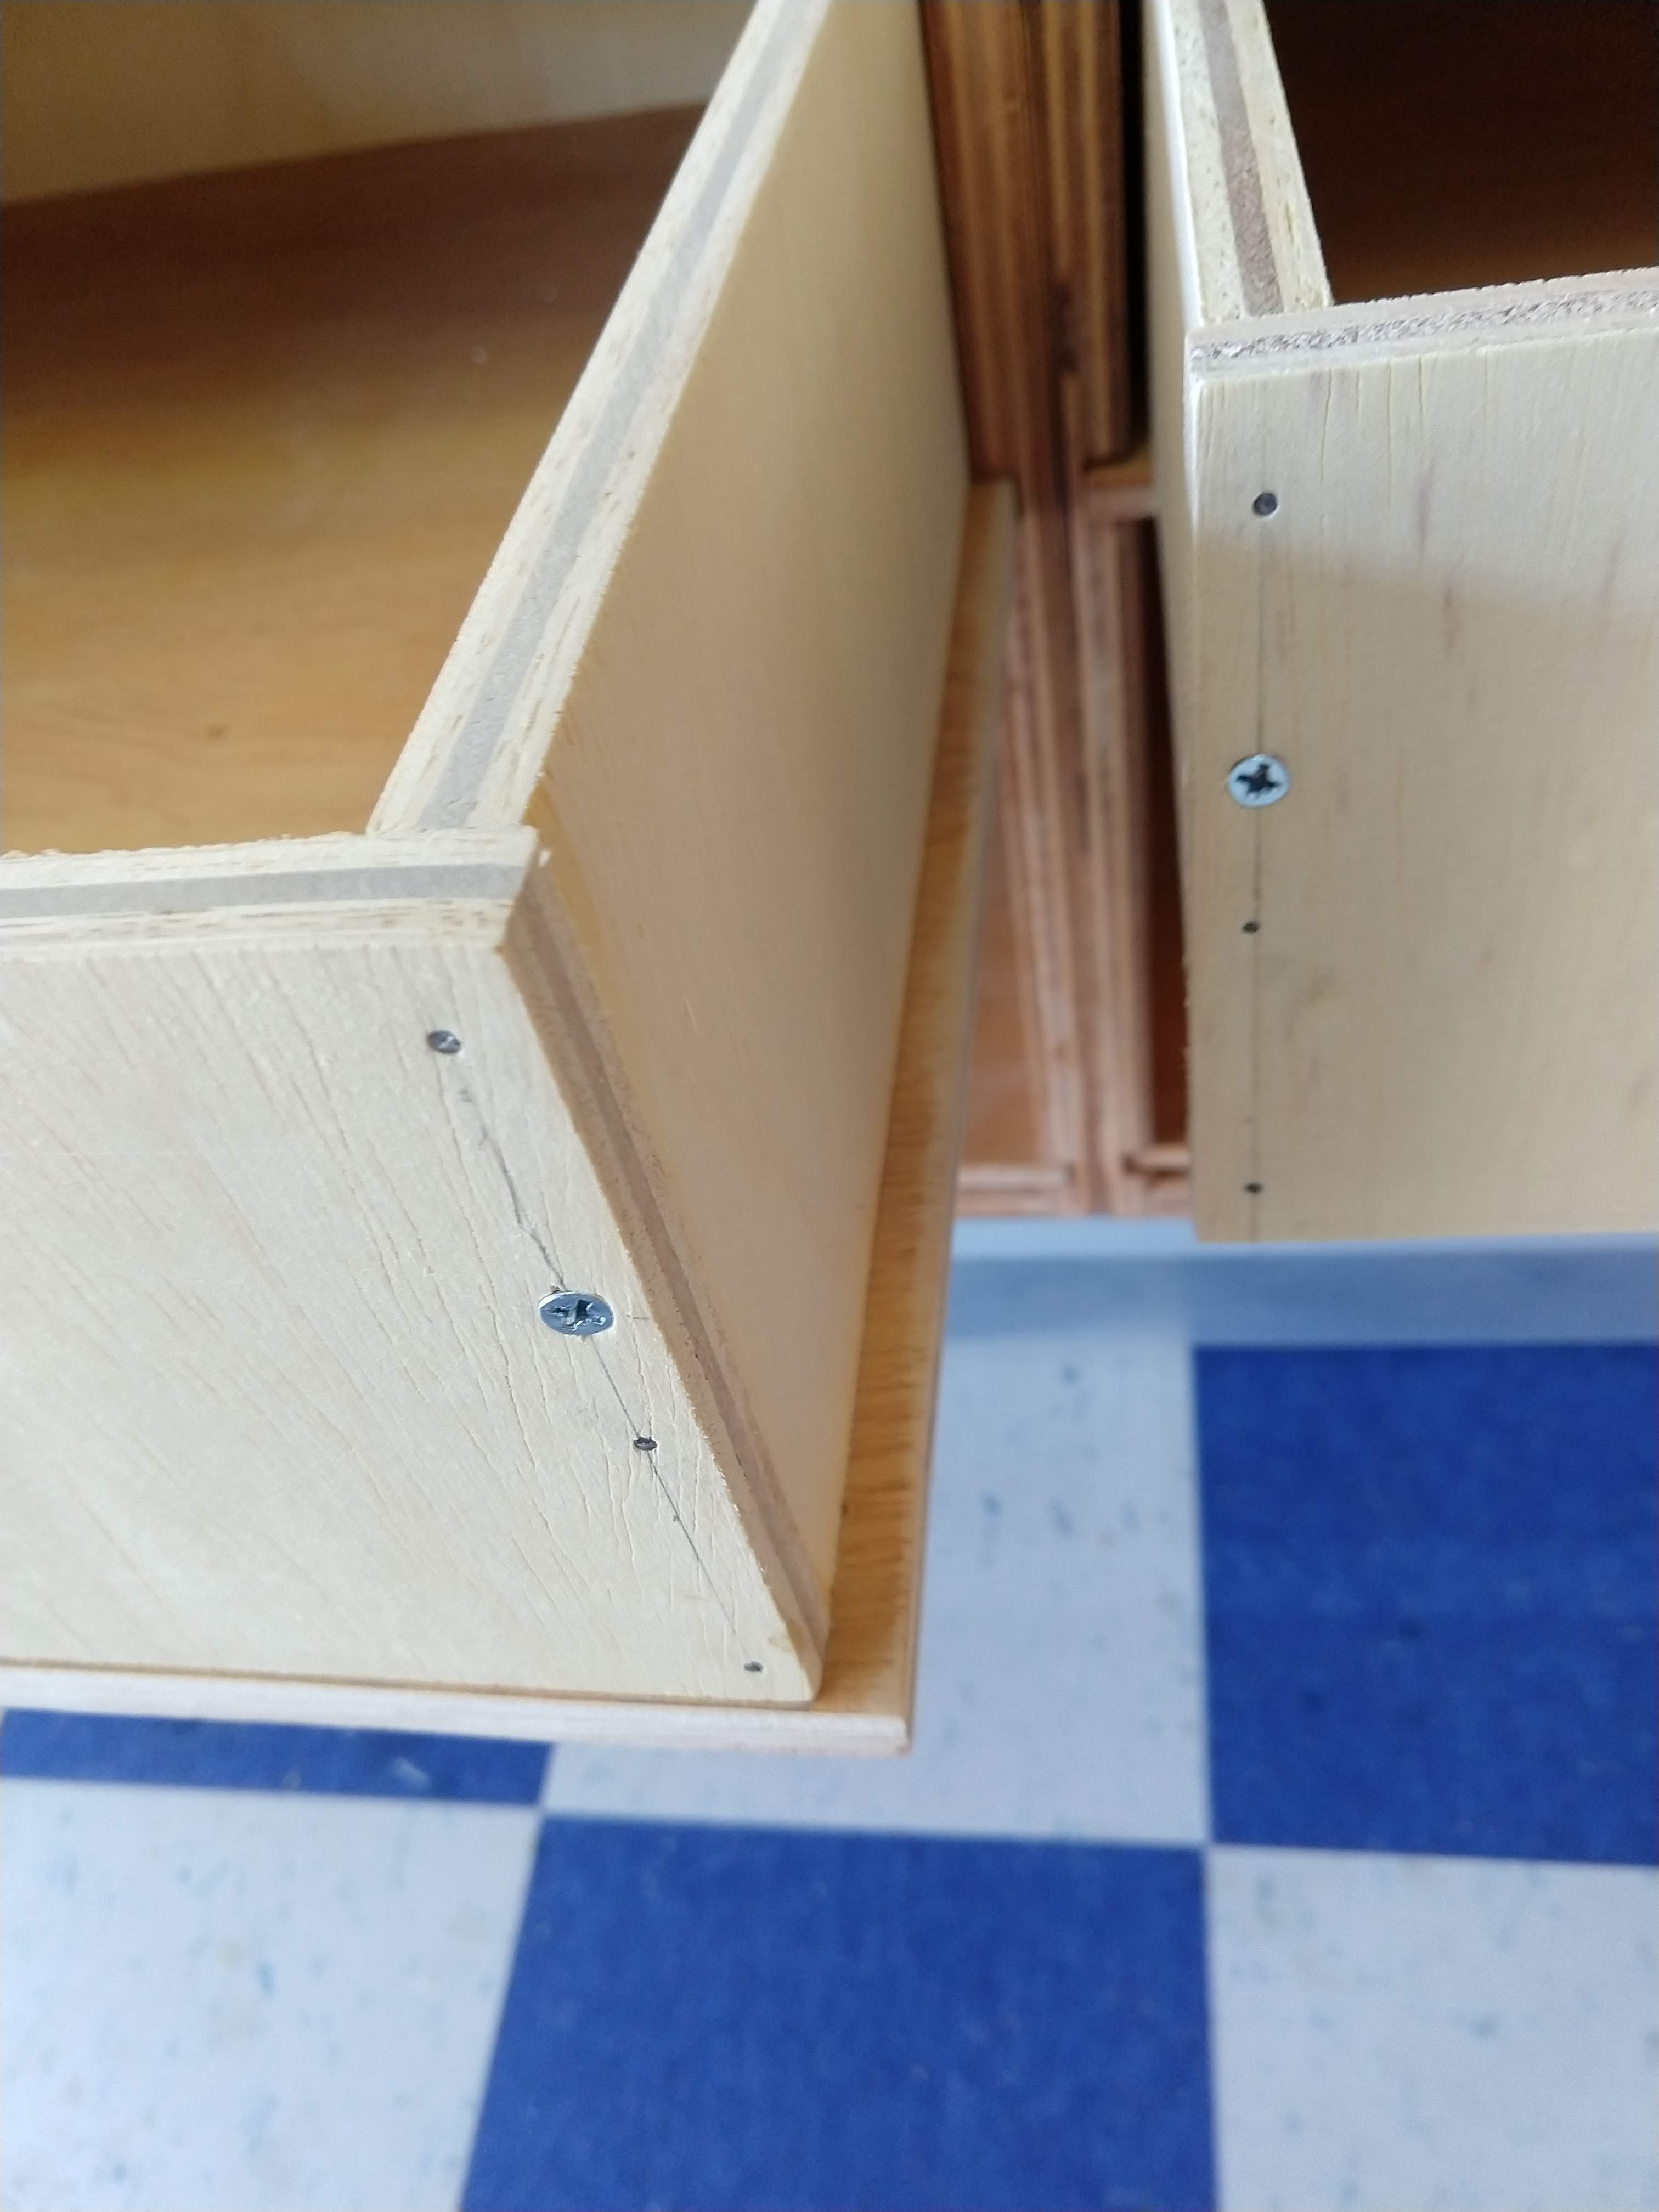
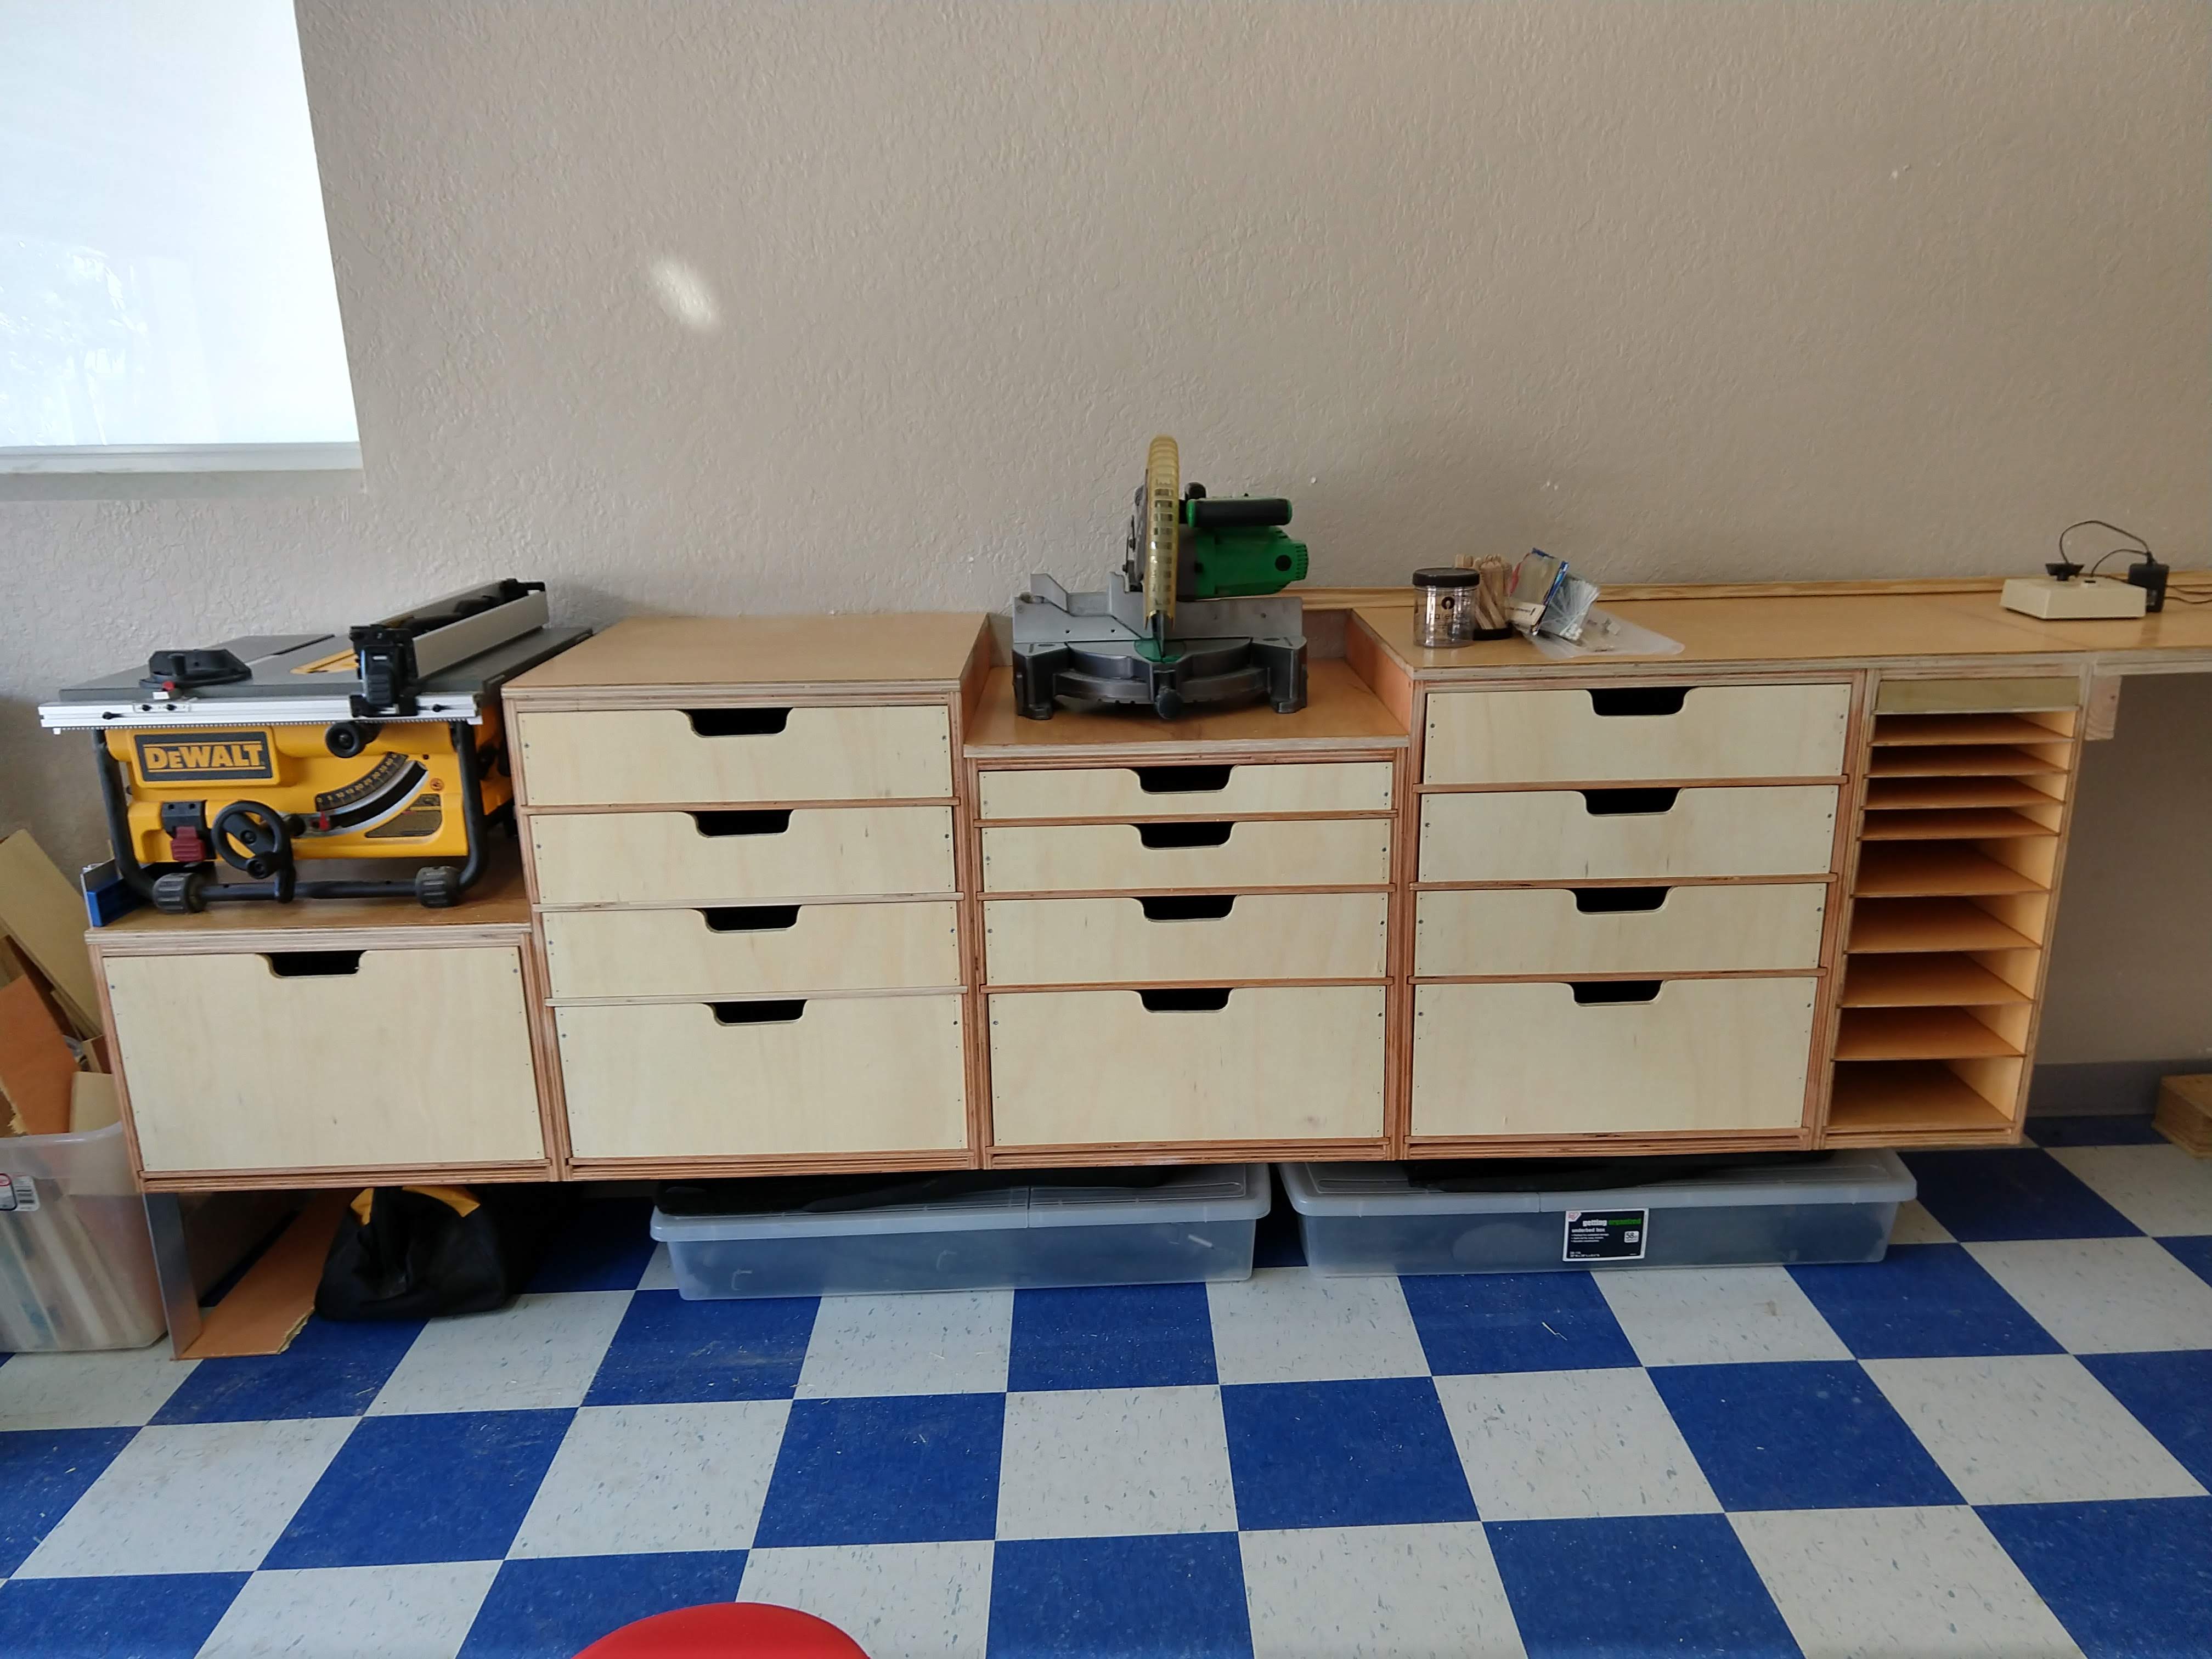
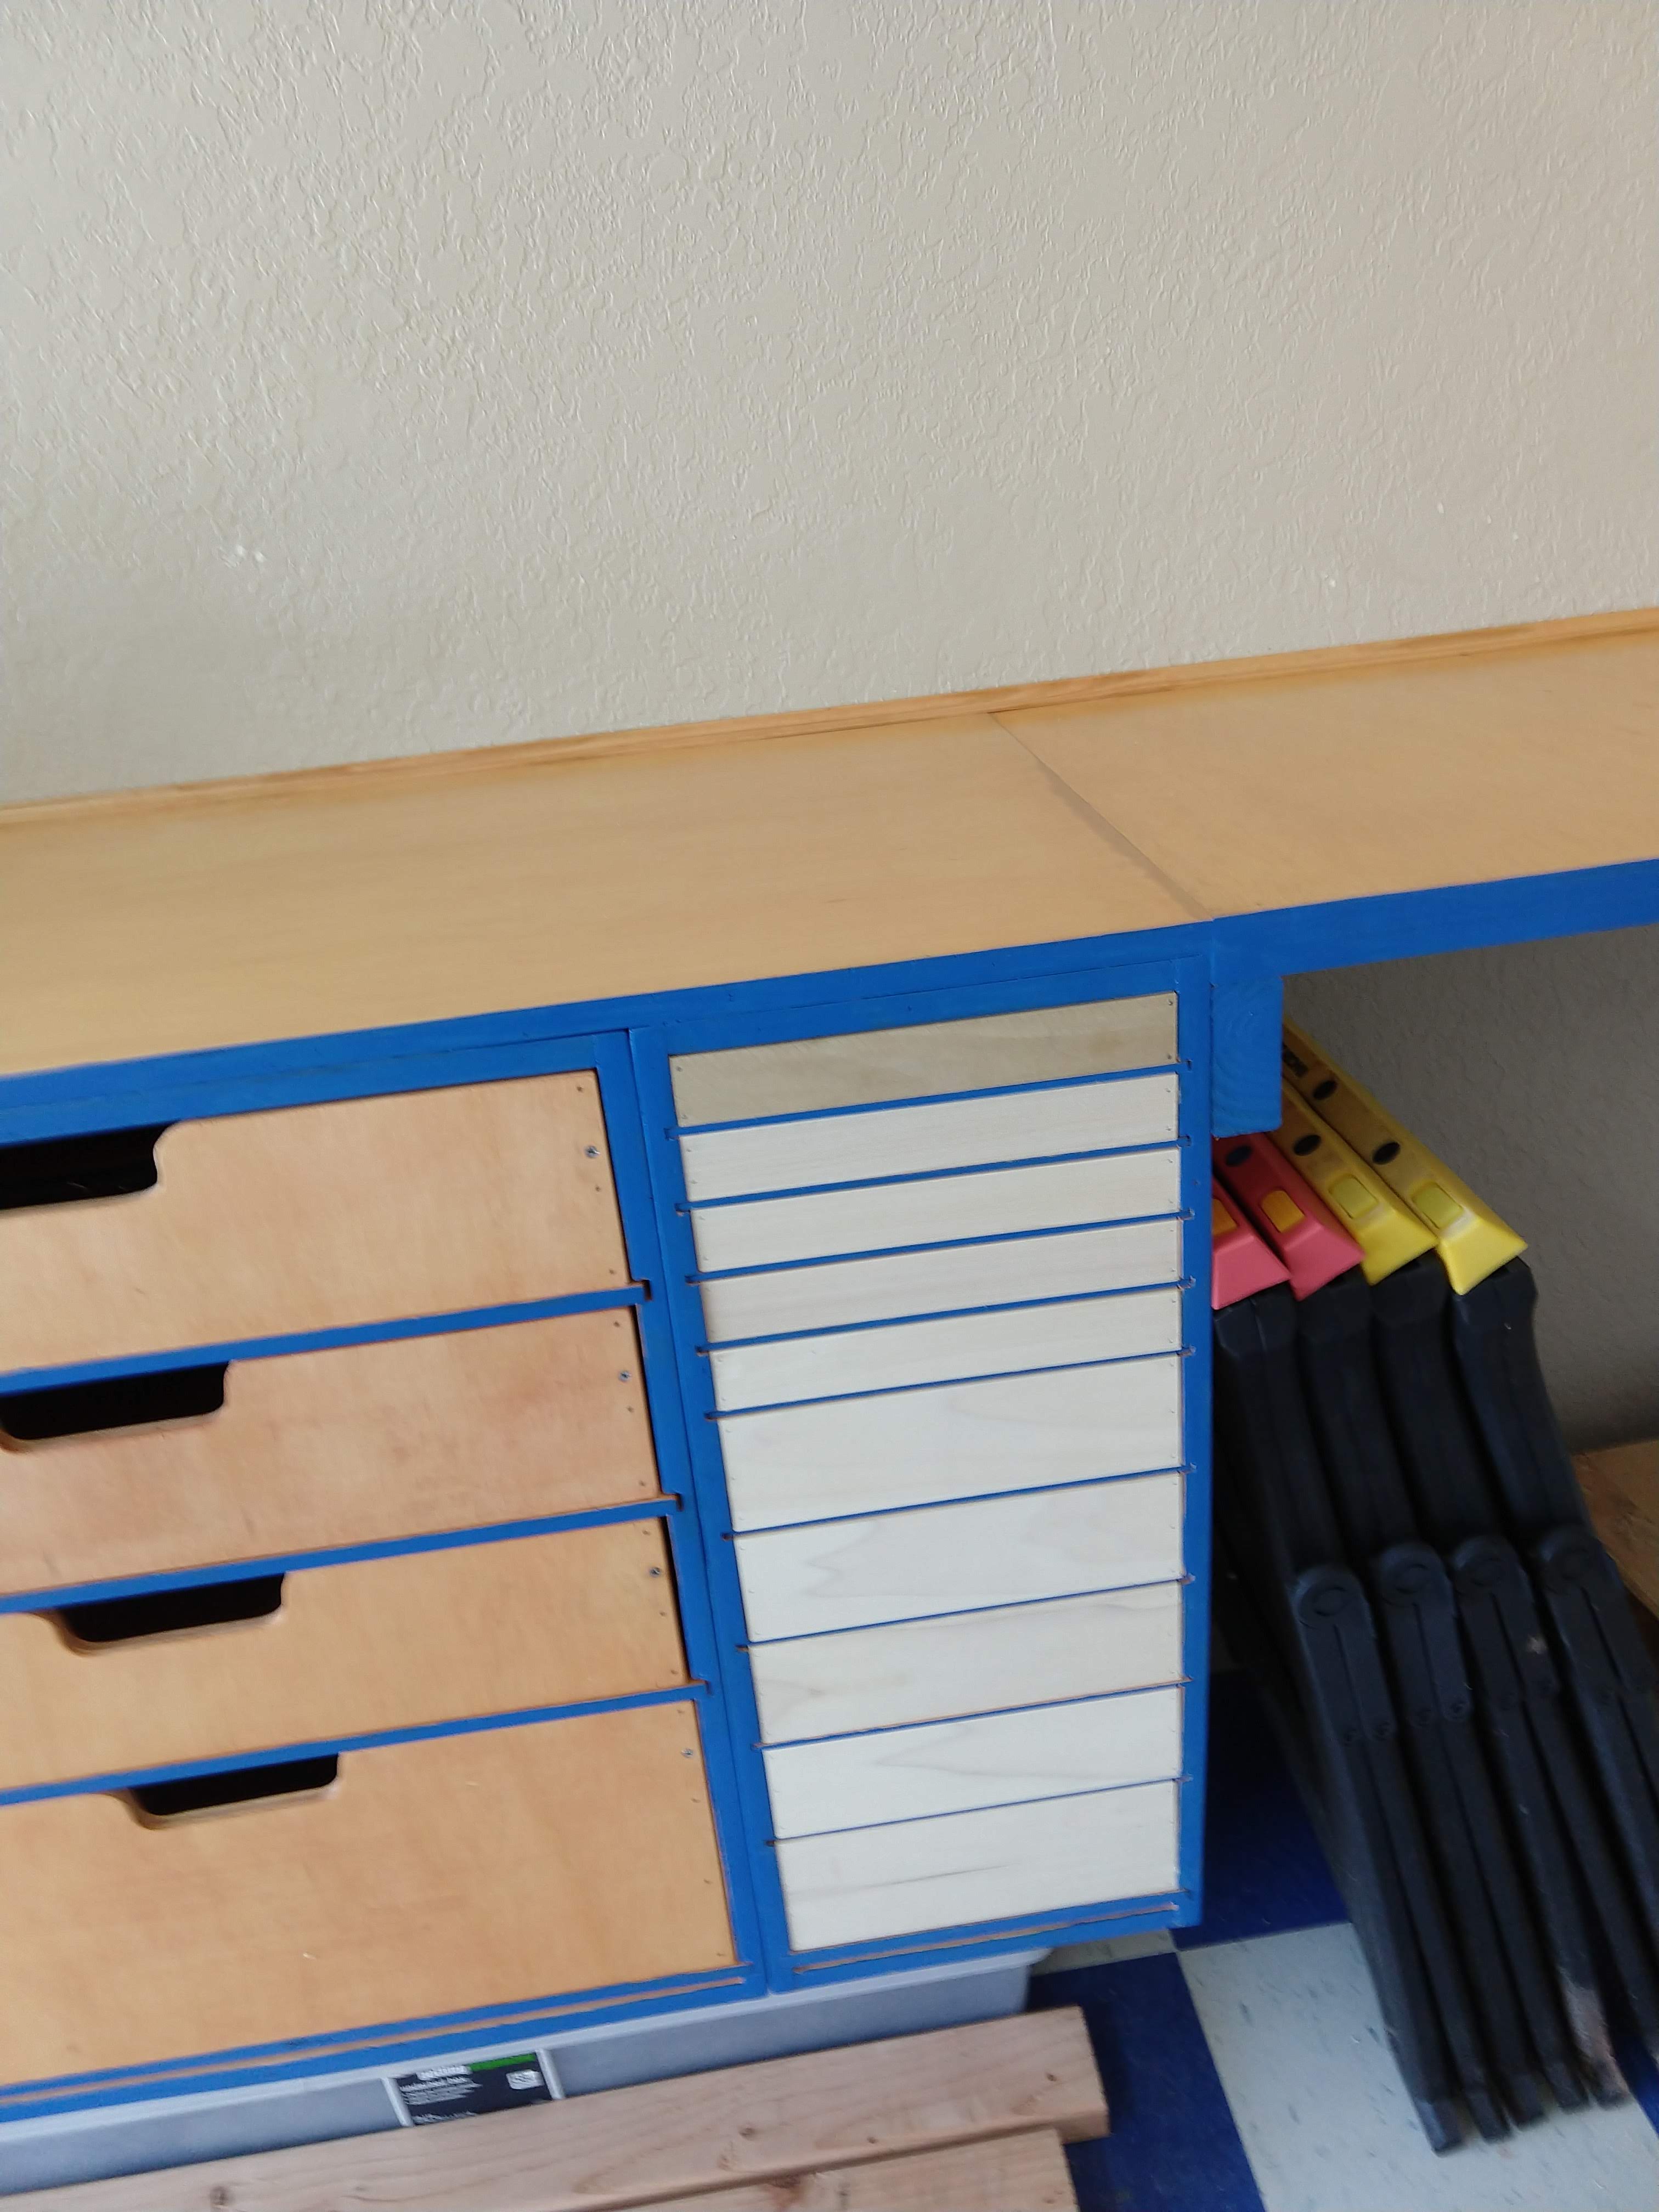
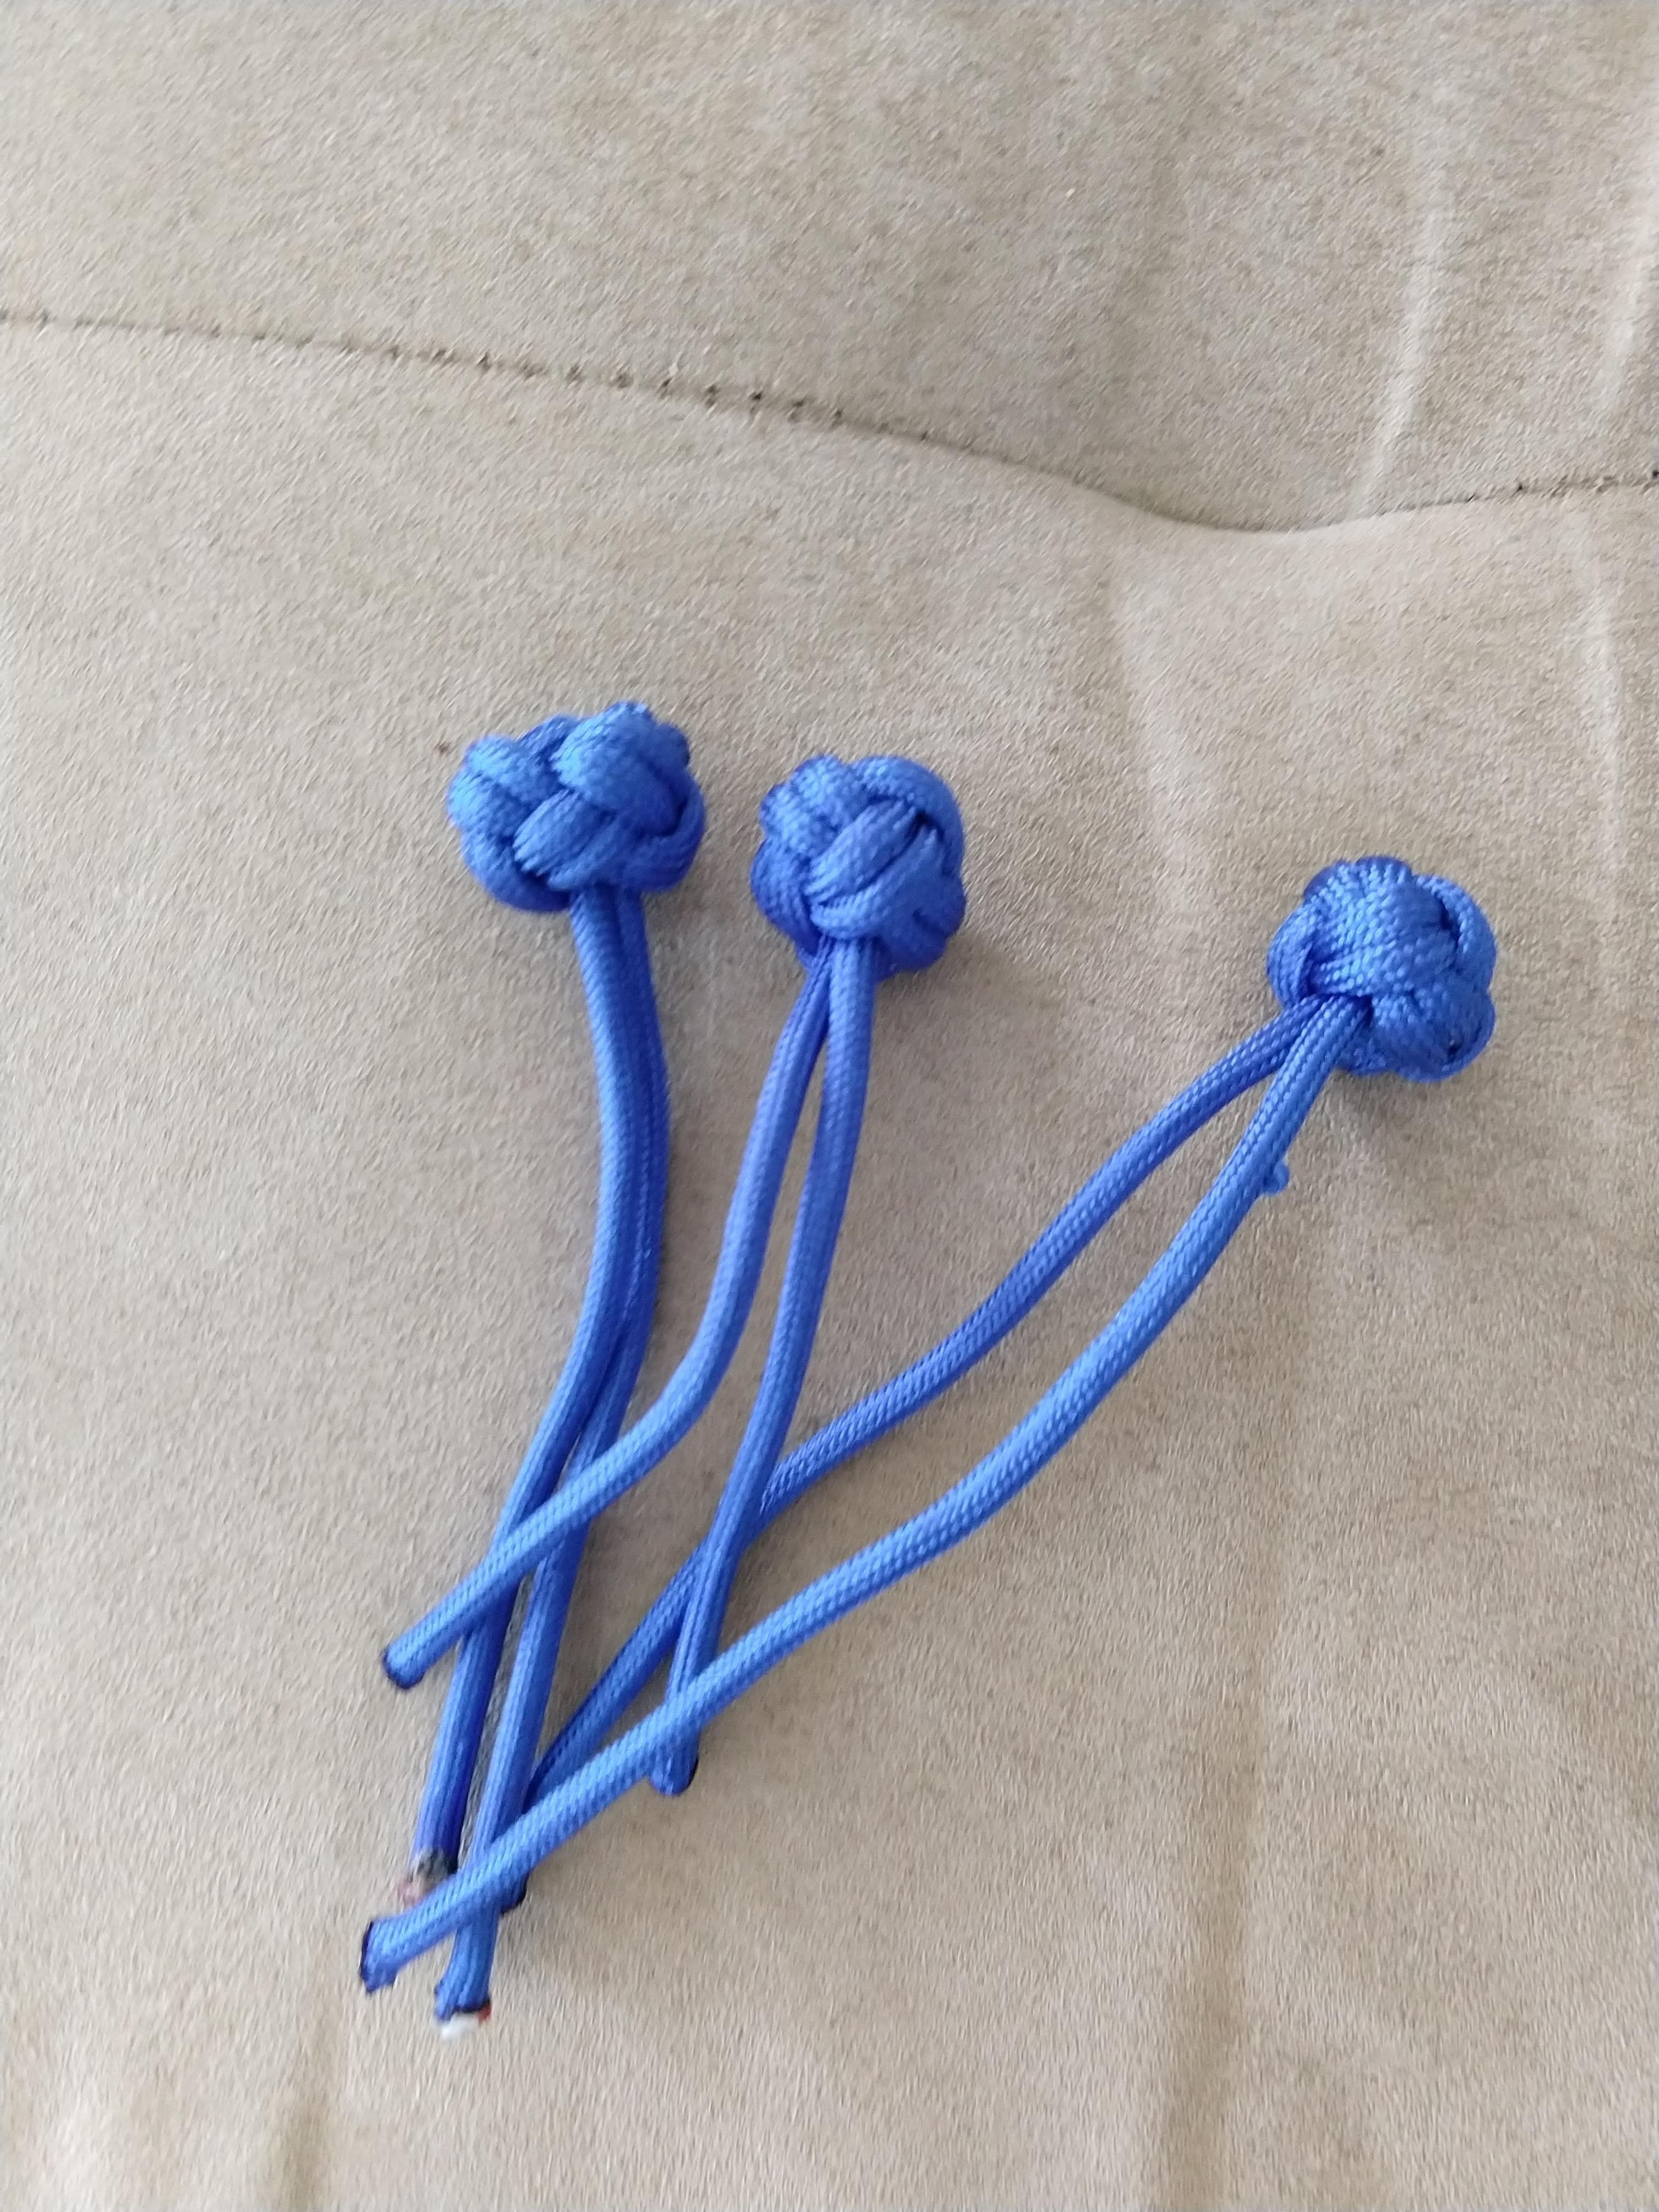
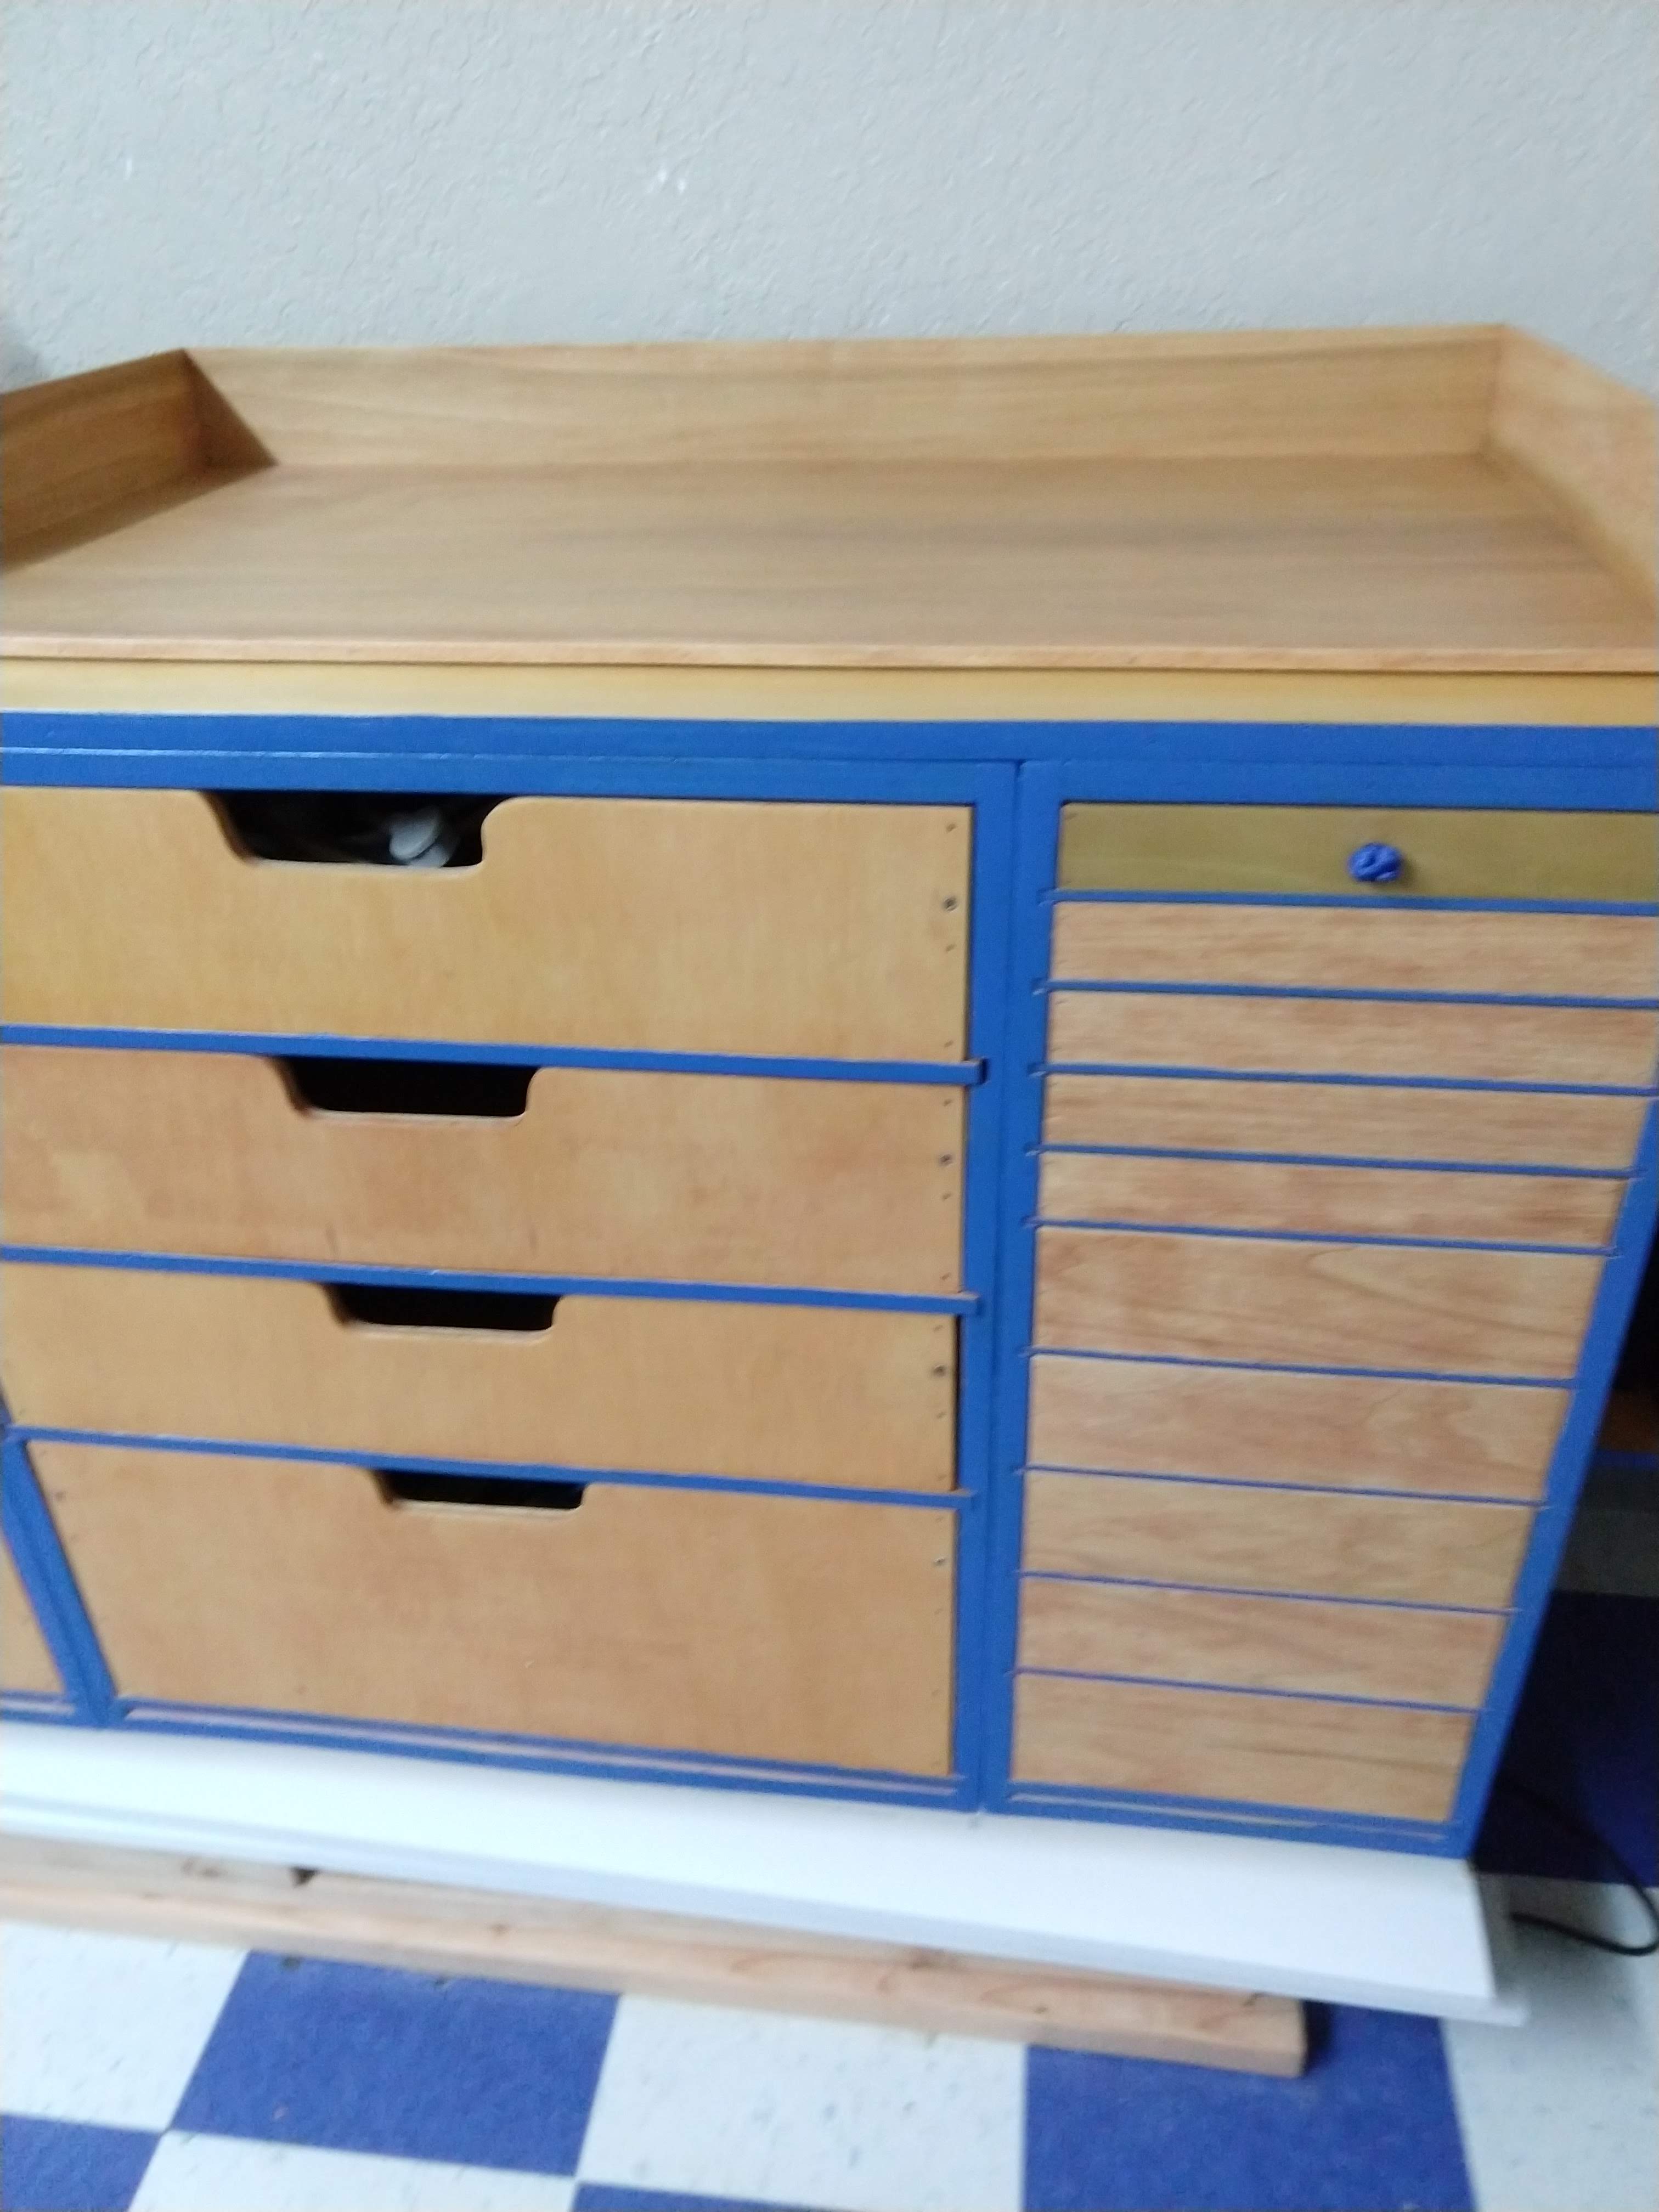
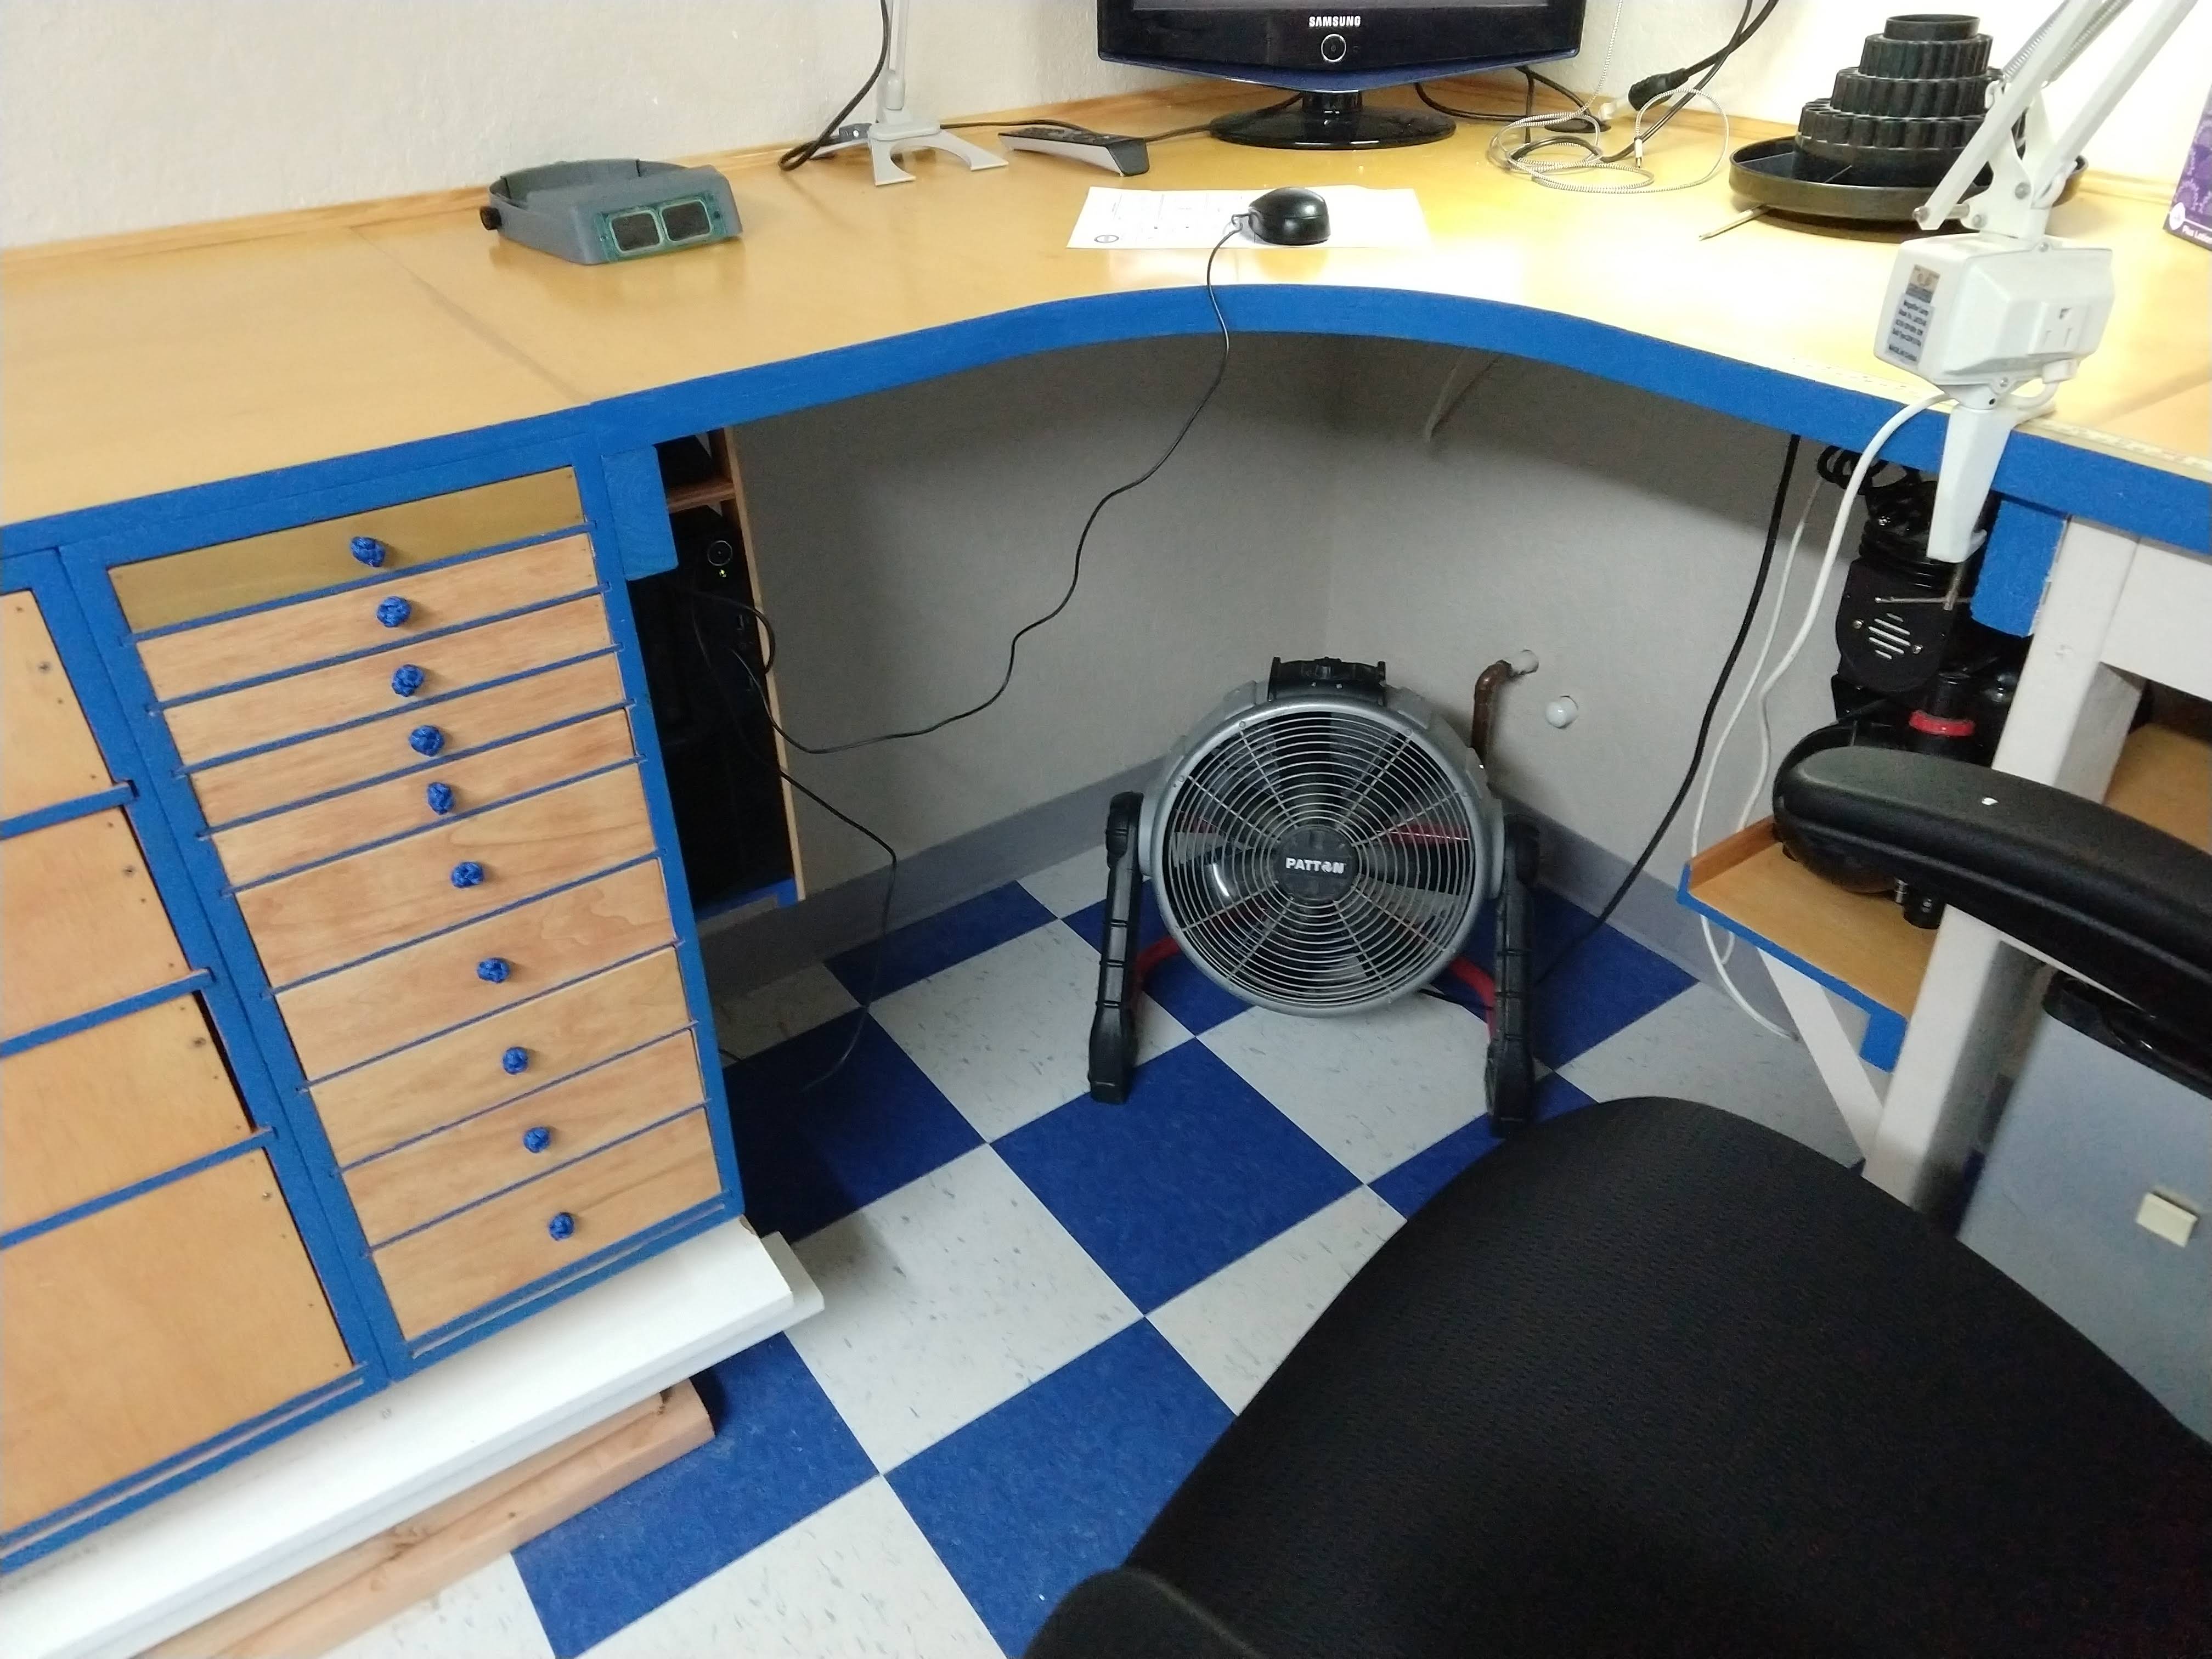
We had many different size drawers, made a few sketches in order to keep track of how many pieces of what sizes.
The inspiration project recommends just cutting many pieces and the way we read it, almost sounds as a factory line for drawers. That would work if you are very precise on every single grove and every single cut. Well... that's easier said than done. Our project is pretty square but it doesn't take a magnifying lens to see a few degrees off 90 here and there.
With that said, we made the big drawer first. Made sense because it was just one of that size, and if things didn't work out just right maybe the materials could be used for a smaller size drawers. No problem... it worked out great. We wanted a different hand hold than the inspiration project. After few drawings we made a template of the one we liked so every drawer had the exact opening.
After you have all 4 sides secured together test them in the opening, like I mentioned above, chances are that each opening is slightly different, we had to sand a few areas more than others at this step. After everything seems to slide easily, attach it to the bottom and voila!
We run into an issue with the material for the small drawers on the far right module, so they were done out of sequence. The procedure was the same for the small drawers just different dimensions. We also had to figured a different way to open them. As much as we liked the template for hand hole it just didn't fit the little drawers. First it would take more than half the height of the top 5 drawers. And second, the opening would allow dust in, and maybe little items out (when closing them in a rush), not a good combination.
Finally the drawer pulls for the last set was made with 550 cord. Not a very complicated knot attached tightly... it accomplishes the task and is visually pleasant.
Corner Trim by the Wall
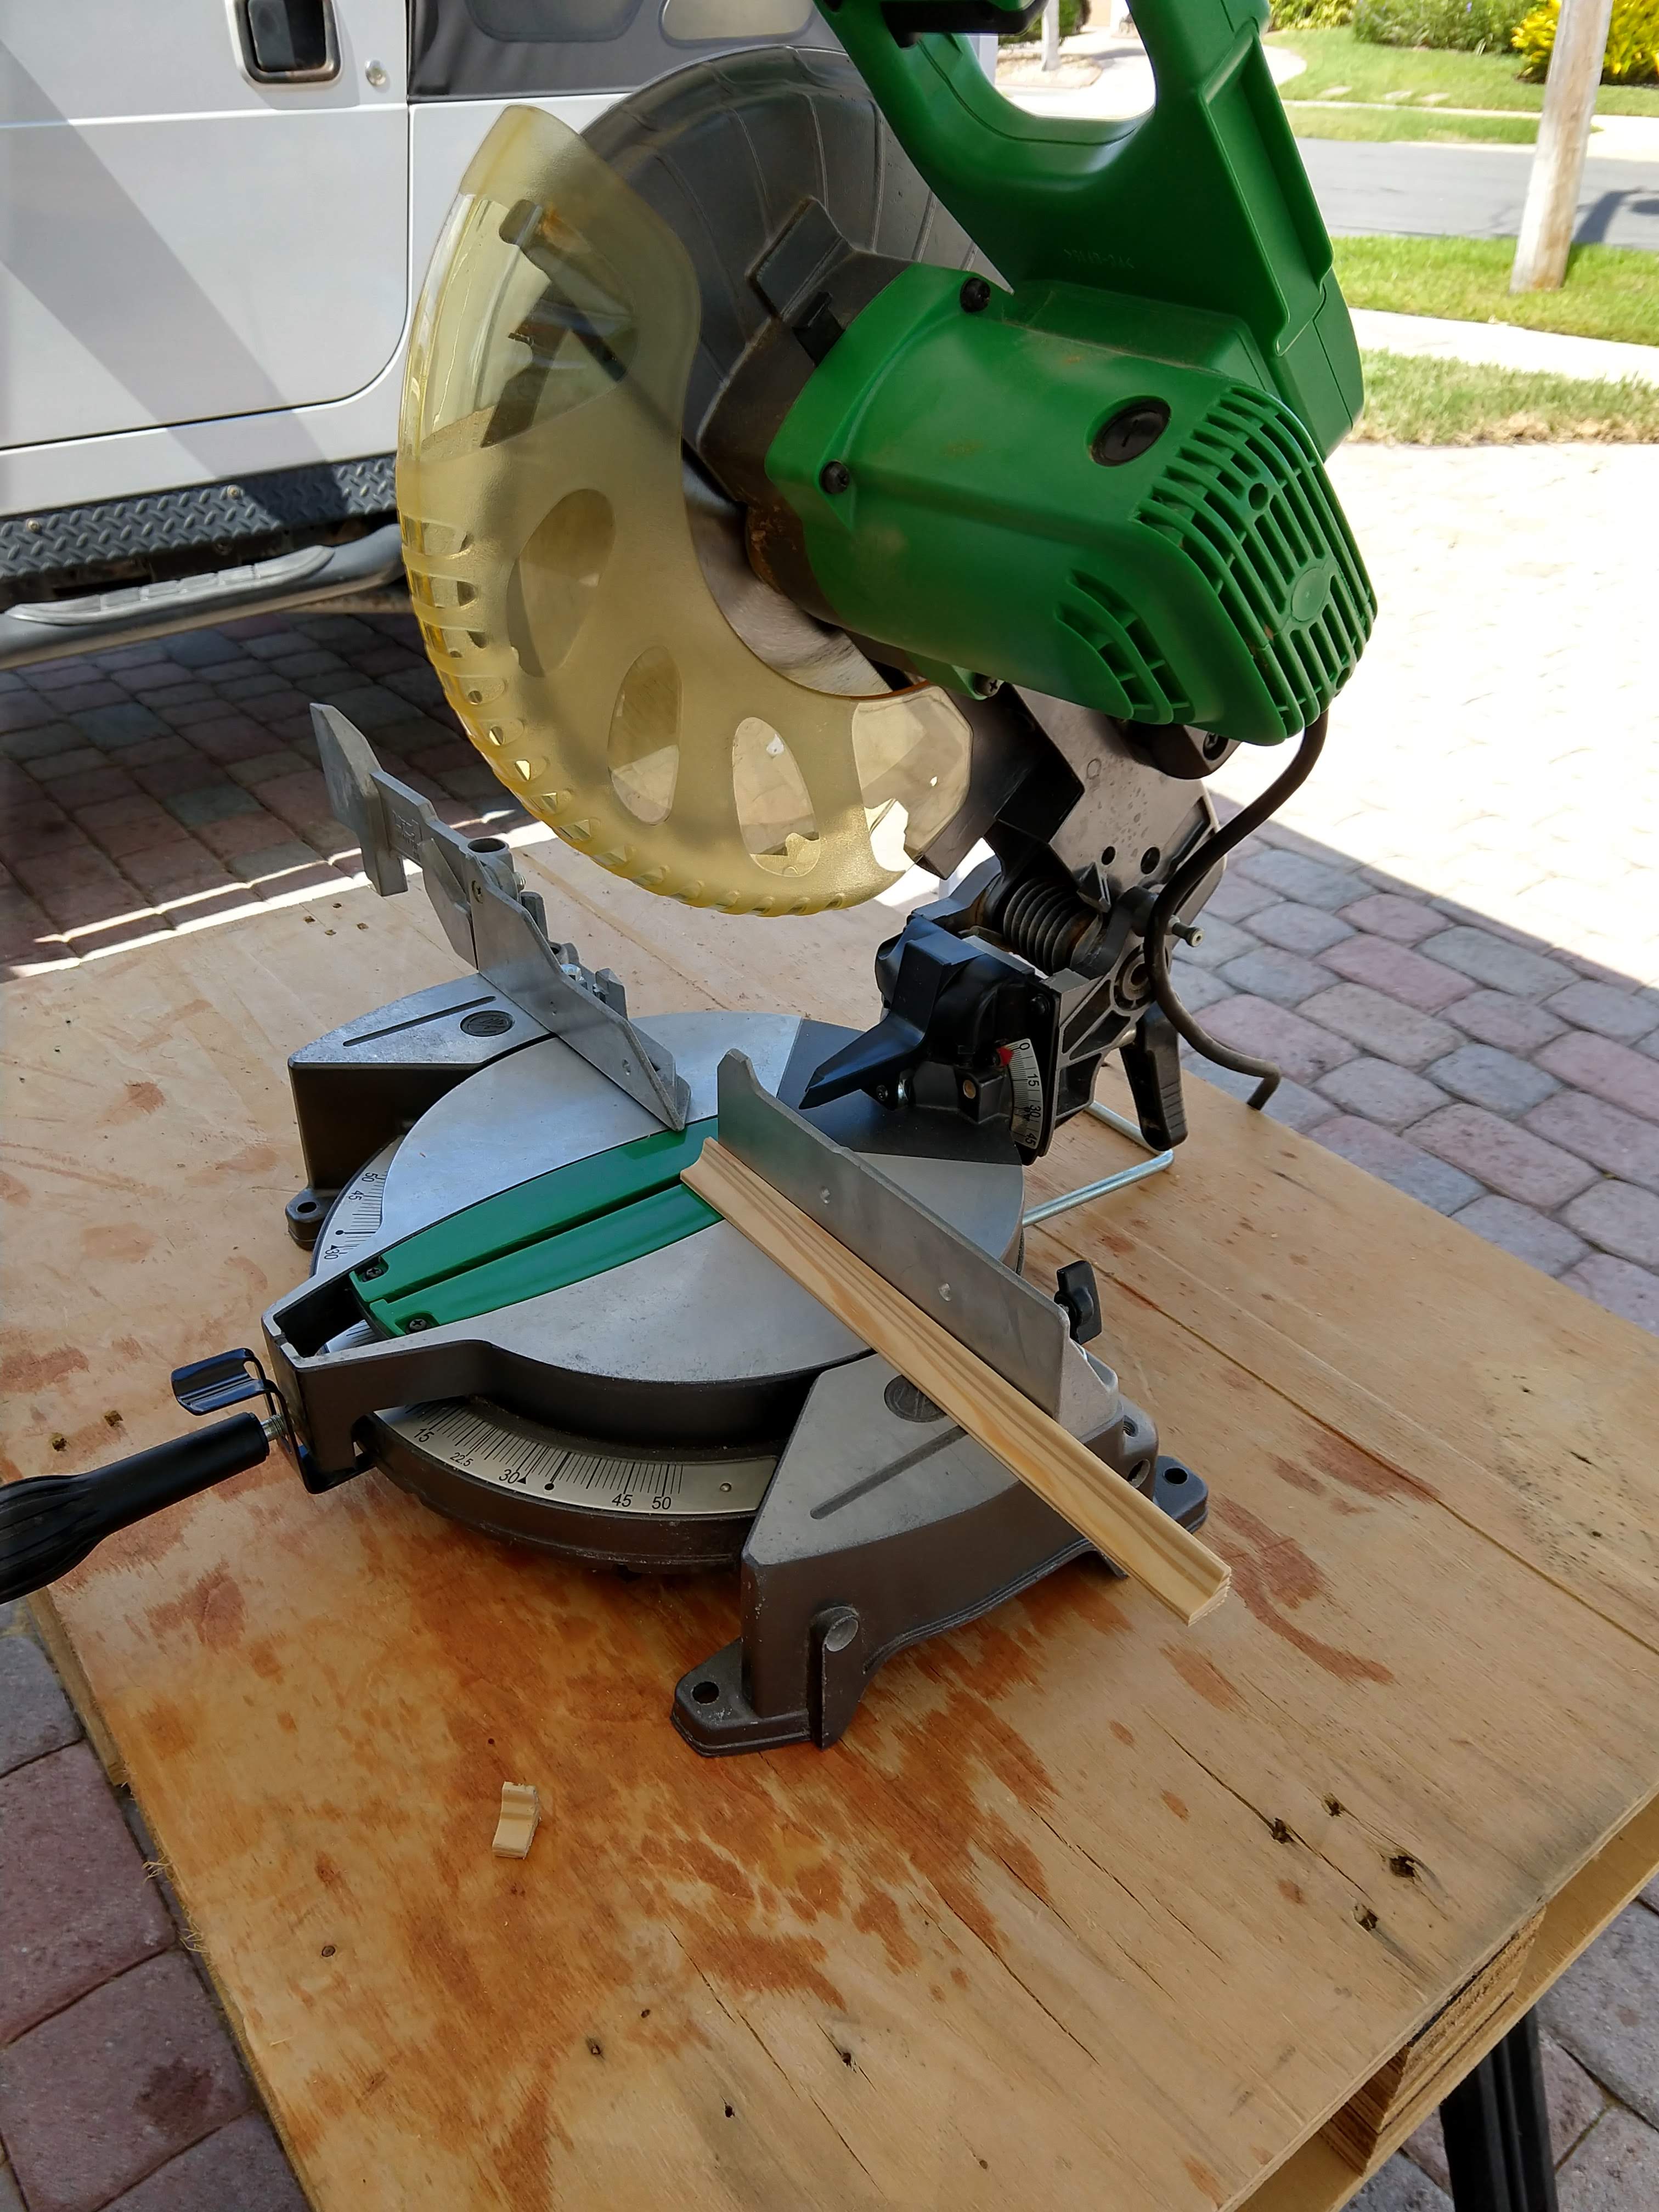
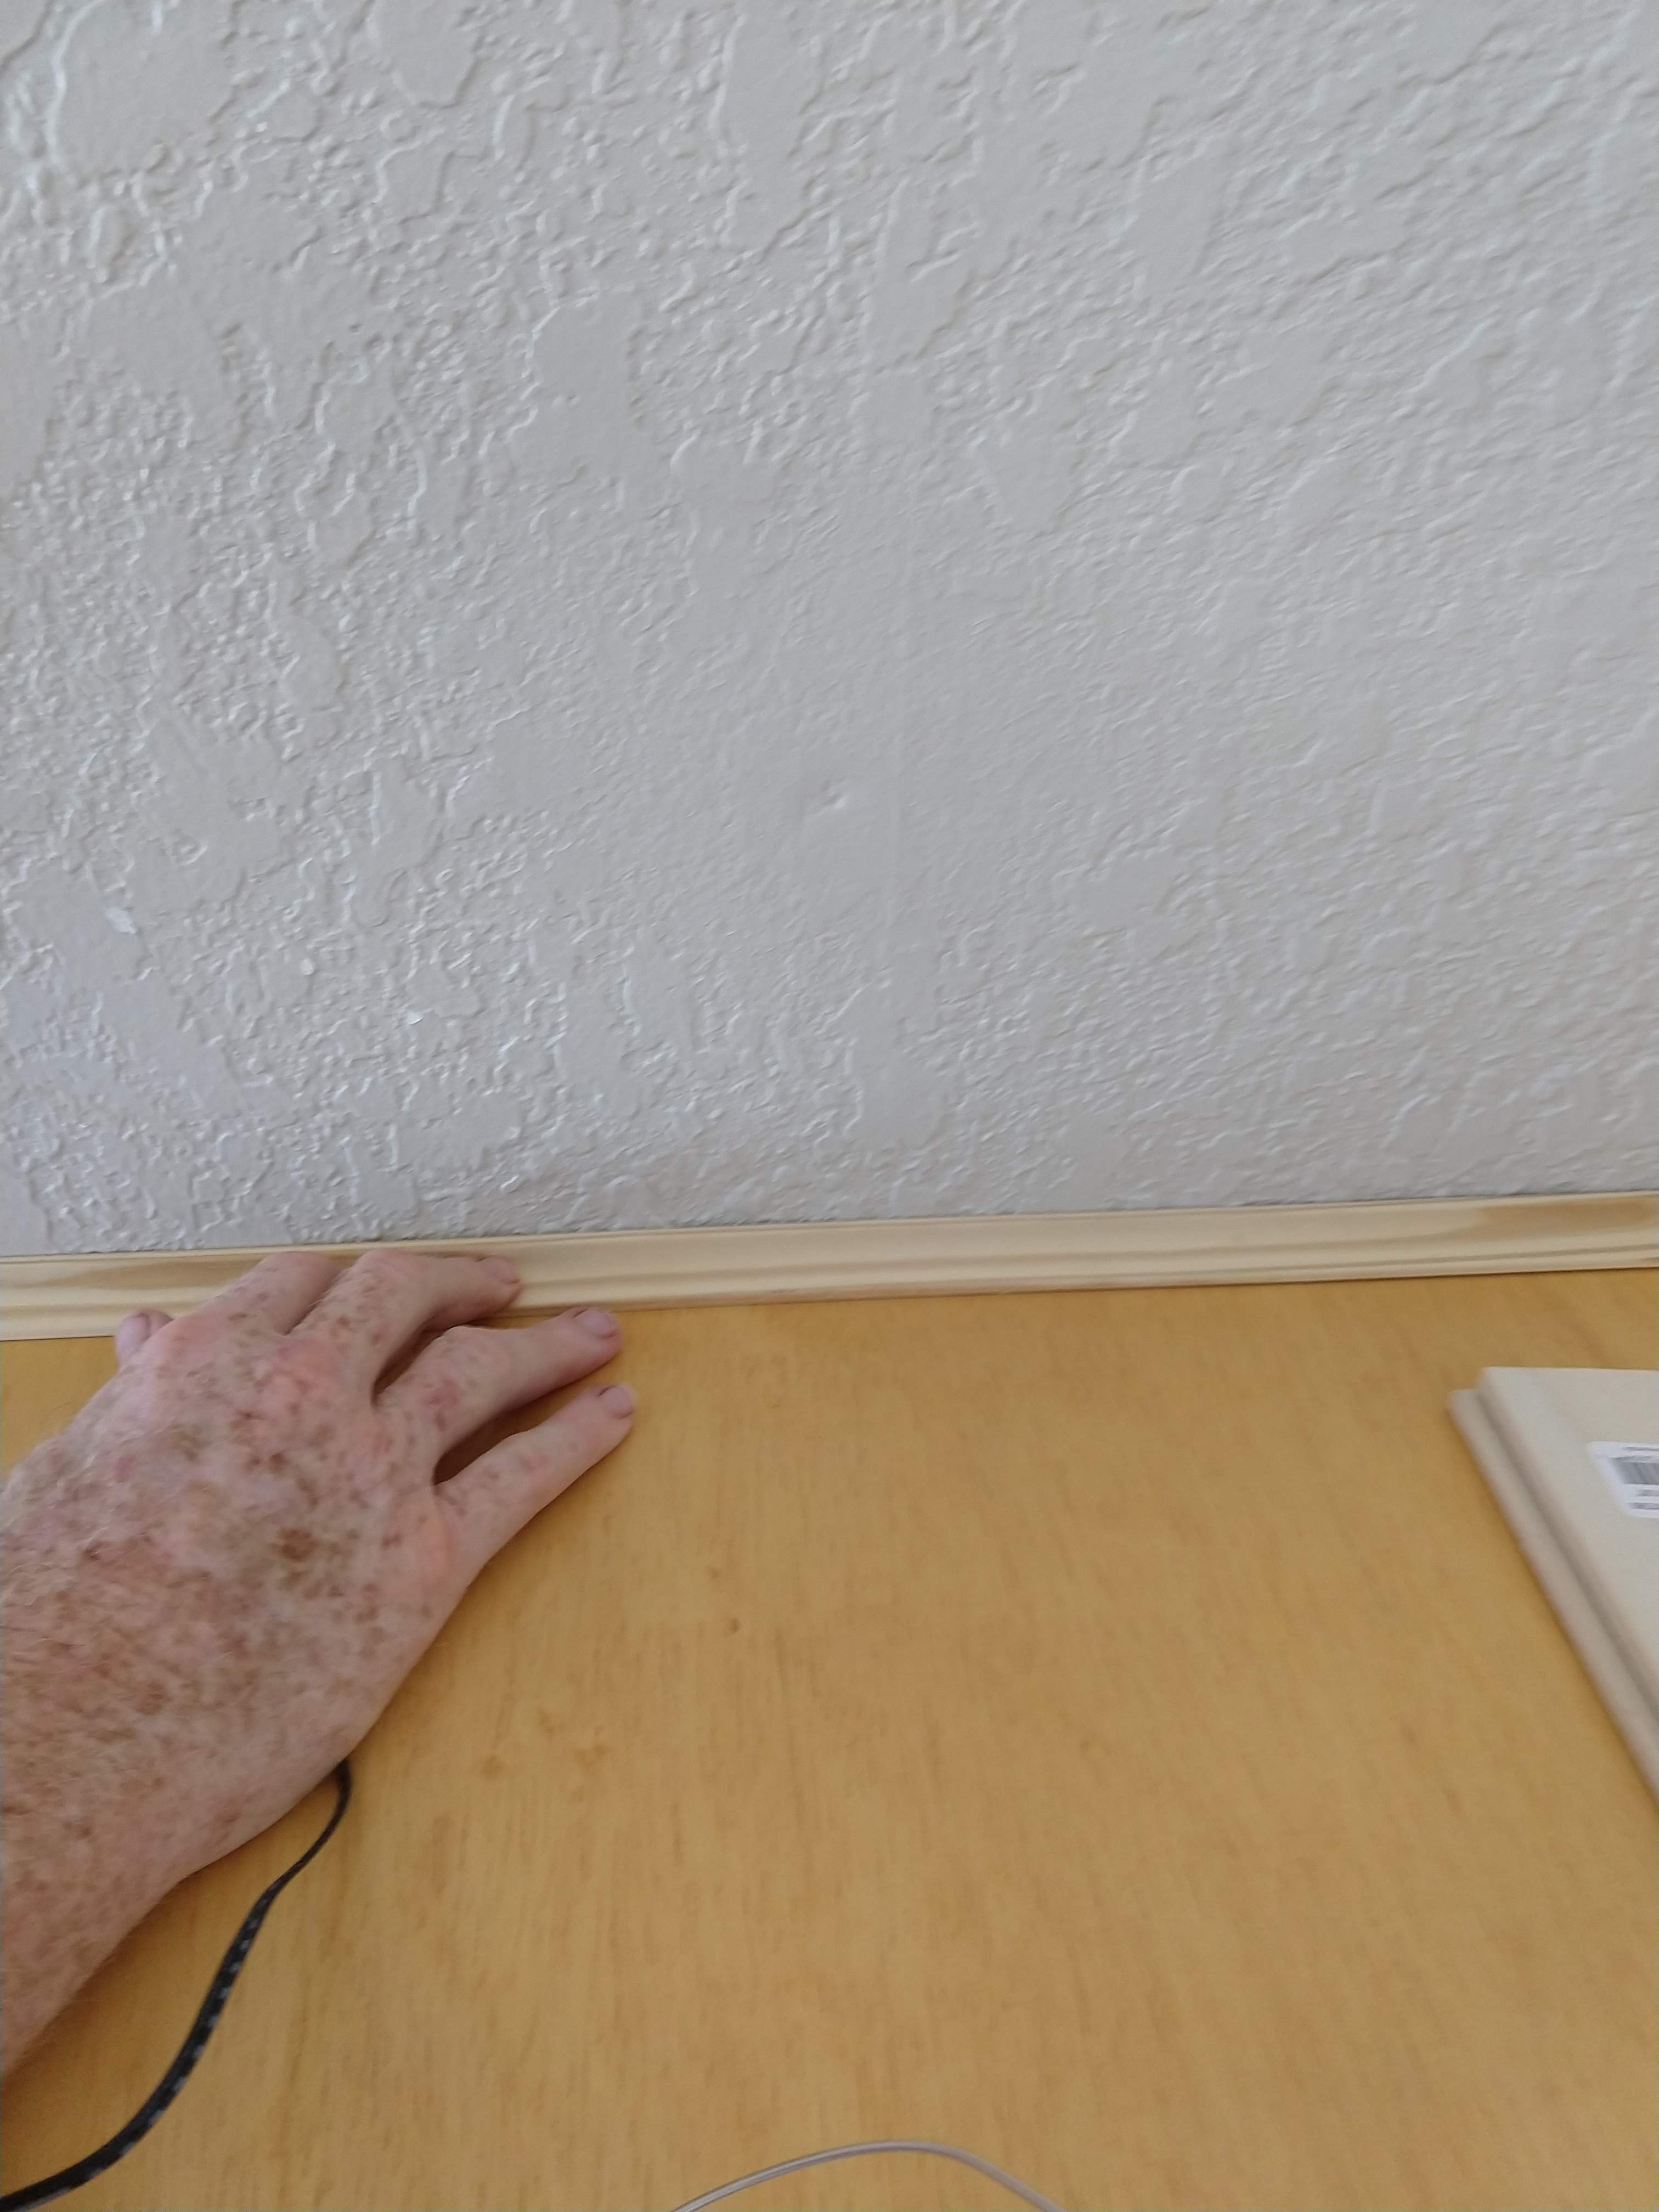
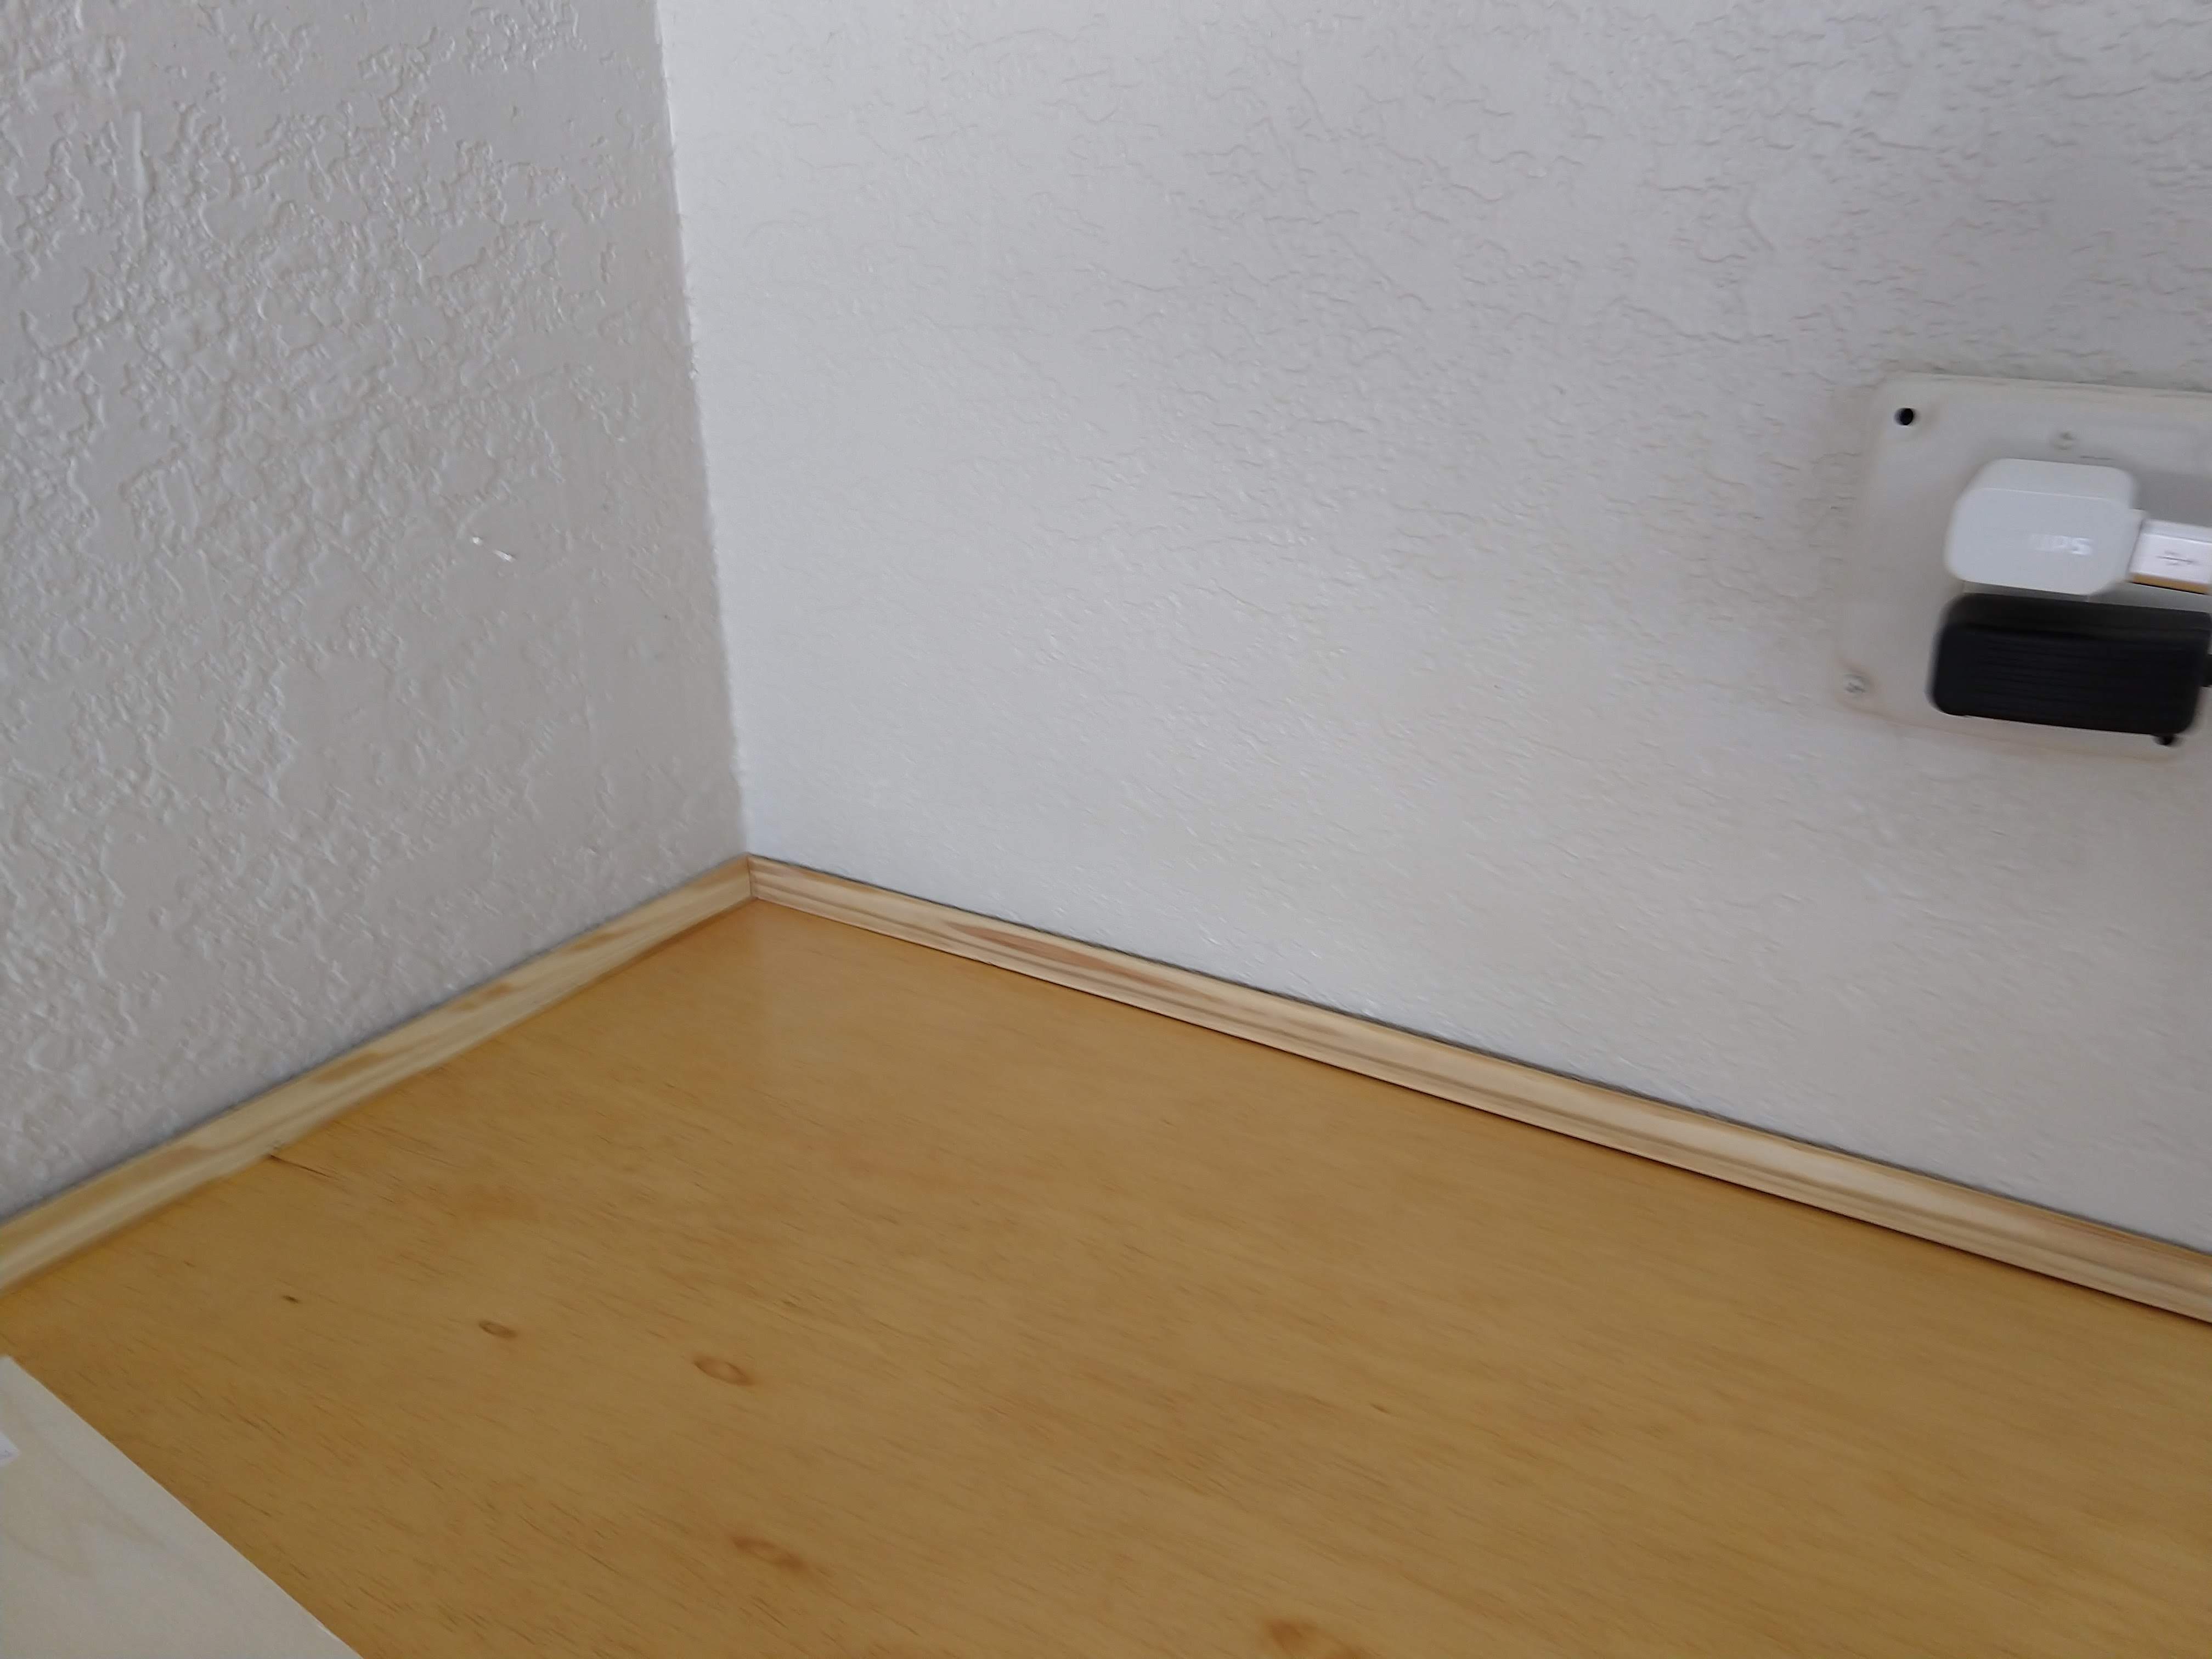
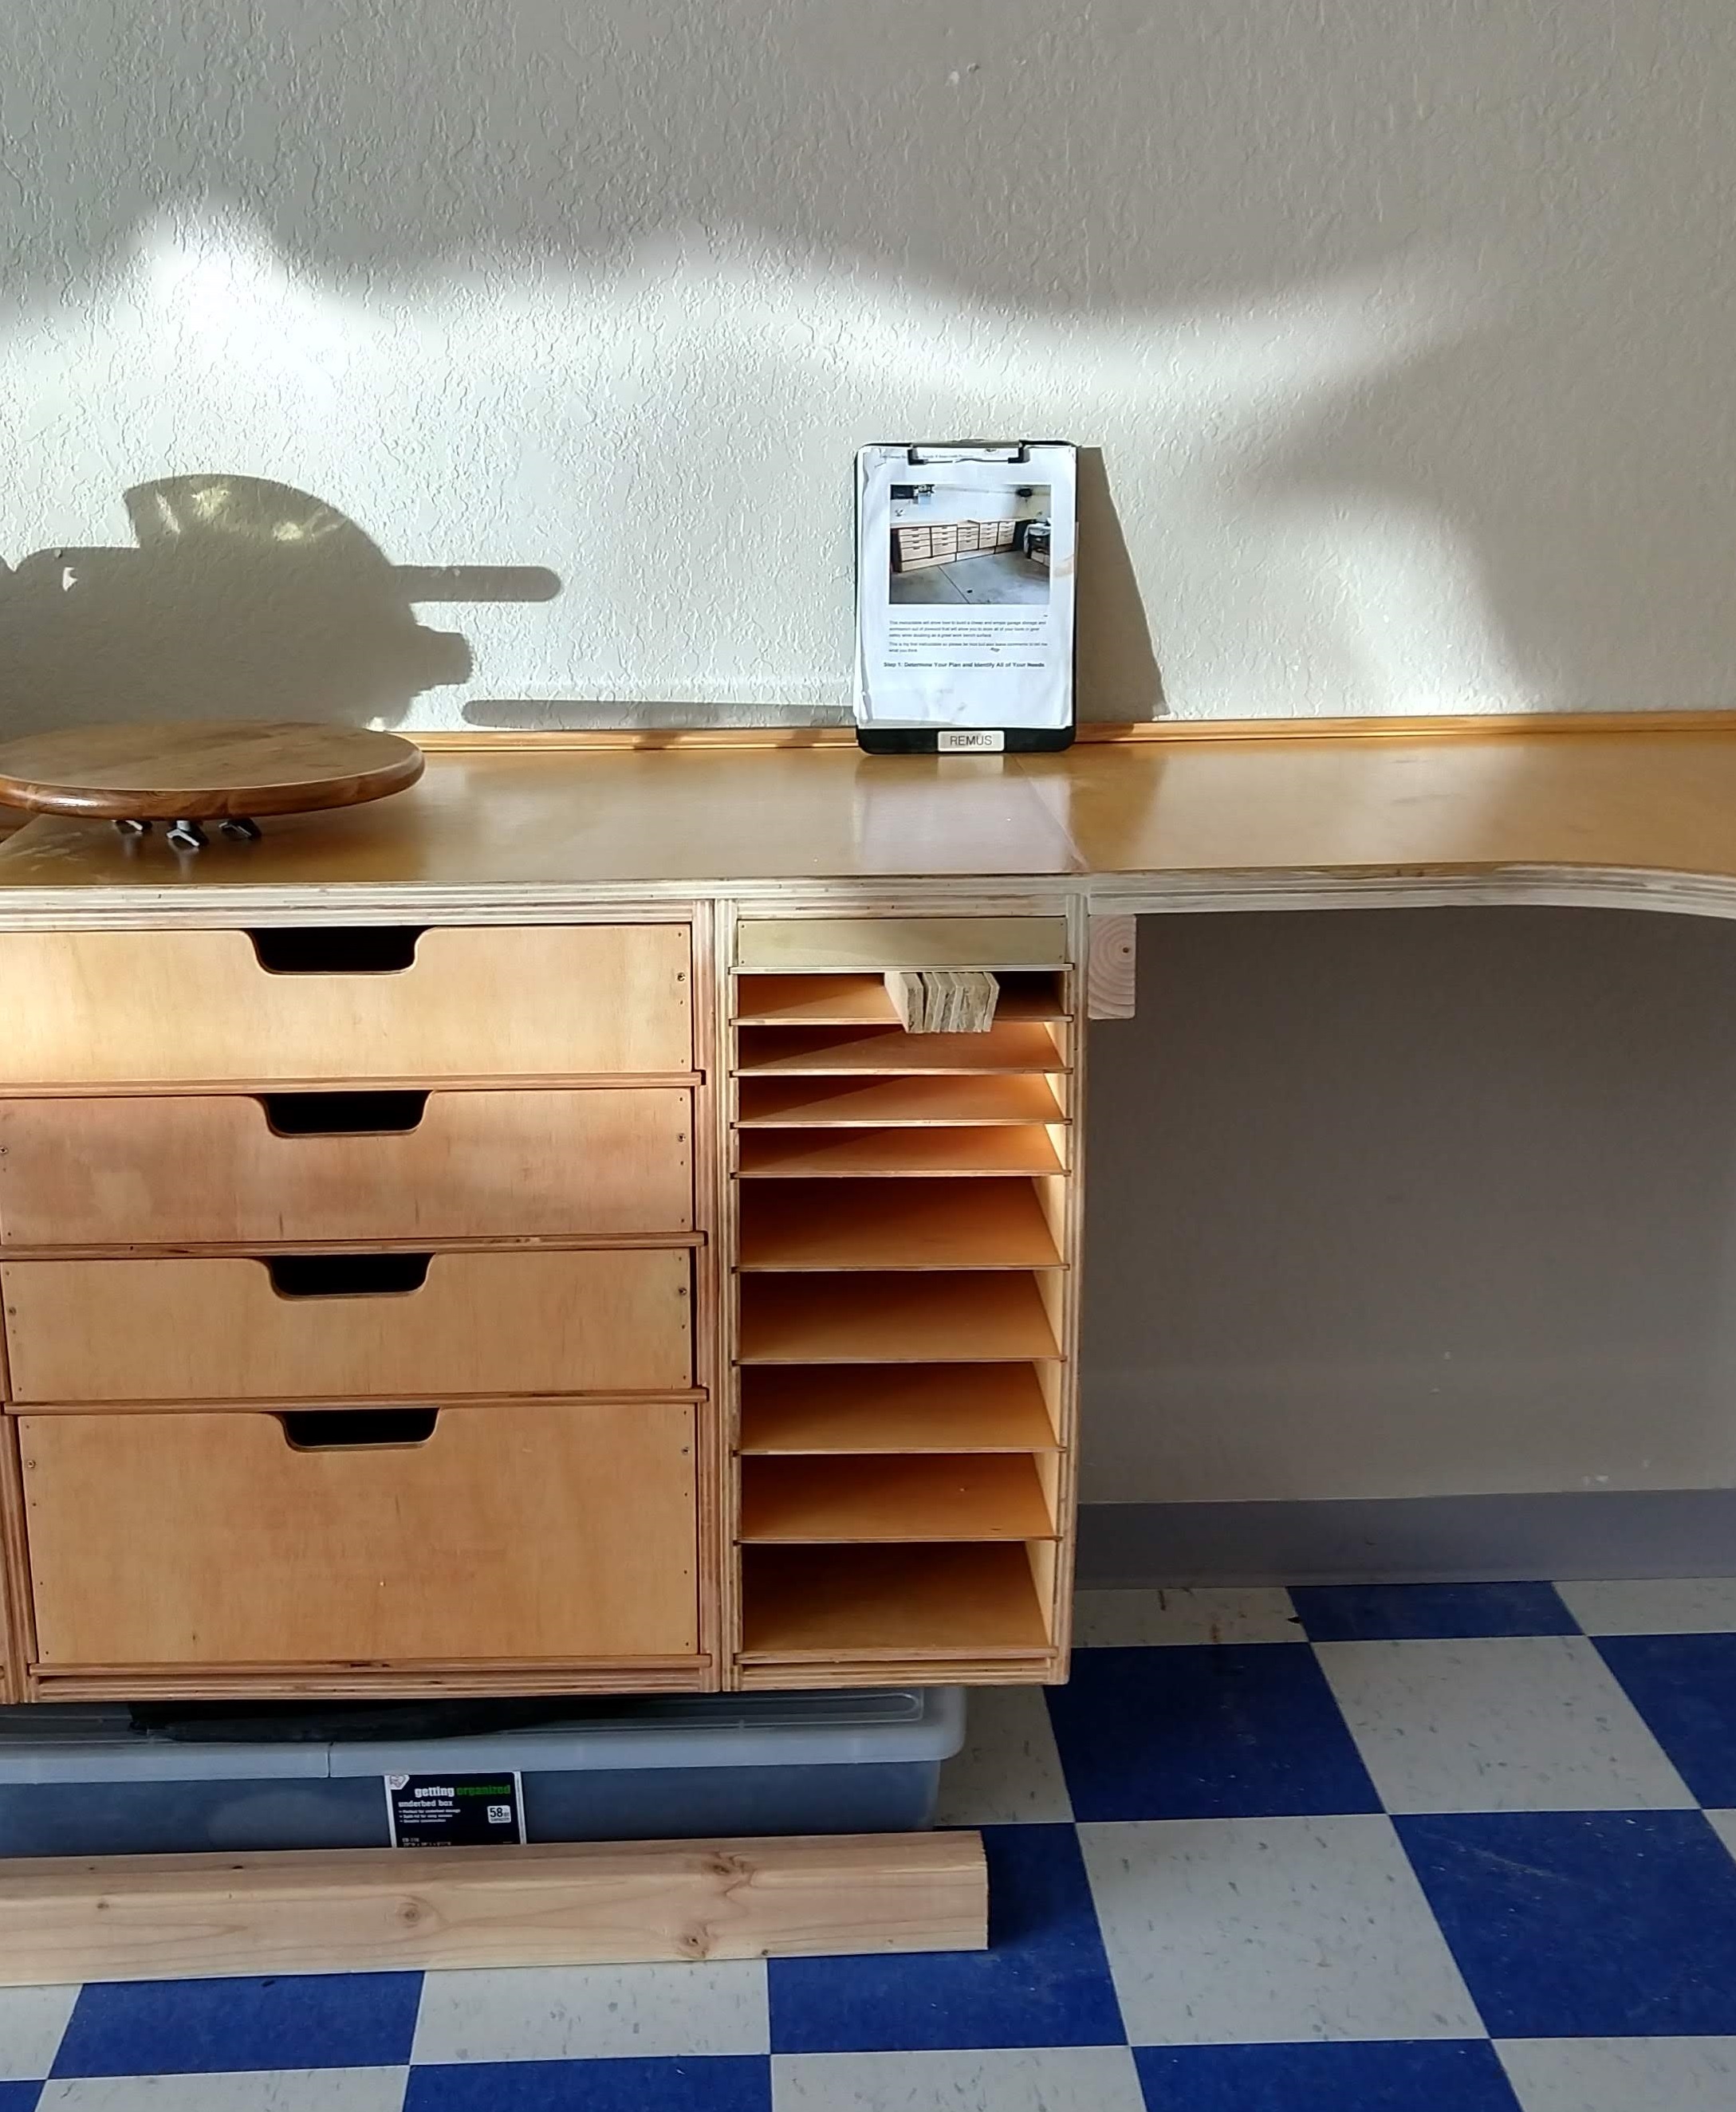
Is probably not necessary but taking into account the little items used at the model building station, we had visions of tiny parts rolling to the back and disappearing forever. So in order to maintain mental health we added that small detail.
Blue Trim
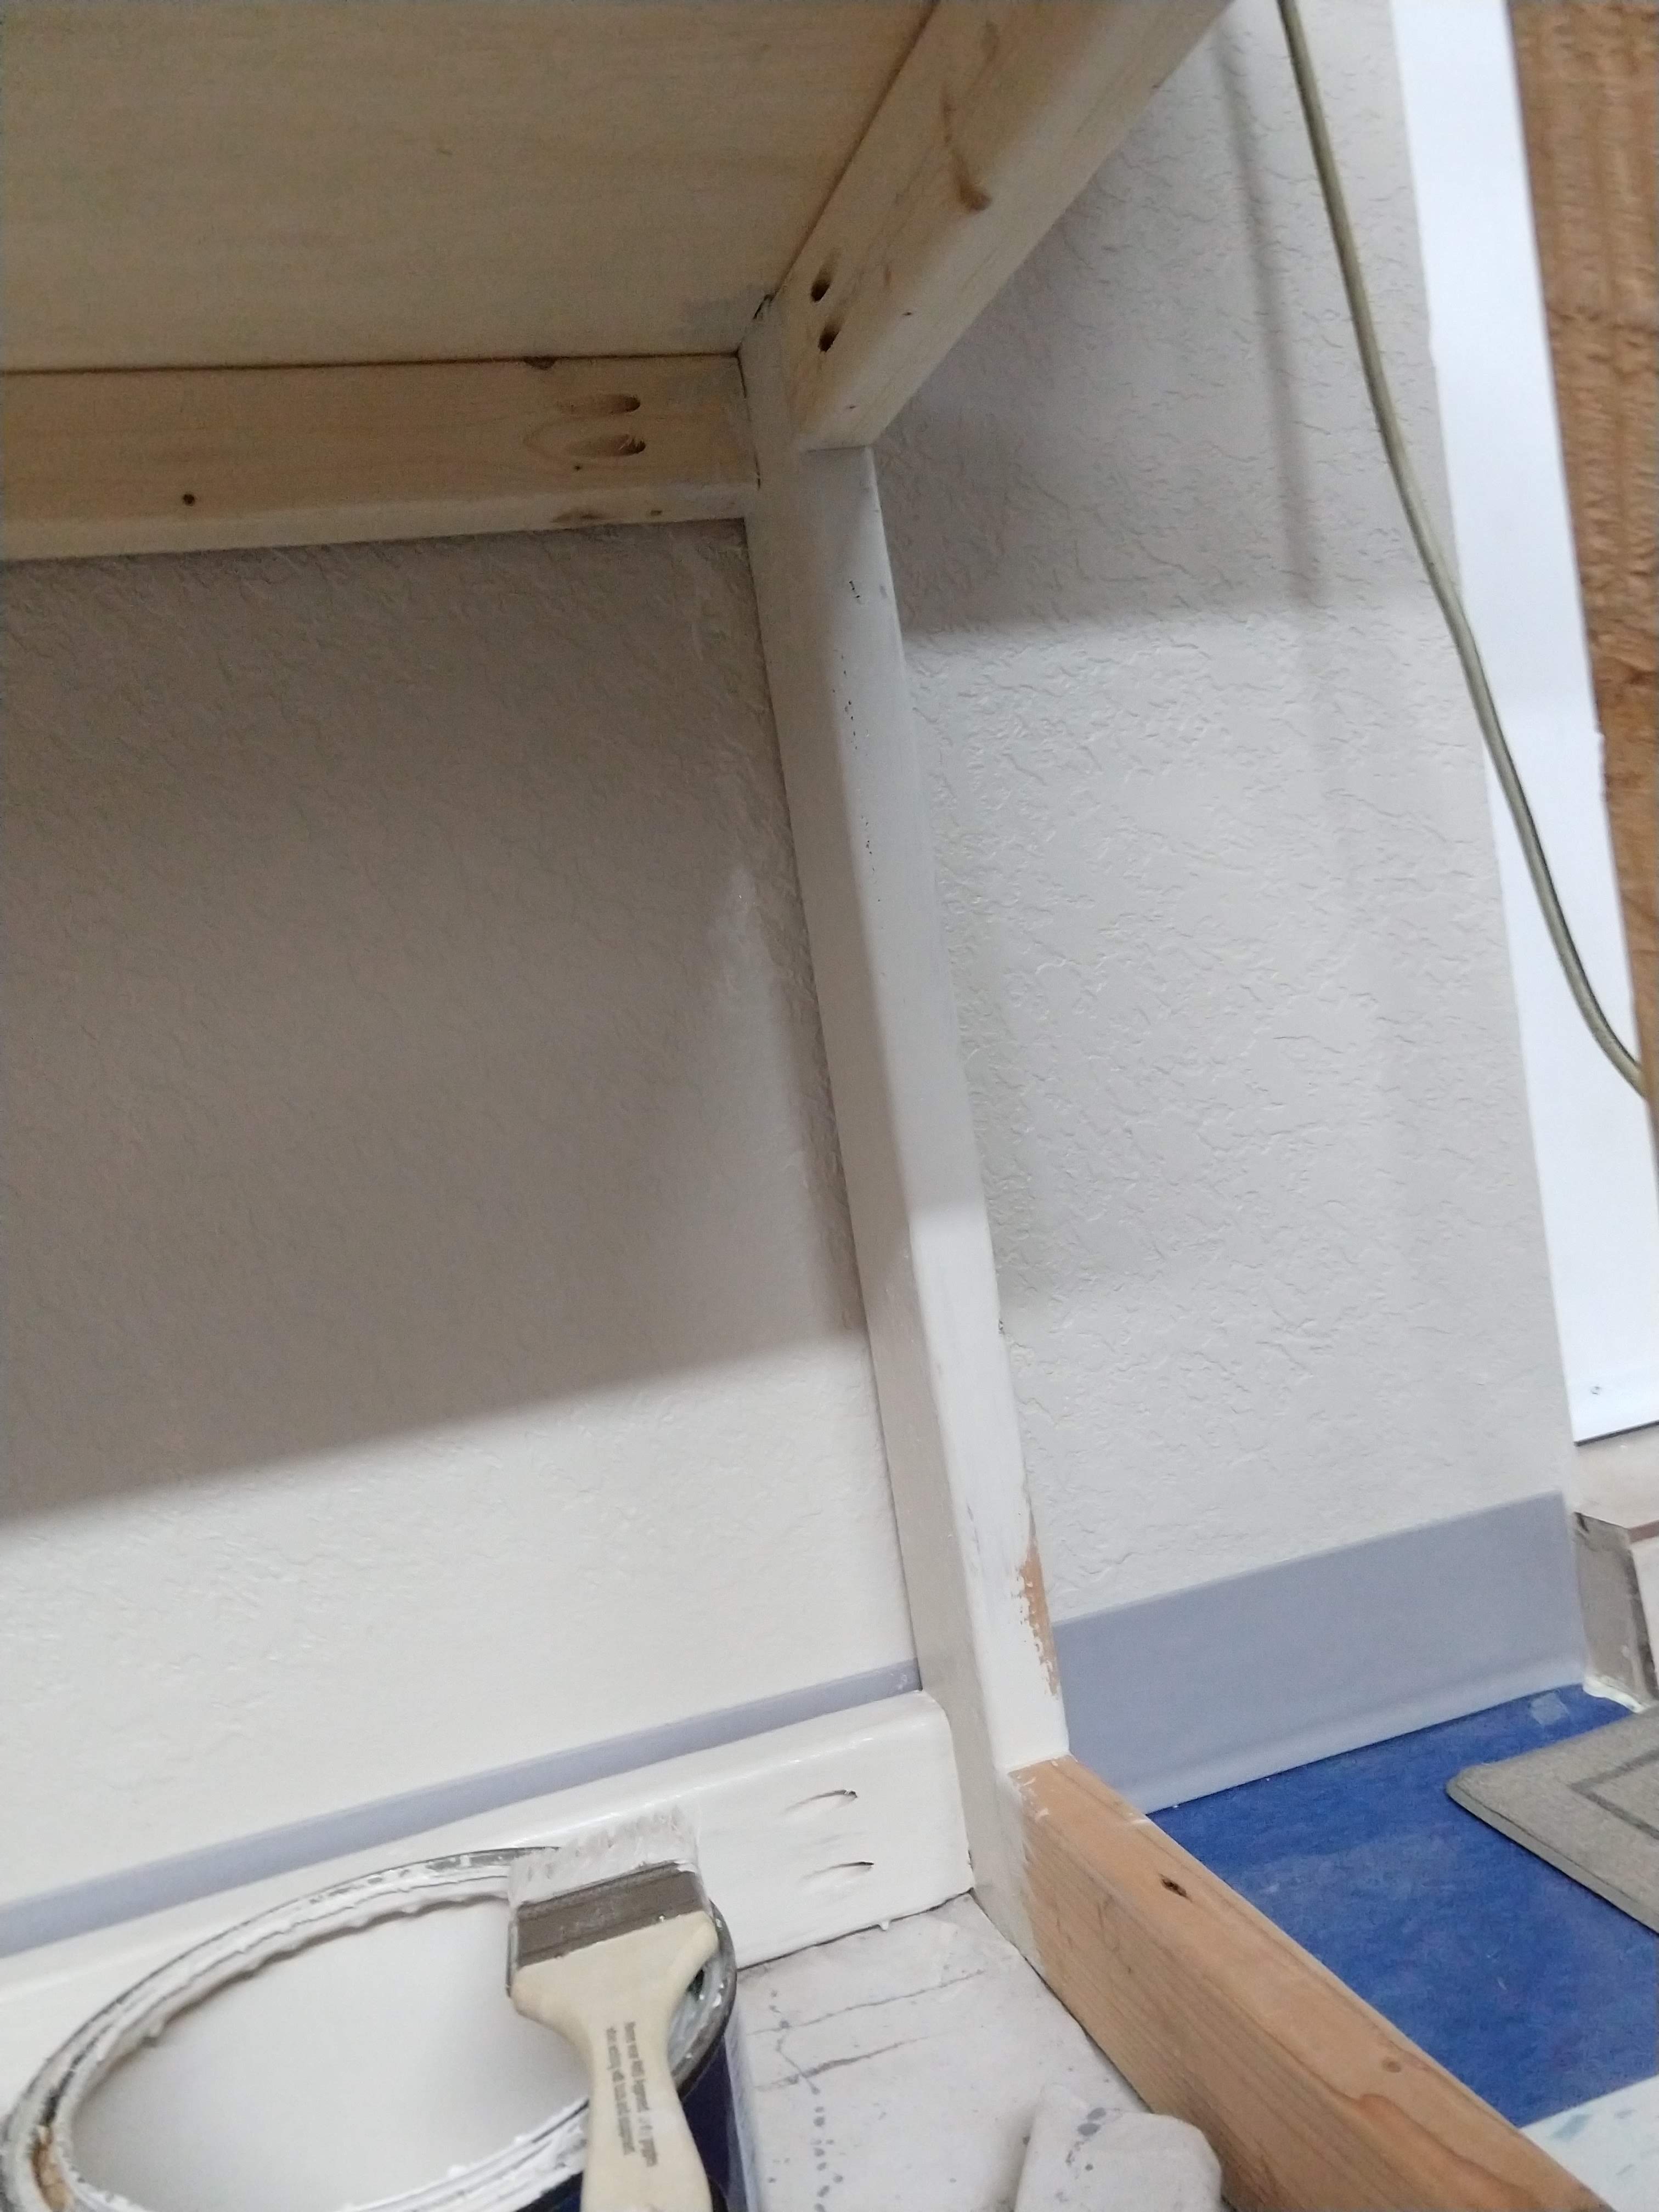
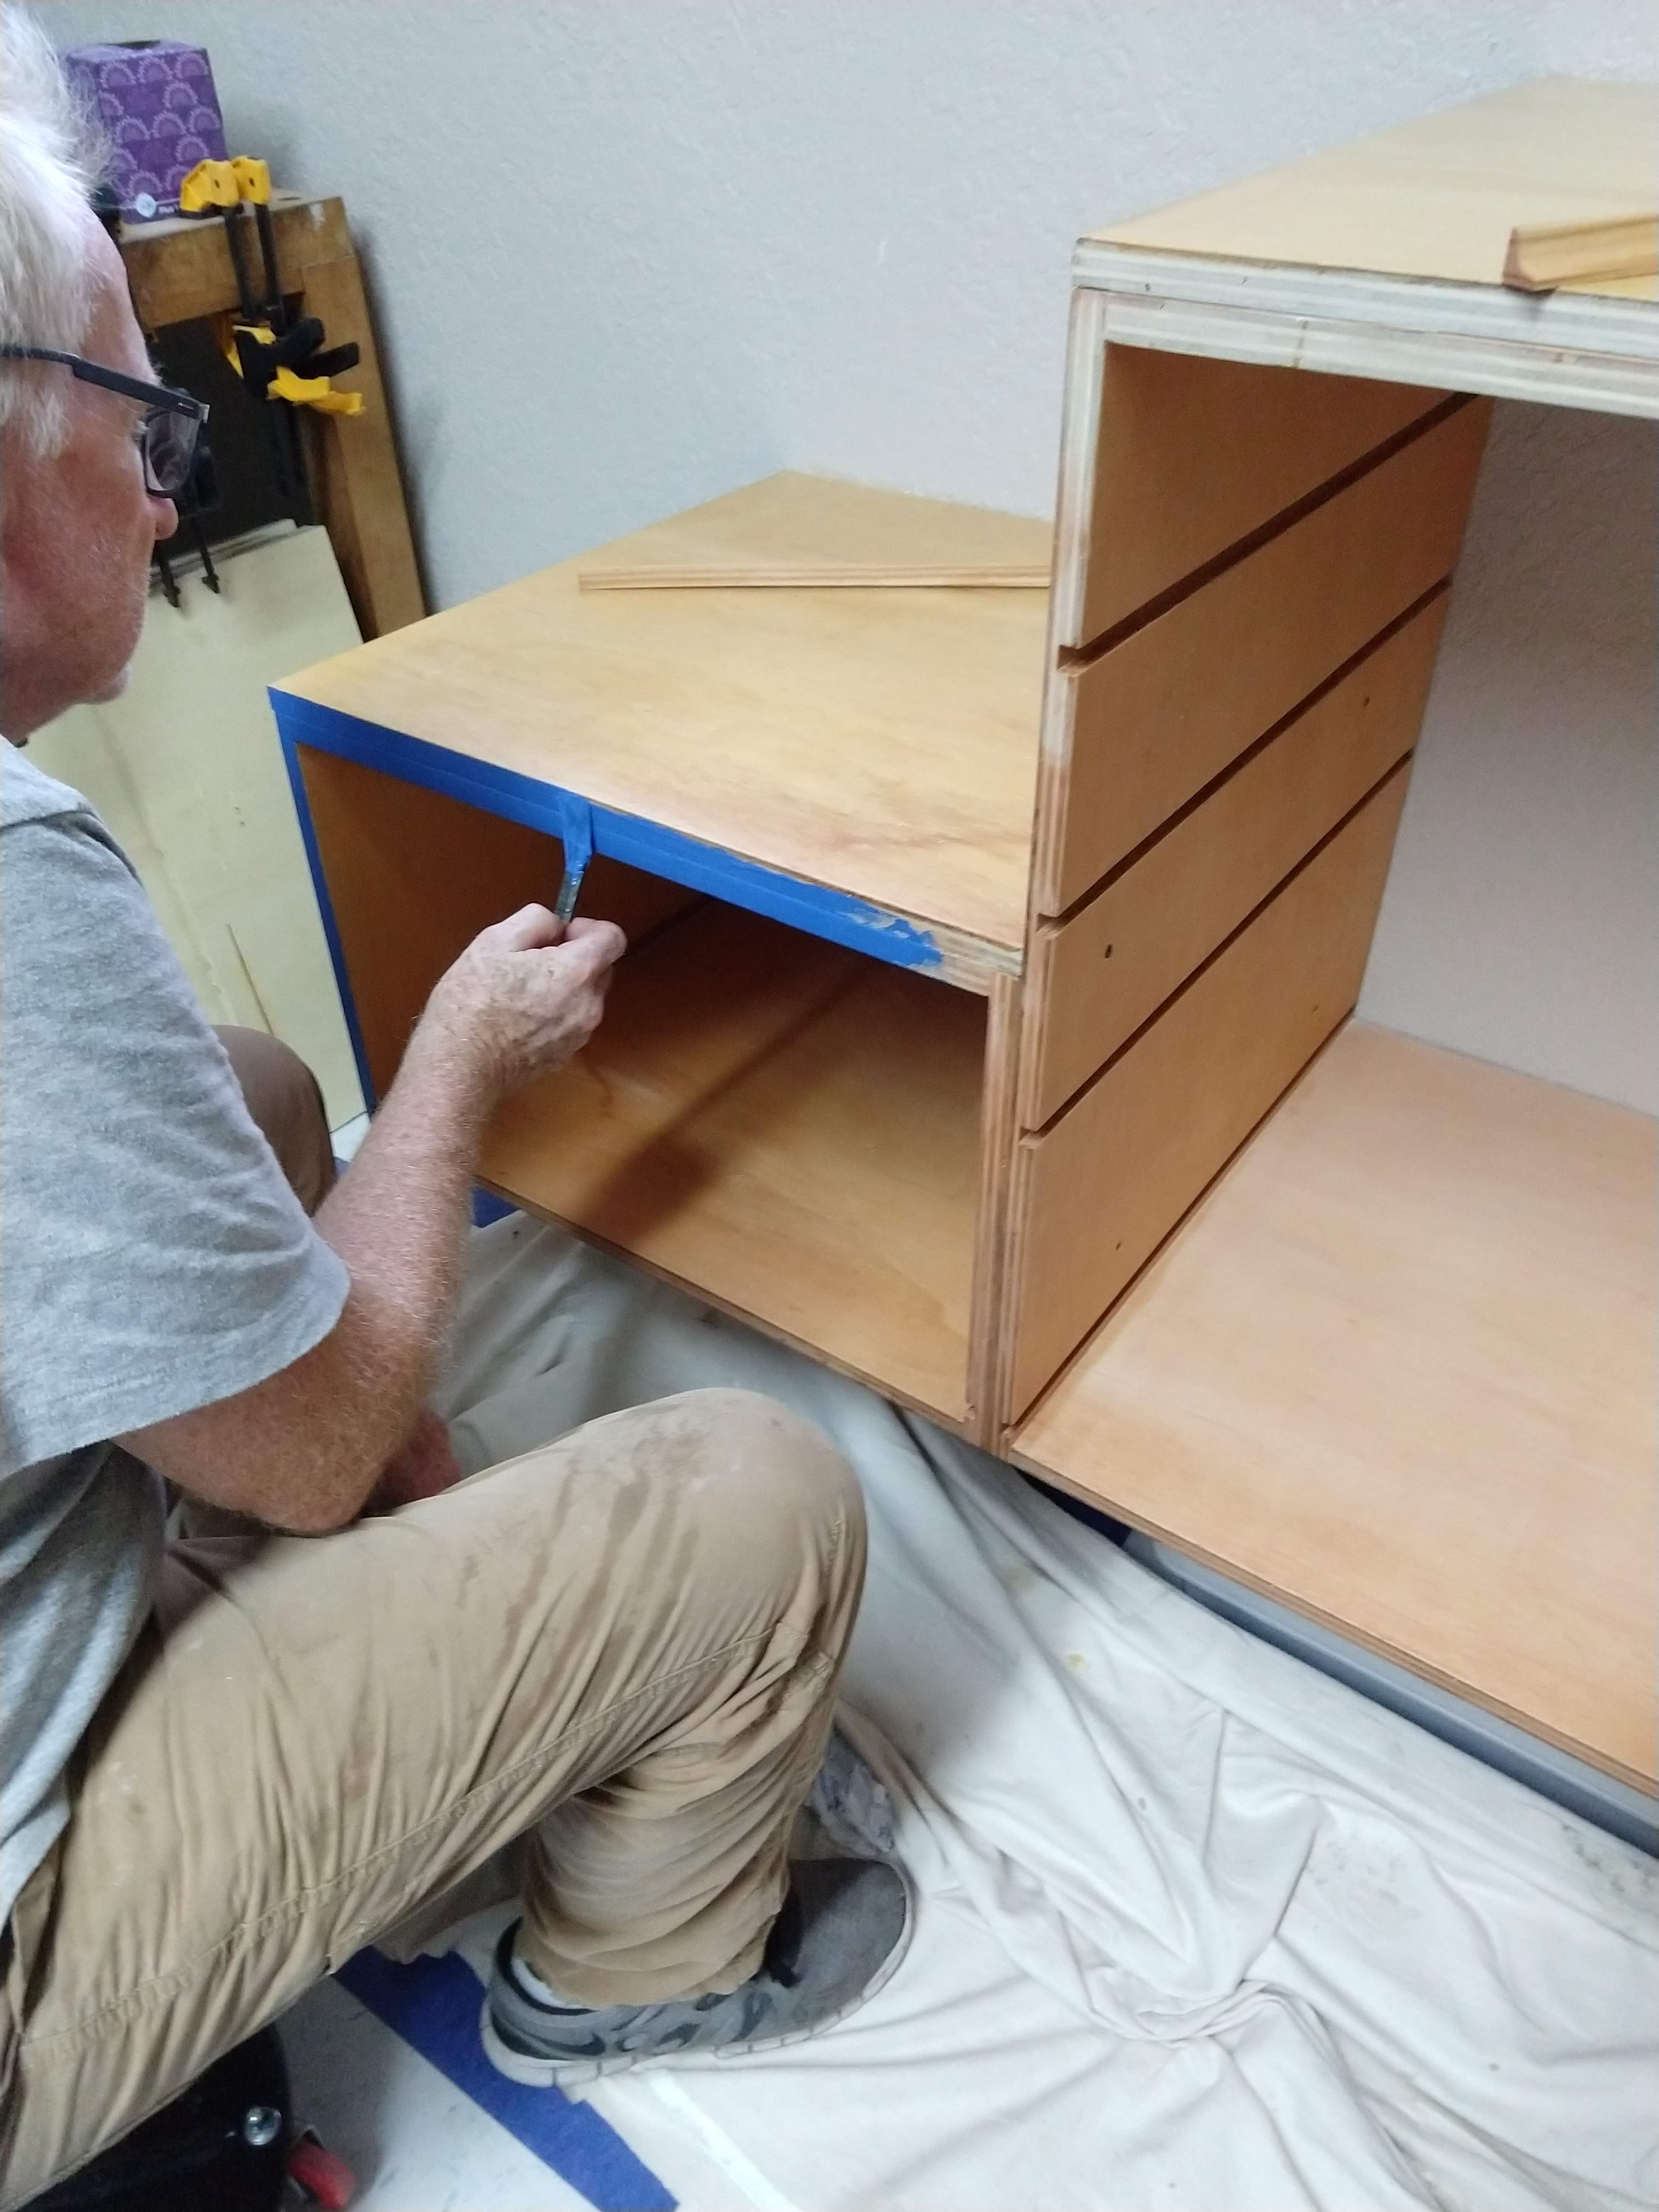
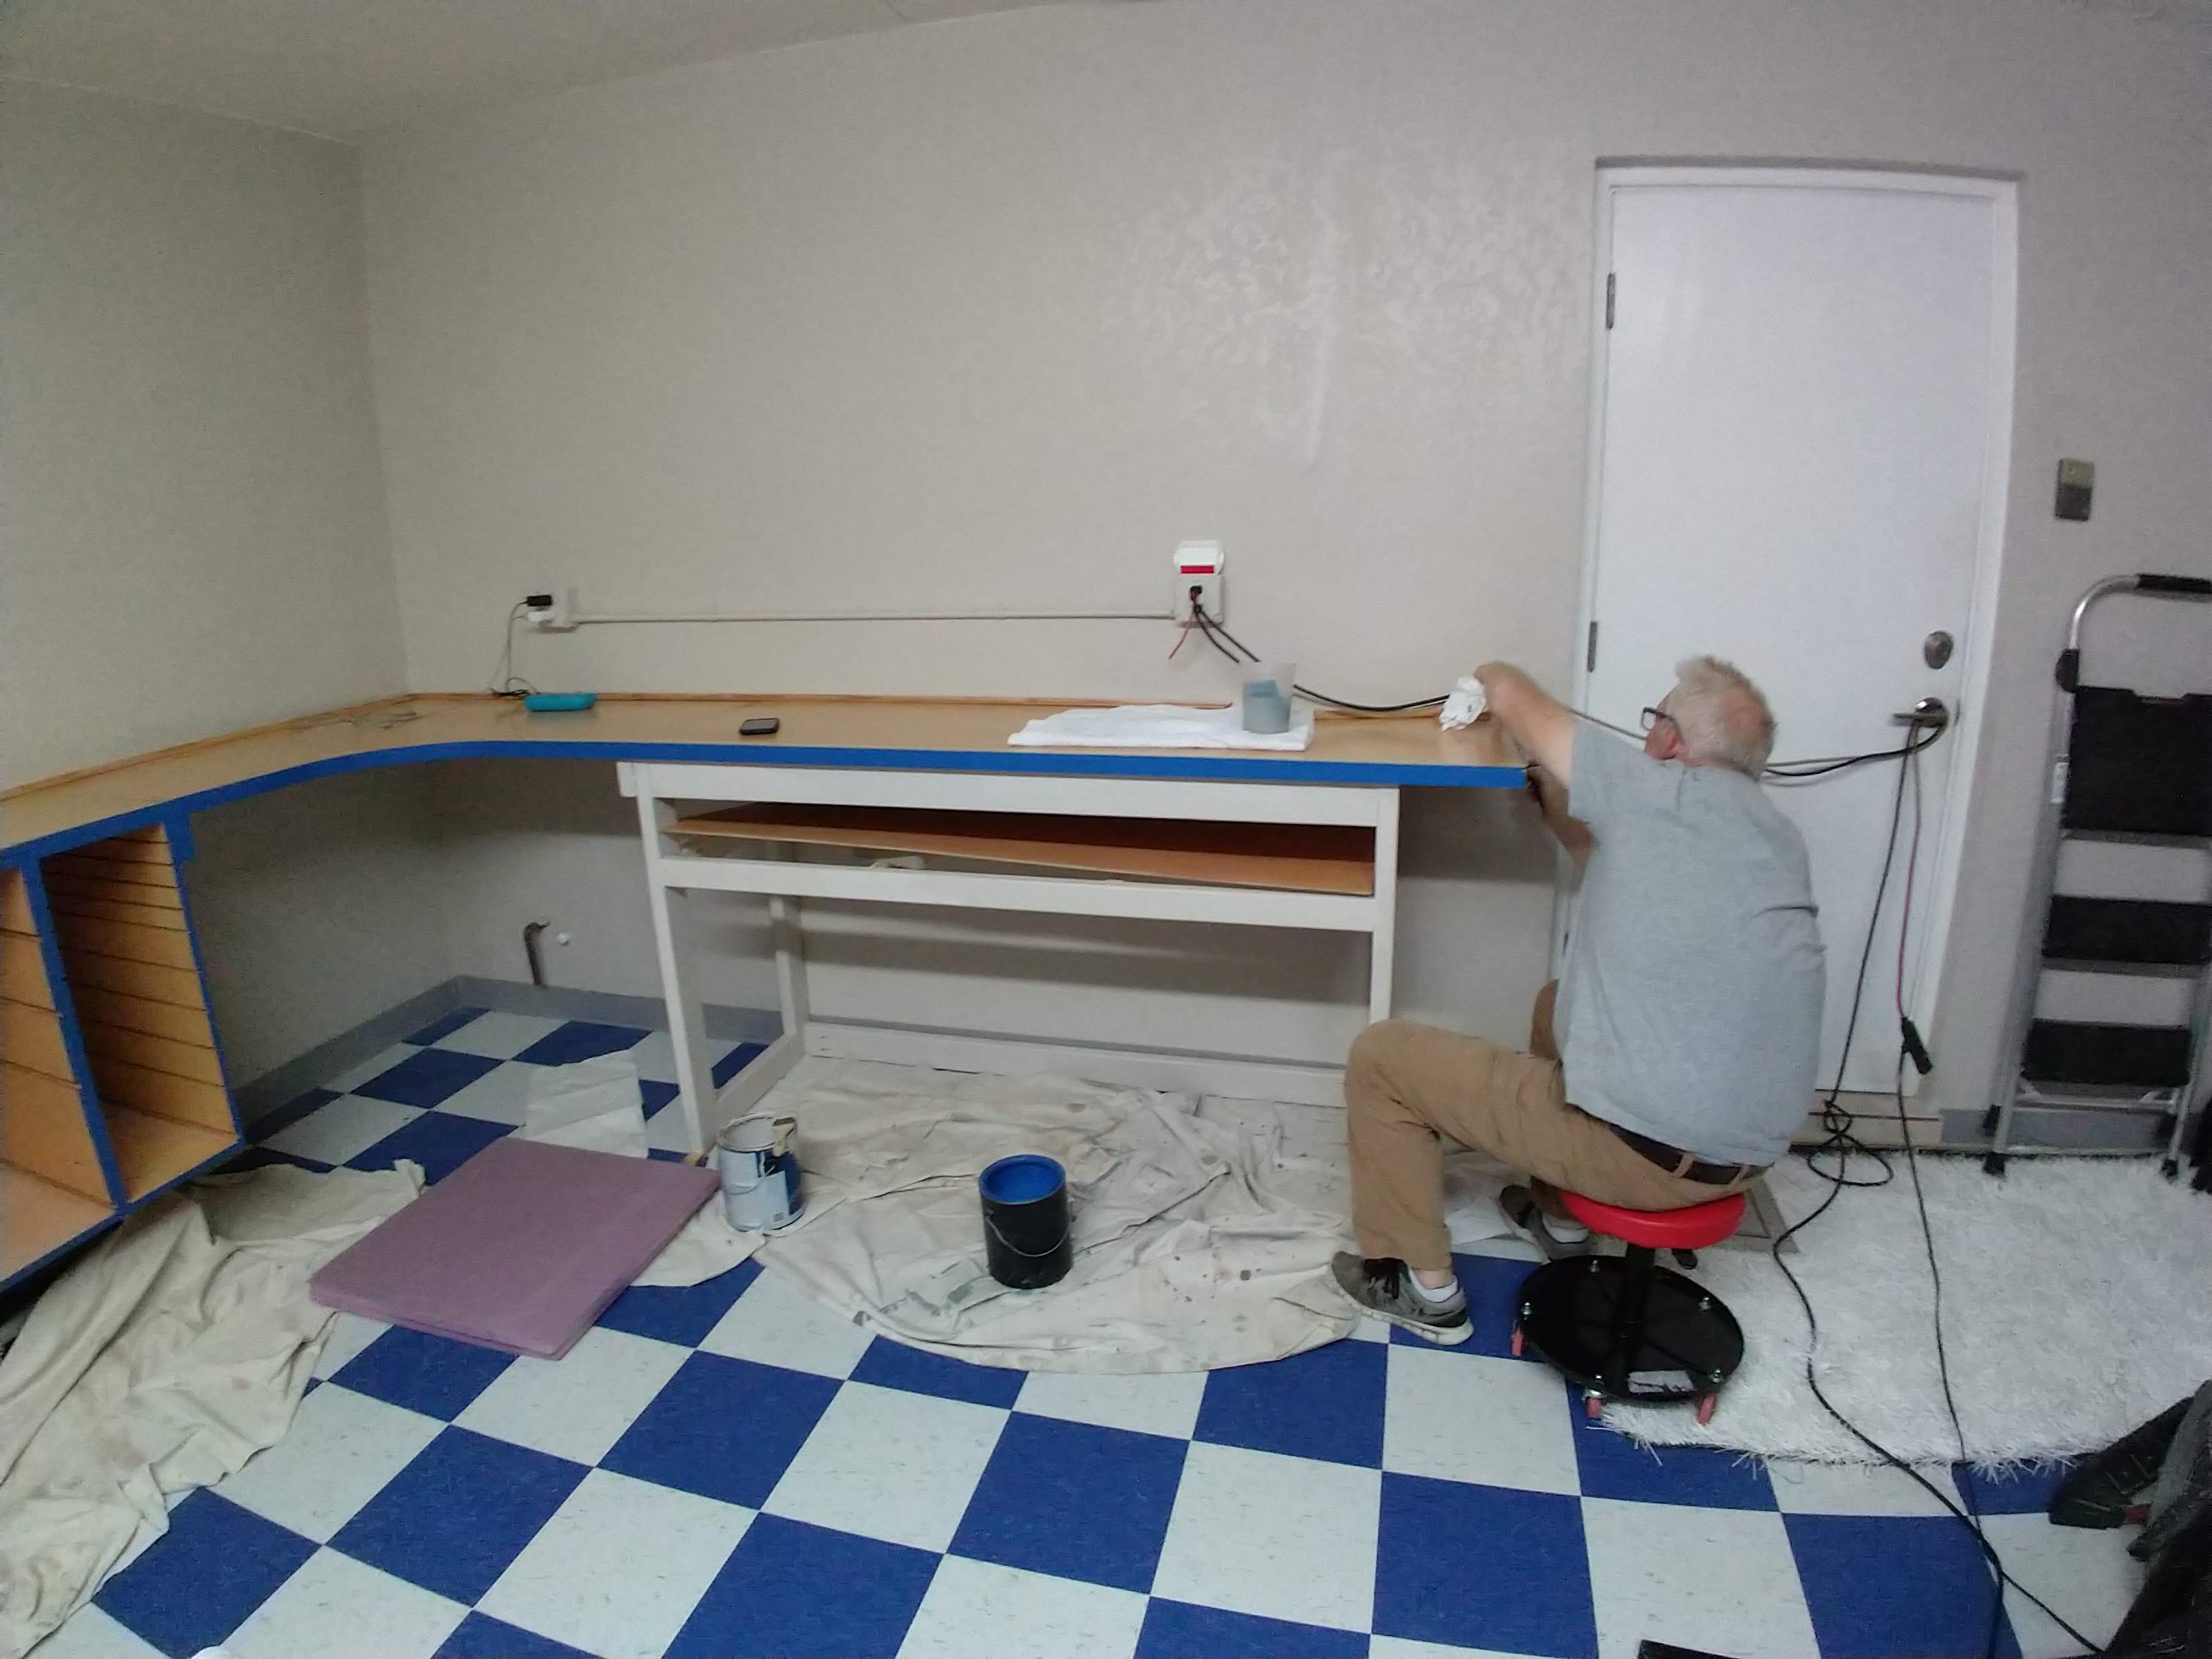
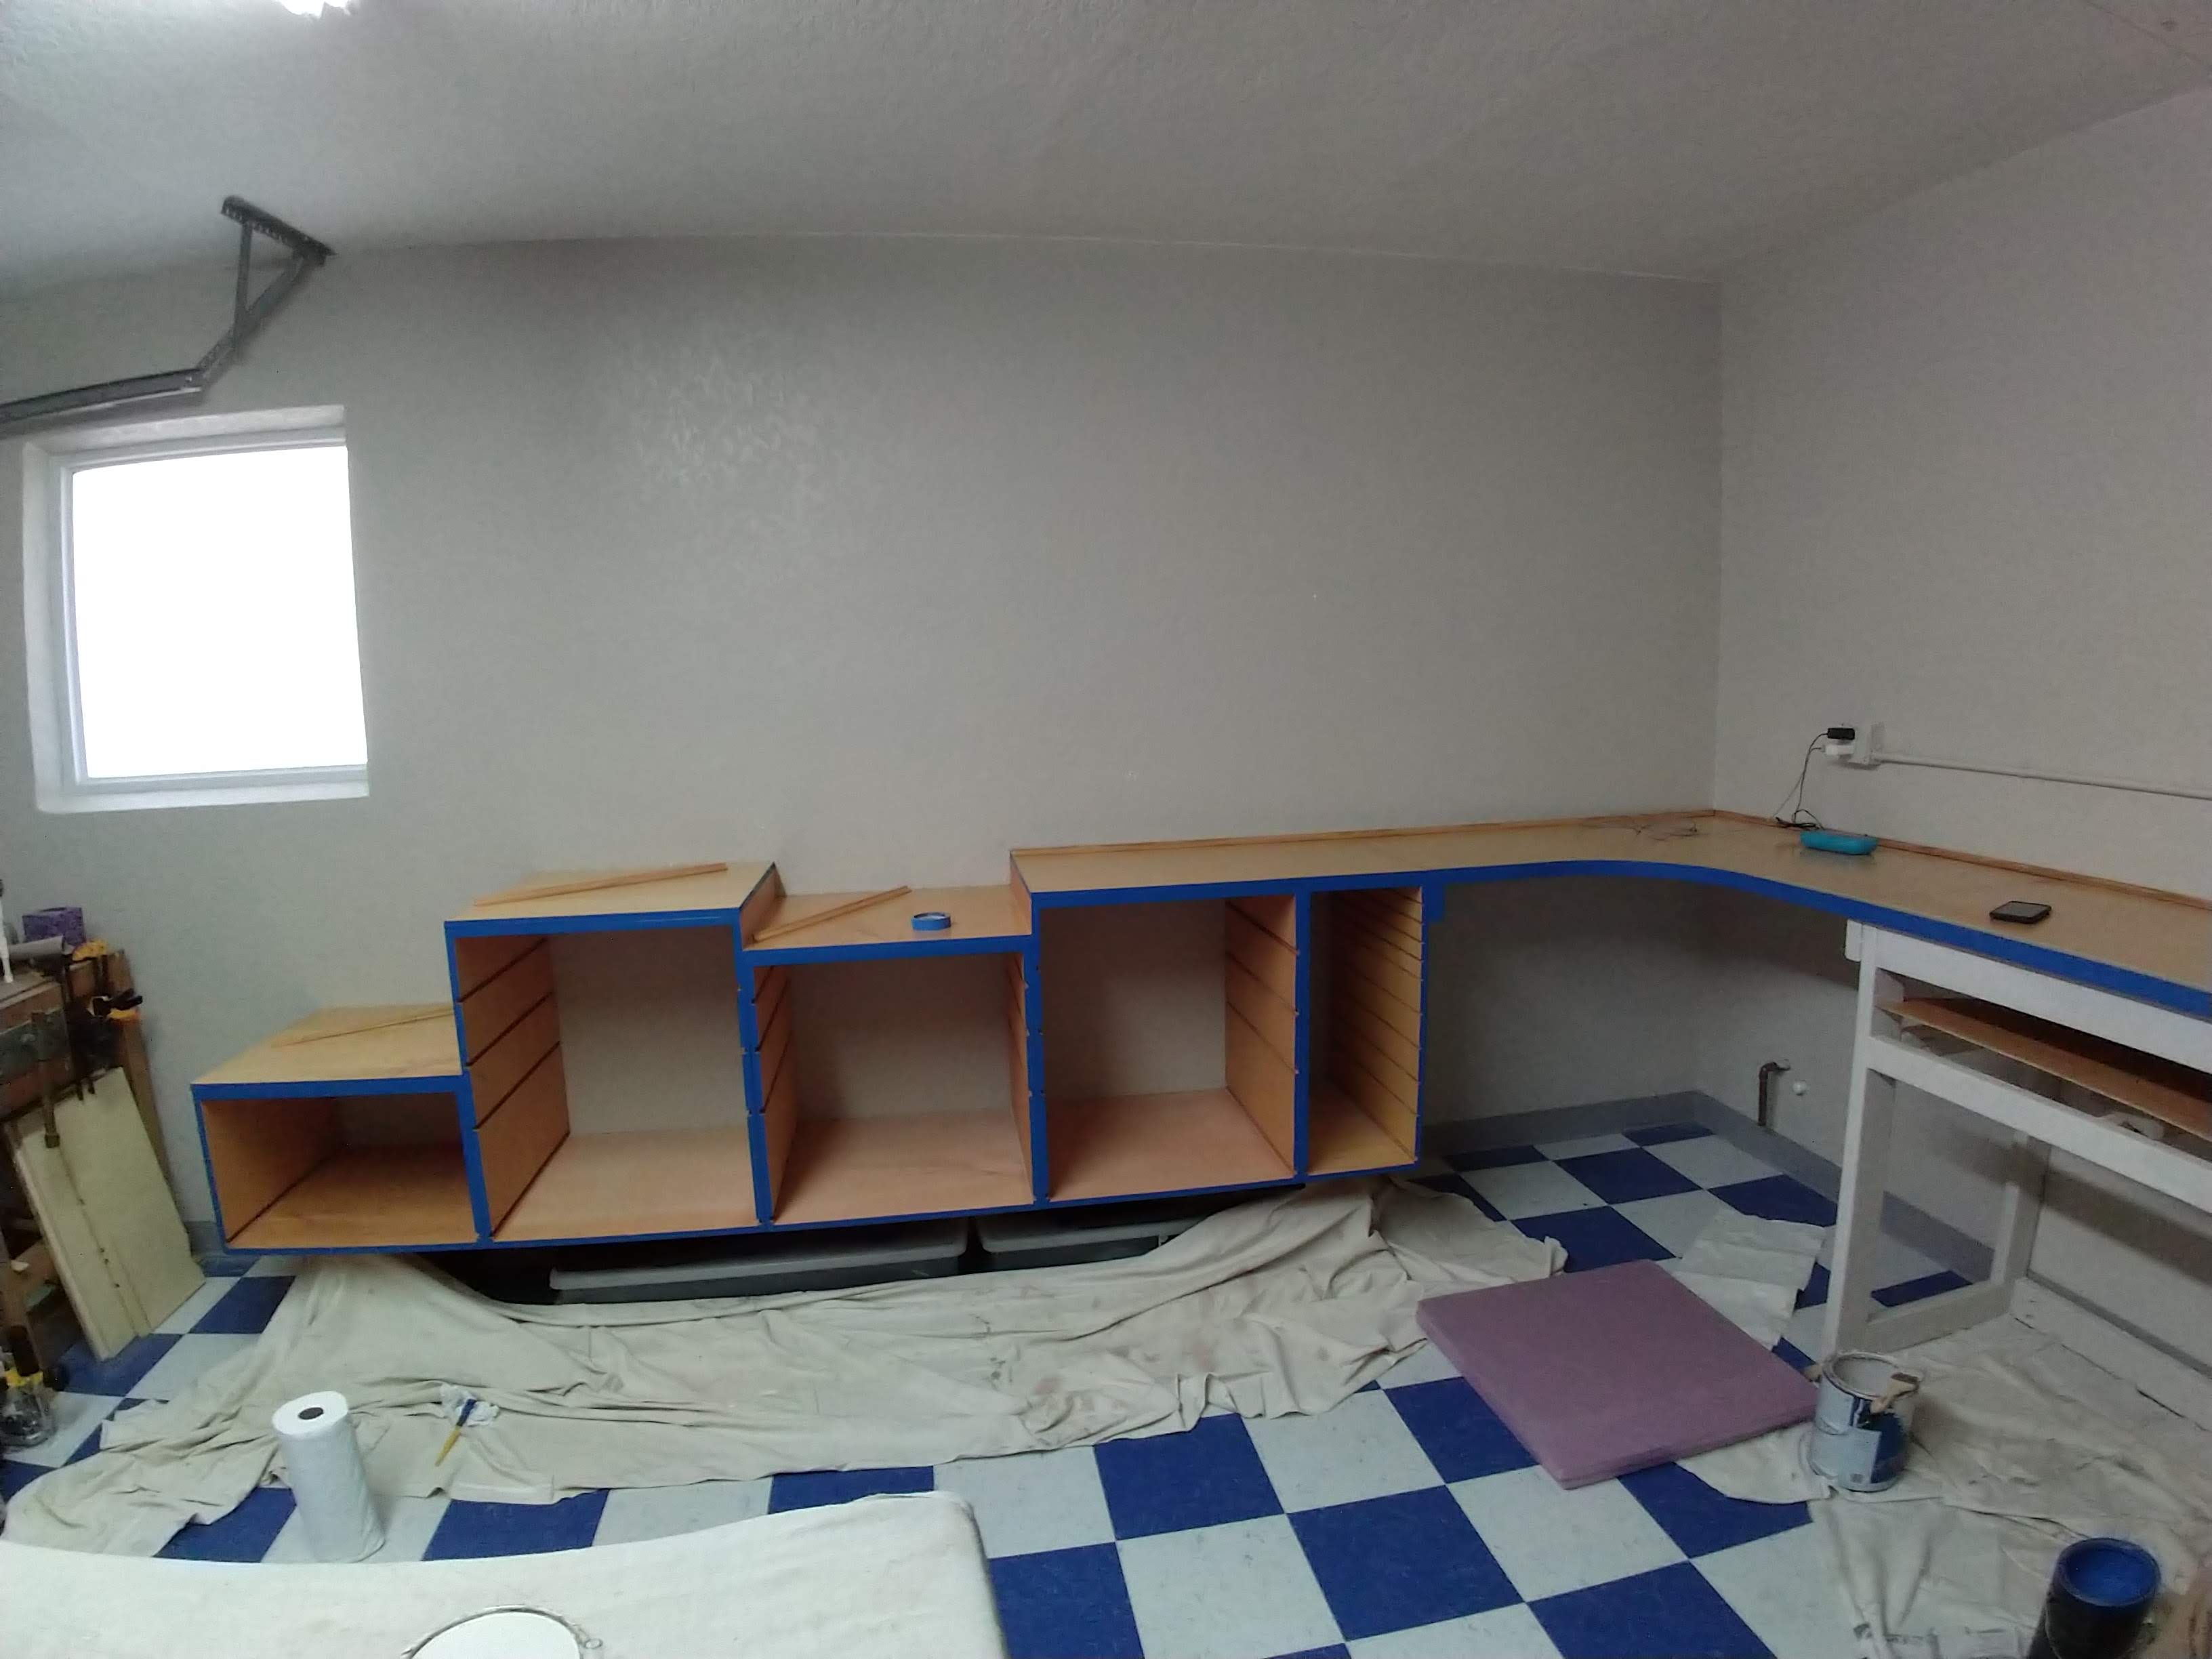
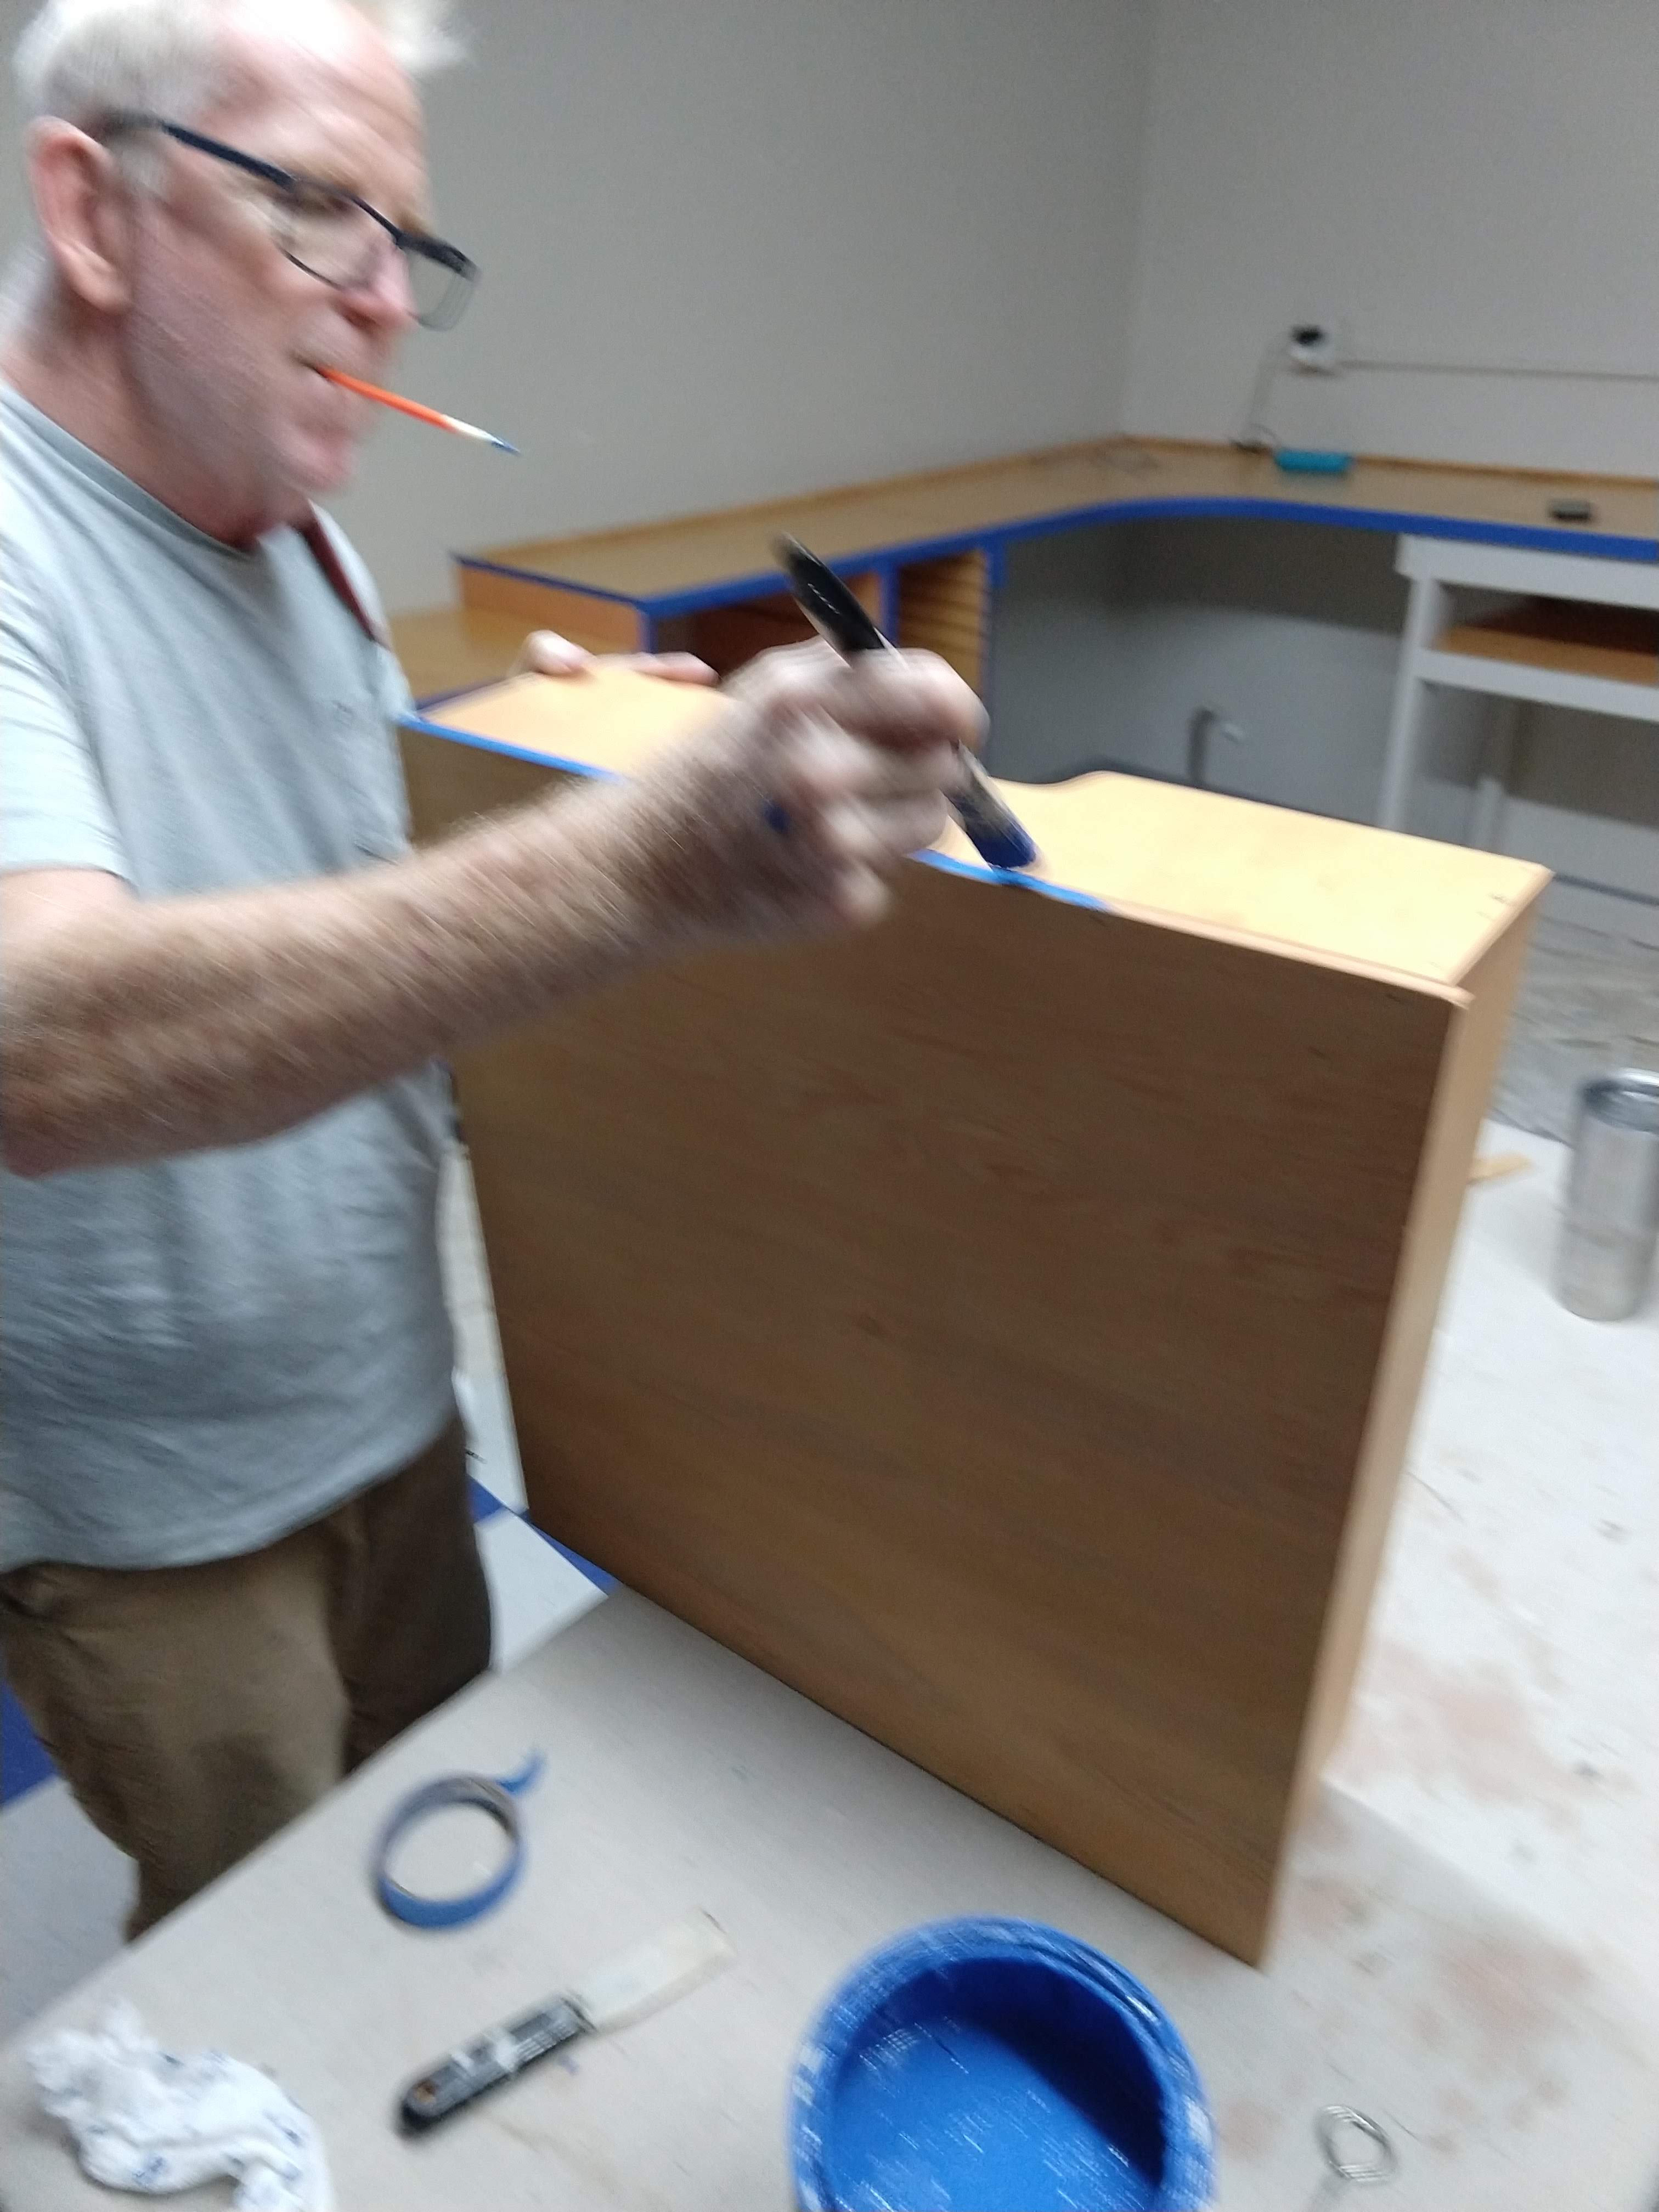
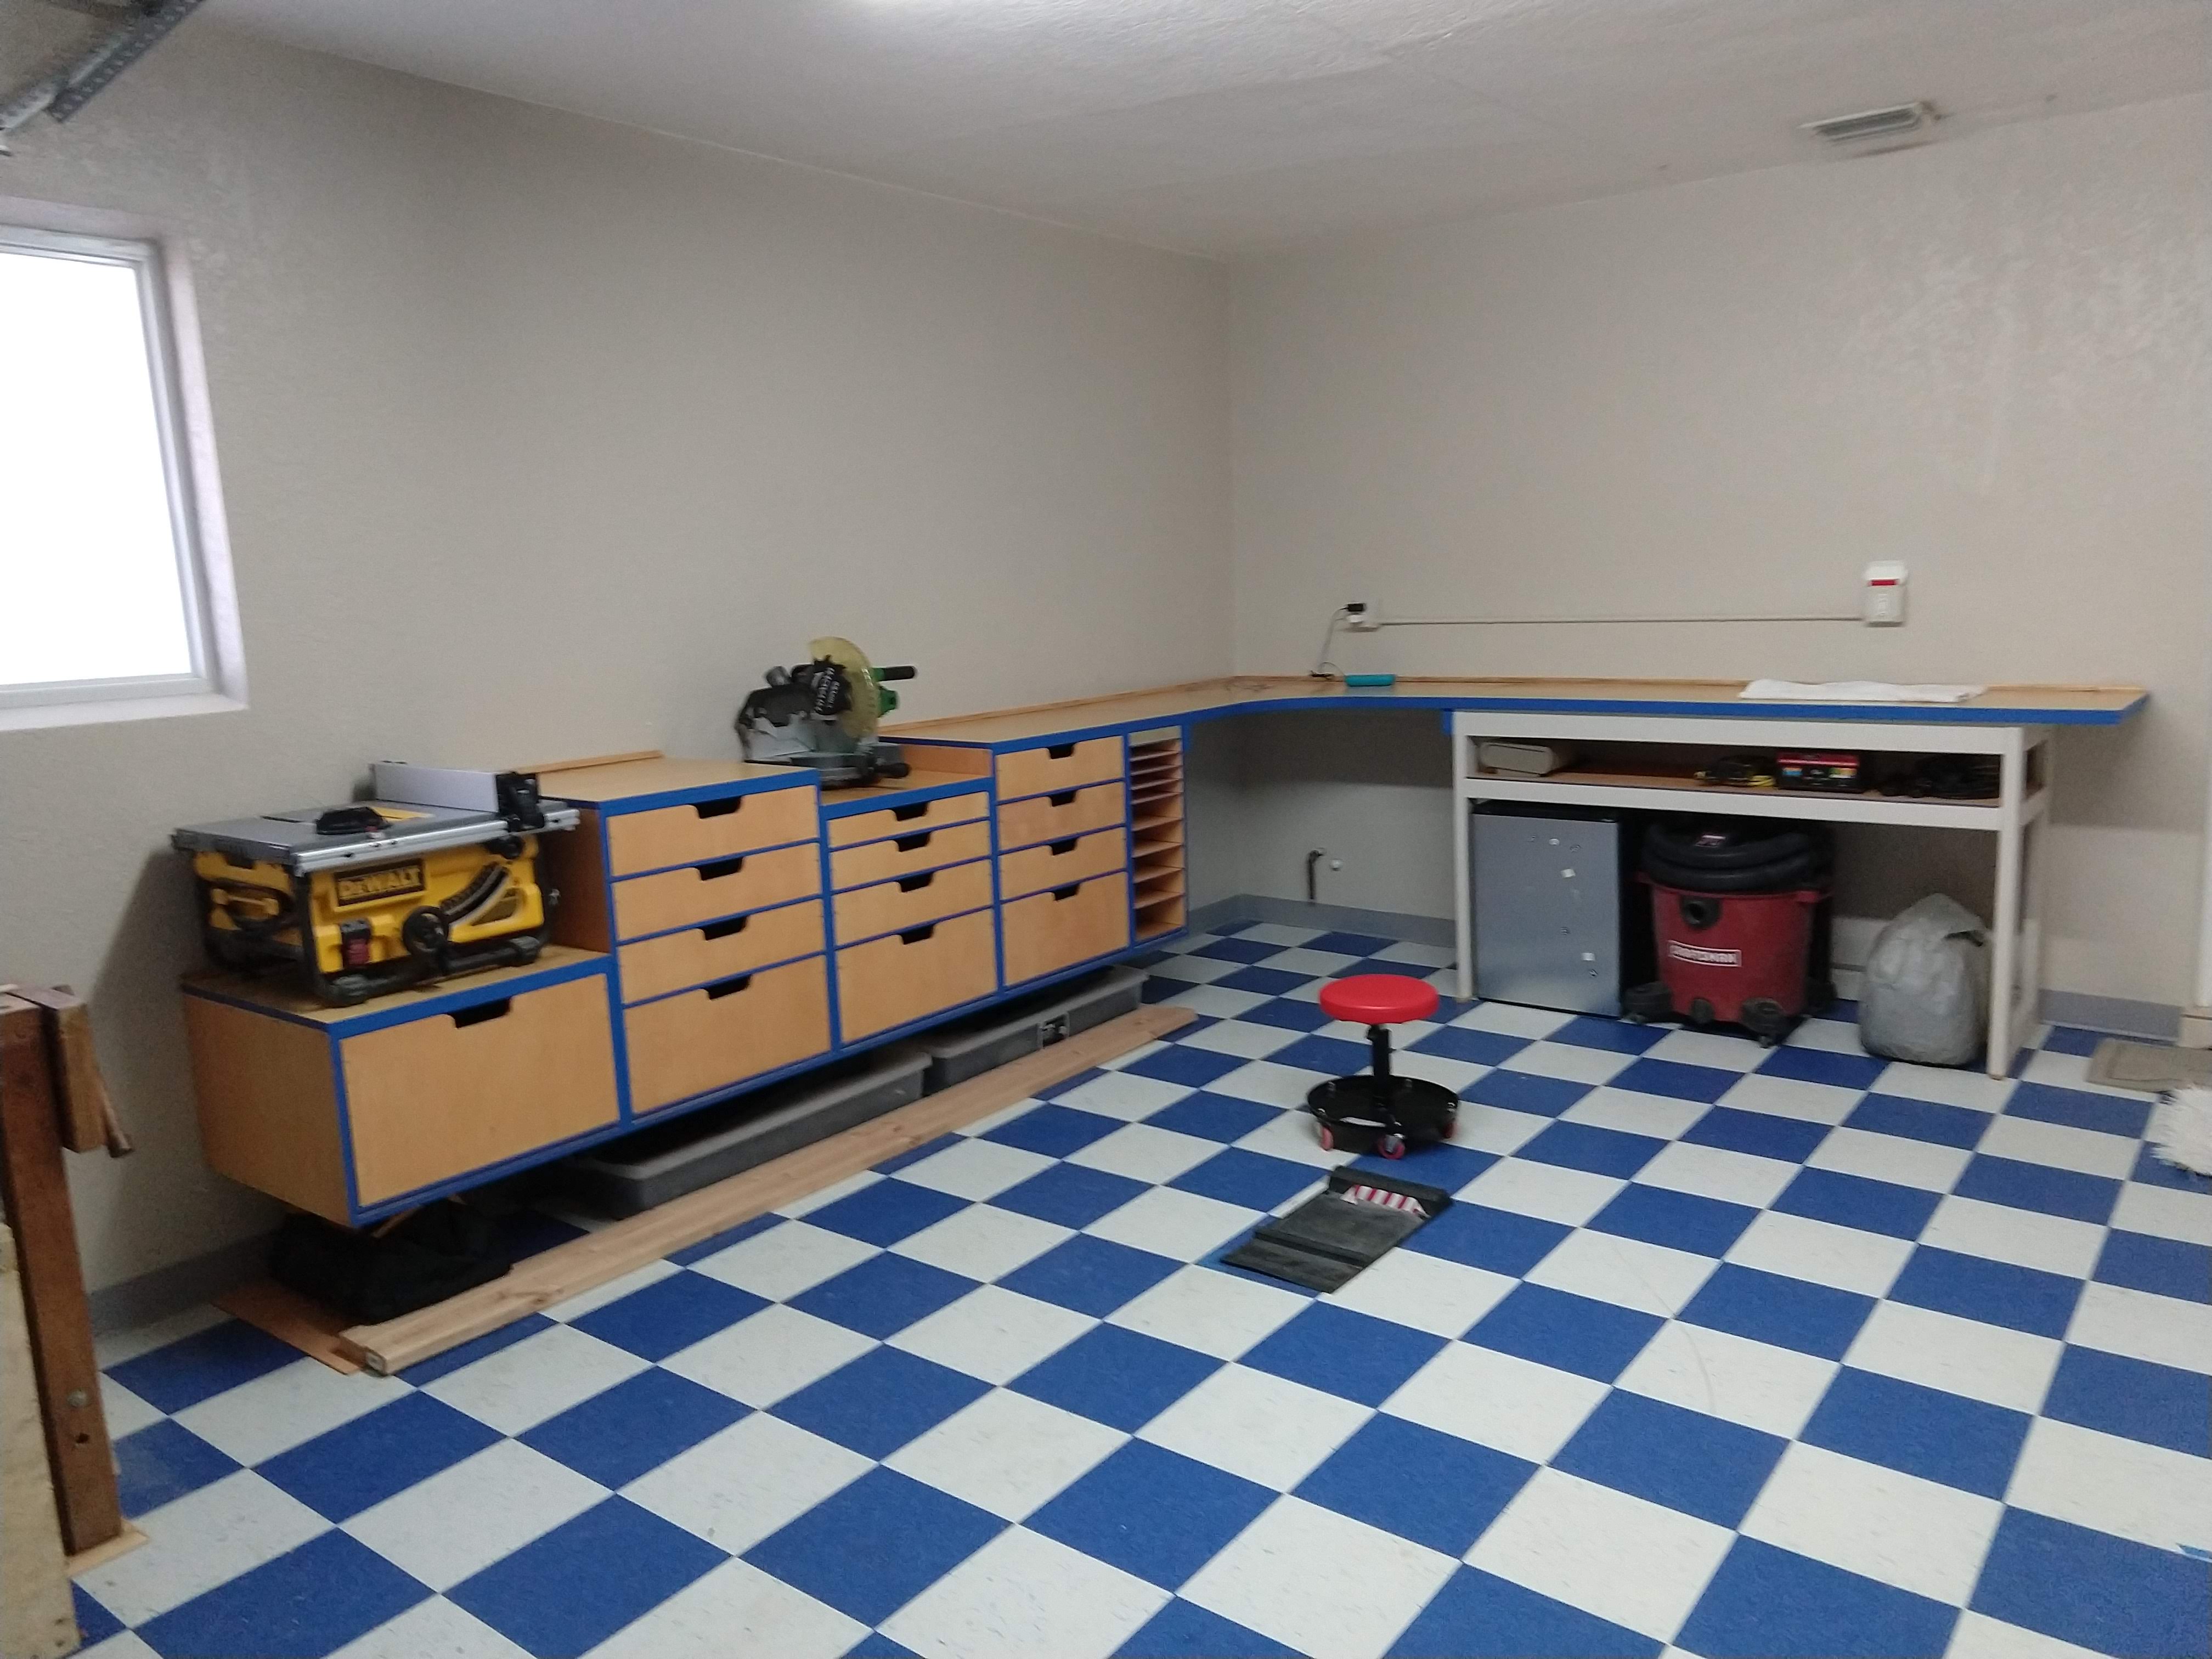
The inspiration project has the trim in red and it looks great but we opted for blue to match the floor.
Before the last coat of clear poly we painted some edges in blue and some 2x4's the same color as the walls.
Like the trim by the wall this step is not a requirement but we enjoyed doing it first, and then looking at it was pleasant.
All the sweaty days and sore-achy nights can't be just for function, a touch of beauty elevates the mood and motivates you to keep going.
Customizing for the Air-brush Compressor
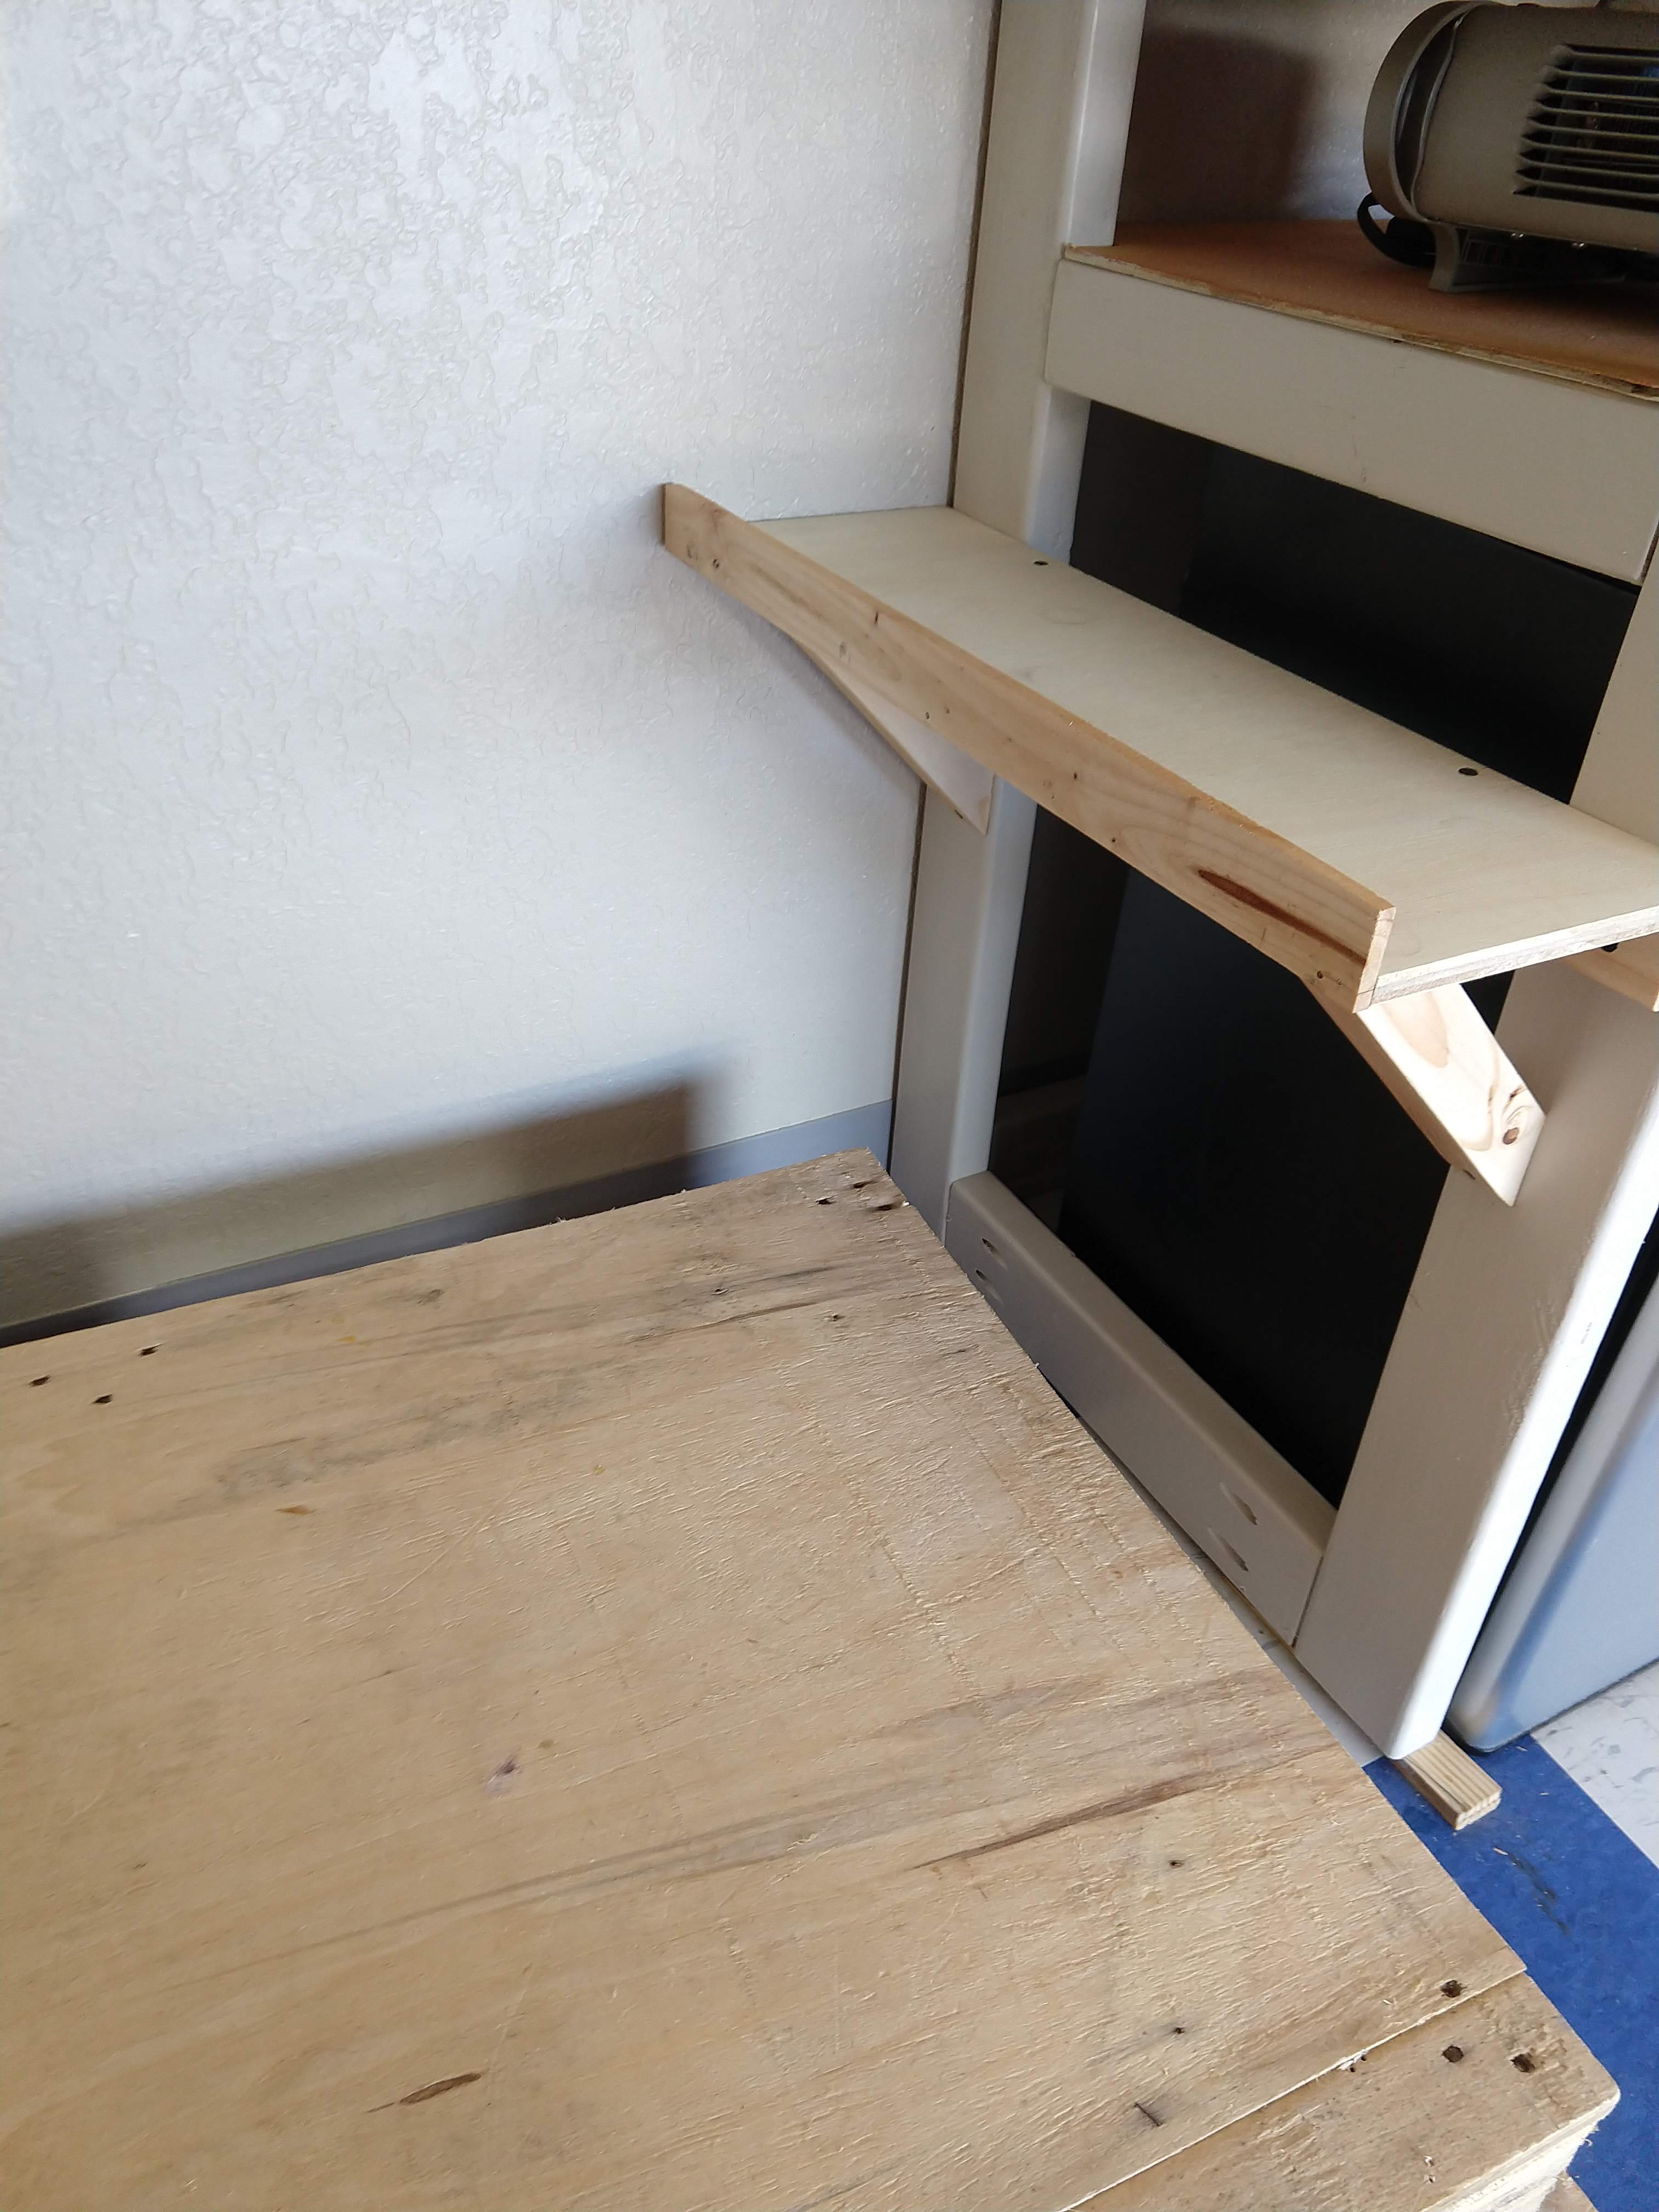
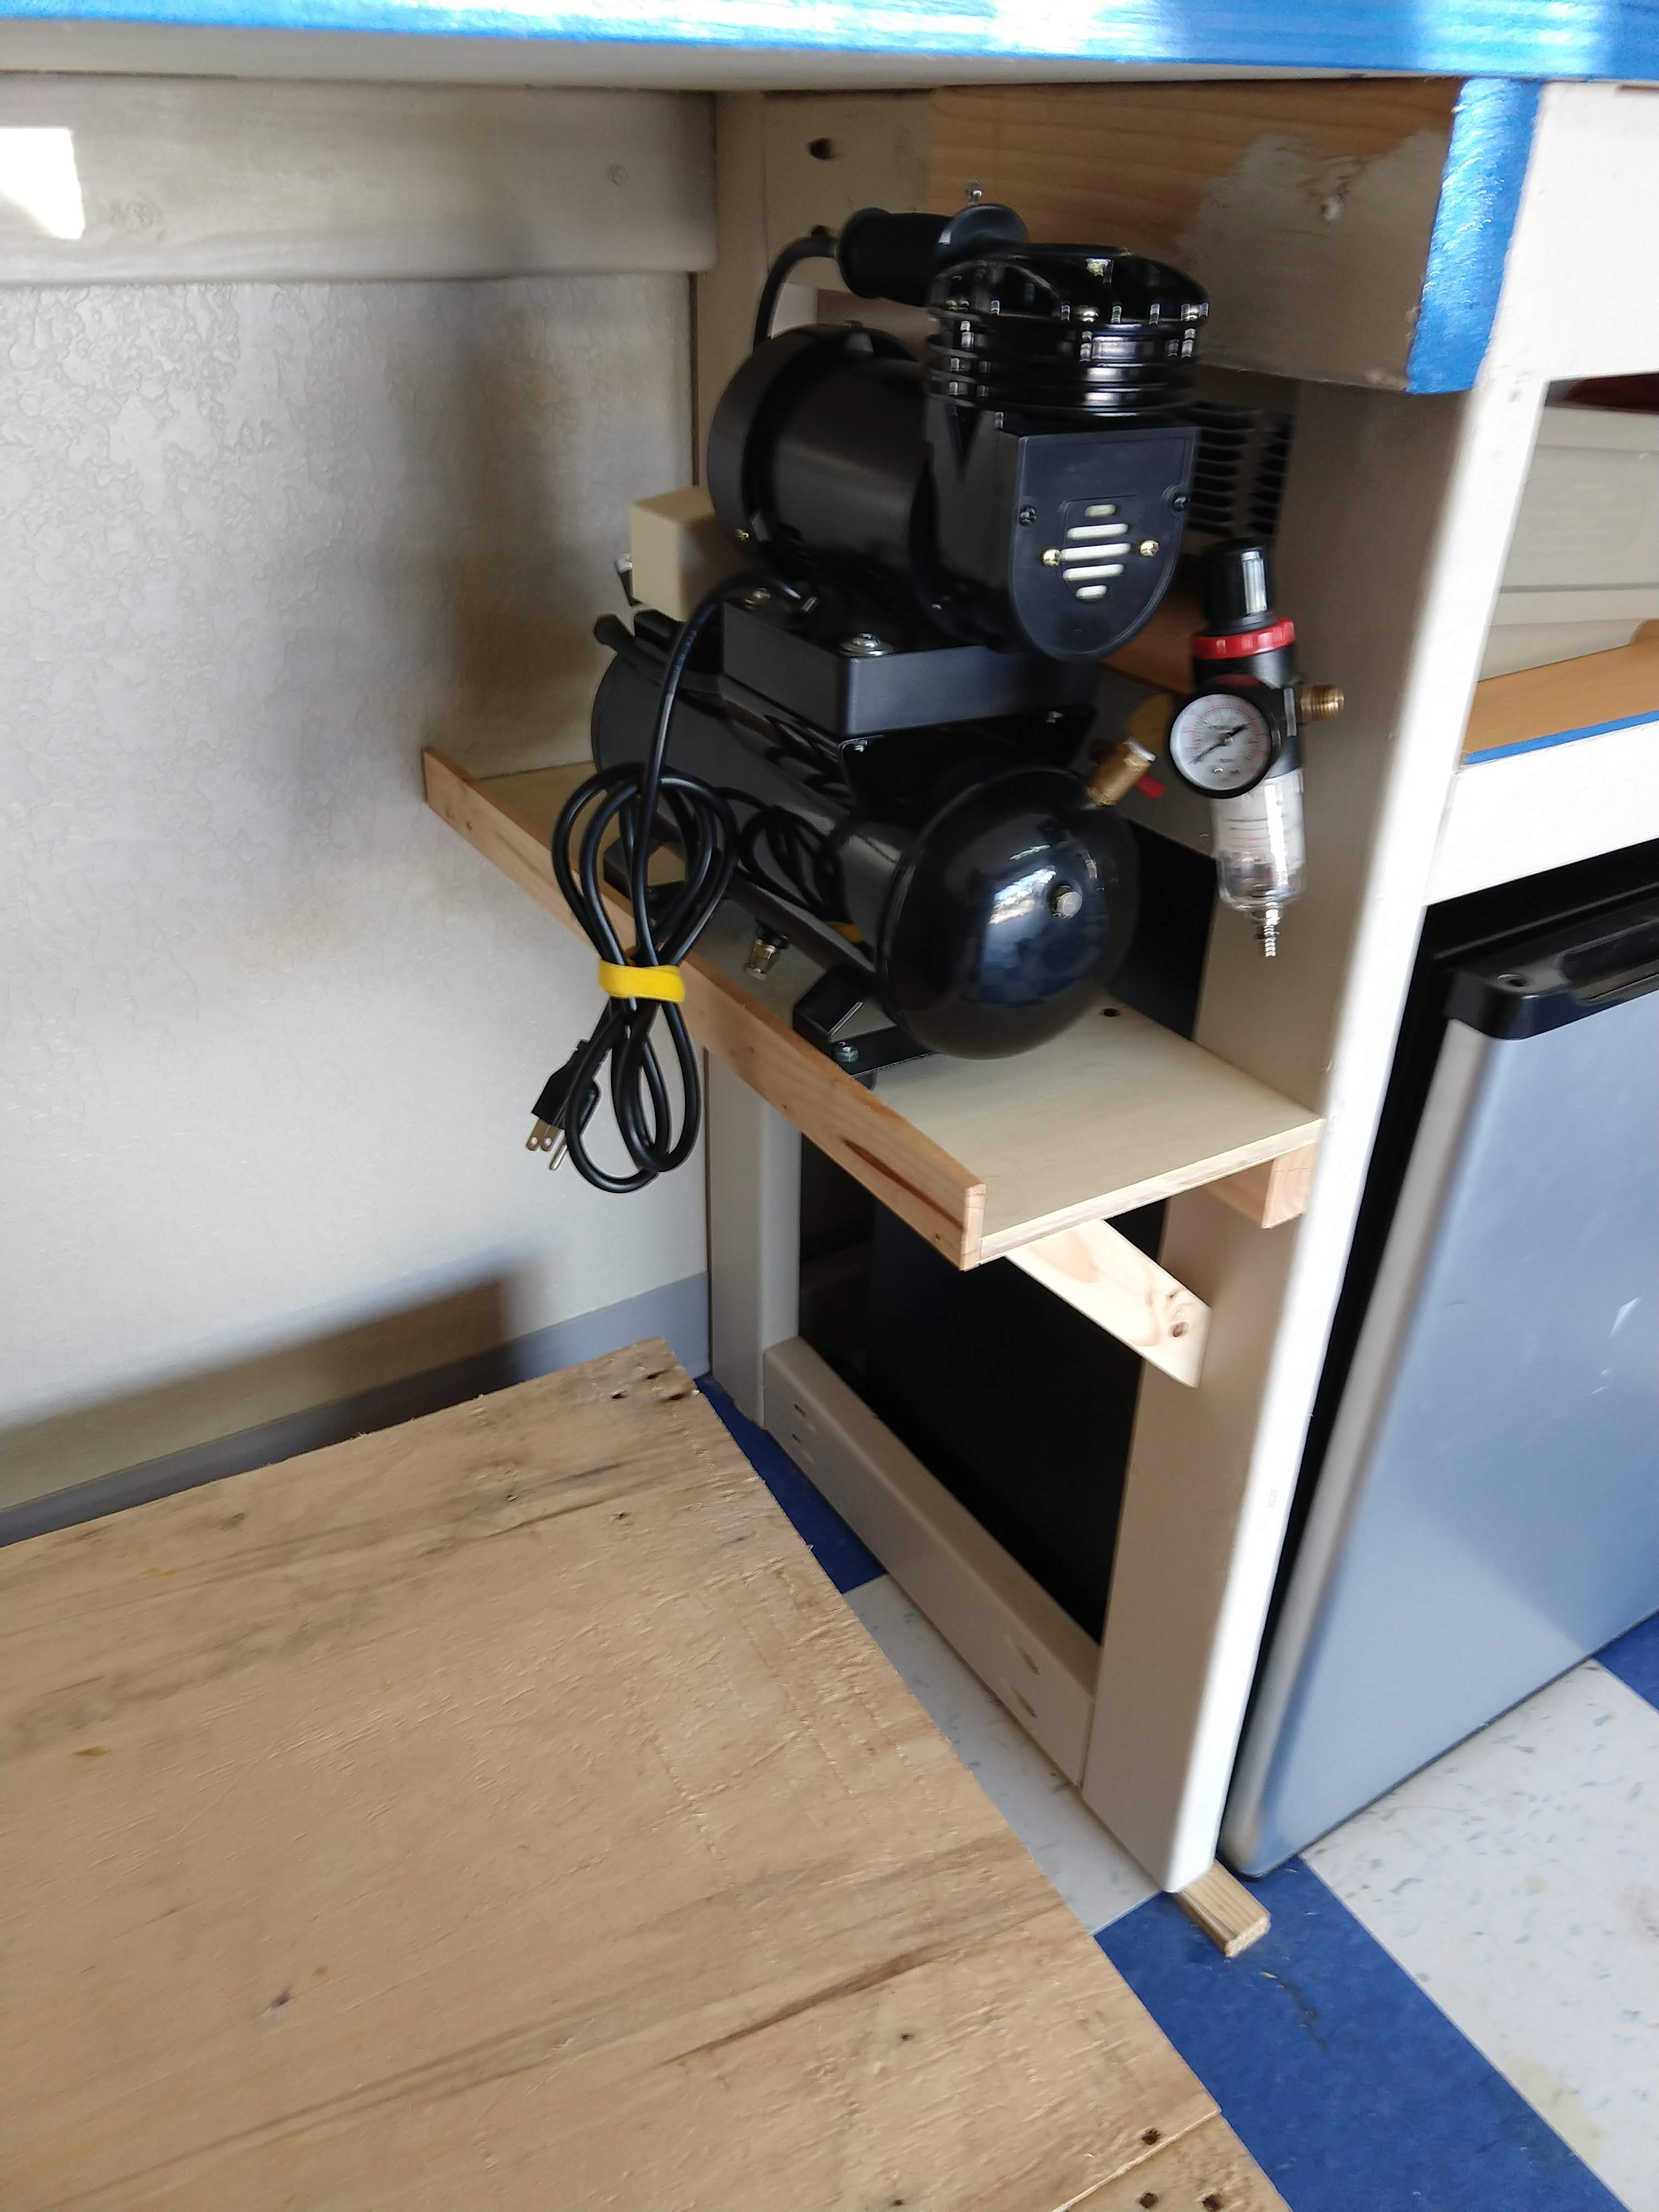
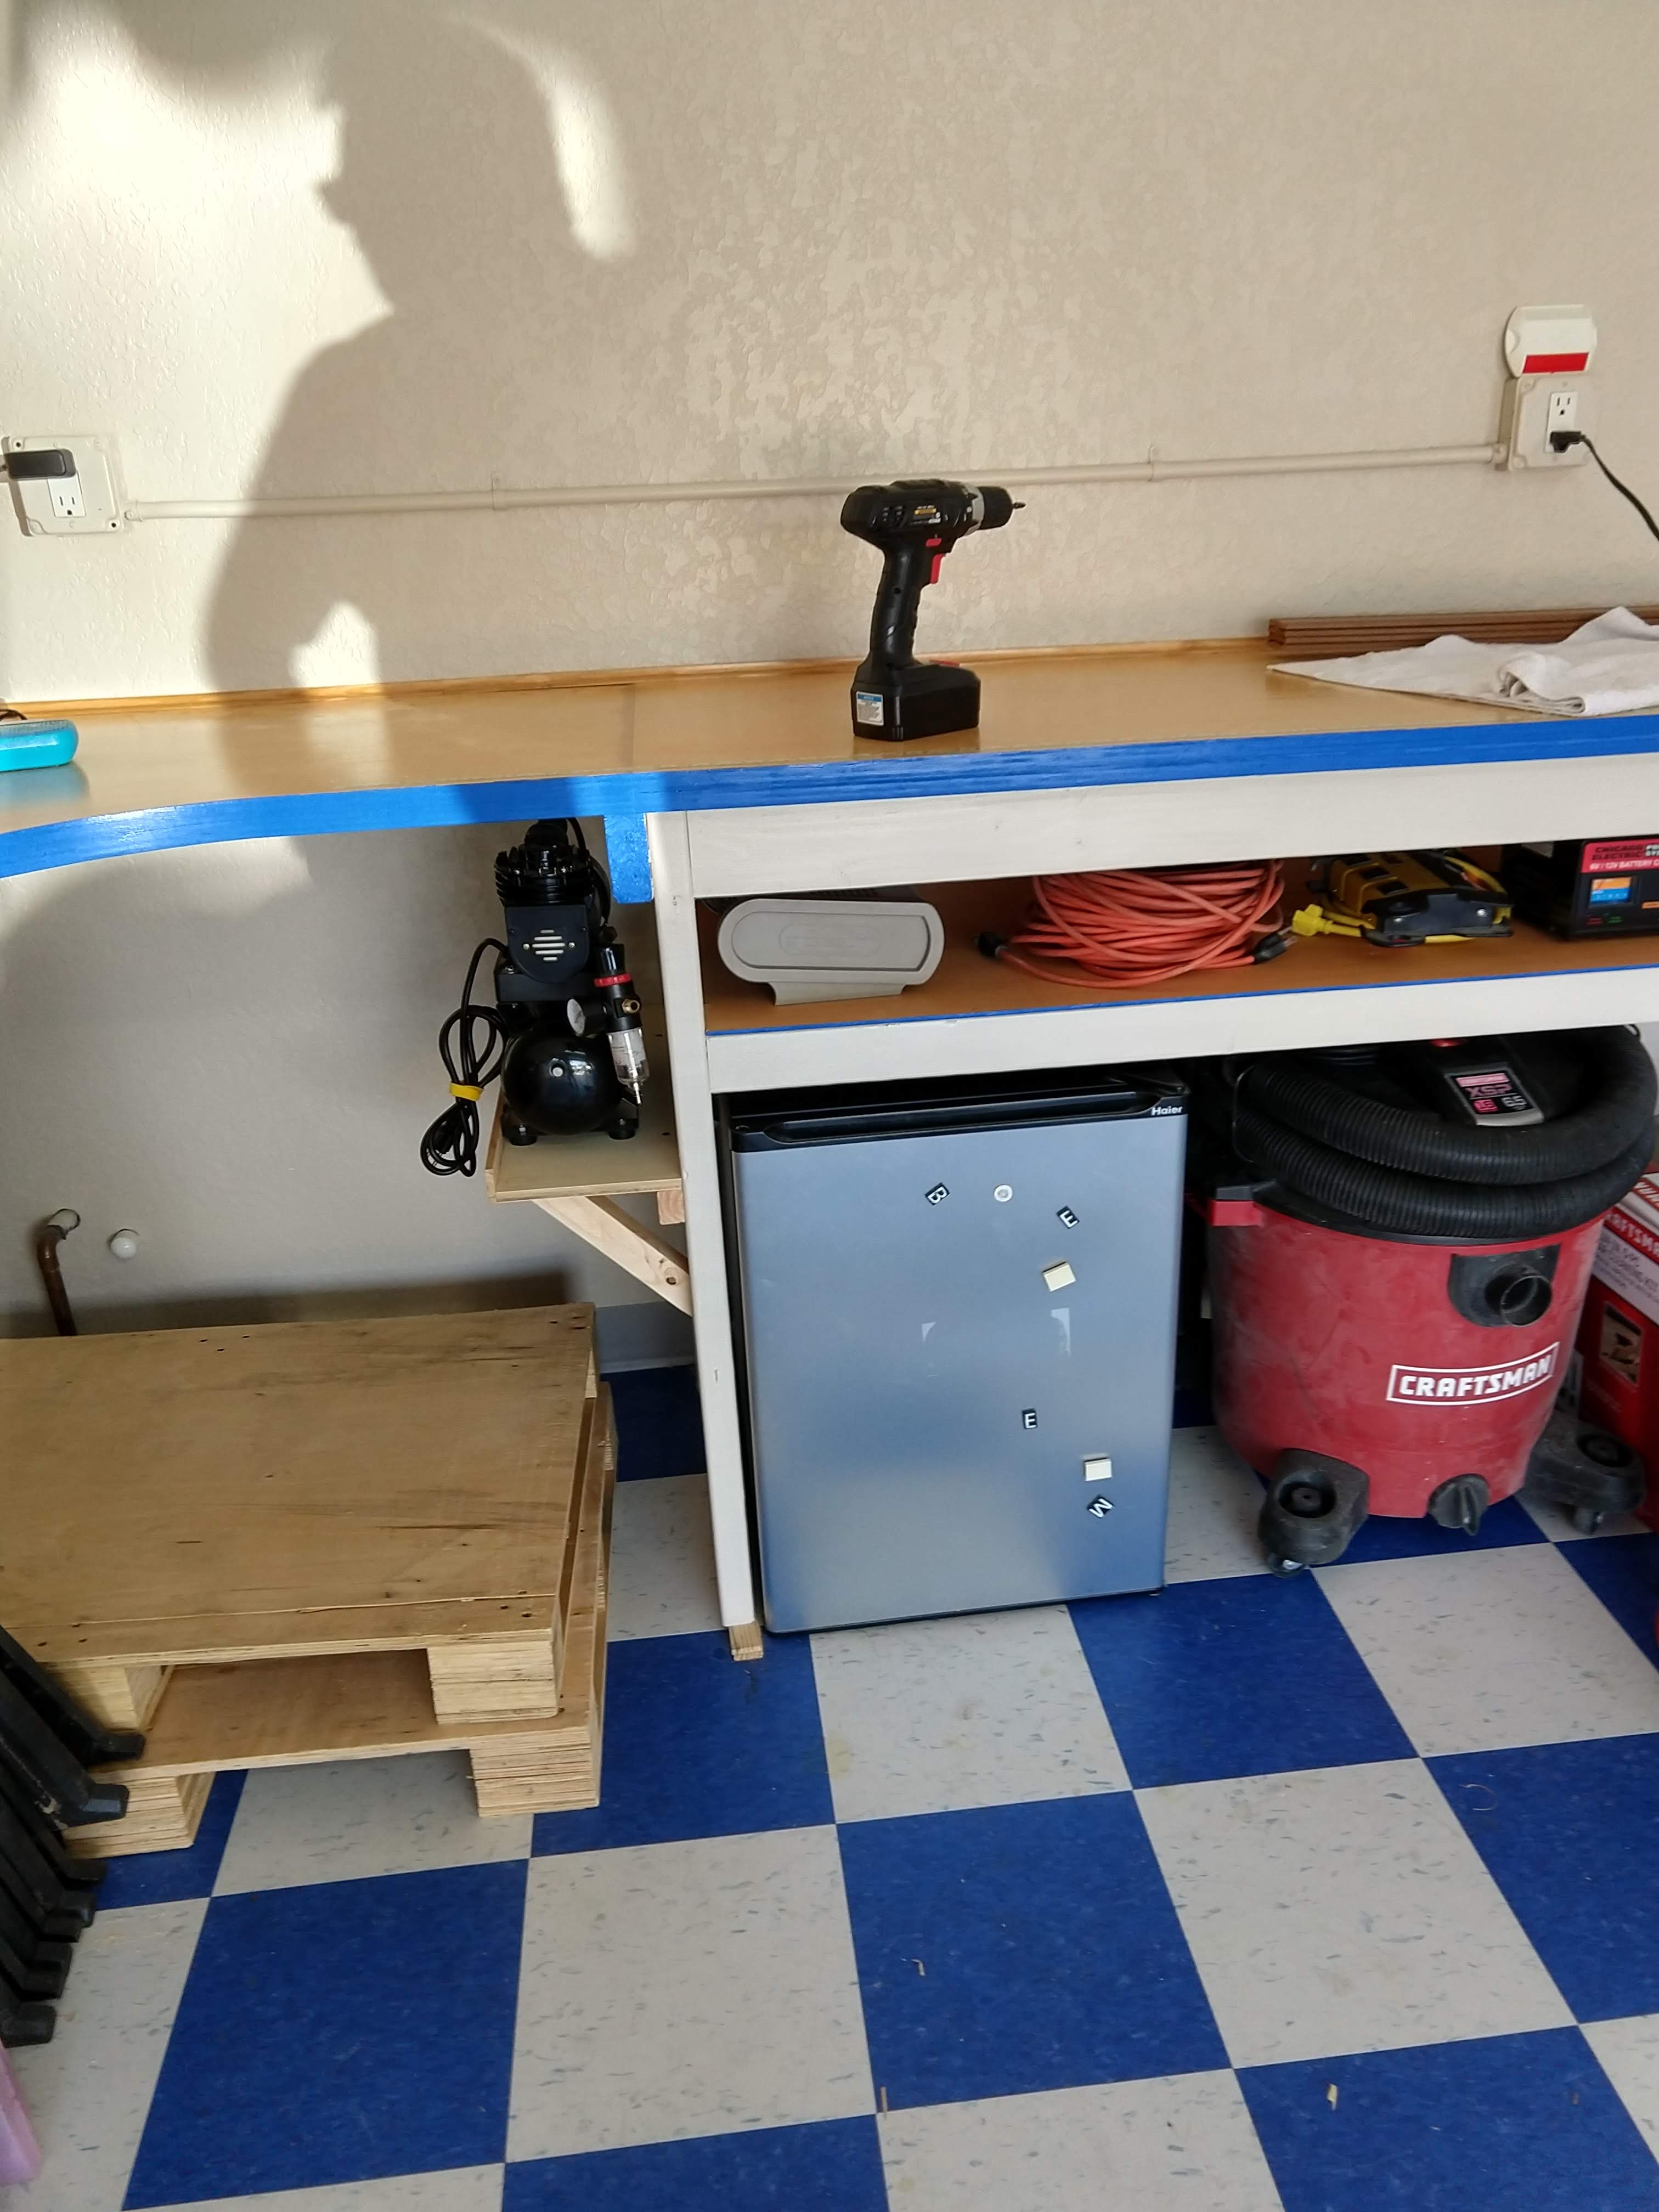
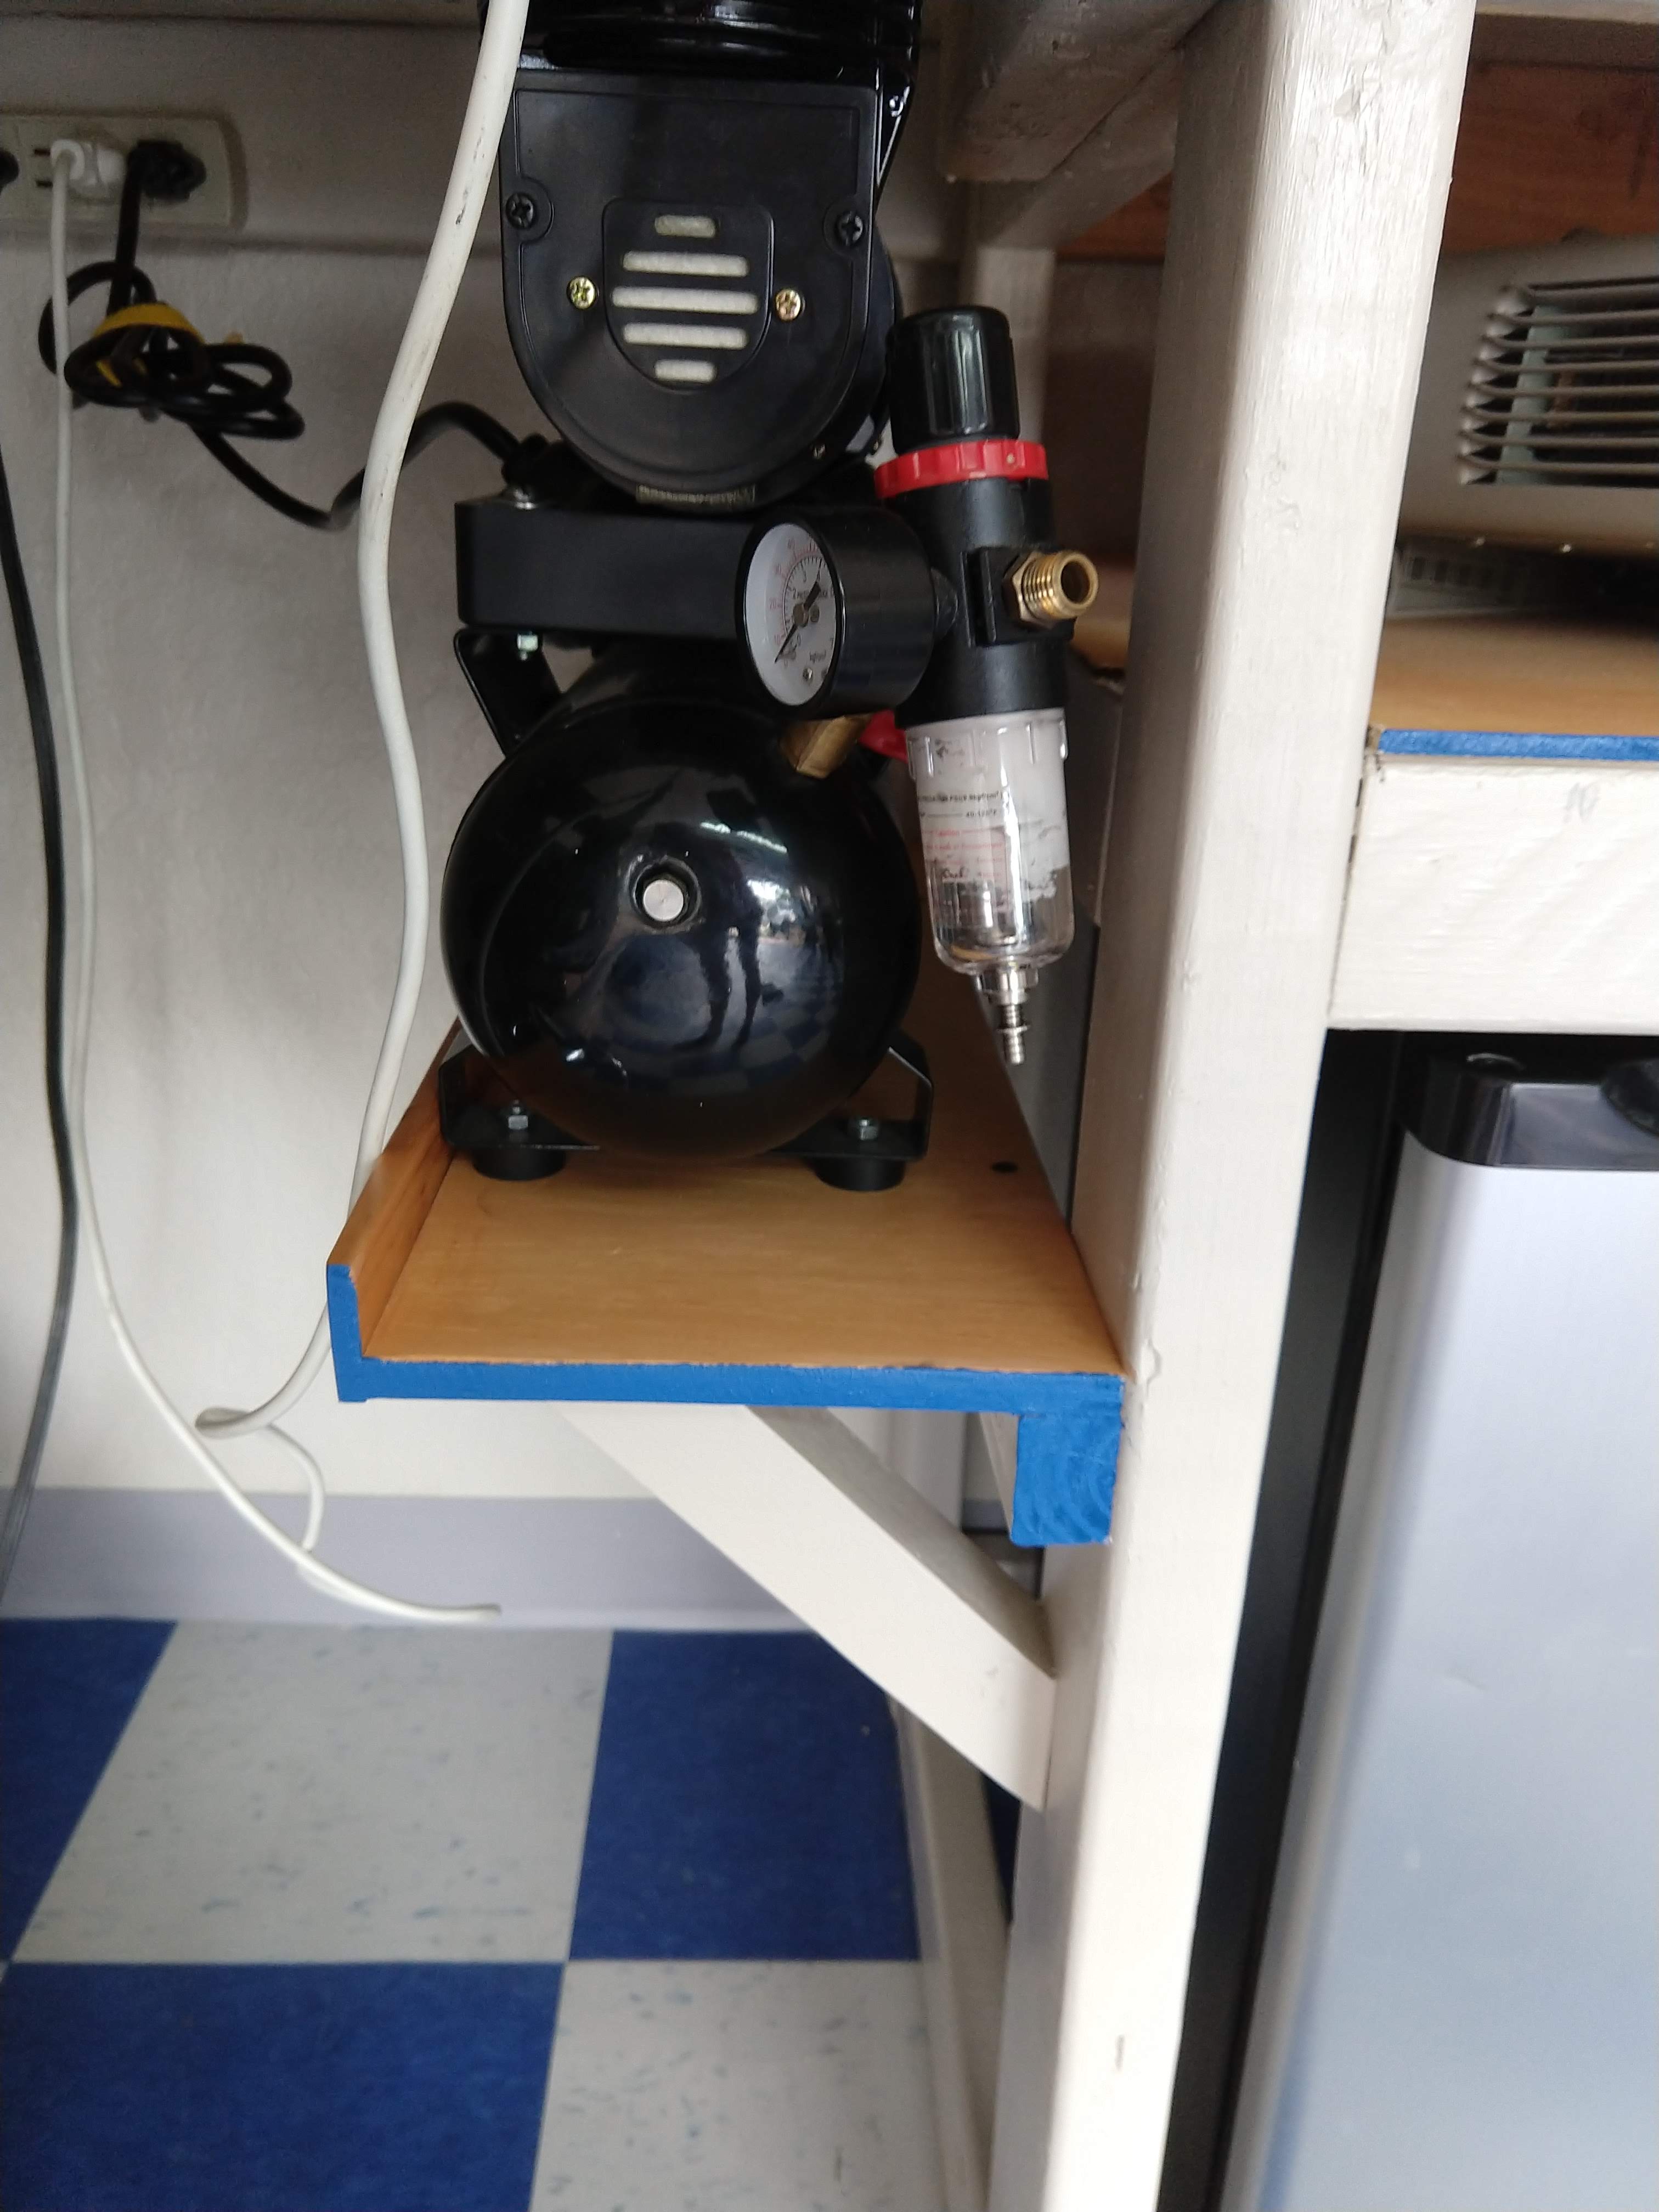
While waiting for the materials for the smallest drawers, we started with the details for the model-building station. Two main elements will be the paint enclosure and the photo booth. The paint enclosure requires a compressor.
The compressor for the air-brush needs to be close by and below the bench on the right is a good location.
More Customizing
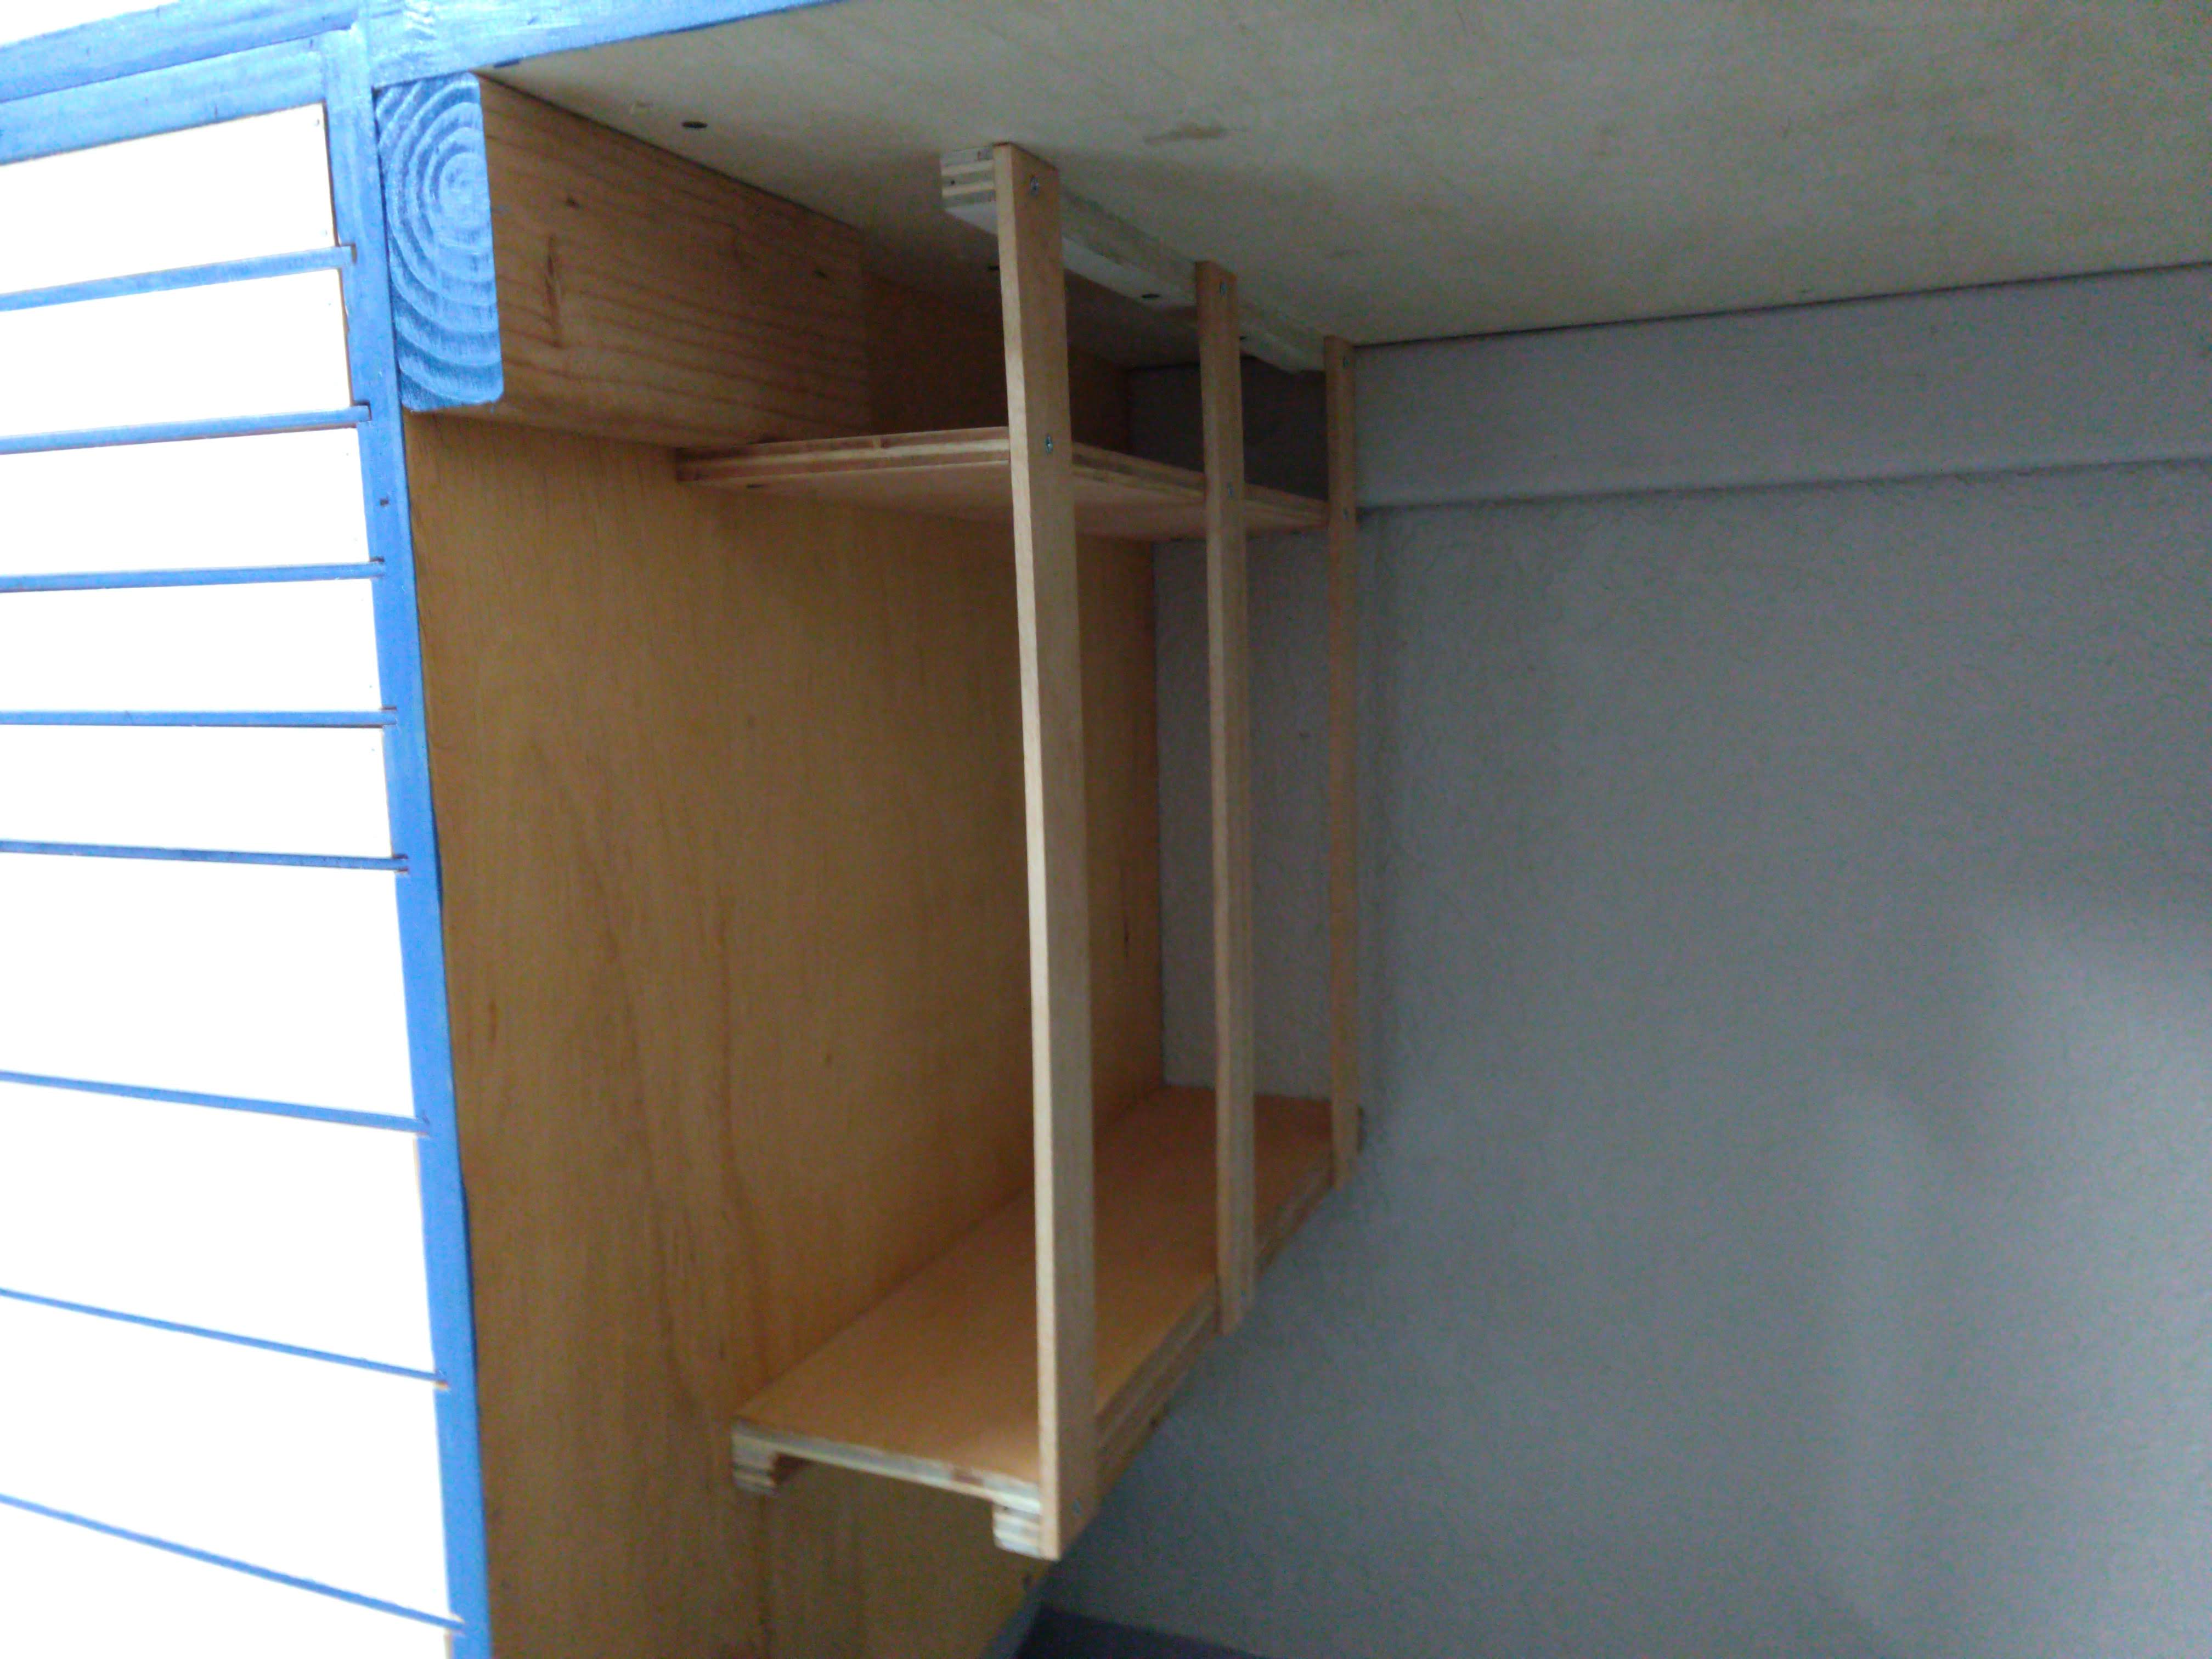
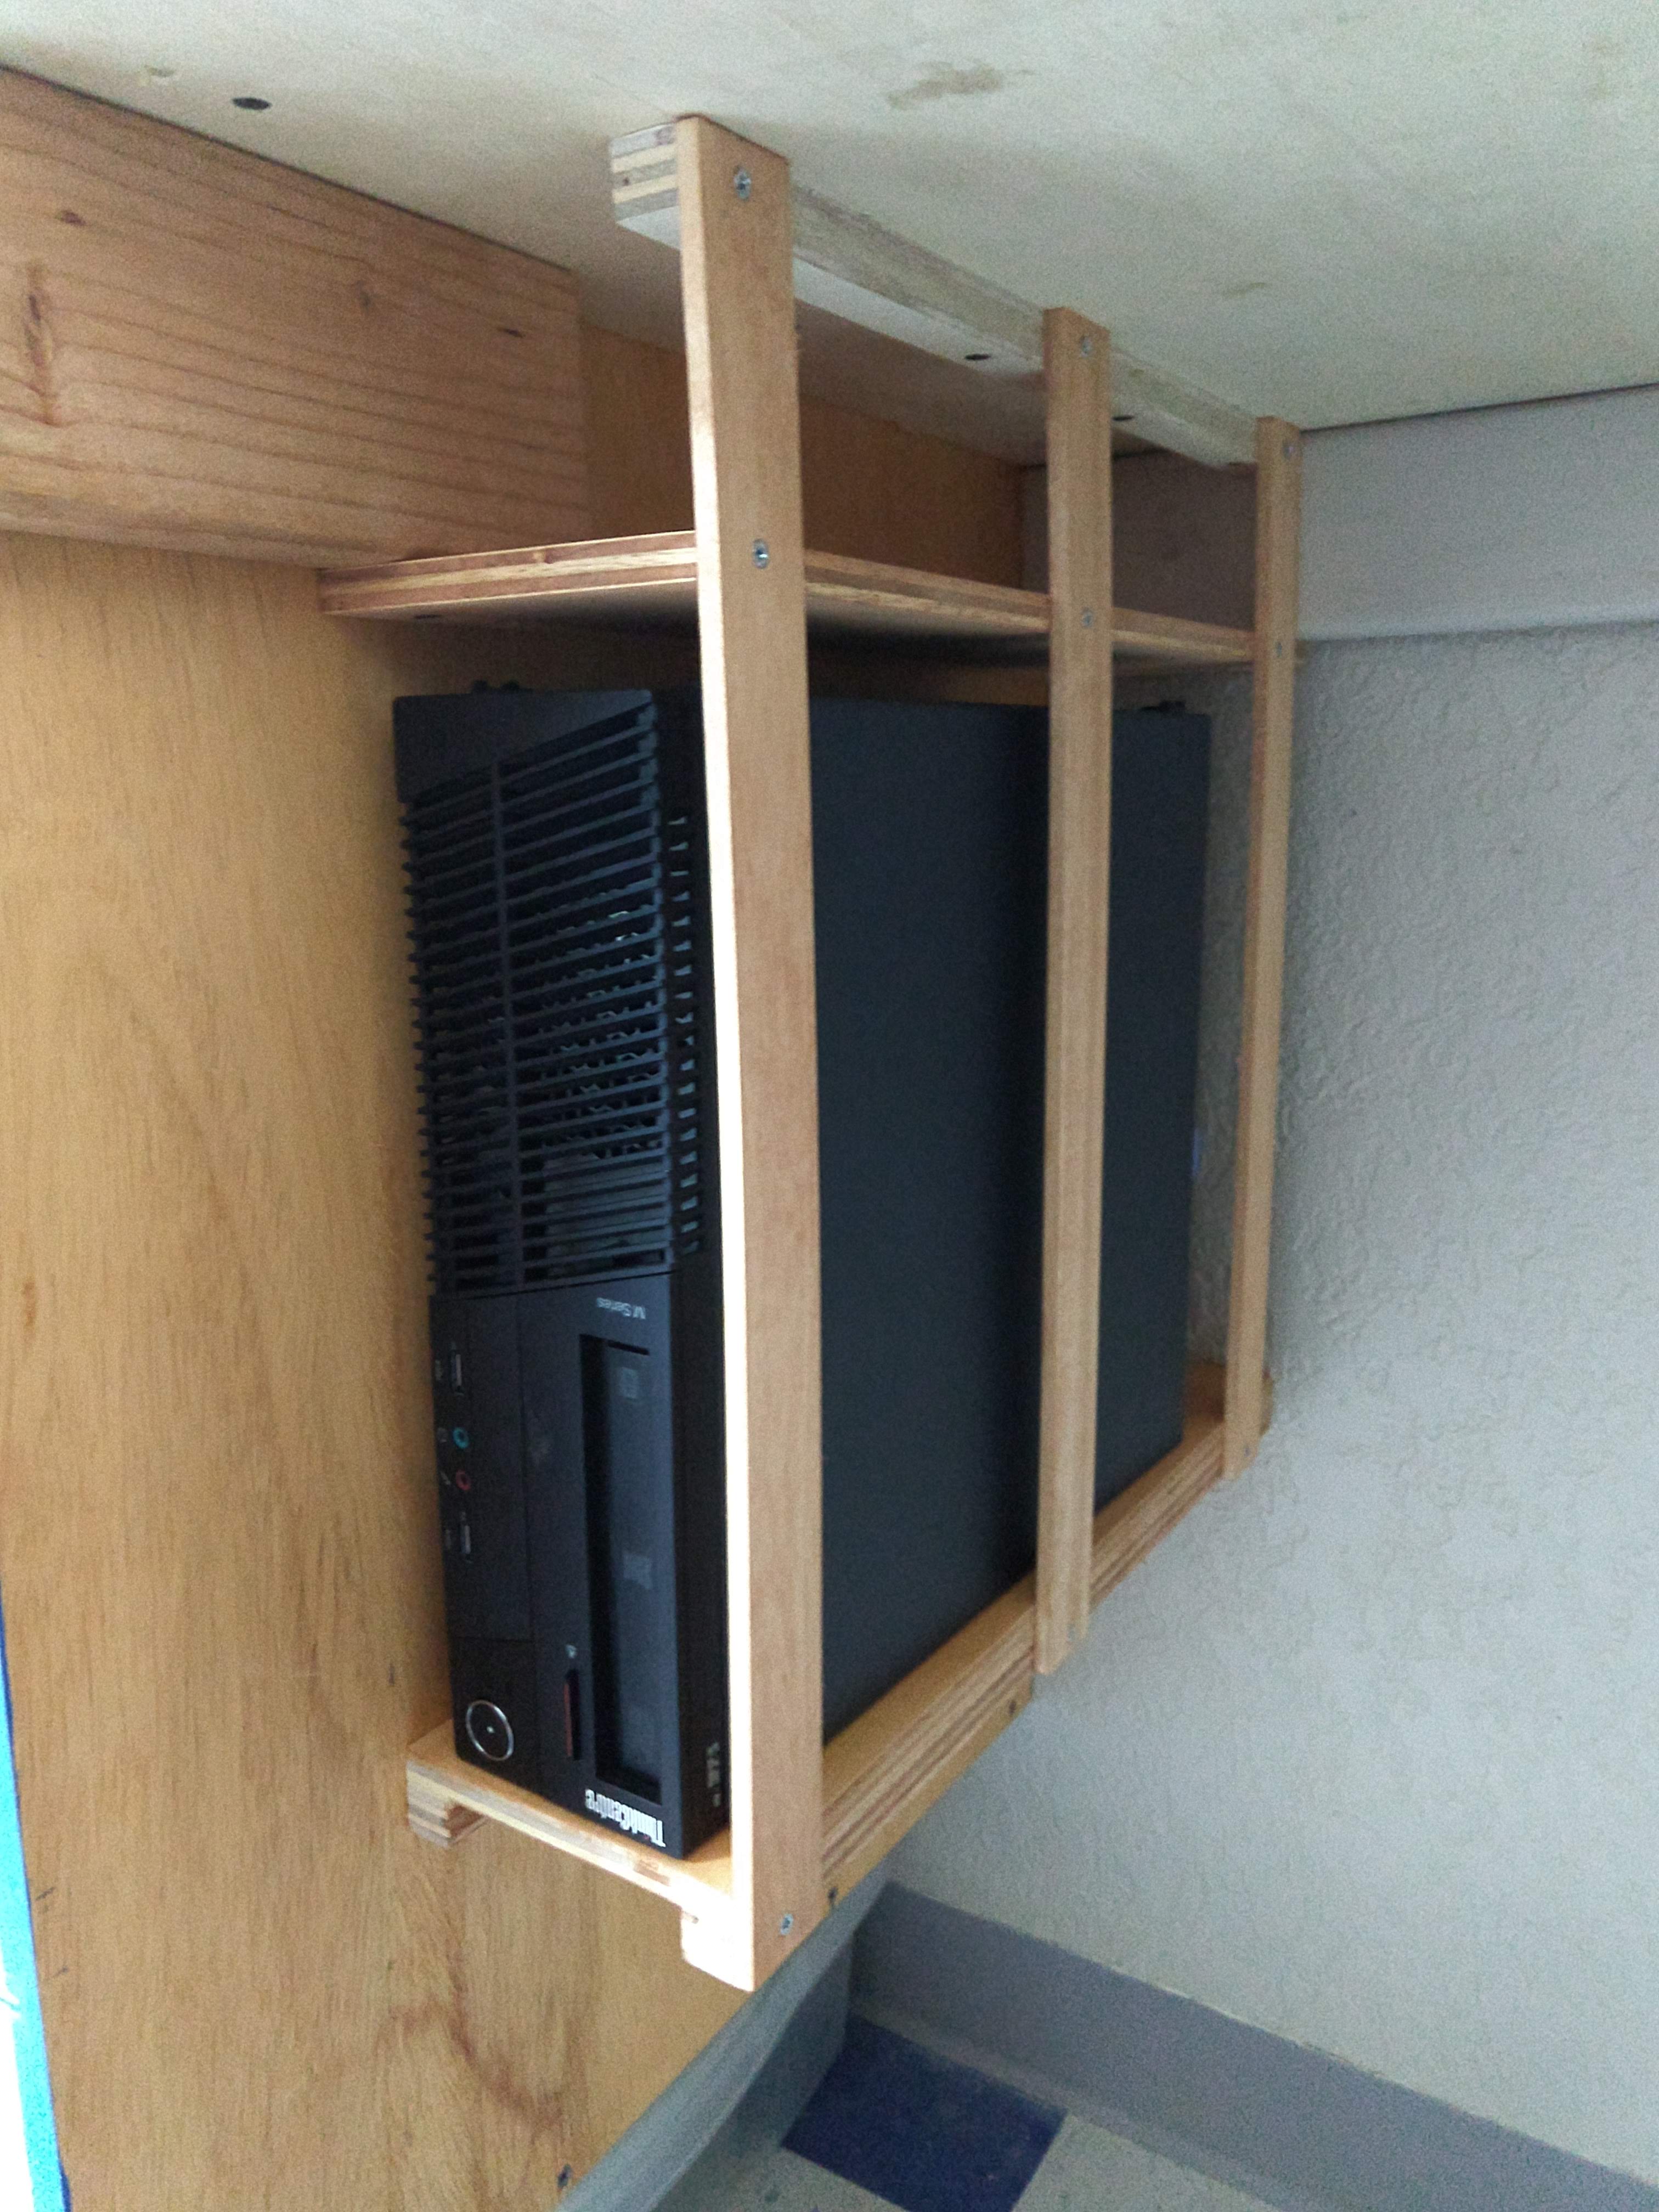
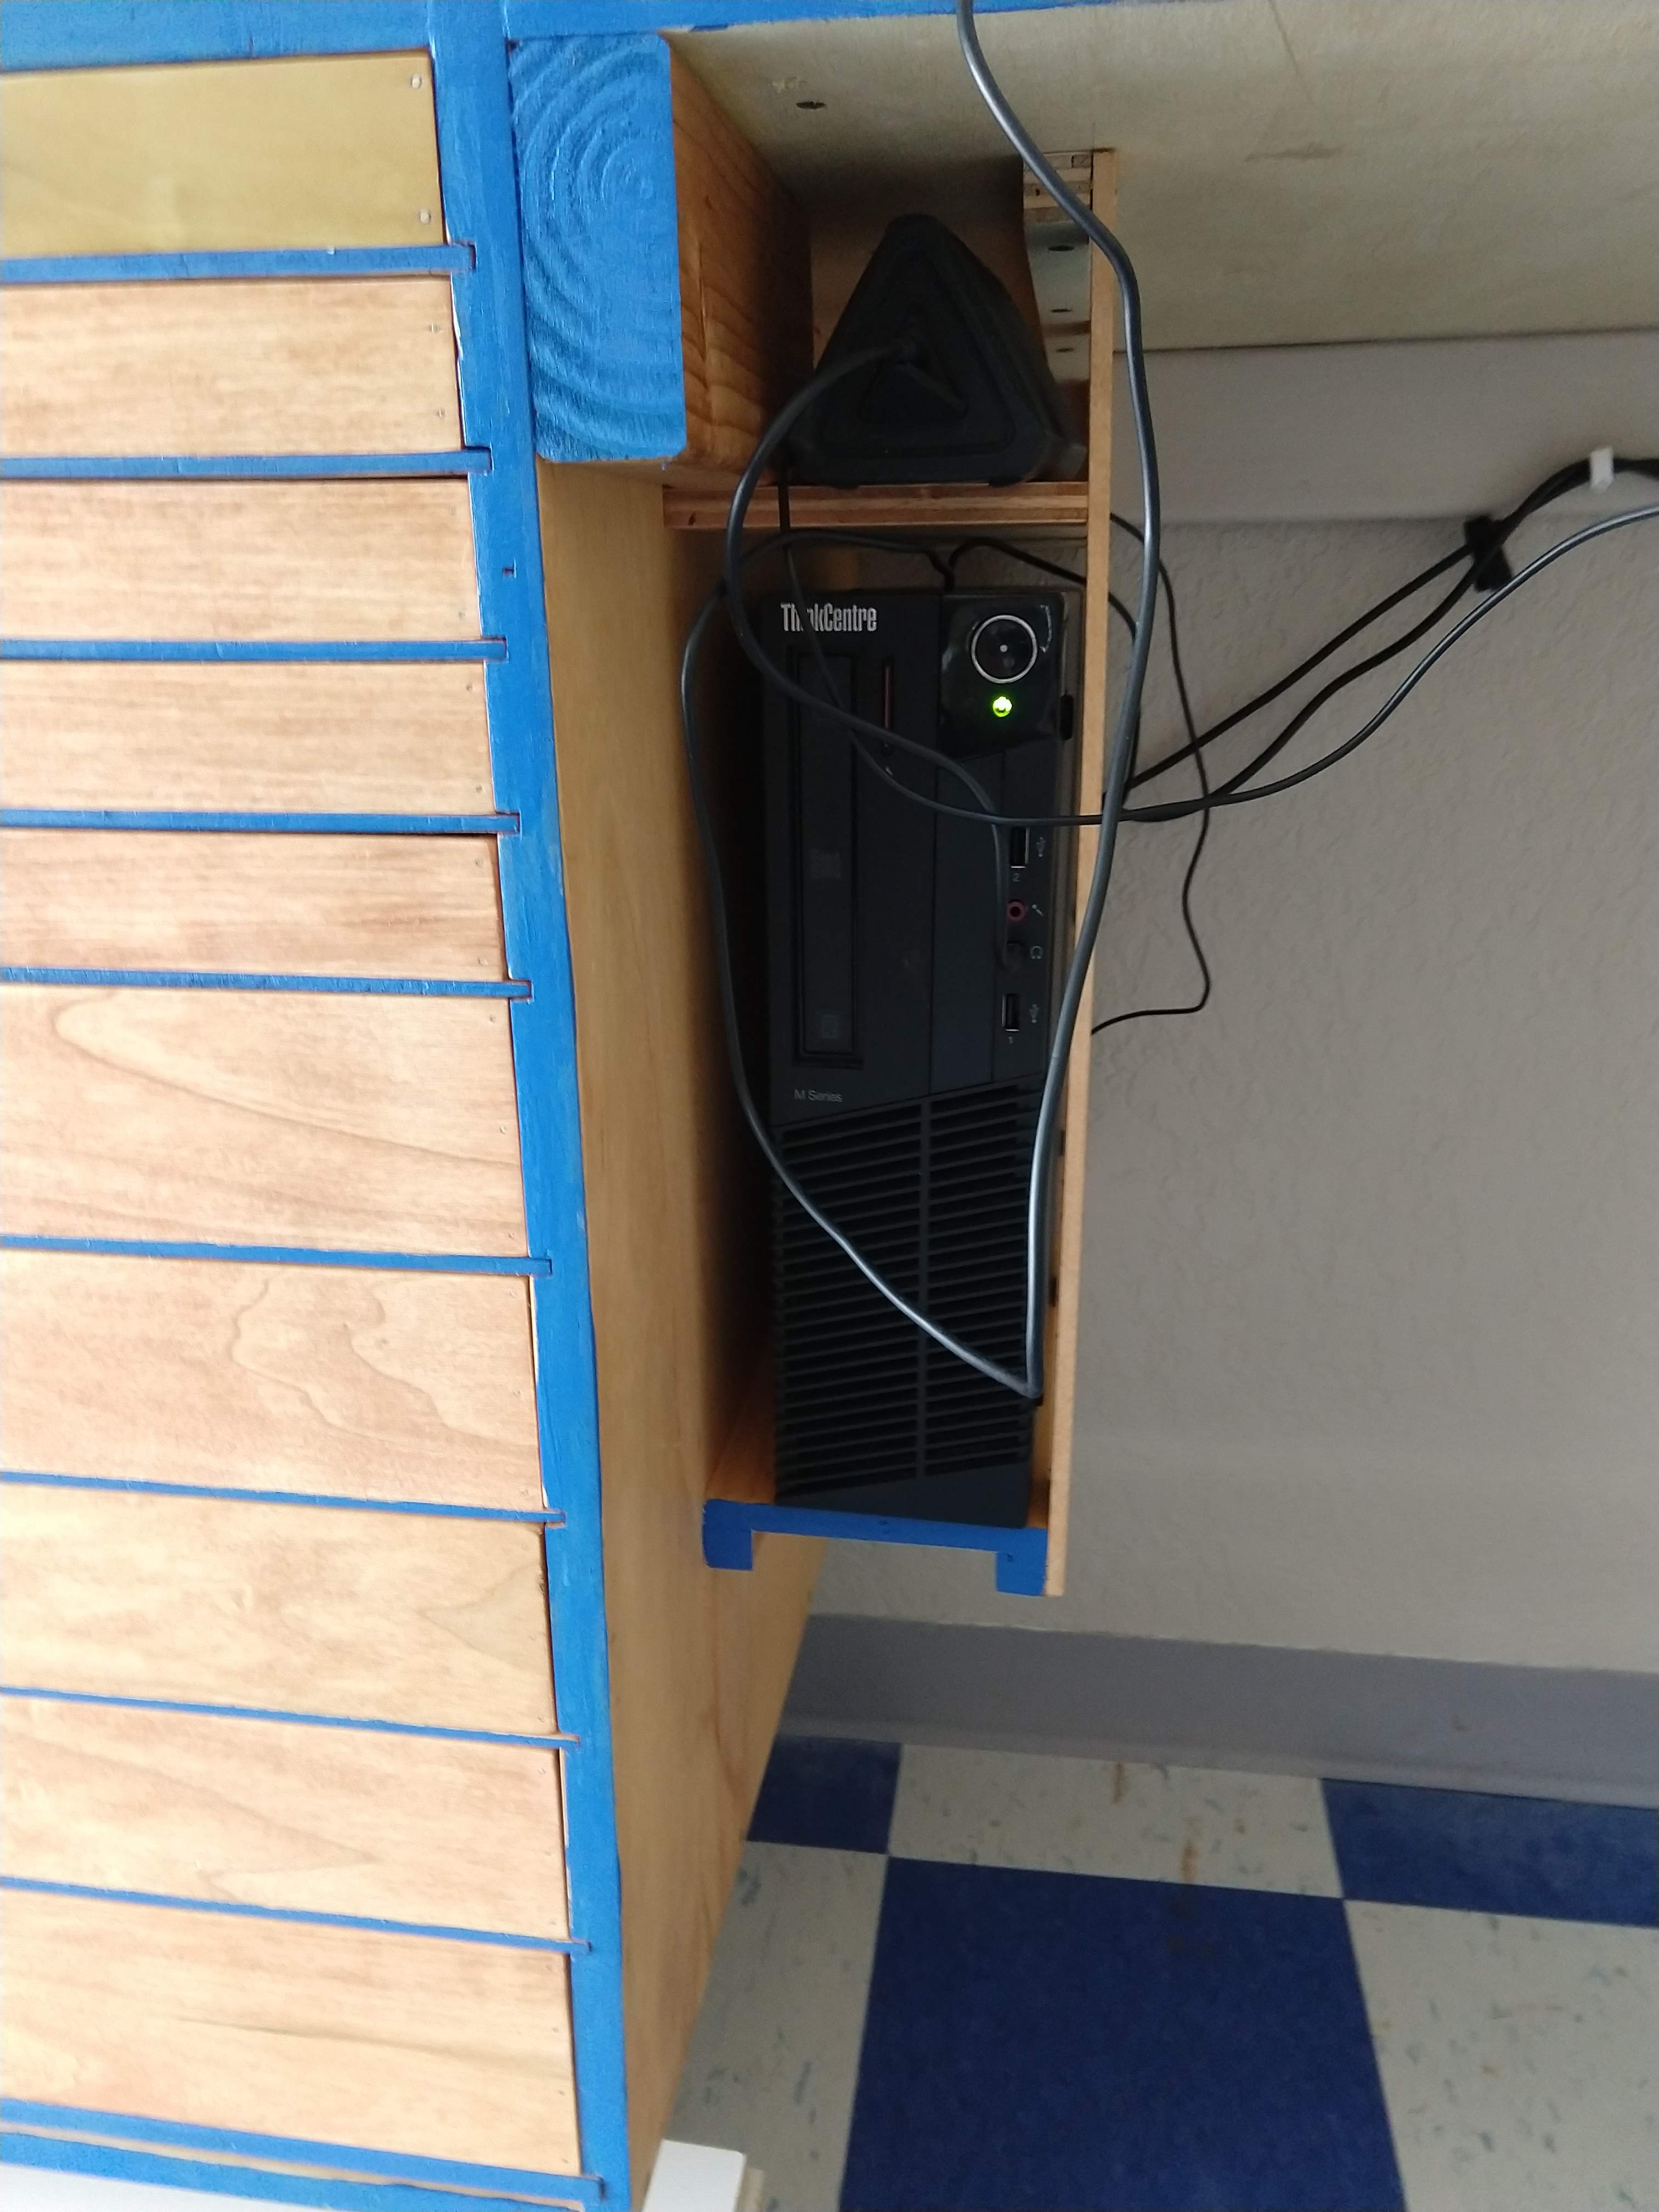
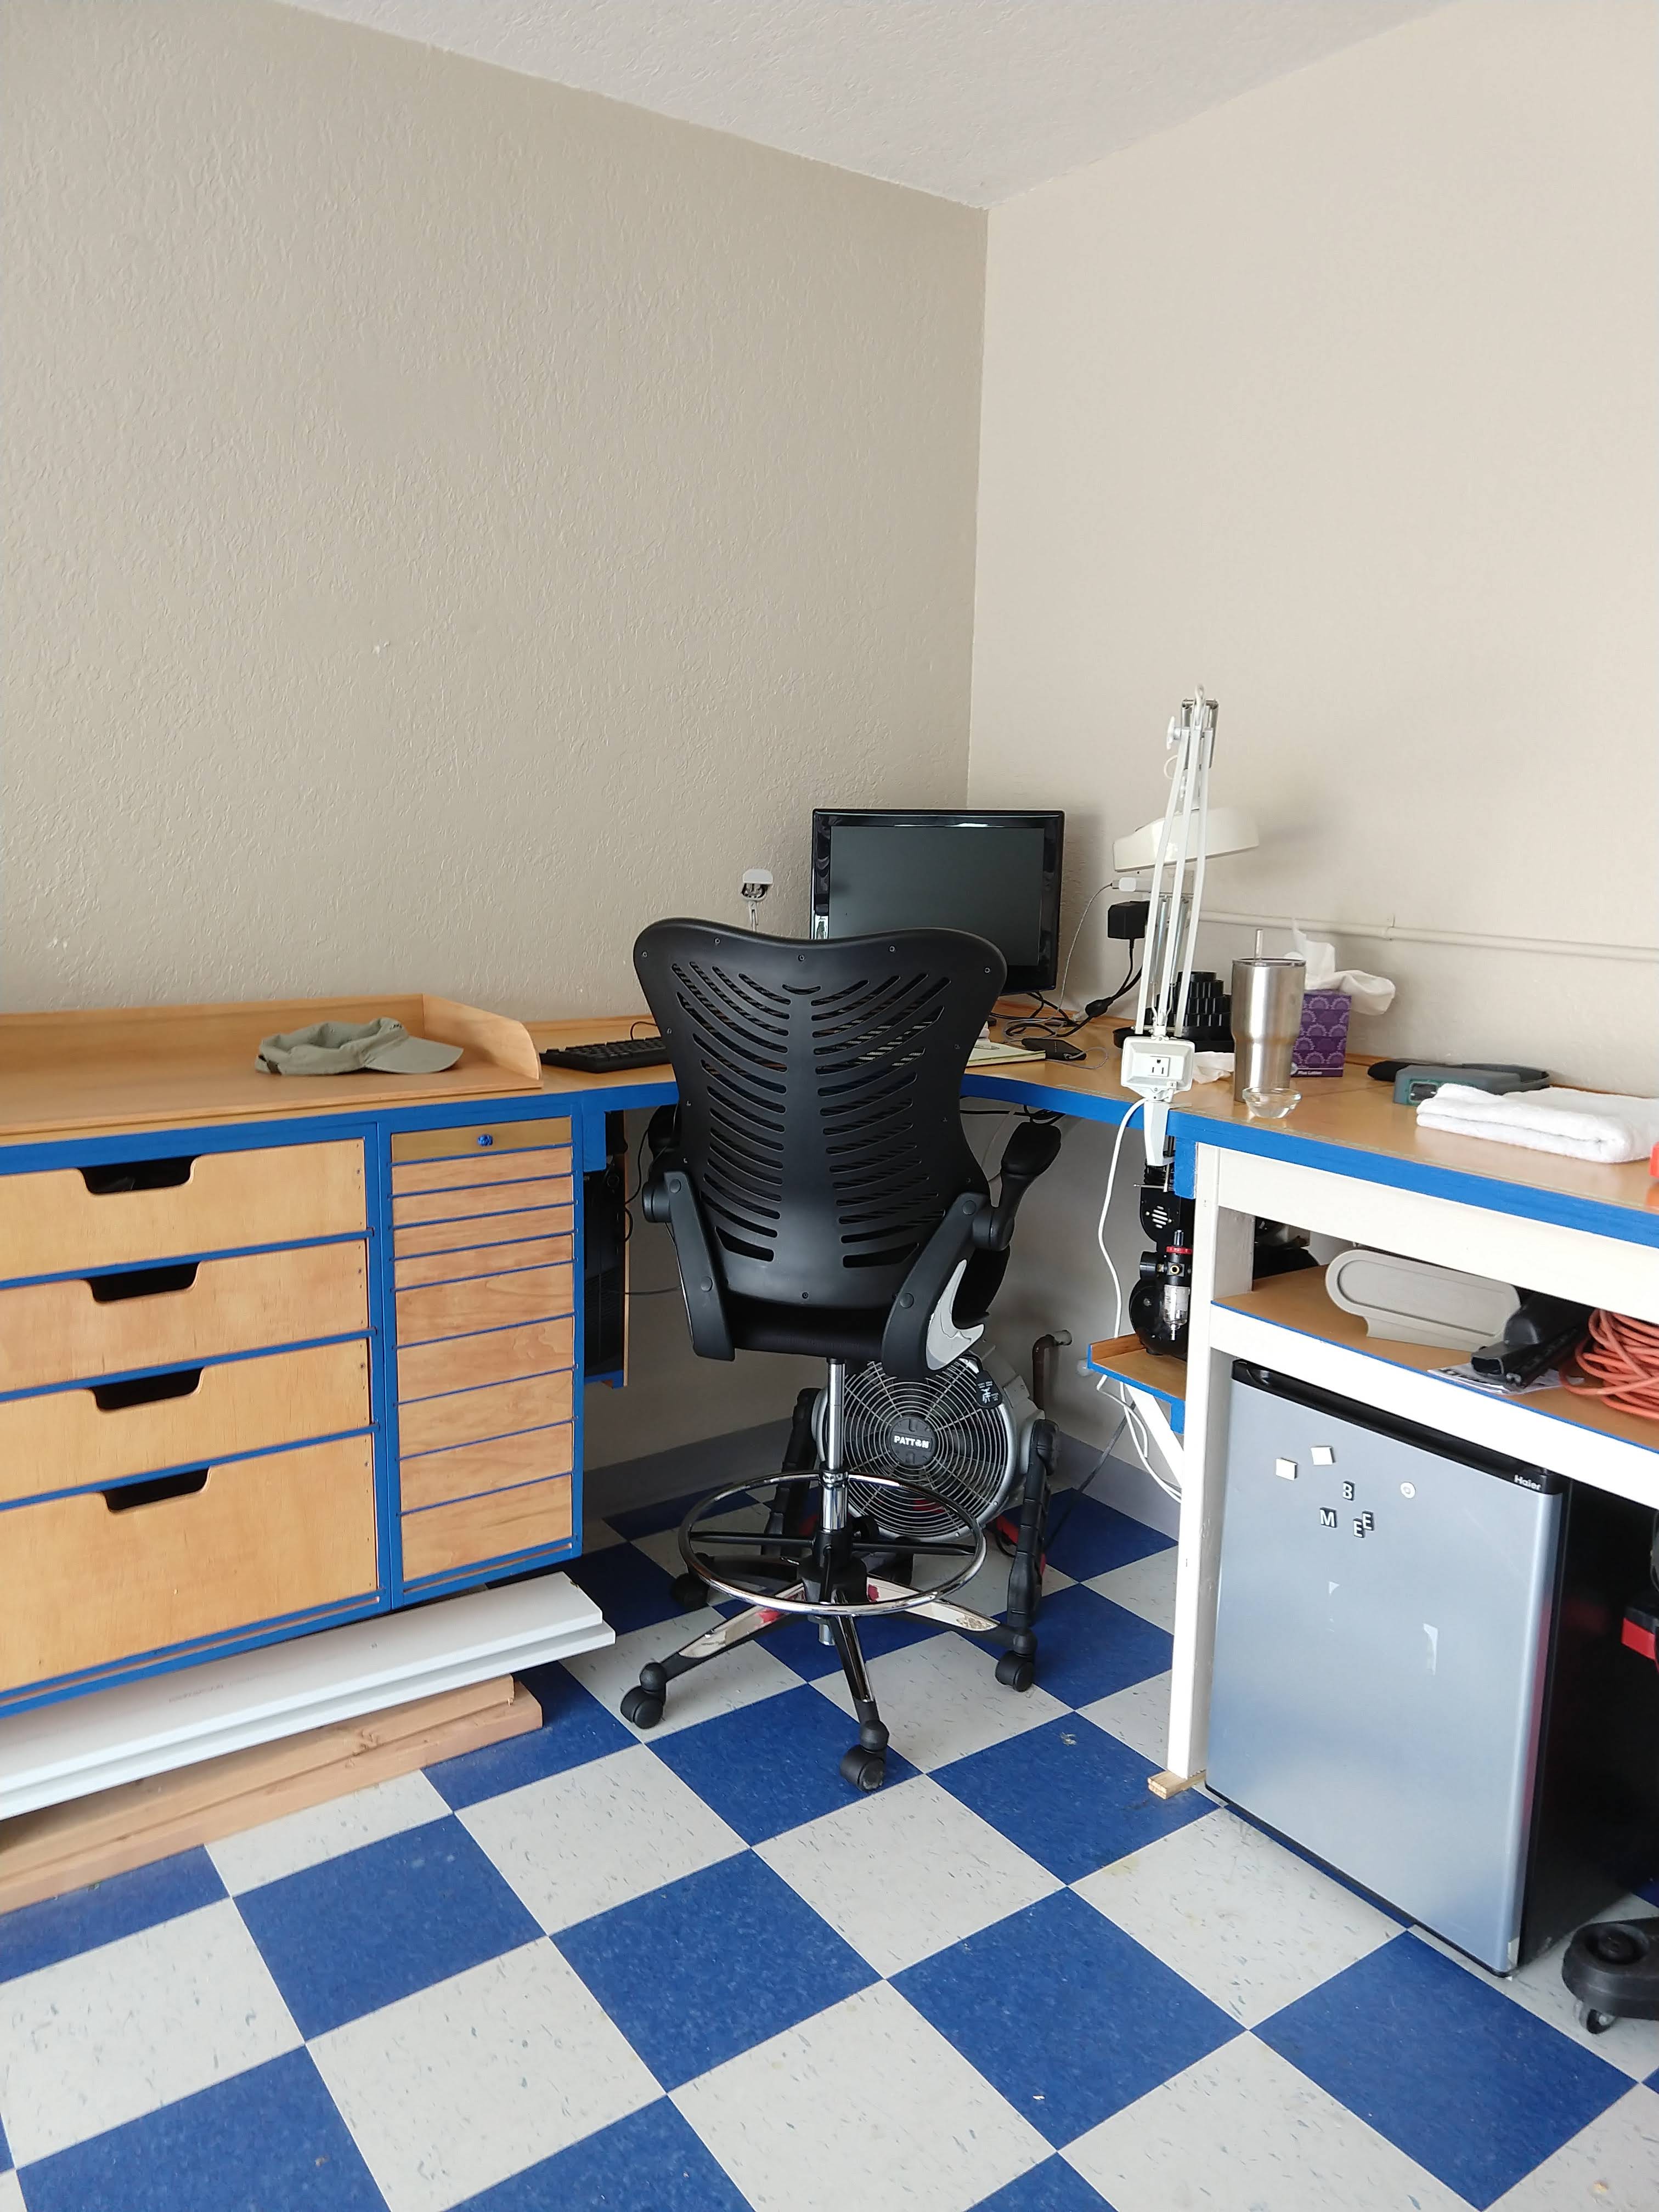
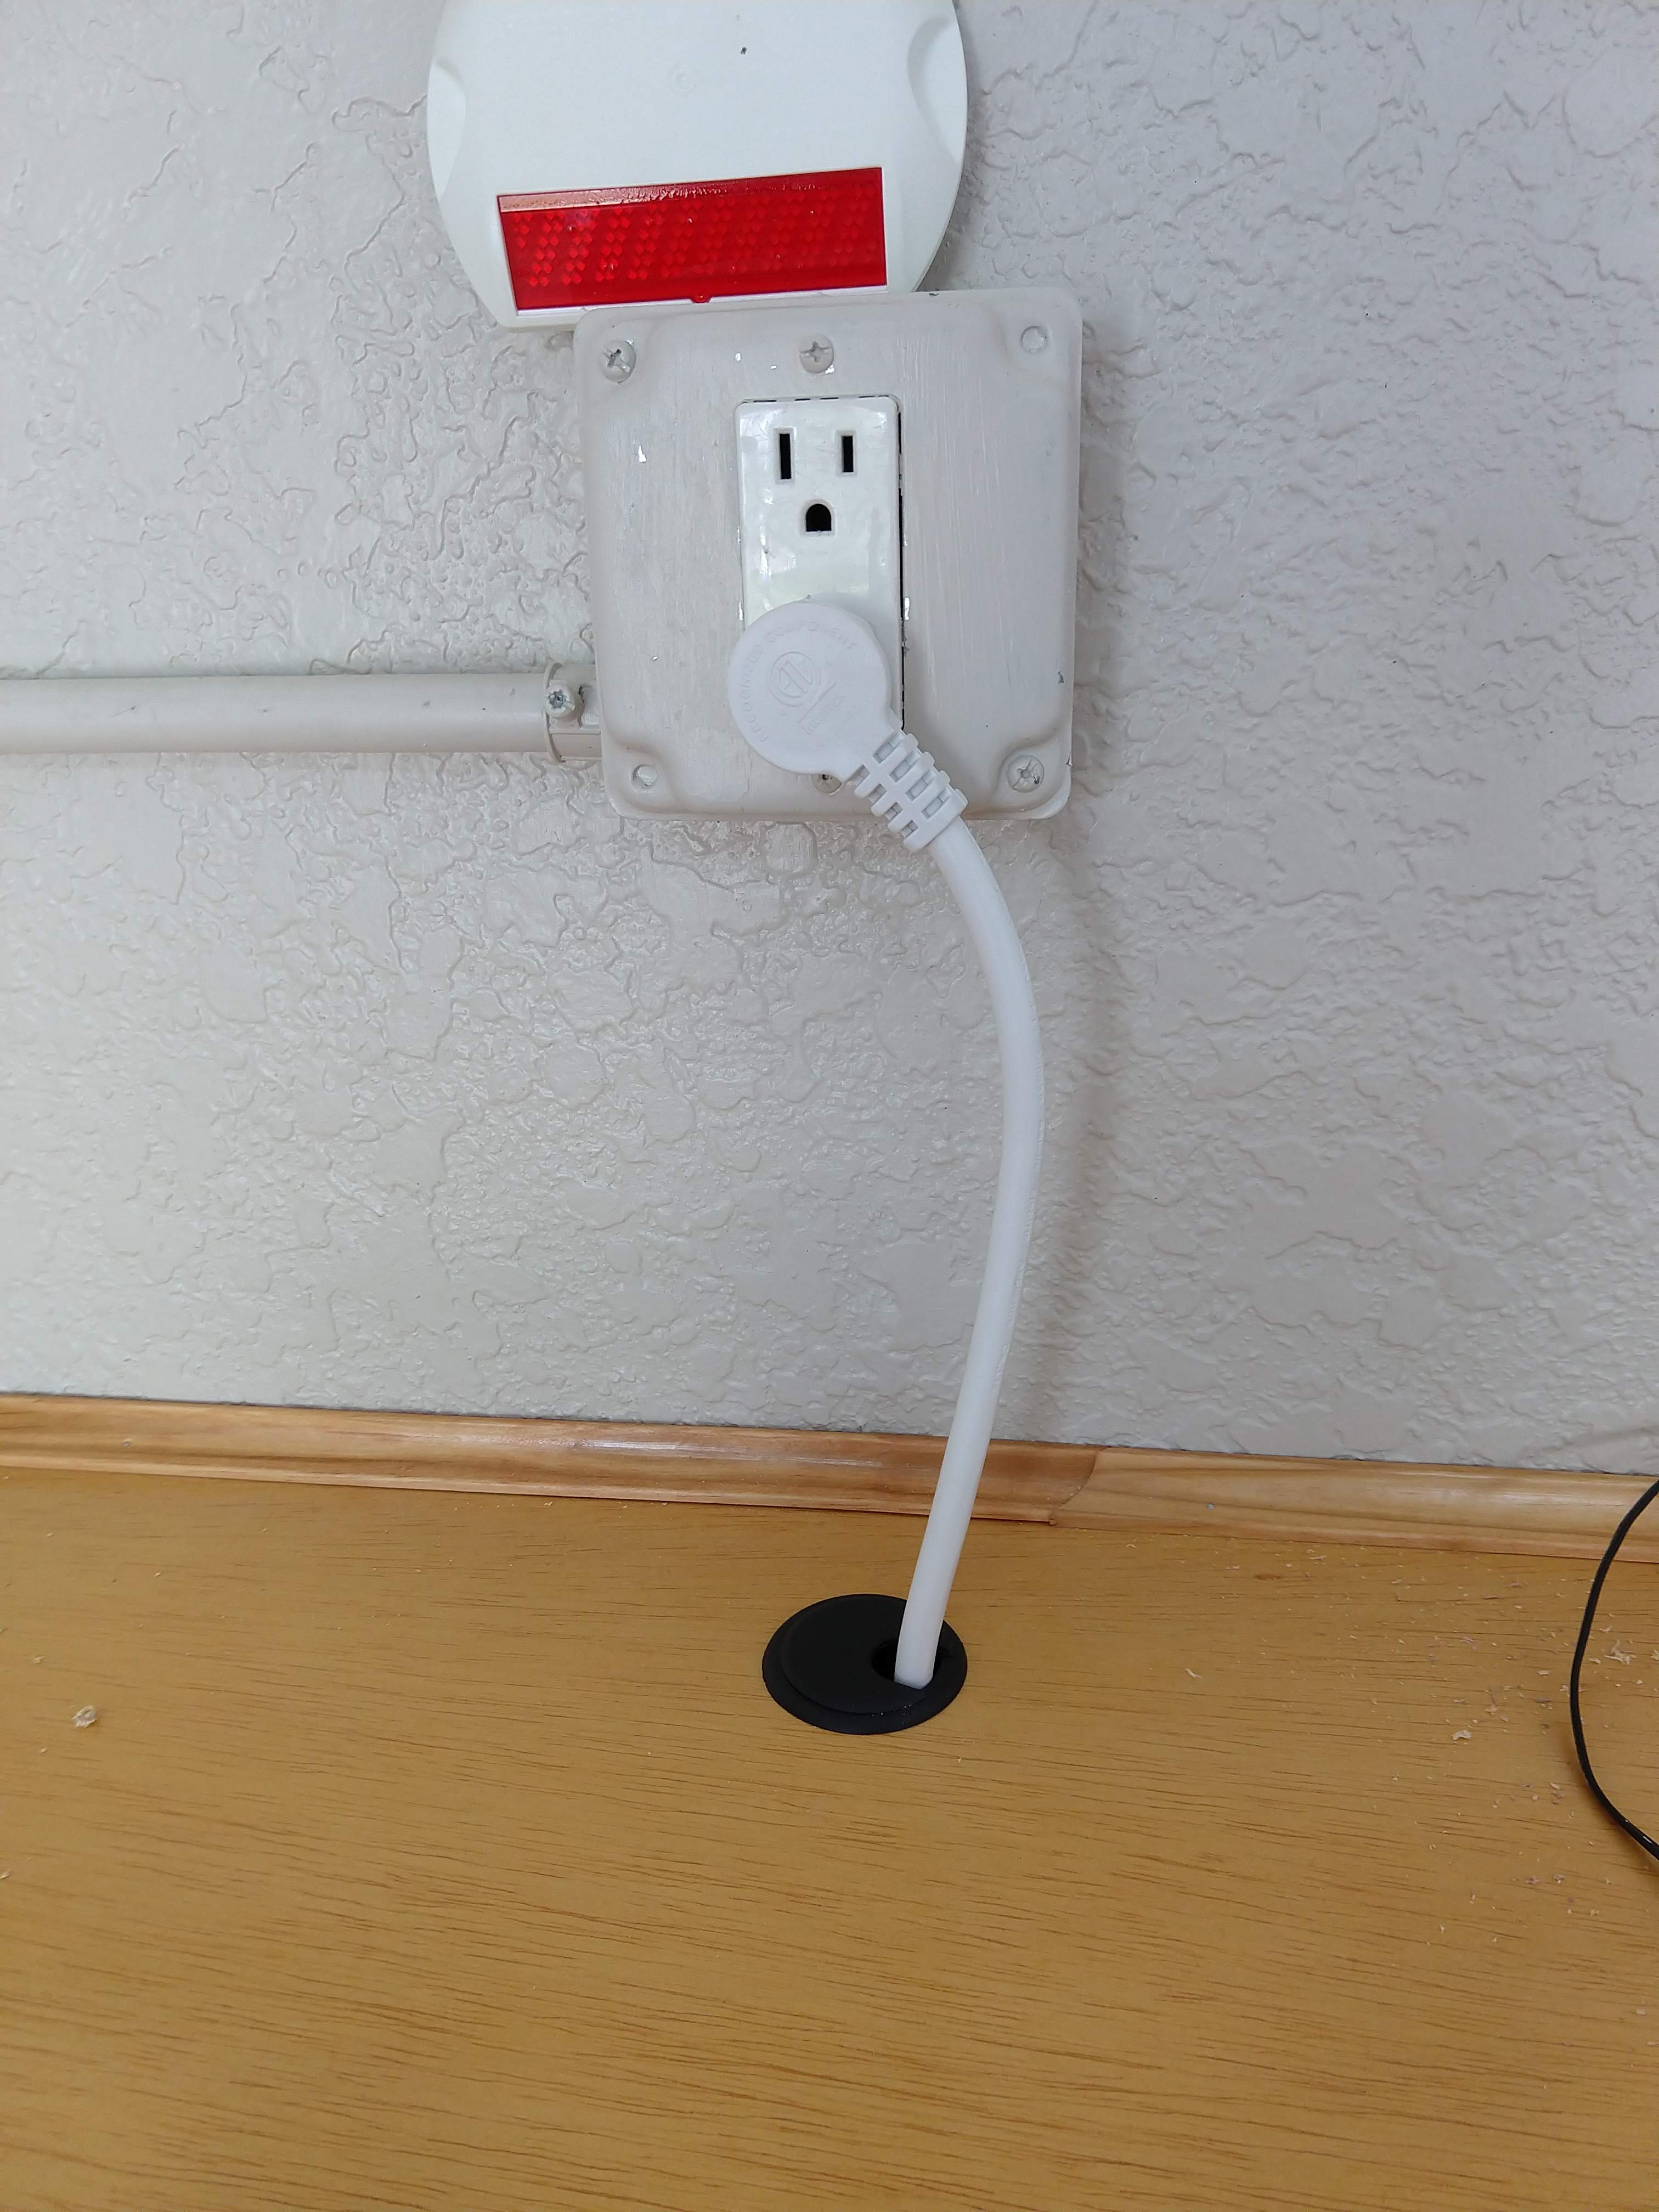
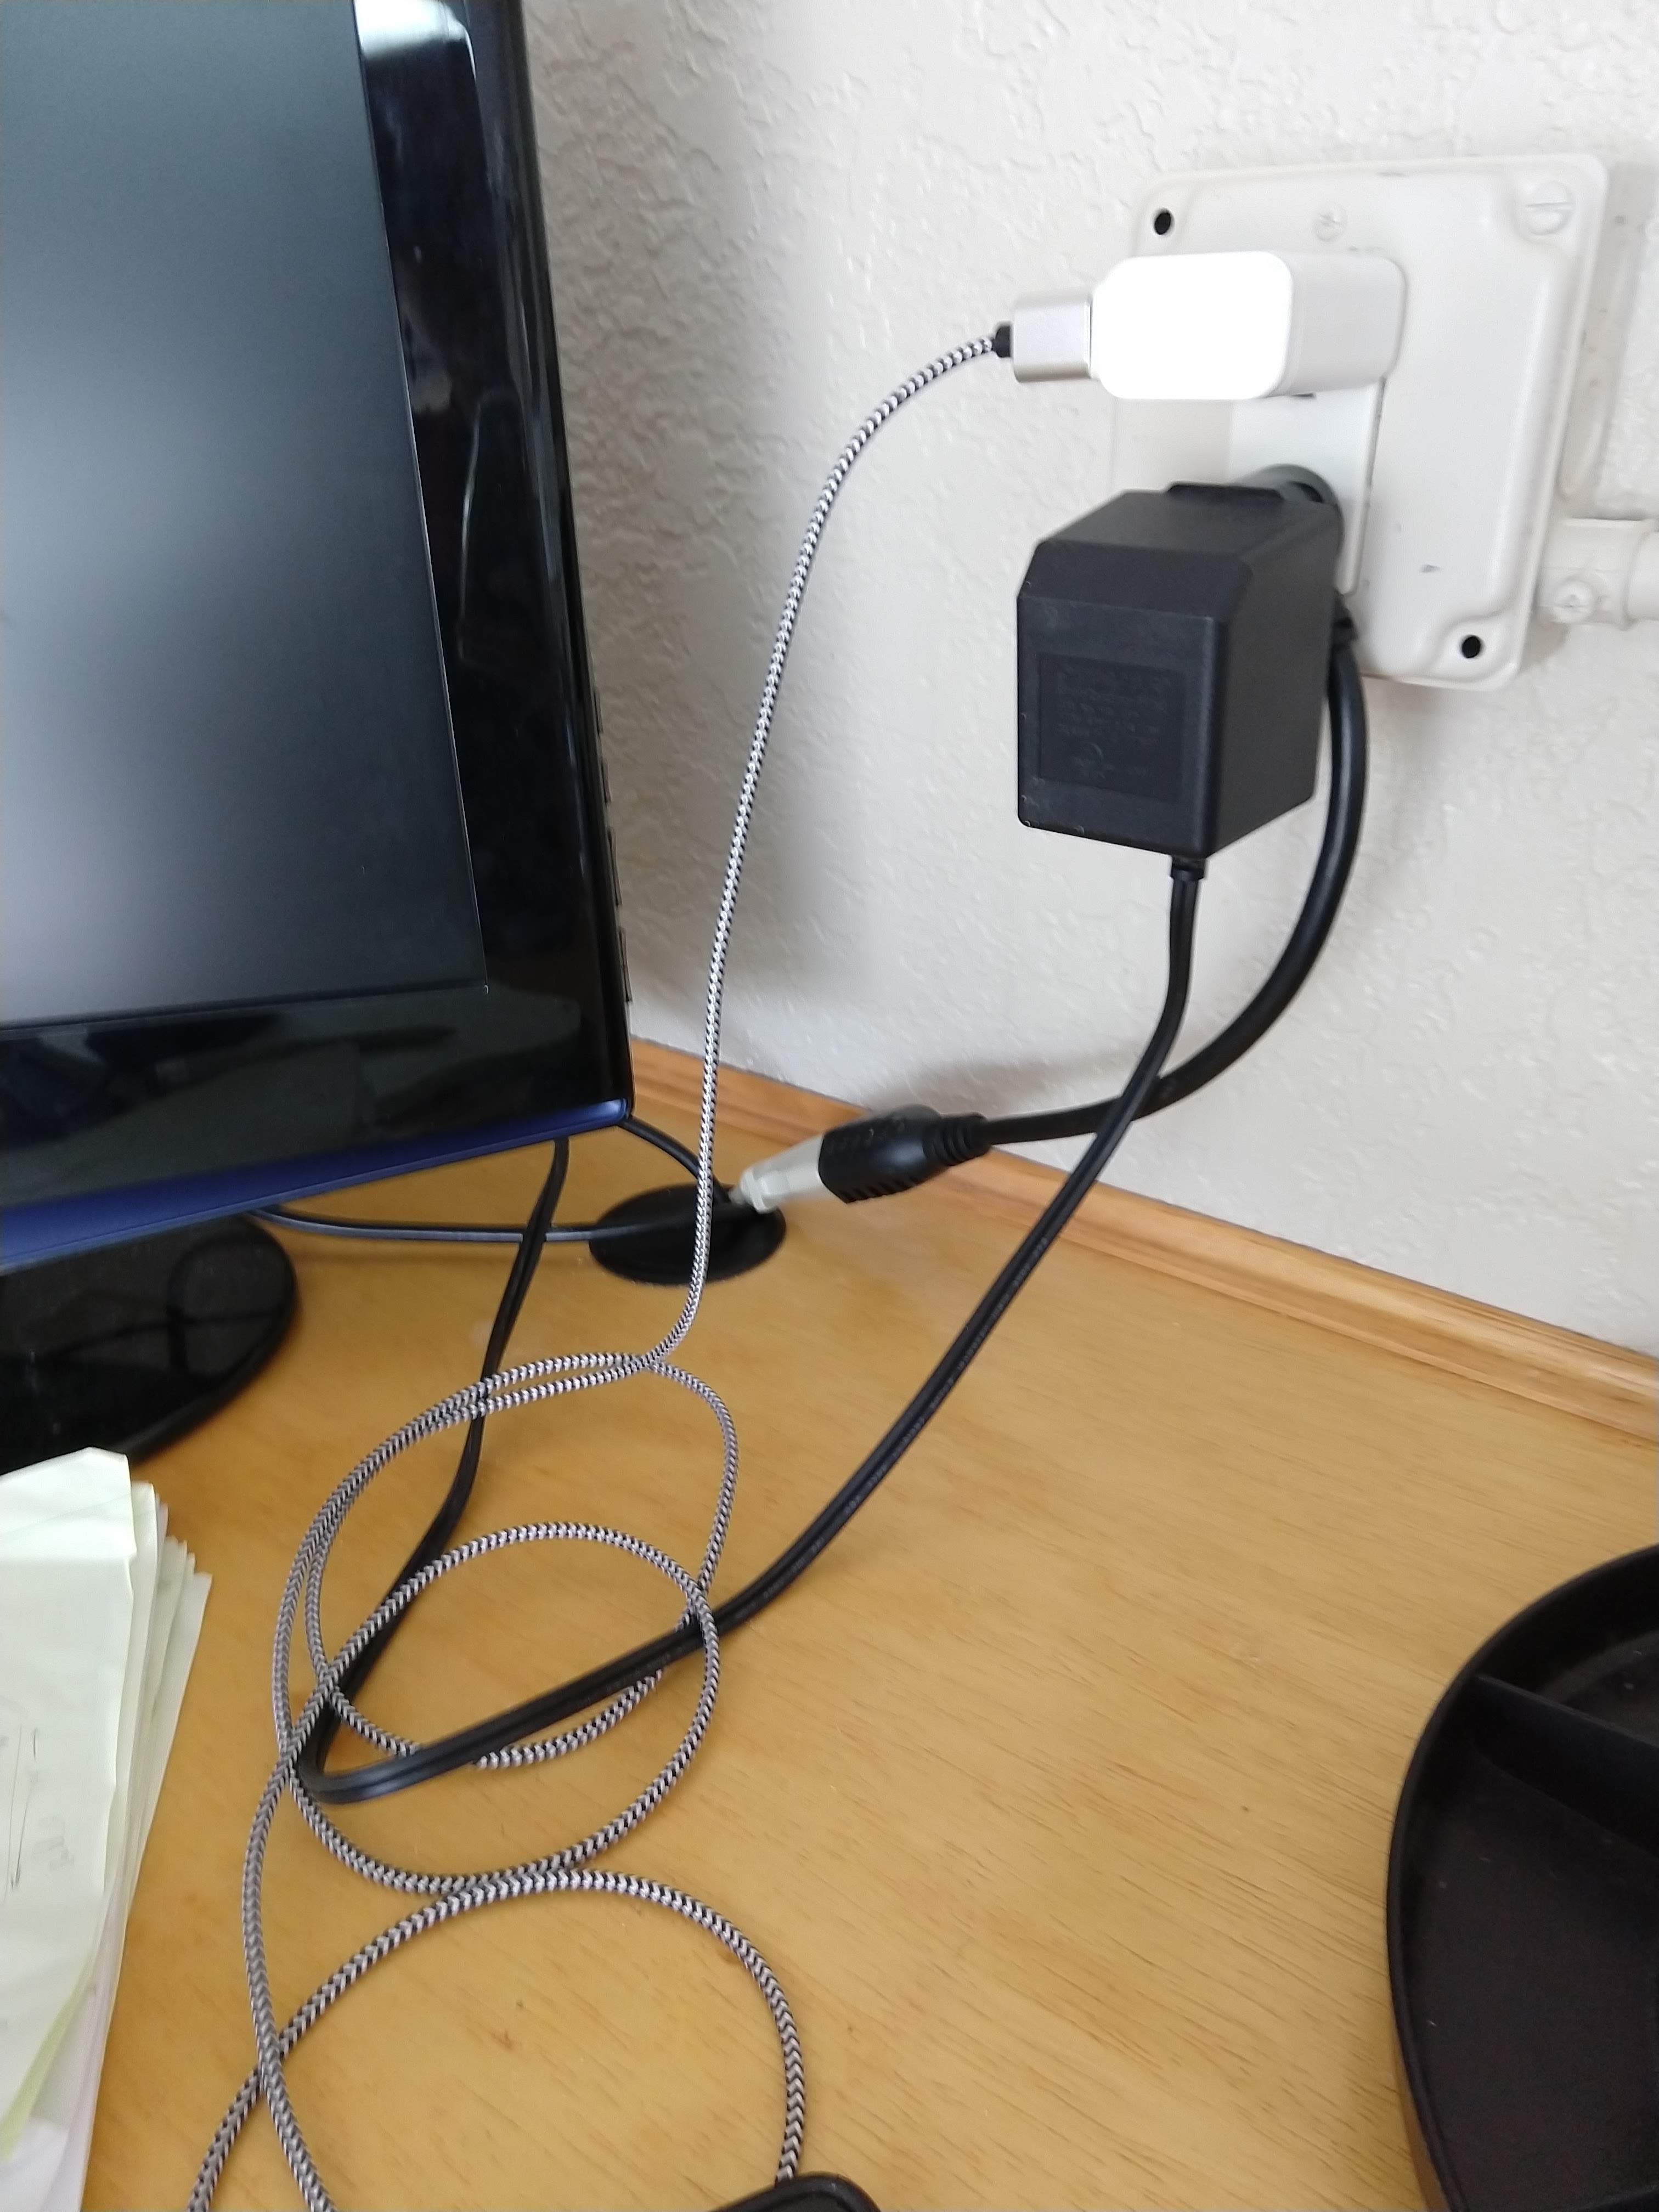
There has been a constant issue during this project. We felt like barbarians not having direct access to the endless need for YouTube videos and Instructables images. No more!
The rest of our project will be completed in a more civilized manner. Full access to videos and images, yeah!
Found a suitable chair for the very high bench. These days with the stand up office desks there are more options on chairs. I was concerned that we'll be limited to either drafting chairs or bar stools.
A few grommets to pass through cables and that should be enough for now. Customization usually takes 3 to 6 months for us. Certain things we don't exactly where to attach until you're actually using the place.
Voila'
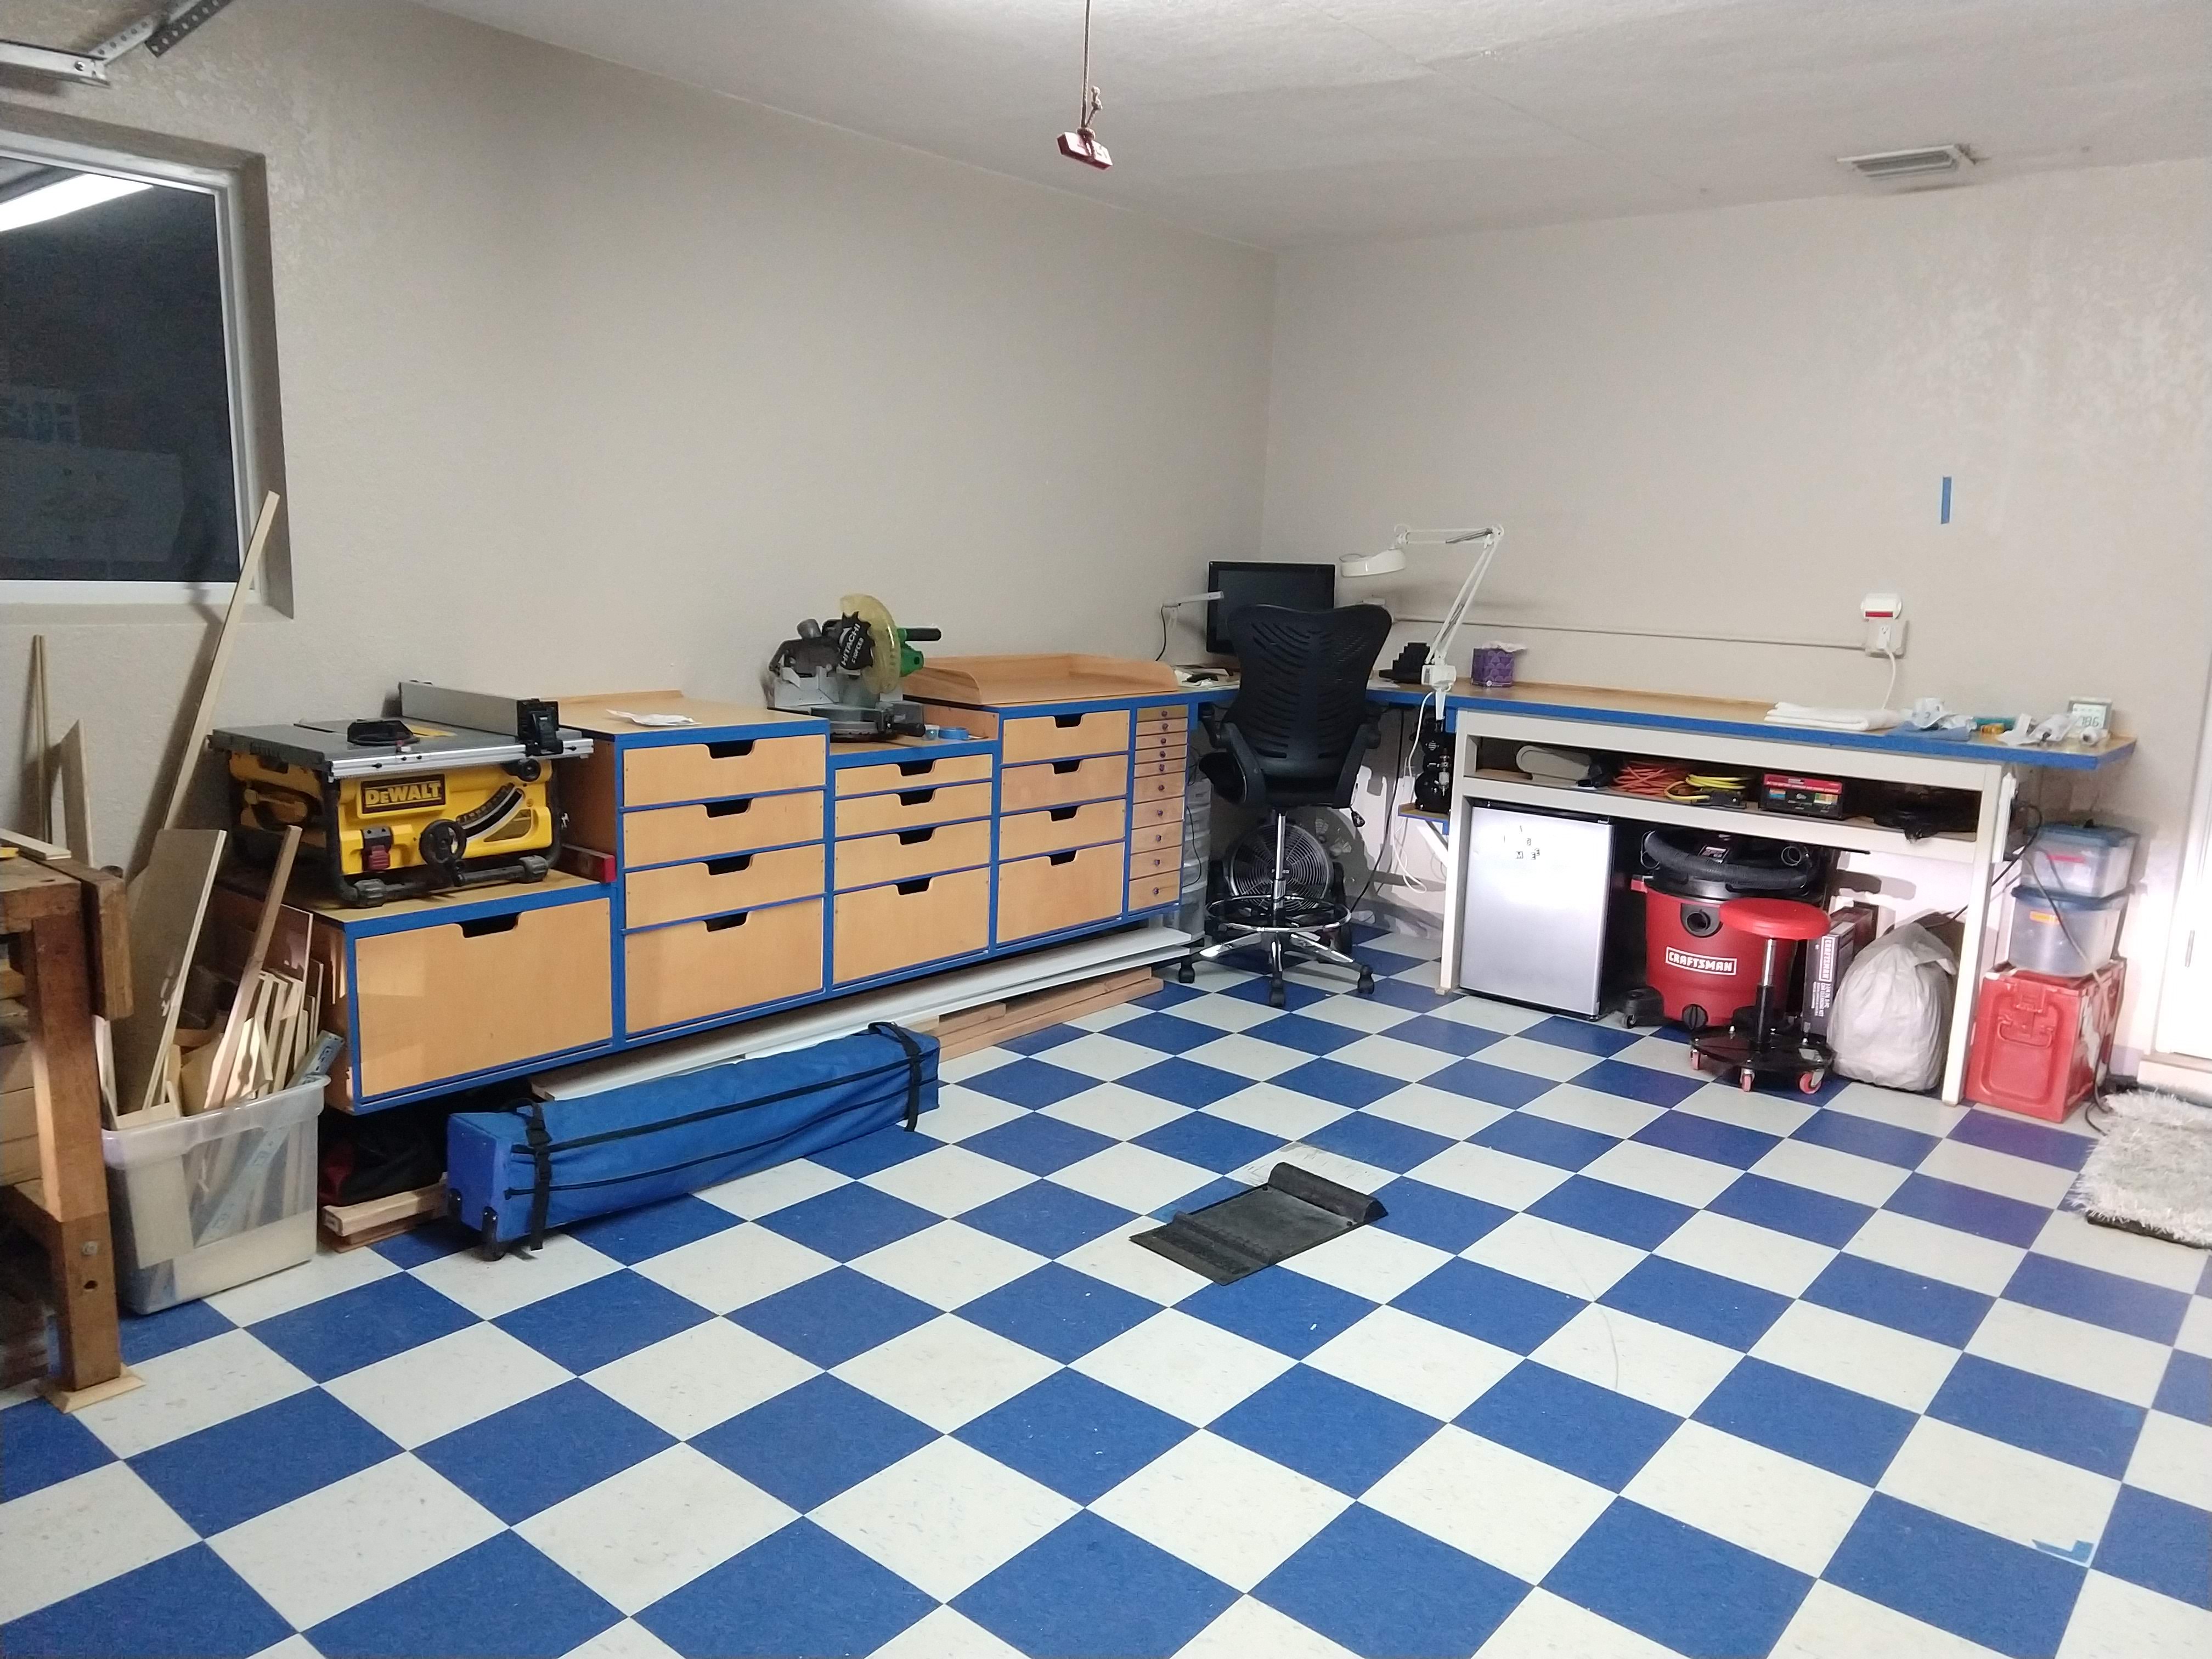
Looks ready... we started filling up the drawers and sure is nice.
Next comes the upper wall cabinets above, but we need to take a short brake. We'll pick up Part 3 early next year. The garage has taken too much away from the rest of the house, we need to take advantage of the cooler months for regular house maintenance.
Who knows maybe there's and instructable about wiring through the attic for additional security cameras.
PS. Thank you for reading the description of our project, if you do something like this and find a better way to do a step or some amazing tool or material, please let me know. Let everyone know! I'm grateful to marcjoli for posting his Garage project, just like he inspired me, I hope to inspire someone else, and if the chain continues we can have a world of organized garages.
PPS. If you find misspelled words or any grammar annoyance please let me know, I try to proof read several times but not sure I caught them all.