Communicating Data With Arduino
by gstatum in Circuits > Arduino
2868 Views, 44 Favorites, 0 Comments
Communicating Data With Arduino
Upon completion of this tutorial, you will be able to gather data from a sensor and use the Internet of Things (IoT) to communicate to a public platform (such as Twitter). For this project, ThingSpeak (which is an open-source IoT application) is coordinated with an Arduino microcontroller; through ThingSpeak, your sensors will gather data and instantaneously tweet the data being read by the sensor. Assuming ThingSpeak has already been configured with your microcontroller, this tutorial can be completed with all of the supplies and software listed in the first step below. If you have not configured Arduino with ThingSpeak, you will need to complete this step before beginning this tutorial. Keep in mind this tutorial depends on a basic familiarity with the IoT.
So, let's get started!
Parts and Materials
.jpg)
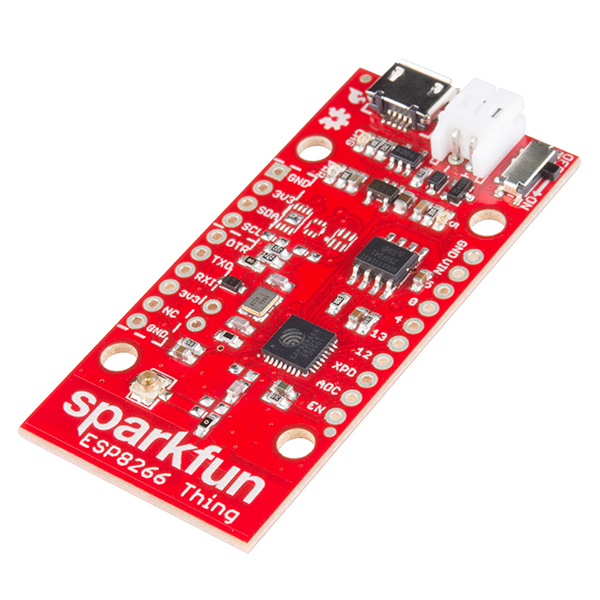
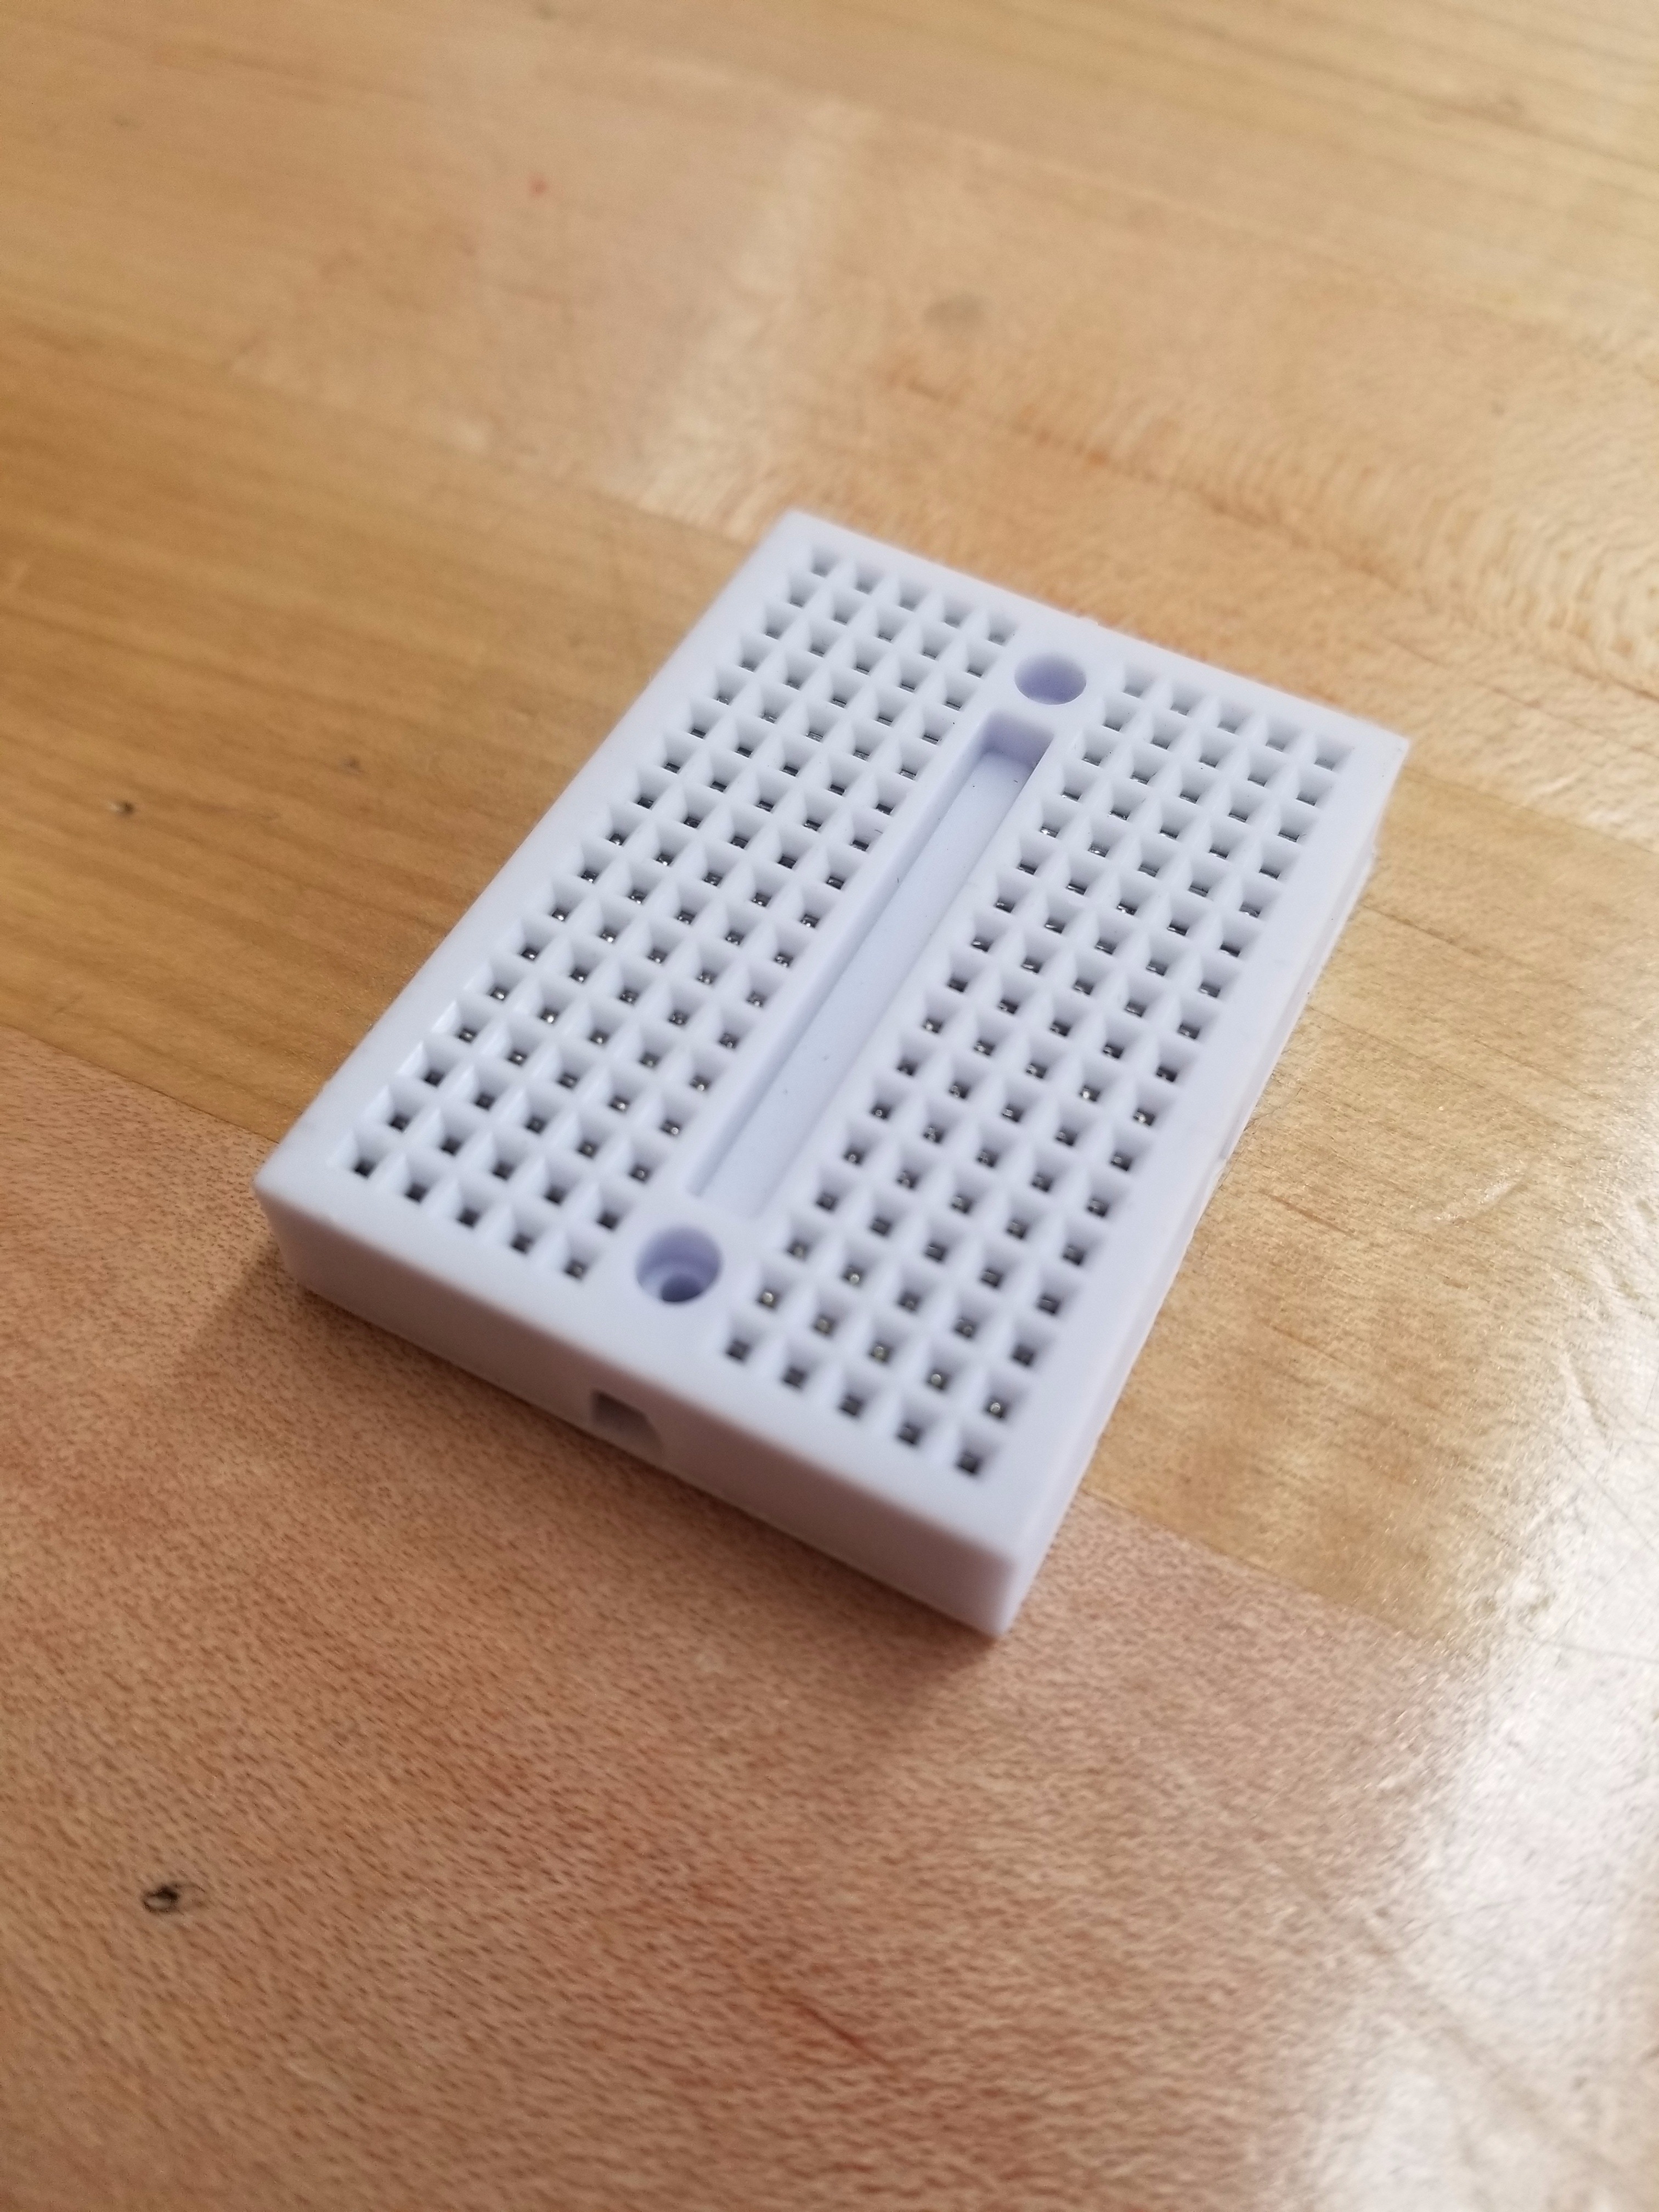
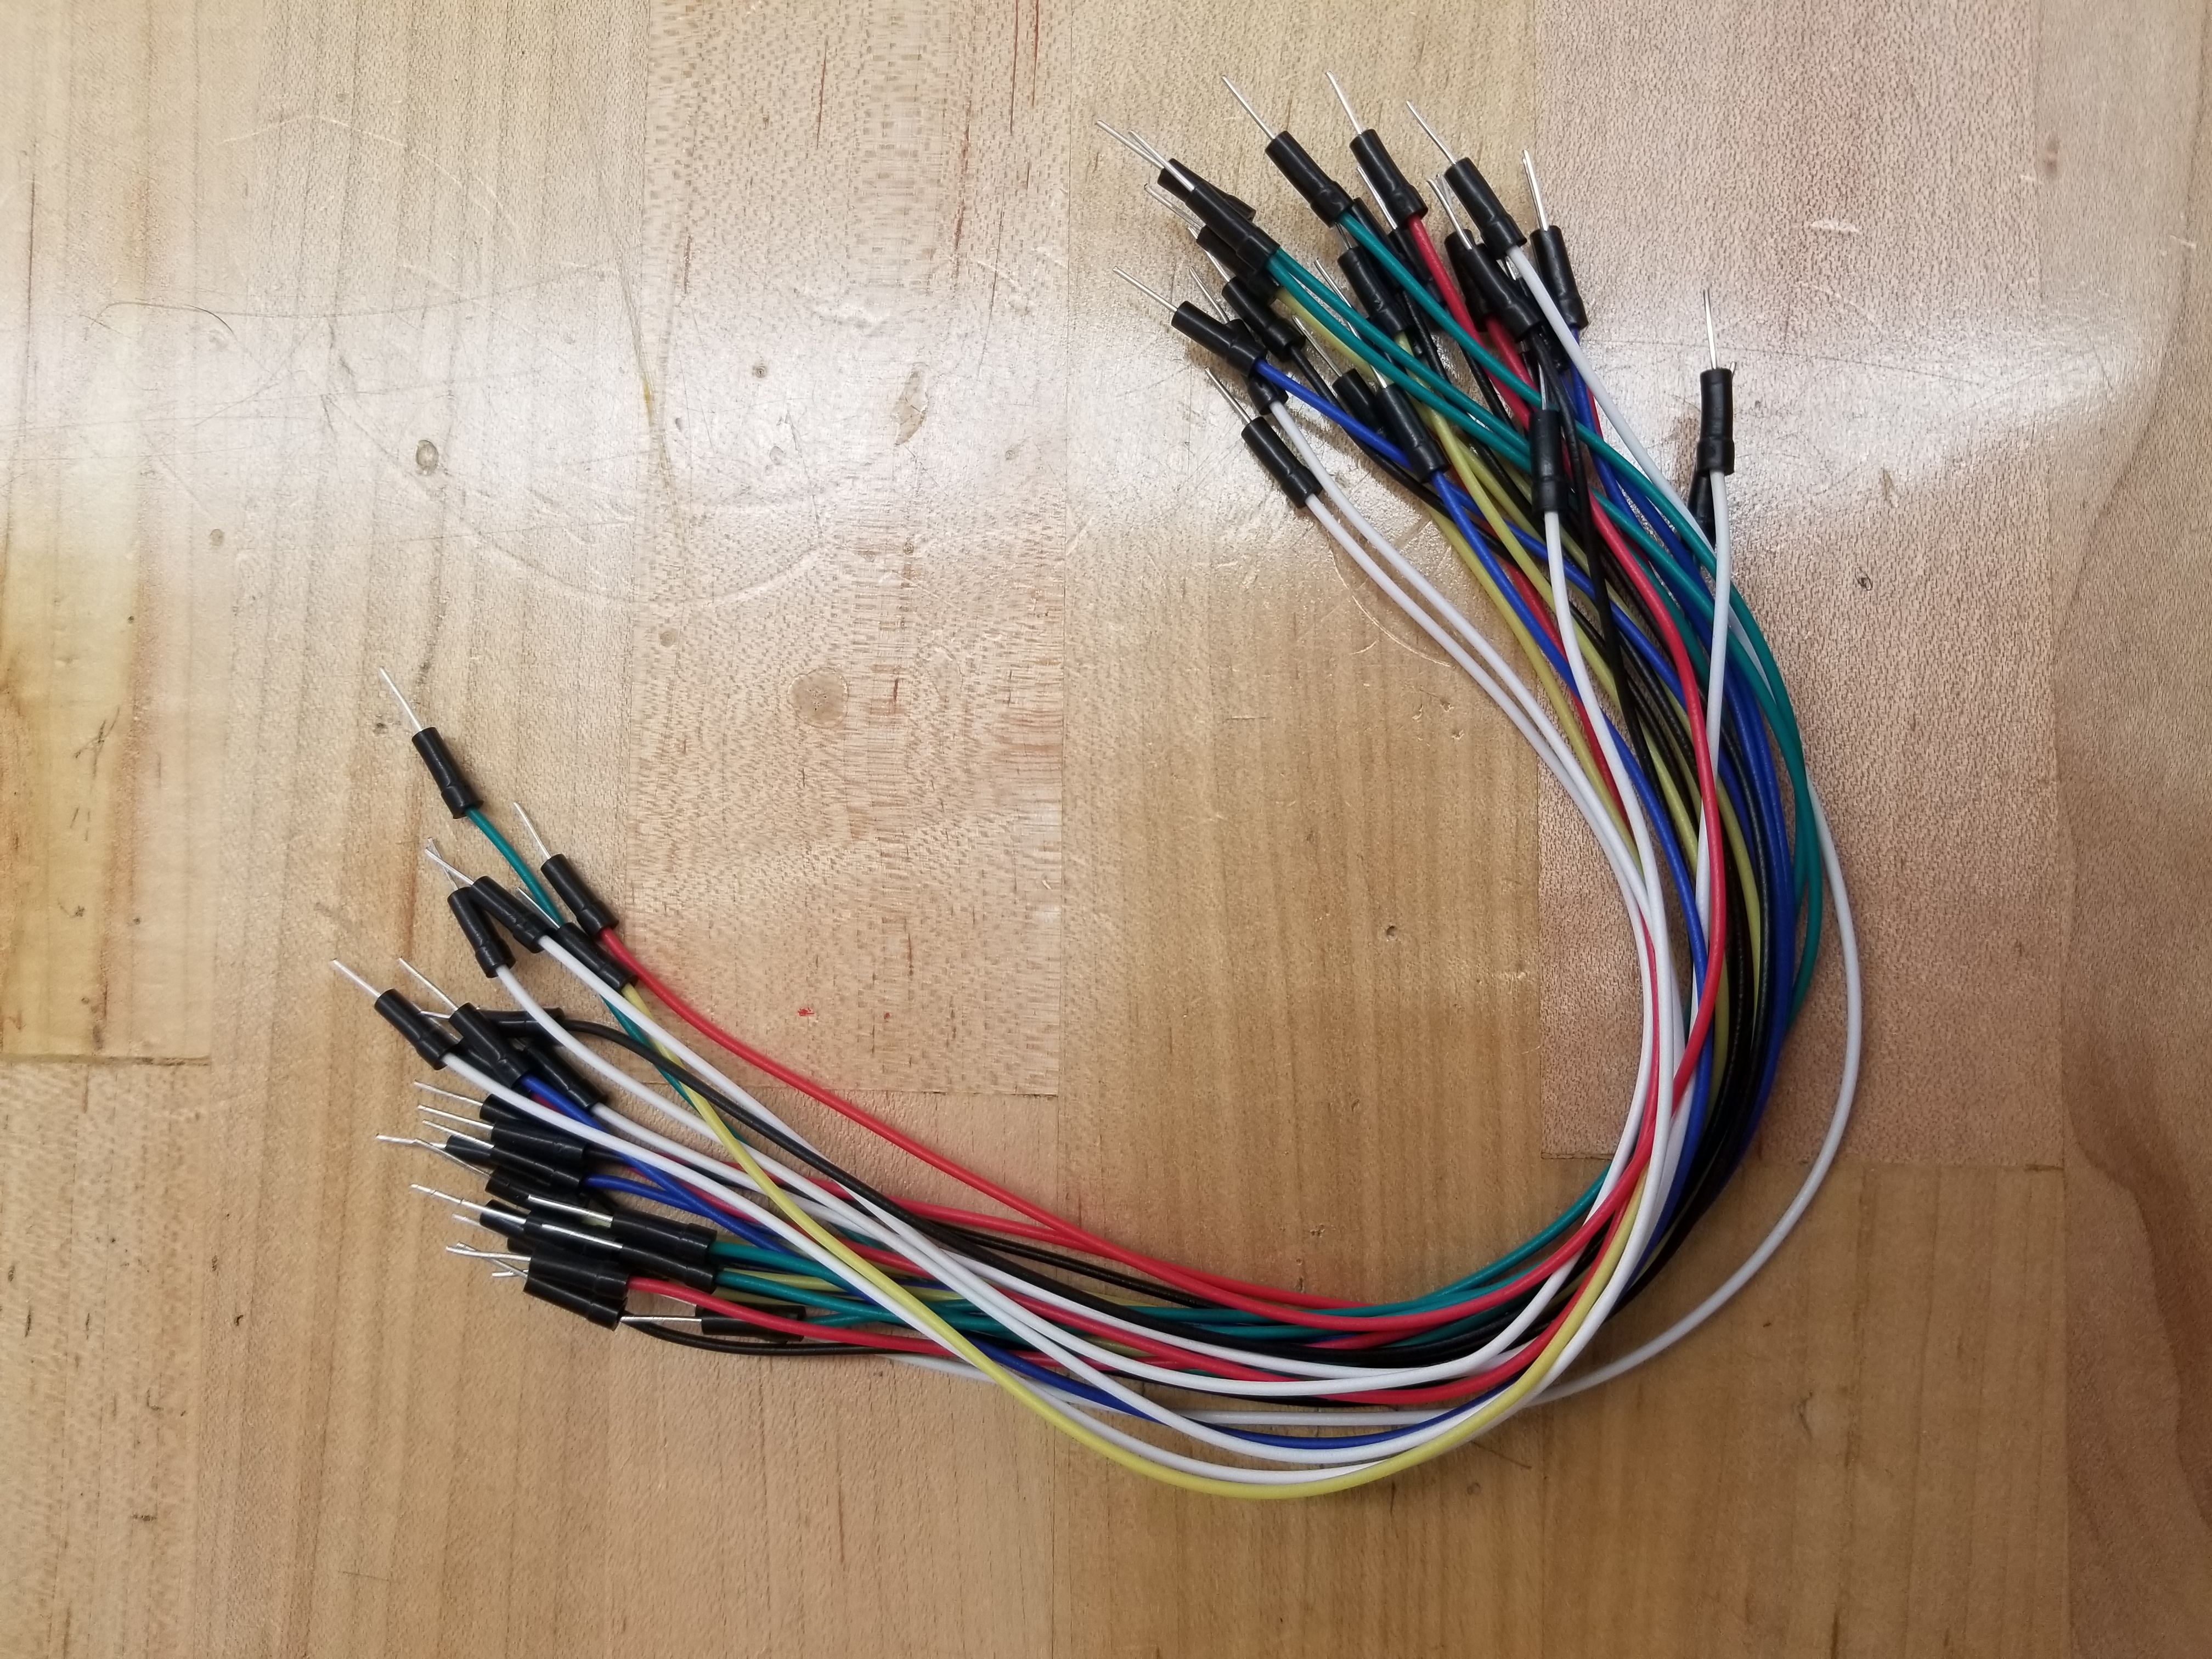
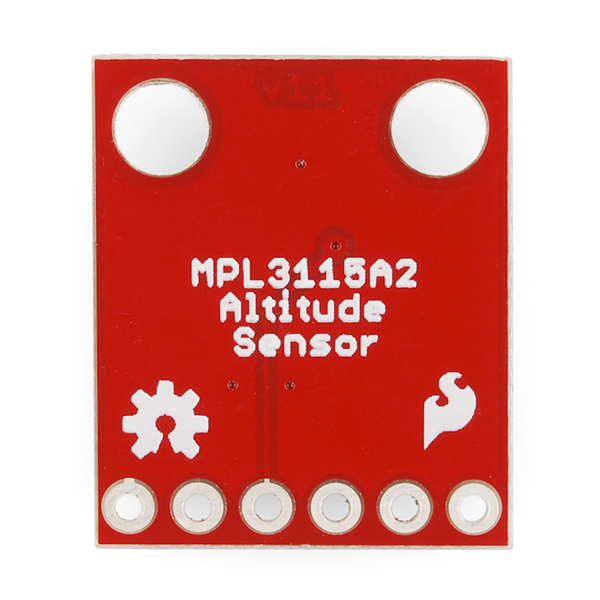
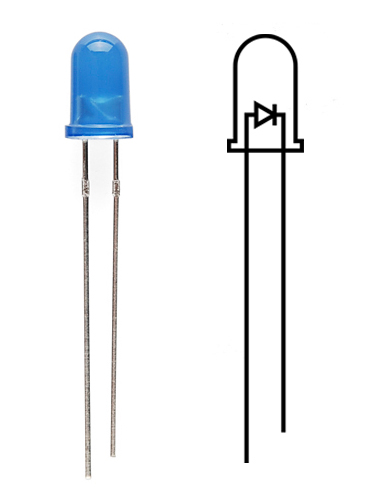
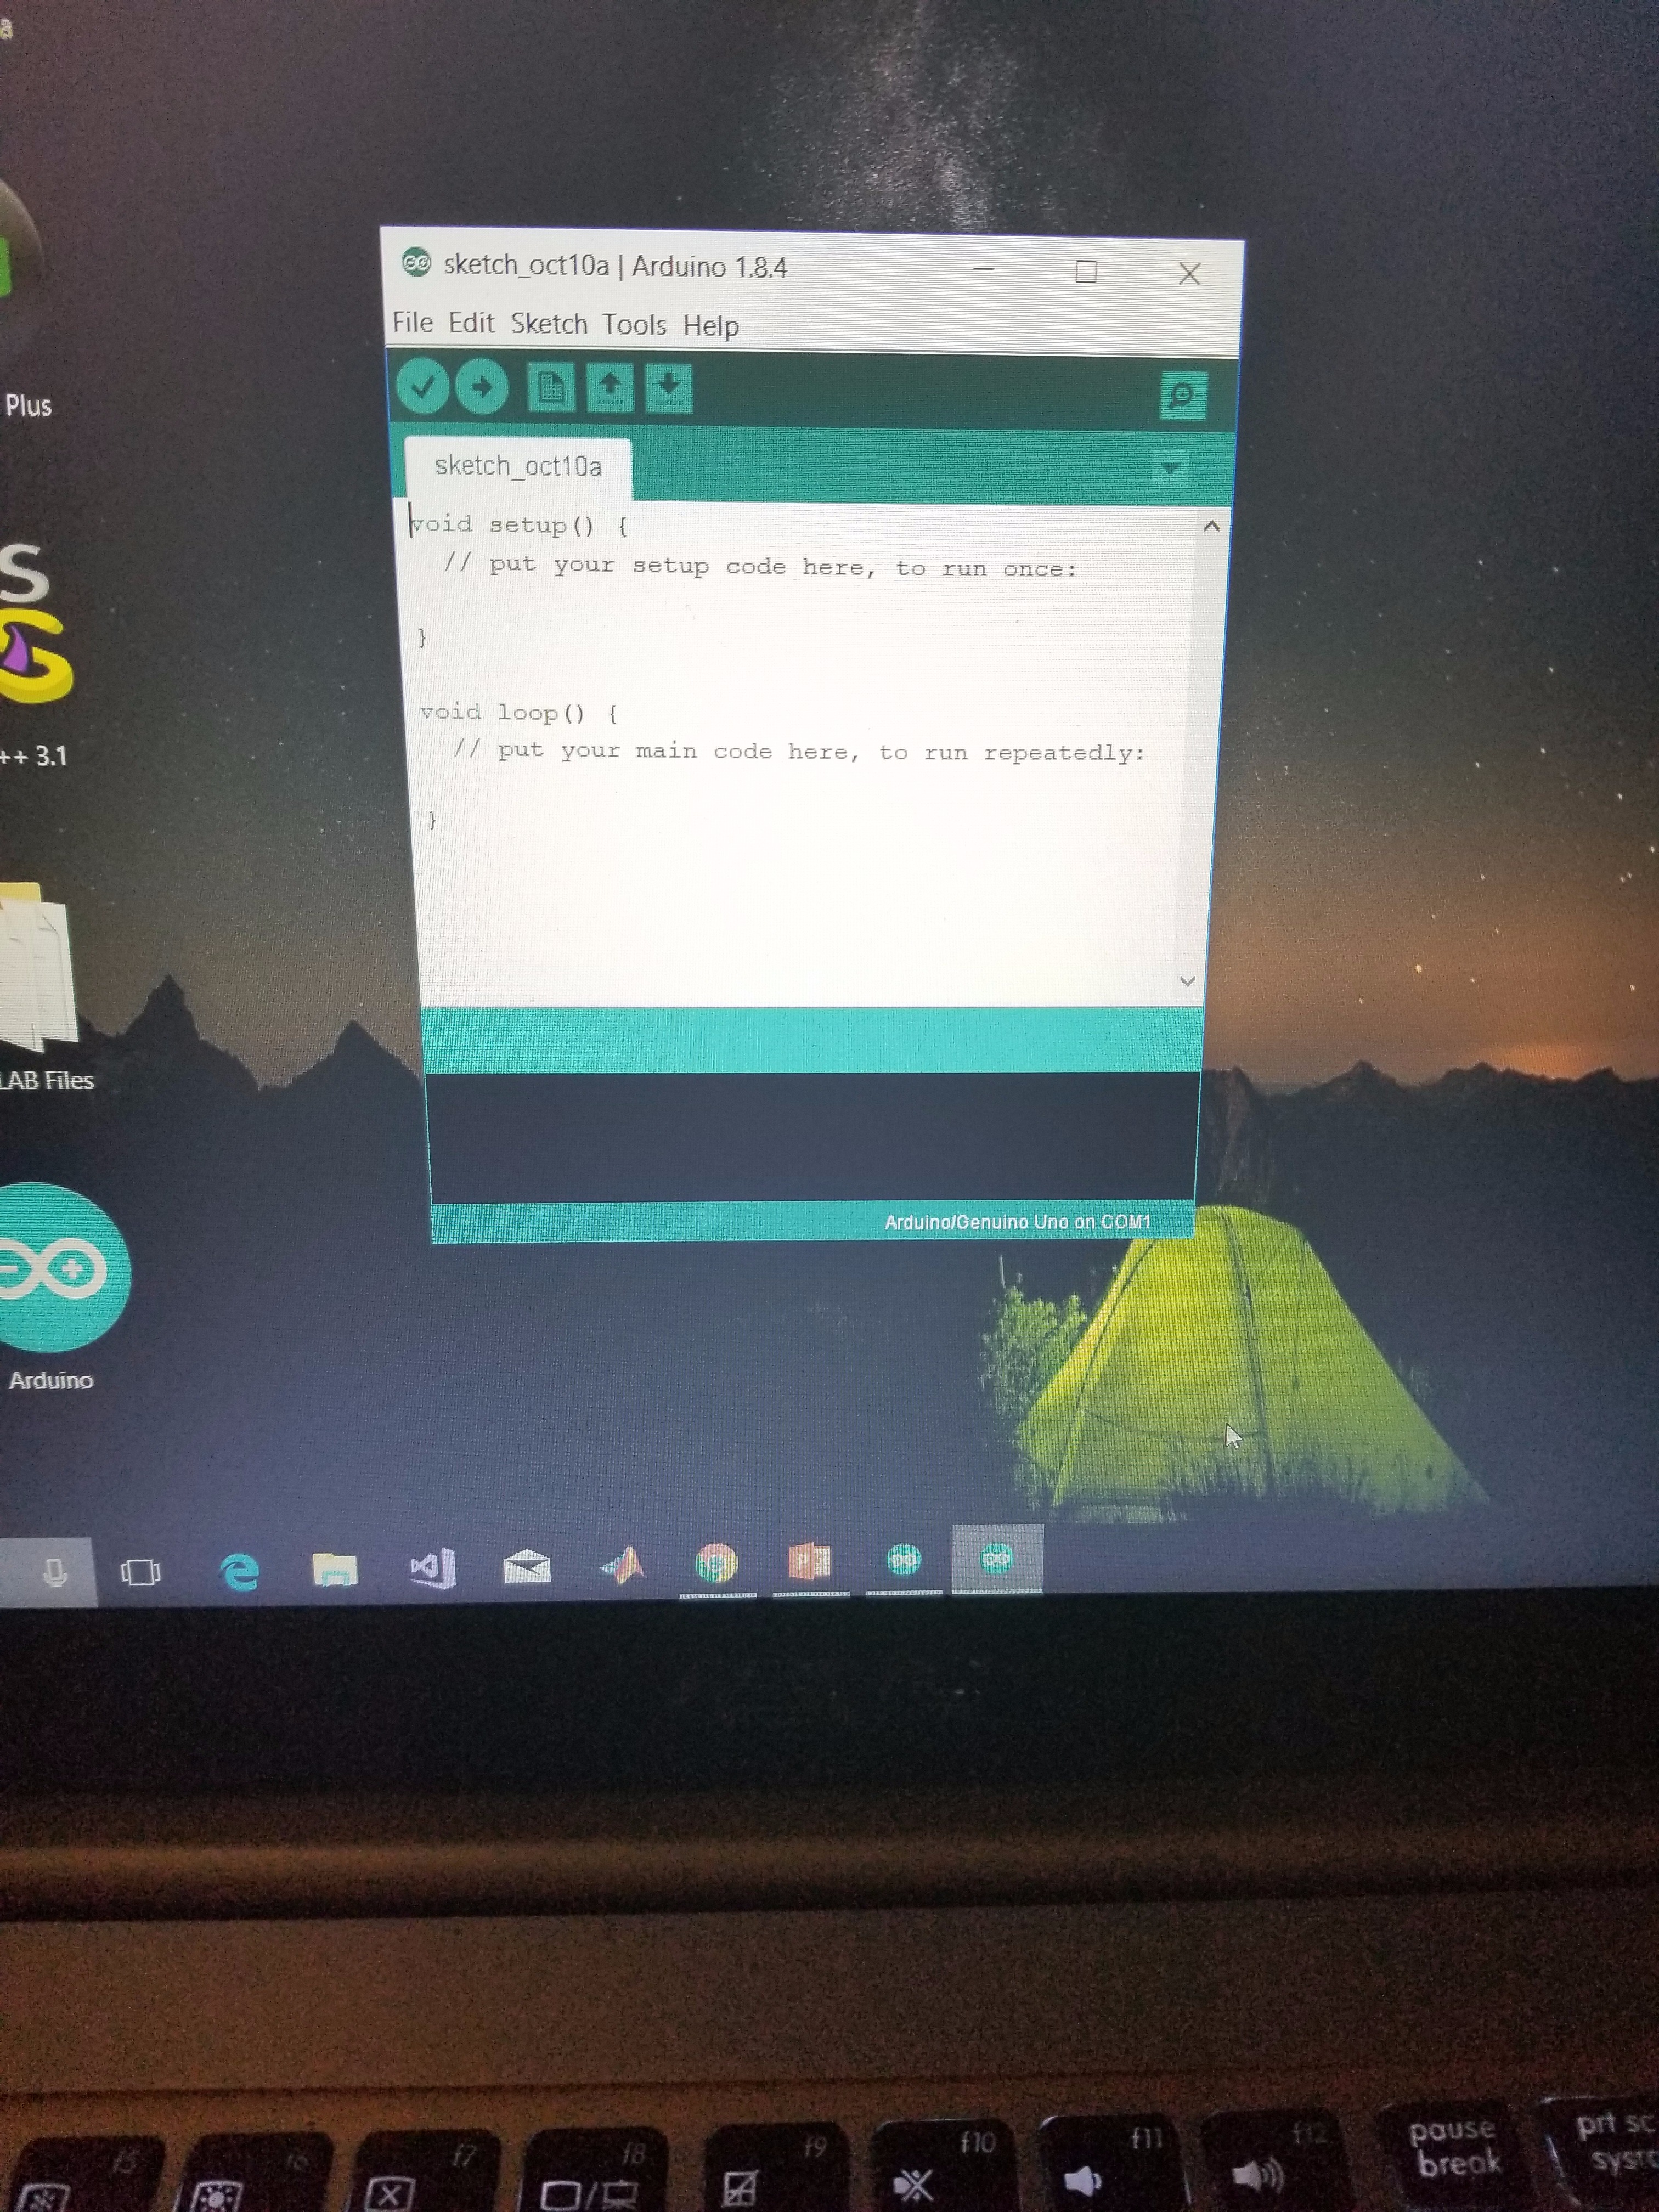
The following list is in accordance with the pictures shown above.
Remember to configure ThingSpeak and ThingTweet with your Arduino before starting this tutorial! You will be able to Tweet your data by POSTing an HTTP Call to the ThingSpeak Website once you have been given the API Key. To do this, visit the ThingSpeak website, set up an account and follow ThingSpeak's instructions on configuring ThingTweet.
1. Desktop or laptop computer
a. ThingSpeak web application
b. Arduino 1.8.4 installed
c. ThingTweet configured with Arduino 1.8.4 with C++ code (code will be shown below in Step 3)
2. One USB Cable
3. One Sparkfun RedBoard - ESP8266 (Programmed with Arduino)
4. One Breadboard
5. Eight (or more) wires
6. One Pressure, Temperature, and Altitude Sensor (MPL3115A2 is used in this example)
7. 2 LEDs
Optional: Mounting tray.
Configuration
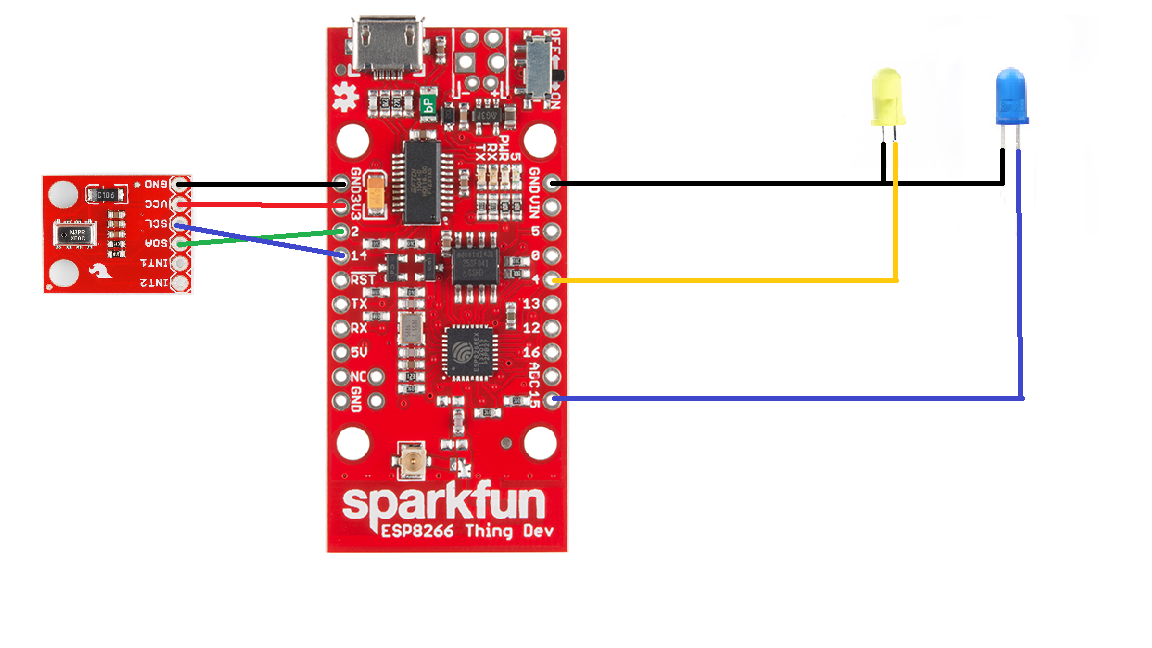
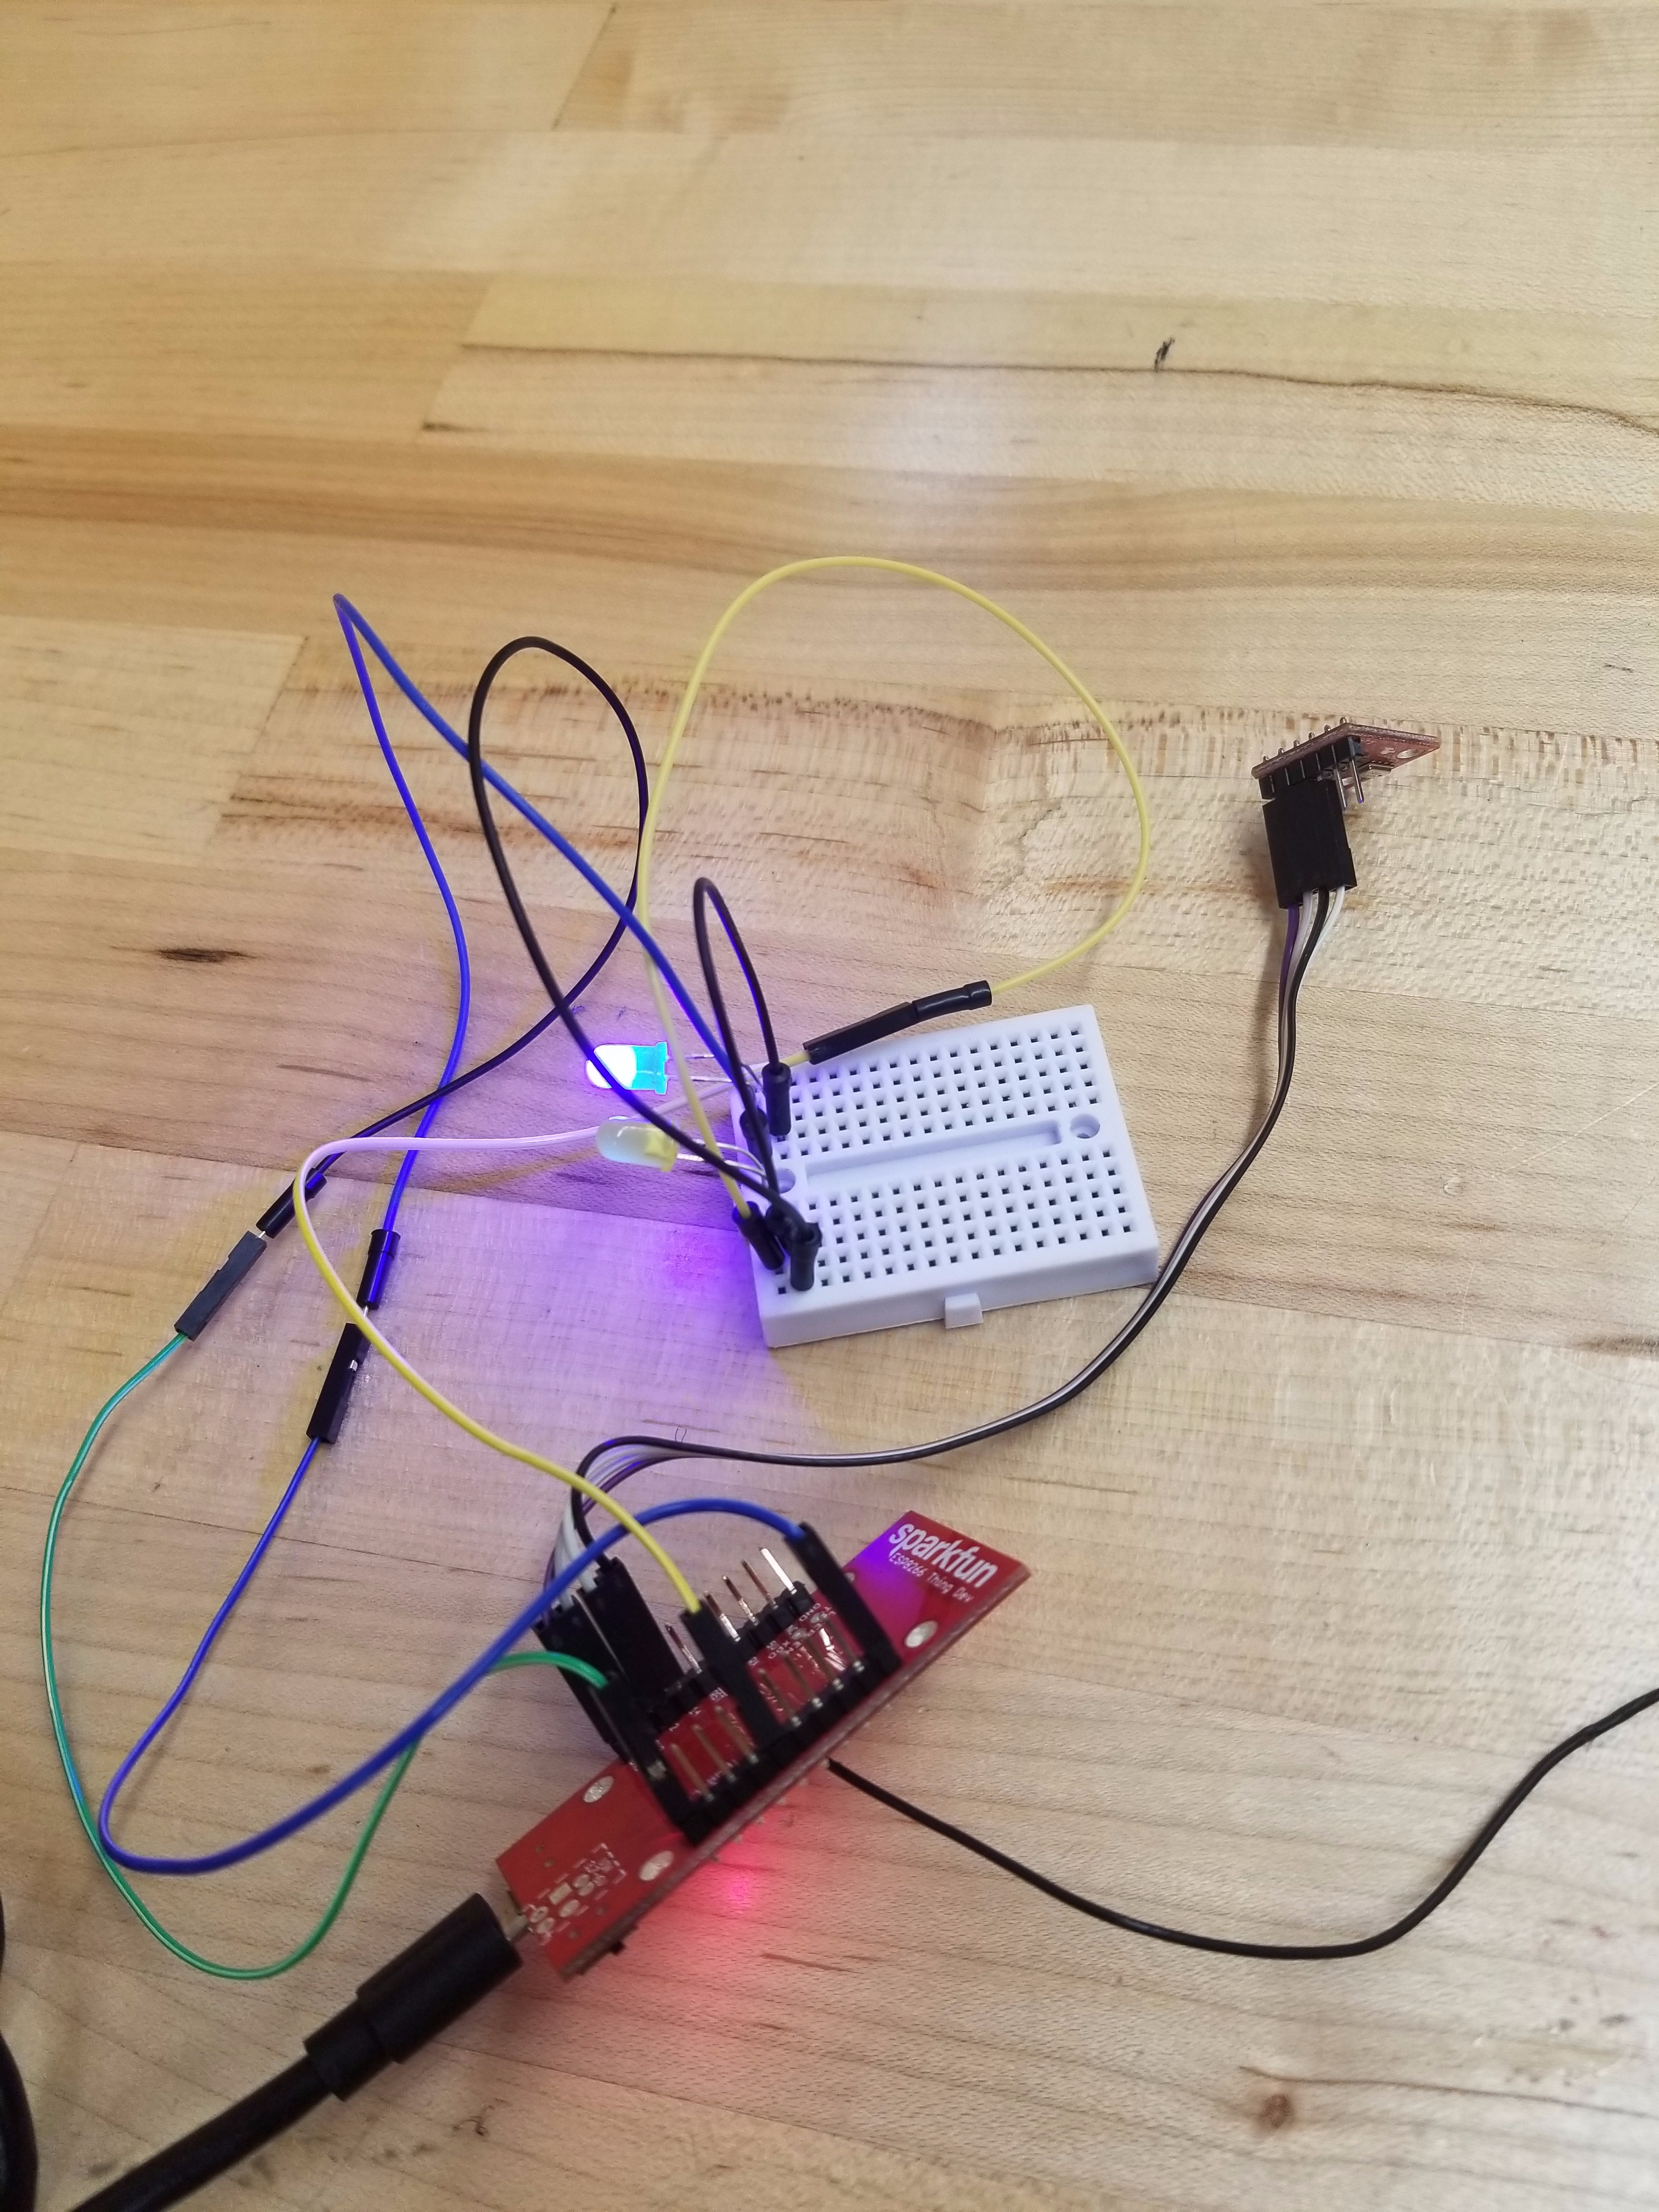
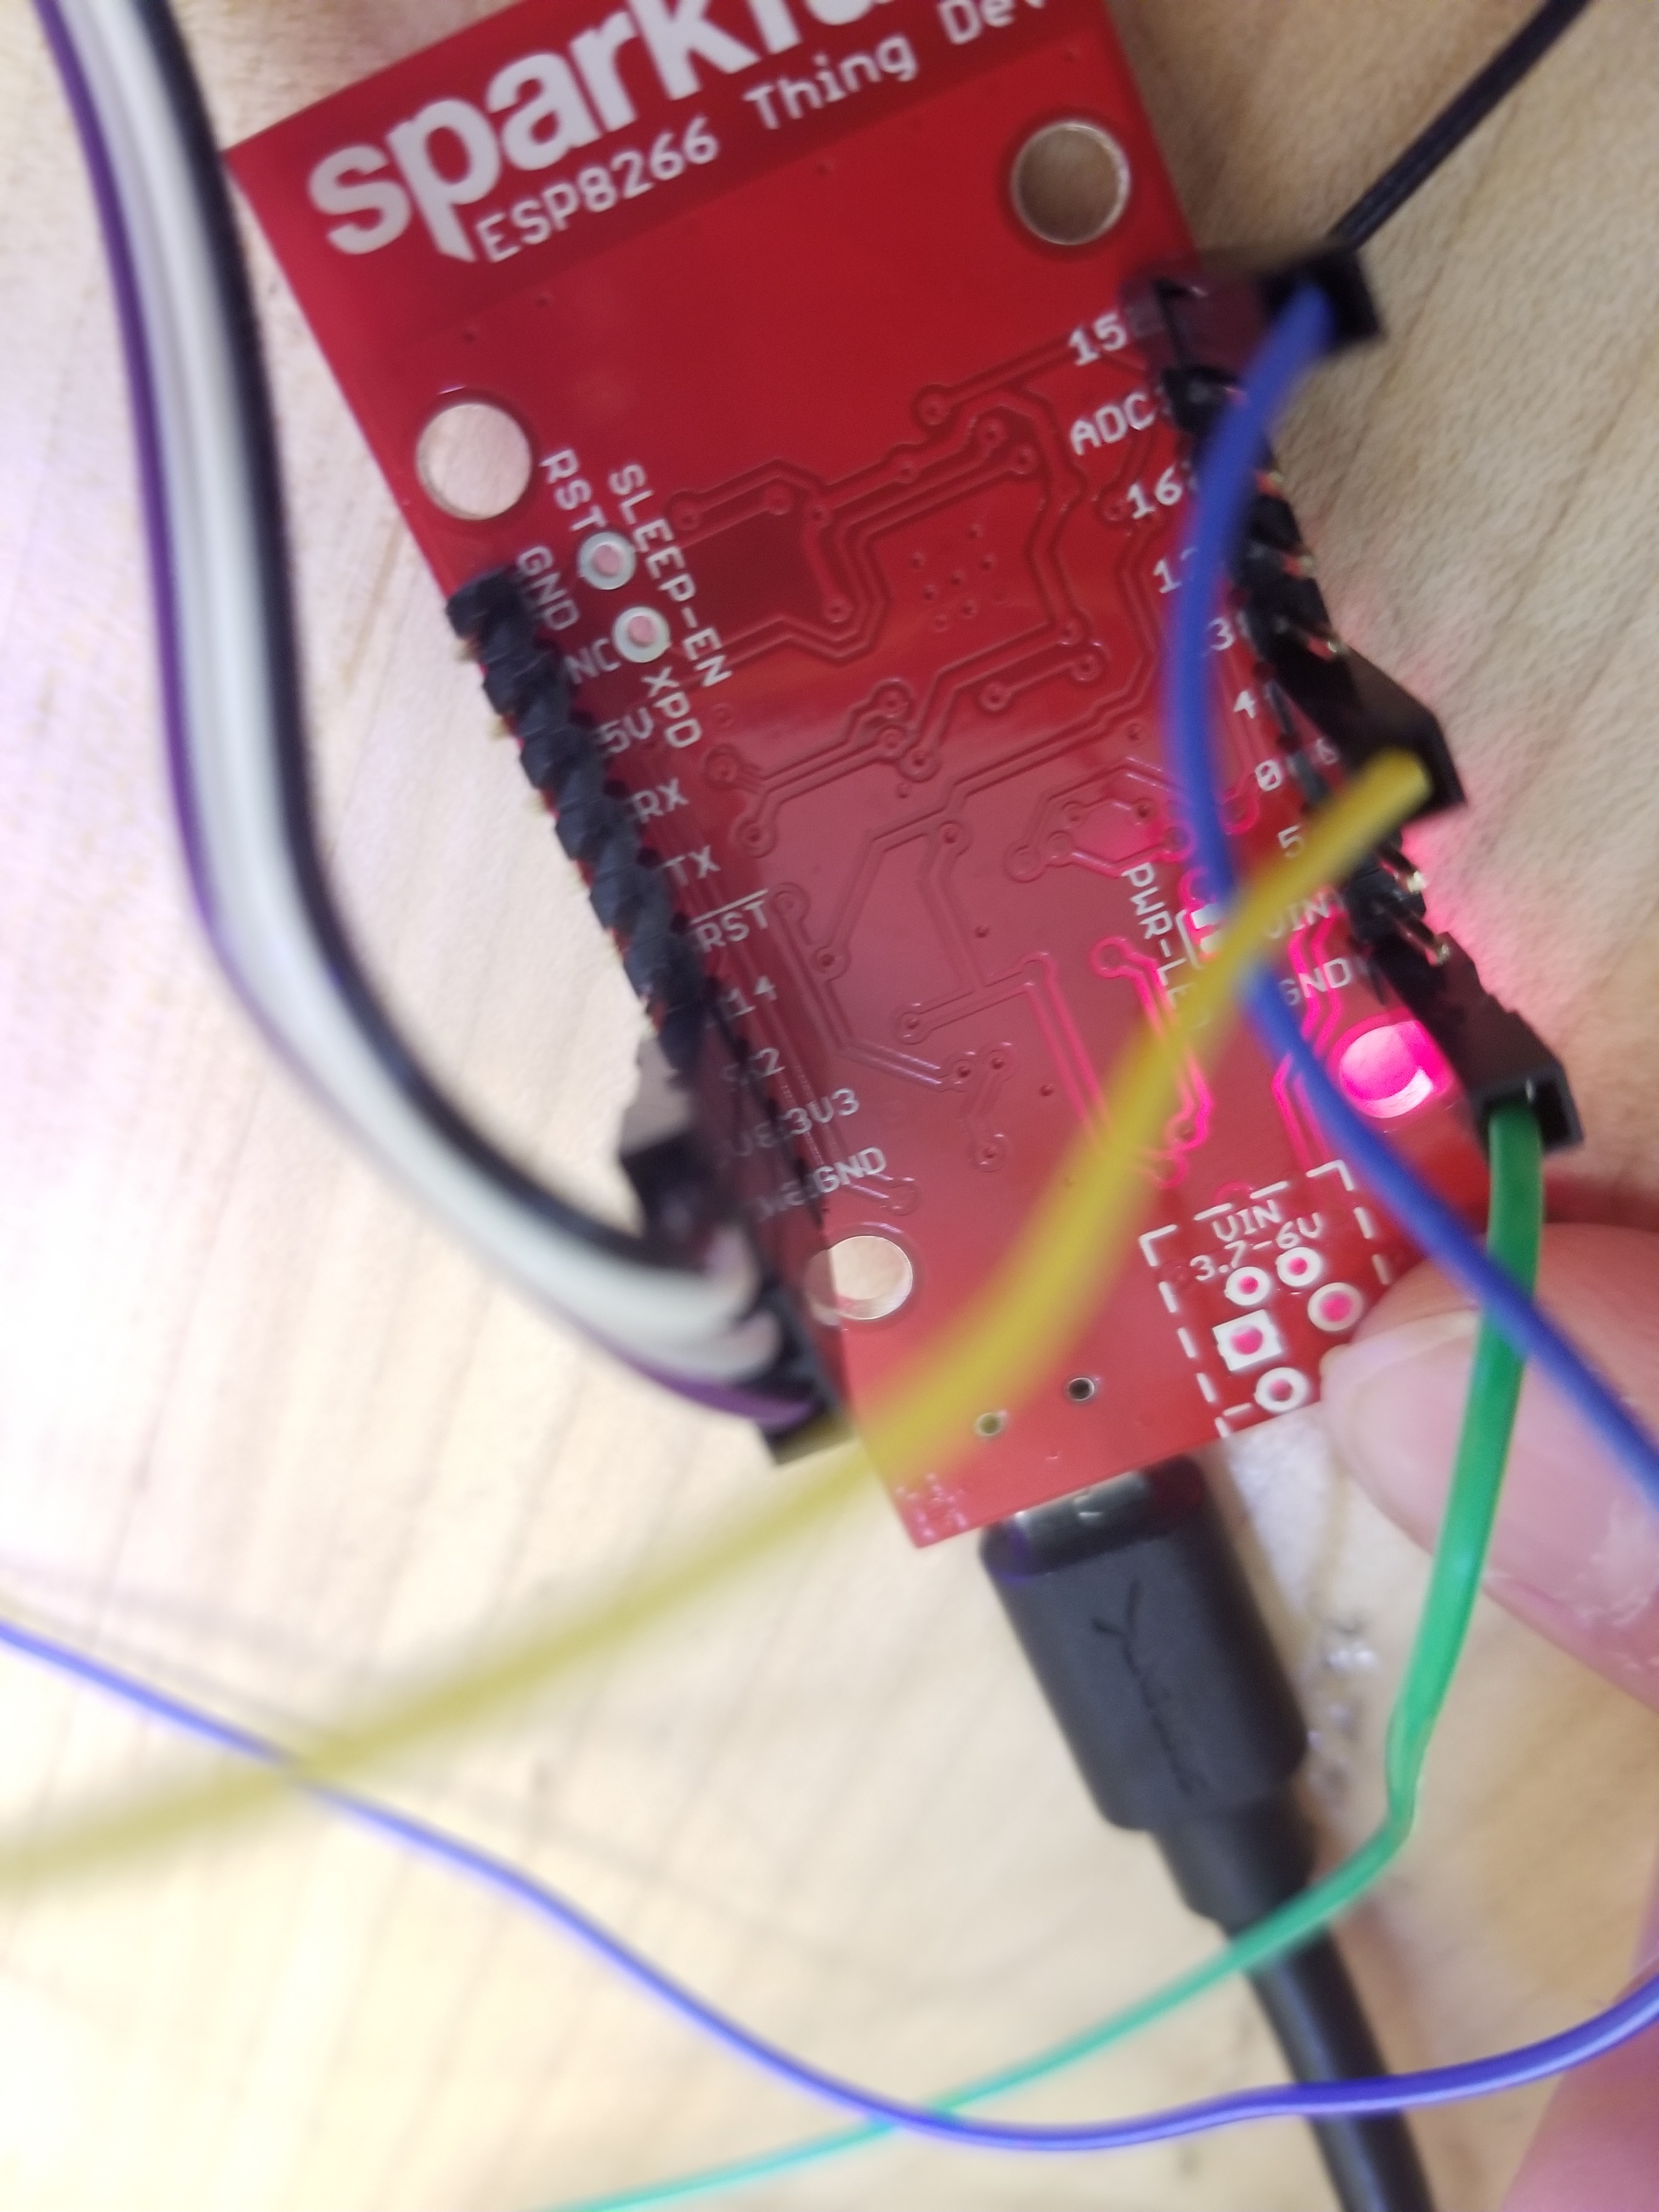
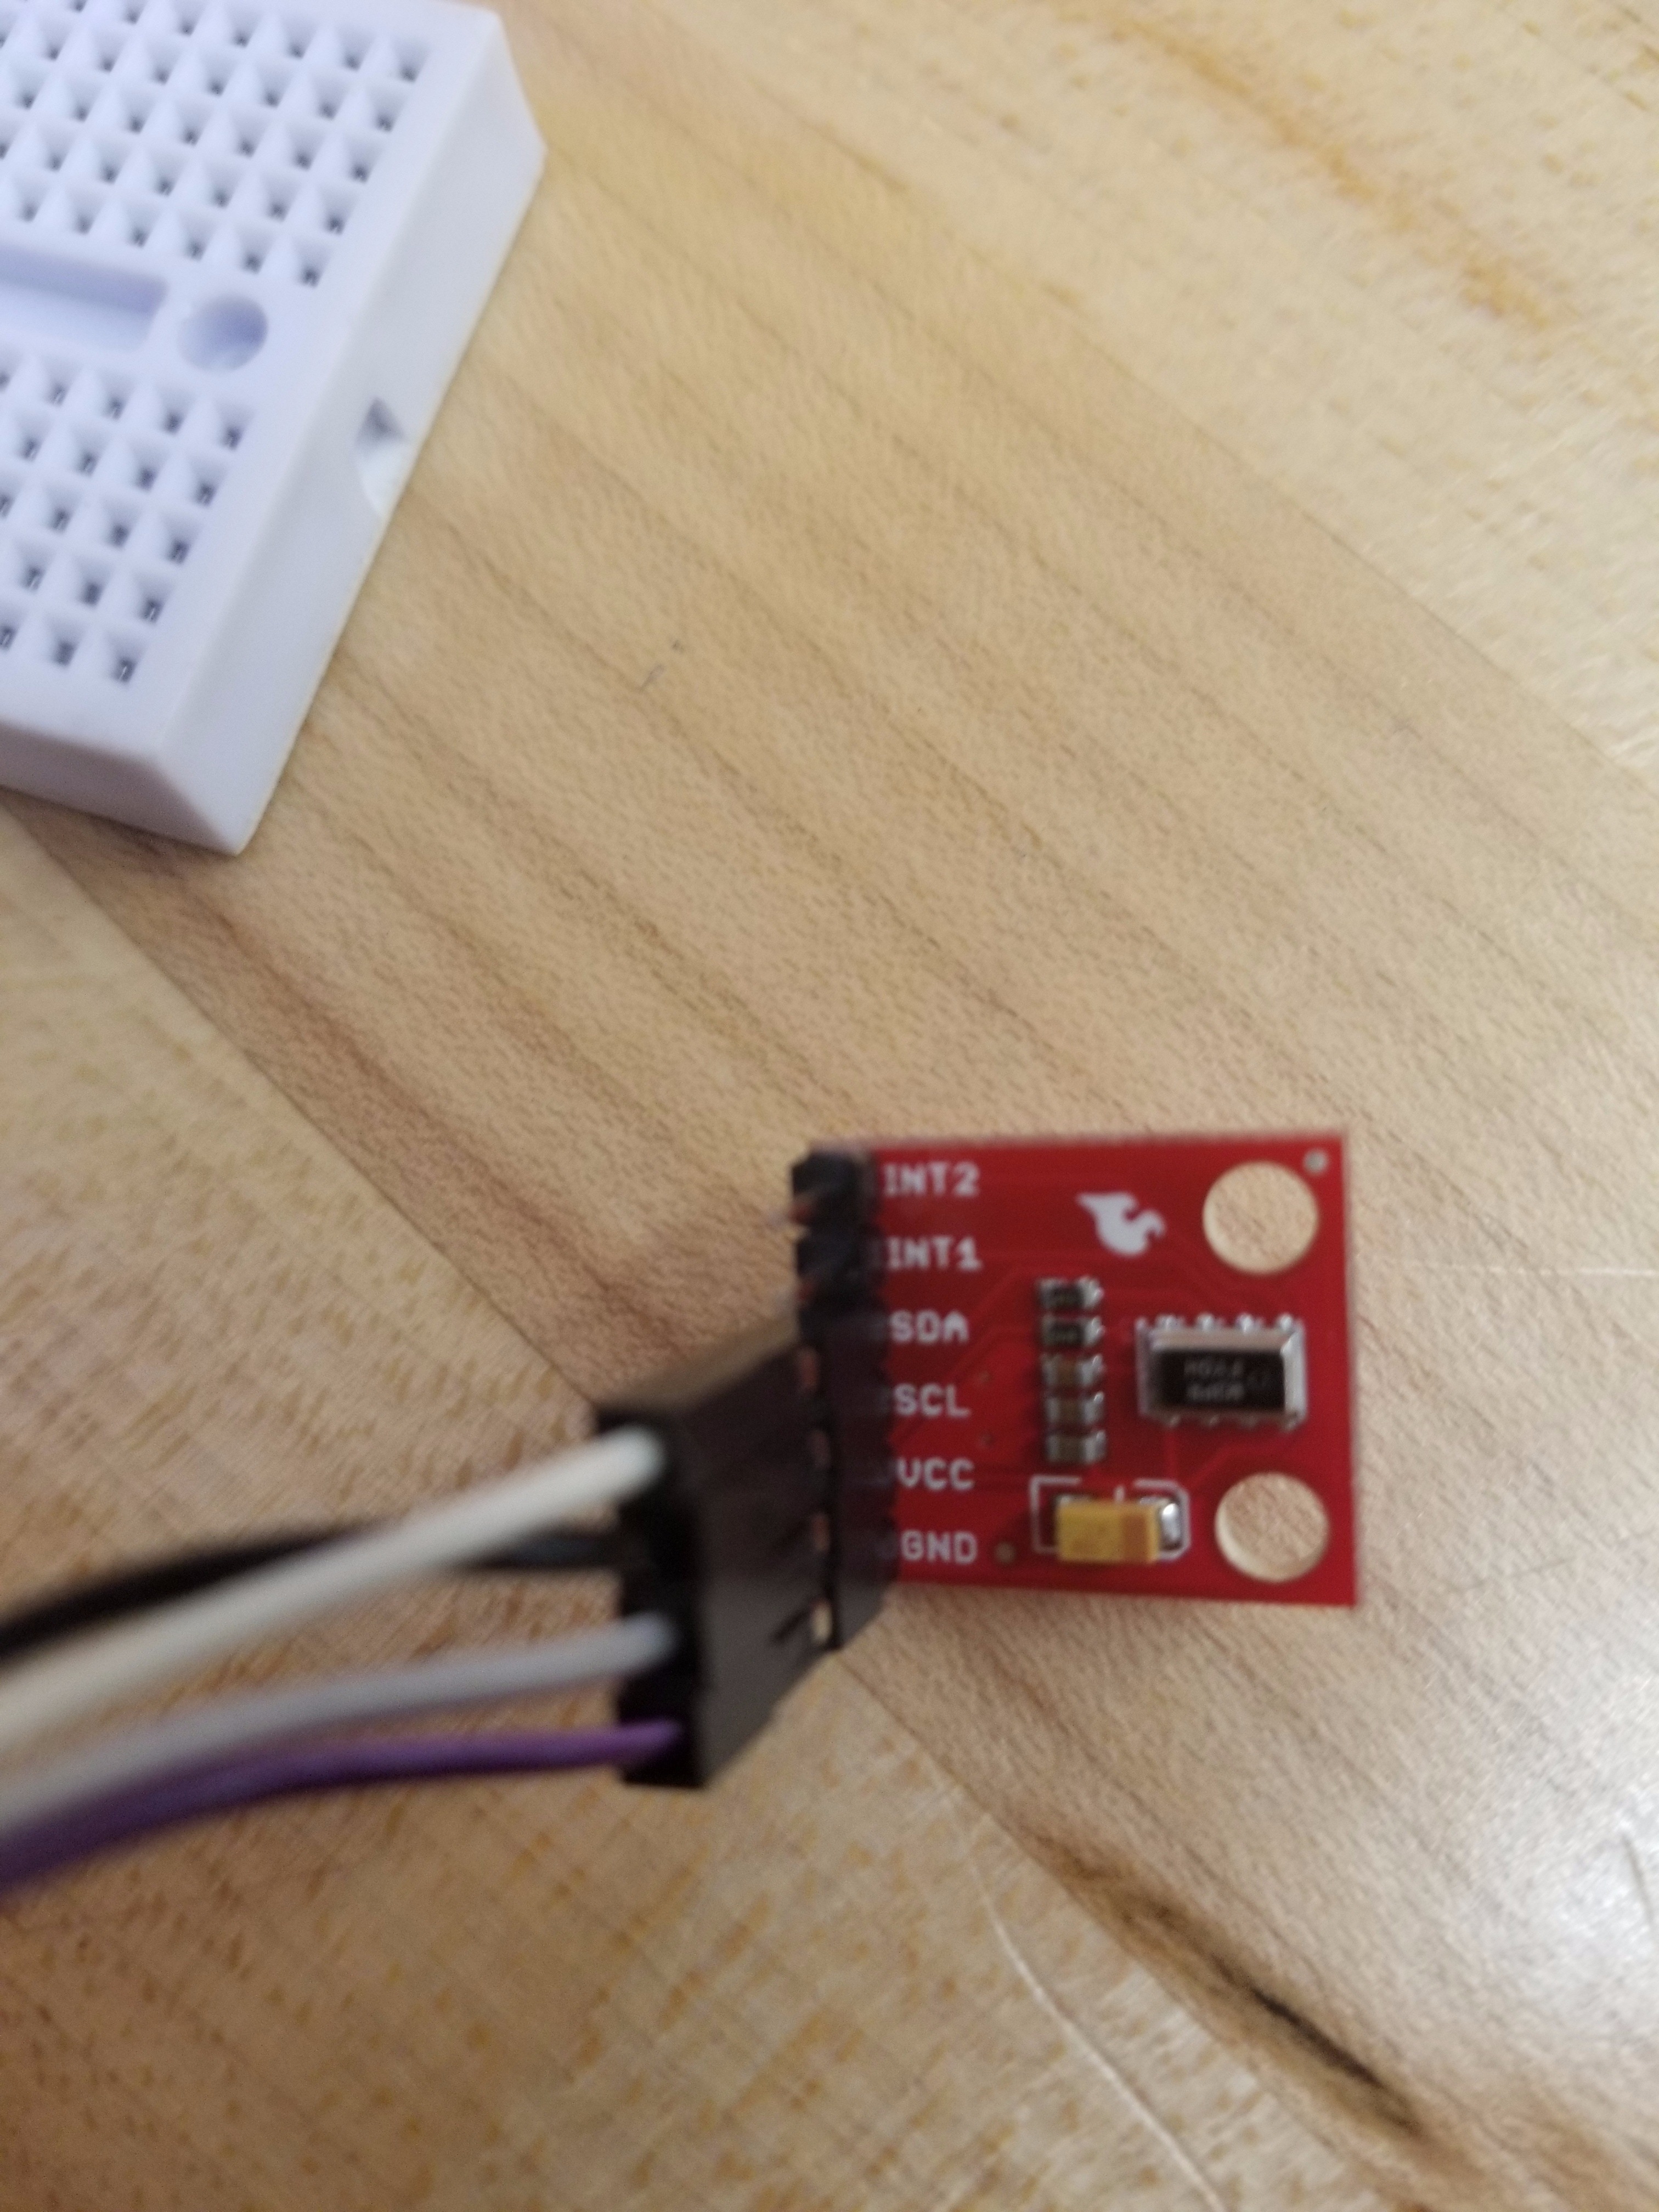
After obtaining the supplies necessary, you may proceed by configuring your circuit. Remember, no resistors are required for this circuit. Keep in mind this requires no soldering.
Configure your wires in accordance with the images above.
C++ and Associated Logic
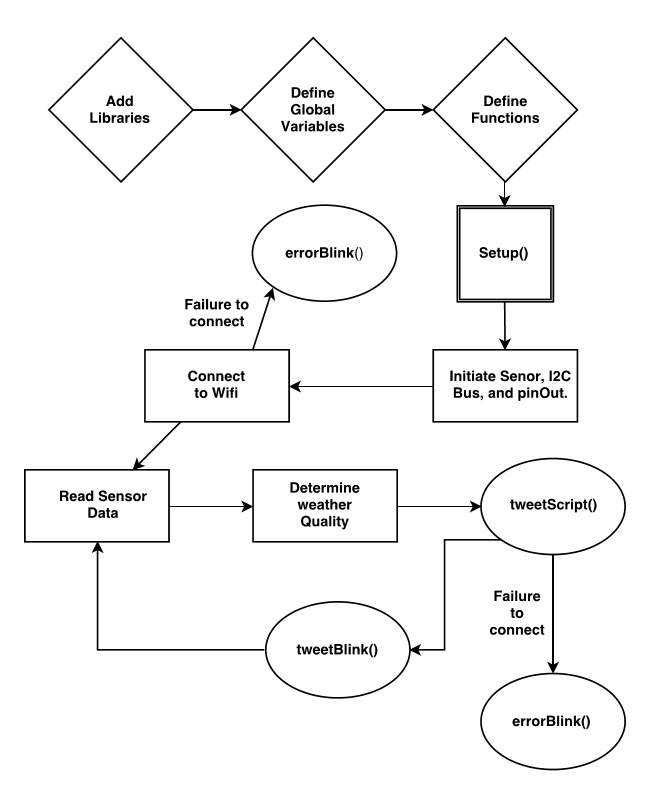
At this point, you have configured your microcontroller and have a basic understanding of ThingTweet and the Internet of Things. With the software listed in Step 1 fully installed, you are ready to program your device so that it can communicate via ThingTweet. After completing this step, your device will have the capability to tweet the data read by the sensor at any interval of time you set.
The following lines of code is in the C++ language and will work with Arduino 1.8.4 installed on your desktop or laptop computer. First, connect your Sparkfun ESP8266 device to a USB port on your laptop. Next, create a new script in Arduino 1.8.4 and copy/paste the code into your script. Finally, run the script to ensure it is working properly.
You will also need to configure the Arduino IDE to communicate with the SparkFun ESP8266 Dev. Board by accessing the Additional Board Manager URL and copy paste 'https://raw.githubusercontent.com/sparkfun/Arduino...
Here is the code you will run. Note: the double backslash (//) signifies a comment. While comments in C++ do not contribute to the output, they are helpful in describing what the function of each line of code is.
//inputs: Temperature, Pressure, Altitude from MPL3115A2
//outputs: Live Tweeting, LED Monitoring //purpose: Our device tweets the current weather readings of the trains location. // Since trains are always moving reading the local weather can be extremely difficult, // but our device makes it easier for passengers to check. //Usage: The program runs of the hardware without any inputs from humans.
//including the following LIBRARIES #include #include #include #include #include #include
// GLOBAL VARIABLES___________________________________________________________ //Wifi const char ssid[] = "ssid"; //Creates WIFI ssid const char password[] = "password"; //WIFI Password
// Server port const char hostname[] = "api.thingspeak.com"; //Comp. of URL const int port = 80; //HTTP PORT 80
WiFiClient client; //Object Client MPL3115A2 myPressure; //Object SENSOR const String API="API KEY"; //ThingTweet API code for URL double pressureinHG=300; //intiialize Int for Pressure int temp=50; //initialize Int for Temperature int ftAlt=1000; //initialize Int for Altitude
//_______________________________________________________________________________ // function 'TweetScript' // Inputs: String of tweet // Outputs:void // purpose:allows the ESP8266 to post strings to Twitter // Usage: TweetScript( 'String' ); // void TweetScript(String Tweet){ if (client.connect(hostname,port)){ //Building the HTTP Post Body String myTweet = "api_key="+API+"&status="+Tweet;
//POST client.print("POST /apps/thingtweet/1/statuses/update HTTP/1.1\n"); client.print("Host: api.thingspeak.com\n"); client.print("Connection: close\n"); client.print("Content-Type: application/x-www-form-urlencoded\n"); client.print("Content-Length: "); client.print(myTweet.length()); client.print("\n\n");
client.print(myTweet);
//read back one line from server String line = client.readStringUntil('\r'); //client.println(line); client.stop(); } else { errorBlink(); } } //_______________________________________________________________________________ // function 'errorBlink' // Inputs: void // Outputs: void // Purpose: flashes the Yellow LED due to some error // Usage: errorBlink() // void errorBlink(){ for(int i=0; i<300; i++){ digitalWrite(4,LOW); delay(500); digitalWrite(4,HIGH); delay(500); } } //________________________________________________________________________________ // function 'tweetBlink' // Inputs: void // Outputs: void // Purpose: flasghes Blue LED when the device tweets // Usage: tweetBlink() // void tweetBlink(){ for (int i=0; i<10; i++){ digitalWrite(15,HIGH); delay(250); digitalWrite(15,LOW); delay(250); } } //_______________________________________________________________________________ // function 'setup' // Inputs: void // Outputs: void // Purpose: initalizes the entire system with WIFI and Sensors // Usage: runs before the loop function // void setup() { //ride the i2c bus b/c public transport is good Wire.begin(); //D4 will be the Yellow light pinMode(4,OUTPUT); //D15 will be the blue light pinMode(15,OUTPUT);
//Yellow light stays lit while Setup is running digitalWrite(4,HIGH); delay(10000); //Get sensor online myPressure.begin();
// Configure the sensor // Measure pressure in Pascals from 20 to 110 kPa myPressure.setModeBarometer();
// Set Oversample to the recommended 128 myPressure.setOversampleRate(7);
// Enable all three pressure and temp event flags myPressure.enableEventFlags(); // connect to a WiFi network WiFi.begin(ssid, password); // Wait until we are connected // and blink if wifi does not get connected int whileCount=0; while (WiFi.status() != WL_CONNECTED) { whileCount++; delay(250); digitalWrite(4,LOW); delay(250); digitalWrite(4,HIGH); if (whileCount=120){ errorBlink(); } } digitalWrite(4,LOW); }
//___________________________________________________________________________________________ //function 'loop' // Inputs: void // Outputs:void // Purpose:The loop dictates the main functionality of the device's function. It will read the // data from the sensor and make a estimation on the condition of the weather outside. // Then the divice will post the weather and its prediction to twitter. // Usage: runs constantly on the device. // void loop(){ //Blue light becomes lit digitalWrite(15,HIGH); delay(30000);
//Reading Temperature Data //SENSOR reads in metric so we convert to commonly used units (ft., inHg, degrees F) //The barometer was reading almost exact .95 inHg lower than it should be pressureinHG=((myPressure.readPressure()*.00750062)/25.4)+.95; temp=myPressure.readTempF(); ftAlt=(myPressure.readAltitude()/100)*3.281;
//Ketchup (Catch up....) delay(50);
//Higher pressure suggest good weather, while Lower pressure suggestes poor weather. // the divce uses the If statement to modify the tweeted script, and improves readbaility of the if(pressureinHG>=30.1){ TweetScript("The current\nPressure is: " + String(pressureinHG) + " inHG\nTemperature is: "+String(temp)+" degrees\nAltitude is "+String(ftAlt)+" feet\nHigh Pressure indicates good weather"); } else if(pressureinHG<=29.65){ TweetScript("The current\nPressure is: " + String(pressureinHG) + " inHG\nTemperature is: "+String(temp)+" degrees\nAltitude is "+String(ftAlt)+" feet\nLow Pressure indicates the possibility for bad weather"); } else { TweetScript("The current\nPressure is: " + String(pressureinHG) + " inHG\nTemperature is: "+String(temp)+" degrees\nAltitude is "+String(ftAlt)+" feet\n"); }
//notify the interface that a tweet has been sent with a blinking light tweetBlink(); }
Note that this series of code is customized for this particular project. It is essential you change the API Key outlined in the code above to the API Key that is related to your account. If you do not follow this step, you will not be able to create ThingTweets. Similarly, your WIFI ssid and password will be specific to the network you are trying to connect to.
3-D Print a Container
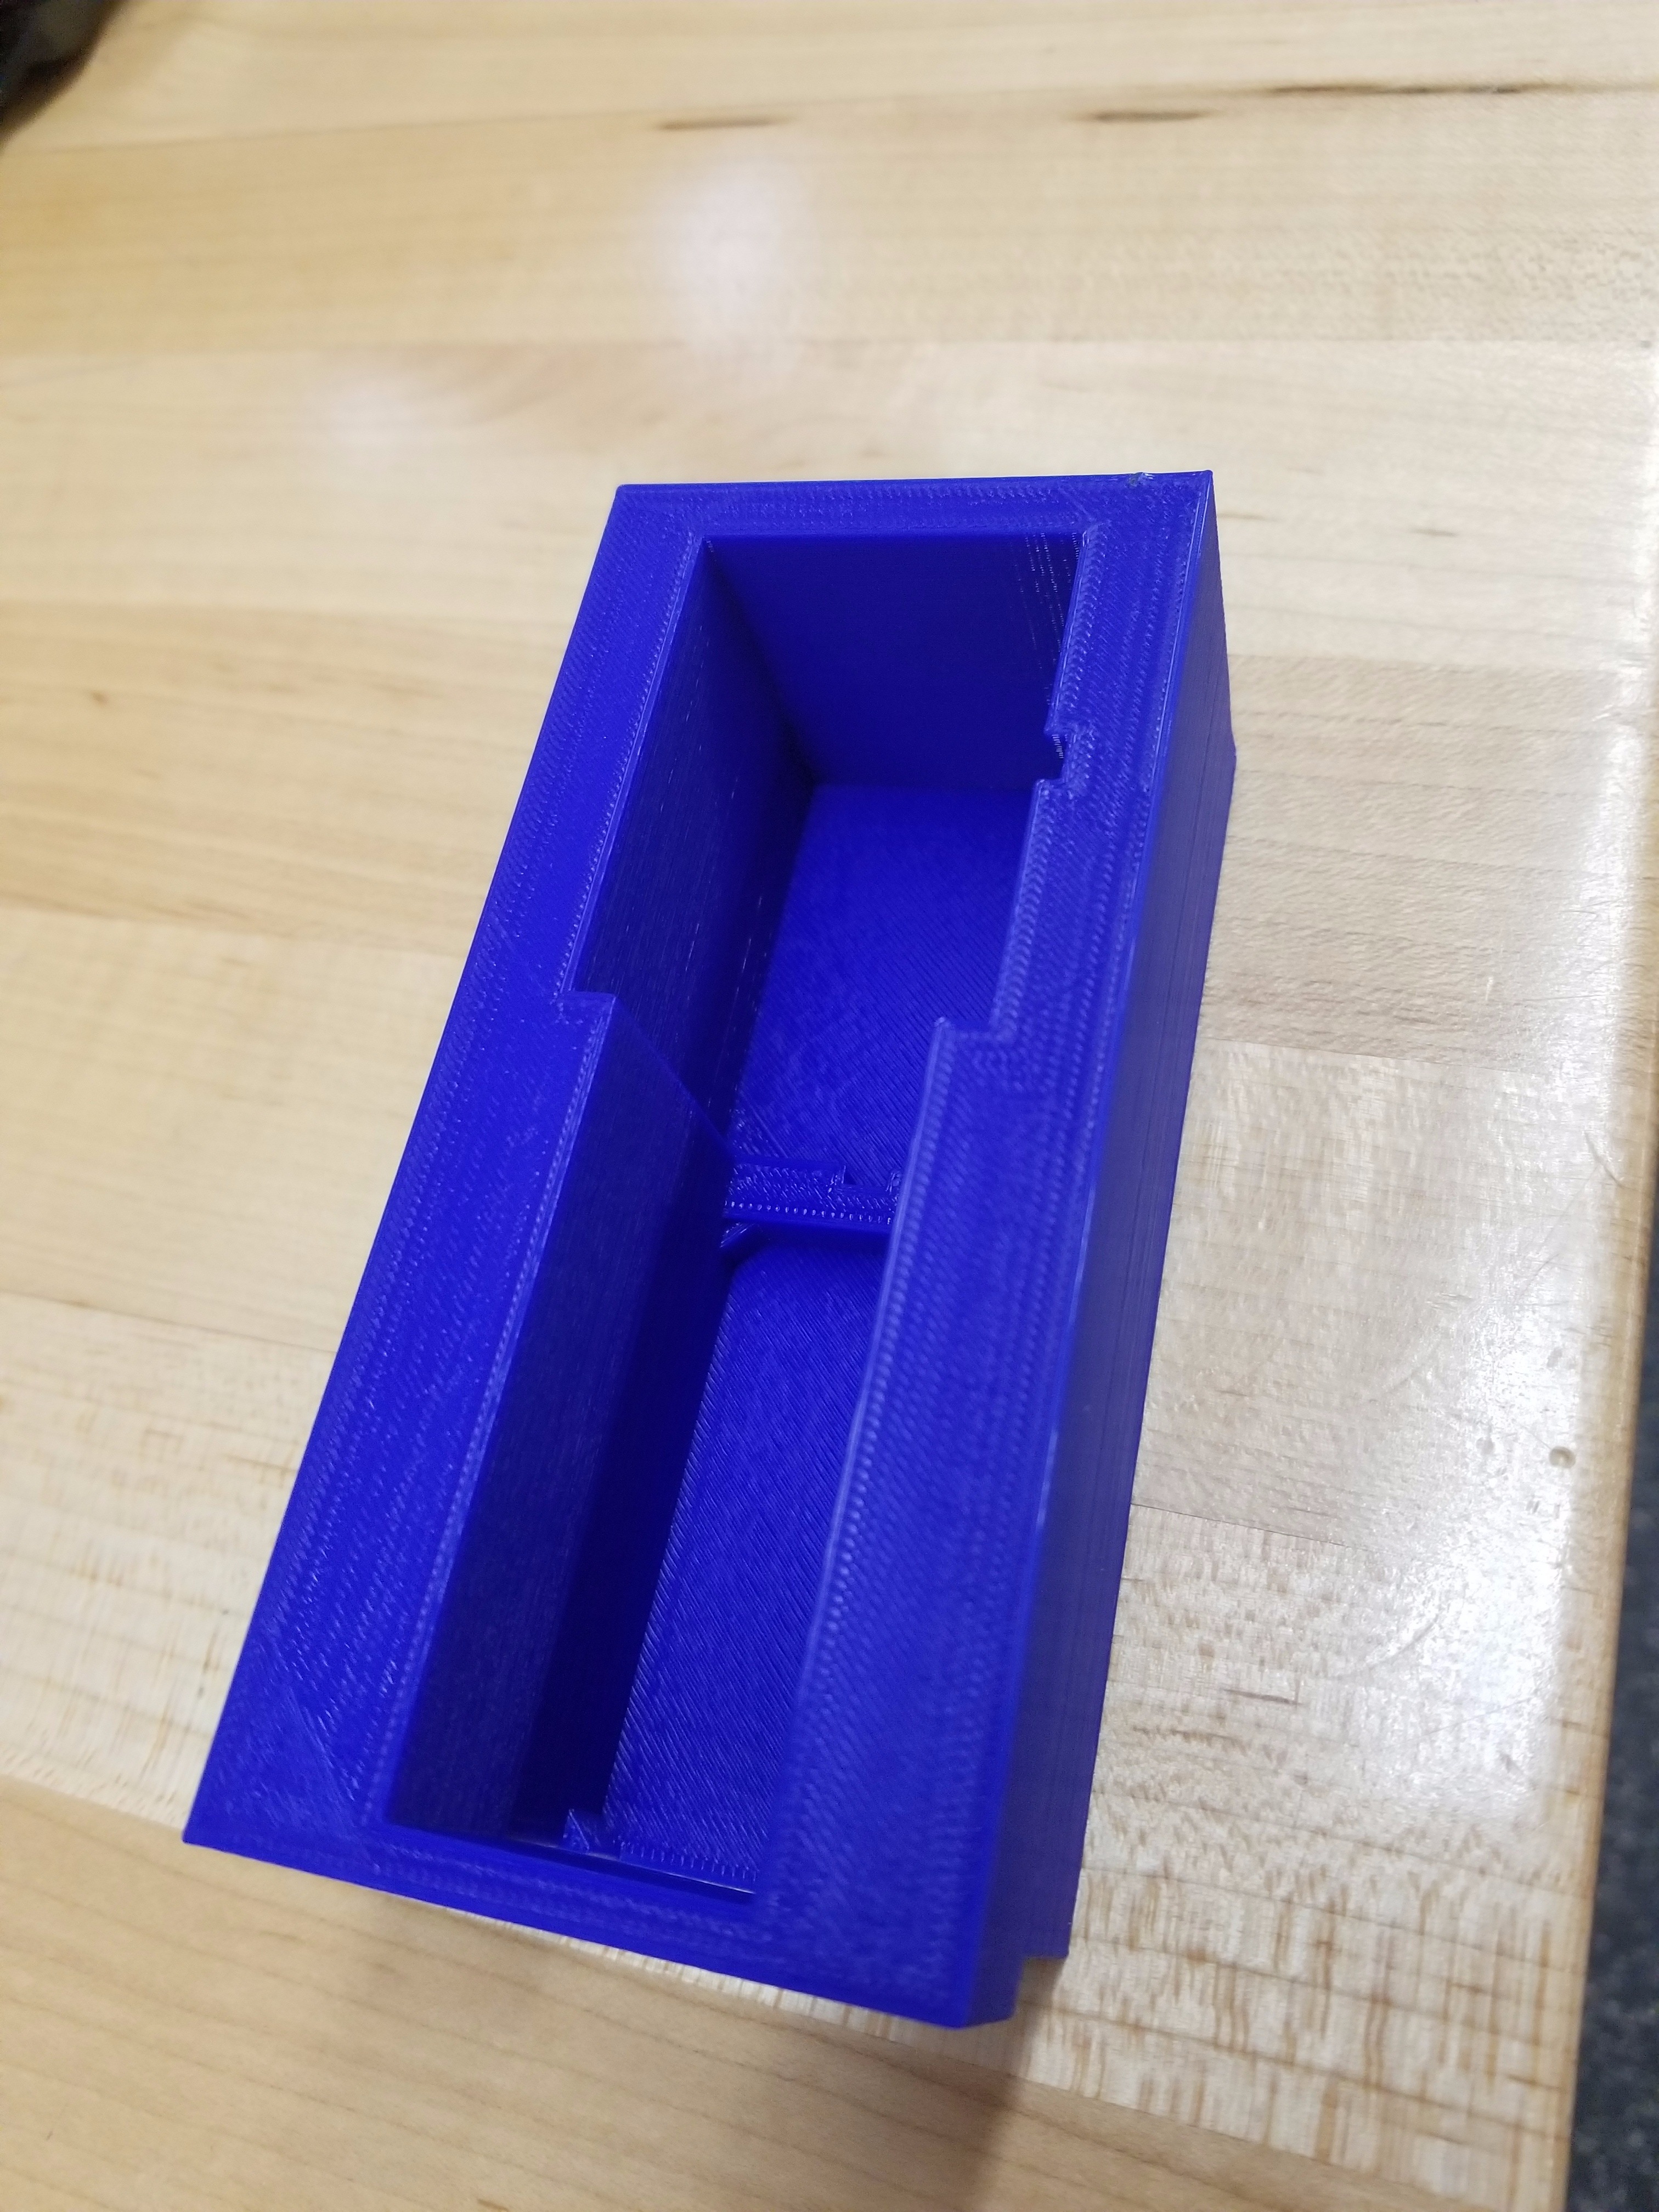
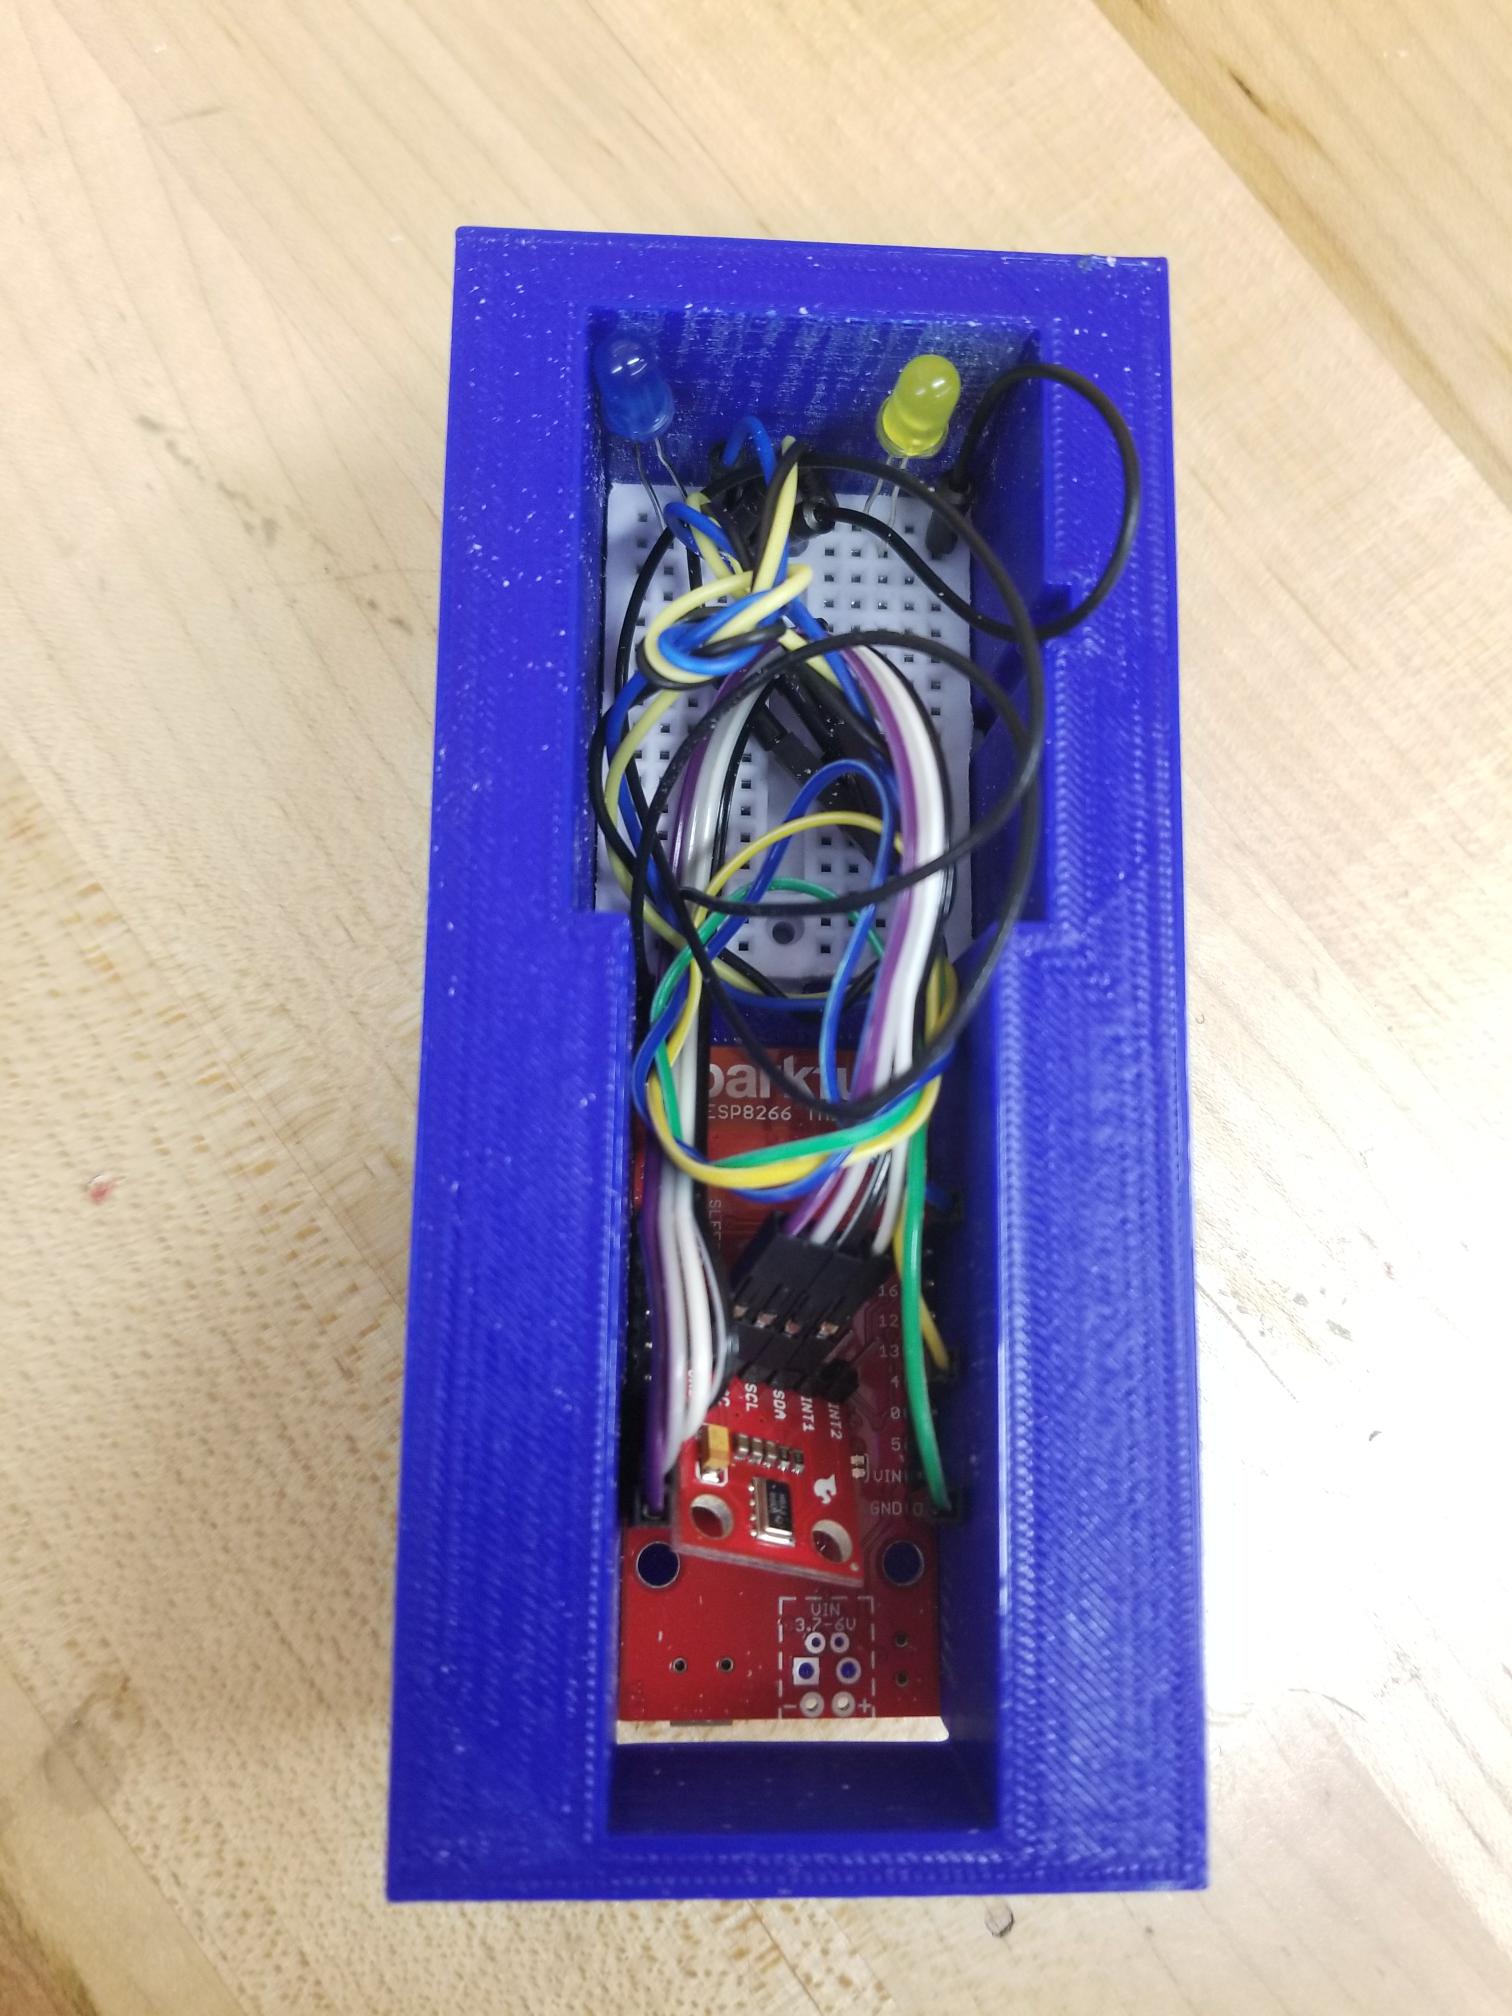
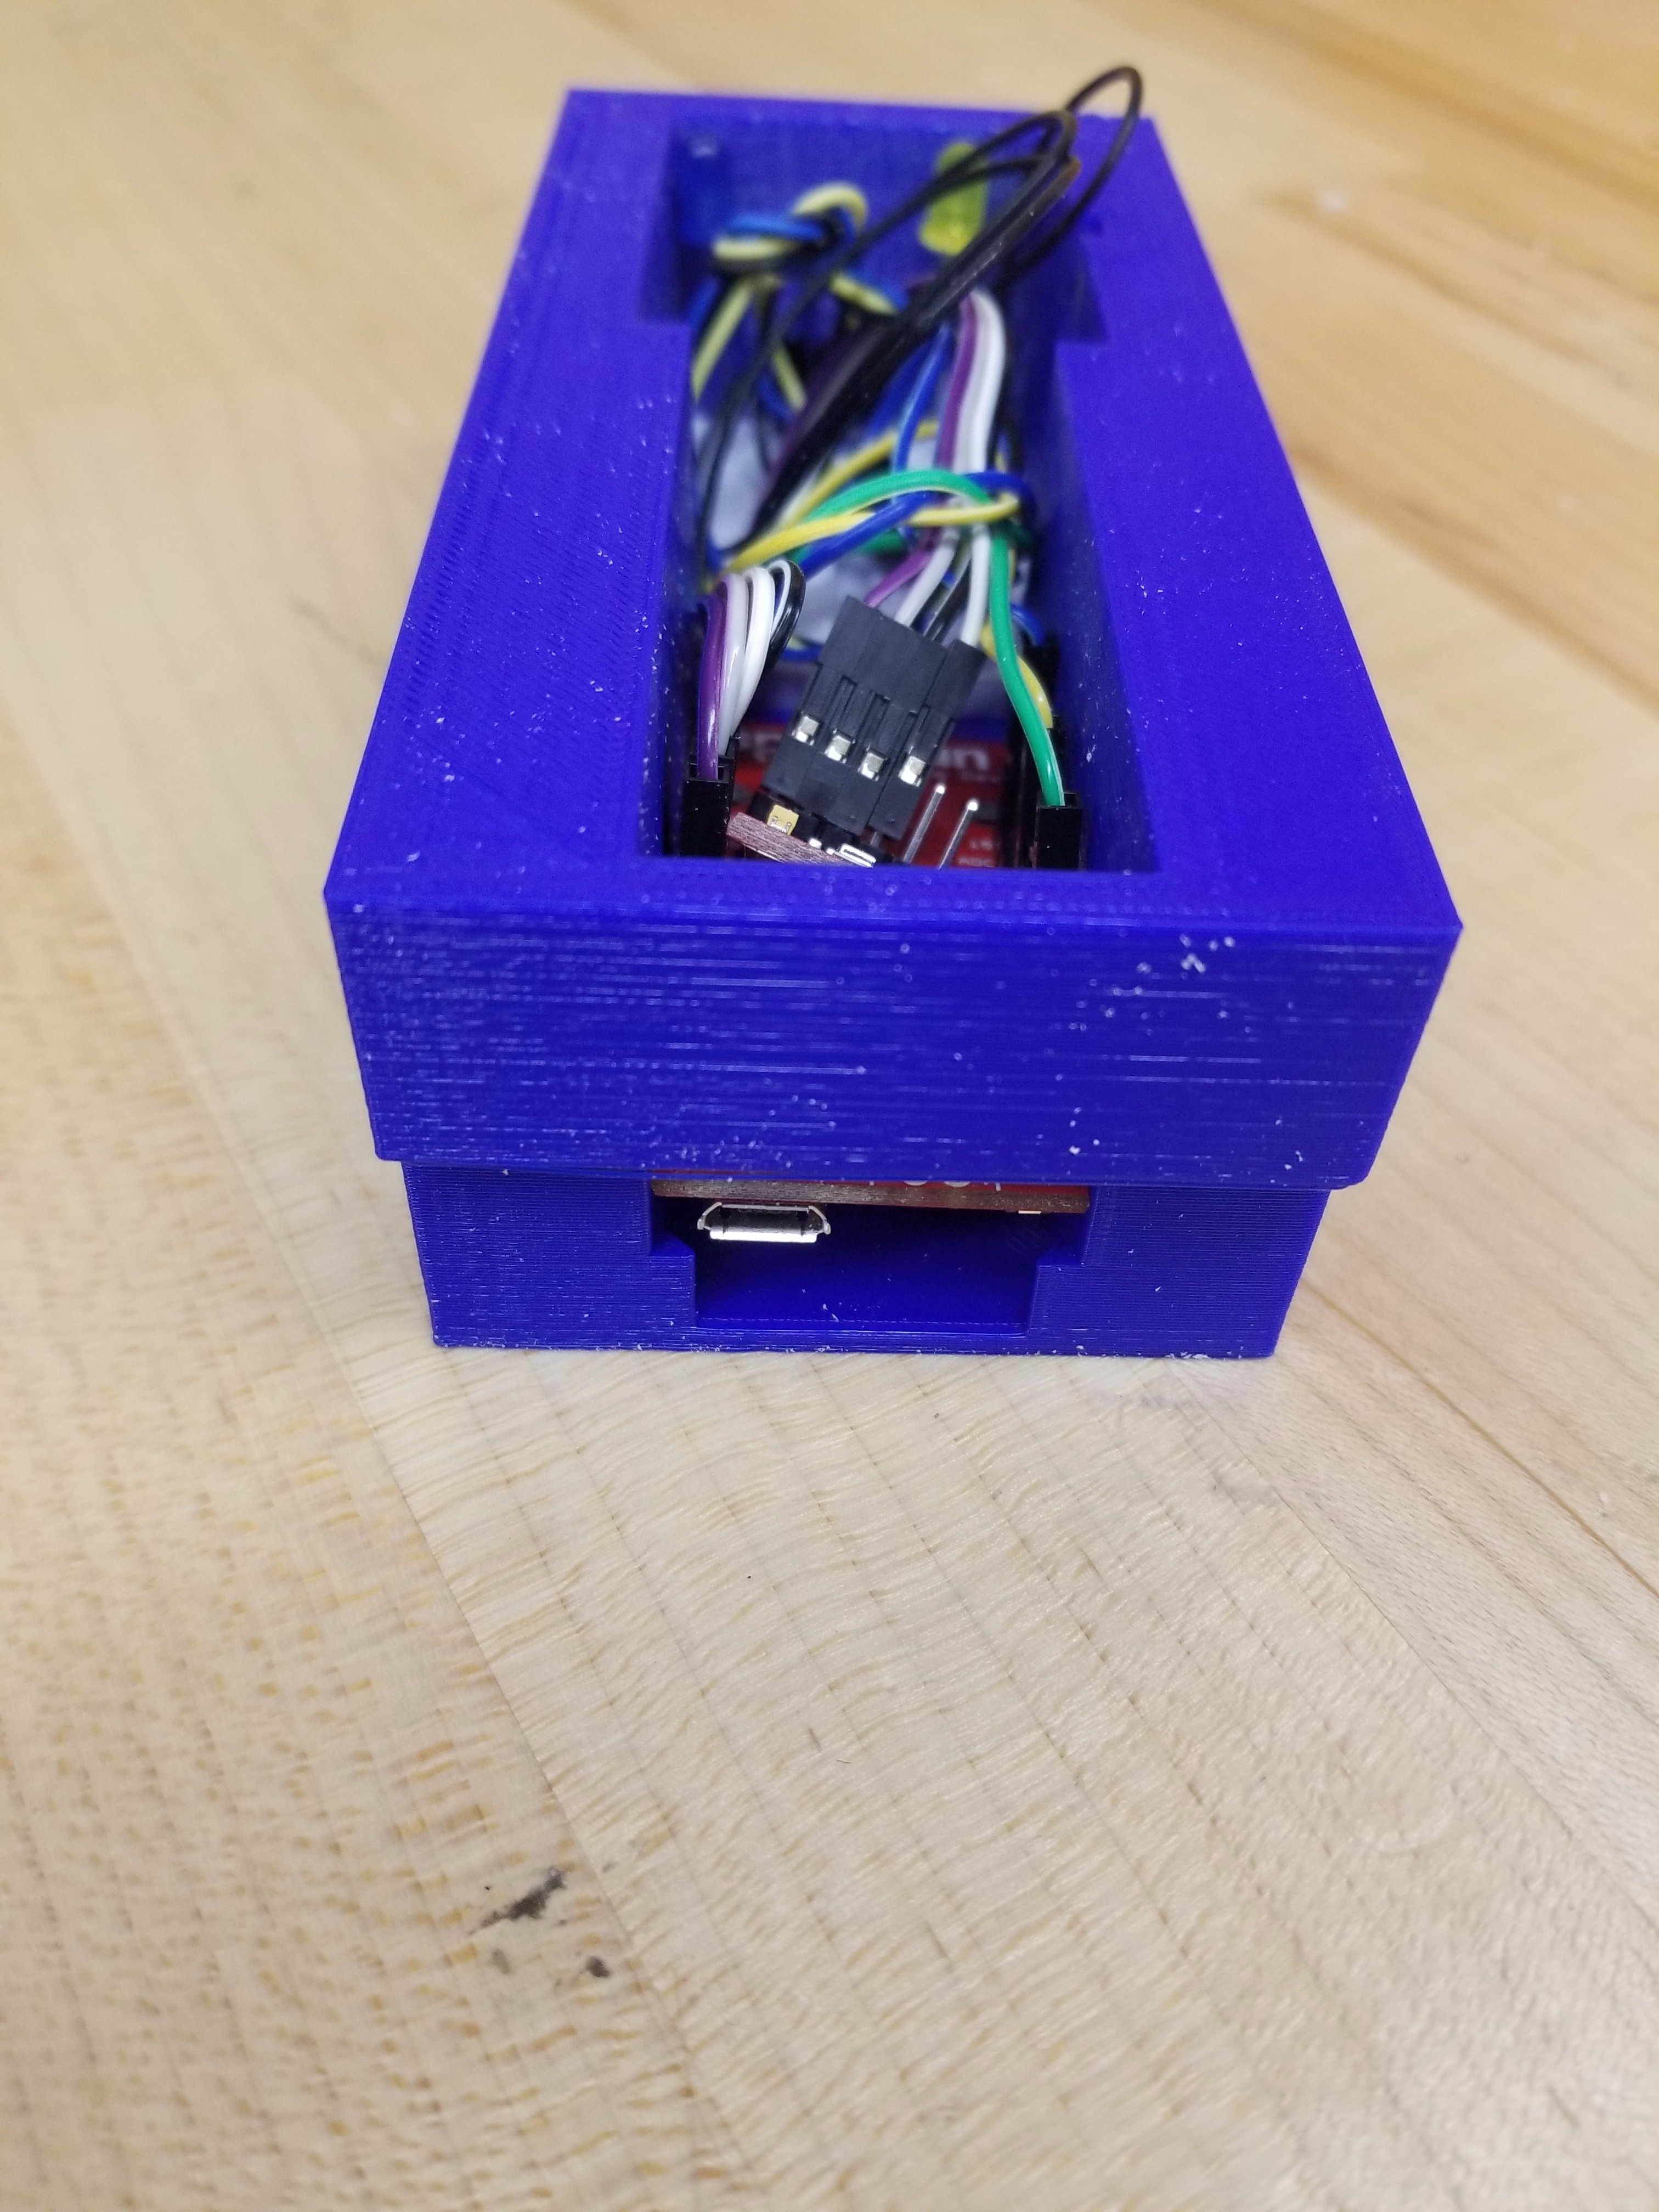
If you wish to mount this device, it may be preferable to customize your container. The best way to do this is to utilize 3-D printing. This will call upon your CAD skills in order to create a best-fit container for your device.
Our 3-D printed container is shown above. Notice it allows for a slot where the USB port can be connected to a power source (such as a computer or battery pack). The rest of the design depends on the size of your breadboard, microcontroller and sensor. Notice the components are tightly packed inside the unit. It may be difficult to configure your circuit after inserting your device in the container, so it is suggested you follow the configuration process in Step 2 (or at least before beginning this step).
Tweet With Your Device
You are now ready to interact with Twitter! Make sure your device is turned on and that you are using your ThingSpeak account to communicate via ThingTweets. If you wish your device to be mobile, connect it to a more portable source of power such as a battery pack. You will now be able to tweet data being read instantaneously from the sensors on your device!