Plywood Comic Book Corner Art - Laser Engraver Project - With Files
by danthemakerman in Workshop > Laser Cutting
2920 Views, 33 Favorites, 0 Comments
Plywood Comic Book Corner Art - Laser Engraver Project - With Files
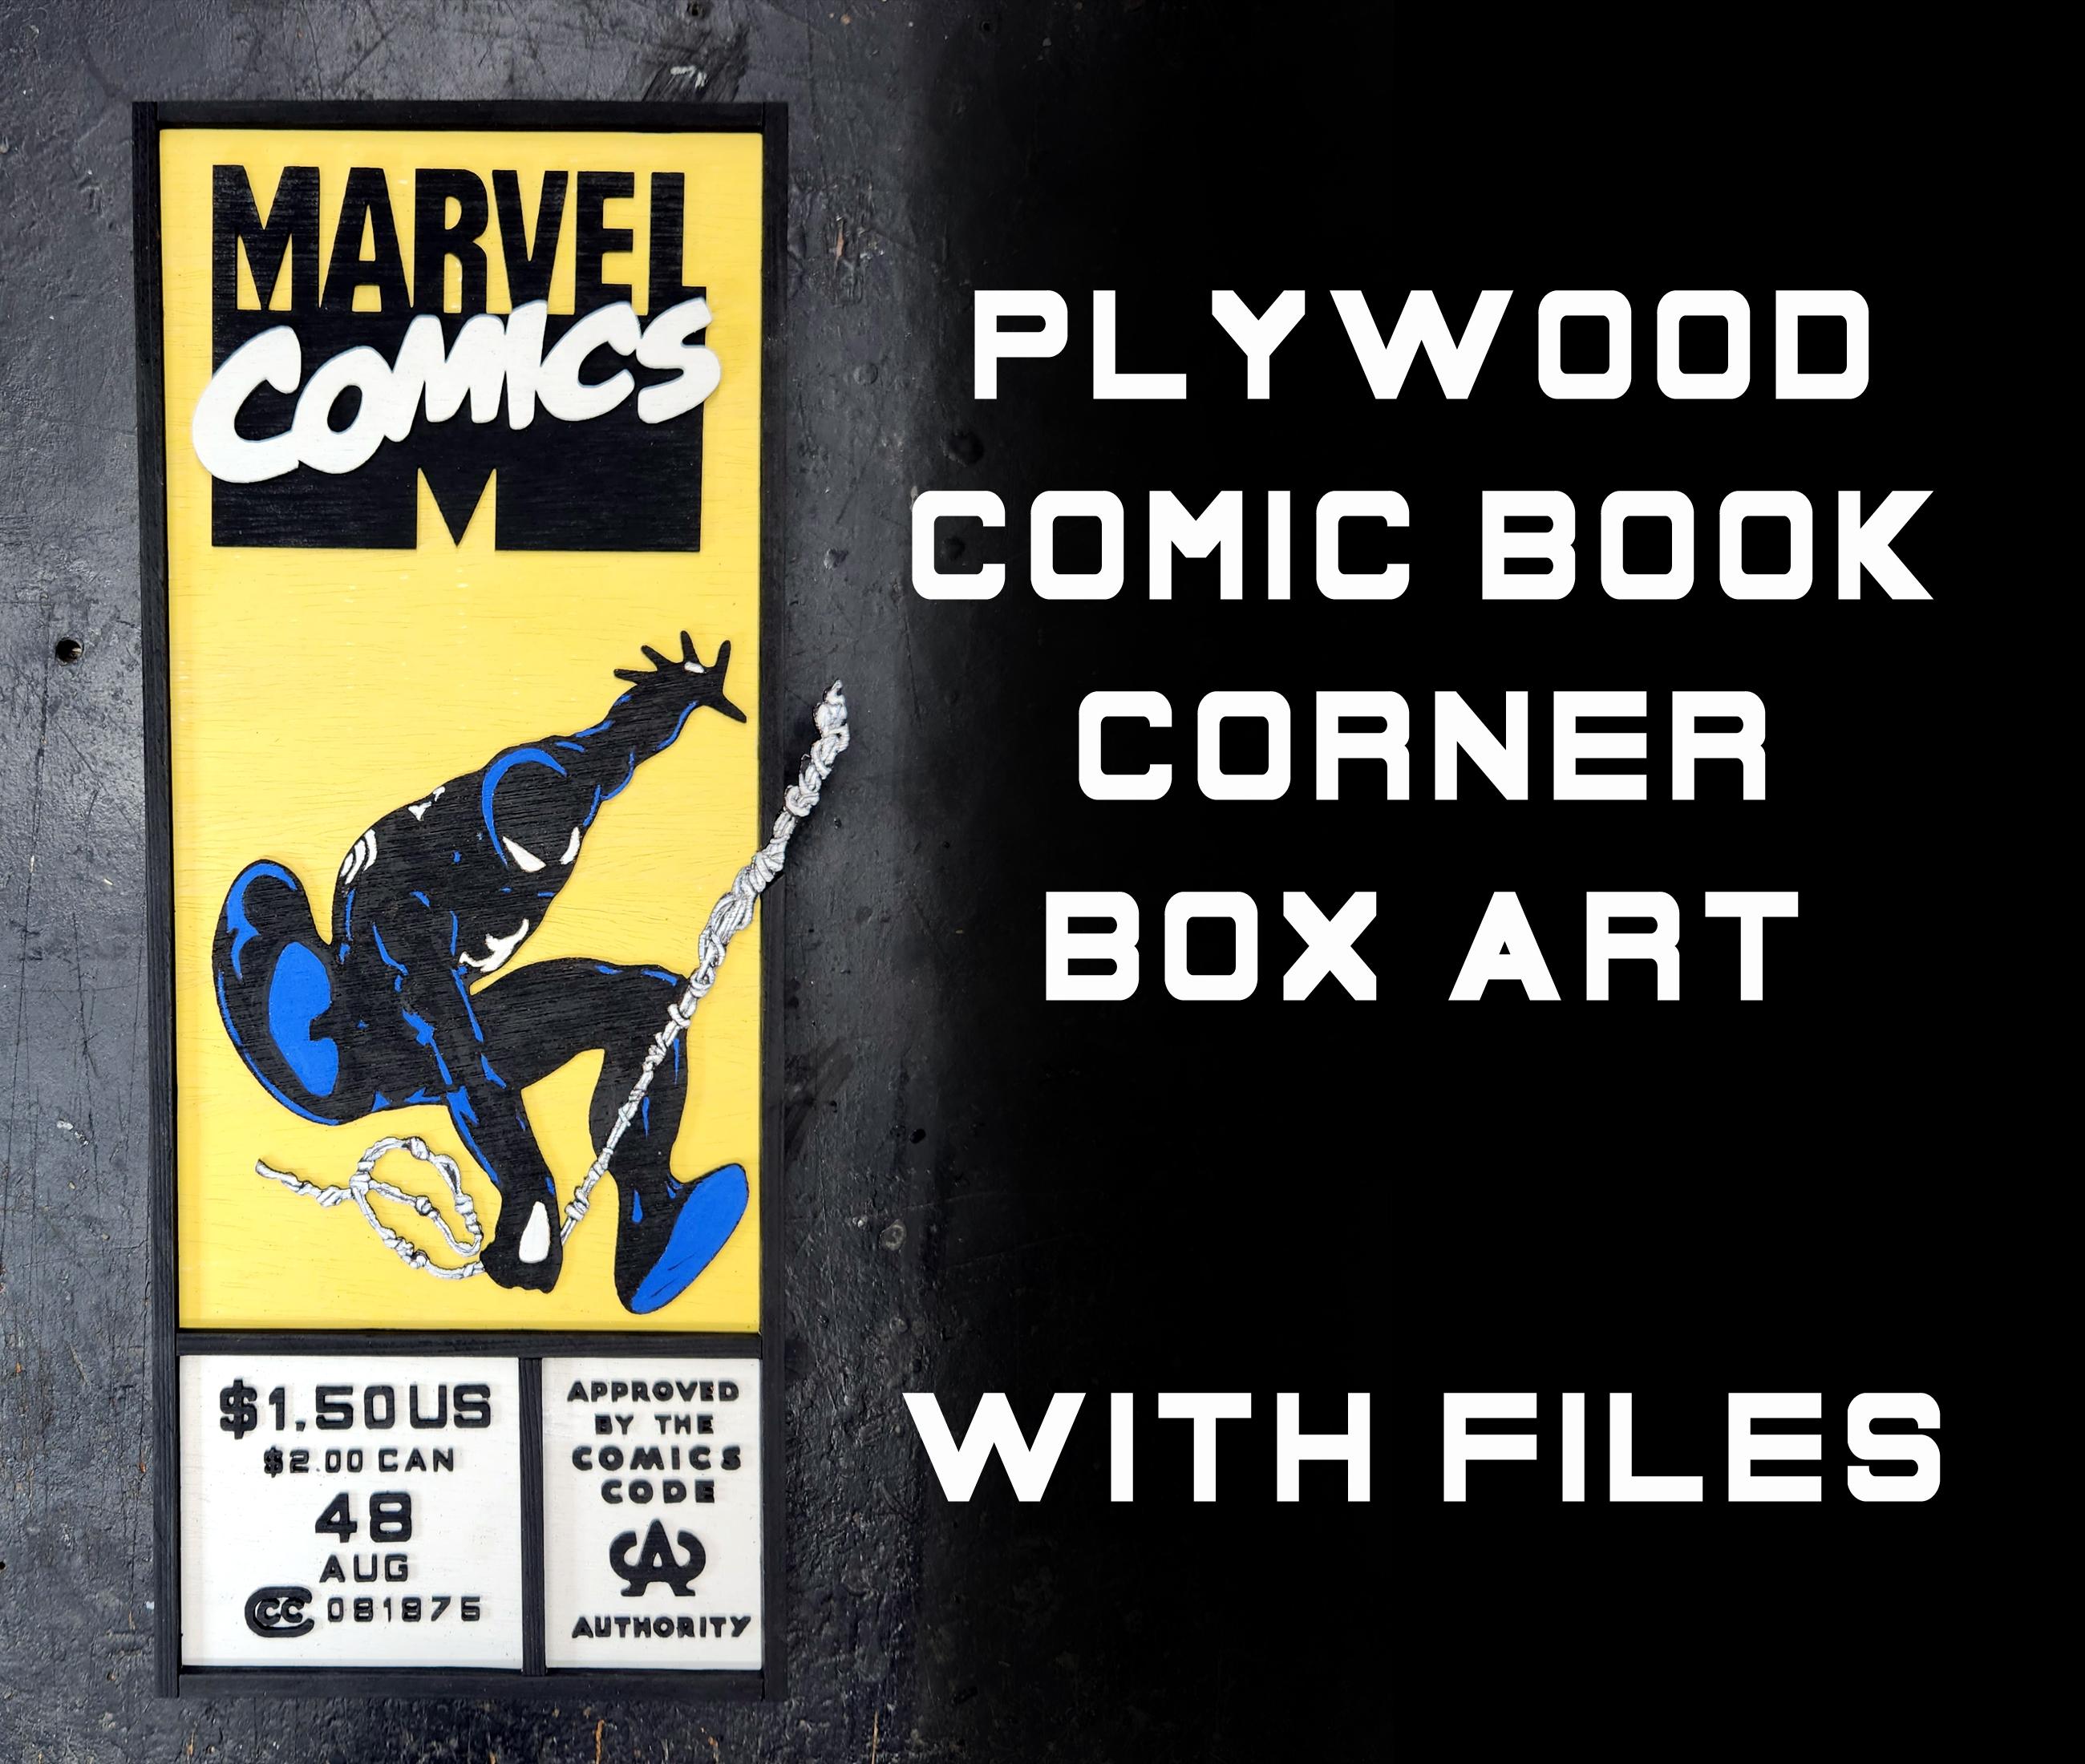
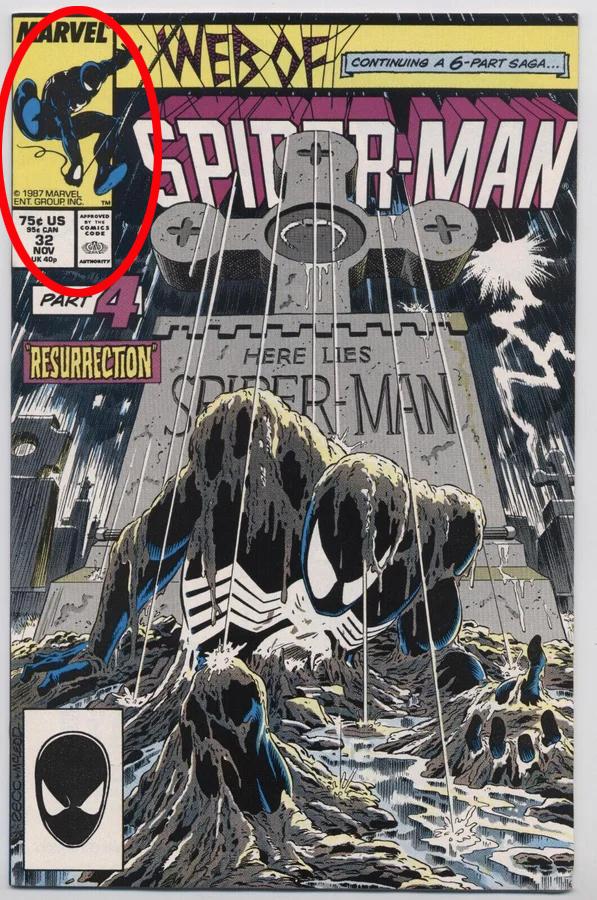
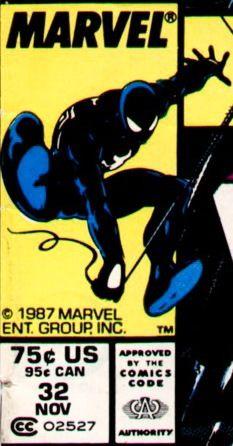
I think I should start by describing or explaining what a "comic book corner art box" is. Legendary comic book artist Steve Ditko lays claim to having come up with the idea of the corner box art on comic books for the Marvel comic book company. The box was usually in the top left corner of the comic book and would feature a small piece of art and sometimes other information about the comic book, like the price and or issue number. Because of the way comic books were displayed for sale, usually stacked one in front of the other, only the top part of the cover was visible unless your book was in the top front. Since the very top part of the book was visible Steve Ditko drew a small rectangular box and would include a drawing of the superhero that the story pertained to for that book. So even though you couldn't see most of the cover you could easily see at a glance that the comic book was about Spider-man because of the small drawing in the corner box. As the years went on more artist contributed to the corner box art and experimented with how creative they could get in such a small piece of real estate. I always enjoyed the different corner boxes and thought it would be really cool to make an enlarged version out of wood. I cannot take credit for coming up with the idea though because there is a gentleman who has been making these way before I ever attempted it. He goes by @dad_crafted on Instagram, and Dadcrafted's Profile - Instructables on Instructables. He does some amazing work I highly suggest checking him out. He inspired me to try and make my own.
I bought a laser engraver a few months ago, so I am fairly new to this hobby. With that said I will do my best to try and show my process for creating these corner boxes.
Supplies
Laser Engraver/Cutter (I bought the 2nd cheapest one on the market at the time and it works really well)
Photoshop (I use a really old version of Photoshop but it still works and its free) and Inkscape software
Flash Drive
3mm plywood
1/4-inch plywood
1/4-inch by 1/4-inch square dowels
Utility Knife
Ruler or straight edge
Tape Measure
Flush cut saw, hack saw or fine tooth saw
Pencil
Sandpaper
Masking Tape
White Paint Primer
Acrylic Paints various colors
Brushes
Water
Yellow Spray Paint
Black Spray Paint
White Spray Paint
Super Glue
Tweezers
Xacto Knife
Acetone
Finding a Reference
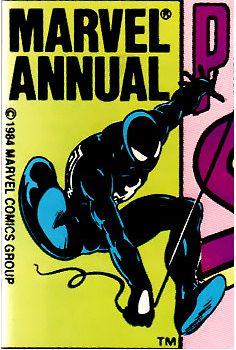
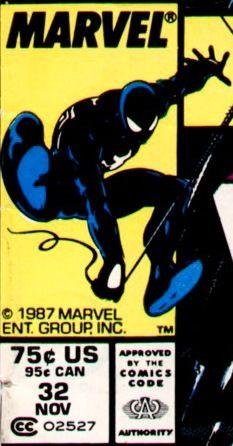
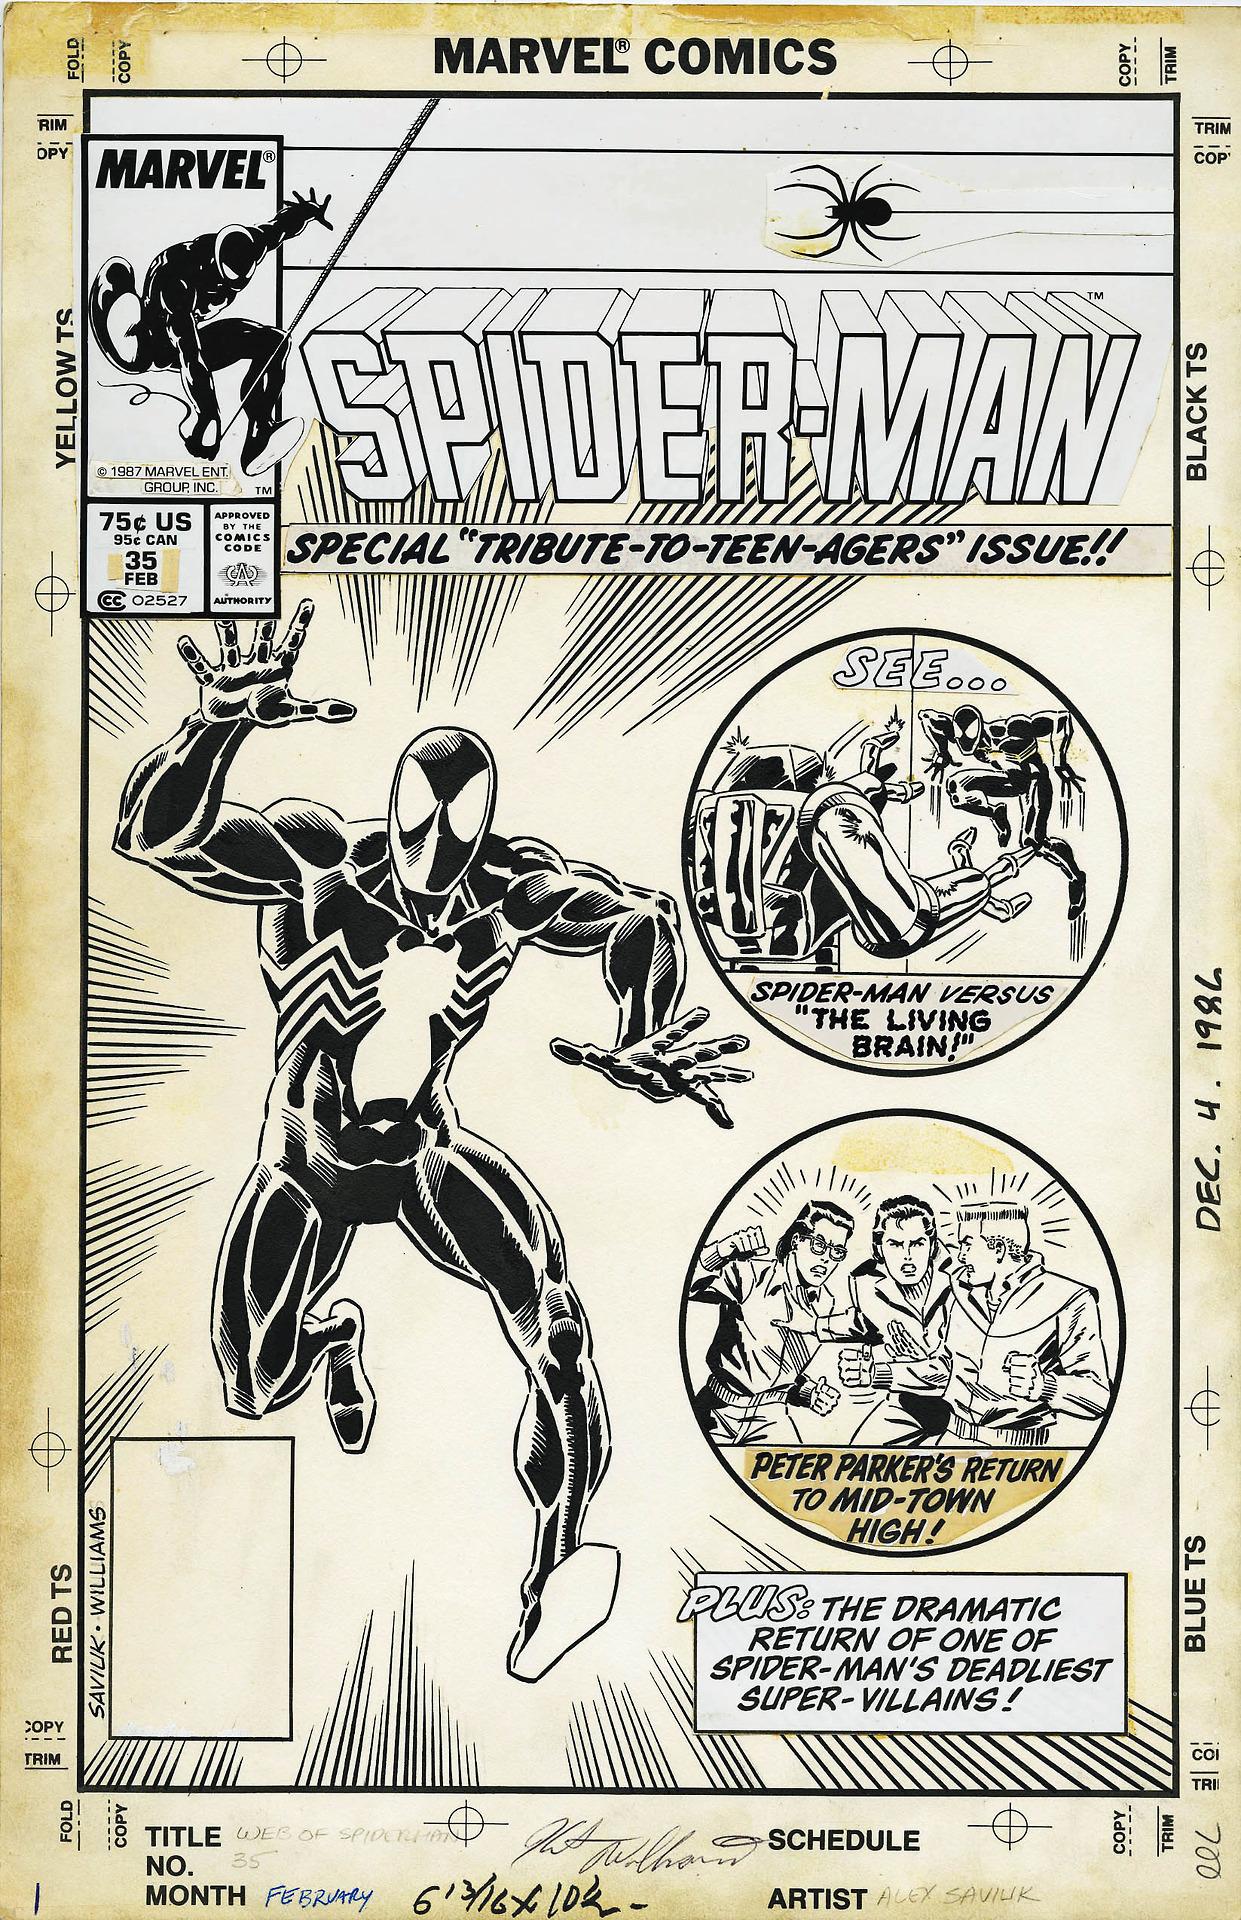
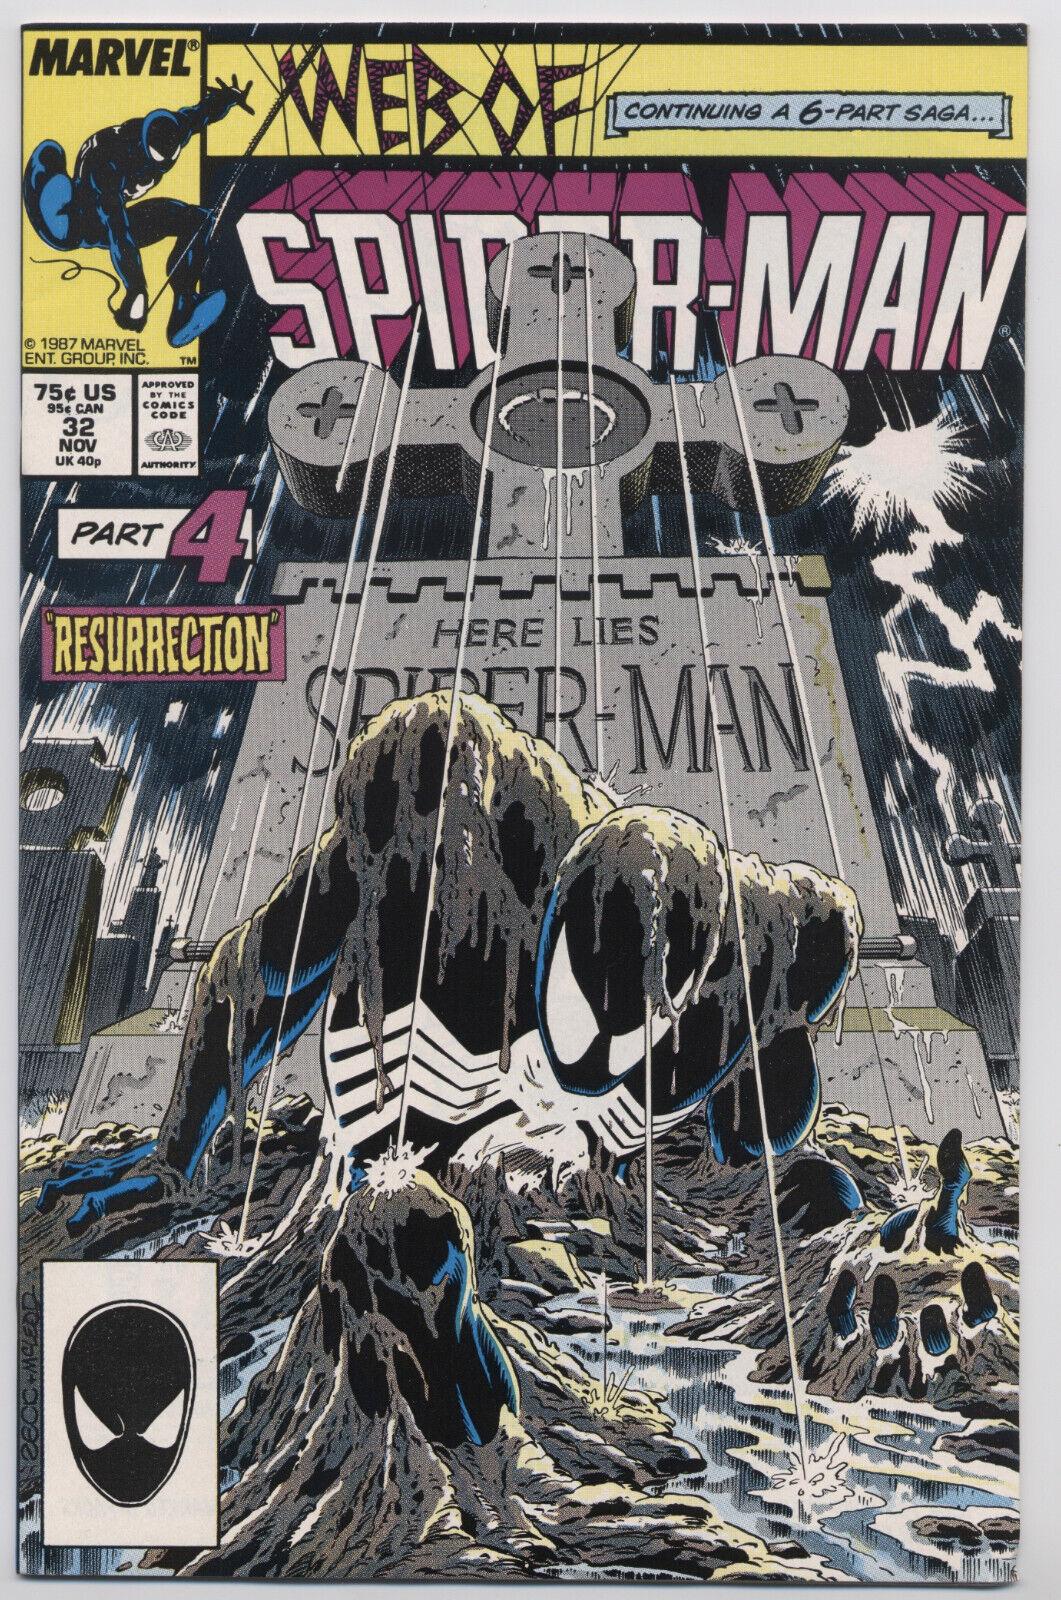
**I will provide all the jpeg files below for this particular corner box in case you have a laser and want to make this but don't know how to use or have Photoshop.
The first step is finding a good reference image on the internet. I start off doing an image search in Google, I make sure to filter by "large" to try and get the best image I can find. I also search Pinterest. I have had decent luck finding good images on Pinterest from time to time. Every now and then I get lucky and find a black and white version of the image I am looking for which helps a lot in terms of clean up and quality. You can use a color image, but it is more work to clean up in Photoshop so ideally a black and white image is preferrable. Once I find a good image I right click and save it to my PC.
Image Cleanup
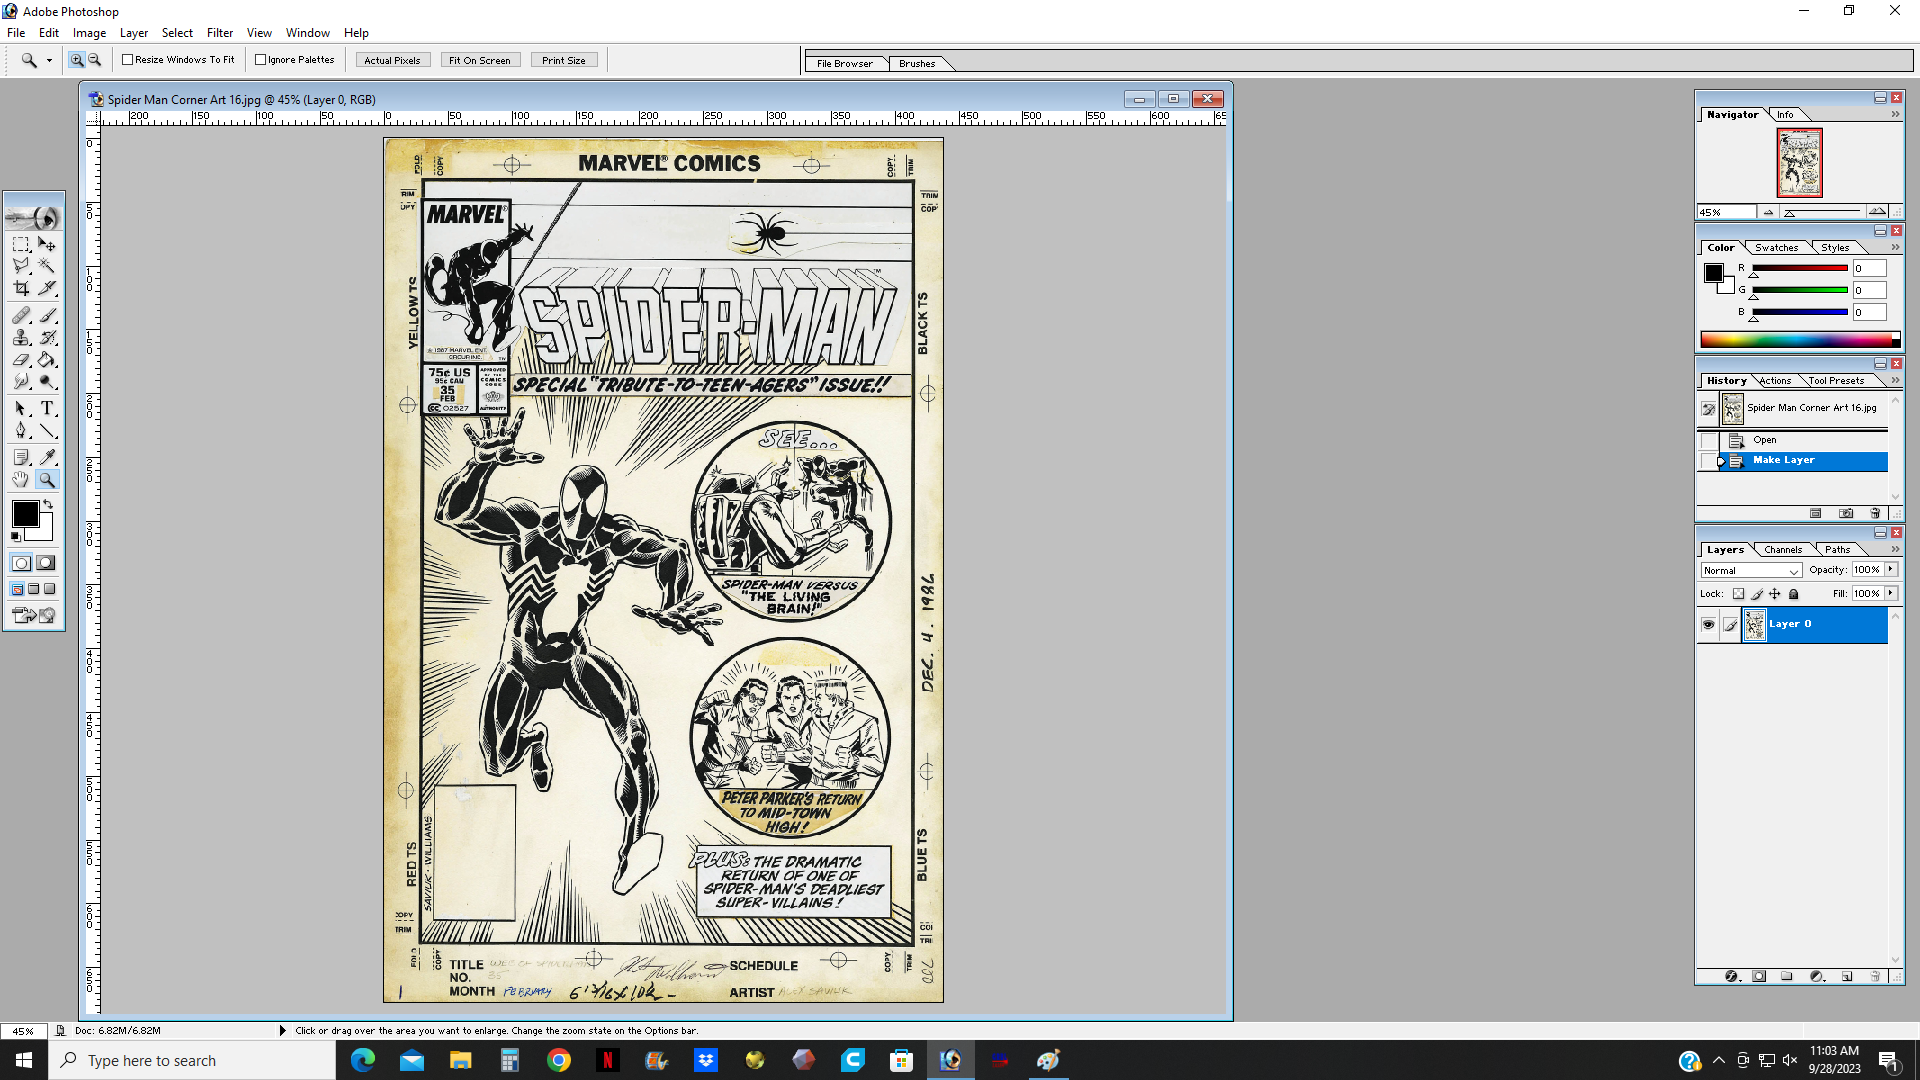
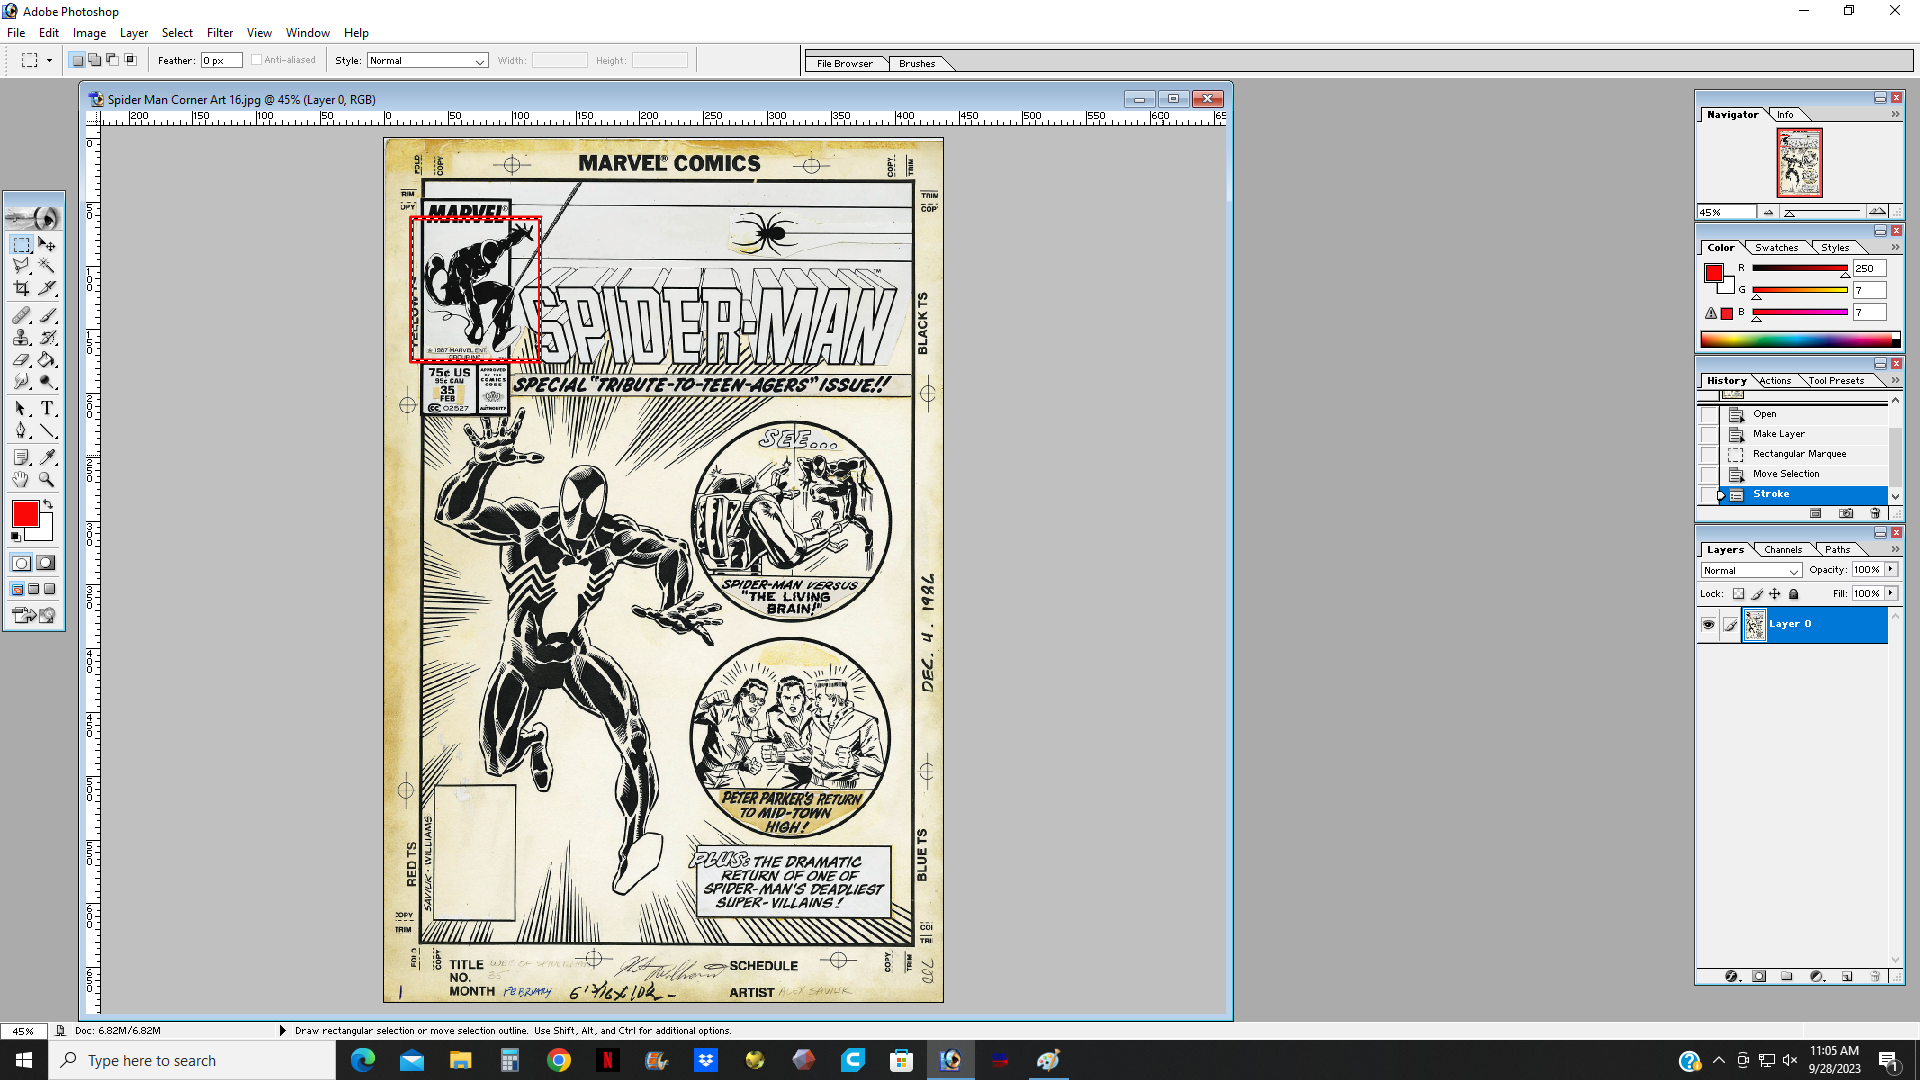
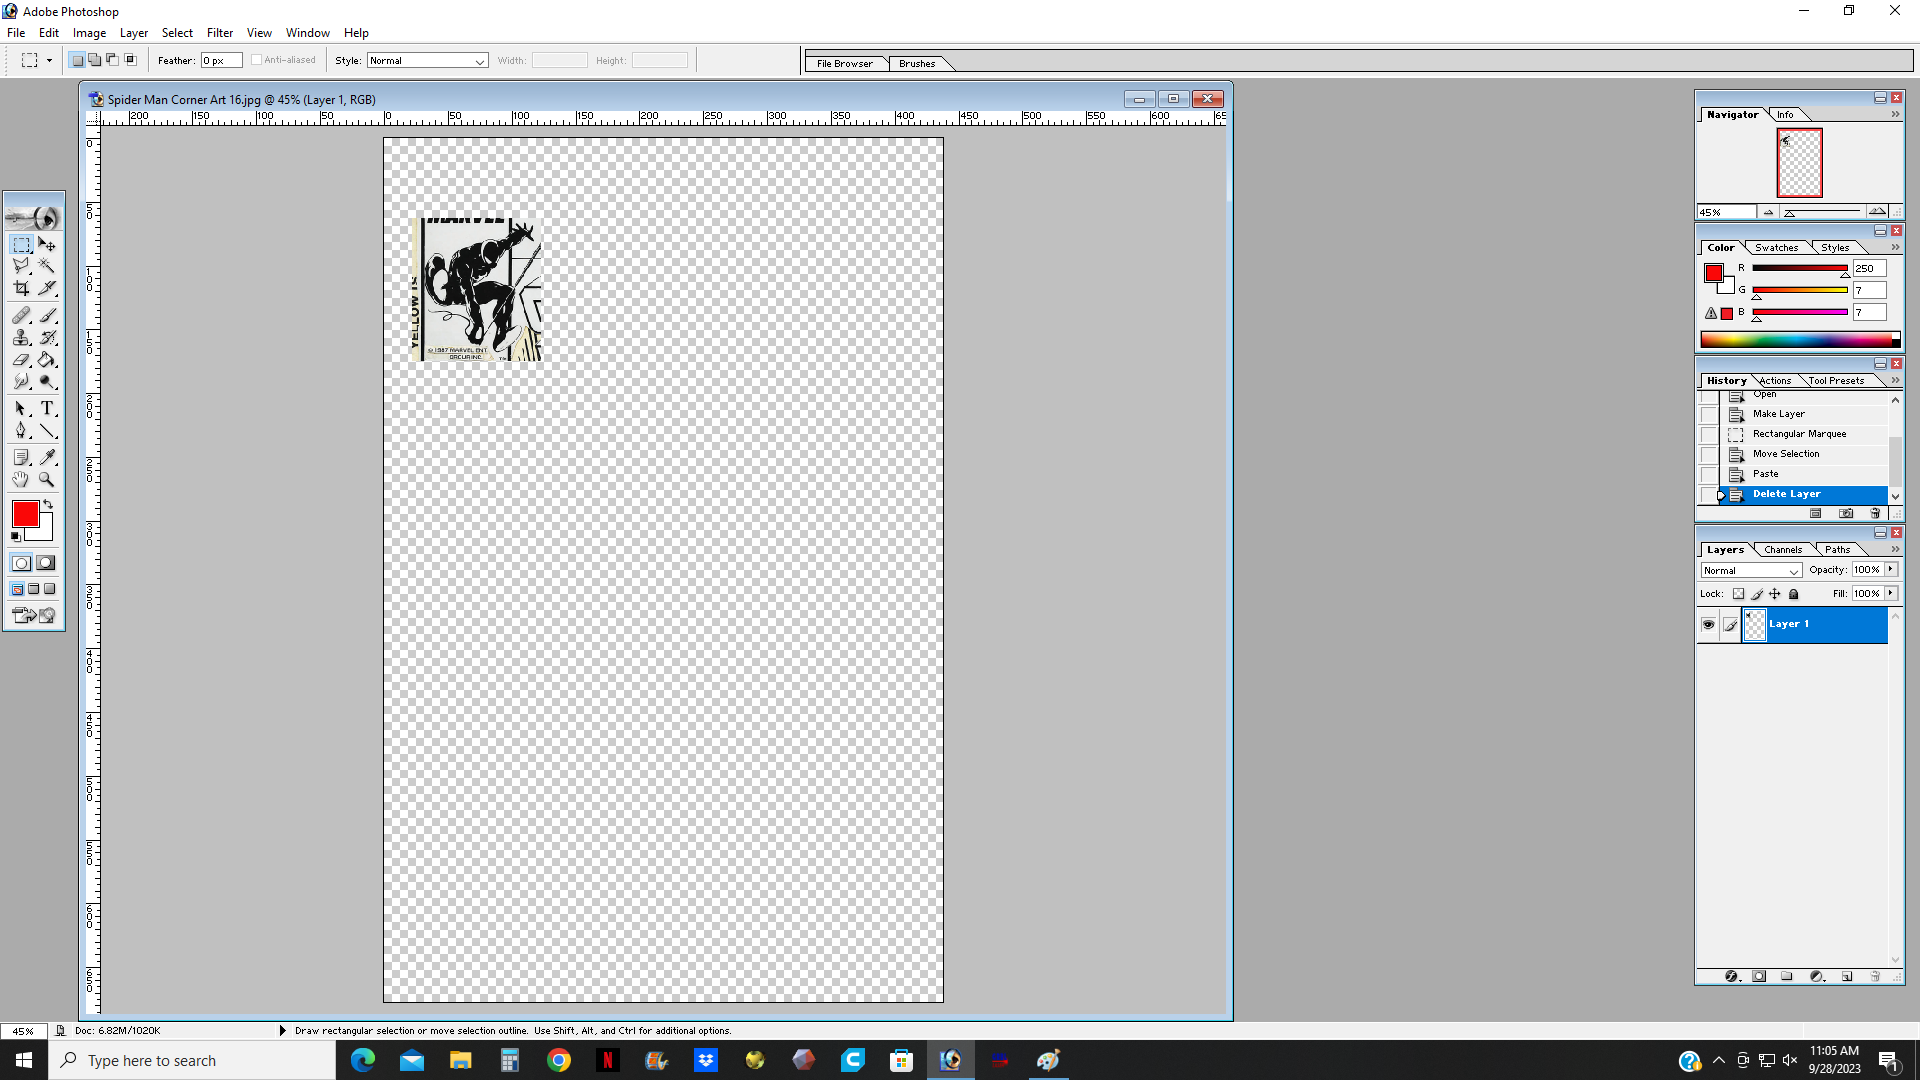
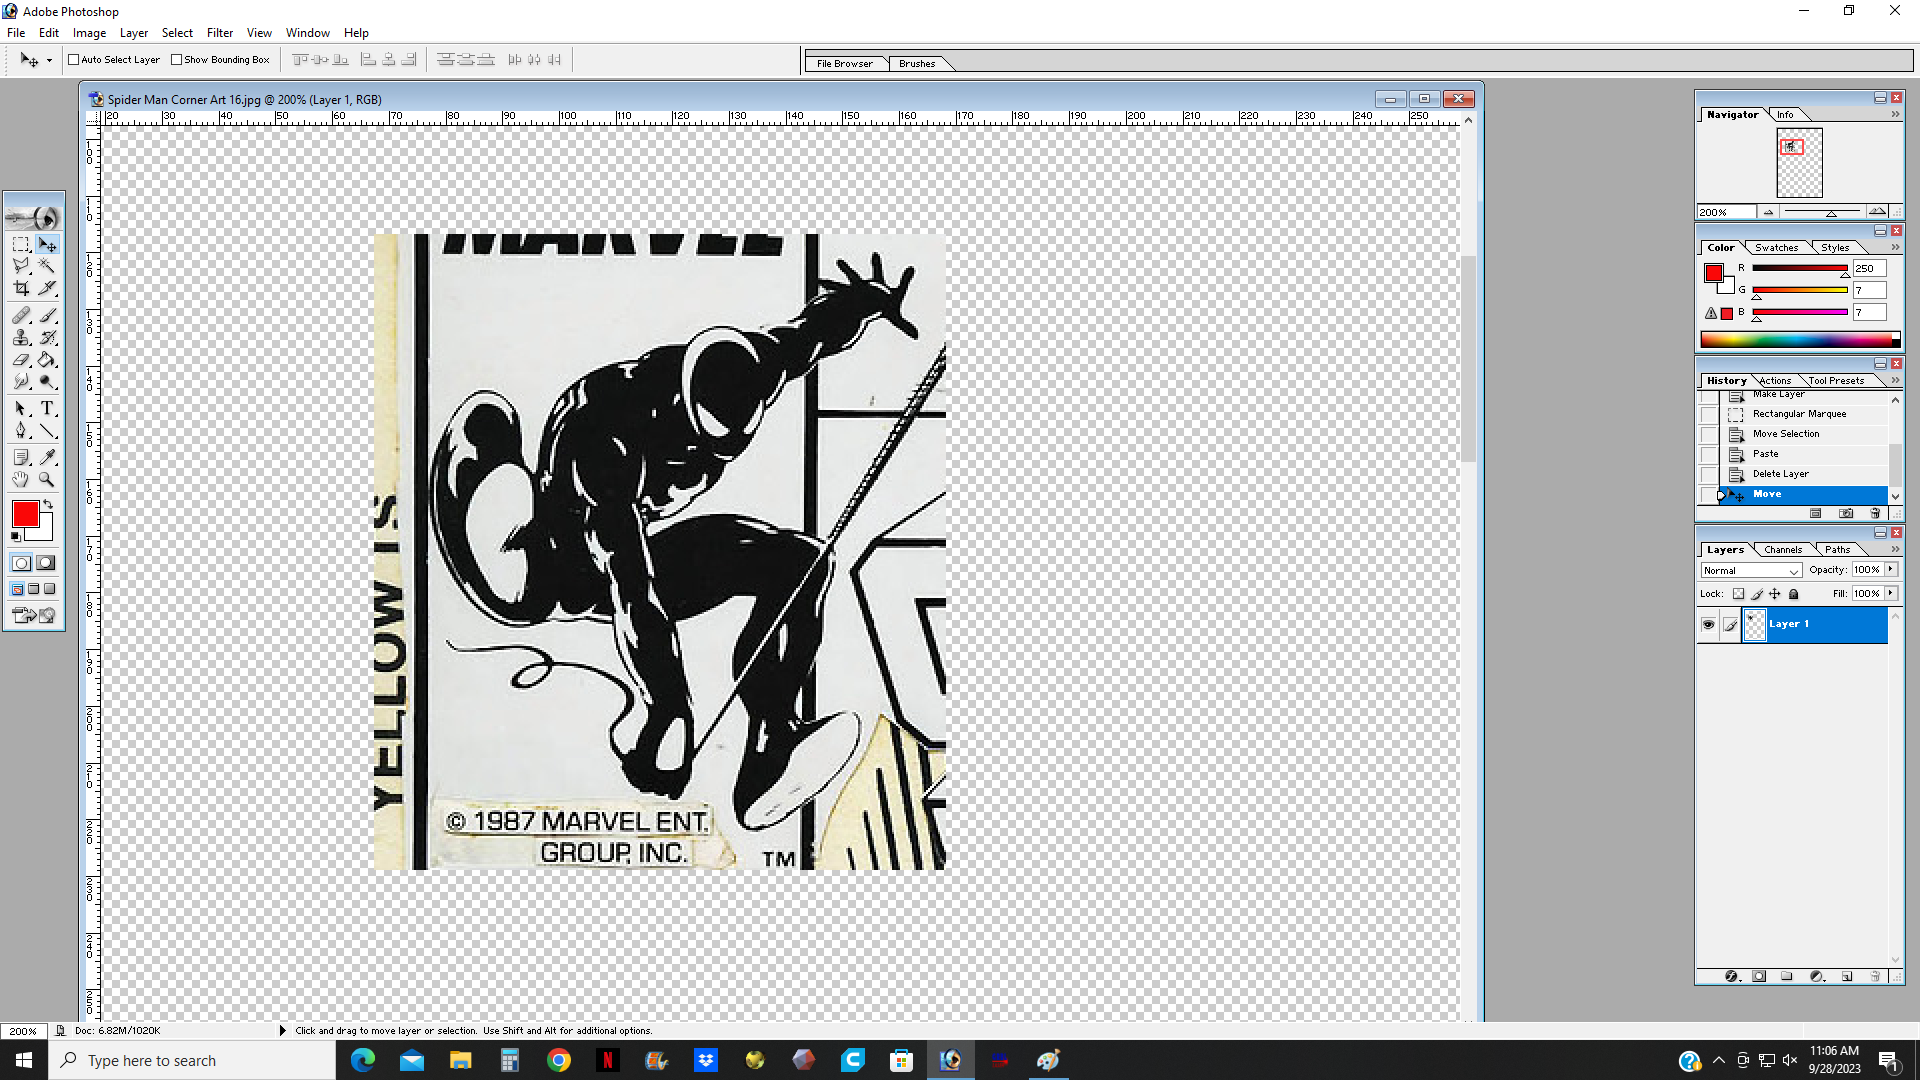
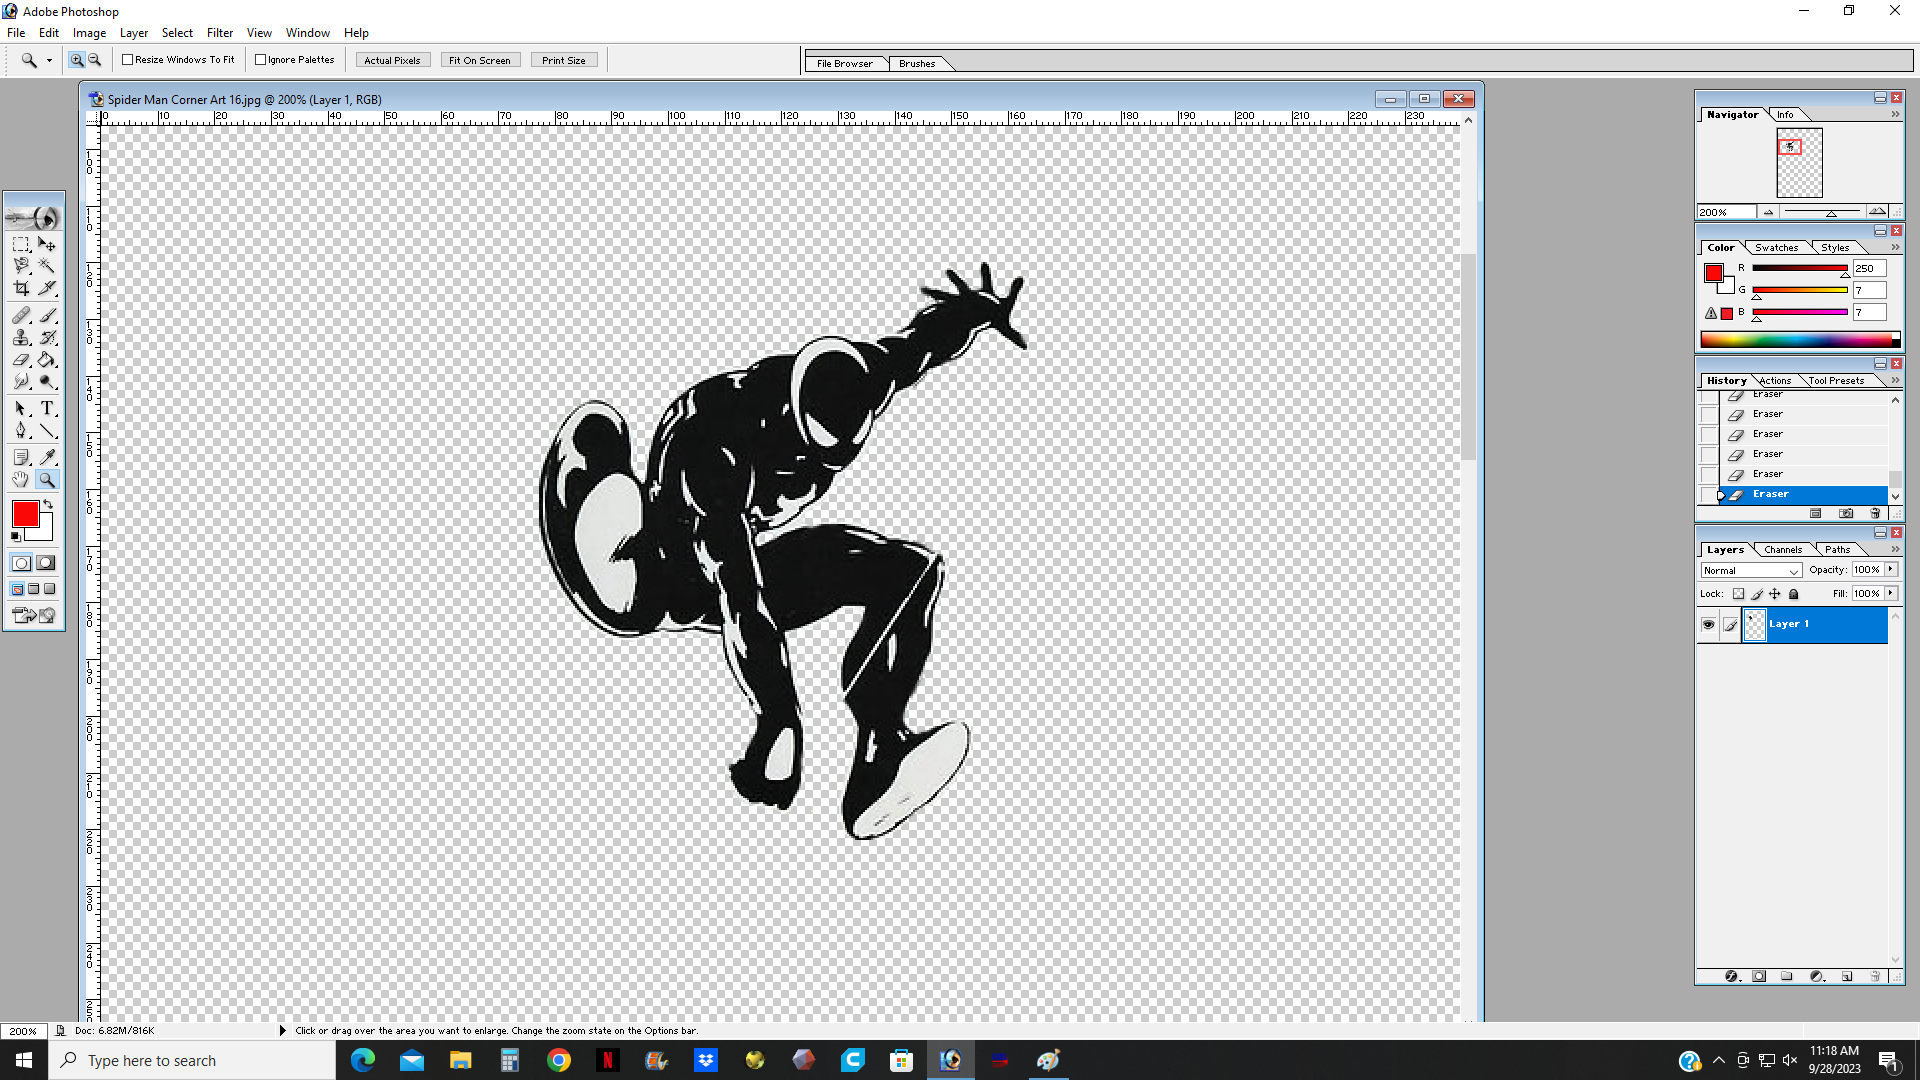
Next, I open up the image in Photoshop and delete everything that I don't plan on using. I isolate the image as much as possible and use the eraser tool to clean up the image and get rid of any remaining artifacts I don't want. In the pics above you can see the progression. I also got rid of the web because I don't really like the simple style and my laser won't be able to cut that thin of a line. I save a copy of this as a jpeg.
Converting to a Vector
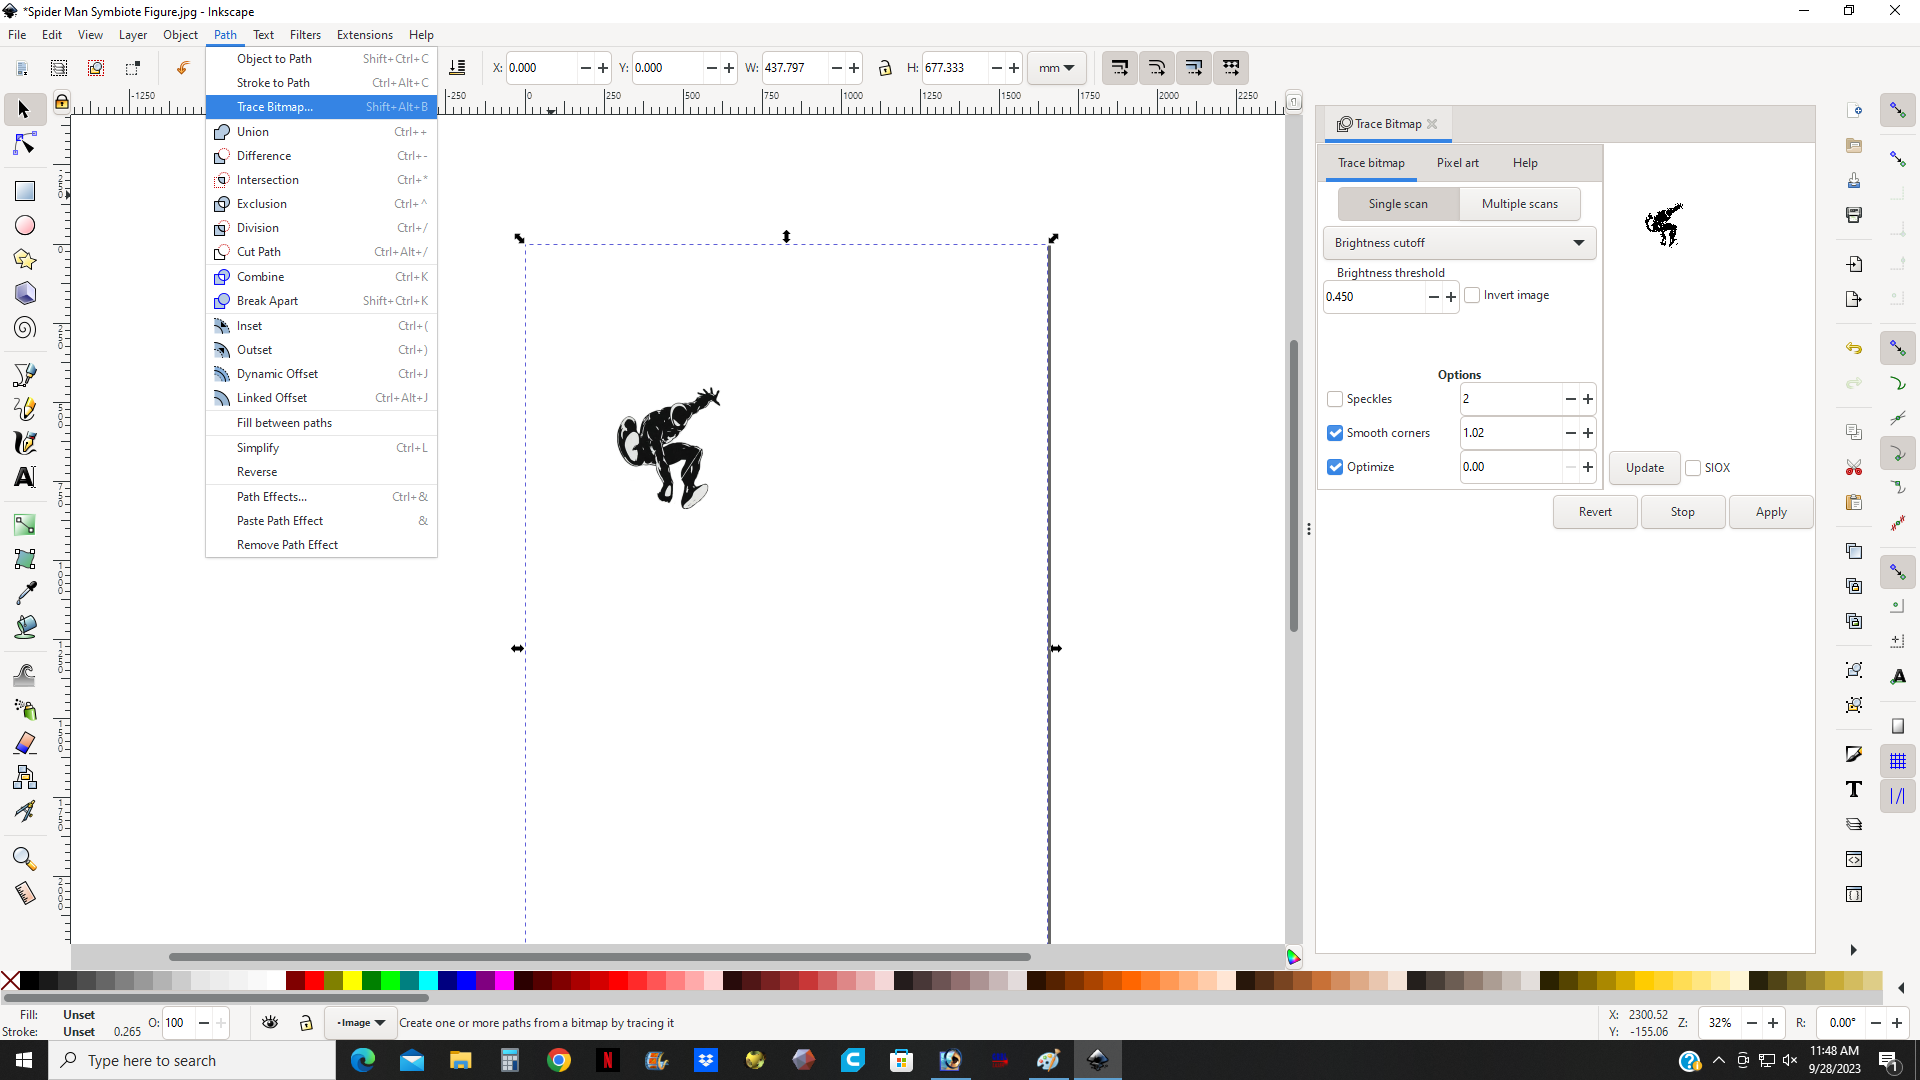
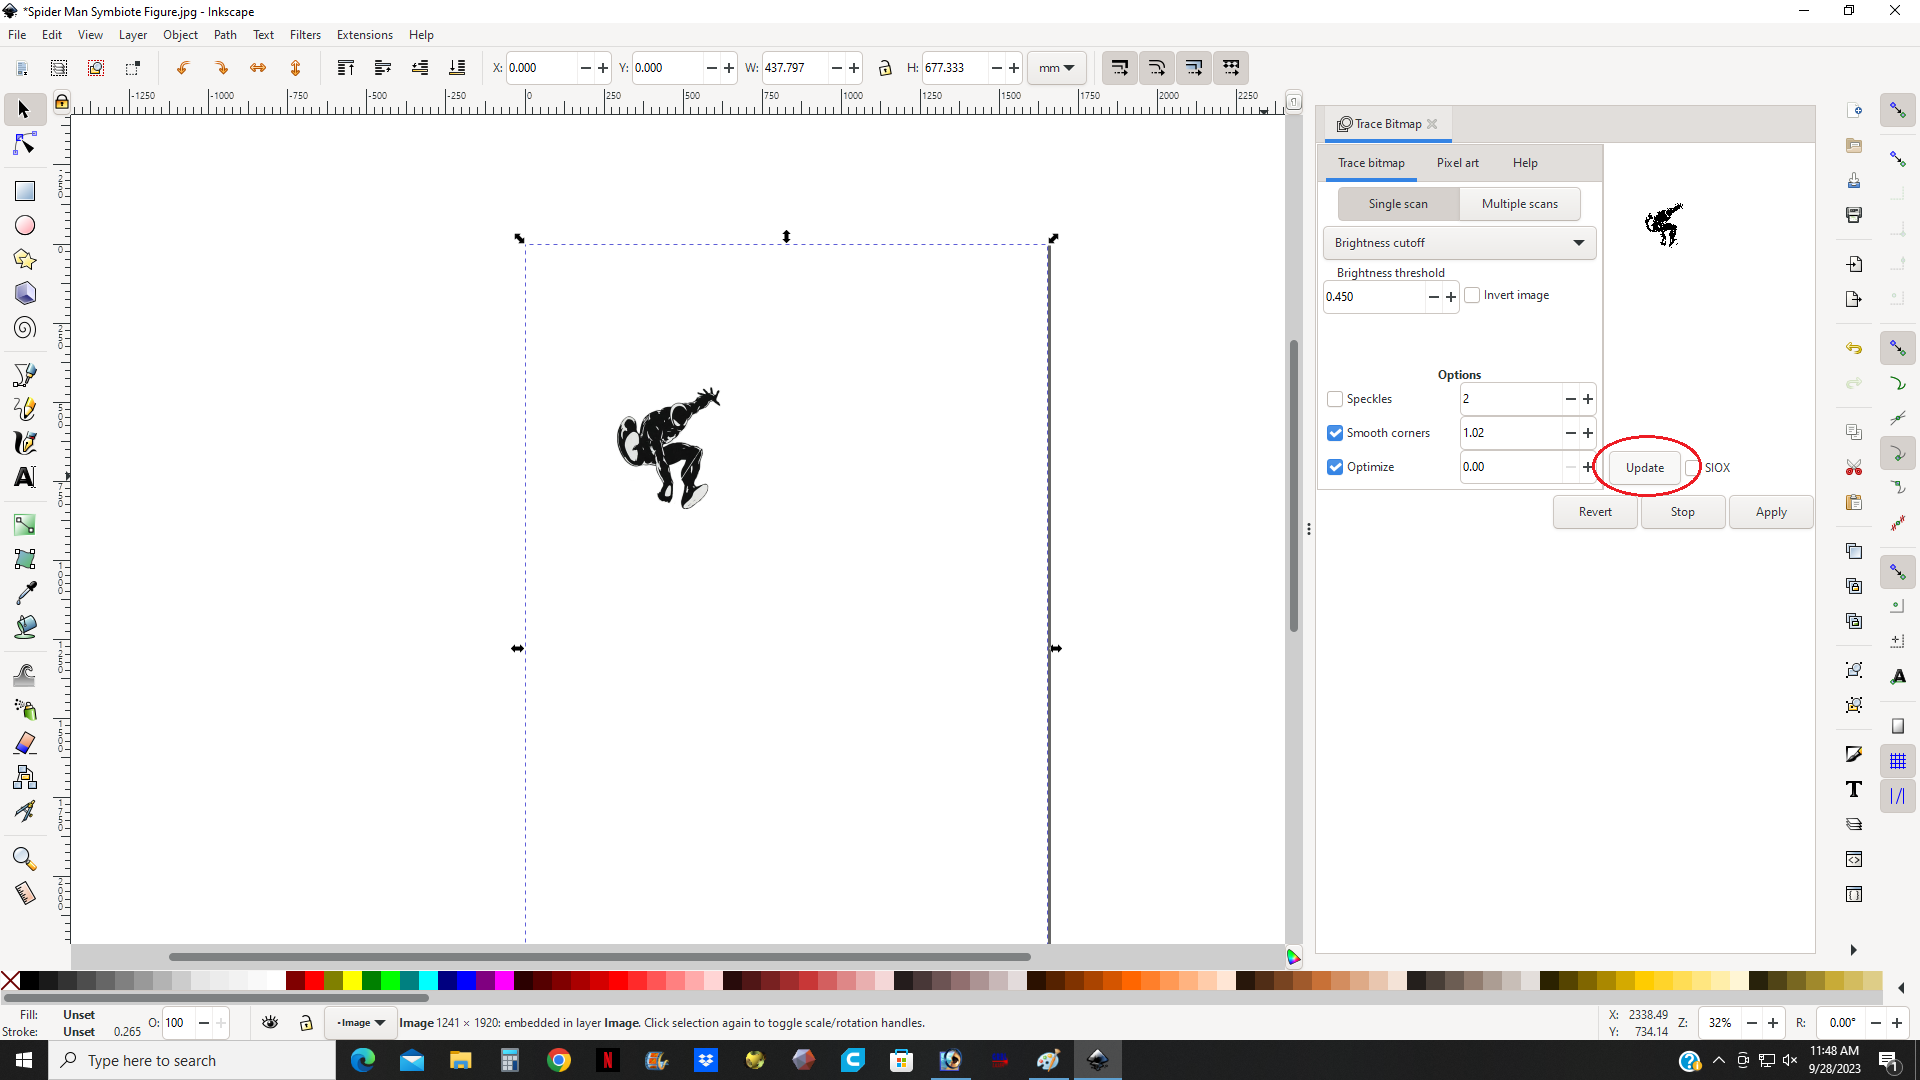
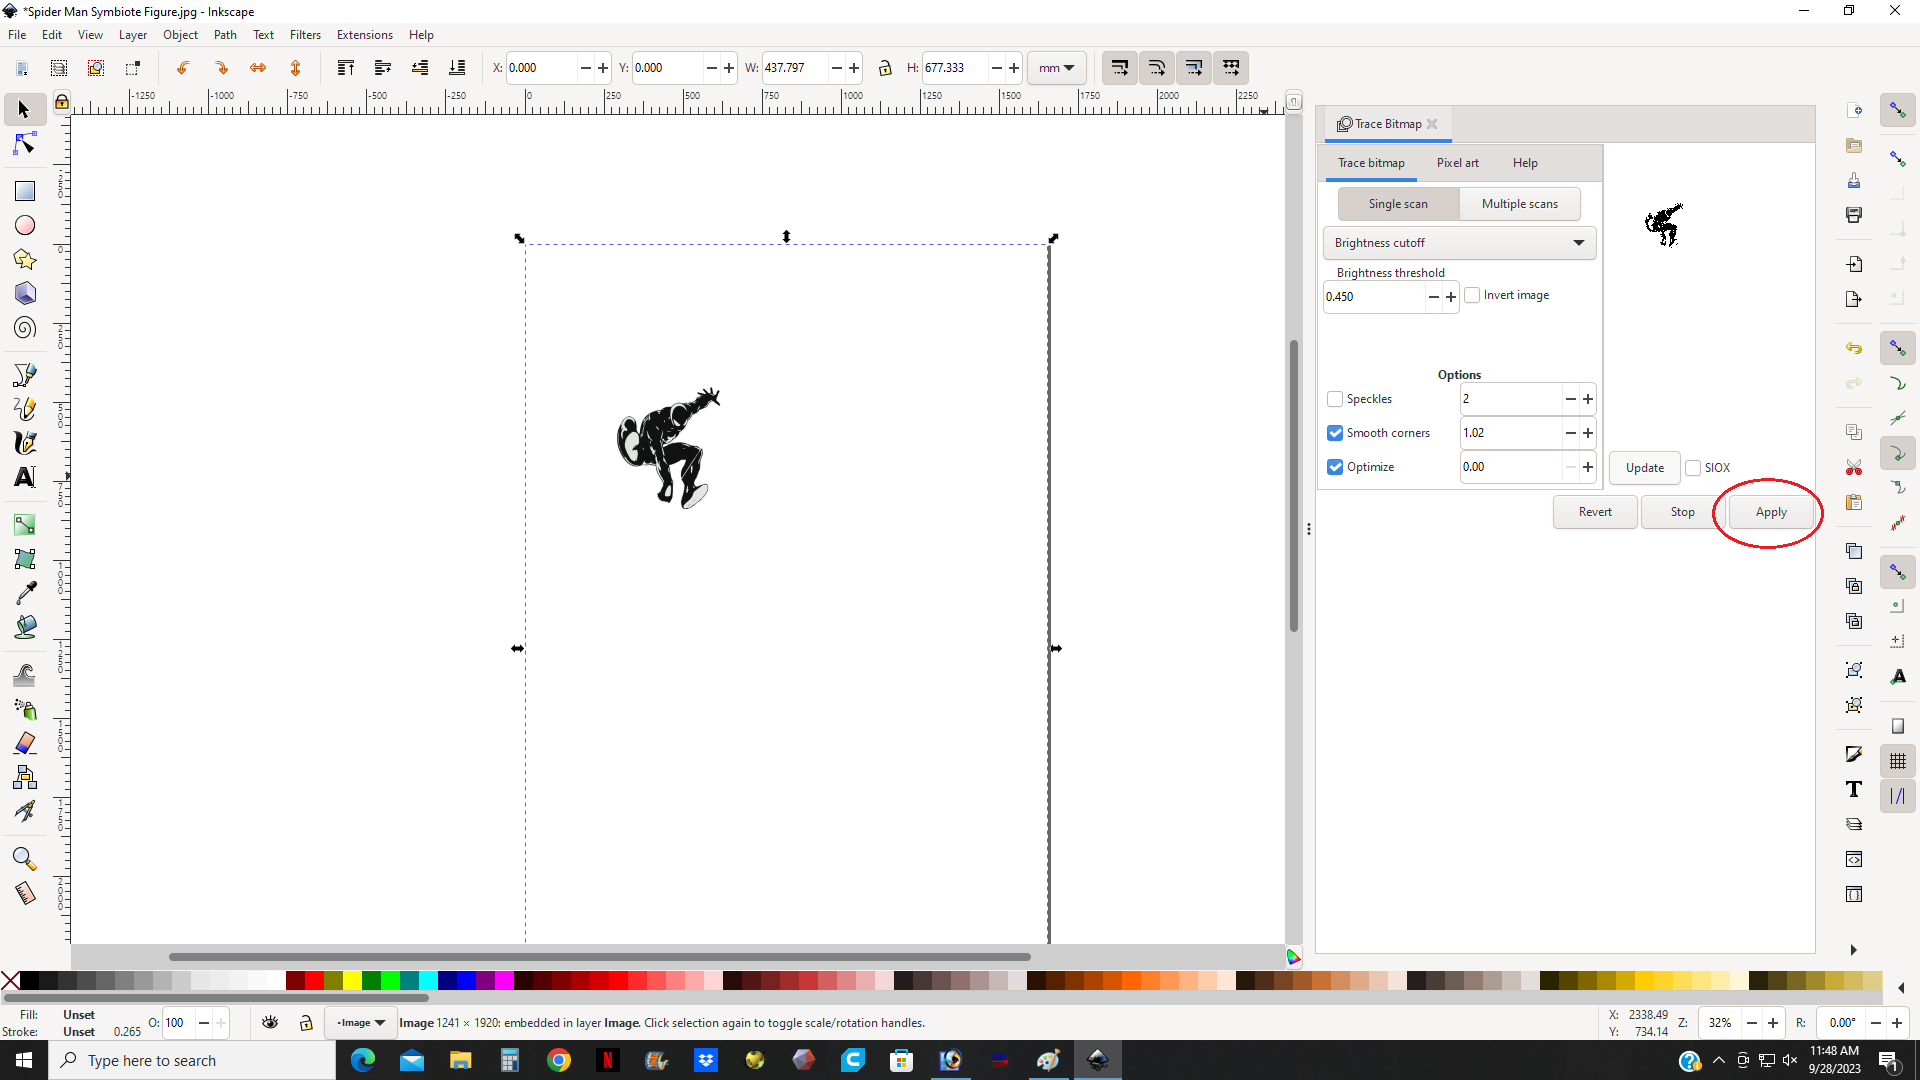
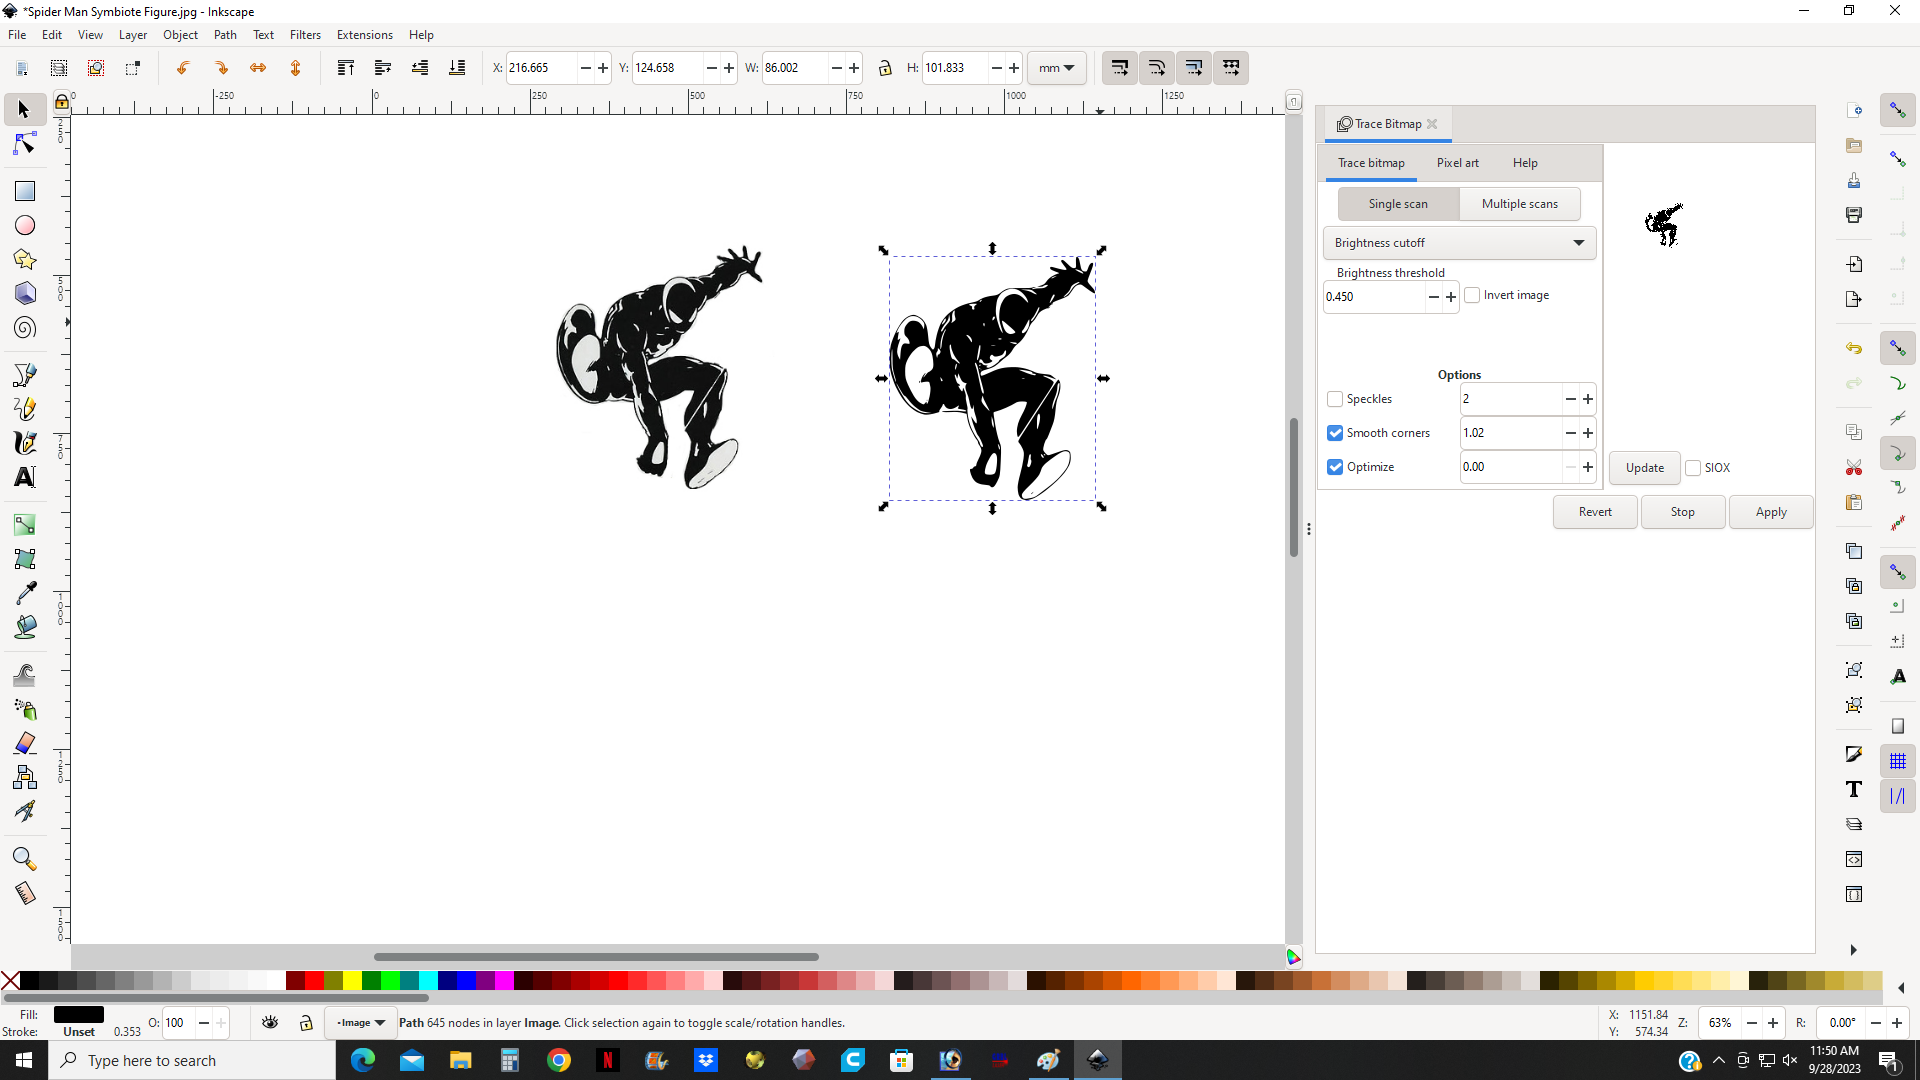
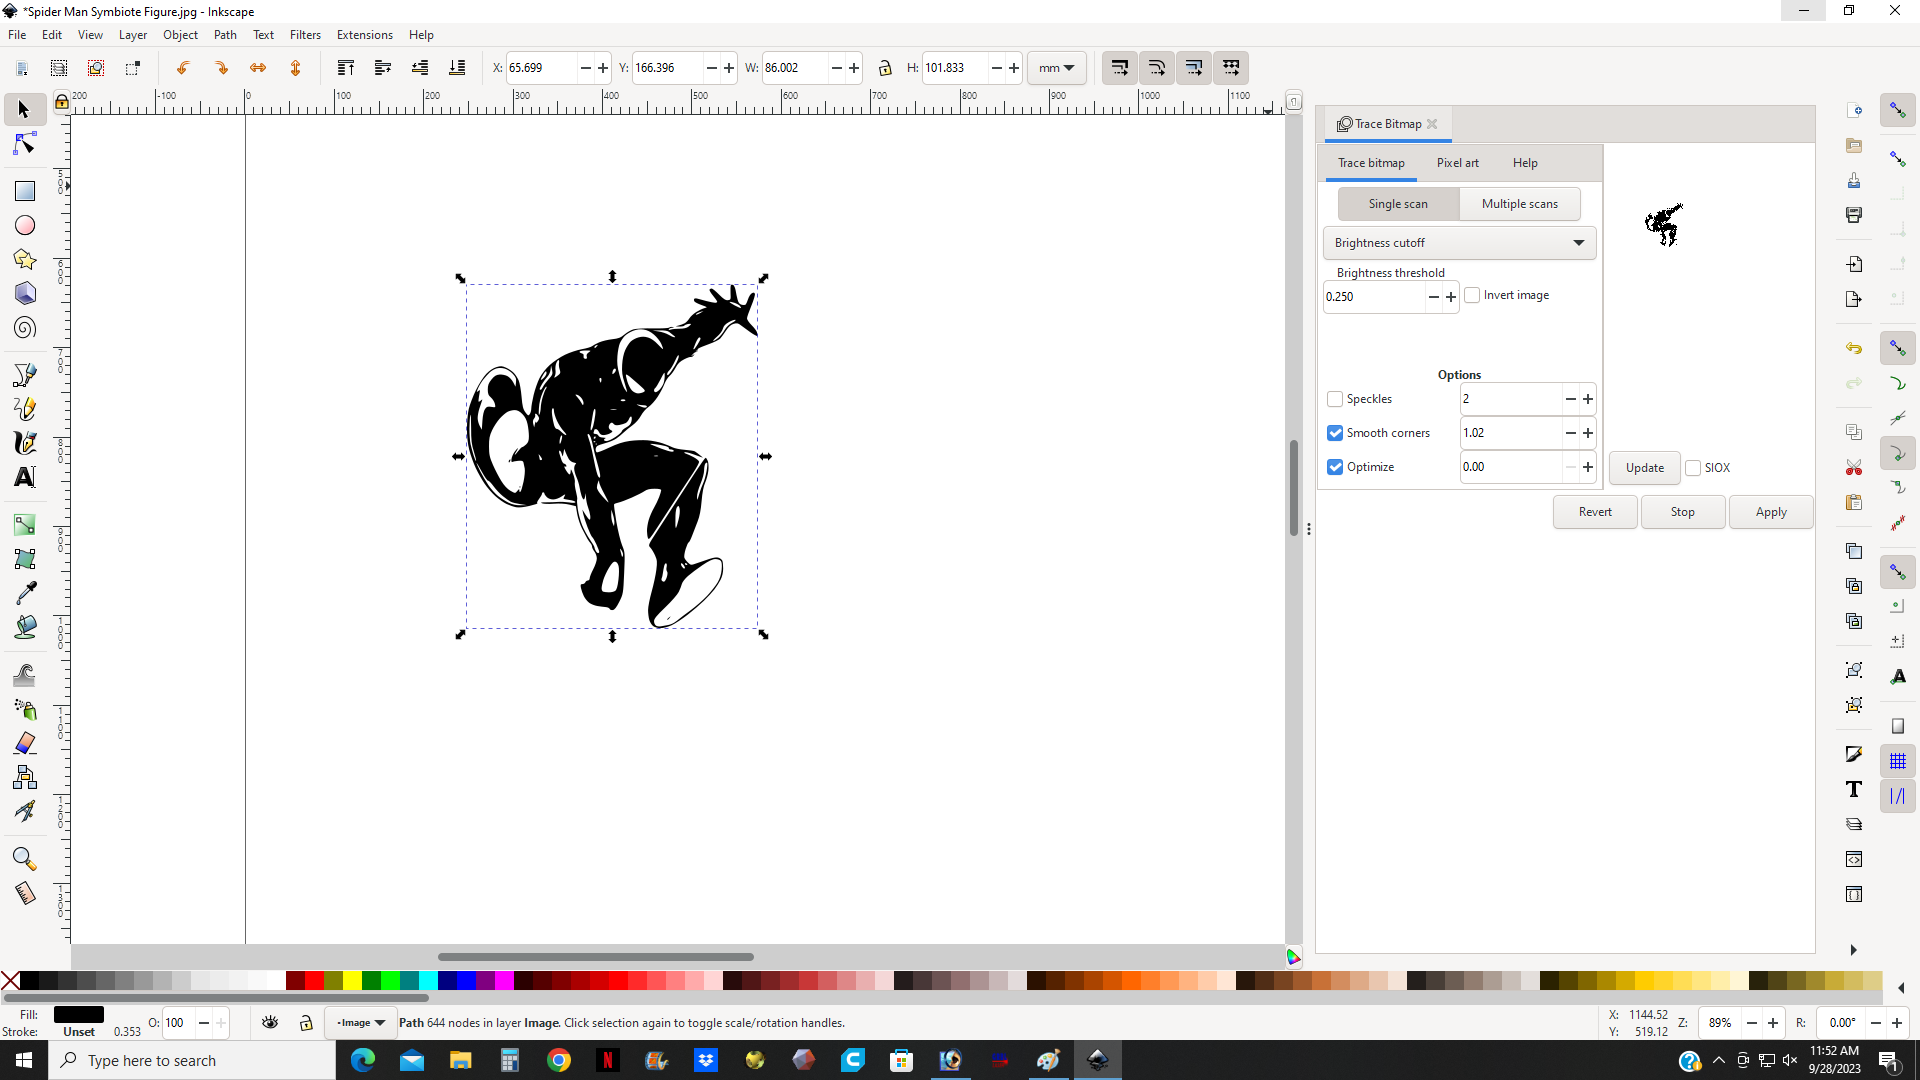
Next, I want to convert the jpeg into a vector so that any upscaling that needs to be done will look a lot cleaner. It also gets rid of any white or off-white color that might still be present in the image. Basically, this step will give you a nice clean starter image. You can skip this step if the image you have in photoshop is a good quality, clean, and is black and white.
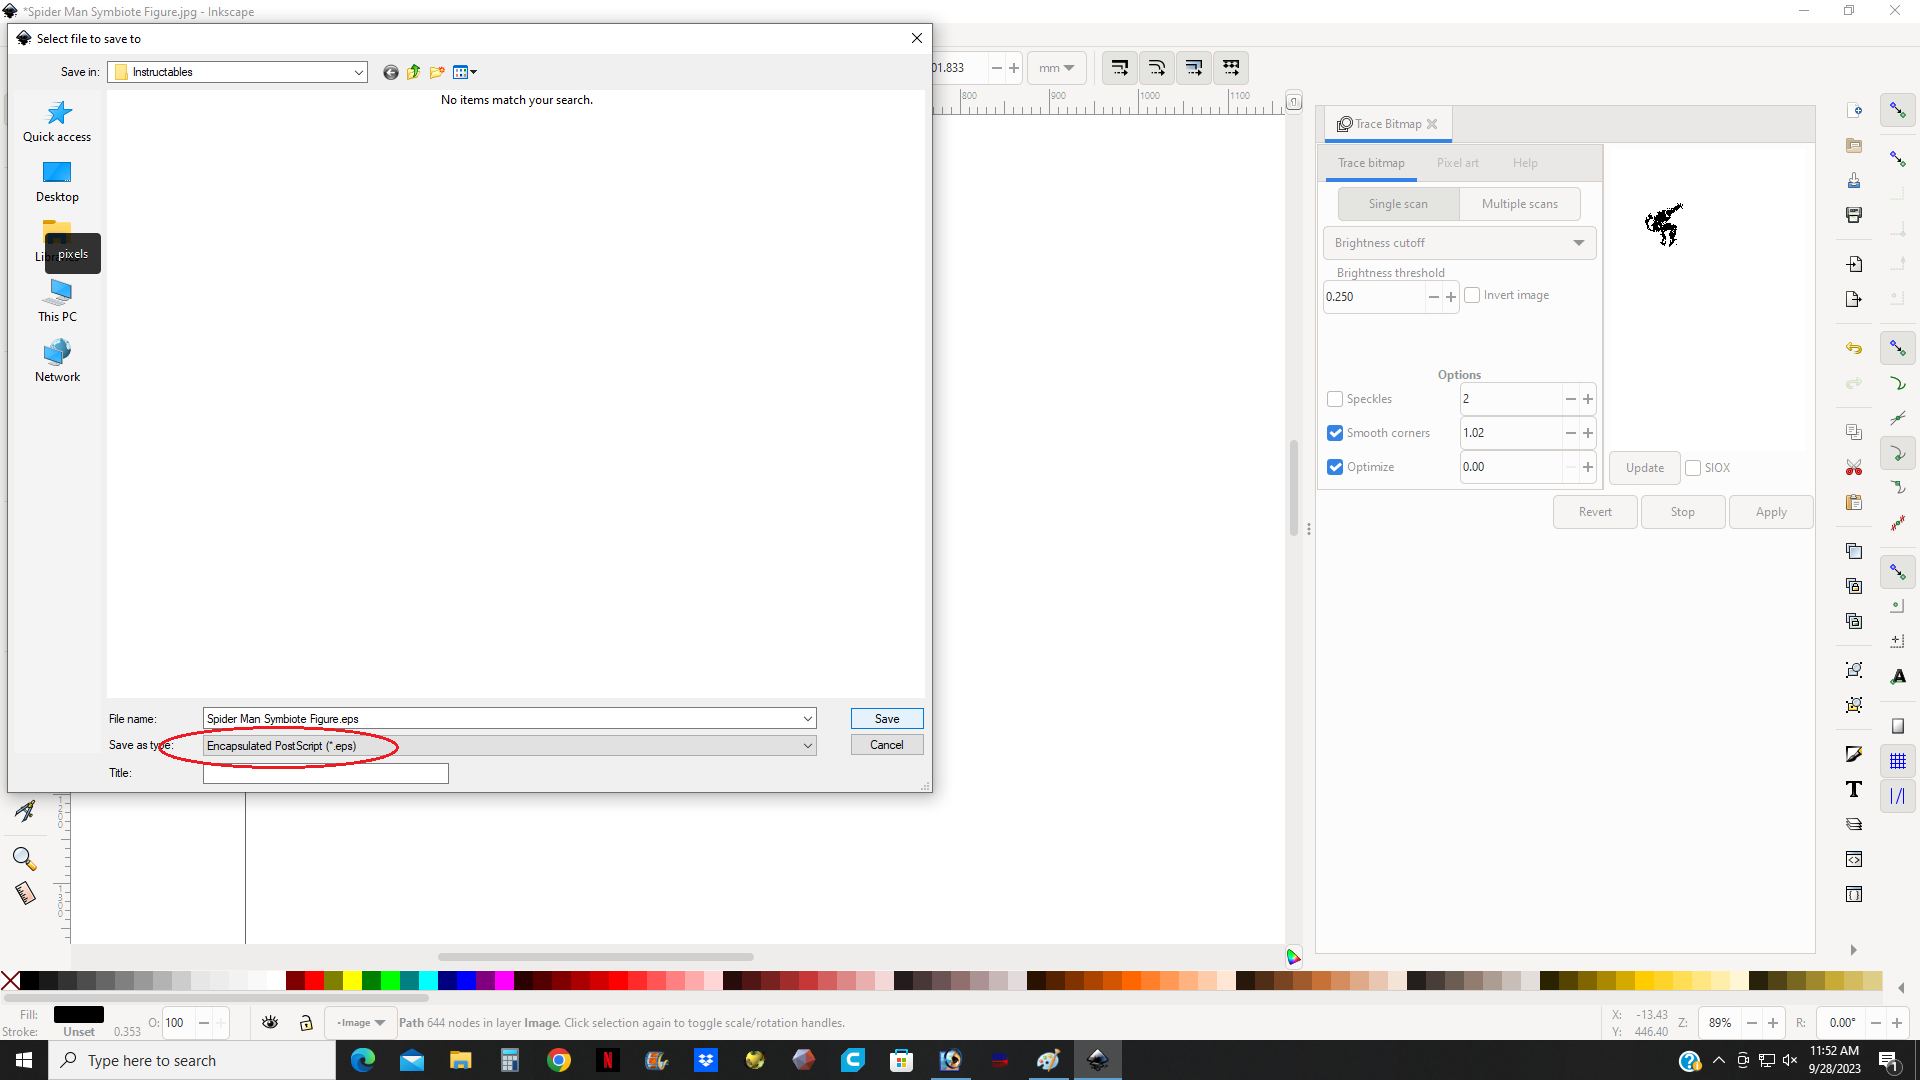
I open up Inkscape and I go to File>Open and select my jpeg. Once the jpeg opens, I go to Path>Trace Bitmap which will open up the Trace Bitmap dialogue box. There are several presets you can fiddle around with to get the best trace. I usually just try the default settings to start. Make sure you click on your image to select it otherwise Inkscape won't do anything to the image. You know if your image is selected if you can see the dotted lines around the perimeter as well as the toggle arrows in the corners (see pic 2). With your image selected you next click on the "update" button in the trace bit map dialogue box which will show you a small preview of your traced image. If you like it next you click the "apply" button. This will create the traced image but it will be overlayed the original image and might be difficult to see. In order to separate the two images just click on the original and drag it off to one side.(see pic 4) The traced image, the one you want, will have a much tighter smaller blue dotted perimeter and will most likely be the one that is selected. (see pic 5) If you do not like the tracing, then you can just delete it and try again. This time you can change the "Brightness Threshold" up or down to change the levels. Playing with this feature will change the look of the traced image. Once you are happy with the look of the traced image then you can select the original image and delete it and then select your new traced image and save it.
You want to save it as a .EPS file so that you can open it in Photoshop.
Creating the Files
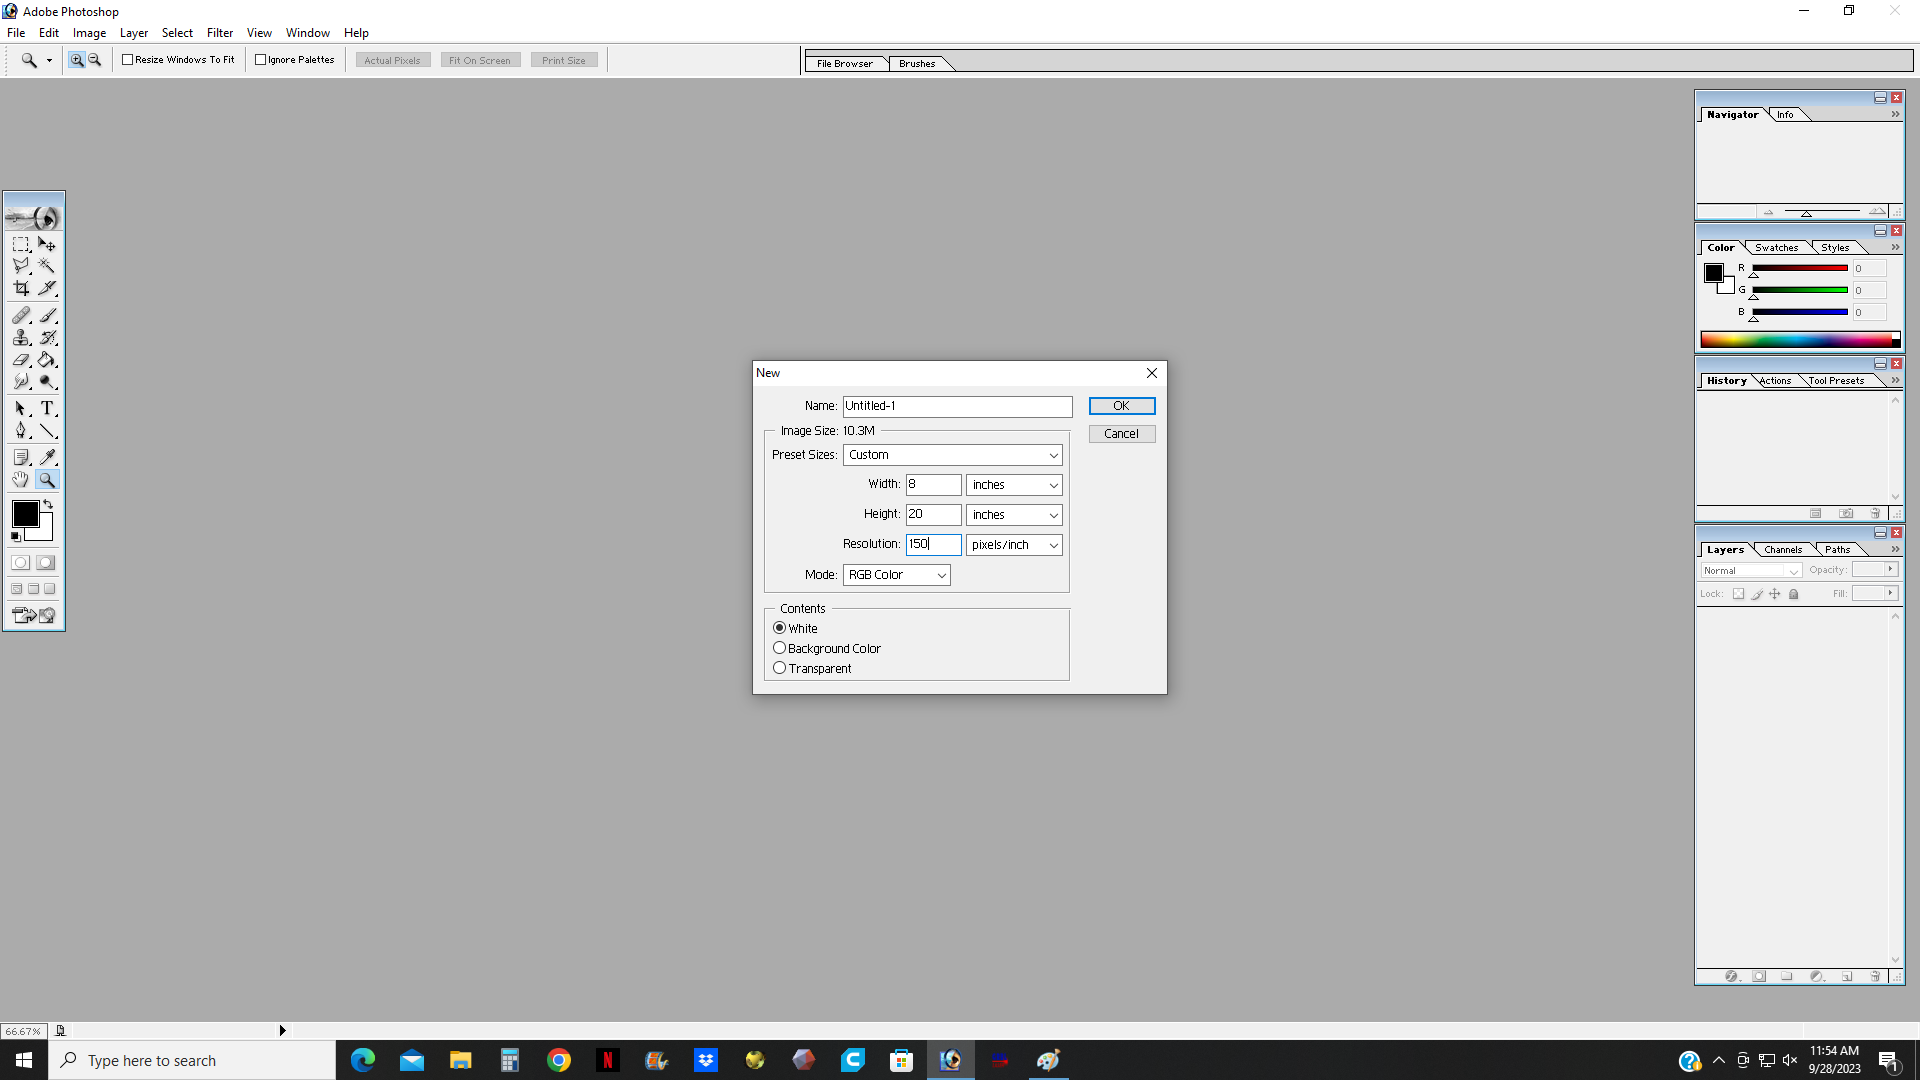
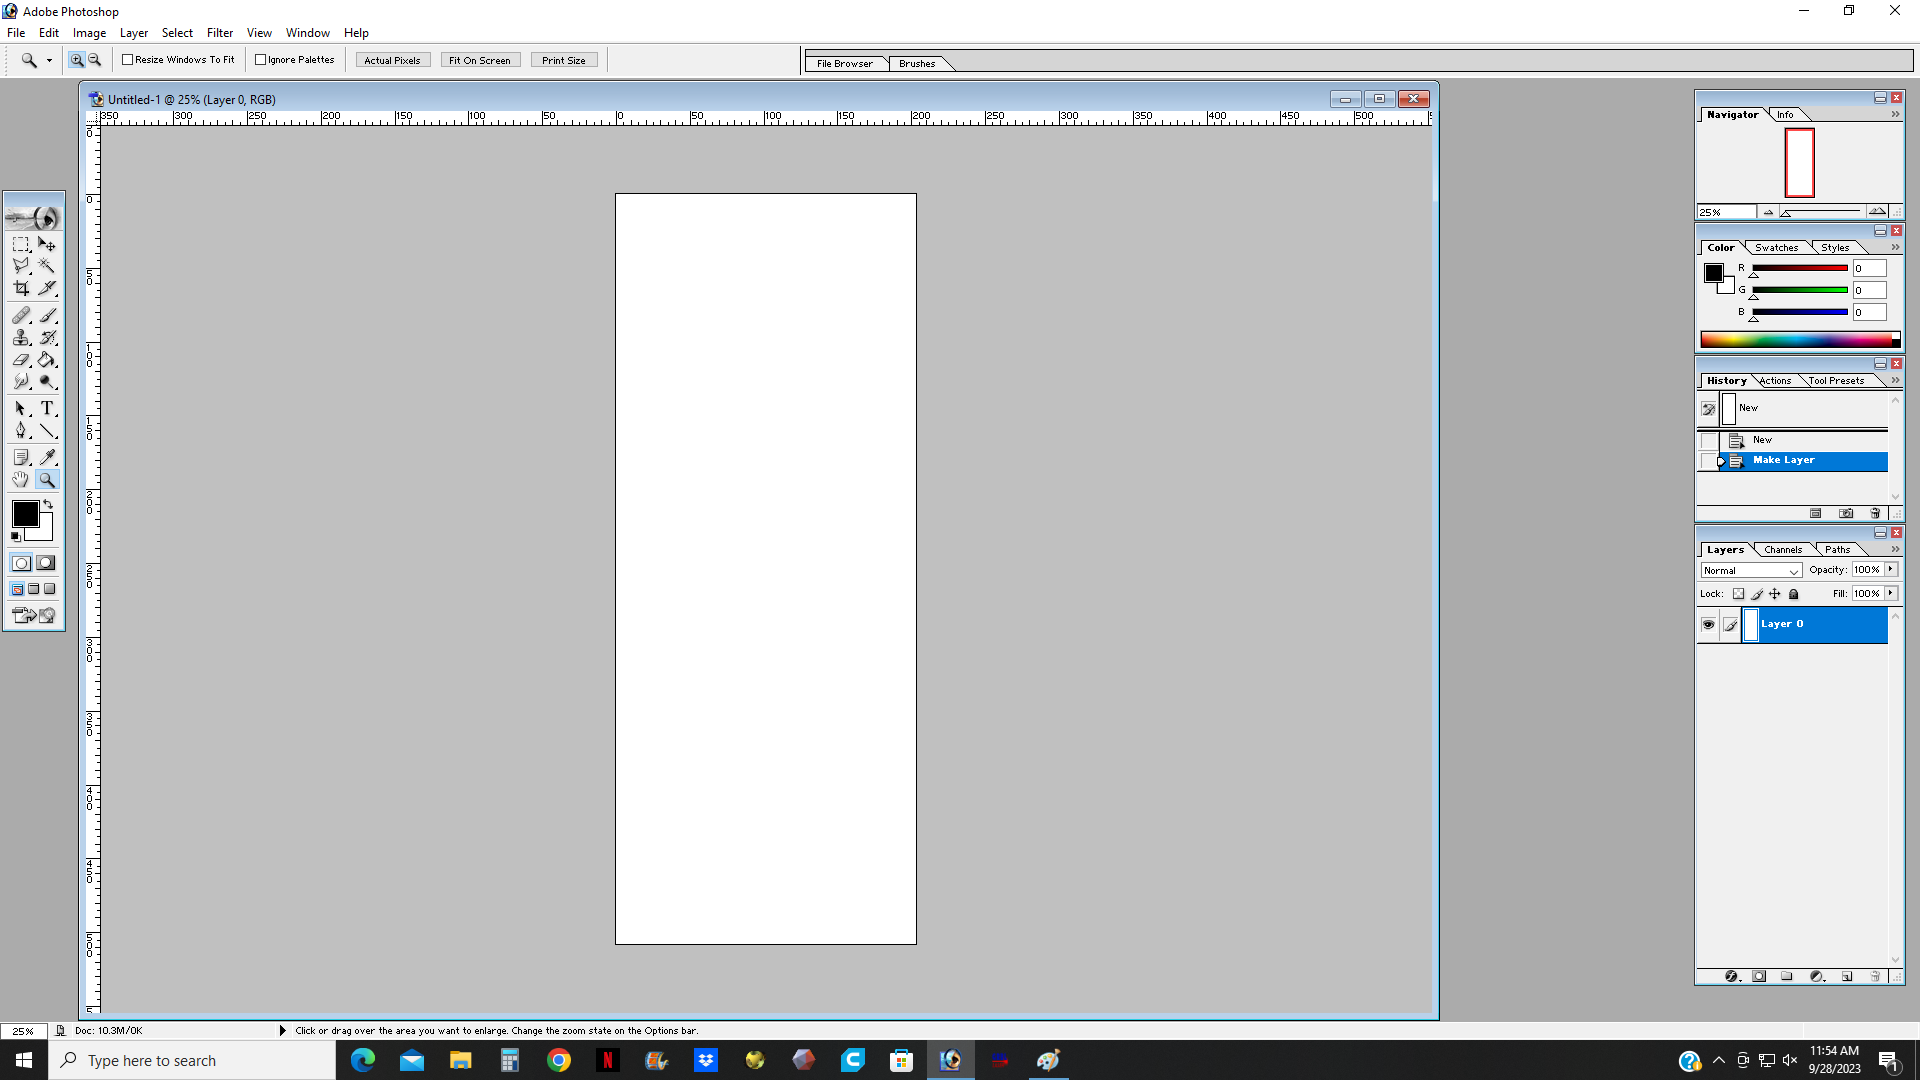
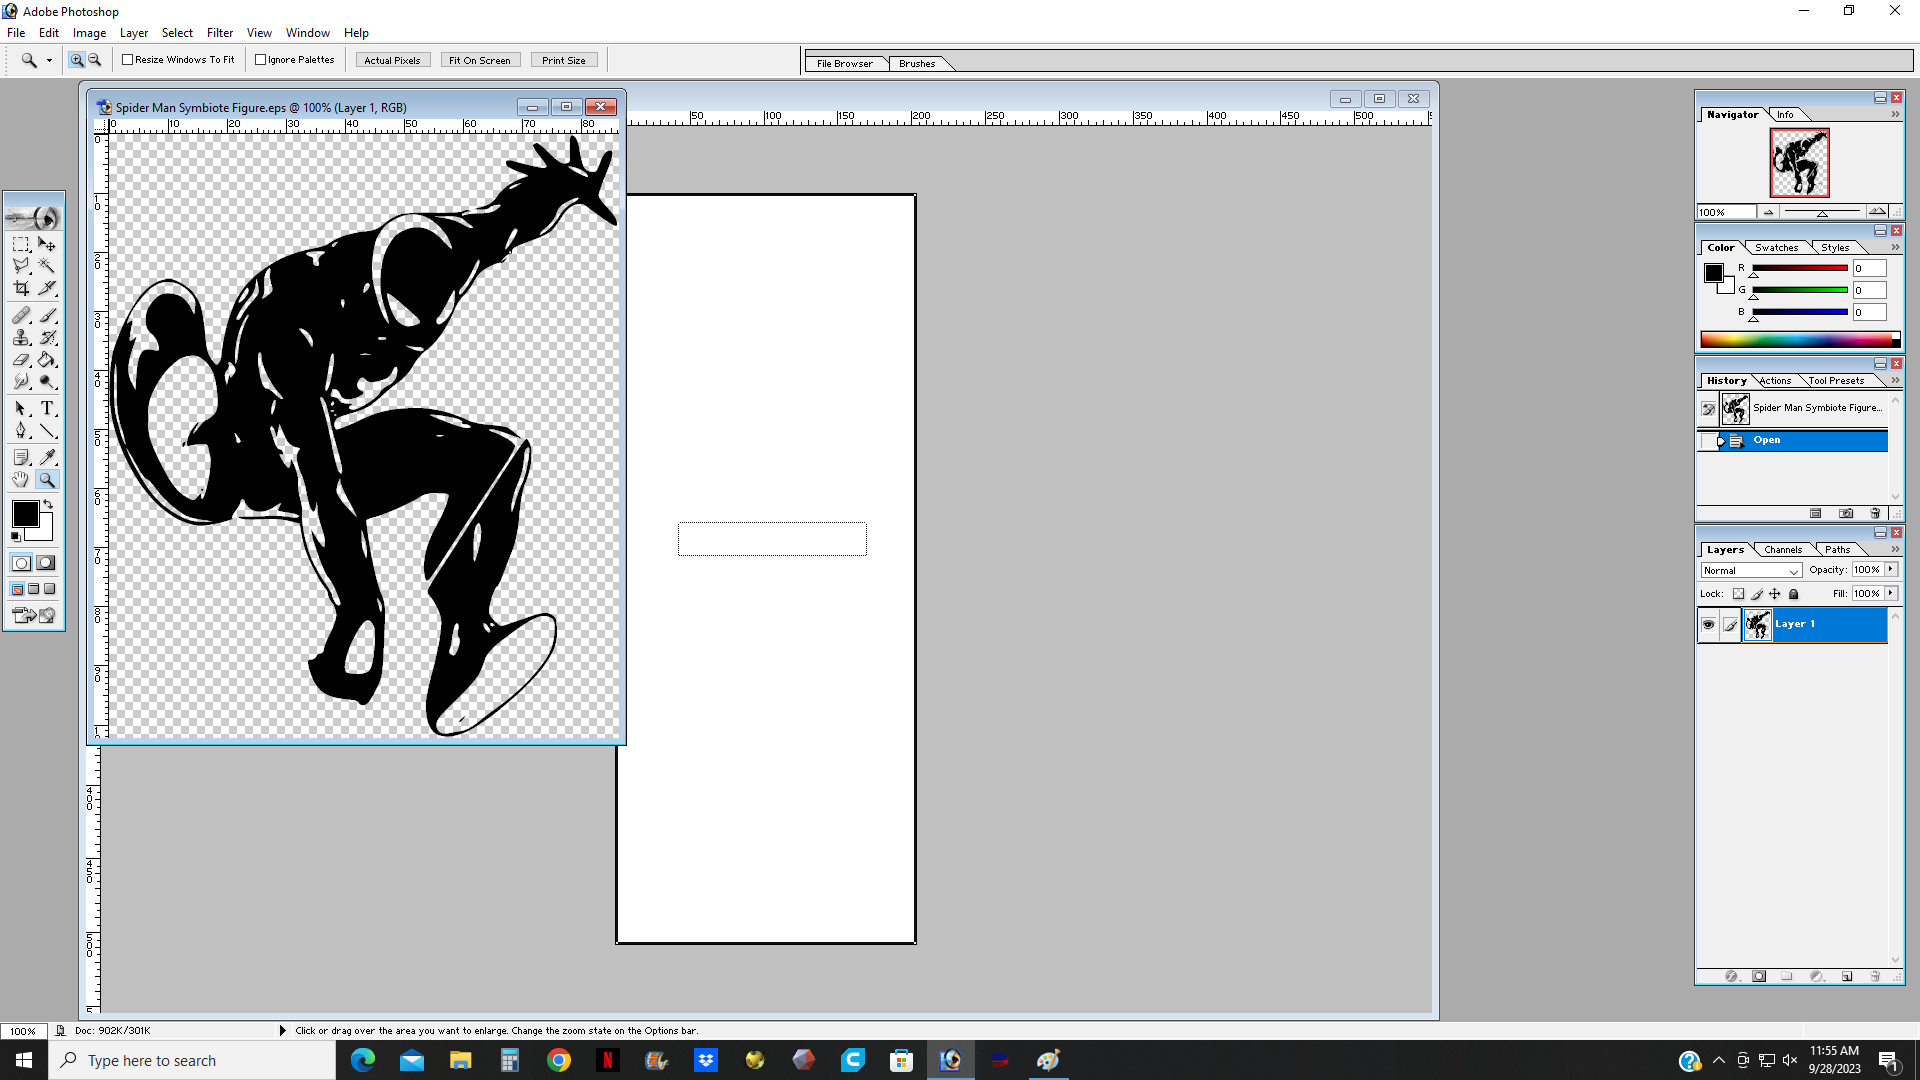
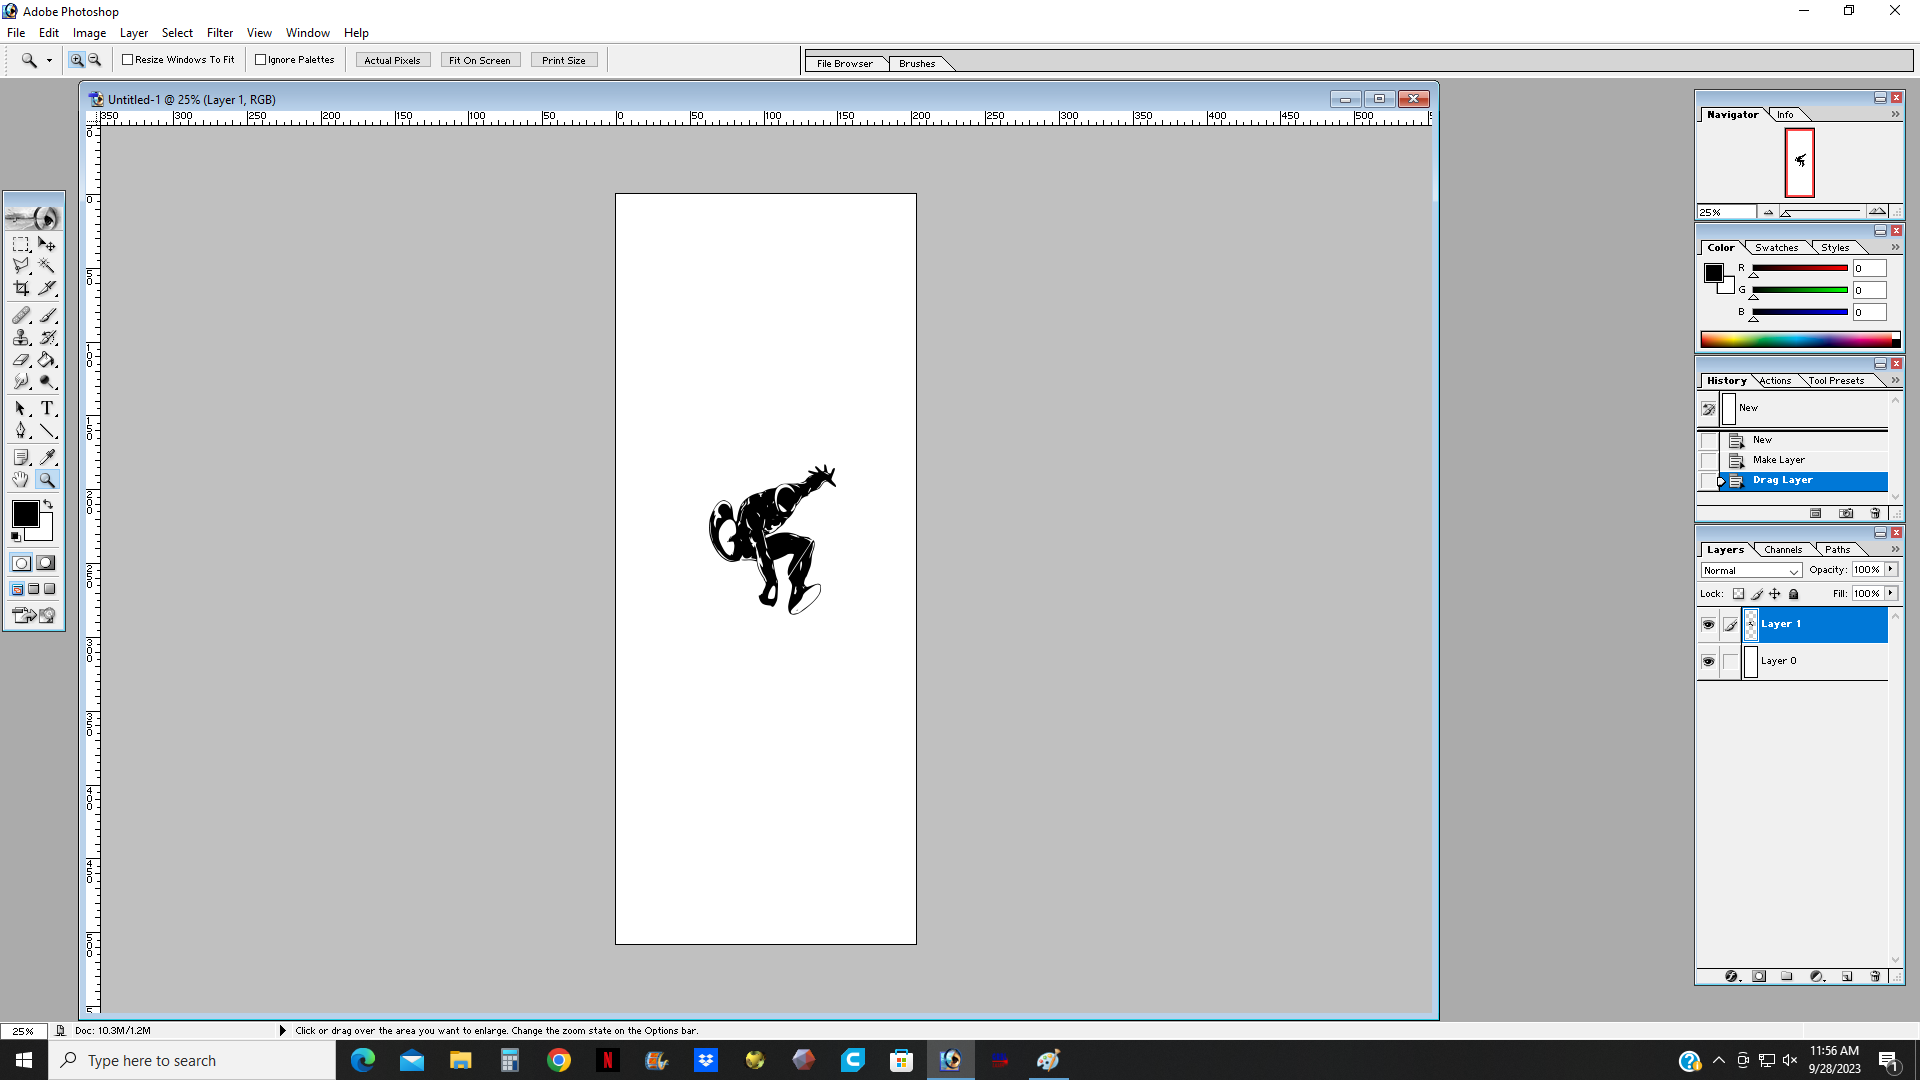
Now, I go back to Photoshop and create a new file that is 8 inches by 20 inches with 150 pixels per inch. I also open up the .EPS file of my vector image and then just drag that layer on to my new 8 x 20 canvas.
Tidying Up
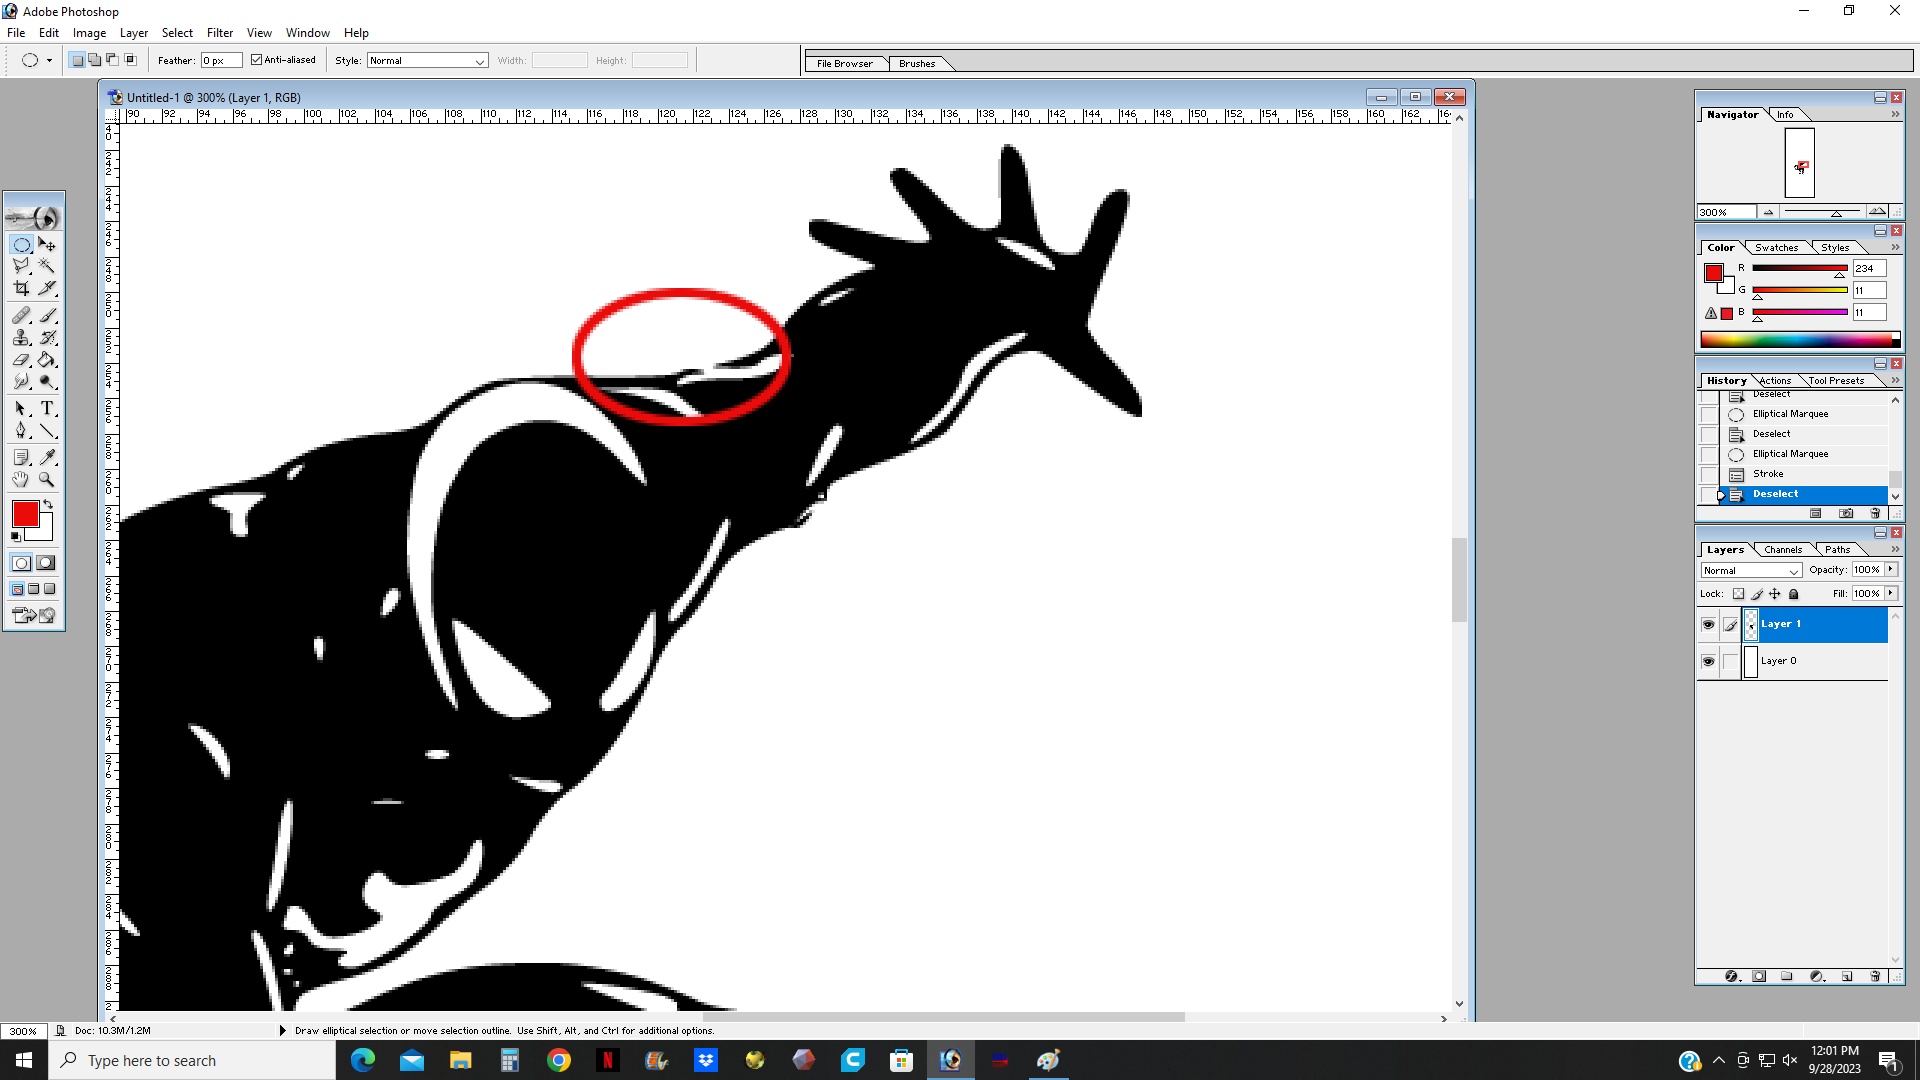
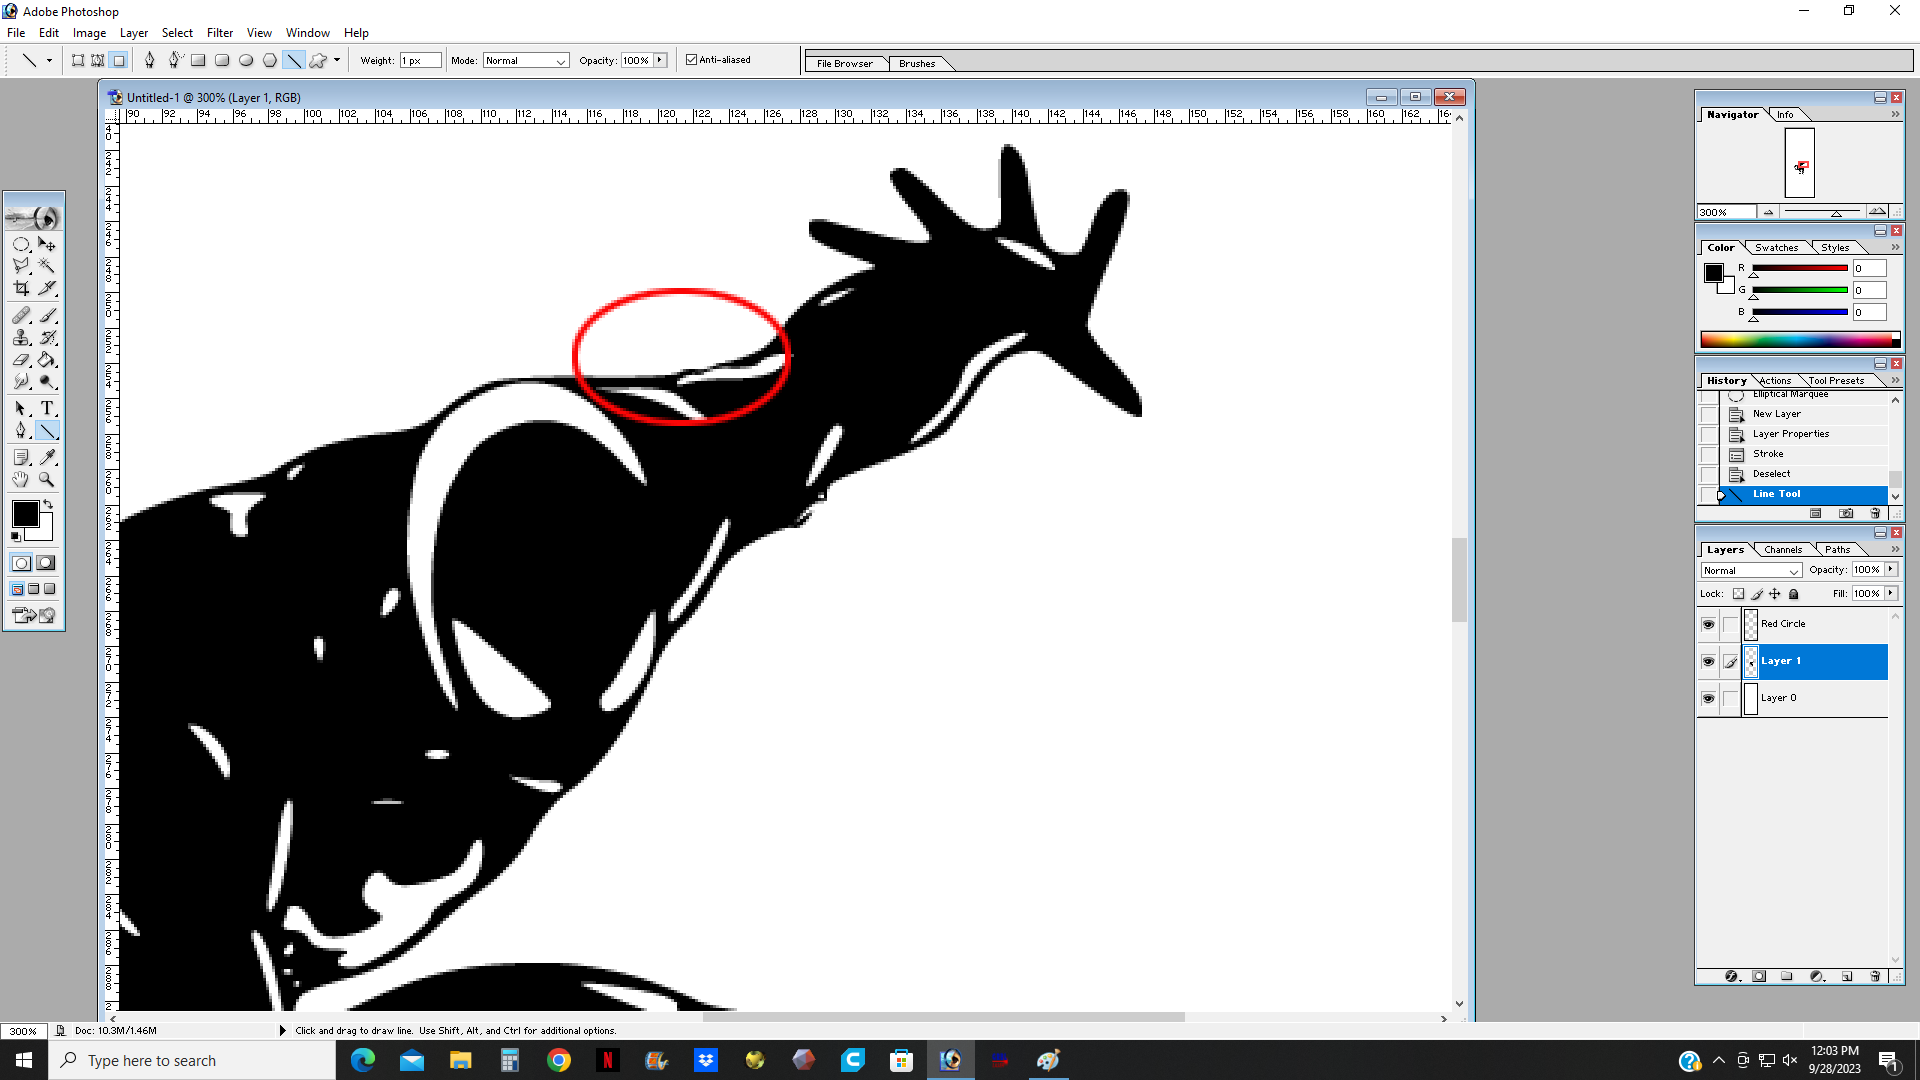
One of the initial things I look for of my main image to is to make sure there are no gaps in the perimeter of the image. Sometimes Inkscape will create gaps in lines or outlines, so I like to clean those up using the Line tool in Photoshop. I just increase the magnification of the image and just go around looking for gaps and filling them in.
Making the Layers
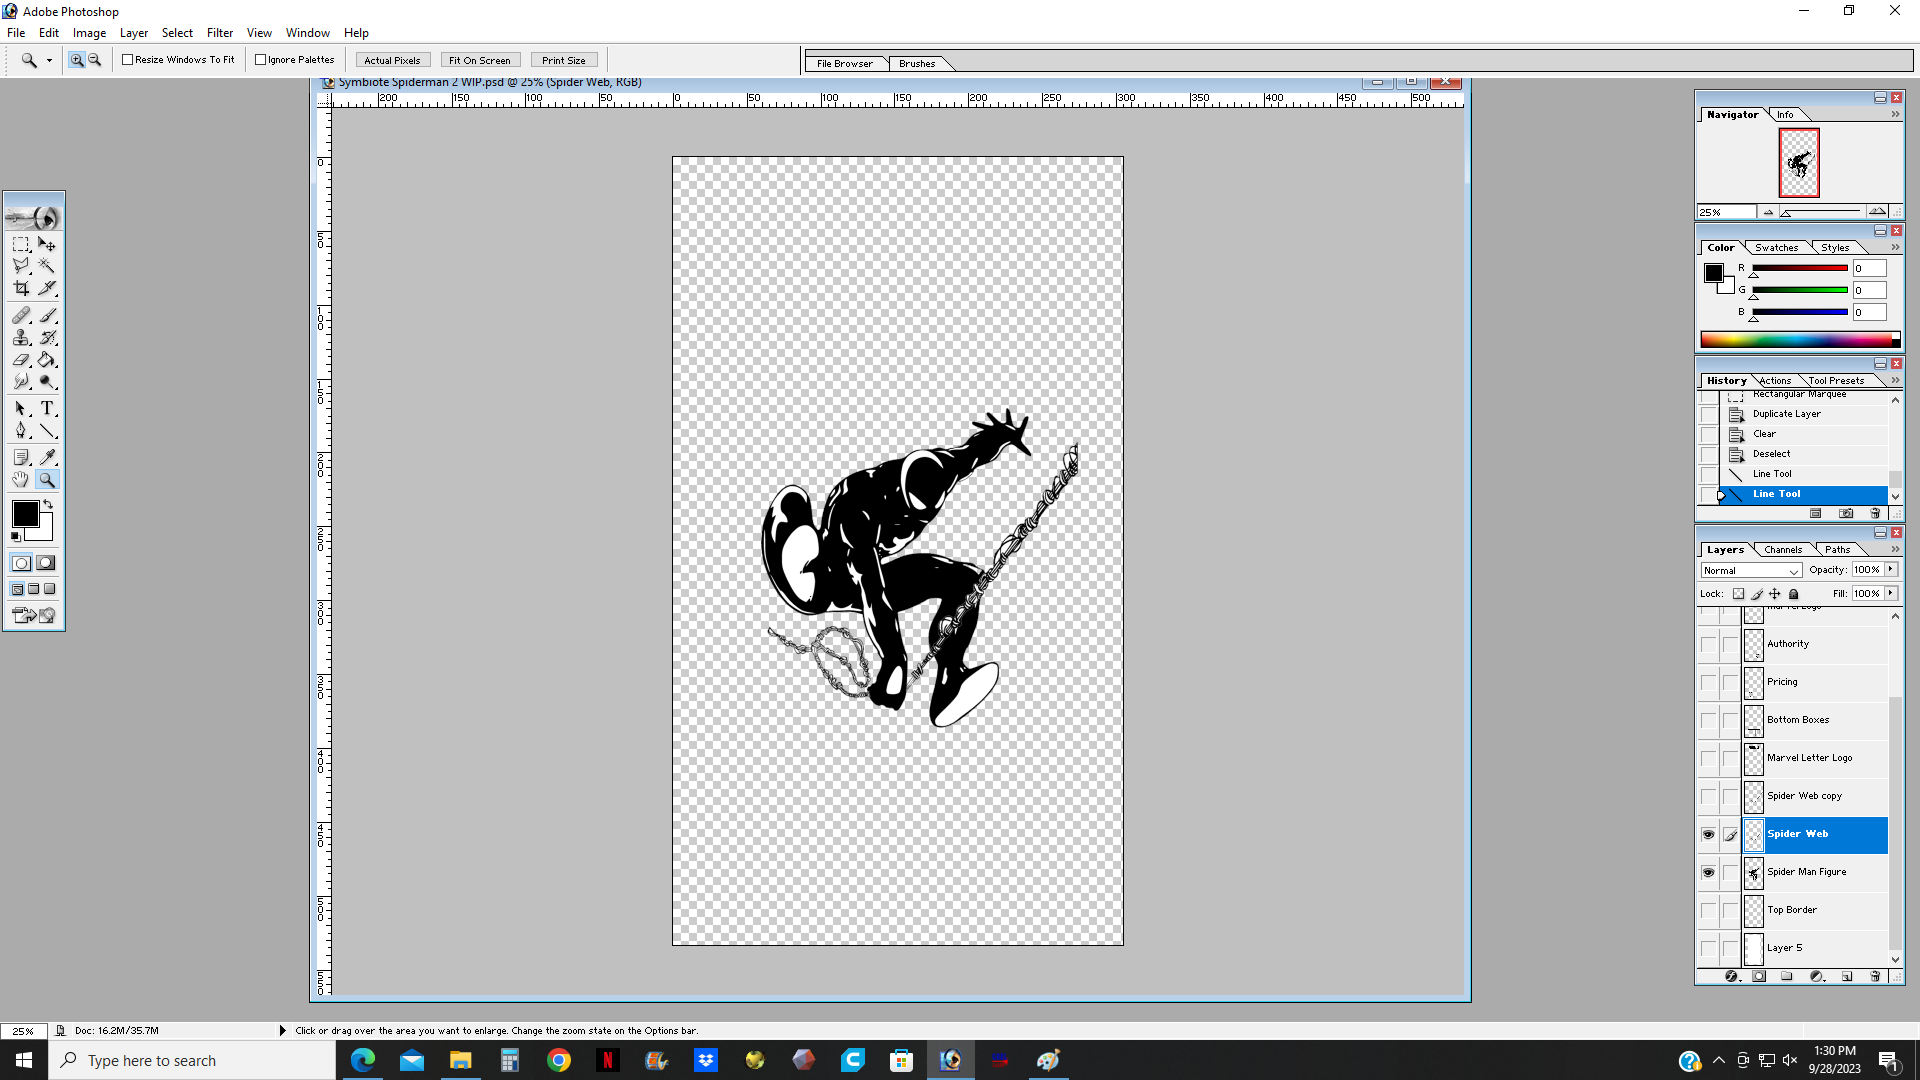
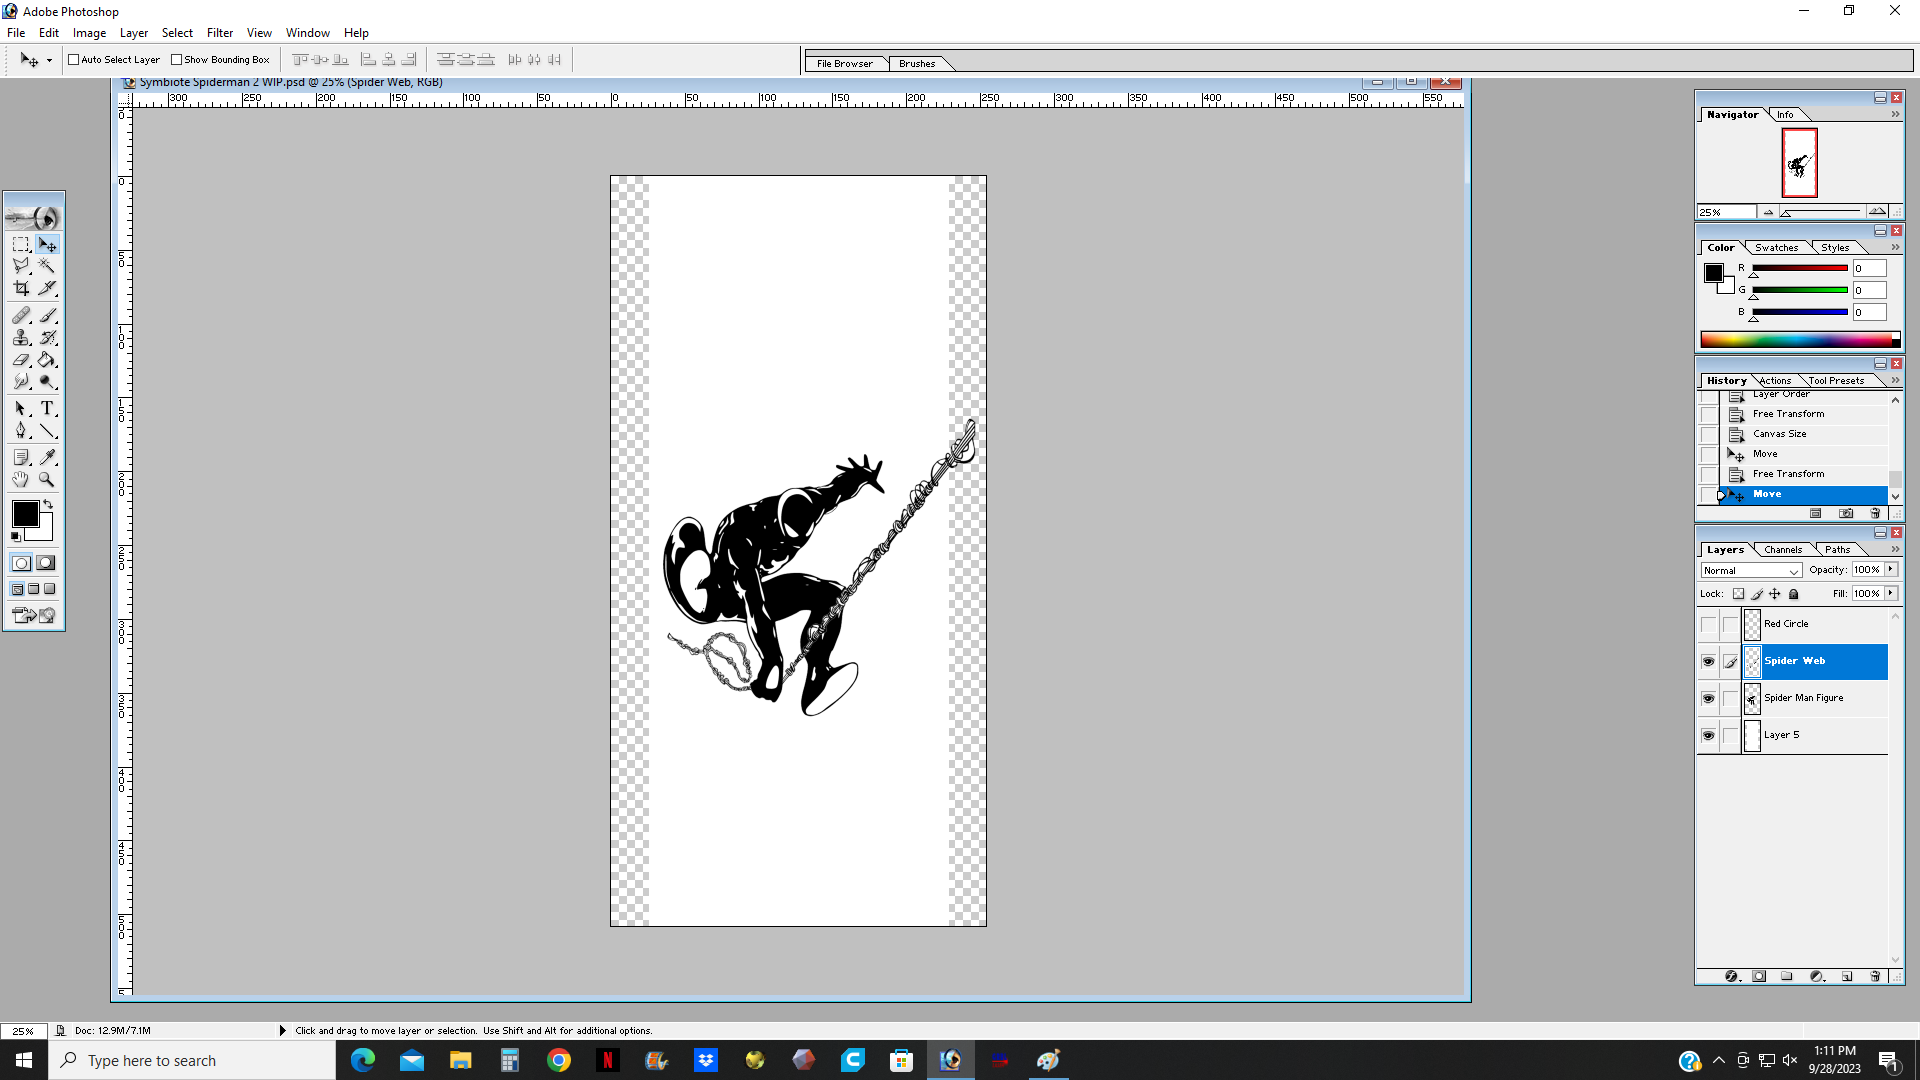
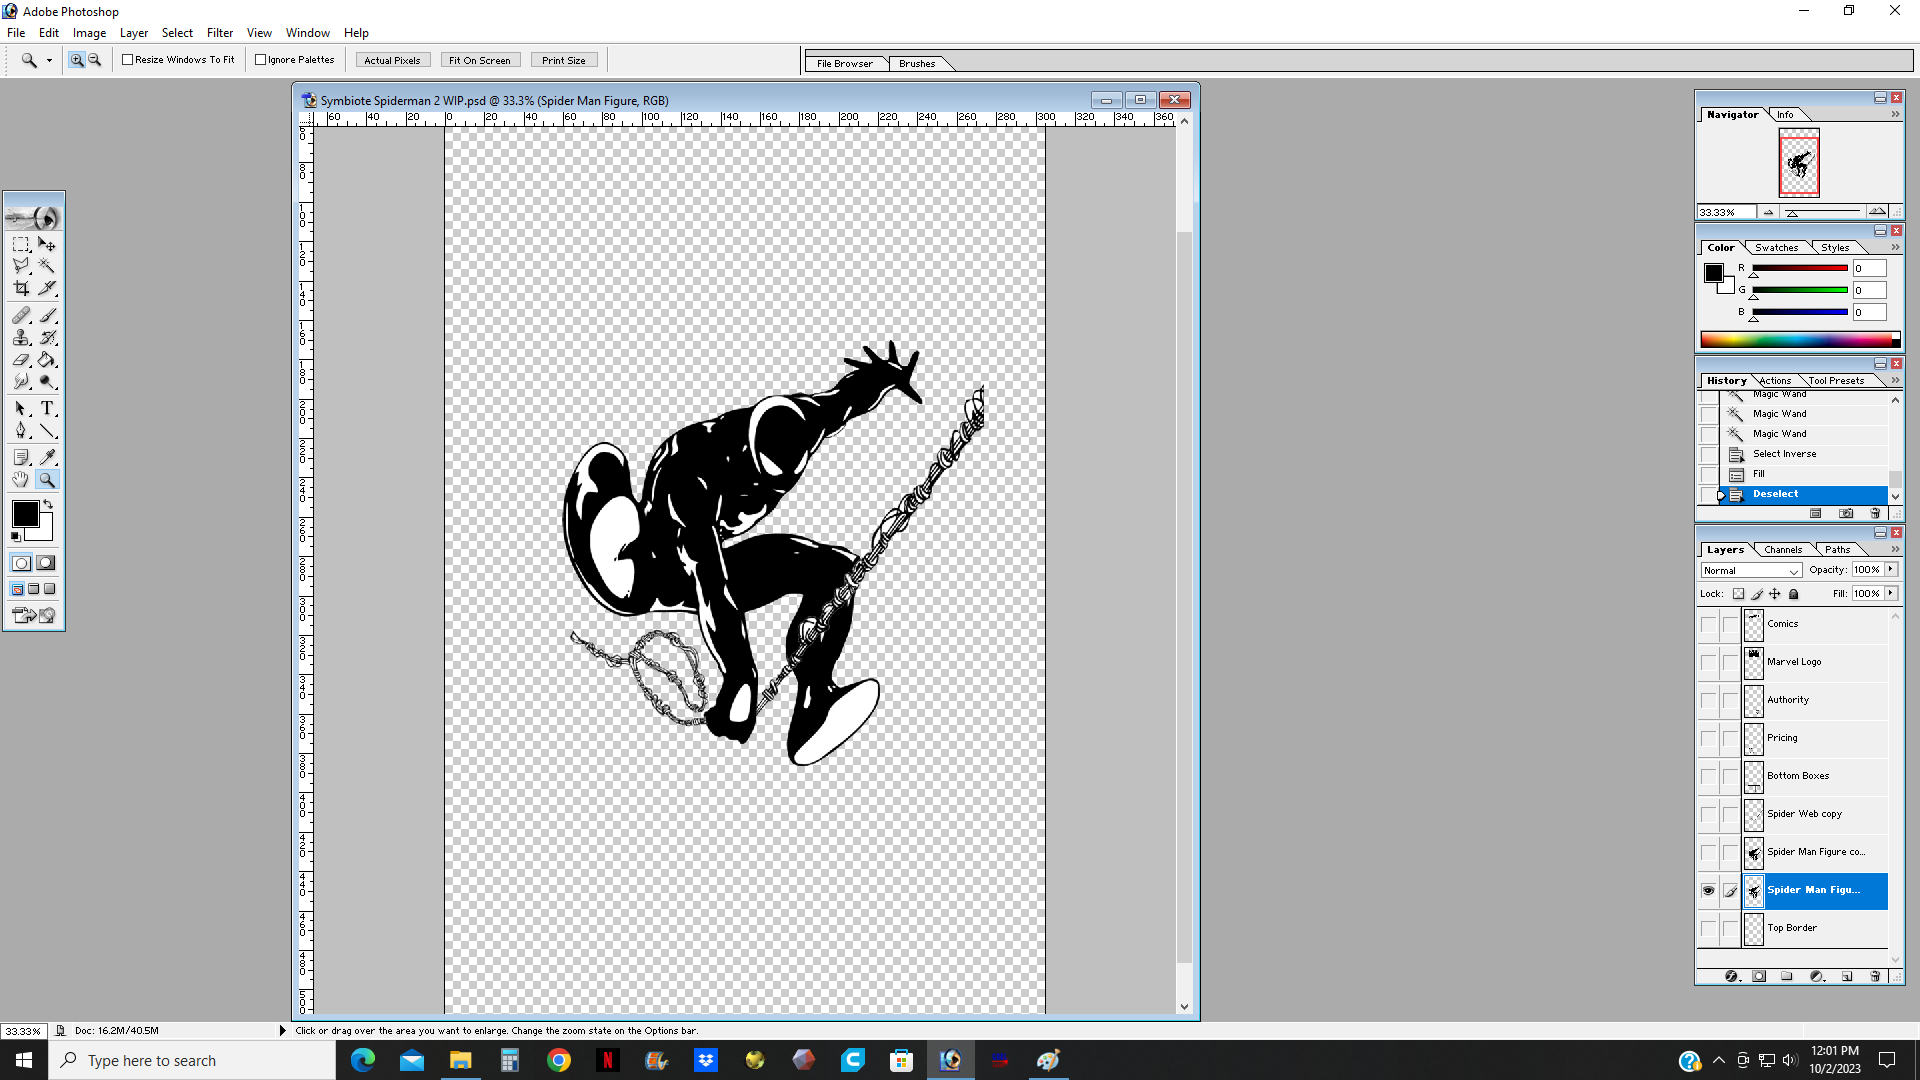
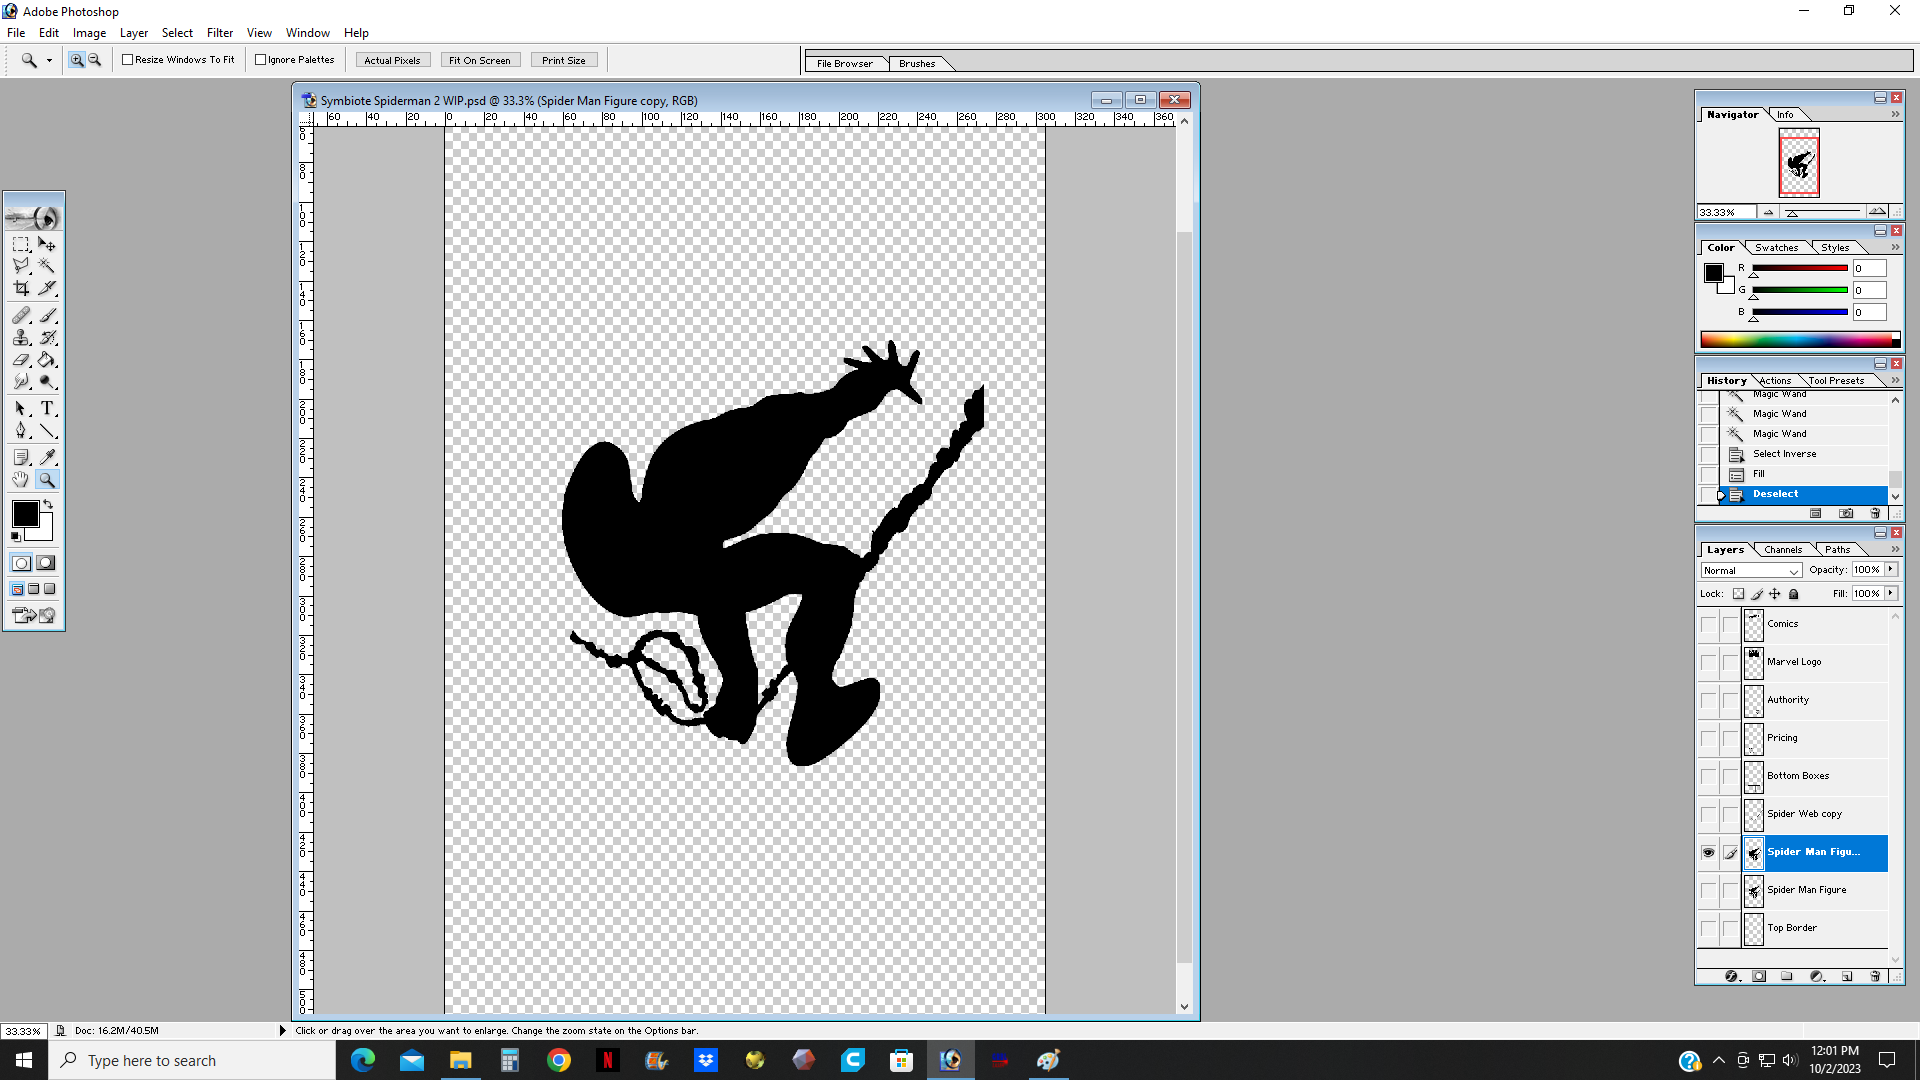
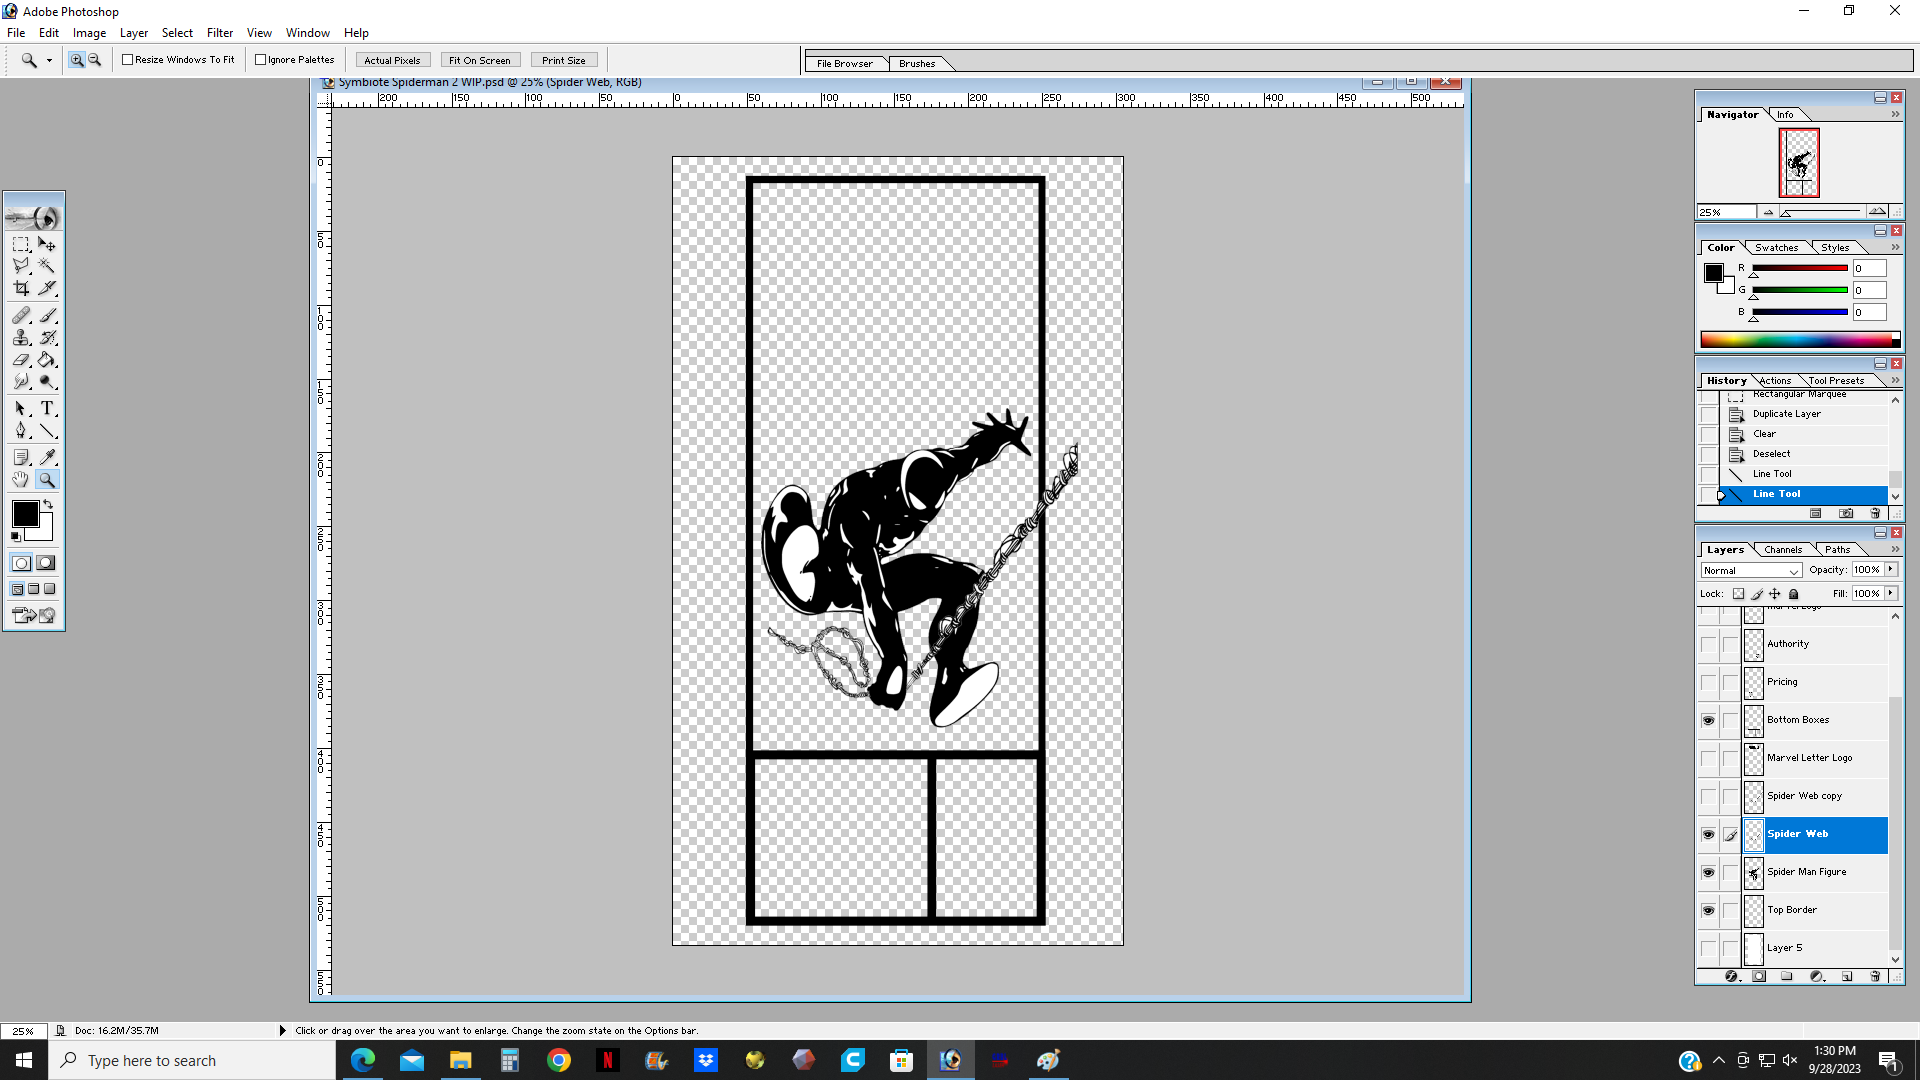
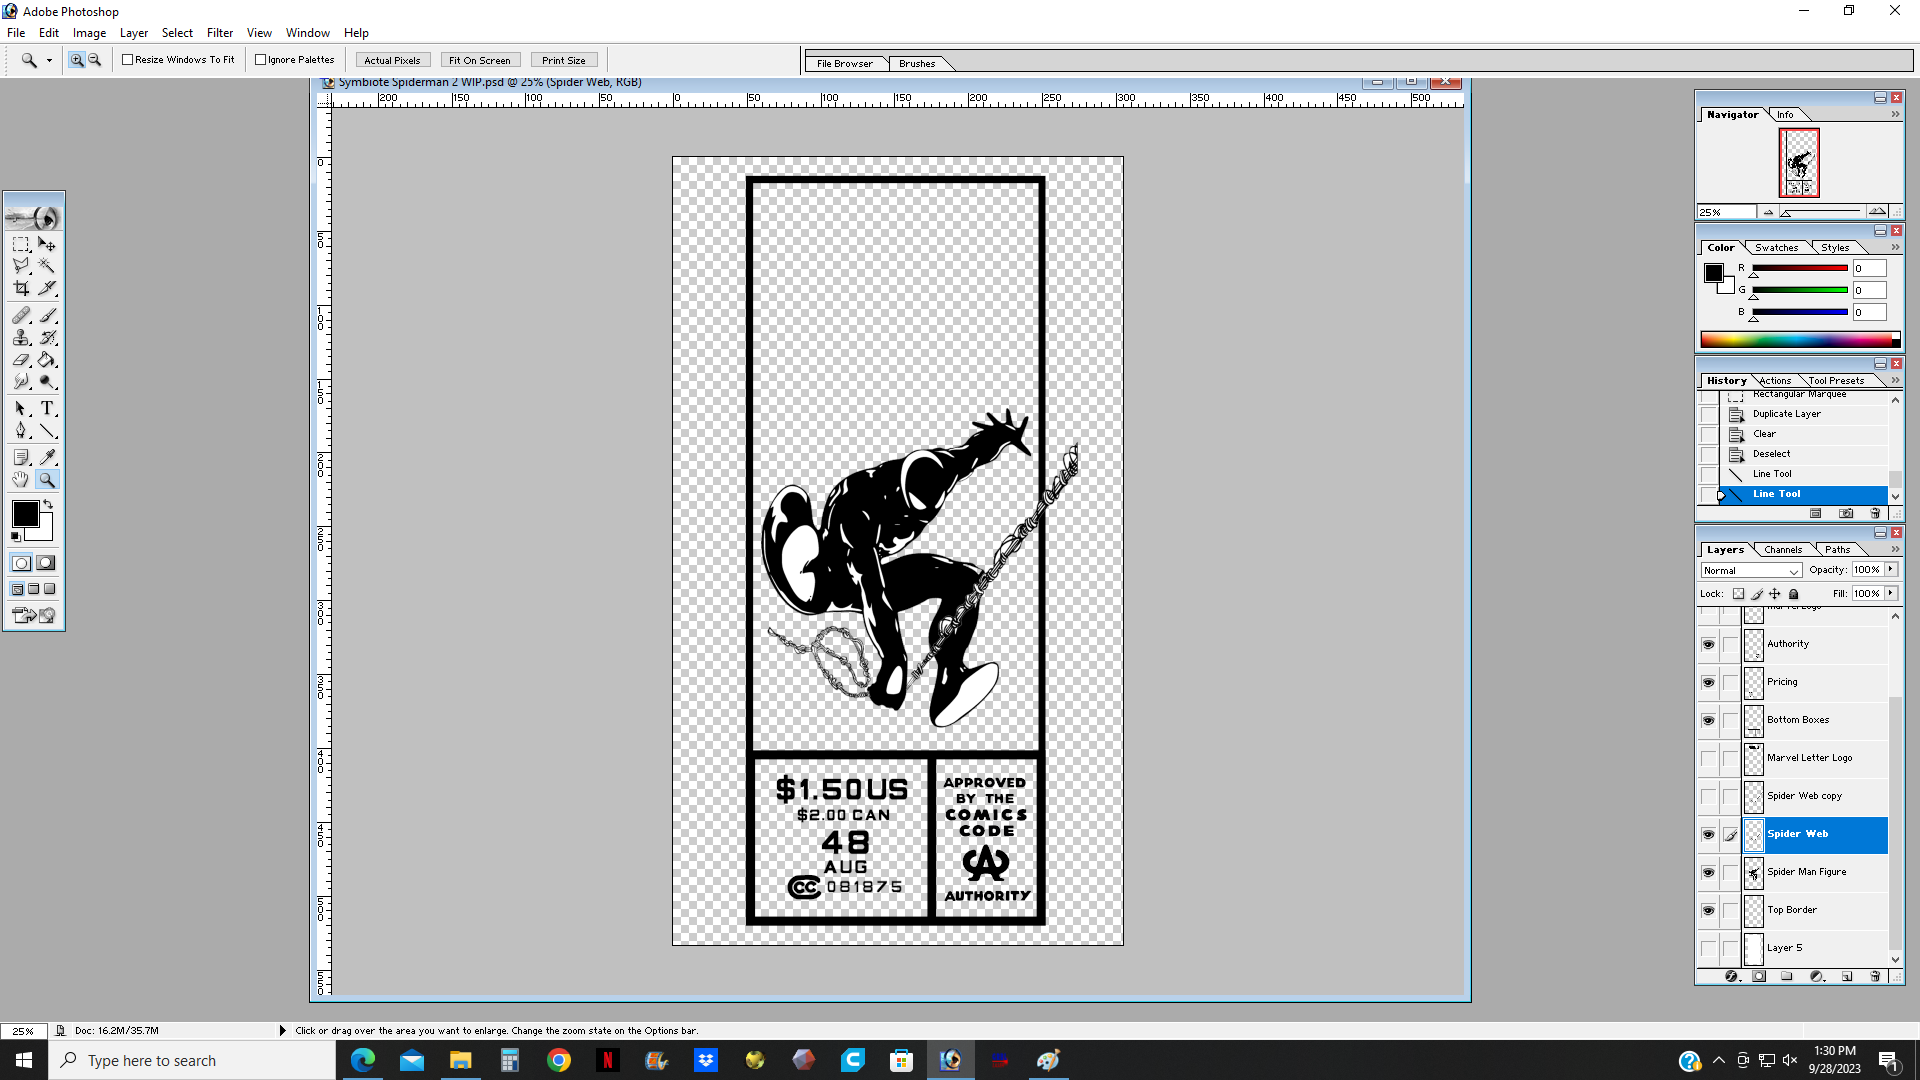
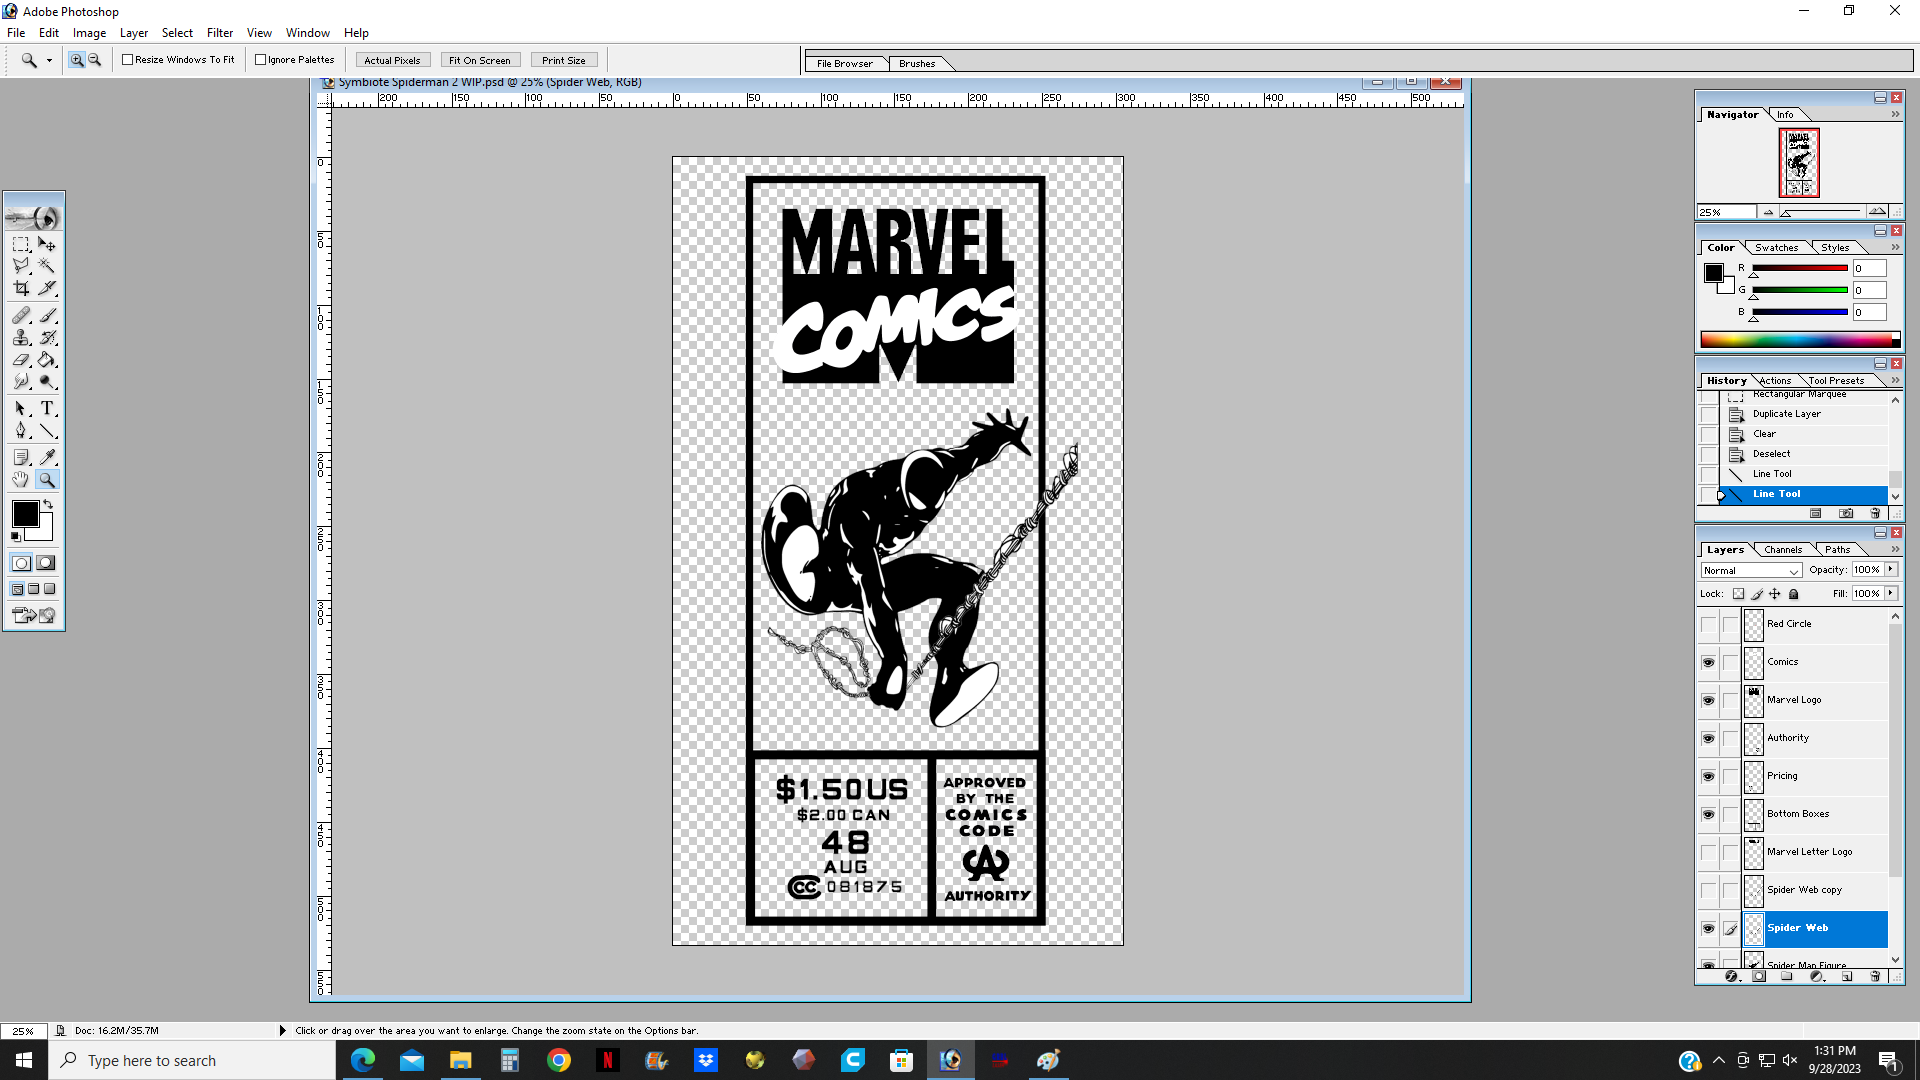
I didn't like the webbing used in the original image, so I changed it to the classic Todd McFarlane spaghetti webbing. I don't explain how to do this because it's pretty much the same as what I did with the image of Spider-man. Also, I increased the size of the canvas because I wanted the webbing to protrude from the frame of the corner box, so I added a couple of inches around the entire perimeter so I could better see the layout. I also added a white background layer that was 8 x 20 as my size reference. Next, I add the border using the Marquee and Stroke tools; the border is more for reference. But if your laser is big enough you can use it to cut out the border as well. I also added the other parts of the corner box as separate layers. I don't go into detail on how to do this because it is pretty much the same as prepping the original image. You find the image, you clean up, you turn it in to a vector and then you add it to your canvas as a separate layer.
One thing to note is, I use LaserGRBL so I have to make a separate layer that is a silhouette of the Spider-man image so that I can cut out the shape of it after I engrave it. So, Spider-man will have an engraving layer (details) and a cutting layer (just the silhouette). The rest will be cut layers. There is probably an easier way to do this in LaserGRBL but it's how I do it and it works for me.
Next, I save each layer as its own Jpeg file and transfer those to a flash drive.
Prepping the Wood
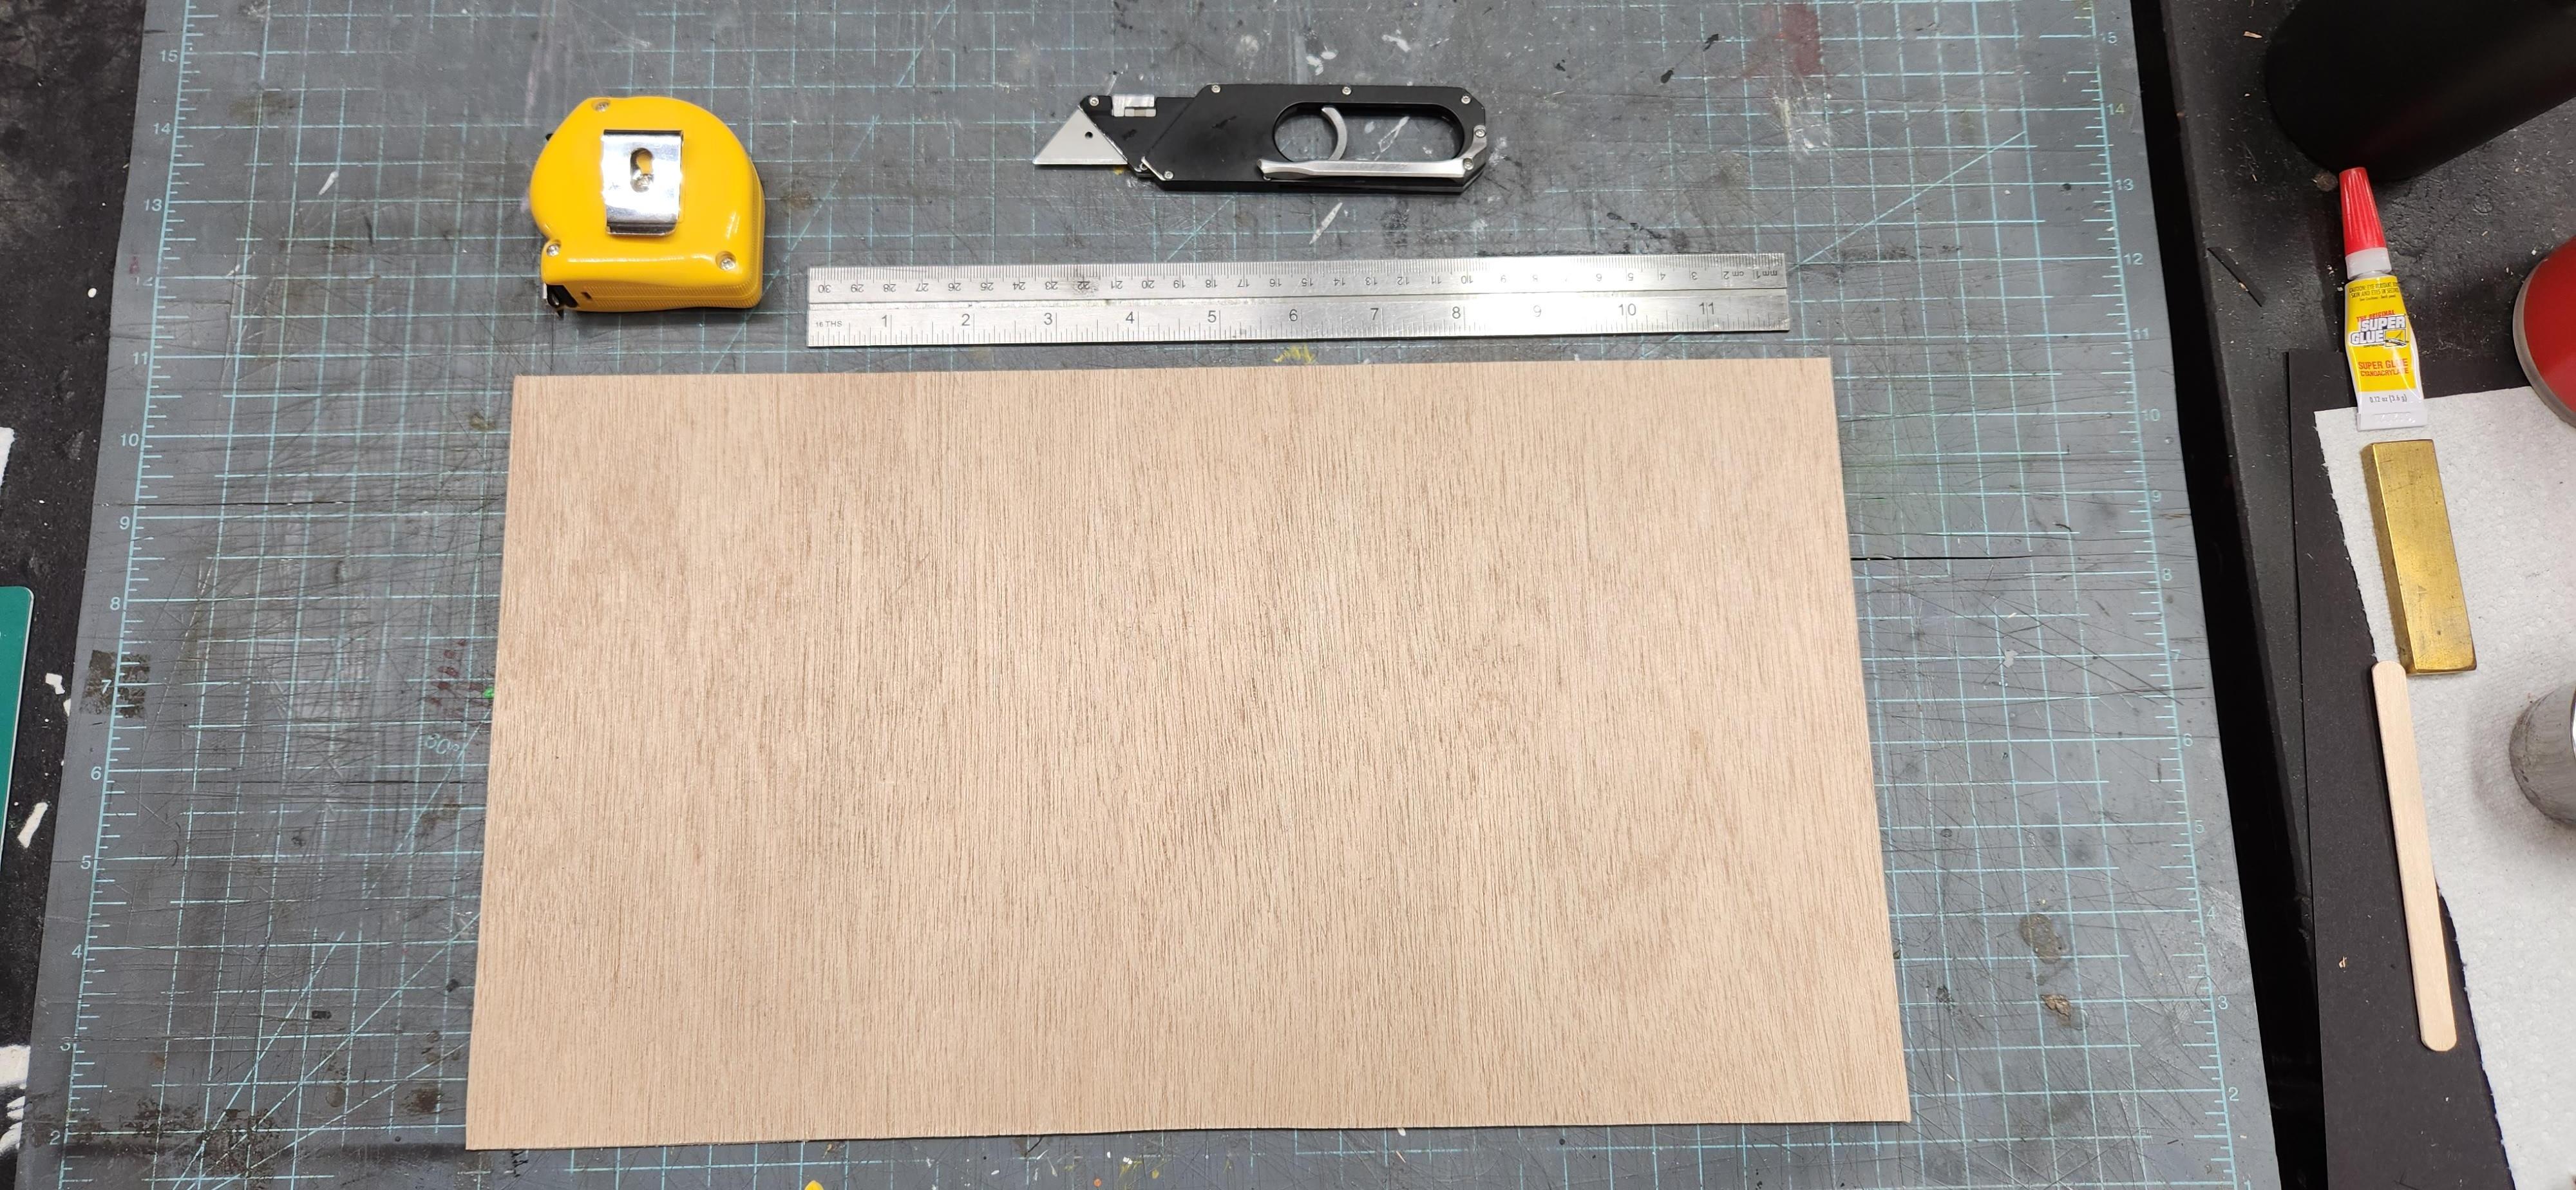
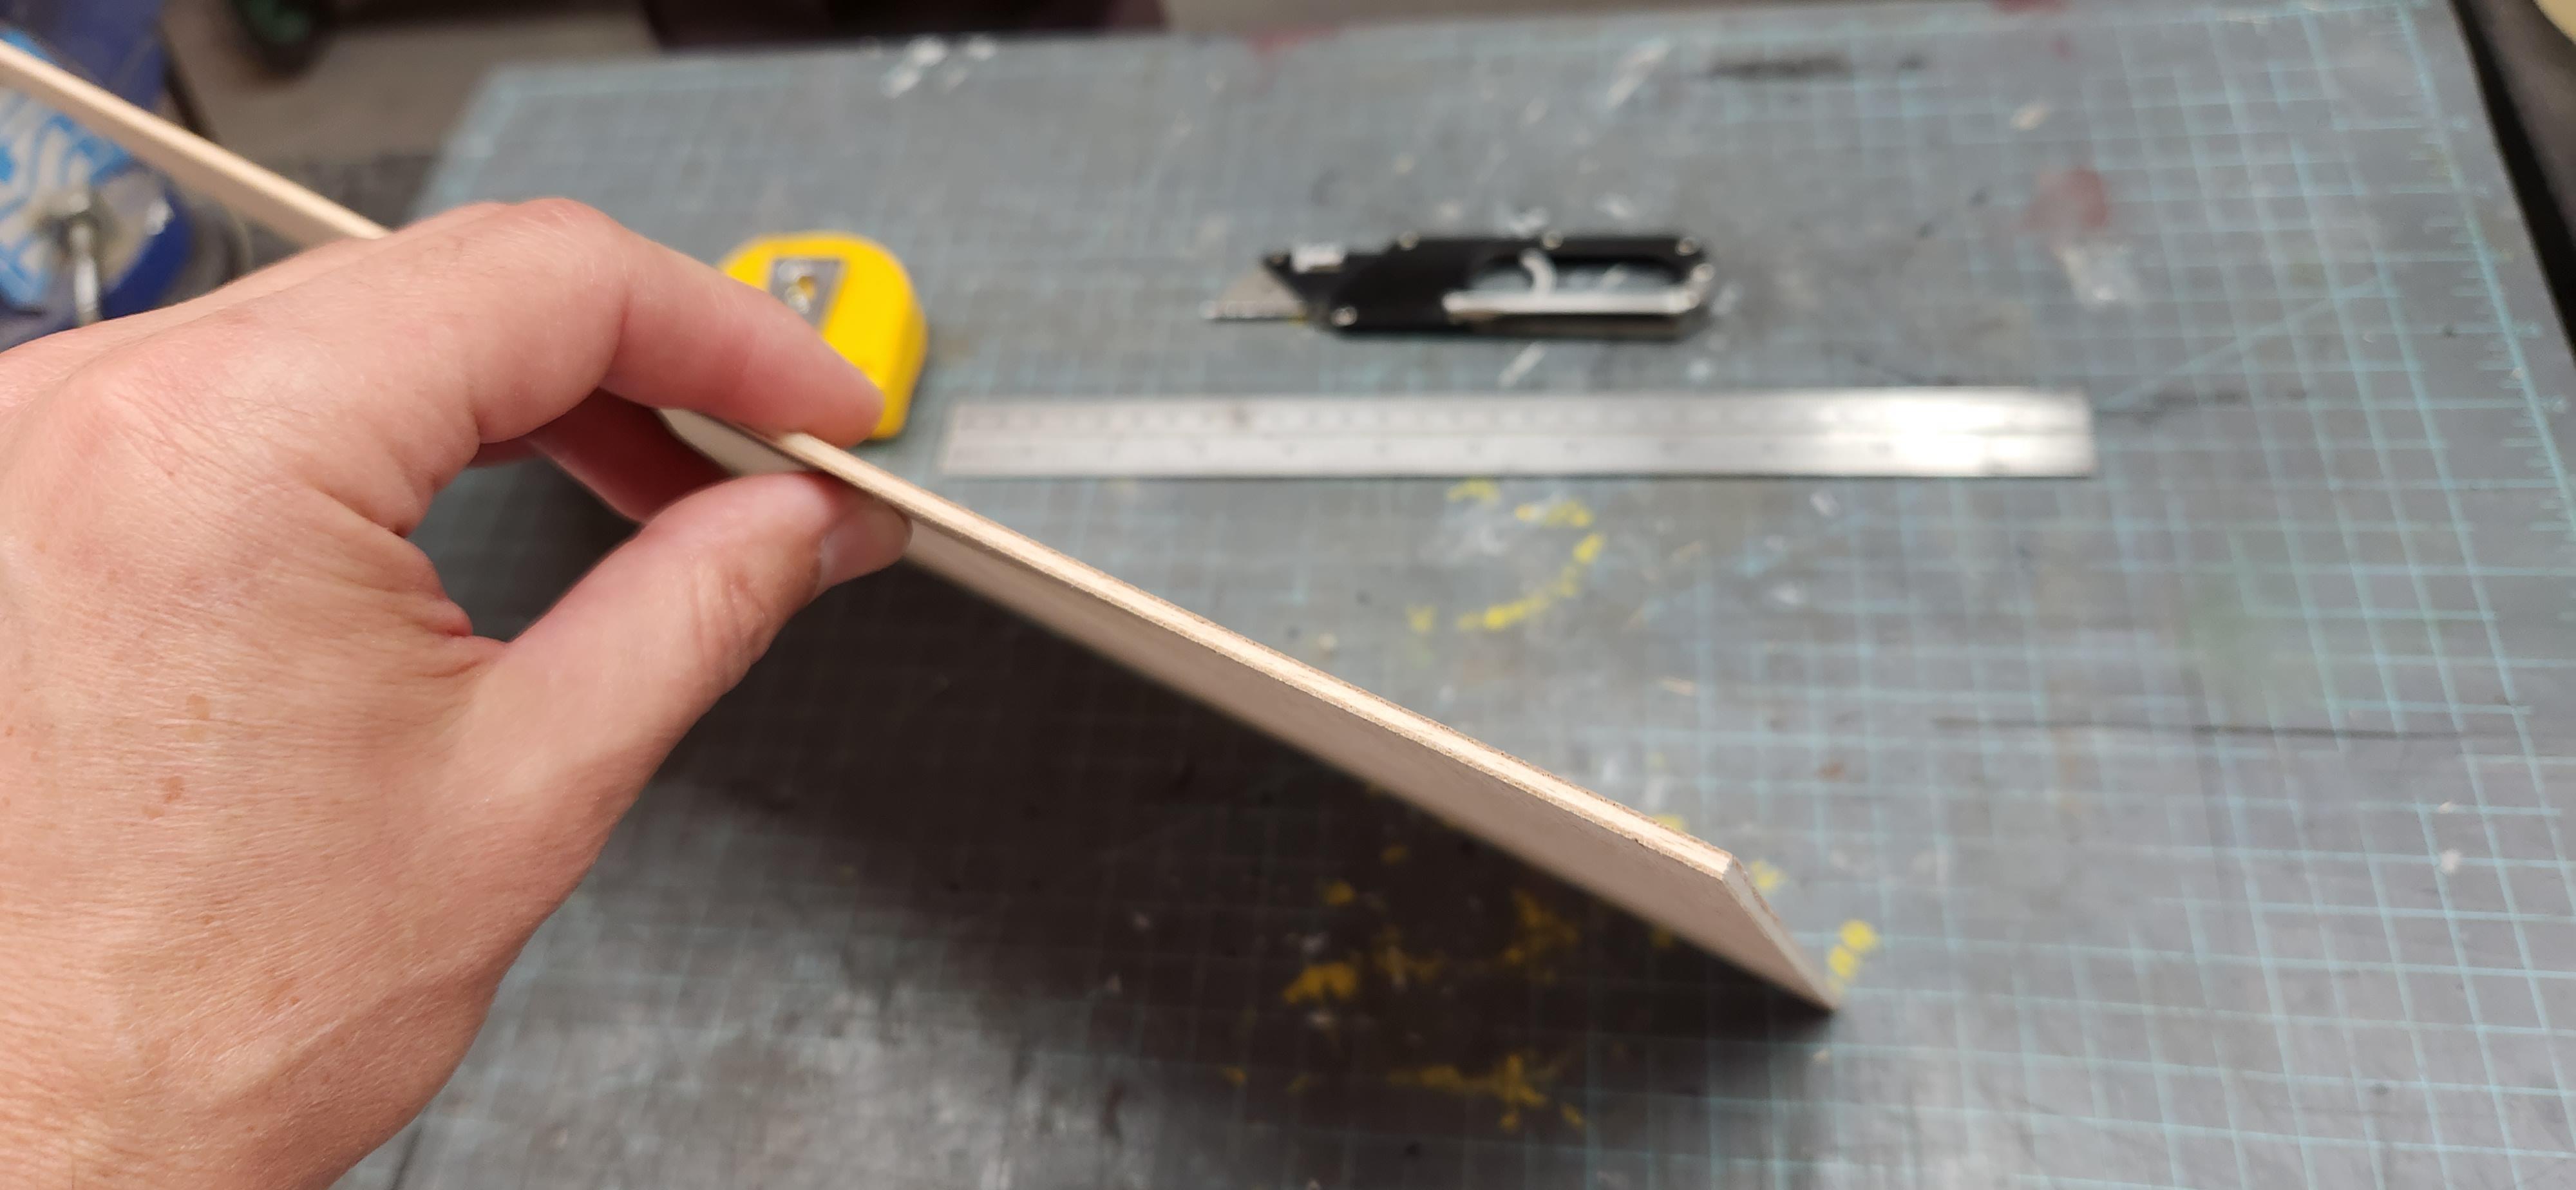
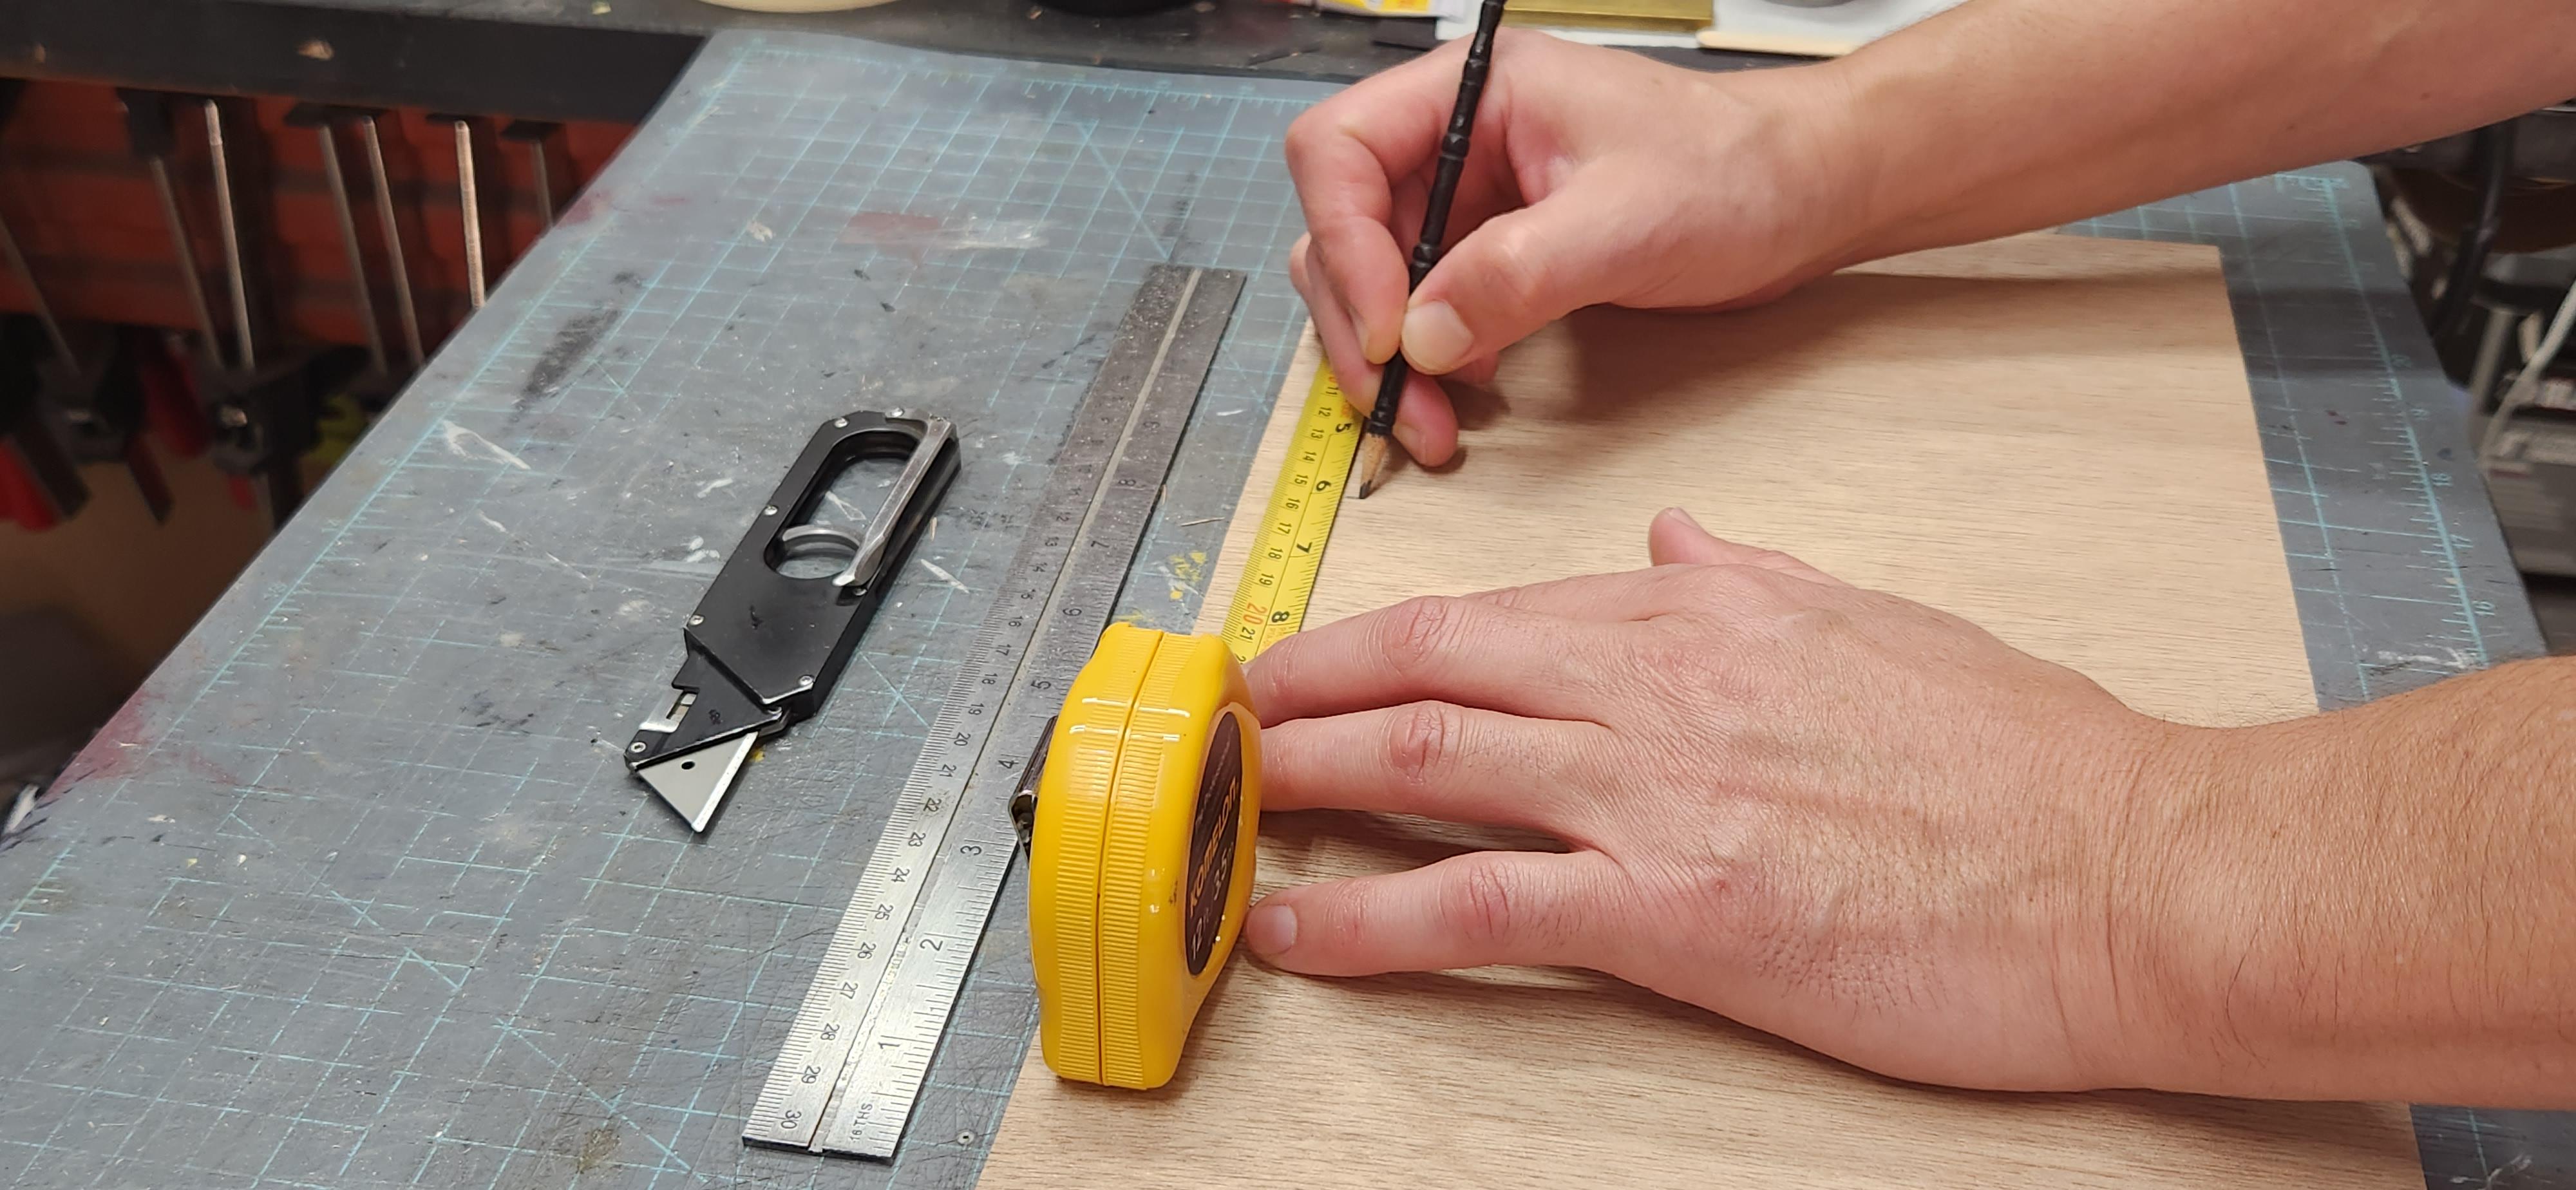
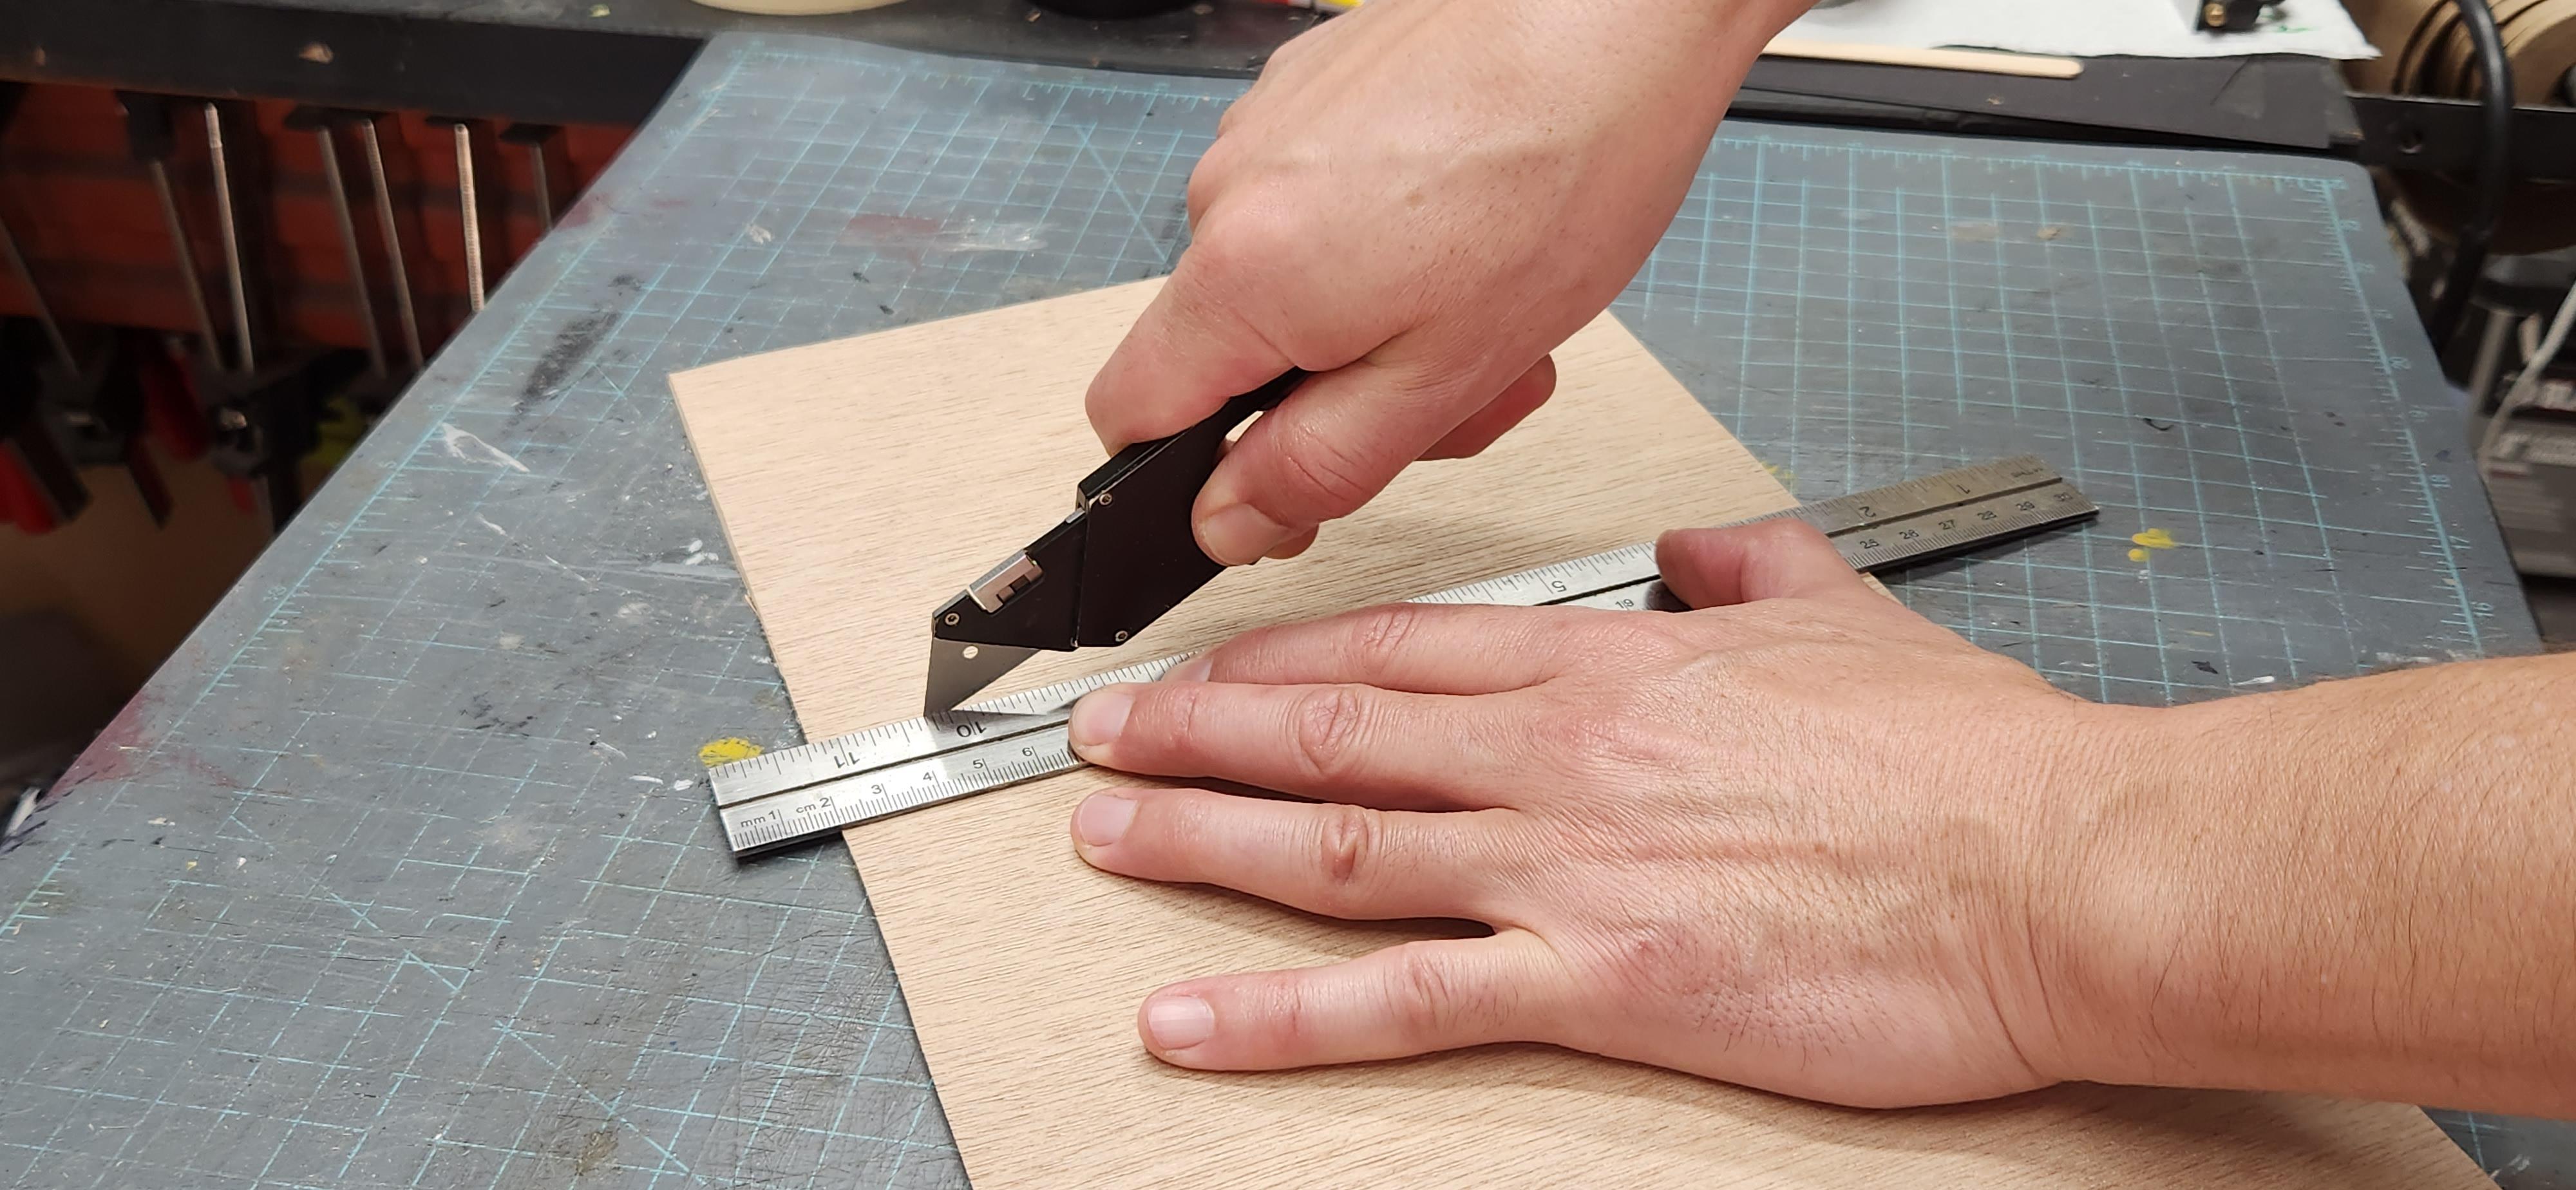
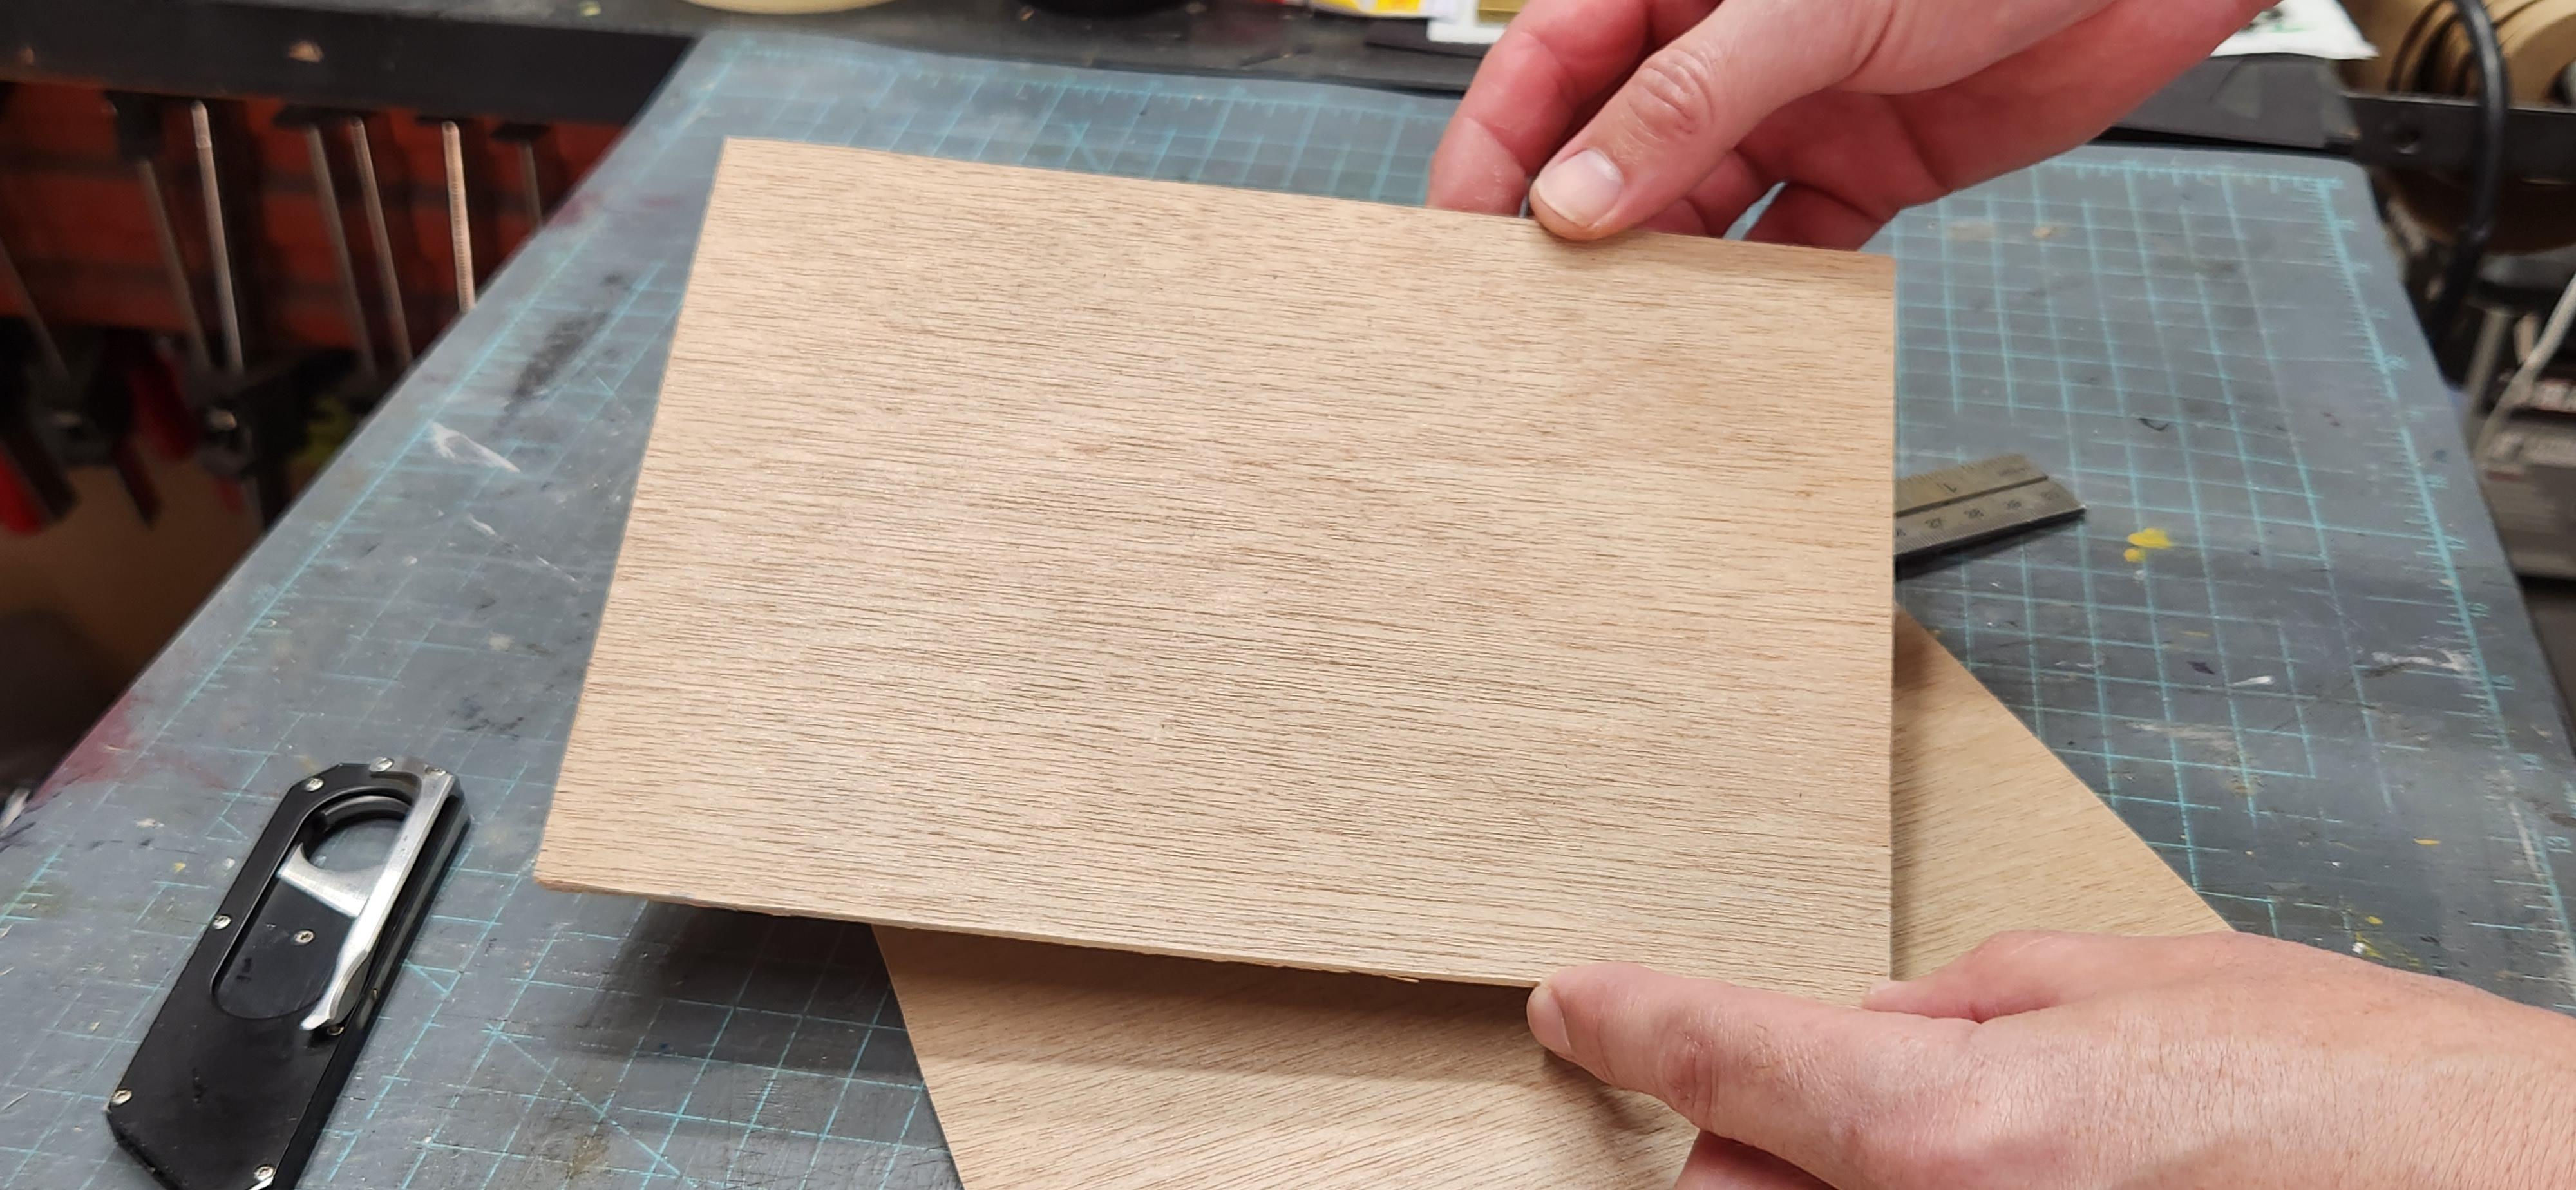
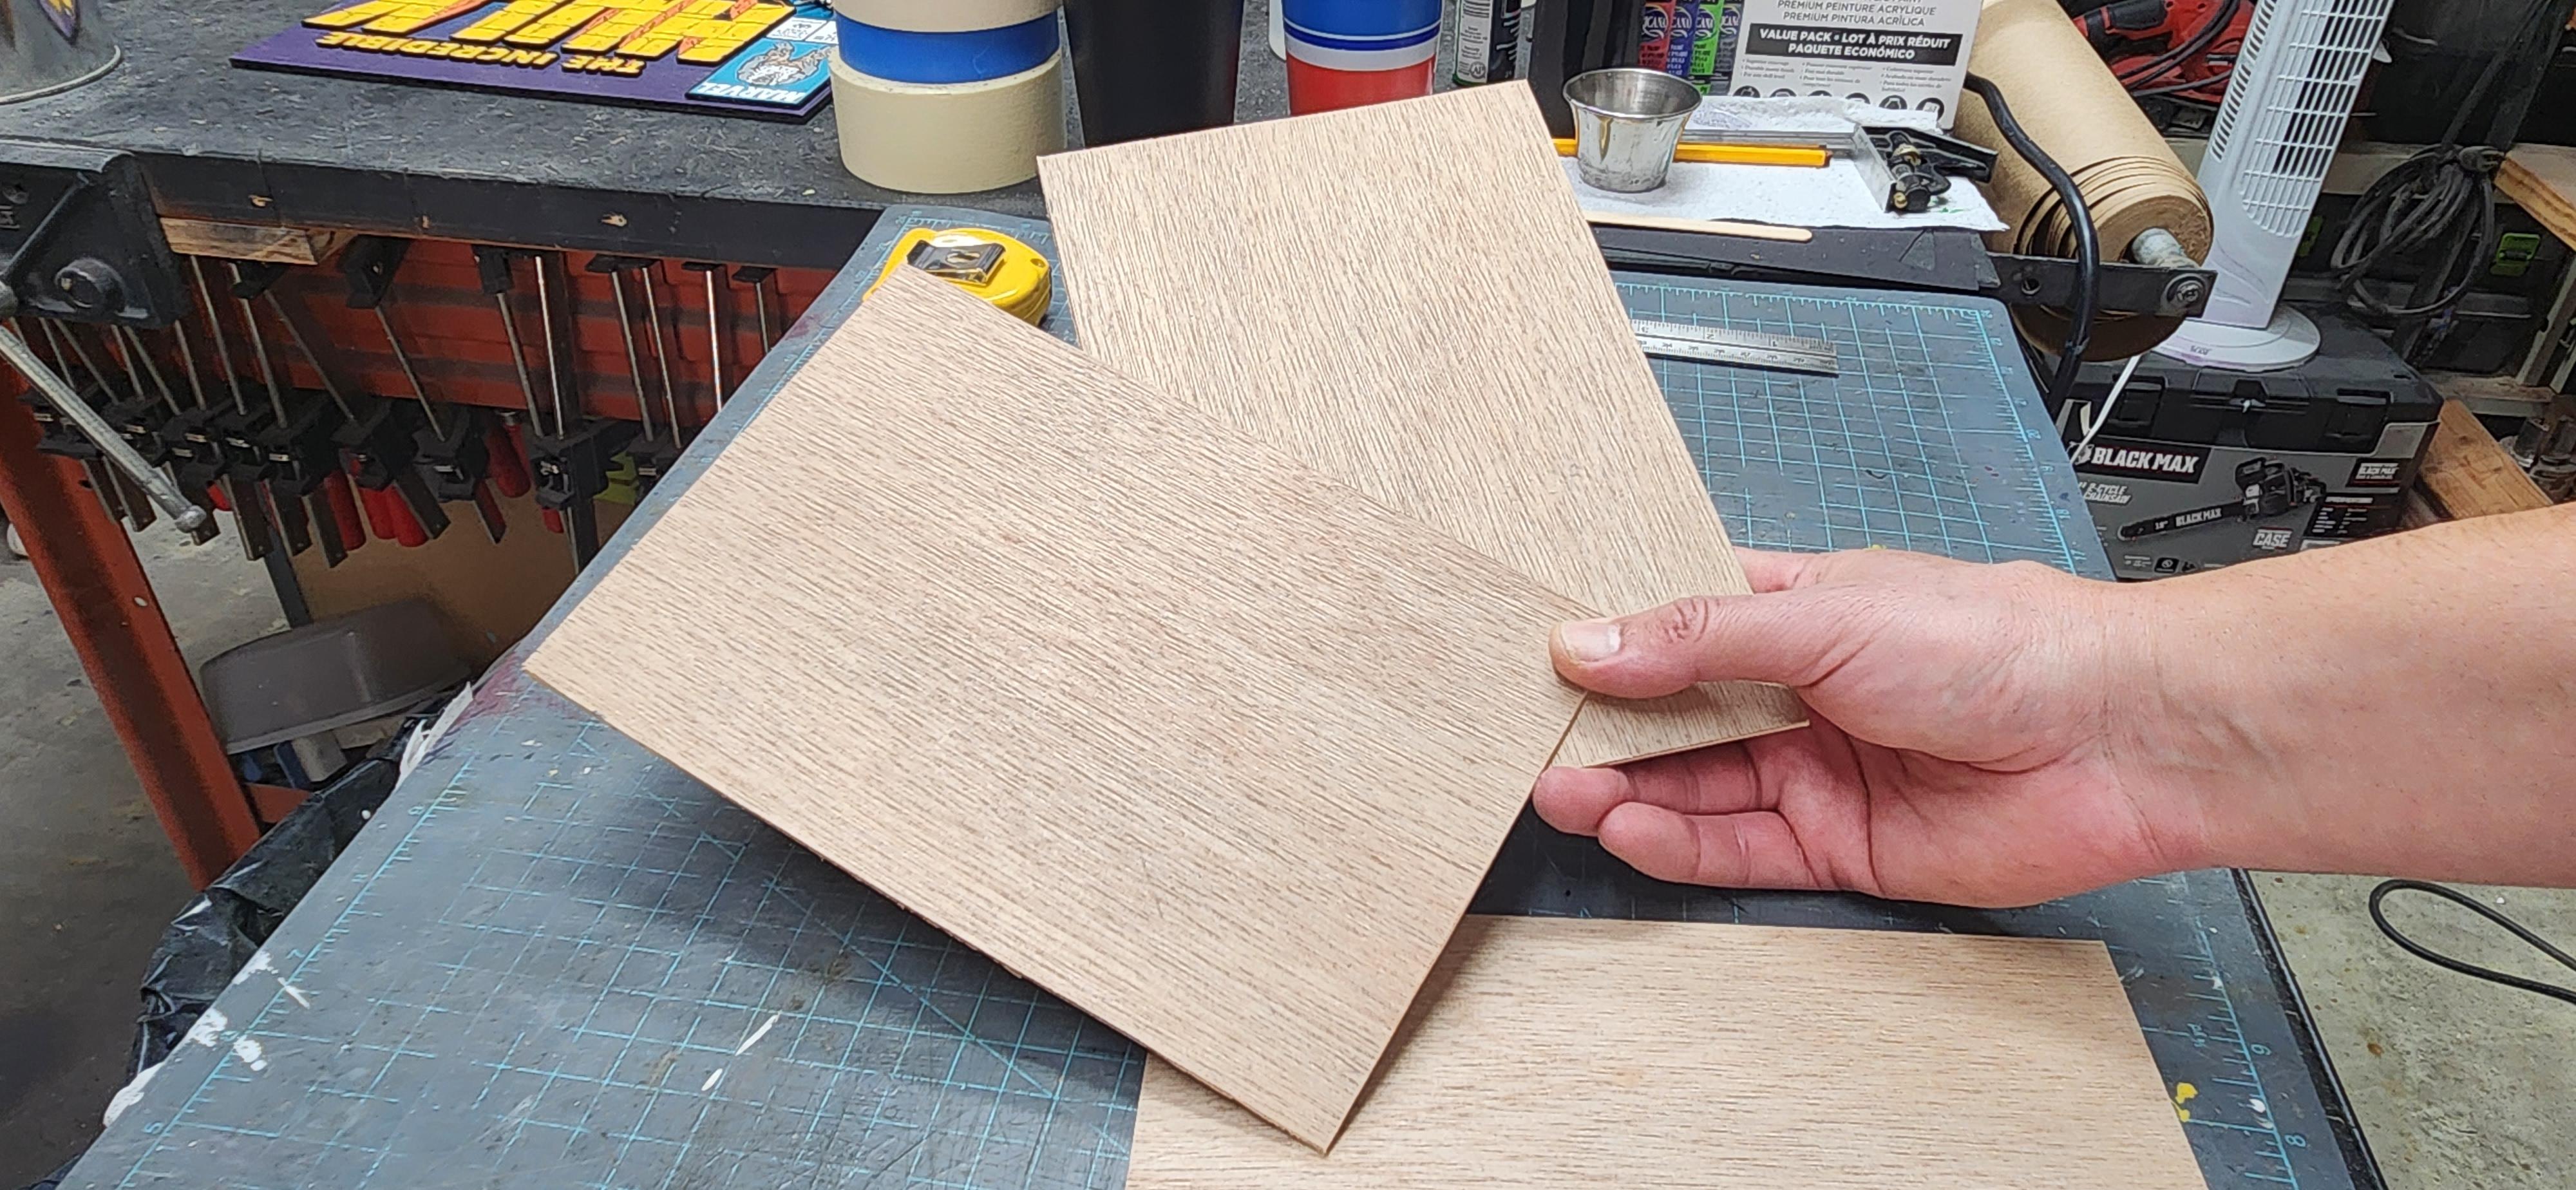
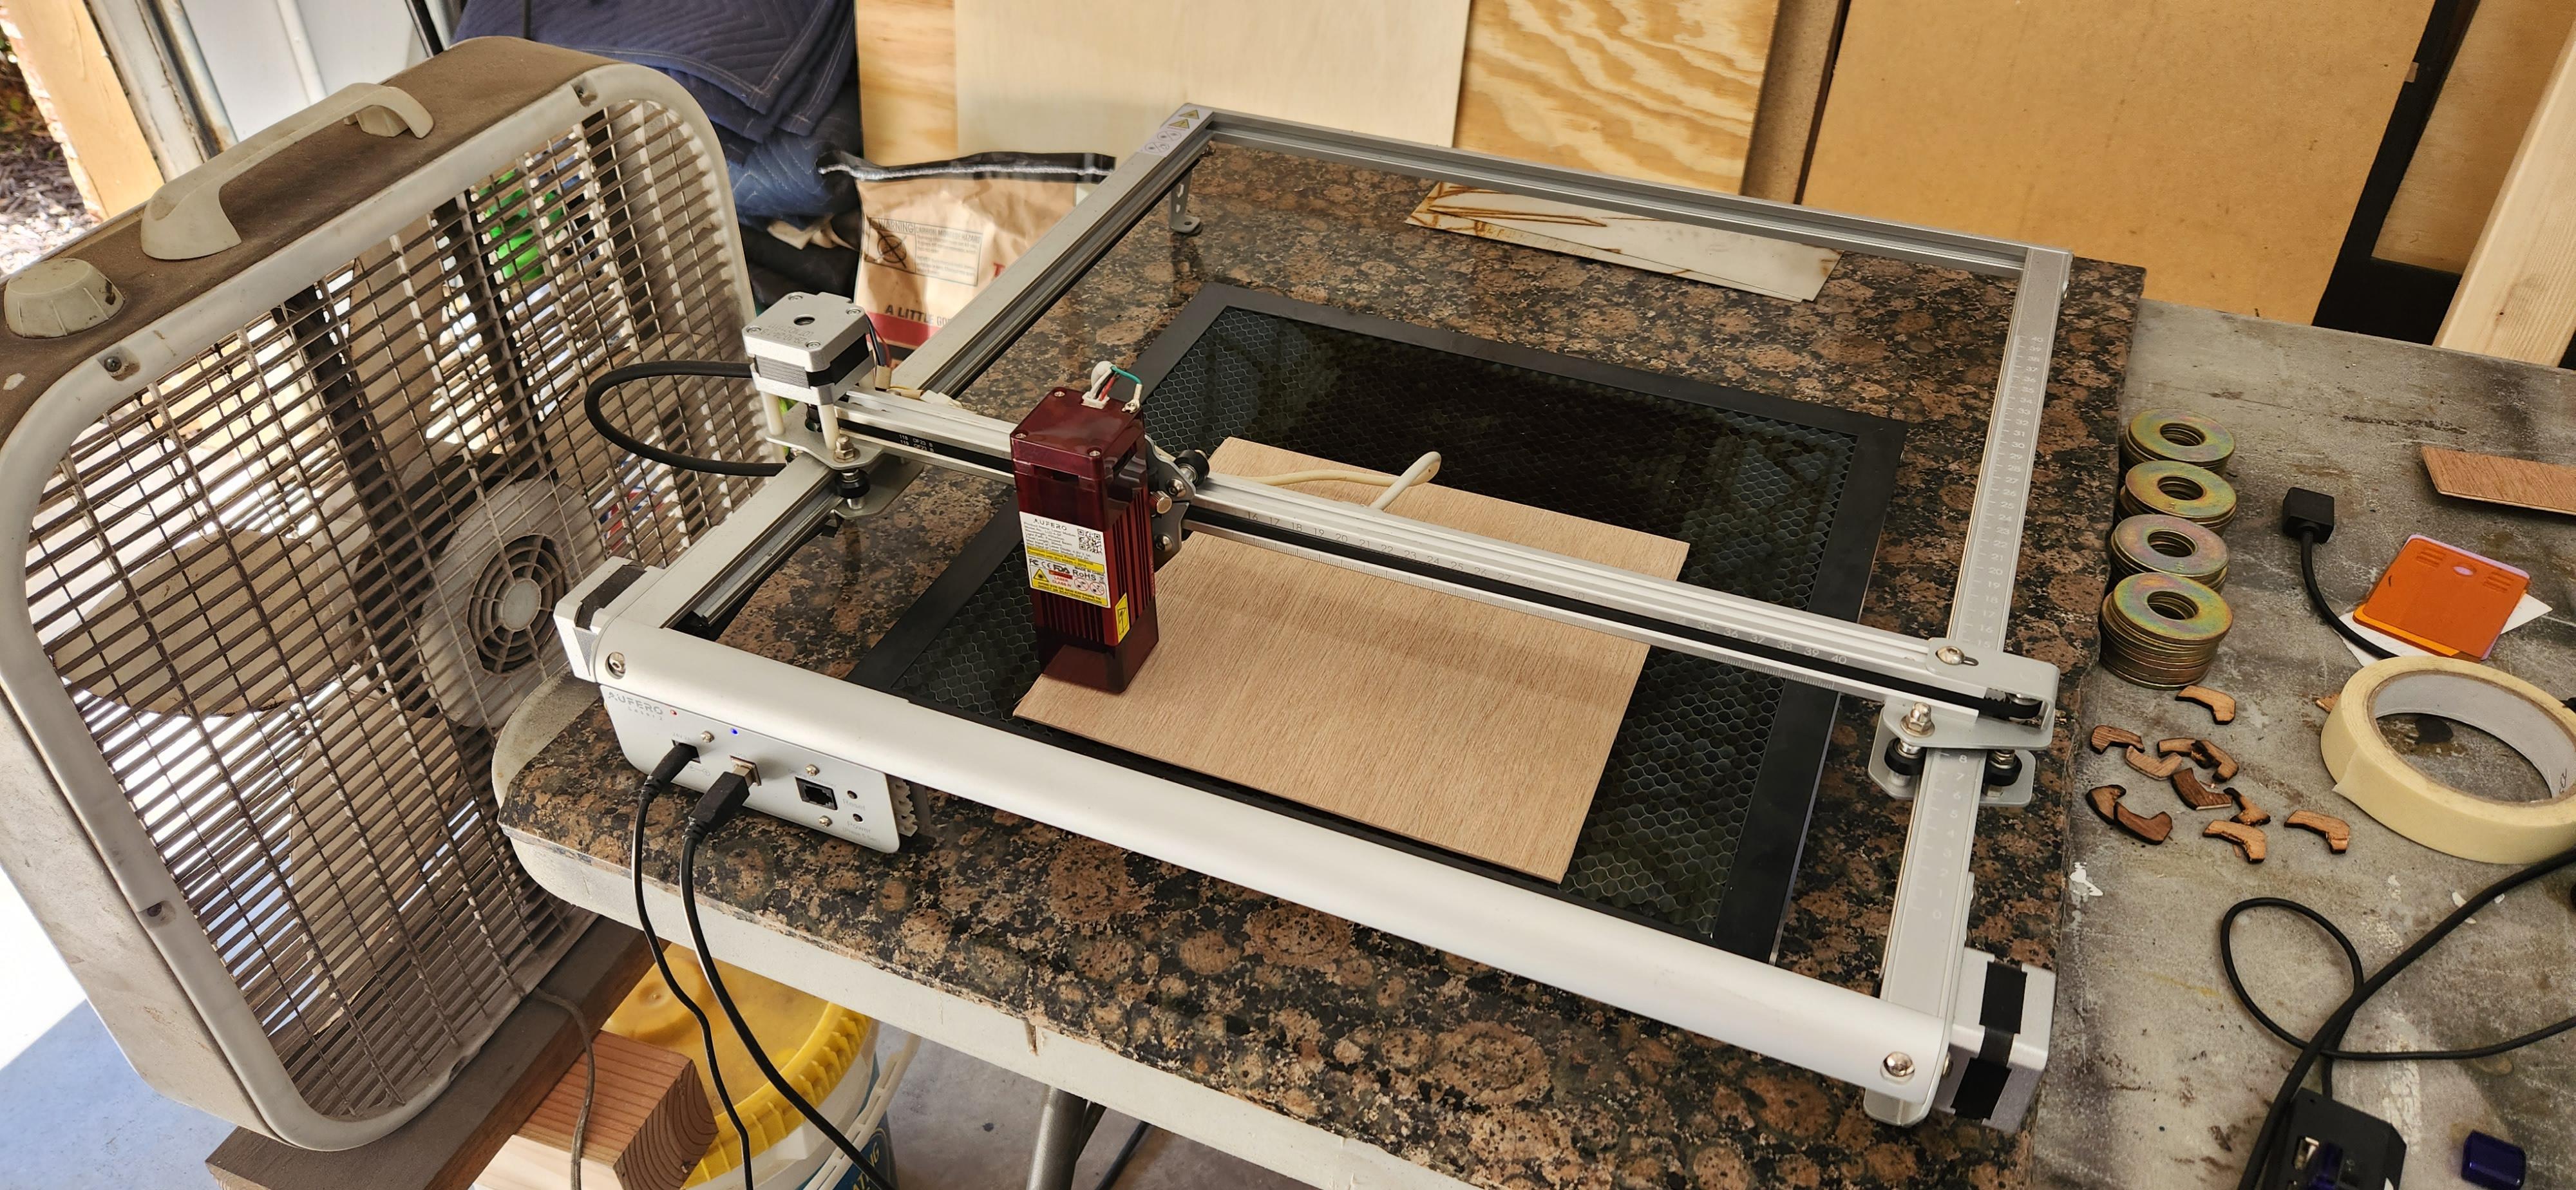
I use 3mm plywood (its actually 2.7mm) from Home Depot for the laser engraving and cutting. They sell it in 4 foot by 8 foot sheets but also in 2 foot by 4 foot sheets that are more manageable. I get the 4 foot by 8 foot sheets and cut them down into 9 inch strips. Most of the things I make aren't bigger than 9 inches wide. I use a straight edge and a utility knife to cut the plywood. It usually takes 3-4 cuts to make it through the plywood. Its a lot less mess than using a table saw, there is no saw dust when you use a utility knife. You will go through more utility knife blades but I prefer the knife over using the table saw. I figure out what size piece of wood I will need based on the image I will engrave and I cut a piece off of a 9 inch wide strip. I leave a little extra room for error on all sides when prepping a piece.
The flatter the plywood the better the engraving and the cutting will be. I have used slightly warped material in the past and this can effect the final result.
Laser Engraving
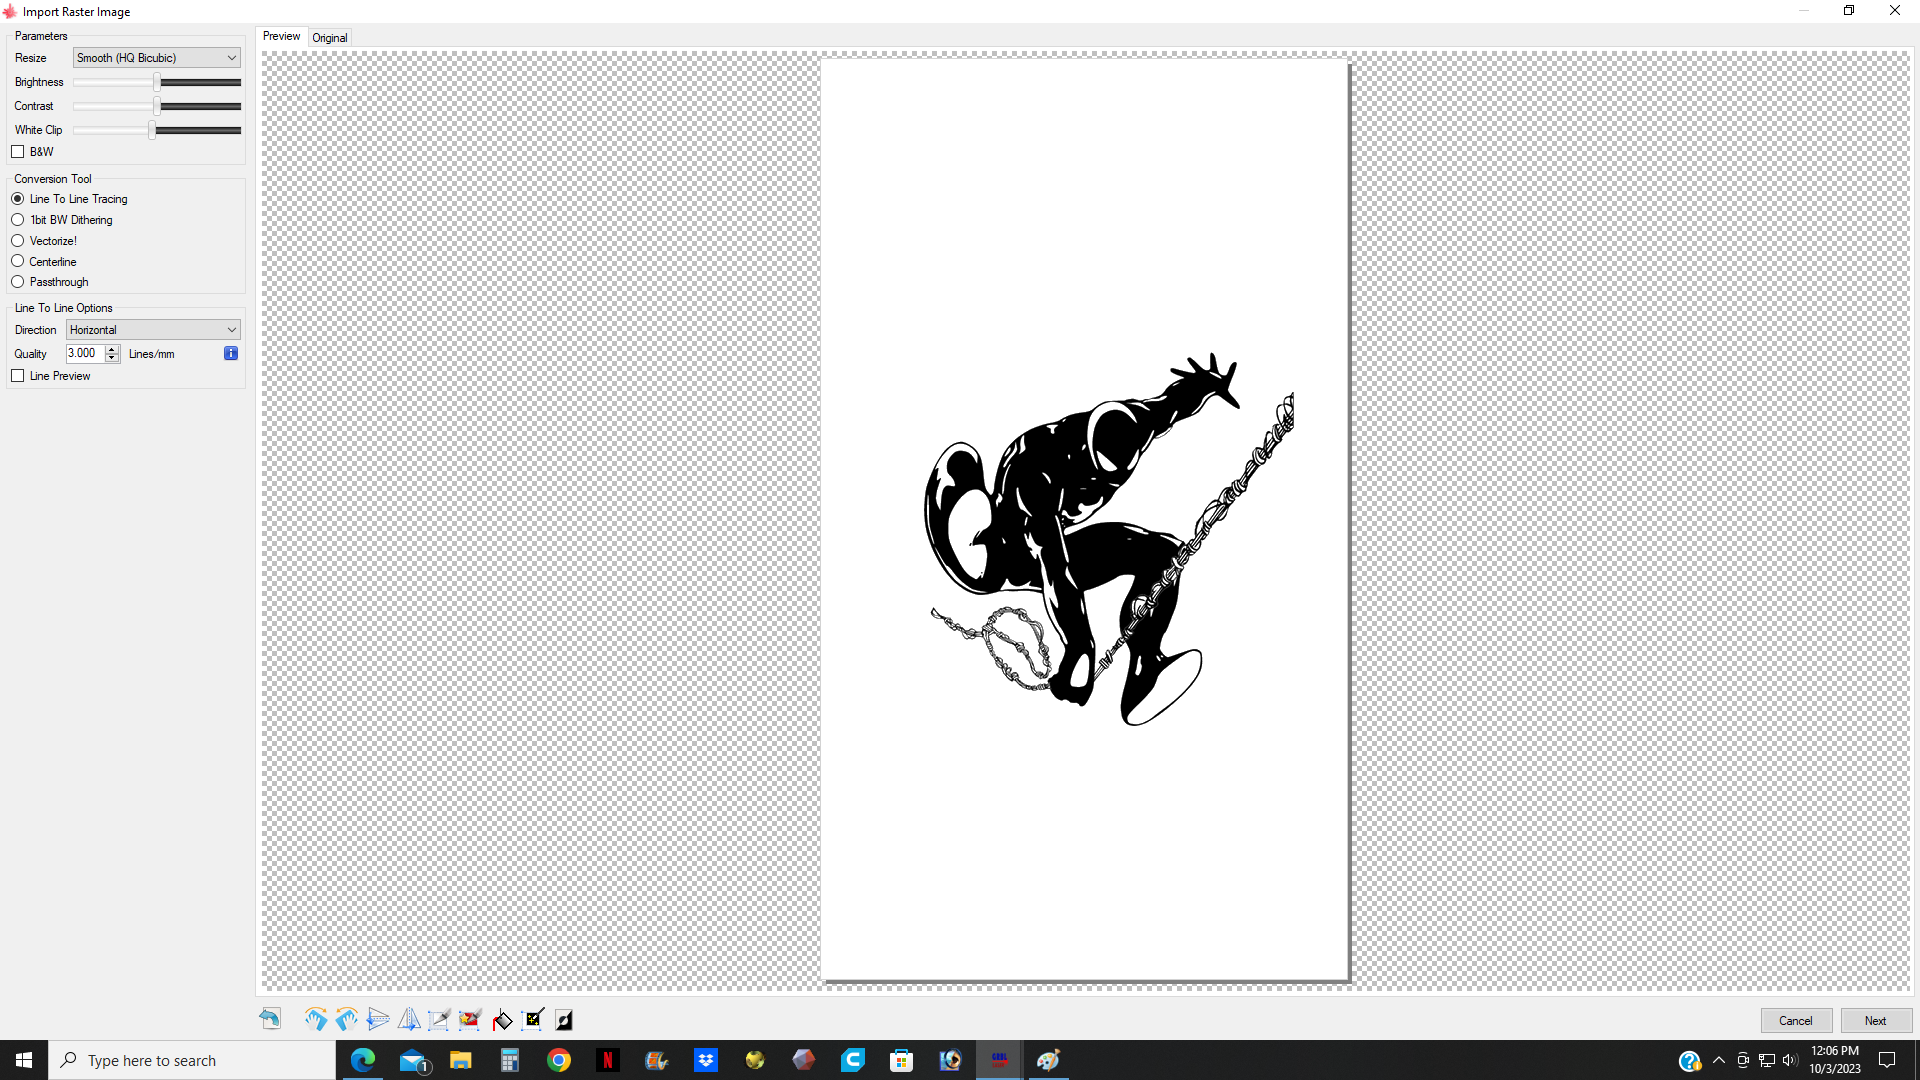
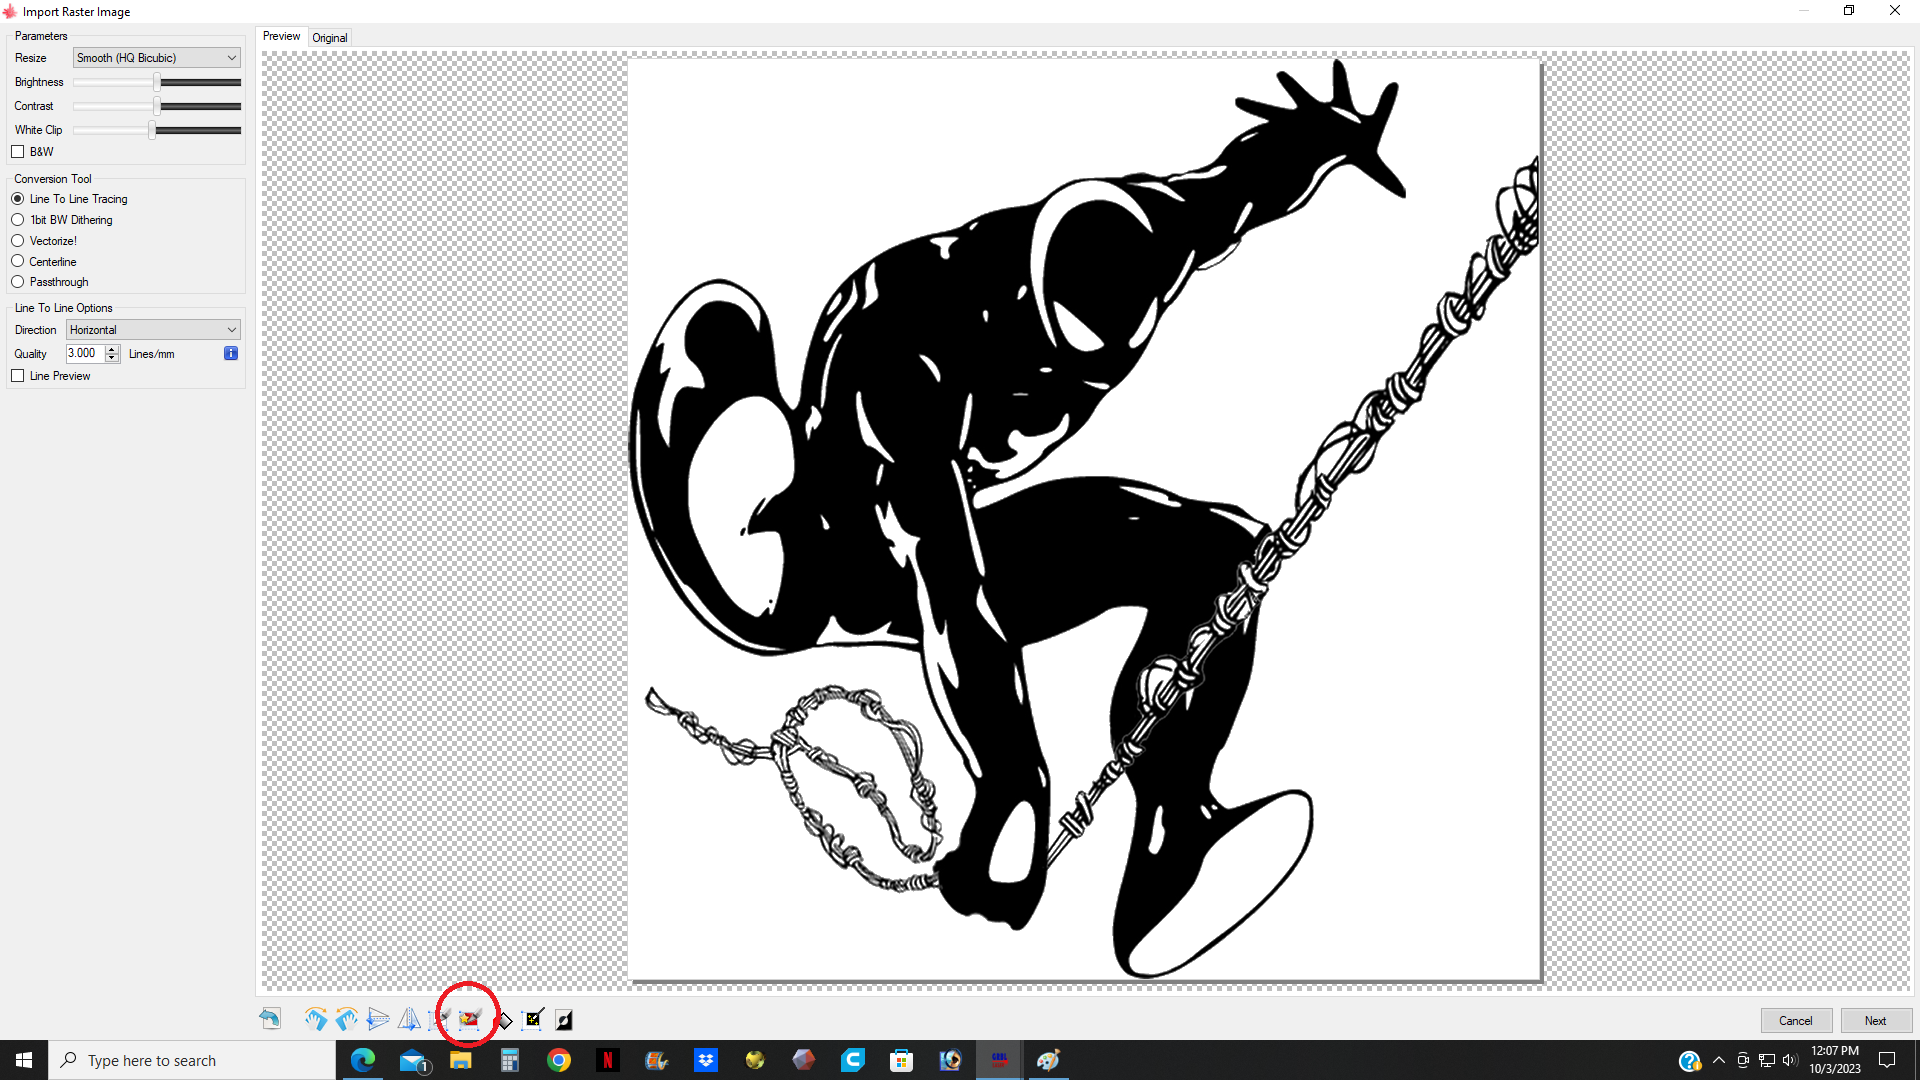
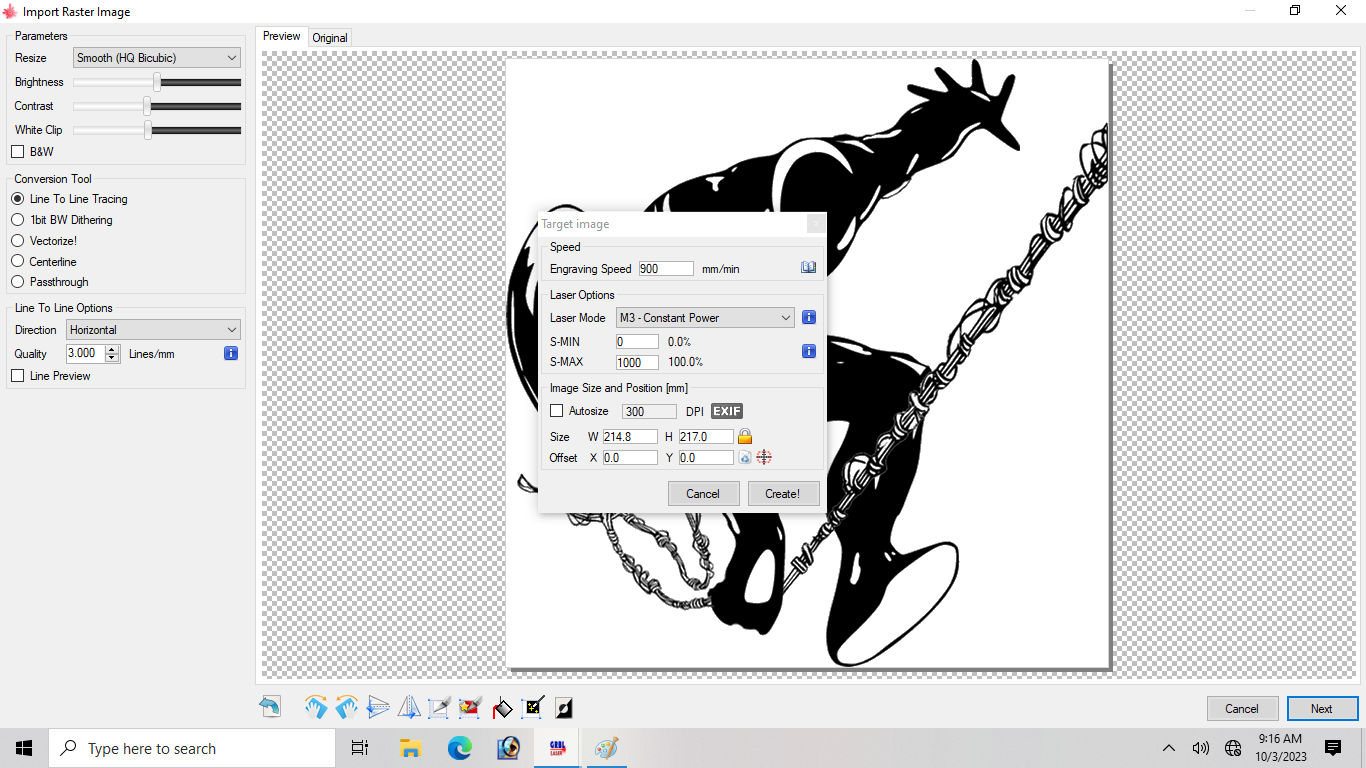
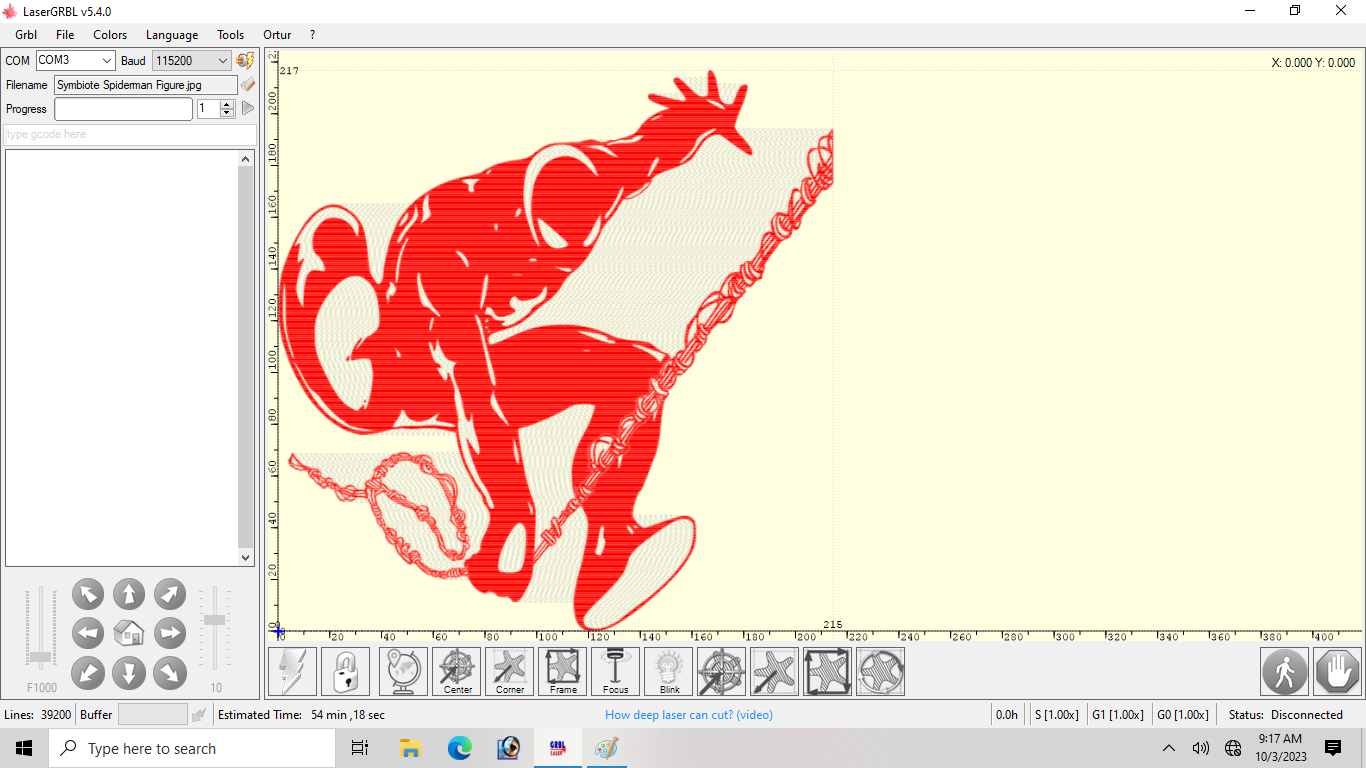
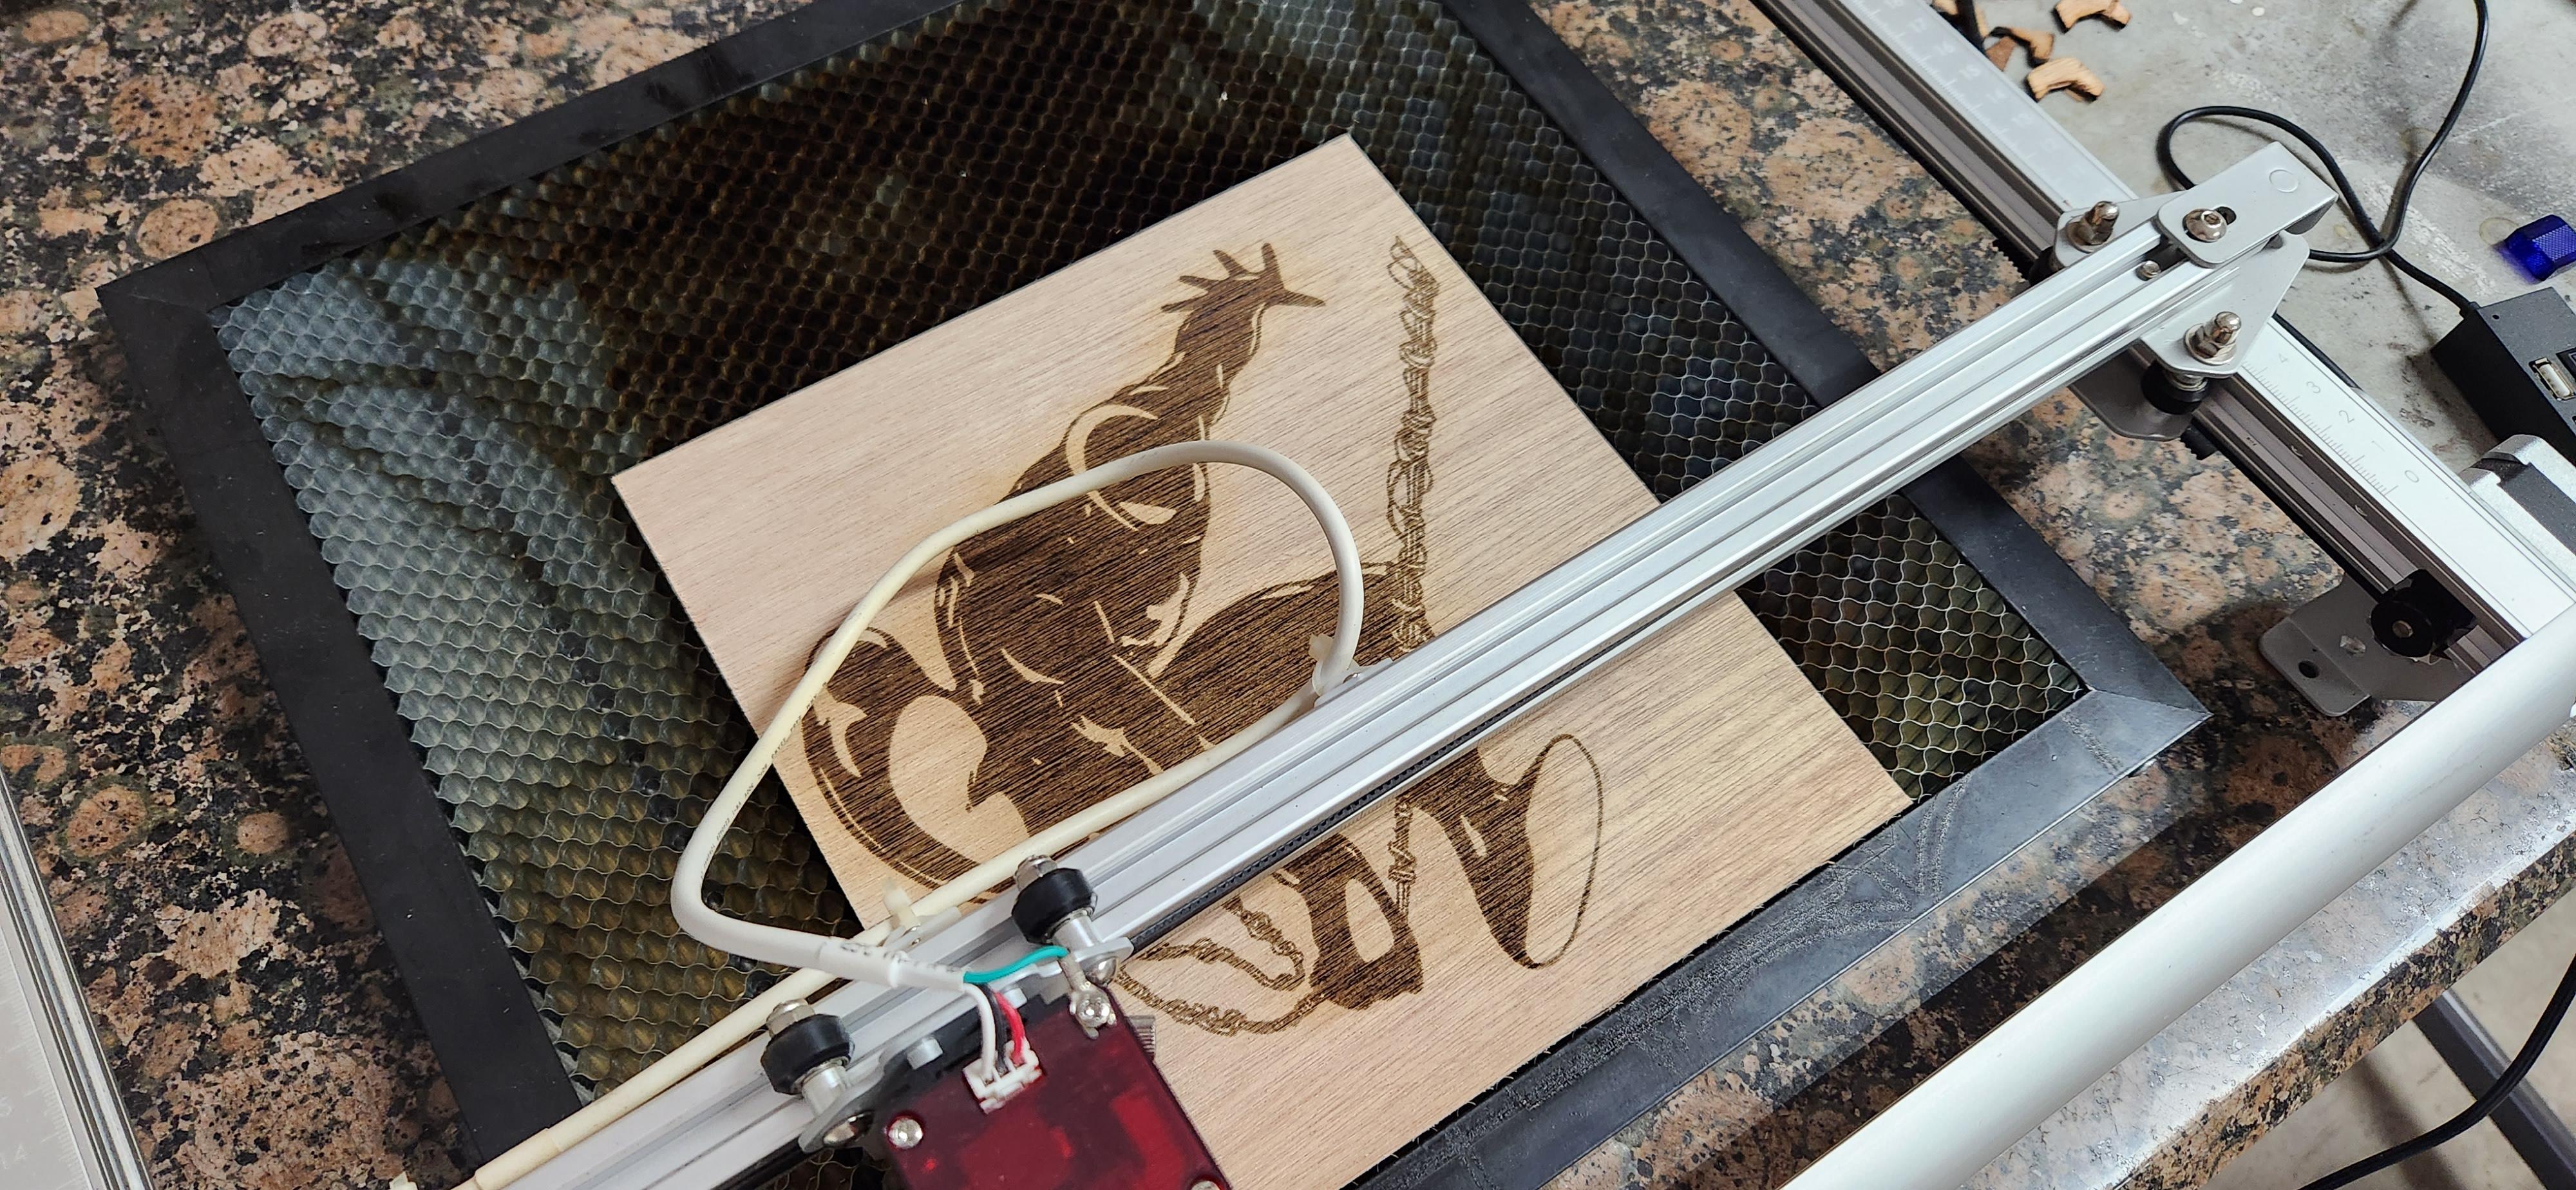
Next, I open LaserGRBL and open my Spider-man detailed image for engraving. In order to get the correct sizing, I click the "autocrop" button (see pic 2). If I am happy with the cropping I click the "next" button. "Auto cropping" gets rid of the extra white space around the image. I always use autocrop when ever I plan to engrave and then cut an image. I can adjust the actual image size in the next screen (see pic3). By referencing my Photoshop file I know that Spider-man is 217 mm tall so I enter that in to the size box and hit enter and this will automatically adjust the width. Pic 3 also shows where you can change your engraver settings as in how fast you want it to move and the strength of the laser. For my laser, the Aufero Laser 2 I set my speed at 900 mm/per minute and the strength I set to 100%, your laser settings will probably vary. Then I click next, LaserGRBL shows a preview of the engraving, if it all looks good I run the program.
Once the engraving is finished do not move the wood on the laser bed.
Laser Cutting
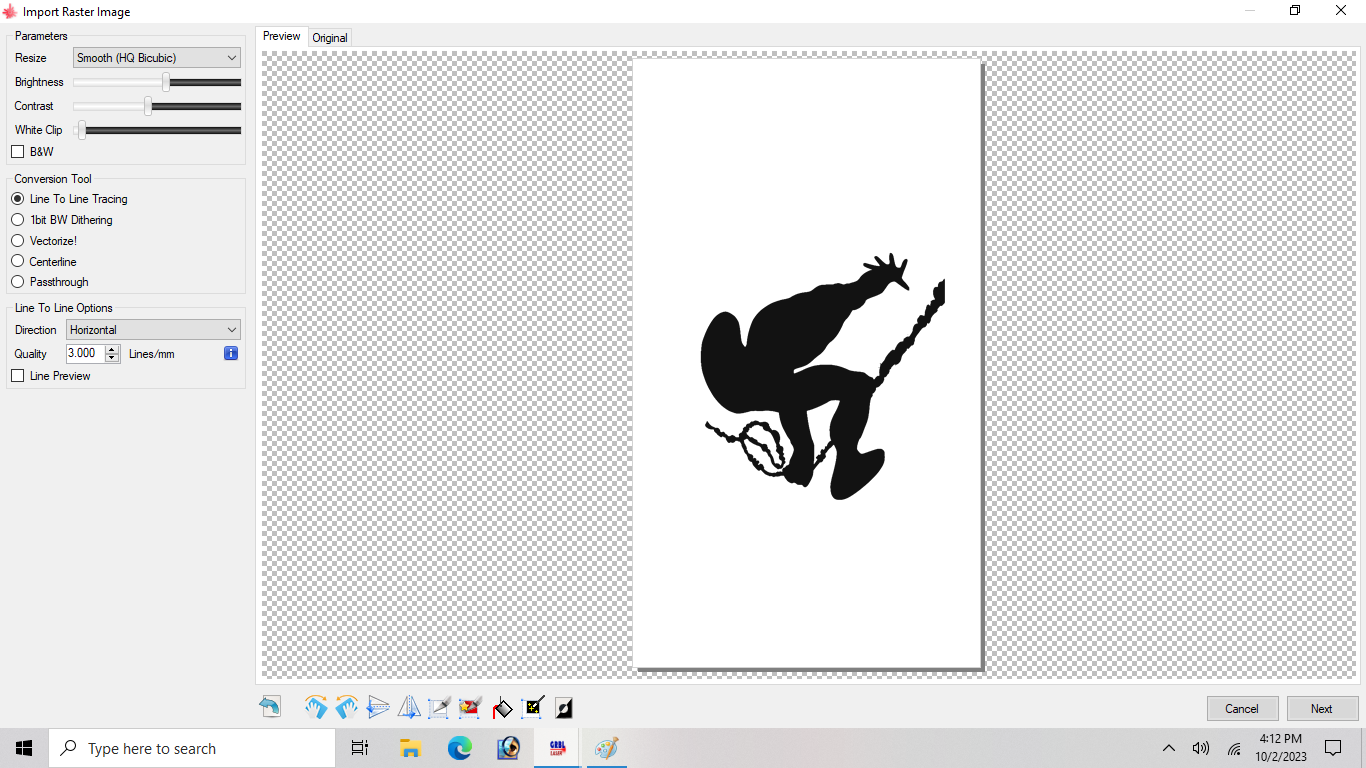
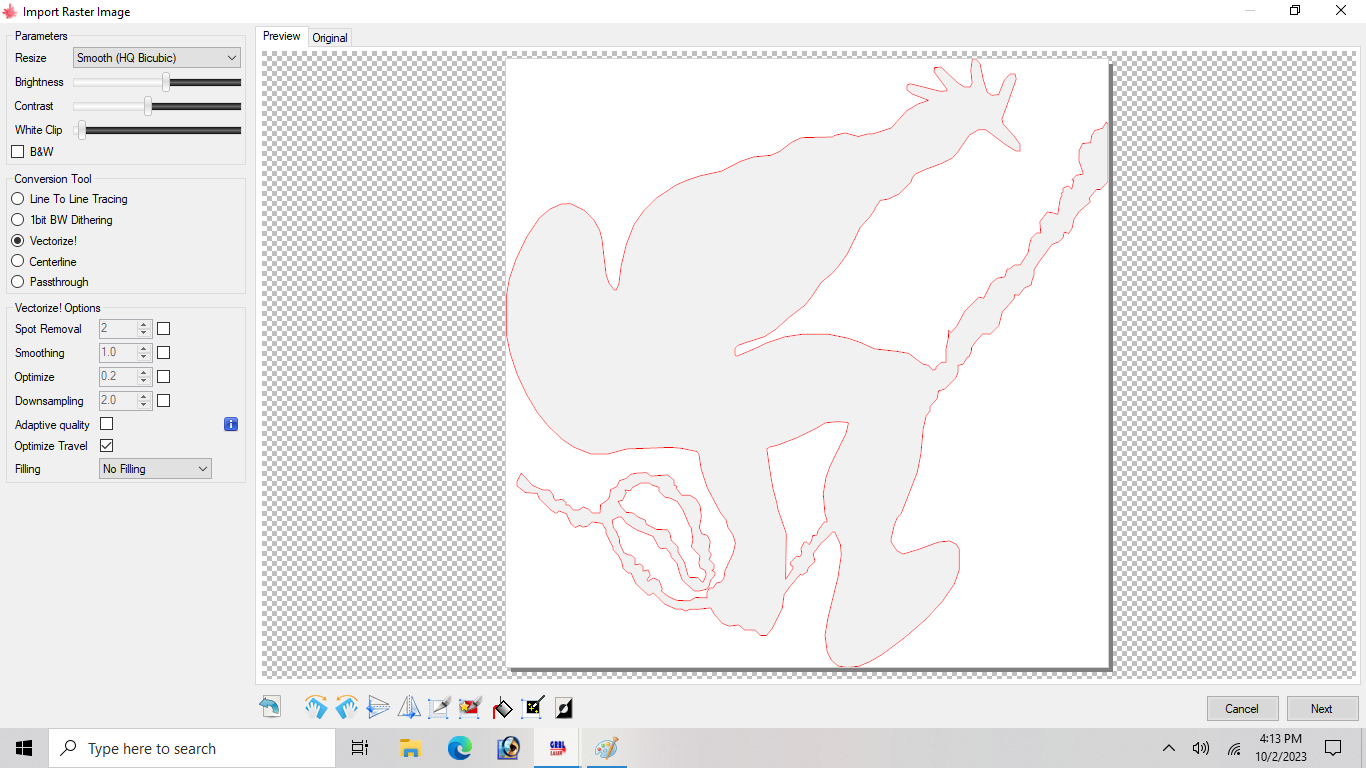
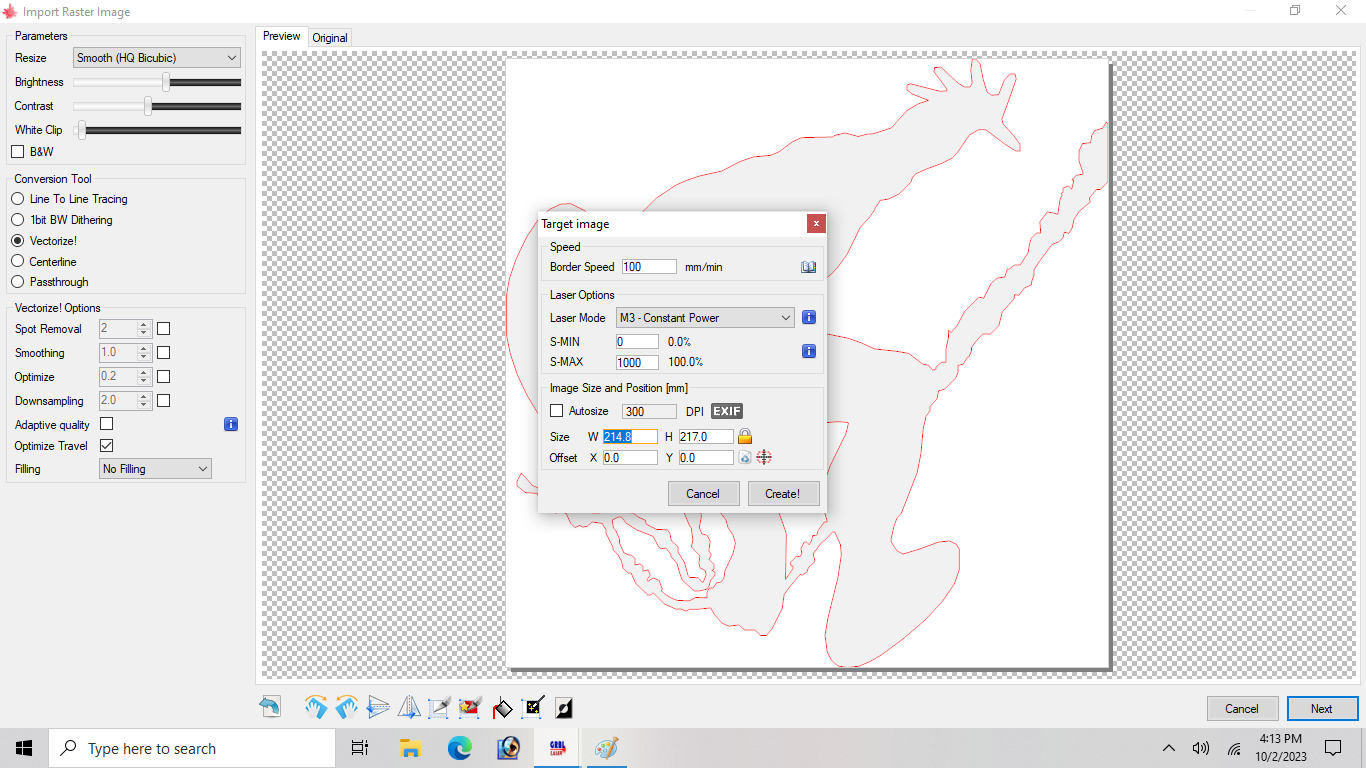
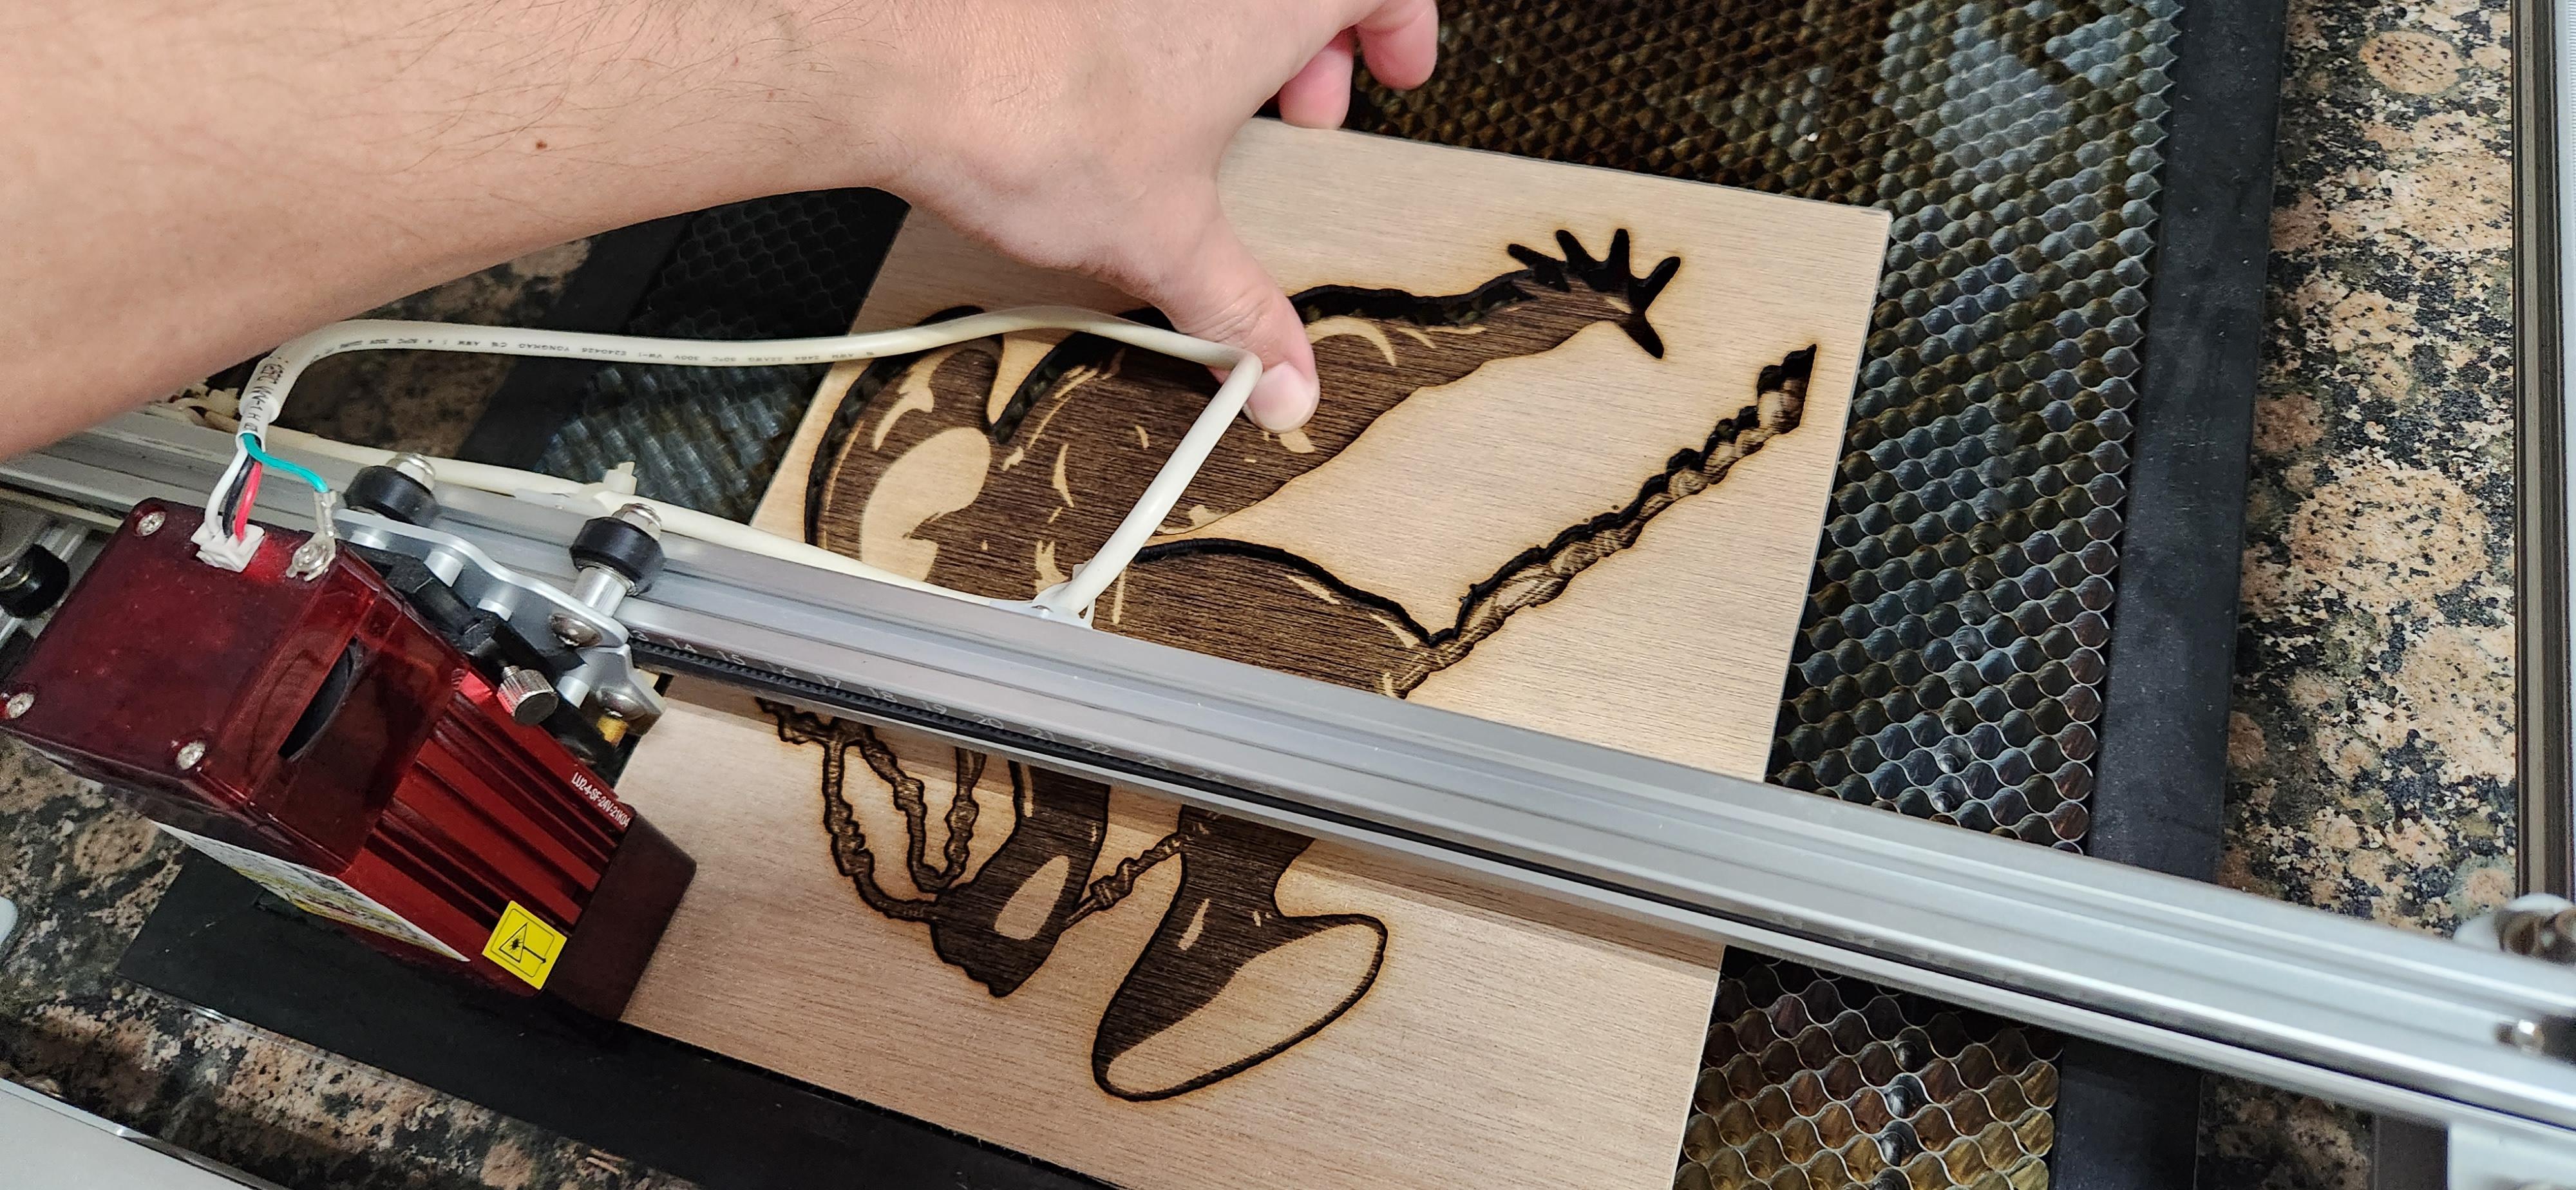
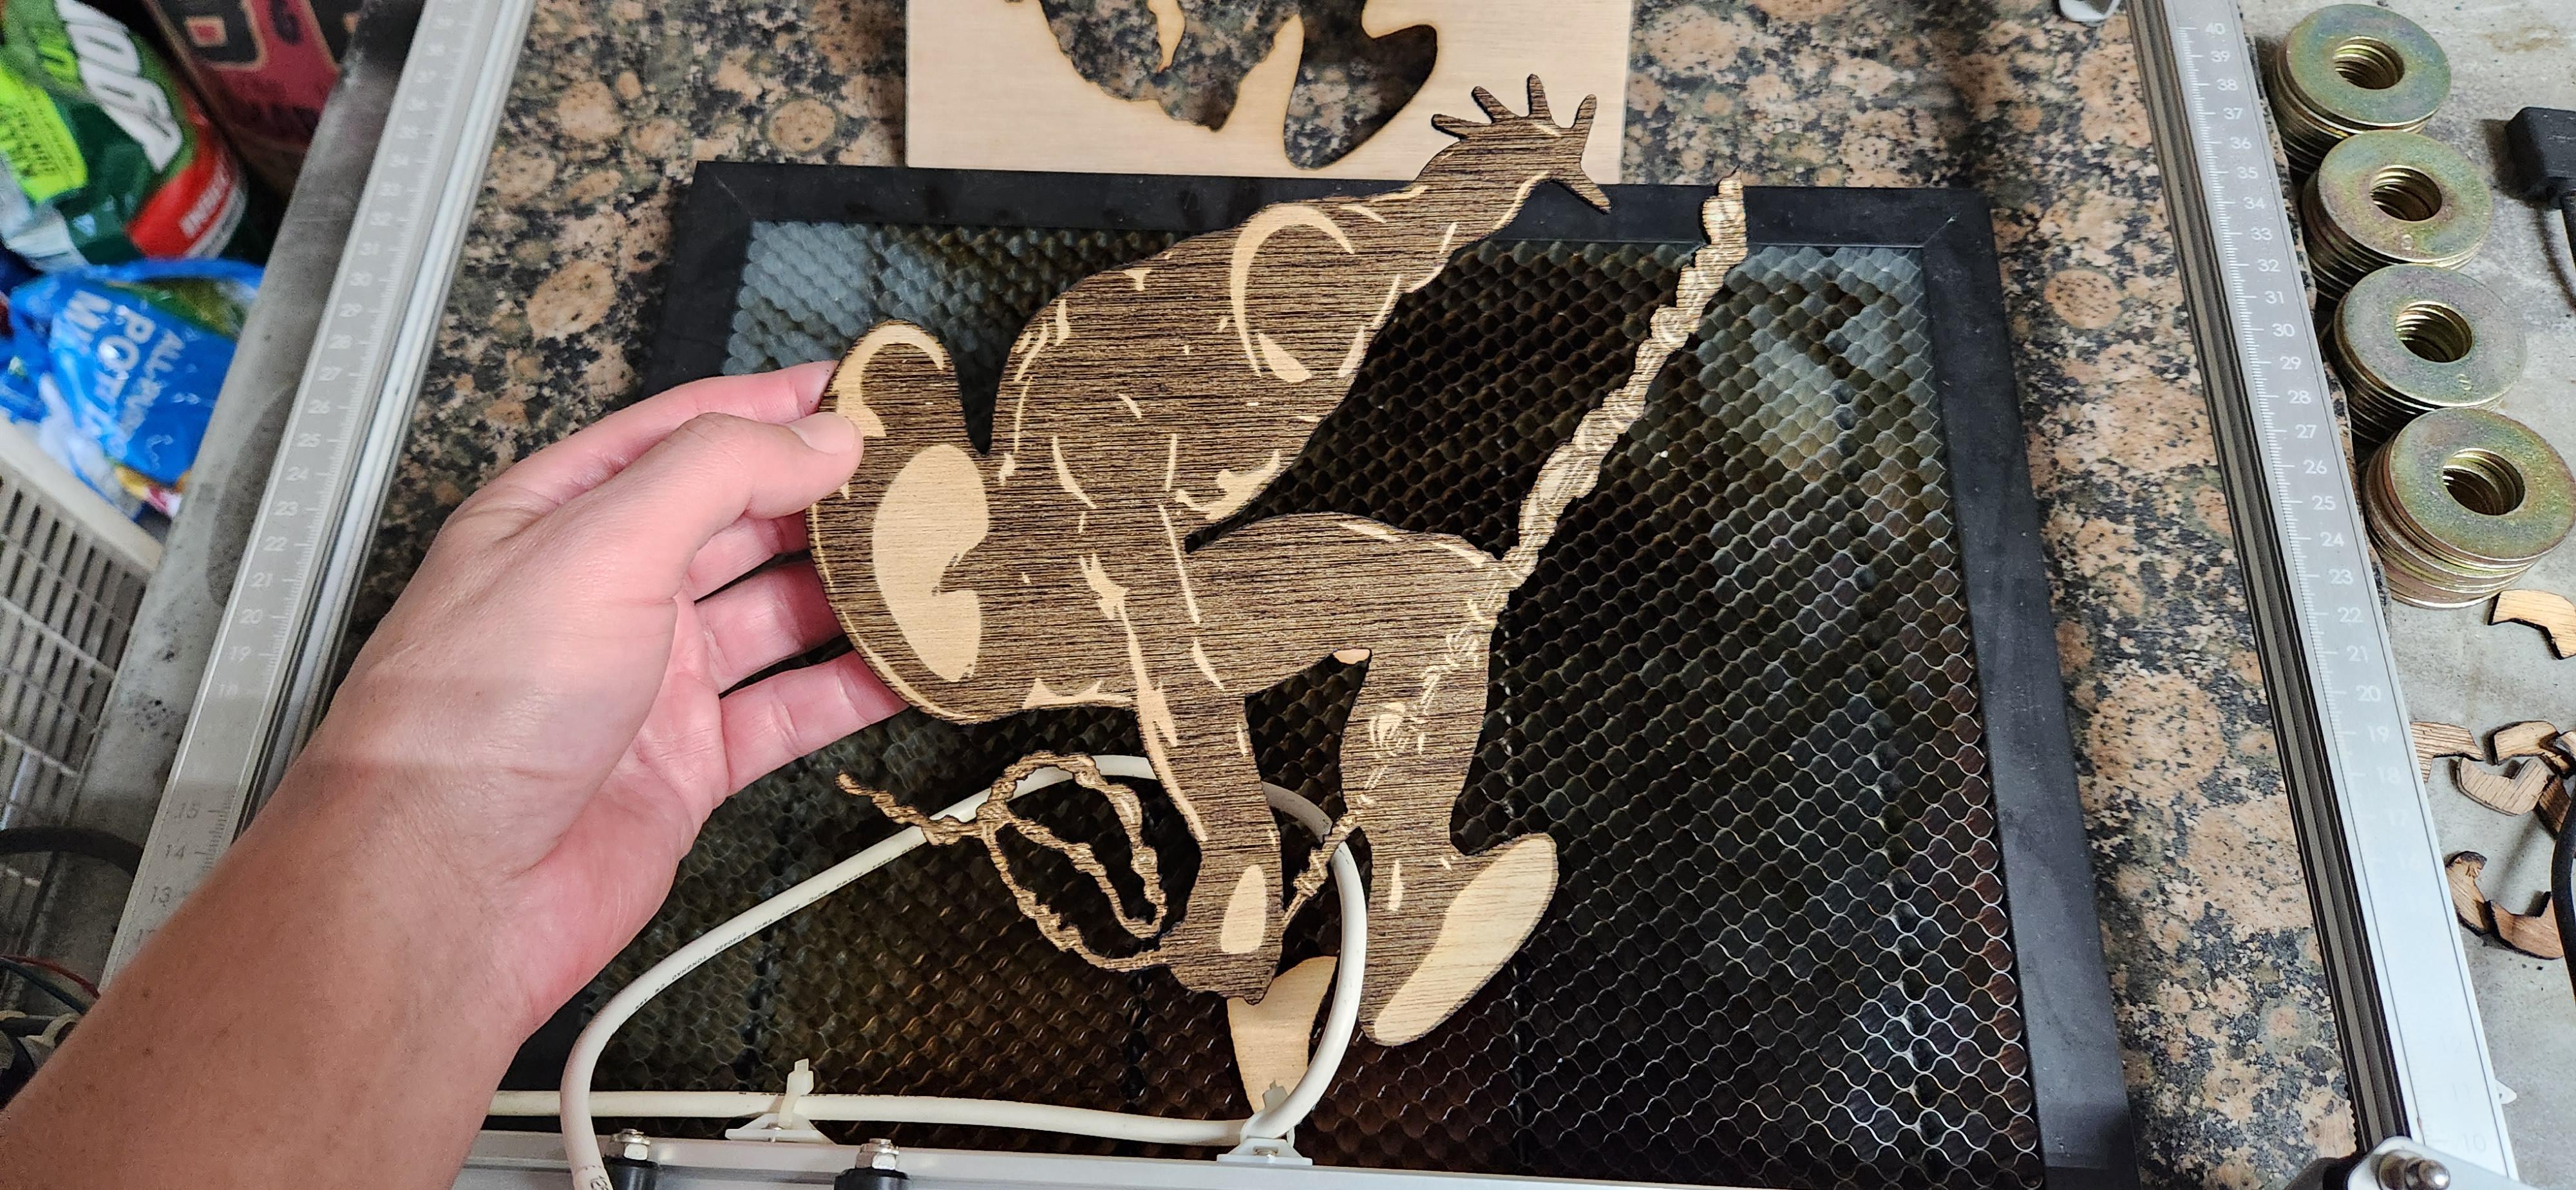
After the engraving is done its time to have the laser cut the image out. I usually open a new LaserGRBL window and open up my Spider-Man silhouette file. Same as before I click the "autocrop" button and then resize the image using the dialogue box. Most times LaserGRBL has already sized the image correctly. It should be the exact same measurements as your engraved image. I set my speed to 100 mm/min and my strength to 100% and run the program.
Settings and Sizes
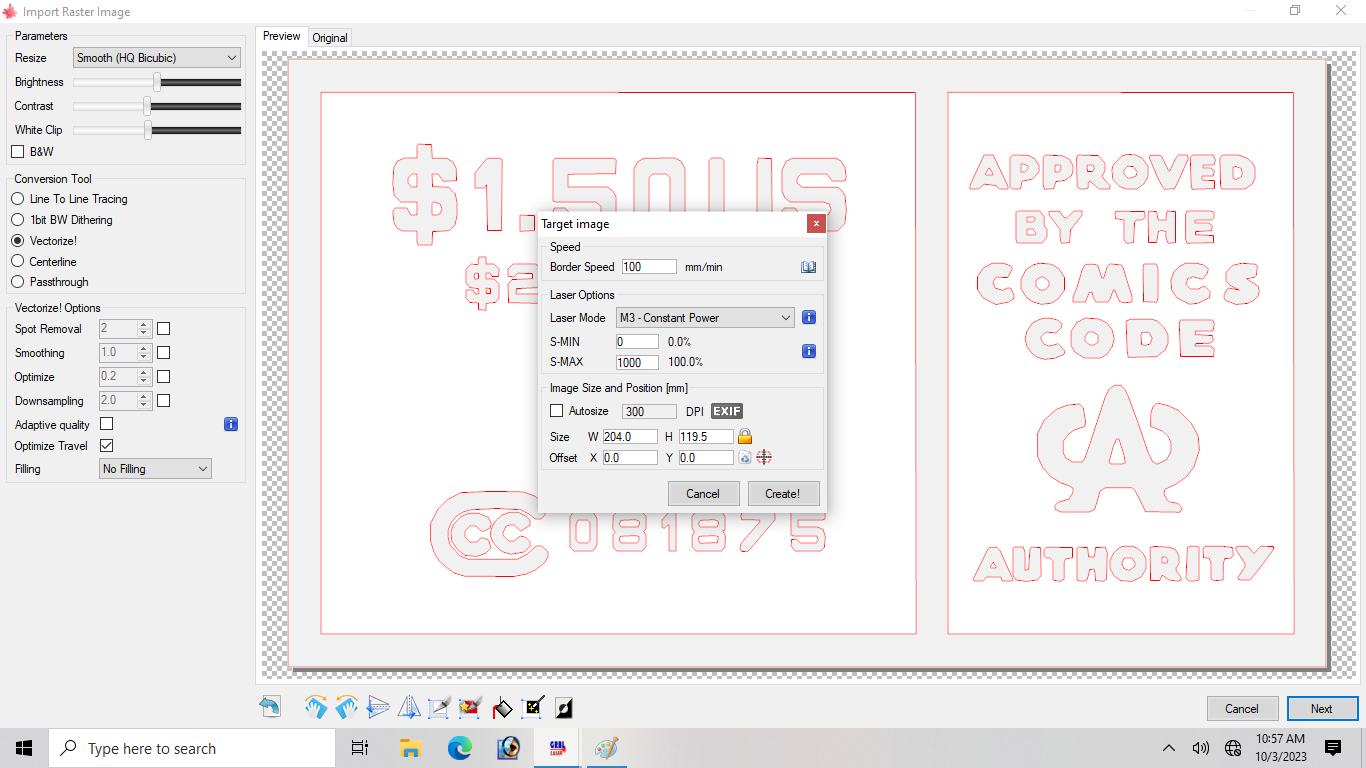
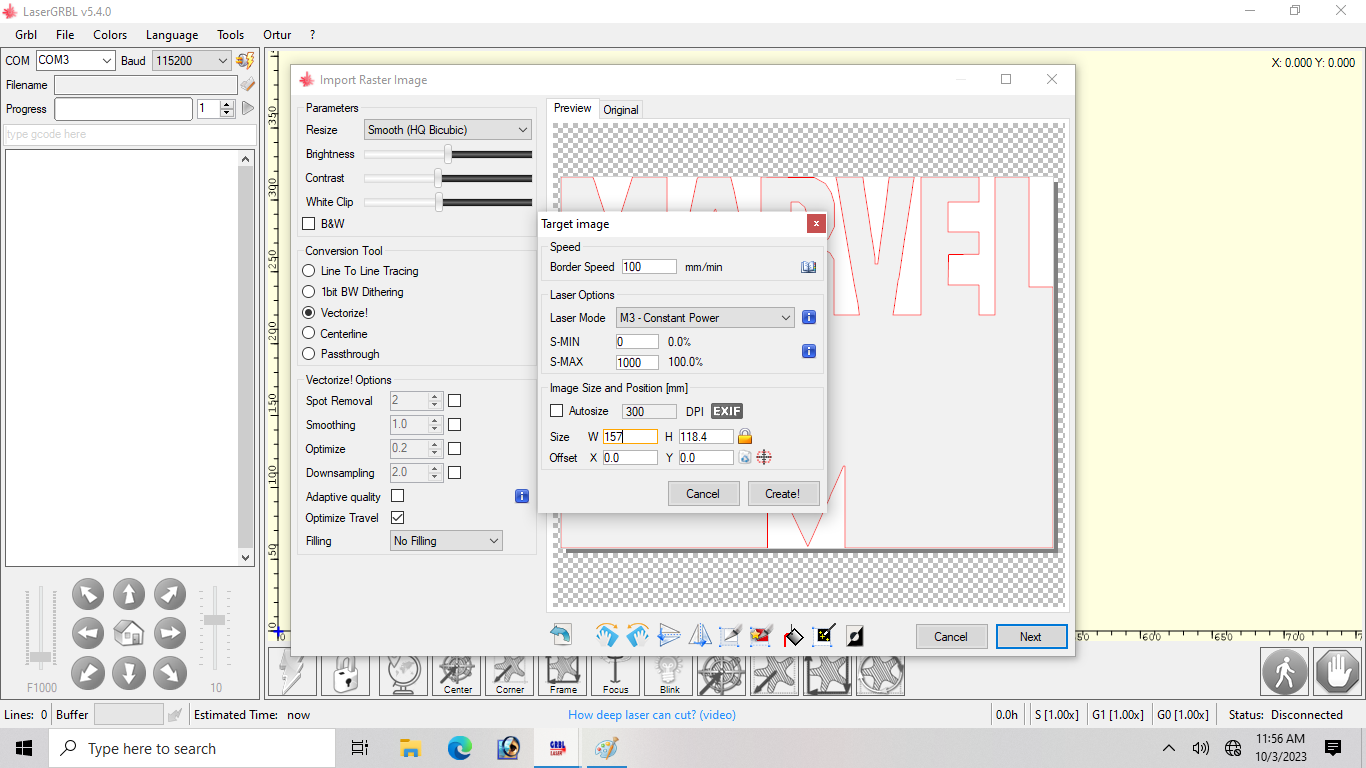
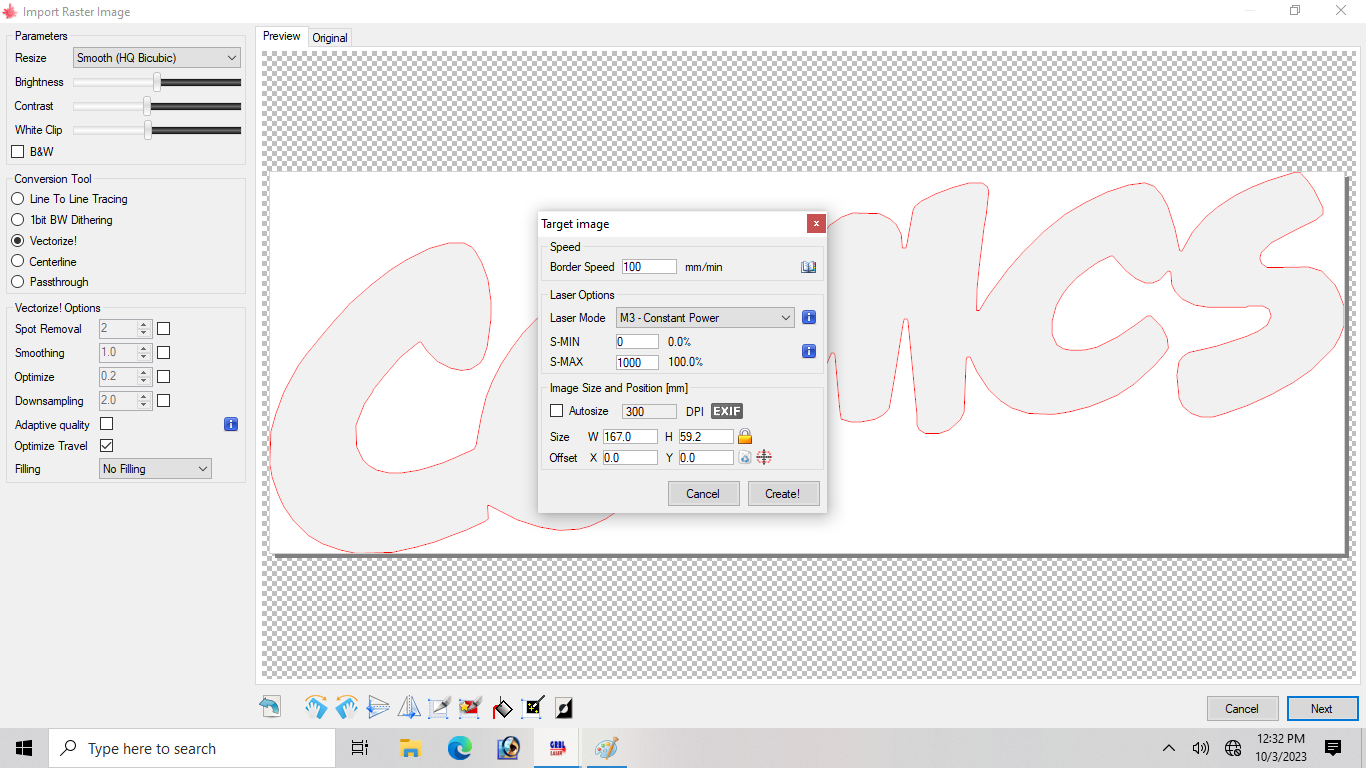
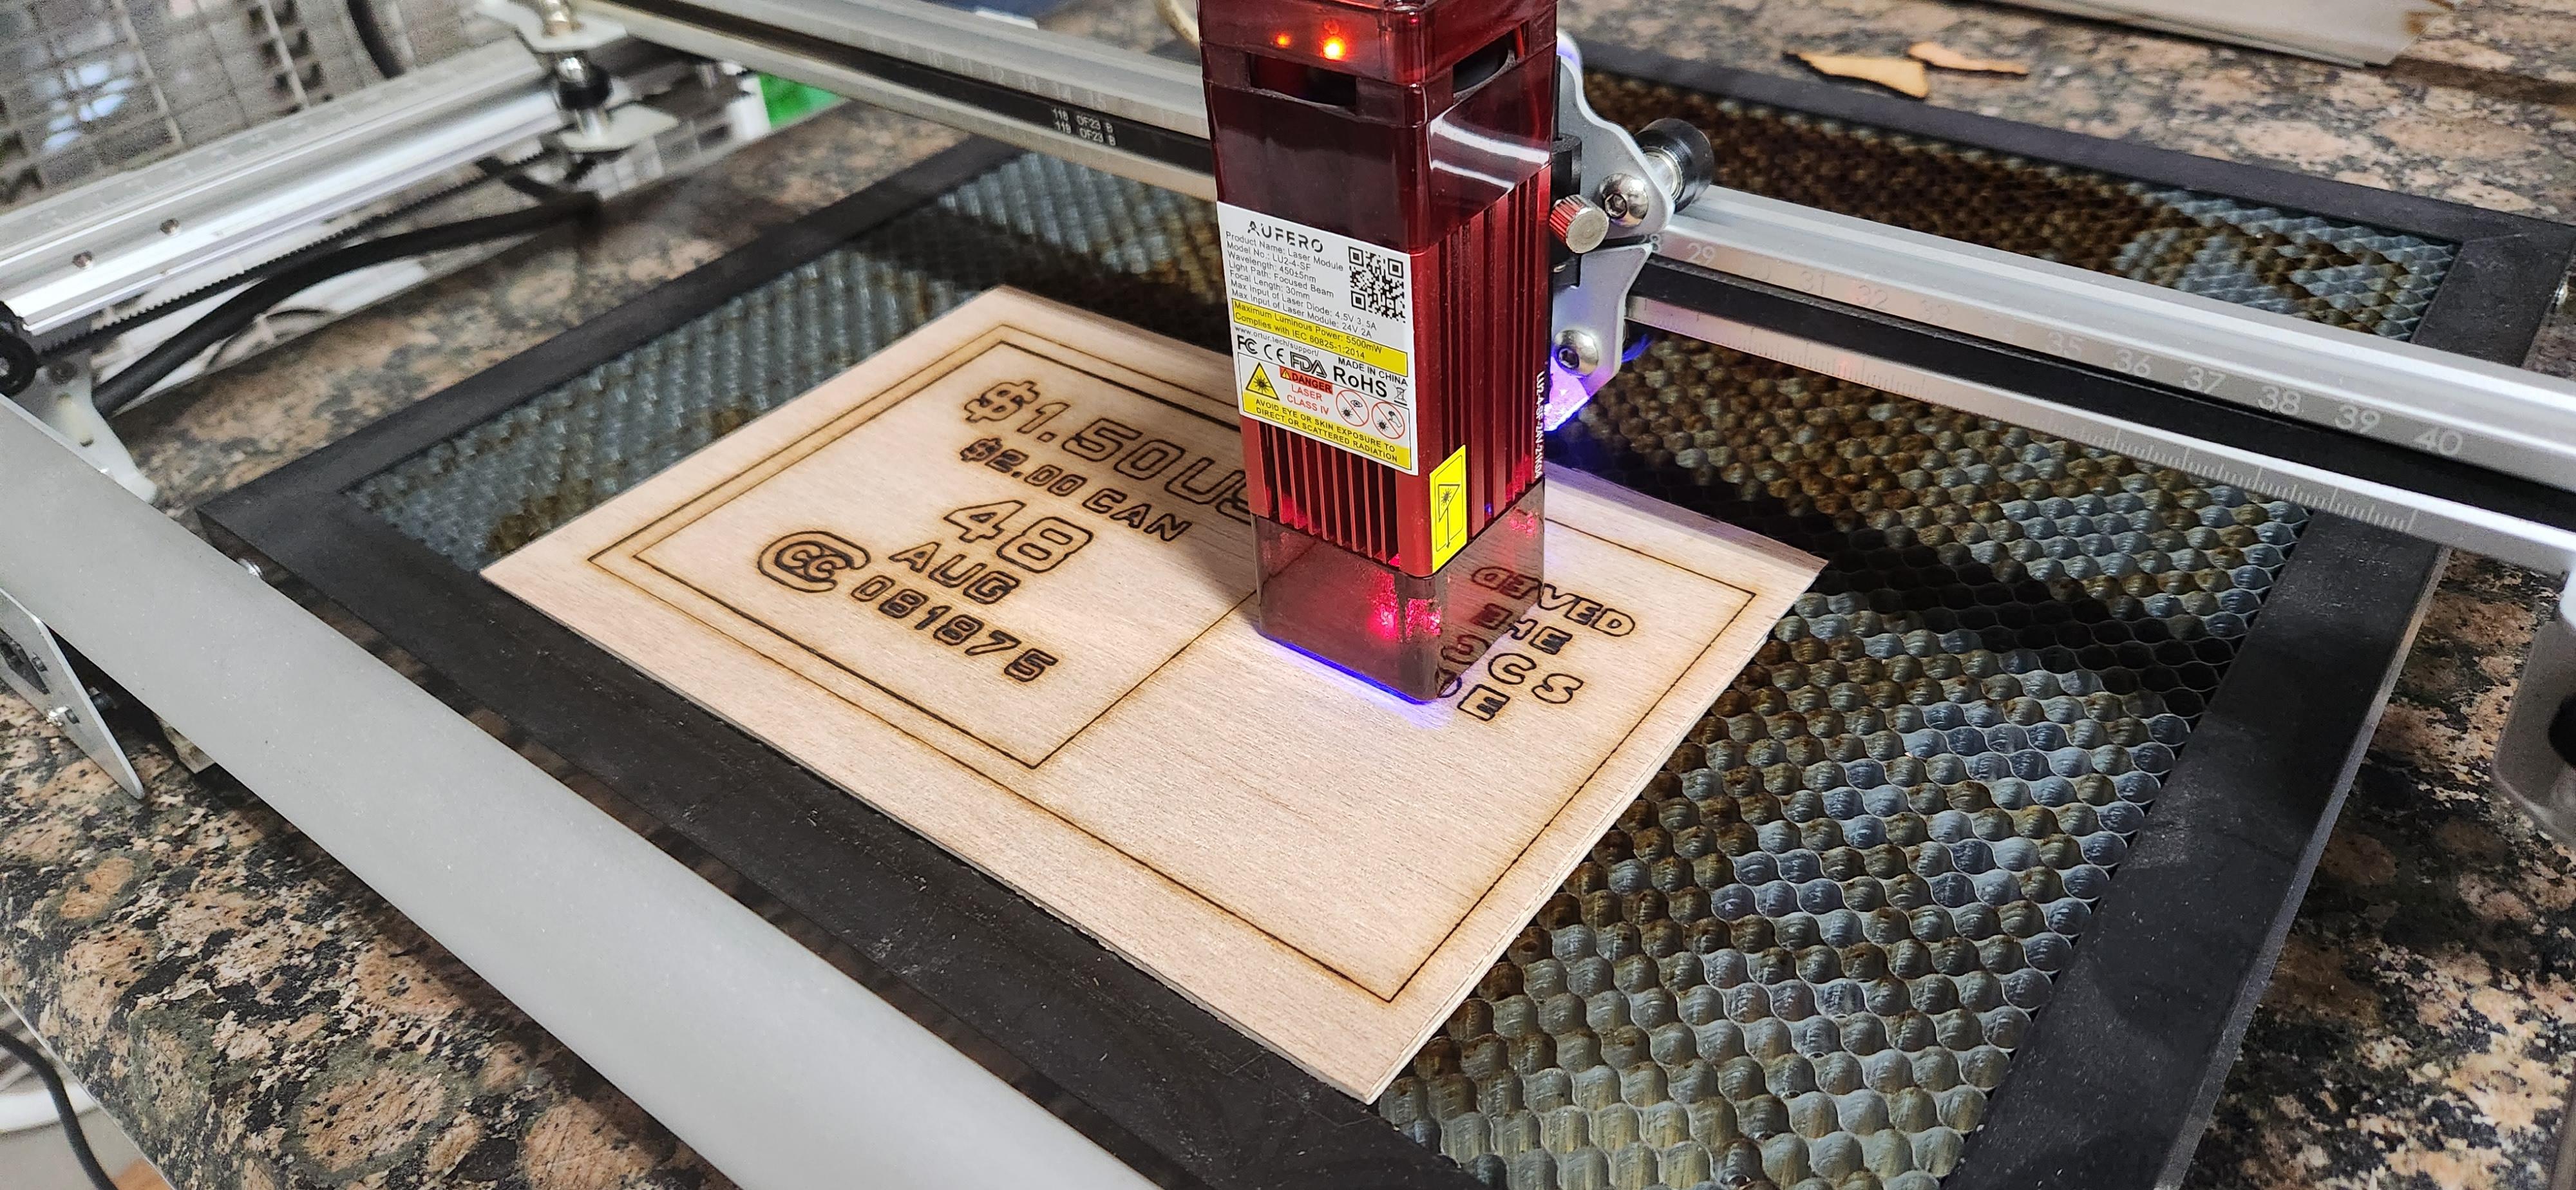
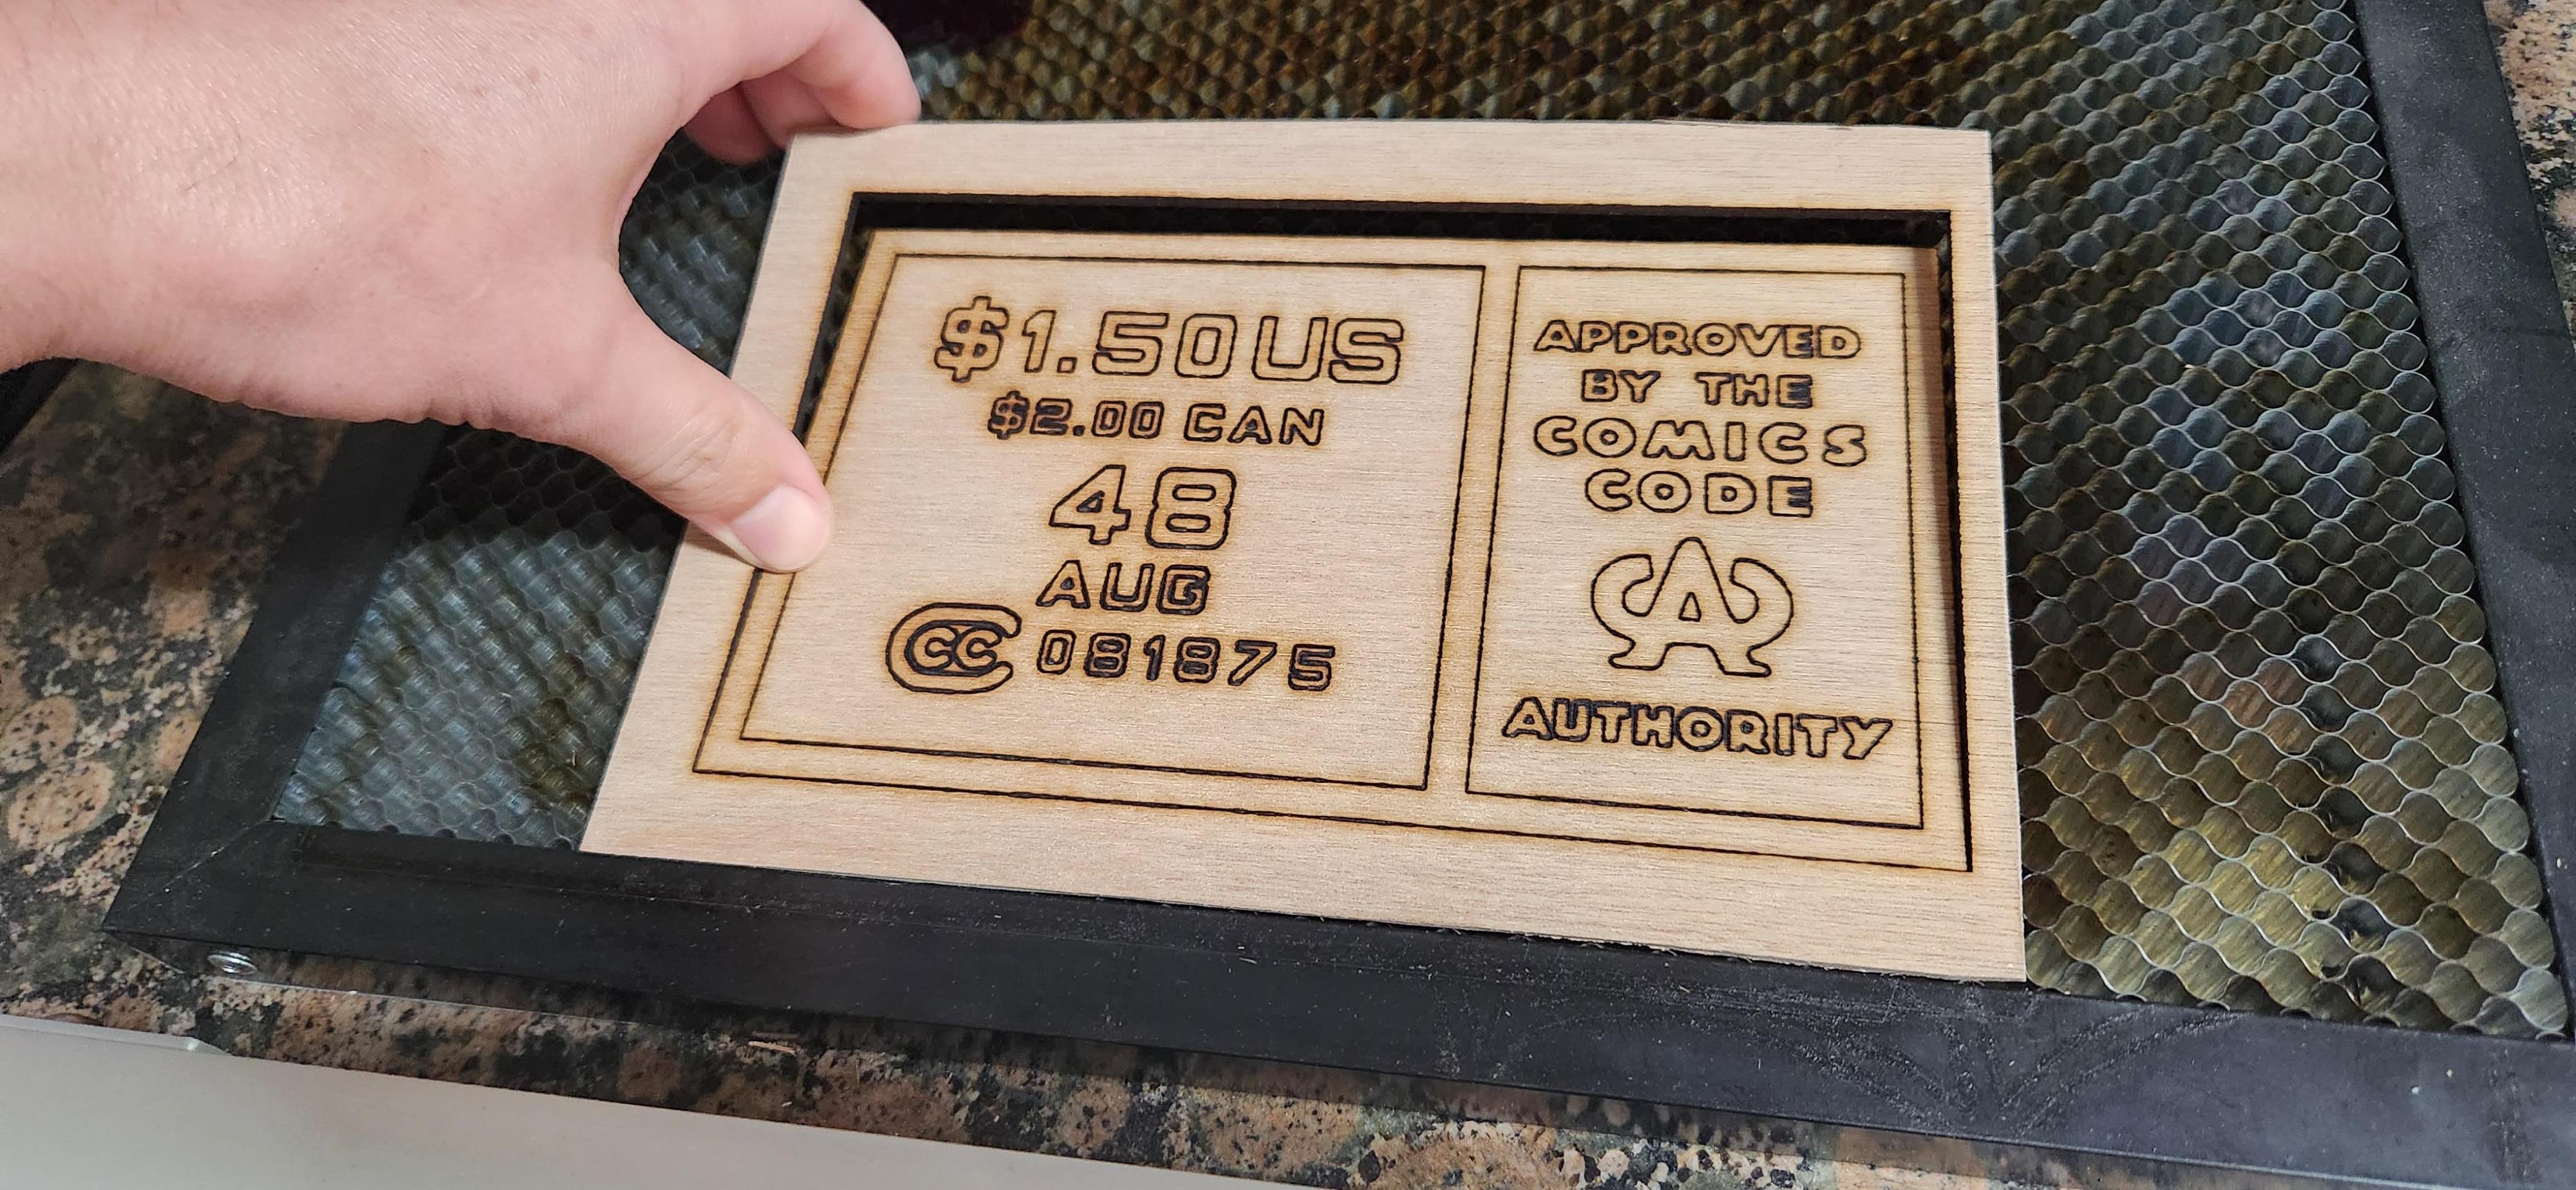
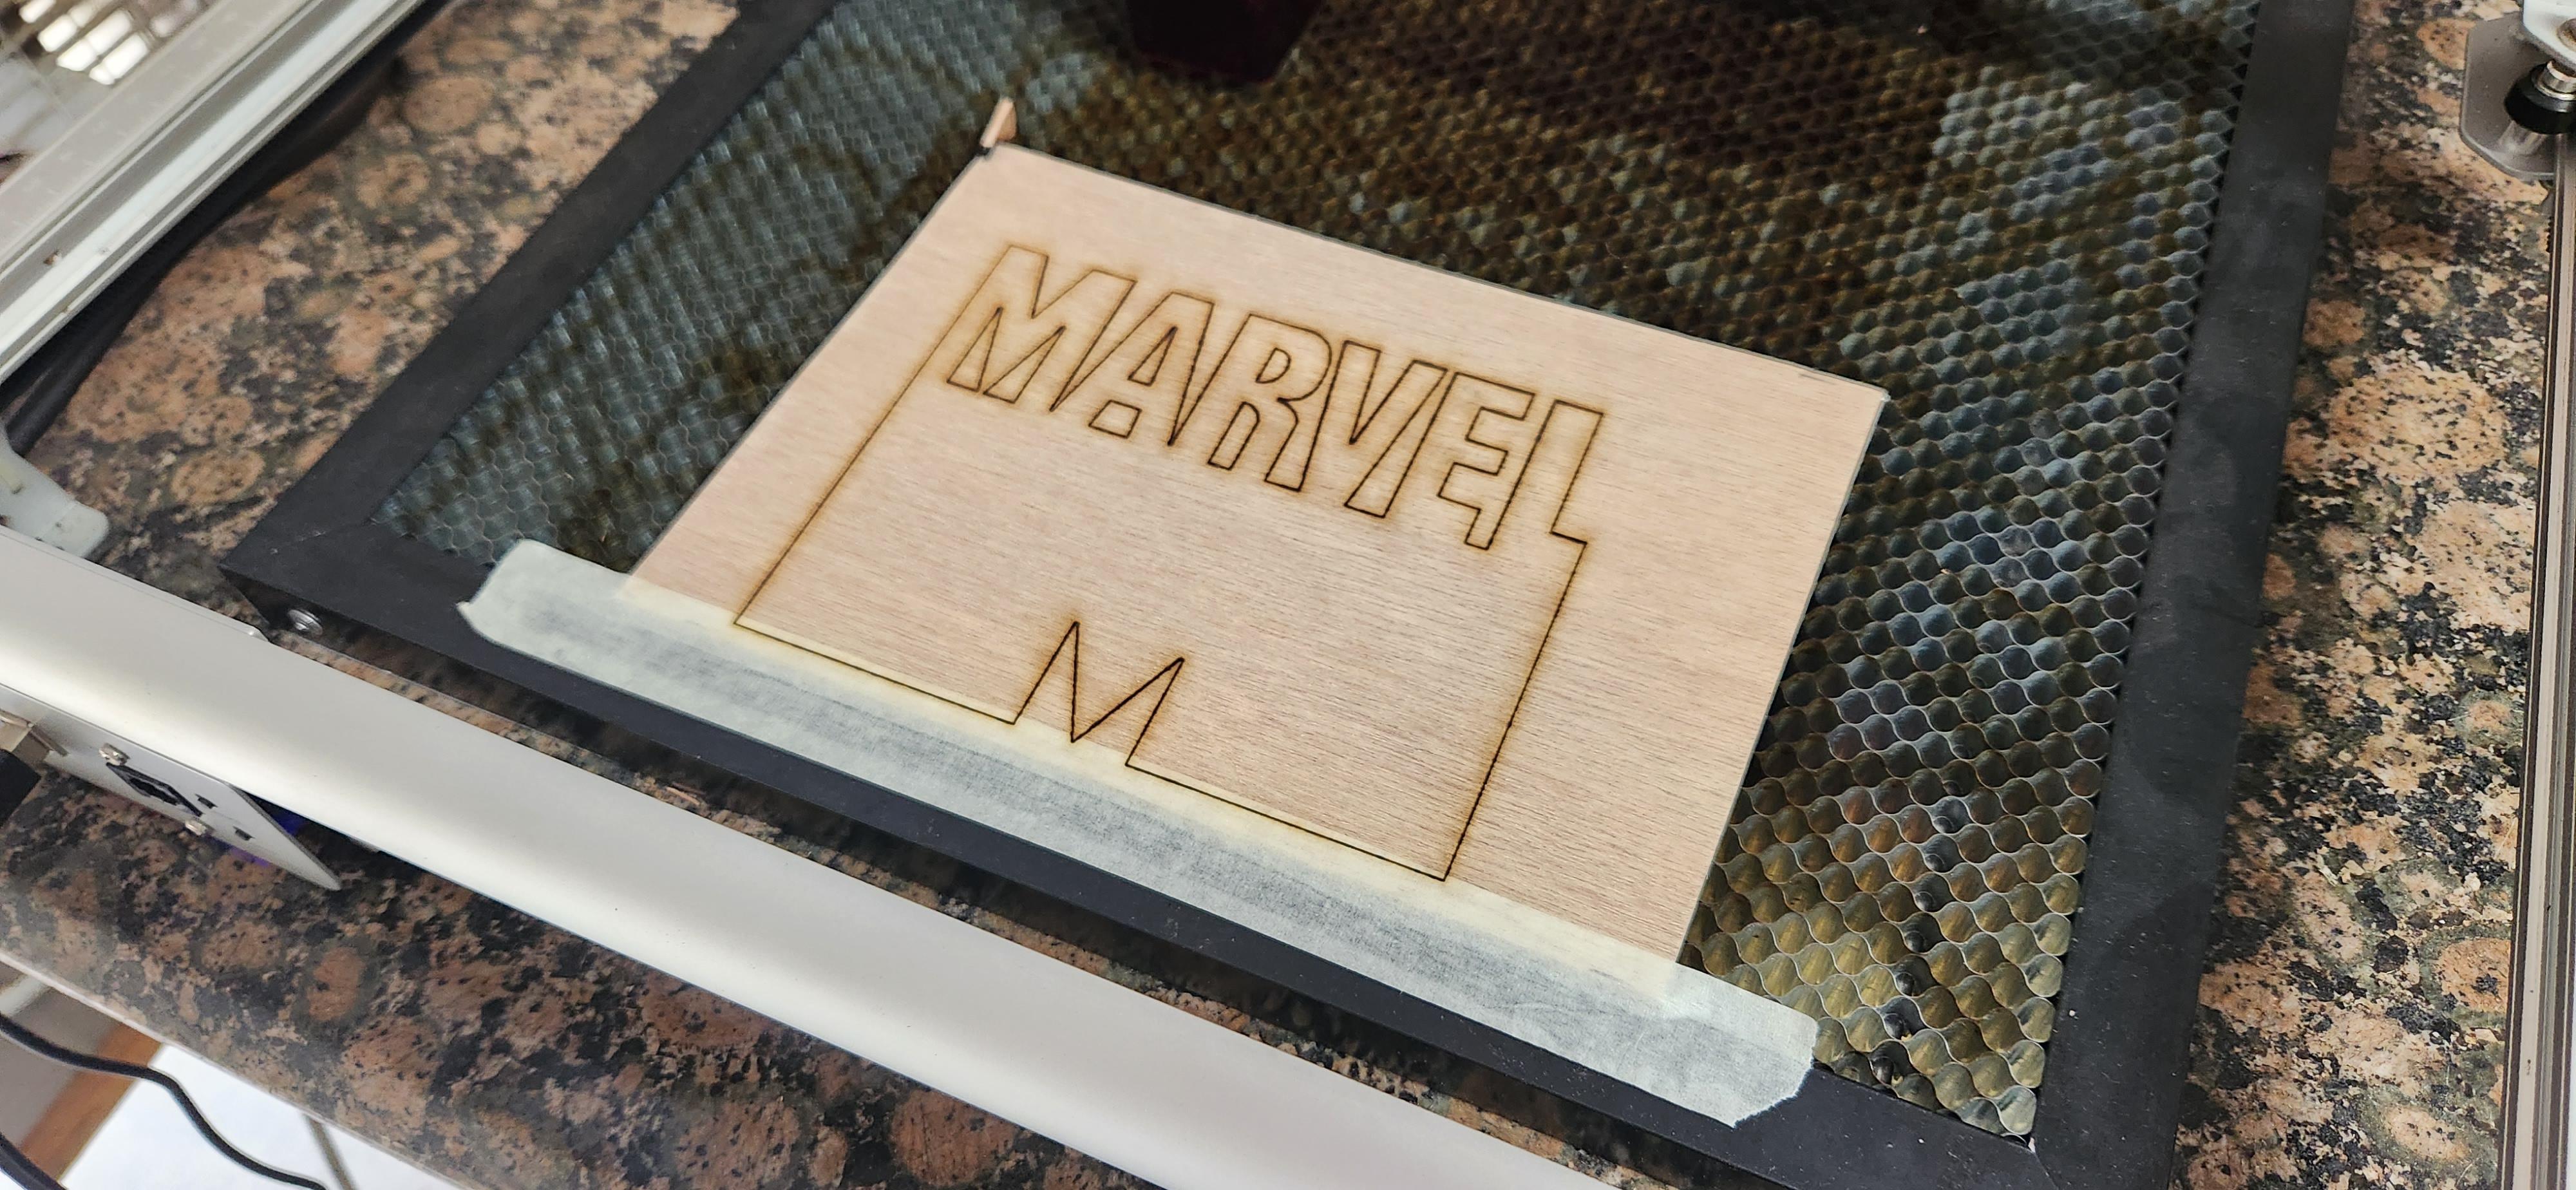
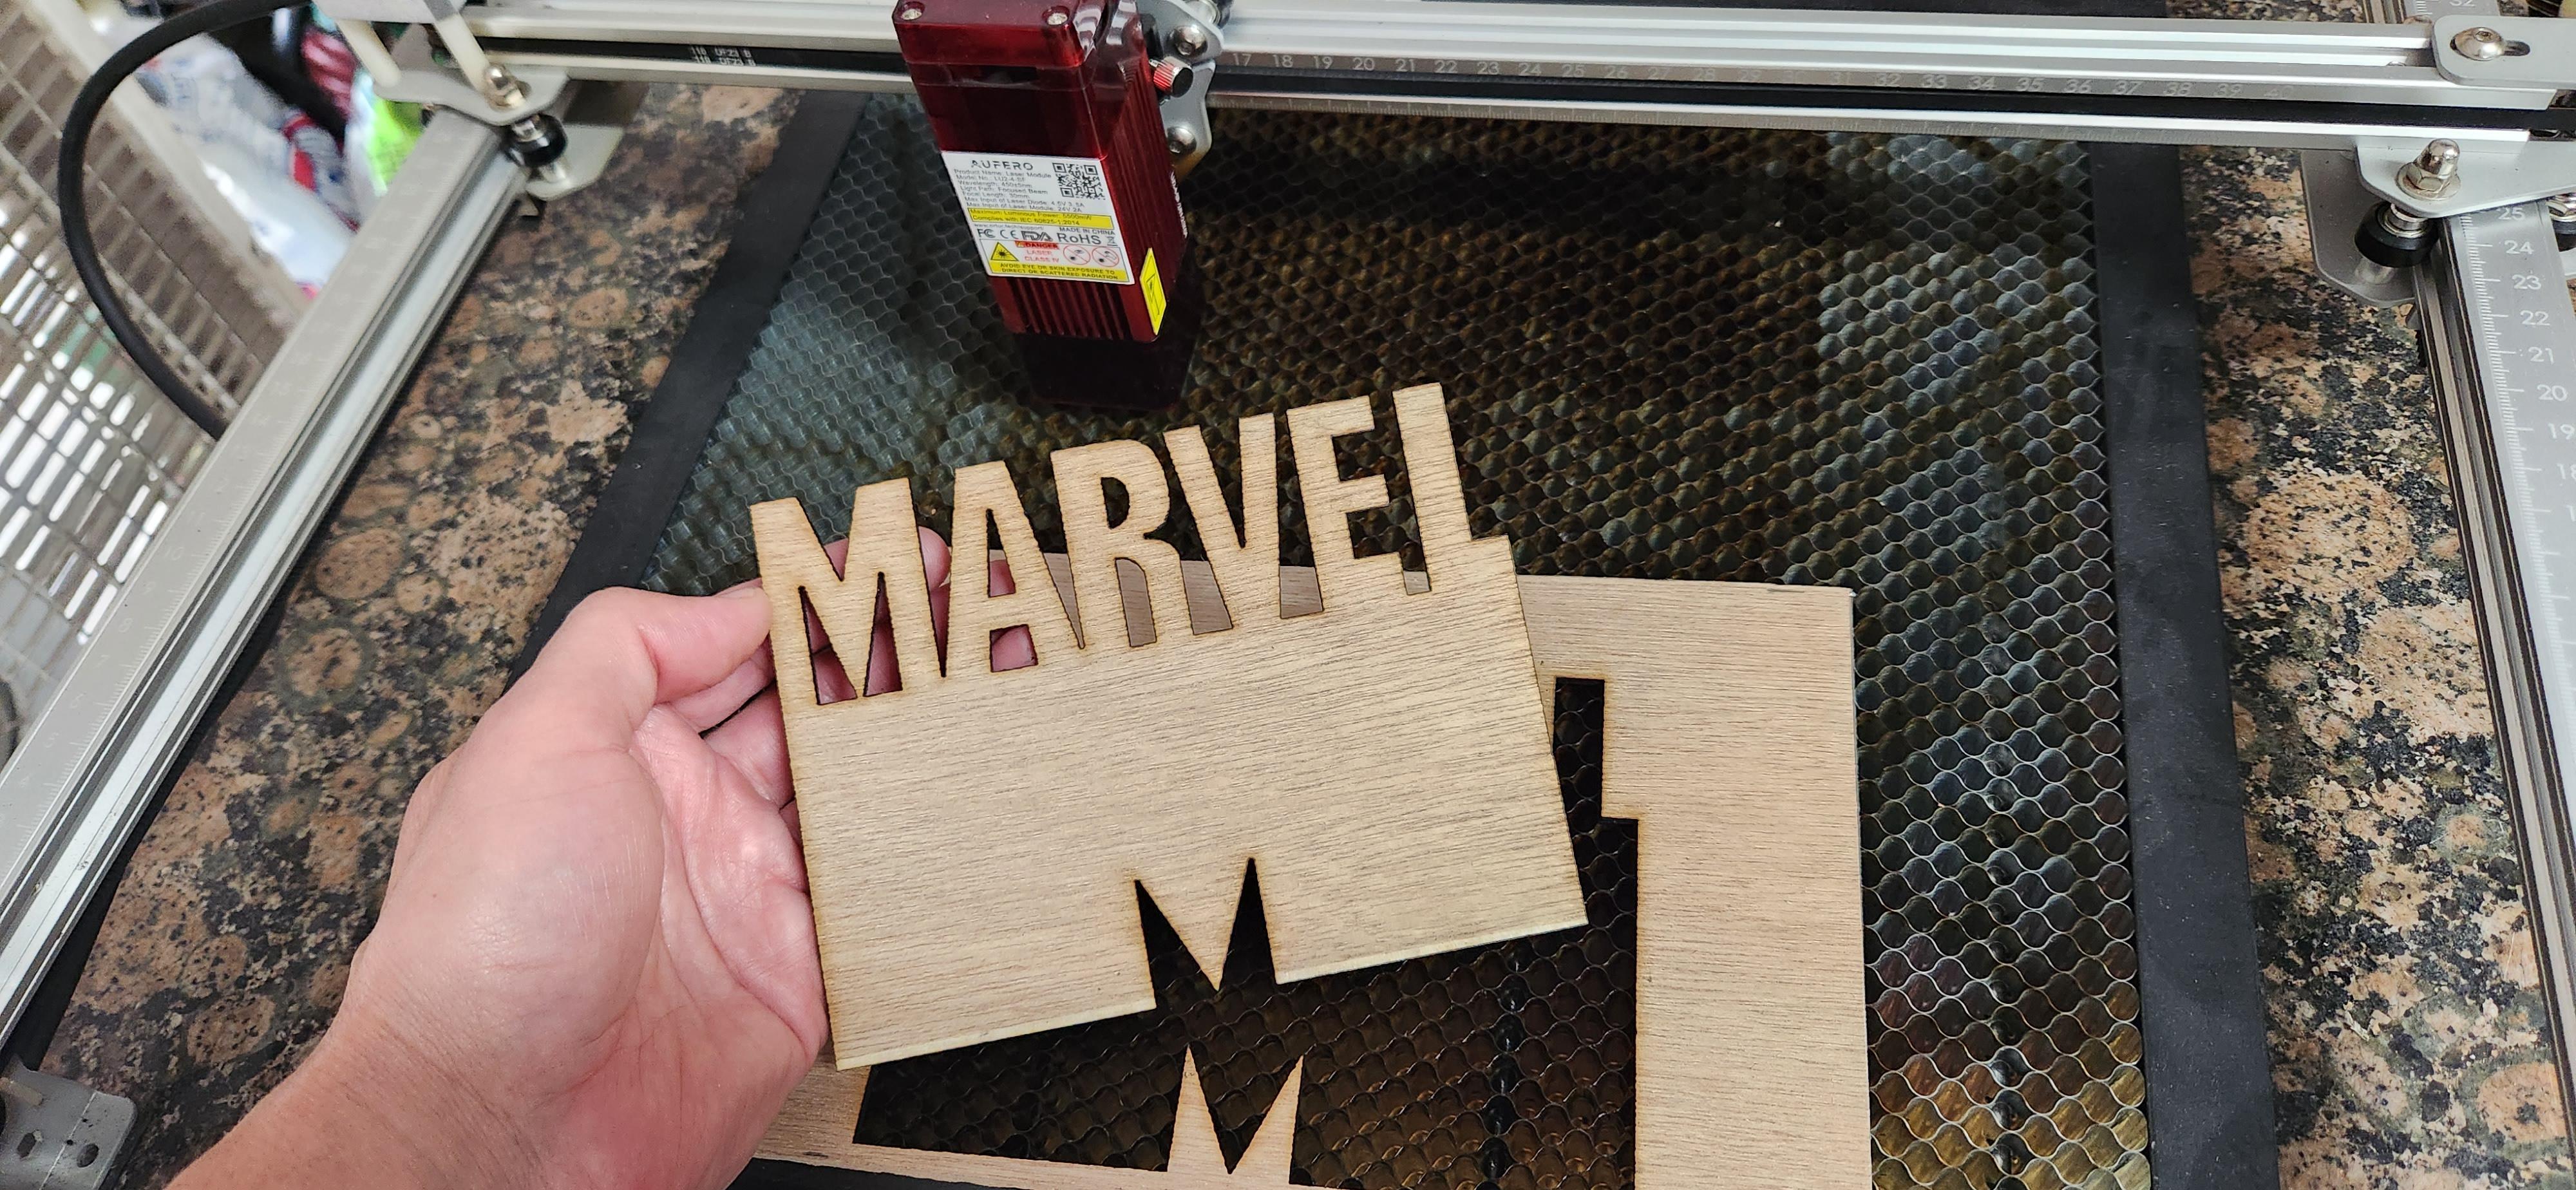
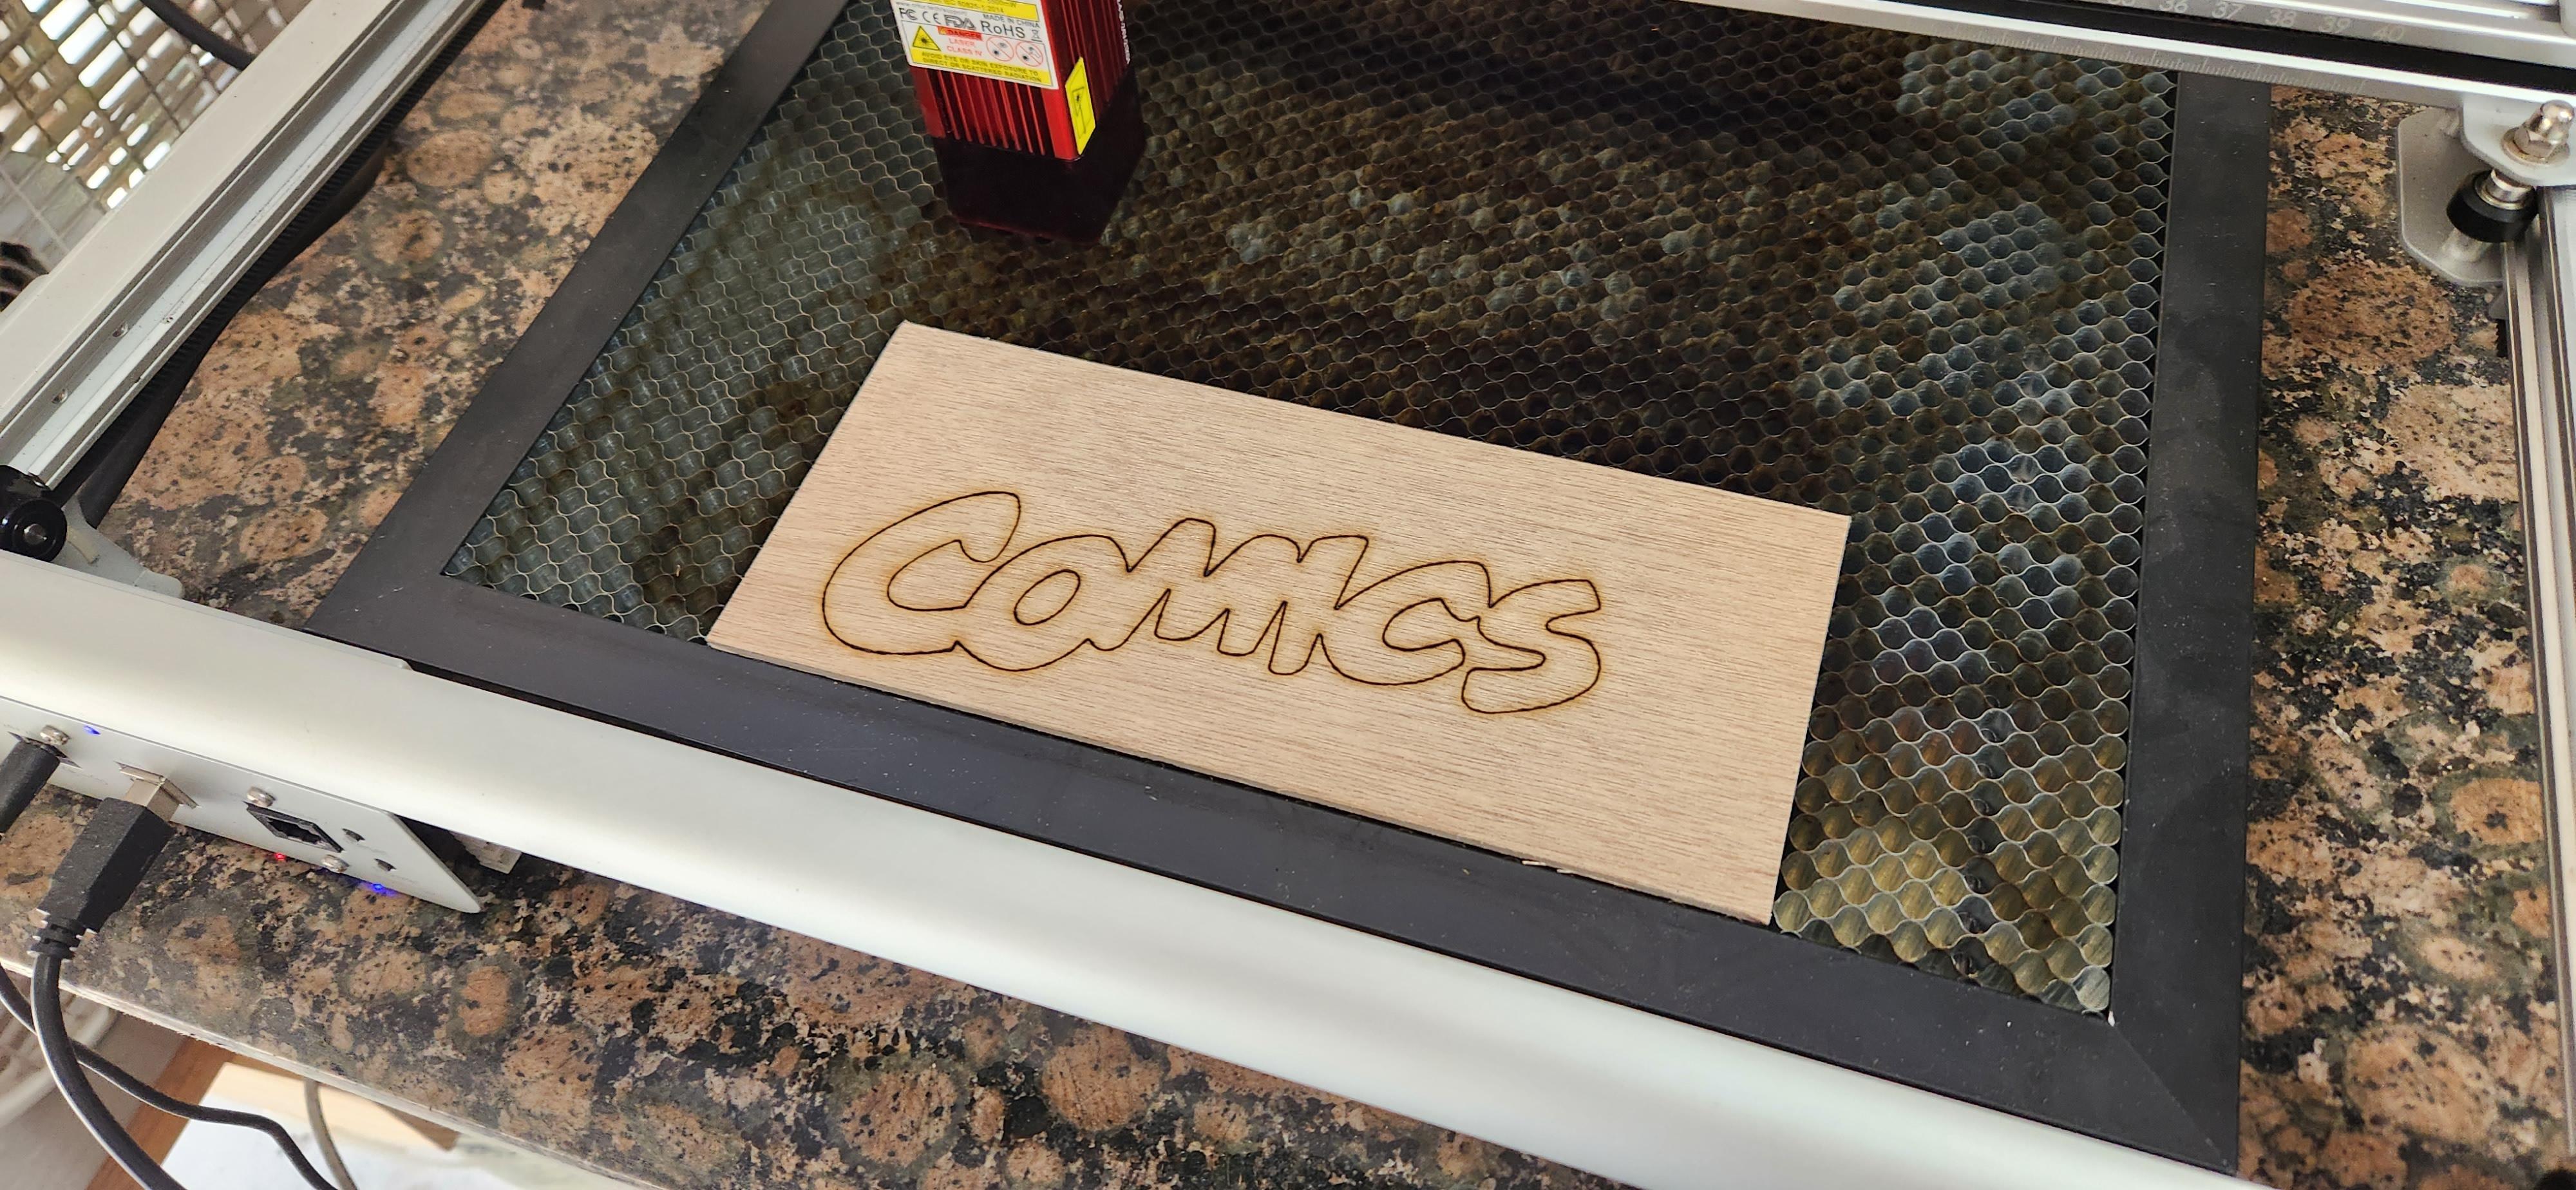
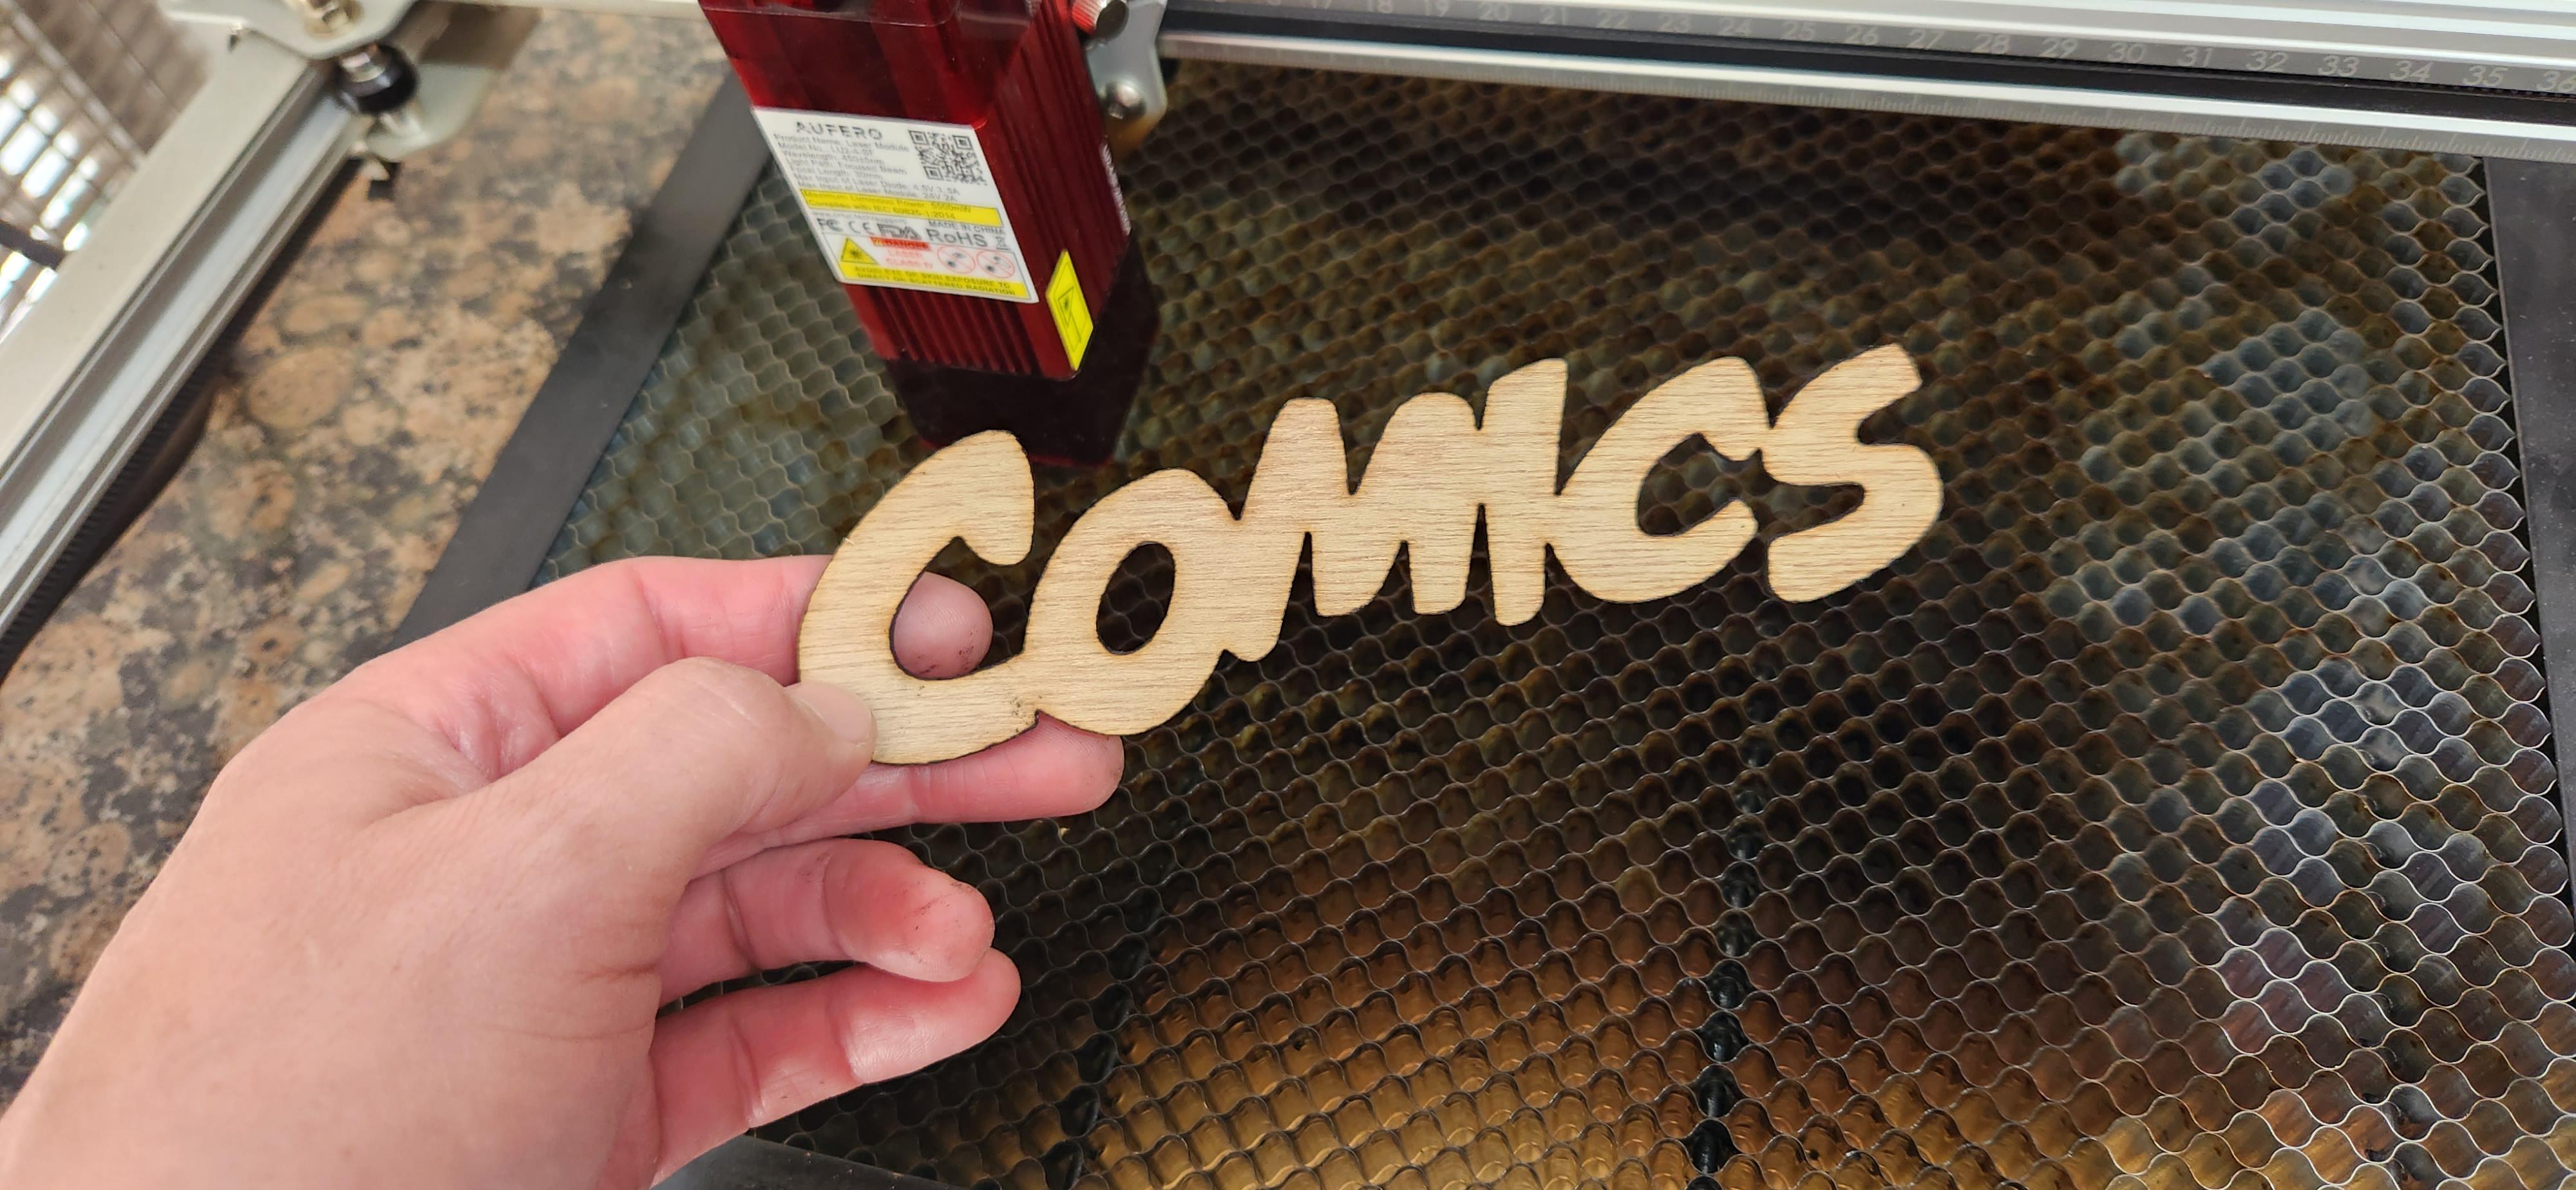
The process is the same for cutting out the Info Boxes (the boxes at the bottom that contain the pricing and comics code language) at the bottom of the corner box and also the same for cutting out the Marvel Comics Logo.
Open the image in LaserGRBL, Auto-crop, Re-Size and run the program. Pics 1,2, and 3 all have the sizing info listed for your reference.
Mockup
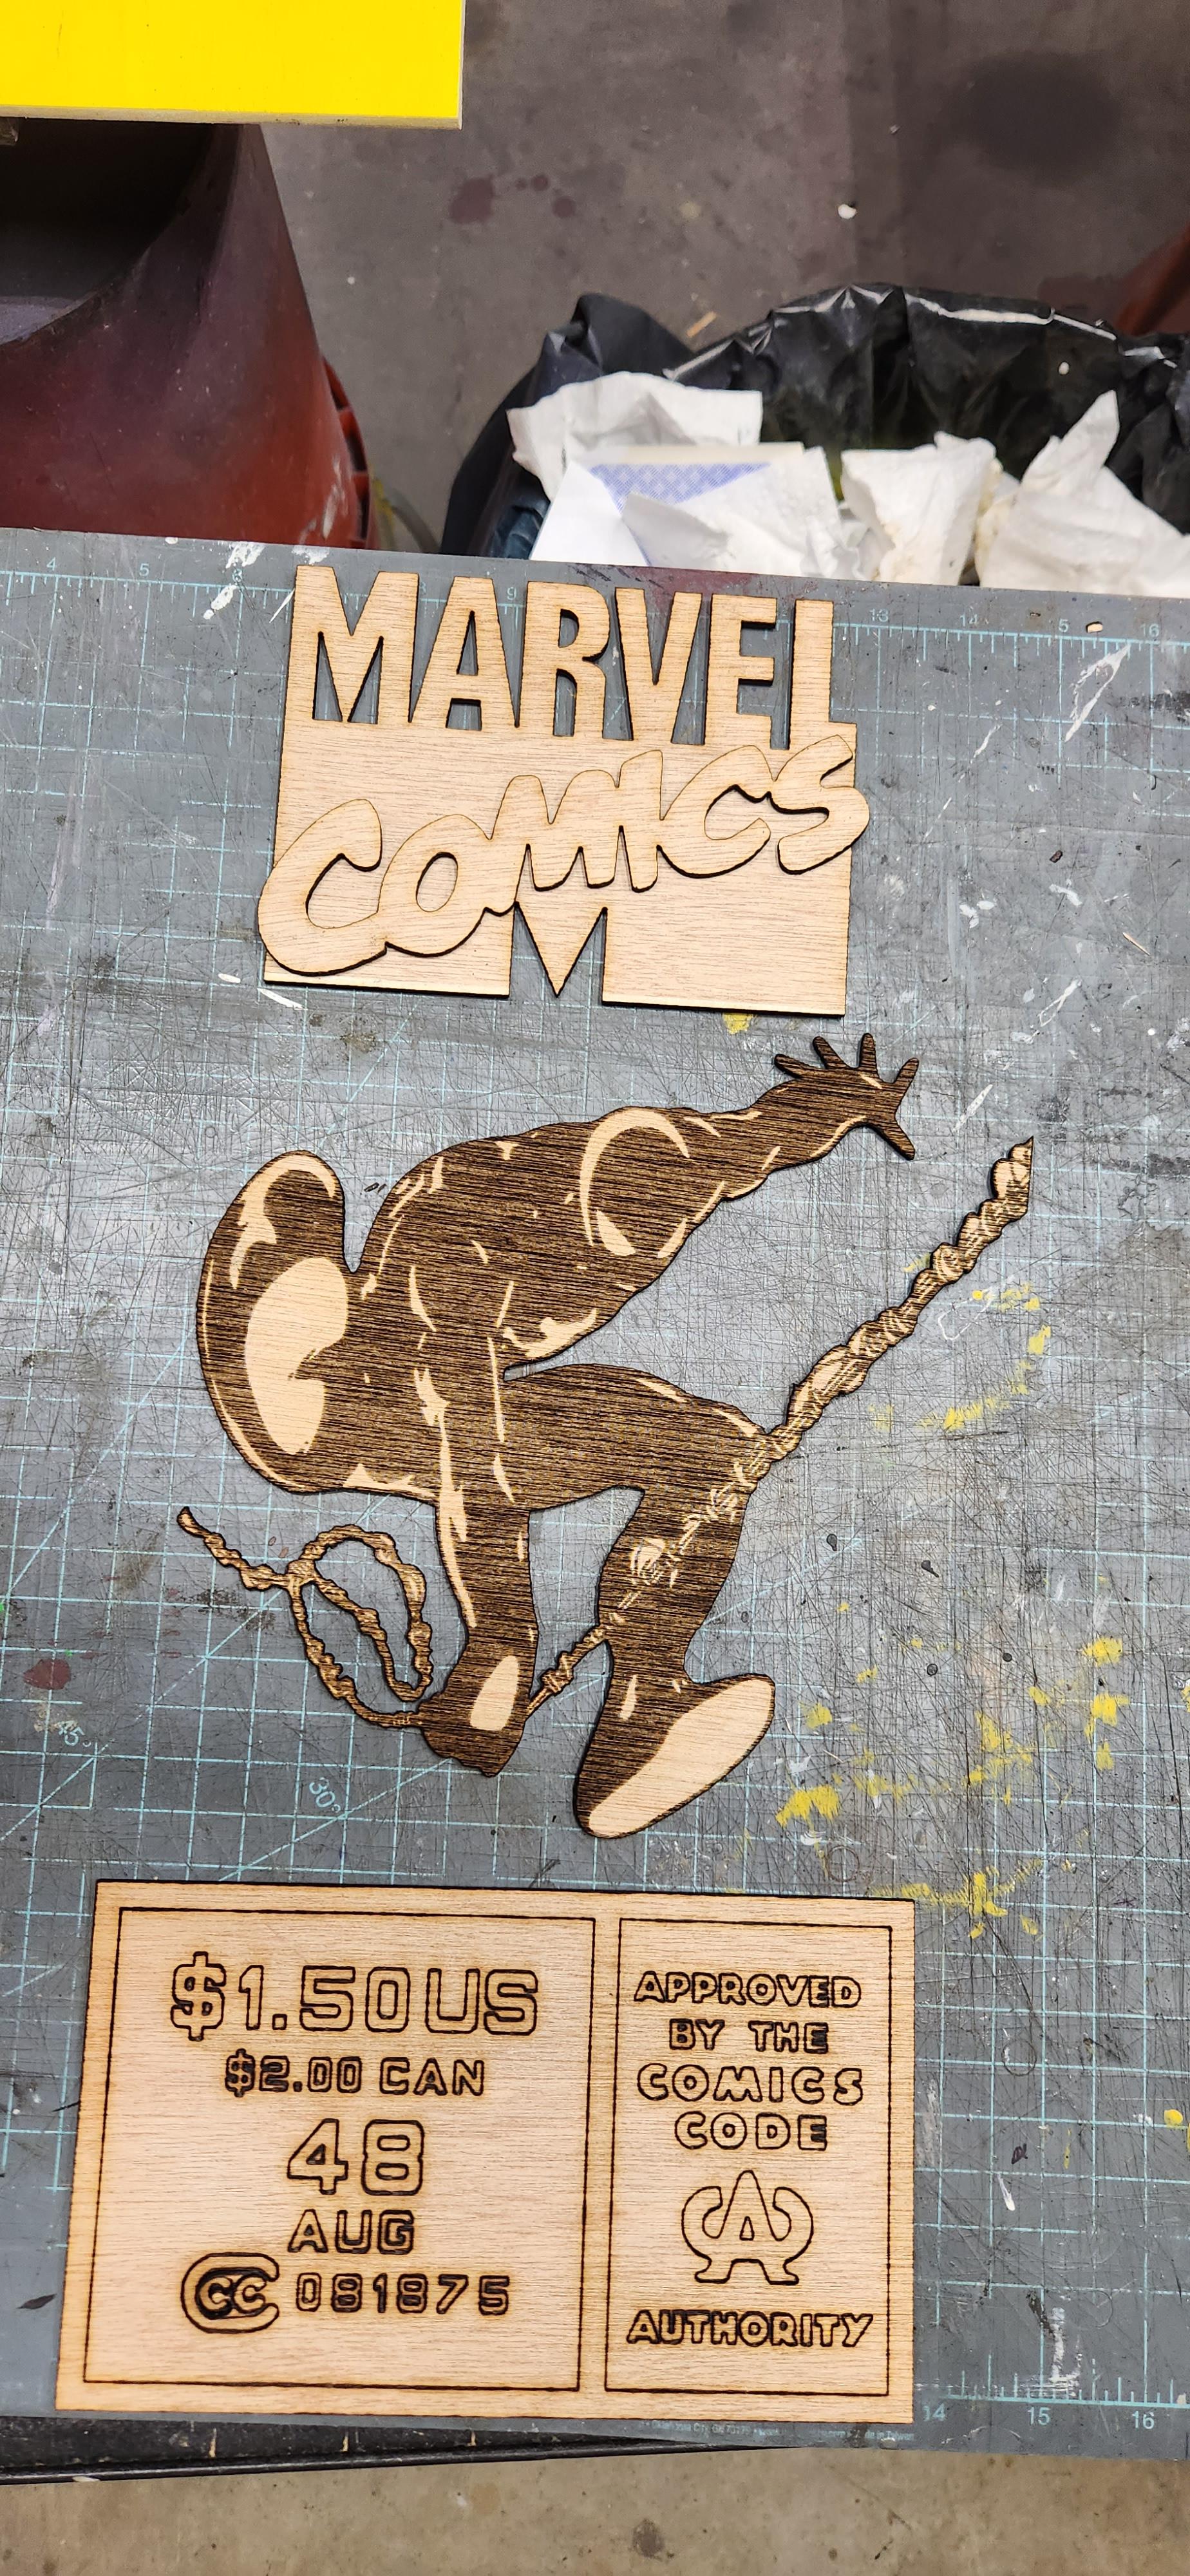
This is a quick mockup to see if it is looking like it's supposed to.
Prep for Painting
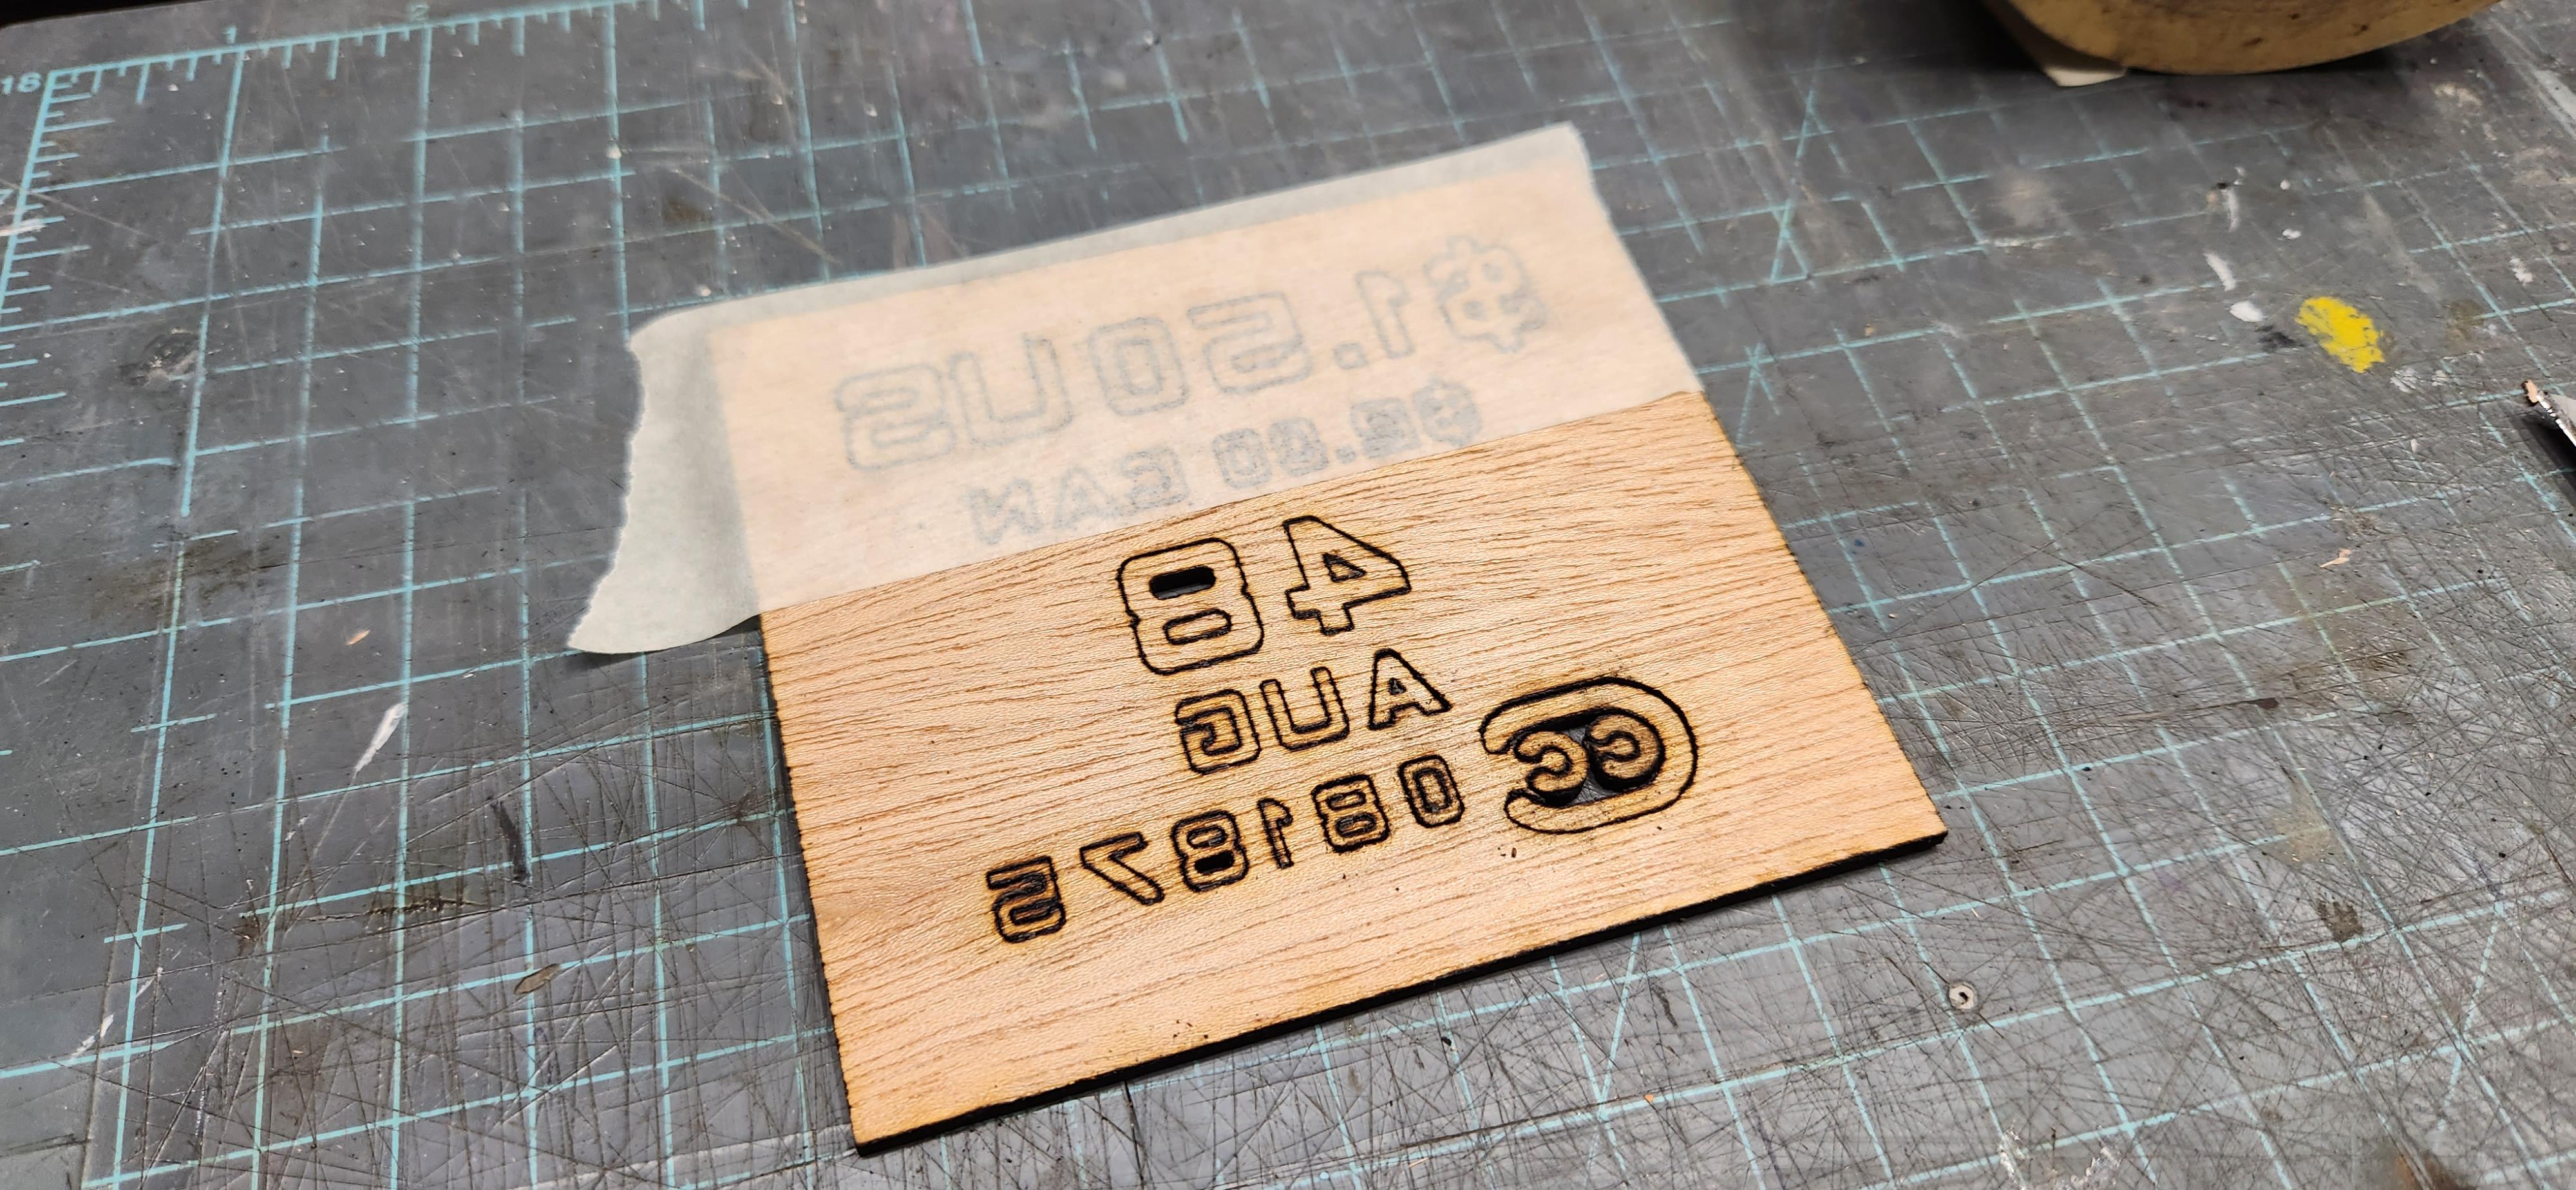
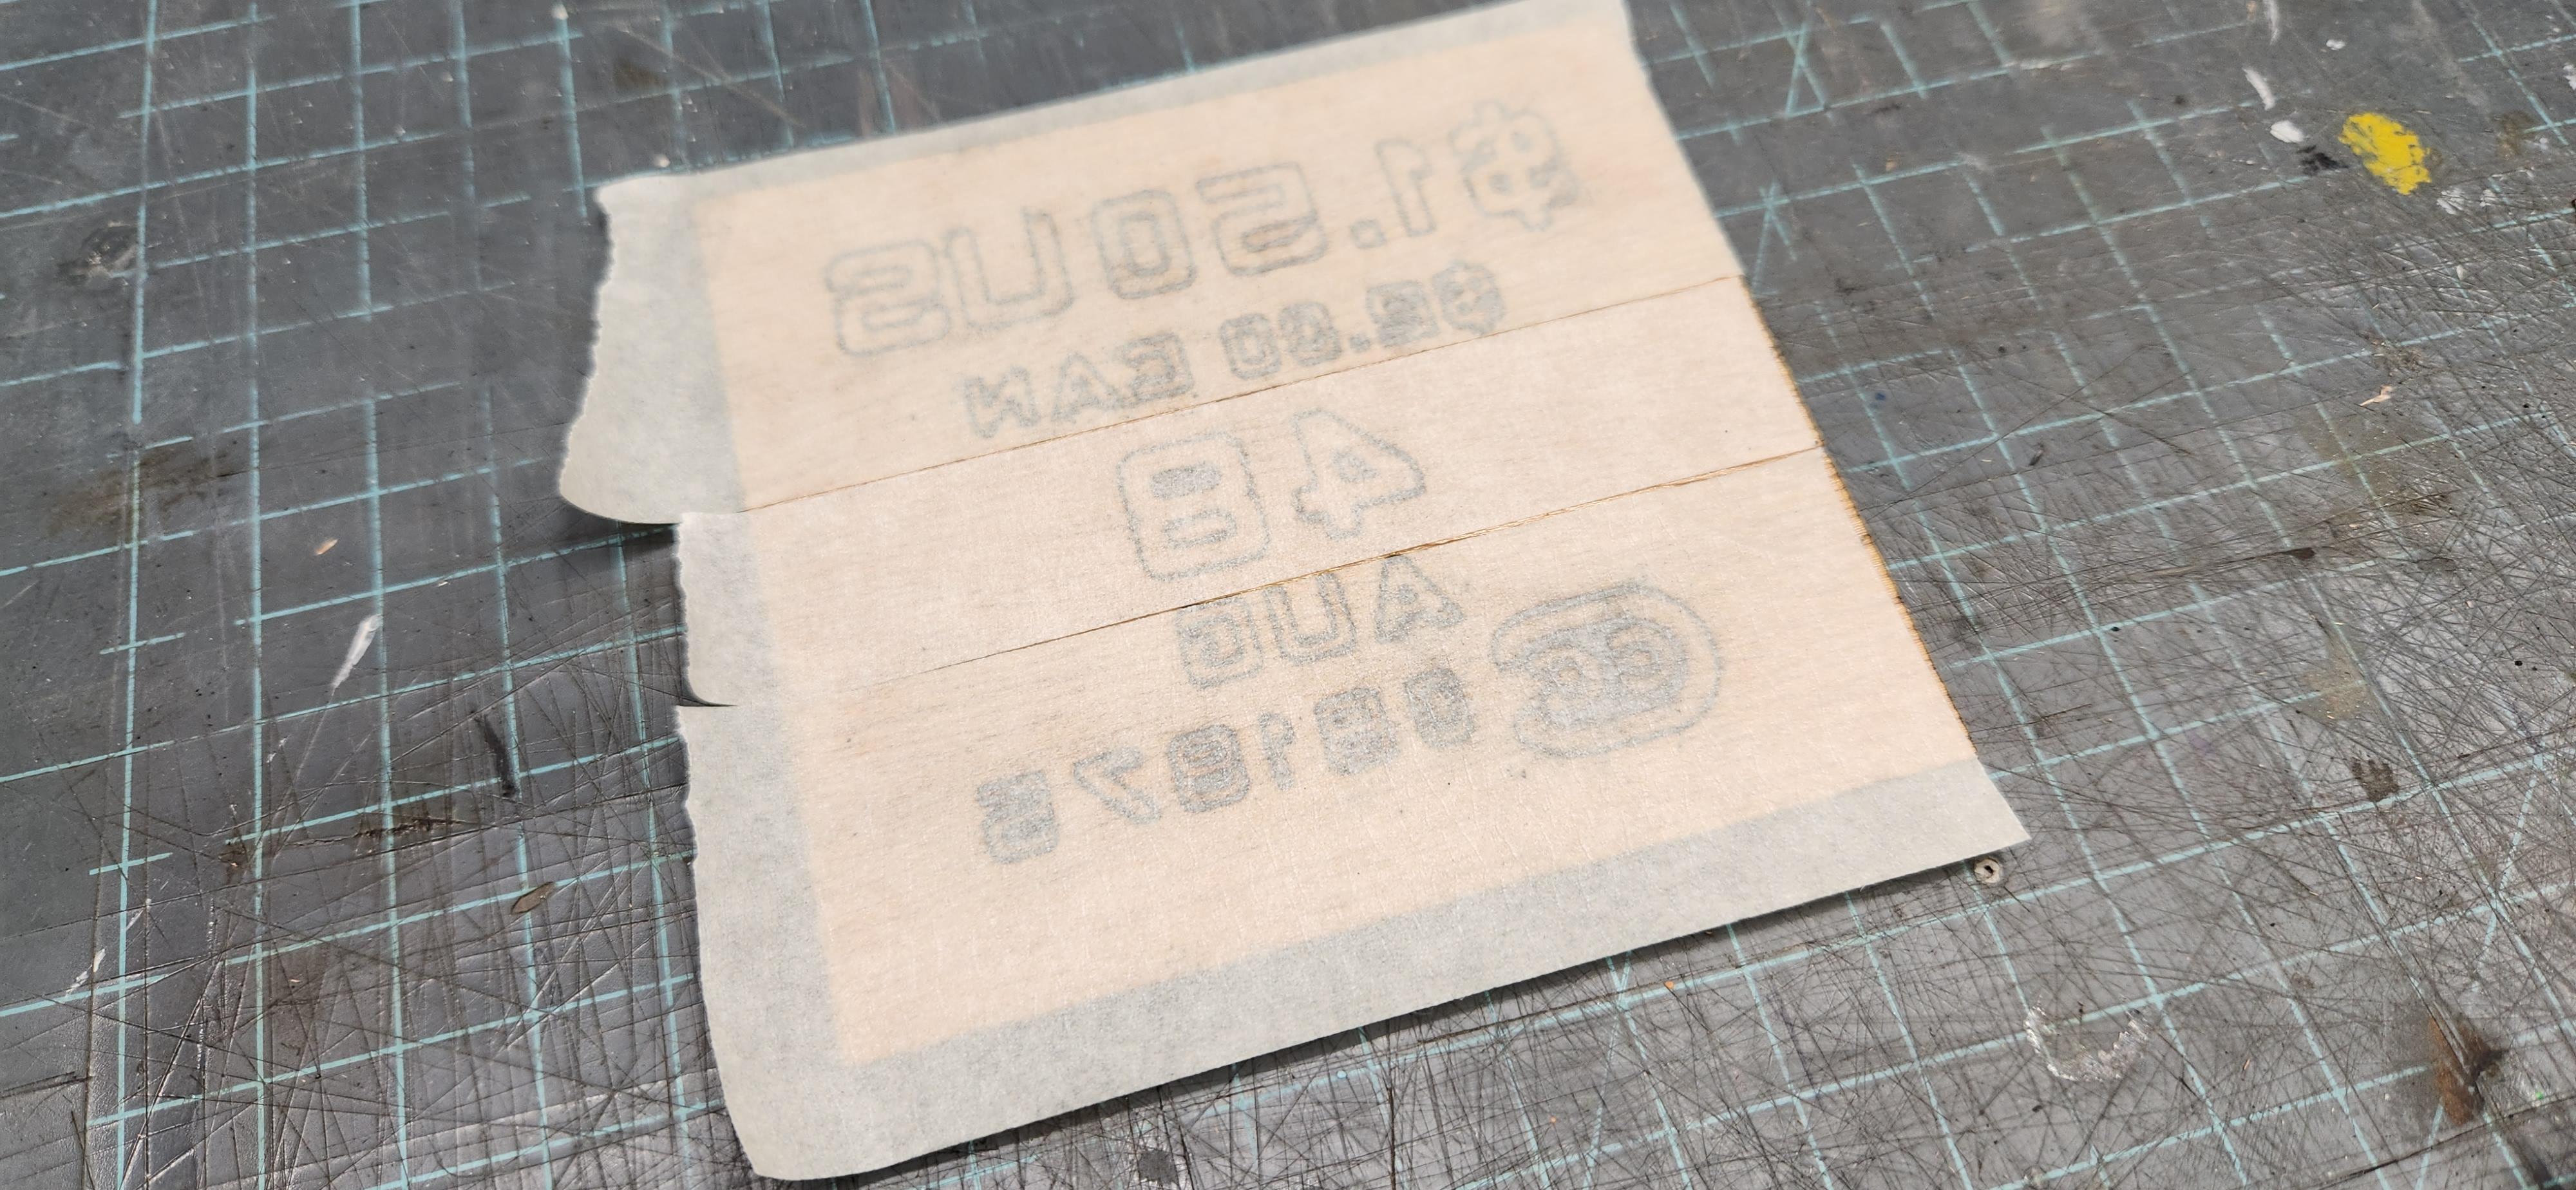
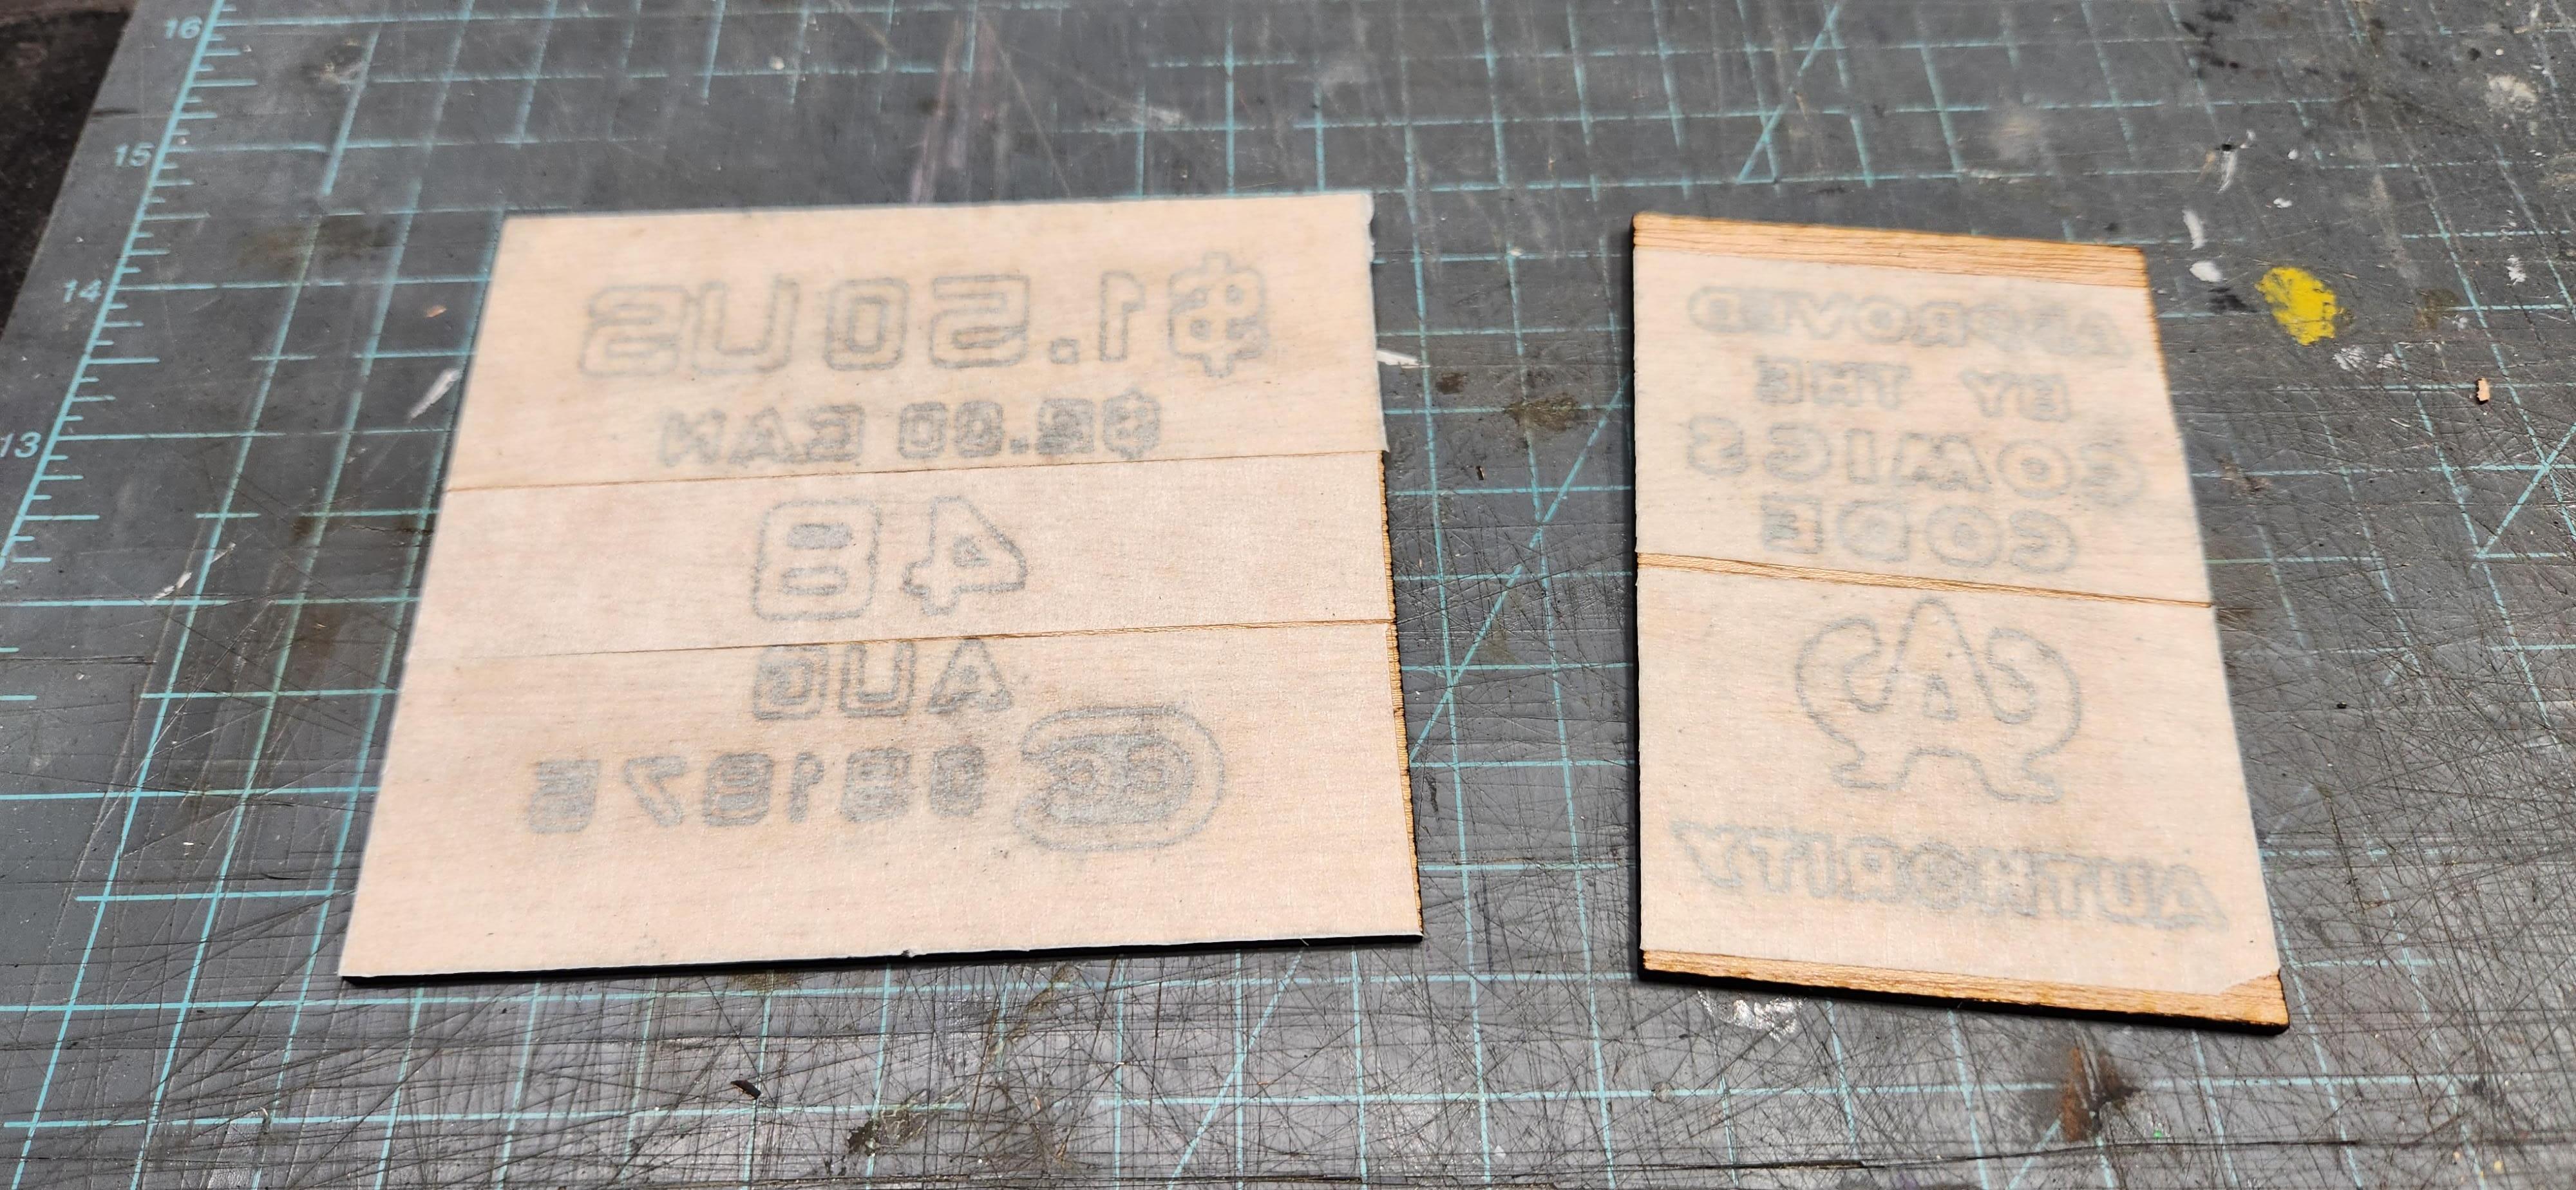
It's a good idea to put masking tape on the back of two info boxes as they have very small pieces that will tend to fall out and get lost. By taping the backs it keeps them in place for painting.
Painting
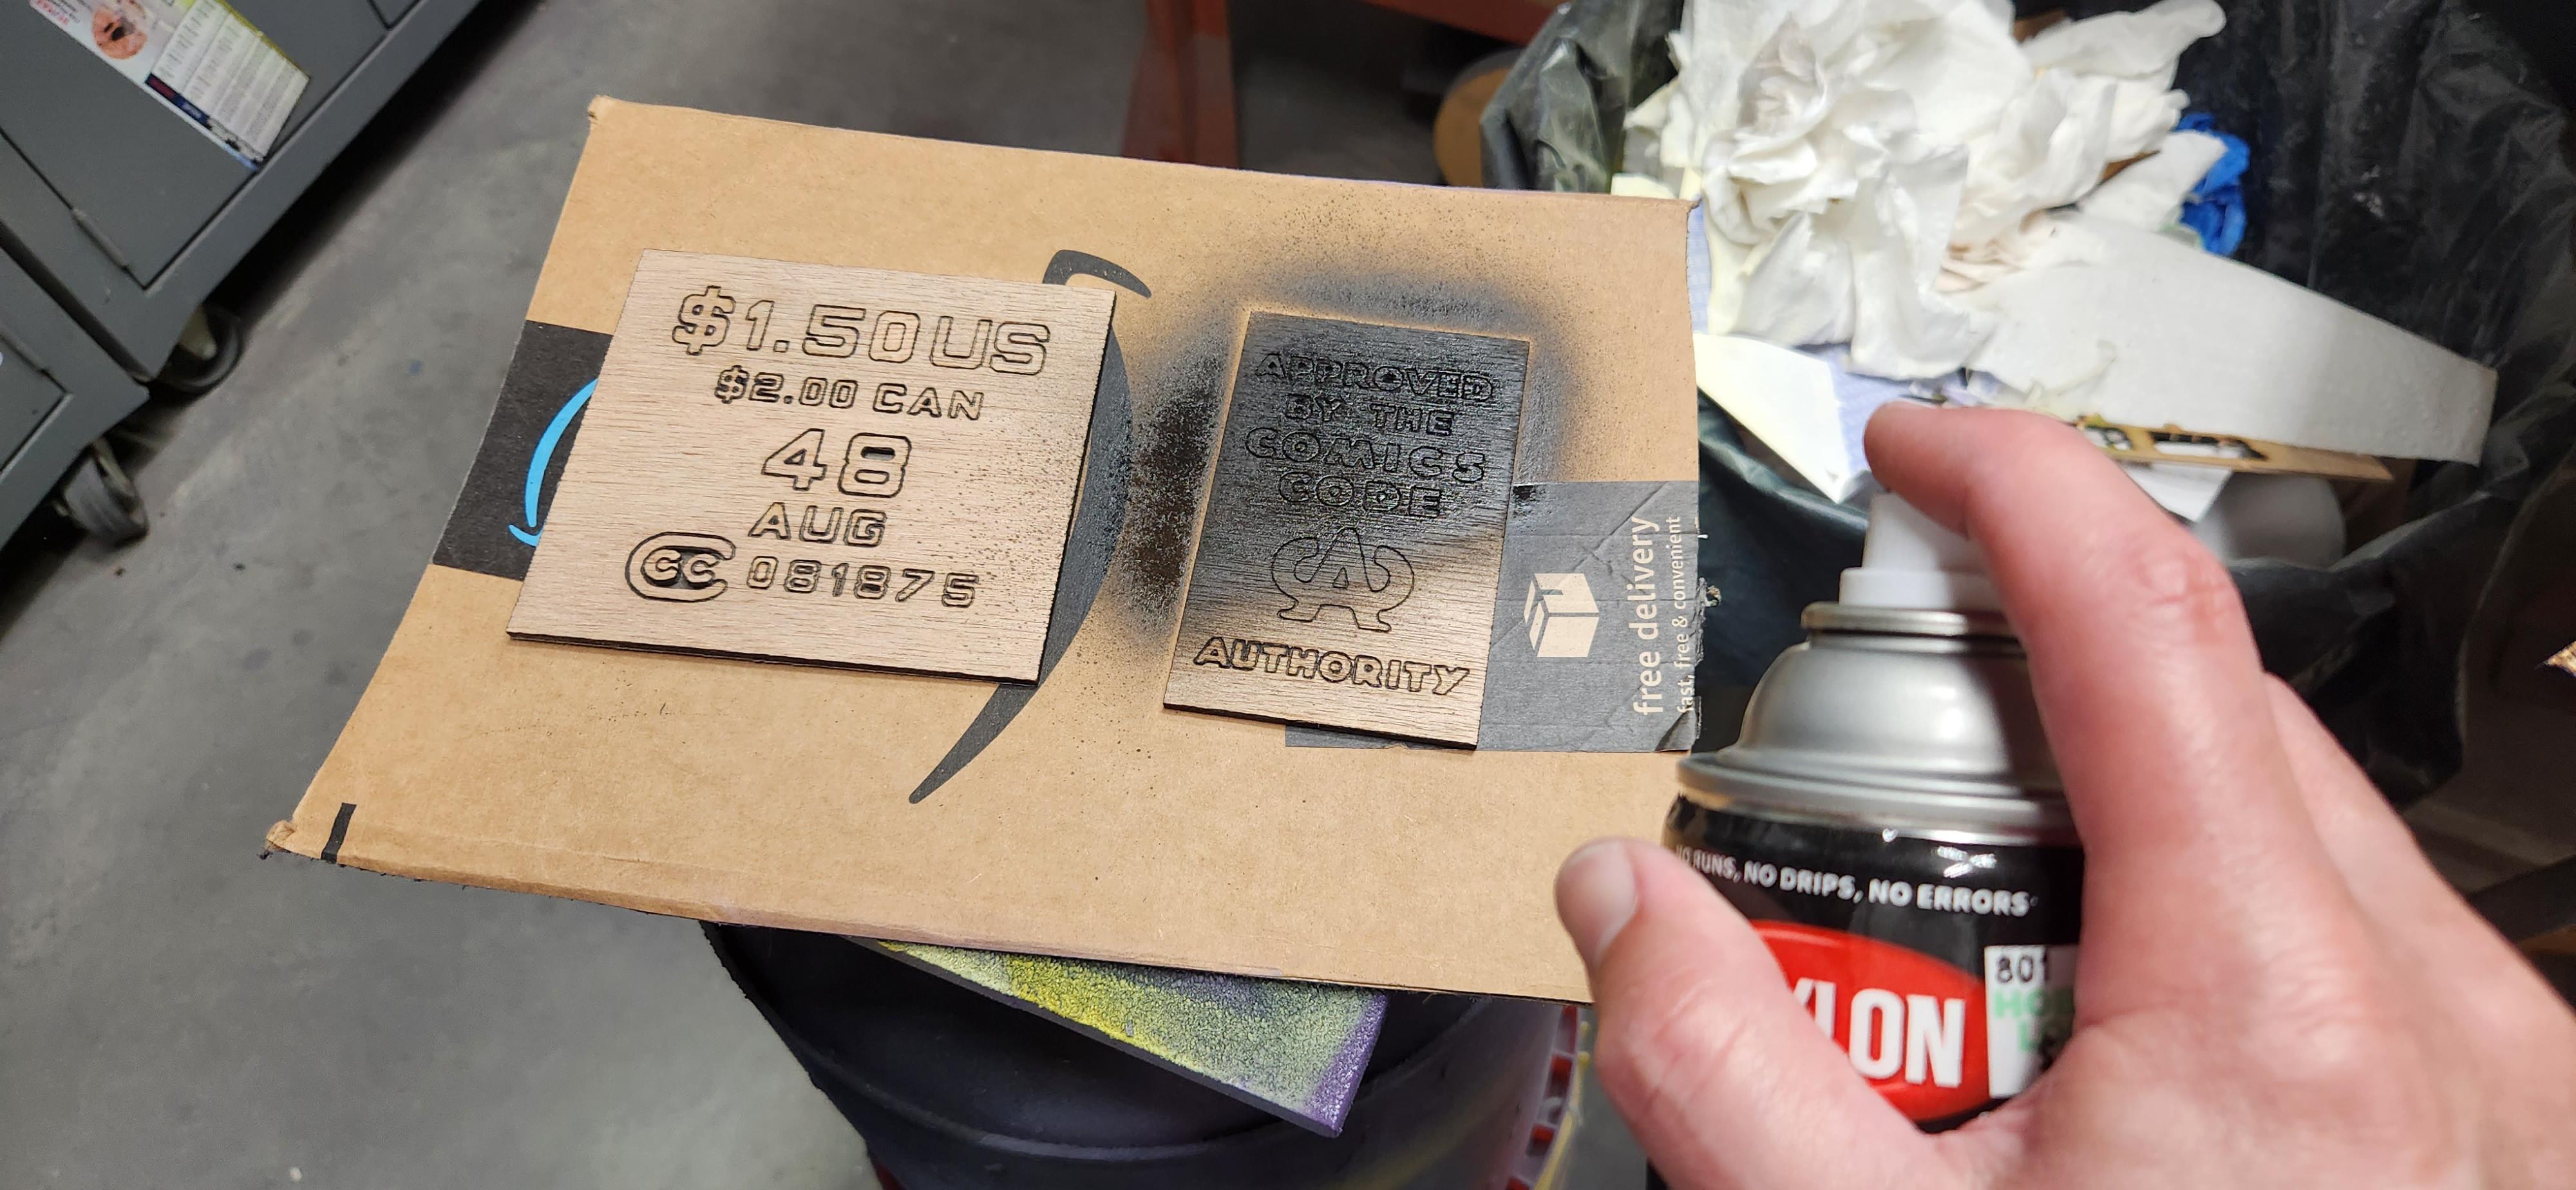
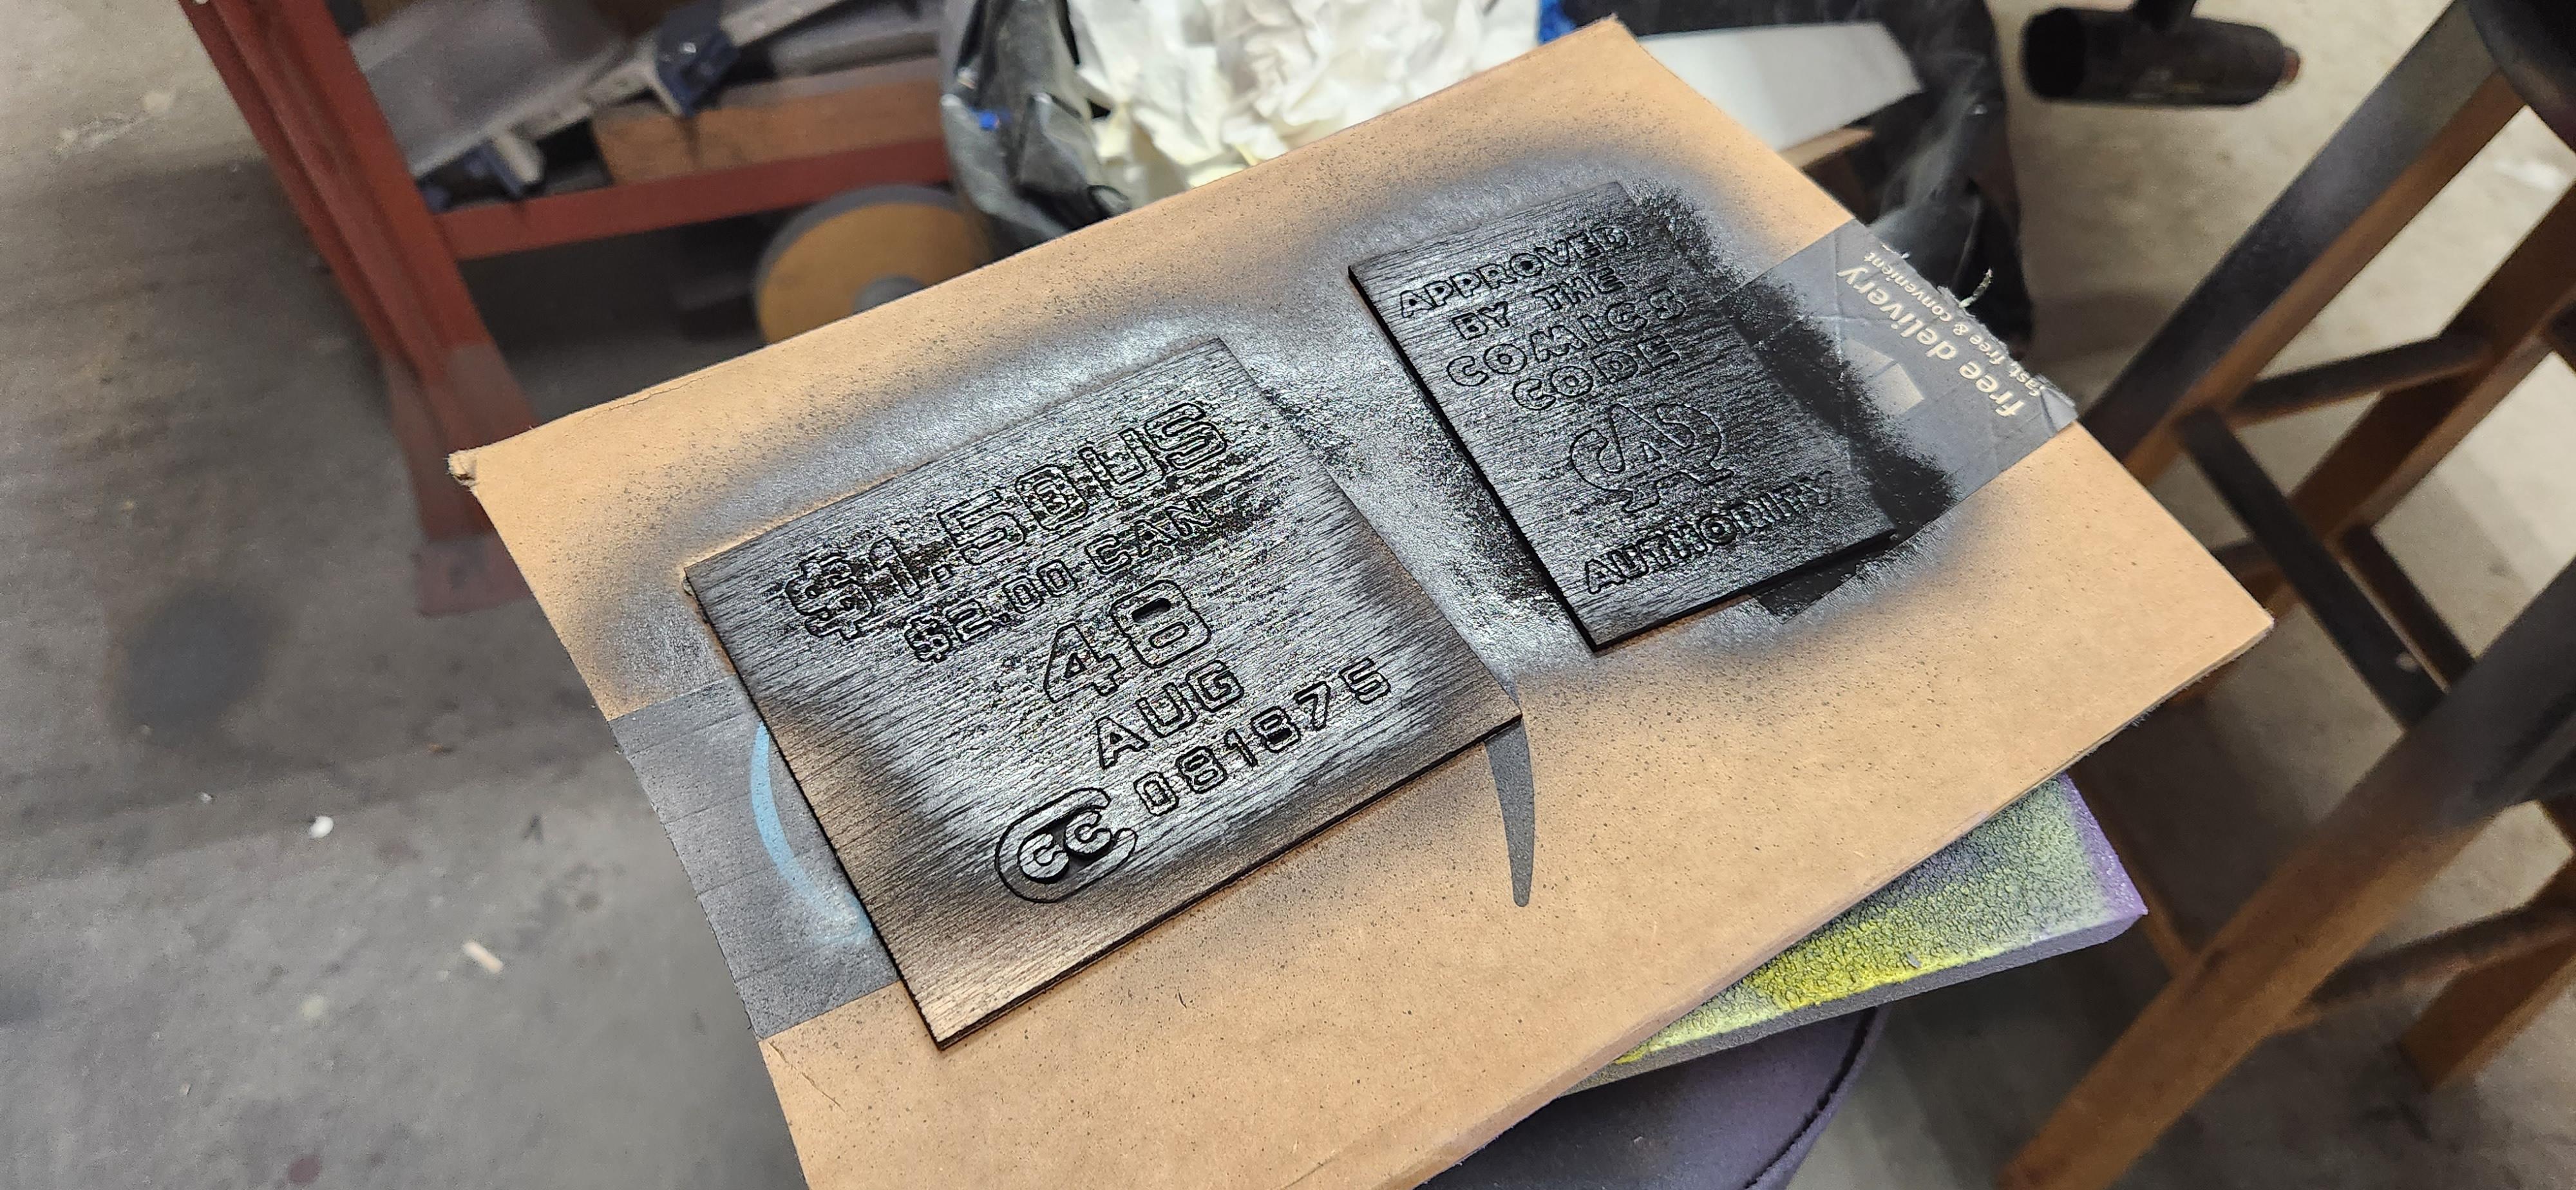
The two info boxes at the bottom of the corner box get several good coats of black spray paint. Make sure to let them dry in between coats because the wood will soak up the paint and leave tiny little dry spots scattered about which will require another coat of spray paint.
Painting the Background
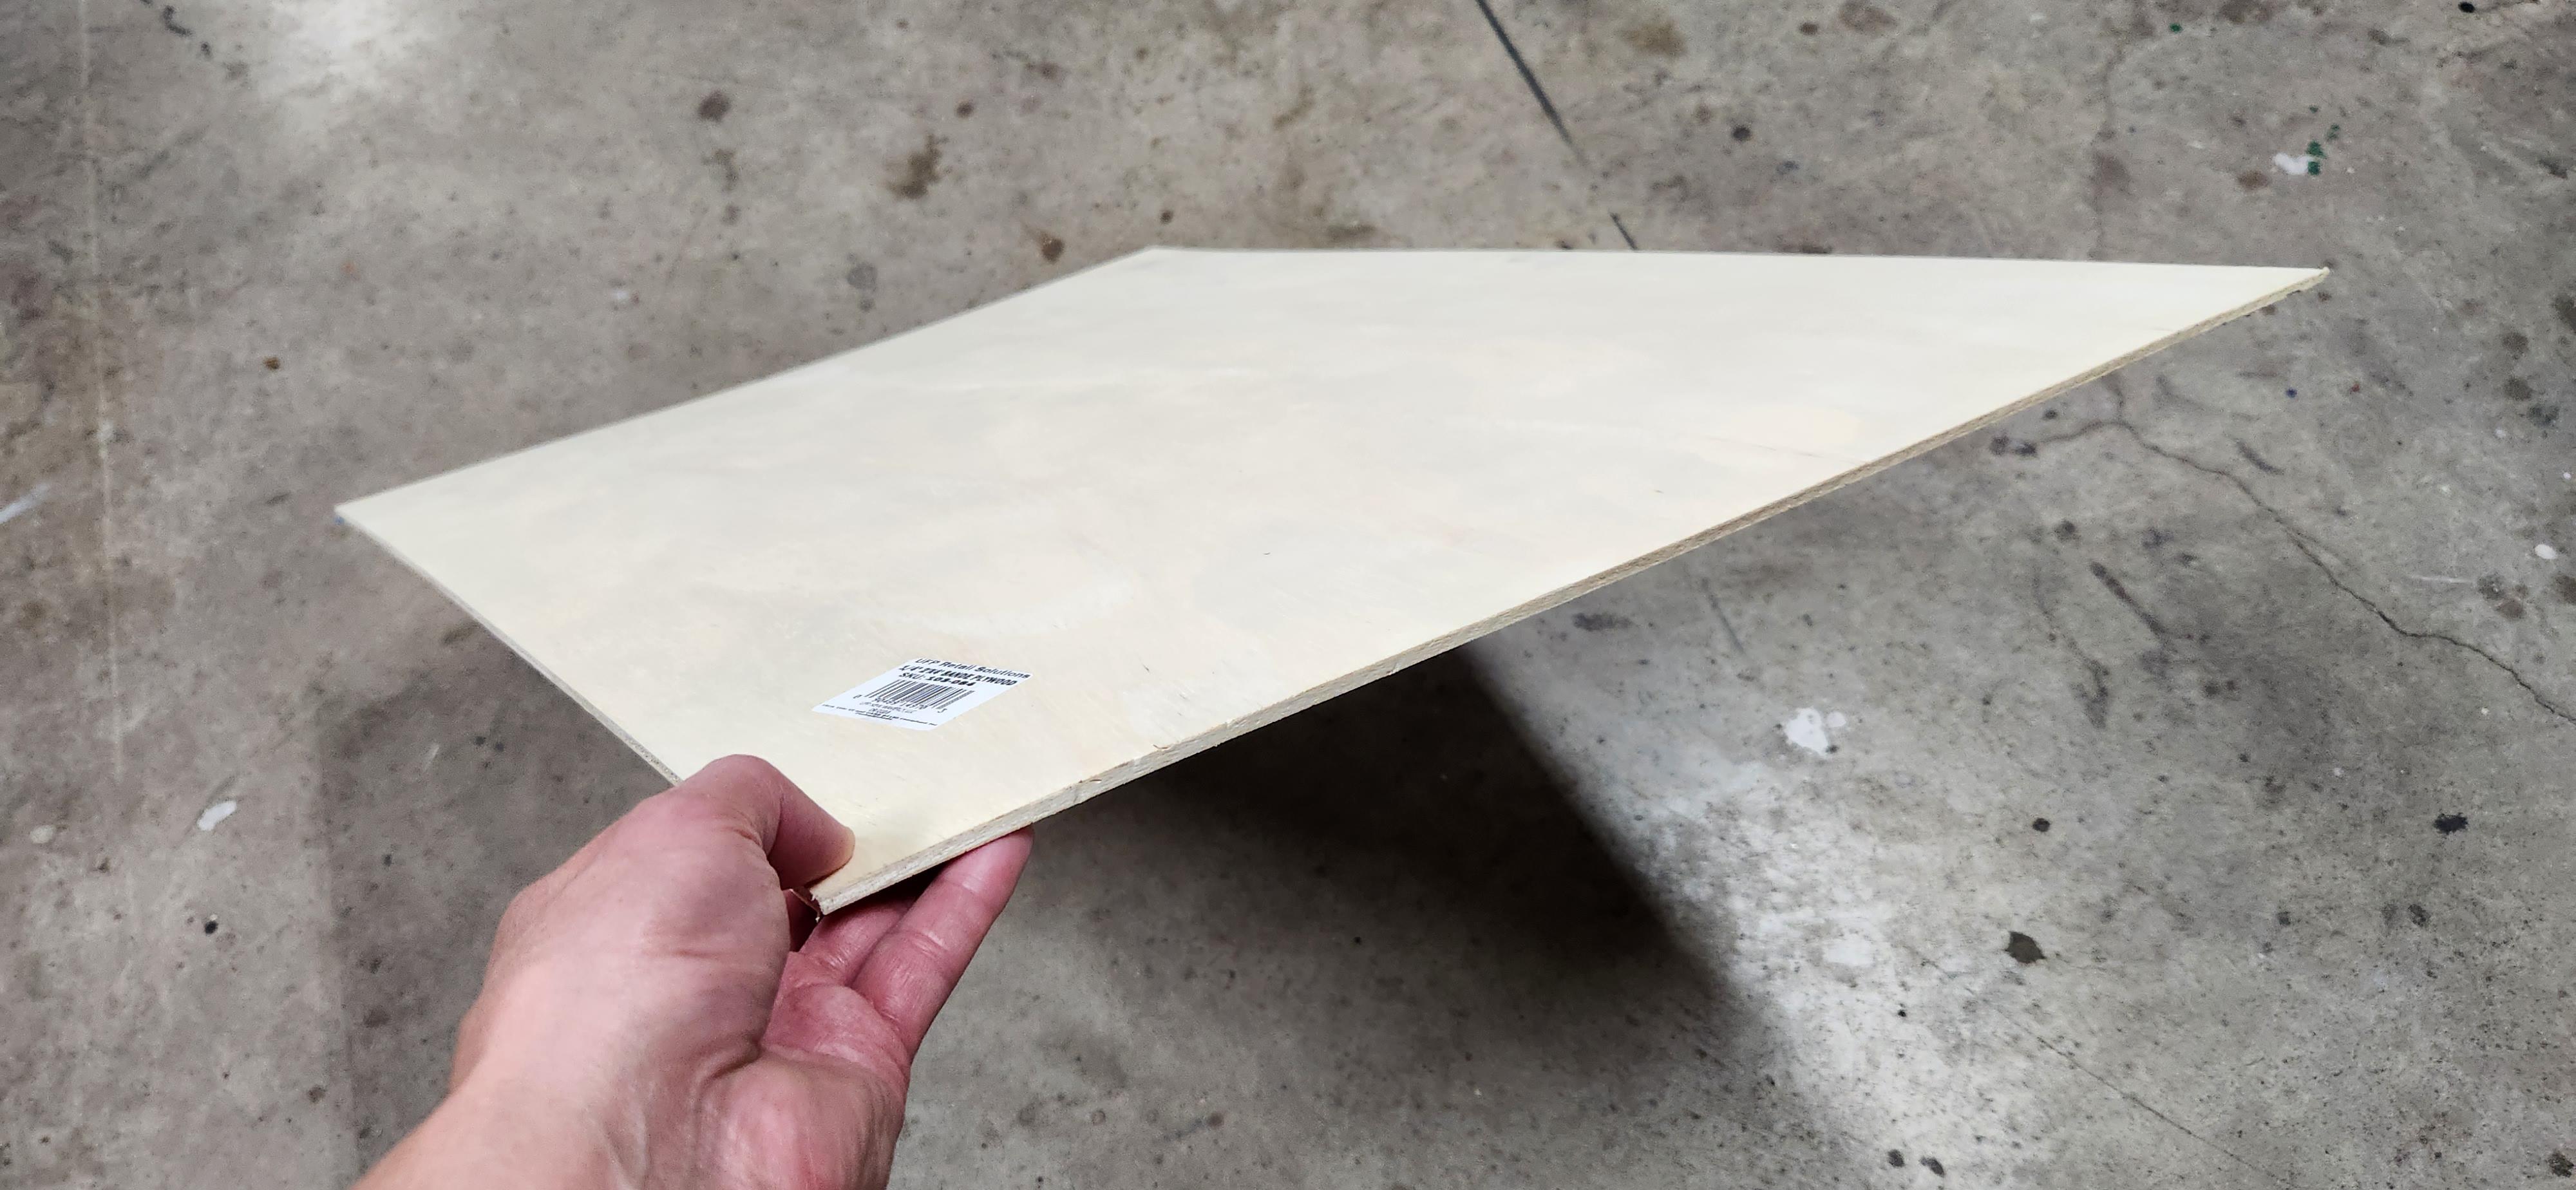
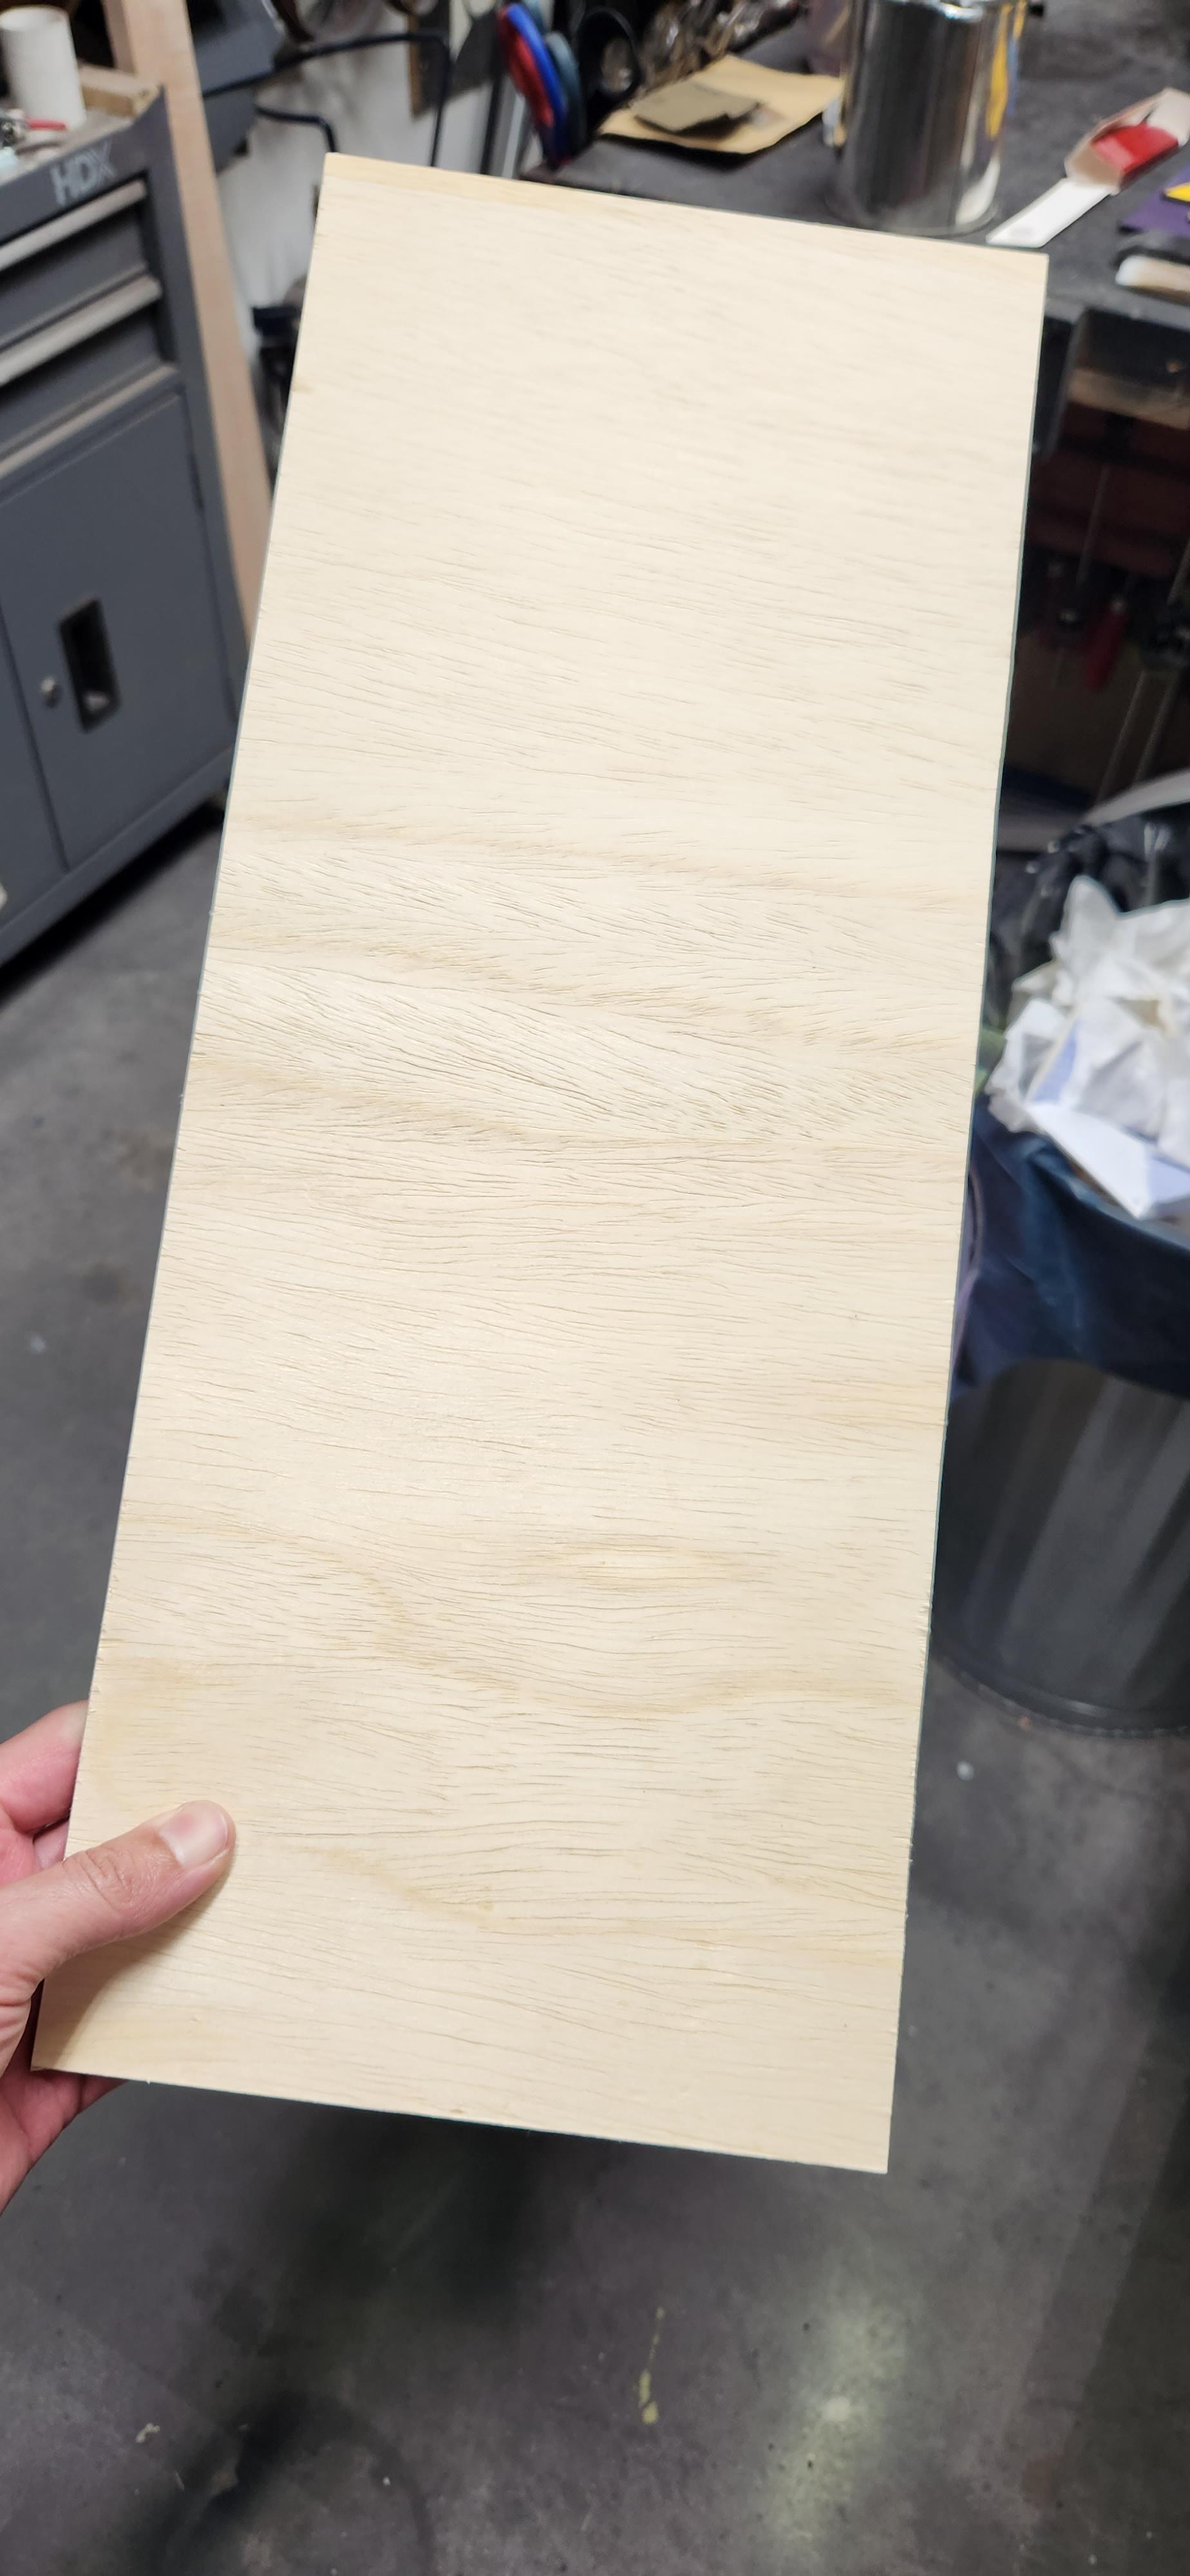
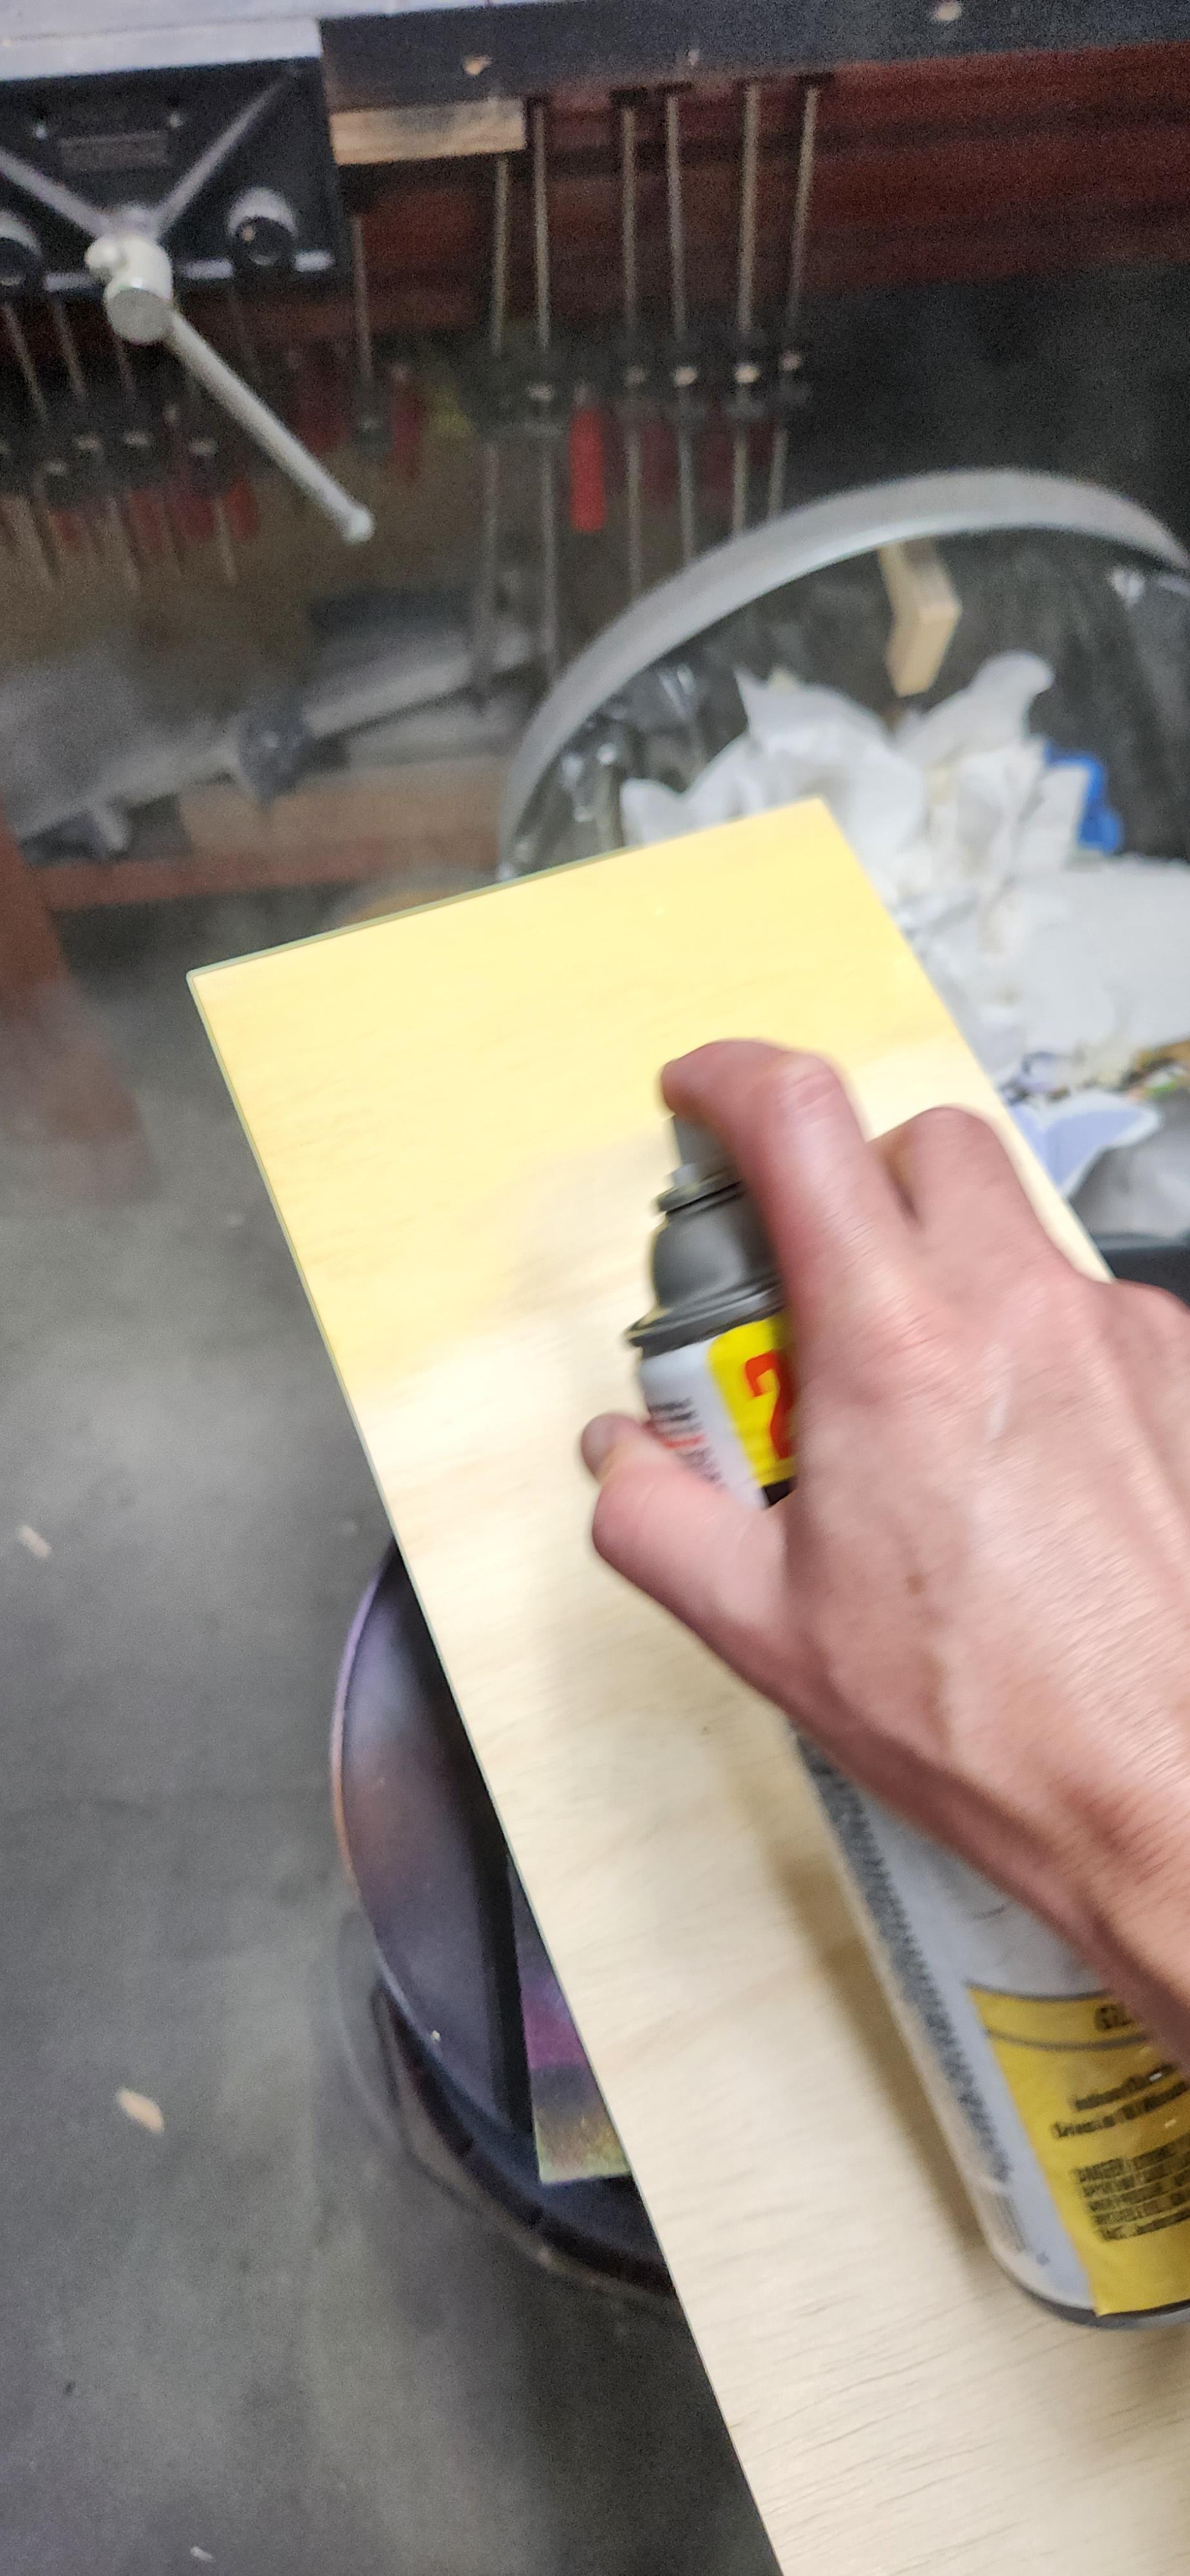
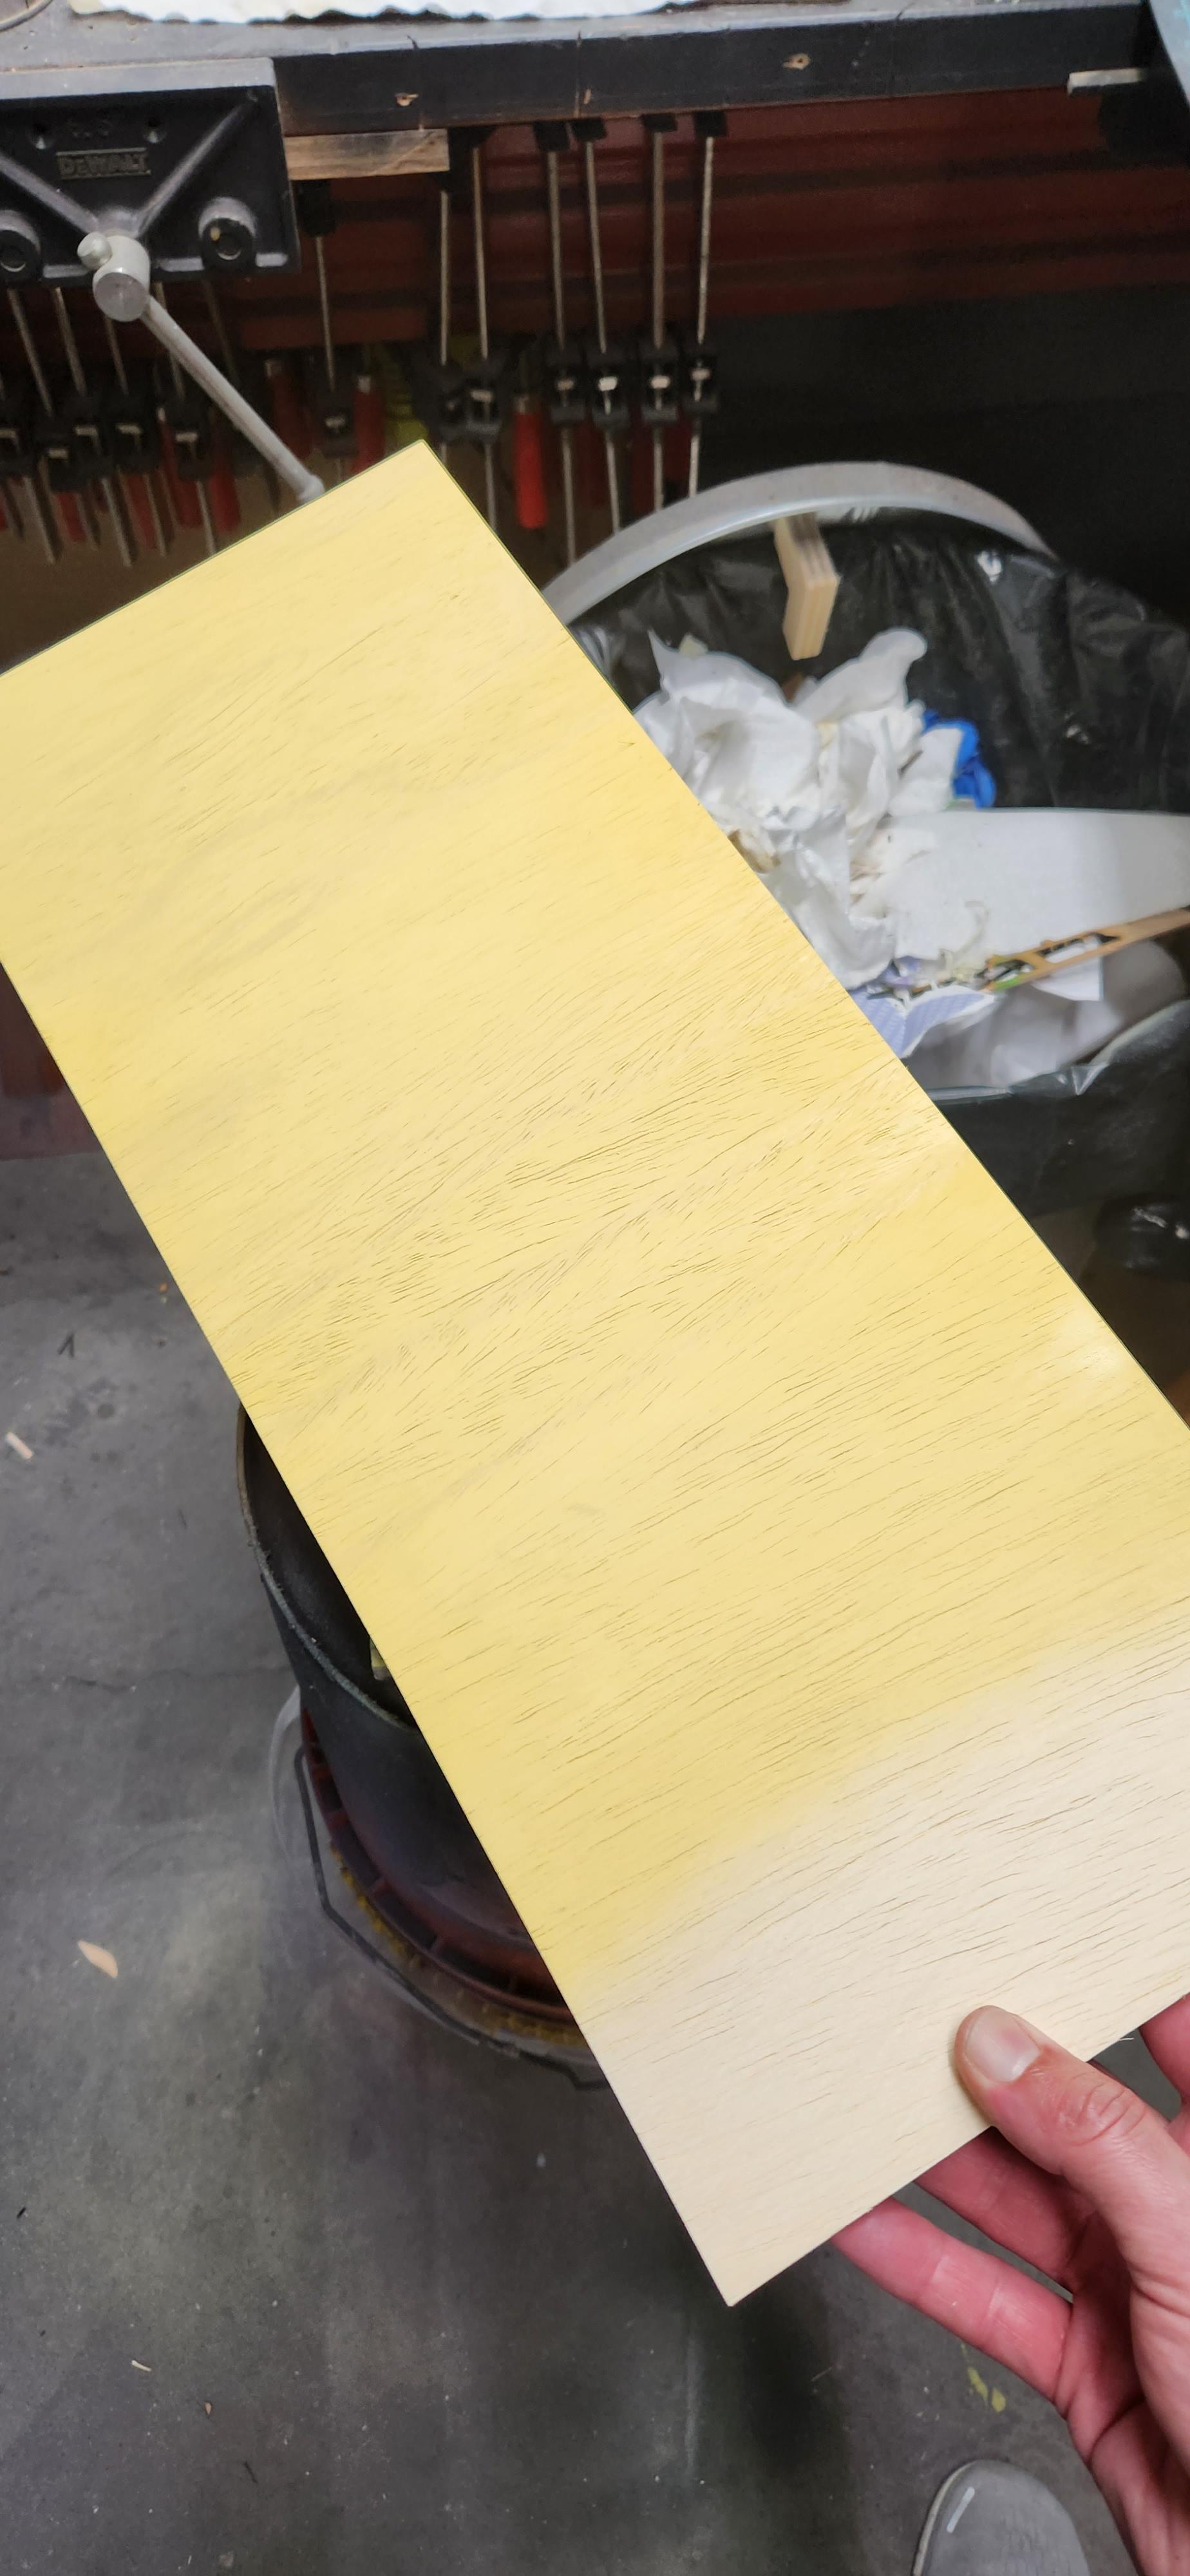
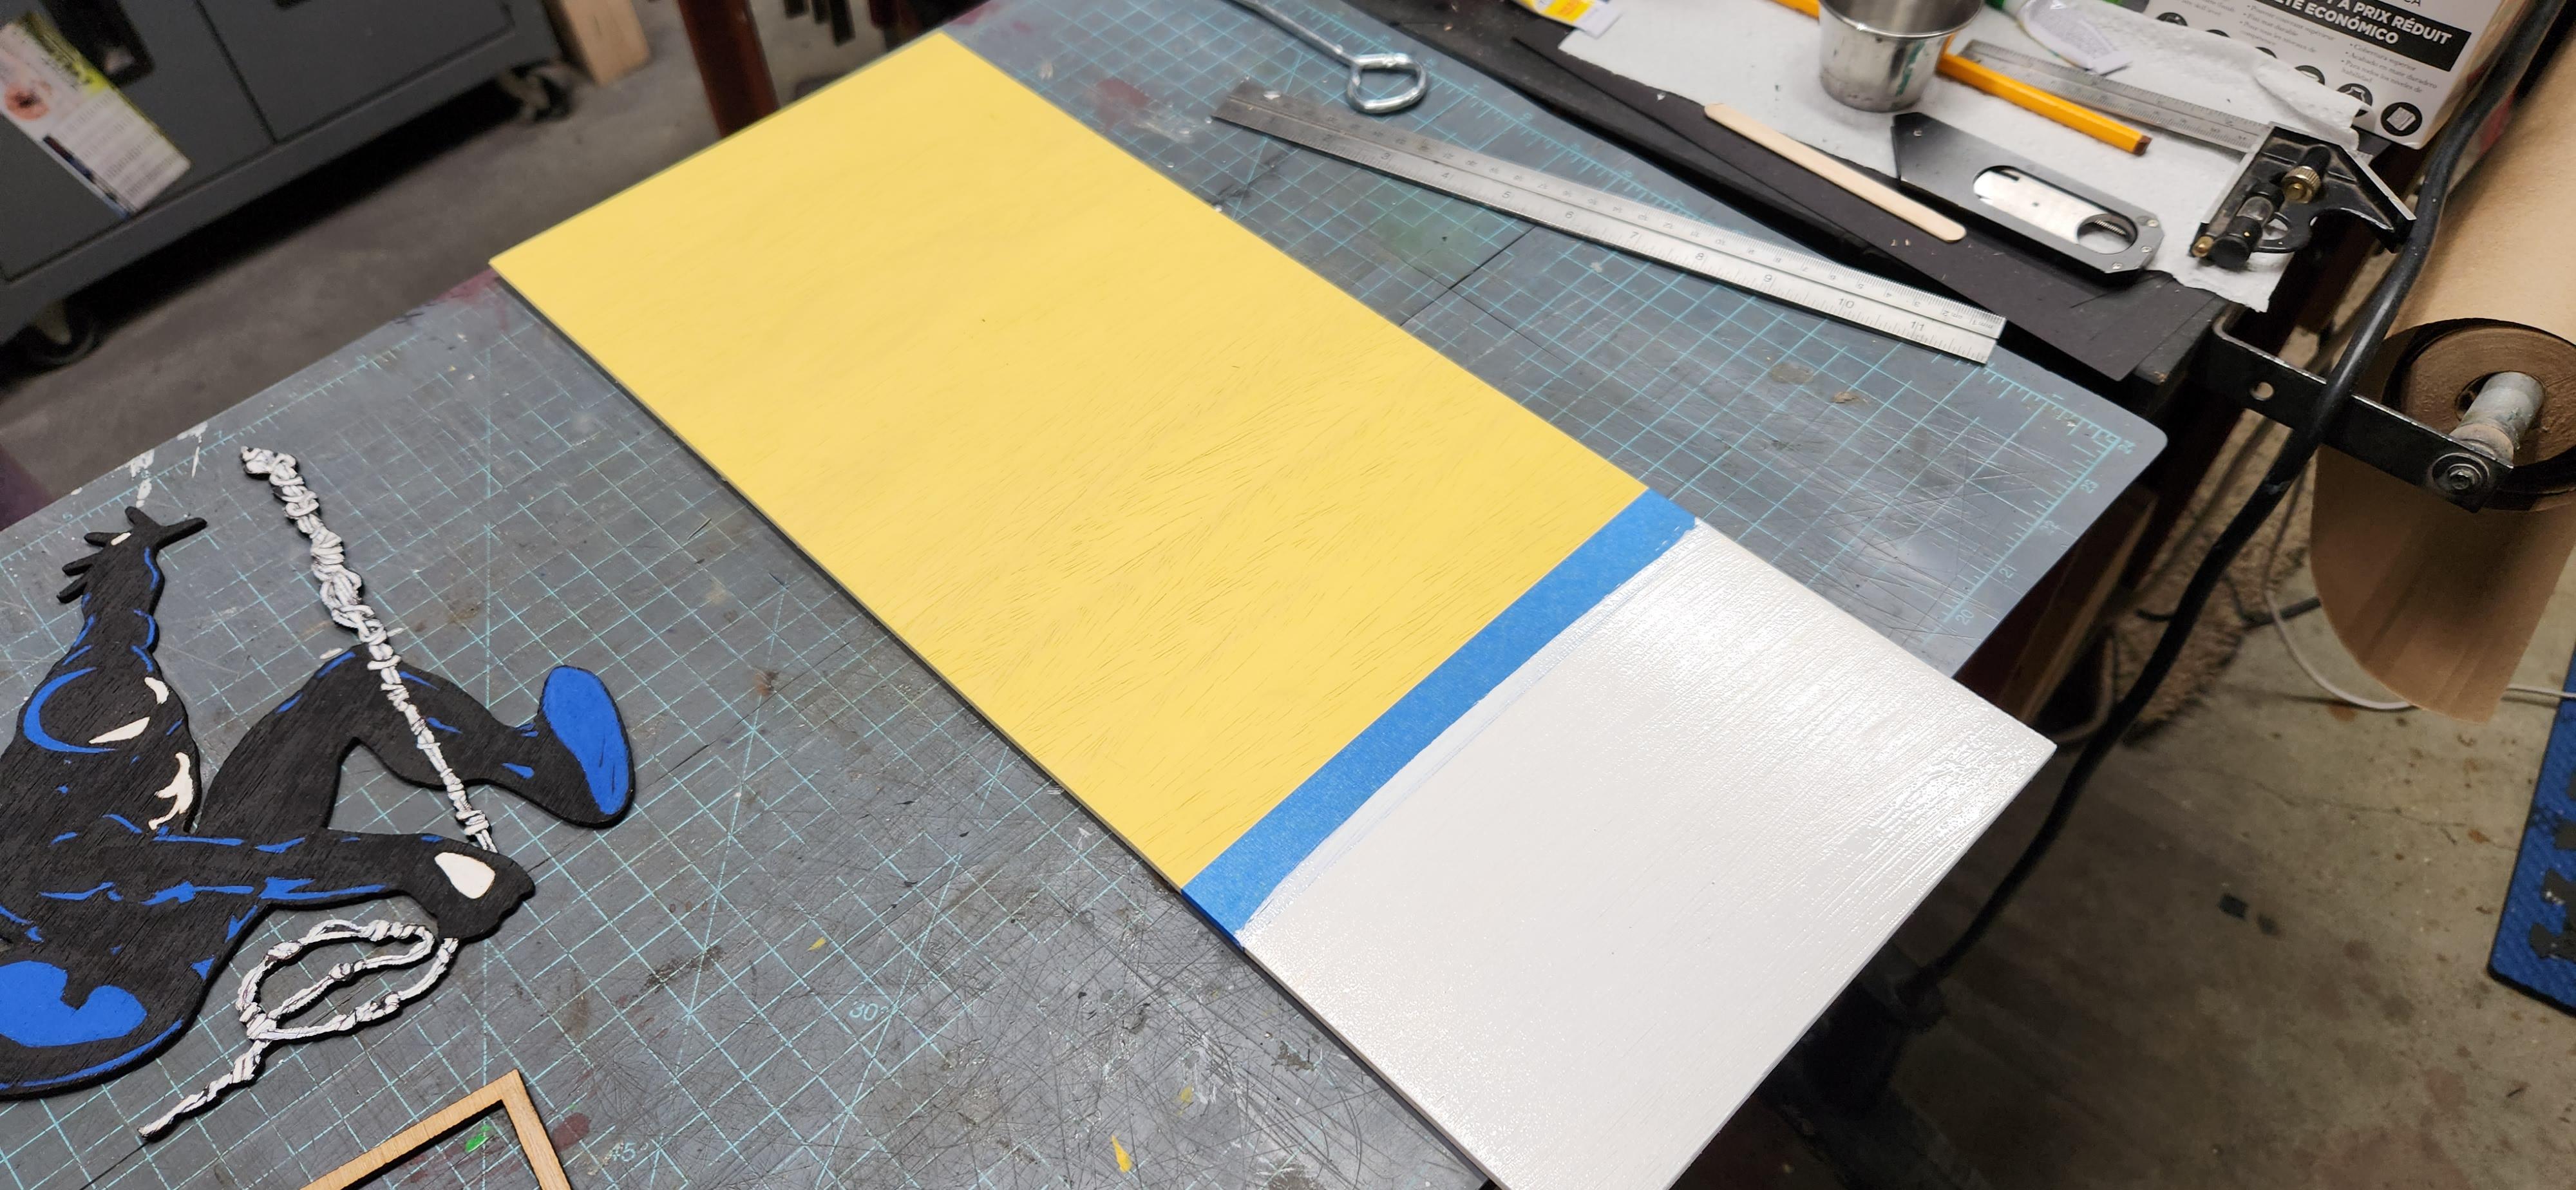
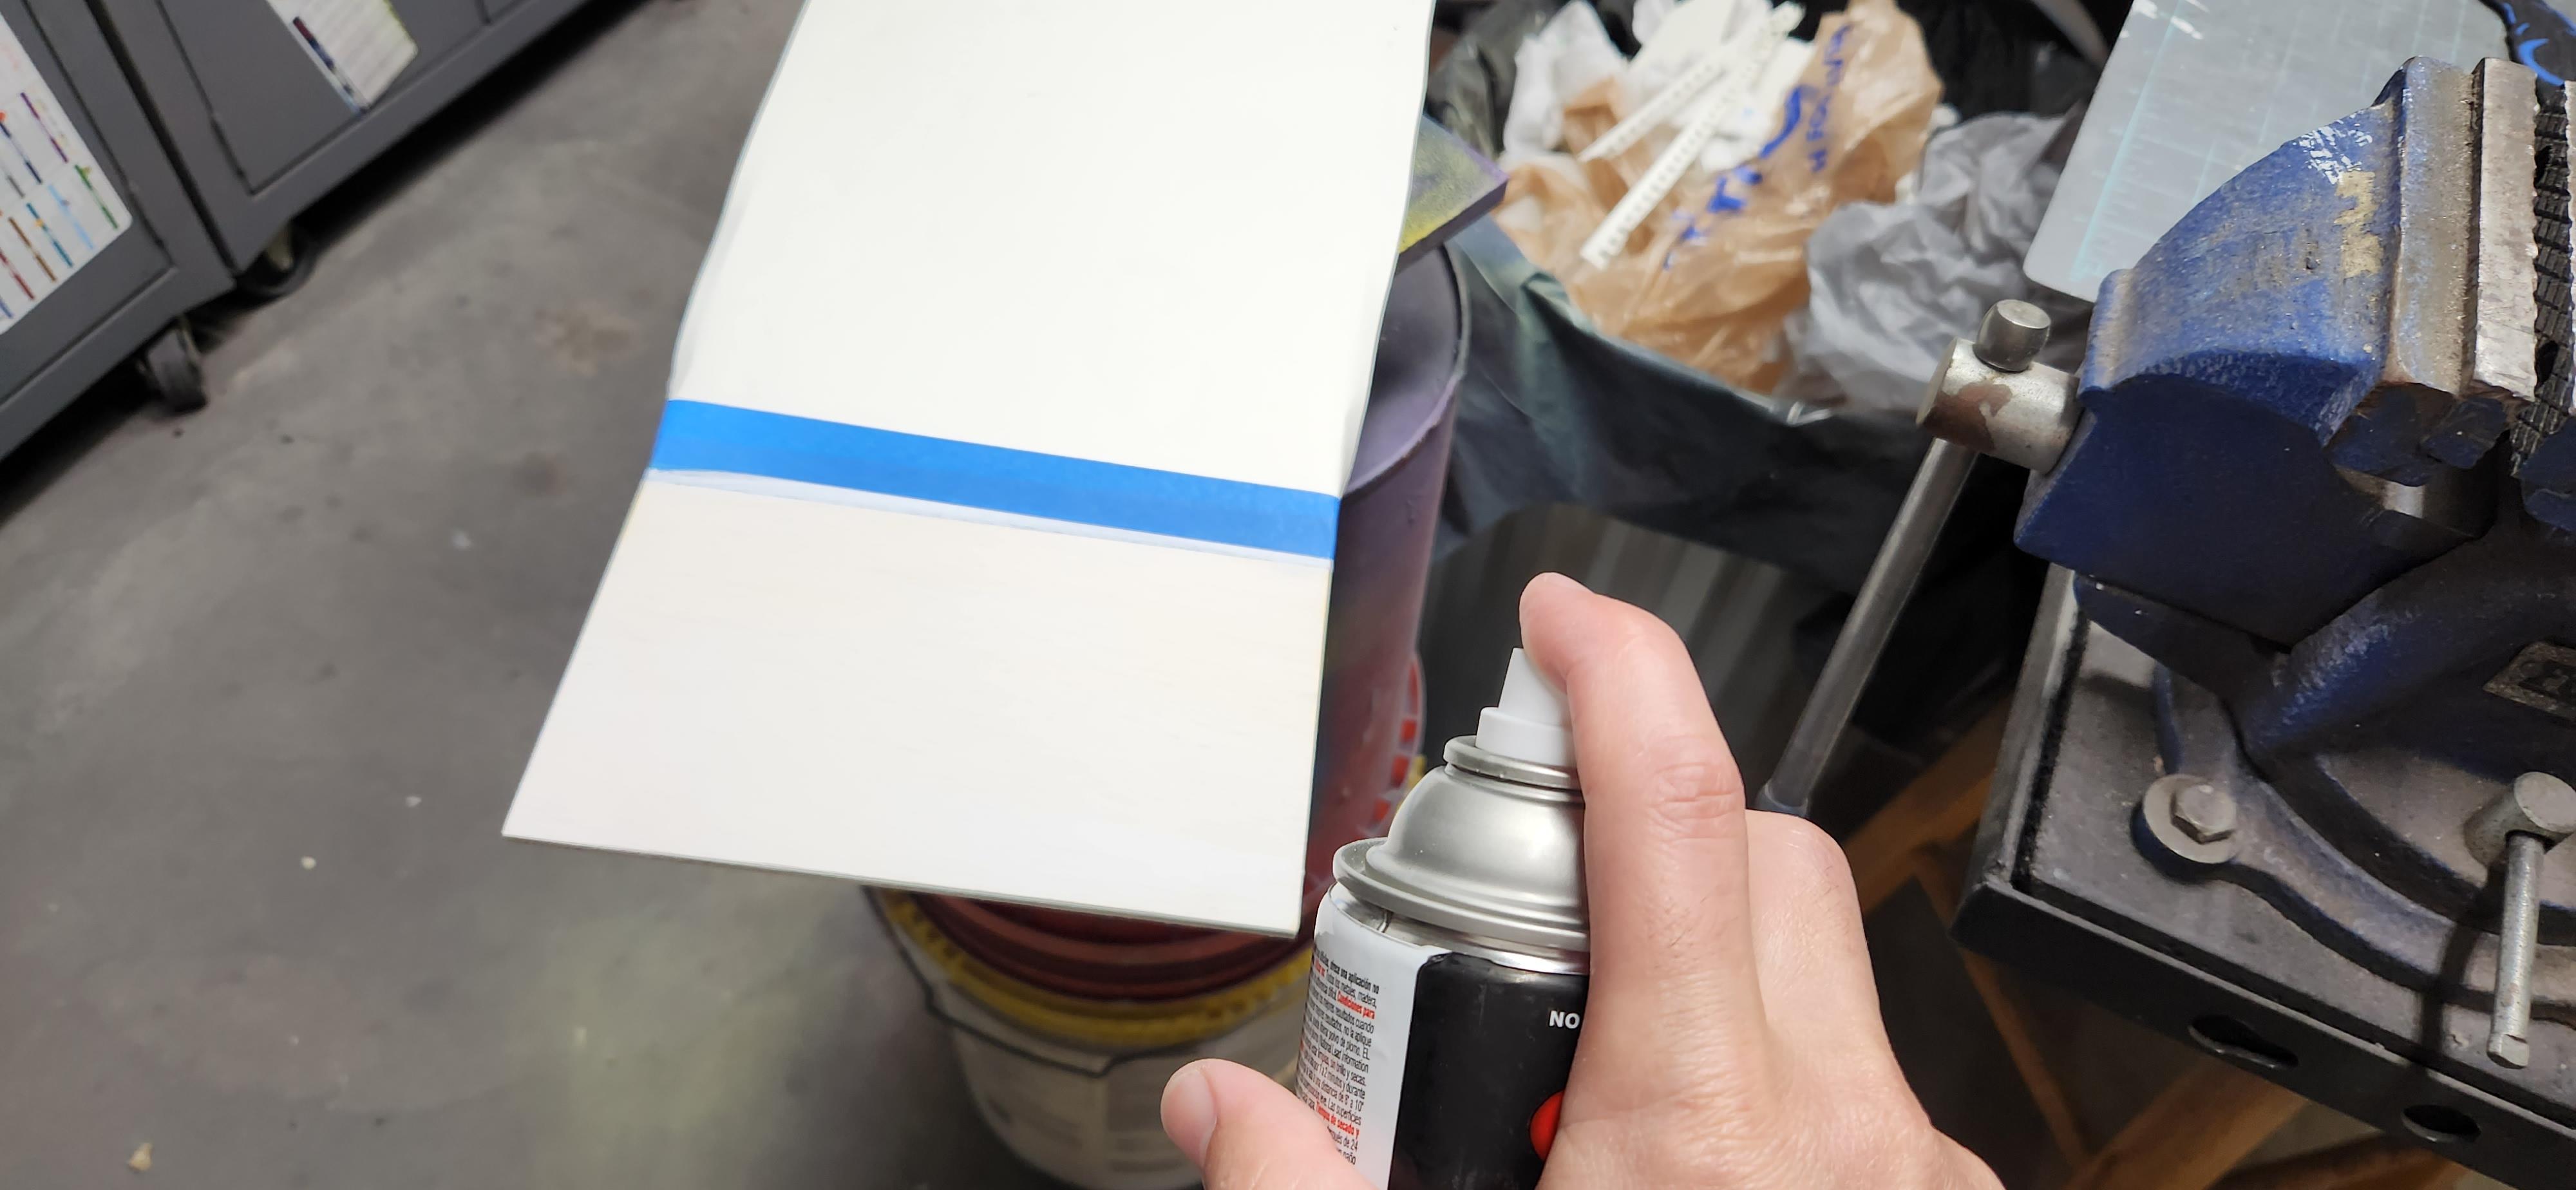
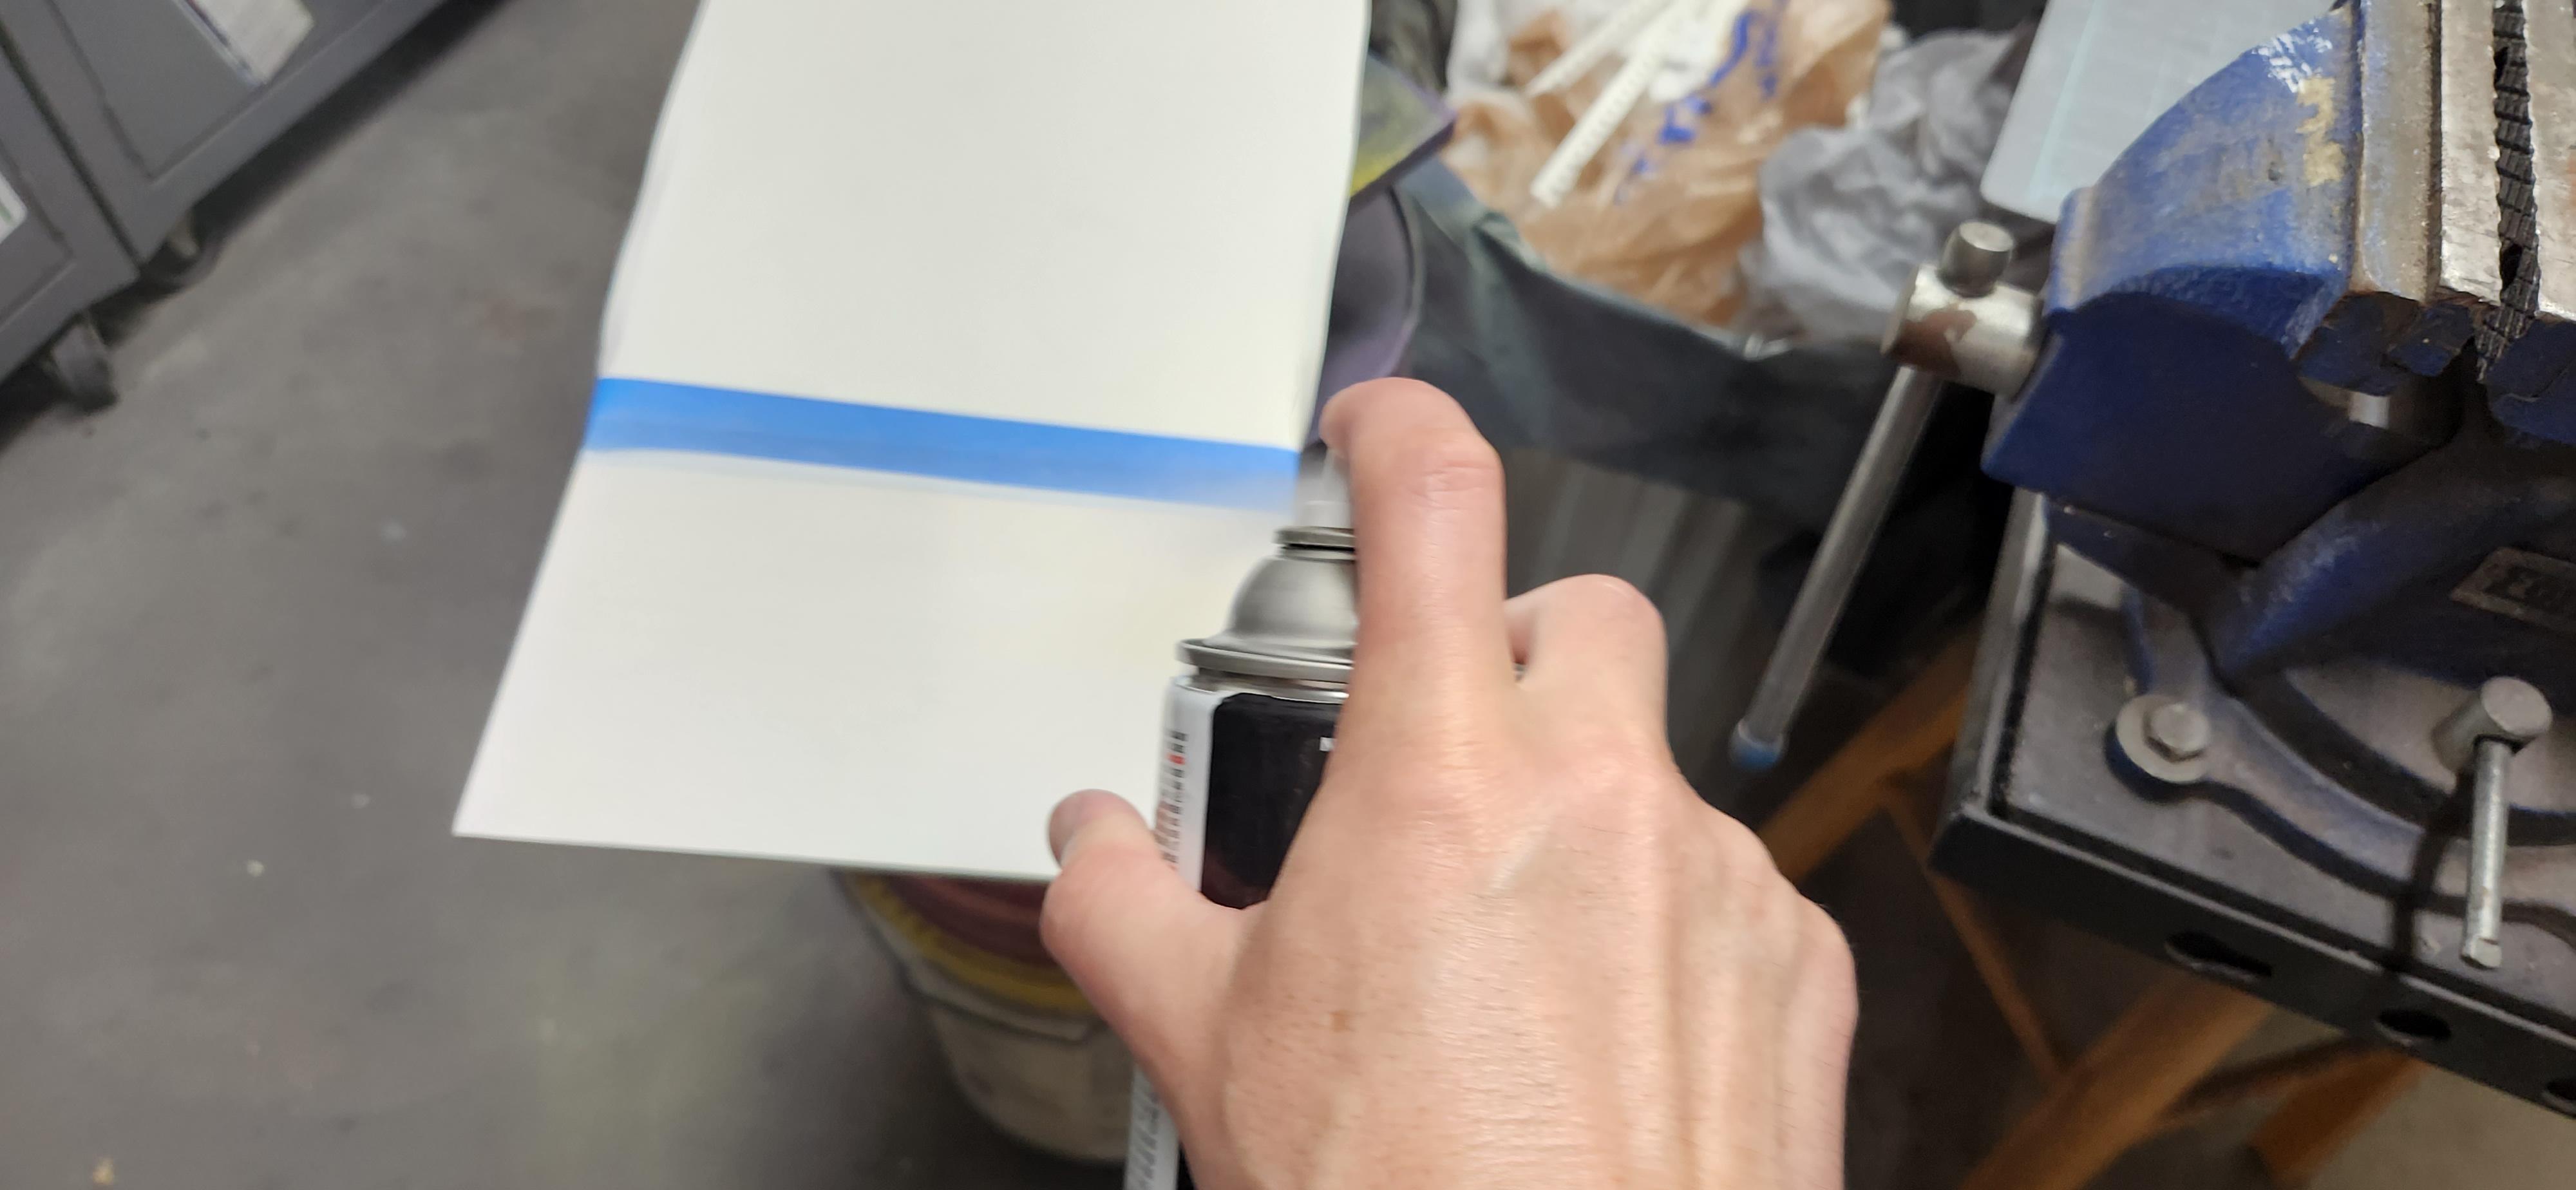
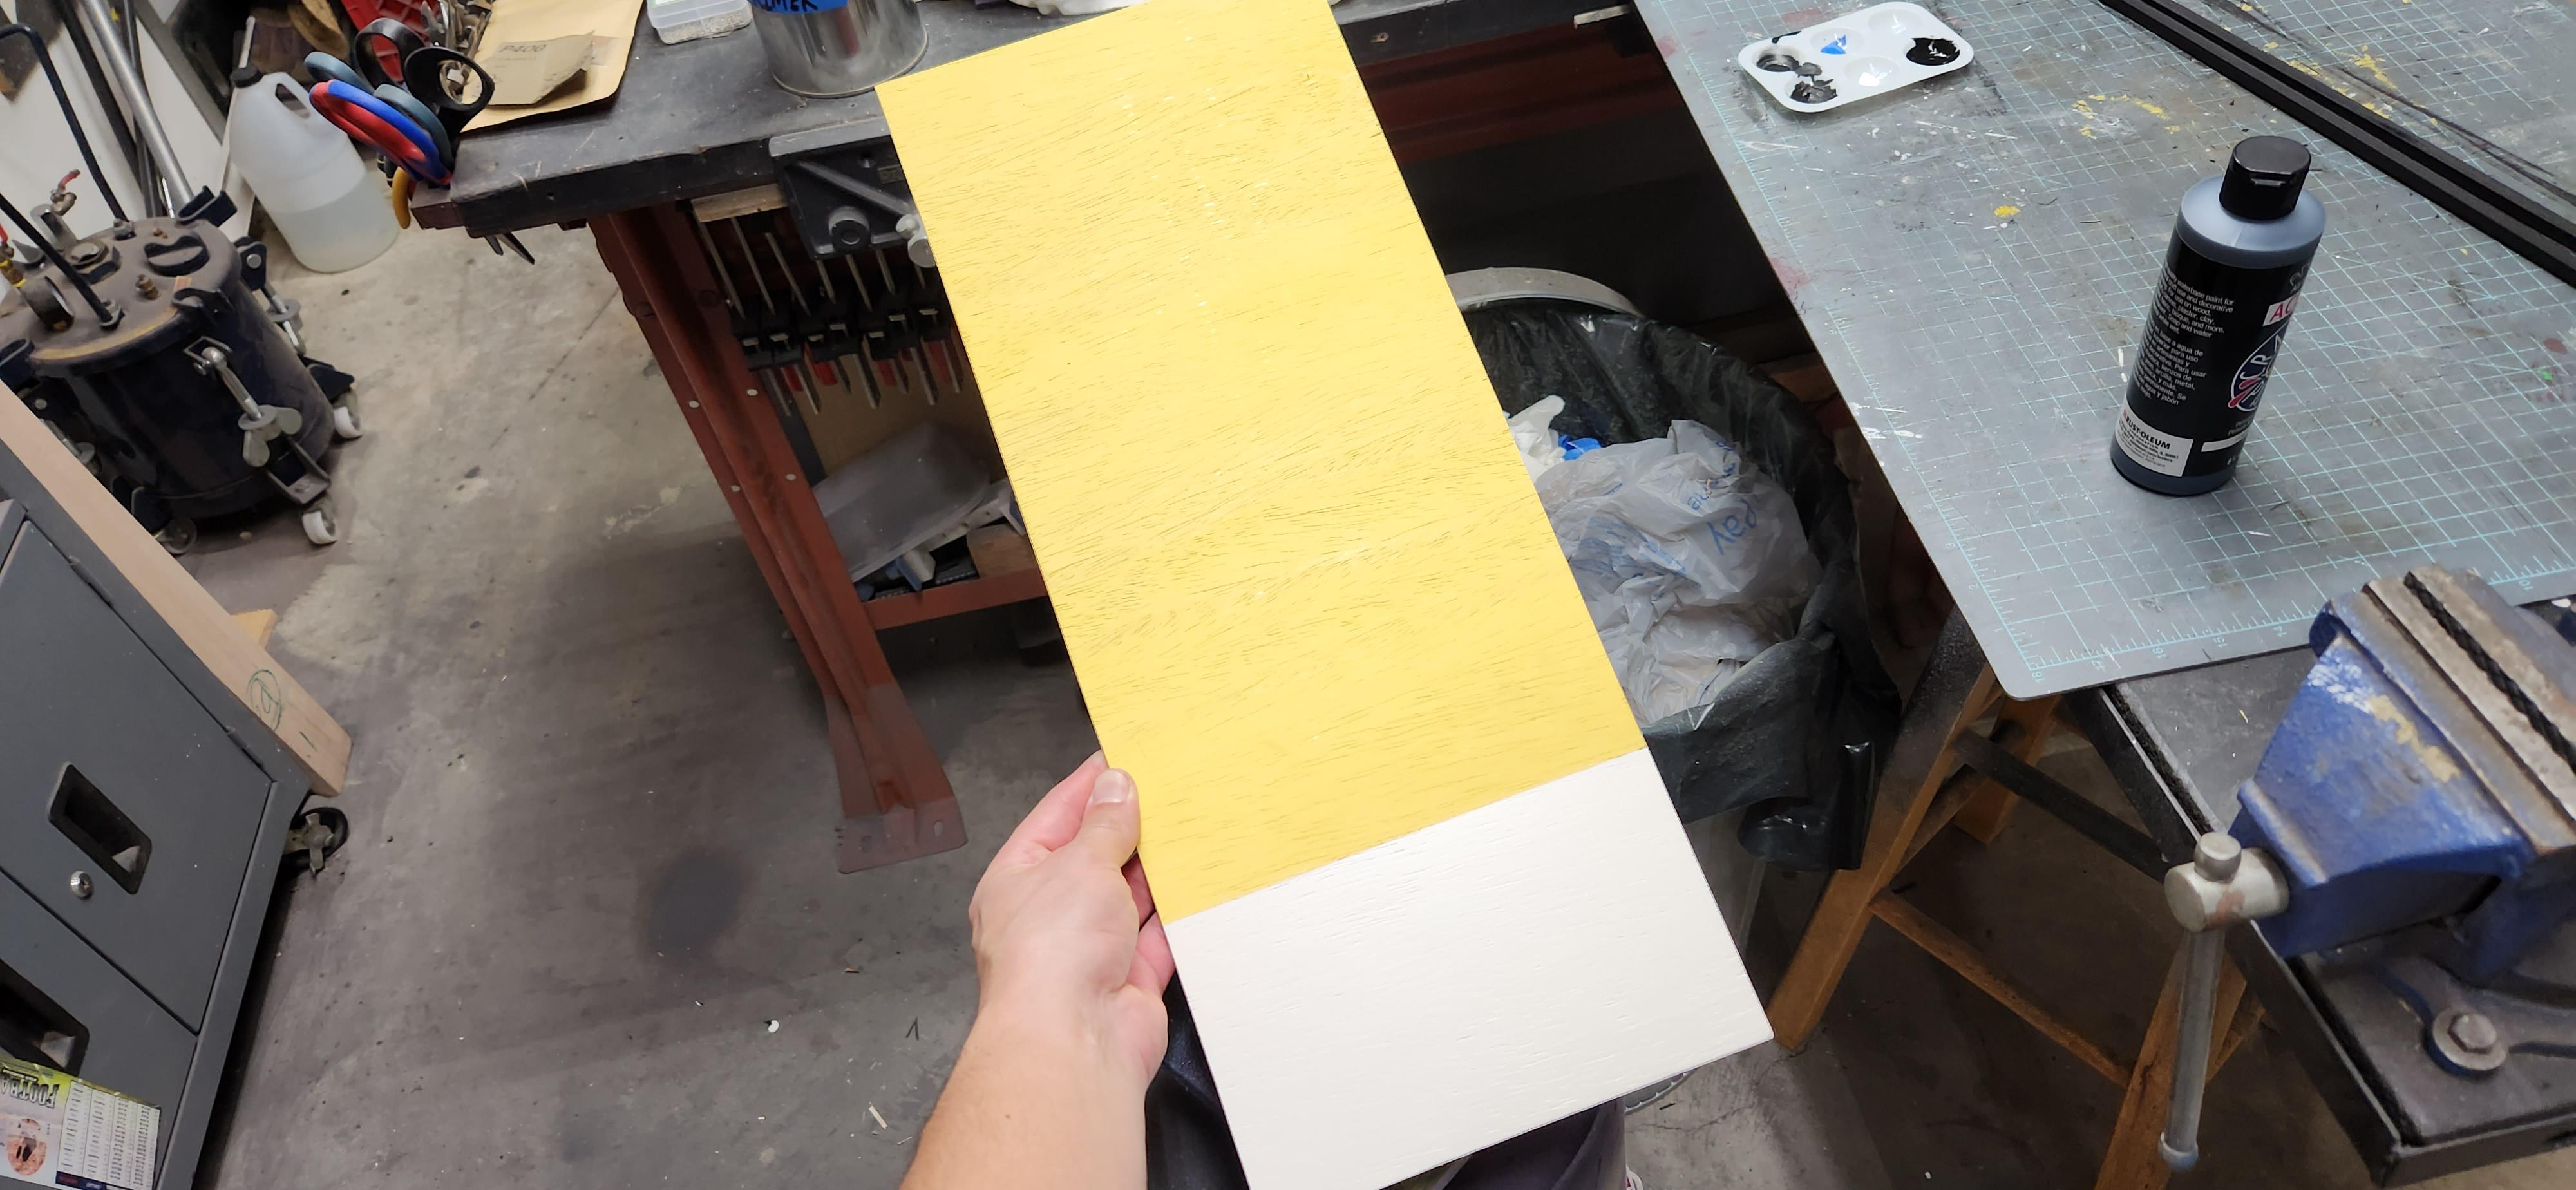
I use 1/4-inch plywood for the background. I use my utility knife and a straight edge to cut a piece that measures 8 inches by 20 inches off of a sheet that is 2 feet by 4 feet. Depending on how rough the plywood is I may or may not give it a quick sanding with 220 grit, just to knock down any heavy grain or fibers. For this piece I use a light yellow spray paint on about 3/4 of the piece. Once the yellow dries I tape off the bottom section that will be for the info boxes, this background needs to be white. Before spray painting the bottom section white I like to brush on a layer of white paint primer. I like to prime it, especially for white, because the white spray paint doesn't cover as well as the pigmented spray paints. Once the primer dries I spray a few coats of satin white spray paint.
Painting the Logo Pieces
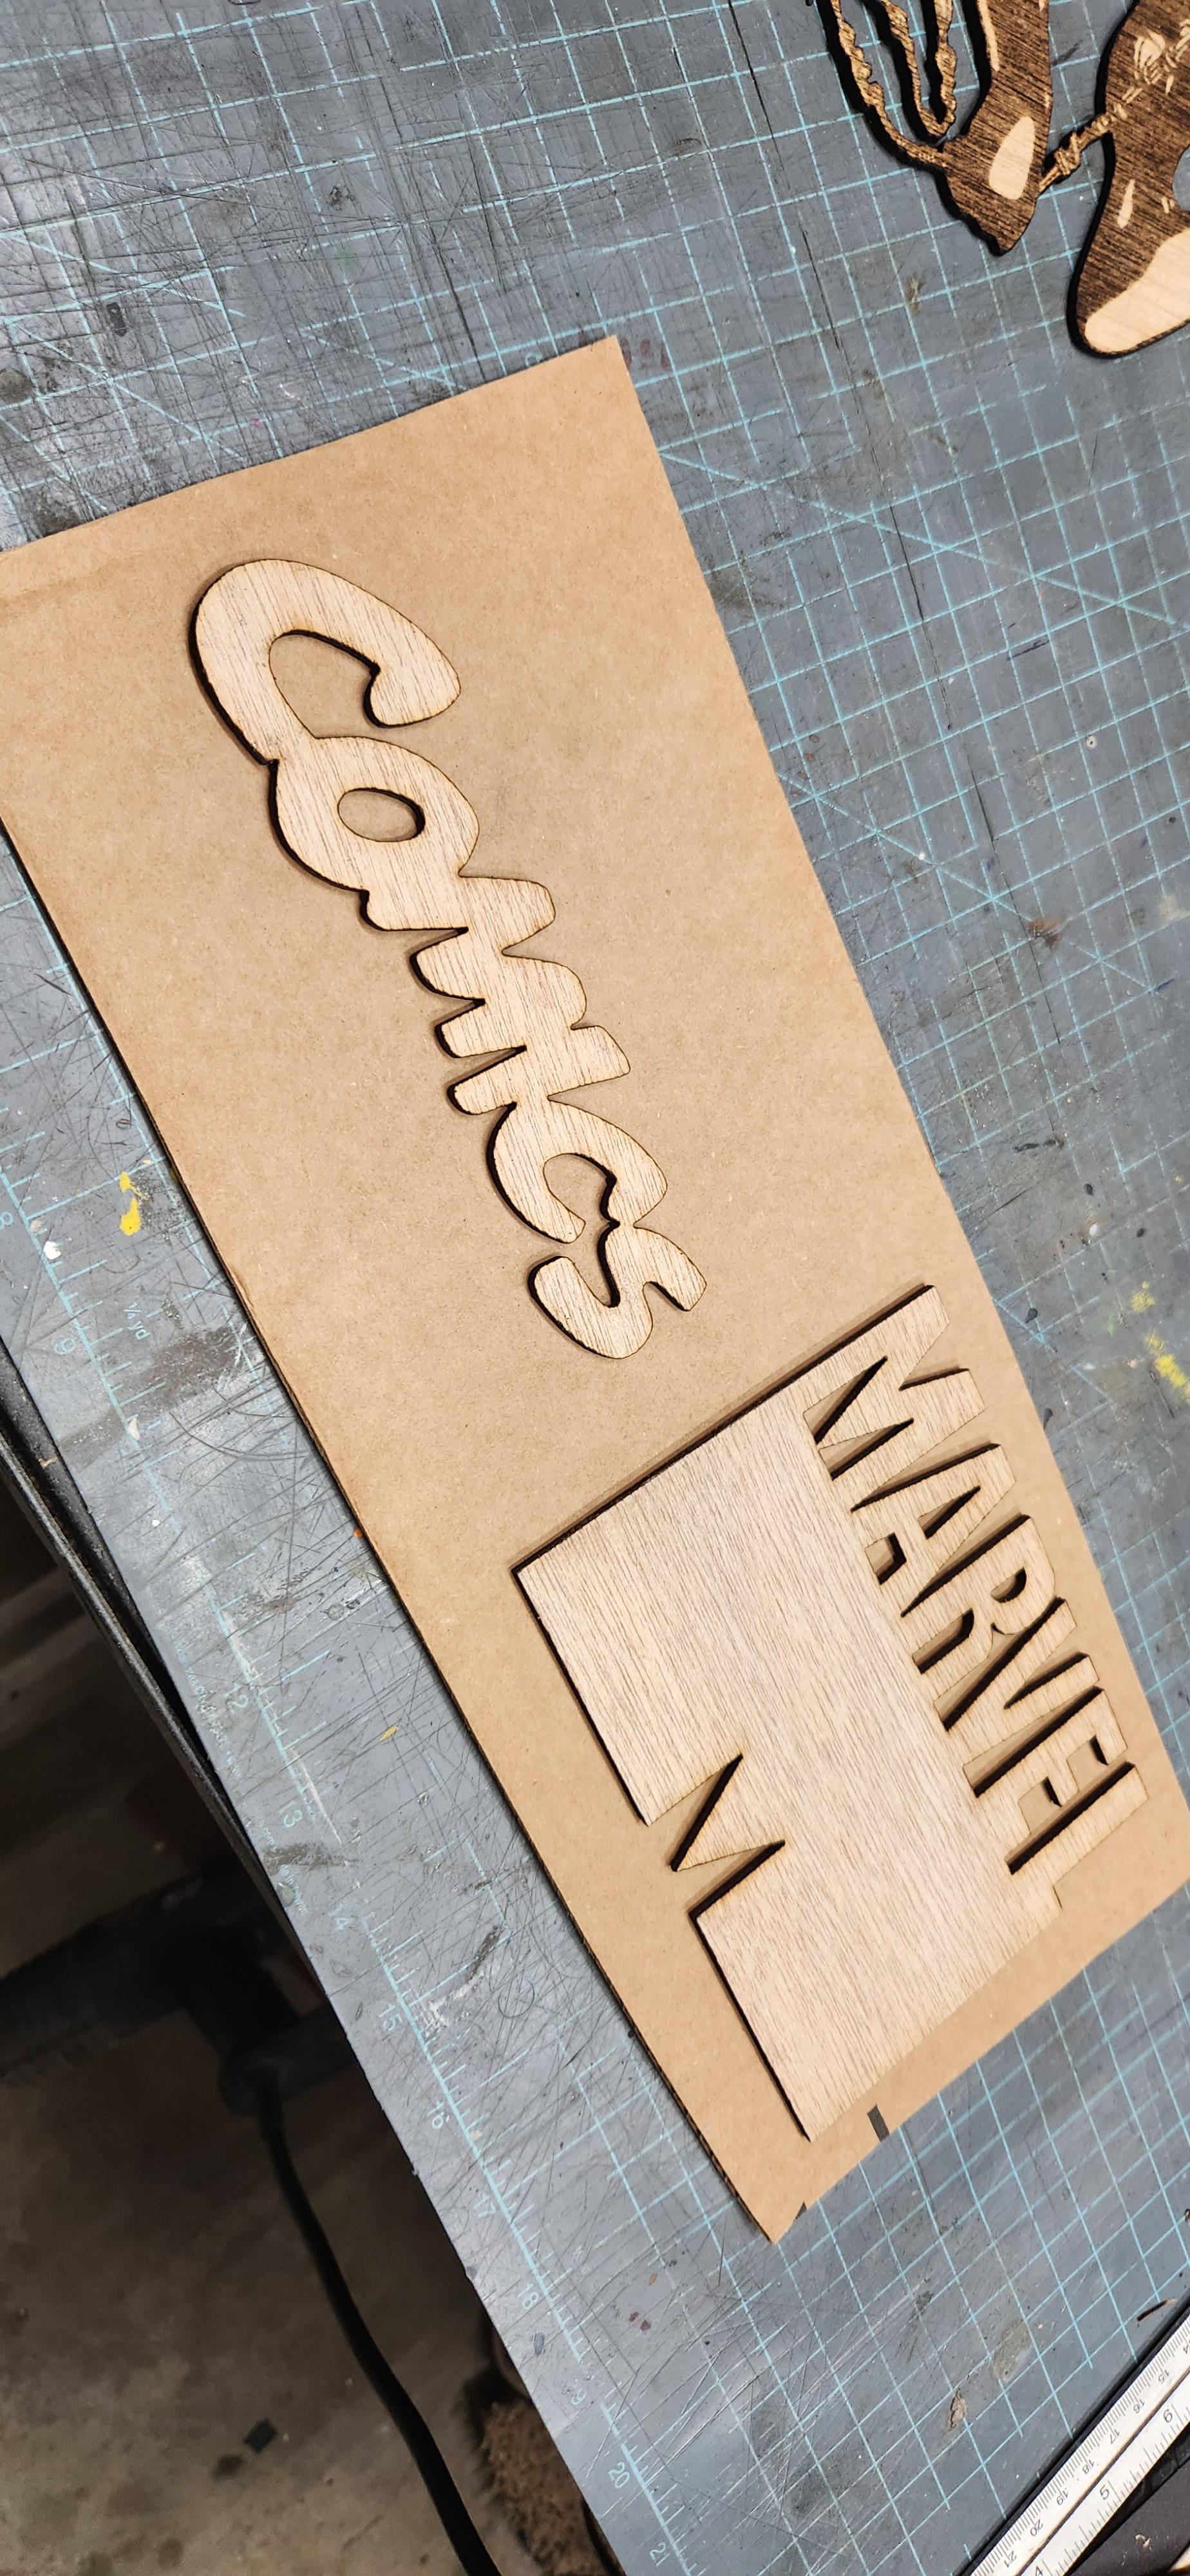
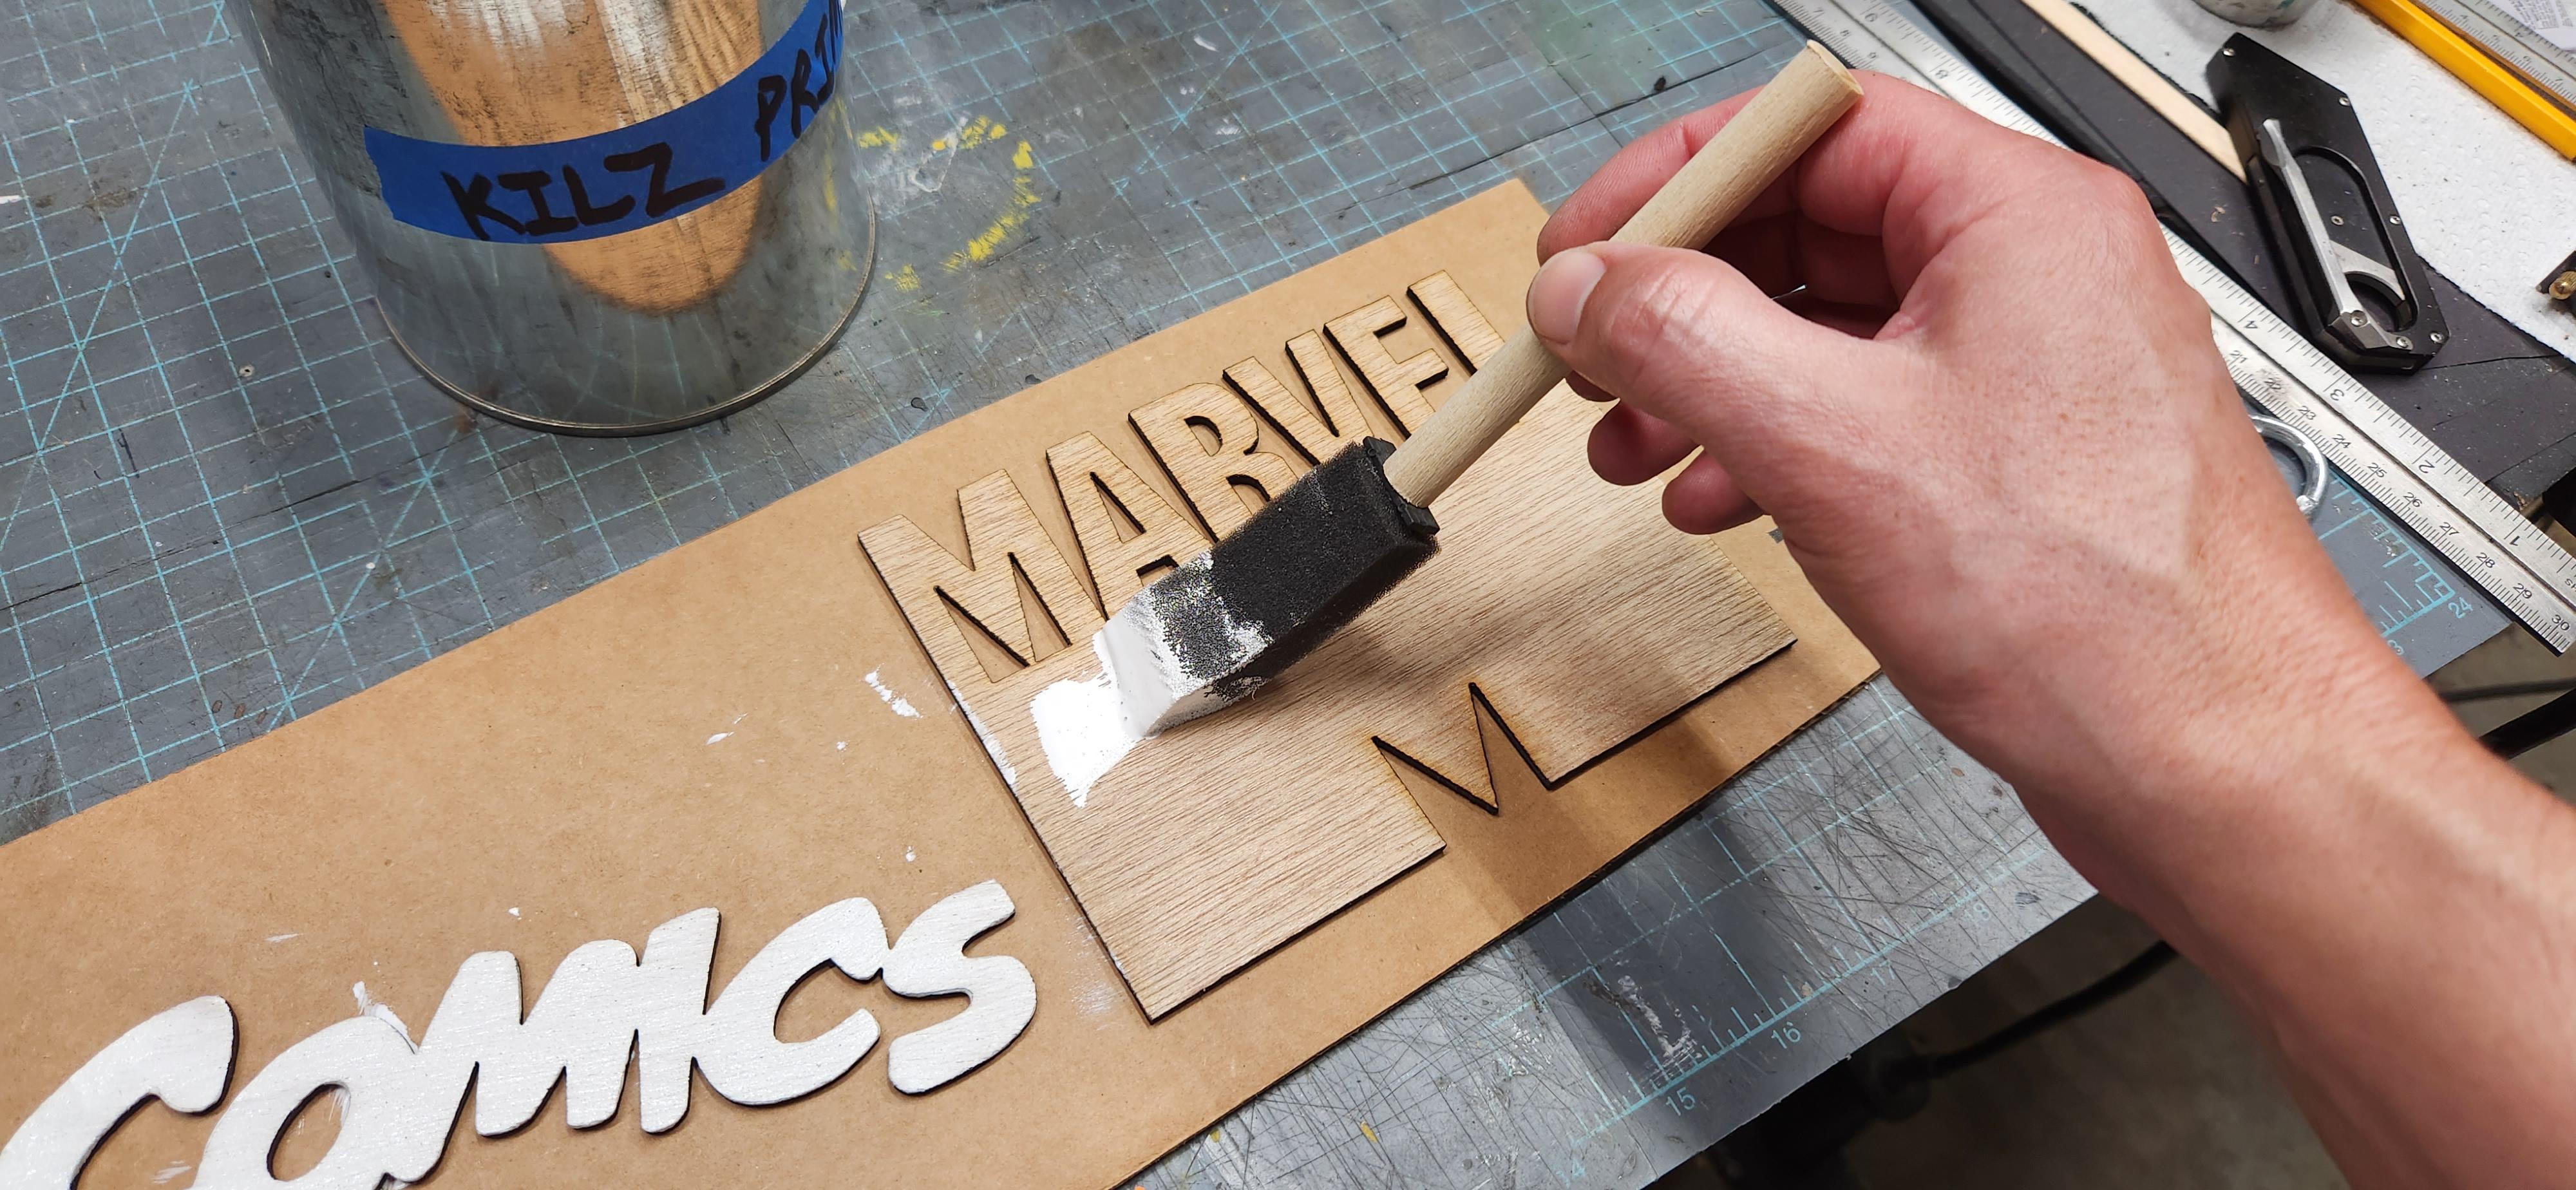
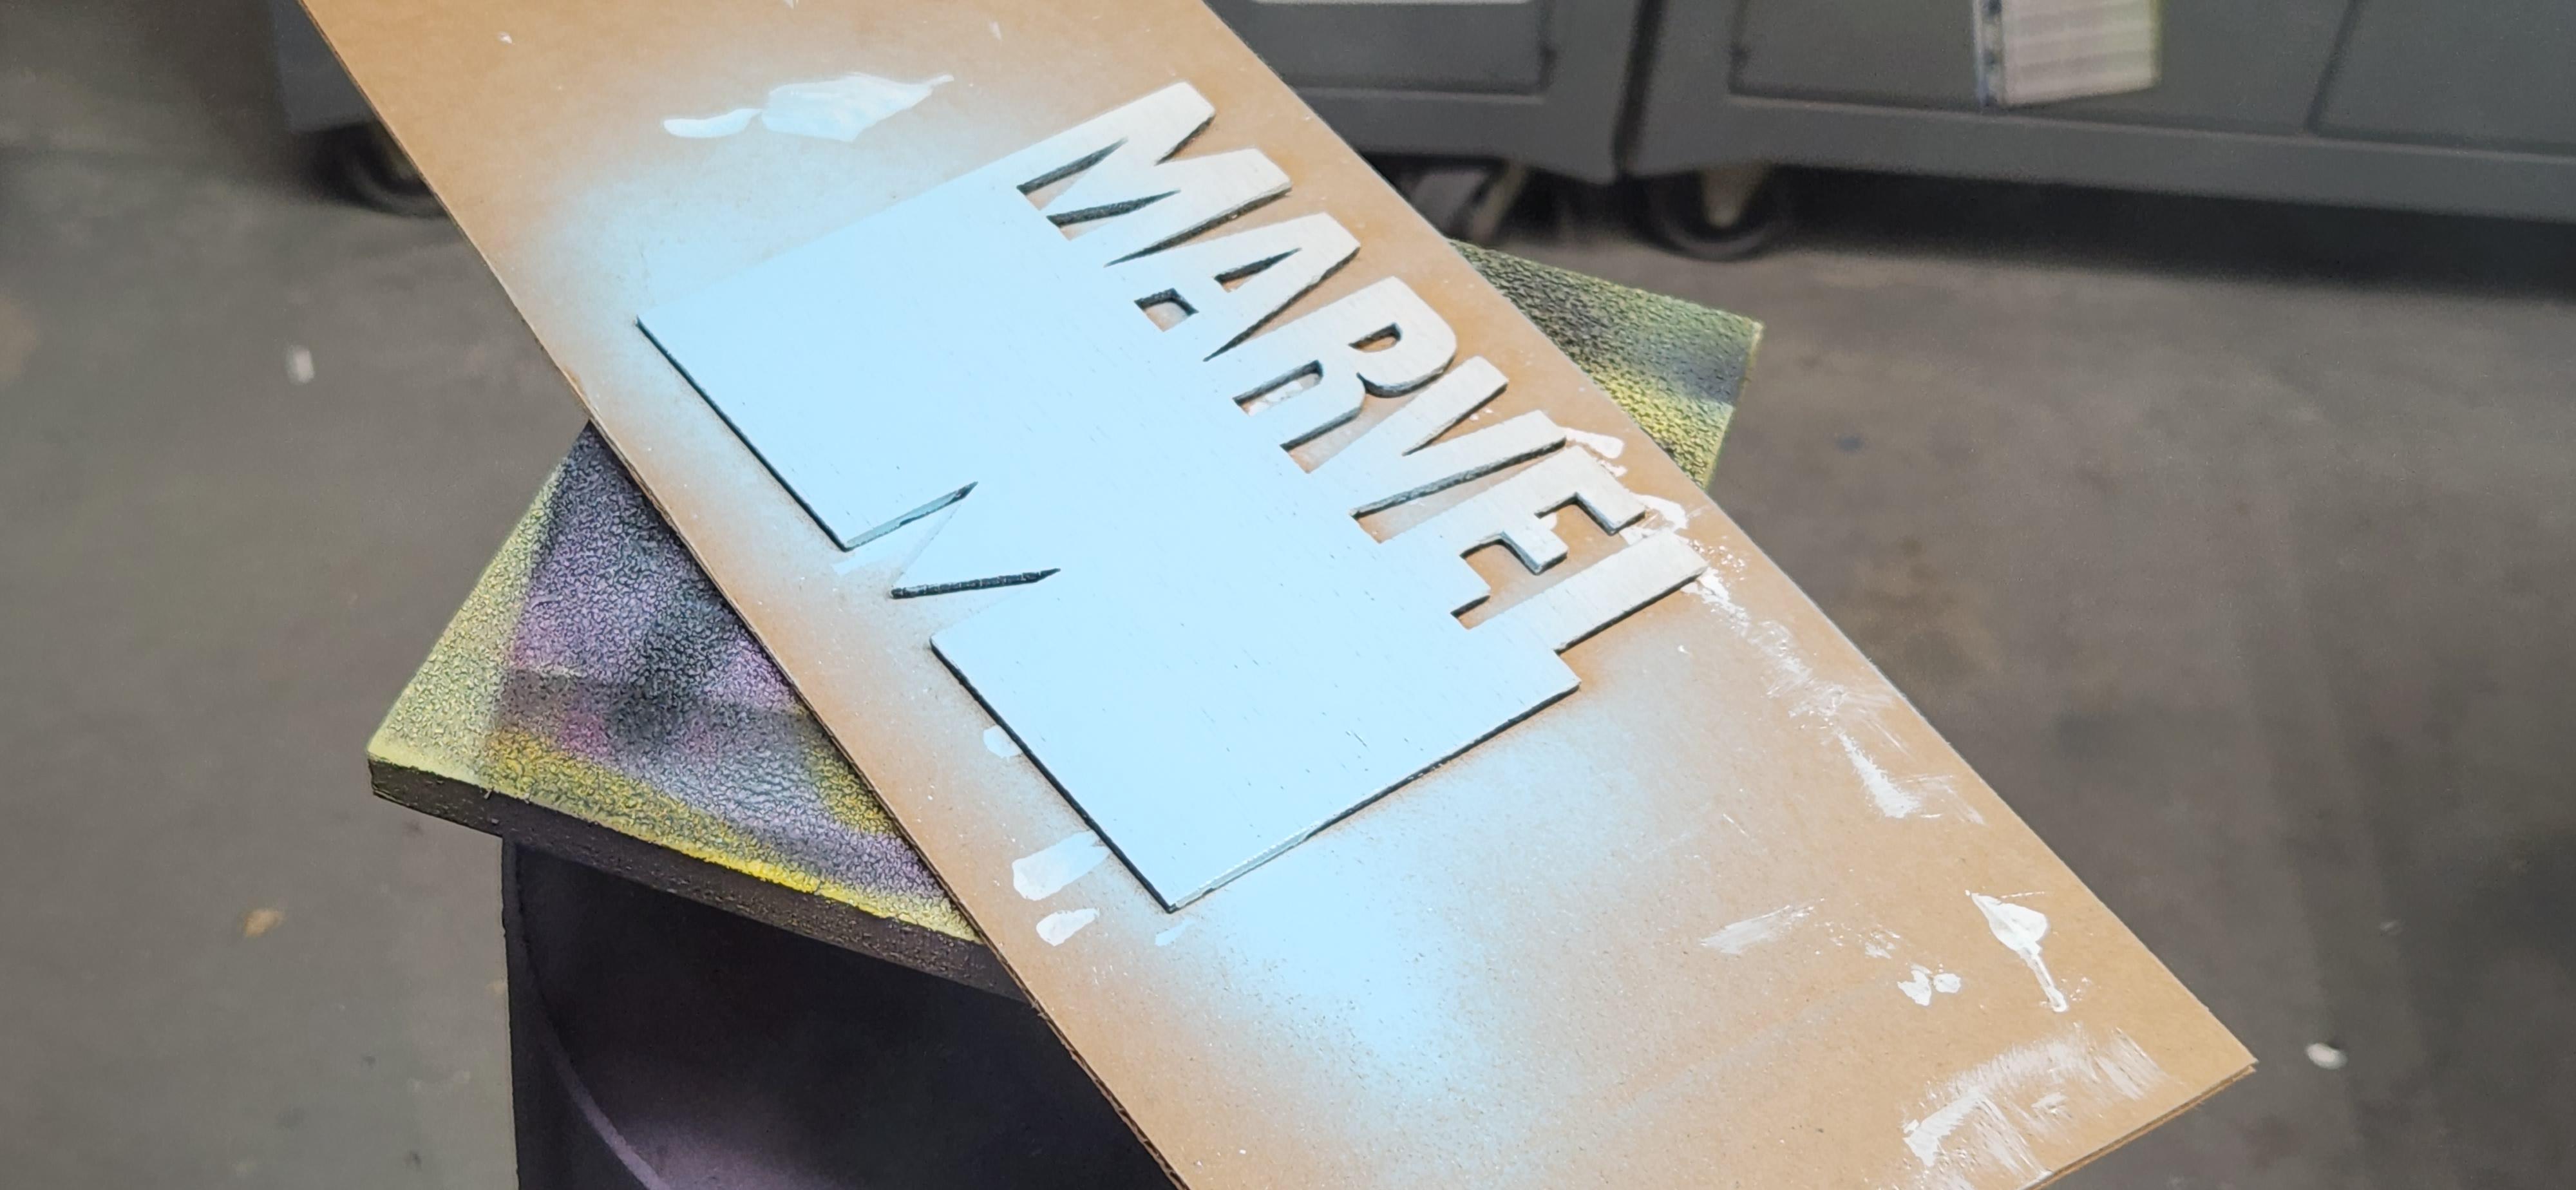
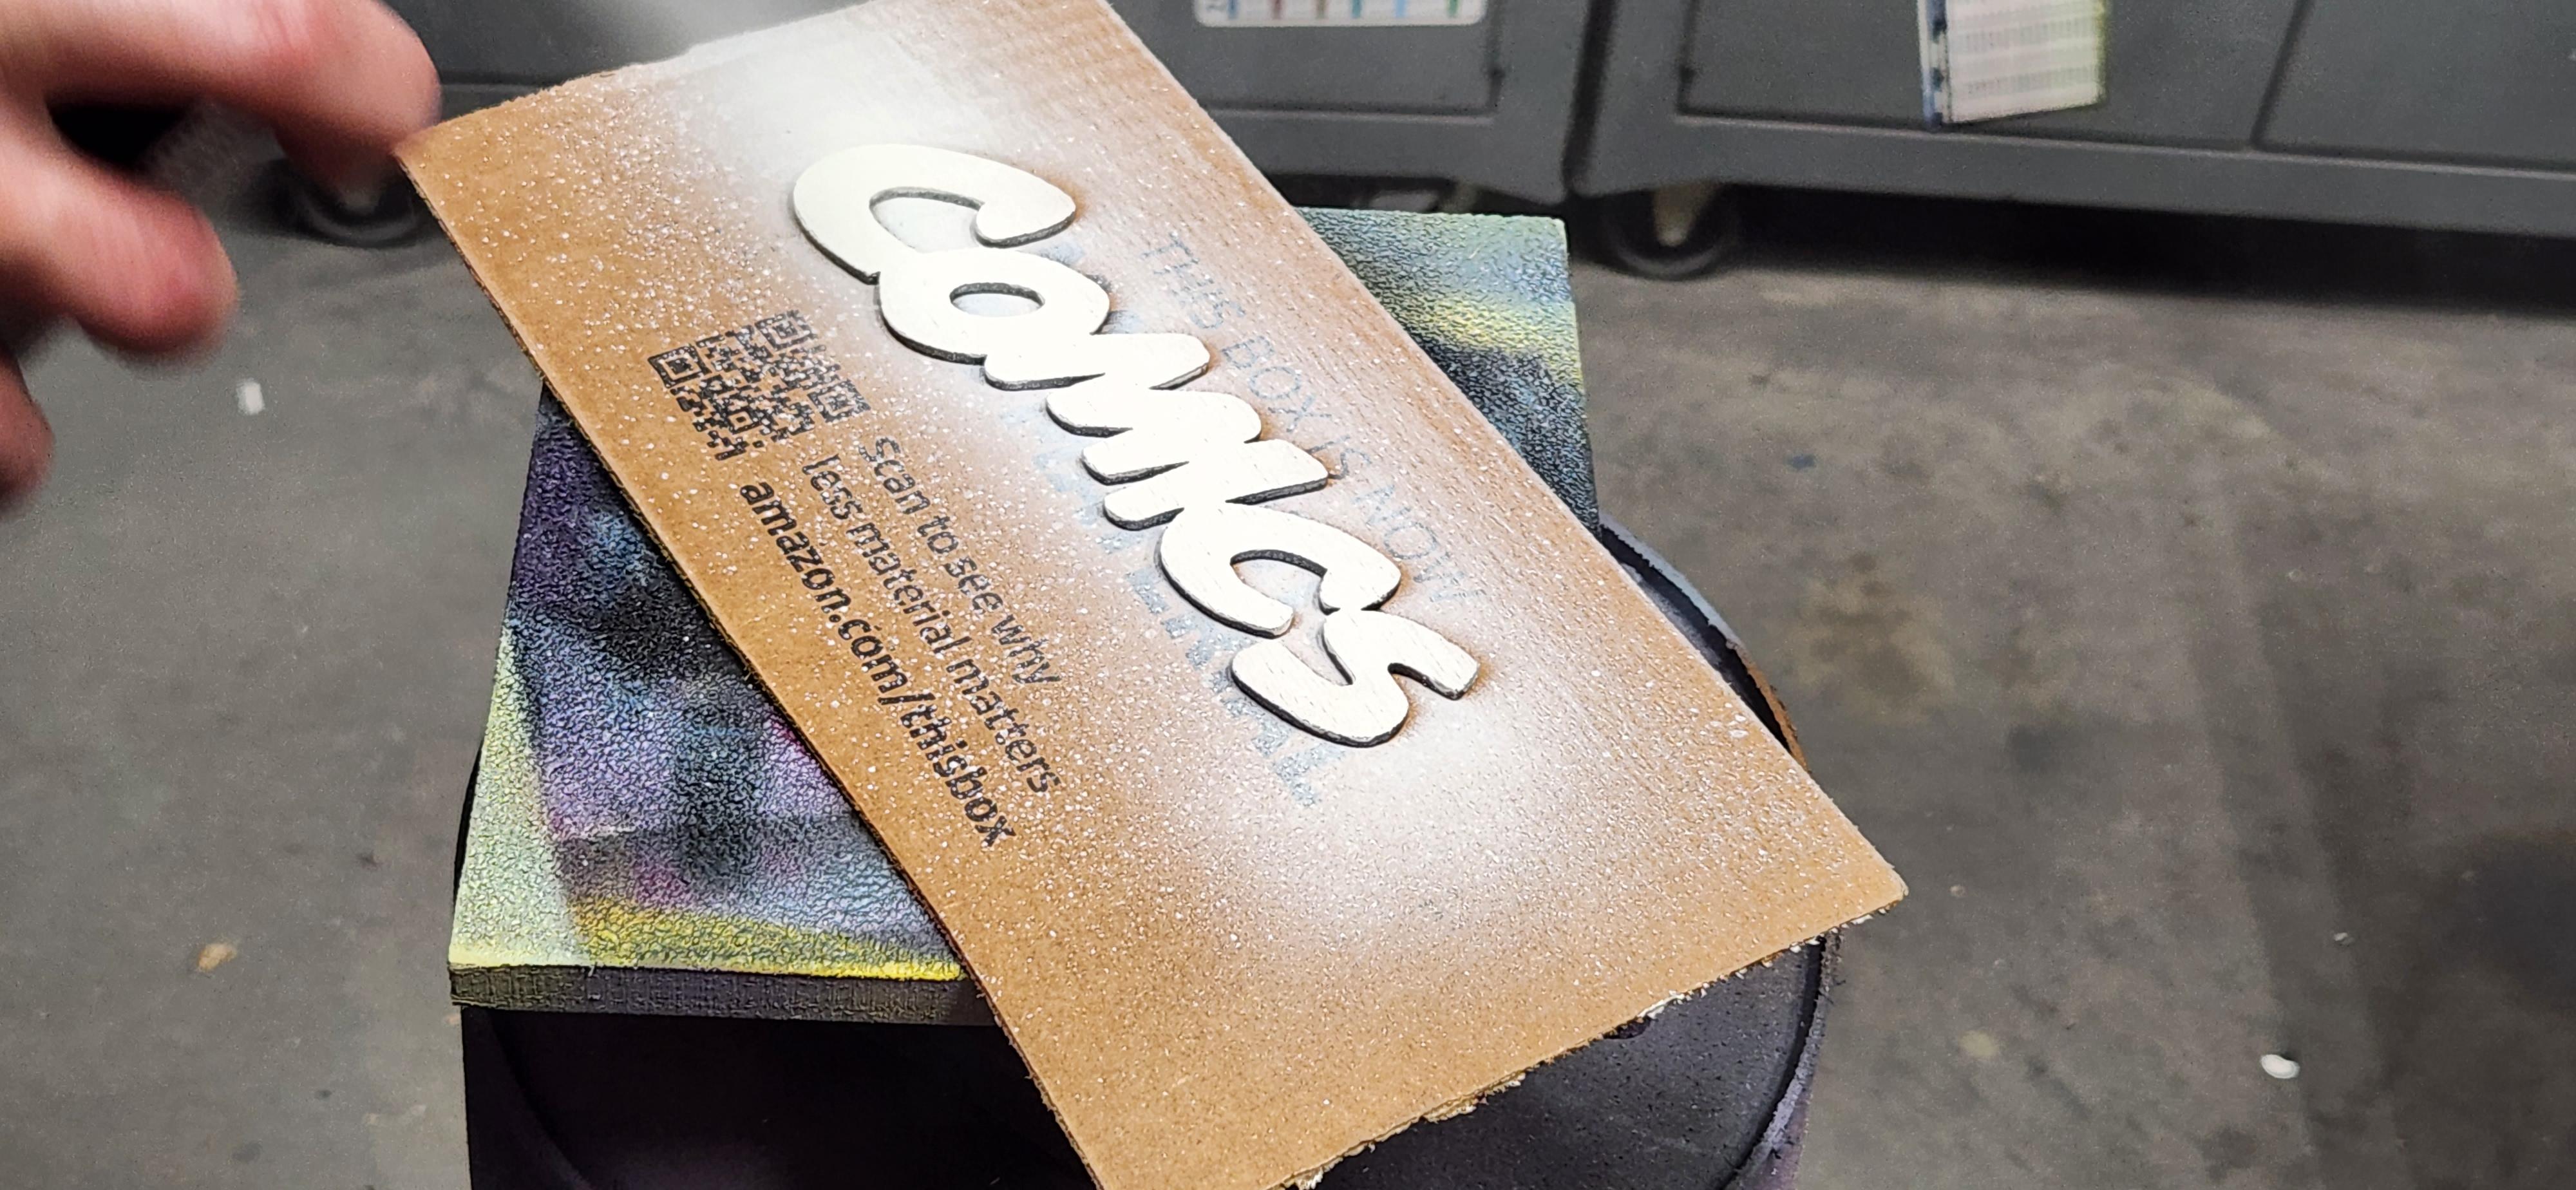
For the Marvel logo and Comics graphics, I like to prime as well. Using a foam brush, I prime both pieces and then spray paint them the colors I want. In this case the Marvel is light blue (I later changed this to black), and the Comics is spray painted white.
Painting Spider-Man
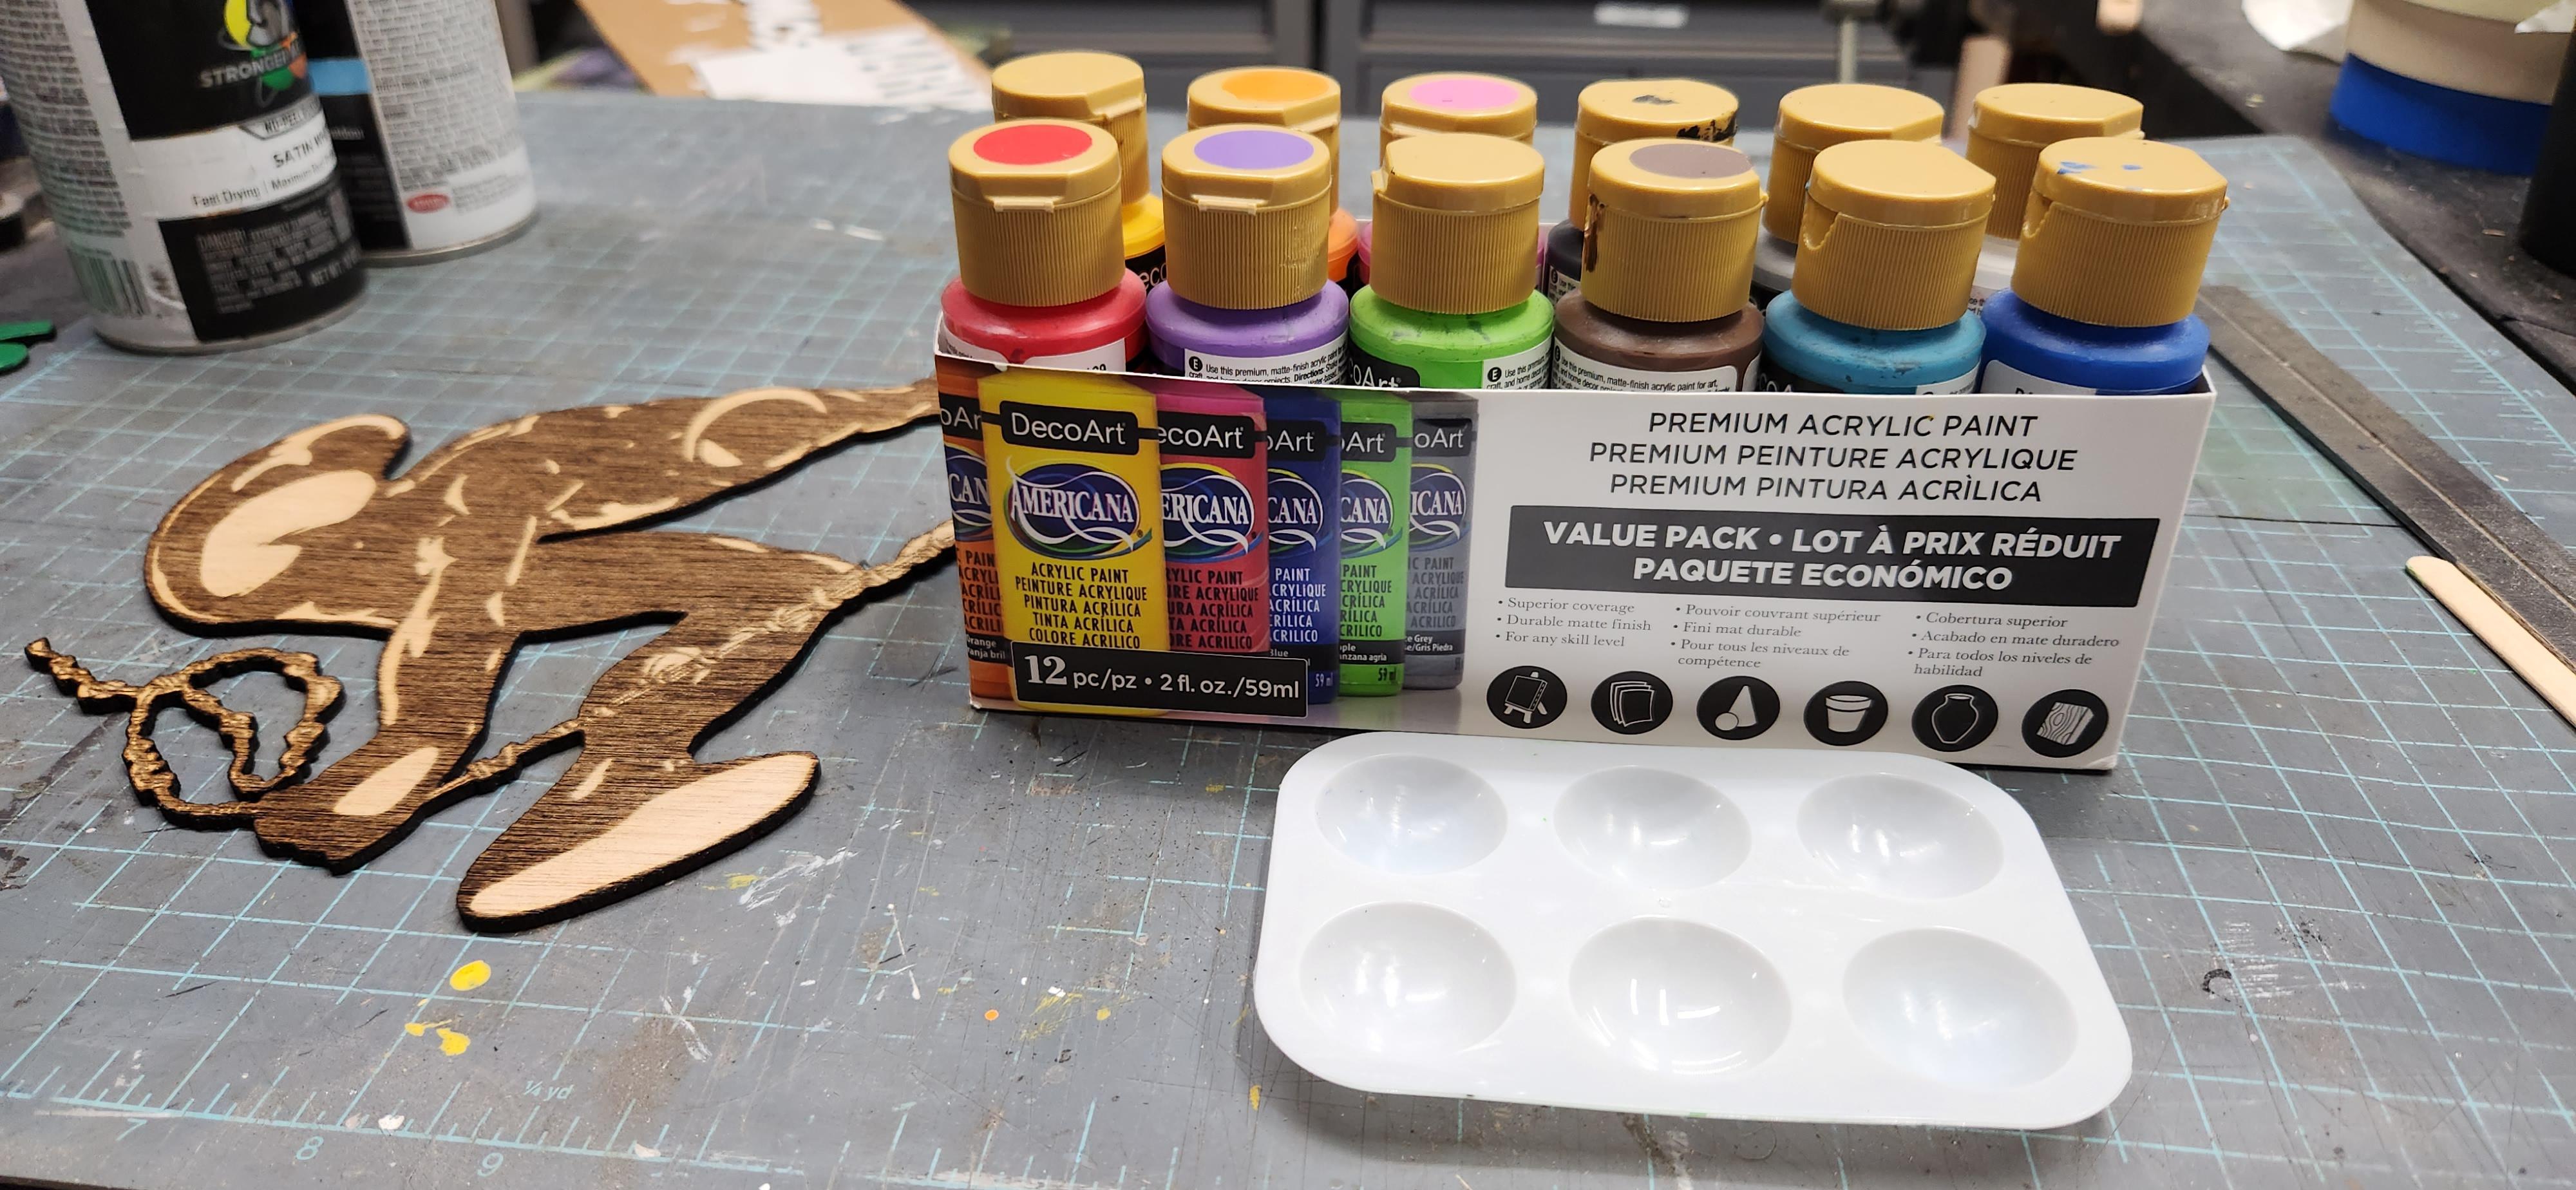
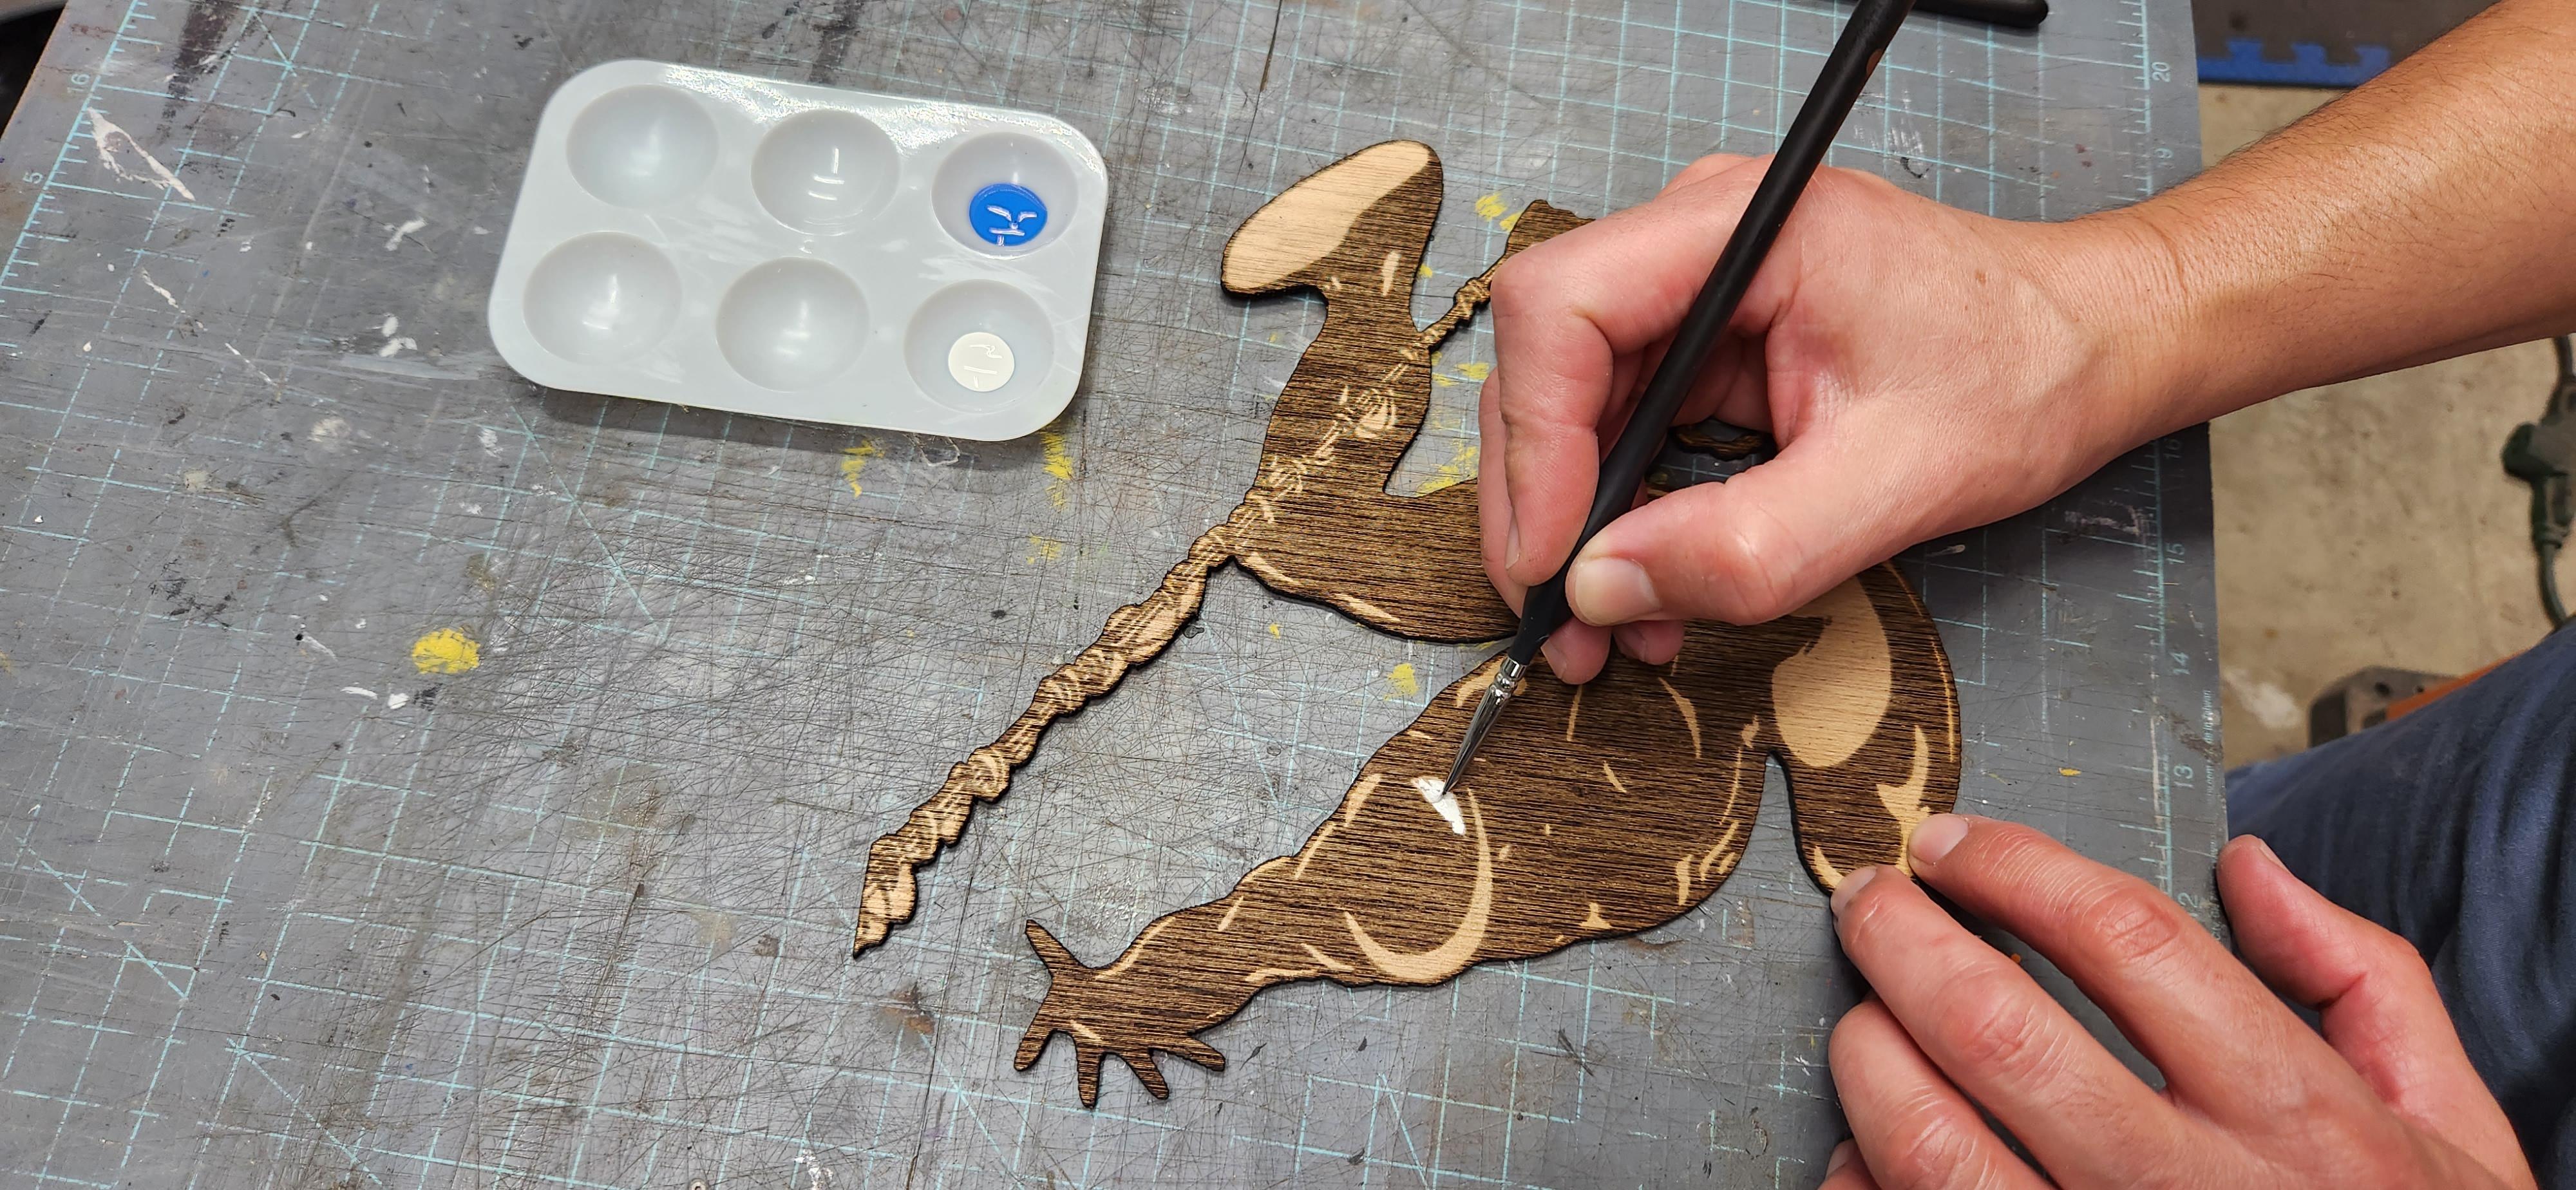
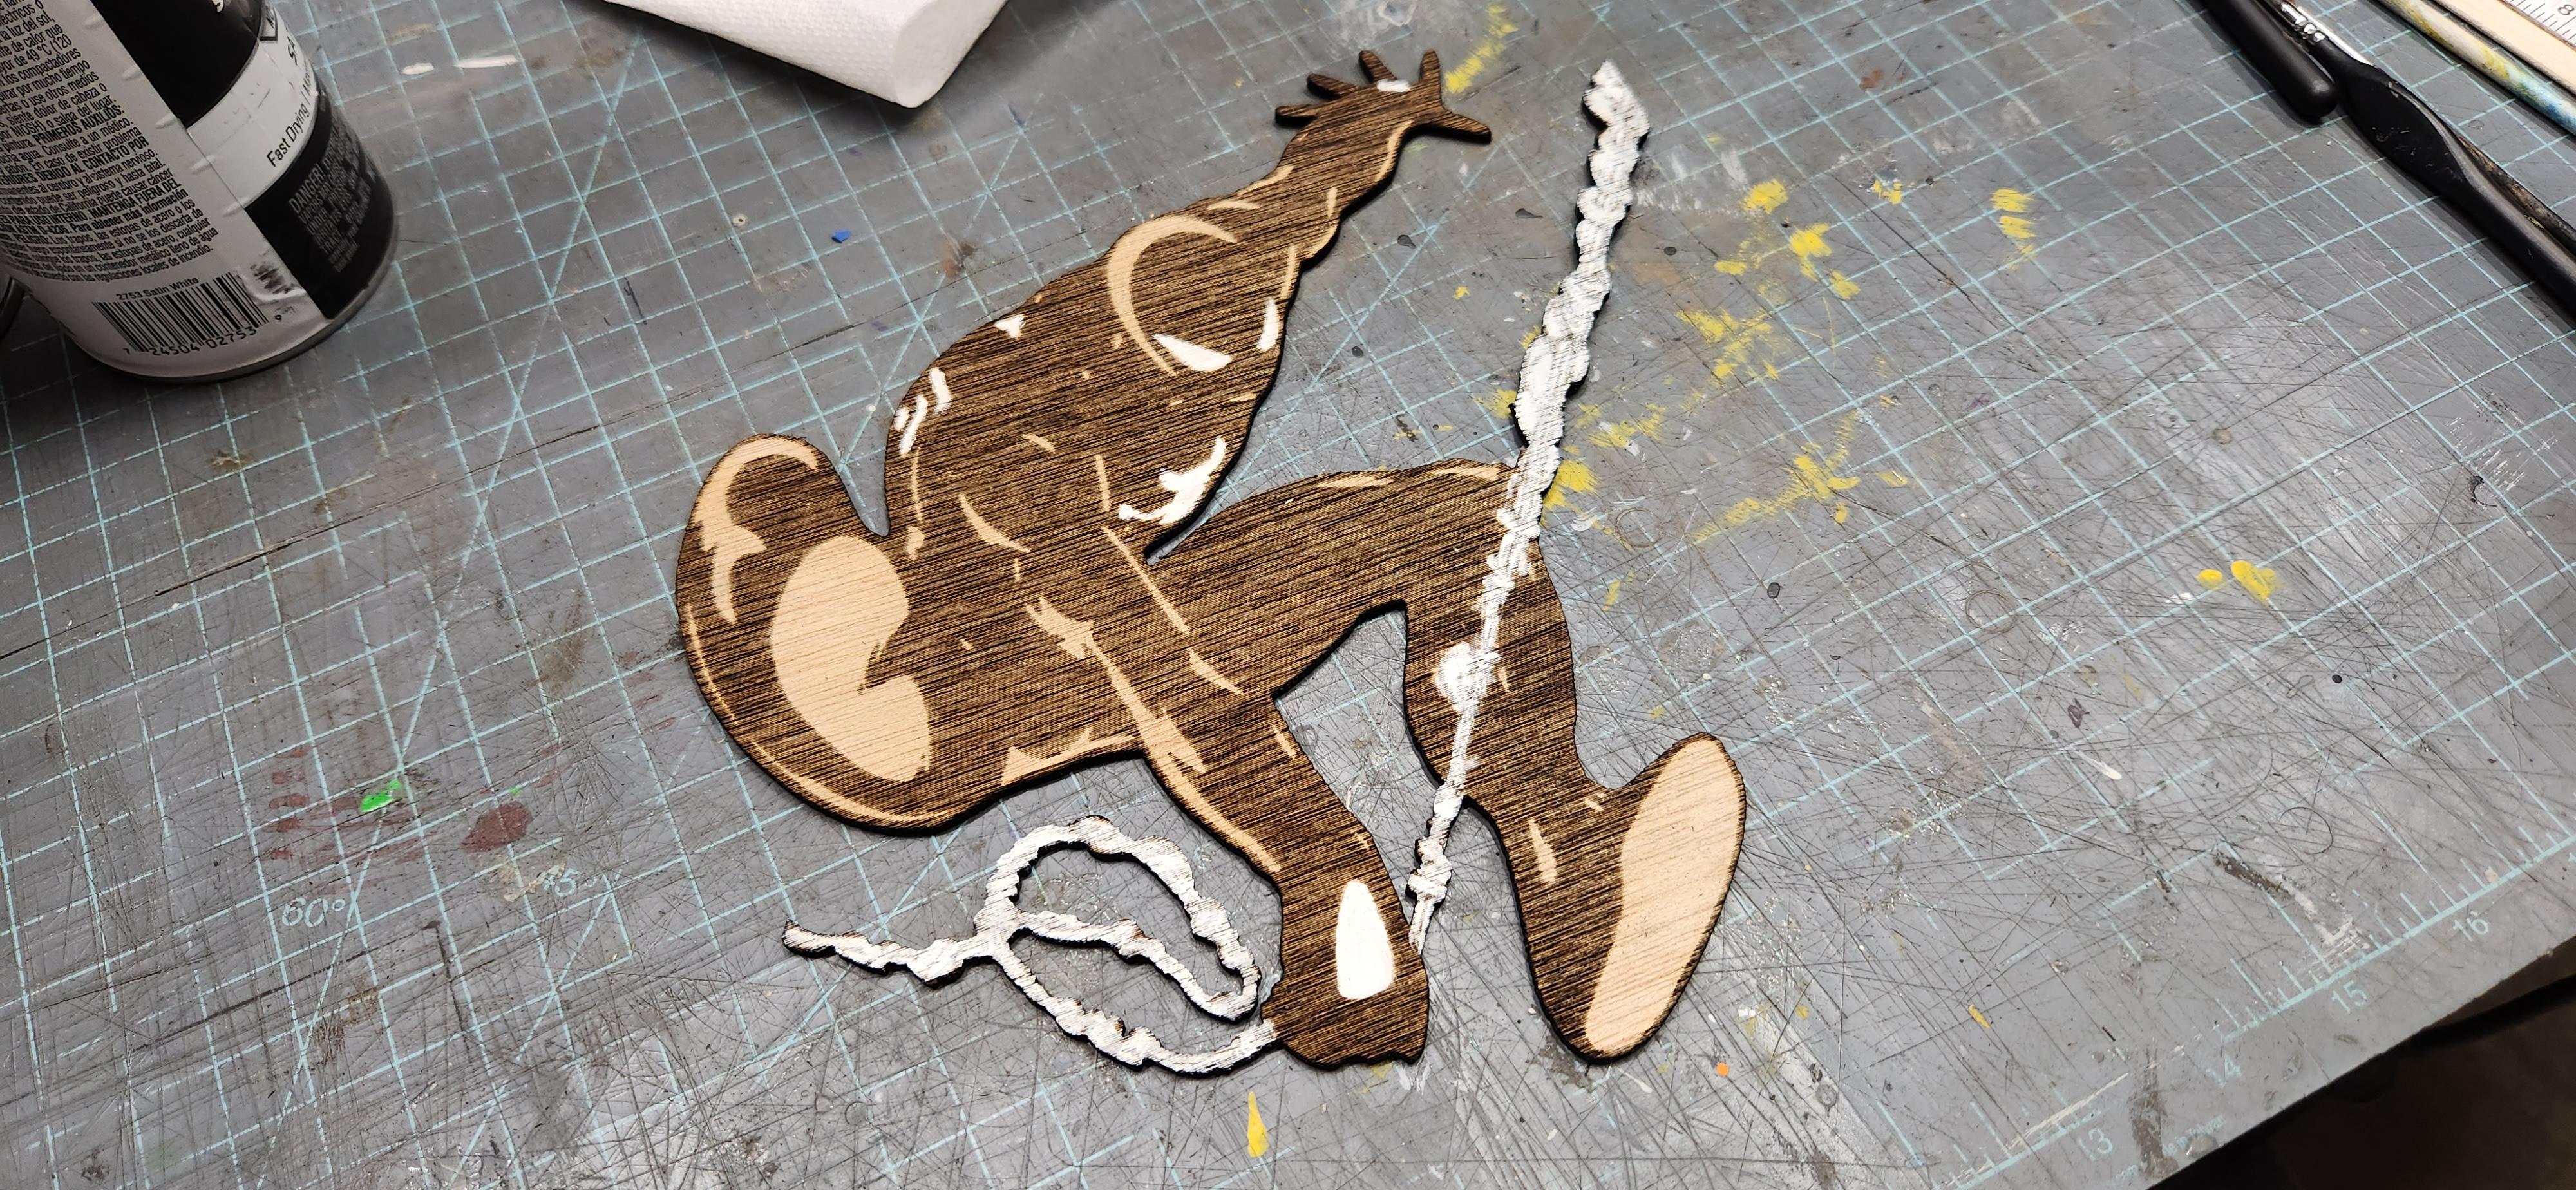
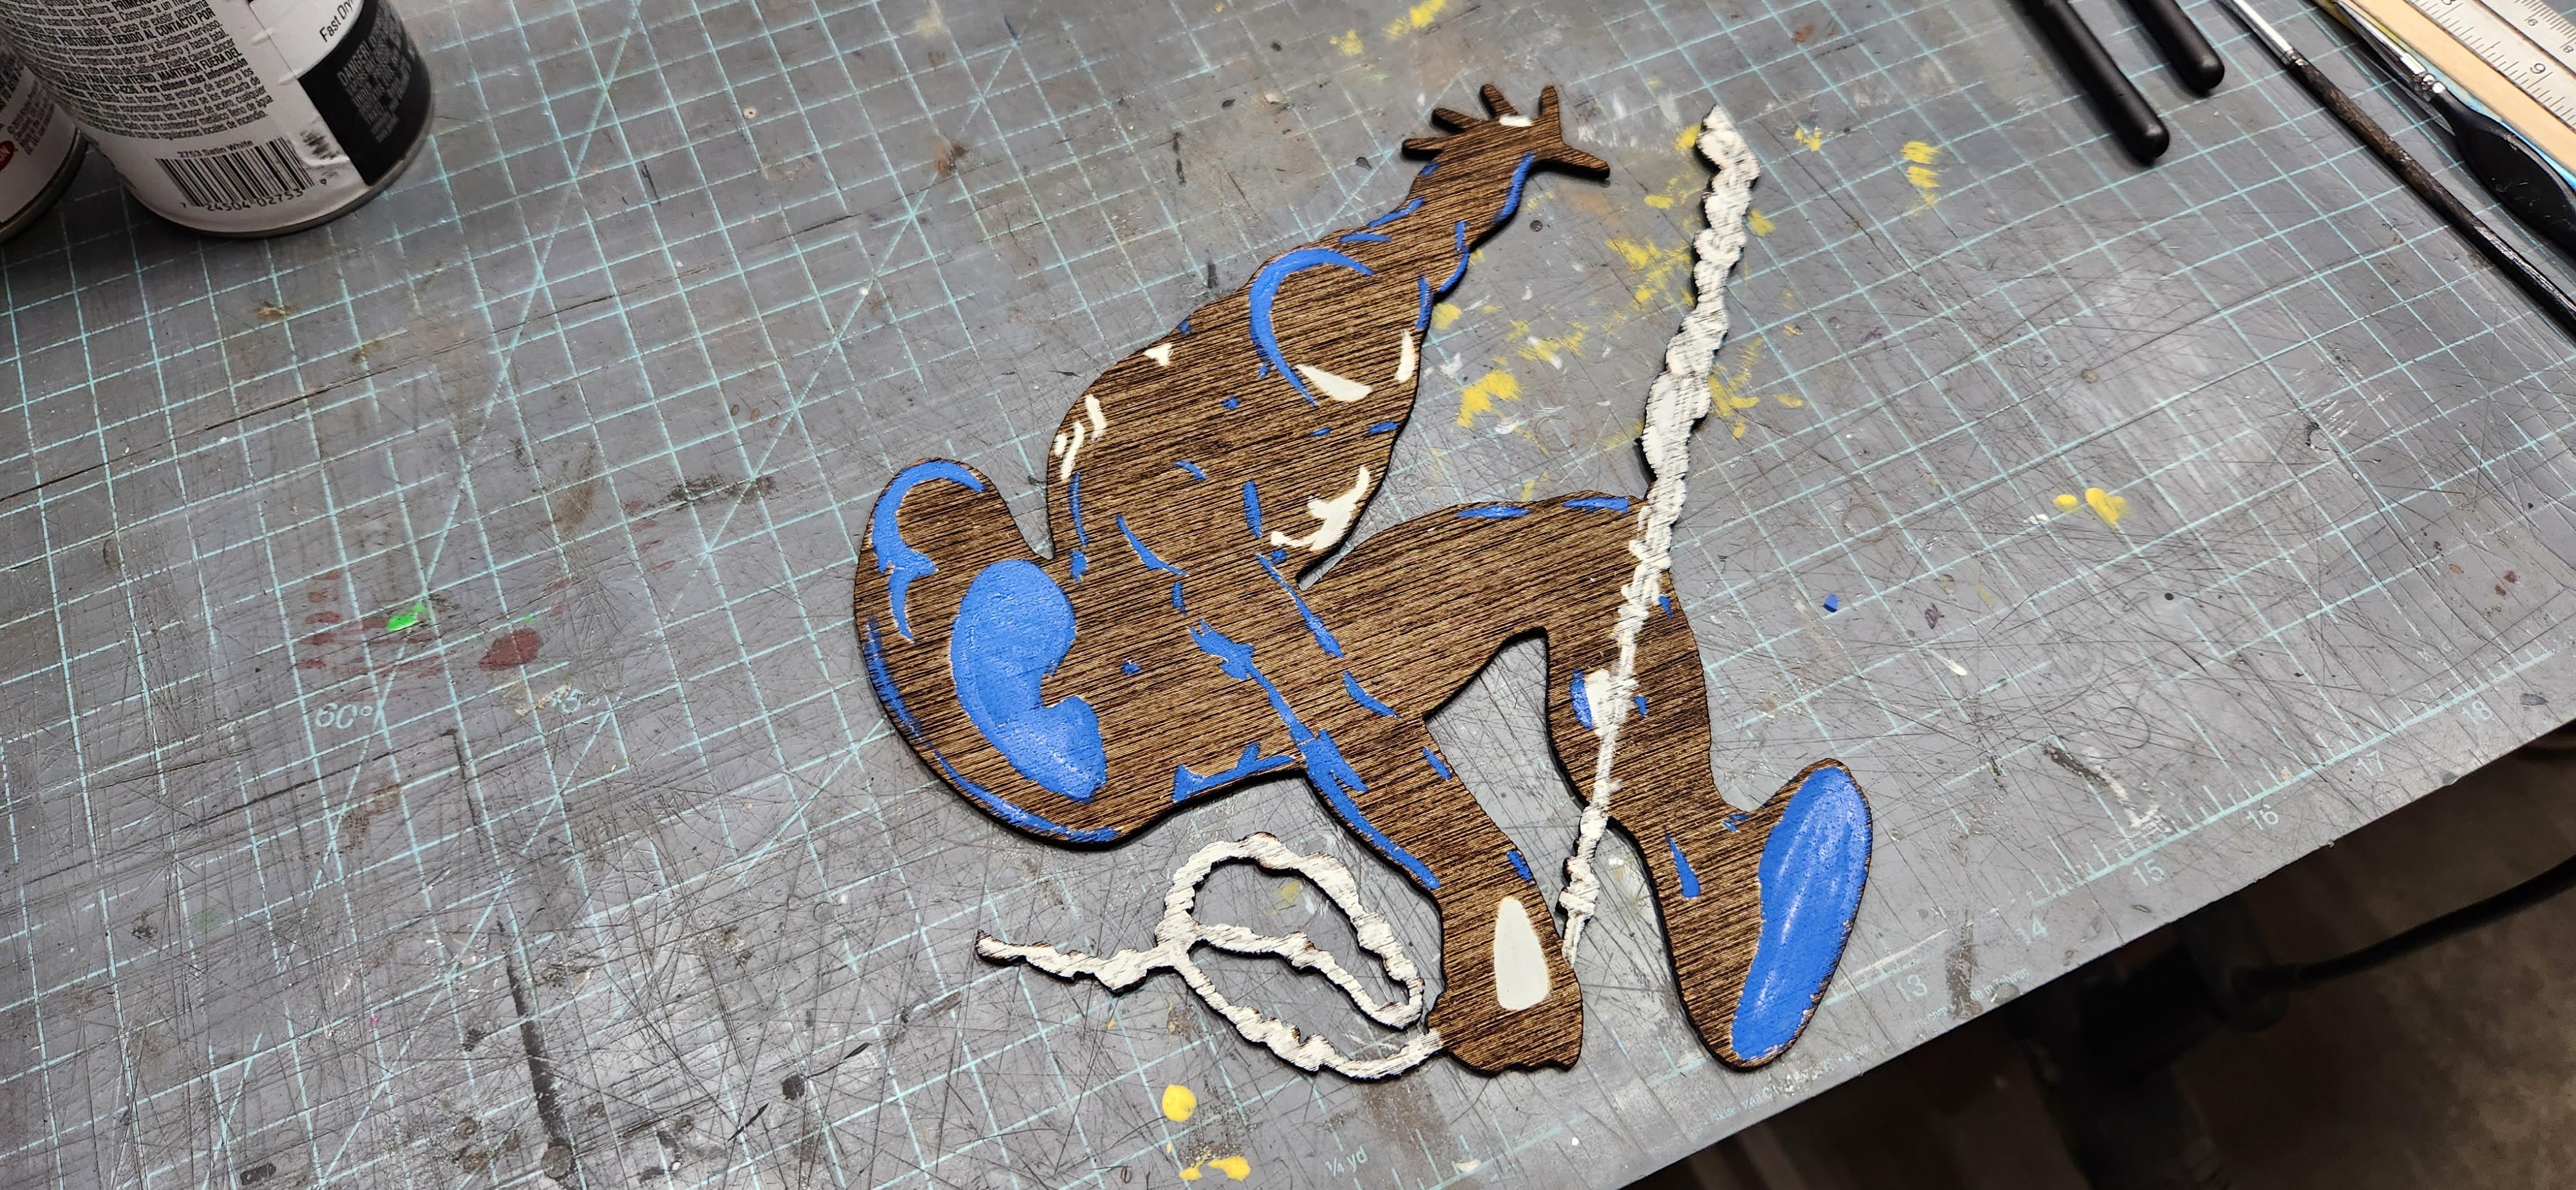
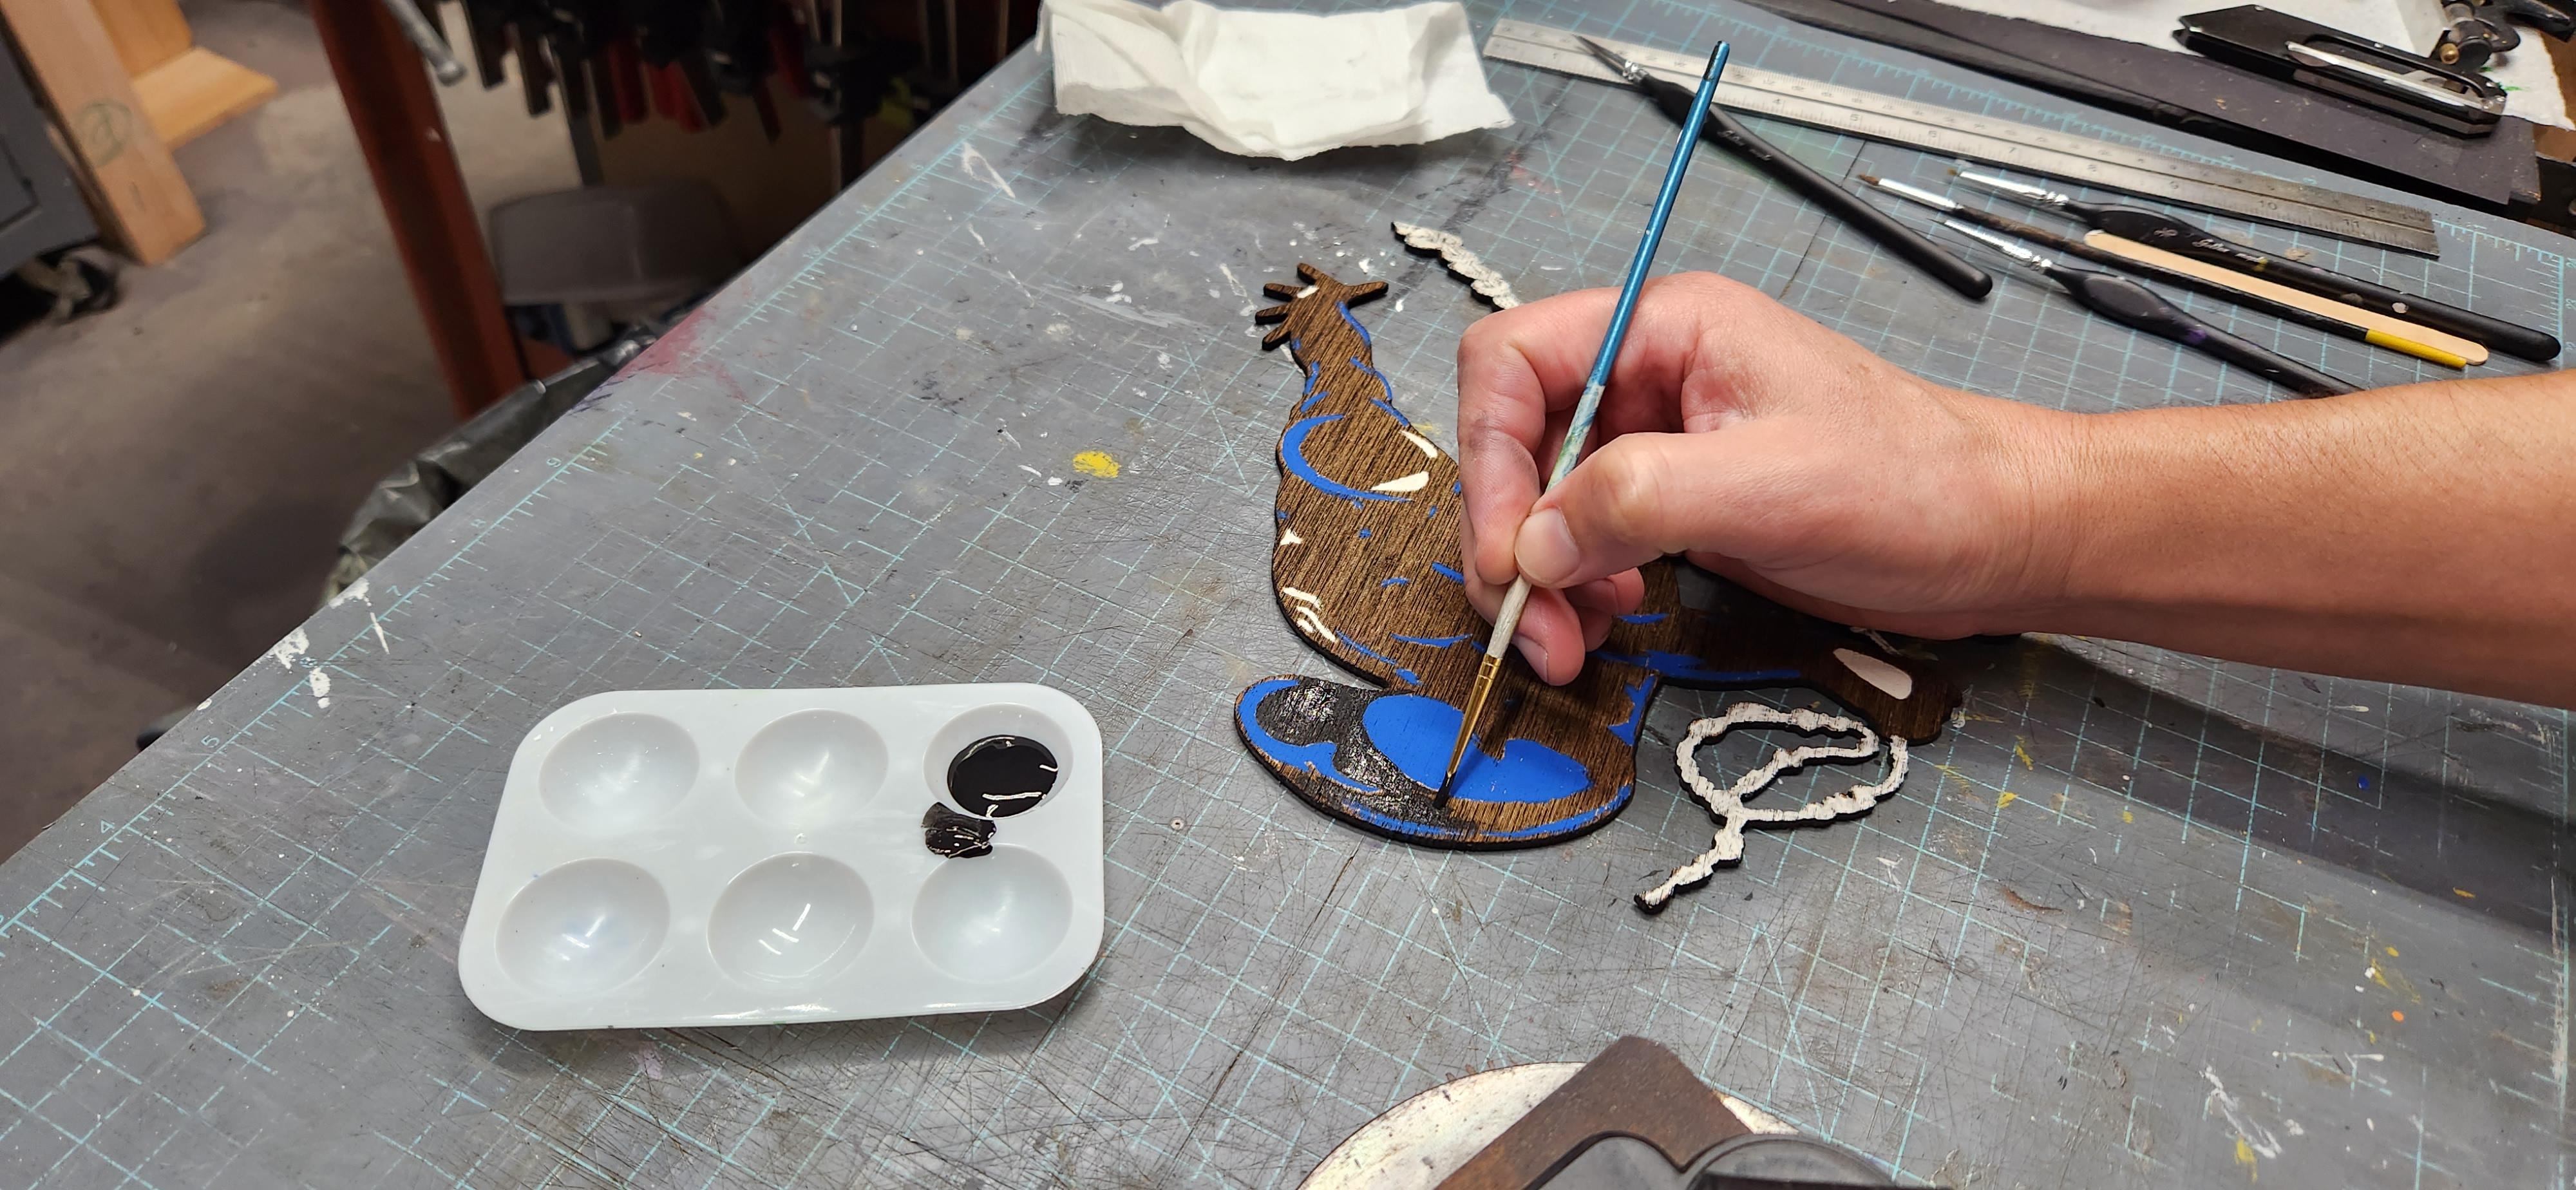
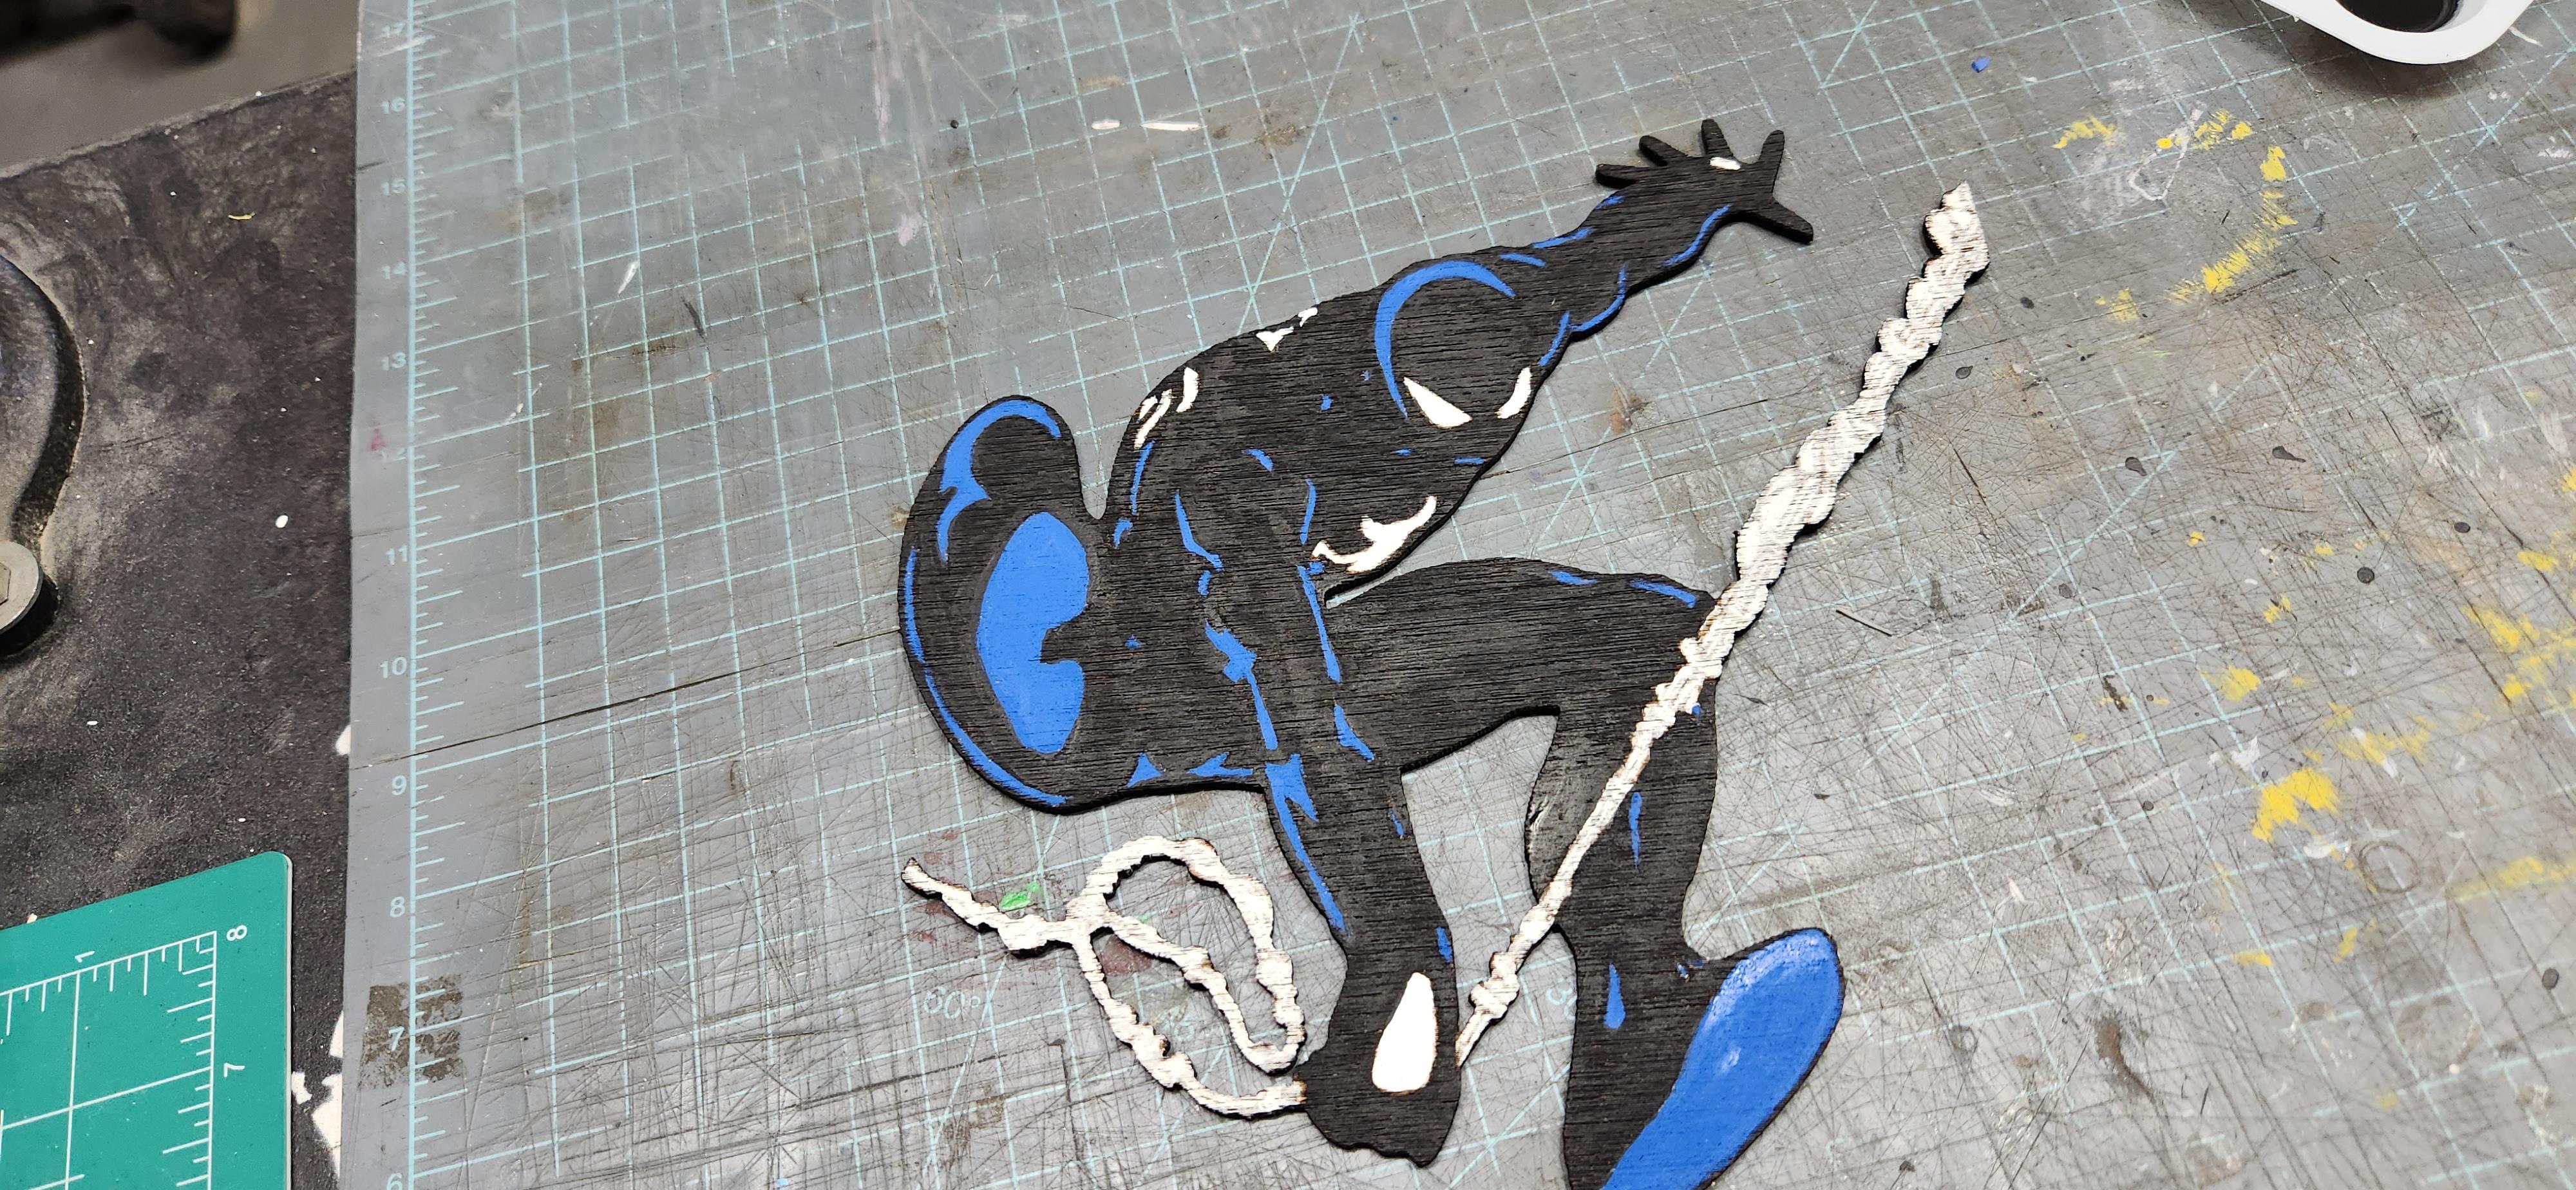
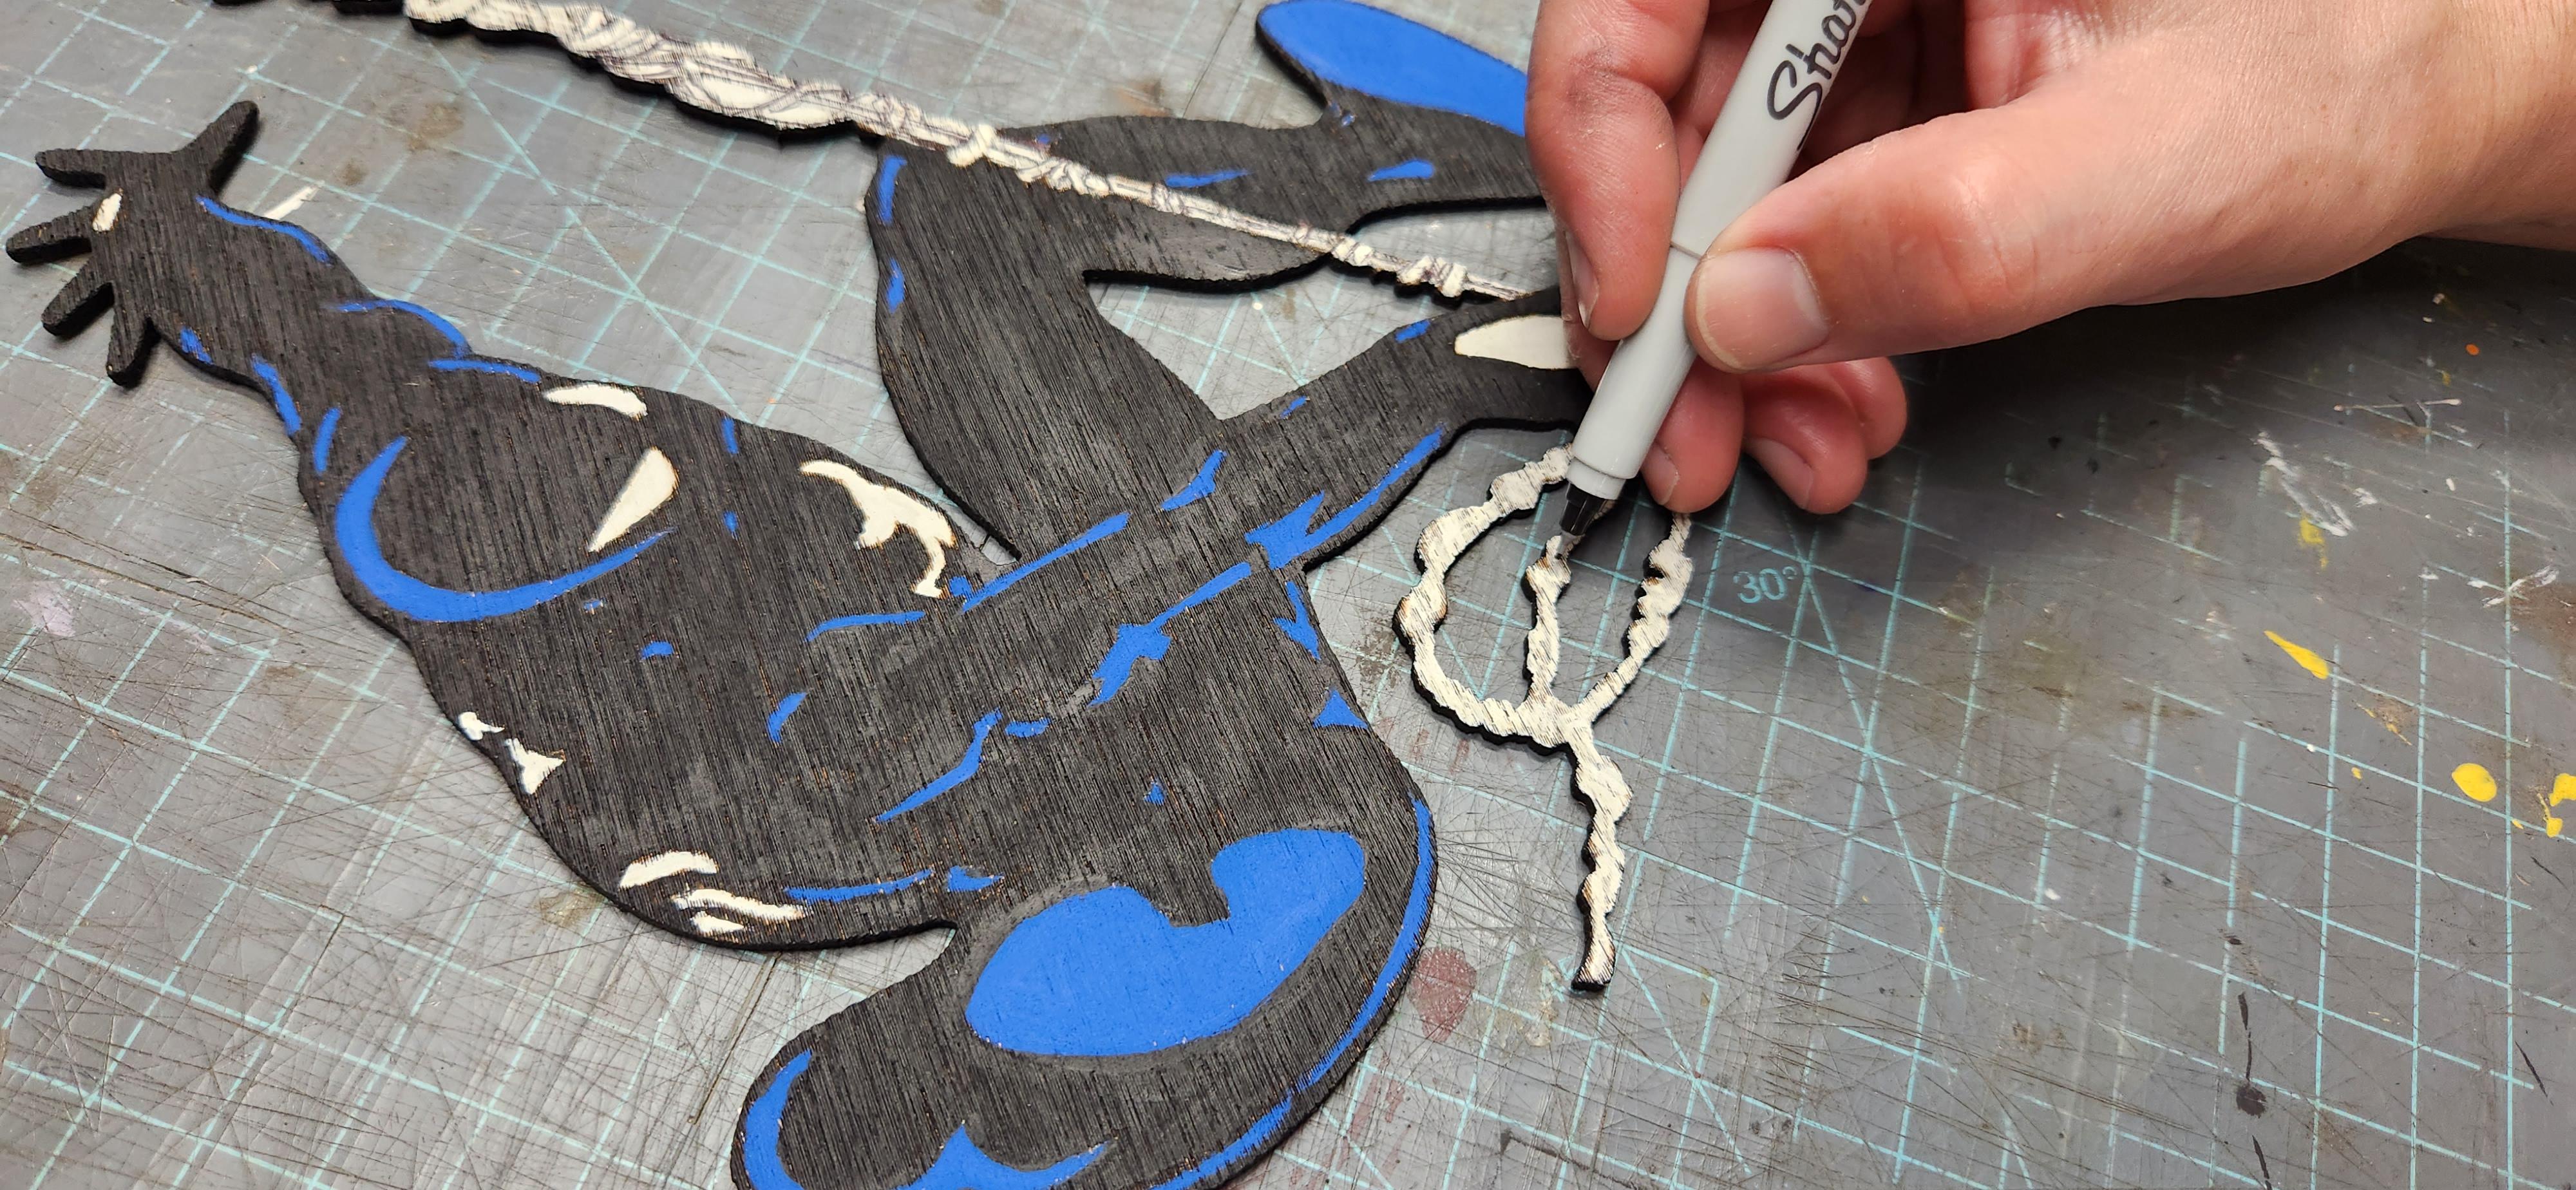
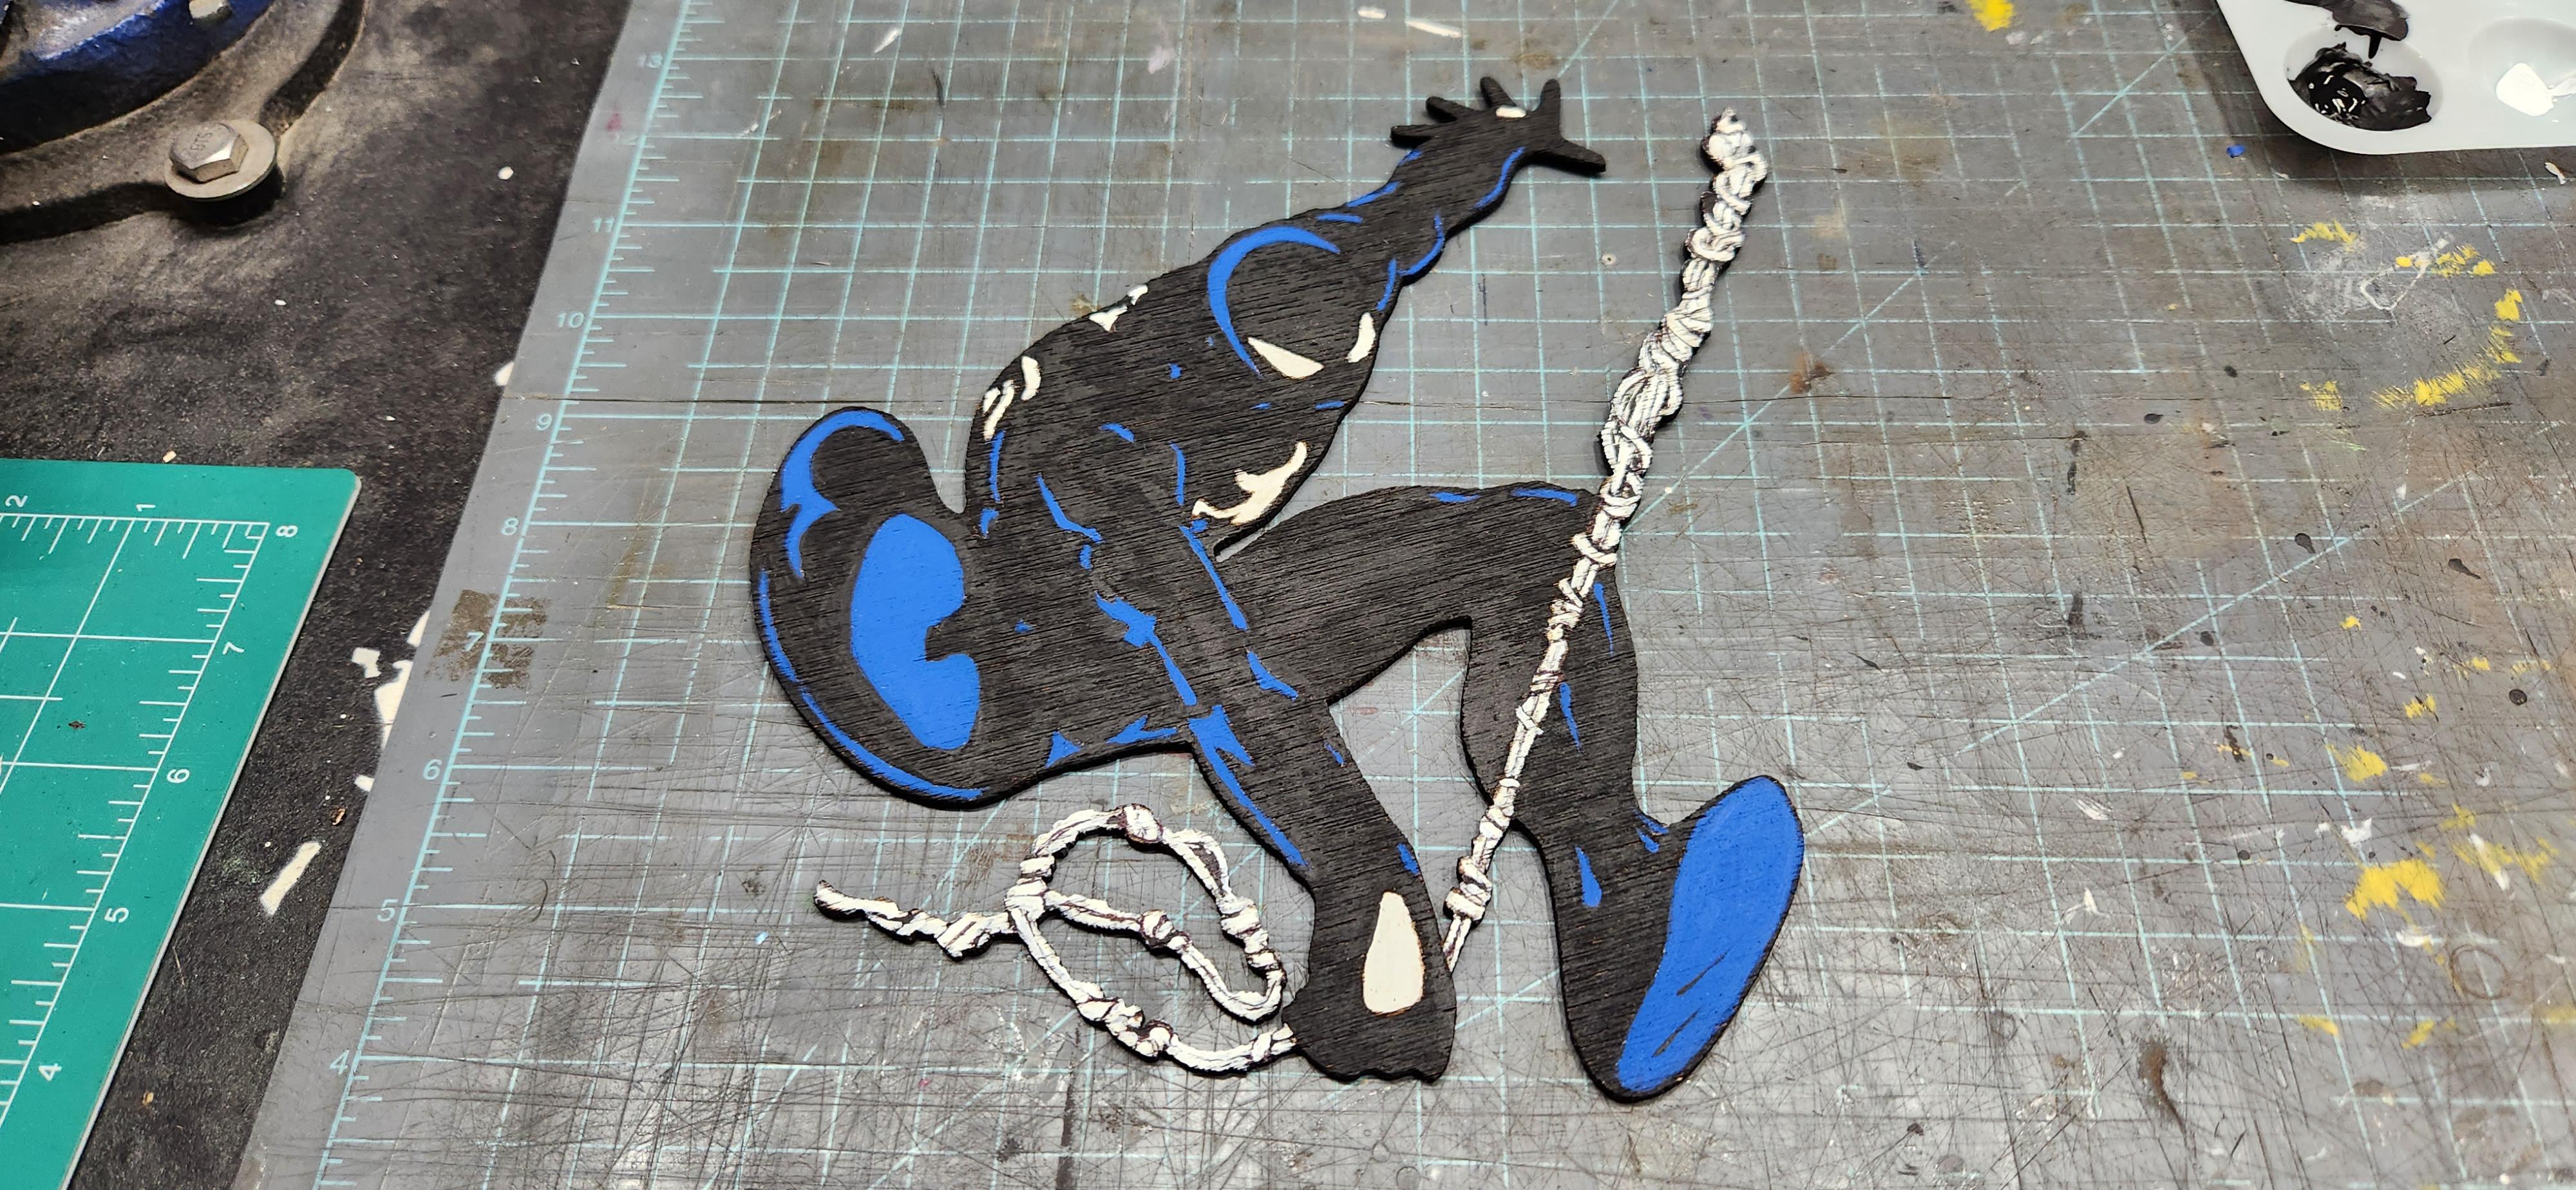
I use acrylic paints and brushes to paint the Spider-Man figure. I start off by painting the white areas and then the blue and finish filling in all the black areas. Once everything dries, I usually have to go back in and touch up any spots I missed. In this case I had to touch up the web as some of the detail was lost to the layer of acrylic paint. I used a fine point Sharpie marker to add back in the detail. A deeper engraving might have shown off the detail of the webbing better.
Painting the Borders
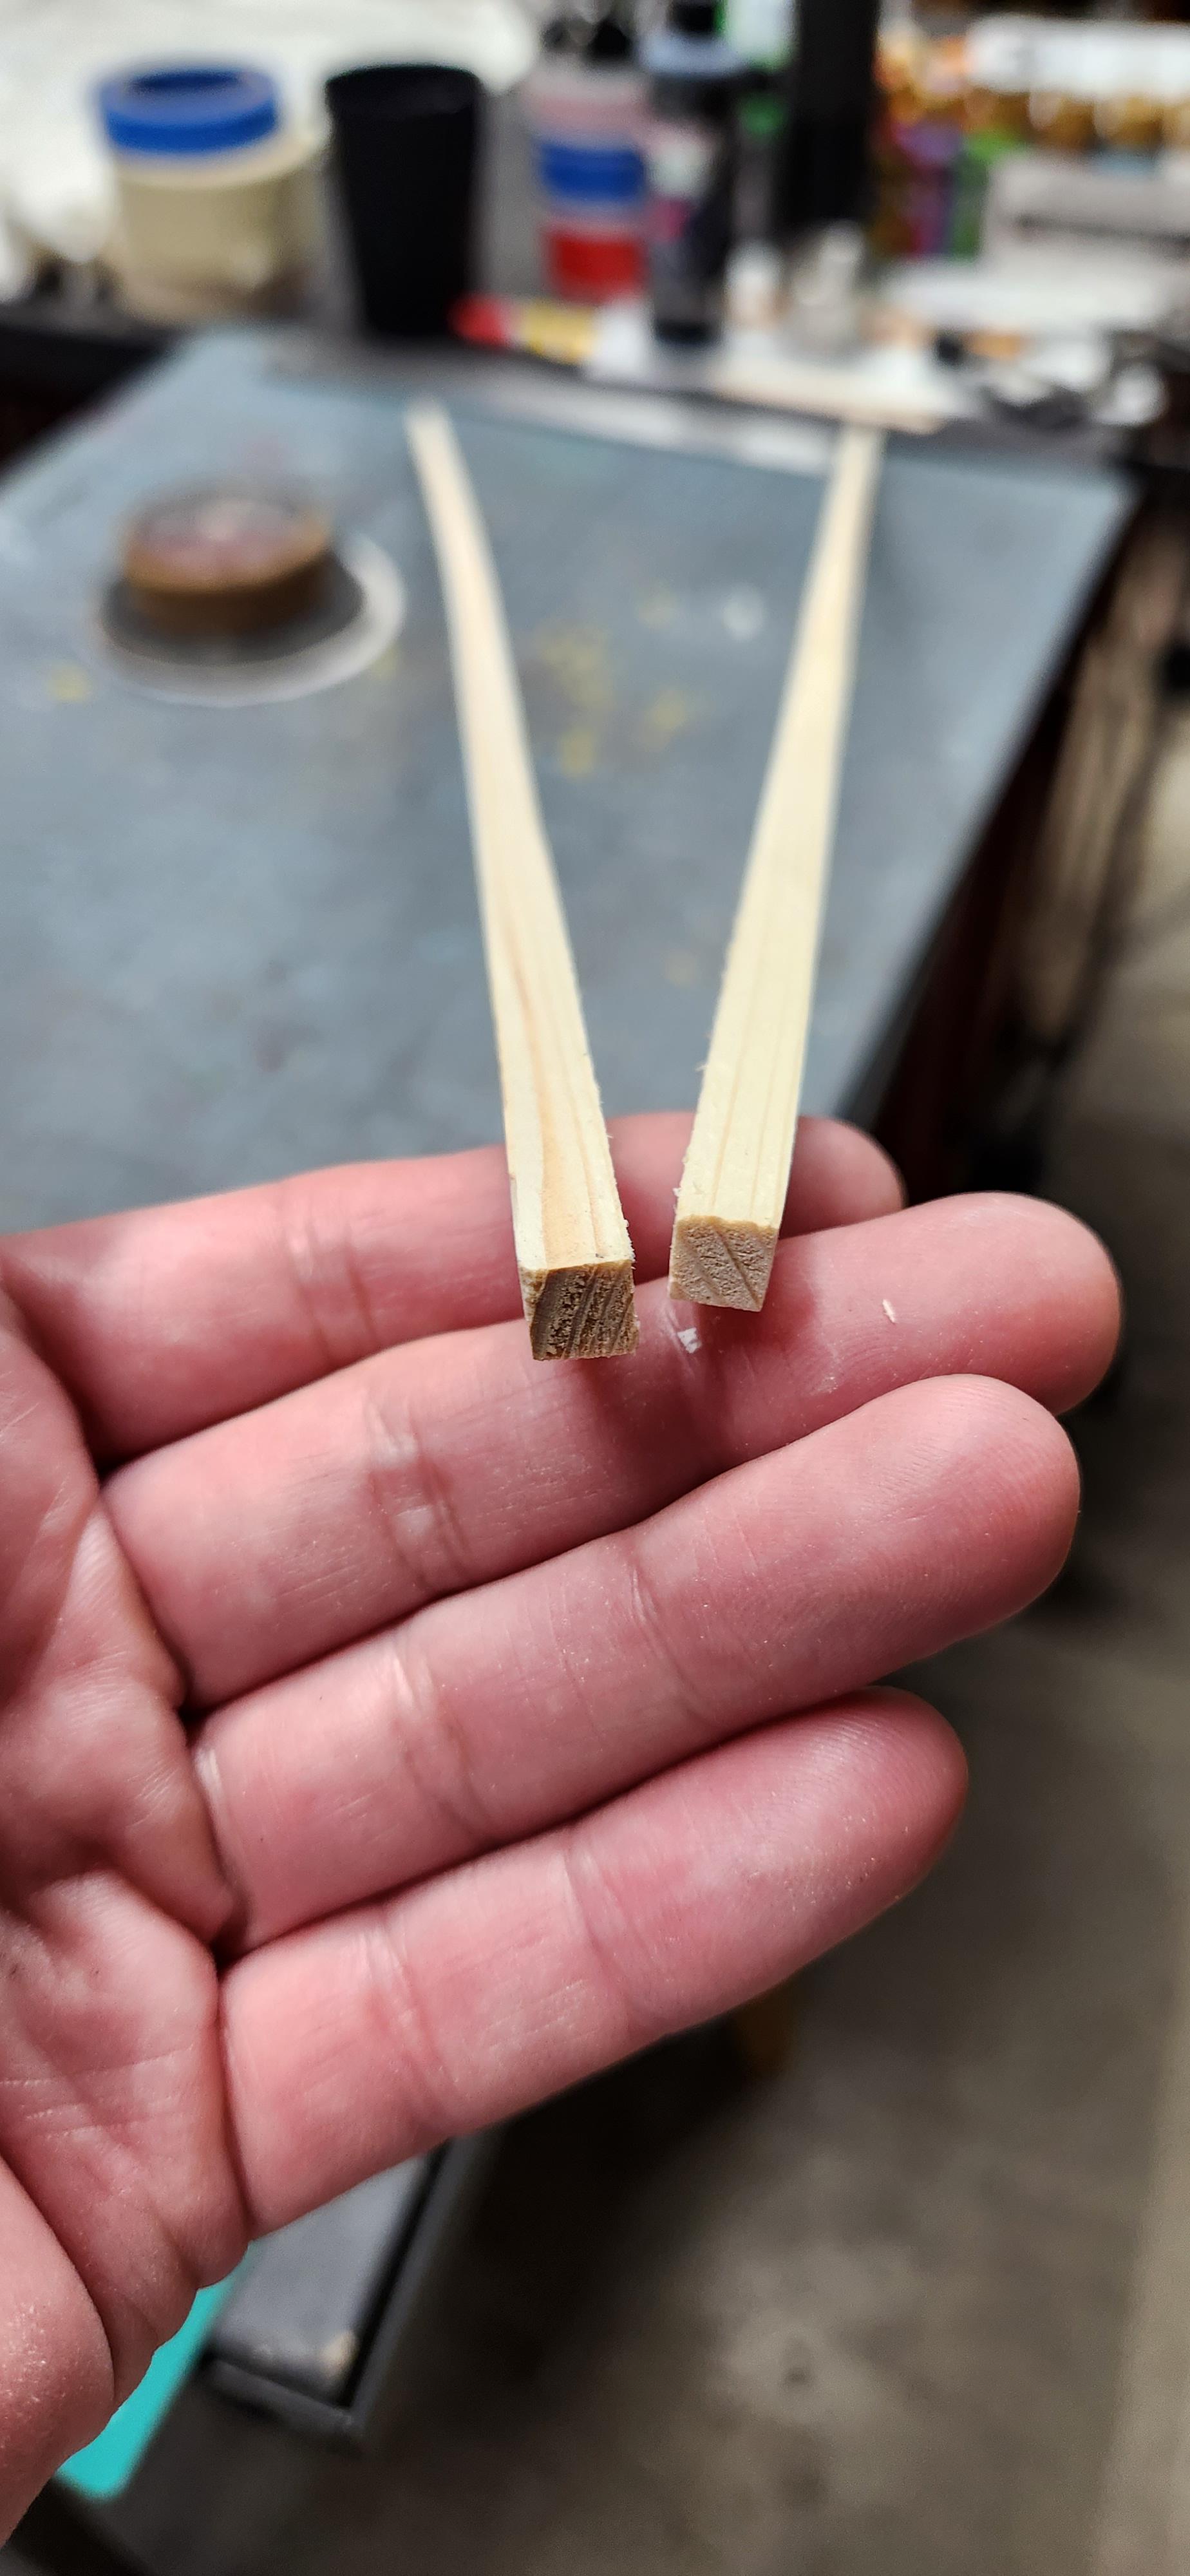
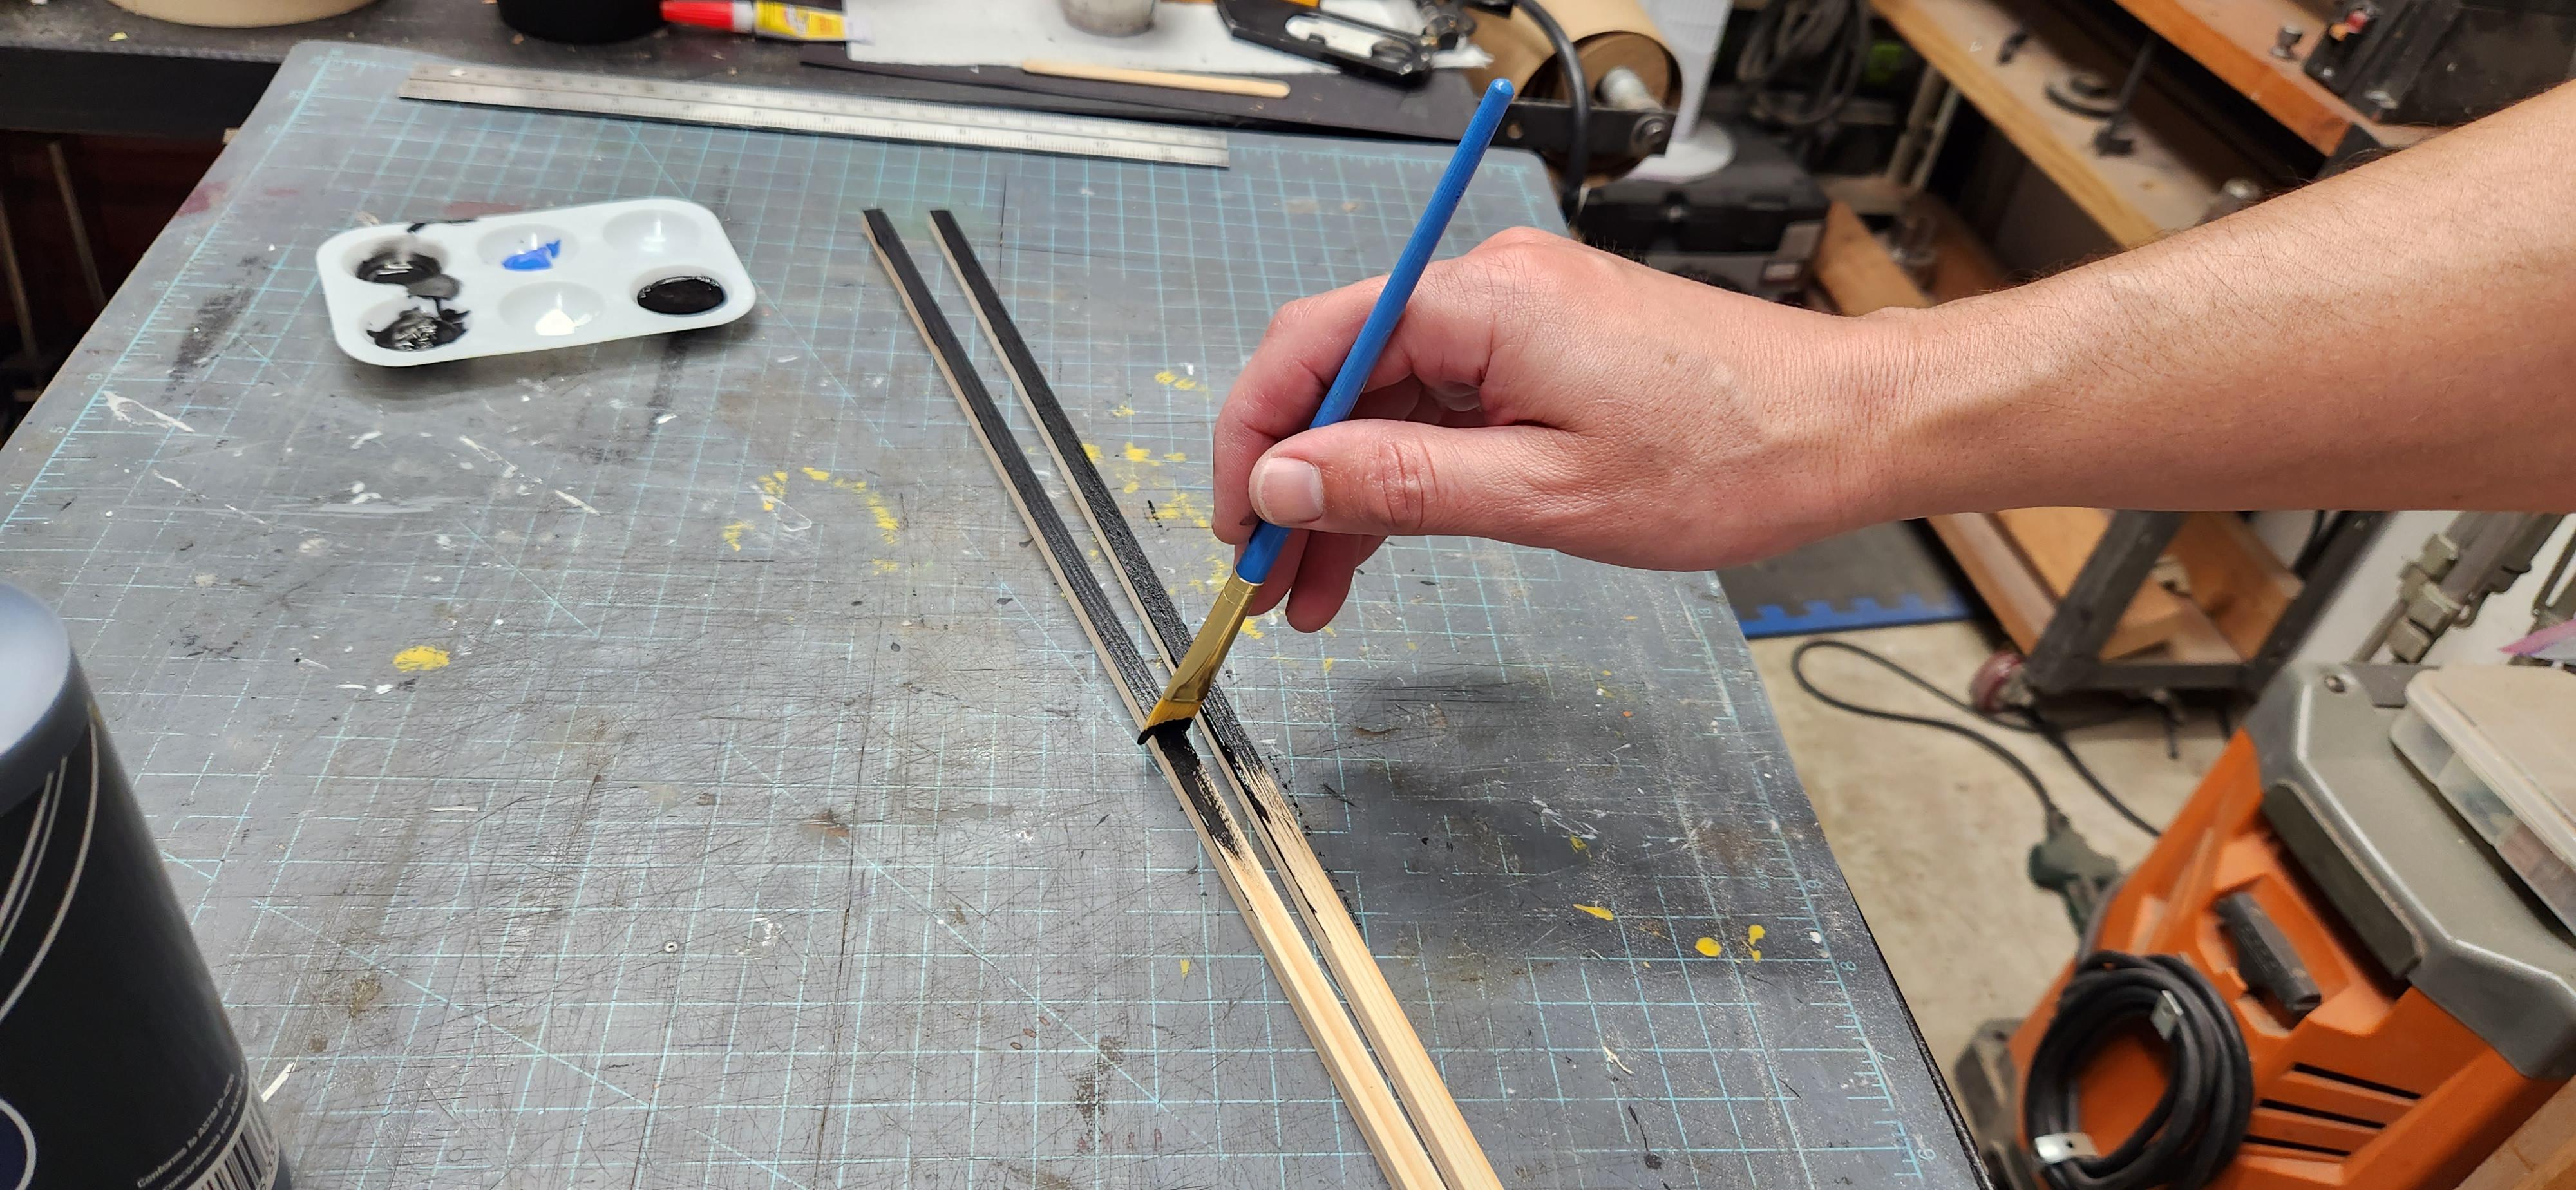
These border pieces are 1/4 inch by 1/4 inch square dowels. The big box store sells them as well but it is much cheaper to make them yourself by ripping a 2 x 4 if you have the tools to do so. I use black acrylic paint to paint these pieces, I only paint 3 sides as the fourth side will be glued down.
I used to use spray paint these but I felt like that wasted a lot of paint and took longer to dry so I switched to acrylic paint instead.
Prepping for Glue Up
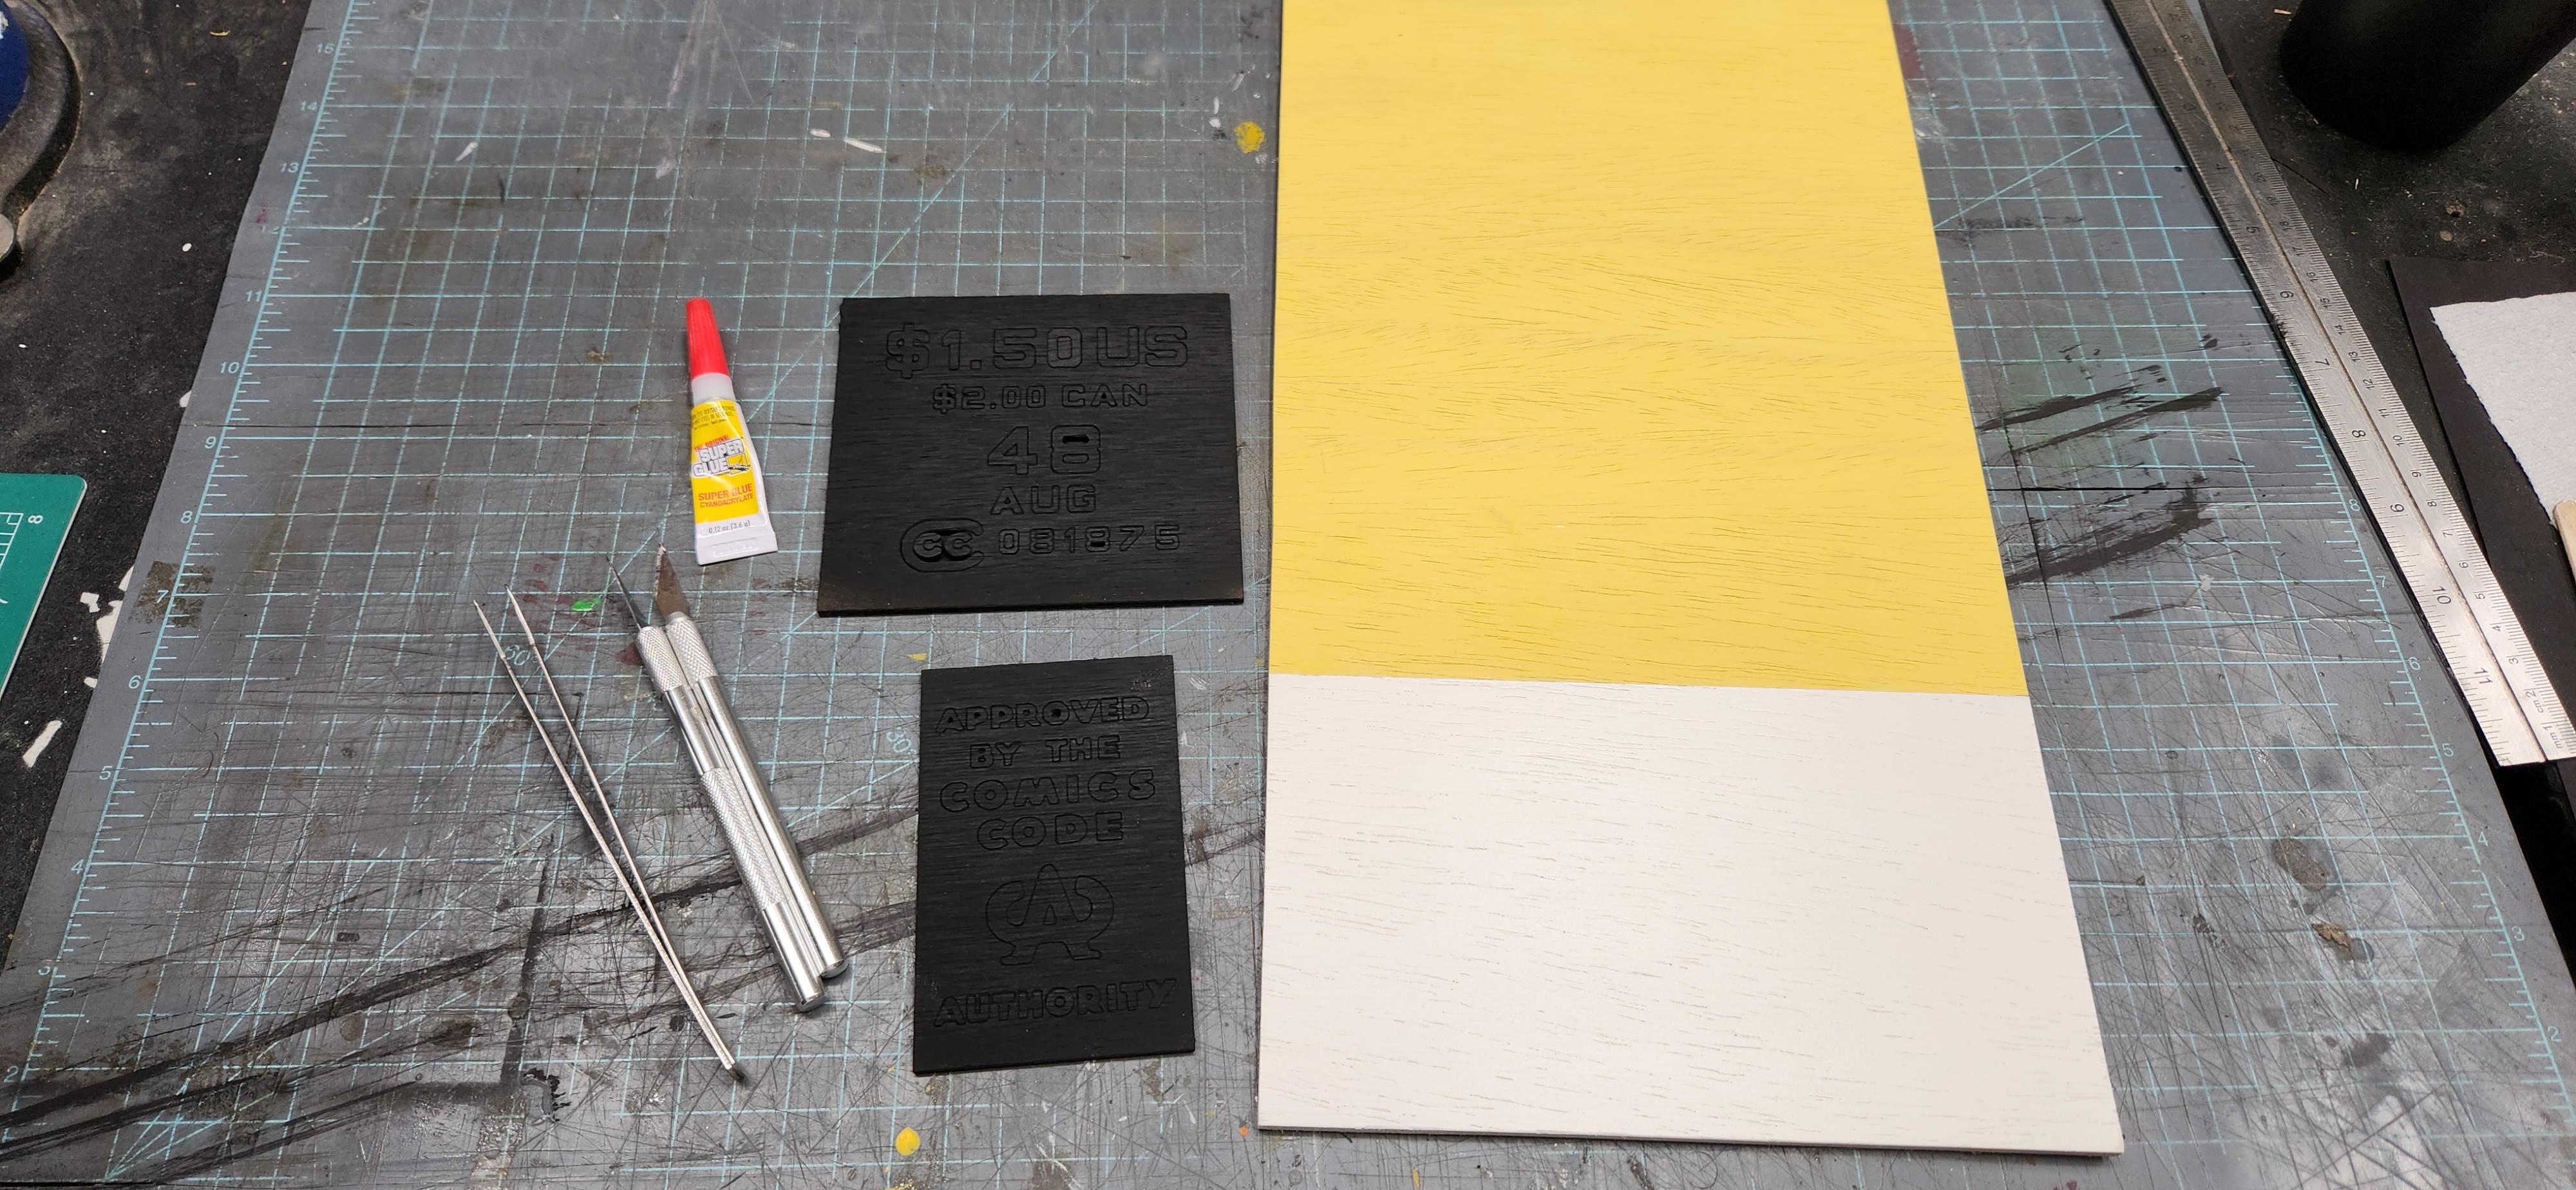
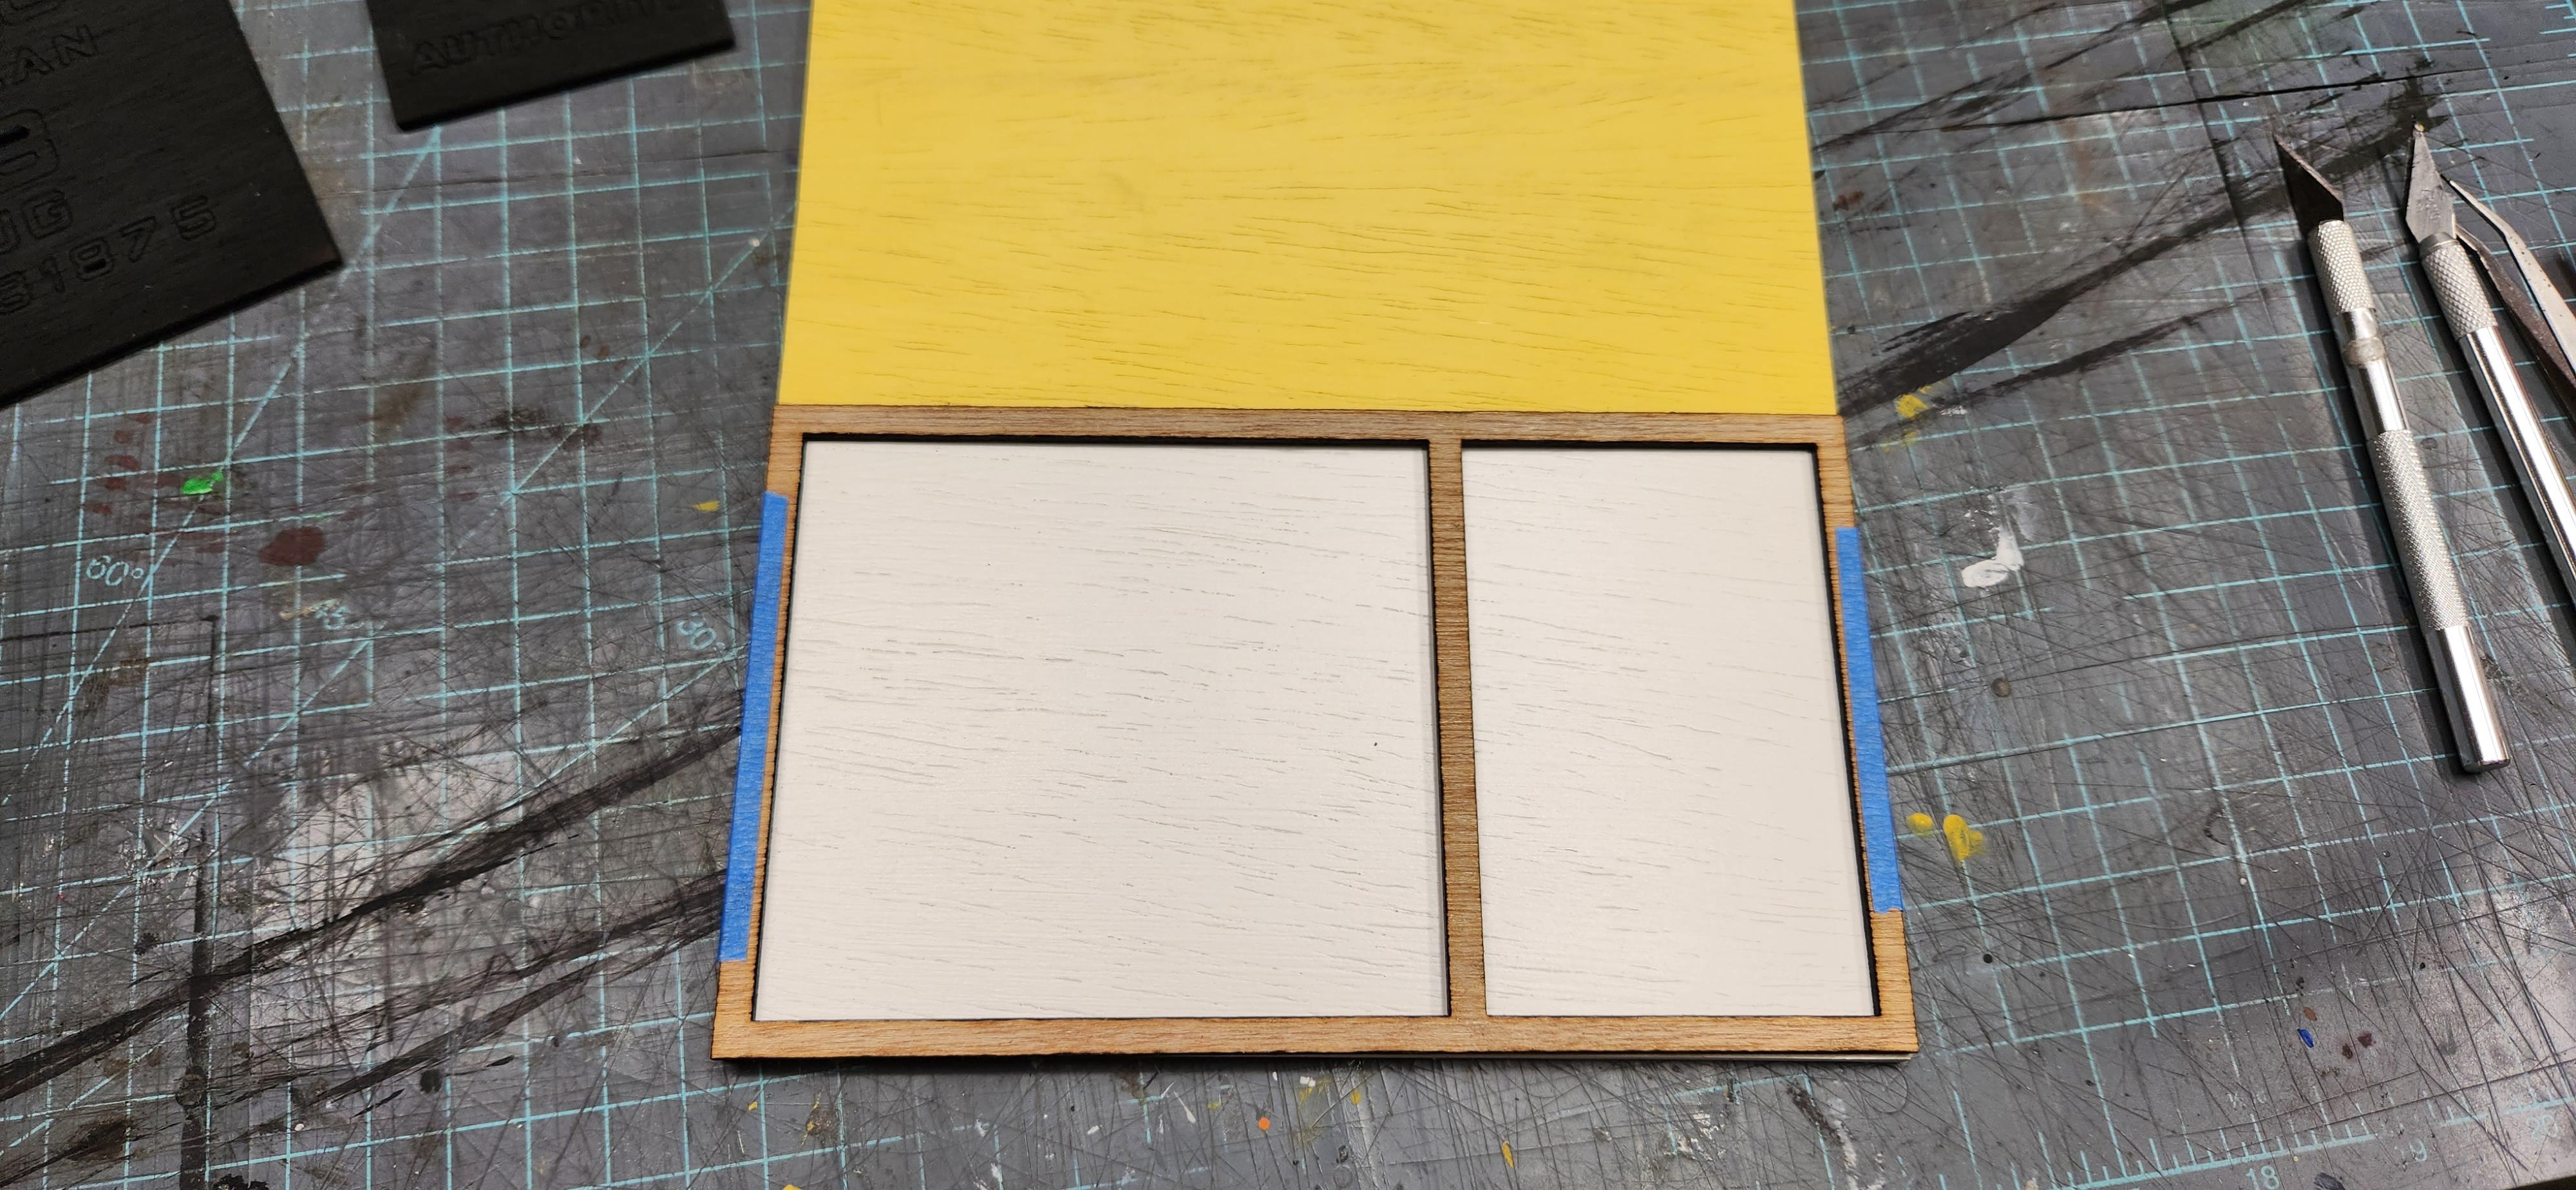
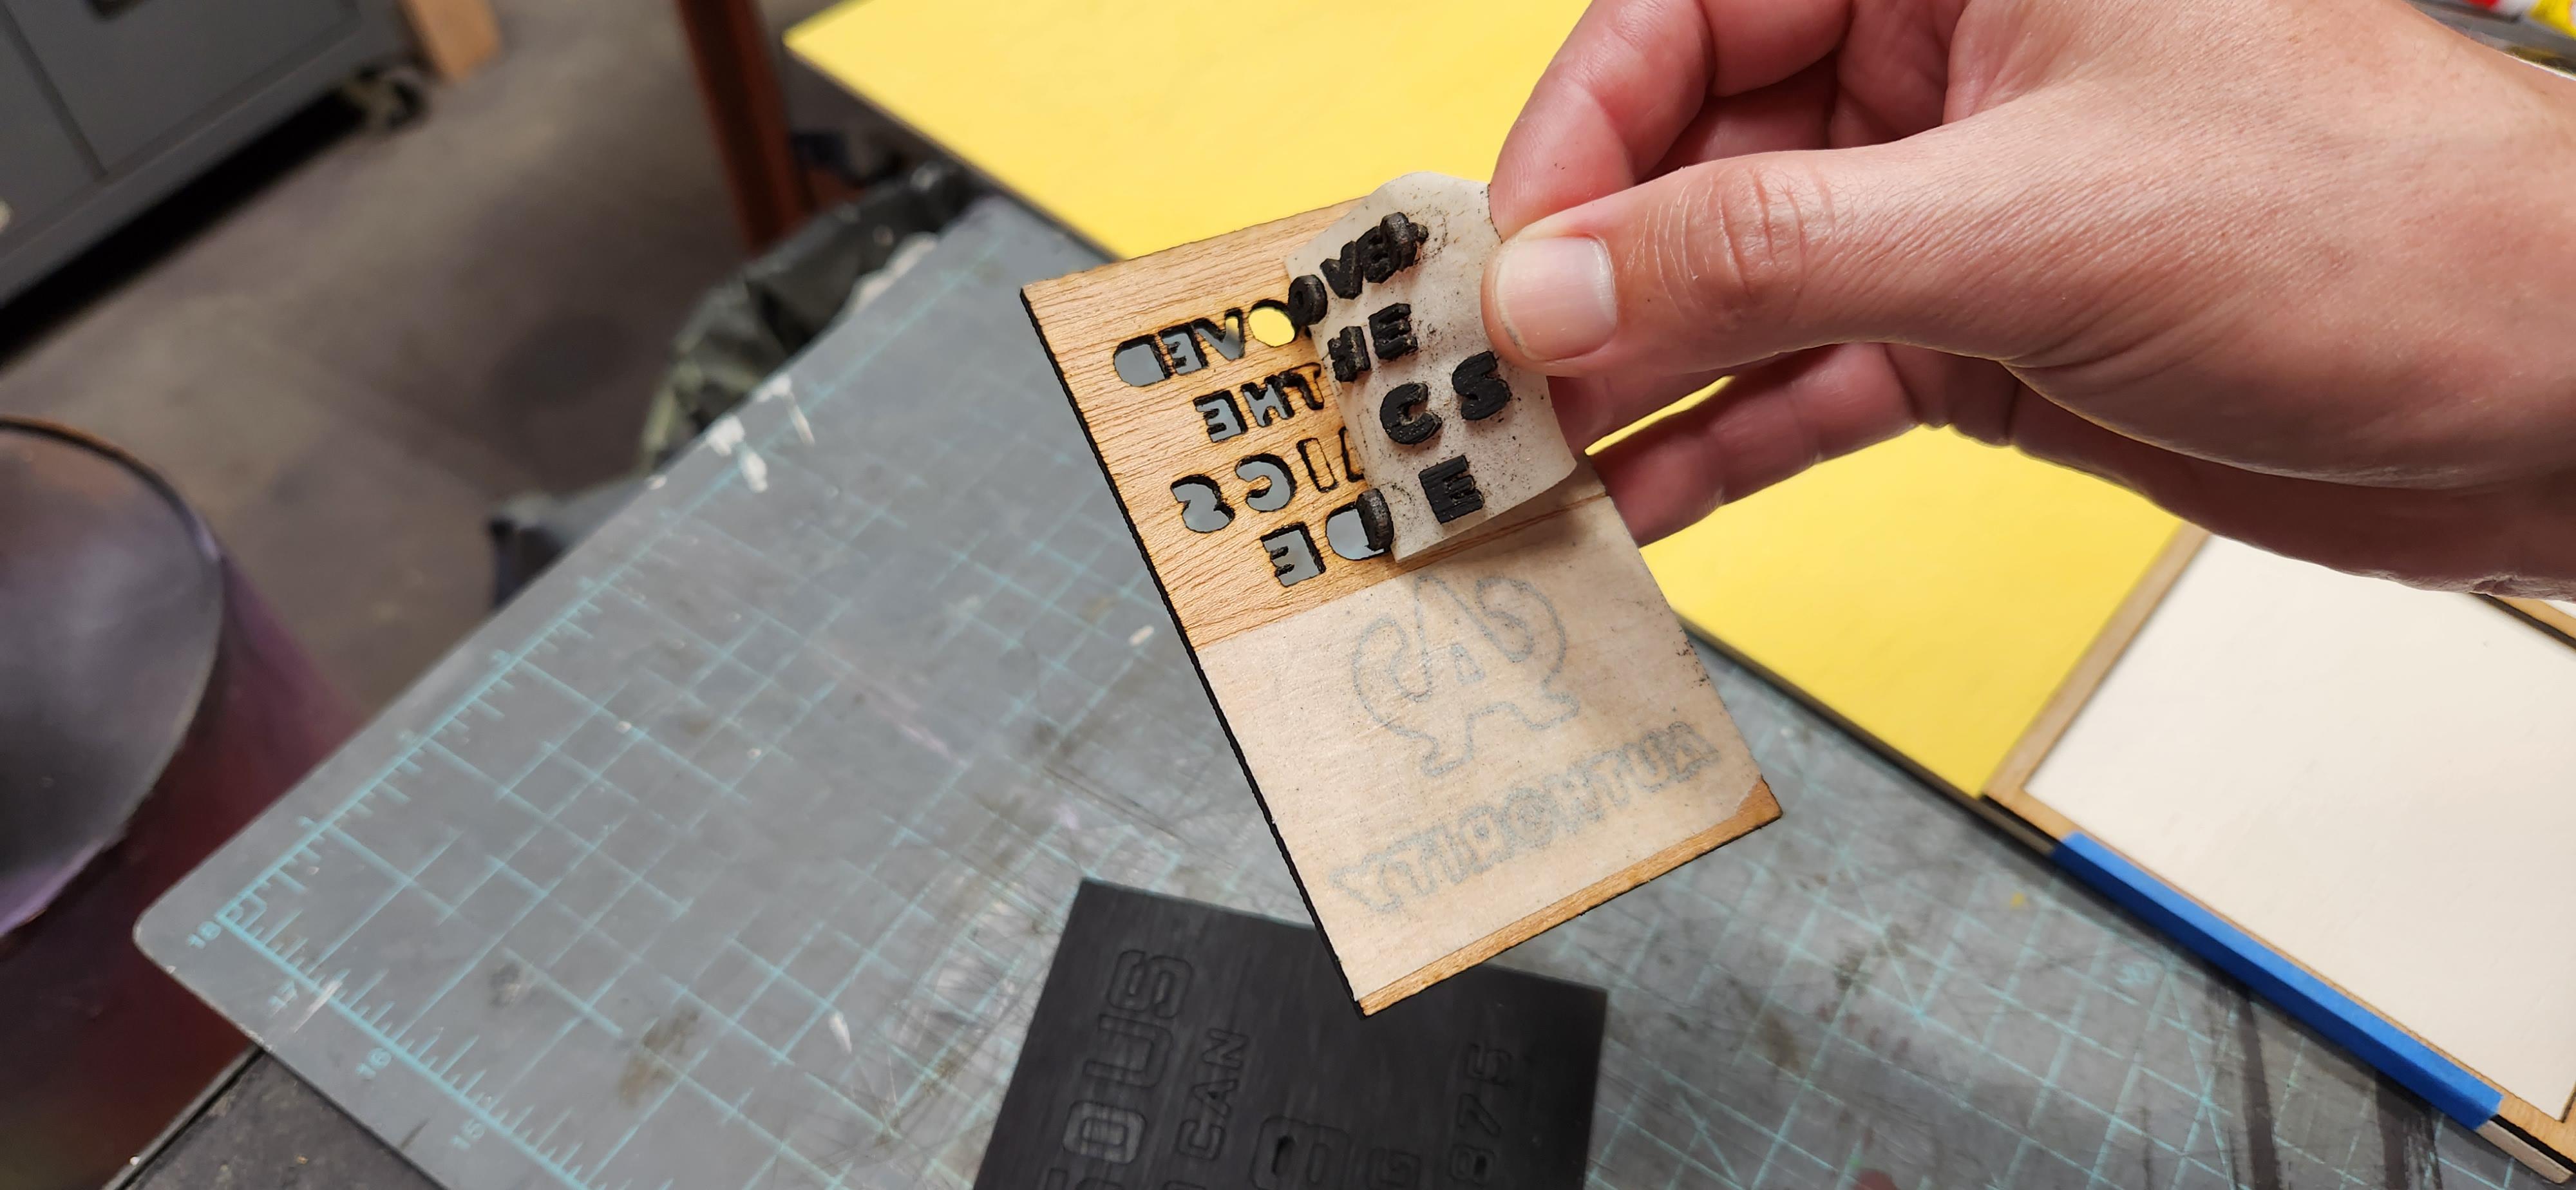
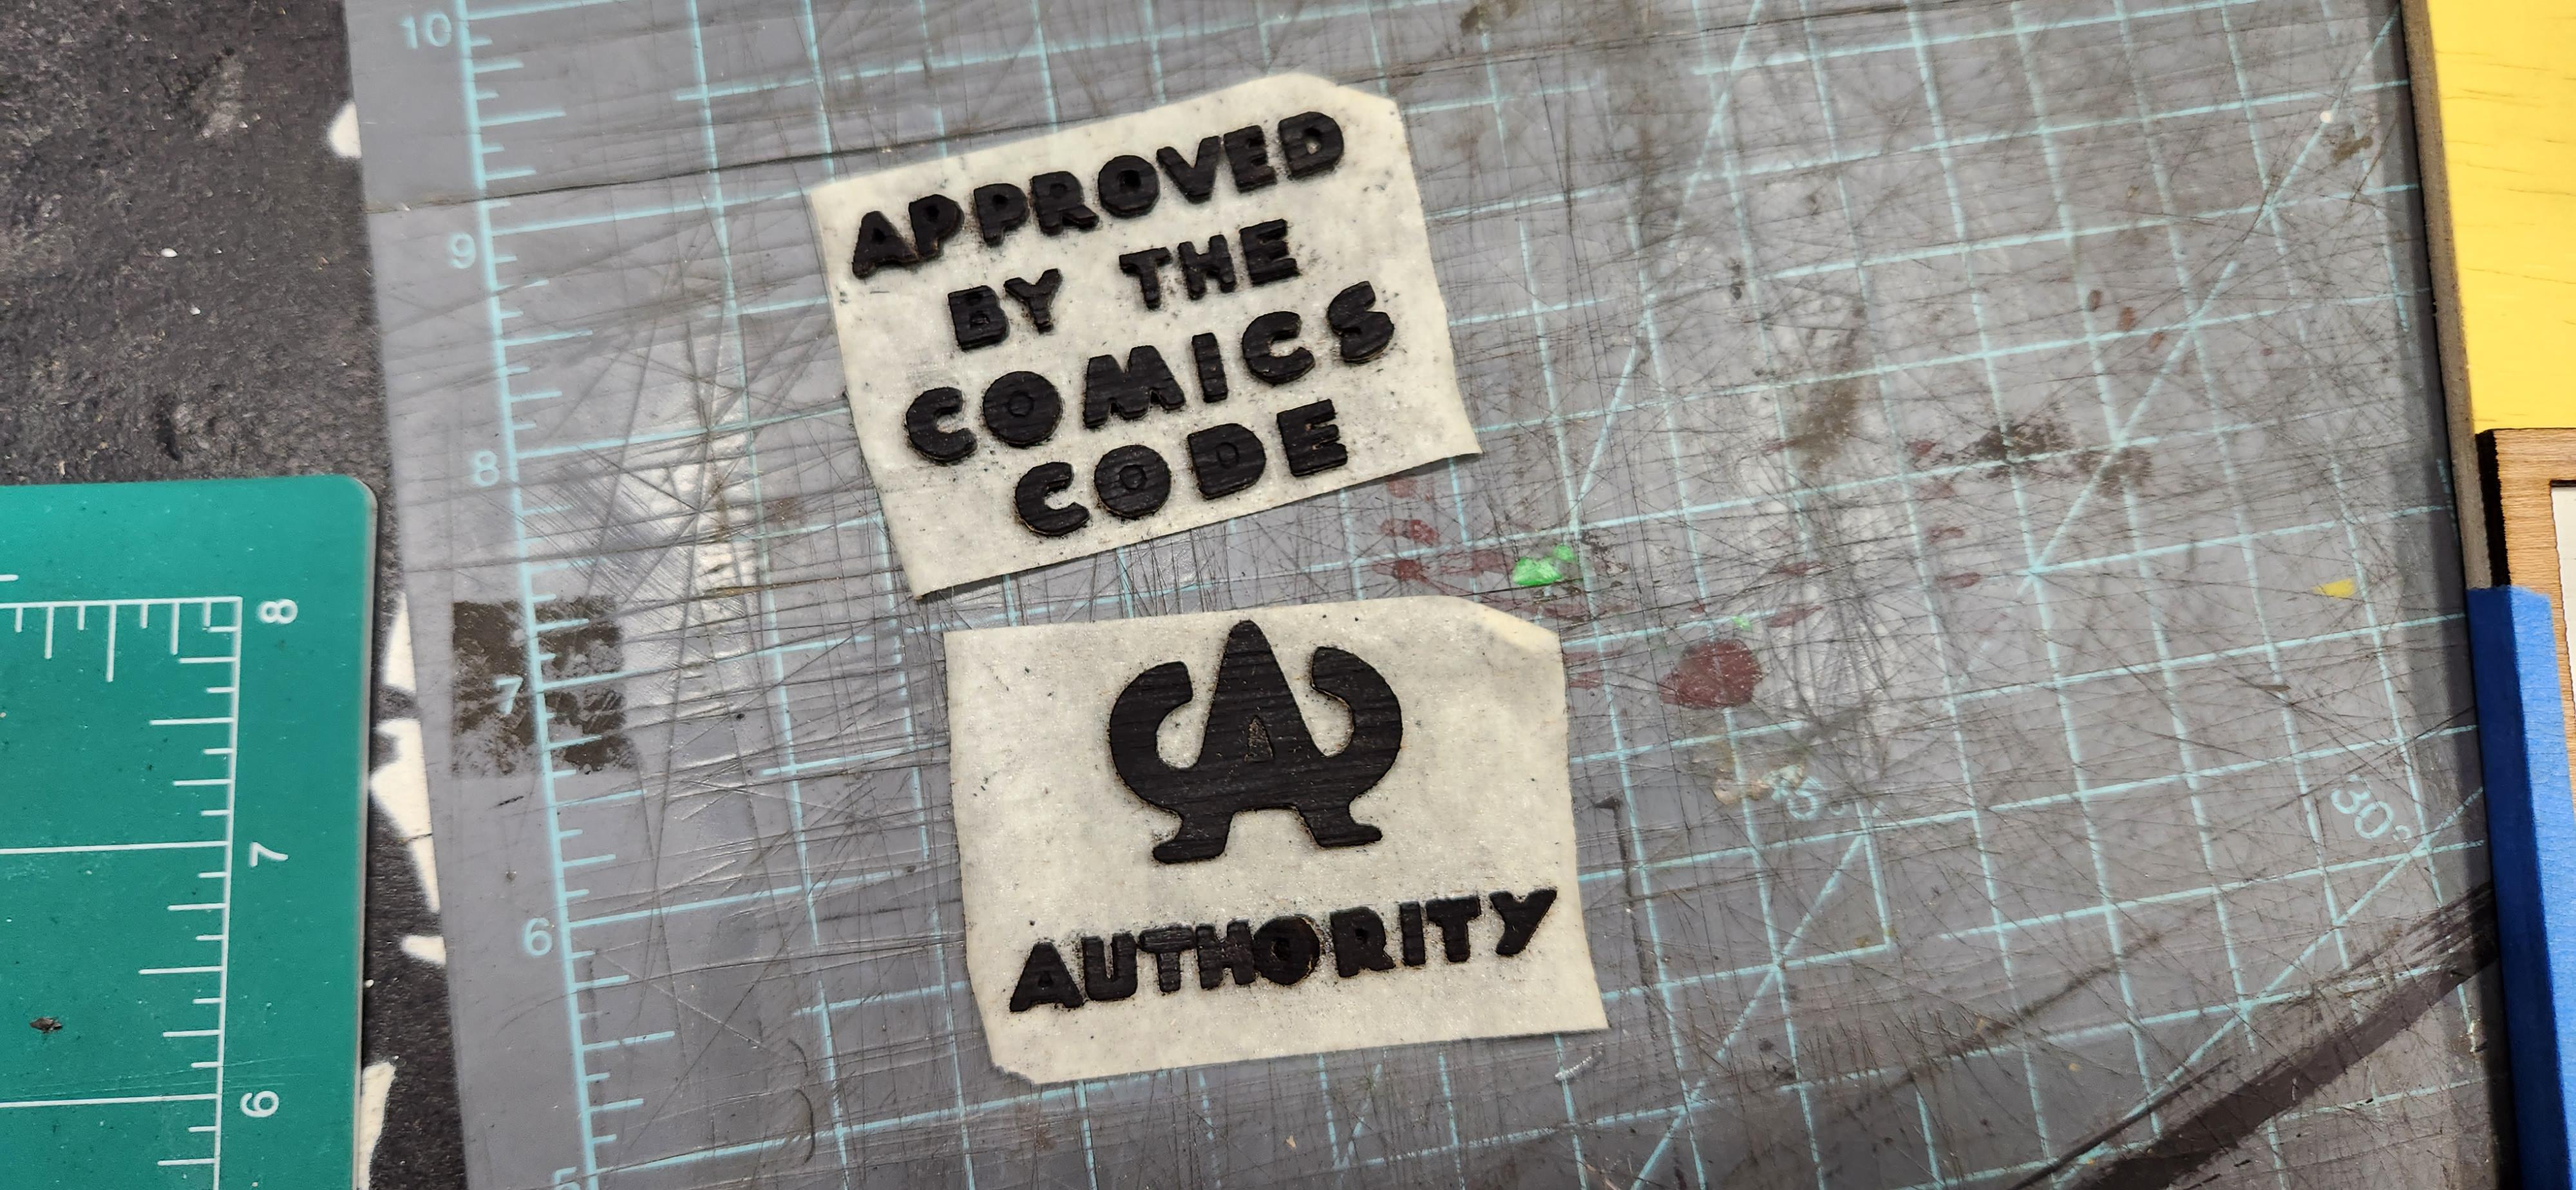
I glue the lettering on one at a time. I use the border boxes that were cut on the laser as a template guide. I just make sure the border boxes are flush with the bottom and then I tape it to the sides to keep it from moving. Next, I remove the masking tape from the back of the info boxes. The neat thing about this is that they will stick to the masking tape as you pull the masking tape up. This helps keep track of the tiny little numbers and letters.
Try Not to Glue Your Fingers Together
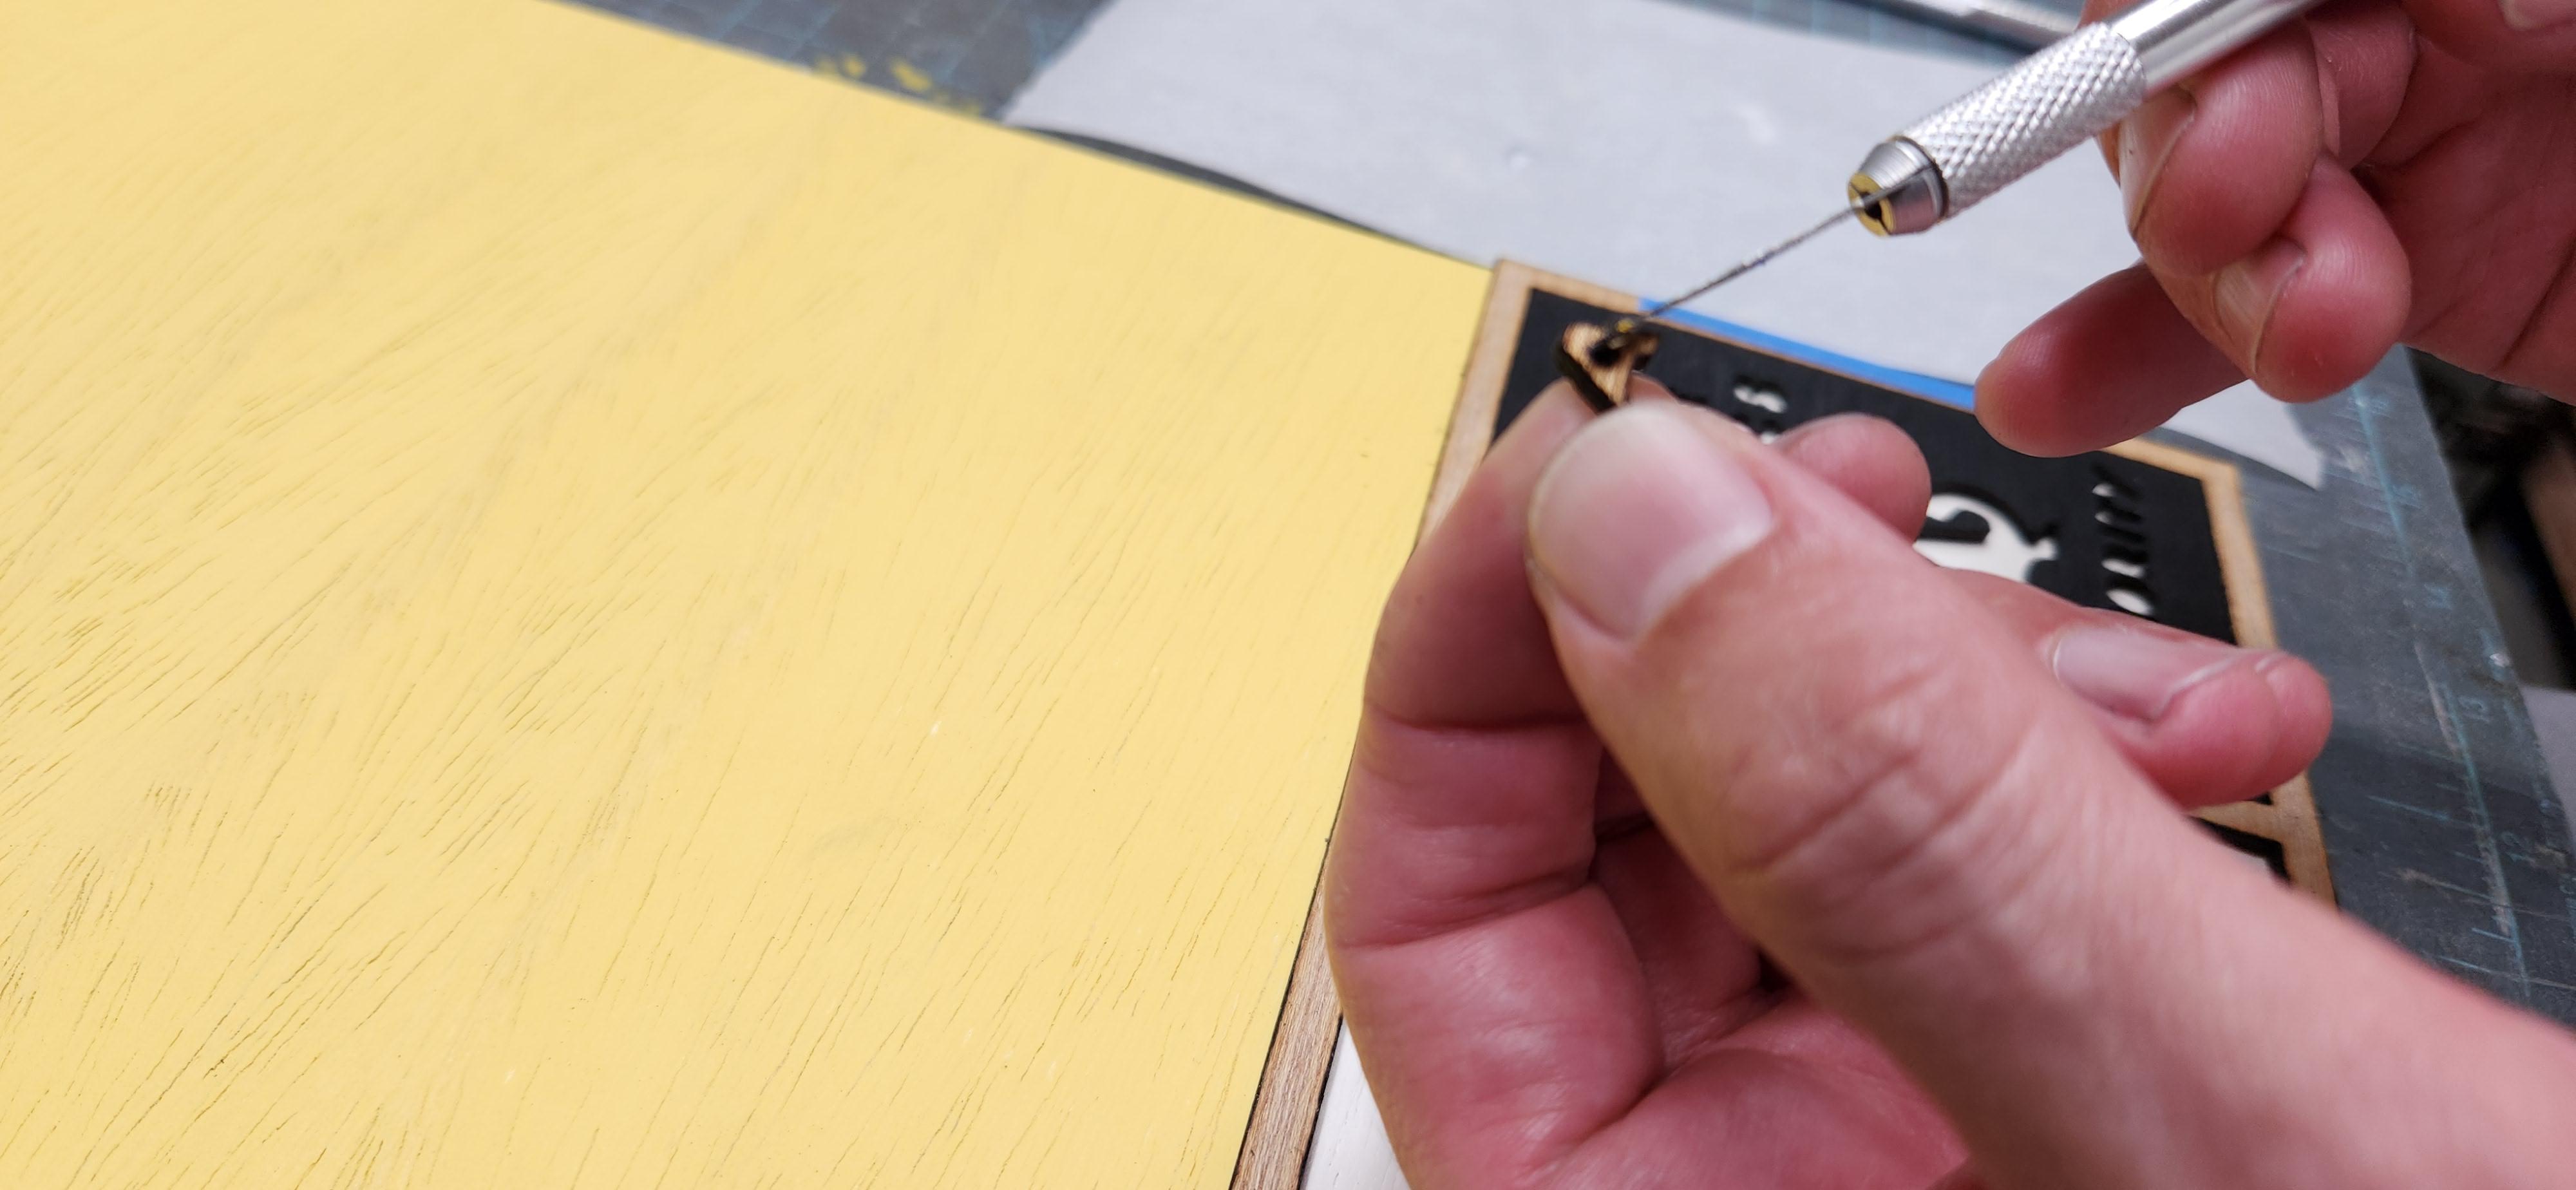
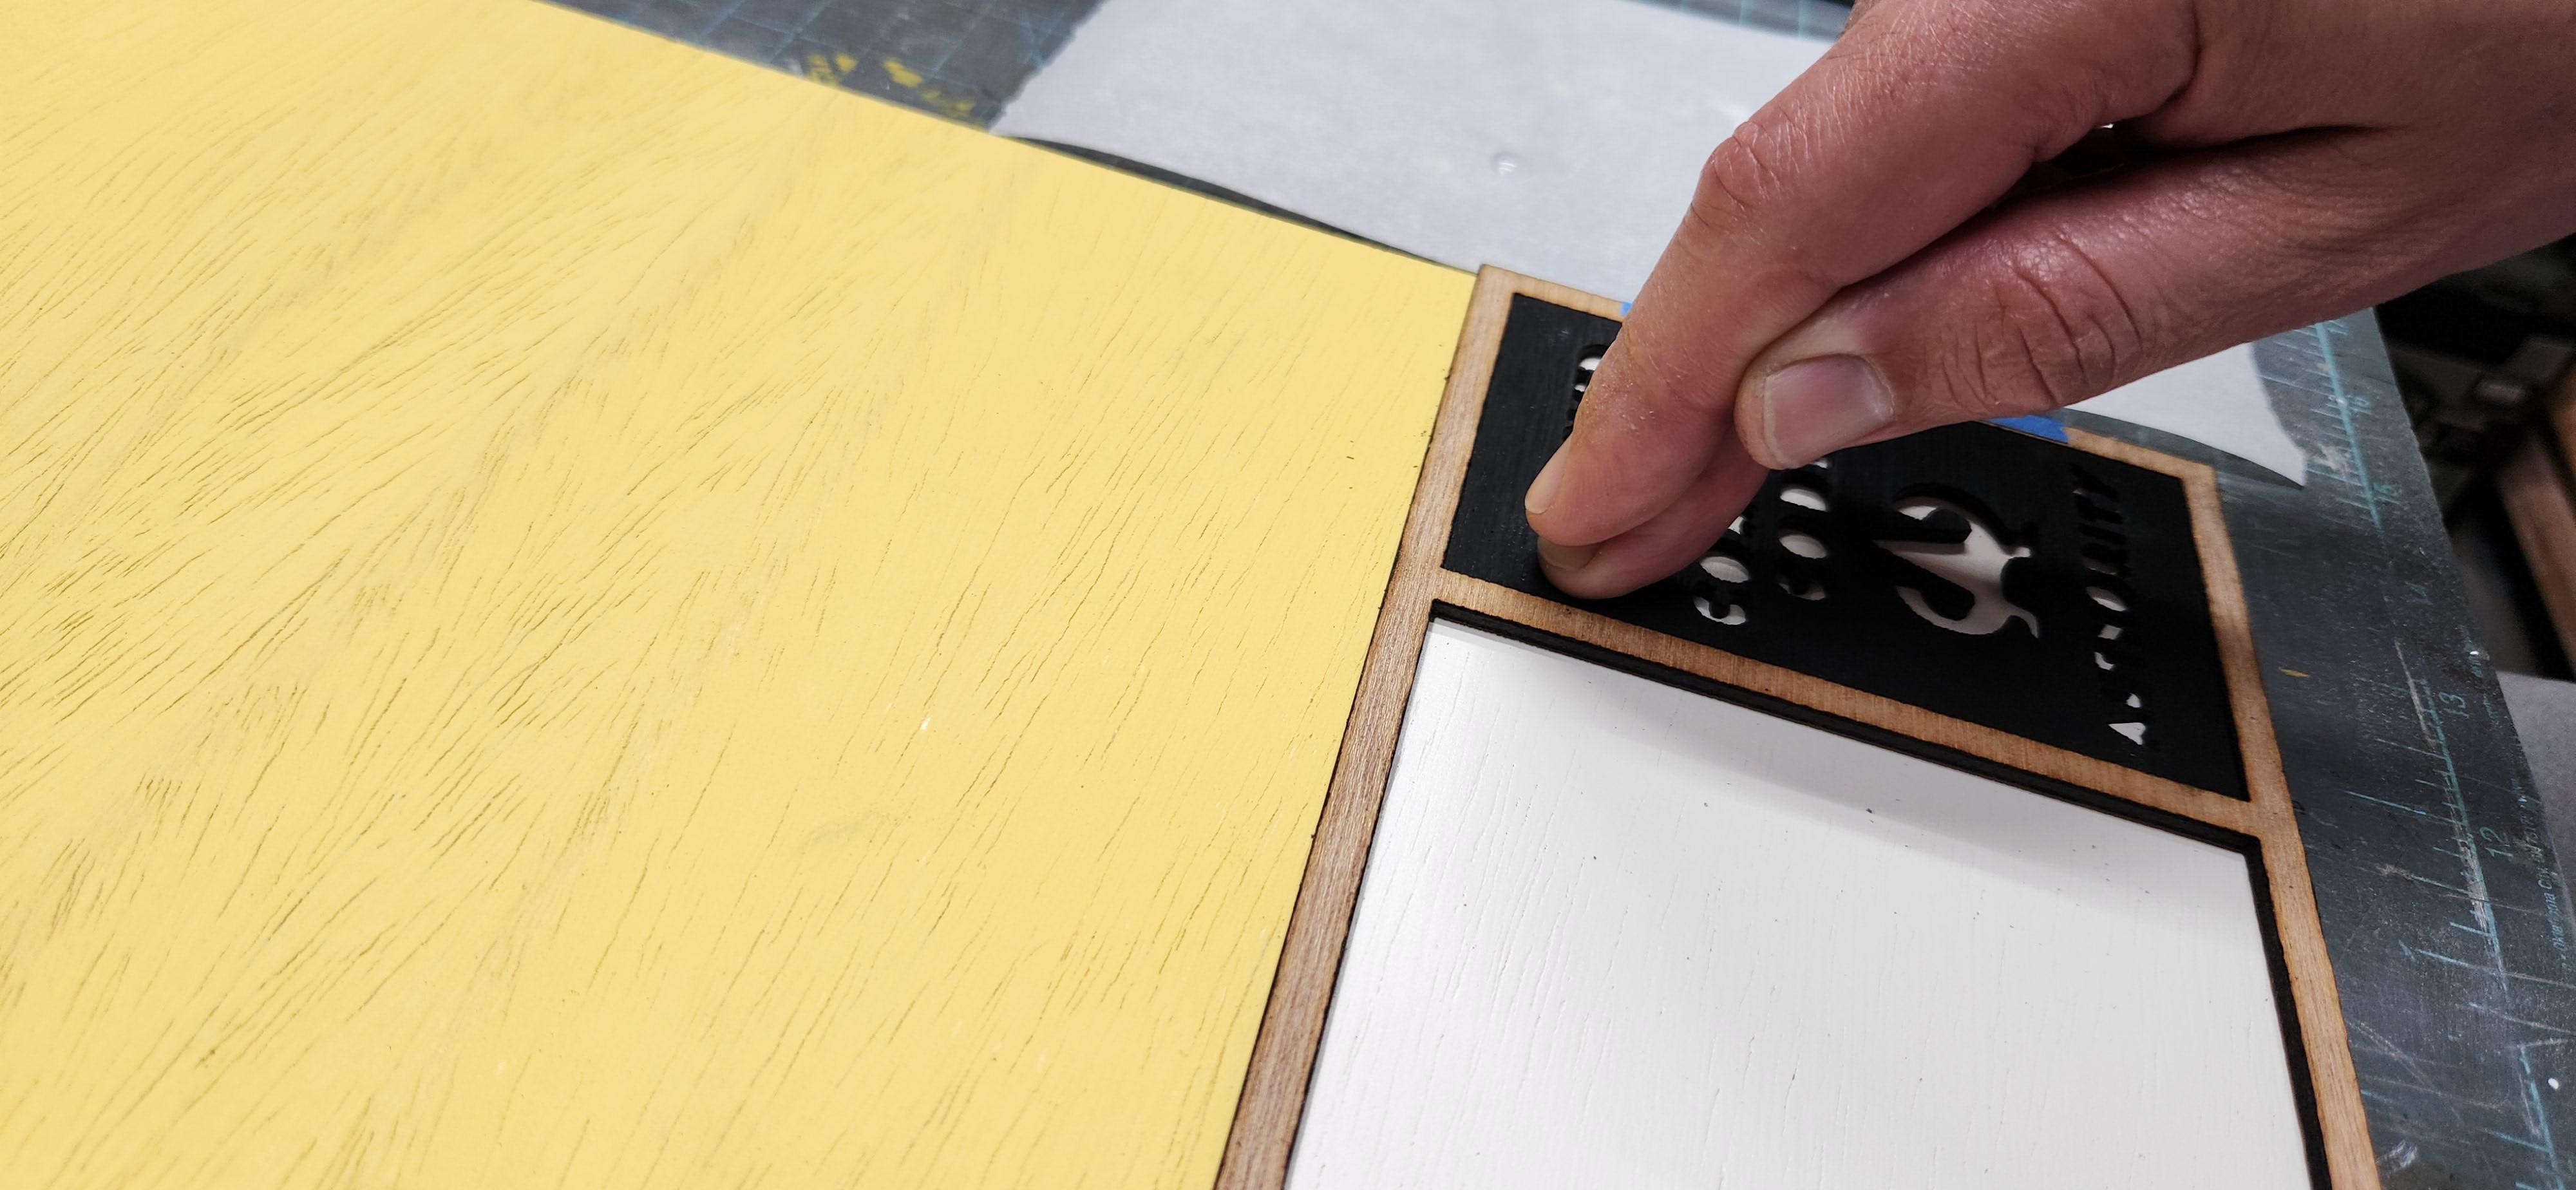
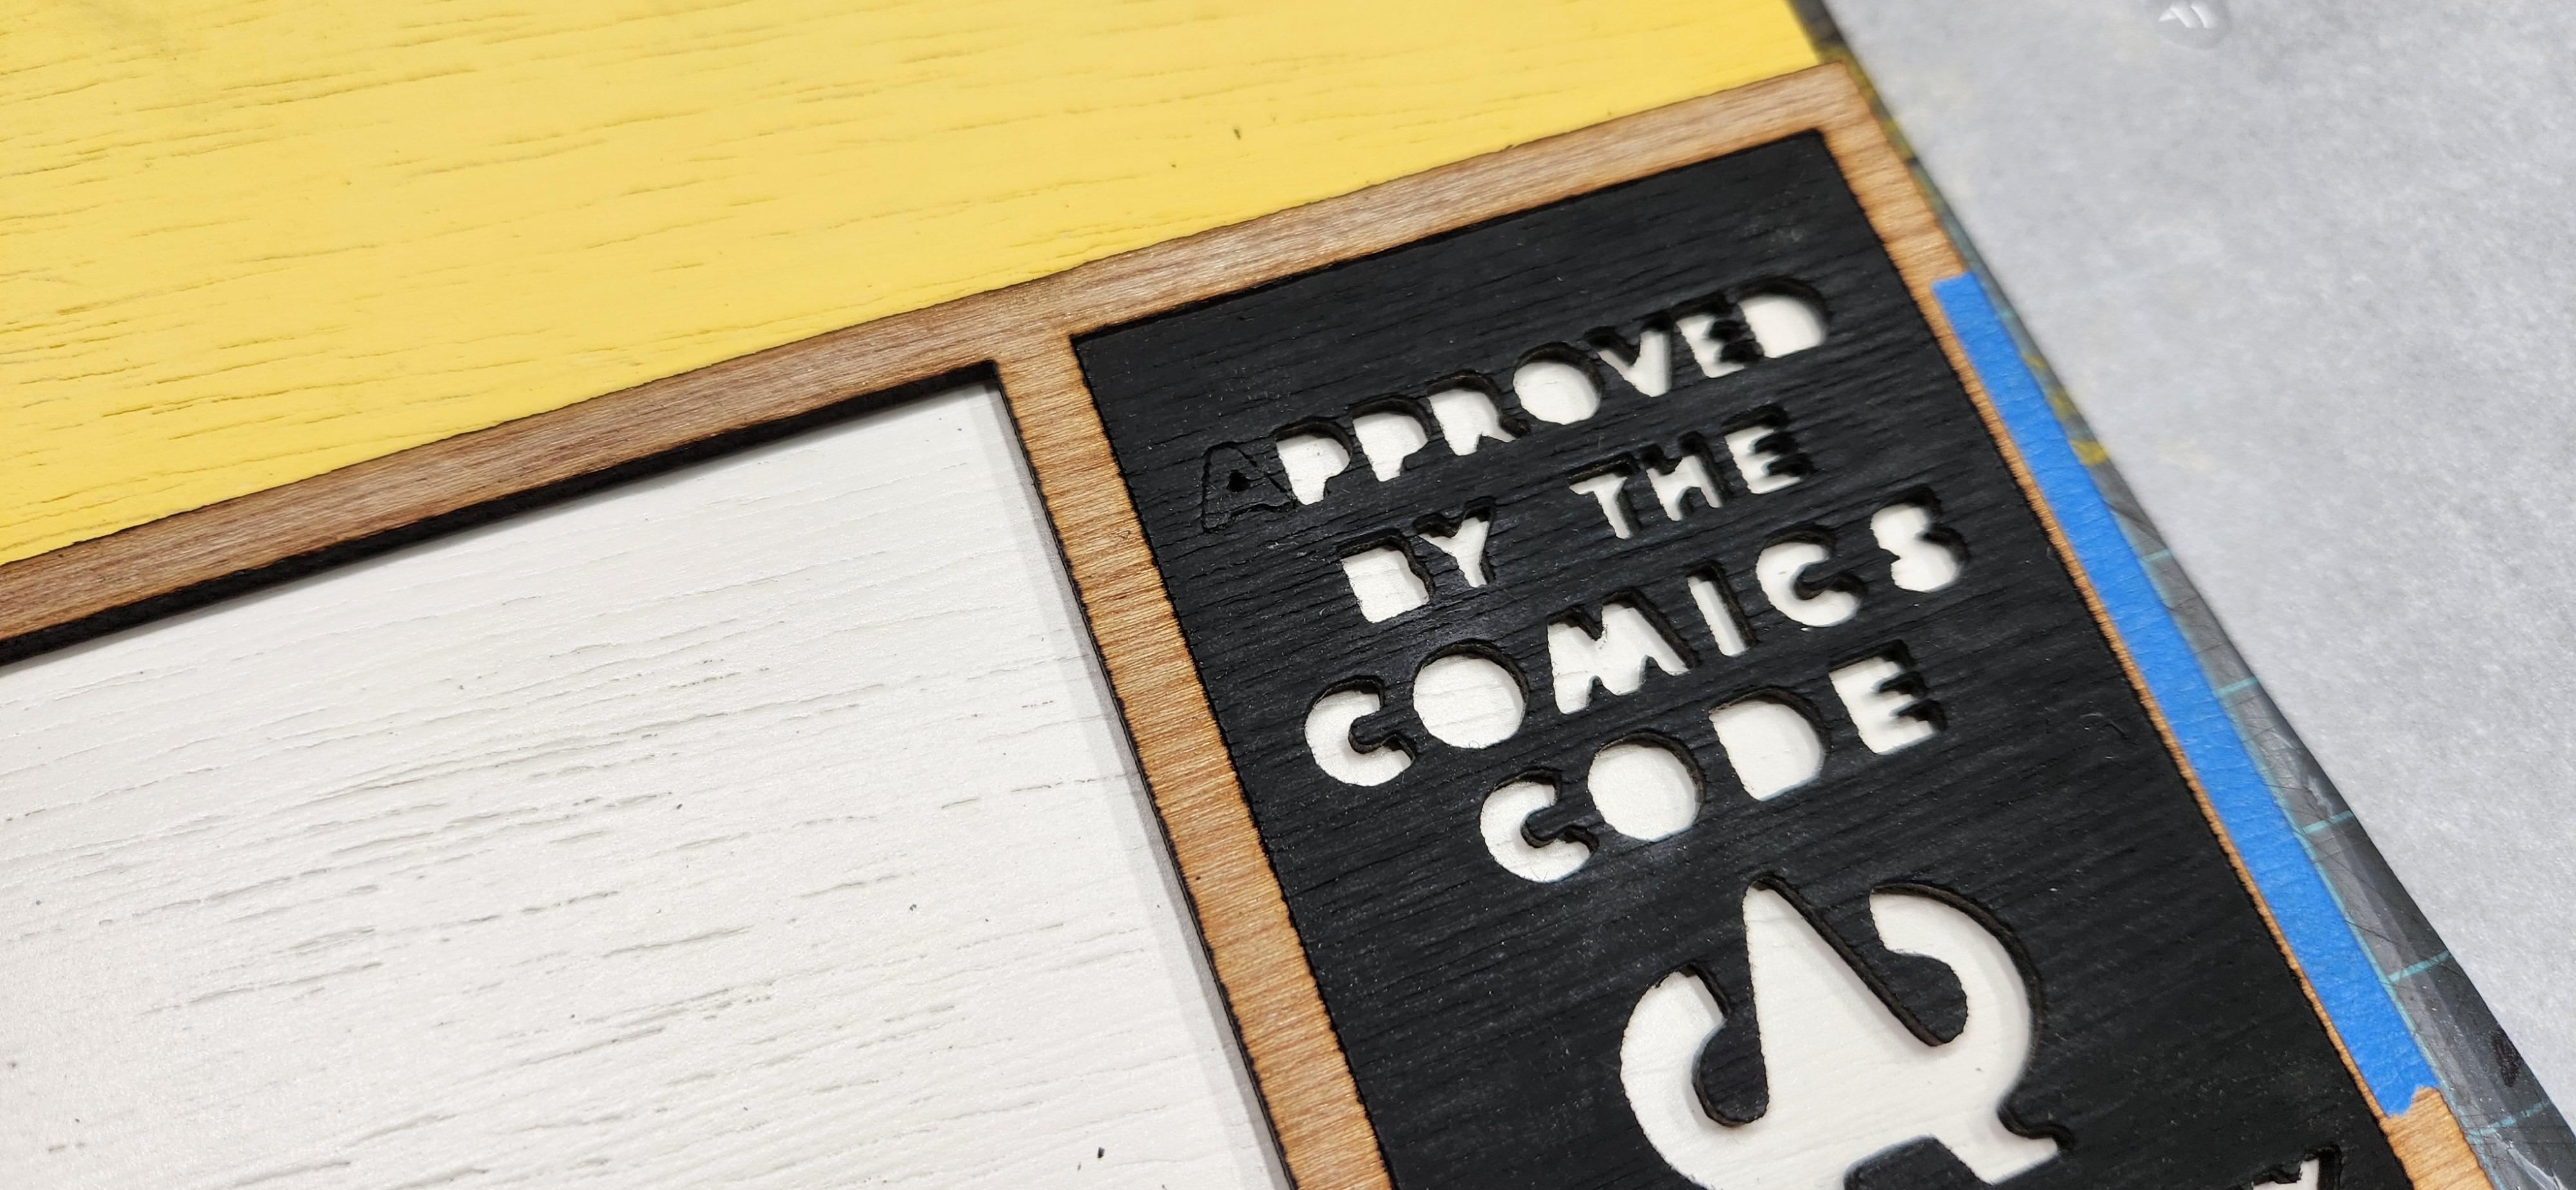
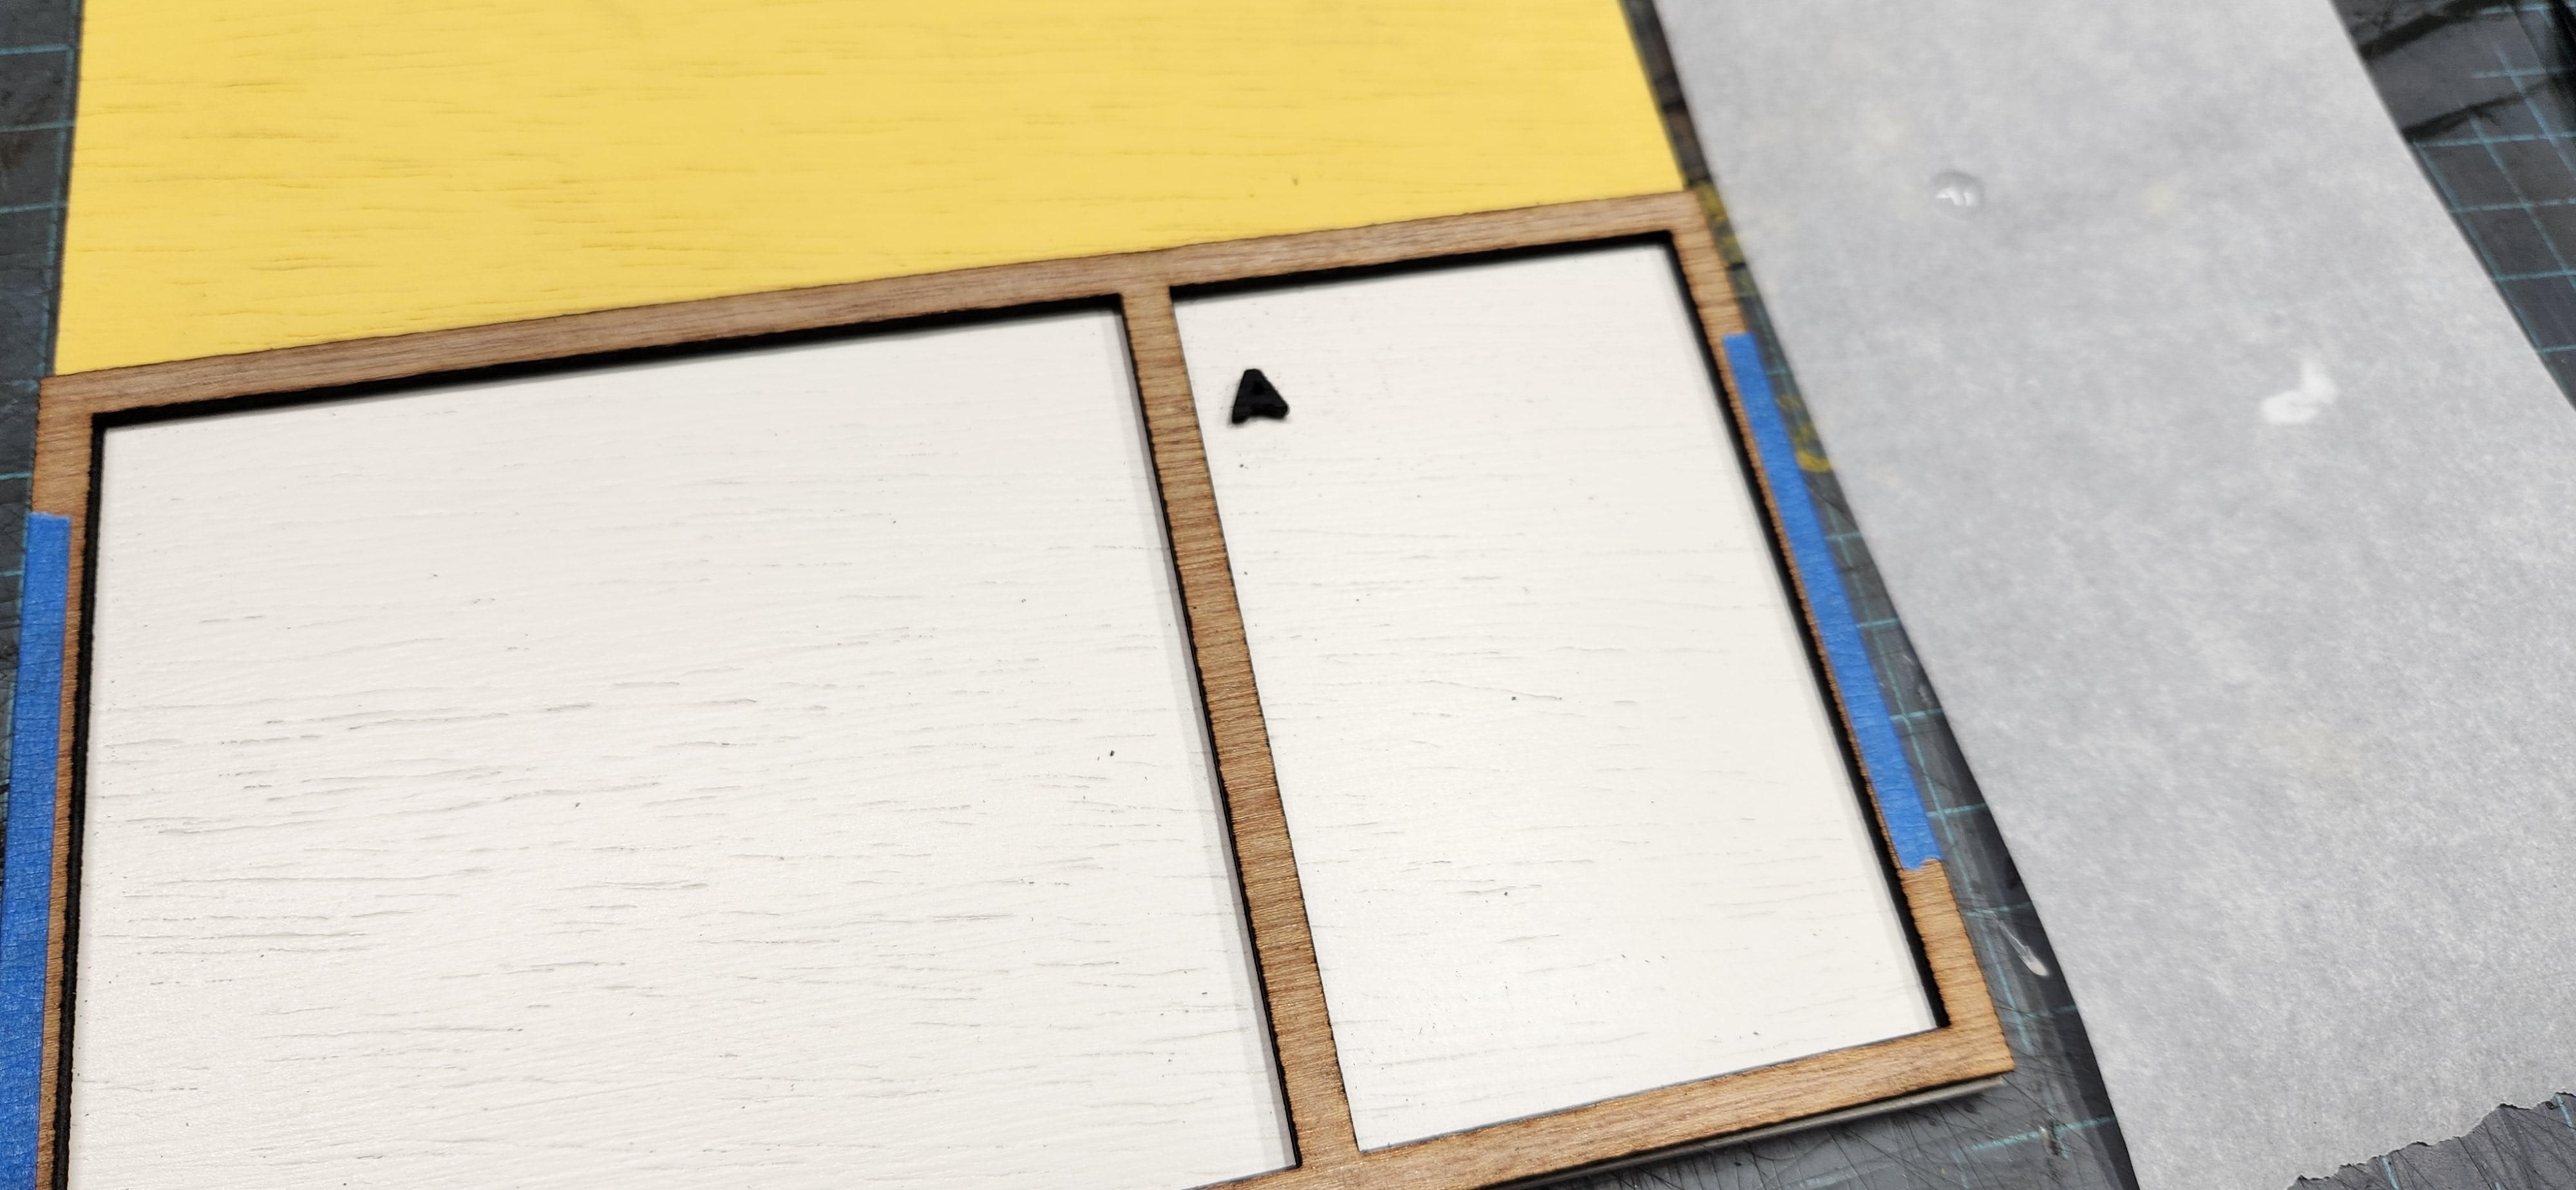
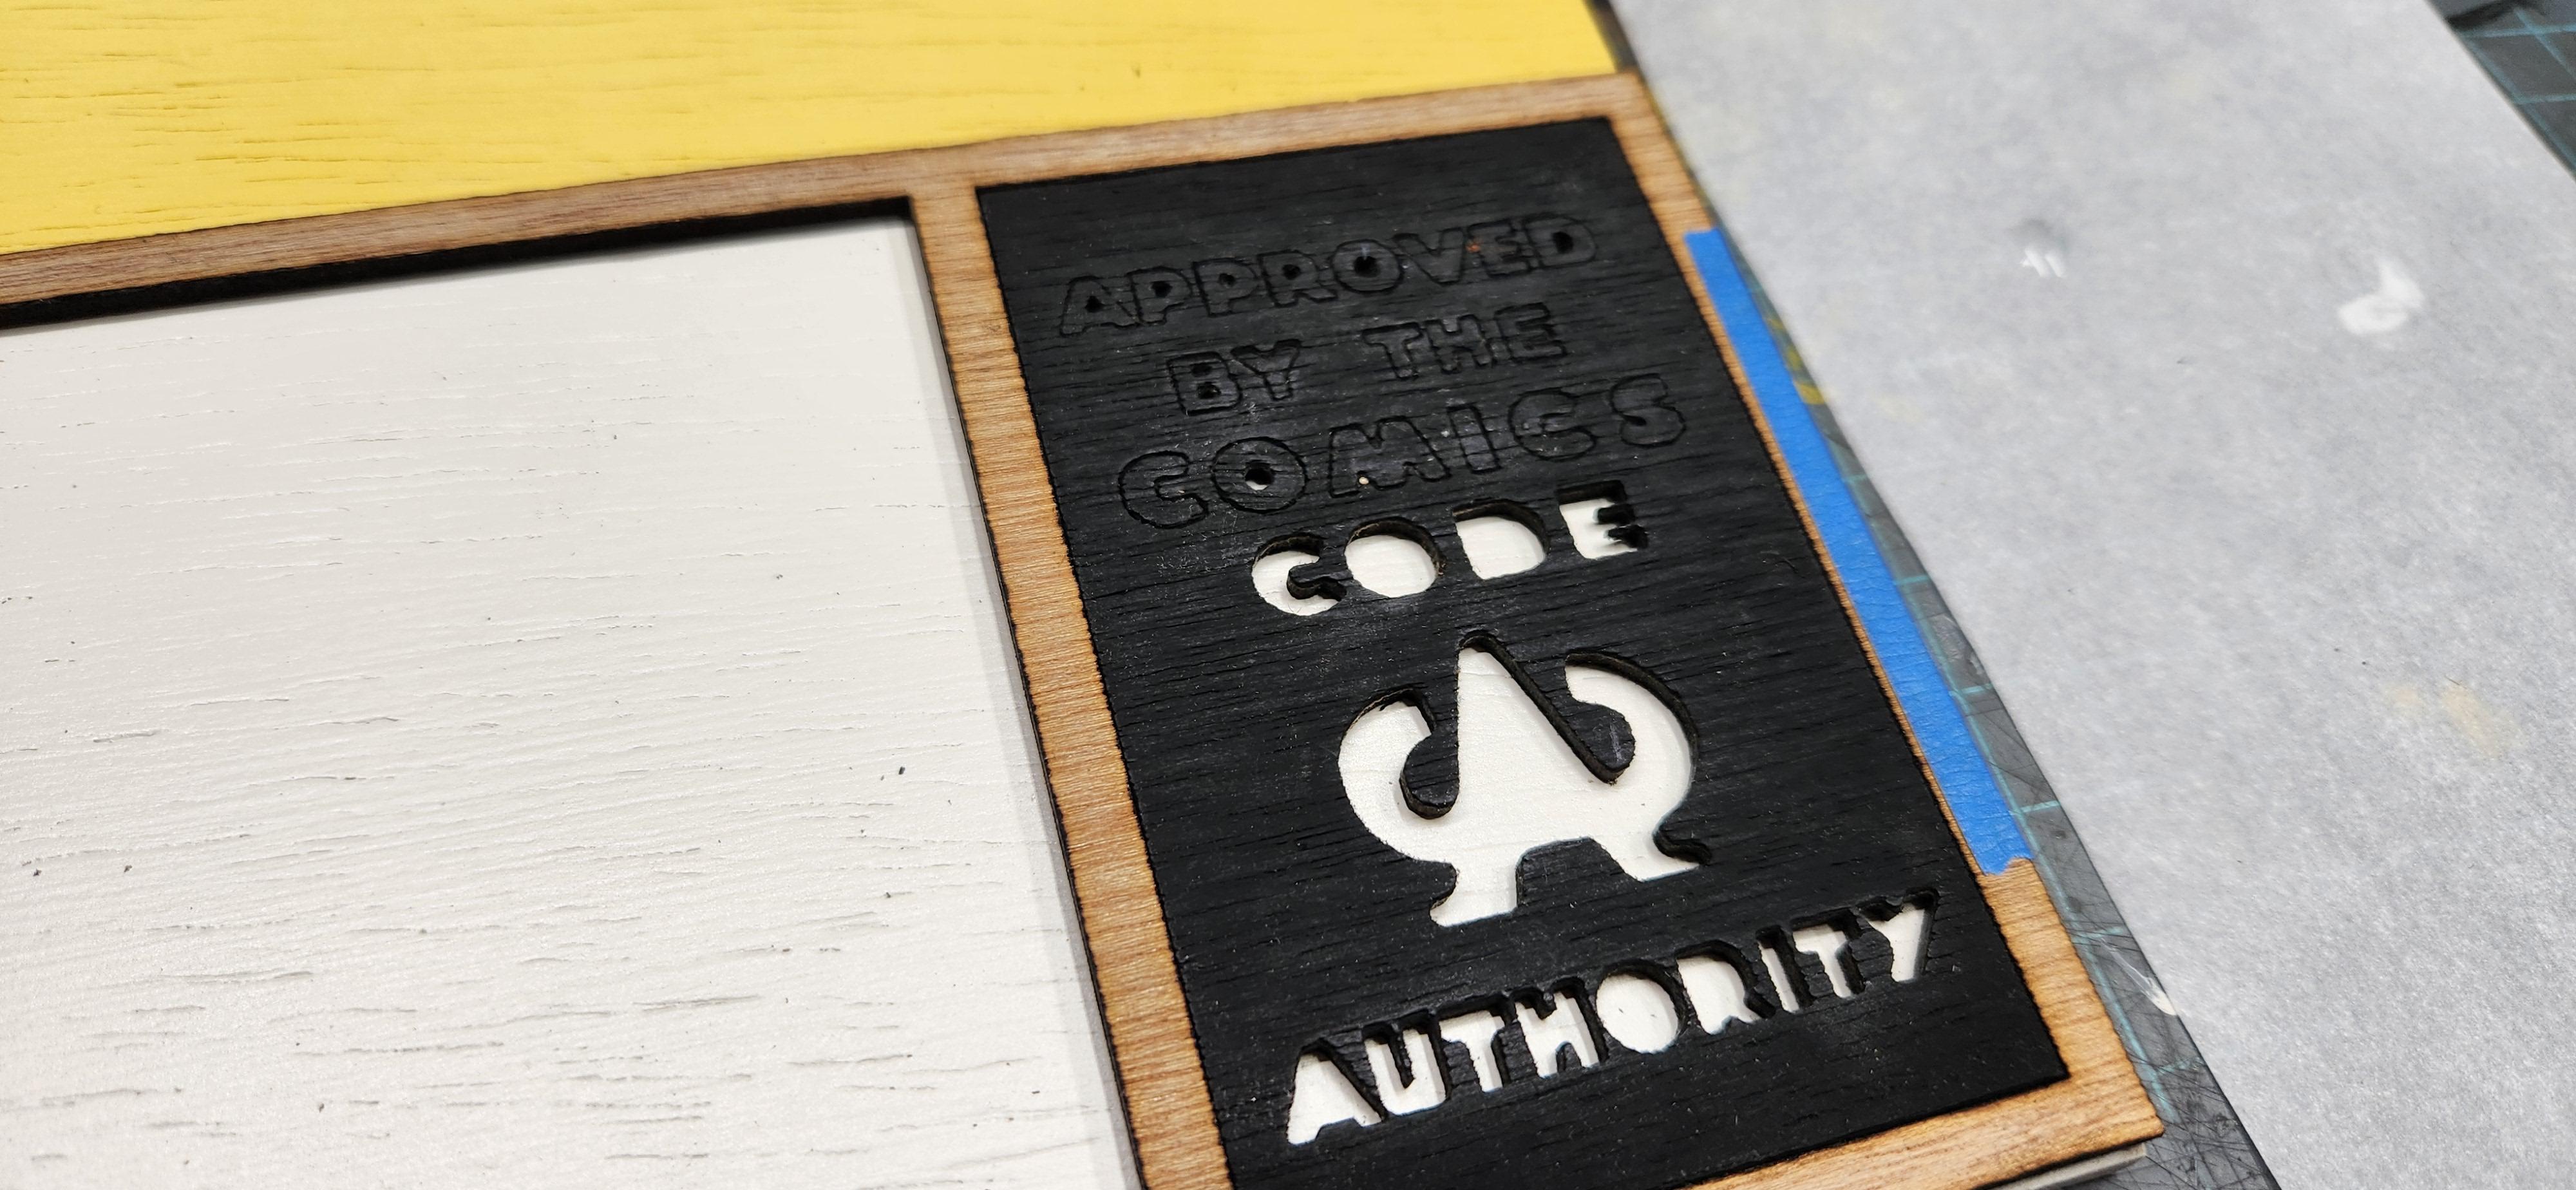
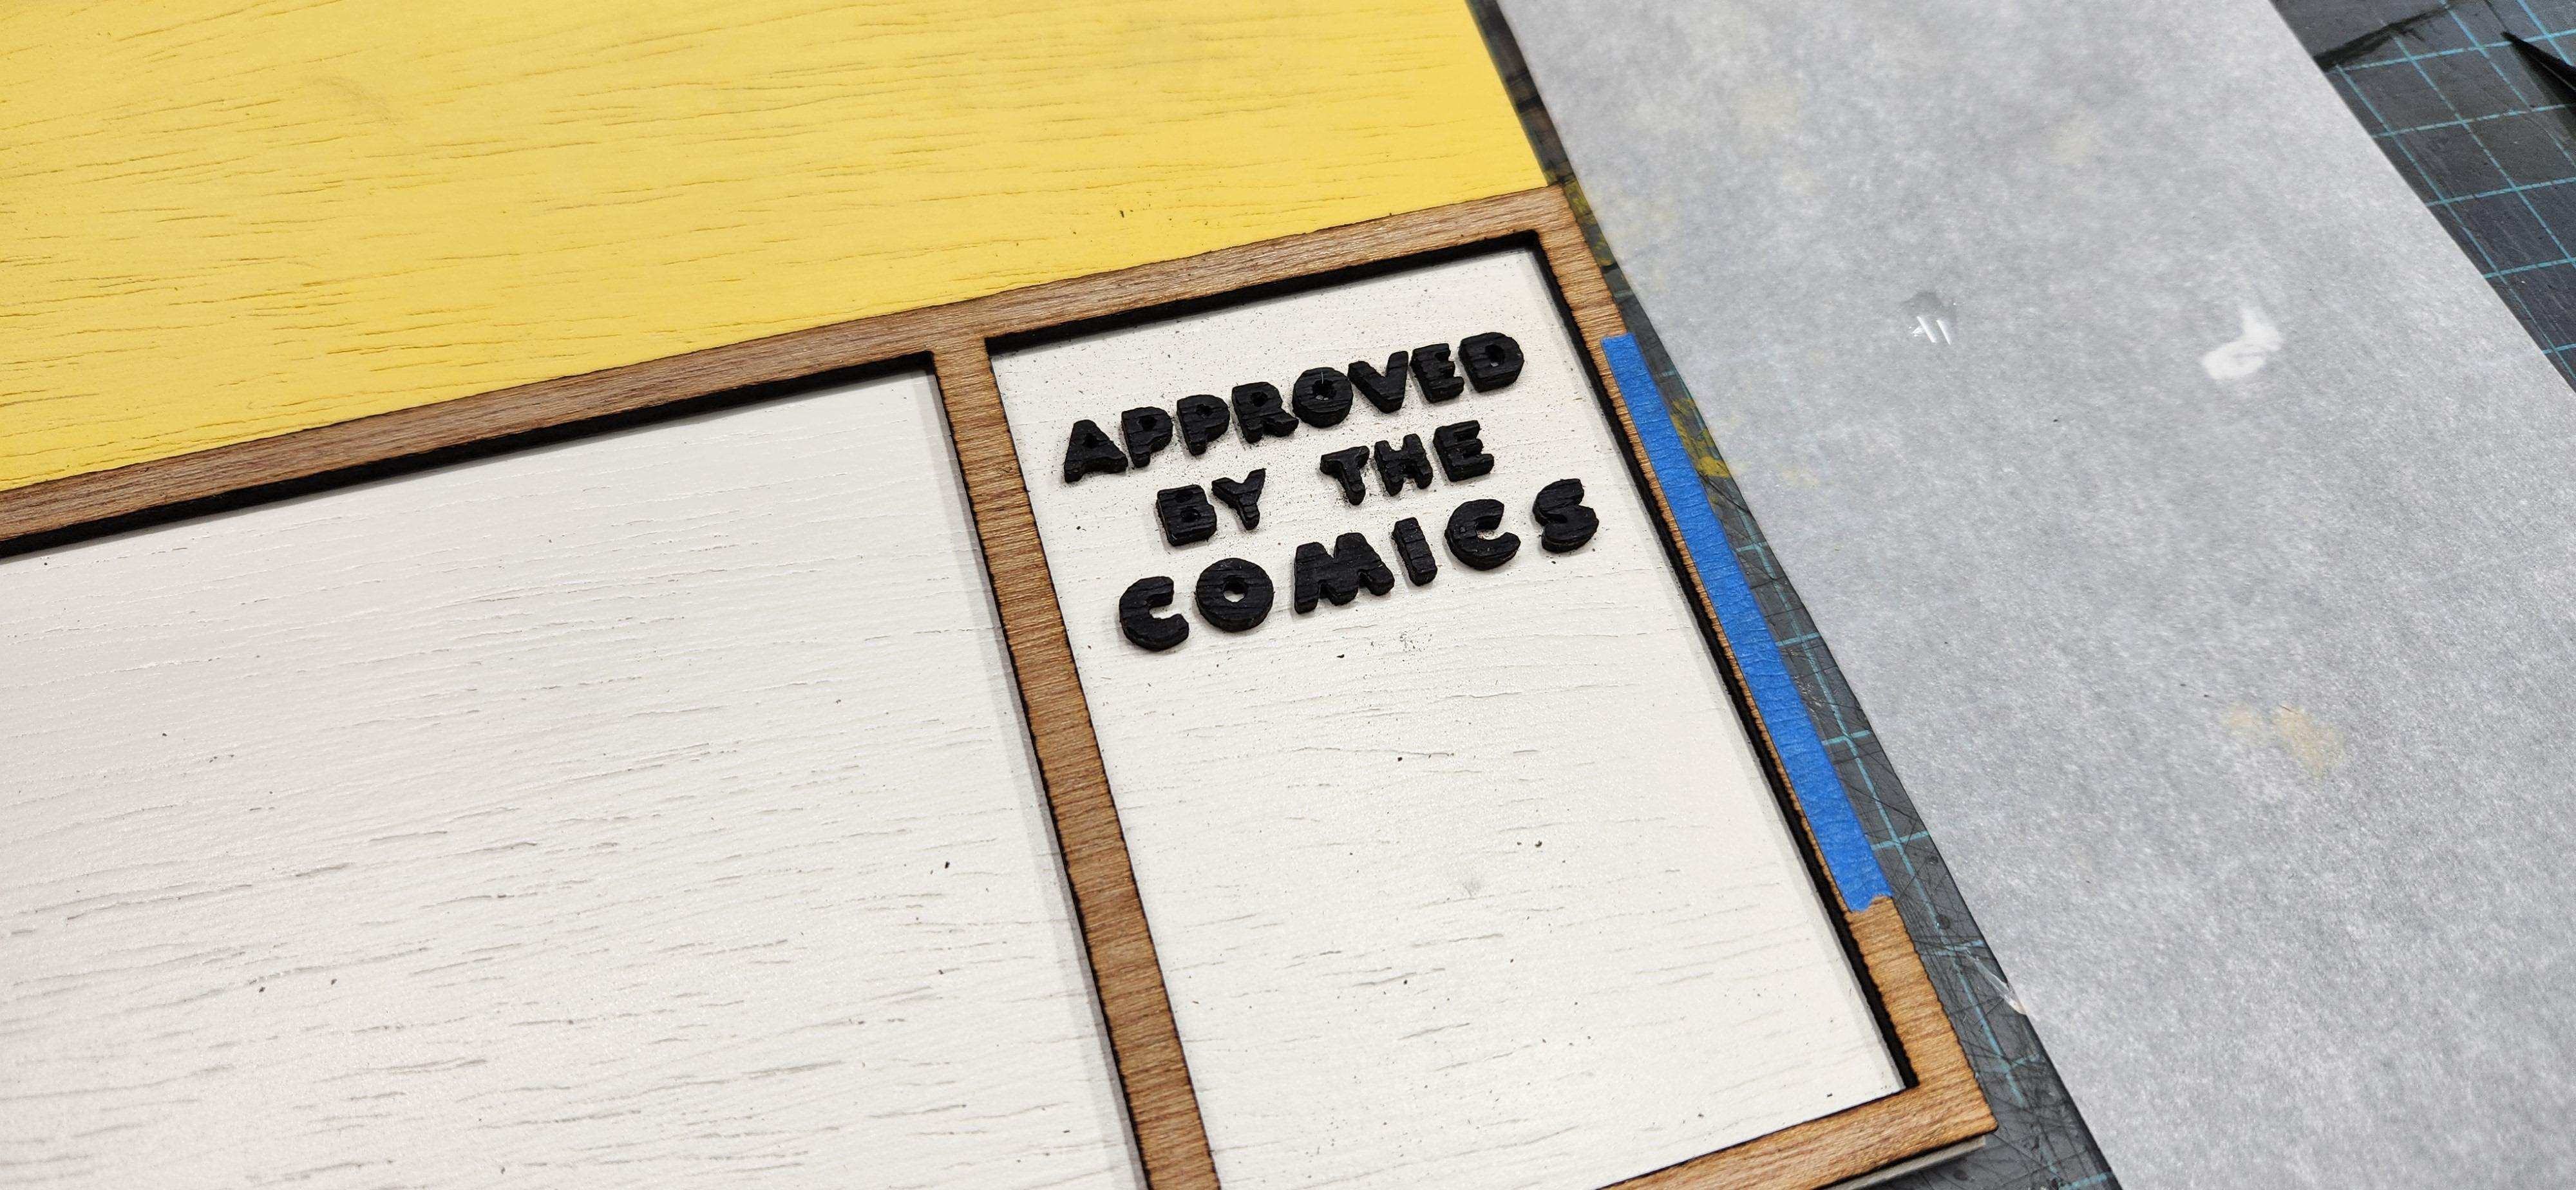
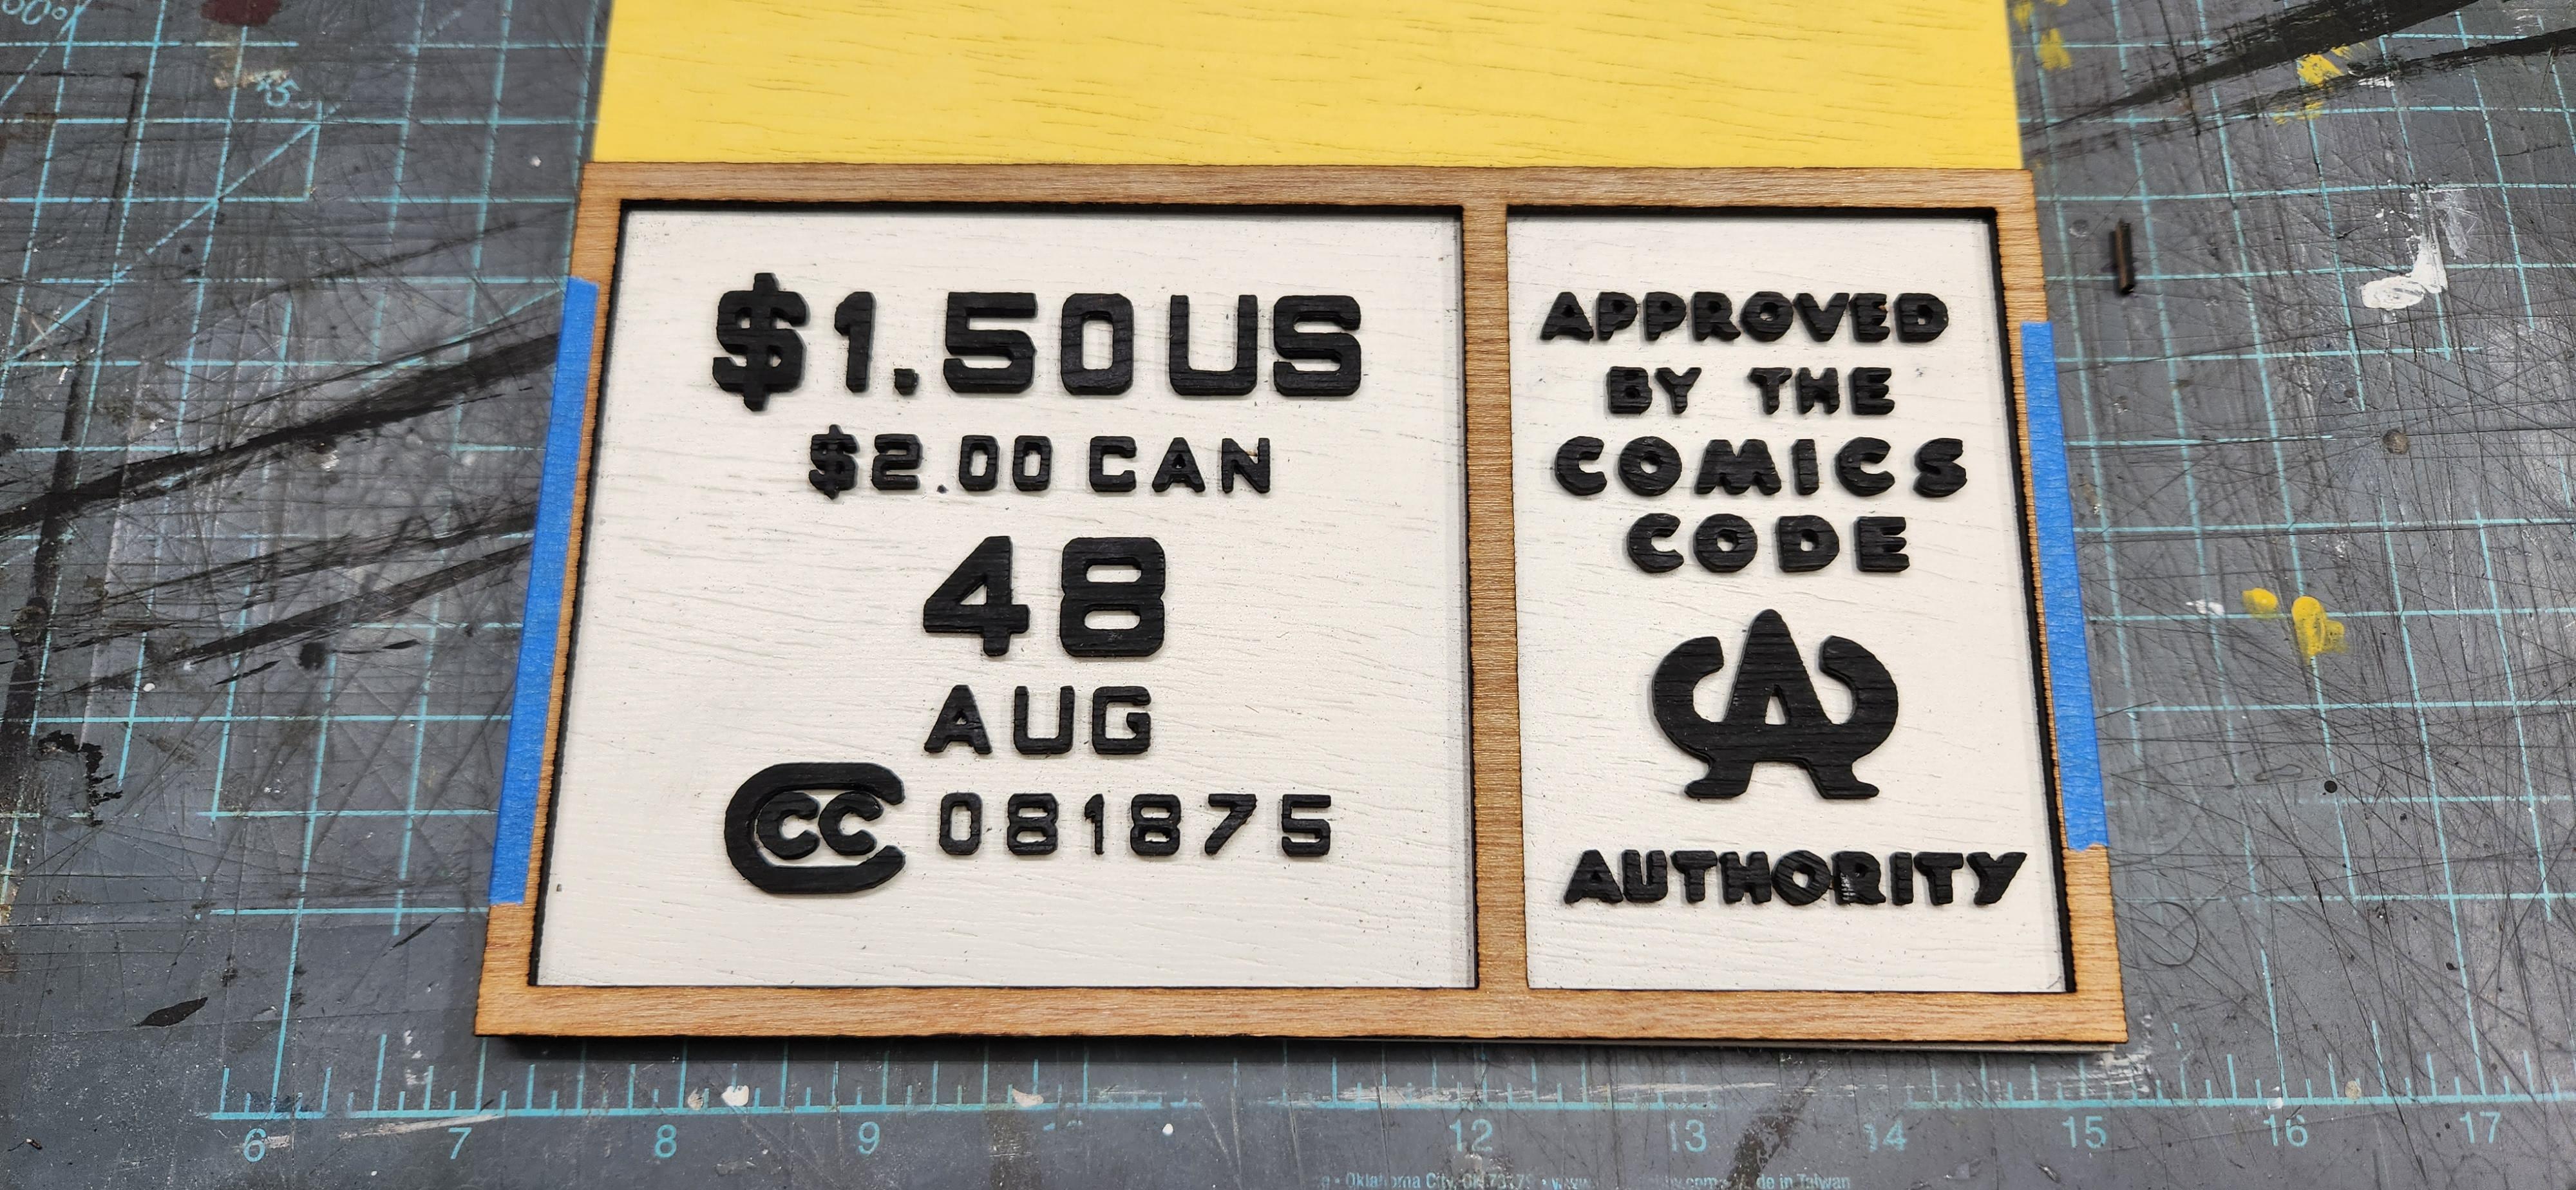
To glue the letters on I use the tip of an Xacto knife to pick up a small amount of super glue and spread it on the back of the letter. Then, using the template, I push the letter down in to its correlating spot and hold it there for a quick 10 second count. I repeat this for each number and letter. Make sure to lift the letter template up after every few letters are glued down to make sure you haven't inadvertently glued the whole thing down to the background.
Once I finish gluing everything down, I like to double check each letter by nudging it a bit with my finger to see if it breaks free. In the past there have been times where I have not used enough glue and the letter doesn't quite stick and falls off. Which means it usually gets lost, which means I have to cut an entire info box on the laser again to replace that one tiny letter or number. So double checking is a good idea at this point.
Cutting and Gluing the Borders
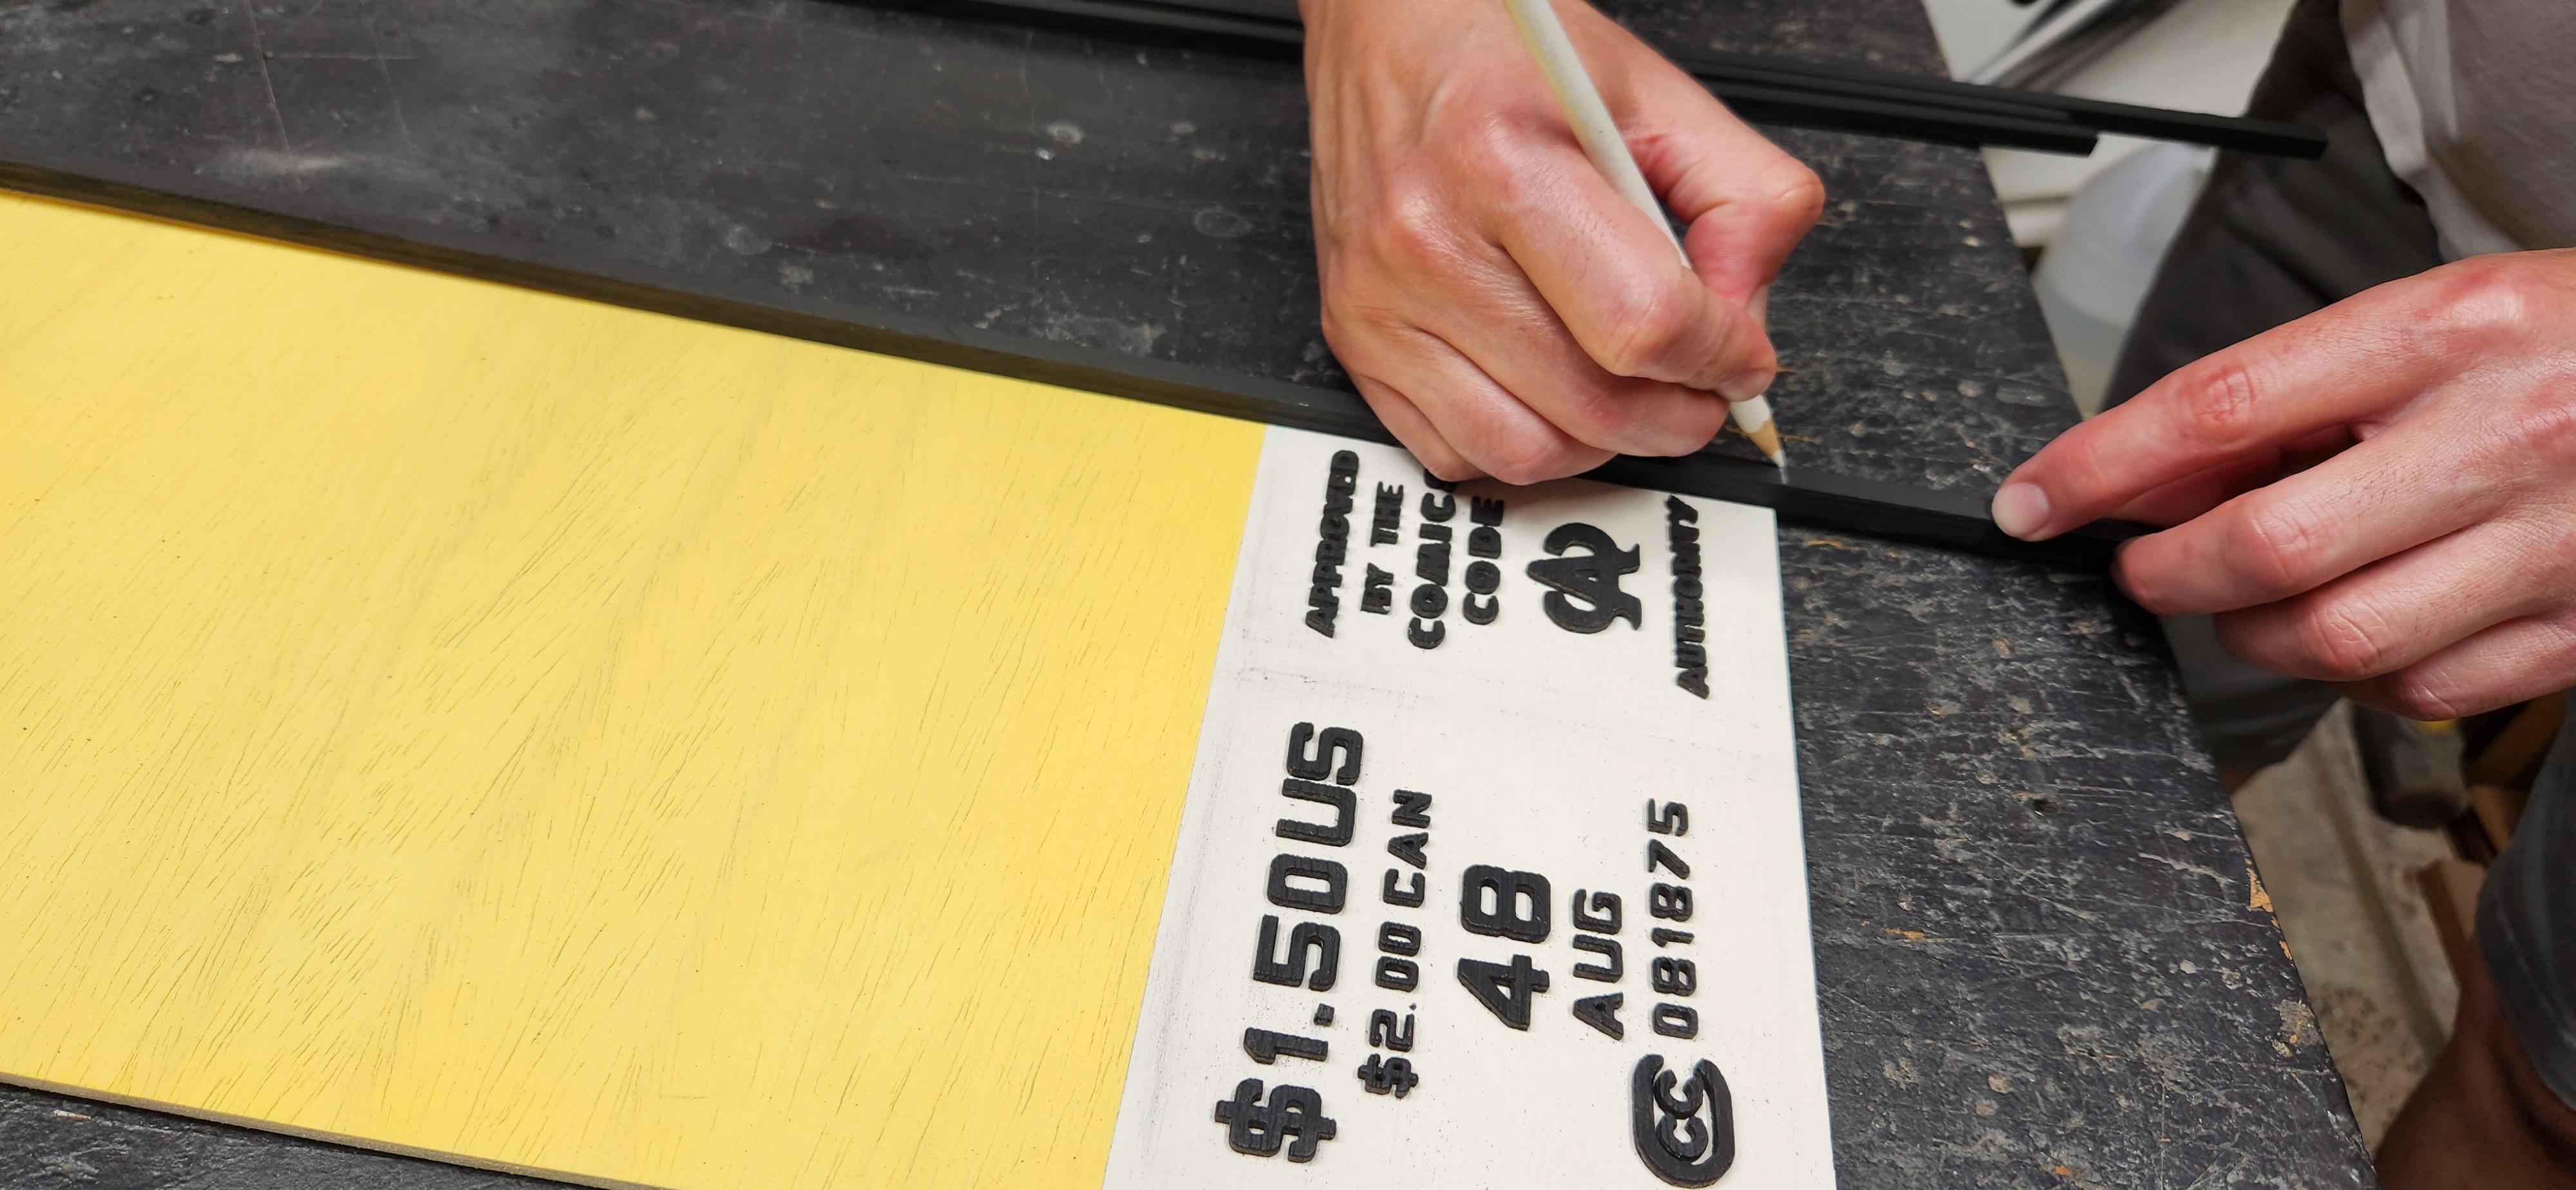
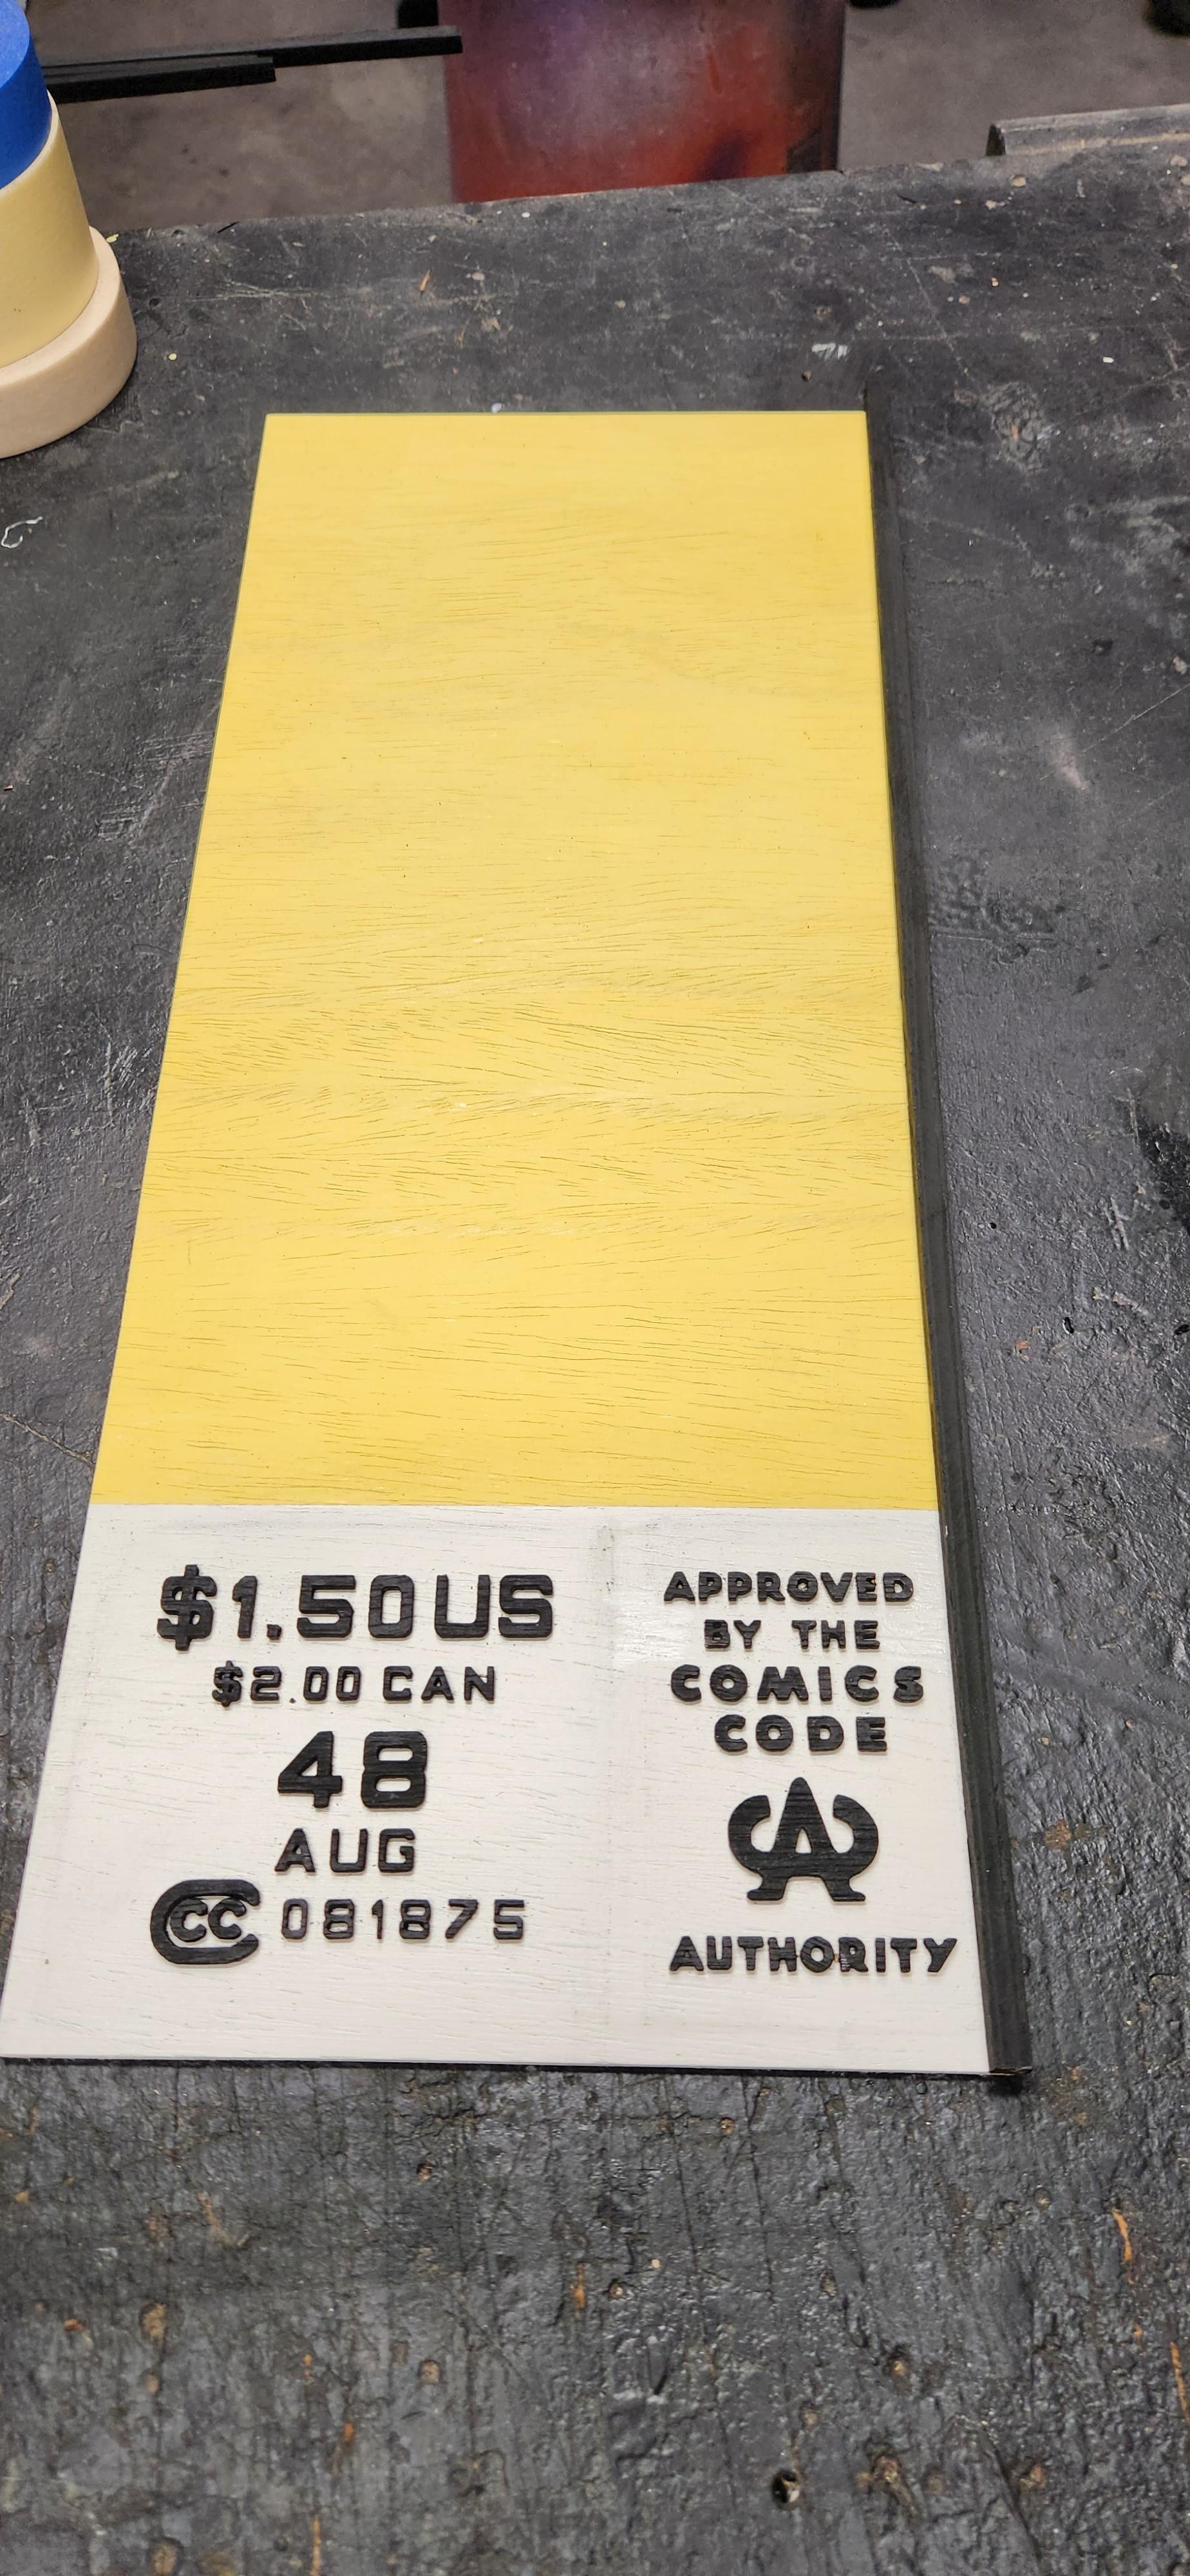
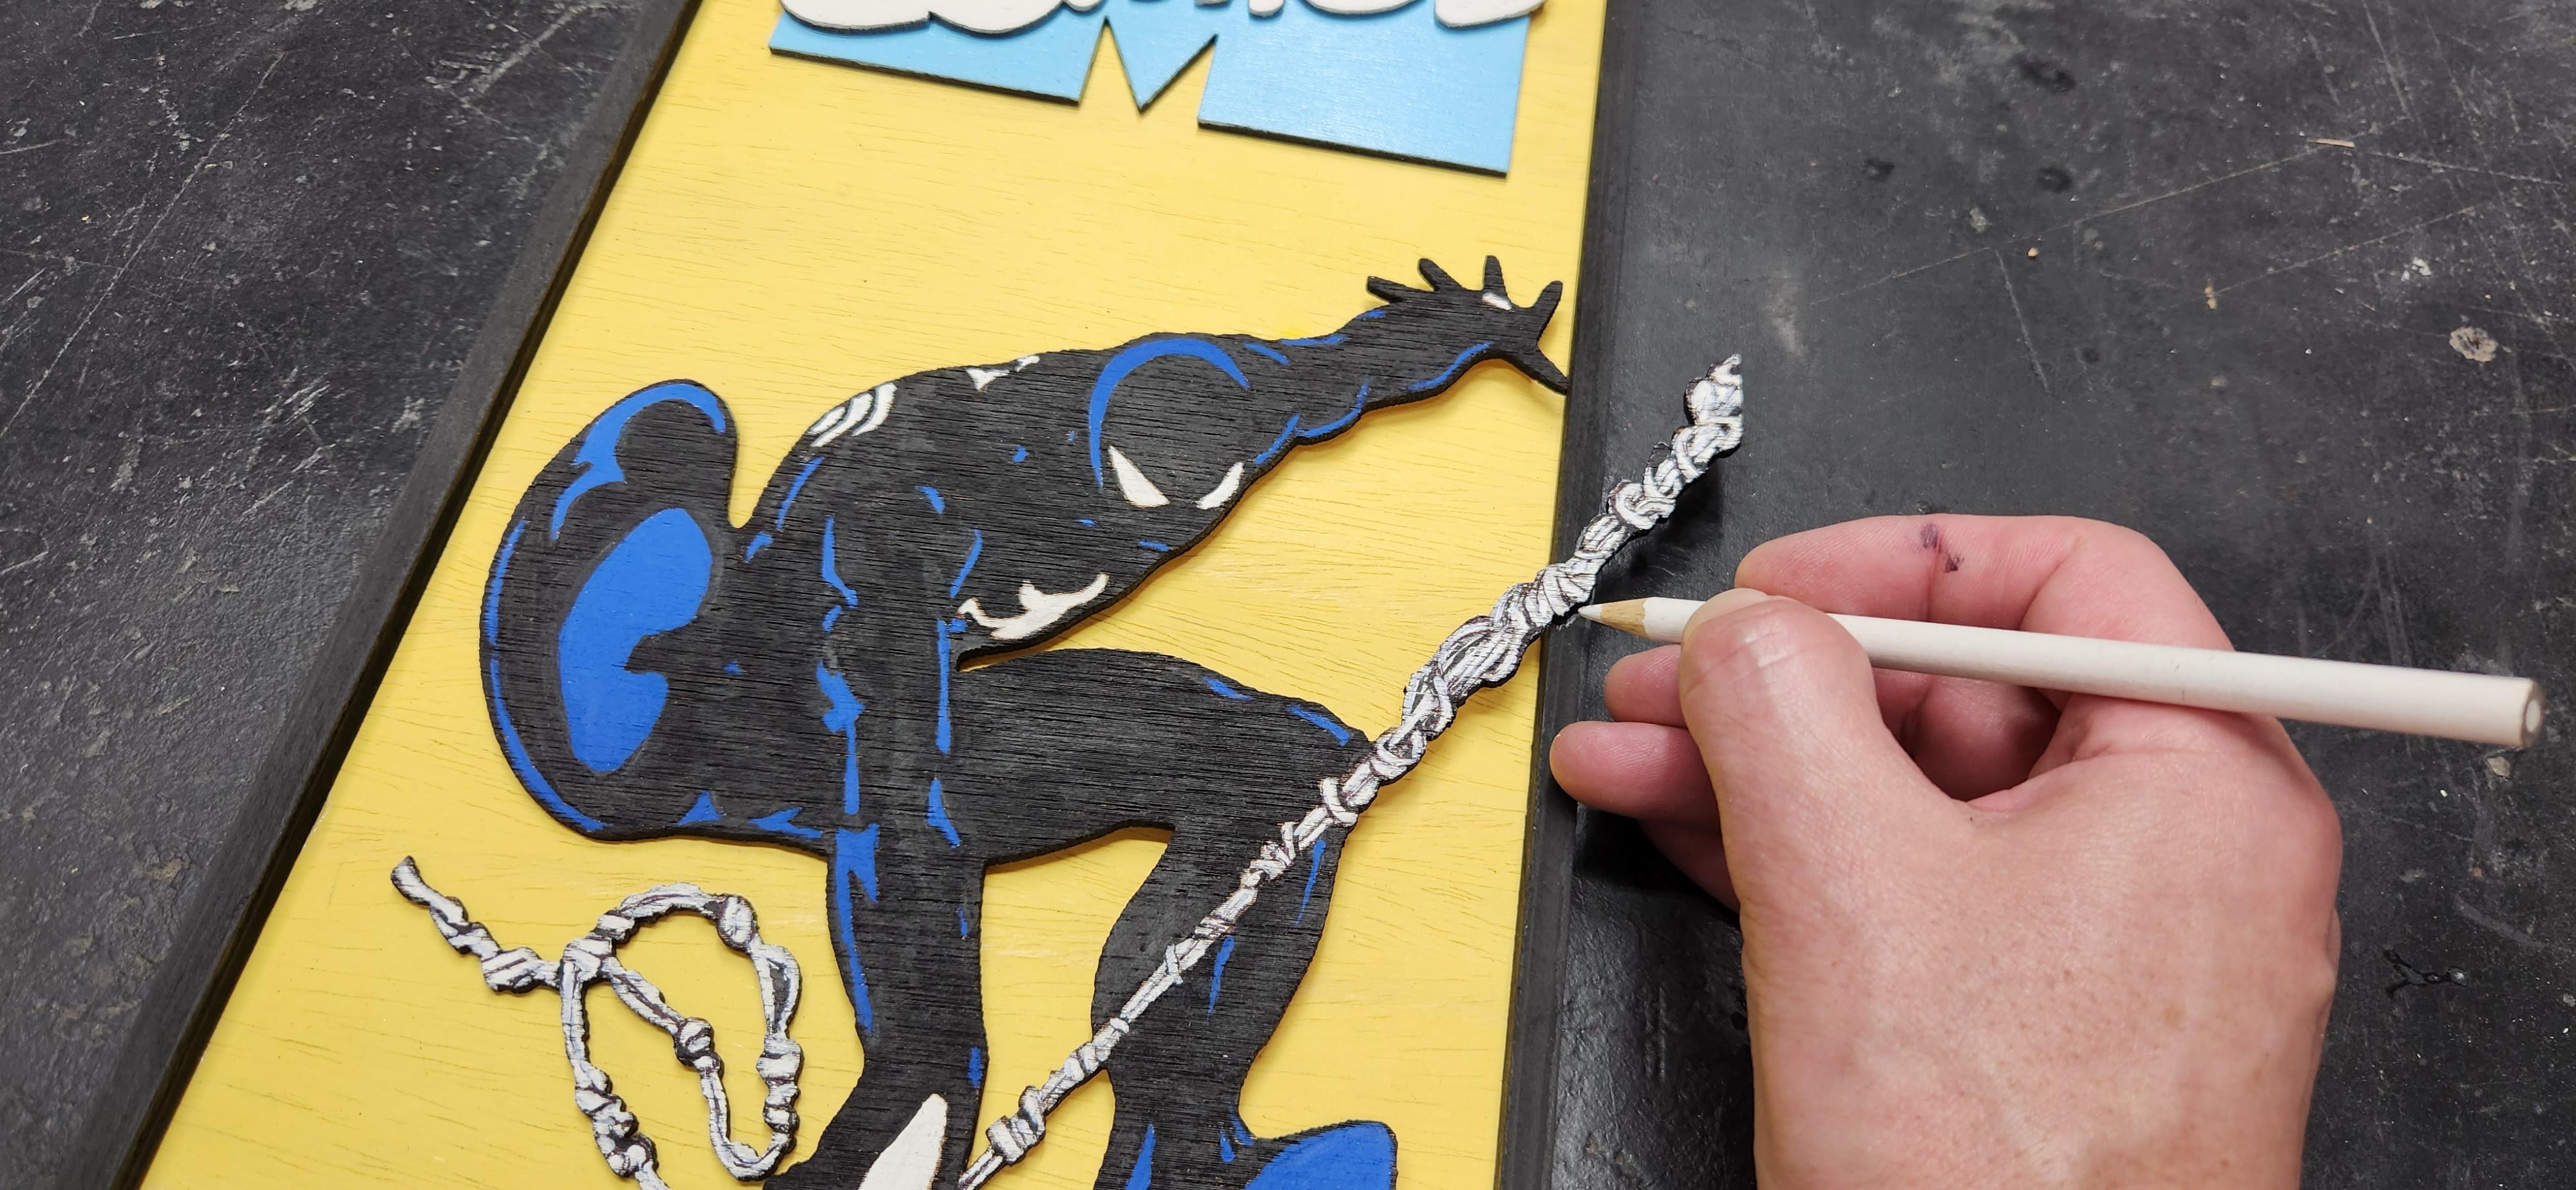
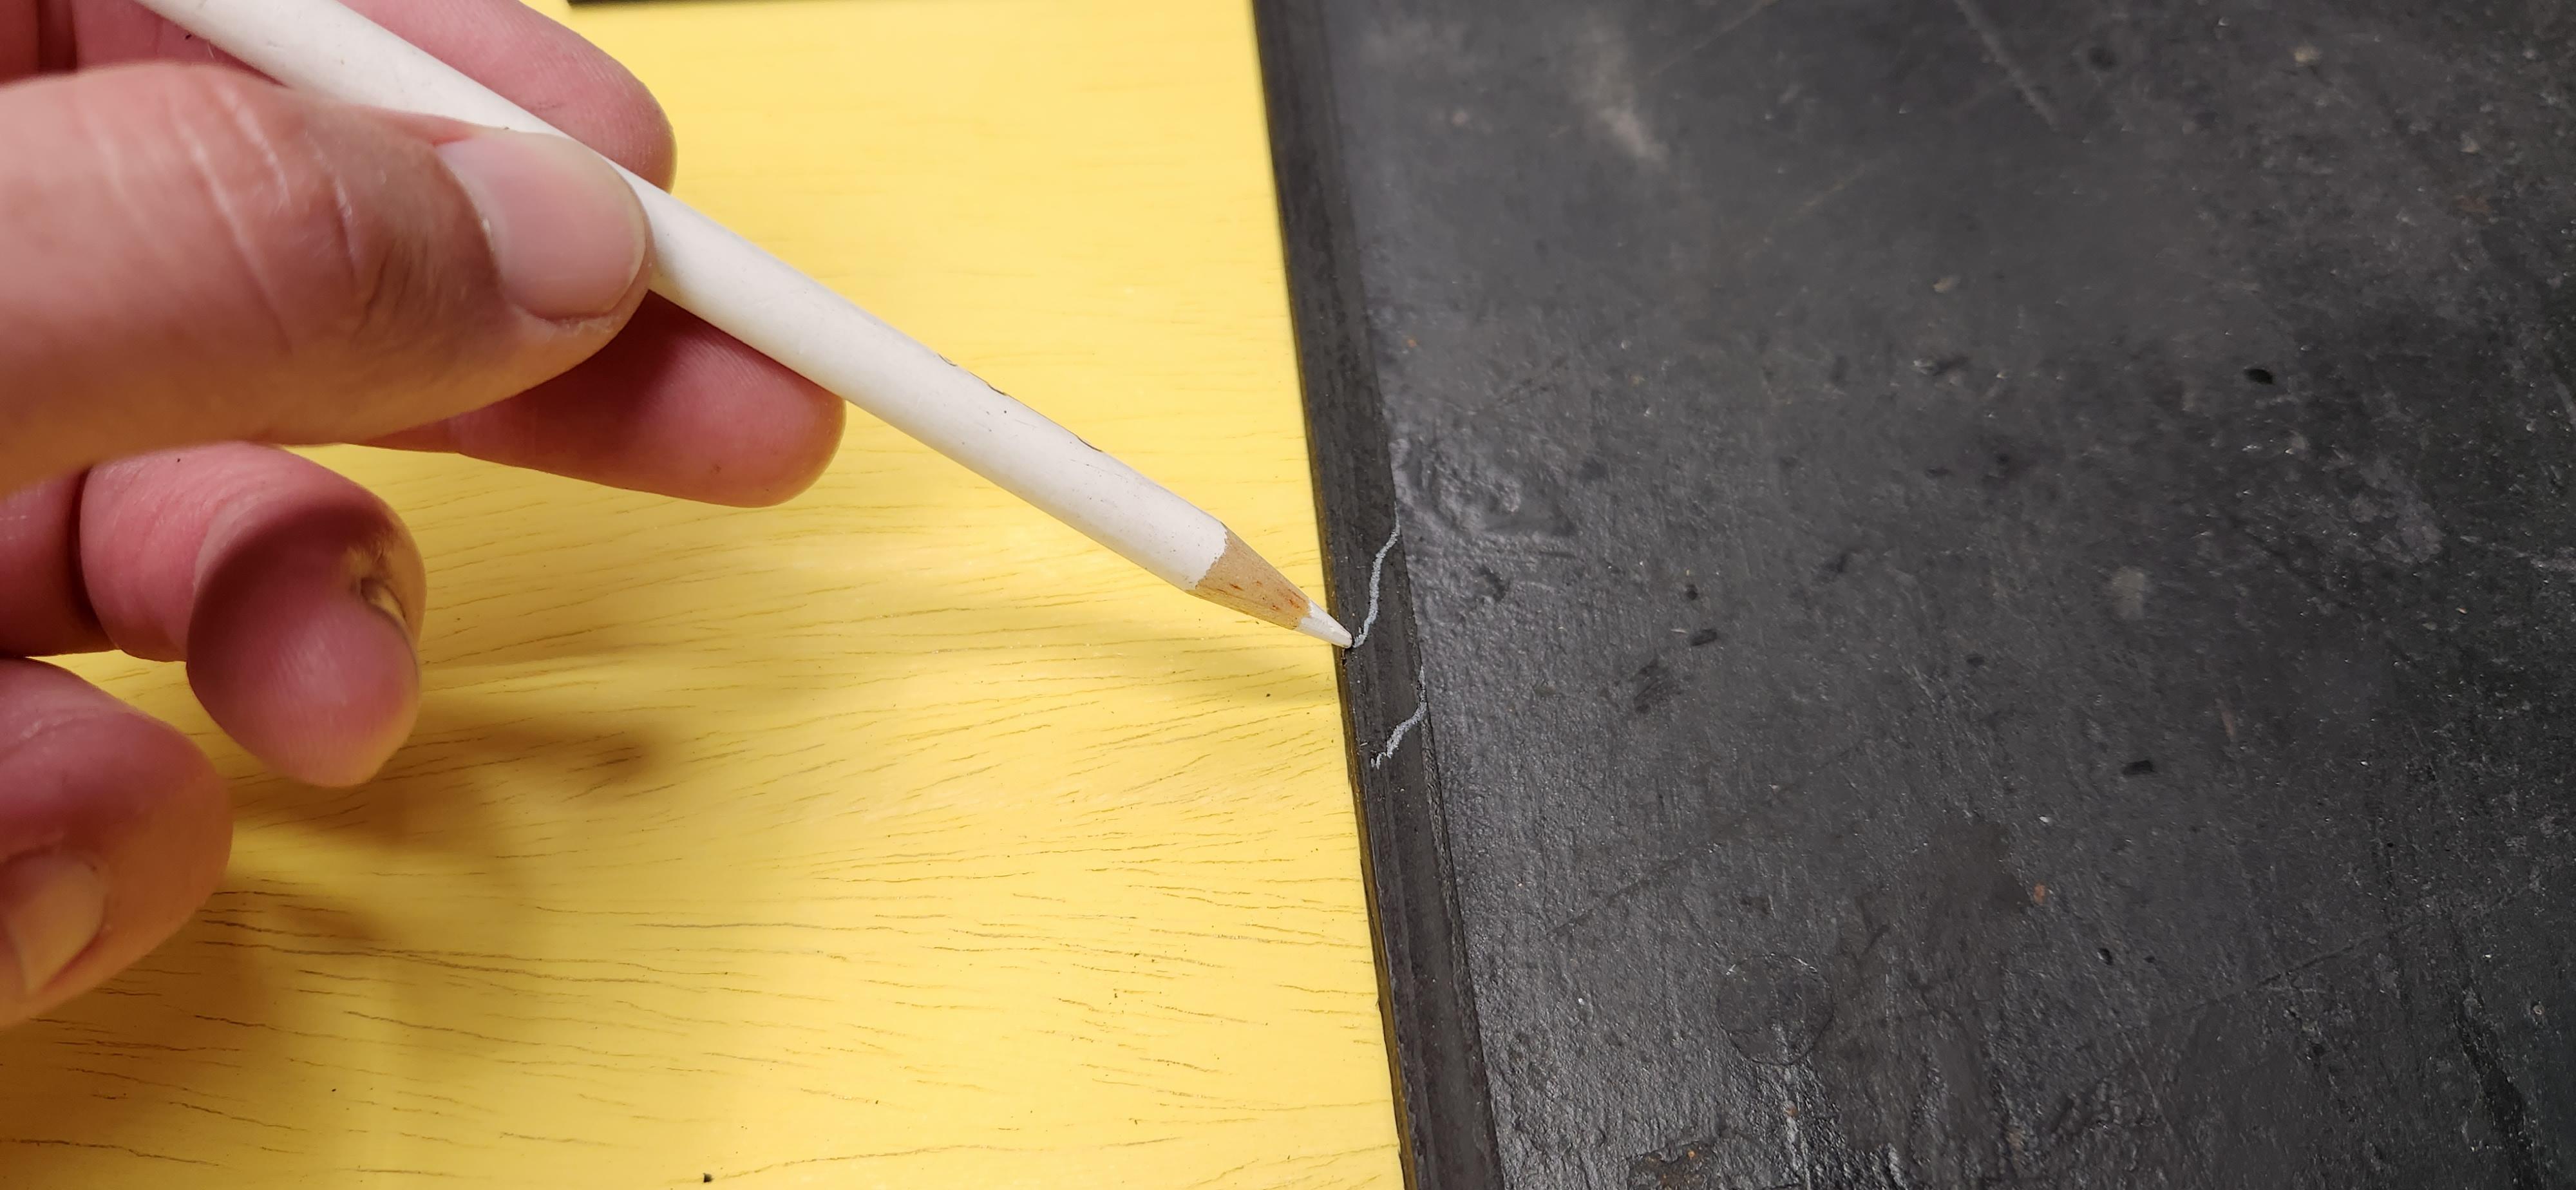
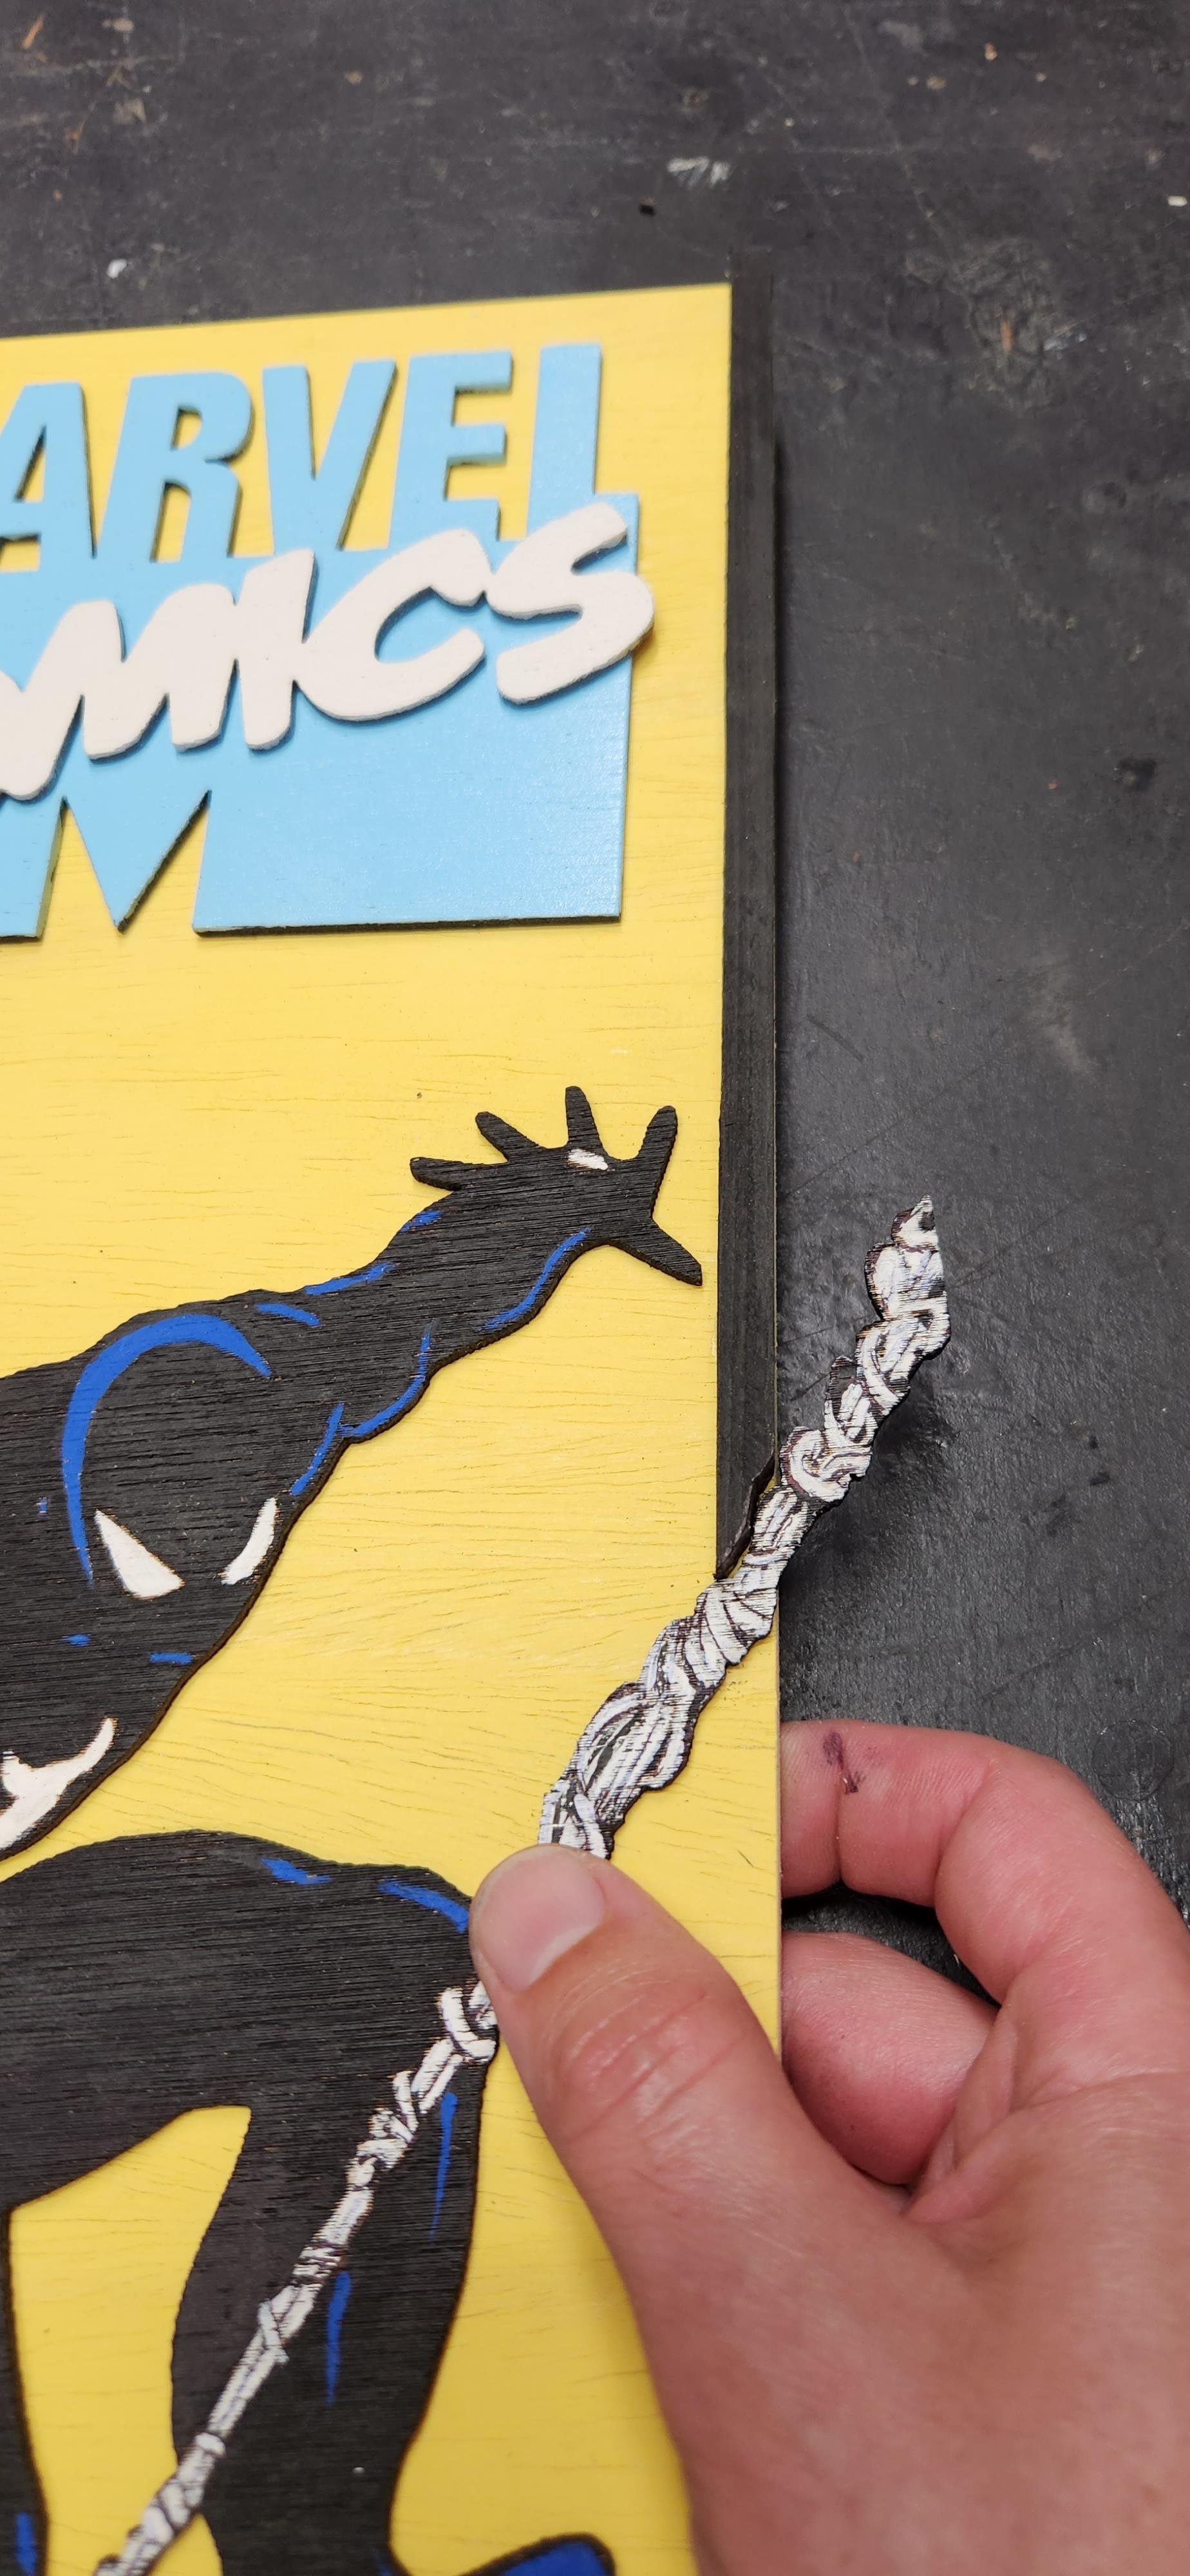
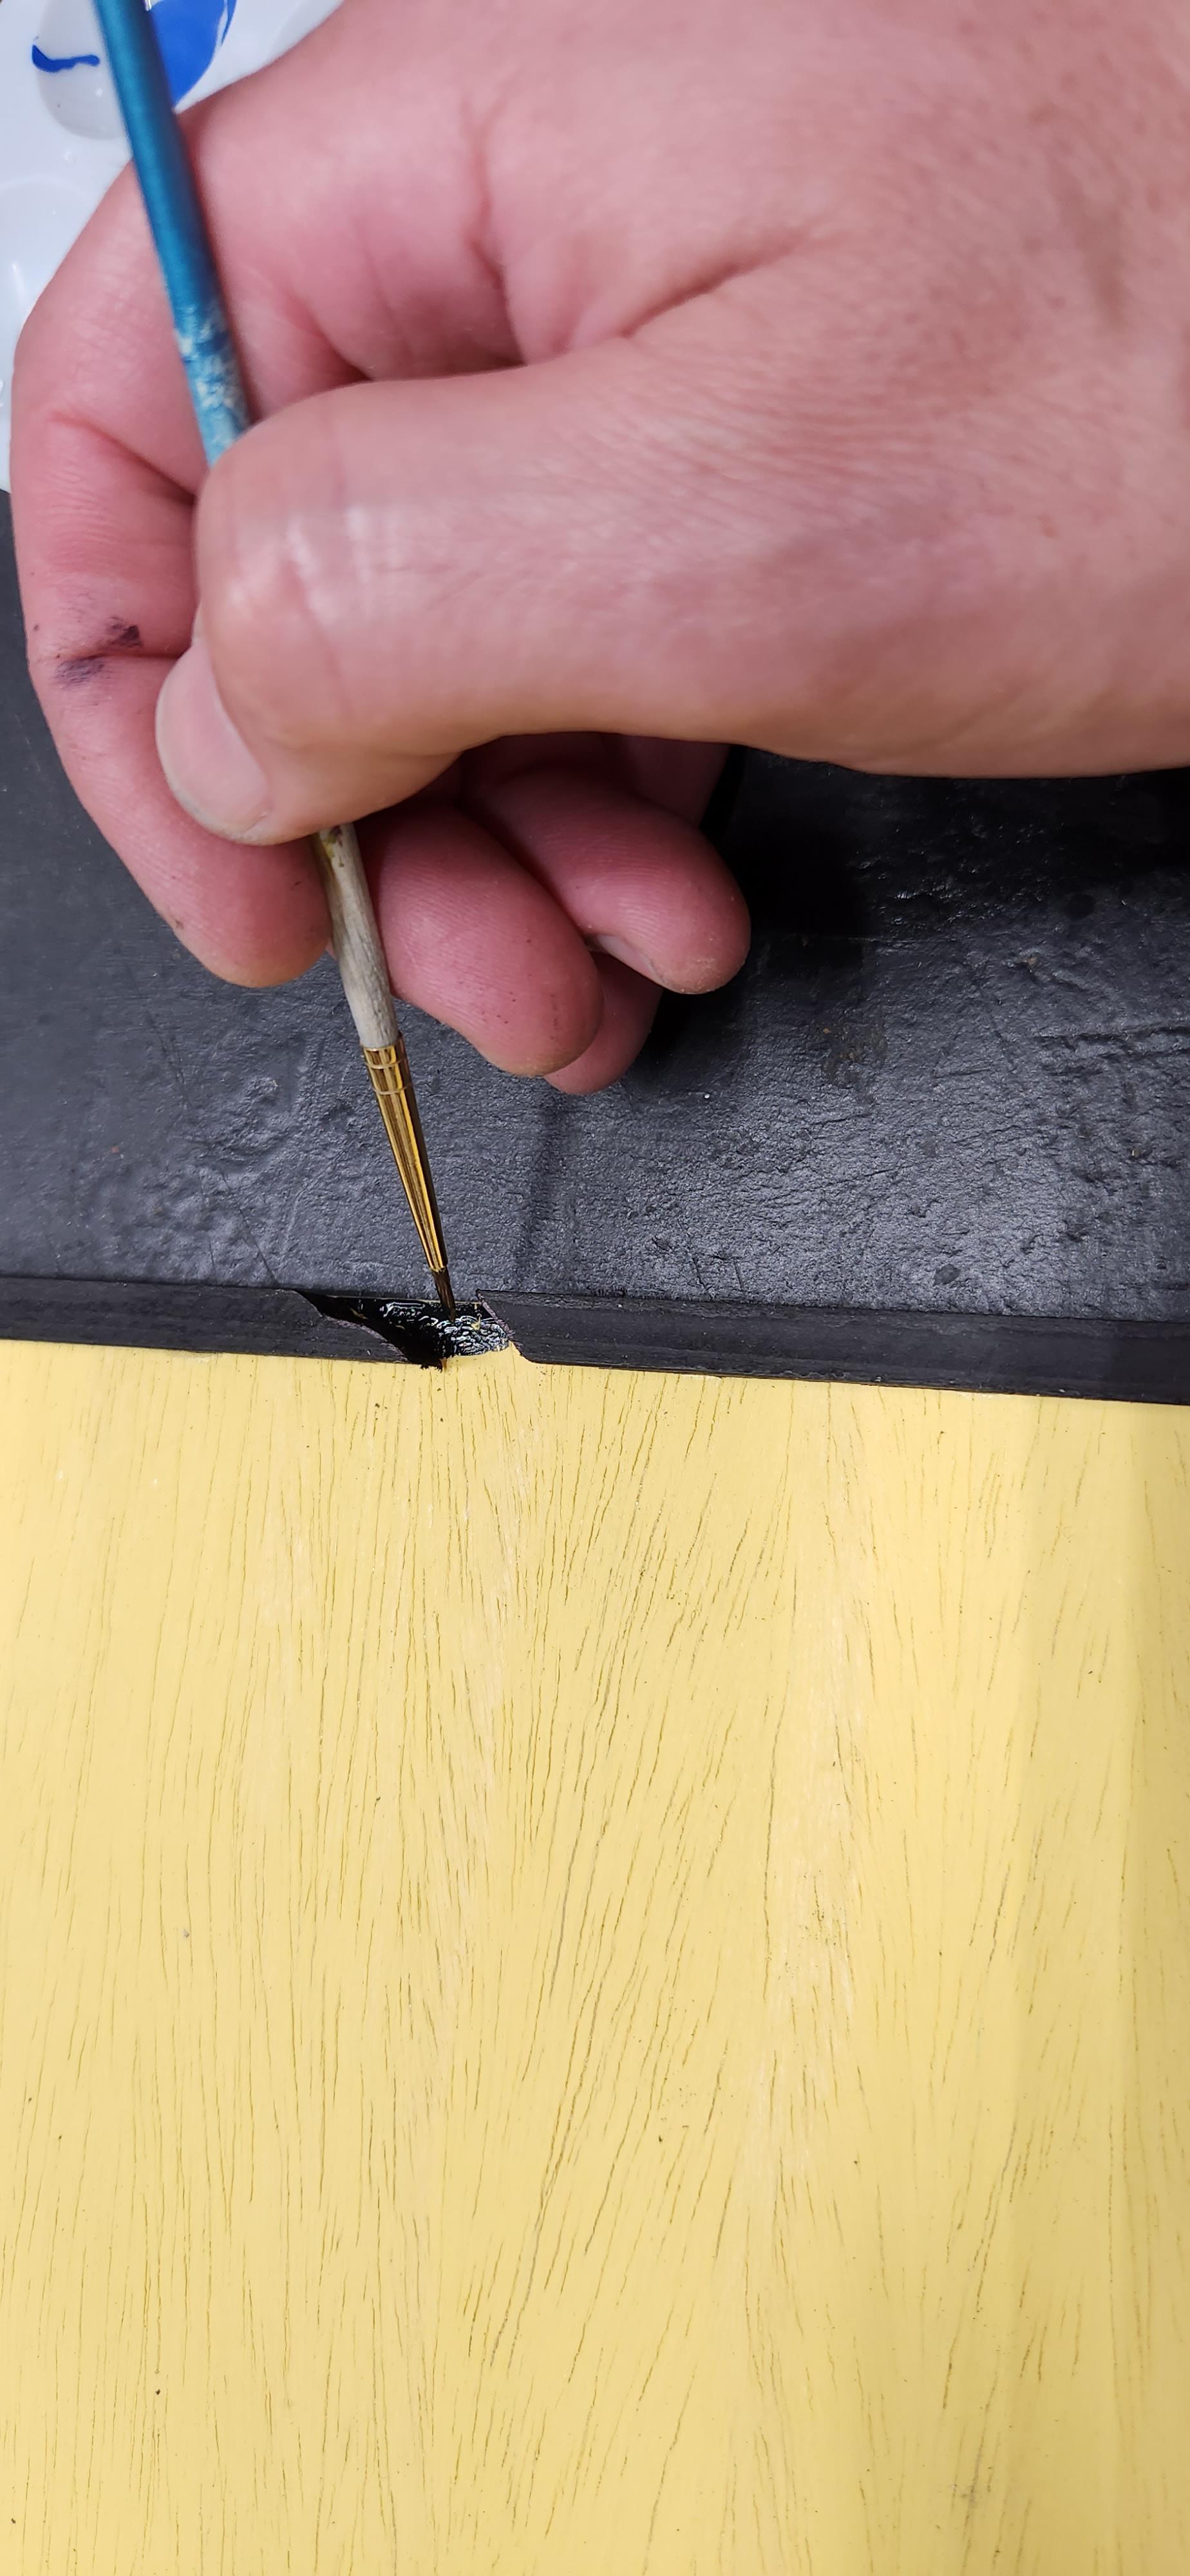
Gluing the border pieces on is fairly straight forward. I just use the background as the measuring guide. I place the 1/4-inch square dowel on the background and mark the length. I use a fine-tooth cutting saw (you can use a flush trim saw or even a hack saw) to make a nice clean cut and then double check the piece to make sure it is the correct length. If it's a little long, I sand it back to the correct length or I make another cut.
On this piece the spider-web is protruding from the side of the background, so I use the spider-man figure as a guide to where I need to cut the right-side border. Then I cut the pieces and paint the background black to give it a cleaner more uninterrupted look.
Using Tape to Help Align Pieces
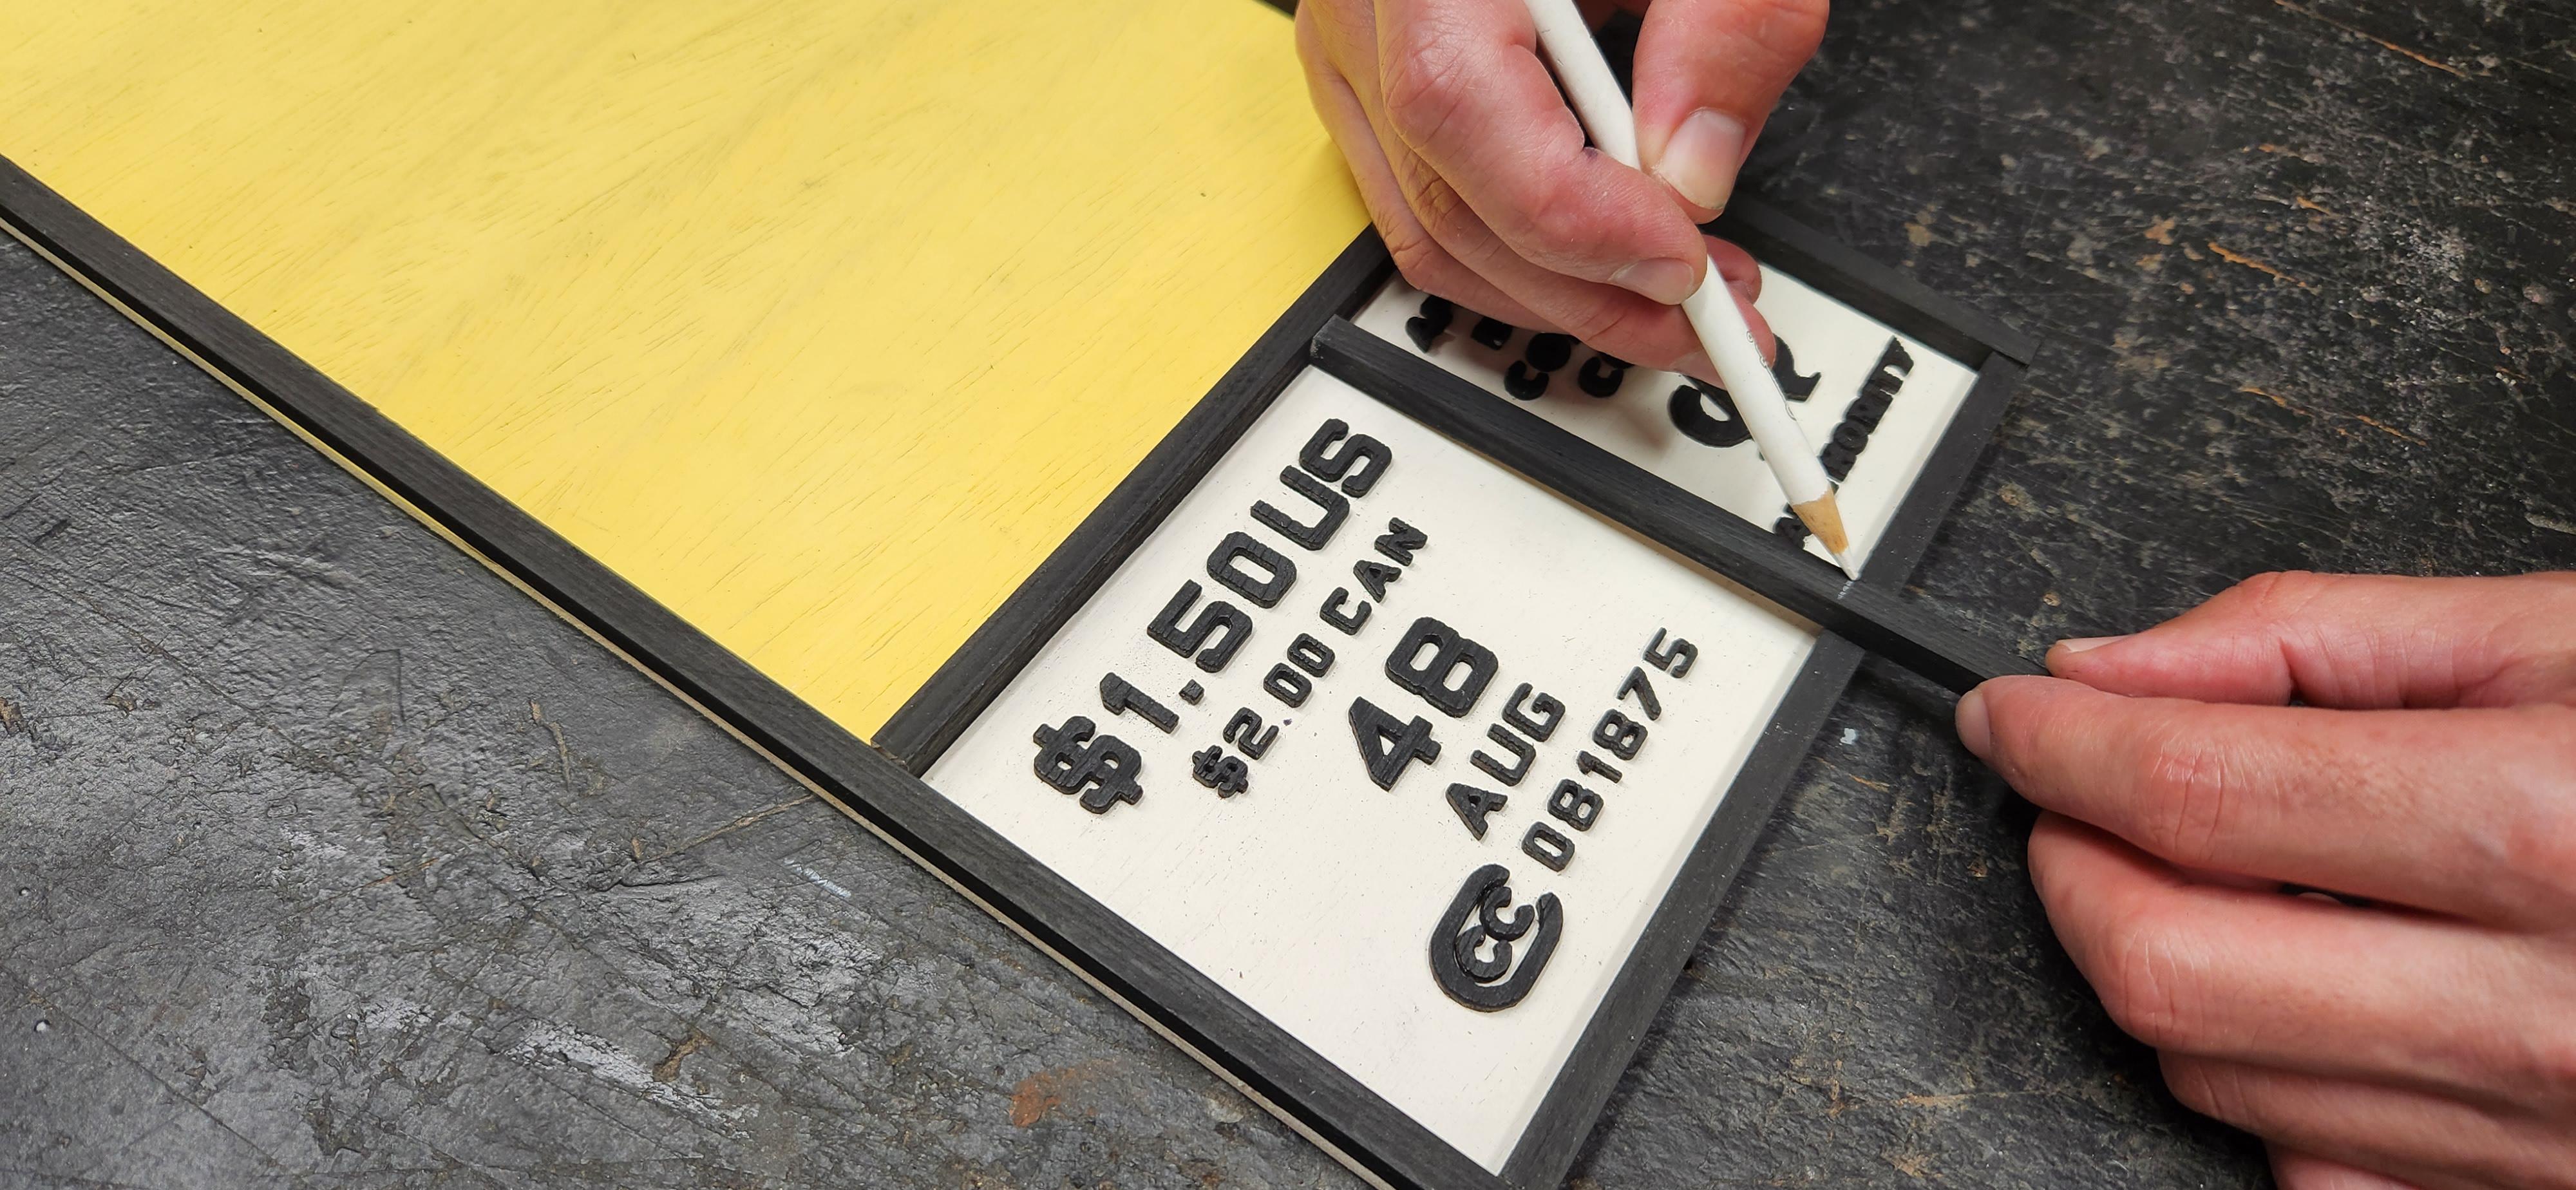
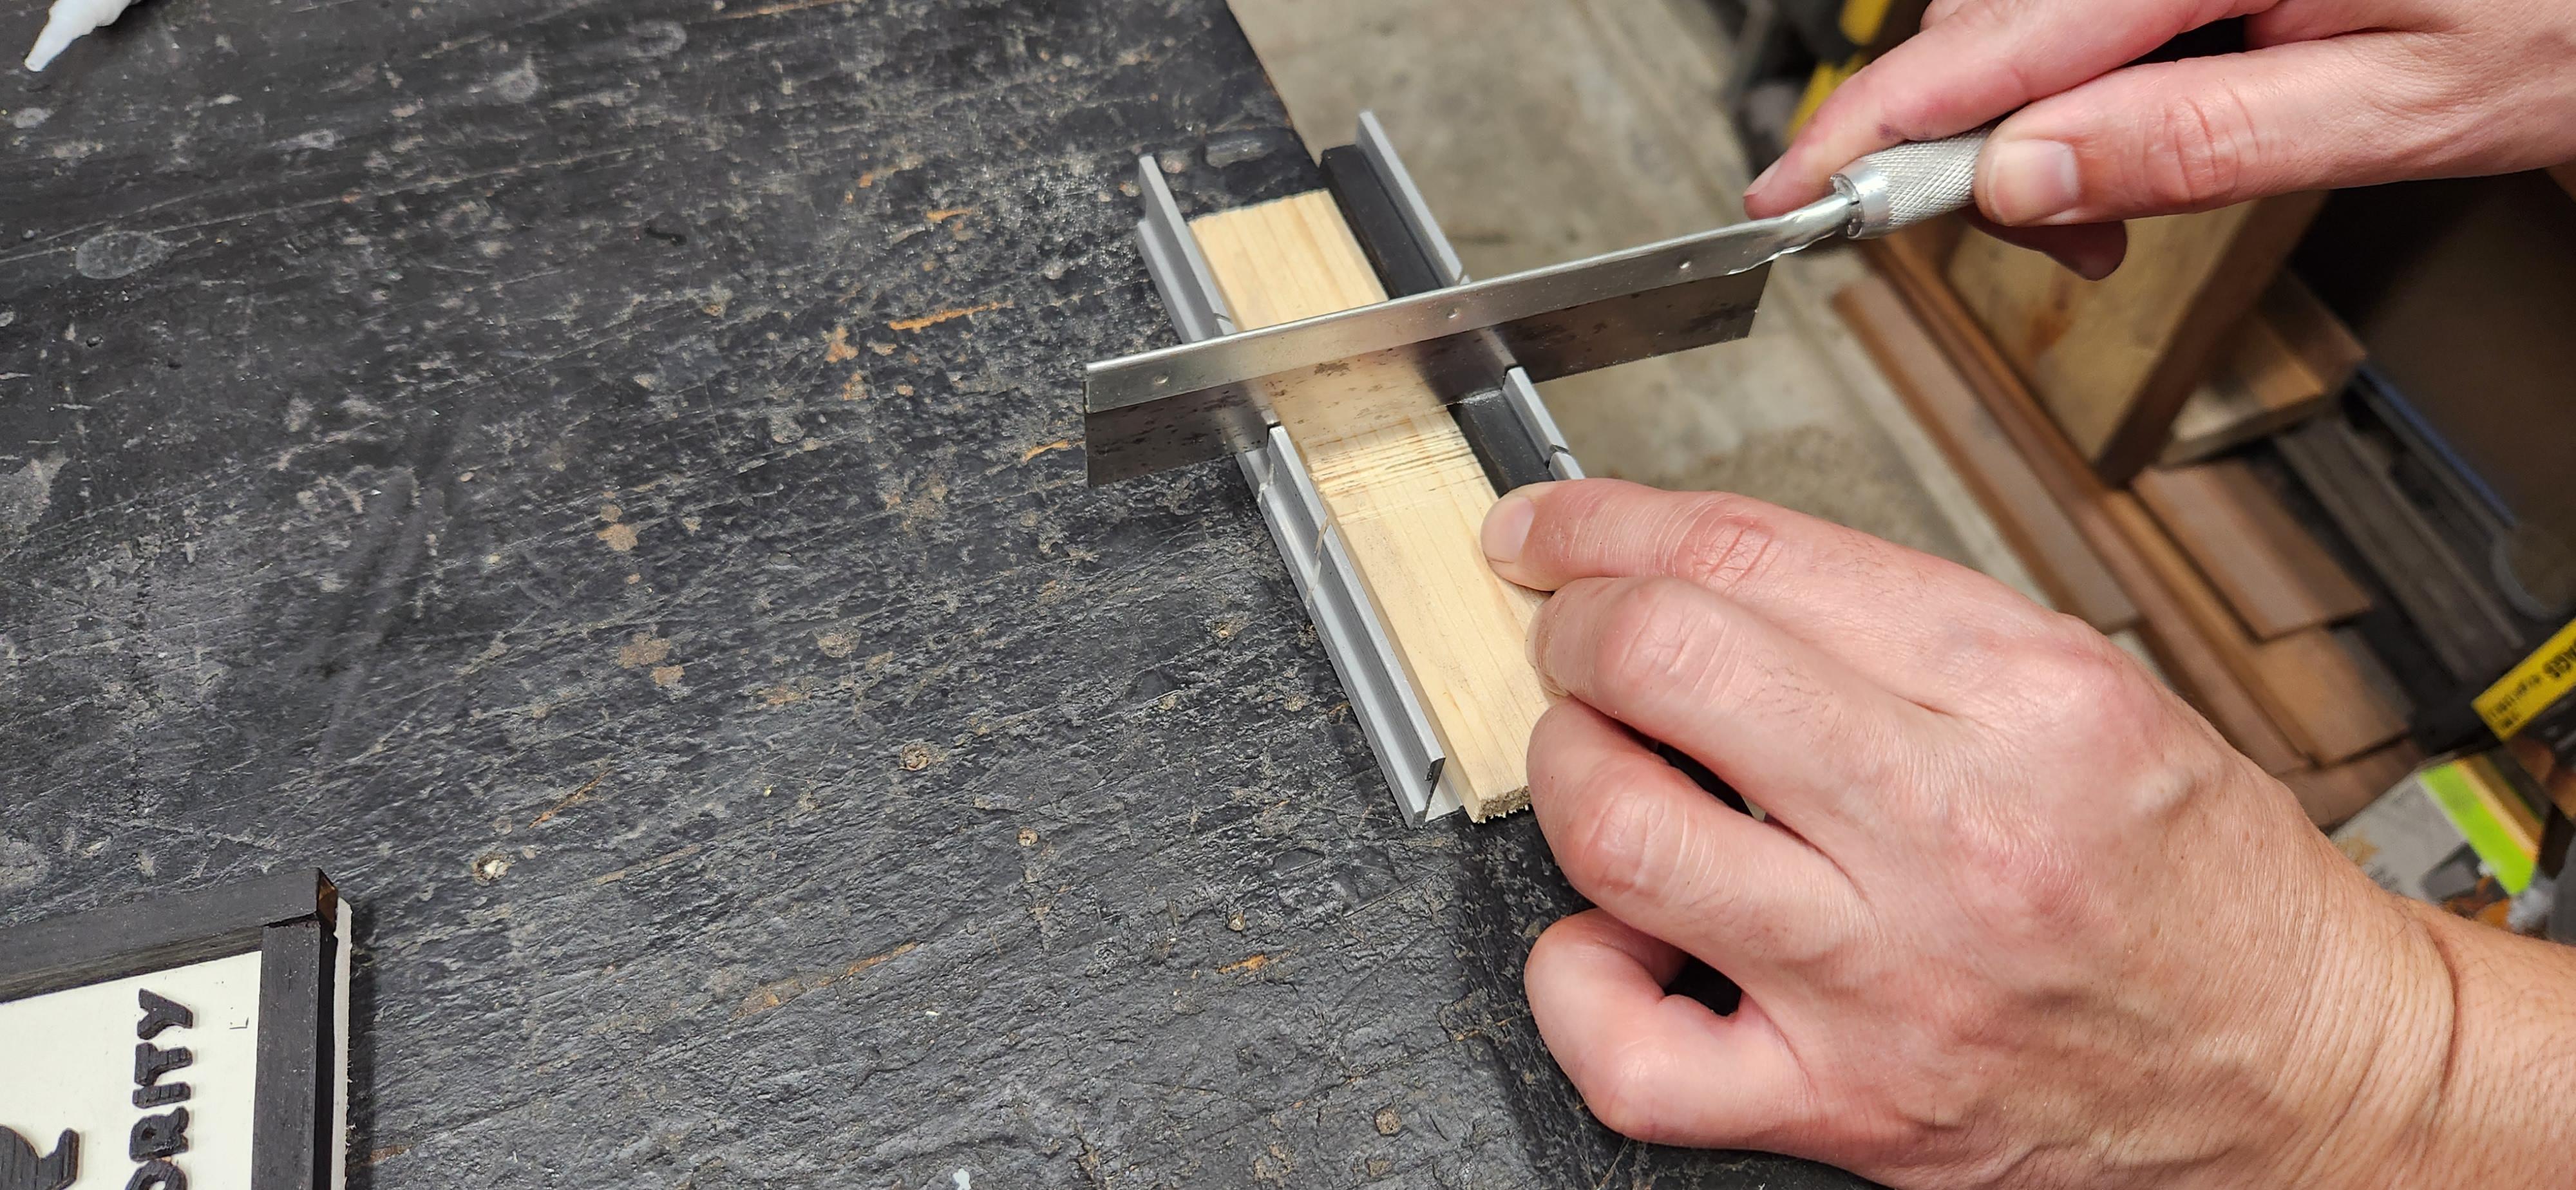
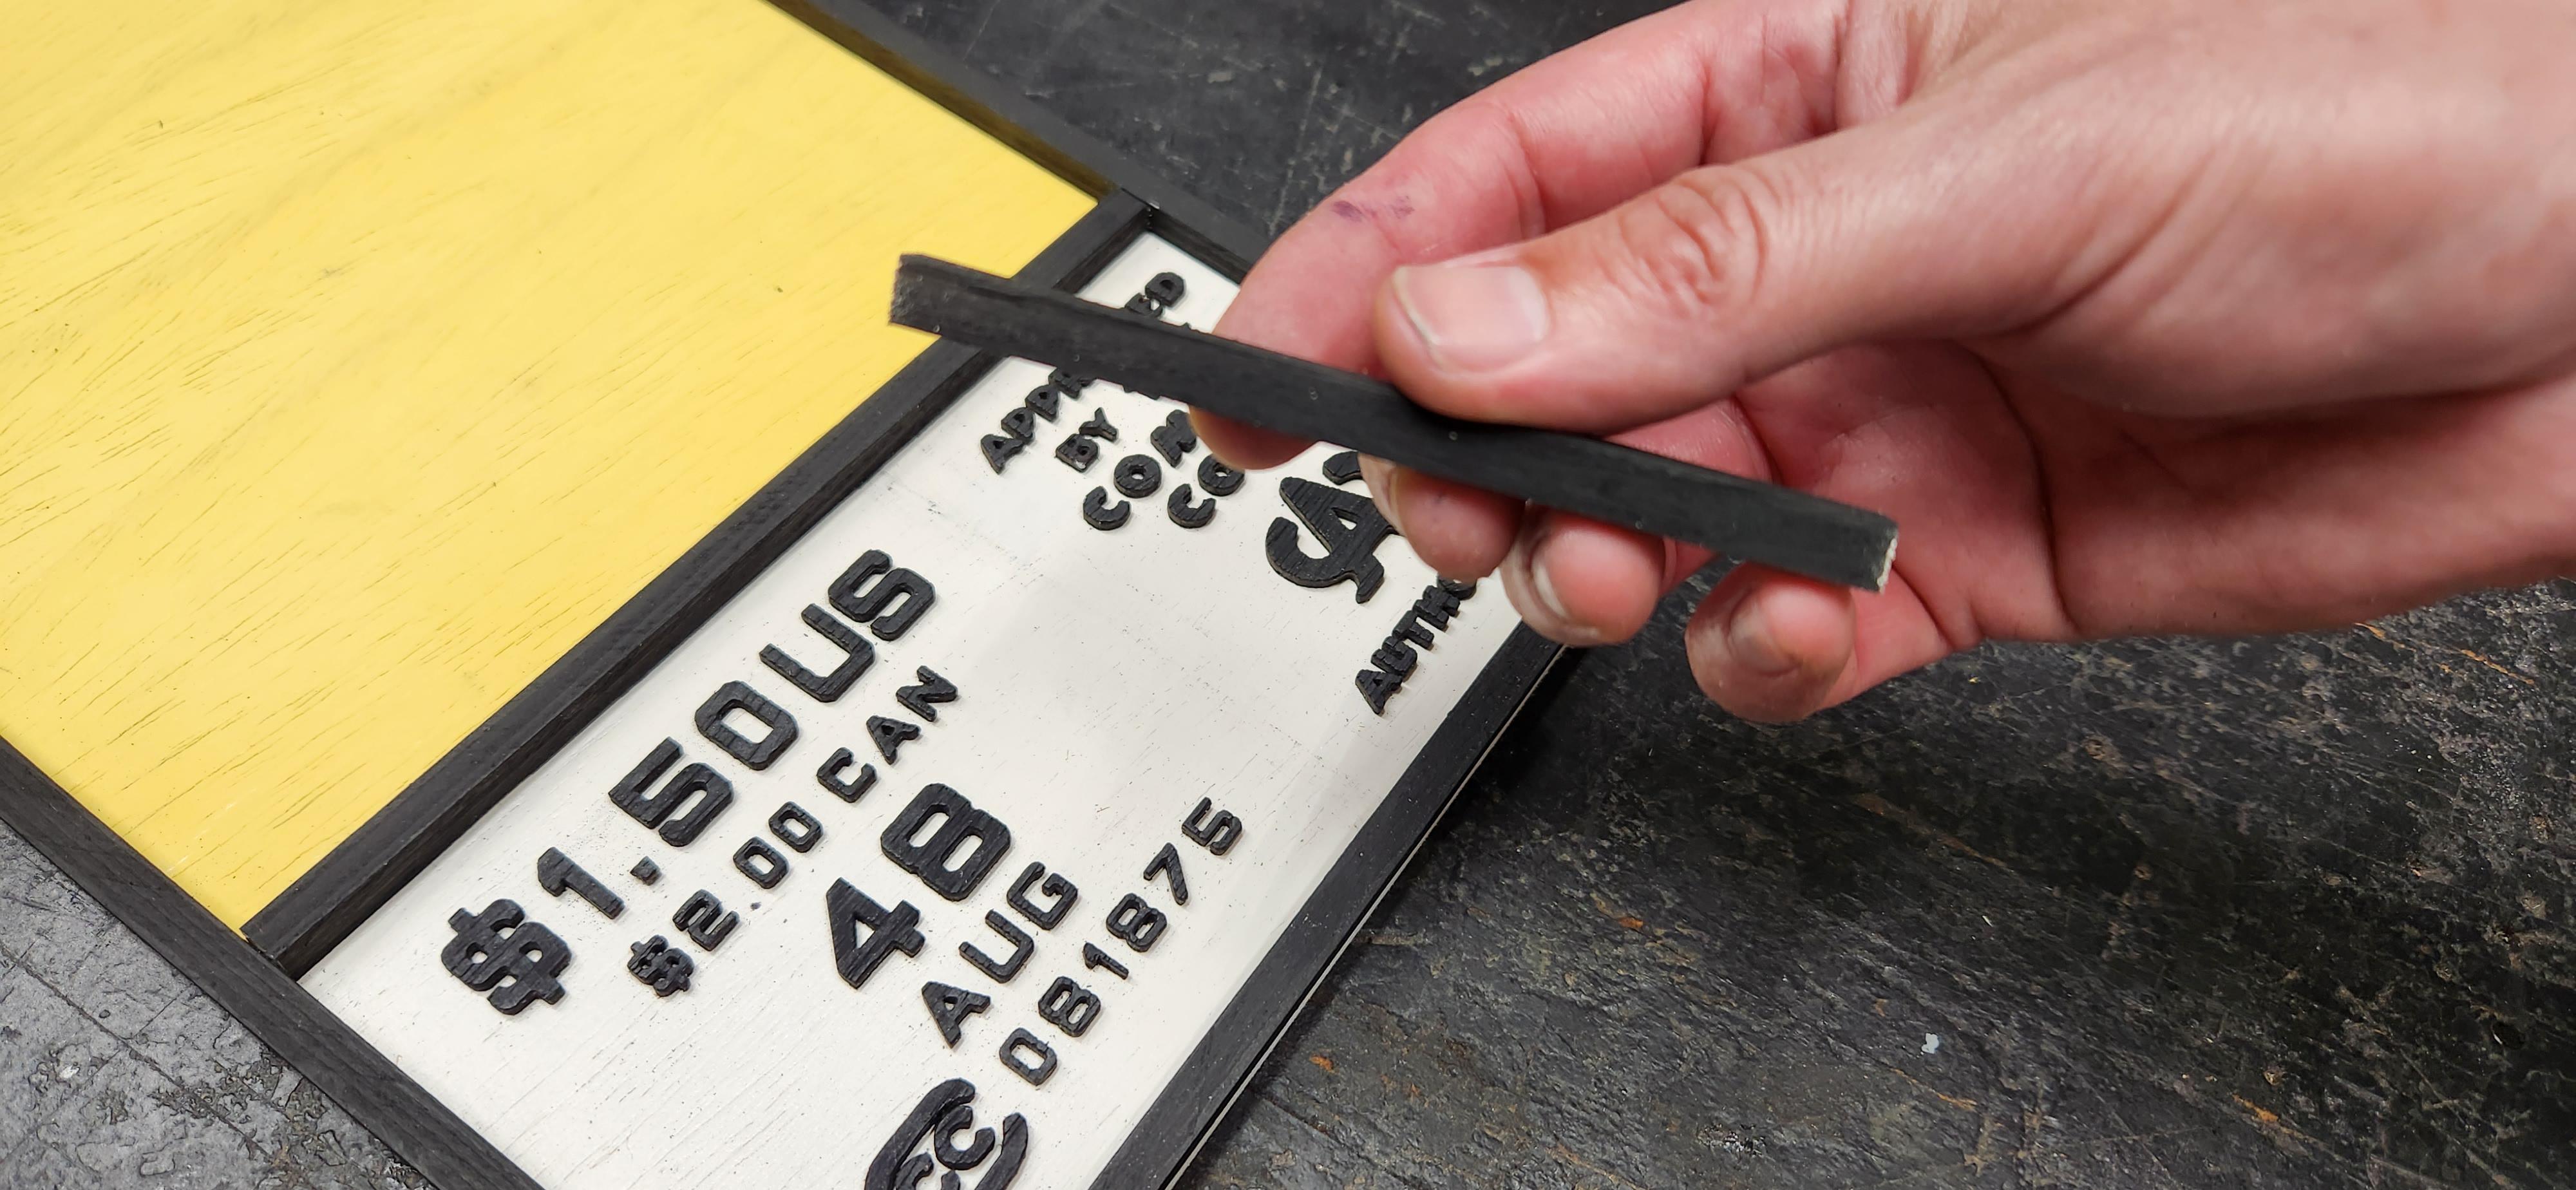
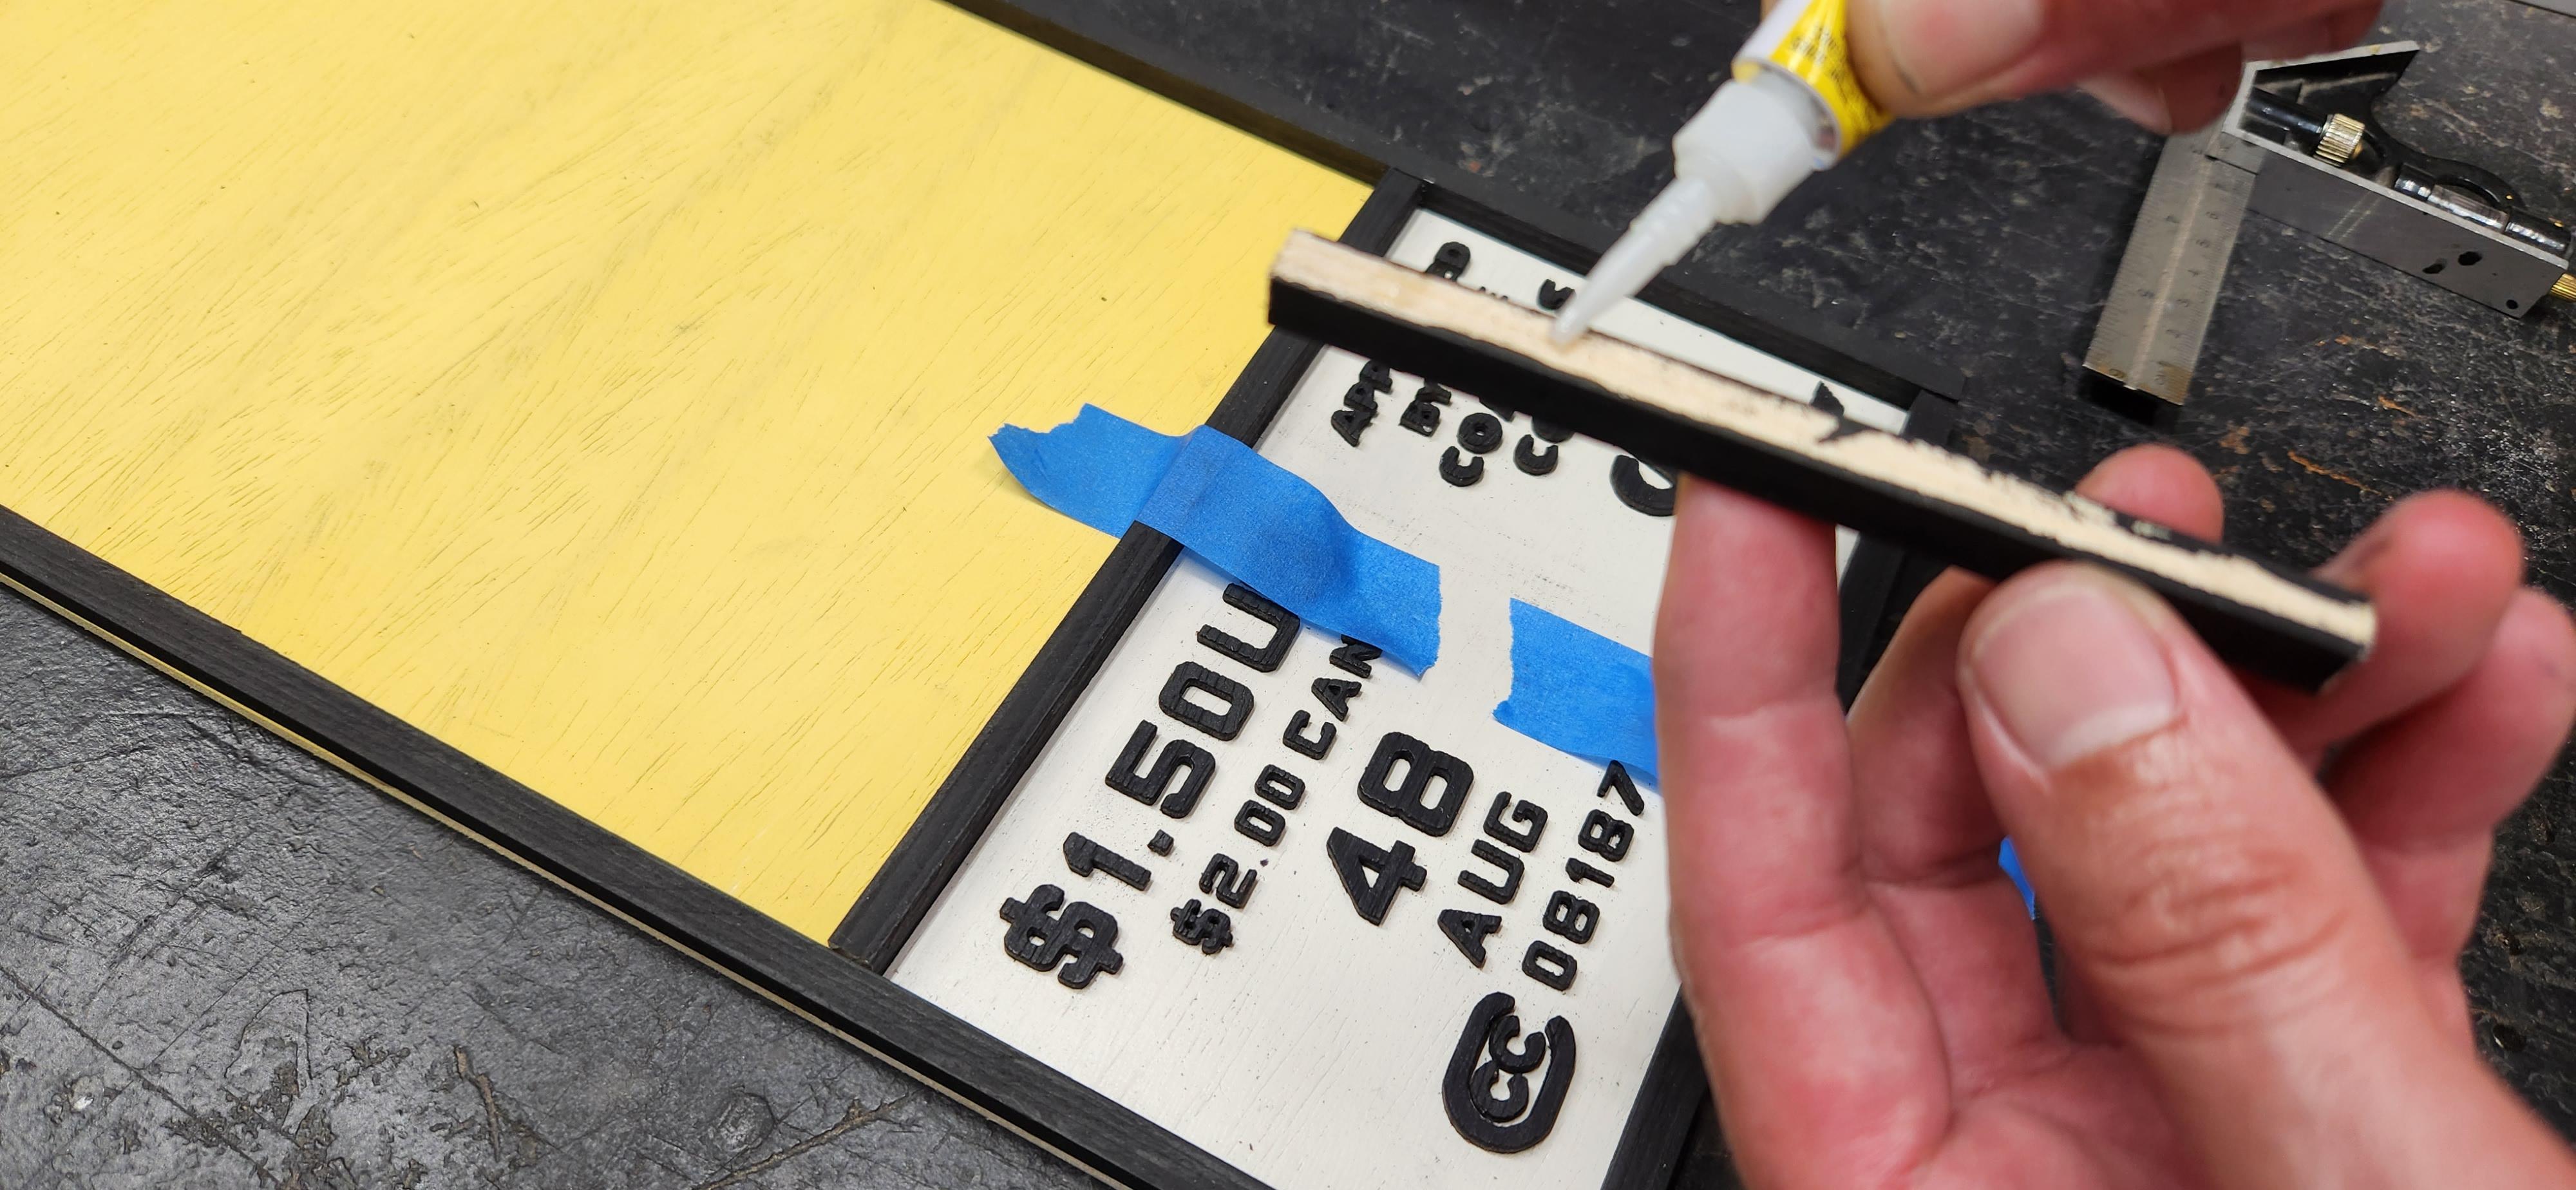
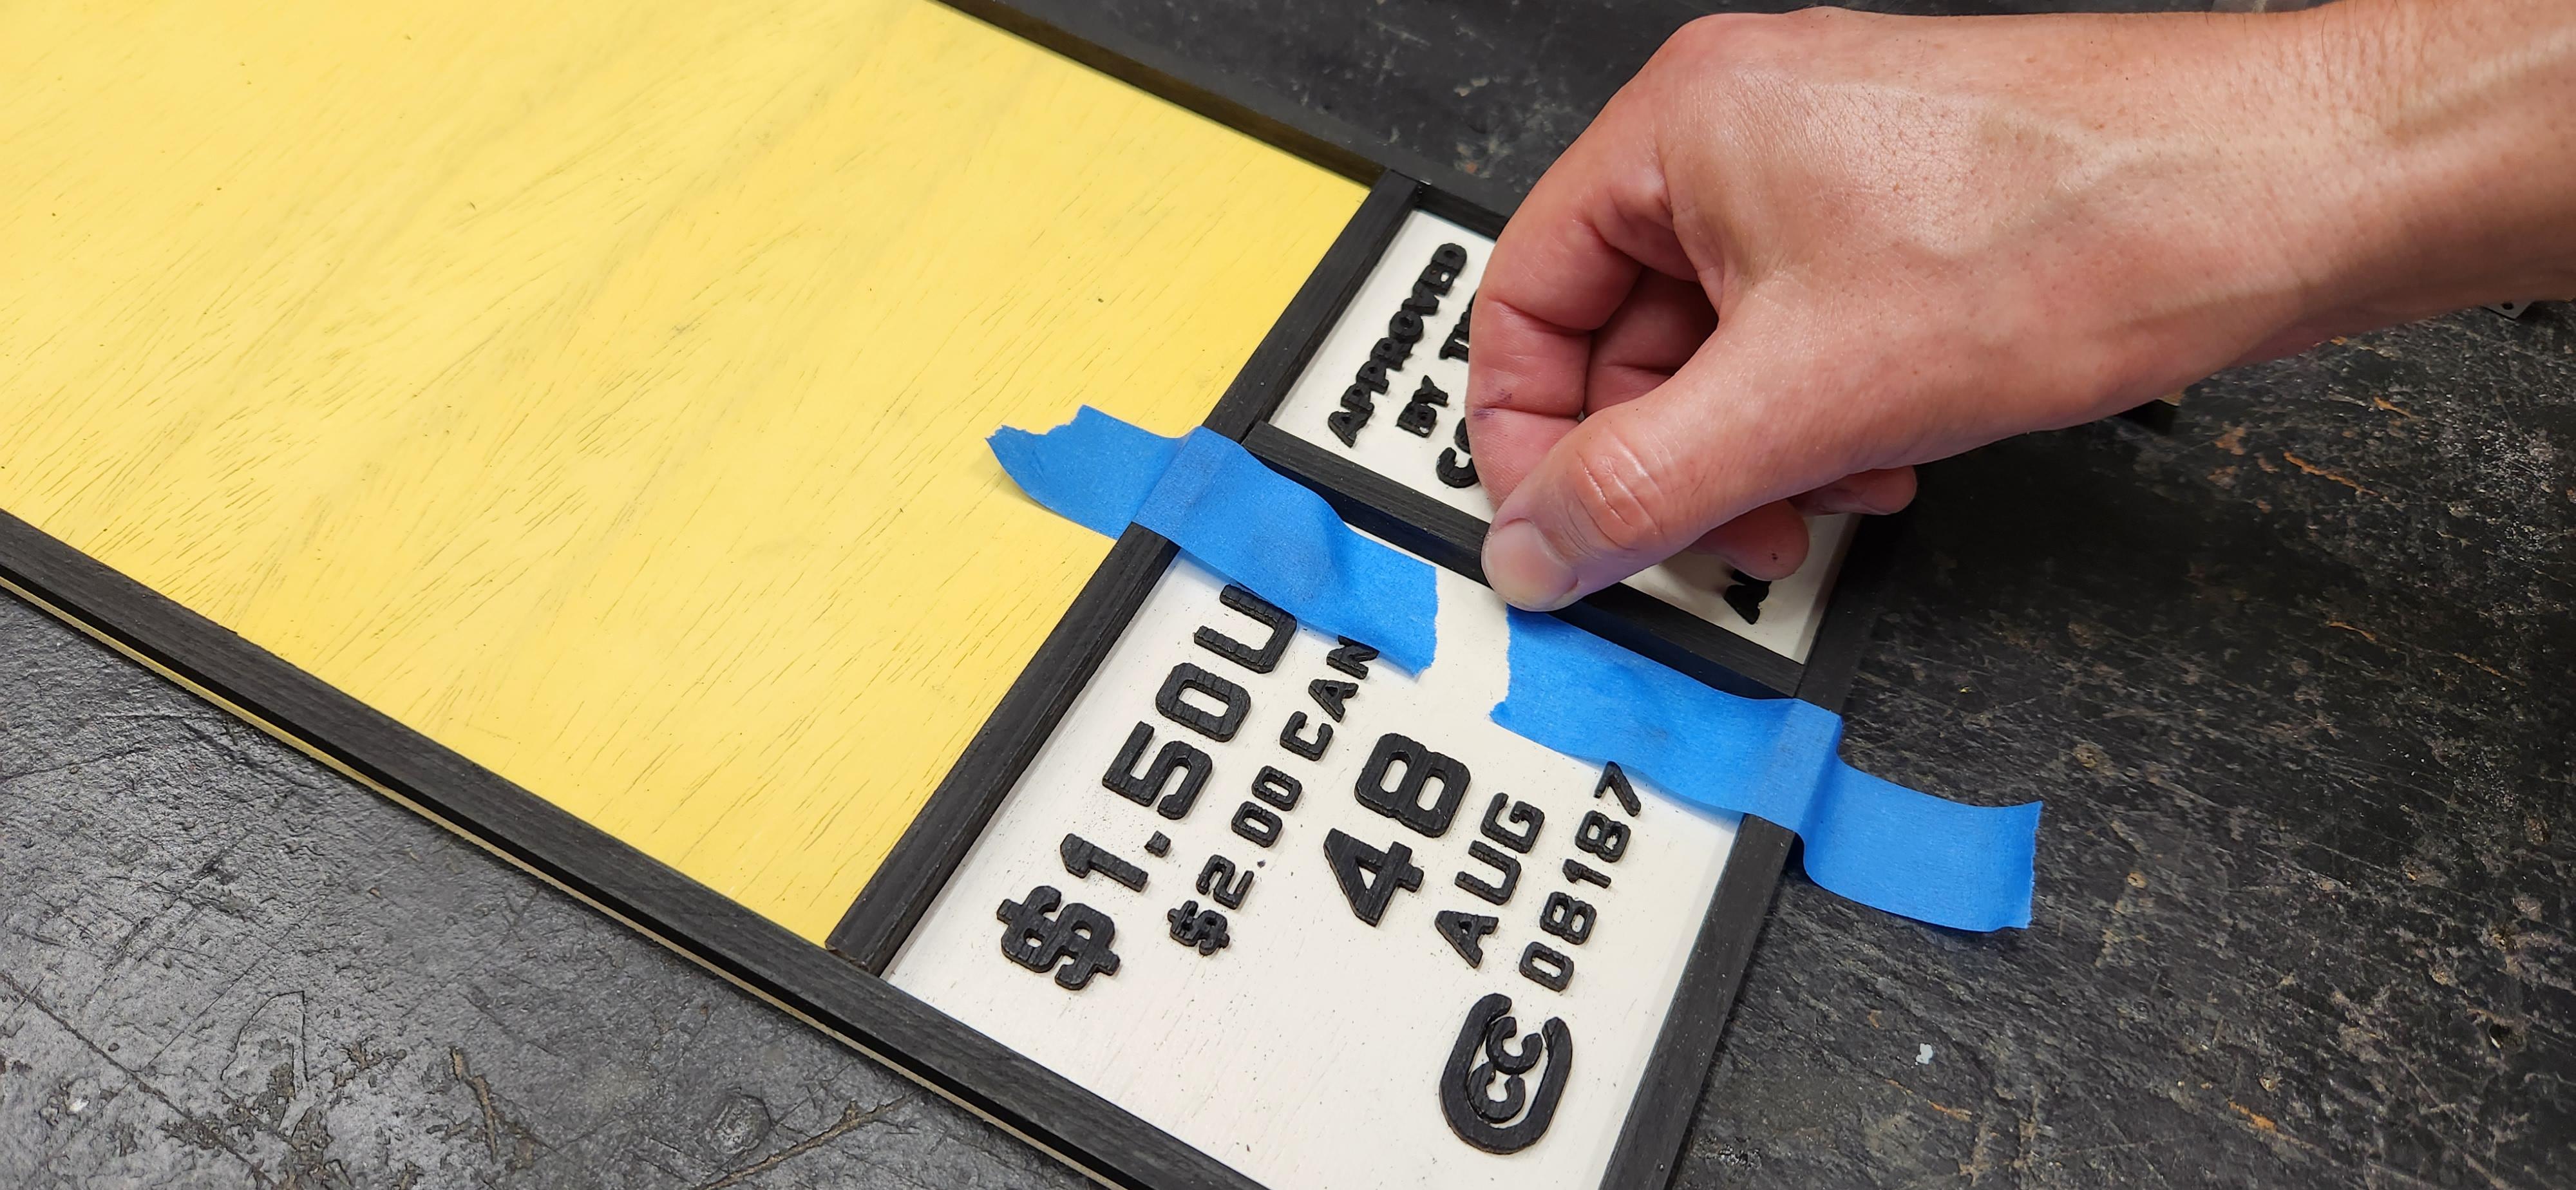
In order to align the info box border. I use some masking tape to mark the correct position and then super glue the wood in place. The masking tape ensures the piece is straight and evenly spaced.
Gluing Up the Rest
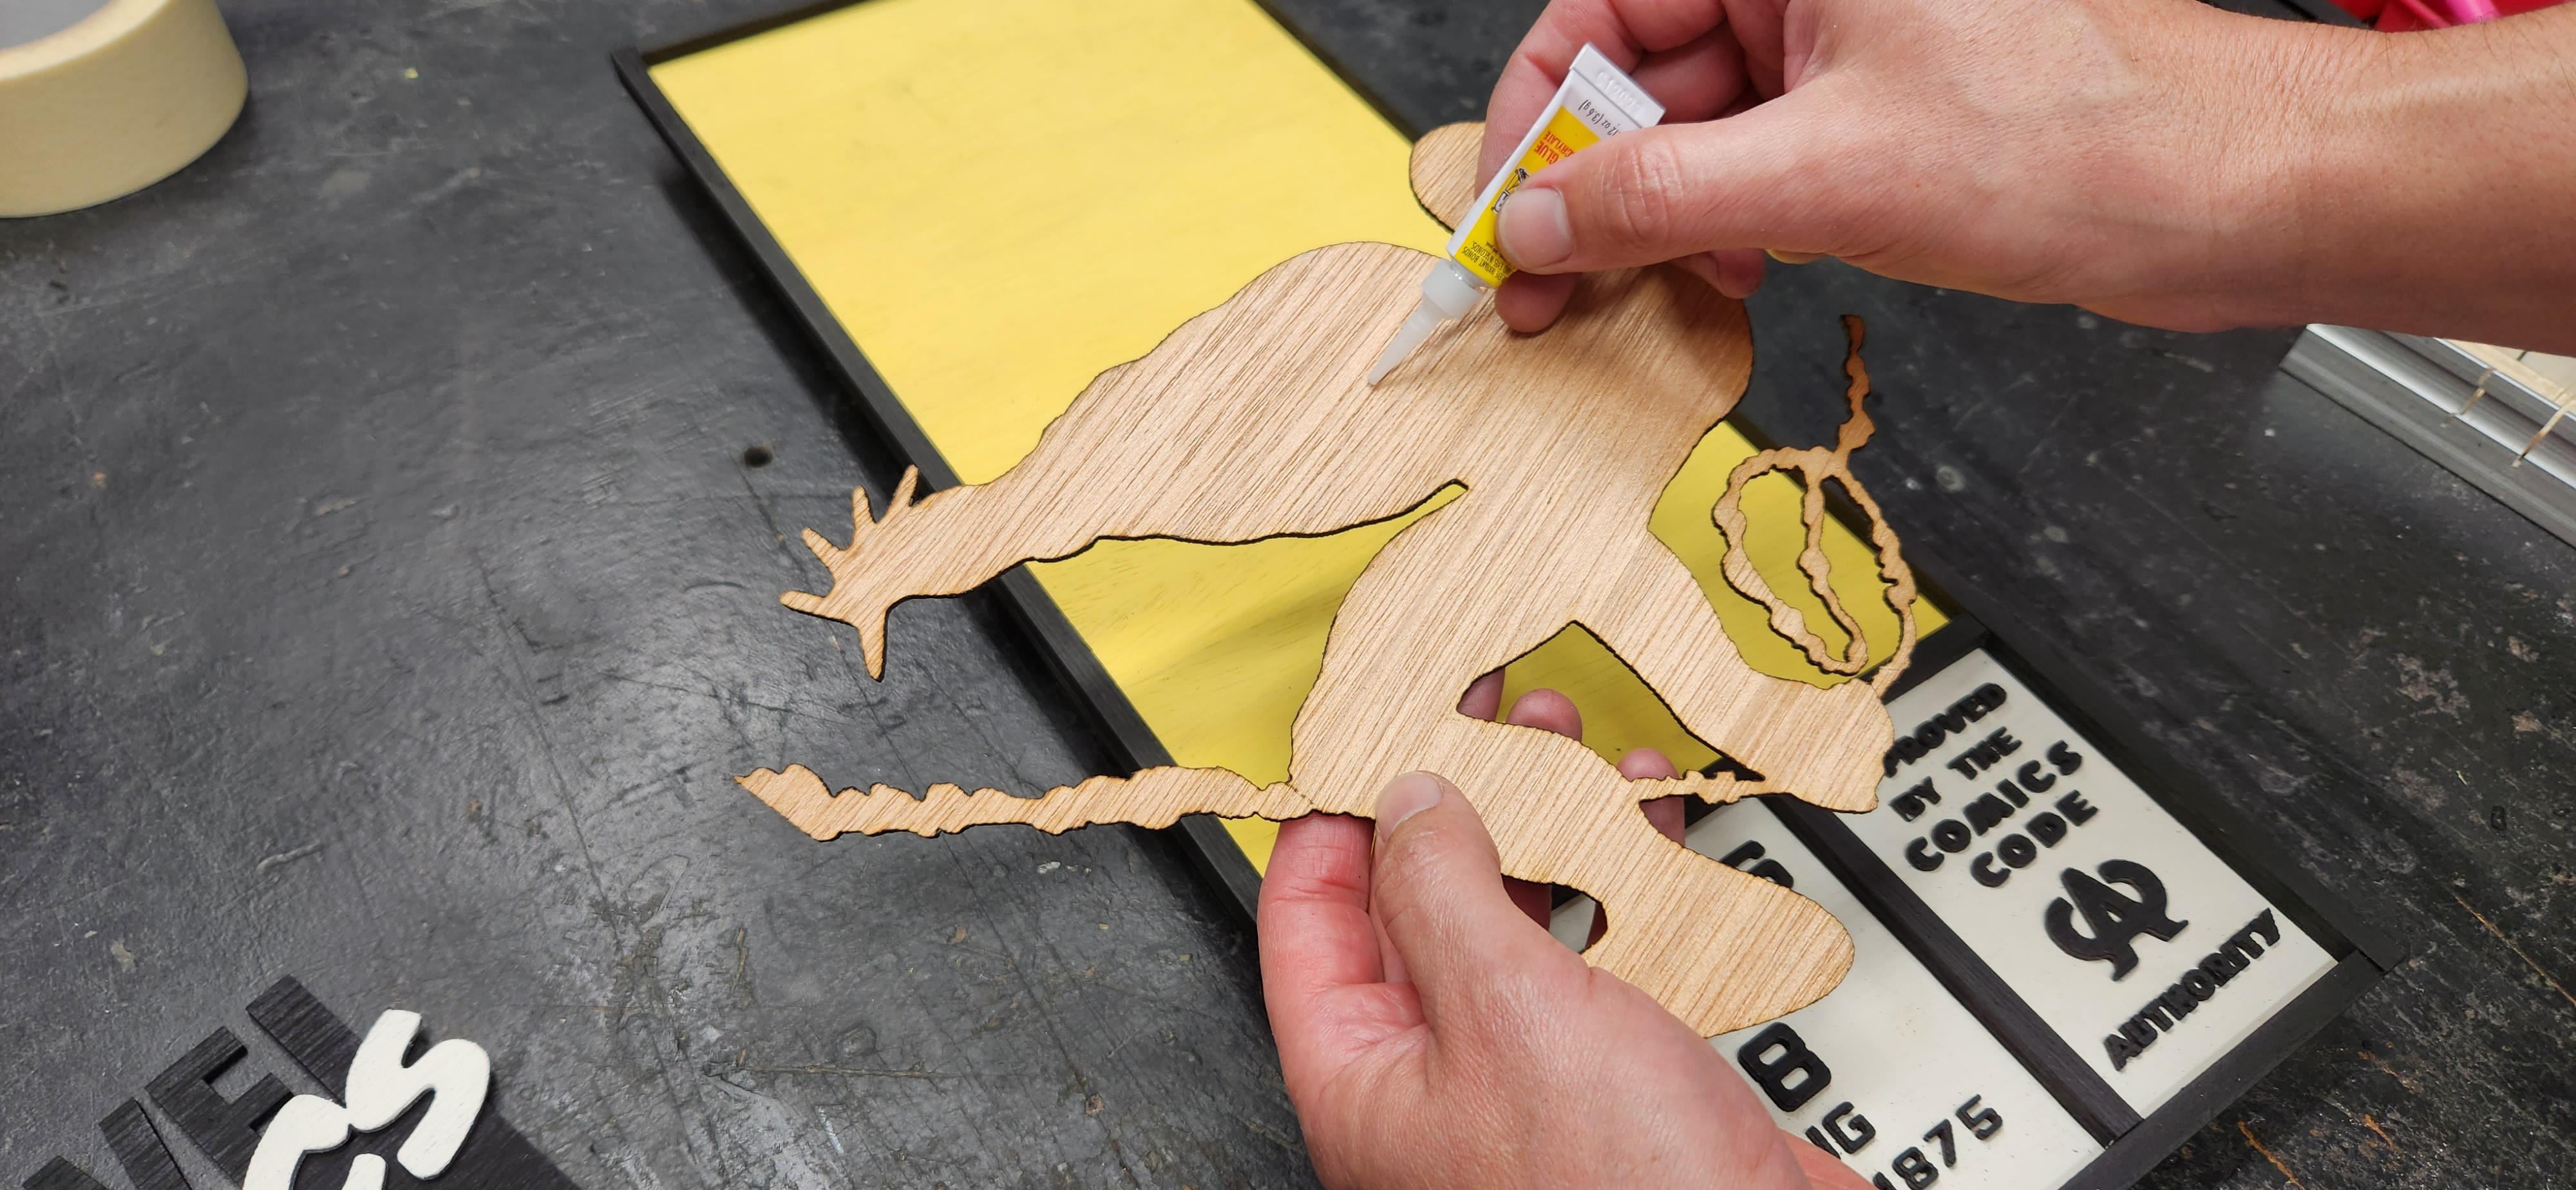
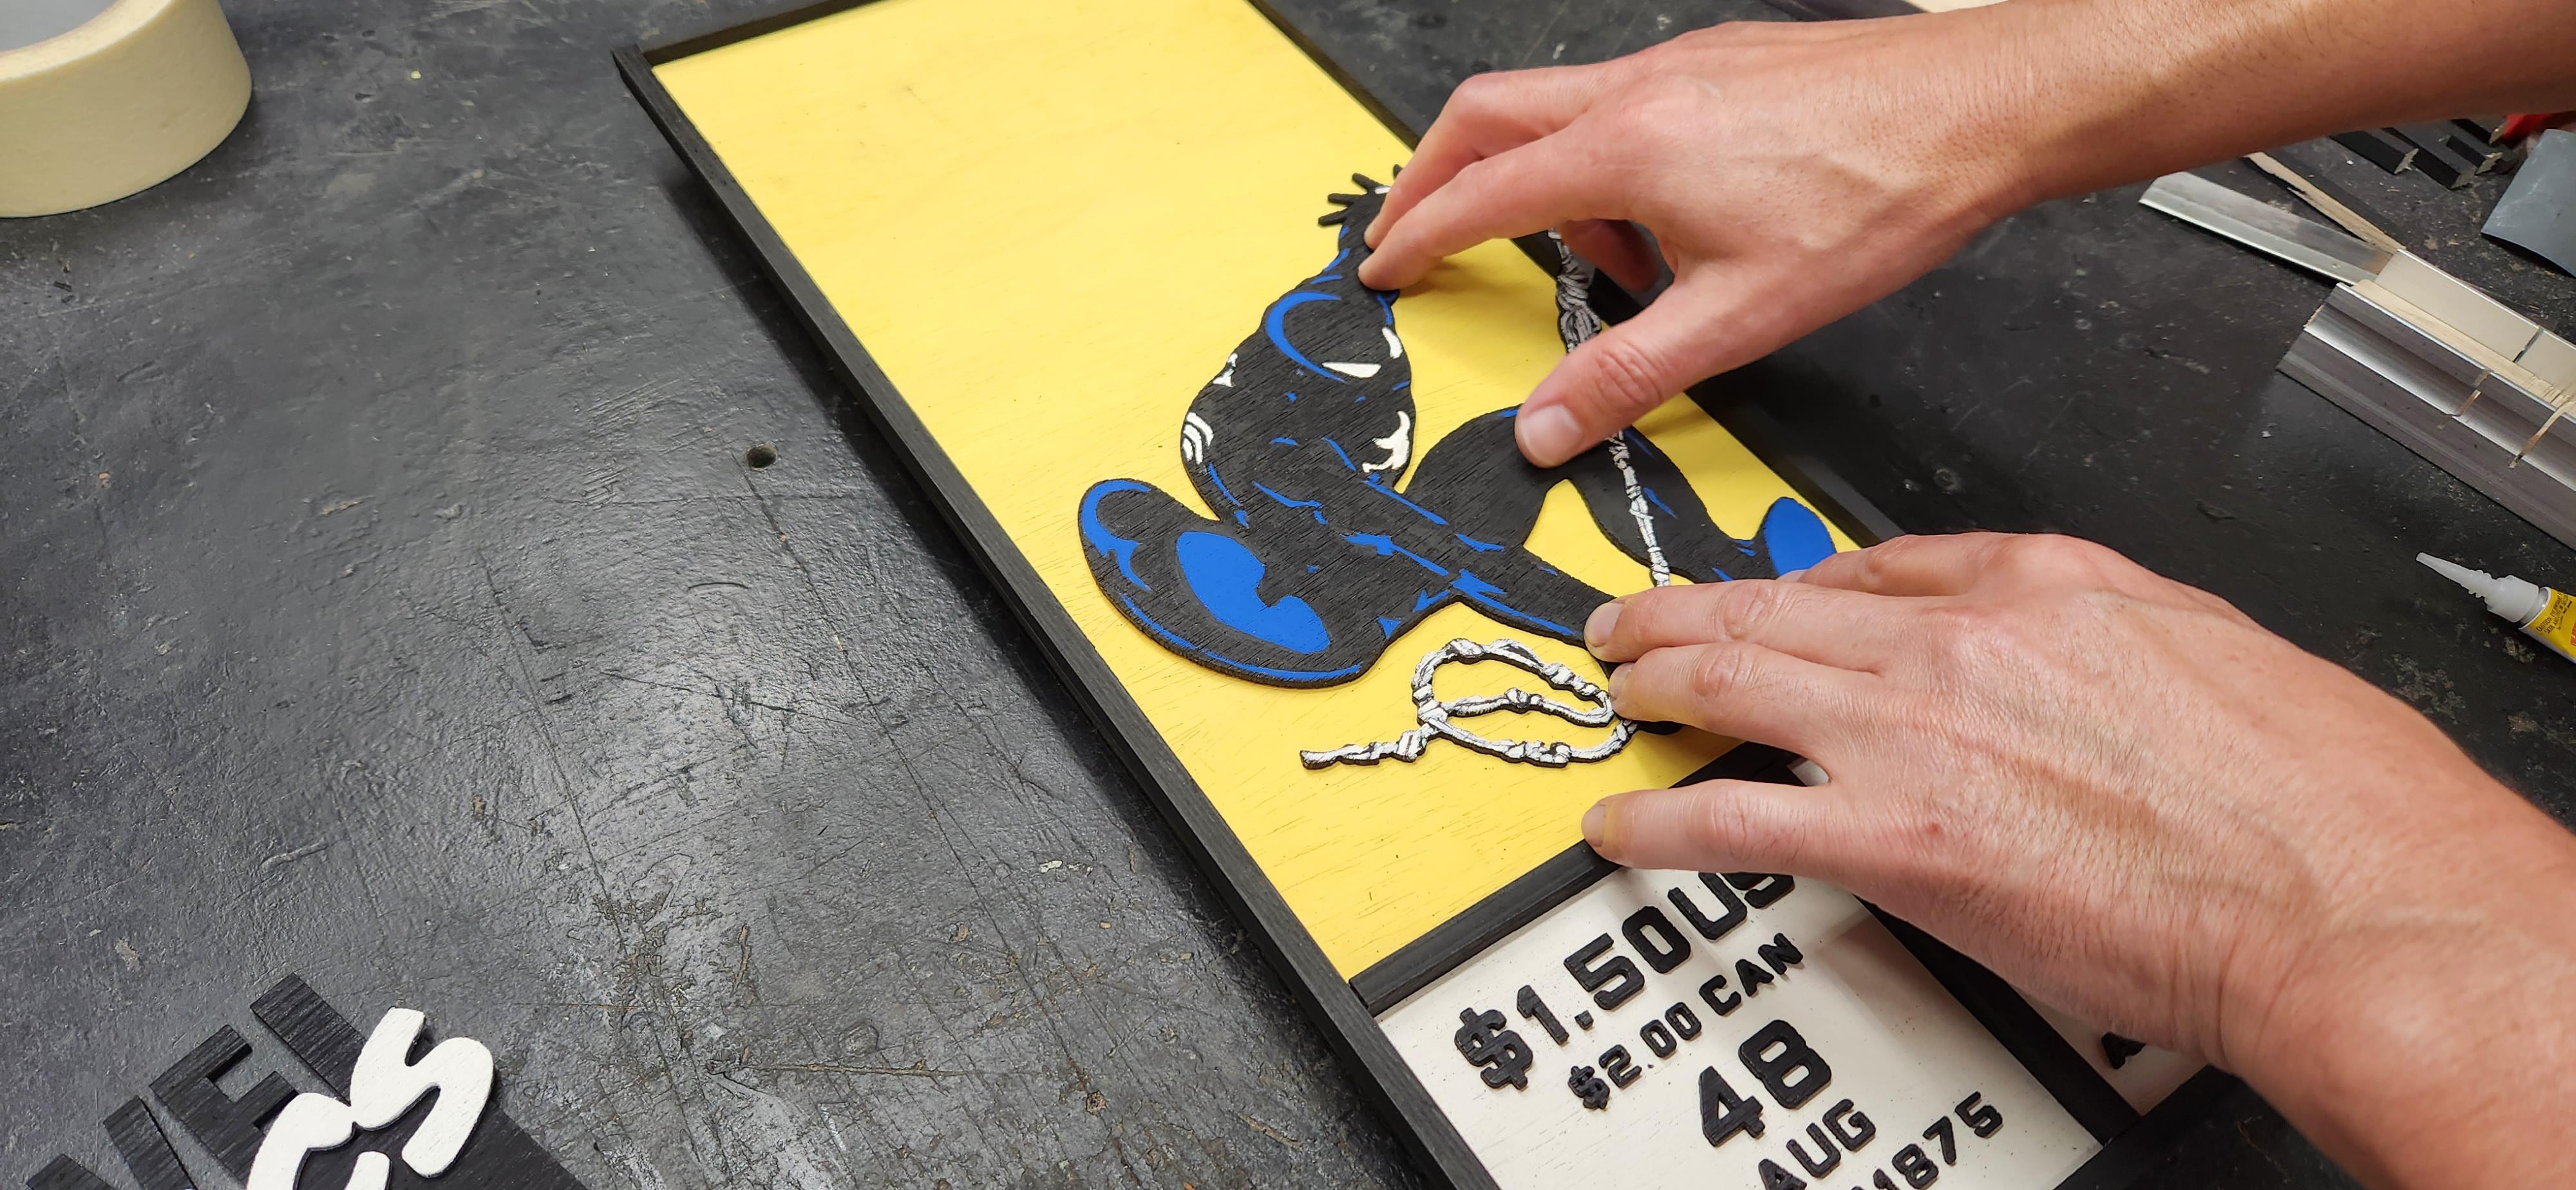
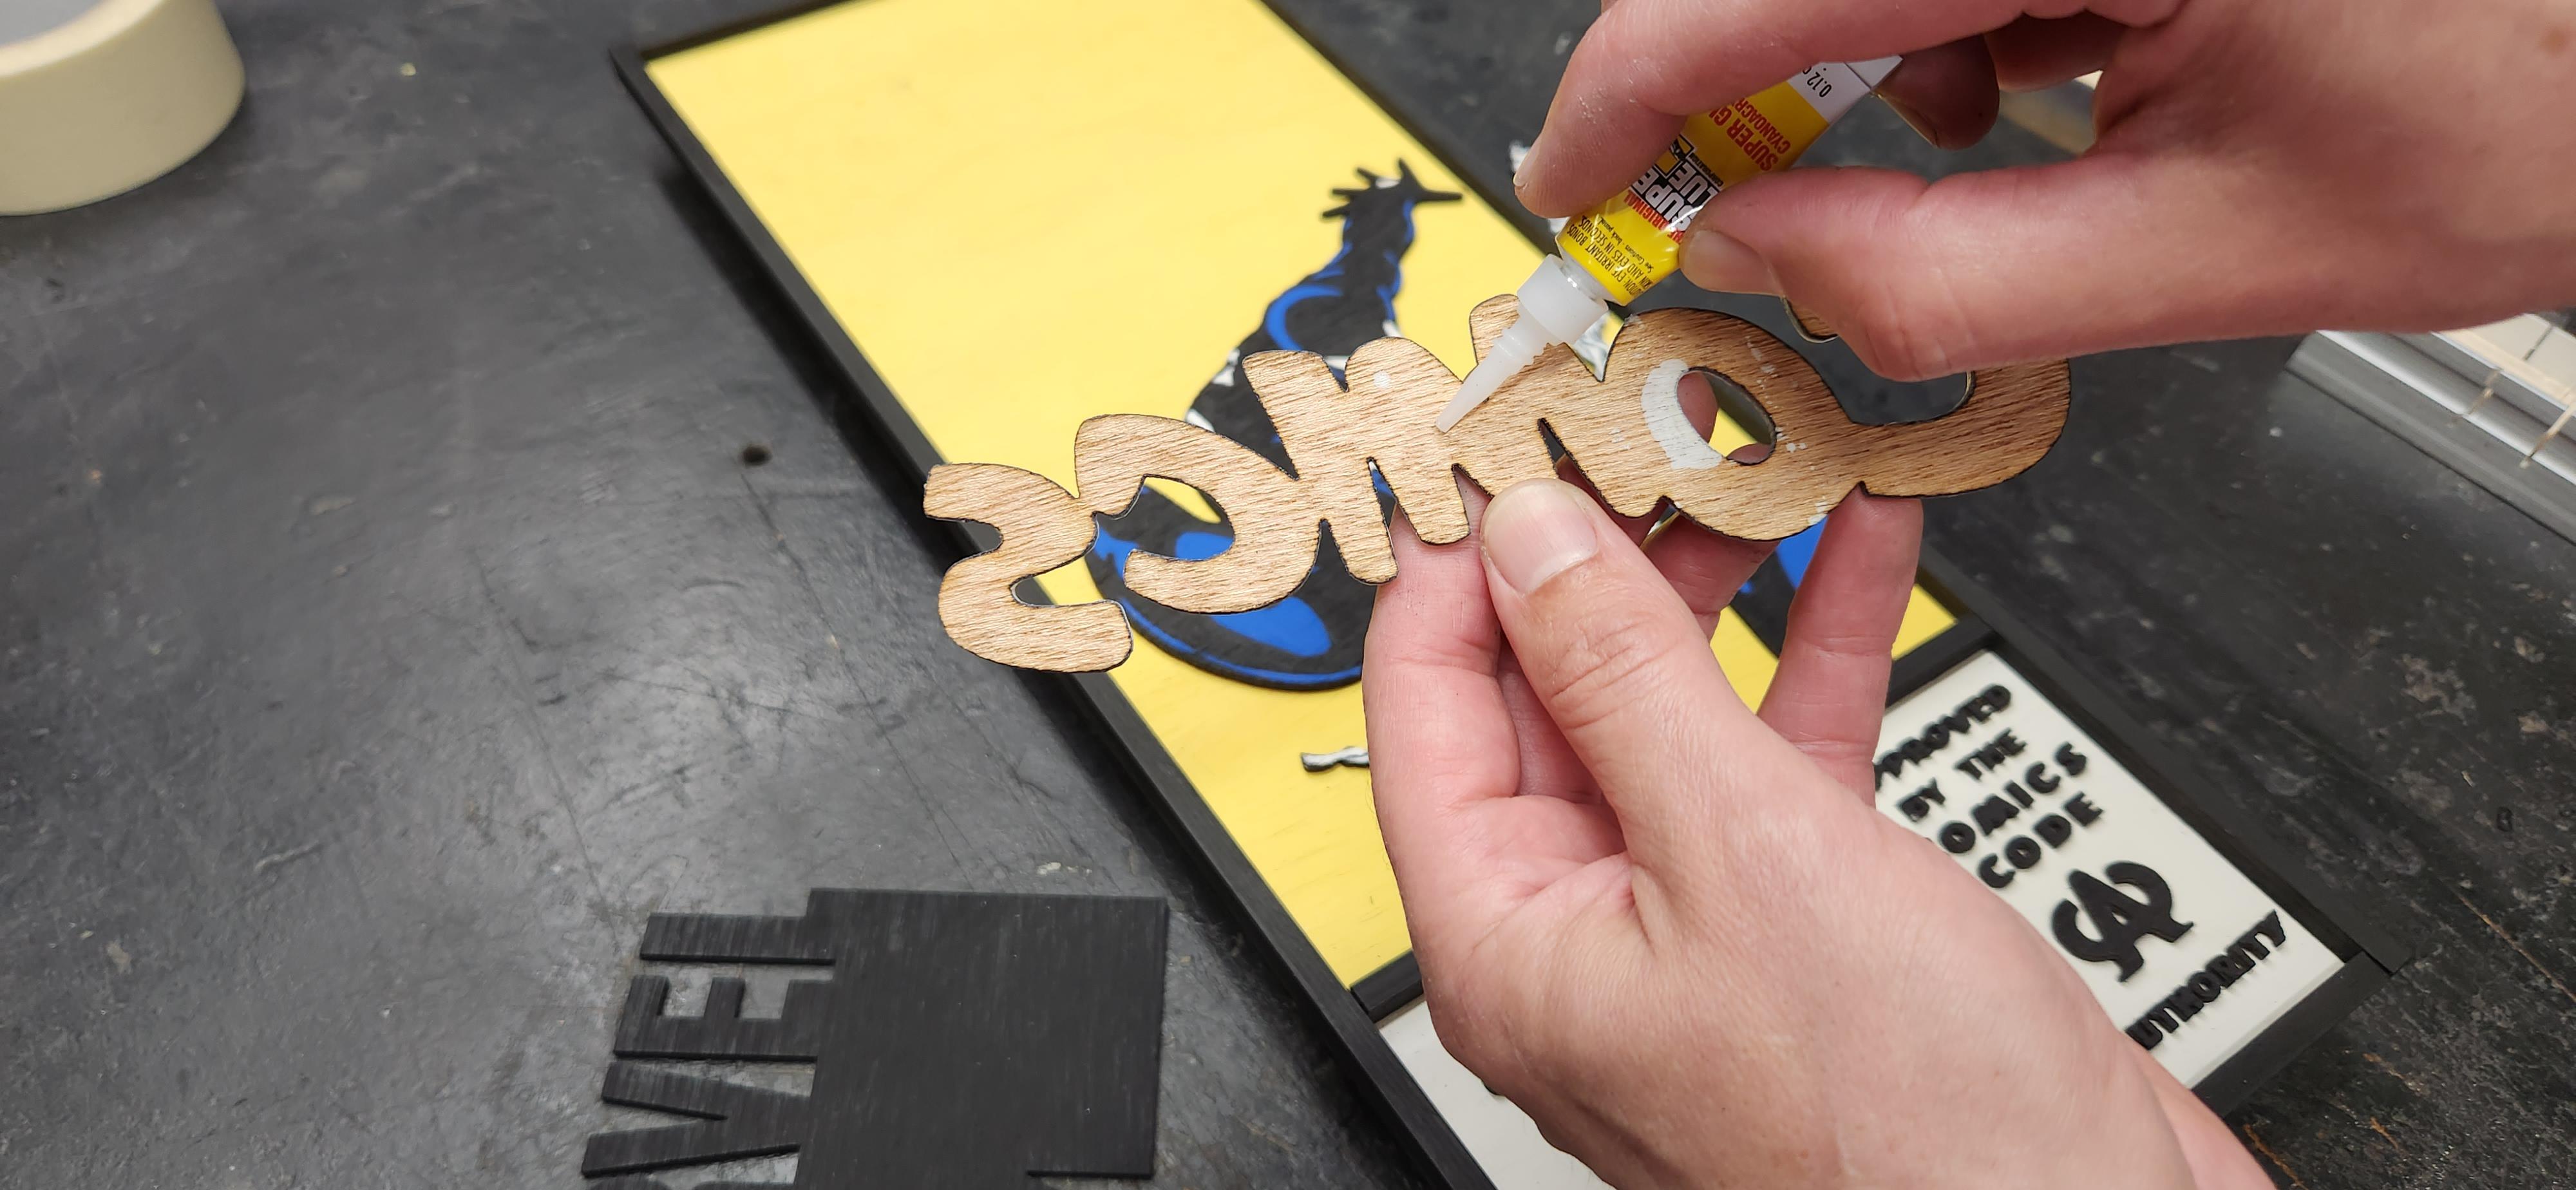
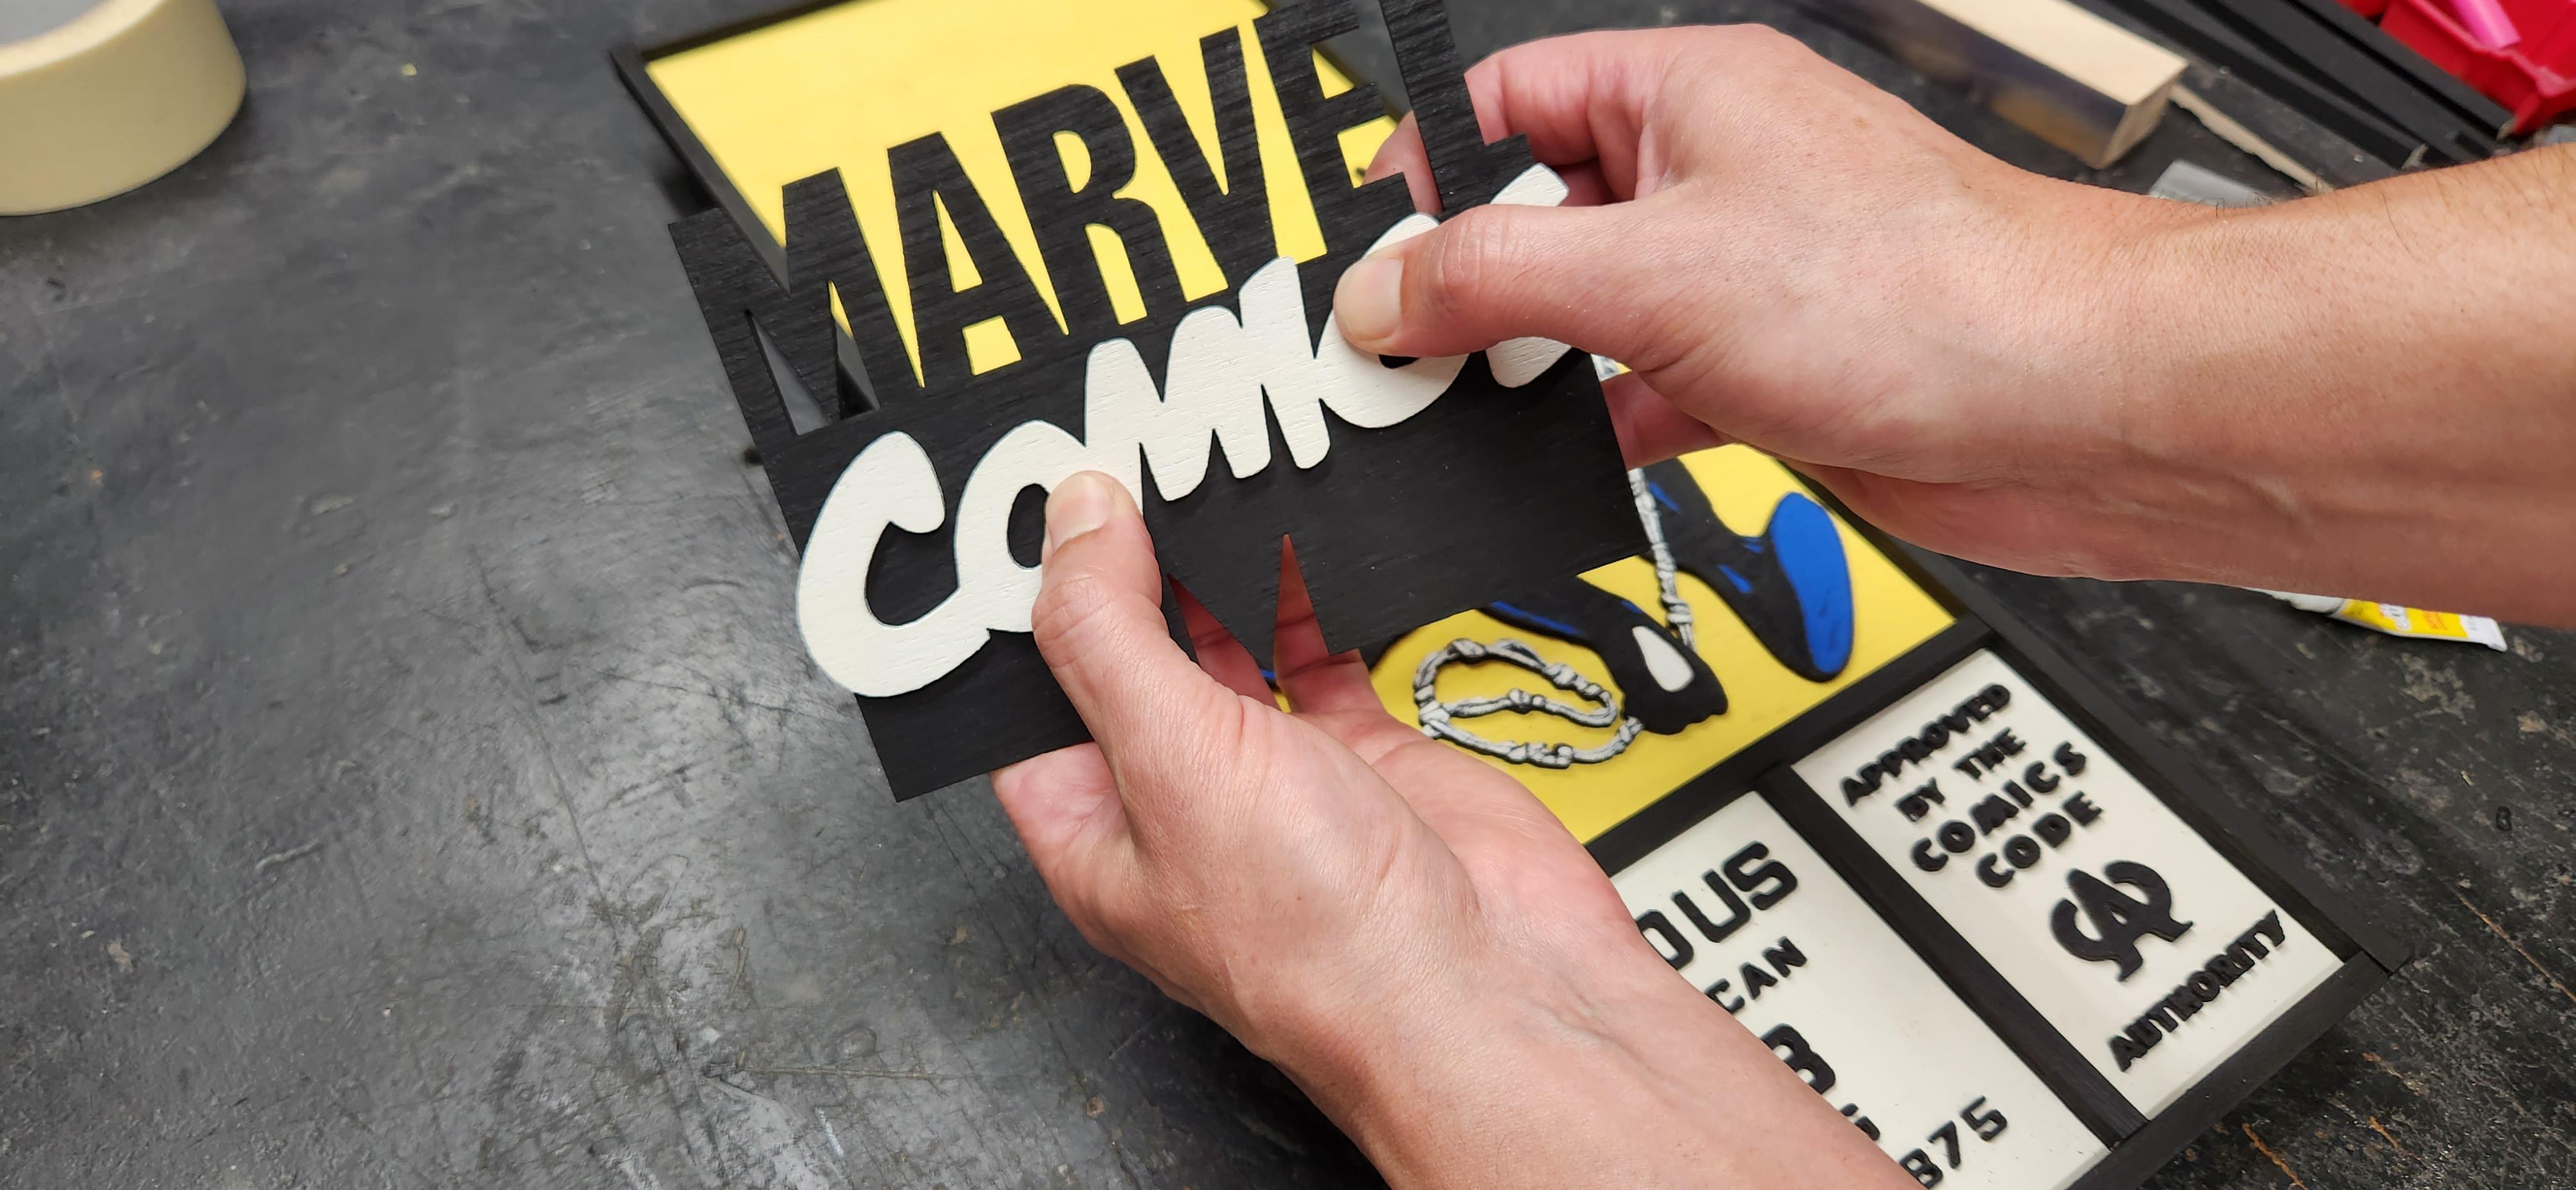
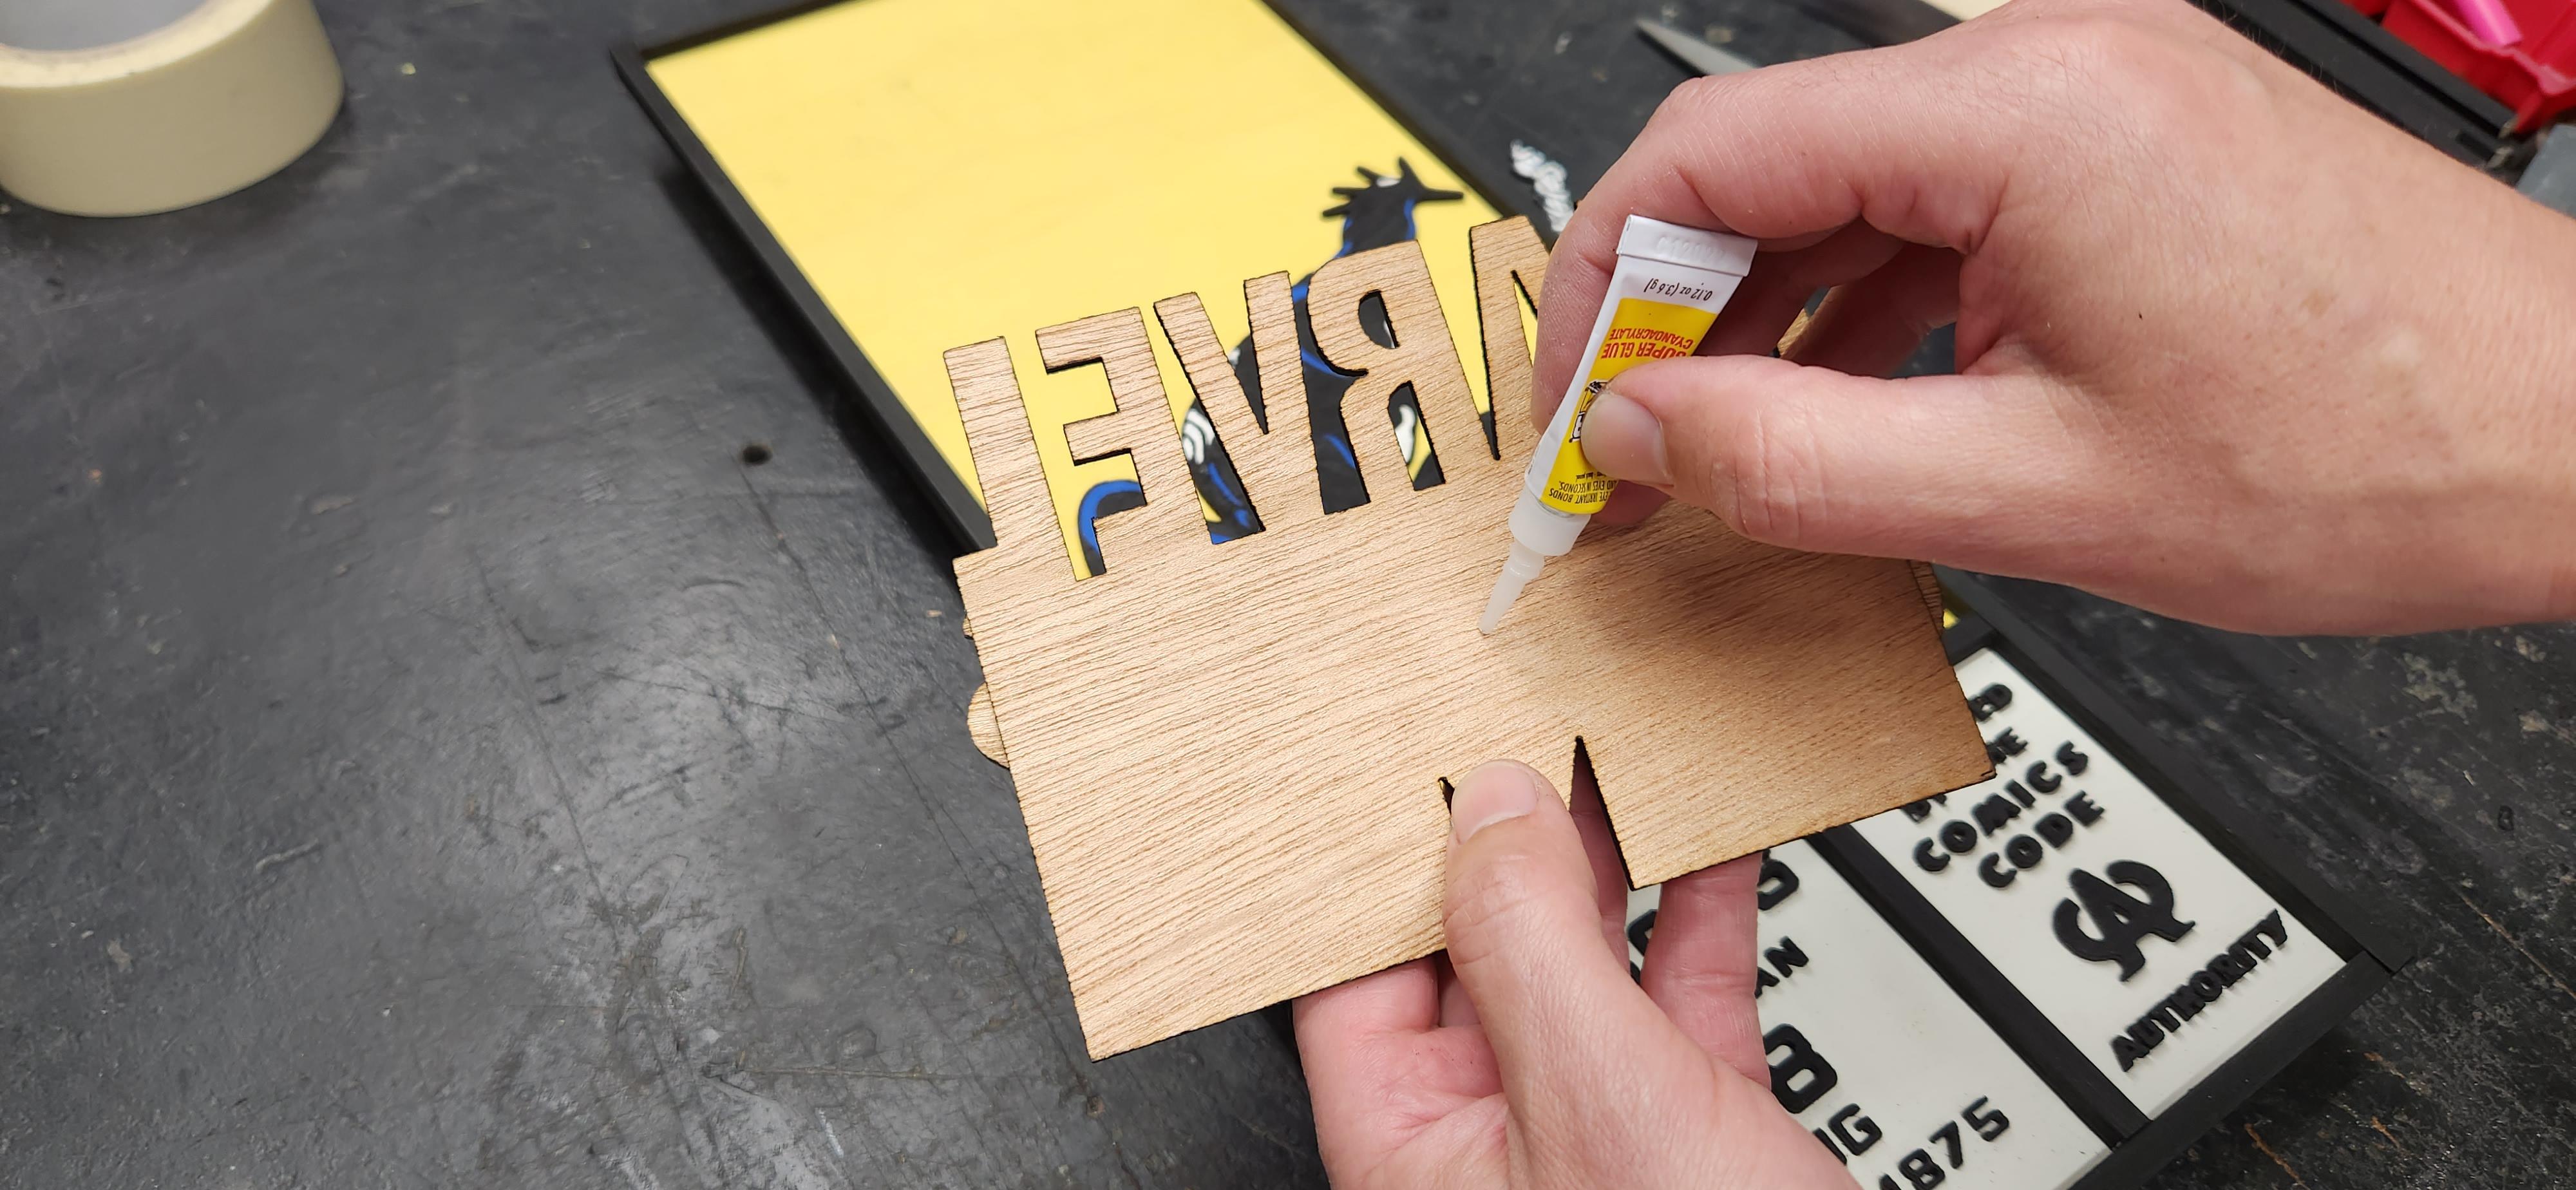
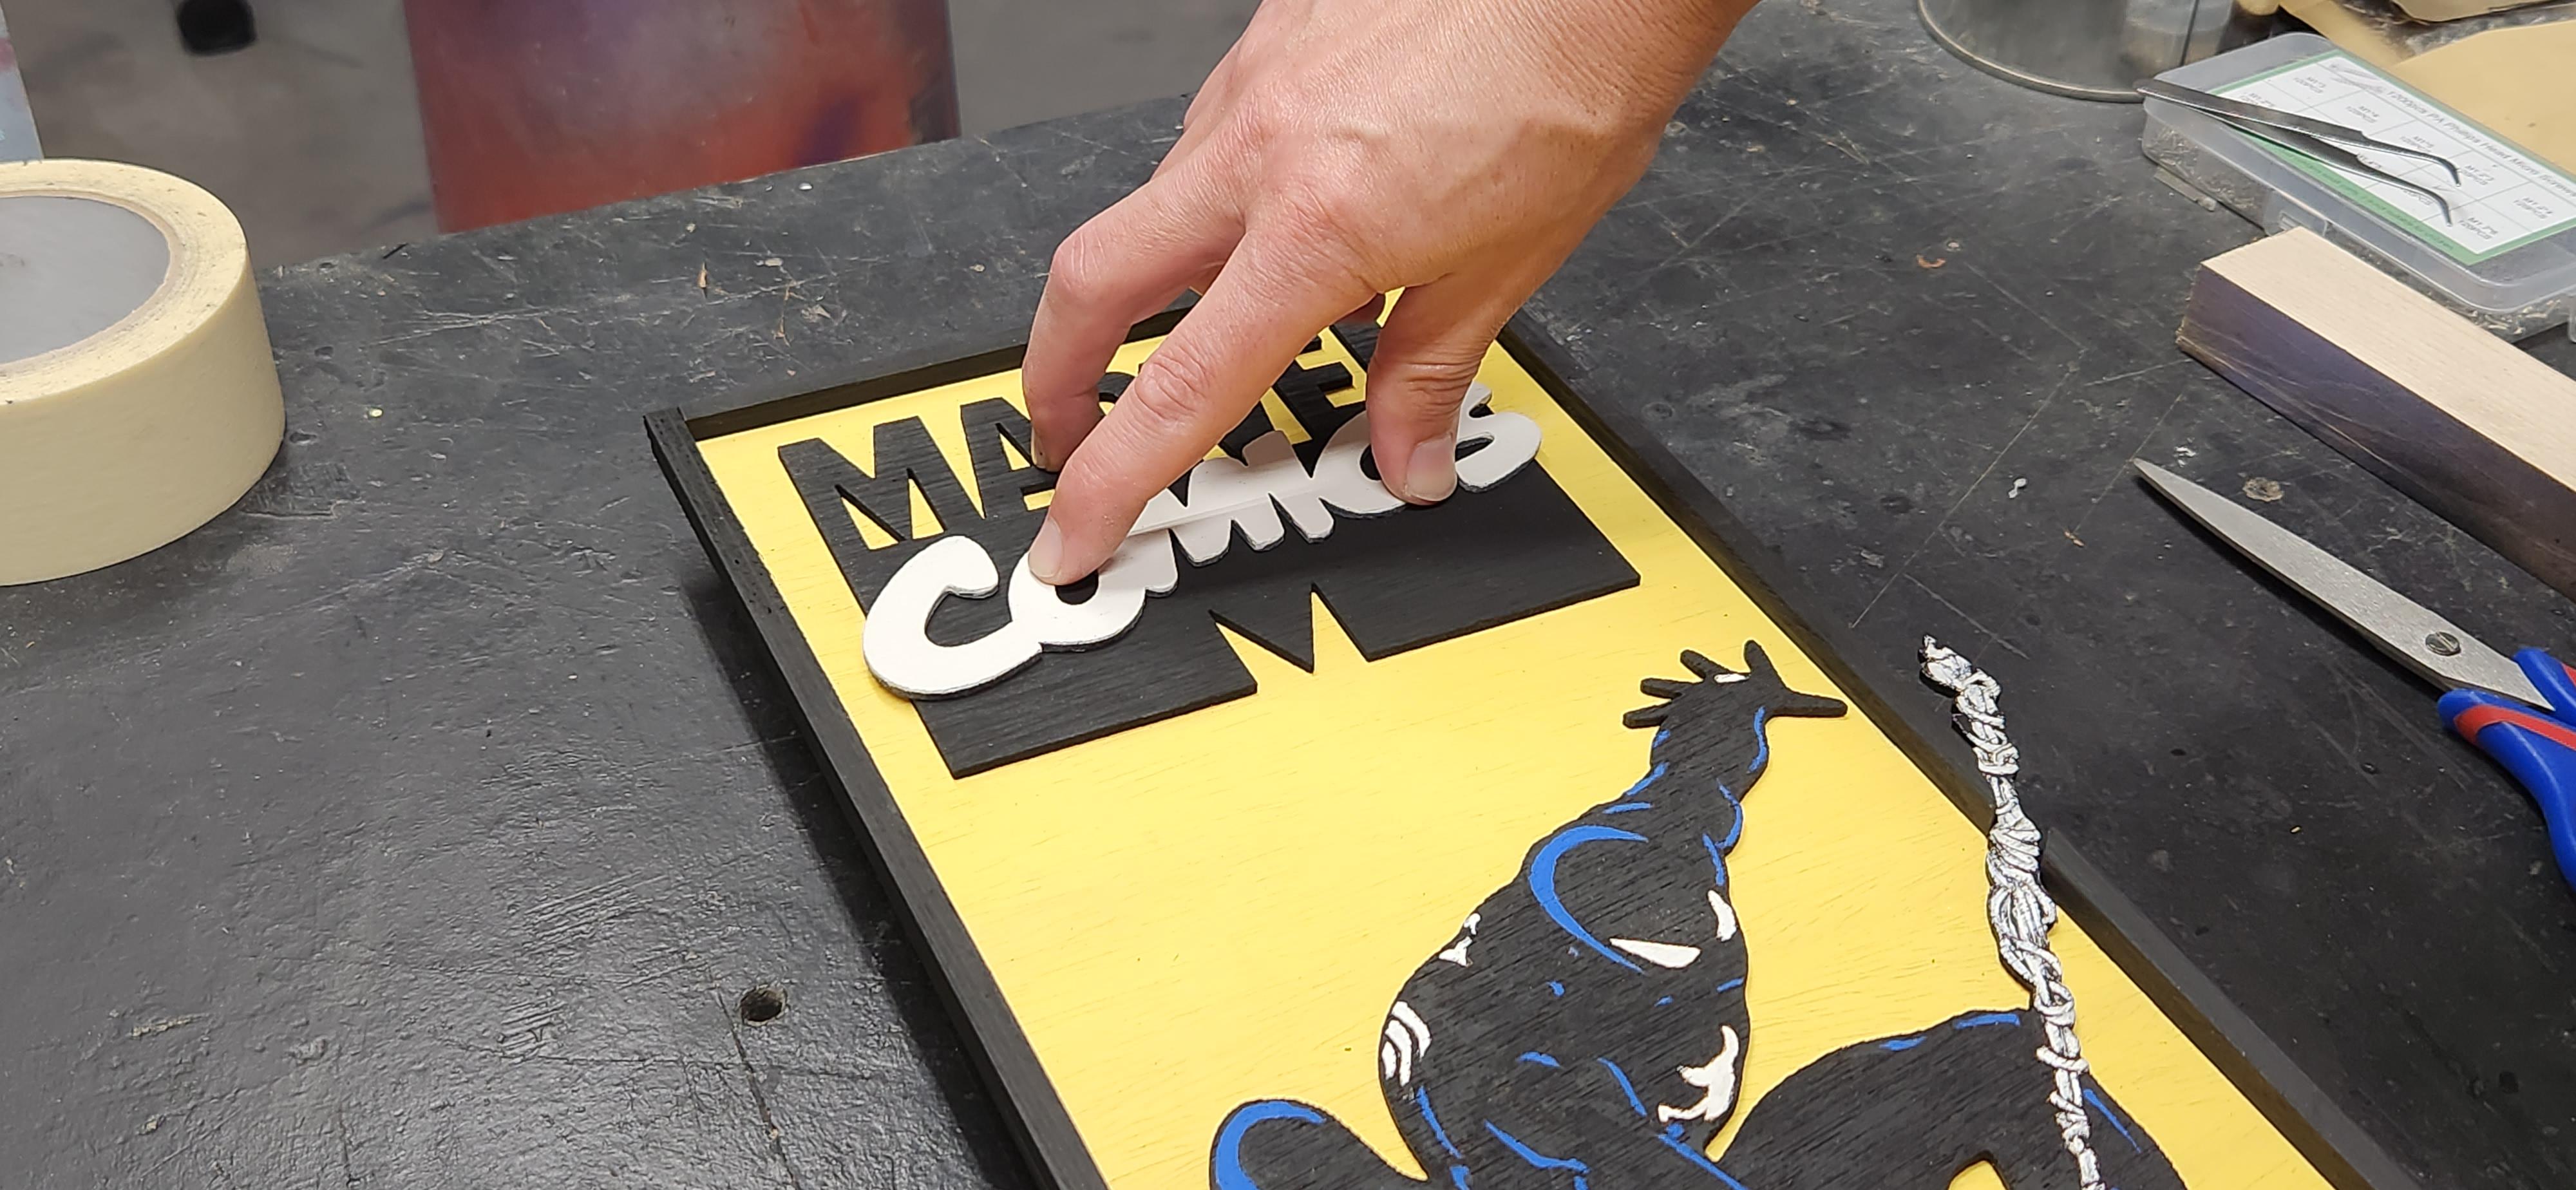
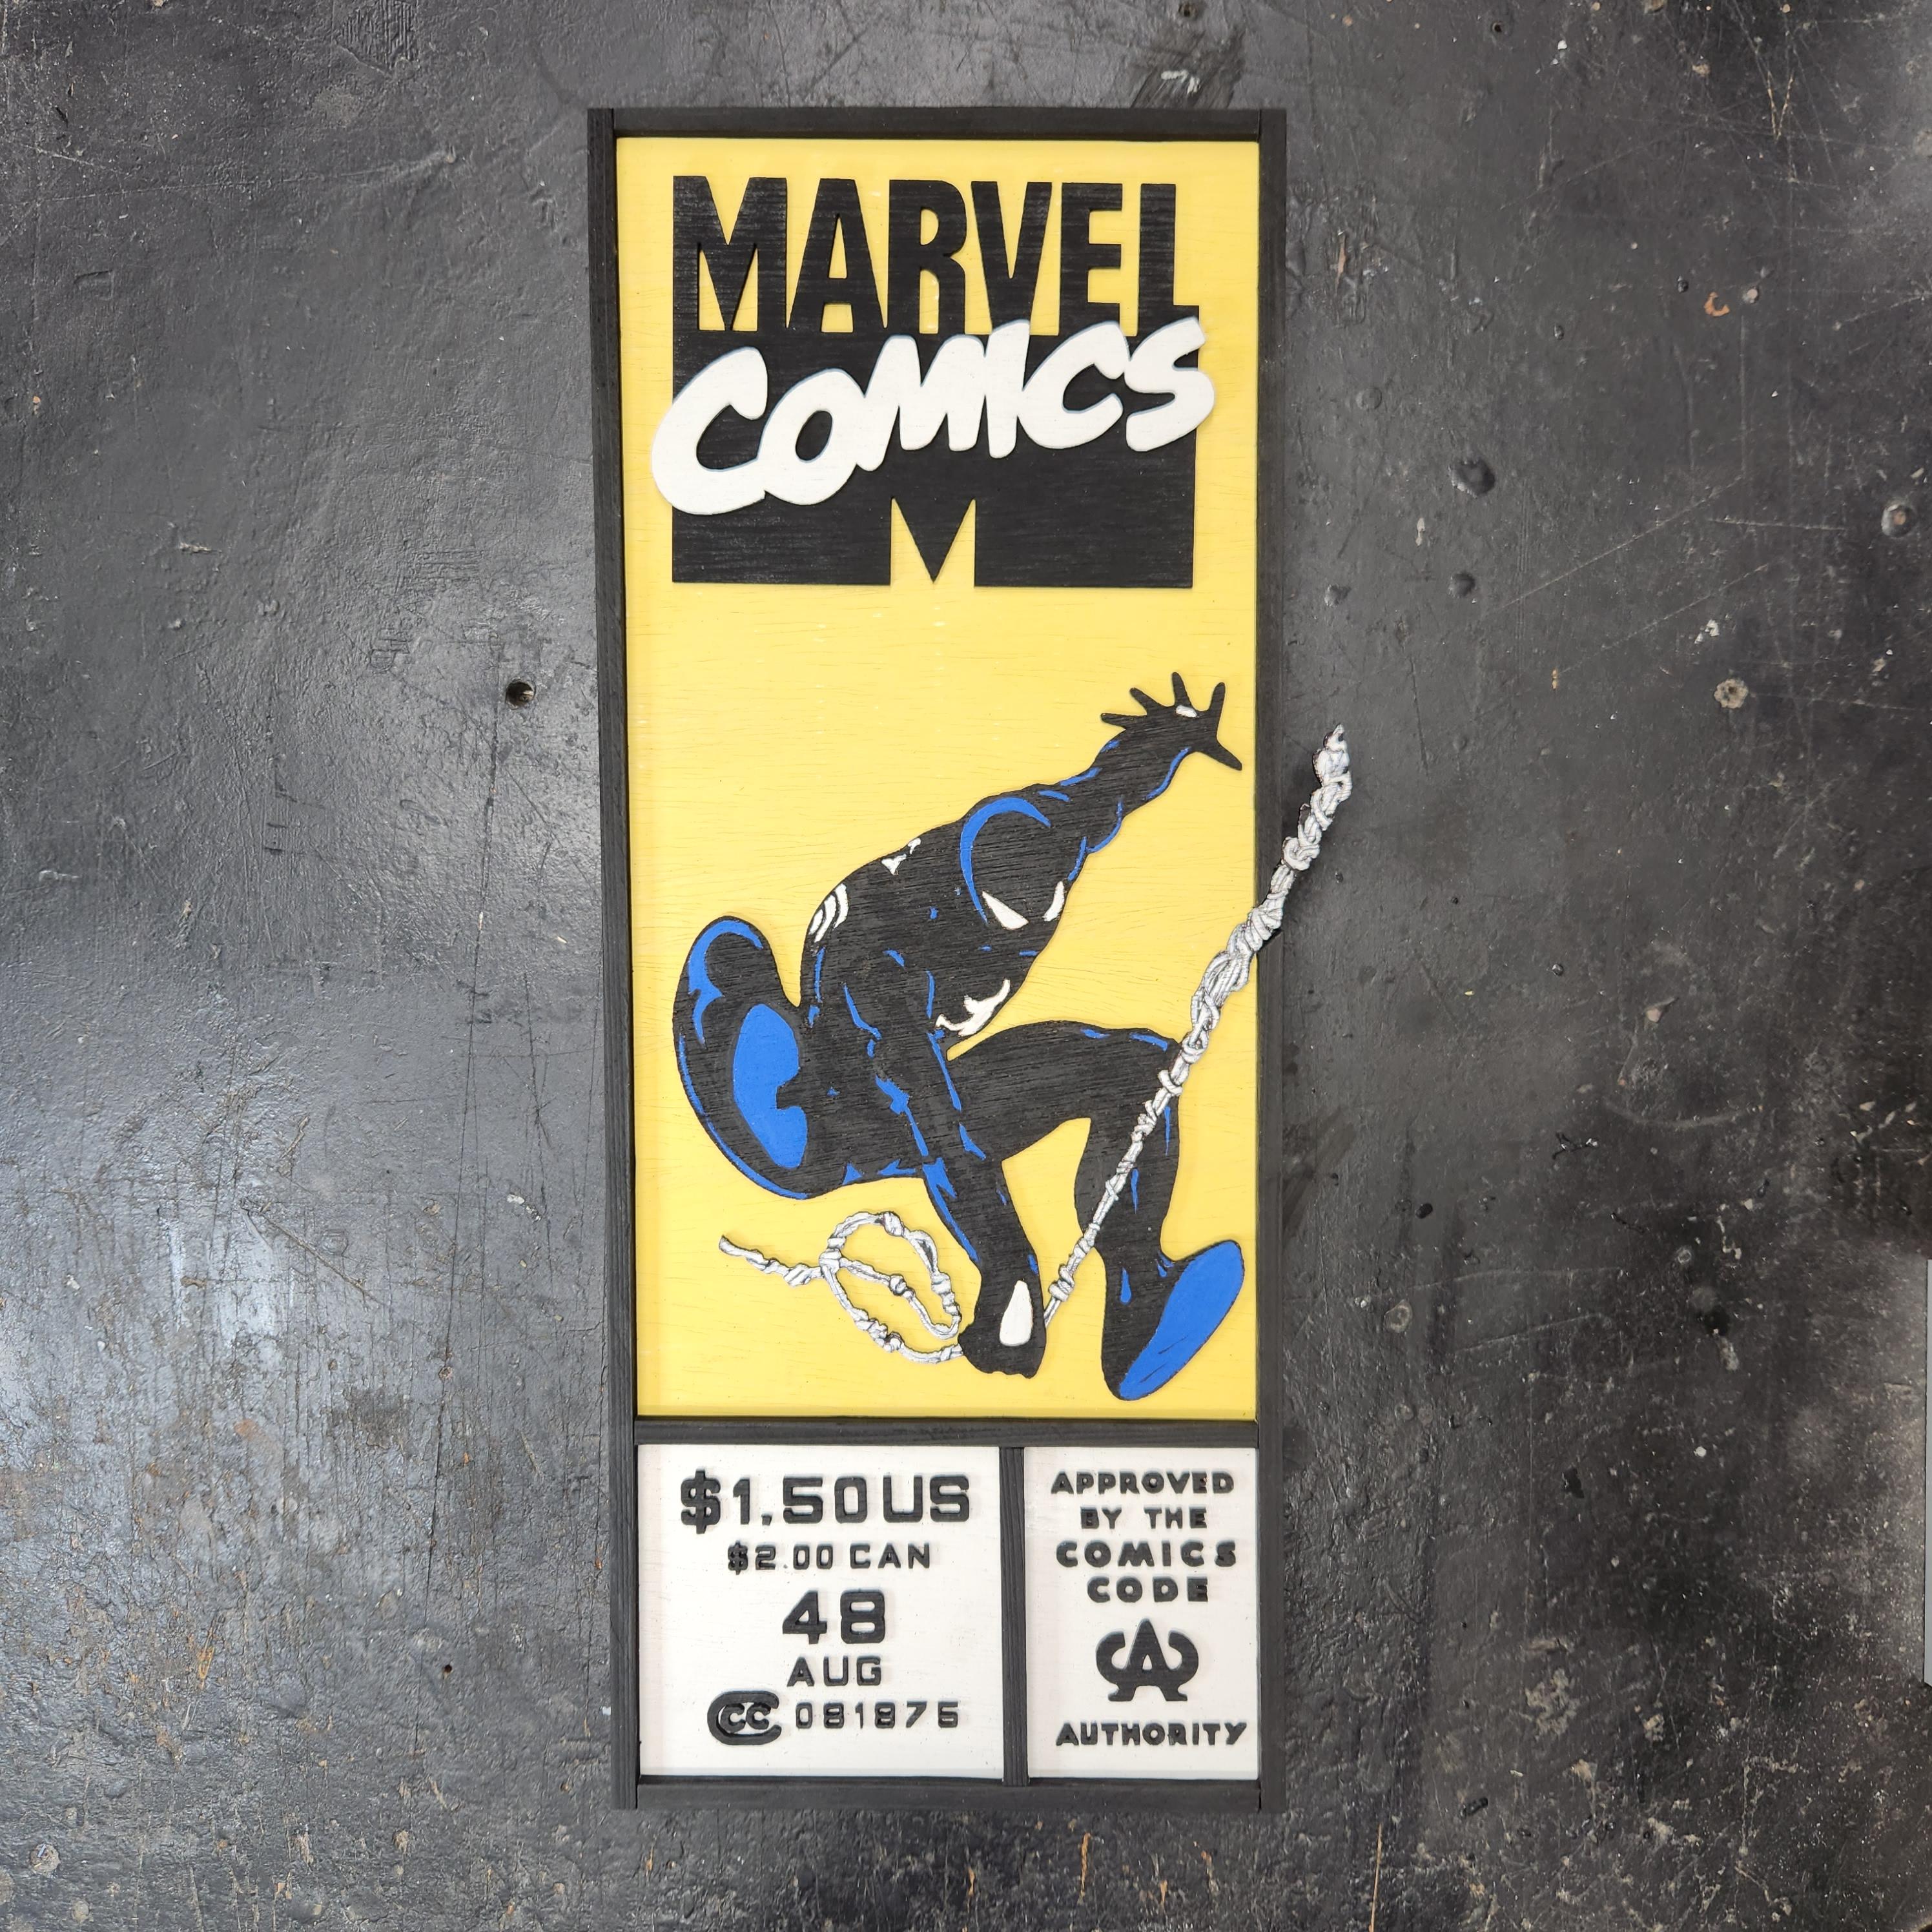
Once the border is complete, I glue on the rest of the pieces. I use a few dabs of super glue on each piece and glue it down to the background.
Final Results
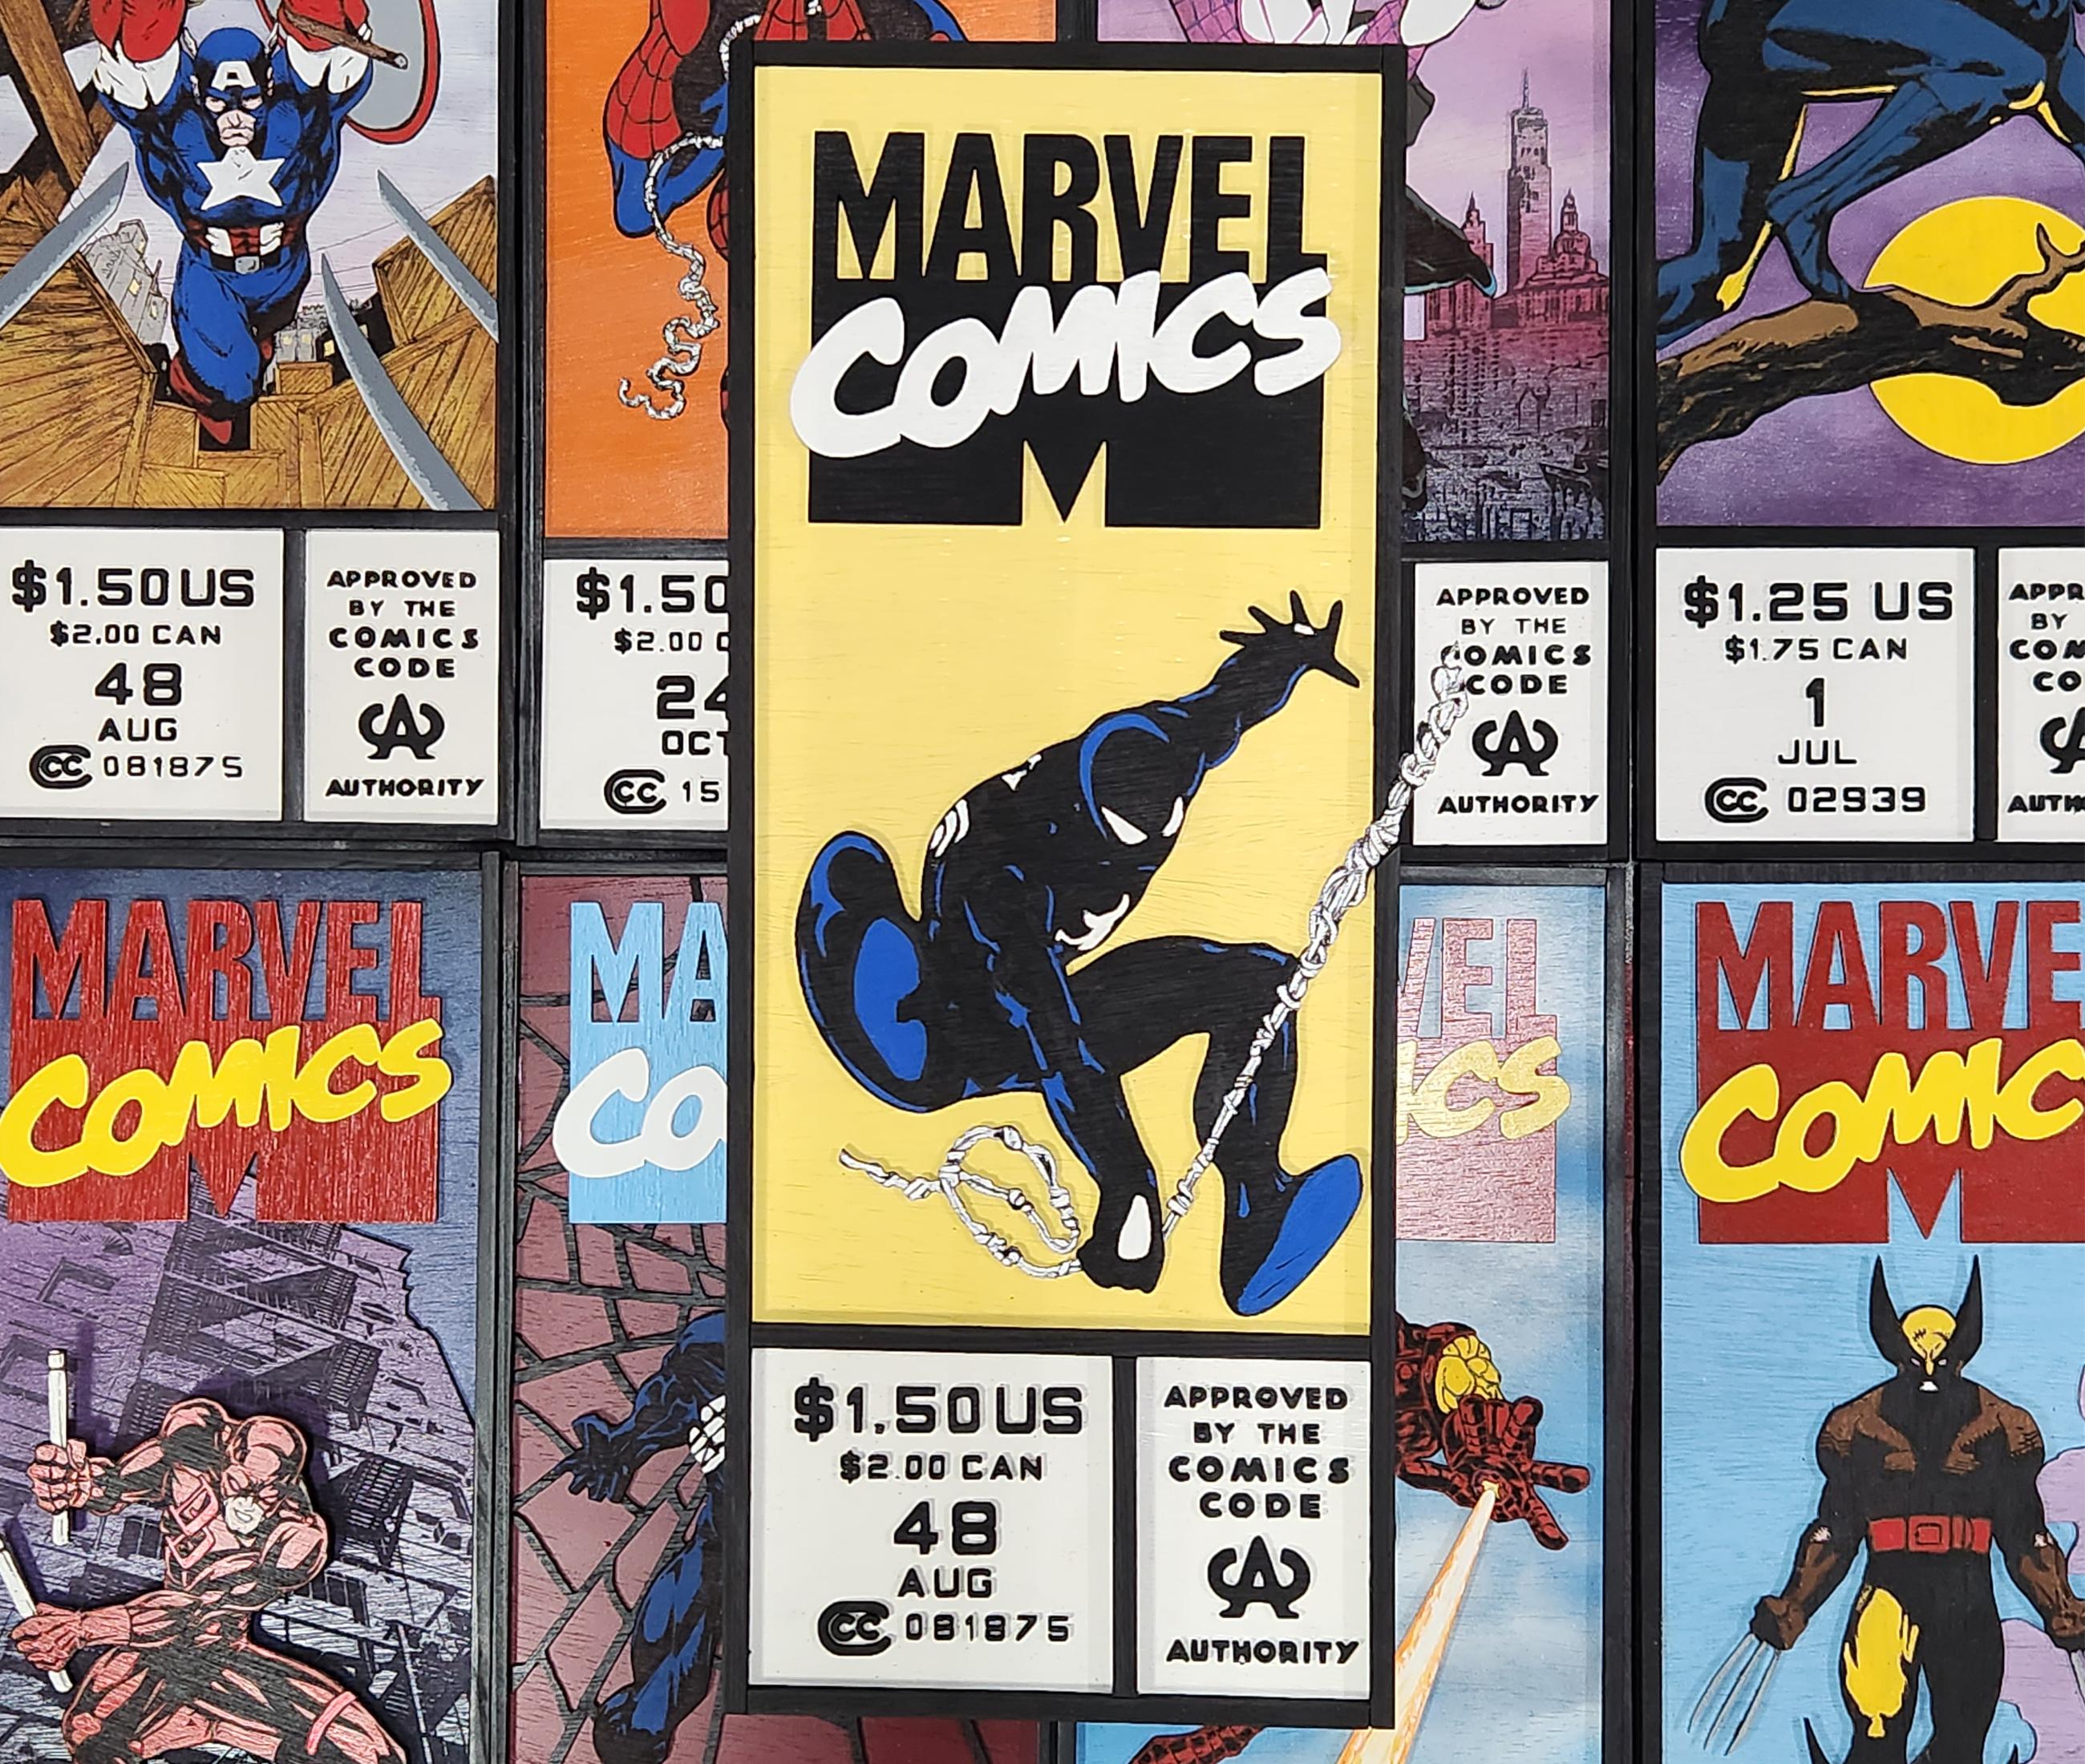
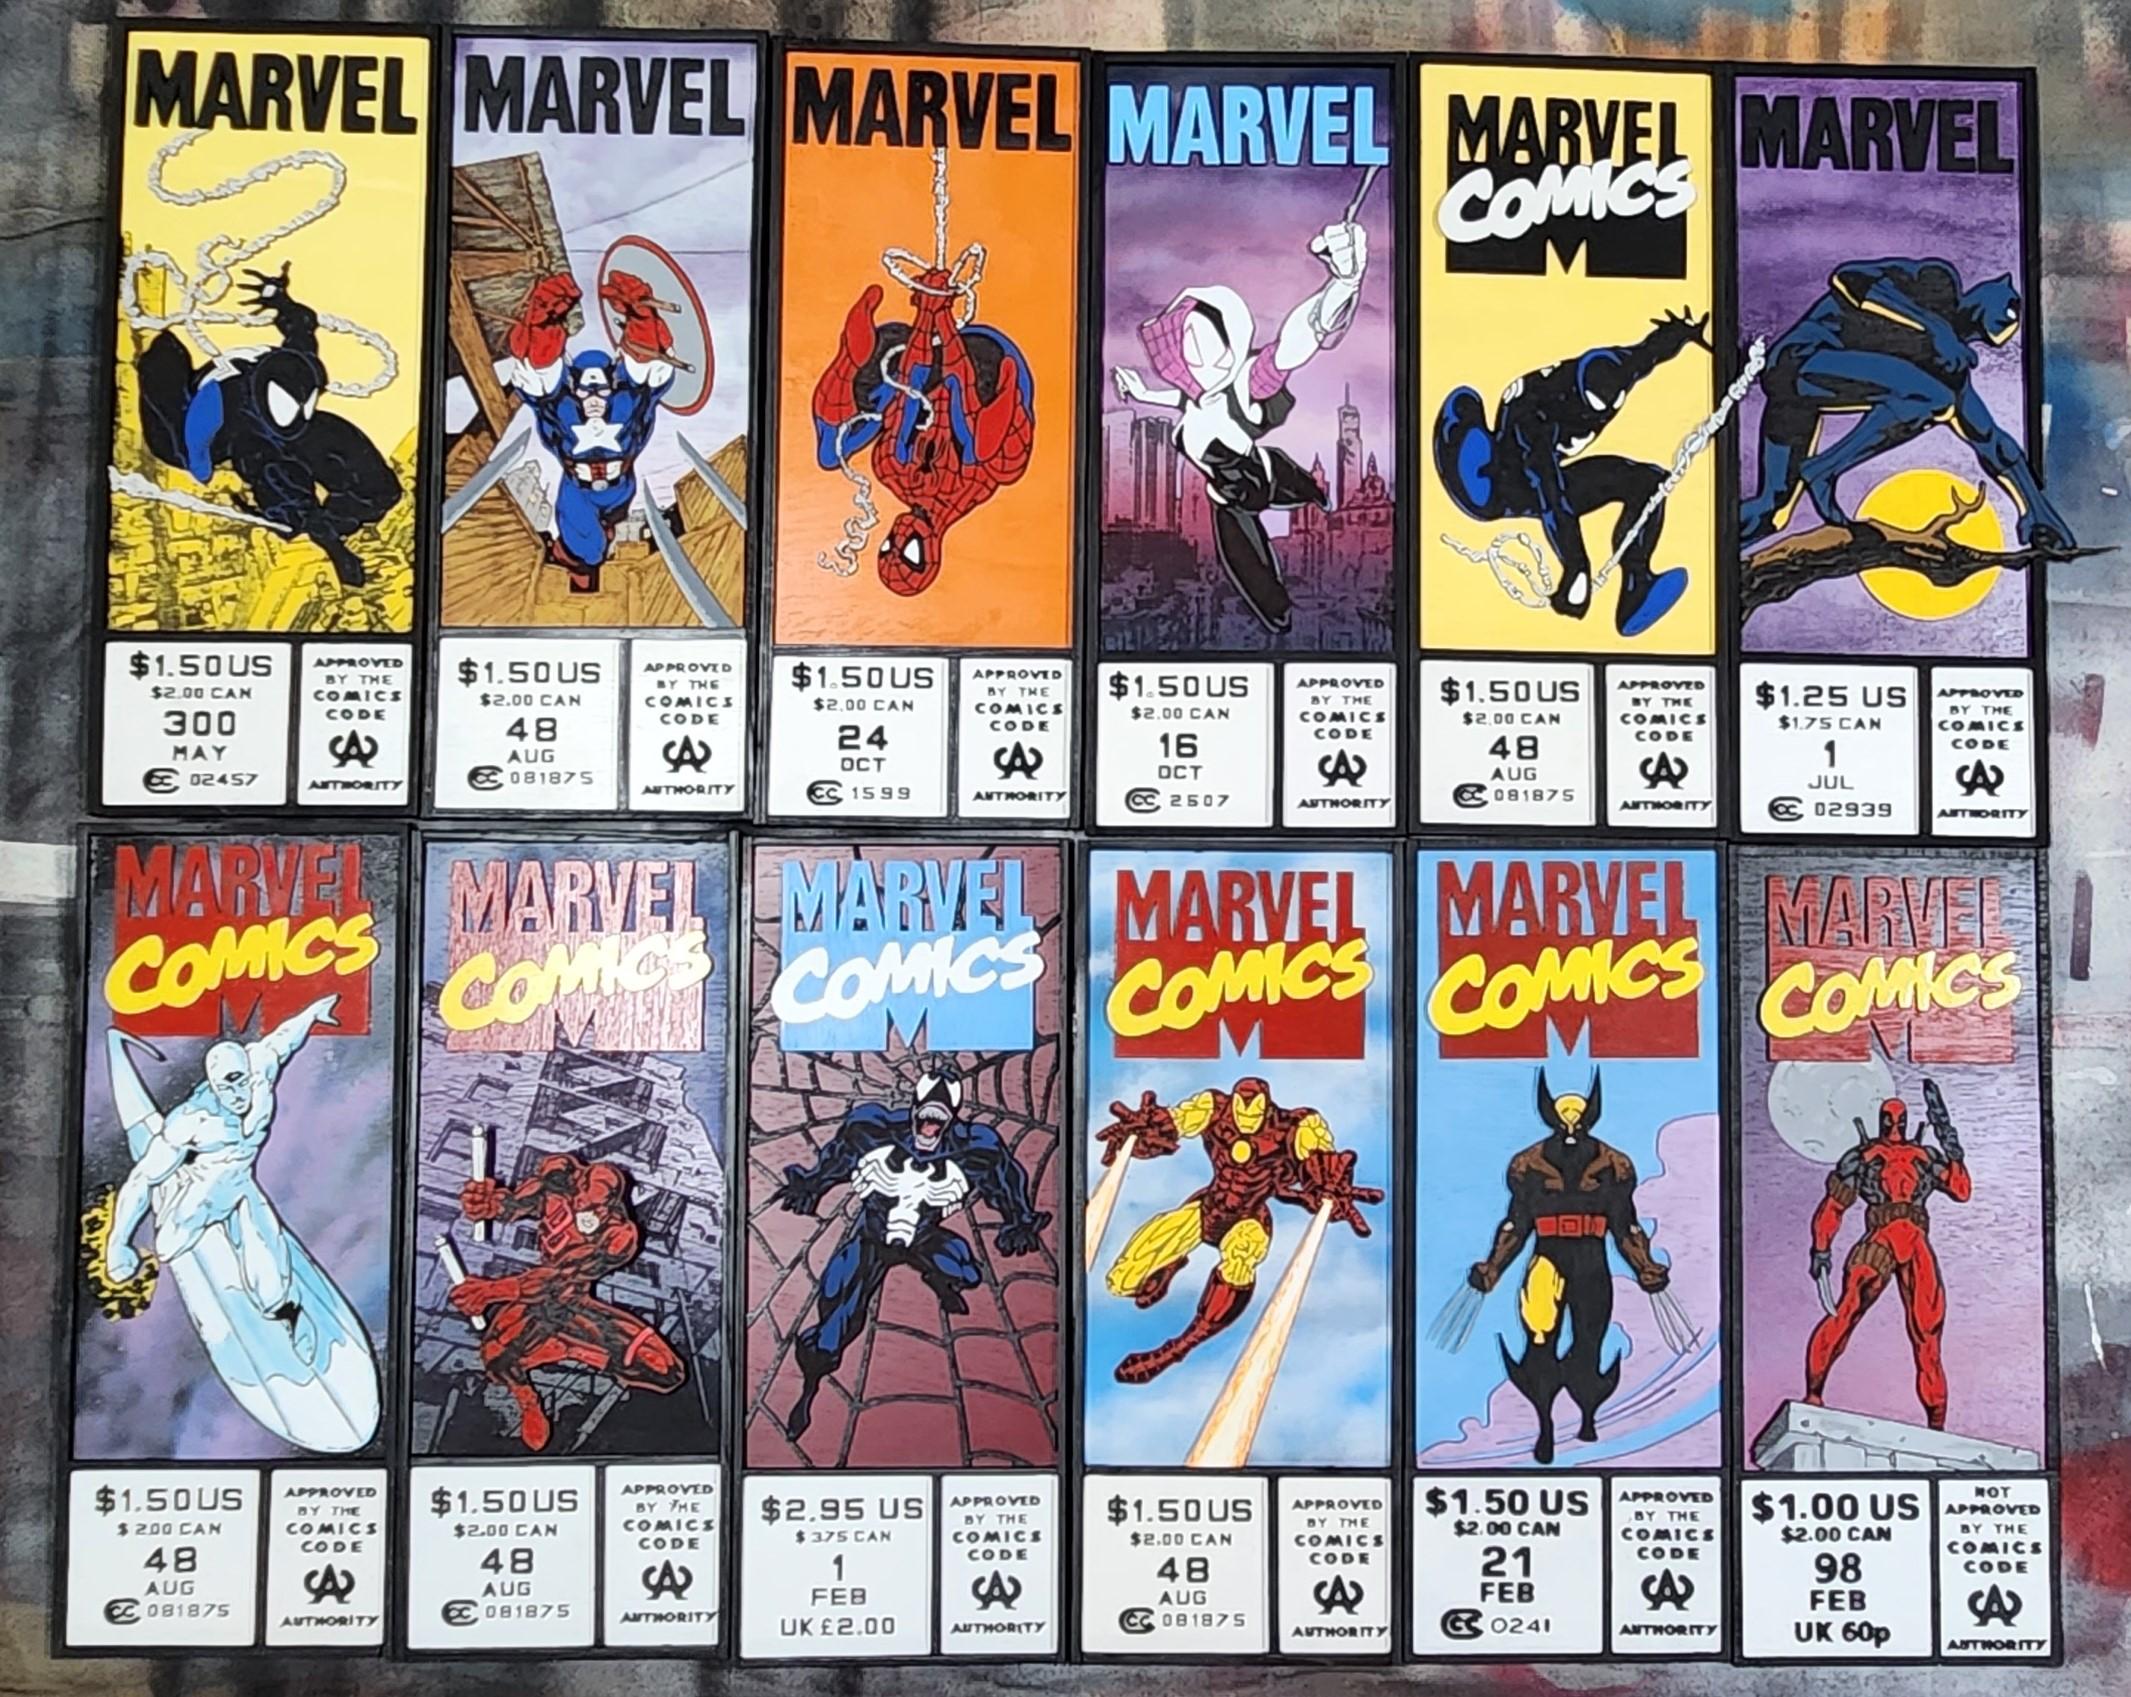
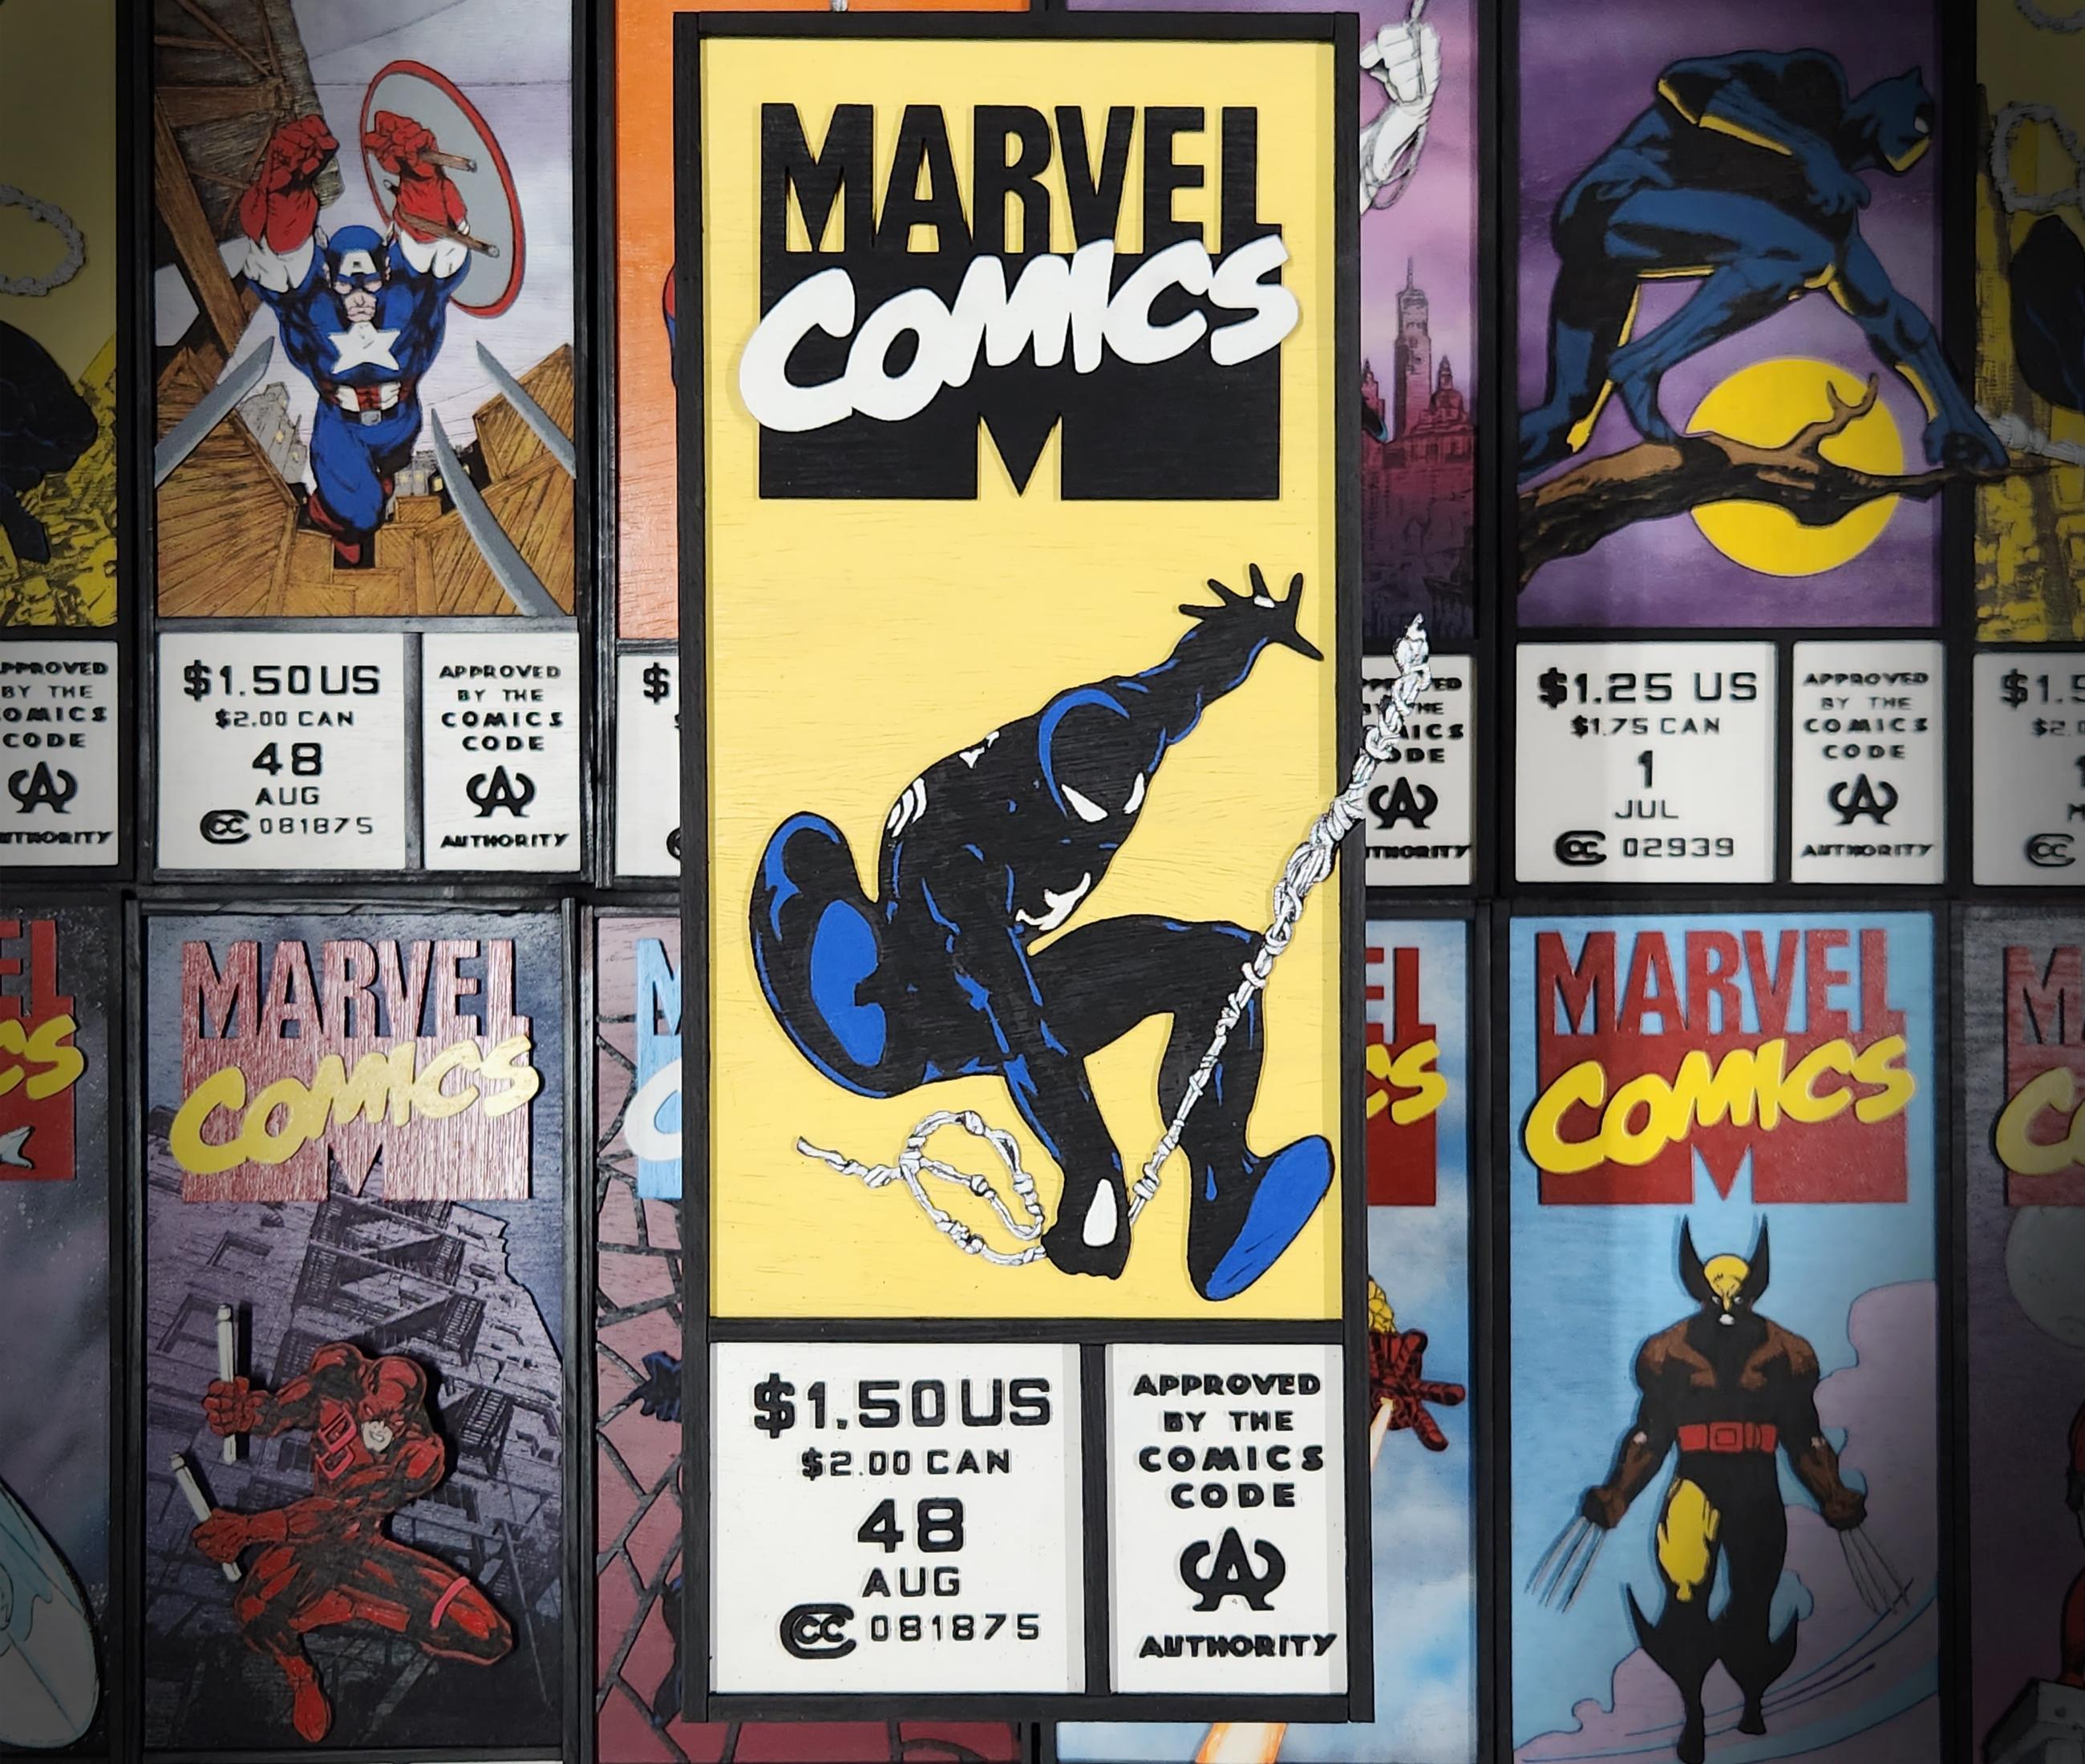
Here is the final result among some of the other corner boxes I have made since getting my laser. These projects have been very satisfying for me to make. I'm a little ashamed to admit that I'm borderline addicted to making these corner box art pieces. I hope you find this Instructable helpful, and I hope it inspires you to try and make your own comic book corner art box.
Jpeg Files
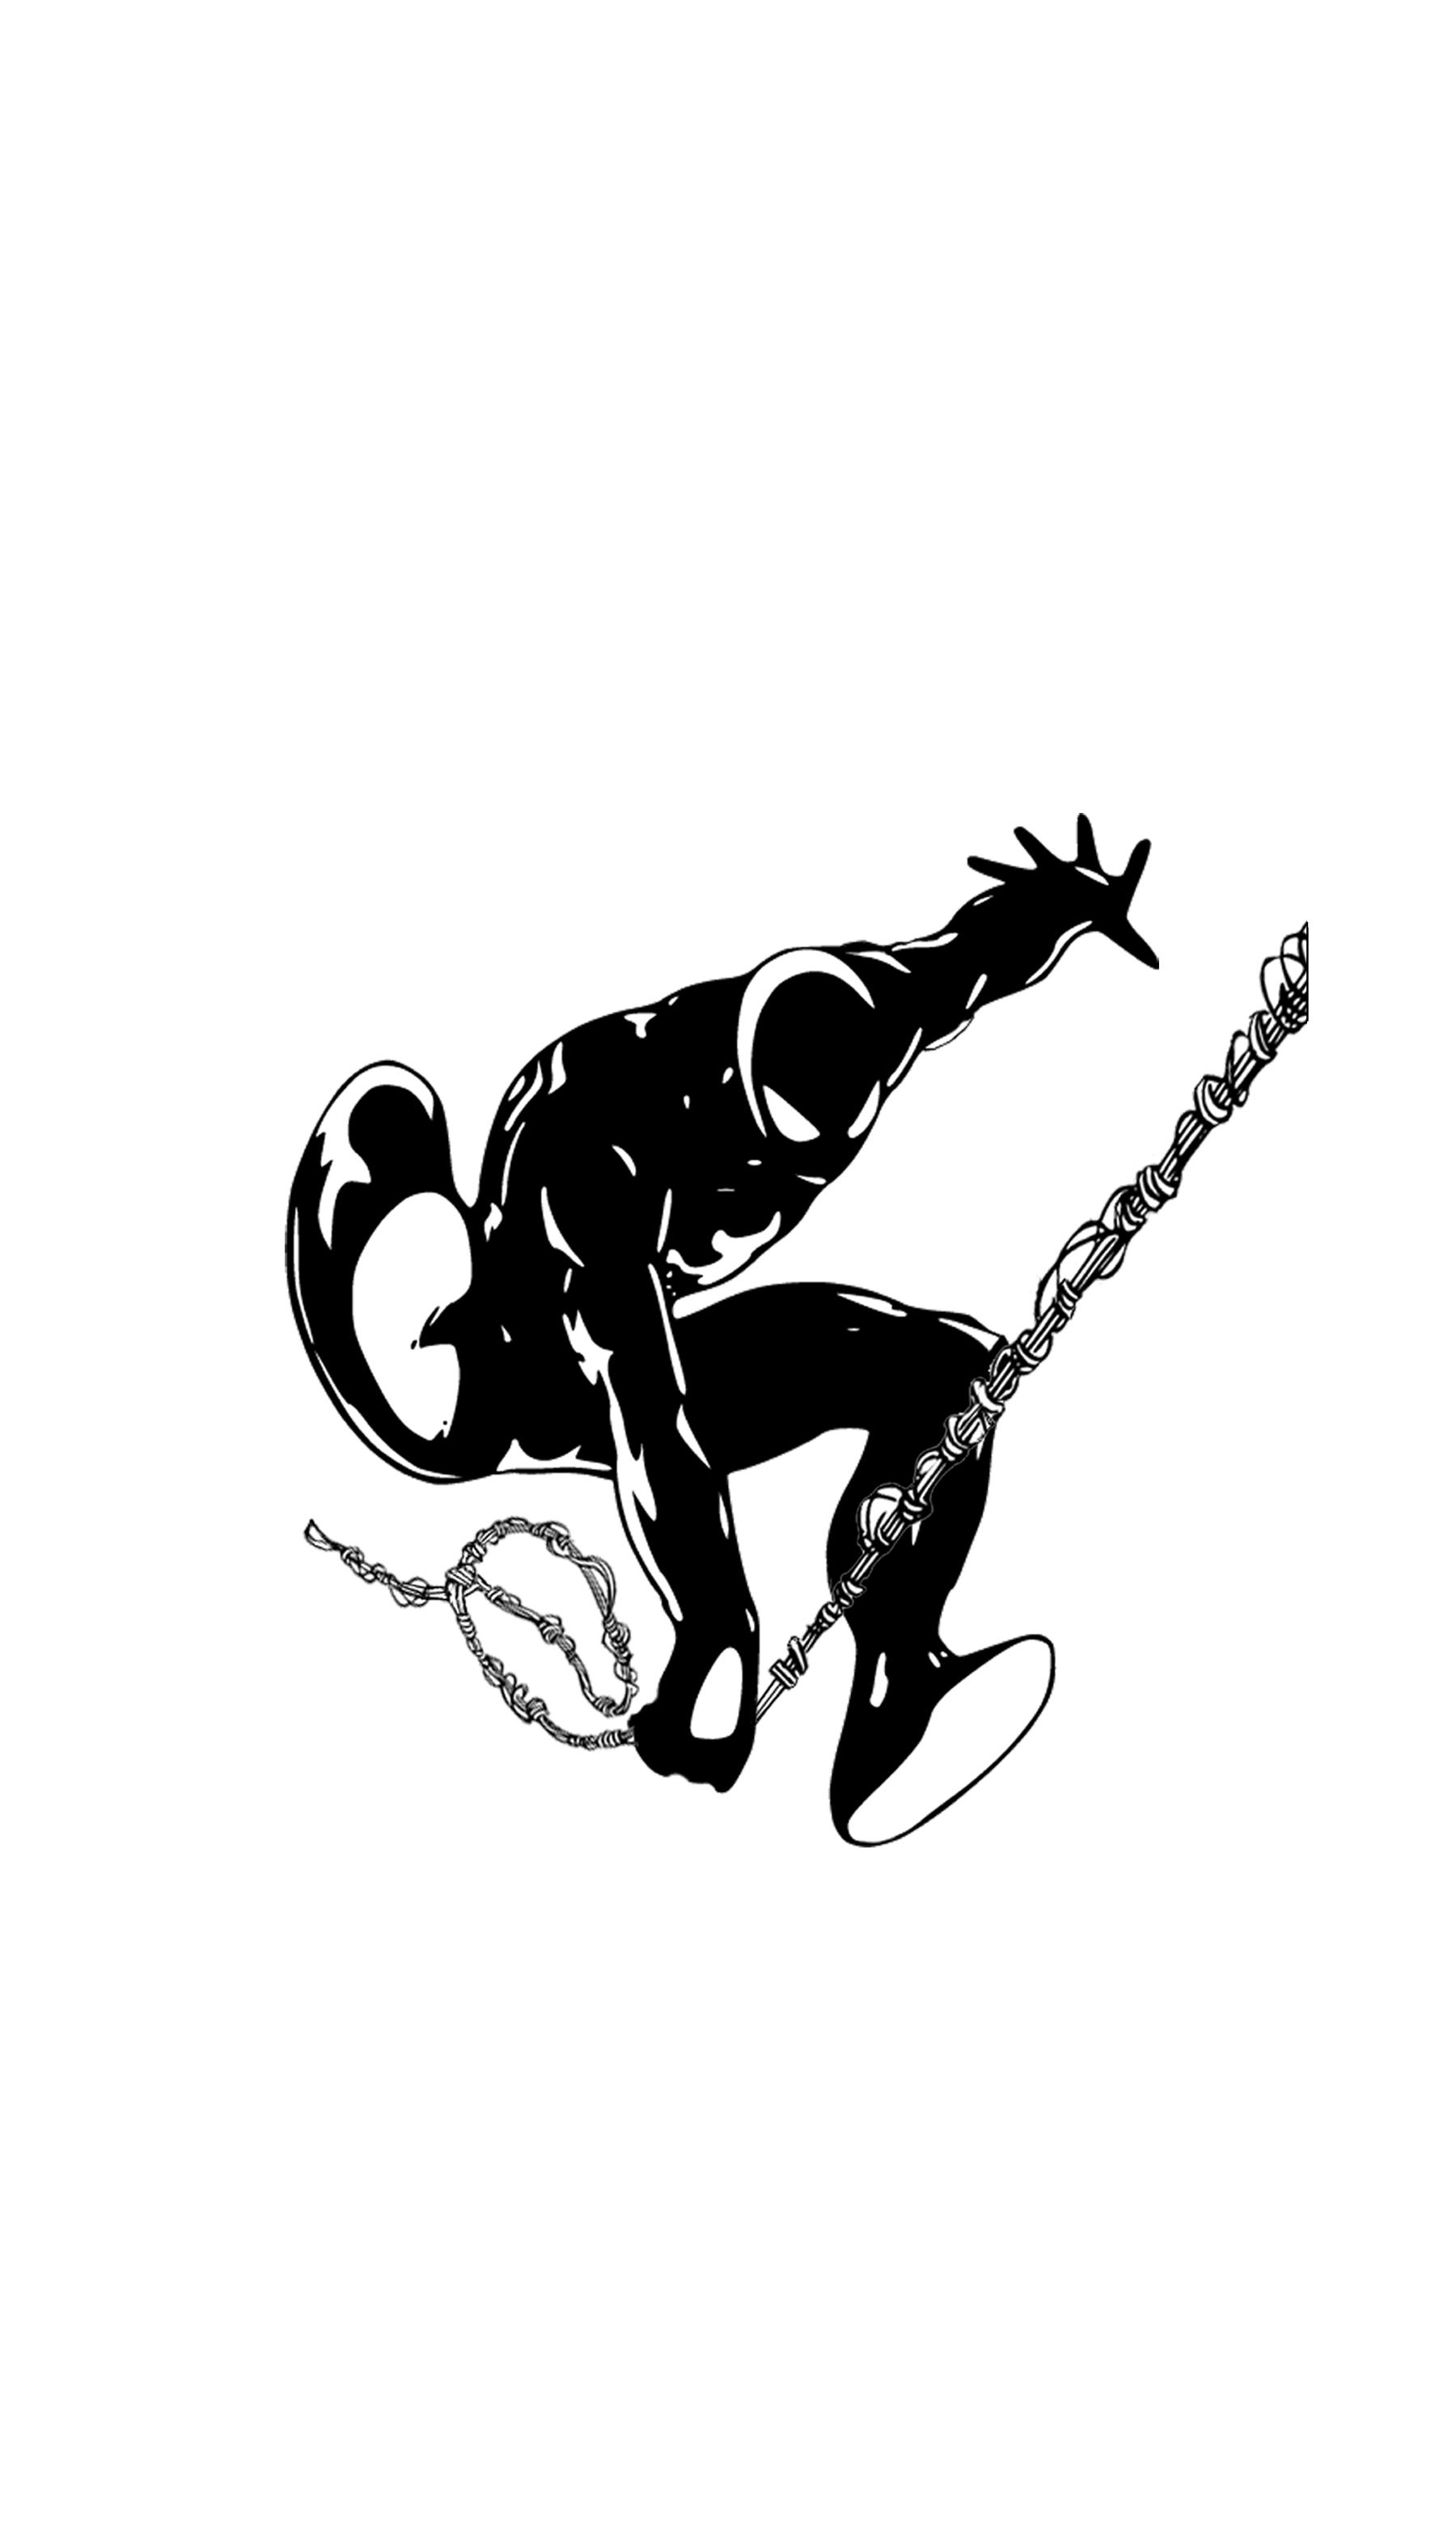
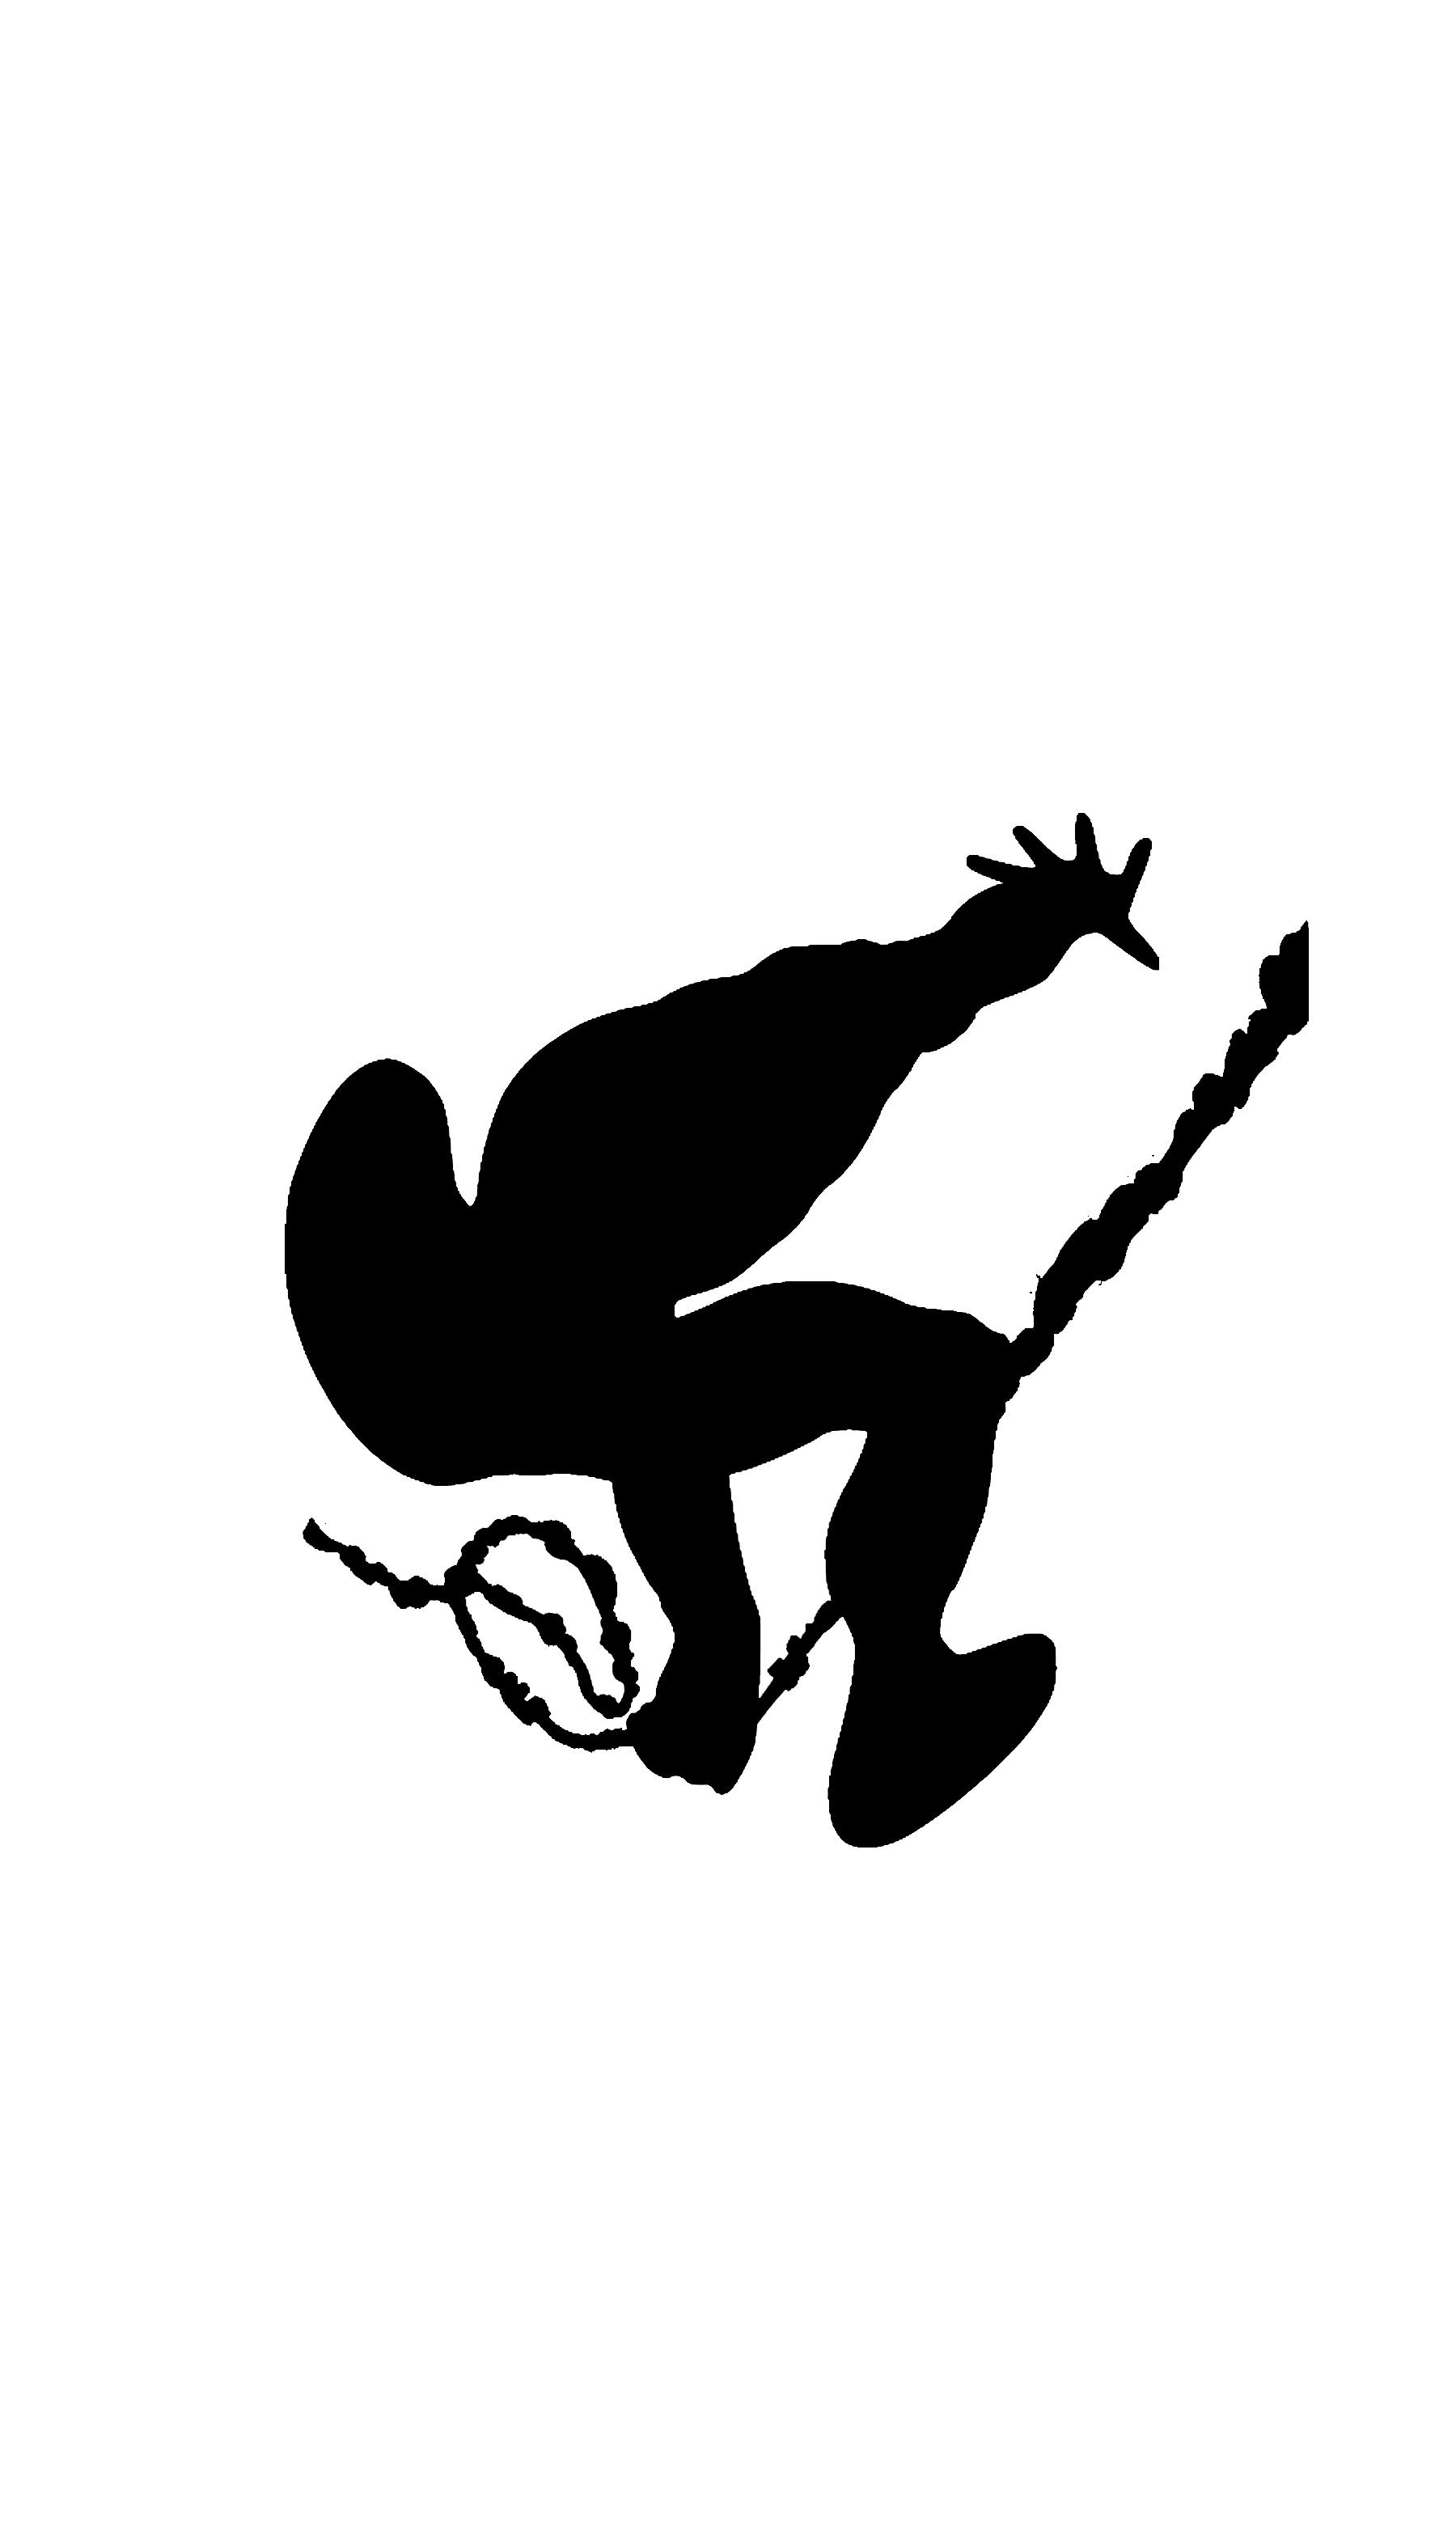


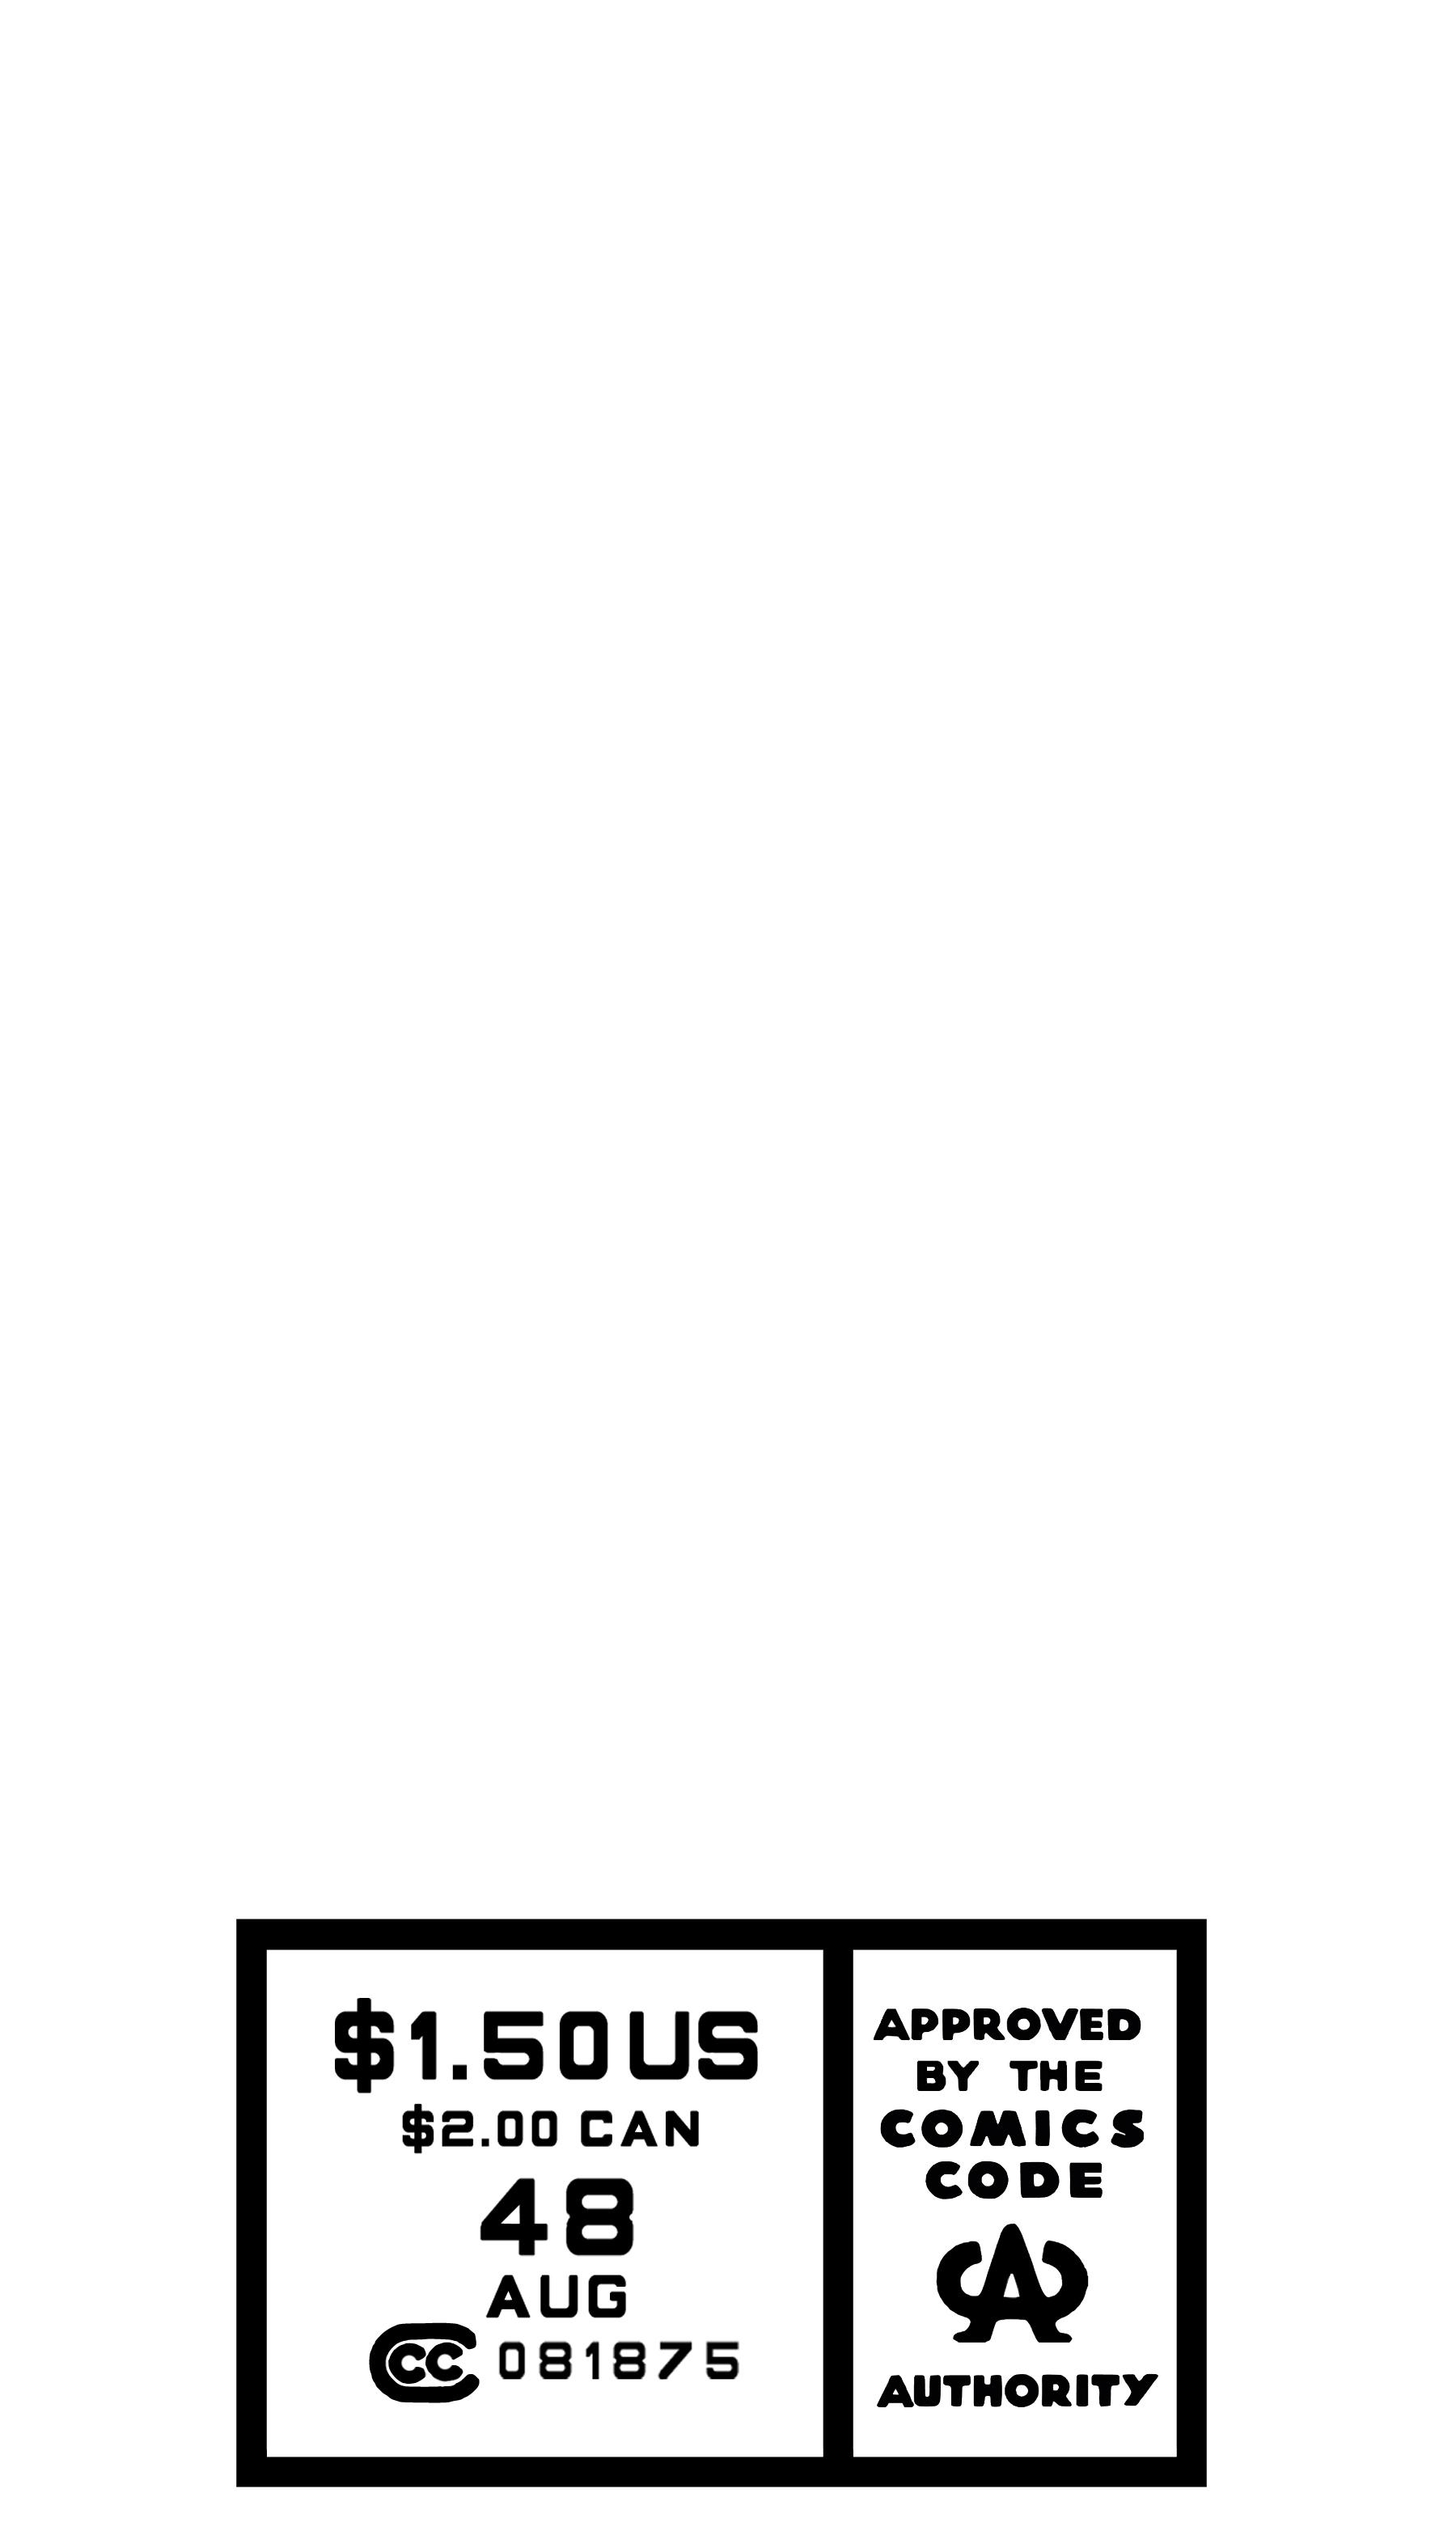
Here are the jpeg files I used to make this comic book corner art box.
*Why isn't comic book one word...comicbook... seems like it should be.