Coloring Your 3D Printed Model!
by evanrtomlinson in Workshop > 3D Printing
198 Views, 0 Favorites, 0 Comments
Coloring Your 3D Printed Model!
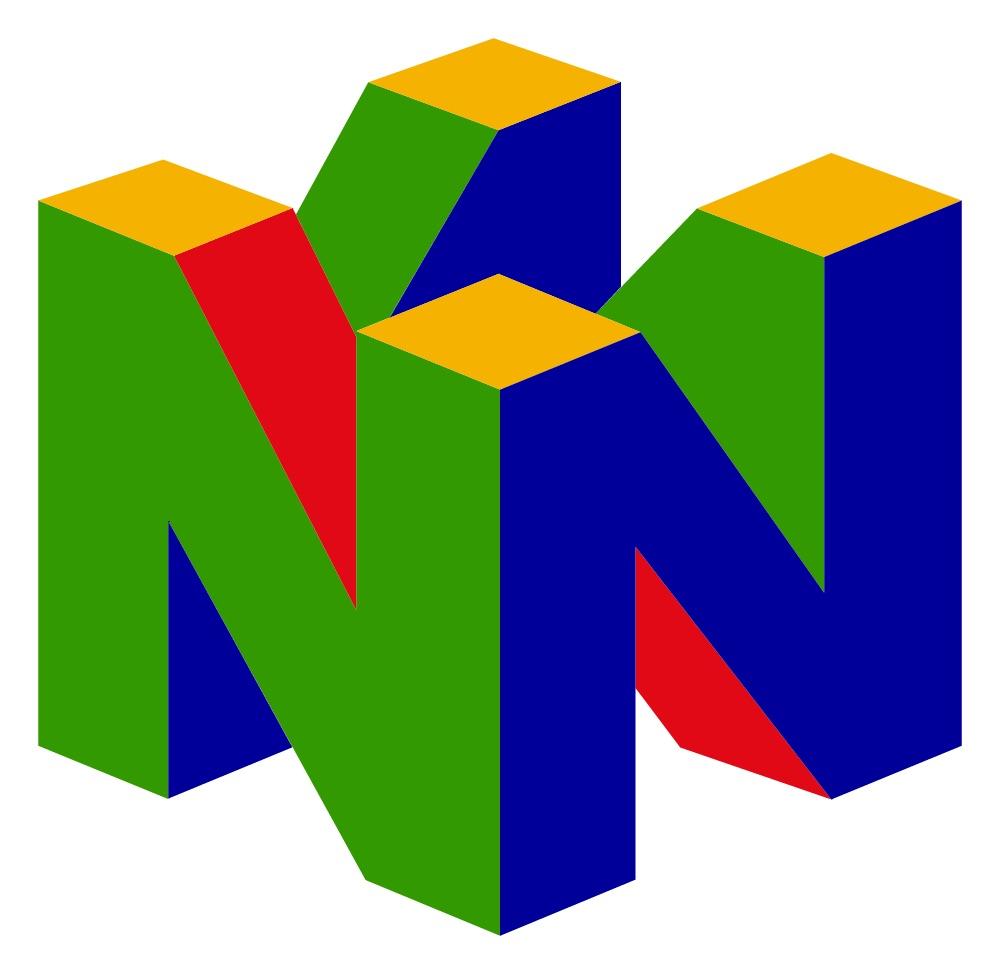
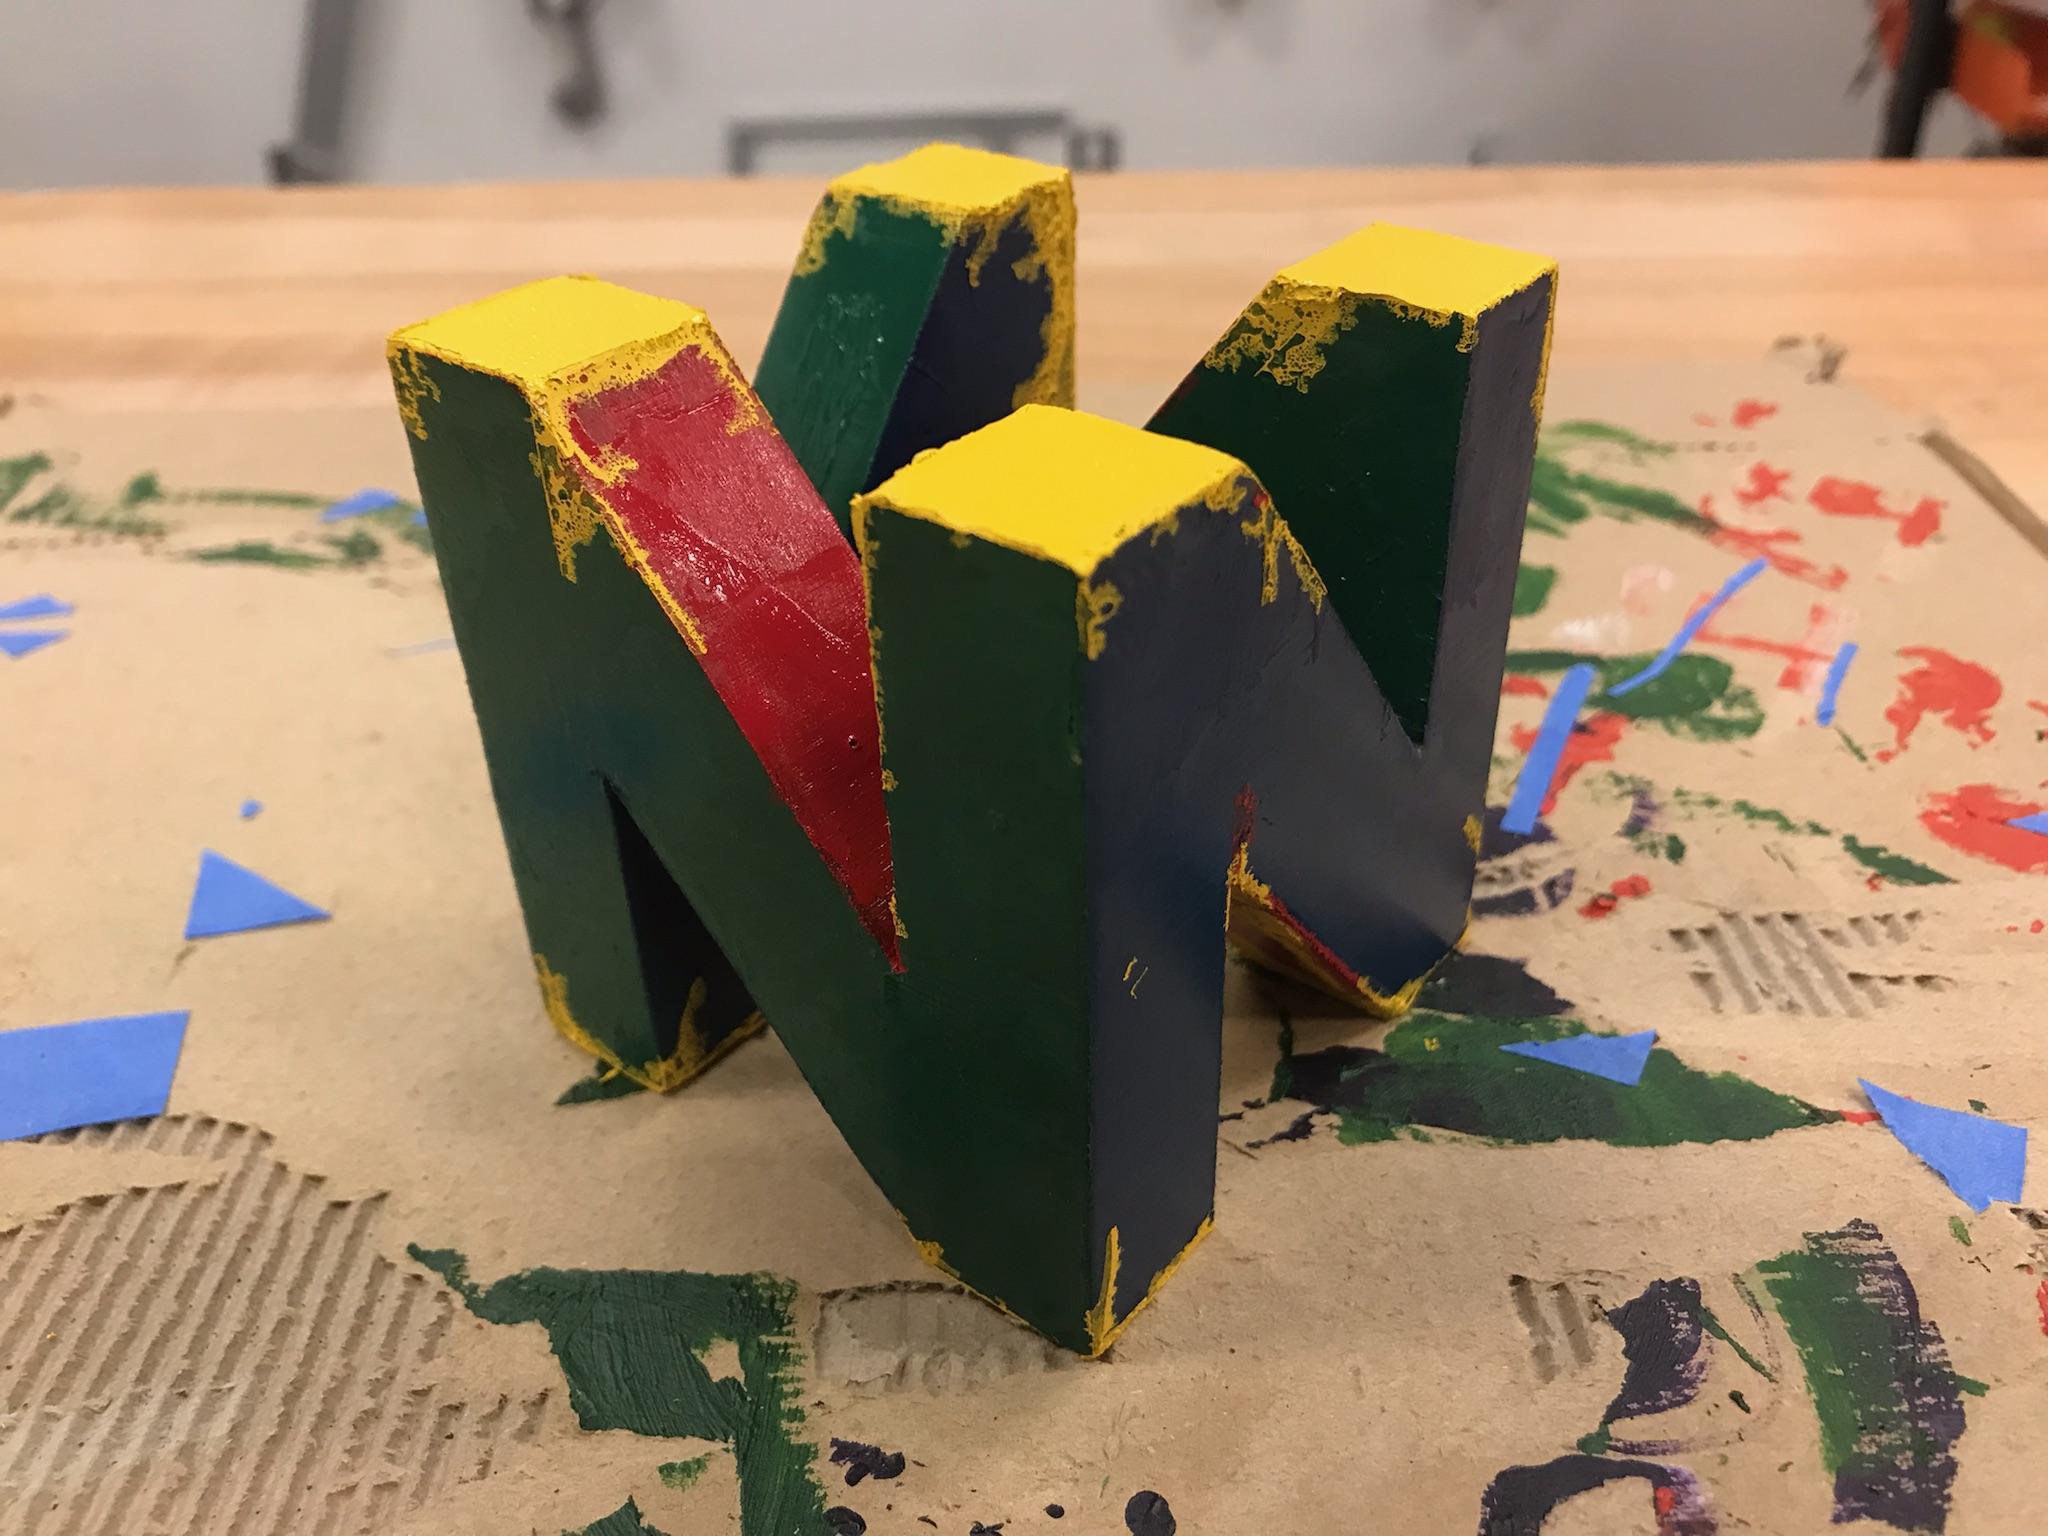
I wanted to make a Nintendo 64 logo you would've seen on the promotional material of the console and its games from the 90s. I always had a fondness for the logo and thought that having an actual real life version of it would be cool.
Supplies

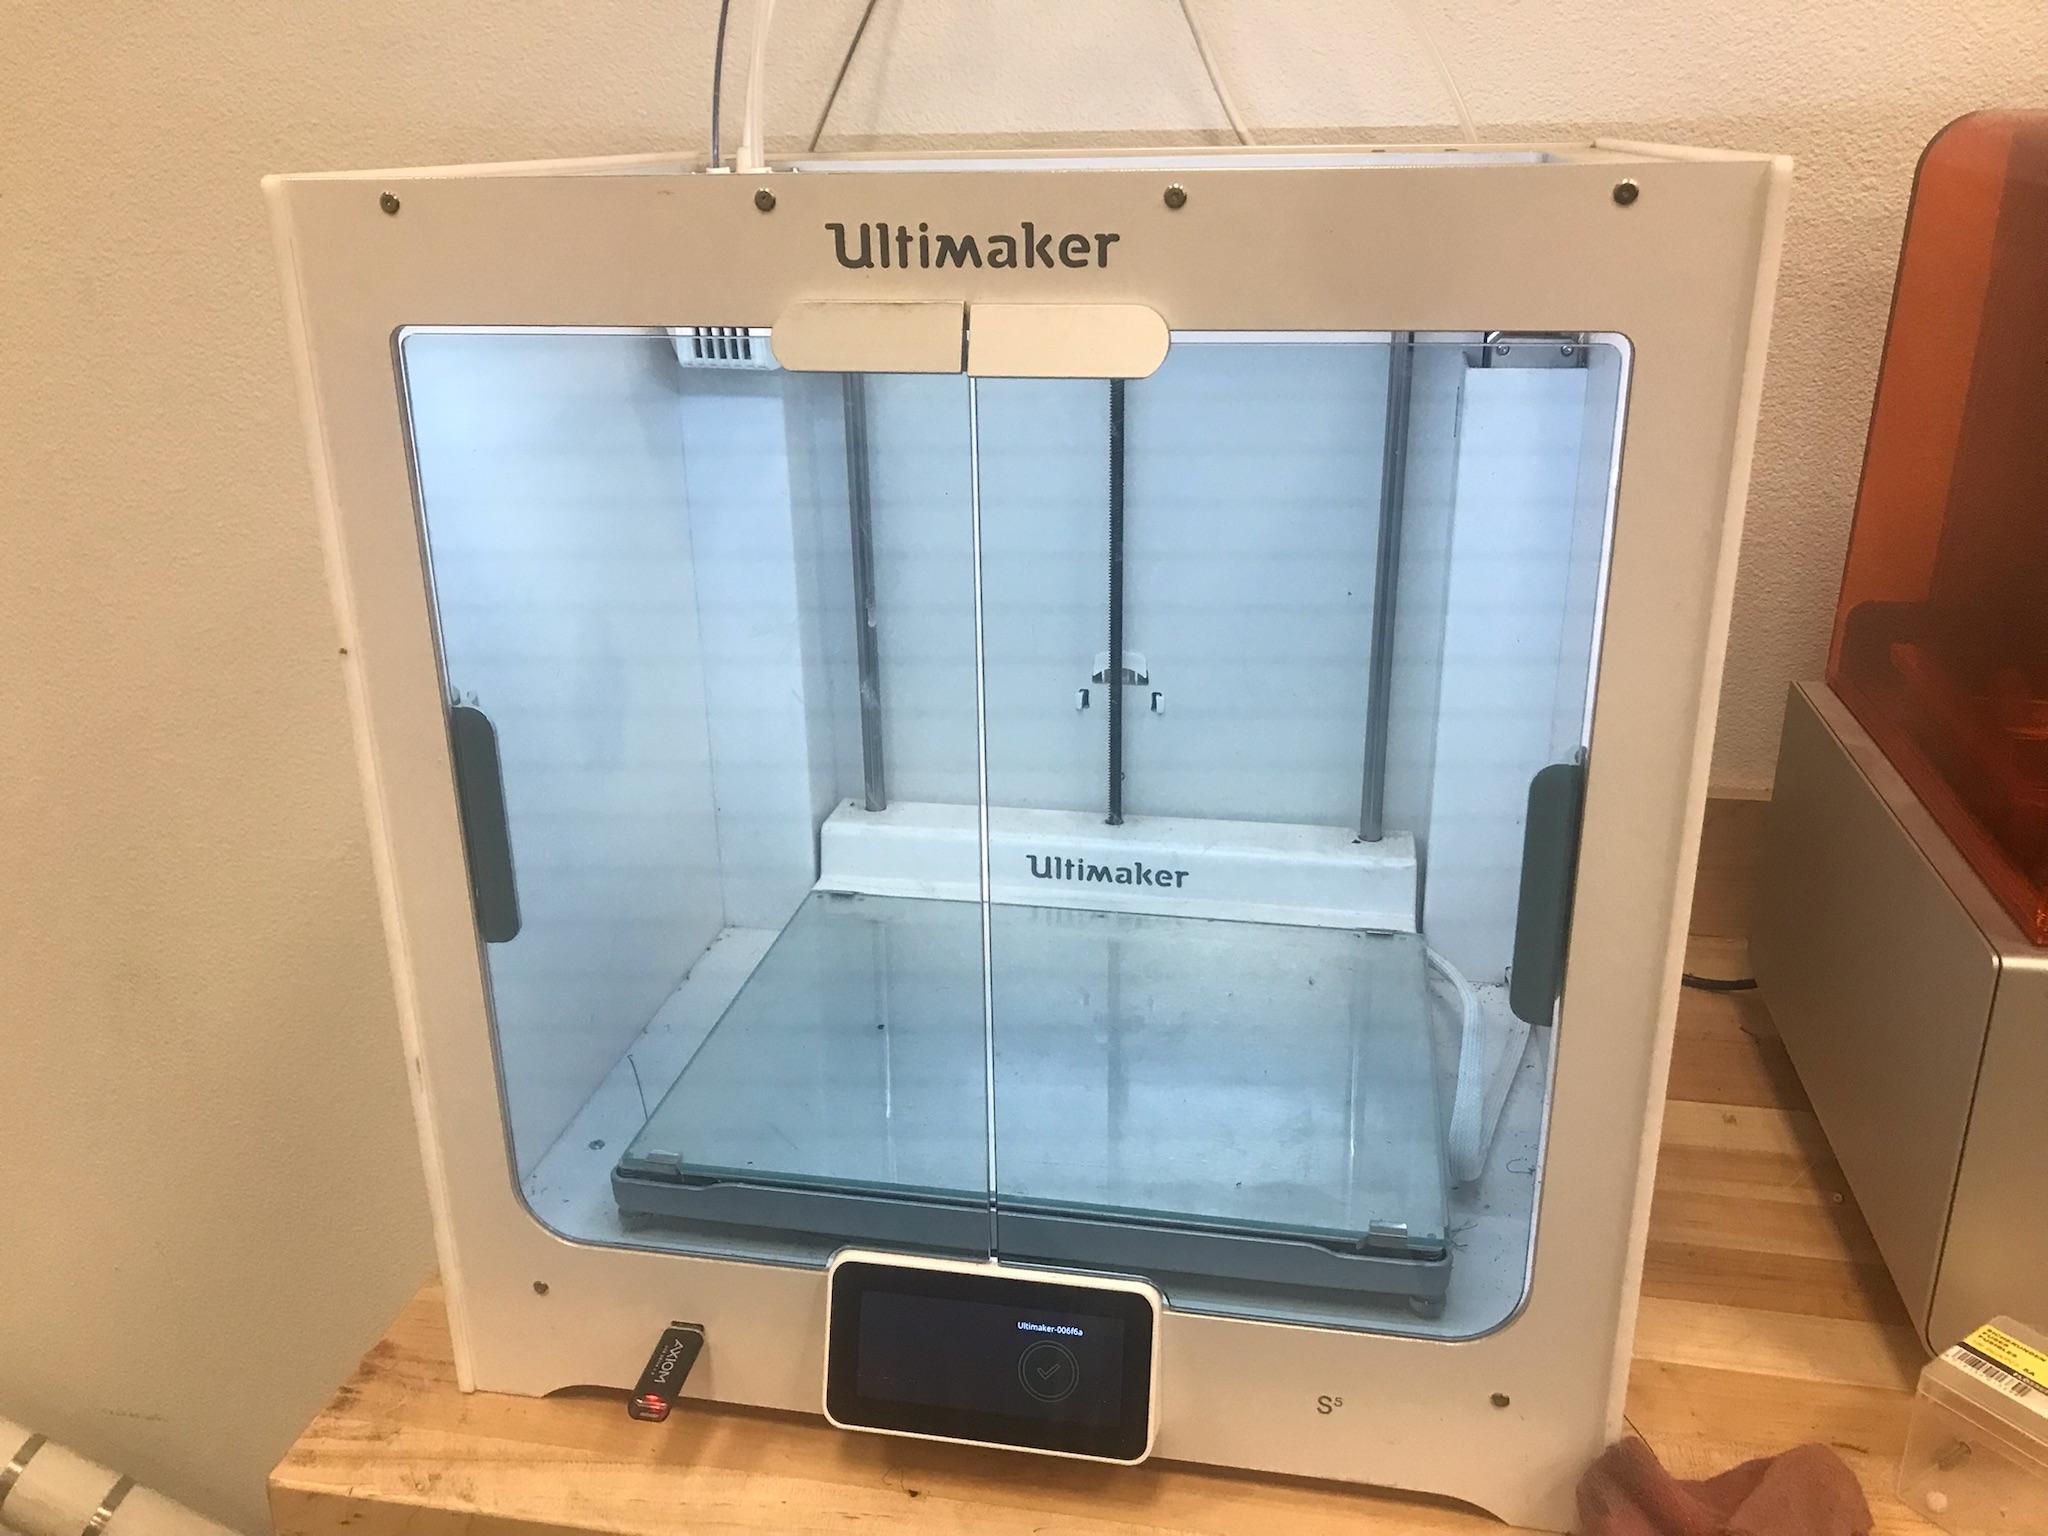
Step 1: 3D-printer with materials installed, computer with Fusion 360 installed, and a connection to the internet.
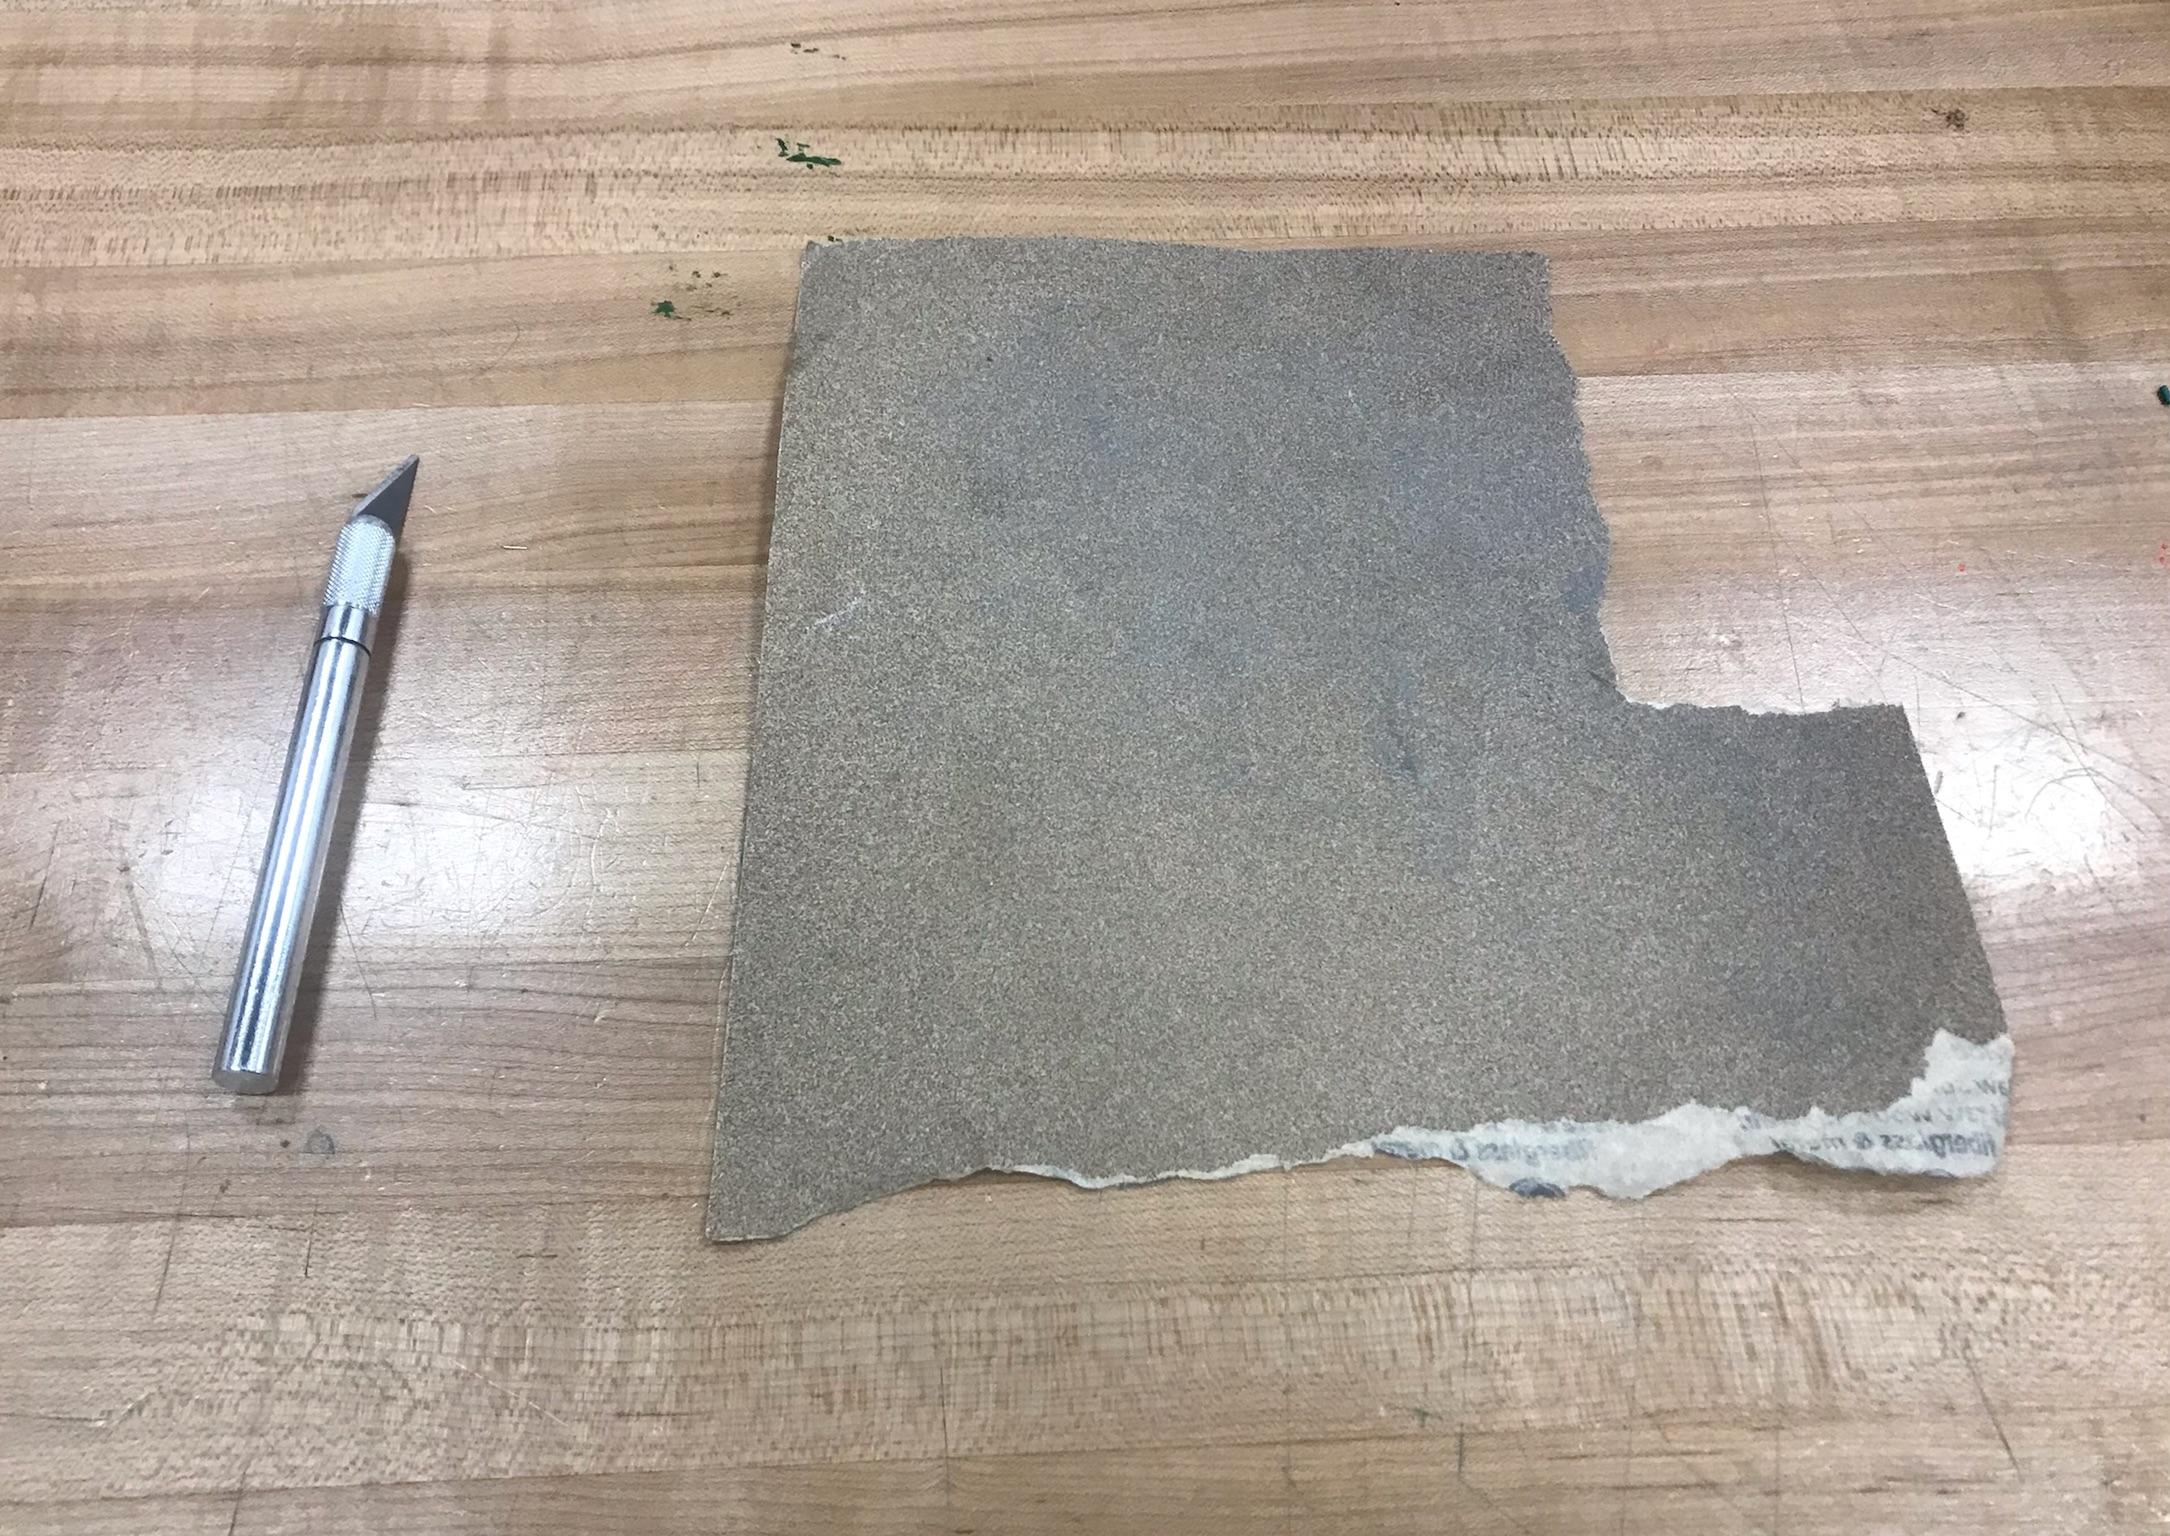
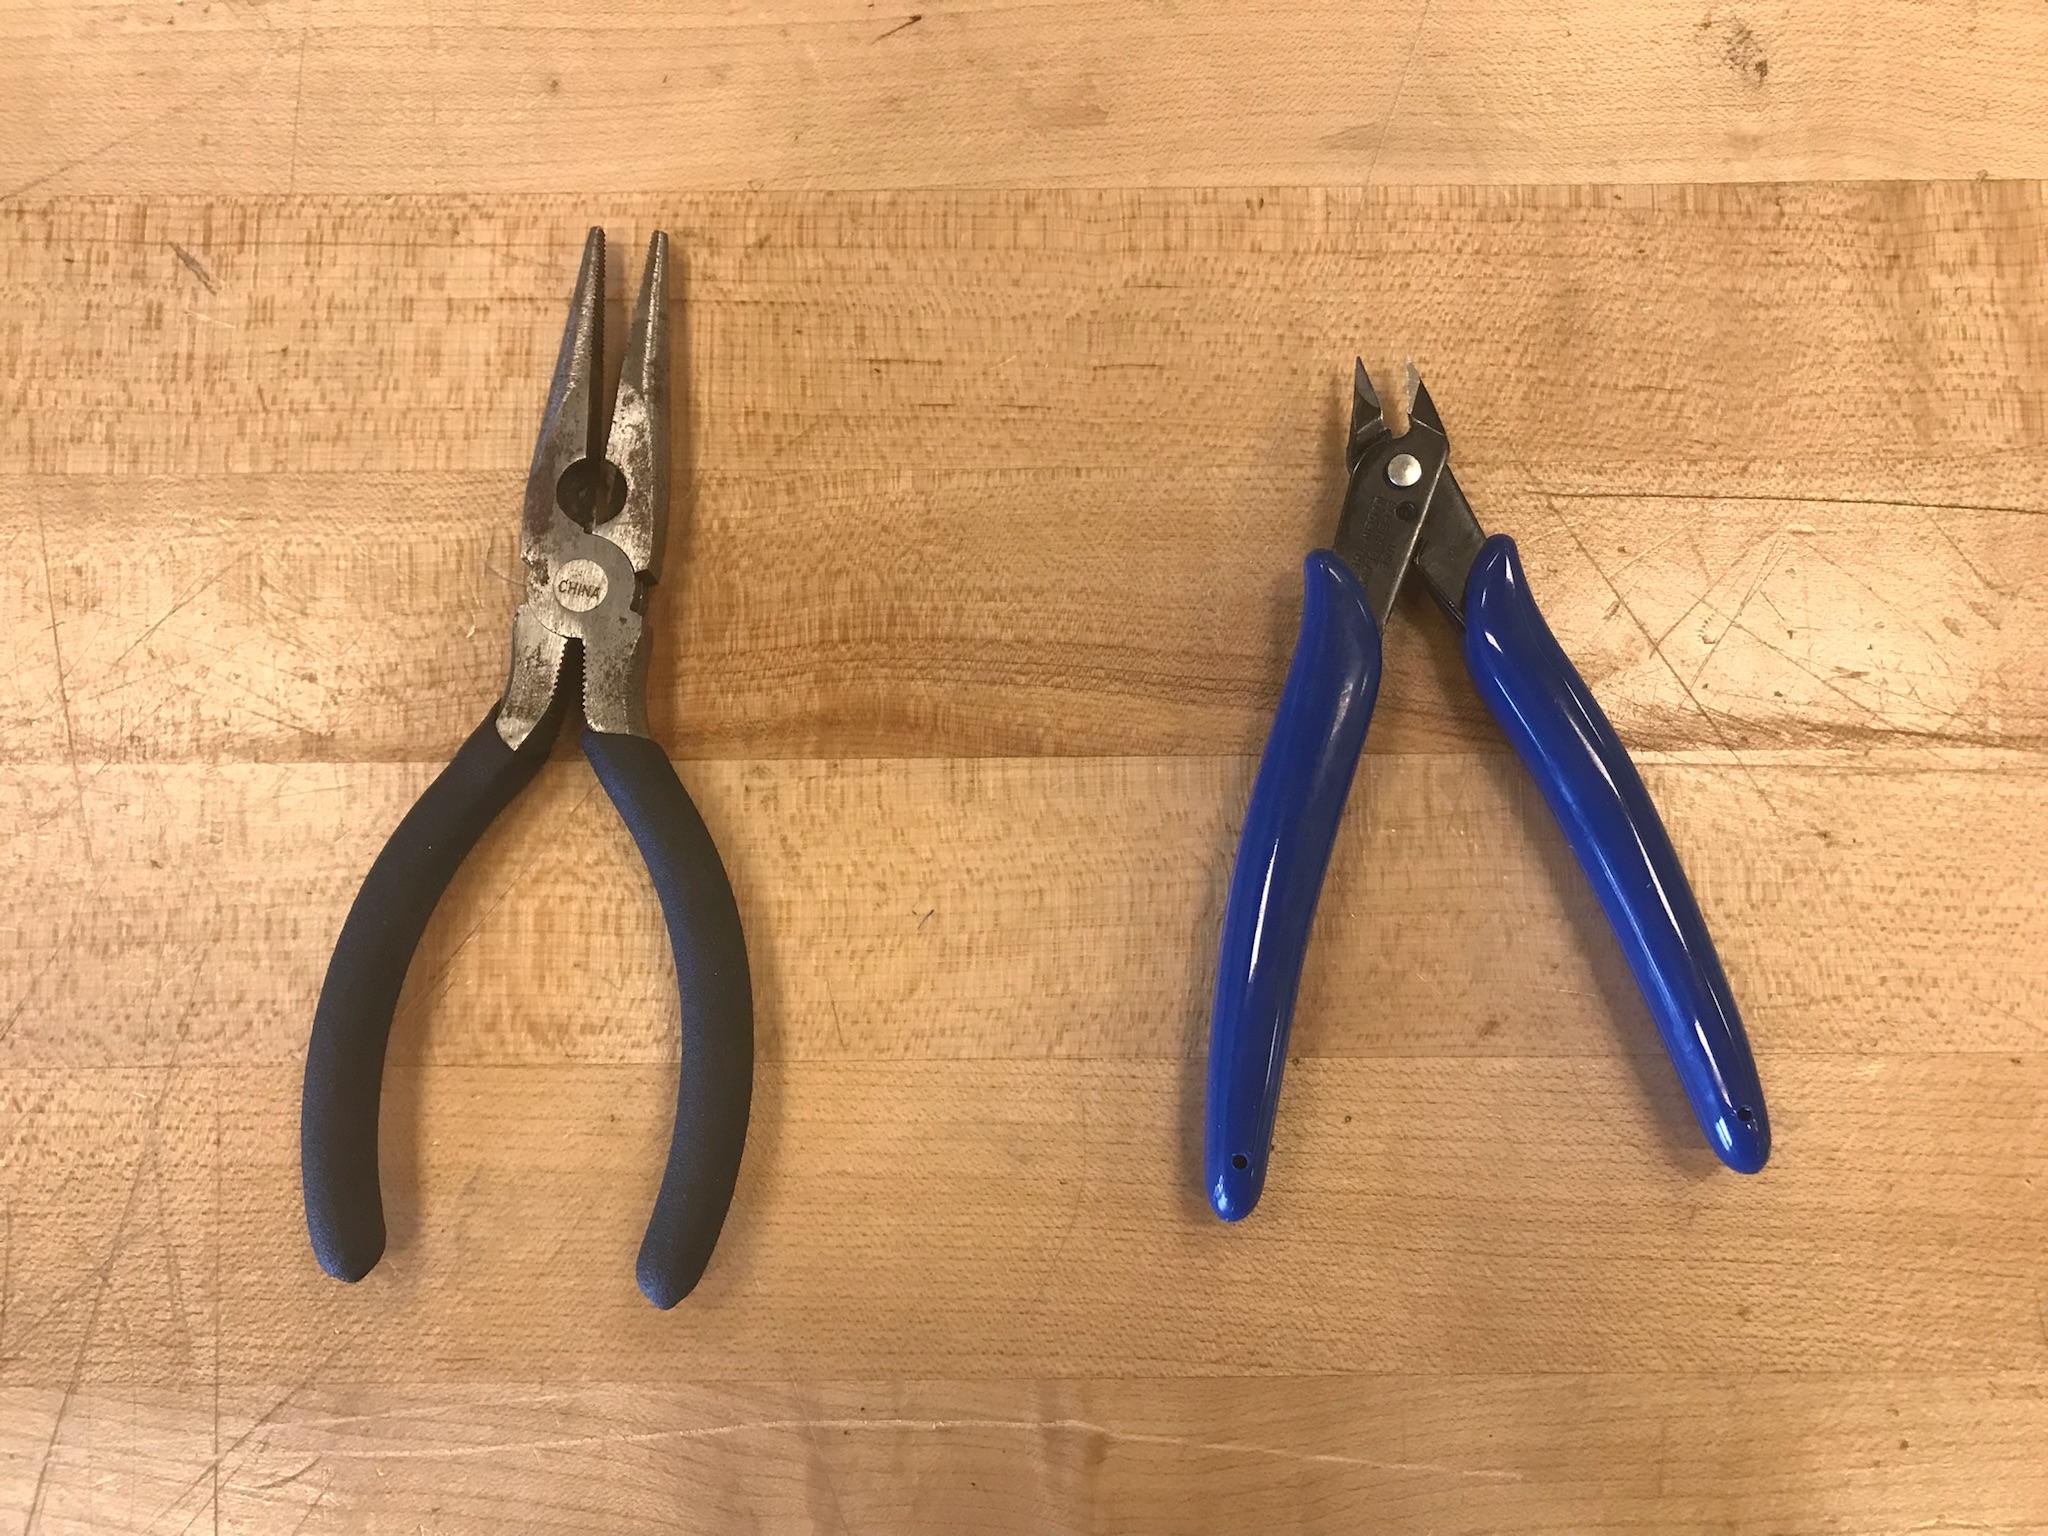
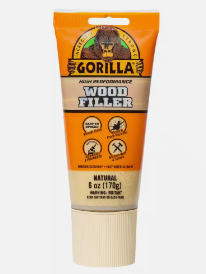
Step 2: Wood filling, acetone, a popsicle stick, an exacto knife, needle nose pliers, and sandpaper.
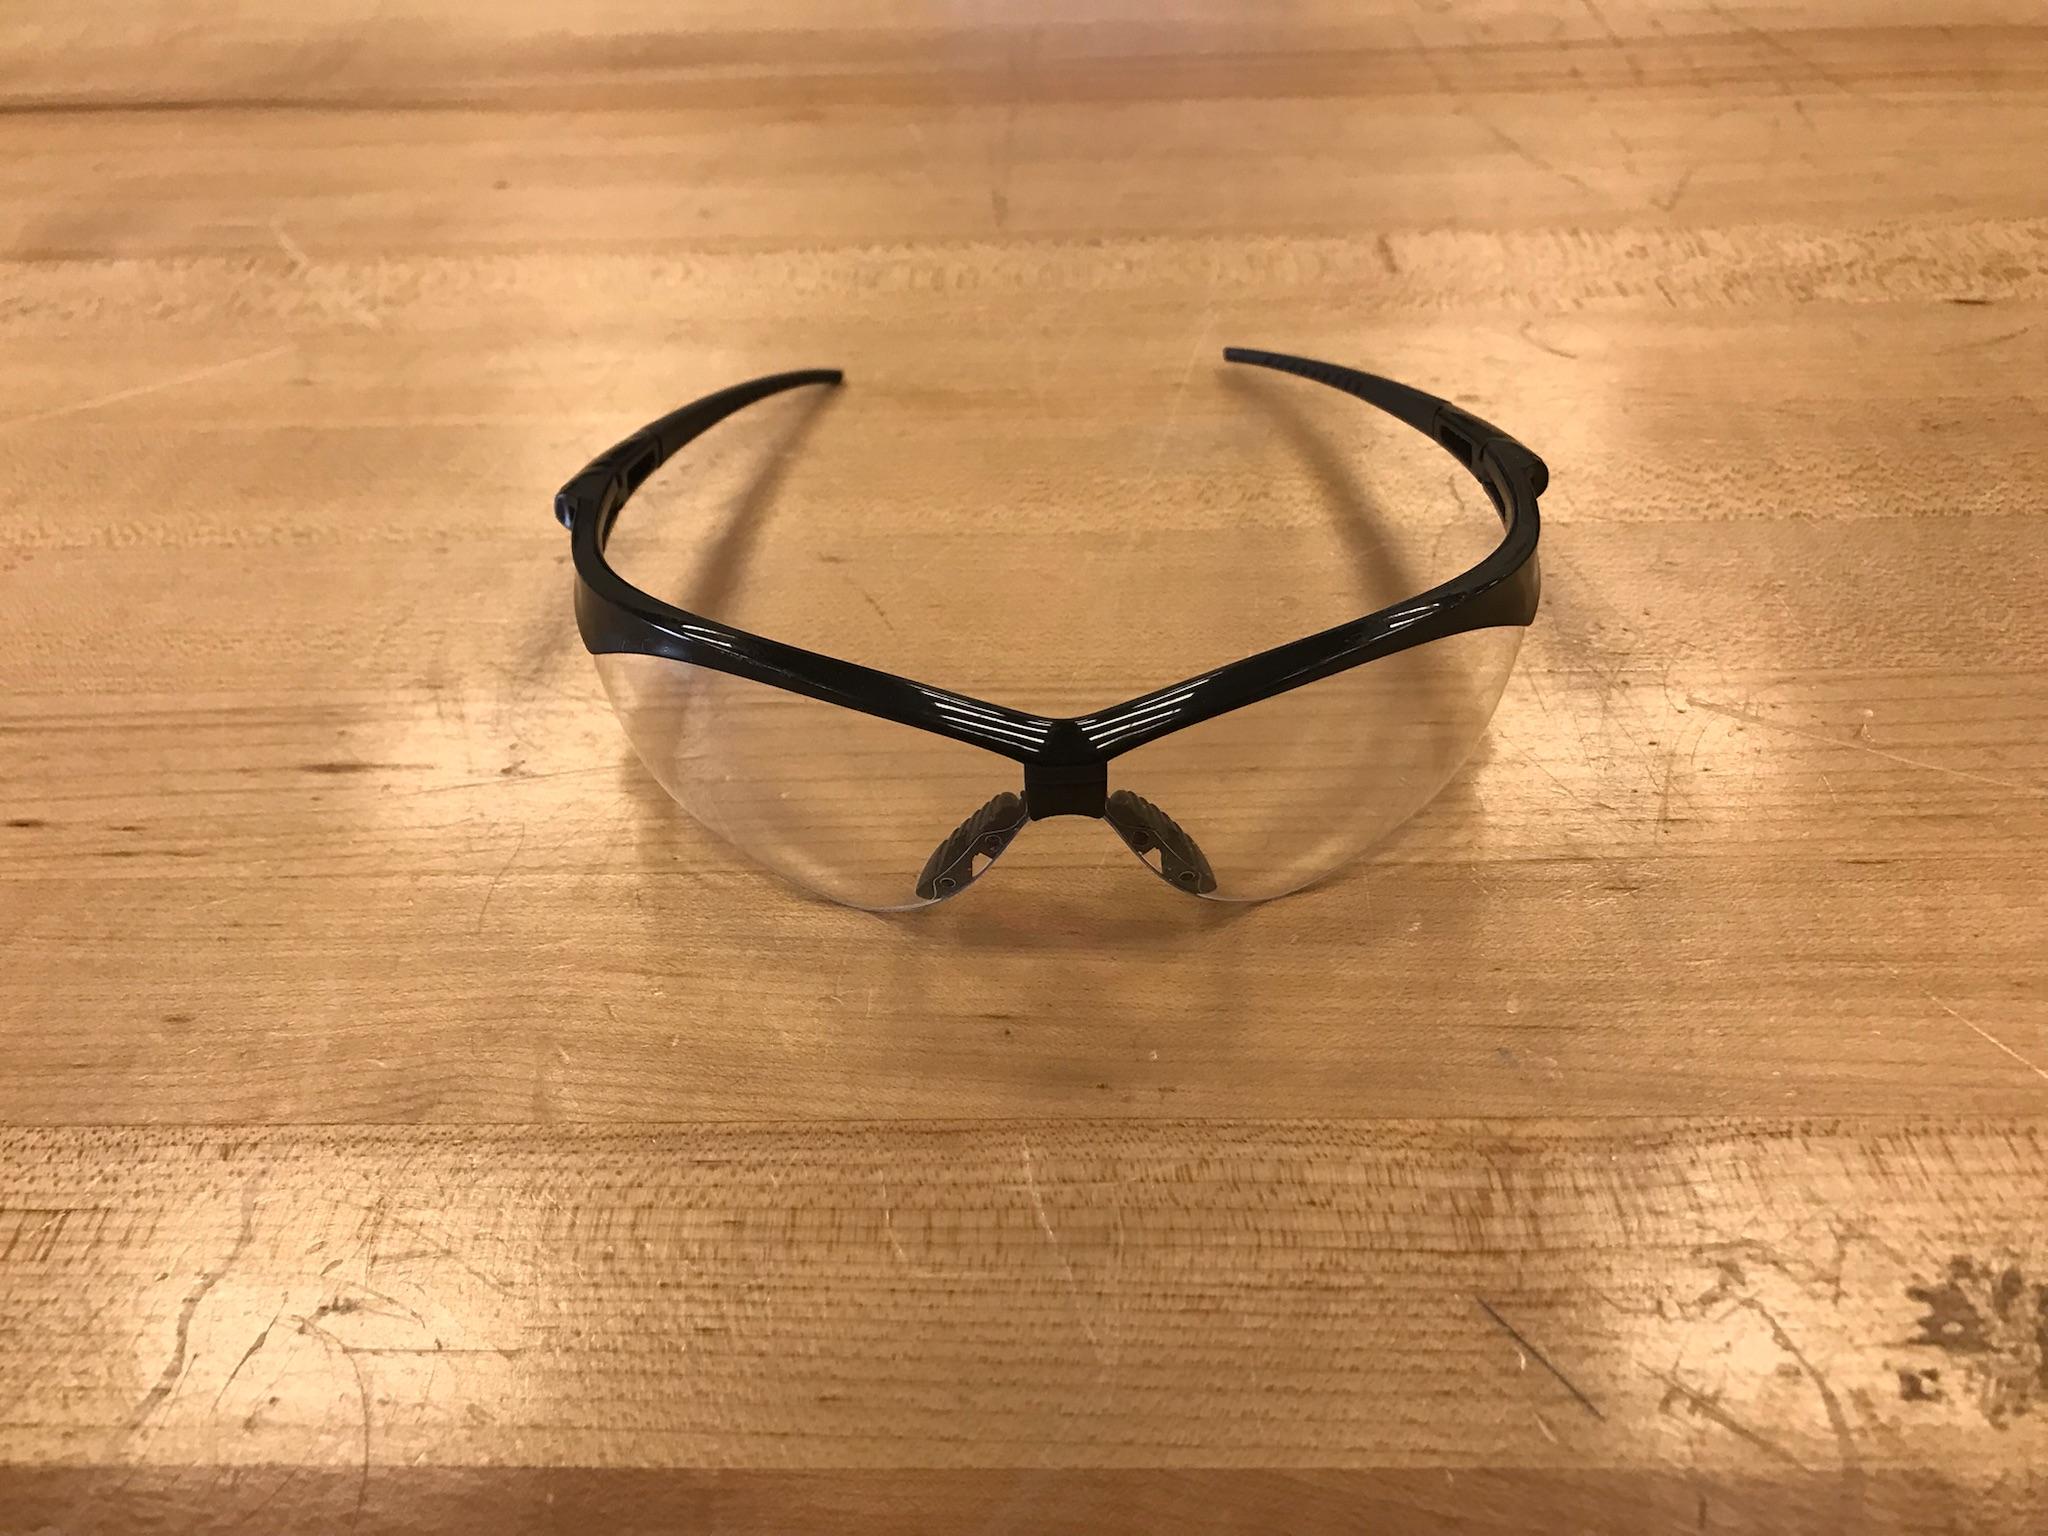
Step 3: Crafting tape, an exacto knife, scissors, and protective glasses.
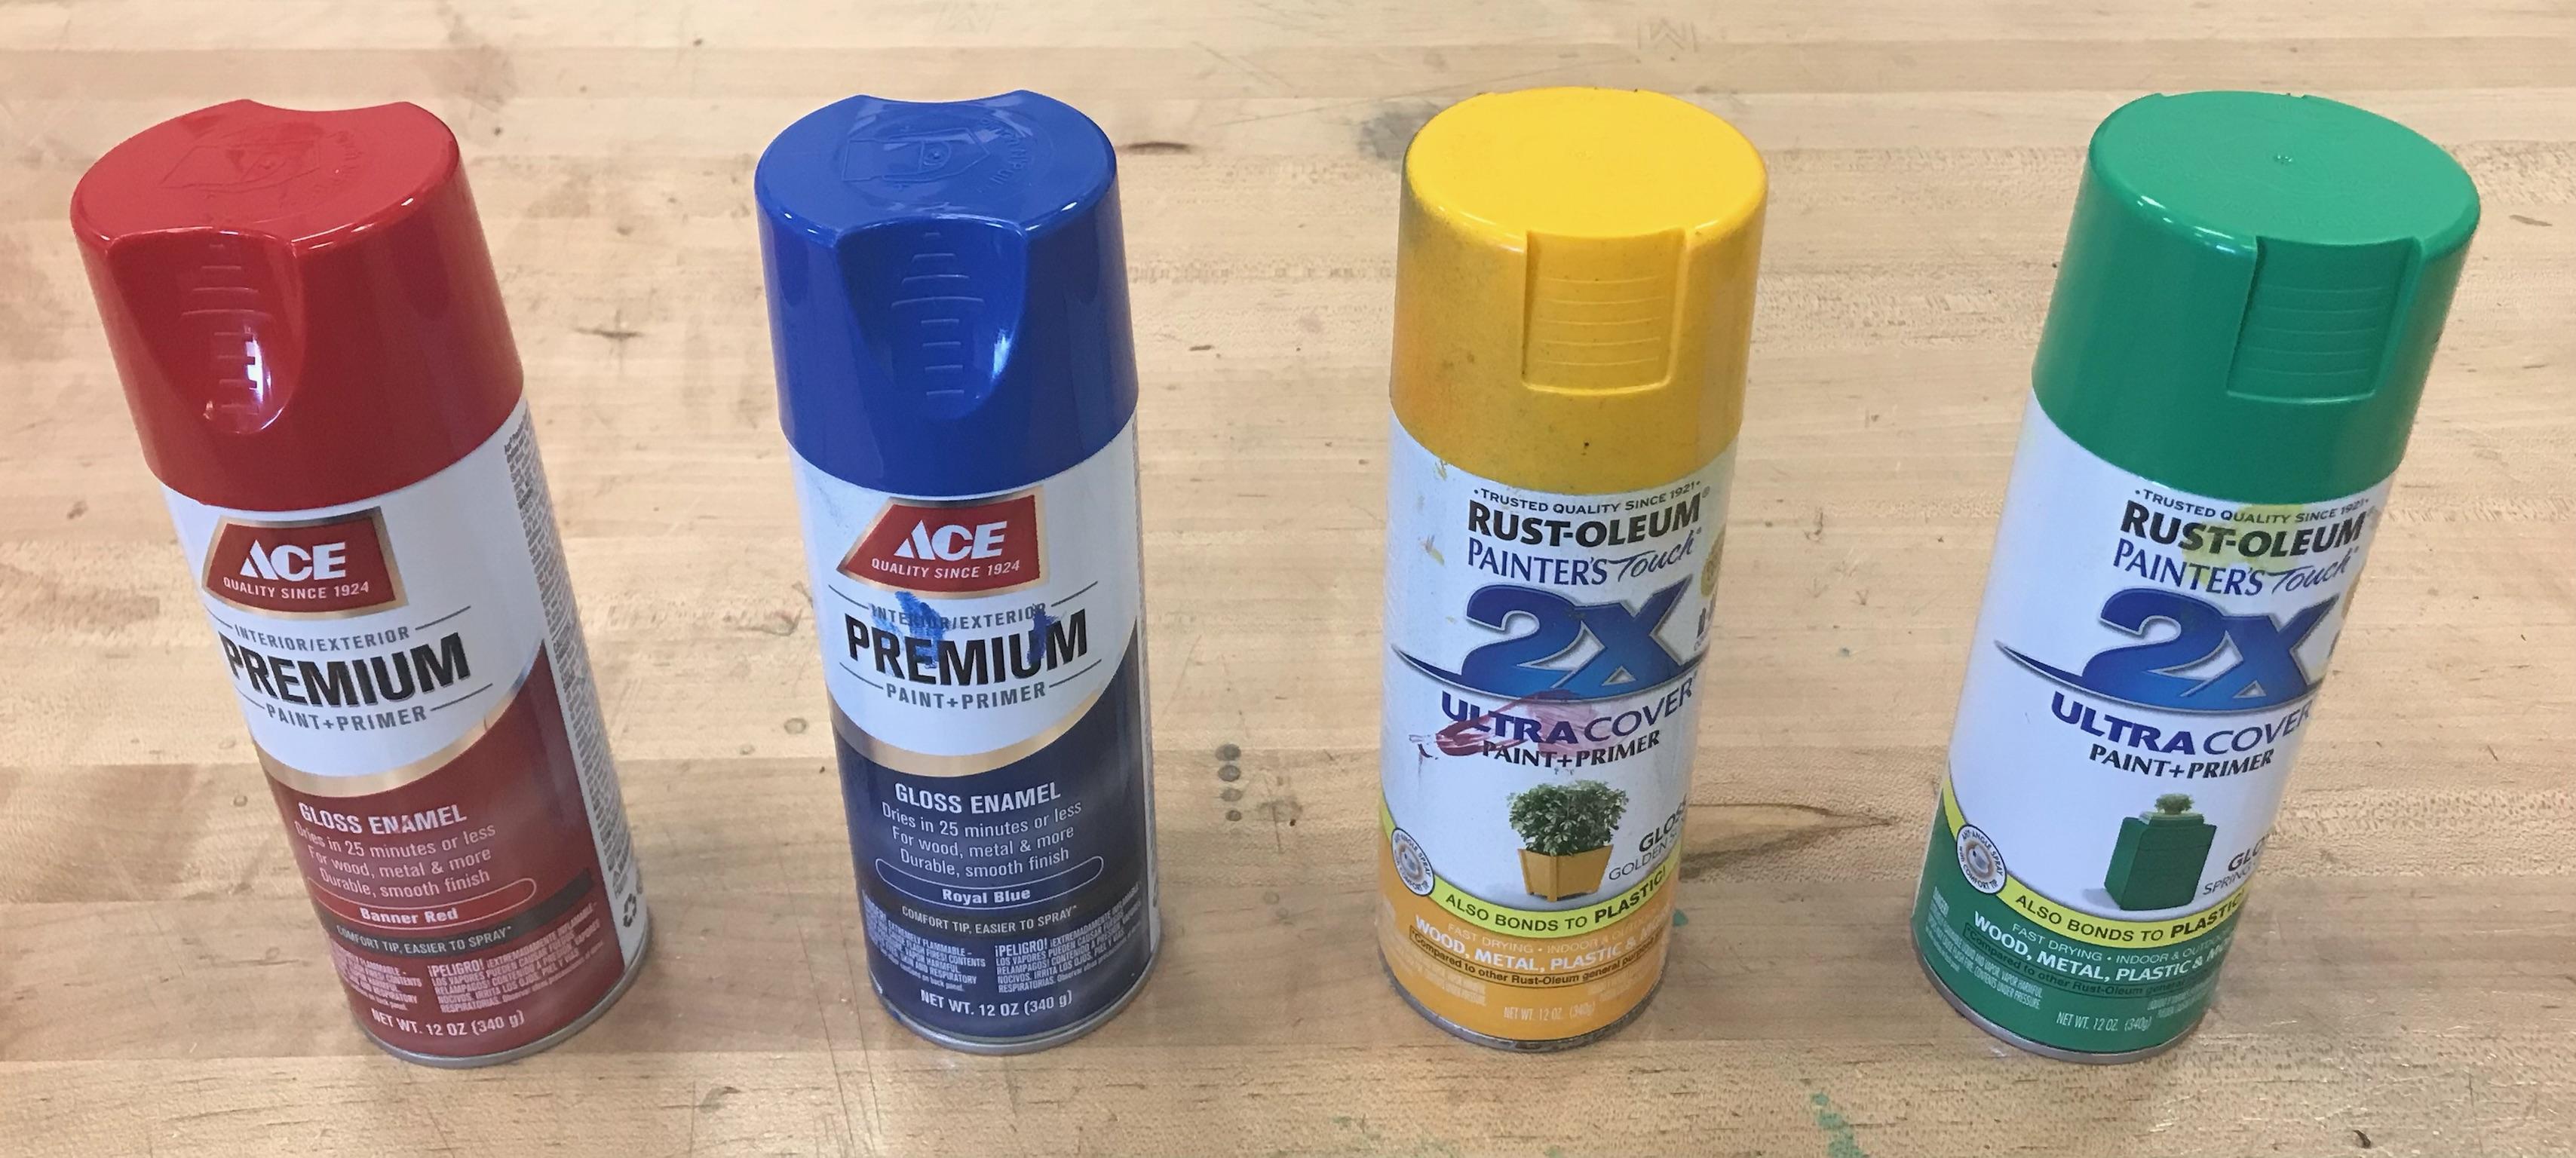
Step 4: Spray paint (banner red, royal blue, golden sunset, and spring green).
Find the Model
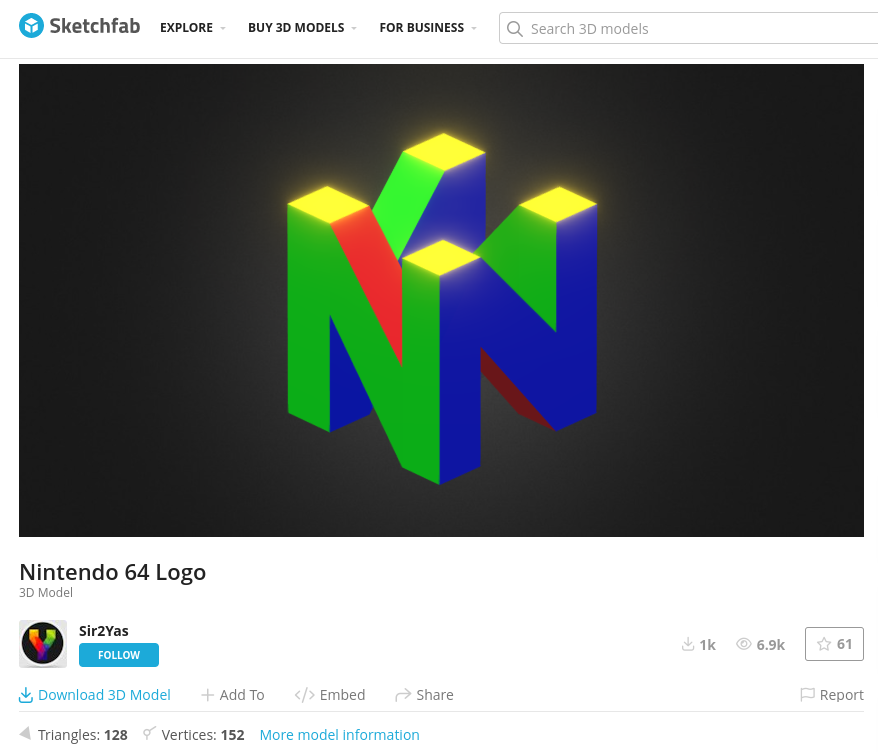
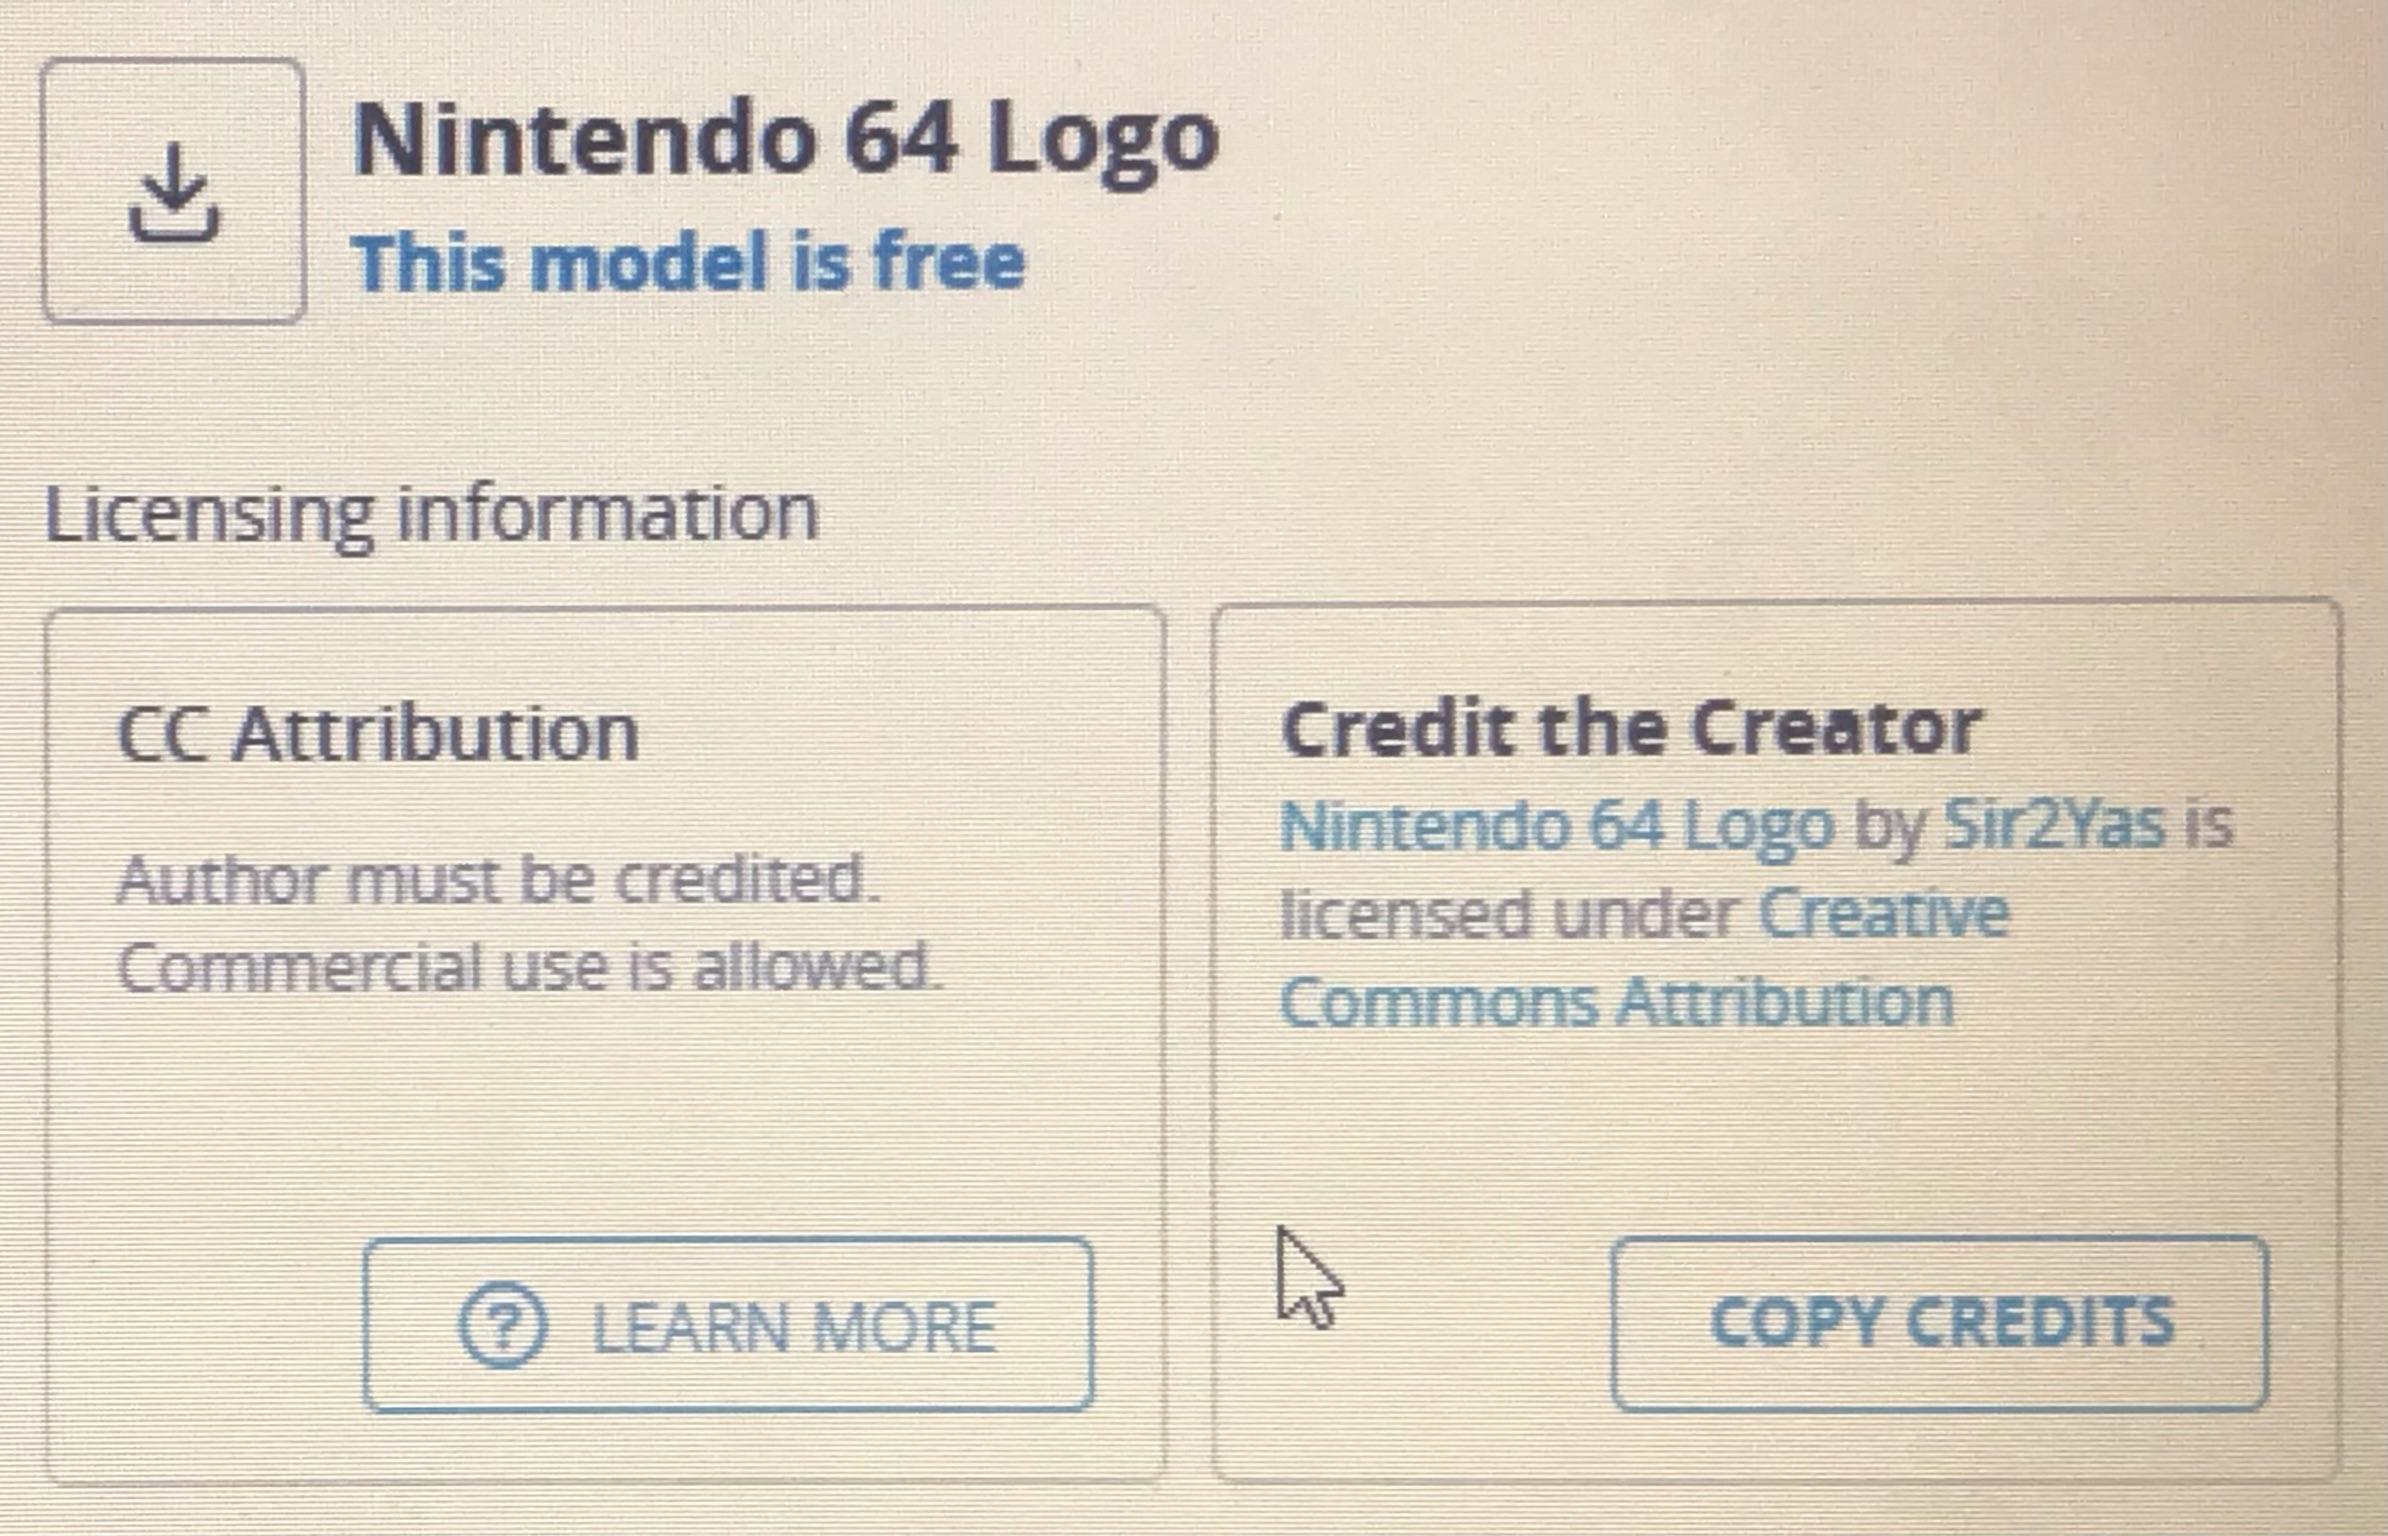

Firstly, you'll actually need your model. There are two ways you could get this model. You can sketch the model yourself via Fusion 360 or you can download a free one off the internet. The one I used was made by Sir2Yas and licensed under Creative Commons Attribution.
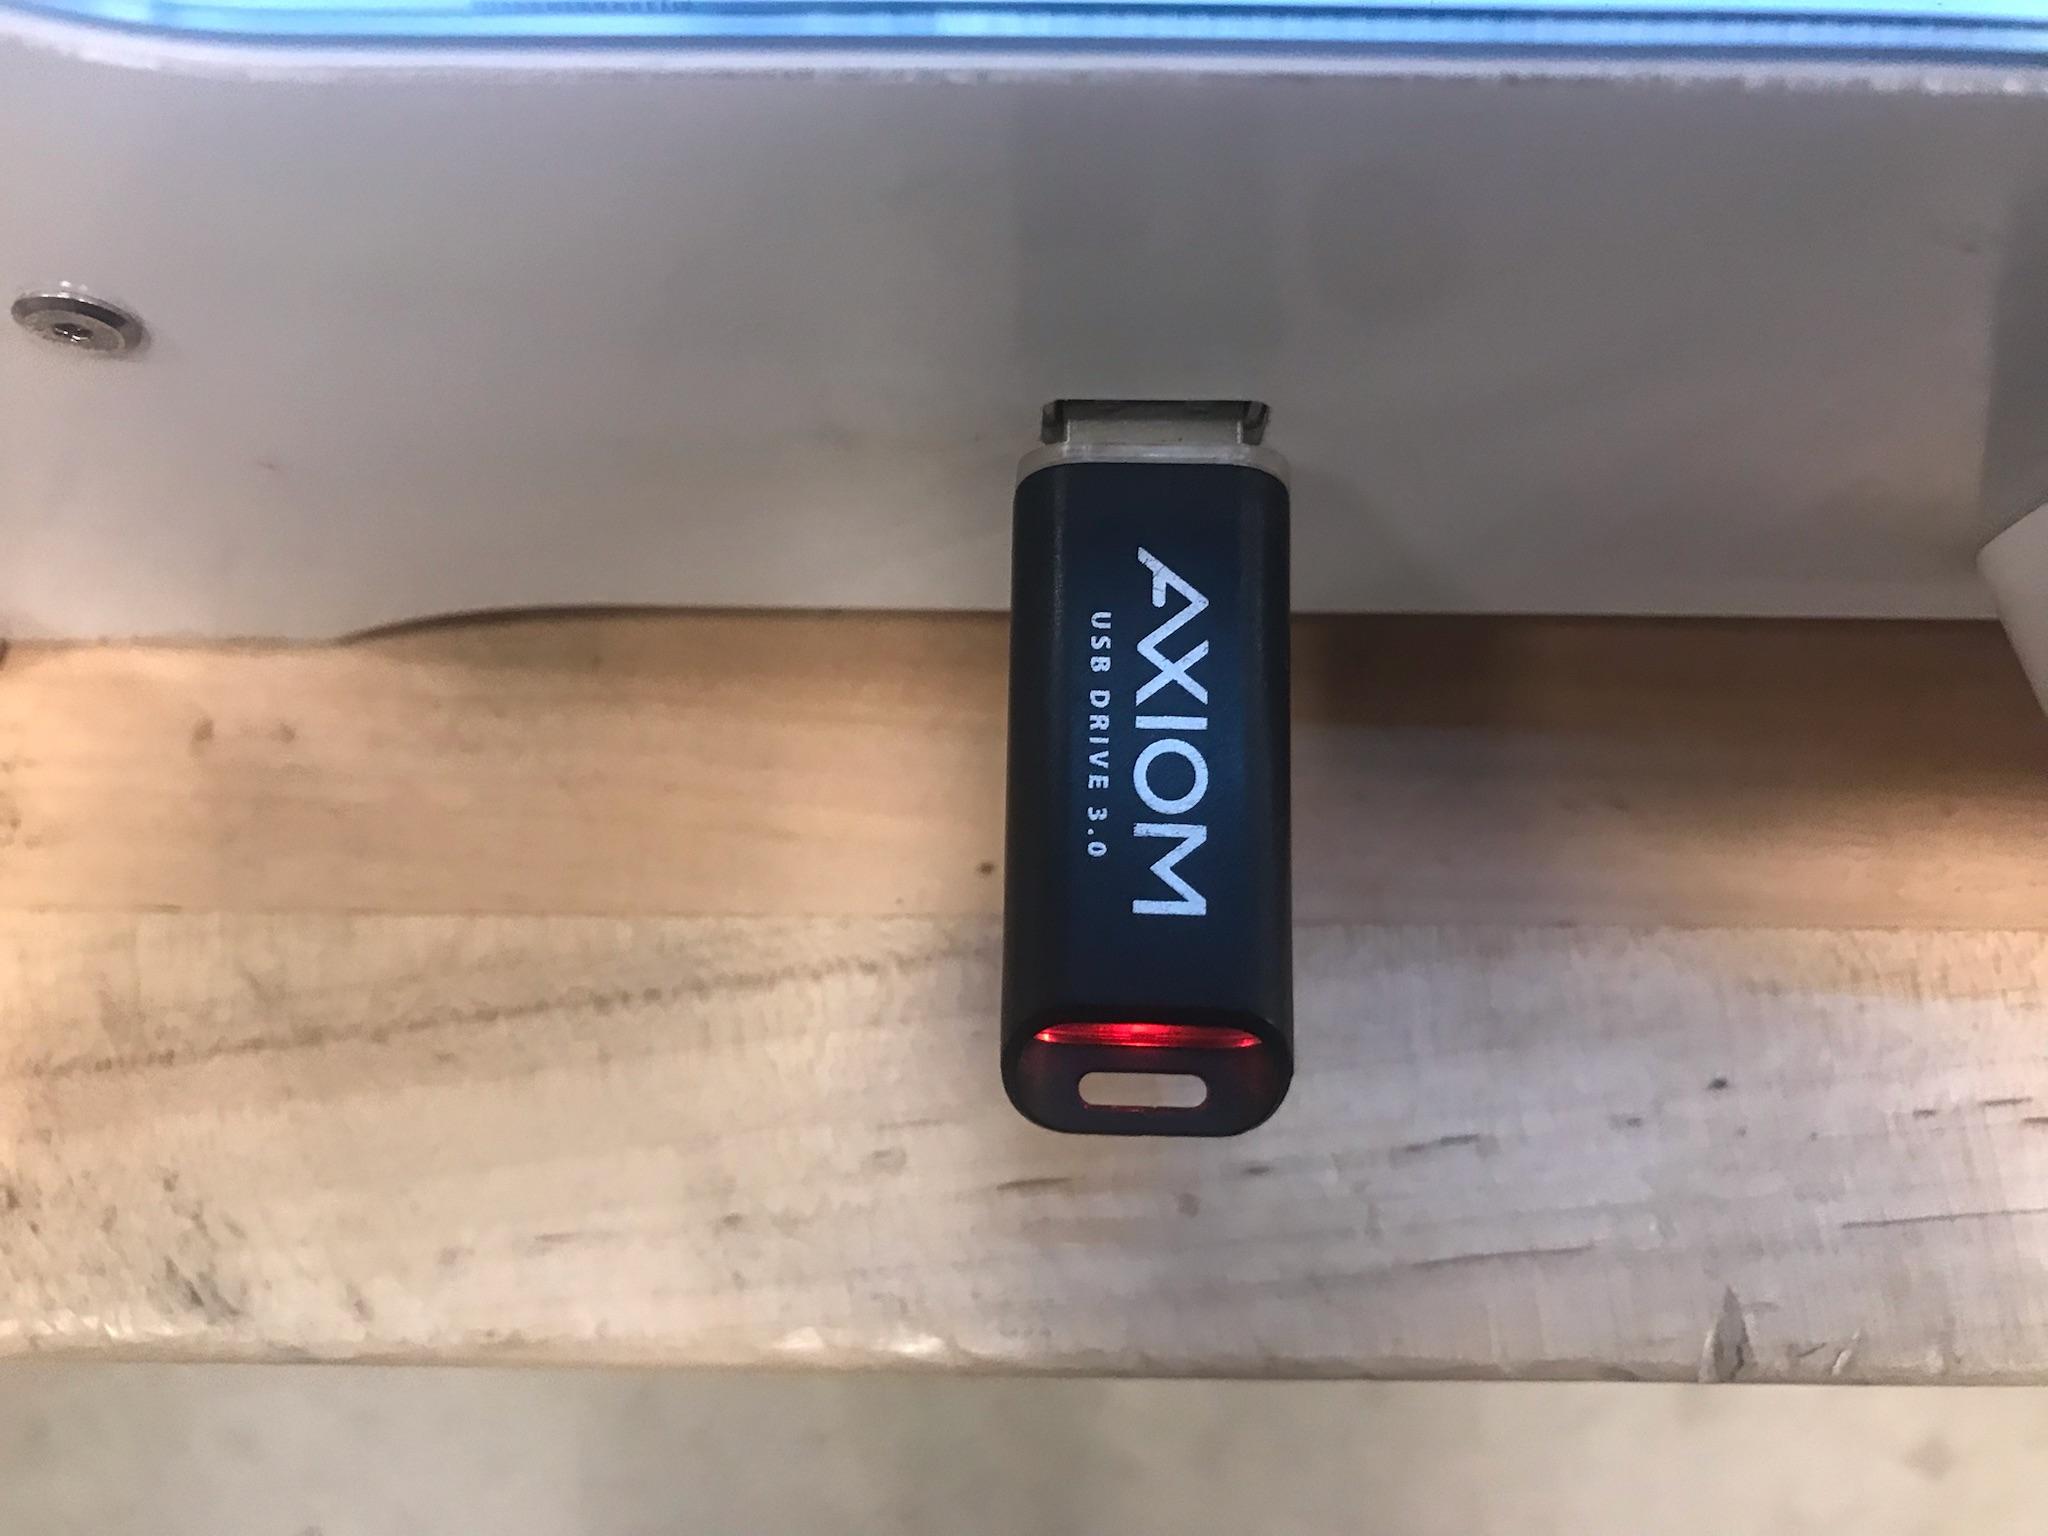
After getting the model, what you want to do is put the downloaded file of the model on a USB drive and connect it to your 3D-printer. In case something goes wrong in the process of printing, I recommend going into Fusion and editing some of the model's features/characteristics.
Then repeat the process of uploading it to the printer with the USB. Repeat this as many times as necessary until your model is fully printed in the way that is desired.
Polish the Model
In order for the model to come out properly, it needed a few attachments to support the structure of the model. Things that need to be plucked, pulled, cut, or sanded off.
First you need to pluck all the attachments off the main part of the model using the pliers. This can be a bit tricky since they can be a bit too stuck to the model. So you have to make sure that they are properly loosened from the model and can be removed without damaging it.
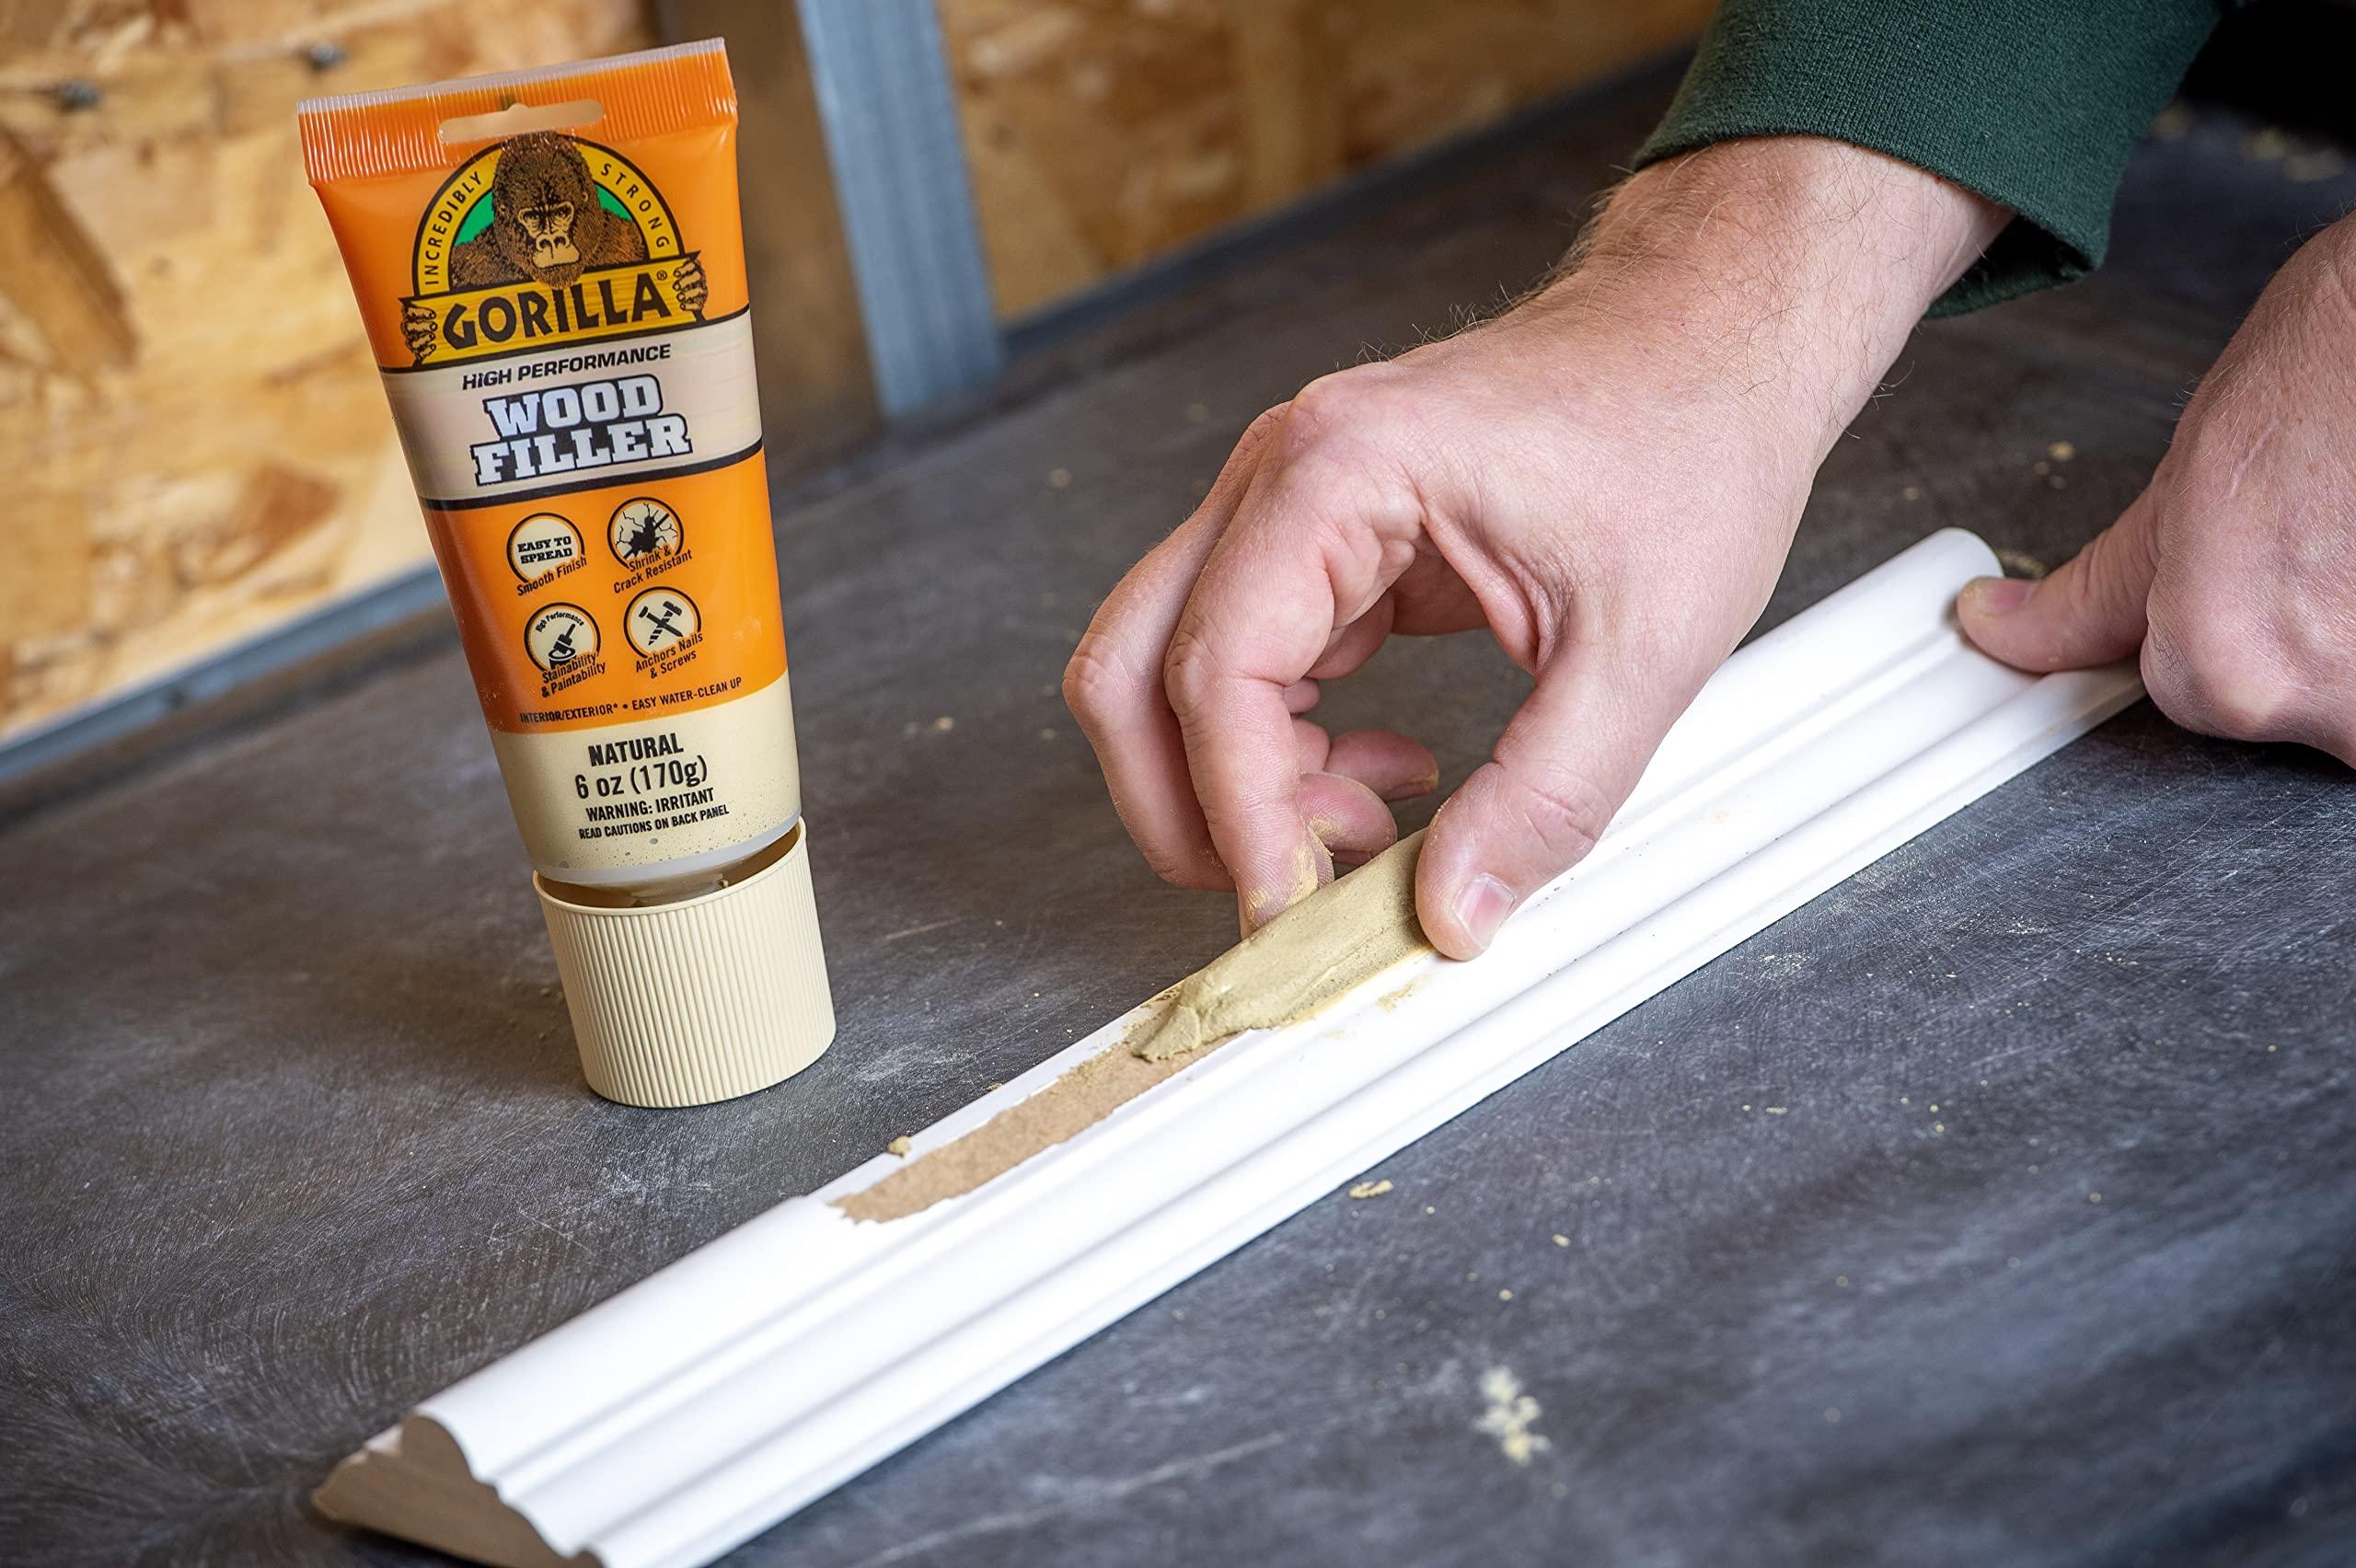
How does it look? Are there still pieces still attached, specifically ones that are smaller? Are there any cracks, marks, or scratches left that negatively affect its appearance. Fortunately you'd most likely be able to cover that up with the paint. If they seem like too much of a mark then I recommend taking out some wood filling and mix it with acetone for it to dry. Then cover the mark with the filling before it dries. Once it does dry, take some sandpaper and scrape the filling until it's flat while still properly covering the mark.
Keep doing this until all the parts of the model are up to snuff and can now be taped over.
Tape the Model
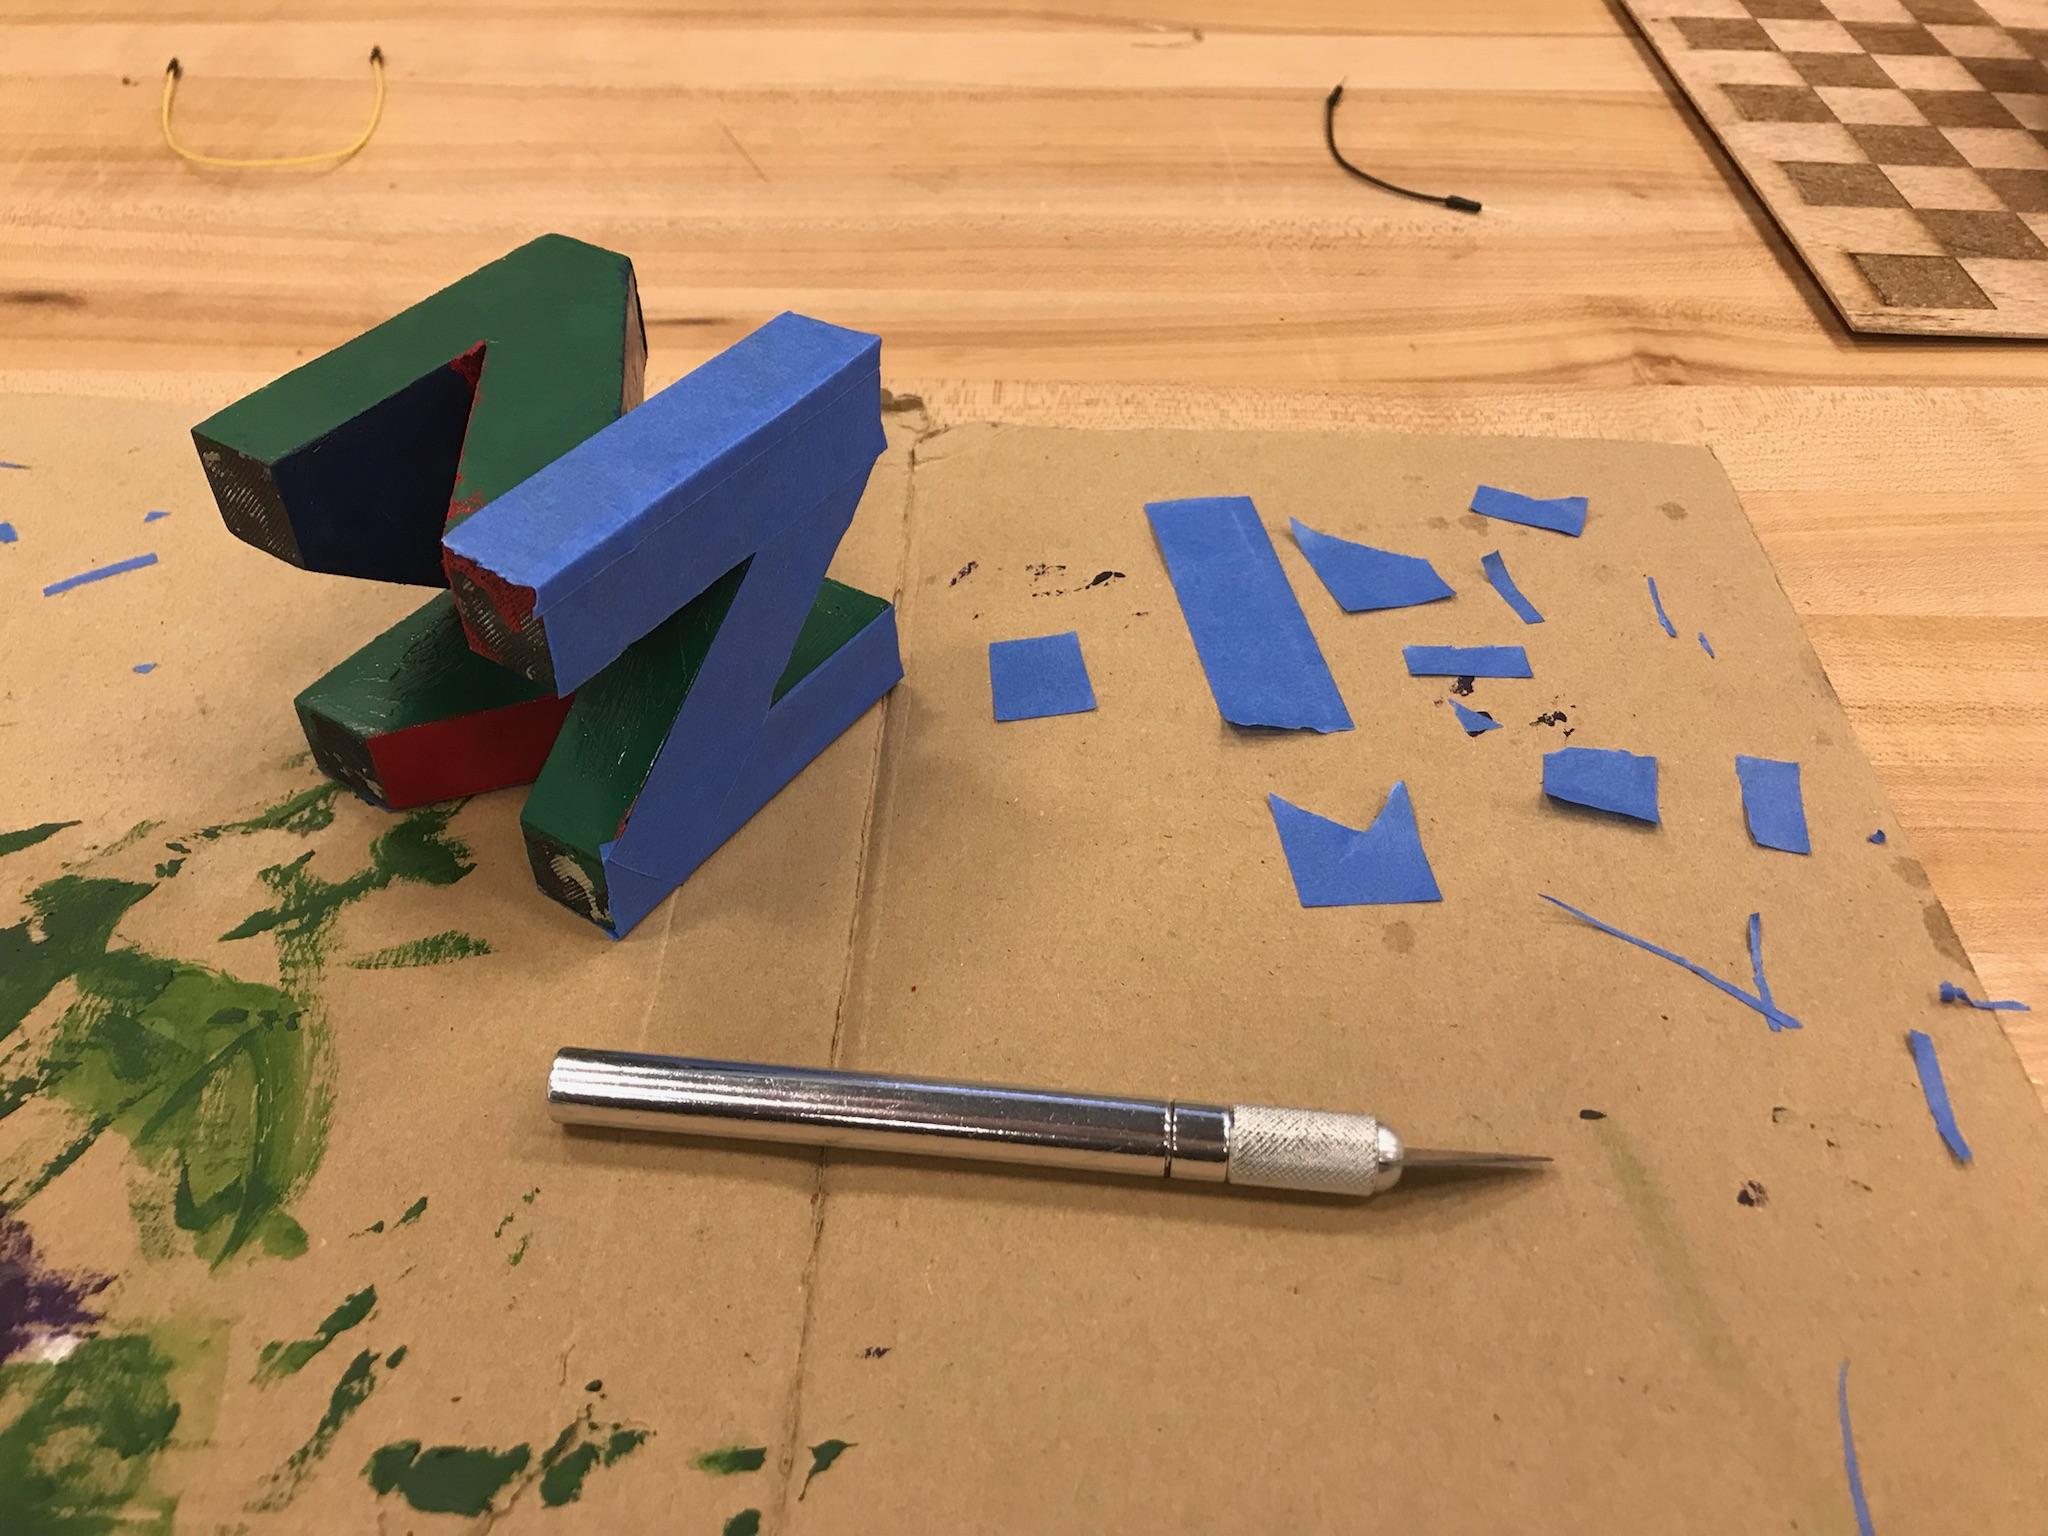
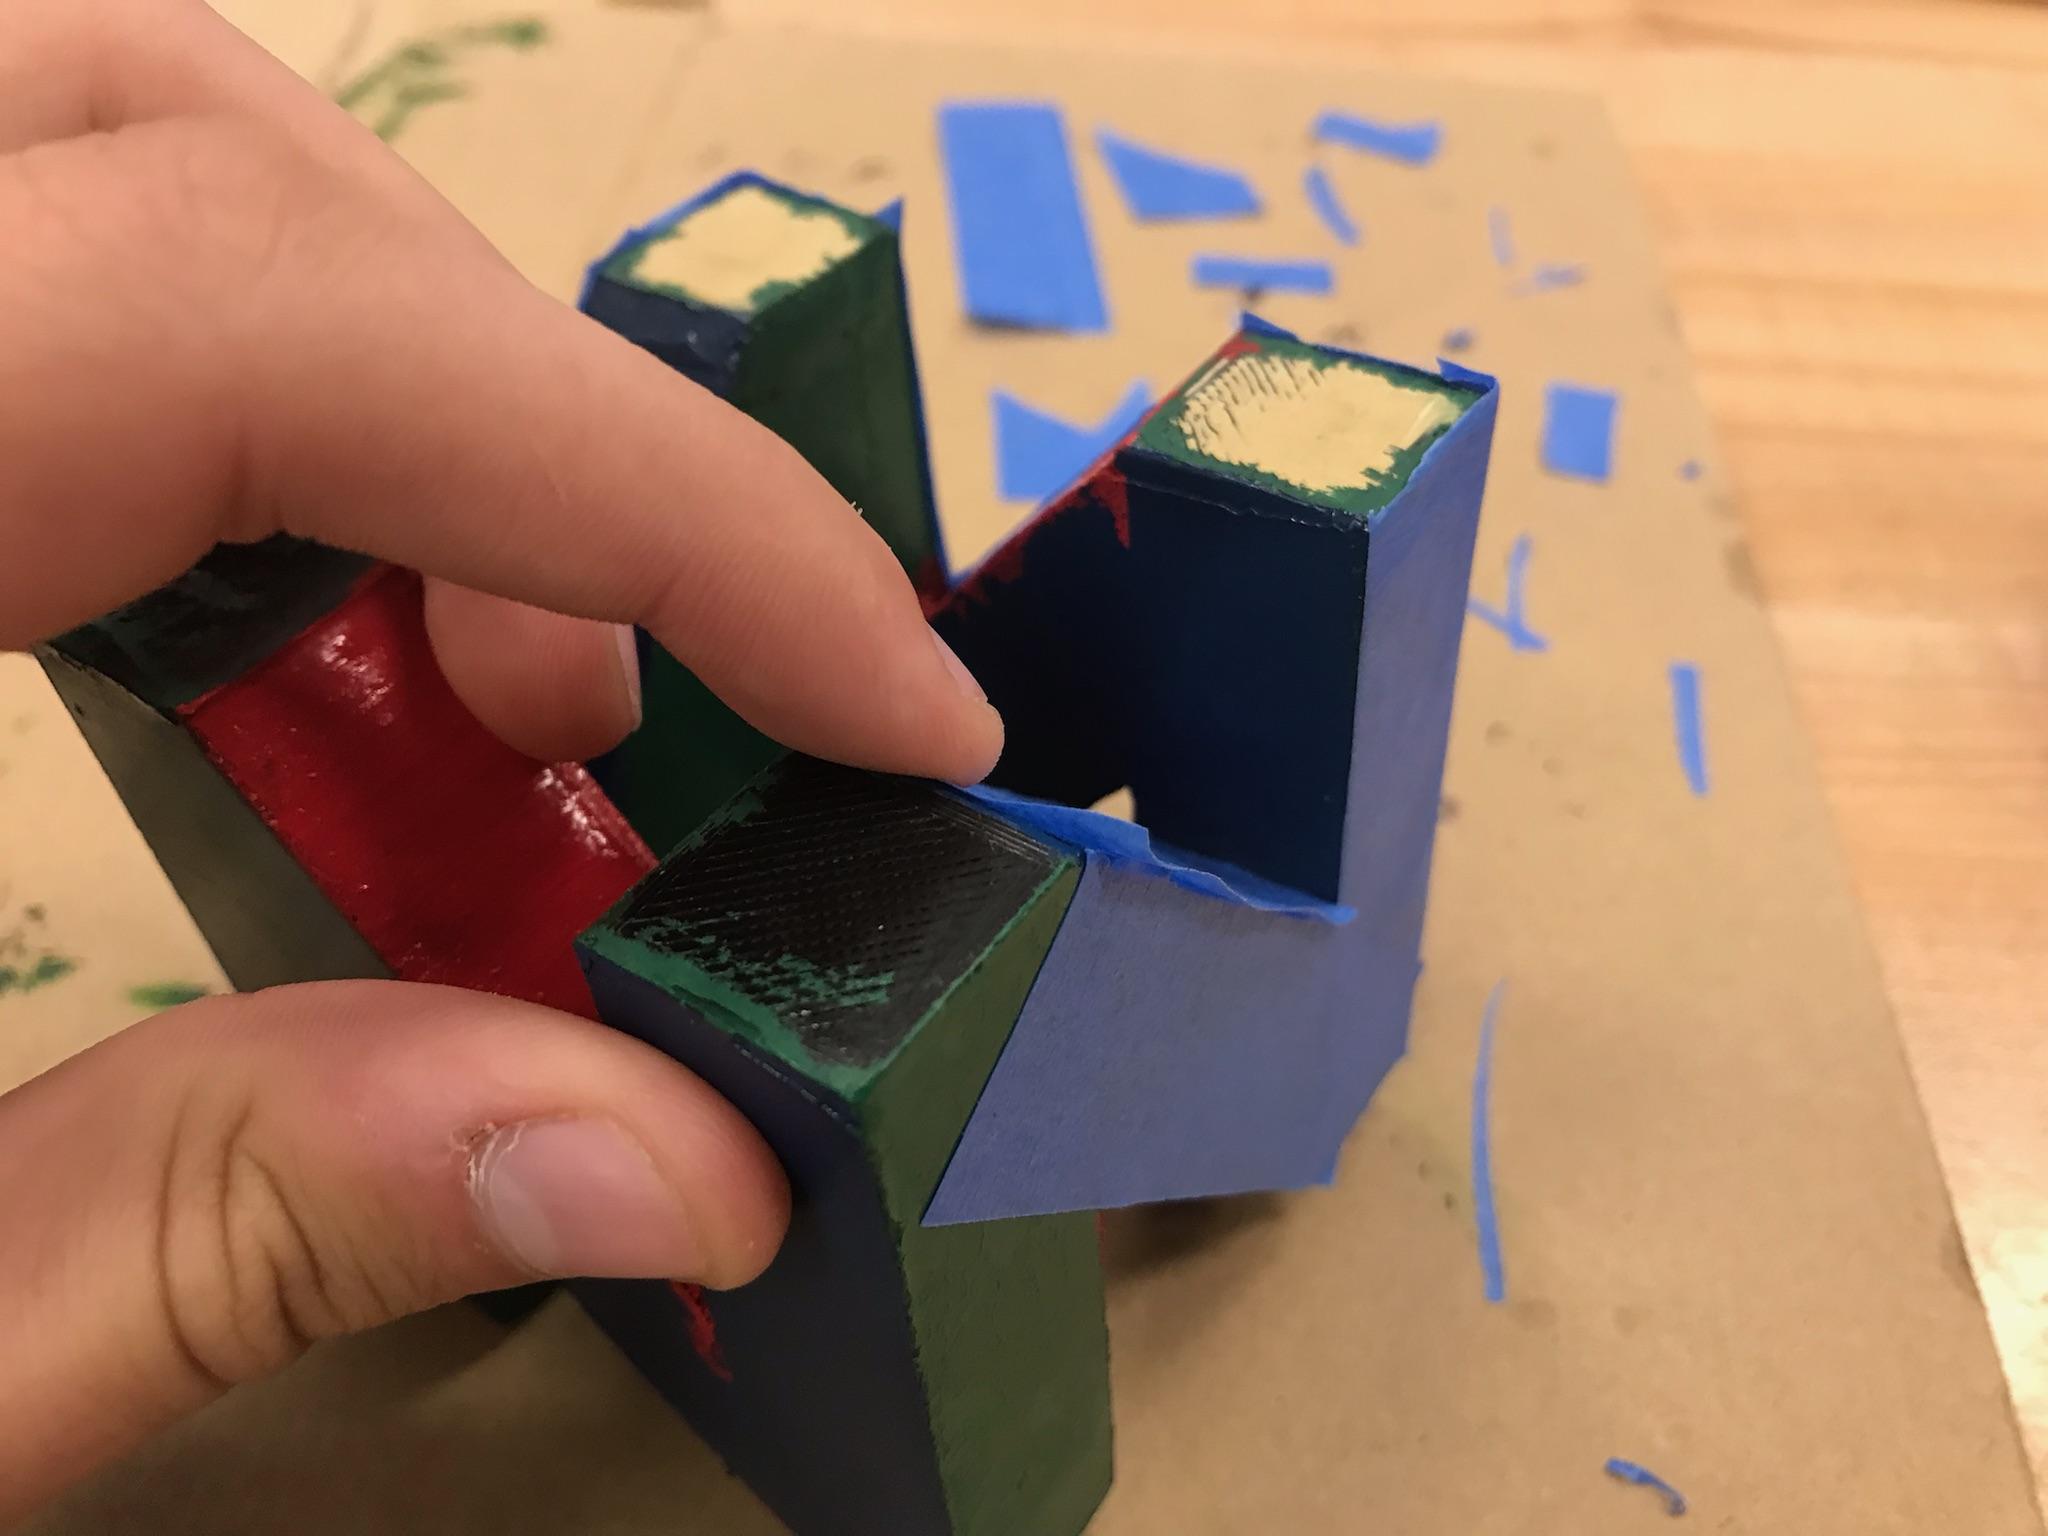
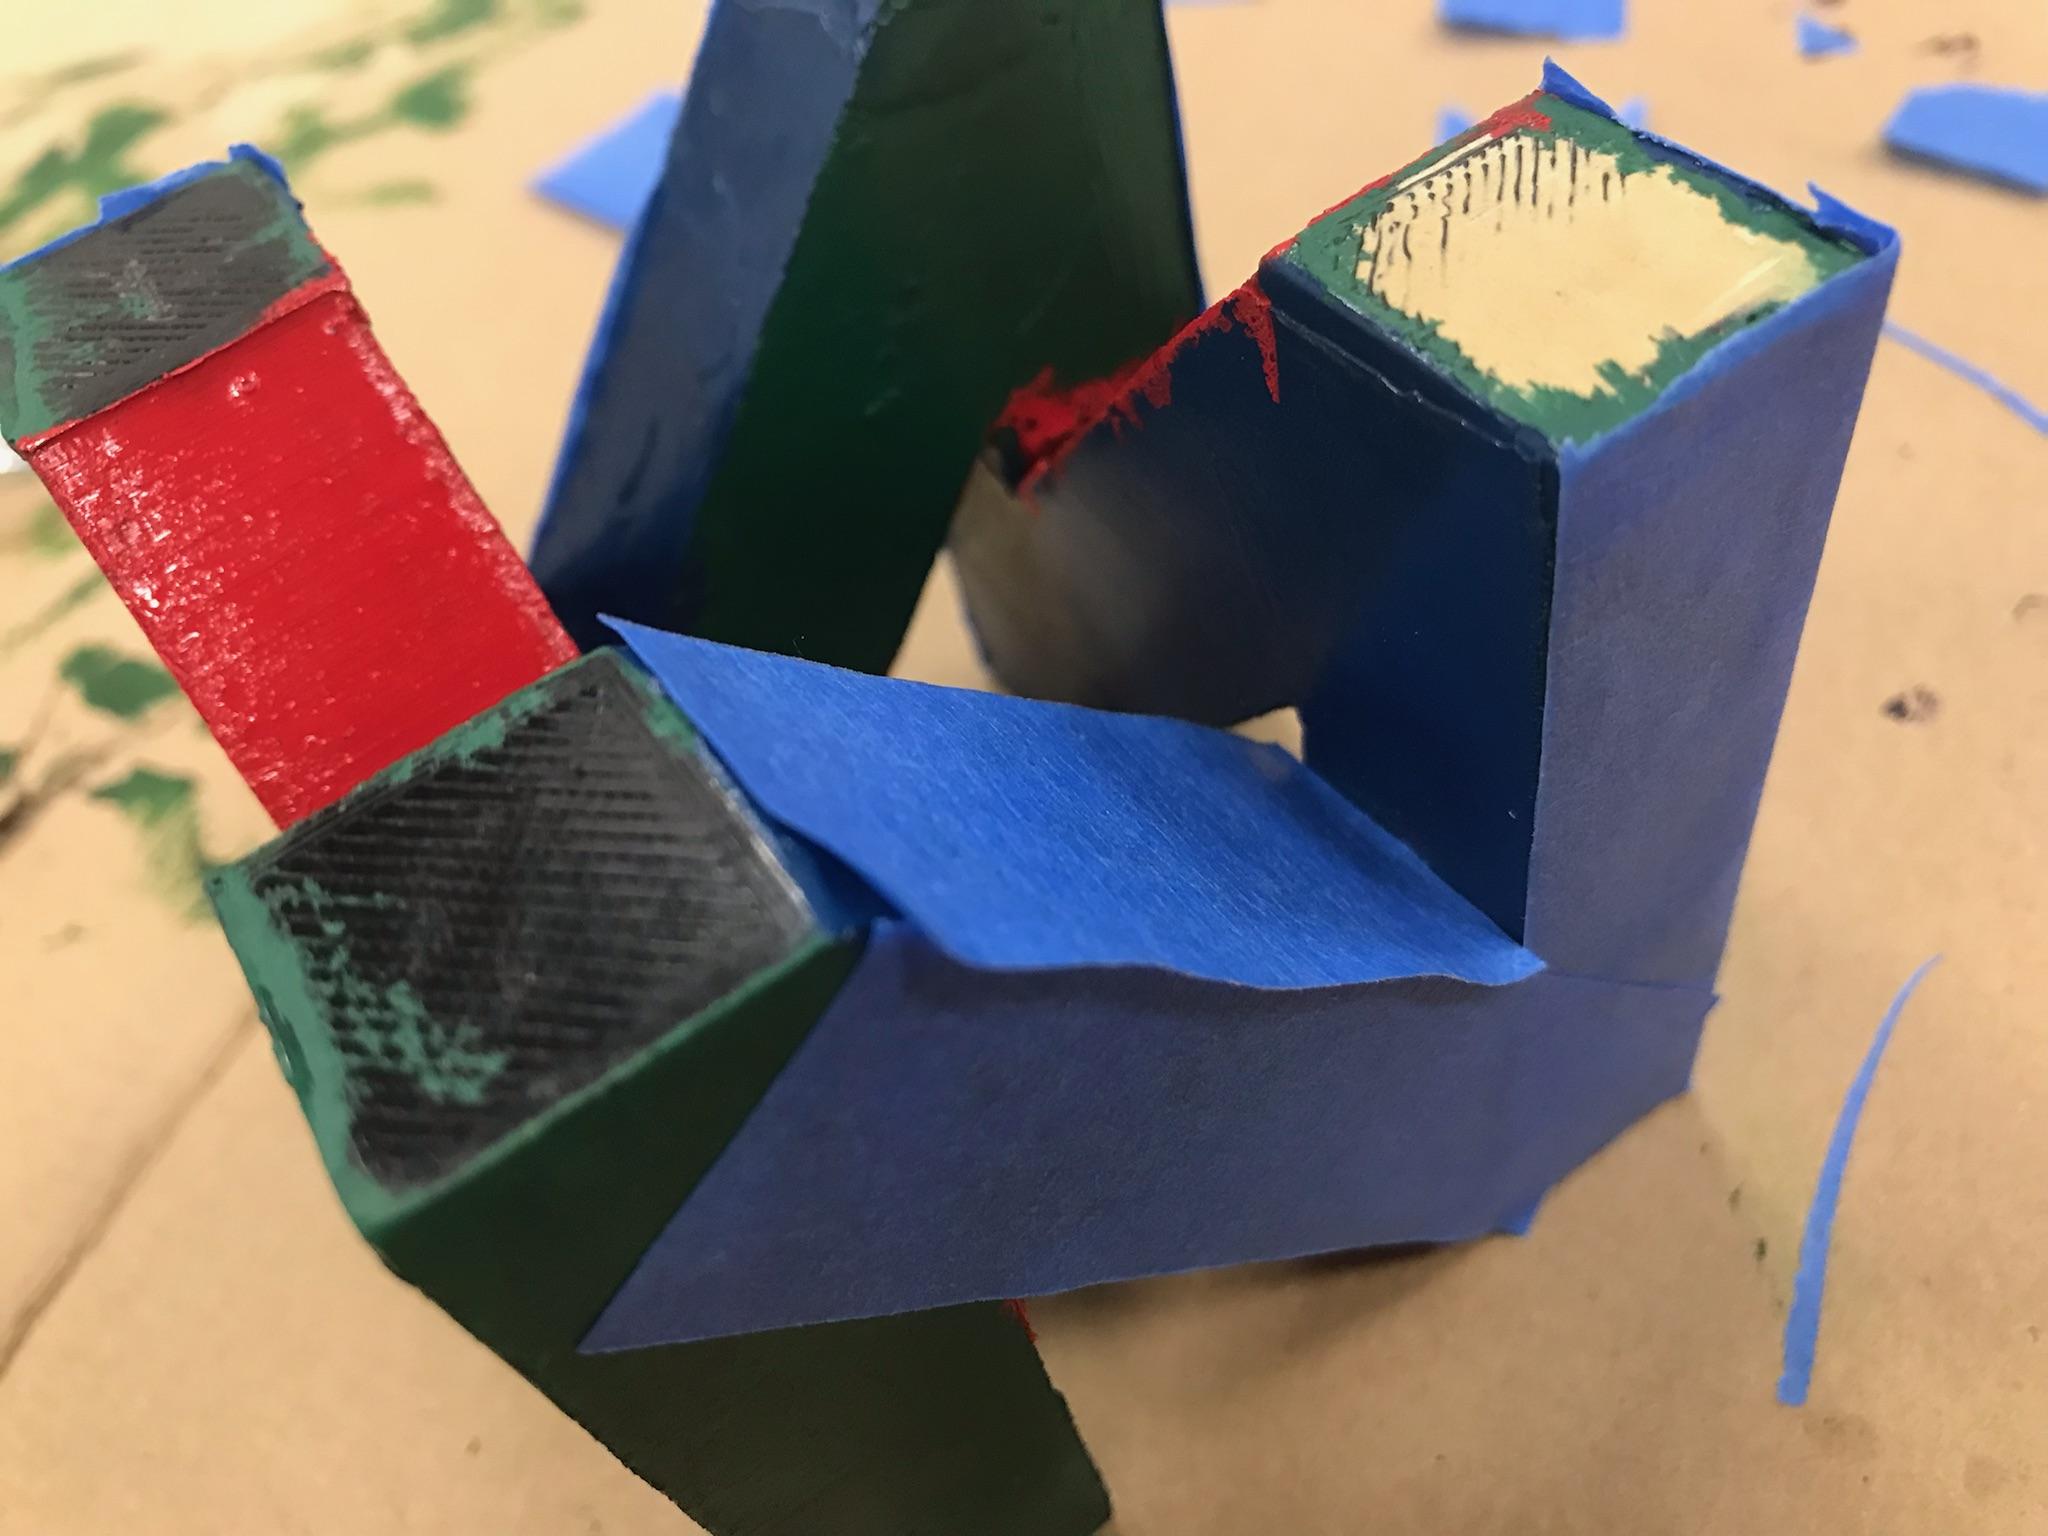
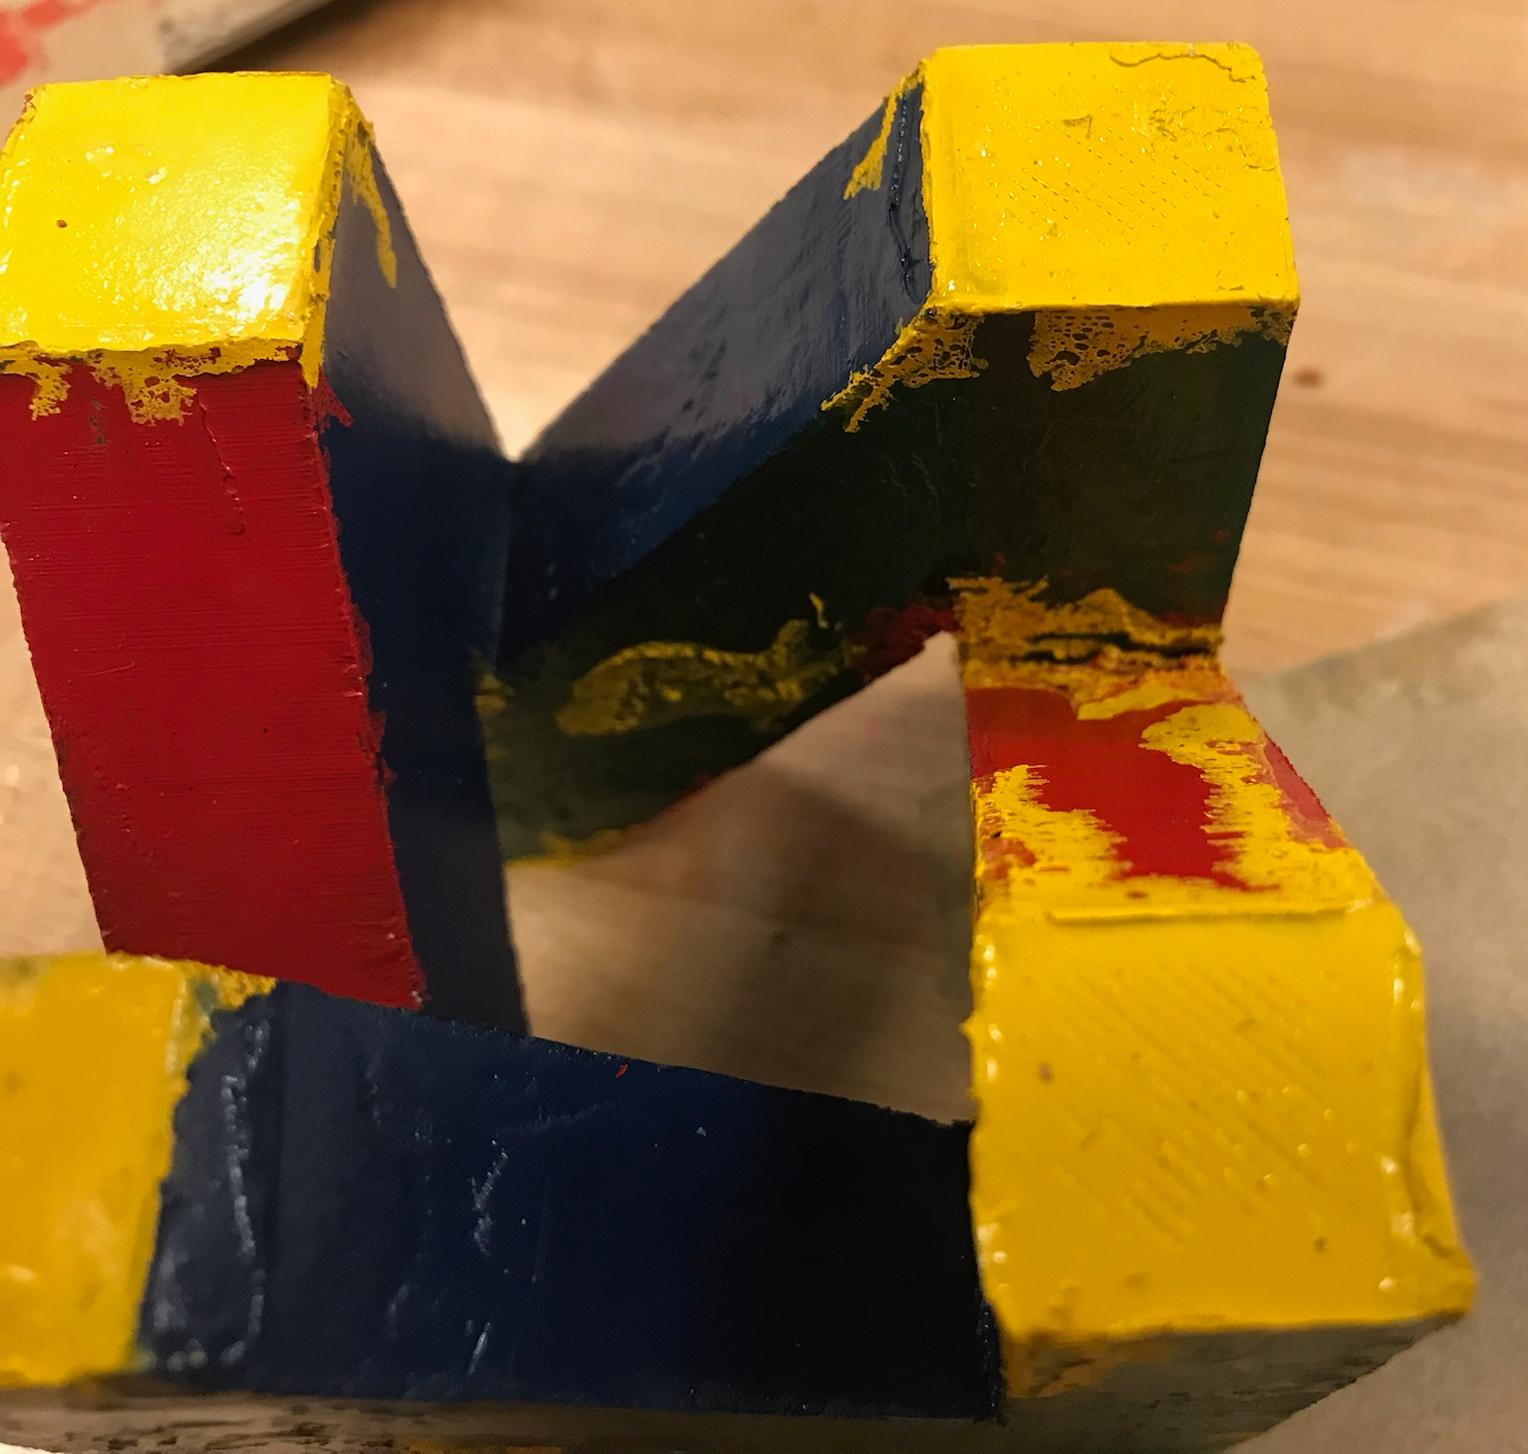
For your model, there is a specific color for one or multiple surfaces. We'll call this group of surfaces a set. When taping over your model, you need to tape every other surface not in this set. This way when you paint your model, the surfaces that are actually coated are the ones in that set.
The procedure of taping is as follows:
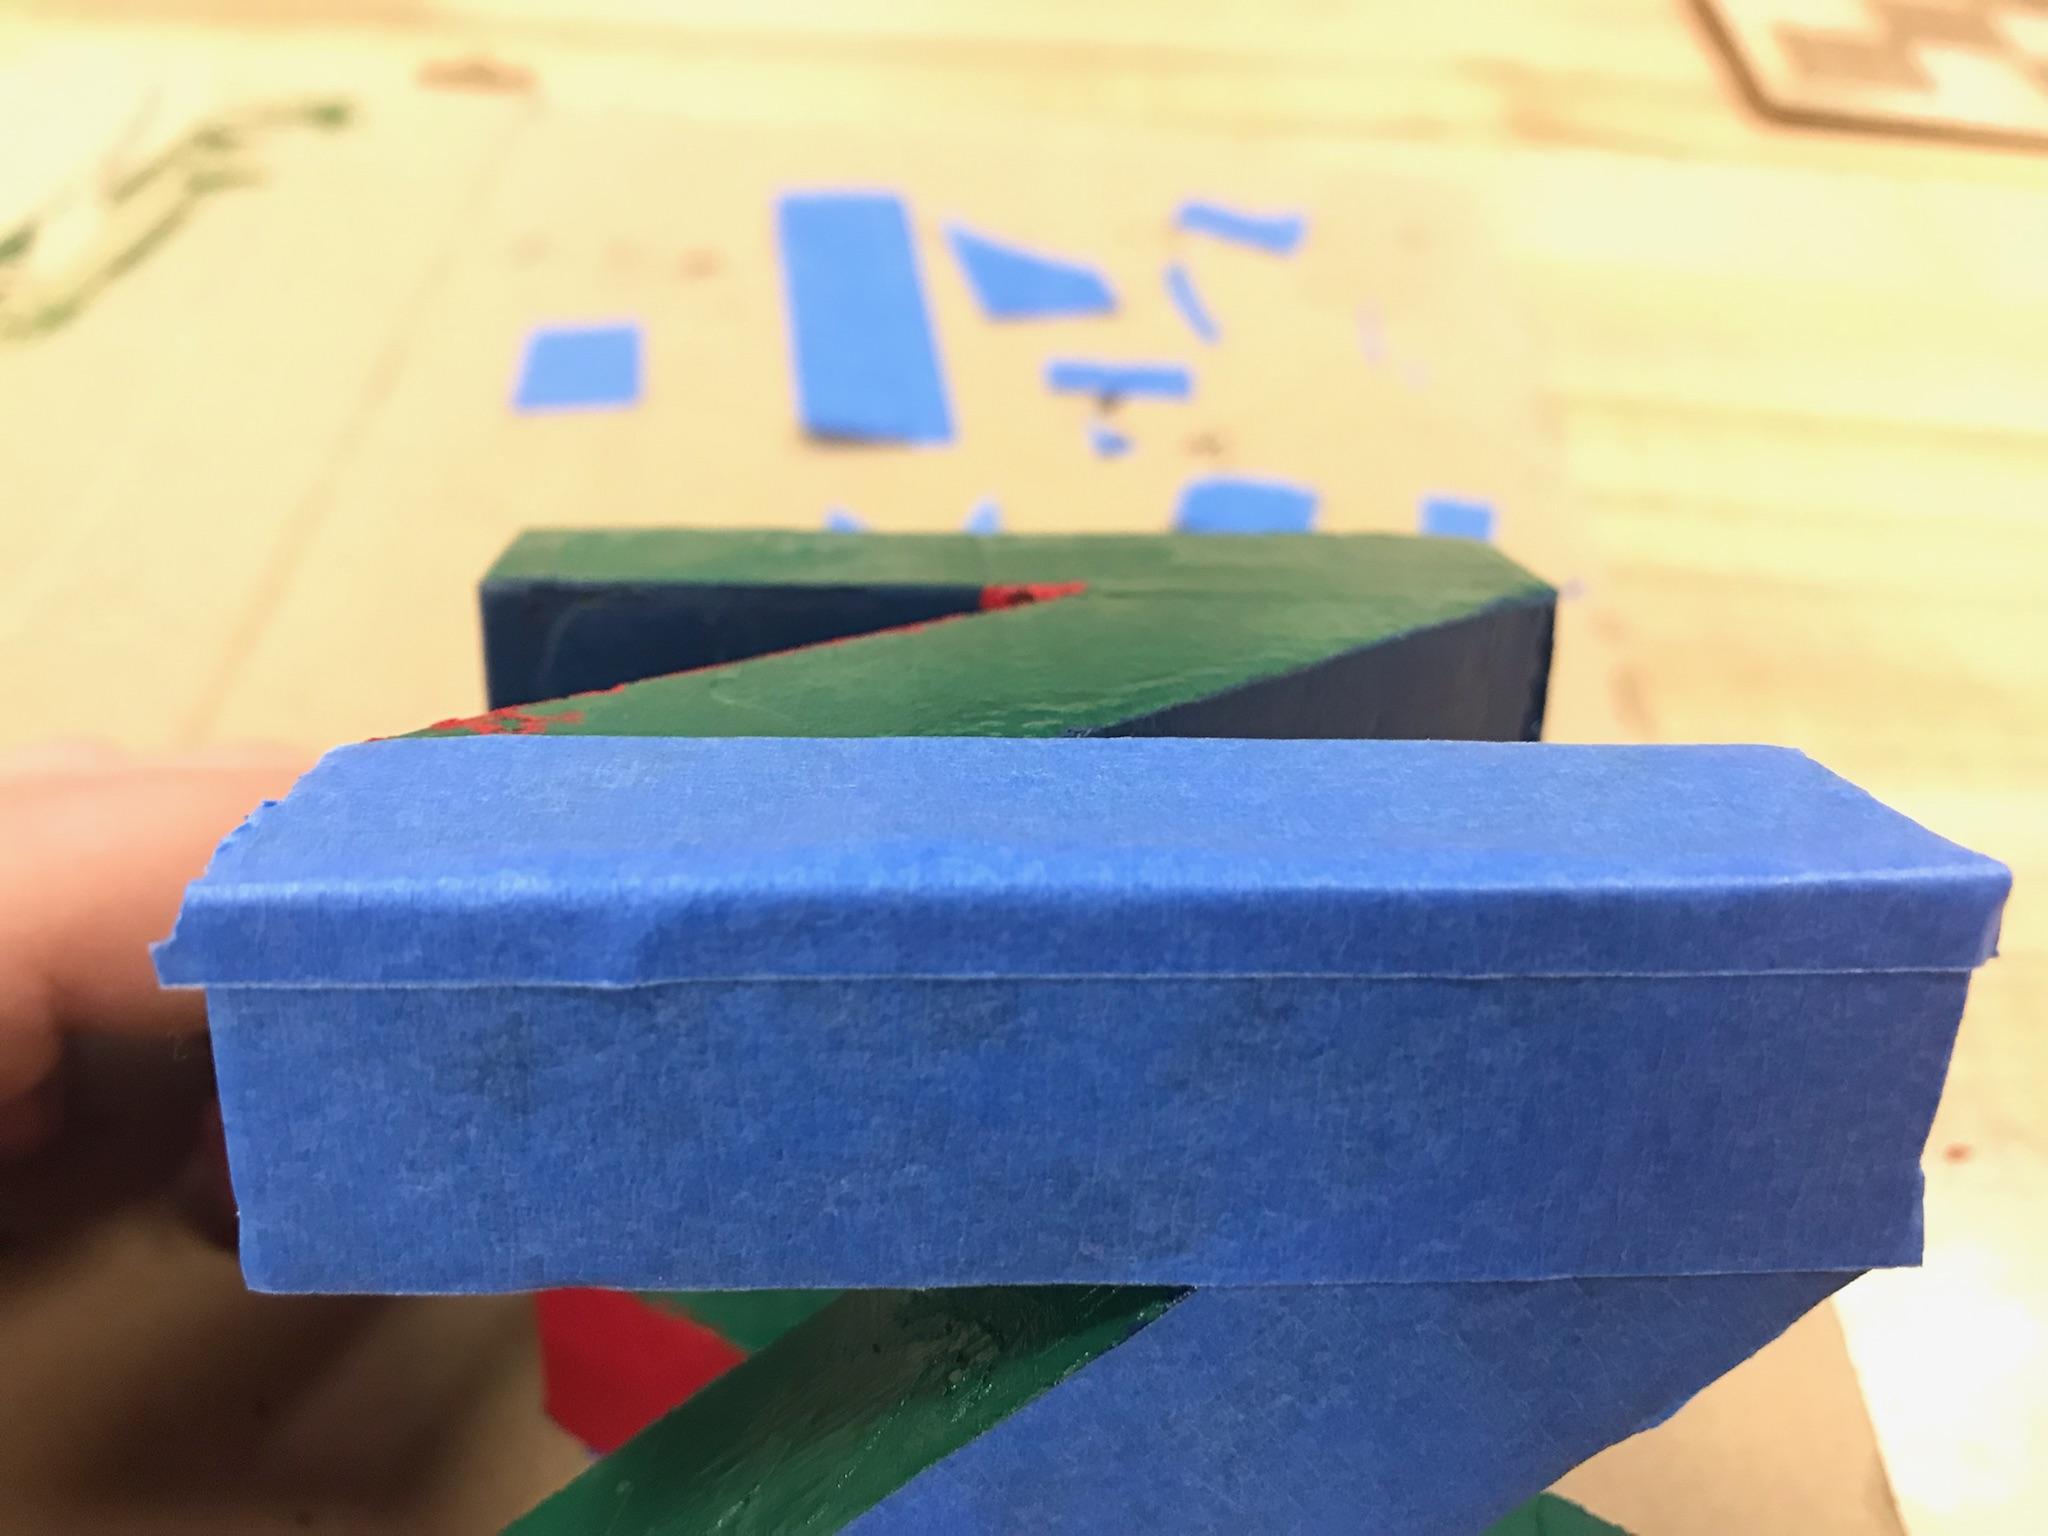
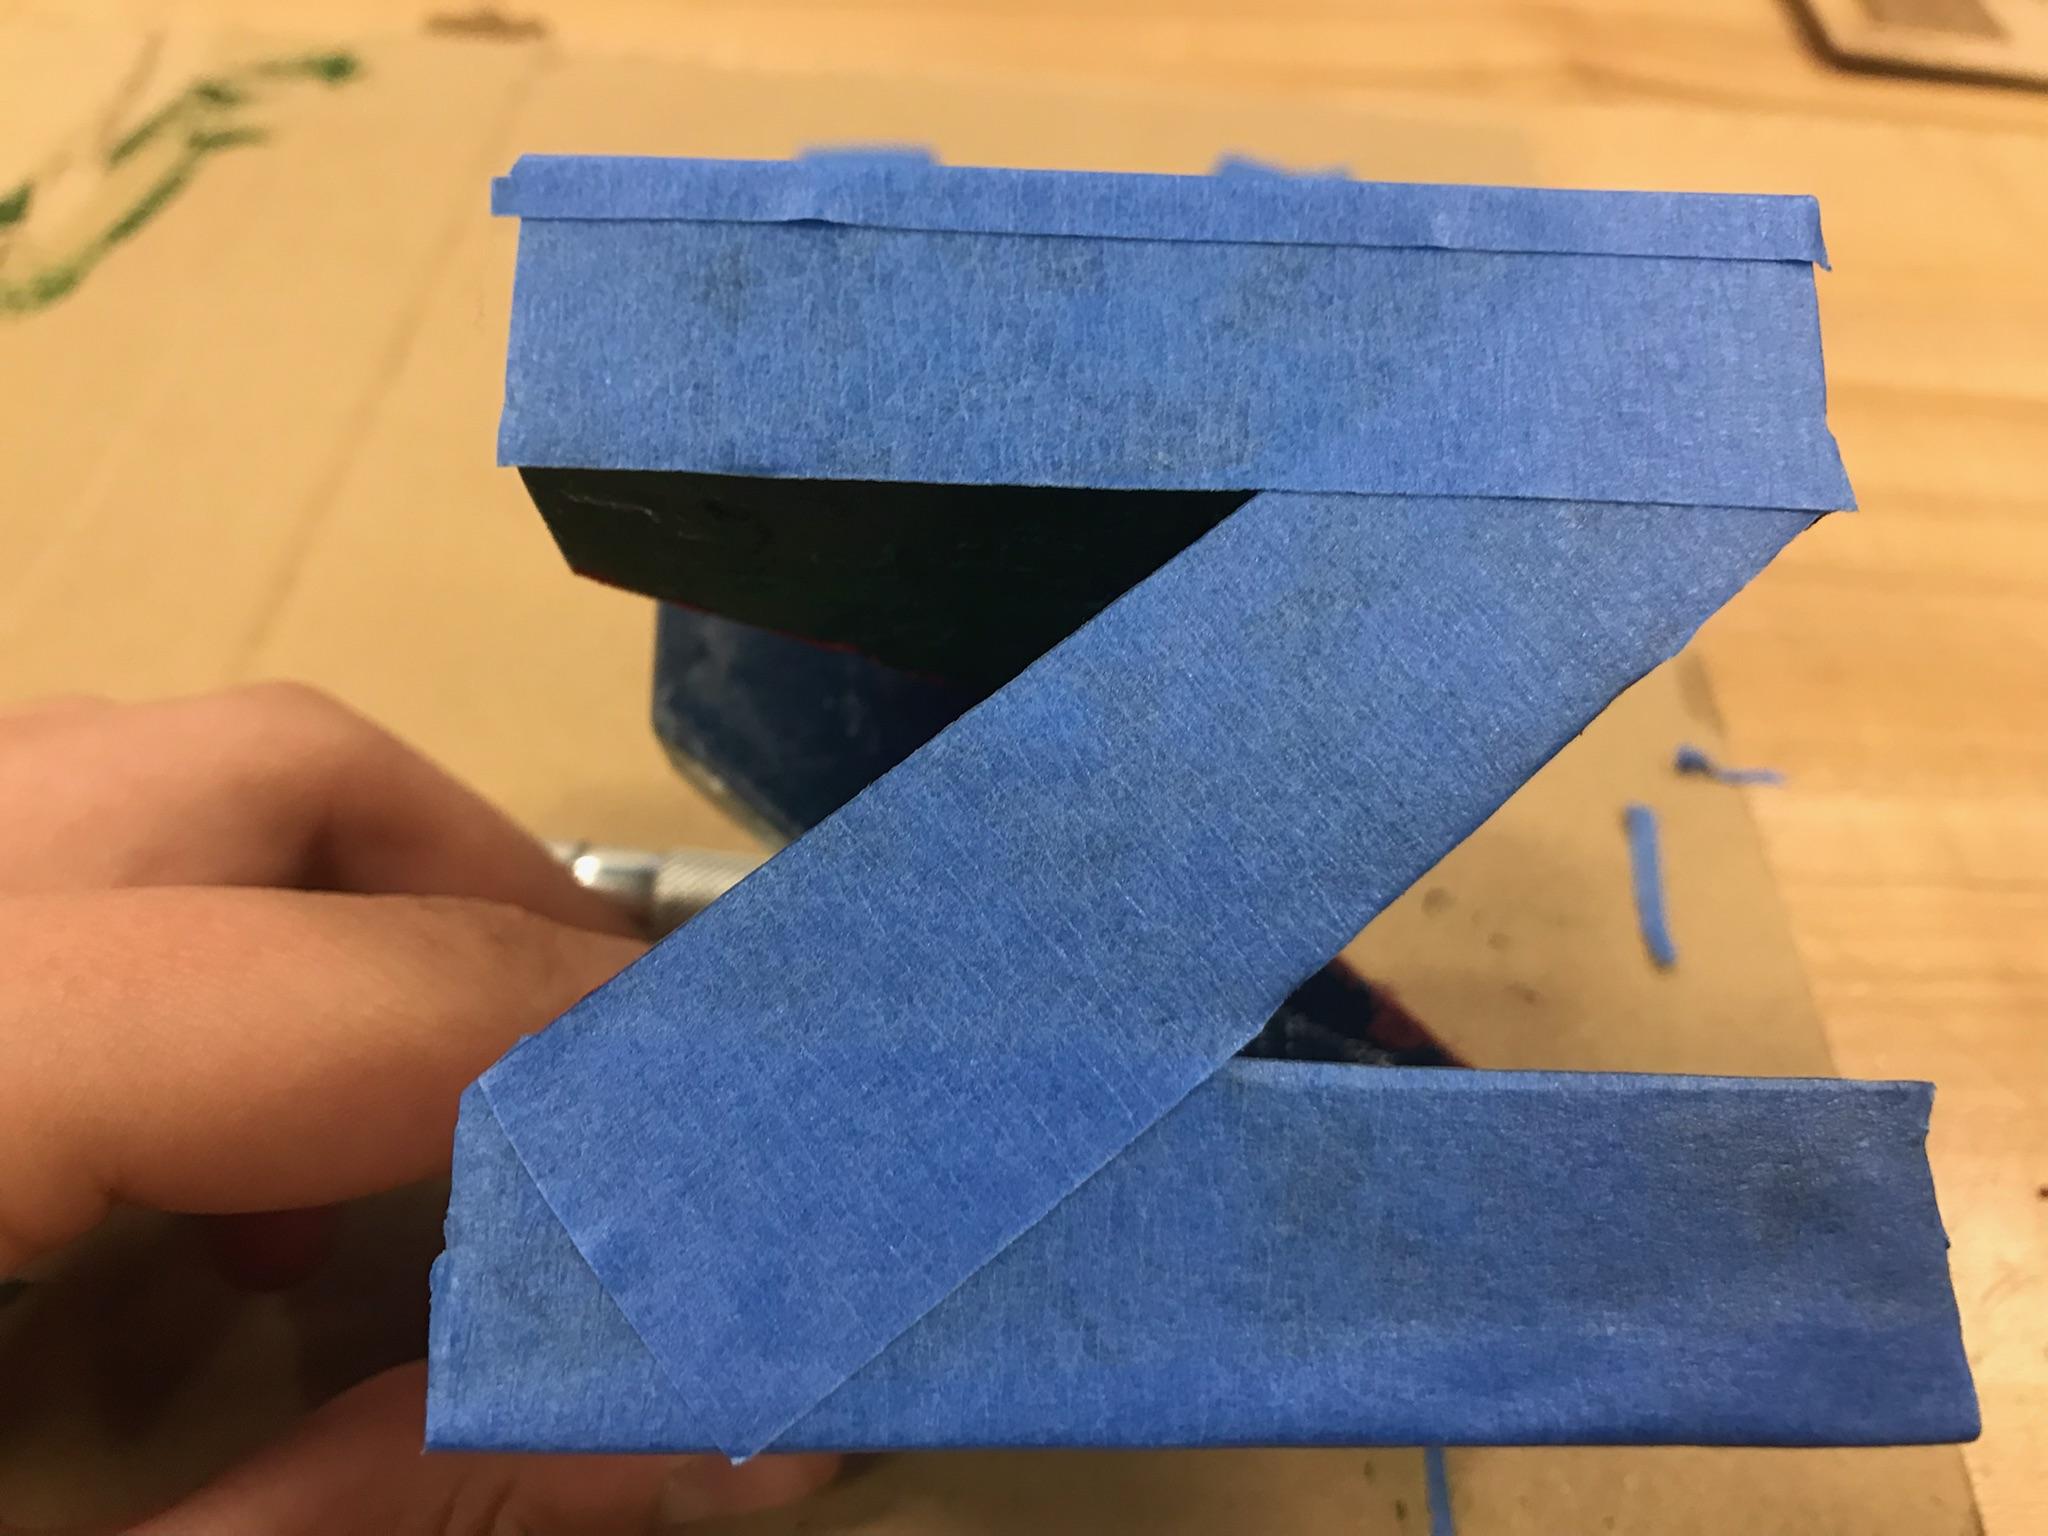
- Take a strip of tape and cover a surface with it. Usually the tape will overlap to another surface.
- Make sure the tape is pressed down evenly over that surface.
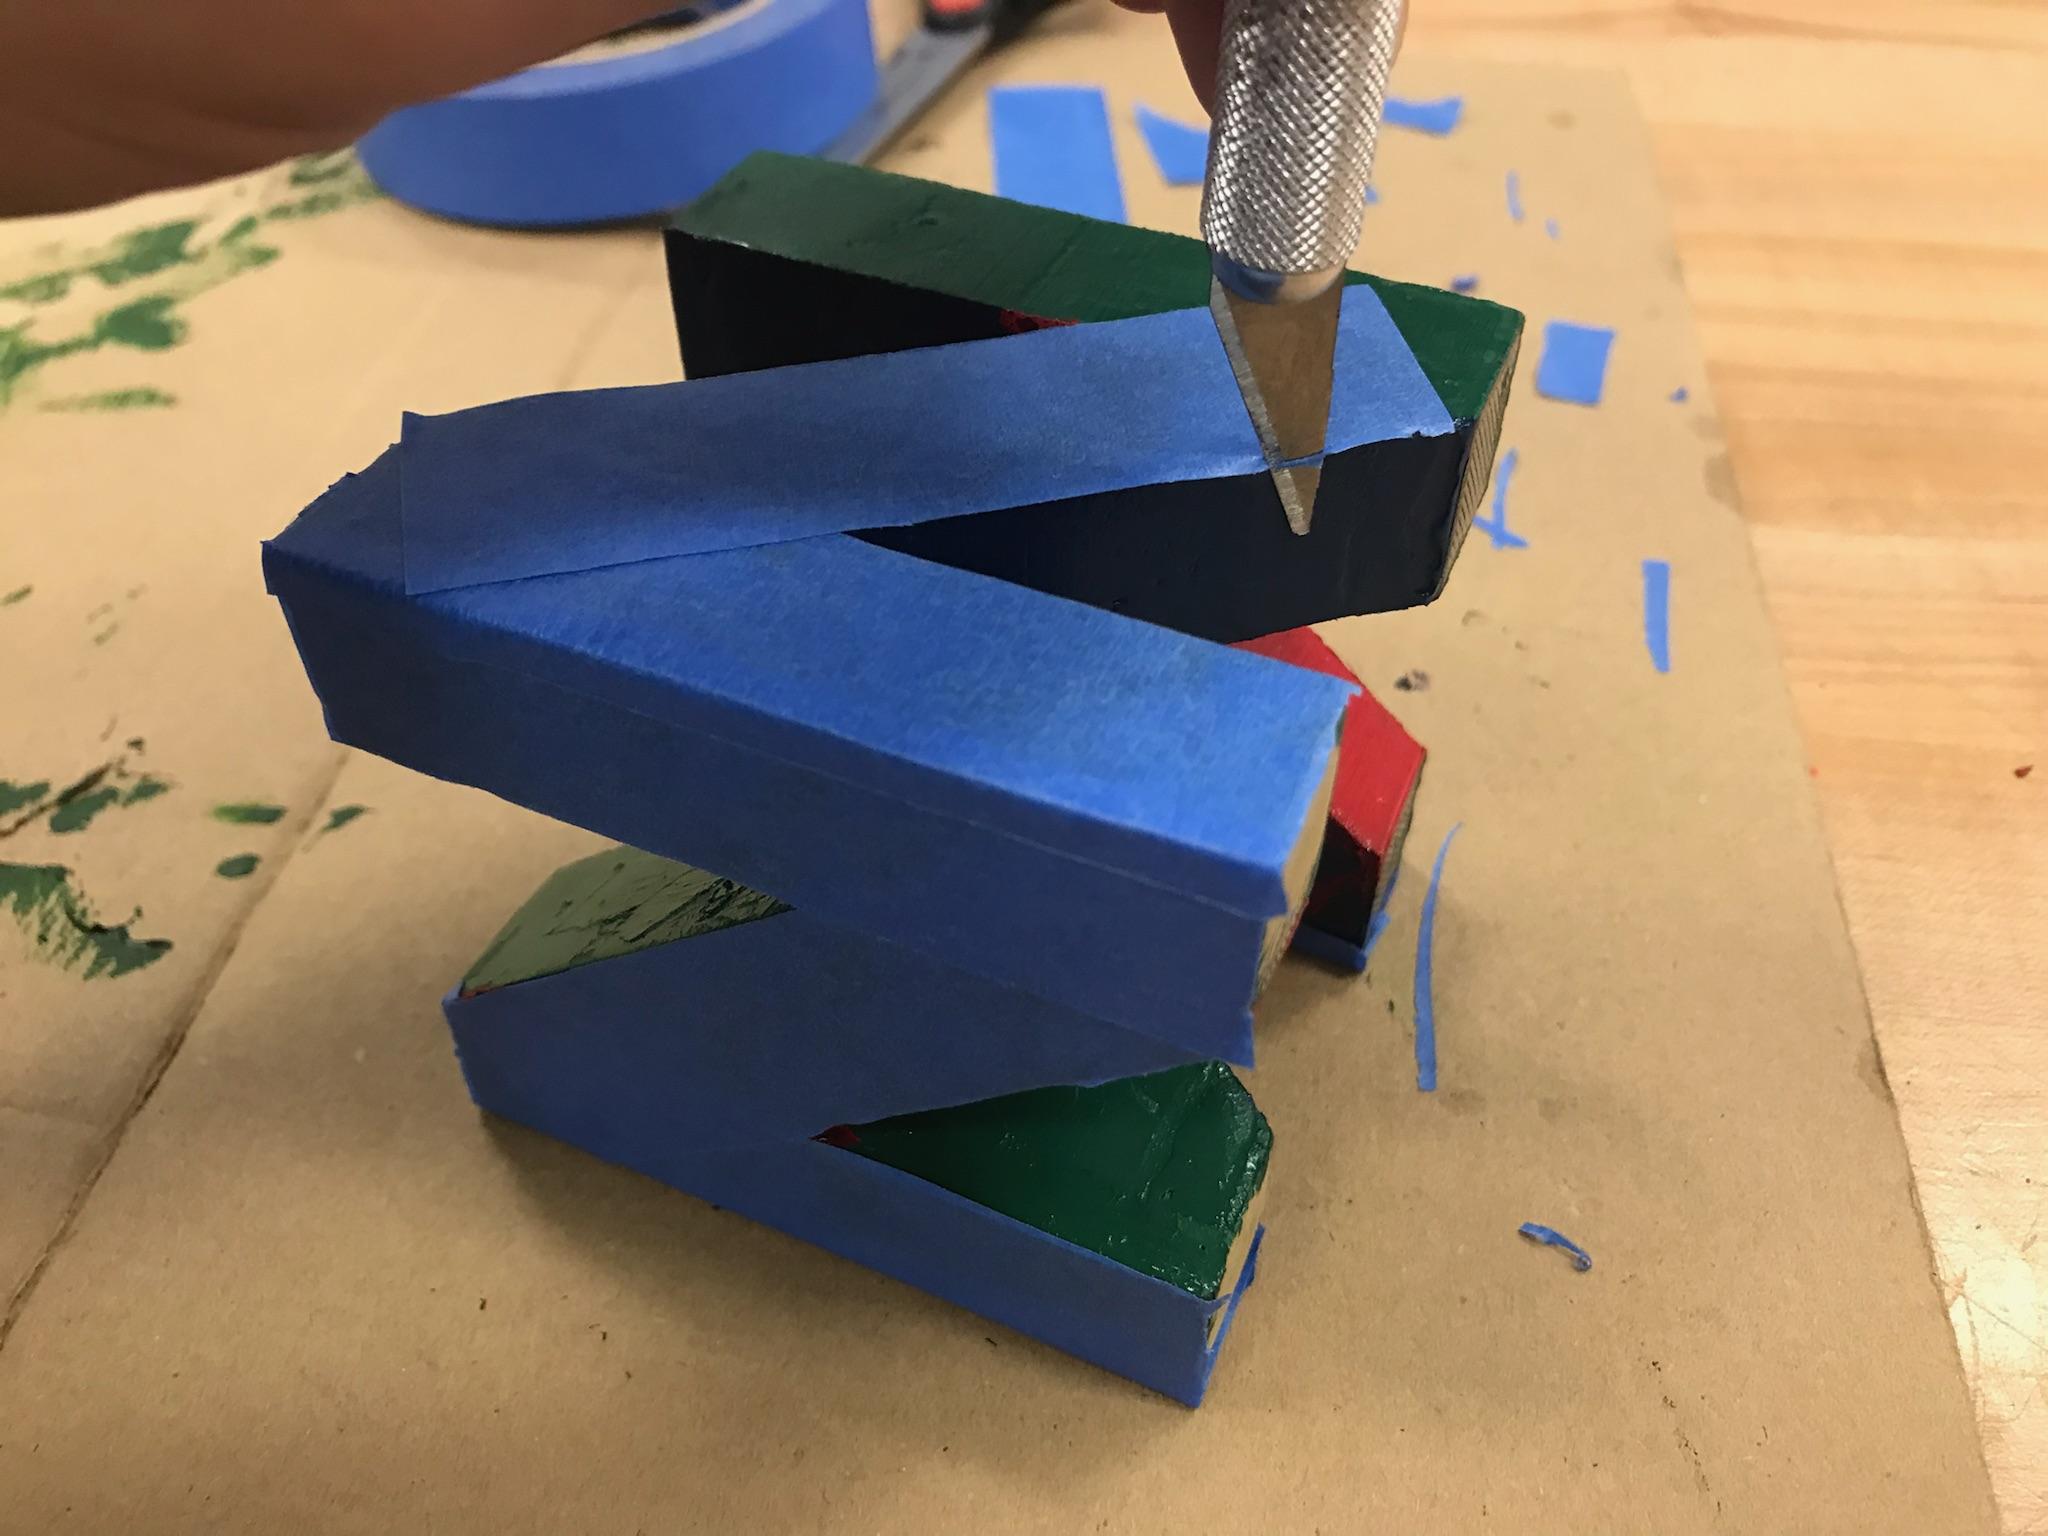
- If it overlaps to a surface that is in the current set, then you can cut it off with either scissors or the exacto knife.
- Repeat this until every necessary surface is covered all the way.
Paint the Model
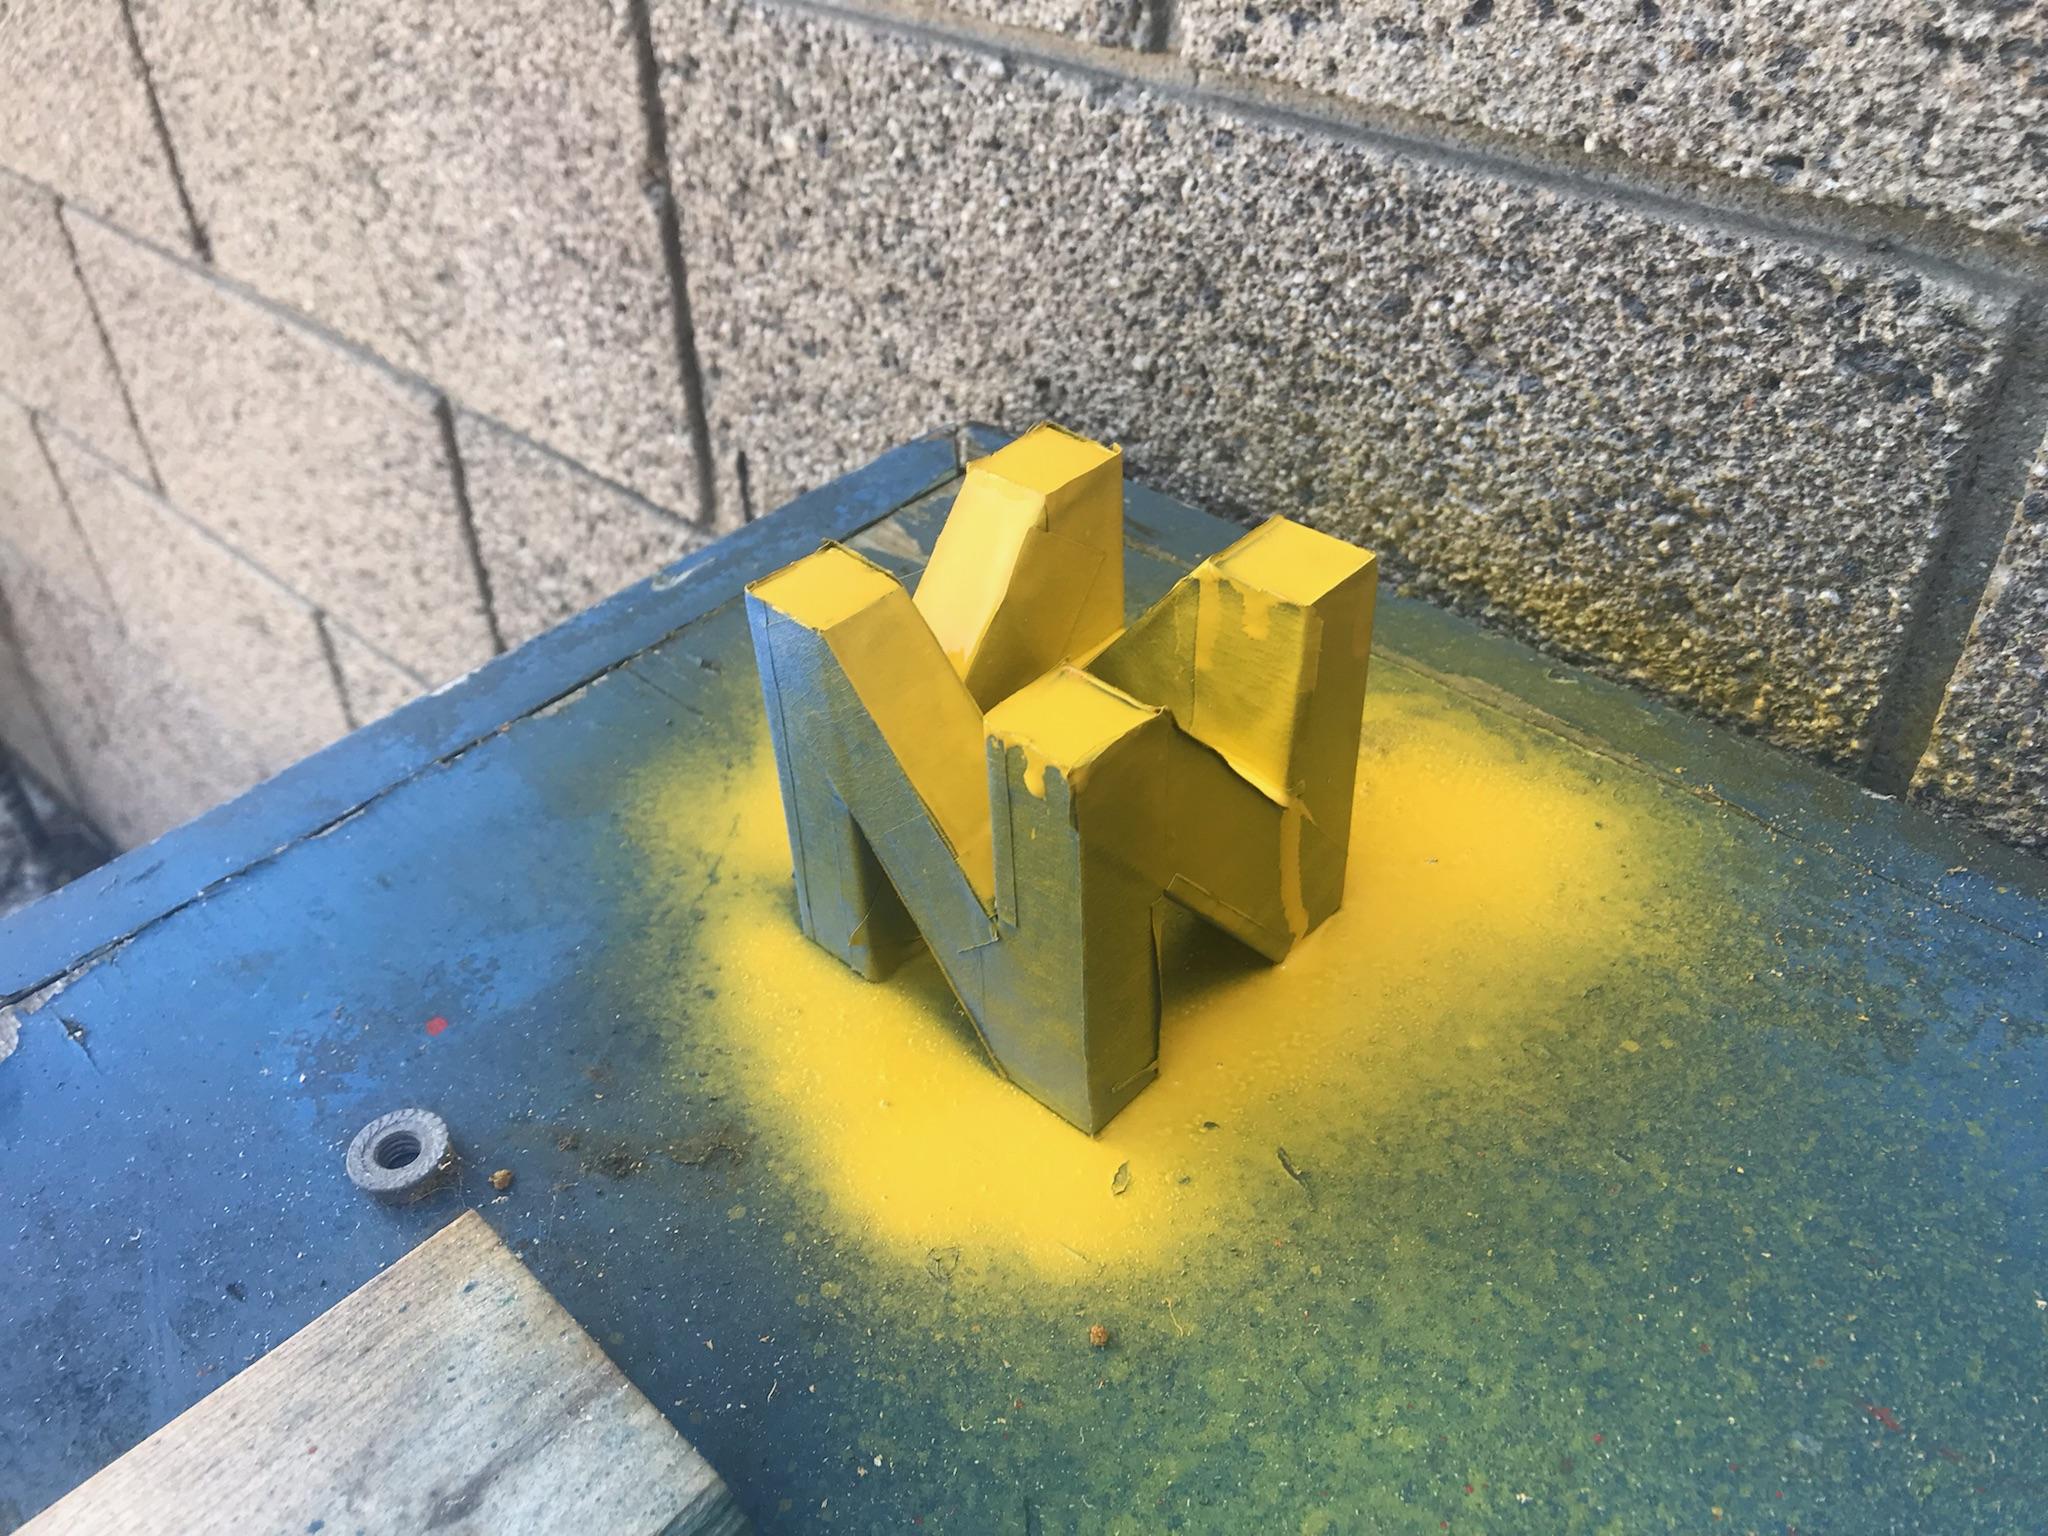
This step is pretty important so I'll try to go into as much detail as I can. The tape added to the surfaces that aren't being painted can protect them from the spray paint but not if you go all willy nilly. You need to be cautious. Do one quick swipe of paint at a time. Continue doing that until the surfaces that are being painted are properly coated.
It's also worth noting that you may not be able to do all the surfaces at once. Switch to a different side of the shape by rotating it, then proceed to paint over this new set of surfaces. Upon being finished with all the sides let the shape sit to dry. I recommend waiting a day to see how it is.
Analyze the Results
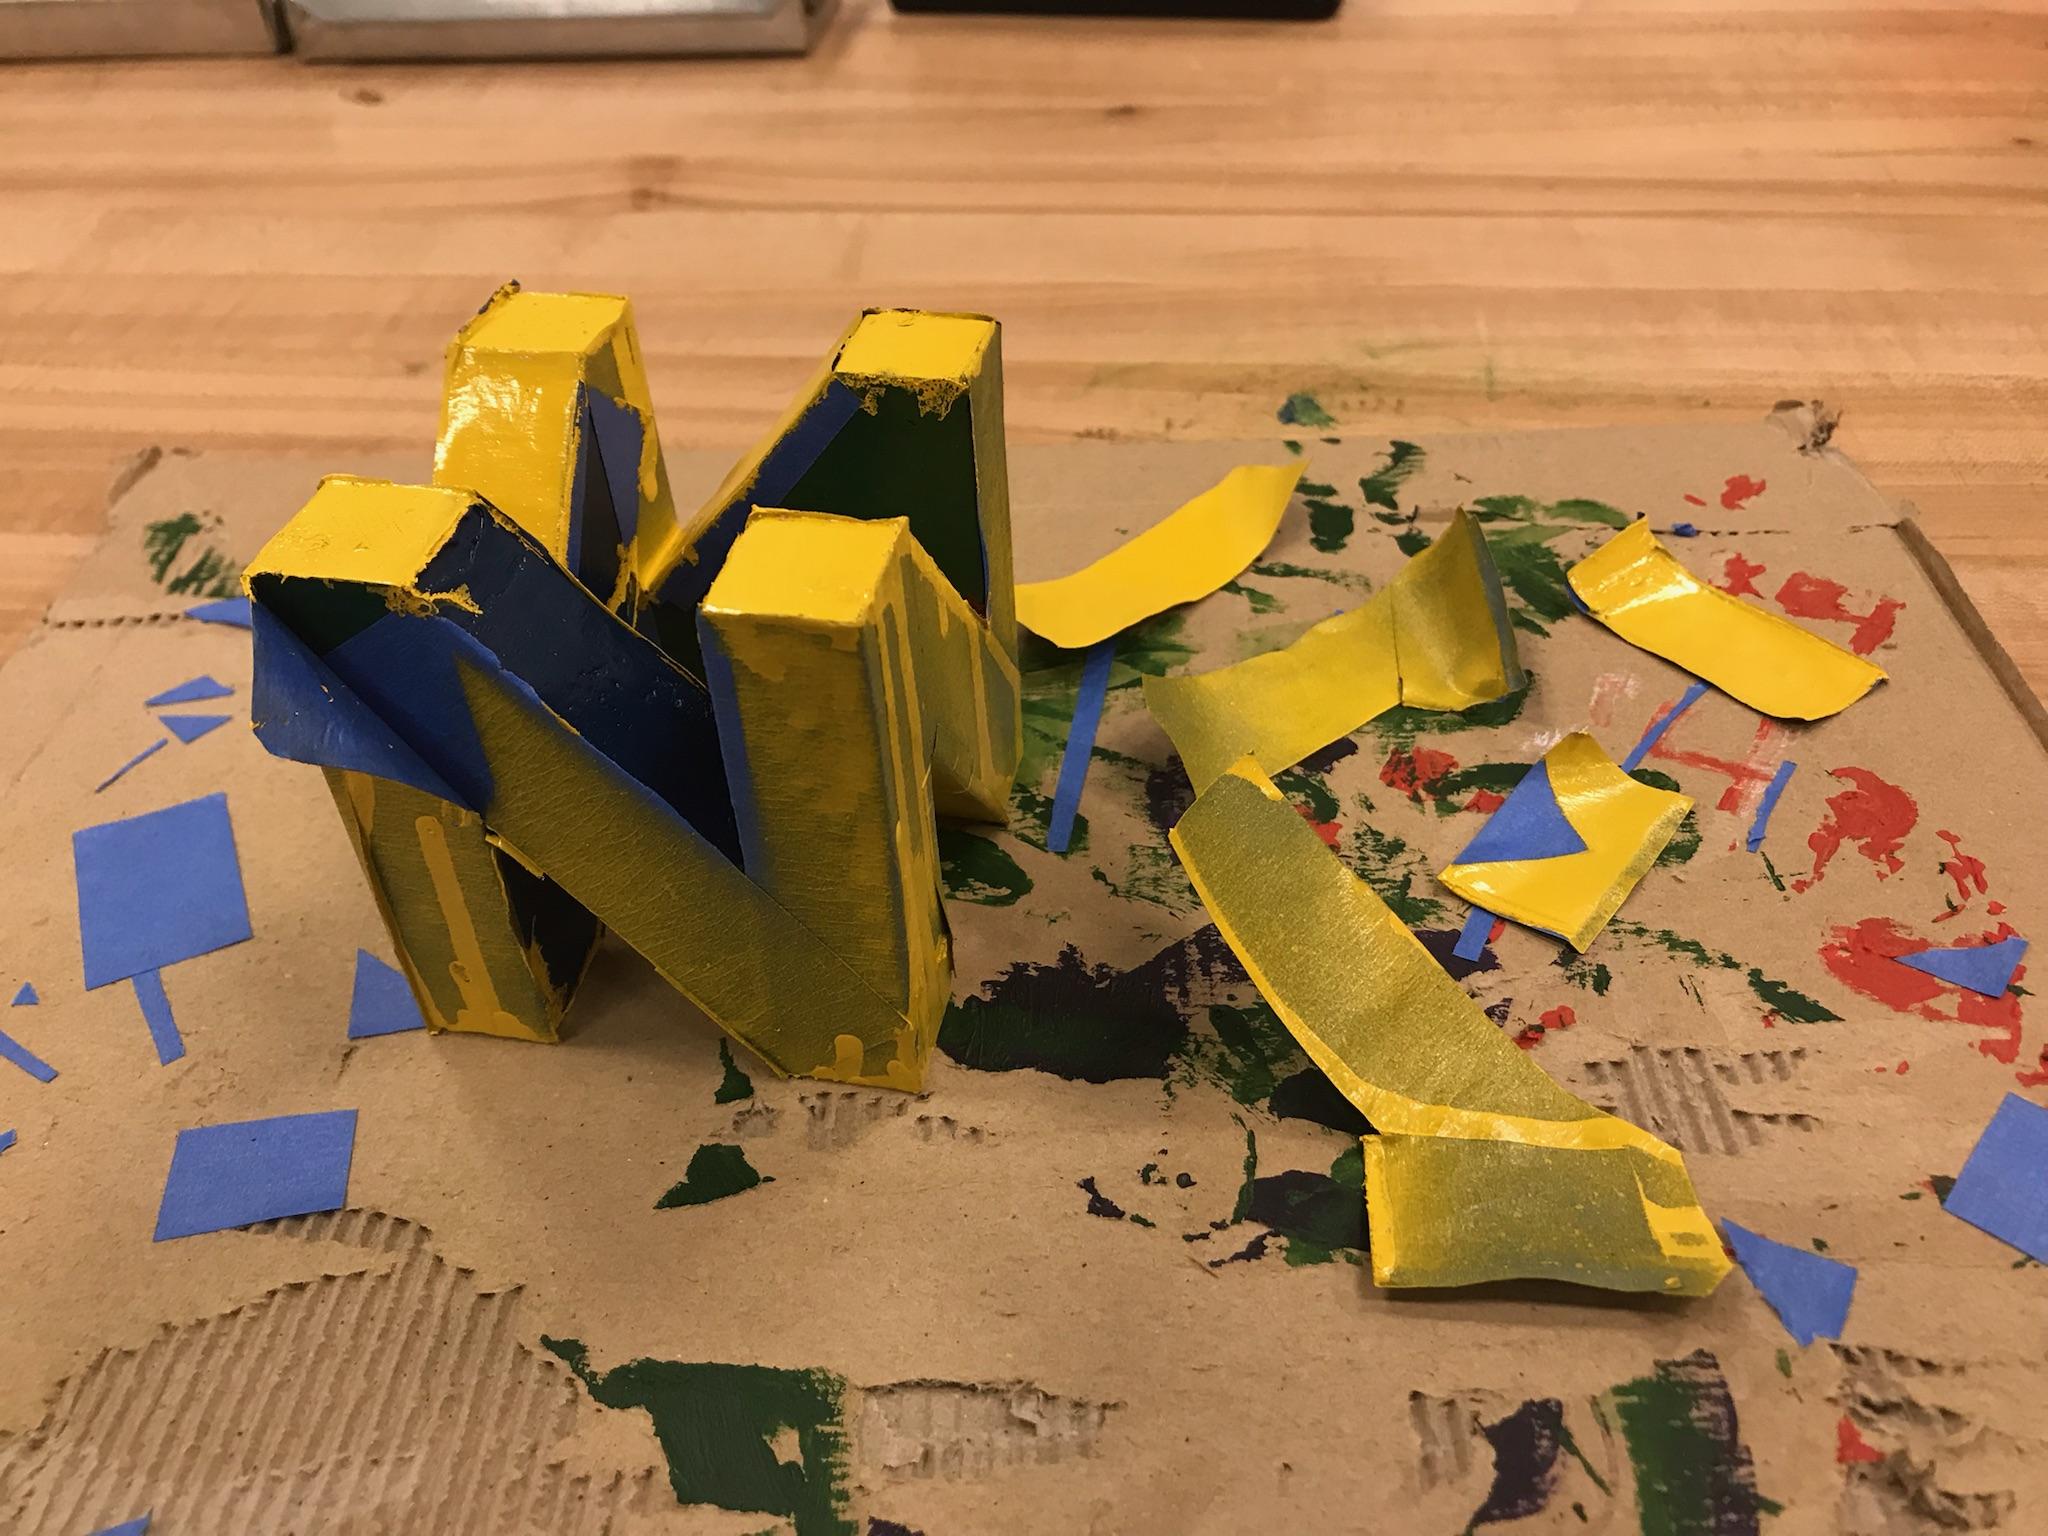
This next step involves answering a few questions. Do the surfaces you painted perhaps need another coat of paint? Or are you ready to move on to the next side? If your answer is the former then repeat the process.
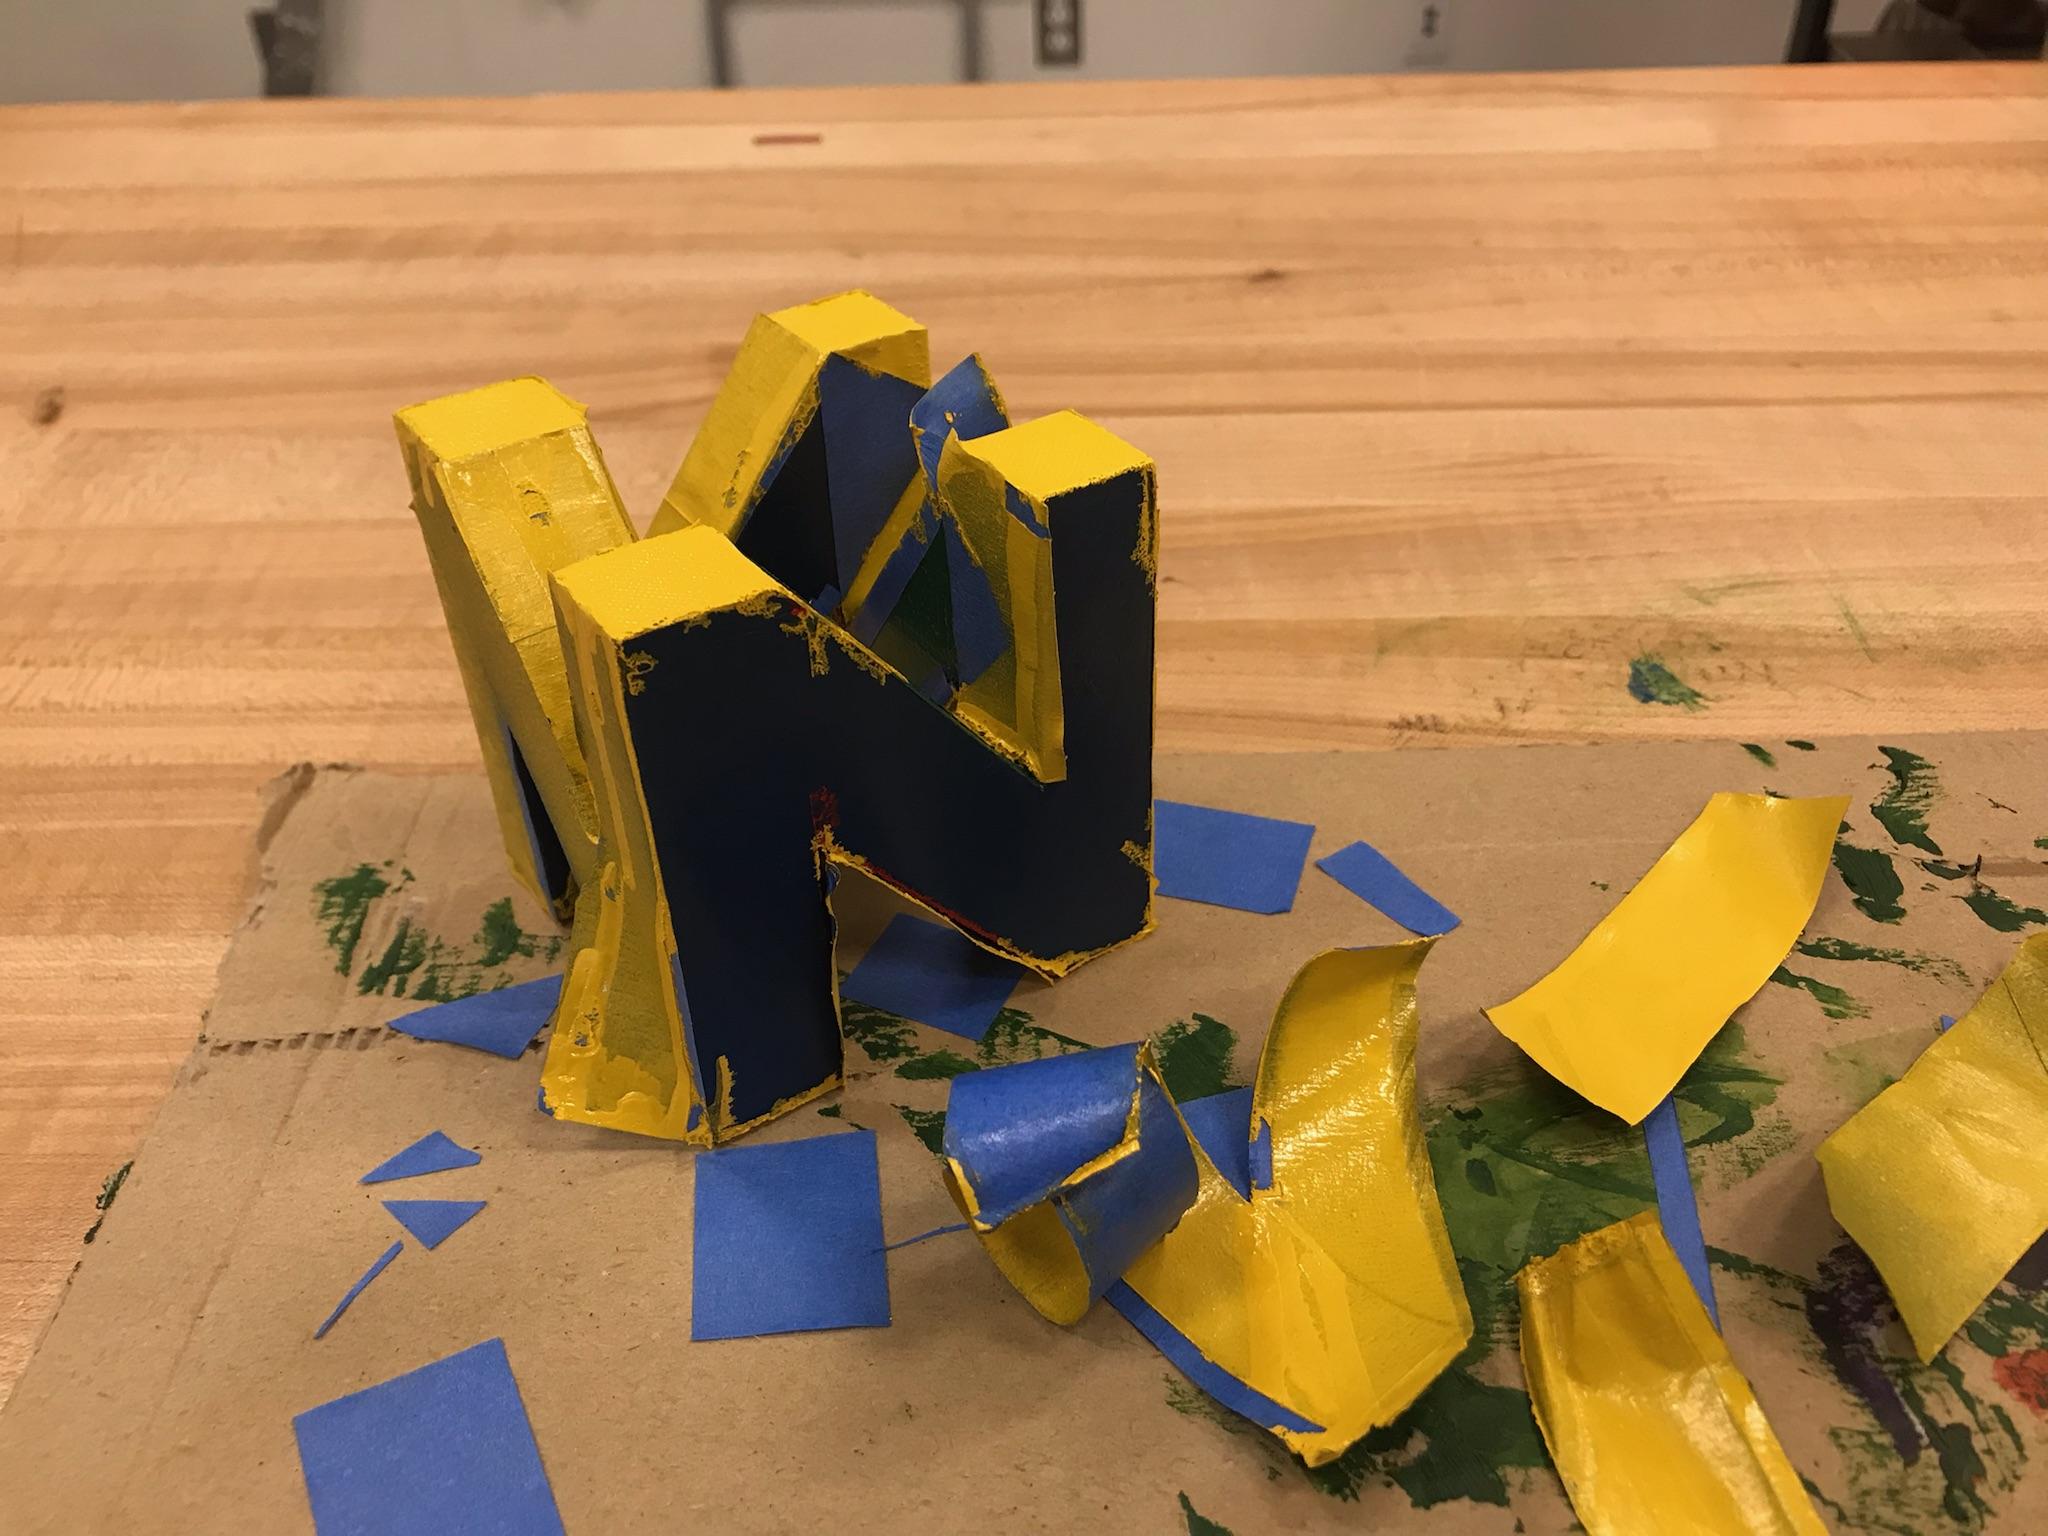
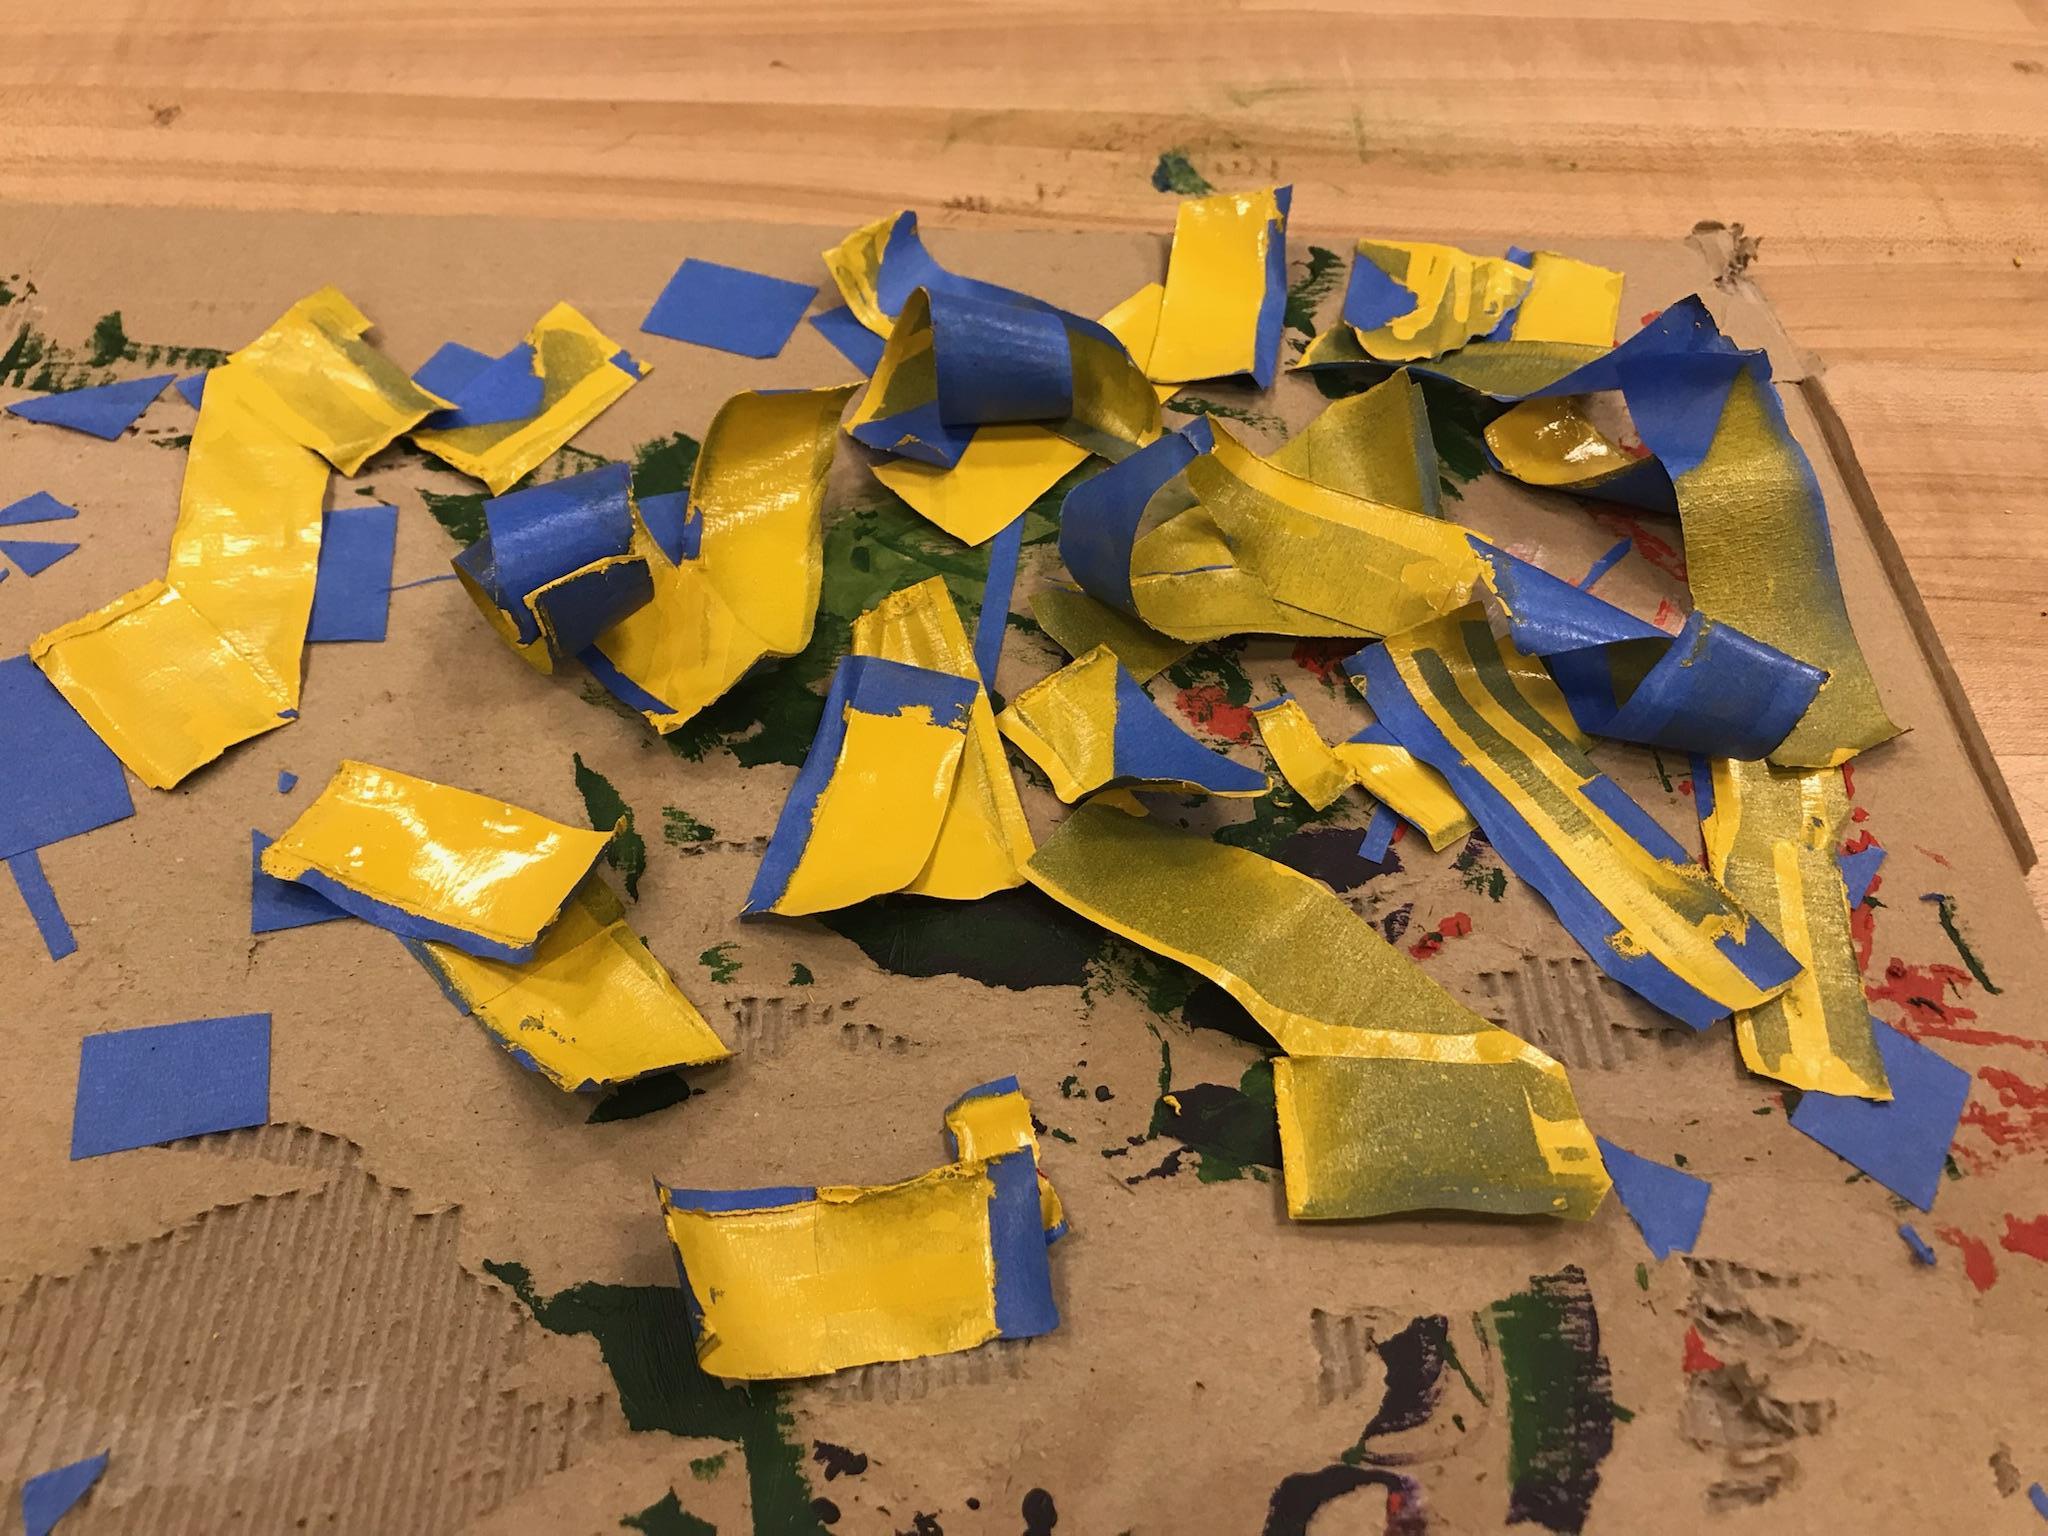
If however your answer is the latter then proceed to peel off the tape from the surfaces. Now check and see how the shape looks. Are you on the right track with the color of paint and the surfaces that have been painted? Did any paint perhaps seep through some of the tape and affect some of the other surfaces?
Take the information from these answers and use it to move forward with how you paint the rest of the model.
Repeat Step 3, 4, and 5 Until Completed
As the name implies you have to tape over a new set of surfaces, paint over with a color, and then analyze the results of that process. As you continue doing this, you might find yourself needing to repaint a set you've already gone through. This could be either because something went wrong along the way or because you perhaps made a creative decision that alters your original plan.
Continue repeating this process and pretty soon, you will have successfully completed painting your model and can enjoy it in all of its color.