Colorful Cricut Suncatchers! Cellophane + Contact Paper + Cardstock
by BrettsDrawings in Design > Art
1242 Views, 24 Favorites, 0 Comments
Colorful Cricut Suncatchers! Cellophane + Contact Paper + Cardstock
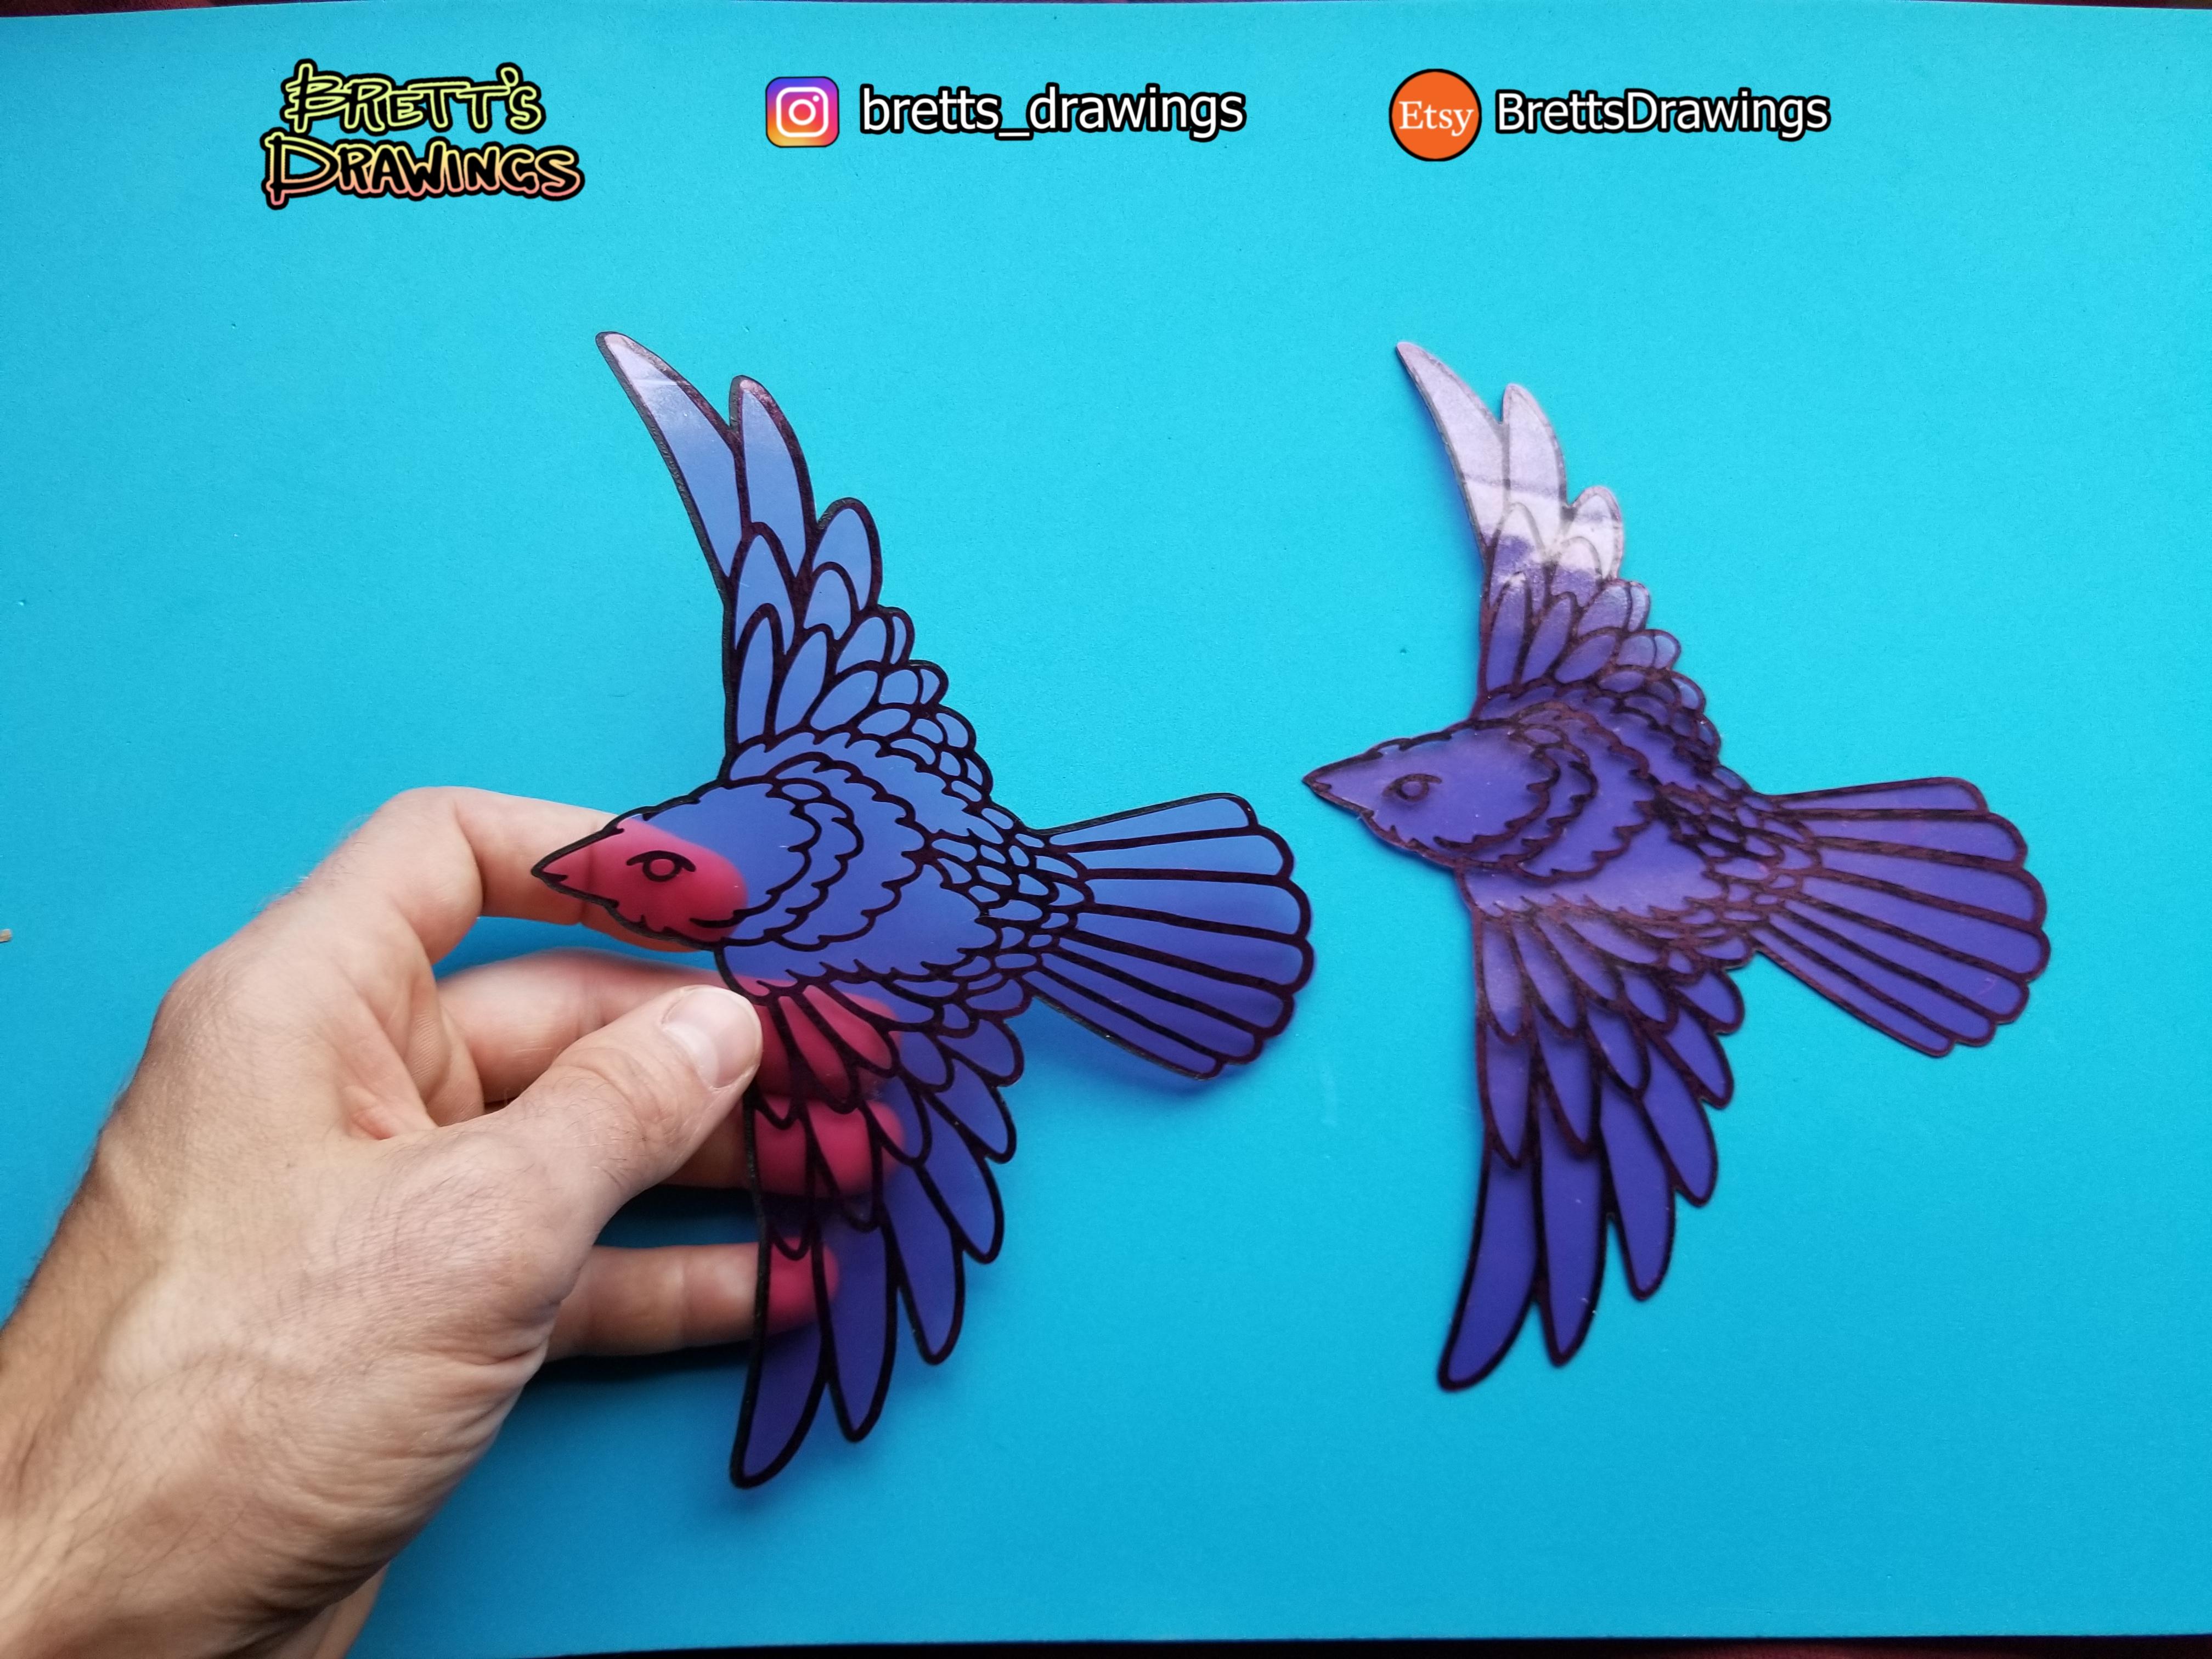
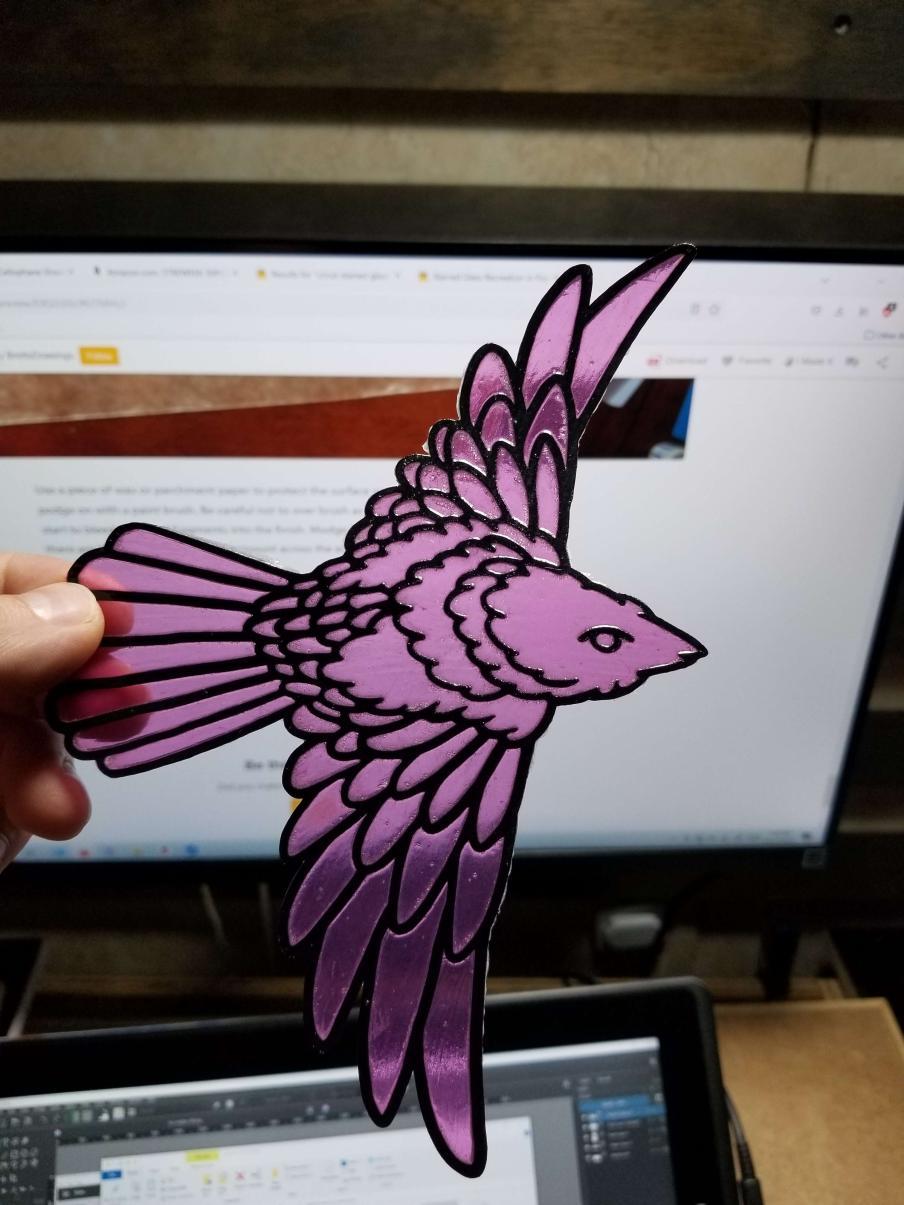
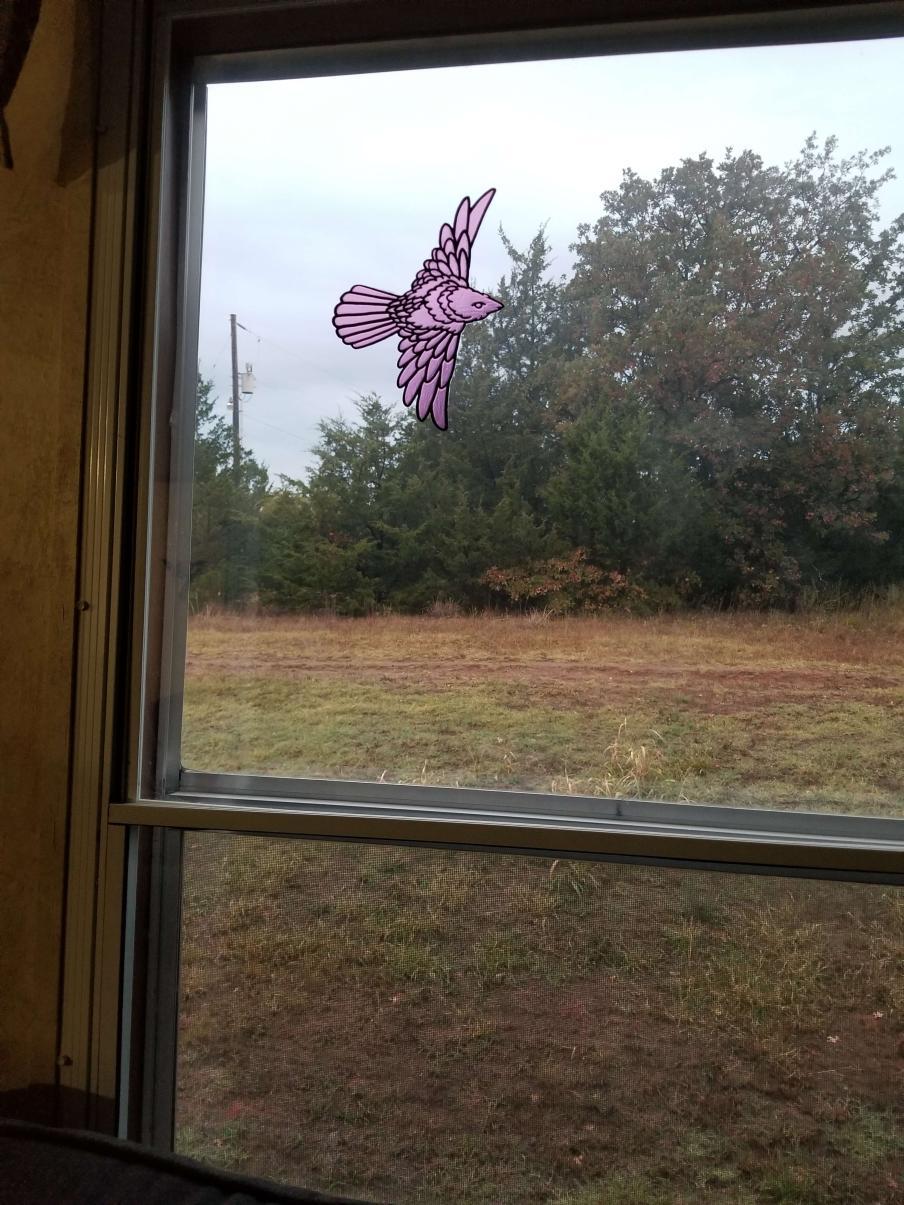
Cutting cellophane sheets on your cricut machine can be a great way to create transparent colored suncatchers! This is a technique inspired by another instructable creator, Mchau2, in their instructable: "Stained Glass Recreation in Paper"
Cellophane can be challenging to work with but it is fairly inexpensive and using an application of clear plastic lamination helps to make the pieces more manageble. I have created this design to cut out well with these materials and you can download files and cut out your own in whatever colors you can think to combine!
Supplies
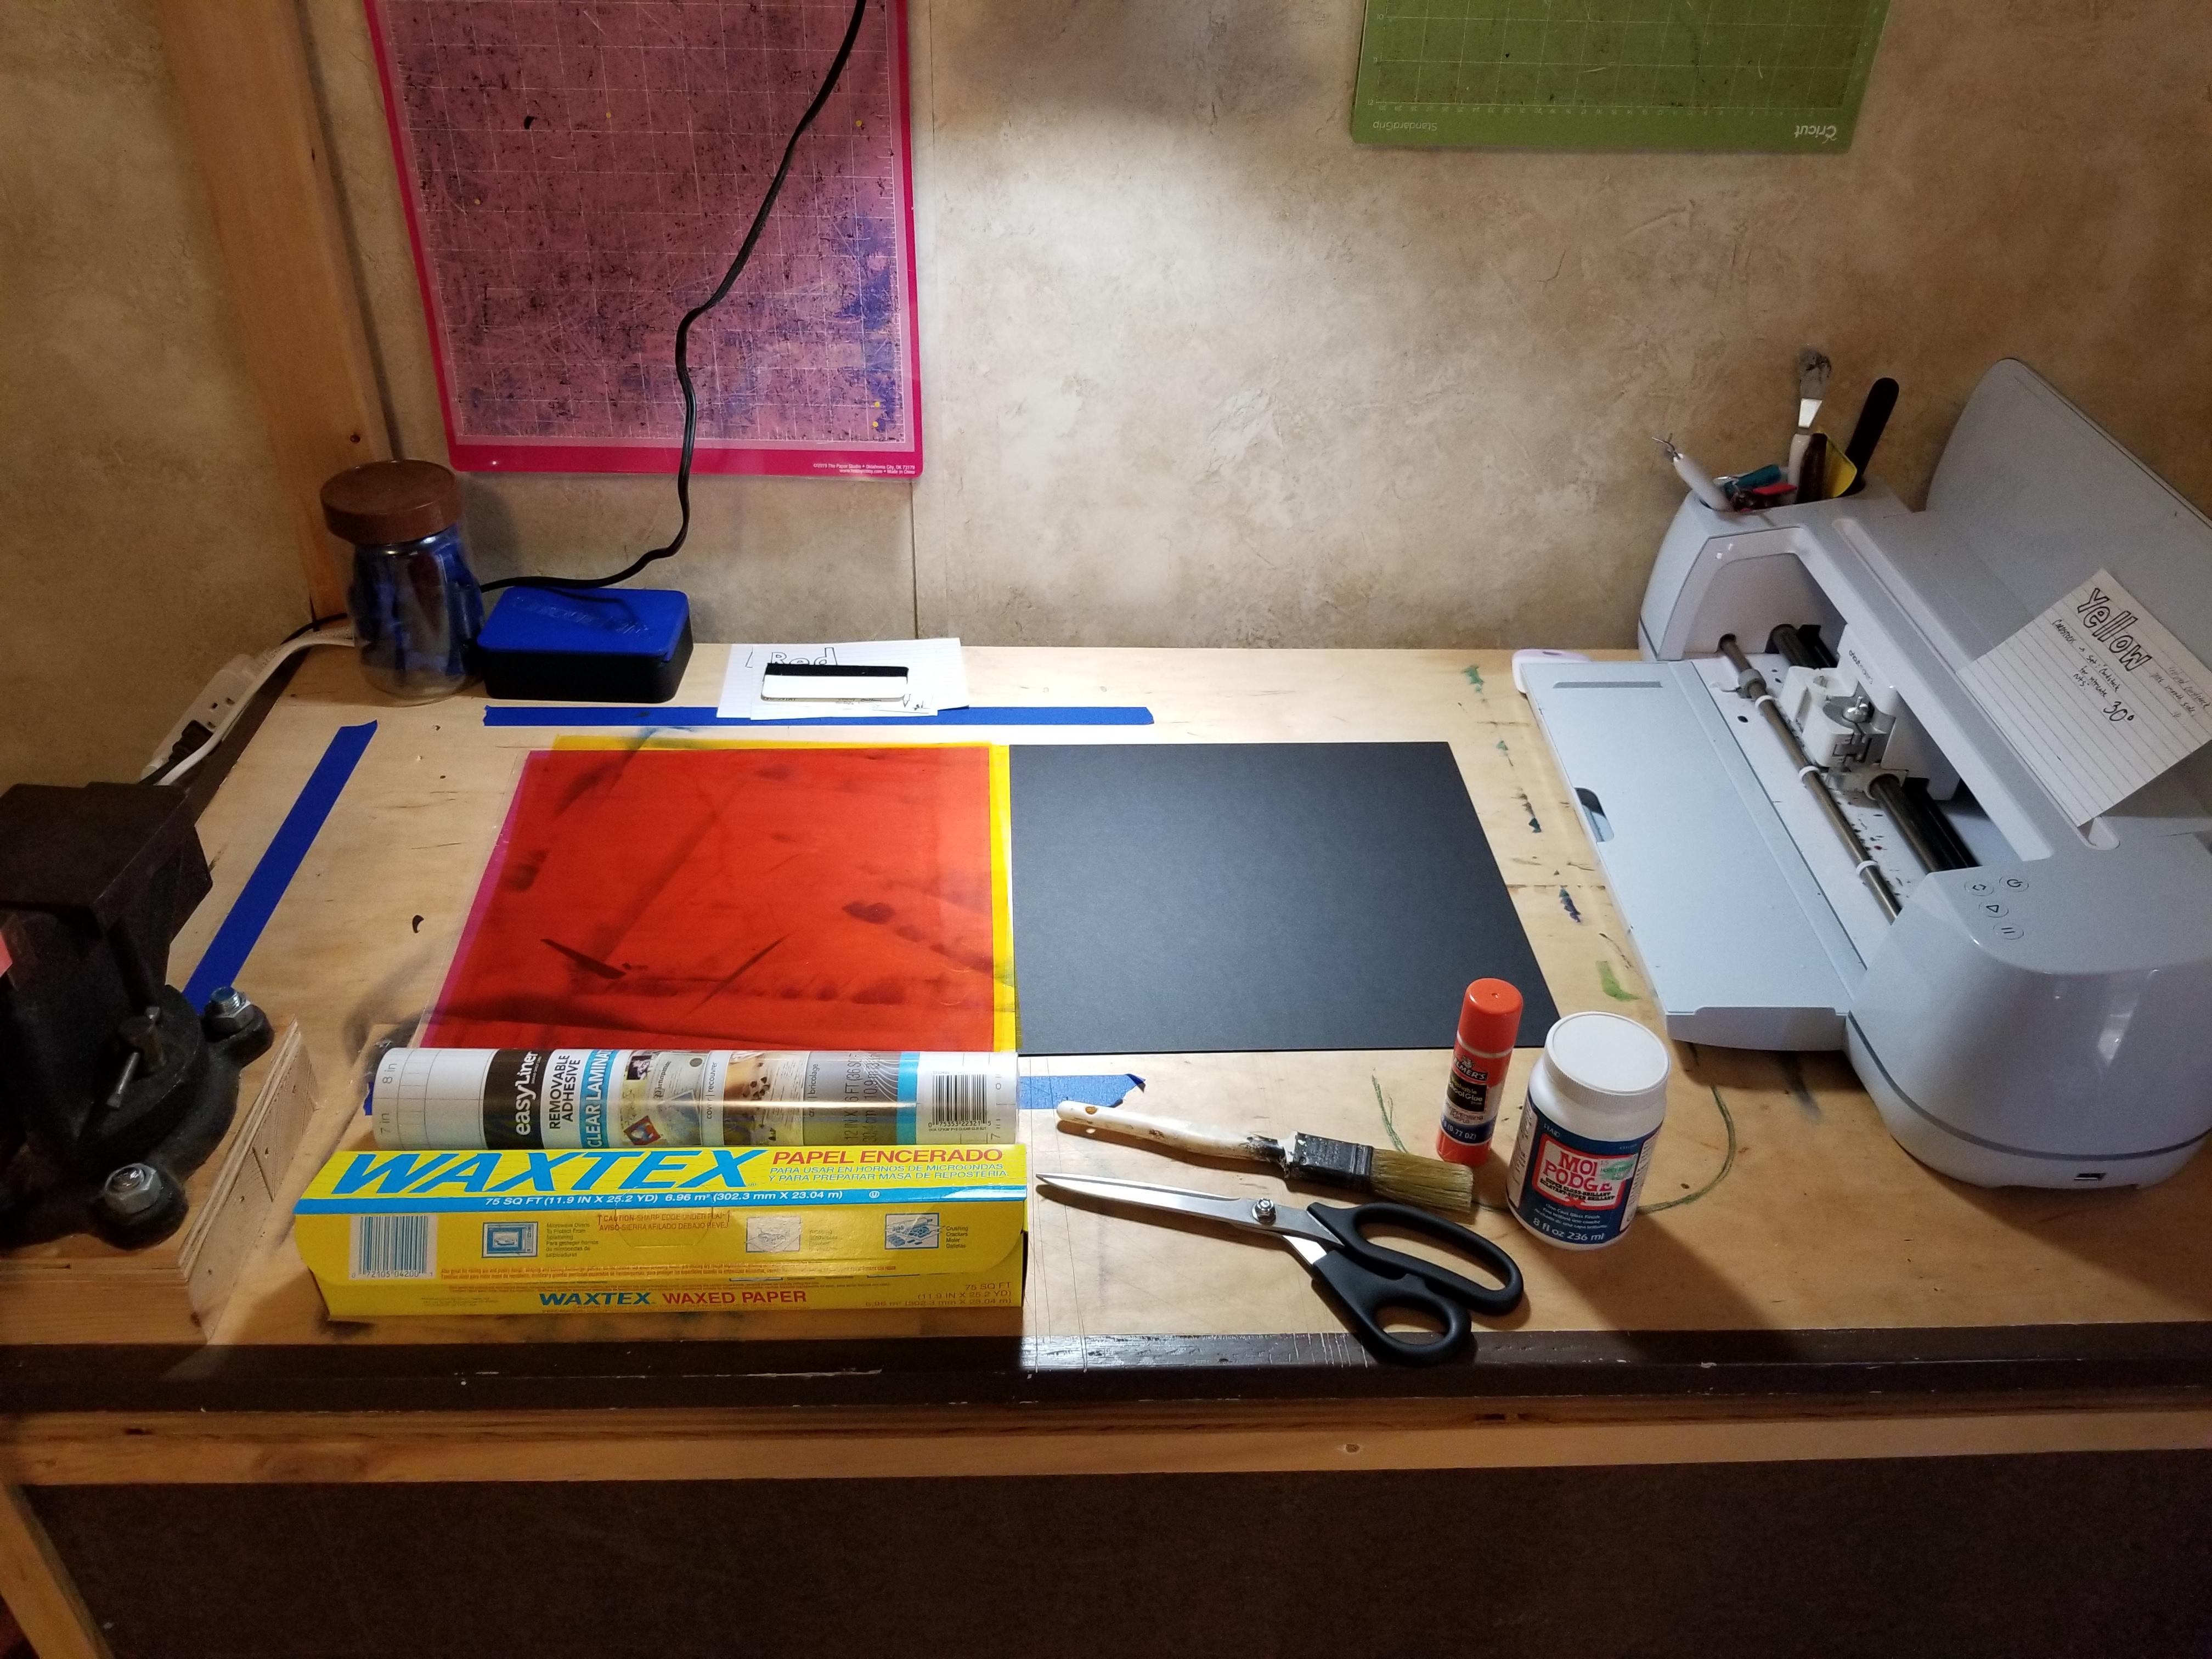
- Colored cellophane sheets 12" x 12" - Amazon $12.99 USD
- Contact paper - Clear Laminate Liner - Amazon 6.47 USD
- Cardstock 12" x 12" black
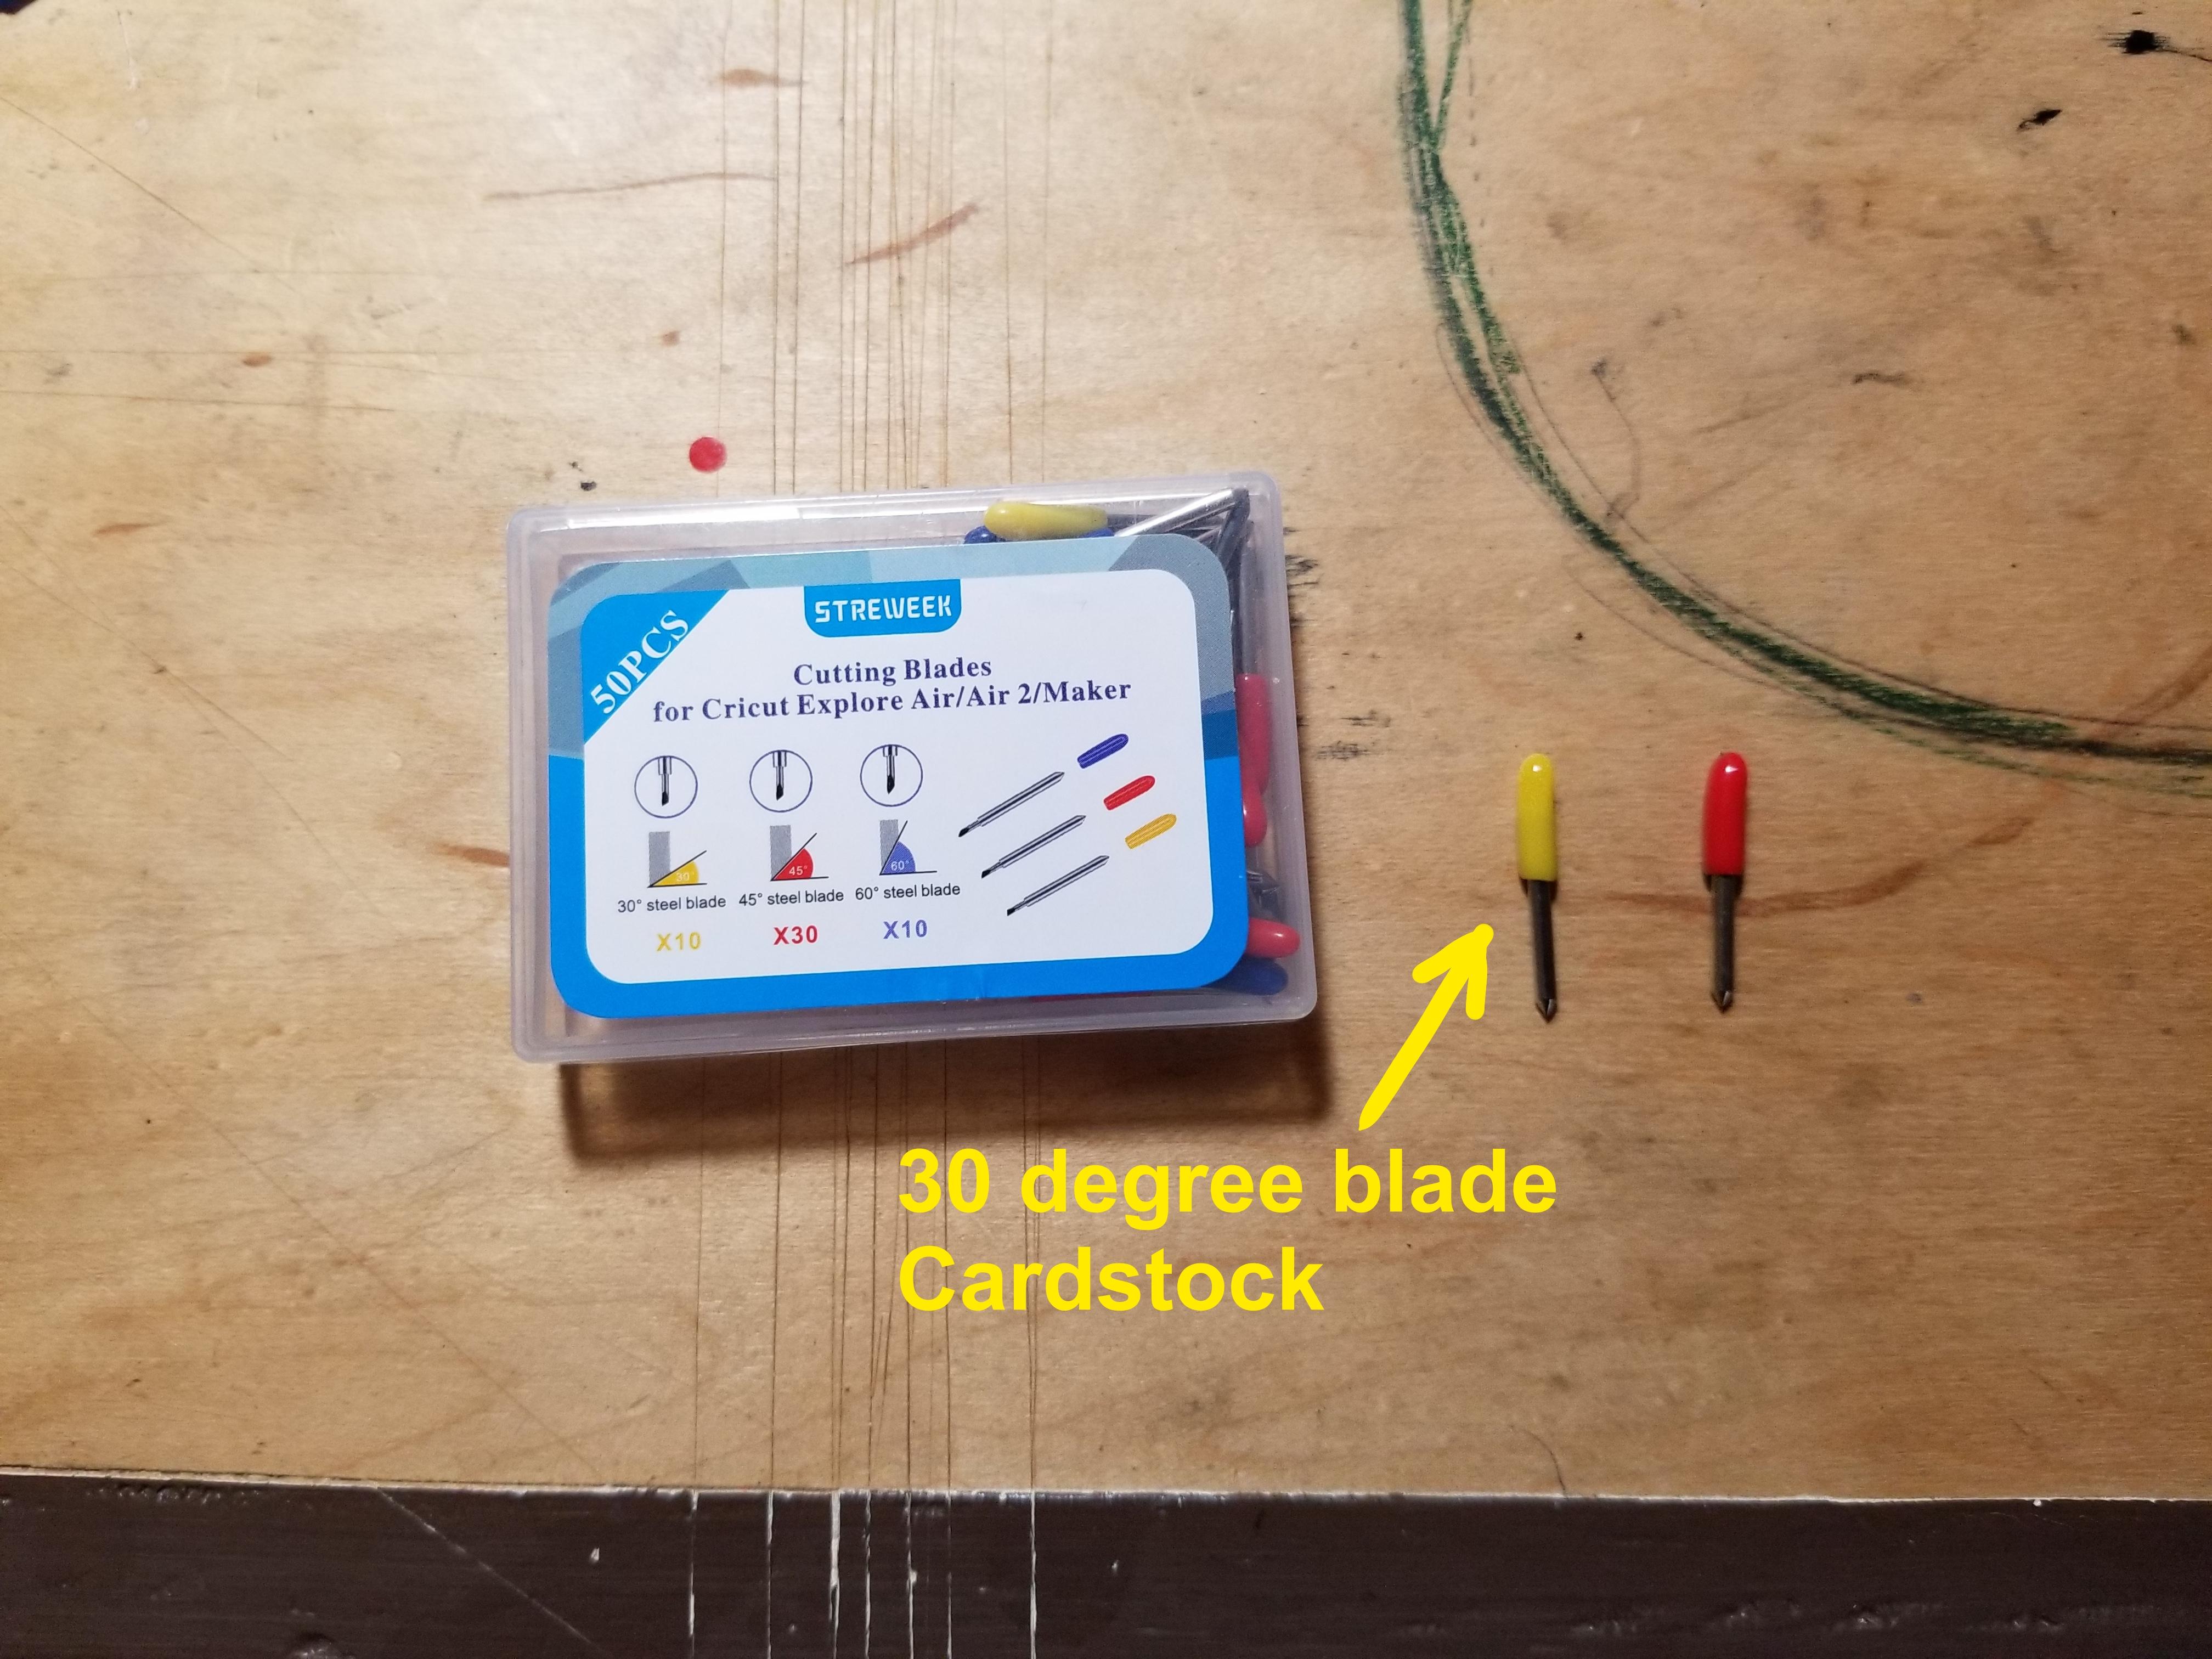
- 45 degree blade (red) for cellophane + contact paper
- 30 degree blade (yellow) for cardstock
This is the set I am currently using - a few have broken immediately or have been defective. Because of the low price of both the blade set and the project material I would say it is still a good value.
- Elmer's Glue stick or other school glue stick.
- Wax paper or parchment paper.
Scissors to cut the contact paper to size.
***Optional***
Modge Podge and a brush to apply .
Upload Bird Images to Cricut Design Space
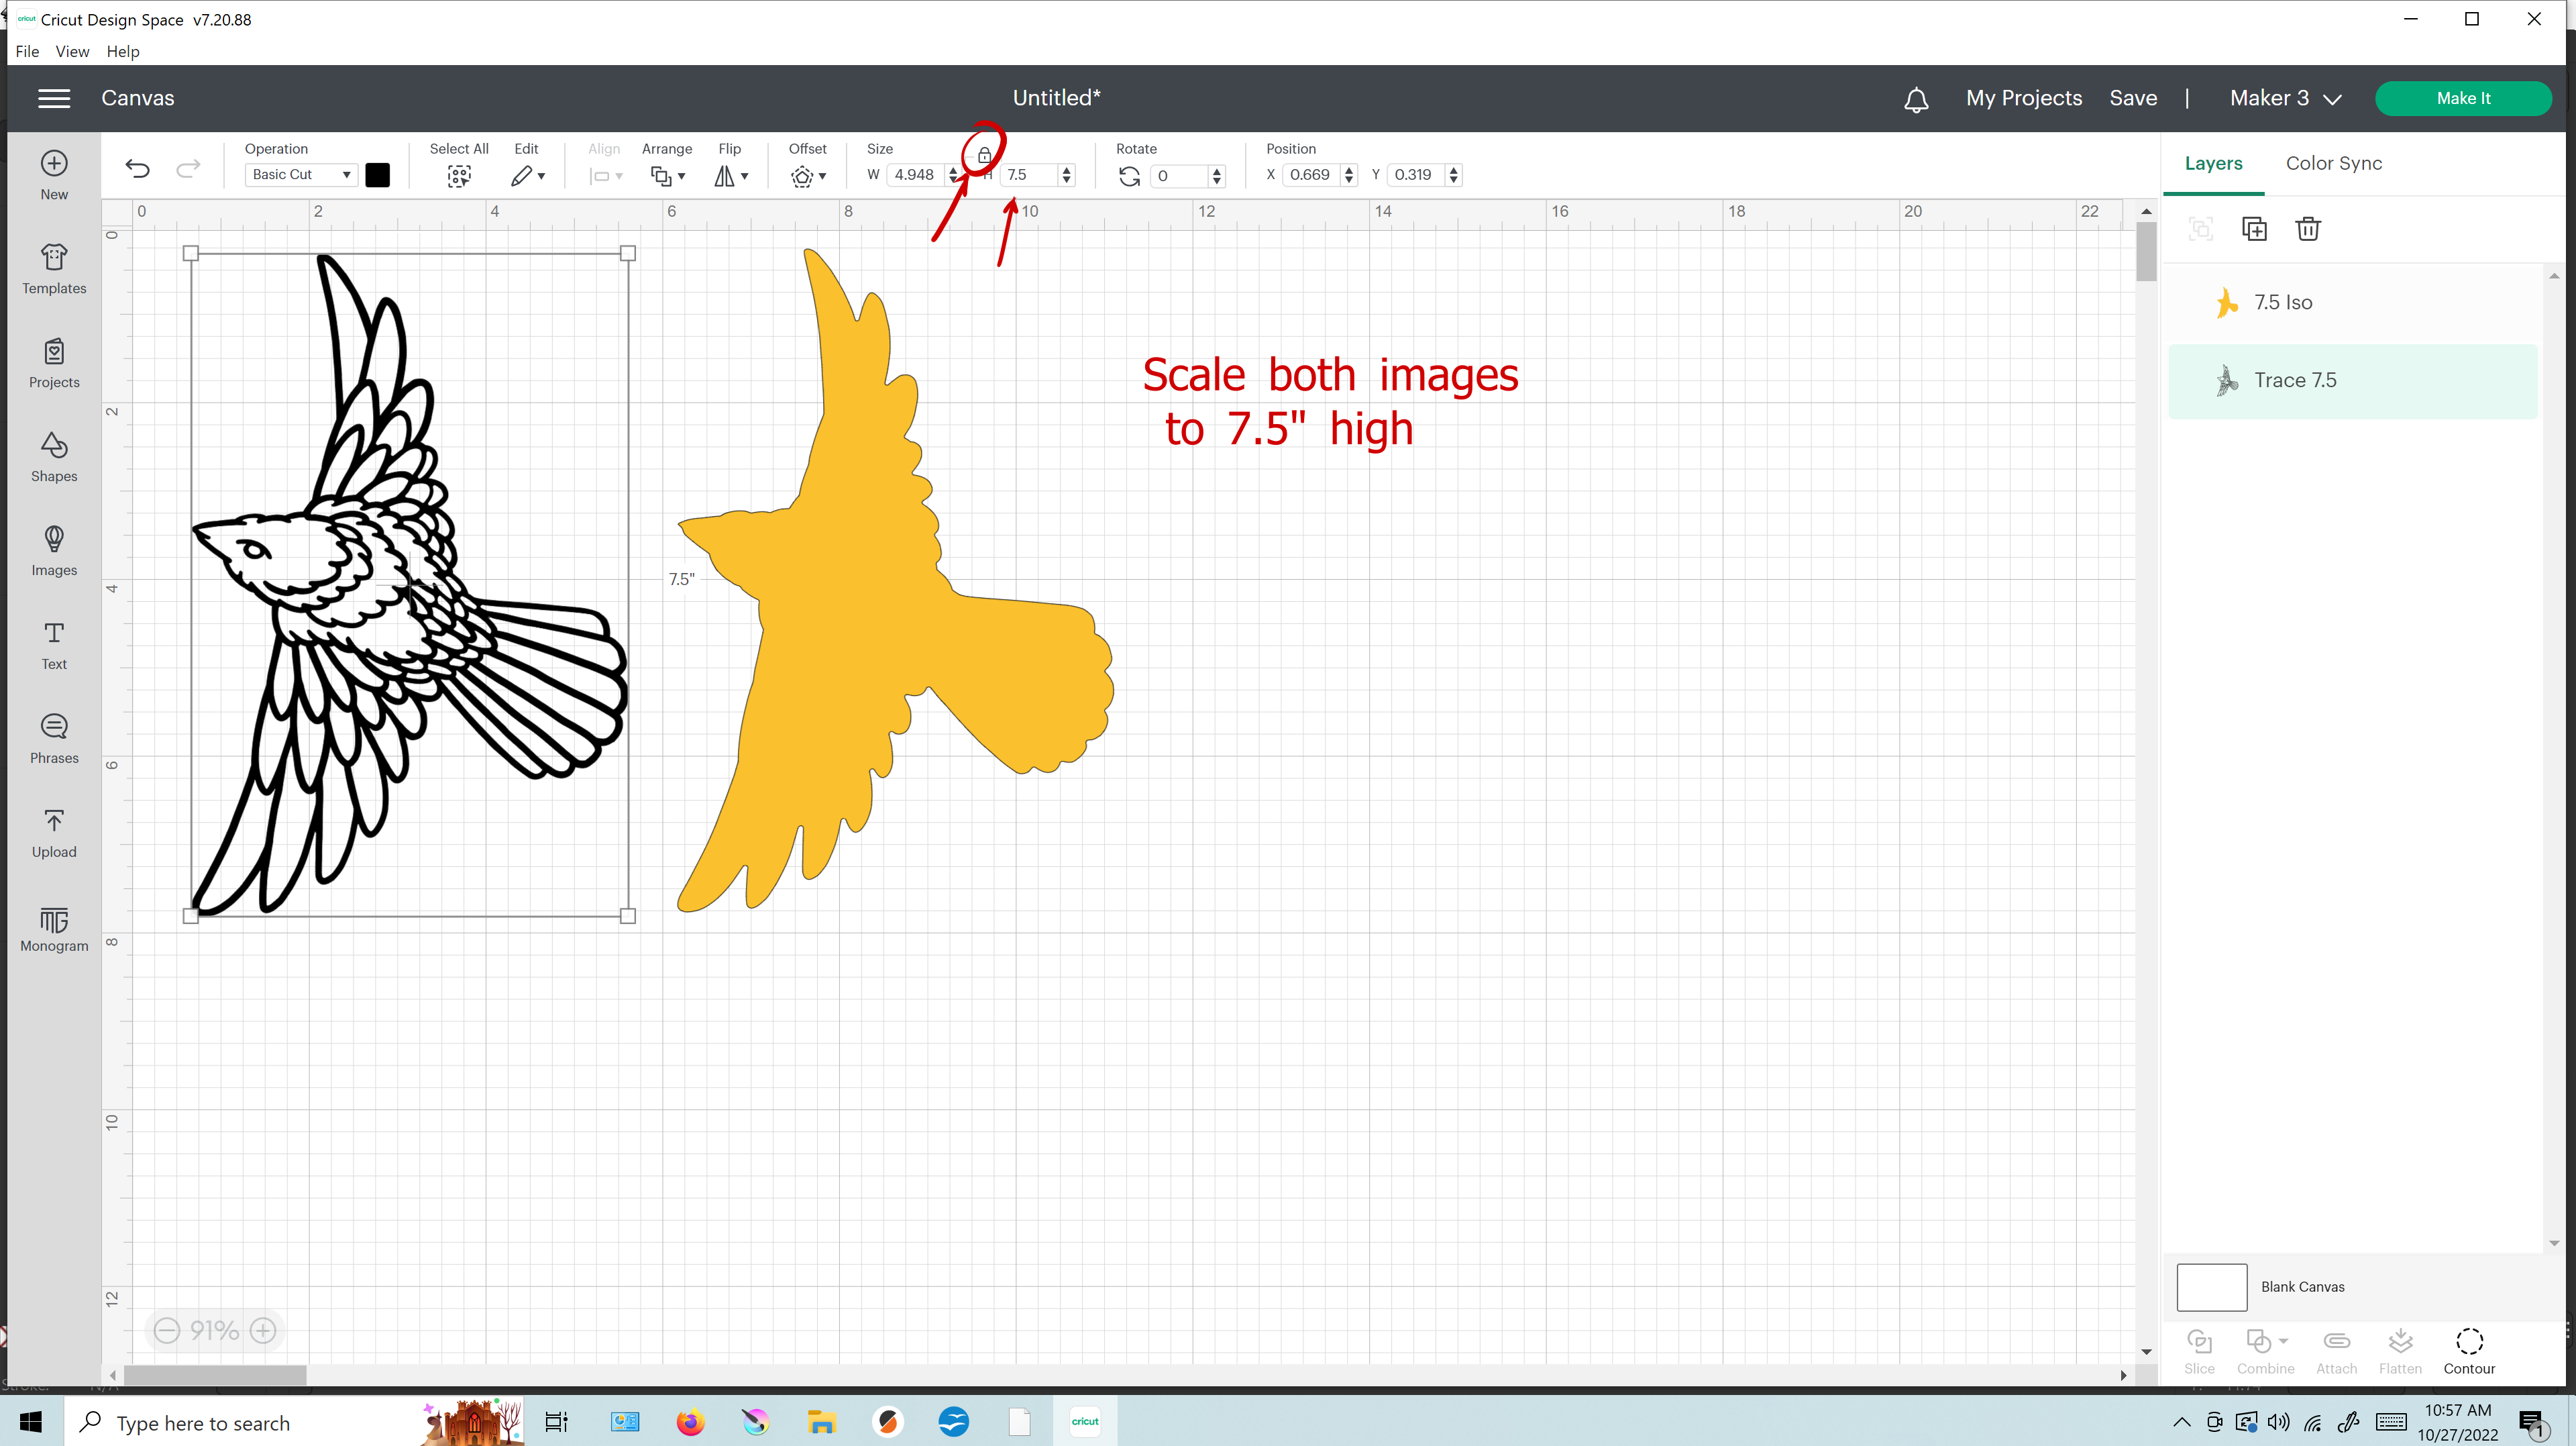
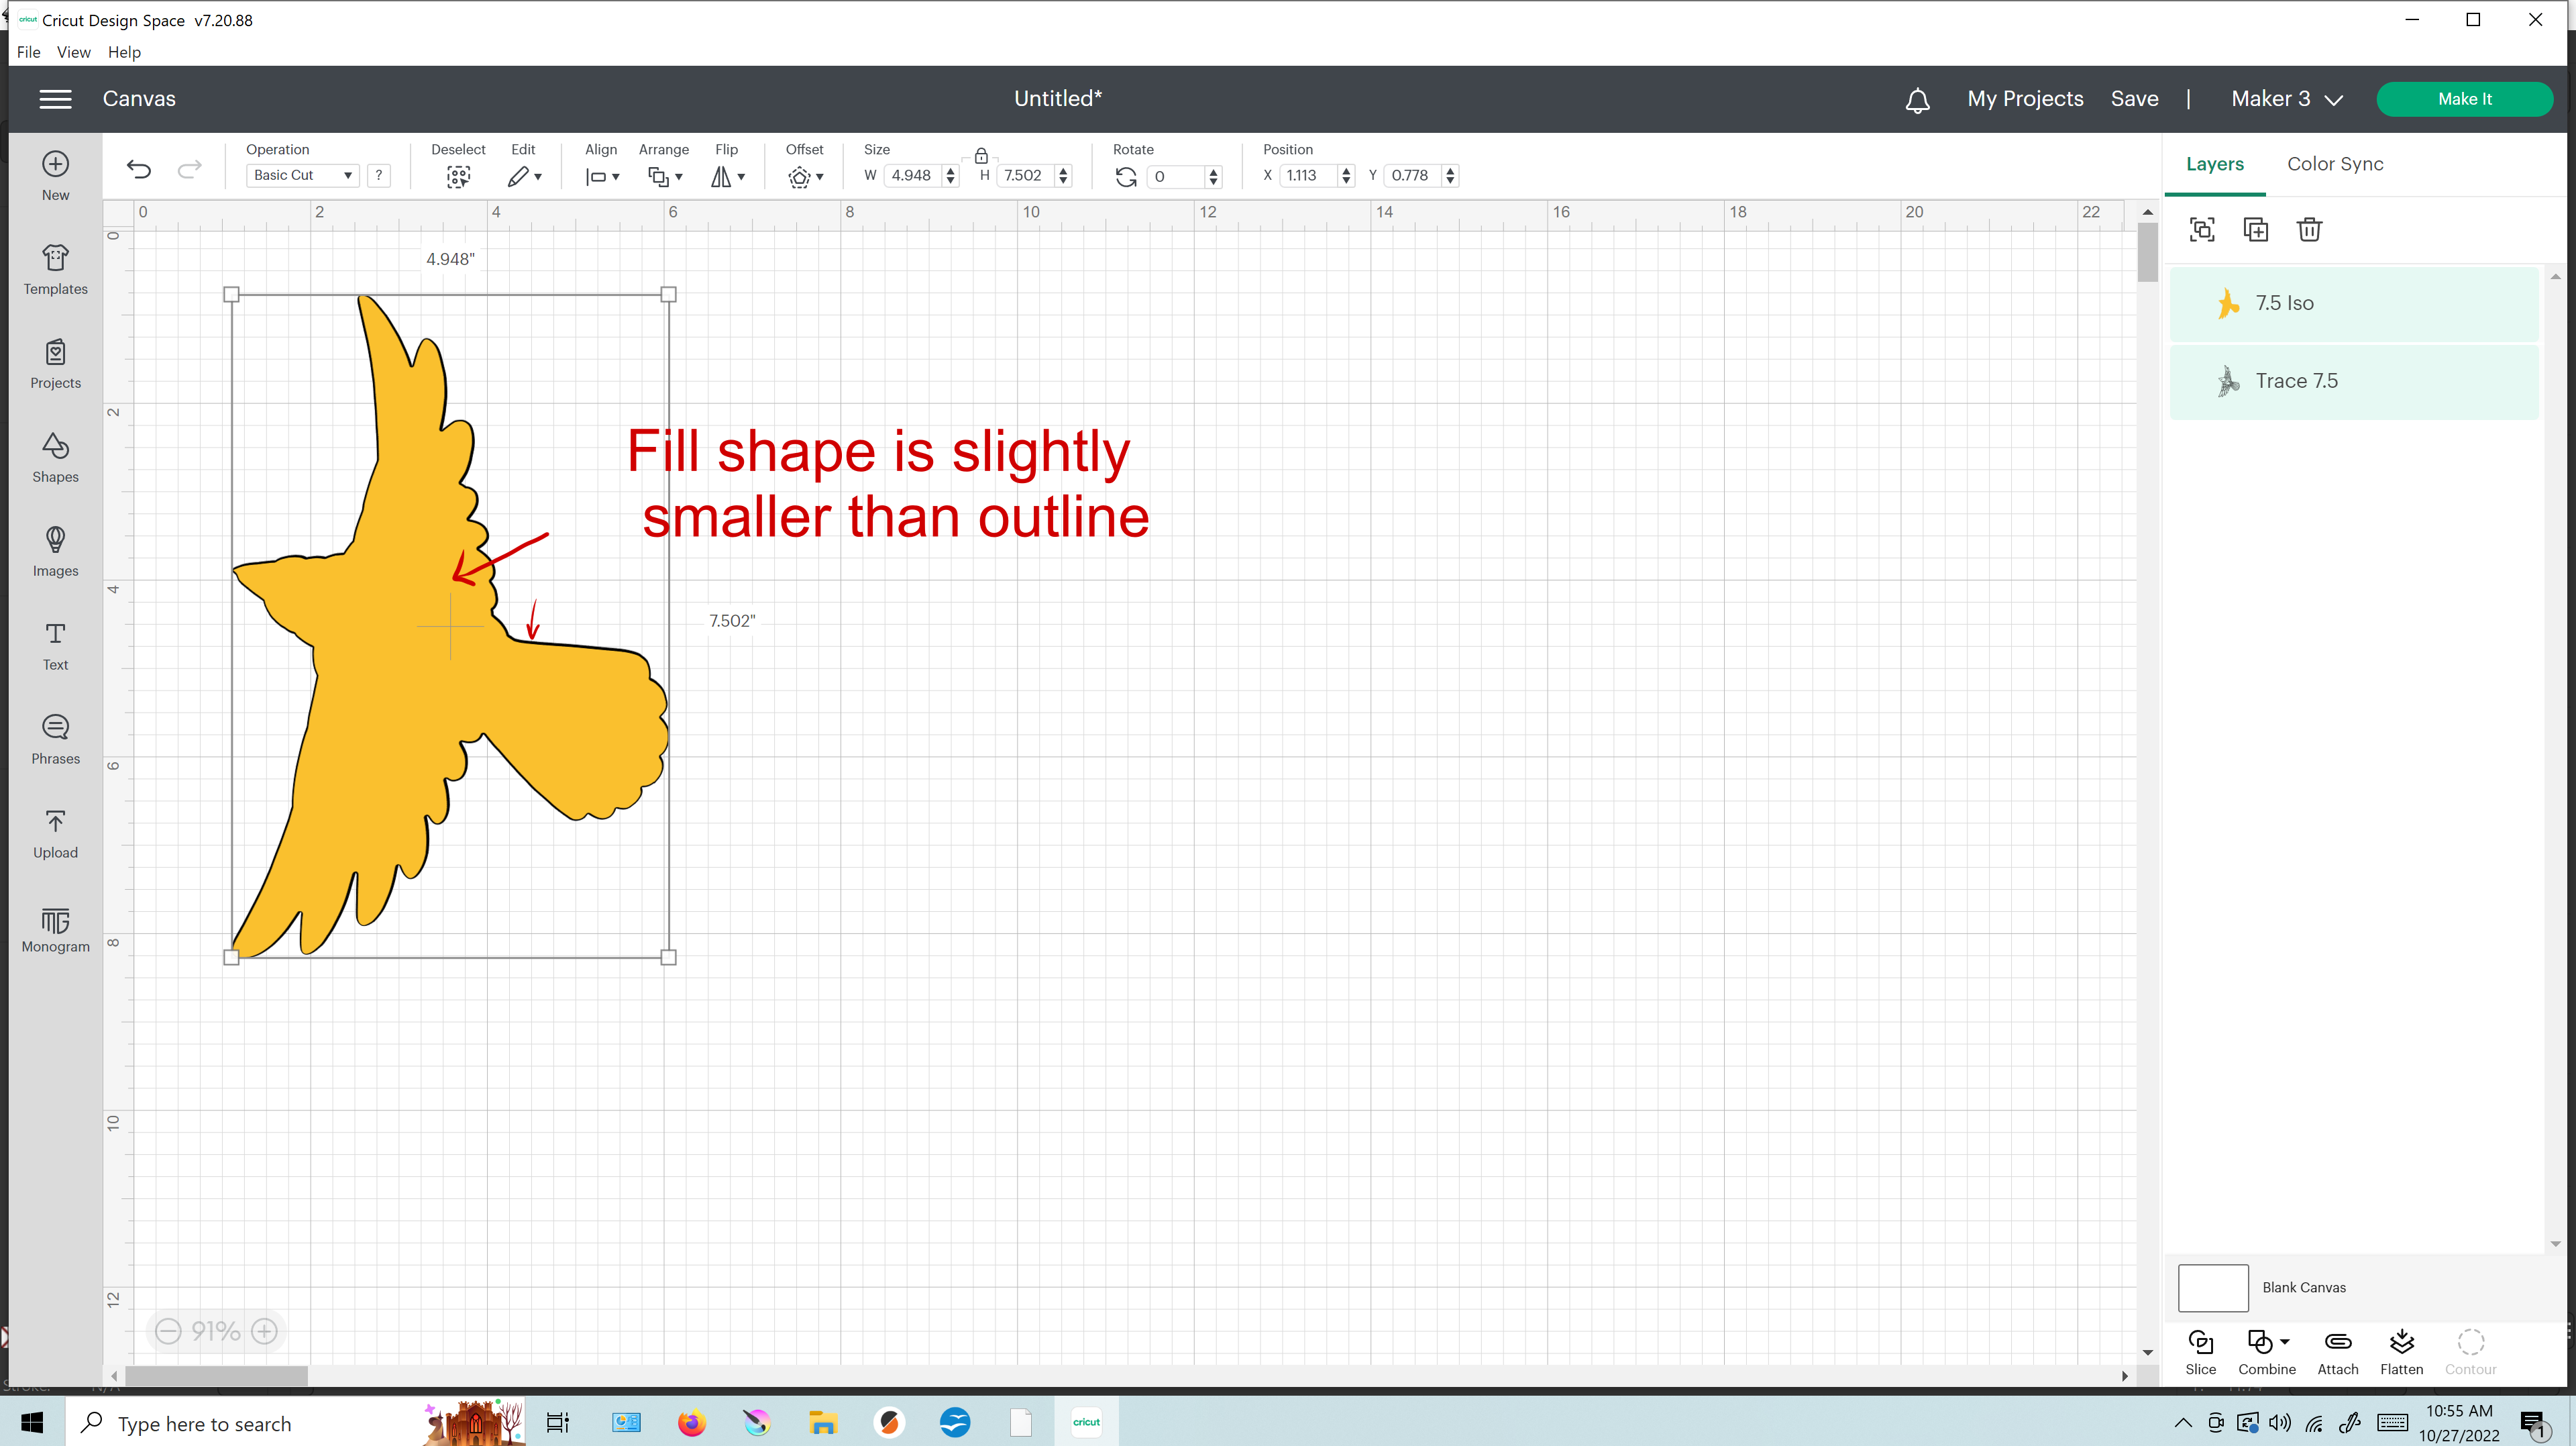
Upload the outline and fill images to the cricut design space. Set both to cut images and add to canvas. Click on the lock icon to scale proportionally and enter 7.5 inches for H (height) on both images. Leave the outline color as black but change the color of the fill image (7.5 ISO) and right click > send to back. Now the colored fill image should show through behind the outline image. Center them and observe that the fill is slightly smaller so that it fits within the outline all the way around.
Cutting the Outline Image in Cardstock
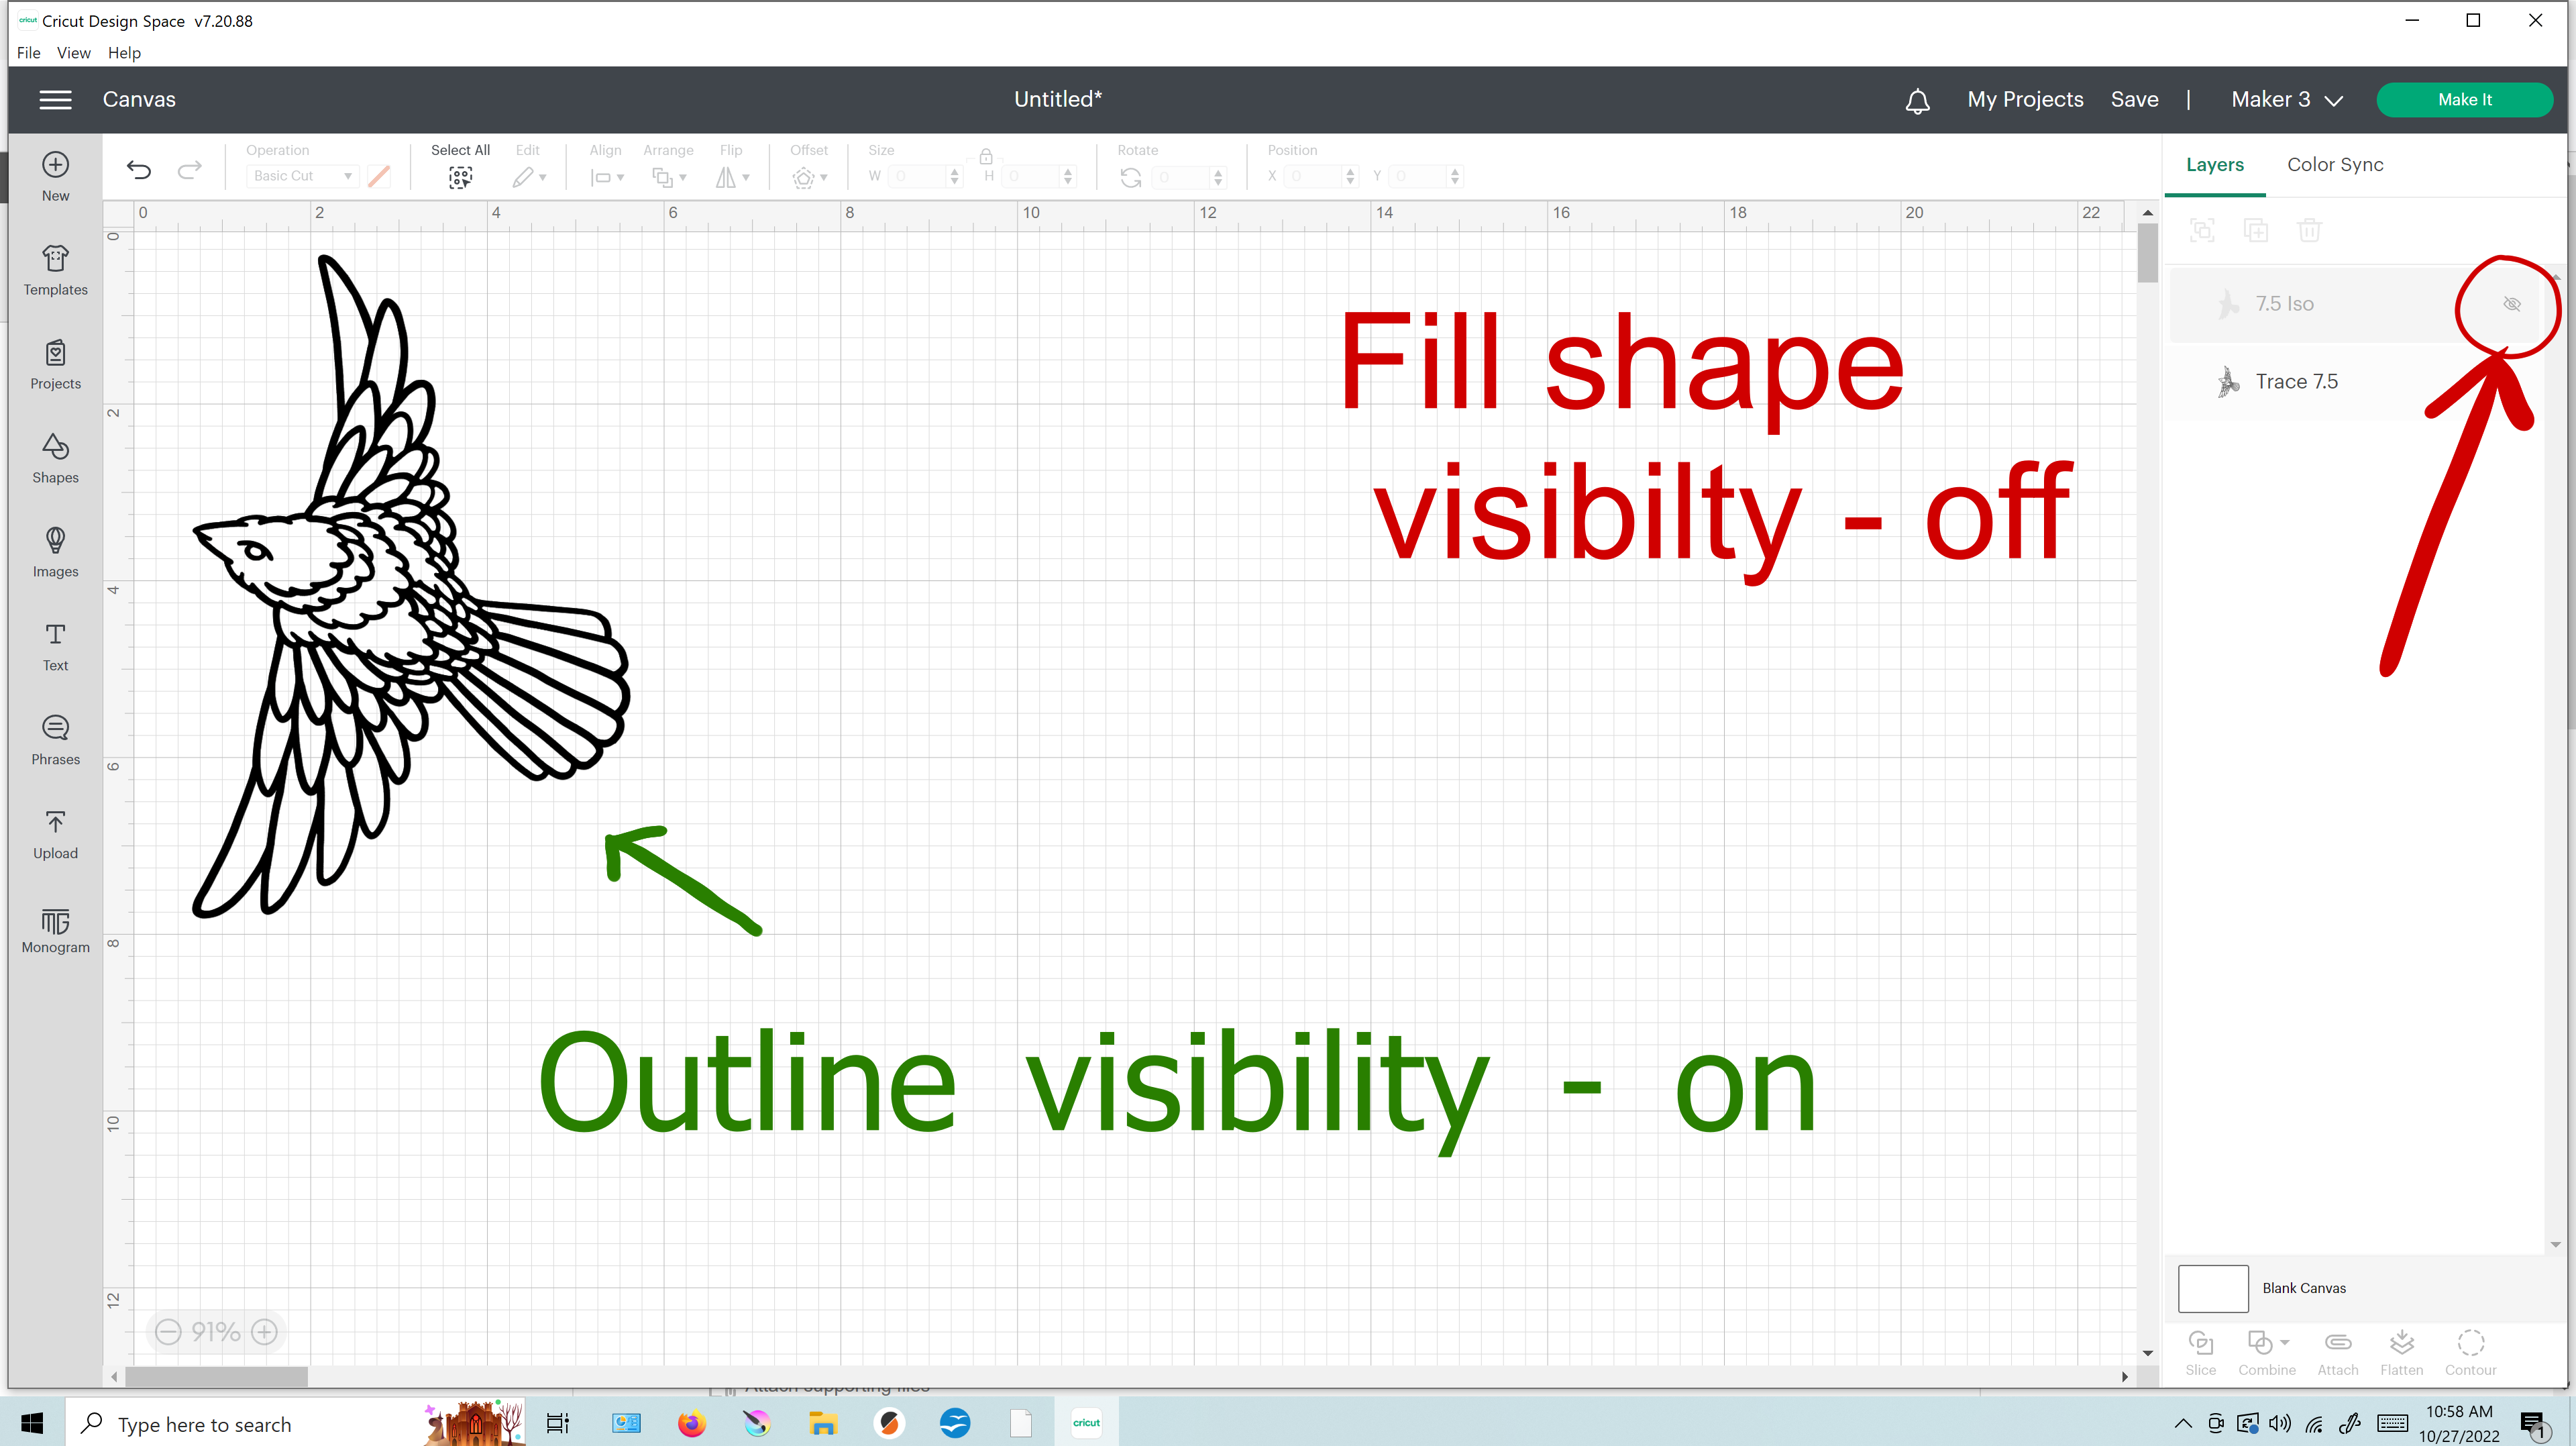
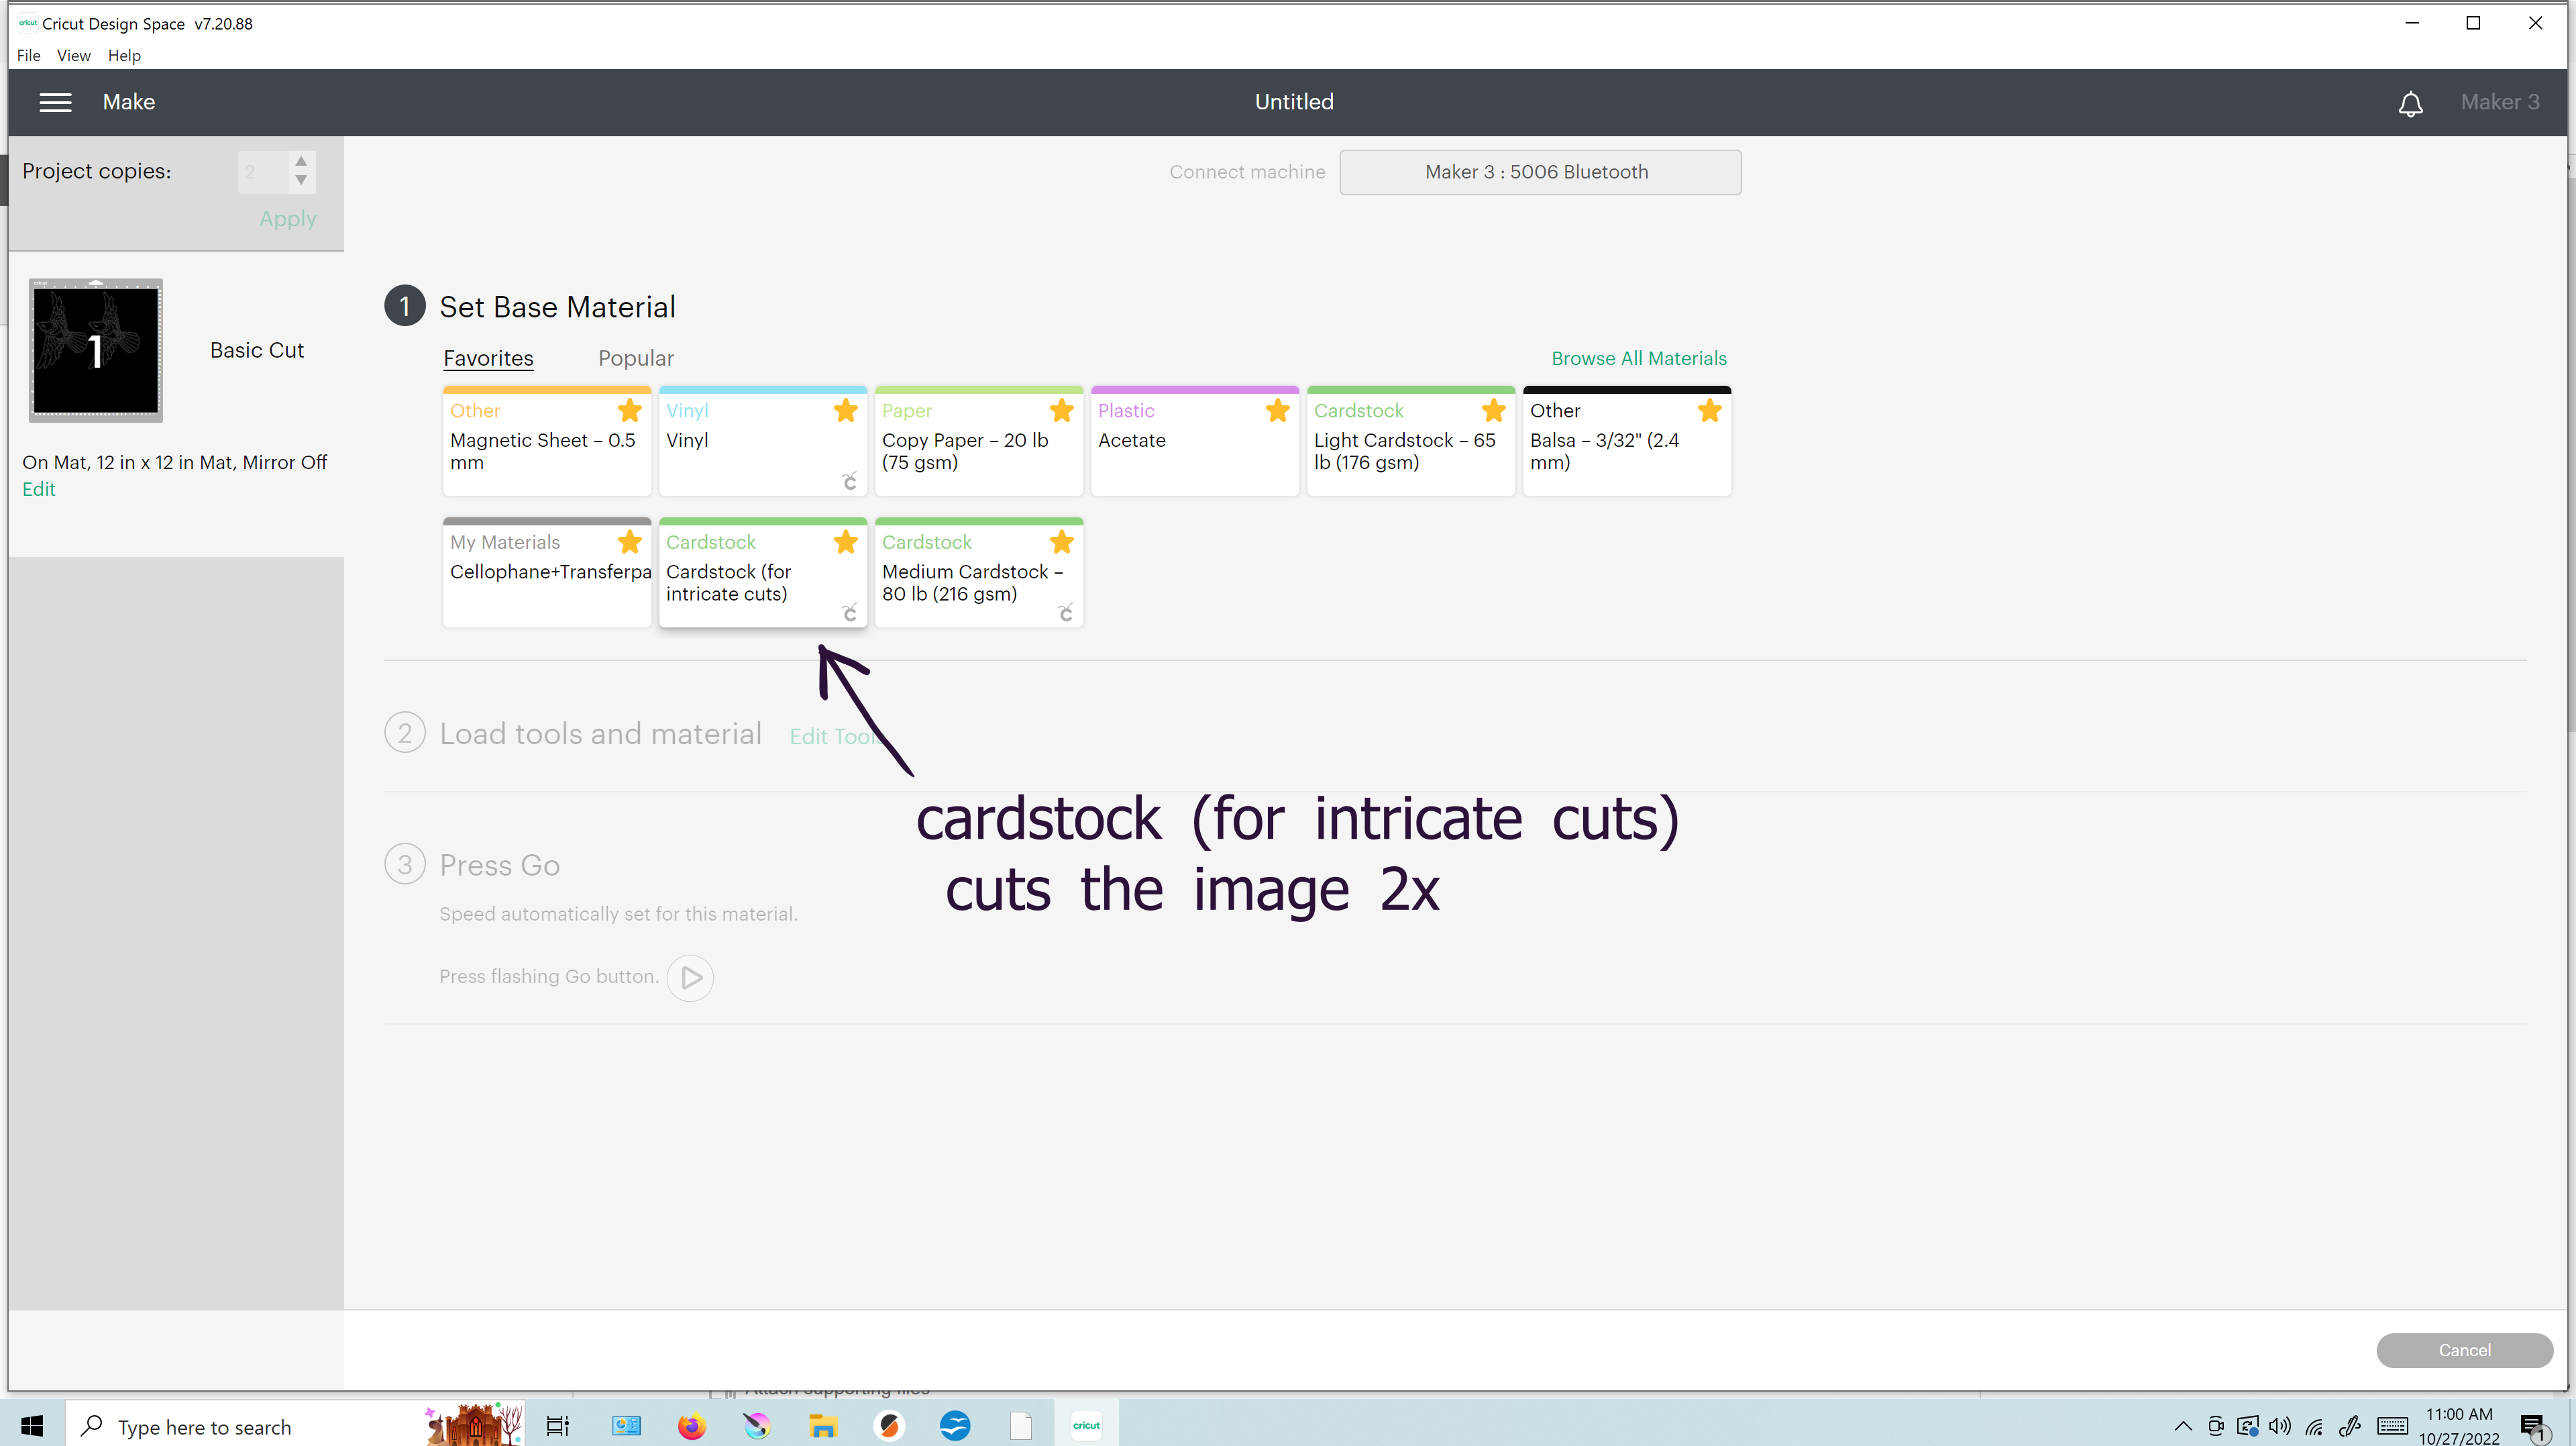
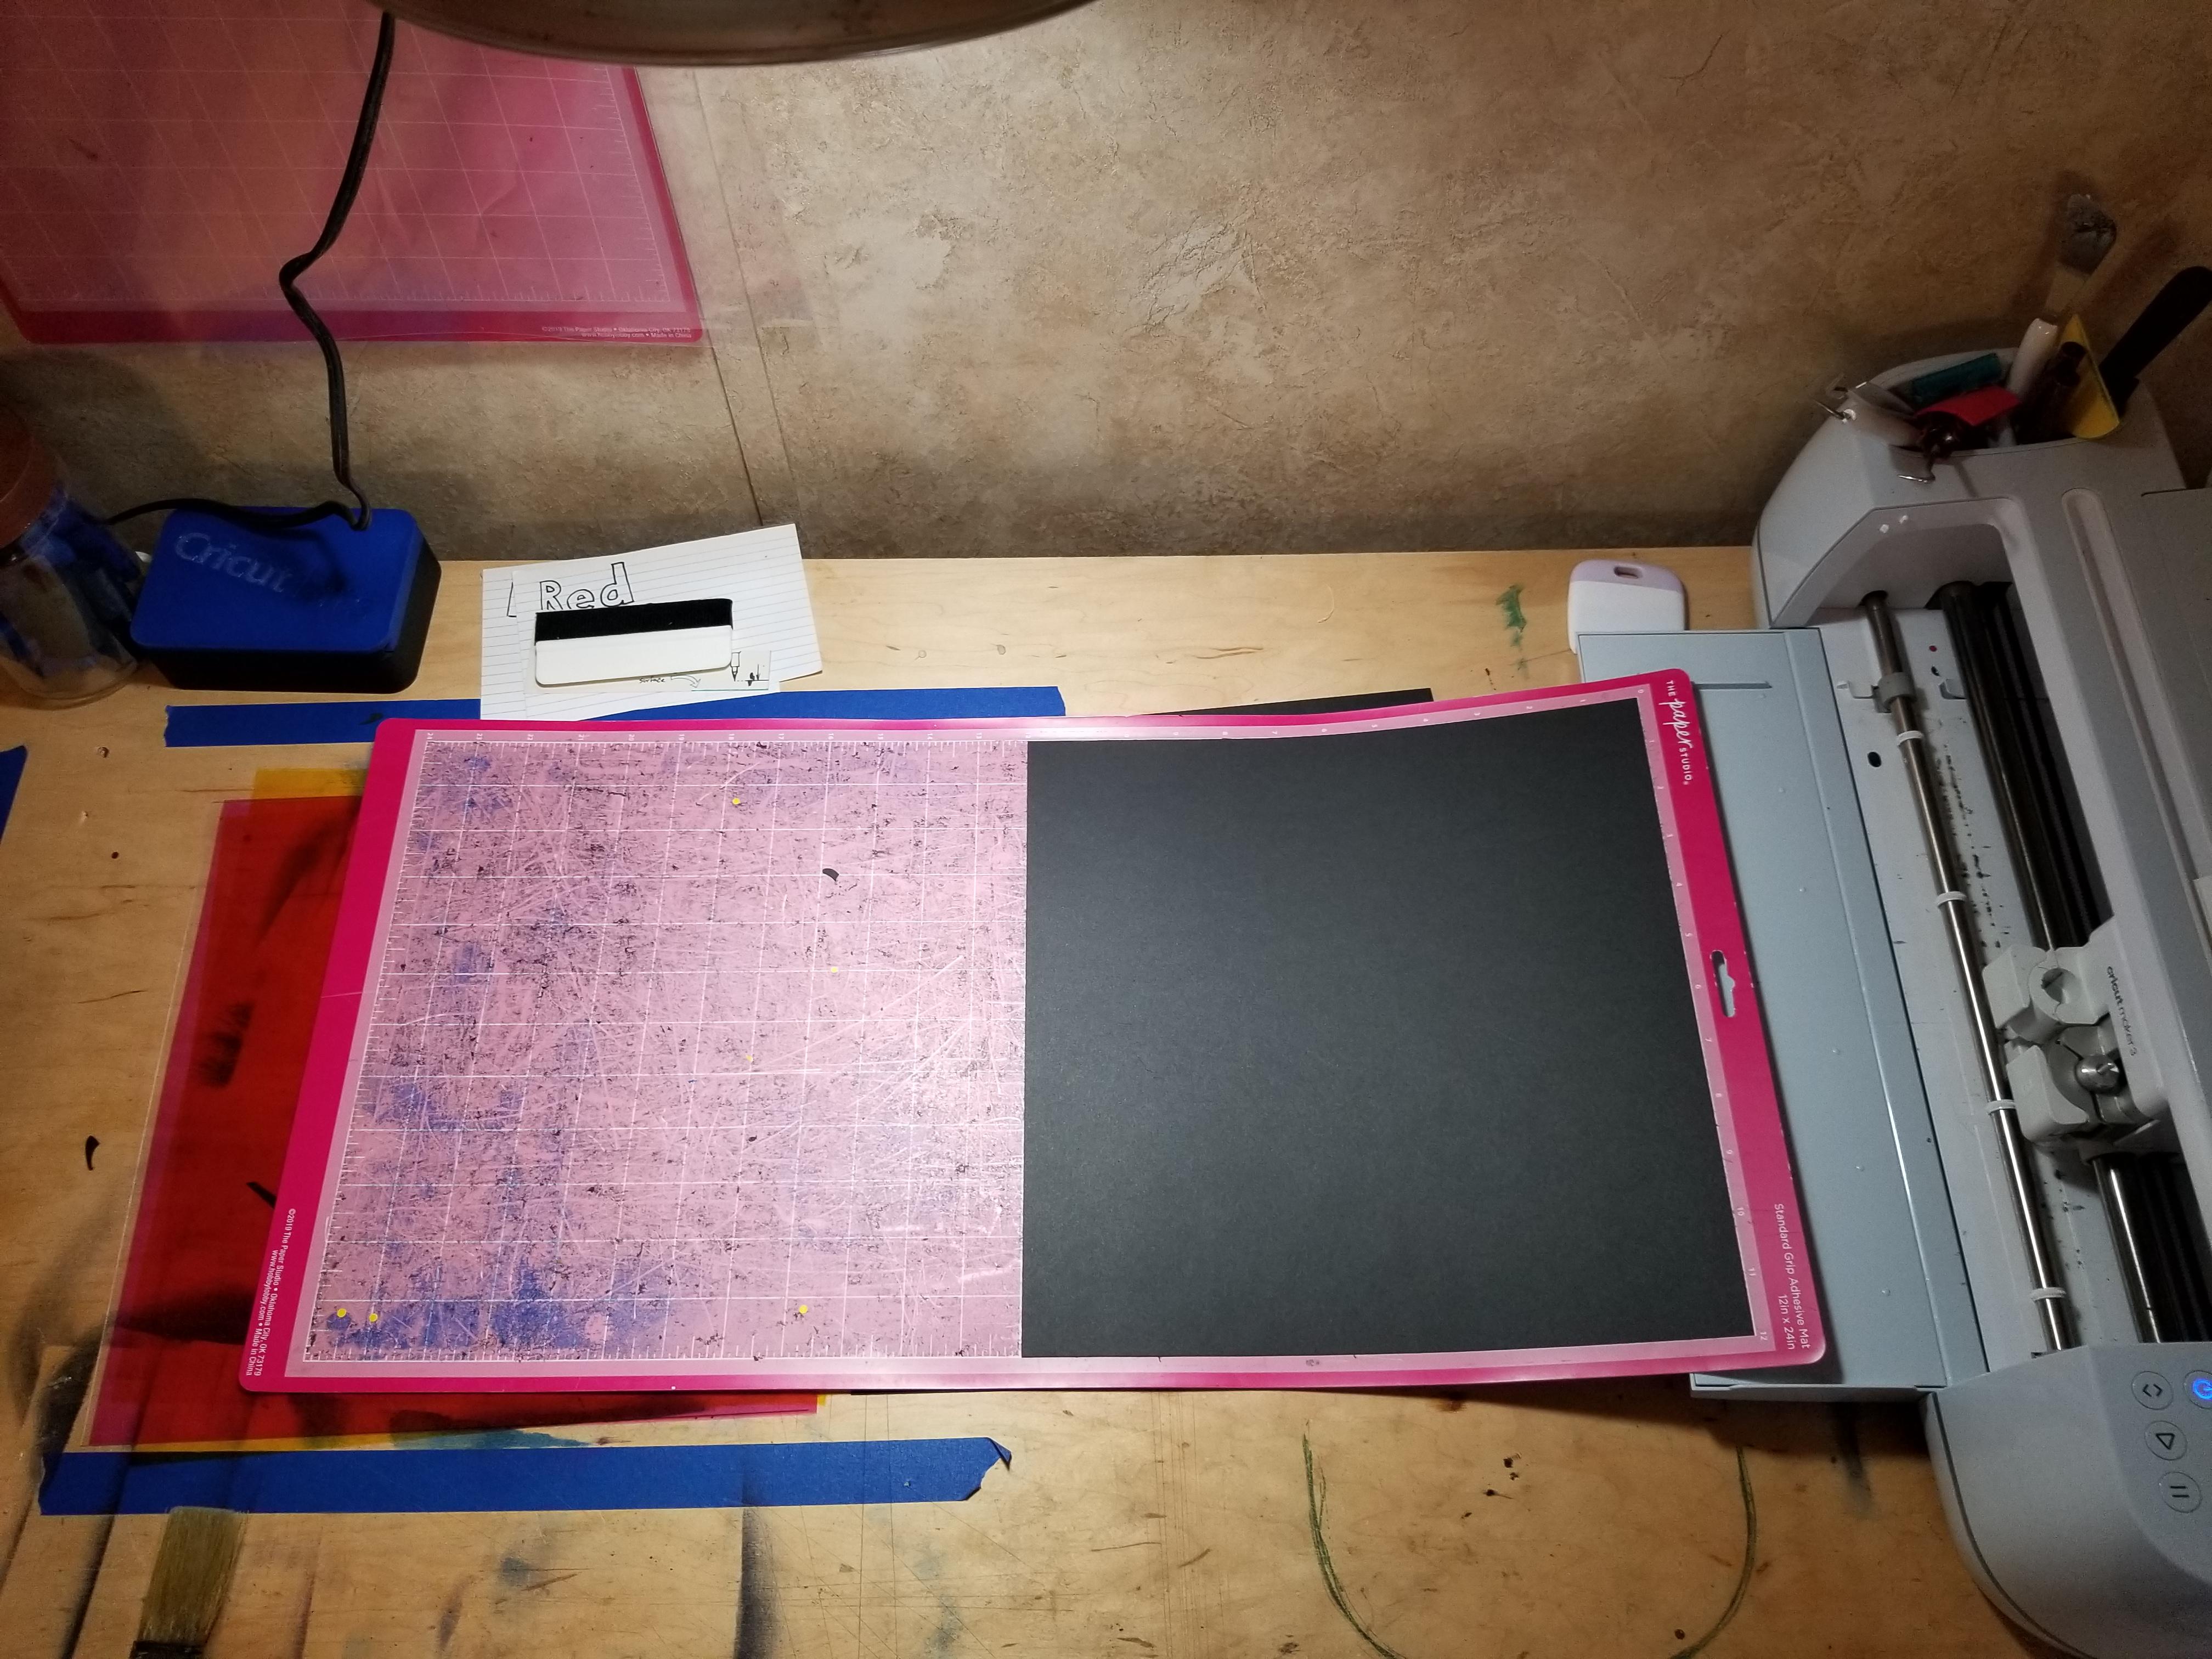
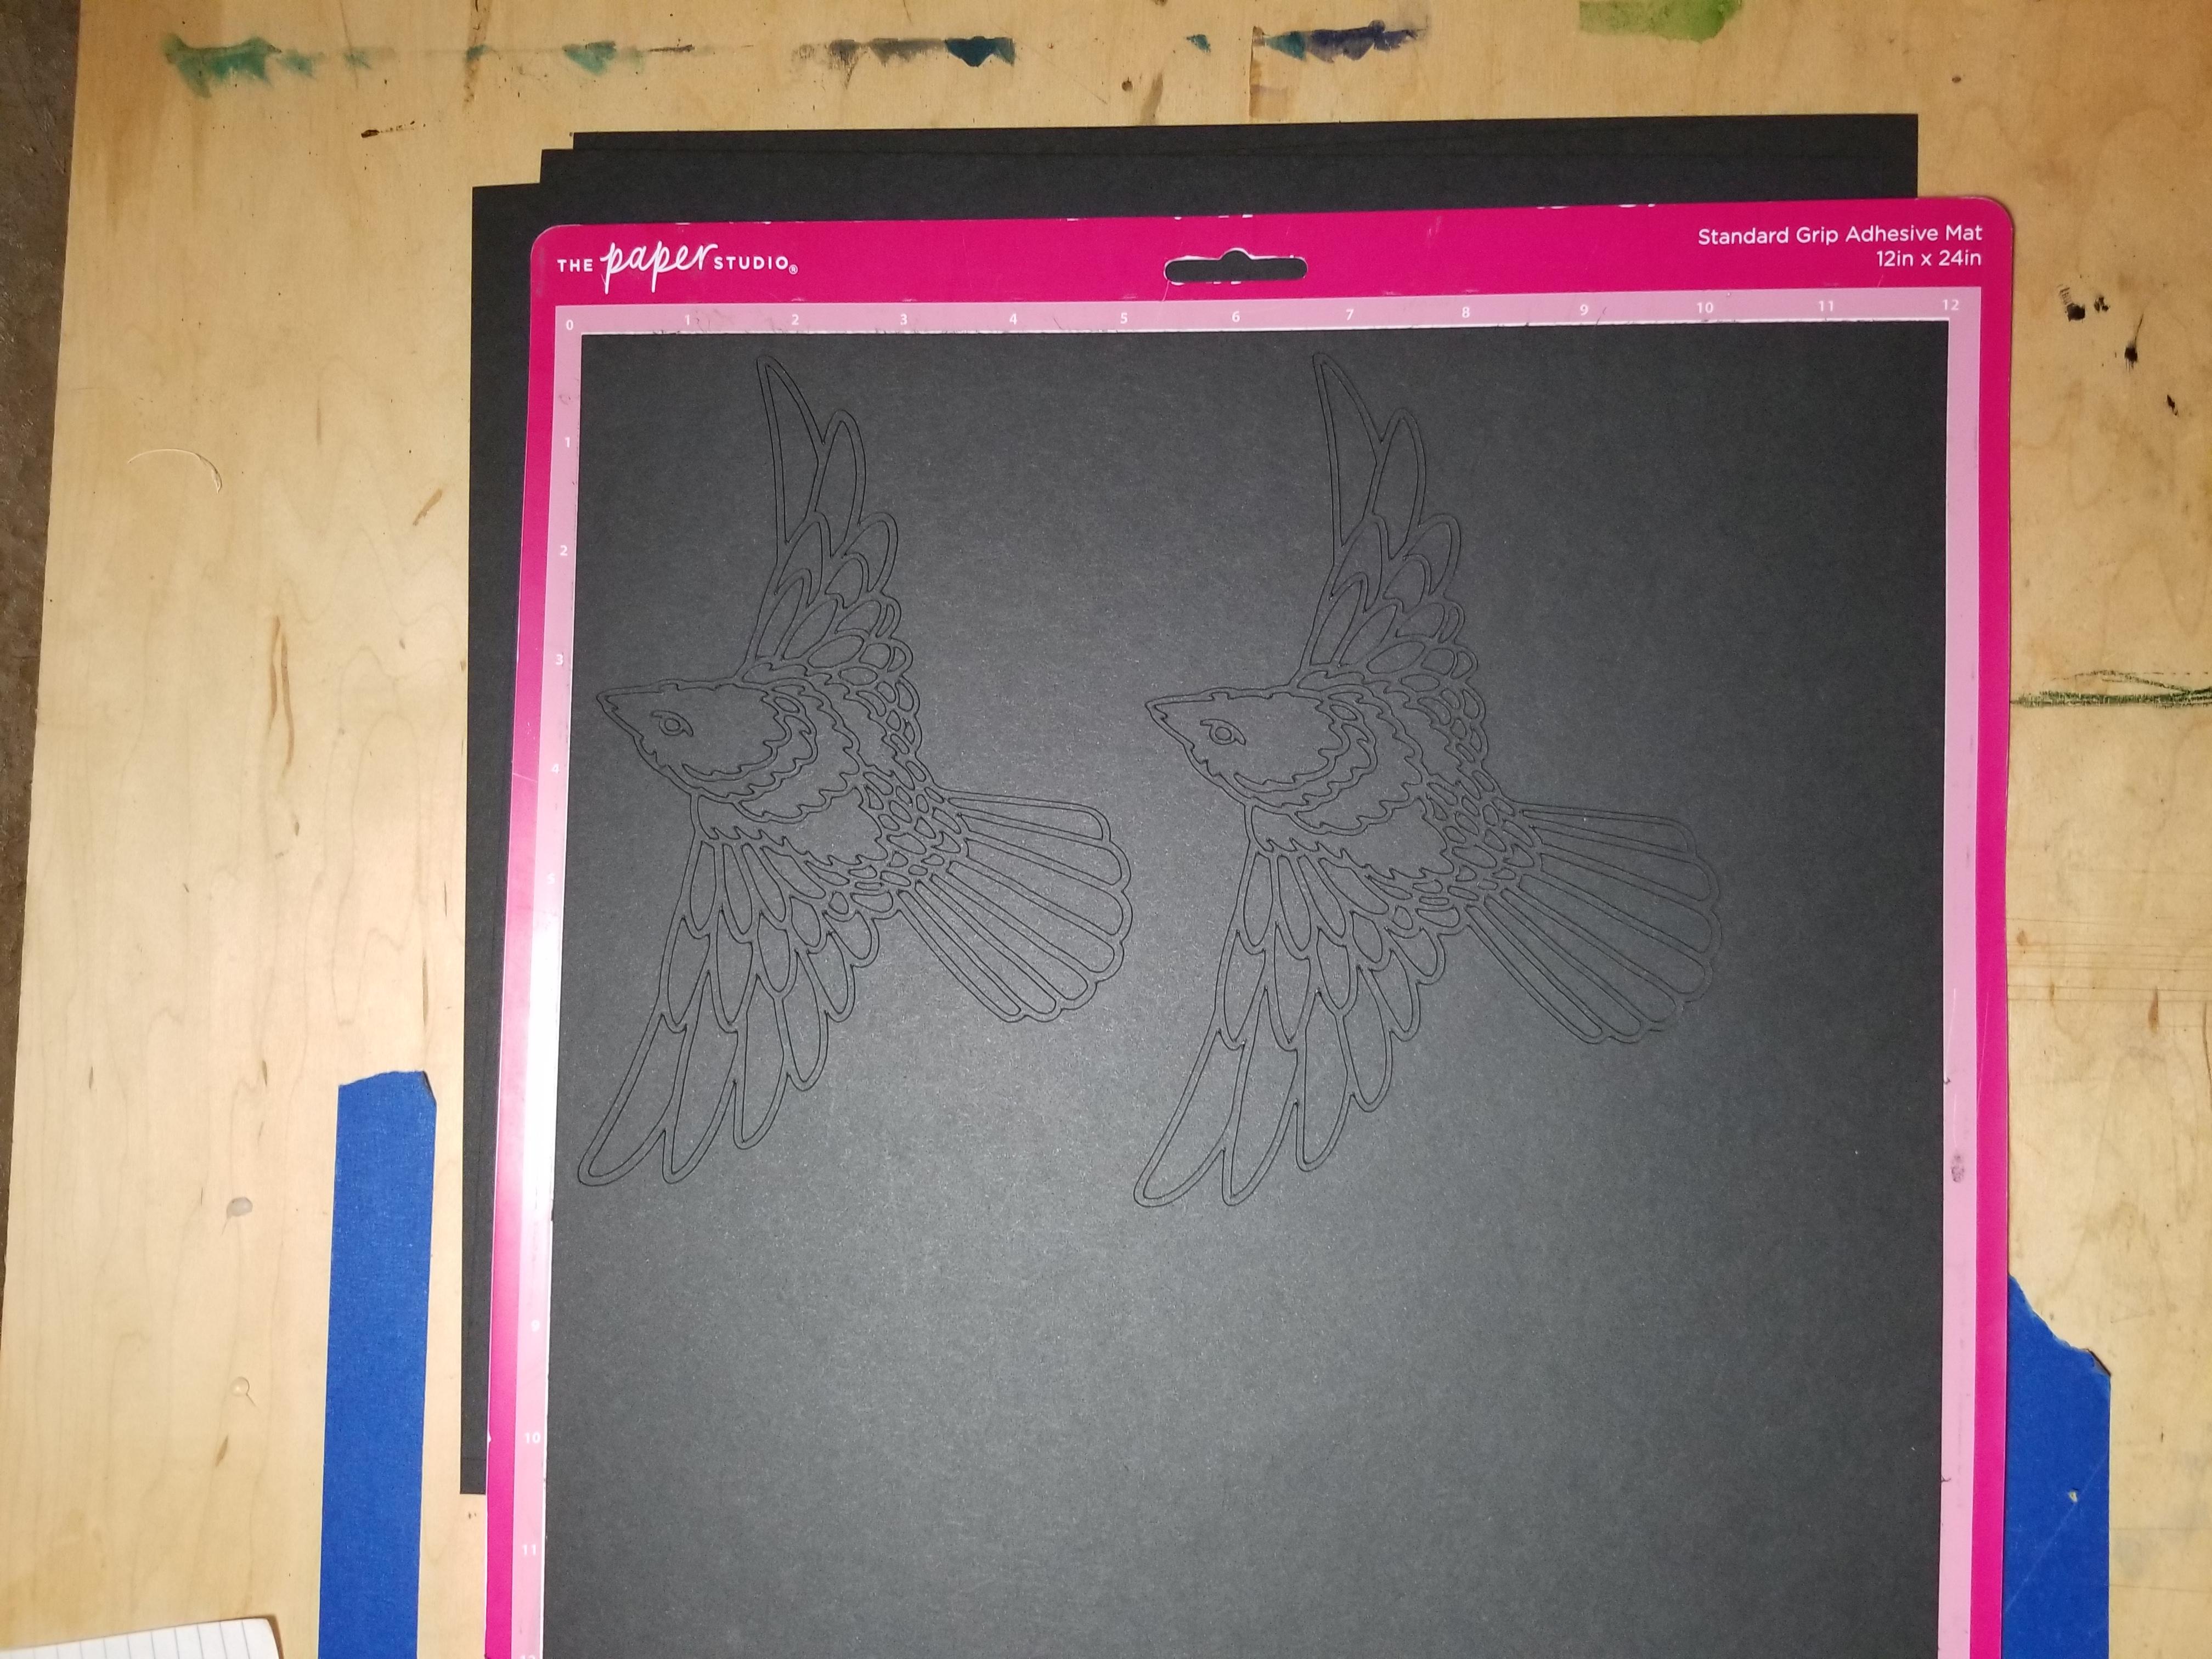
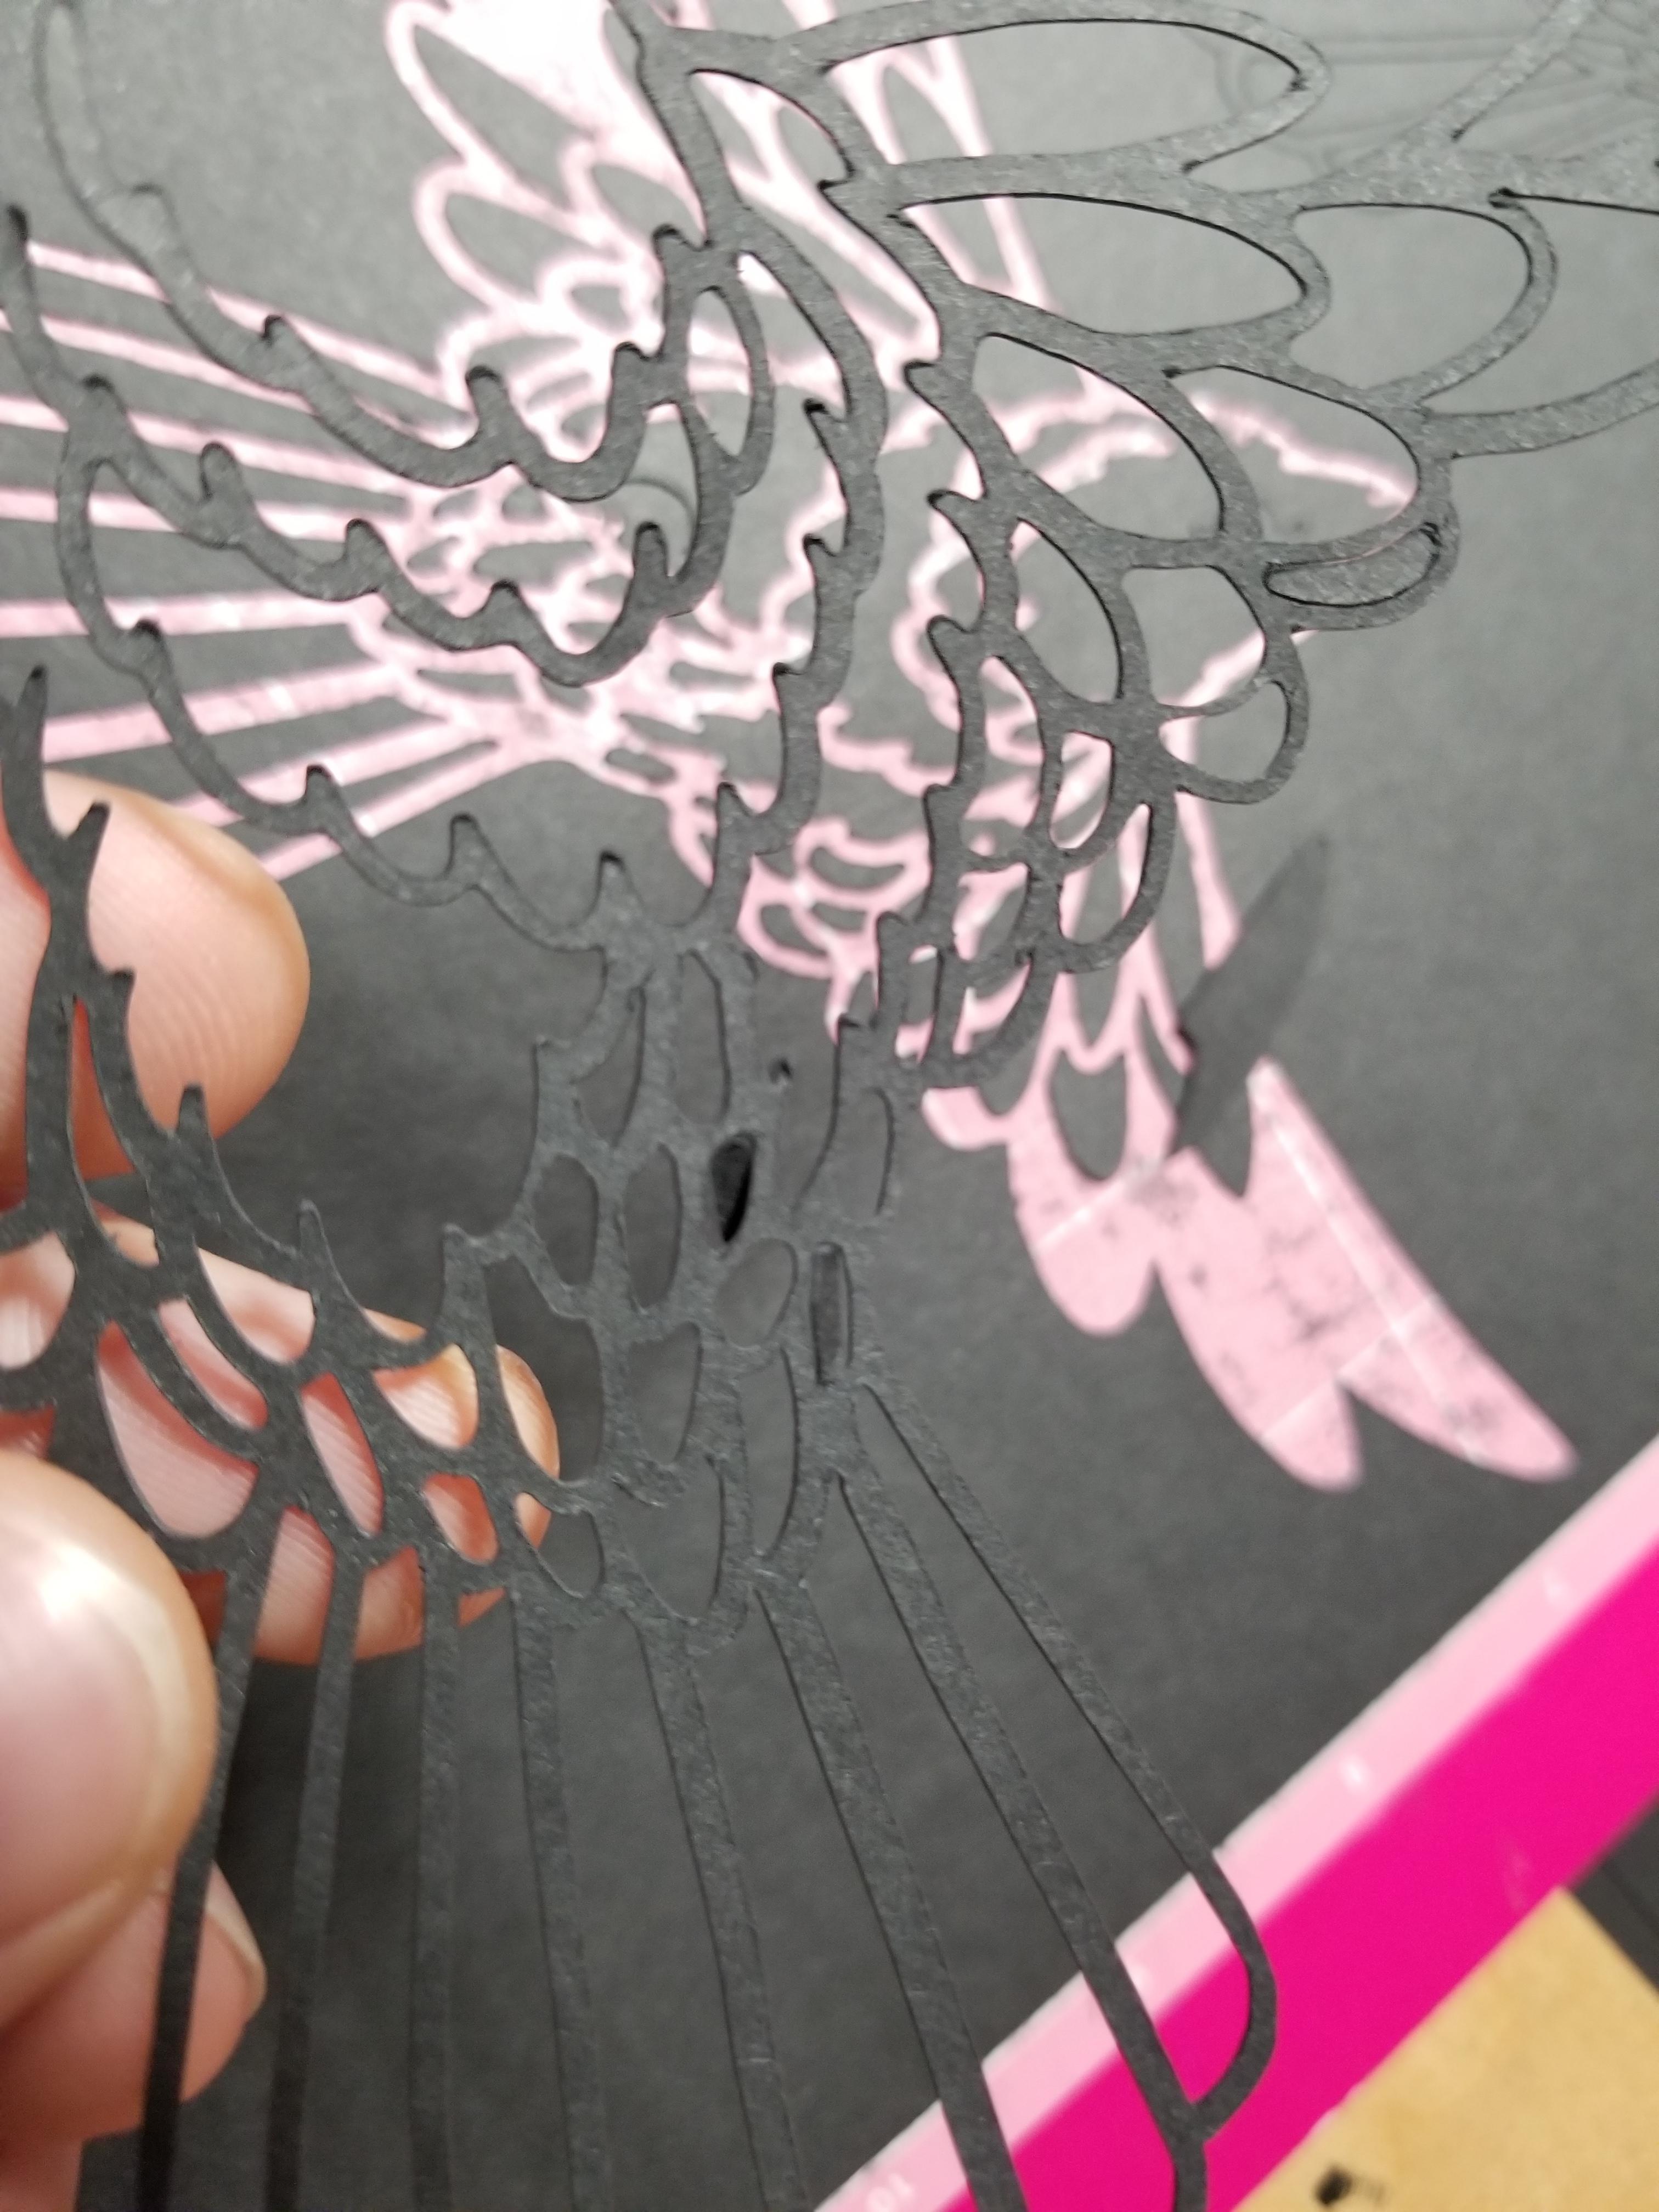
Turn off the visibility of the fill shape (7.5 ISO) so that only the outline is visible. Click "make it" and select "cardstock (for intricate cuts)" from the menu. You may have to click "browse all materials" and use the search function to find "cardstock (for intricate cuts)". The only difference to choosing cardstock is that intricate cuts will run the blade twice, which helps it to weed more reliably.
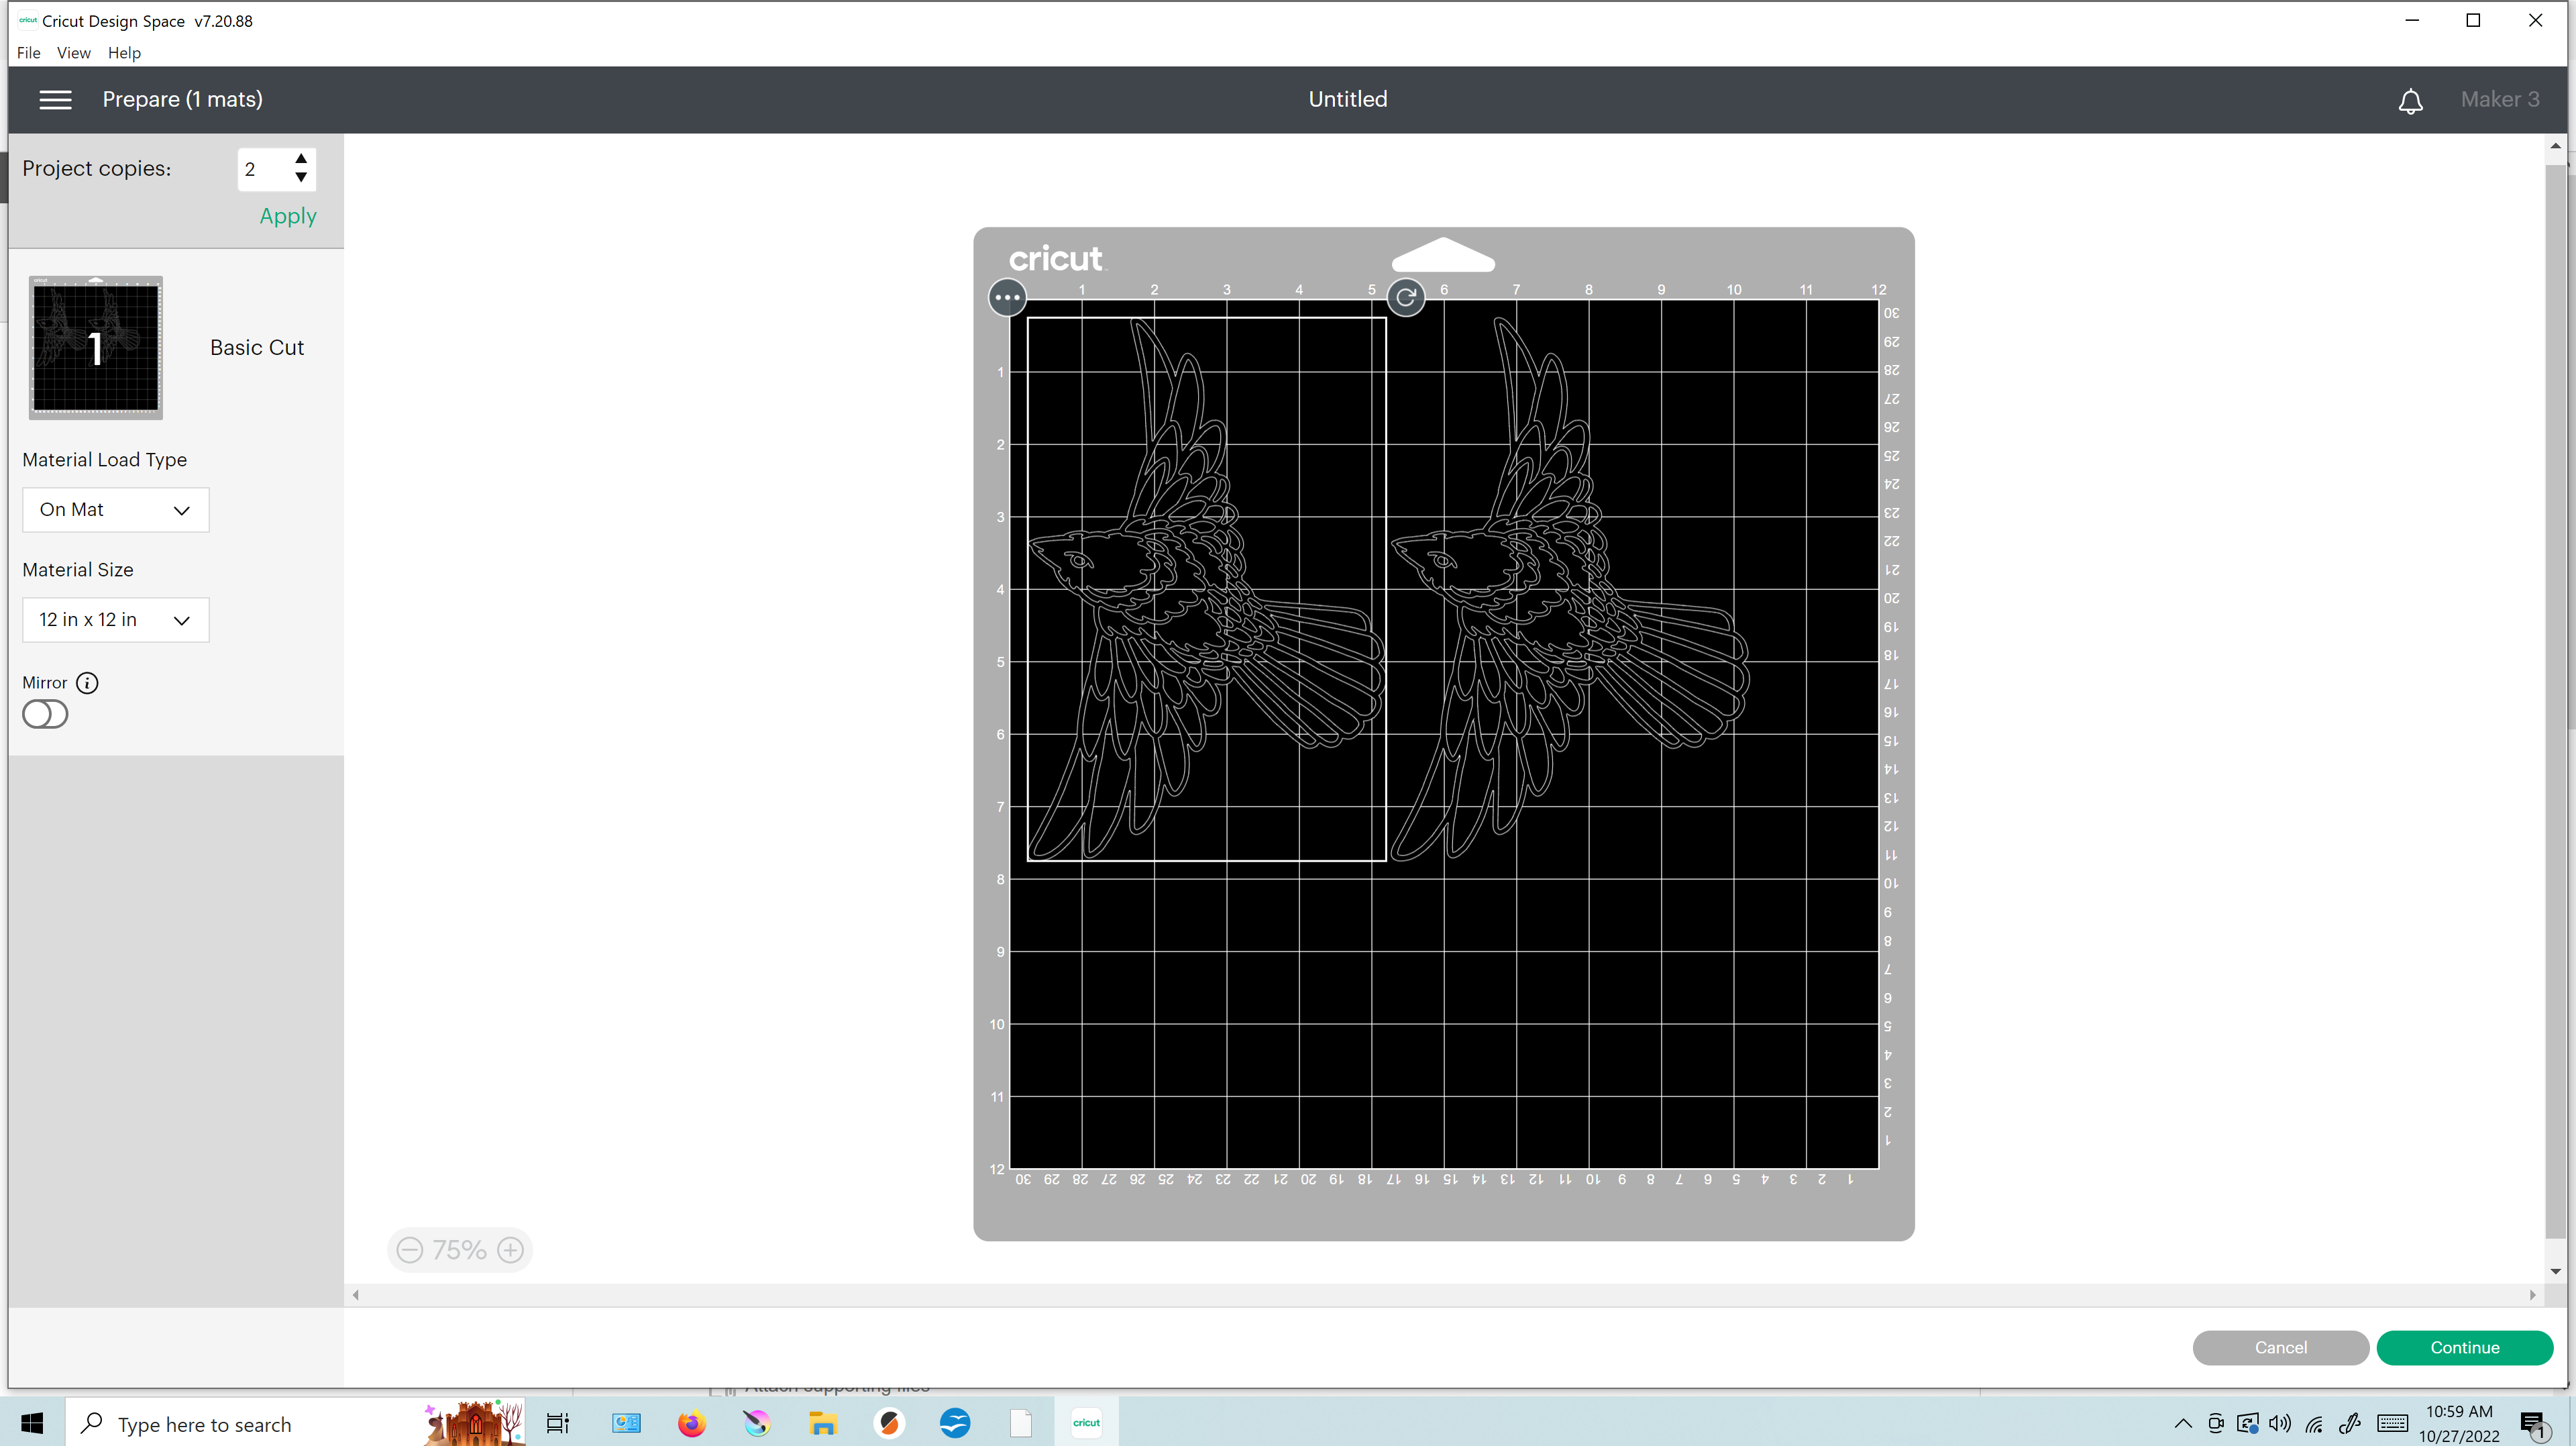
Set the number of copies to (2) . Now there should be two copies of the bird image shown side by side on the preview. Position the 12" x 12" cardstock on the mat appropriate for the preview and proceed to cut.
Once the cut is complete, weed out the line image. If you start from the tail feathers it should come up in one piece pretty easily. Don't forget the eyes!
Cutting the Fill Image in Cellophane
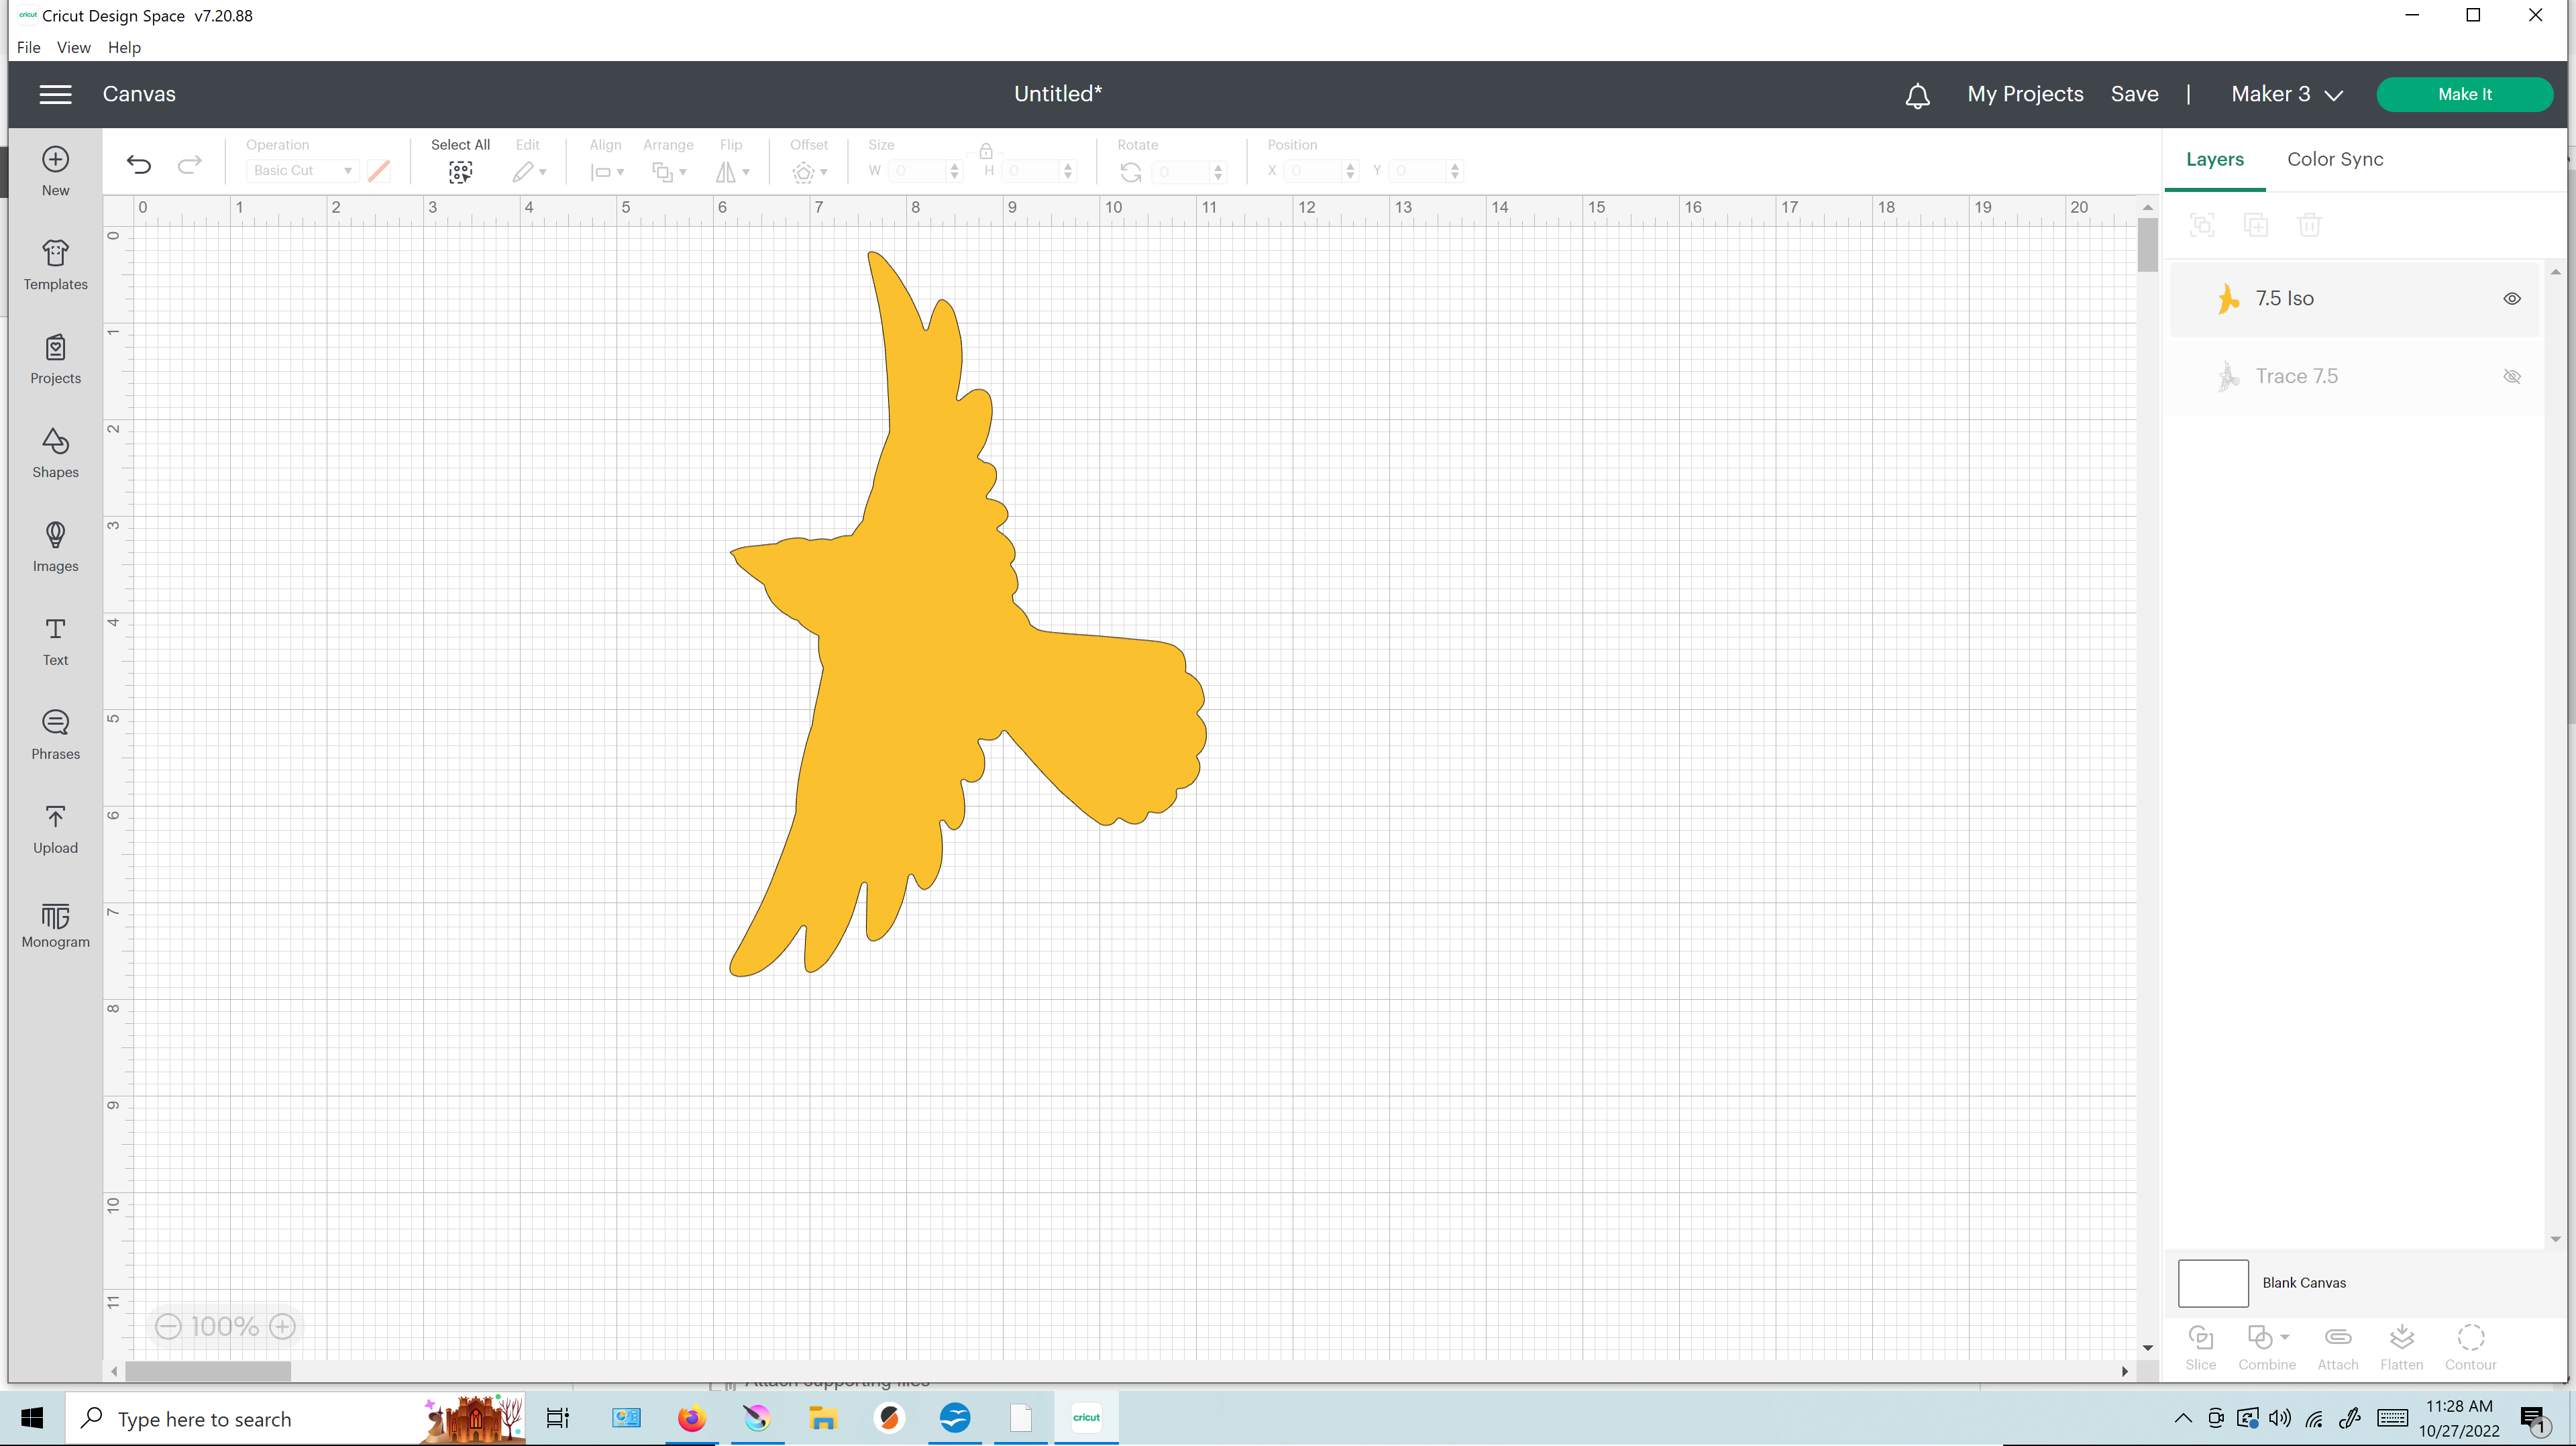
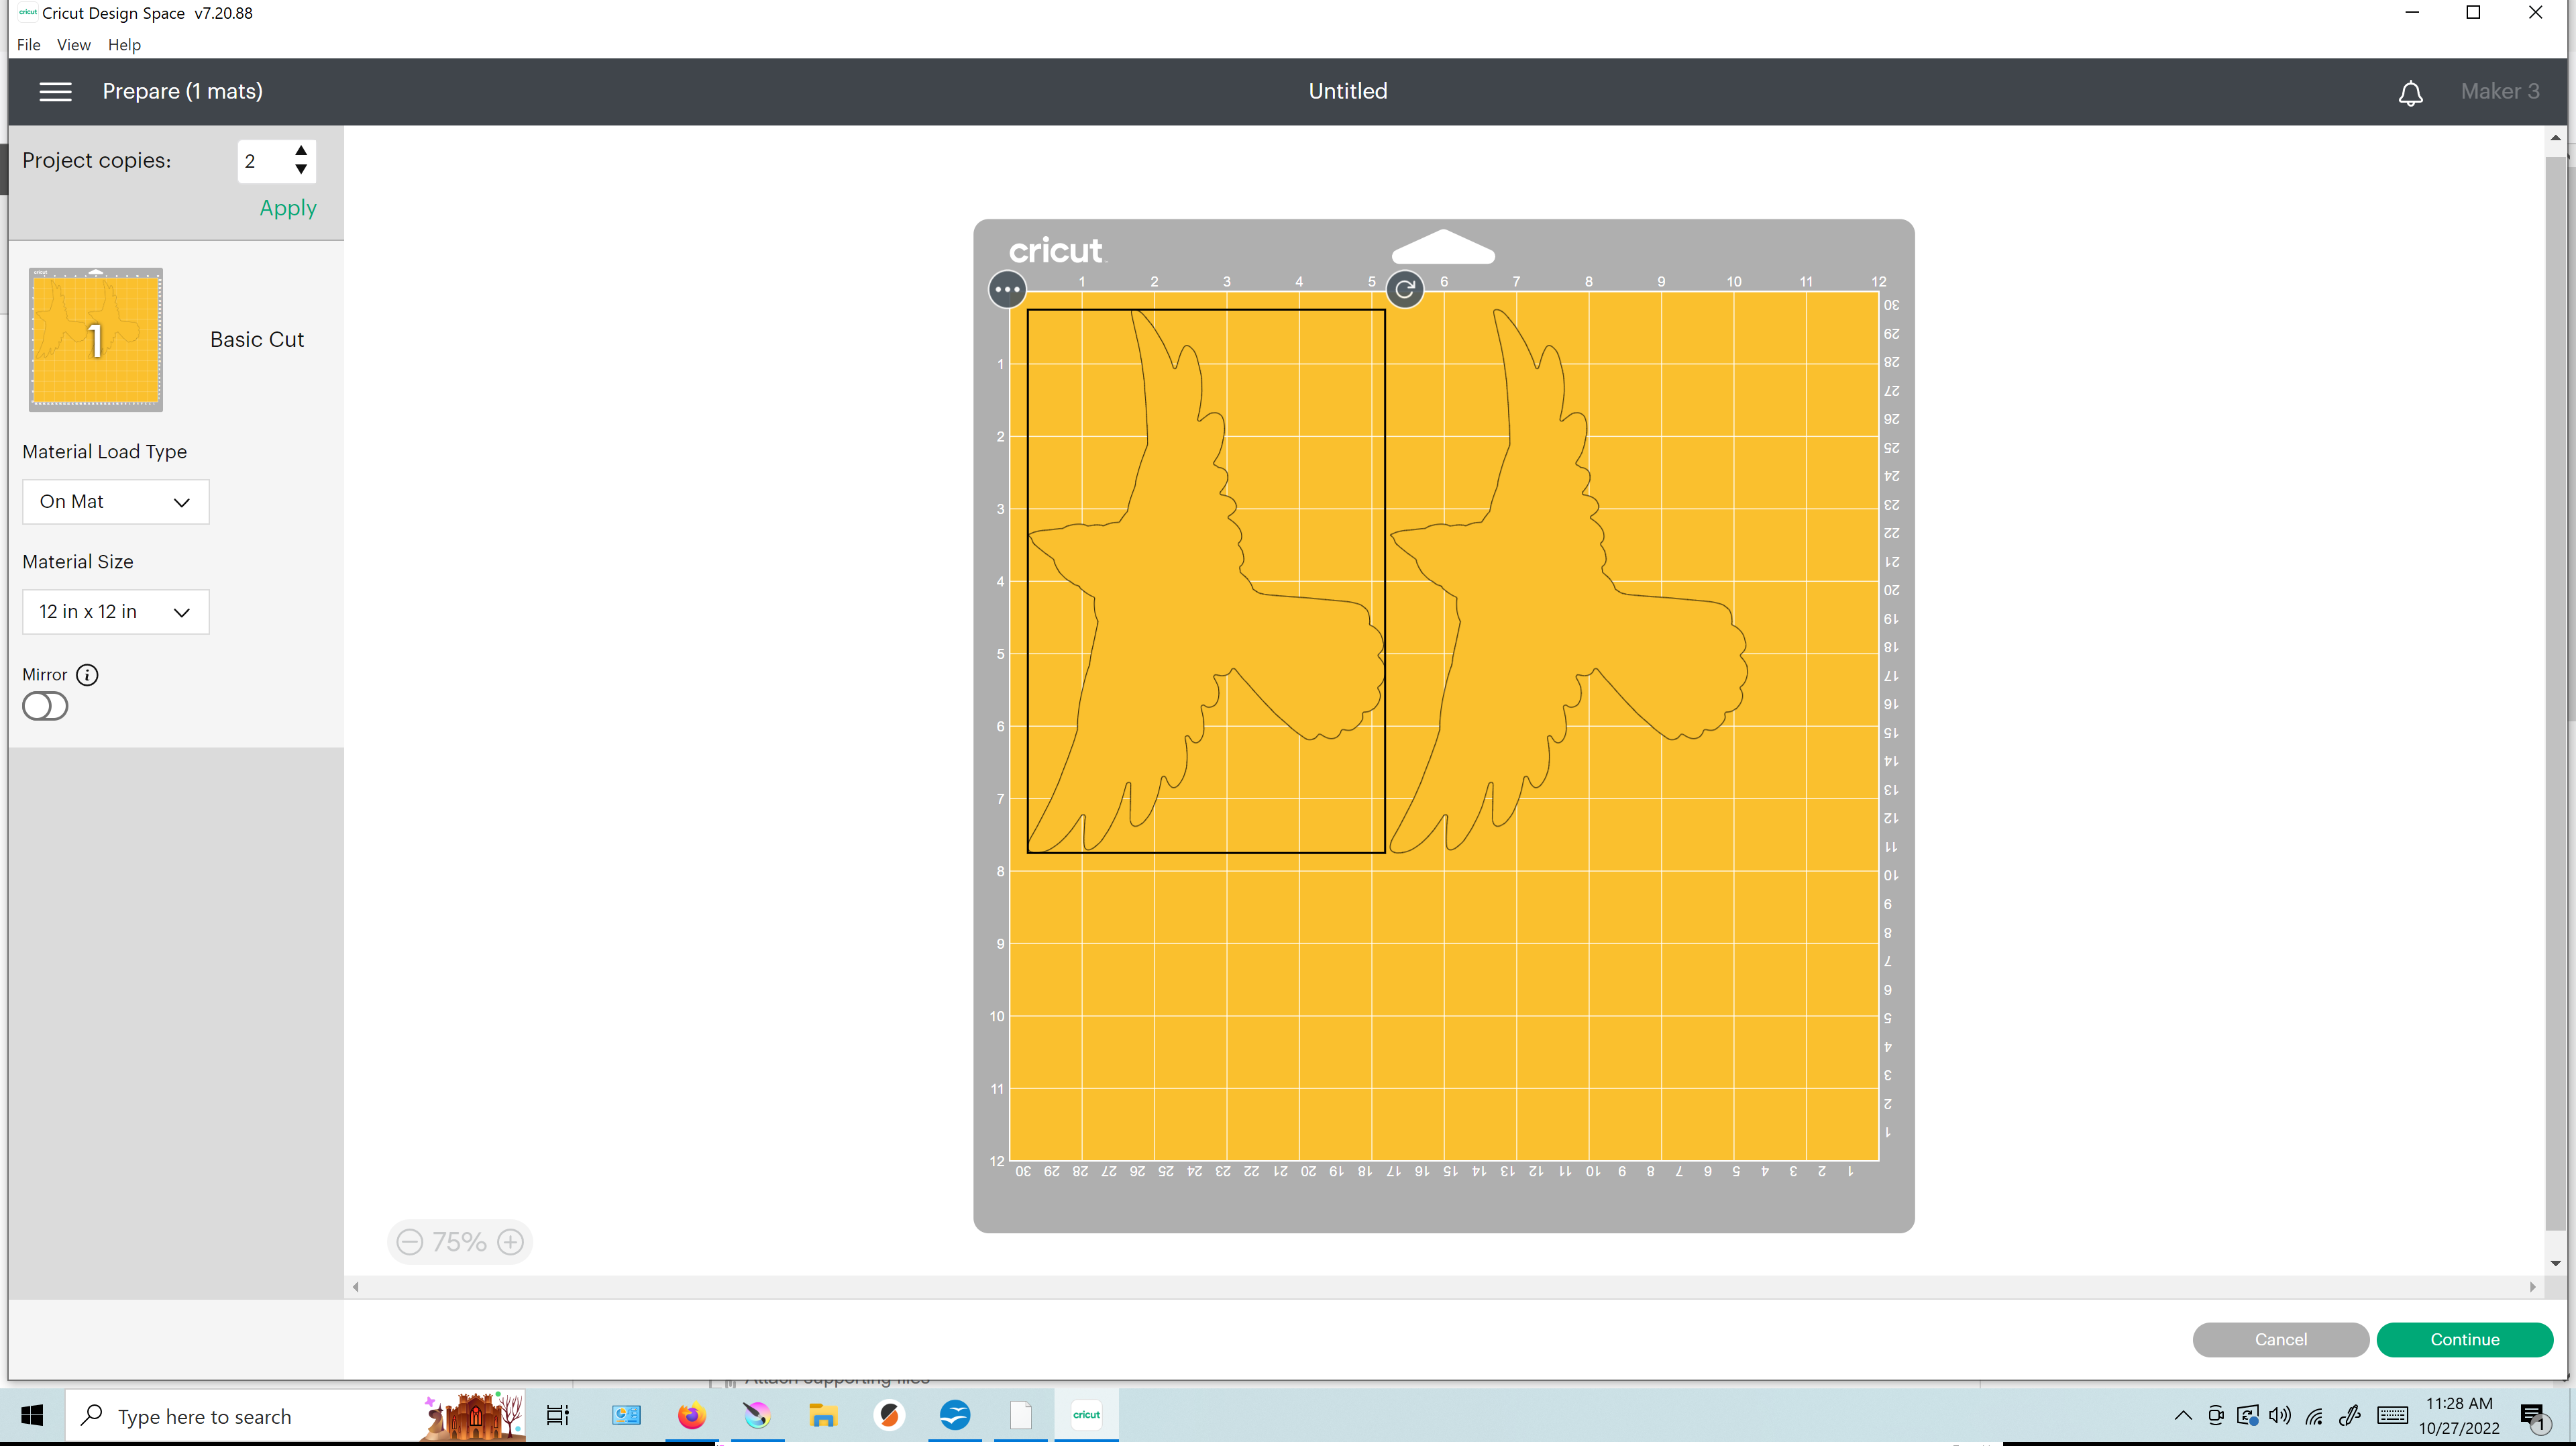
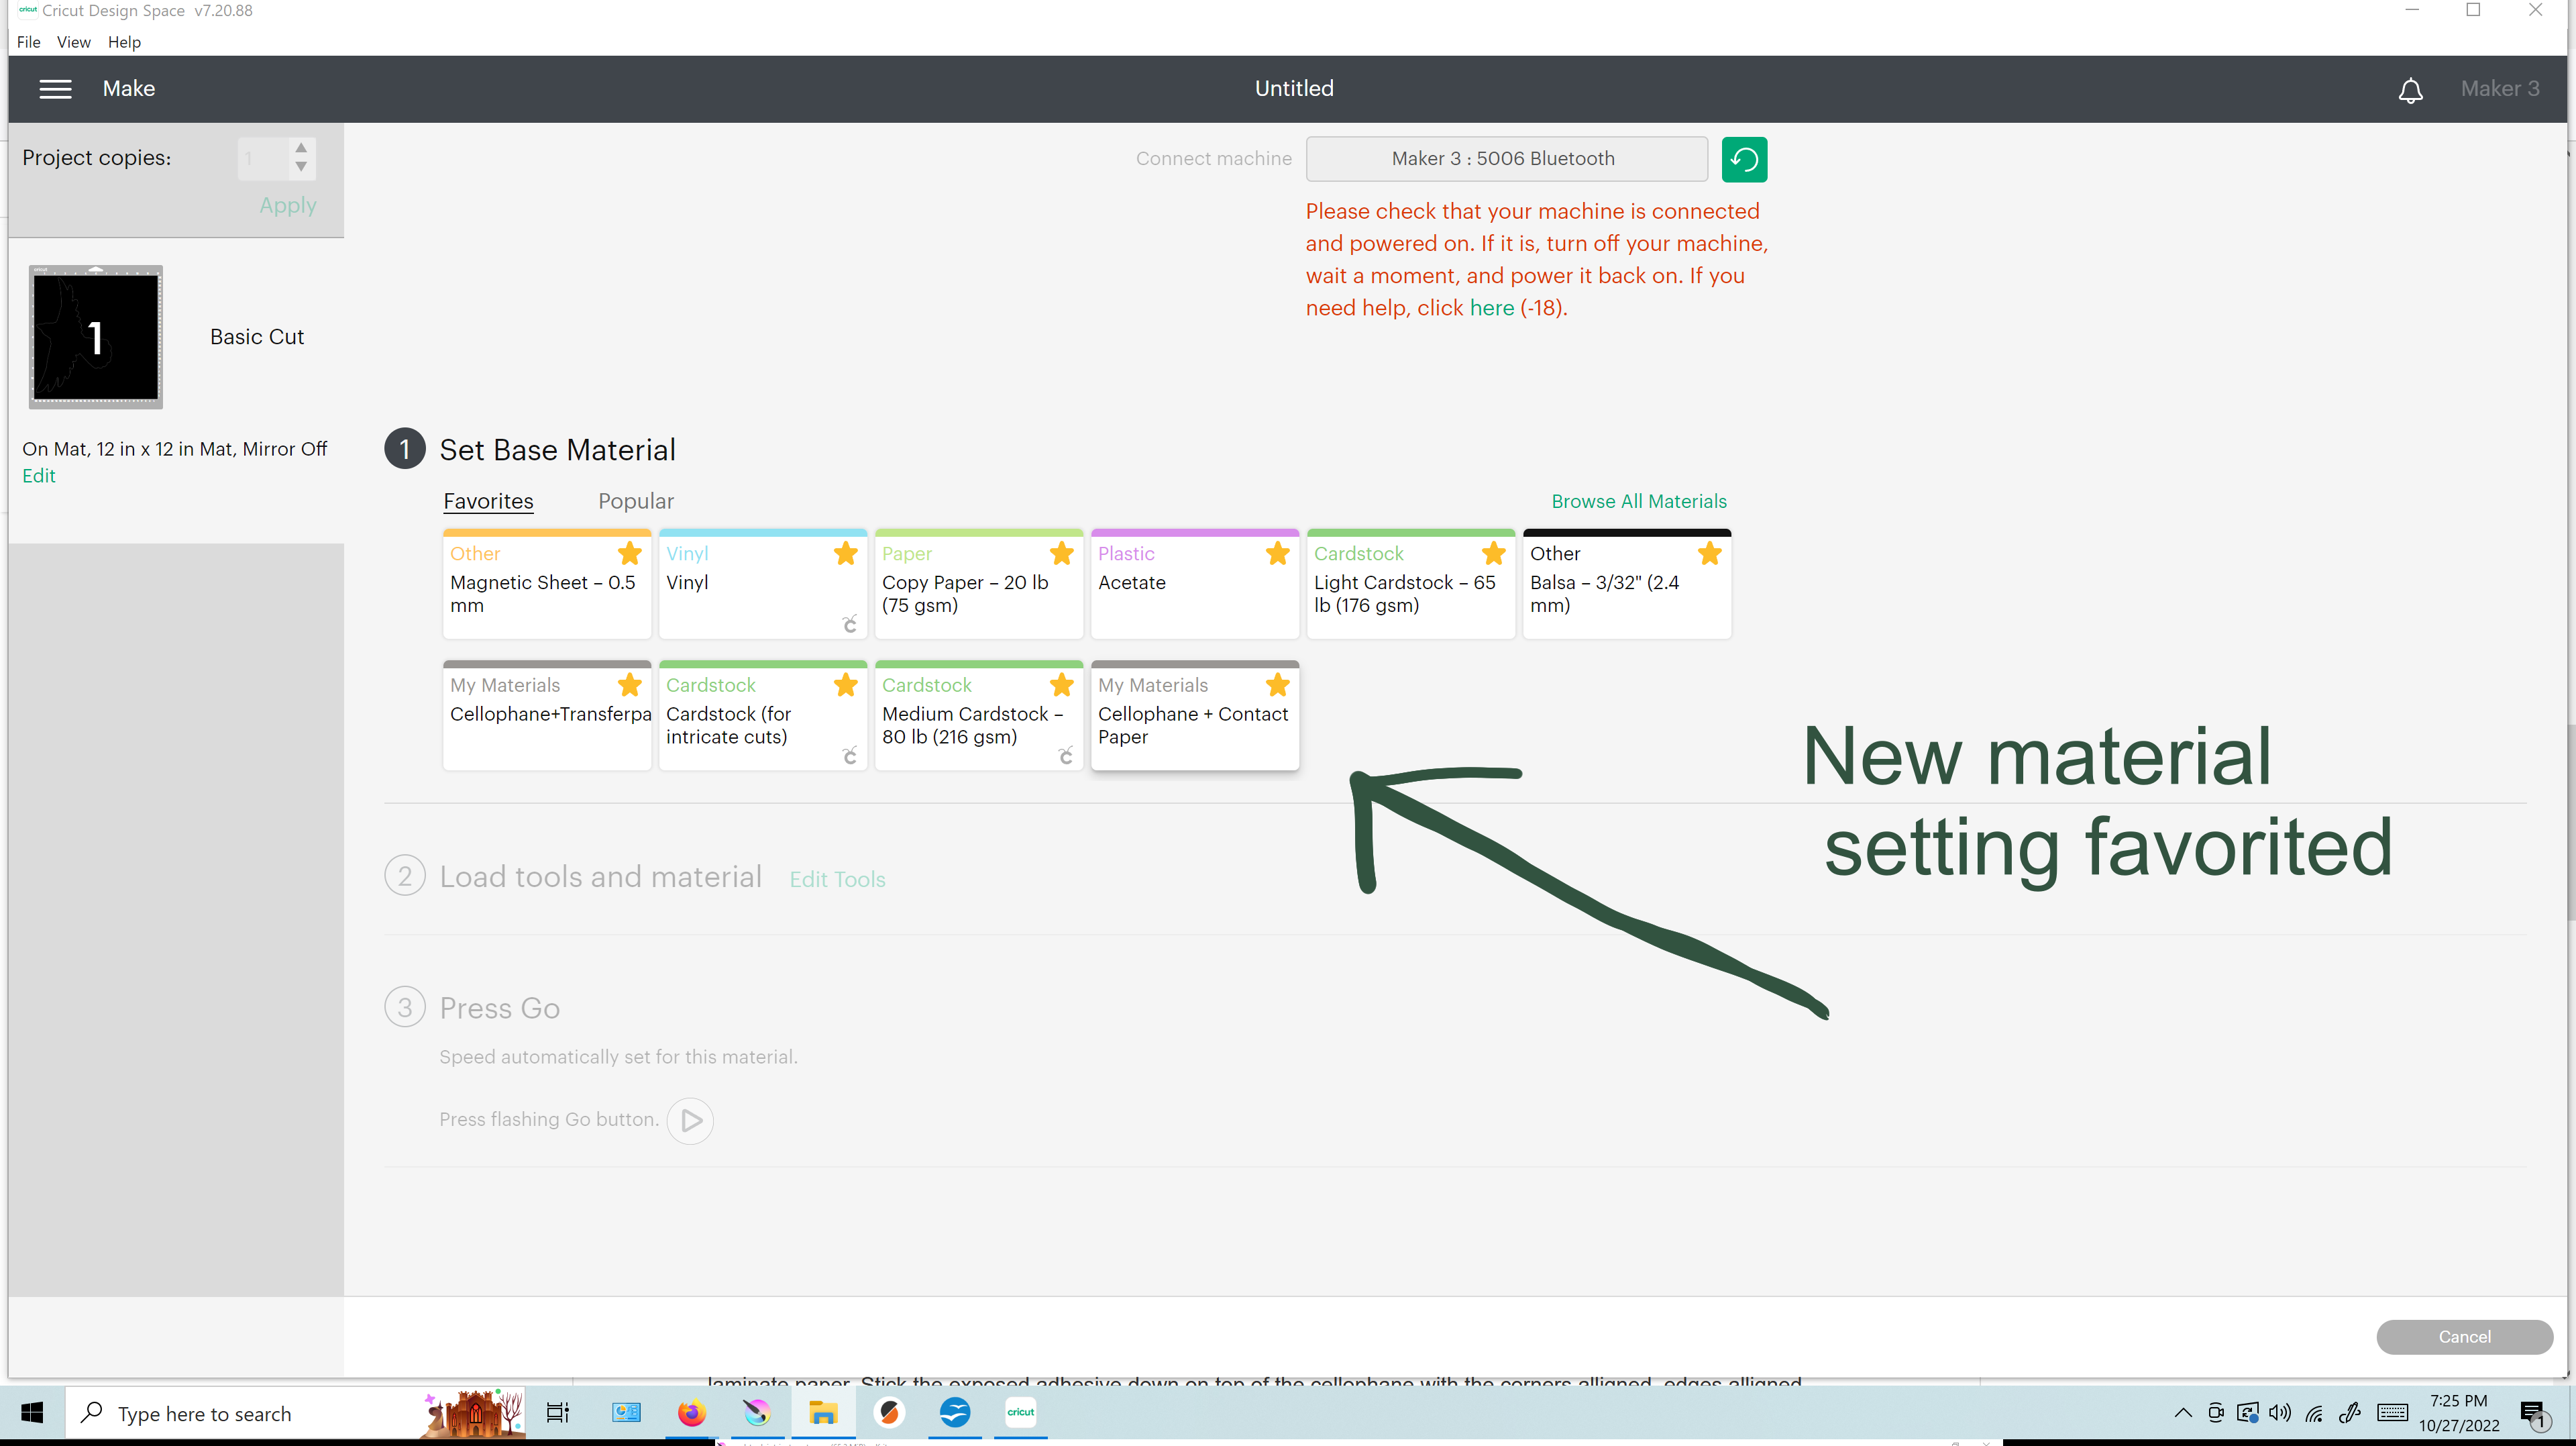
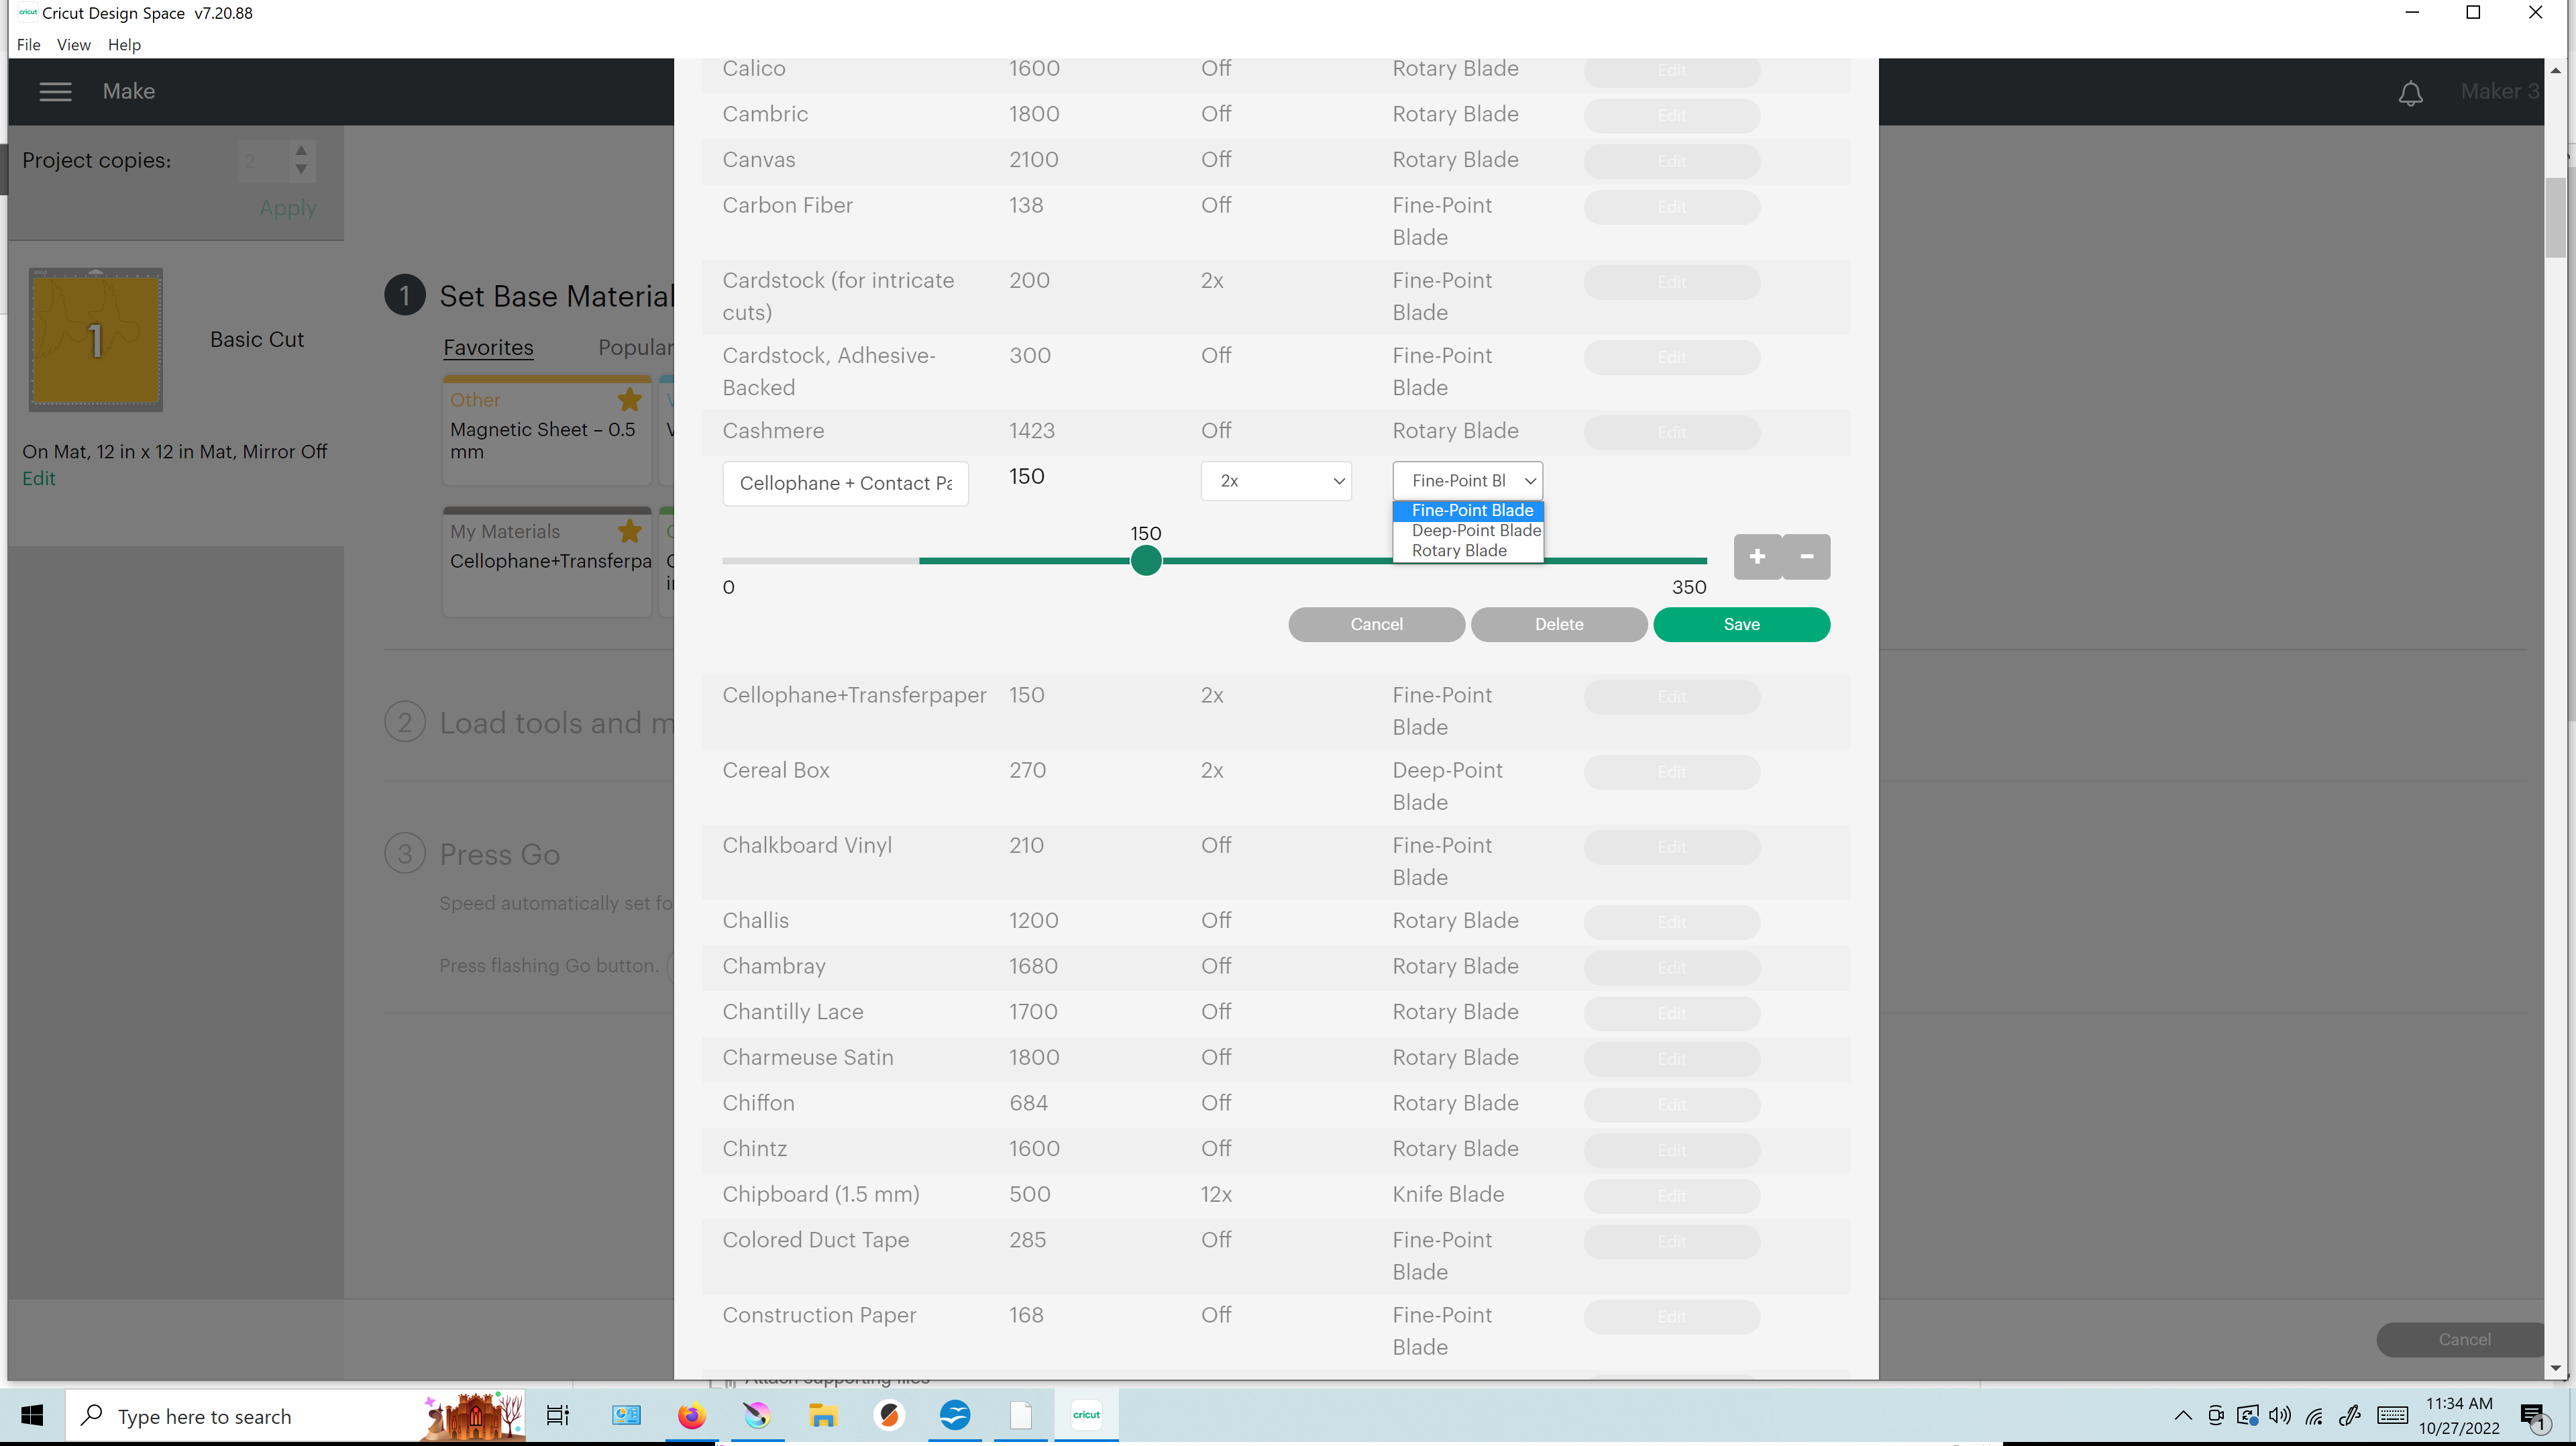
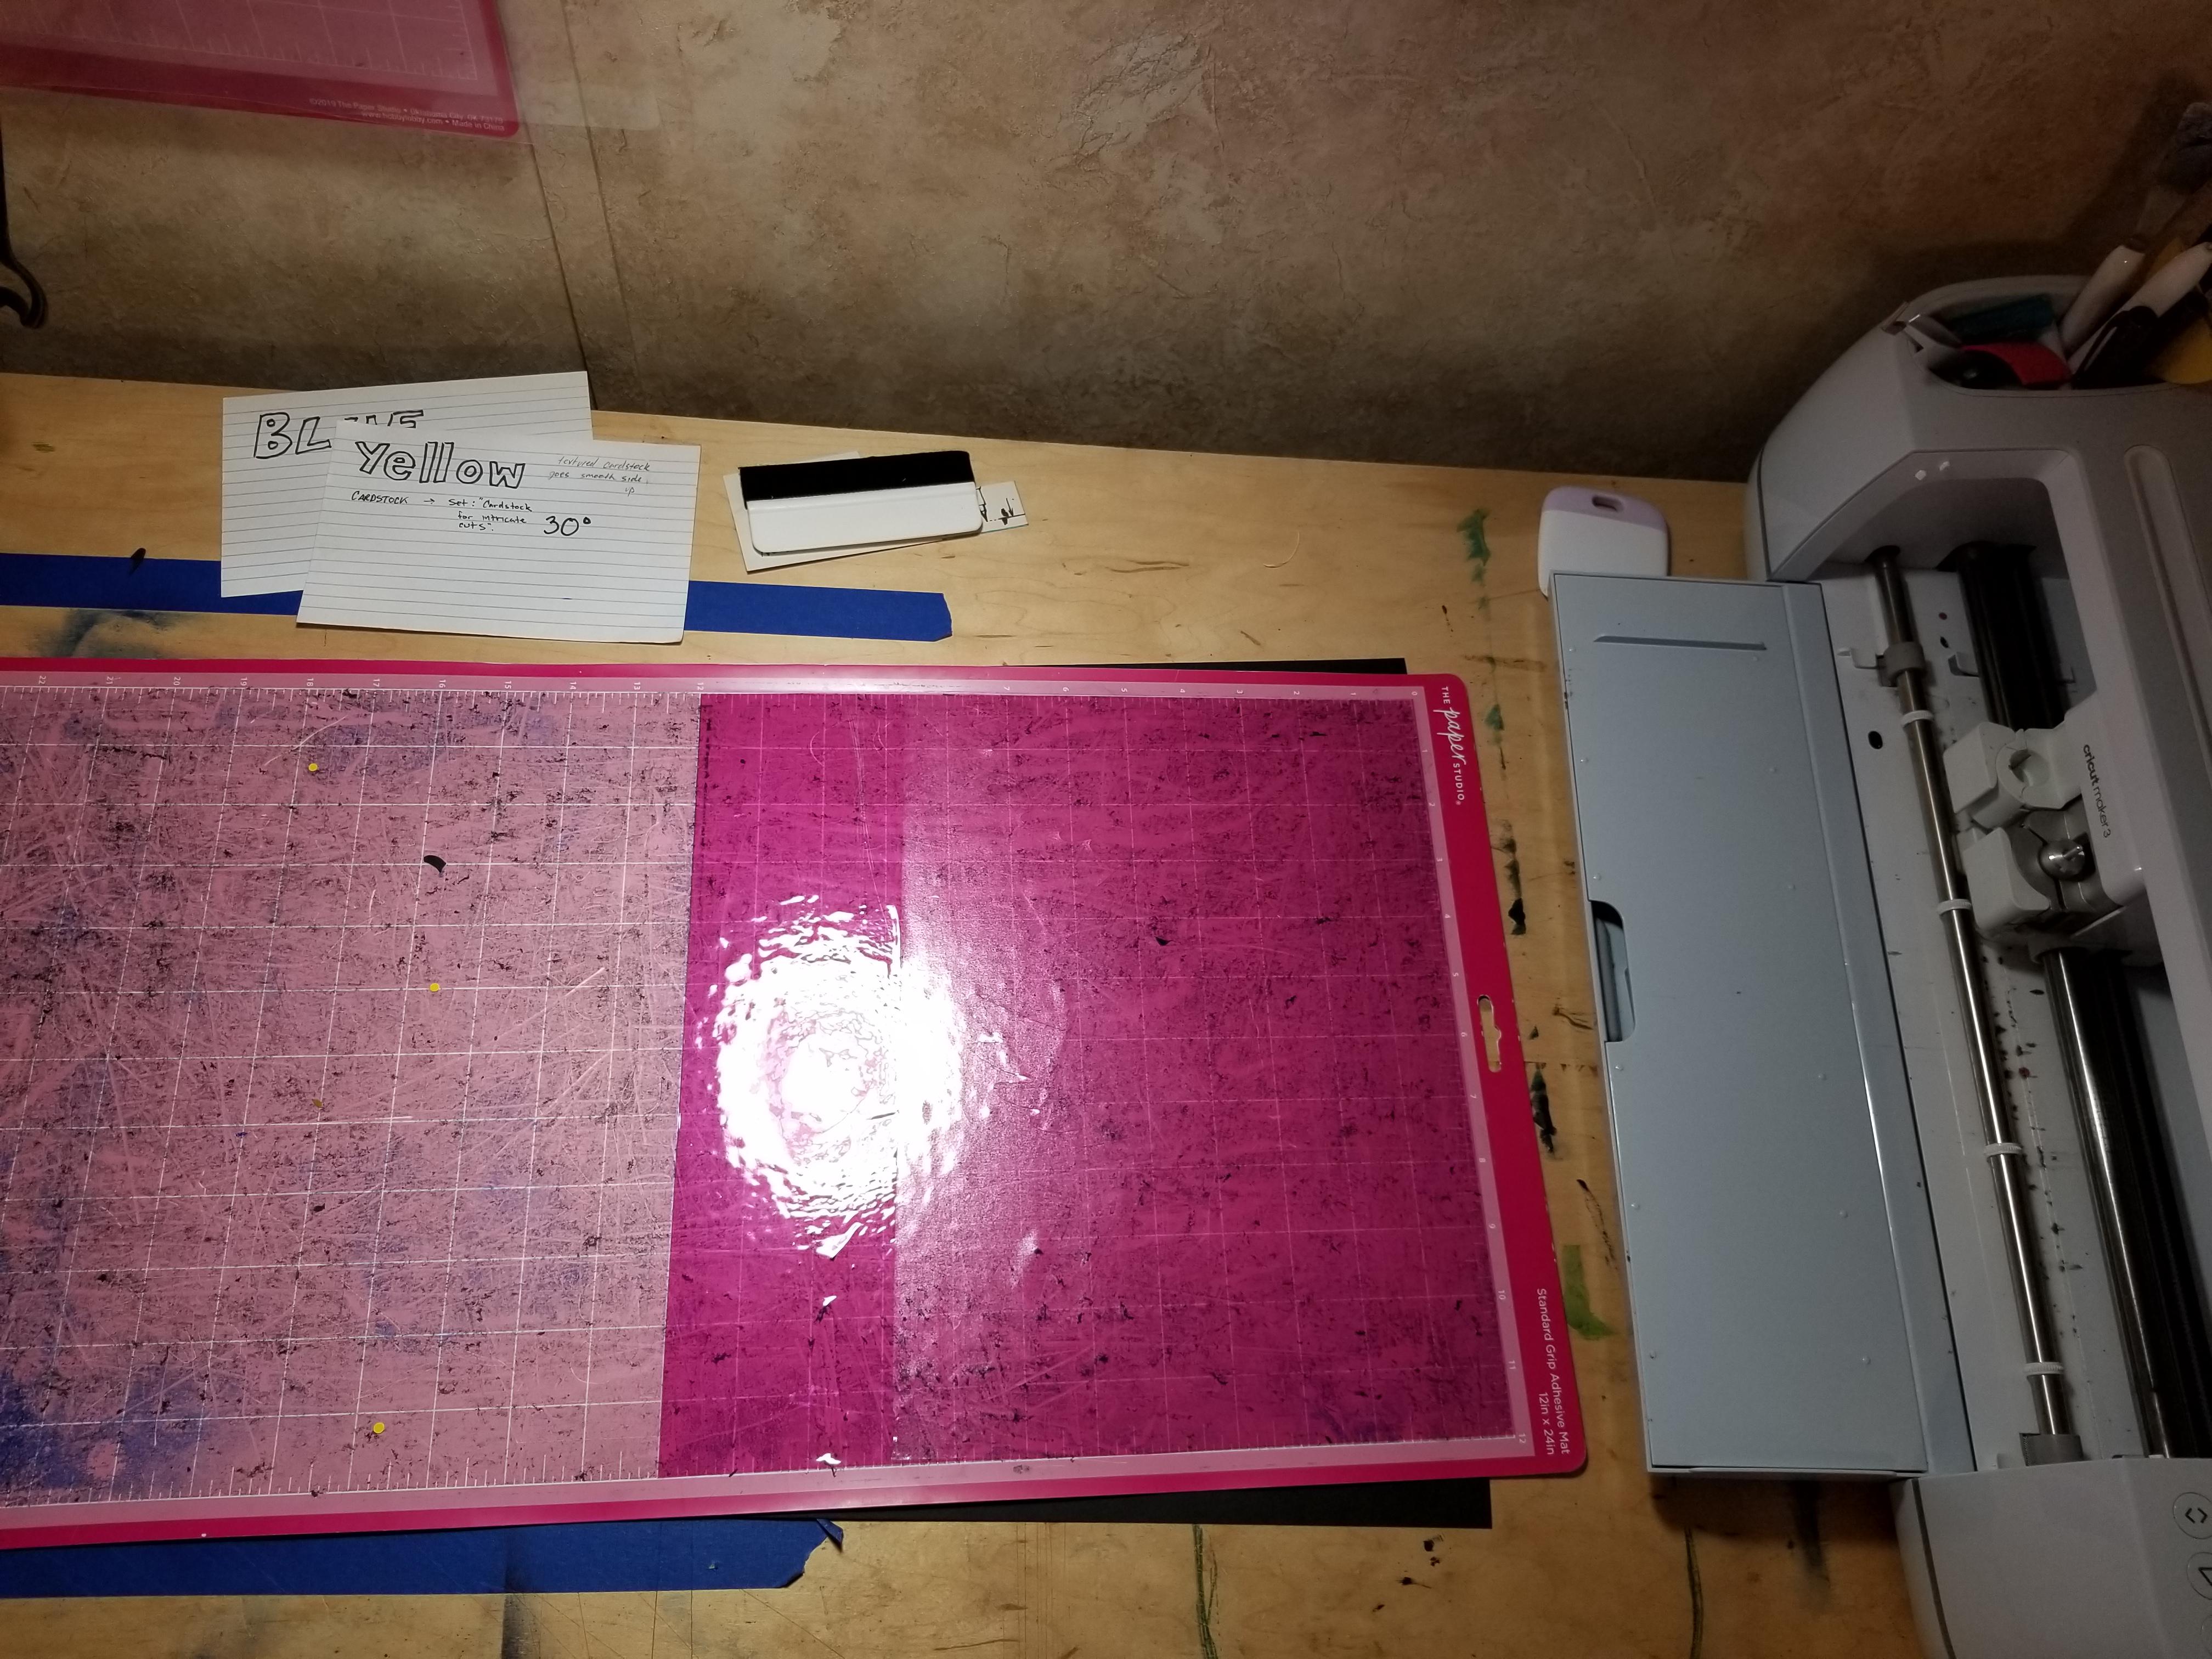
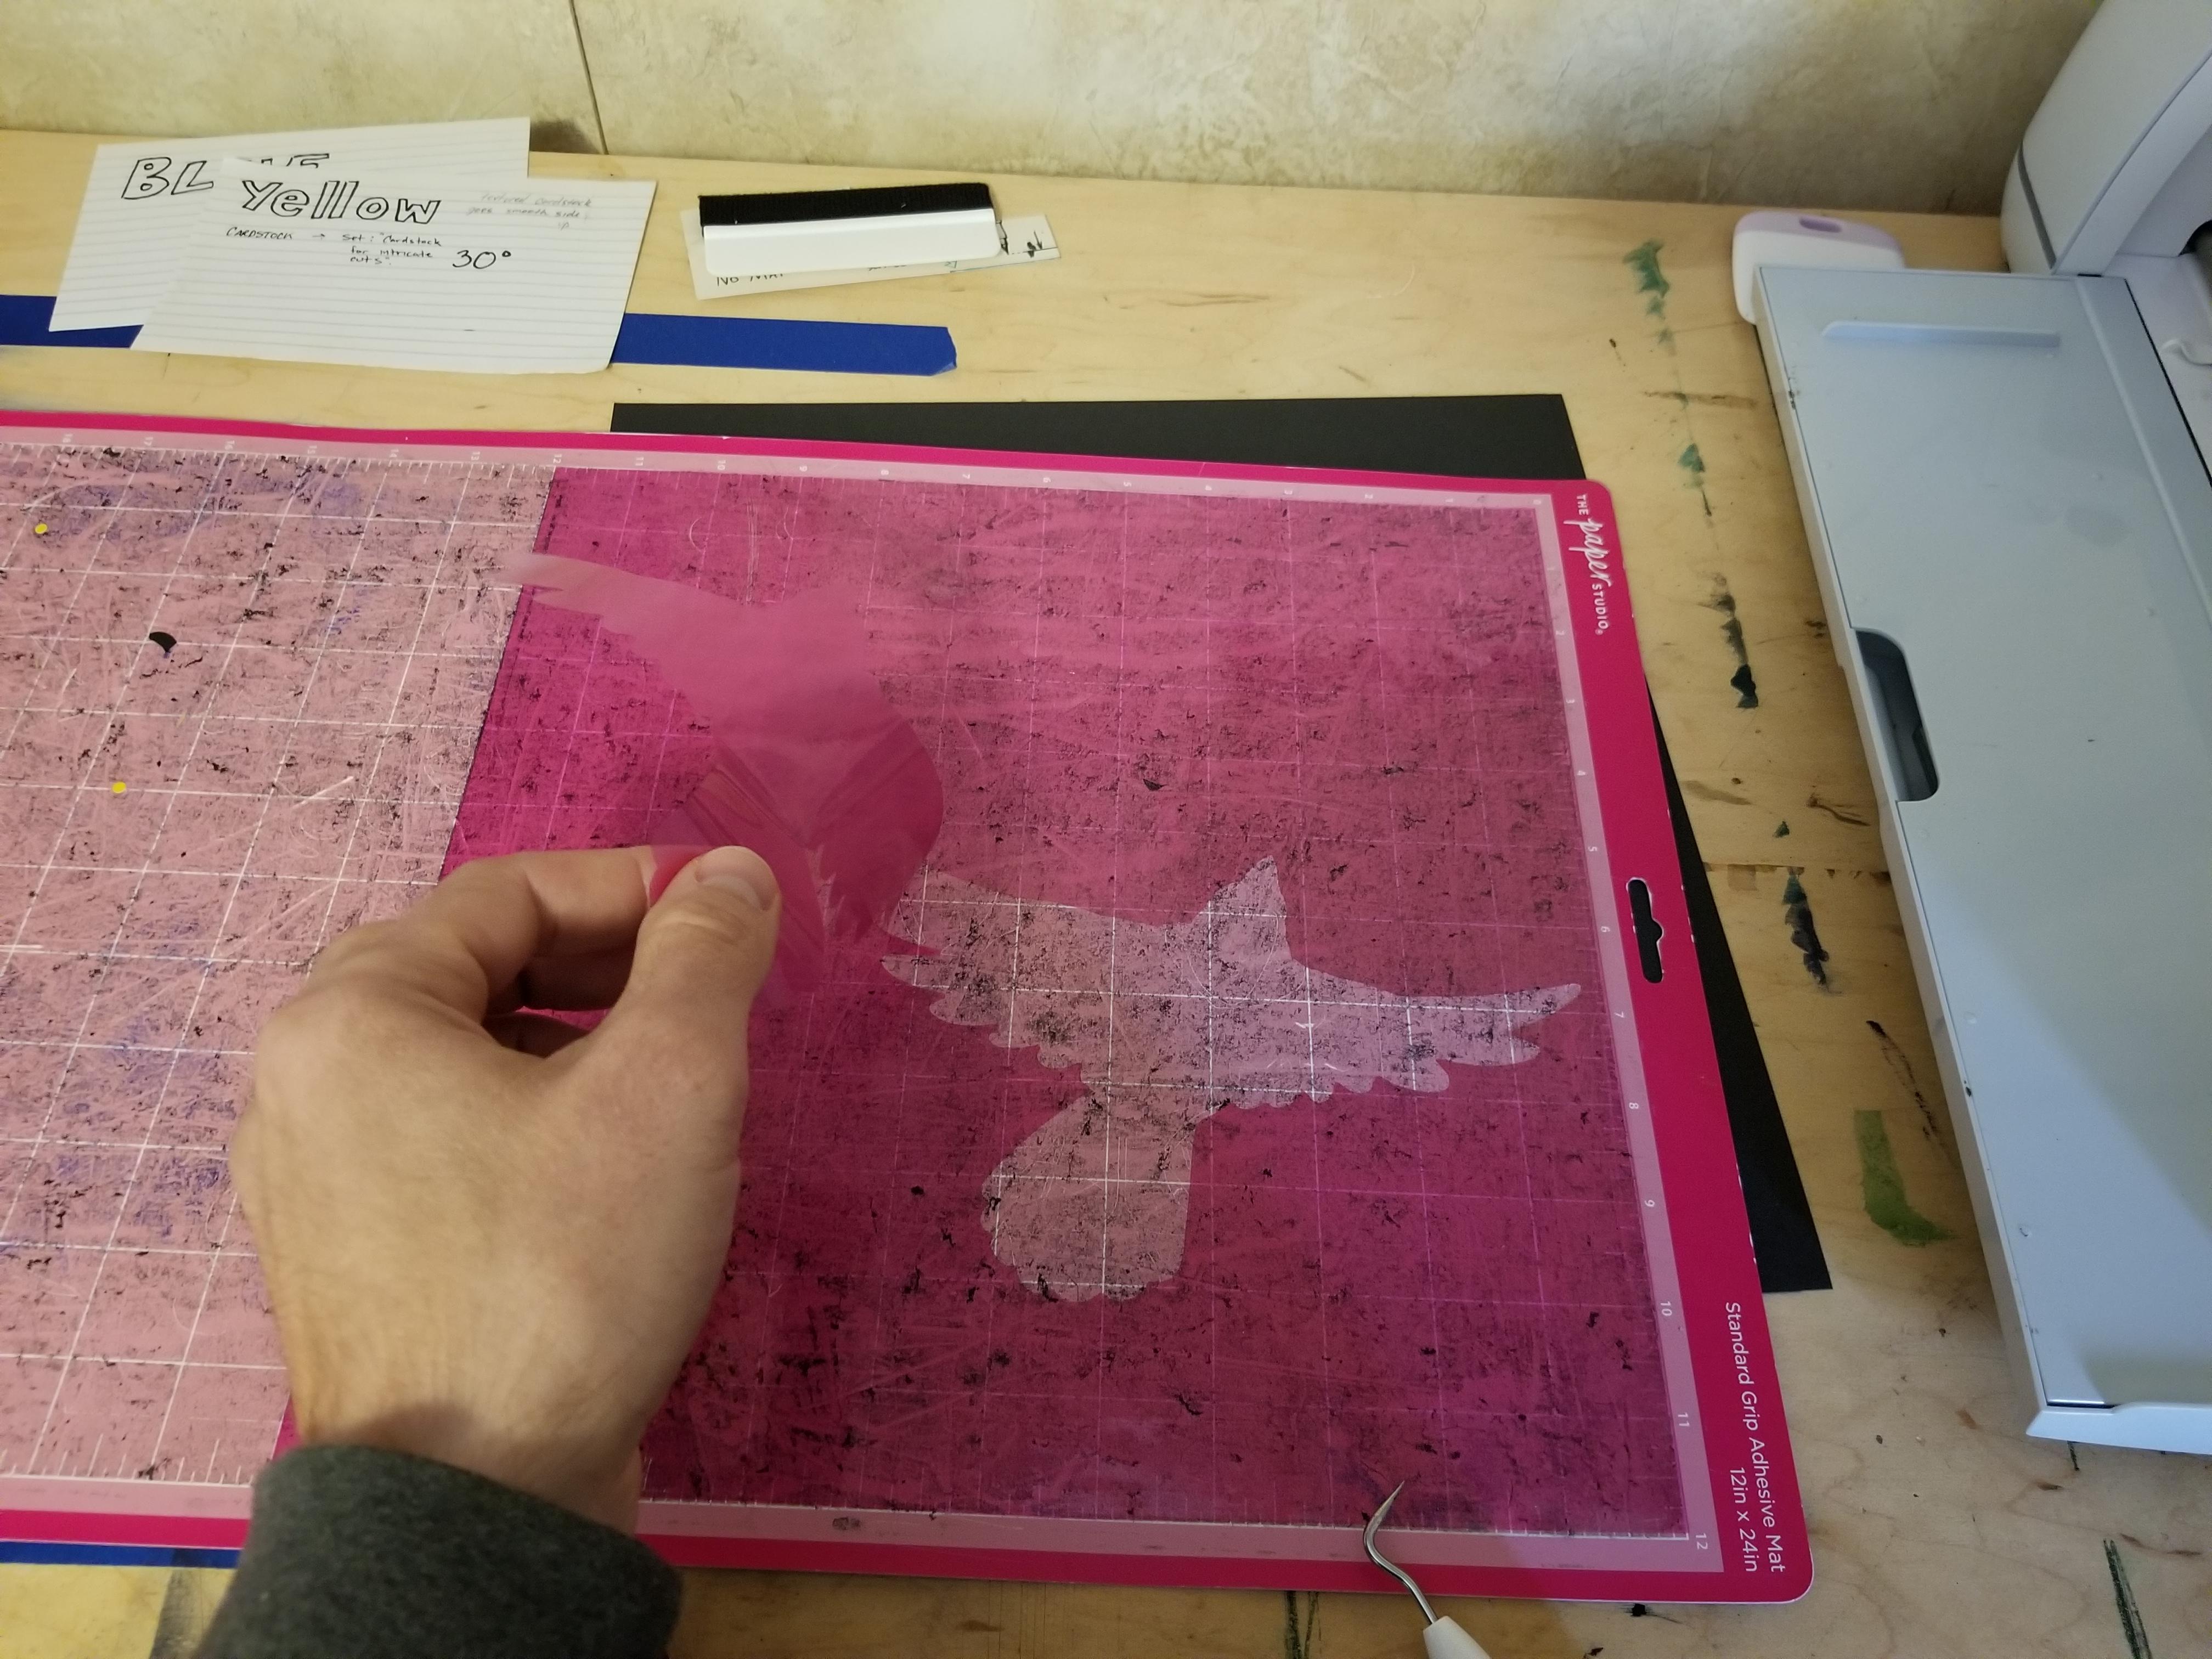
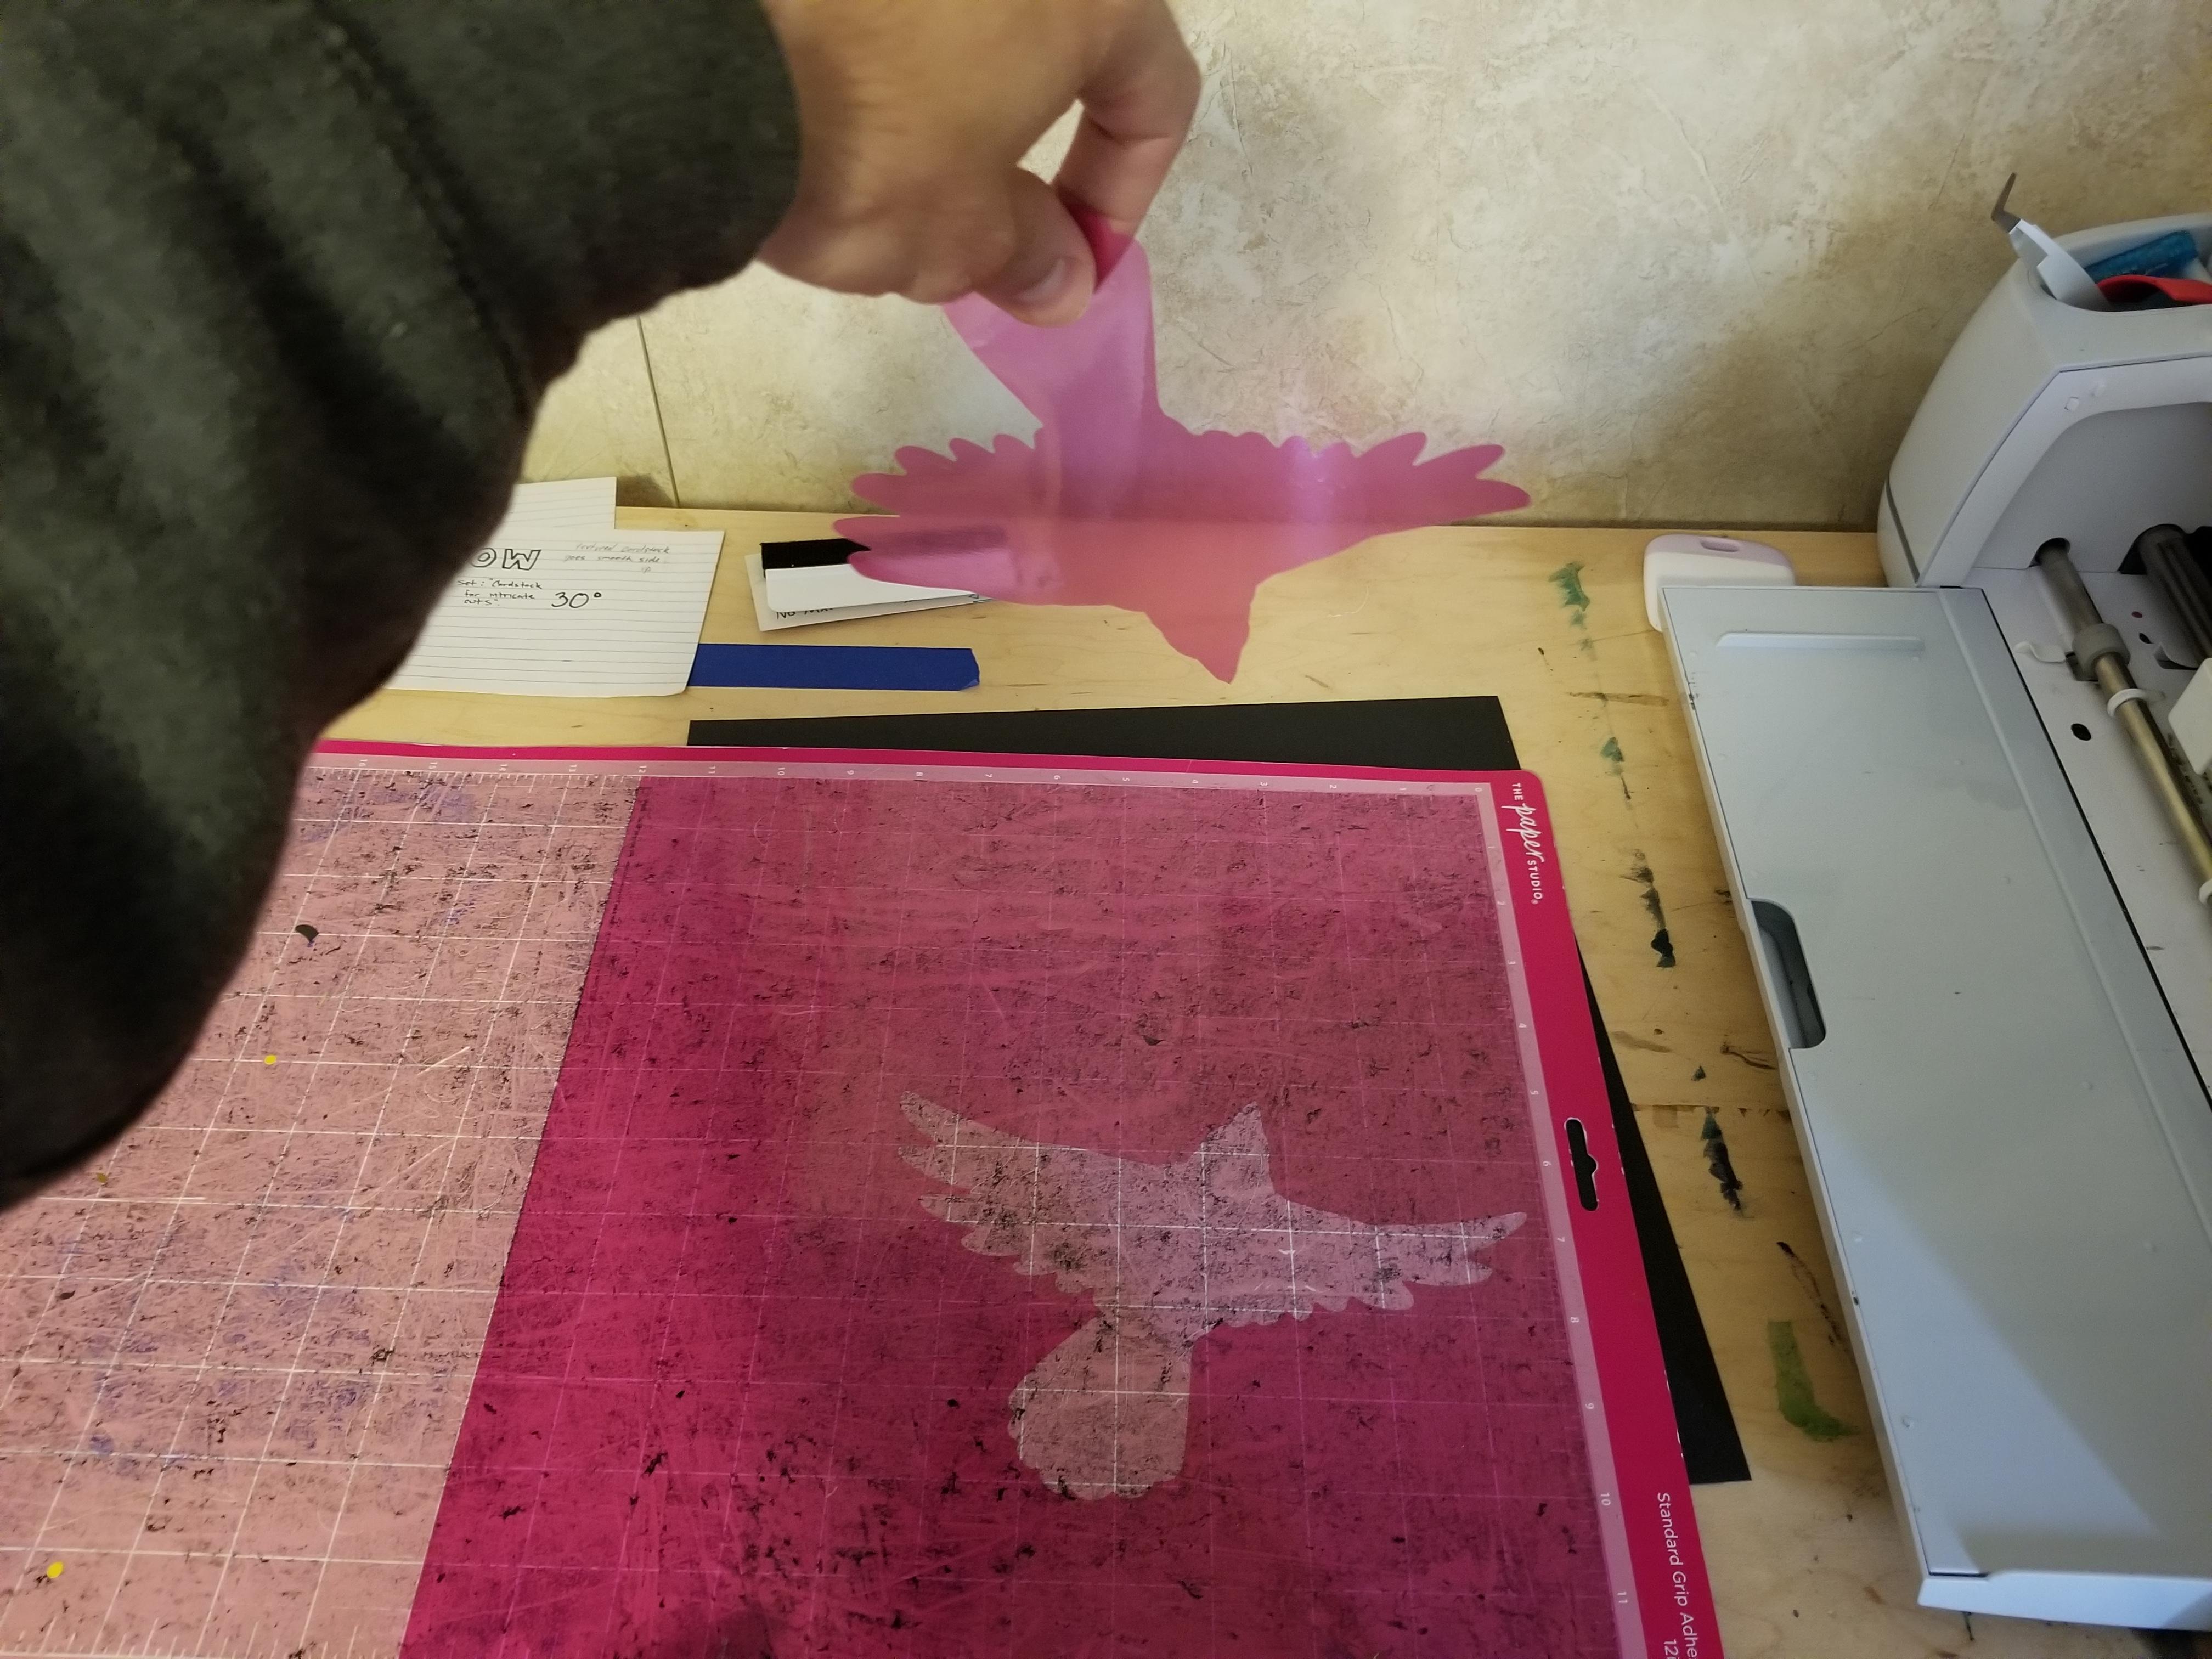
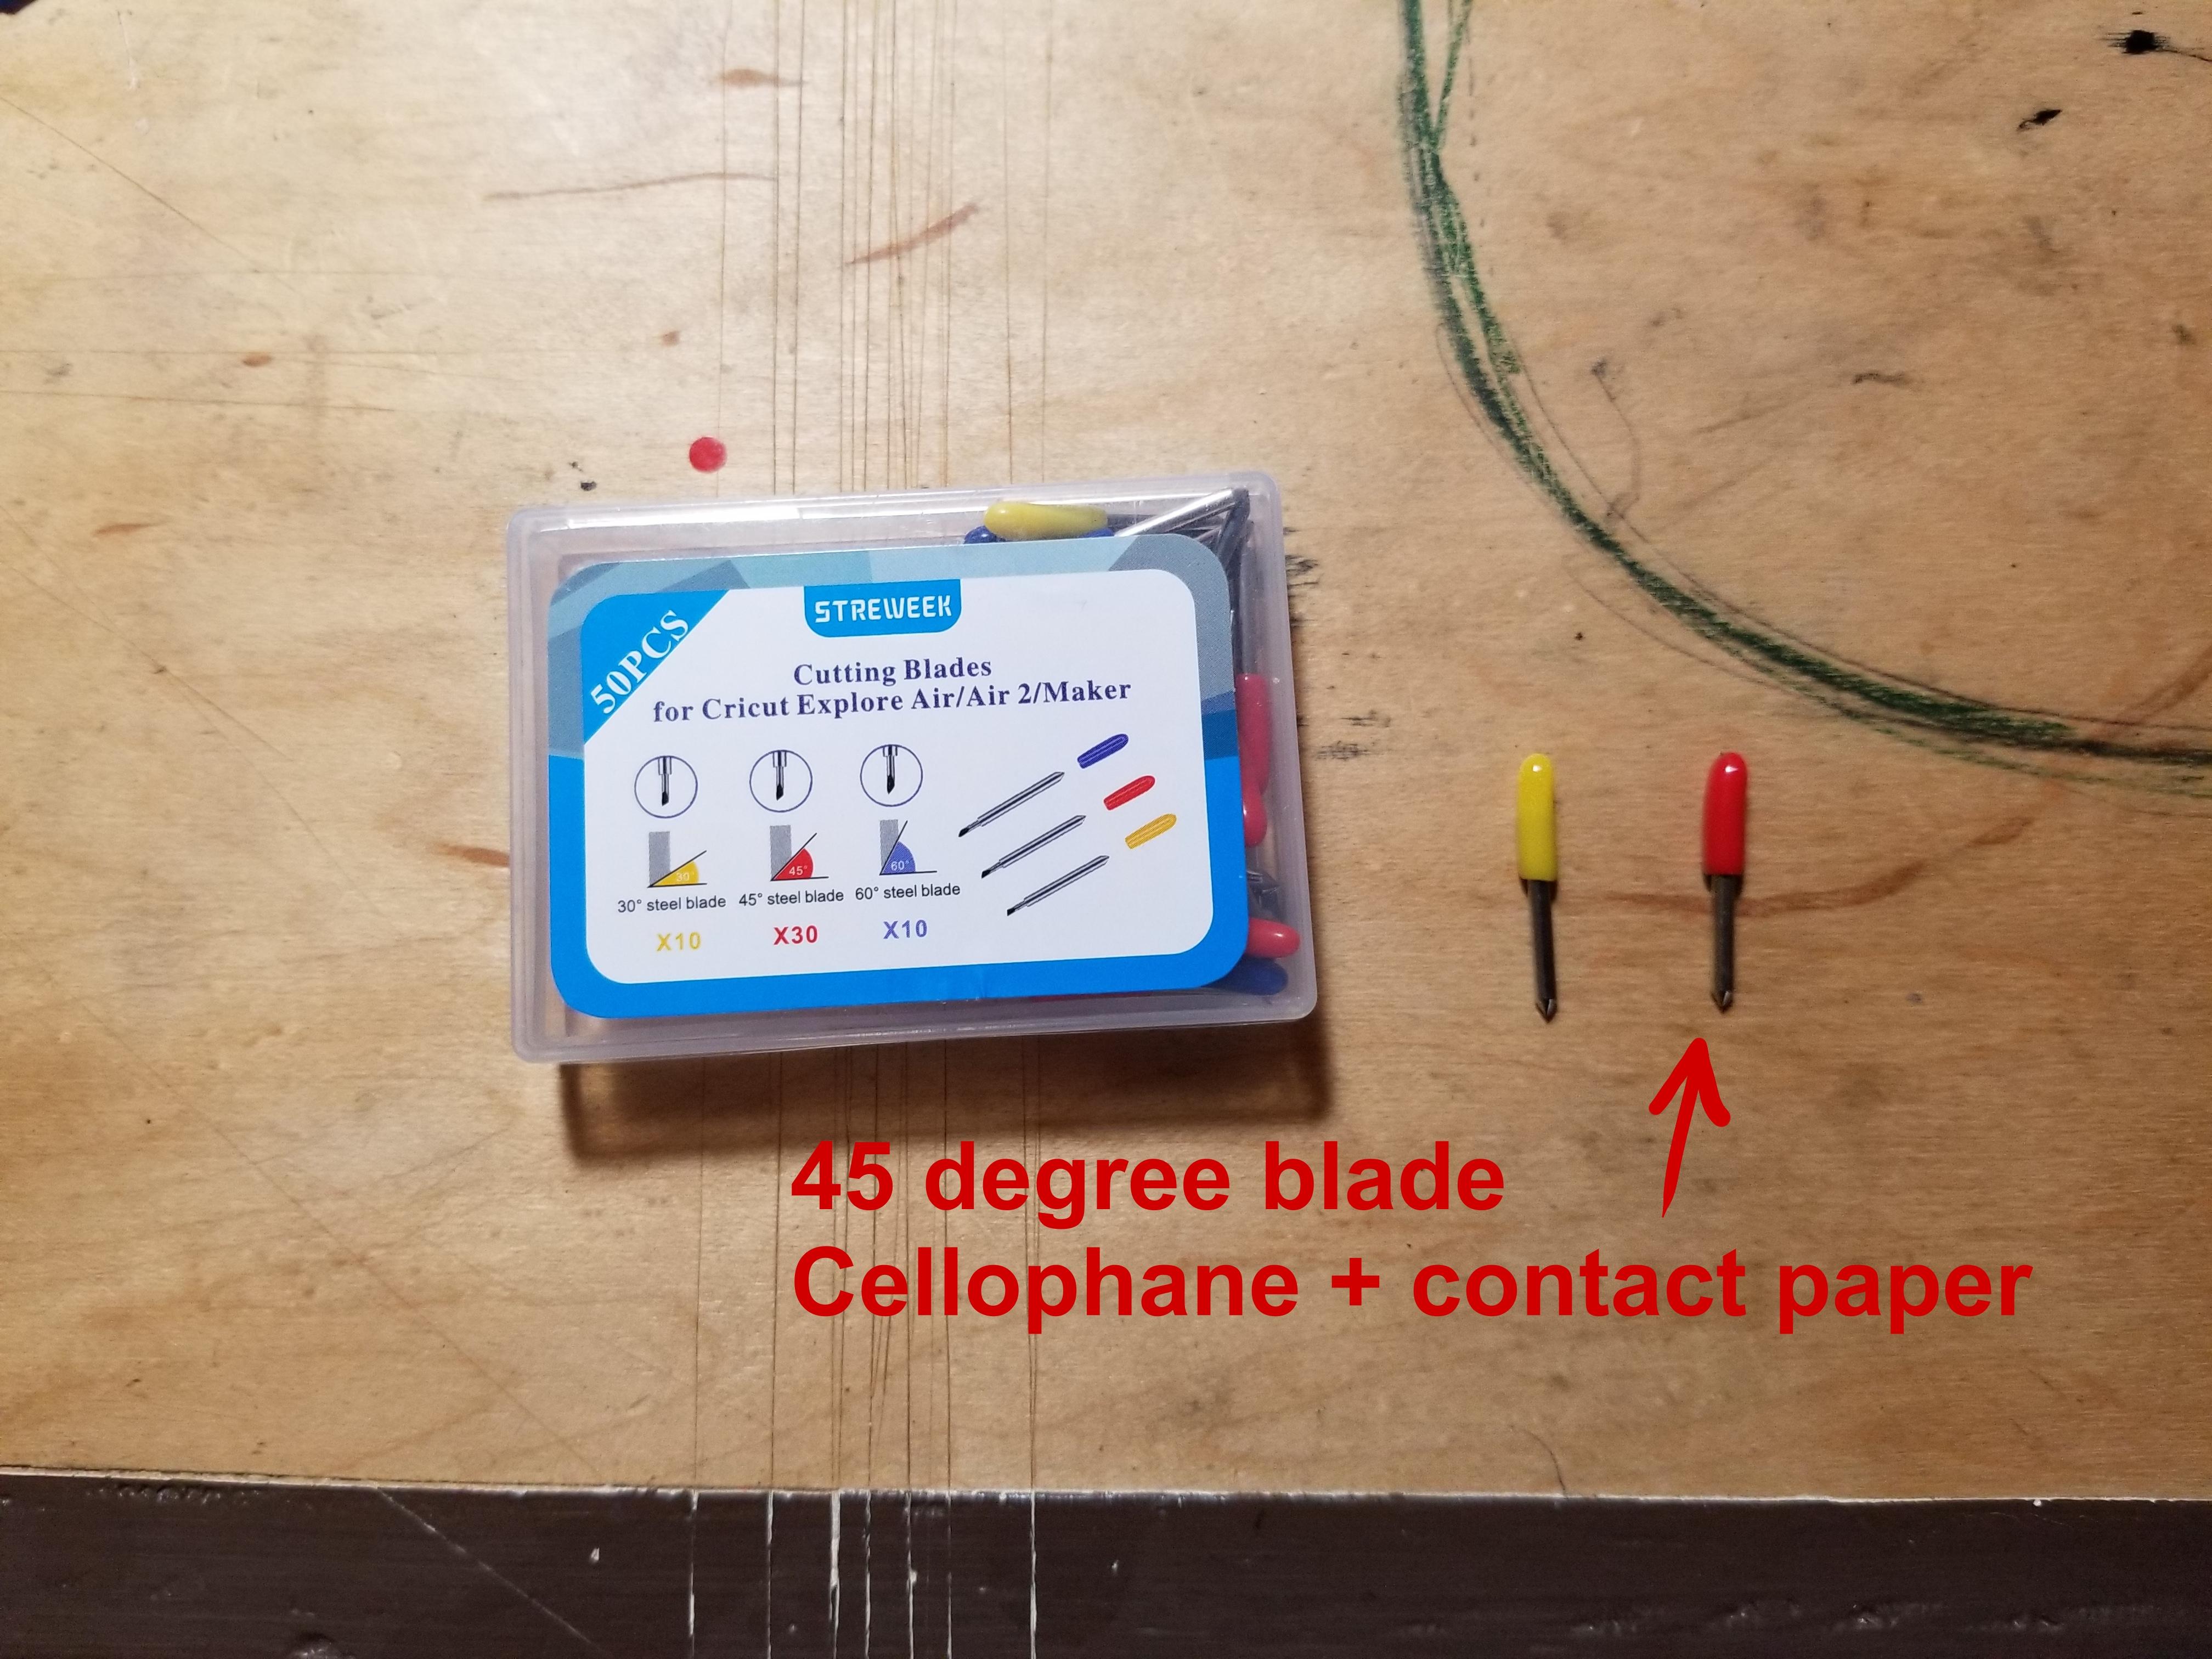
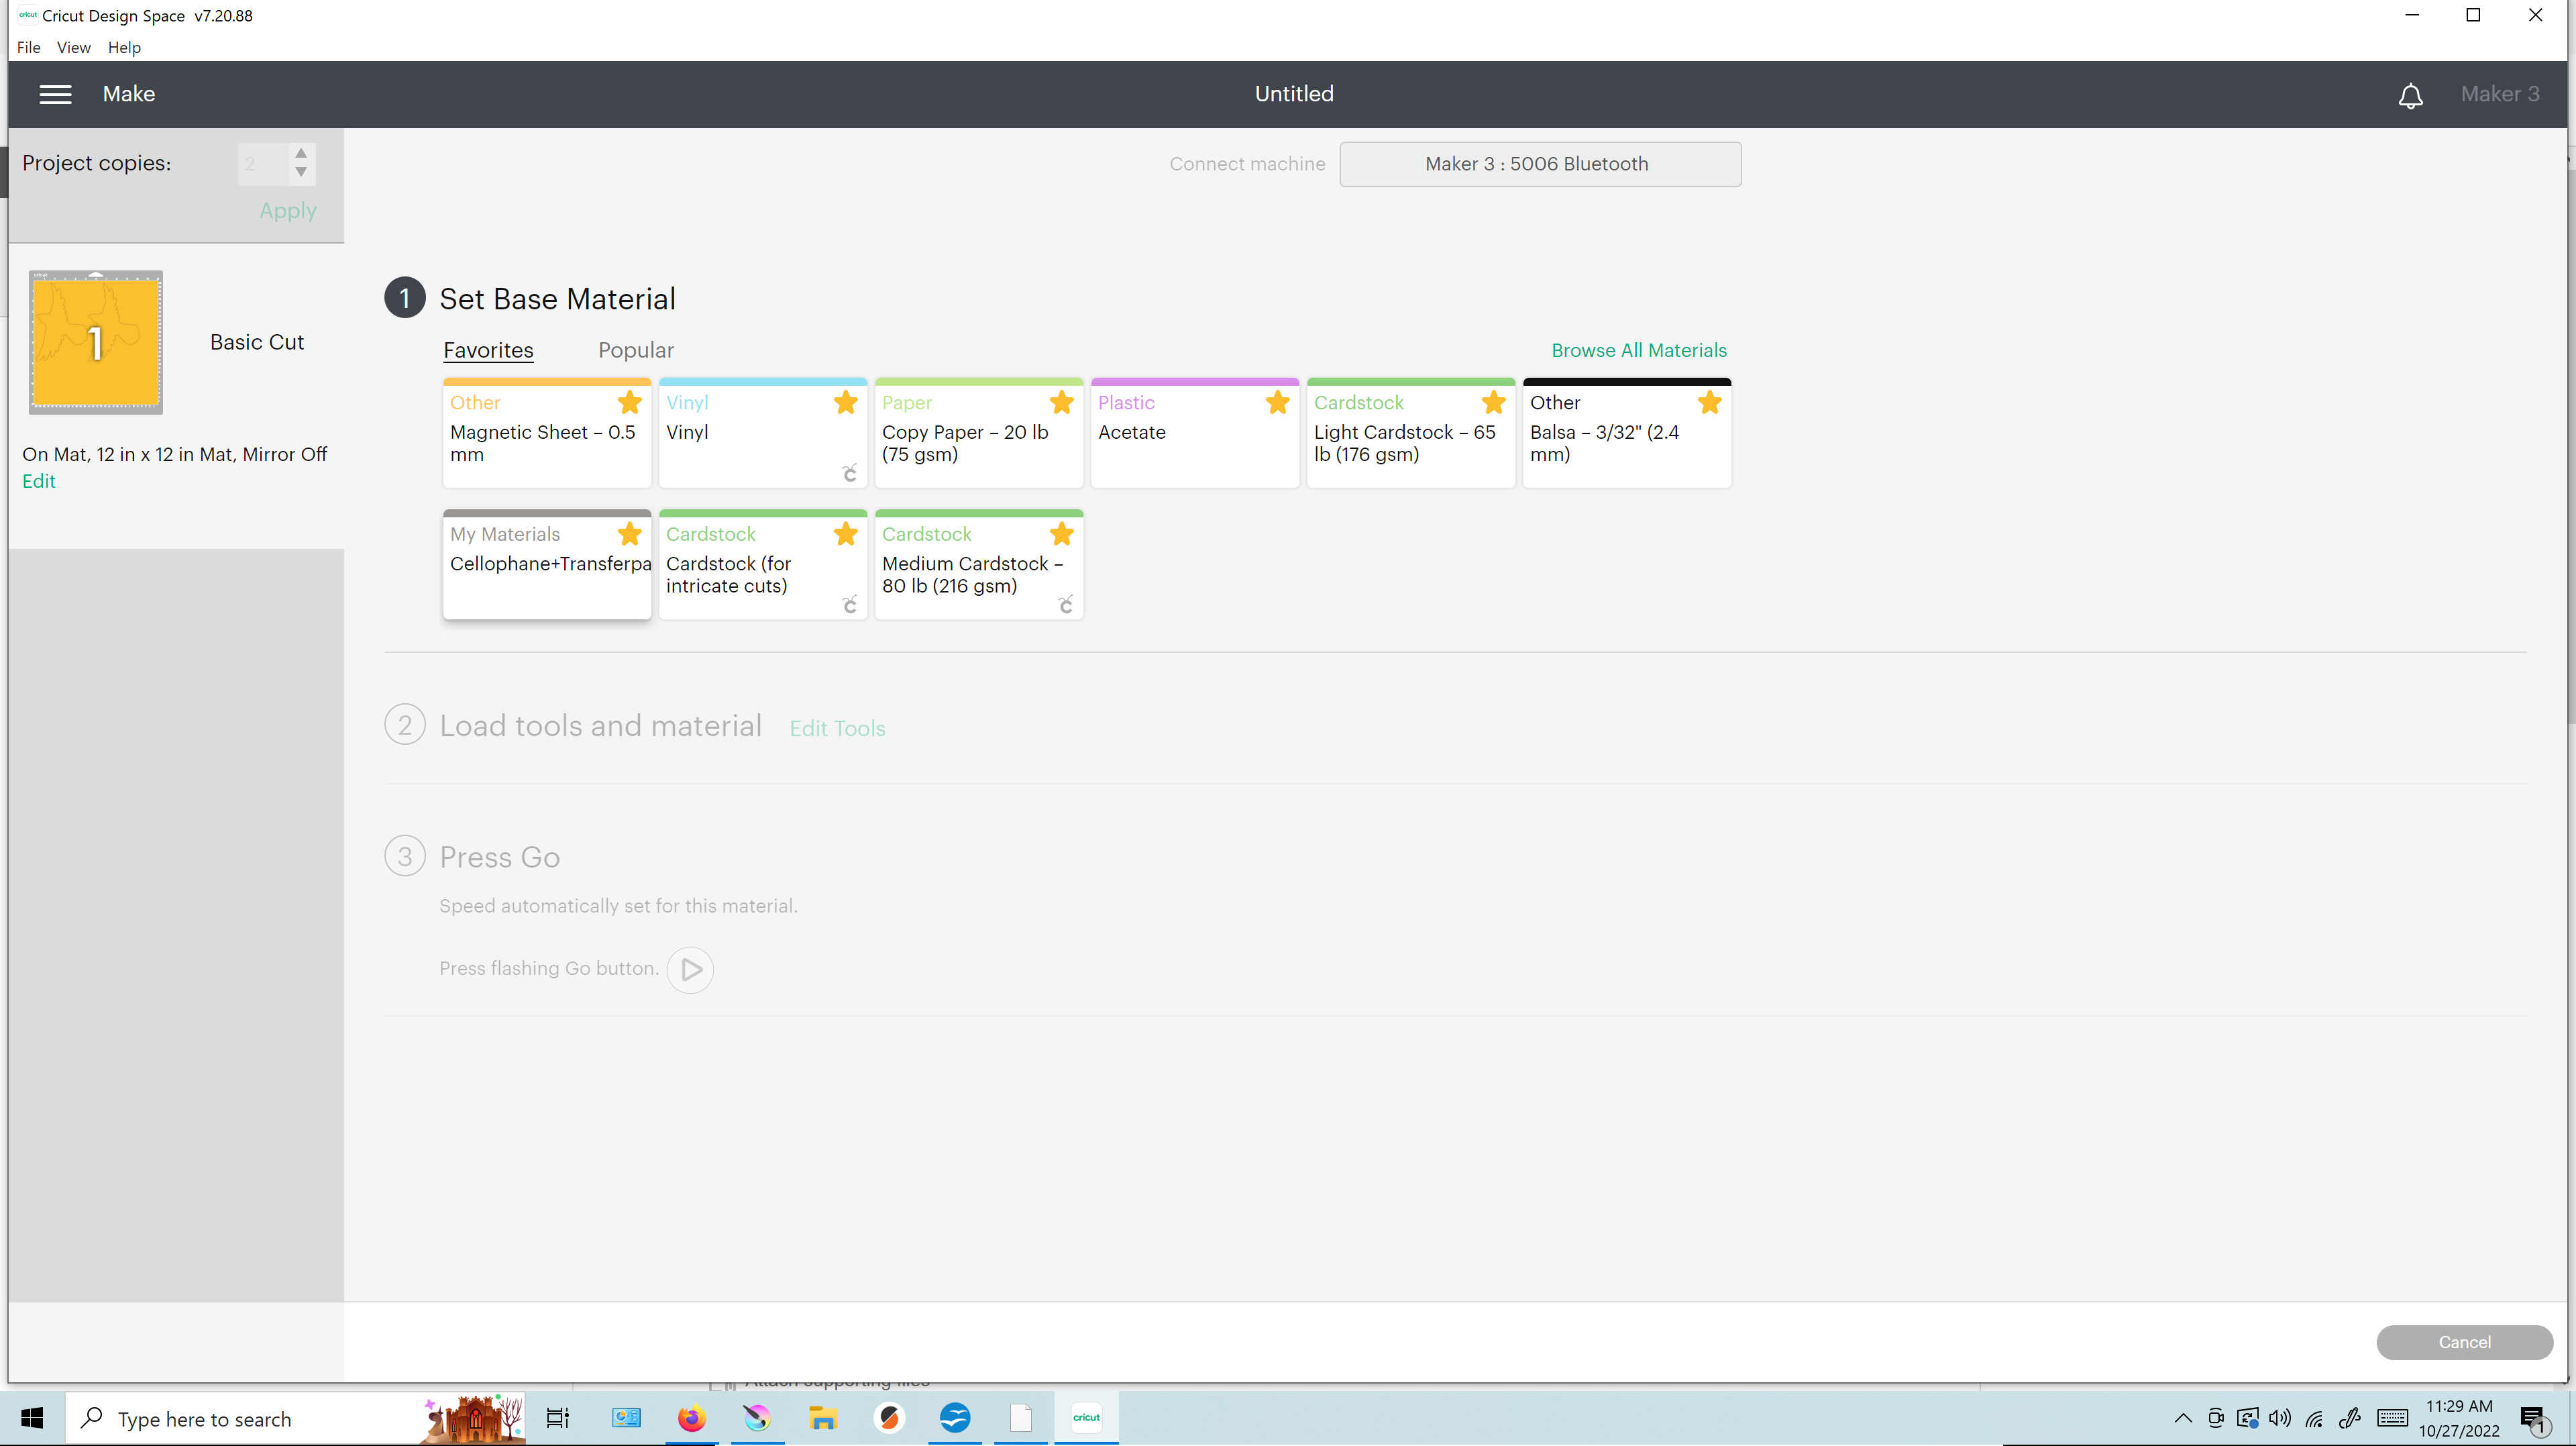
Turn off visibility of the outline so that only the fill shape is seen. Click "make it" and continue to the "Set Base Material" screen. I have had the best results using a 45 degree blade (red) and a custom cut profile, which is very easy to create.
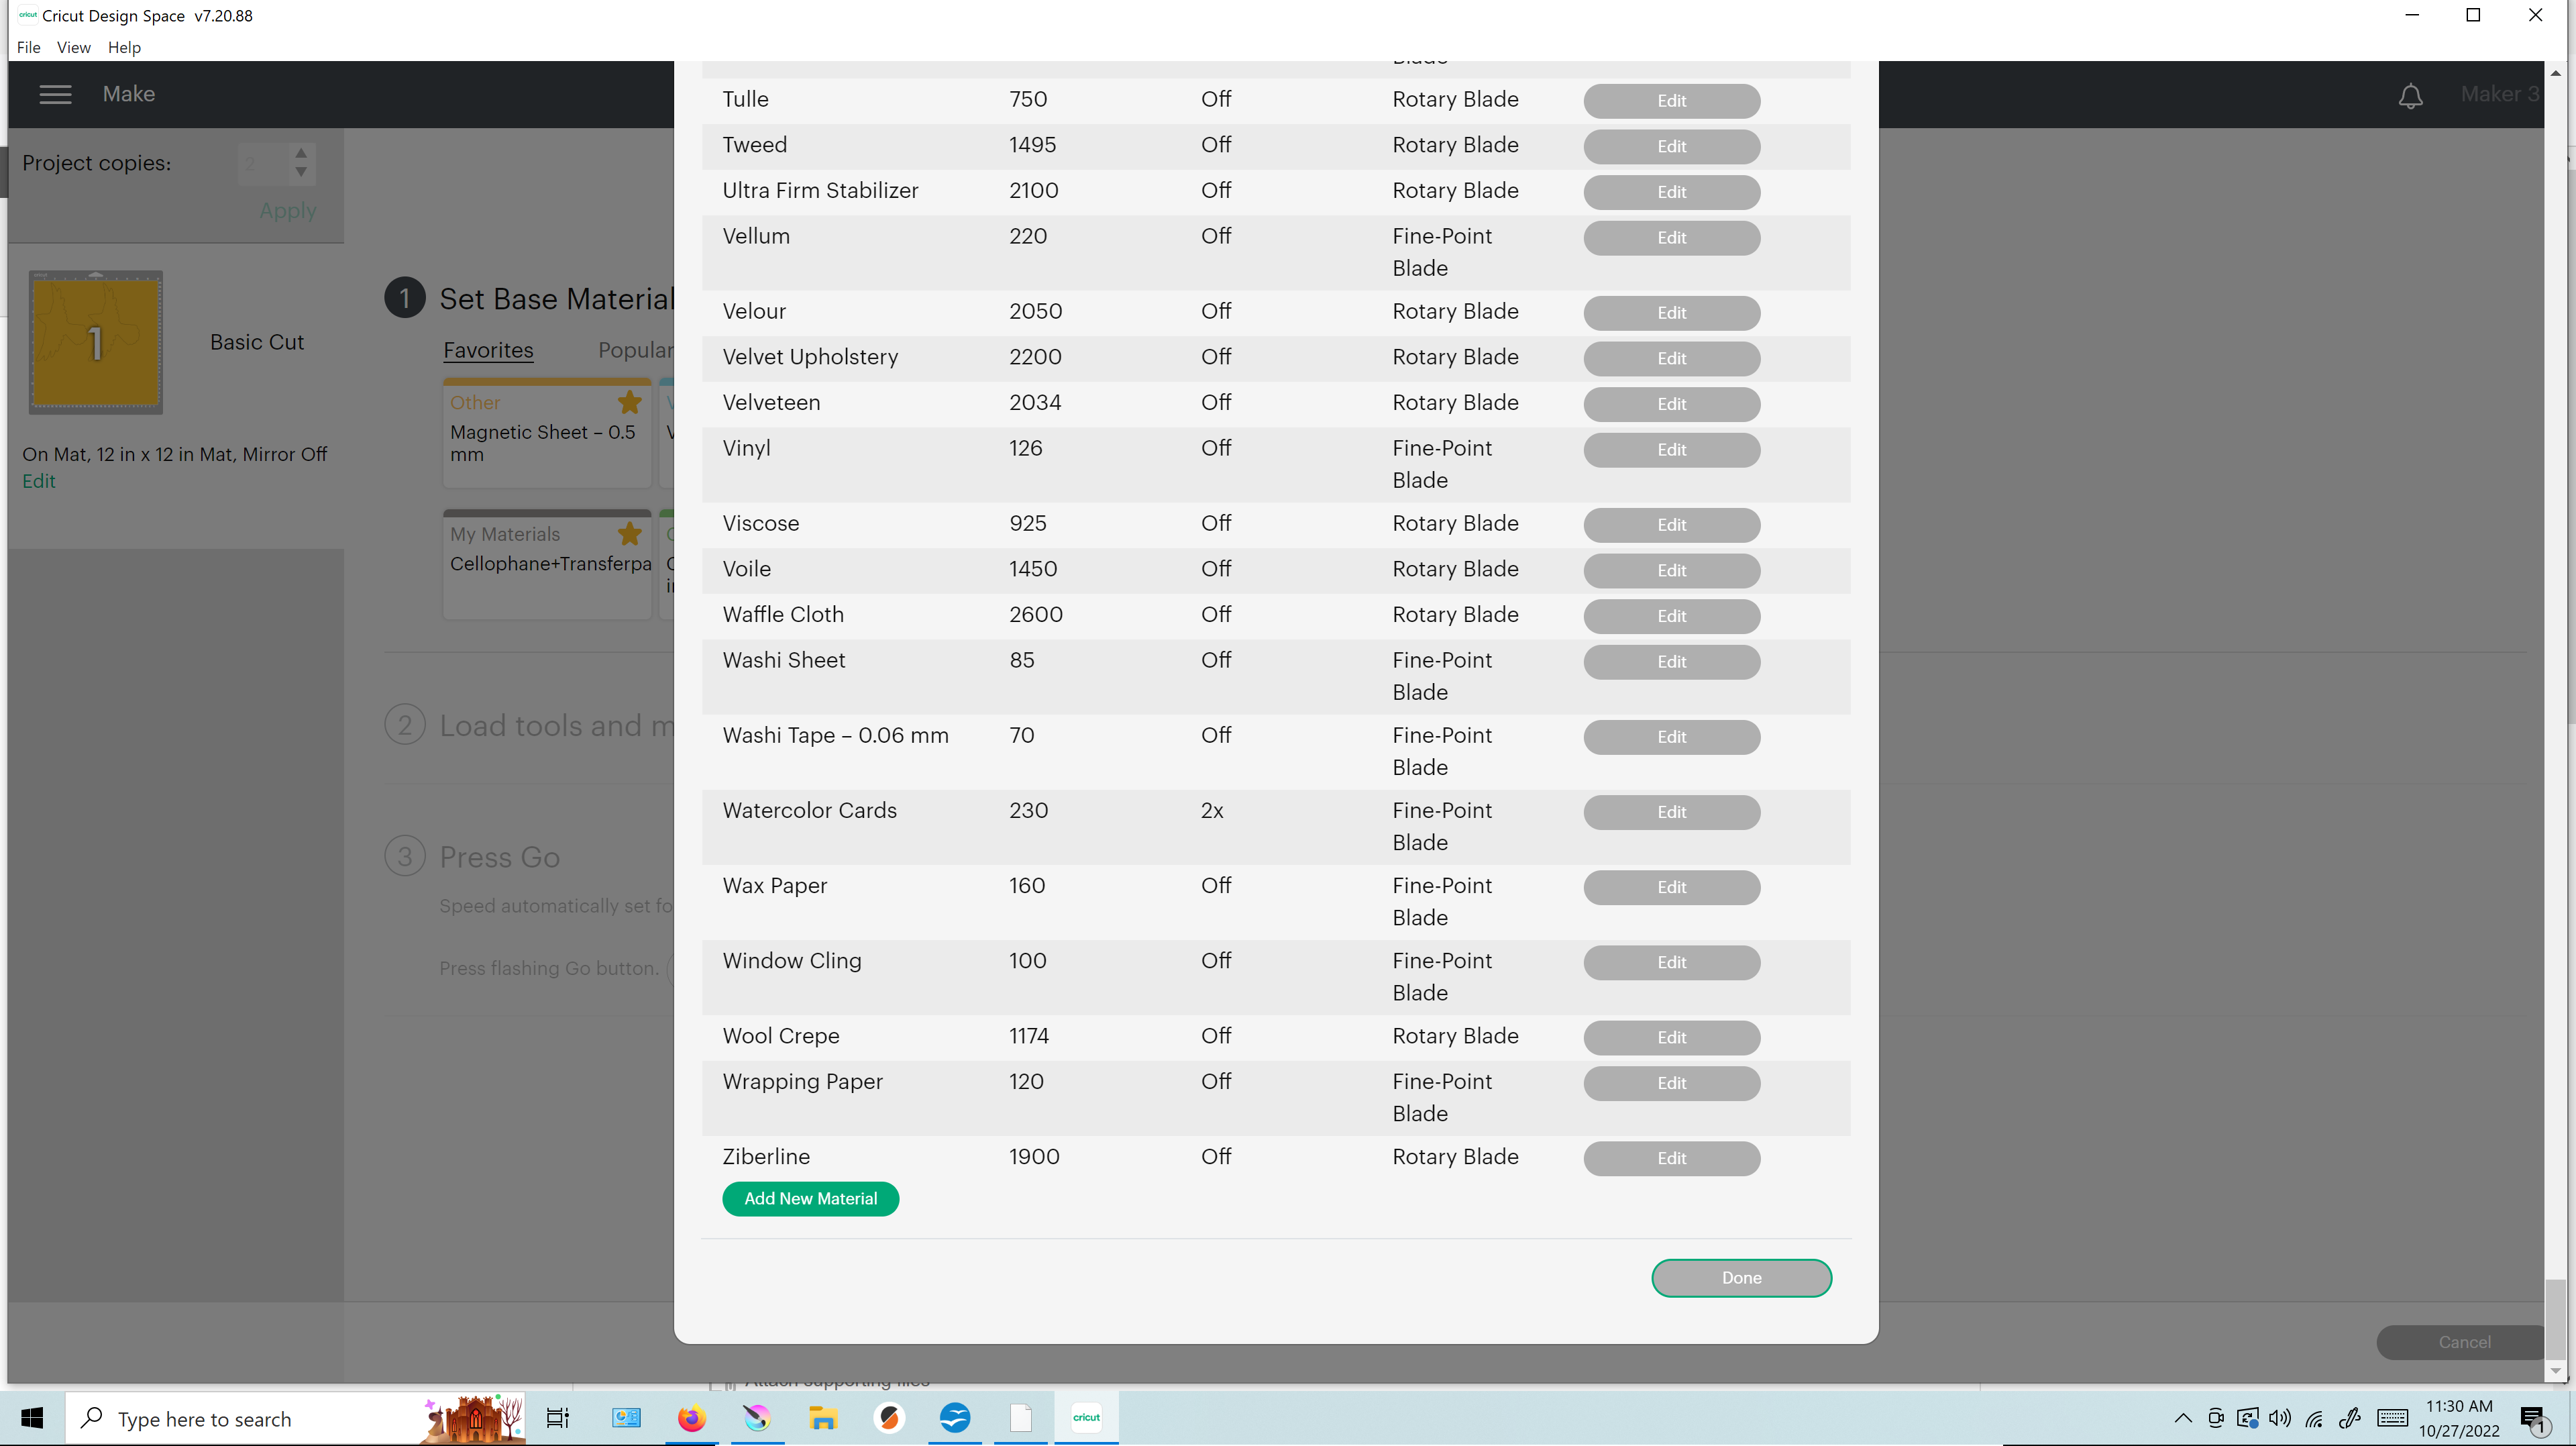
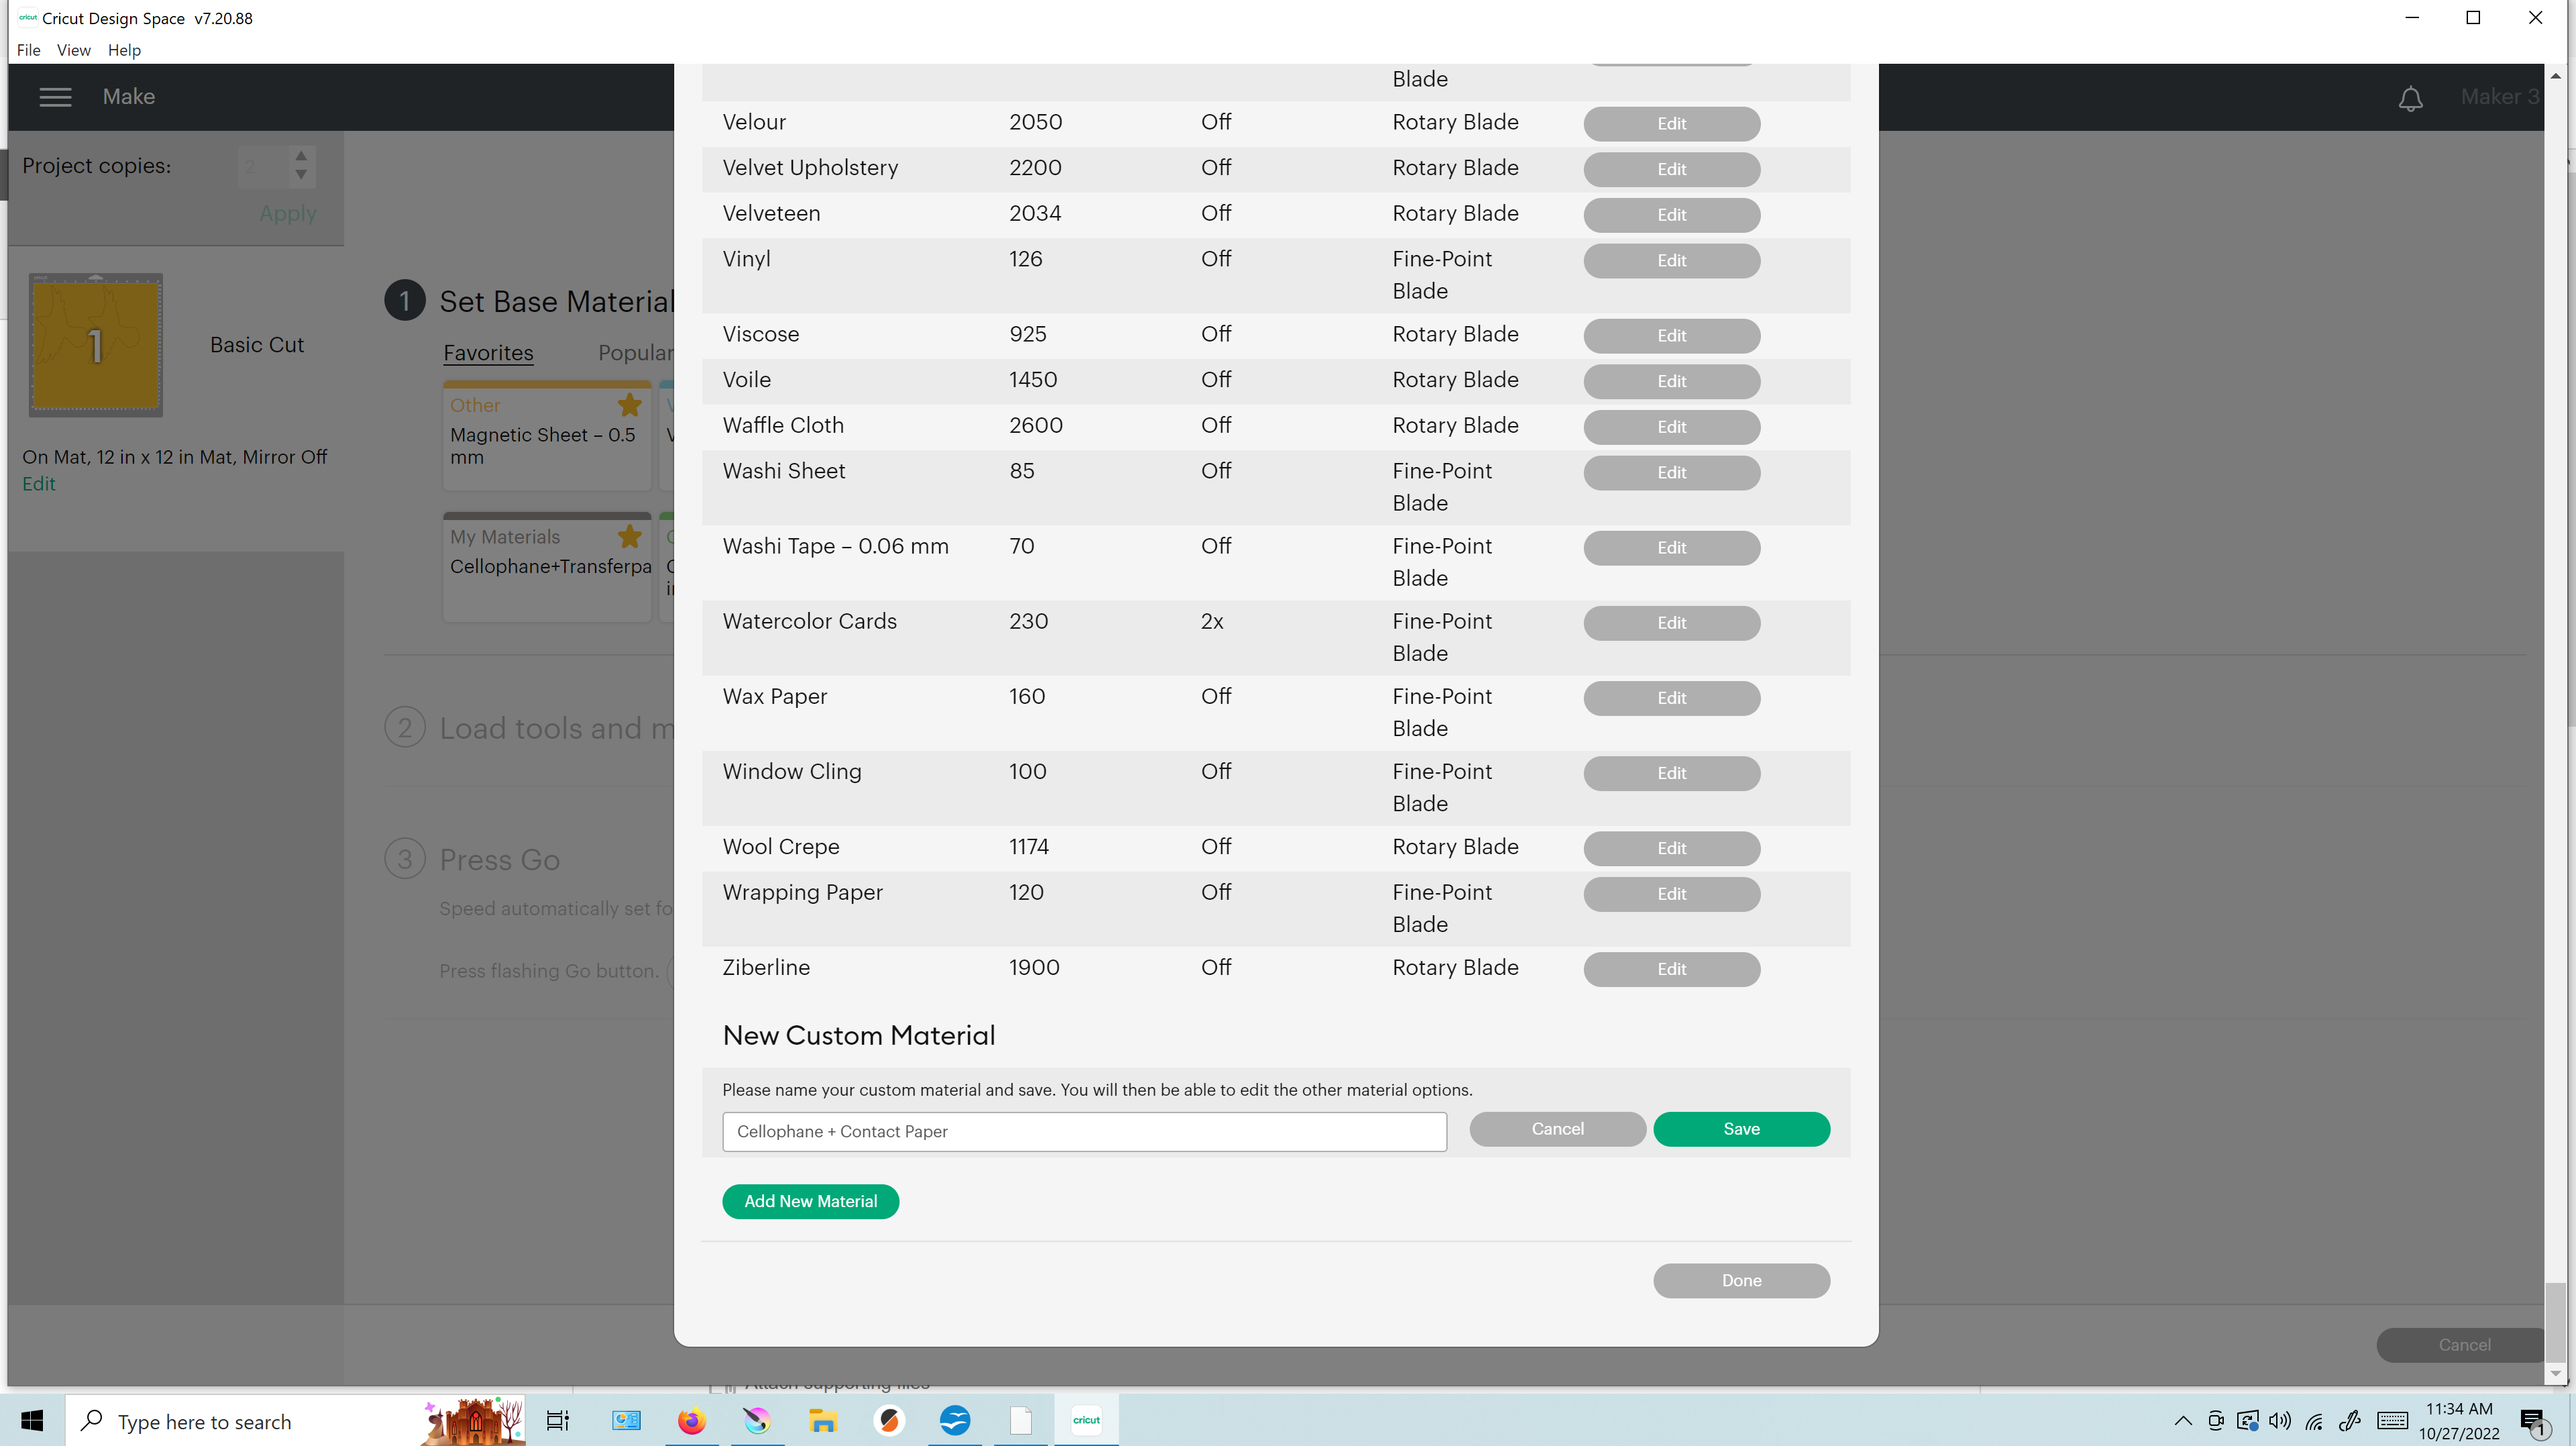
The cut setting for cellophane + contact paper that has given me the best results has been a custom setting at 150 pressure with 2x cut turned on. Creating a custom material setting only needs to be done once. While on the "Set Base Material" screen, click "browse materials". Now scroll all the way to the bottom and click "Add New Material". Enter the name for your profile, in this case: cellophane + contact paper. Now scroll up to find the the new profile in the list by alphabet, then click "edit". Set the pressure to 150. Select "2x cut" and "fine point blade" from the drop down menus. Click the star to favorite the profile so that it can always be seen on the "Select Base Materials" screen.
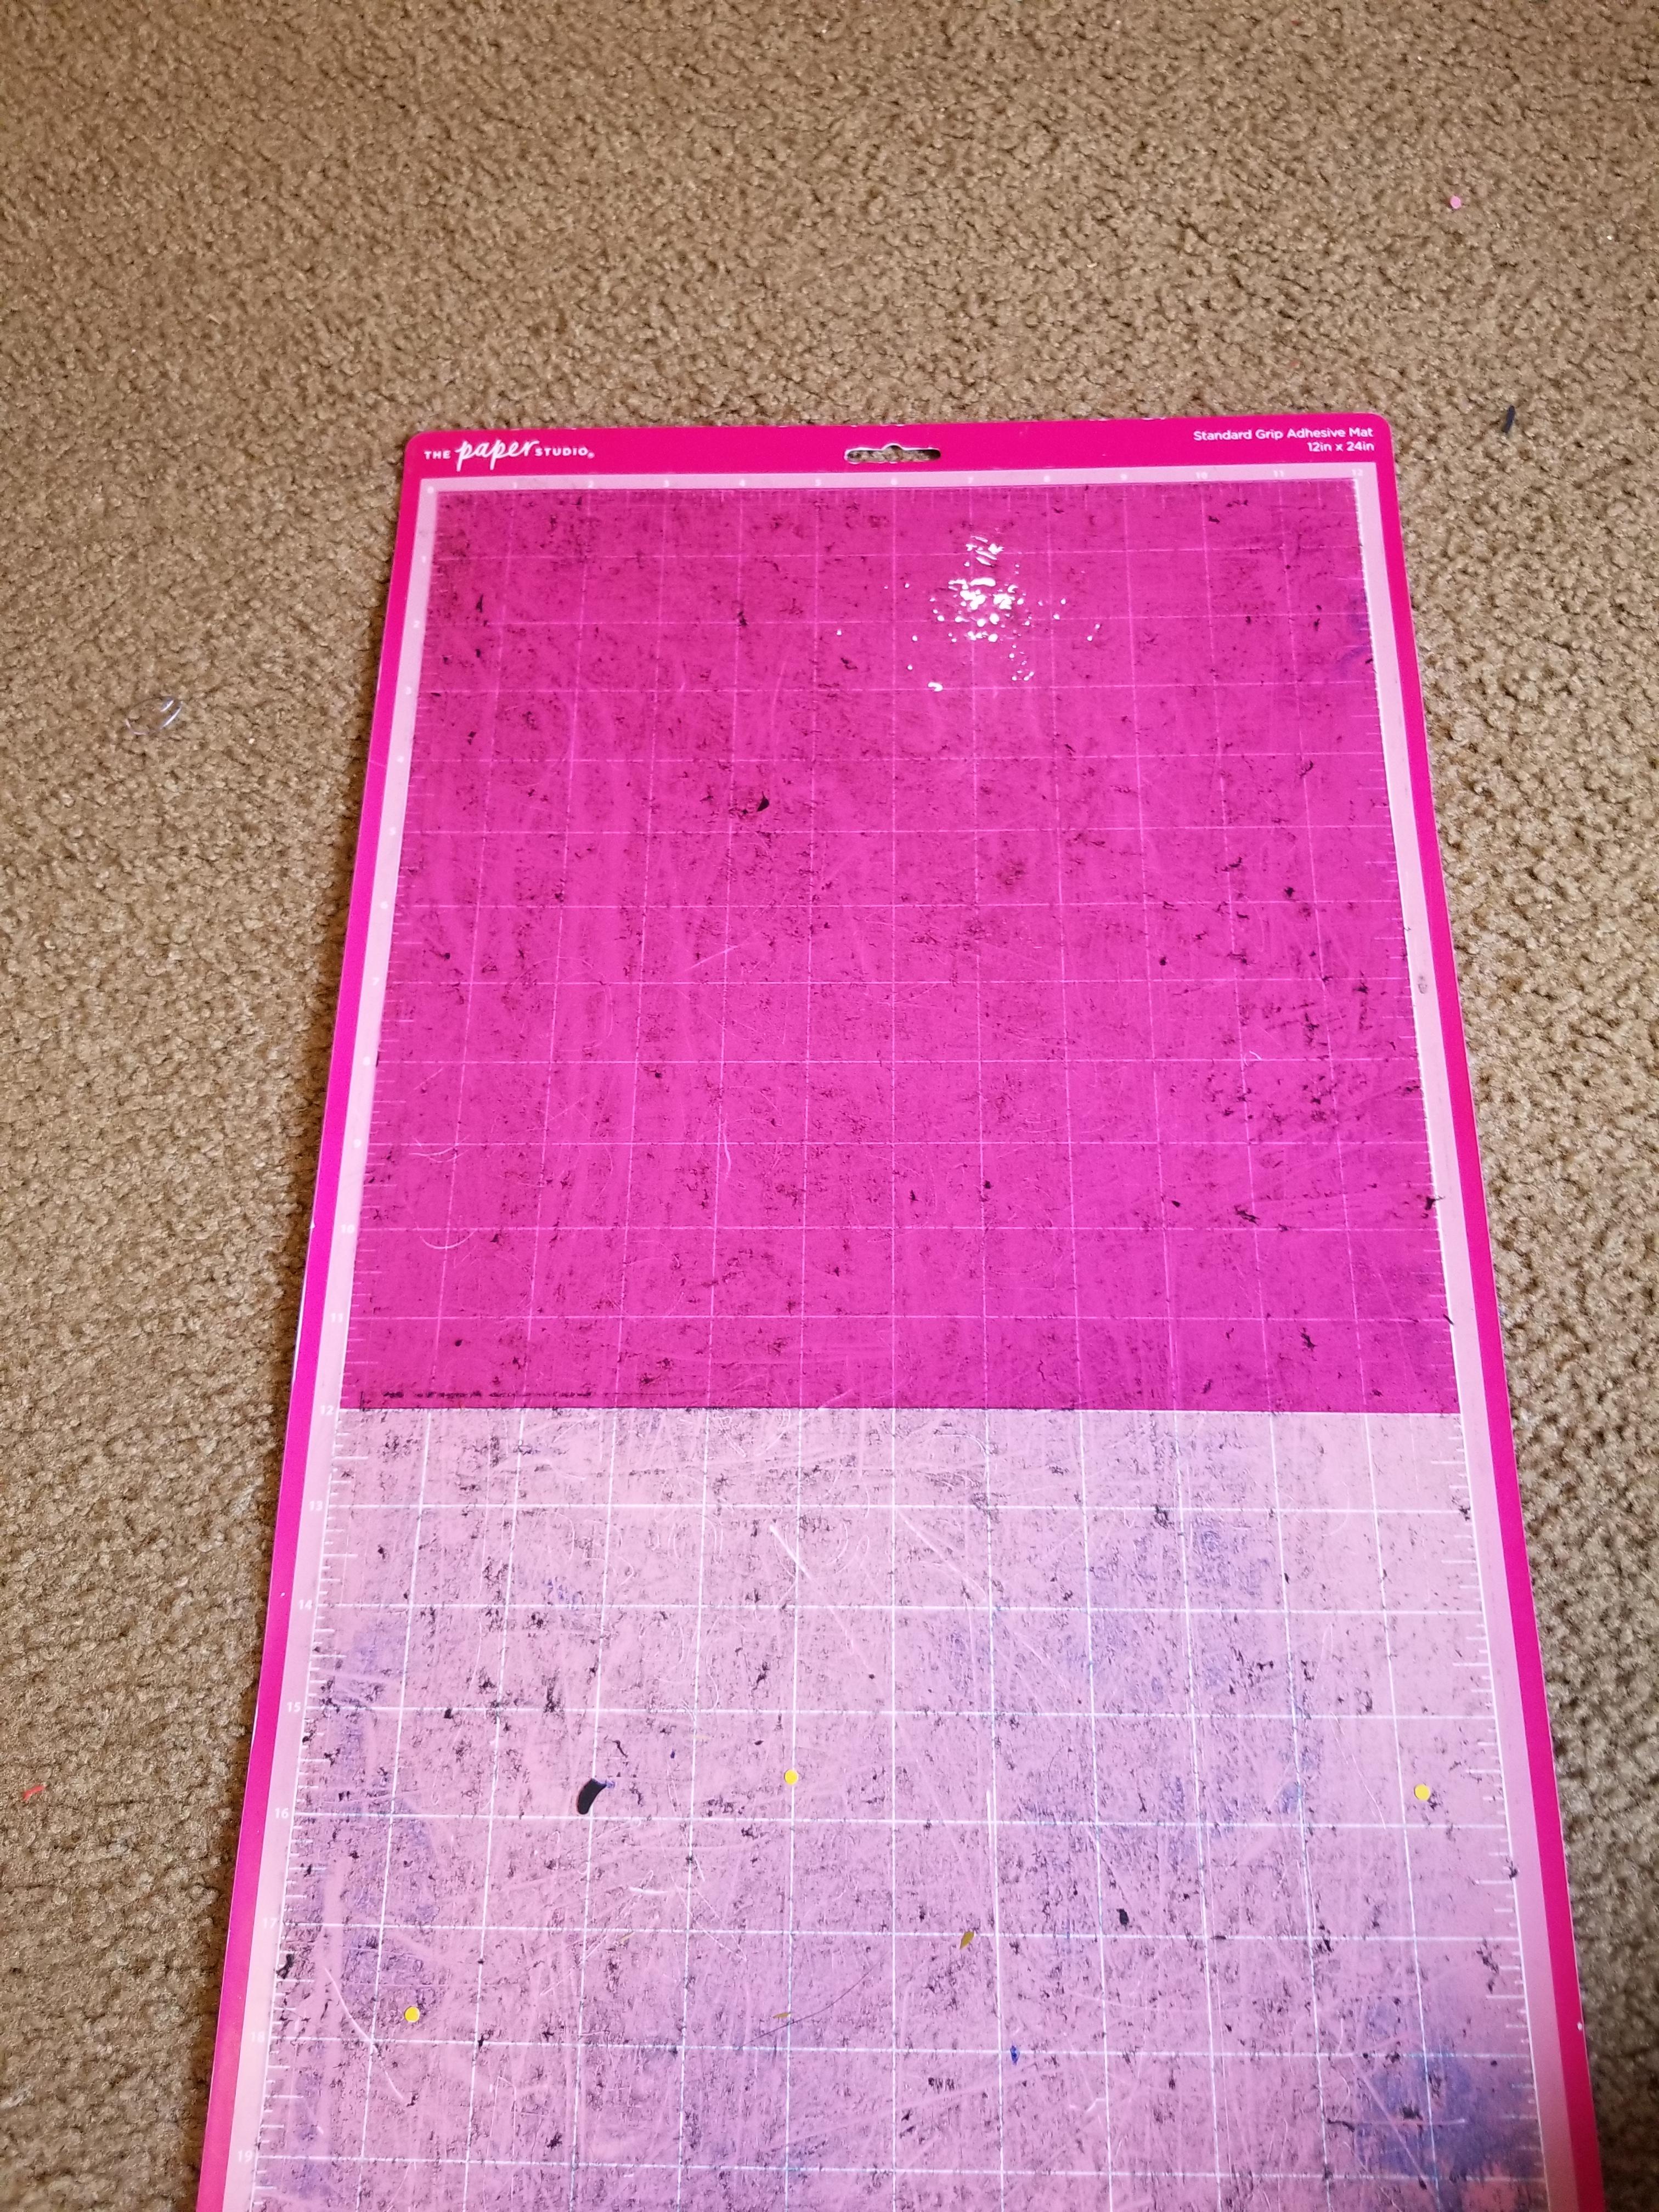
Setting the cellophane sheet onto the mat squarely can be a challenge but I have not found a better way to do it than to go slow, be careful and don't sweat scrapping a piece and trying again. The cellophane includes the little white card tool that helps to get it down flat. Set the 12" cellophane square centered on the work area of the cricut mat.
The clear laminate goes down on top of the cellophane. The extra thickness gives the piece some stiffness that makes it easier to handle and assemble. The cut image will only extend down to the 8" line so the contact paper only covers the part of the material where the fill image will be cut.
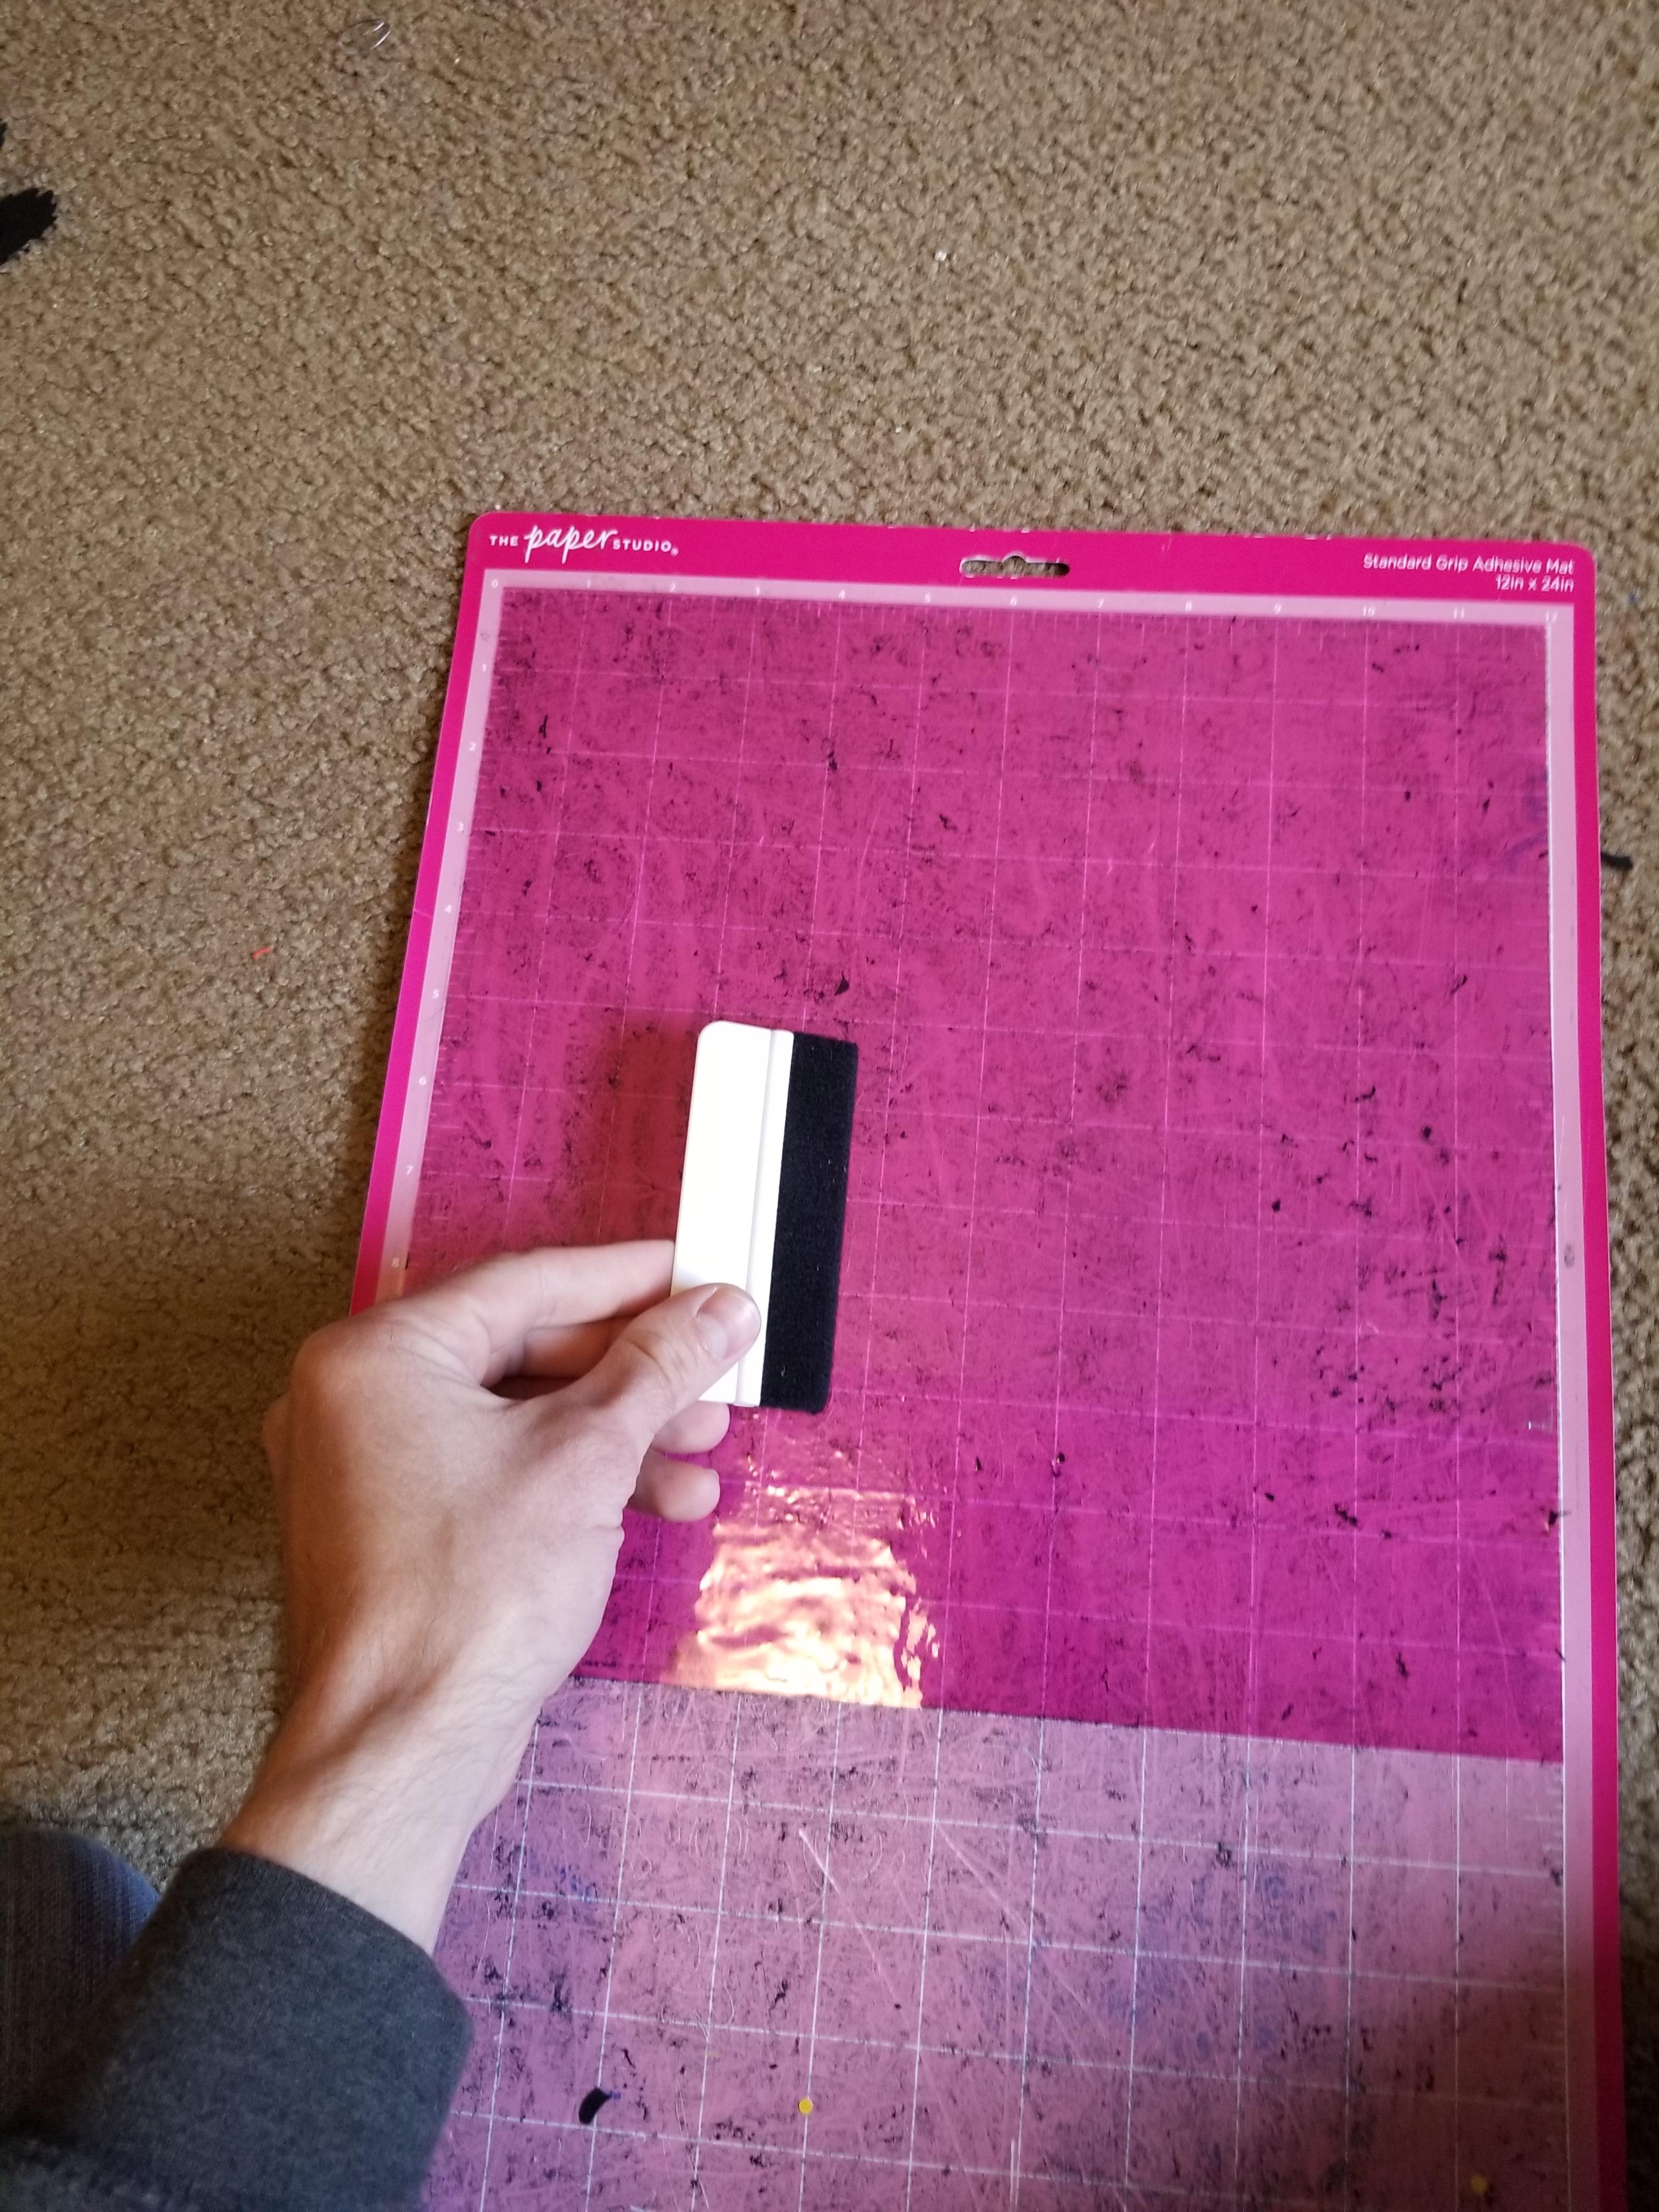
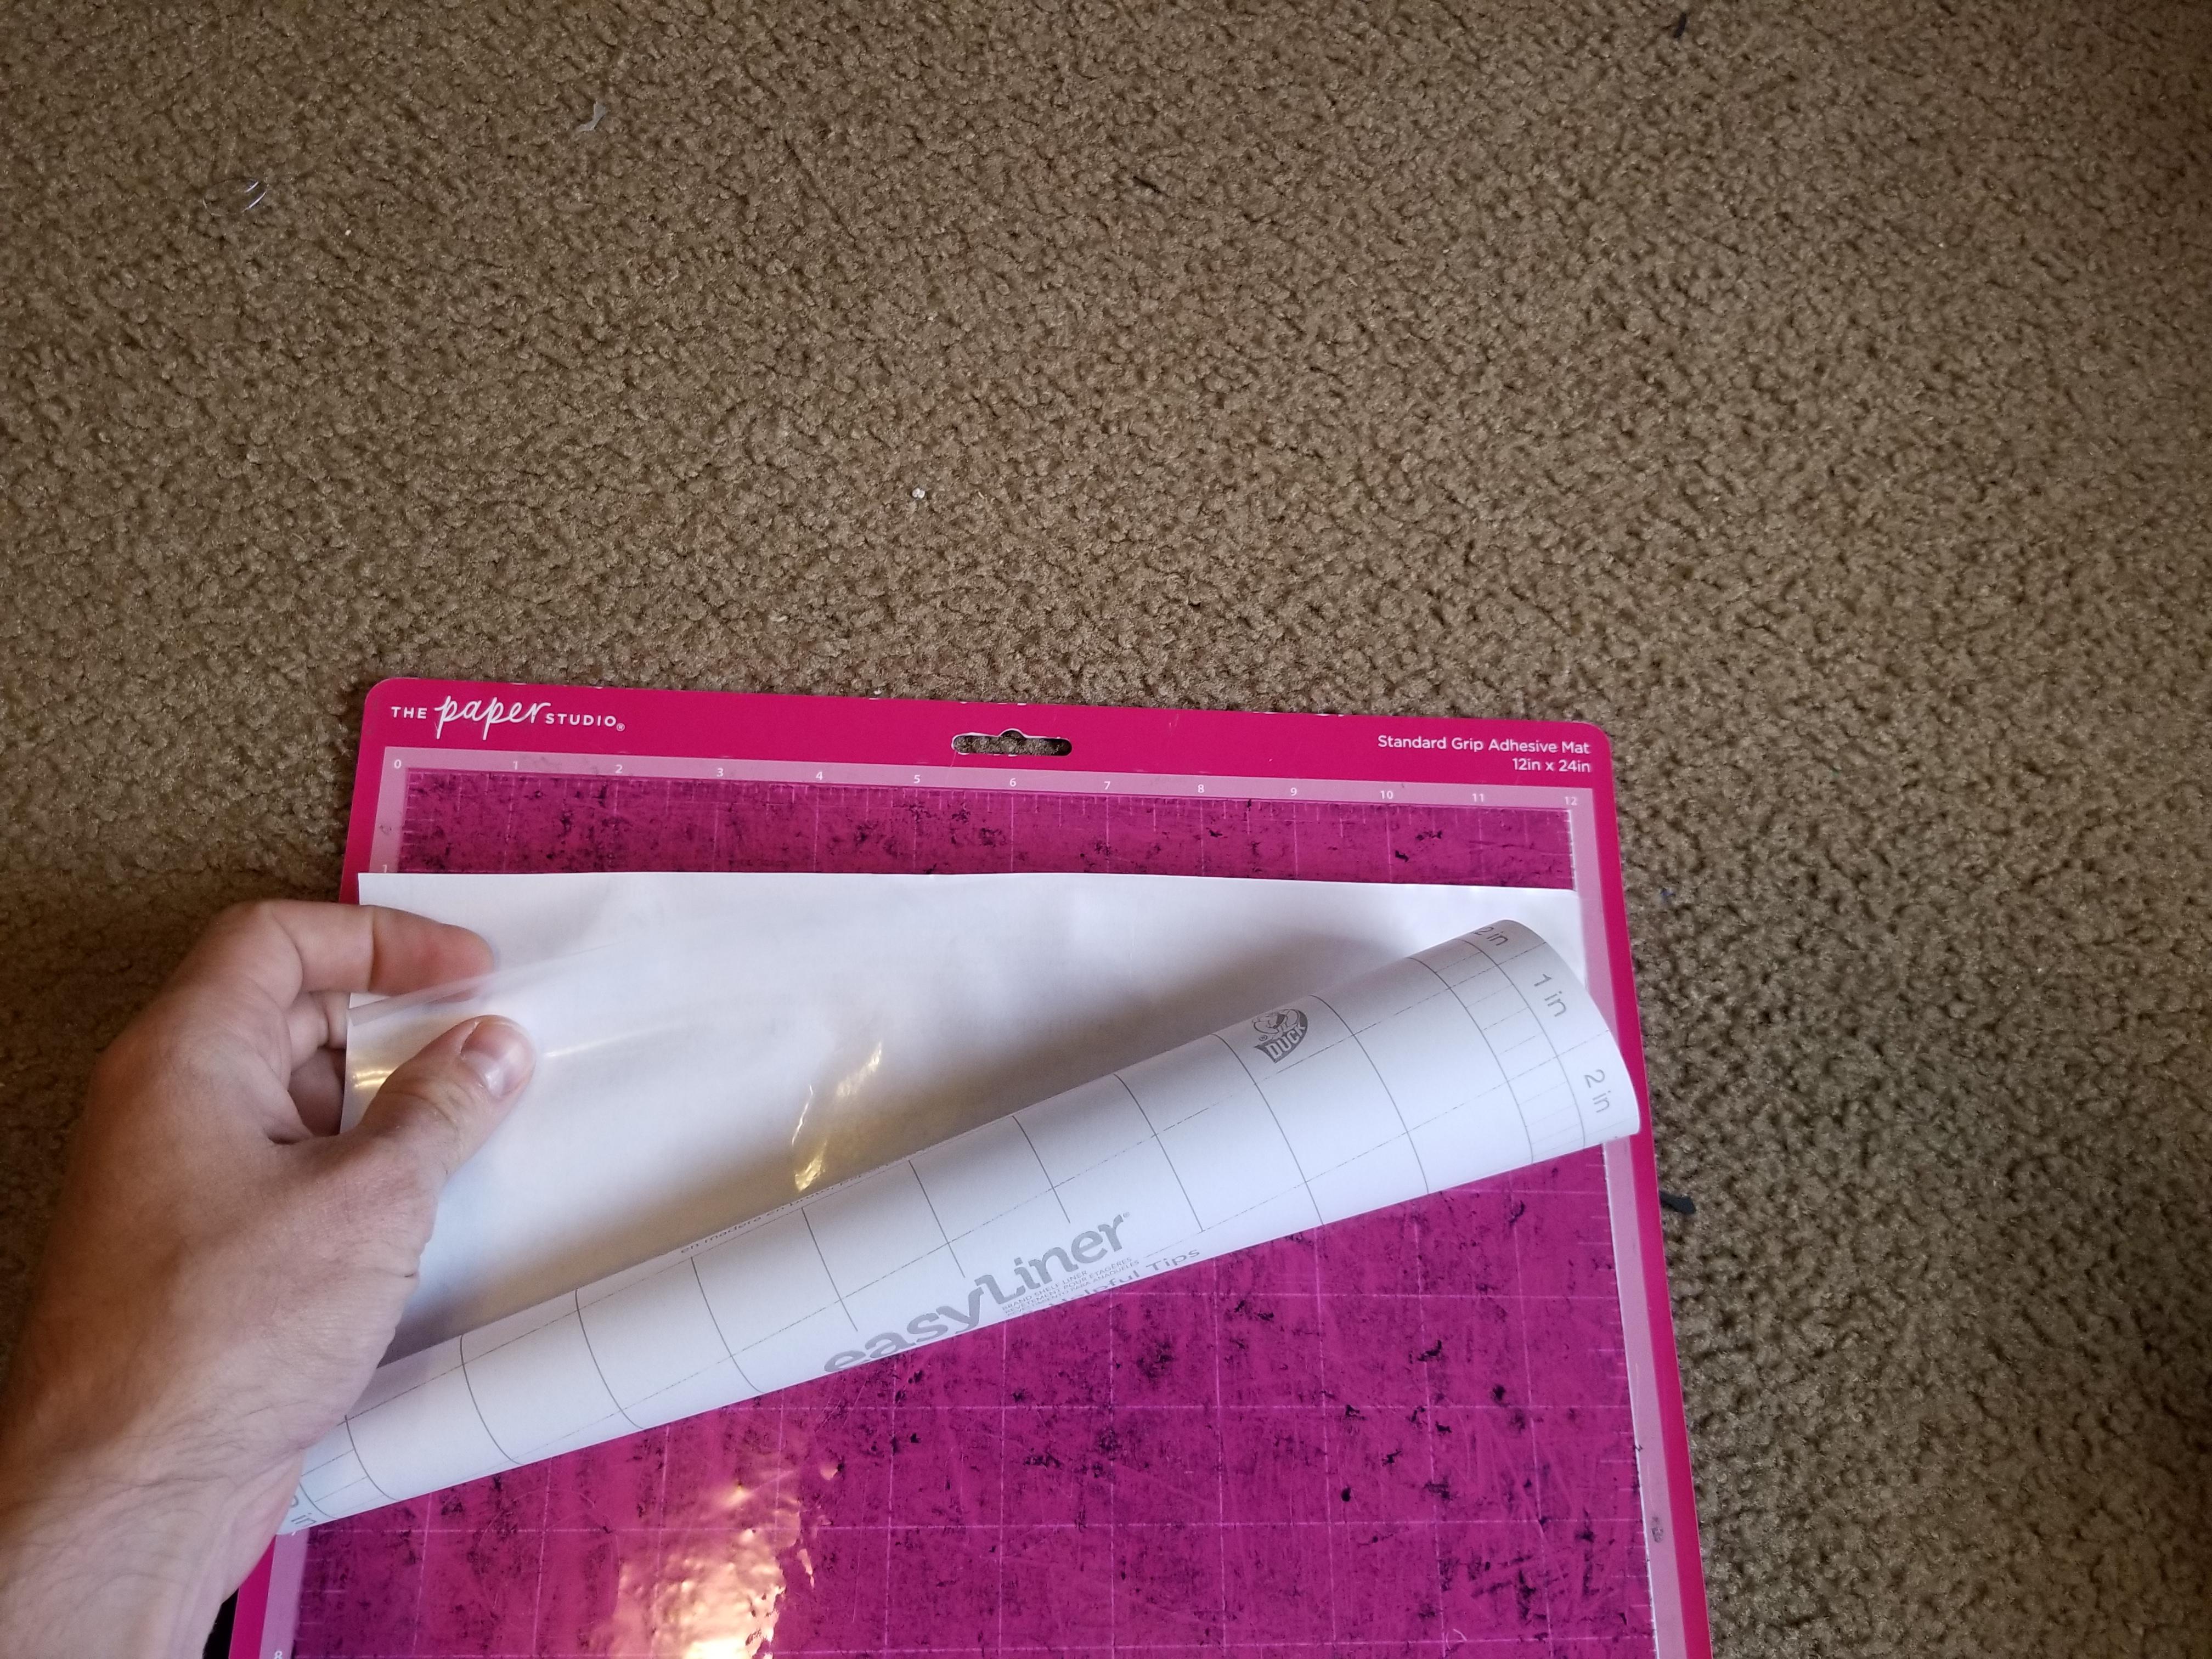
Start by peeling back the first inch or two of backing from the laminate paper. Stick the exposed adhesive down on top of the cellophane with the corners alligned, edges alligned between the sides of the cellophane, laminate and mat. Genlty peel back the backing paper allowing the adhesive to set onto the cellophane. Use the card tool to remove wrinkles and bubbles.
Glue Outline to Fill Layer
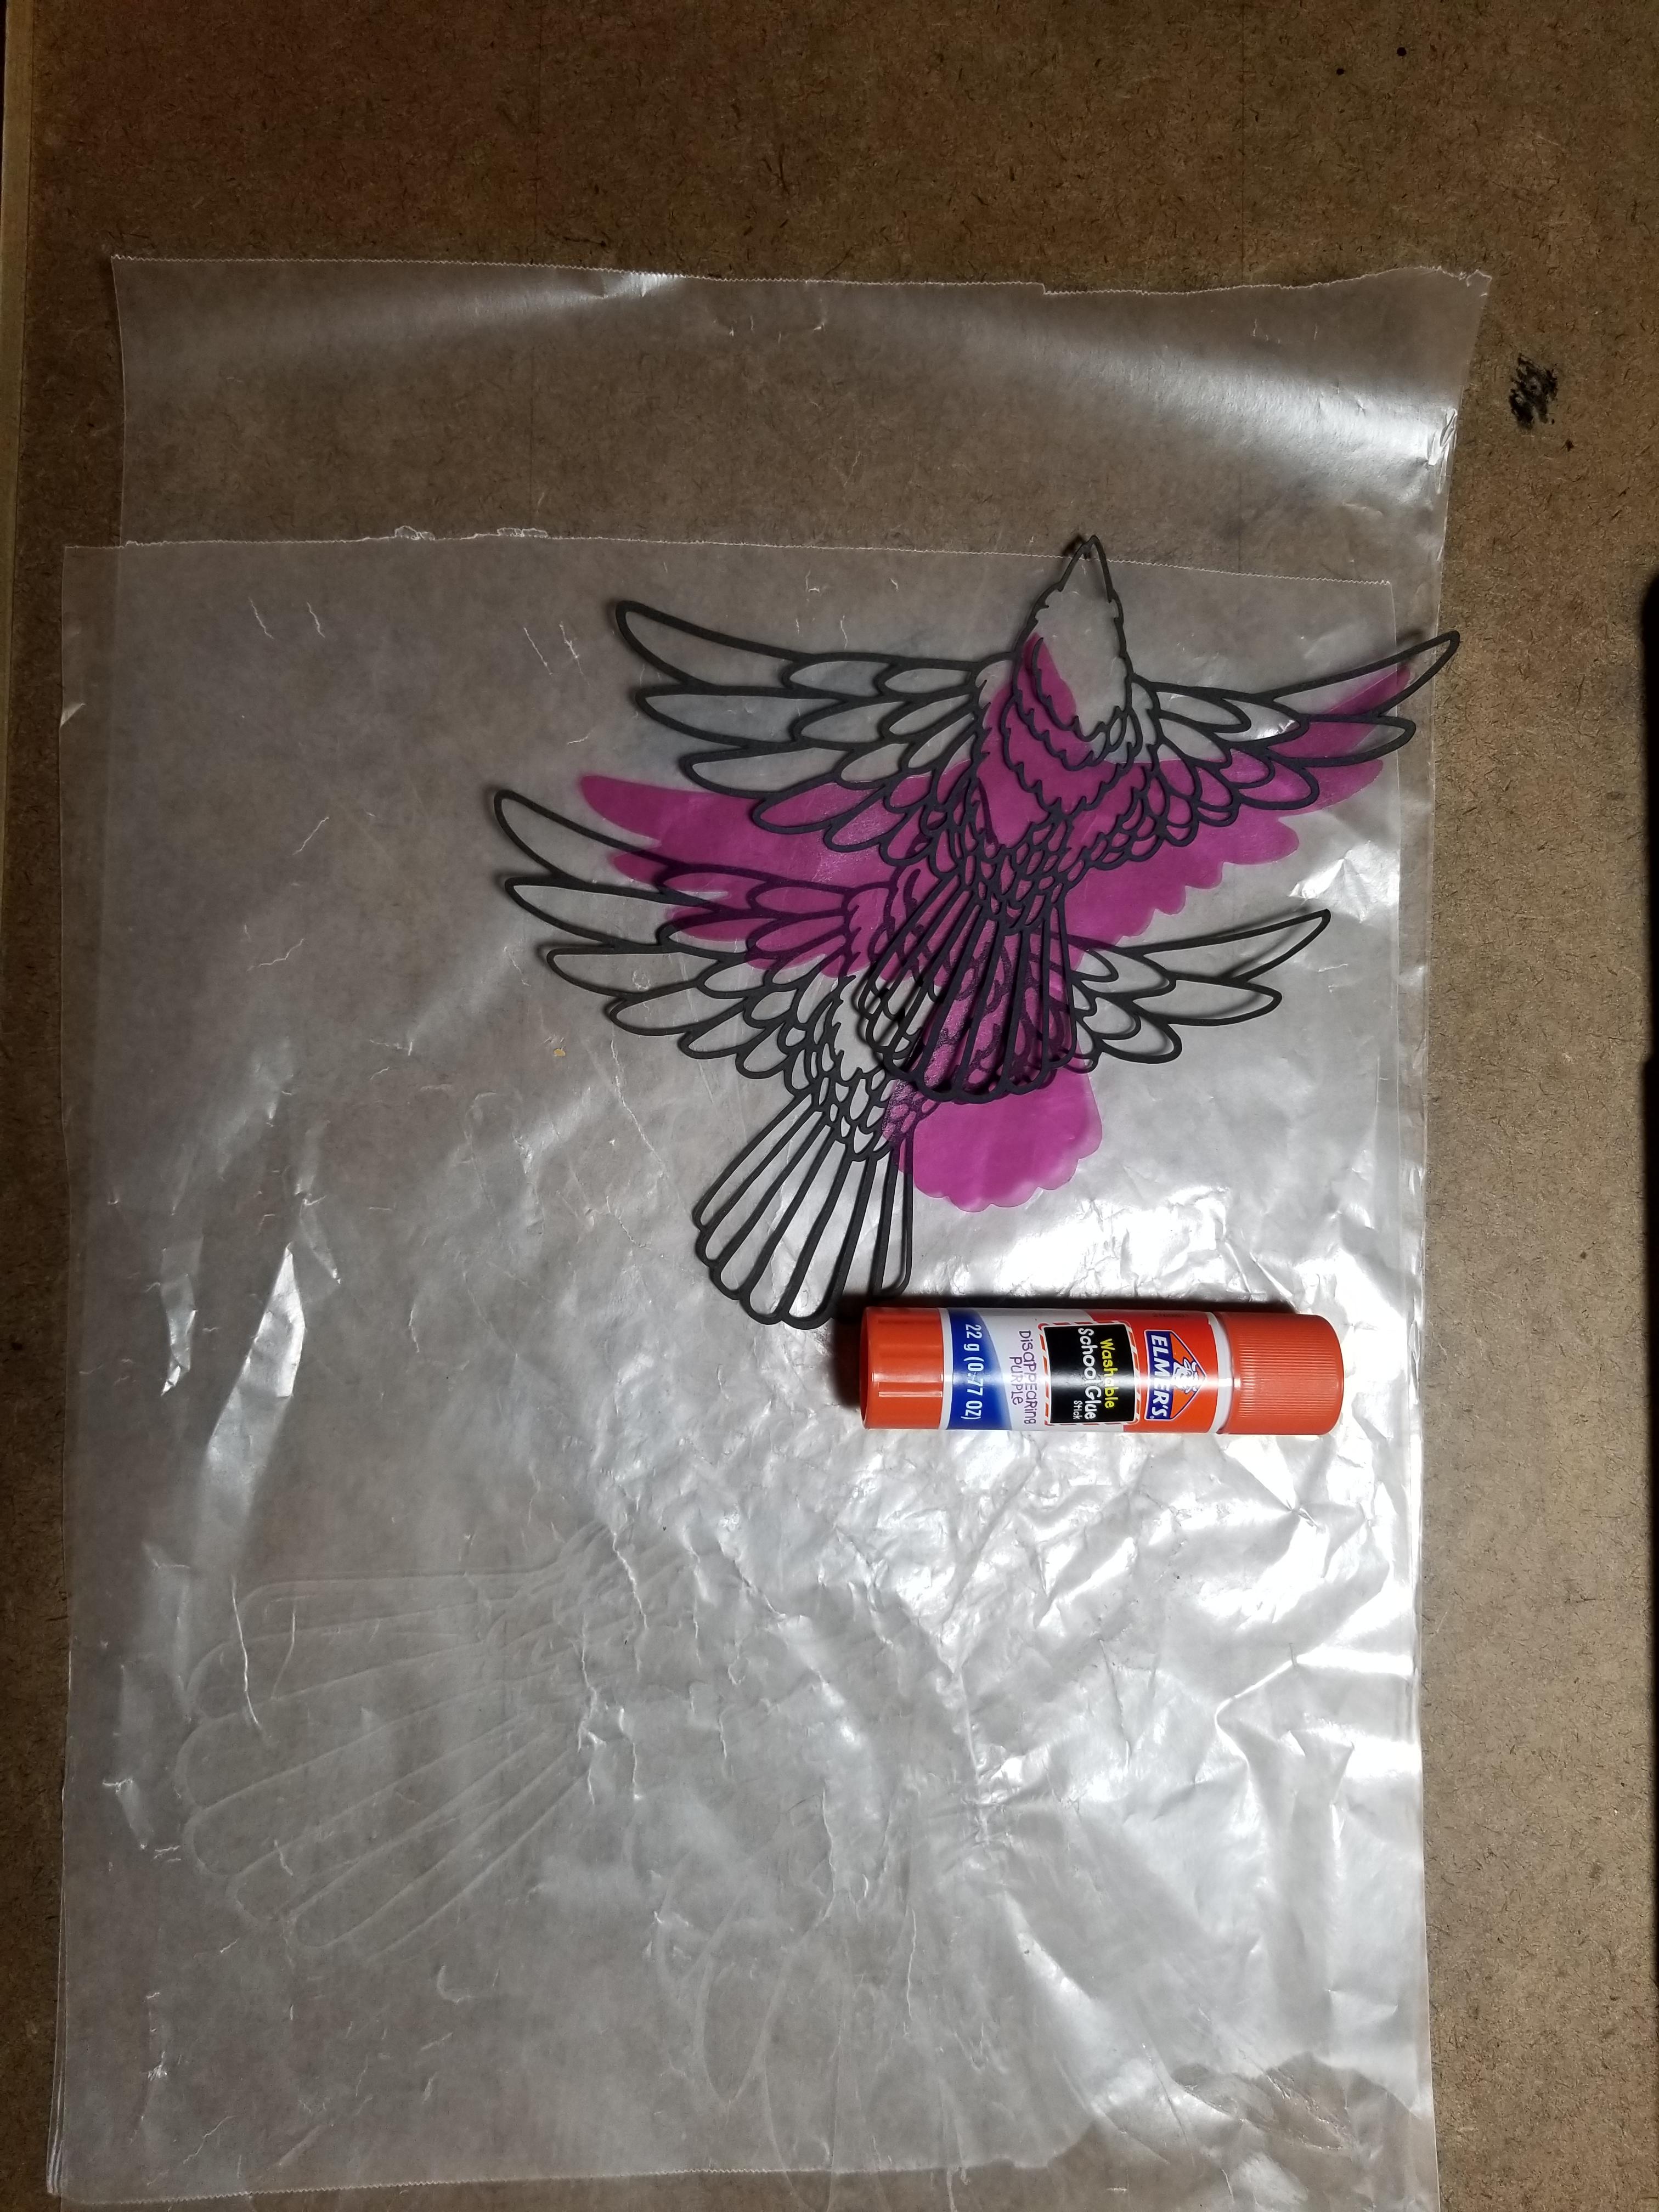
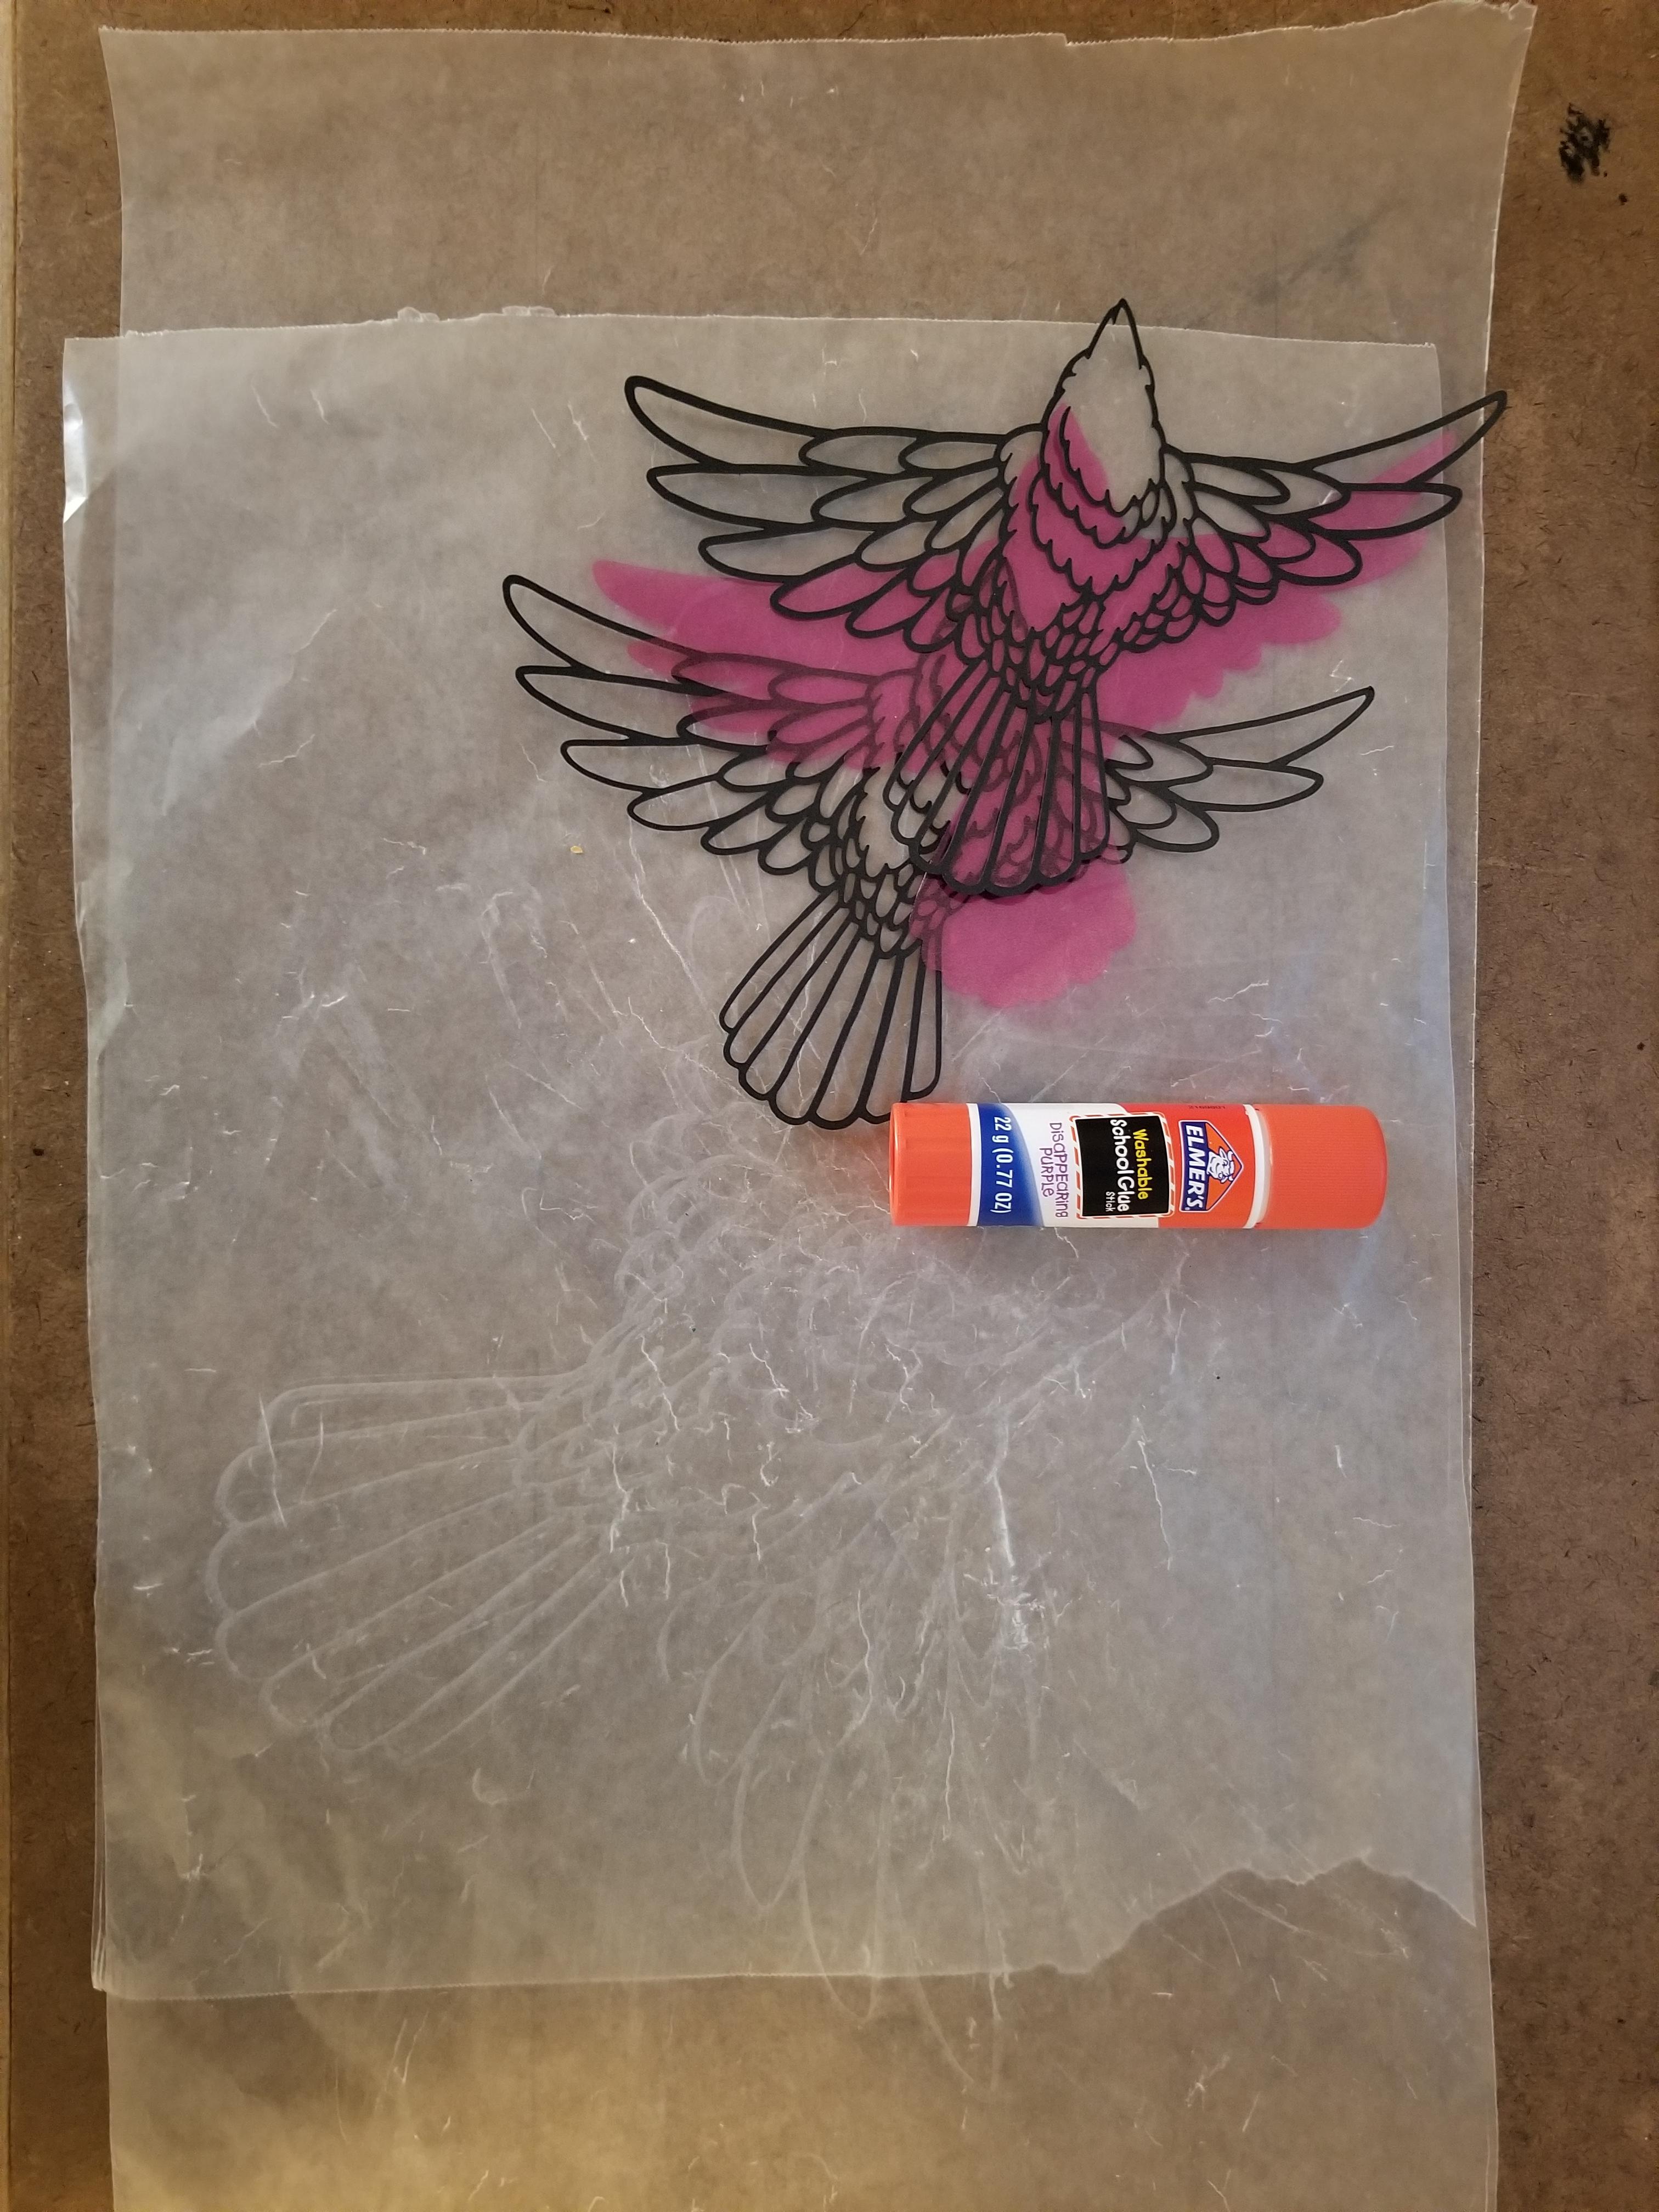
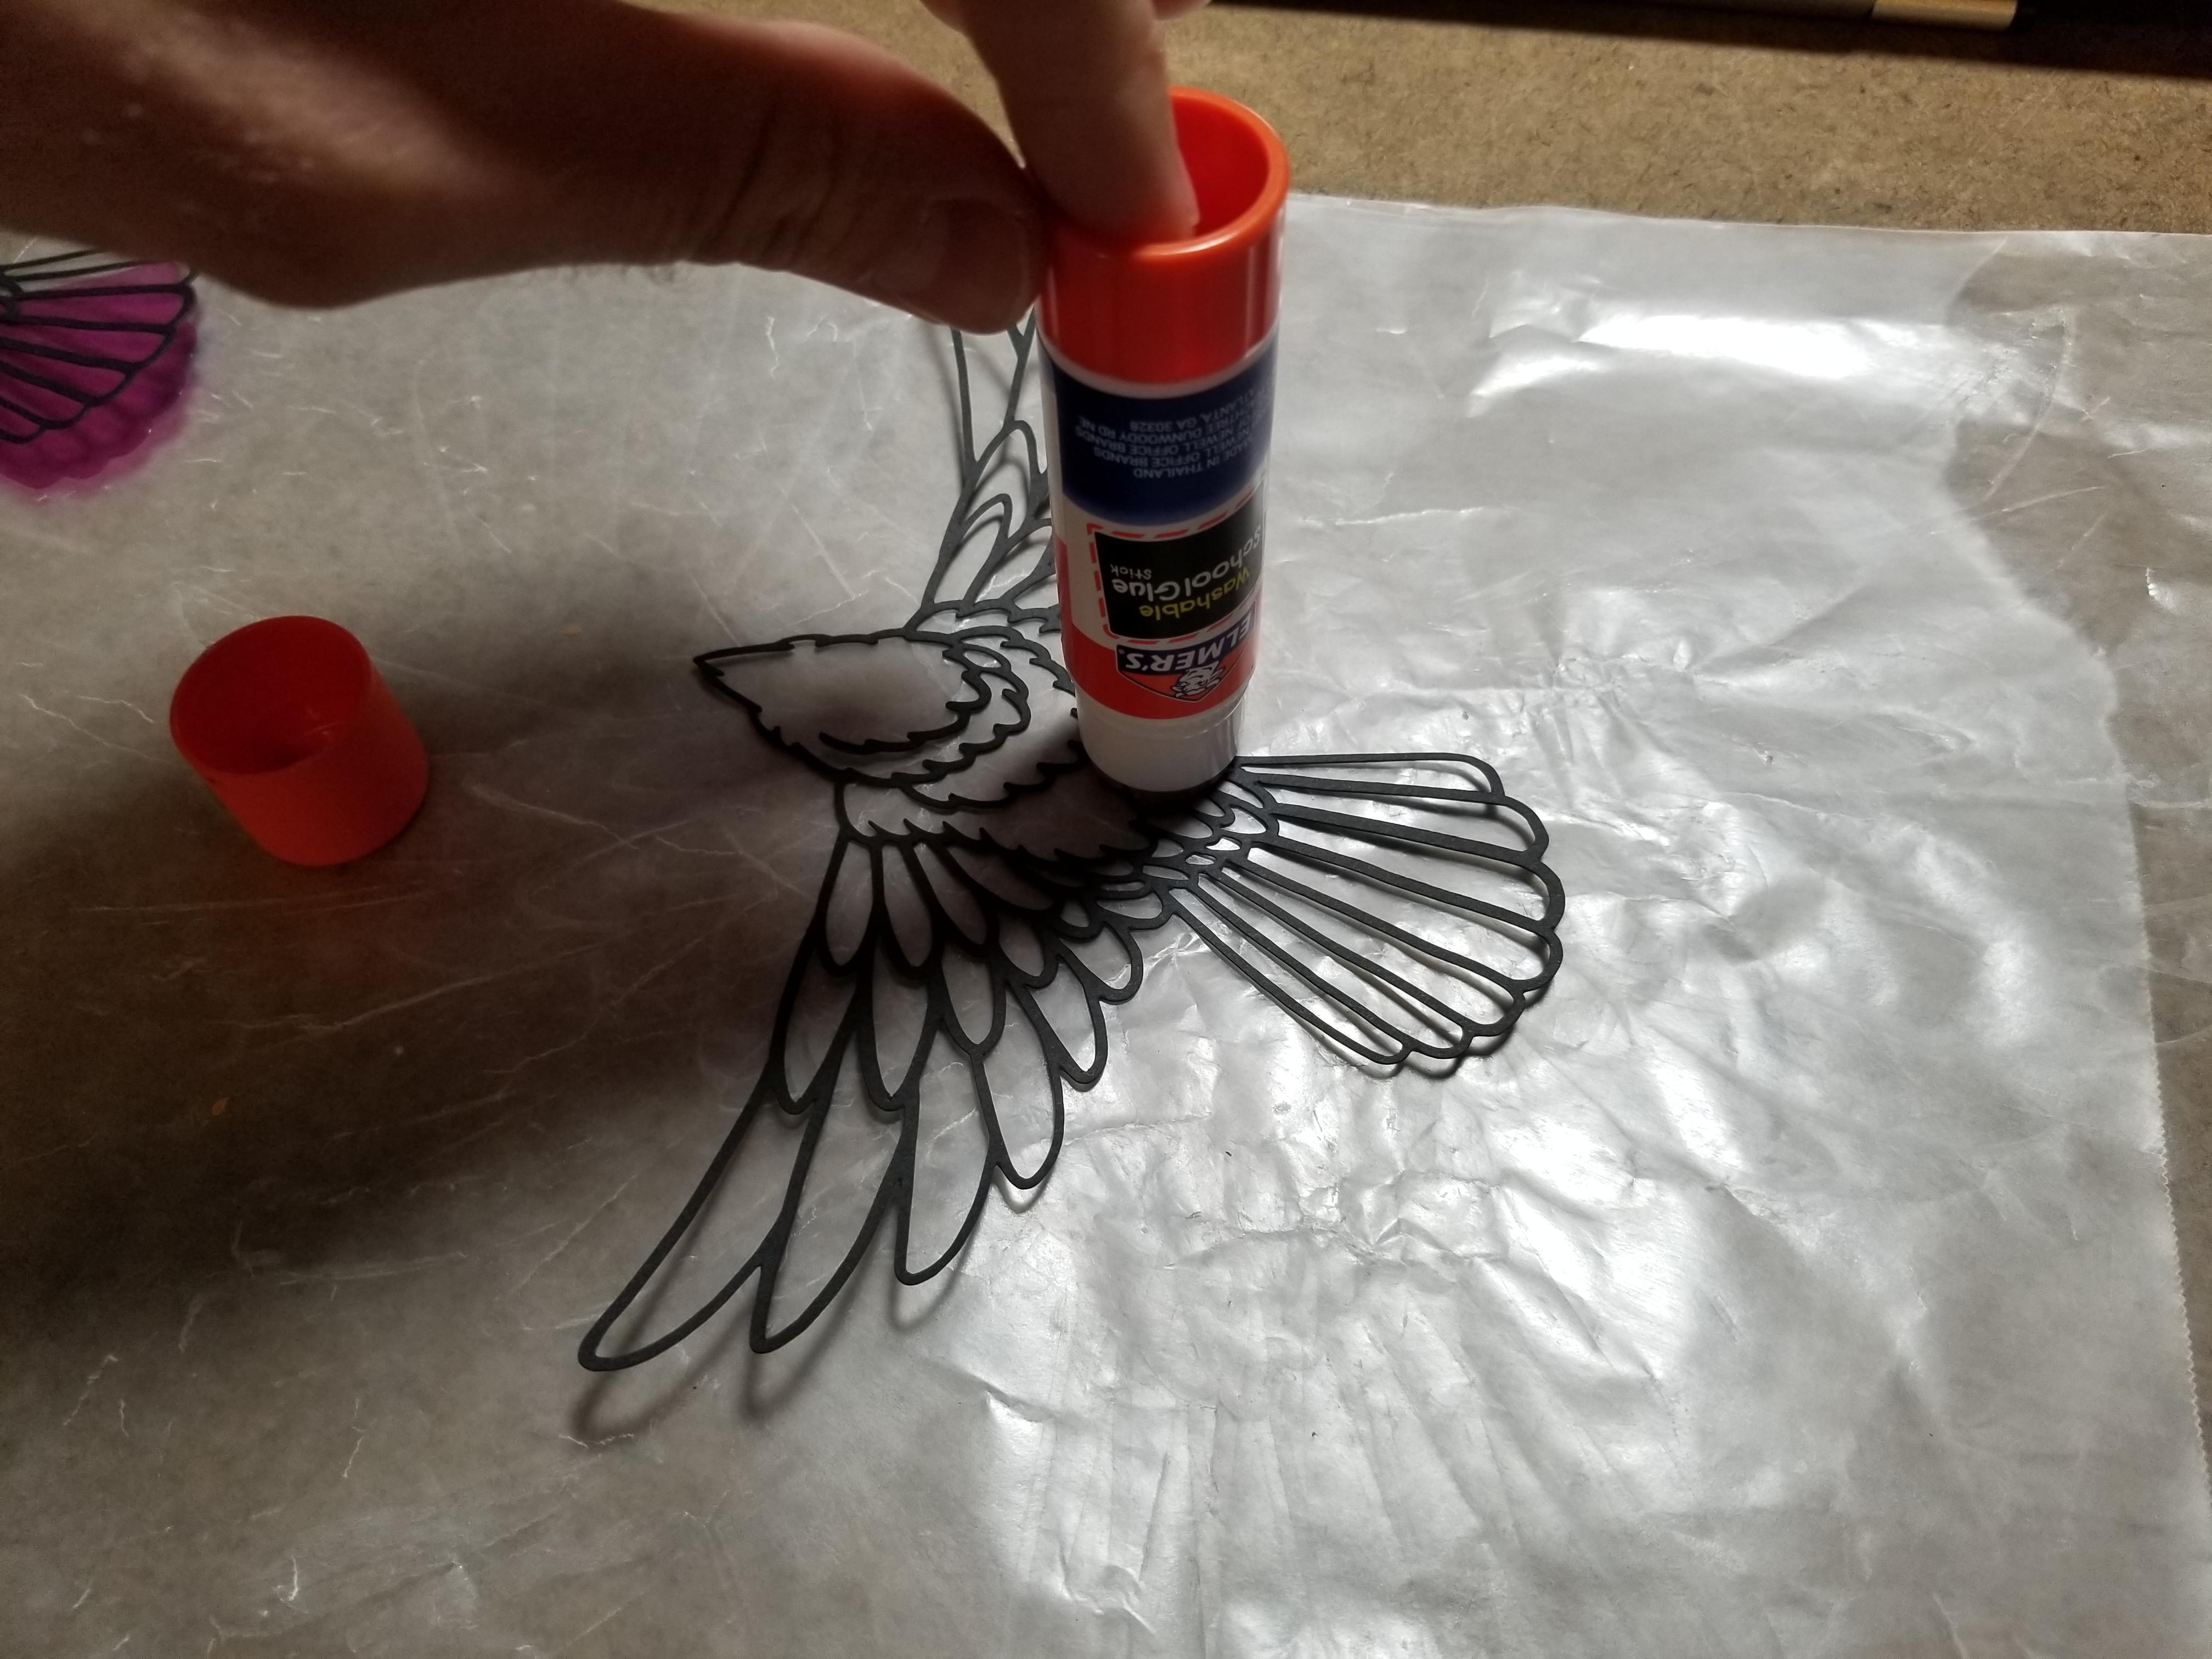
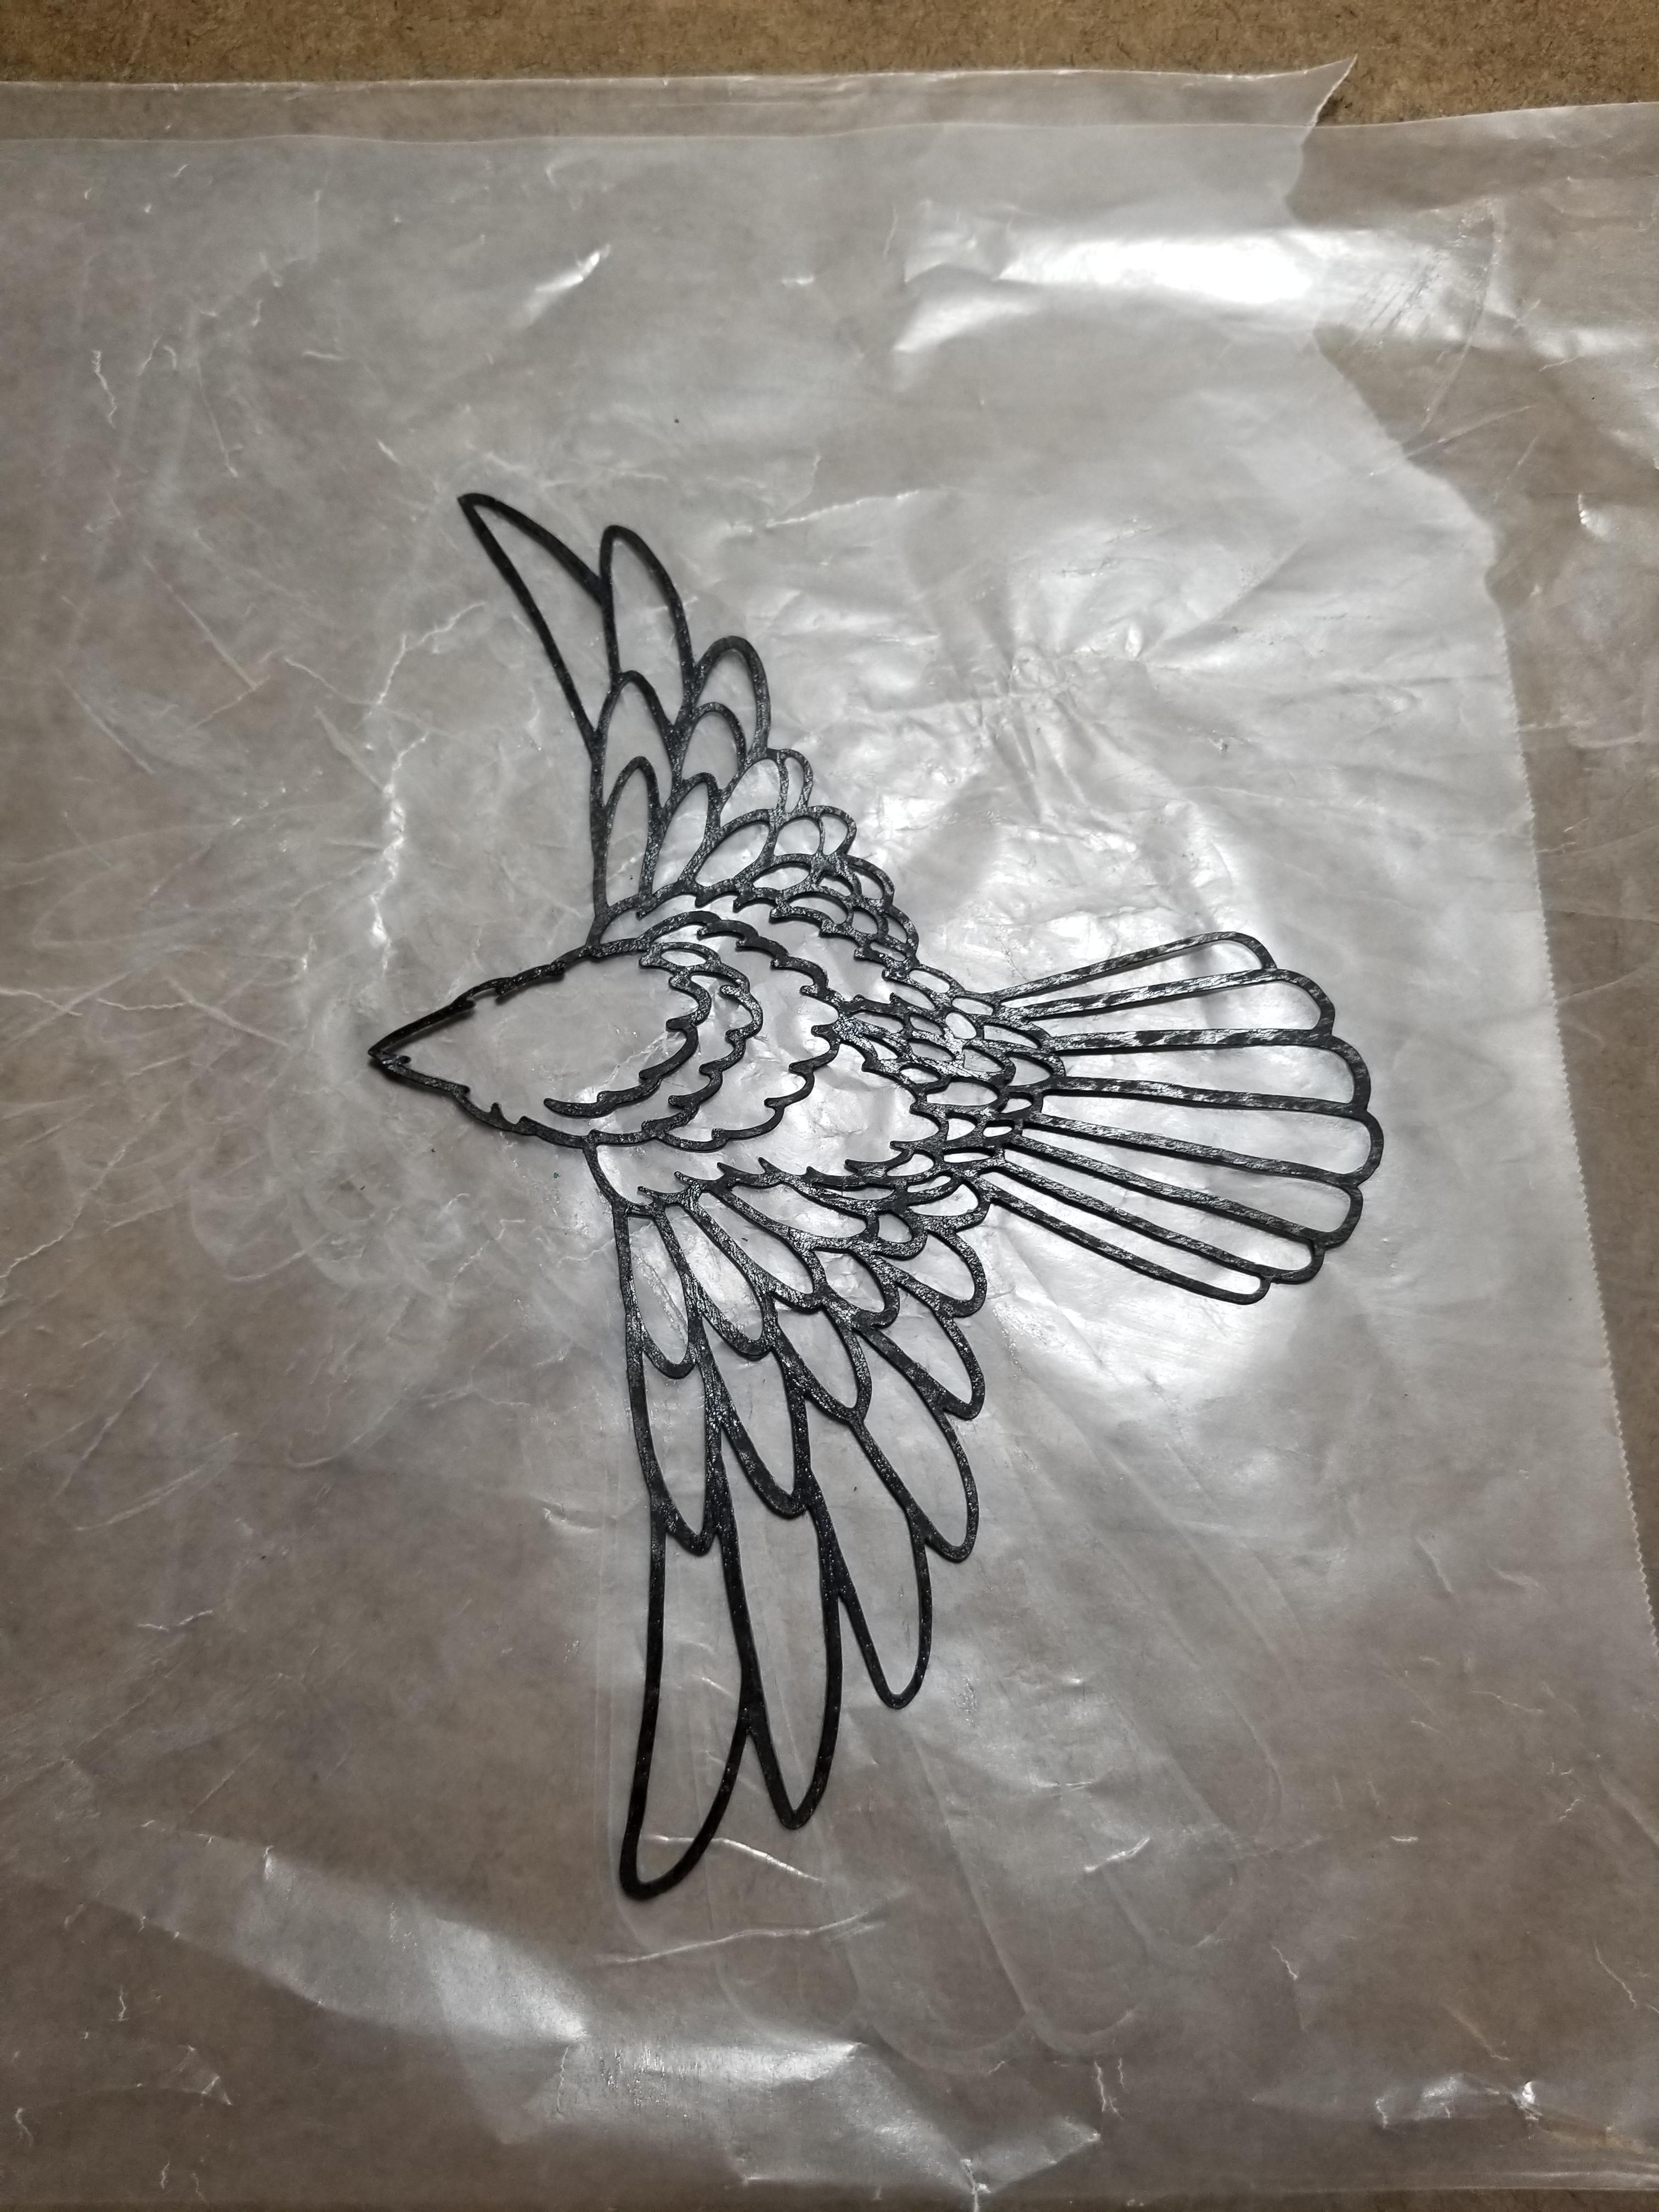
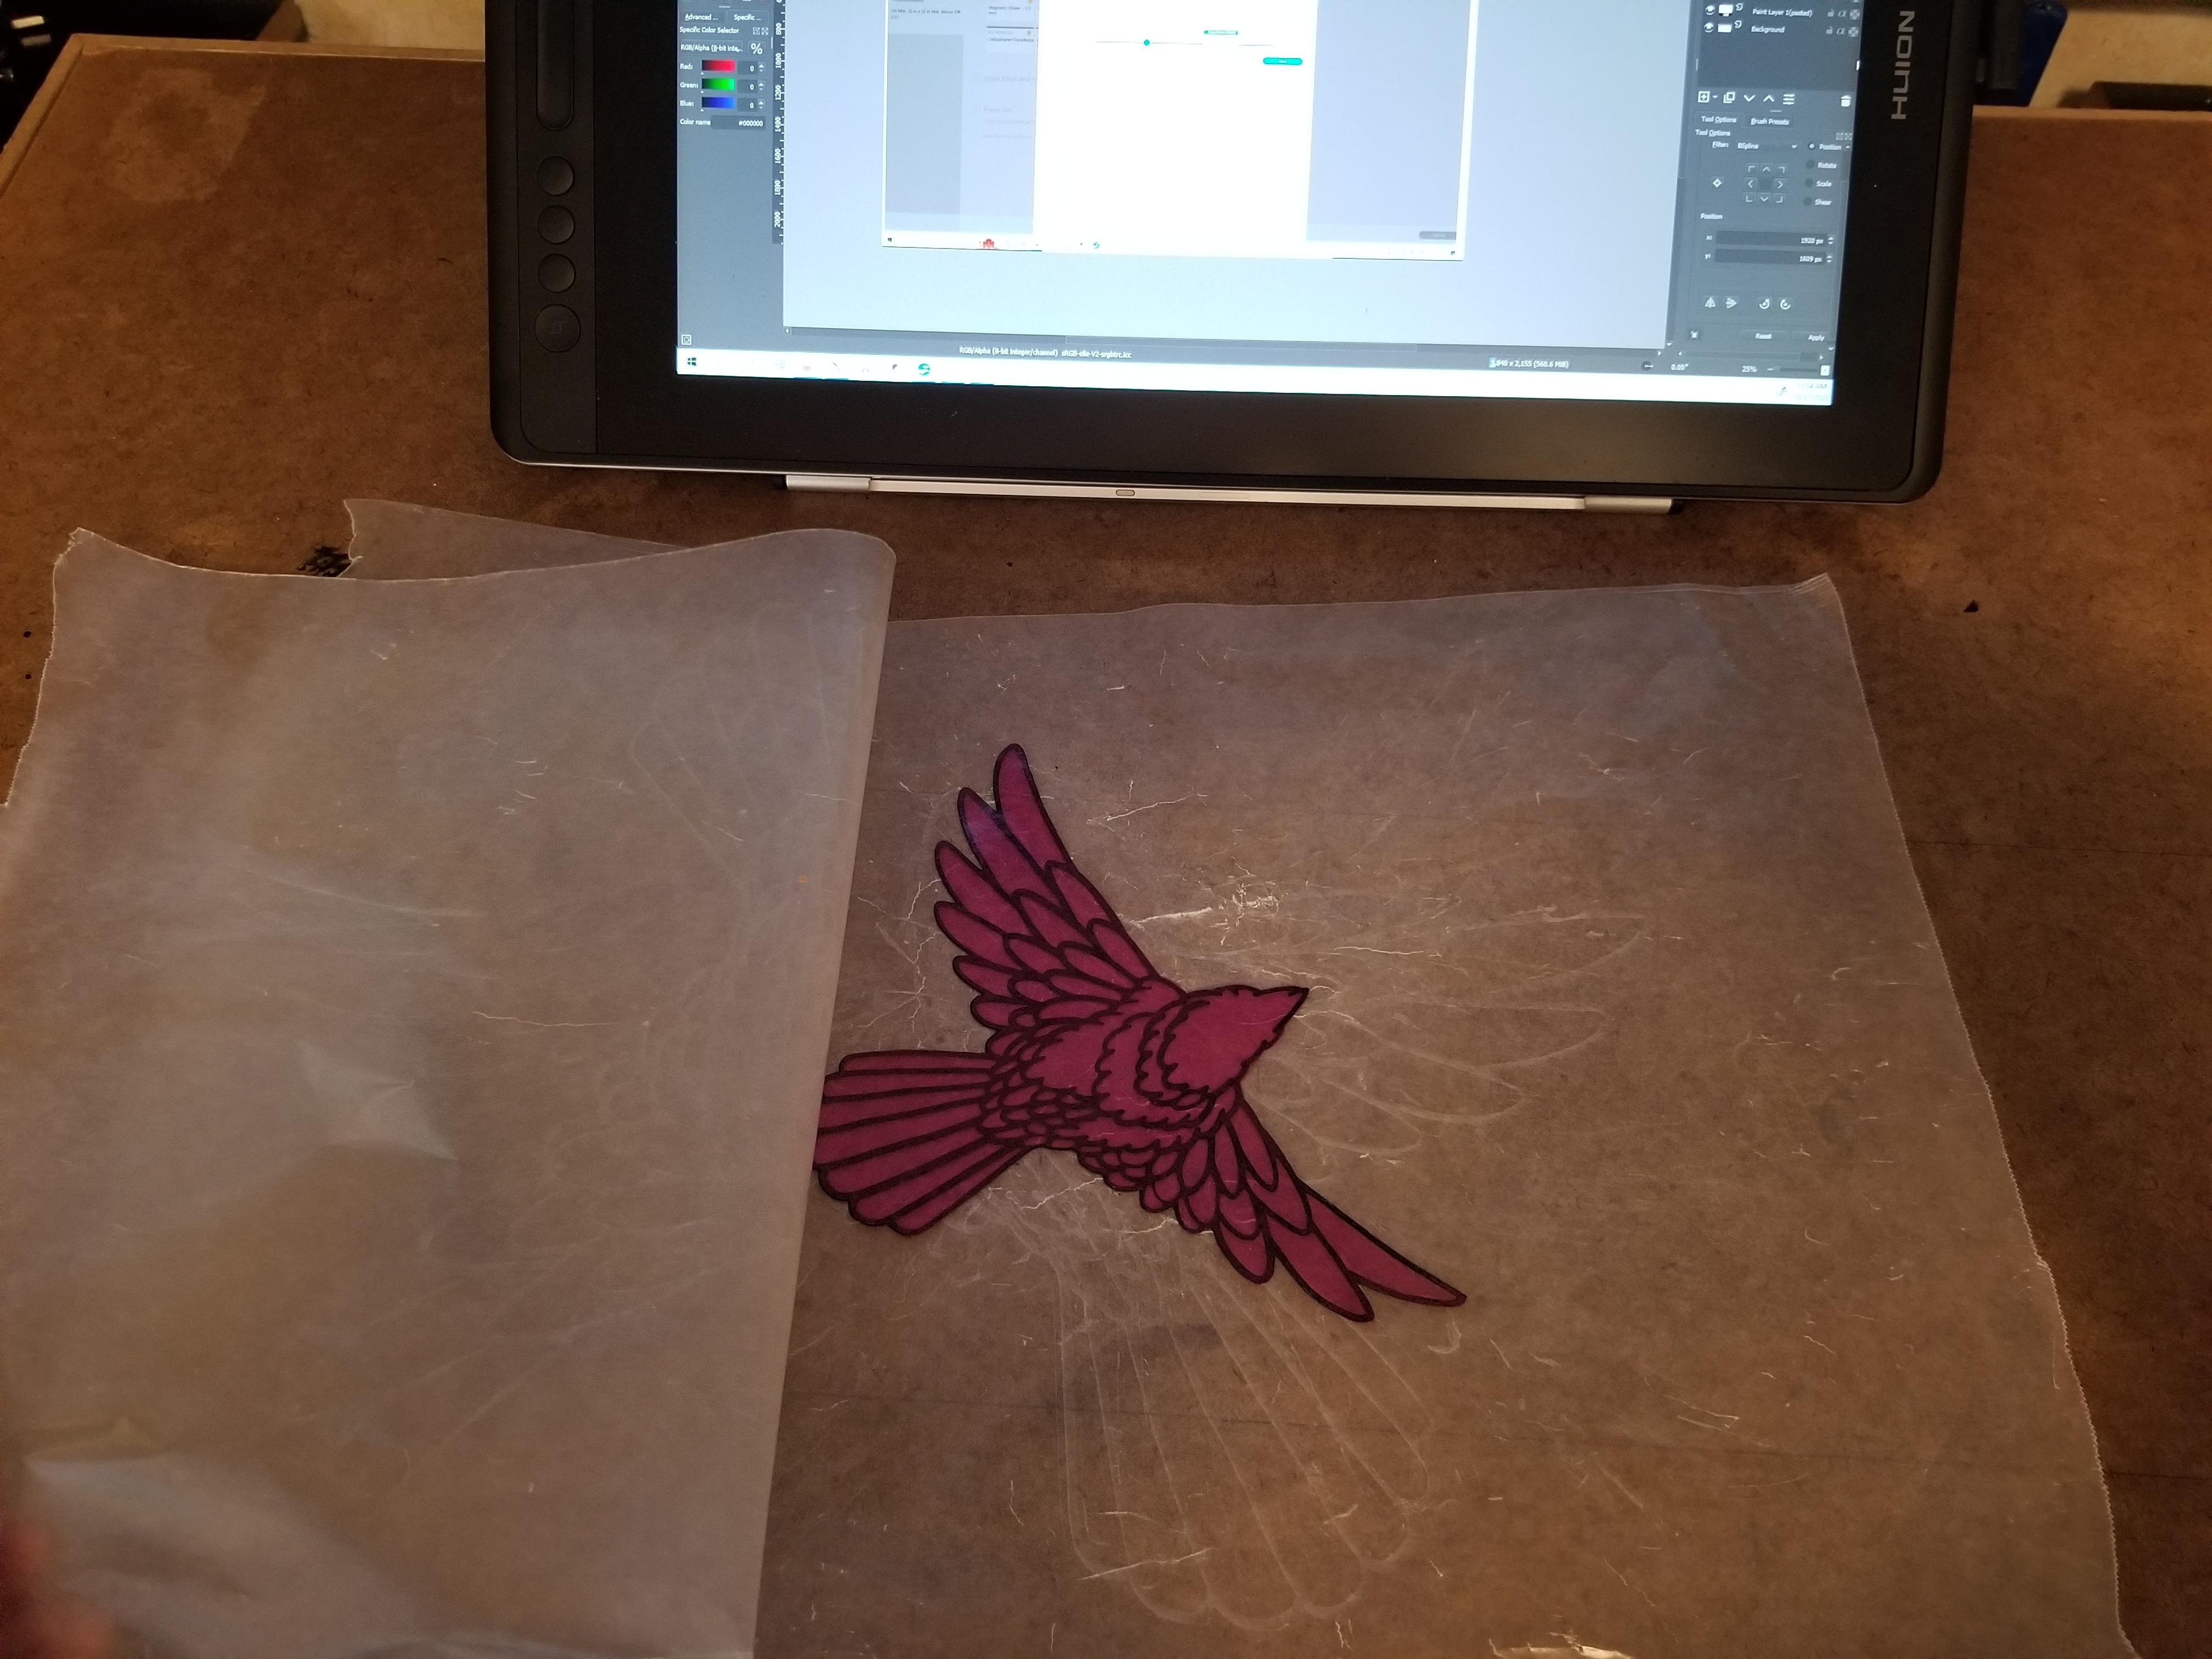
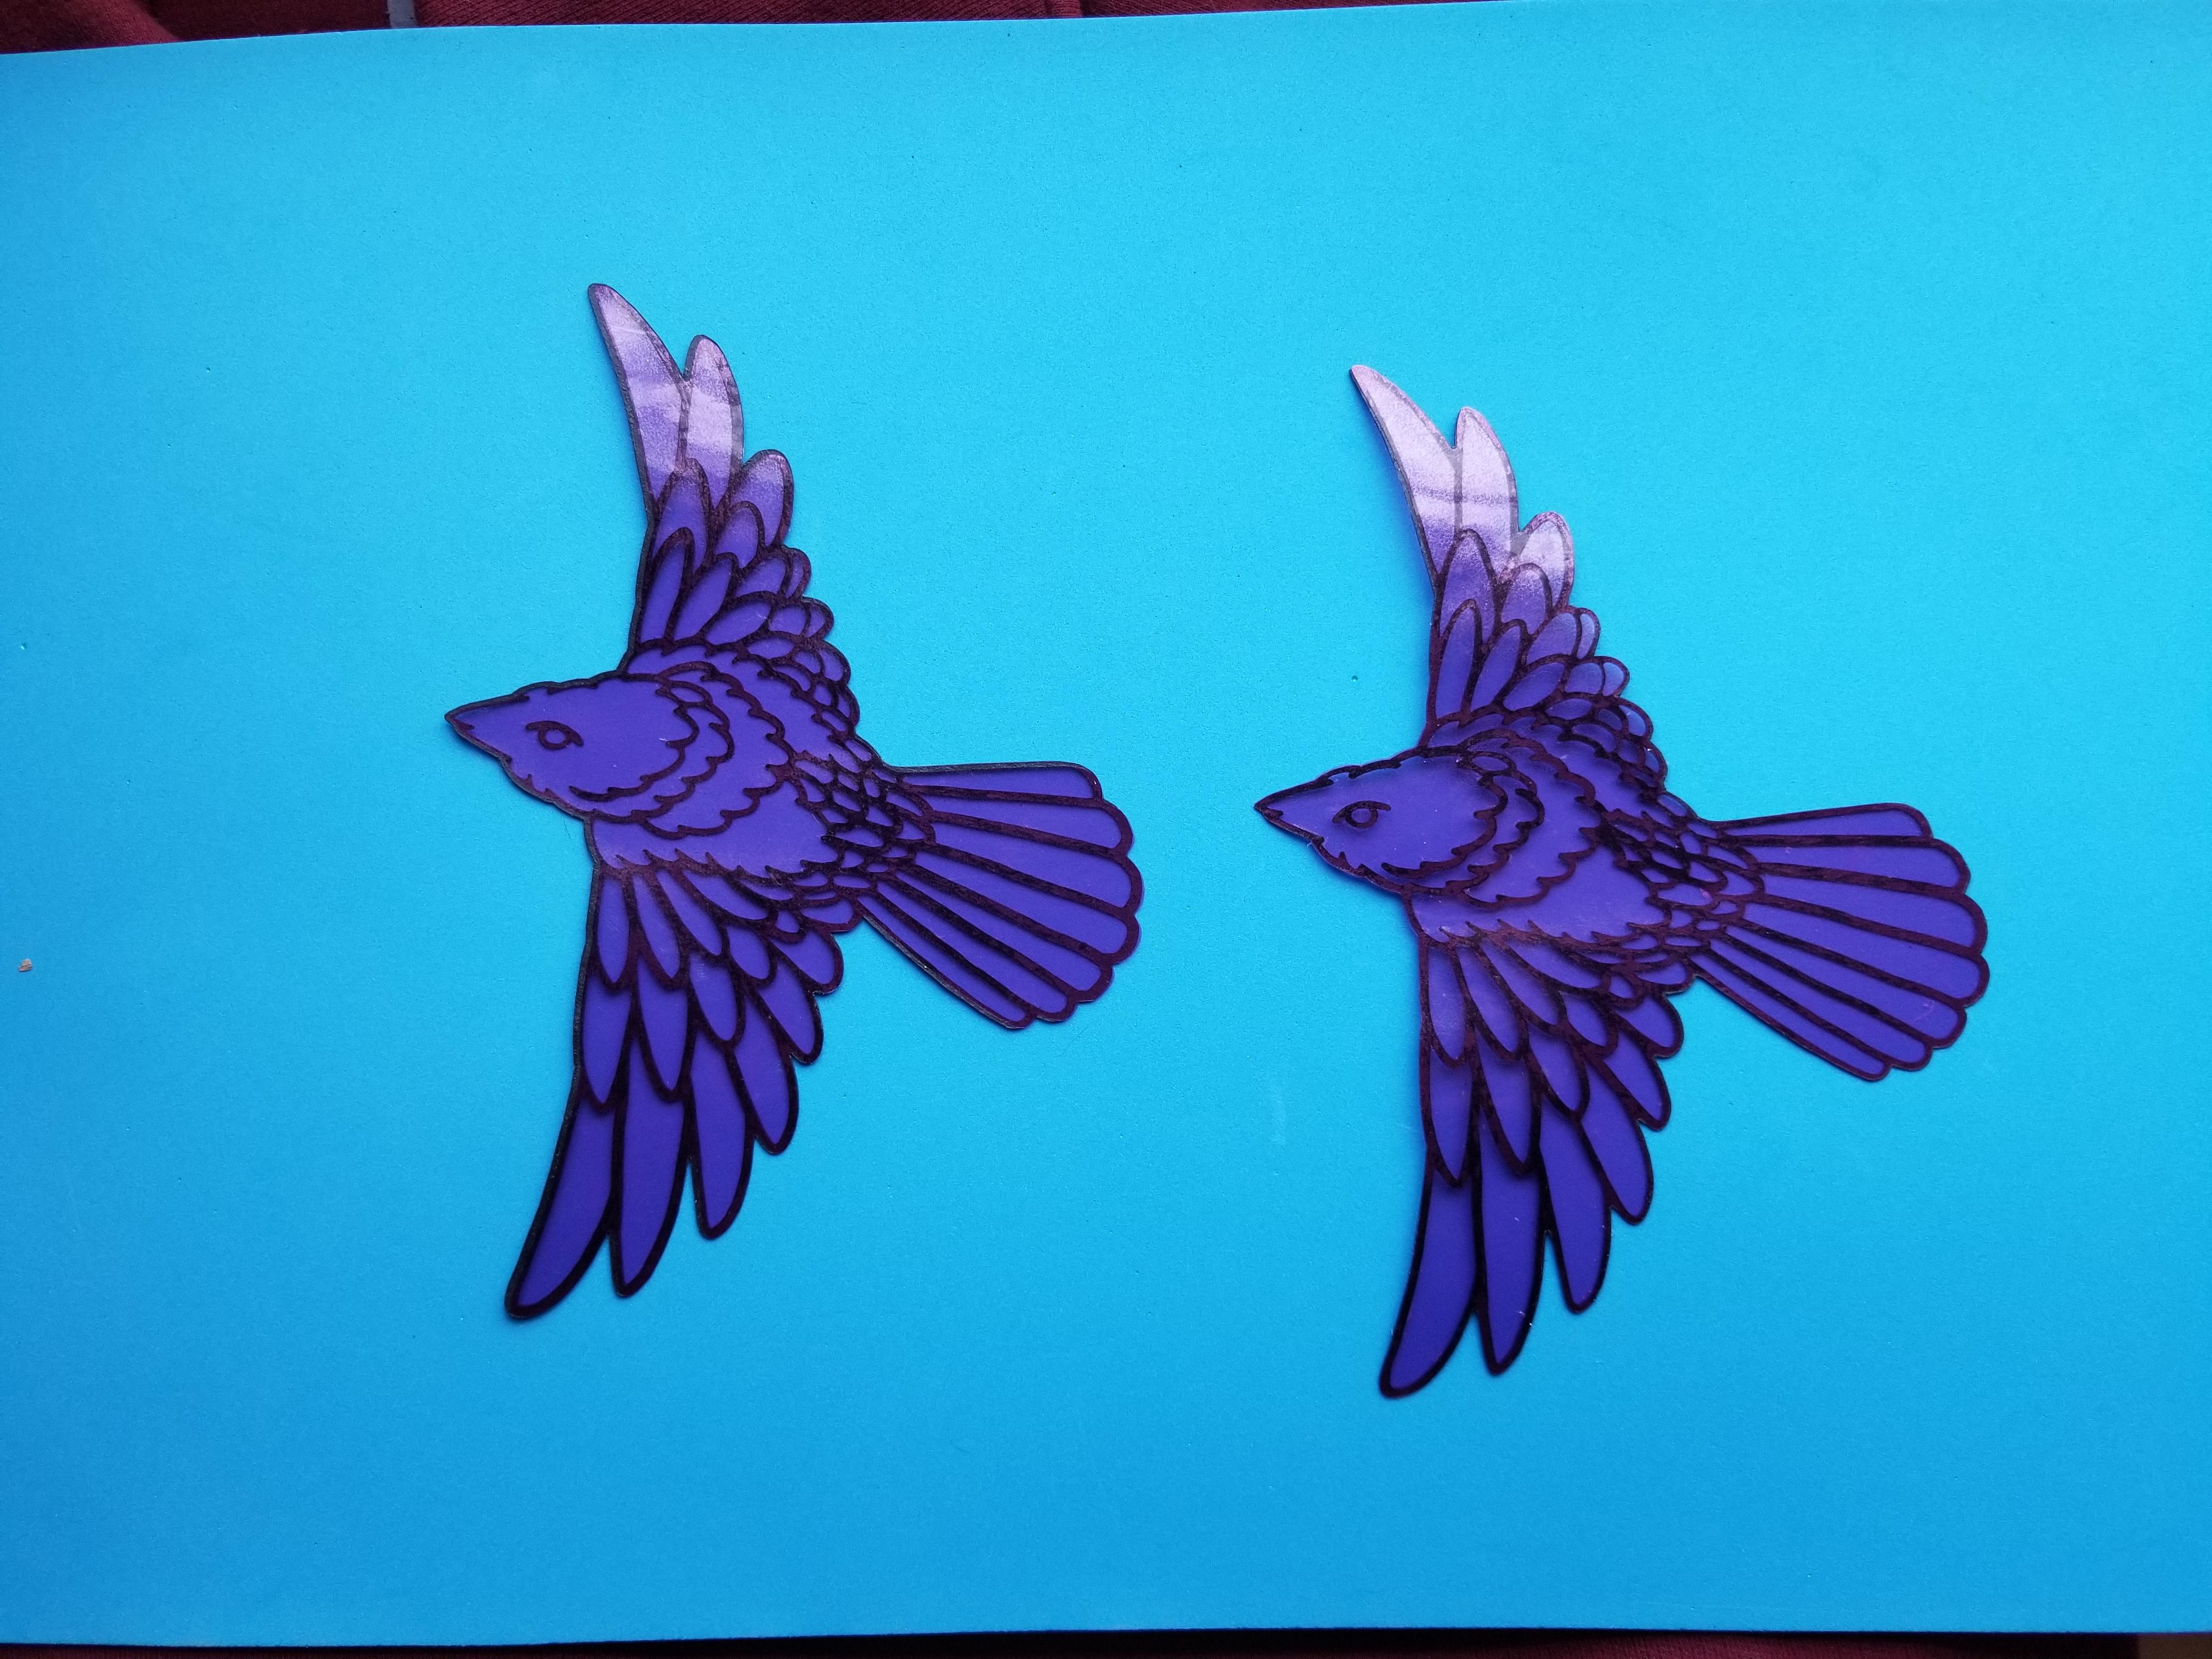
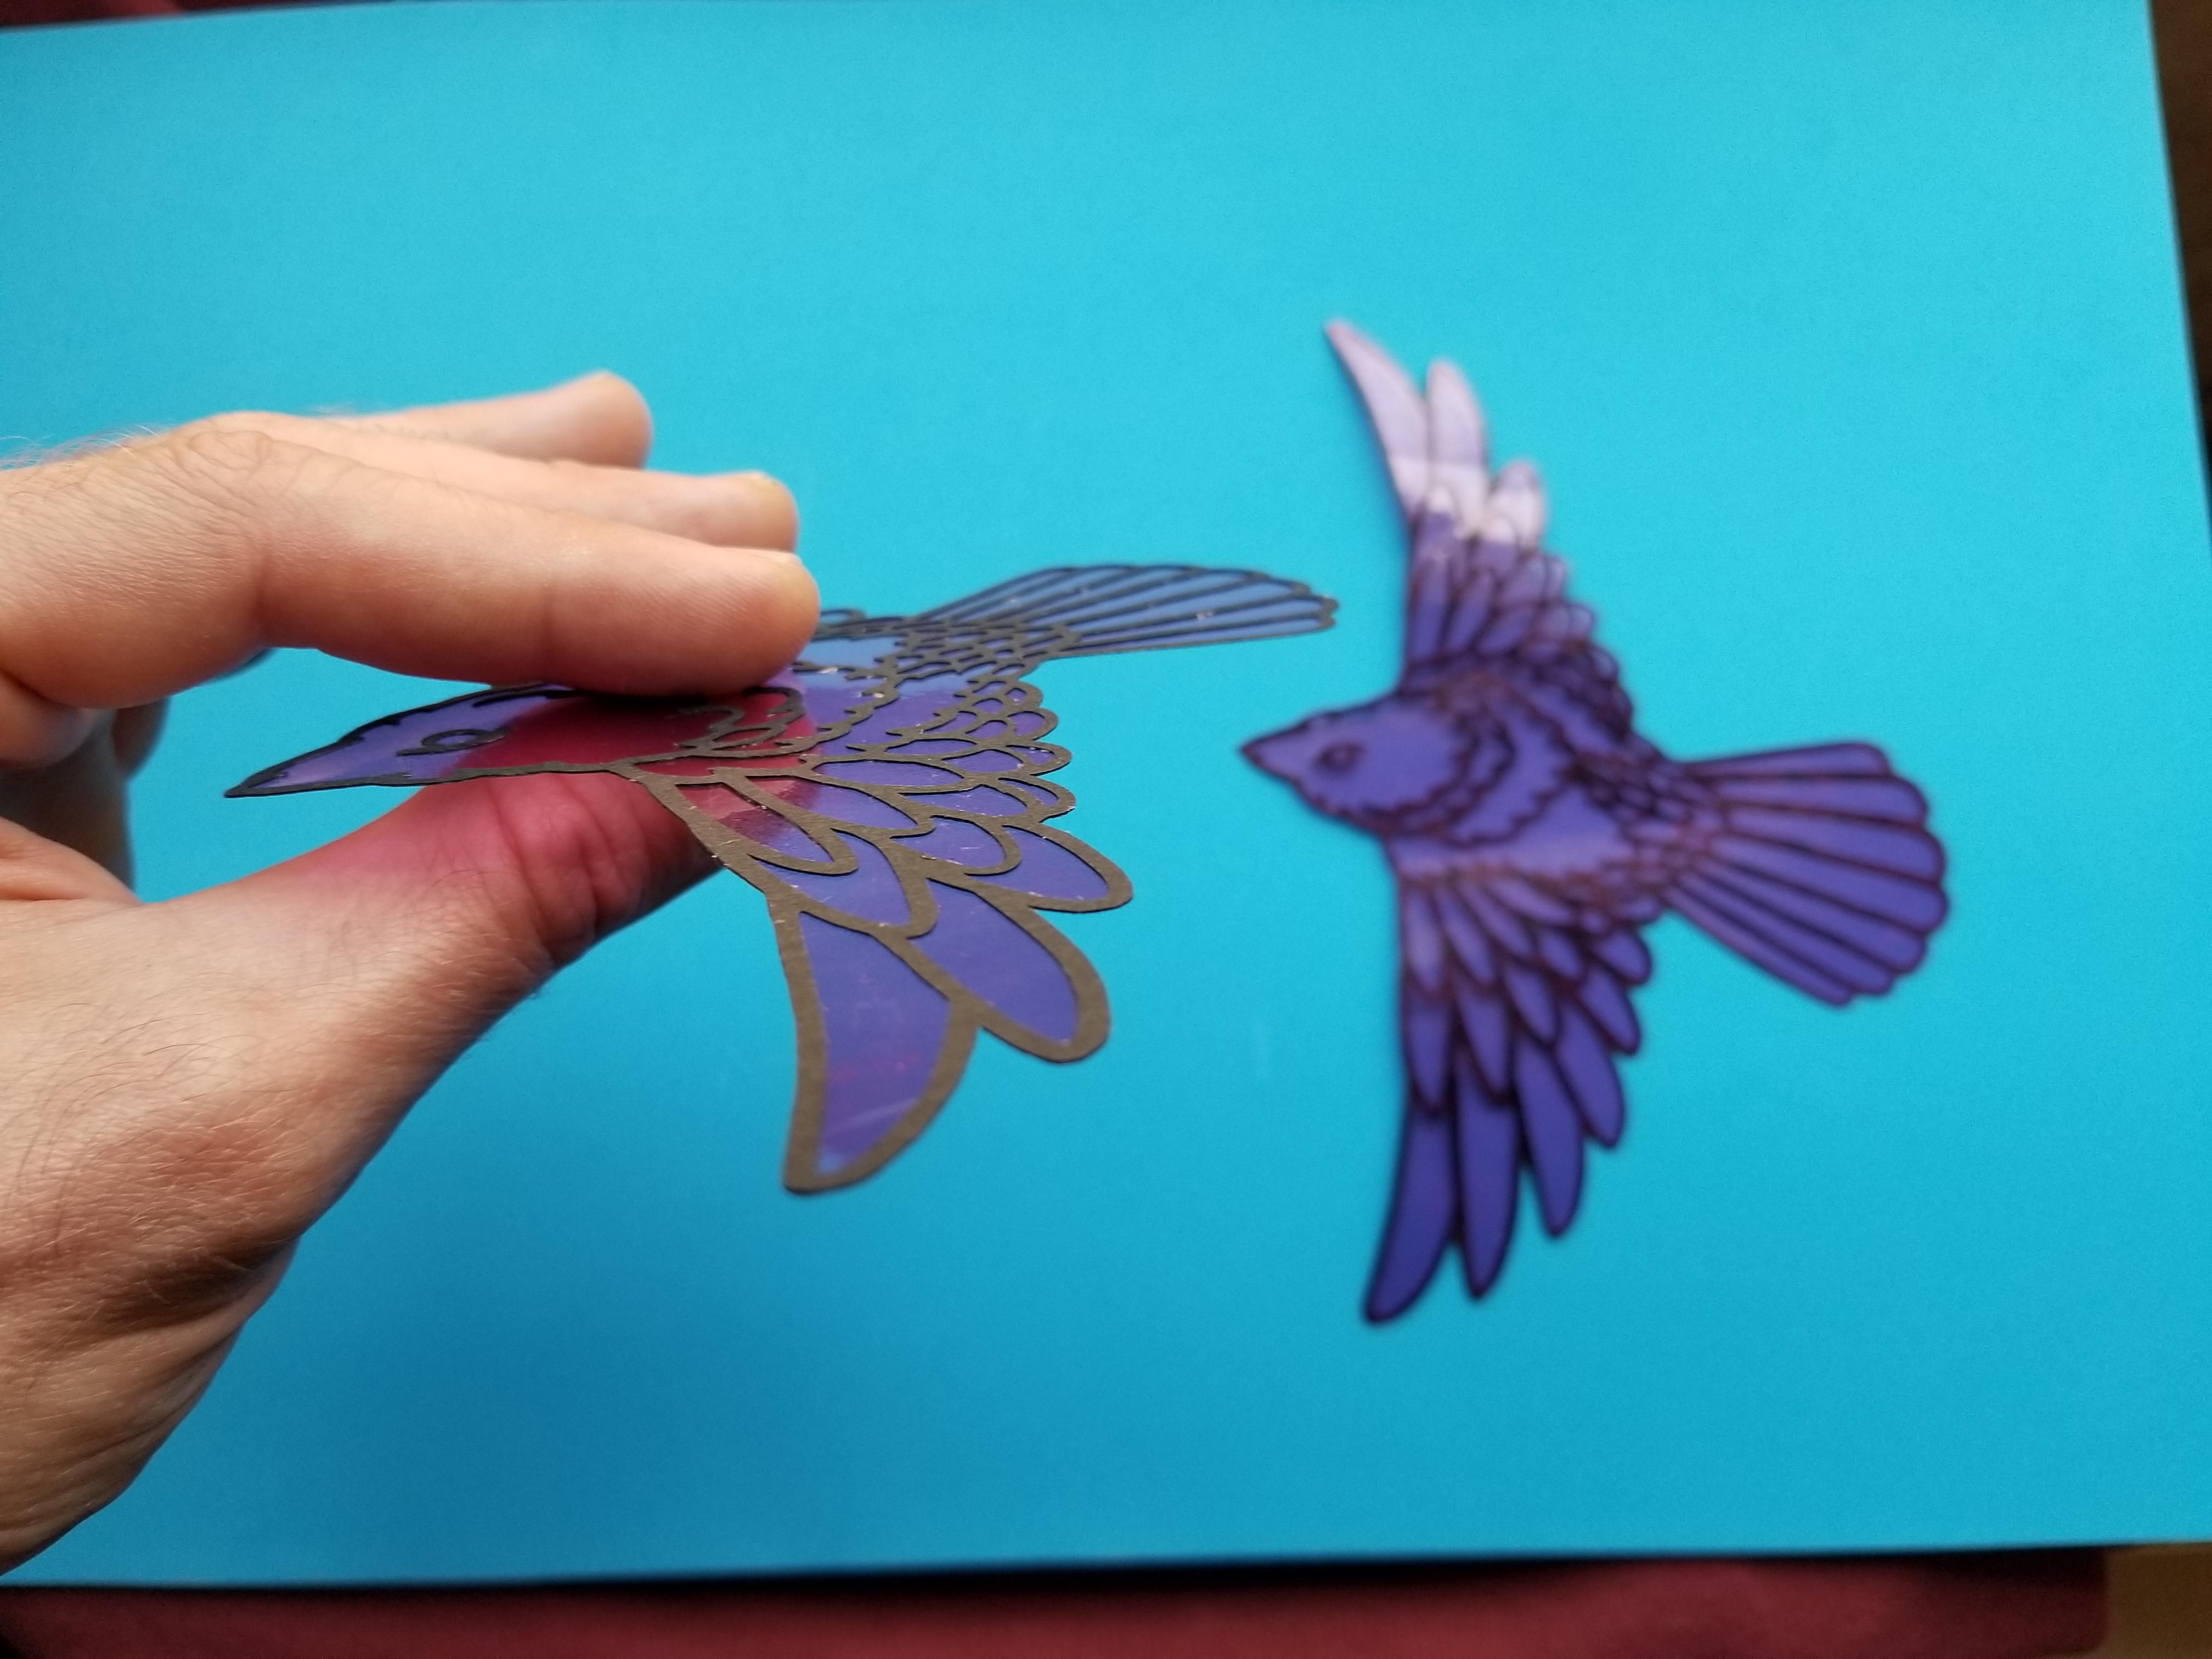
Set the cardstock outline on a piece of wax or parchment paper and gently apply glue to the entire surface. There are lots of little lines to cover so take your time. I have found that a jumbo size glue stick is the easiest adhesive to use. Use a smooth motion to slide the surface of the glue stick across the outline without bending up loose edges. Try to get an even application especially around the outside edges.
I have found it easiest to leave the outline laying glue side up and setting the clear cellophane on top.
OPTIONAL - Finish Sealing With Modge Podge
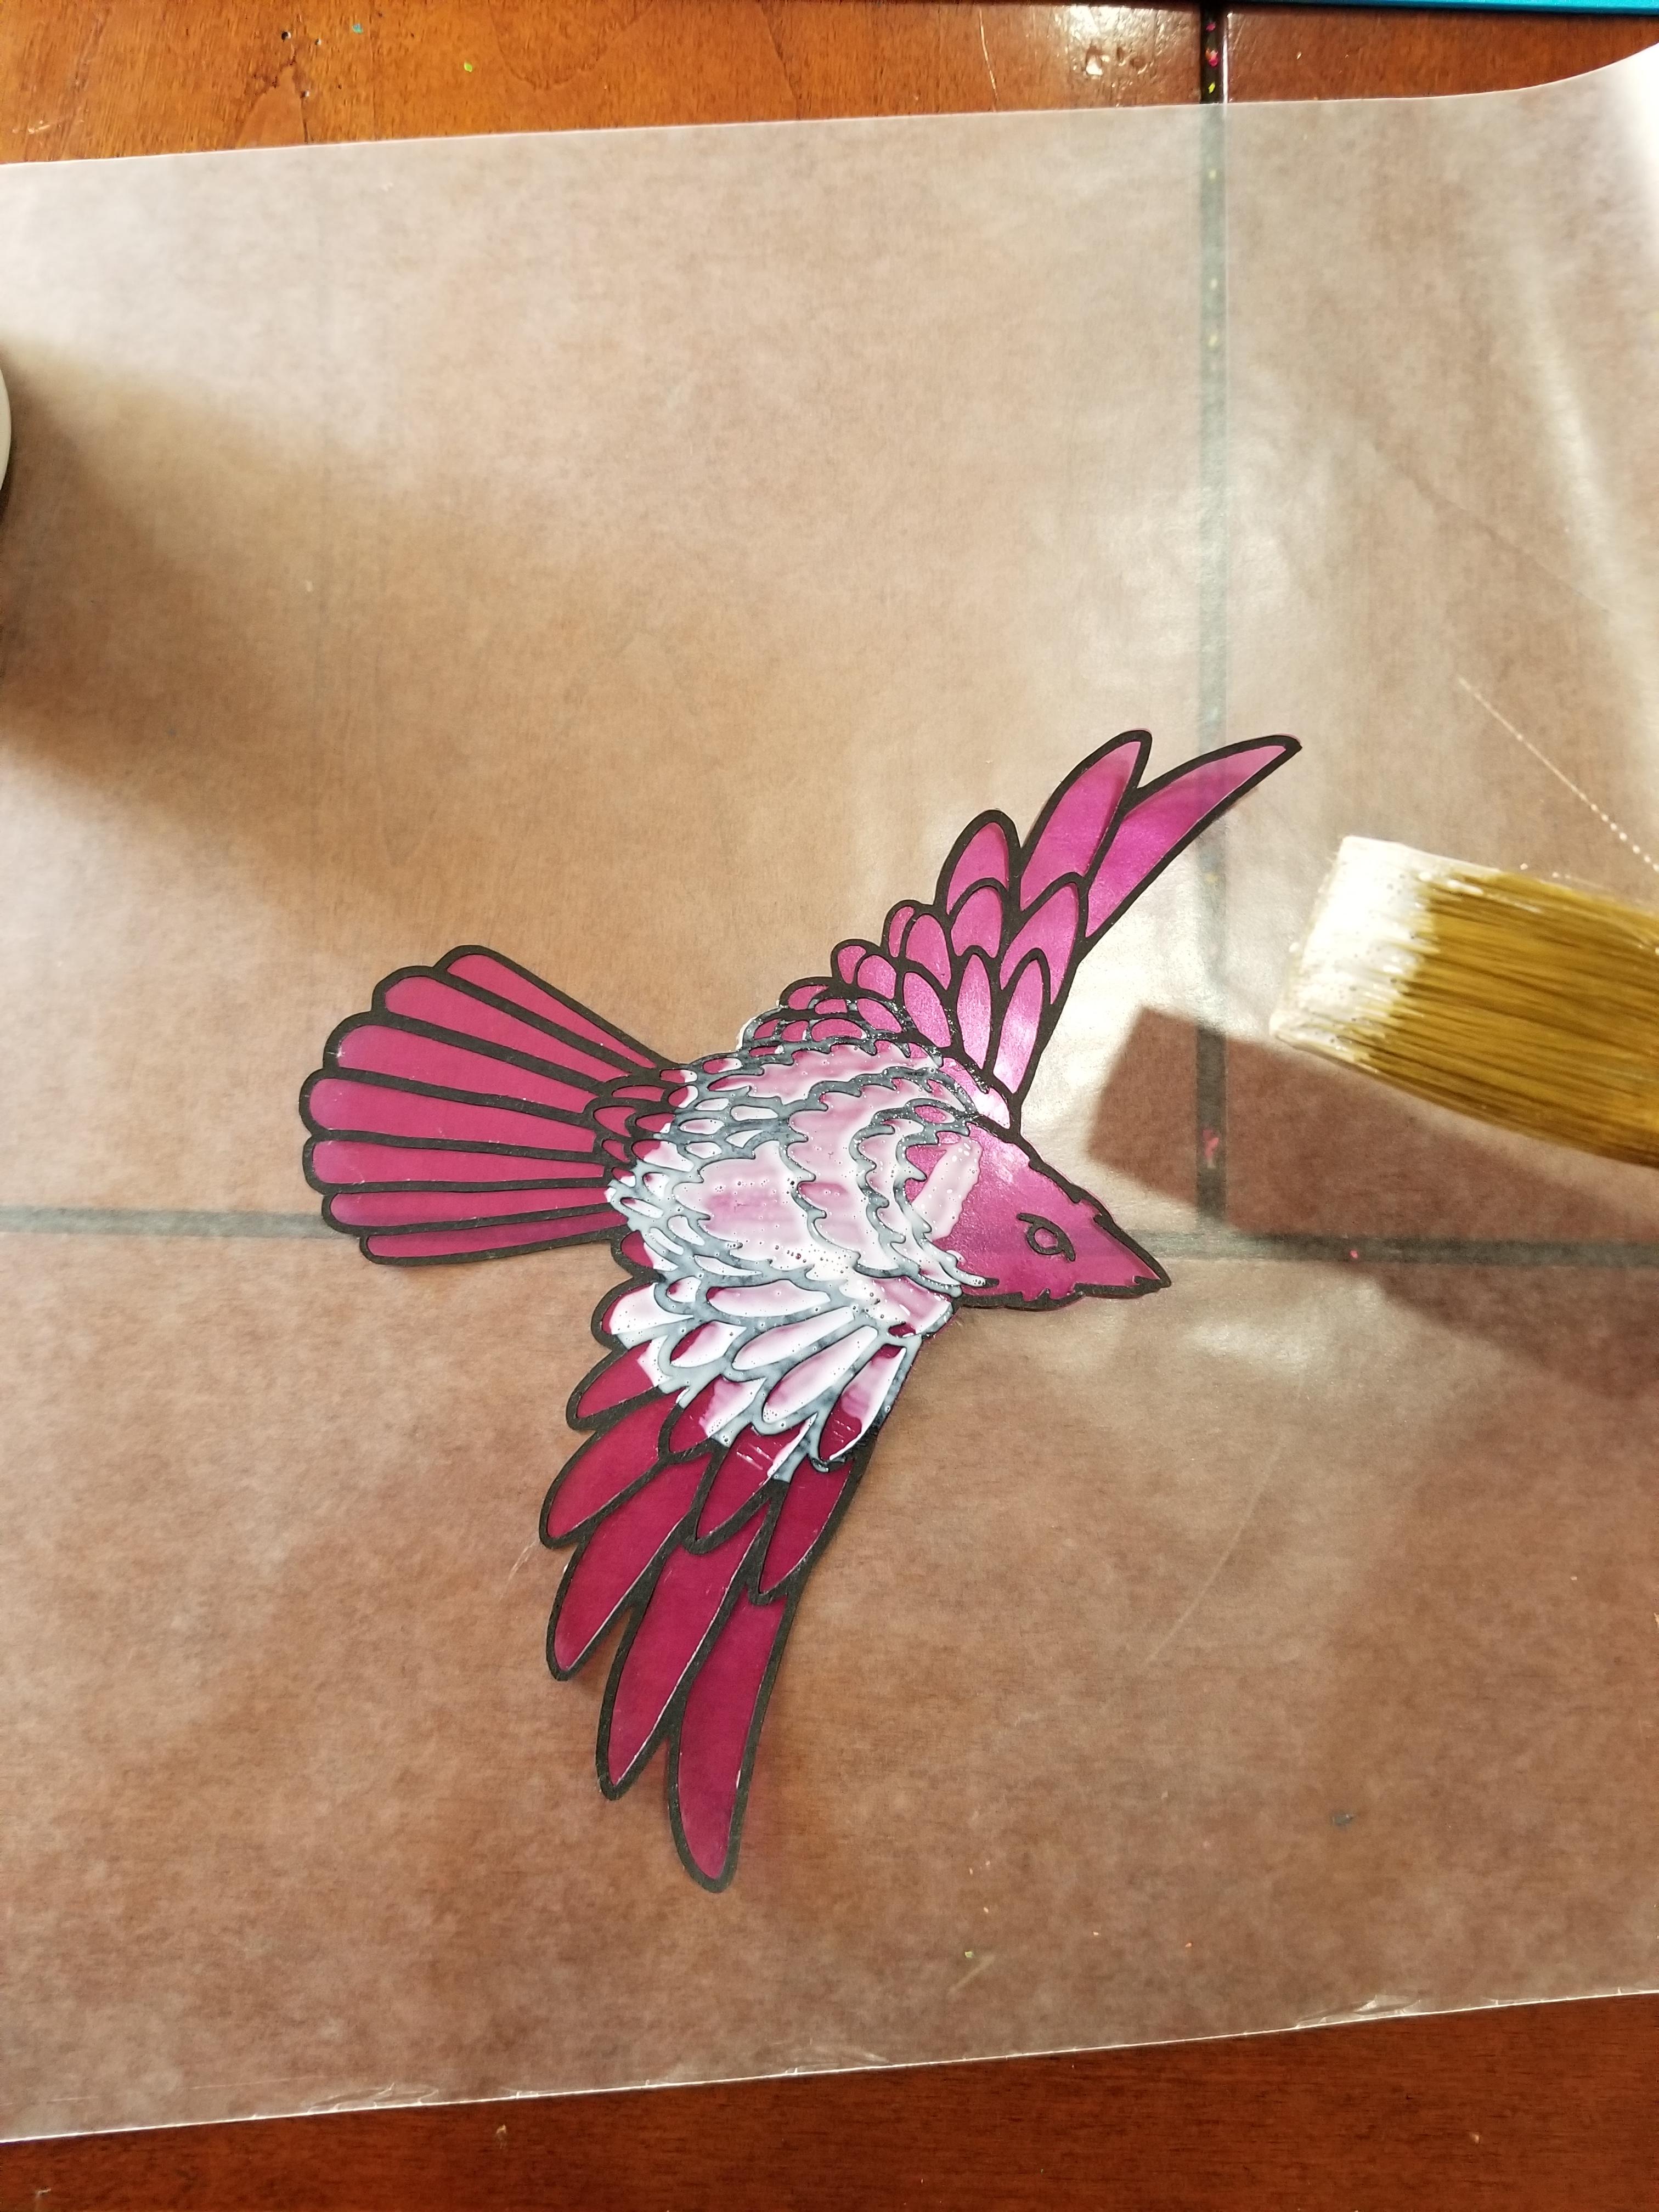
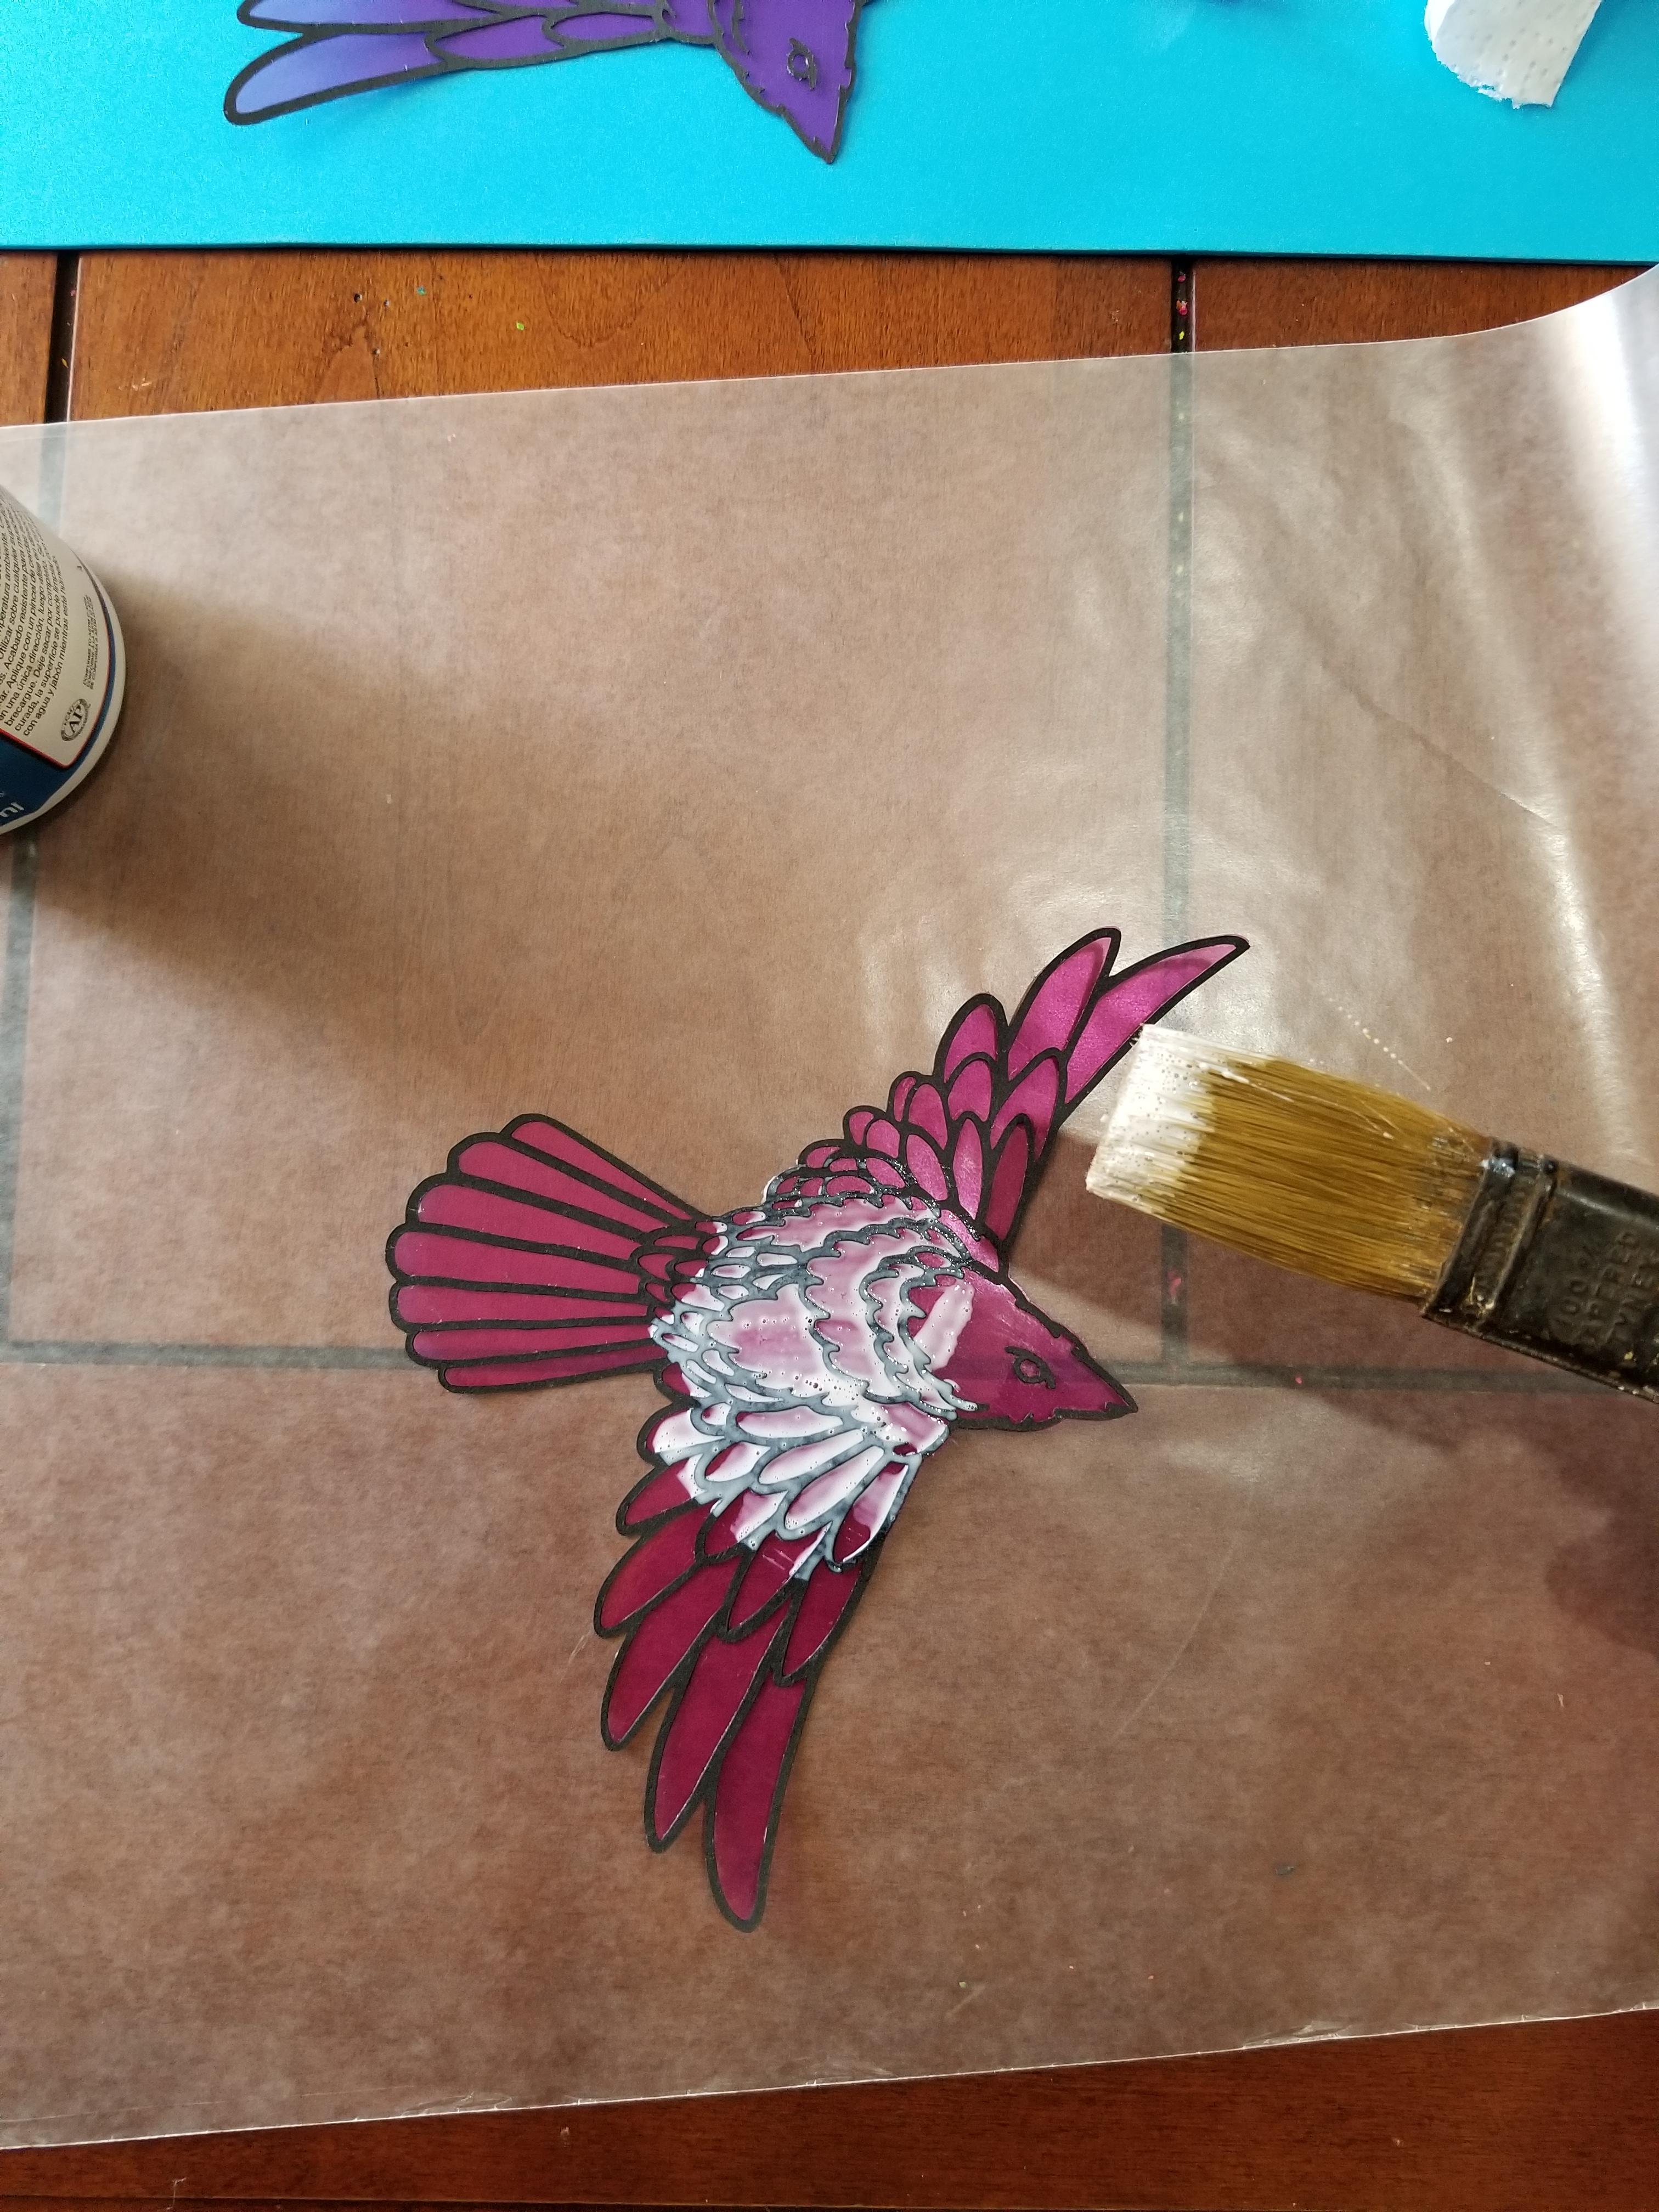
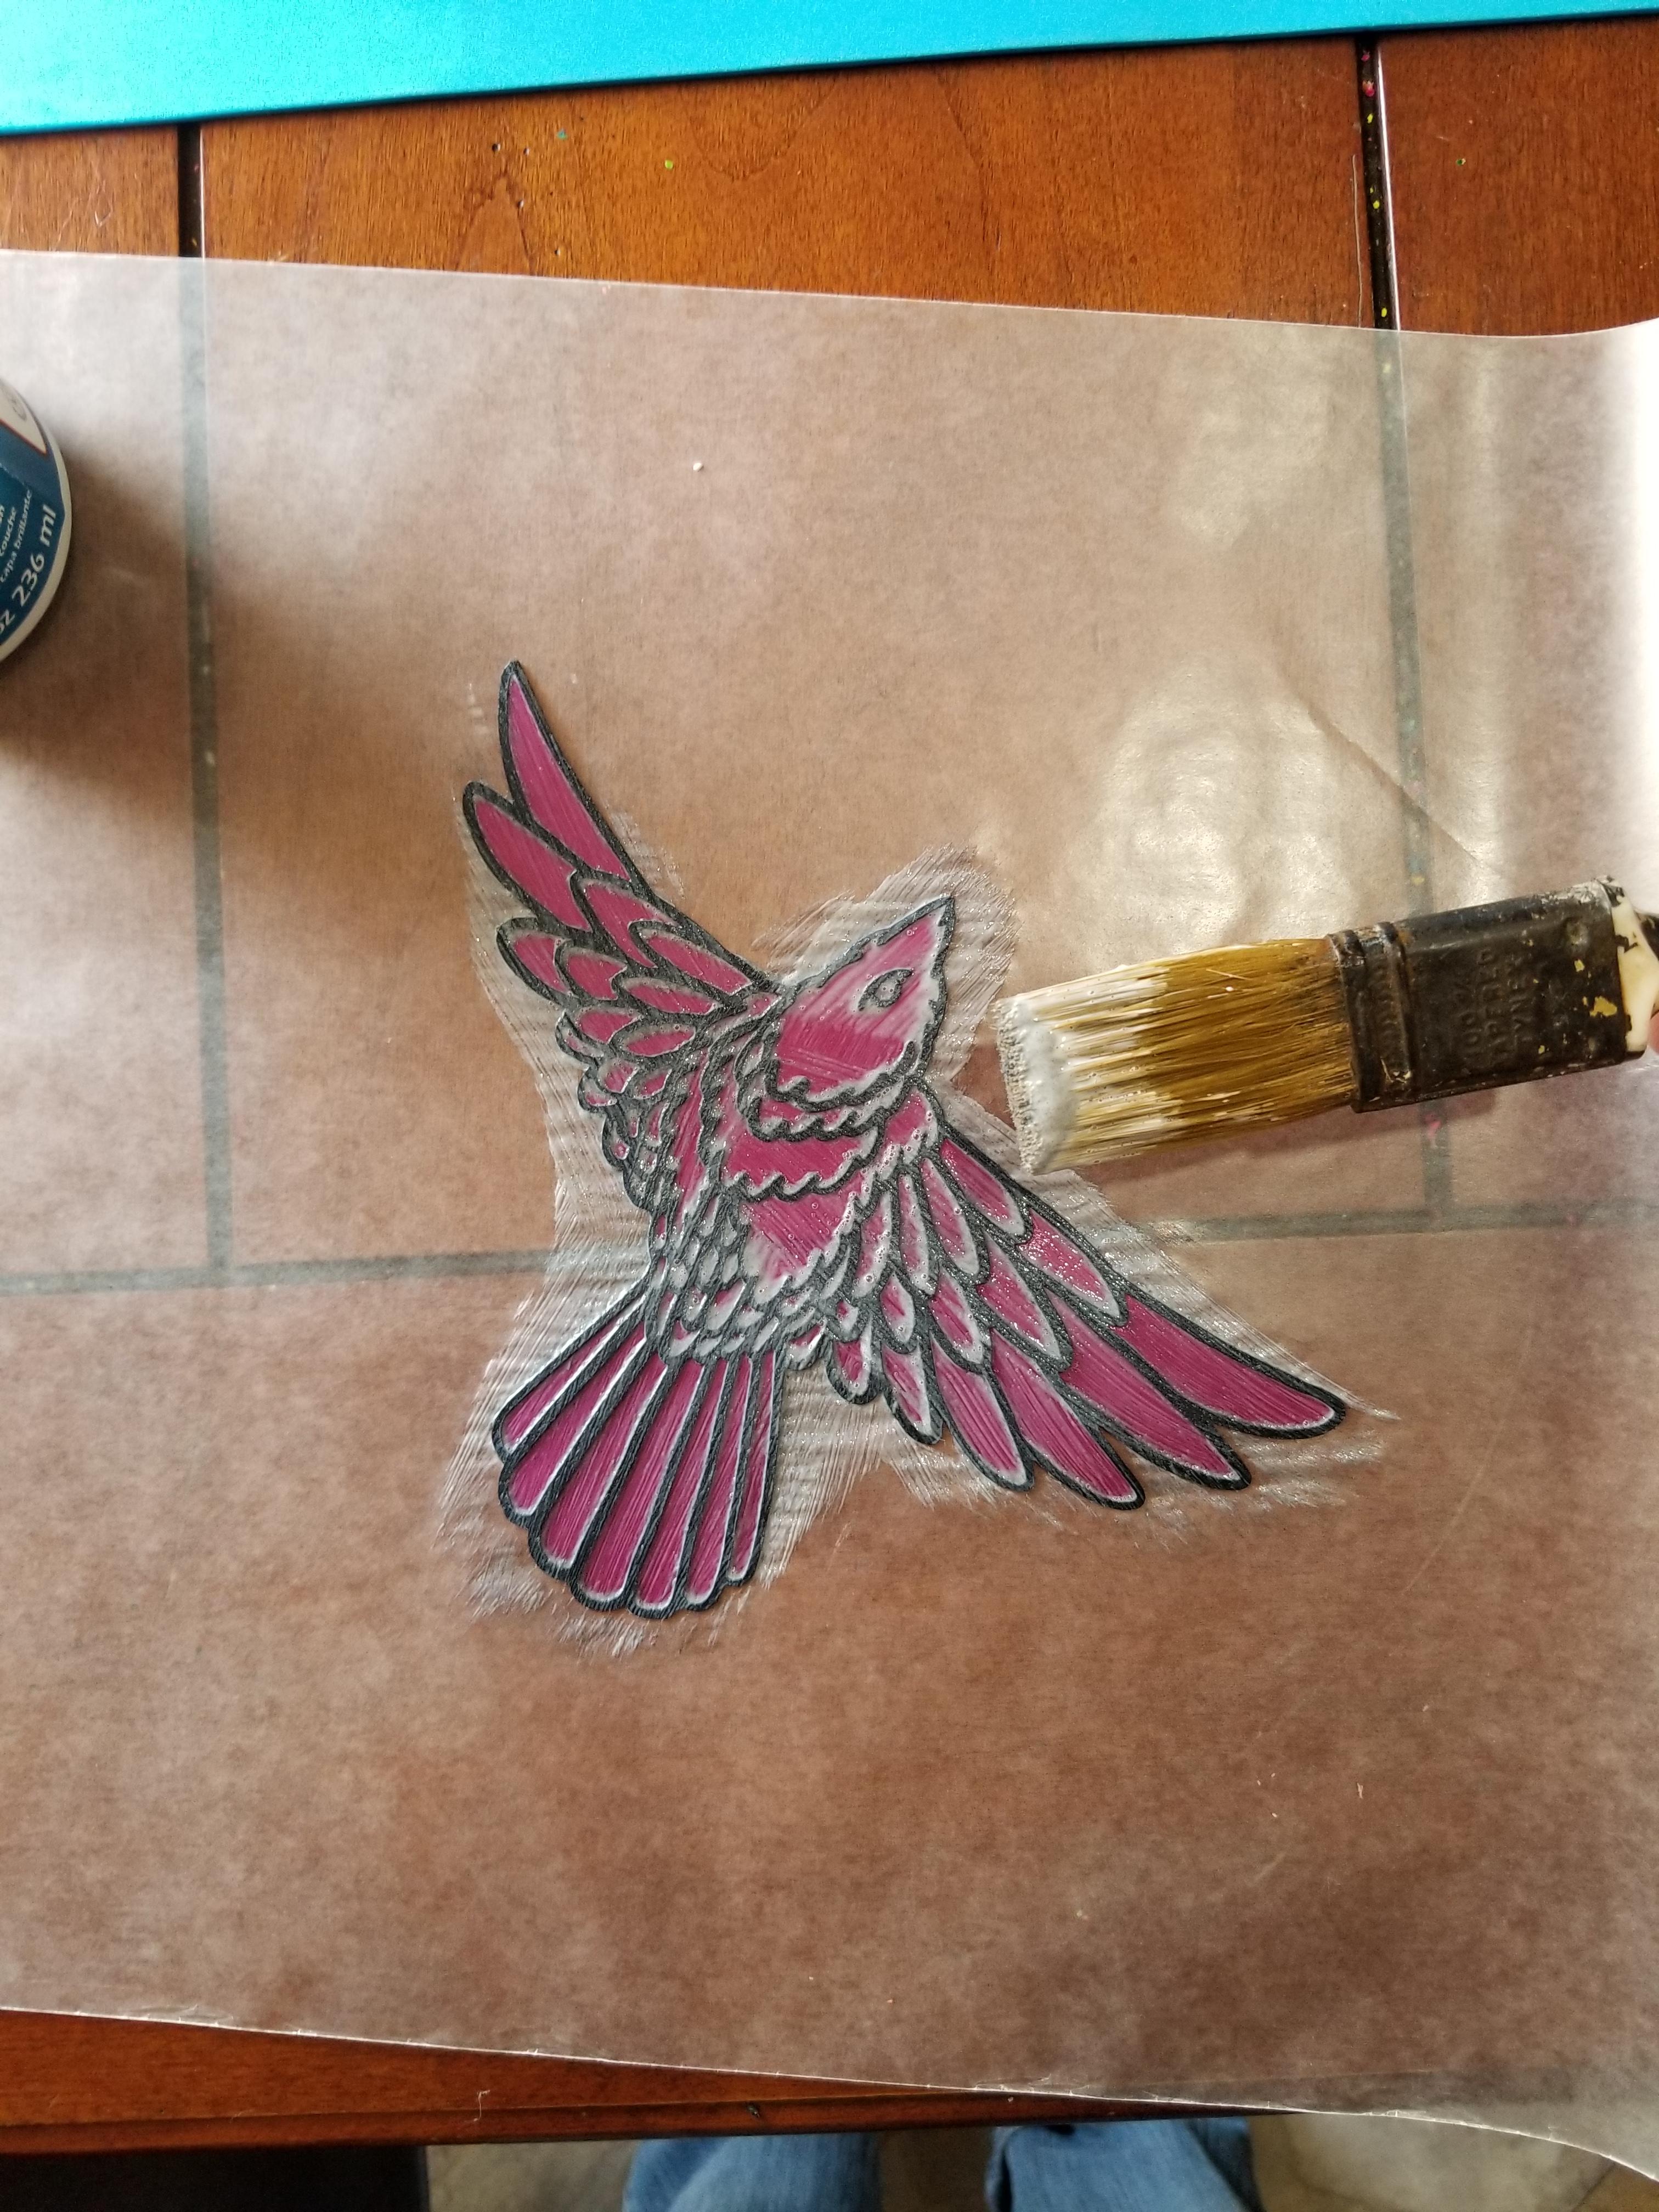
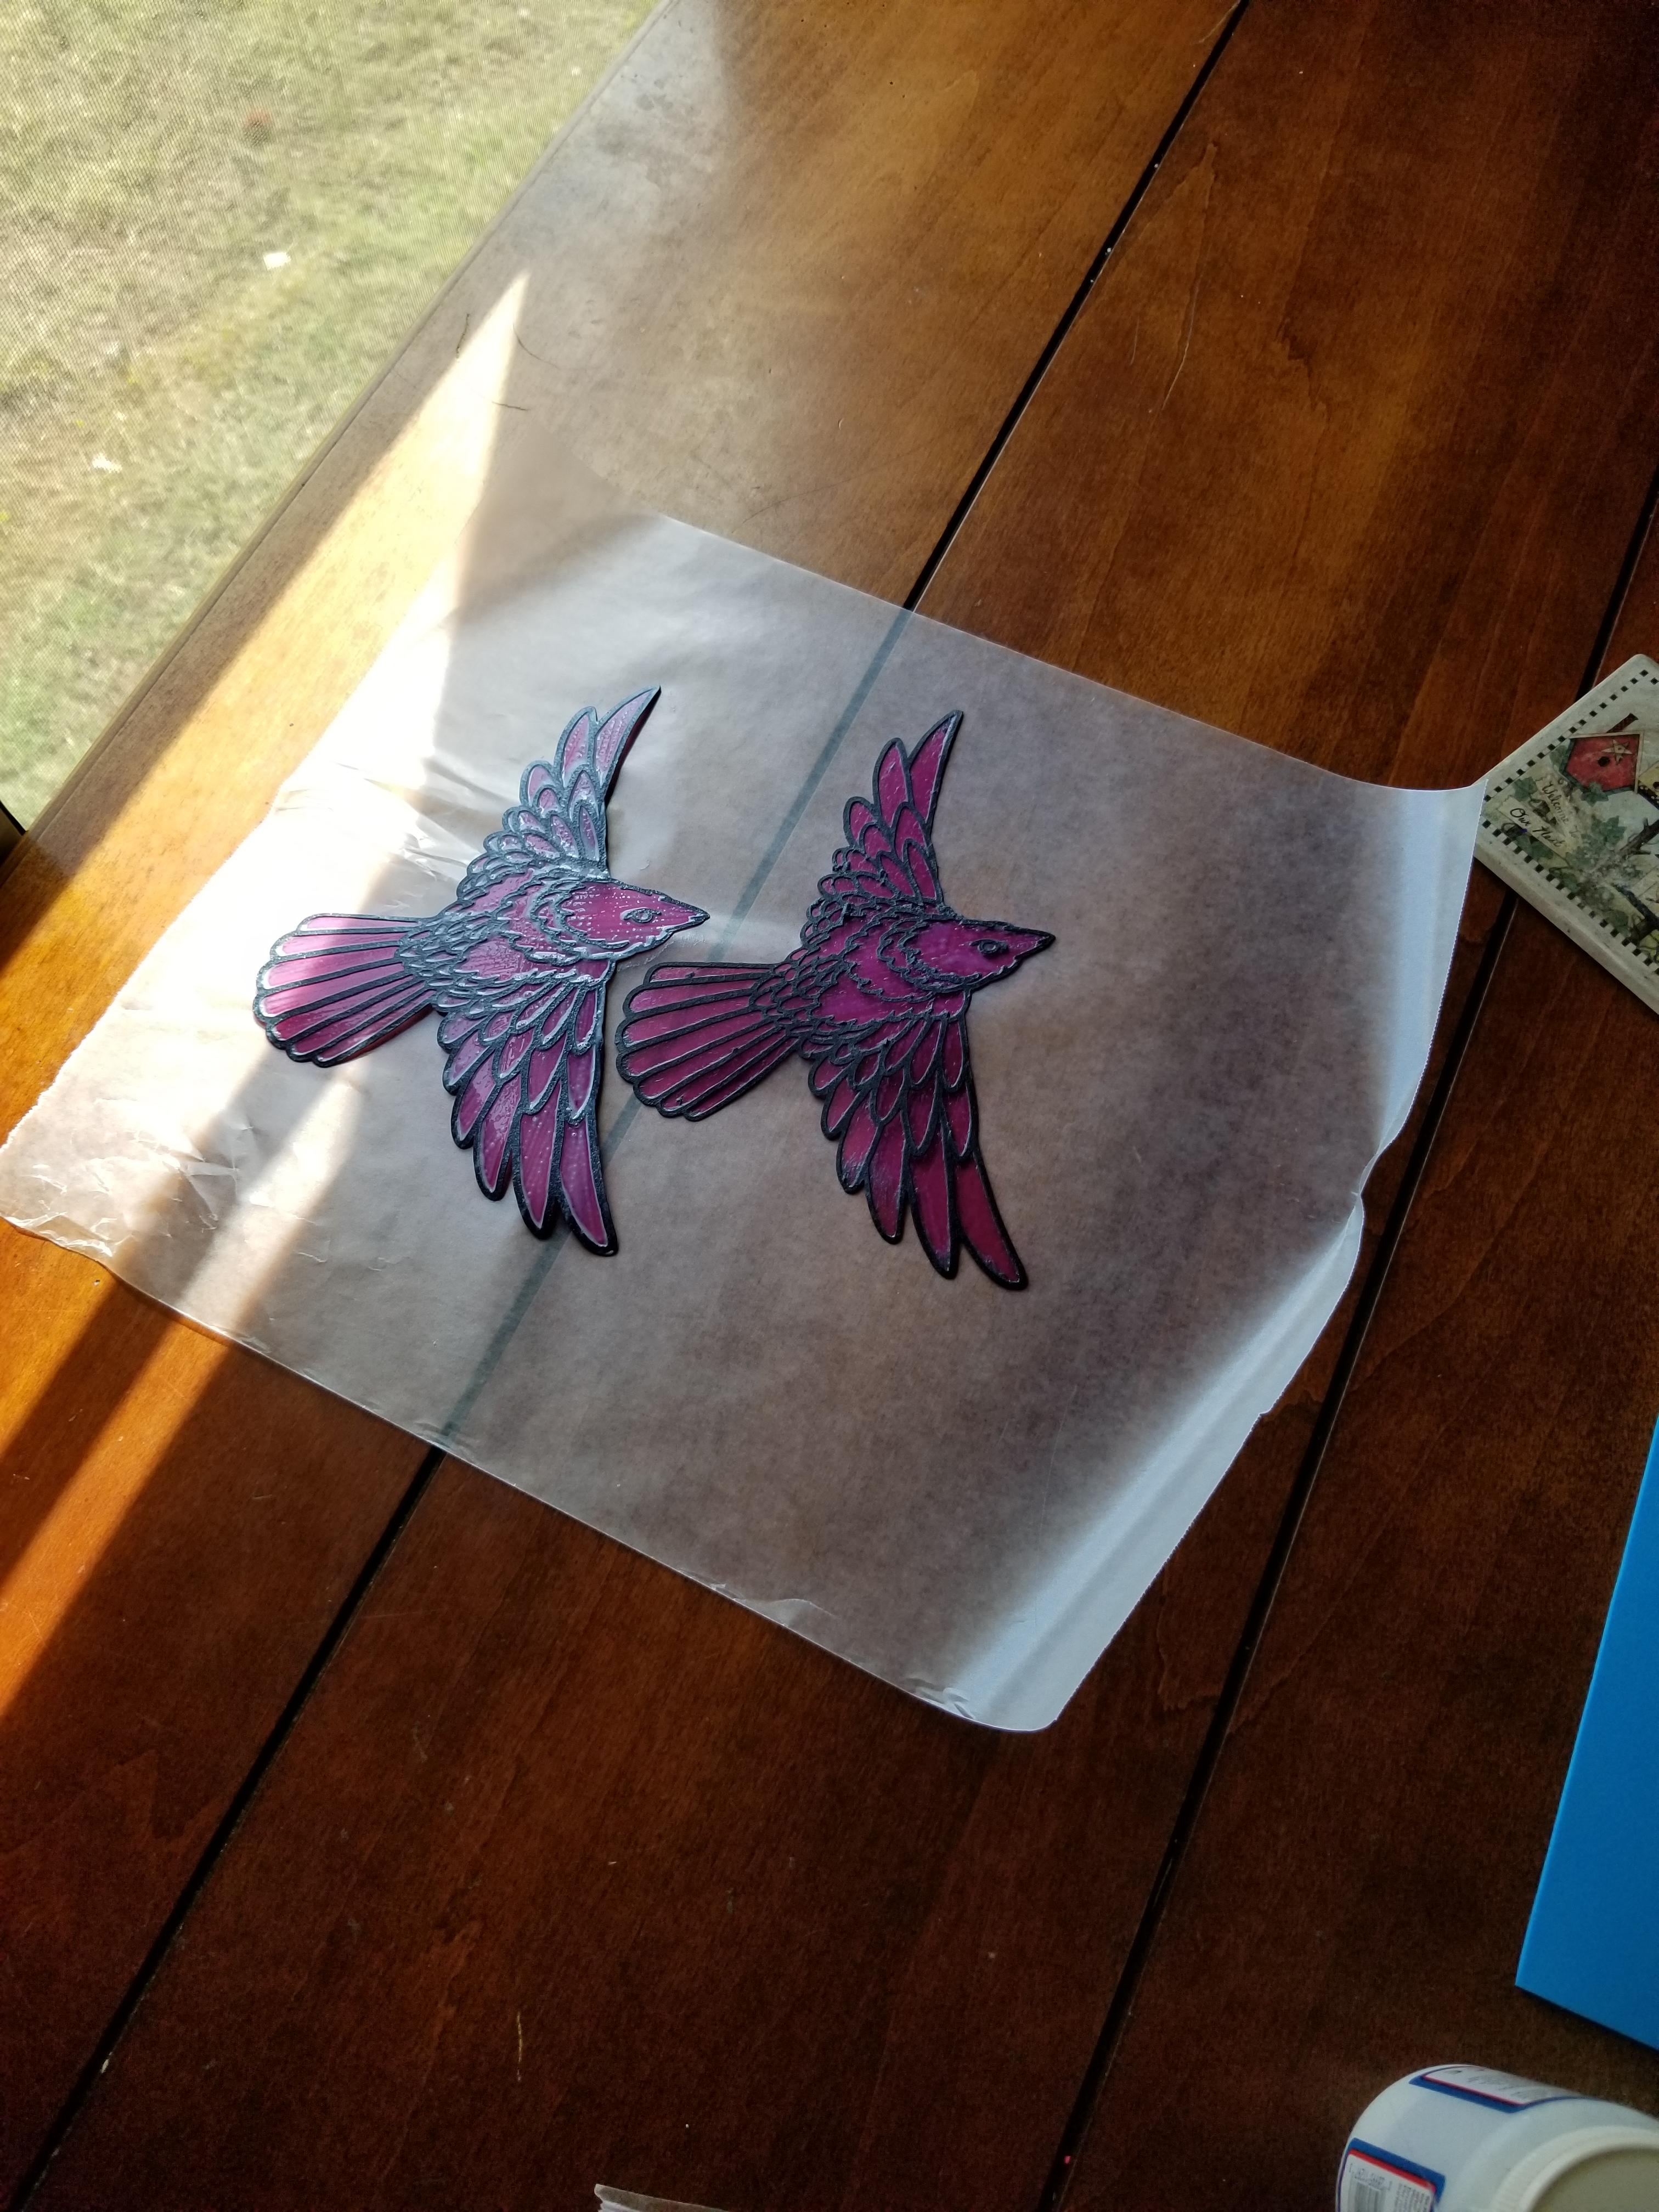
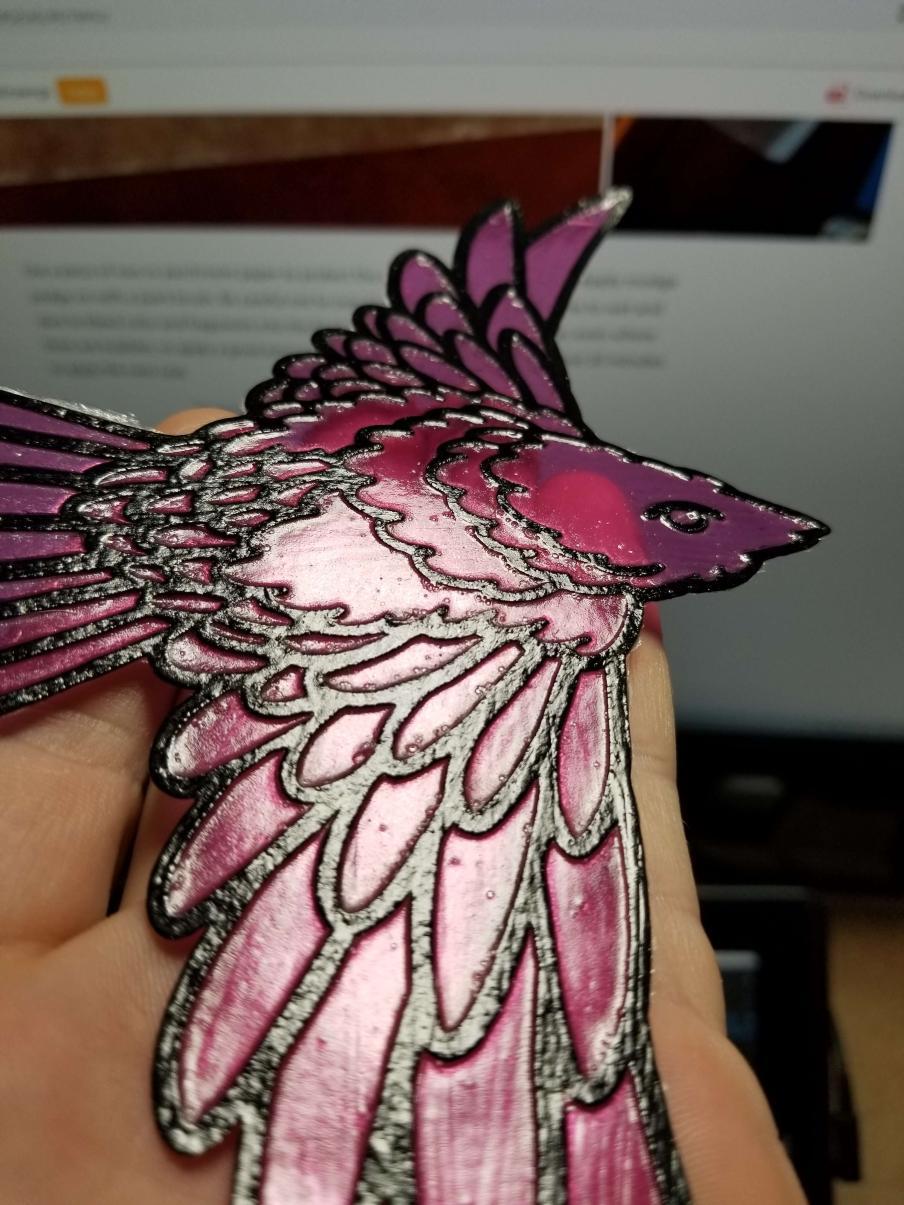
Use a piece of wax or parchment paper to protect the surface you are working on. Apply modge podge with a paint brush. Be careful not to over brush as the paper can become to wet and start to bleed color and fragments into the finish. Modge Podge dries pretty clear, even where there are bubbles. For each coat apply a good amount across the entire surface, then move it to a clean piece of wax paper to dry. Wait about 20 minutes to apply the next coat. I used 4 coats on this piece! Check the pictures in the last step to see the result!
Complete!
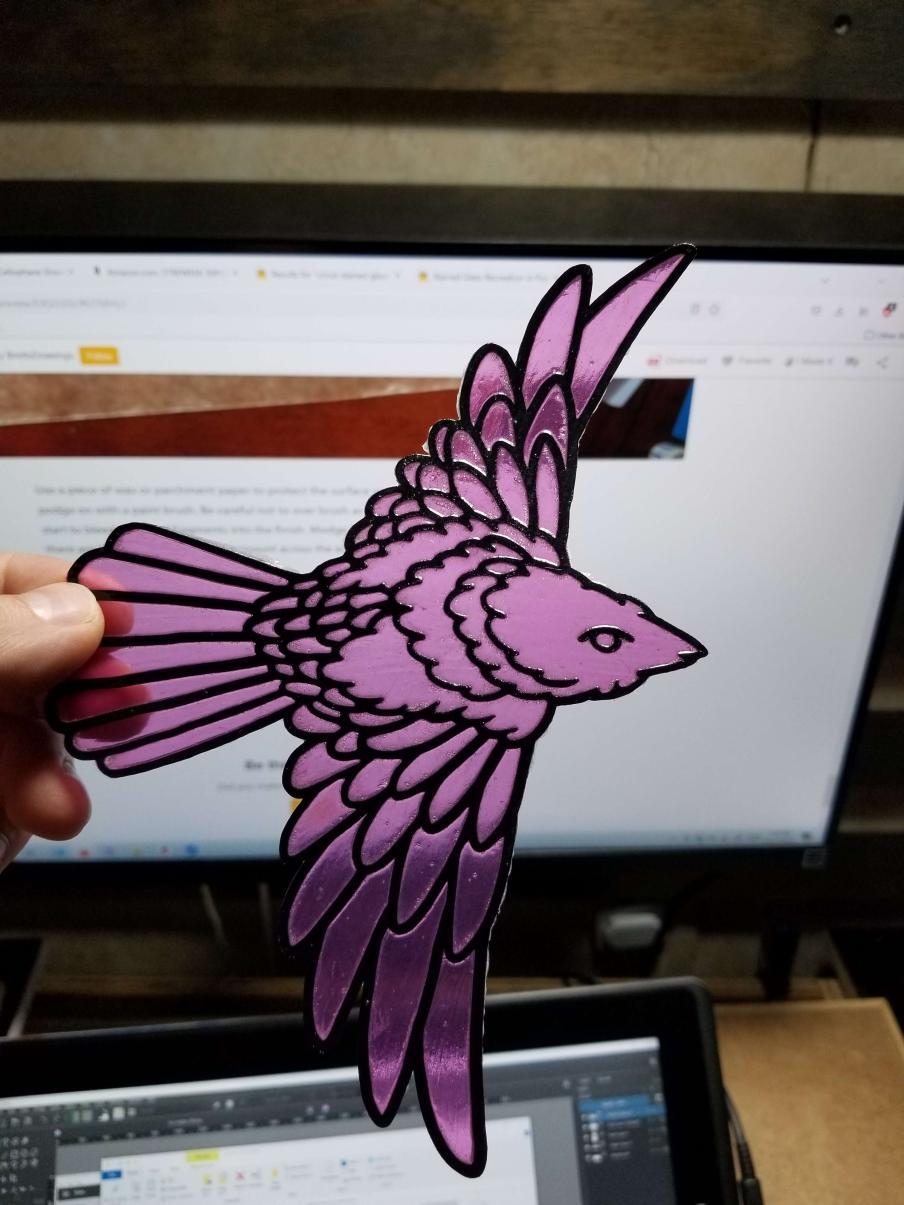
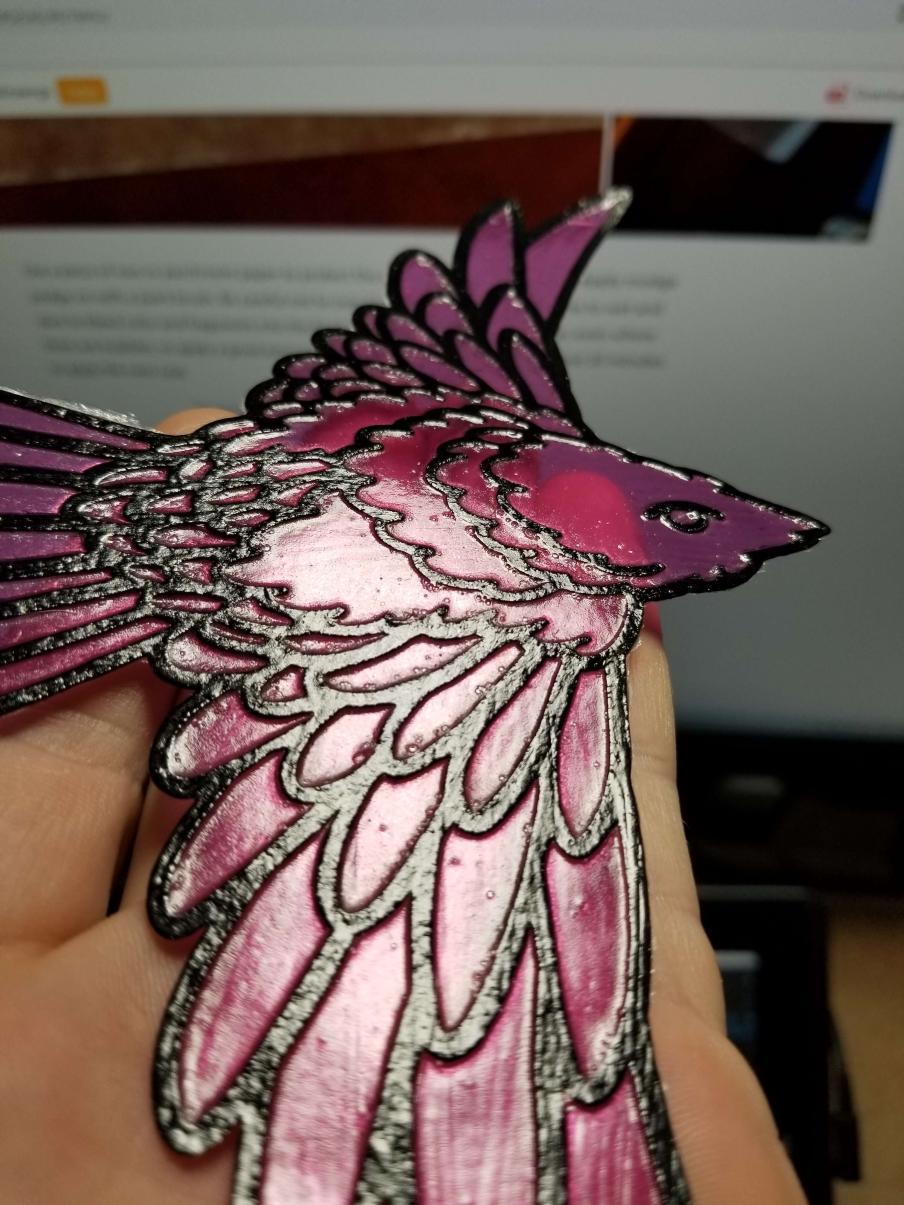
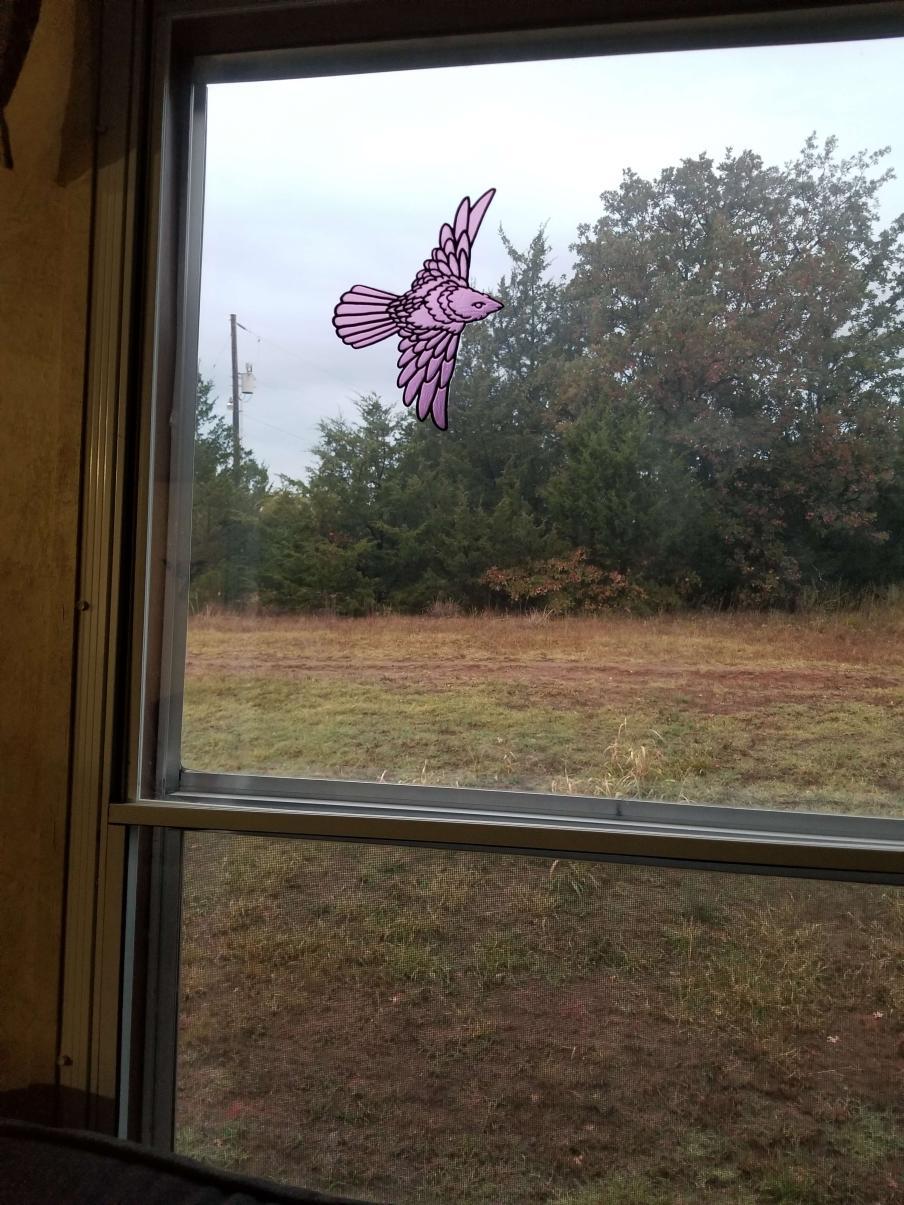
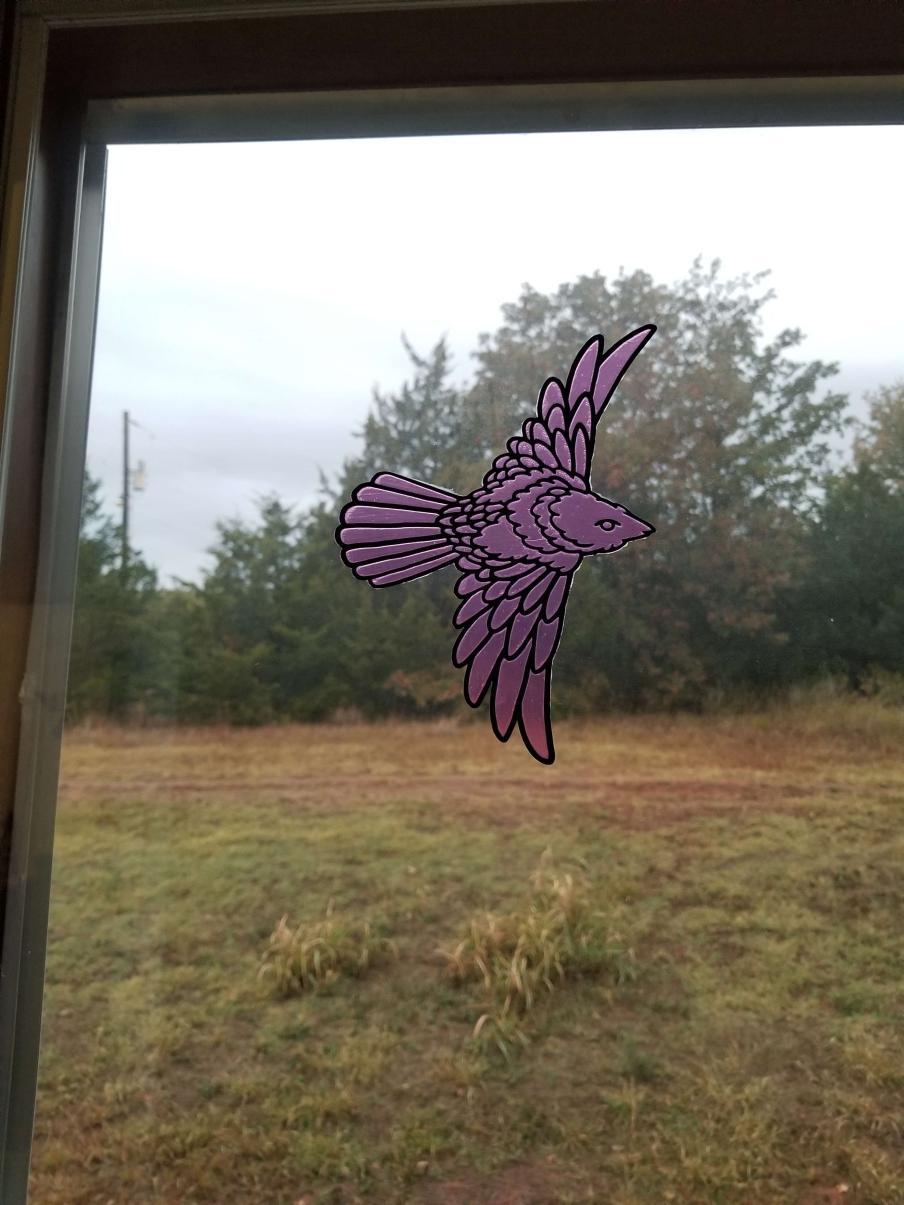
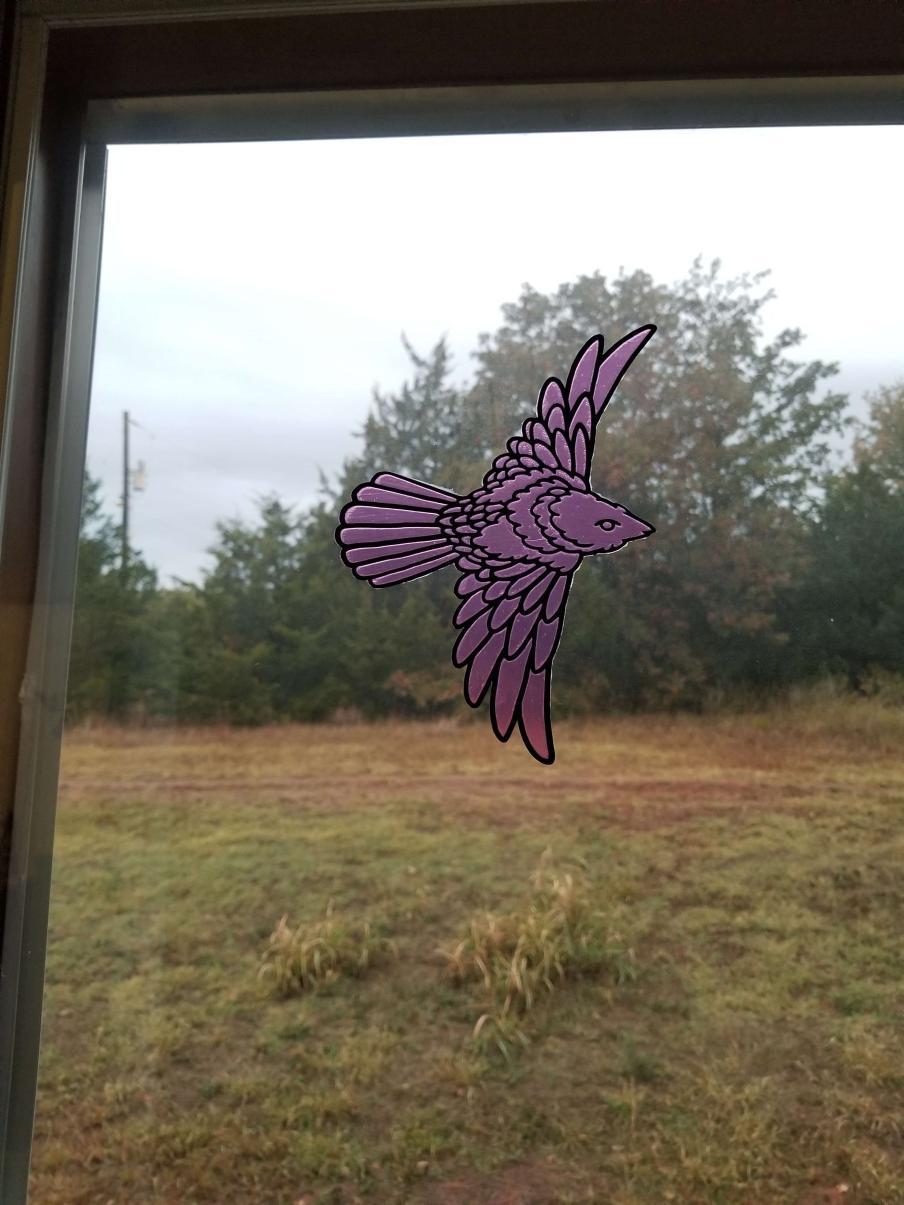
These suncatchers really brighten up near a window or other light source! I am learning more about using the cricut design space and will post more instructables soon!
For more designs, check out my Etsy: BrettsDrawings instagram: bretts_drawings and RedBubble: BrettsDrawings
Thanks and enjoy!