Color Tracking Robot Based on Omnidirectional Wheel and OpenCV
by wsurging in Circuits > Arduino
1119 Views, 4 Favorites, 0 Comments
Color Tracking Robot Based on Omnidirectional Wheel and OpenCV
I use an omnidirectional wheel chassis to implement my color tracking, and I use a mobile software called OpenCVBot. Thanks to the software developers here, thank you.
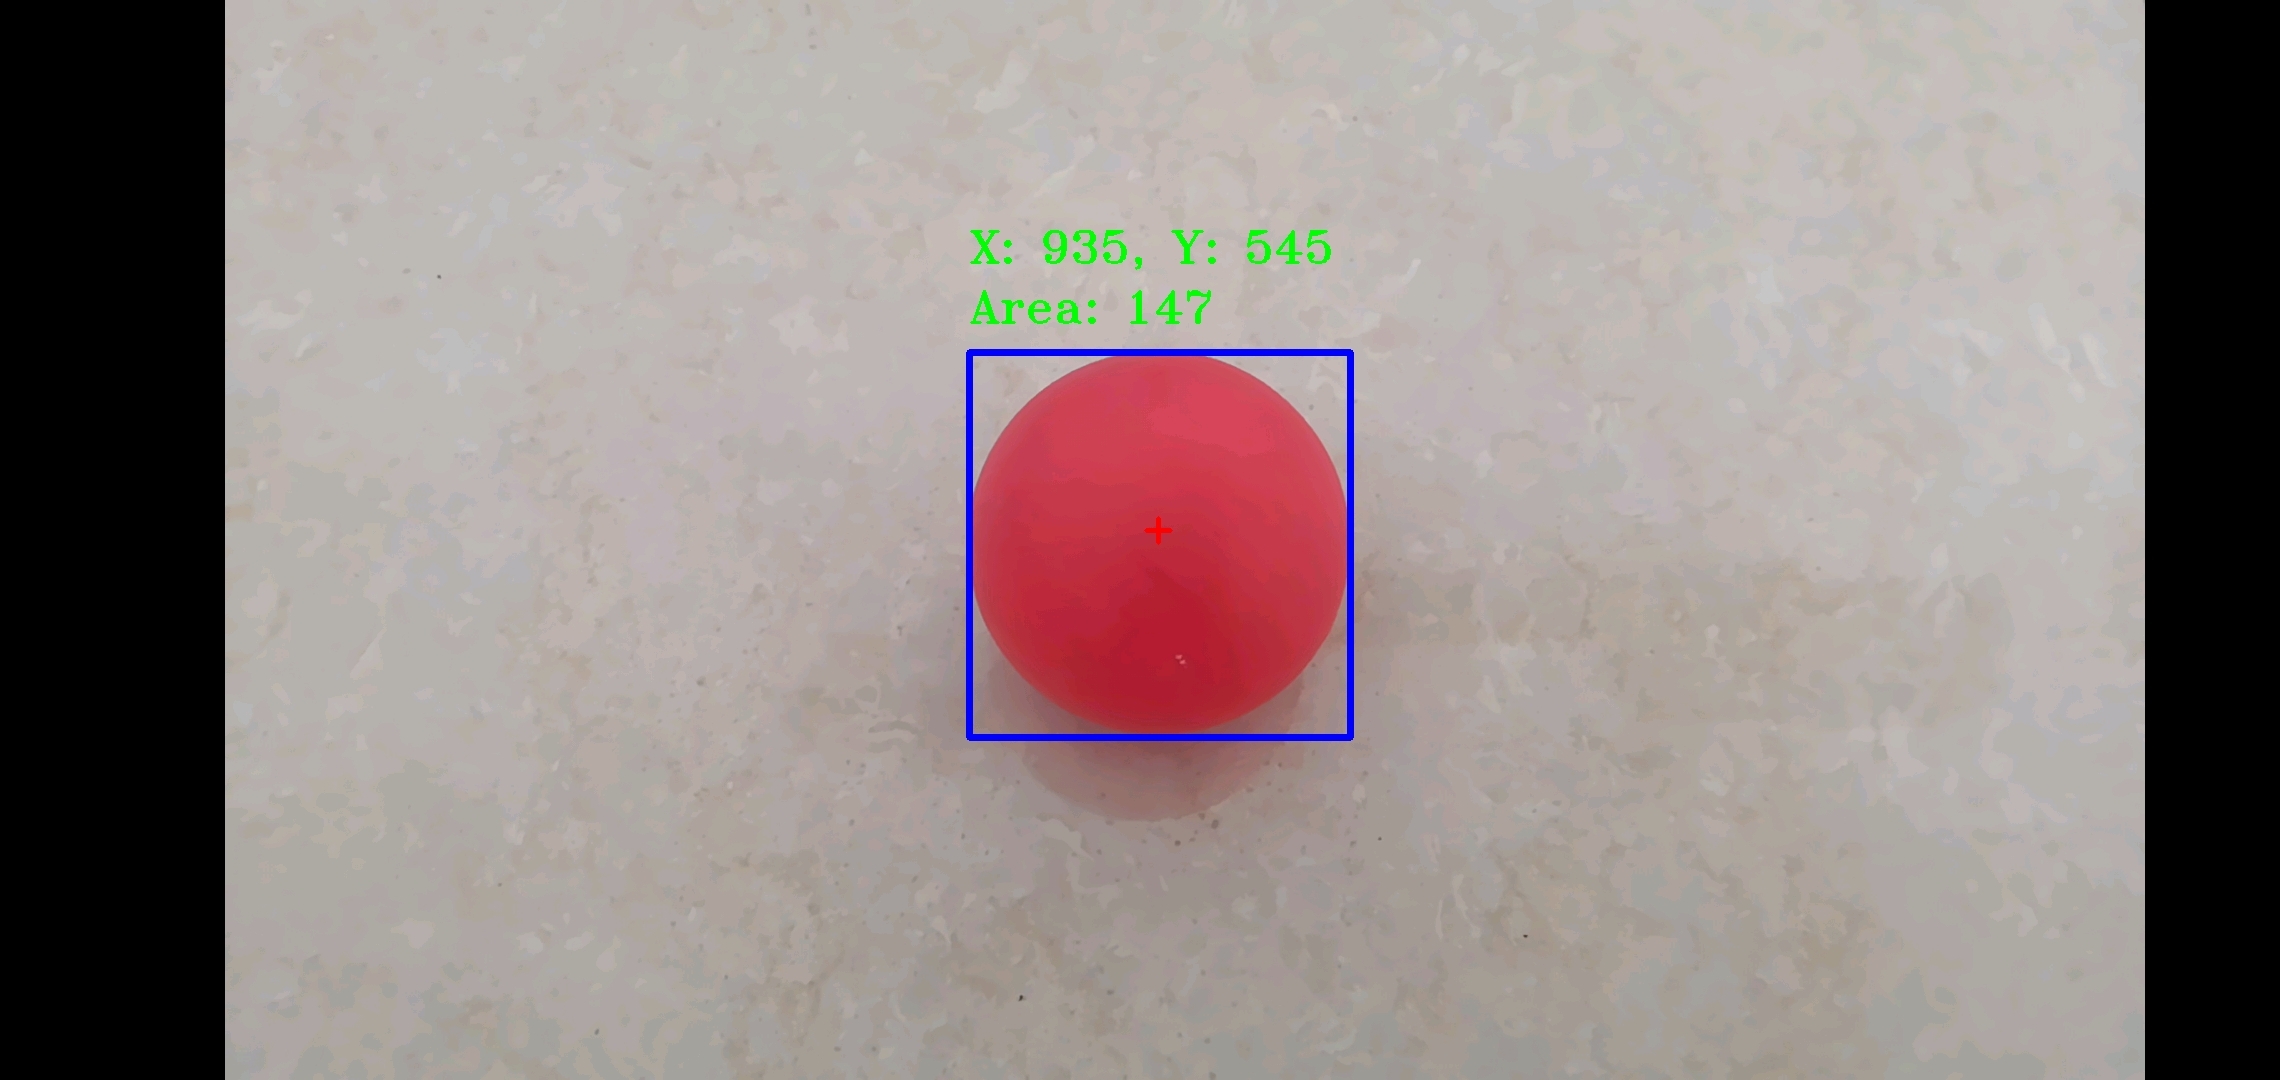
OpenCV Bot actually detects or tracks any real-time object through image processing. This application can detect any object using its color and create X, Y position and area area in the phone screen, using this application, data is sent to the microcontroller via Bluetooth. It has been tested with the Bluetooth module and is suitable for various devices. We download this APP through a mobile phone to implement color tracking, and send data to the Arduino UNO via Bluetooth for data analysis and execute motion commands.
Supplies
- Omnidirectional wheel chassis
- Arduino UNO R3
- Motor drive module
- Bluetooth, xbee pin(04,05,06)
- 3S 18650
- Mobile phone
- OpenCVBot software
You also need a mobile phone holder and an easily recognizable ball
Install the Base Chassis I Track
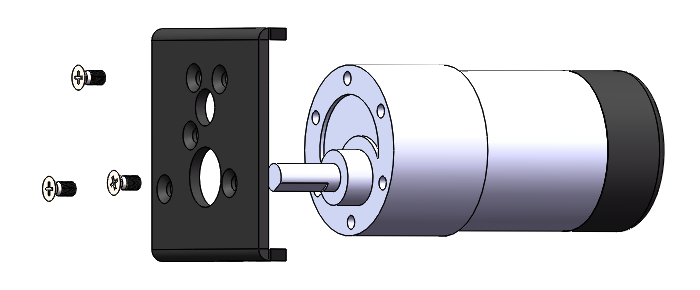
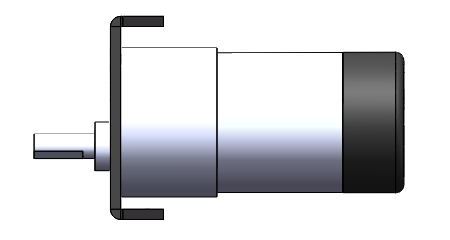
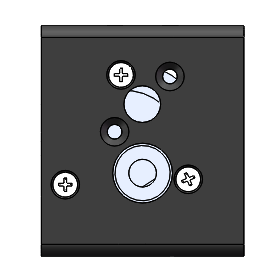
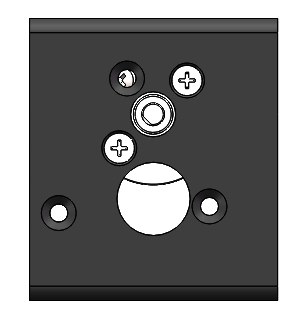
Fix the GB37 motor or GA25 motor to the motor bracket. Pay attention to the fixing holes of the installation. This is different because they are not universal.
Both types of motors can be used. Pay attention to distinguish which side is up and which side is down; or you can use a larger omnidirectional wheel so that you do not need to distinguish them...
Motor Fixed to the Chassis

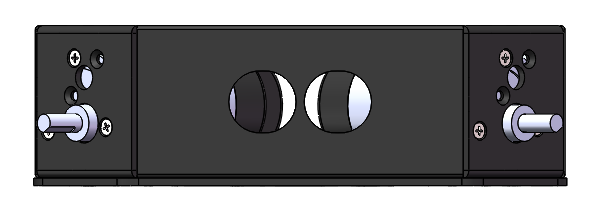


The motor's bracket is threaded, so we don't need to use nuts to fix them, which makes it easy for us to install, because the space for installing the nuts is too small, we can't reach to fix them.Ultrasonic modules can be installed on the side, and I can use them to avoid obstacles, which is very helpful for walking of the car.
Installation ultrasonic size, probe distance, unit mm.
Complete Chassis Assembly
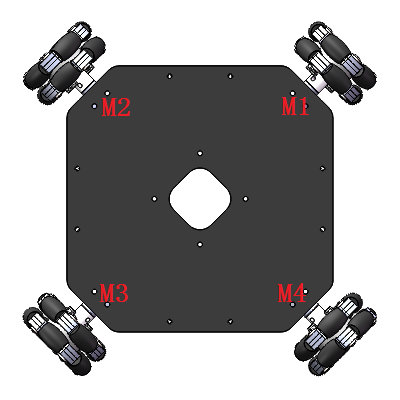

To complete the fixing of the chassis, it is necessary to continuously adjust the grip of the wheels in the subsequent control. The 4 fulcrum points will cause the wheels to not fully contact the chassis, resulting in slippage when walking. We adjusted the screws on the chassis. Adjusting the position requires patience.
We number the wheels to follow the orderly control of the edges,The reason I use 4 rounds is because I think the control is fine if the 3 rounds are fine, but the high price is not very friendly.
Electronic Module


Motor drive I used 2 PM-R3, I changed the drive pins of one of them, 4, 5, 6, 7 to 8, 9, 10, 11 in order to be able to drive 4 motors individually There is a power management chip on the board, but I did not use it, I directly input from the DC port of Arduino UNO.
The motor driver is a TB6612FNG chip. This is a relatively common driver chip. You can also use an L298N chip, which is basically the same. Modify the code to achieve the same walking mode.
- 4, 5 is a motor connected to the ground,5-pwm;
- 6, 7 is a second motor,6-pwm;
- 8, 9 is a third motor,9-pwm;
- 10, 11 is a fourth motor,10-pwm;
Mobile Apps


APP:Click
Sample Arduino Code:Clik
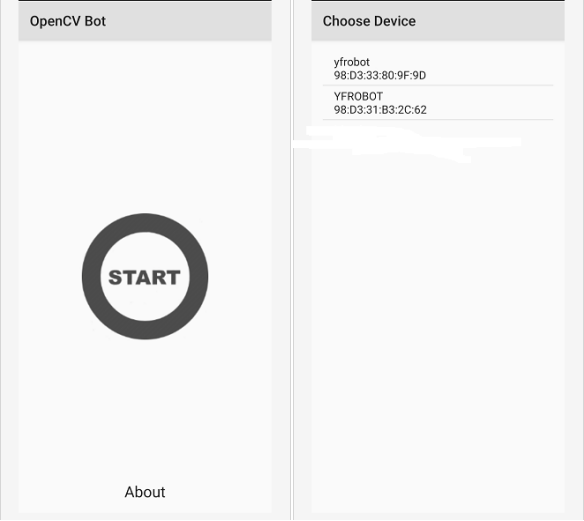
After downloading and installing, you can use Bluetooth for pairing. Click on the object that needs to be identified. The color is best to be different from the surrounding area to prevent detection of the same surrounding area. One thing to note is that facing the sun will cause tracking loss. , And then we can see the value change in the serial port.
Modify the sample code to fit your motor drive module. If you use the PM-R3 expansion module like me, you can use the code I provided.
Downloads
Complete Picture
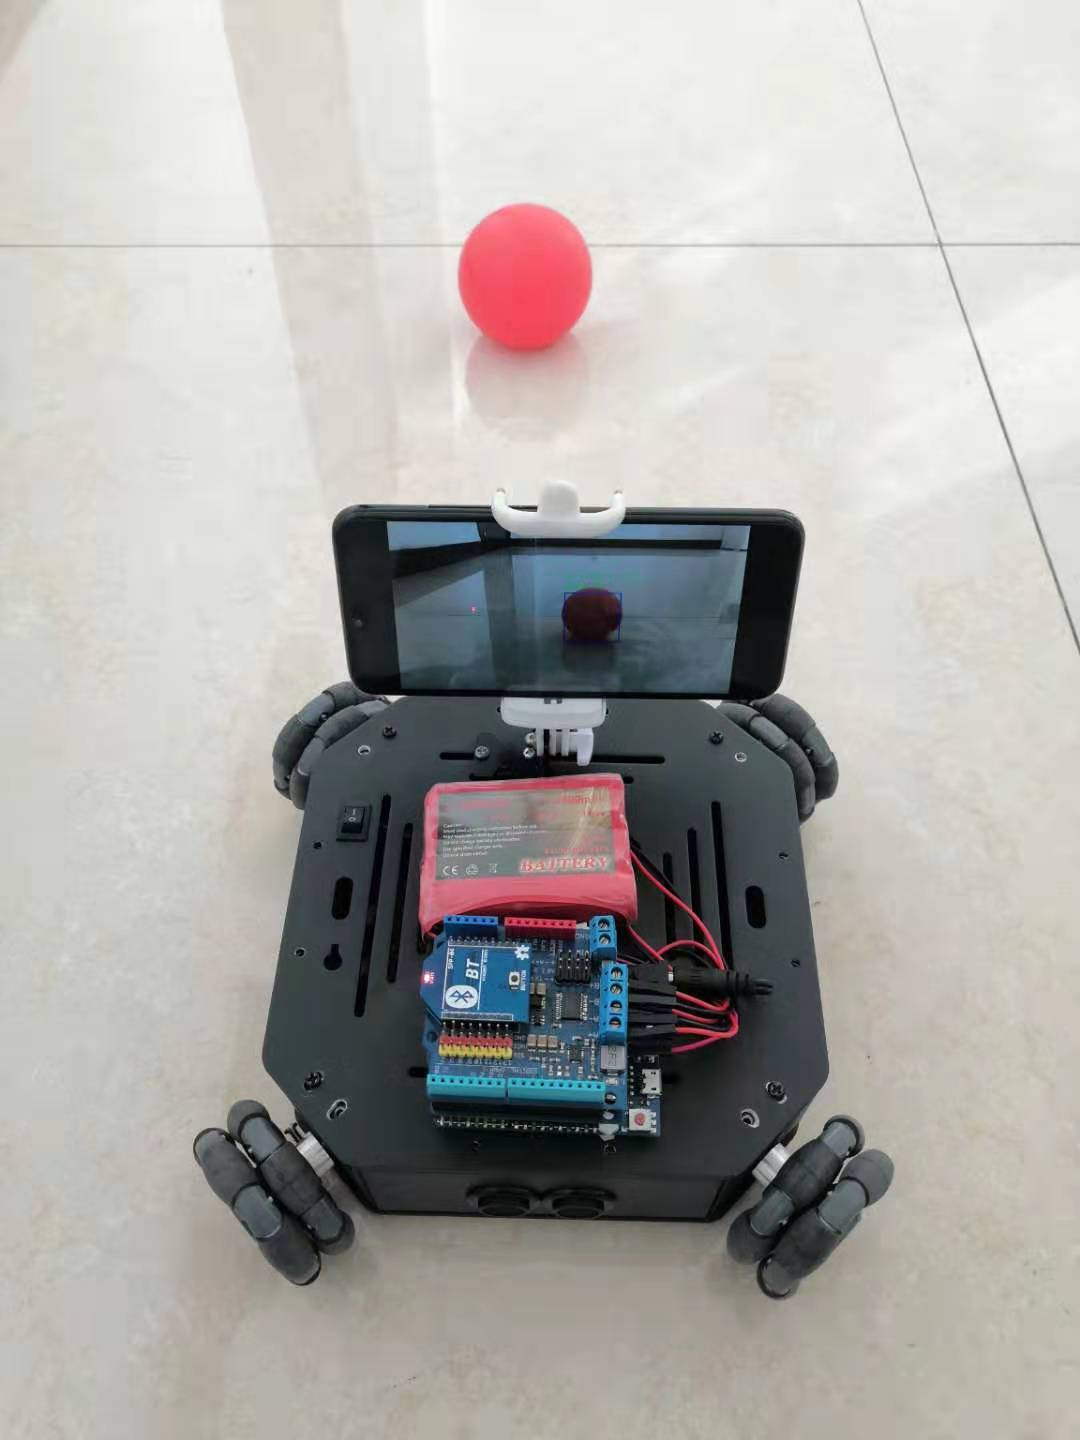
Finished, let's see the effect.