Color Detection in Images Using OpenCV on BrainyPI
by Pushkar_Shepal in Circuits > Raspberry Pi
47 Views, 0 Favorites, 0 Comments
Color Detection in Images Using OpenCV on BrainyPI

Computer vision involves the analysis and understanding of digital images and videos, enabling machines to perceive and interpret visual information. One fundamental aspect of computer vision is color detection, which plays a crucial role in various applications, including object recognition, image segmentation, and visual tracking.
OpenCV (Open Source Computer Vision Library) is a widely used open-source library that provides a rich set of tools and functions for computer vision tasks. With its extensive capabilities, OpenCV enables developers and researchers to implement sophisticated image processing and analysis algorithms.
In this step-by-step guide, we will focus on one specific task: detecting the green color in an image. By detecting and extracting regions with green color, we can isolate and analyze specific objects or areas of interest. This tutorial will walk you through the process of implementing color detection using OpenCV, allowing you to gain practical experience in computer vision techniques.
By following this guide, you will learn the foundations of color detection, including converting color spaces, defining color ranges, creating masks, and identifying contours. These concepts form the building blocks for more advanced computer vision tasks and can be extended to detect other colors or develop complex applications.
So, let's dive into the exciting world of color detection using OpenCV and unleash the power of computer vision to analyze and interpret visual information!
Supplies
Libraries: OpenCv
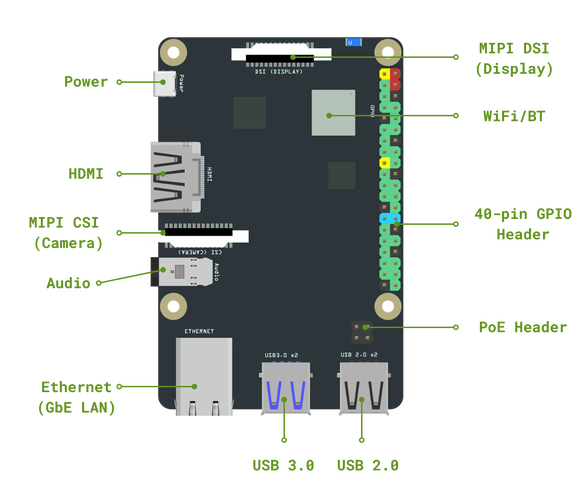
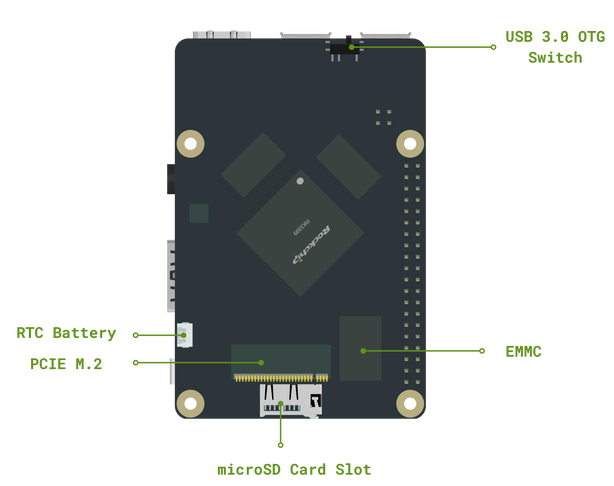
Implementation: BrainyPI
Introduction
Computer vision involves the analysis and understanding of digital images and videos, enabling machines to perceive and interpret visual information. One fundamental aspect of computer vision is color detection, which plays a crucial role in various applications, including object recognition, image segmentation, and visual tracking.
OpenCV (Open Source Computer Vision Library) is a widely used open-source library that provides a rich set of tools and functions for computer vision tasks. With its extensive capabilities, OpenCV enables developers and researchers to implement sophisticated image processing and analysis algorithms.
In this step-by-step guide, we will focus on one specific task: detecting the green color in an image. By detecting and extracting regions with green color, we can isolate and analyze specific objects or areas of interest. This tutorial will walk you through the process of implementing color detection using OpenCV, allowing you to gain practical experience in computer vision techniques.
By following this guide, you will learn the foundations of color detection, including converting color spaces, defining color ranges, creating masks, and identifying contours. These concepts form the building blocks for more advanced computer vision tasks and can be extended to detect other colors or develop complex applications.
So, let's dive into the exciting world of color detection using OpenCV and unleash the power of computer vision to analyze and interpret visual information!
Required Libraries
Before we begin, make sure you have OpenCV and NumPy installed. You can install them using pip:
pip install opencv-python
pip install numpy
Importing the Libraries, Loading the Image, Detecting Green Color, and Displaying the Result
- Import the necessary libraries at the beginning of your code:
import cv2
import numpy as np
- Let's understand the code step-by-step:
- The detect_green function takes an image as input and performs the green color detection. It converts the image to the HSV color space, defines the lower and upper green color ranges, creates a mask using cv2.inRange to filter out non-green colors, finds contours in the mask using cv2.findContours, selects the largest contour, and draws a bounding rectangle and label around it.
- The cv2.imshow function is used to display the image with the detected green region and label. The cv2.waitKey(0) function waits for a key press, and cv2.destroyAllWindows() closes all open windows when the key is pressed.
- Finally, based on the detection result, the code prints a message indicating whether green color was detected in the image.
- Load the image you want to analyze using the cv2.imread function. Provide the path to the image file as a string. For example:
image_path = r"path/to/image.jpg"
image = cv2.imread(image_path)
- Call the detect_green function, passing the loaded image as the argument. This function will detect green color in the image and modify it accordingly. To visualize the results, display the modified image using the cv2.imshow function. Provide a window title as the first argument and the modified image as the second argument. Then, use the cv2.waitKey(0) function to wait for a key press before closing the window. Finally, call cv2.destroyAllWindows() to close all open windows.
detected = detect_green(image)
cv2.imshow("Detected Green", image)
cv2.waitKey(0)
cv2.destroyAllWindows()
- Based on the detected variable returned by the detect_green function, print an appropriate message to indicate whether green color was detected in the image or not.
if detected:
   print("Green color detected in the image.")
else:
   print("No green color detected in the image.")
Implementing on BrainyPI :
To implement the motion detection code on BrainyPI using GitLab, you can follow these steps:
a. Ensure that you have Git installed on your local machine. You can download Git from the official website and follow the installation instructions.
b. Create a Git repository on a GitLab server to host your colour detection code. You can create a new repository or use an existing one.
c. Clone the Git repository to your local machine using the following command:
git clone git@gitlab.com:your-username/your-repository.git
Replace your-username with your GitLab username and your-repository with the name of your GitLab repository.
d. Copy the motion detection Python file to the local Git repository directory.
e. Commit the changes and push them to the remote GitLab repository using the following commands:
git add colour_detection.py
git commit -m "Added colour detection code"
git push origin main
Replace main with the branch name of your GitLab repository if it's different.
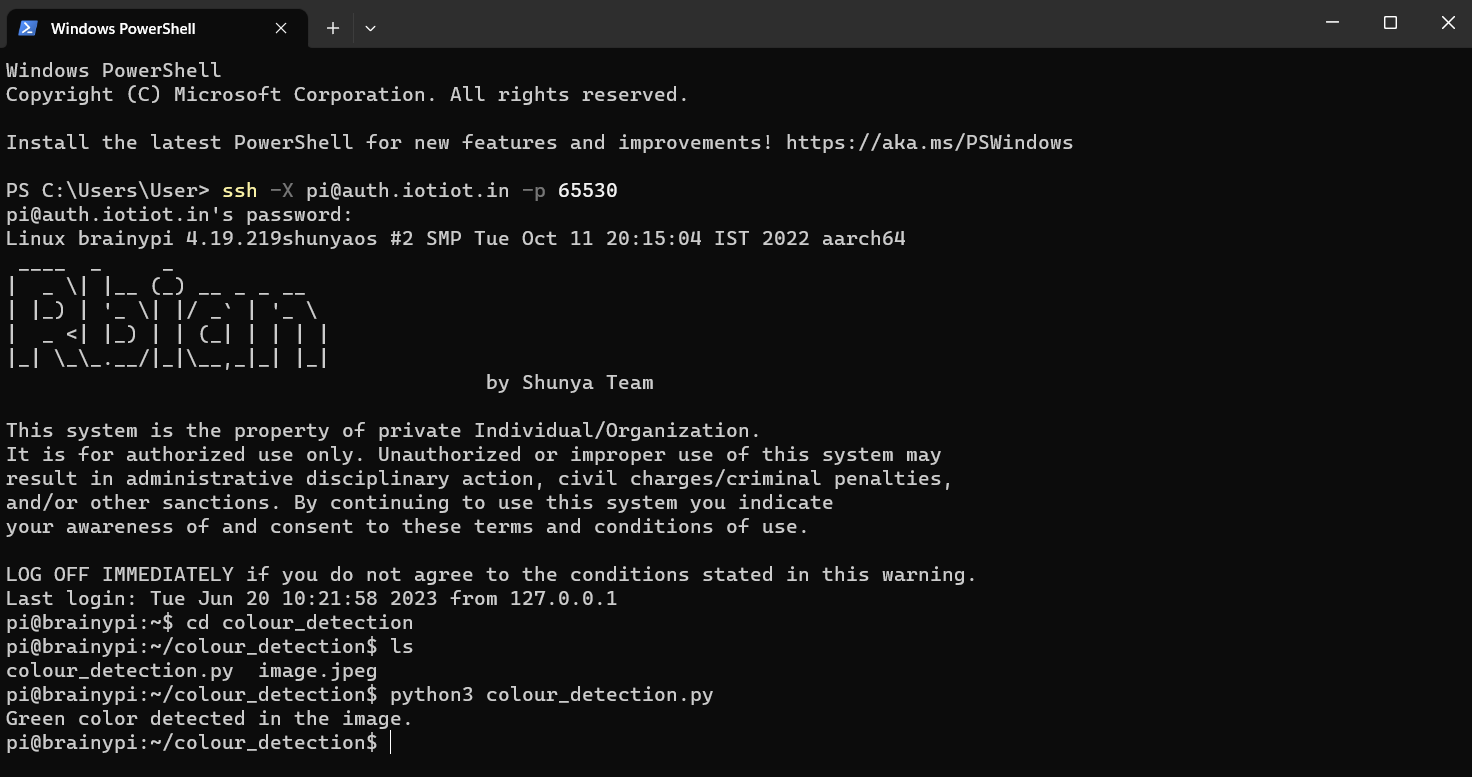
f. Open a terminal or command prompt on your device. Use the following command to establish an ssh connection with your BrainyPI device.
ssh -X pi@auth.iotiot.in -p 65530
g. Now, on your BrainyPI device, make sure you have Git installed. If not, you can install it using the package manager of your operating system.
h. Open a terminal or command prompt on your BrainyPI device.
i. Clone the Git repository from your GitLab server to your BrainyPI device using the following command:
git clone git@gitlab.com:your-username/your-repository.git
Replace your-username with your GitLab username and your-repository with the name of your GitLab repository.
j. Navigate to the cloned repository directory on your BrainyPI device.
k. Run the color detection code using the following command:
python3 colour_detection.py
The colour detection program will start running, and you will see the output on the terminal of your BrainyPI device.
Conclusion
Color detection is a fundamental task in computer vision, and by mastering this technique, you have acquired a valuable skill to analyze and process visual data.
Throughout this tutorial, you have learned essential concepts such as converting color spaces, defining color ranges, creating masks, and identifying contours. These concepts serve as the foundation for more advanced computer vision applications and can be extended to detect other colors or implement complex algorithms.
Color detection has a wide range of practical applications, from object tracking and segmentation to image processing and analysis. By understanding the principles discussed in this guide, you can further explore and develop computer vision solutions tailored to your specific needs.