Collective Urban Projection
by futurevoices in Circuits > Tools
1571 Views, 23 Favorites, 0 Comments
Collective Urban Projection

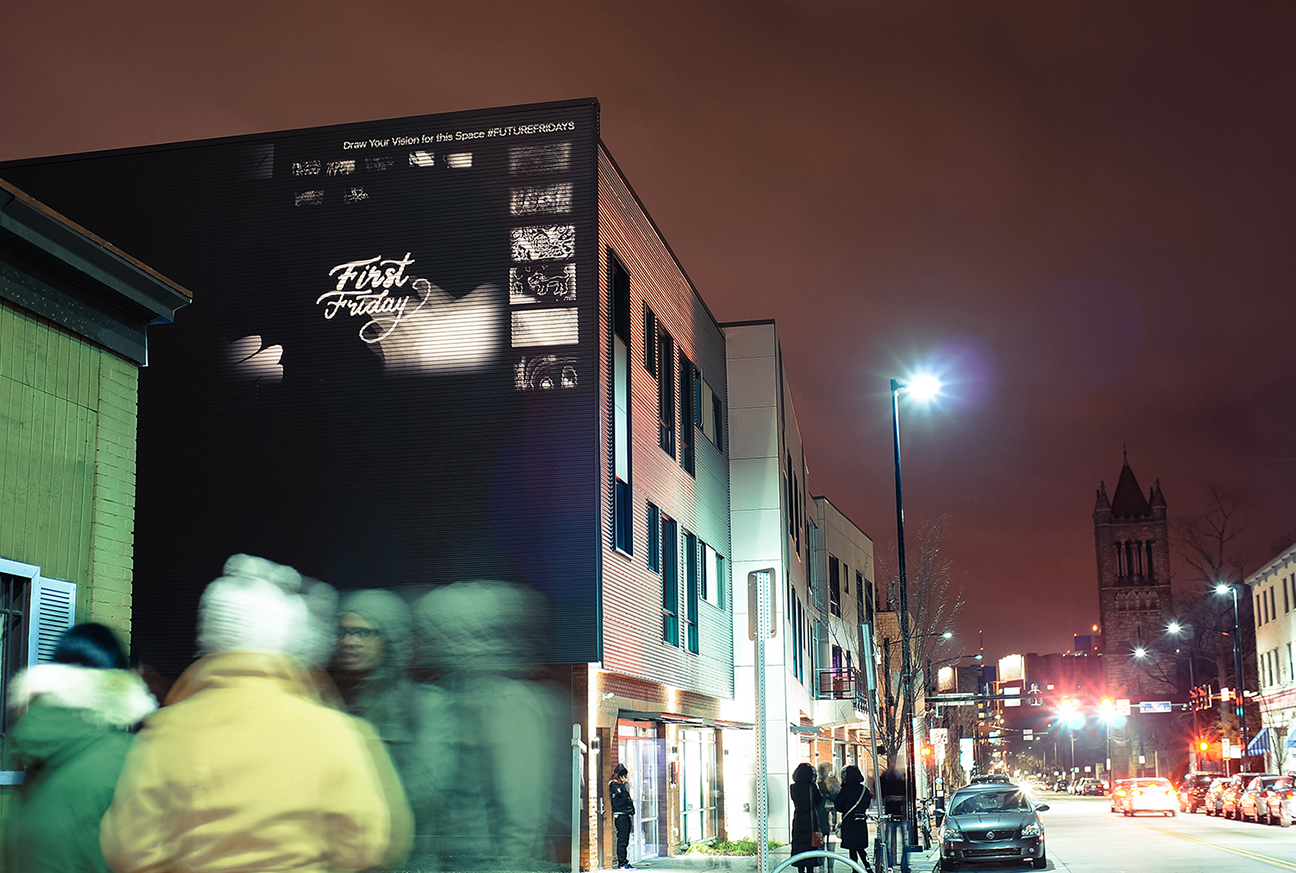
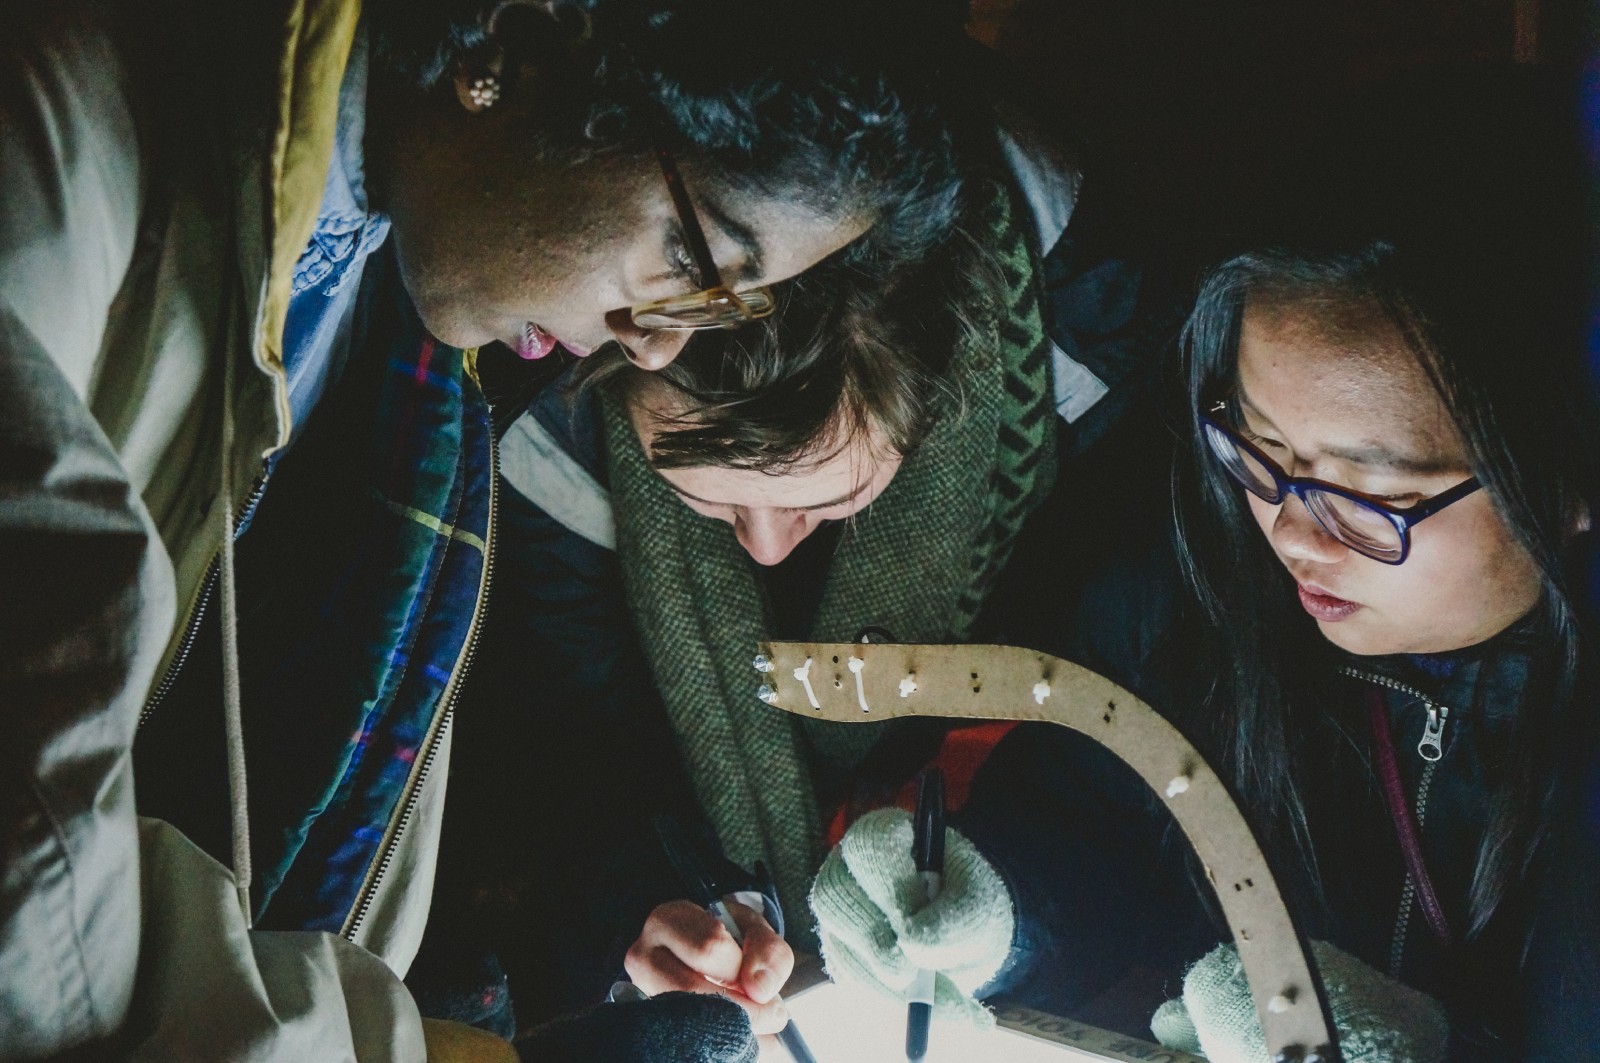
For our first experiment in collective futuring, we wanted to test the concept of “urban projection” as a futuring tool. Urban projection, as the name implies, involves projecting images onto large surfaces in an urban environment, specifically the sides of large buildings. In order to test this as an effective tool for collective futuring, we hosted an interactive urban projection event during the First Friday Festival — a monthly street fair held in Bloomfield - Pittsburgh PA, where vacant spaces are transformed into art galleries and performance spaces.
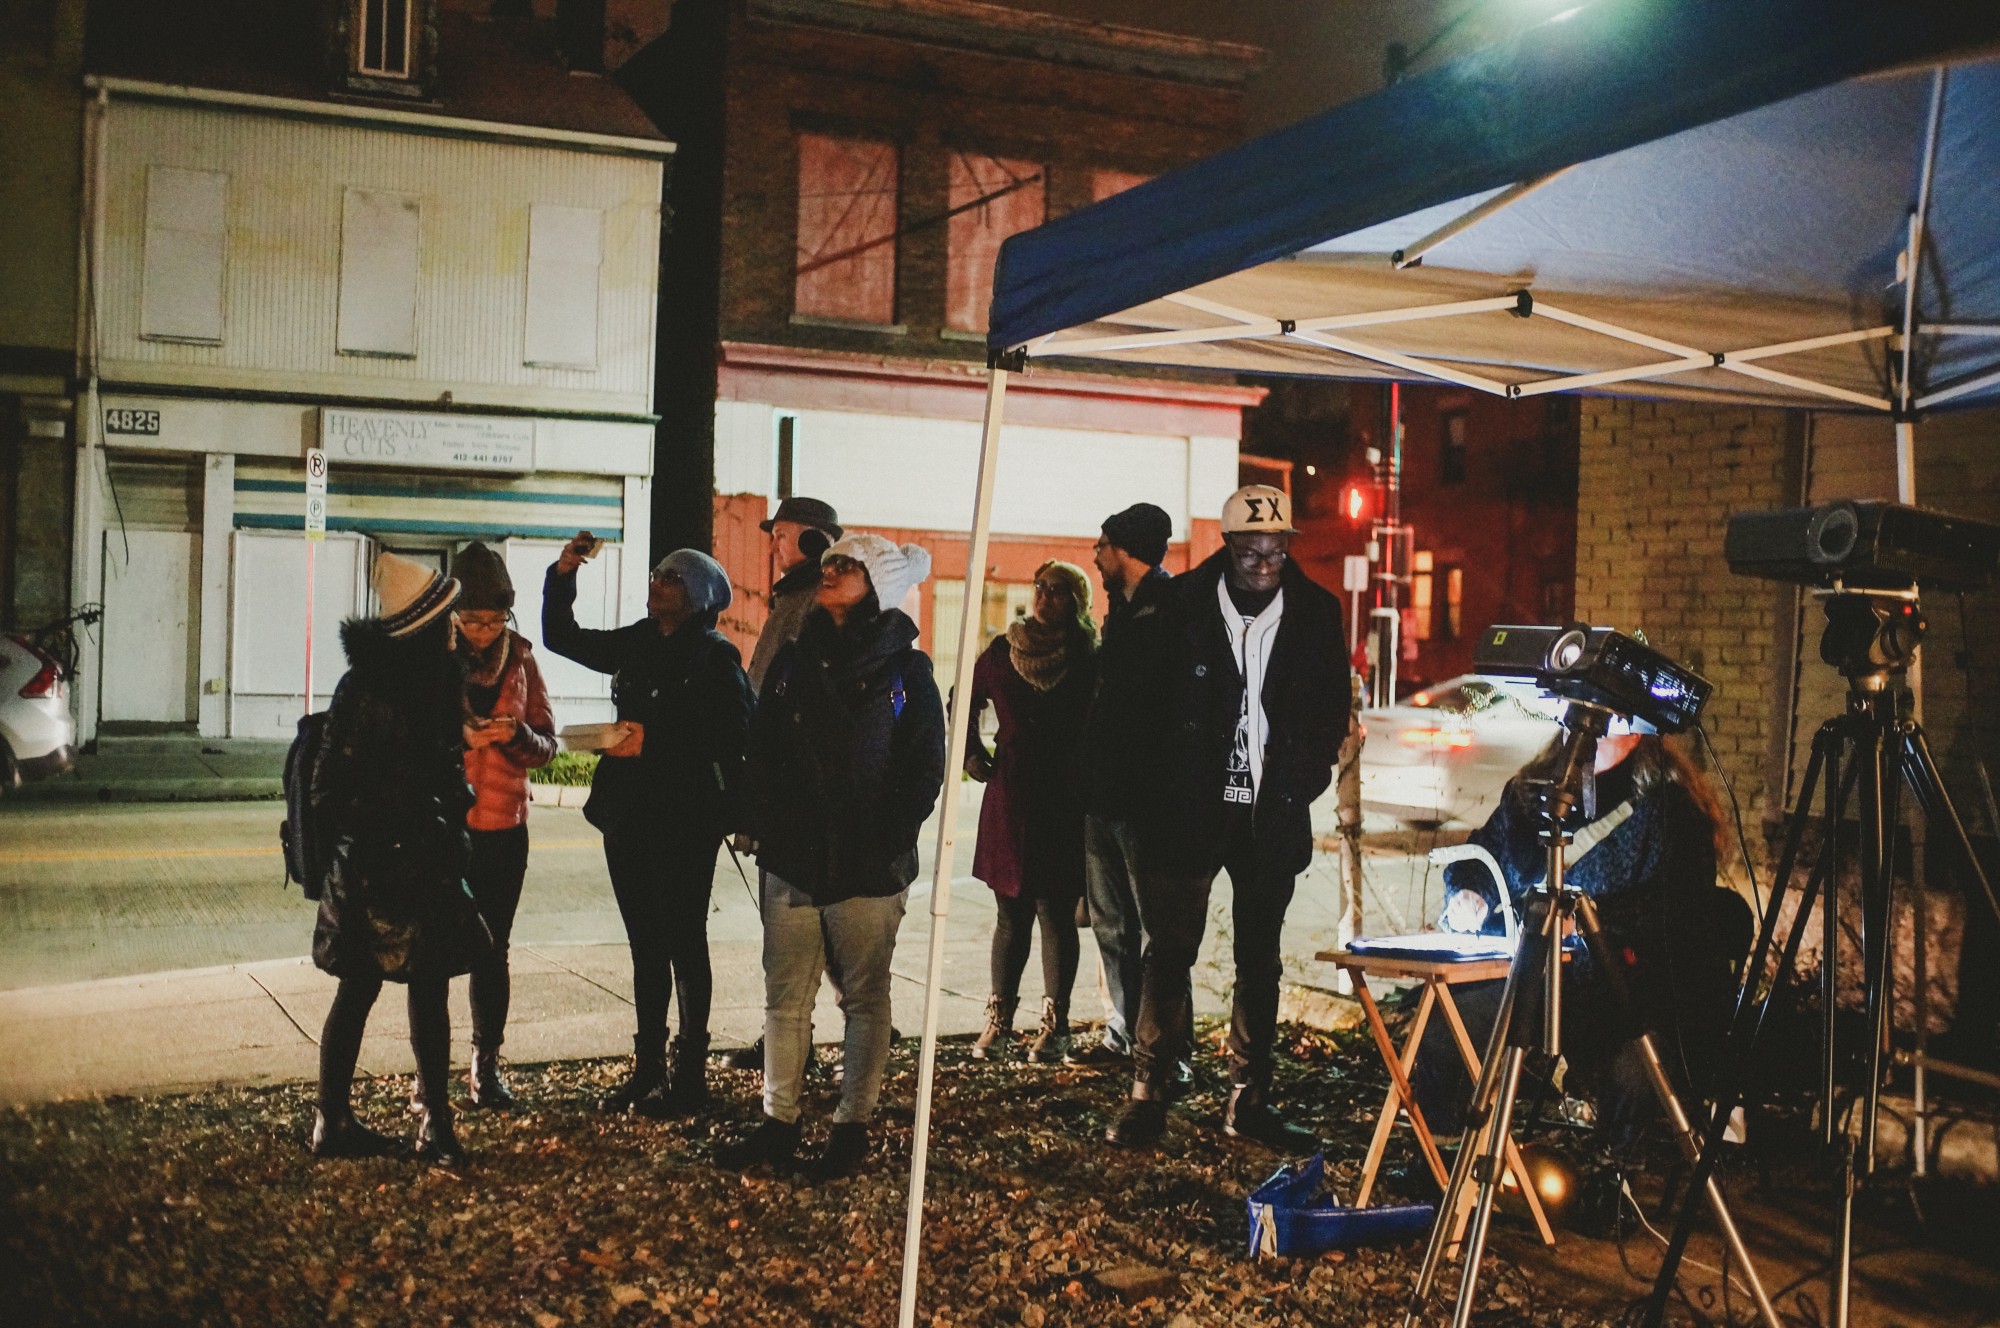
We called our projection event Future Fridays and set up our equipment in a vacant lot along Penn Avenue, the main street in Bloomfield, and invited participants to draw their visions for the future of that space. Then we would project their drawings onto the side of one of the buildings that bordered the lot and then record their reactions.
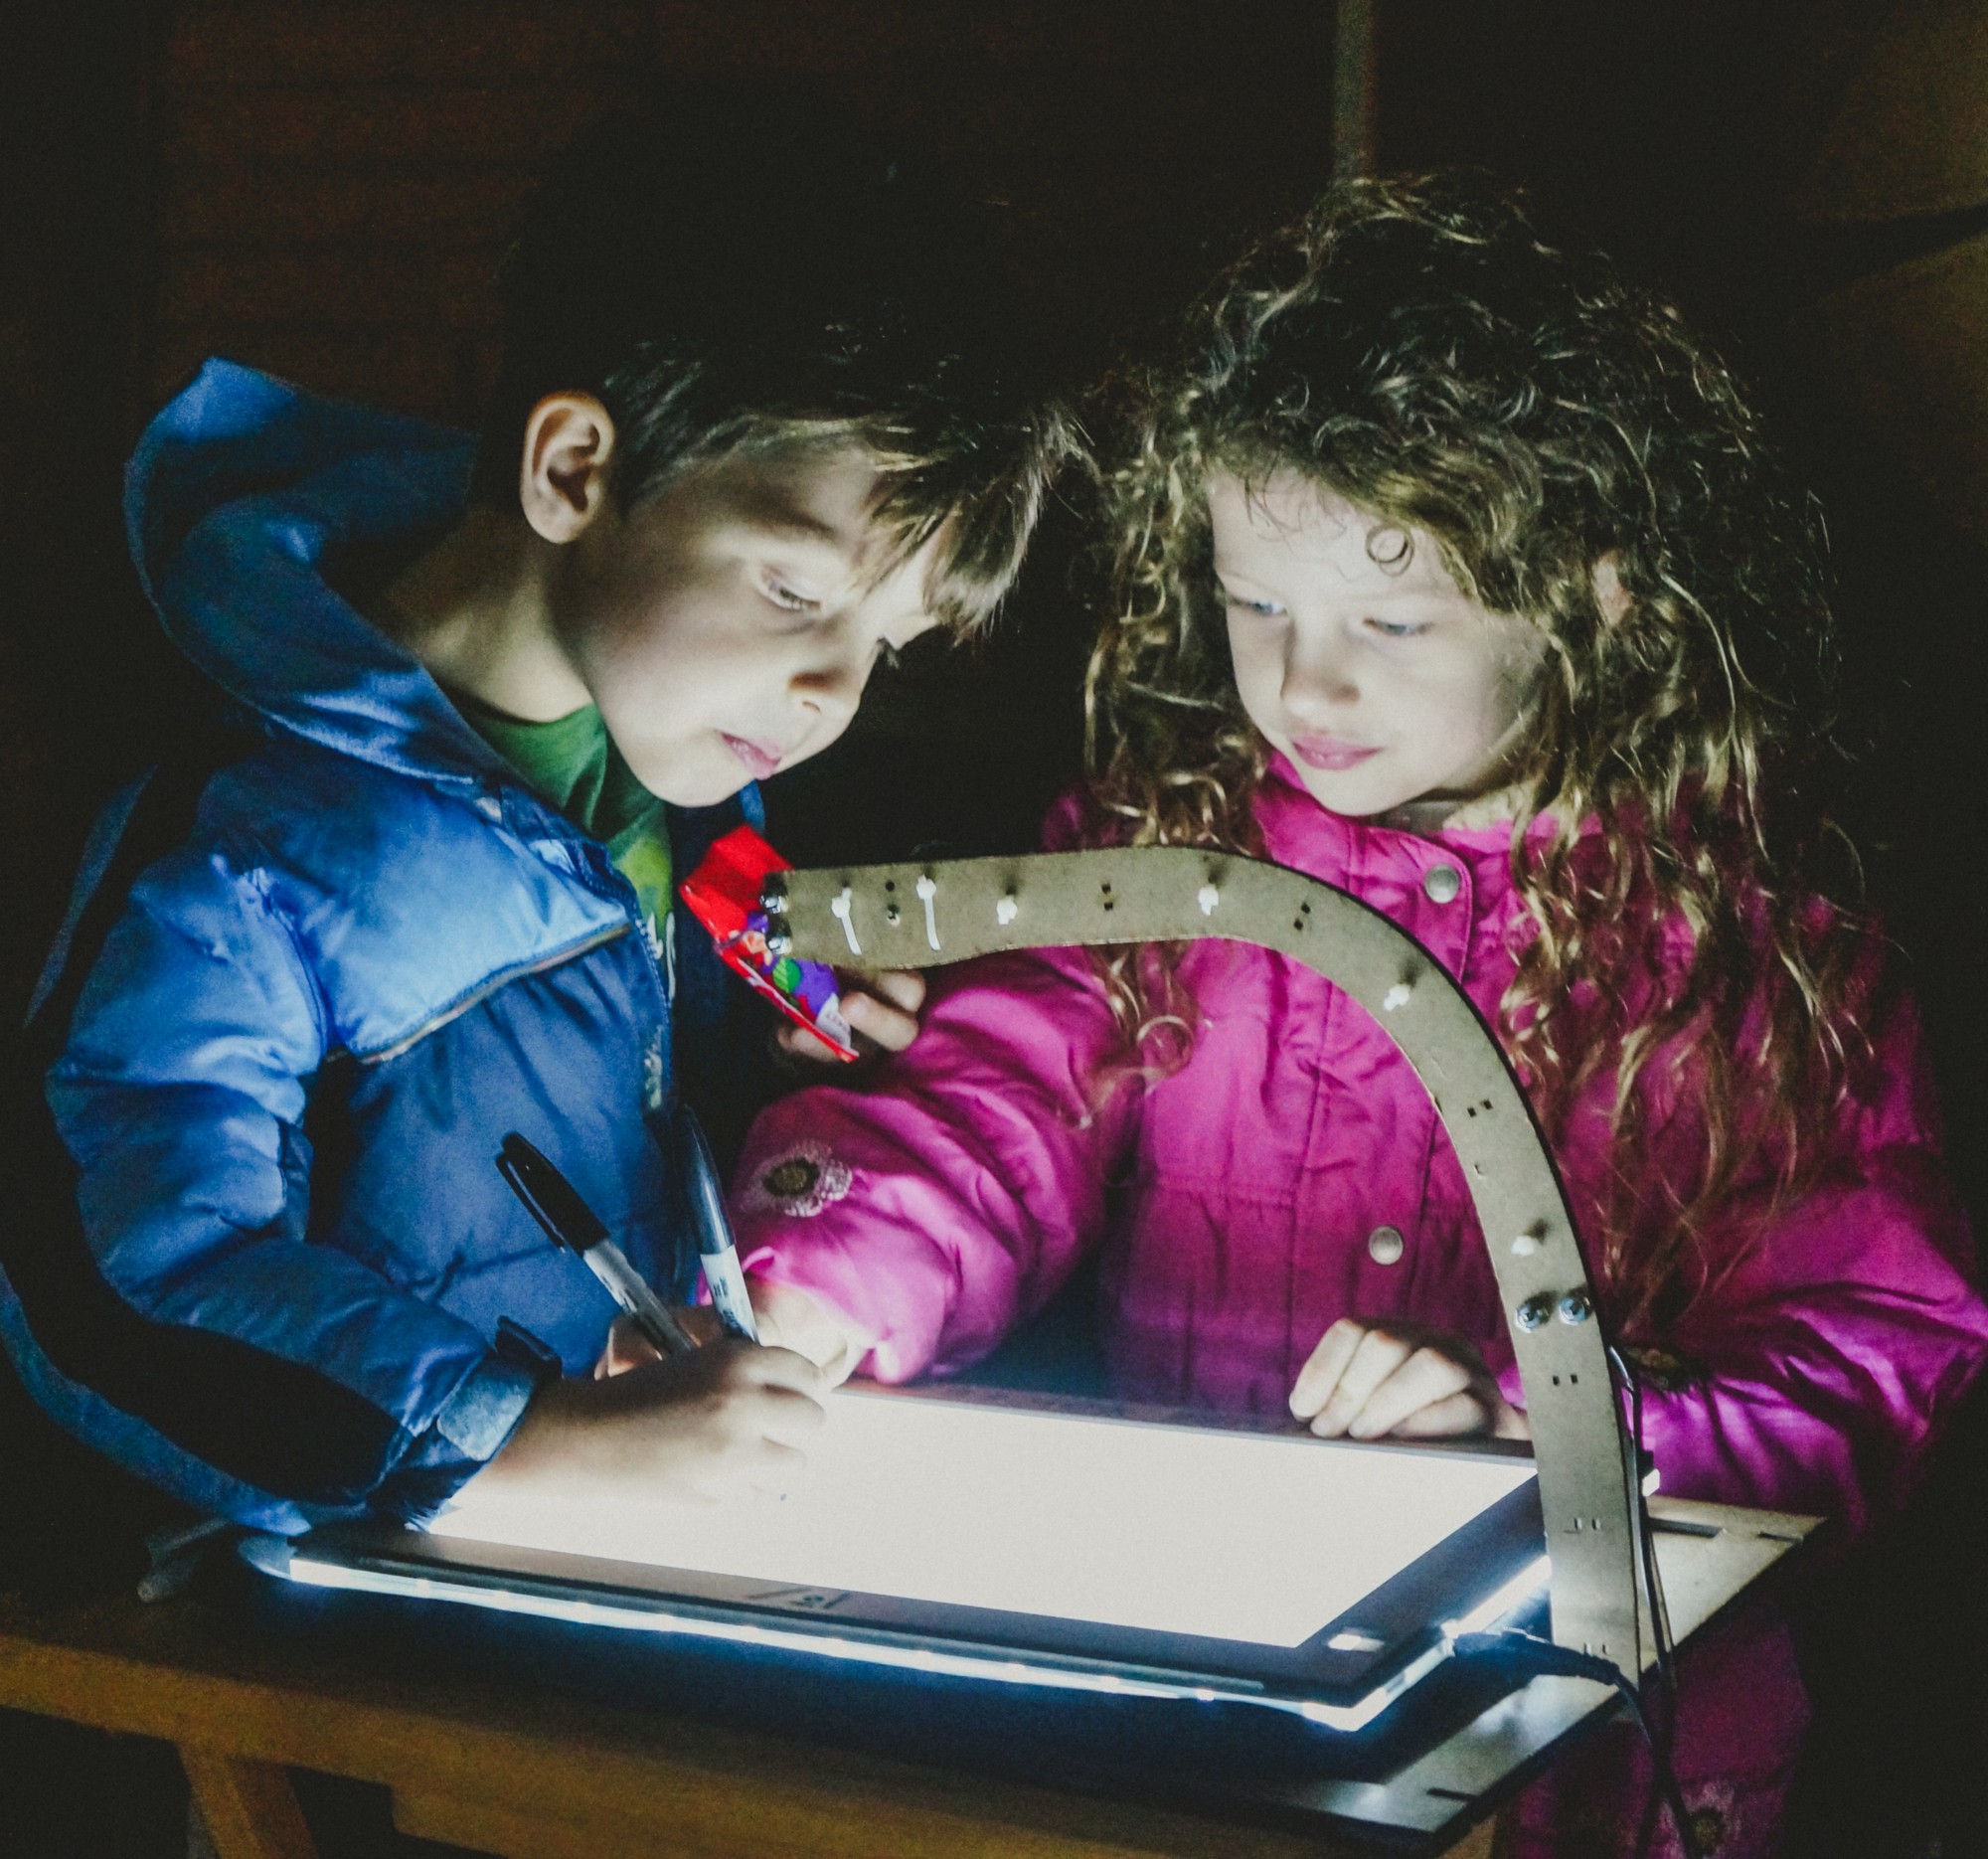
We were excited to discover that young children seemed to be naturally imaginative and genuinely excited about expressing their visions for the future. Once we saw how quickly many of them took to this work, we began wondering how we might make this work more accessible for use in a classroom. This inspired our future work where we've explored potential tools and approaches for educators to support their students in imagining and analyzing potential futures.
Project Parts & Technology
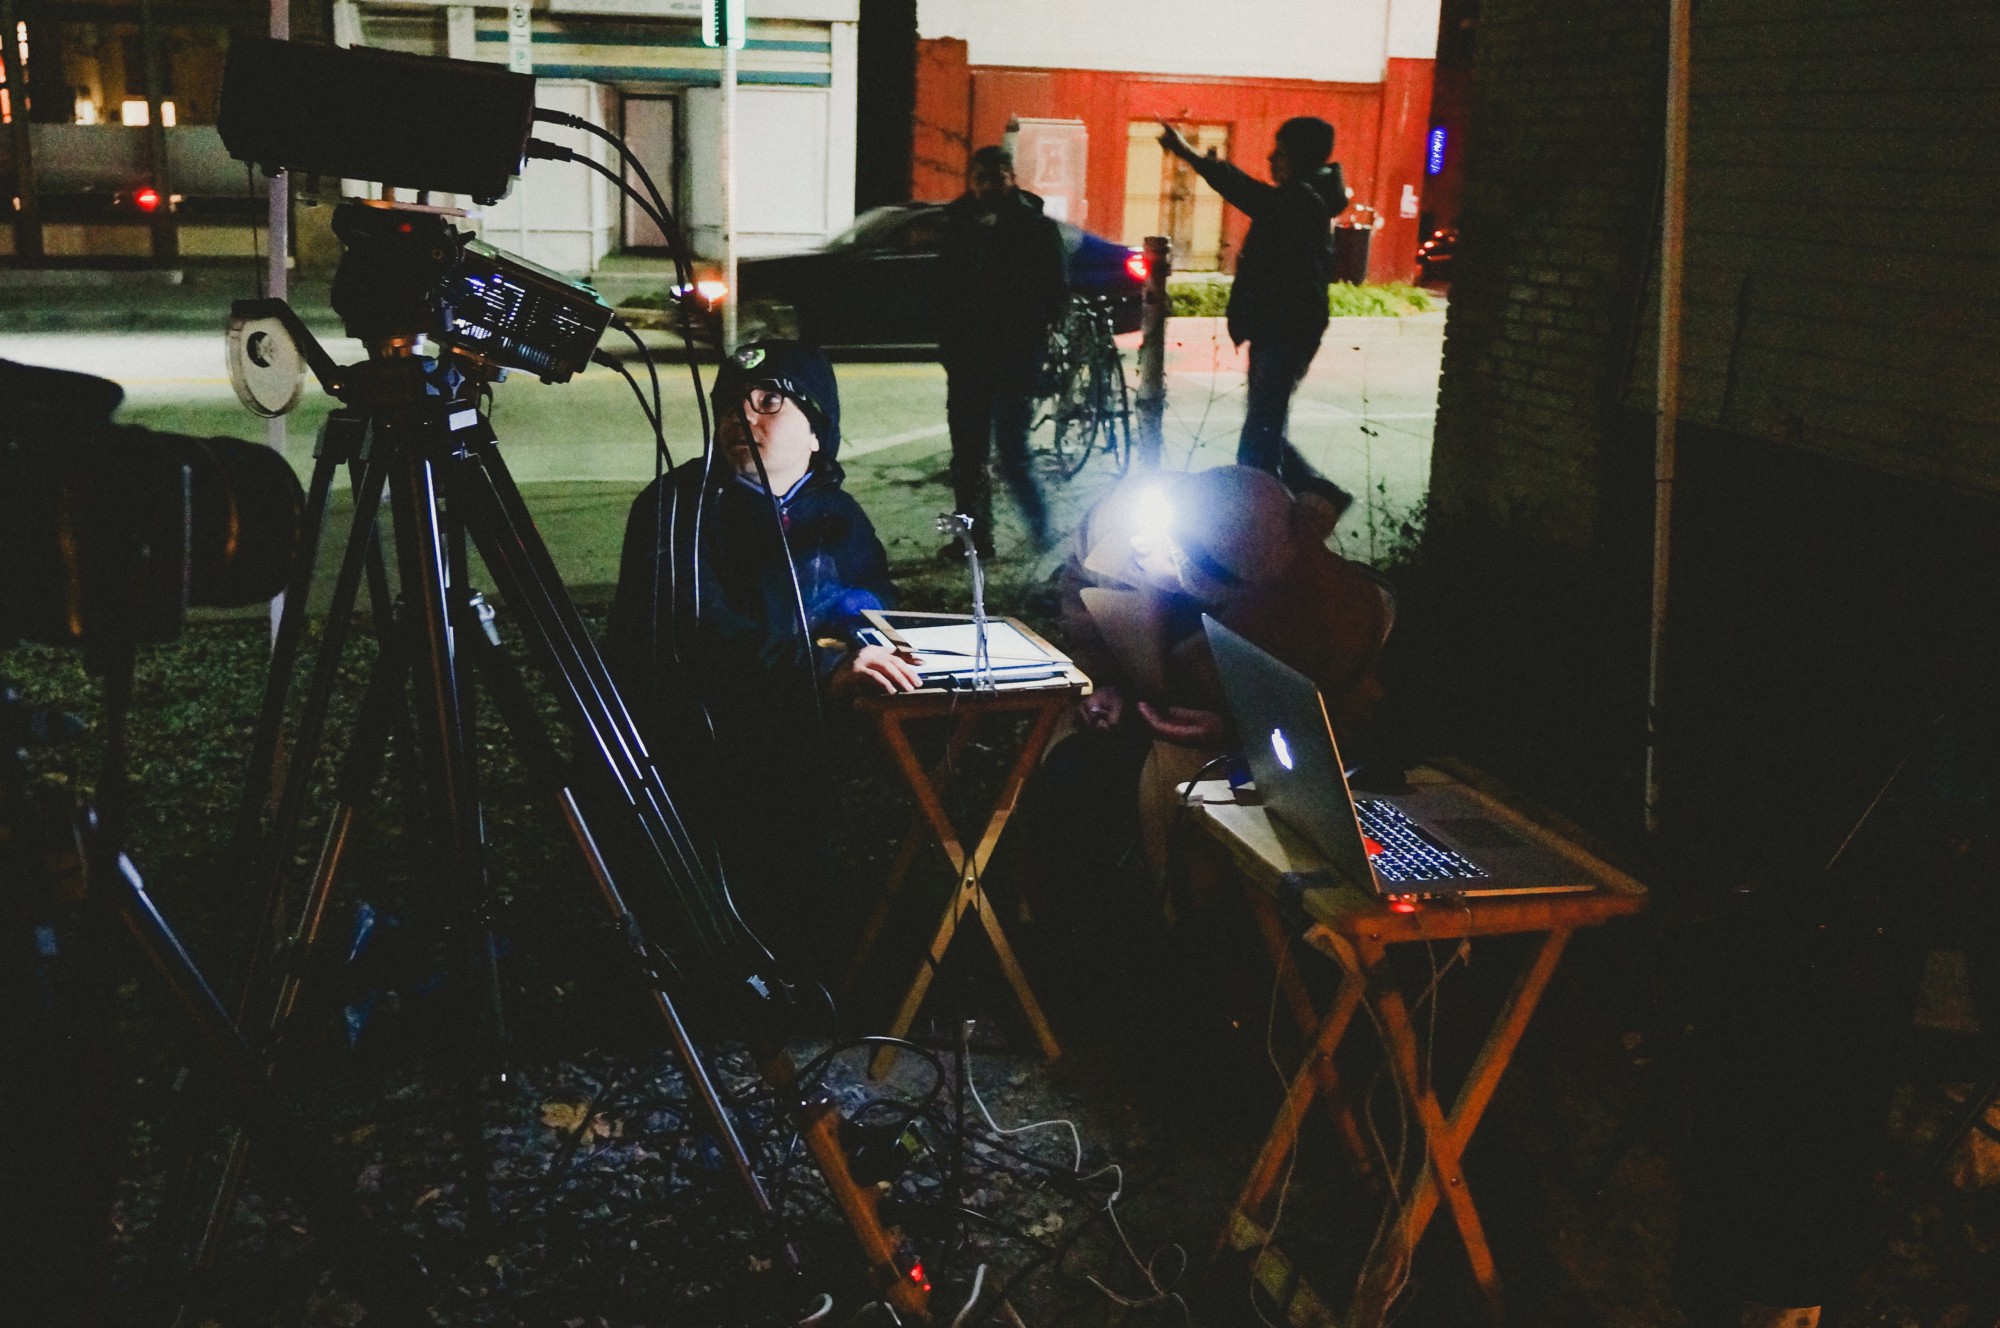
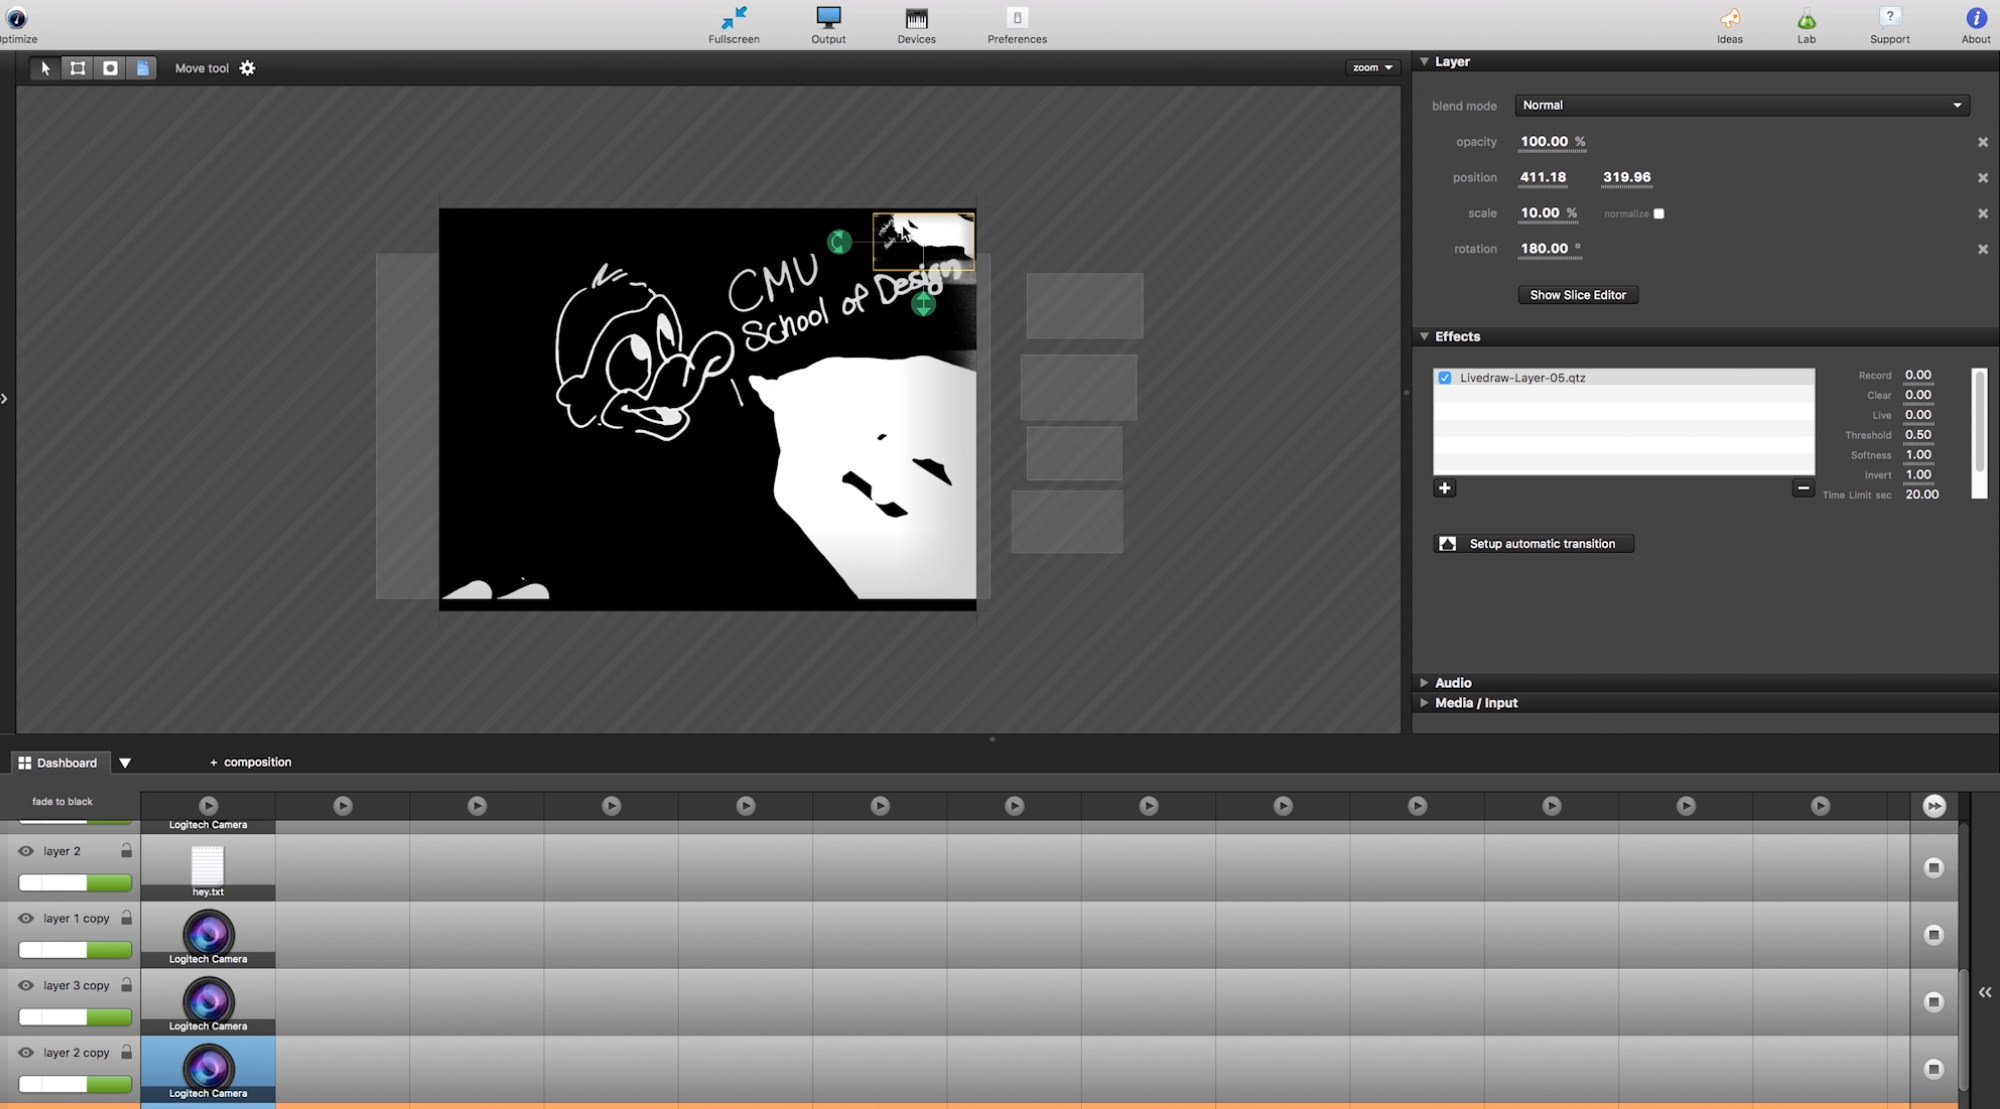
The event setup included a lightbox, sheets of cellophane and a webcam which were all used to capture the users’ drawings in real time. Then we fed the video back into a computer and finally, into the projector. We used a program called Millumin to process the footage and map it onto the surface of the building.
We were inspired by Ali Momeni’s participatory projection work for the Center for Urban Intervention. Those that are interested in planning a similar event should reference Ali’s Manual for Urban Projection.
So our parts list for this project, as follows:
* A PC or Mac, with Millumin 1 or 2 software.
In this event, we used Millumin v1 with a custom "livedraw" script, which is coded in Quartz Composer from Ali Momeni. It allowed us to invert and uniformize the color of the real-time webcam feed and record a certain amount of time with a simple UI. Since Millumin v2 already has already been able to invert and uniformize the color of the of a webcam feed, you will not need a custom livedraw script besides recording the webcam data.
* A standalone USB webcam such as Logitech C615.
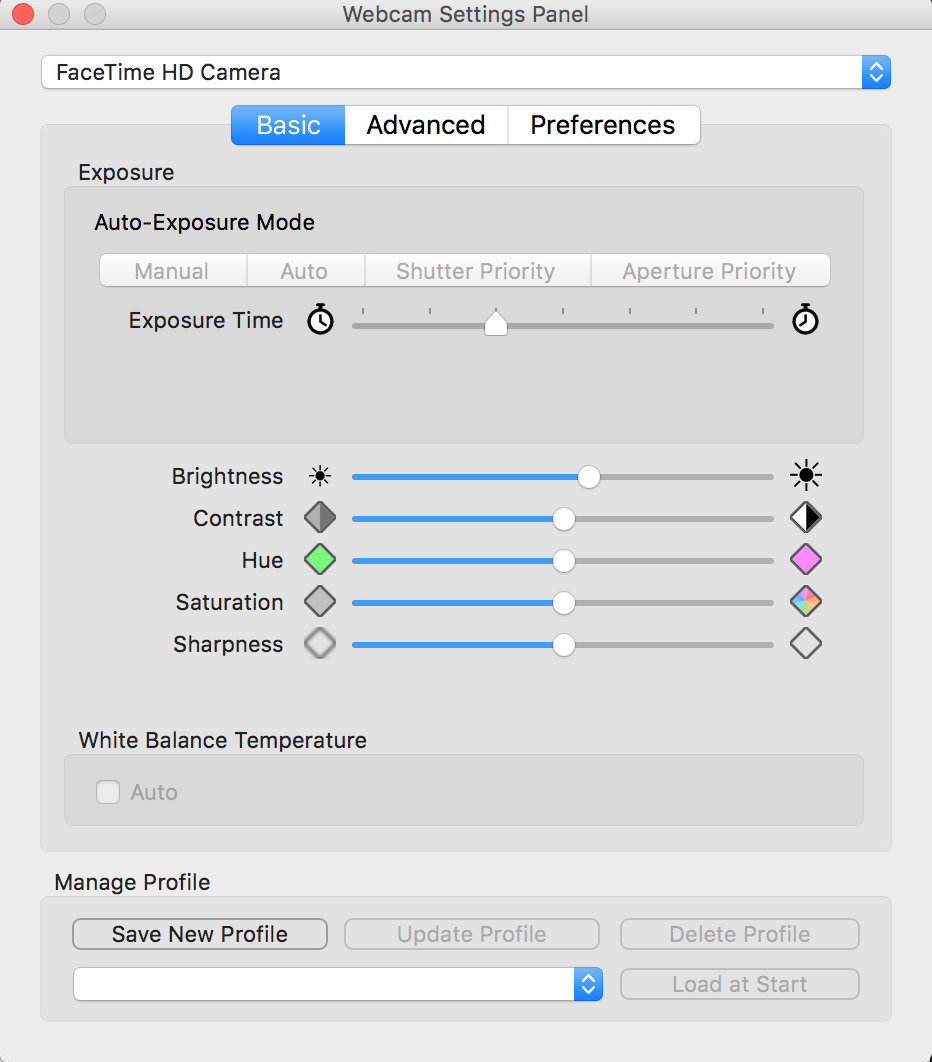
* For Mac users, webcam Settings app from App Store helps you to tweak your webcam settings in detail, which help to offset any physical problems that you may have with your setup such as LED Flicker .
* At least a 4000 lumens power projector, which will enough to project to a wall in outdoors. Here is some projector picks from Urban Projection Expert, CMU Professor Ali Momeni.
* A LED or other type of lightbox to have the contrast for the writing surface. Here is the one that we have used.
* A holder for webcam on top of the lightbox. We have laser cut our own, our holder is in the attachments, which is designed for Logitech C615.
* Some cable ties to attach the laser cut parts together. Cut and tie... You get the idea.
Downloads
How Things Fit Together, and What Is Your Role in This?
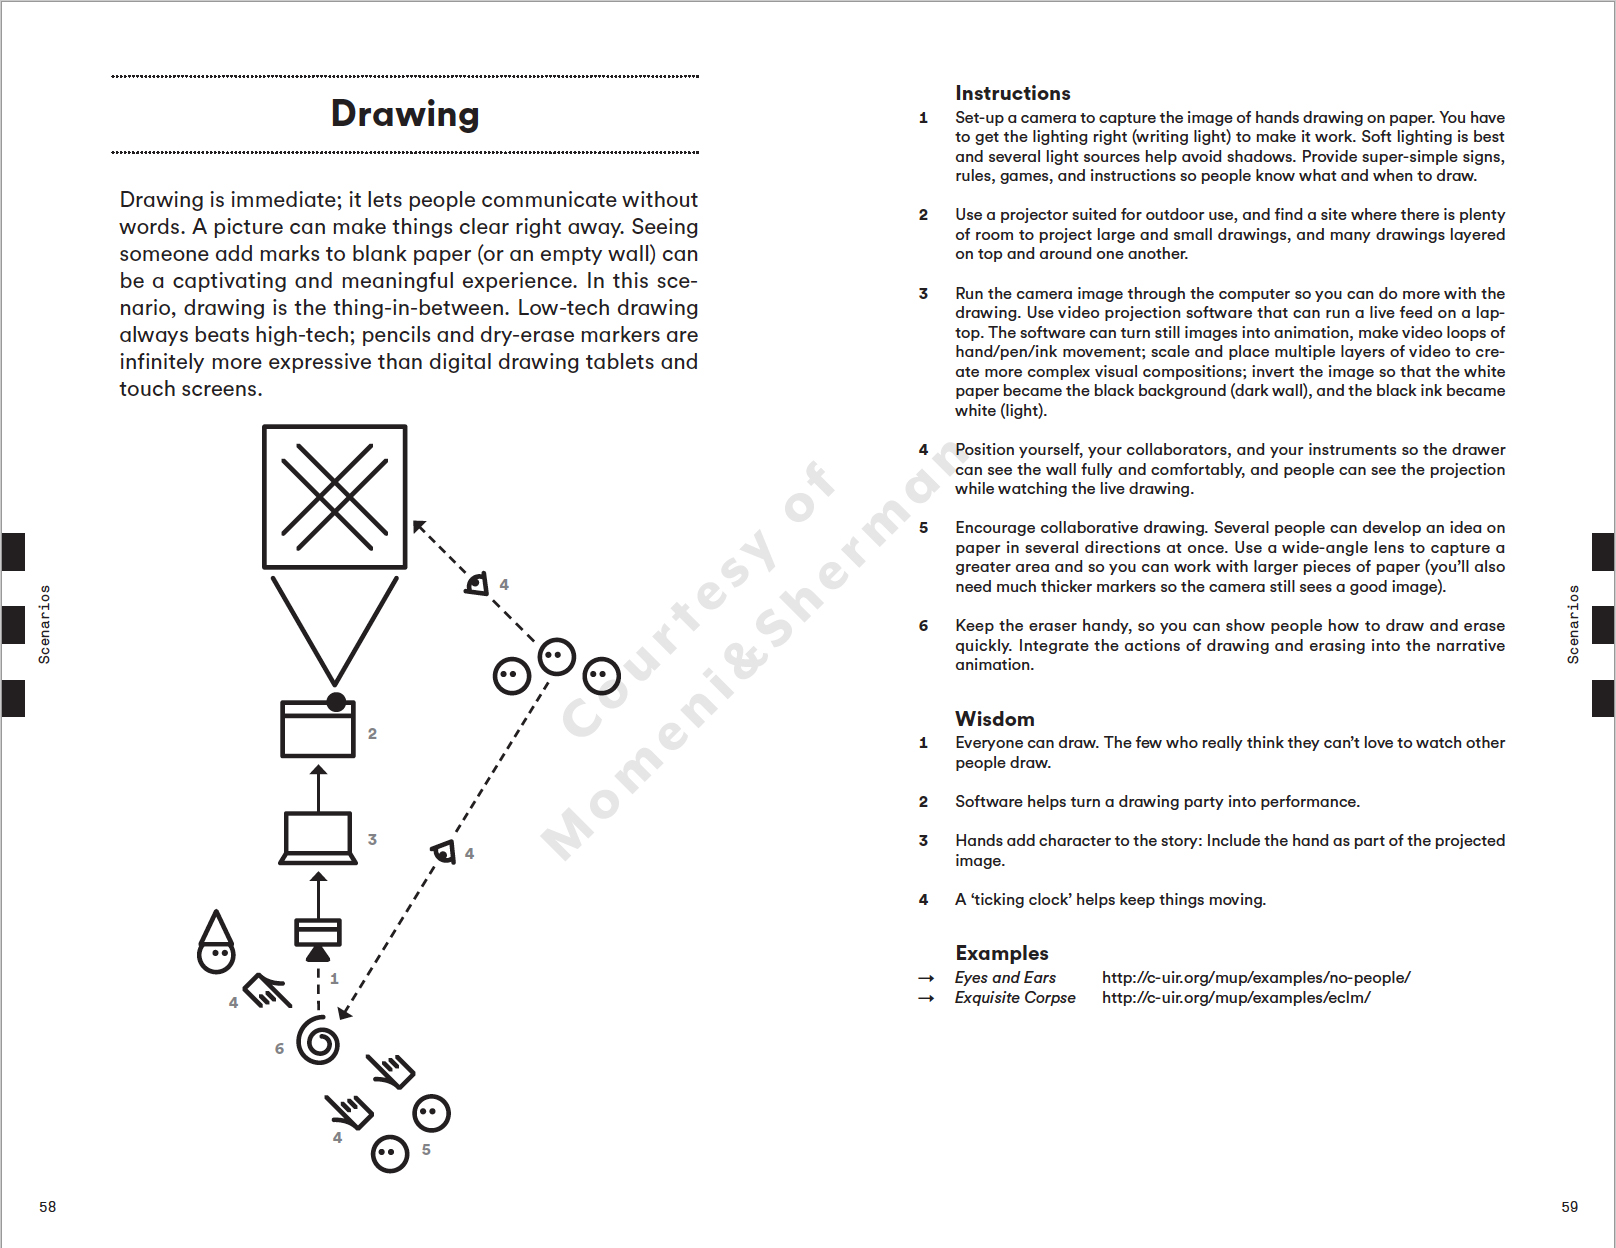
In previously mentioned "The Urban Projection Manual" from Ali Momeni and Stephanie Sherman includes many urban projection scenarios like this. In page 58, they have a "drawing" scenario, which we have also tried with our event. Be sure to check the manual if you haven't. Find a system map of the drawing scenario in the attachments. As map follows, your goal is to attract passersby, with your computer, lightbox, webcam, projector setup.
Learning and Working With Millumin
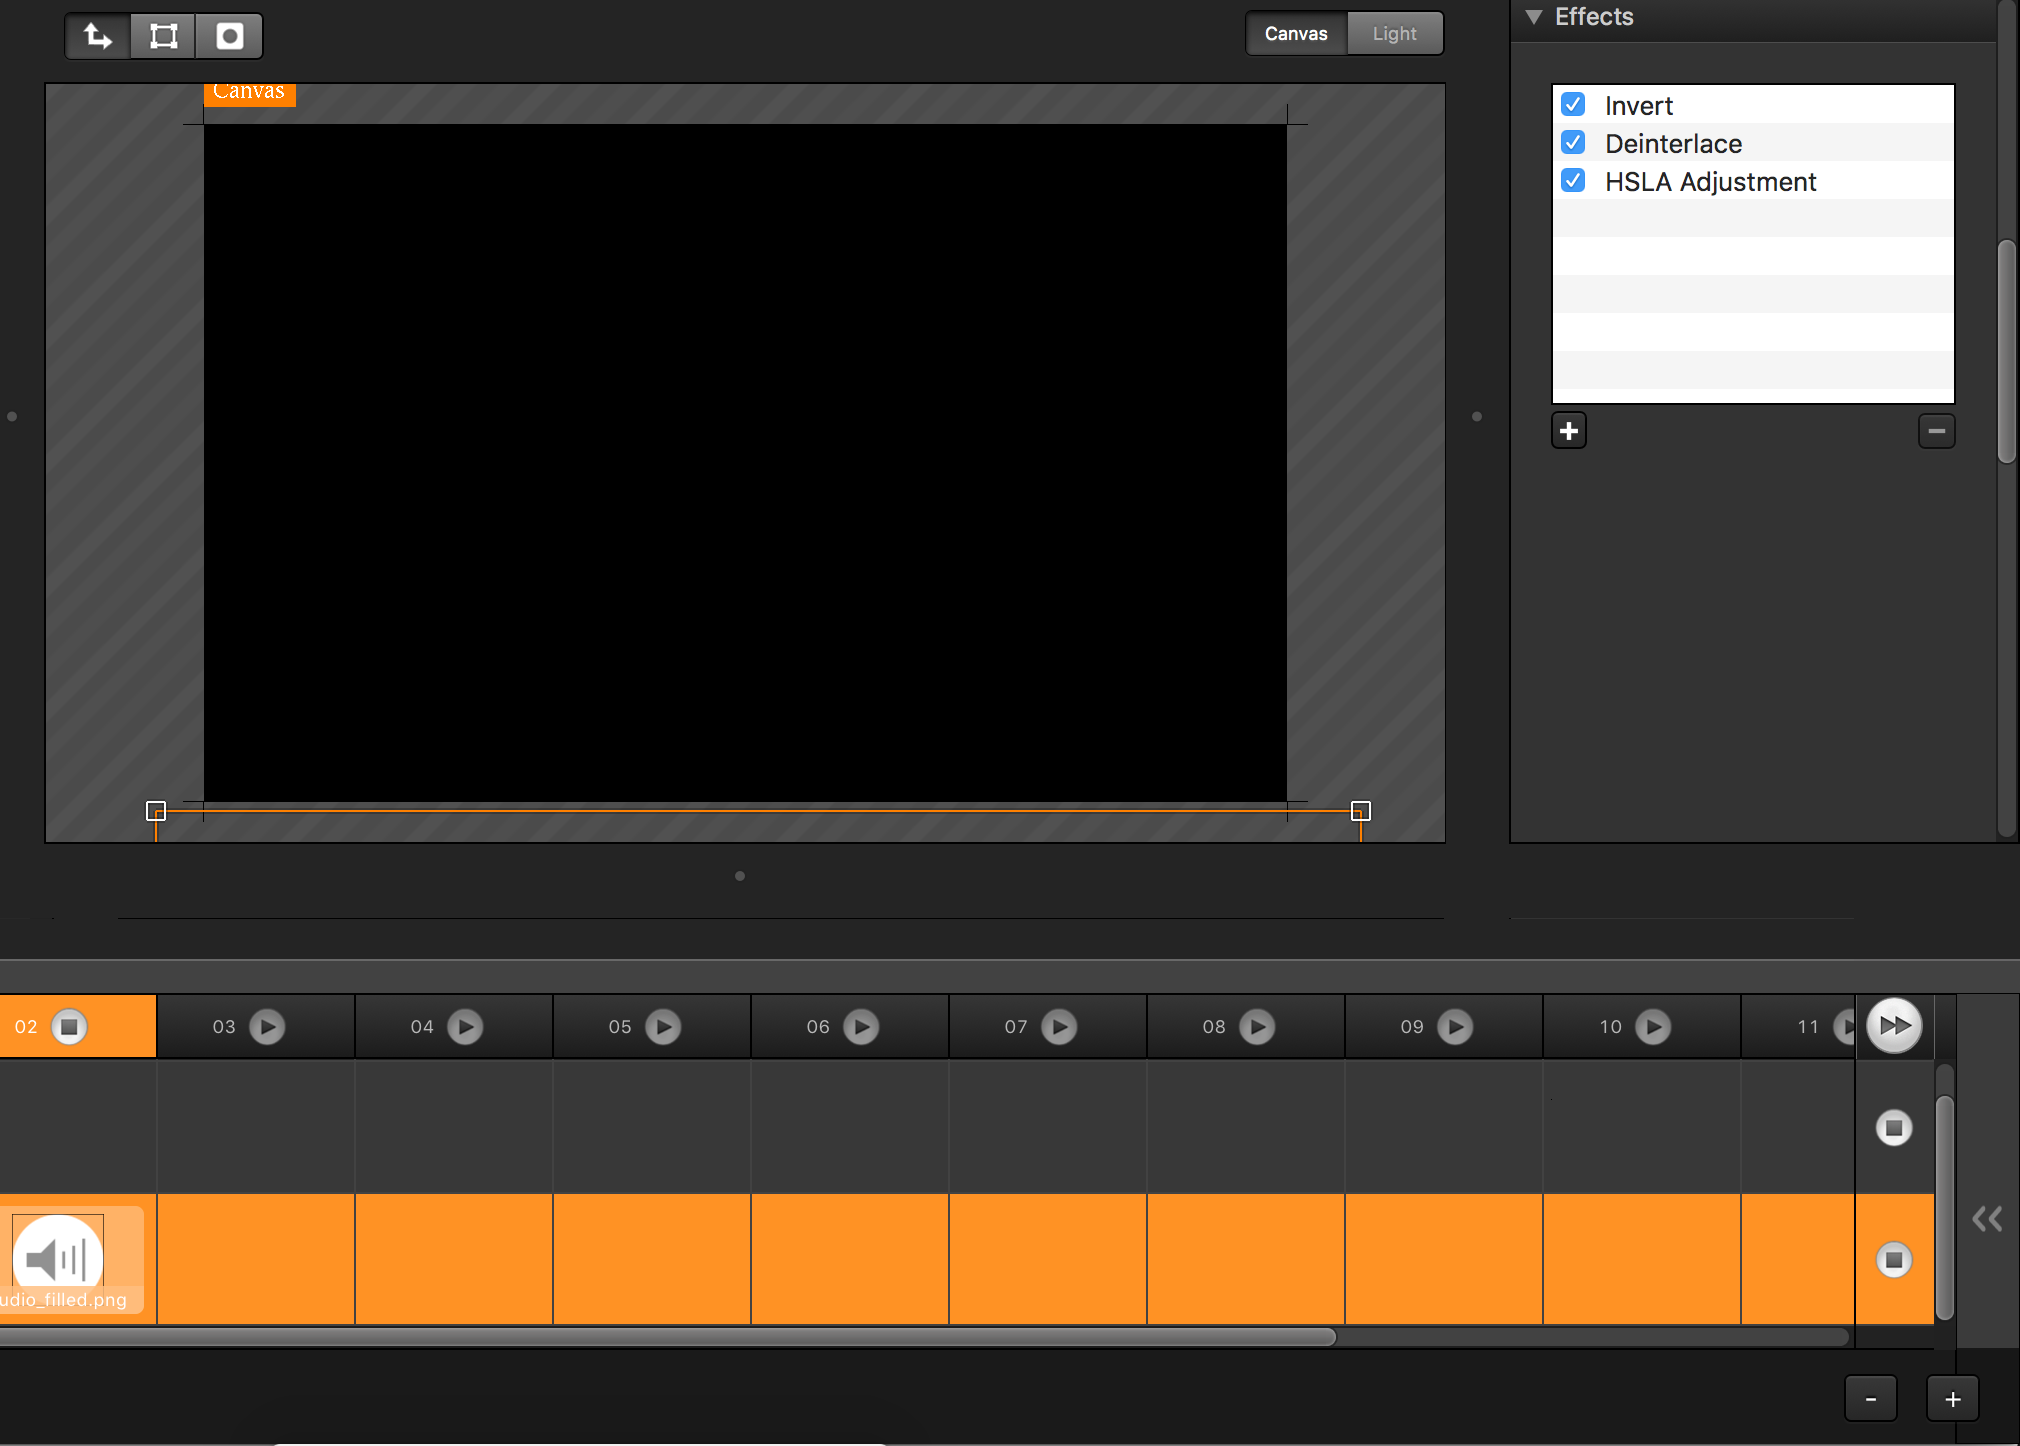
Our game changer in this event was Millumin, which is a live performance creation software. In other words, with it, you can create audio-visual shows.
- They have a perfect beginner tutorial in their help section and be sure check before starting.
- When you finish with that tutorial, add a camera feed from your library/inputs folder.
- Then go to the effects panel of the camera feed and add an "invert" effect and HSL Adjustment. In the HSL Adjustment Panel, lower the saturation to -100% and you will see that your blacks are now white in a black white background.
- Now, try to point your camera to a paper or a white surface and write some text in it. See, you have created your first digital overhead projector!
- Next step is to creating an output from Millumin. For this, you need to connect your projector to your computer. After connecting it, you need to "extend" your desktop rather than mirroring it.
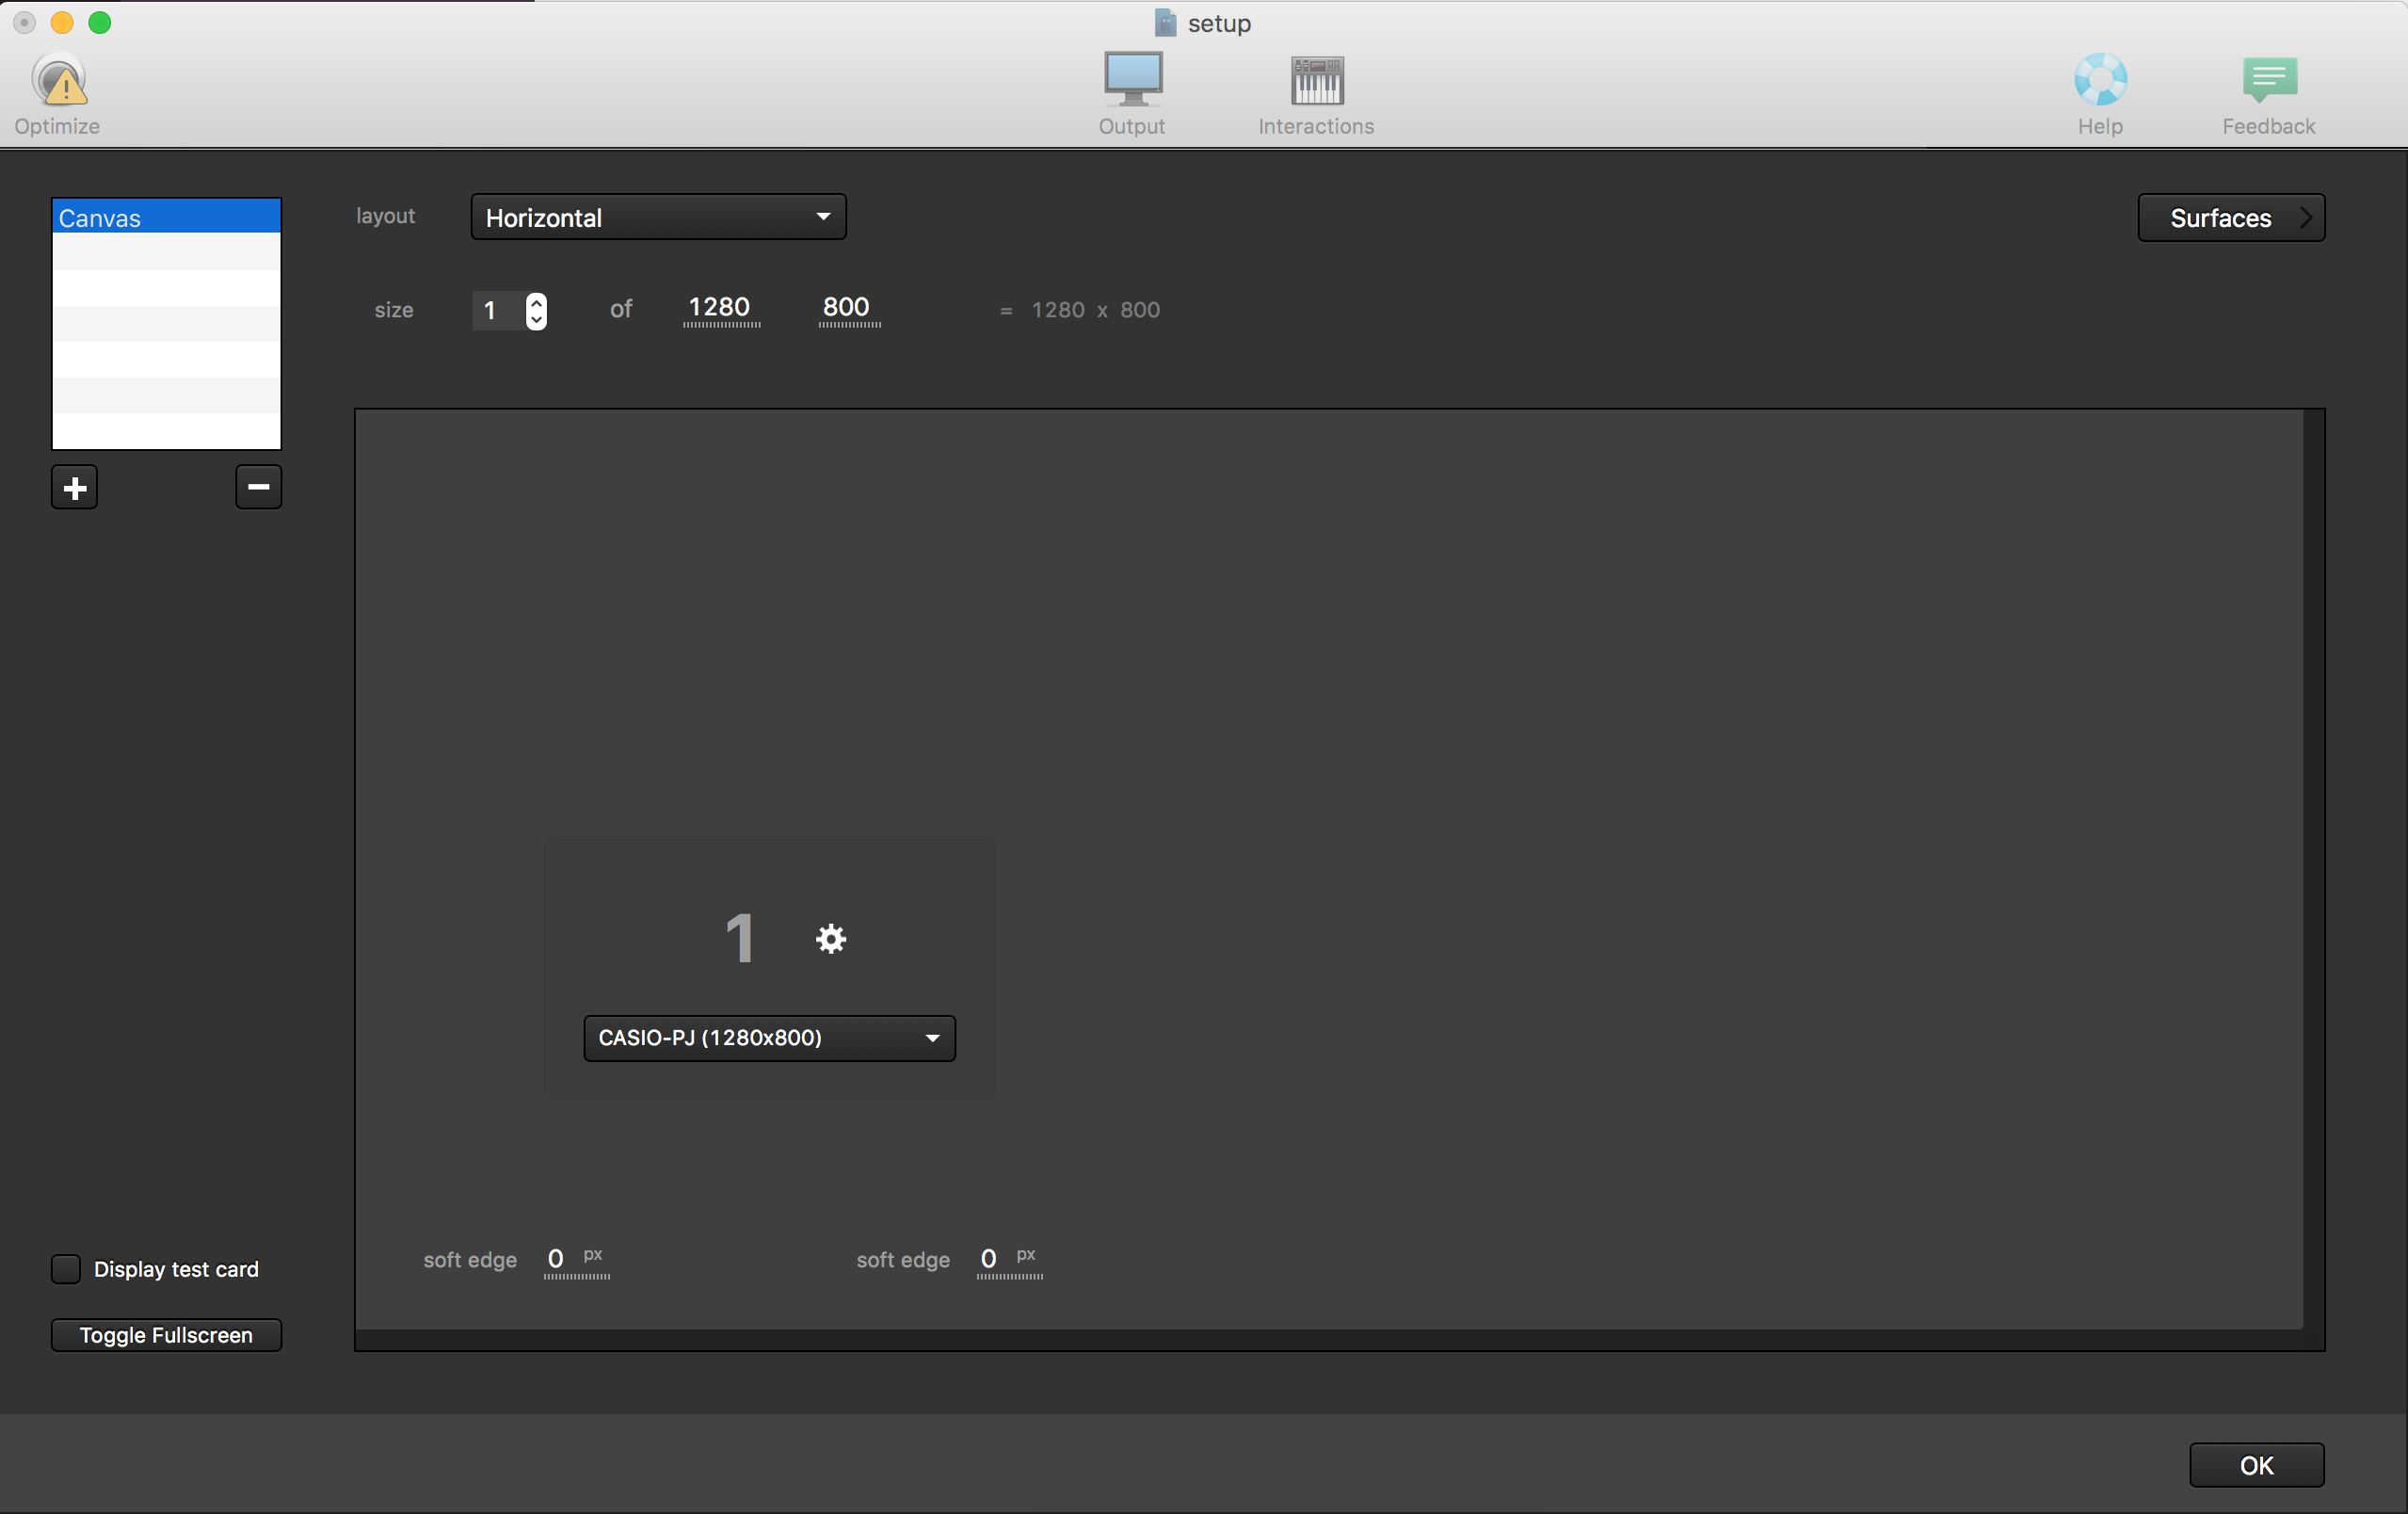
- After you extended your desktop, now enter the "output" panel by clicking its icon on top bar.
- In this panel, you can manage your screens. If you successfully extended your desktop, you should already see your projector as an additional screen. By Millumin v2, you can also combine more than one projector and create a seamless bigger screen with careful keystoning and soft-edging. This panel also has a useful test card function to make your alignment even easier. If you have difficulty seeing your Millumin project on your projector, be sure that the resolution of your projector on your system settings and Millumin matches and you pressed the "toggle fullscreen" button in the output panel.
- If want a better output from your camera, or having LED Flickers in your camera feed, you can tweak your camera with the webcam settings app. It even has a flicker removal setting for certain devices.
- Finally, you are all set to project your drawings or your photos into the surfaces of vacant lots, or spaces. Refer again to The Manual for Urban Projection for selecting the perfect surface for your projection event.
Let us know if you have any further questions or ideas to share with us!