Coffee Maker Alarm
The coffee maker alarm app allows you to control your coffee maker remotely through an app and switching the machine off after it finishes (currently set to 6 minutes). You can also set an alarm which automatically boils the coffee and have it ready just in time for the alarm to go off.
It is split into two parts, the app that you can install in an Android device, and the receiver that activates your coffee machine.
Supplies
A coffee machine
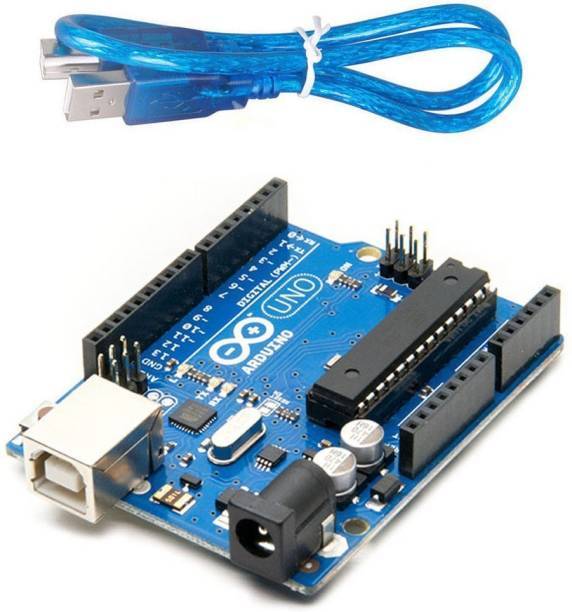
An Arduino board and USB cable (I used an Arduino Nano but Arduino UNO should work fine)
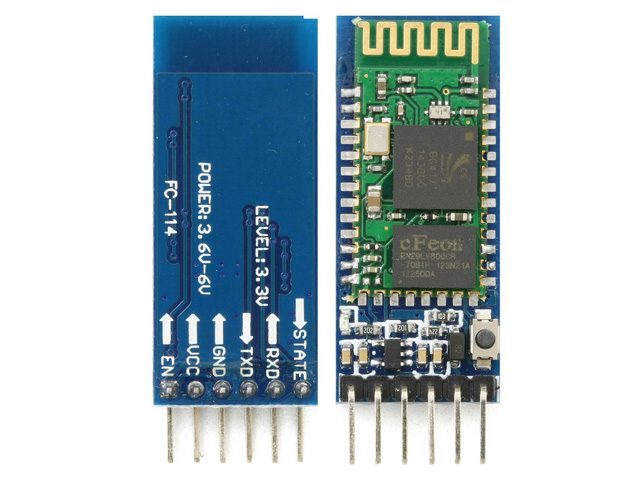
An HC-05 Bluetooth receiver
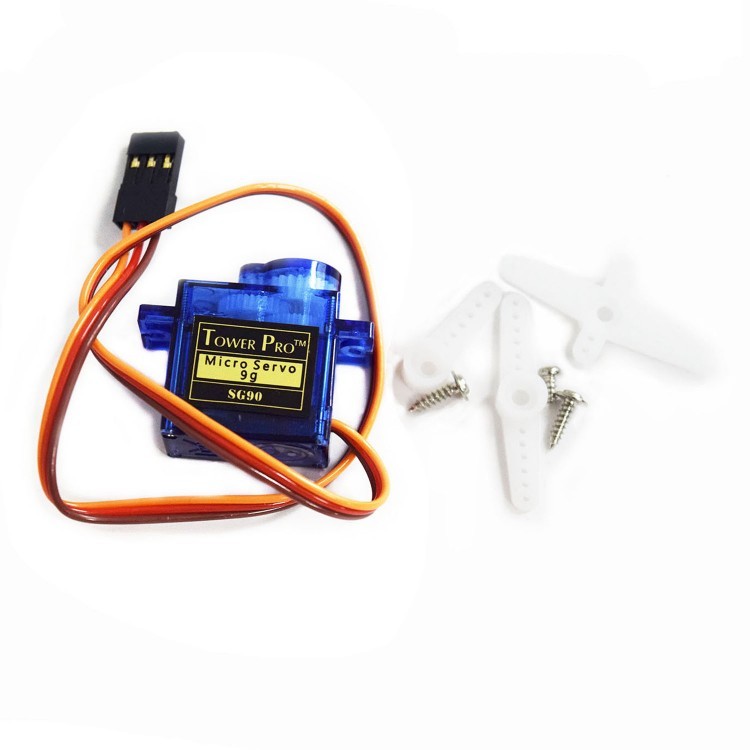
An SG05 servo motor
Jumper wires and a breadboard
Some tape and cardboard
Connecting the Electronics
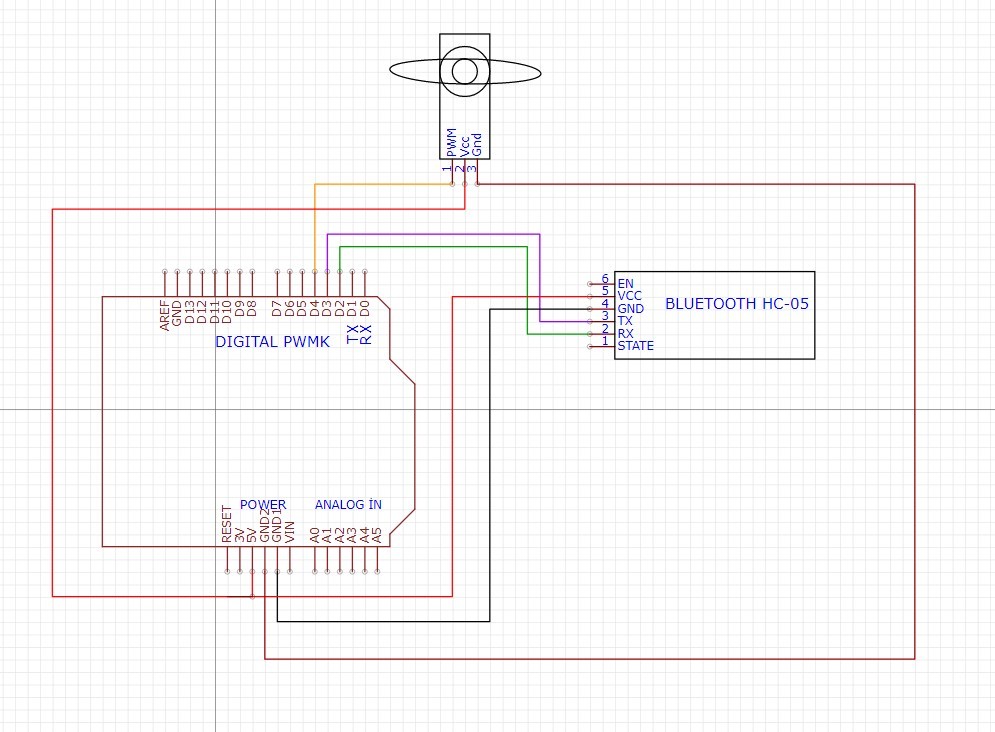
Connect your Arduino, Sg-90 servo motor, and HC-5 Bluetooth module together according to the above schematics. You might have to use a breadboard to connect the two VCC pins from the Bluetooth module and servo motor to your 5V pin on the Arduino.
Note that the orange/yellow wire on your motor should be the PWM pin, while VCC would be the red wire and GND the black/brown wire.
Coding the Arduino Receiver
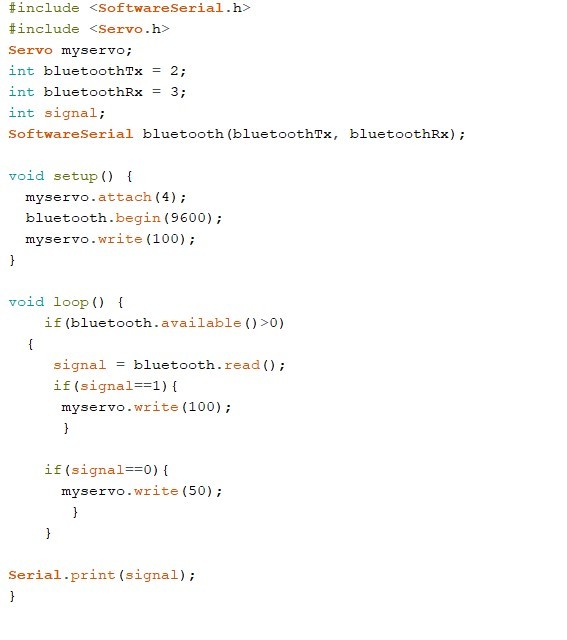
Open Arduino Create and import coffee_maker.rar.
You can adjust the angle of the servo motion by altering the number in myservo.write(). Mine is set to rotate from 100(off) to 50(on) angle.
Compile and upload it he code into your Arduino Board.
Note: If you are using an Arduino Nano instead of Uno, remember to change the compiler option (You may also need to change the bootloader to ATmega328p(old) if it doesn't compile)
Downloads
Installing the Mobile App
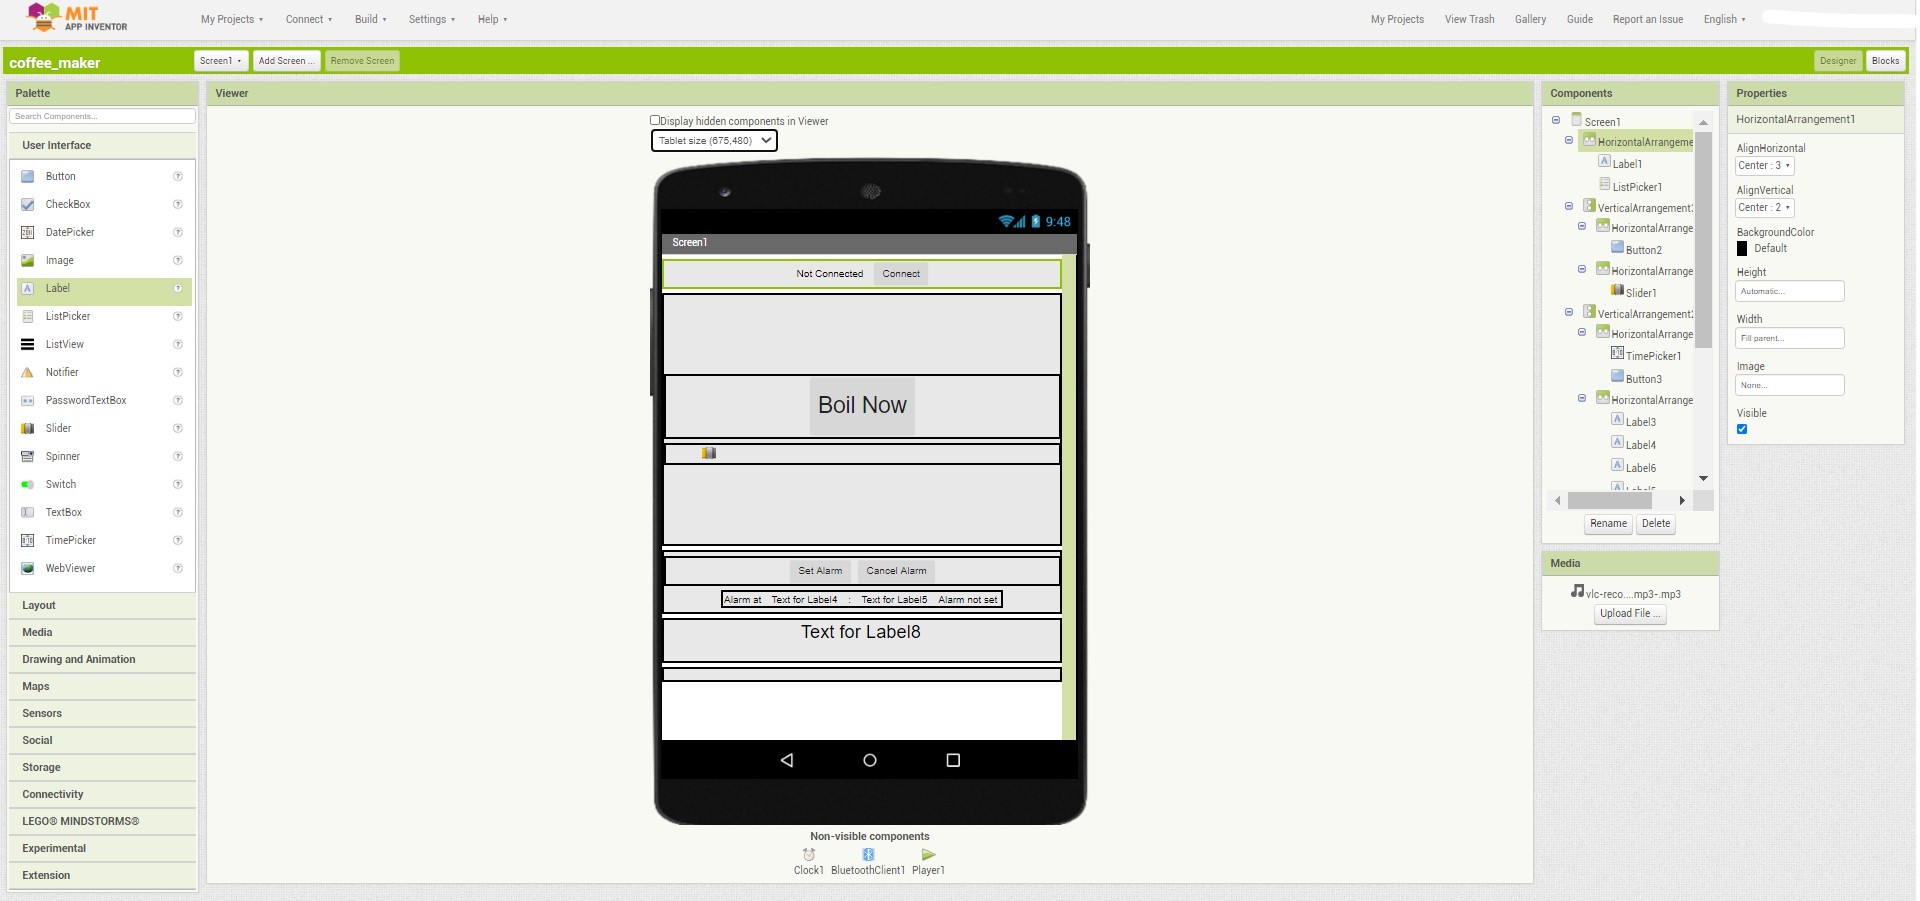
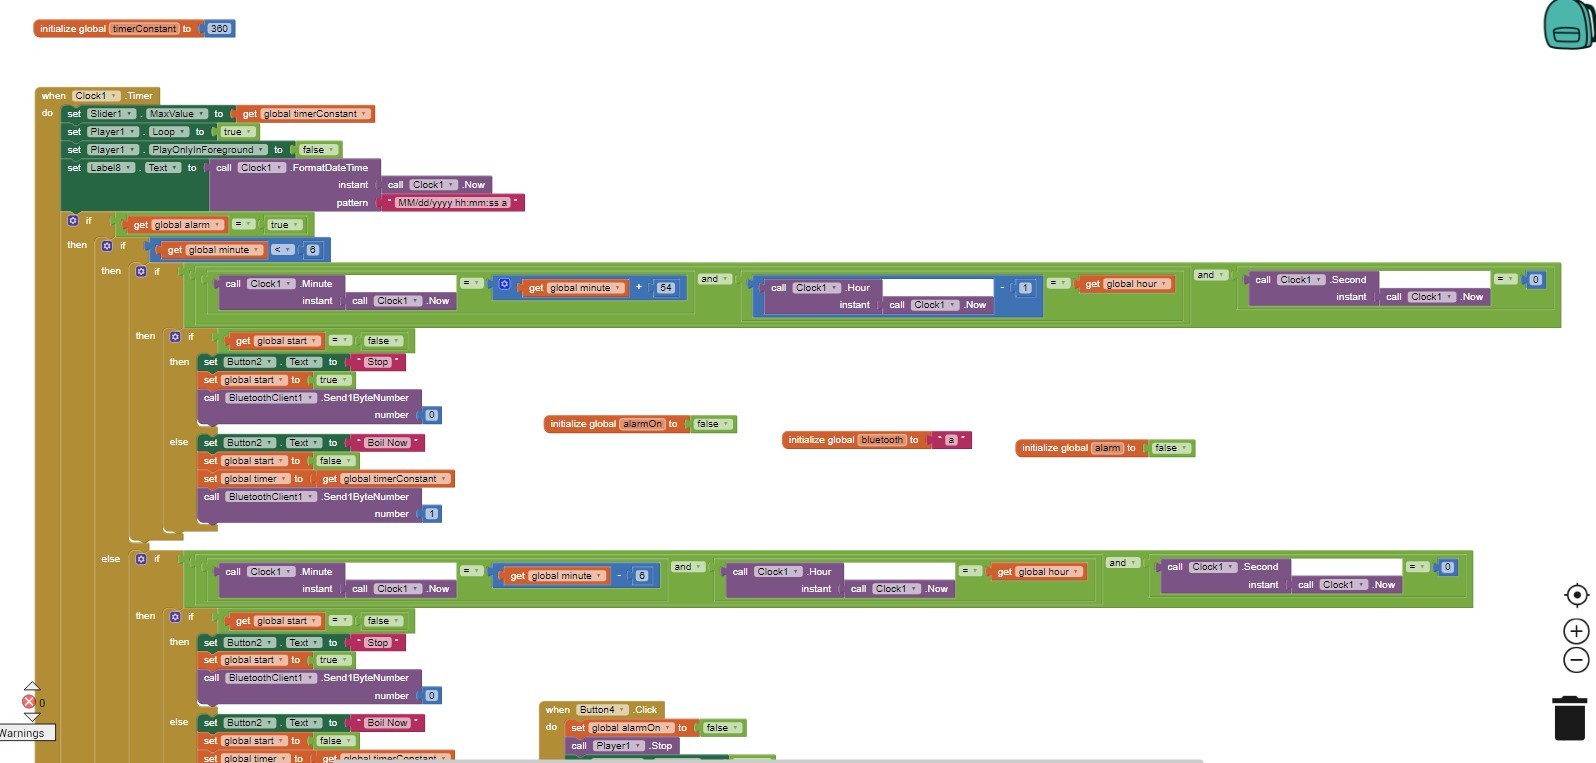
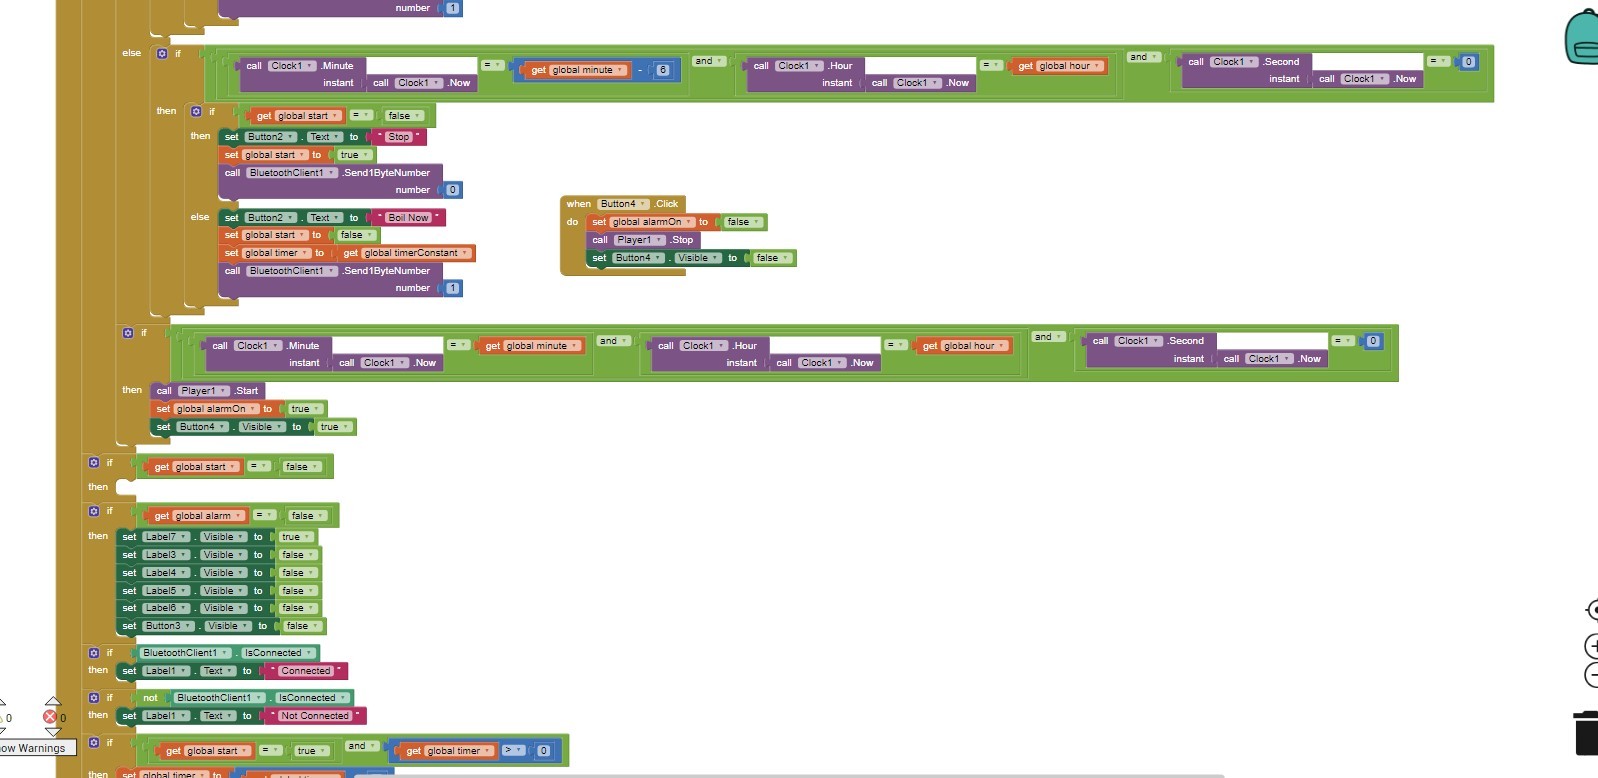

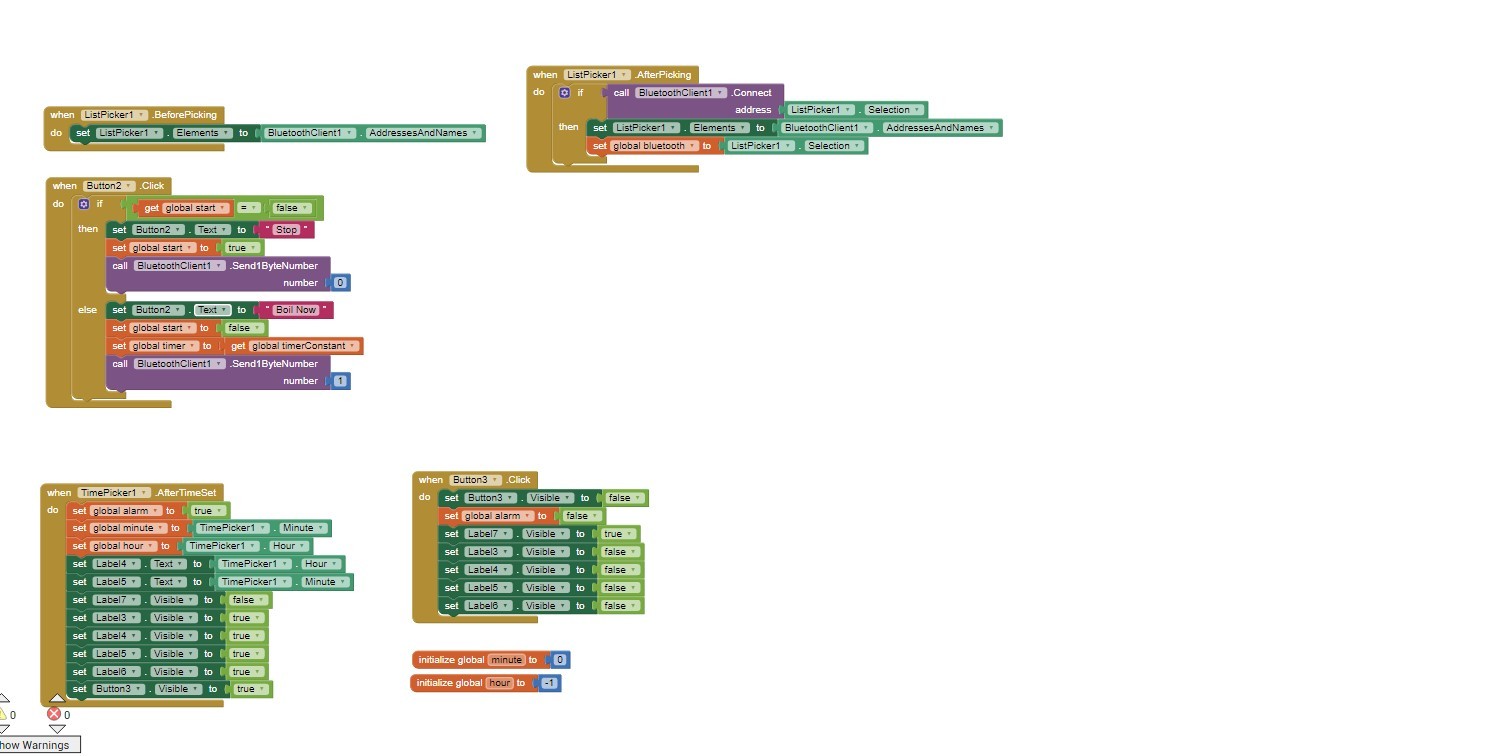
Download coffee_maker.apk and install it onto your Android device.
I also included the application code for those interested, which I wrote in MIT App Inventor.
Attaching the Motor to the Coffee Machine
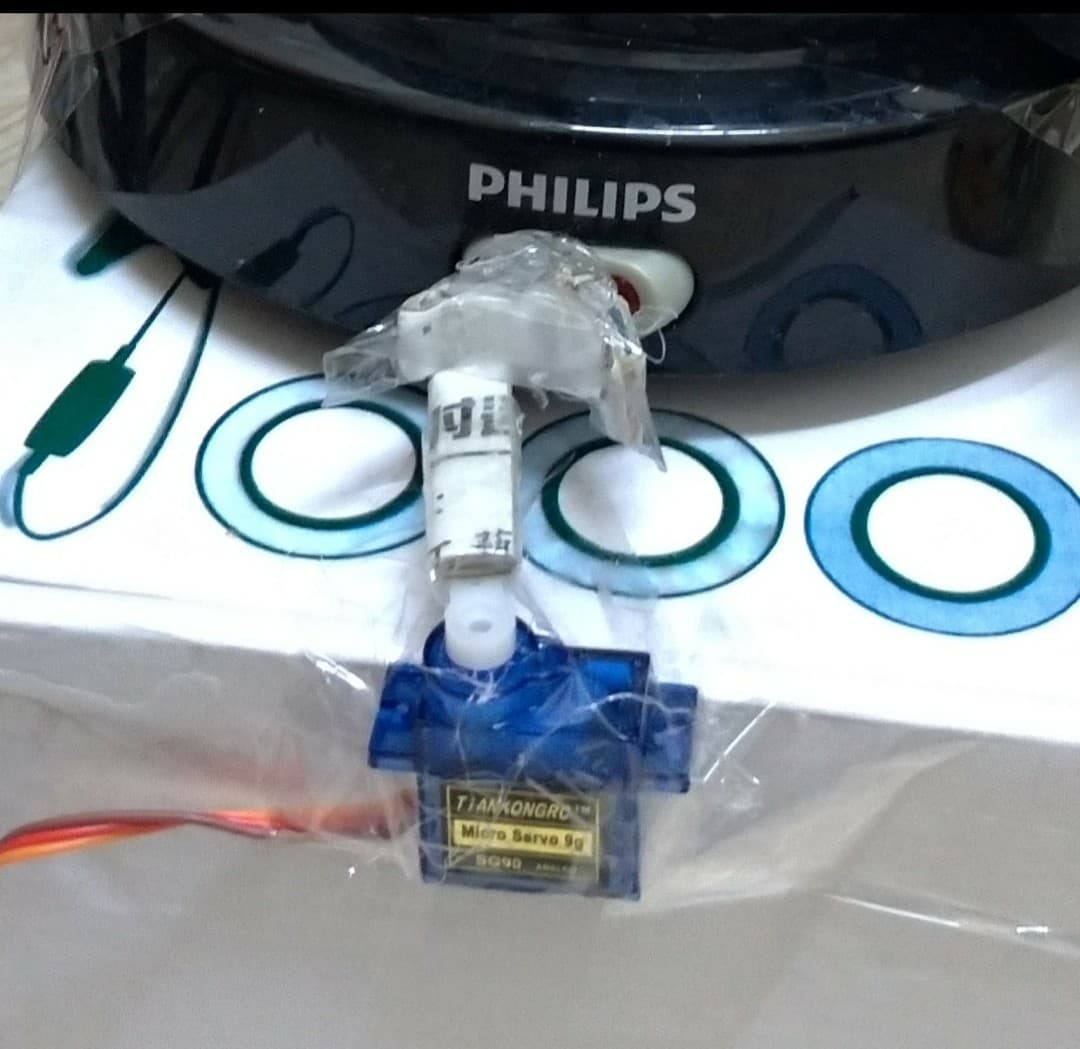
This is where you'll have to bring out your crafting skills, as each coffee machine design is different.
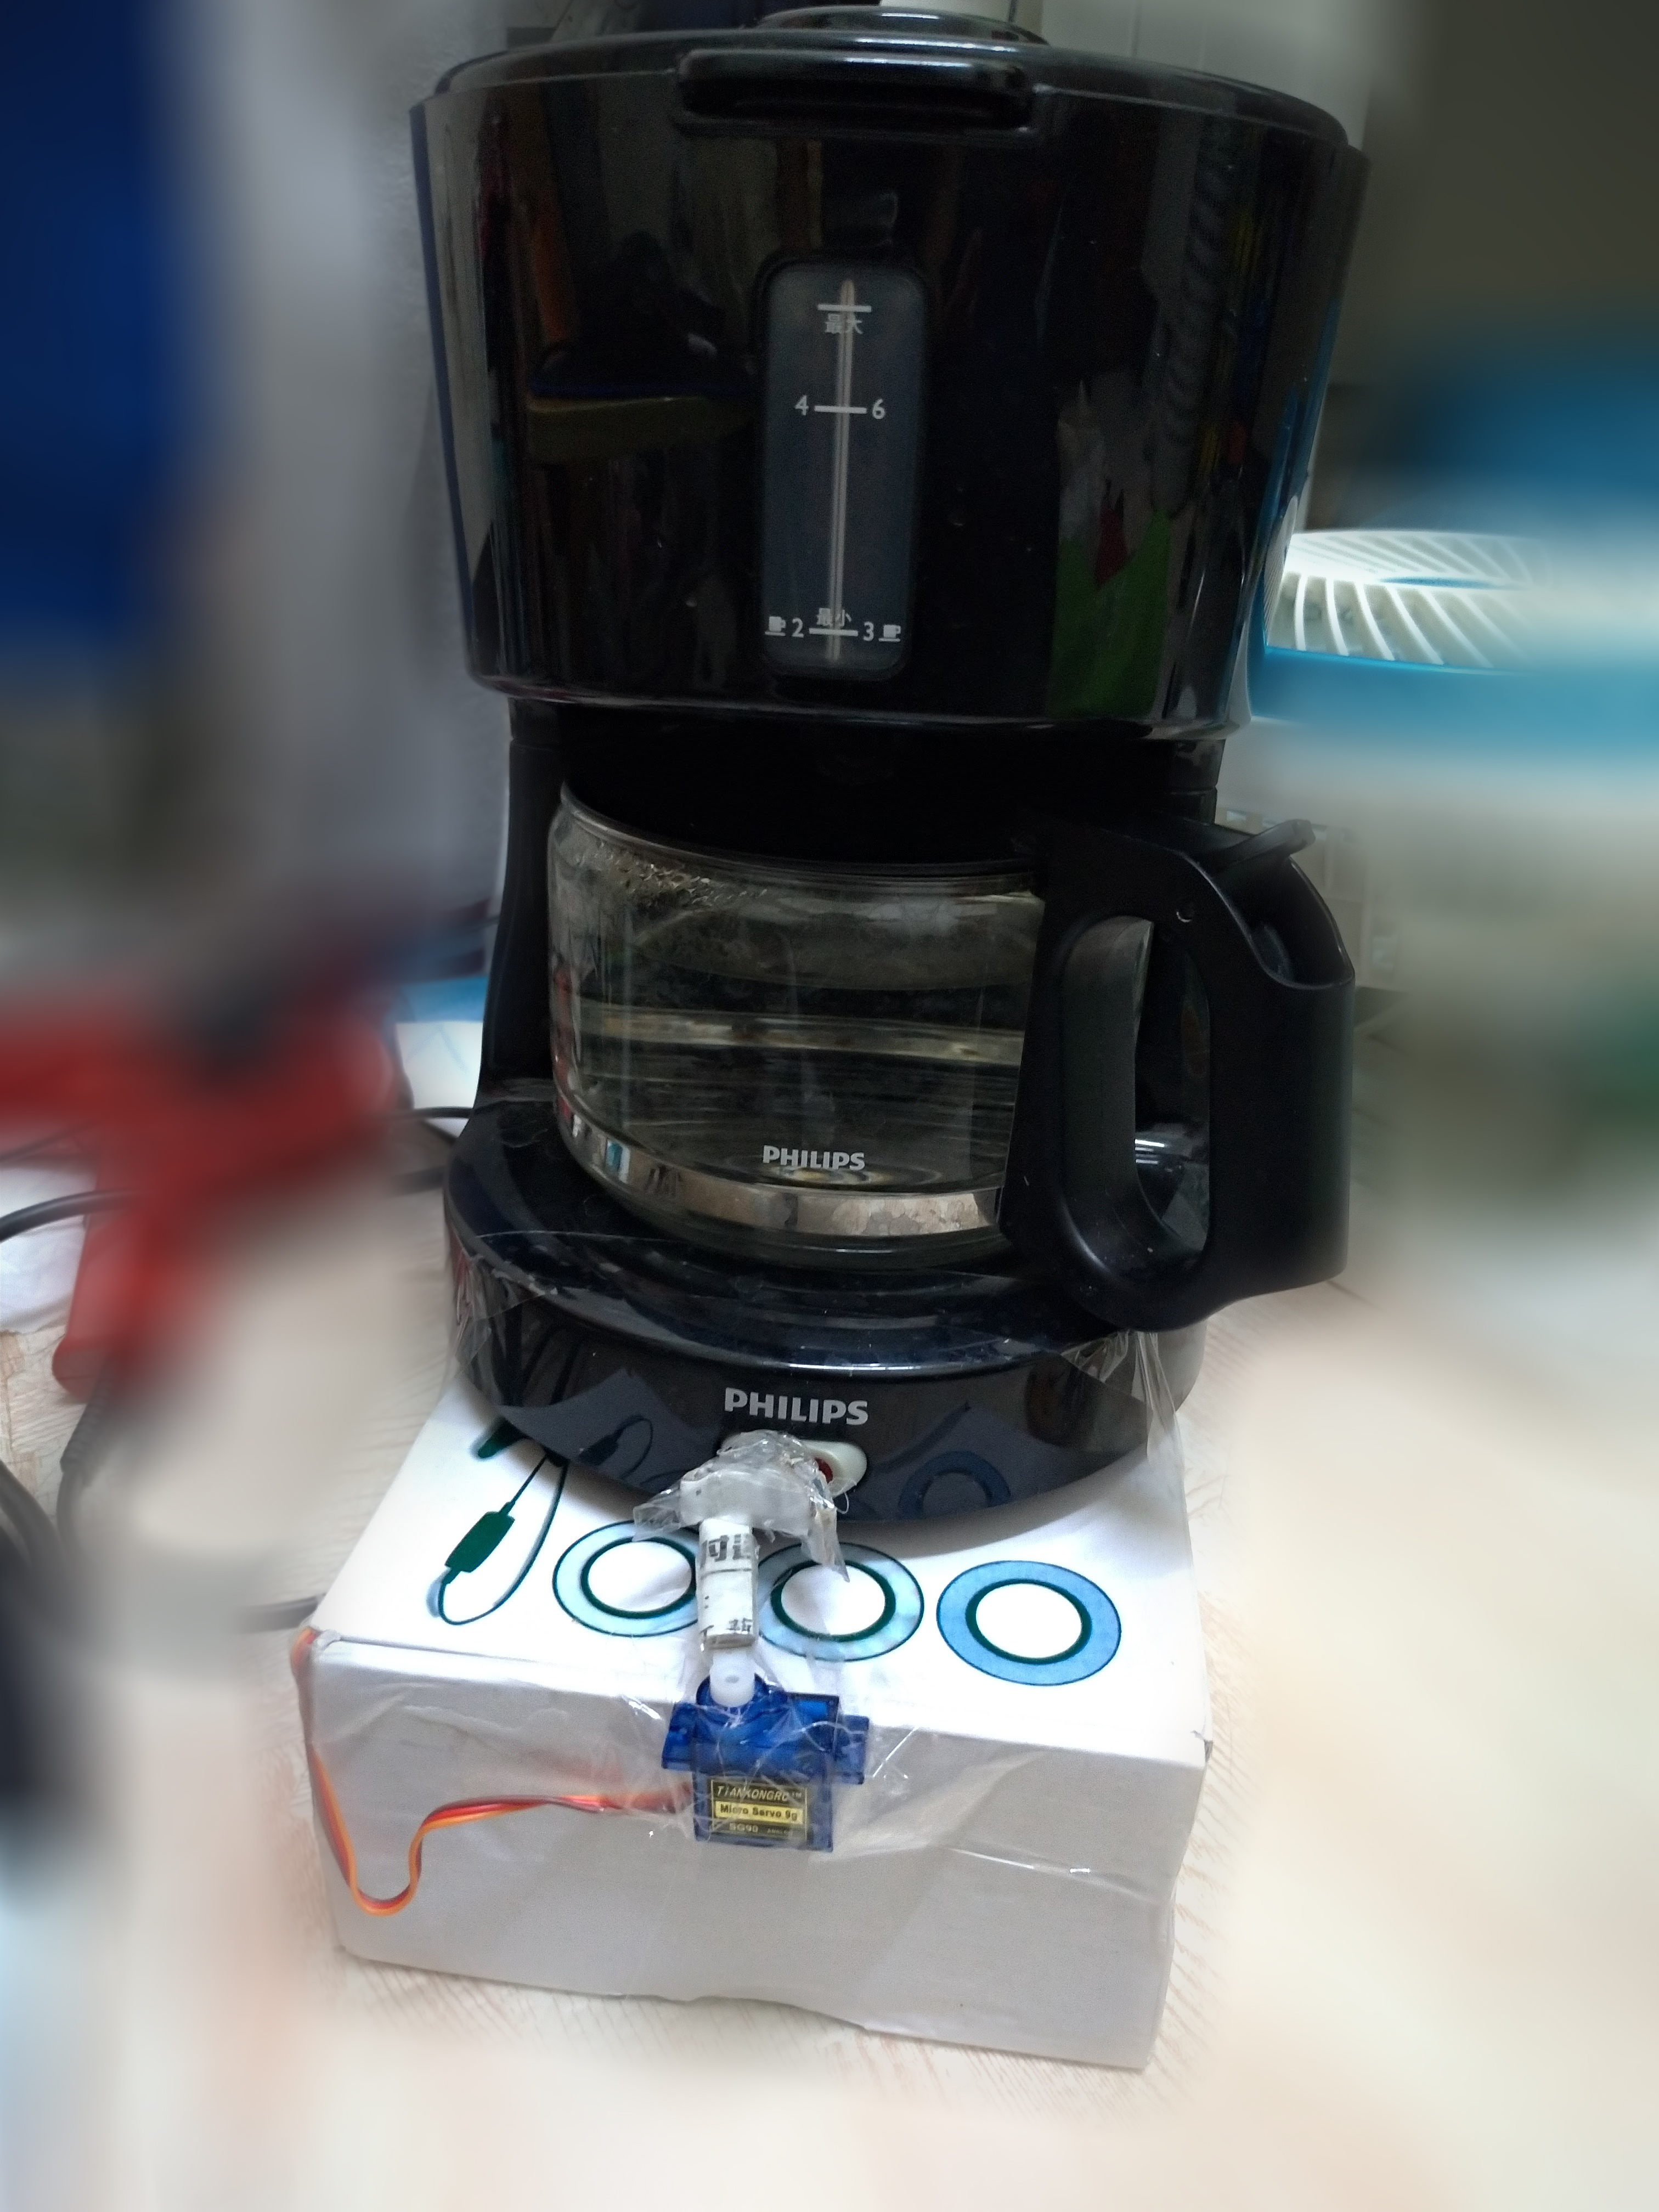
I taped some hard cardboard to the motor arm, which I attached to the side of a cardboard box. I placed the coffee maker on top and adjusted the height of the motor to that of the coffee maker switch.
I attached another piece of cardboard bent and glued in a C shape and hot glued it onto the switch, so that it better captures the movement of the motor.
But because of the varying design, you might have to rely on your ingenuity.