Code.org Block Code Tutorial - Switch From Screens With a Button
by yujahey in Circuits > Computers
3804 Views, 4 Favorites, 0 Comments
Code.org Block Code Tutorial - Switch From Screens With a Button
I'm a current student learning the basics of coding, and code.org is a great platform for beginners who are new to code. It is very user friendly, and the workspace is intuitive.
Supplies
You only need a computer with internet connection
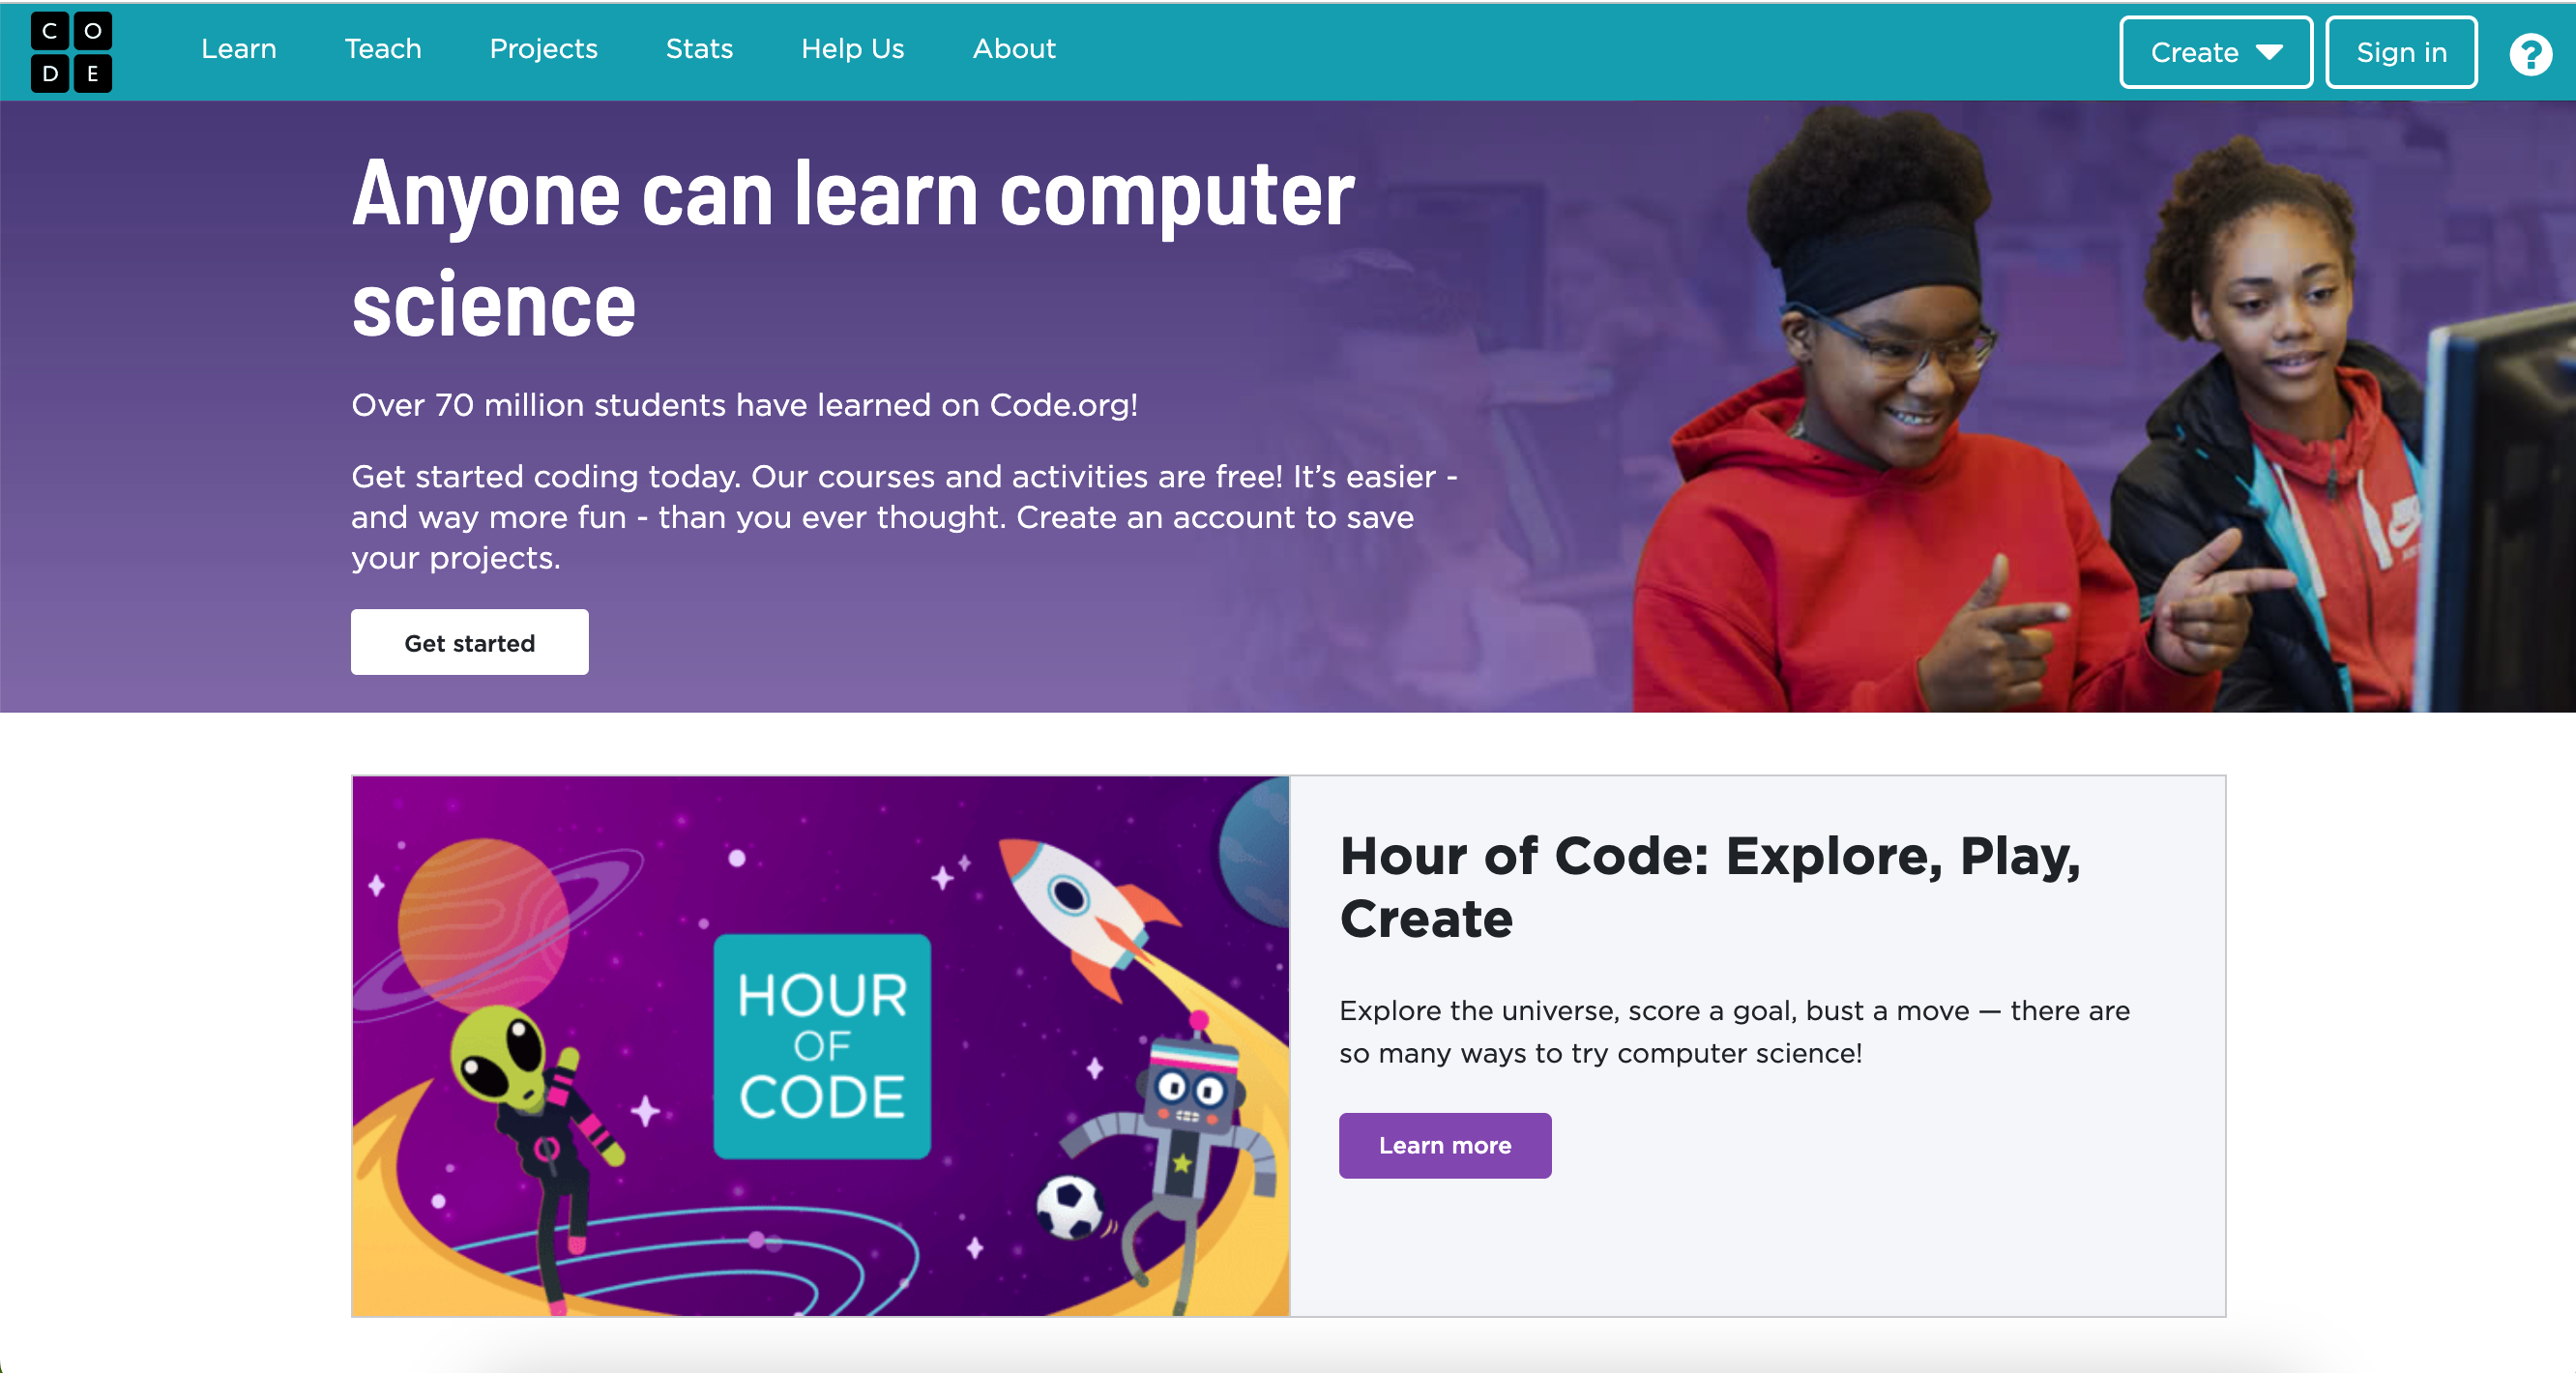
Go to Code.org

Type into the bar: "code.org" and hit enter.
Sign Up for an Account

On the top right corner, there is a "sign in" button.
Create Account
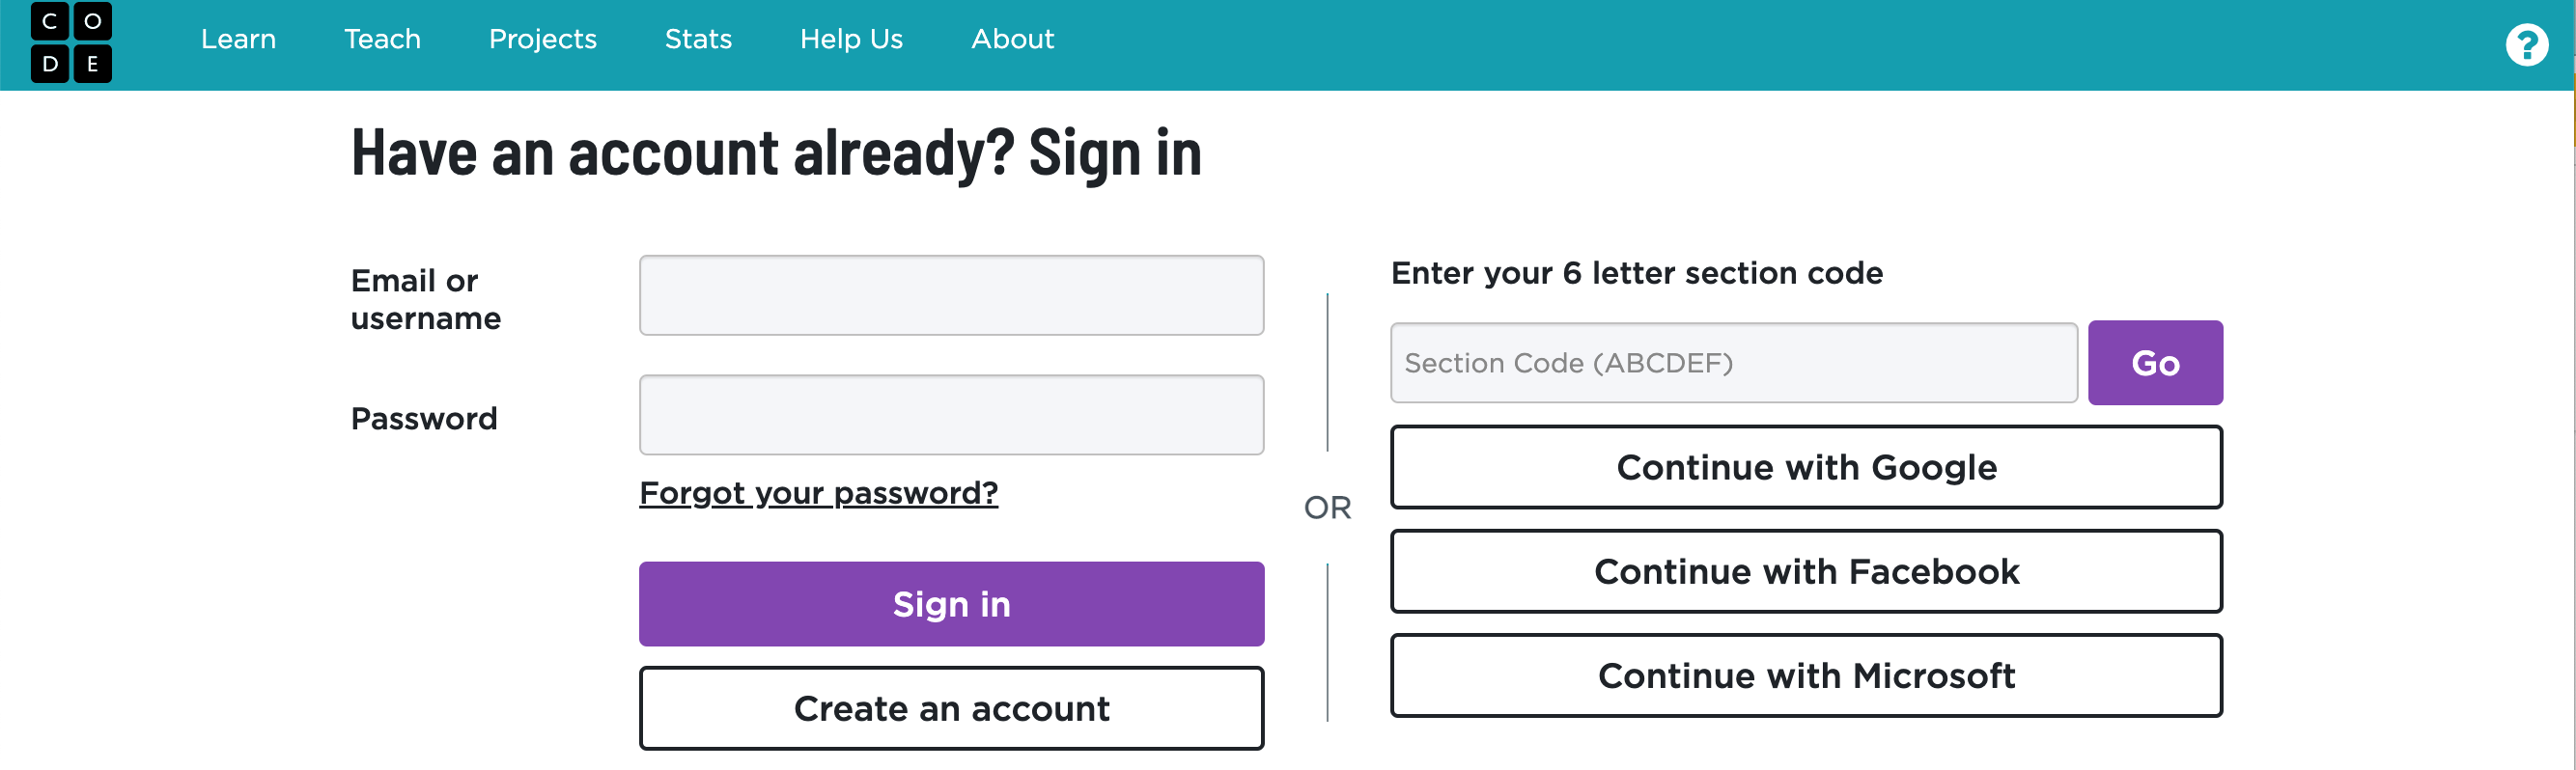
Click the "Create an Account" button and enter in your information. You should be taken to the Dashboard after you click "Sign up"
Start a New Project
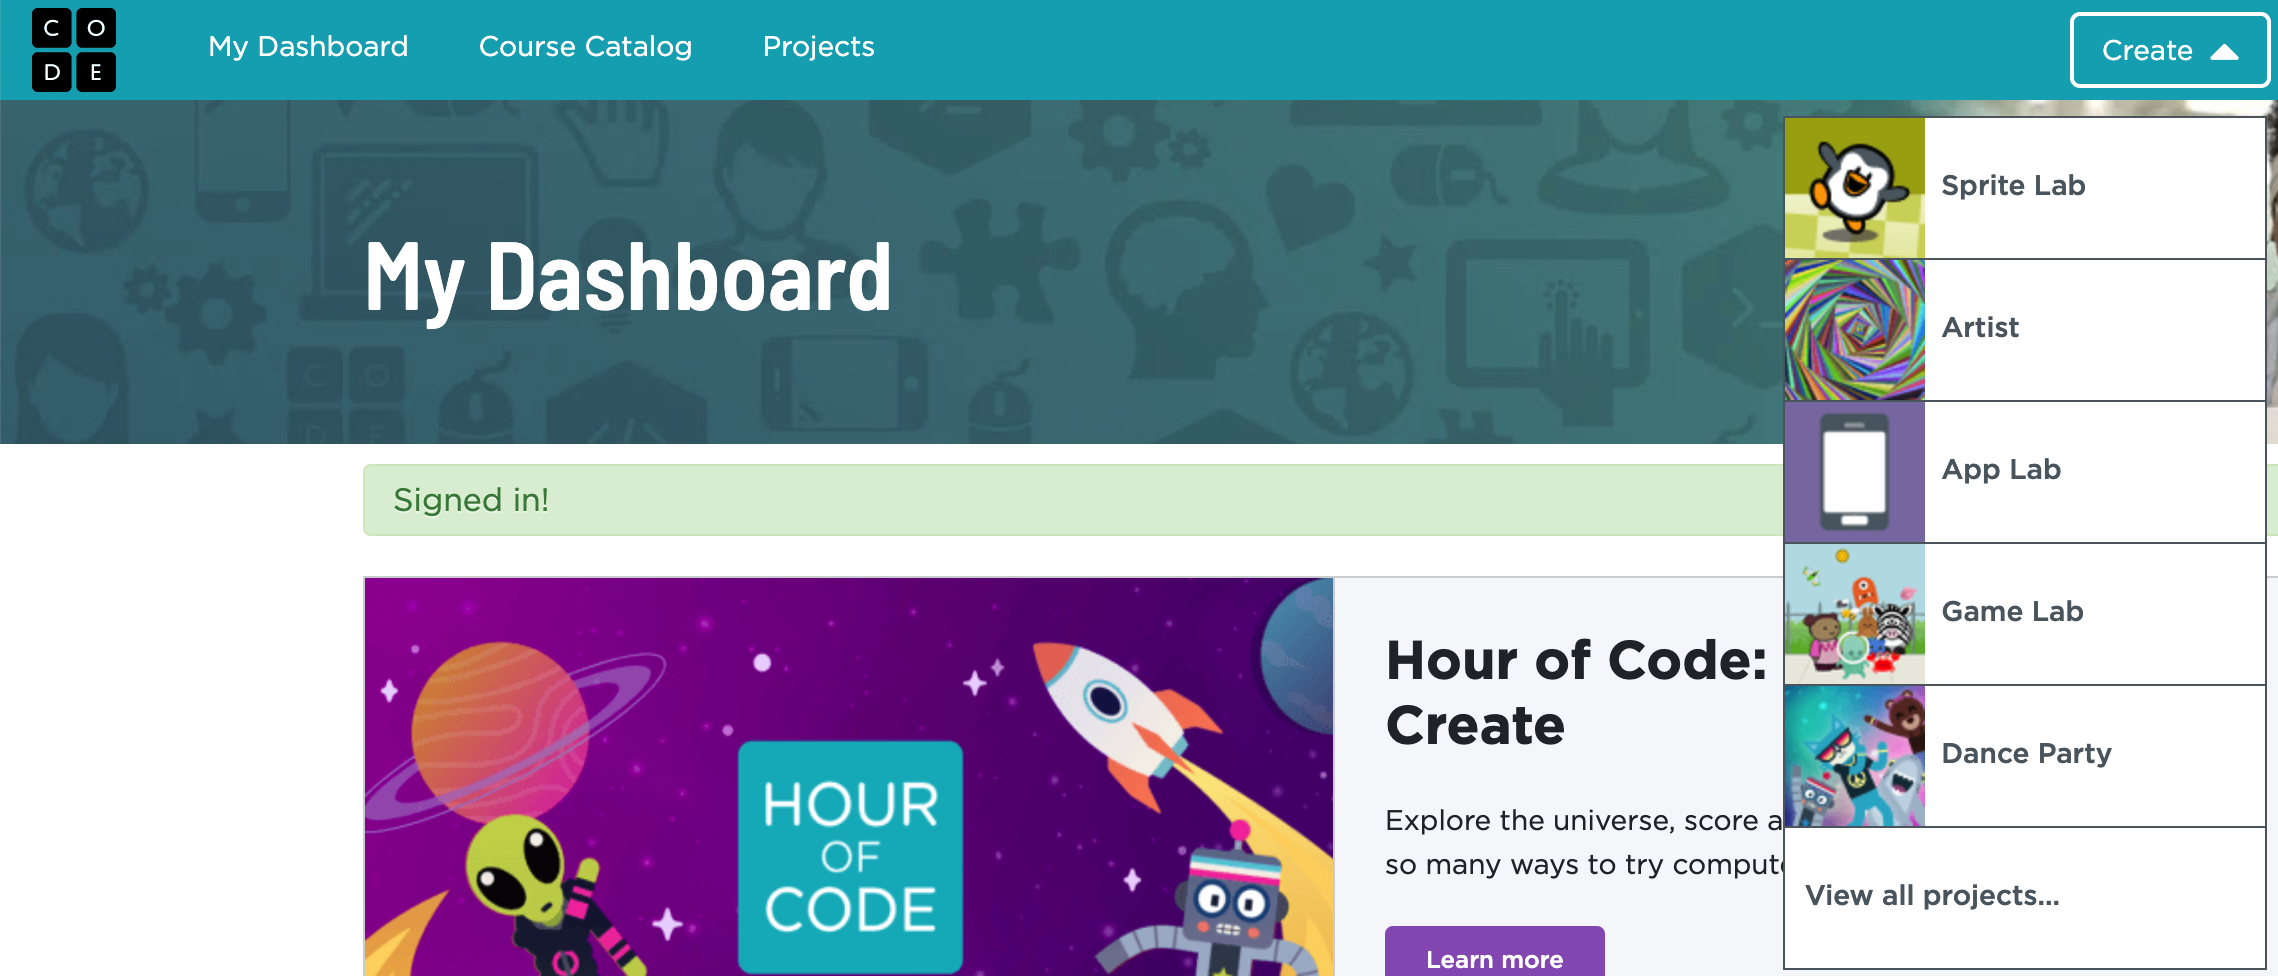
On the upper right, there is be the drop down menu called "create," and after you click it, it shows many options.
Click App Lab
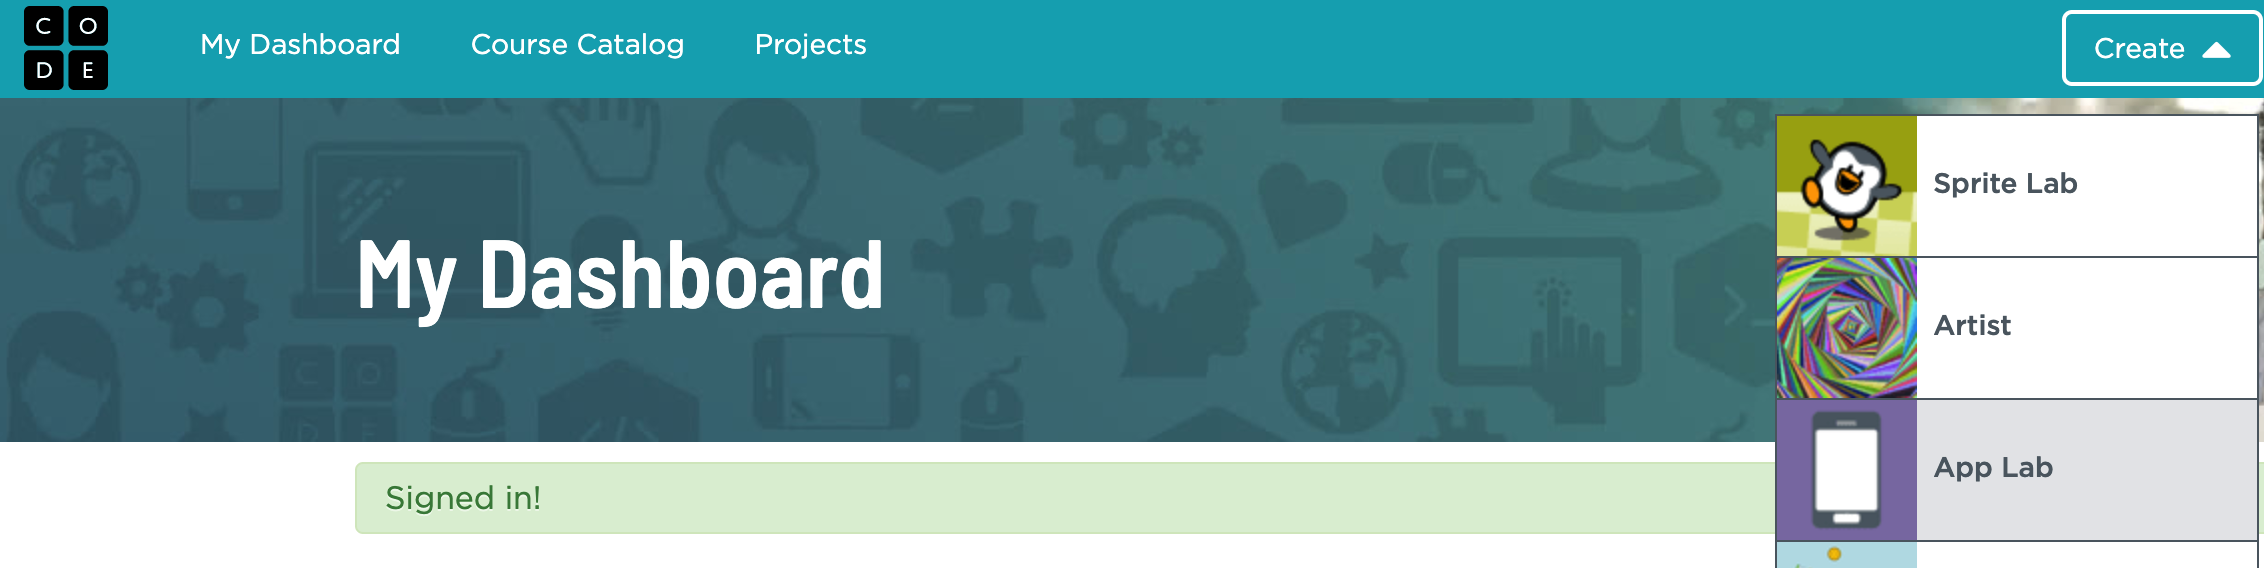
For our purposes today, choose the "app lab" option to get started.
Name Your Project
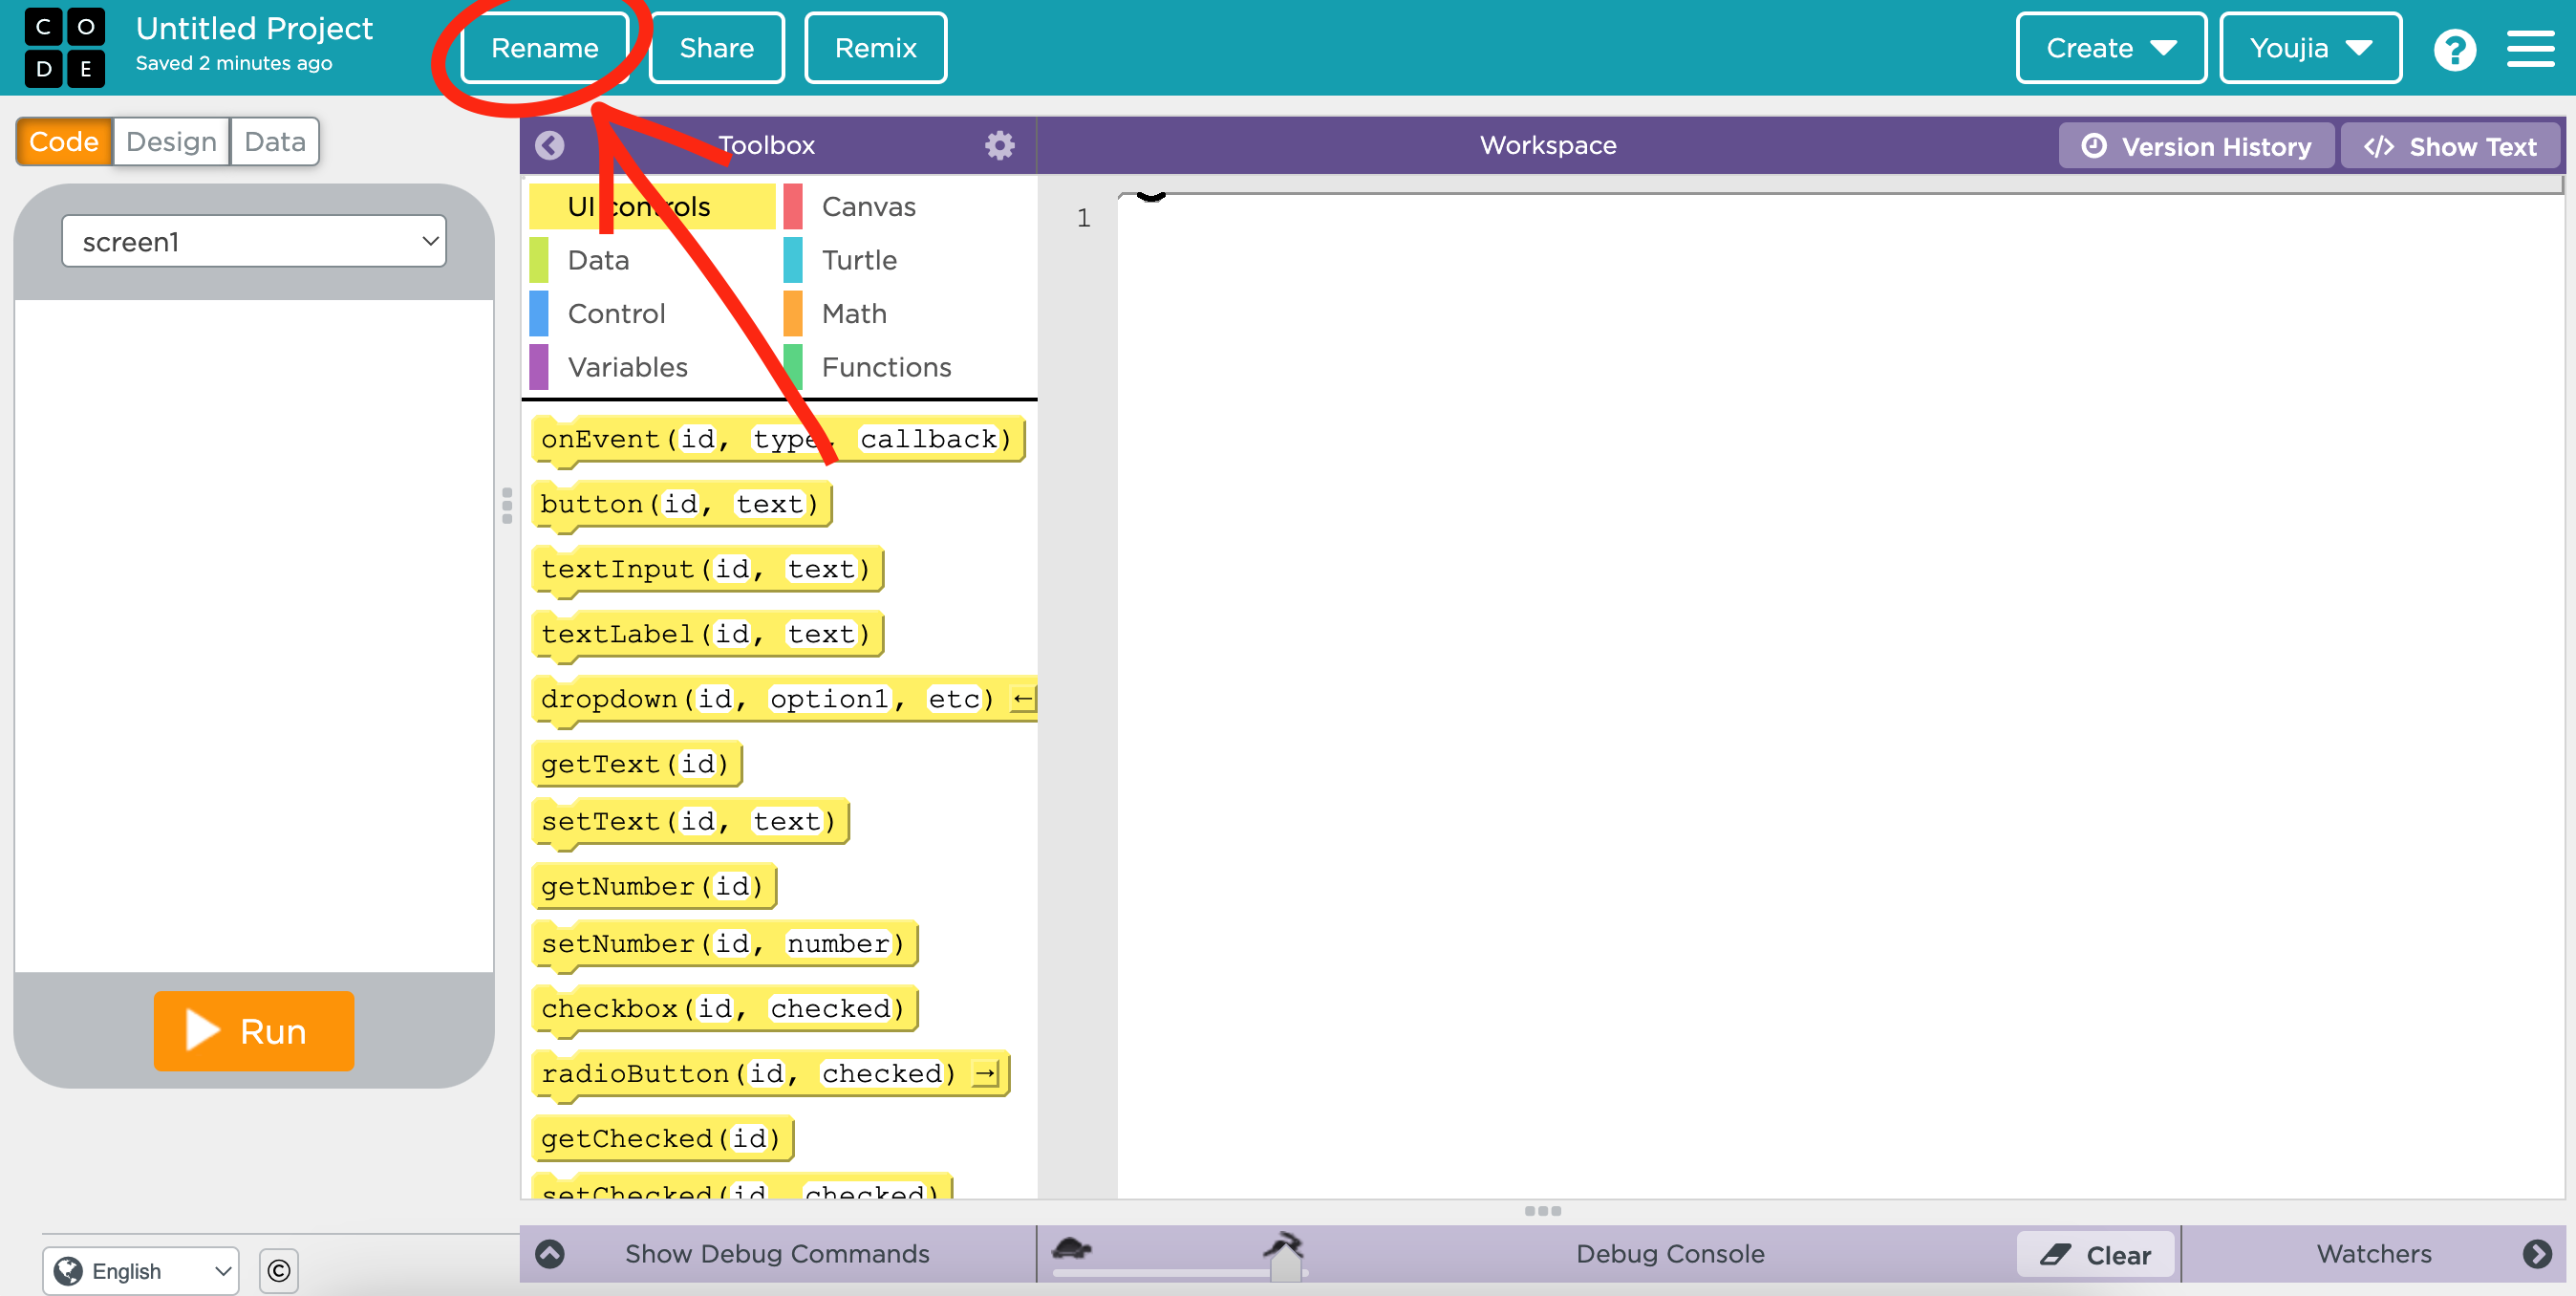
It is a good habit to start naming your projects, as it makes it easier to organize once you make more projects.
To rename, go to the upper left and click on "rename" button. Name this project however you want. After you've finished typing, click "save."
Design
In order to start coding, we need to design the elements that we are going to code first.
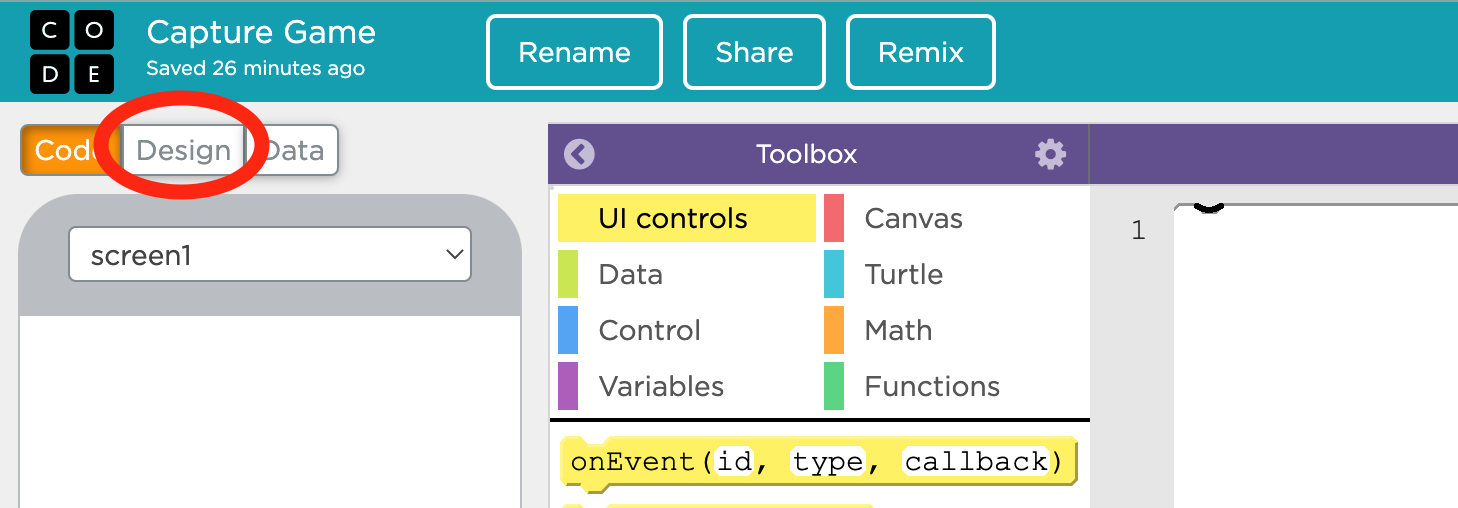
So, go to the design tab.
Design Tab
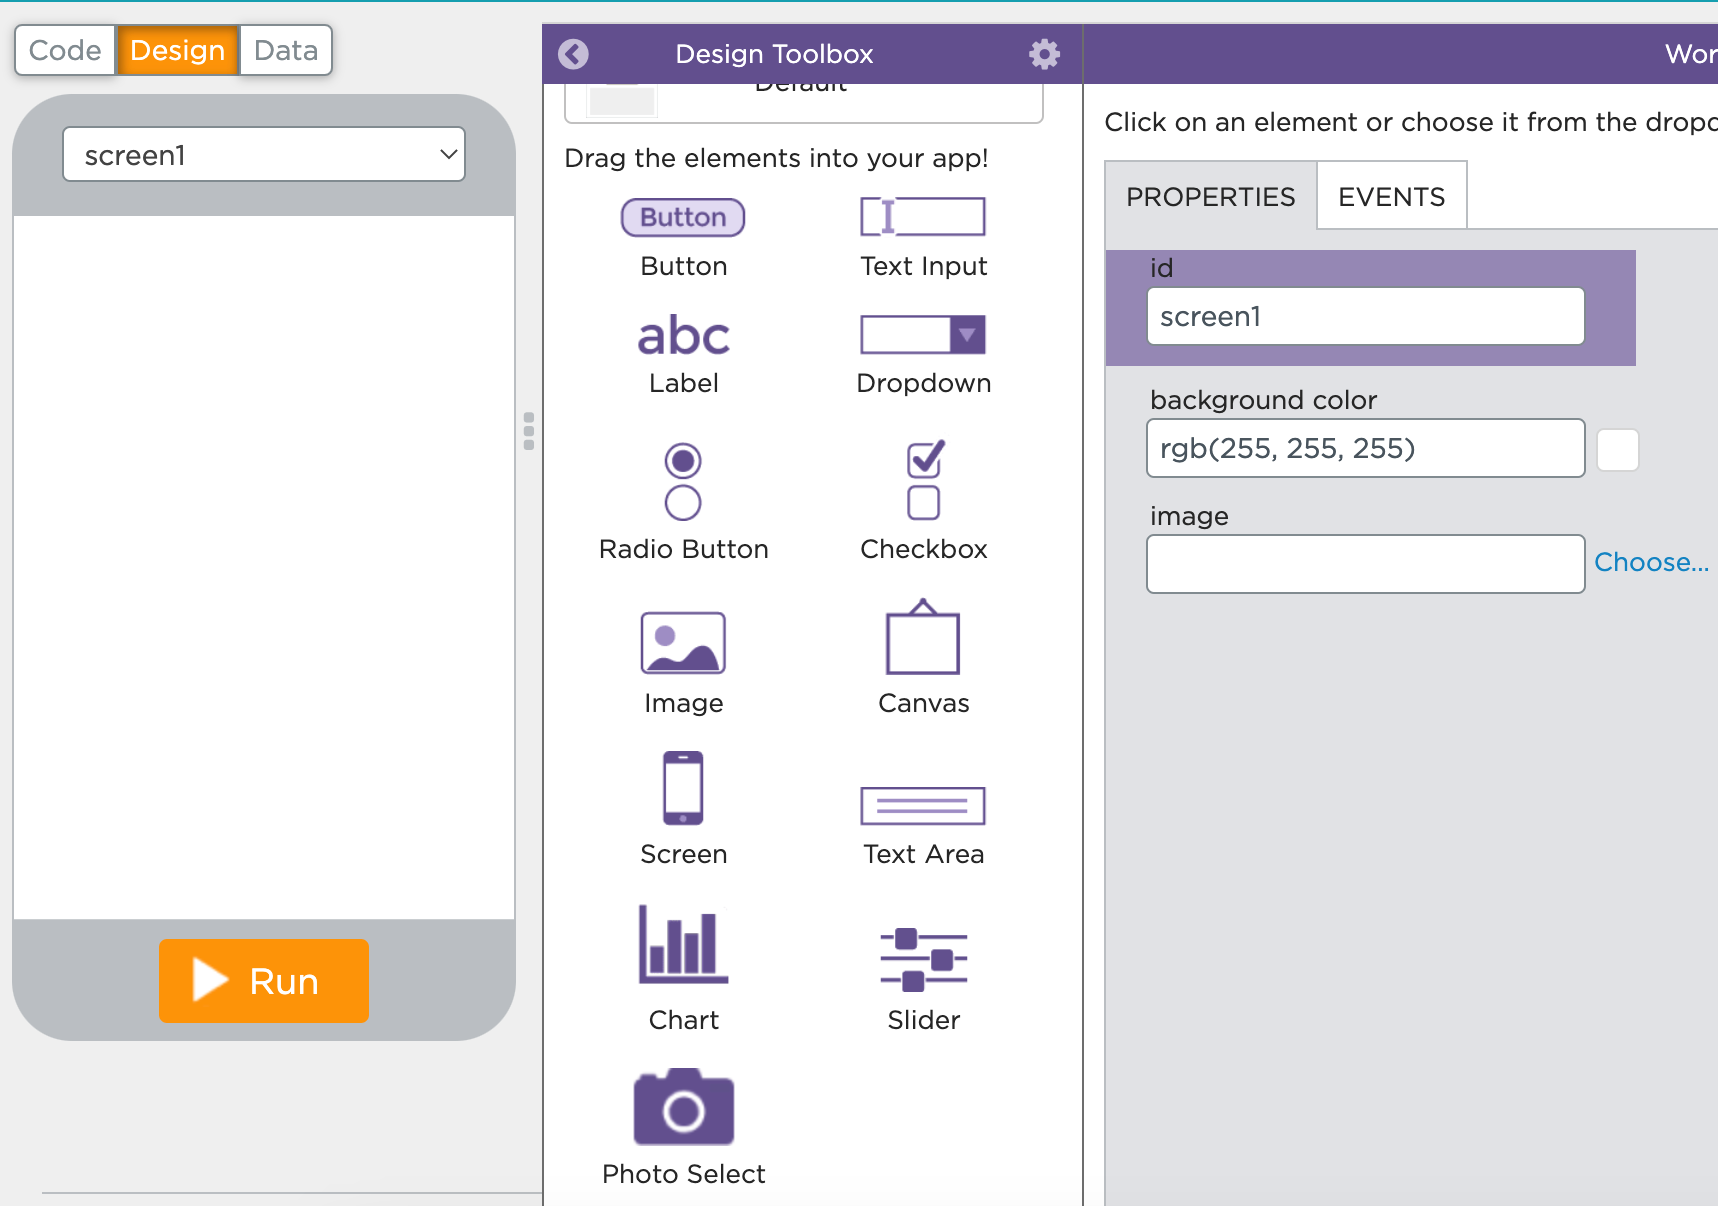
Here, you will see a number of options. Feel free to play around with it.
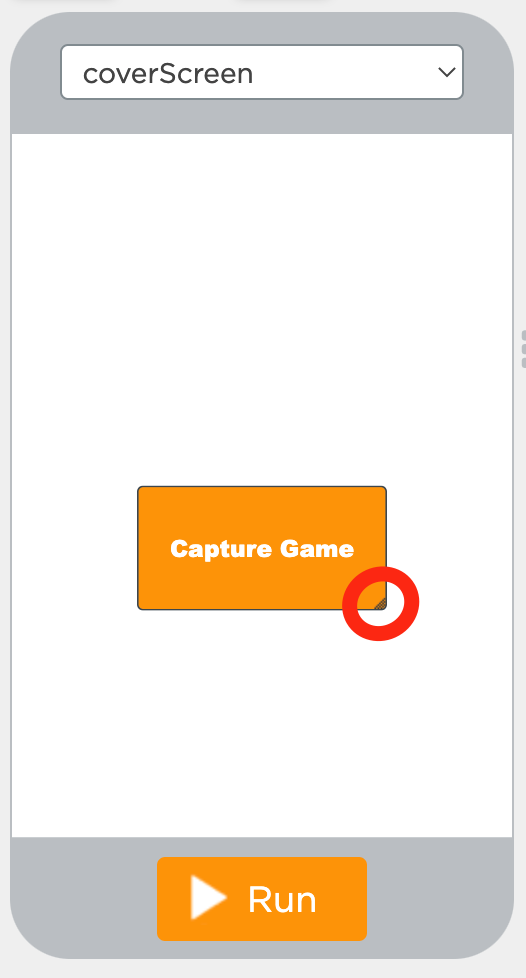
Cover Screen
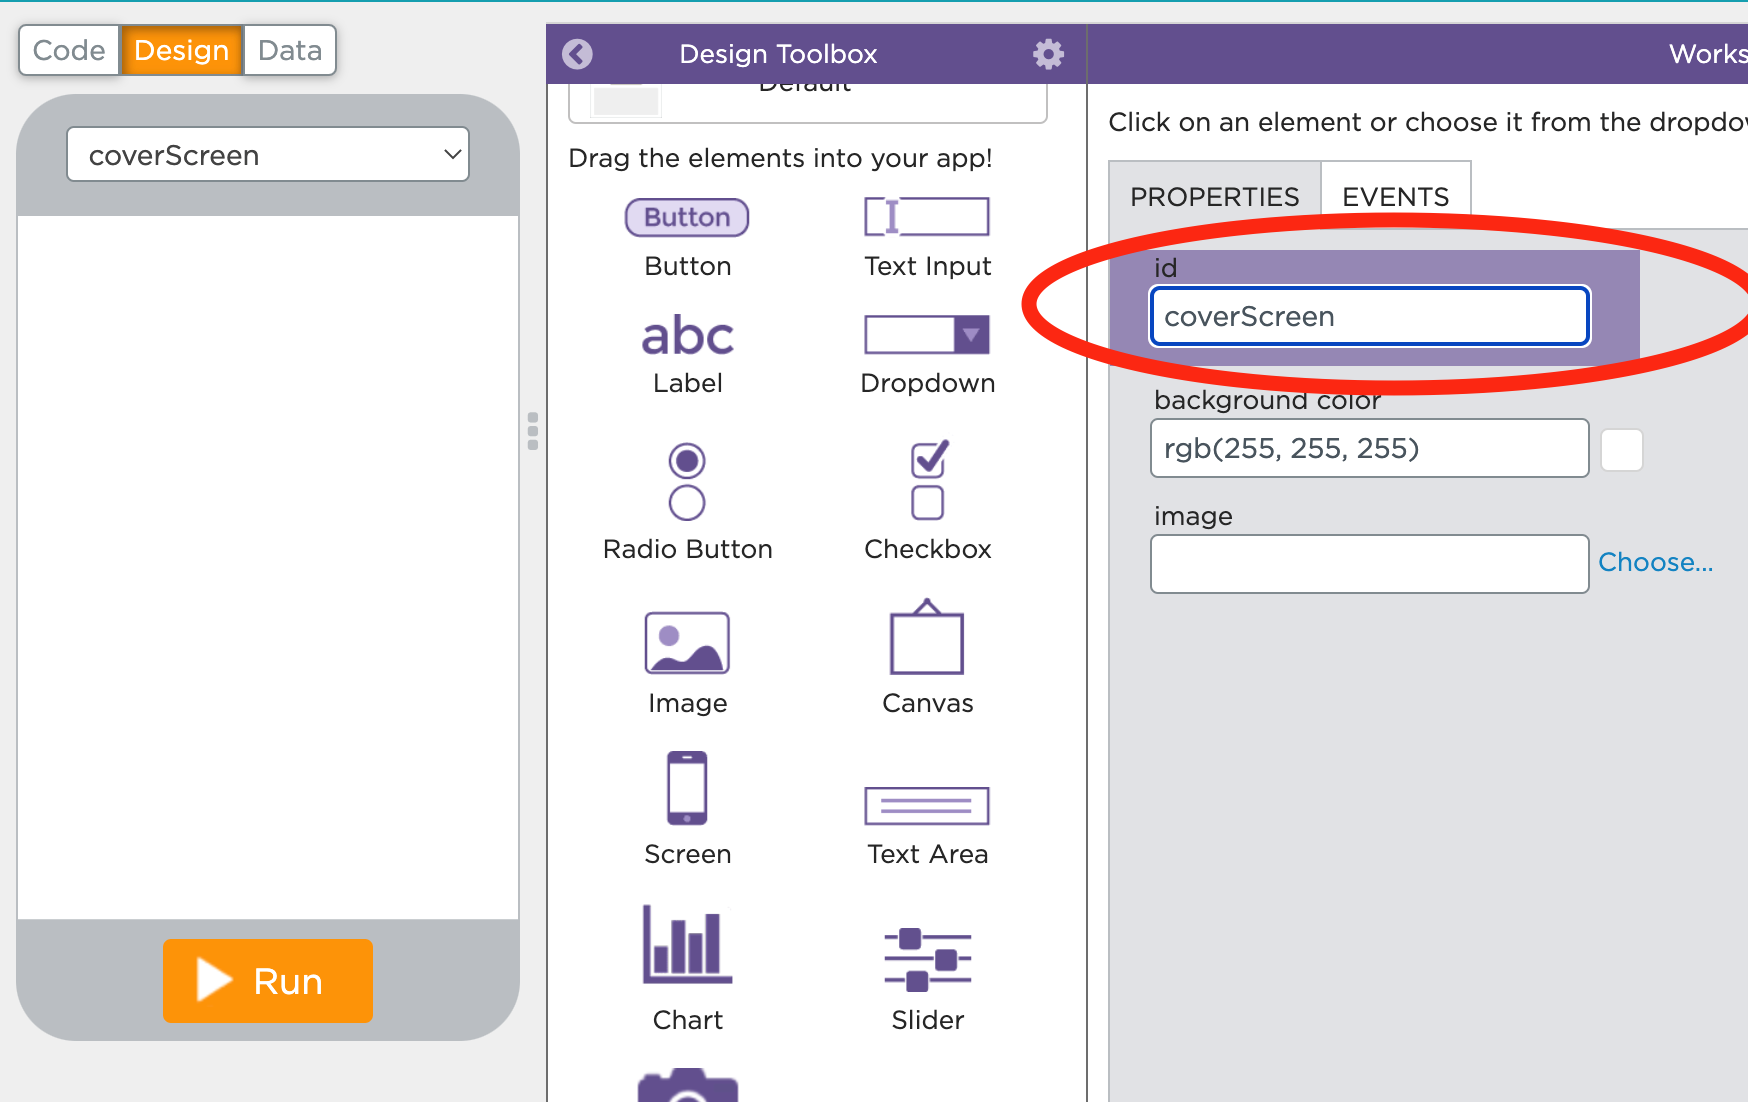
Name the screen "coverScreen," this will be the screen in which the user sees first.
Make sure the there is no space between the words and the first letter is not capitalized, whereas "Screen" is capitalized. This special way of writing labels in code is called camel case.
Add a Button
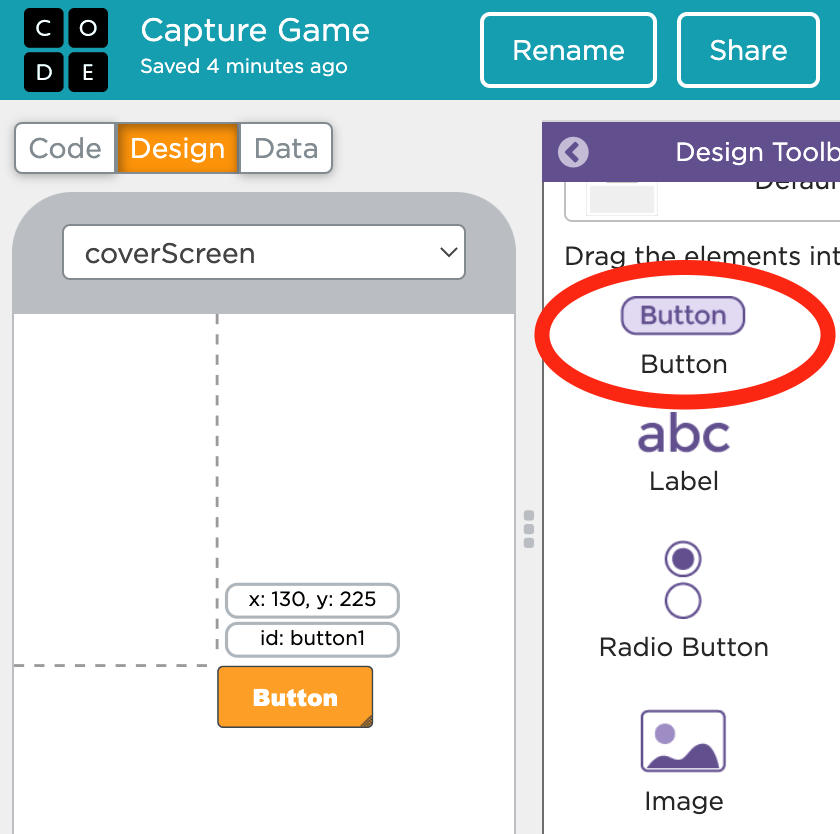
Drag the "button" from the tool box into the screen. Now you have a button!
Name the Button
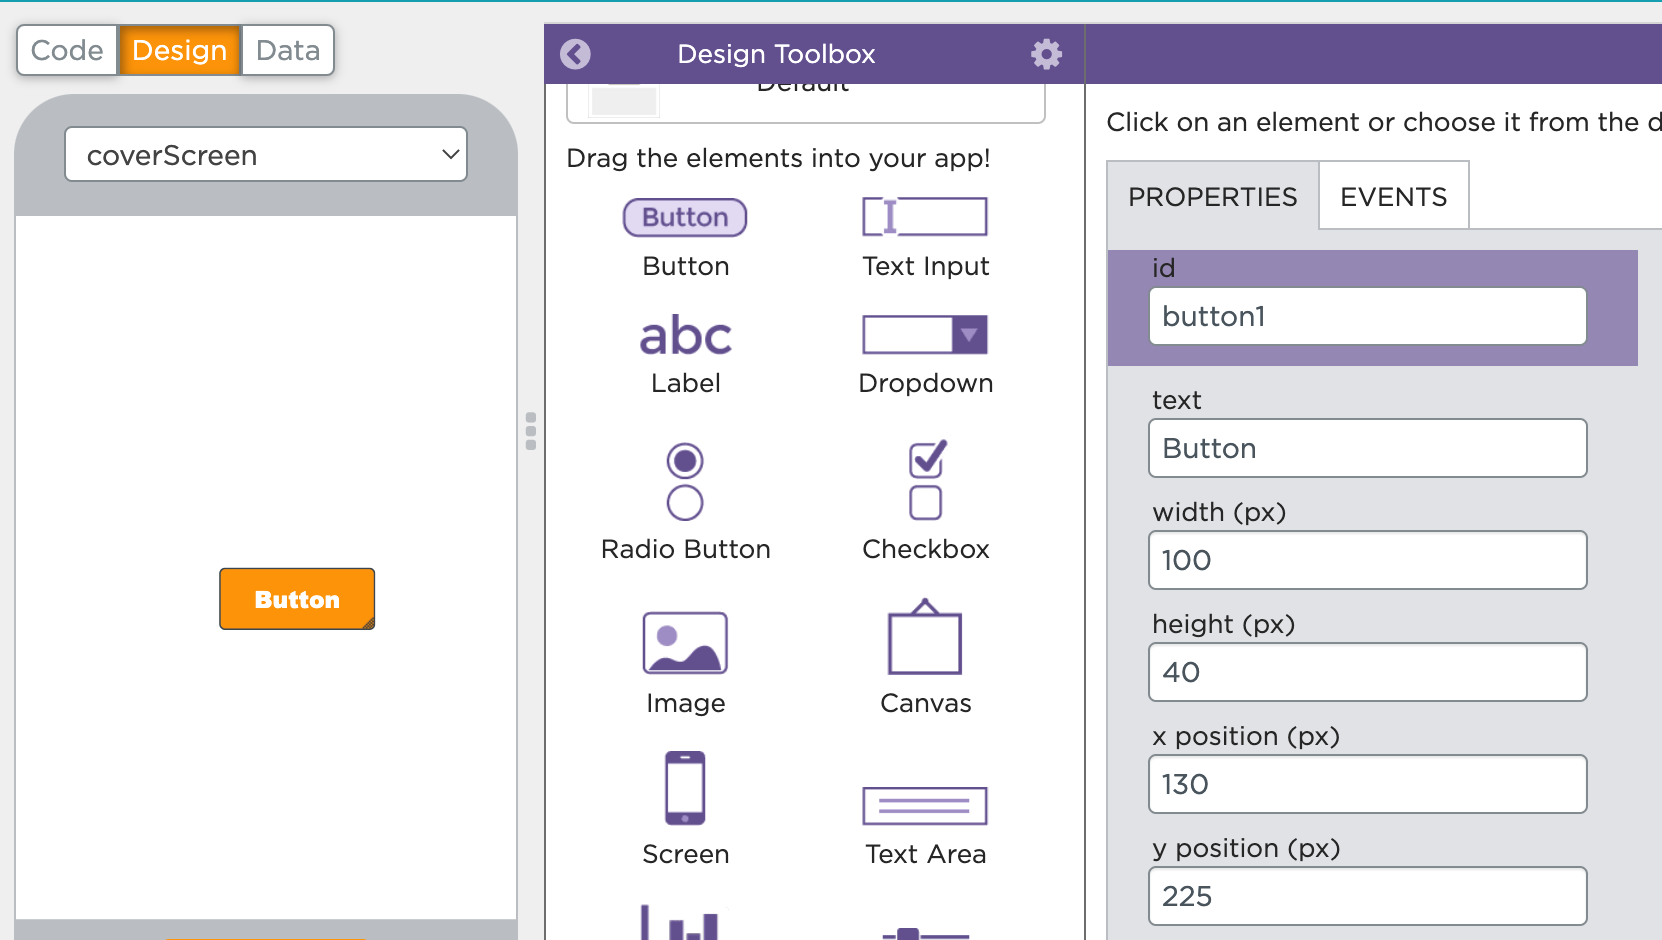
Click on the button to select it, and then rename the id to "btn."
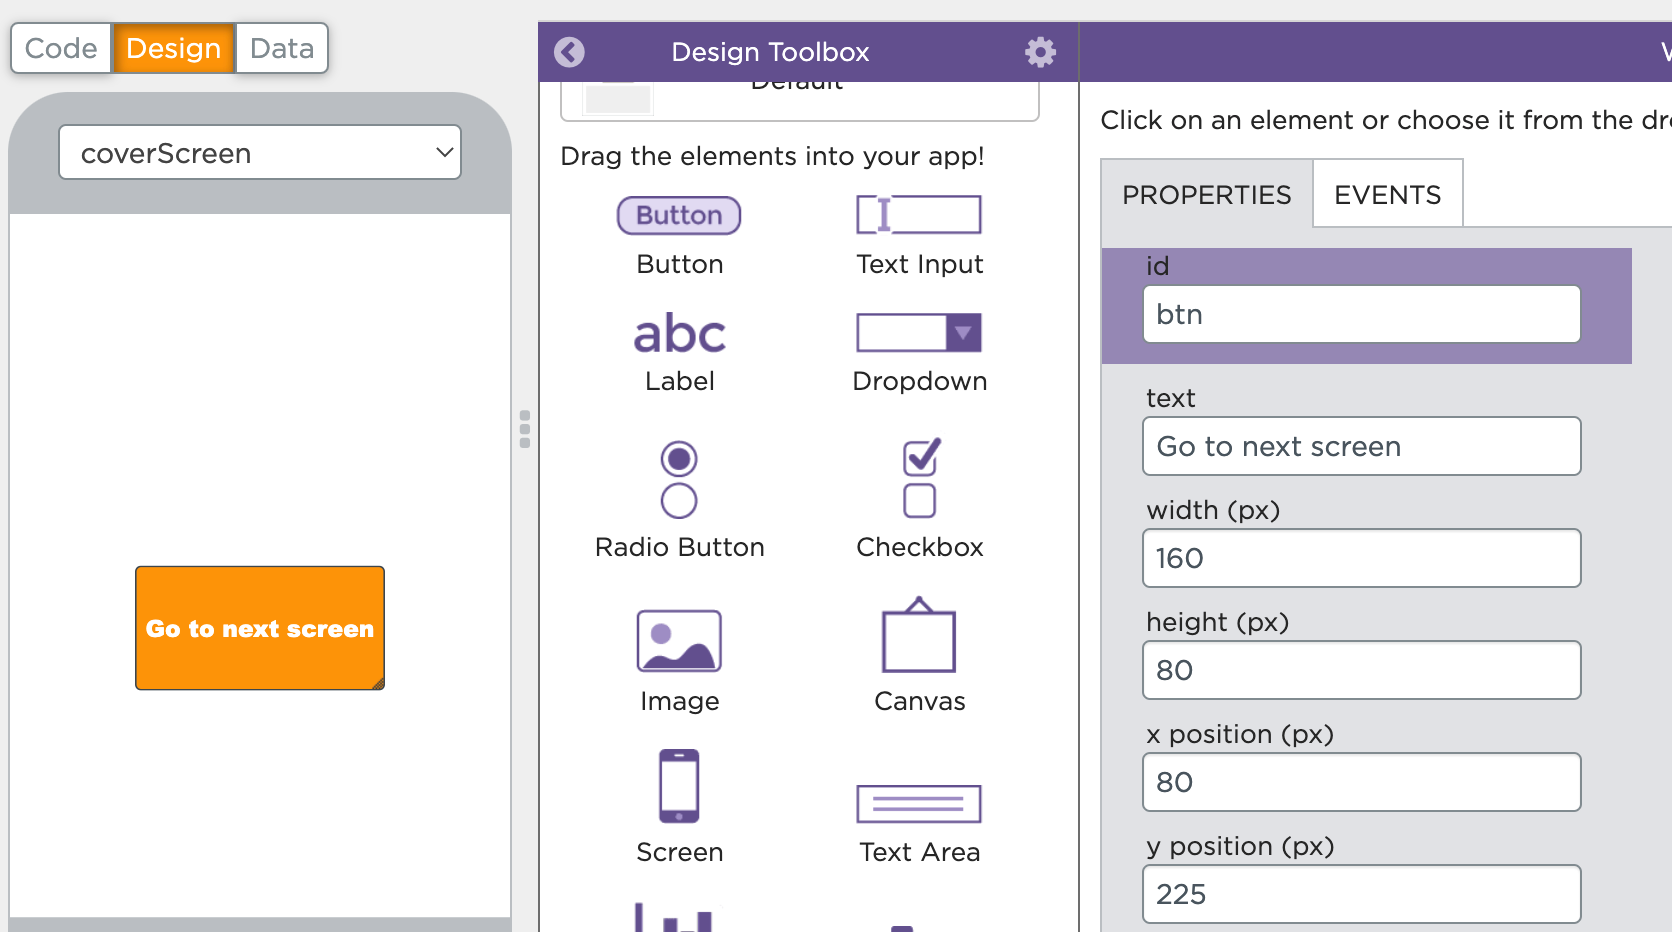
Change Text in Button
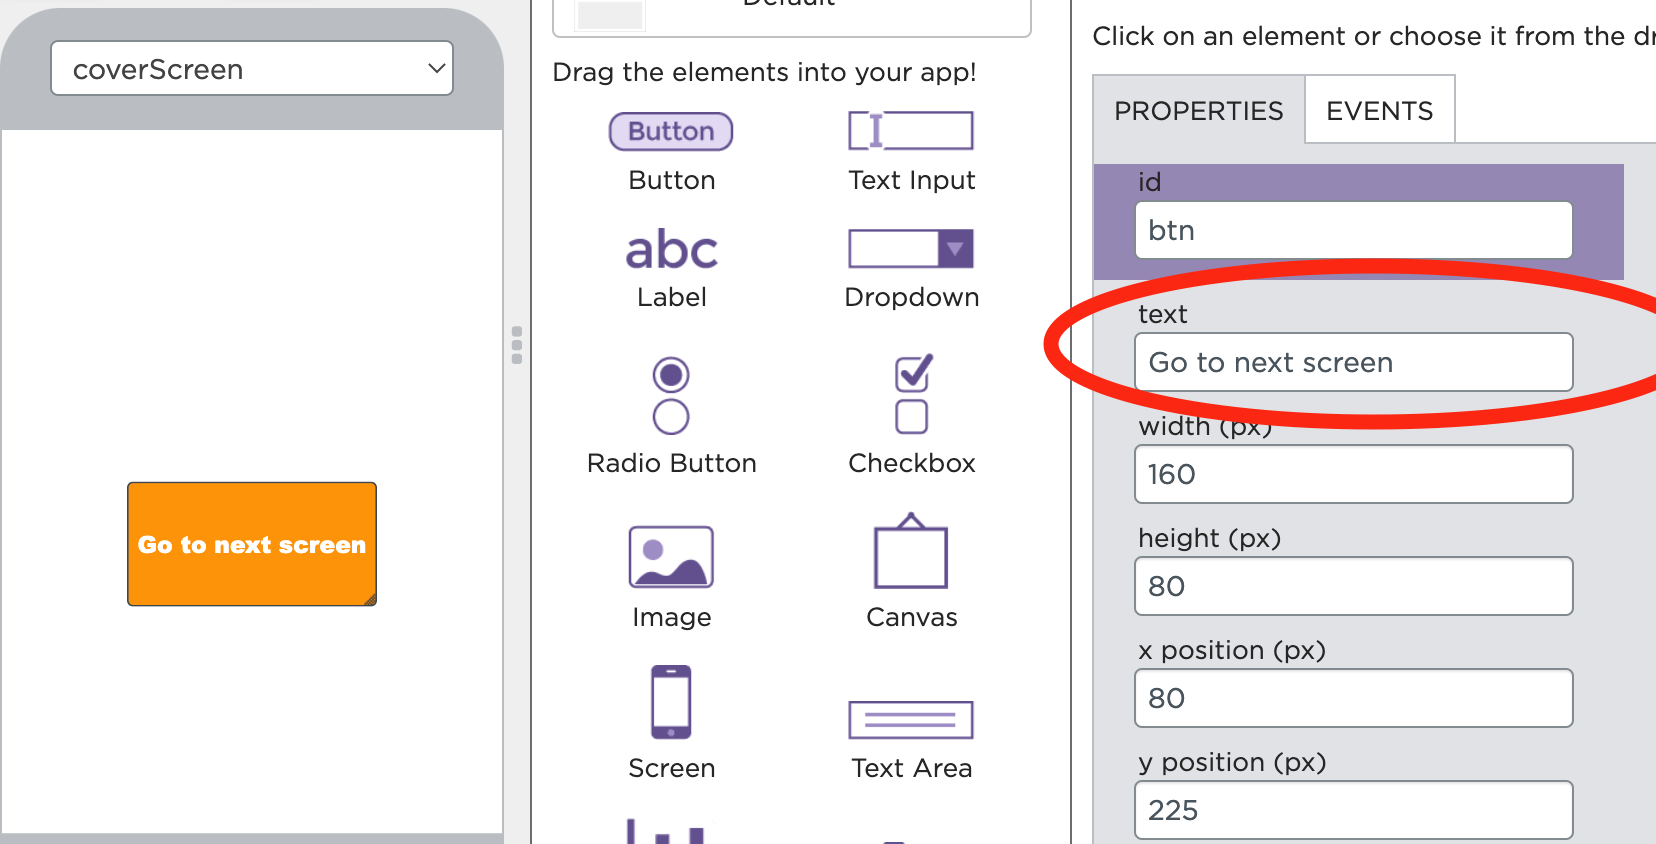
To change the displaying text on the button, go into the workspace properties and write "Go to next screen," So that when this button is clicked, it will change the screen to another screen.
Manipulate Button
You can drag the button to change its location, and change its shape by dragging the lower left corner.
Make Another Screen
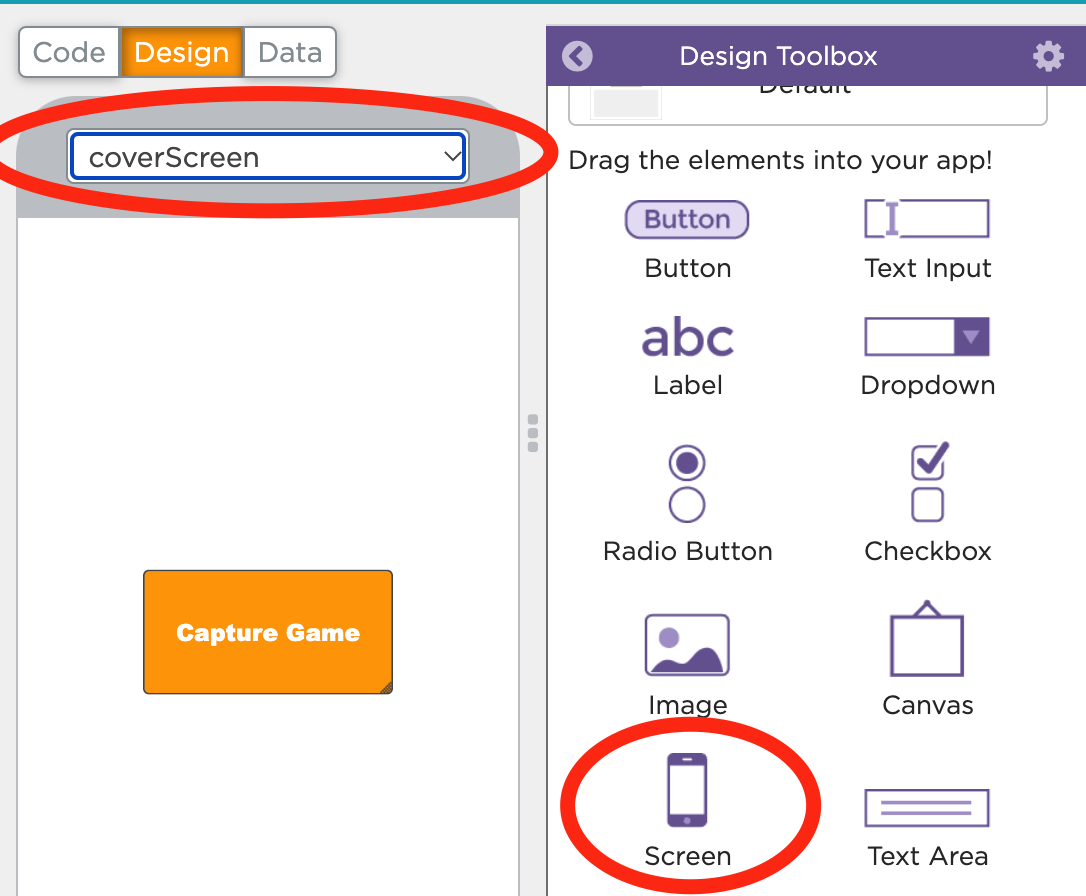
To make a new screen, either click the dropdown and select "new screen..." or drag a new screen from the toolbox.
Add Label
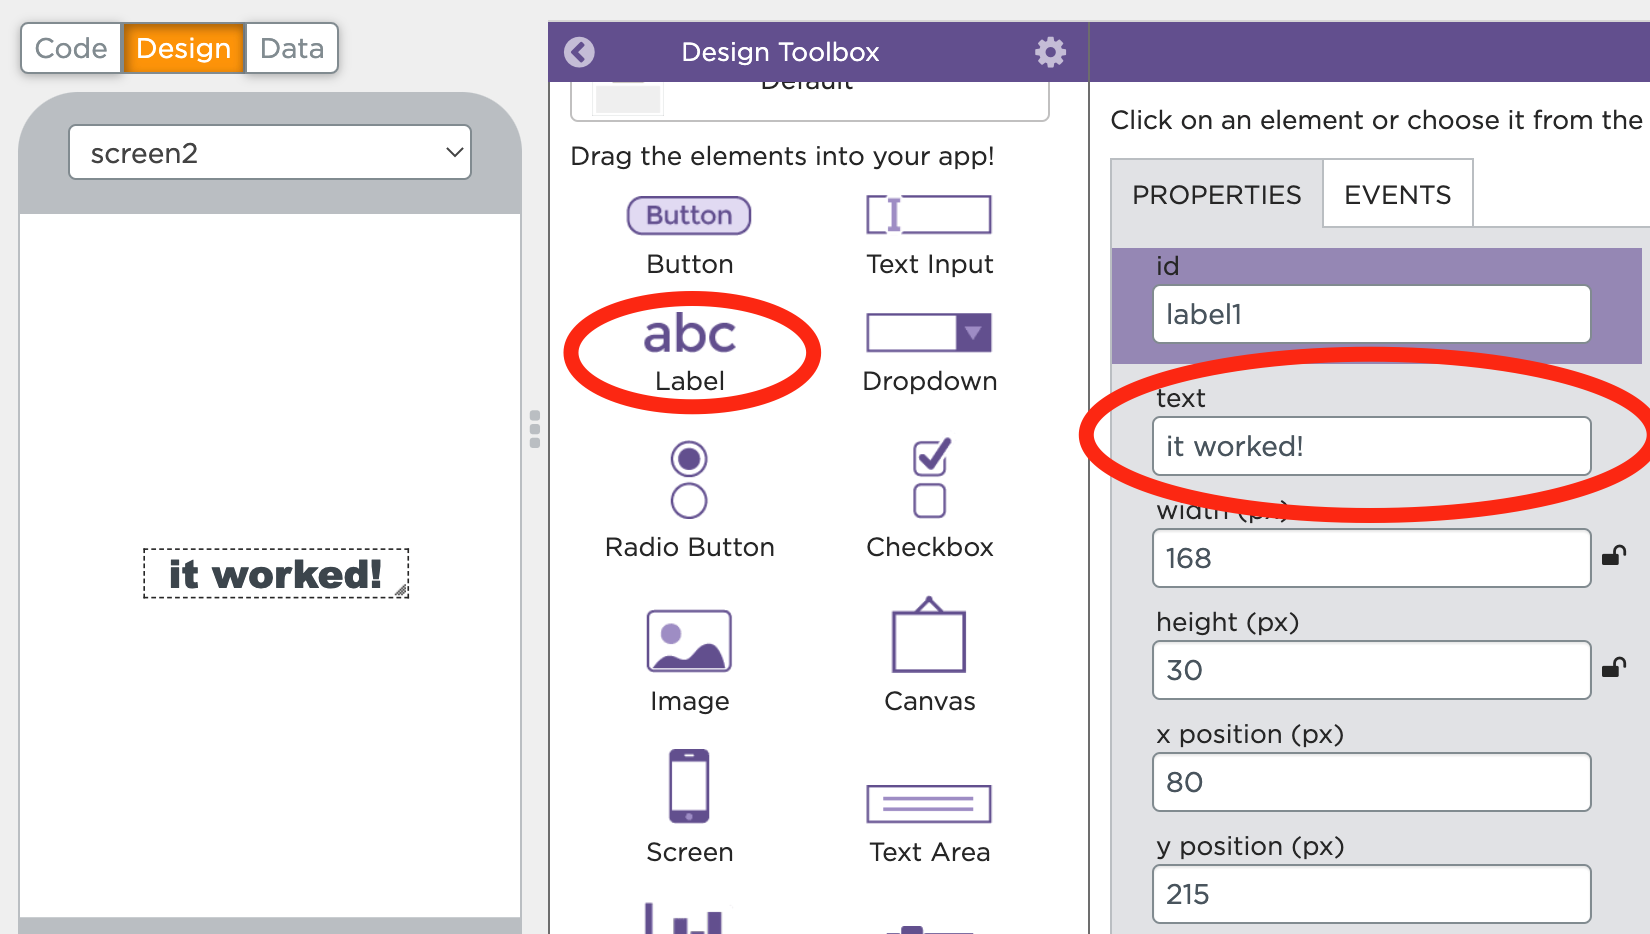
Add a label by dragging it into the screen area, and change the text to say "it worked!"
You can choose any other text as well, it does not matter that much.
To change the font size, scroll down in the properties until you find "font size" and change the number.
On Event
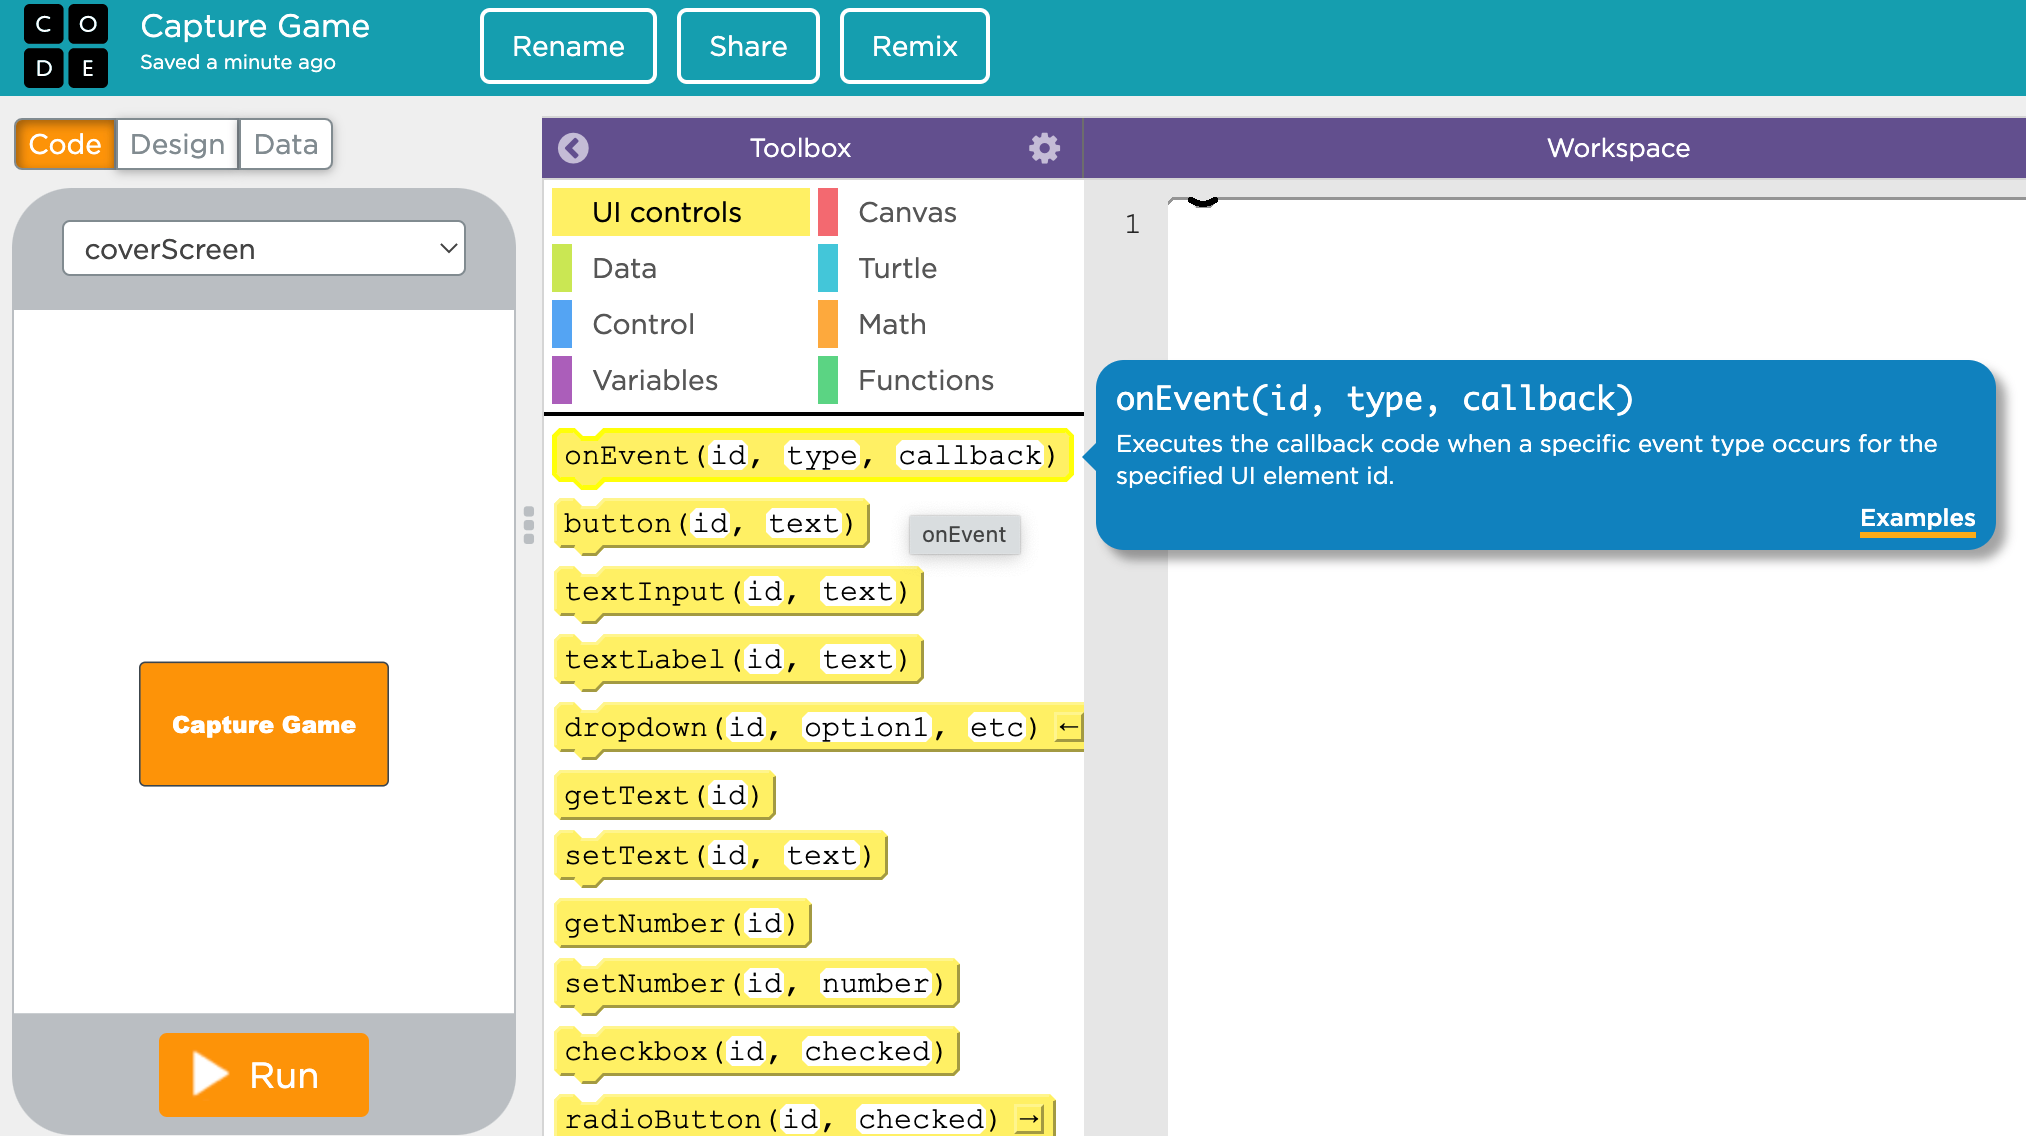
Now that we have a button and two screens, we can do some coding!
Going back to the code tab, make sure that the toolbox is in "UI Controls." Then click and drag the "on event" block into the workspace.
Drop Down Options in on Event

For the id dropdown, select "btn."
For the type dropdown, select "click."
This means that when the "btn" is clicked, the function will run. We will write the function in the next step.
Writing the Function
So the goal of clicking the button, in this case, is to switch to "screen2" (that was the default screen name of our second screen, so we are going along with it)
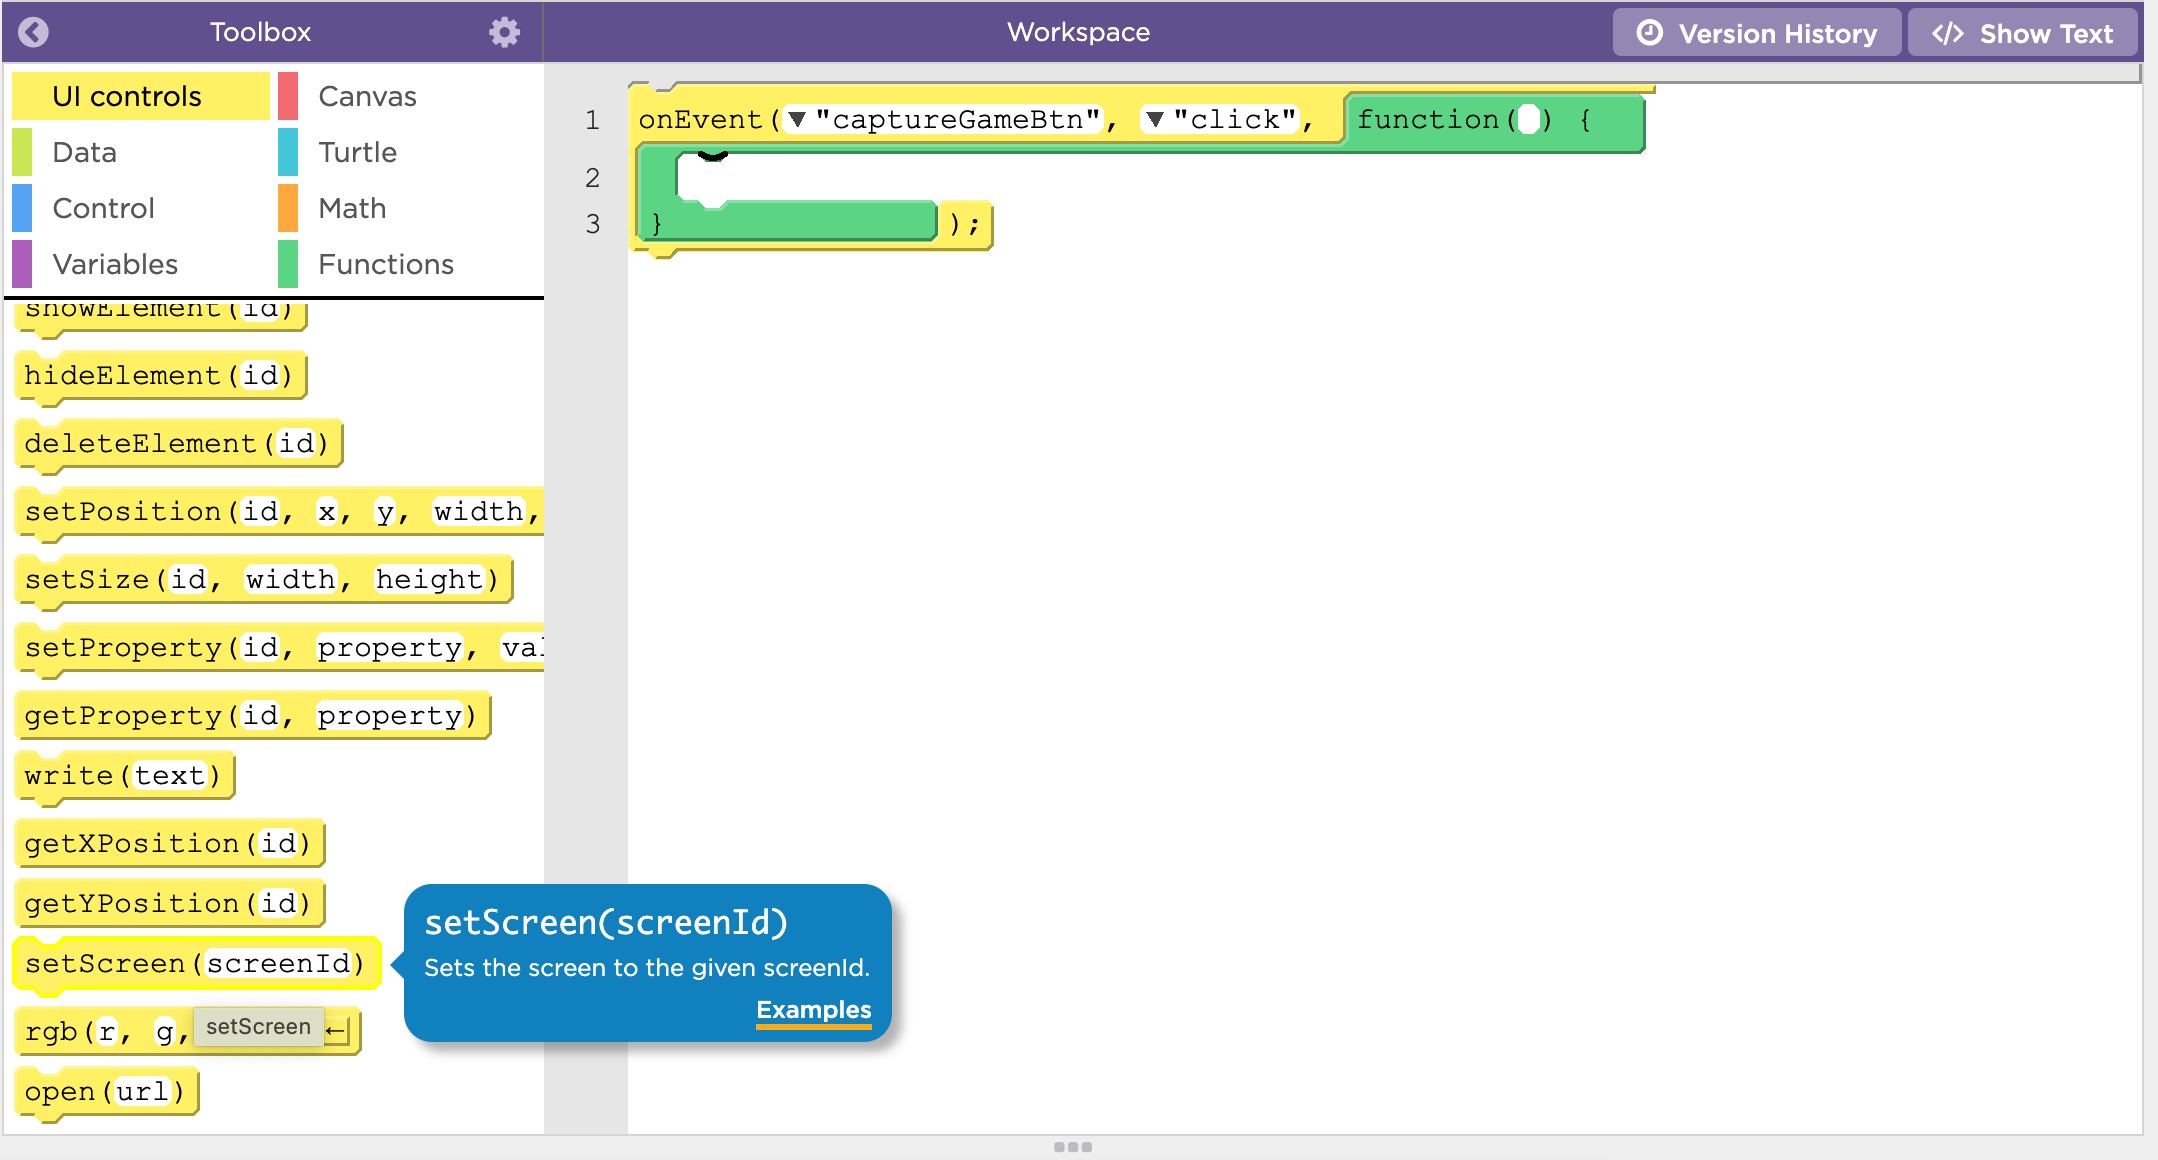
The code to do that is "setScreen()"
Scroll all the way down in the tool box and drag the code Into the "onEvent"
Writing the Function (part 2)

Select the dropdown in the "setScreen" to be "screen2"
Run the Code
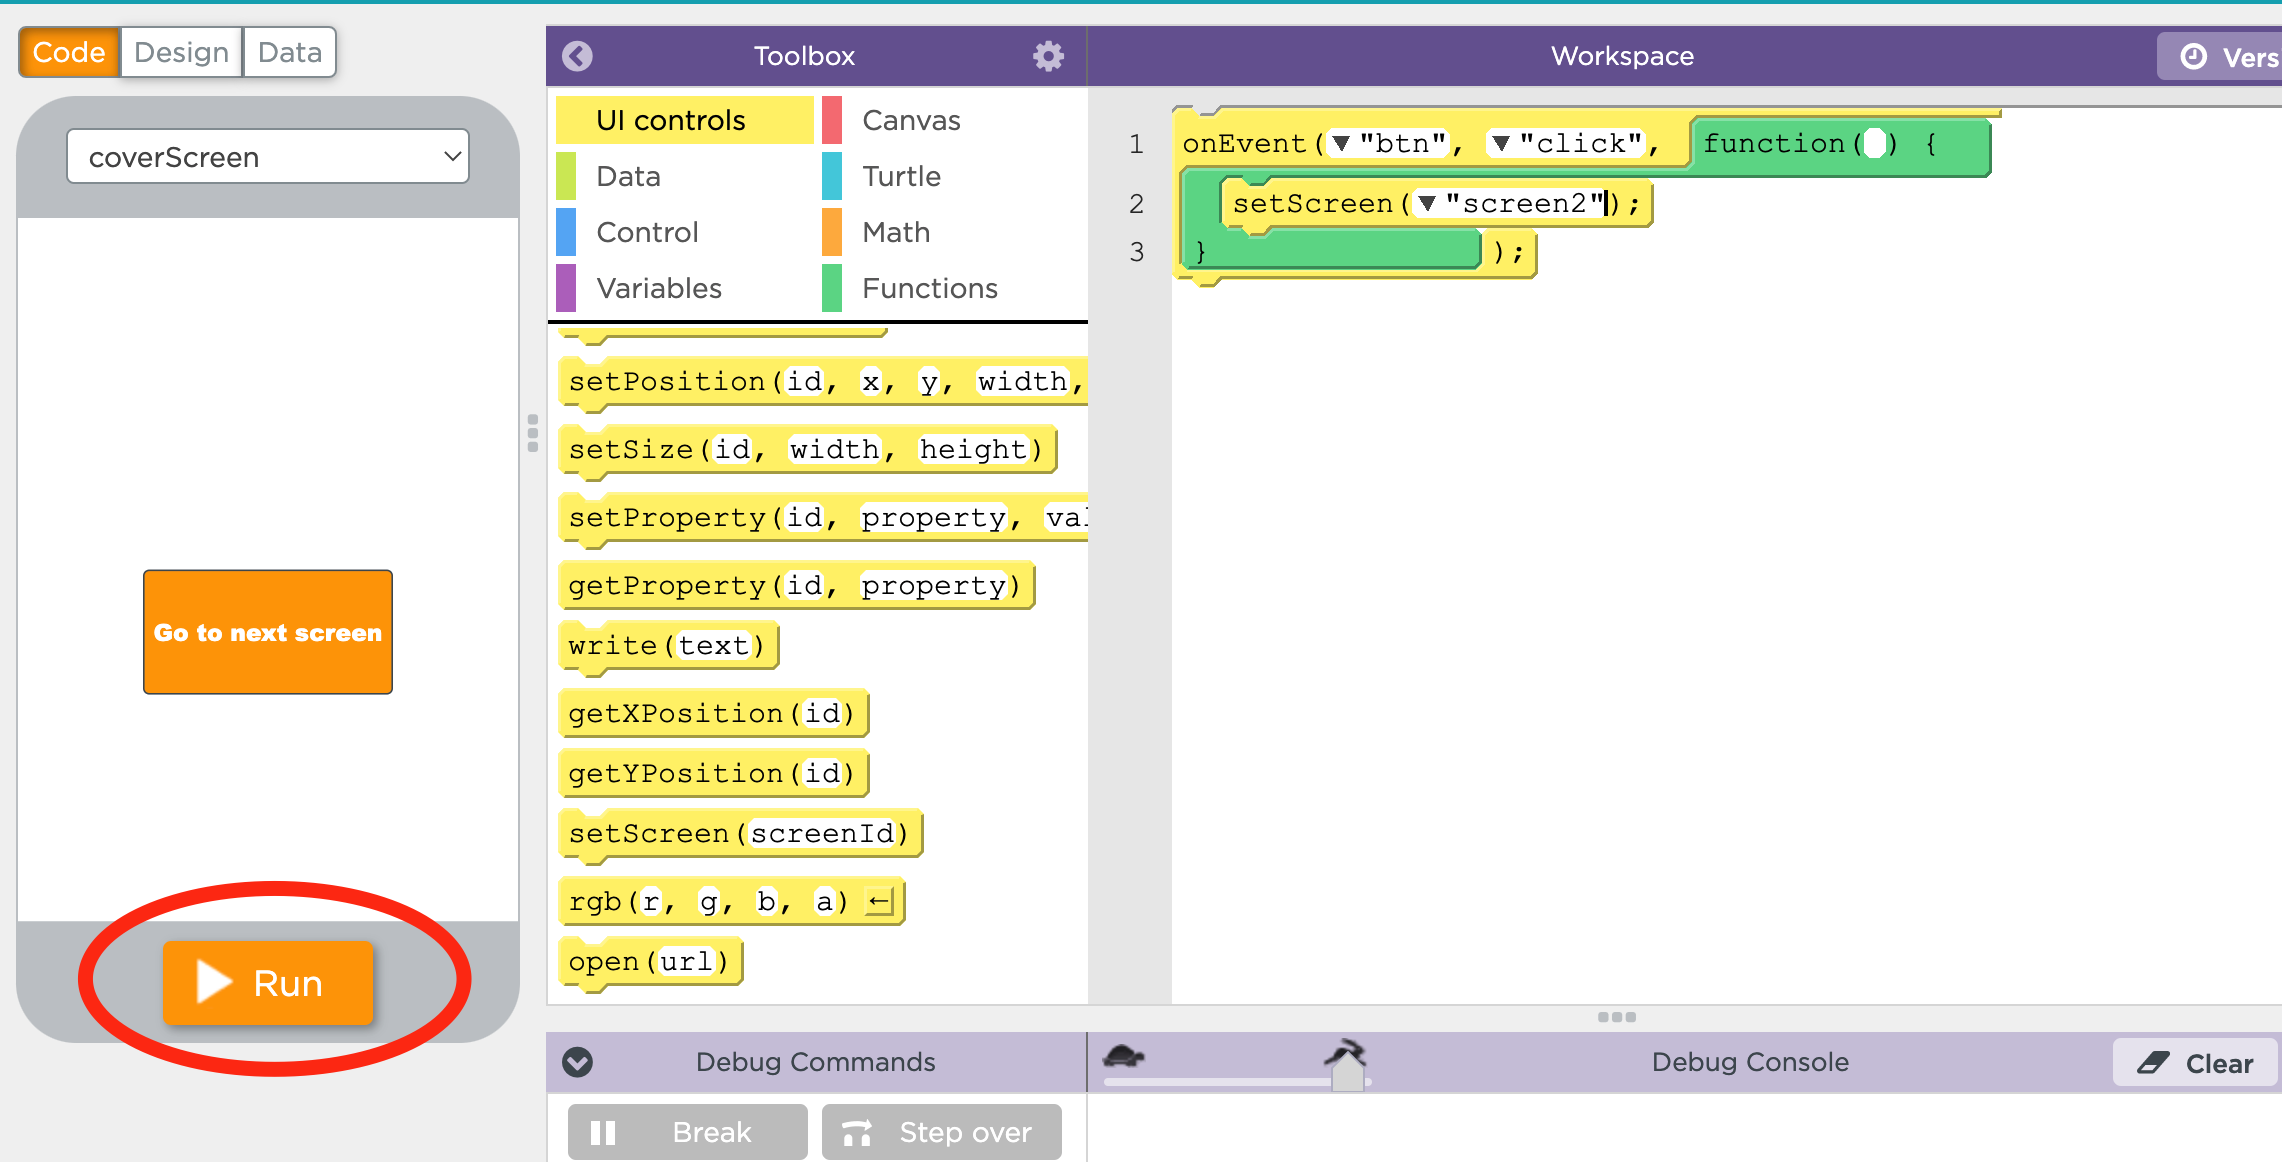
Now to test our code, click "run"
Click the button to see if it switches over to the other screen. If it does, congratulations! Hopefully you enjoyed this tutorial and found it interesting.