Coat Hanger

This is a Coat Hanger made on Tinker-cad. This project includes a lot of different sized rectangles and cylinders. Throughout this project I will tell you step-by-step instructions on how to create your own!
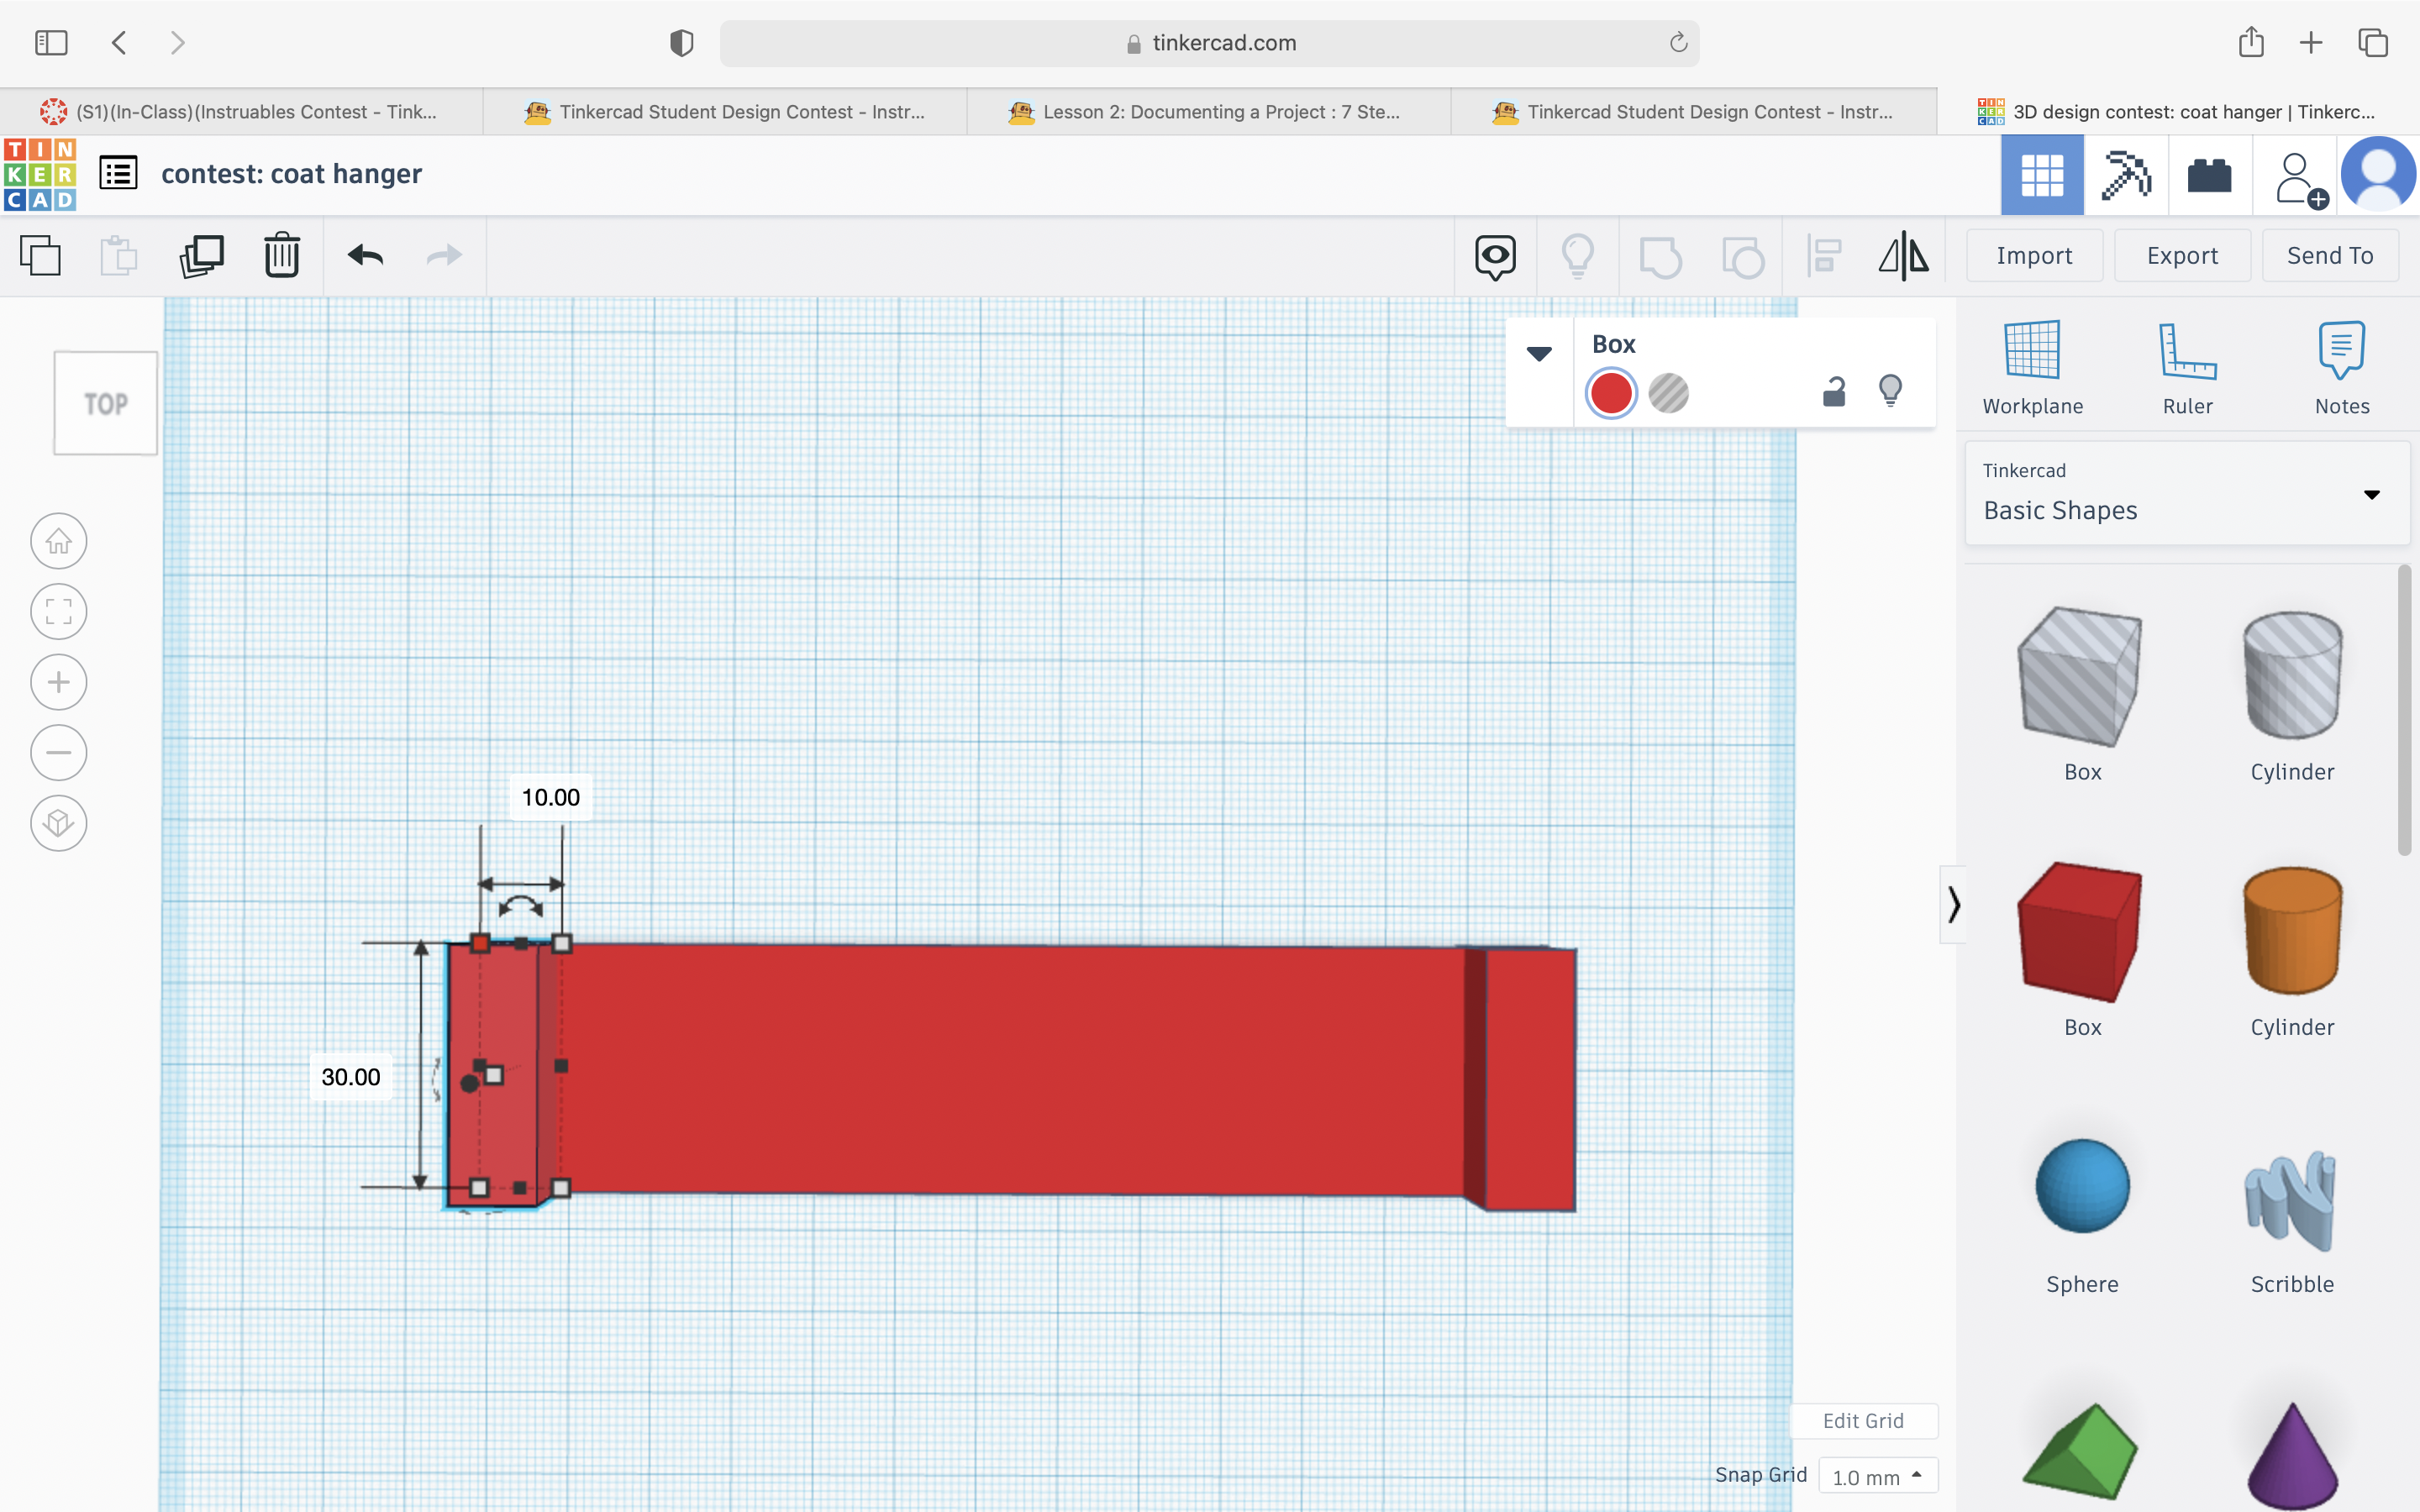
Base
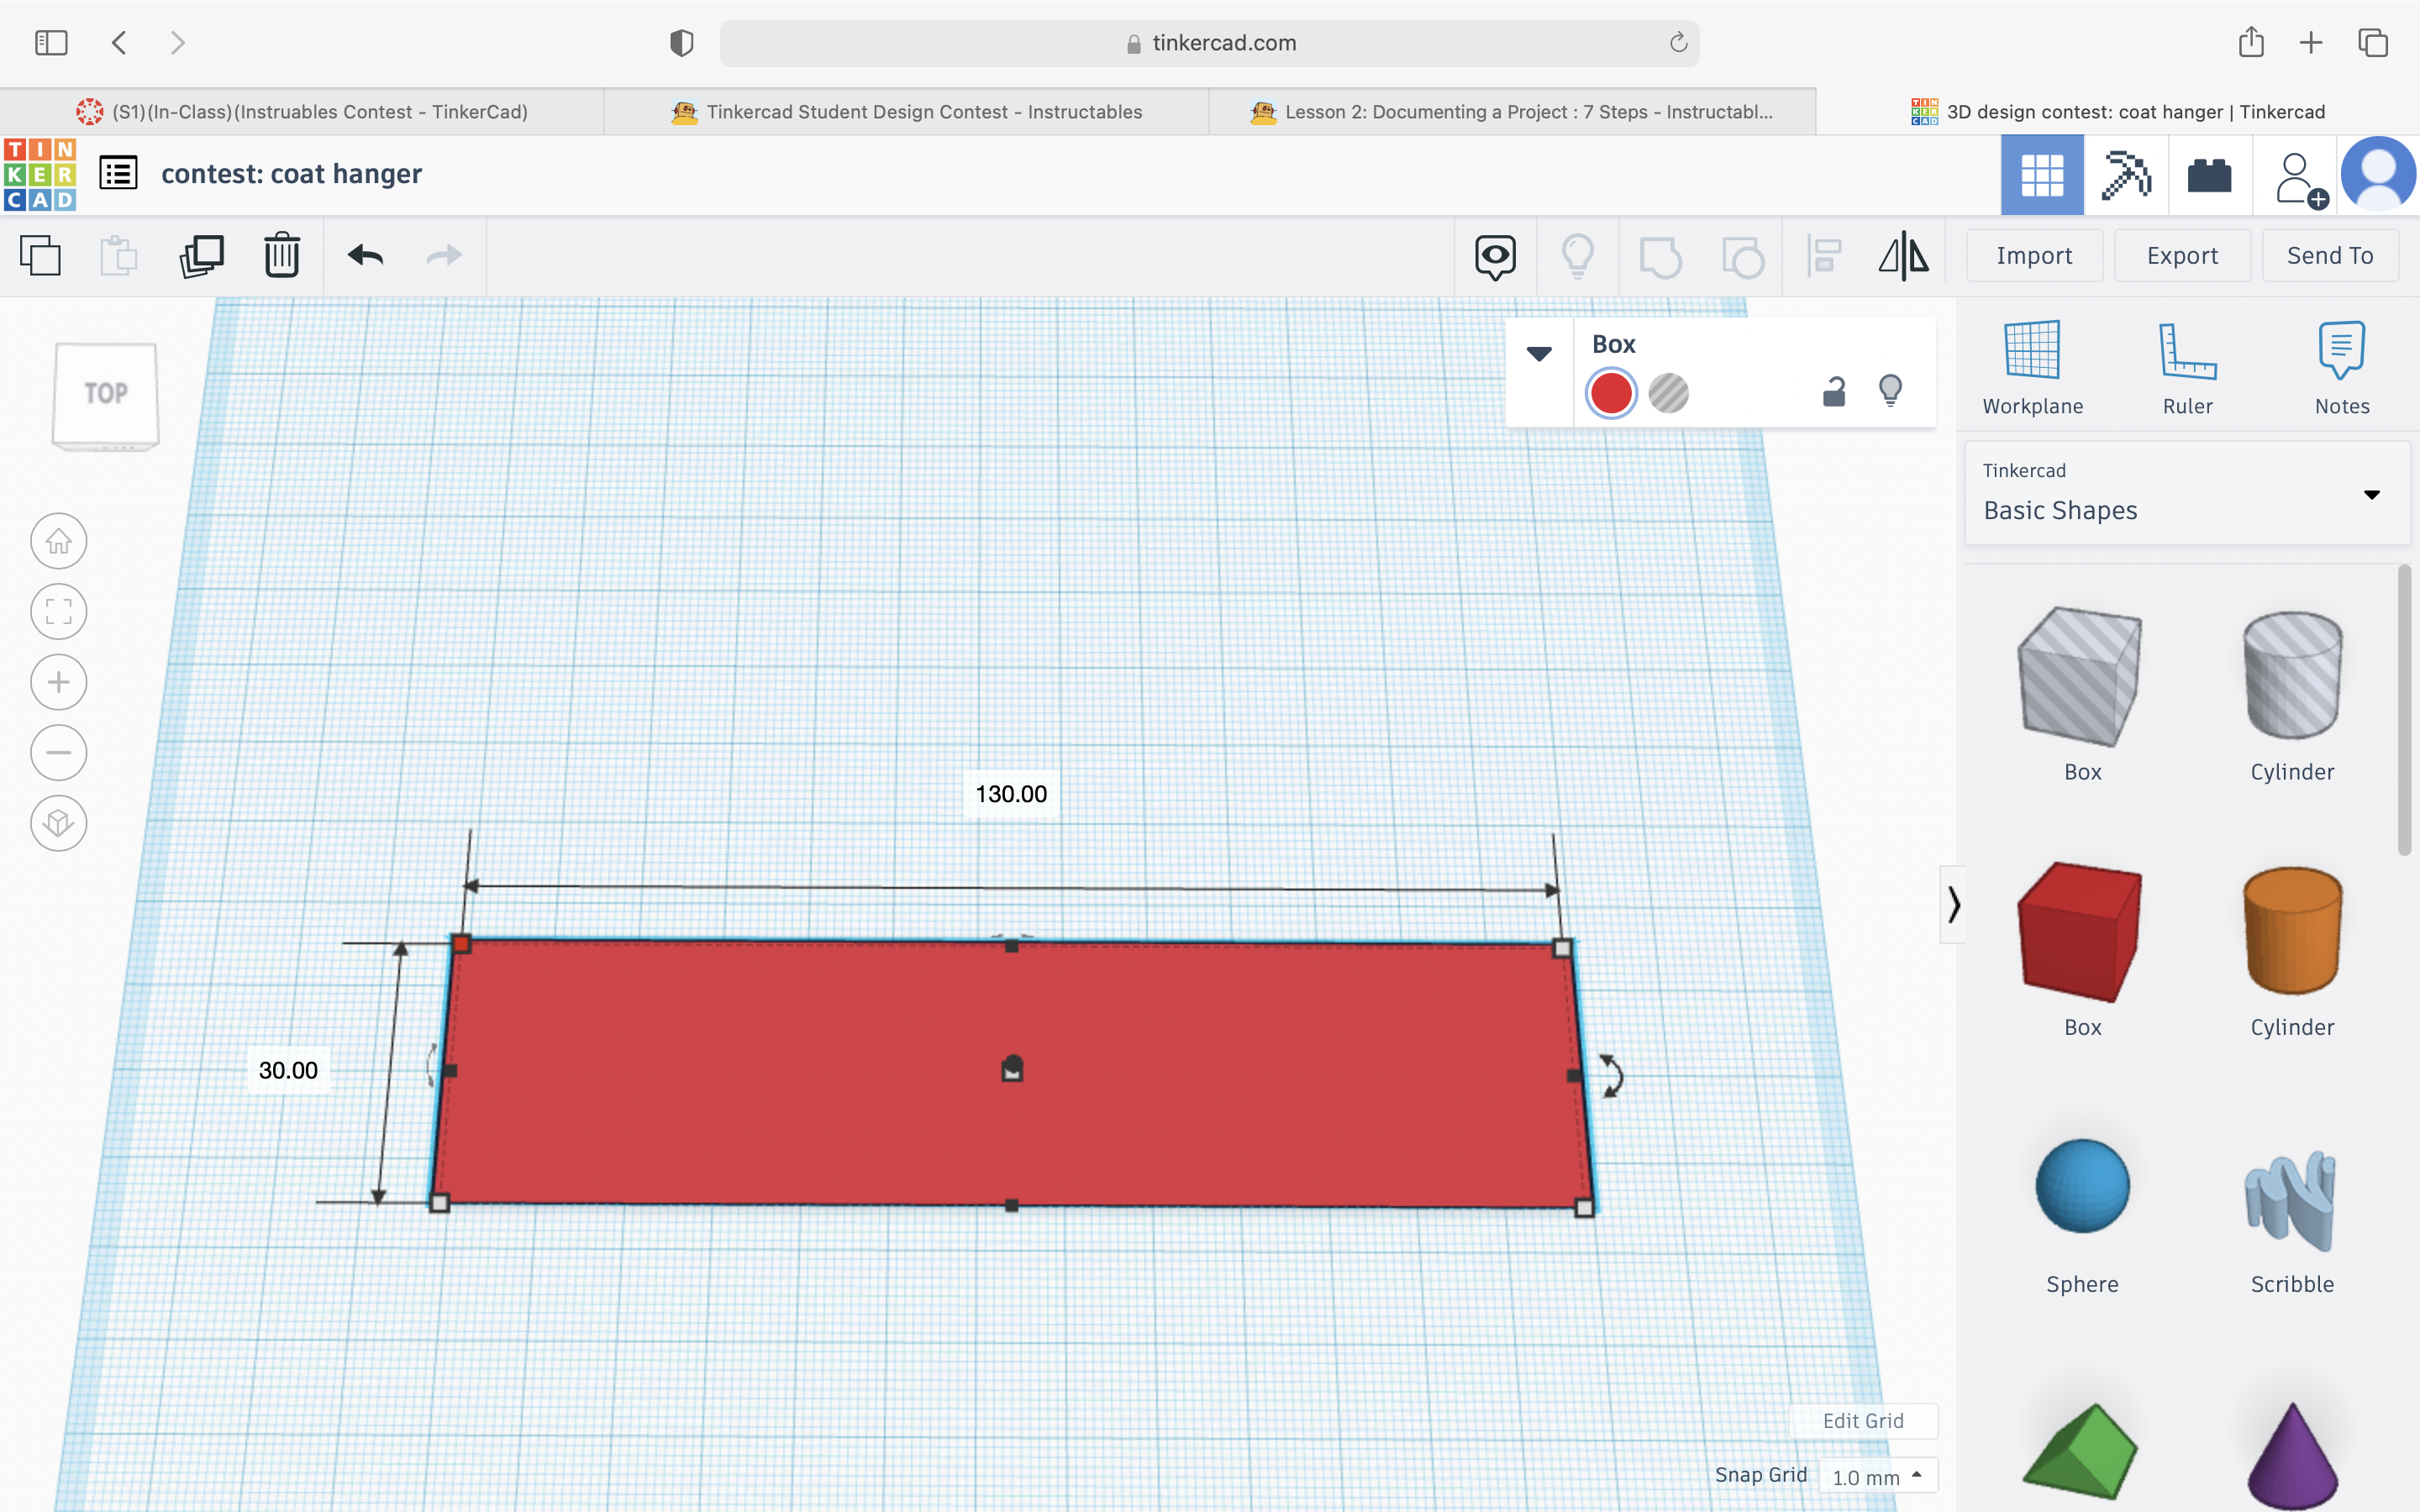
You're going to want to start with a 30.00 x 130.00 rectangle that is made from the cube icon on the side.
Adding Right Side
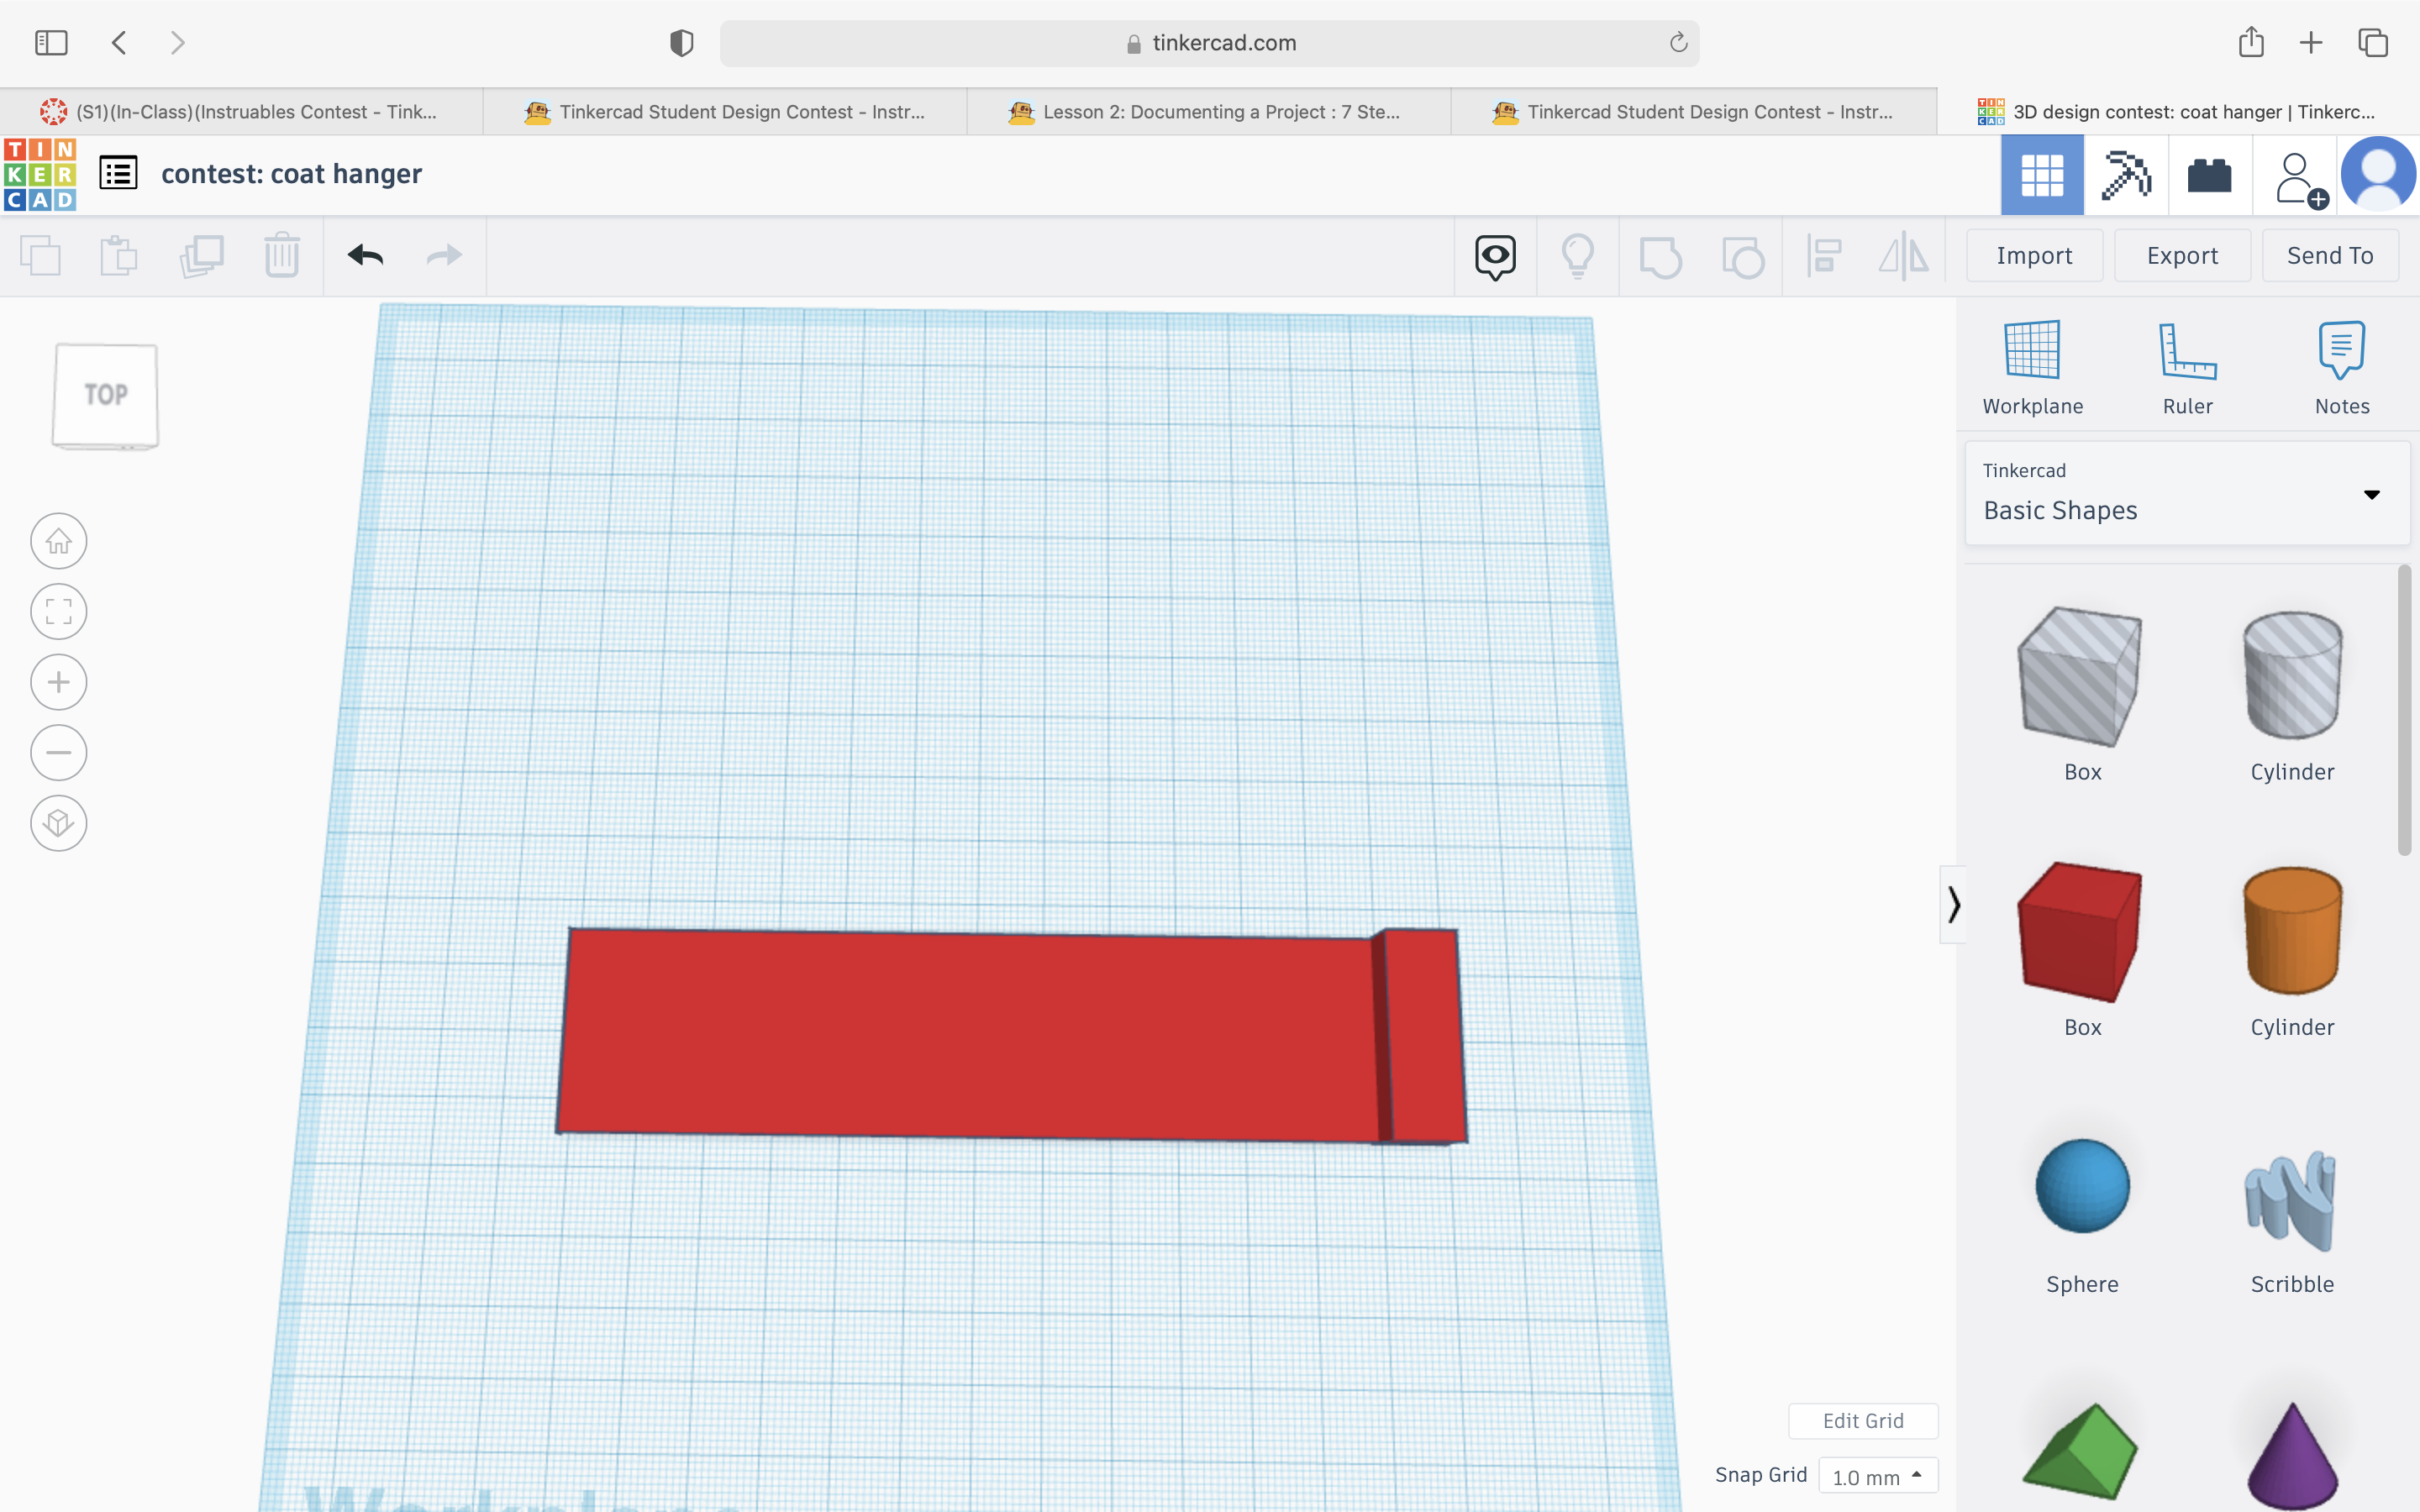
Then grab another "cube" but fix it to where it is 10.00 x 30.00 and place it on the right side of the rectangle.
Adding Left Side
Add another "cube" to the left side and fix it to be 10.00 x 30.00 exactly like step 2.
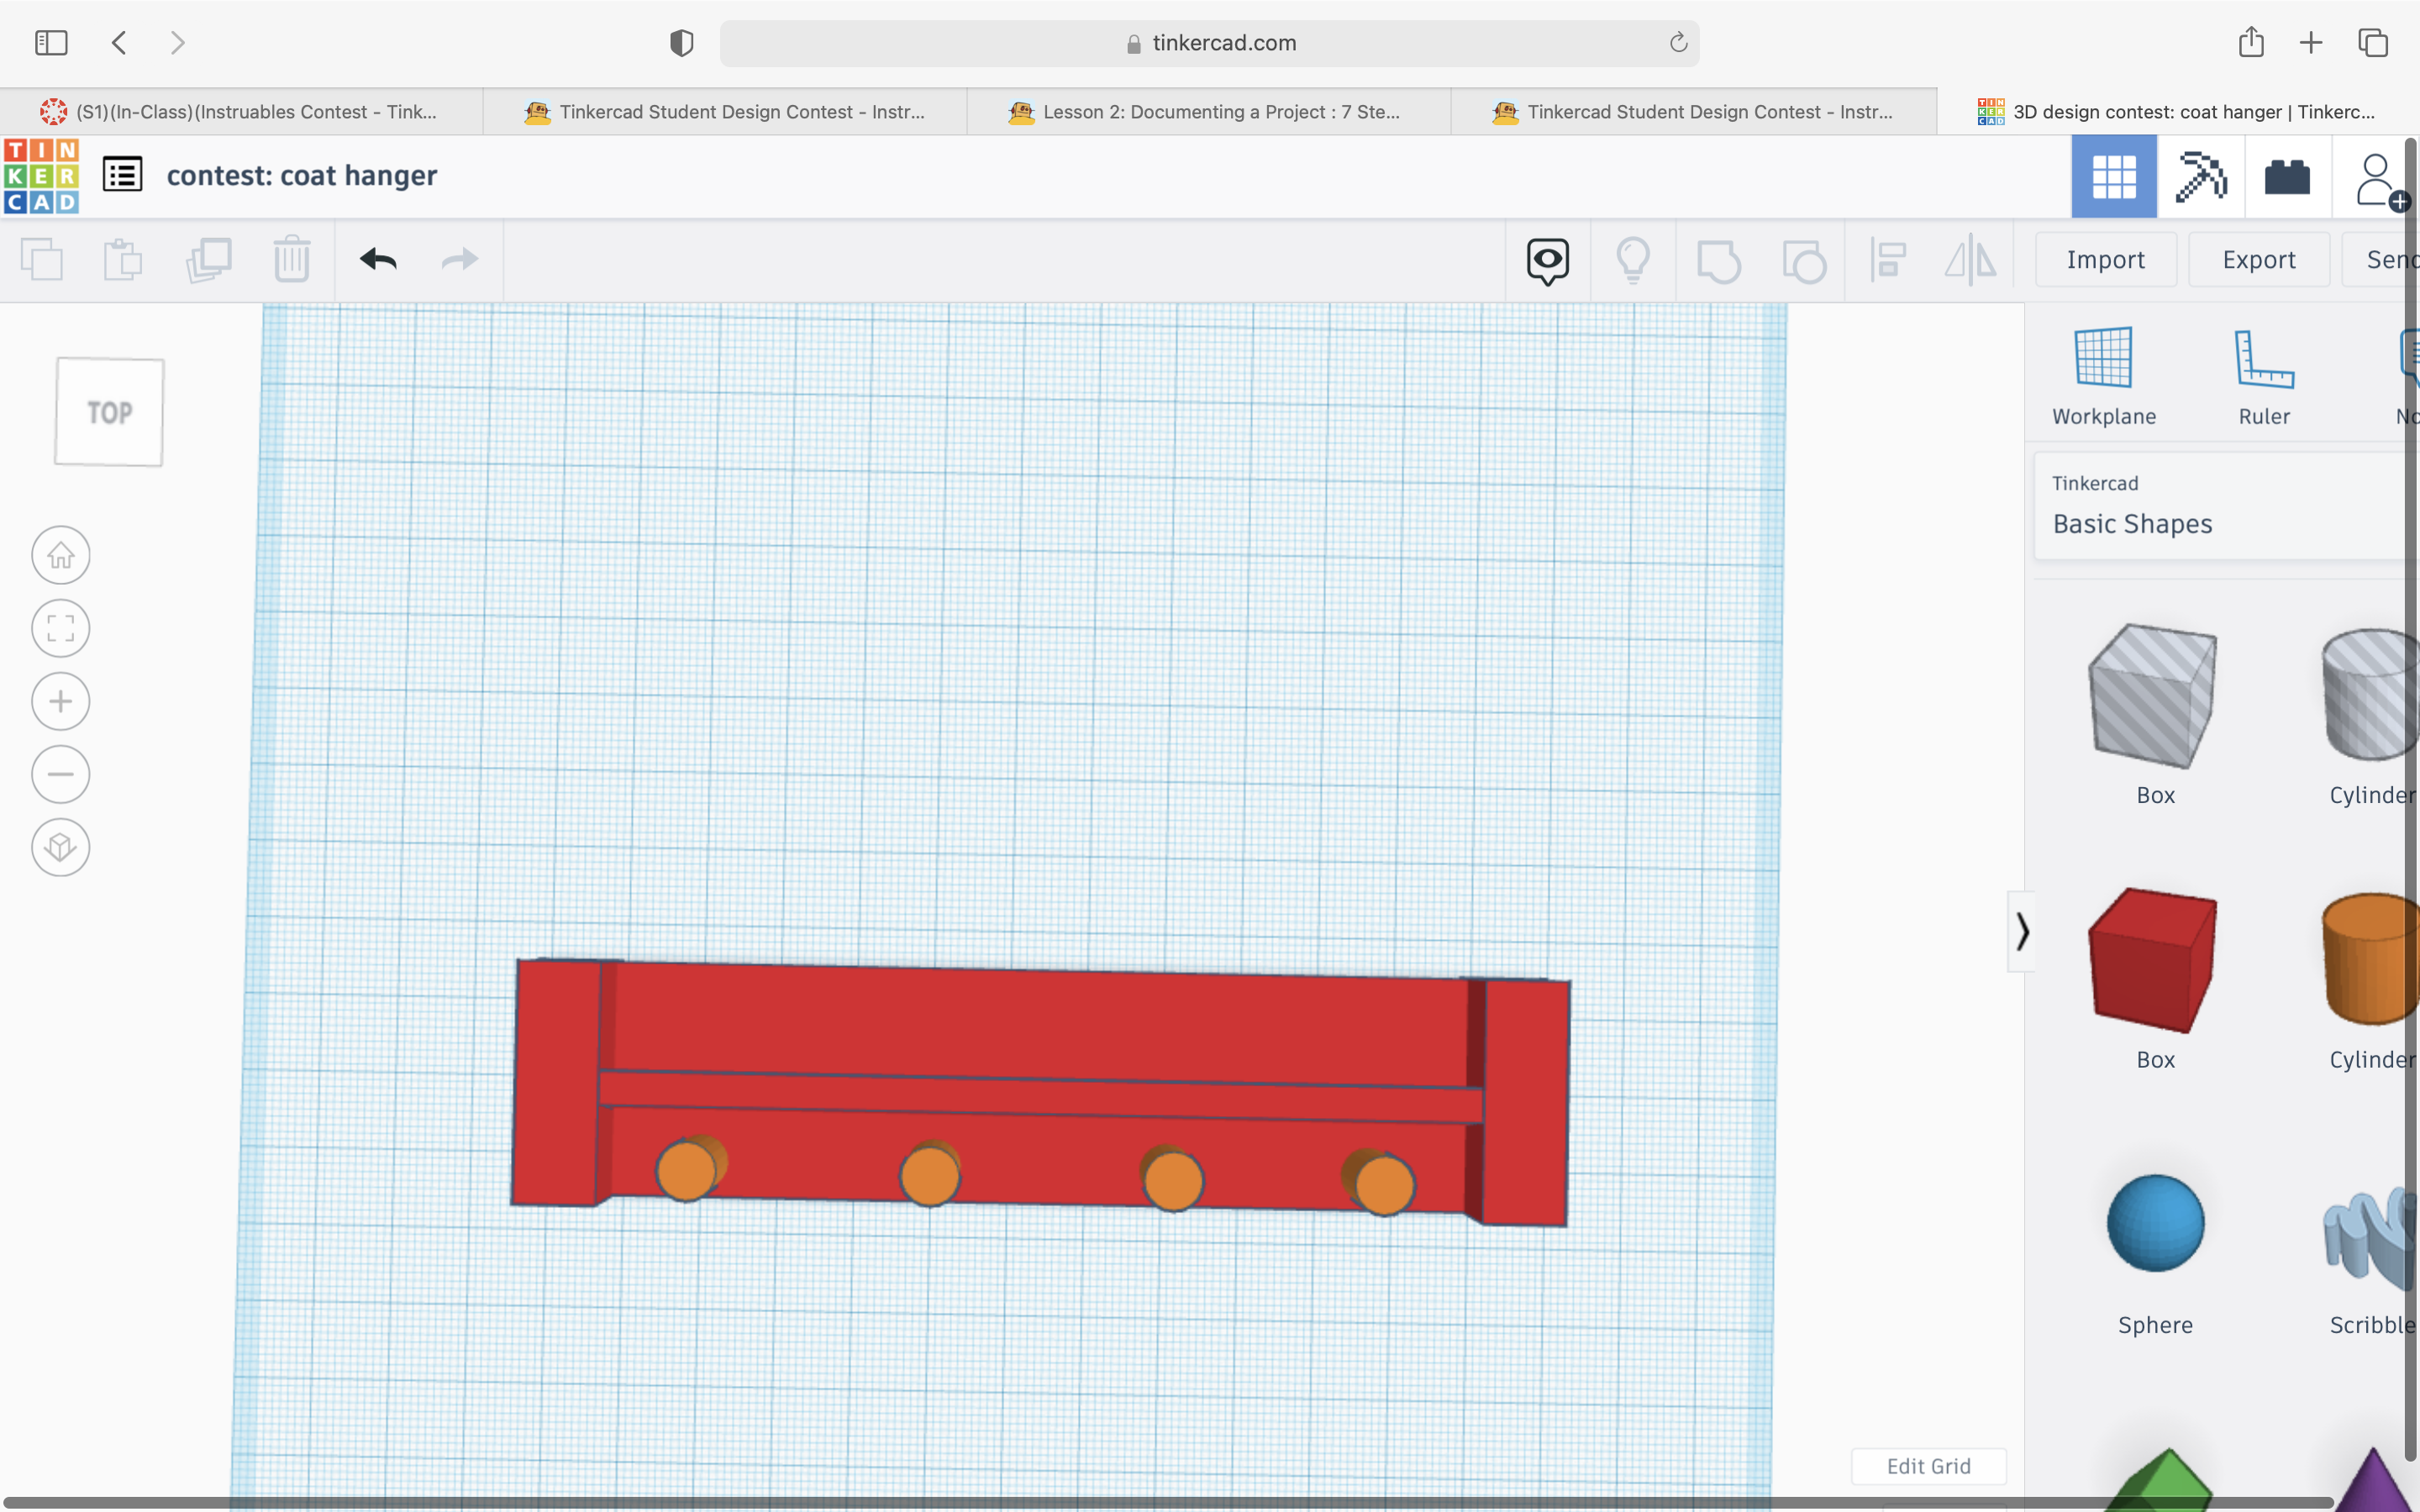
Adding the Cylinders
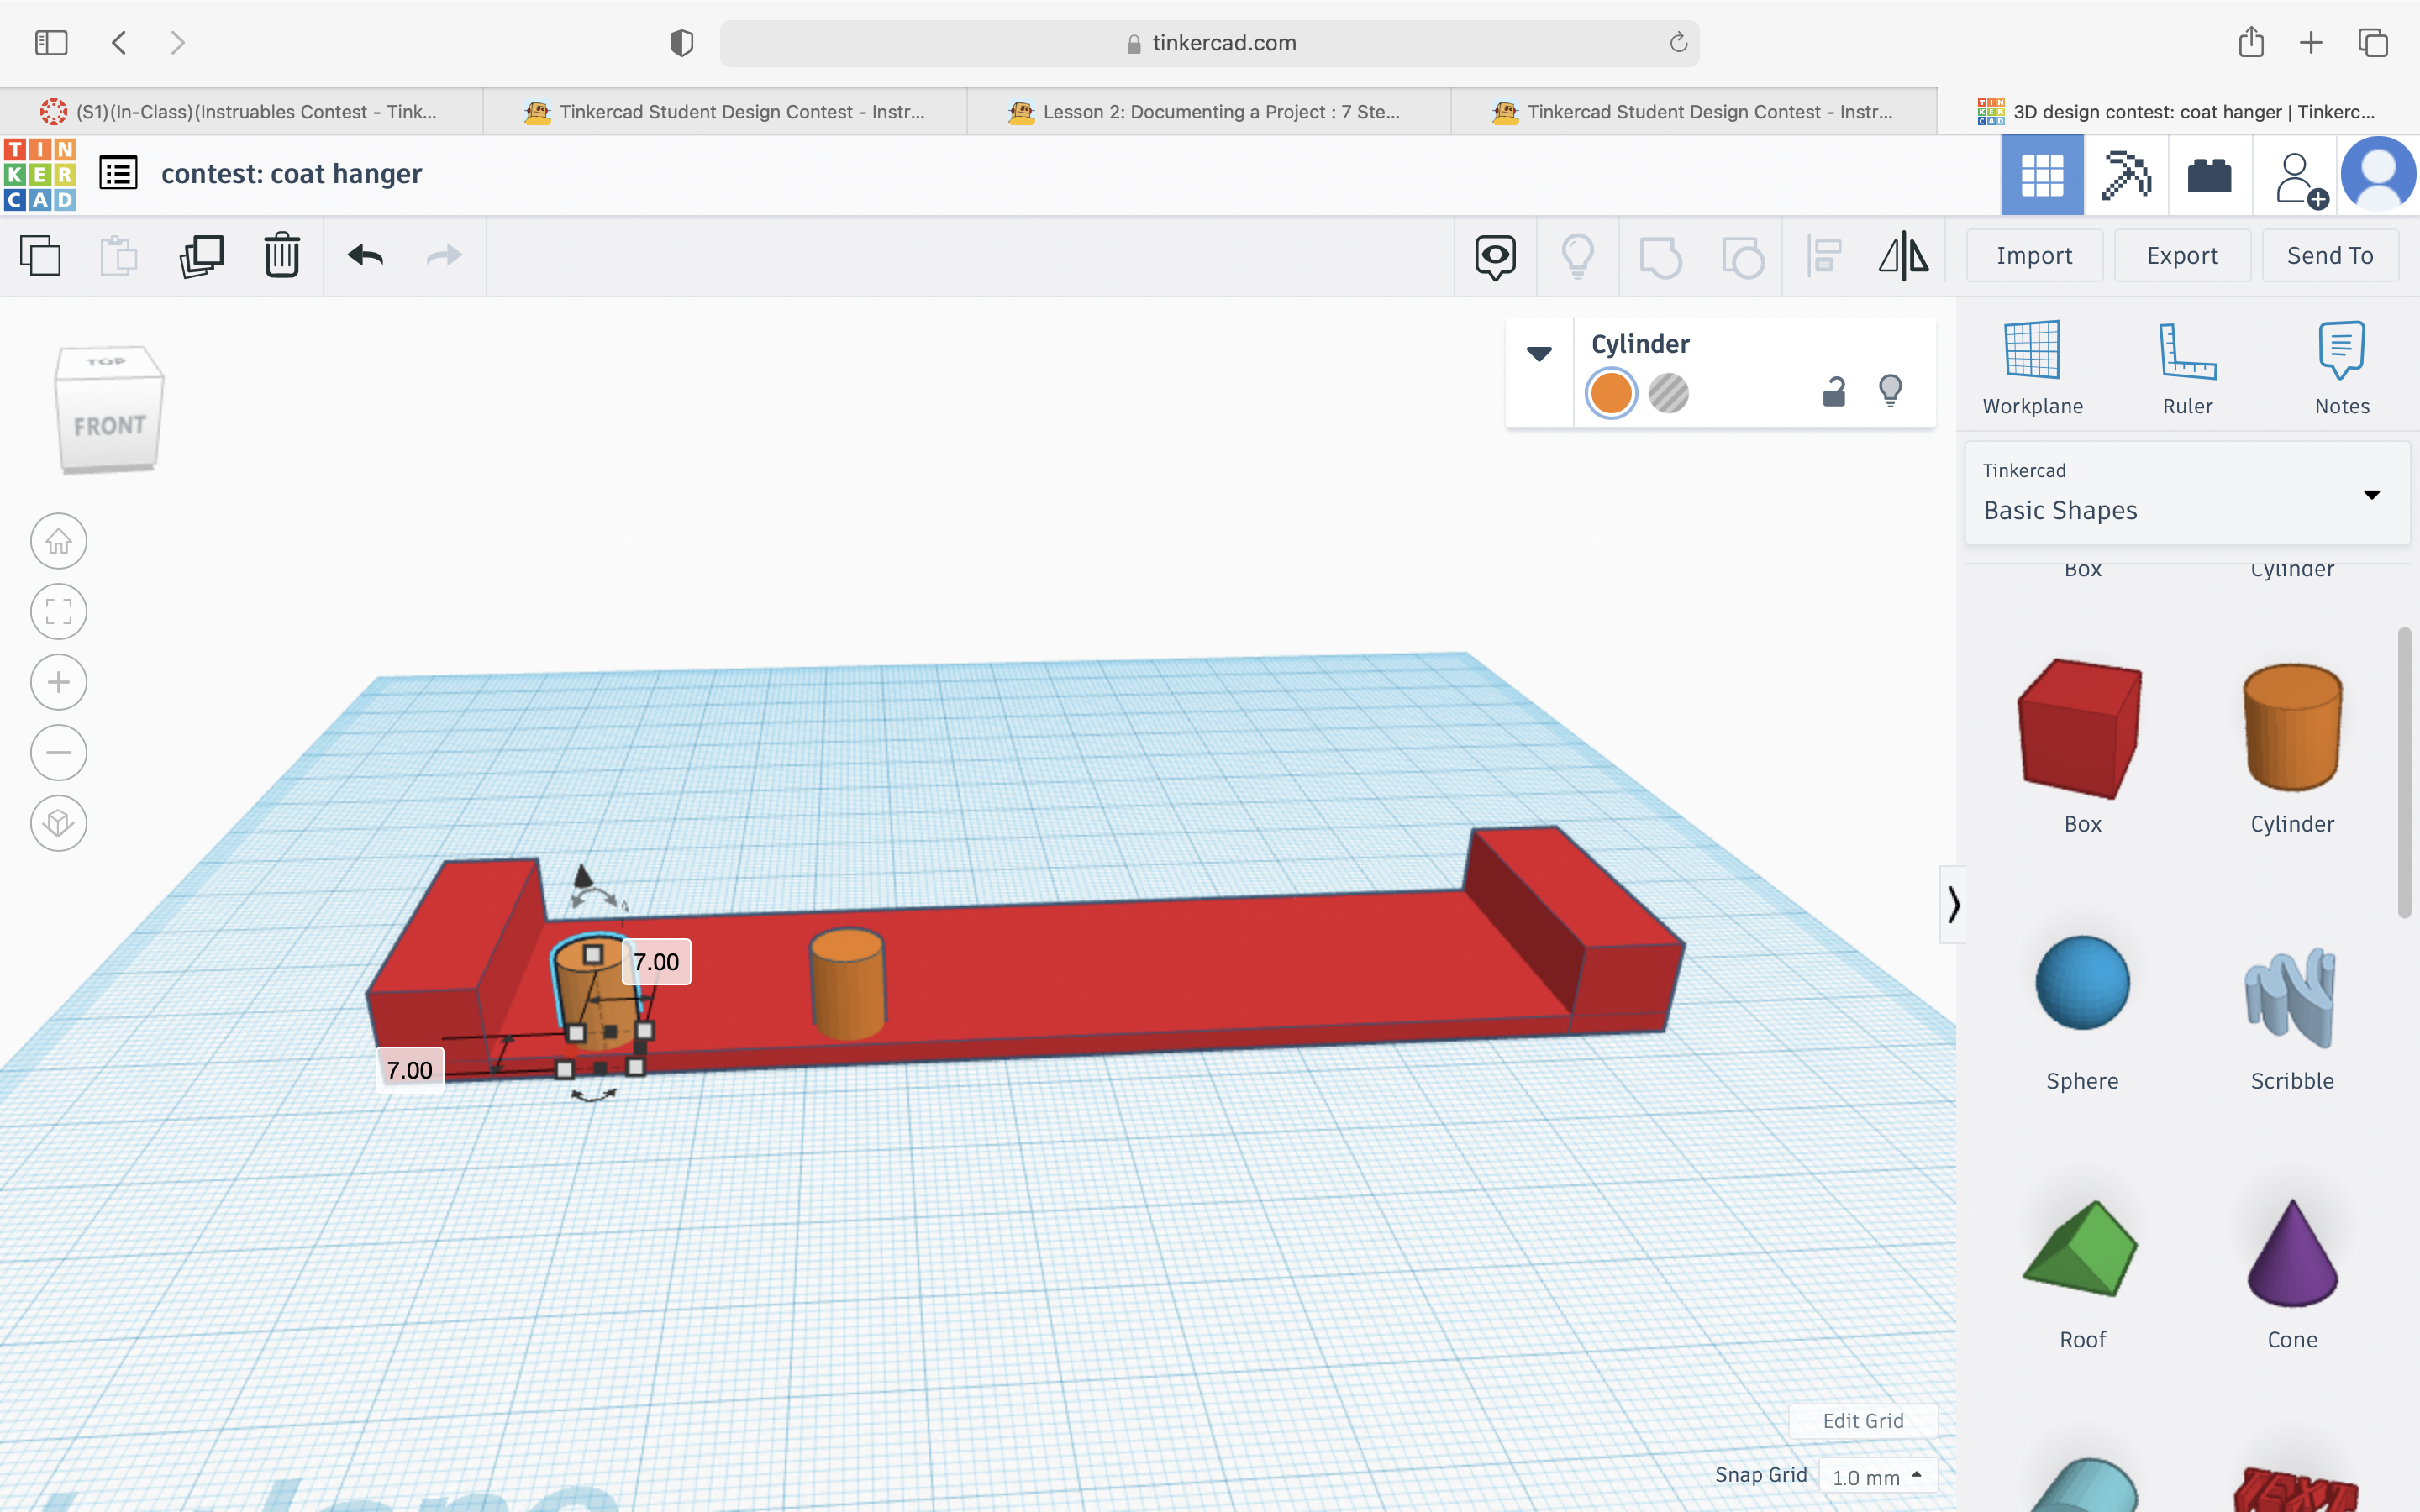
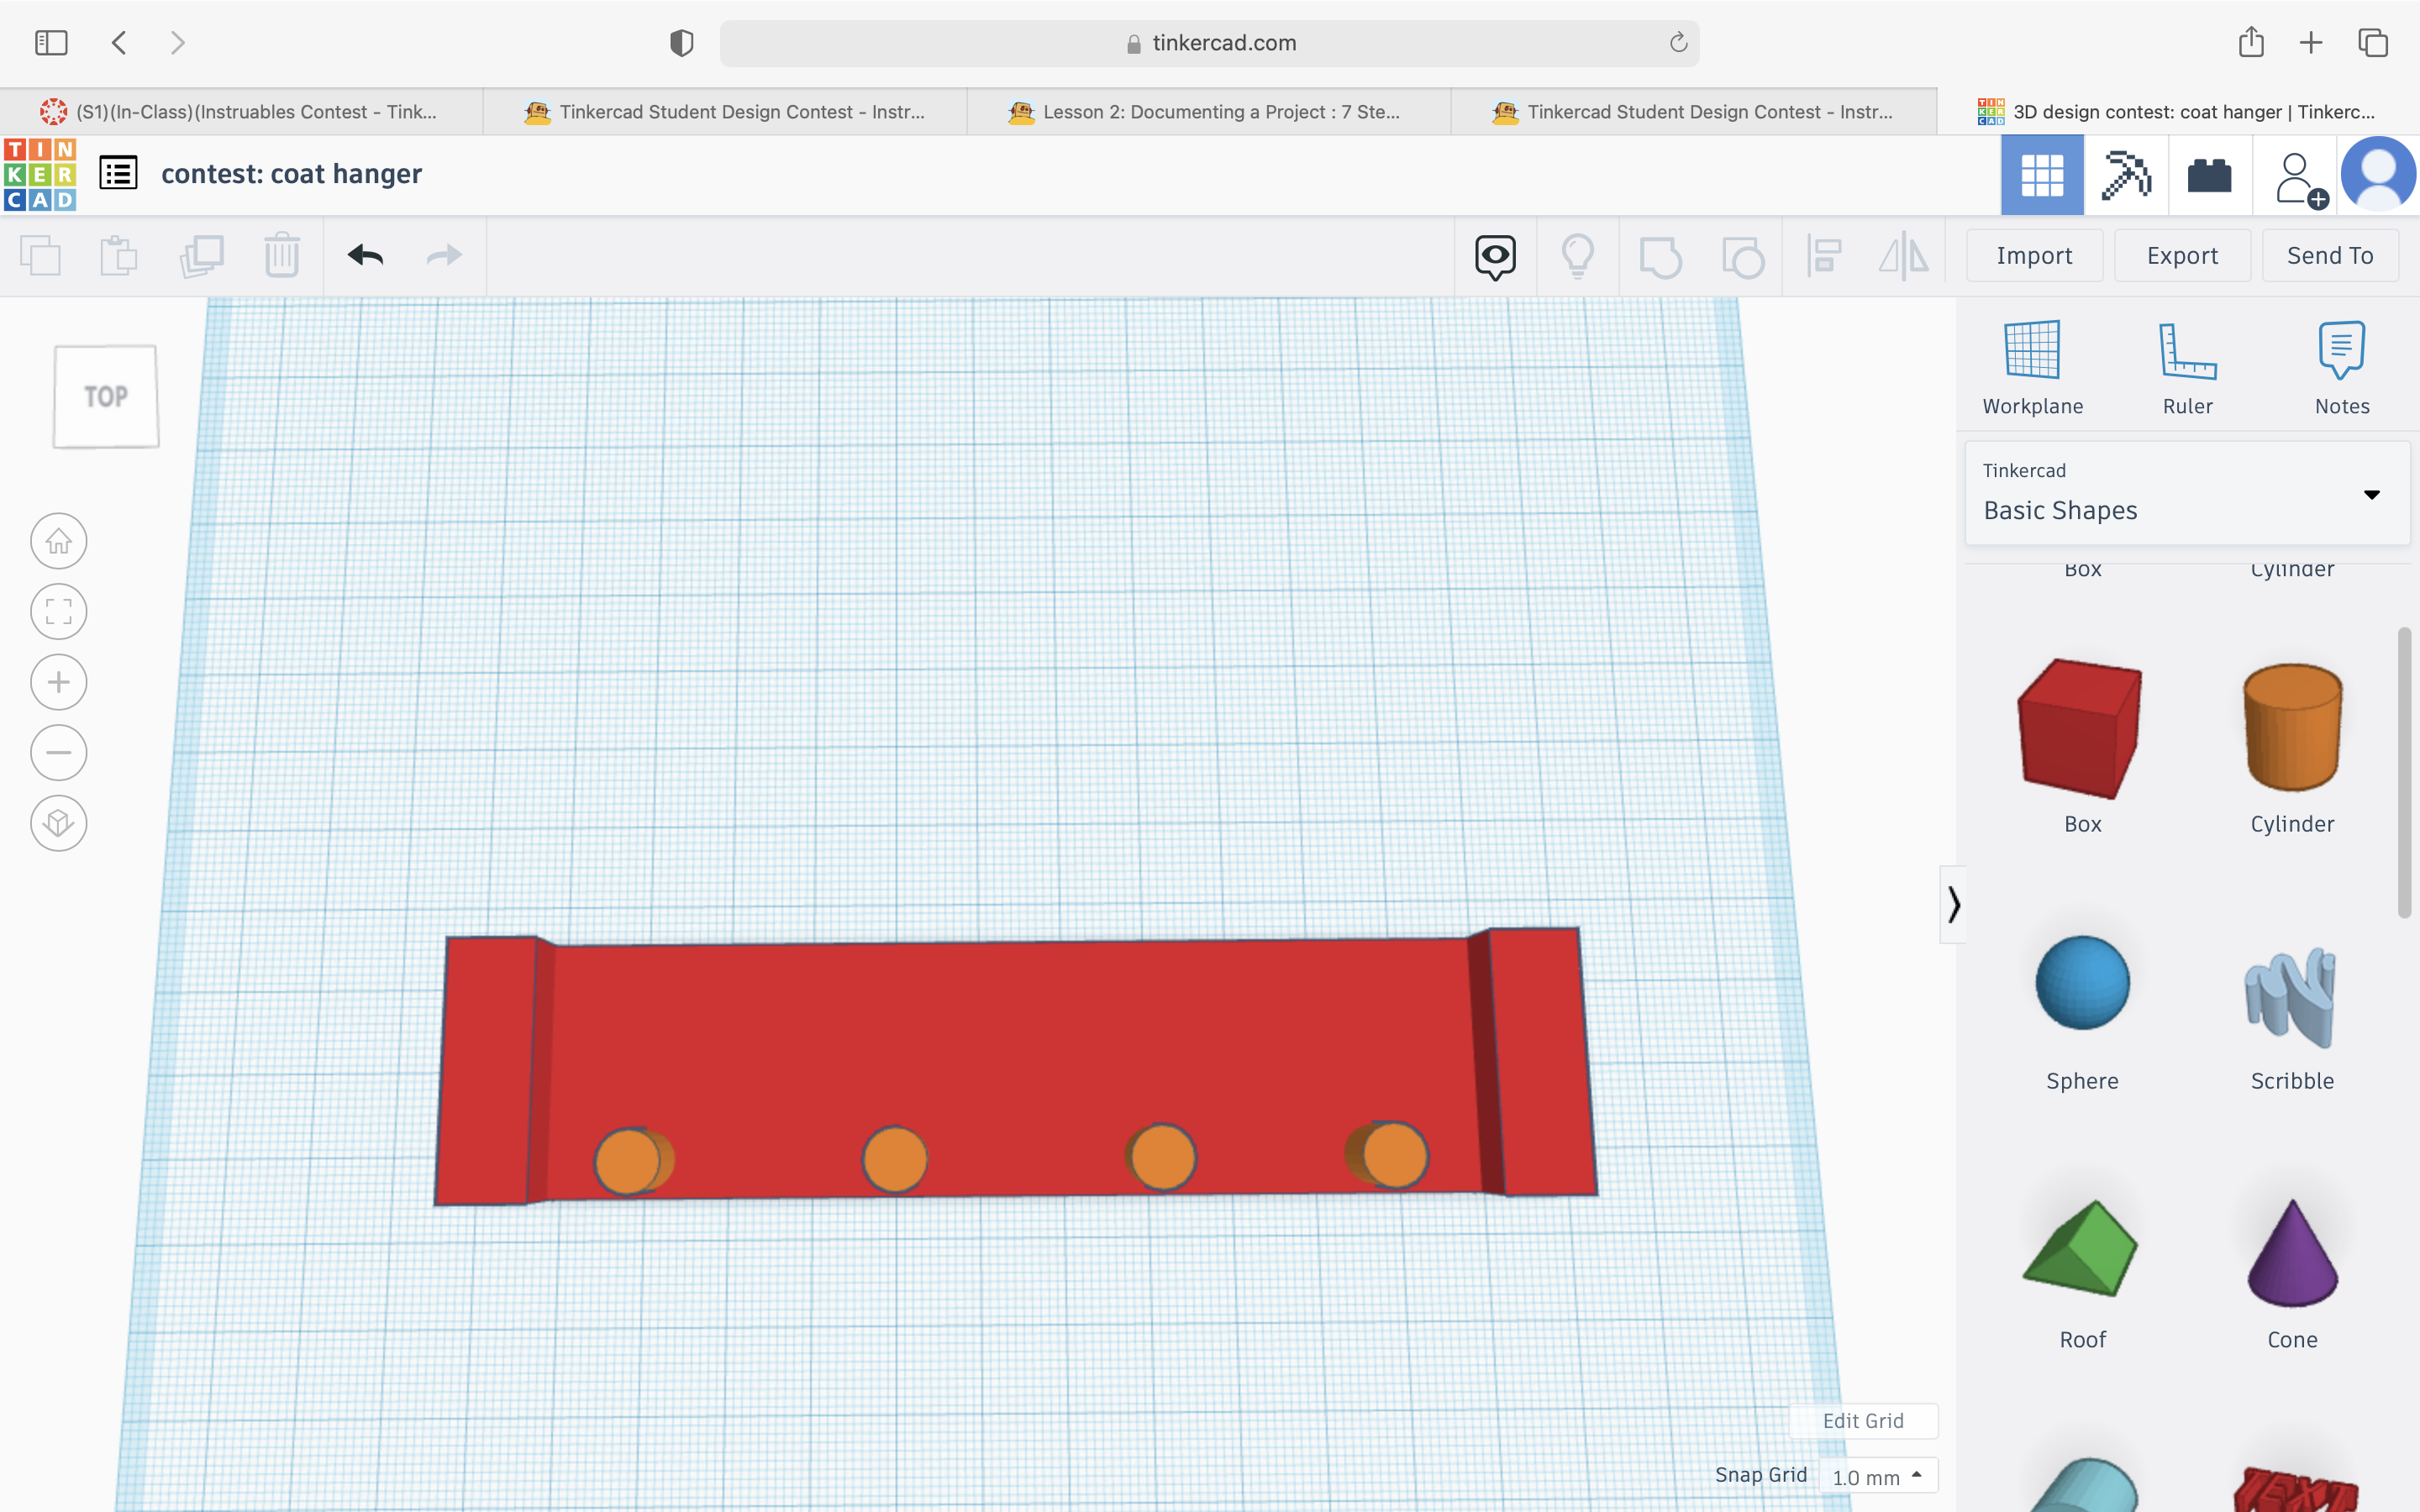
After your foundation is set add 4 cylinders about 7.00 tall on to the base.
Add the Shelf
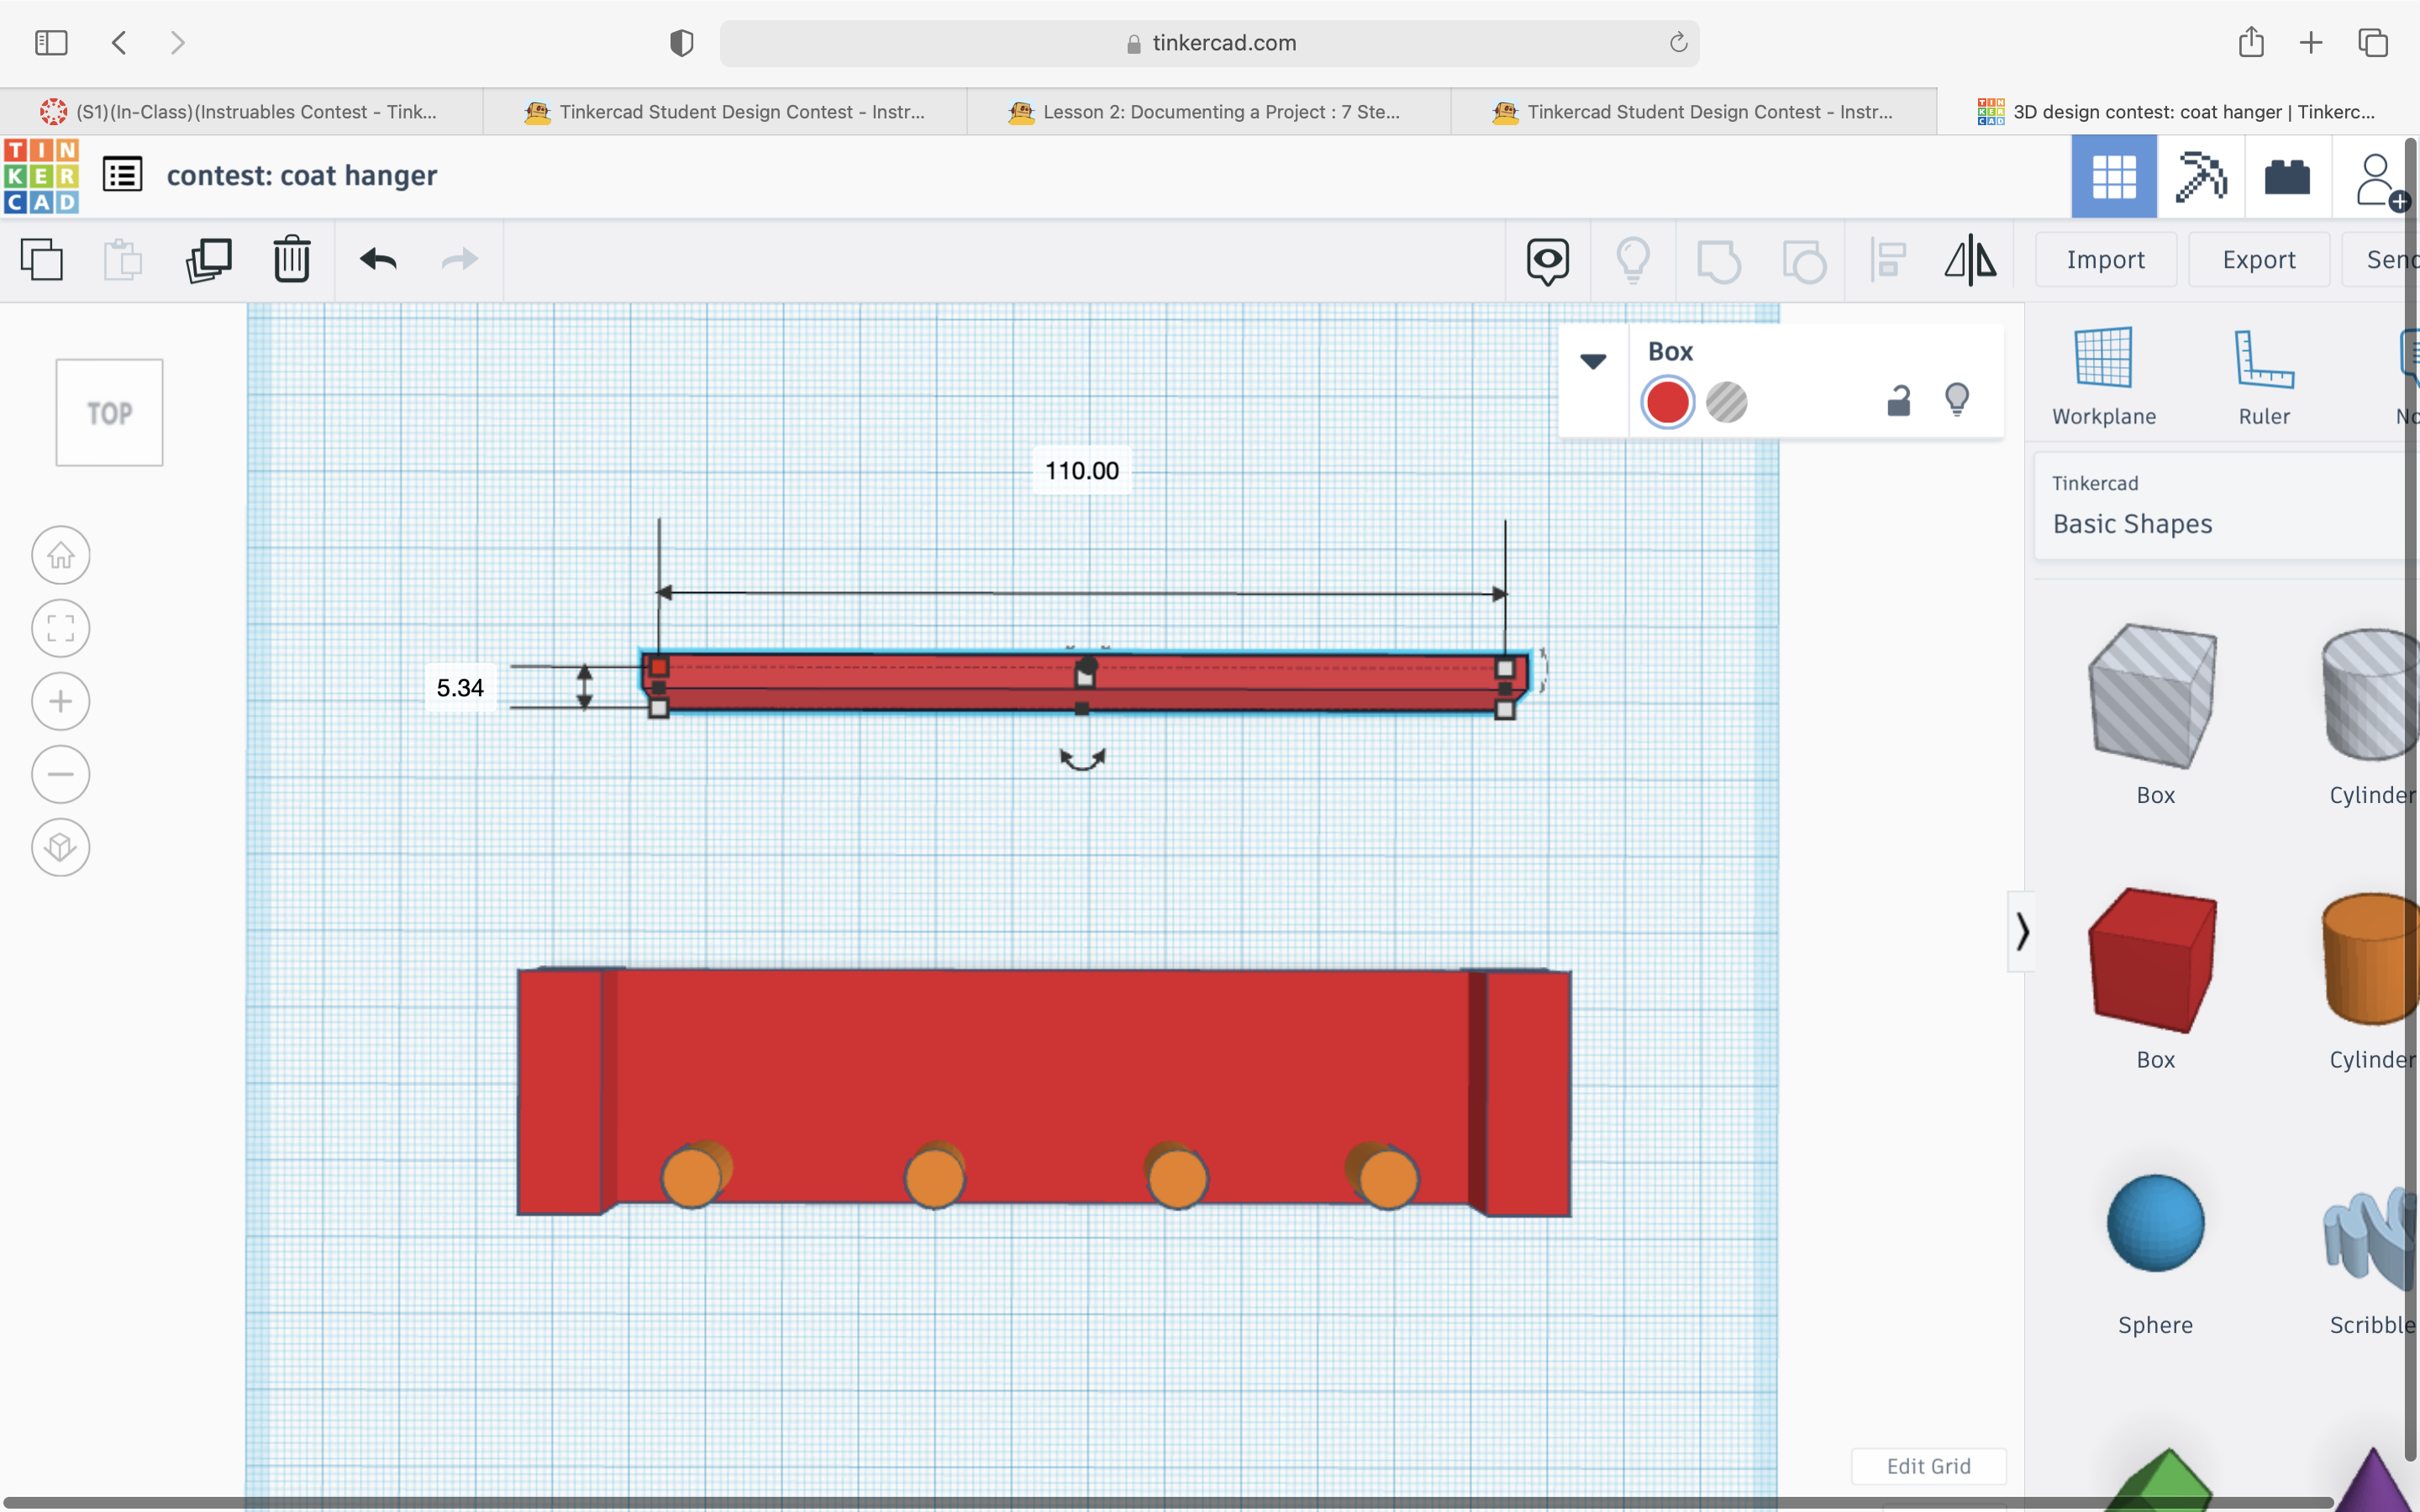
Add another "cube" but fix it into a skinny rectangle (5.34 x 110.00). Put in in-between the 2 side rectangle.
It should look like a shelf.
Add the Outside Bar
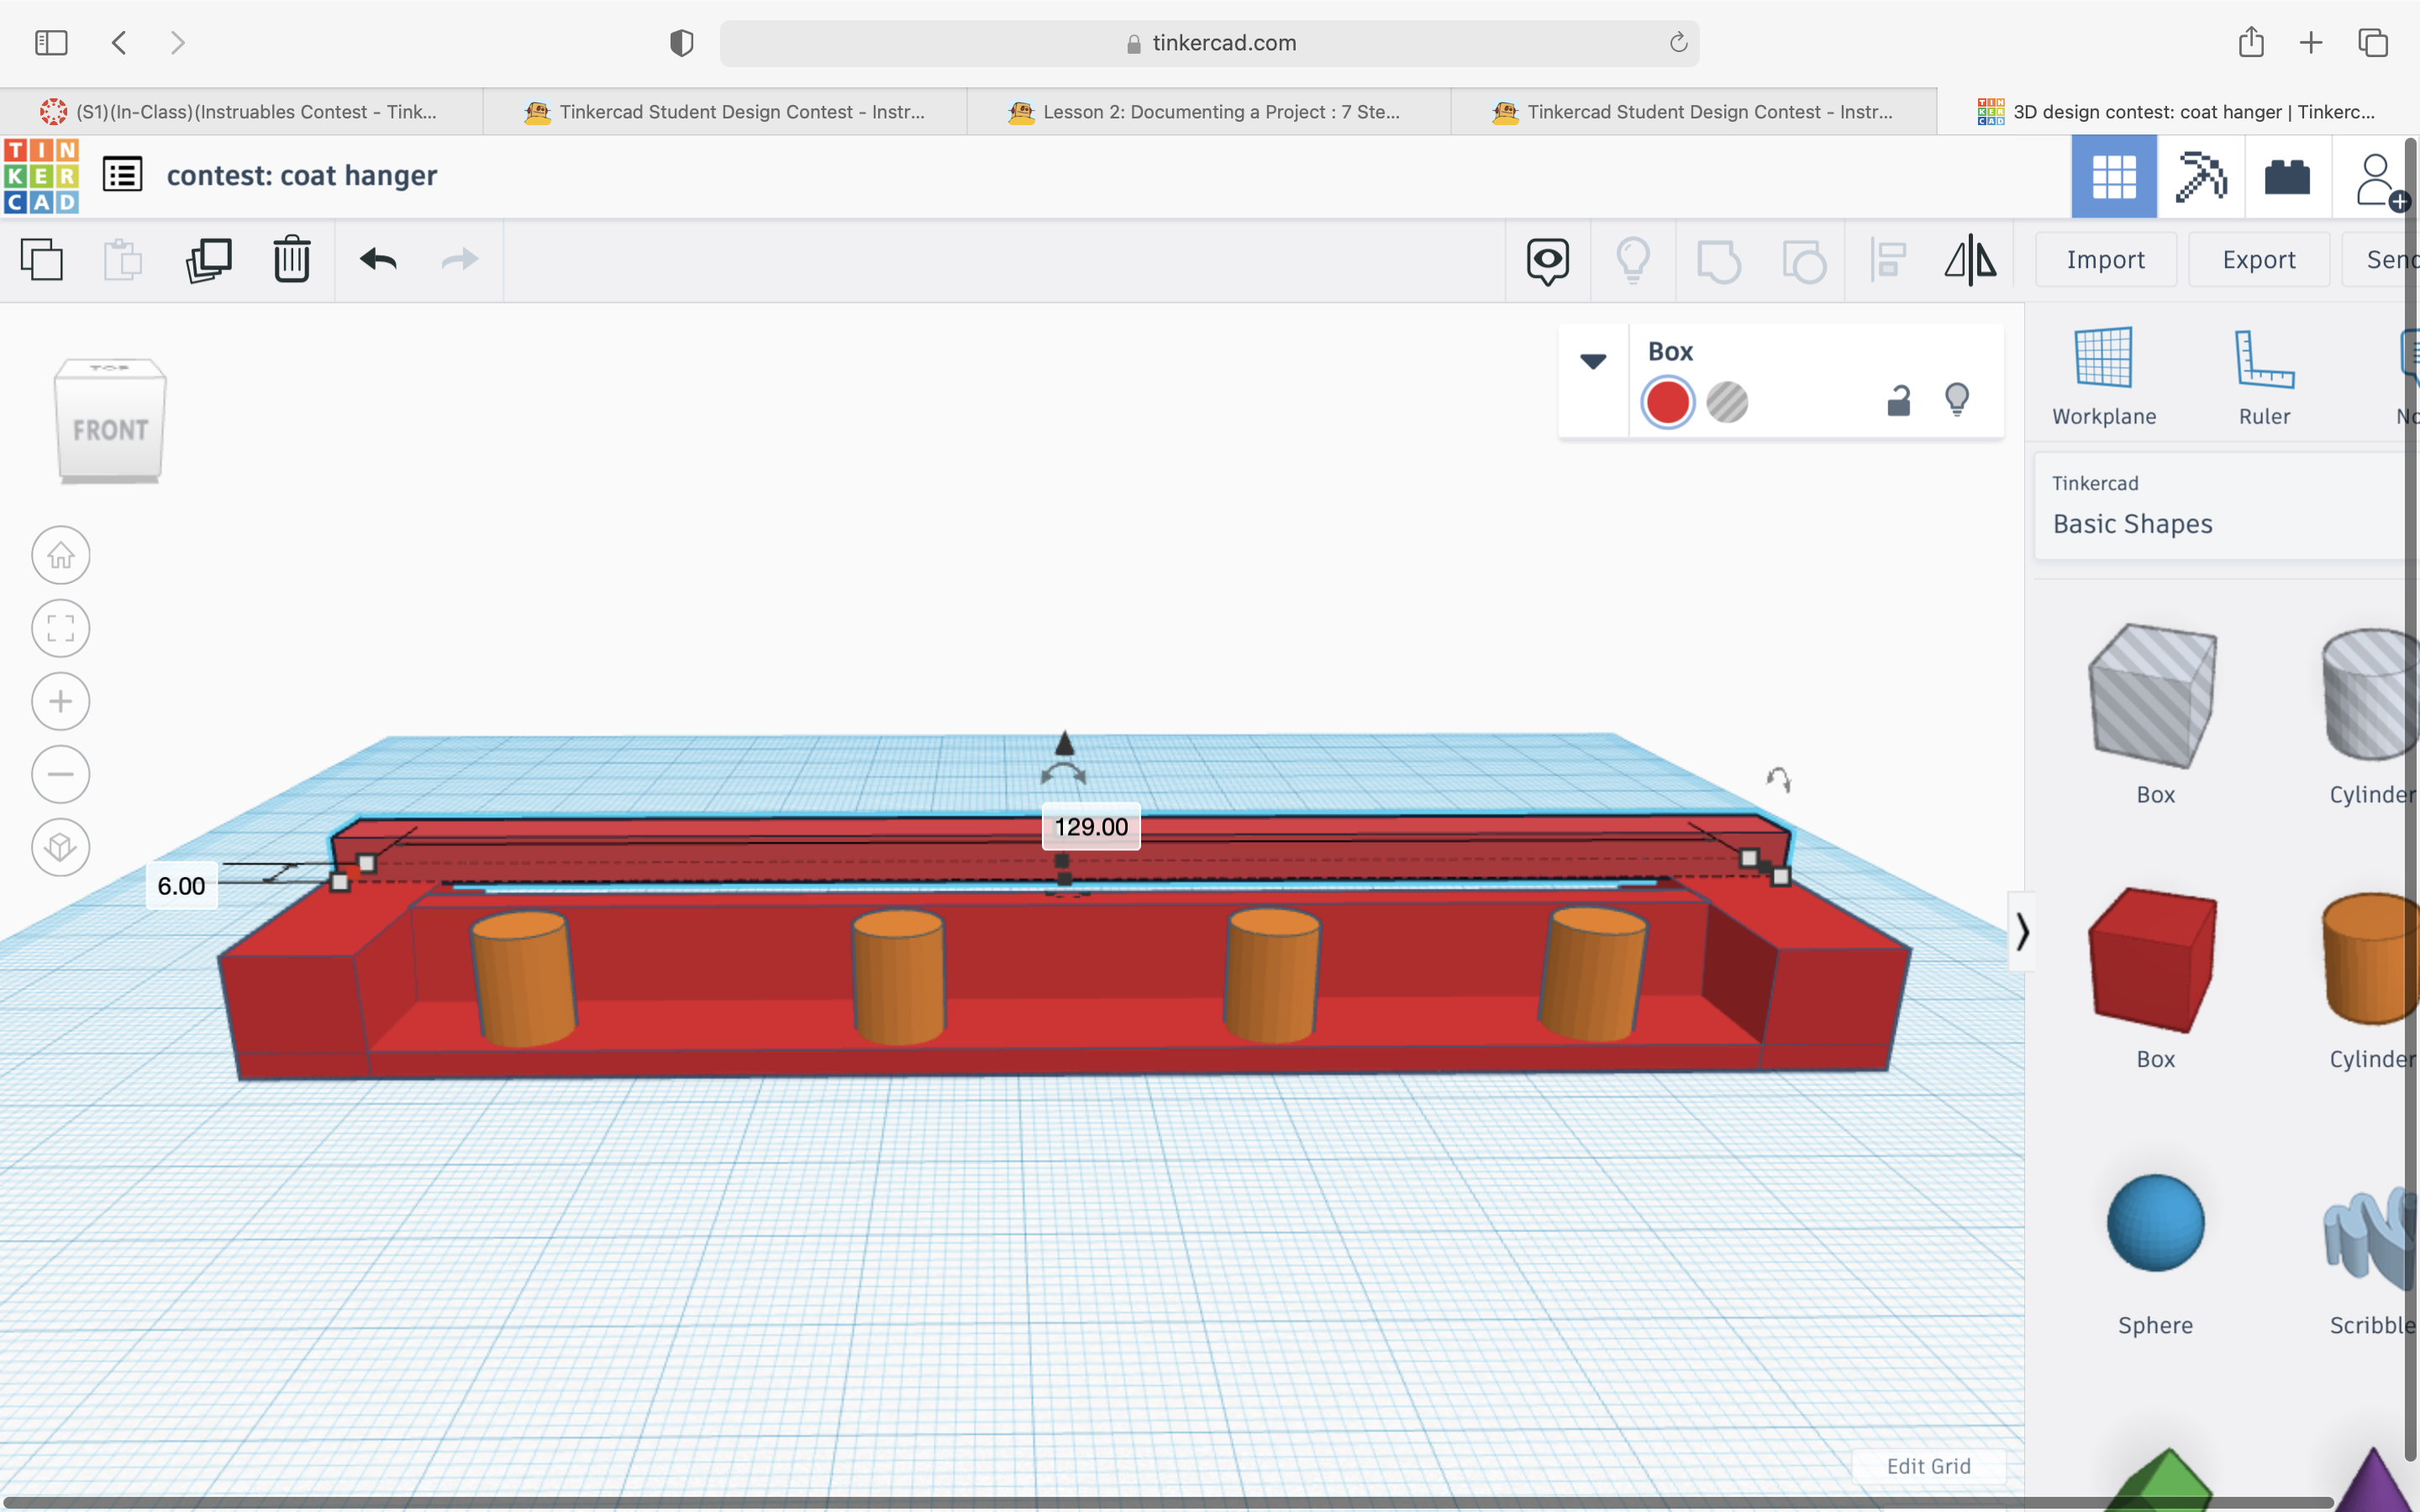
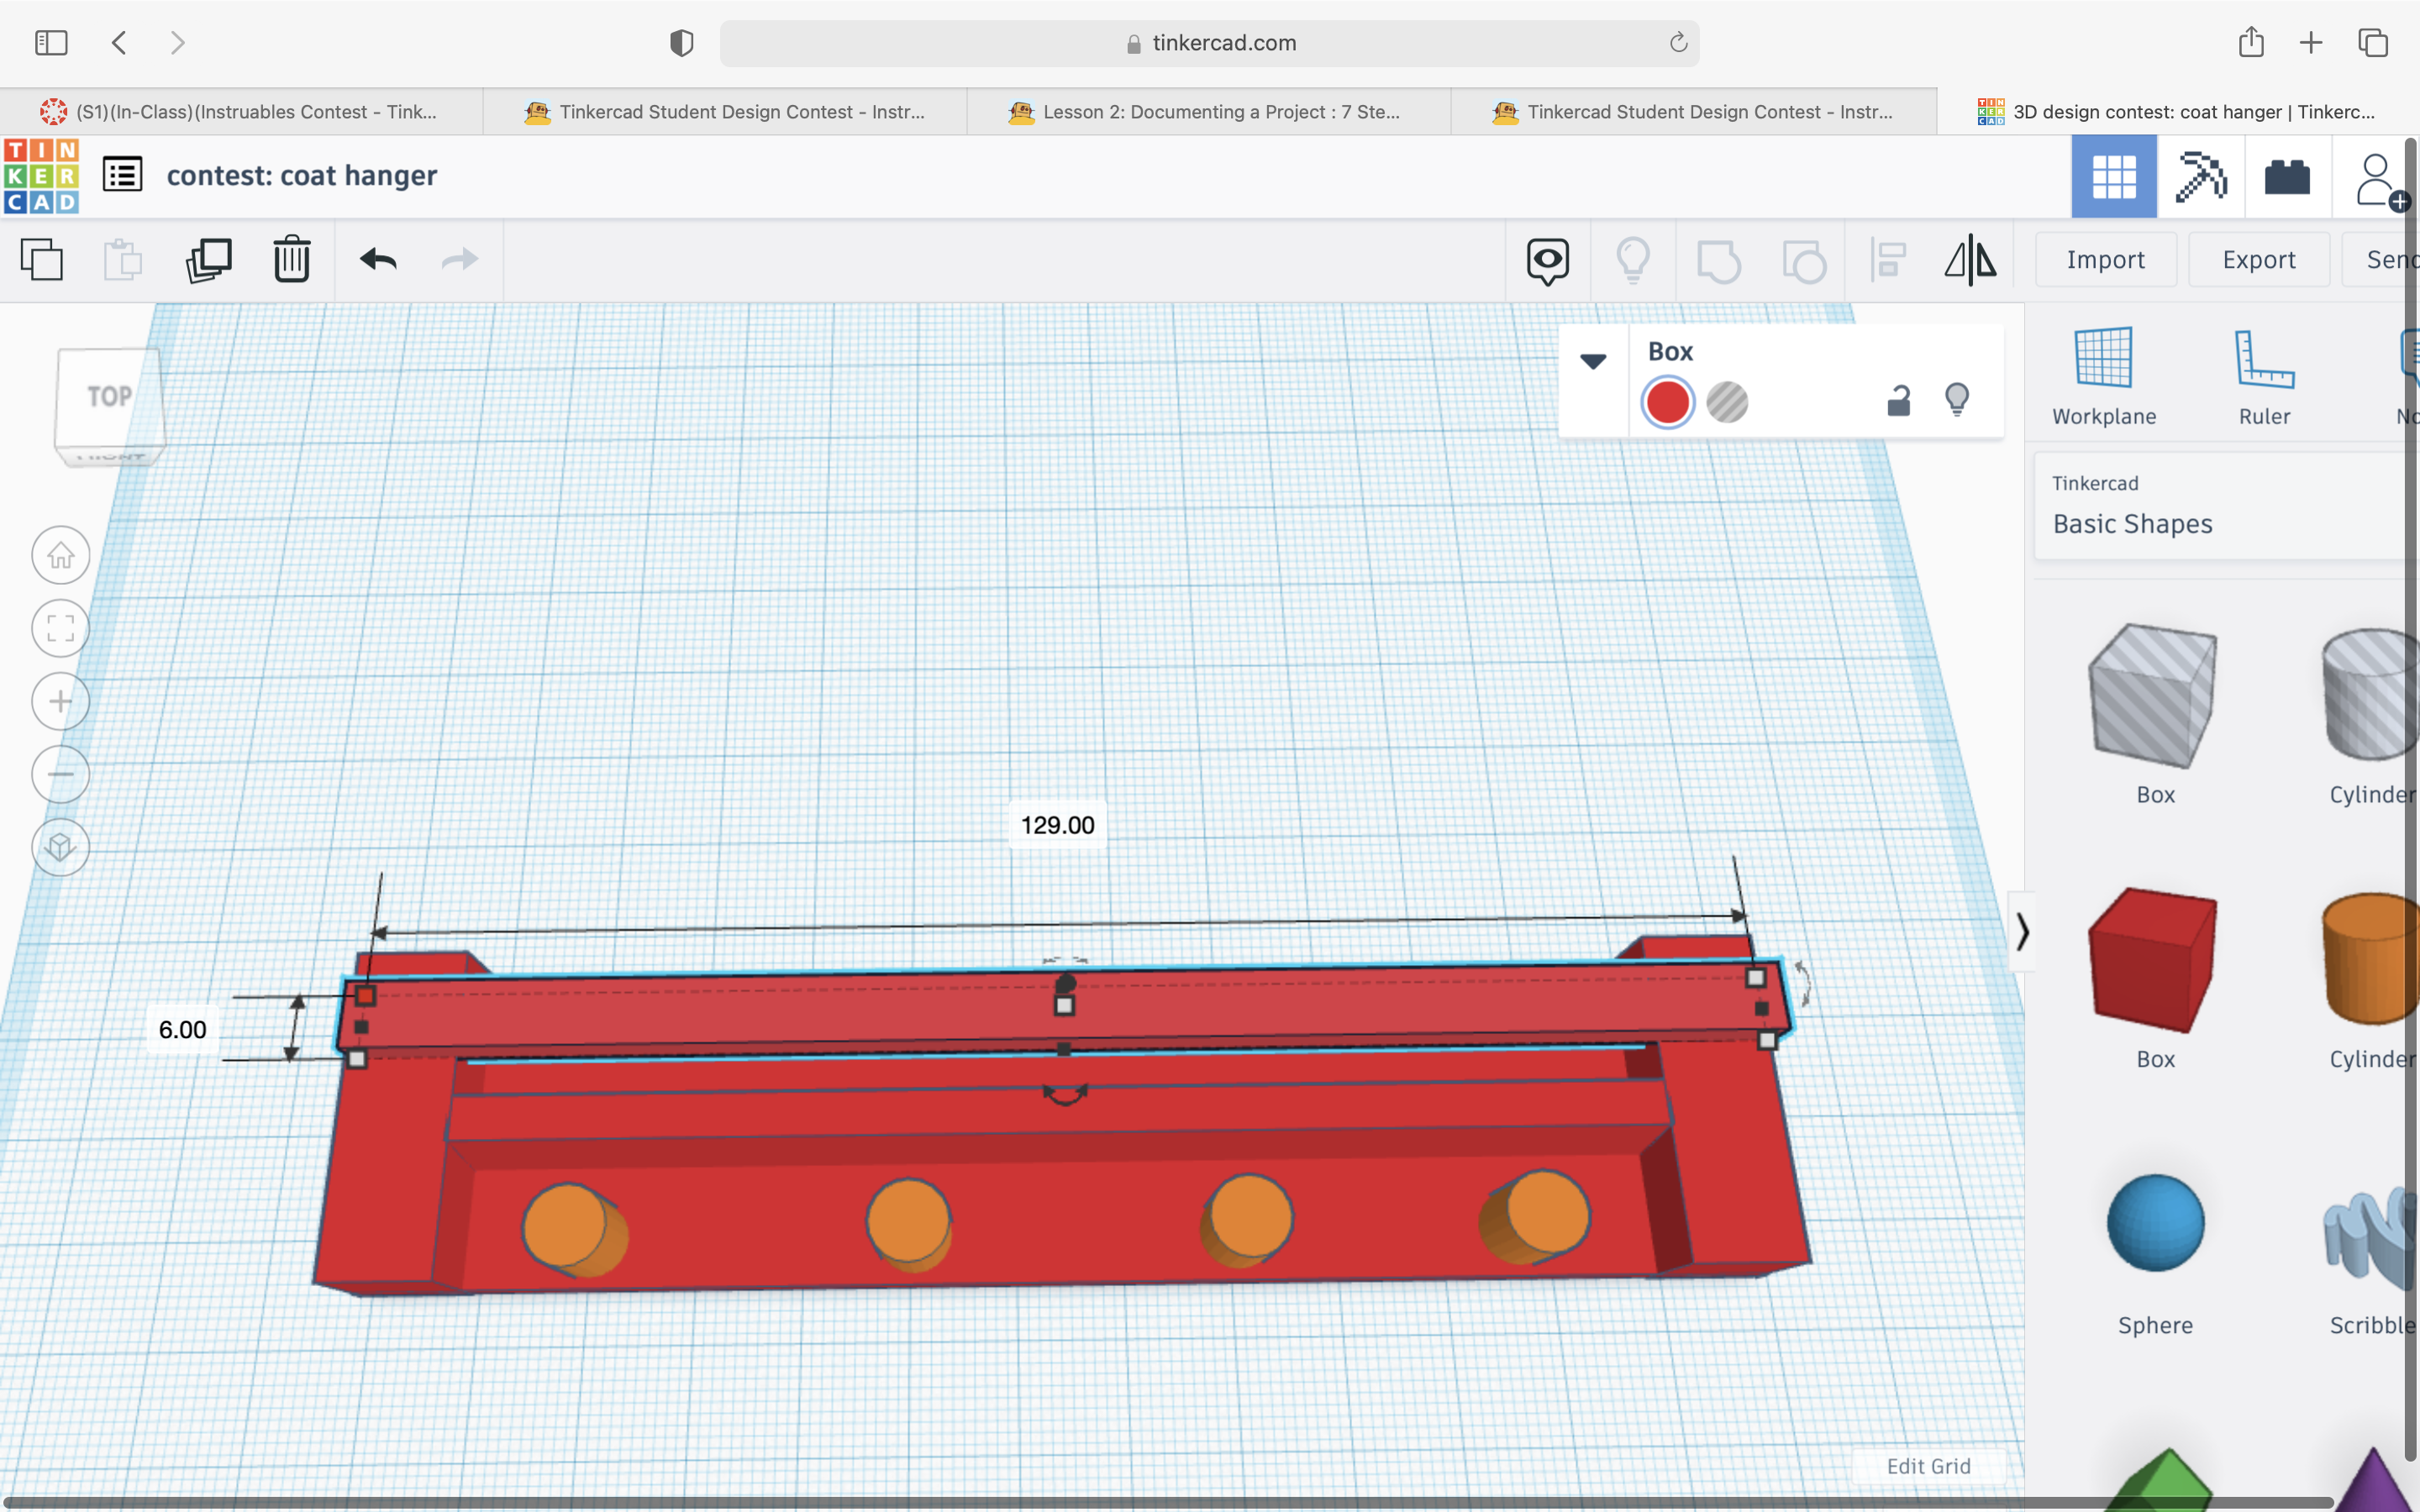
Add another 'cube" and shape it into another skinny rectangle (6.00 x 129 .00) but this time place it on top of the 2 side rectangles.
Tip- make sure all your Parts are touching (connected) so it can print correctly.
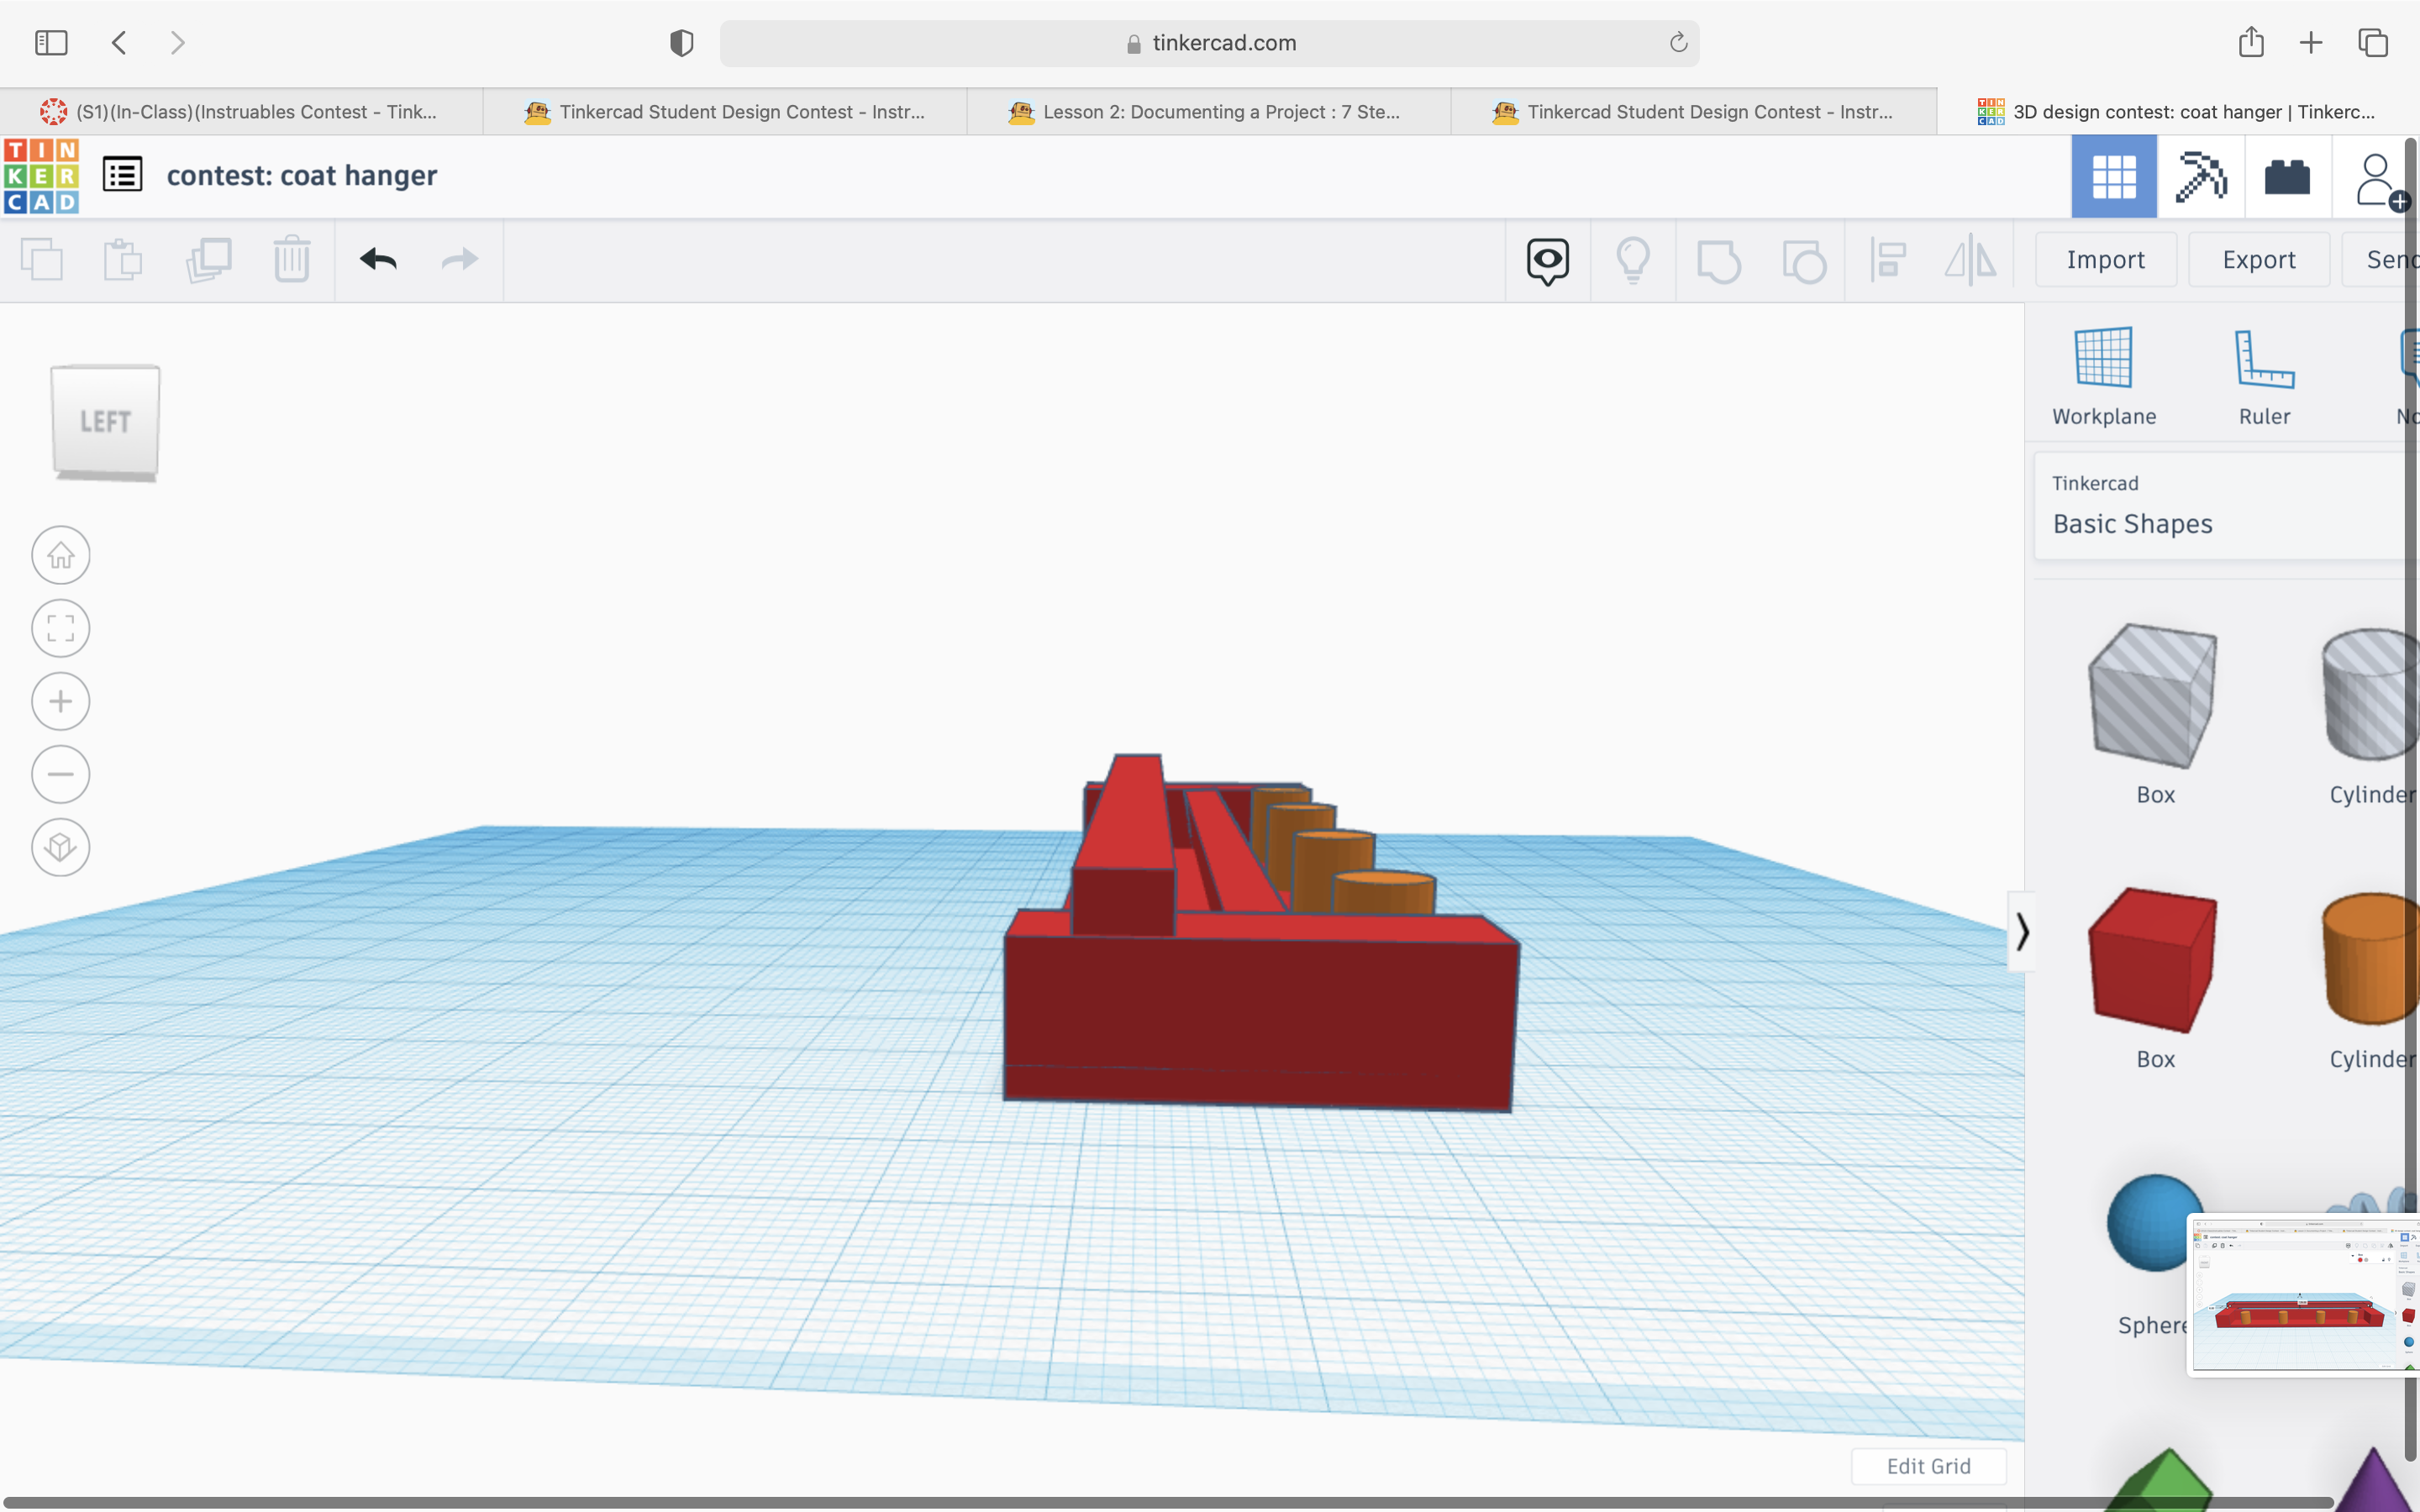
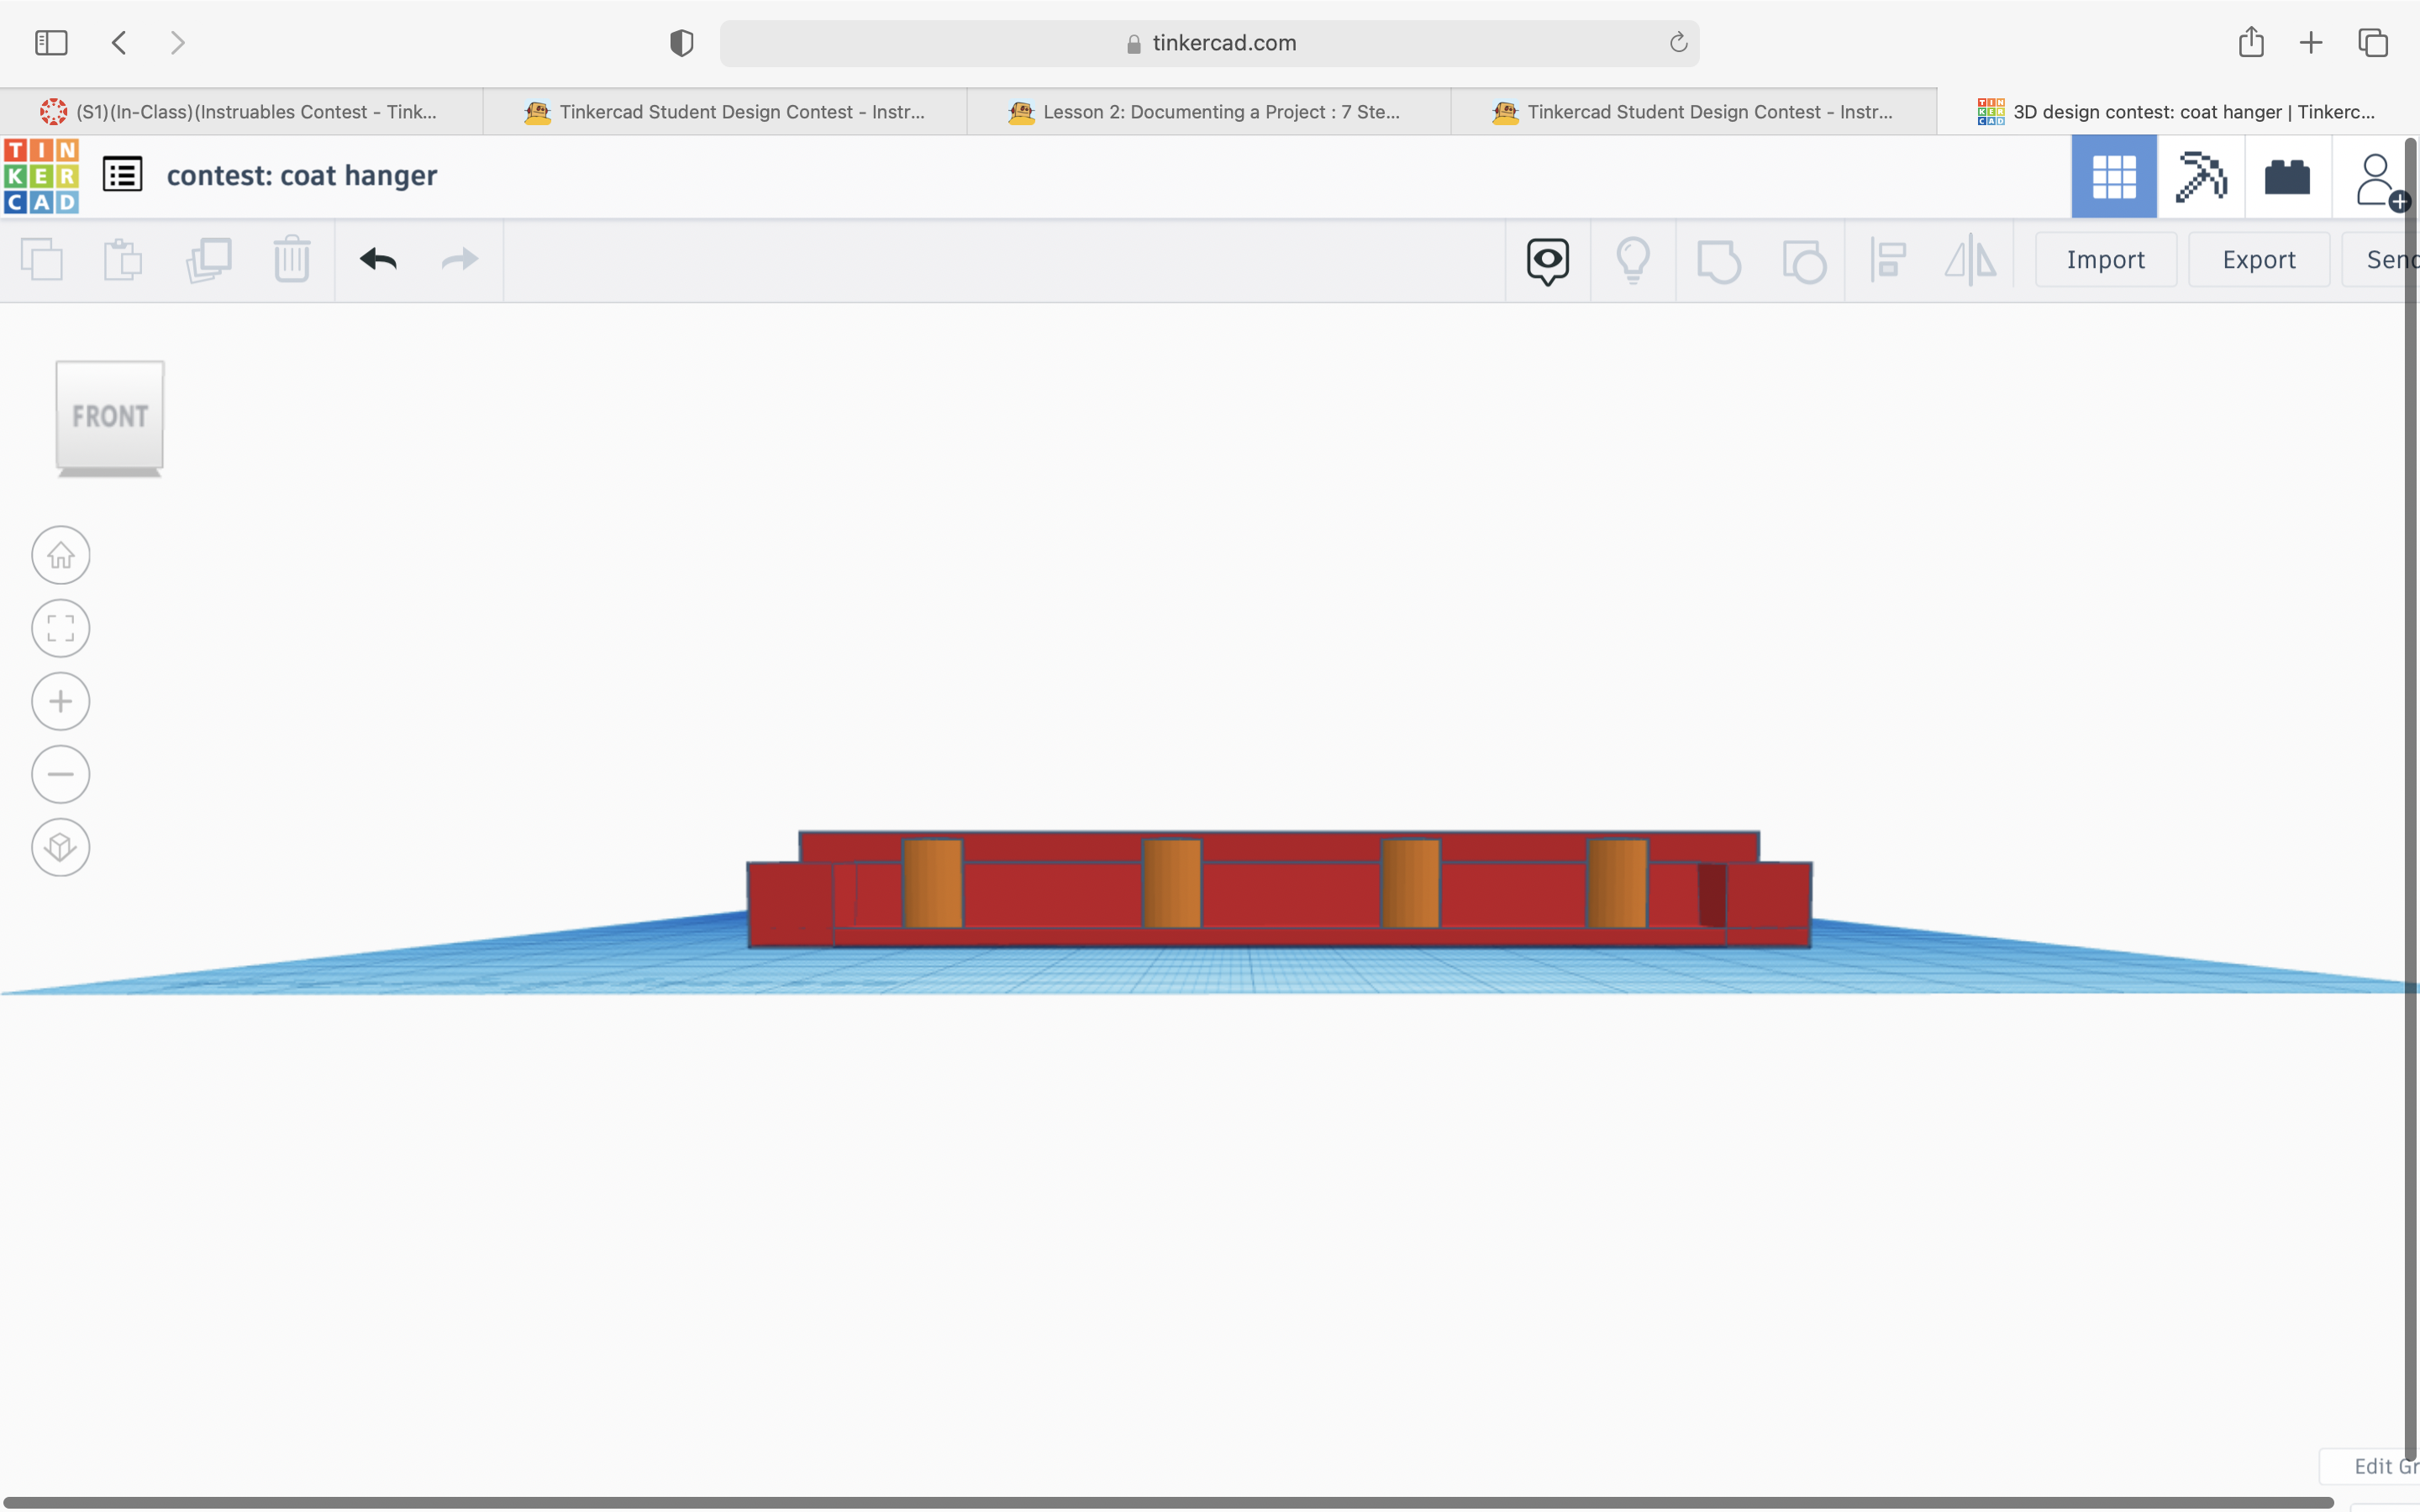
Final Product
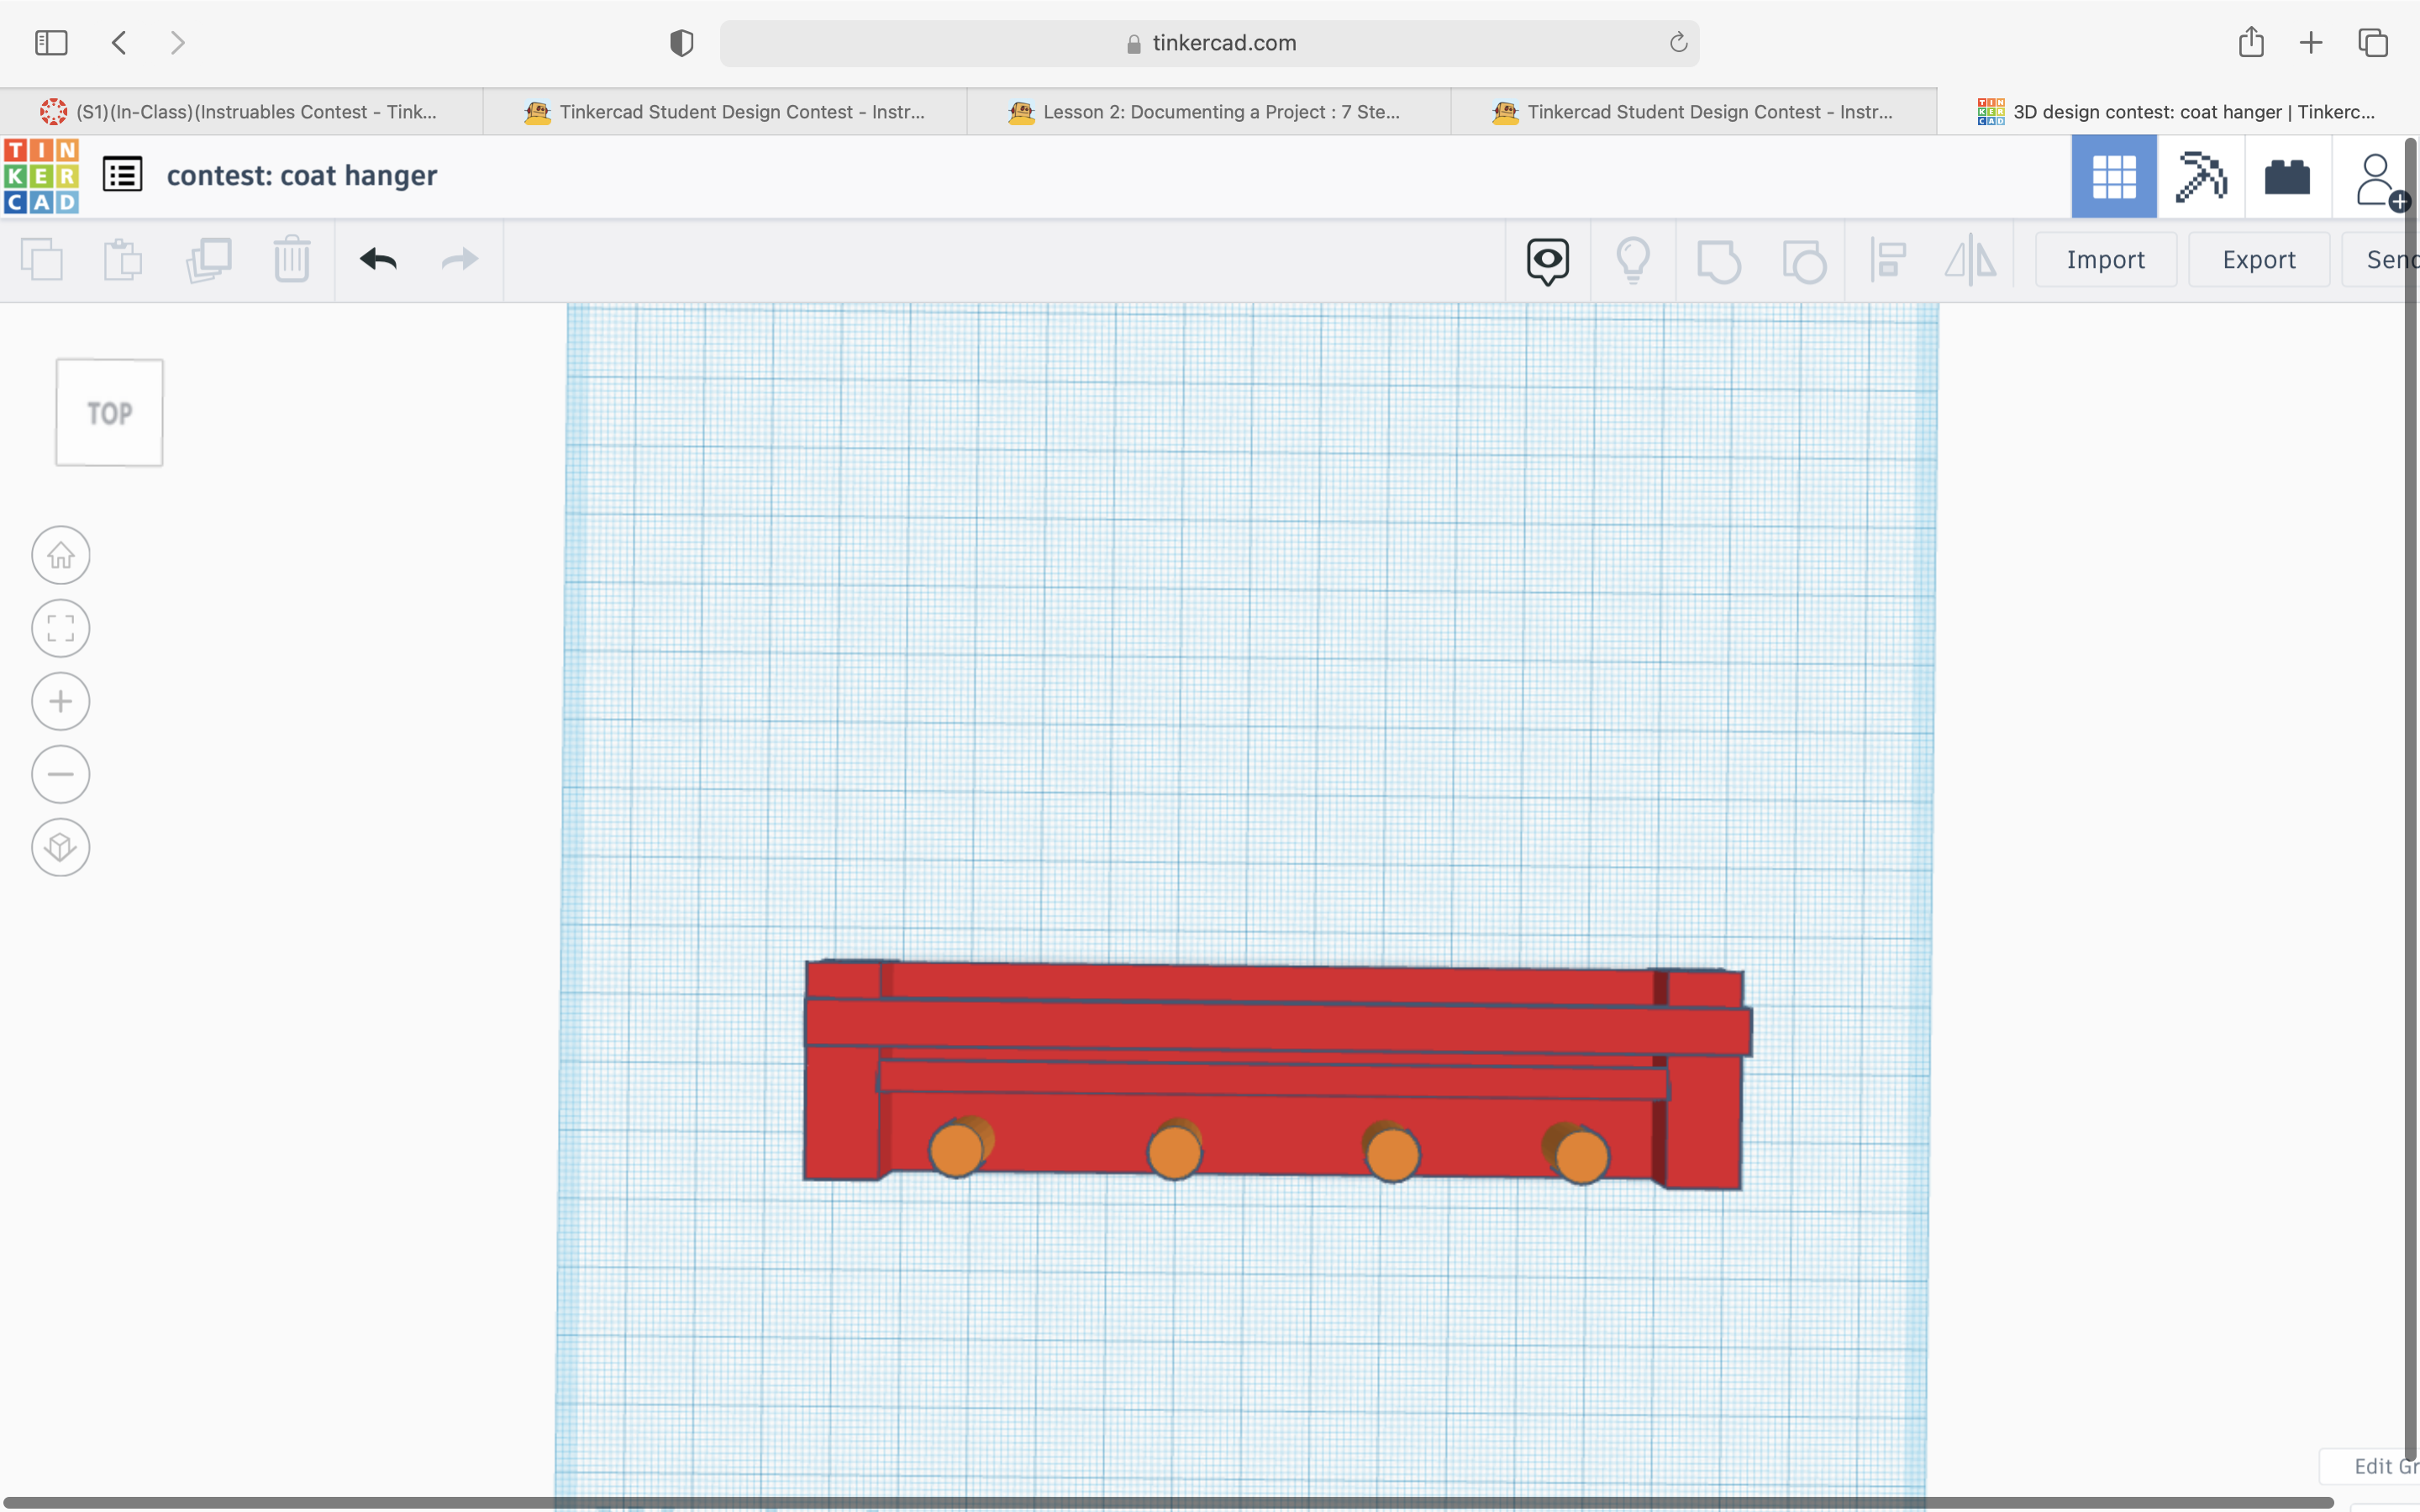
This is what you final product should look like!