Cloud Air Pollution Analytics With Intel Edison and IBM Bluemix
by natamyk in Circuits > Electronics
1441 Views, 9 Favorites, 0 Comments
Cloud Air Pollution Analytics With Intel Edison and IBM Bluemix
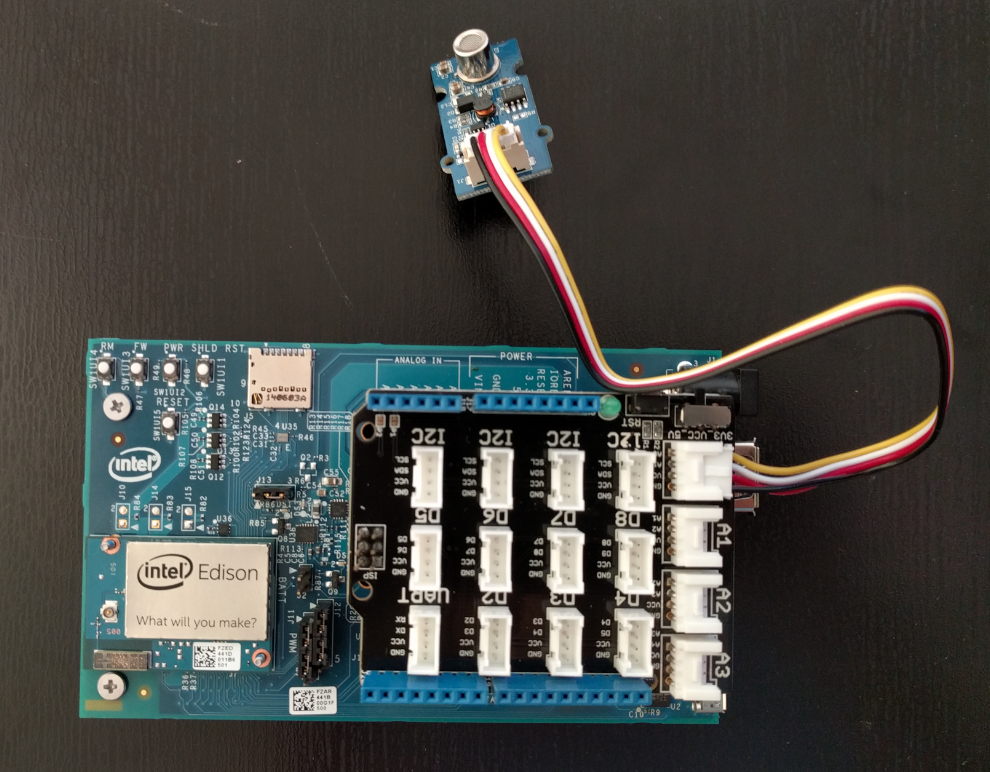
This tutorial describes how you can quickly set up Intel Edison board to read the data from a gas sensor and use IBM Bluemix to analyze and display it.
Set Up Your Computer
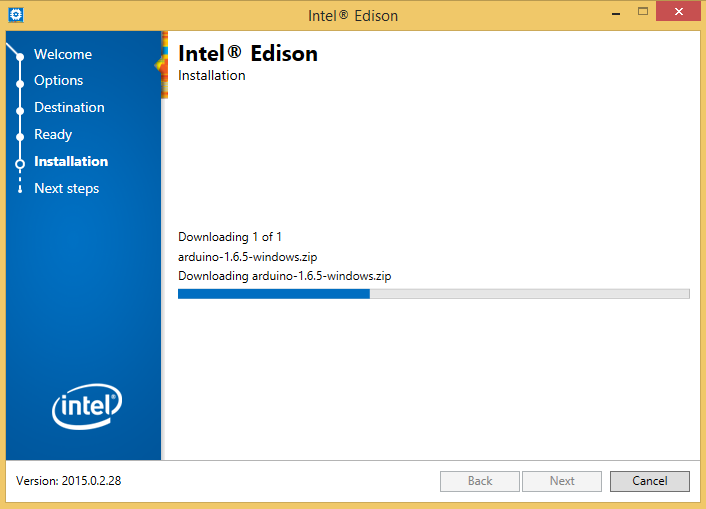
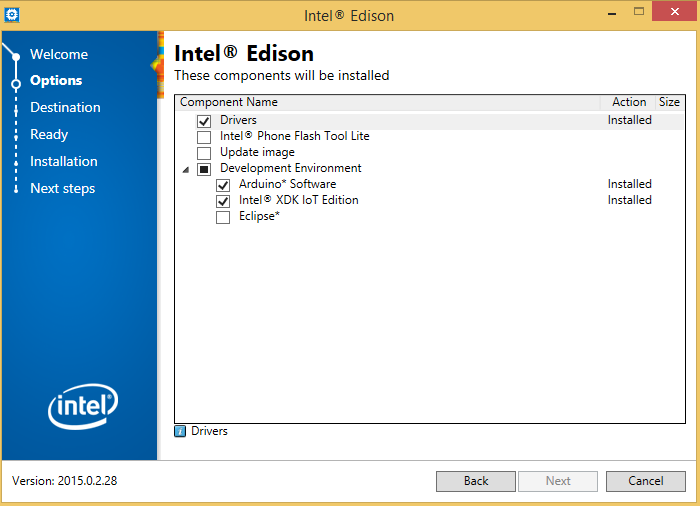
Before you can start using Intel Edison, you have to install the drivers and software to communicate with it.
You can obtain the software here:
https://software.intel.com/en-us/iot/hardware/edison/downloads
You should install Drivers, Arduino IDE and Intel XDK.
Set Up Hardware
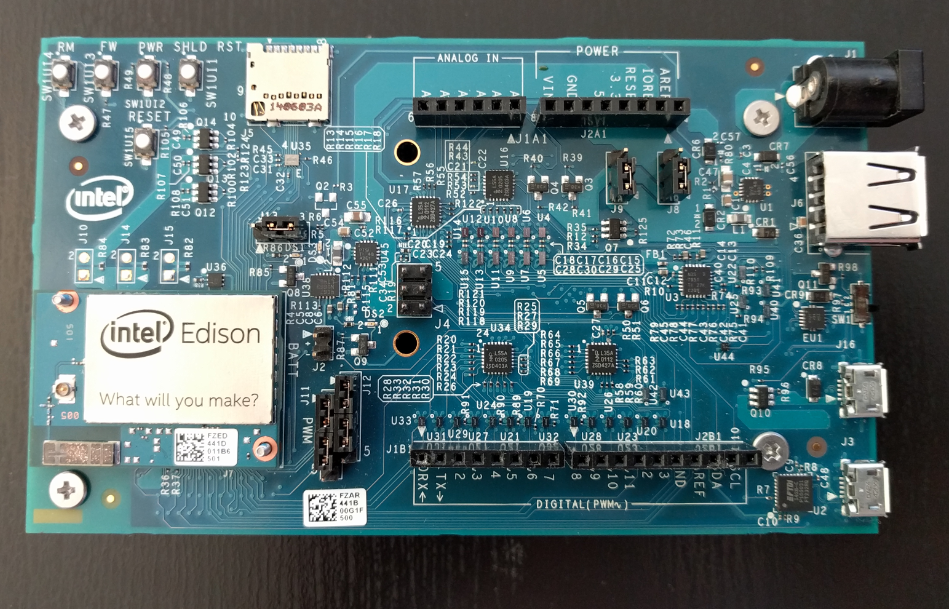
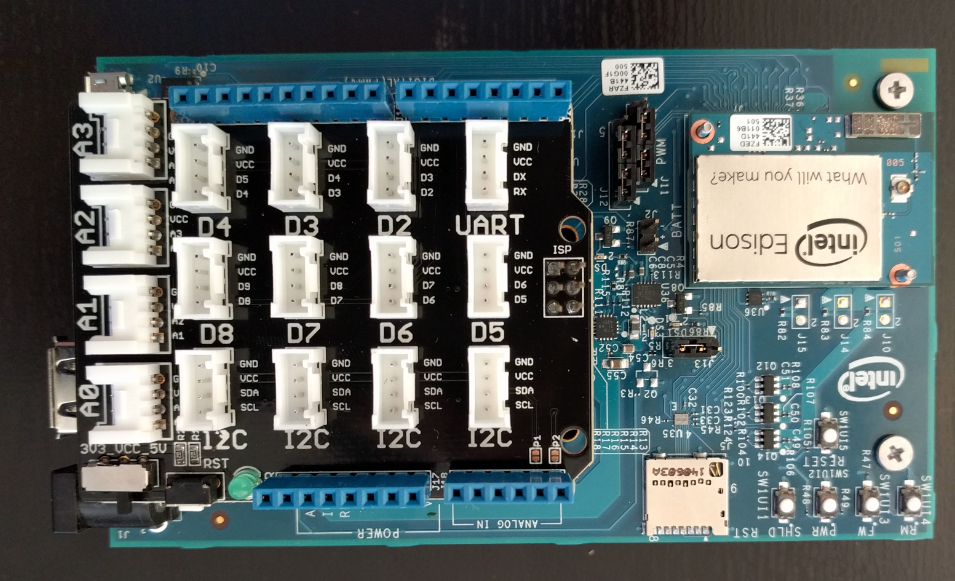
For this tutorial we are using:
-Intel Edison board
-Grove base shield
-Grove air quality sensors
-Grove dust sensors
However you can hook up pretty much any off-the-shelf analog or digital sensor and get it up and running quickly.
Just connect the base shield to Intel Edison and connect the sensors you are using to the base shield. Connect the Edison to your laptop using two micro-USB connectors and power up your Edison using AC-DC connector.
Configure the Device for Wireless Communication
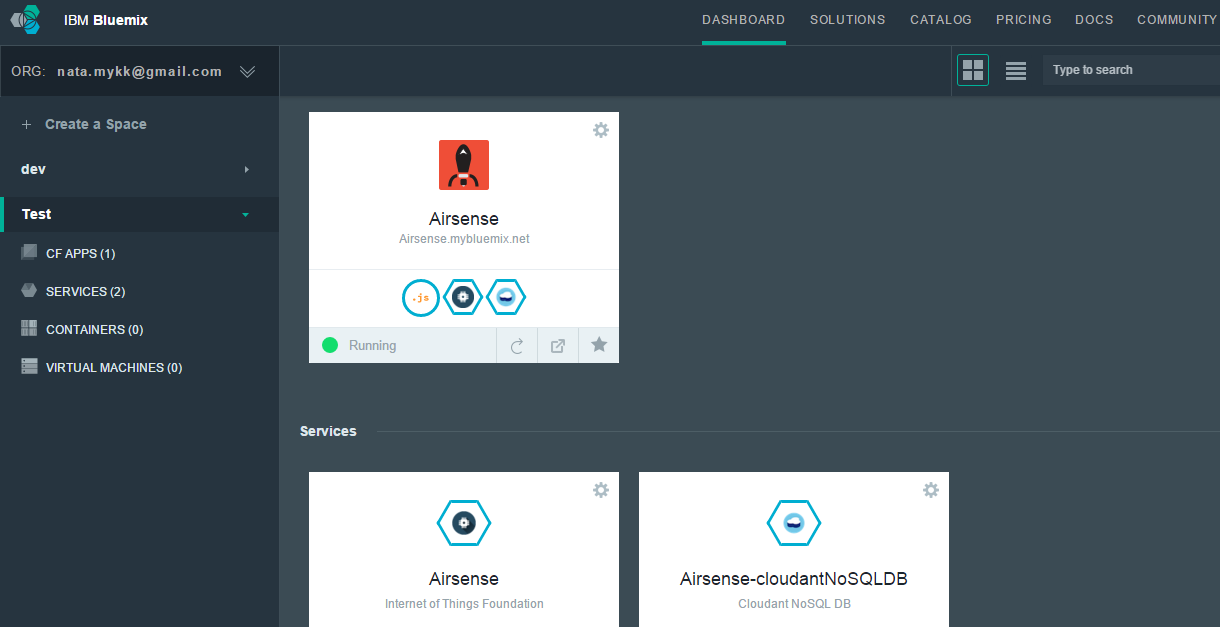
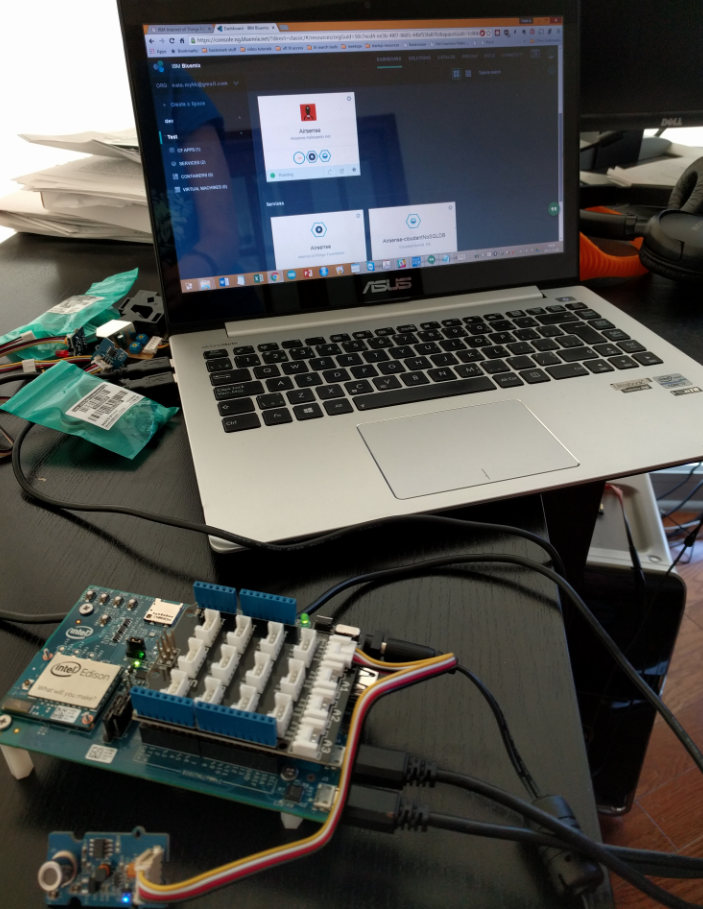
To set up the device to send data to Cloud, you will need PuTTY and Intel XDK.
You also need to create an IBM Bluemix account. Follow the steps described in this link:
https://developer.ibm.com/recipes/tutorials/intel-...
You can download PuTTY here: http://www.putty.org/. You should already have Intel XDK from step 2.
You can use PuTTY to scan available WiFi networks and connect to one to get Intel Edison online.
To do so:
1) Open PuTTY and connect to Intel Edison COM port, set baud rate to 114200
2) Configure WiFi using the following command: configure_edison --wifi
3) Find out your Mac address using the following command: wpa_cli -i wlan0 status
You'll need a password for password-protected networks. You can also choose create a password for your device.
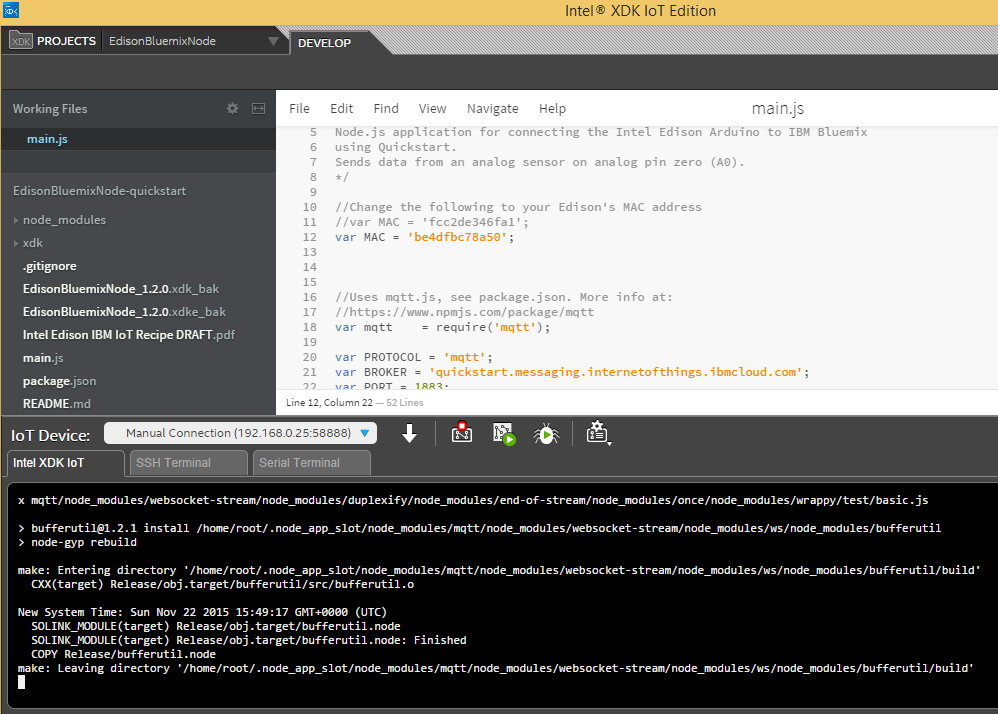
XDK provides an environment for writing JavaScript applications that connect your device to the Cloud for data analysis and visualization.
In XDK, you will need to connect the device by specifying the IP address as well as password (if you set it up earlier).
Once you connect the device, you can write JavaScript application to connect the Intel Edison to IBM Bluemix. Follow the following steps:
1) Browse to https://github.com/chipgarner/EdisonBluemixNode/t... and click on Download Zip on the right hand side. Unzip to a folder you would like to keep your project in.
2) Open Intel XDK IoT Edition.Select PROJECTS and OPEN AN INTEL XDK PROJECT.
2) Navigate to the folder you unzipped the project in and select the .xdk file. Click on DEVELOP.Select your Edison under IoT Device. (Your Edison needs to be connected to wifi using a password for the SSH connection to work. If you have not entered a password, open a serial terminal, login and enter configure_edsion –password. You will be prompted for a new password.)
3) Open the main.js file and enter your Edison’s MAC address by editing the line: var MAC = ‘784b87a801ee'; Leave out the semicolons as in the above example. Click on the red “Stop” icon in the lower menu to stop any program running on your Edison. Click on the hammer icon to build and install the program. Click the green “Run” icon to run it.
Test the Device!
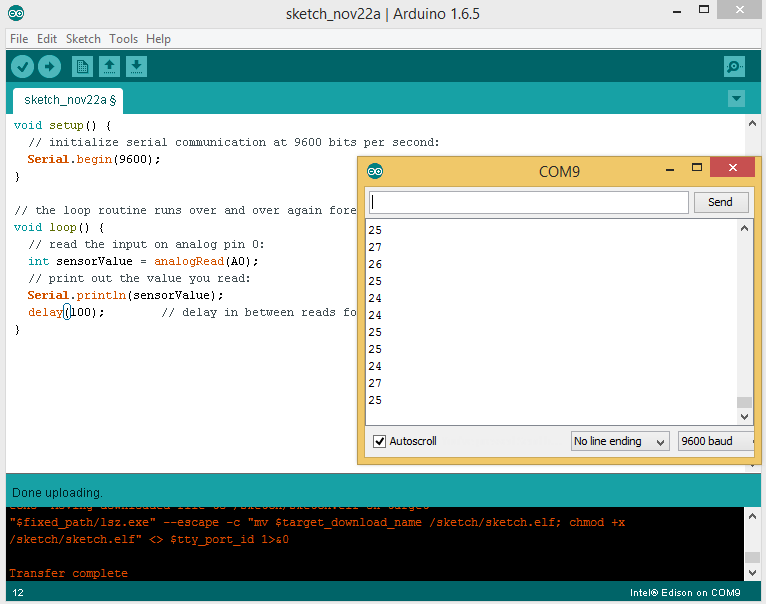
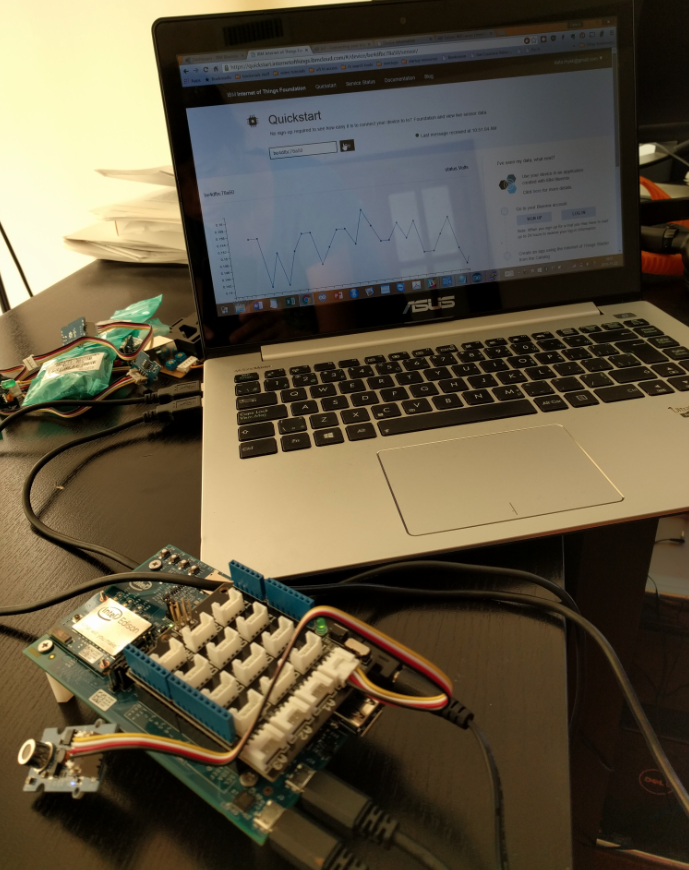
Before connecting the device to cloud and viewing data online, you should test the device using Arduino IDE. In this example, we are reading measurements form two air quality sensors (connected to Intel Edison) and reading it over serial connection. Make sure you change the "Board" to "Edison" and COM port to the serial port your Edison is using.
Here is the Arduino code you can use:
// to the pins used: const int analogInPin = A0; // Pollution sensor 1 int sensorValue = 0;
const int analogInPin1 = A1; // Pollution sensor 2 int sensorValue1 = 0; int BAD = 0; int GOOD = 0;
void setup() { // initialize serial communications at 9600 bps: Serial.begin(9600); // pinMode(LED, OUTPUT); pinMode (2, OUTPUT); pinMode (3, OUTPUT); pinMode (4, OUTPUT); pinMode (5, OUTPUT); pinMode (6, OUTPUT); pinMode (7, OUTPUT);
}
void loop() { // read the analog in value: sensorValue = analogRead(analogInPin); sensorValue1 = analogRead(analogInPin1);
// map it to the range of the analog out:
// print the results to the serial monitor: Serial.print(sensorValue); Serial.print(","); // separated by a comma
Serial.print(sensorValue1); Serial.print(","); // separated by a comma // ***********THIS IS FOR THE AIR QUALITY SENSOR***********
if ((sensorValue >= 450) || (sensorValue1 <= 500)) { // BAD!! digitalWrite(2, HIGH); digitalWrite(6, HIGH); digitalWrite(4, HIGH); digitalWrite(3, LOW); digitalWrite(7, LOW); Serial.print("BAAAAAD!"); Serial.println(); // print a linefeed character } else { digitalWrite(2, LOW); digitalWrite(6, LOW); digitalWrite(4, LOW); digitalWrite(3, HIGH); digitalWrite(7, HIGH); Serial.print("GOOD!"); Serial.println(); // print a linefeed character
}
// wait 2 milliseconds before the next loop // for the analog-to-digital converter to settle // after the last reading: delay(500); }
Once you have verified that the sensor is working properly, you can connect it to Cloud using JavaScript code you set up in step 3.
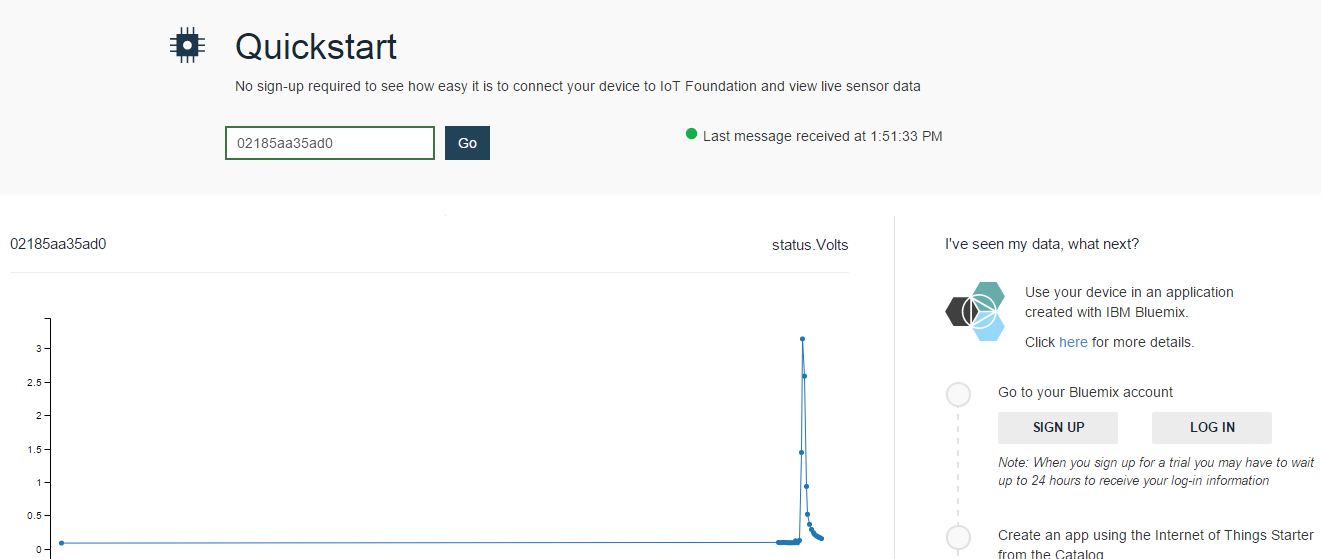
To view the data, just go to https://quickstart.internetofthings.ibmcloud.com and enter your Mac address and you should see your data!
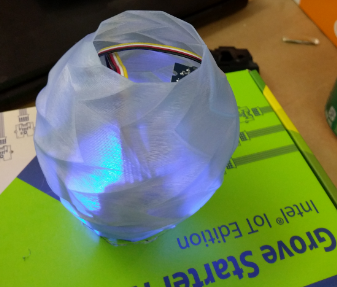
As a side-project, we 3D printed a transparent plastic cover that disperses the light as it changes colour from red (polluted) to blue (clean air).