Cloud Vs Spikes Book Shelf
by cellizard in Workshop > Laser Cutting
508 Views, 1 Favorites, 0 Comments
Cloud Vs Spikes Book Shelf
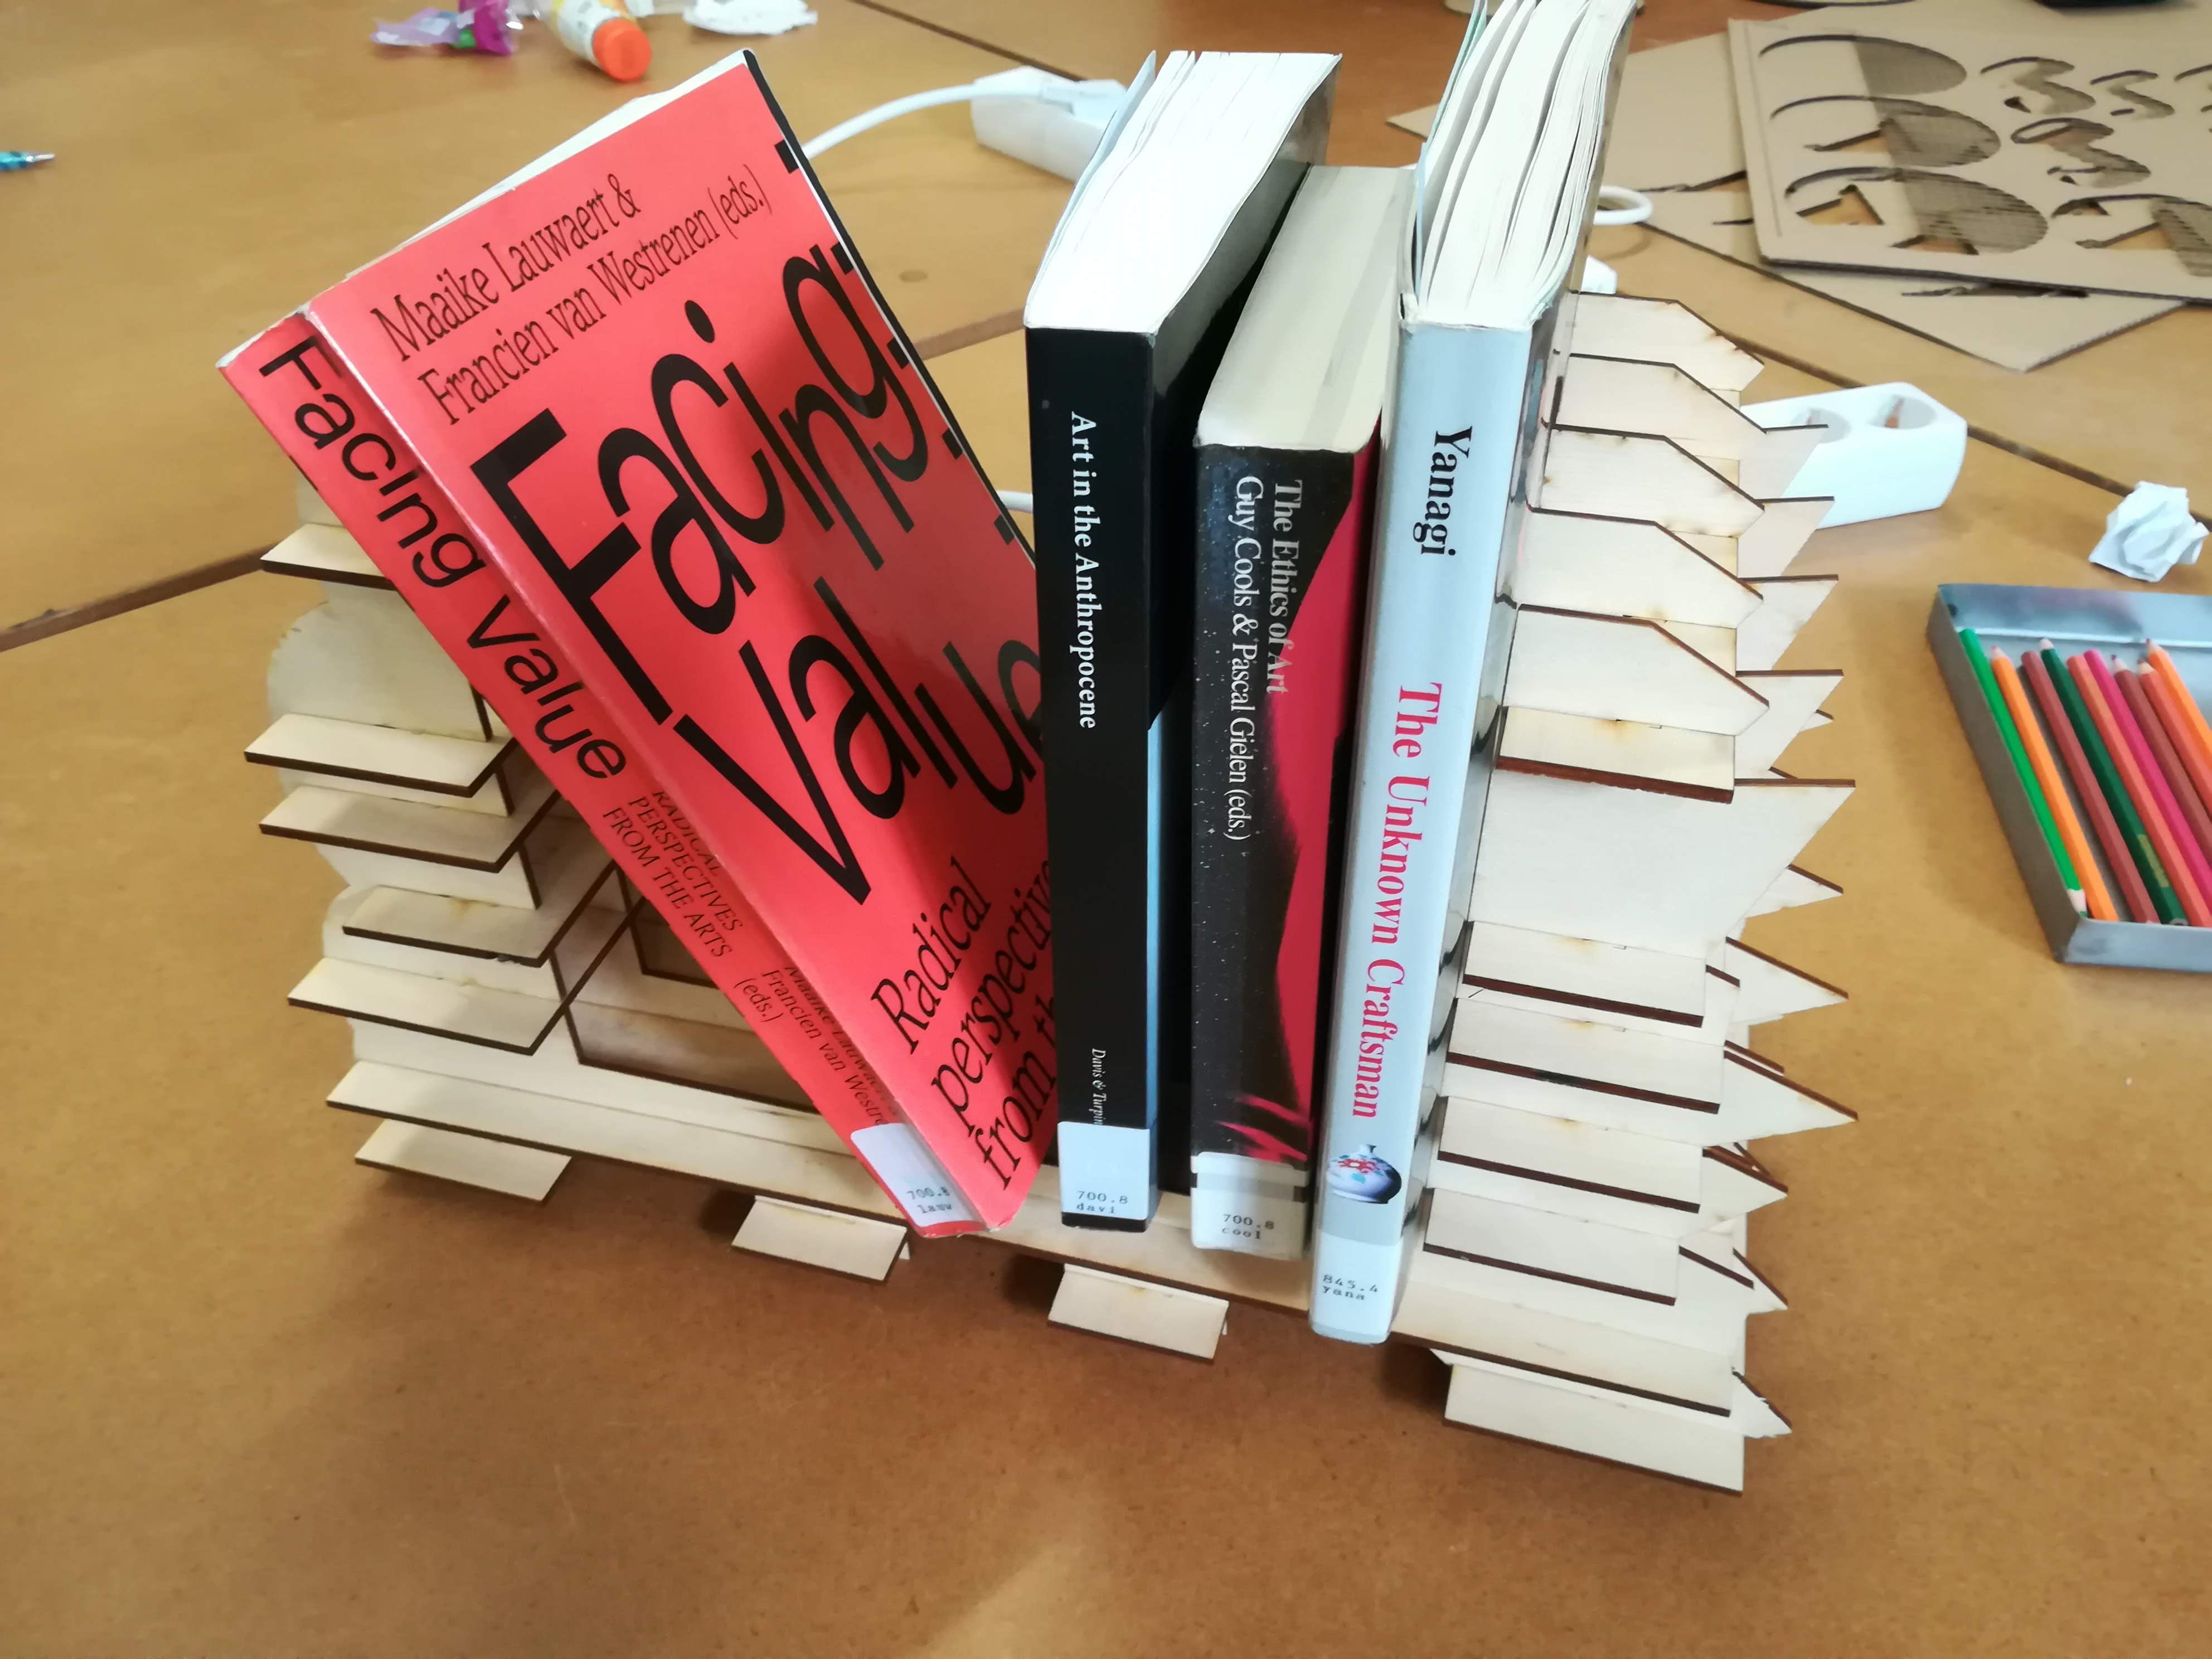
I wanted my books to be a physical separation between the two opposing sides of a book shelf. So I imagined how these two conflicting extremes of the same object would look like.
One became the Cloudy side, defined by soft rounded shapes and bubble-like edges.
The other turned into the Spikes side, with sharp, angular and pointy.
These two will try to fight forever, until you fill the shelf with some books to separate them.
I created this object using:
- Fusion 360
- Slicer for Fusion 360
- Adobe Illustrator
- 3x plywood sheets (600x400x3 mm)
- laser cutter
3D Model in Fusion 360 #1
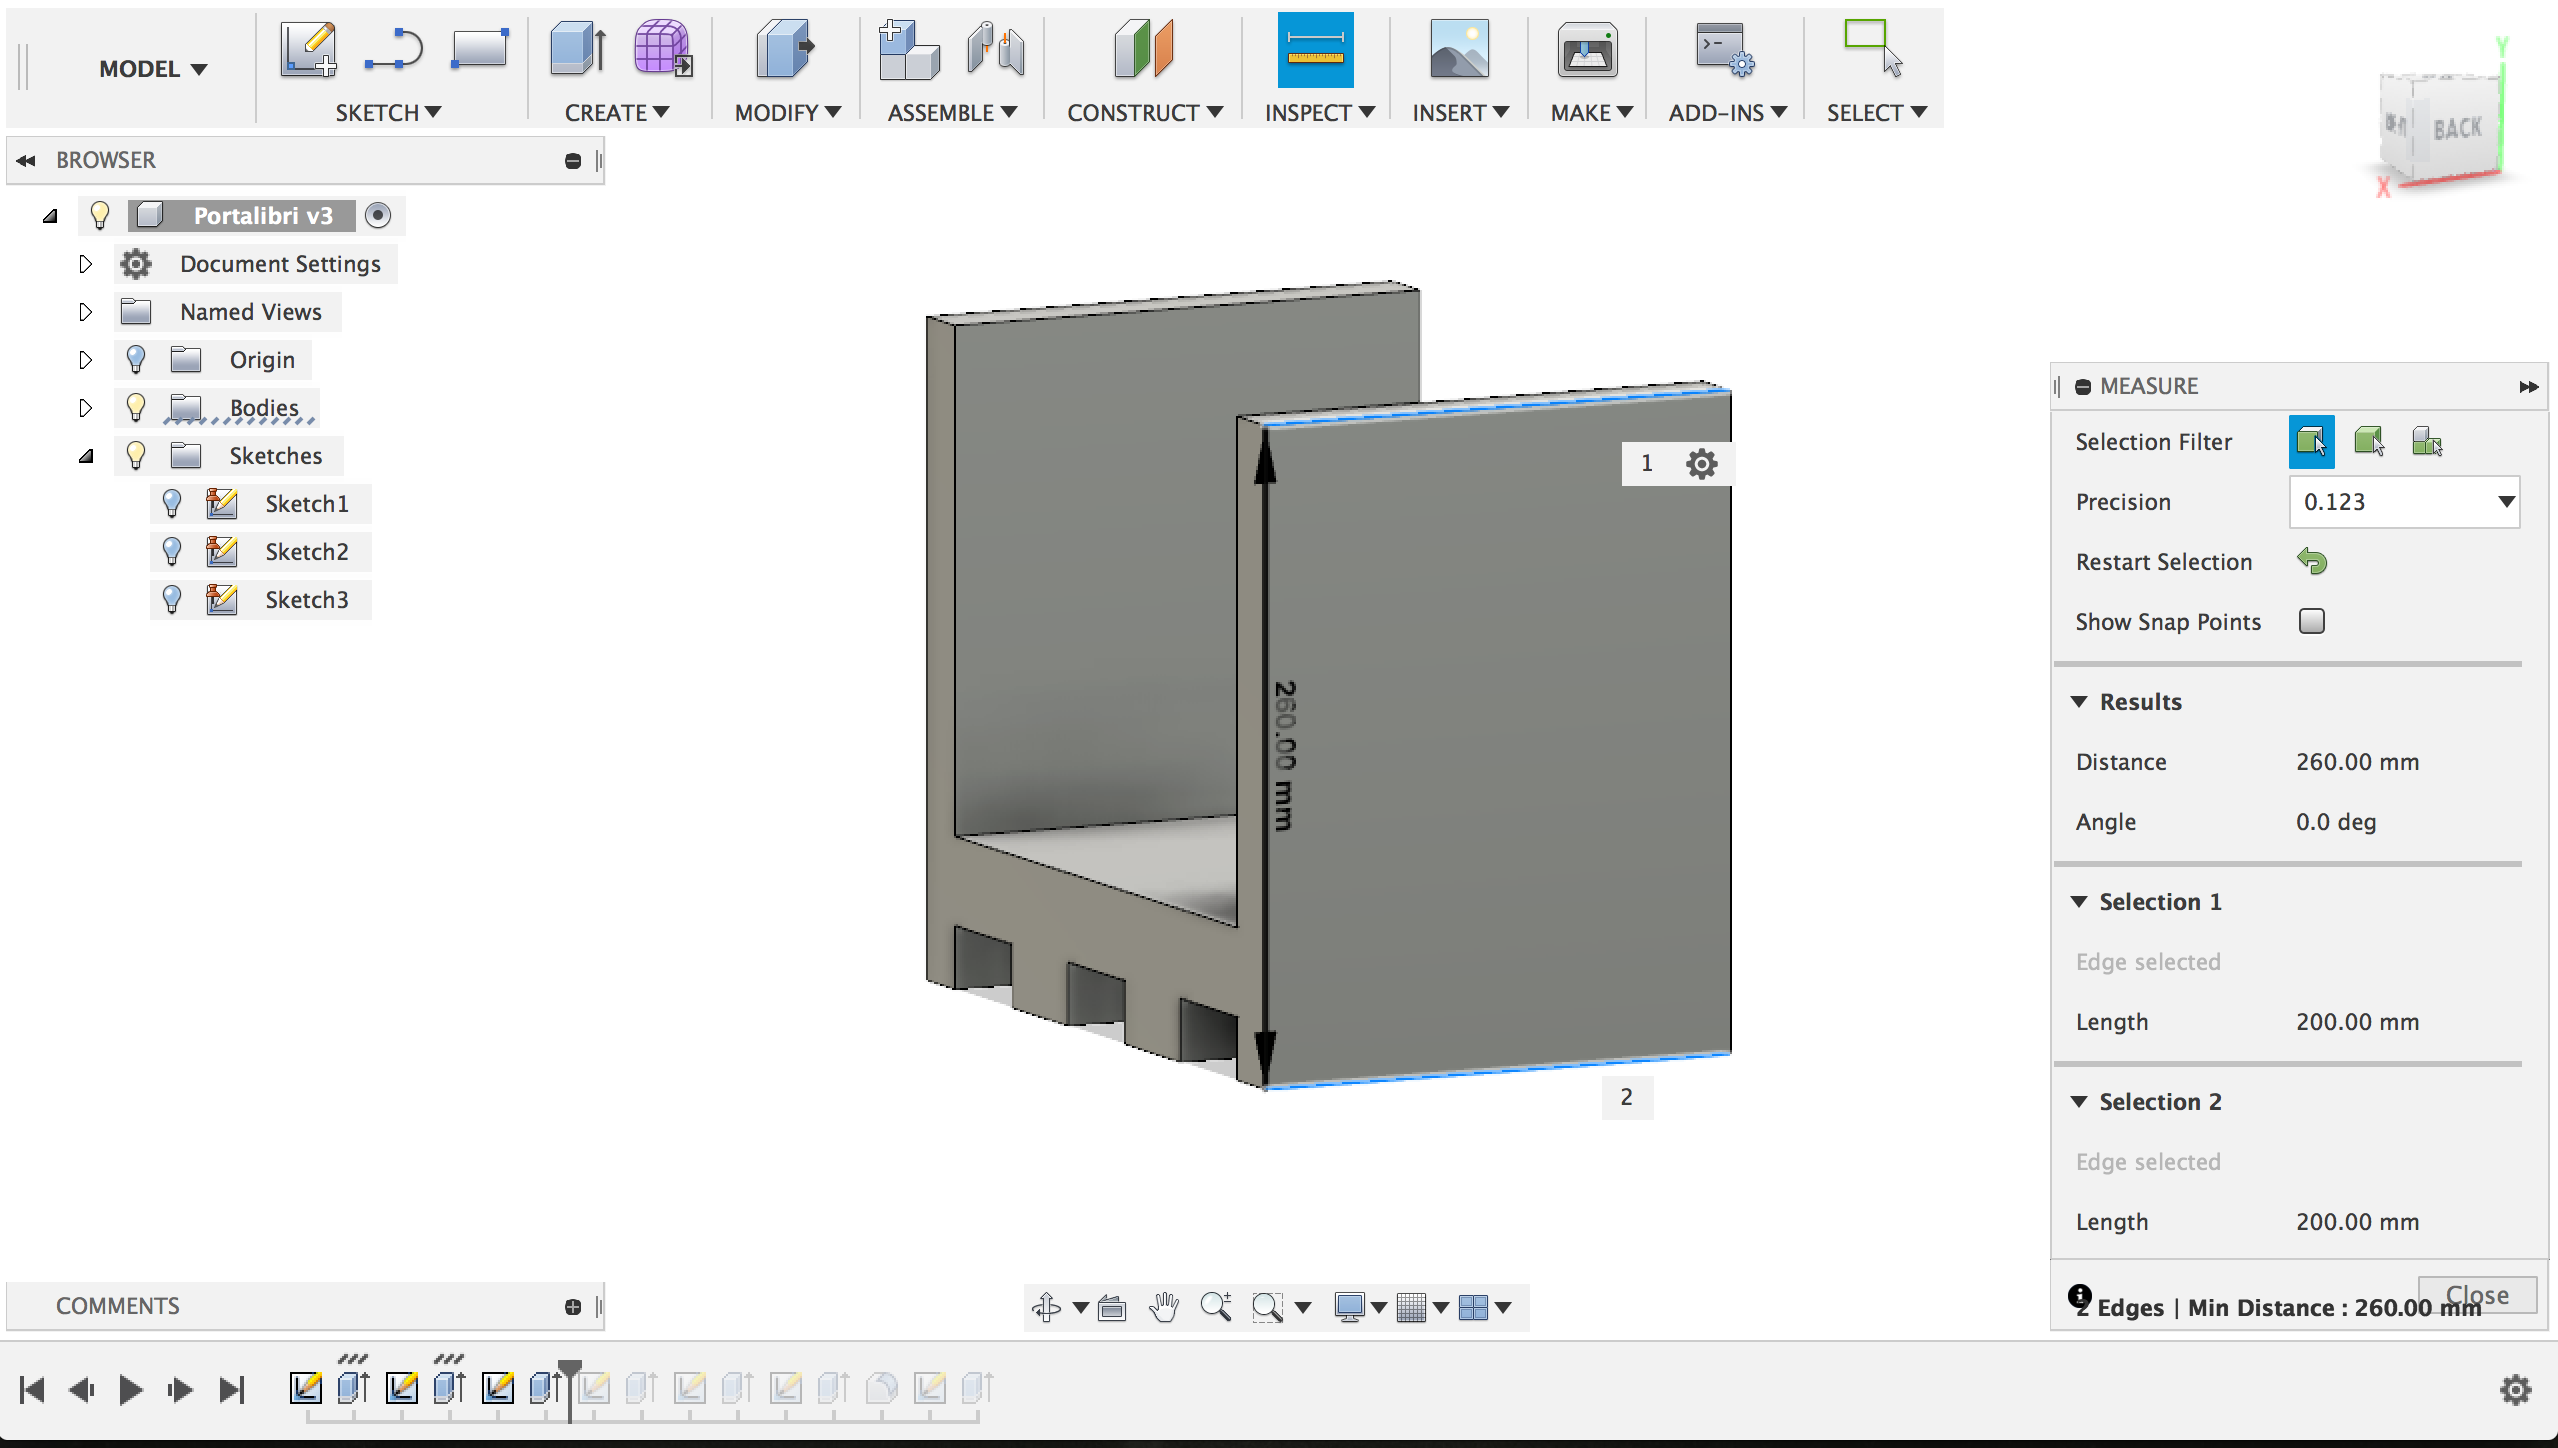
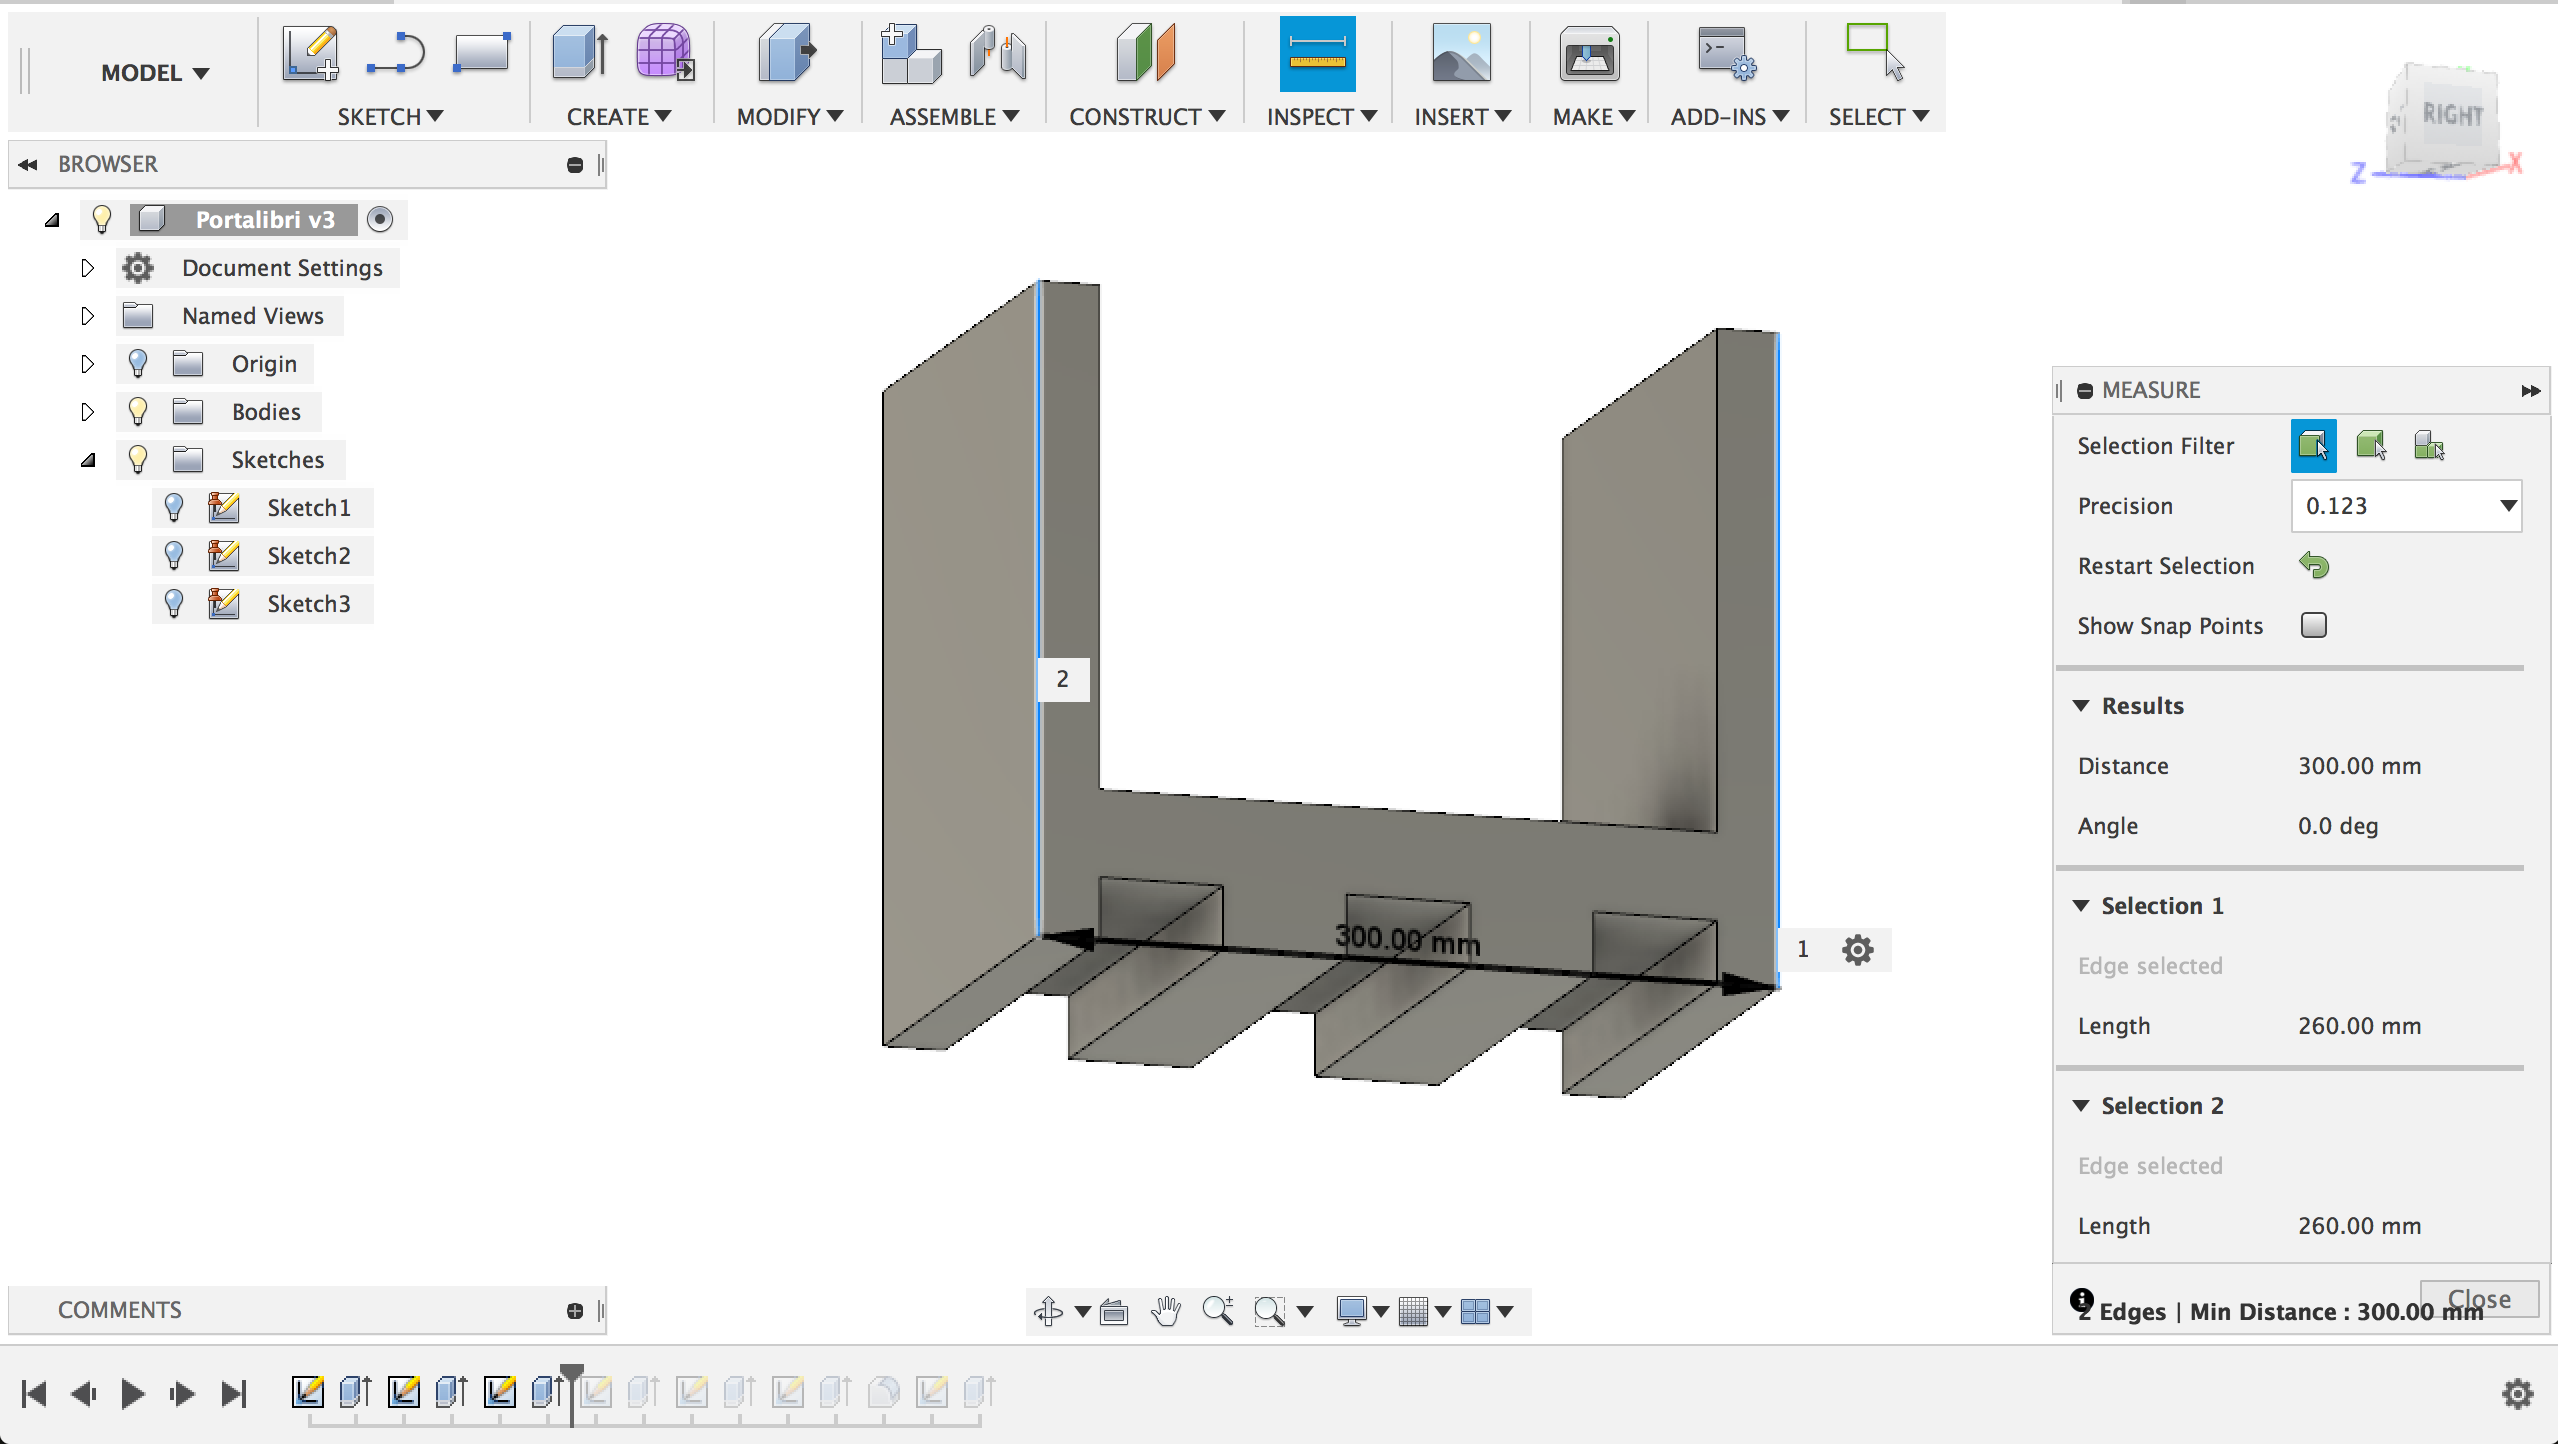
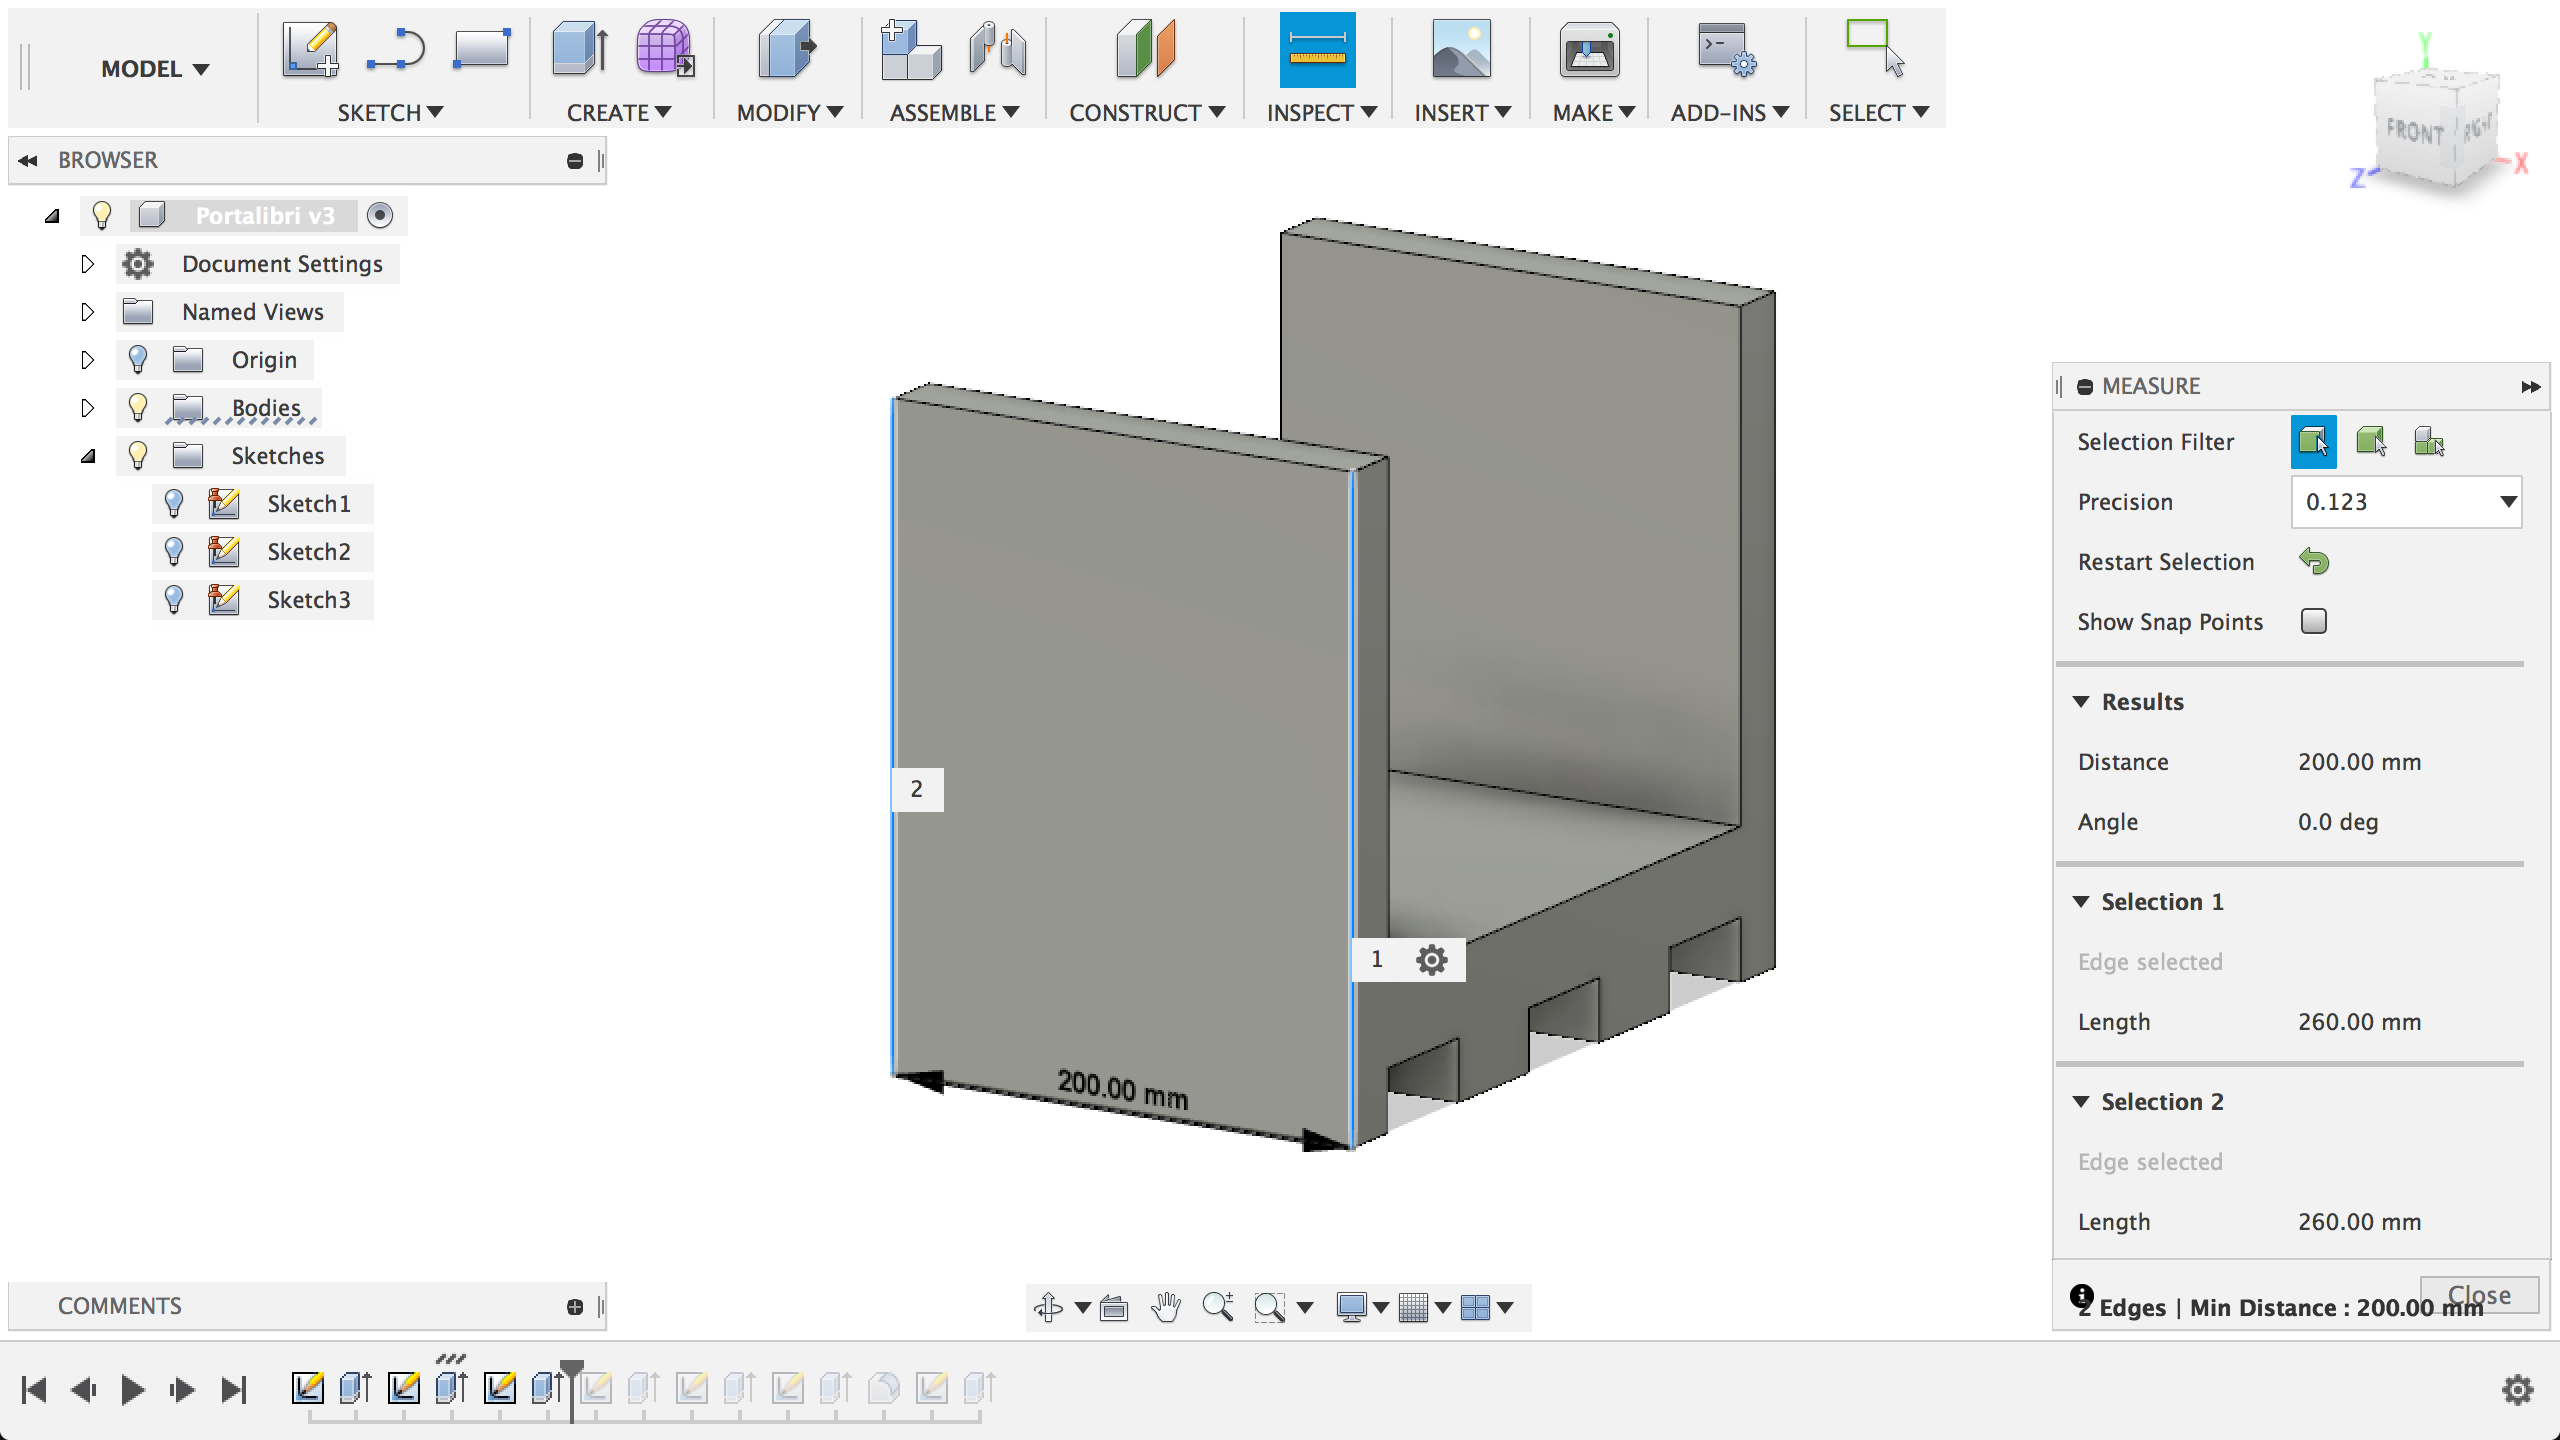
I began the 3D model for this object in Fusion 360, starting from very simple shapes that I then detailed further later on.
The screenshots show the very basic core shape of the object, which was made of several extruded boxes that defined two walls, a base line and four feet.
Being a small book shelf (designed for 7-10 average-length books), the overall dimensions were relatively restrained:
- height: 260mm
- width: 300mm
- depth: 200mm
3D Model in Fusion 360 #2
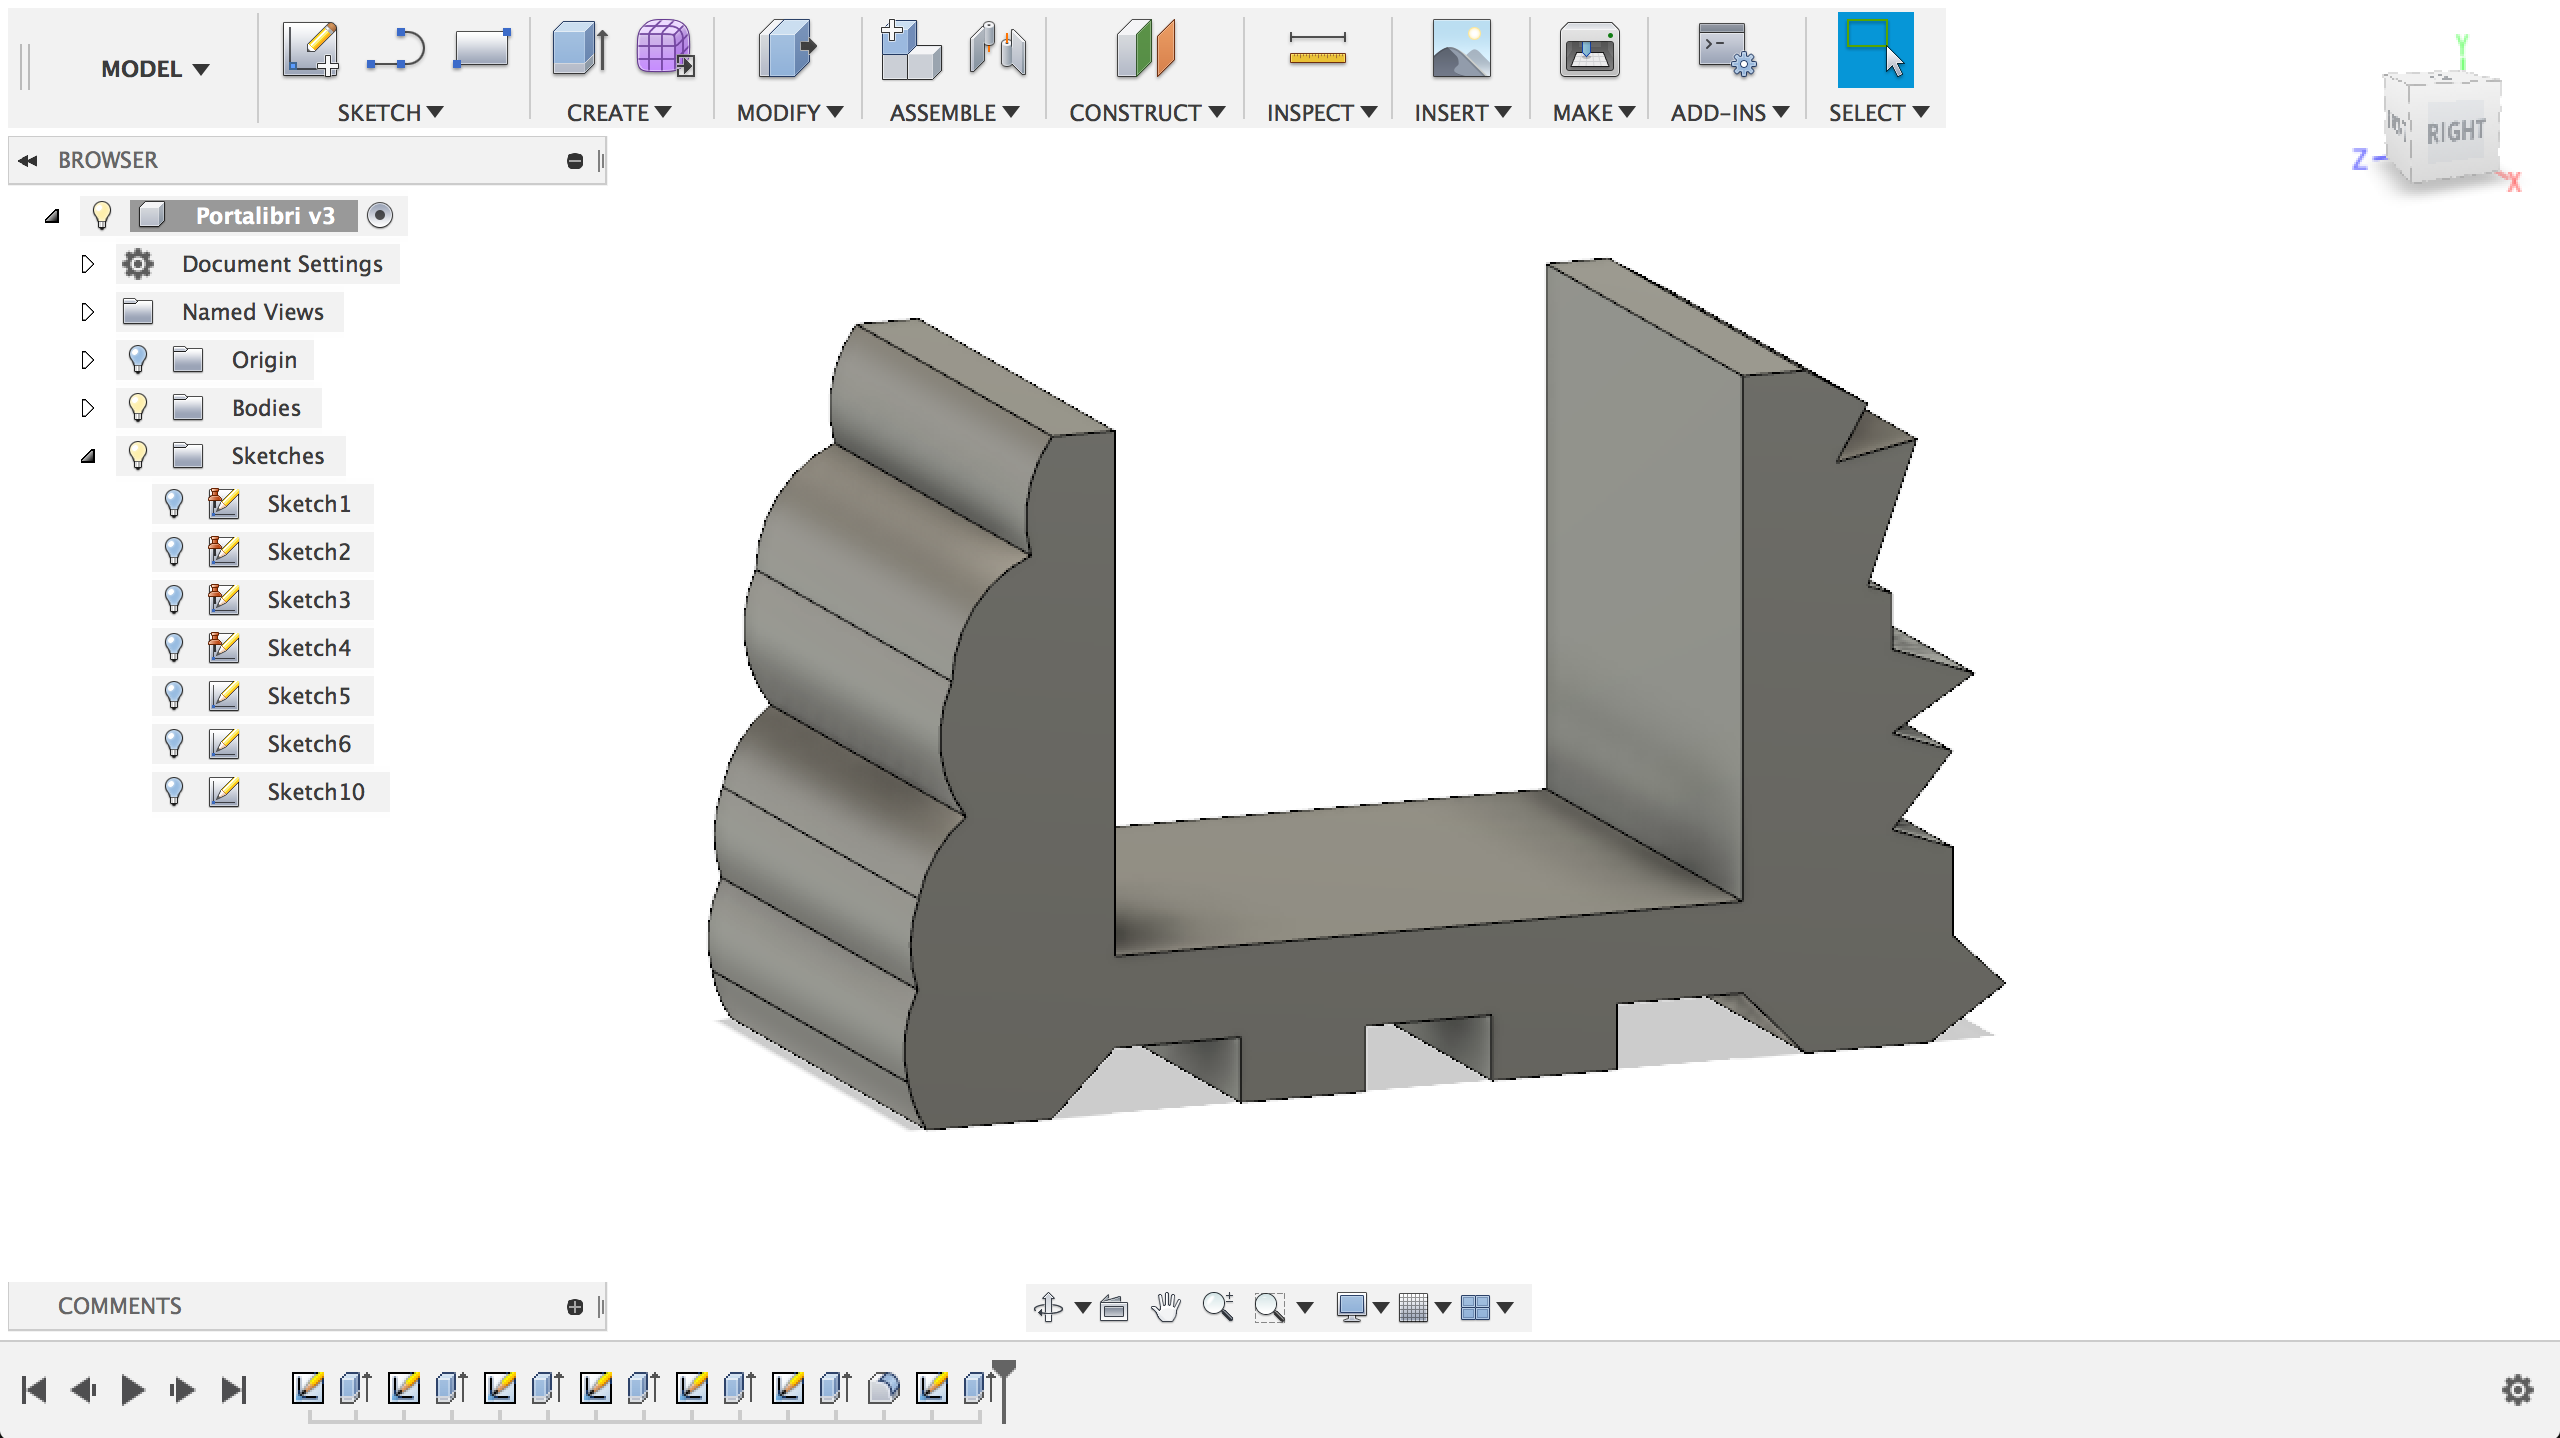
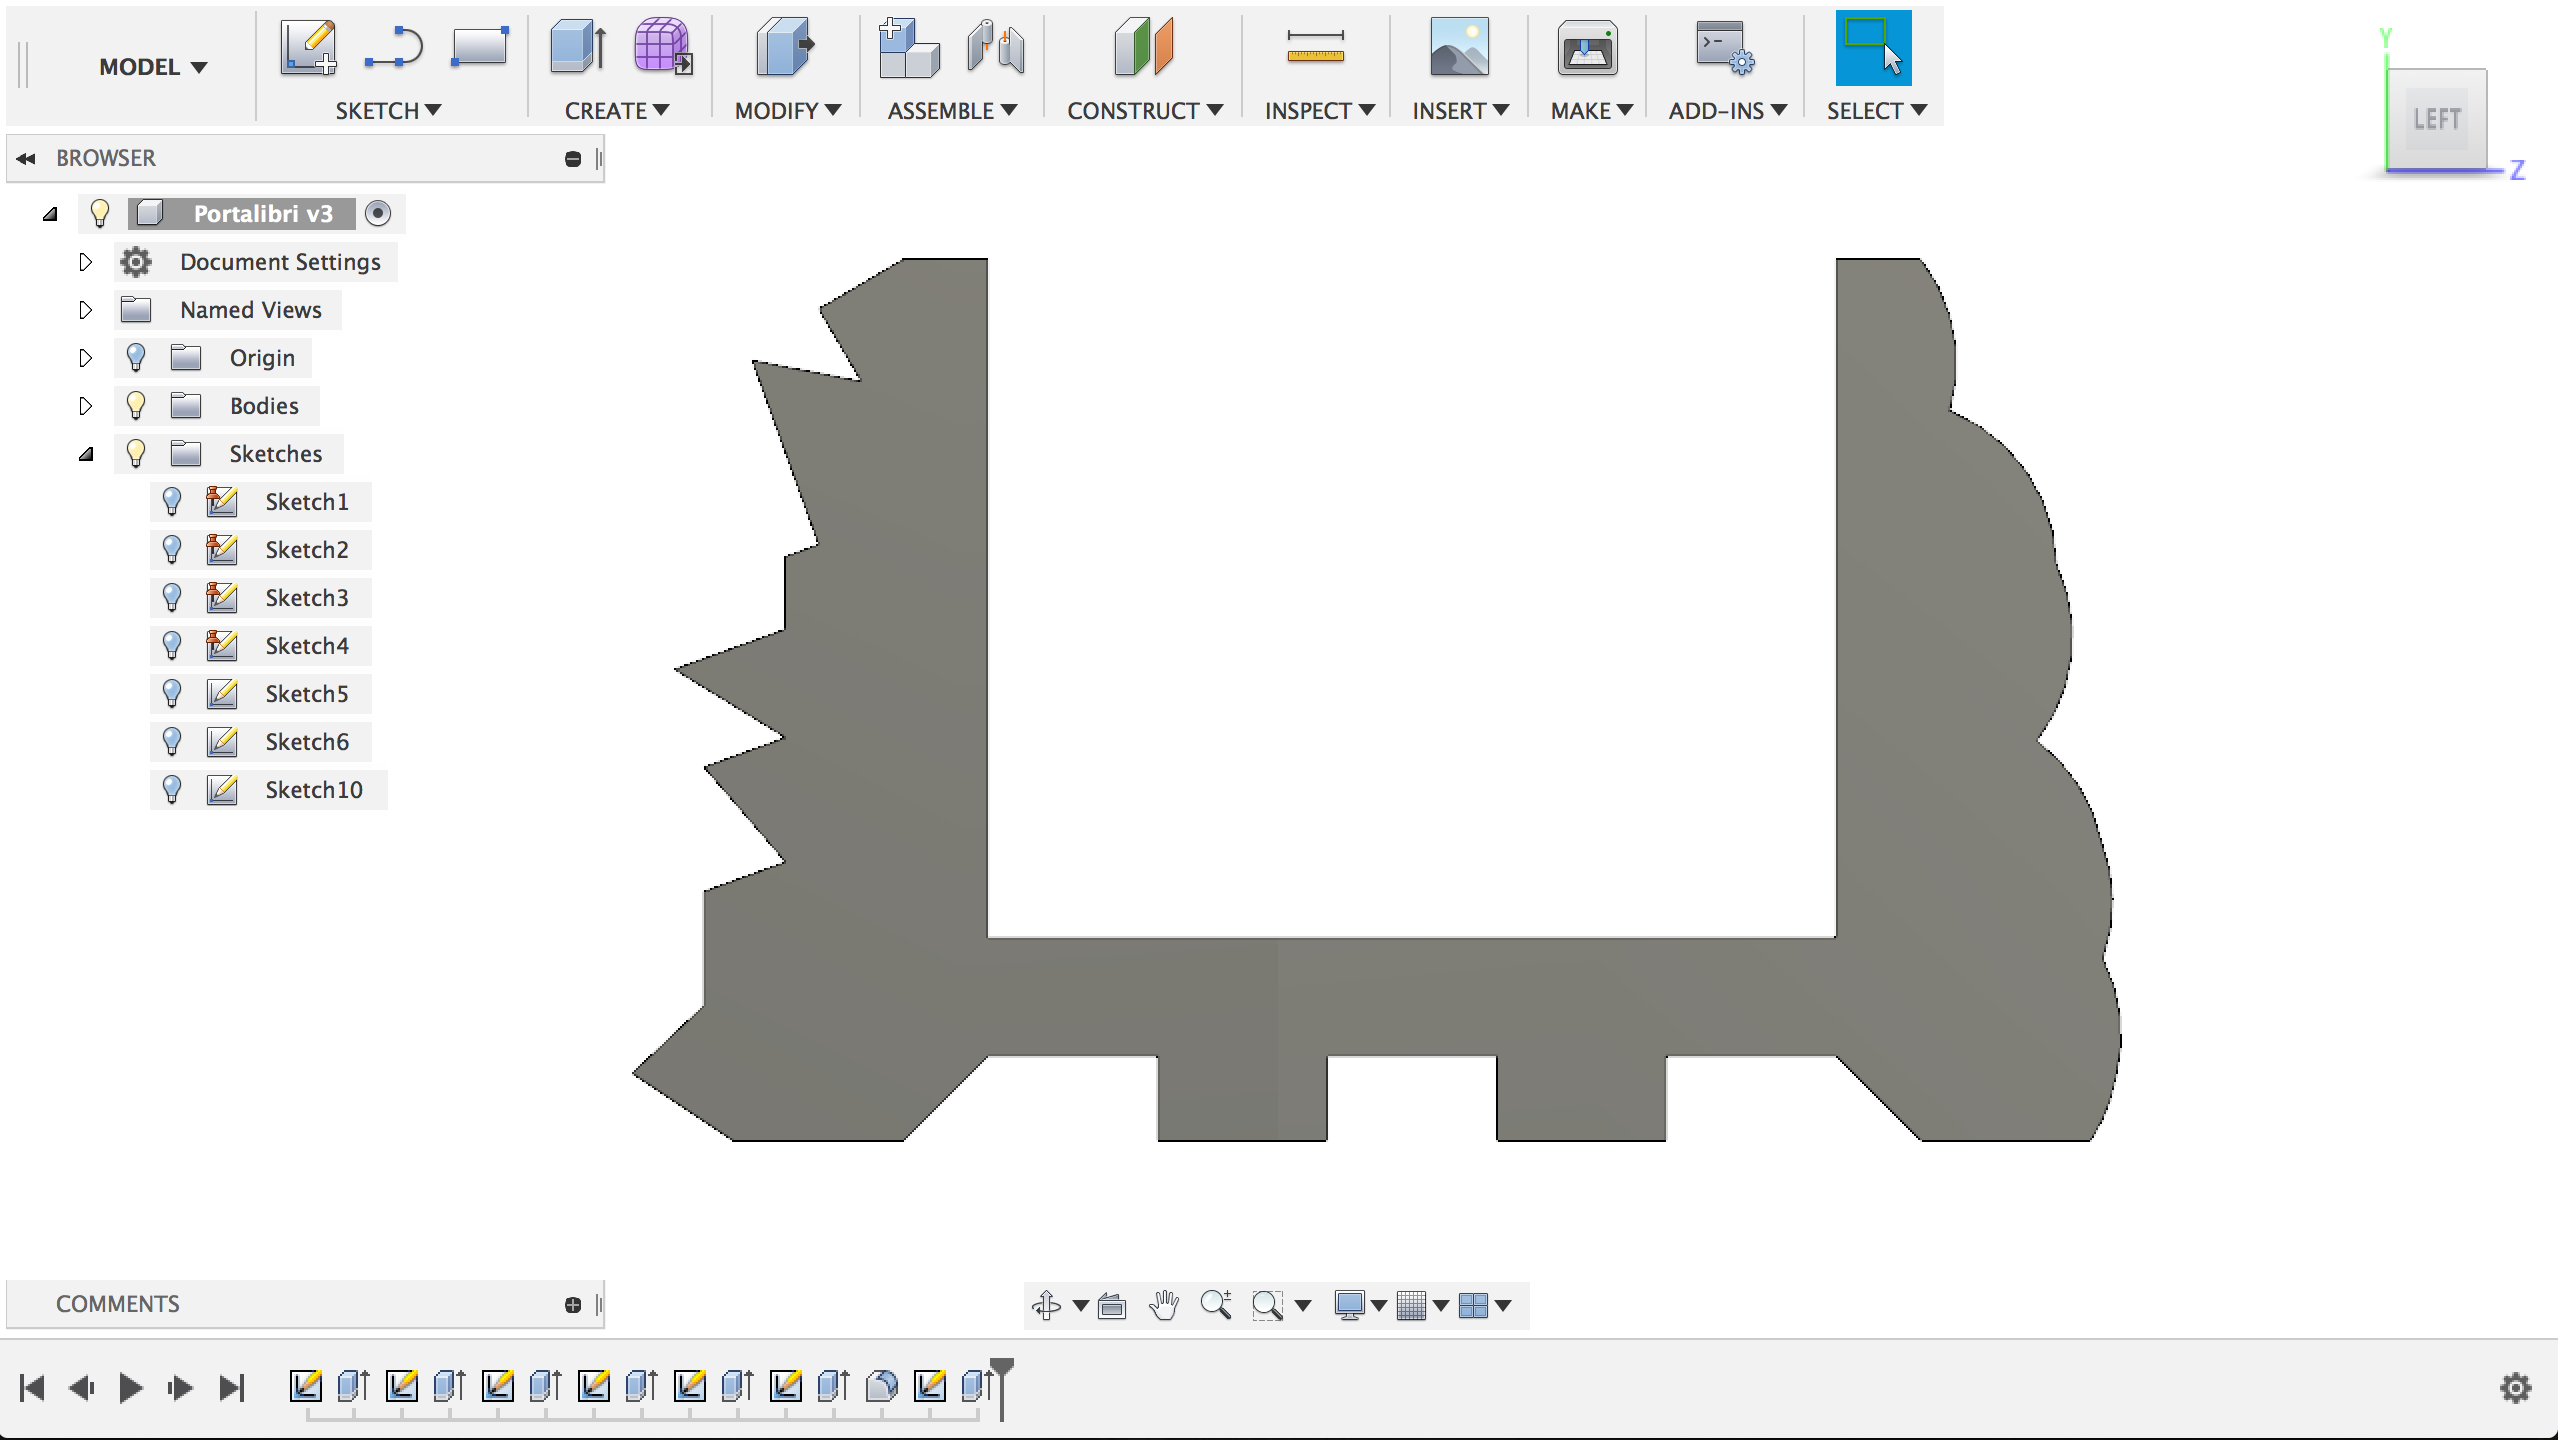
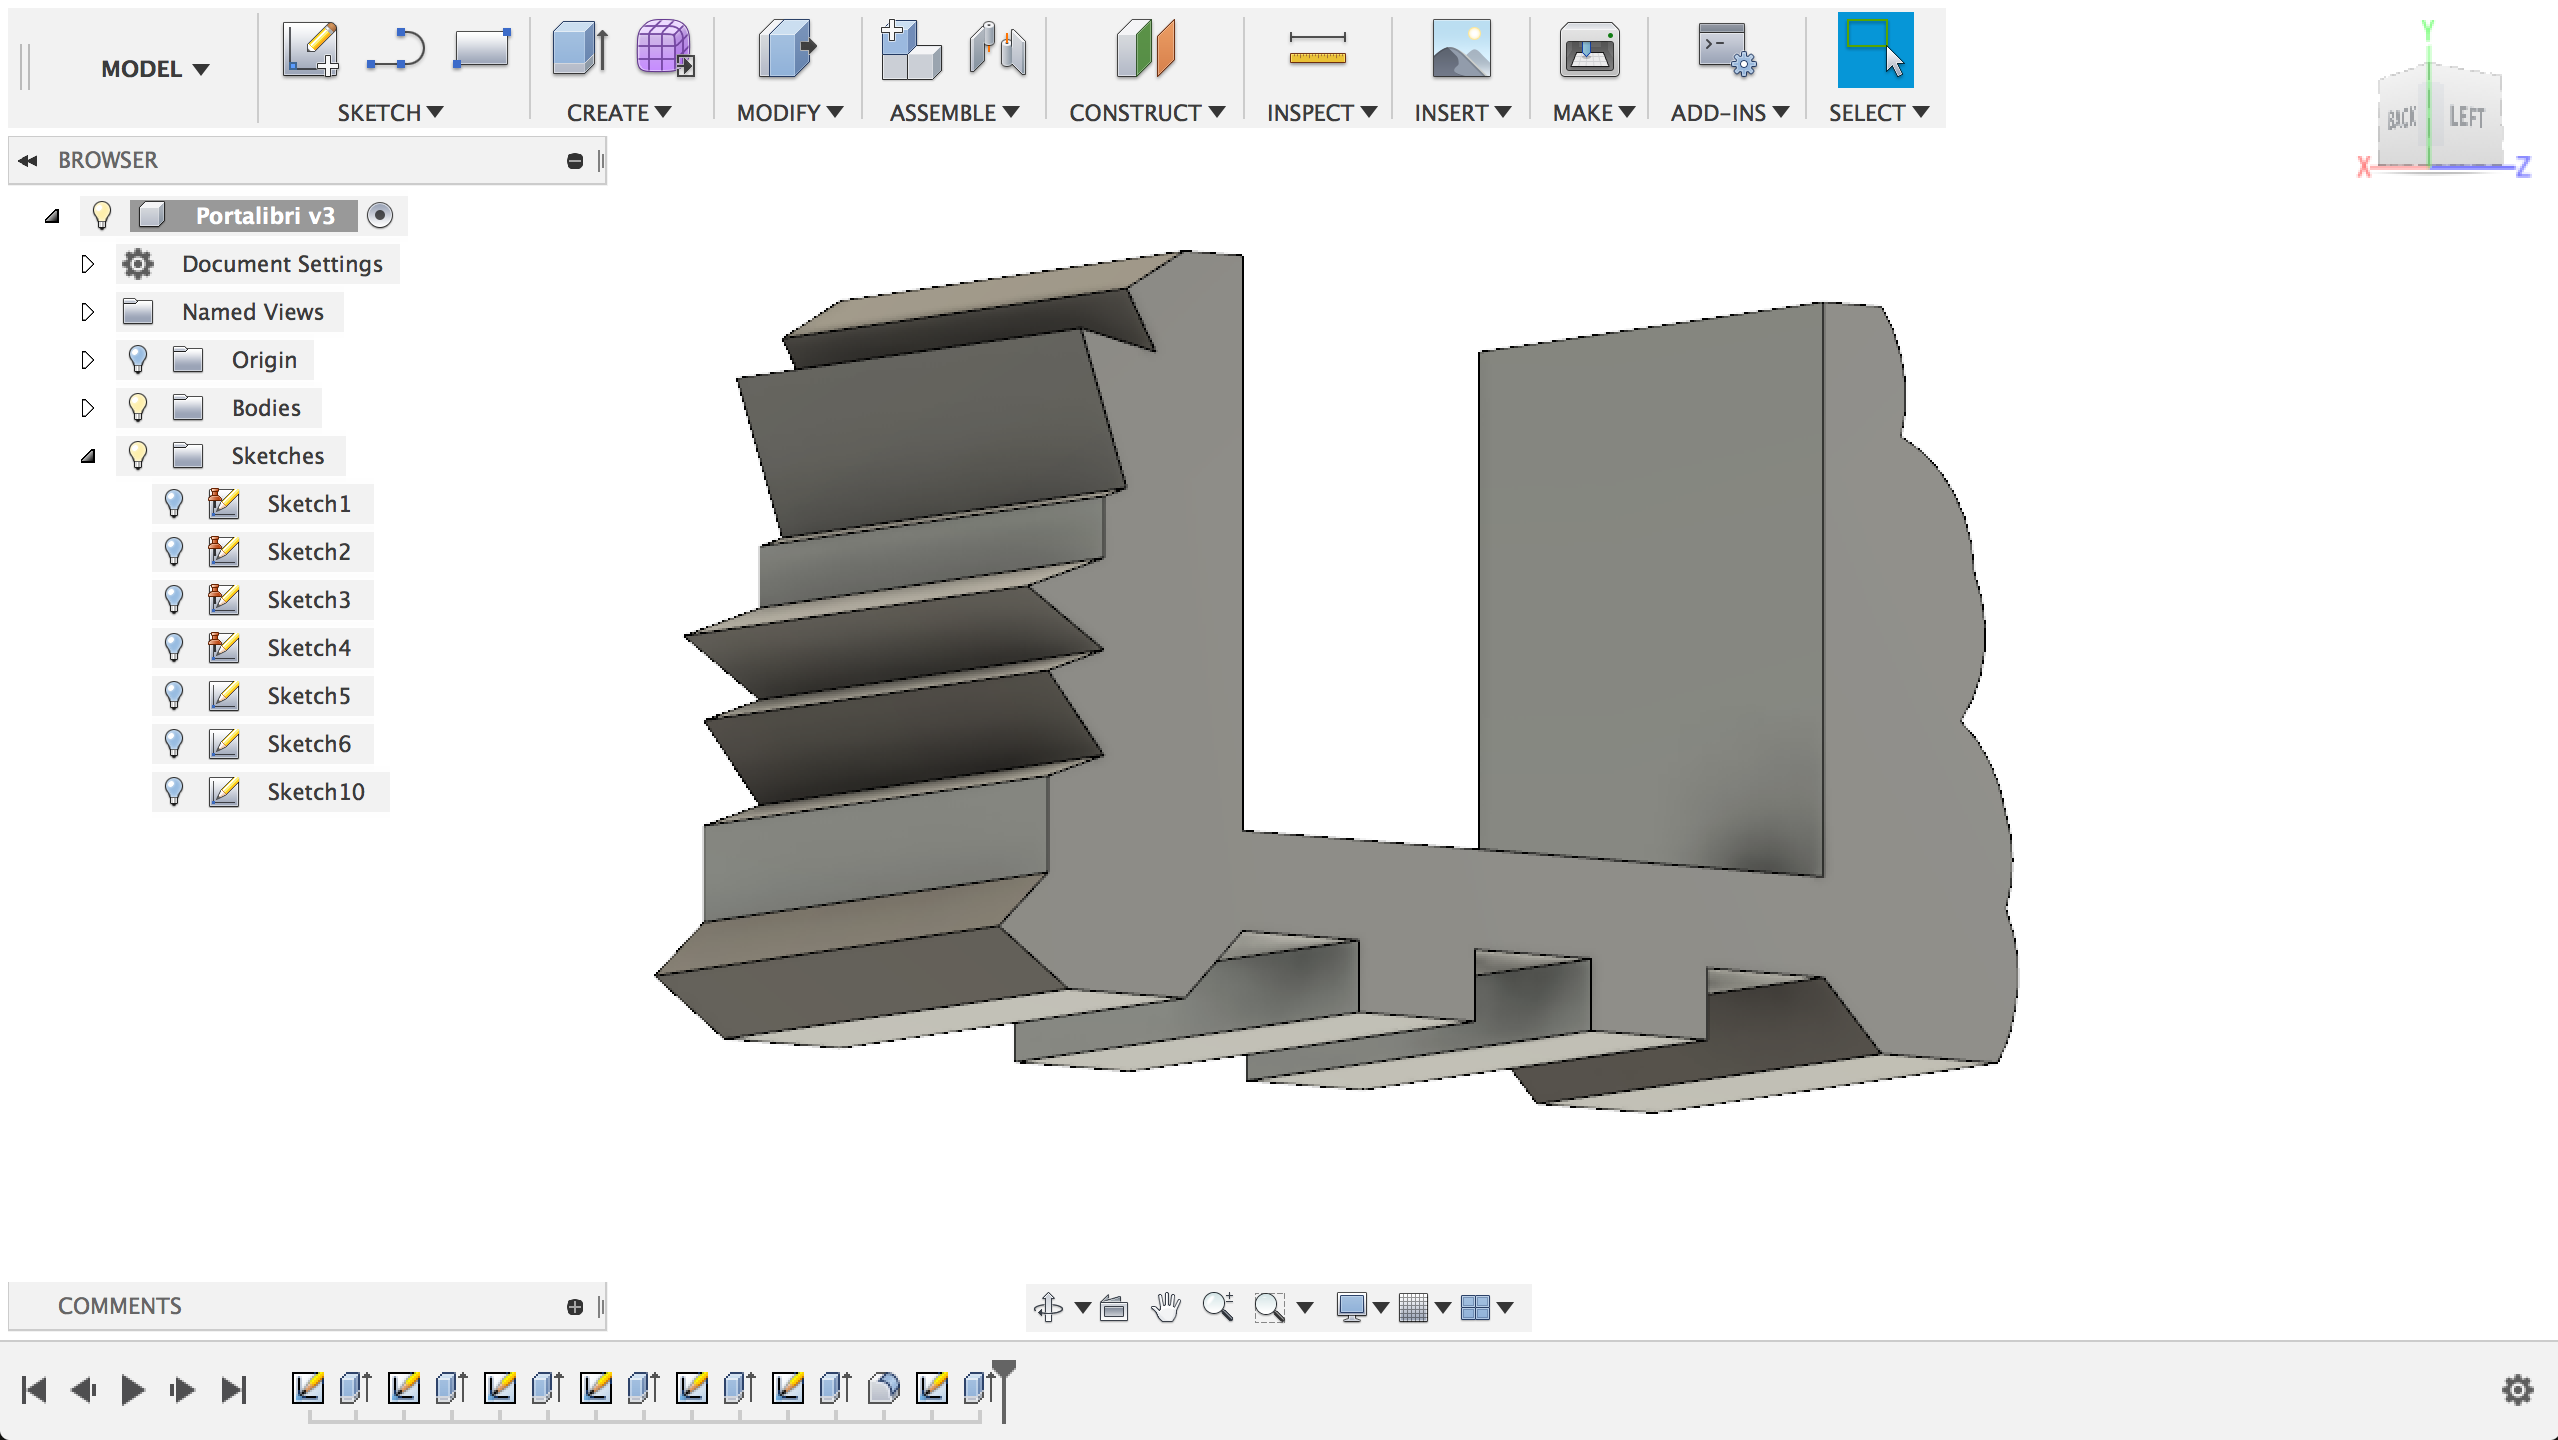
I then started defining more in detail the two sides. I drew each one "free hand", without caring too much about precise dimensioning nor minor details.
This means that if I had to make another book shelf like this, I could just drag the lines' points around to obtain different shapes
The Spiky side was obtained by only drawing one angular polyline from the upper edge of the shelf wall to the bottom part of the foot.
I repeated the same process for the Cloudy side, but on top of this I added several fillets to each edge of the spikes, to get a rounded softer shape.
The final detail was increasing the inner angle of the outer feet to 45 degrees, because after slicing the object I noticed that some horizontal sheets that had to be inserted in that exact point needed more space to fit in.
Slicer for Fusion 360
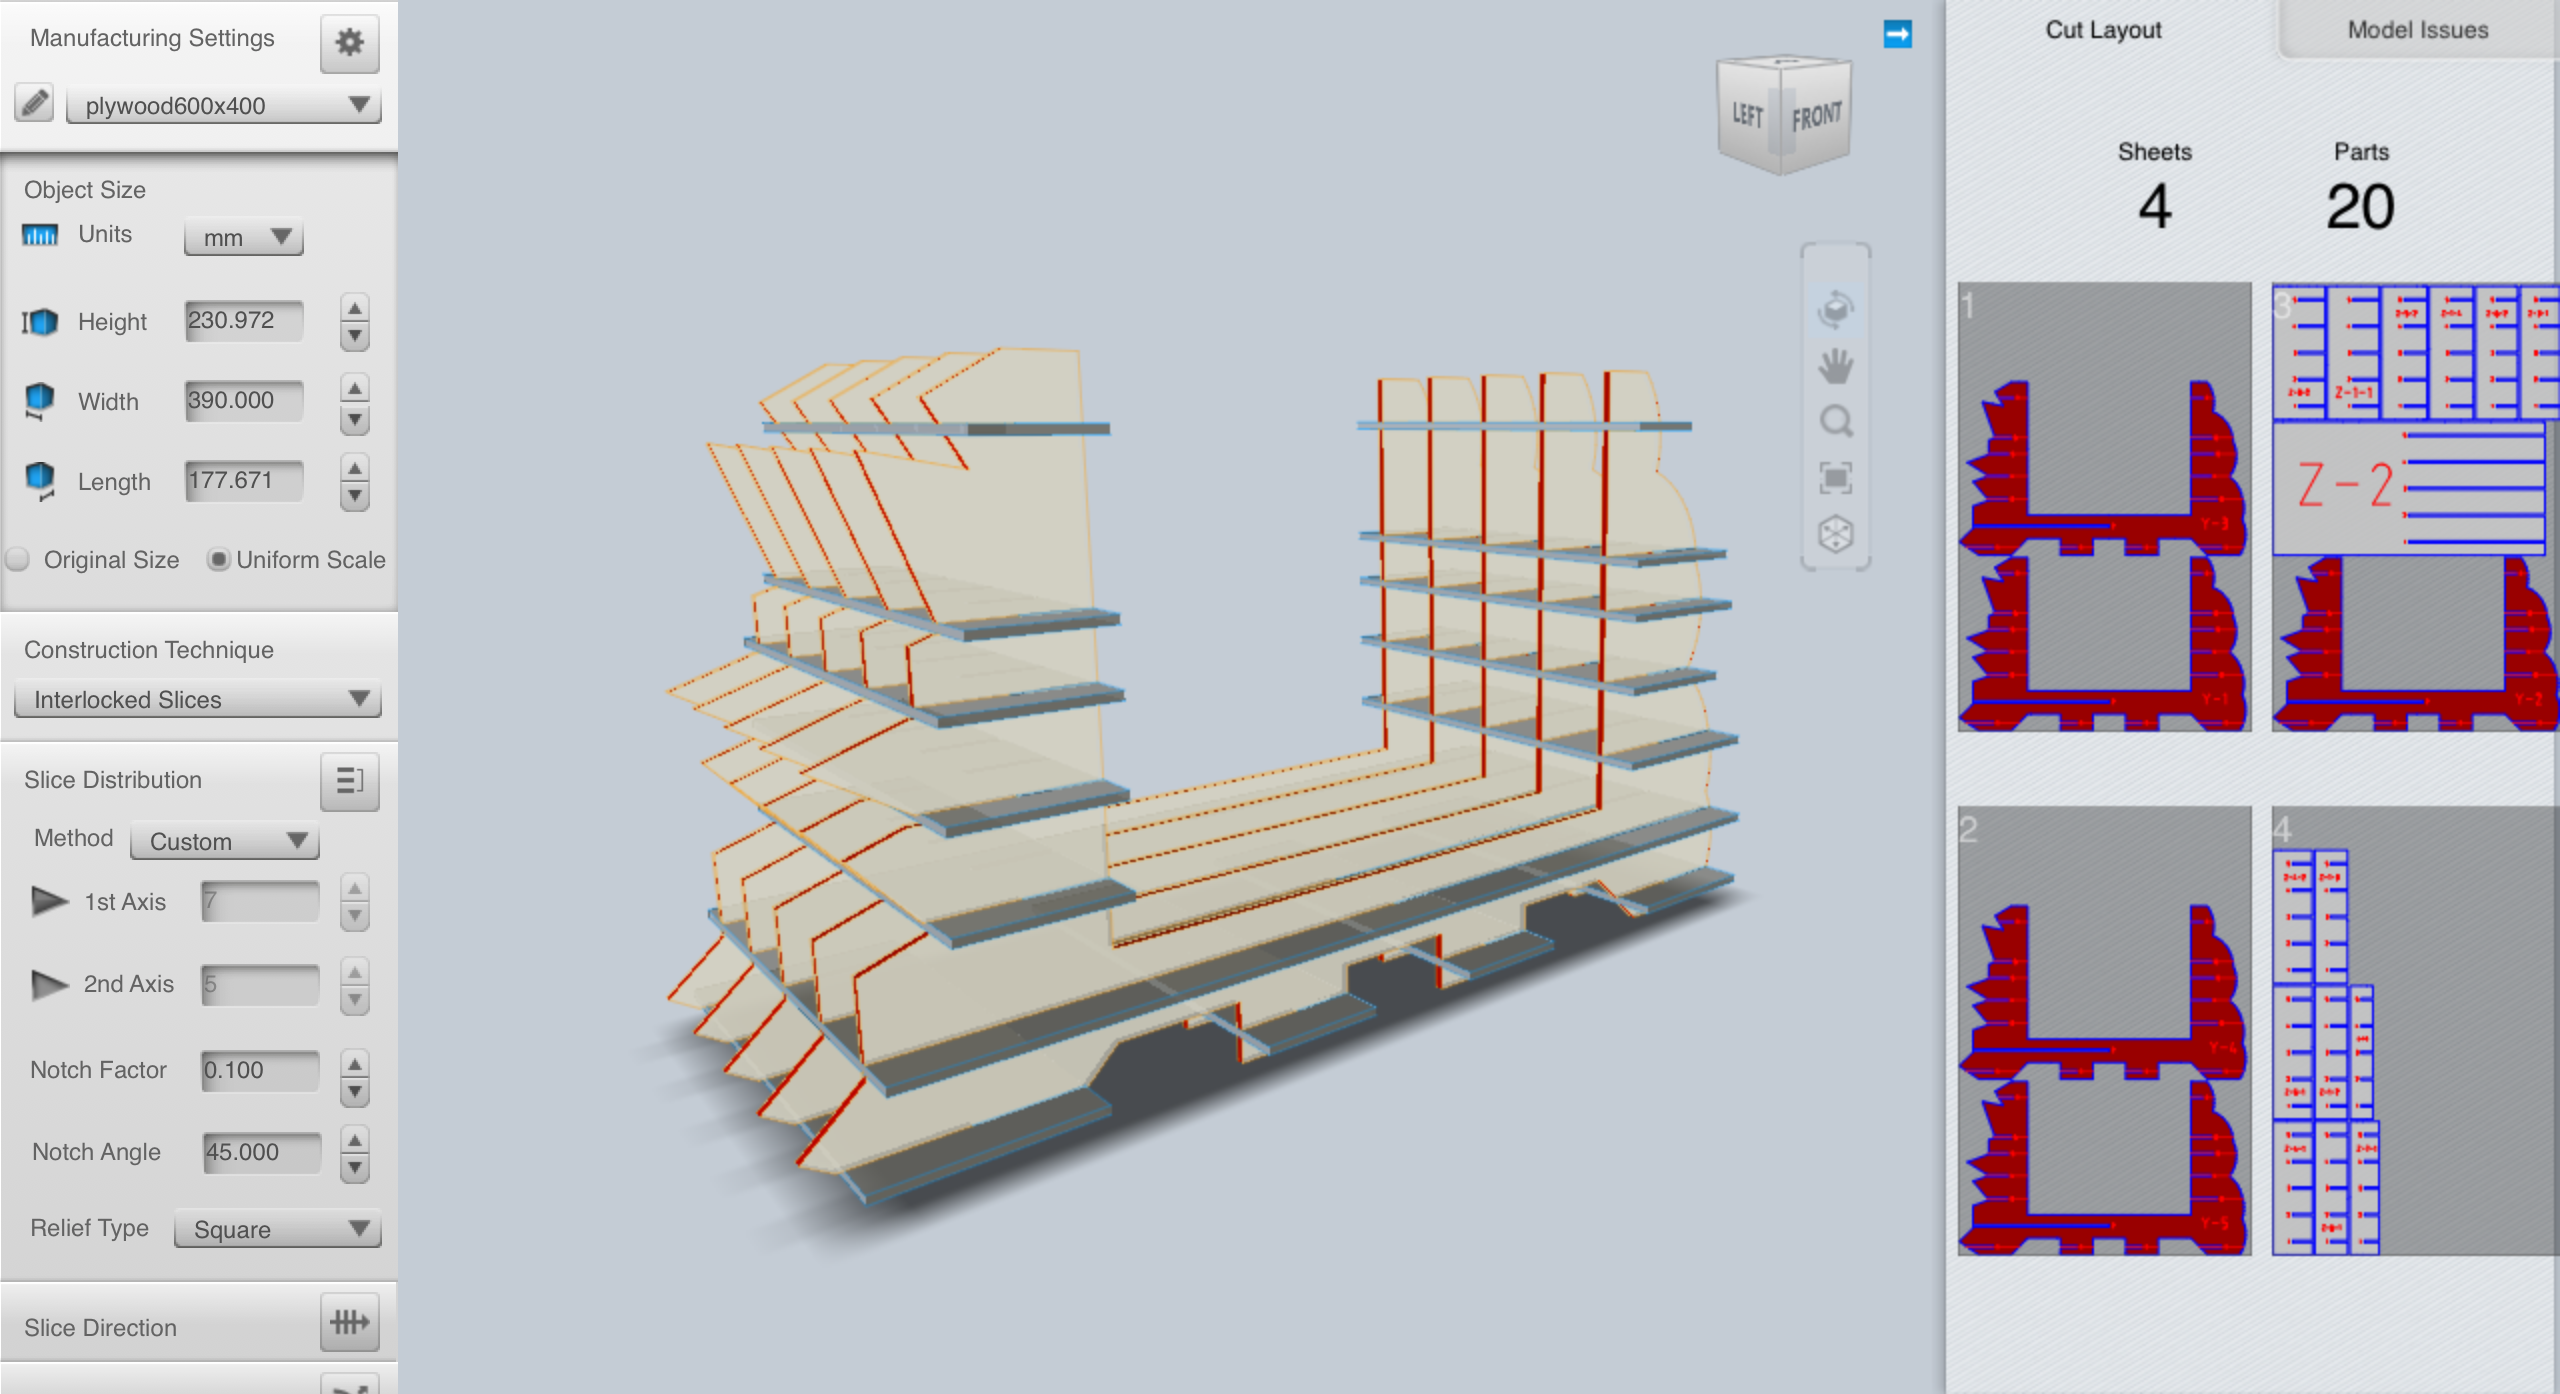
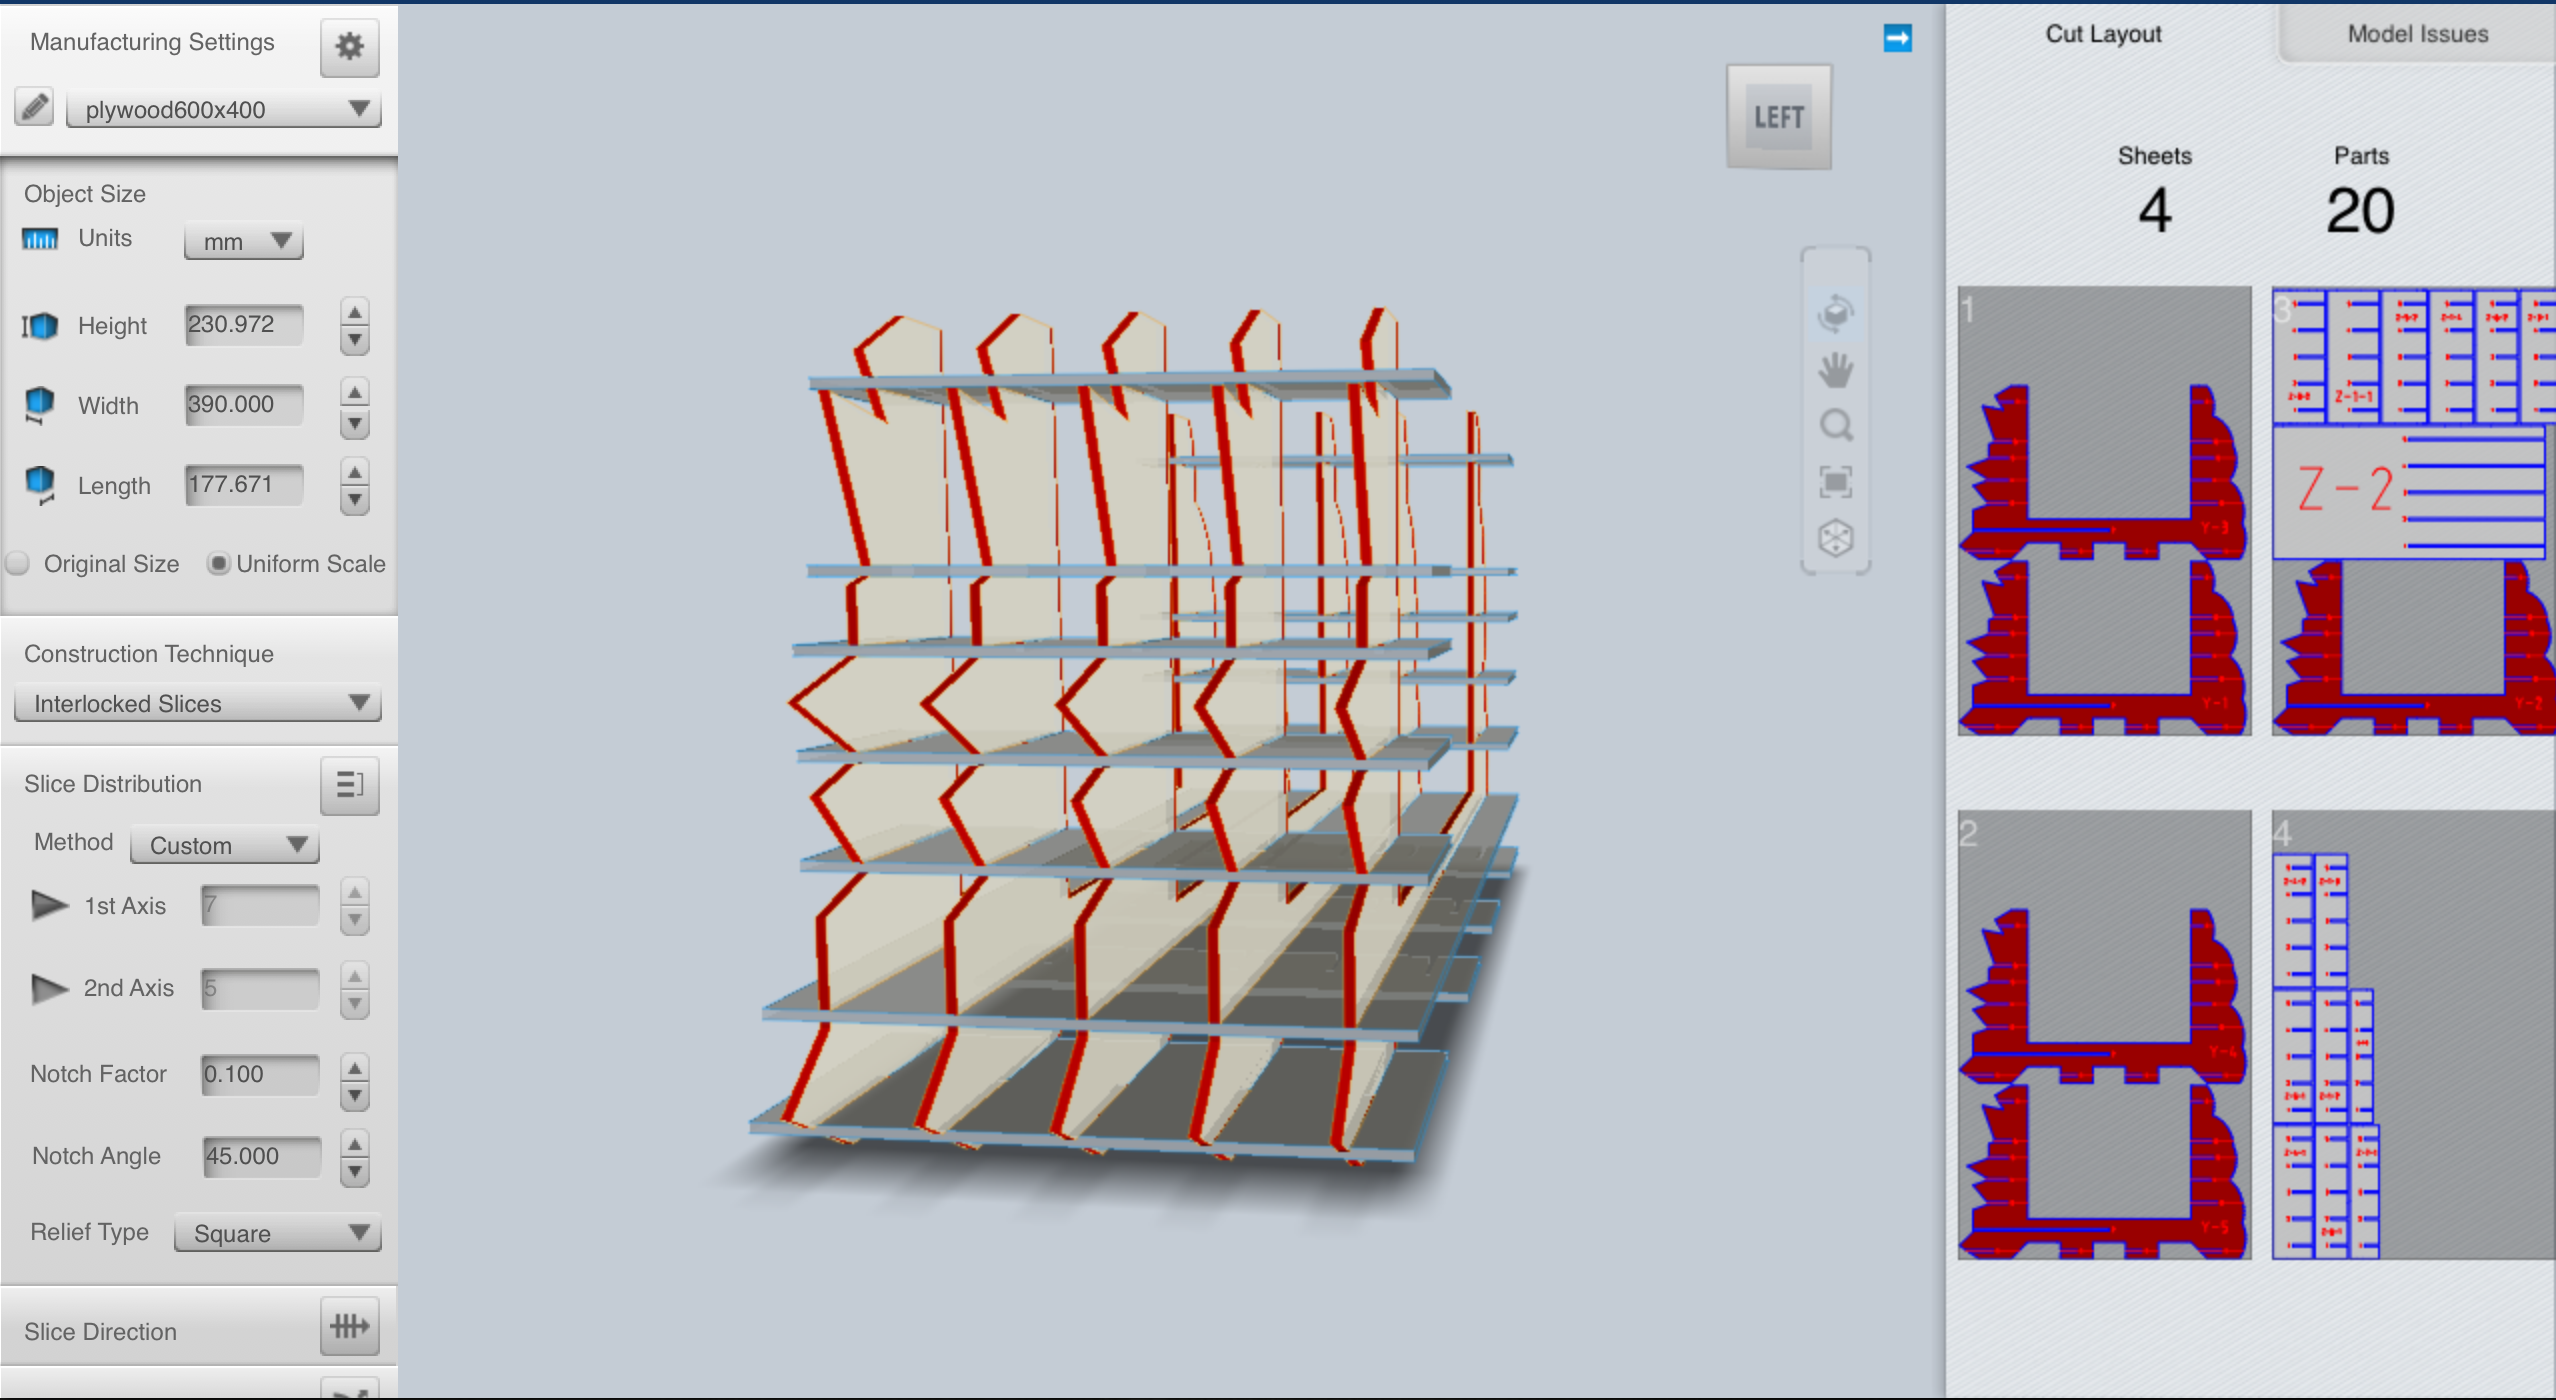
I imported the file into Slicer for Fusion 360, to start manipulating the slicing settings for the final .ai file.
I chose to keep it simple by having only five vertical pieces and seven horizontal ones. I then rearranged them to match both an aesthetically pleasing position and some functional requirements to avoid further issues (such as too thin parts that could easily brake later on).
I set the sheet dimensions and settings to the corrected ones (600x400x3mm in this case) matching the dimensions of the plywood sheets I wanted to use.
I eventually obtained 4 resulting files, with all the pieces already placed in an automatically generated layout. I exported them as .eps files, that I then imported in Adobe Illustrator.
Adobe Illustrator - Final Settings
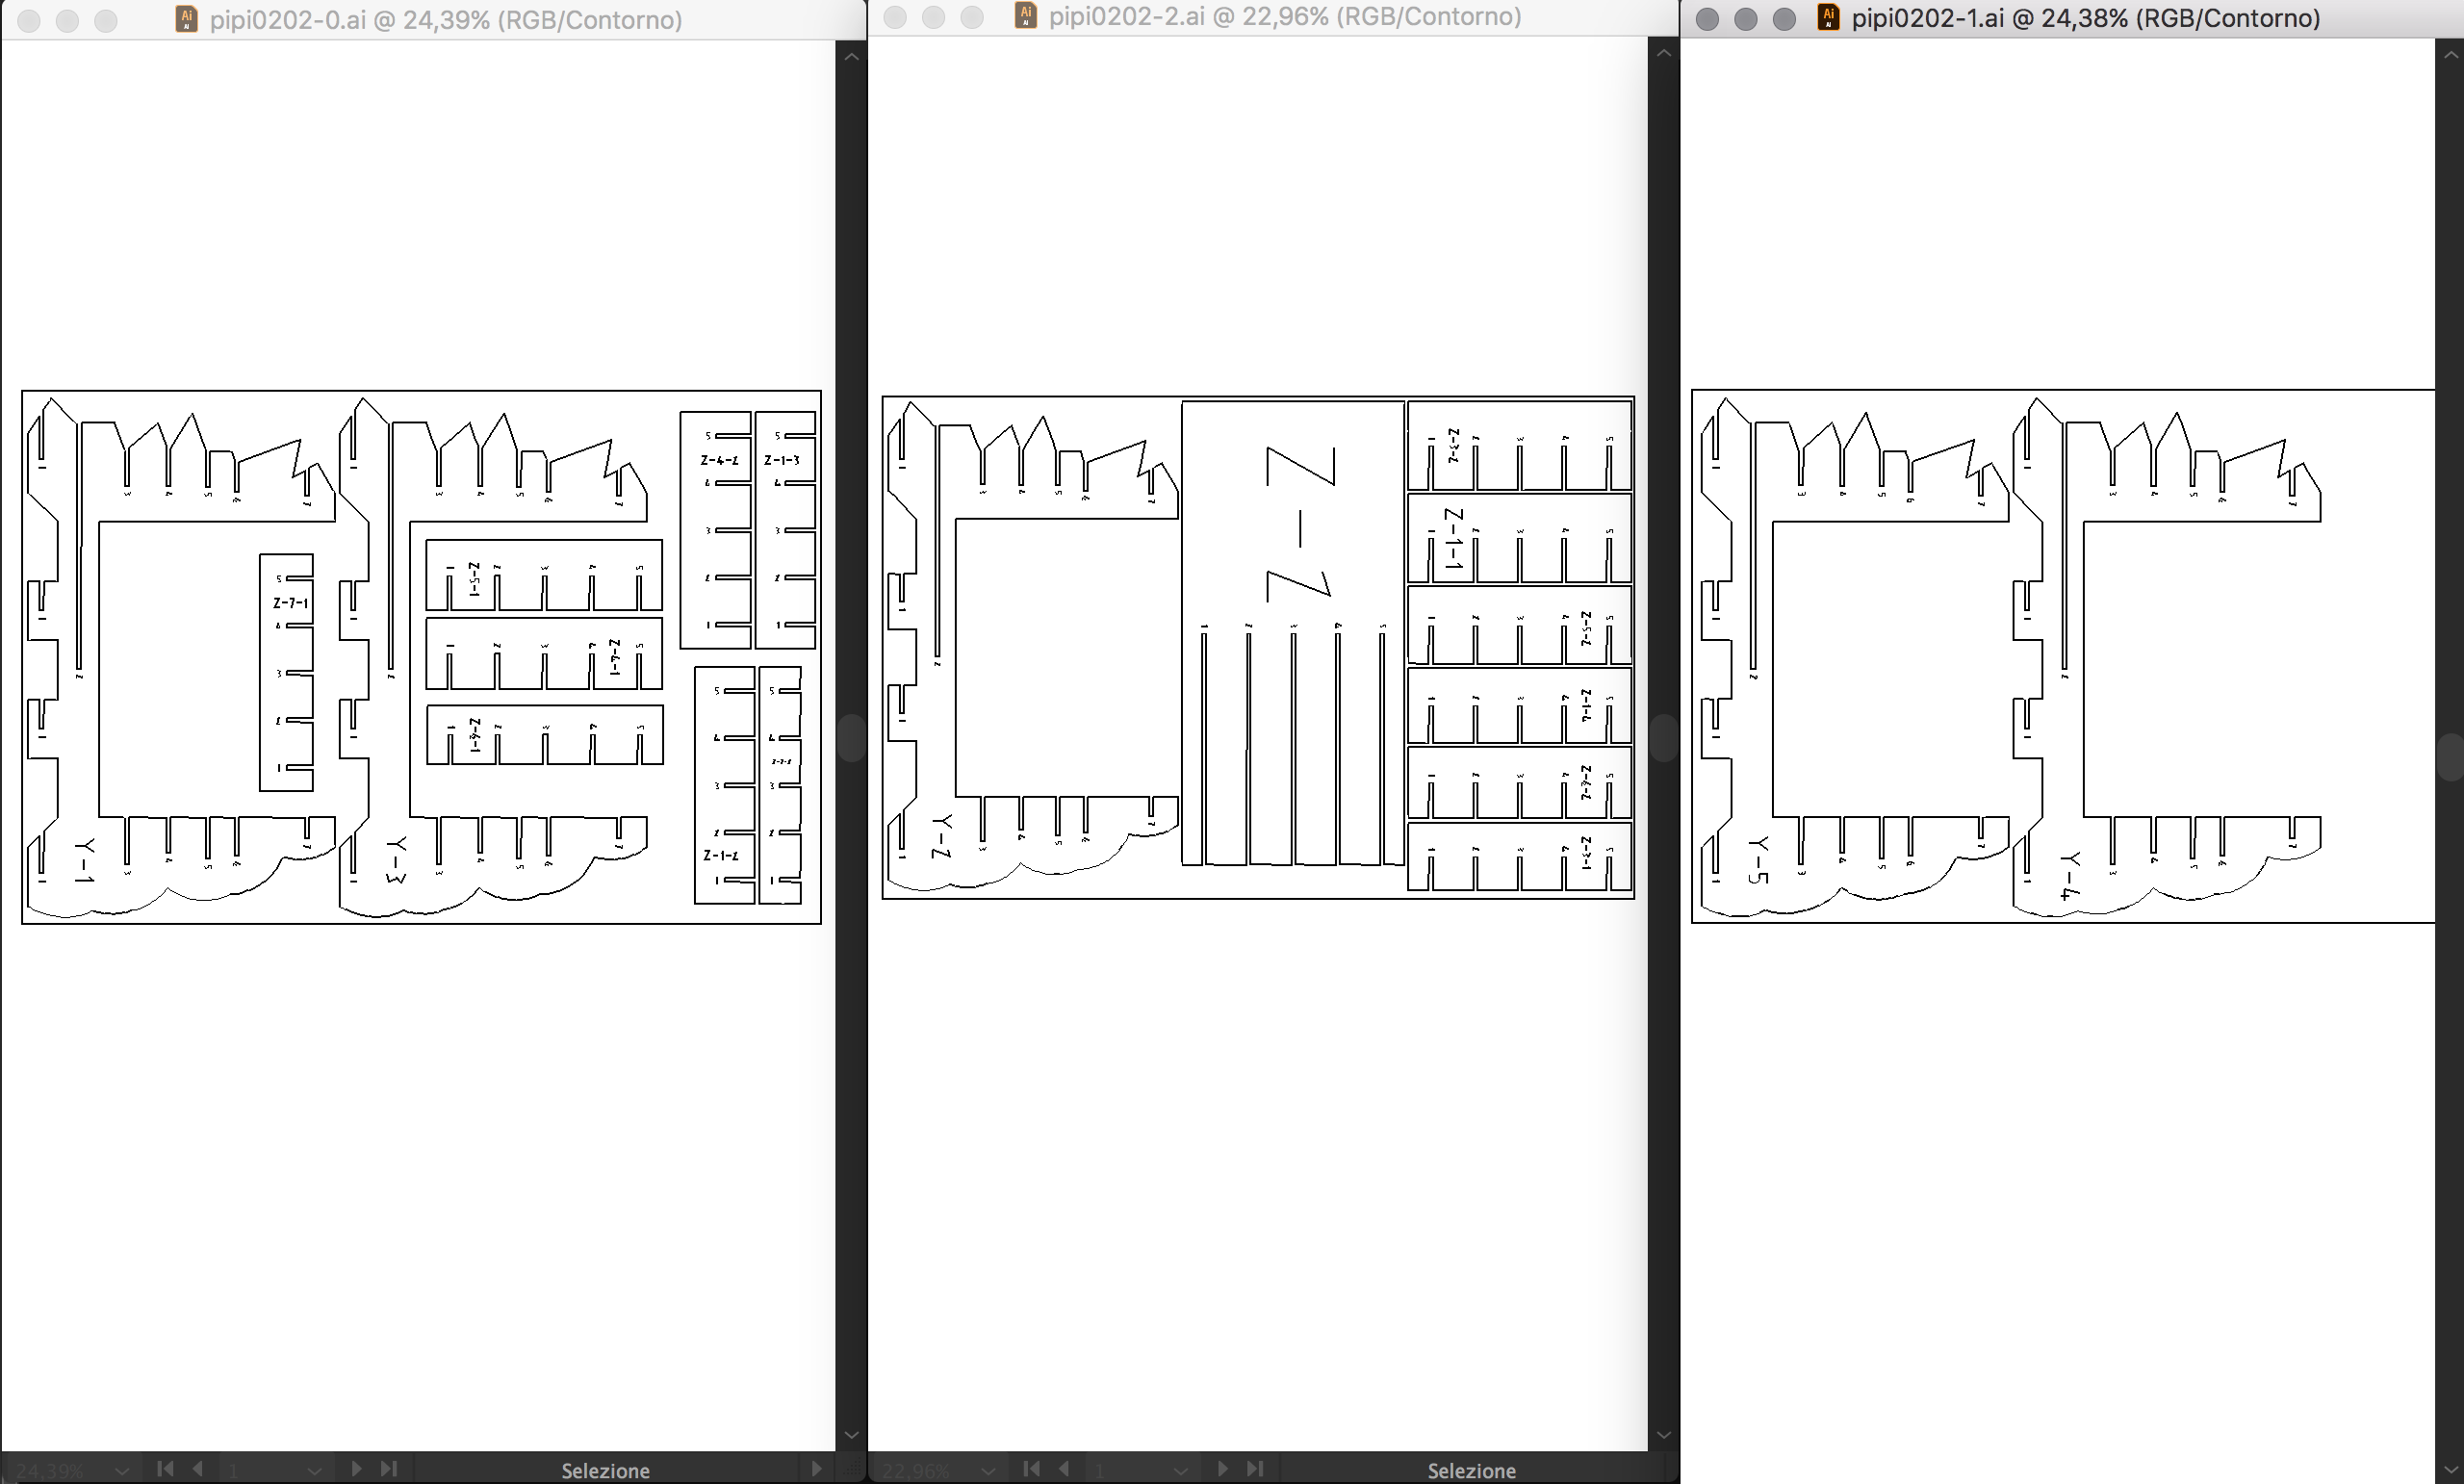
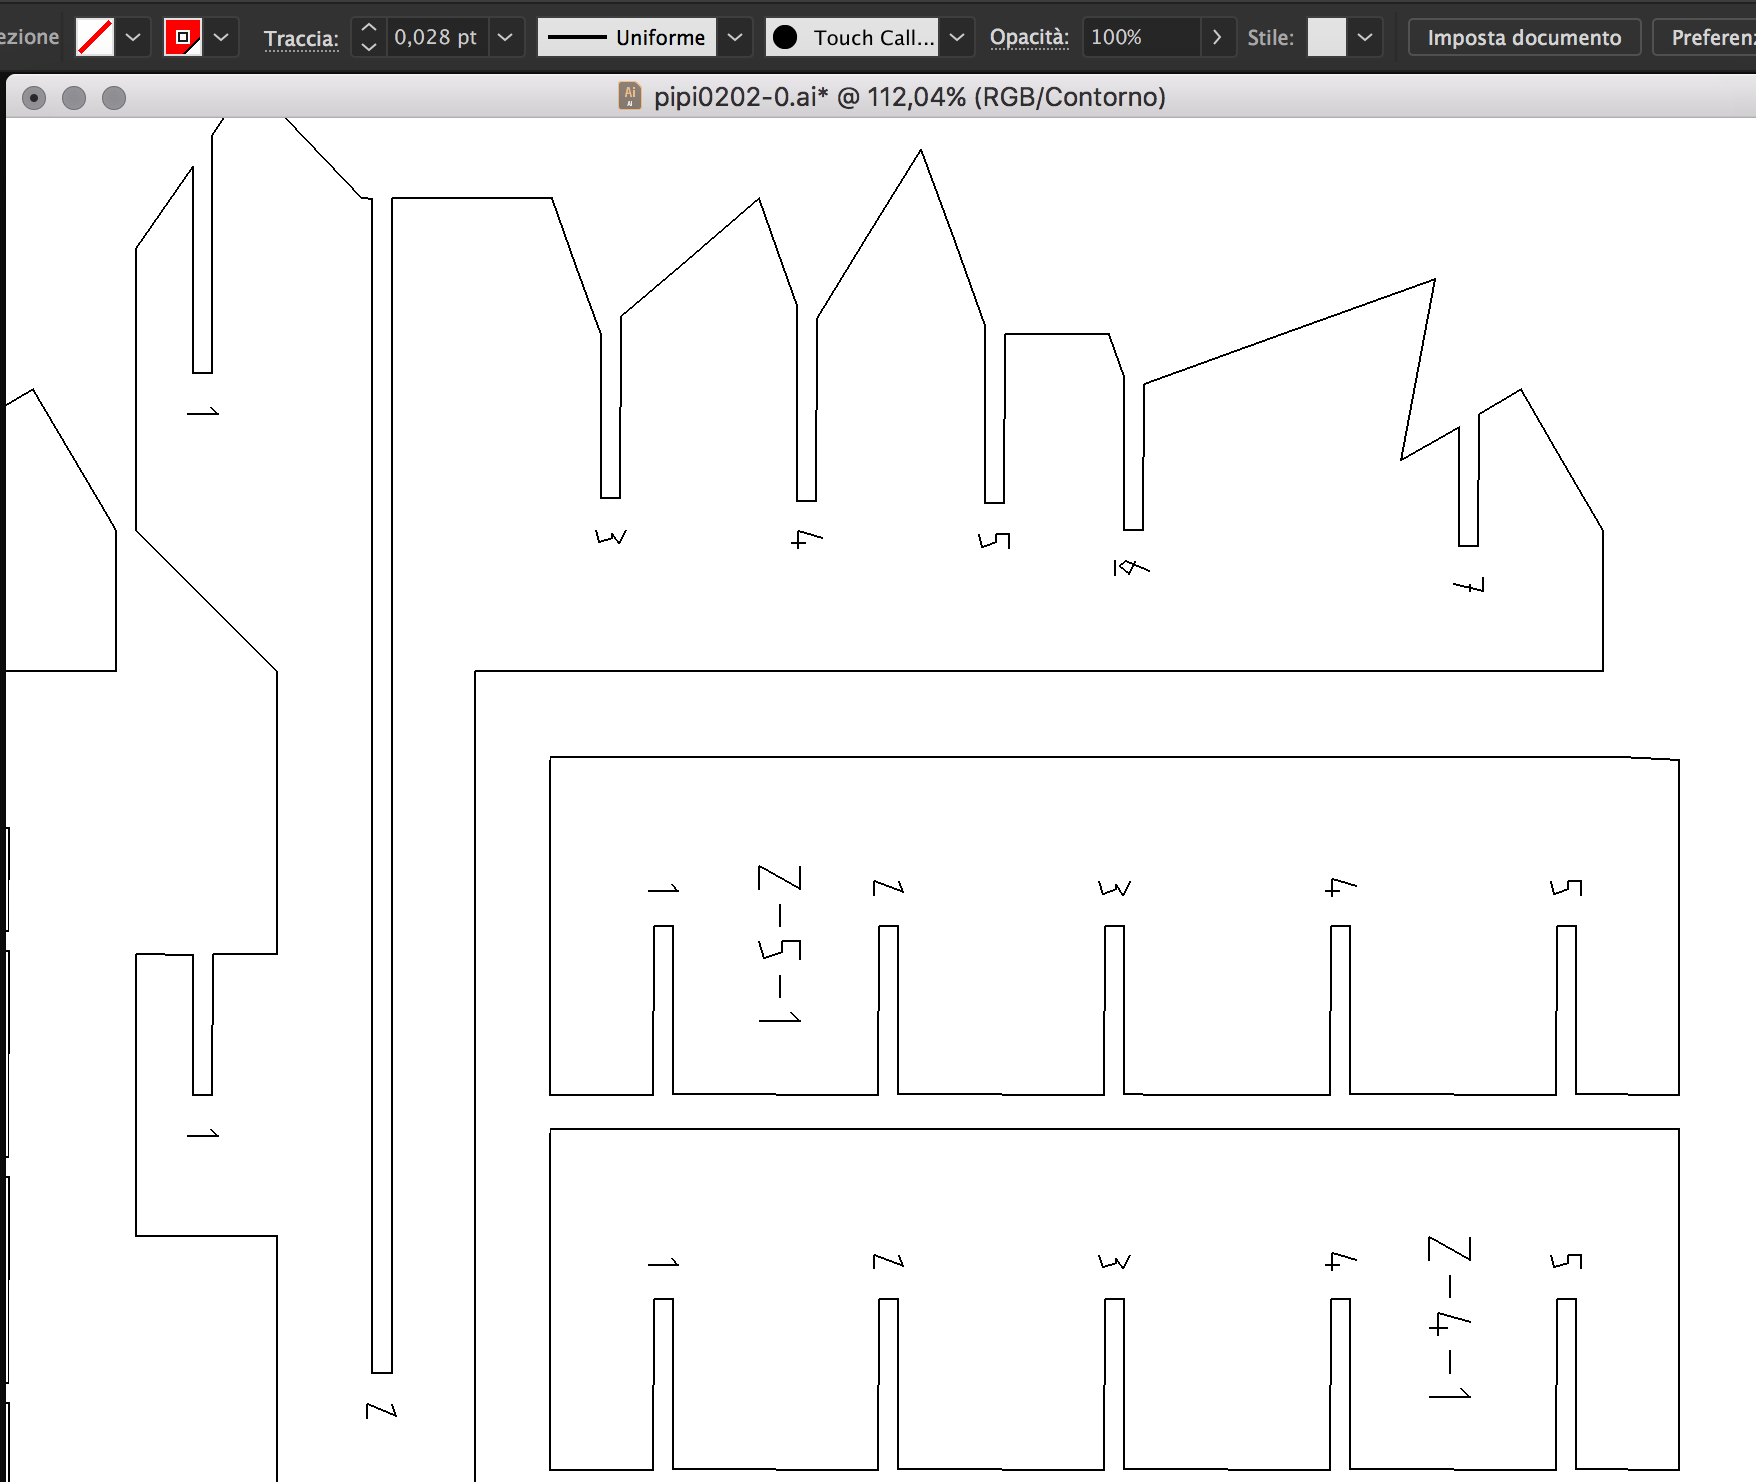
Once imported in Illustrator, I rearranged manually each vector shape so that I could save up one entire sheet of wood. I squeezed everything into three sheets by filling all the empty gaps between the bigger pieces.
I simplified the numbers' shape (that will be engraved on the surface and act as reference points to build the object) to more angular lines to make the process faster (Object > Path > Simplify).
Line appearance and thickness had to match the laser cutter's requirements:
- Cut lines: red (RGB 255, 0, 0), thickness 0,01mm
- Engraving: blue (RGB 0, 0, 255), thickness 0,01mm
This way the file was ready to be read by the laser cutter's software as an .ai file.
Laser Cutter #1 - Test
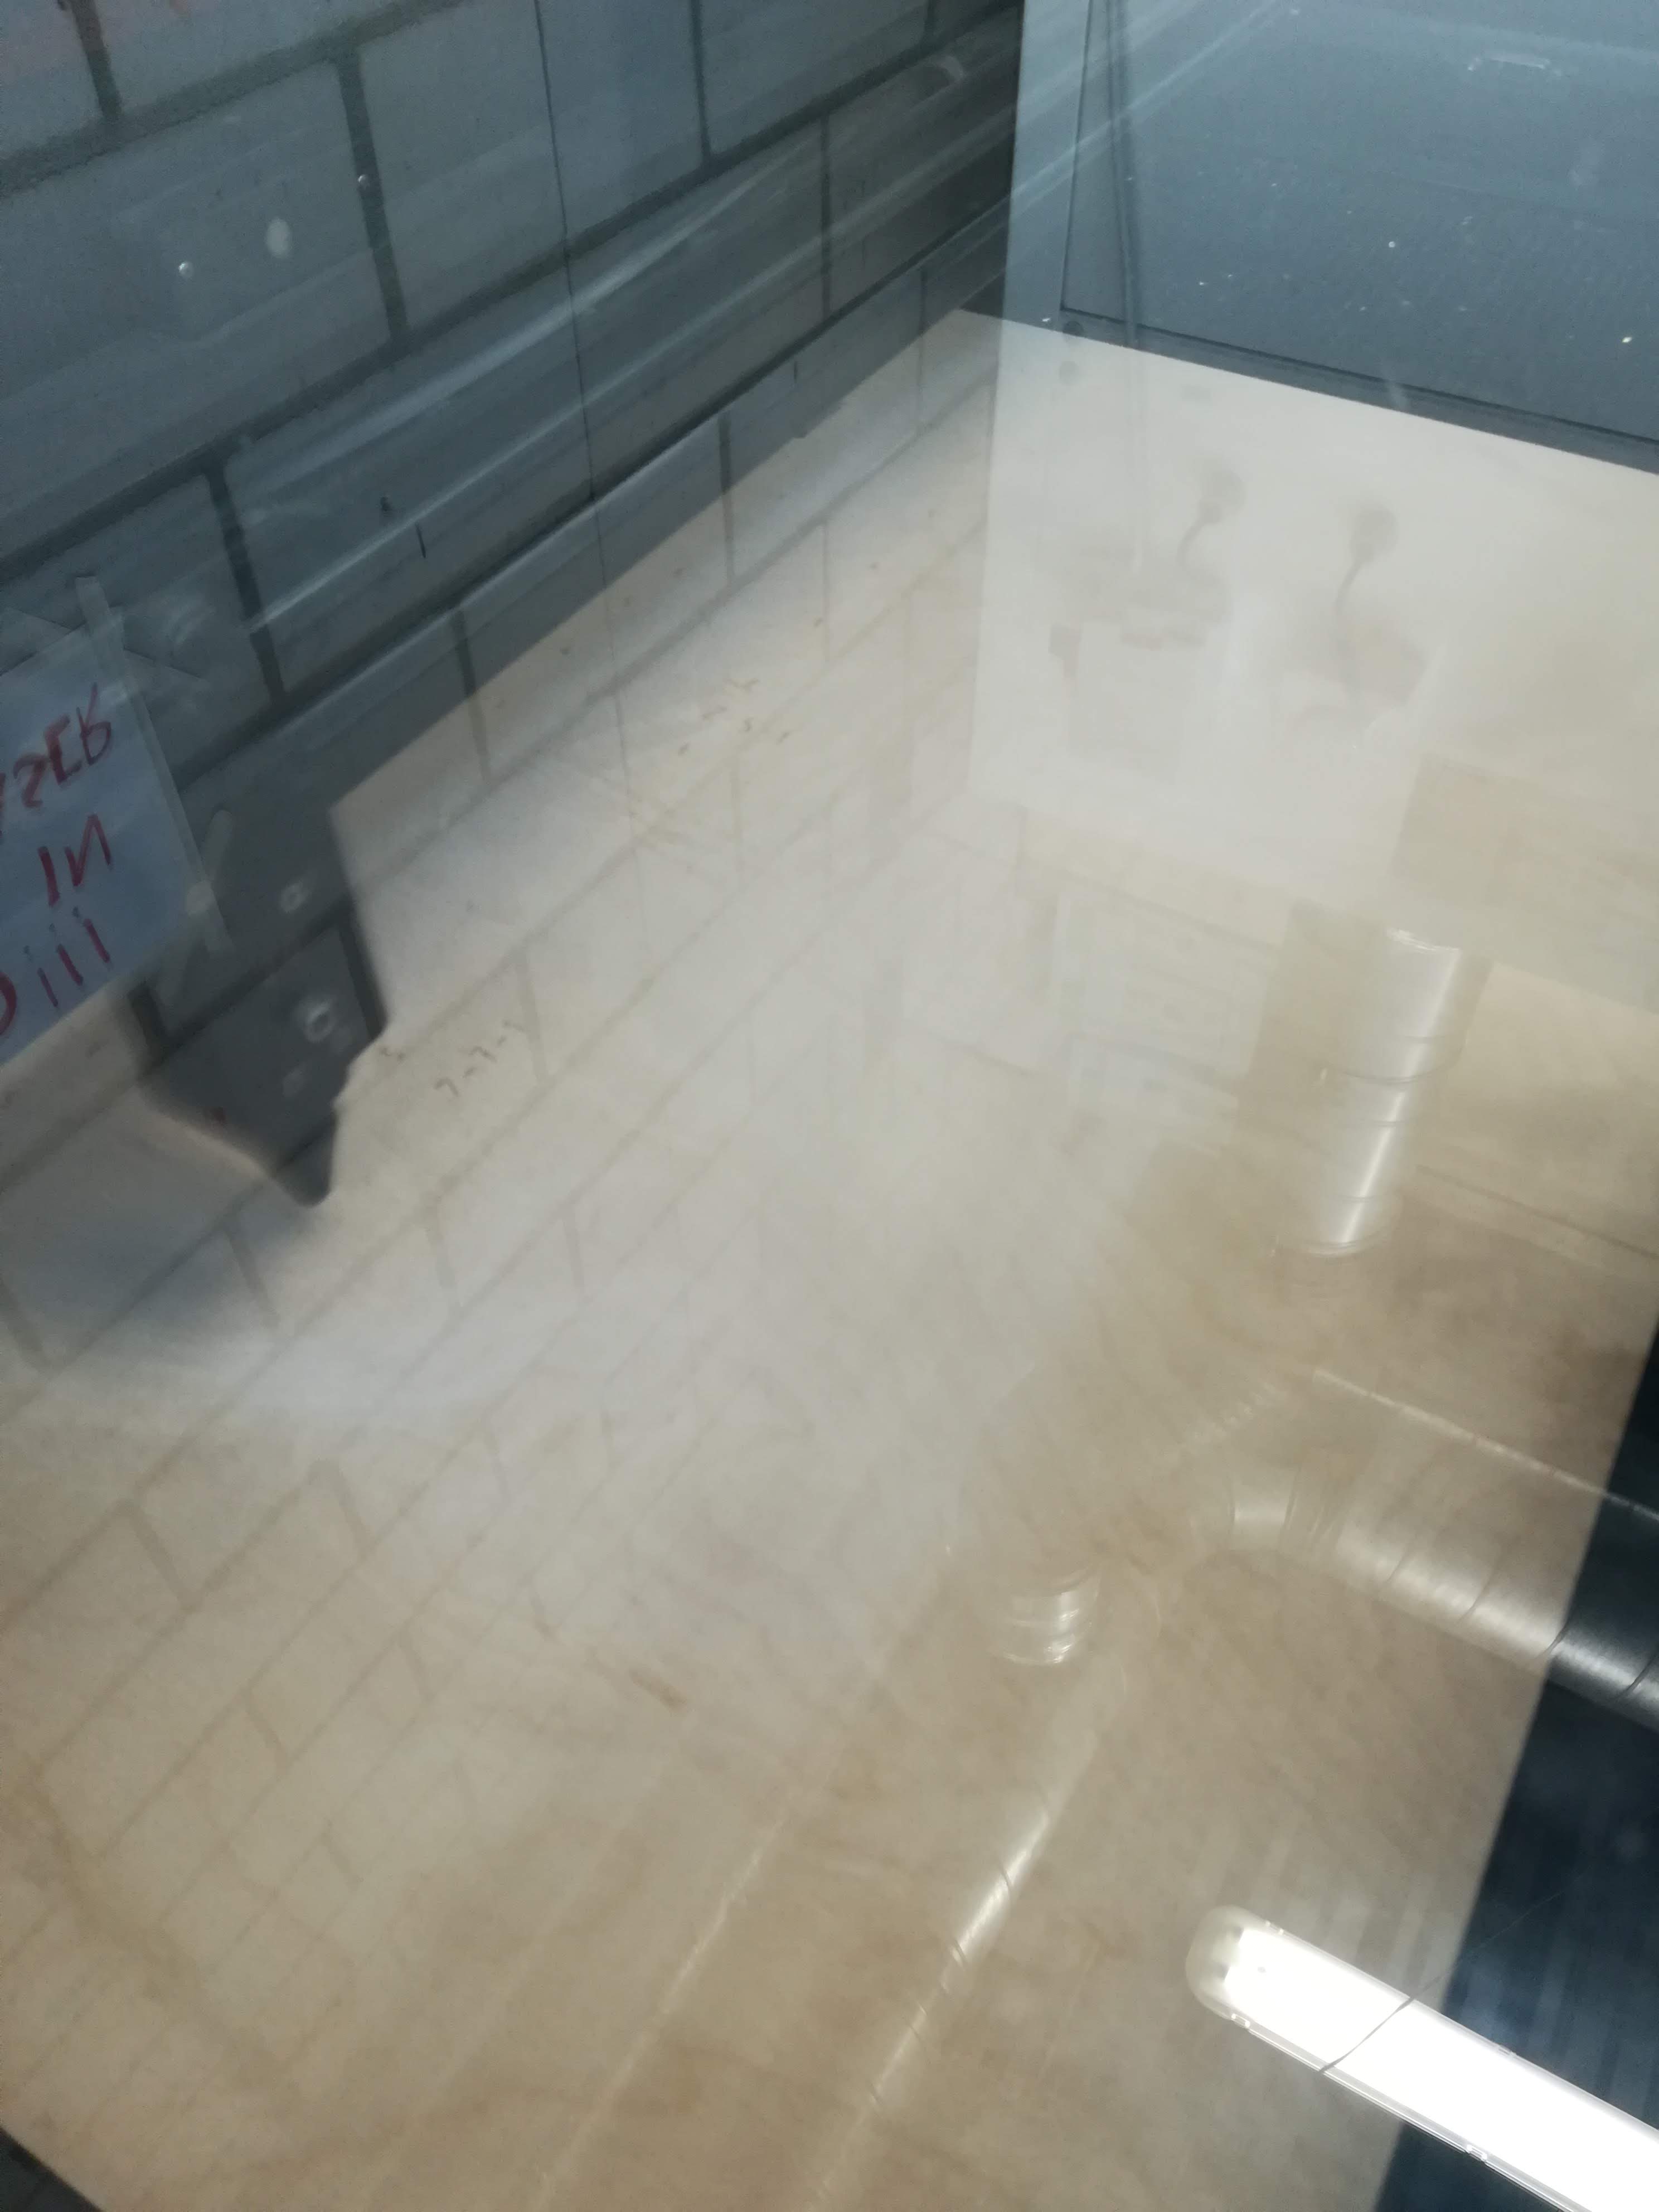
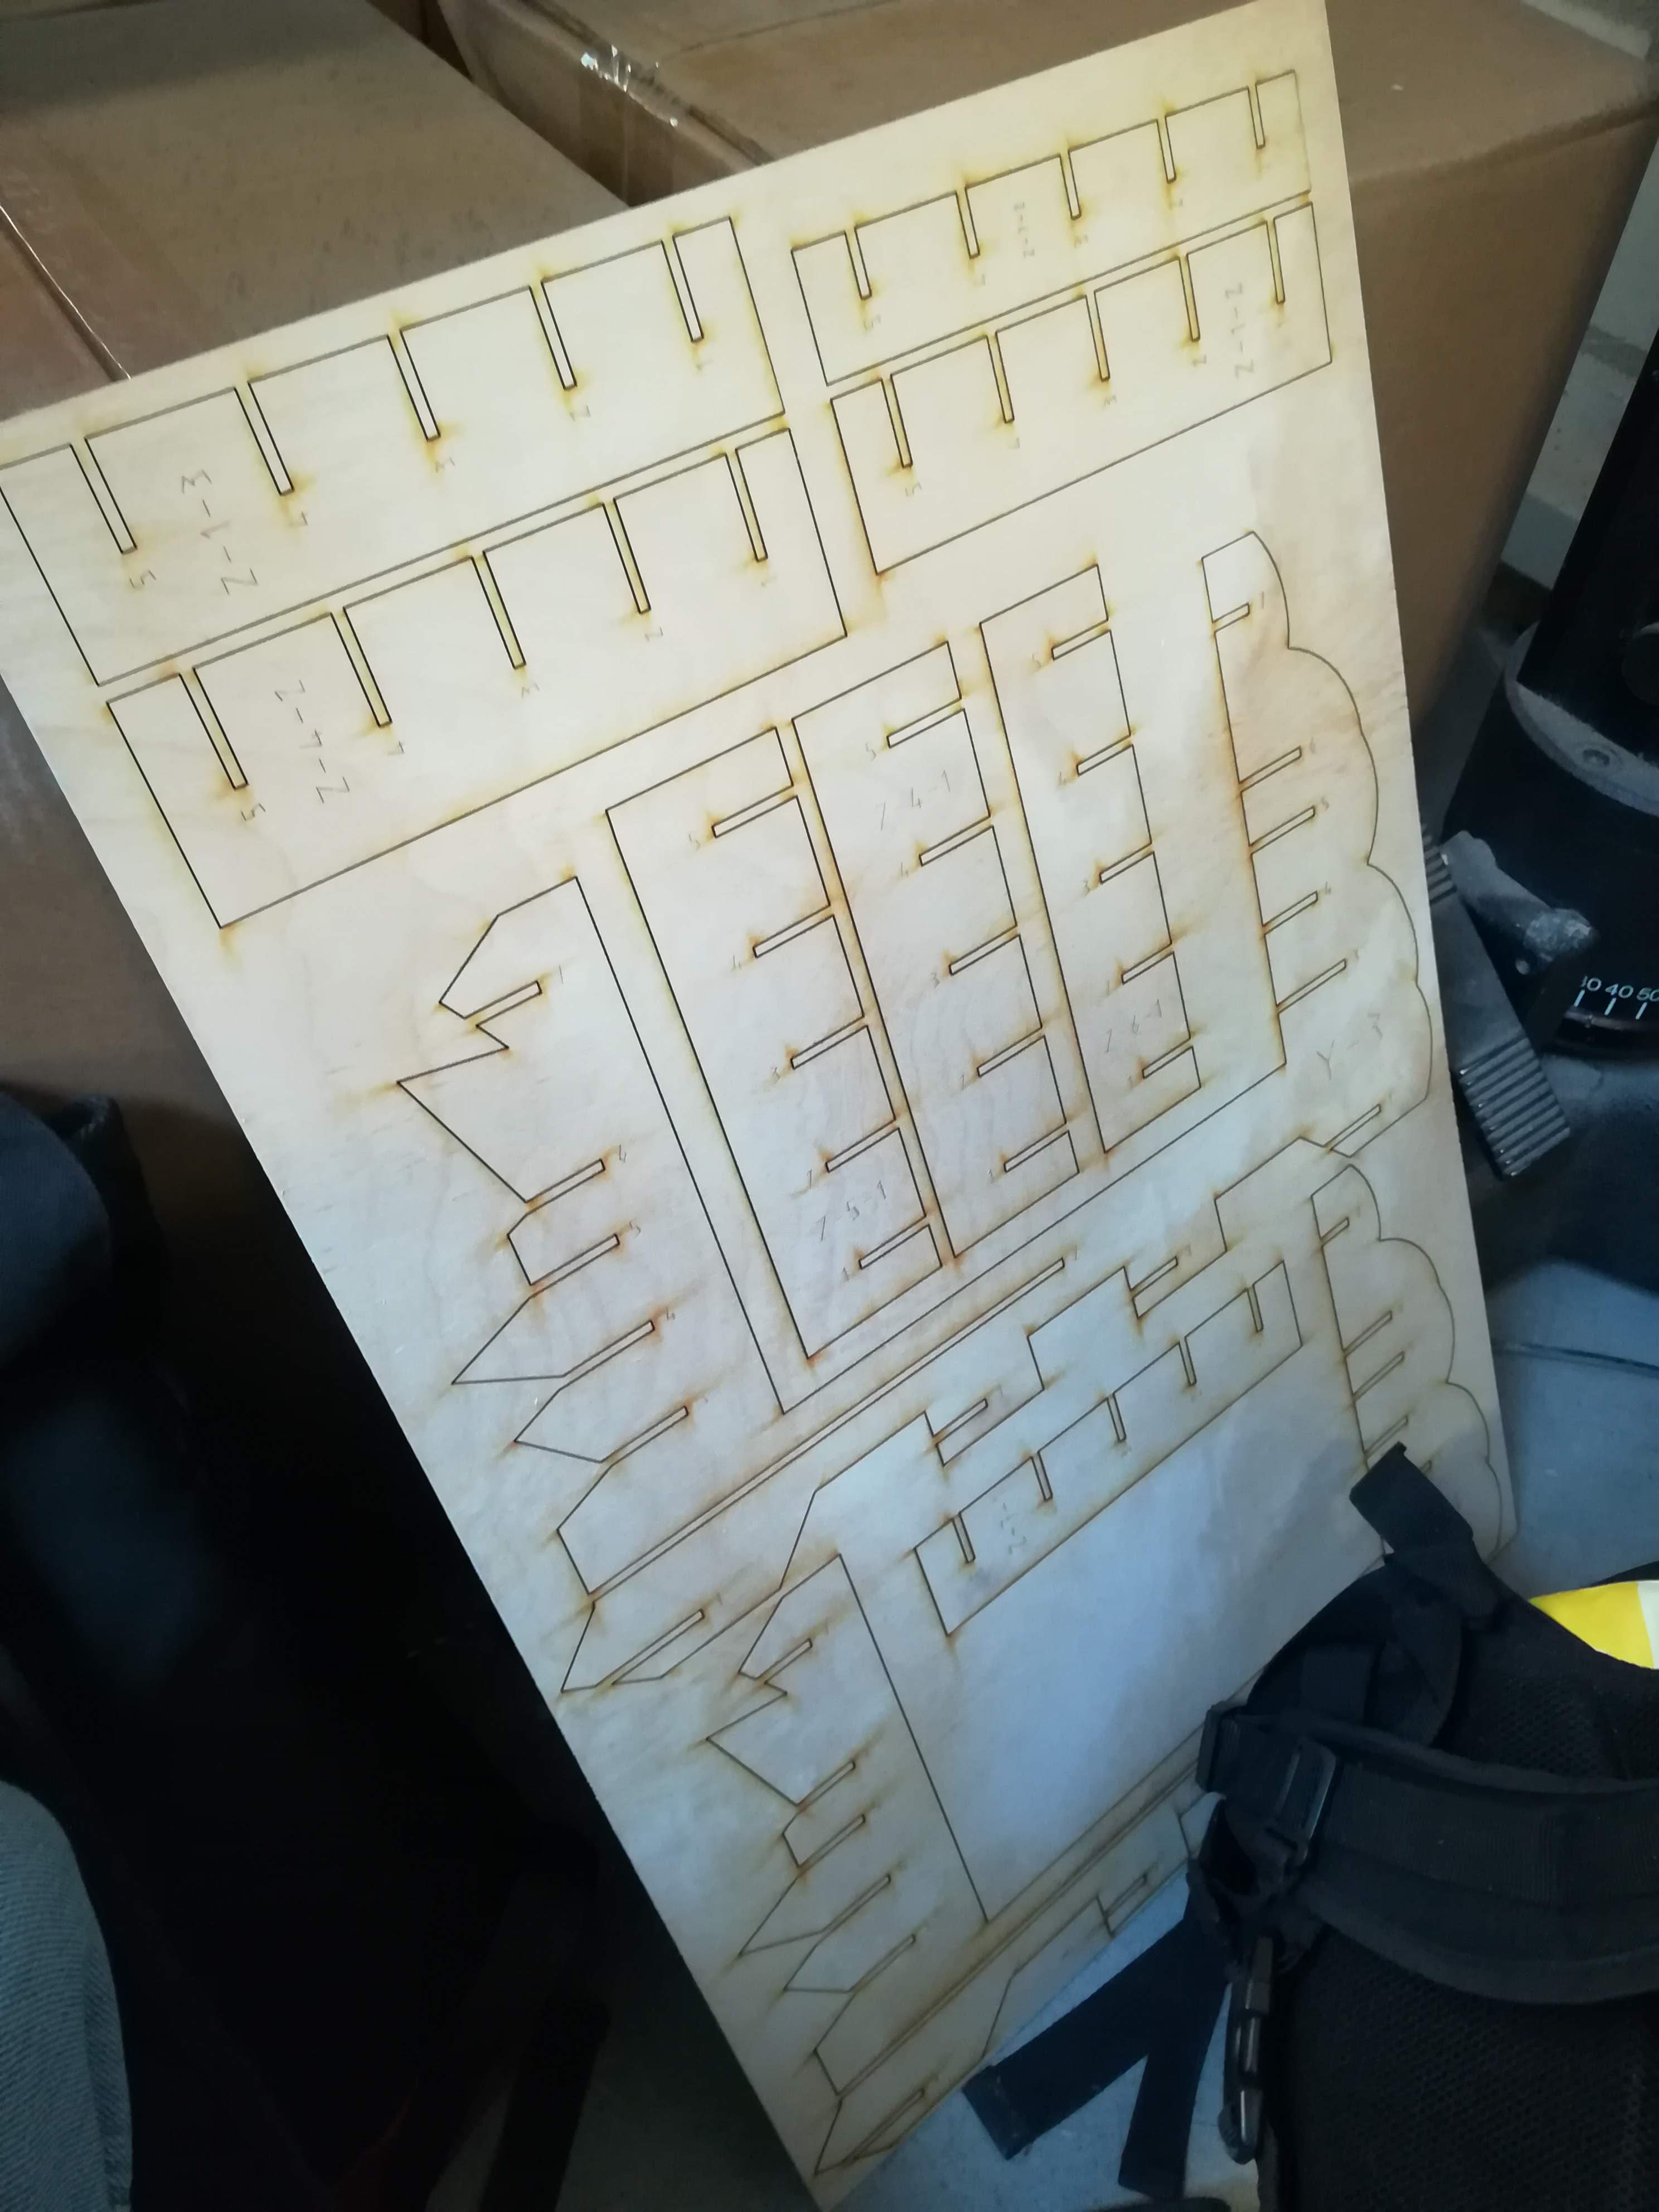
I firstly ran a test to check if the software's settings were good, and at this point I did two mistakes.
- I did not increase the laser's power enough, so all the cutting lines did not get through the material. Therefore I was not able to take the pieces off the sheet.
- I tested the hole .ai file despite I could have just tried a smaller single piece of it. I had to throw away an entire plywood sheet due to this.
Laser Cutter #2
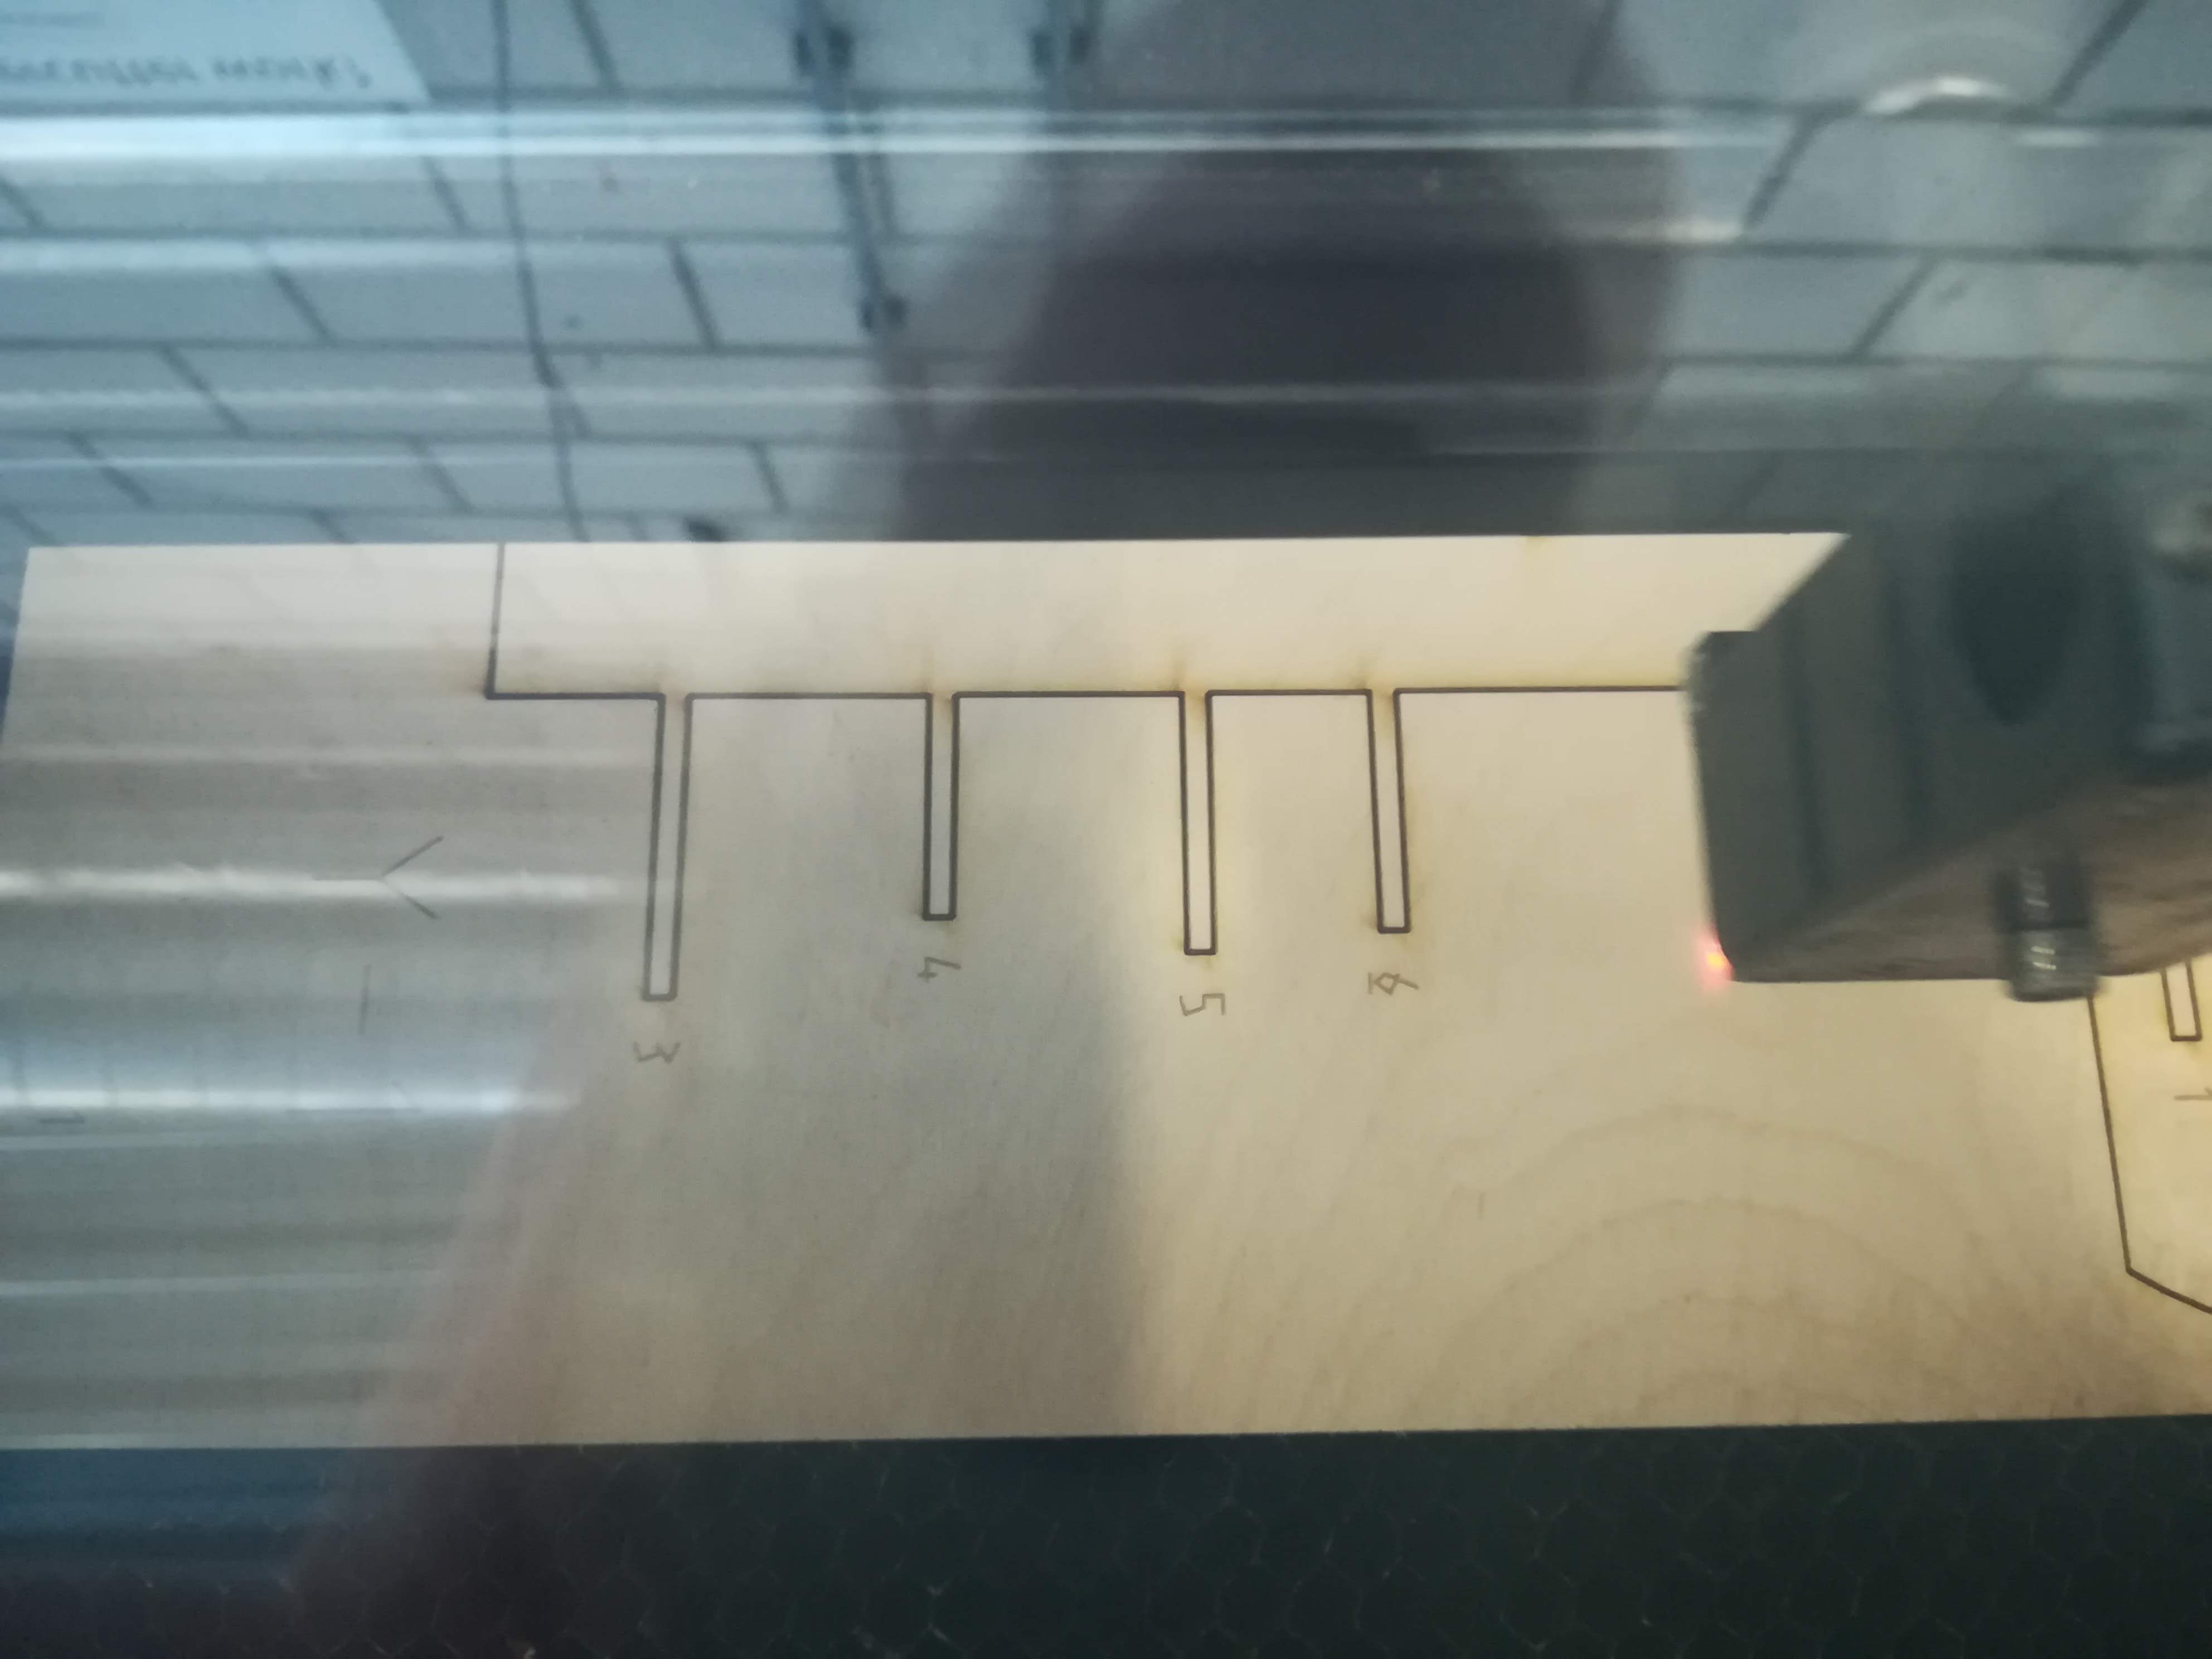
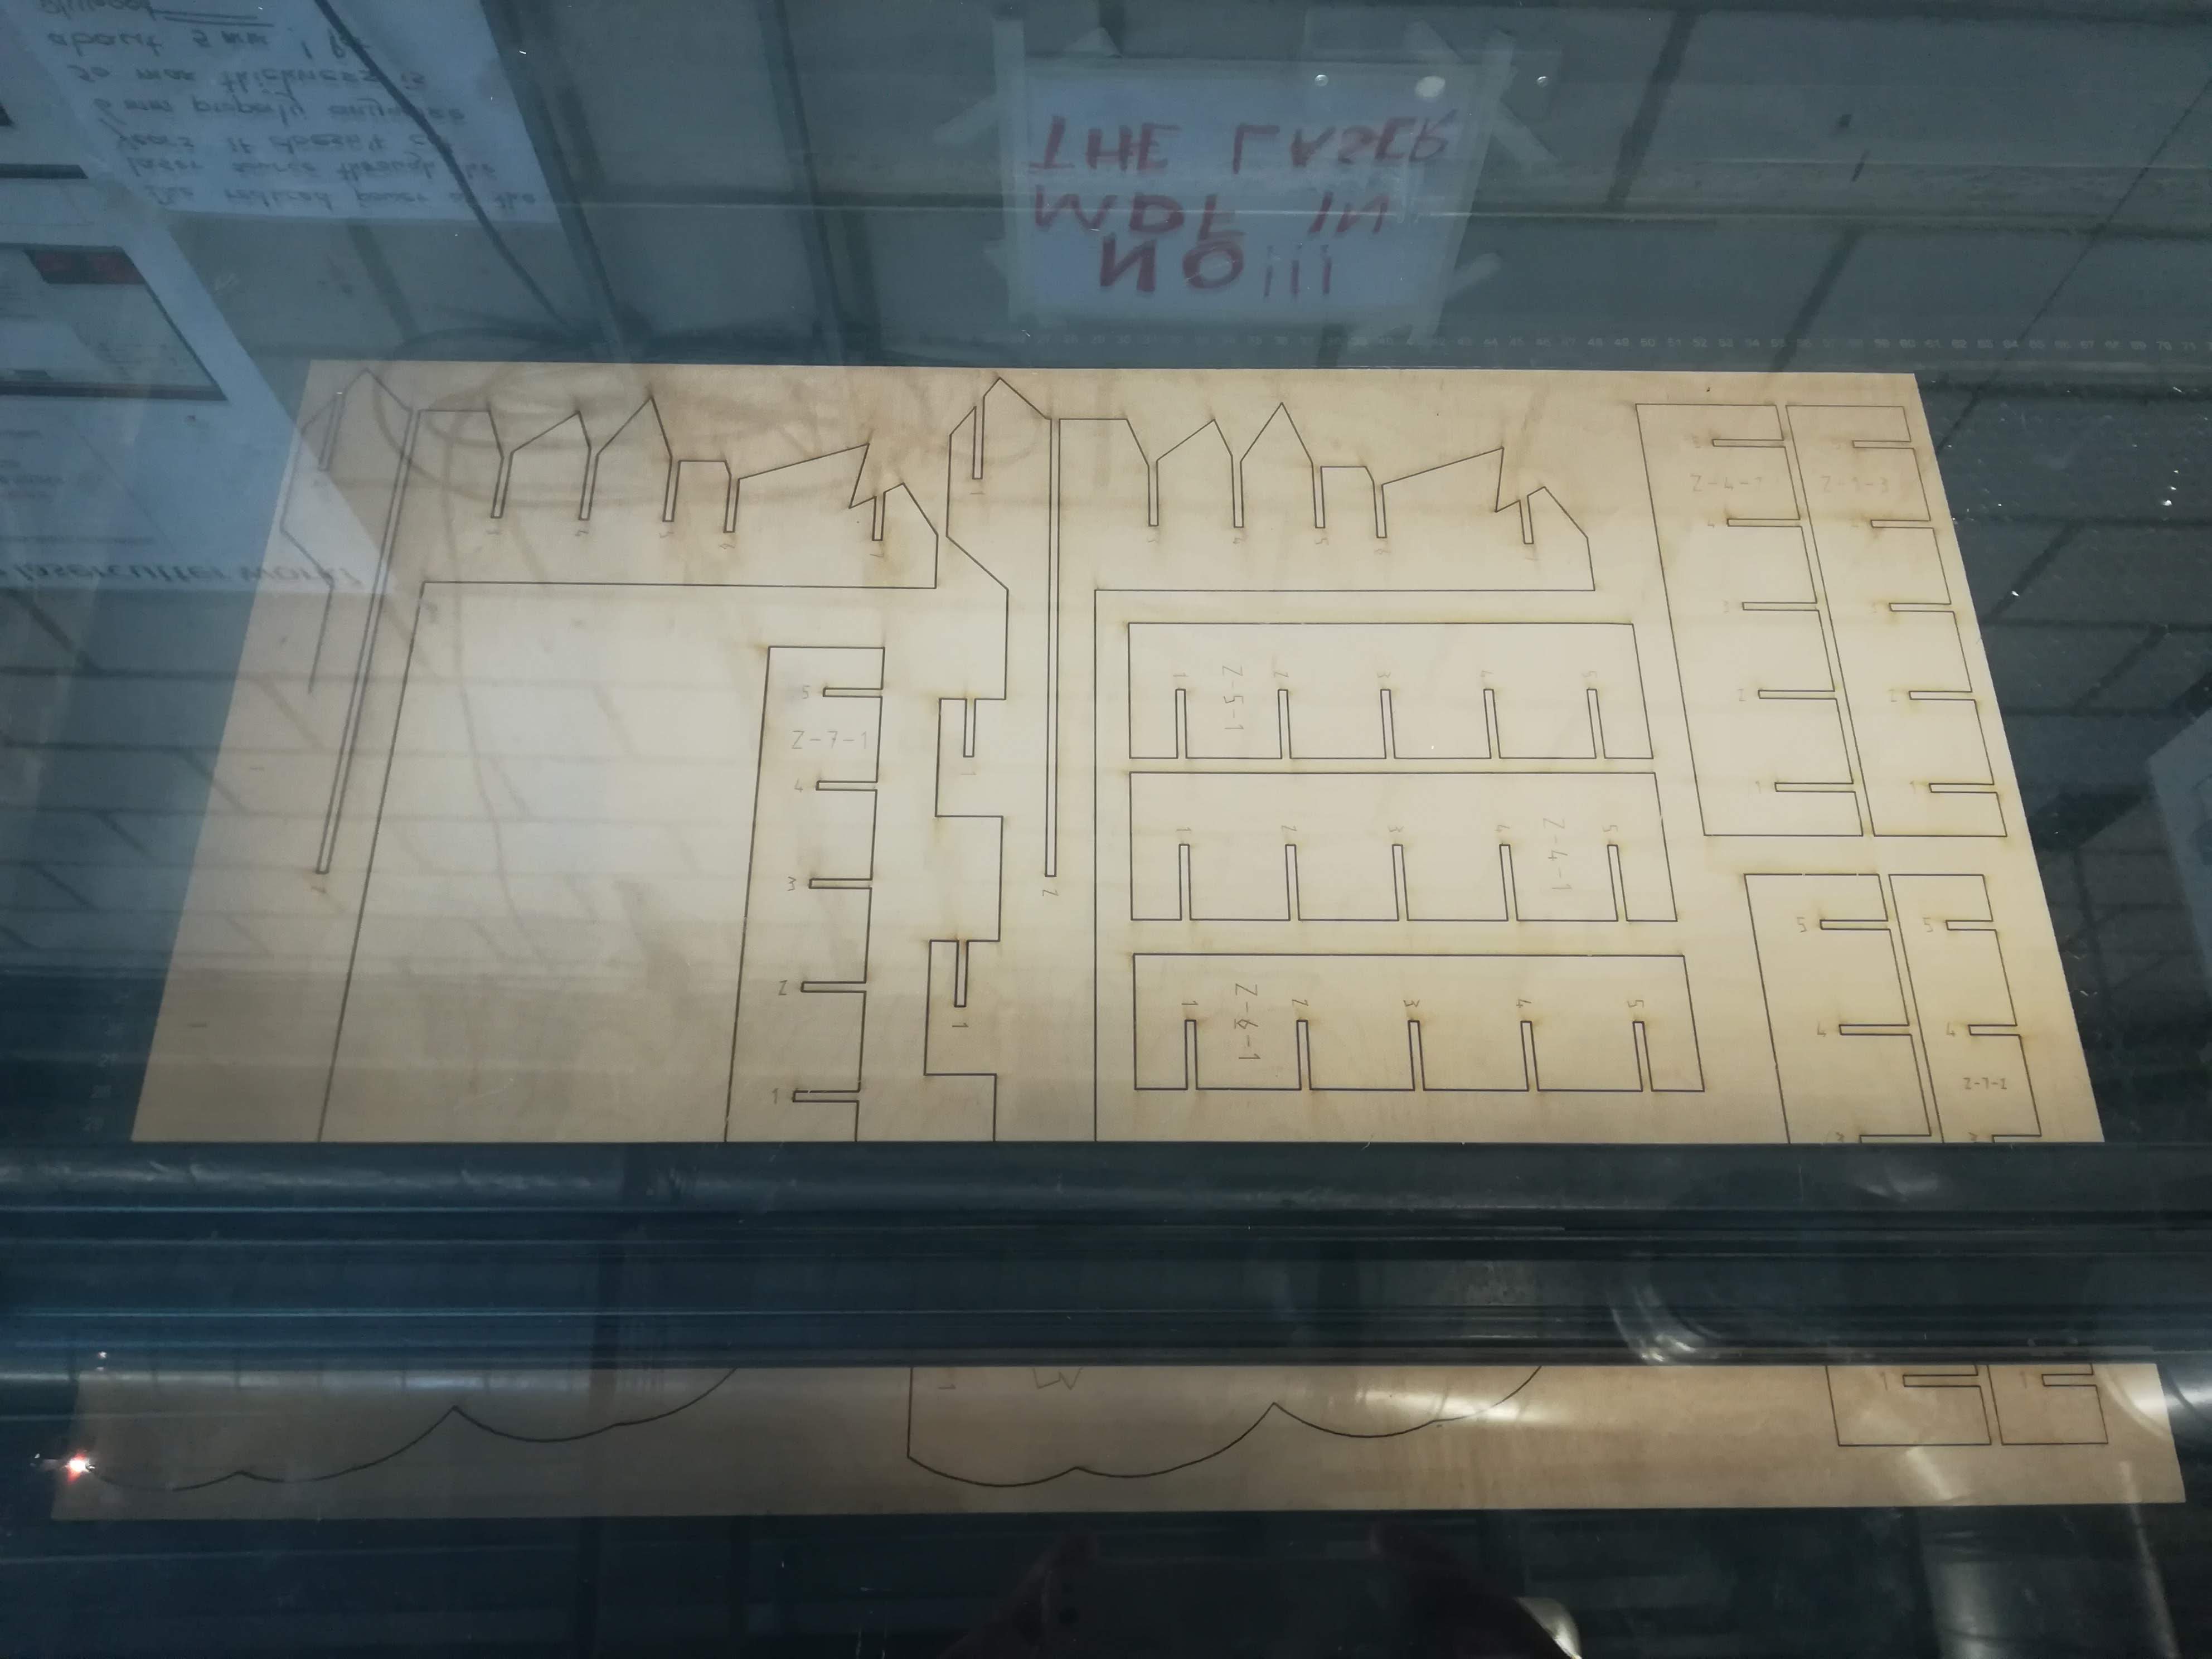
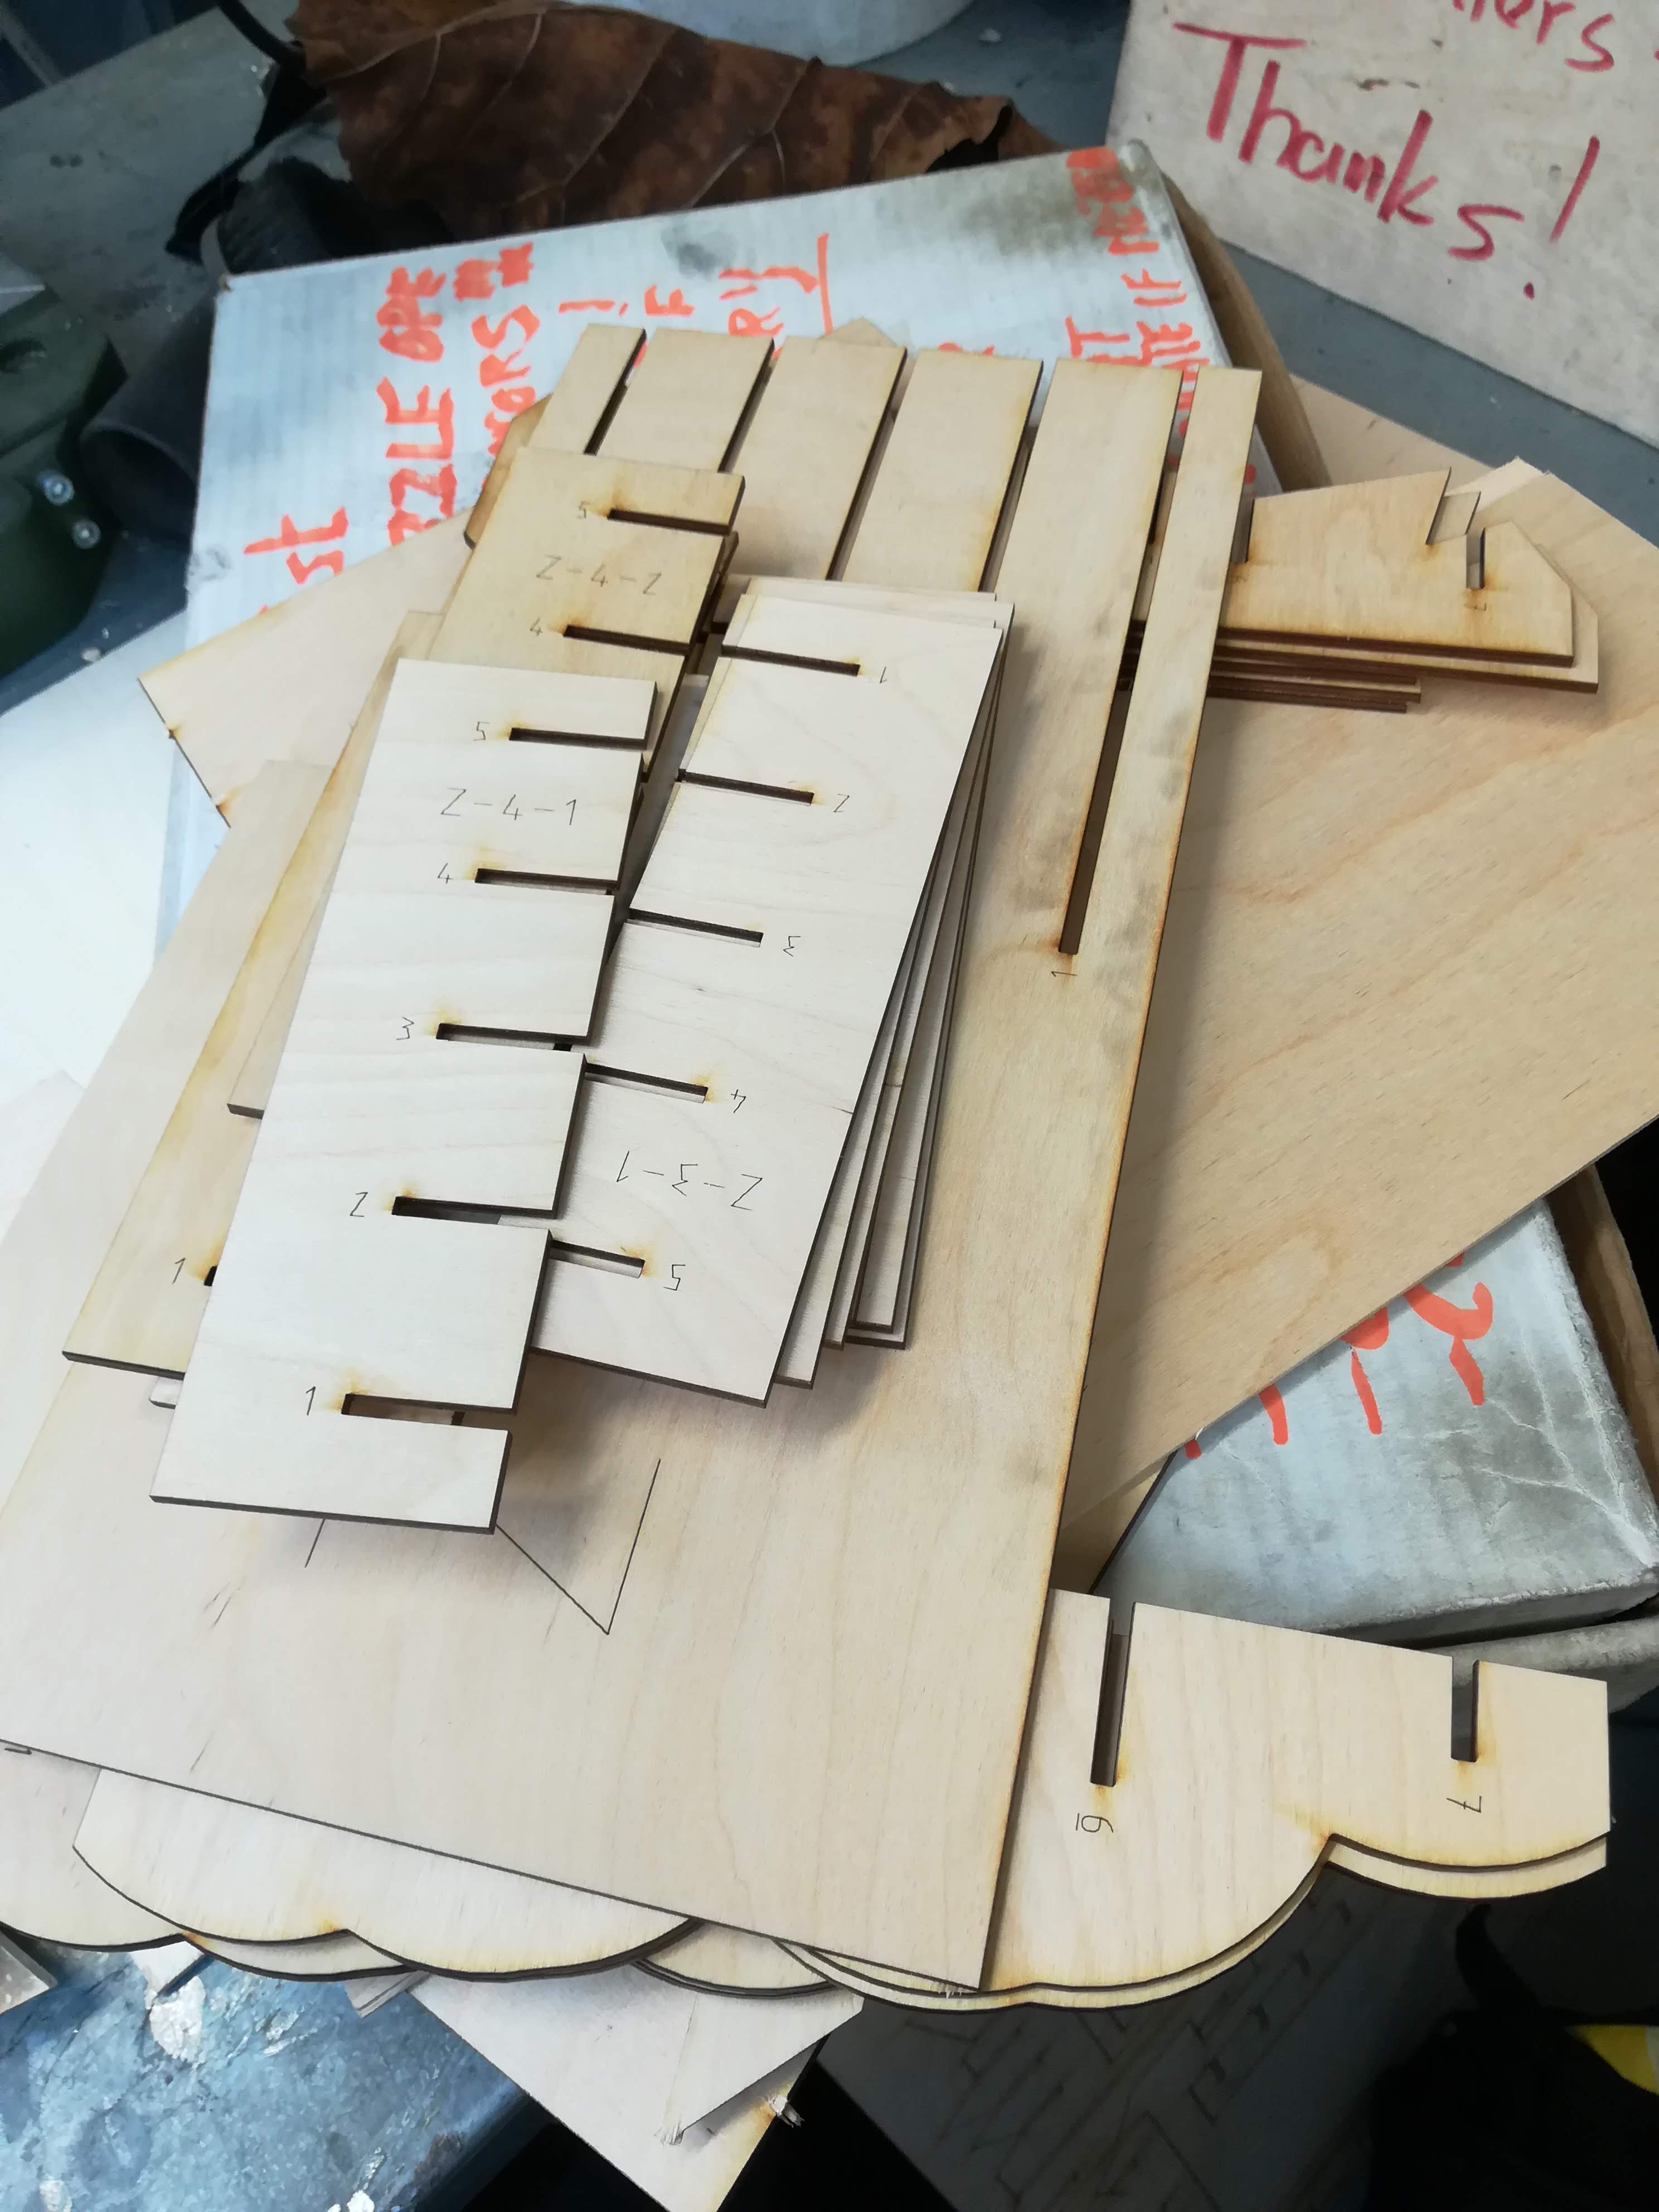
After the first failed attempt, I got every setting correctly on the machine (increased the laser's strength and the material's thickness) to be able to obtain clean from side to side cuts.
I did cut all three Illustrator files, and the whole cutting process (without taking into account the testing and first attempt) took me around 15 minutes.
Each cut was already clean and without imperfections, so this made the assembling part way easier.
Building the object was relatively simple, as each number has to match the ones with the other sheets. In addition to this Slicer for Fusion 360 offers a really intuitive step-by-step tutorial on how to assemble the final object properly, but I think this comes in handy with more complicated shapes than the one I had.
Final Result
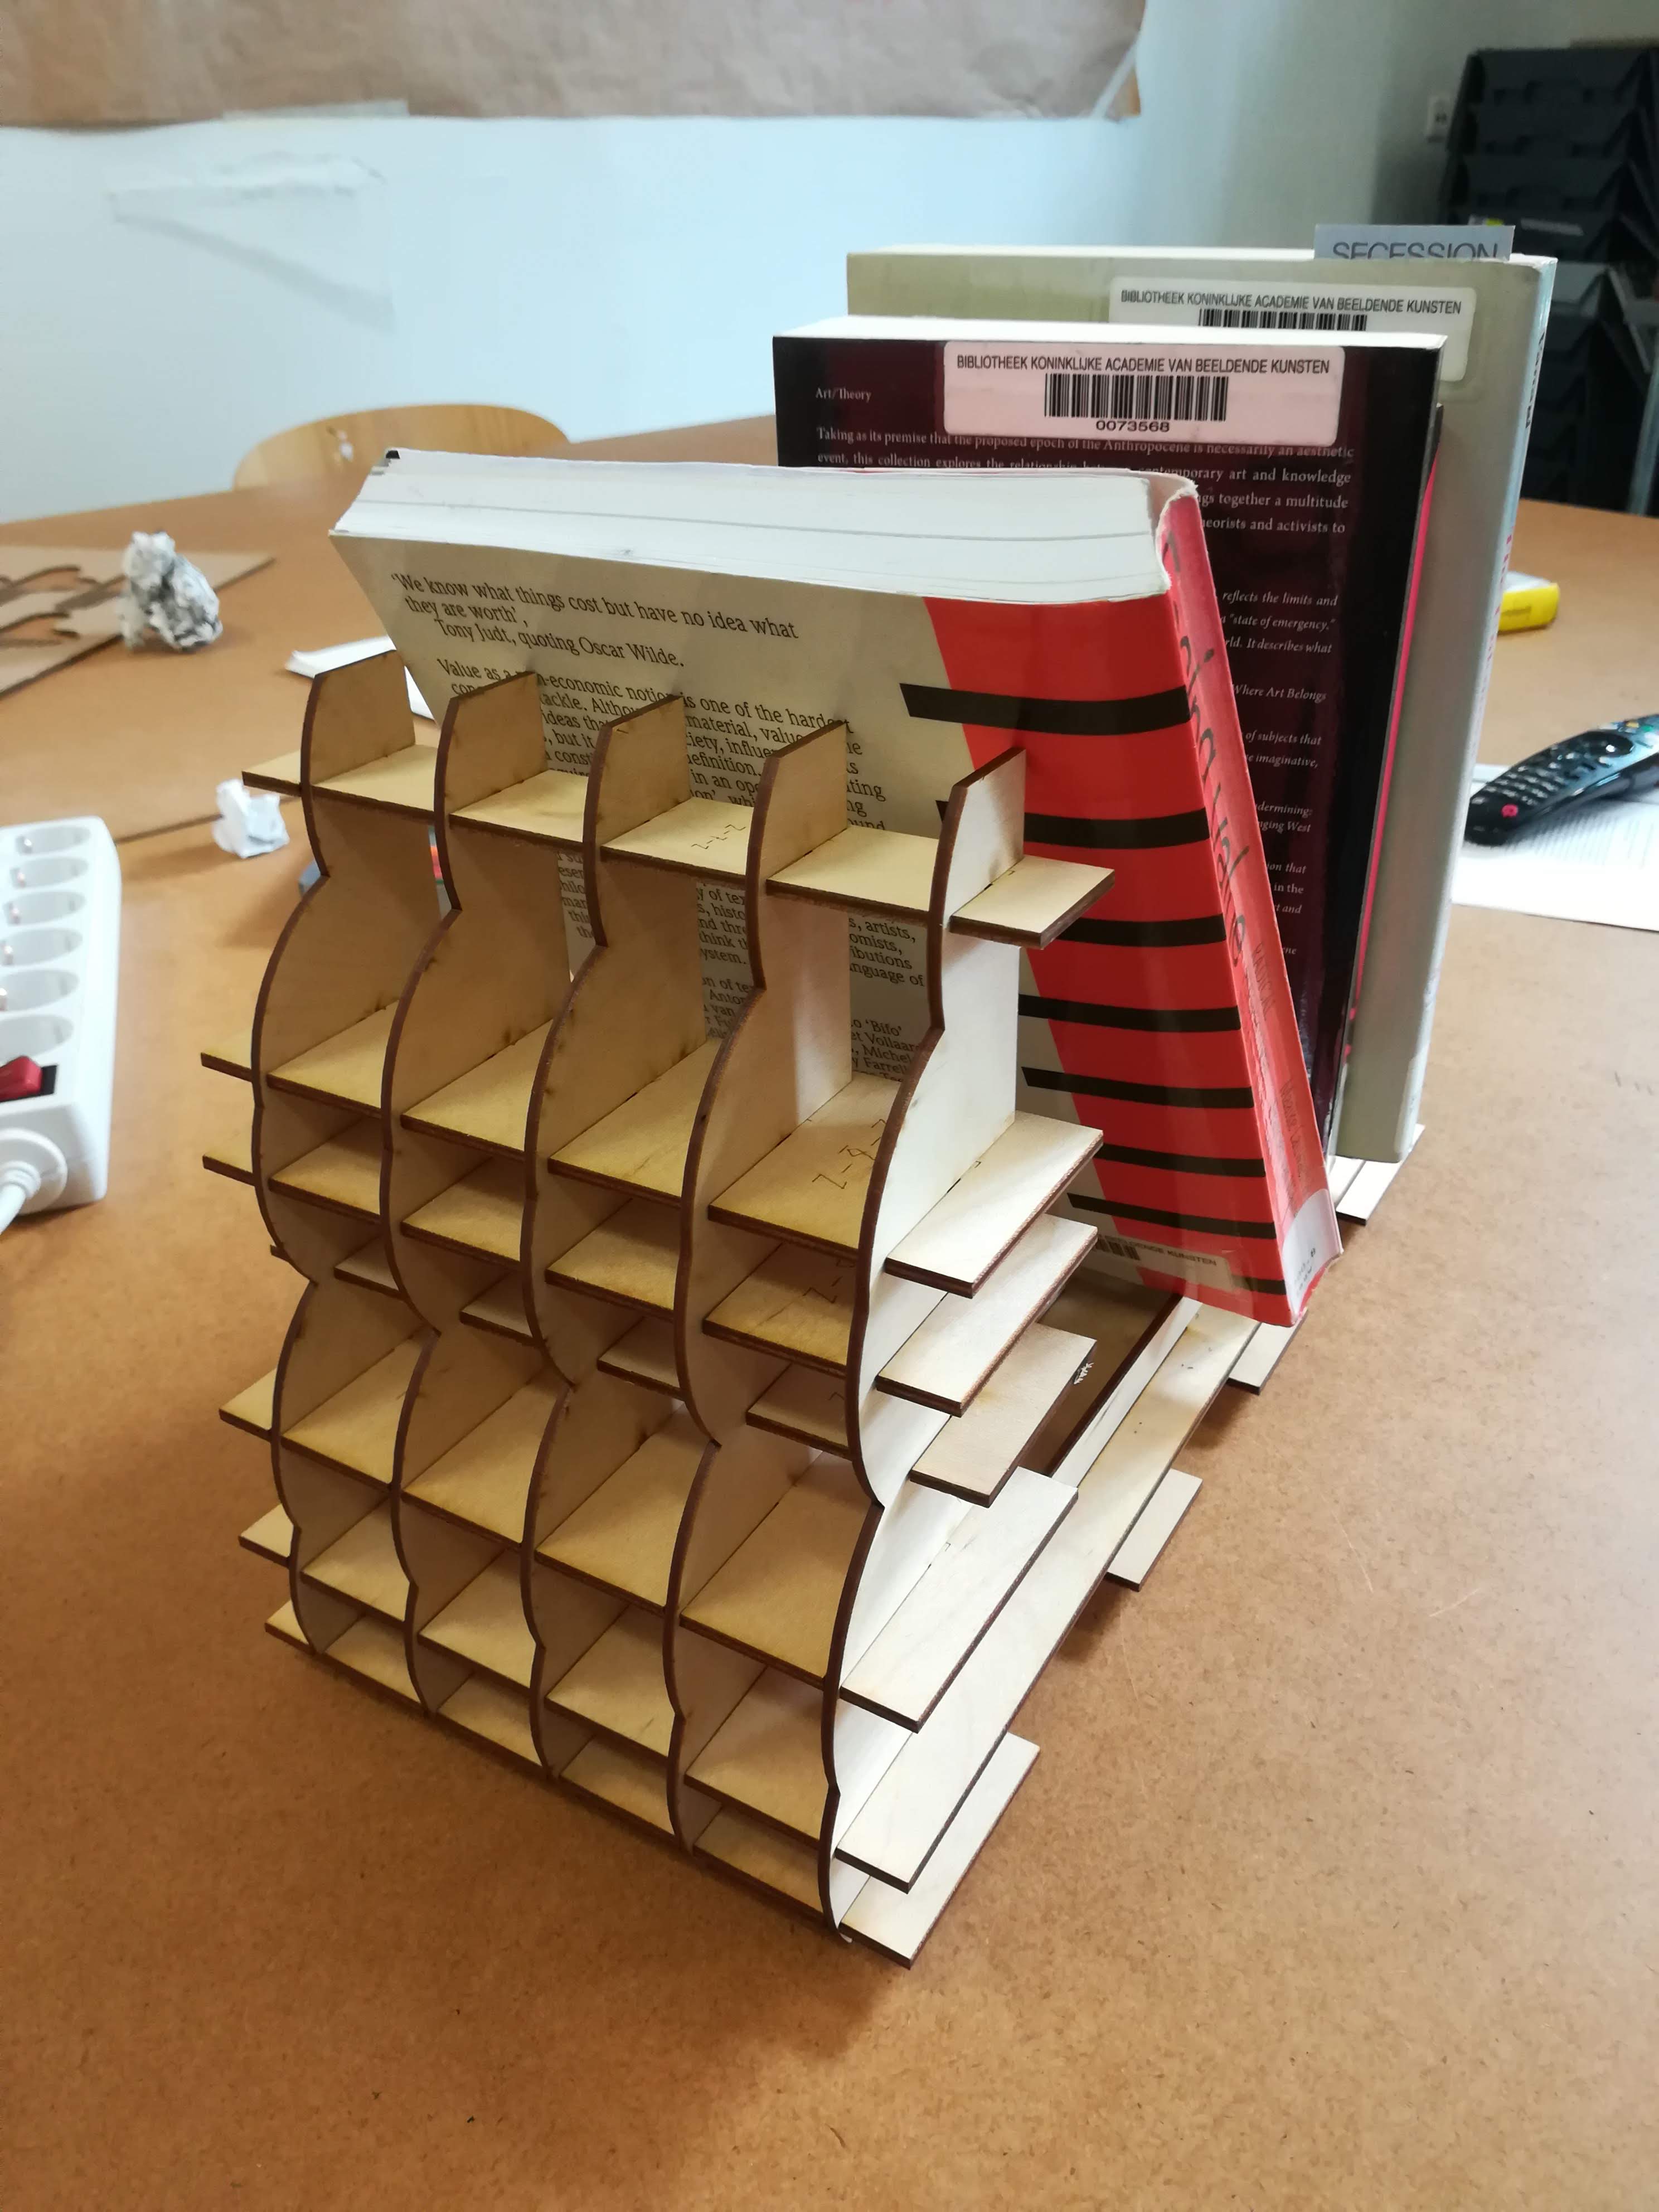
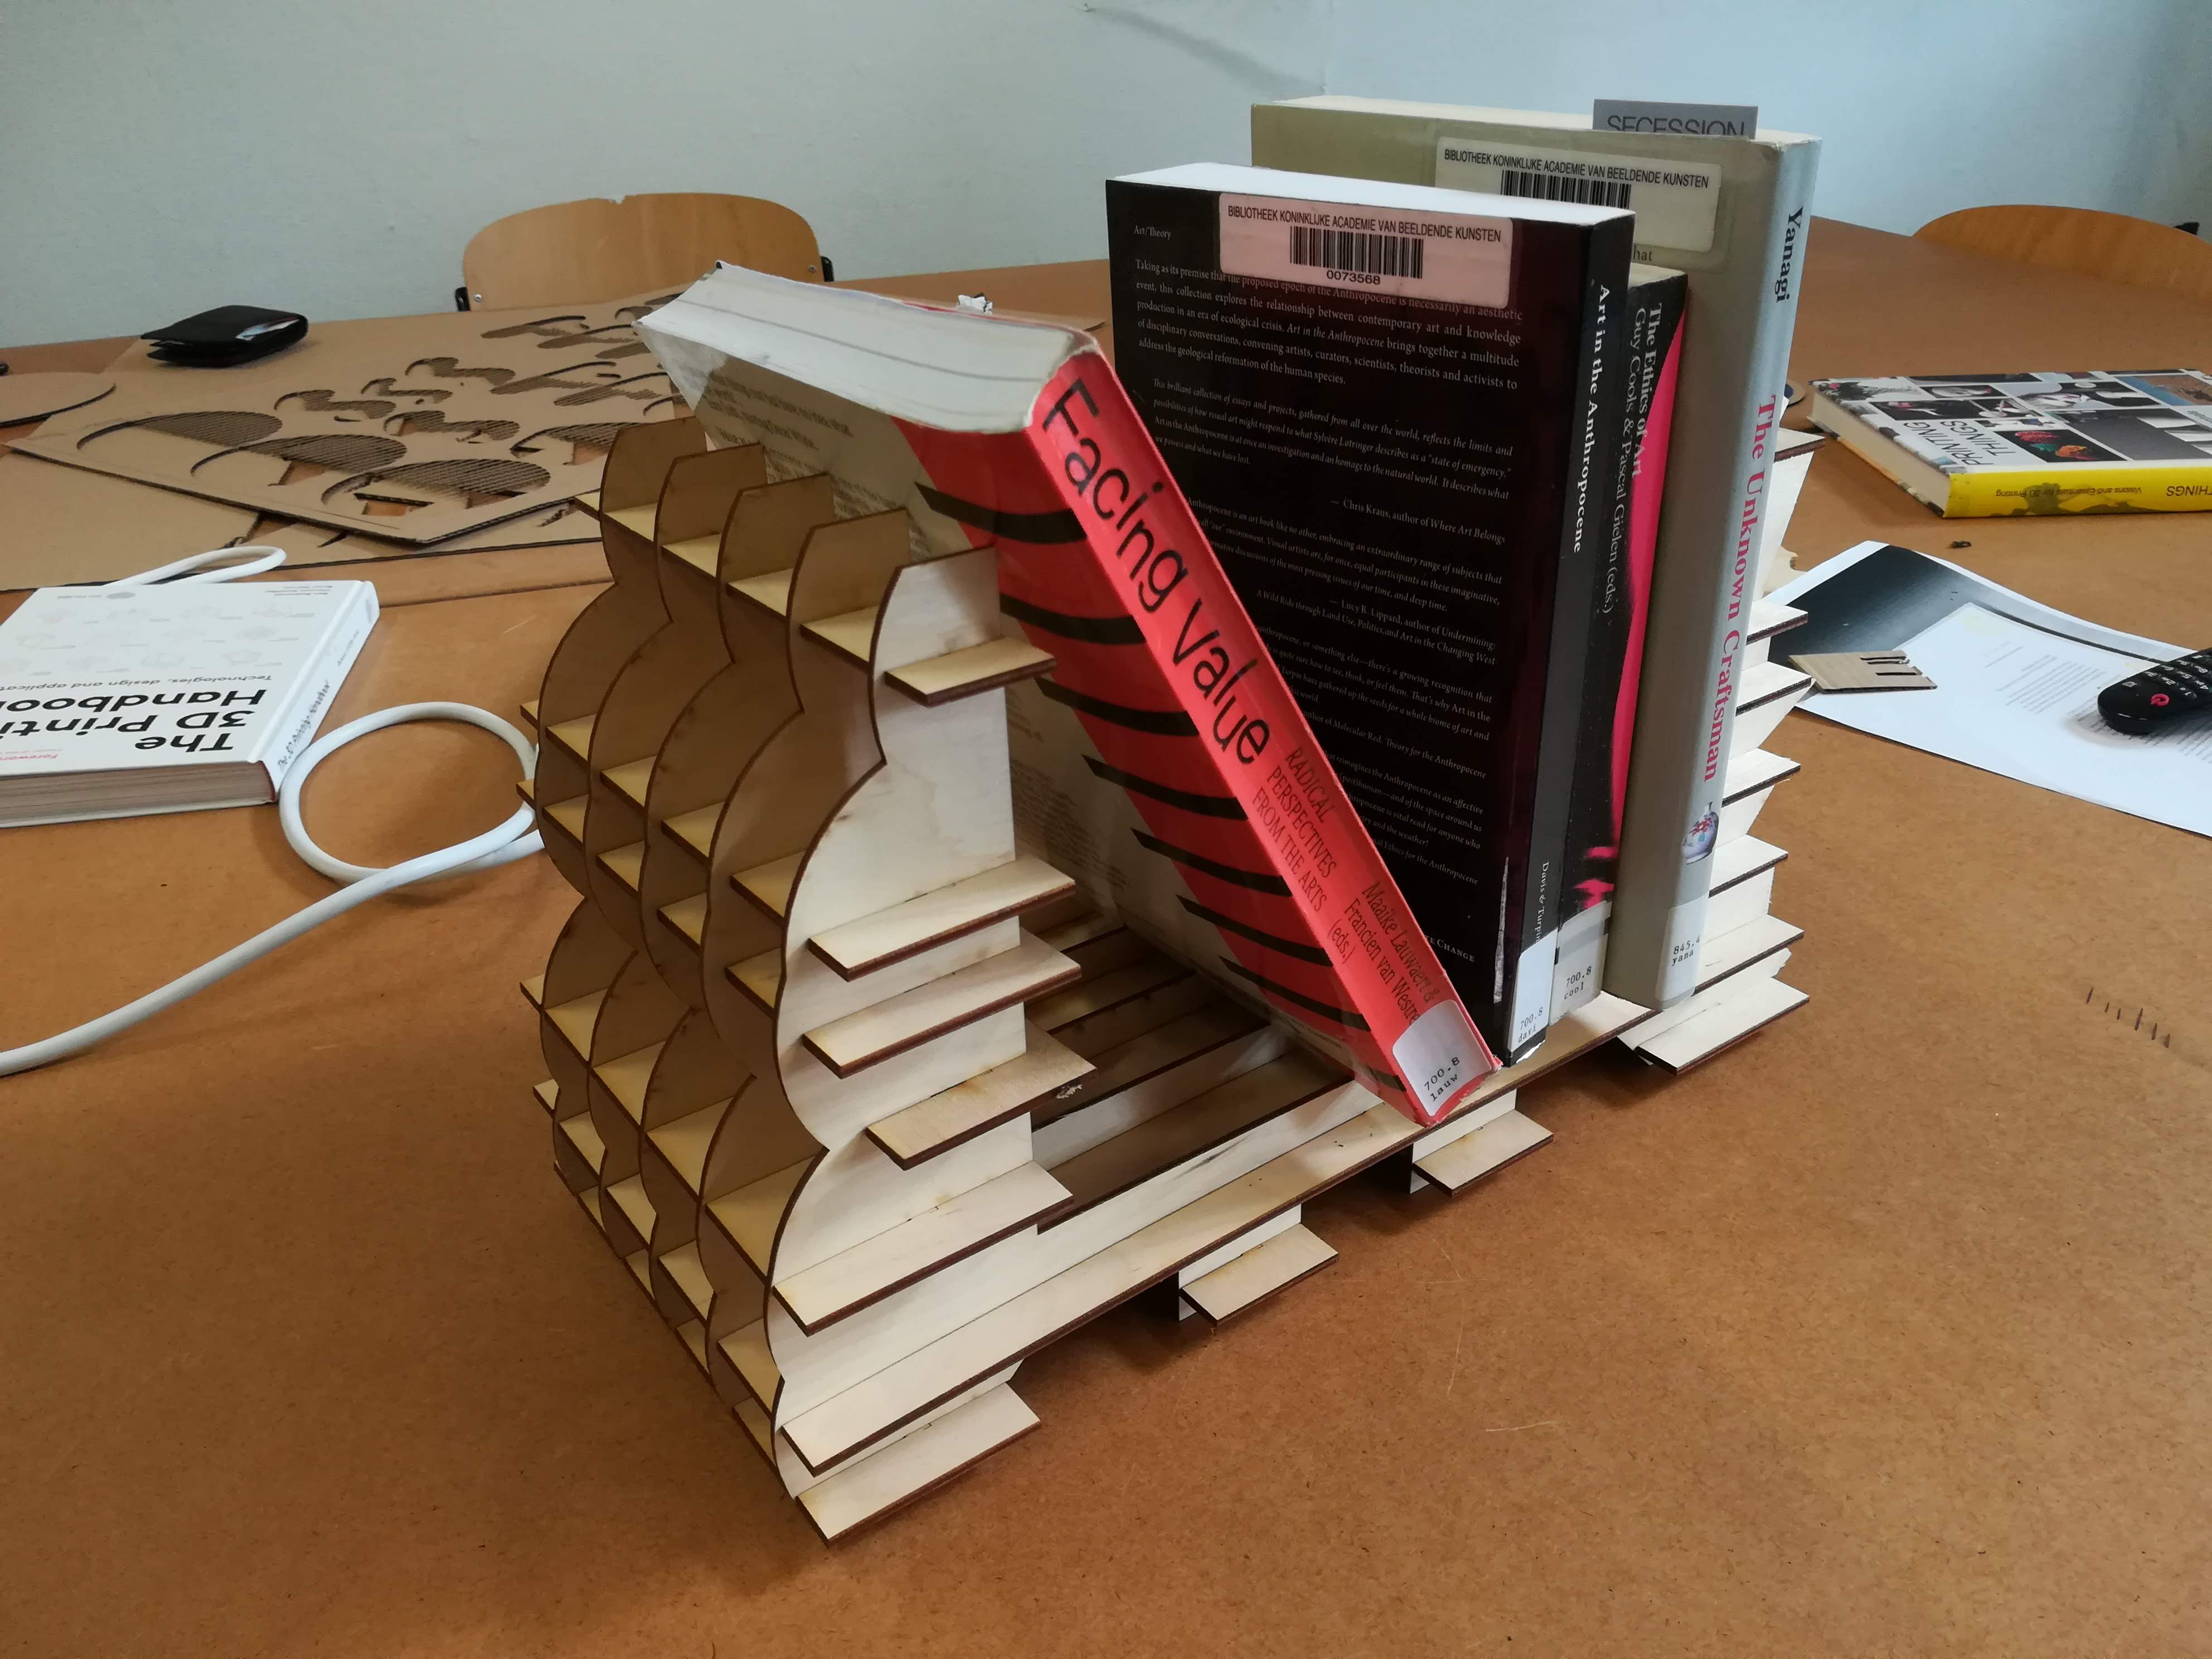
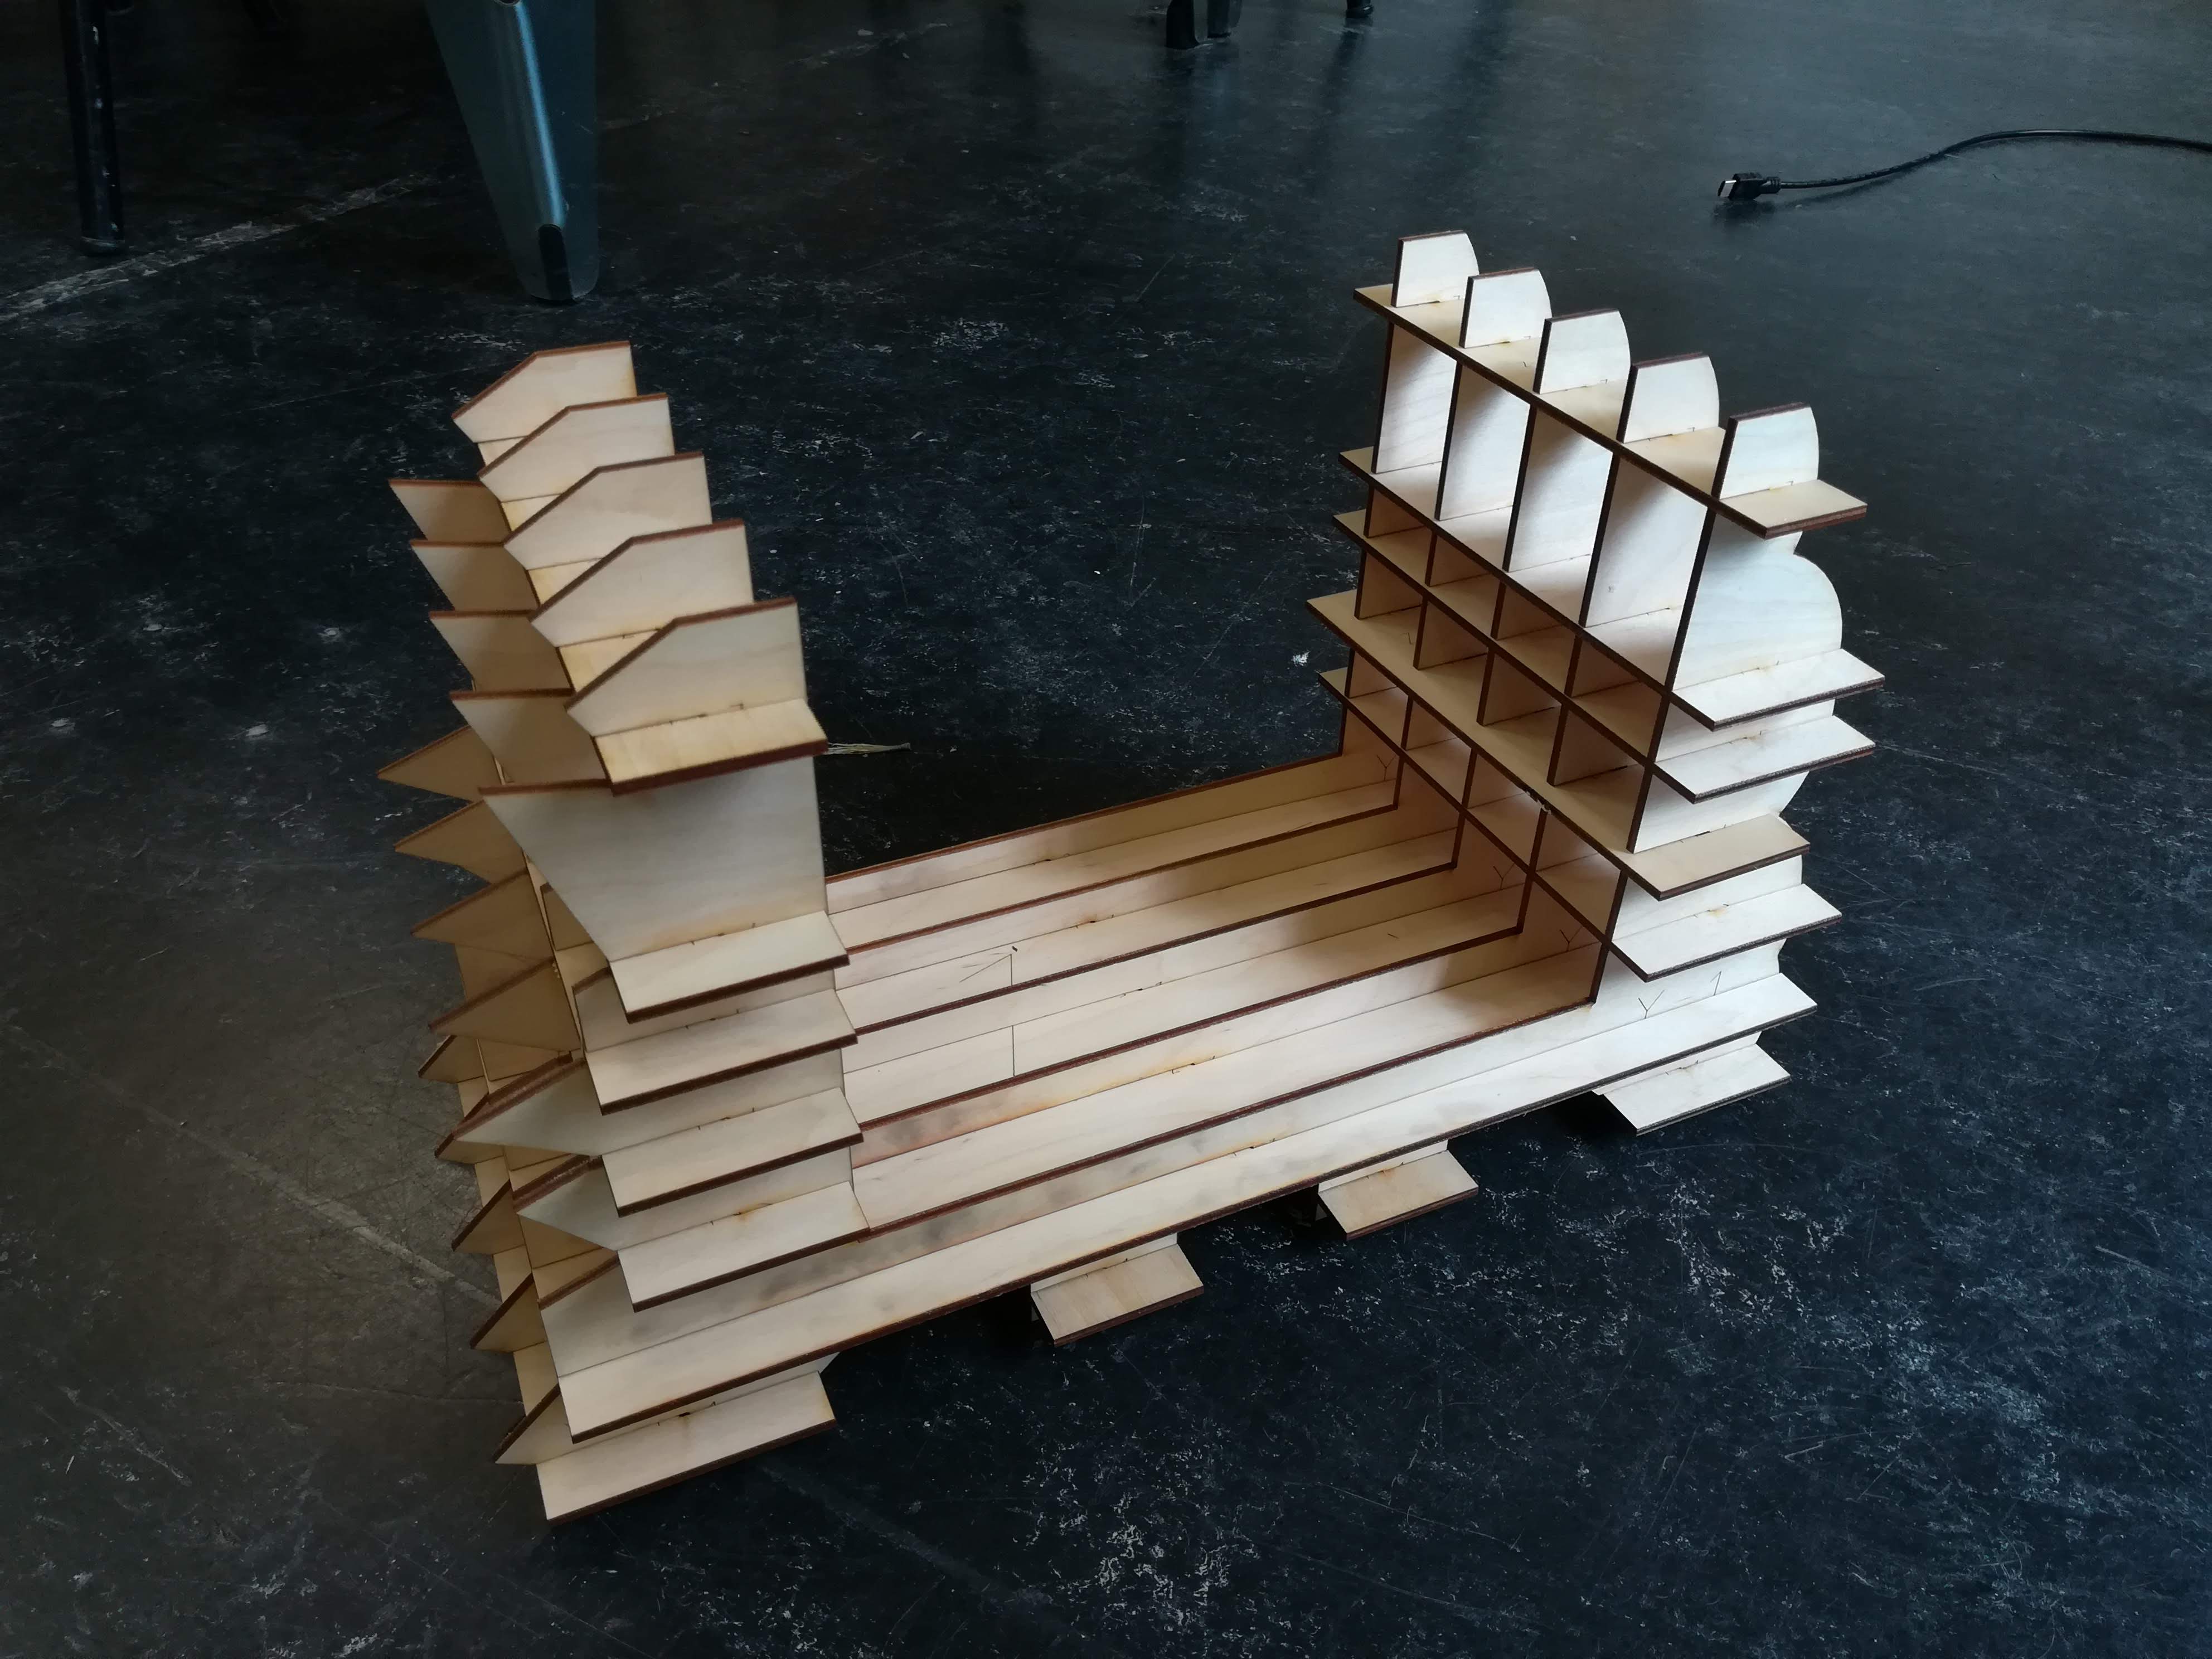
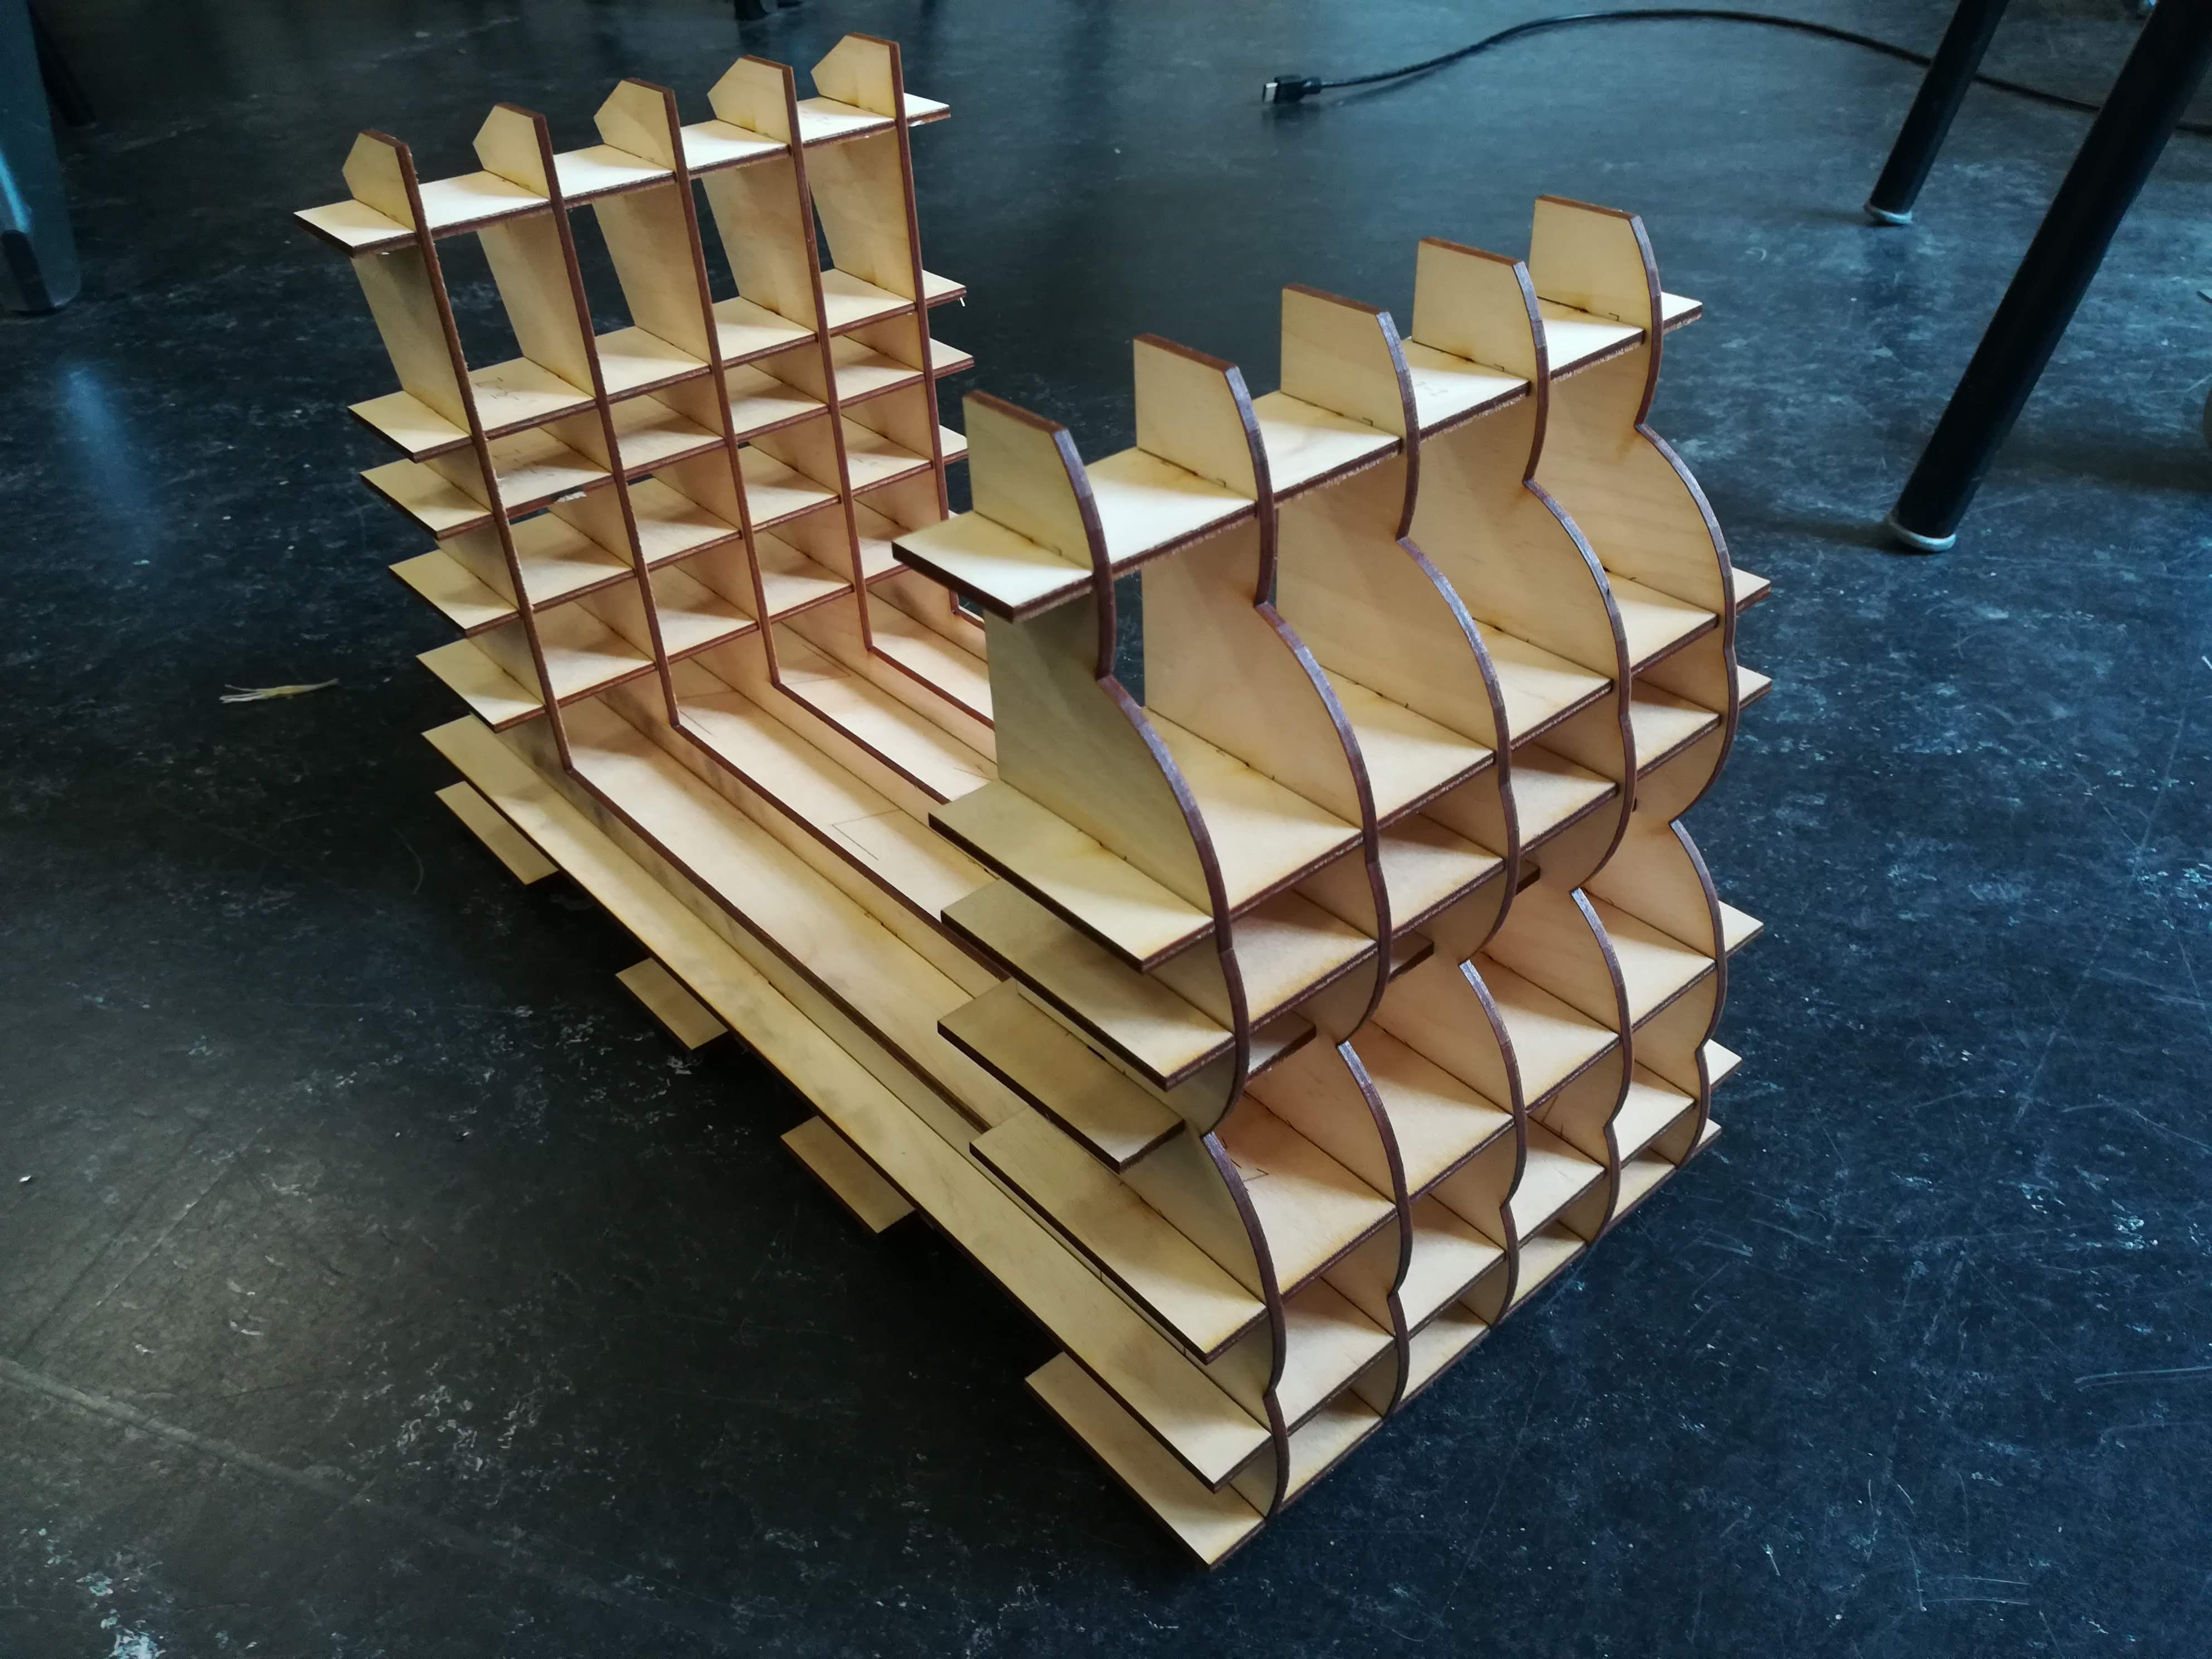
It only took my around 5-10 minutes to build the object entirely, and only one joint had to be slightly corrected with sandpaper.
All of the other joints were smooth and without excessive friction, since I kept every dimension constant throughout the import/export steps.
The overall dimensions fit nicely some books' volume, as I kept an average-dimensioned book as a reference during the designing part.
Now, enjoy the Clouds vs Spikes fight (and let your books be the peacekeepers)!