Clogged MakerBot Nozzle
by MikeTheMaker in Workshop > 3D Printing
263298 Views, 36 Favorites, 0 Comments
Clogged MakerBot Nozzle
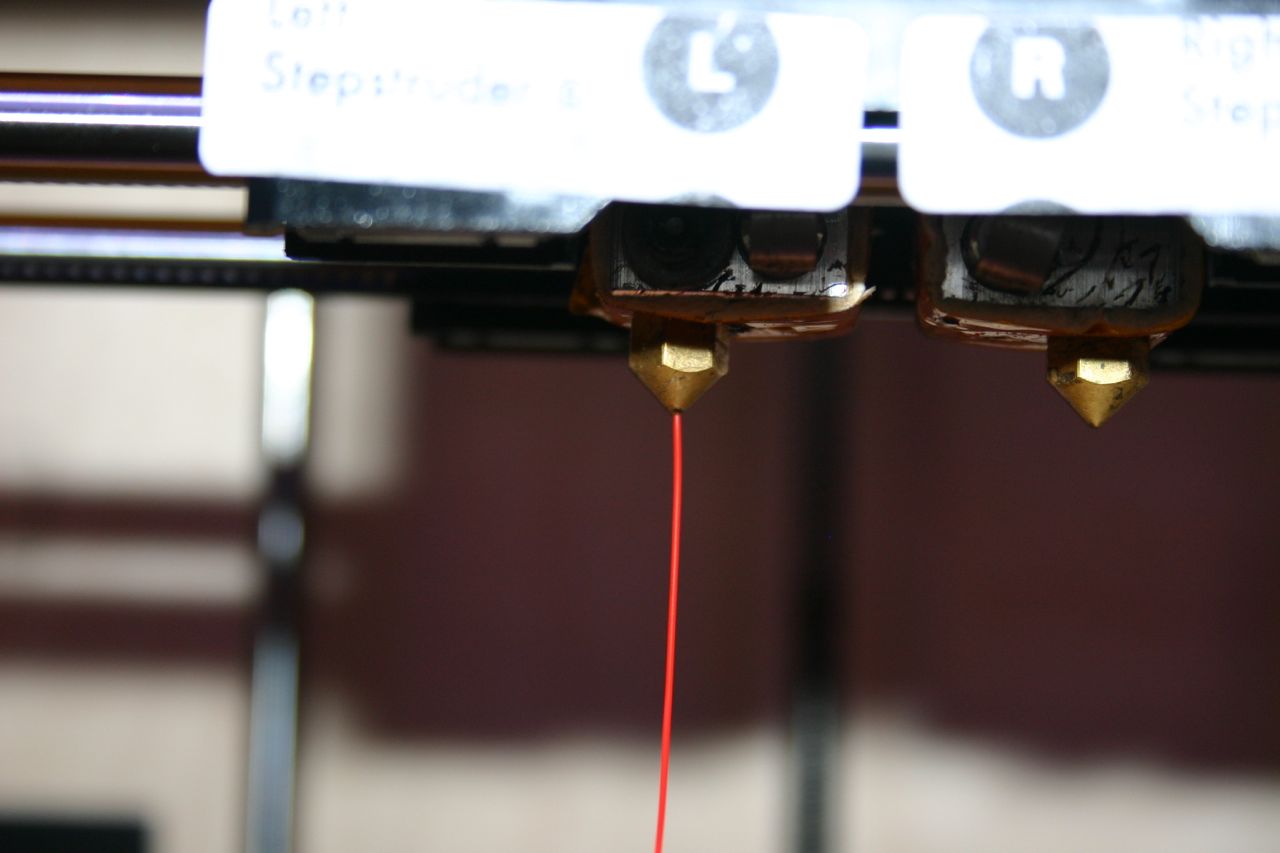
If your MakerBot Replicator doesn't produce a good plastic stream in the "load filament" mode, the nozzle may be clogged. A "drooling, thin stream that wraps on the nozzle" is a sign of a partial clog.
What causes a nozzle to clog? In my case, anytime "something happens" and plastic doesn't get pushed through a heated nozzle for an hour or more, I have clog issues. An unlevel platform, dirty drive gear, shrinkage and "upcurl" of a big part can cause the nozzle to quit extruding. If I "walk away" from a 14 hour build, Murphy's Law increases the chances of "no extrusion but the heat's on."
First, open a ticket with MakerBot support. They are excellent and will help you troubleshoot the problem. If the result is "clean the abs plastic out of your nozzle," then you might want to follow these steps.
Materials needed:
Acetone (get this in the "fingernail polish removal" area of a drug store or grocery store)
7 mm wrench
3/16 inch diameter rod
pliers
hex wrench supplied with the Replicator
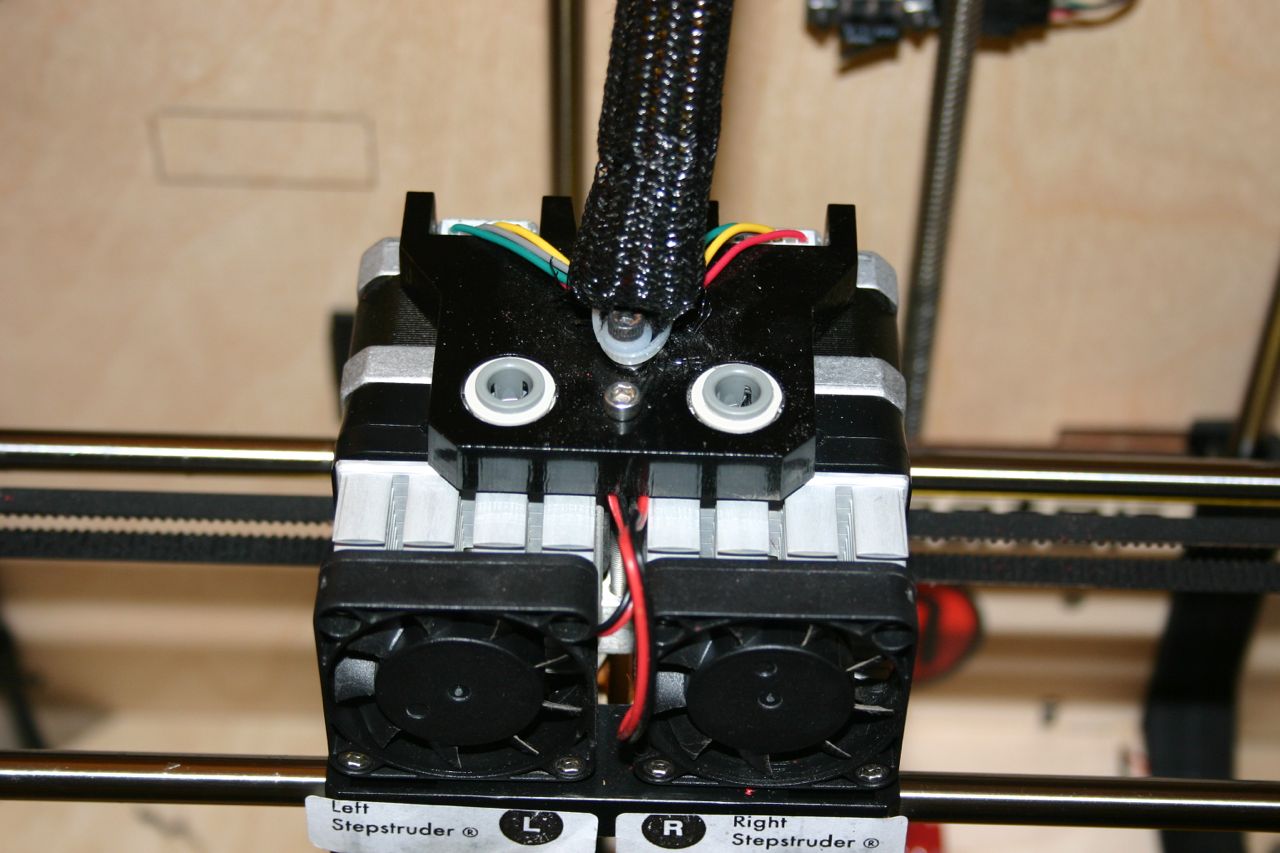
Safety first. Take your time. There are multiple "heat up" and "cool down" steps involved.
This is no more hazardous than pulling cookies out of an oven--but you wouldn't grab a cookie tray with your bare hands. Don't touch hot parts until they have cooled to room temperature--be patient.
First, unload the filament from the extruders.
This is no more hazardous than pulling cookies out of an oven--but you wouldn't grab a cookie tray with your bare hands. Don't touch hot parts until they have cooled to room temperature--be patient.
First, unload the filament from the extruders.
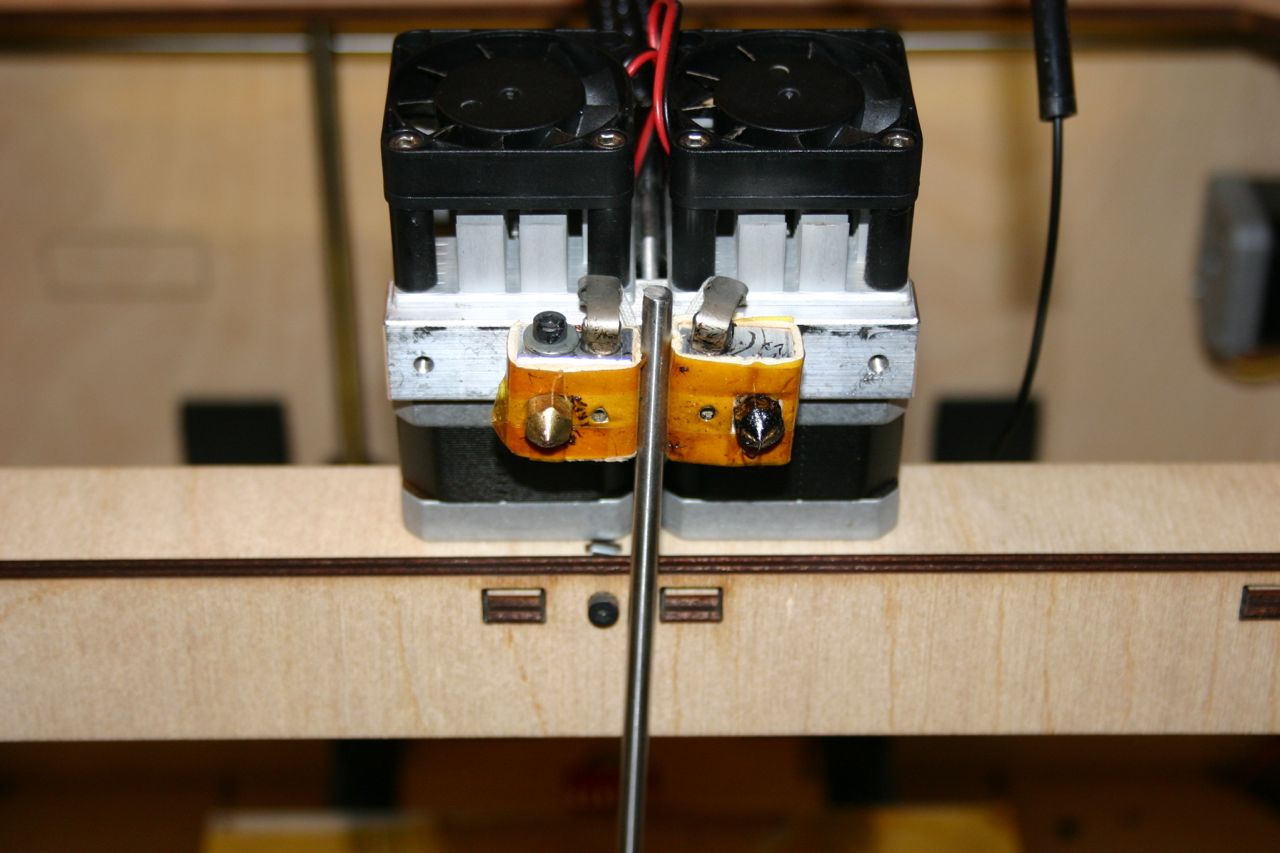
Wait until the extruders have cooled to room temperature. Power off.
Unscrew the extruder assembly (two screws) and set it on top of the Replicator. Place the 3/16 inch diameter rod between the extruders.
Unscrew the extruder assembly (two screws) and set it on top of the Replicator. Place the 3/16 inch diameter rod between the extruders.
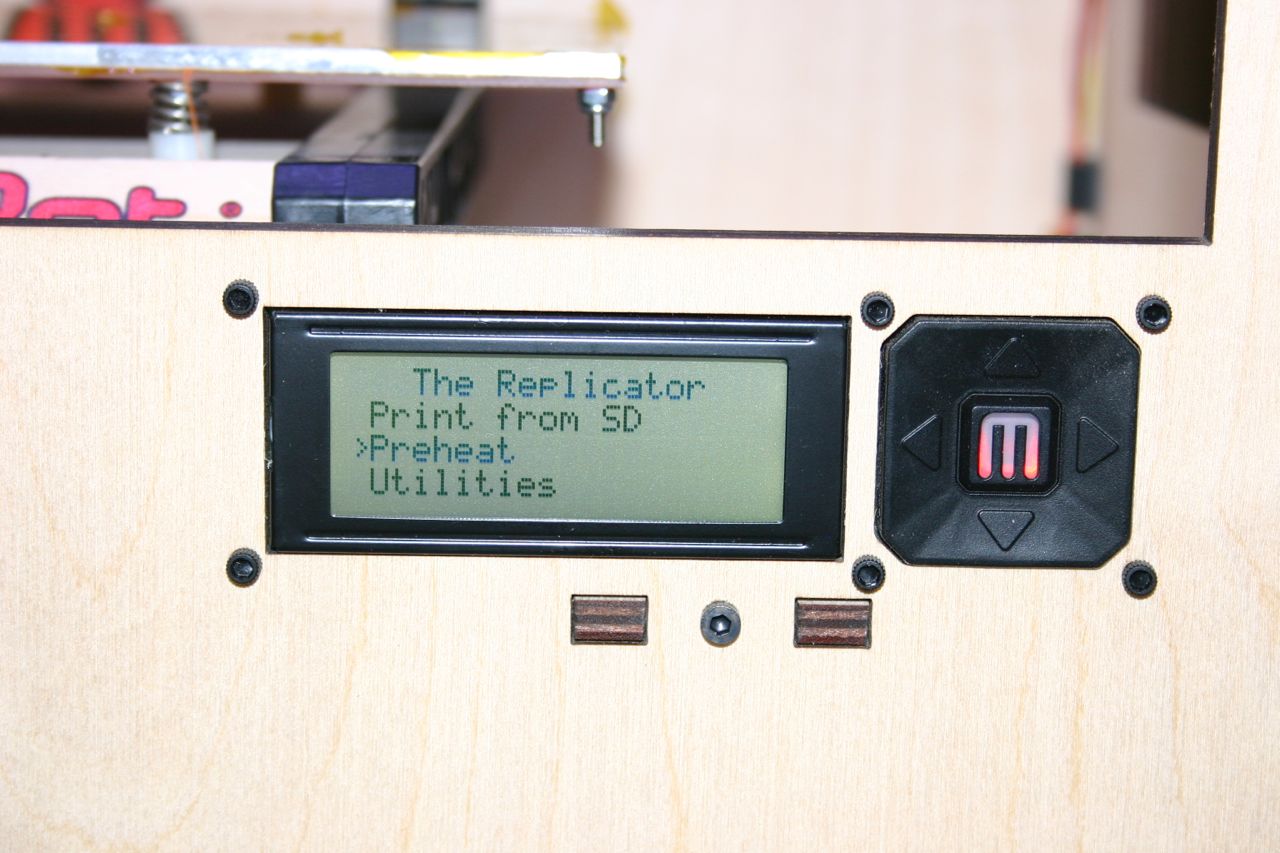
Turn the Replicator on and use the menu on the front panel to "preheat."
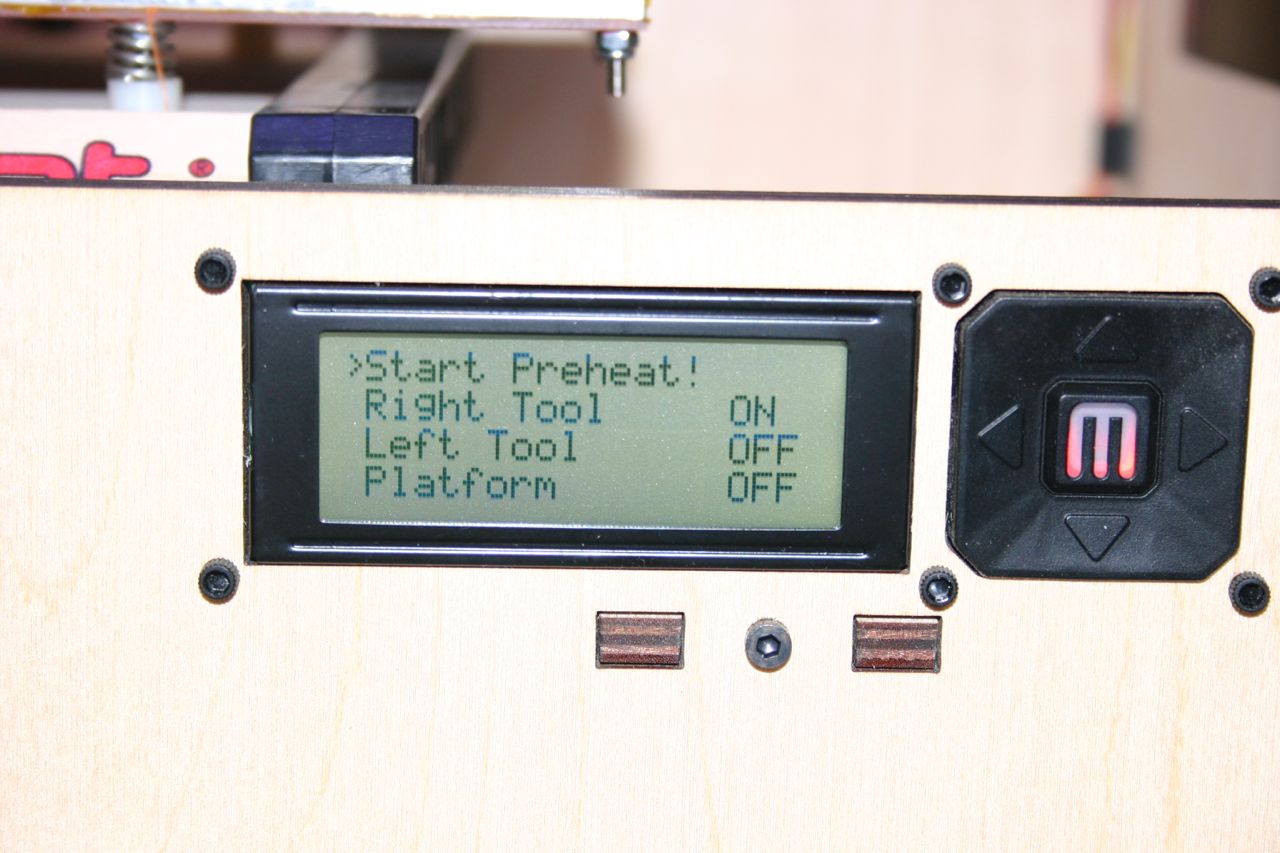
Choose the nozzle (right in this case) and "Start Preheat."
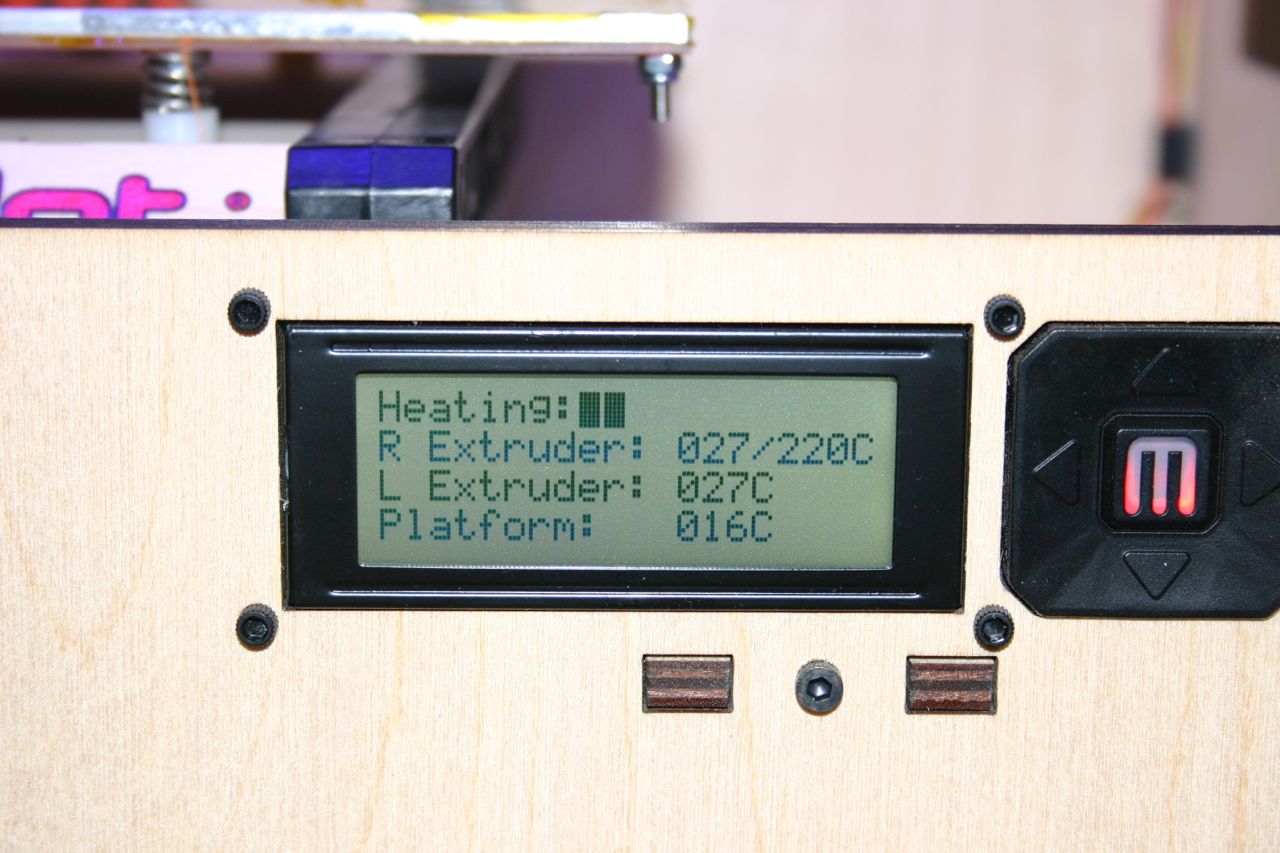
You should see the nozzle heating. When it reaches about 220, you are ready to proceed.
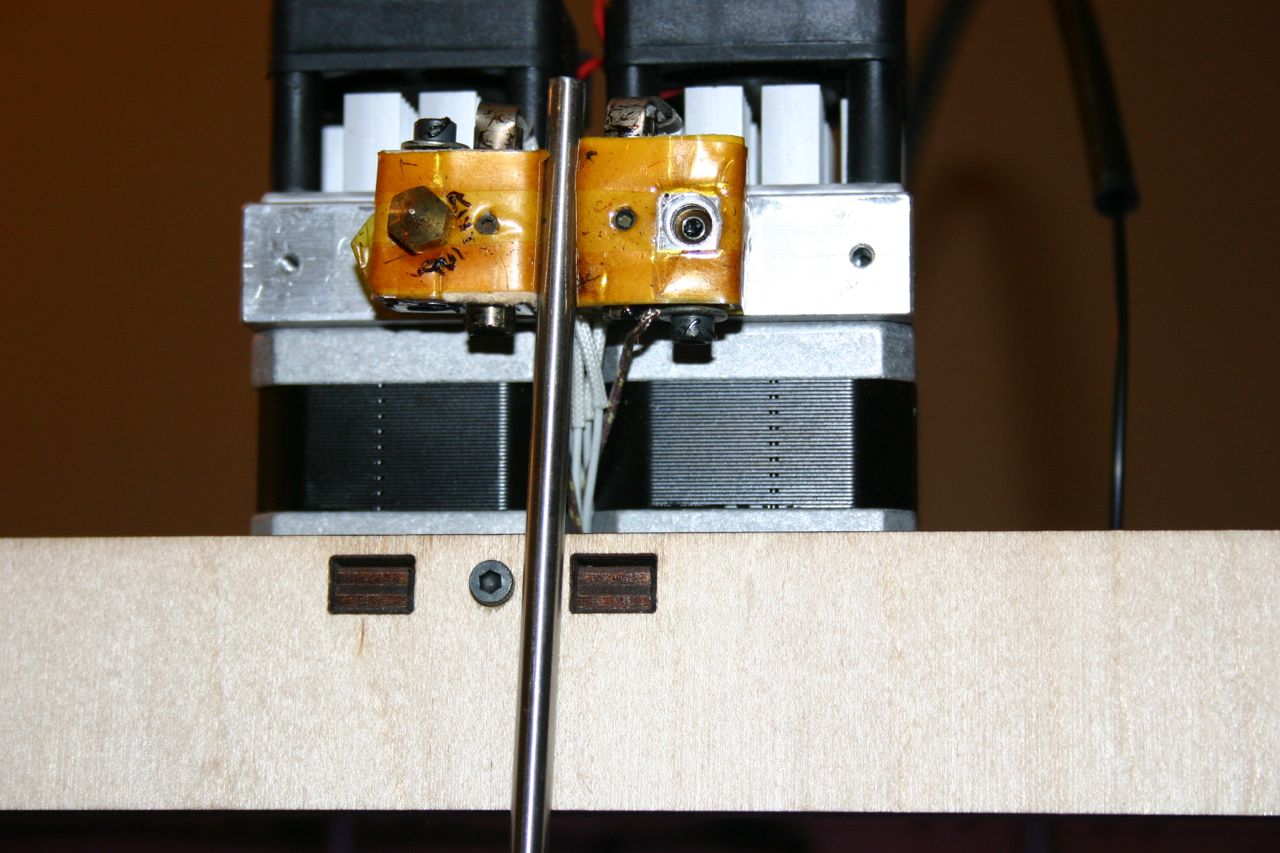
Using the 7mm wrench, remove the nozzle (turn counter clockwise). The nozzle is hot; don't touch the nozzle or the "business end" of the wrench. It should not take much force to free the nozzle.
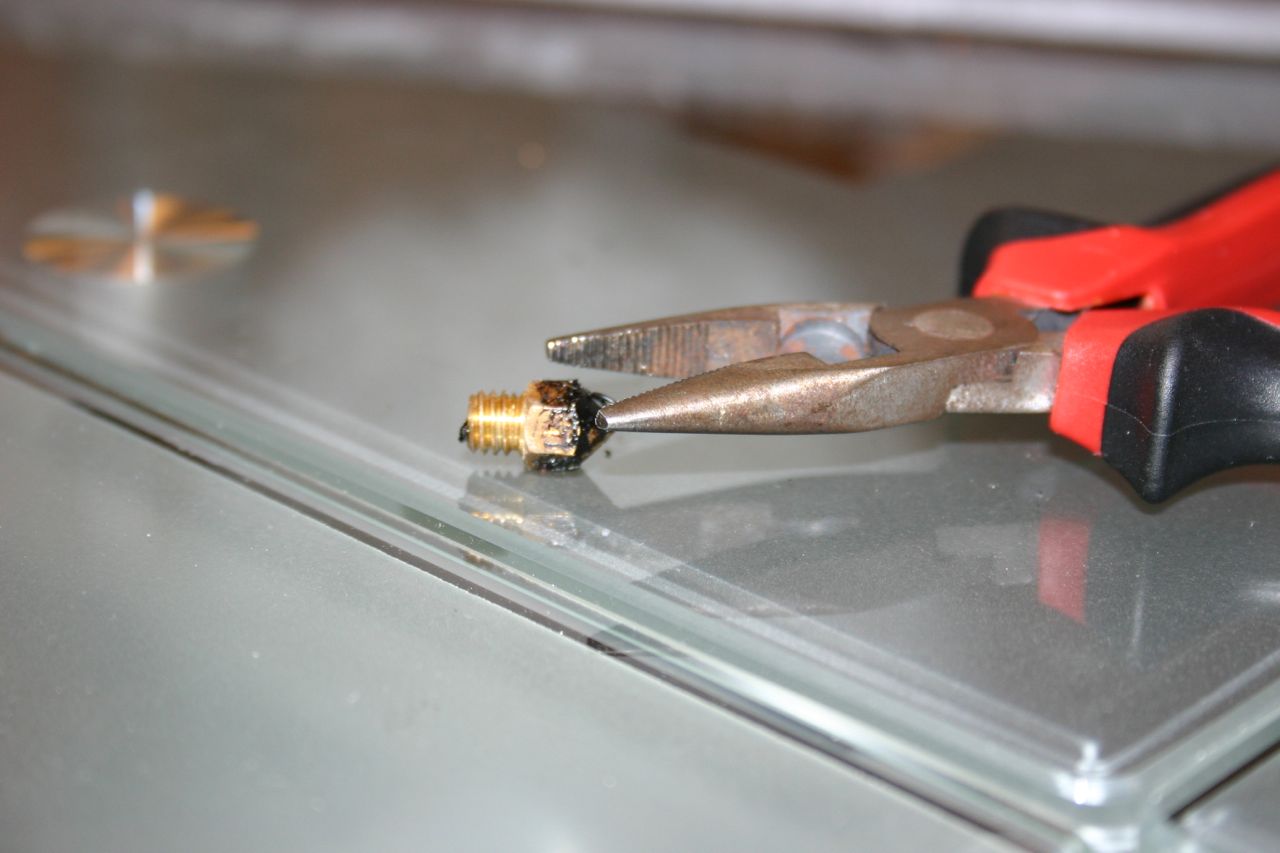
I use needle nose pliers to complete the removal.
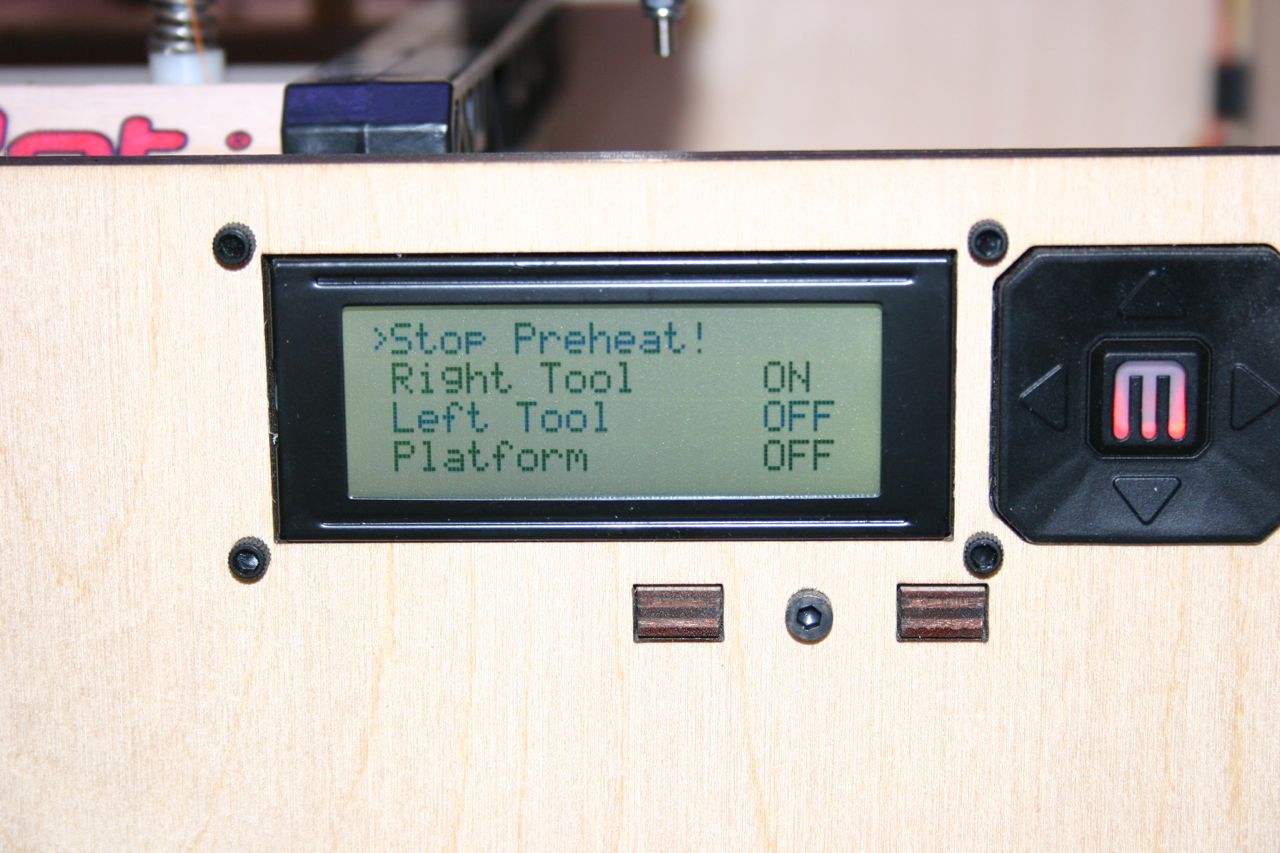
Stop the preheat and let the extruder cool to room temperature. Unless you have a spare nozzle, you can turn the Replicator off, because you will be two or three days clearing up the clog.
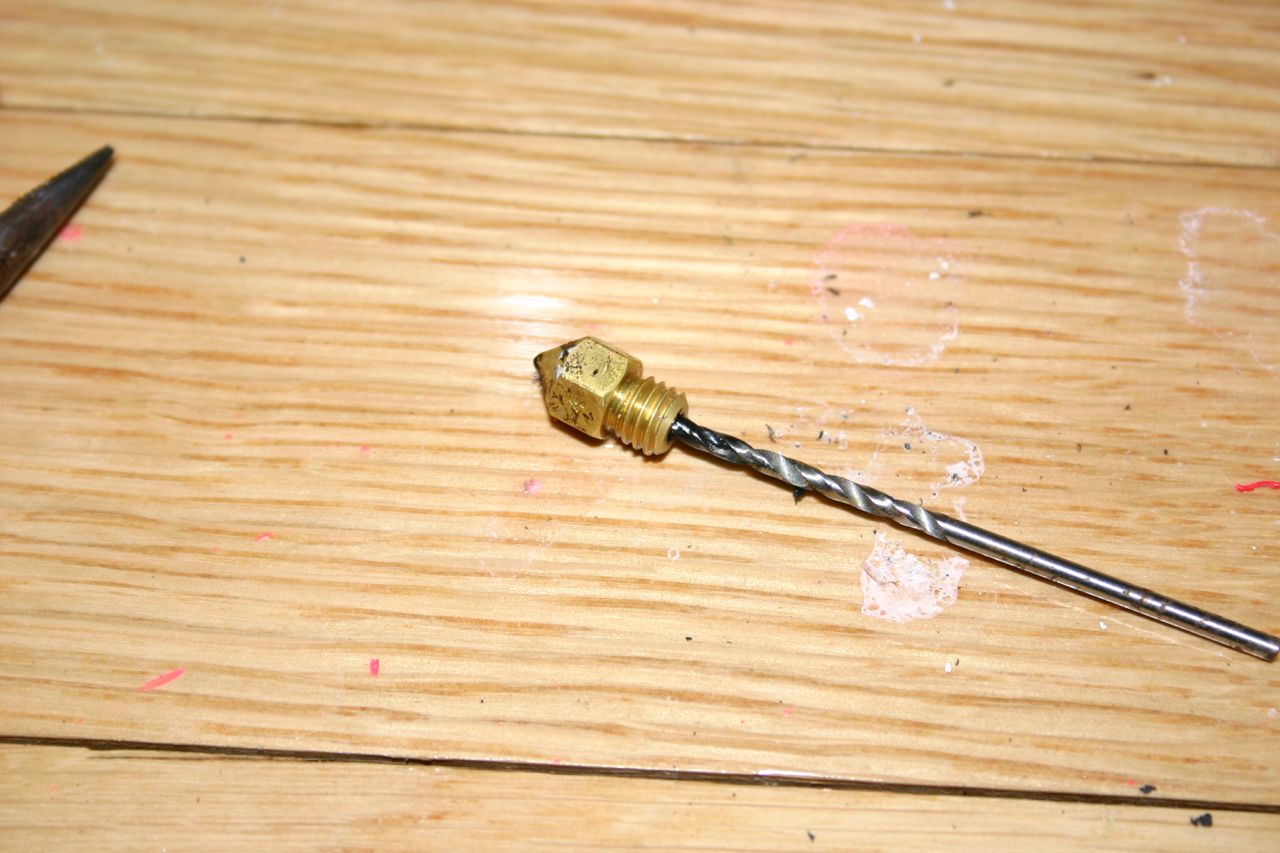
Using a glass jar (or something acetone resistant; not plastic) submerge the nozzle in acetone.
Wait 24 hours.
Take a small drill bit (or a toothpick) and pull out as much "mucky plastic" as possible. Do not drill inside the nozzle, just use hand pressure to gently remove plastic.
Soak the nozzle (submerged) for another 24 hours in acetone.
Wait 24 hours.
Take a small drill bit (or a toothpick) and pull out as much "mucky plastic" as possible. Do not drill inside the nozzle, just use hand pressure to gently remove plastic.
Soak the nozzle (submerged) for another 24 hours in acetone.
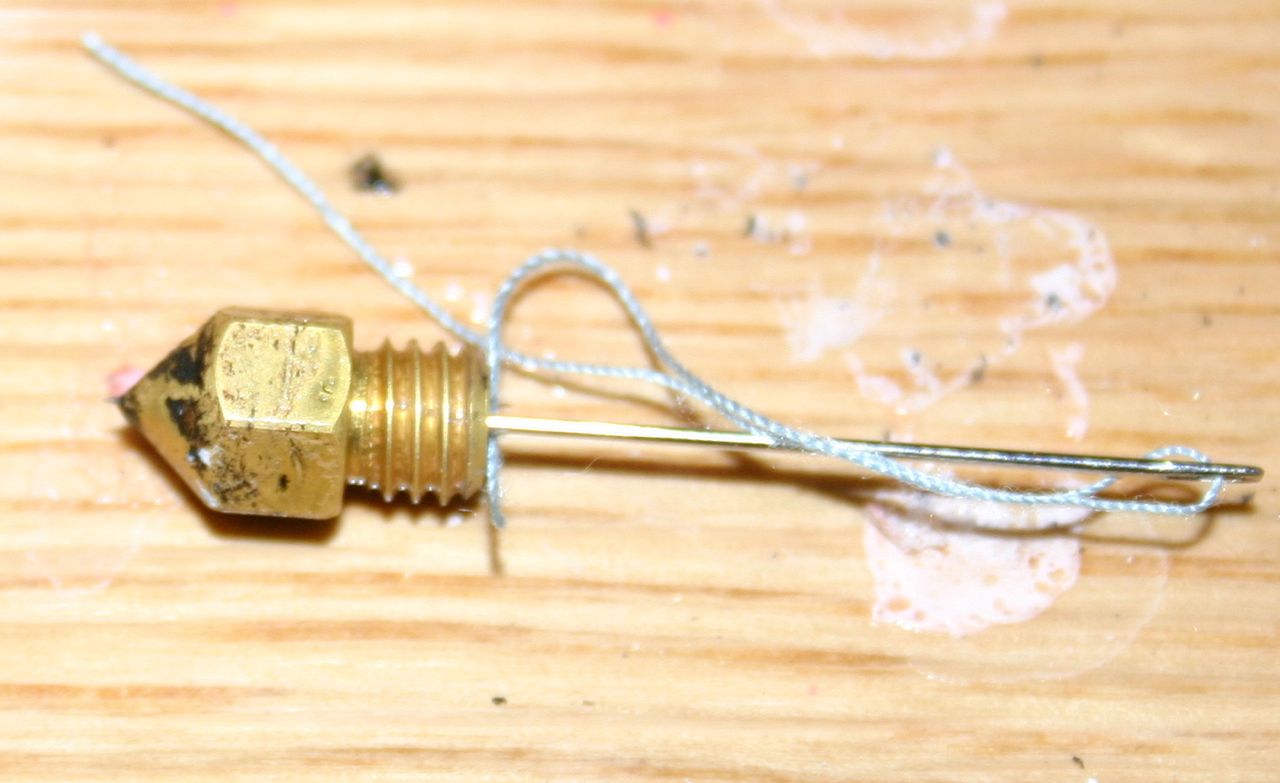
Again, remove gunky plastic with the drill bit. Using a sewing needle, remove plastic and try to get the point of the needle to go through the nozzle hole.
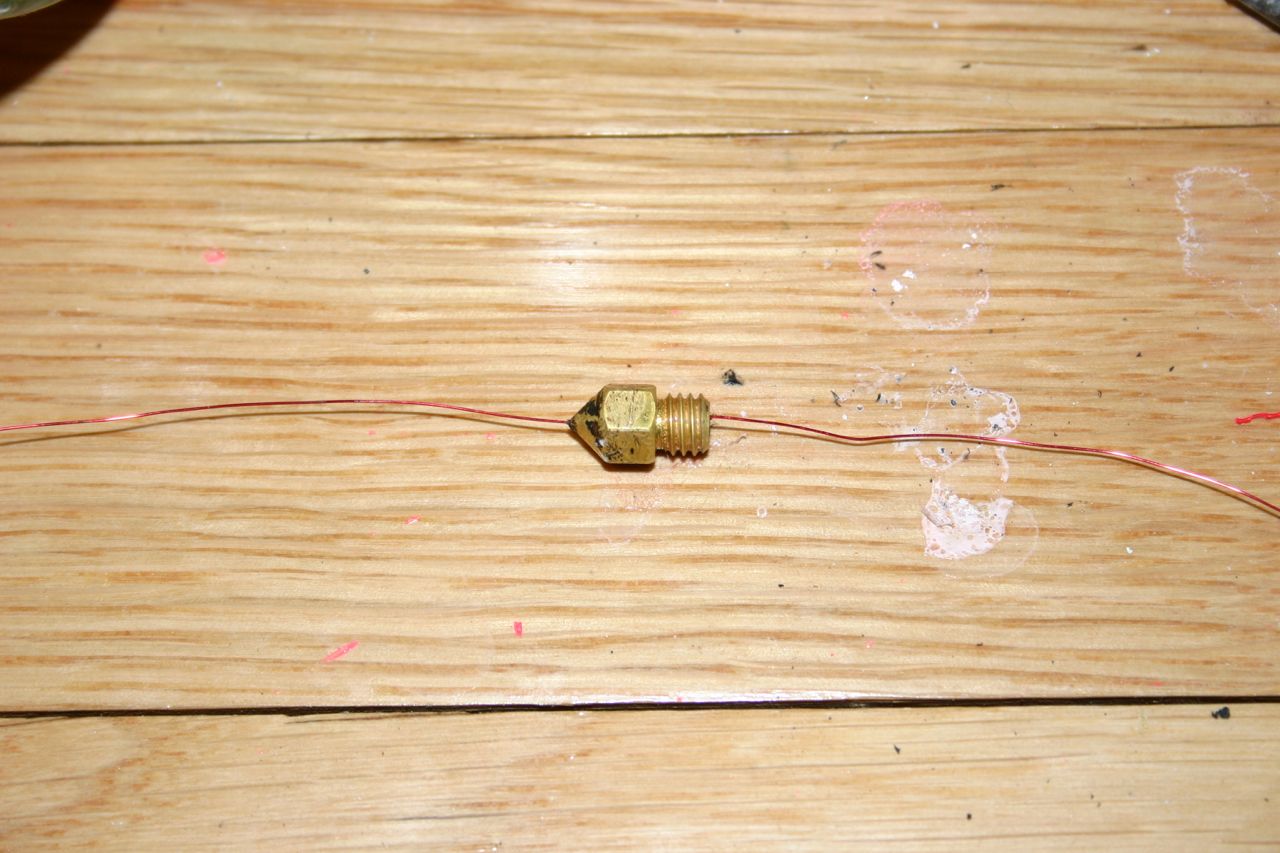
Use magnet wire (#28 or higher, I used #30--found at Radio Shack) to "floss" the point.
You should be able to look through the nozzle and see light. If you don't see a clean "hole," then soak another 24 hours and "floss" again. Don't use floss or string--they might get stuck in the nozzle.
You should be able to look through the nozzle and see light. If you don't see a clean "hole," then soak another 24 hours and "floss" again. Don't use floss or string--they might get stuck in the nozzle.
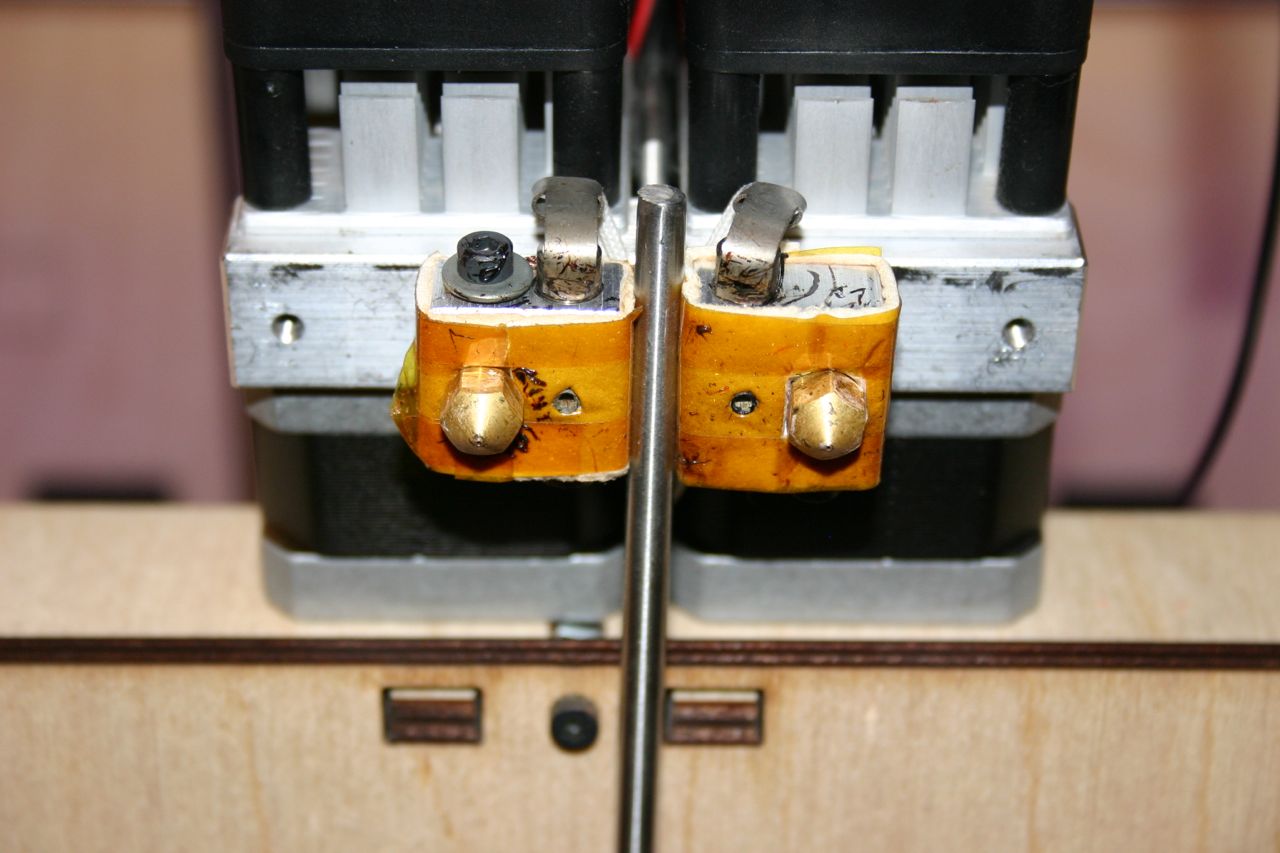
With the extruder cool (room temperature) and the rod in place between the extruders, screw the nozzle in place--finger tight.
Preheat the nozzle to 220 degrees and--using the 7mm wrench--tighten the nozzle in the hot extruder. Don't go macho, this will be 1/16 of a turn or less--you want it secure but not to the point of stripping threads.
Preheat the nozzle to 220 degrees and--using the 7mm wrench--tighten the nozzle in the hot extruder. Don't go macho, this will be 1/16 of a turn or less--you want it secure but not to the point of stripping threads.

Cool down to room temperature. Power off the replicator. Fasten the extruder assembly with the two screws you removed in step #2. Power on and load the filament--it should extrude cleanly.