Clipart to SVG

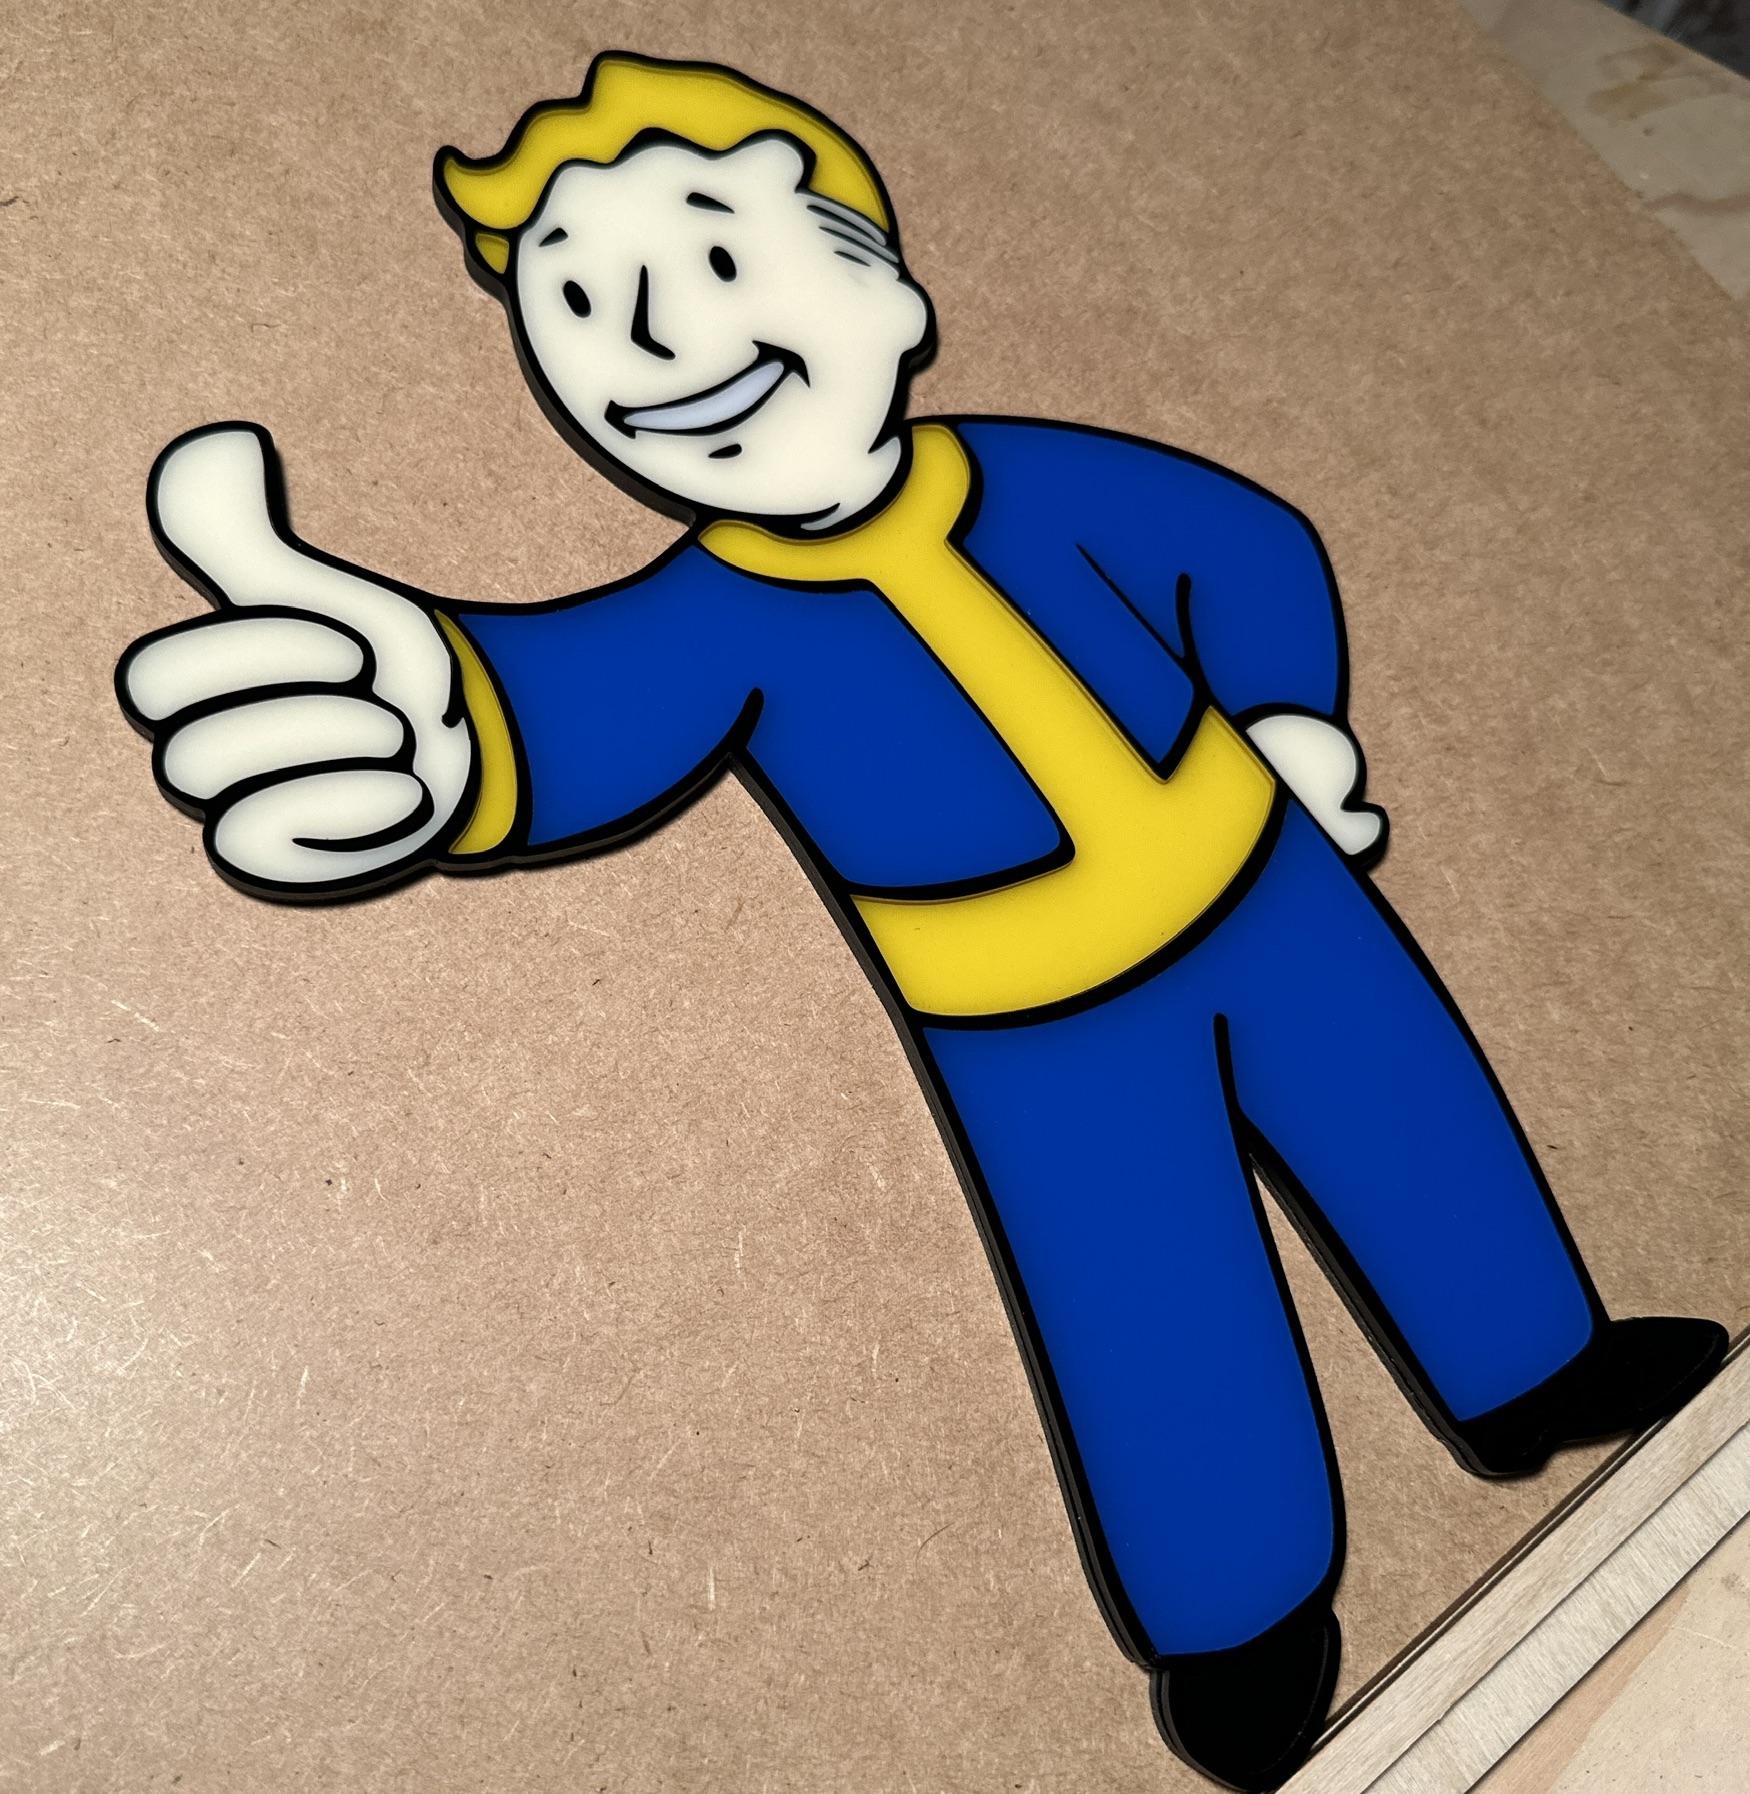
In this Instructable, I will show you how to transform any clipart image into a .svg file for laser cutting. The way I will demonstrate here is more in depth than simply saving an image and opening the image in lightburn for engraving purposes. The process outlined here will allow you to cut individual sections of the image with different materials, producing an actual 3D replica of the initial image. In the media provided - You can see I've done this using 2 layers of colored acrylic. My goal was to demonstrate this with free software and images available to anyone, and so that is what has been done.
Supplies
- Access to Computer
- Clipart Image (Preferably outlined)
- Inkscape (free image software)
Find Clipart & Open in New Tab
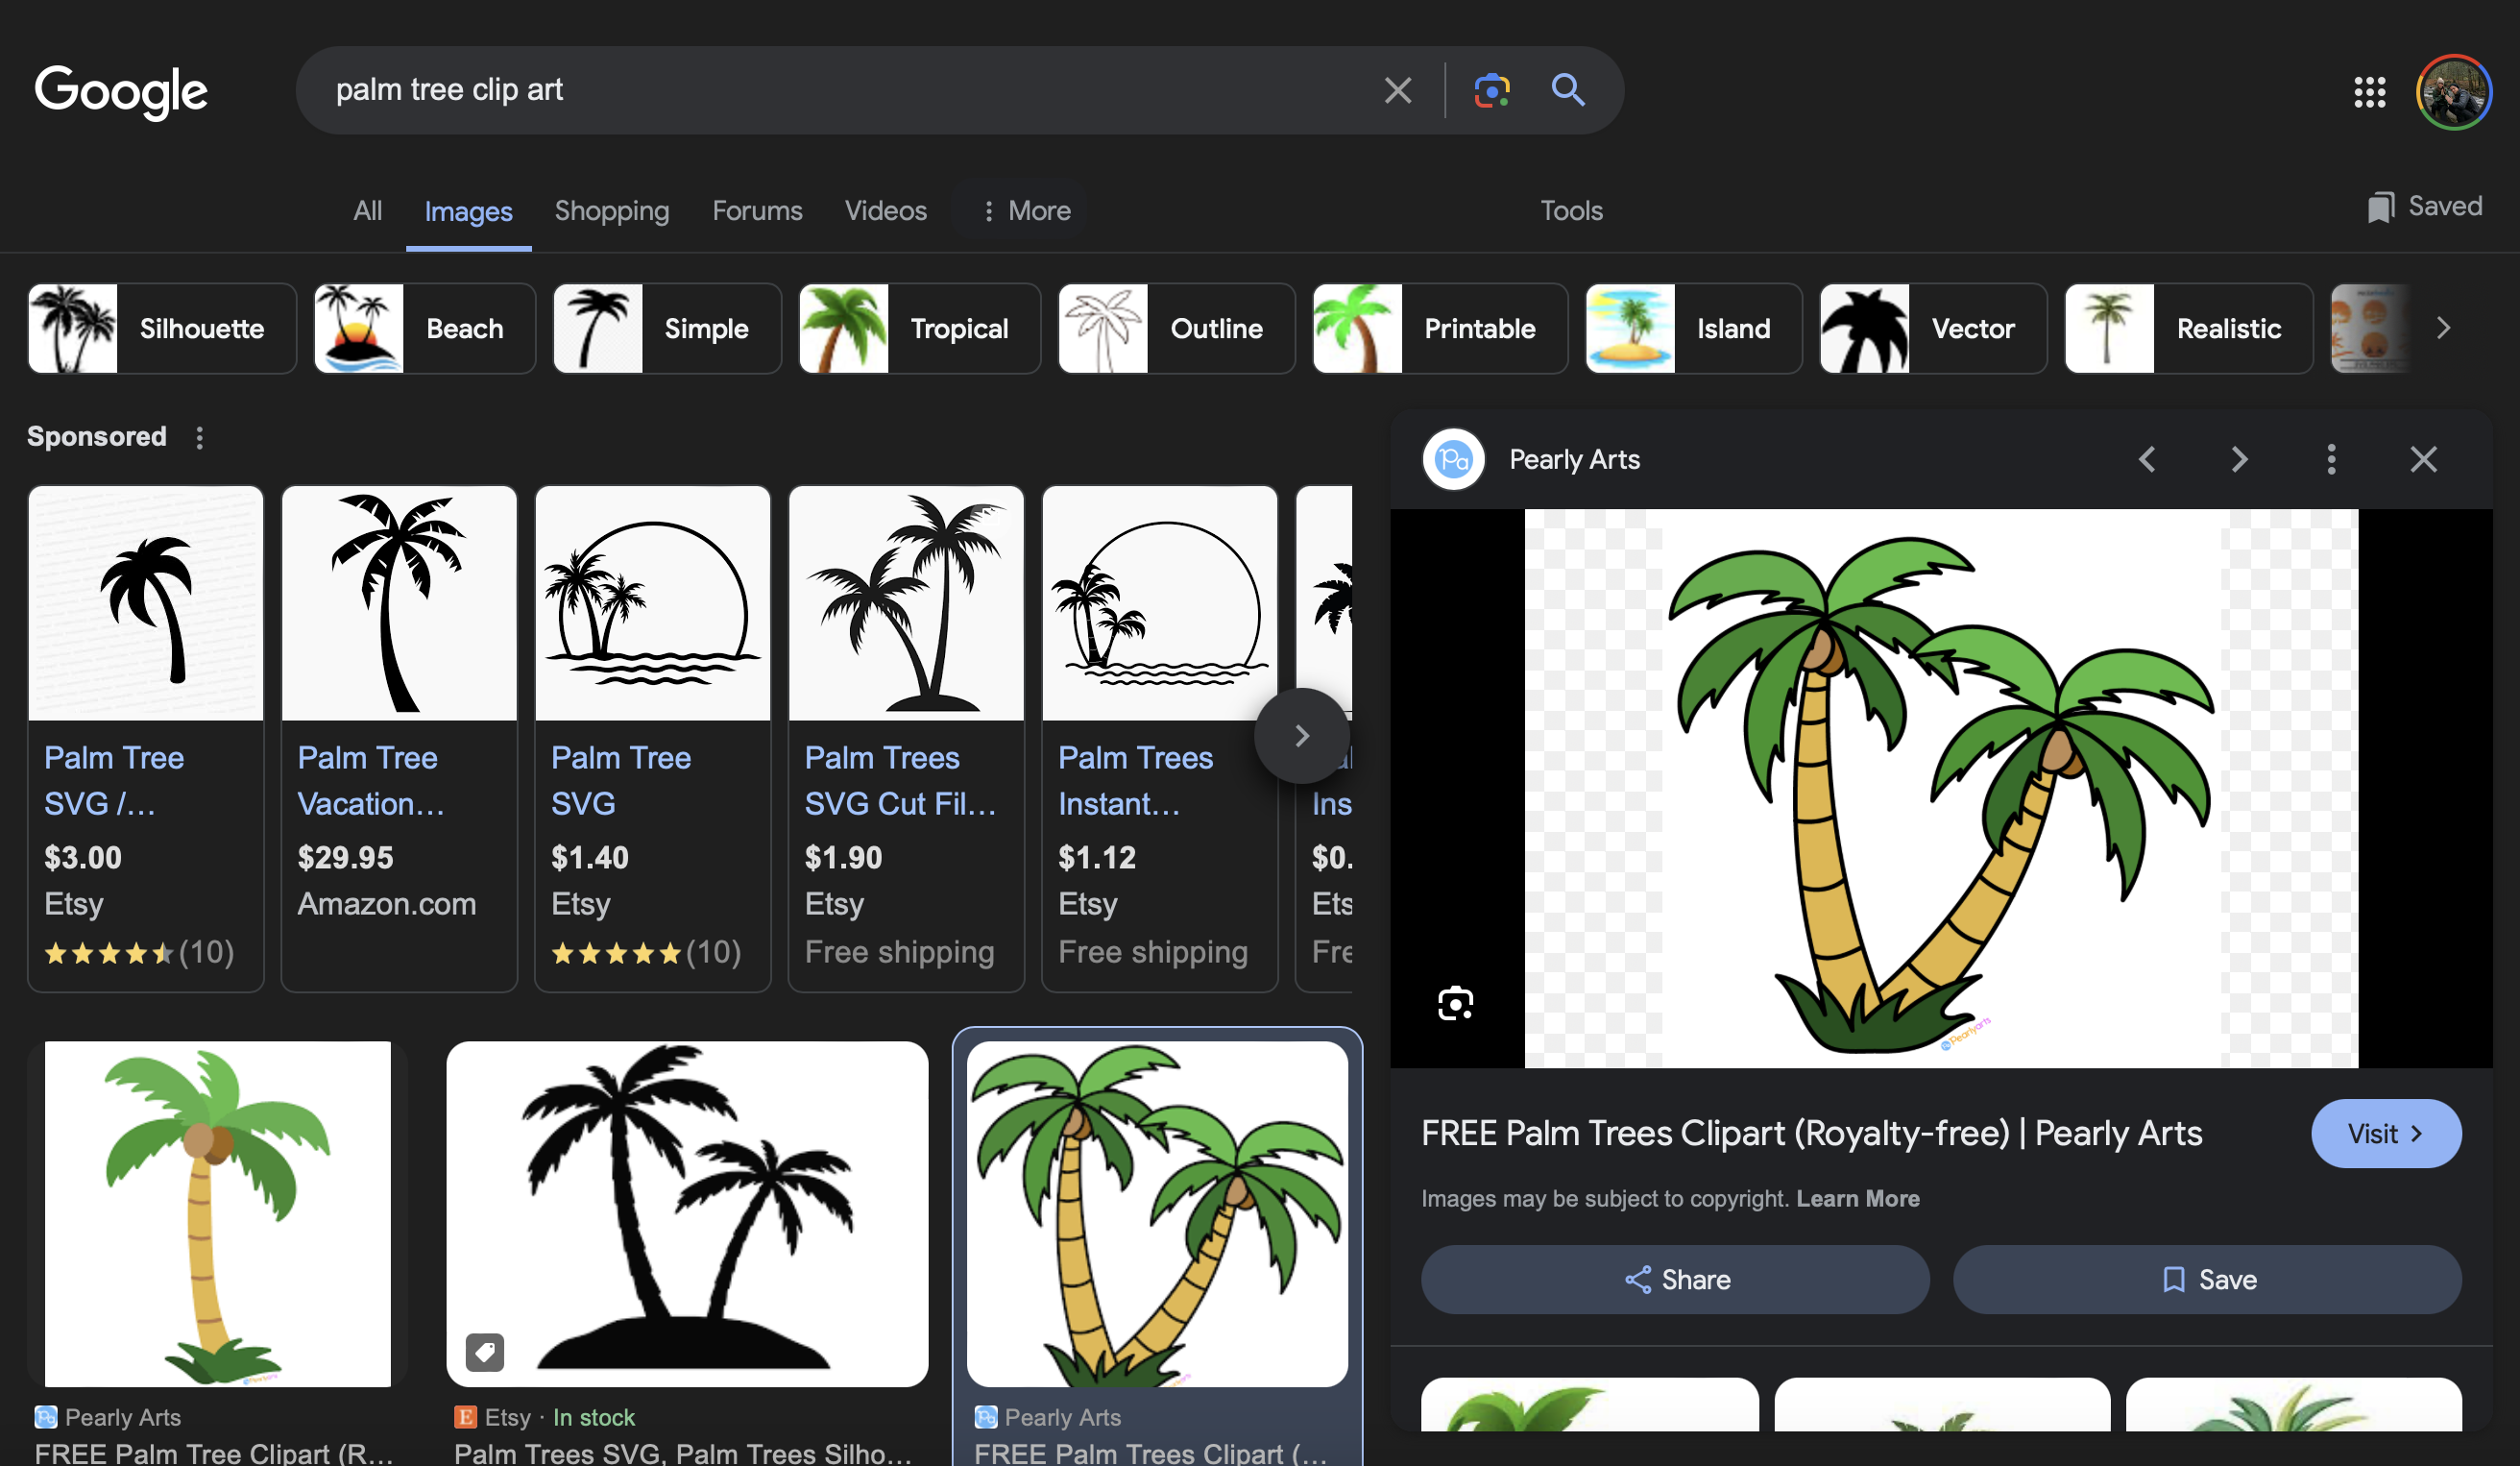

- Find a clipart image. Preferably one with an outline, like the one shown here with a black outline.
- Once found, right click the largest image and select "open in new tab".
Save Image
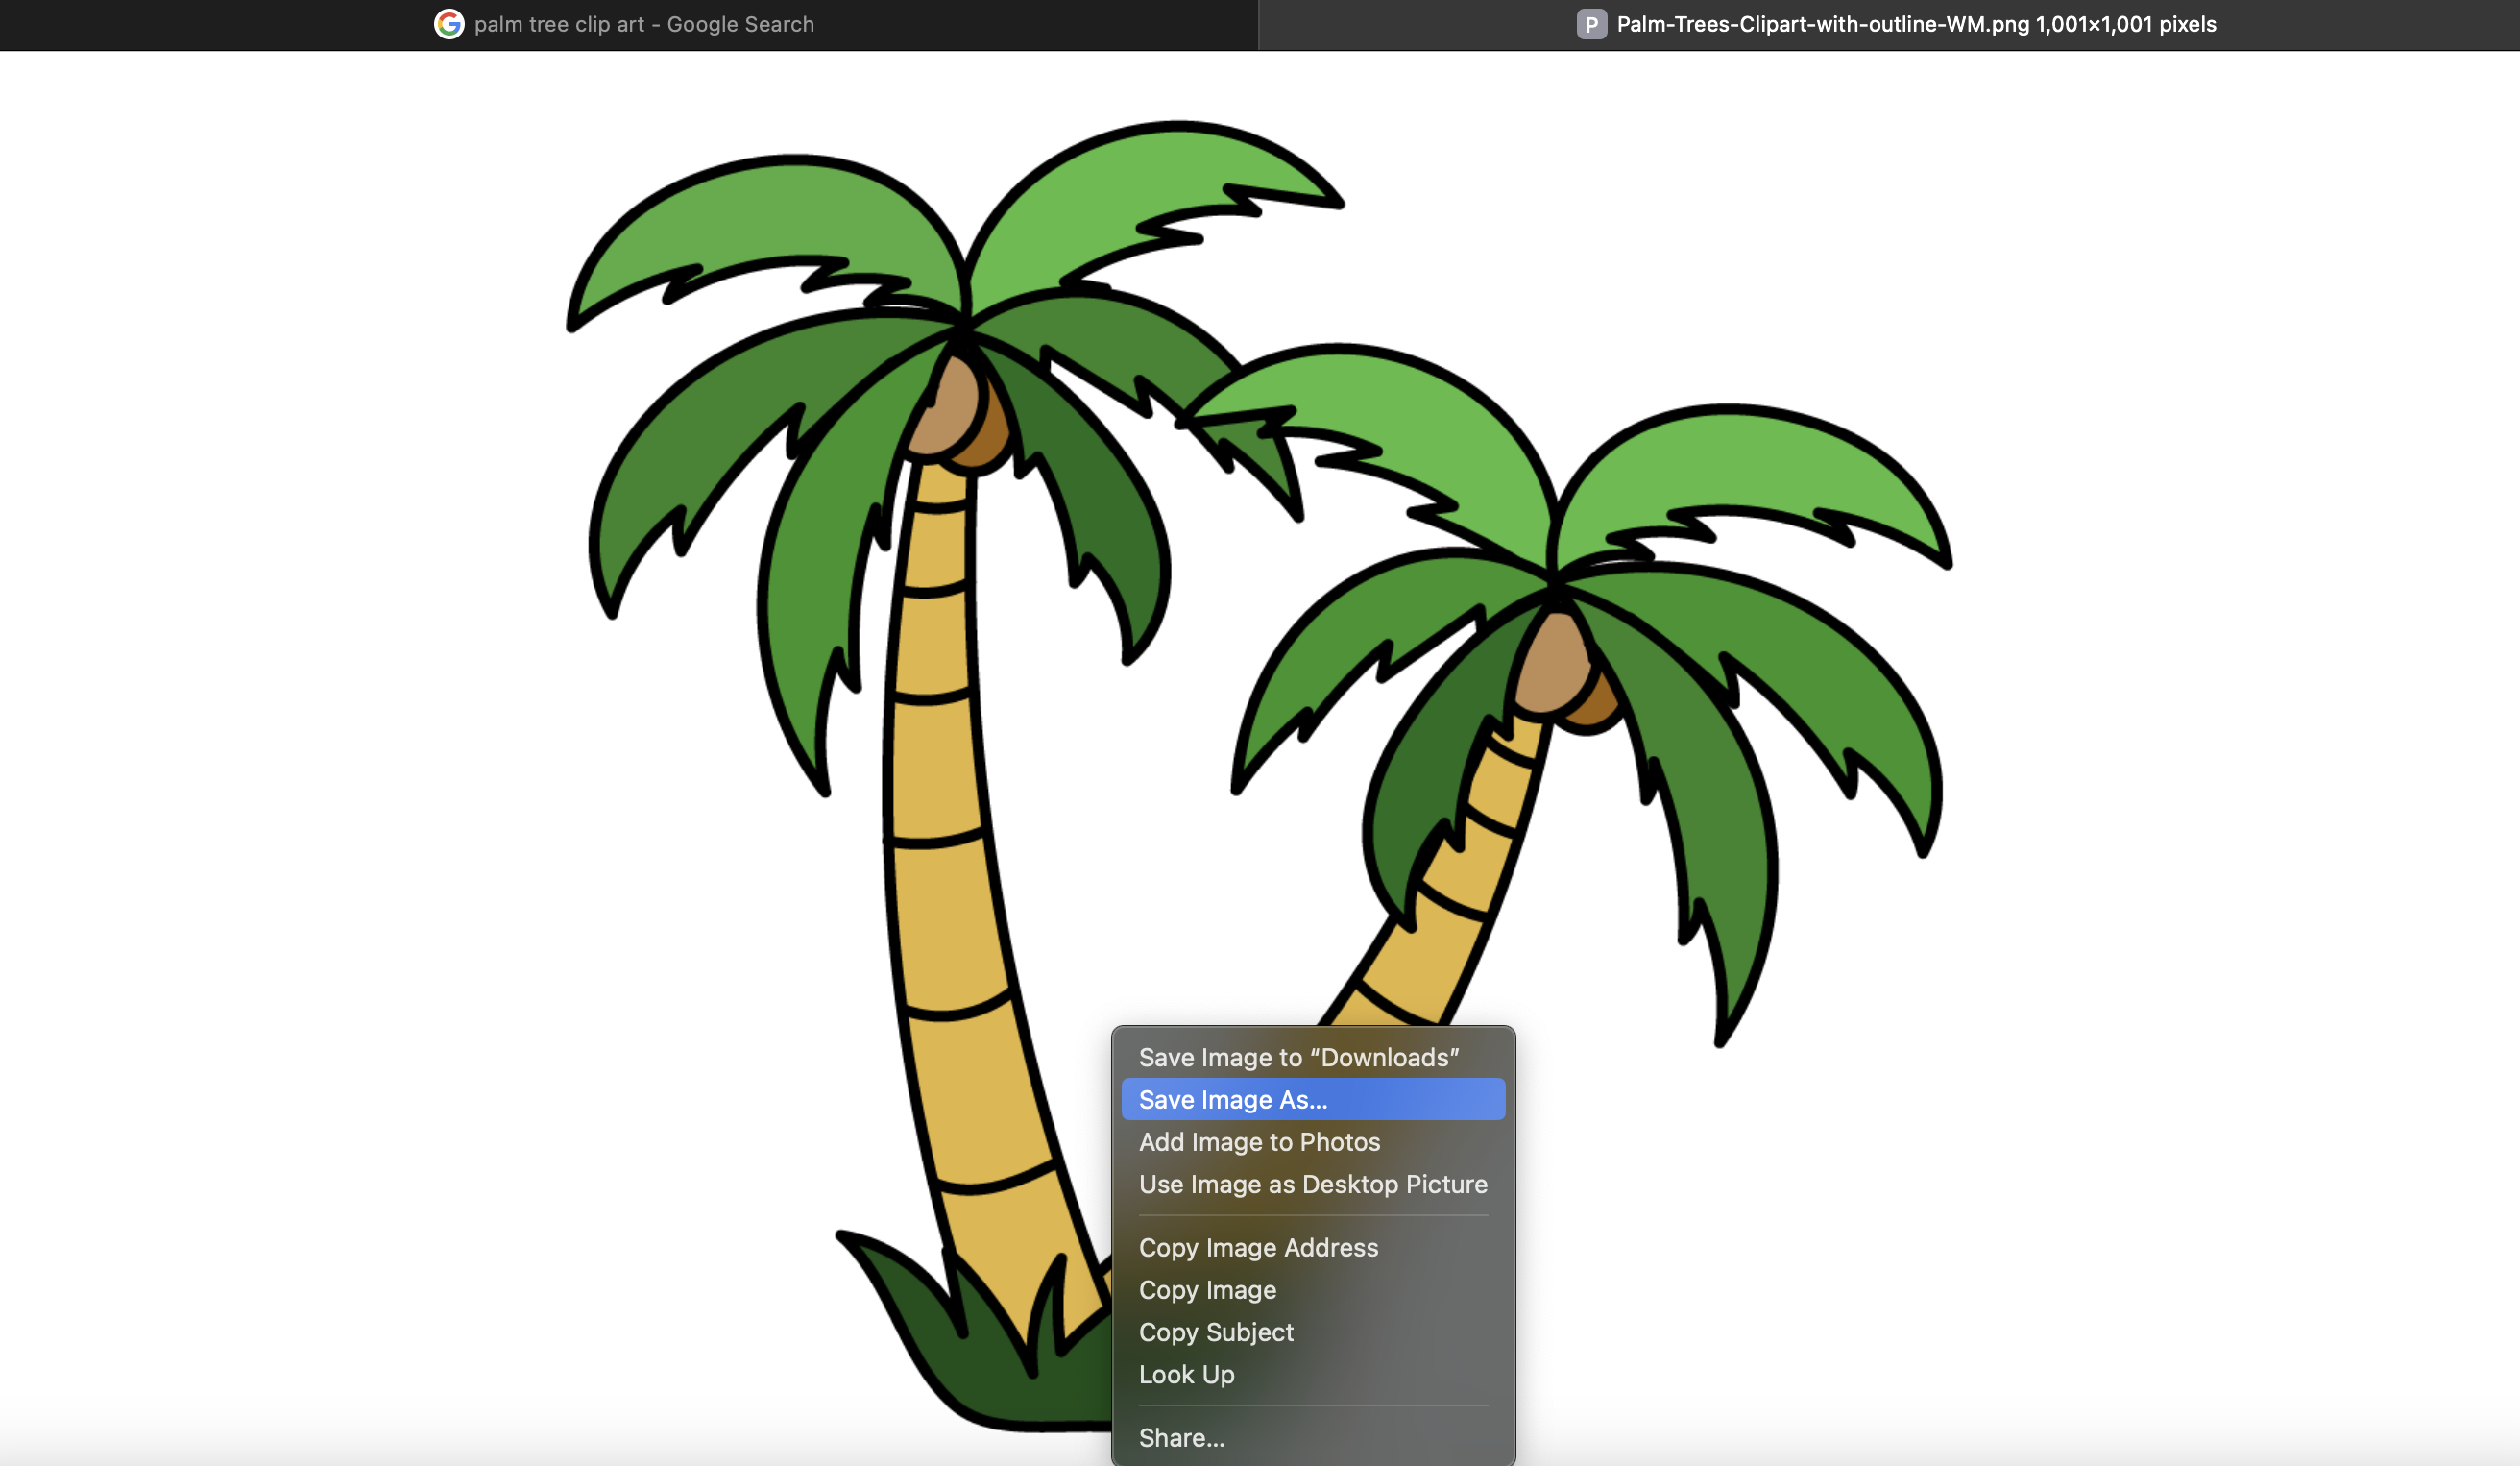
Go to this new tab with the image, and right click the image.
Select "Save Image As" and name/label accordingly.
Open/Download Inkscape
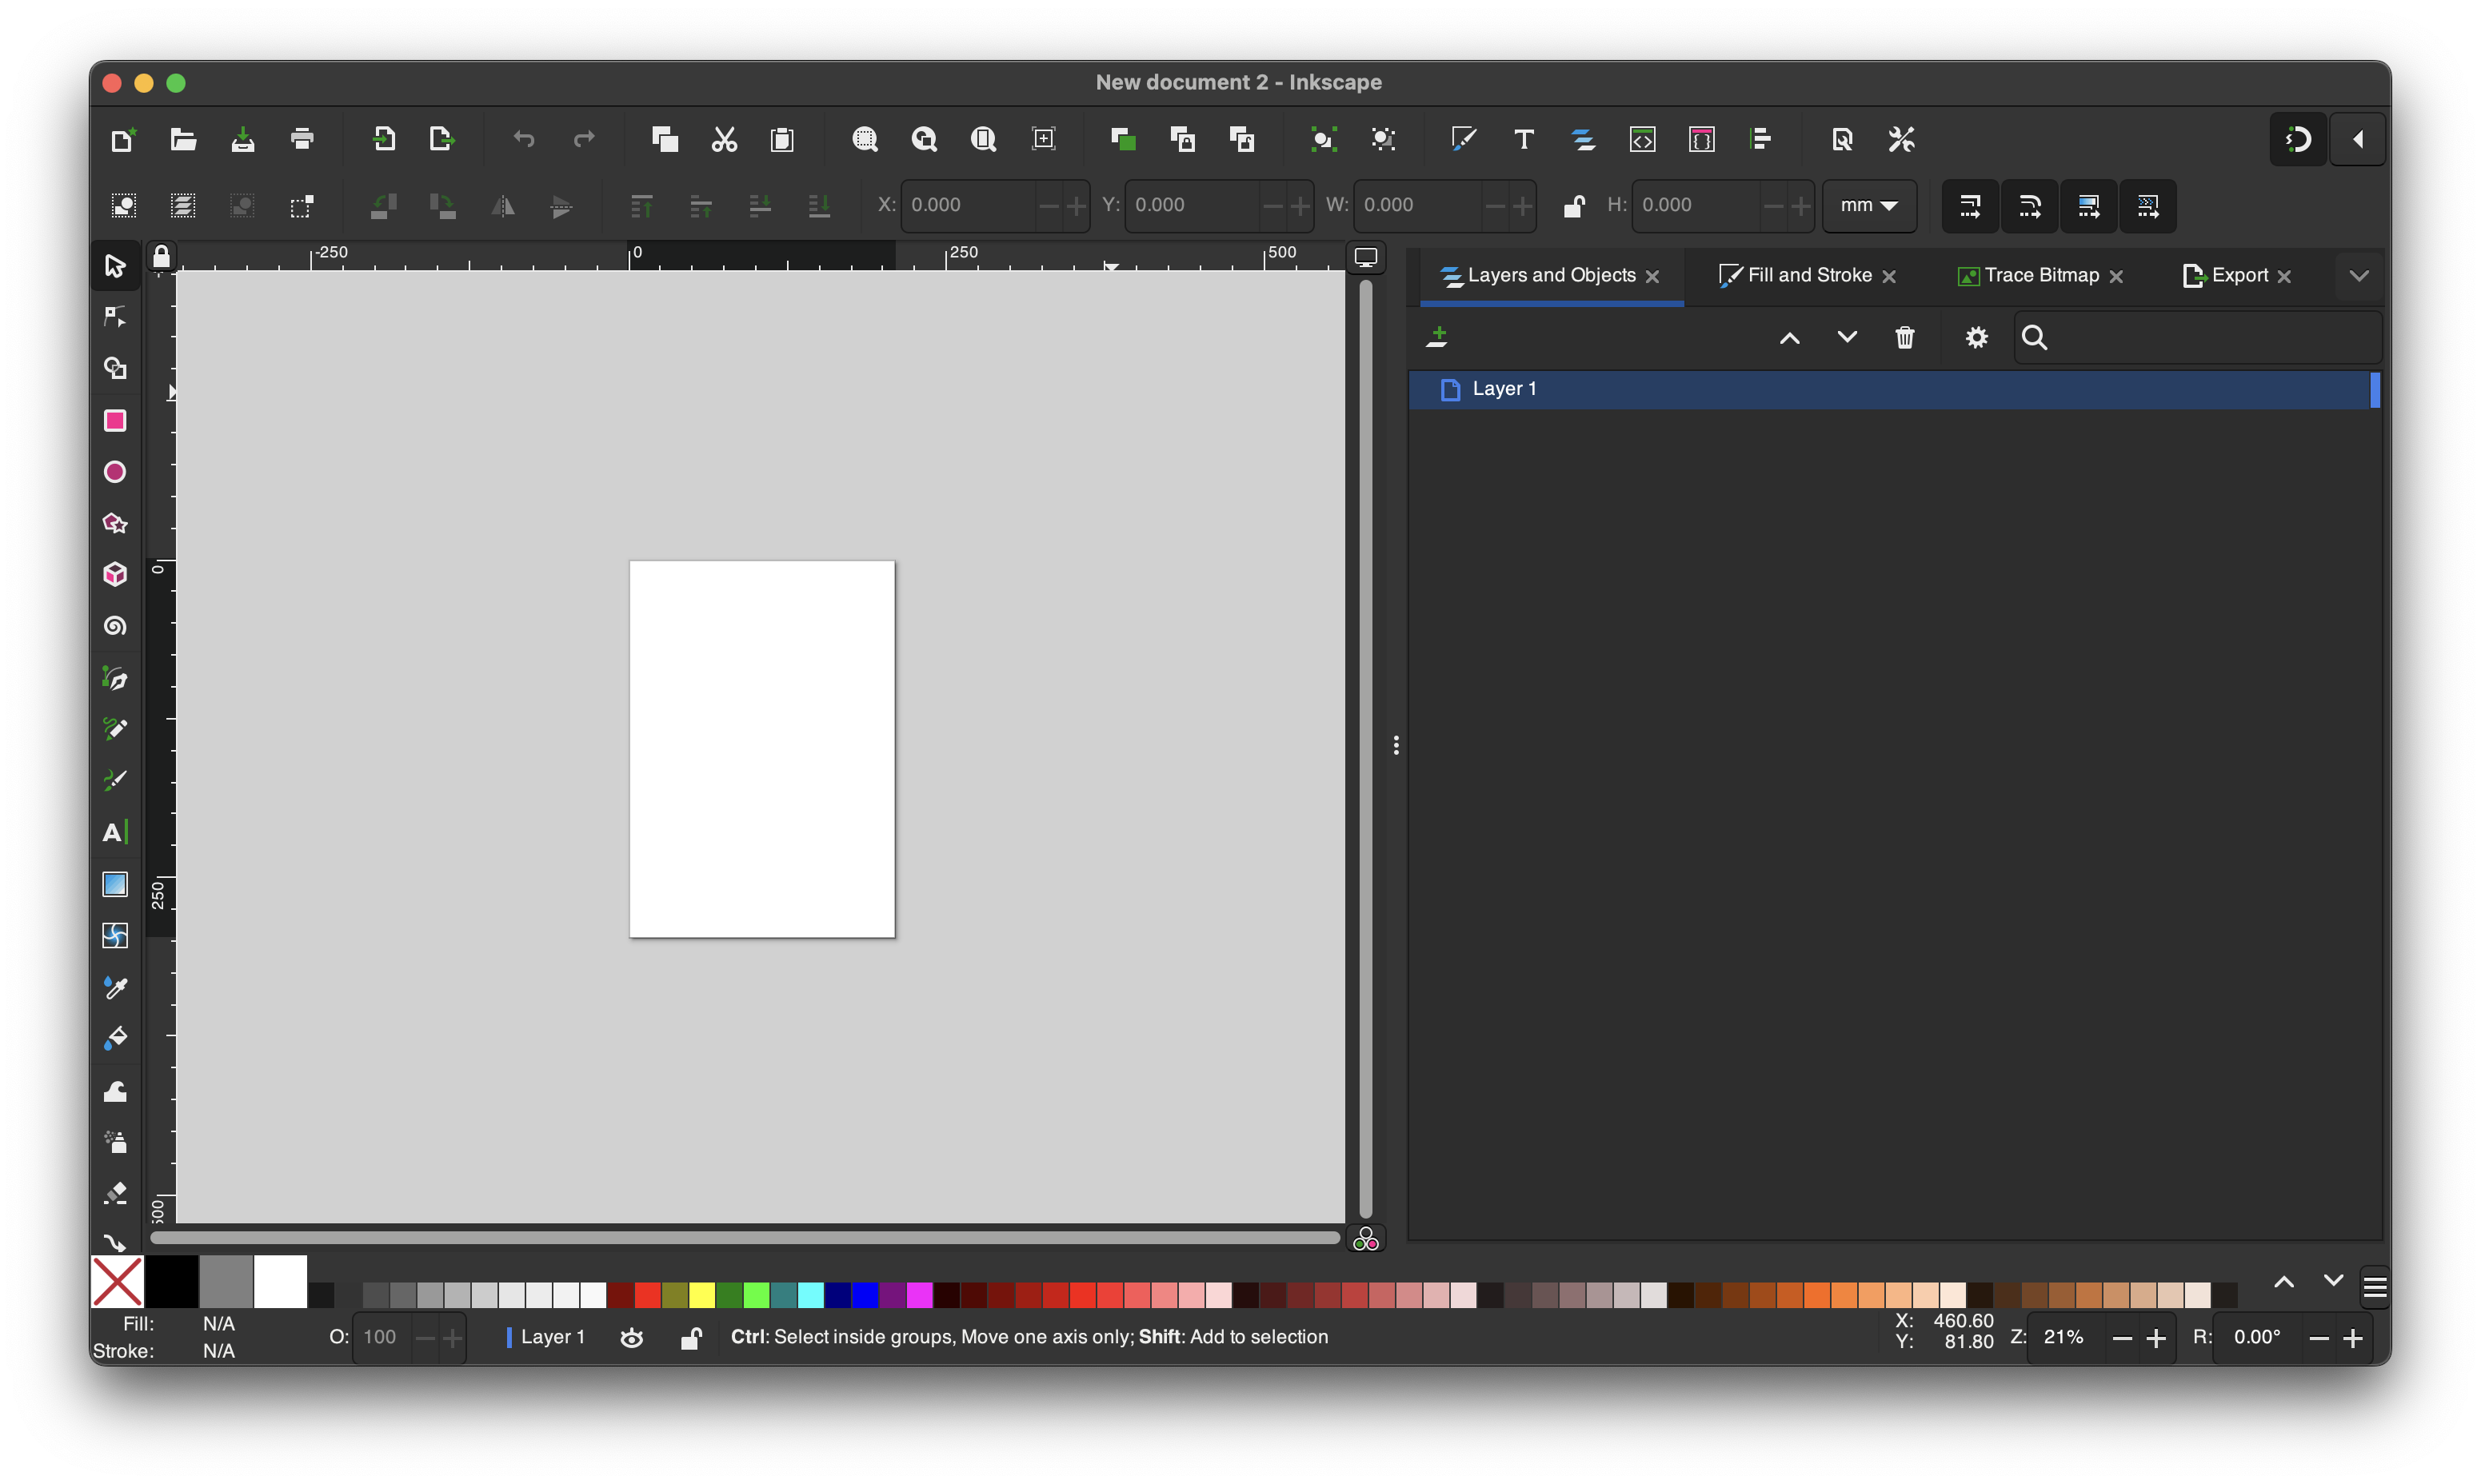
If you have Inkscape already - Open a new blank document.
If you DON'T have Inkscape - Use this link to go directly to their website for download. Inkscape is a free vector graphics editor - Think Microsoft Paint for lasers.
Import Image
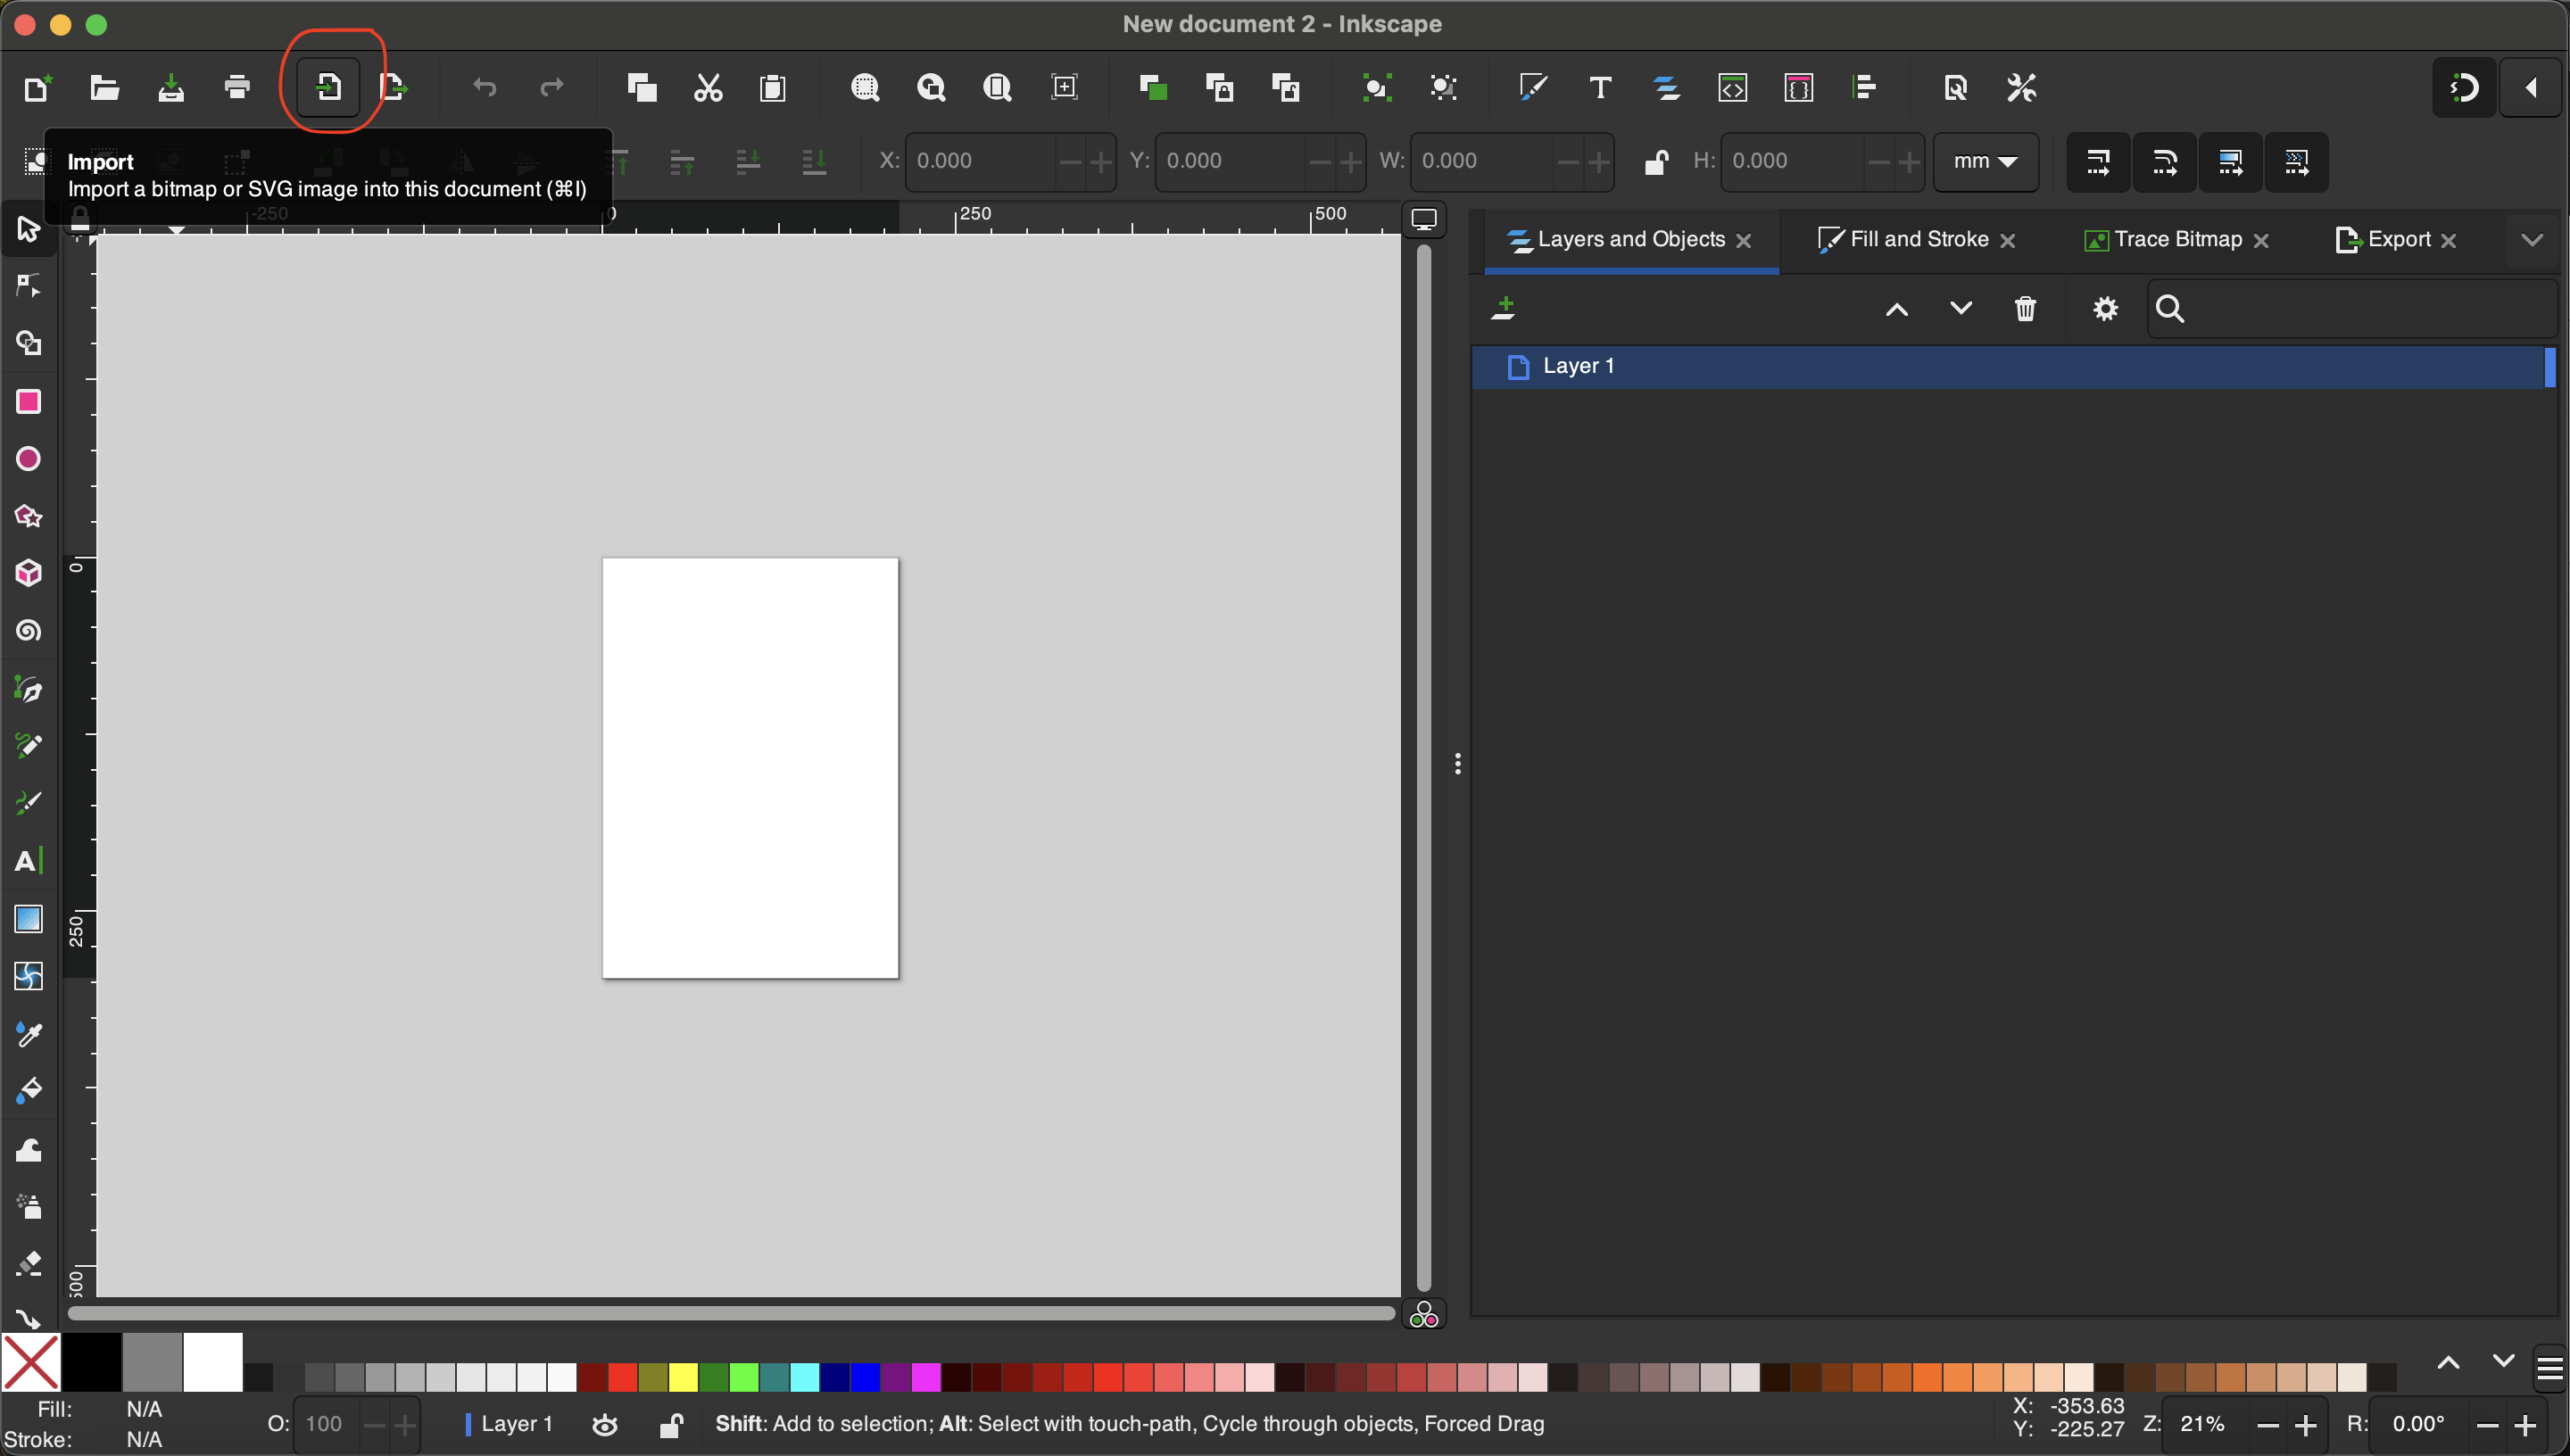
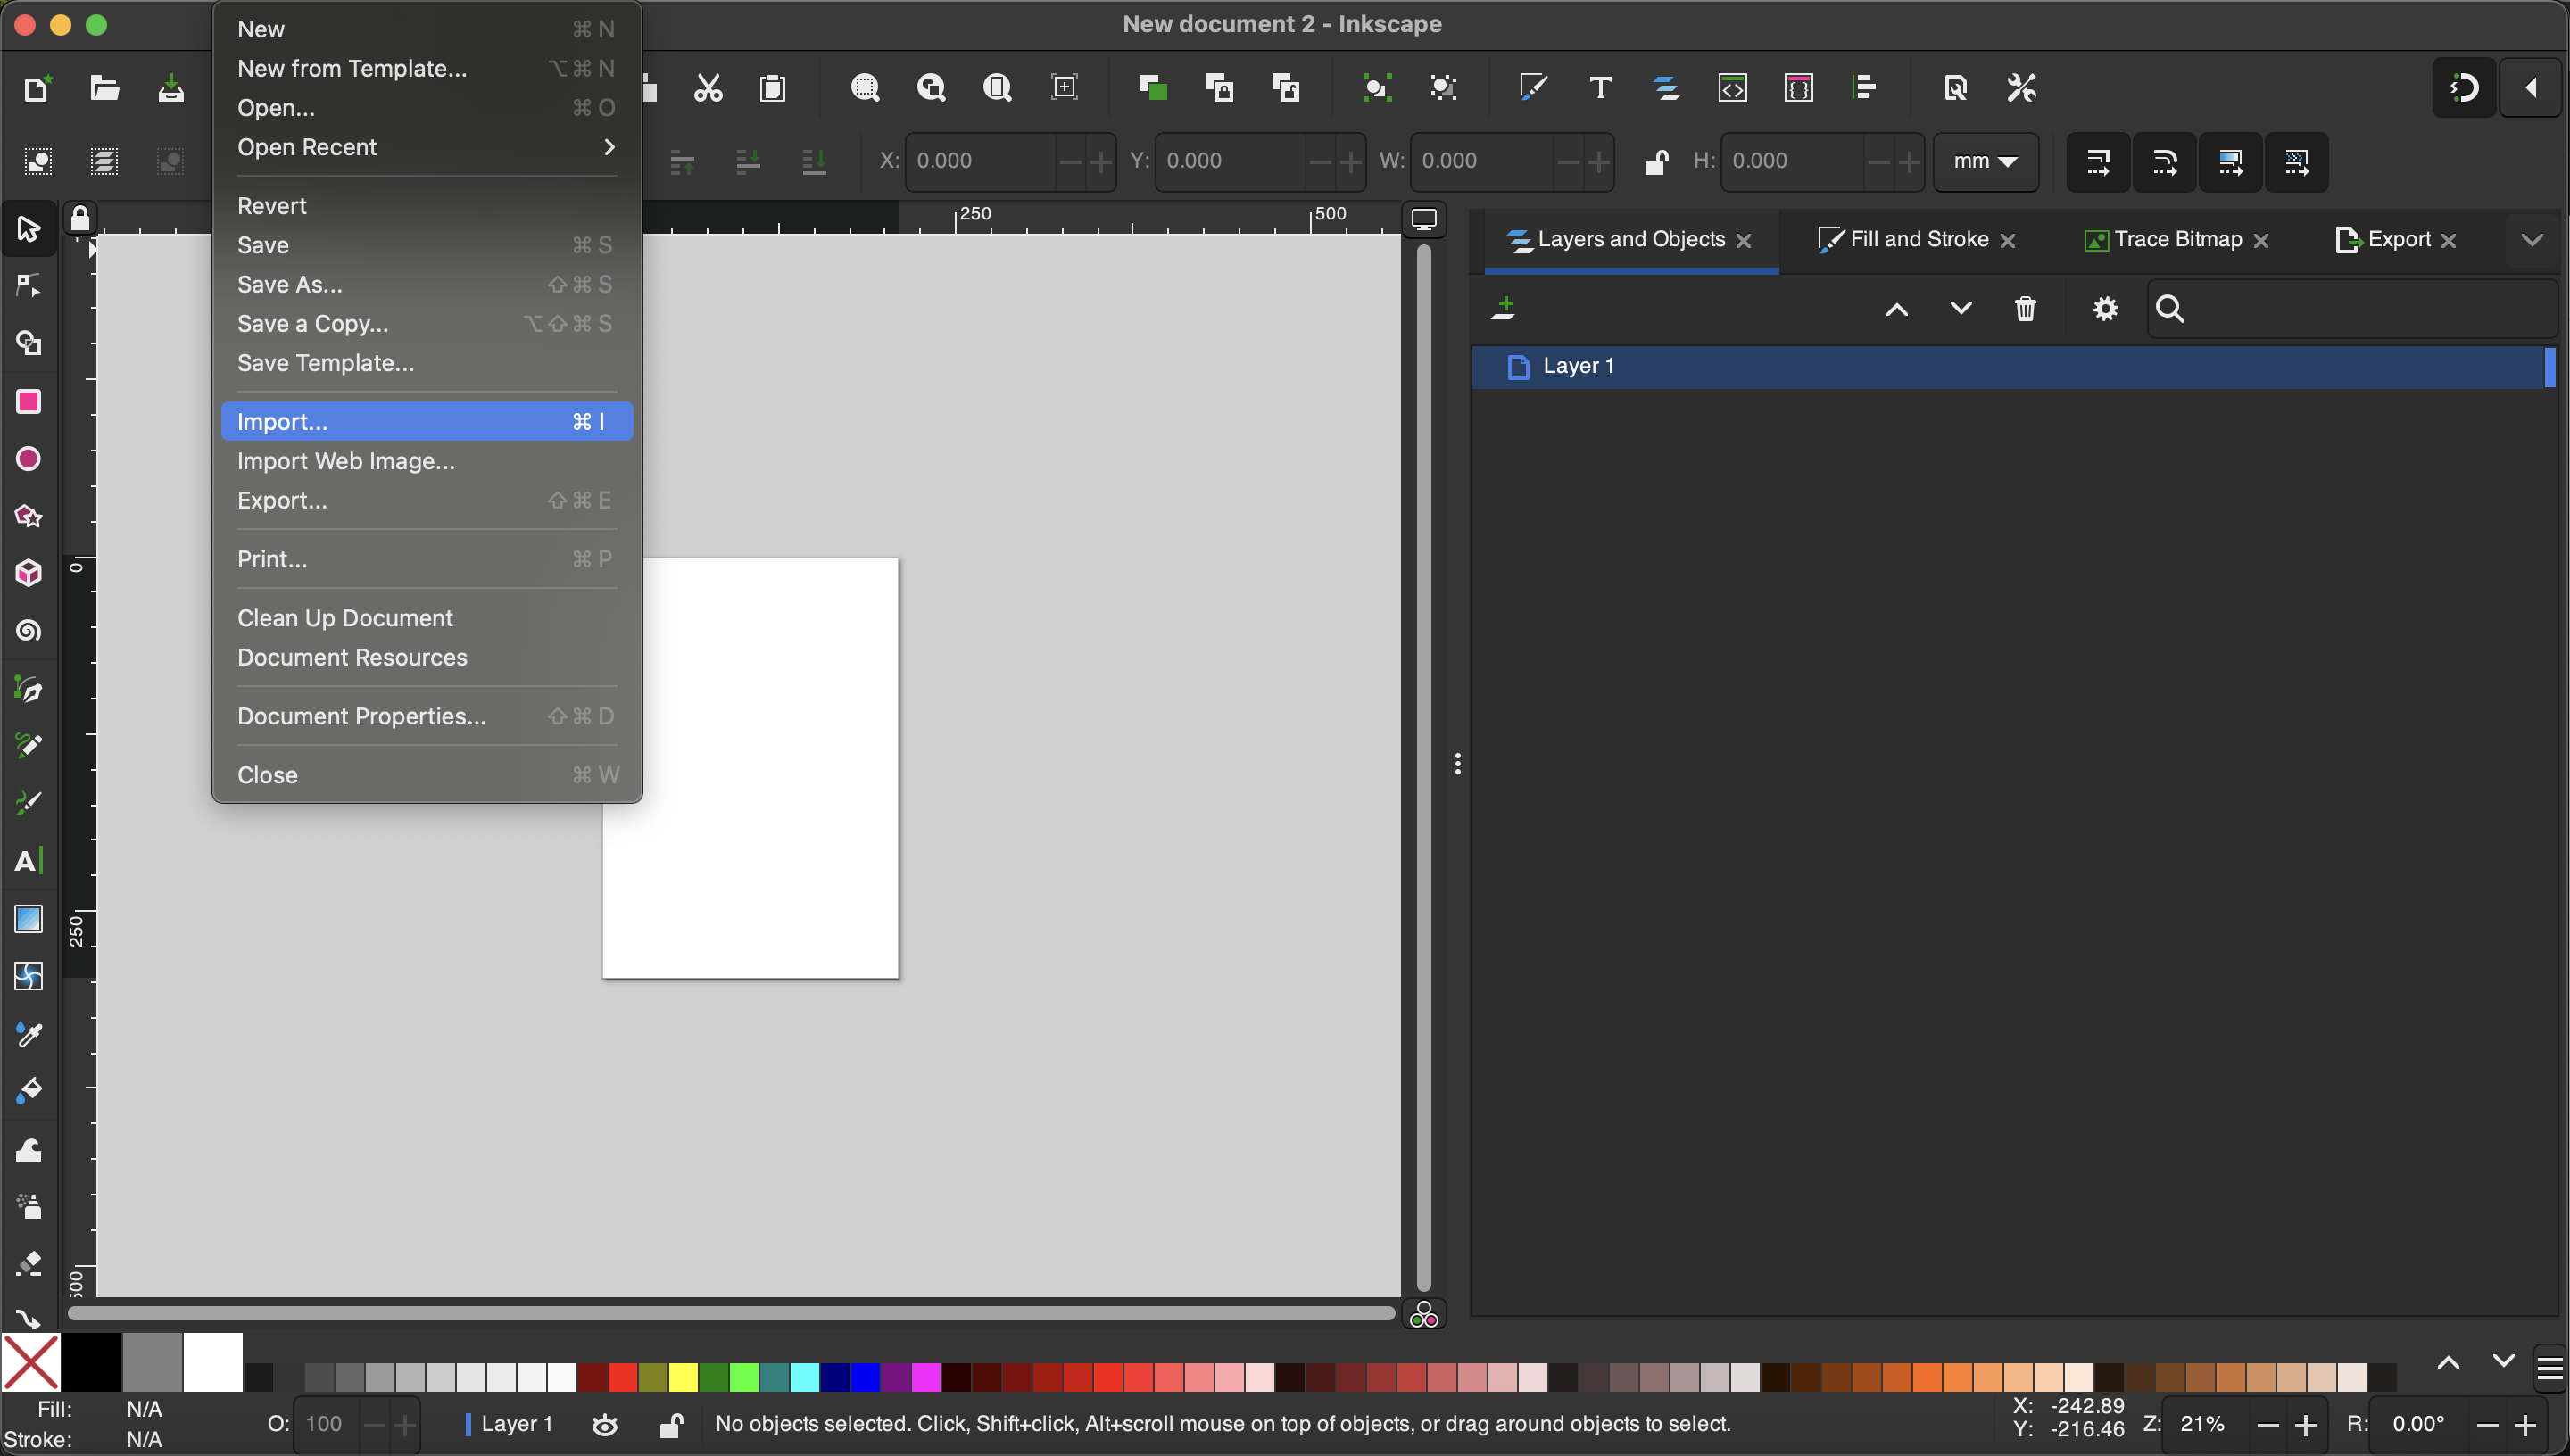
In our new blank Inkscape document, we're going to import the image we just saved. To do this -
Click File.
Select "import...".
Find and select file.
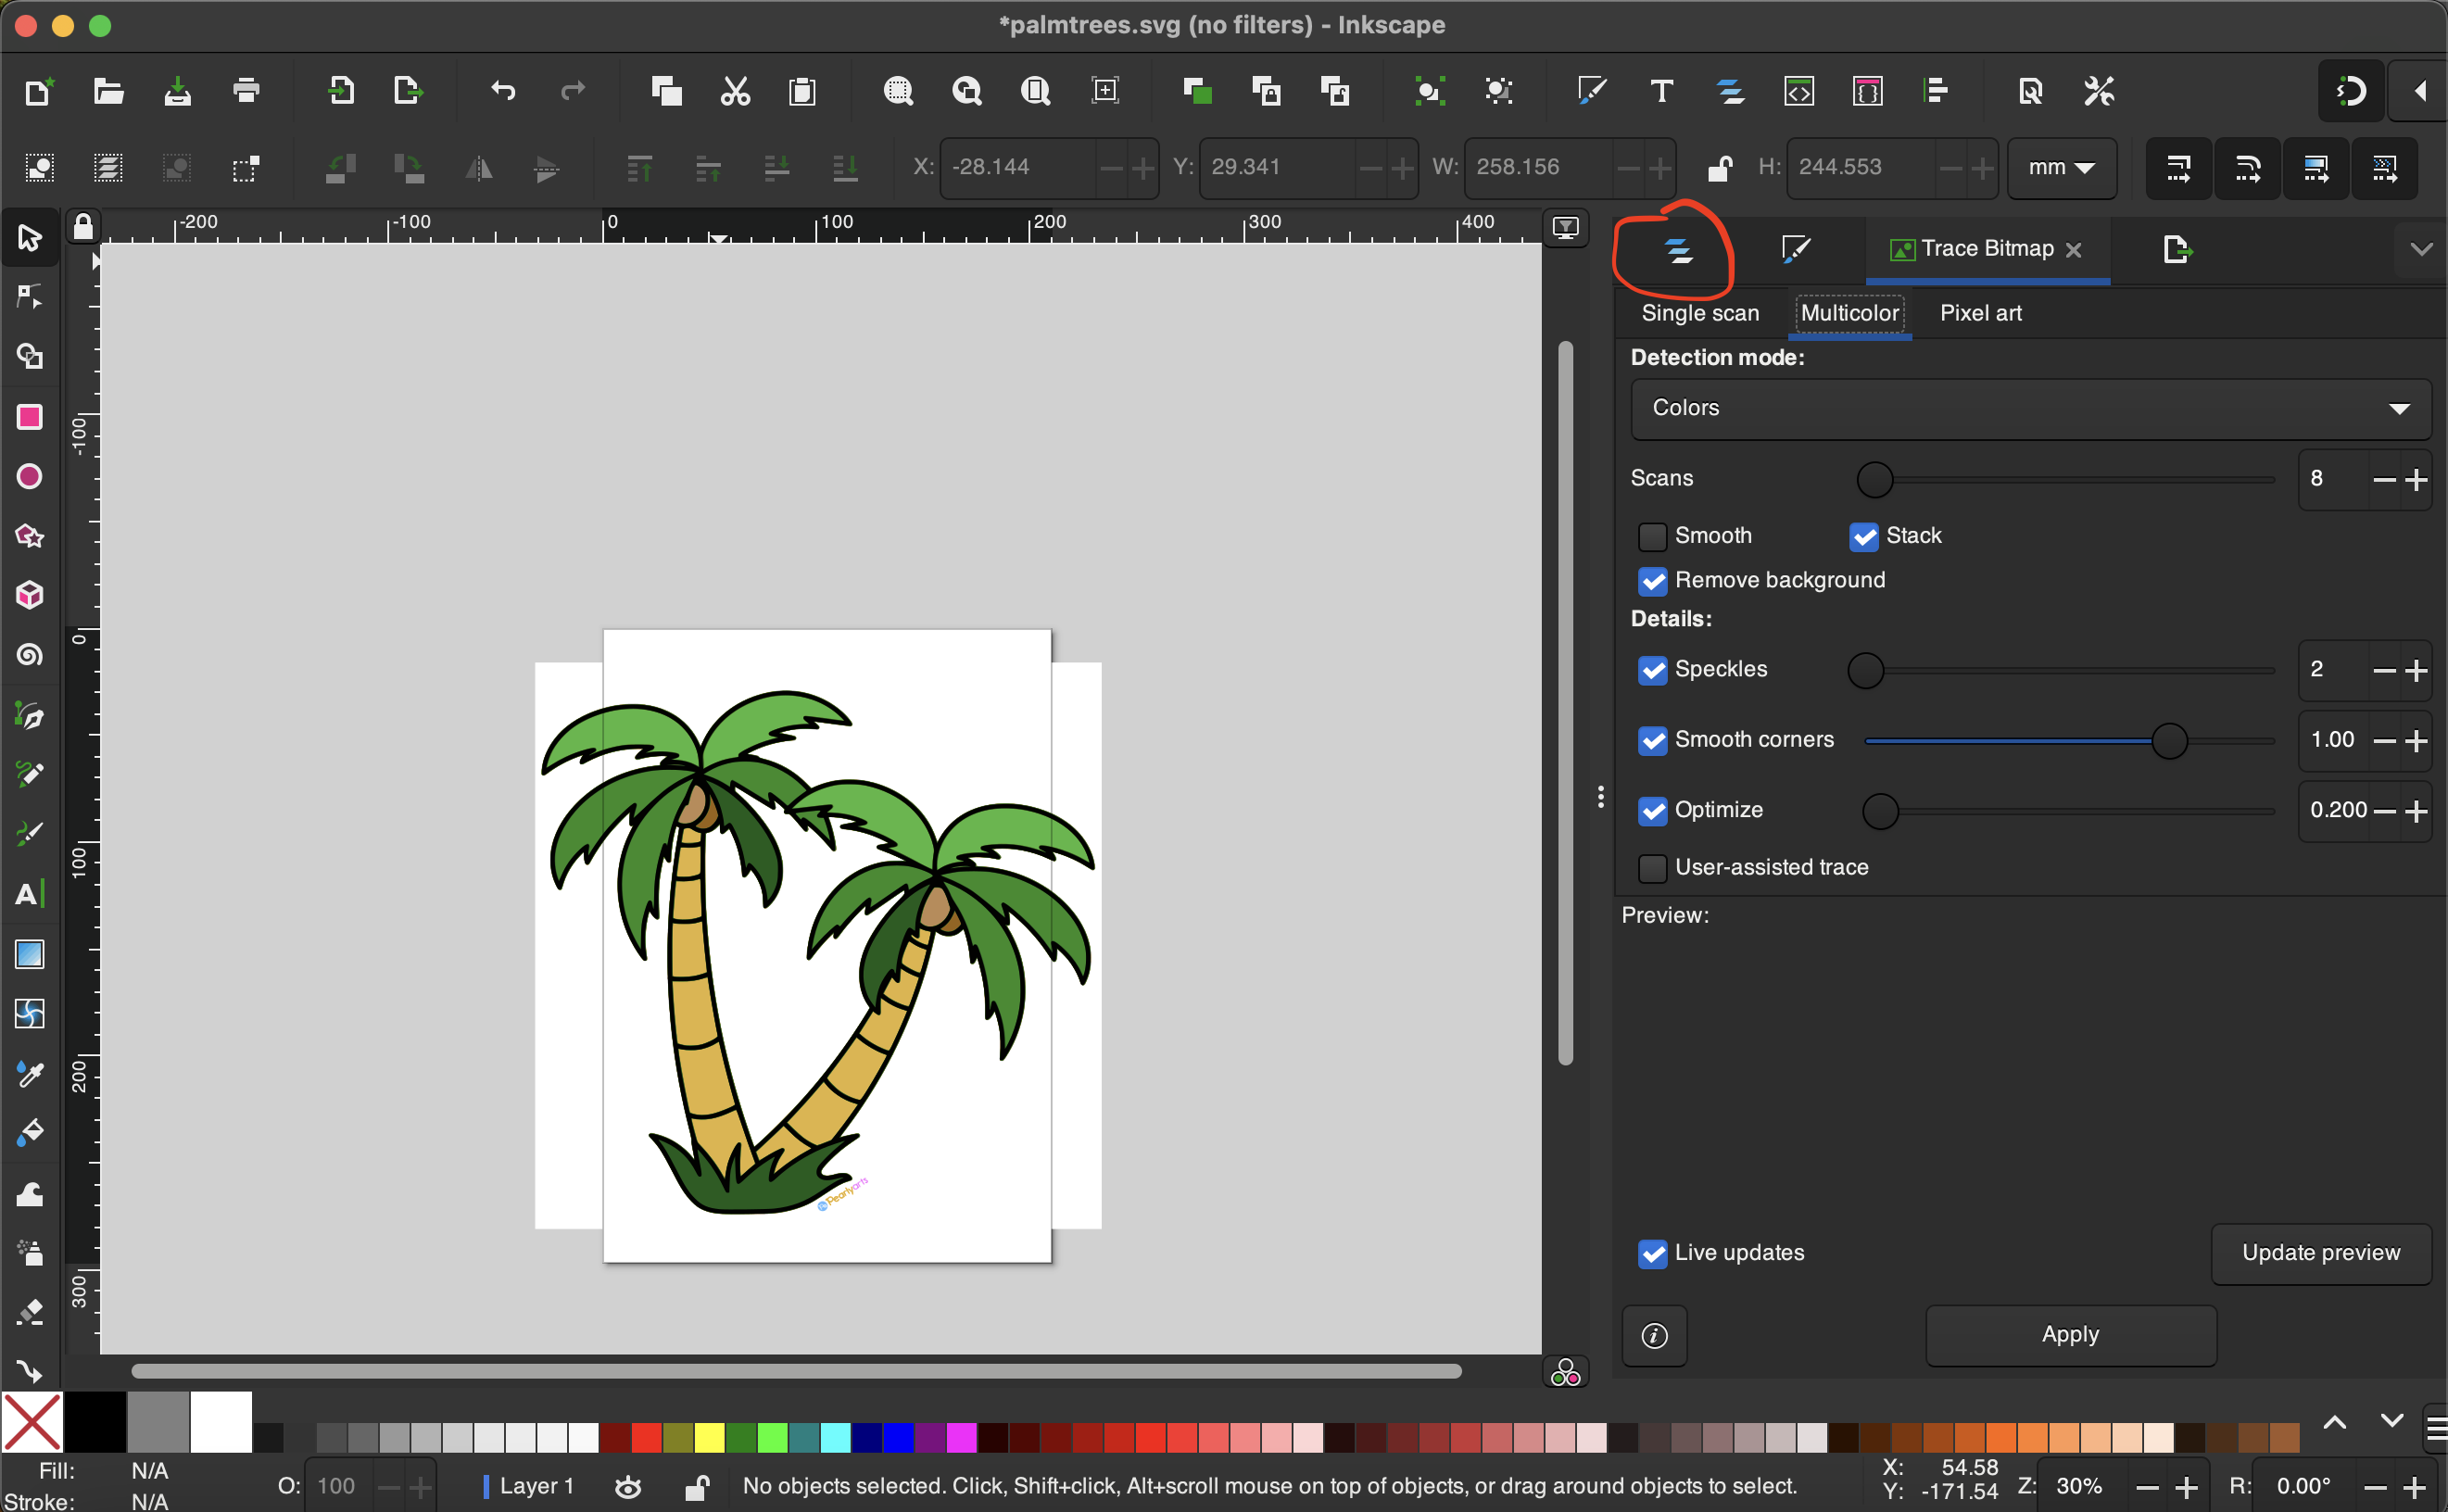
Select Image & Open Trace Bitmap Menu
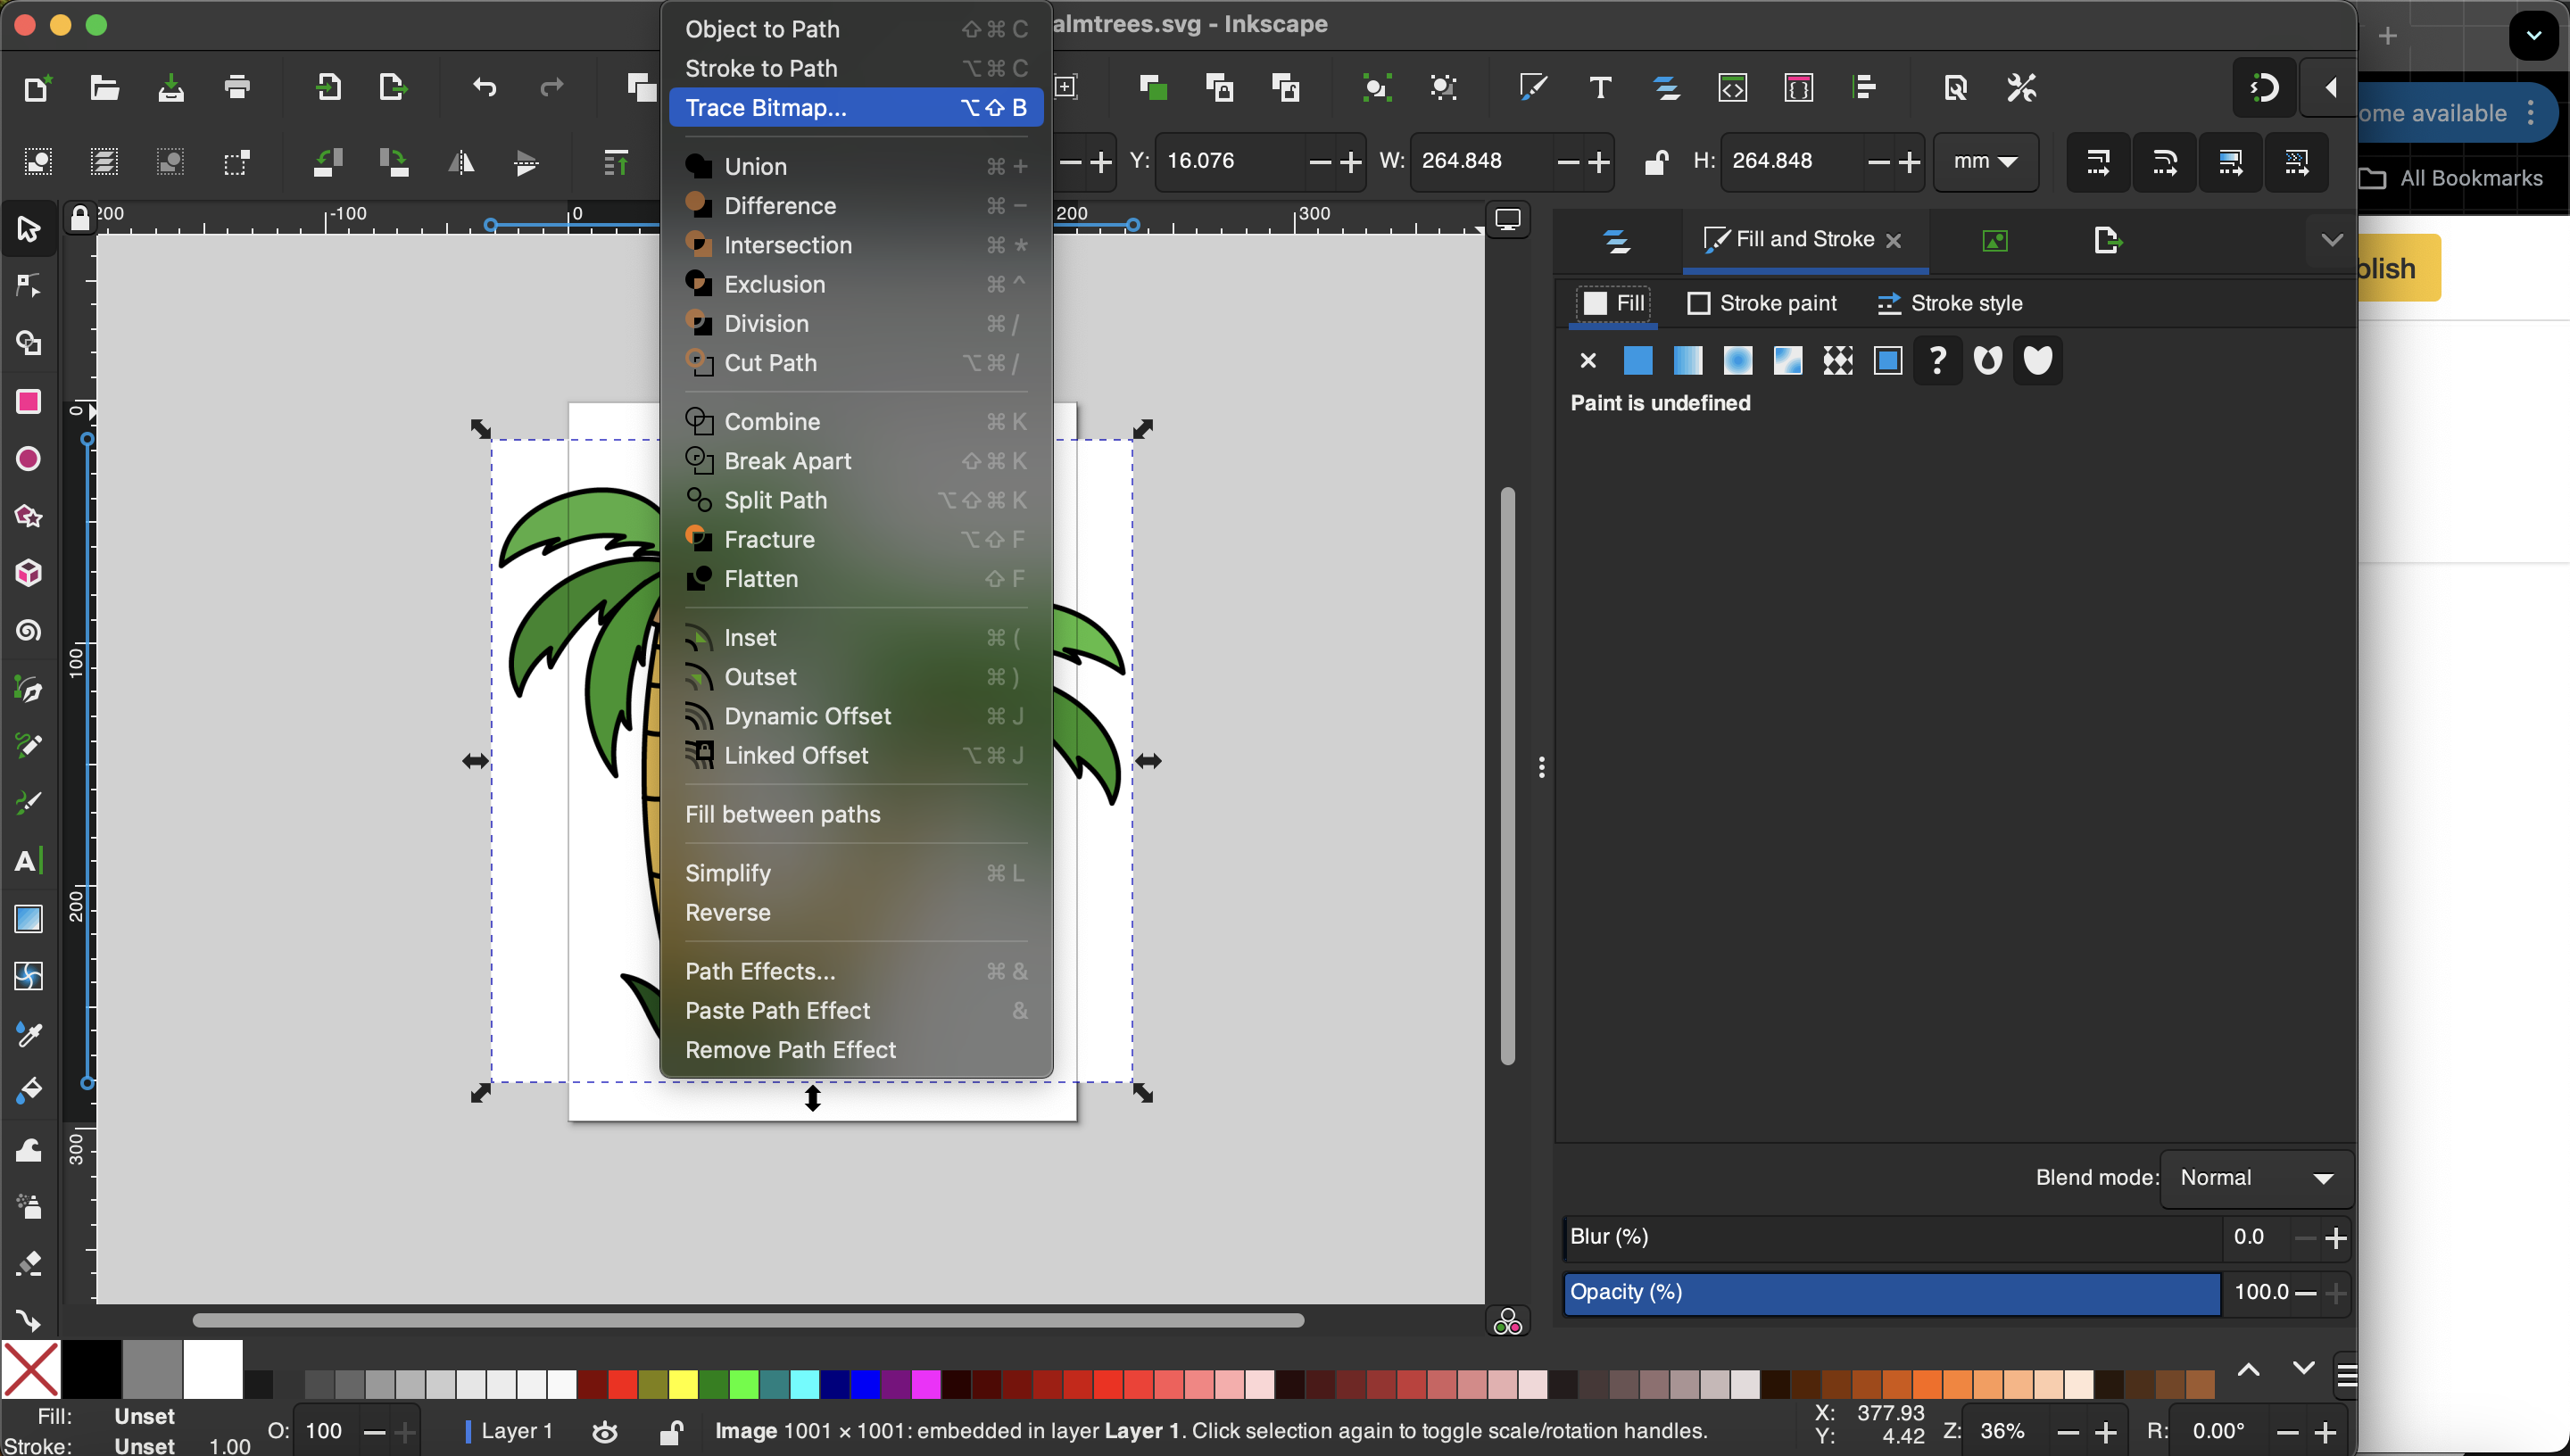
Now we're going to click the image itself to ensure it's selected (if it IS, you should see arrows surrounding it that allow you to adjust size).
Once selected, find the "path" dropdown on the top task bar (next to "File" "Edit" etc.) and select "Trace Bitmap".
This should open the "Trace Bitmap" menu on the side of the screen (see image 2).
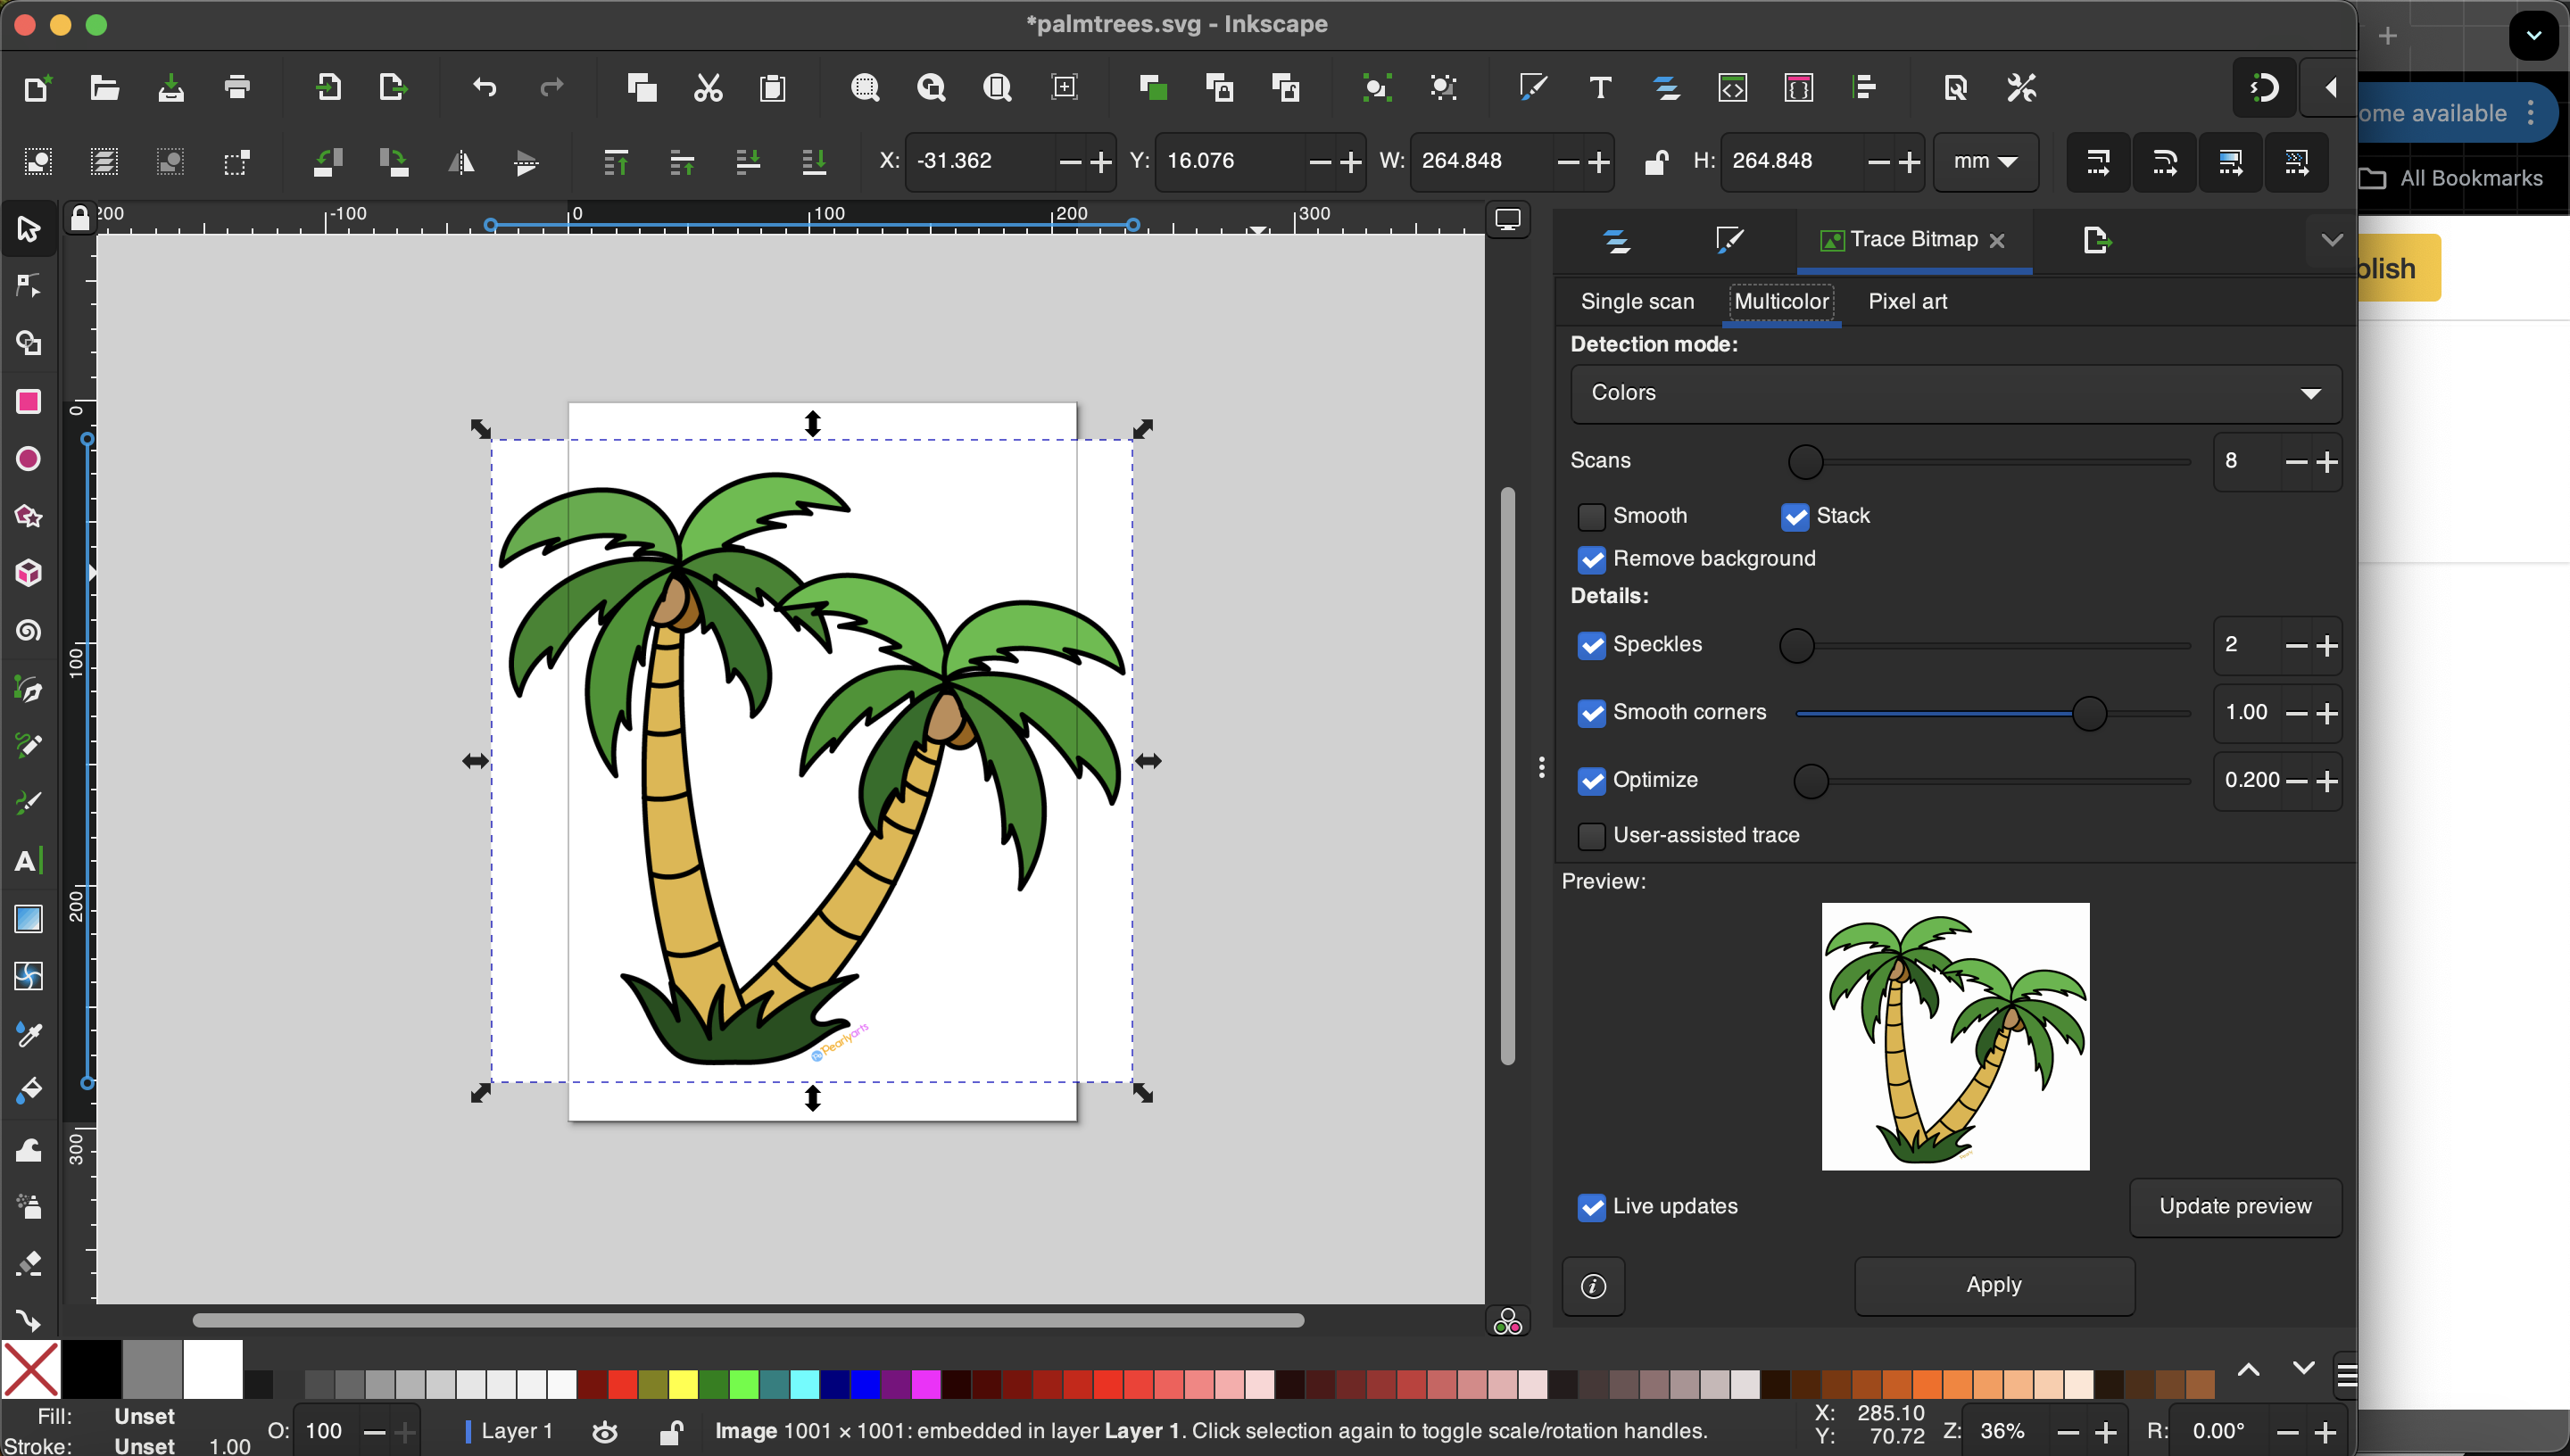
Trace Bitmap
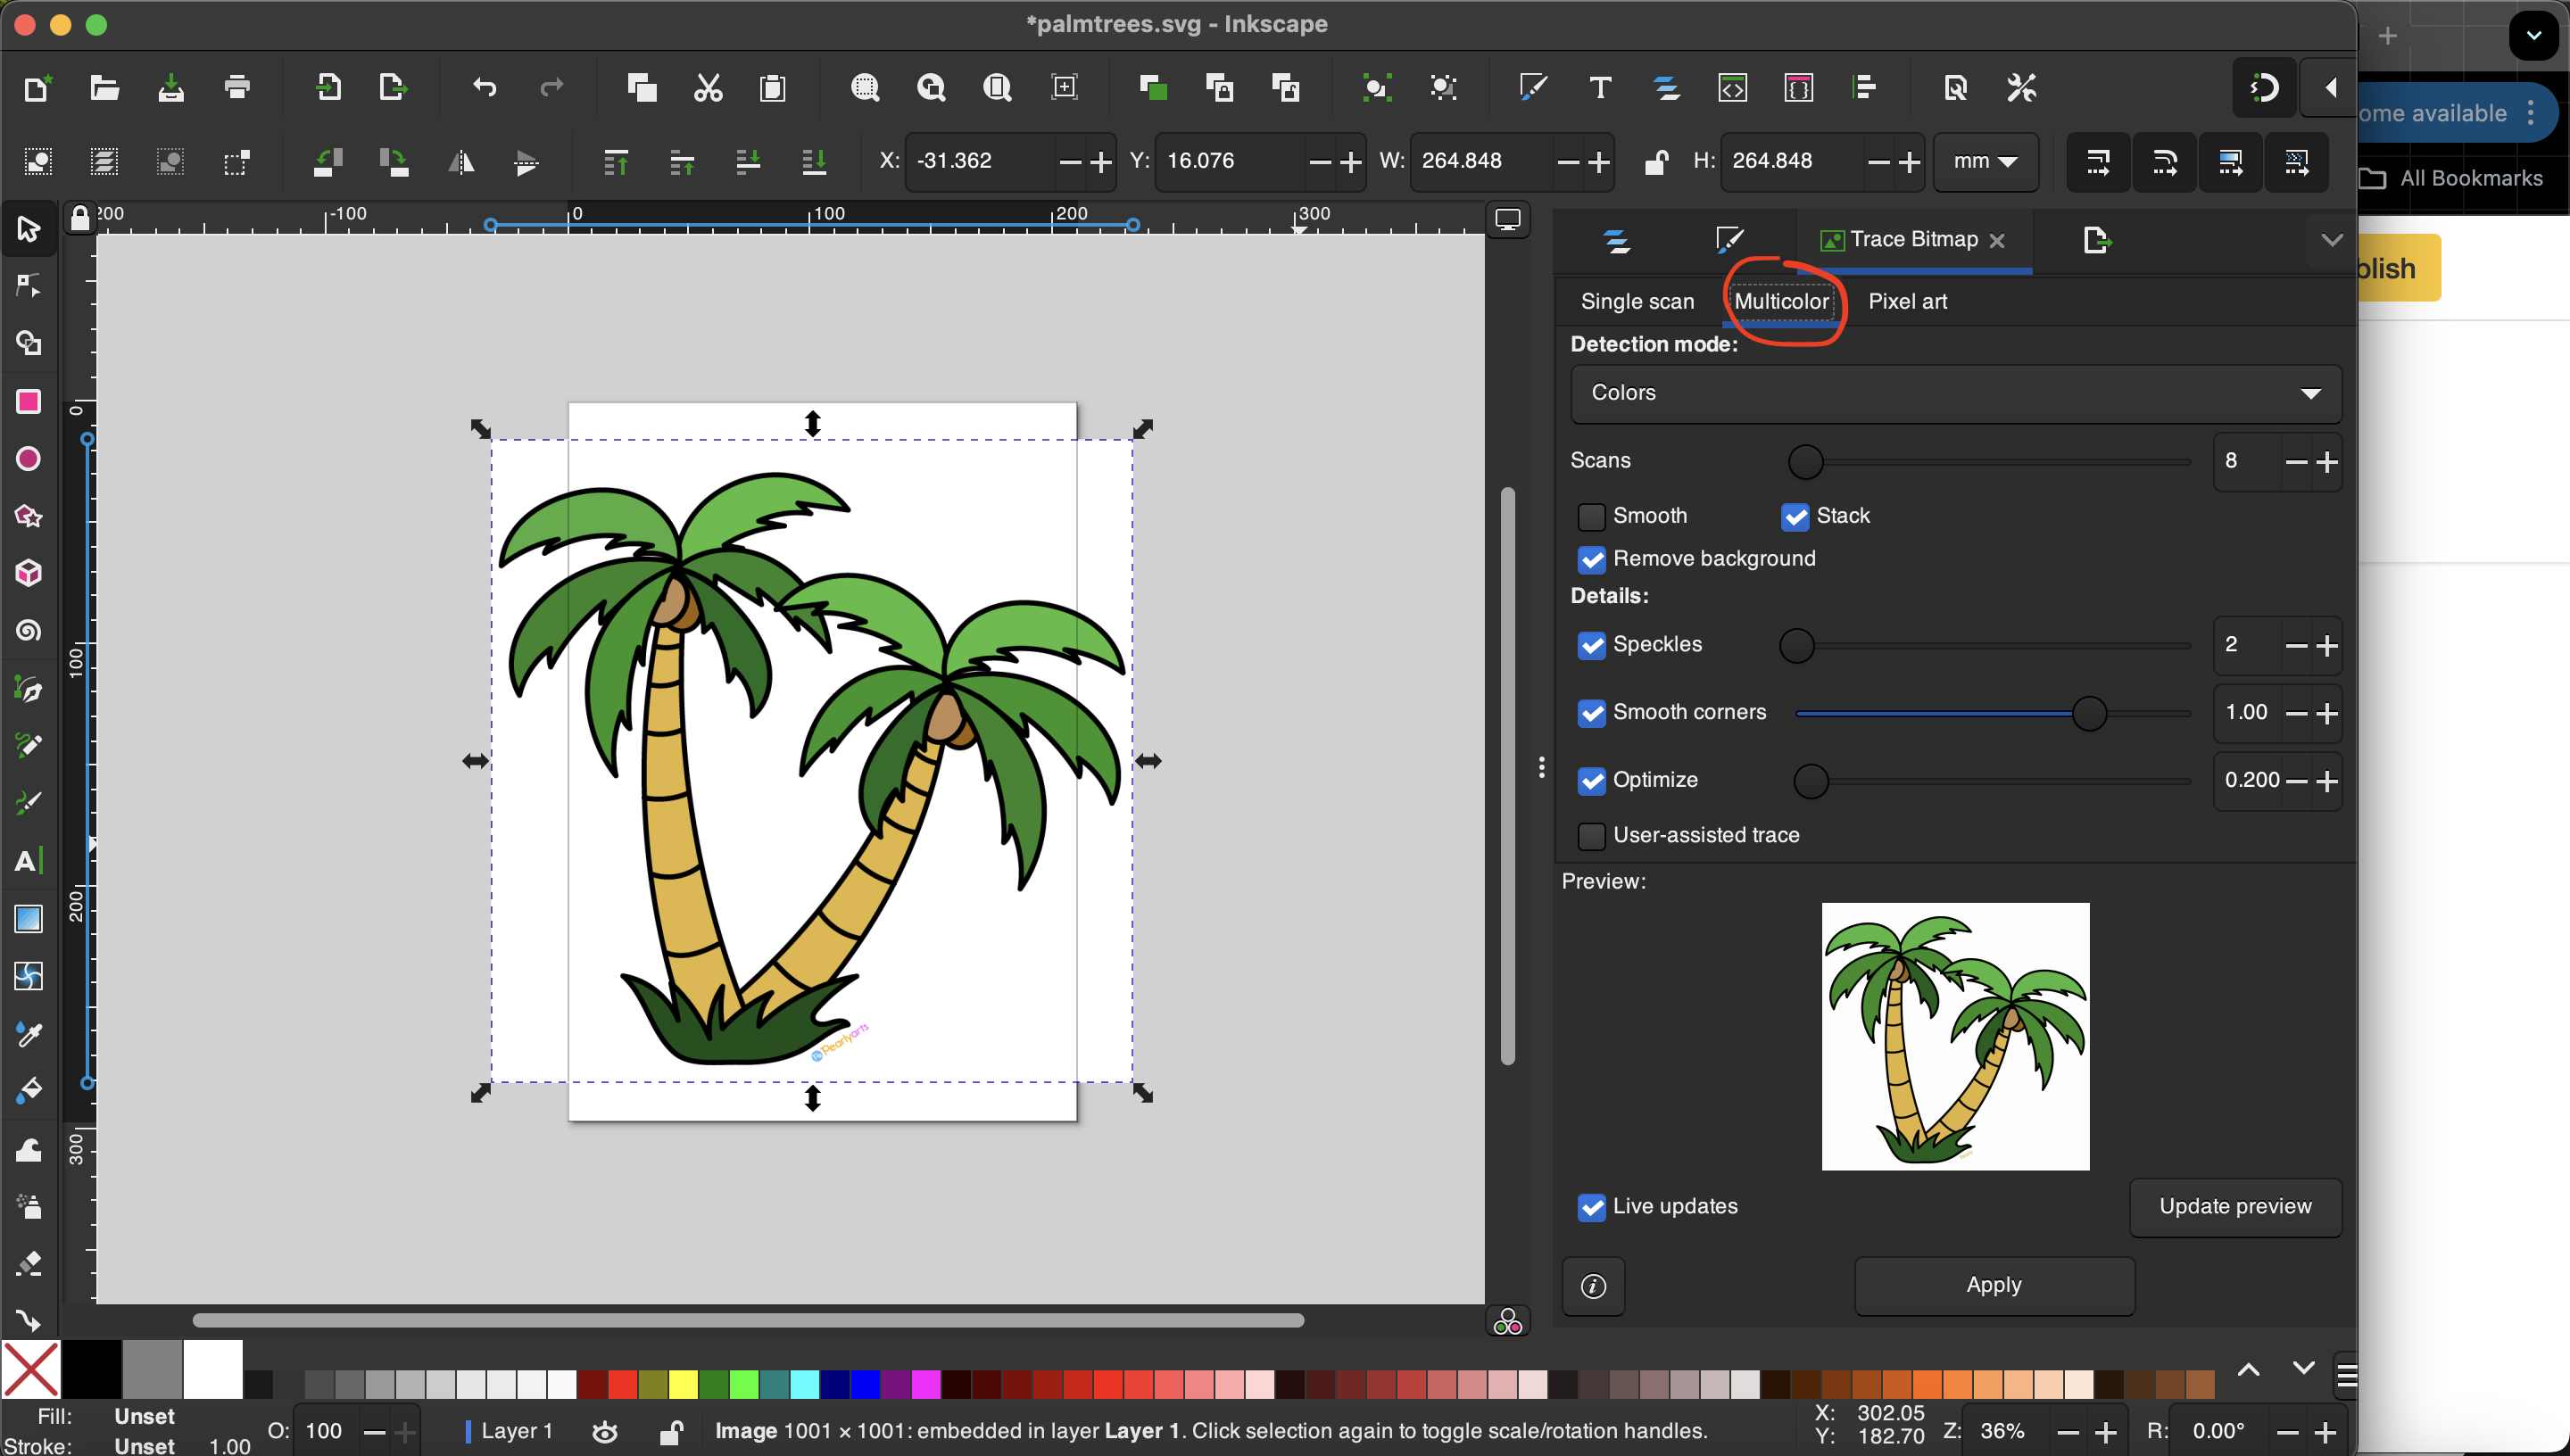
Now that the menu is open - We're going to change the Scan Type to "Multicolor" (picture 1).
For this purpose, 8 colors will work as it will separate all the colors involved in this picture of palm trees. If you need to adjust the number of scans based on the colors your image has, do this now. You will need to roughly count the colors of your photo.
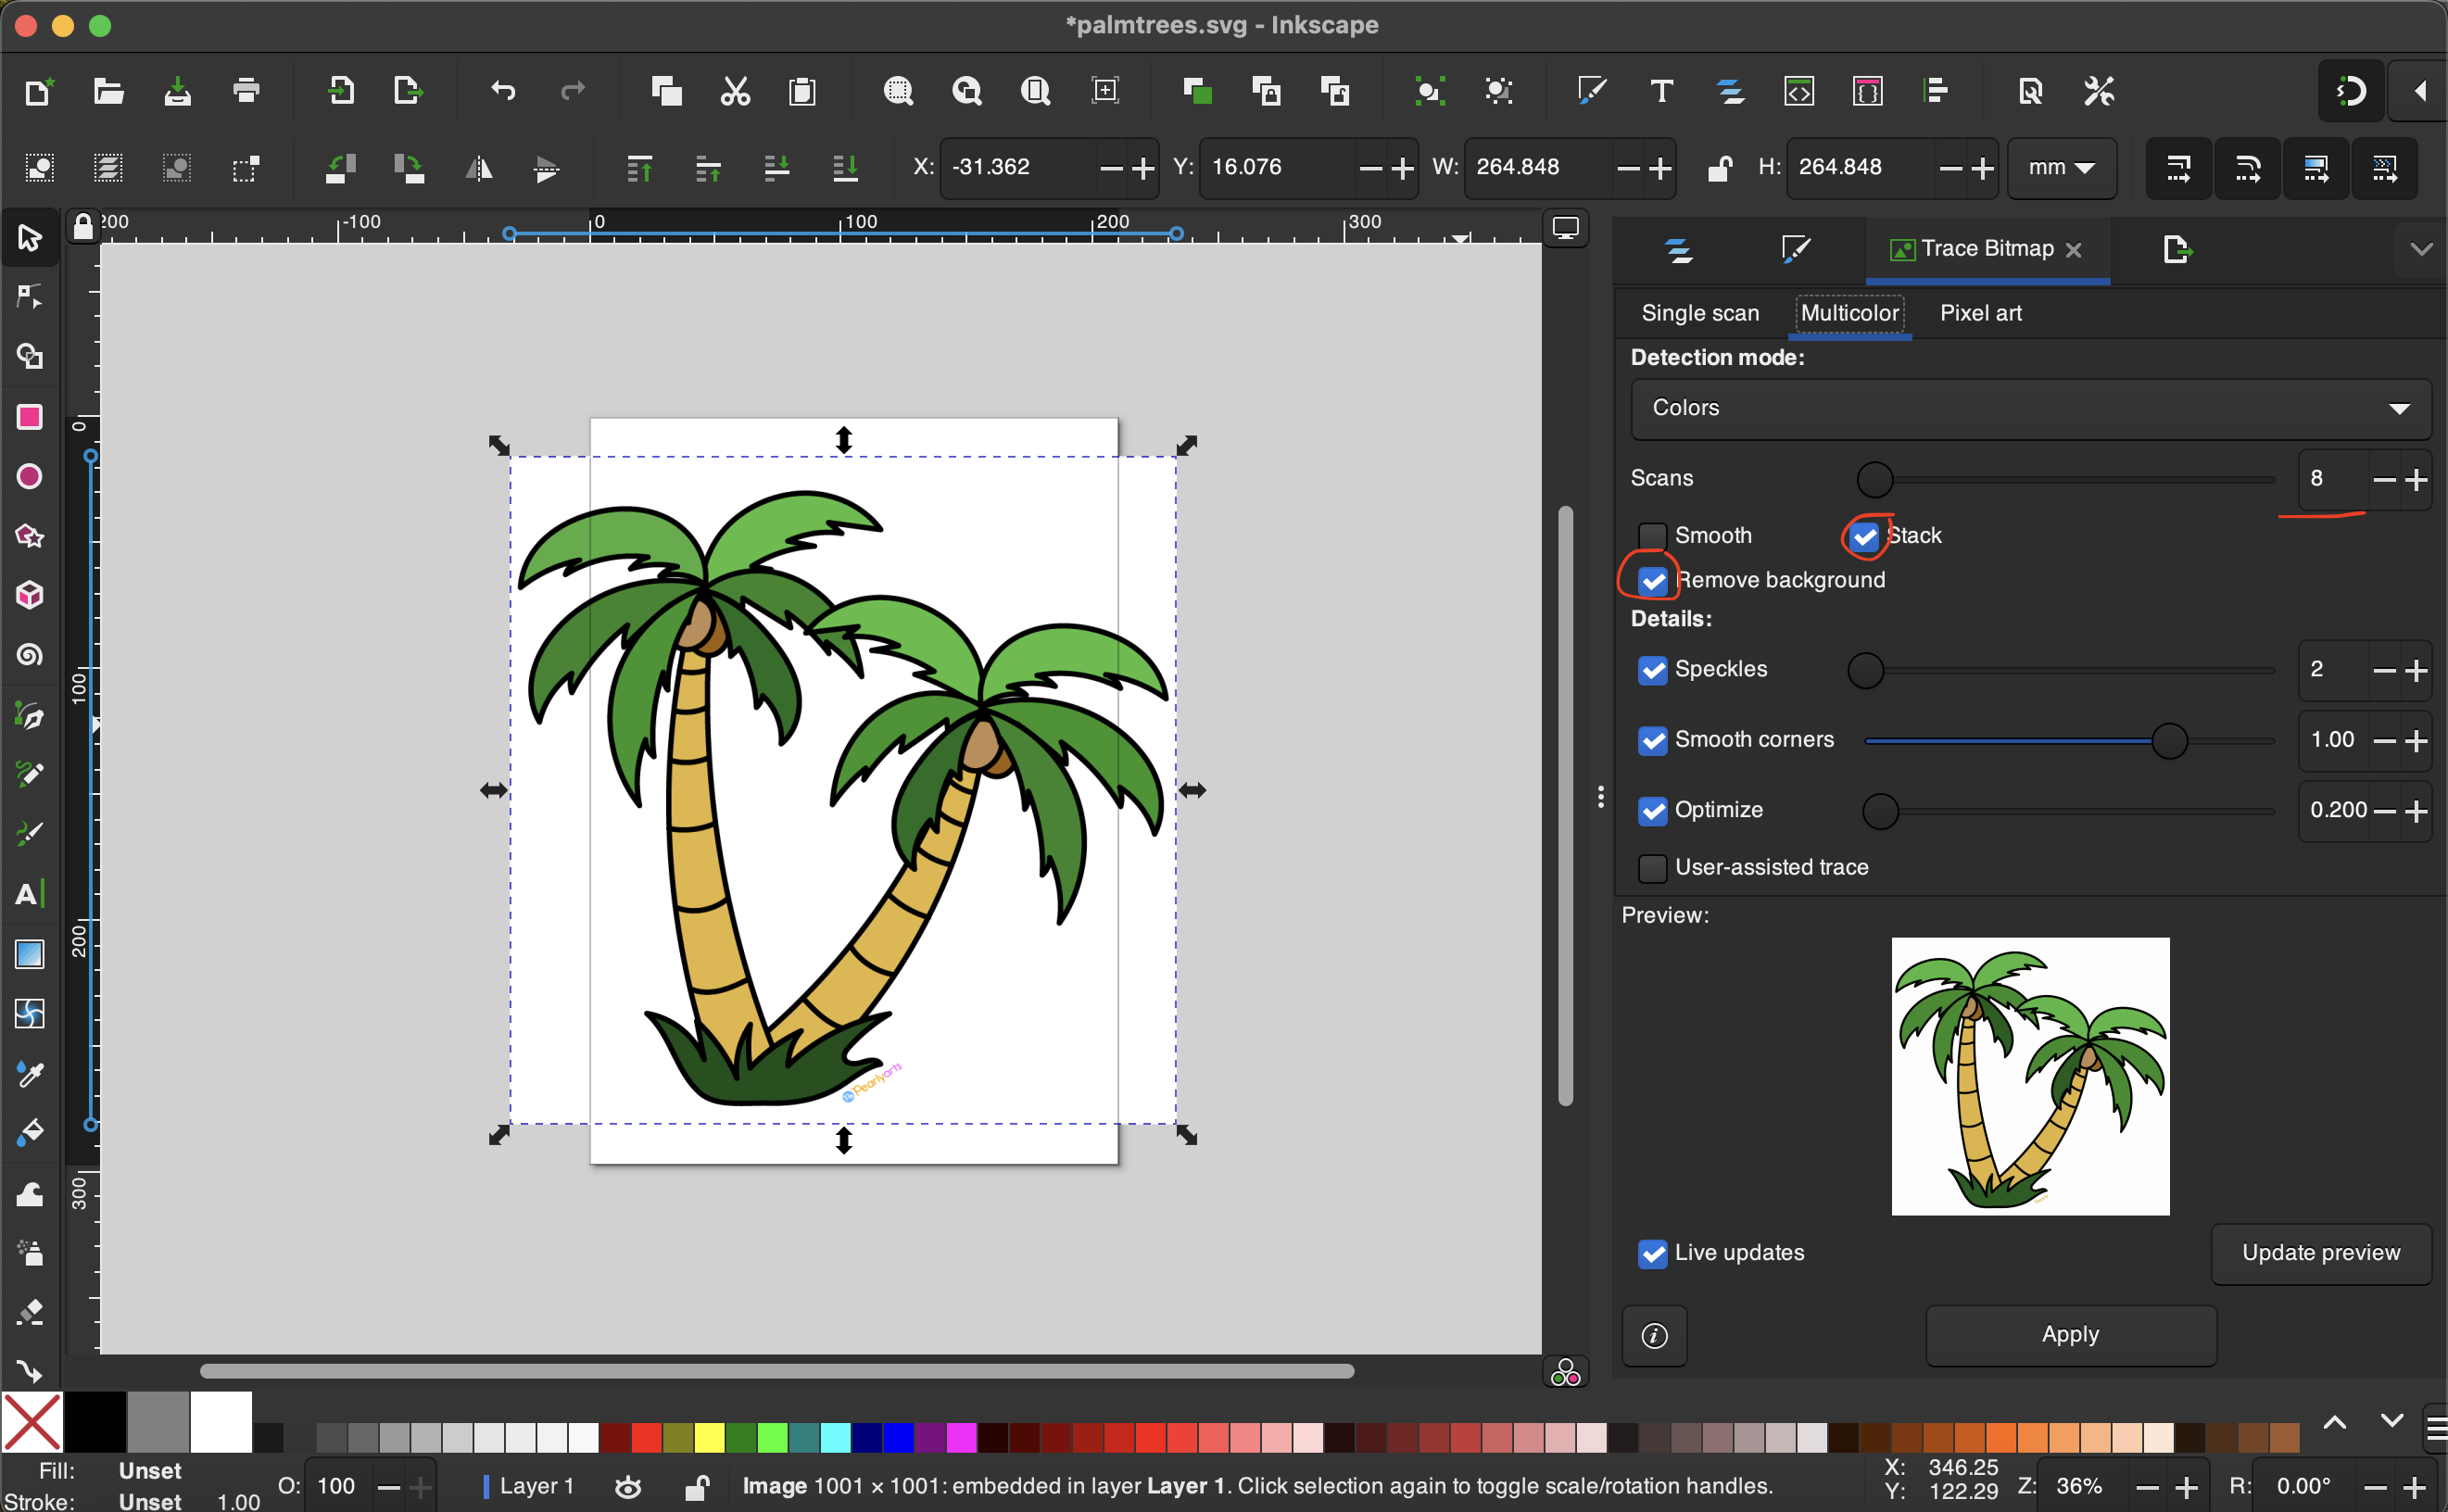
Ensure you have "Stack" and "Remove Background" options selected.
Click "Apply".
Check Work
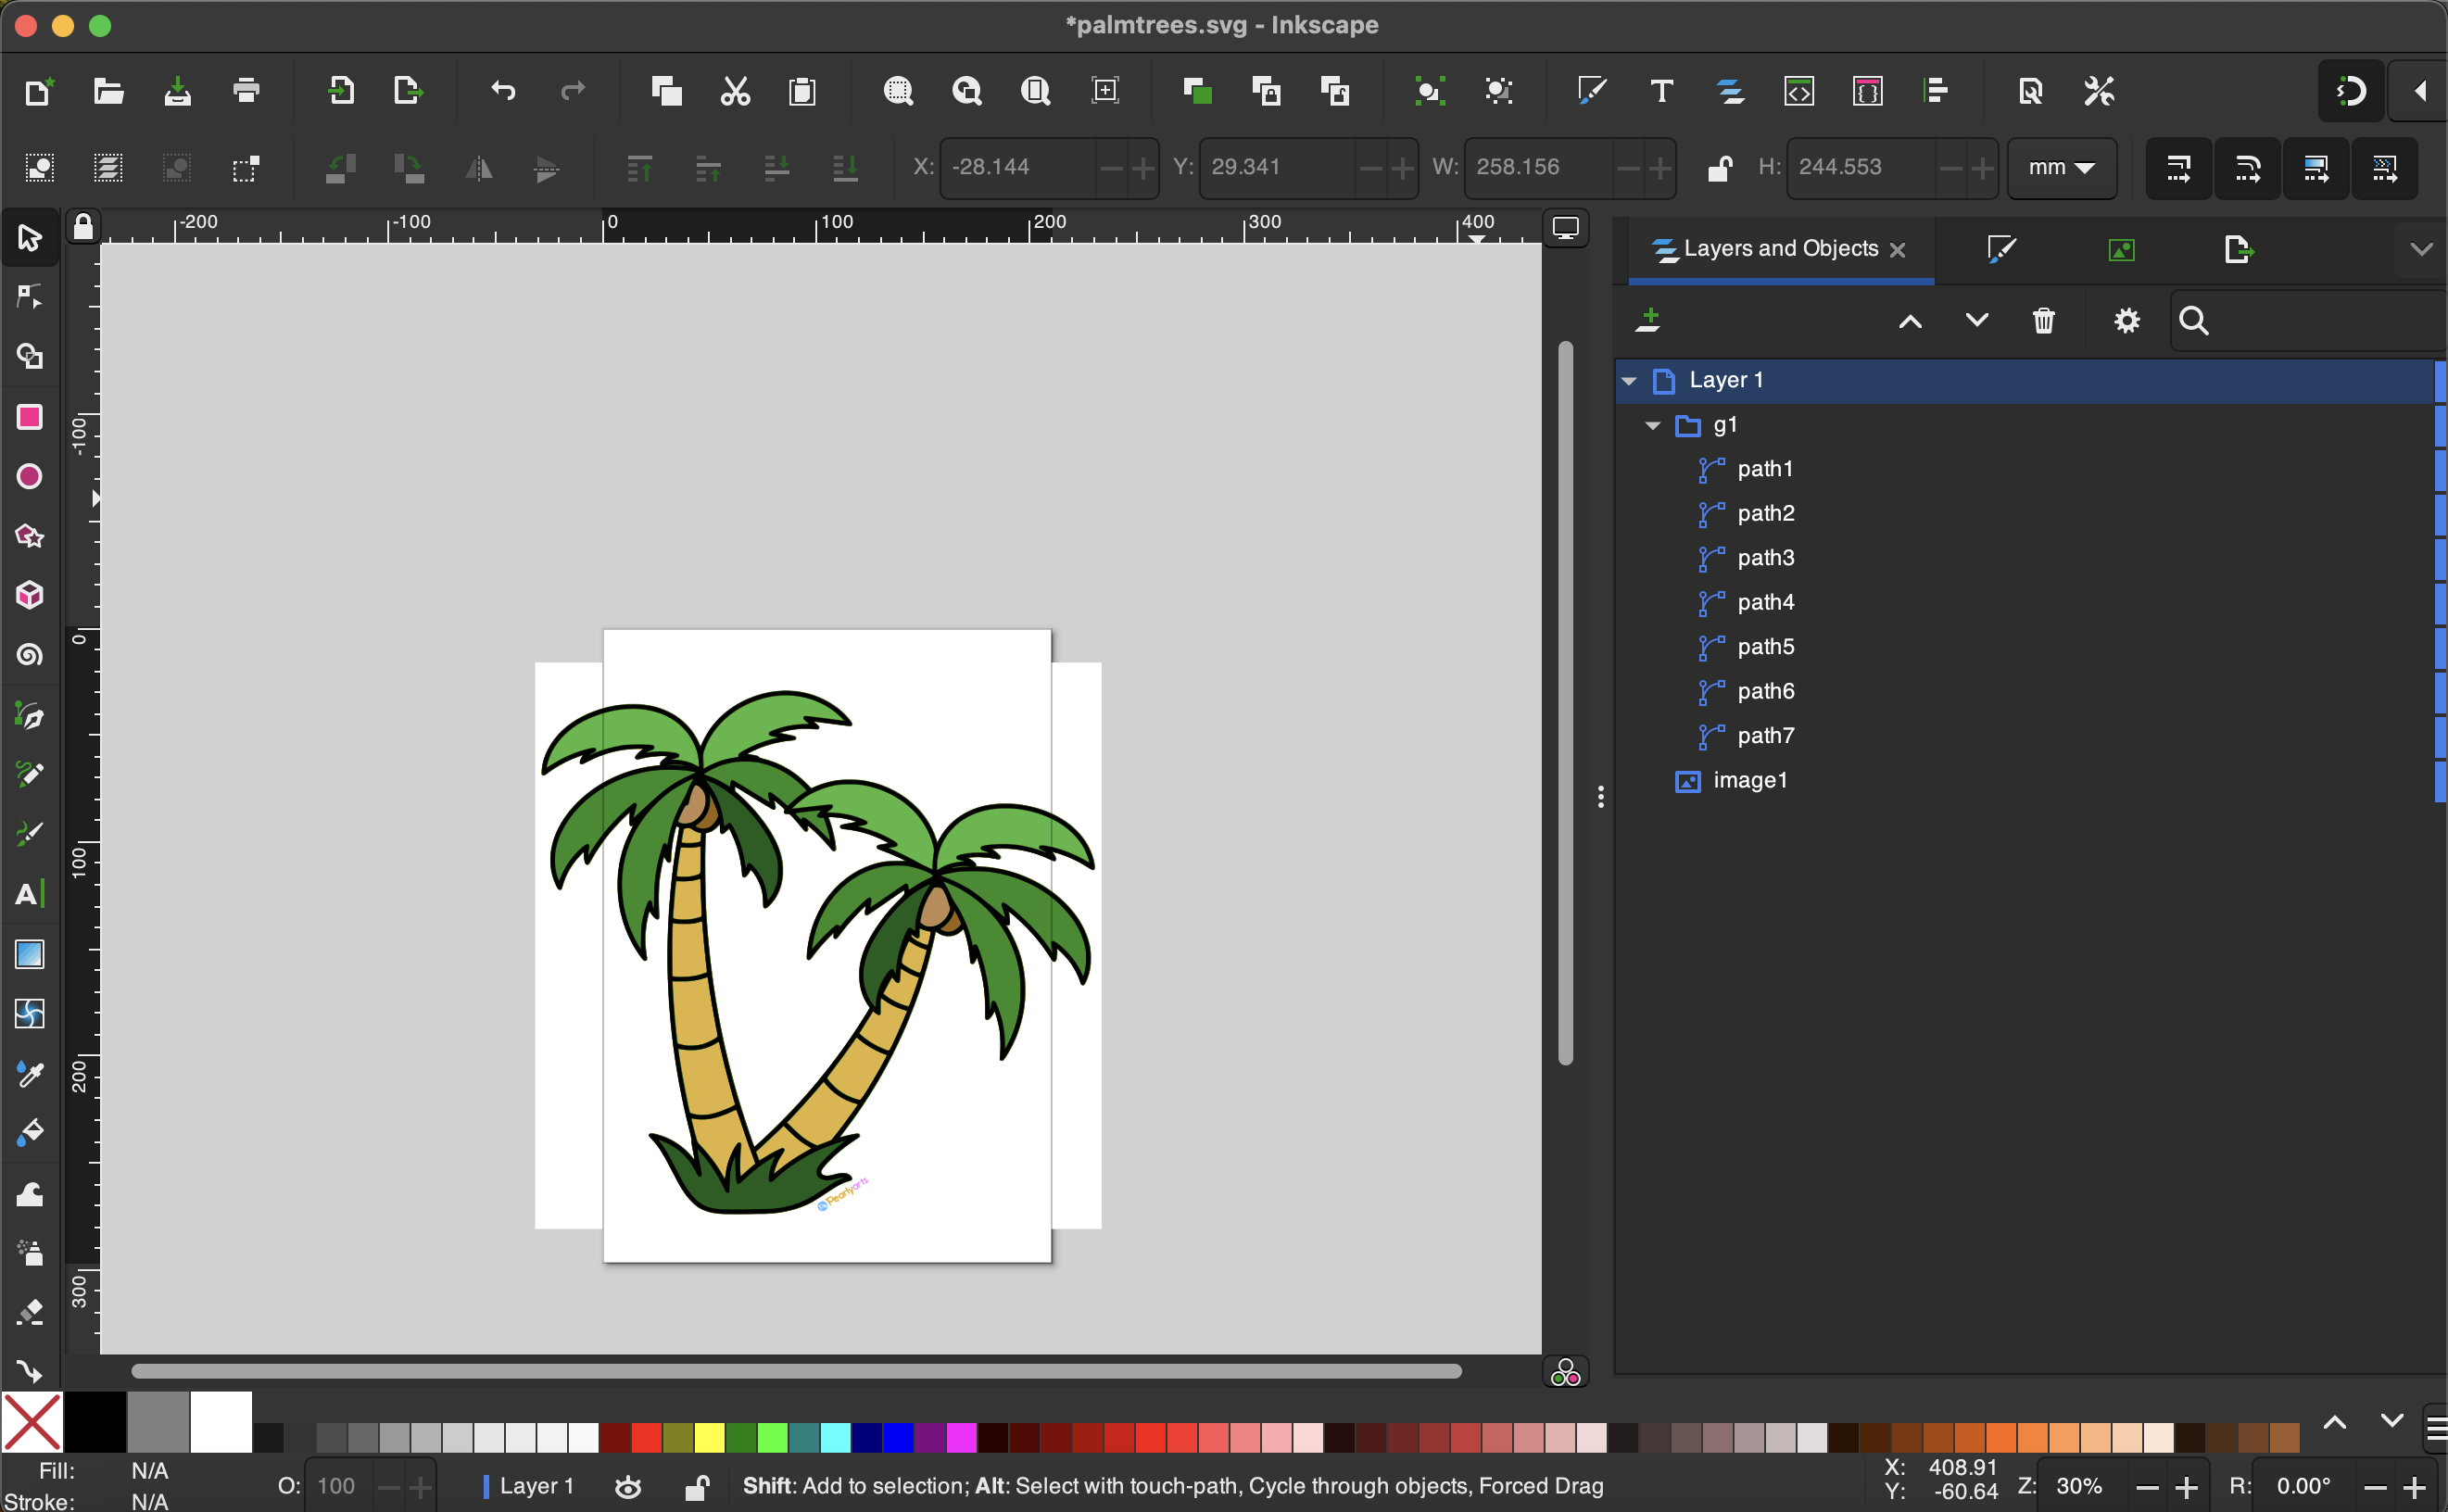
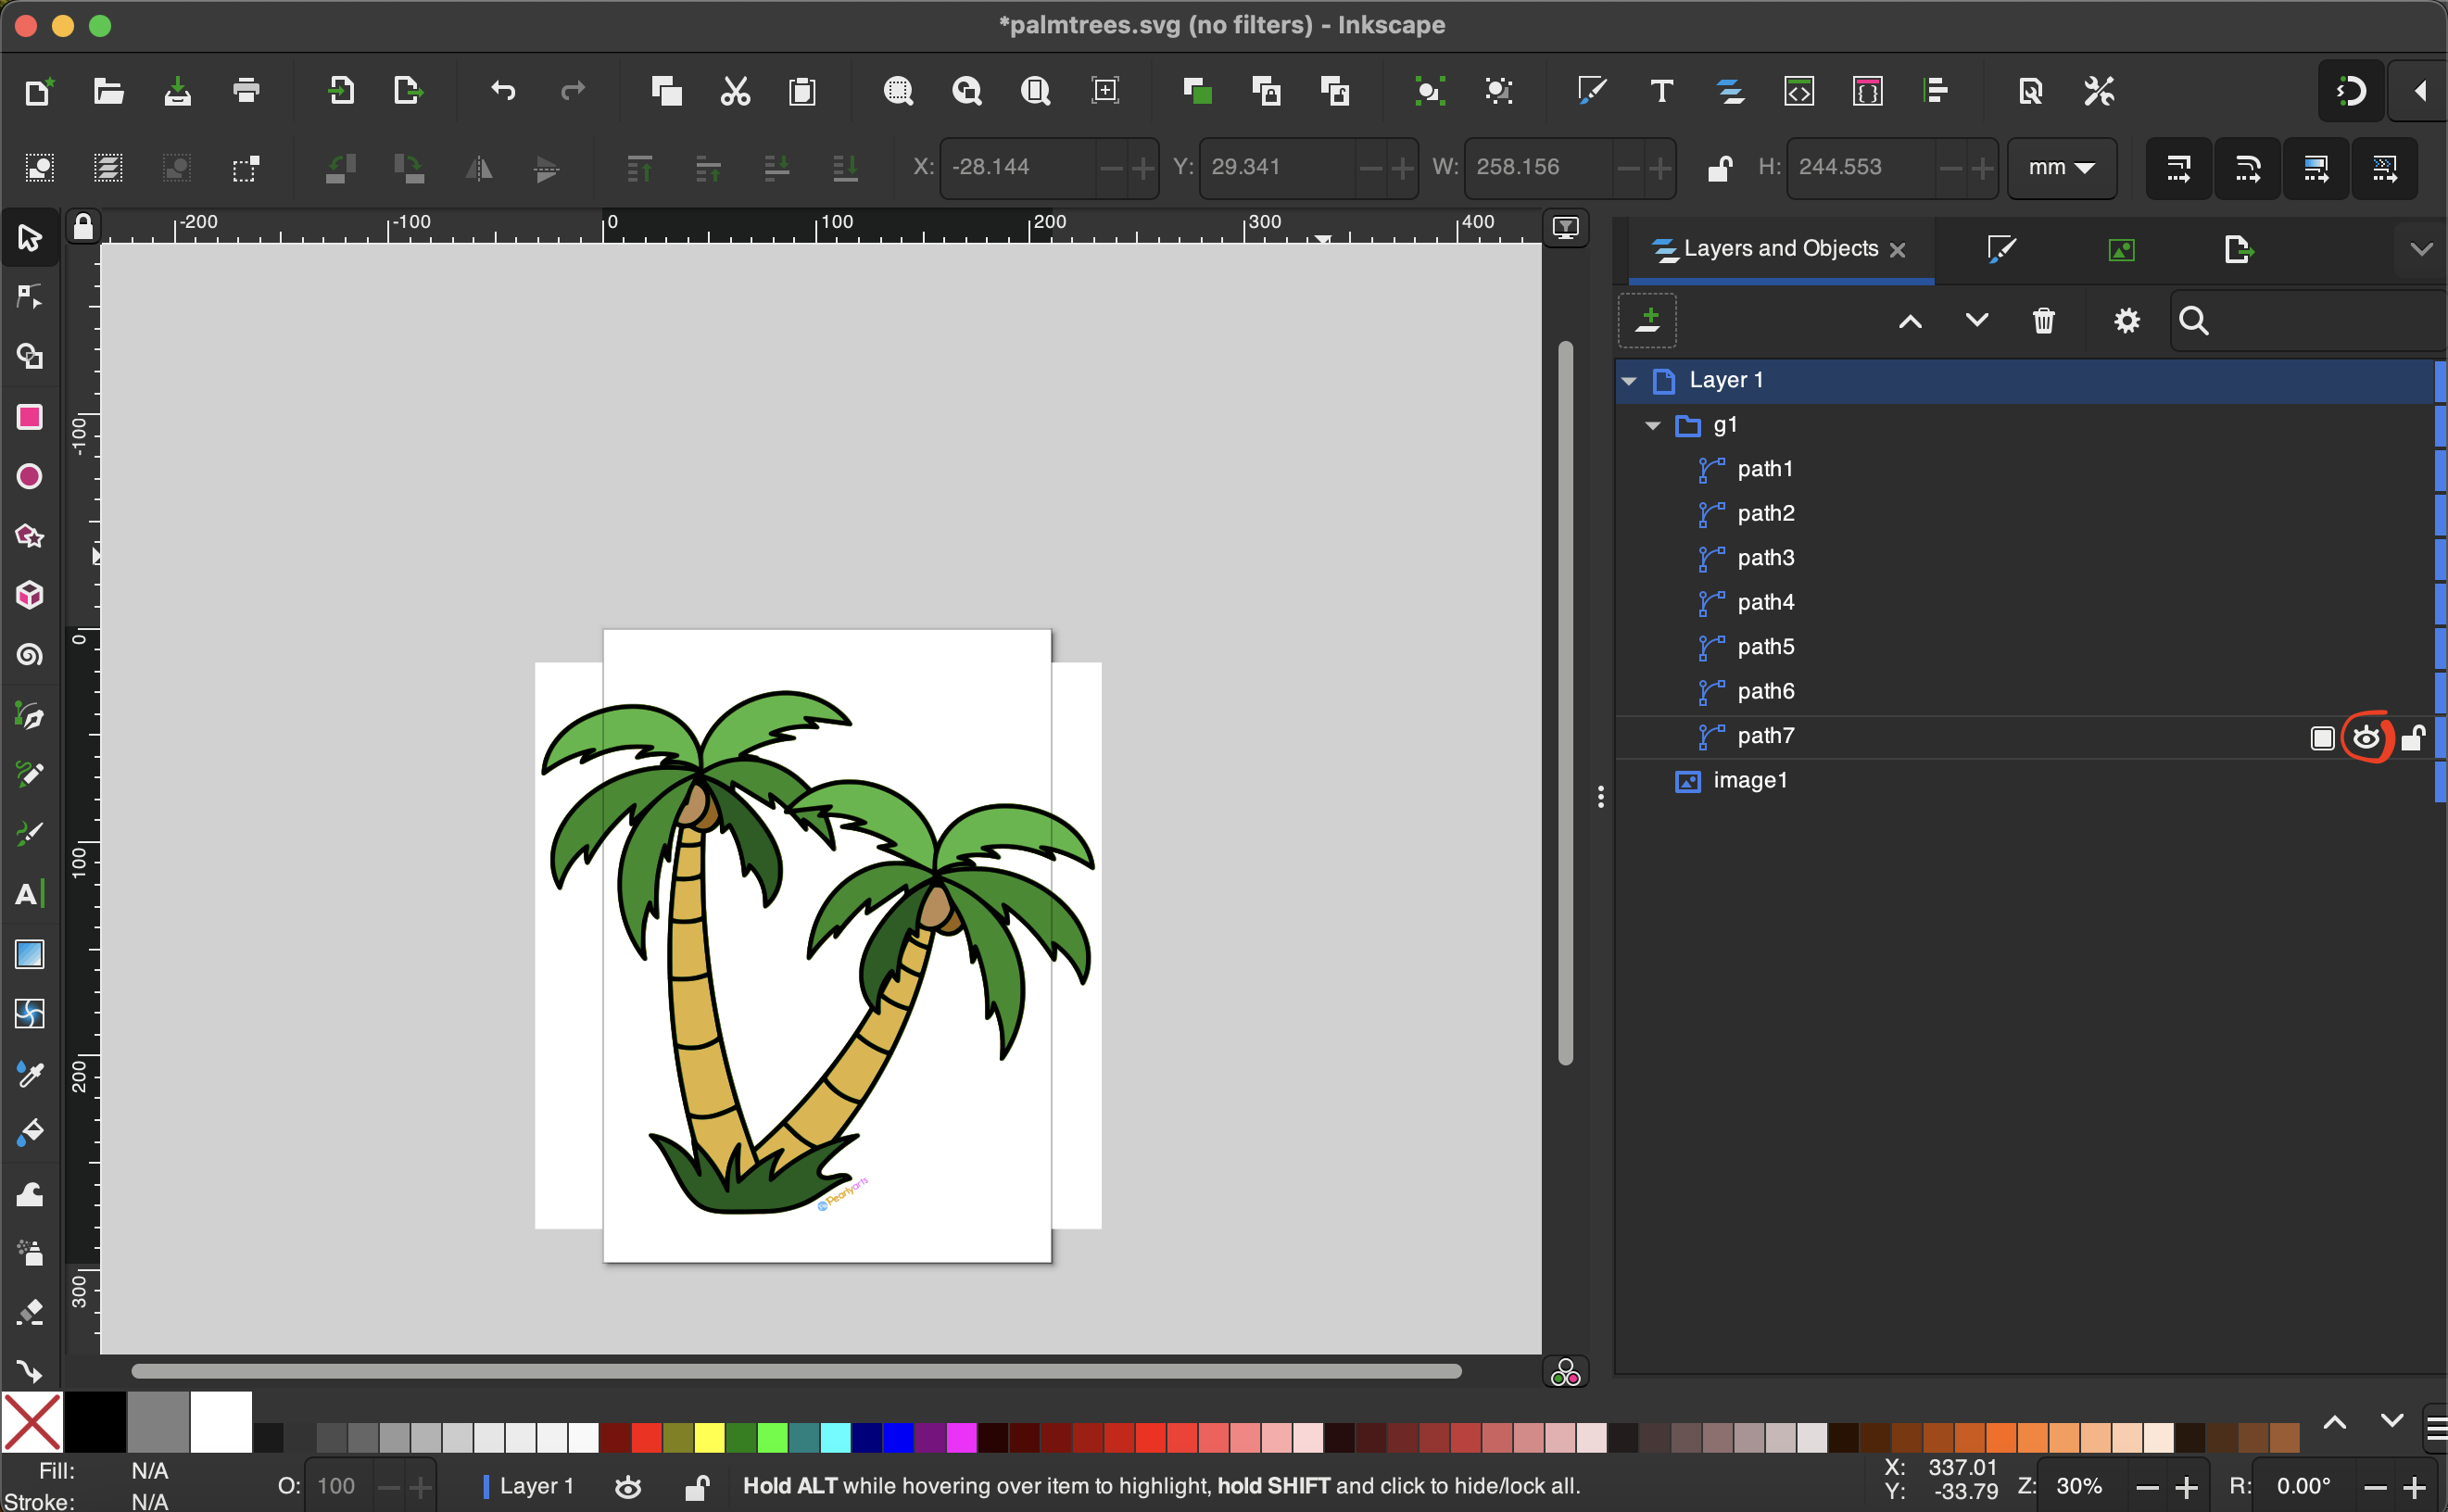
On the right side of the screen, select the "Layers" menu (picture 1).
You should see something similar to picture 2. It will have an "image" and then 8 paths.
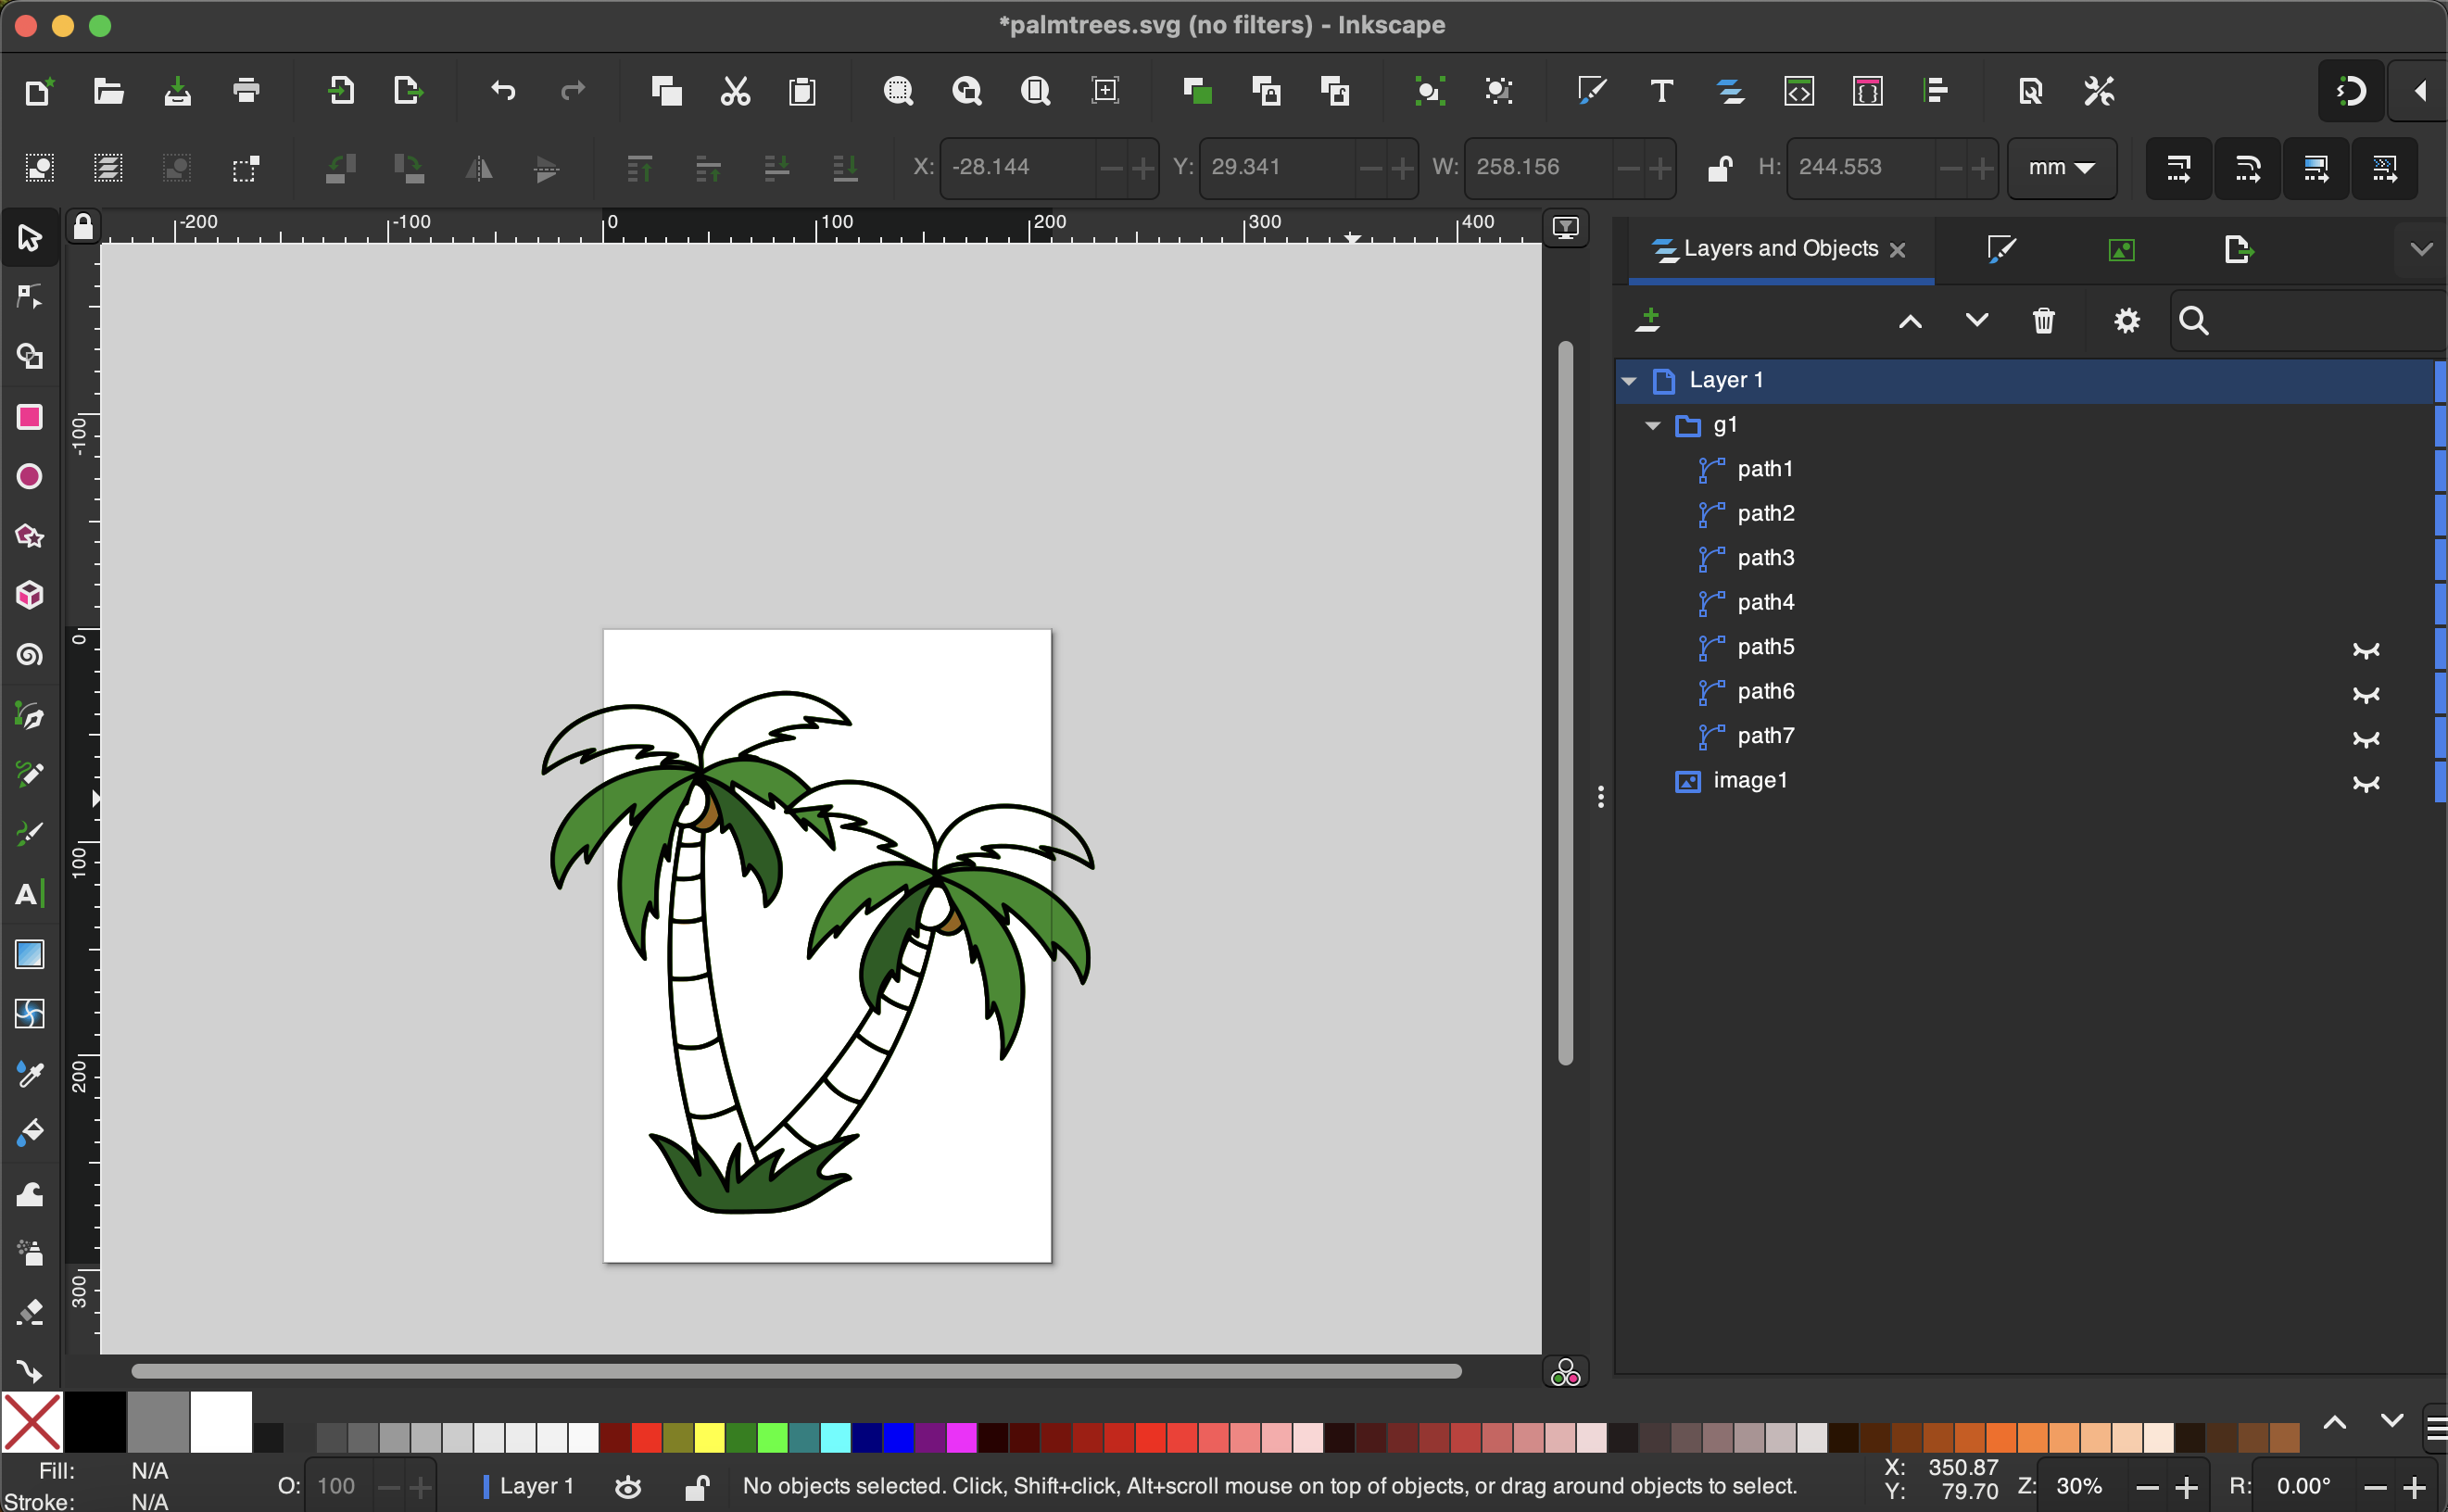
To check our work, we will "hide" the original image, and most of the paths from the scans. Generally black will be scan 1, so in this case we will click the eyeball next to everything except "path 1" to hide it all.
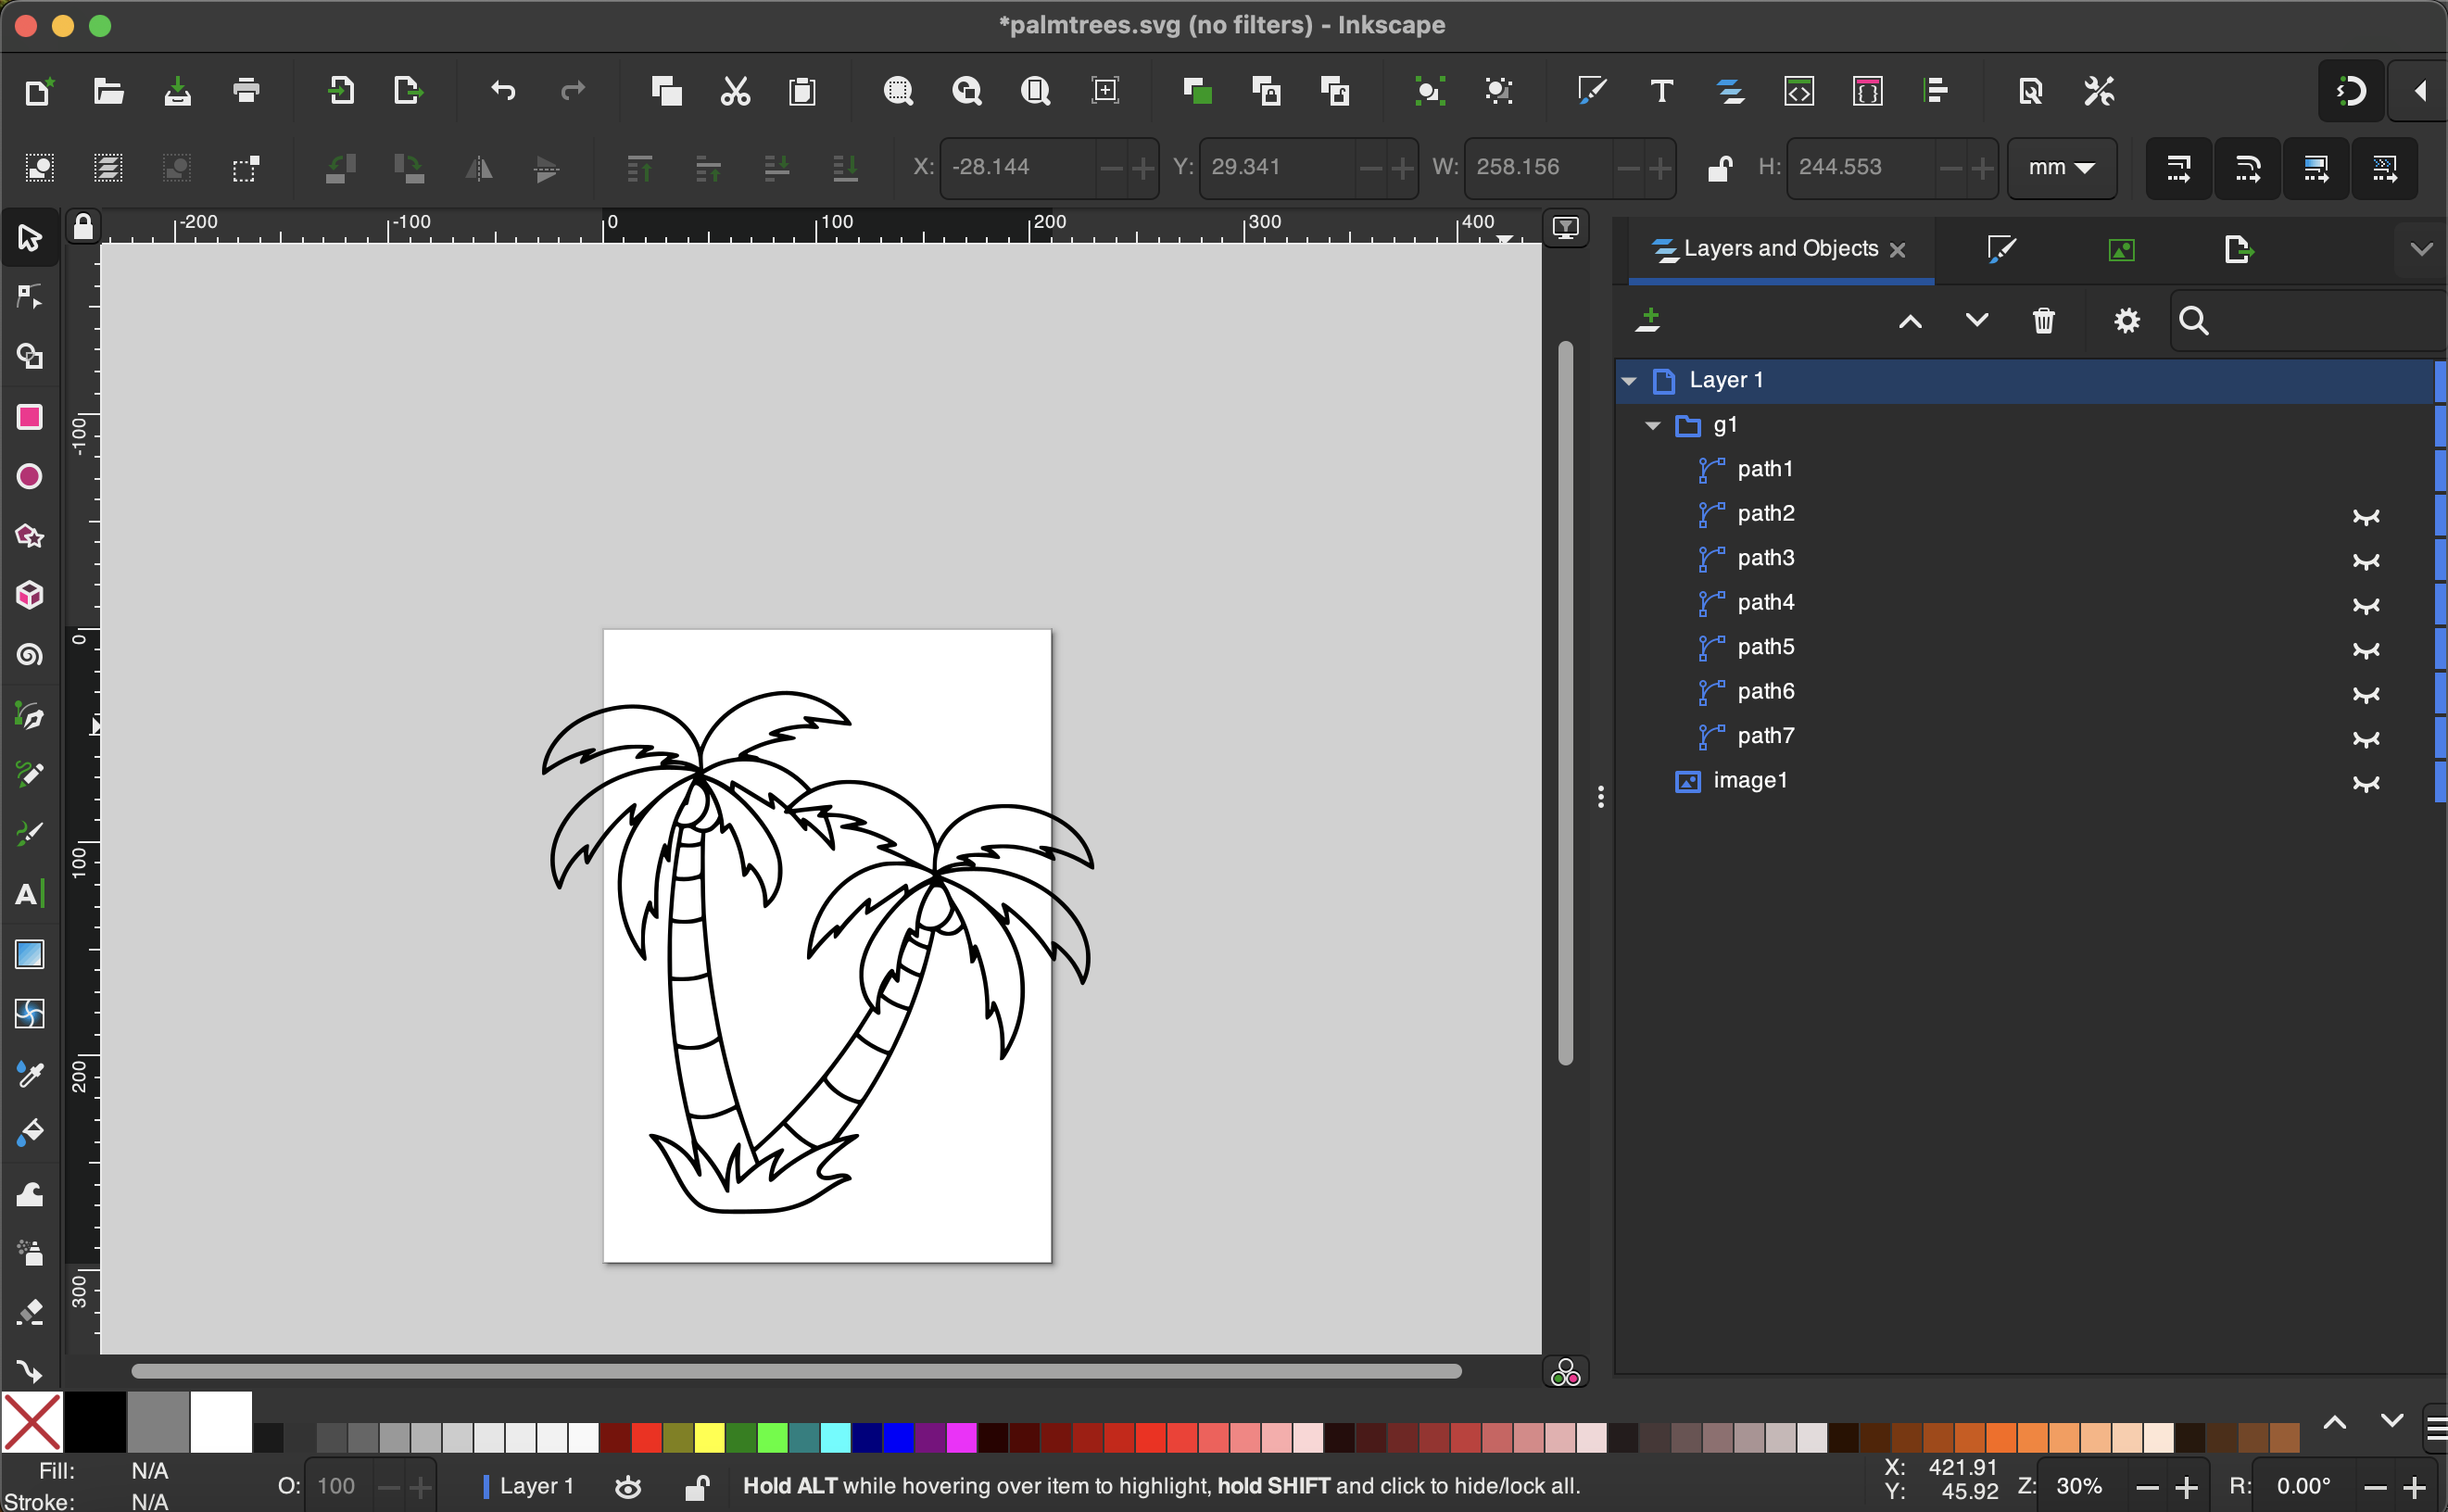
You can see as we hide the paths, we are slowly removing the colors from the image. By the time we get to Path 1, we have removed all colors from the image and we are just left with a black outline. This black outline is what we are going for, as we can cut the individual shapes one at a time.
Export Finished Outline
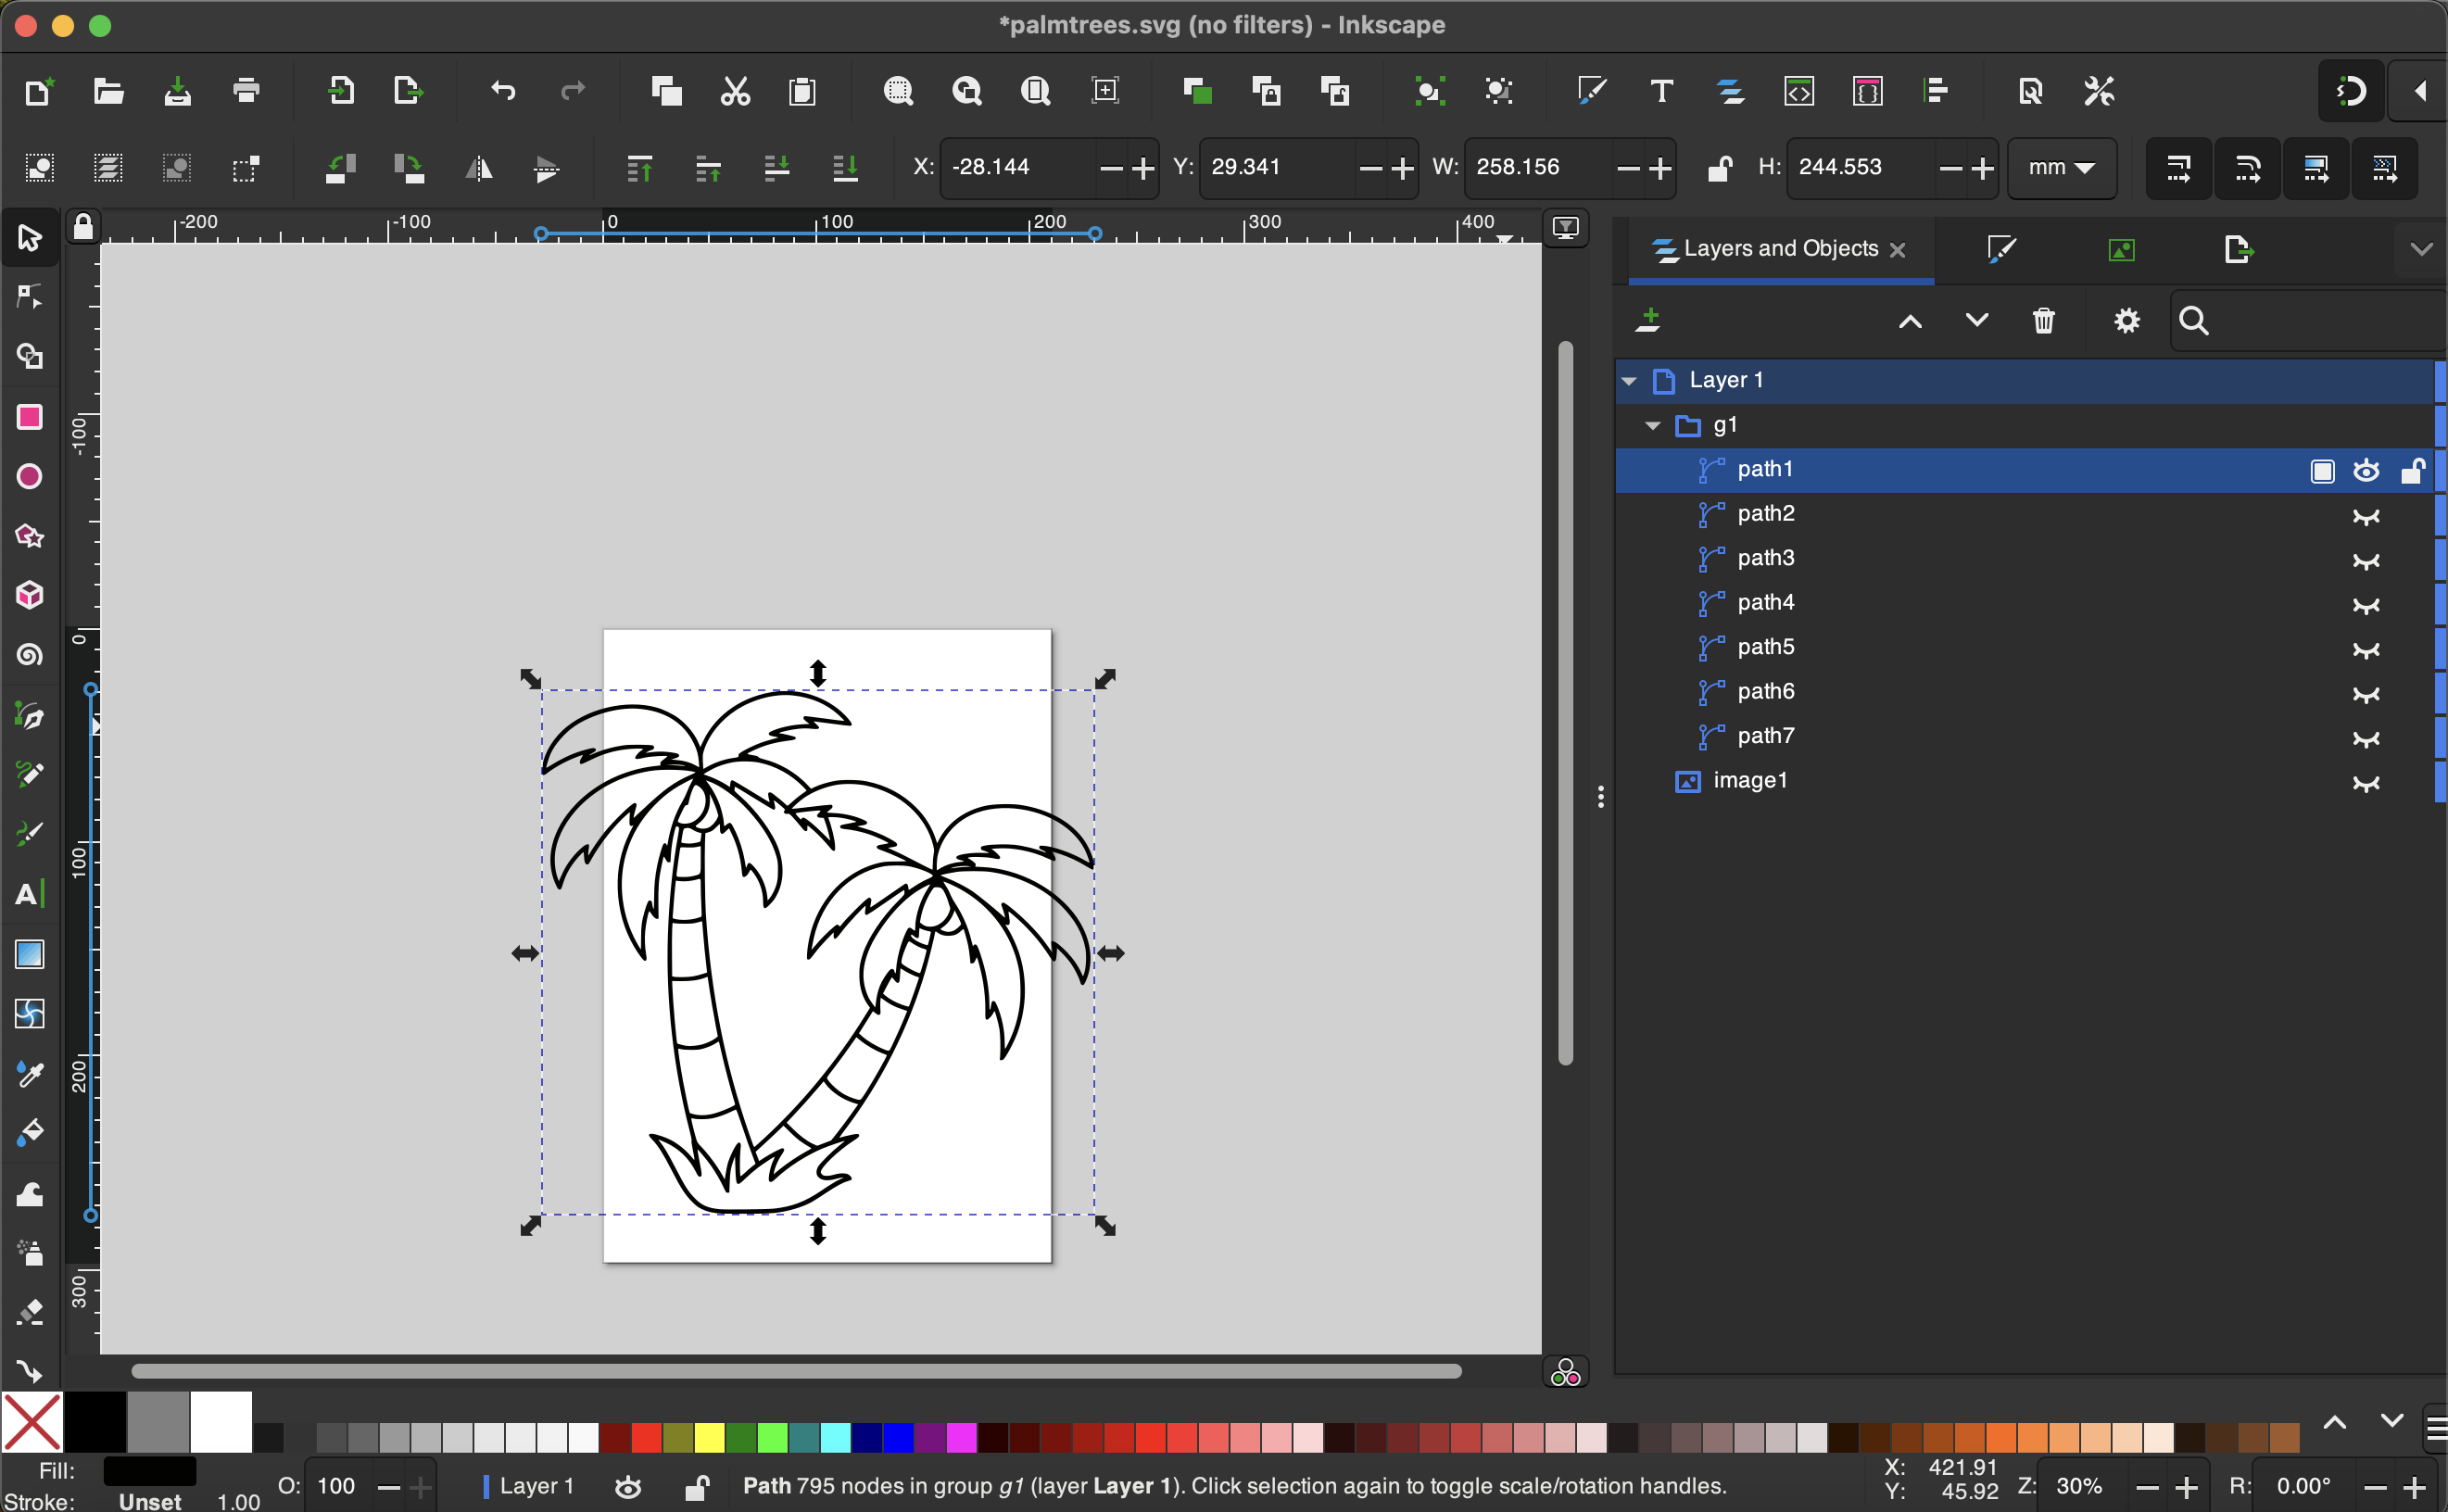
Now that we've isolated the black outline, we're going to export just this path. To do this, select Path 1 by clicking it.
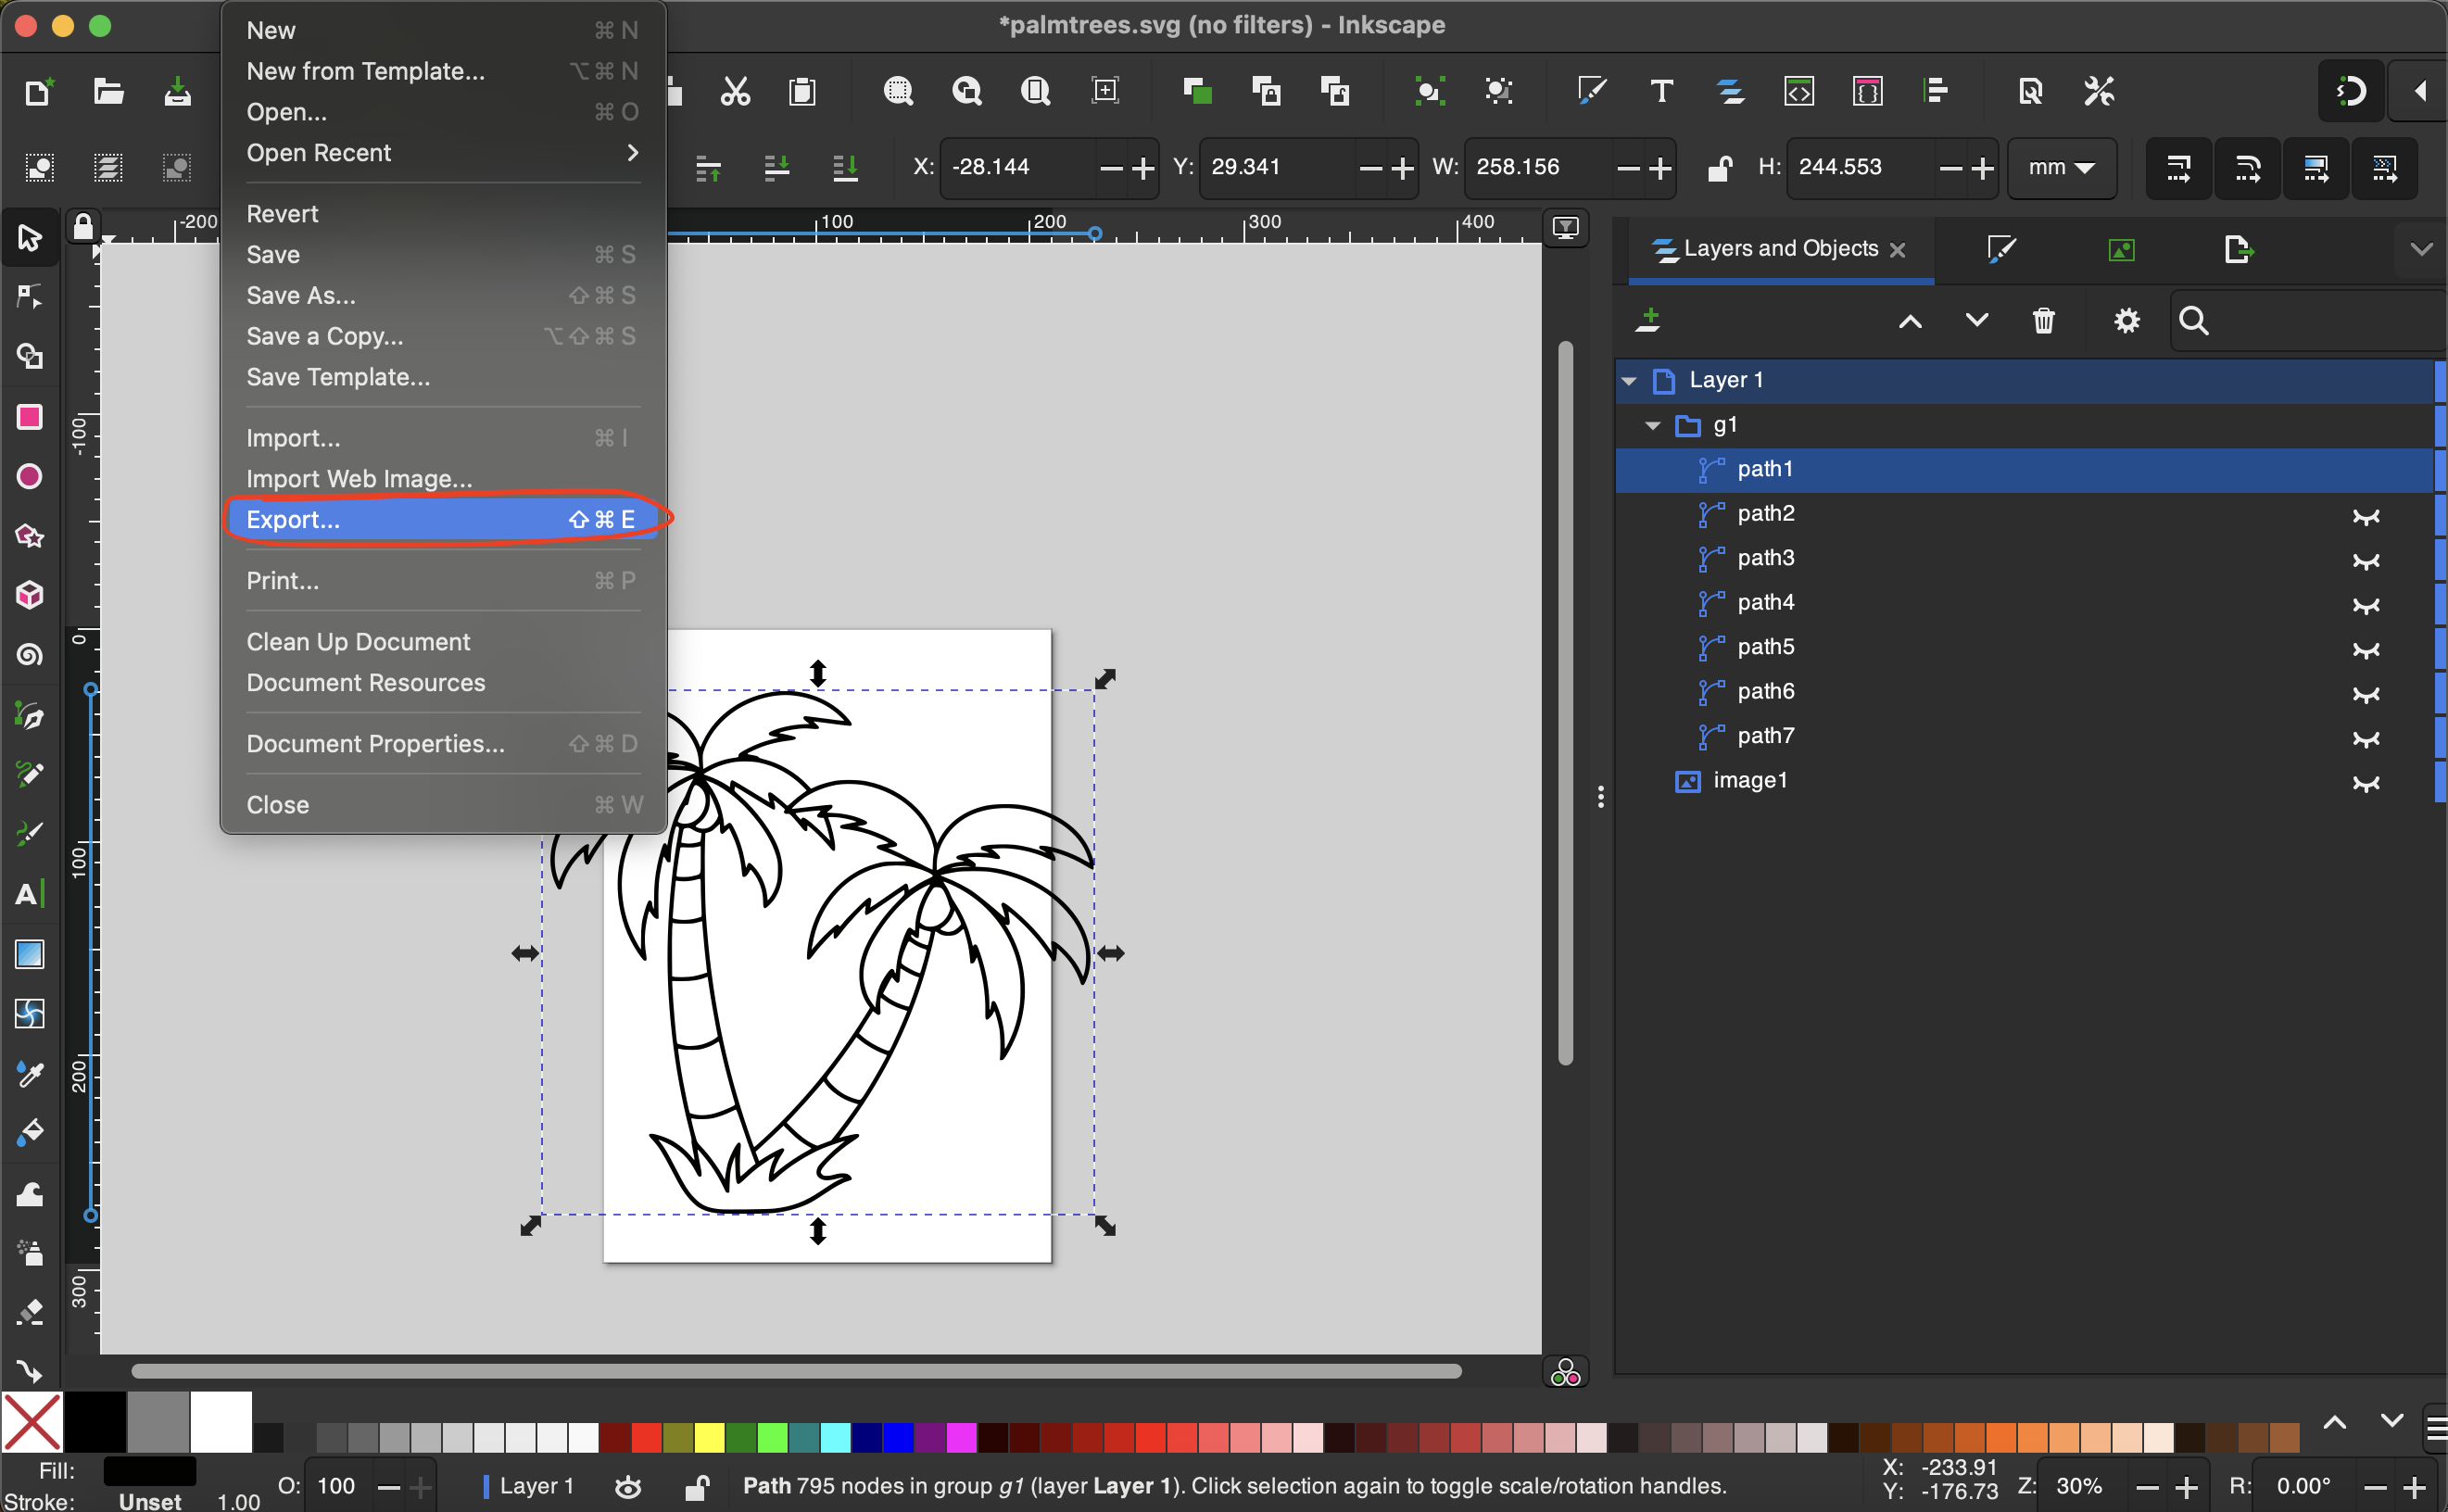
Once selected, visit the "File" dropdown and select "Export".
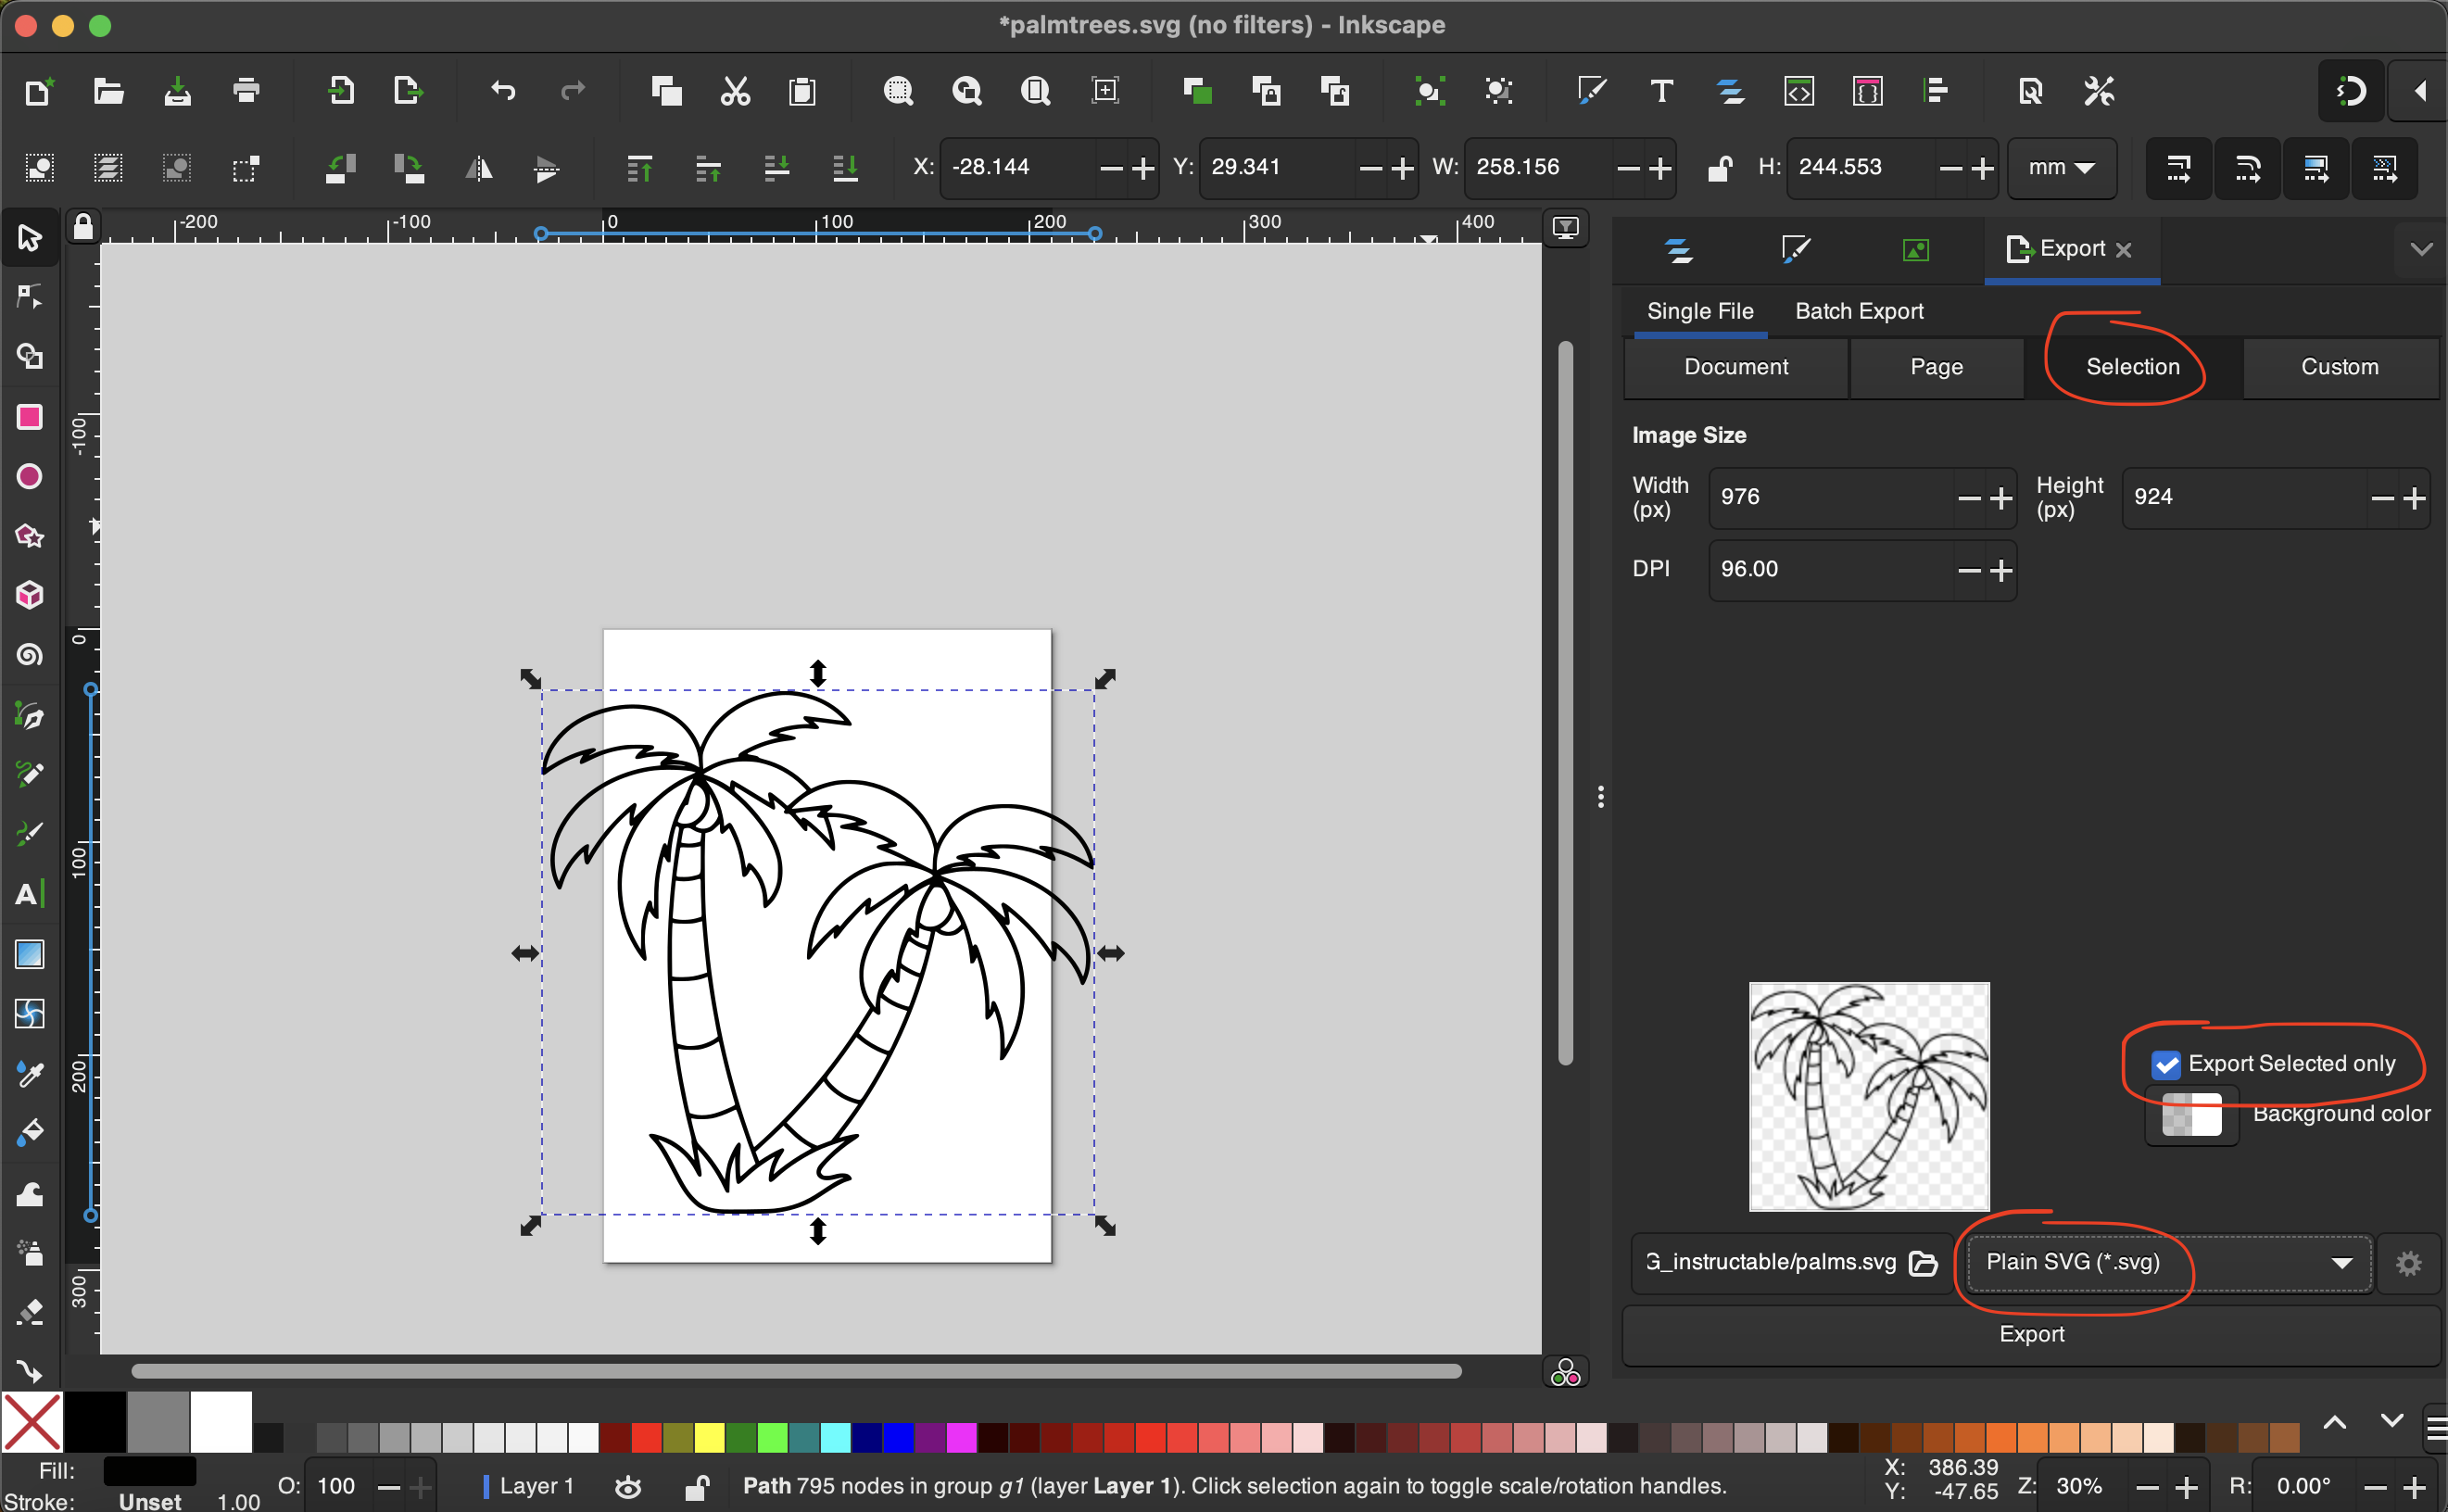
Choose "Selection" at the top of the Export menu (picture 3).
Click "Selected Only" to make sure we just get the black outline path.
Make sure you are saving as a "plain svg" to prevent any formatting issues when importing the path into the laser software (lightburn, ezcad, laserGRBL).
Label and store accordingly.
(Optional) Open in Cutting Software
This step will cover next steps, now that you have your separated outline. Keep in mind I will be showing these steps using Lightburn, which is a paid software that can be purchased. The creator space I use runs their lasers with Lightburn, and so that is the platform of choice for this demonstration.
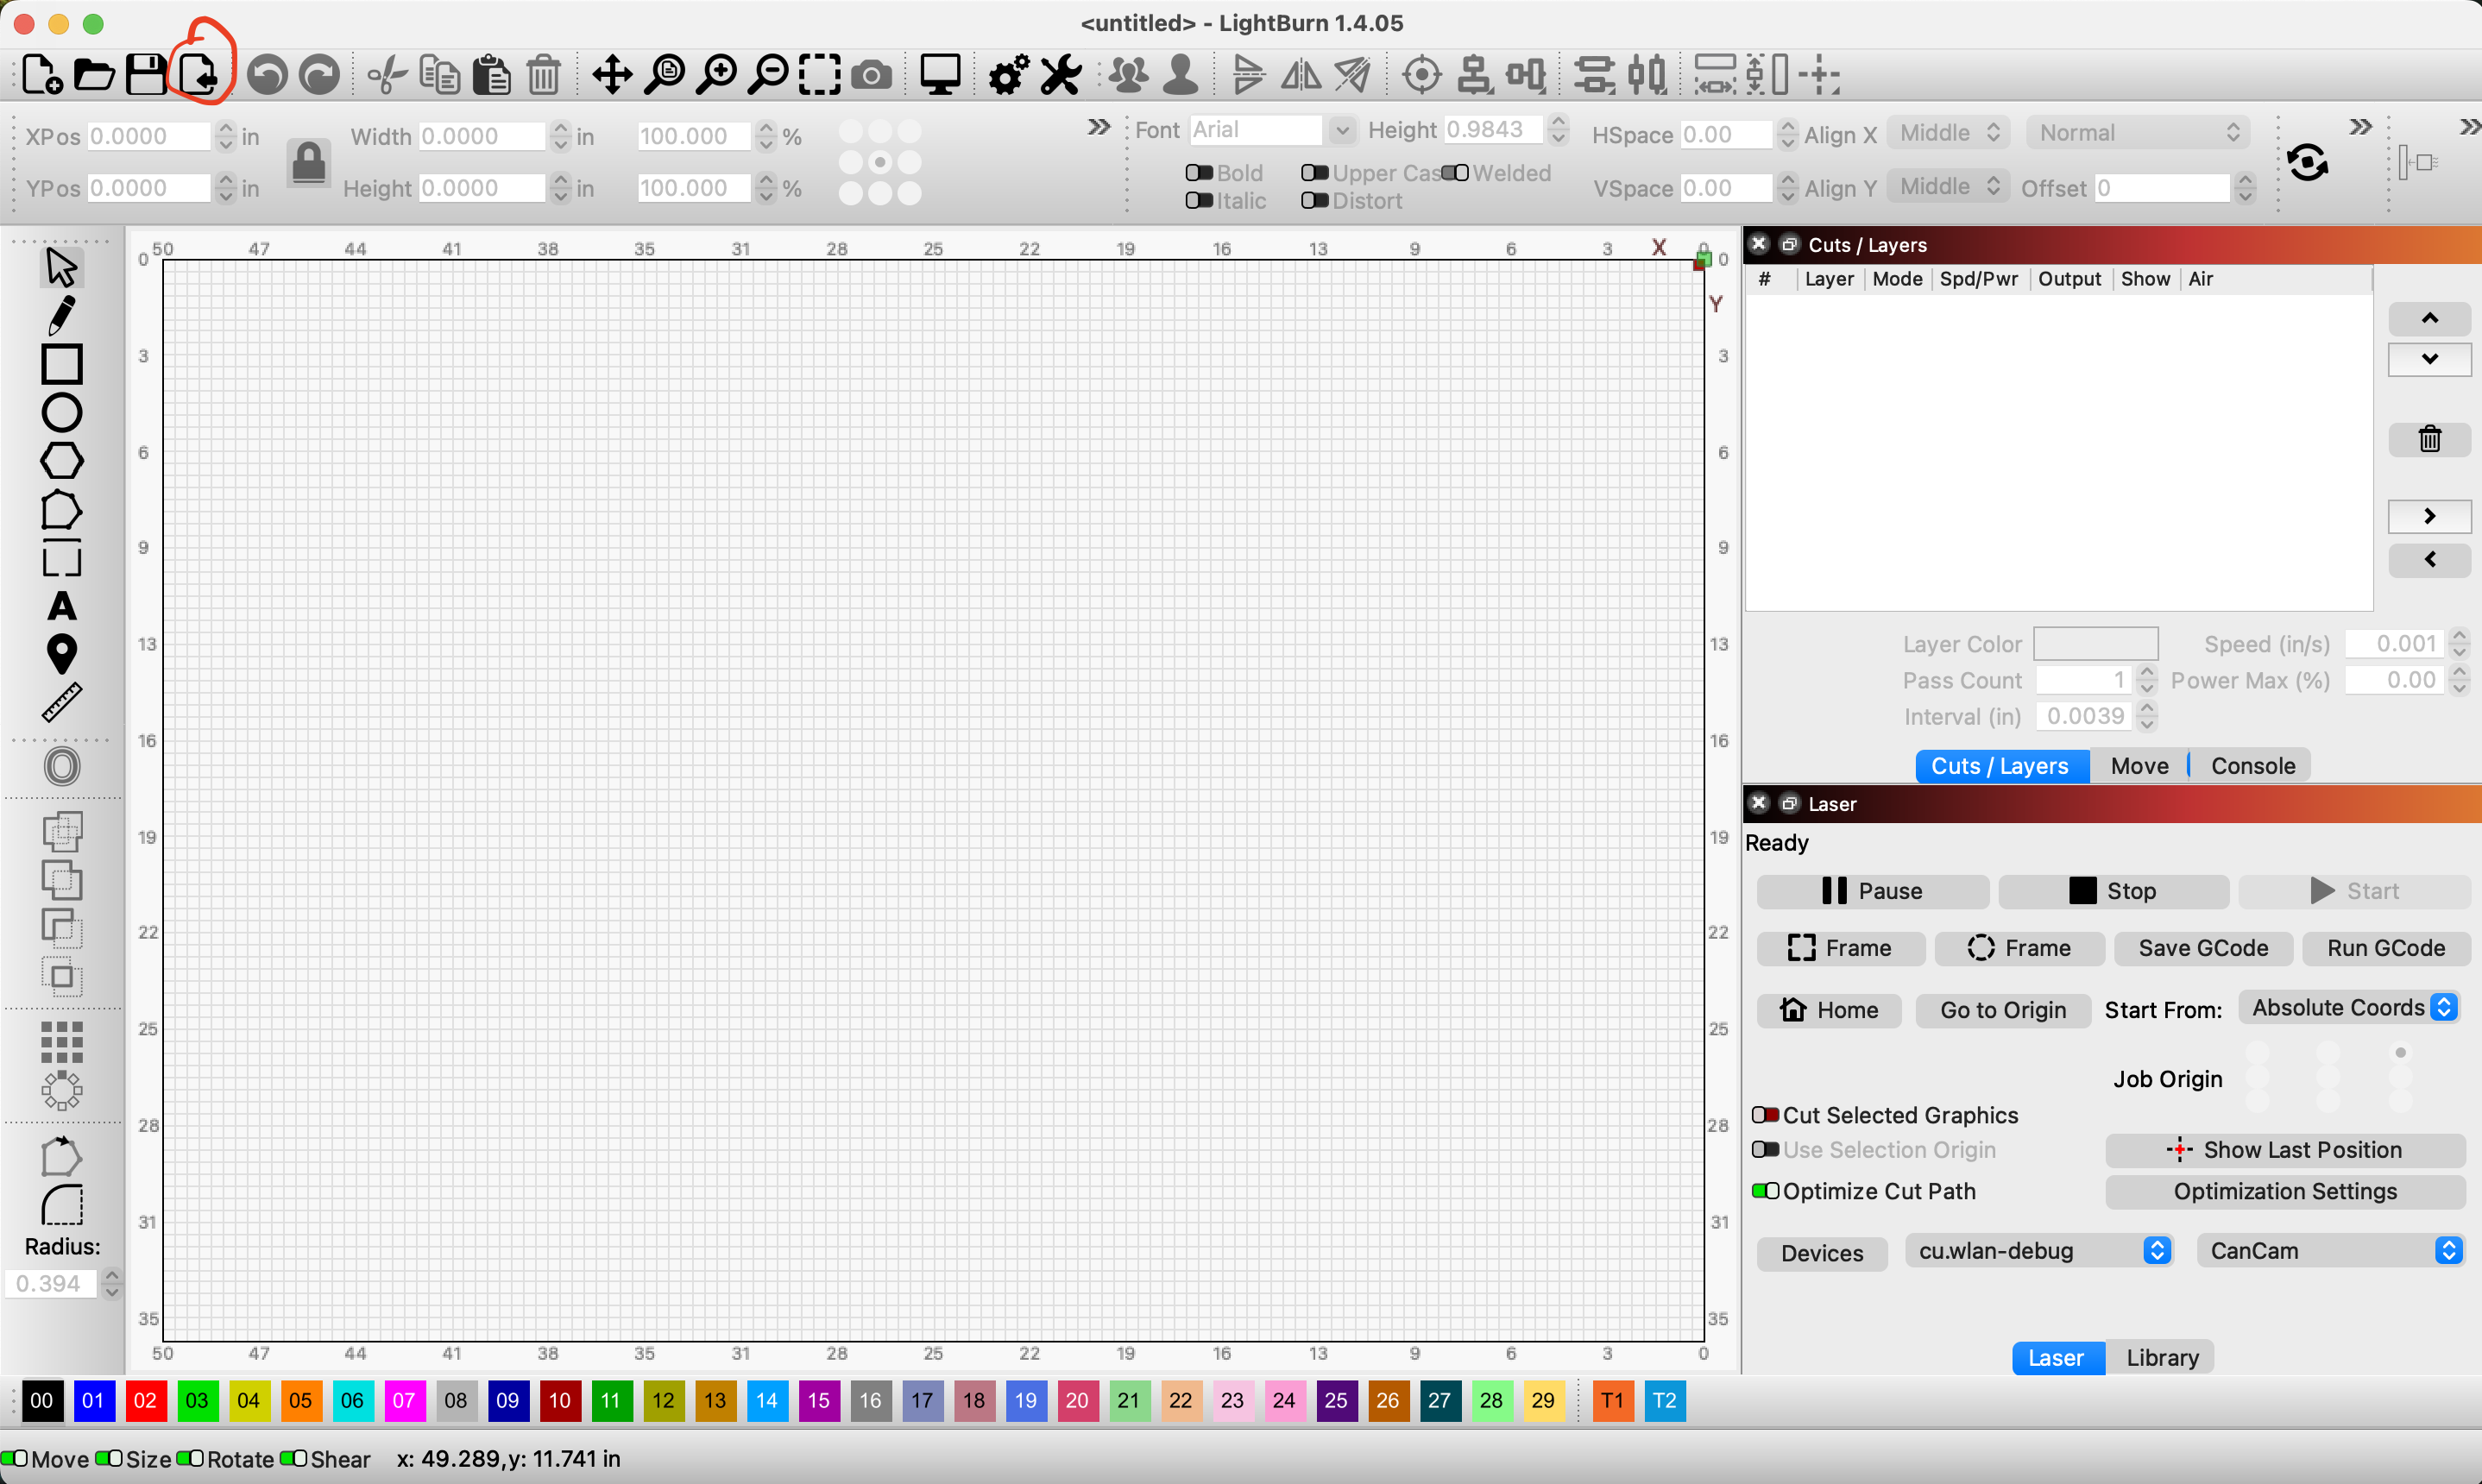
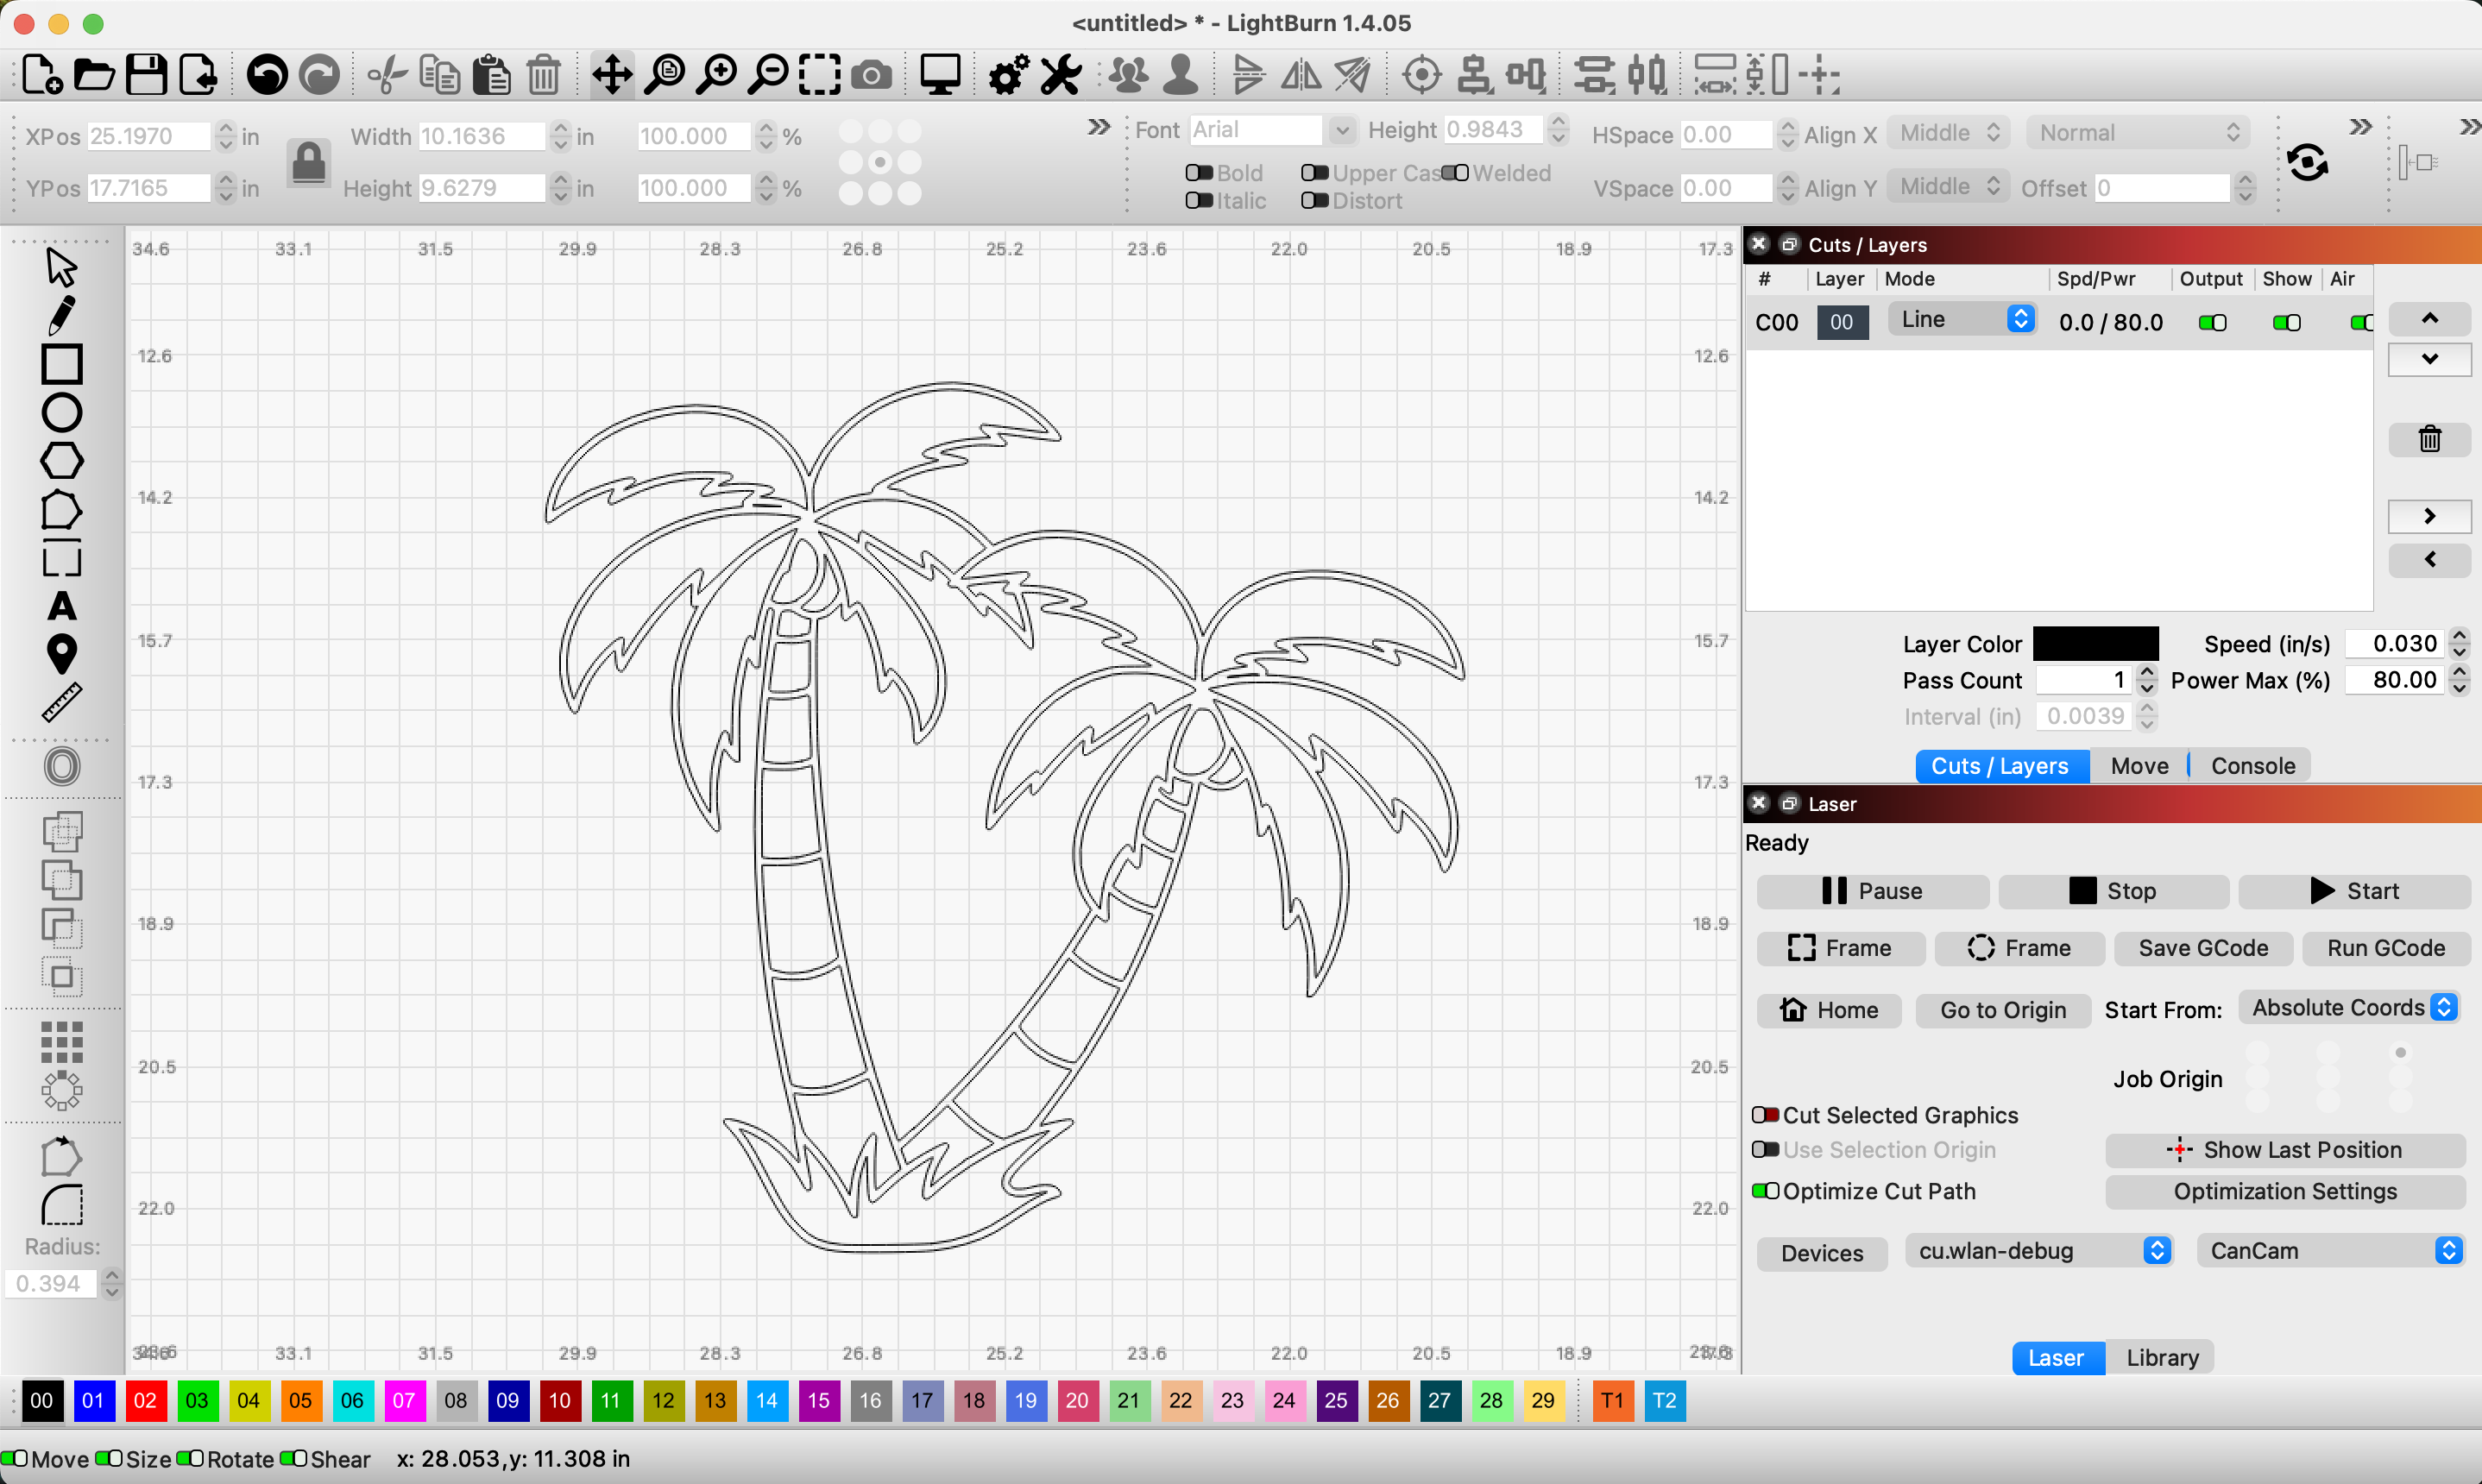
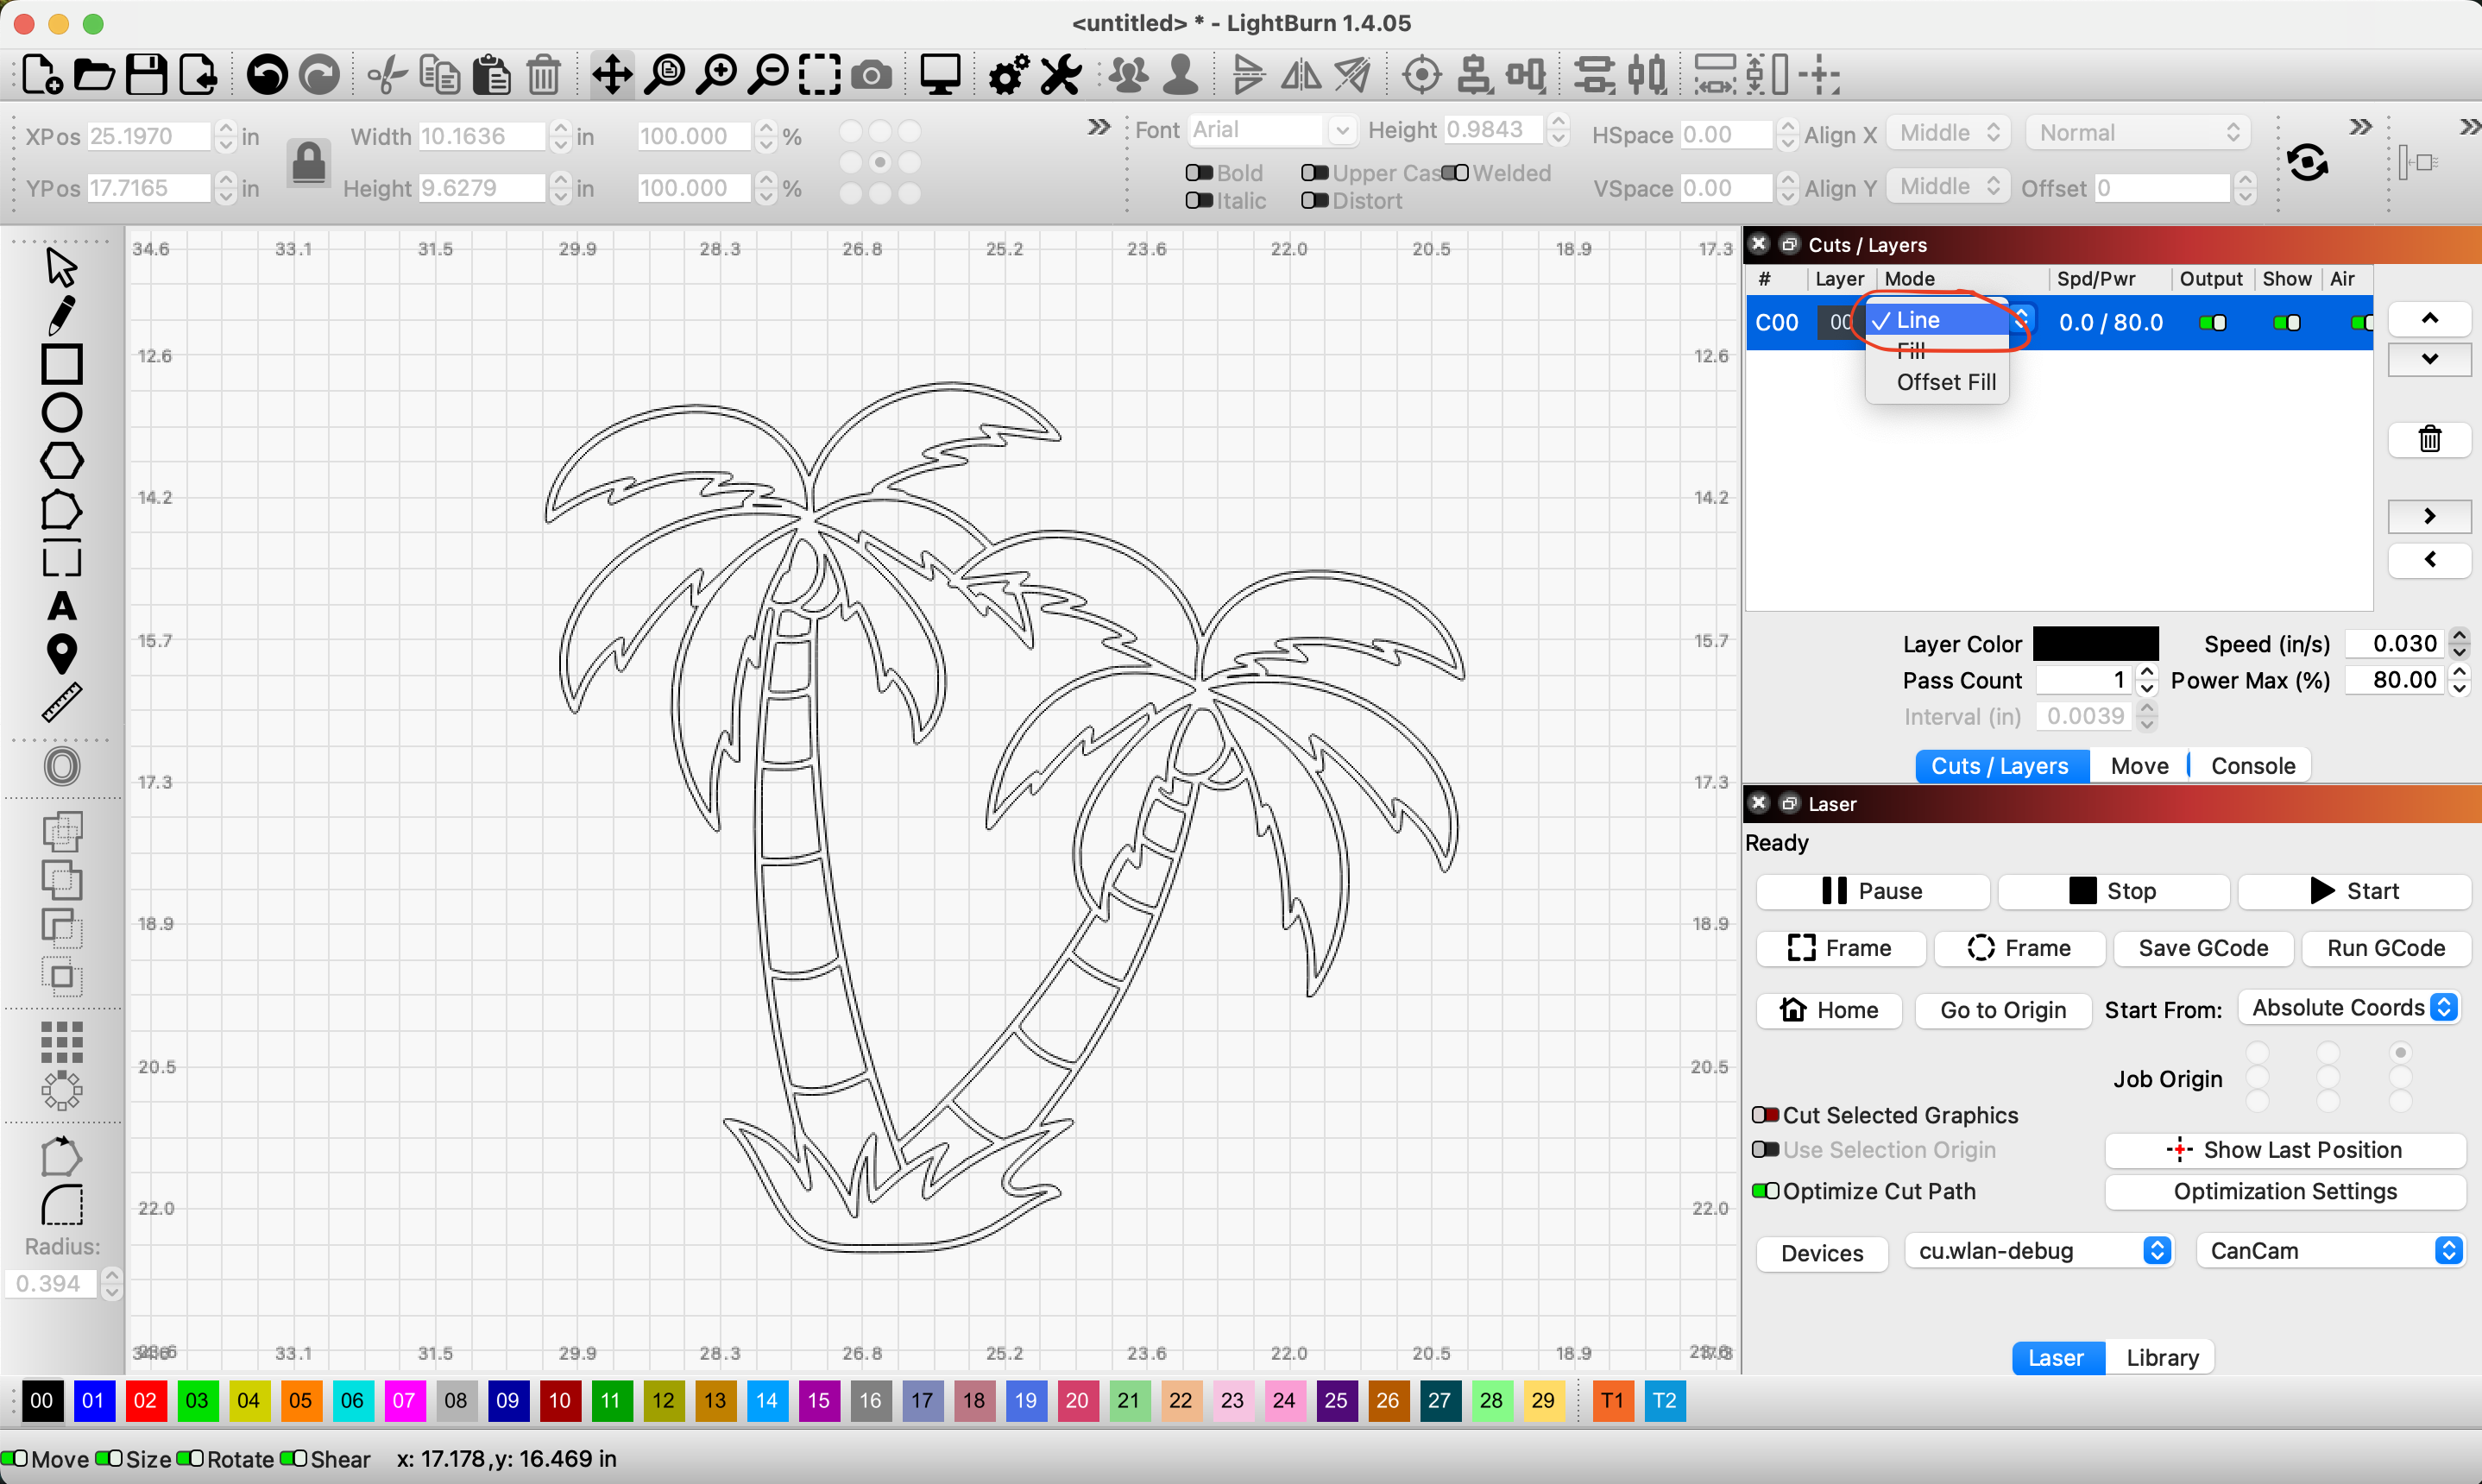
Open a new Lightburn document and import the .svg outline.
You should see something like picture 2 - If it looks similar but is filled in, go to the right side of the screen and change the Mode to "line" rather than "fill".
Separate the Shapes
Now that we have the image in lightburn - We are going to select the image and separate the shapes. Before we get started, go ahead and right click the outline and select "duplicate". Once you do that, immediately click a color at the bottom of the screen other than the color of the outline currently. You have just created a copy, which you can now move out of the way. This will serve as a backup incase anything is messed up down the line. Now, we will separate shapes.
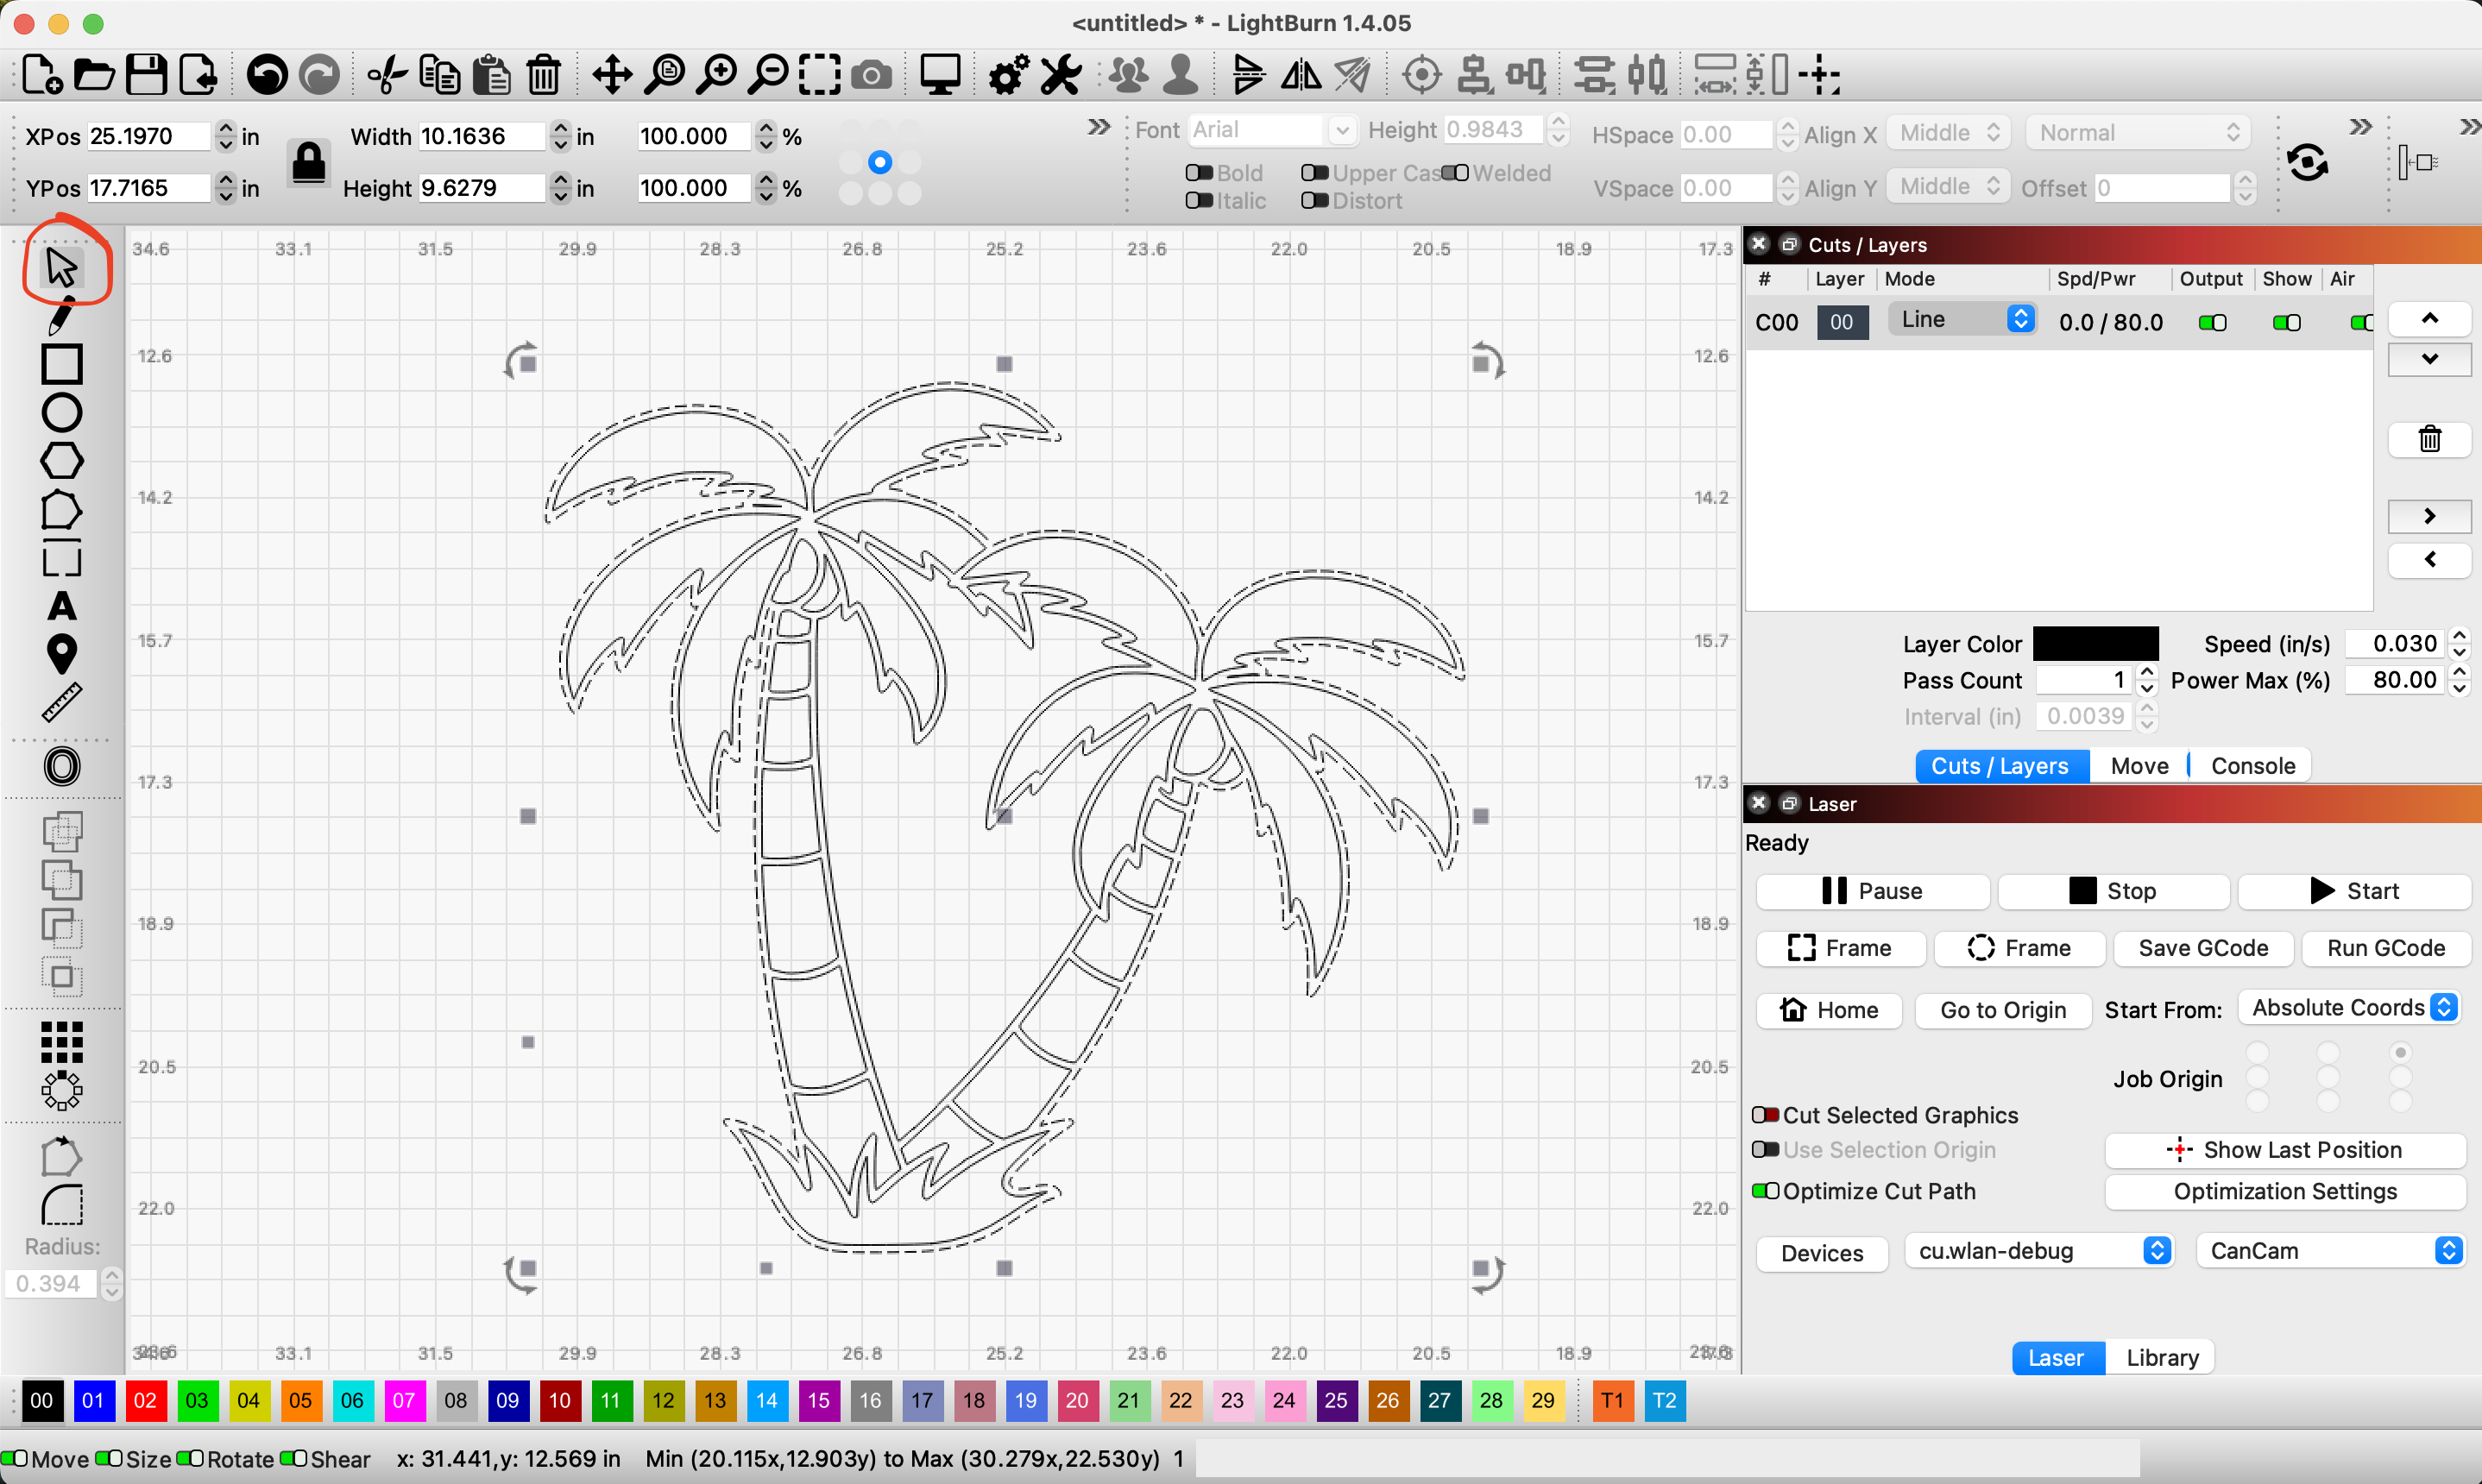
- Click the outline that we want to edit. (make sure when you do this that you have the mouse tool selected - picture 1)
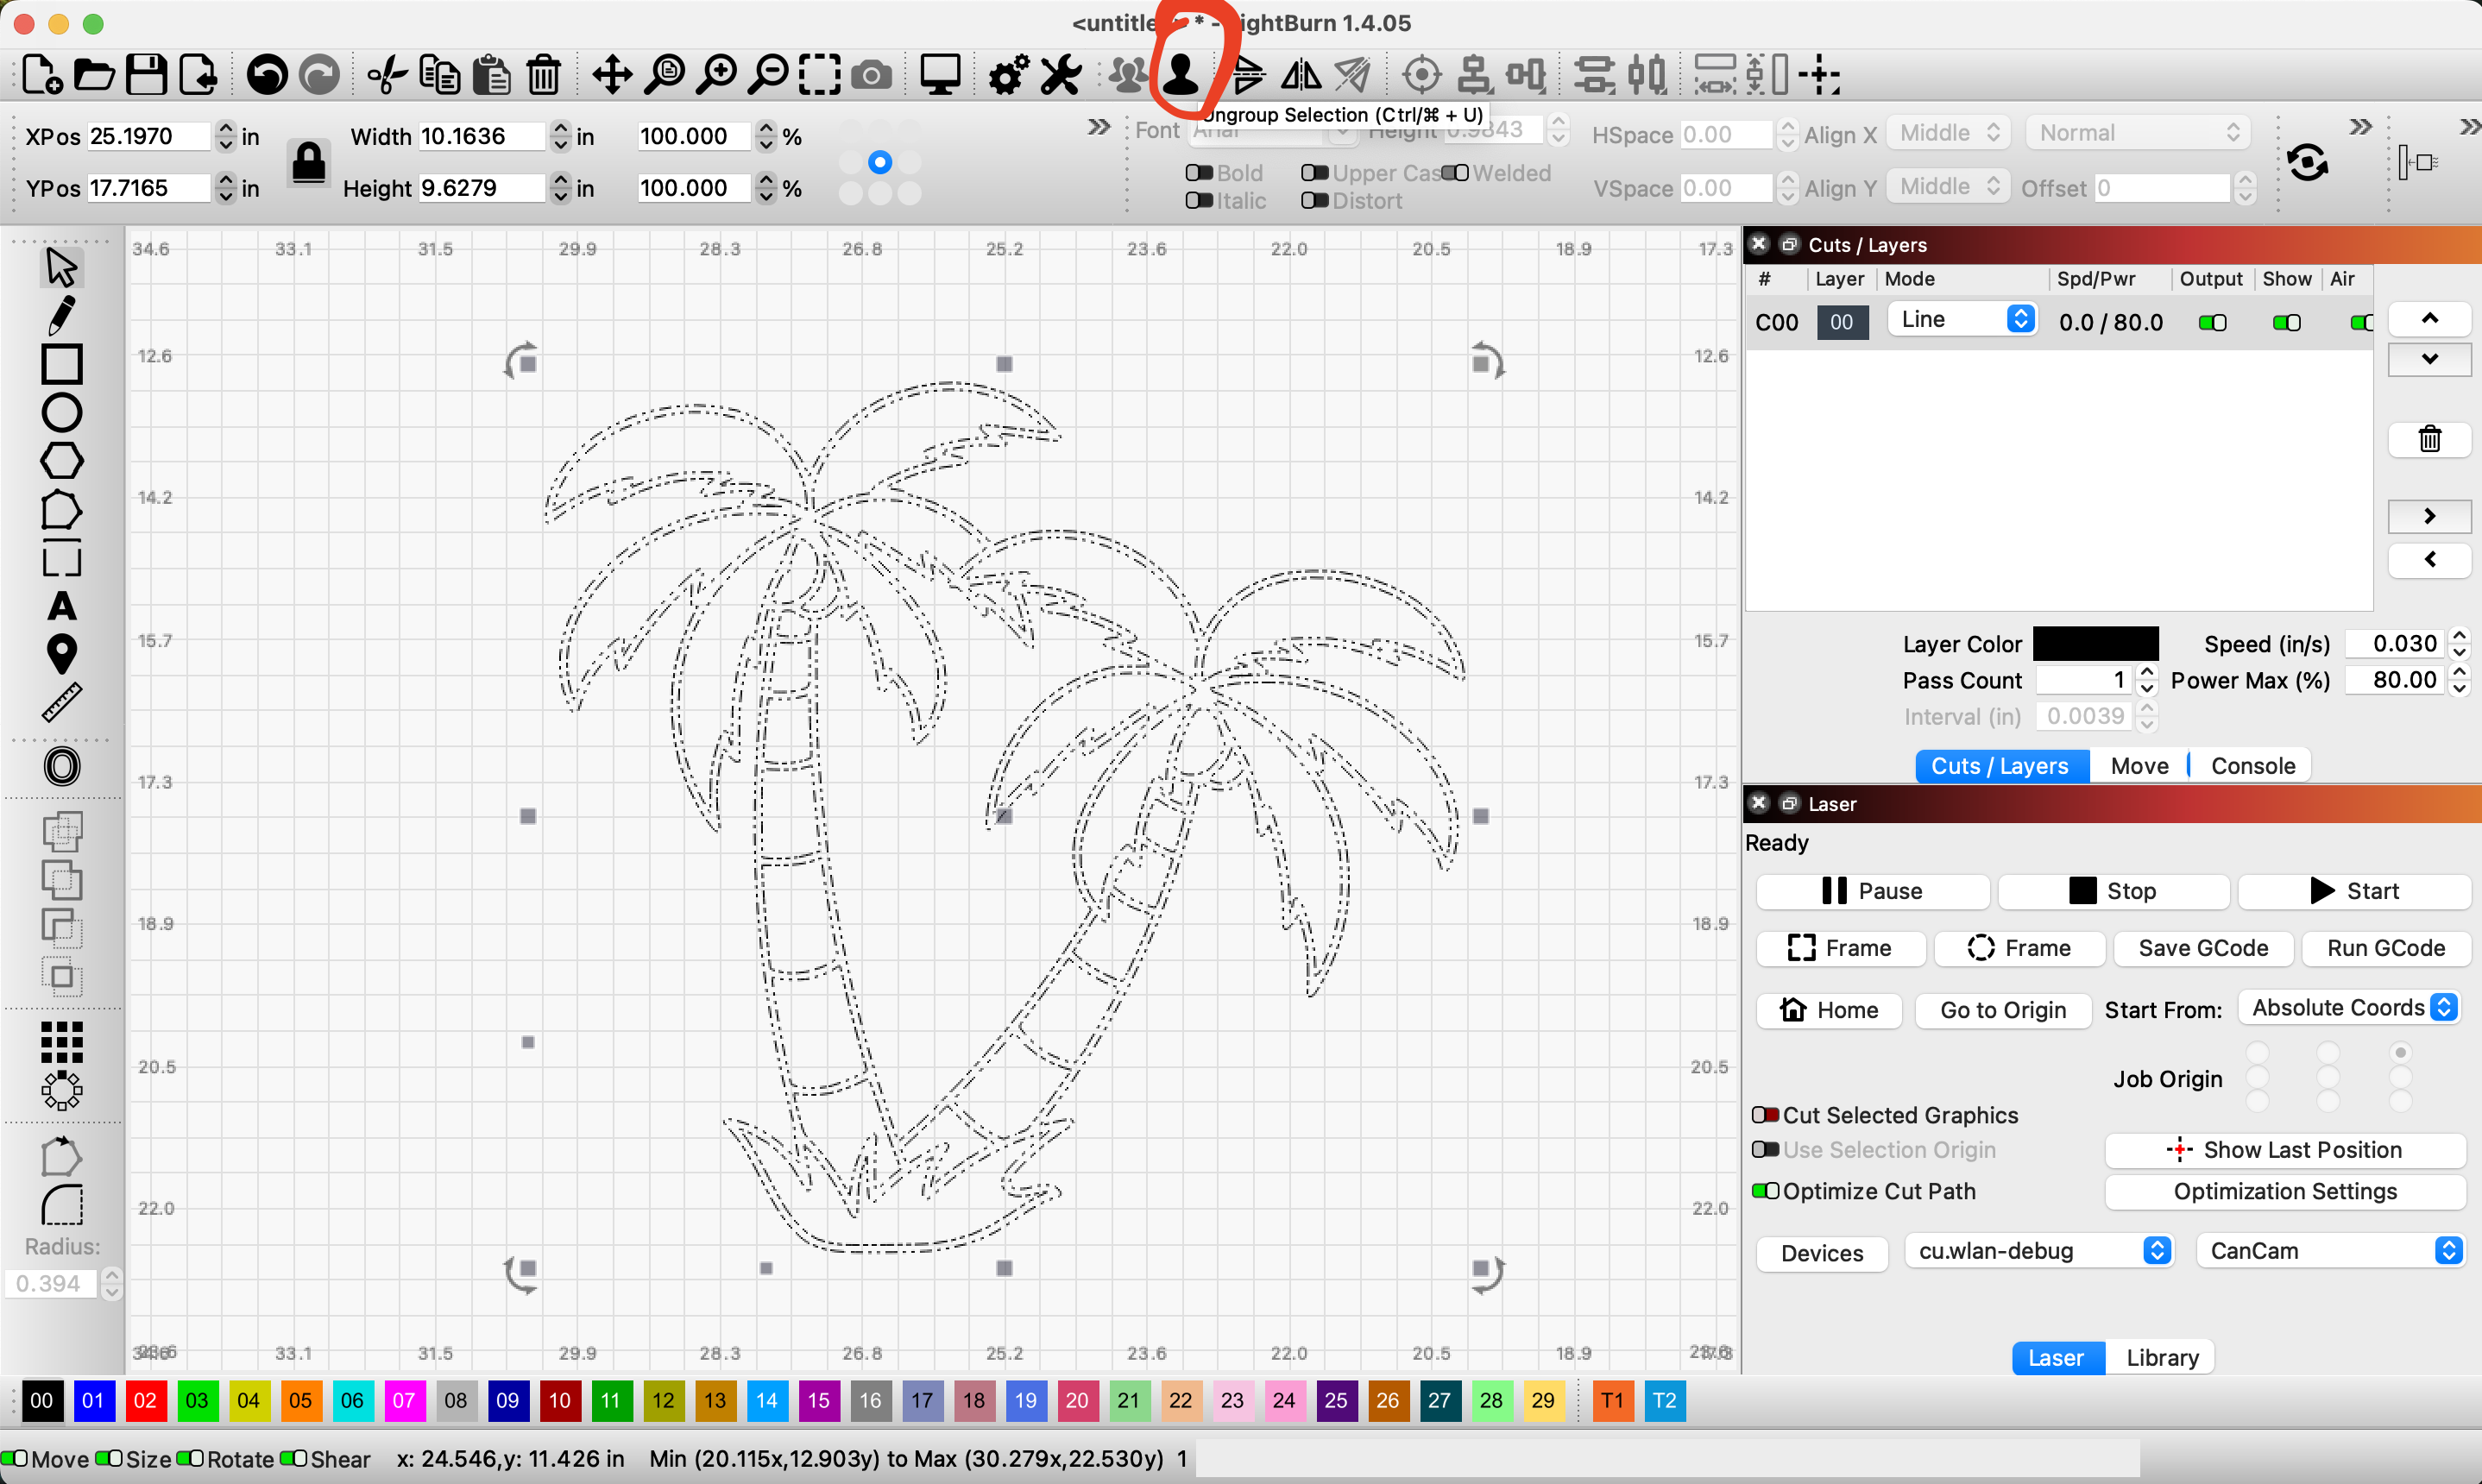
- Find the "Ungroup" button on the top of the page and click it (picture 2). This will ungroup all the shapes in our outline.
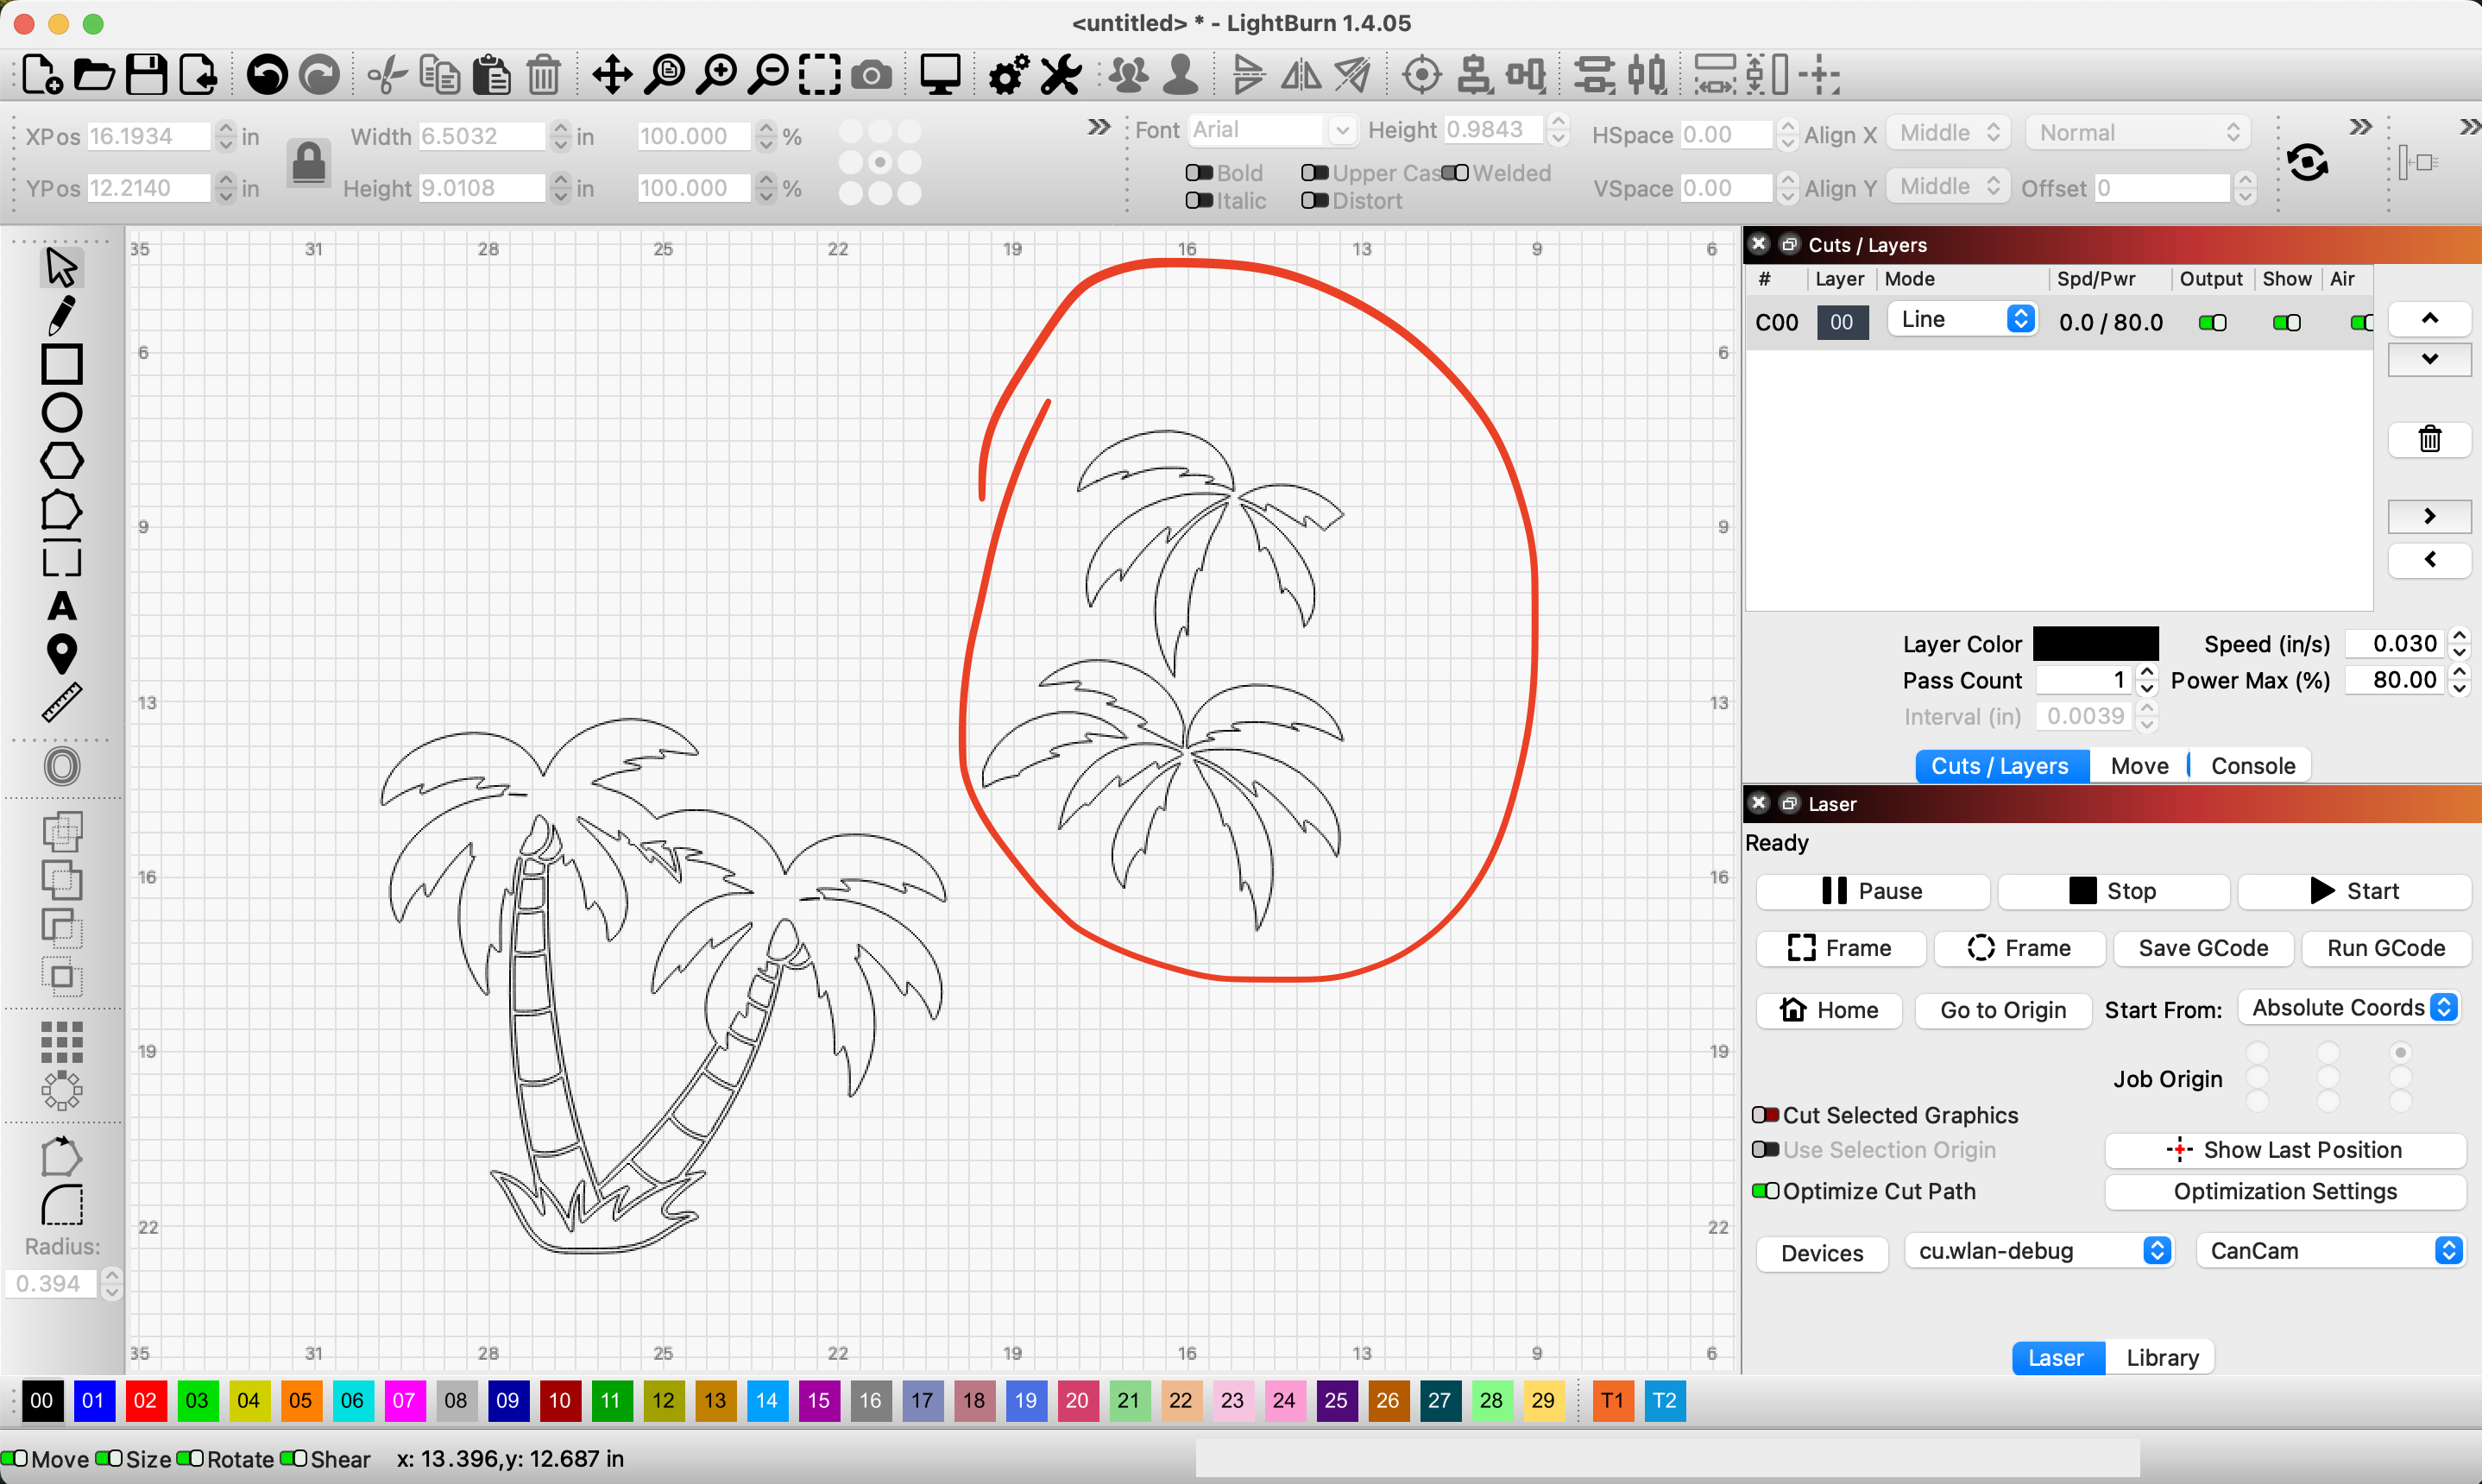
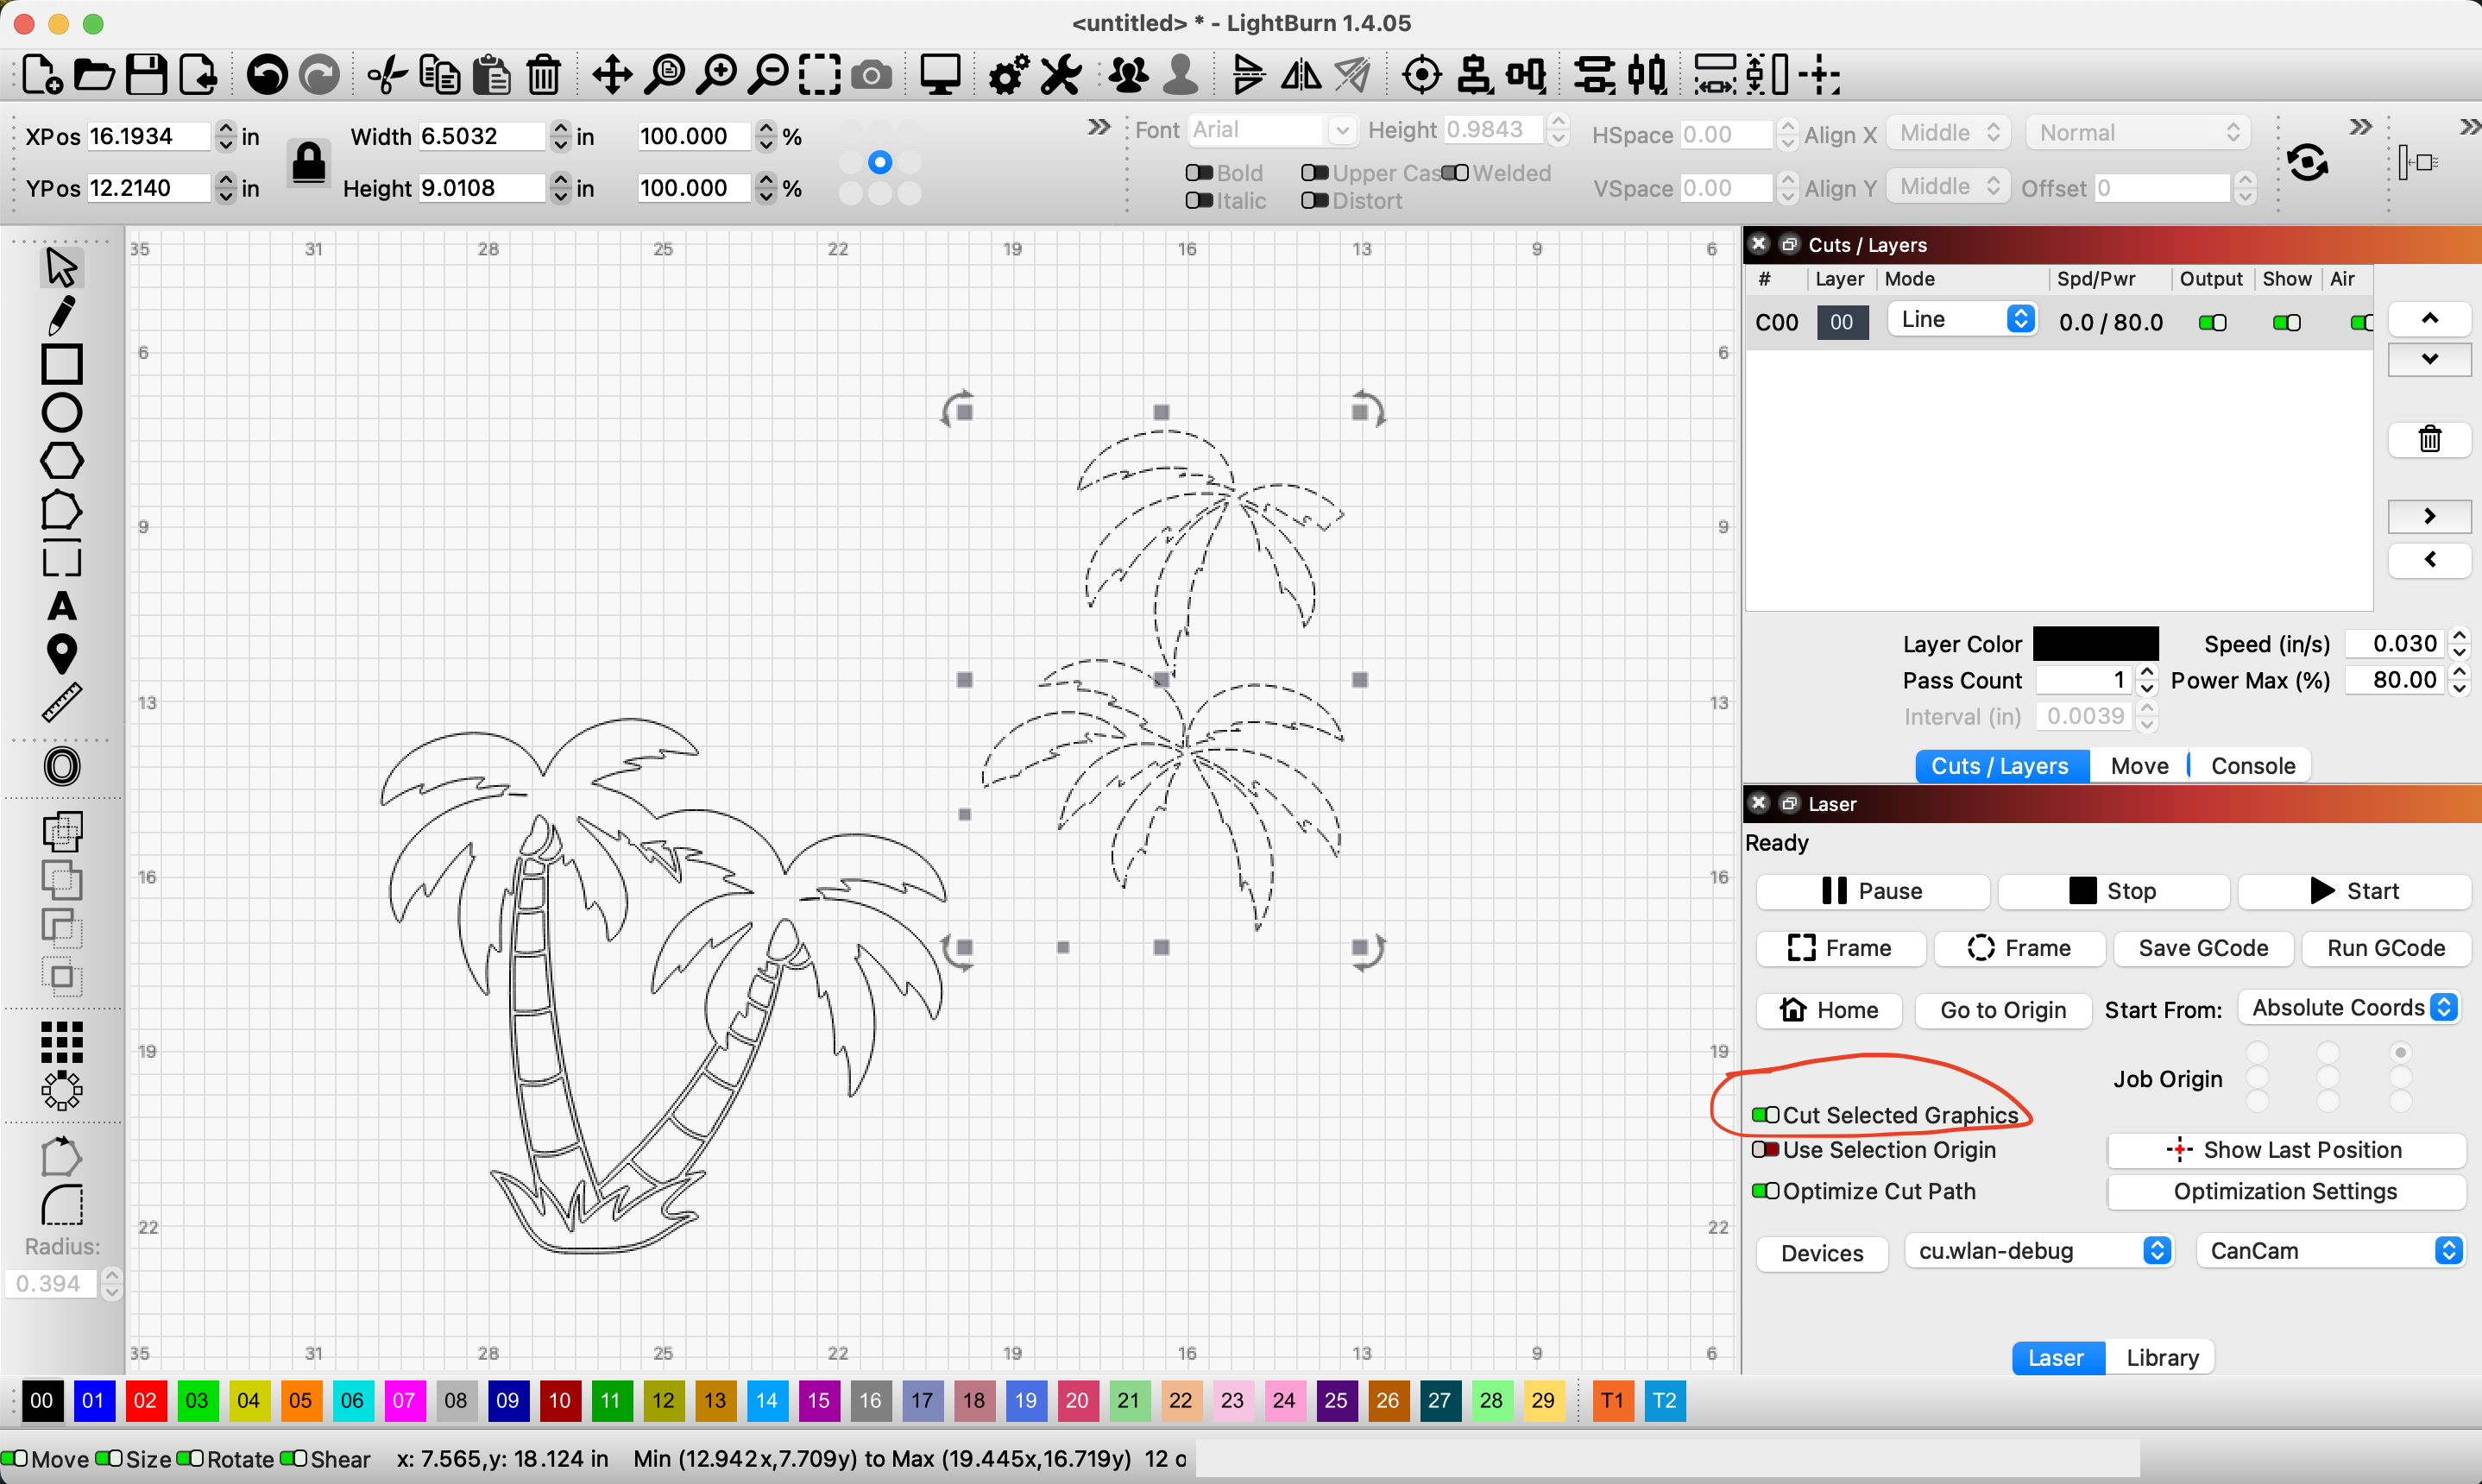
- Now that the shapes are ungrouped, we can move the pieces that will need to be green all to one area (picture 3). You can optimize the placement here to best utilize materials when cutting.
- Align shapes with material, select "Cut Selected Only" and highlight the newly grouped palm fronds for cutting.
Cut
Cut as you please!
Pro Tip: You may find that inverting your images before cutting them (cutting them upside down) may lead to cleaner lines and better outcomes.