Cleaning Up Vocals - Audacity Quick Tip
by DaddyLes in Circuits > Audio
7666 Views, 8 Favorites, 0 Comments
Cleaning Up Vocals - Audacity Quick Tip
A quick clean up of your vocal track can be the difference between distractingly inconsistent volume, and a professional-sounding project. Here you'll see three tools used in a simple way, to get you used to how they work and how you can build upon that knowledge in larger projects.
This quick tip is an excerpt from the larger project video, Joanie's Intro. The full project video can be found at:
The Compressor
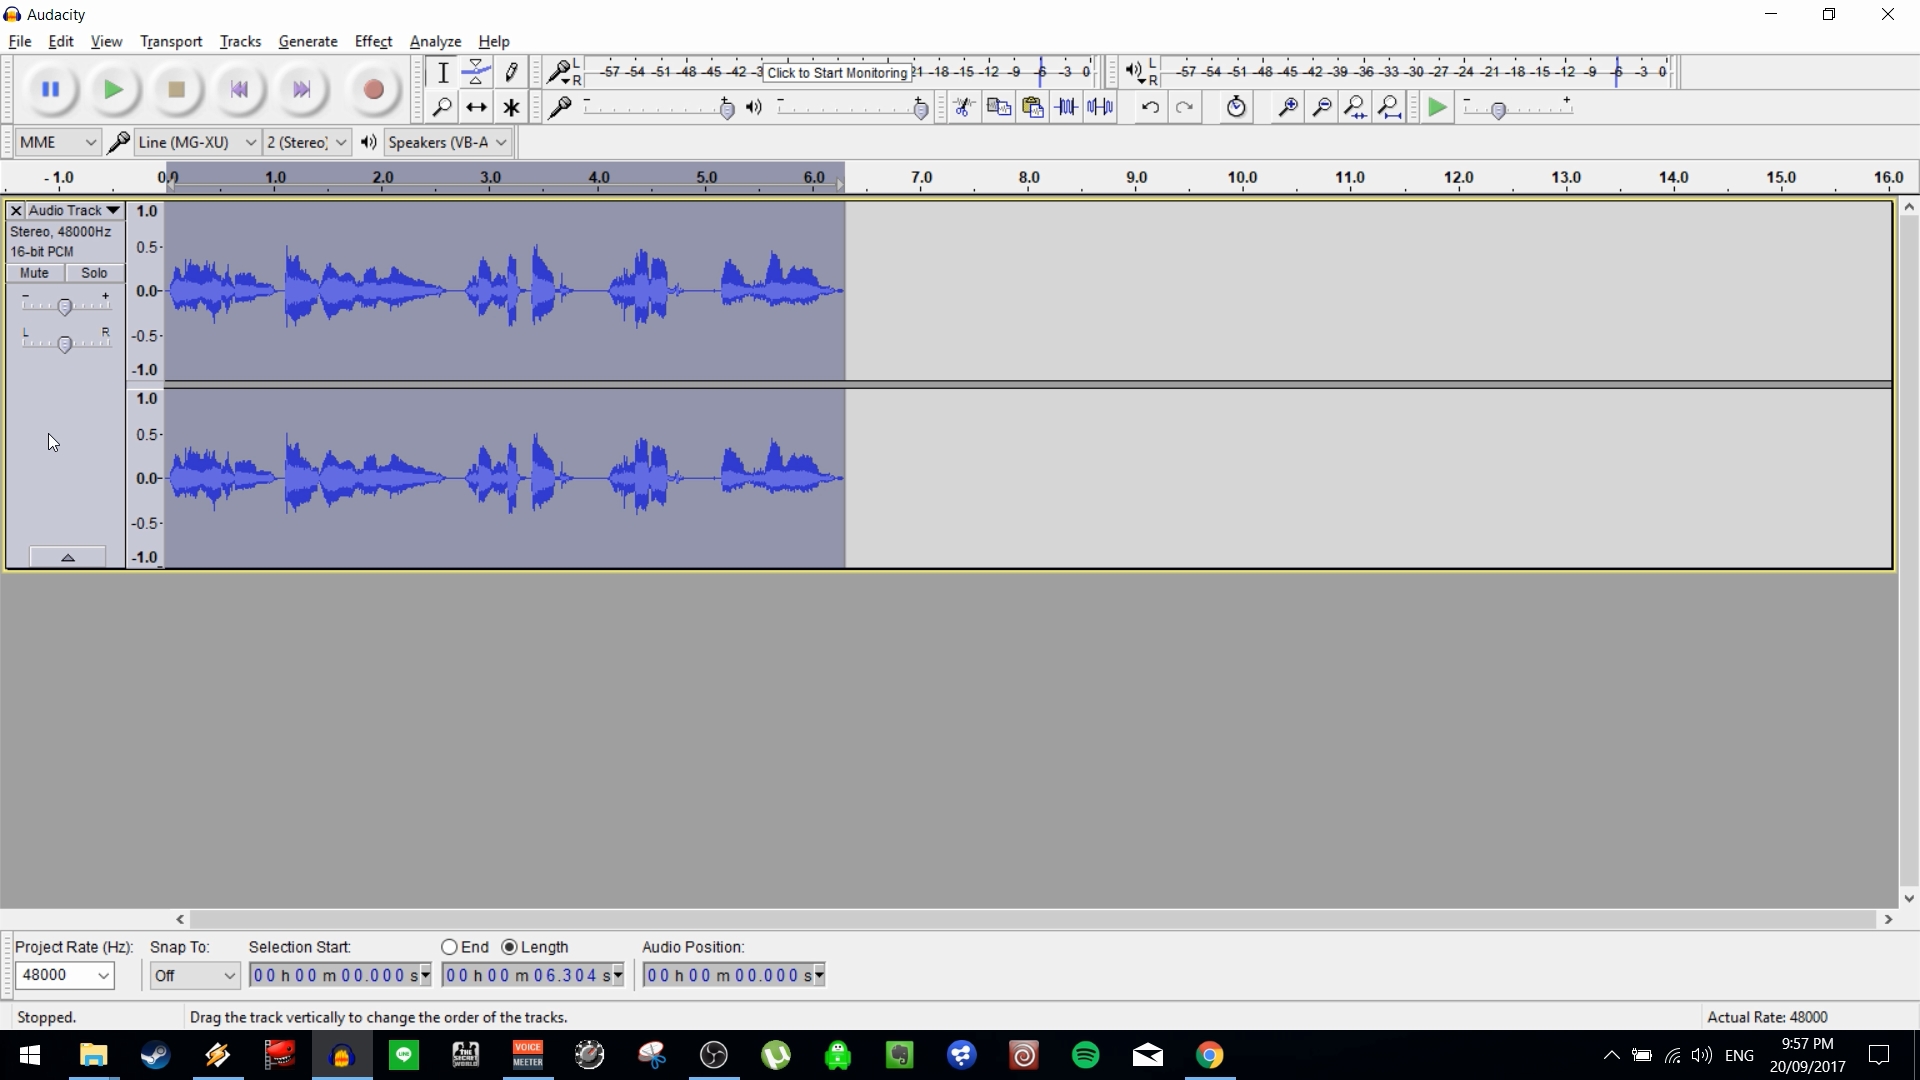
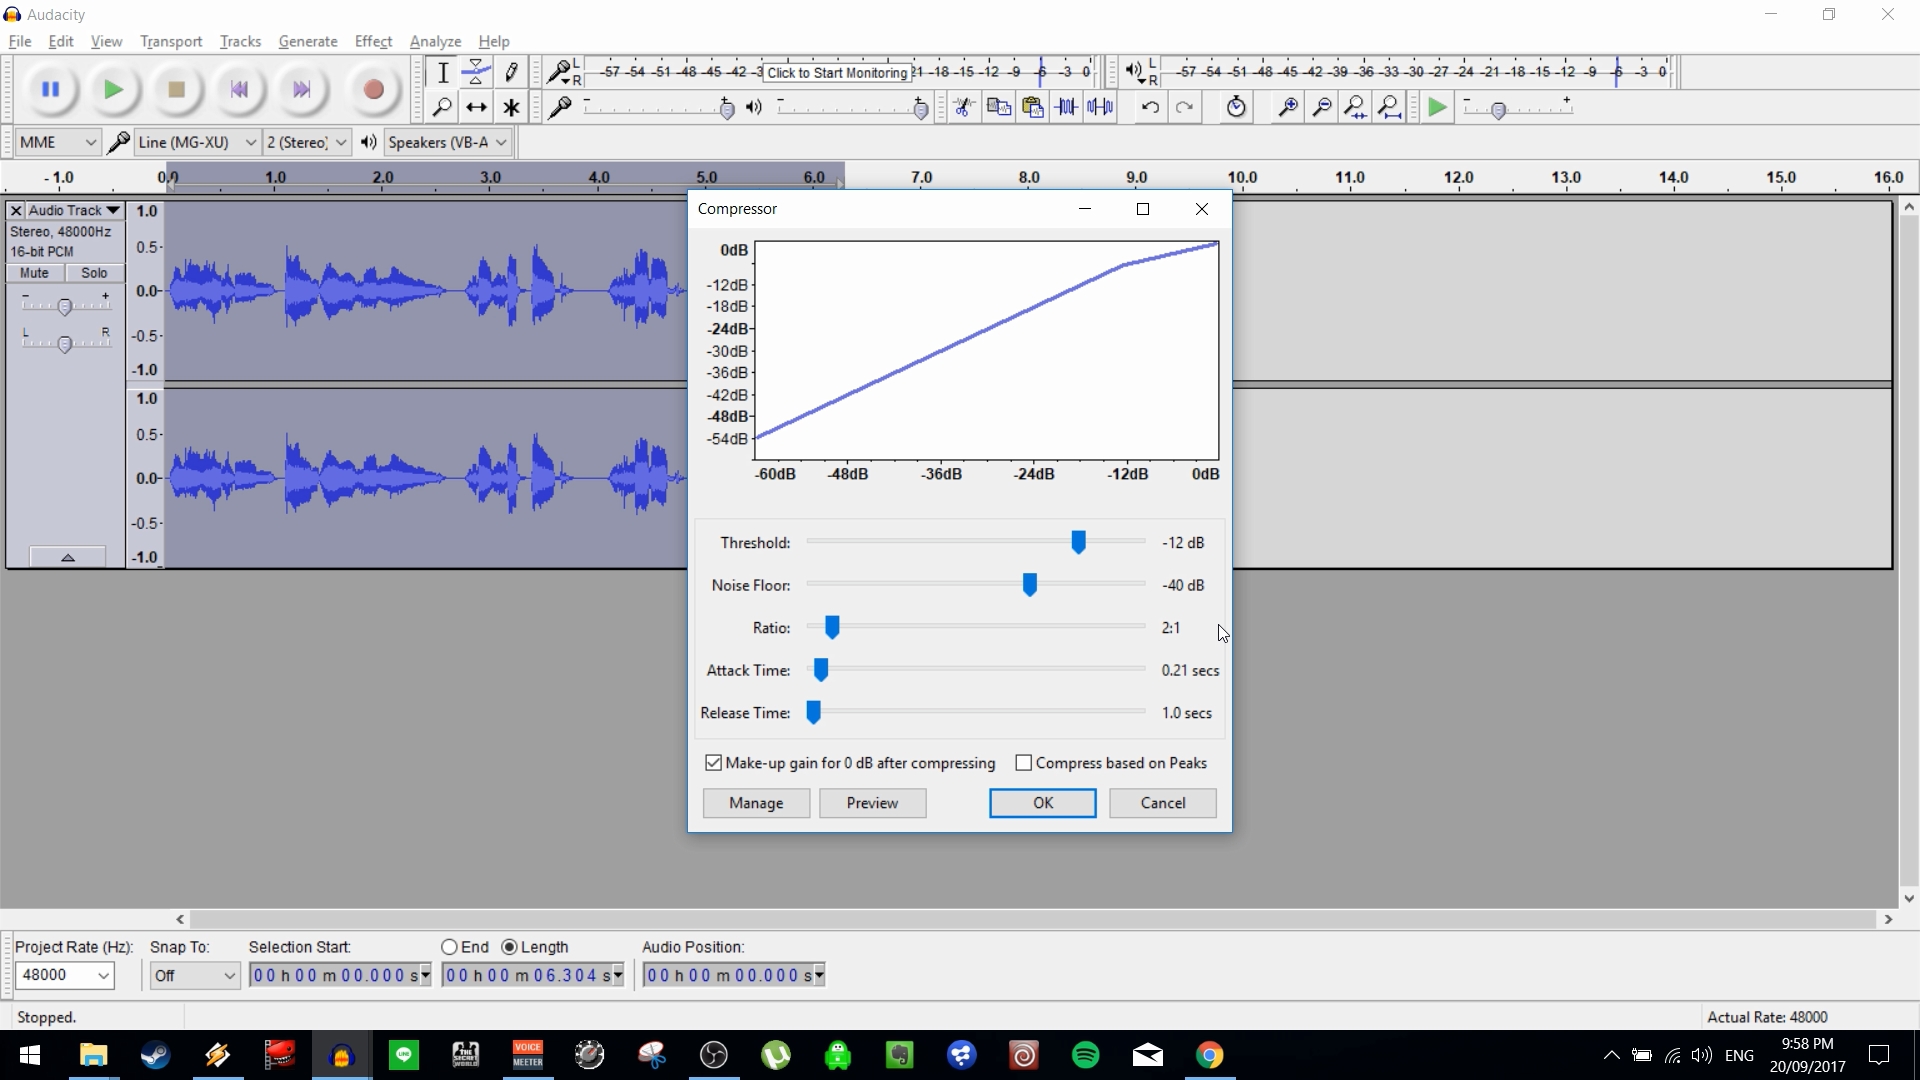
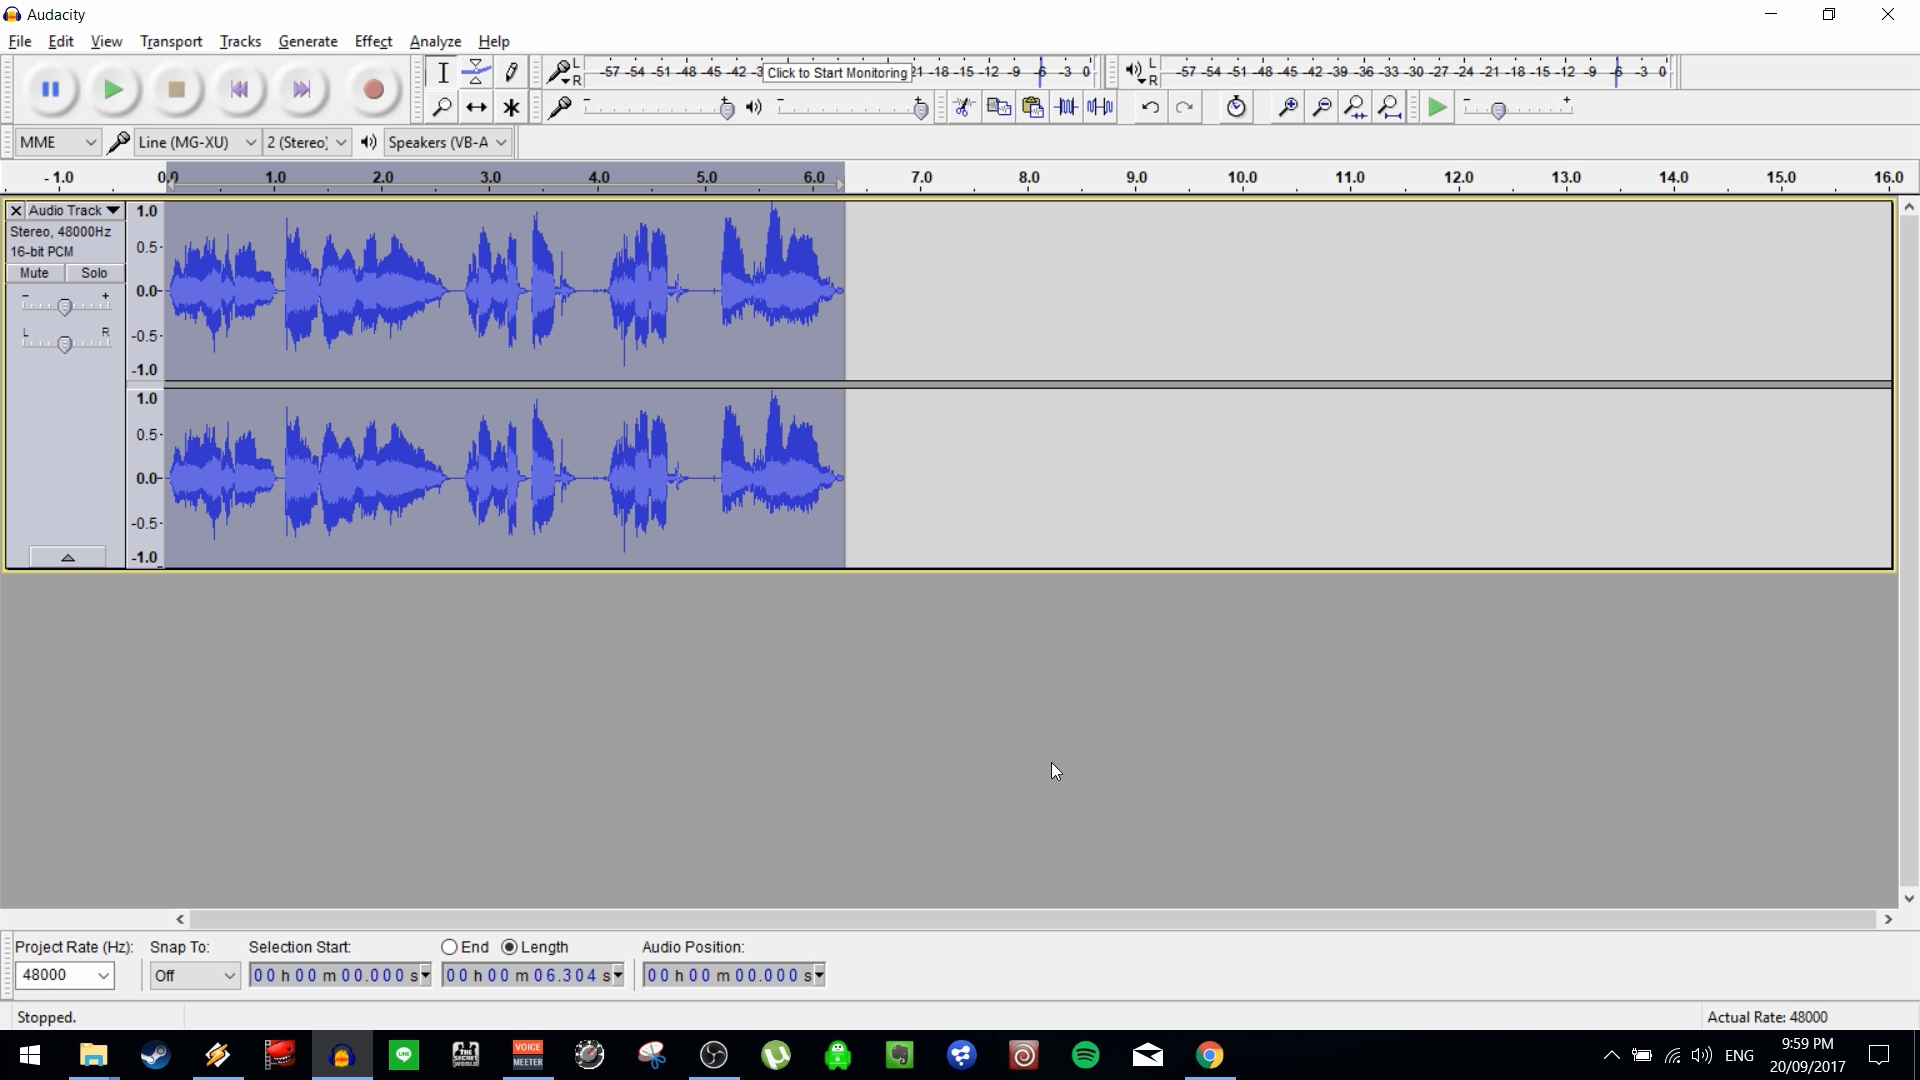
In its most basic form, the Compressor is a simple tool that can take a lot of the heavy lifting out of correcting the levels of your vocal track. It works by compressing (reducing the level) of audio that exceeds a certain threshold. This reduces the dynamic range of the audio, which is to say the difference between the quietest and loudest elements of the track. This makes a big difference when you Normalize your track later.
While the default settings will often give you an improvement, you can really benefit from knowing how to set the values for your individual project.
The below is quoted directly from Audacity's manual, which is located at: http://manual.audacityteam.org/man/compressor.html
Threshold: The level above which compression is applied to the audio.
Noise Floor: The compressor adjusts the gain on audio below this background level so as to prevent it being unduly amplified in processing. This is mainly useful when compressing speech, to prevent the gain increasing during pauses and so over-amplifying the background noise.
Ratio: The amount of compression applied to the audio once it passes the threshold level. The higher the Ratio the more the loud parts of the audio will be compressed. The Ratio sets the slope of the blue line on the graph above the threshold.
Attack Time: How soon the compressor starts to compress the dynamics after the threshold is exceeded. If volume changes are slow, you can push this to a high value. Short attack times will result in a fast response to sudden, loud sounds, but will make the changes in volume much more obvious to listeners.
Release Time: How soon the compressor starts to release the volume level back to normal after the level drops below the threshold. A long time value will tend to lose quiet sounds that come after loud ones, but will avoid the volume being raised too much during short quiet sections like pauses in speech.
Make-up gain for 0 dB after compressing: Amplifies the resultant audio in all selected tracks after compression to a peak level of 0 dB. All tracks are amplified by the same amount as in the Amplify effect.
You'll get the best results by playing with these settings until they make sense. In general, the Threshold is the setting you'll see the most difference in modifying. I recommend leaving Make-up gain checked, and then using another tool to fix the peaks afterward.
The Limiter
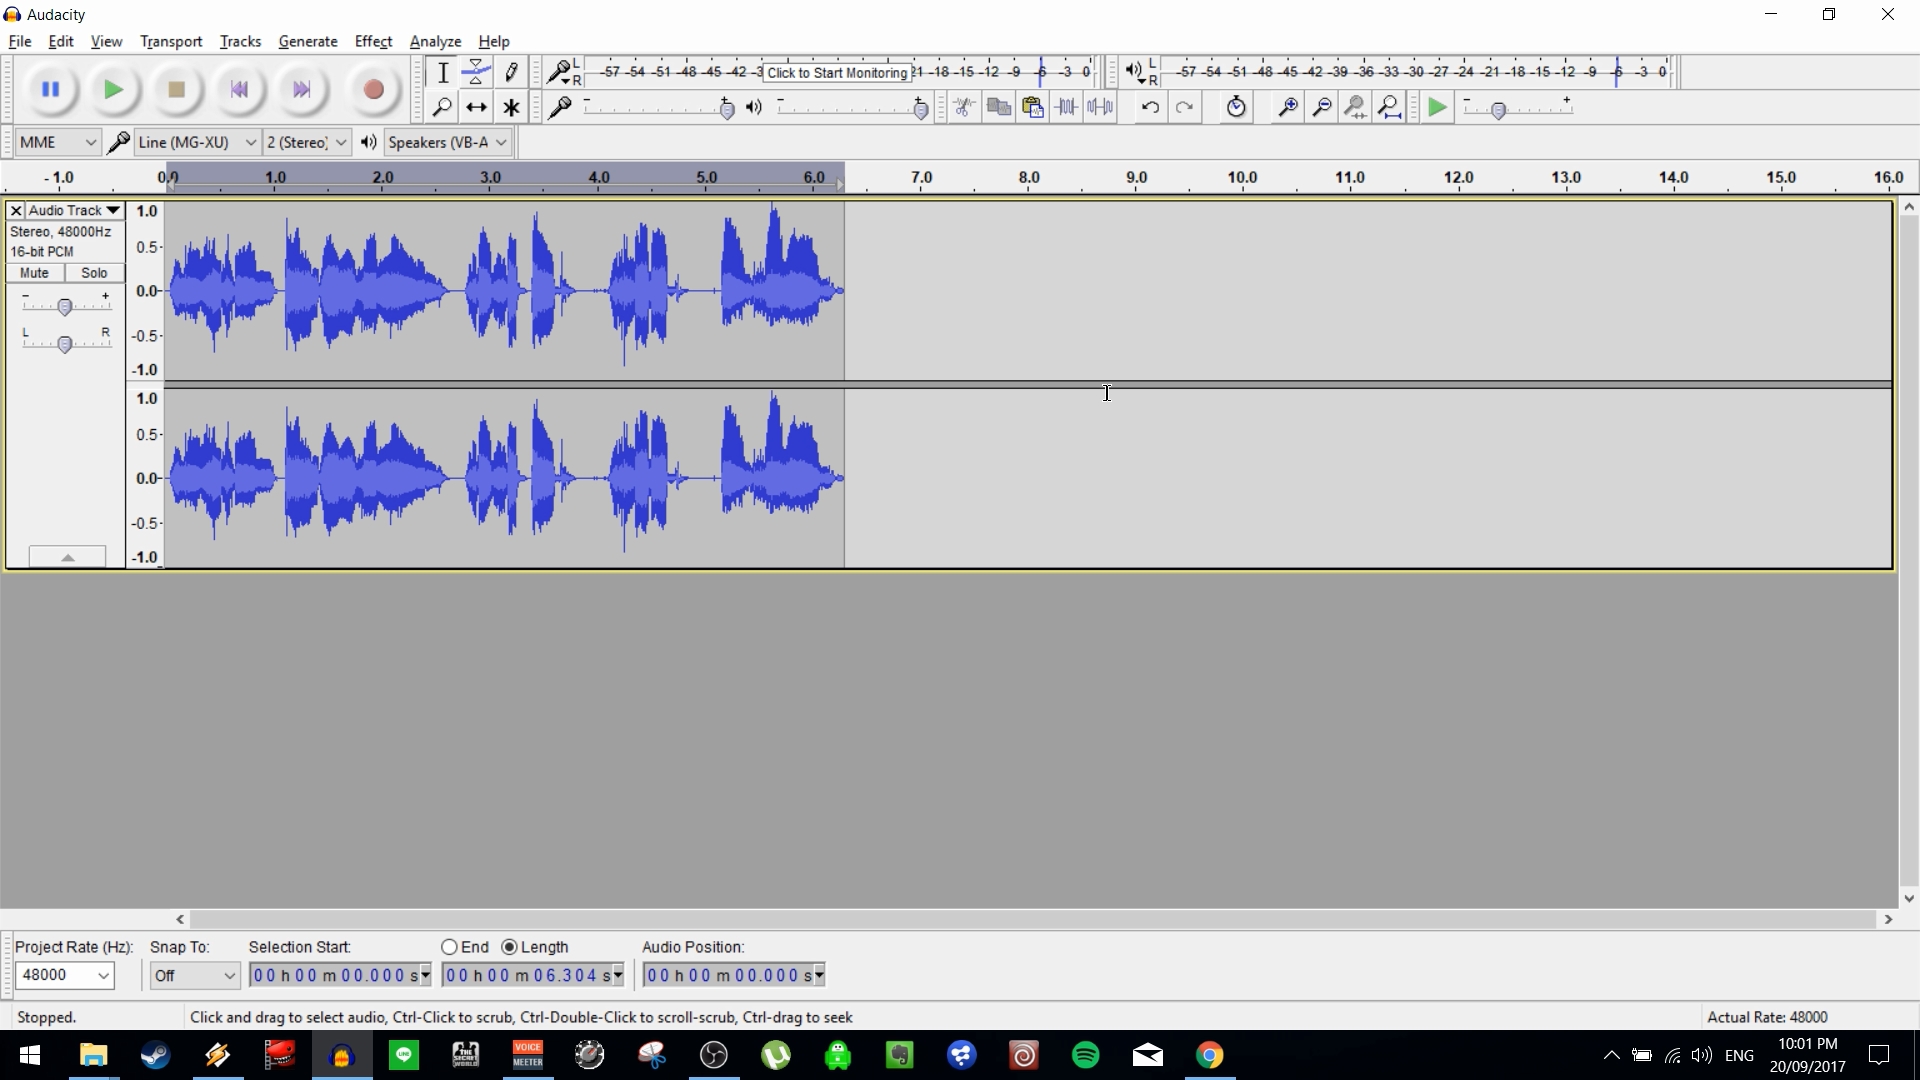
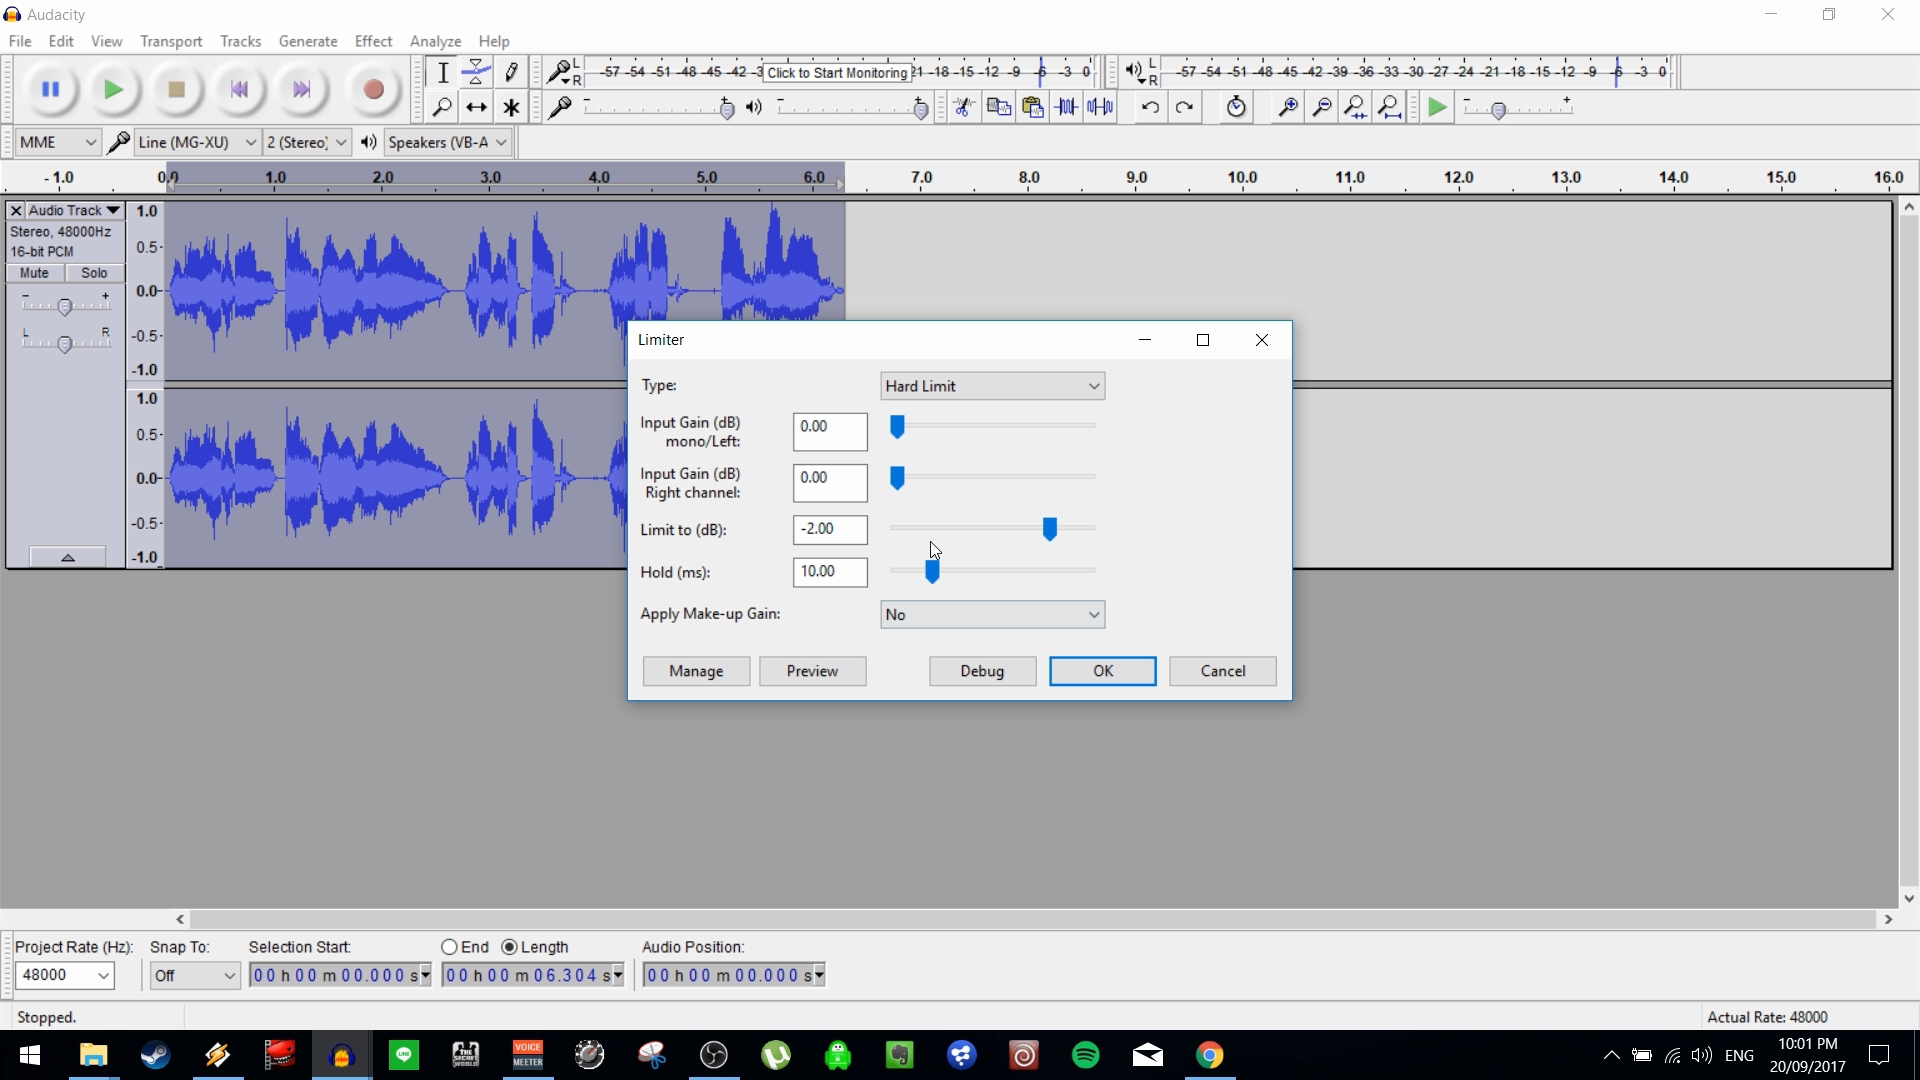
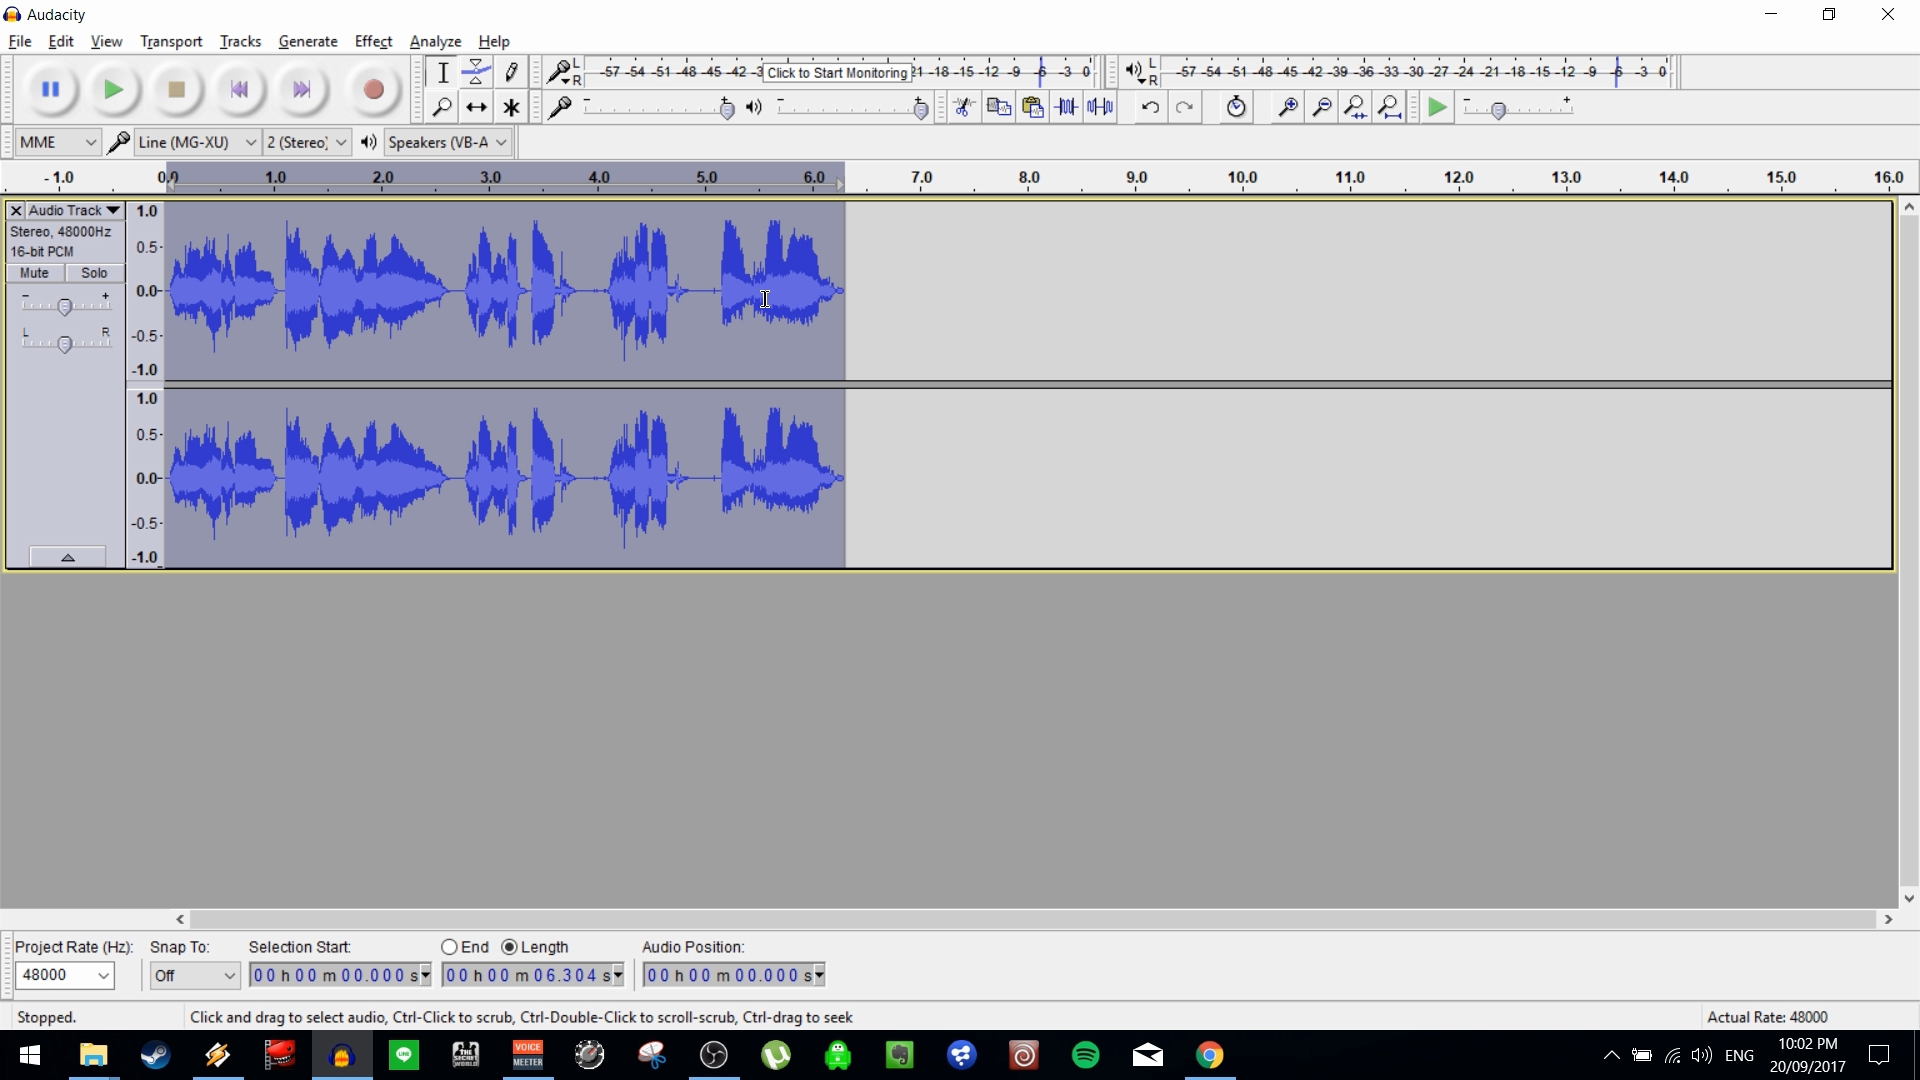
It's common to see clipping at this stage, which is to say audio which exceeds the maximum volume of 0dB. To remedy that, we're going to use a Hard Limiter to shave off the excessive peaks. This will allow us enough space to make for really effective Normalization.
In this project, I've used a value of -2dB. As always, play with the settings until you reach the proper result for your project. Going overboard with the Limiter can make for a flat, weird-sounding result, so start with a light touch and work your way down from there.
The Normalizer
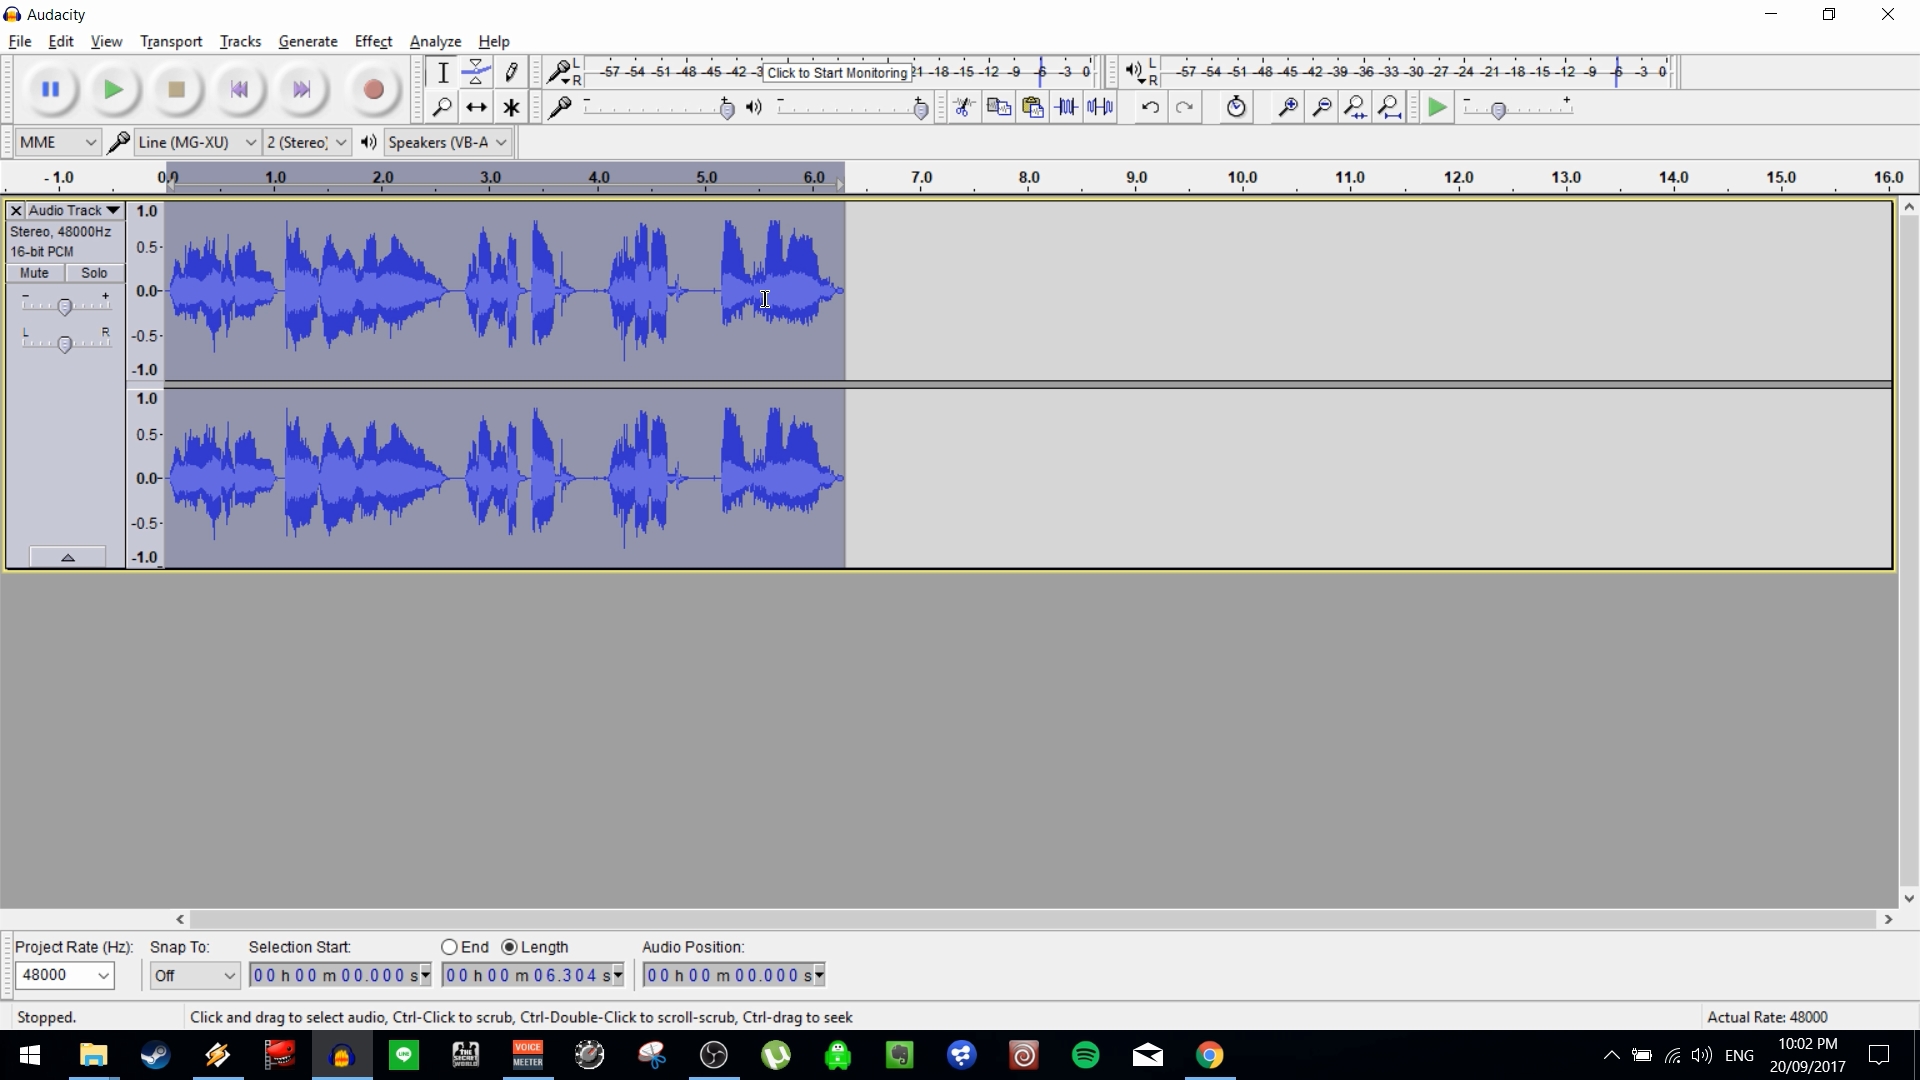
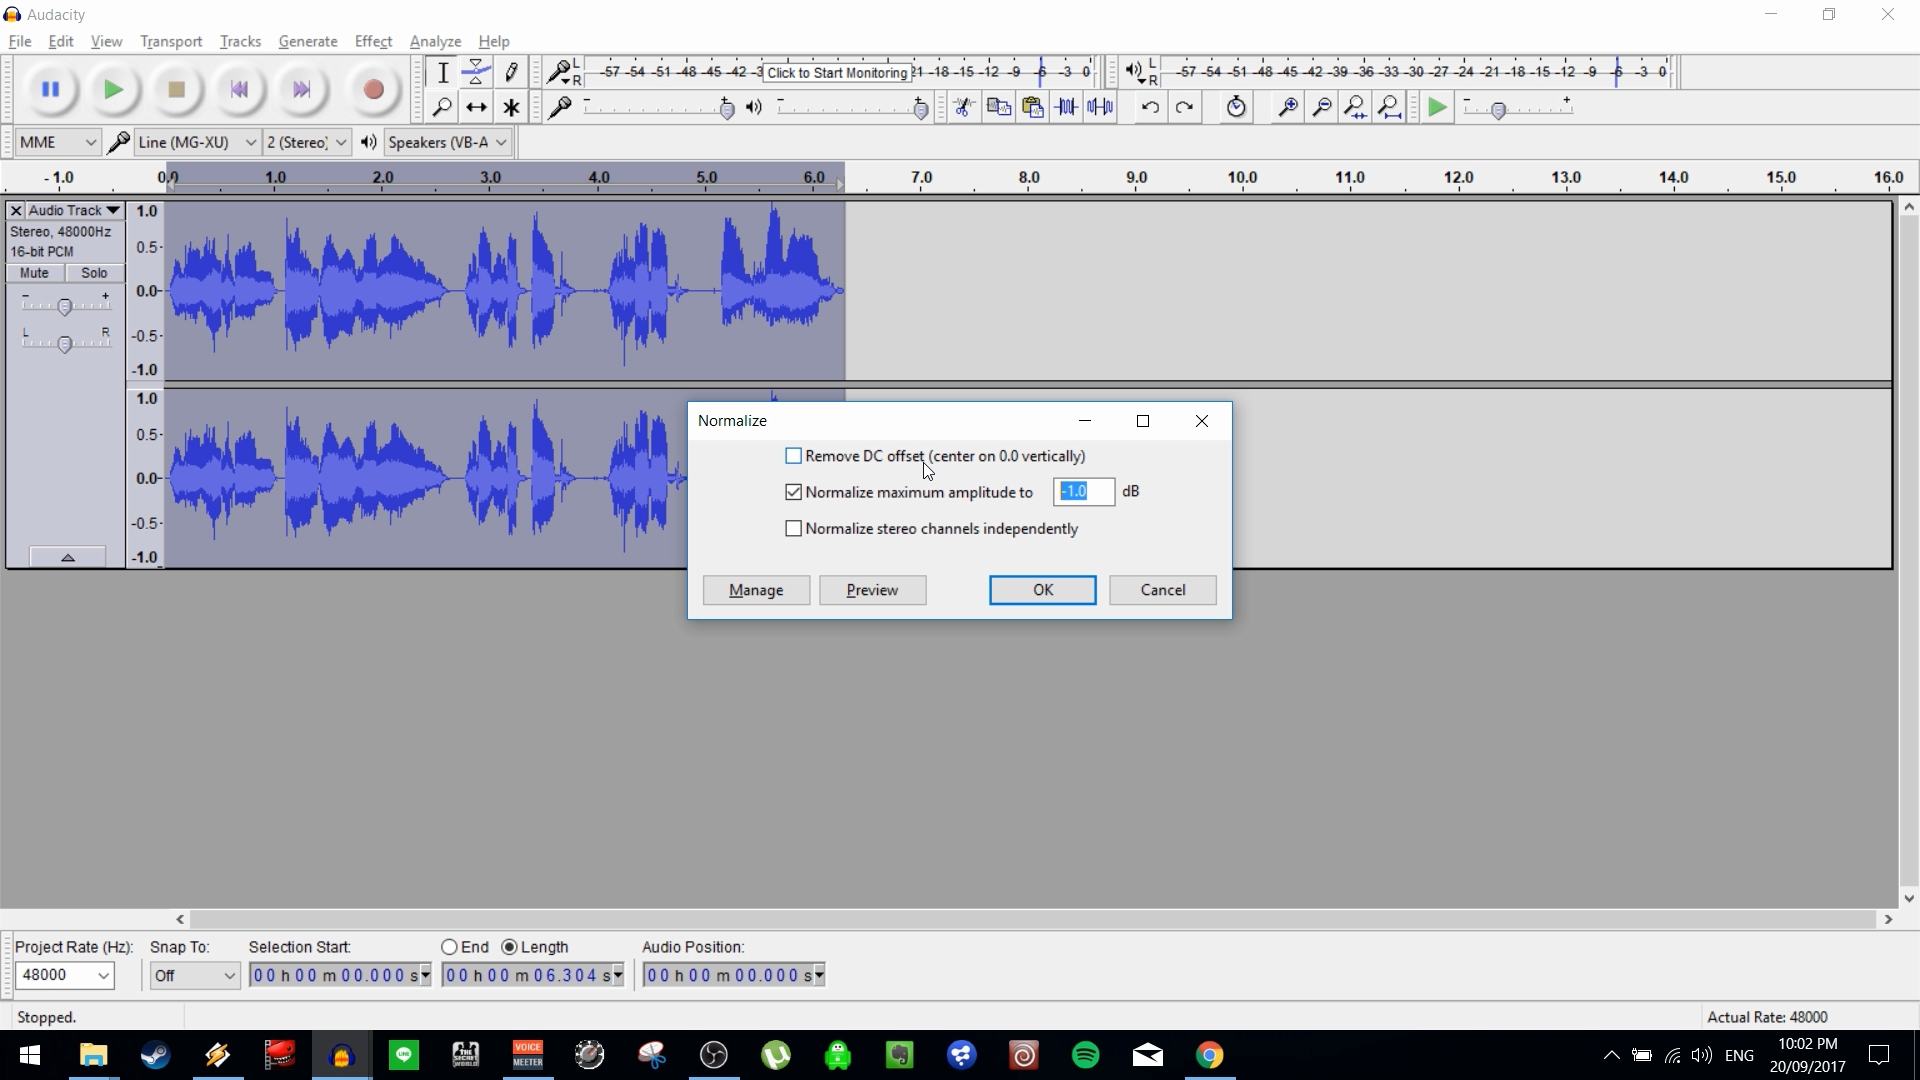
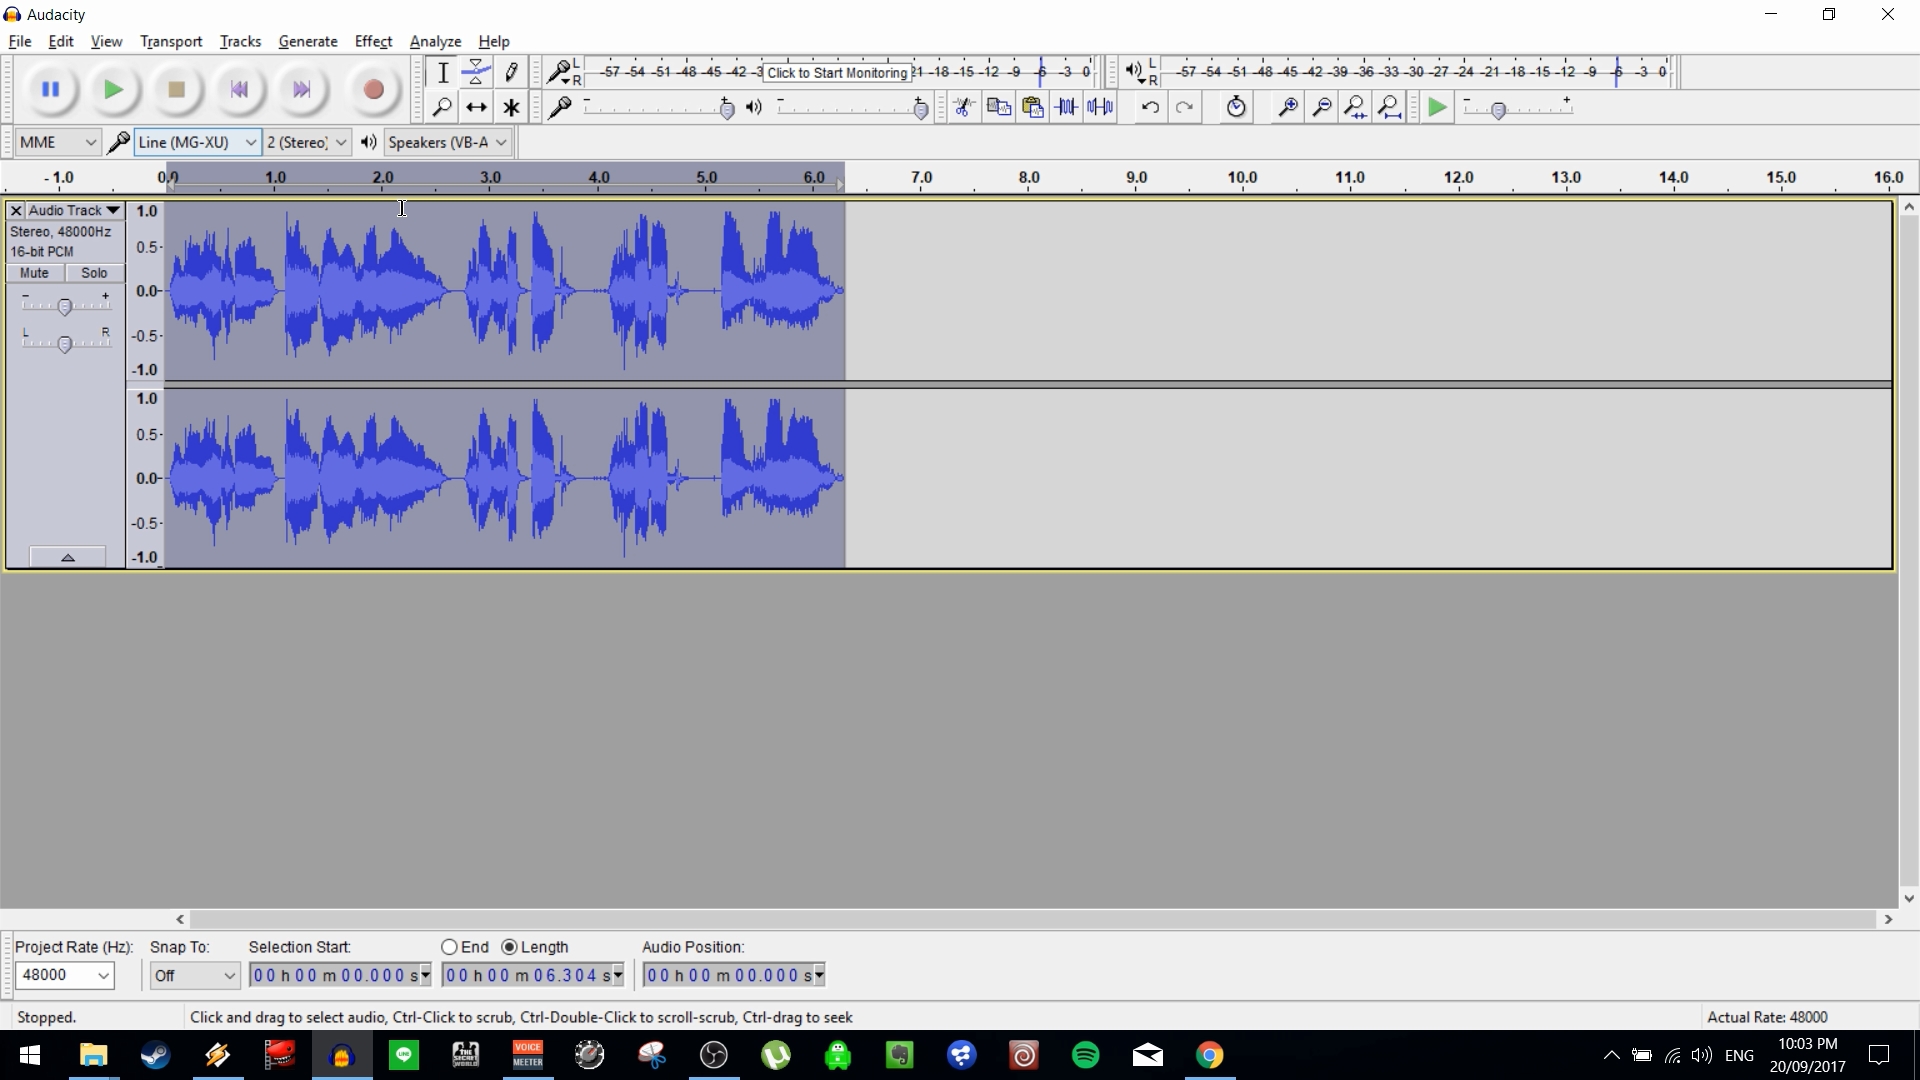
Normalization is the final step in the process, to bring the track's volume to your final desired level. I usually go with a value of -1dB.
Undo Is Your Friend!
Use Undo, and use it often. I constantly find myself applying changes, then using Ctrl + z to step back and try something different. Going back and forth this way will give you a good feel for how the tools work and what results they will give when combined.
There is nothing wrong with getting to the end and then starting over completely from the beginning, if that's what it takes.