Classic Oak Book Press W/Dovetails
by darbinorvar in Workshop > Woodworking
26615 Views, 329 Favorites, 0 Comments
Classic Oak Book Press W/Dovetails


This solid oak book press (an invaluable tool when doing bookbinding, but also useful for a variety of tasks such as printing, pressing leaves and flowers, and doing various tasks in the shop) is made with half blind dovetails using 2" thick lumber. It features an acme thread screw which was designed originally to be used in a Scandinavian style workbench vise. The pressing surface measures 13x13 inches which is plenty big for most bookbinding projects. All in all, this is a very sturdy and functional press that features classic construction.
For more detailed instructions, here's a building plan of this project: BOOK PRESS PLAN
Prepare the Wood
.png)
.png)
.png)
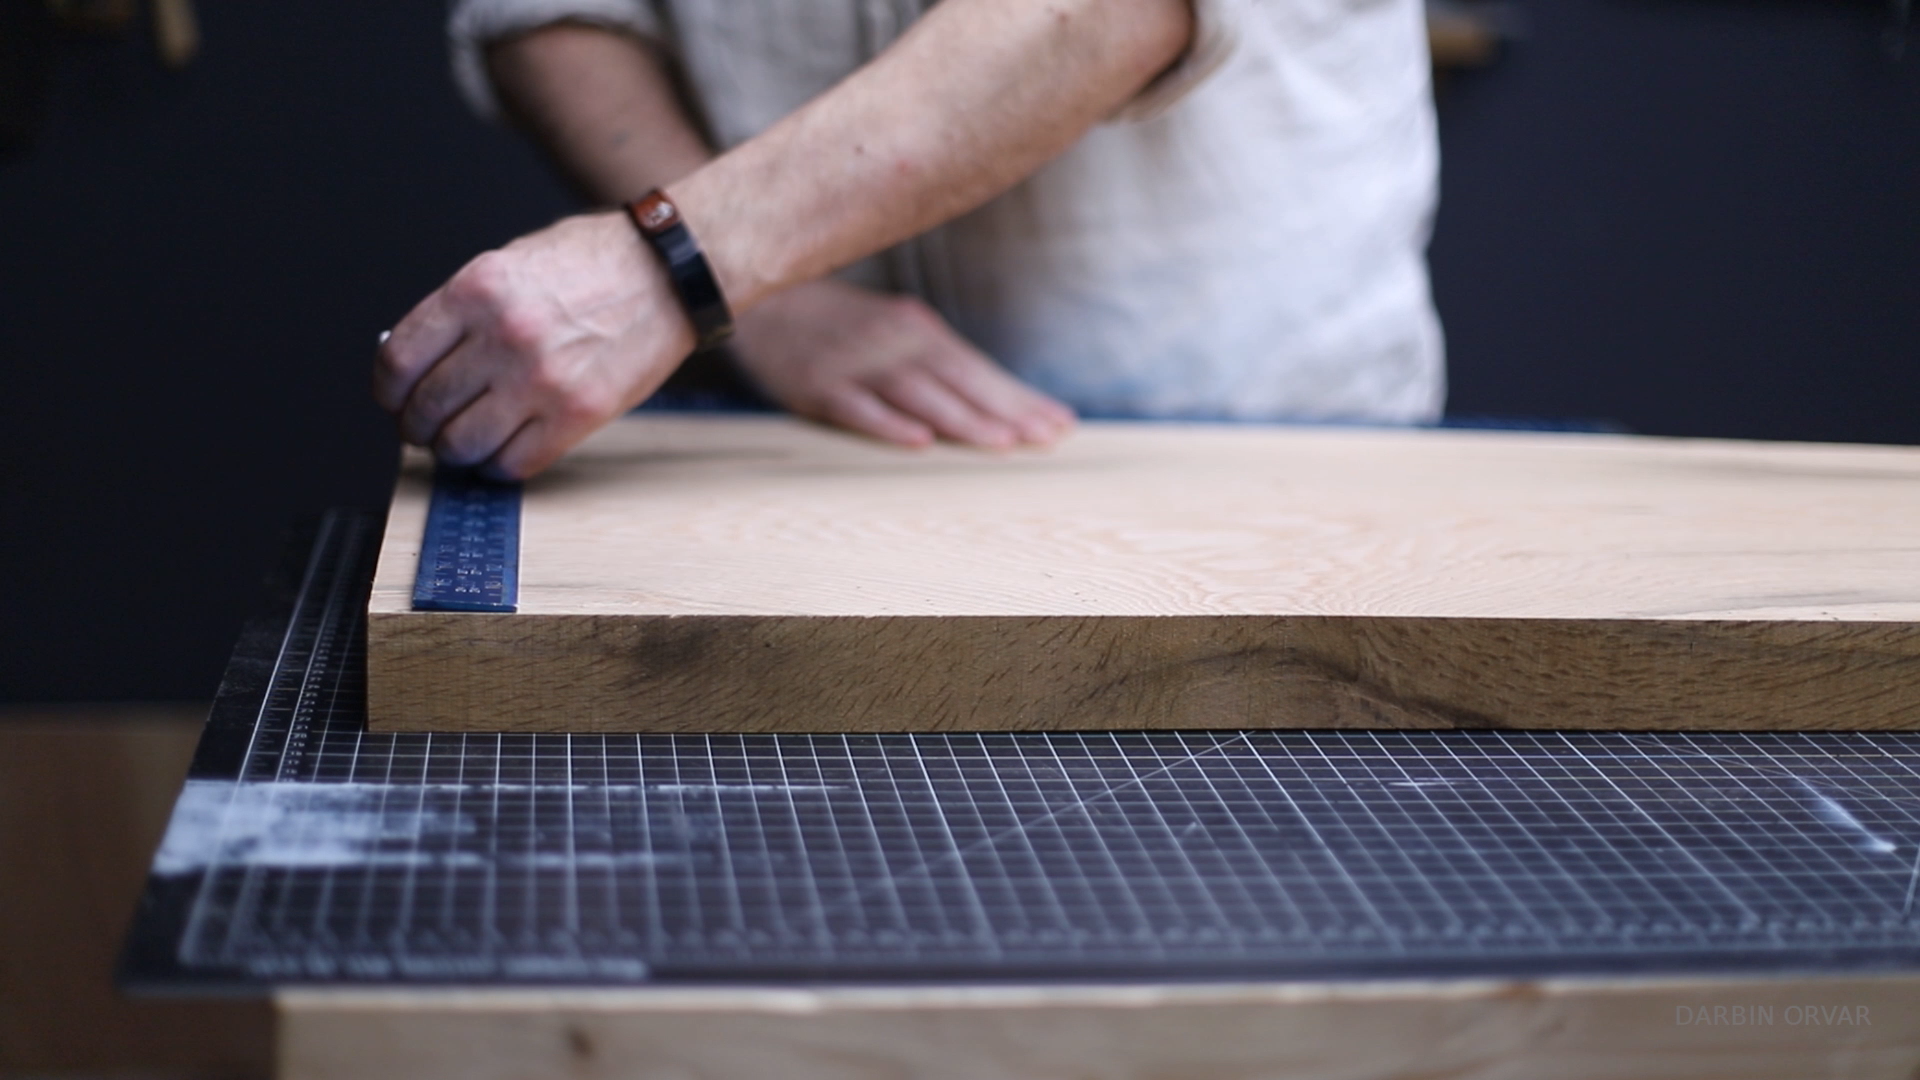
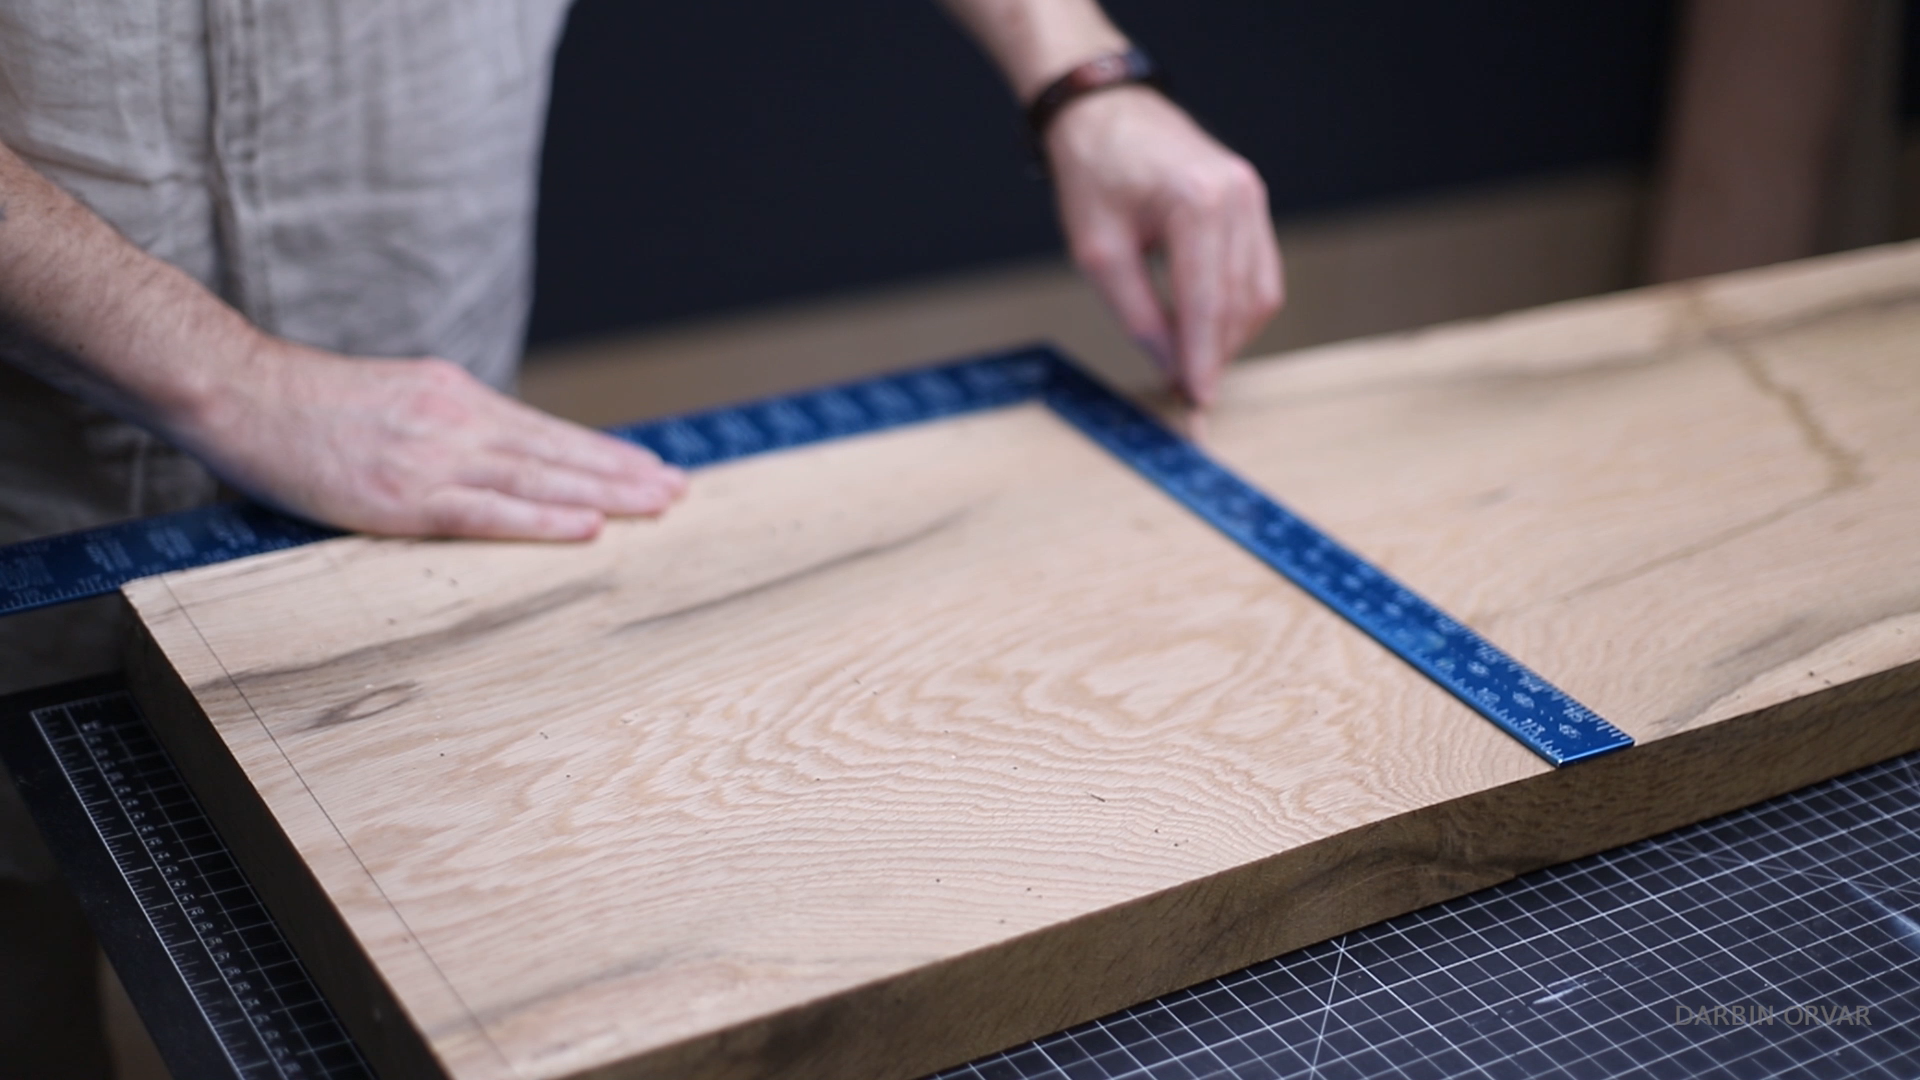
We are using white oak for this project, however any hardwood of decent thickness would work well. The first step is milling and cutting up the wood.
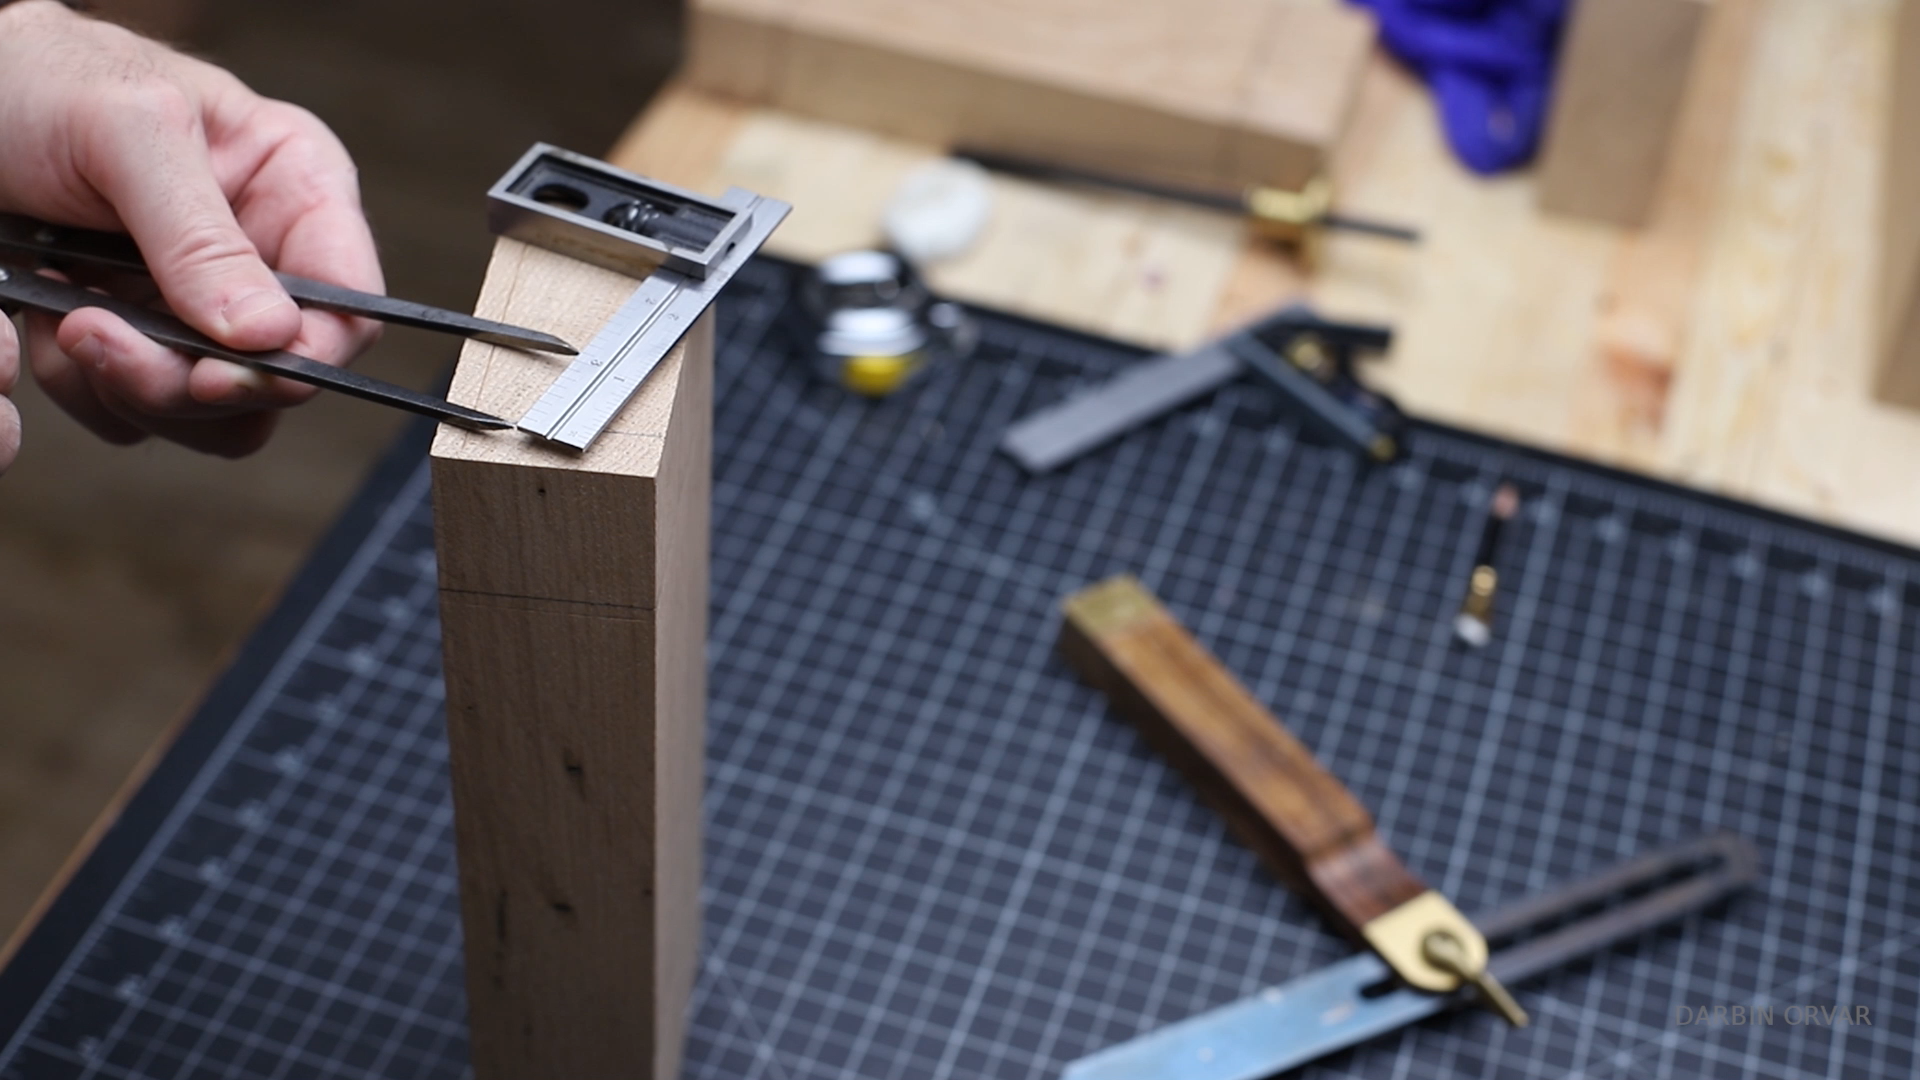
These are the tools that are primarily used for the woodworking - a dovetail saw, coping saw, marking knife, chisels, small tri-square, and calipers - both precision dial calipers and these classic interior and exterior calipers.
Mark Out Dovetails
.png)
.png)
.png)
.png)
.png)
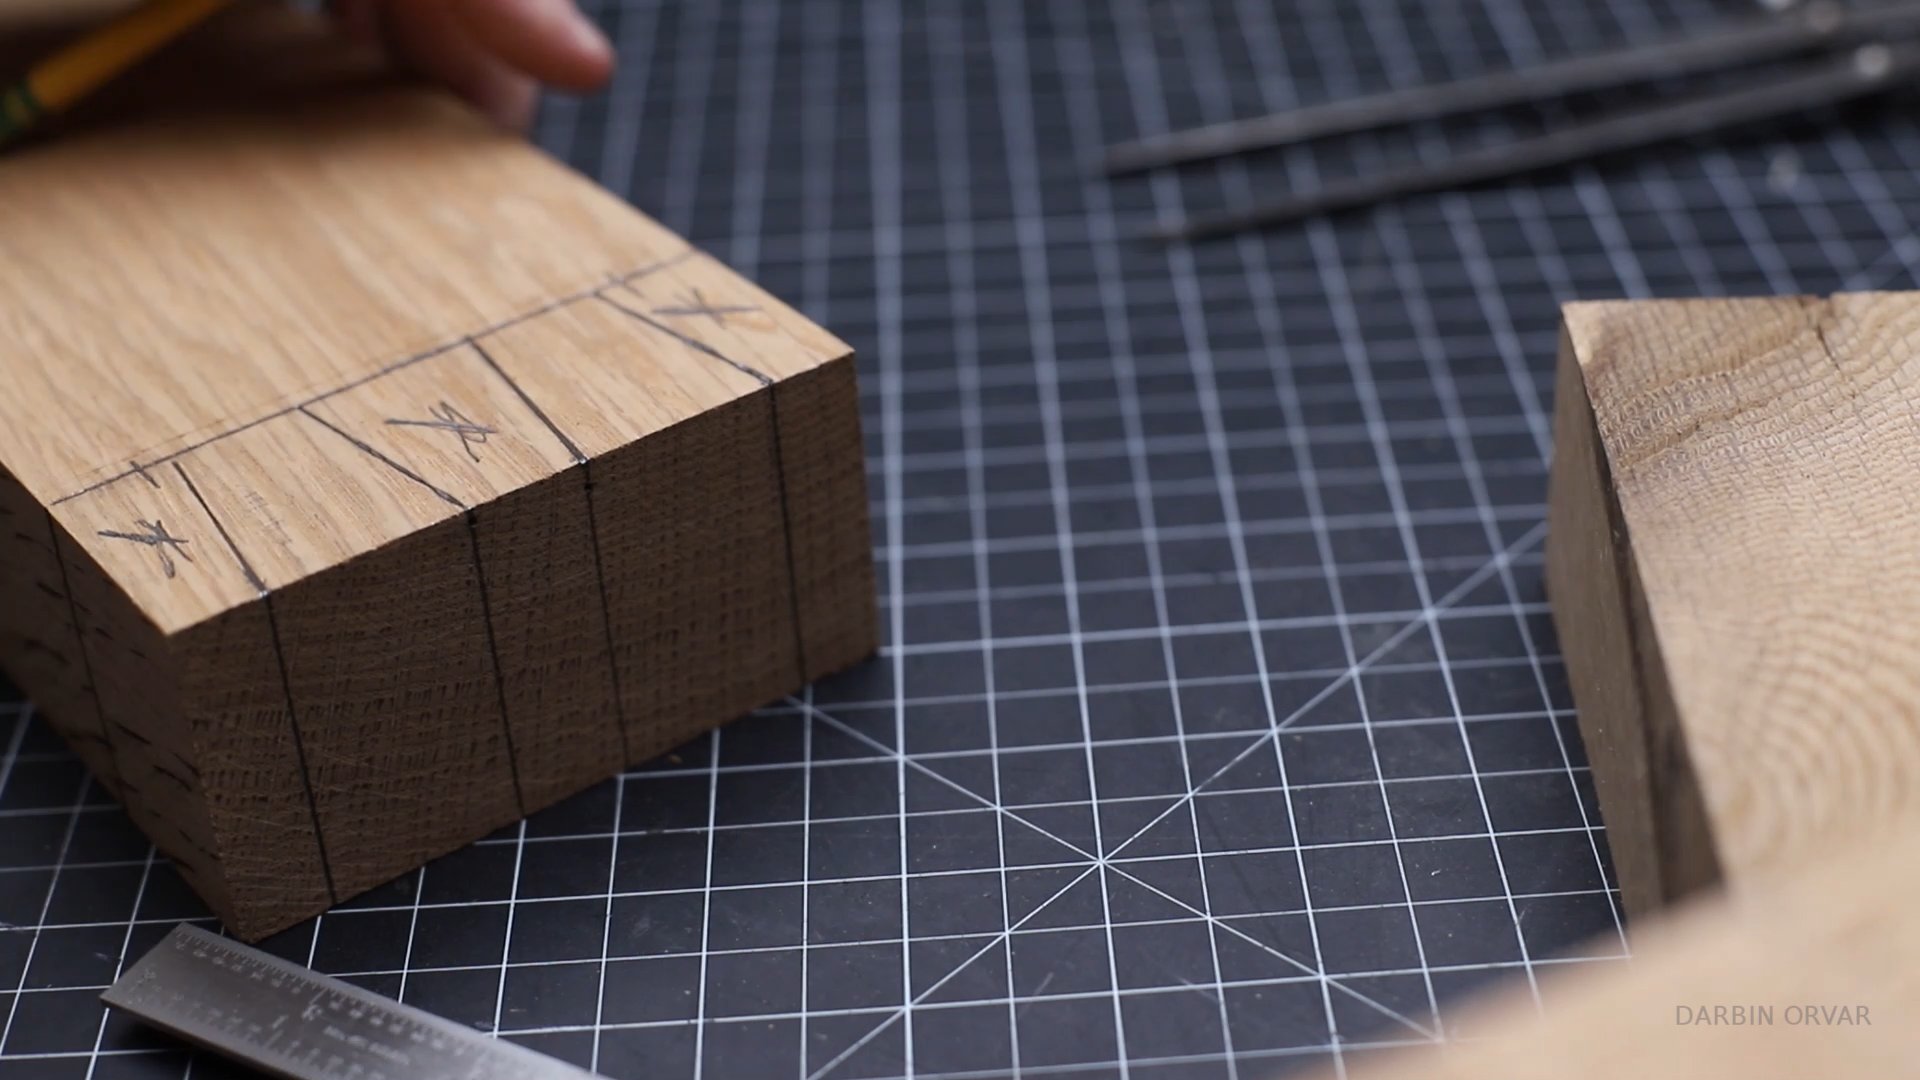
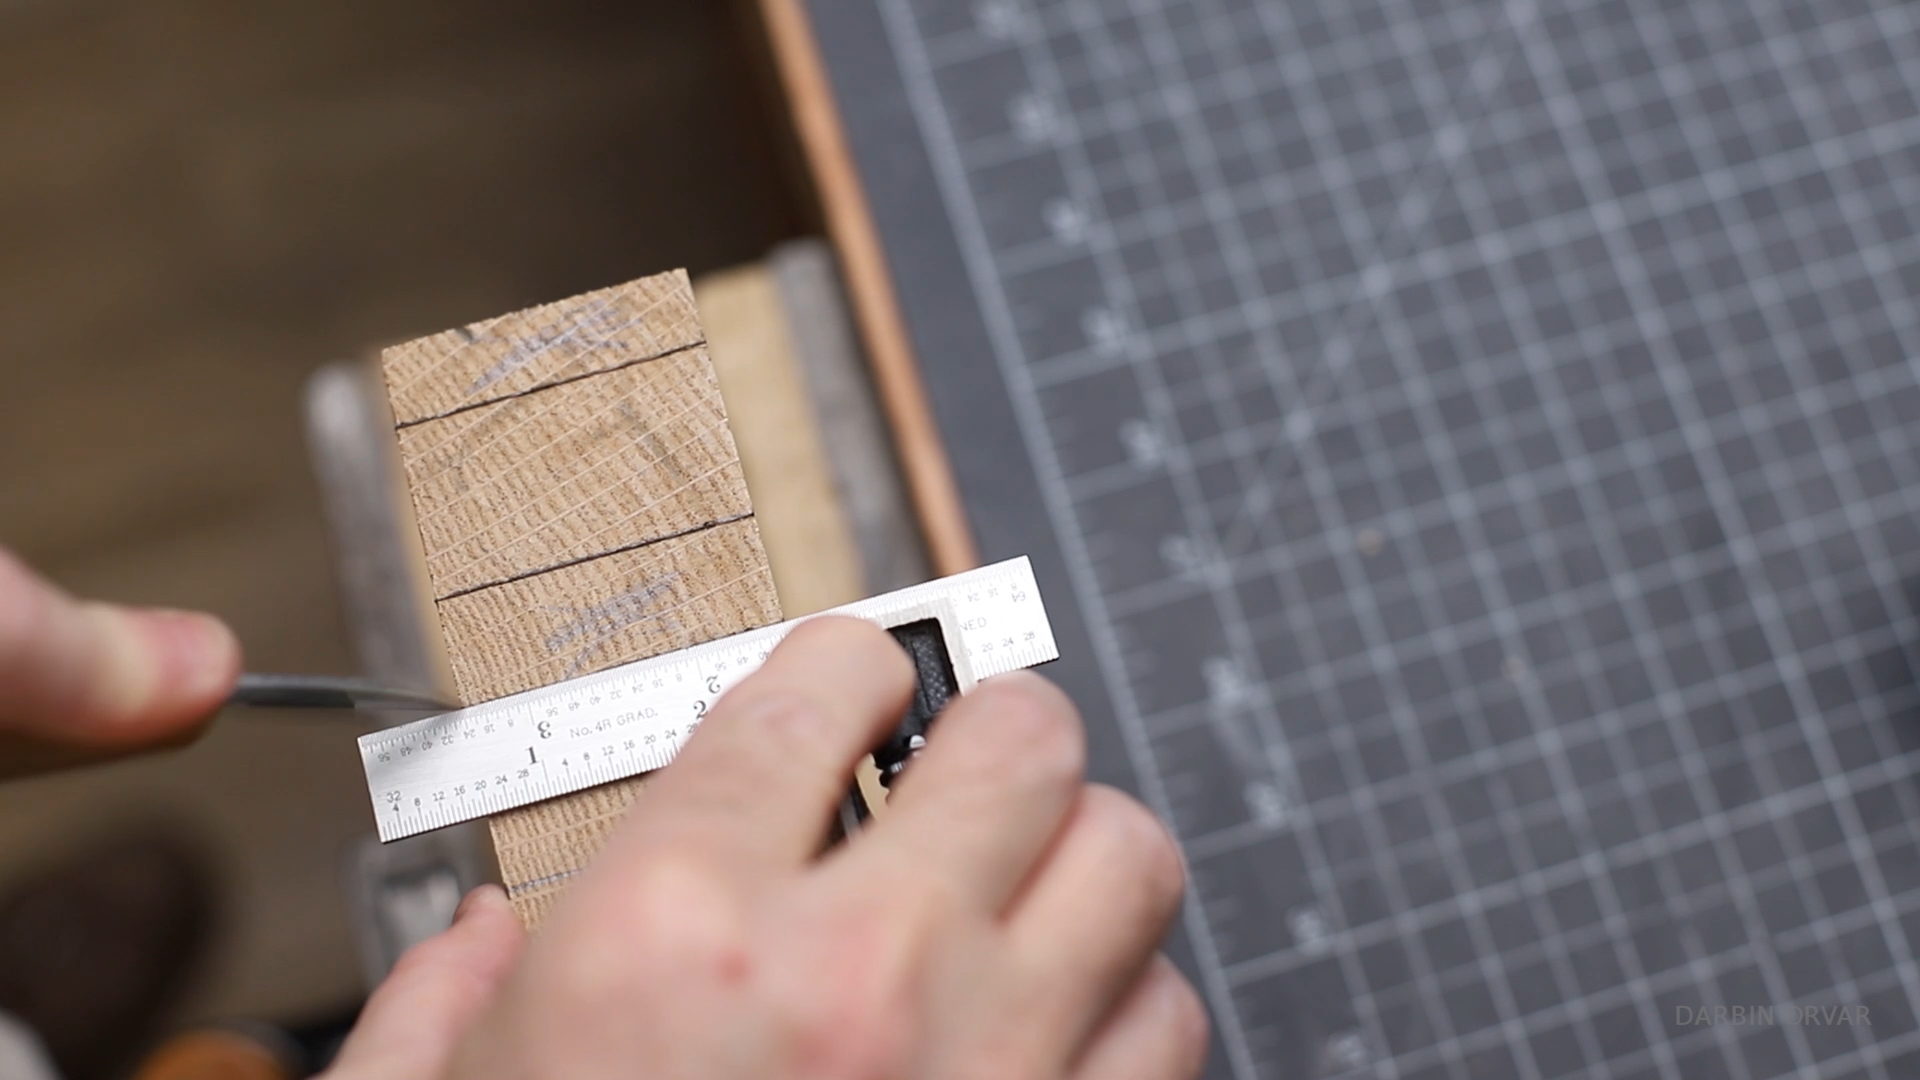
The press is constructed with half blind dovetails connecting the sides with the top and the bottom pieces. The first step is marking out the dovetails on all sides of the wood. Because the lumber is so thick, it's important to mark all around, or else the saw can easily drift and it would be difficult to see.
Cut the Tails
.png)
.png)
.png)
.png)
.png)
.png)
.png)
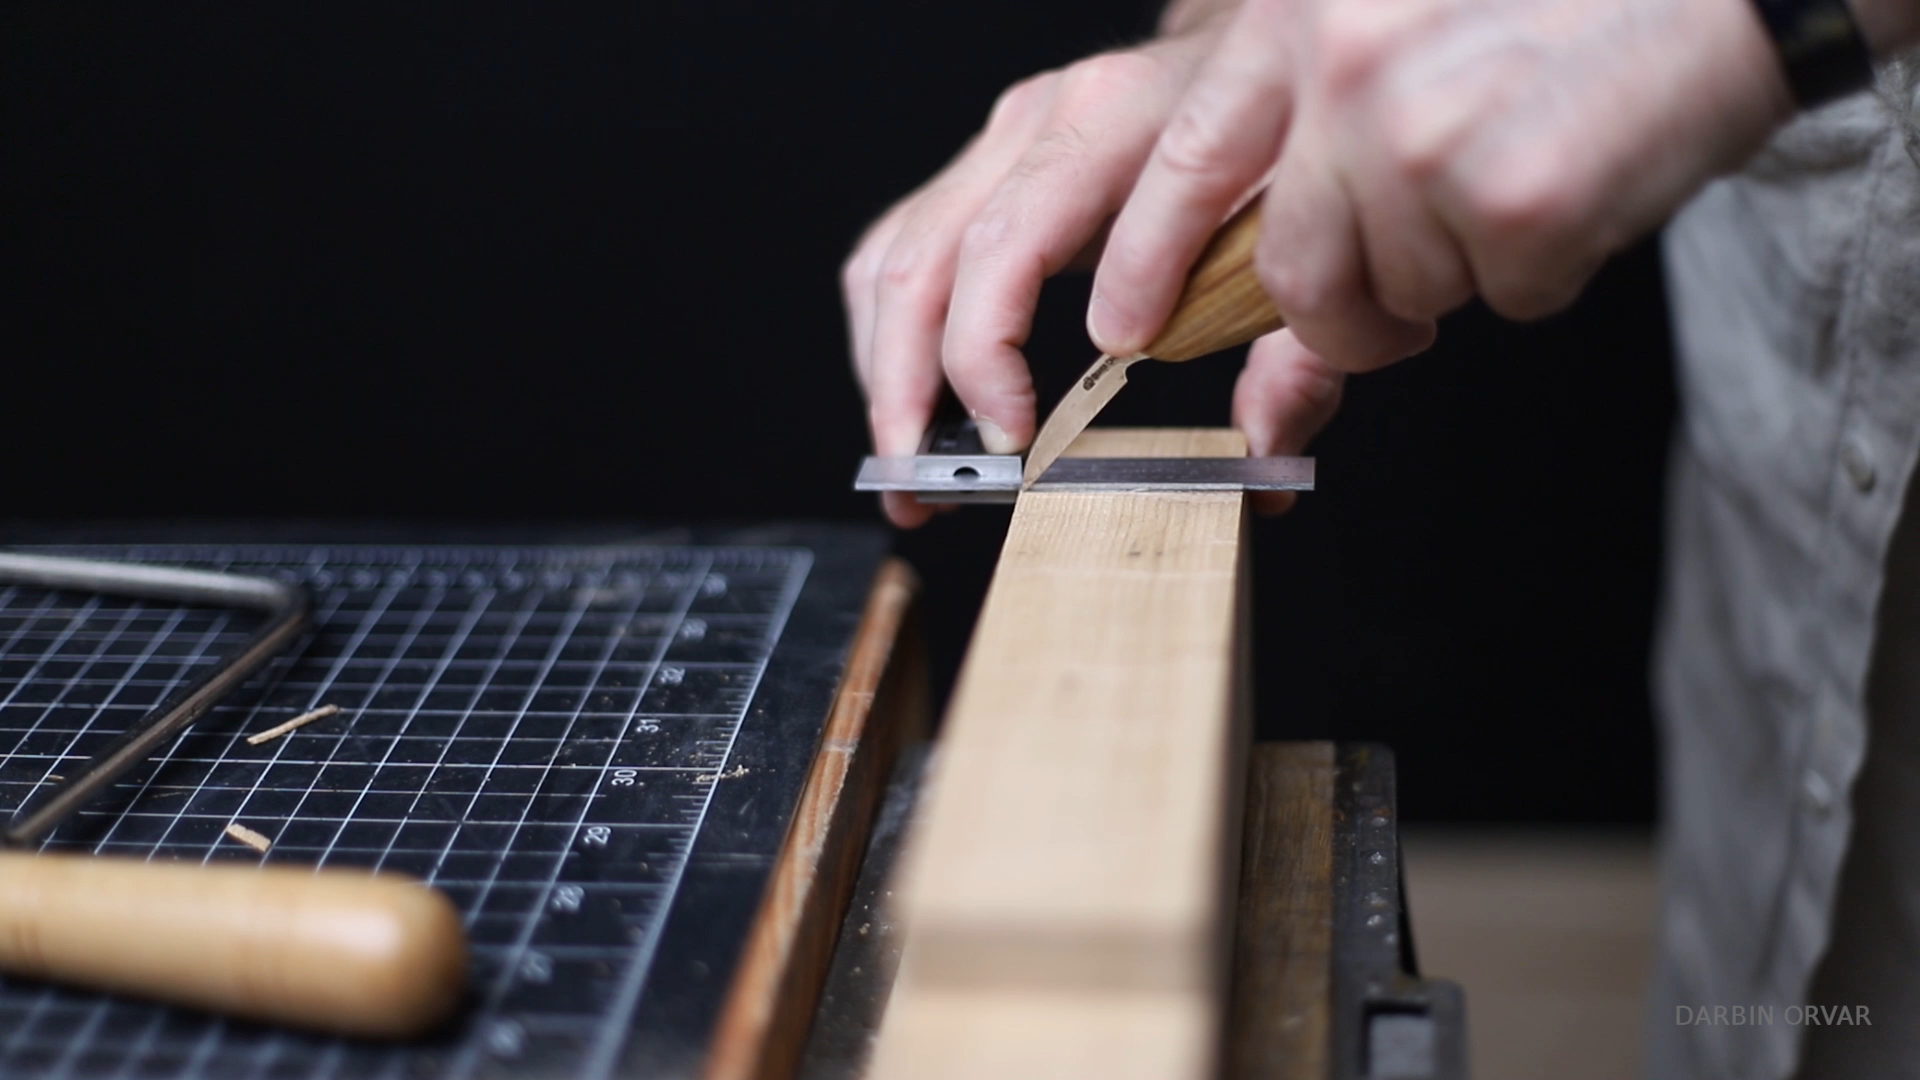
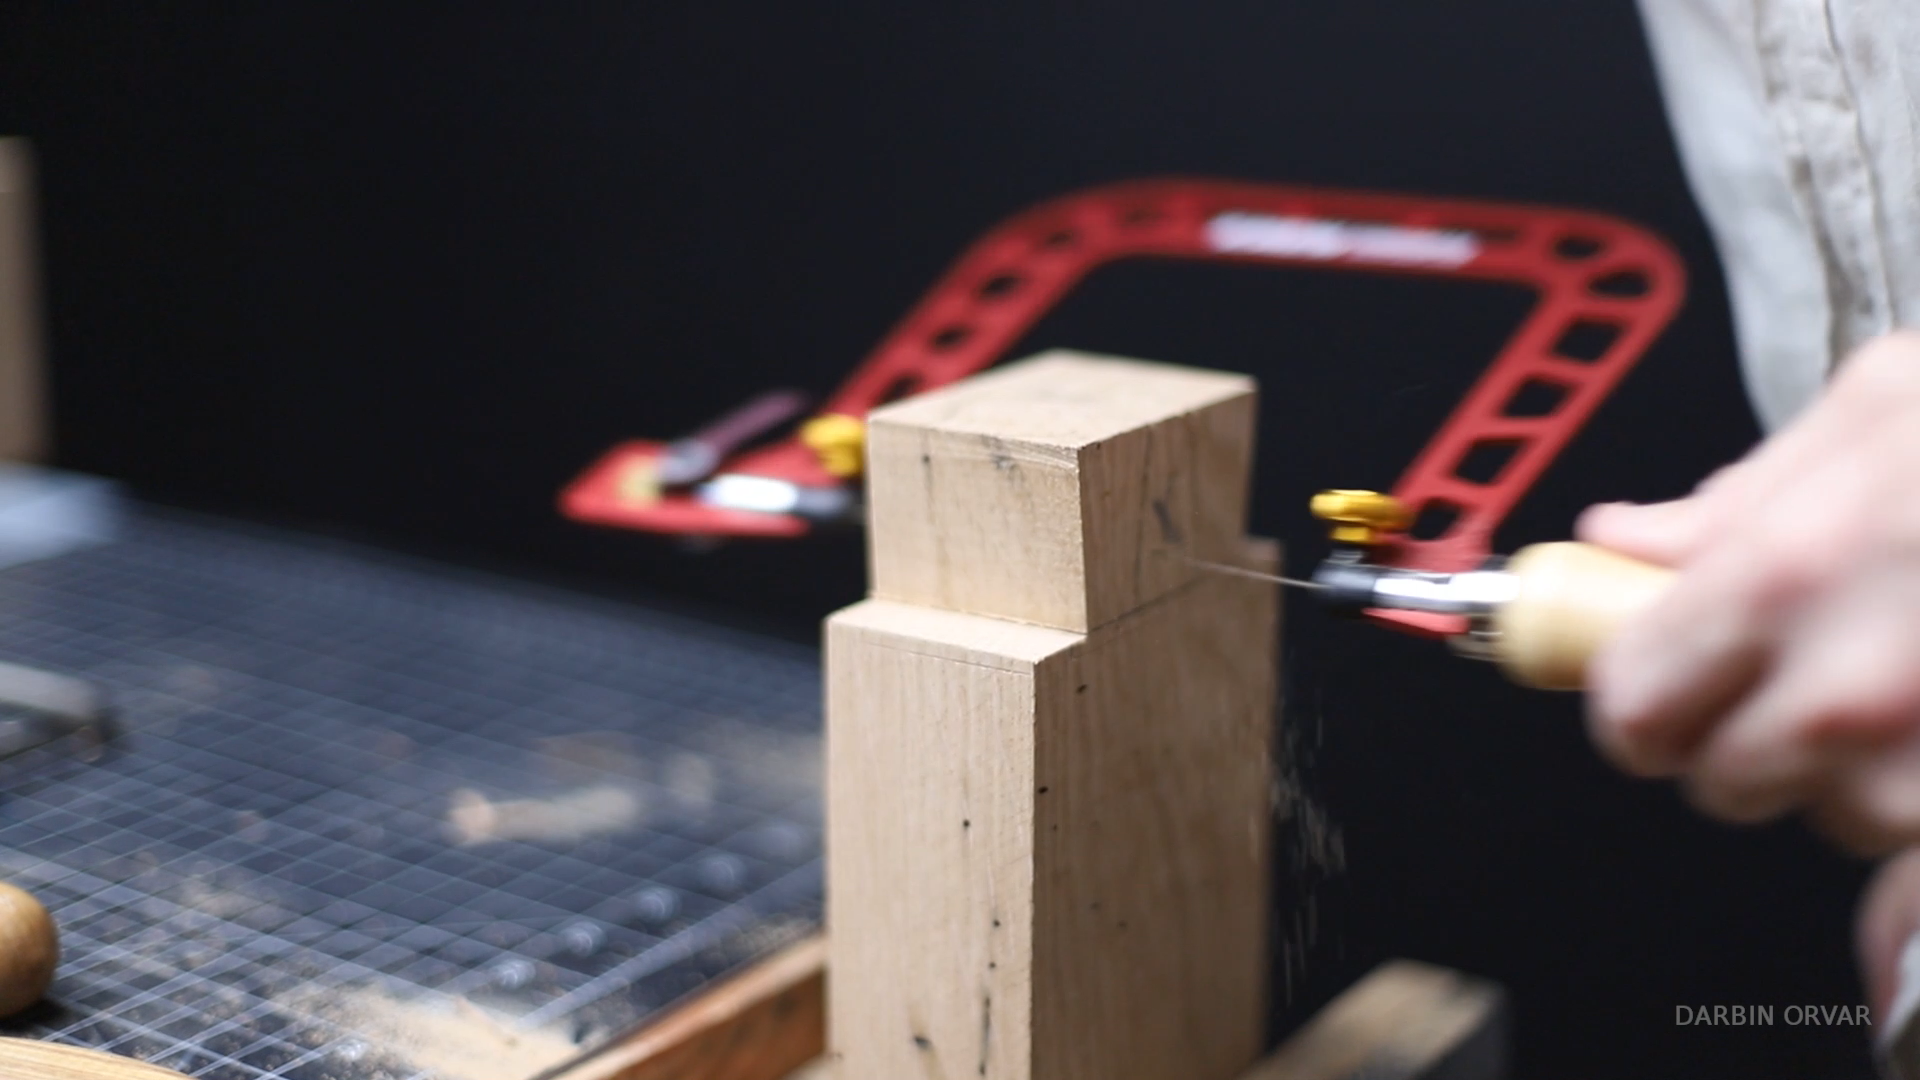
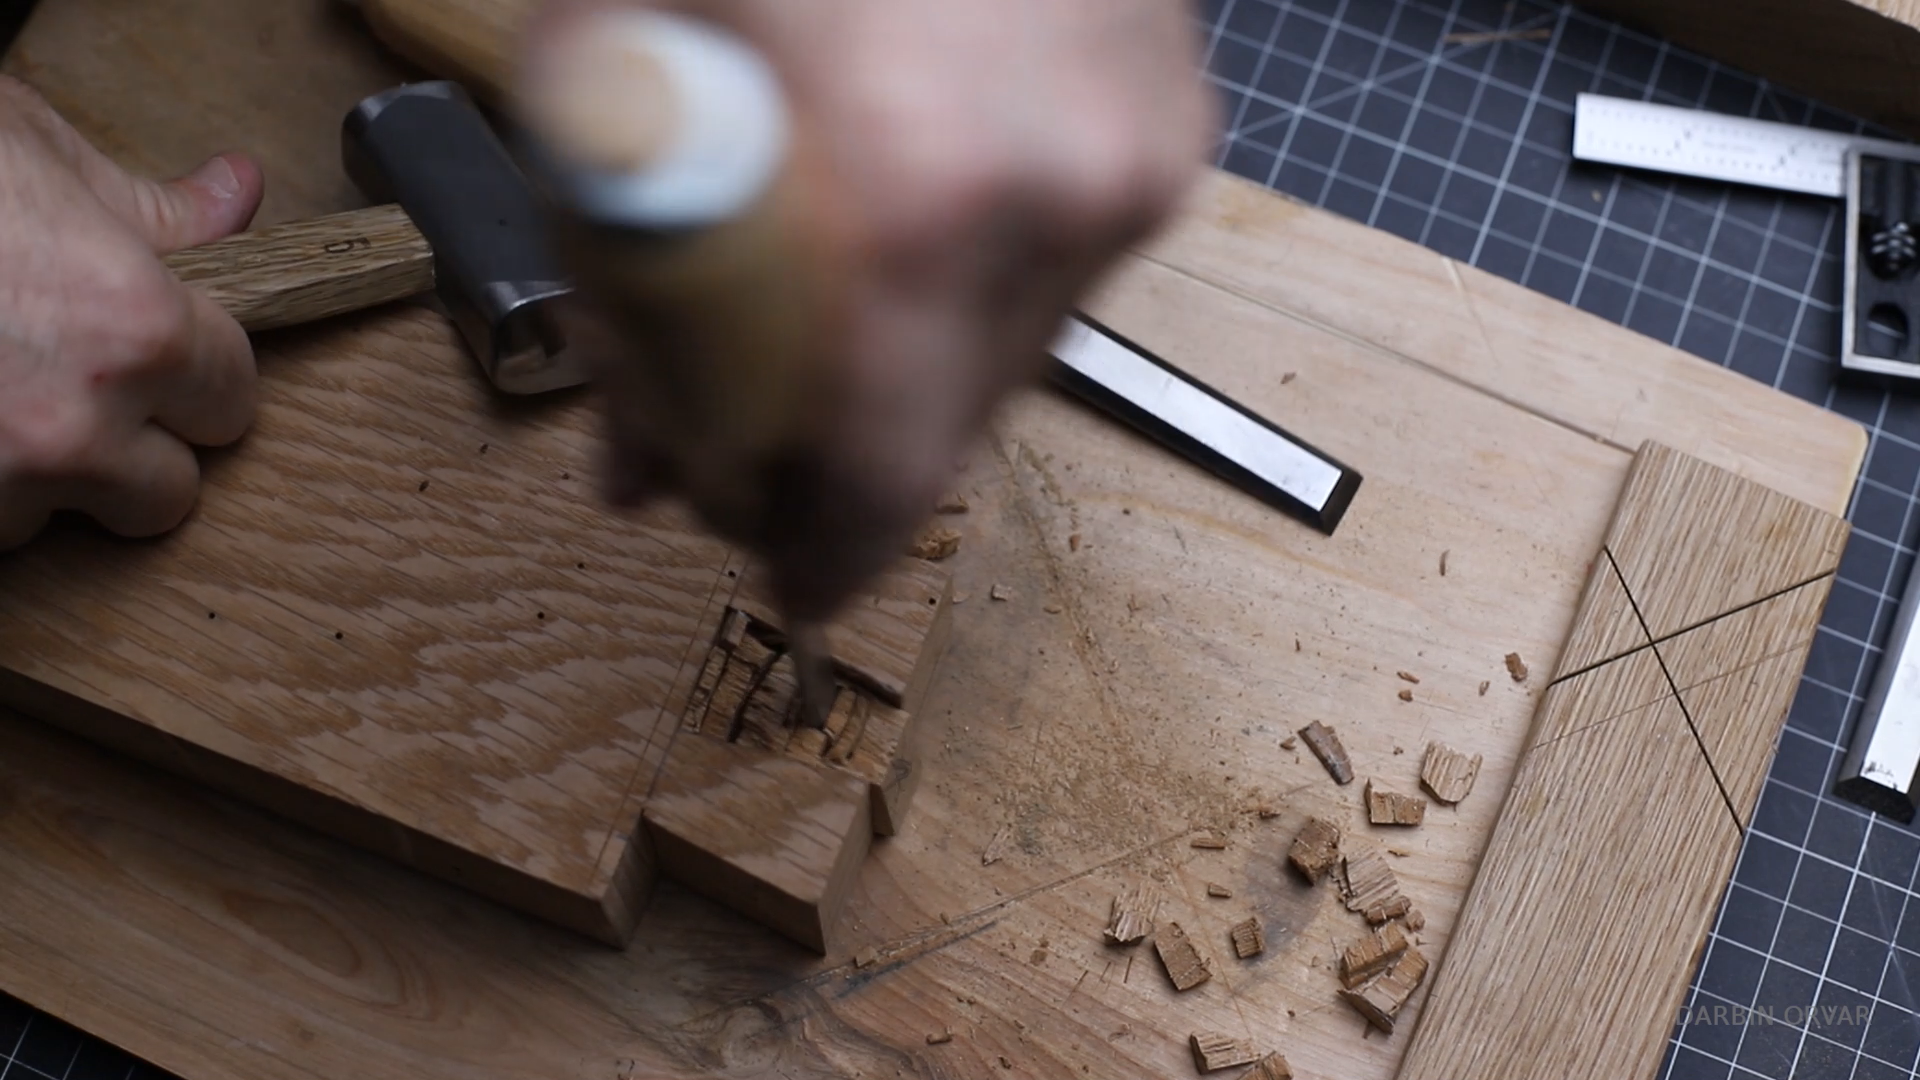
Begin by marking out the lines with a marking knife, and then using the saw. Since the dovetails are so chunky, we're just making two tails for each side, so there's only one middle section to remove with a coping saw and the chisel.
Cut the Pins
.png)
.png)
.png)
.png)
.png)
.png)
.png)
.png)
.png)
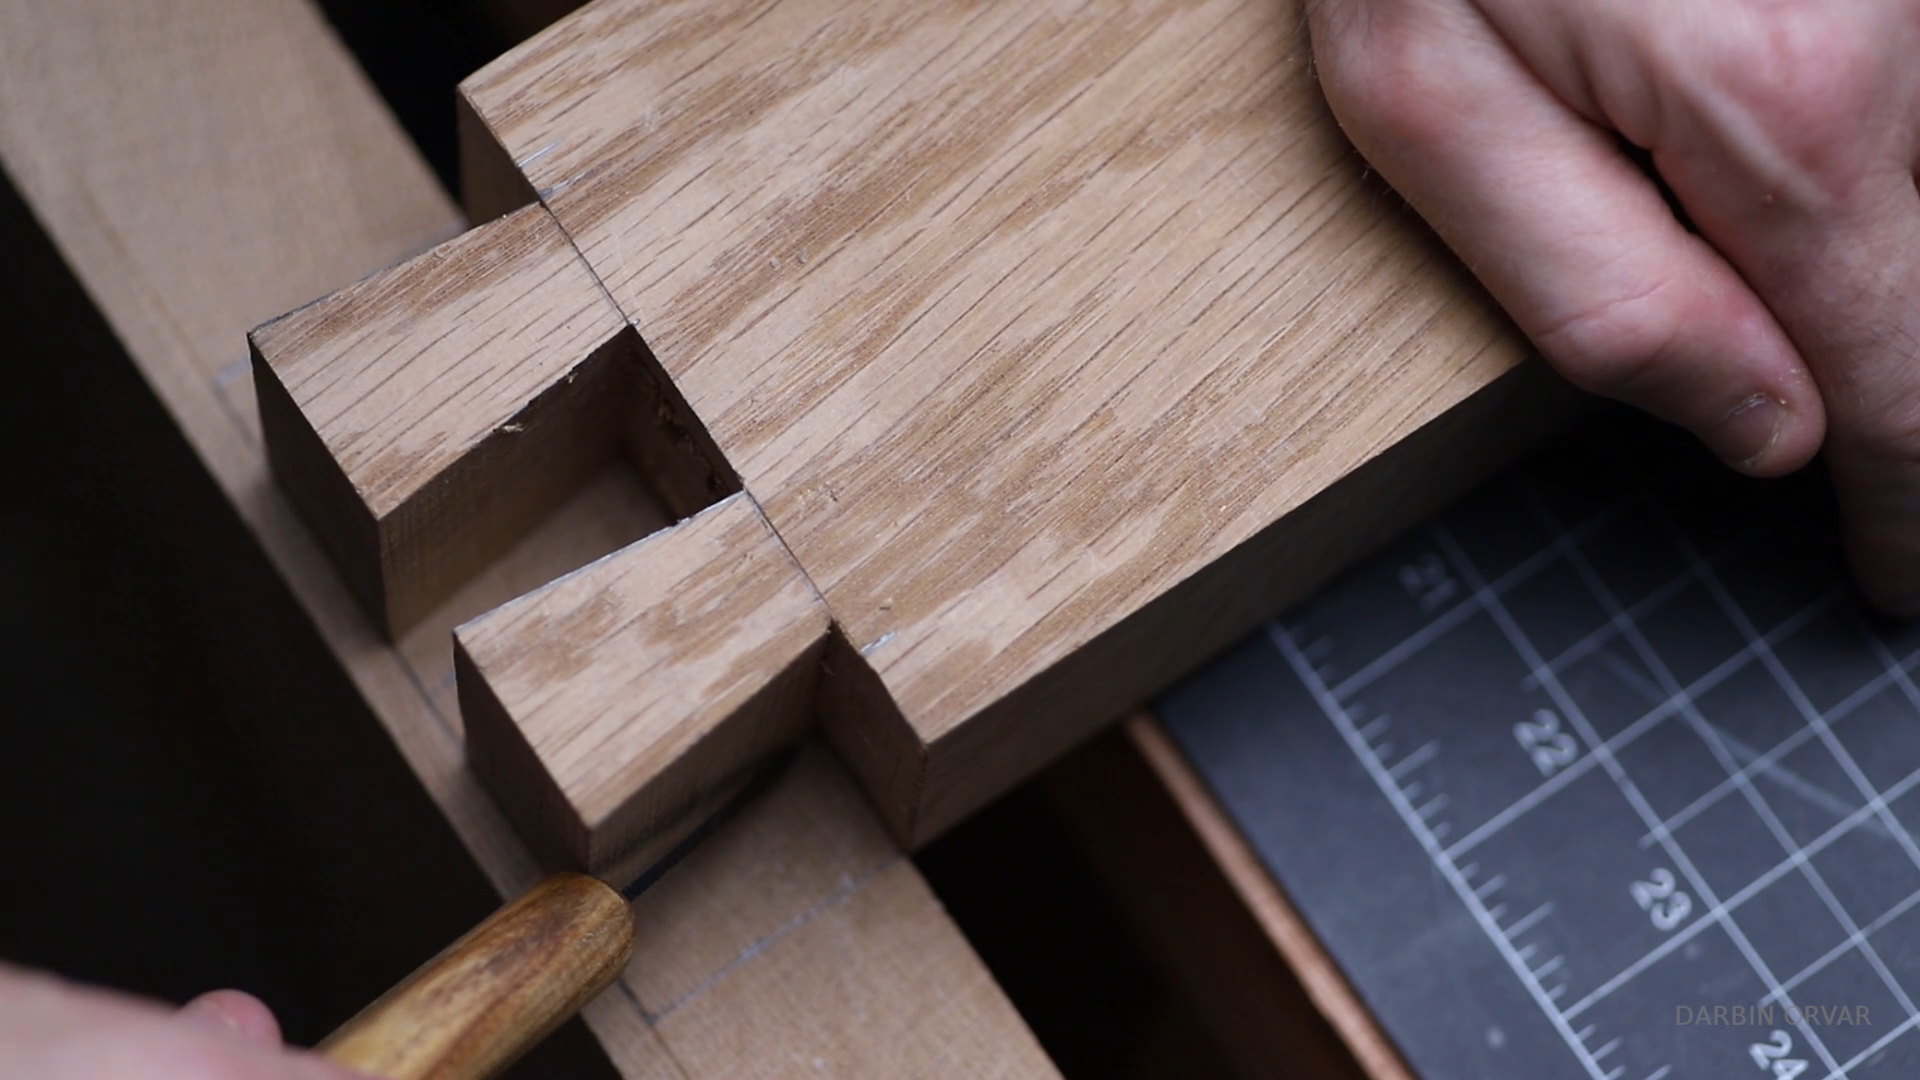
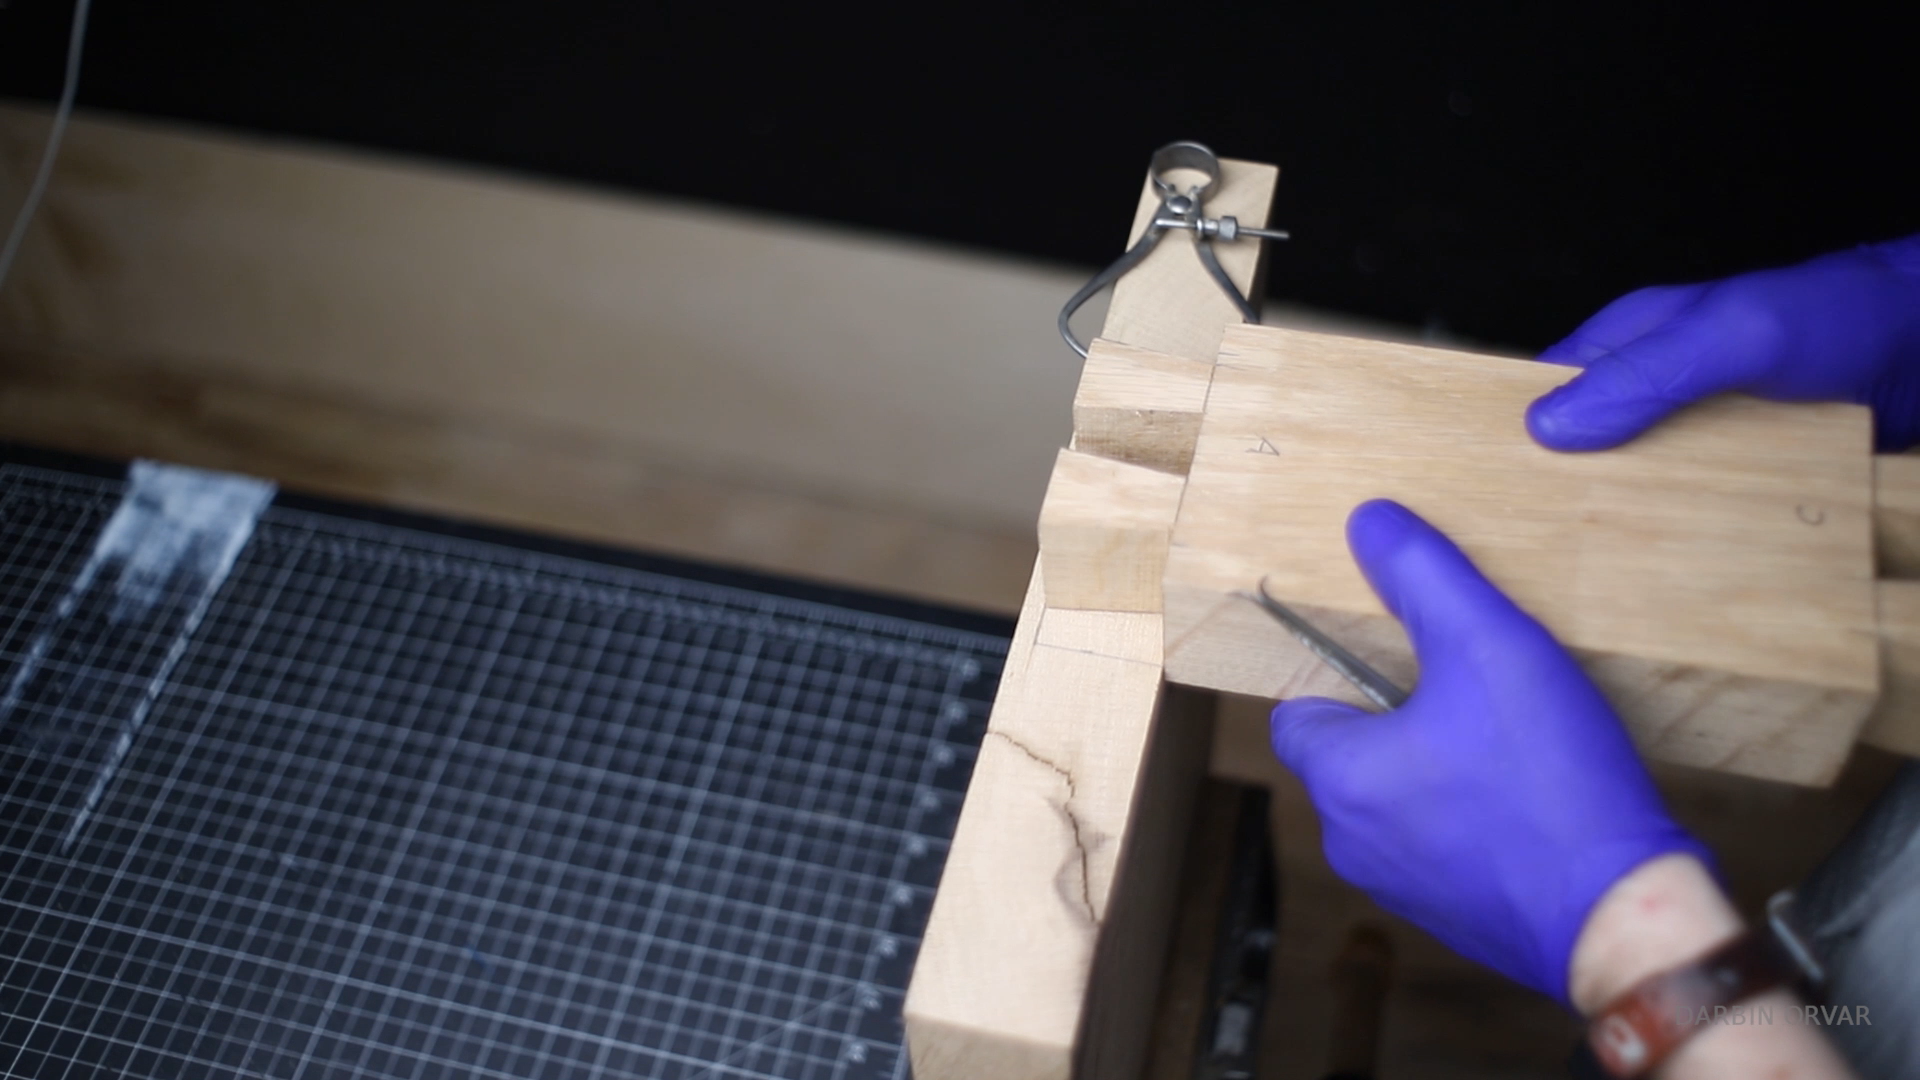
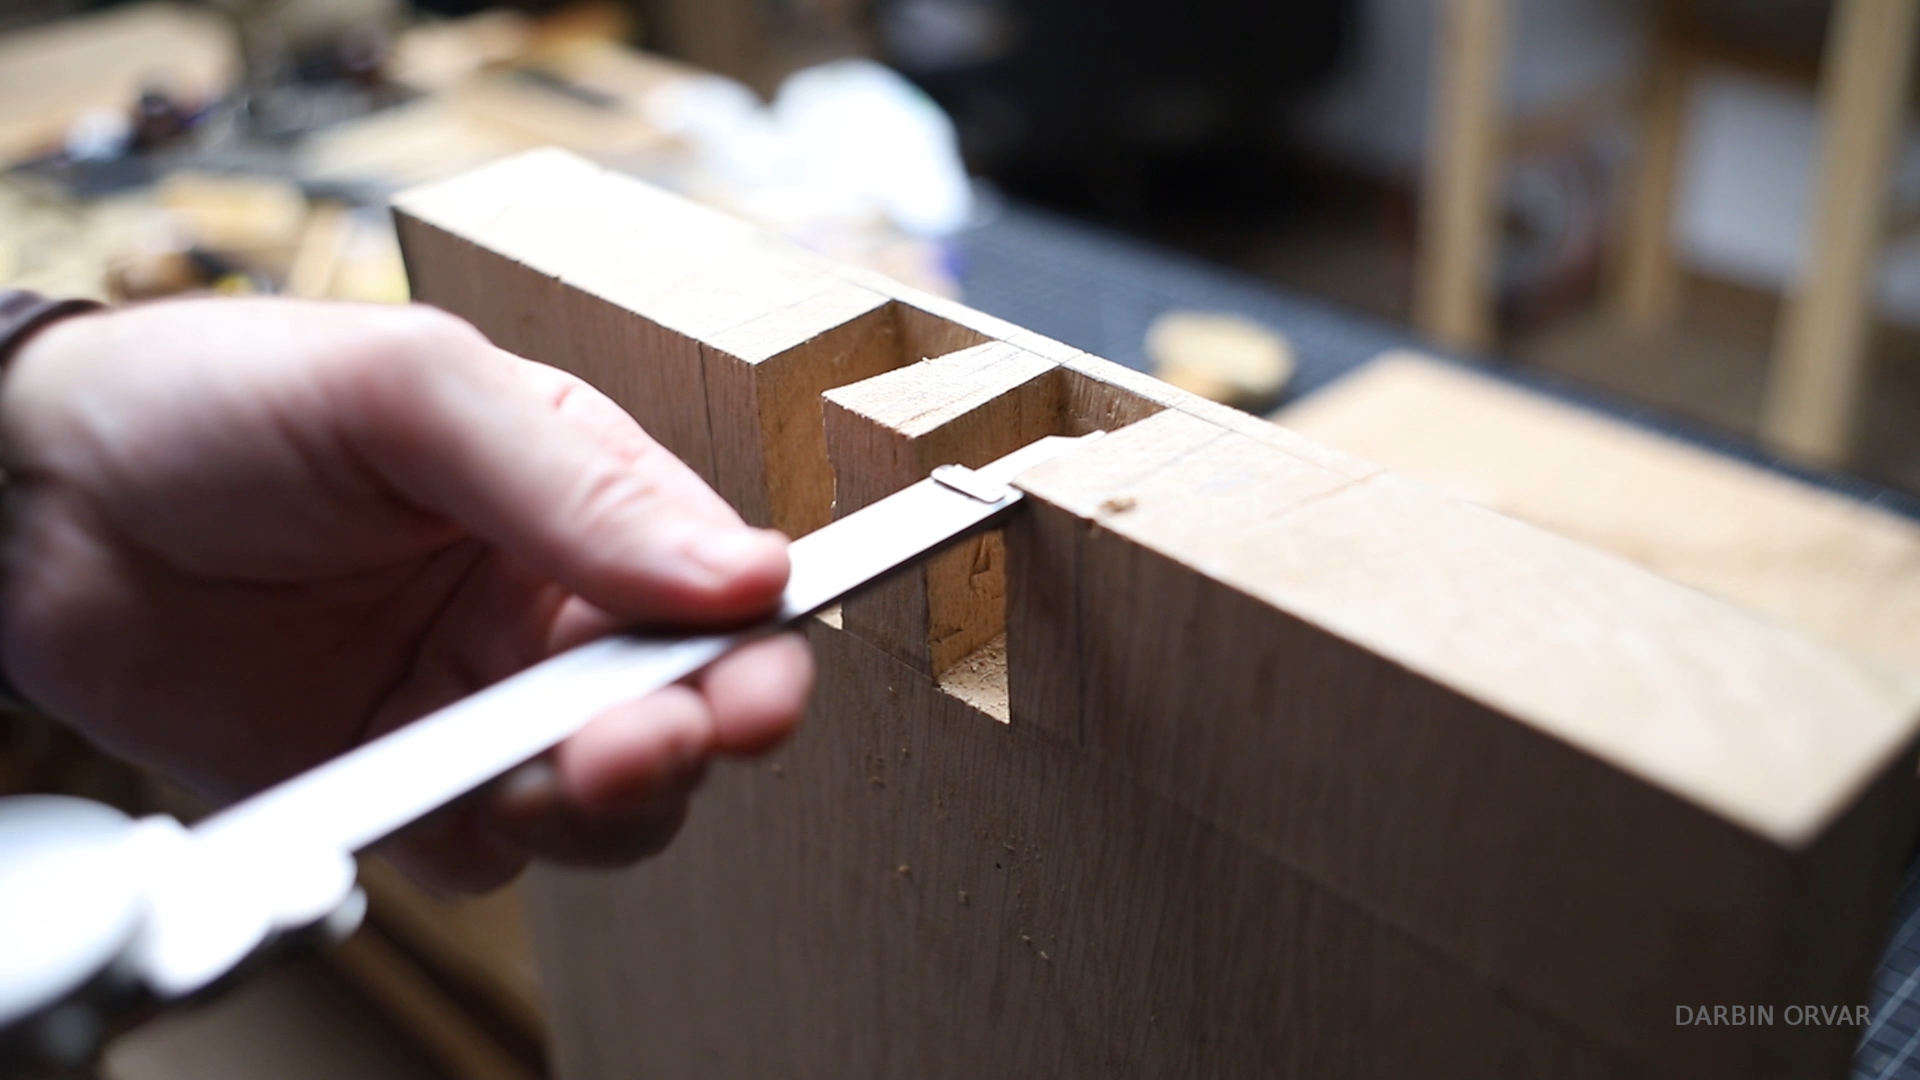
Once the tails are complete, use the board and mark out the half blind pins. Make sure to mark out all the pins and tails (a-a, b-b etc...) to make it easier to attach later.
Carving Out for the Screw
.png)
.png)
.png)
.png)
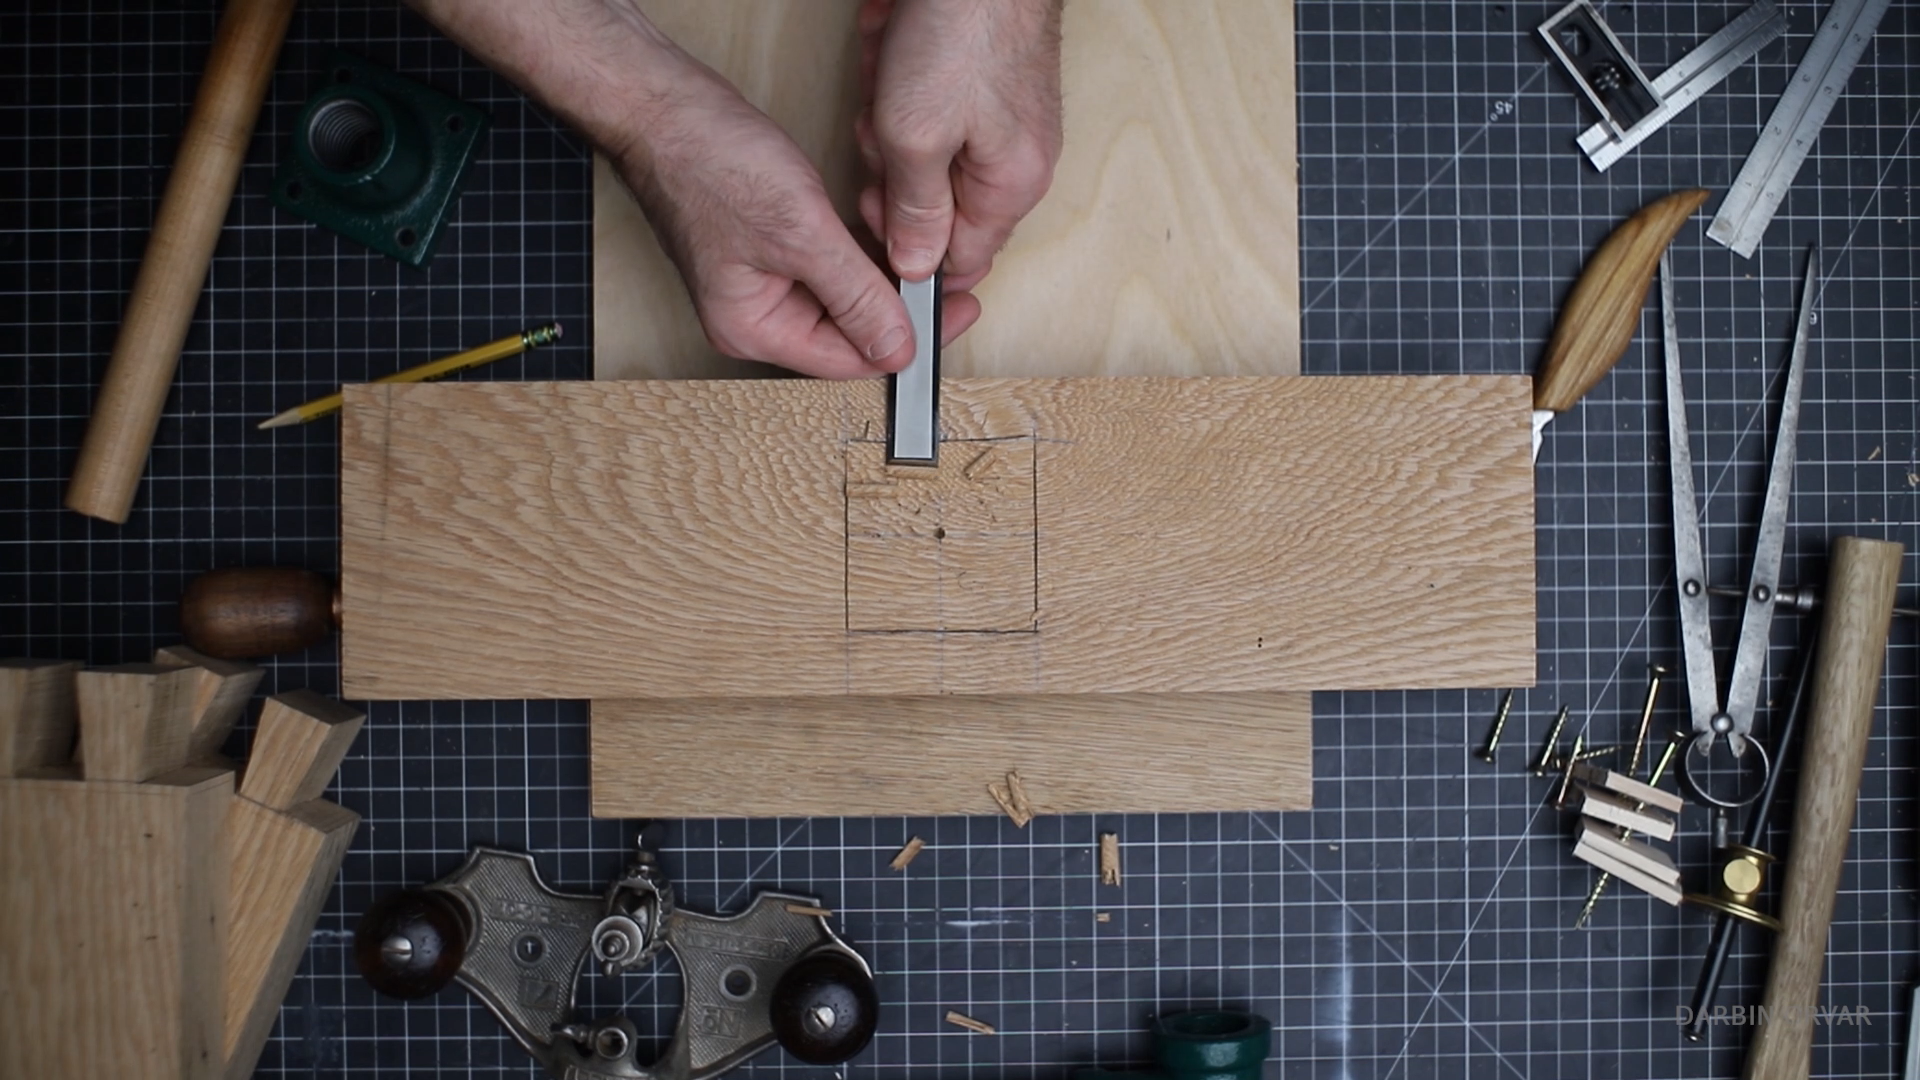
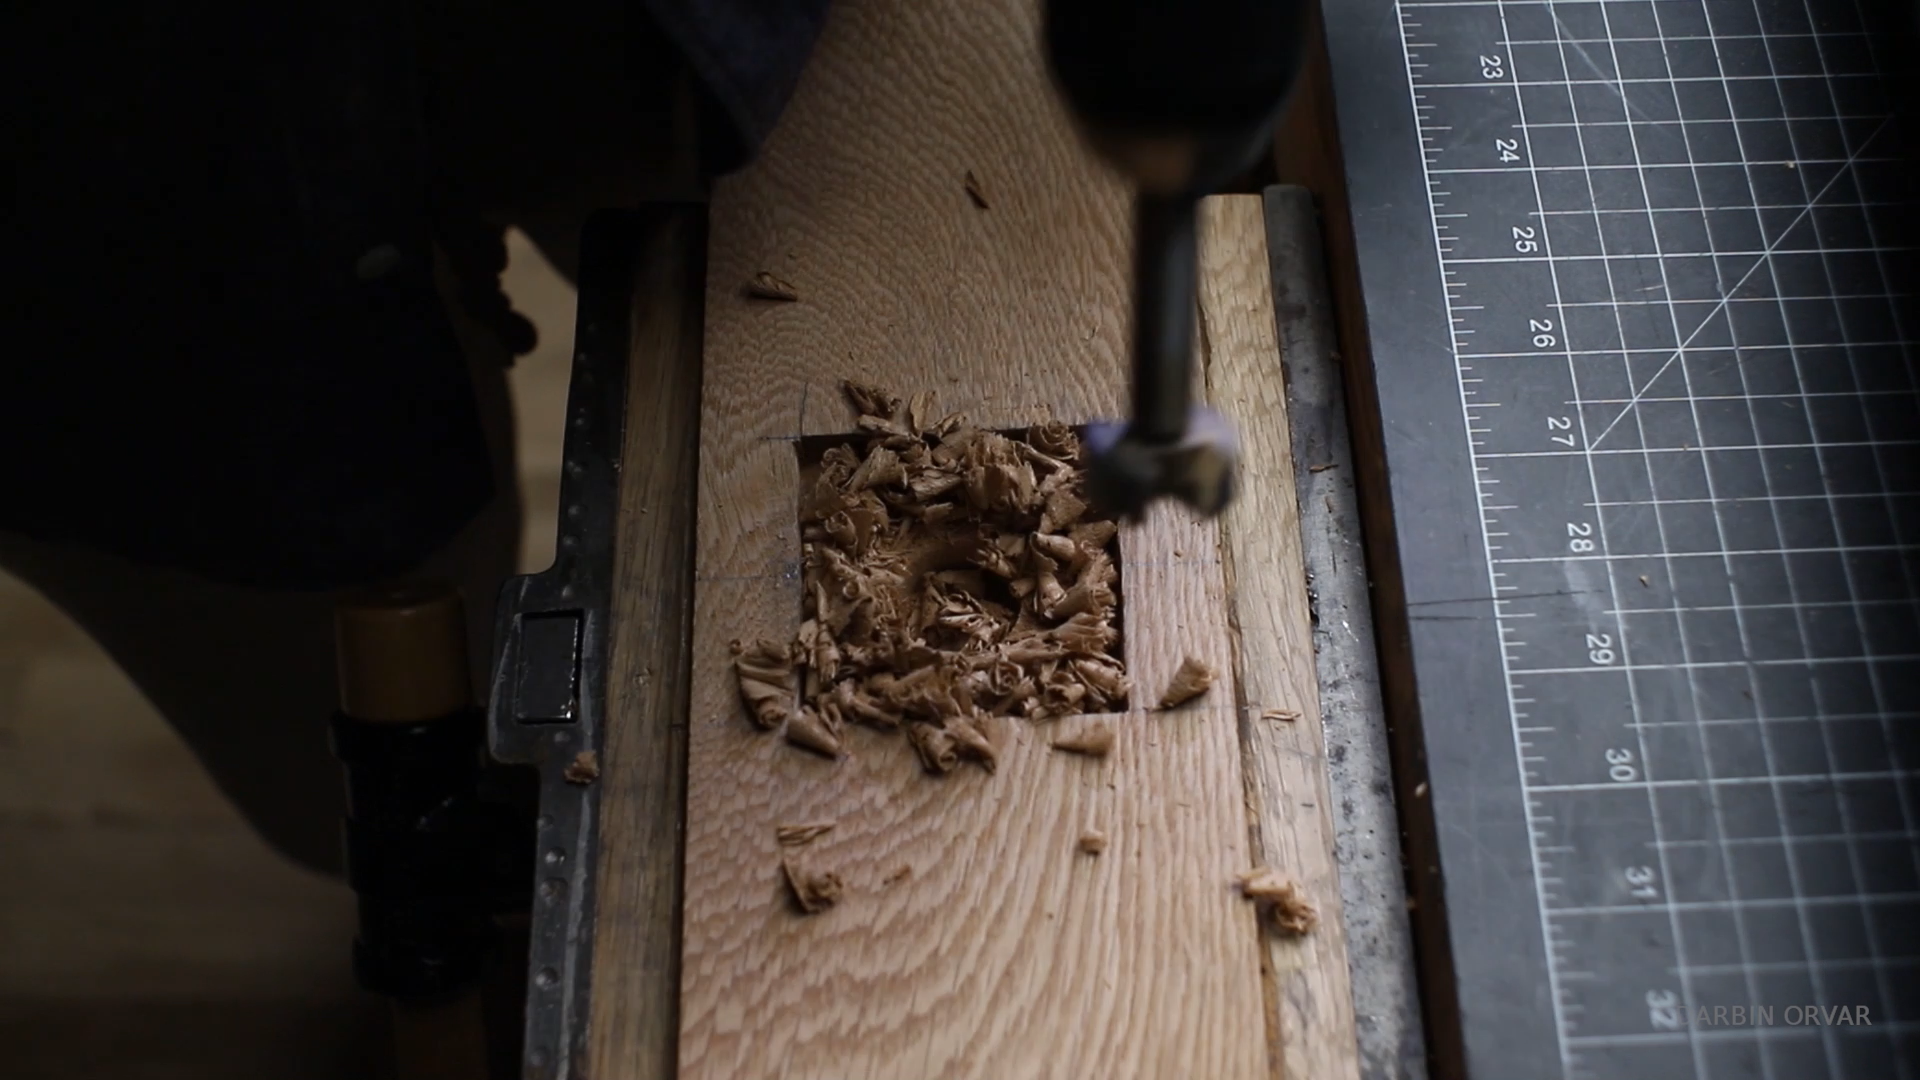
The next step is carving the top piece out for the metal screw plate so it can be inset.
Aluminum Plate for the Press Piece
.png)
.png)
.png)
.png)
.png)
.png)
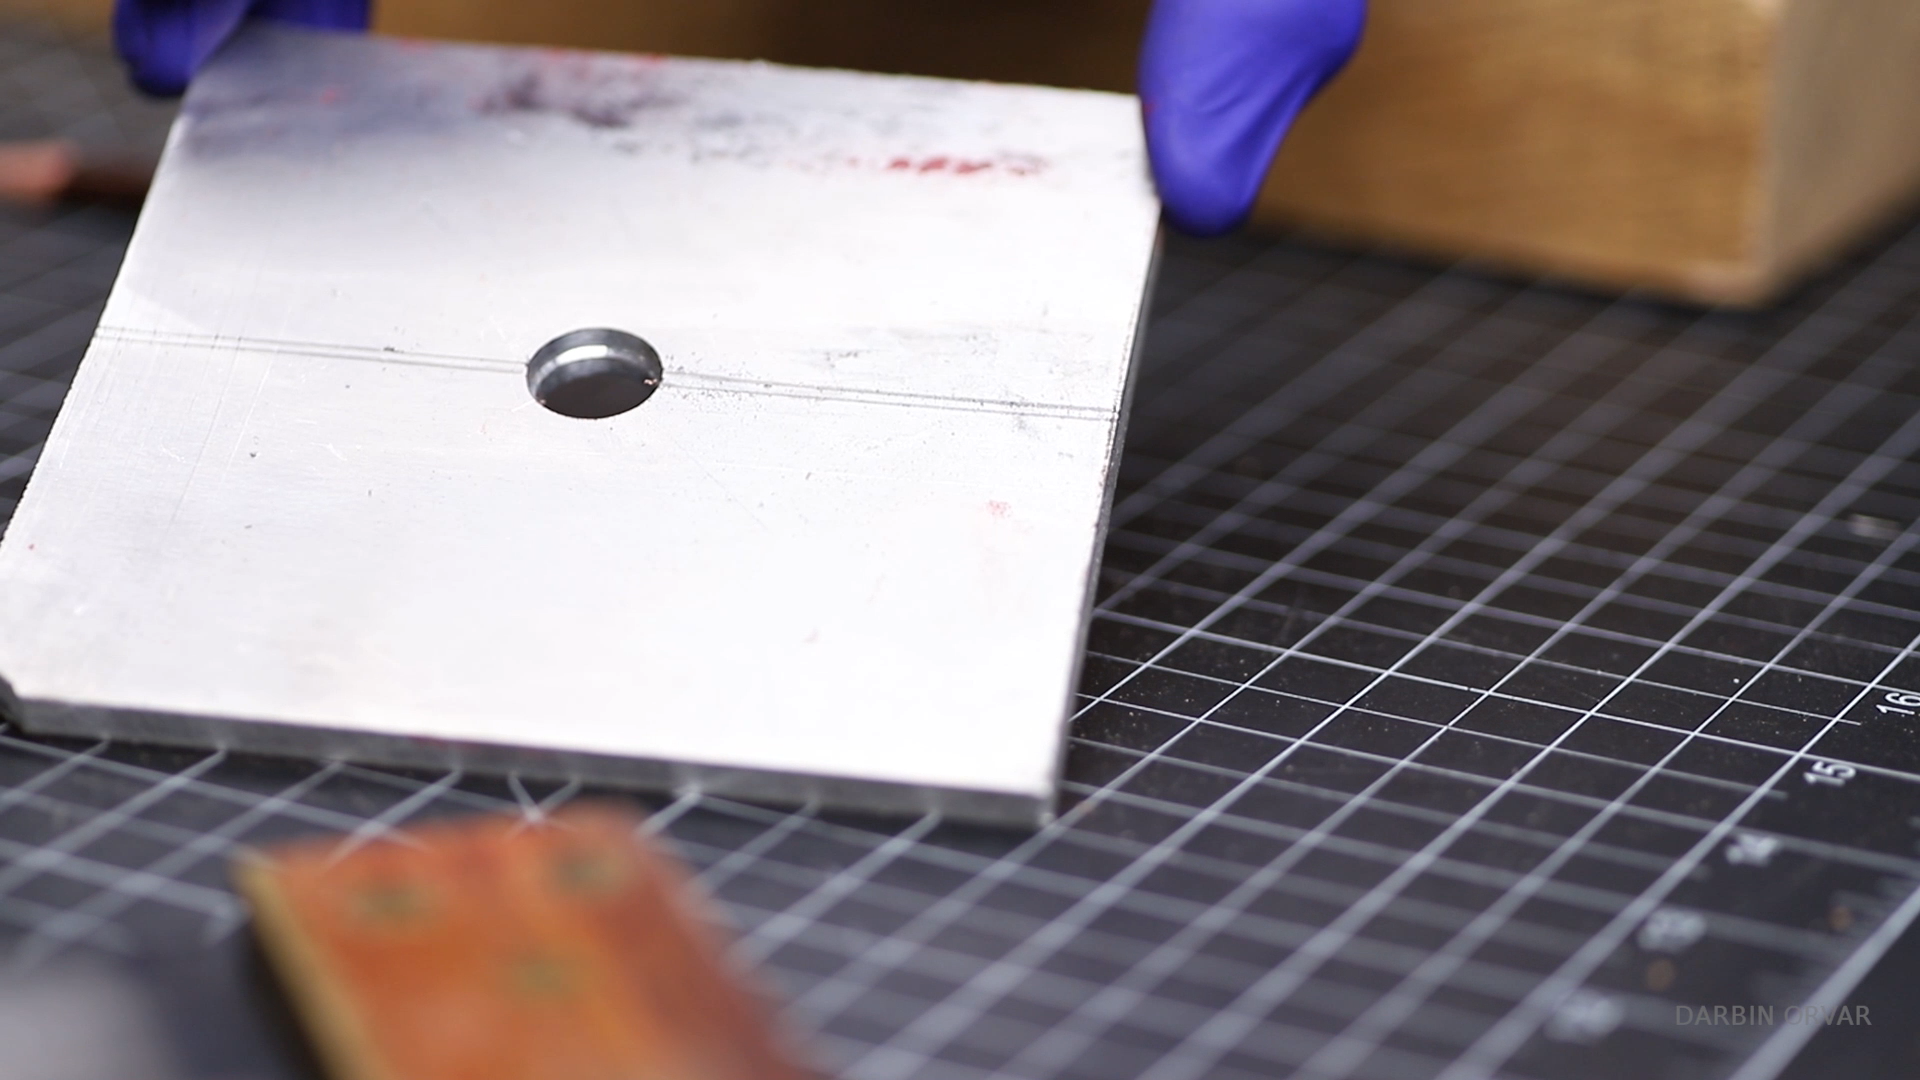
To keep the wooden press block attached to the screw, we'll be using a piece of aluminum.
Carve Out for the Plate
.png)
.png)
.png)
.png)
.png)
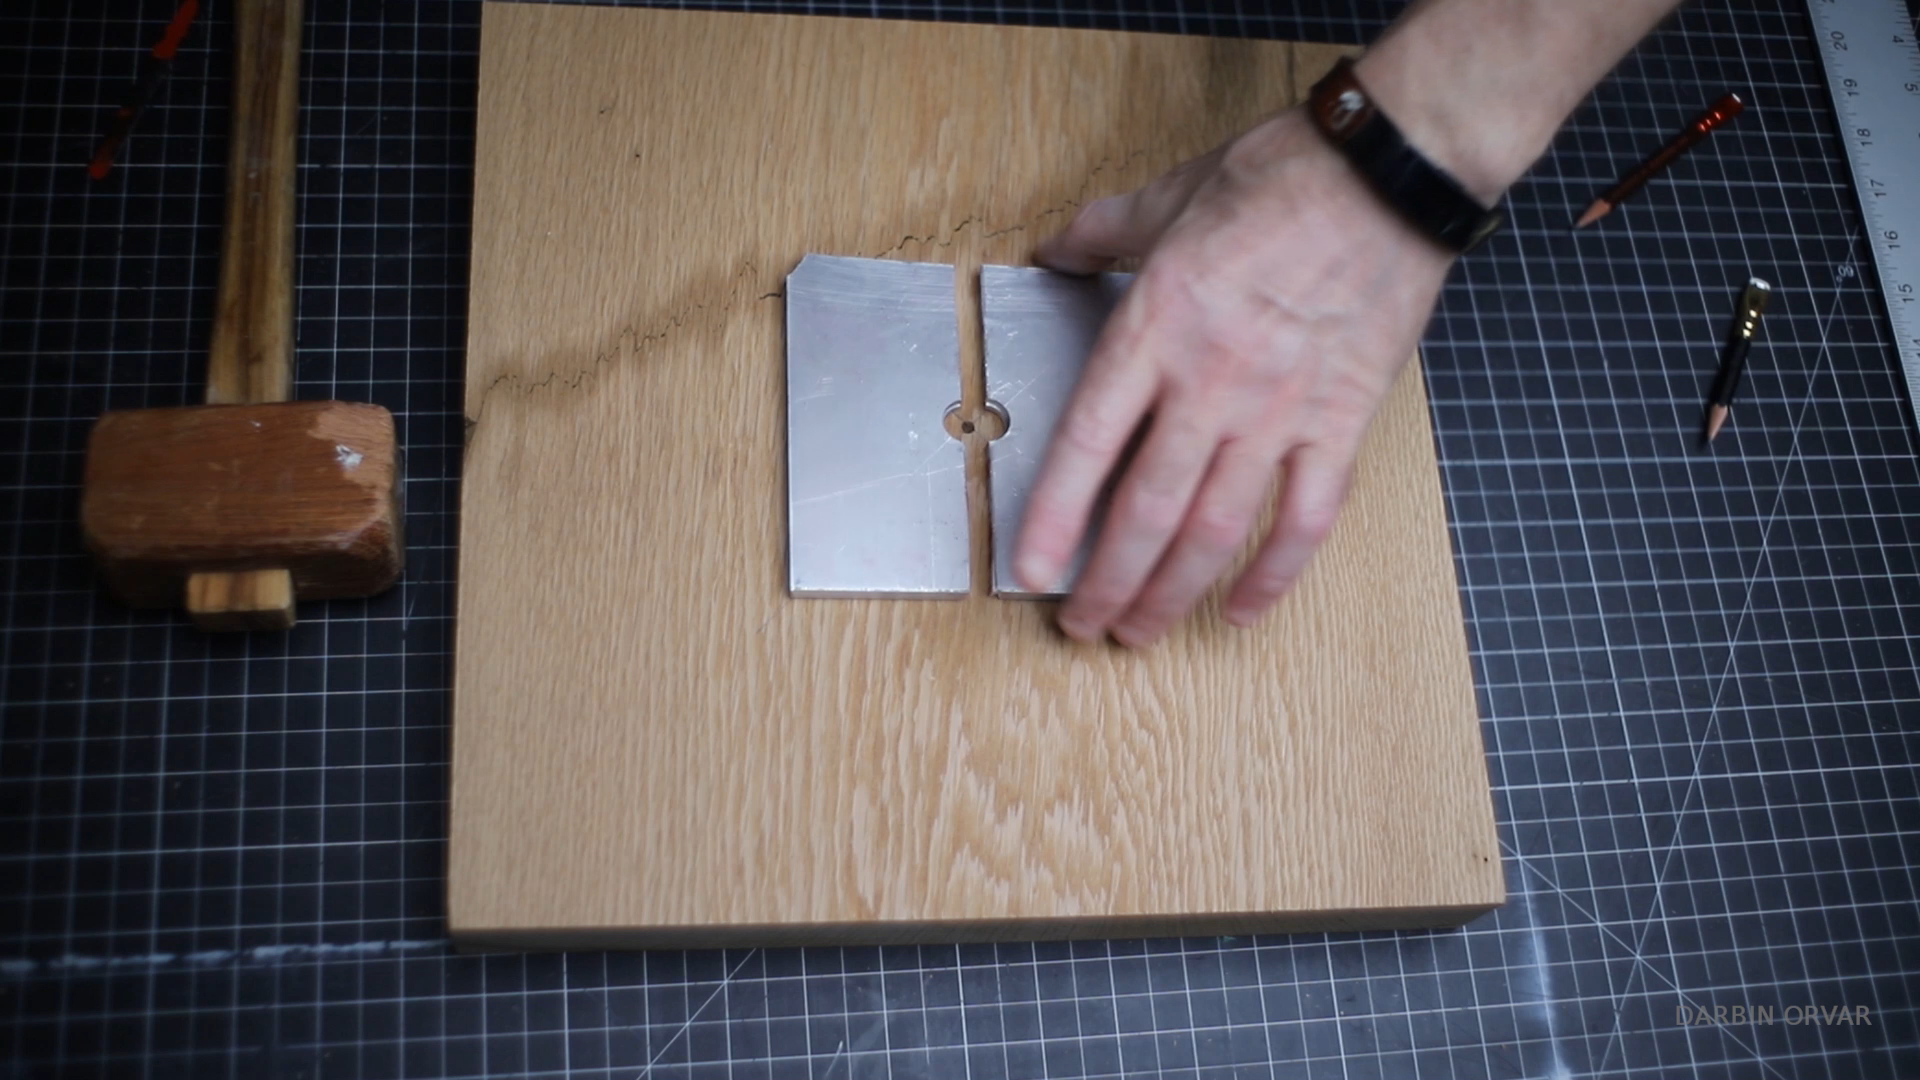
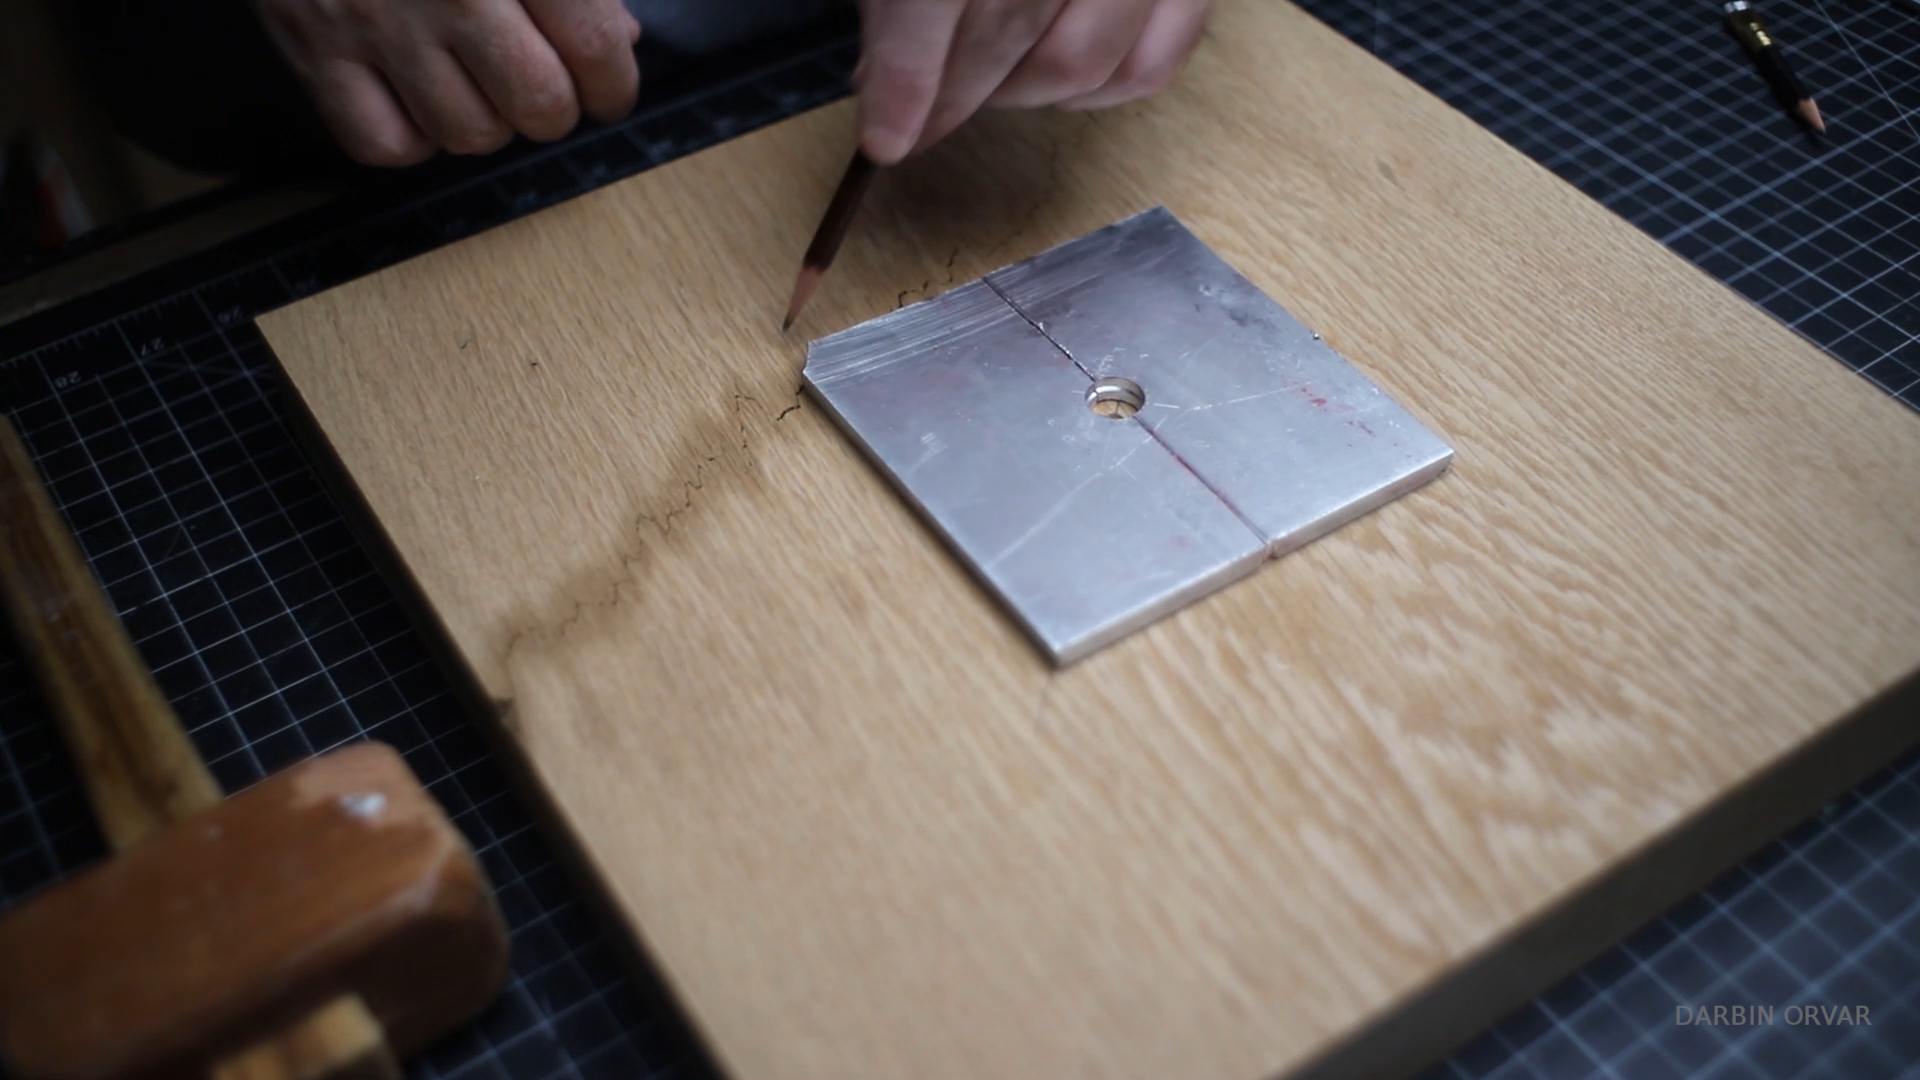
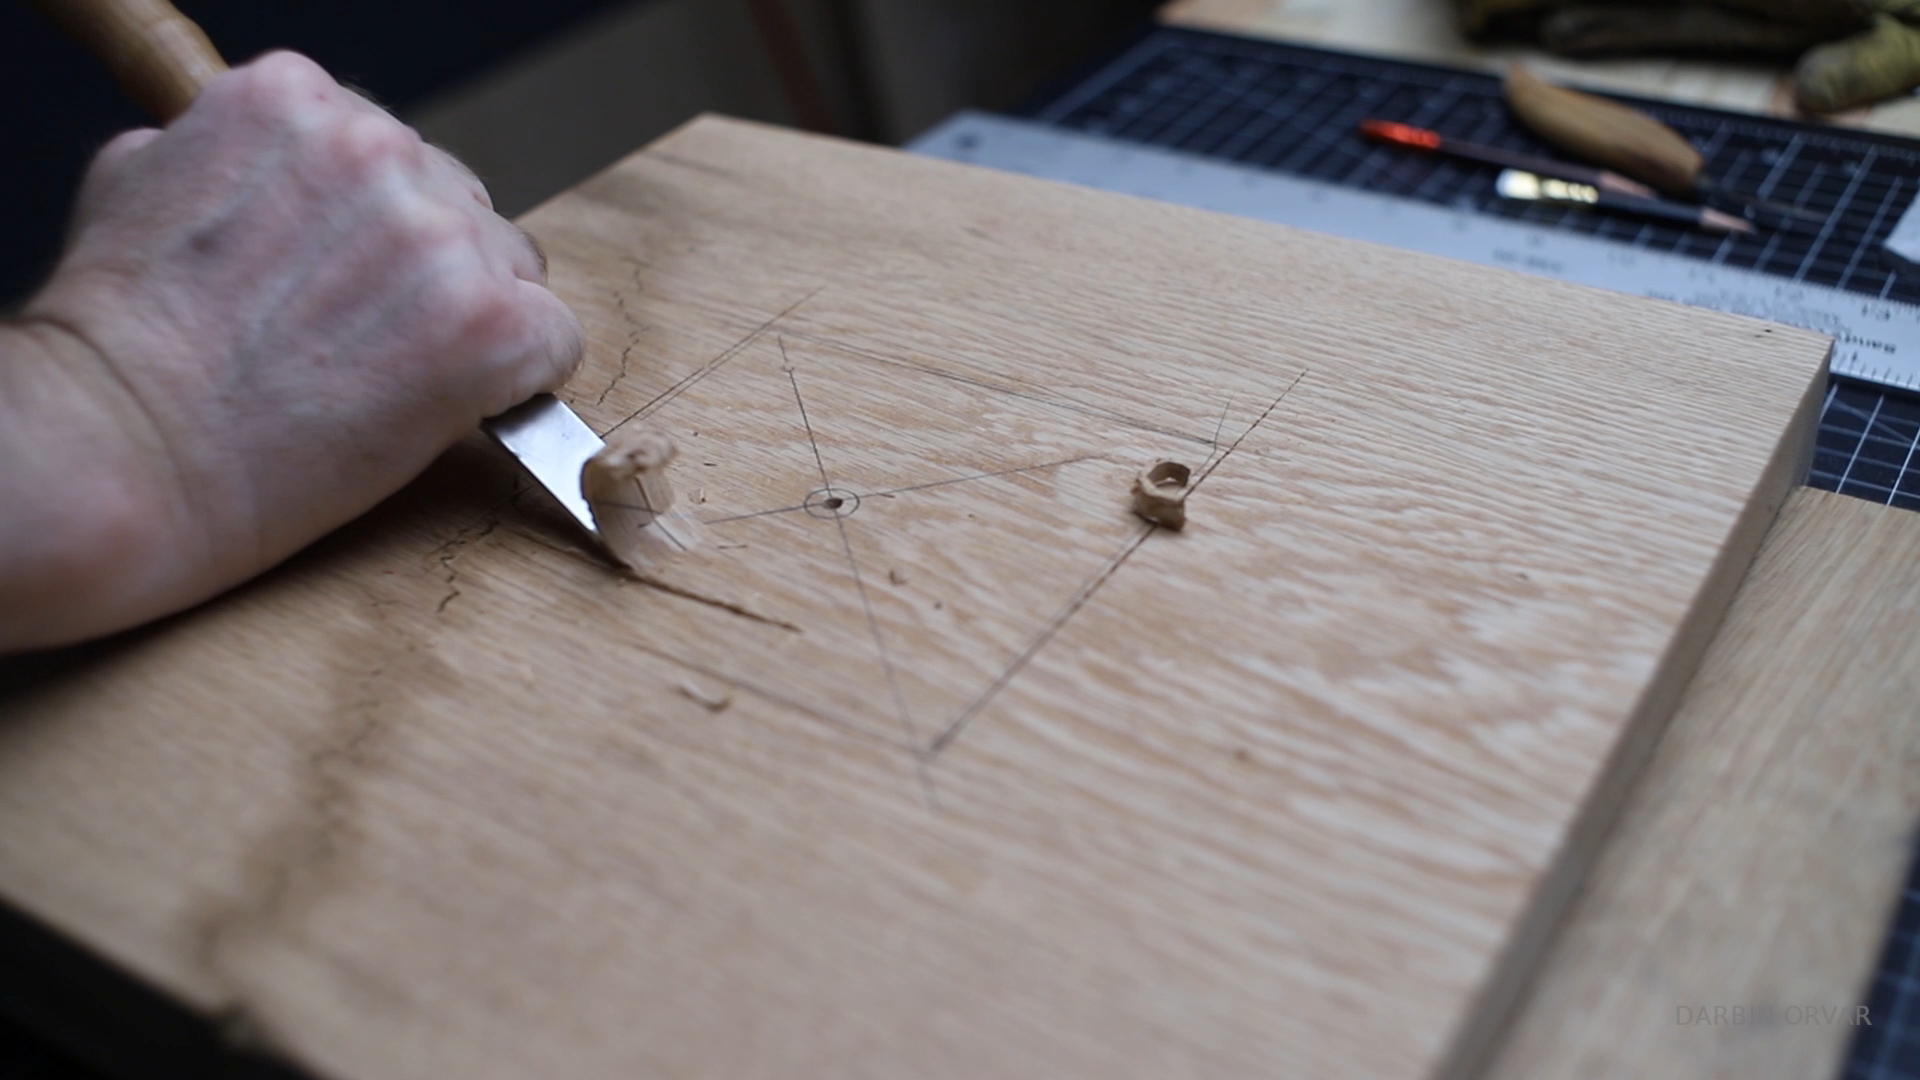
Find the center of the press piece, and mark out the outline of the two aluminum pieces. Carve out the section enough so that the plate will be inset.
Glue Up
.png)
.png)
.png)
.png)
.png)
.png)
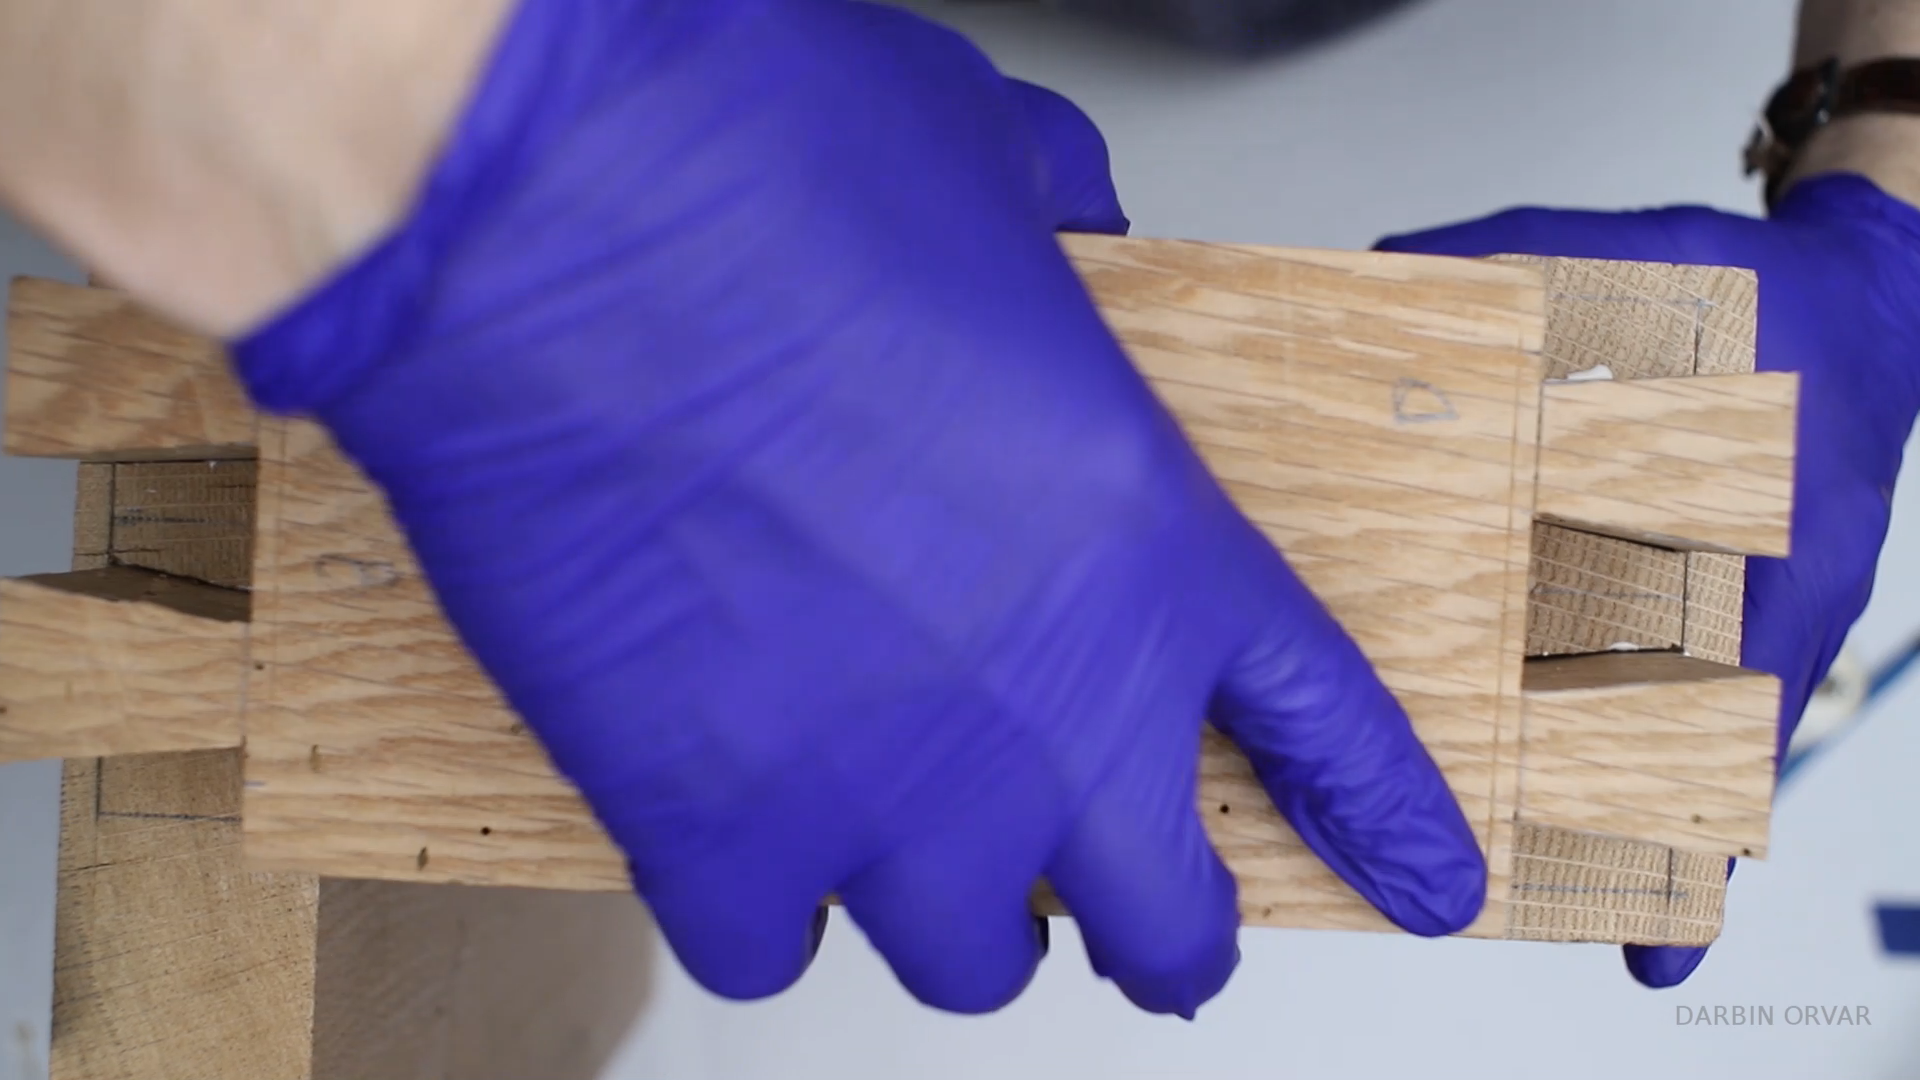
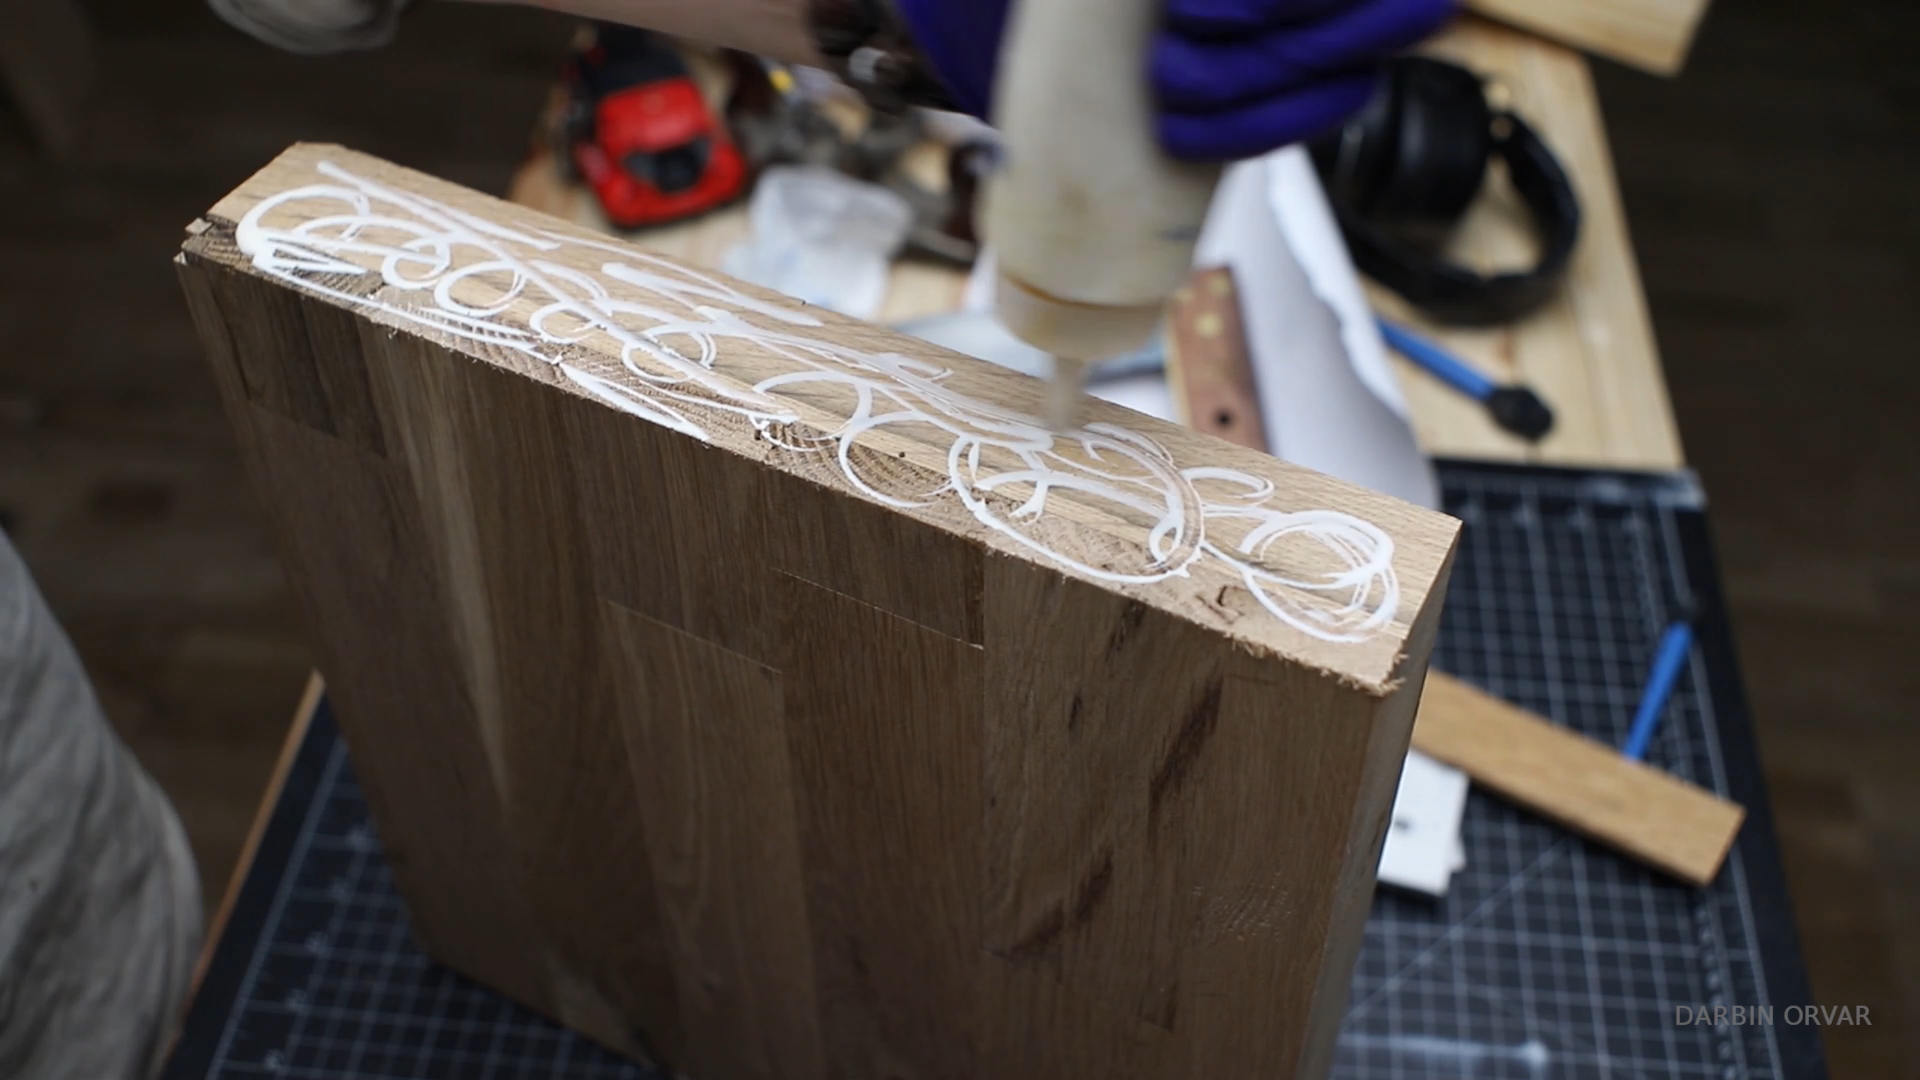
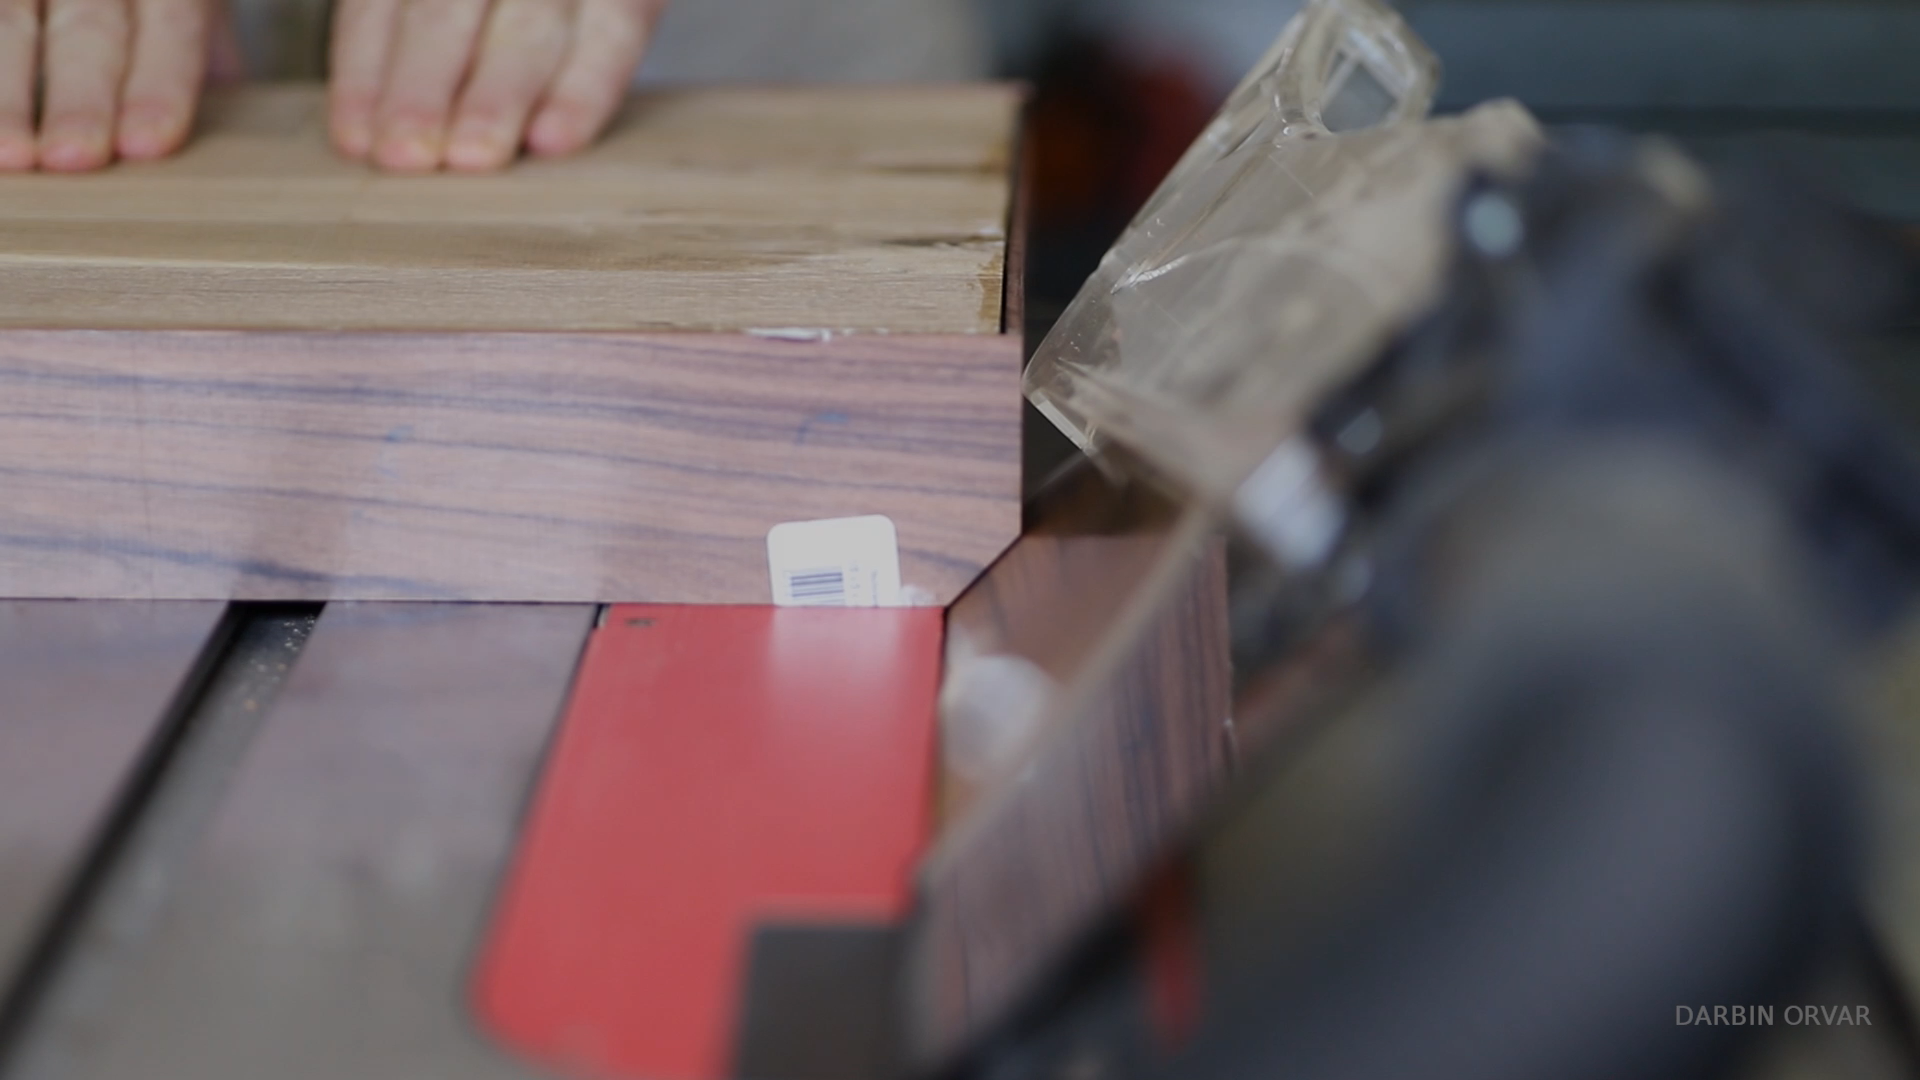
Glue together the sides and the top and bottom pieces.
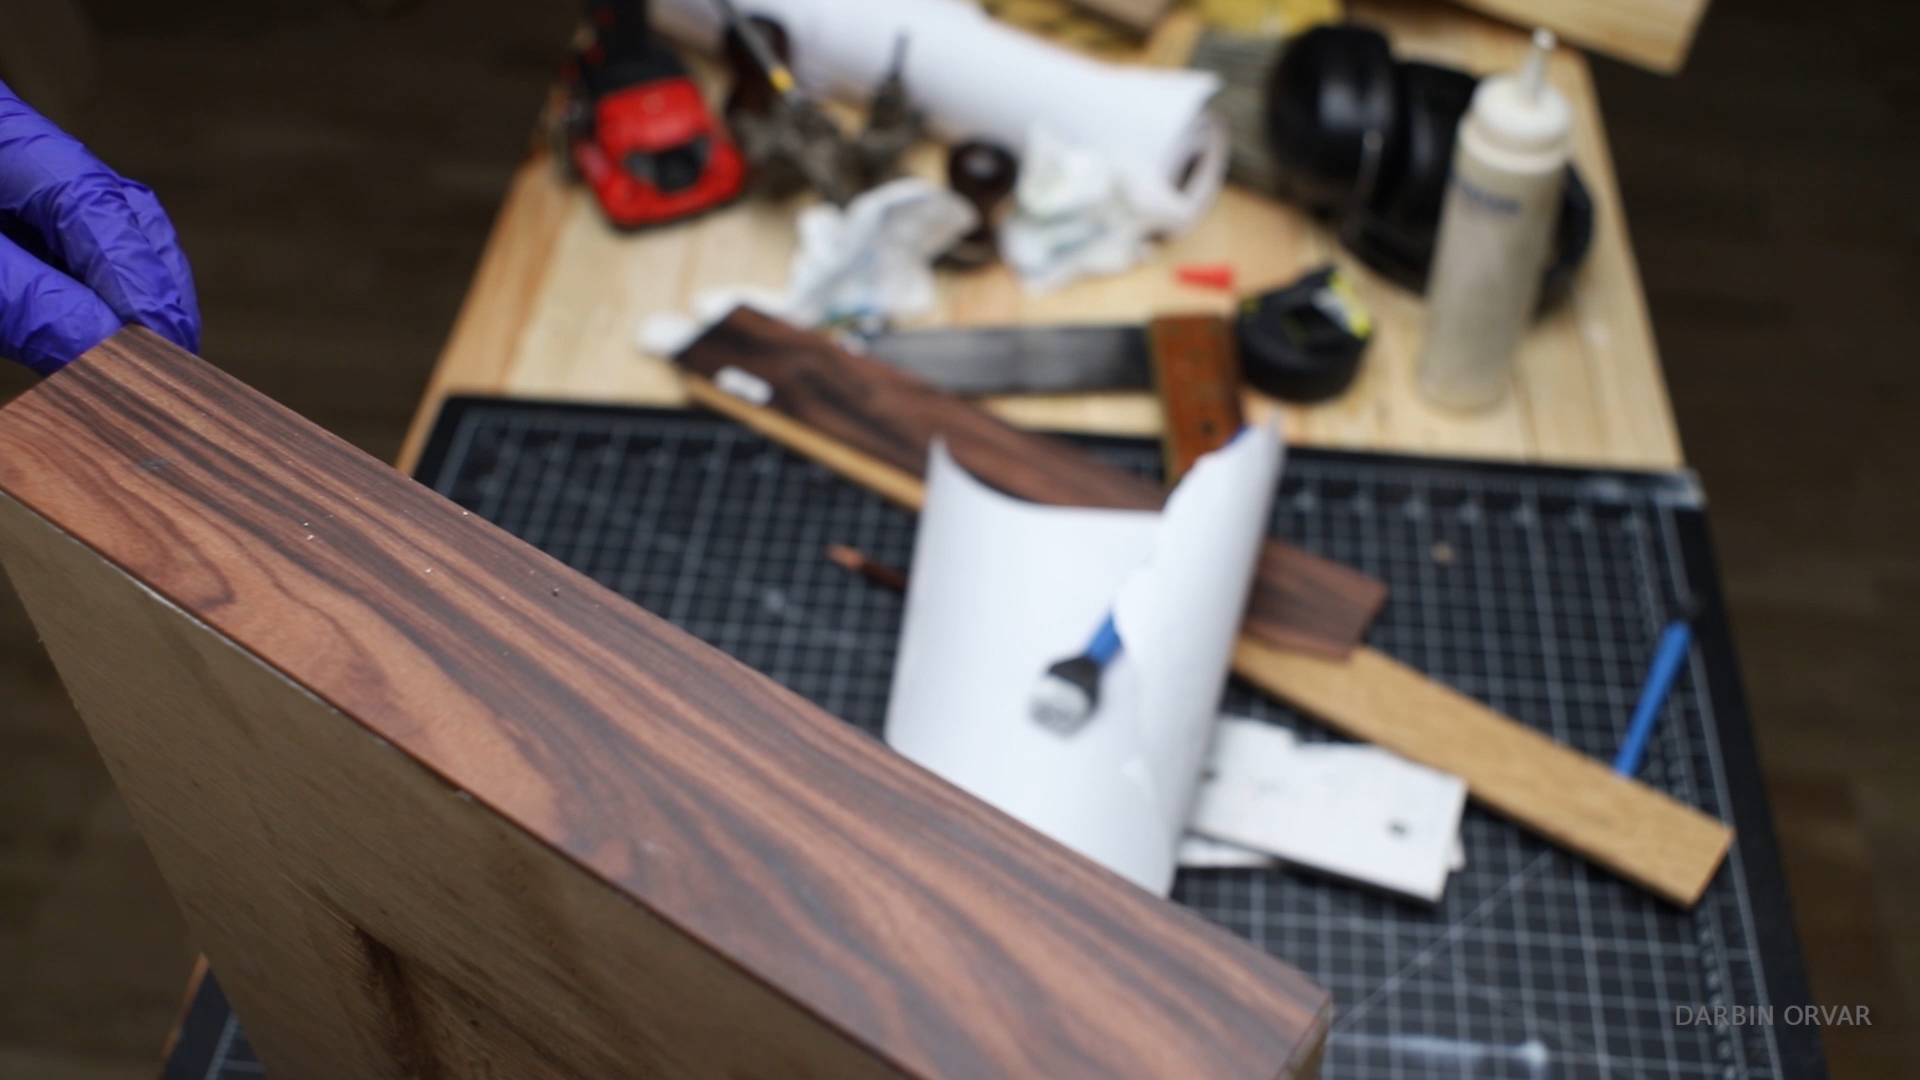
A thin piece of bolivian rosewood was also prepared (by gluing two sections together) which will be used to cap the metal plate and provide a decorative touch.
Turn a Handle
.png)
.png)
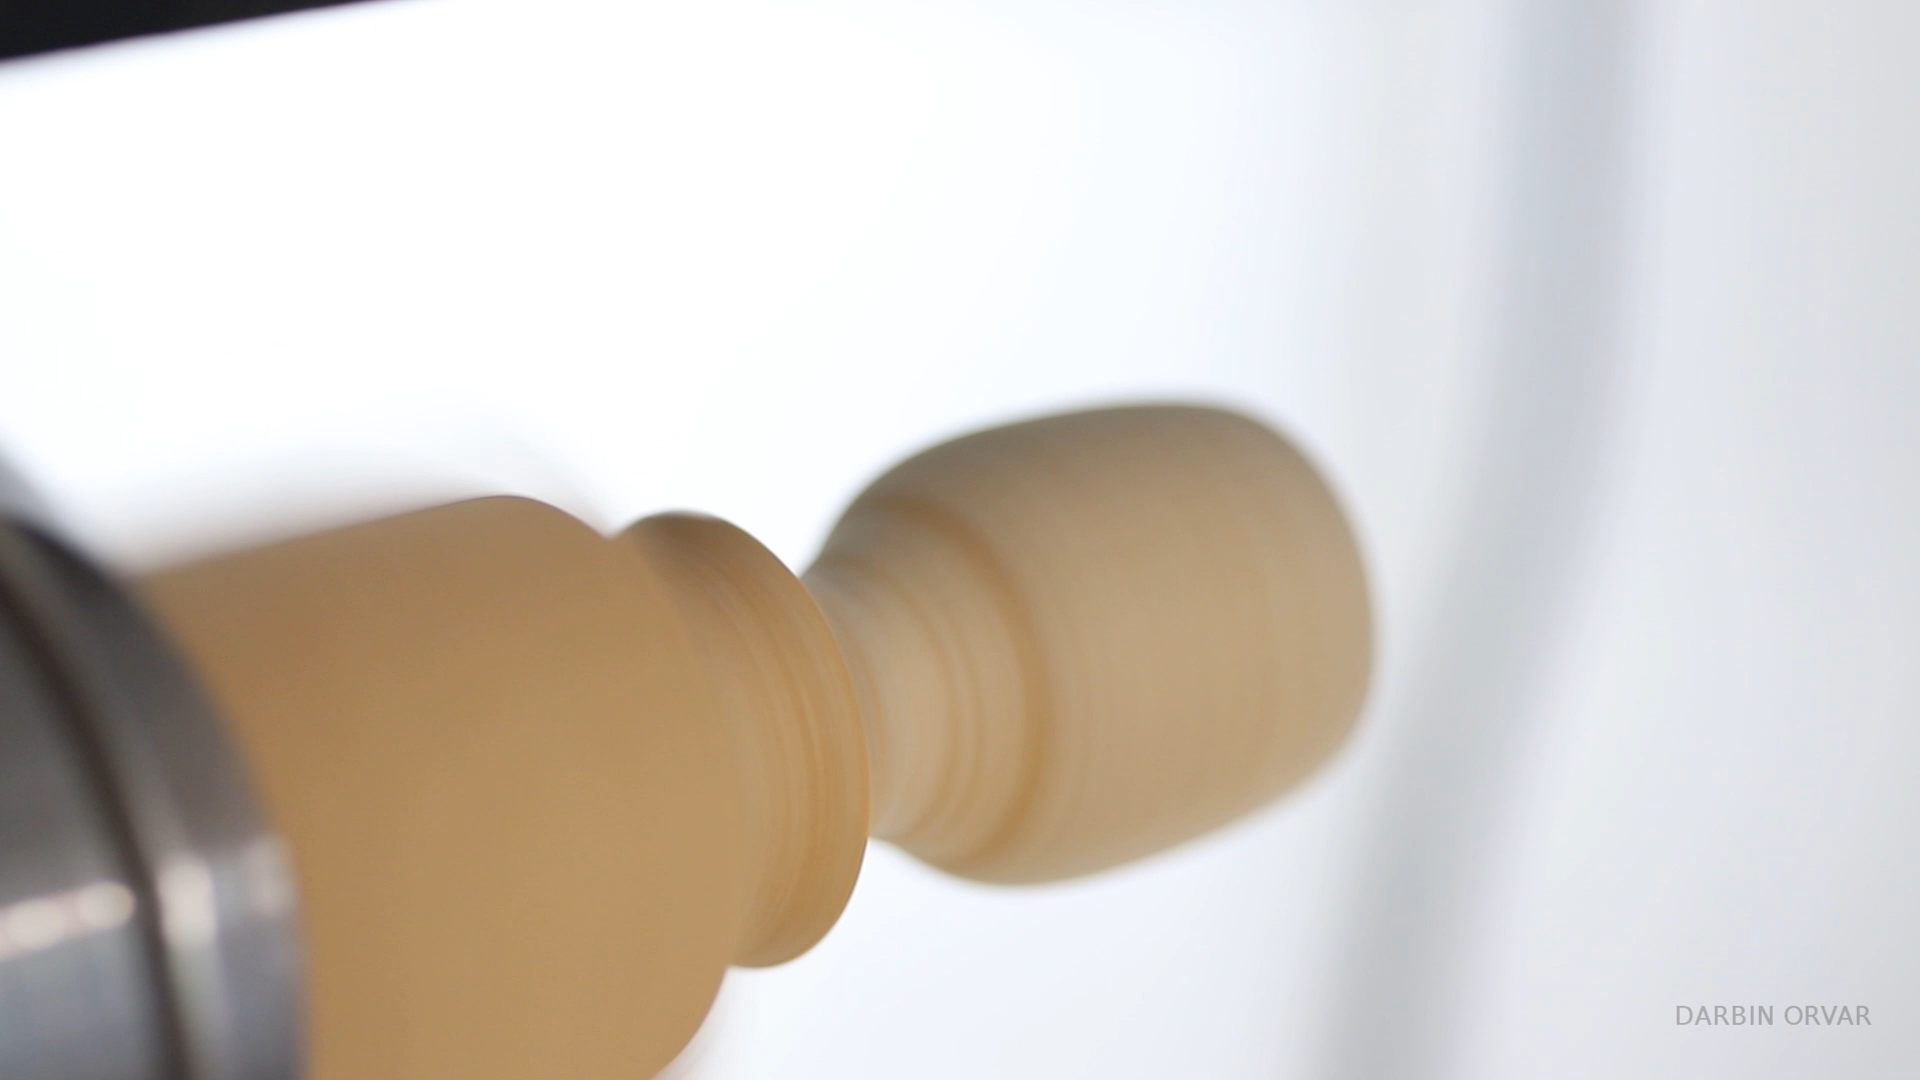
For a handle, a piece of white oak was used on the lathe that was of the right size to fit through the holder attached to the screw. To cap the handle off on both sides, two knobs were made.
Attach Handle
.png)
.png)
.png)
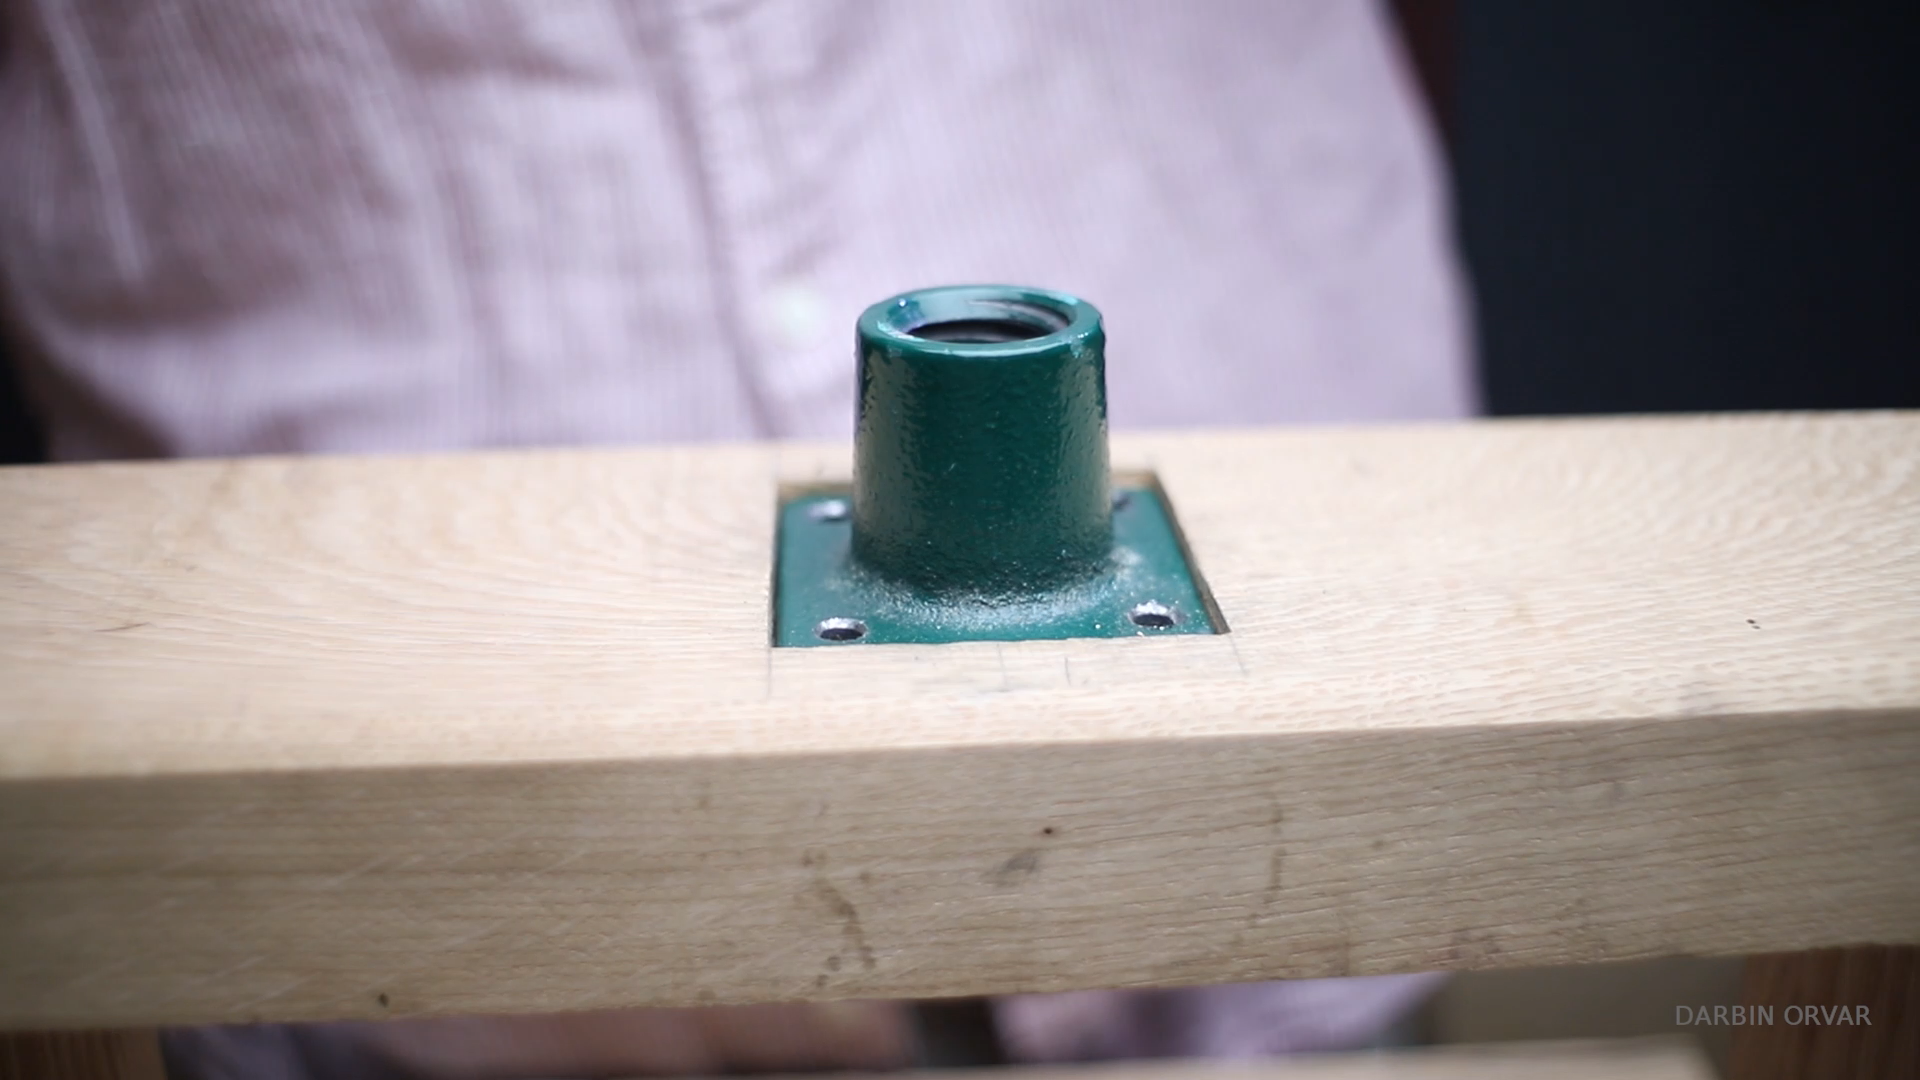
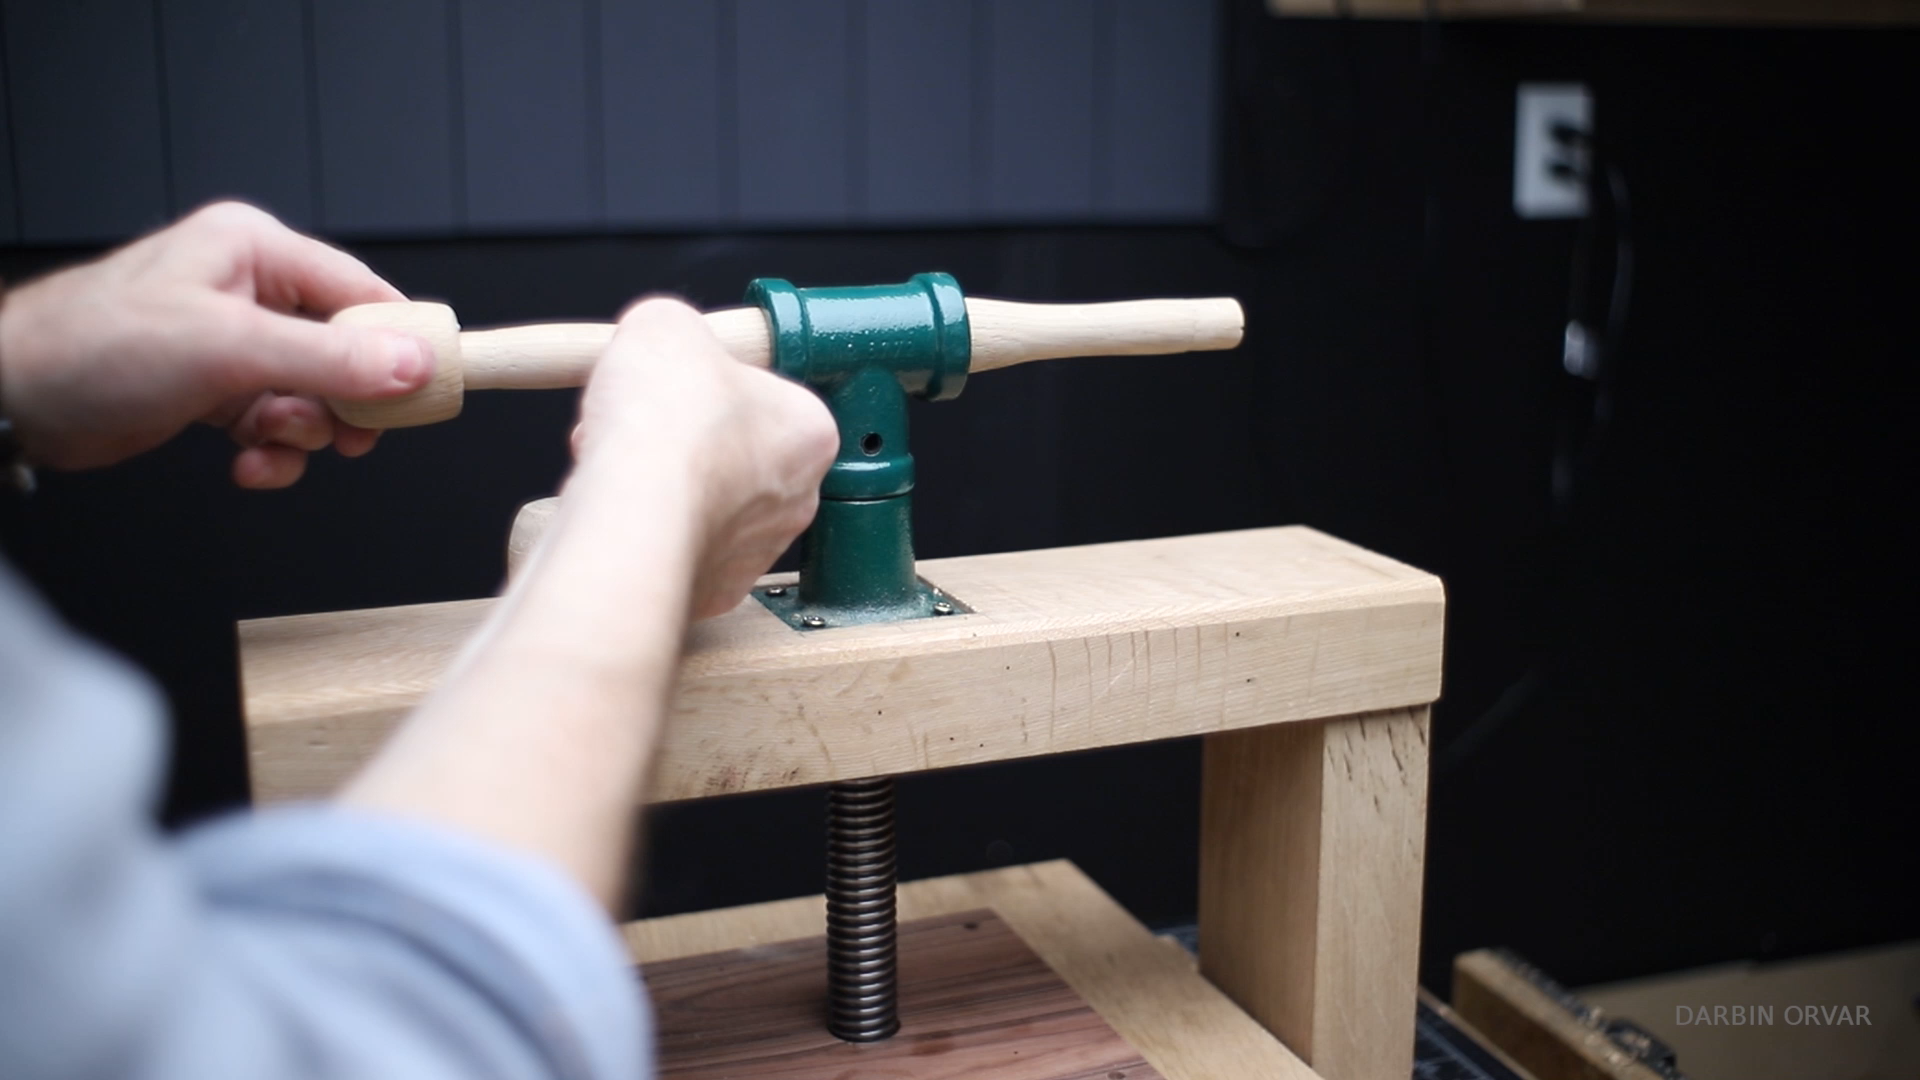
To attach the handle, first screw on the metal flange attached to the screw, then slide the handle through and glue on the knobs on both sides.
Top Cap
.png)
.png)
.png)
.png)
.png)
.png)
.png)
.png)
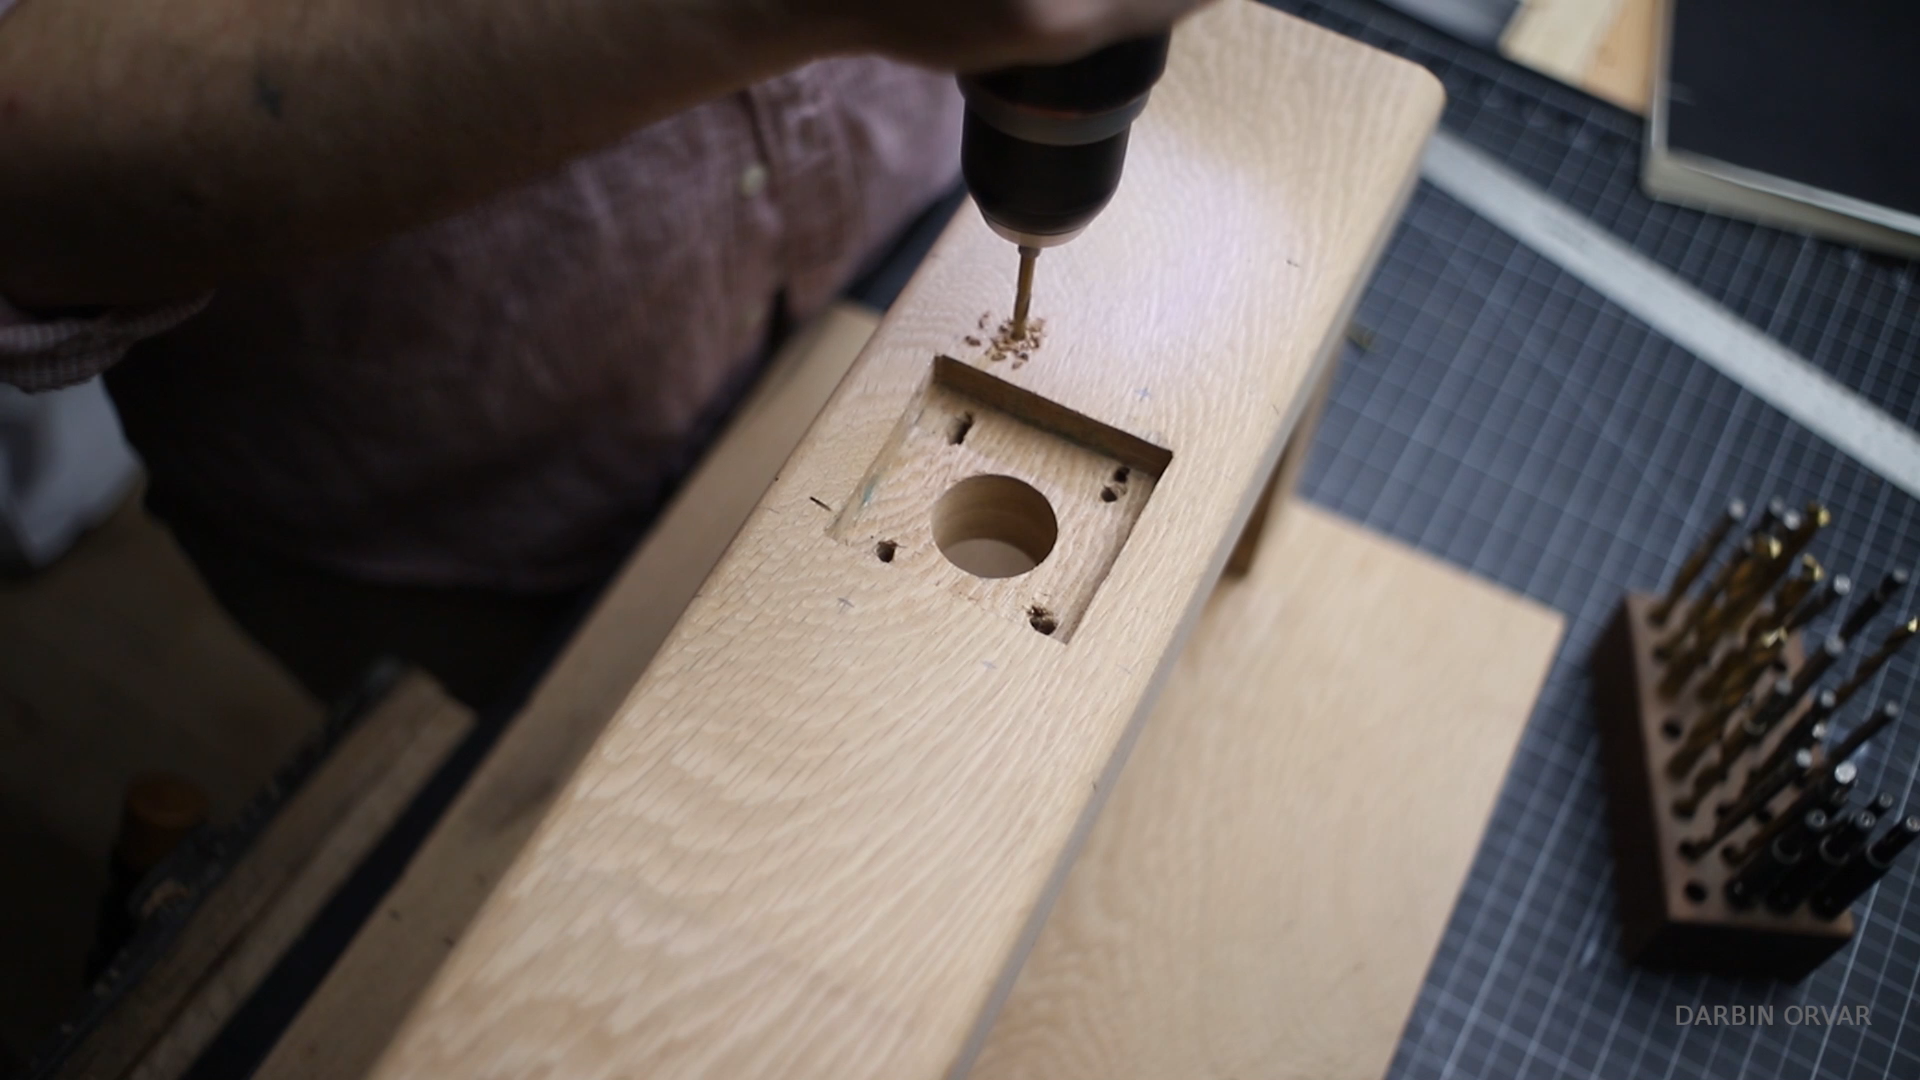
To hide the top screw section, and add a decorative touch, a cap piece was added - a piece of oak, square with a hole drilled through the middle - faceted and rounded over with a plane and chisel - attached with screws from underneath.
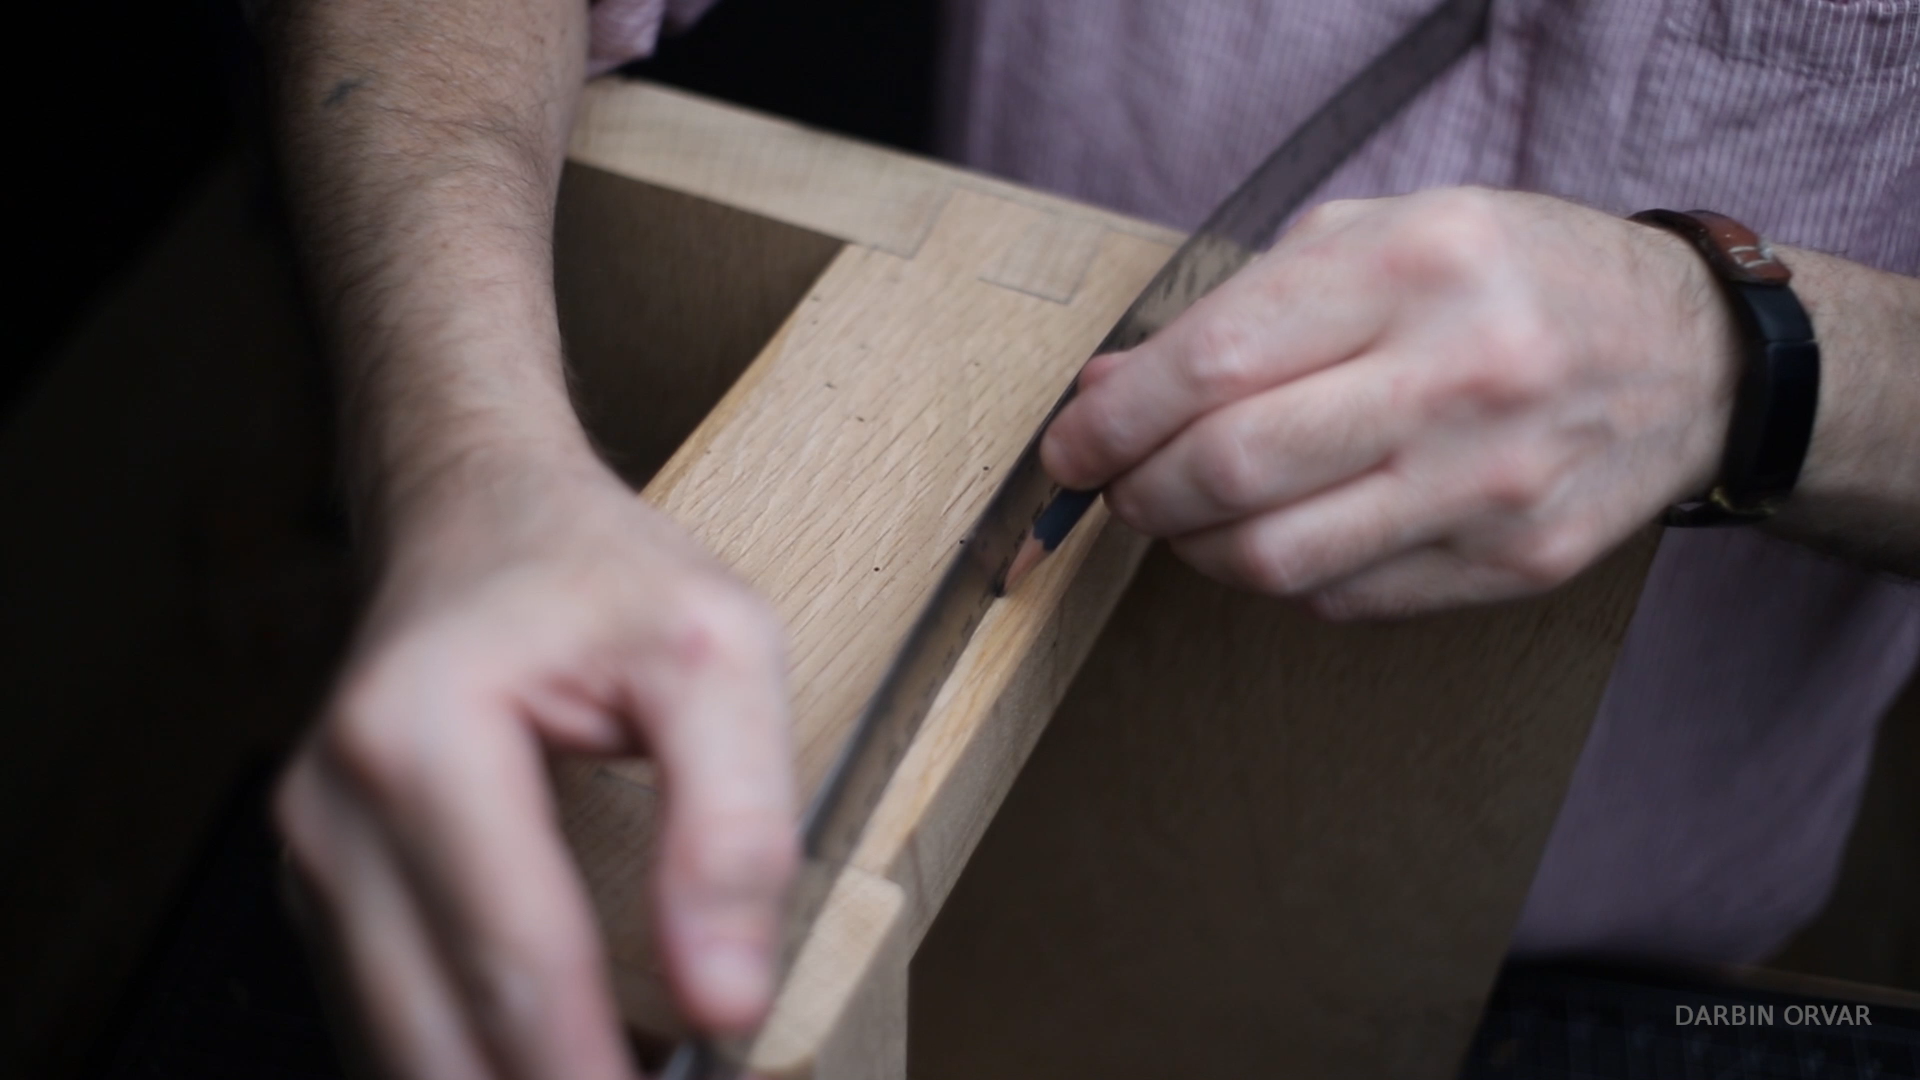
Also, for a finishing touch, the sides of the press were marked out and shaped with a spoke shave and chisel.
Finish
.png)
.png)
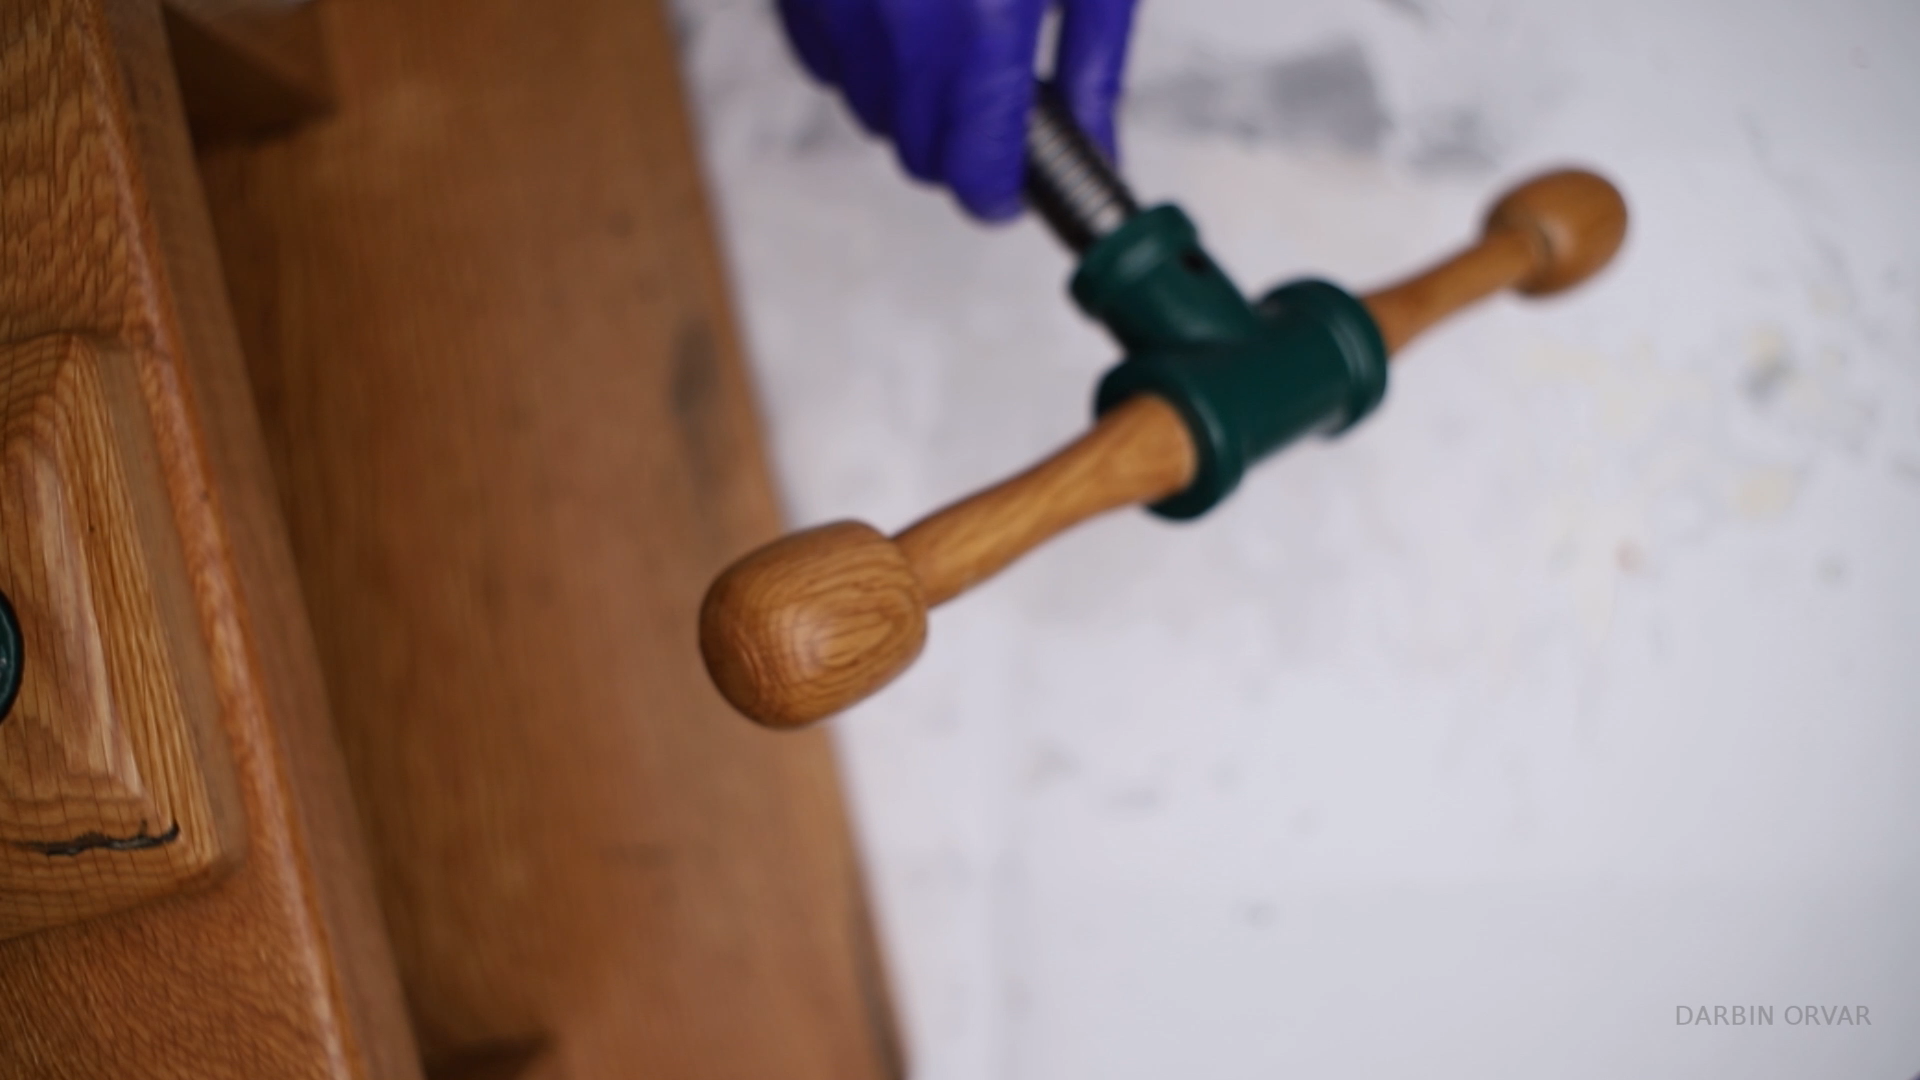
For a classic finish, we used an oil polyurethane on all surfaces. First one regular coat, then once dried, a second coat was added using a piece of sandpaper to achieve a smooth finish,
Rubber Feet
.png)
.png)
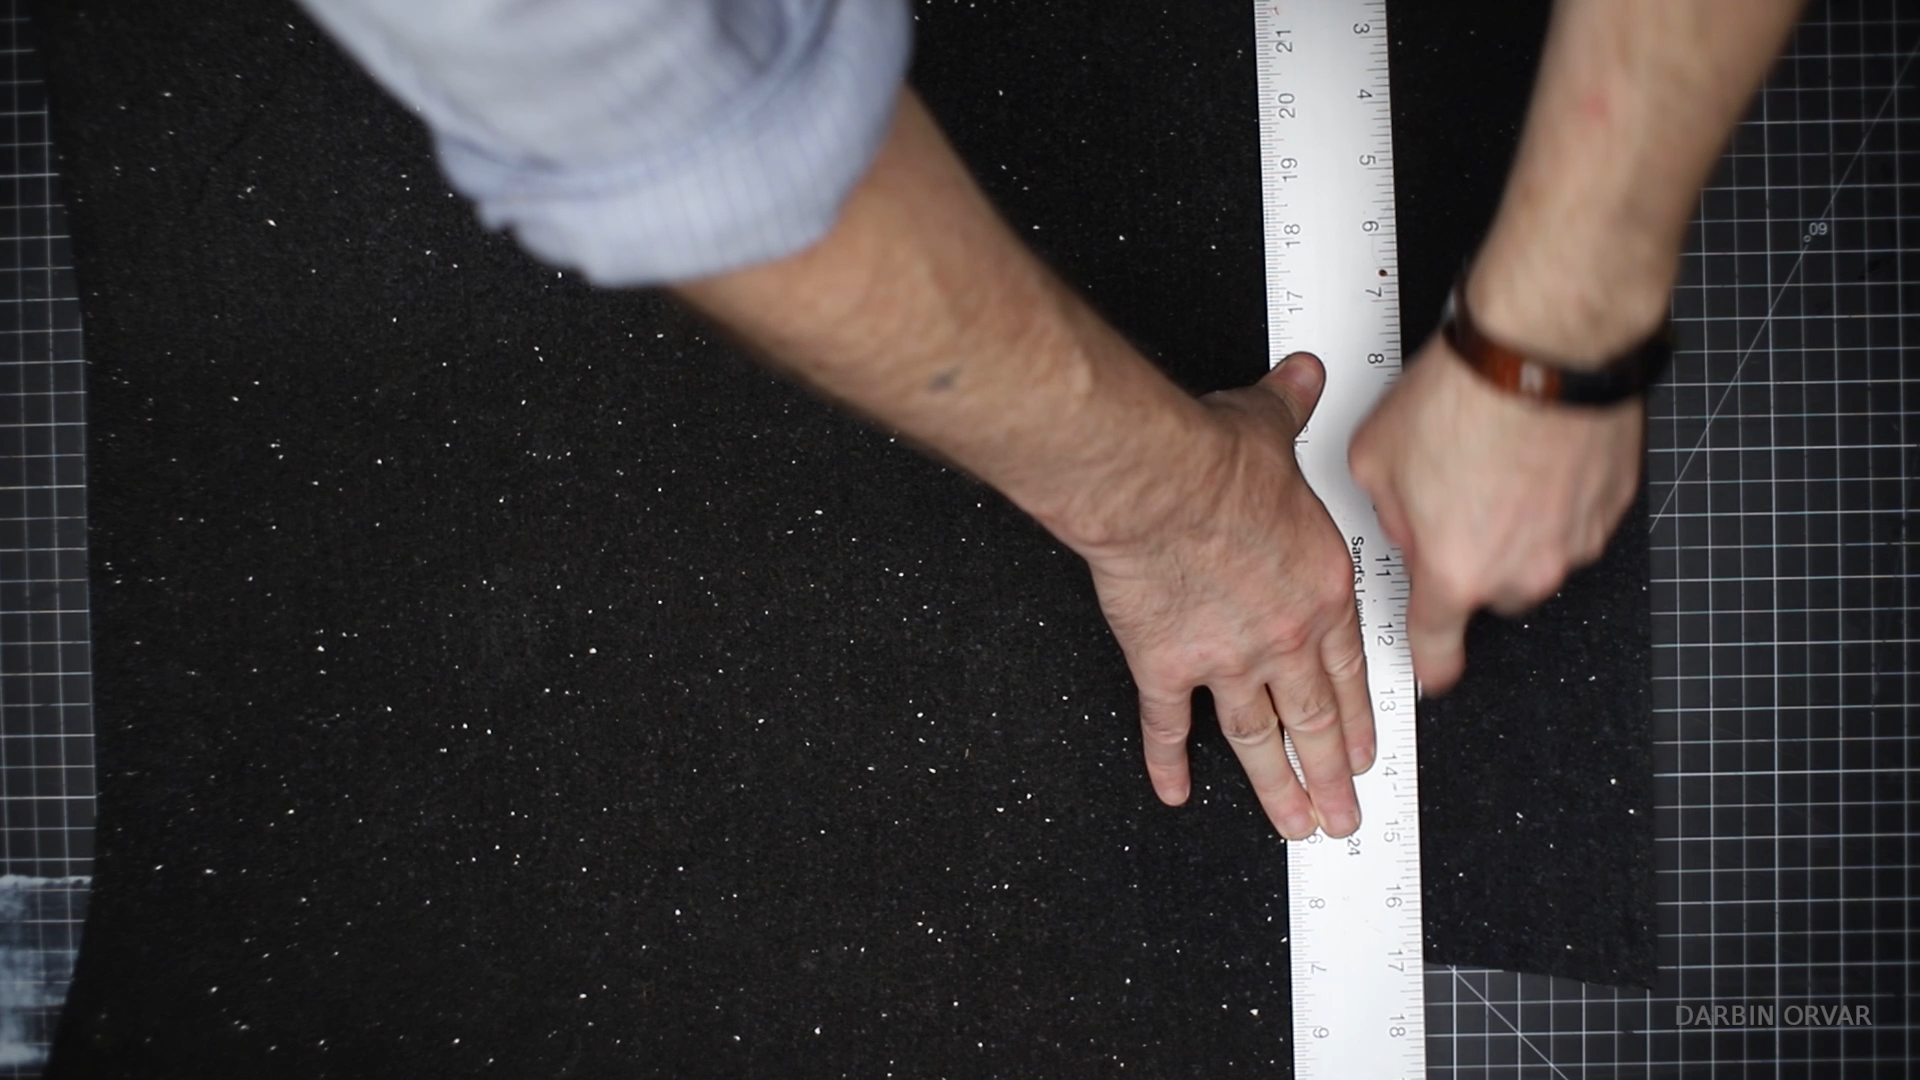
To ensure better friction, rubber feet was attached to the underside of the press. This is a rubber mat, originally purchased at a farming supply store which was cut in sections and glued on underneath the press.
Final Assembly
.png)
.png)
.png)
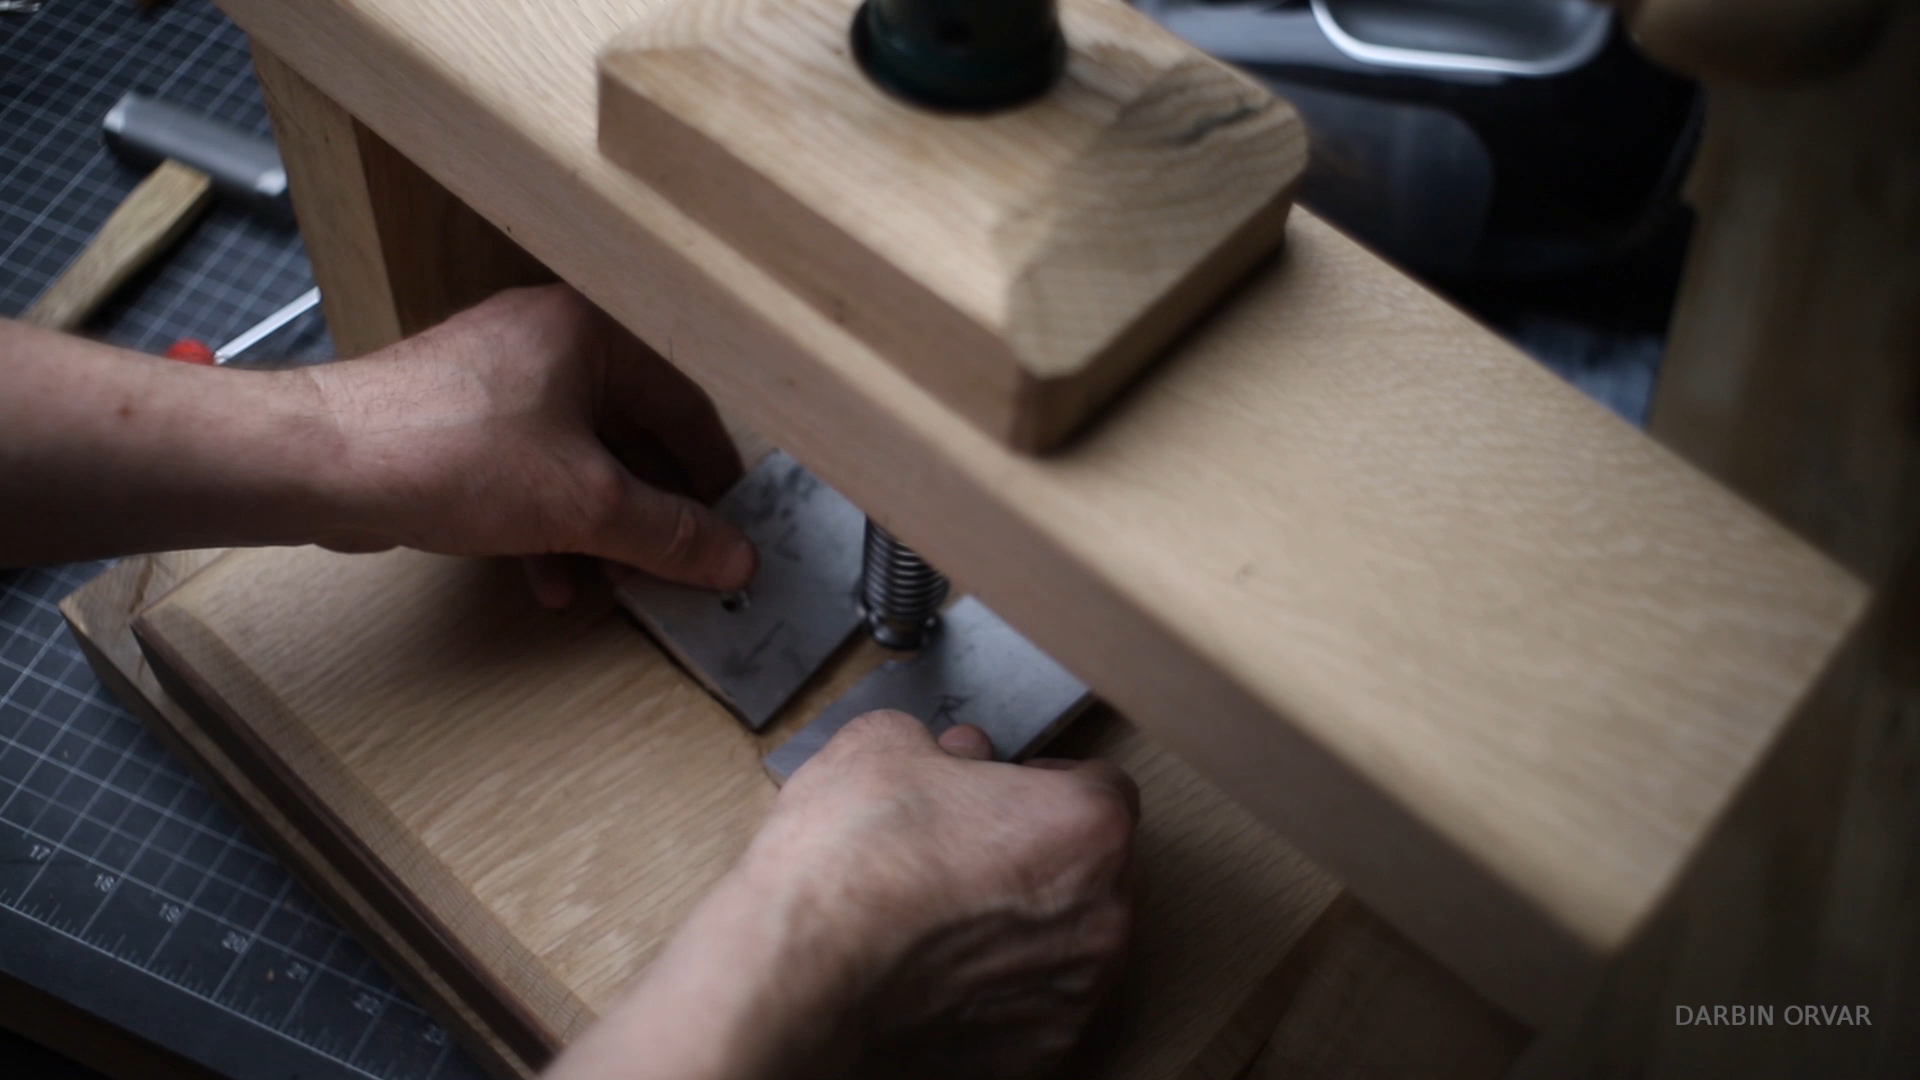
Once the finish was dry, it was time to finally assemble the whole press together, by adding the screw, metal plates, wooden top plate etc...
Sign
.png)
.png)
.png)
.png)
.png)
.png)
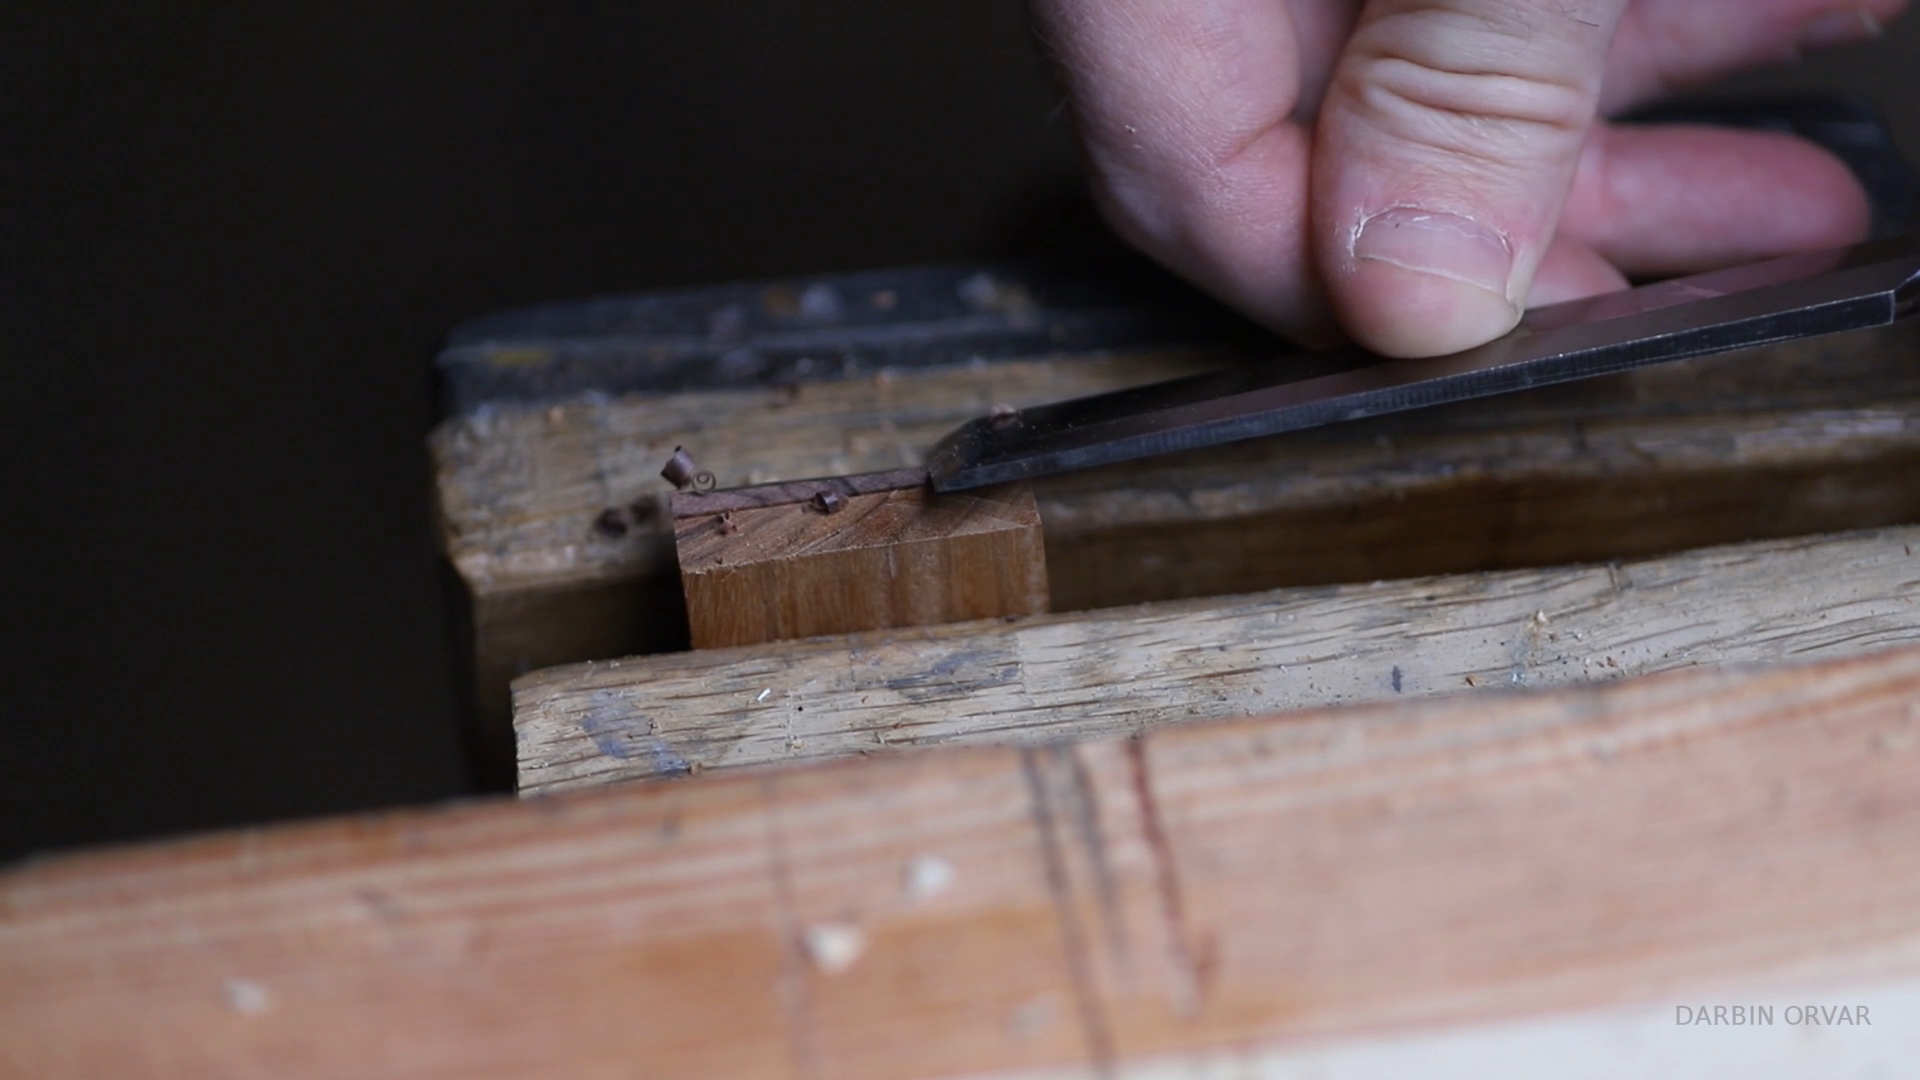
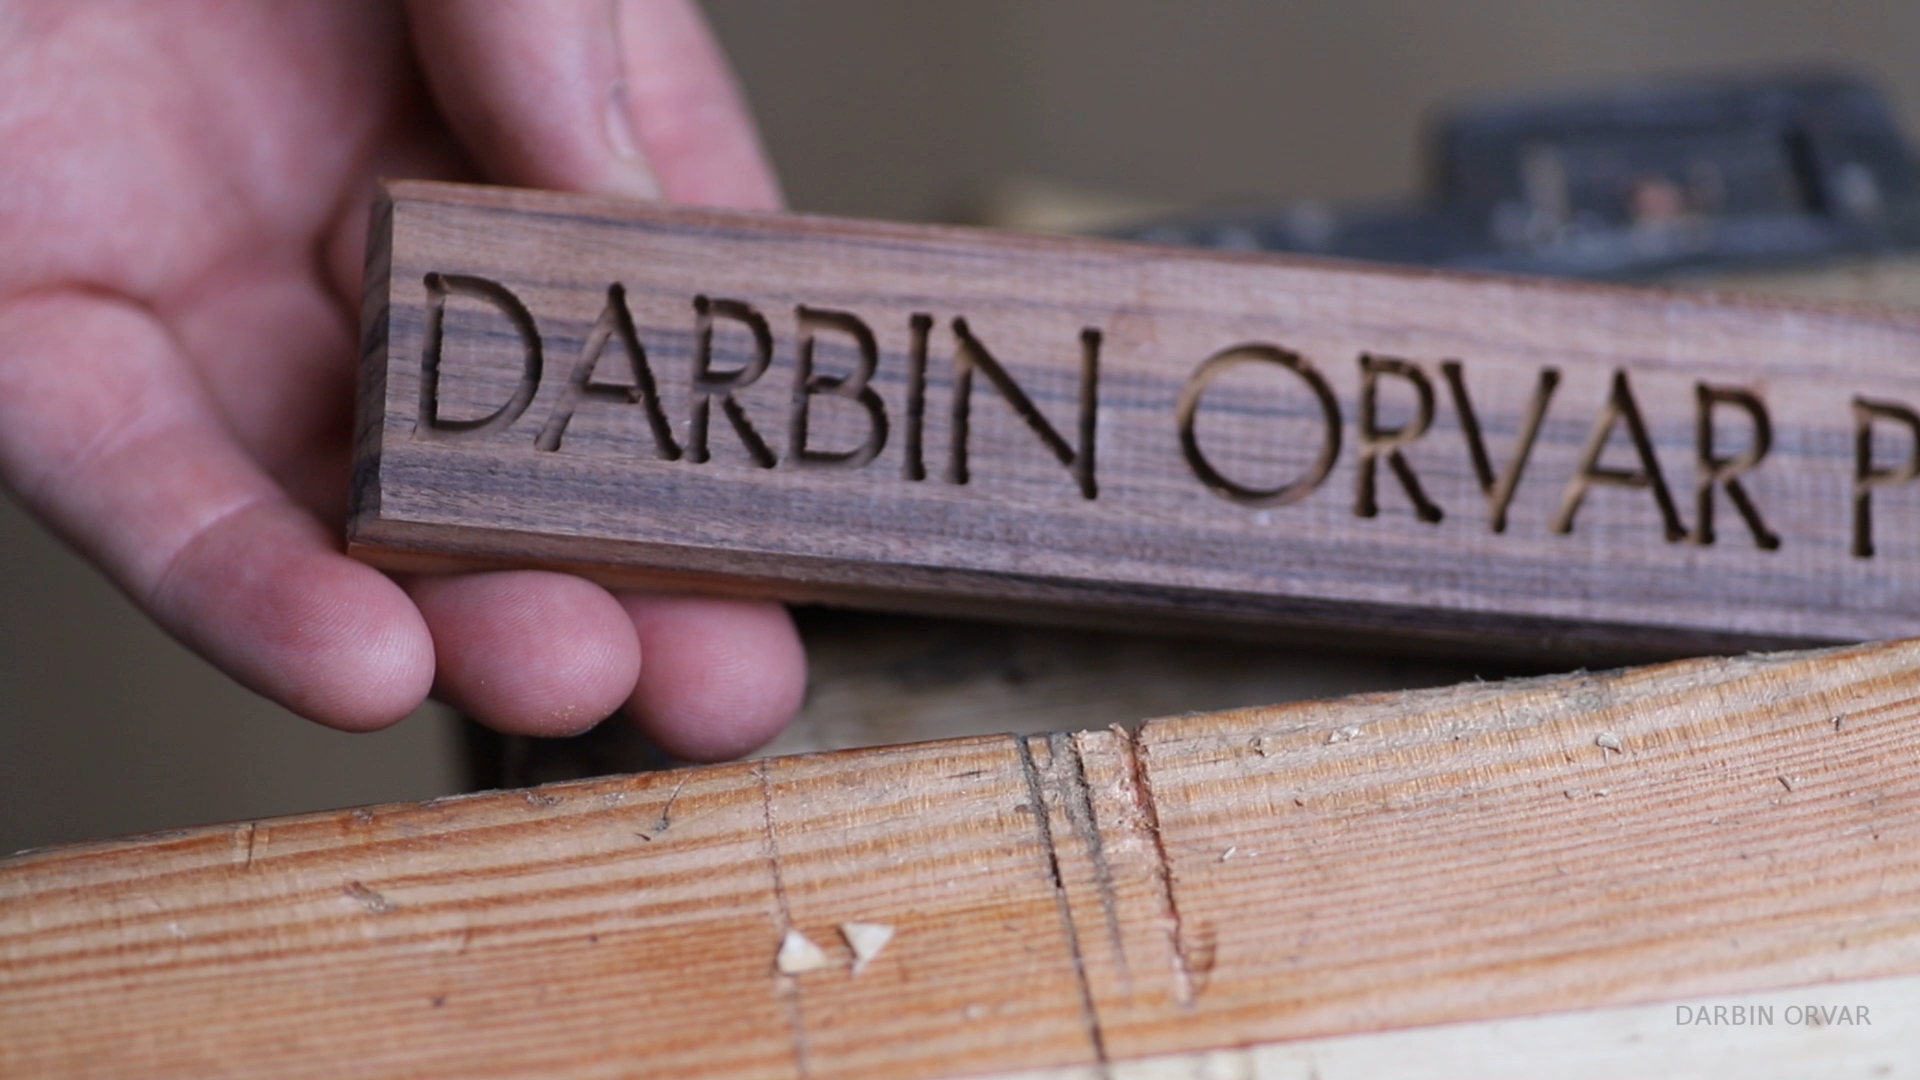
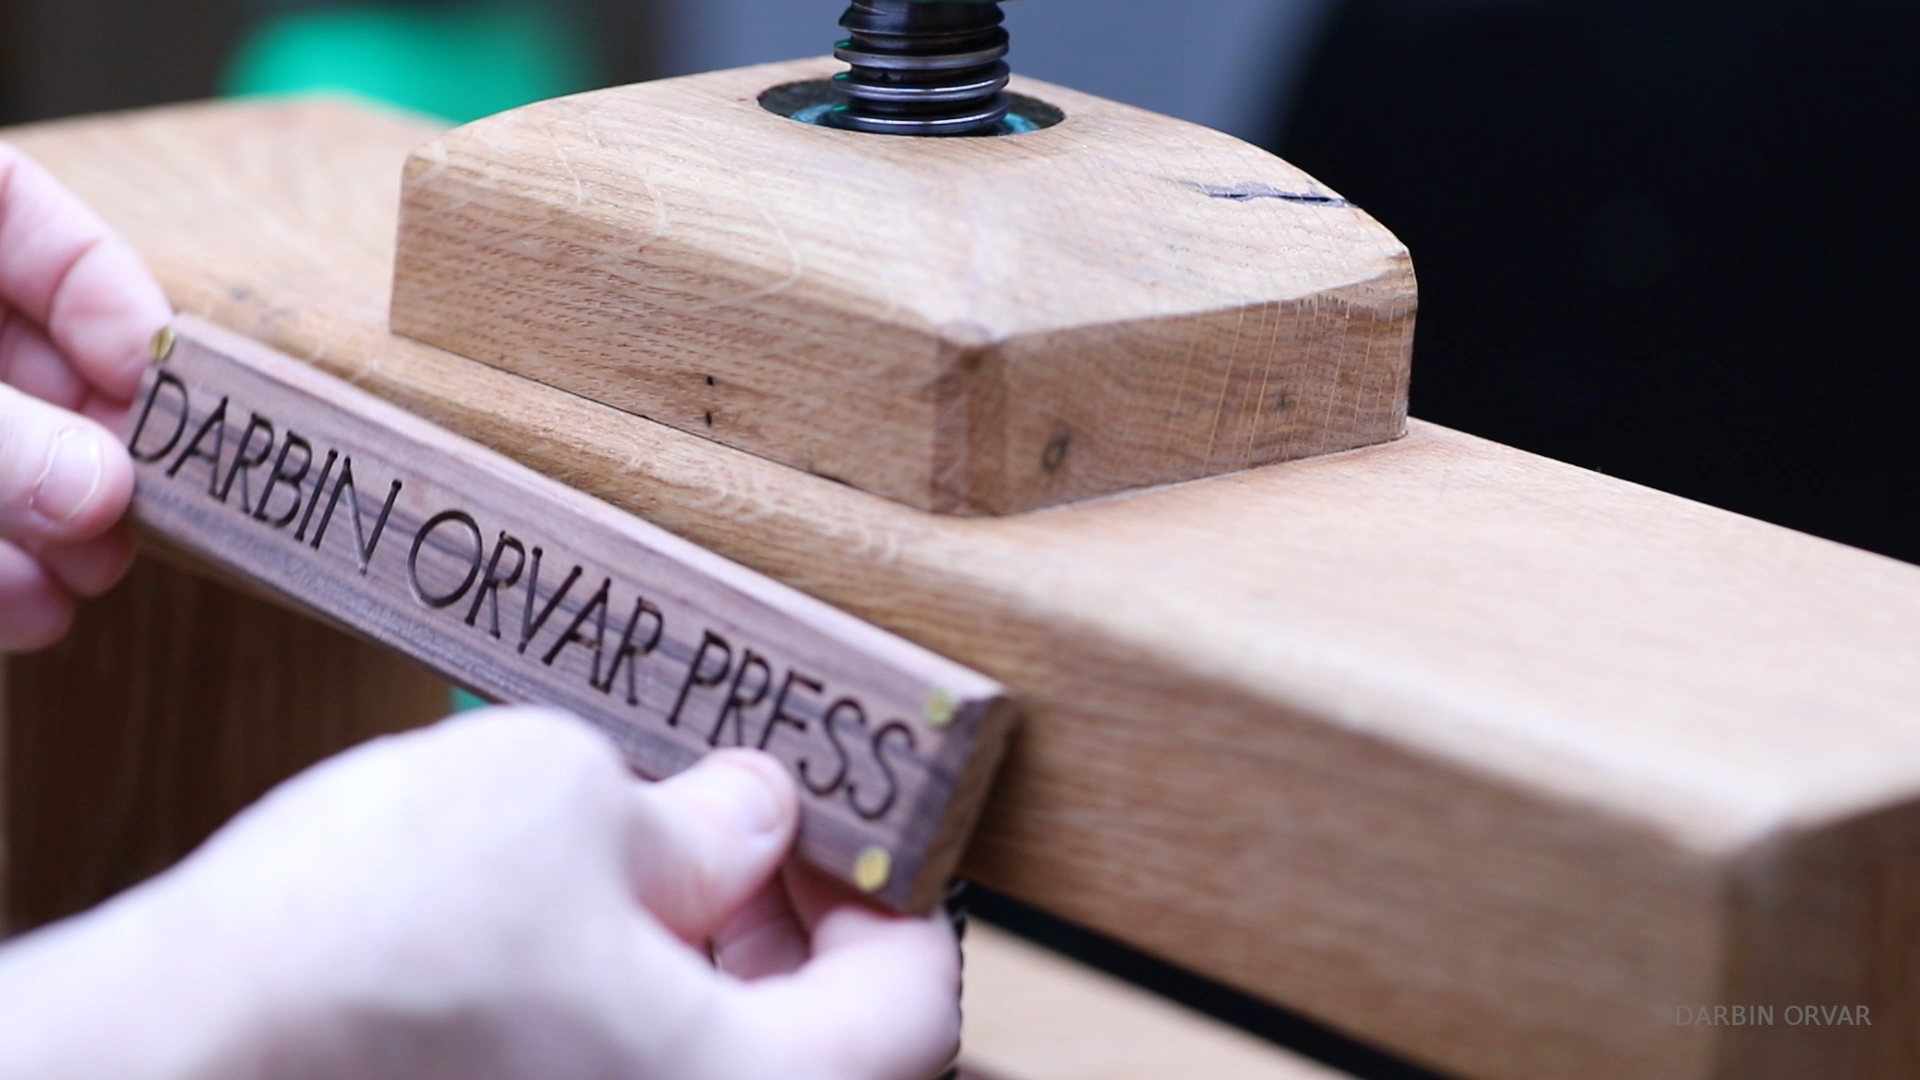
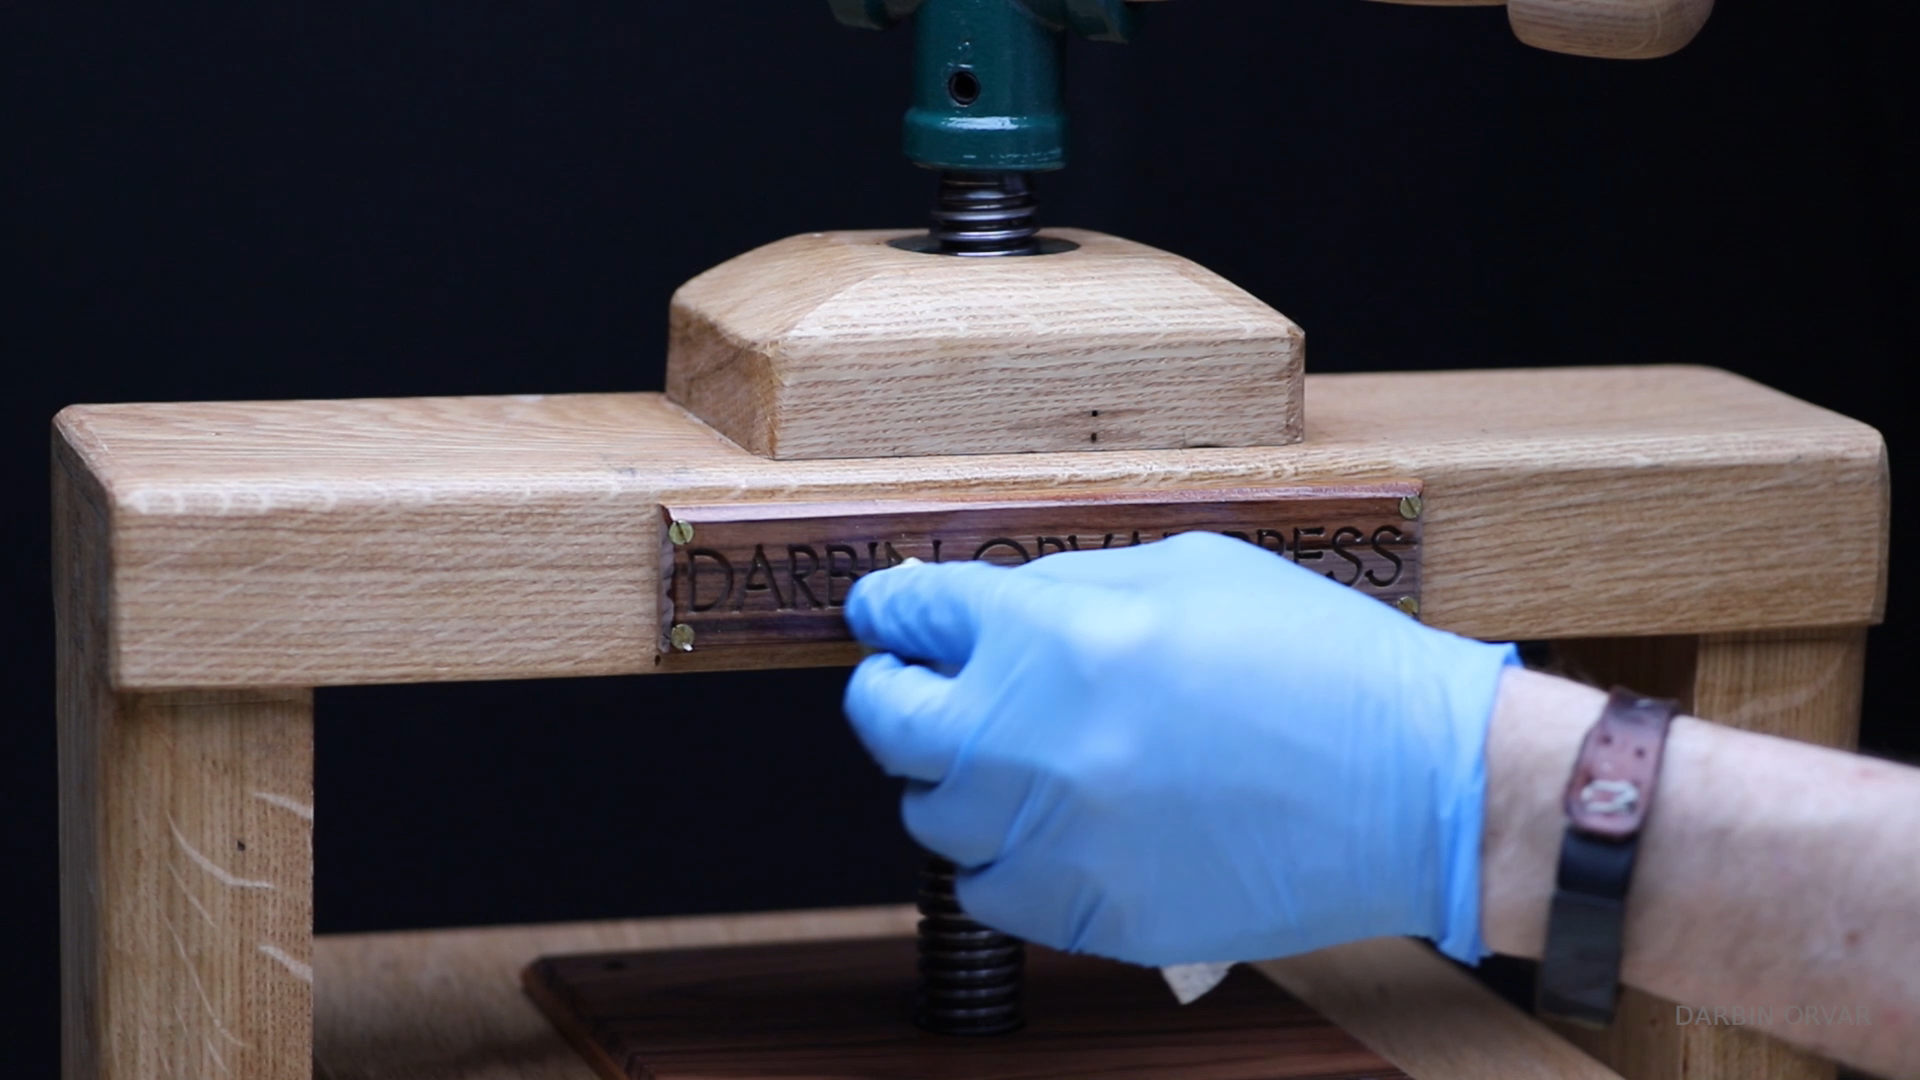
To add a nice personal touch, we decided to cut a little sign on the cnc machine in rosewood and attach it to the press.
Conclusion - Watch the Video
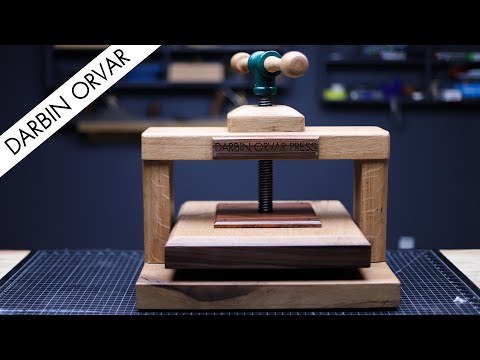
To see how the press finally turned out and how it works, make sure to watch the video. AND if you'd like to build your own, here's a detailed BUILDING PLAN complete with cutlists, in-depth step by step instructions, drawings etc..